Pesto Chicken Packets

As I mentioned in a previous post I was rained-in last week and went on a bit of a cooking binge making a Chicken Corn Chowder, a Meyer Lemon Yogurt Cake and a Pesto Sauce; the latter of which I finally put to good use and made Pesto Chicken Packets – a recipe I came across in an issue of Rachael Ray Magazine a few years back. Let me take a few steps back though and go over how I made the Pesto Sauce.

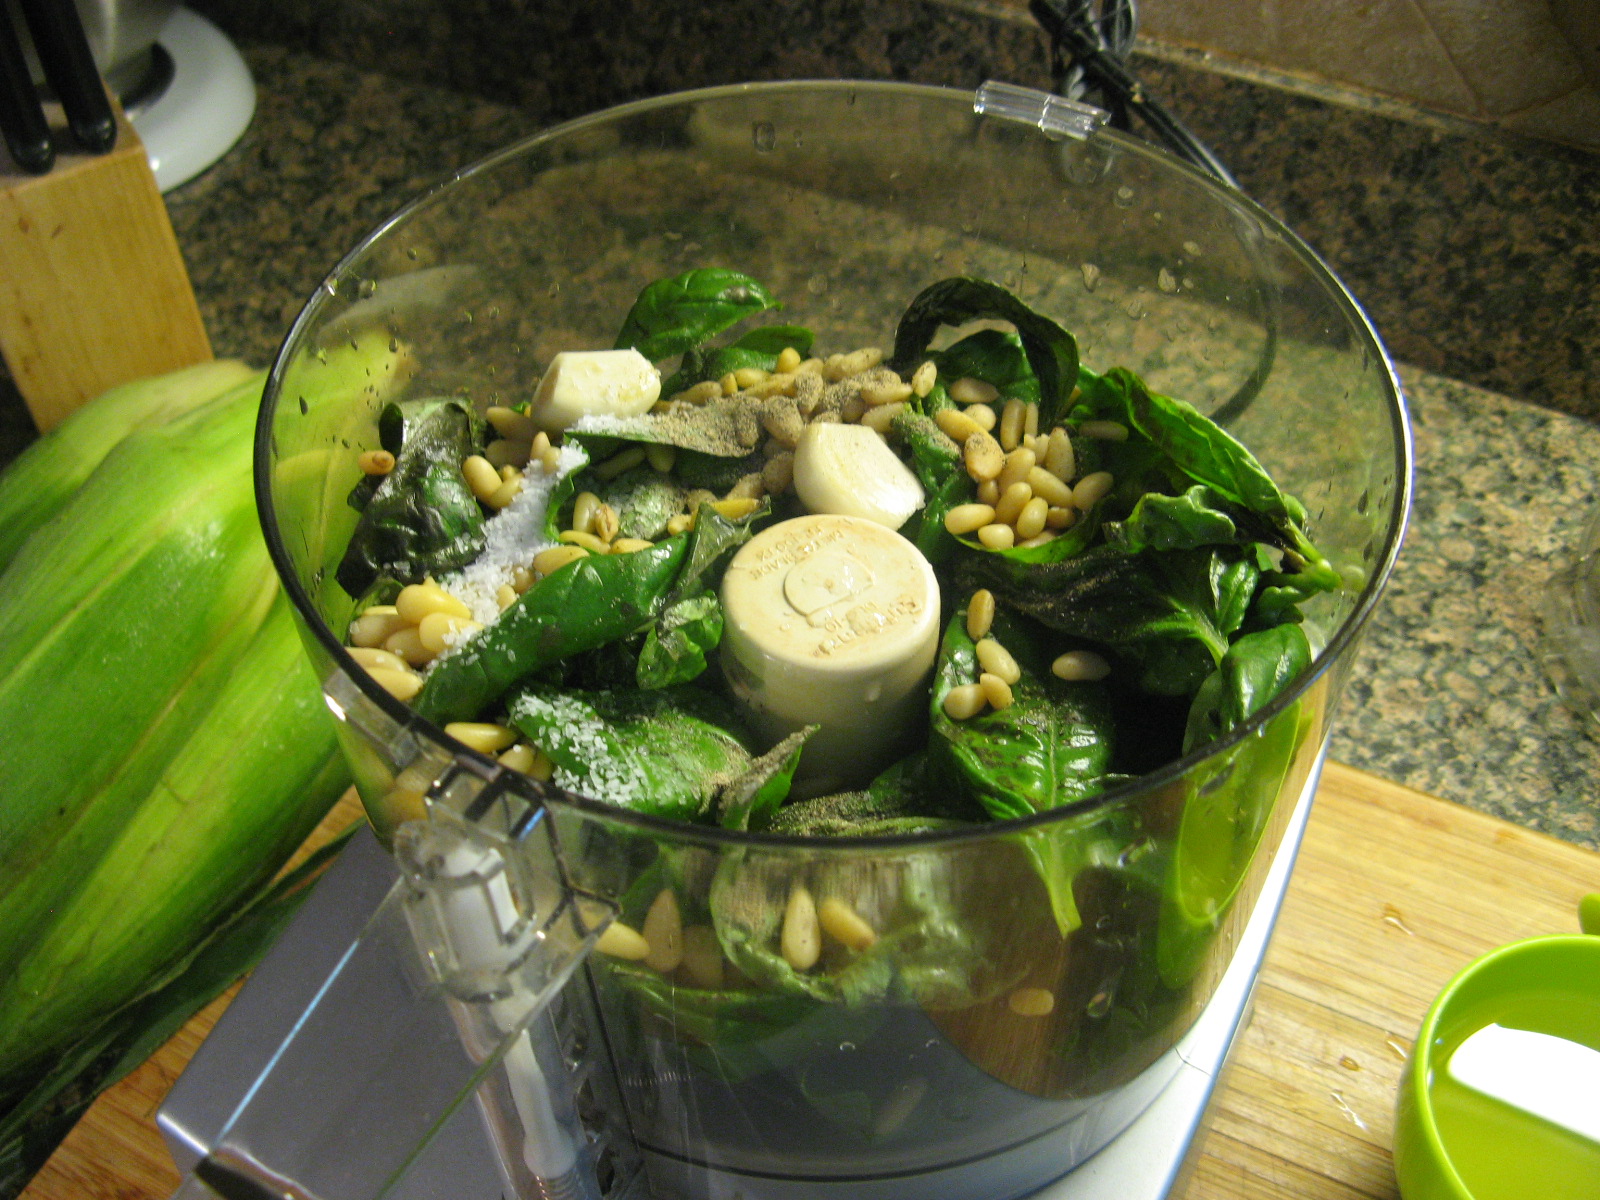
To make the sauce I combined 3 cups of basil, 1/4 cup of pine nuts, a garlic clove, 1/2 teaspoon kosher salt, and 1/4 teaspoon of black pepper in the bowl of a food processor.
IMG_4727

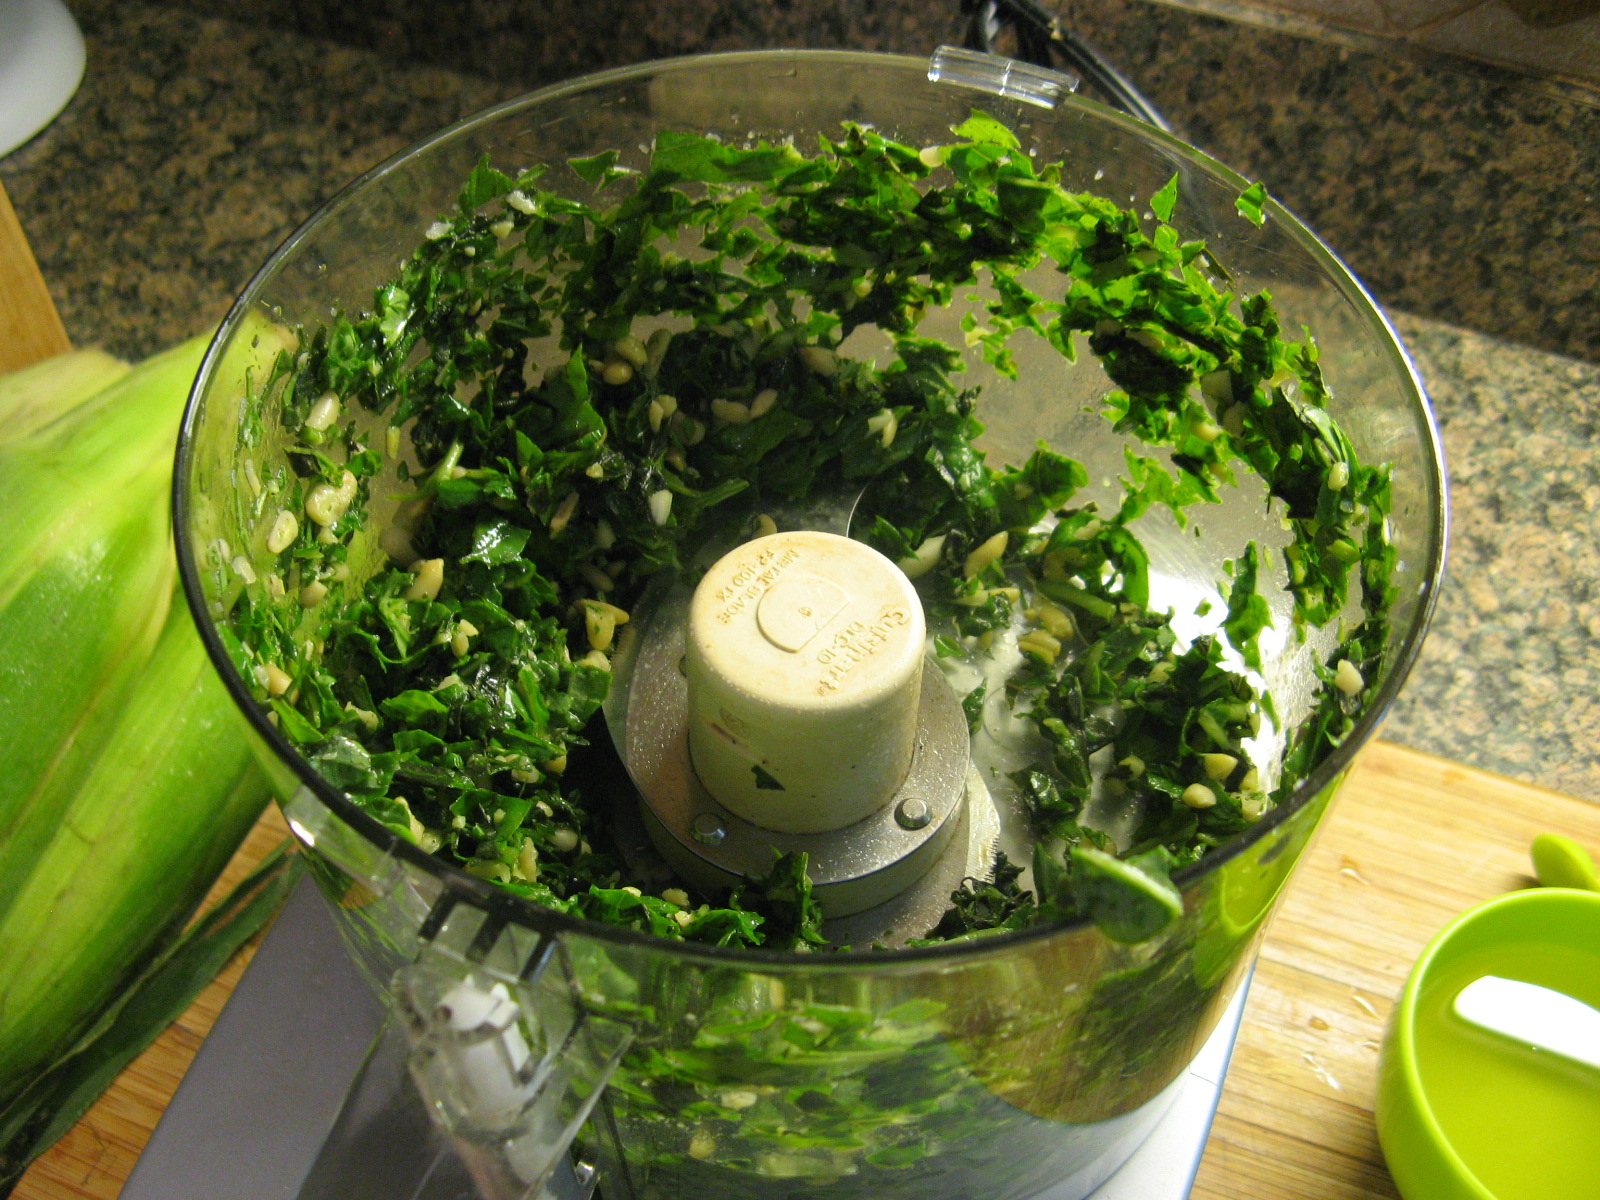
I pulsed the ingredients until they were combined.
IMG_4728

And then let the machine run while I drizzled 2/3 cup of olive oil into the mixture.
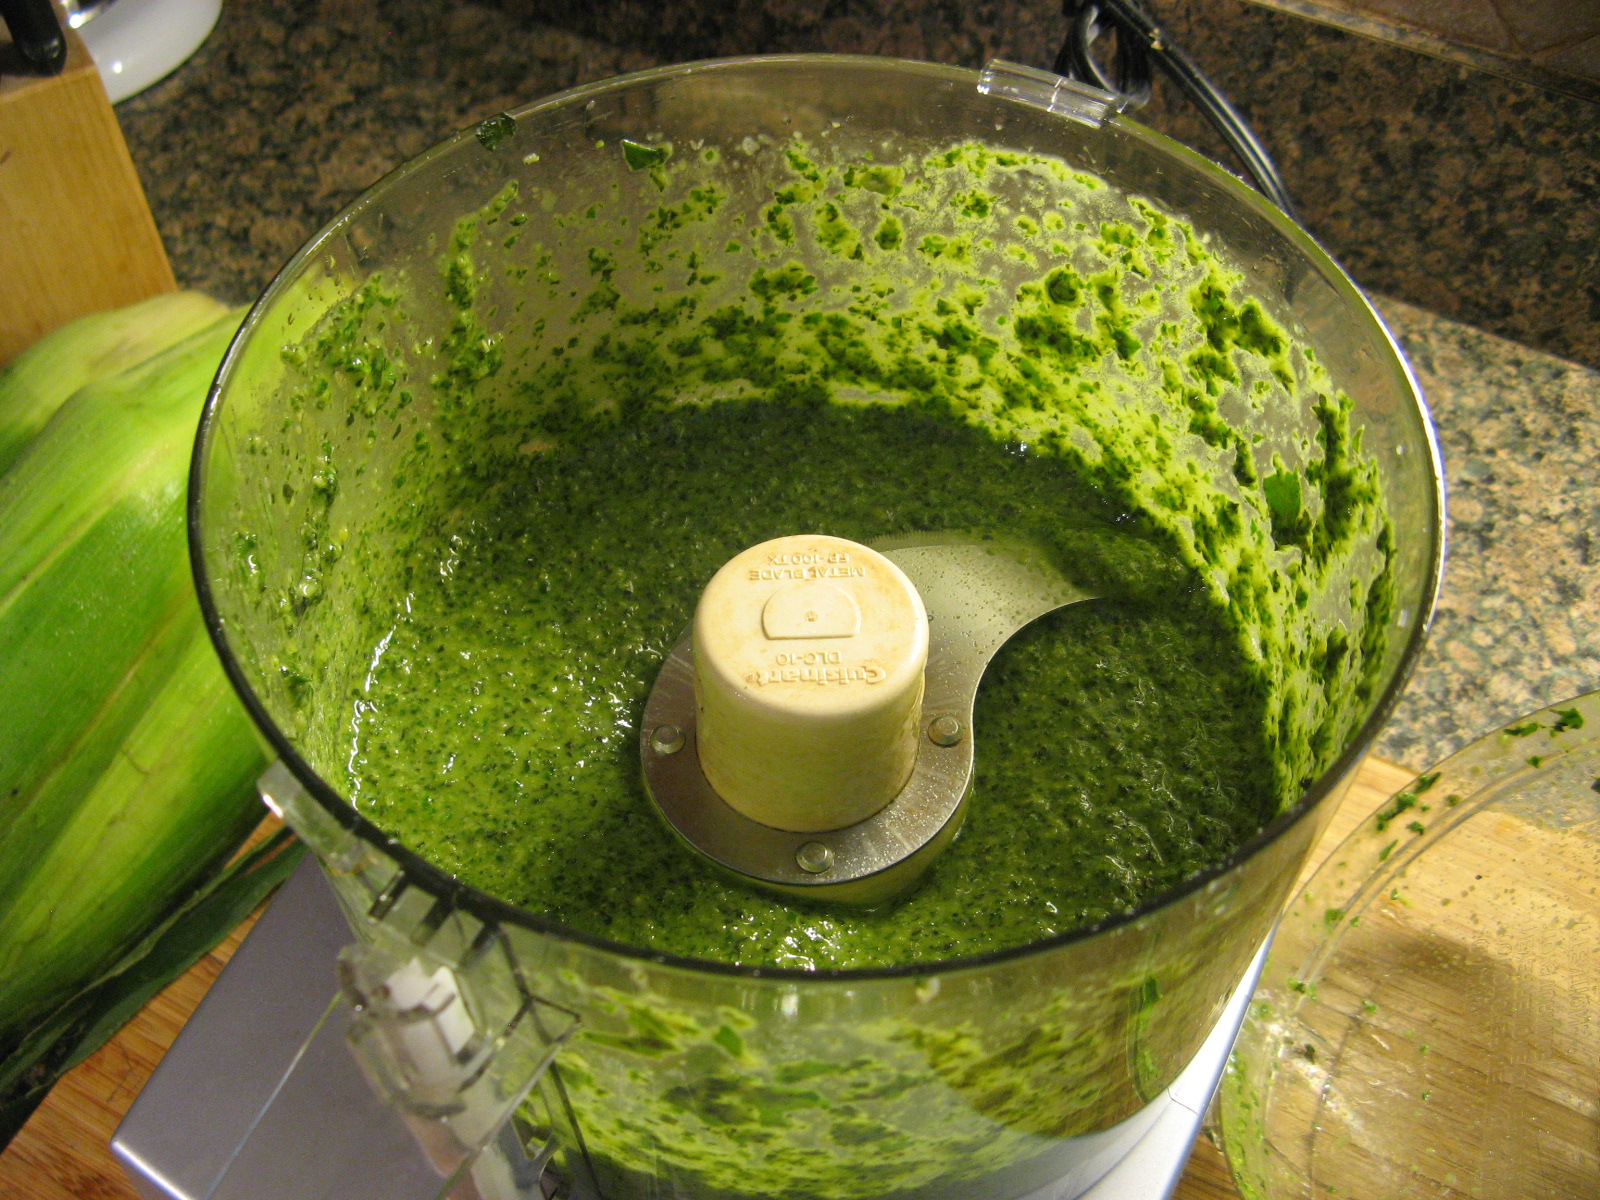
IMG_4729

After transferring the mixture to a bowl I stirred in a 1/4 cup of freshly grated of Parmesan cheese.
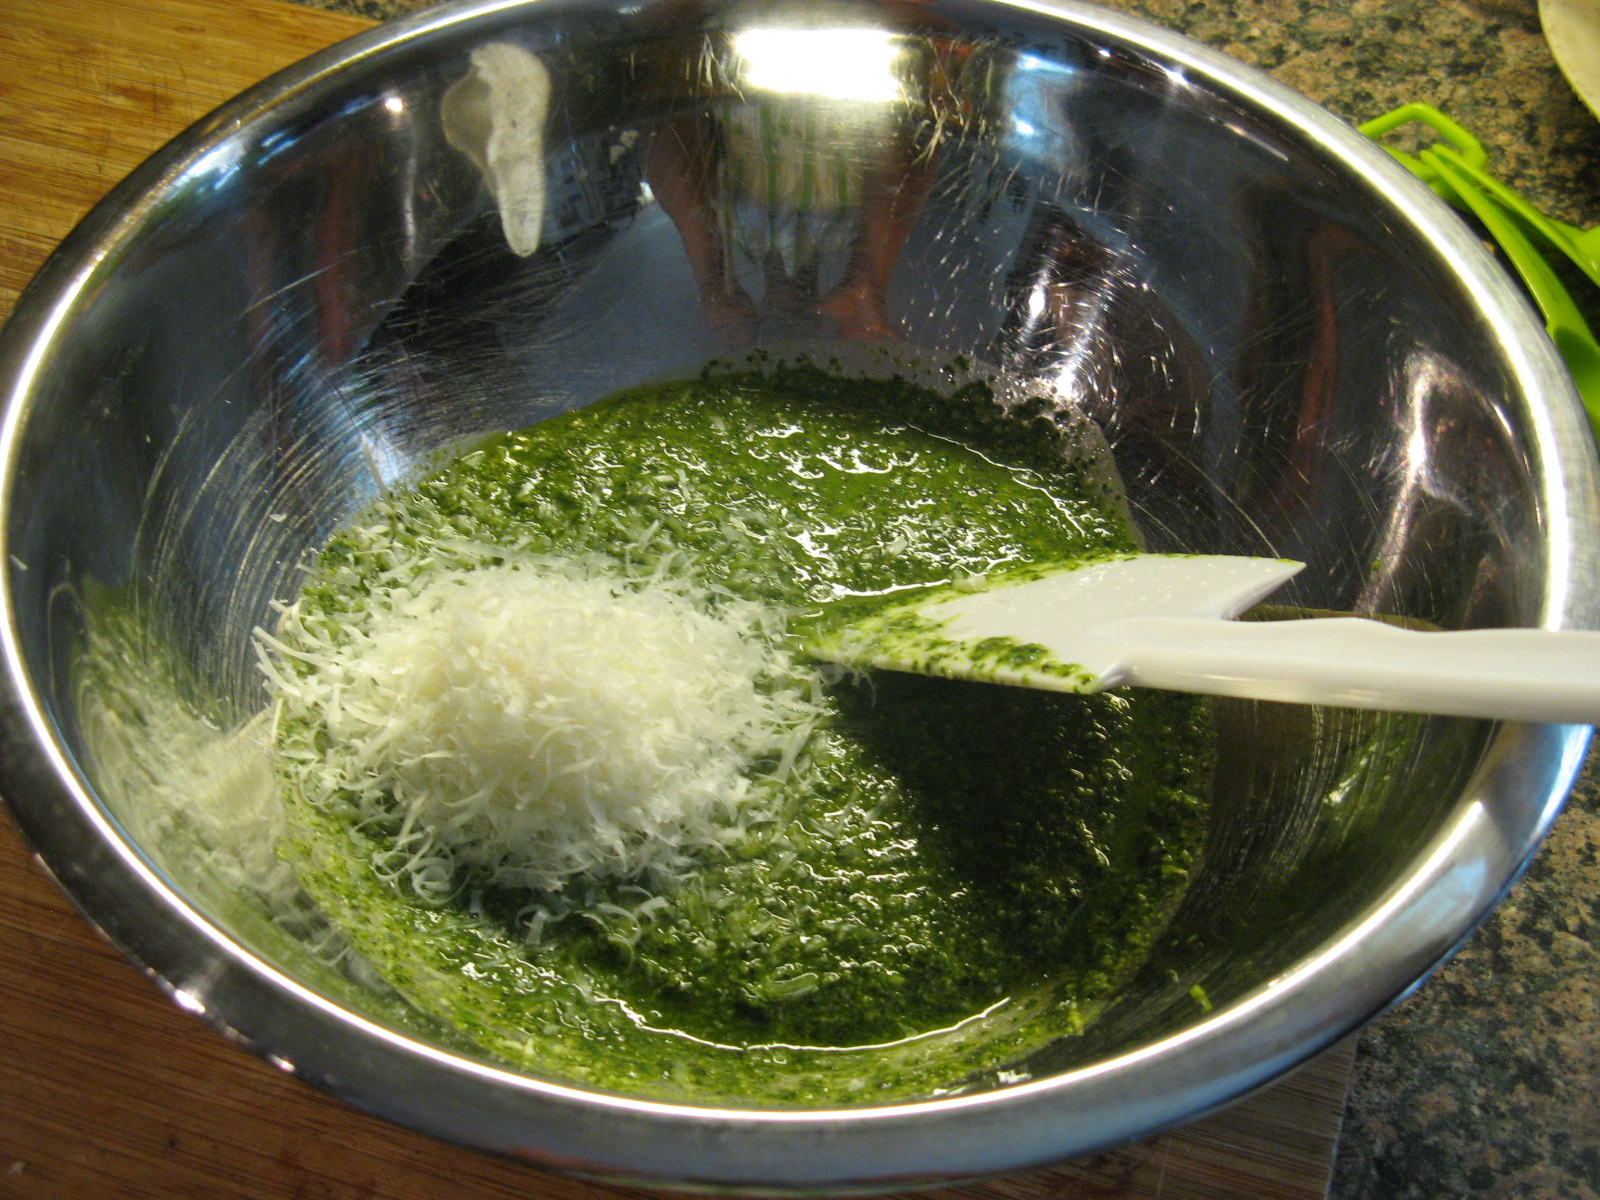
IMG_4730

Since I wasn’t using the Pesto Sauce immediately I stored it in an airtight container in my refrigerator. After being in the fridge for a few days I added a little more olive oil to the top of it to make sure it would stay fresh. And when I was ready to use it was perfect.
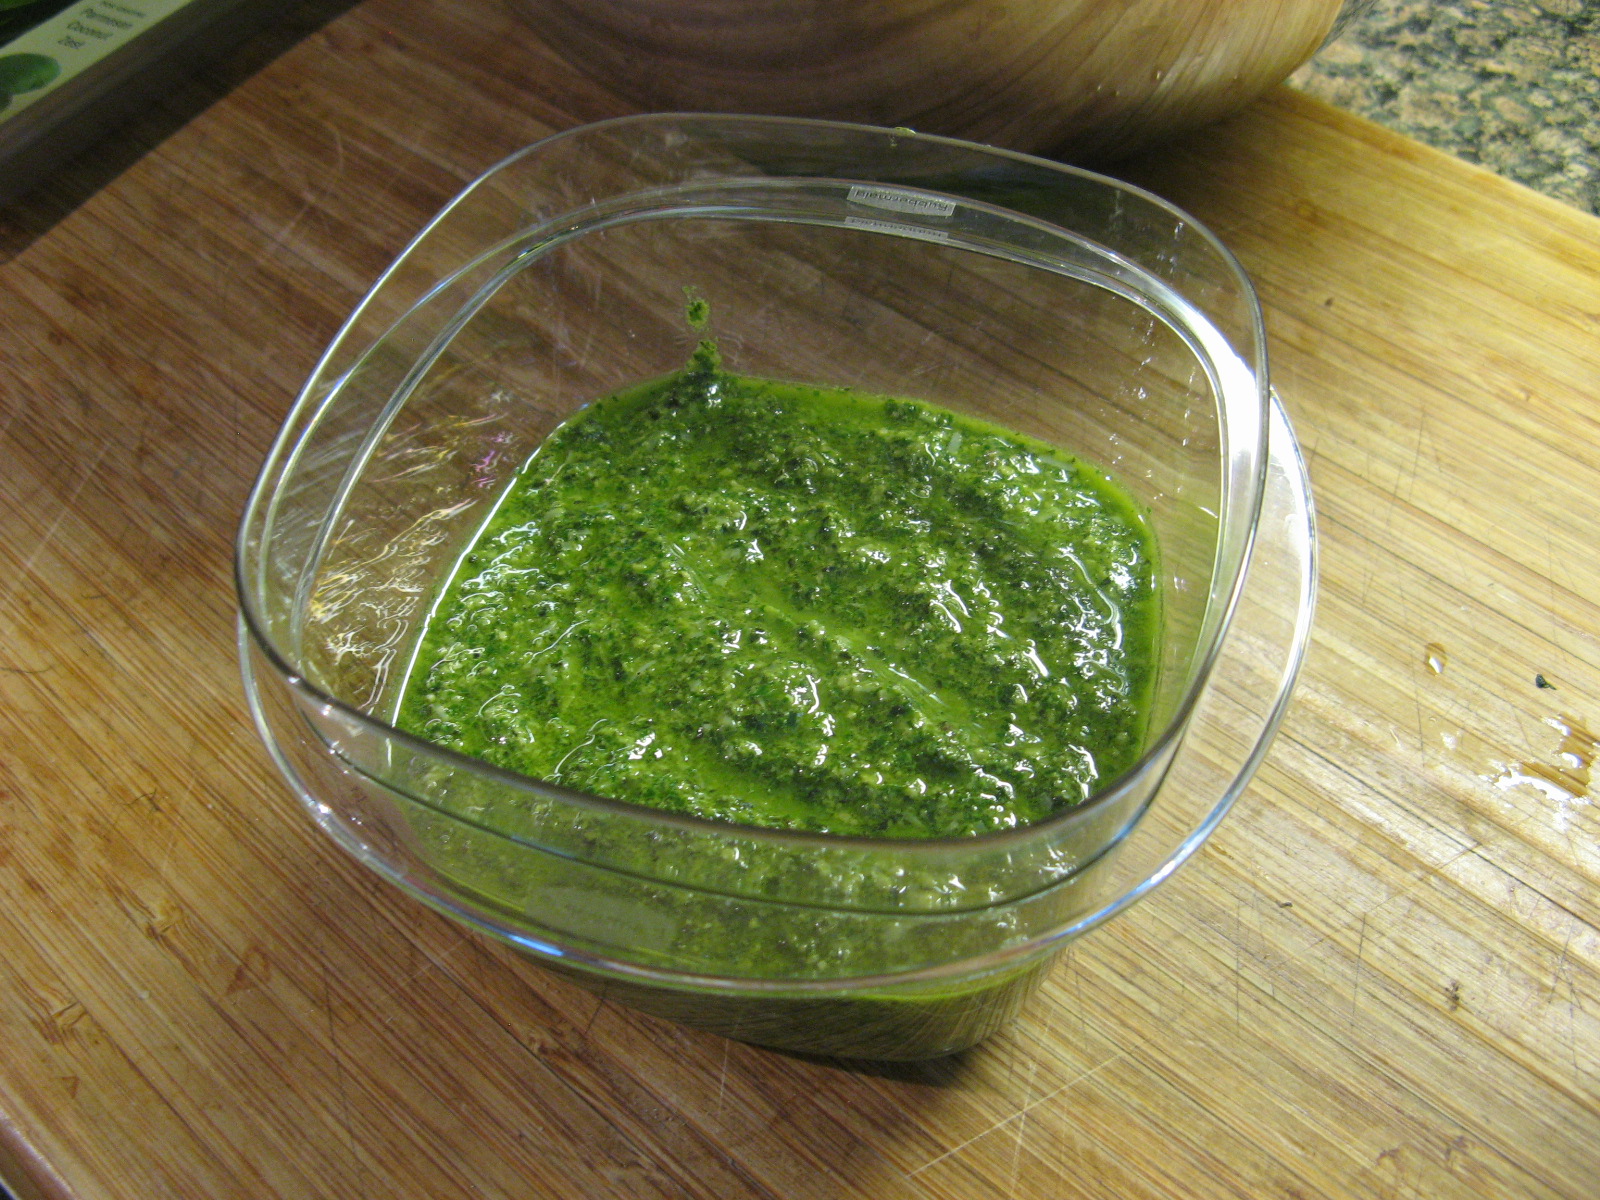
IMG_4732

On to the Pesto Chicken Packets…

Along with the chicken and pesto, I also needed zucchini, plum tomatoes and scallions for the recipe.

IMG_4793

I prepped the vegetables by slicing the zucchini, chopping the tomatoes and trimming the scallions.
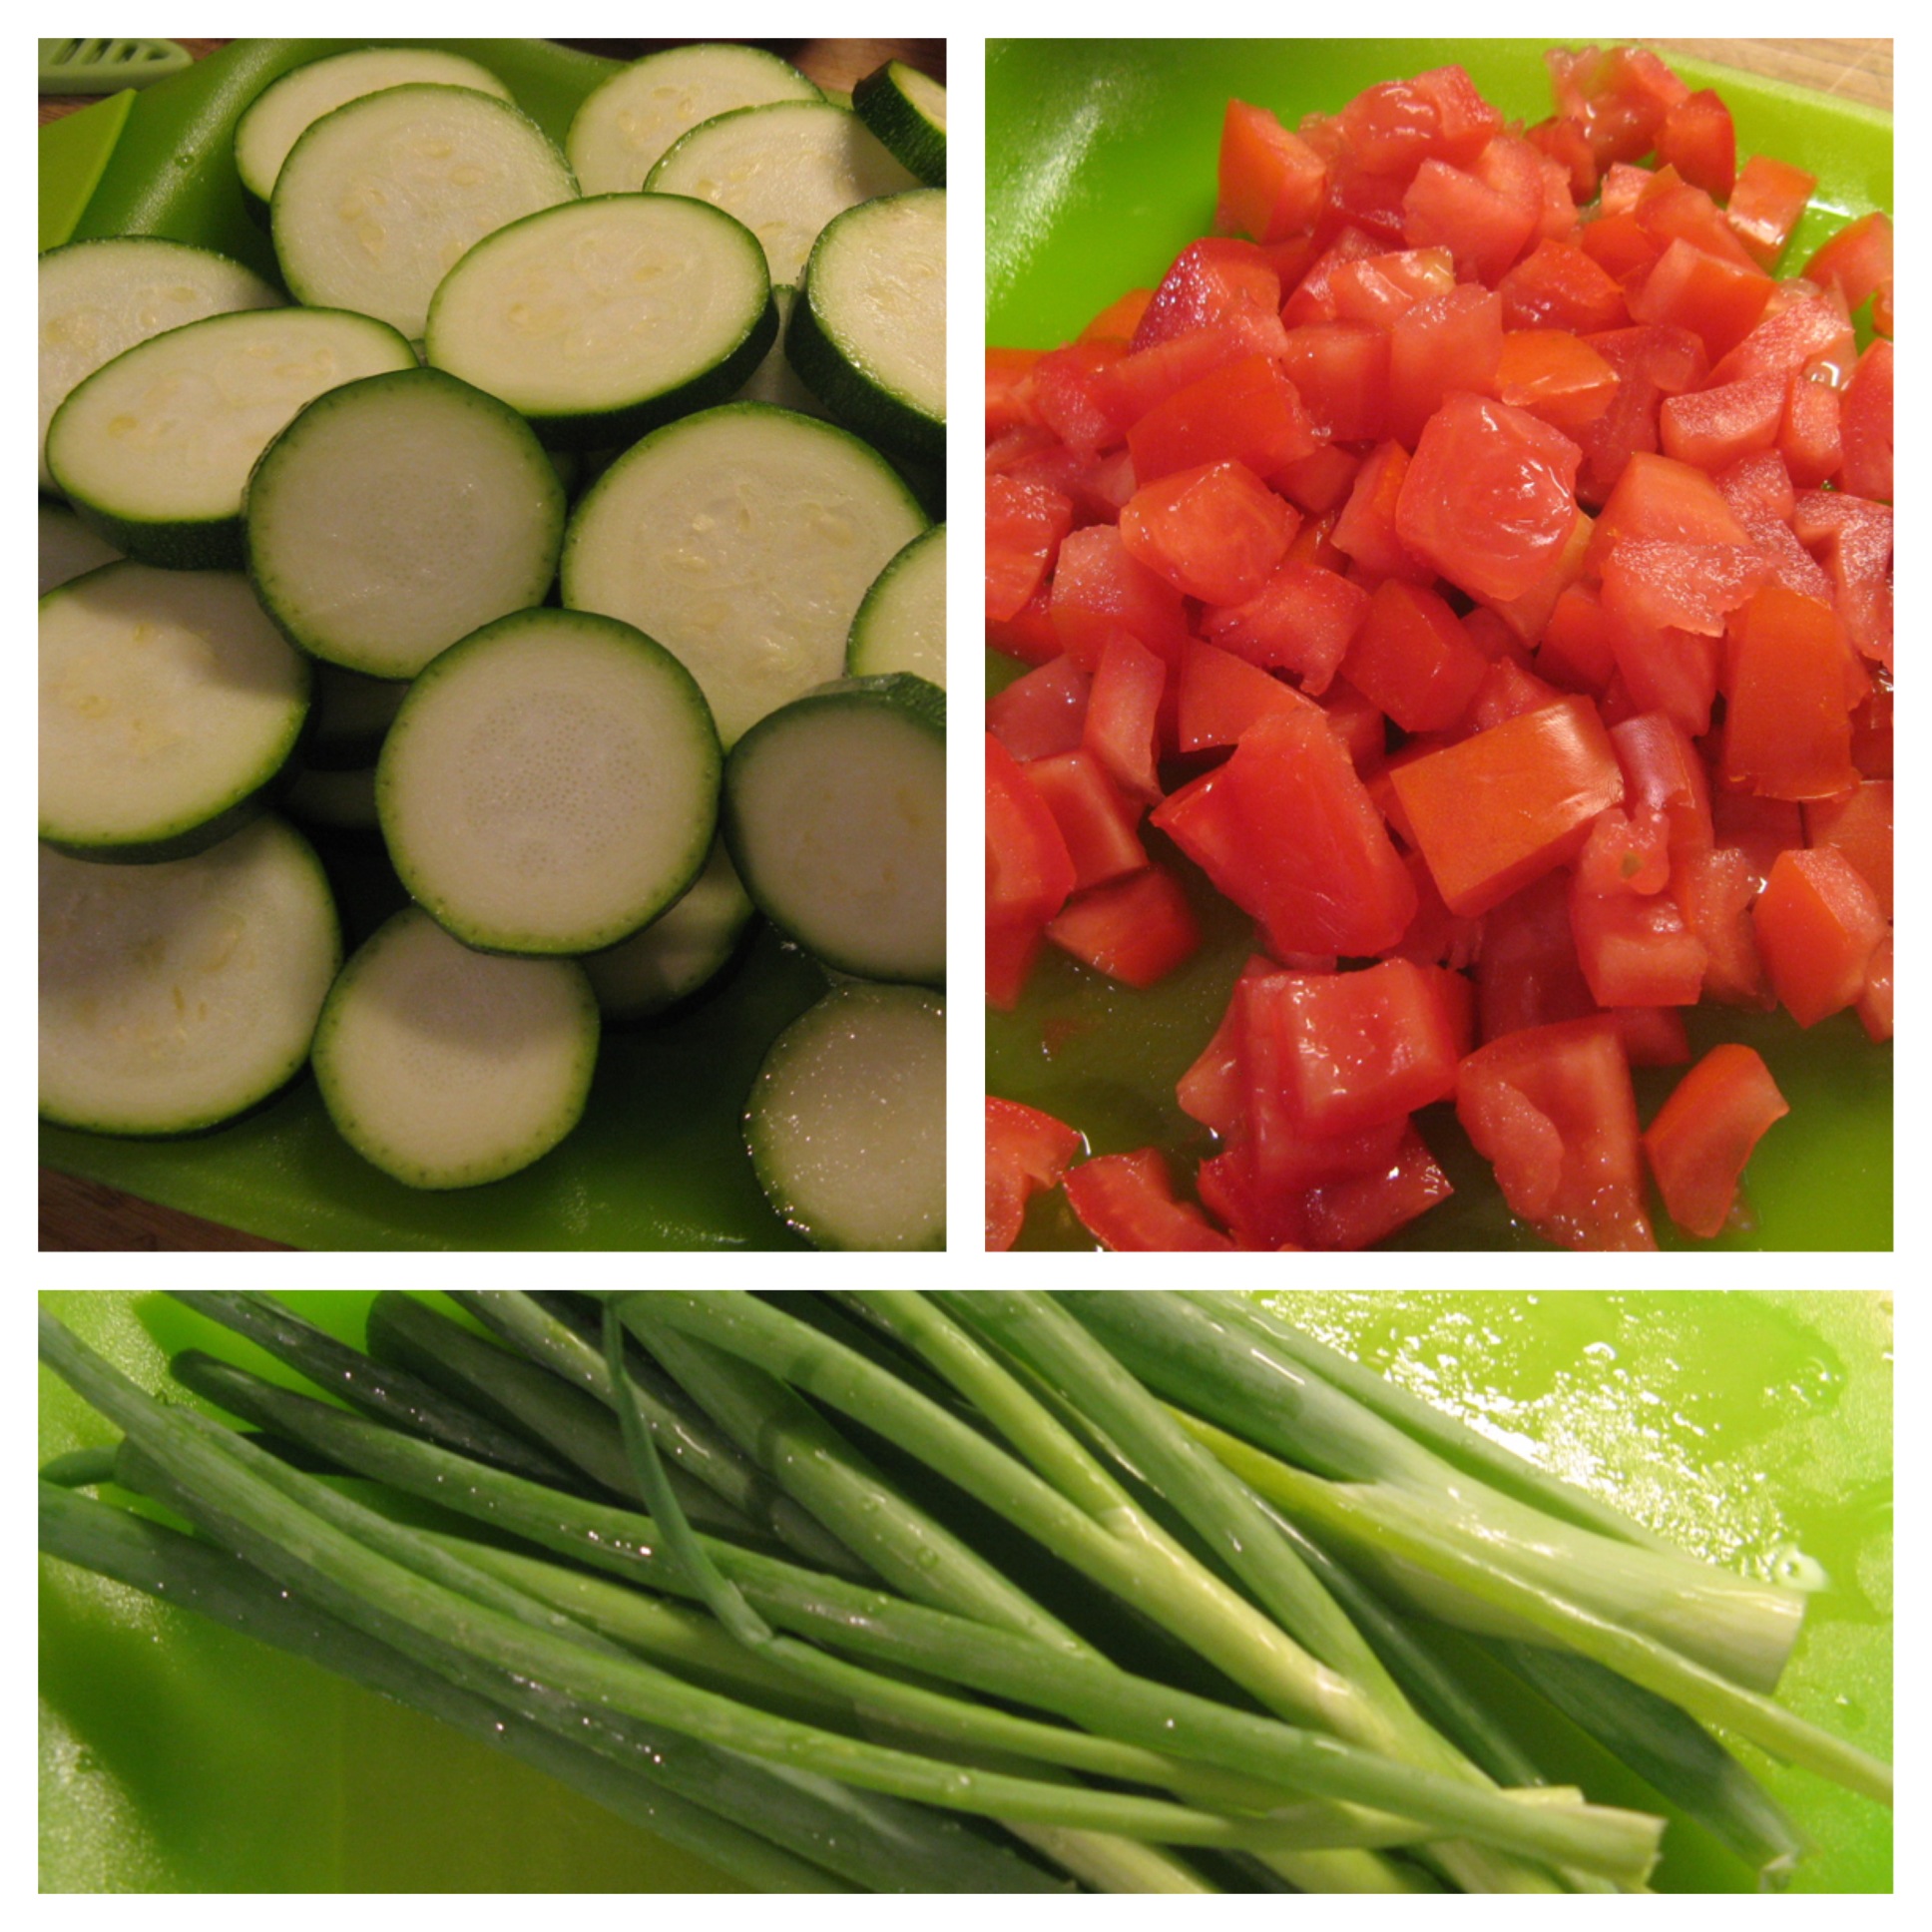
Pesto 1

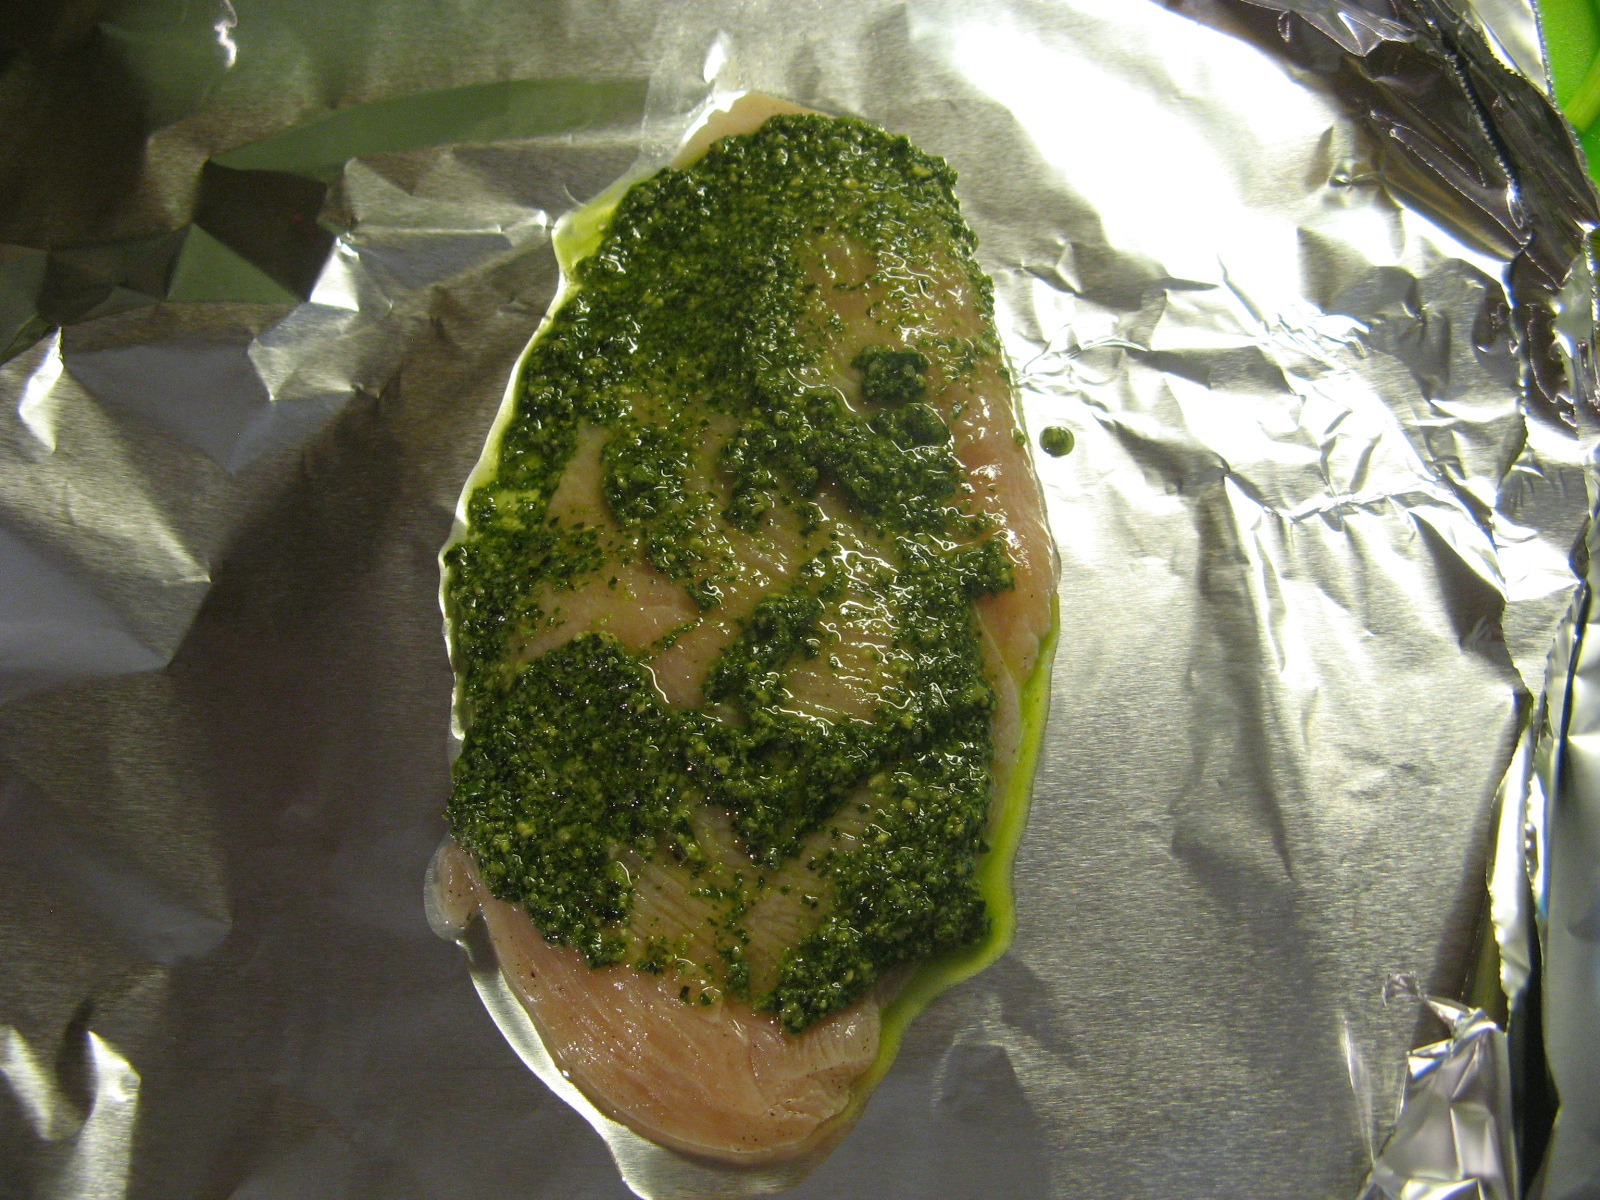
Then it was time to prep the chicken packets for the oven. I drizzled about a teaspoon of olive oil in the center of a 12-inch long sheet of aluminum foil and placed a thin-sliced chicken breast seasoned with salt and pepper on top of it. I then spread about a tablespoon of the pesto over the chicken.
IMG_4799

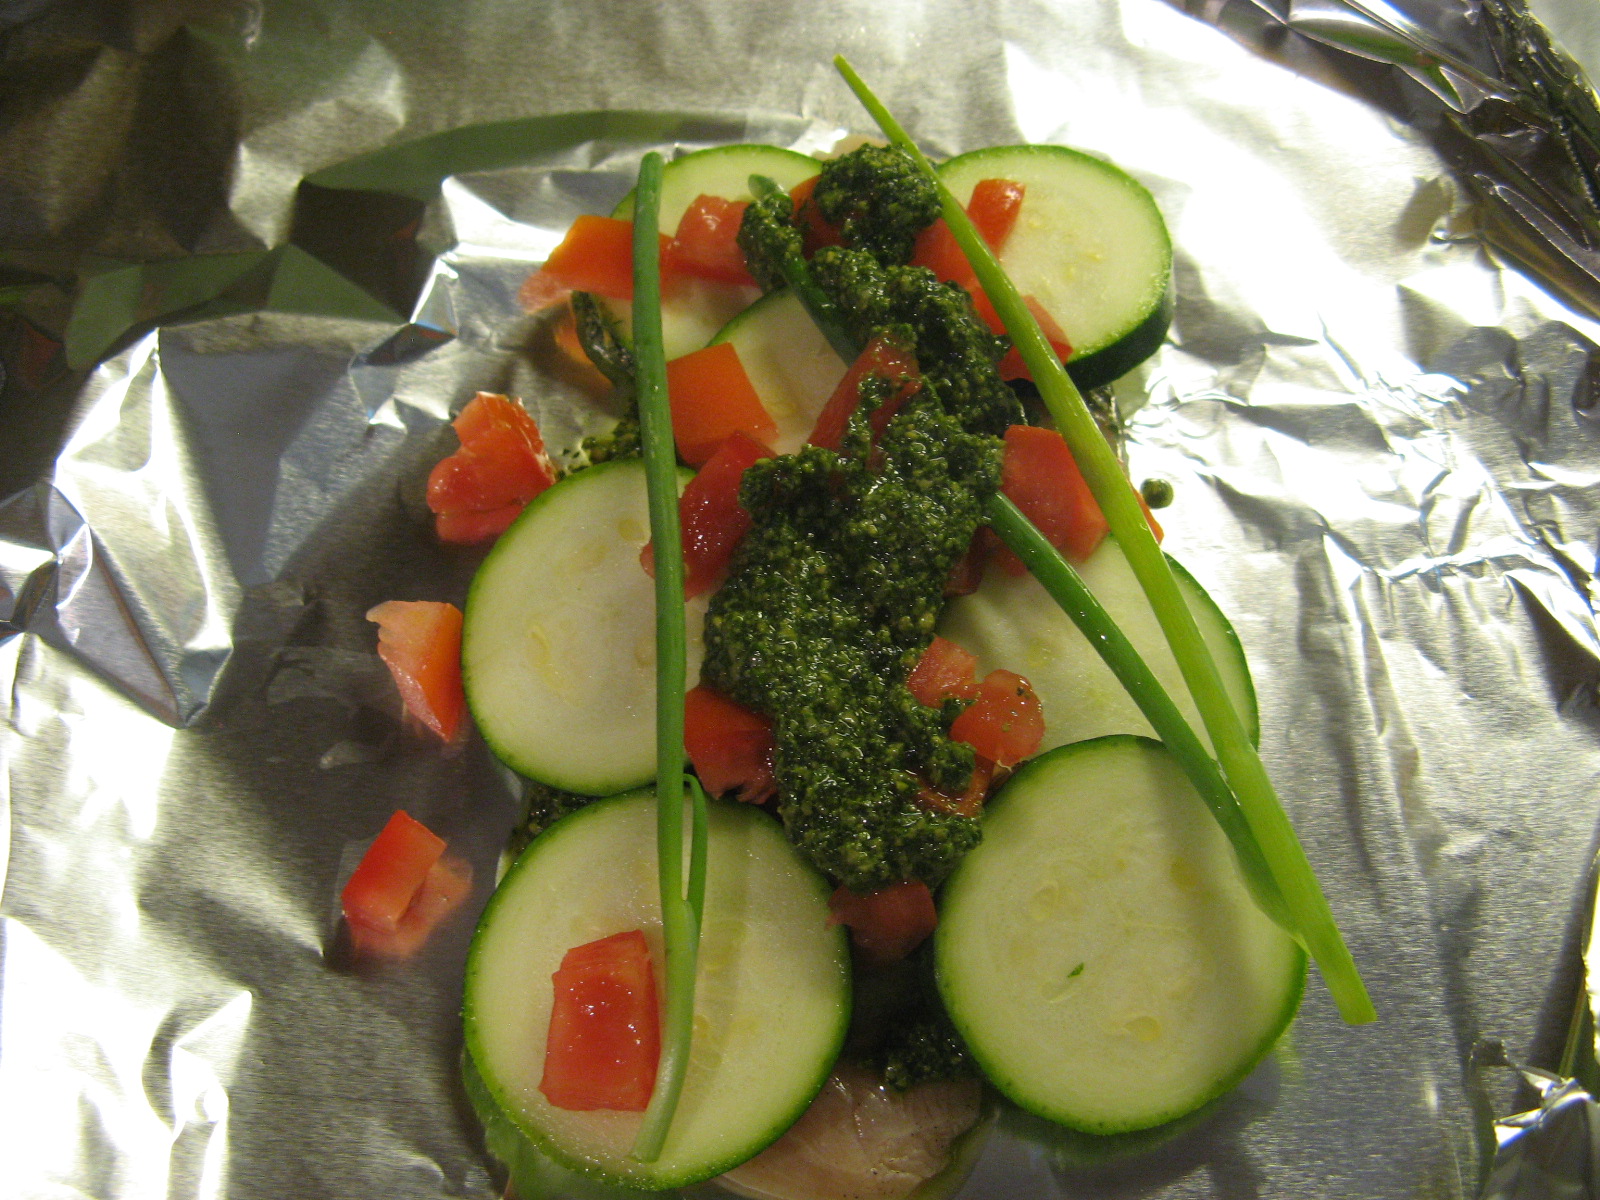
Next it was time to cover the chicken with about a handful of the sliced zucchini and chopped tomatoes and a few of the scallions. Prior to closing the packets I also dolloped about two tablespoons of the pesto on top.
IMG_4800

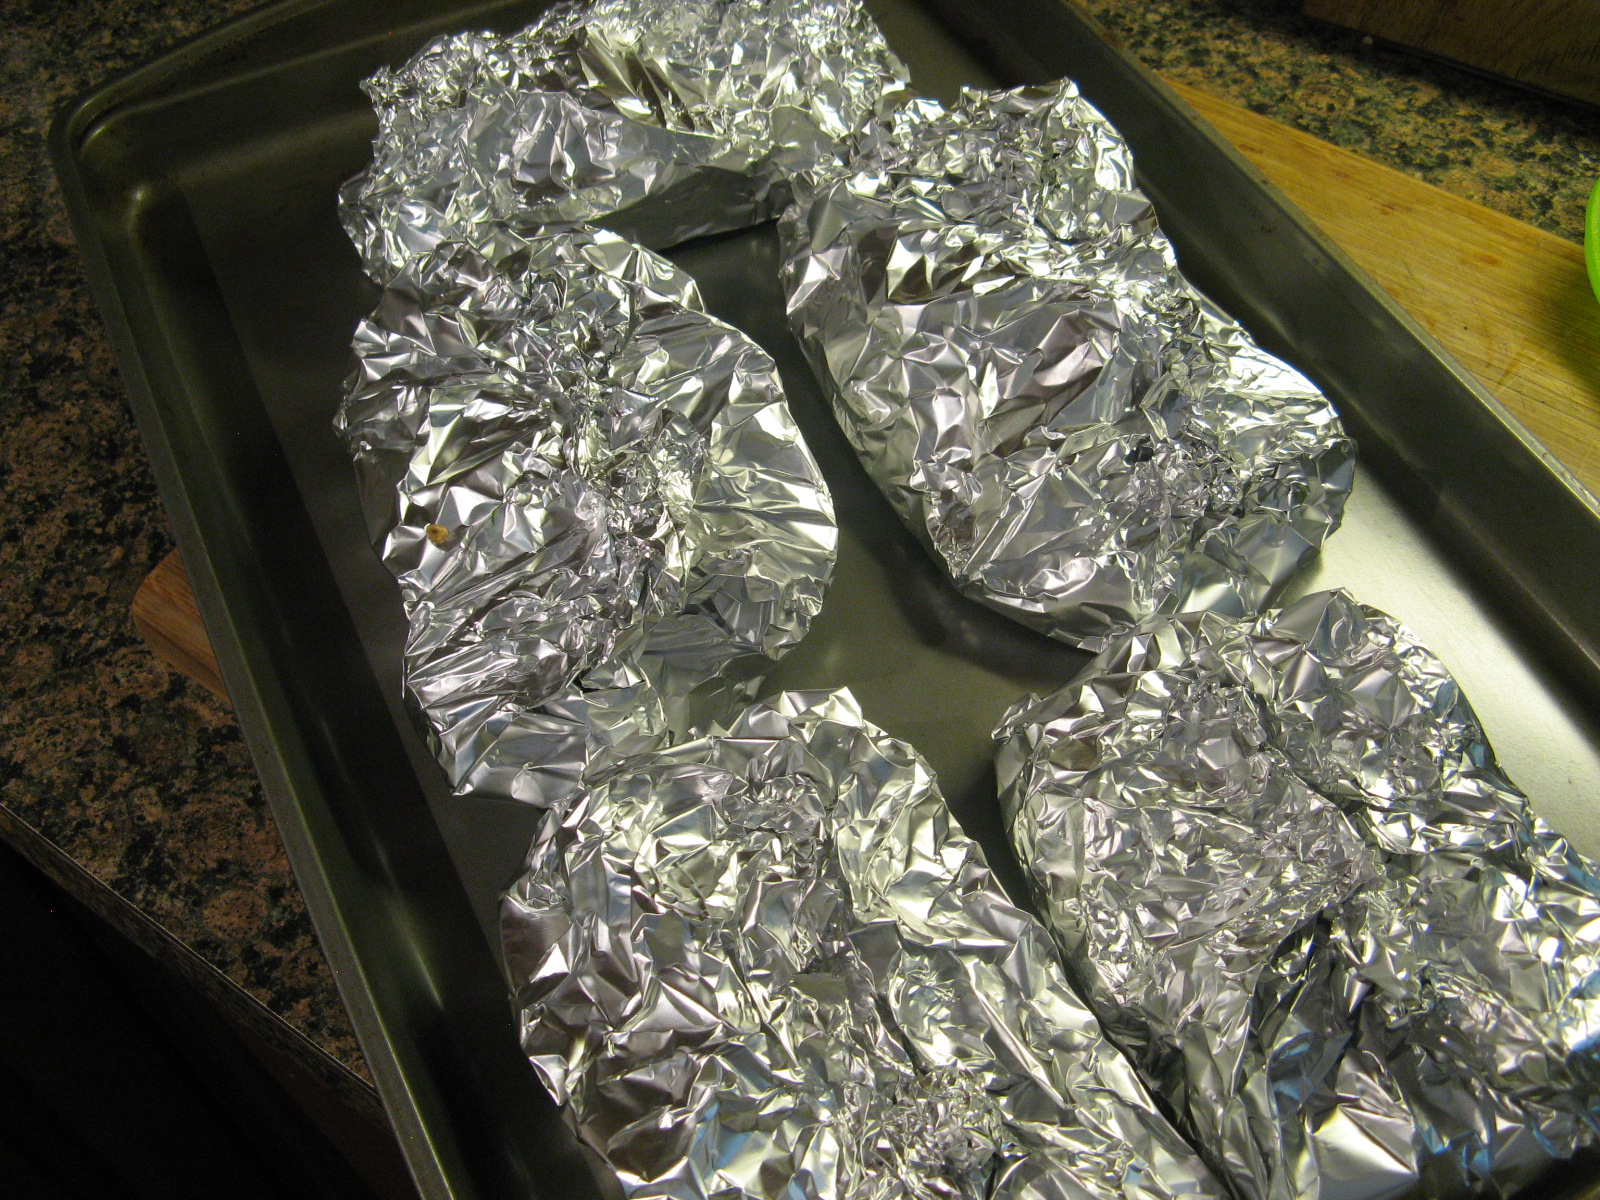
I placed all of the packets on a baking sheet and baked them in a 355 F preheated oven for 40 minutes.
IMG_4801

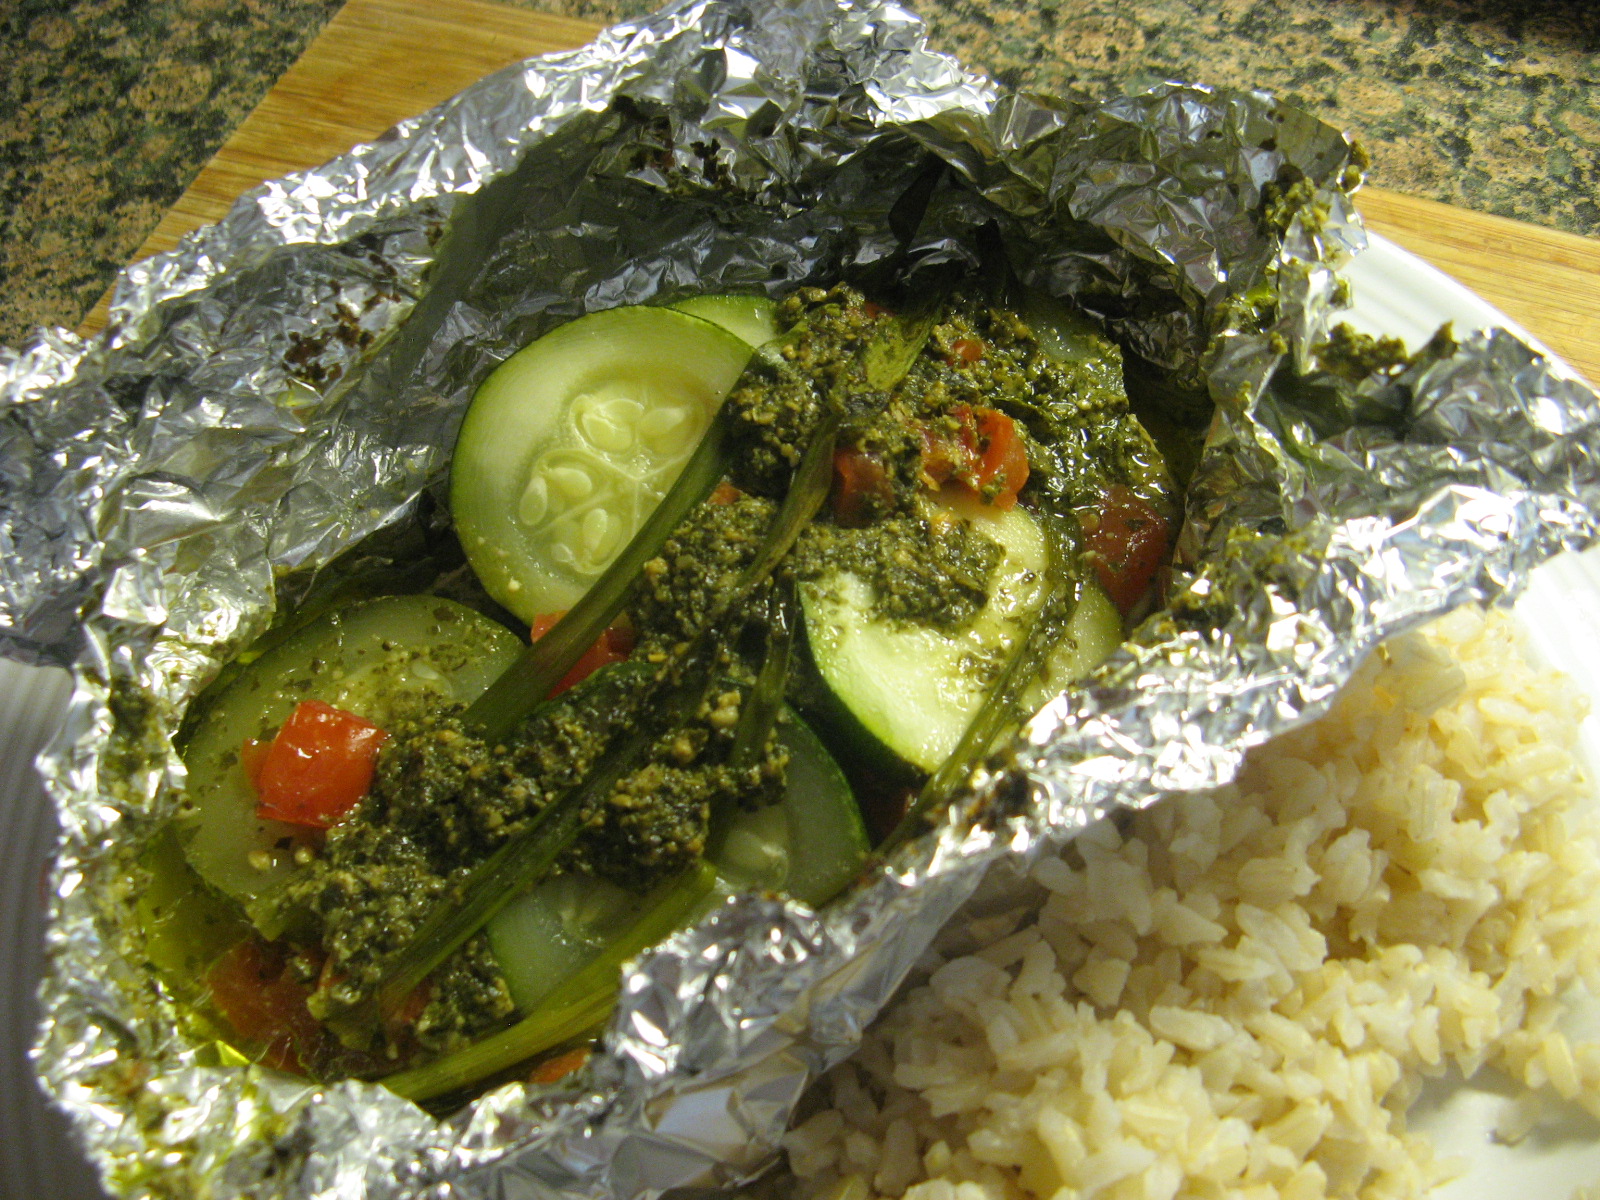
And voila, they were perfectly cooked in that time. This is definitely a great recipe for chicken as the juices of the zucchini, tomatoes and of course the pesto produces a chicken breast that is perfectly juicy and flavorful. I served them with brown rice and no worries I did take the chicken along with all of its components out the aluminum packet prior to eating it. How else was I going to be able to mix all the wonderful juices in with my rice?
IMG_4803


Pesto Sauce

Ingredients:

3 cups loosely packed fresh basil leaves, washed

1/4 cup pine nuts

1 garlic clove

1/2 teaspoon kosher salt

1/4 teaspoon black pepper

2/3 cup extra virgin olive oil

1/4 cup freshly grated Parmesan cheese


Directions:

1. Place the basil, pine nuts, basil, salt and pepper in the bowl of a food processor and pulse to combine.

2. While the machine is running drizzle the olive oil through the feed tube, stopping occasionally to scrape down the sides.

3. Transfer to a bowl and stir in the Parmesan cheese.


Pesto Chicken Packets

Ingredients:

Extra-Virgin olive oil, for drizzling

5 Thinly sliced skinless and boneless chicken breasts

Salt and Pepper

1 cup Pesto

2 zucchini, thinly sliced

4 plum tomatoes, chopped

10 scallions, trimmed


Directions:

1. Preheat the oven to 355 F. Cut five 12-inch long sheets of heavy-duty foil. Drizzle 1 teaspoon olive oil in the center of each sheet.

2. Season the chicken with salt and pepper. Lay 1 piece of chicken in the center of each sheet and spread 1 tablespoon pesto on top.

3. Mound a handful of the zucchini and tomatoes over each chicken breast along with two pieces of scallion. Dollop a few tablespoons pesto over each mound. Fold the foil over the chicken and vegetables; pinch the edges to seal.

4. Place the packets on a baking sheet and bake for 40 minutes.
Meyer Lemon Yogurt Cake

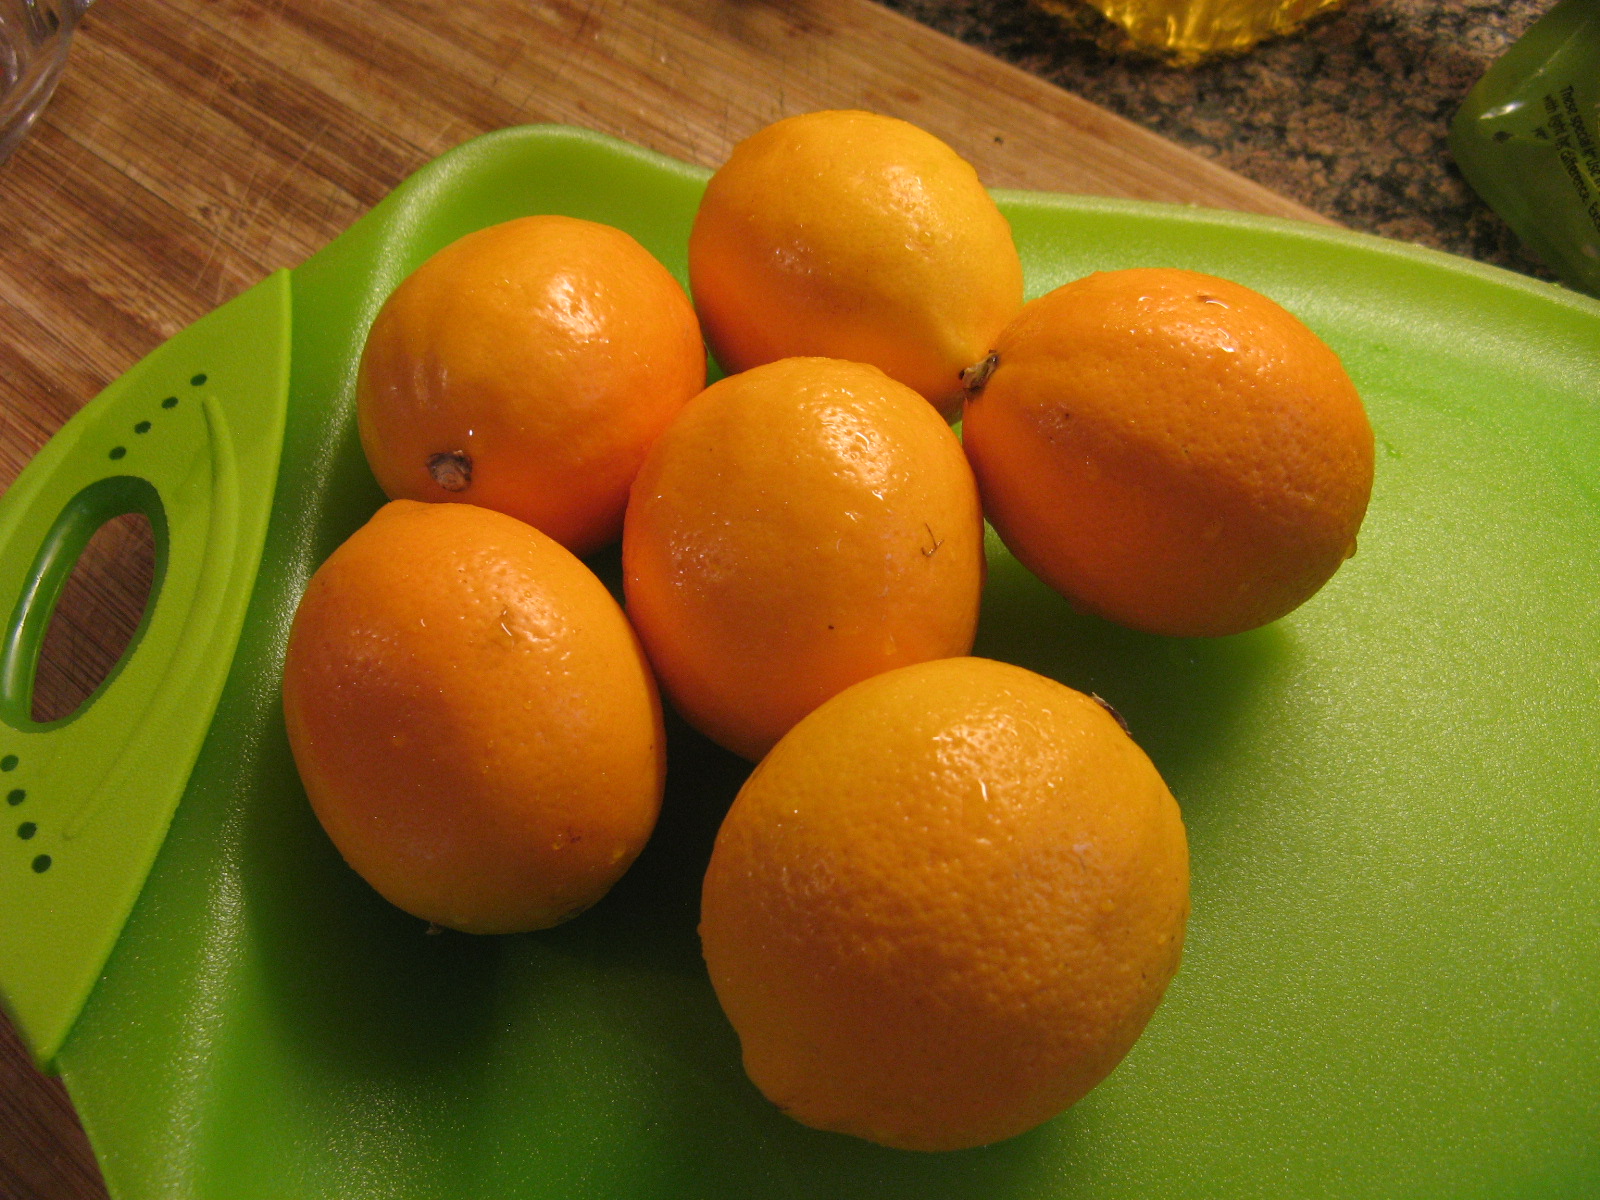
Key limes weren’t the only citrus fruits I picked up on a recent grocery trip; I also came across some Meyer lemons. I’m always on the lookout for fruits or vegetables that are not your typical everyday kind. So, what exactly is a Meyer Lemon? Well, it’s a cross between your basic lemon and either a mandarin or a common orange. They also have a sweeter and less acidic taste than your typical lemon. One other characteristic that sets them apart is their thin skin. I wasn’t all that sure what I was going to make with them. I began by searching for specific Meyer lemon recipes but I wasn’t all that thrilled with what I came up. I also searched through some of my cookbooks but to no avail of something that really stood out. So, I made my search simpler and just went with a basic lemon search and came across Ina Garten’s (aka The Barefoot Contessa) Lemon Yogurt Cake. The reviews for the cake were good so I just went ahead and swapped out the regular lemons for the Meyer lemons.

IMG_4783

As you can see from the picture below the Meyer lemons are also a bit rounder and the yellow-orange coloring of their skin lets you know they are perfectly ripe

IMG_4733

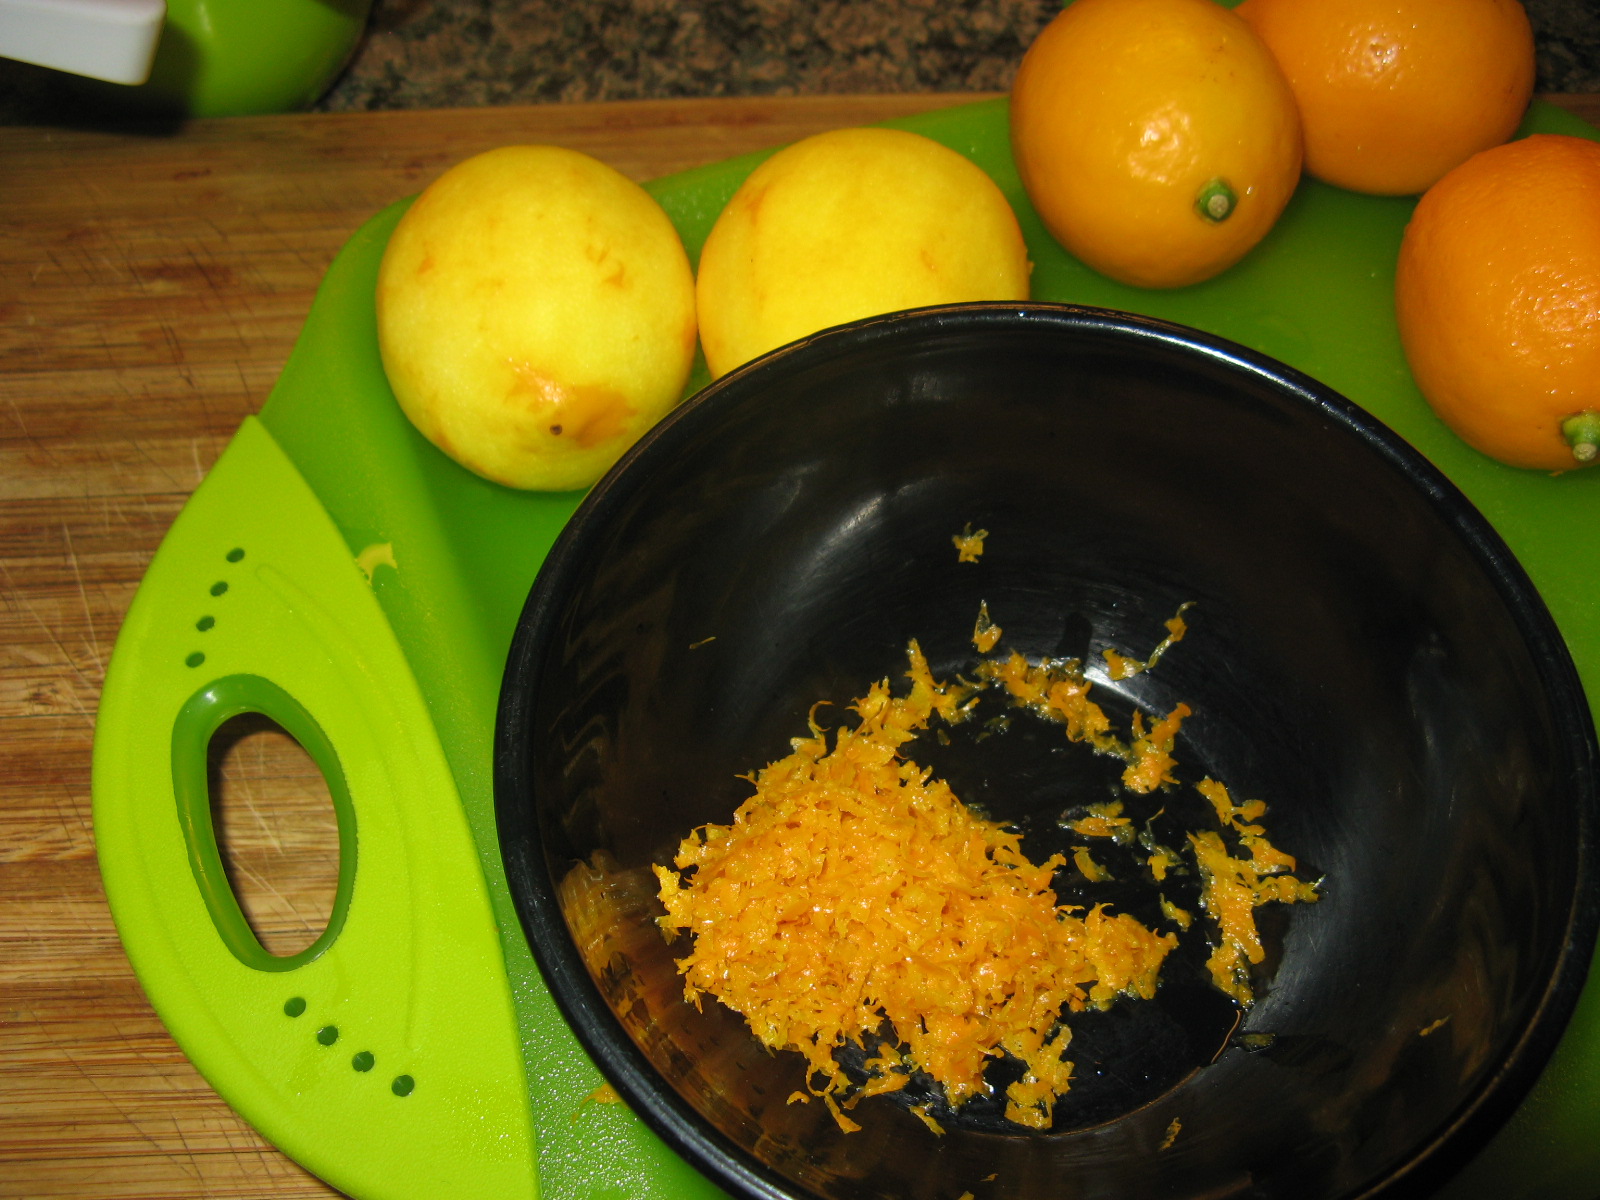
I began by zesting two of the lemons…

IMG_4737

And then squeezing the juice of three of the lemons to get a little more than a 1/3 of cup of juice. Their skins are so thin that a few of the halves ripped a bit while I was squeezing.

IMG_4739

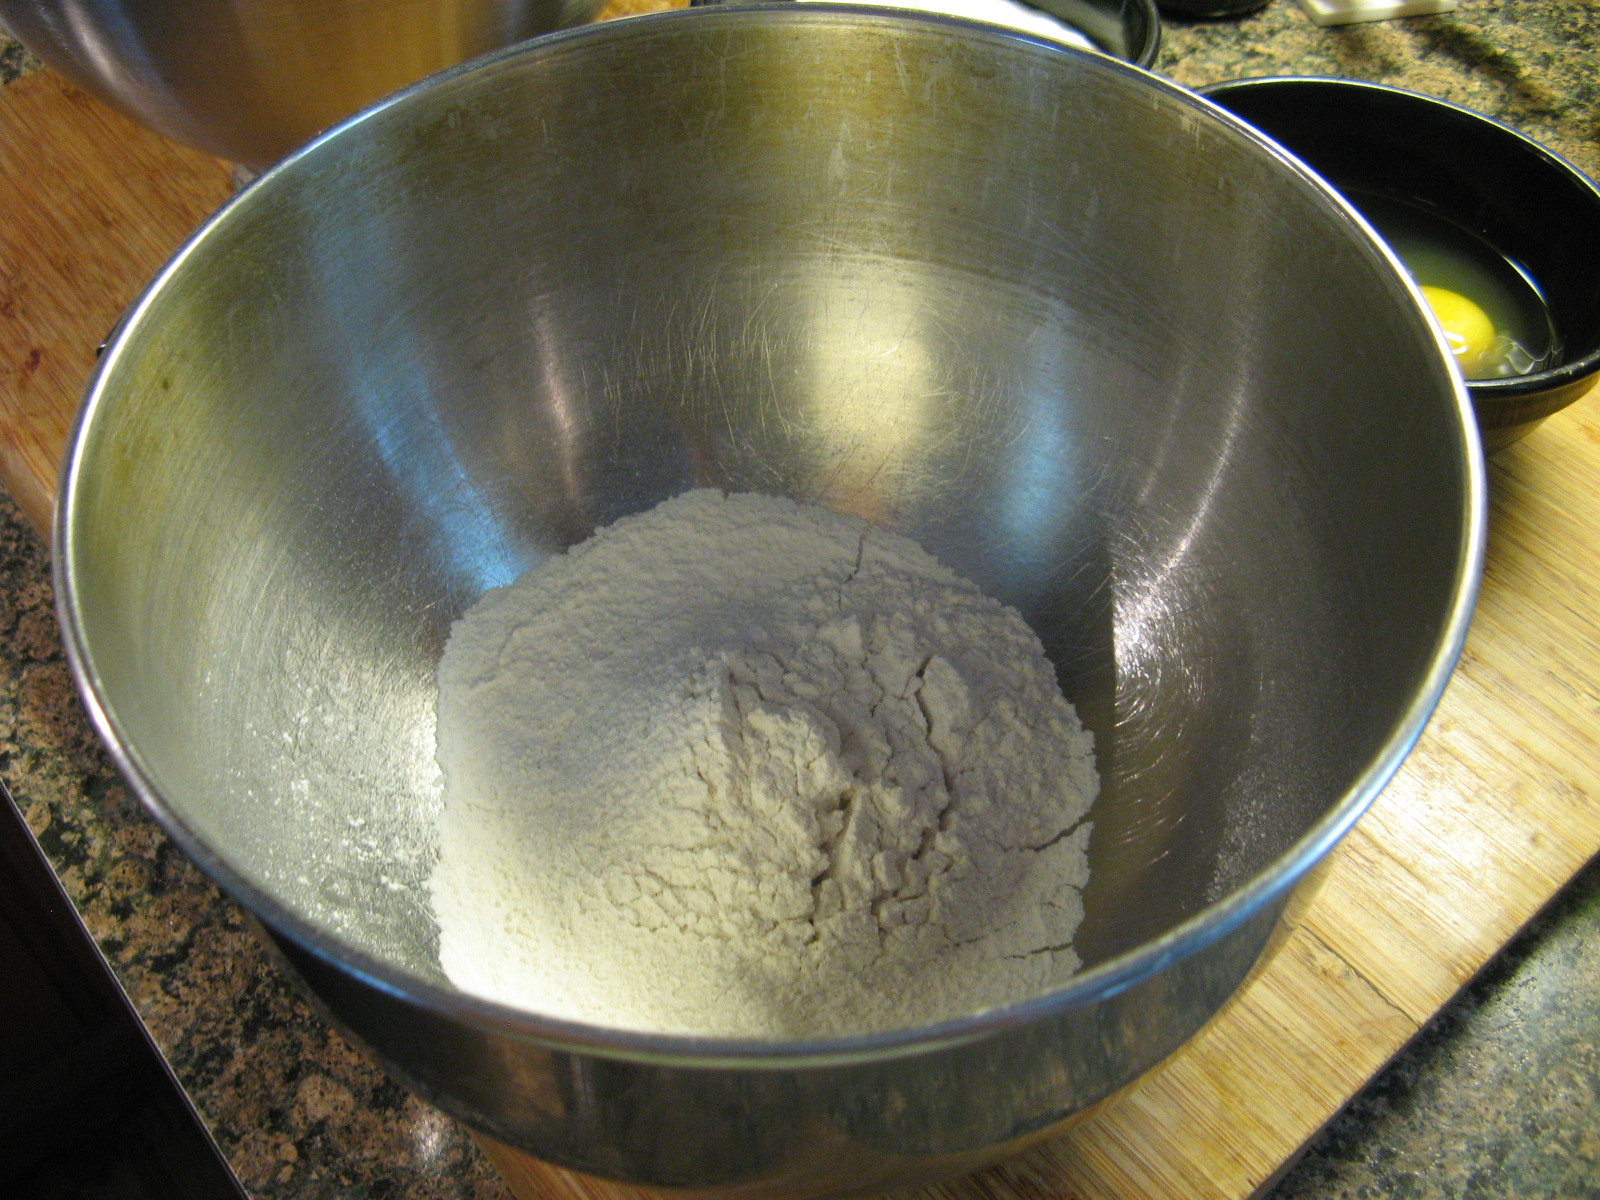
In one bowl I sifted together flour, baking powder and salt.

IMG_4741

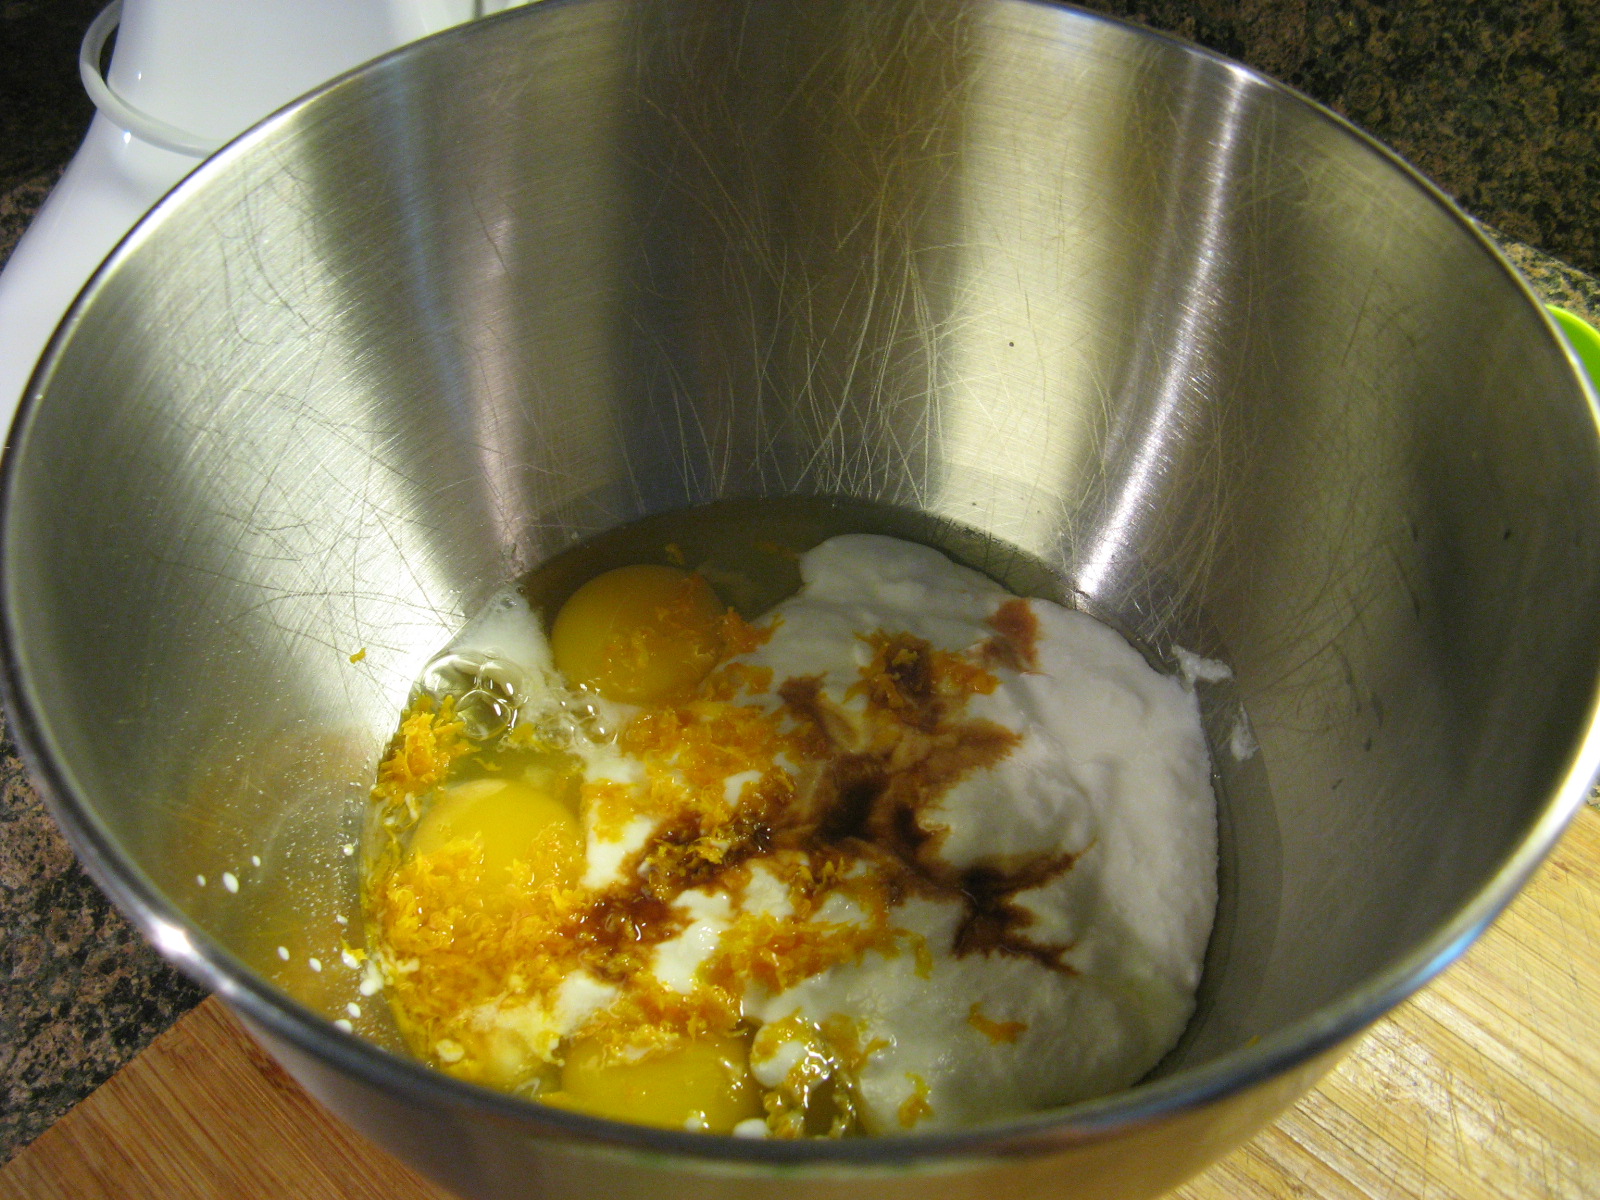
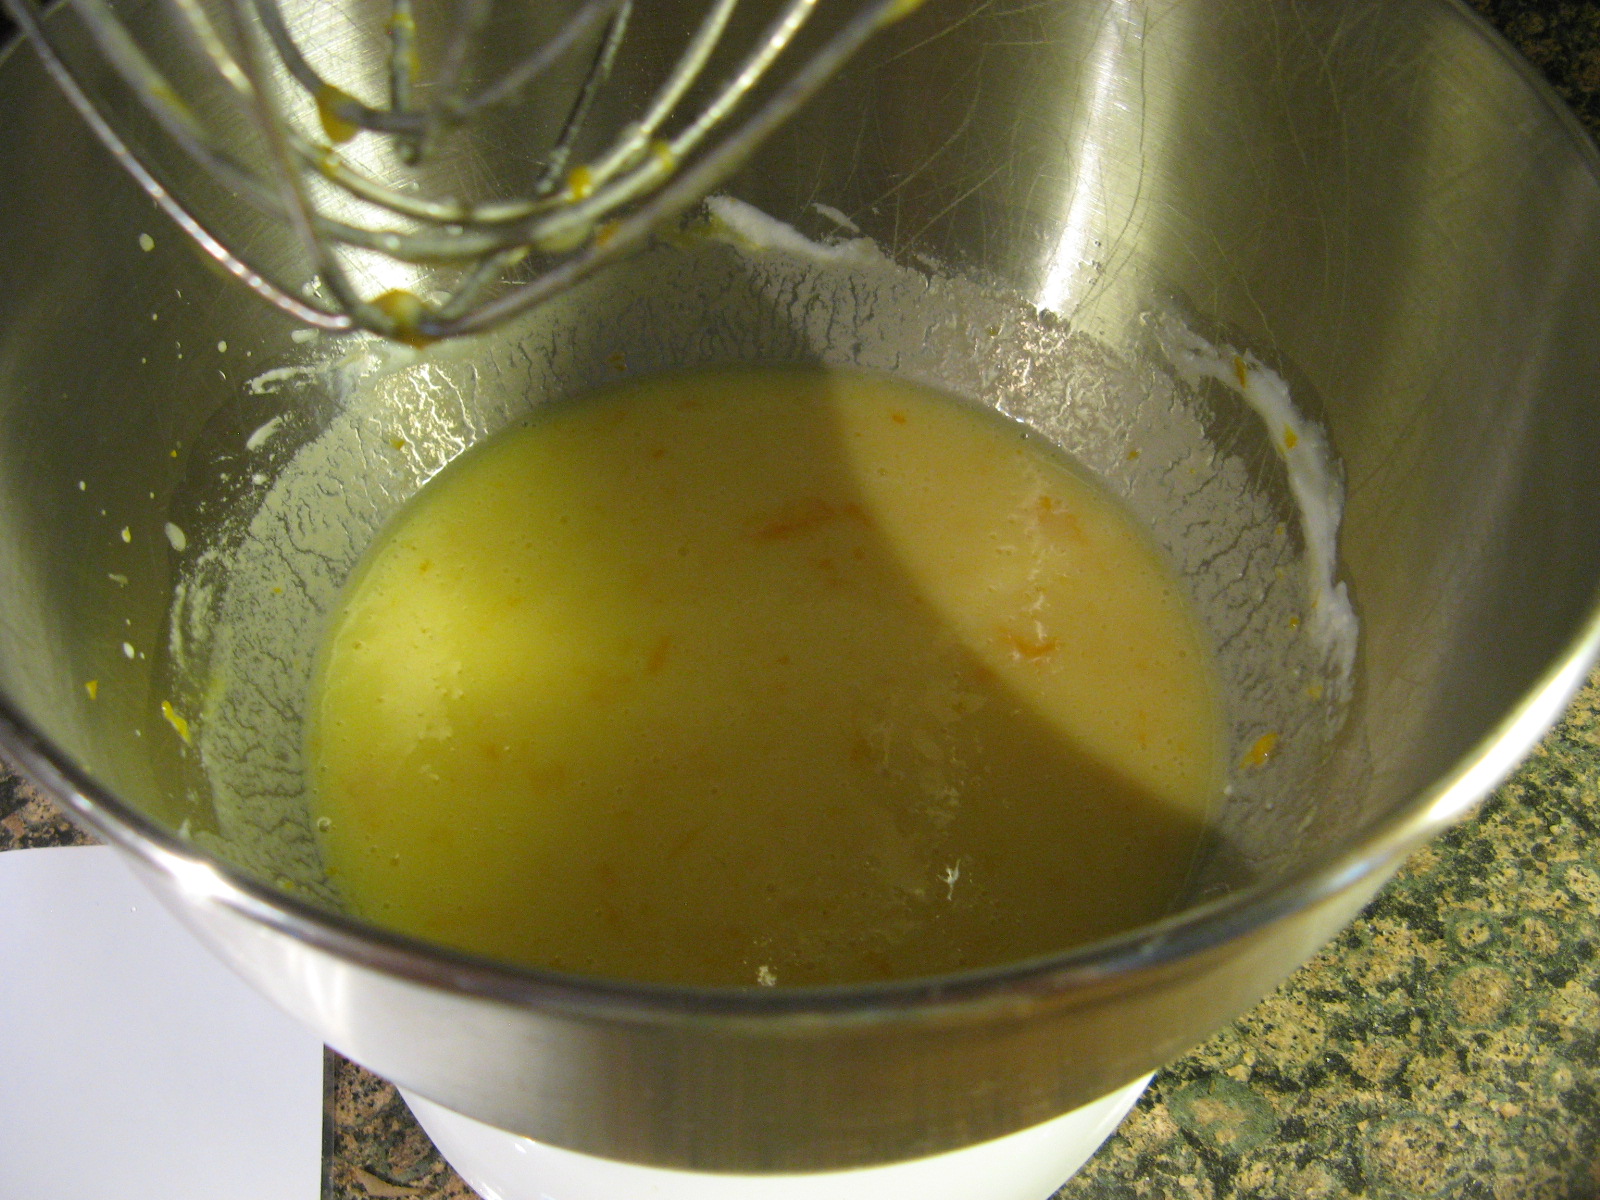
In the bowl of my stand mixer I whisked together whole milk yogurt, sugar, eggs, the lemon zest, and vanilla extract.

IMG_4742

I then slowly whisked in the dry ingredients.

IMG_4743

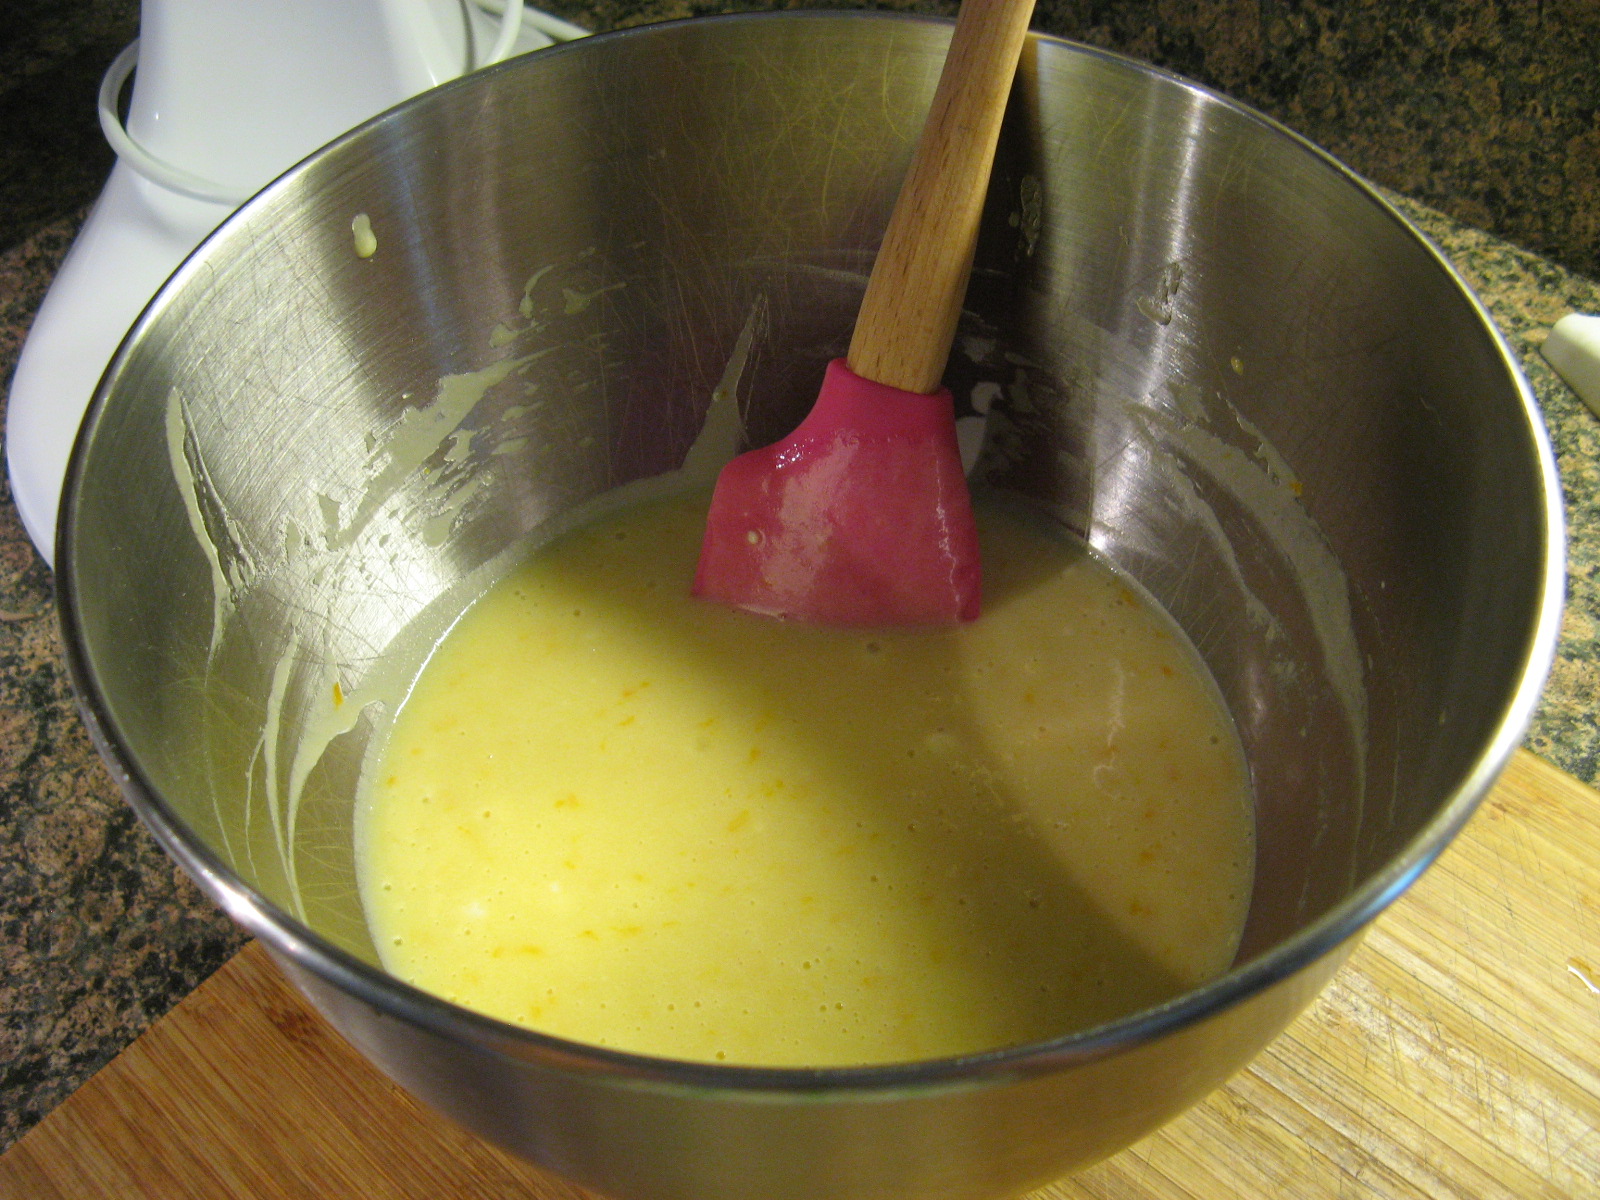
And finally I used a rubber spatula to fold in vegetable oil.

IMG_4744

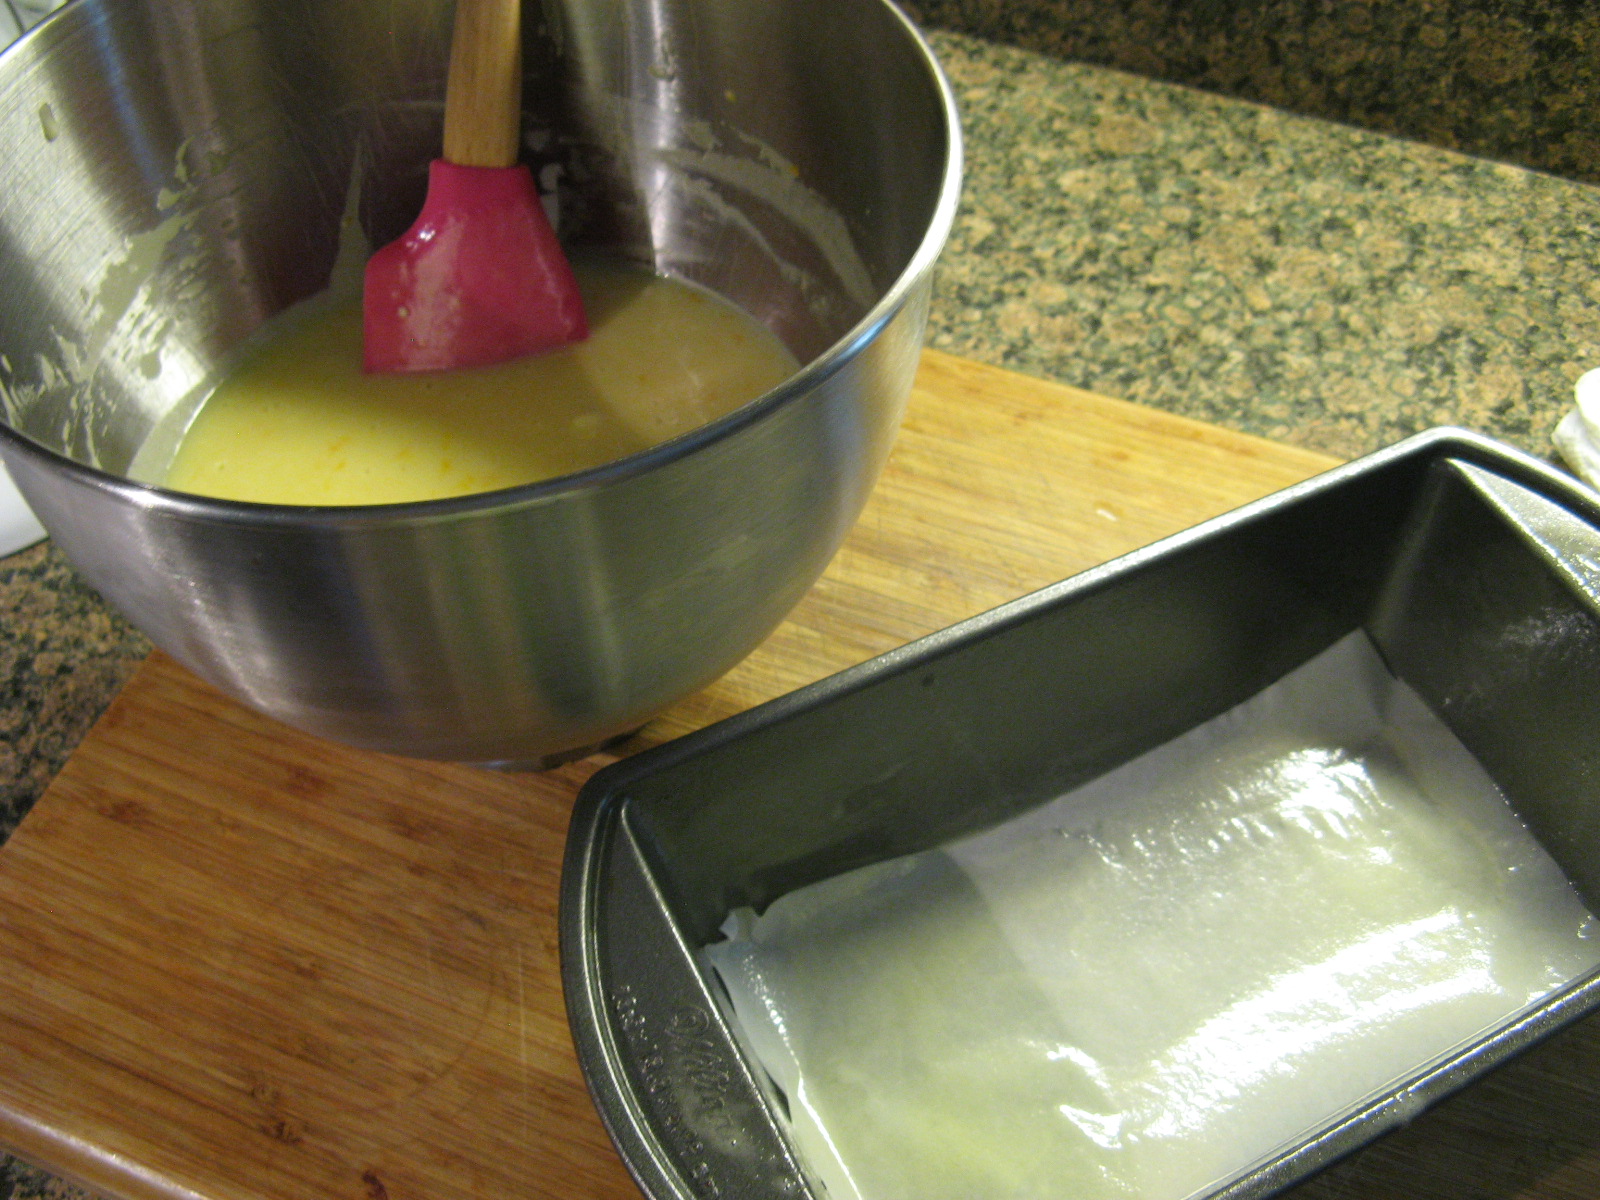
Then it was time to pour the batter into my prepared loaf pan. I sprayed it with baking spray and then lined the bottom with parchment paper which I then sprayed with some more baking spray.

IMG_4745

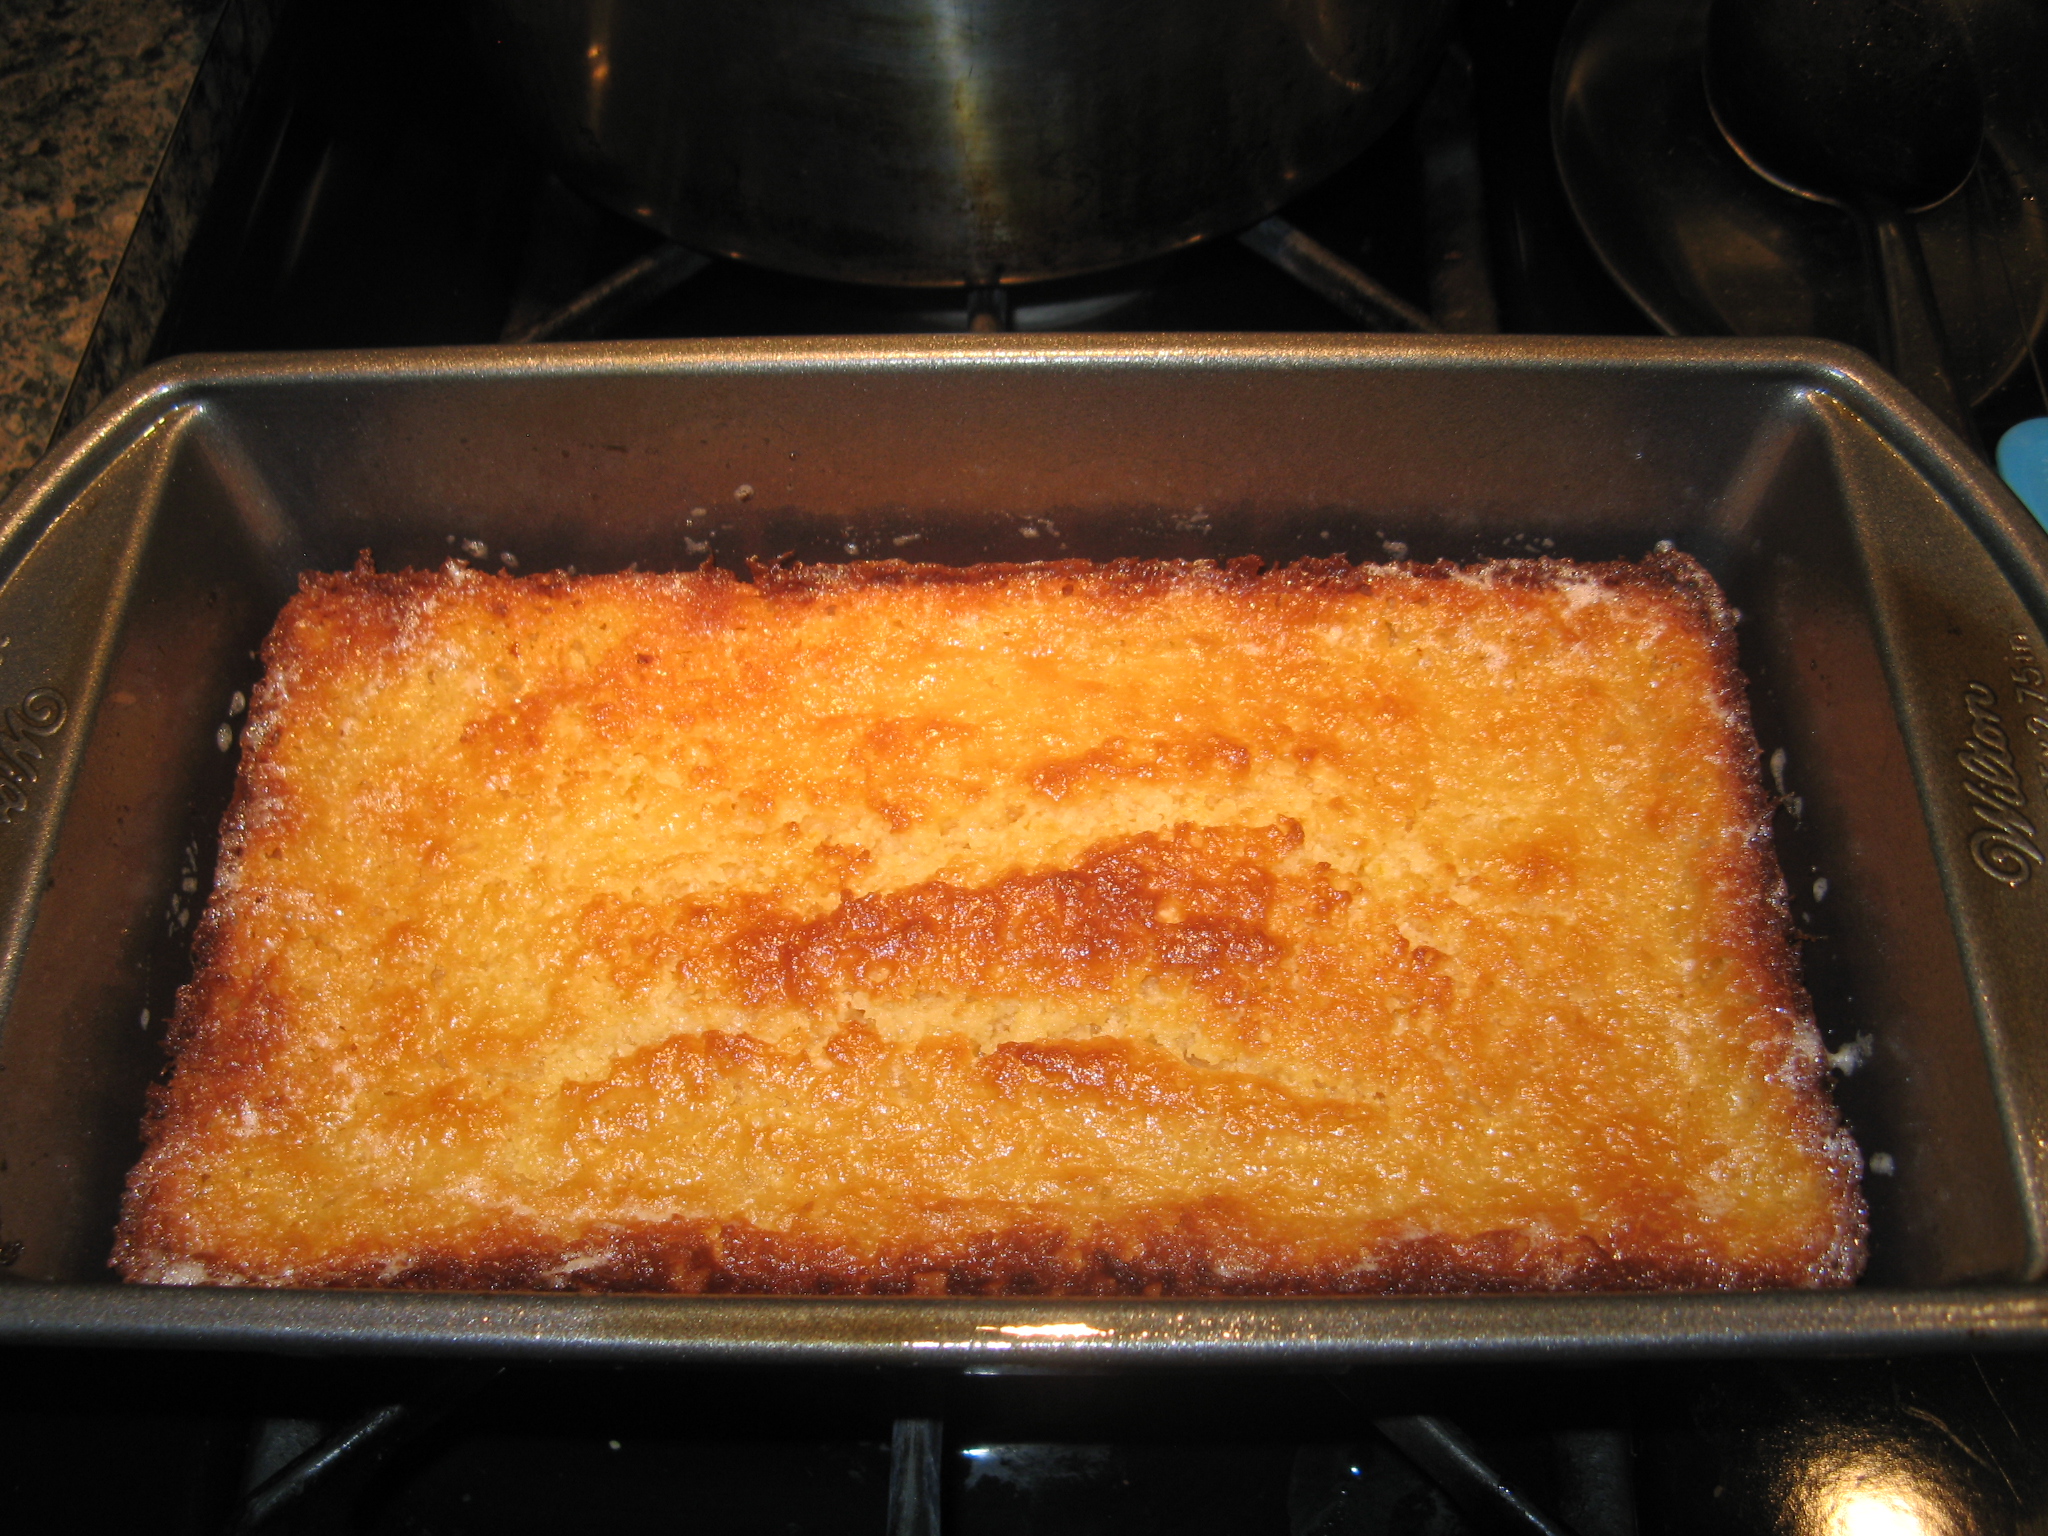
I then placed the cake in a 350 F preheated oven for about 50 minutes. While the cake was in the oven I cooked an equal part of lemon juice and sugar (1/3 cup each) until the sugar dissolved and the mixture was clear and set it aside.

IMG_4756

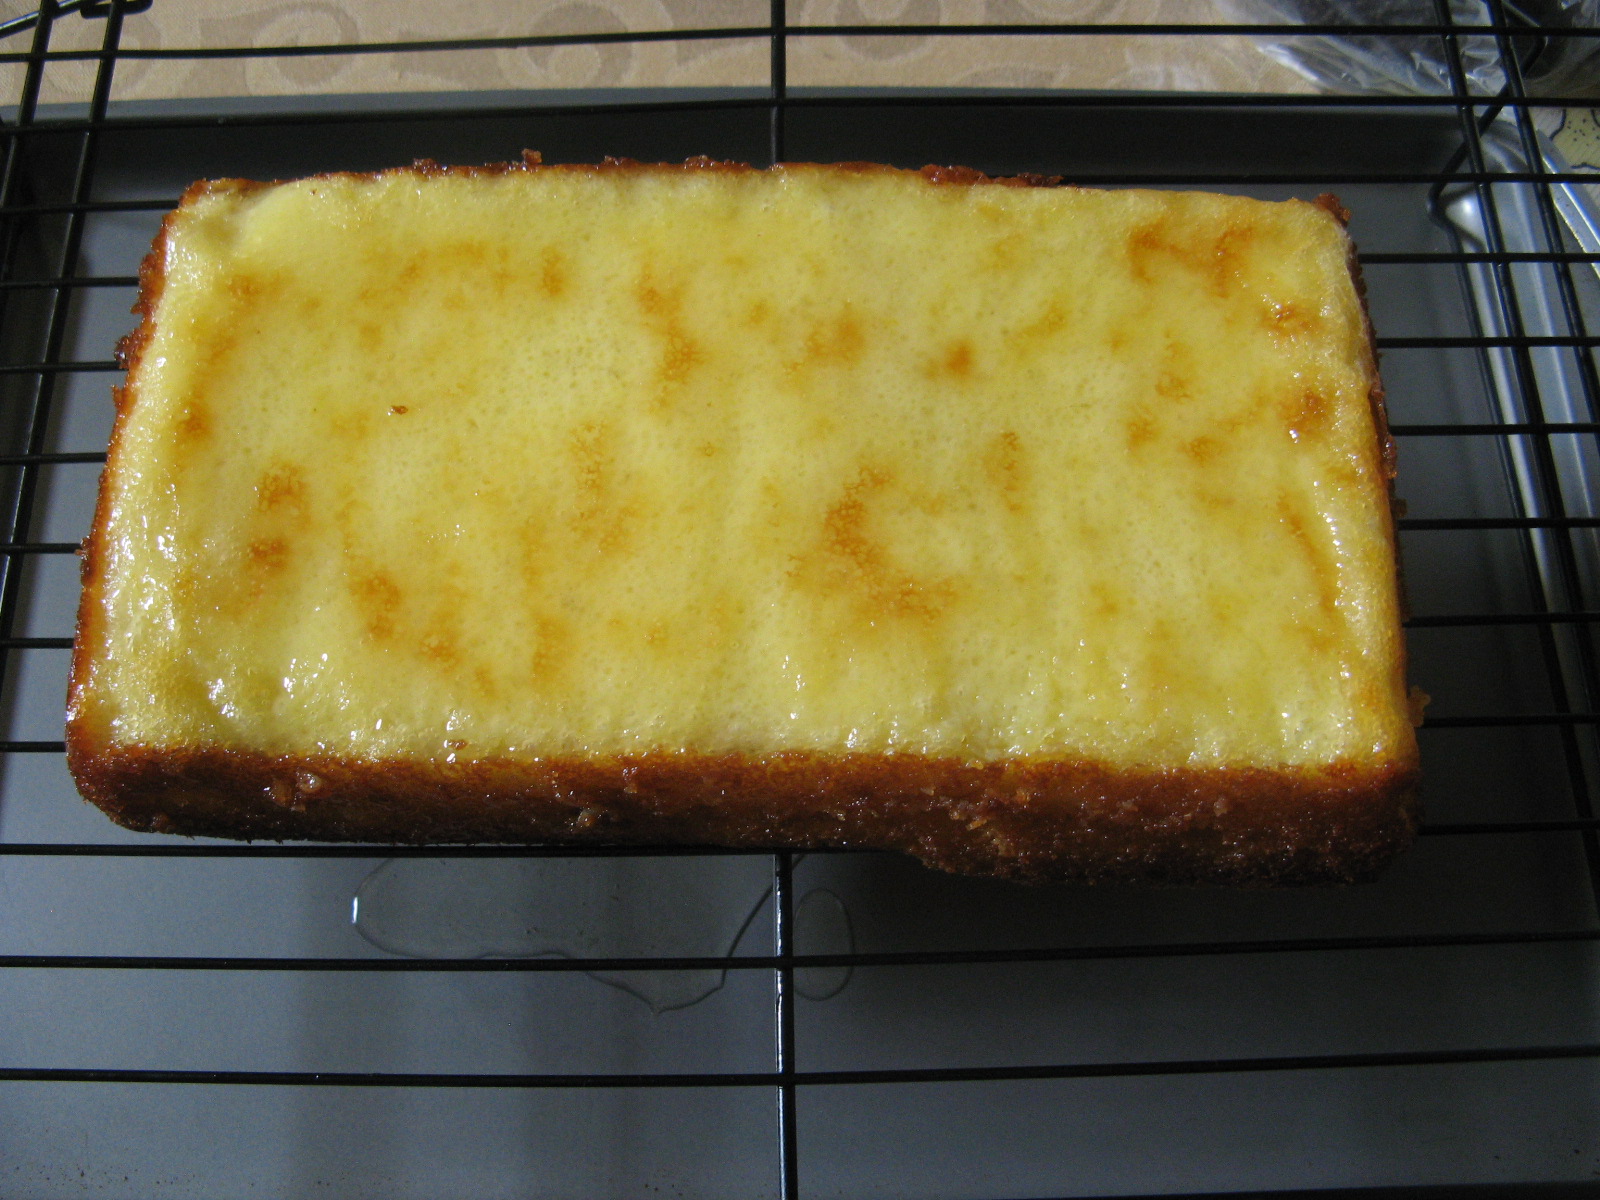
After the letting the cake cool in the pan for 10 minutes I inverted it onto a wire rack which I had placed over a baking sheet. After poking the cake a few times I poured the lemon-sugar mixture over the cake and allowed it to soak in while the cake cooled.

IMG_4757

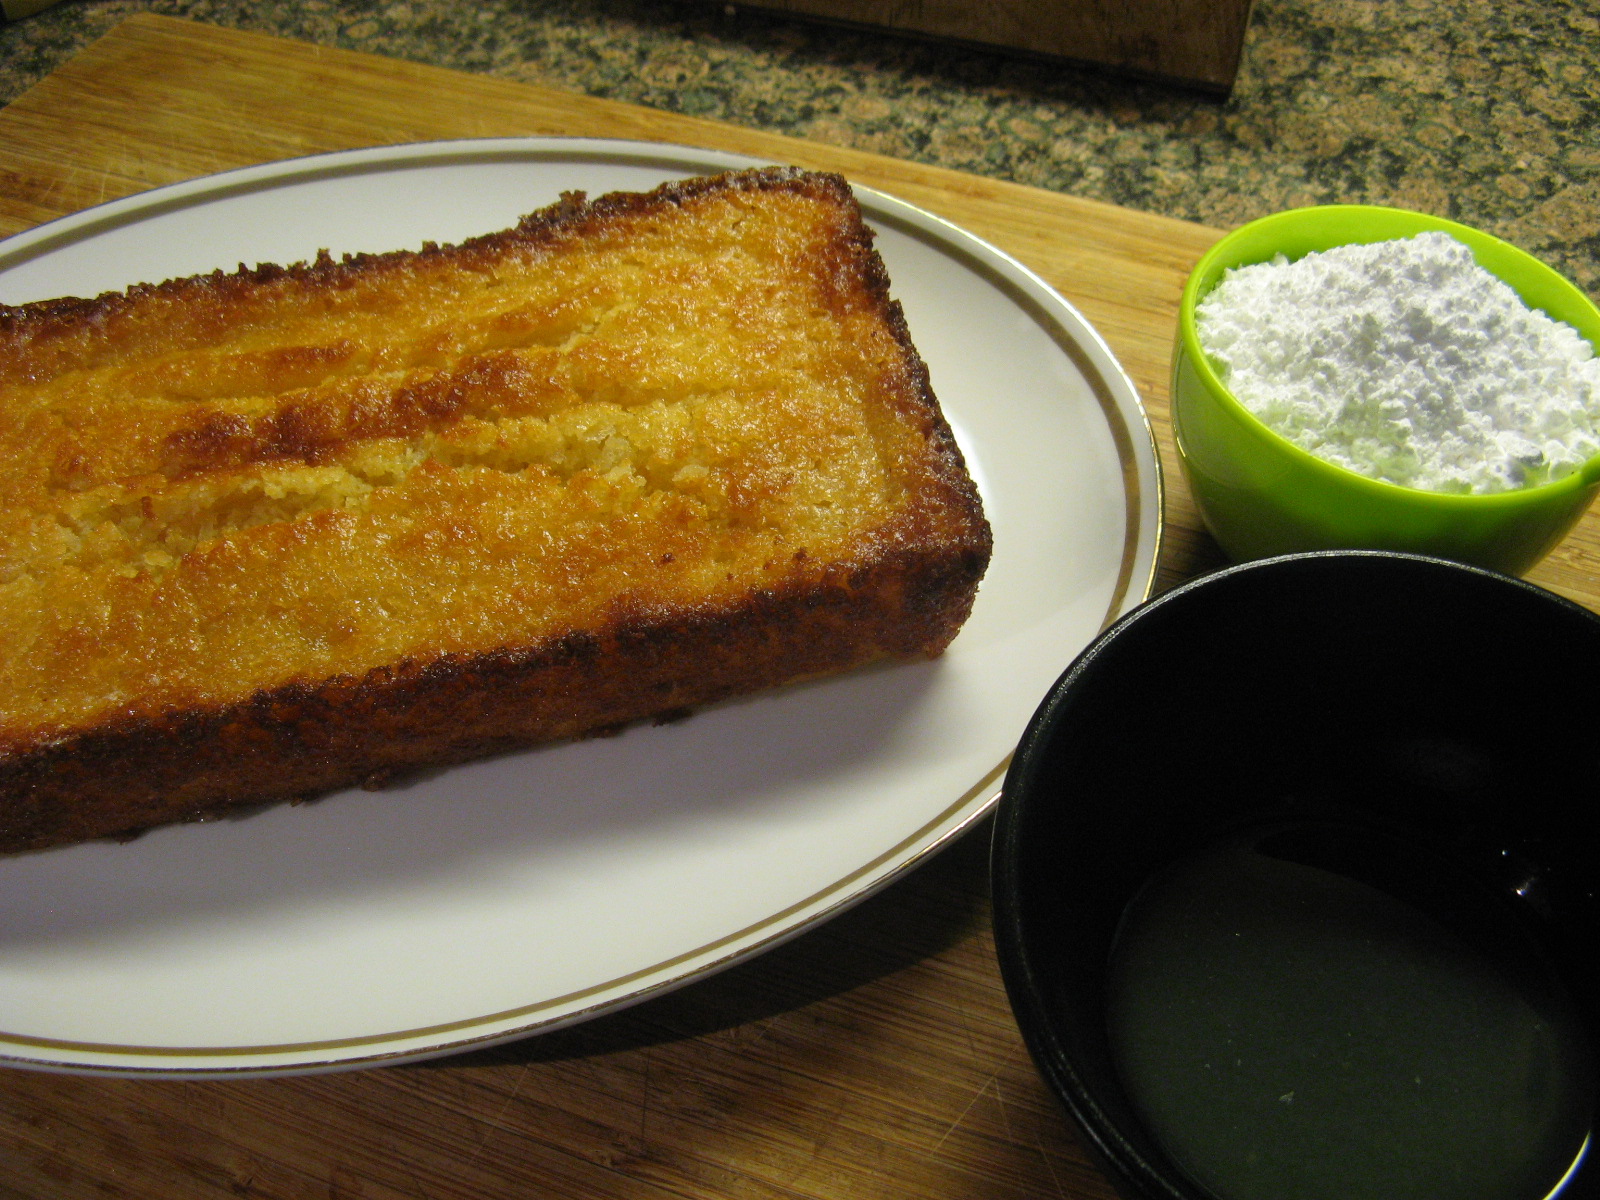
Once the cake was completely cooled I moved it to a platter in preparation to drizzle it with a lemon glaze, which I made by mixing confectioners’ sugar and a few tablespoons of lemon juice.

IMG_4774

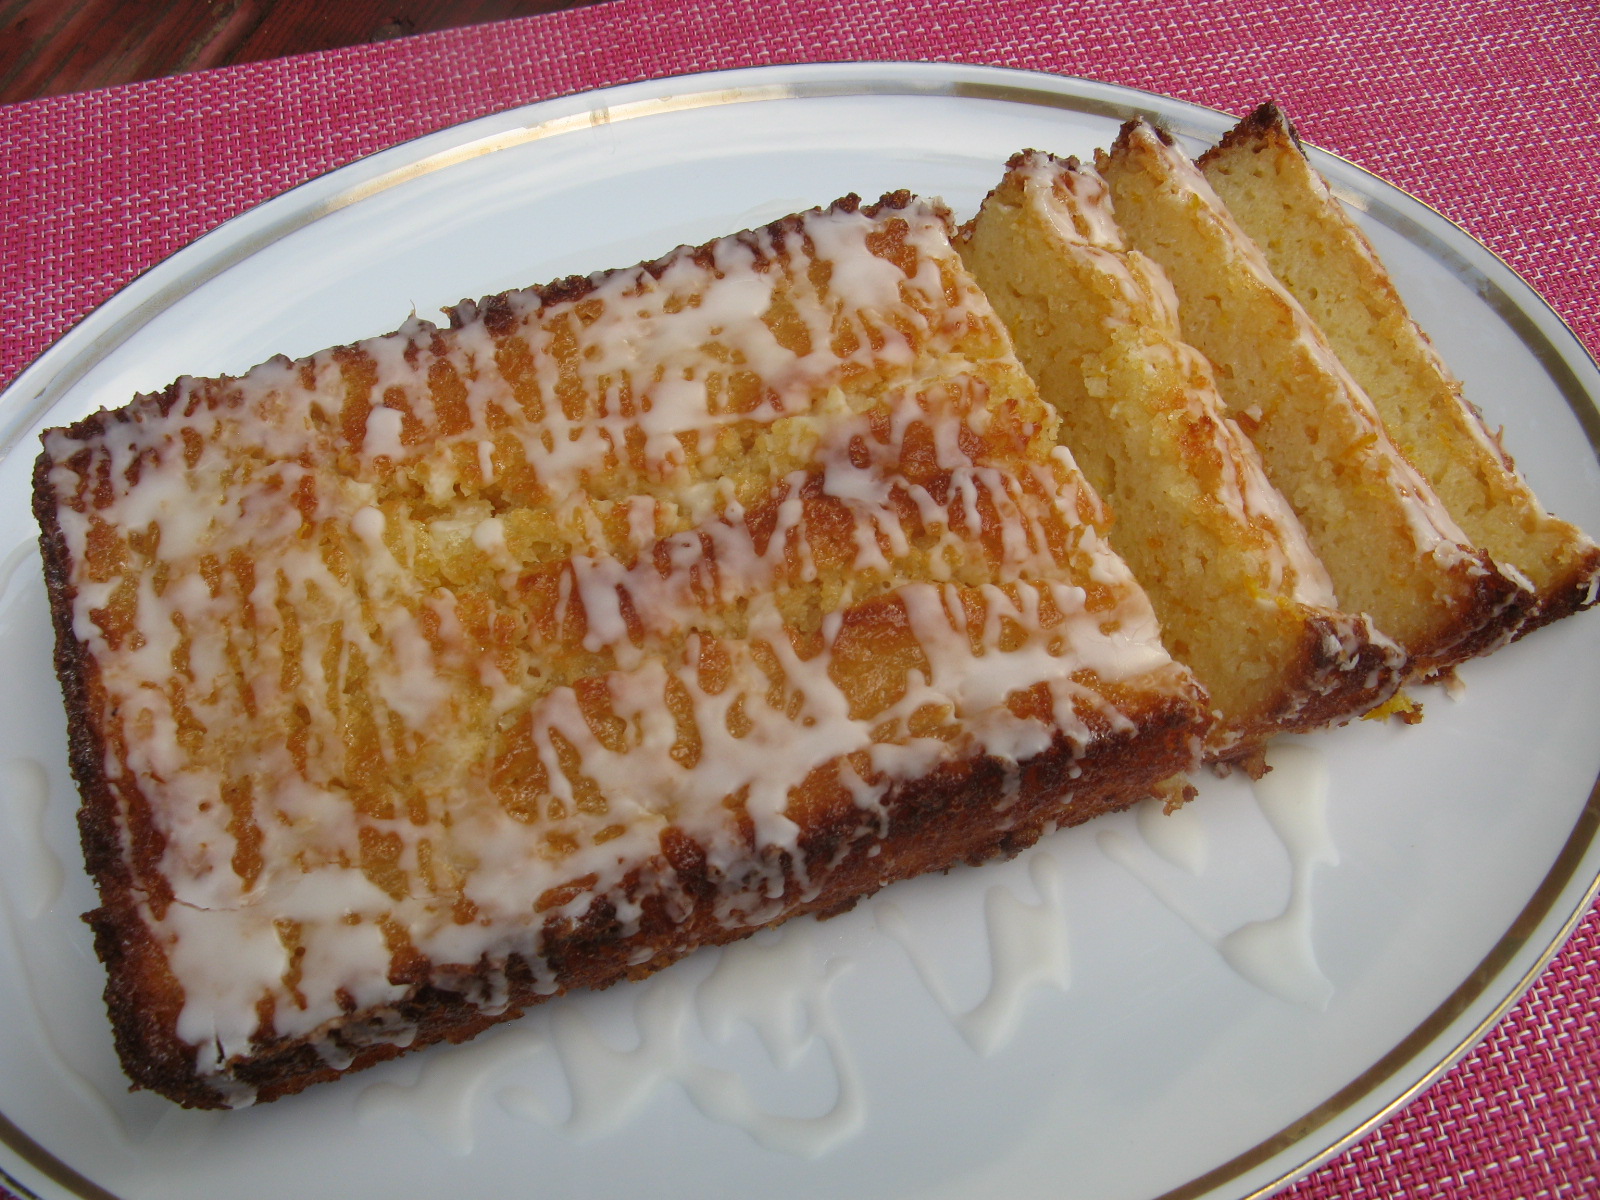
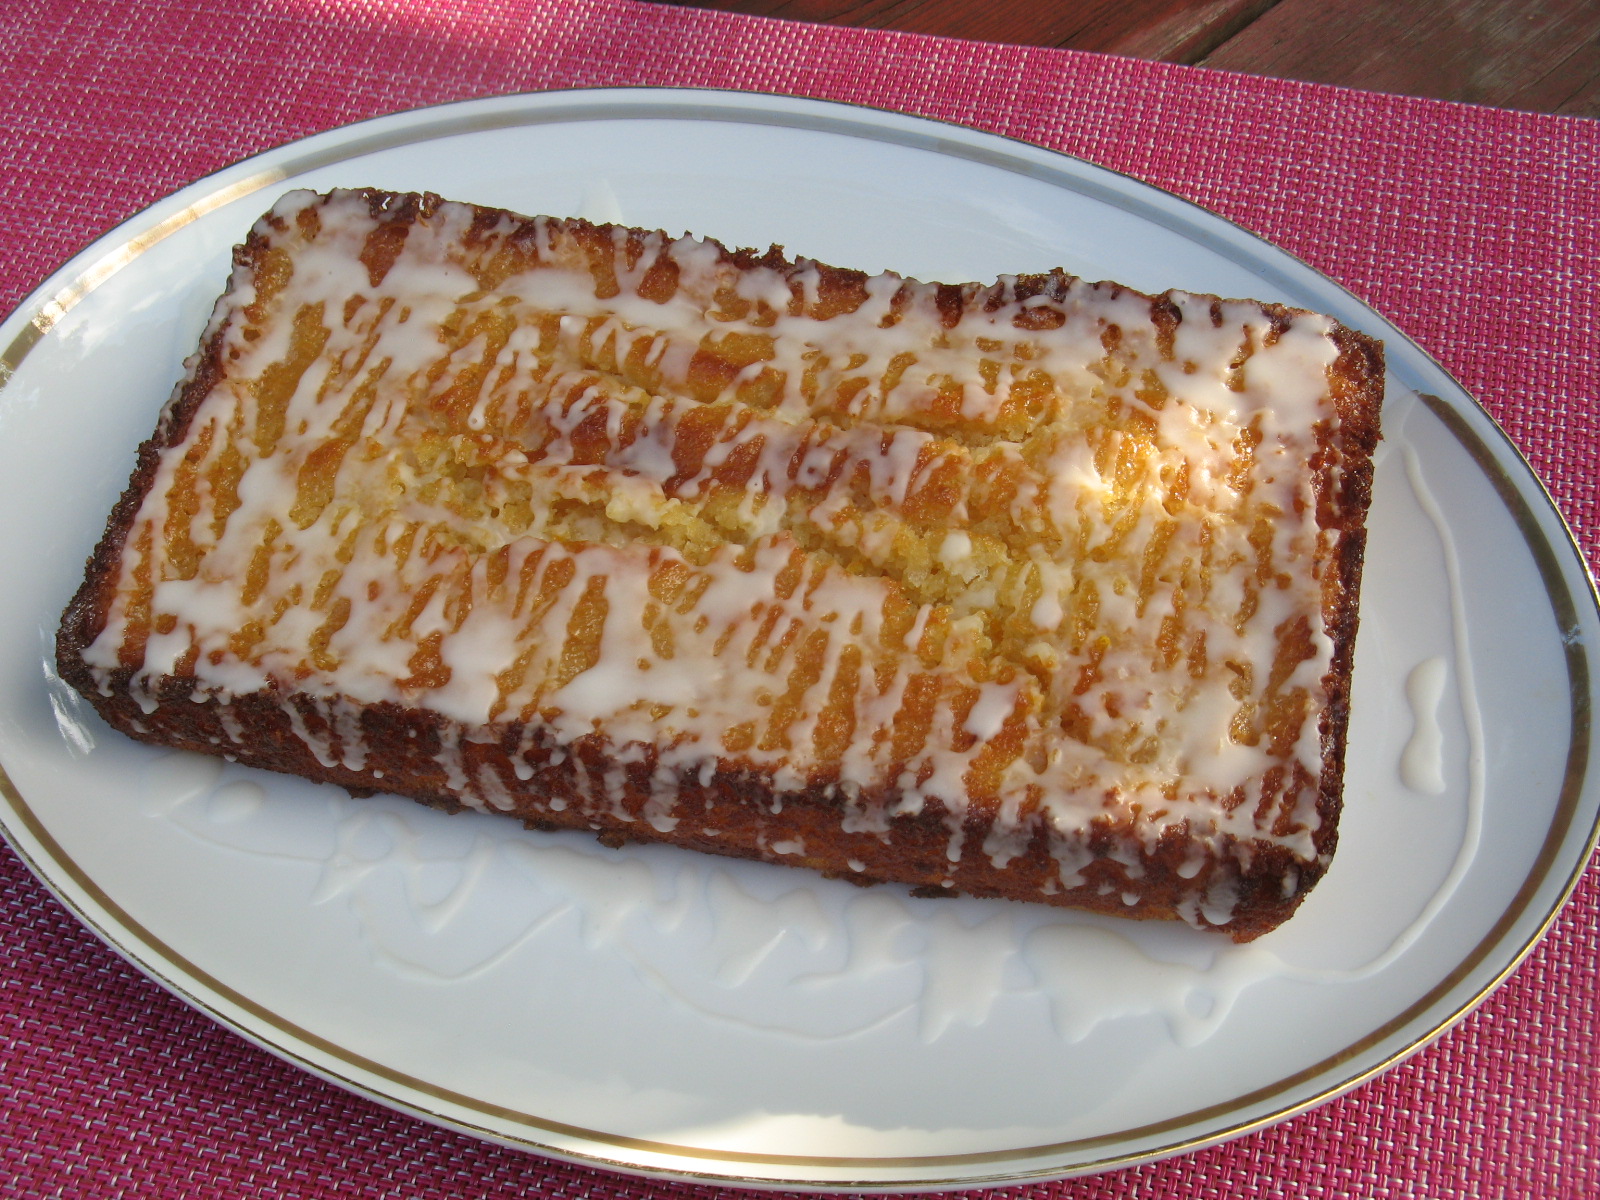
The final product. I should note that the recipe called for an 8.5 x 4.25 x 2.5 inch pan, which I don’t have, so I used my 9.25 x 5.25 x 2.75 inch pan which resulted in a cake that was a bit wider and shorter but not lacking in deliciousness.

IMG_4786

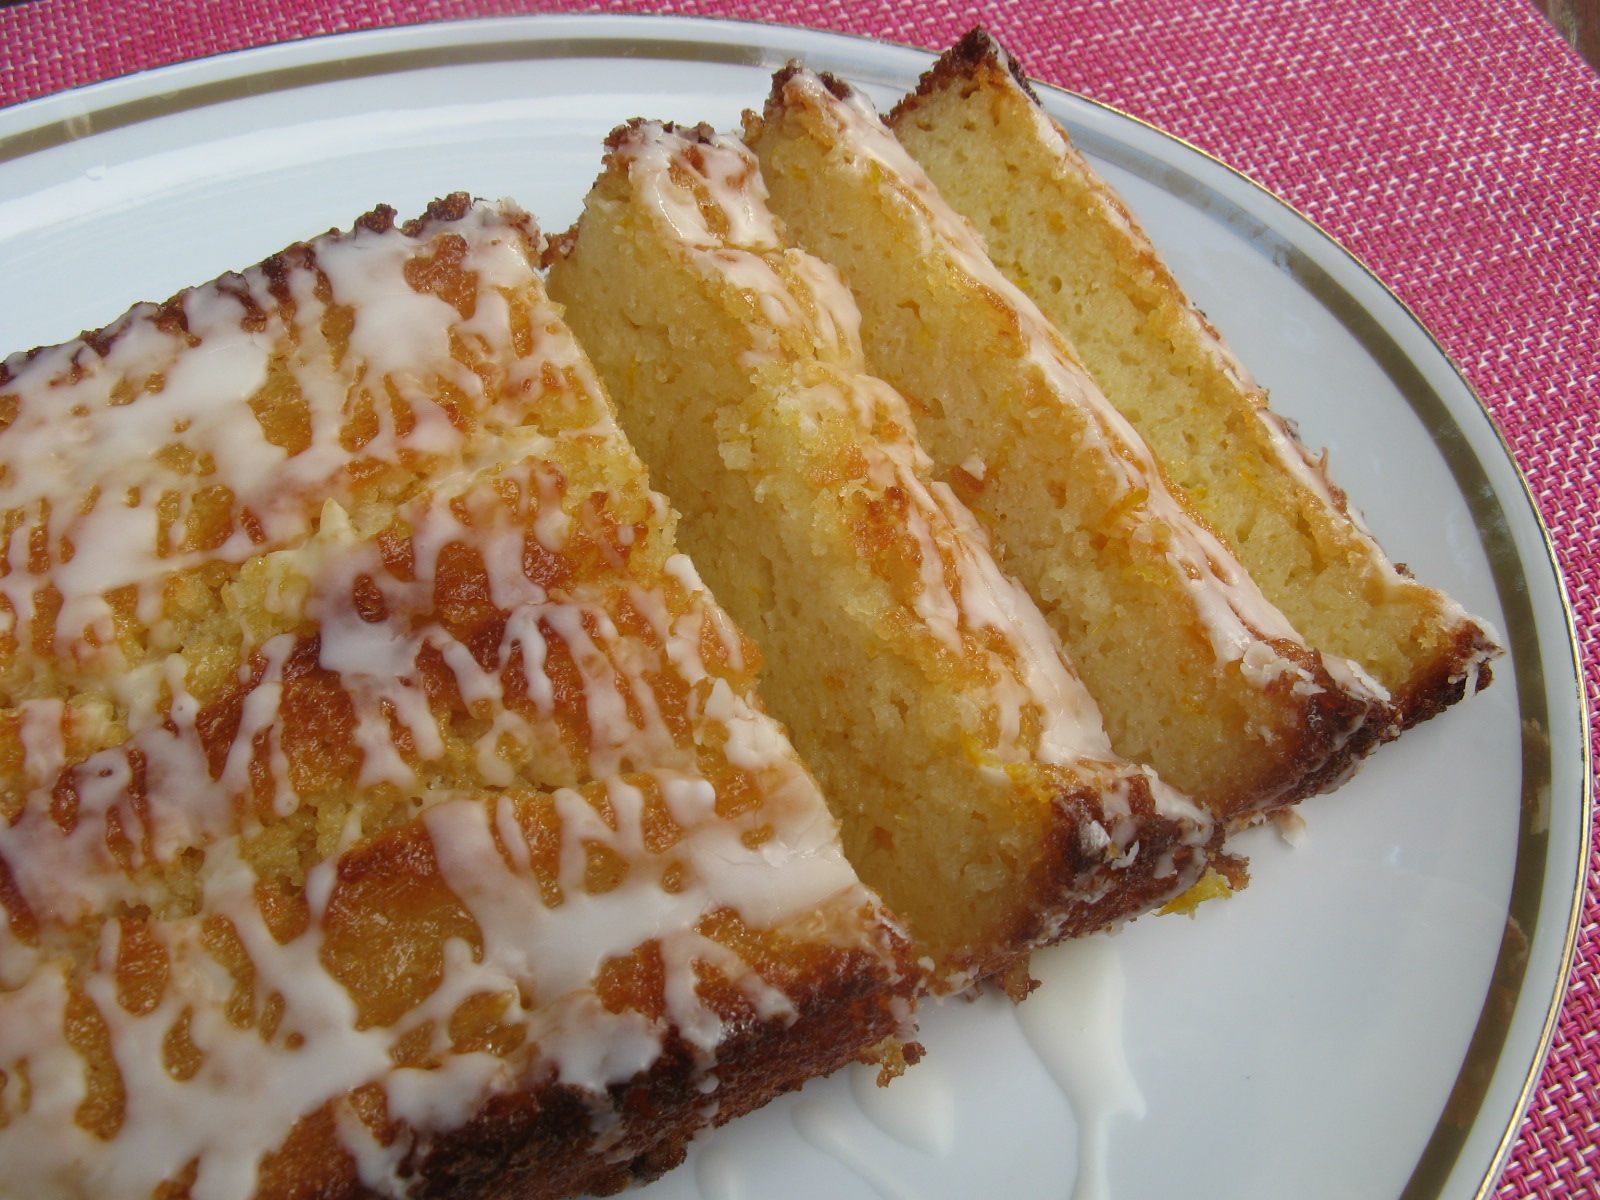
This cake was absolutely divine. I thought it was going to be on the sweeter side because of the glaze and lemon and sugar juice poured over it but it only enhanced the flavor. I was extremely happy with it and can’t wait to make it again.

IMG_4785


Meyer Lemon Yogurt Cake – adapted from here

Ingredients:

1 1/2 cups all-purpose flour

2 teaspoons baking powder

1/2 teaspoon kosher salt

1 cup plain whole-milk yogurt

1 1/3 cups sugar, divided

3 large eggs

2 teaspoons grated Meyer lemon zest (2 lemons)

1/2 teaspoon pure vanilla extract

1/2 cup vegetable oil

1/3 cup freshly squeezed Meyer lemon juice

1 cup confectioners’ sugar

2 tablespoons freshly squeezed Meyer lemon juice

Directions:

1. Preheat the oven to 350 degrees F. Grease a loaf pan. Line the bottom with parchment paper and then grease the pan again.

2. Sift together the flour, baking powder, and salt in one bowl. In another bowl, whisk together the yogurt, 1 cup of sugar, the eggs, lemon zest and vanilla extract. Slowly whisk in the flour mixture. With a rubber spatula, fold the vegetable oil in the batter, making sure it’s all incorporated. Pour the batter into the prepared loaf pan and bake for about 50 minutes, or until a cake tester in the center of the loaf comes out clean.

3. Meanwhile, cook the 1/3 cup lemon juice and remaining 1/3 cup sugar in a small pan until the sugar dissolved and the mixture is clean. Set aside.

4. When the cake is done, allow it cool in the pain for 10 minutes. Carefully place on a baking rack over a sheet pan. While the cake is still warm, pour the lemon-sugar mixture over the cake and allow it to soak in. Cool.

5. For the glaze, combine the confectioners’ sugar and lemon juice and drizzle over the cake.


Chicken Corn Chowder

Many people don’t think of summer as the time to eat soup, but, some of the best soups can be made during the warmer months. Especially with the bounty of vegetables that are in-season. Just think of the amazing soups that can be made with watermelon, tomatoes and corn – all three of which have their peak season during the summer. A few years ago I made a Corn Chowder after attending a culinary event at a local Williams-Sonoma and I saw a Corn Zipper used and knew I had to have one. Well, that Corn Zipper has been sitting in a utensil drawer ever since then until last week when thinking of what to make for dinner I saw it and instantly knew what I wanted to make… Chicken Corn Chowder. Just in case you are wondering, a Corn Zipper is exactly what it sounds like, a tool that allows you to zip corn kernels right off of the cob. It’s much easier and safer than using a knife! As luck – or not so lucky depending on how you look at it – would have it I ended up making this chowder on a rainy day last week that resulted in some heavy flooding in my area so I was essentially rained-in. Hence, I took advantage of the day and also made a pesto sauce and a Meyer Lemon Yogurt Cake which I will be posting about within the next day or two.

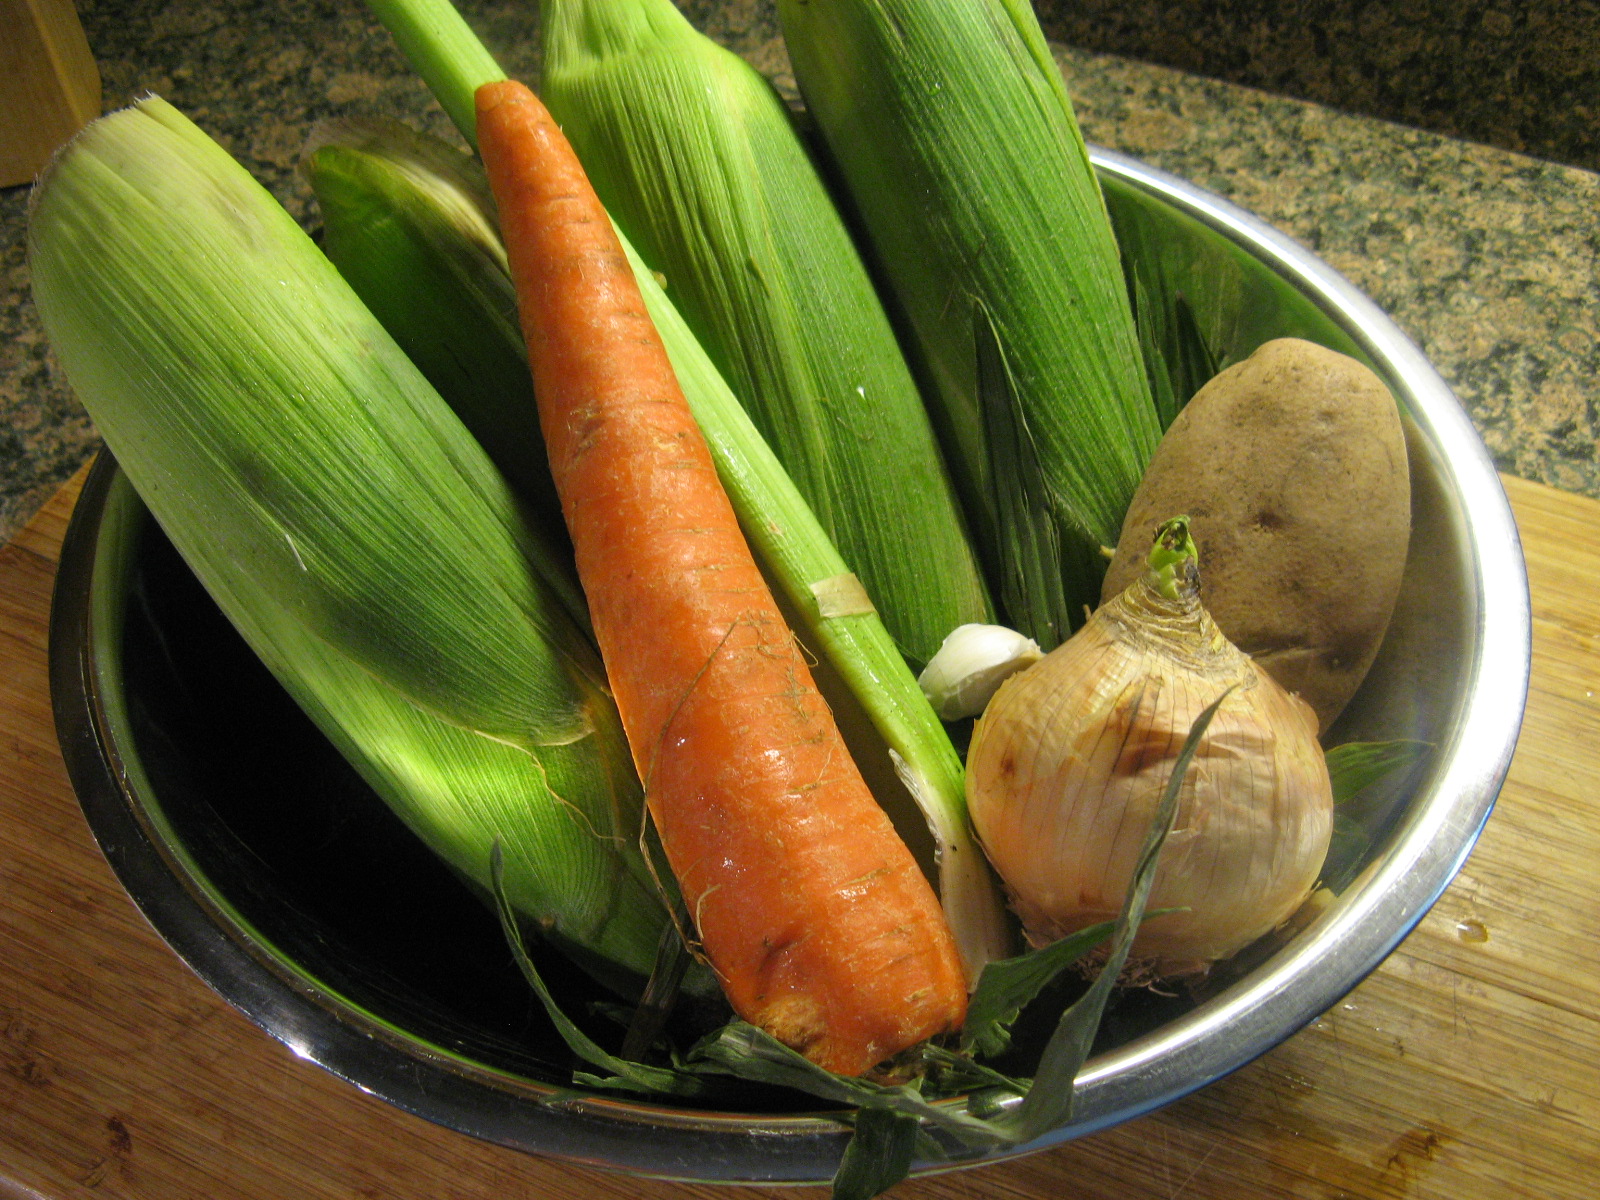
Along with corn, the other vegetables I added to the chowder were celery, carrots, onion and potatoes.

IMG_4748

My lovely corn once it was shucked. I lucked out with picking perfect corn just by touch because it was way too crowded in the corn area of my supermarket to shuck it there.

IMG_4759

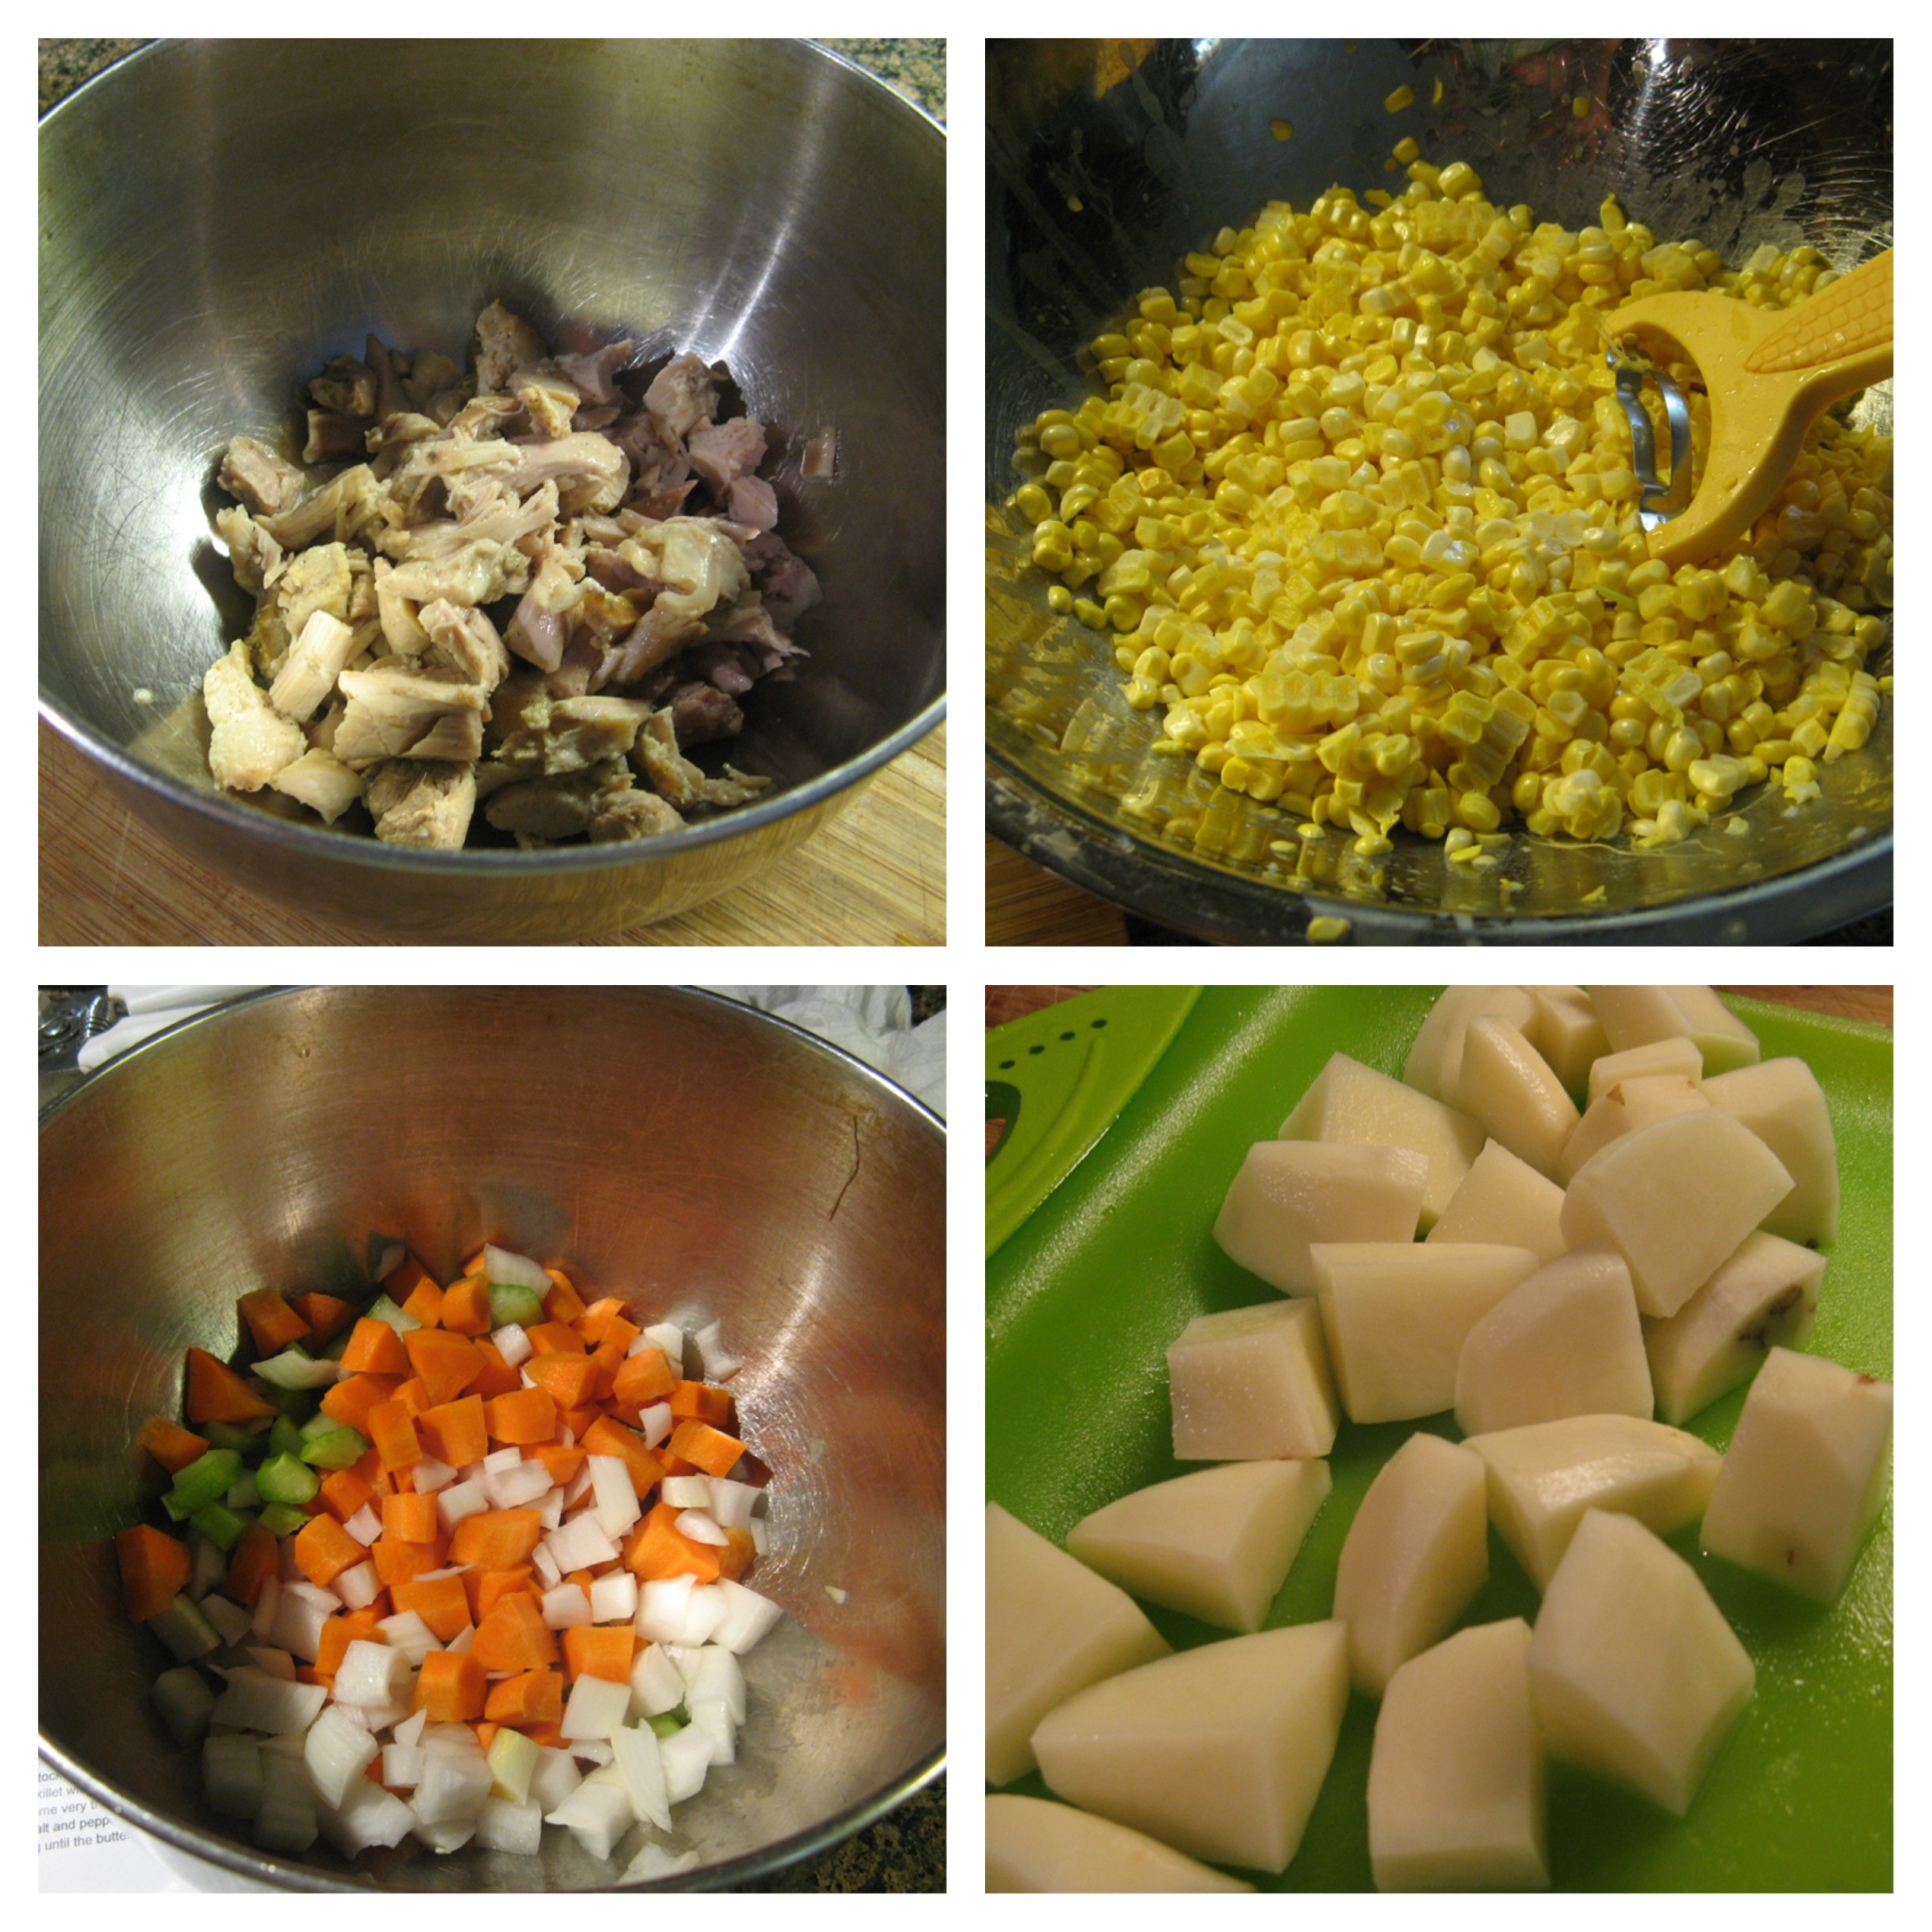
Here are the chicken and vegetables prepped and ready to go. I poached the chicken thighs in chicken stock along with salt, pepper and some spices (onion powder, garlic powder and oregano) for about 40 minutes. More than likely I cooked it longer than need be but since it was in liquid it didn’t dry out or anything. I diced up the celery, a carrot and the onion and mixed it together along with a minced garlic clove. And finally I cut two potatoes leaving them in large chunks so they wouldn’t break down while cooking.
Chicken Corn Chowder 1

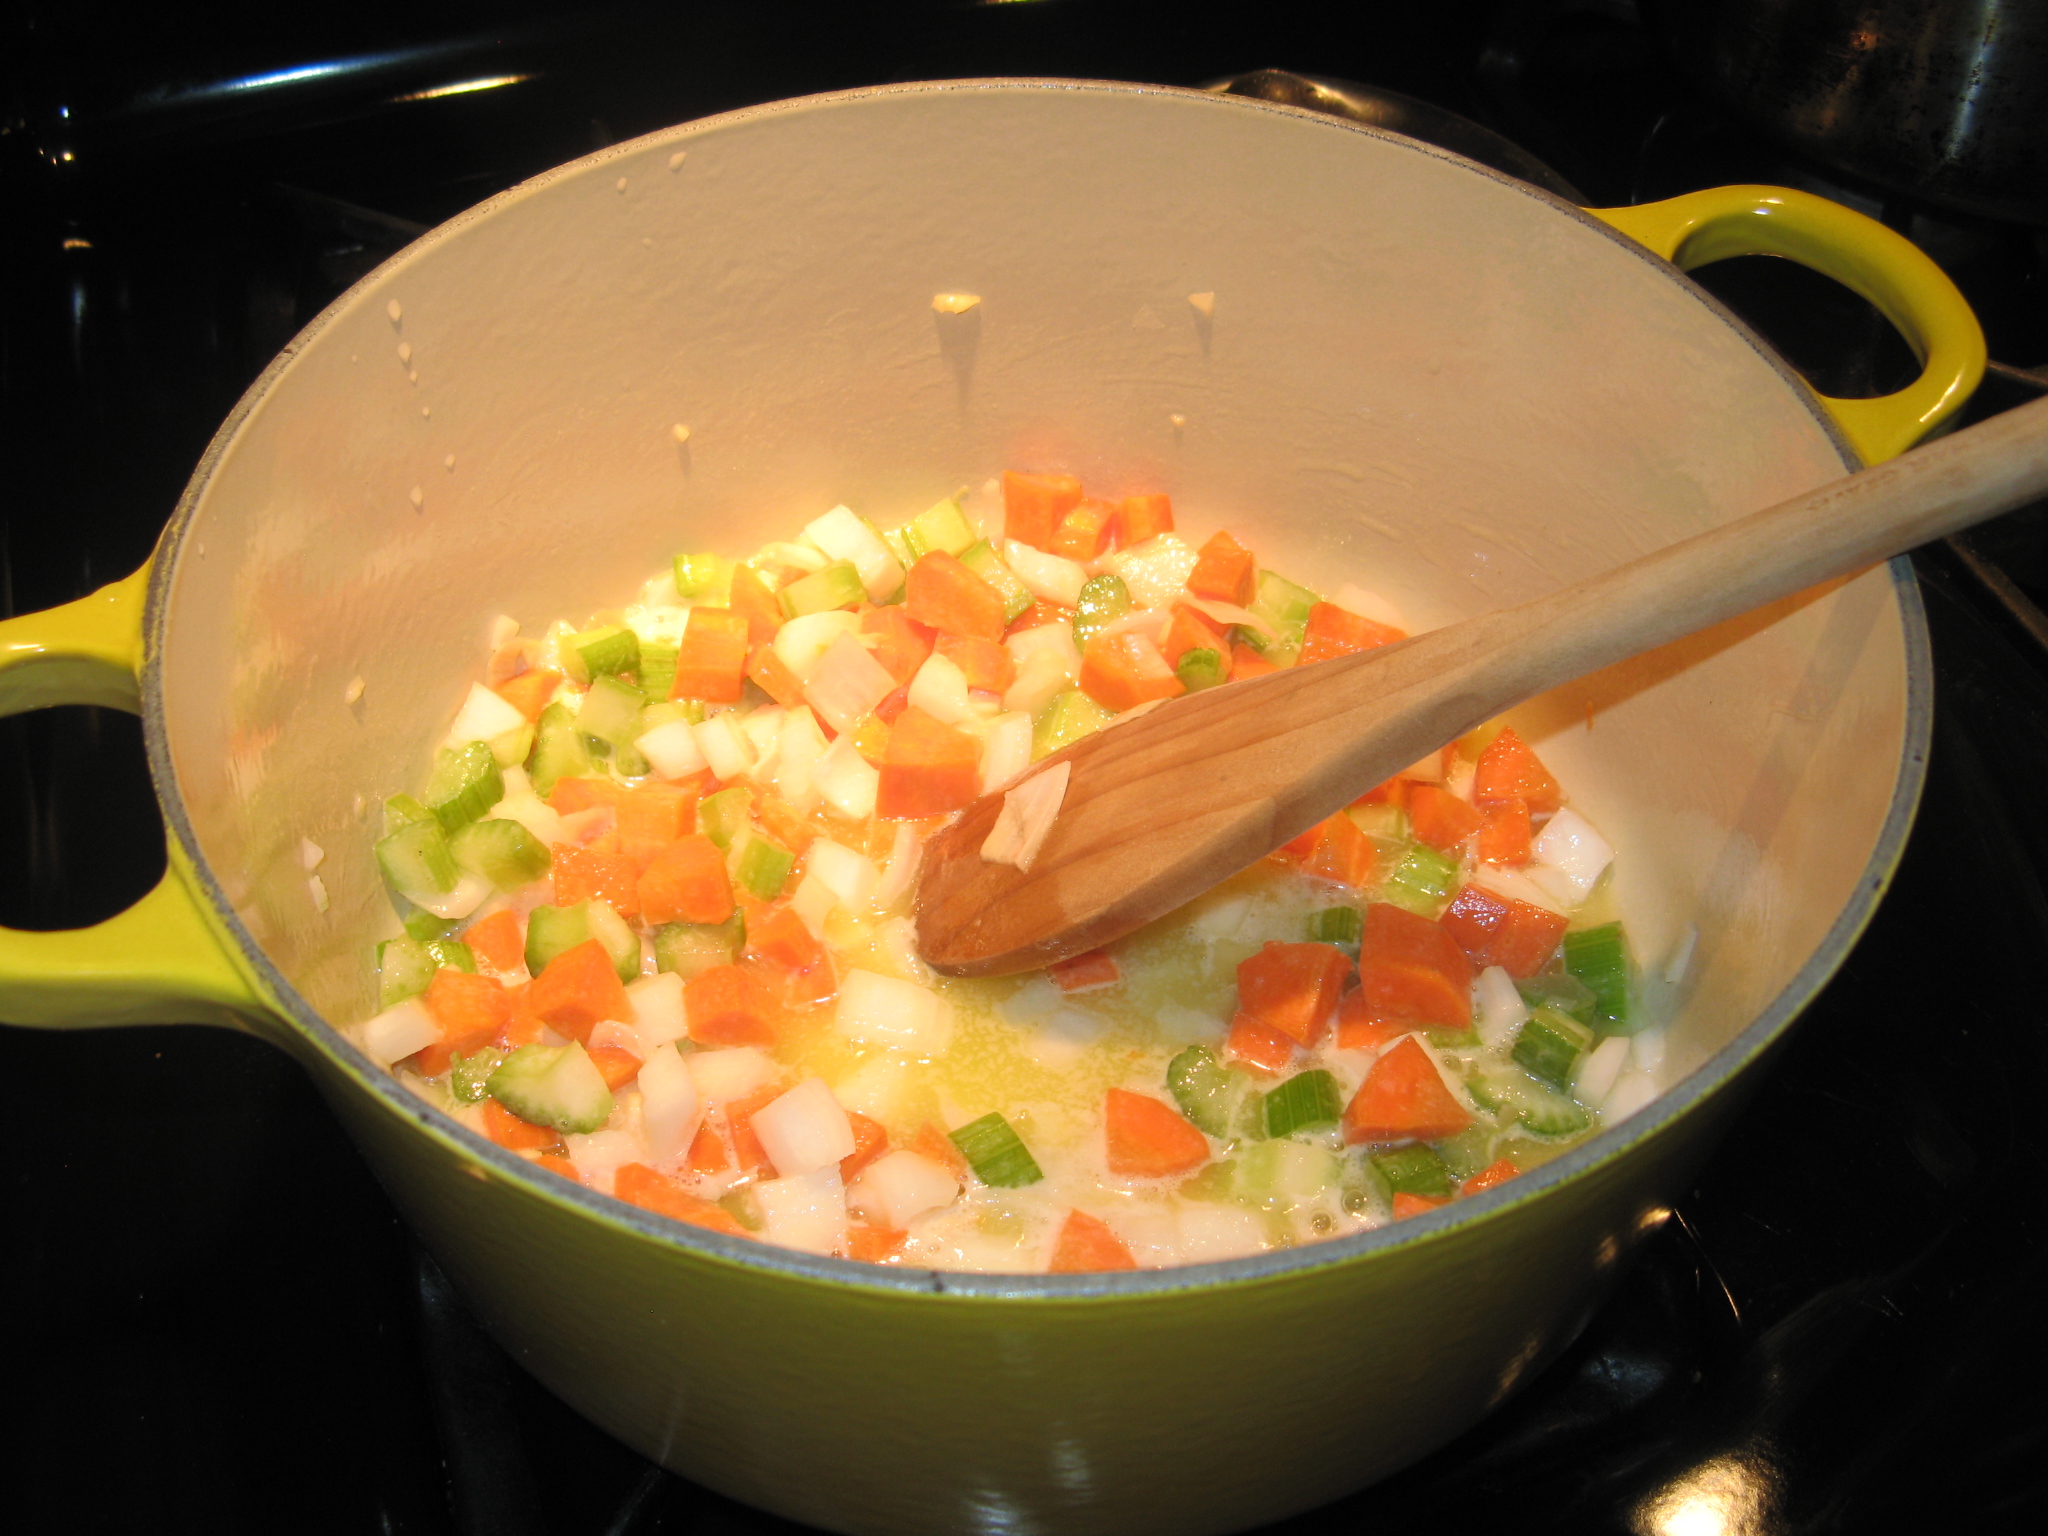
Using a large Dutch oven I began by sautéing the onion, carrot, celery and garlic in melted butter for two minutes – this is more or less a mirepoix. A true mirepoix calls for two parts onion and one part each of carrot and celery.

IMG_4764

I then added in a 1/2 cup of flour and stirred the mixture to make a roux. Once the roux had browned I set it aside and let it cool to room temperature.

IMG_4768

While the roux was cooling I combined the corn, potatoes and 3 cups of chicken stock in a pot and brought it to a boil and then let it simmer for about 15 minutes. My gauge for the cooking time was the tenderness of the potatoes. I didn’t want them to be completely cooked through, but, I wanted them pretty close to being done. I then added the chicken stock mixture to the roux – a little at a time – whisking it briskly so it wouldn’t get lumpy and then returned it to the heat and brought it to a boil.

IMG_4772

Once the chowder came together – it was thick – I then heated 2 cups of half-and-half in a small saucepan and added it along with the chicken to the chowder and some salt, pepper and a pinch of nutmeg. I let it simmer for about another 15-20 minutes so the chicken could heat through and the potatoes could finish cooking. This chowder was absolutely delicious and even better the next day.

IMG_4789


Chicken Corn Chowder – Adapted from here

Ingredients:

3 cups chicken stock

2 cups half-and-half

2 cups cooked chicken, cut into pieces (I poached two chicken thighs, but you could easily use a store bought cooked rotisserie chicken)

3 cups corn kernels, fresh or frozen (I used 4 ears of corn)

1/2 cup all-purpose flour

1 clove garlic, minced

1 celery stalk, diced

1 carrot, diced

1 yellow onion, diced

2 potatoes, cut into chunks

1/2 cup (1 stick) butter

Pinch of nutmeg

Salt and pepper to taste


Directions:

1. If you are choosing to cook your own chicken, prepare it whichever way you like. You could use leftovers or as I did simply poach the chicken with chicken stock and spices.

2. Melt the butter in a large Dutch oven (or a large pot) over medium heat. Add the onions, carrot, celery and garlic and sauté for 2 minutes. Add the flour and stir to make a roux. Cook until the roux I lightly browned and then set aside to cool to room temperature.

3. In another pot combine the corn, potatoes and chicken stock and bring to a boil and then simmer for 10 minutes. Add this to the roux slowly, whisking it so it doesn’t lump. Return the pot to the heat and bring it to a boil. The mixture should become very thick.
4. In a small saucepan, gently heat the half-and-half; stir it into the chowder along with the cooked chicken. Add the nutmeg and the salt and pepper to taste. Reduce the heat so the chowder can simmer and so the potatoes can finish cooking and the chicken can heat through.

5. Enjoy!


Key Lime Pie Revisited

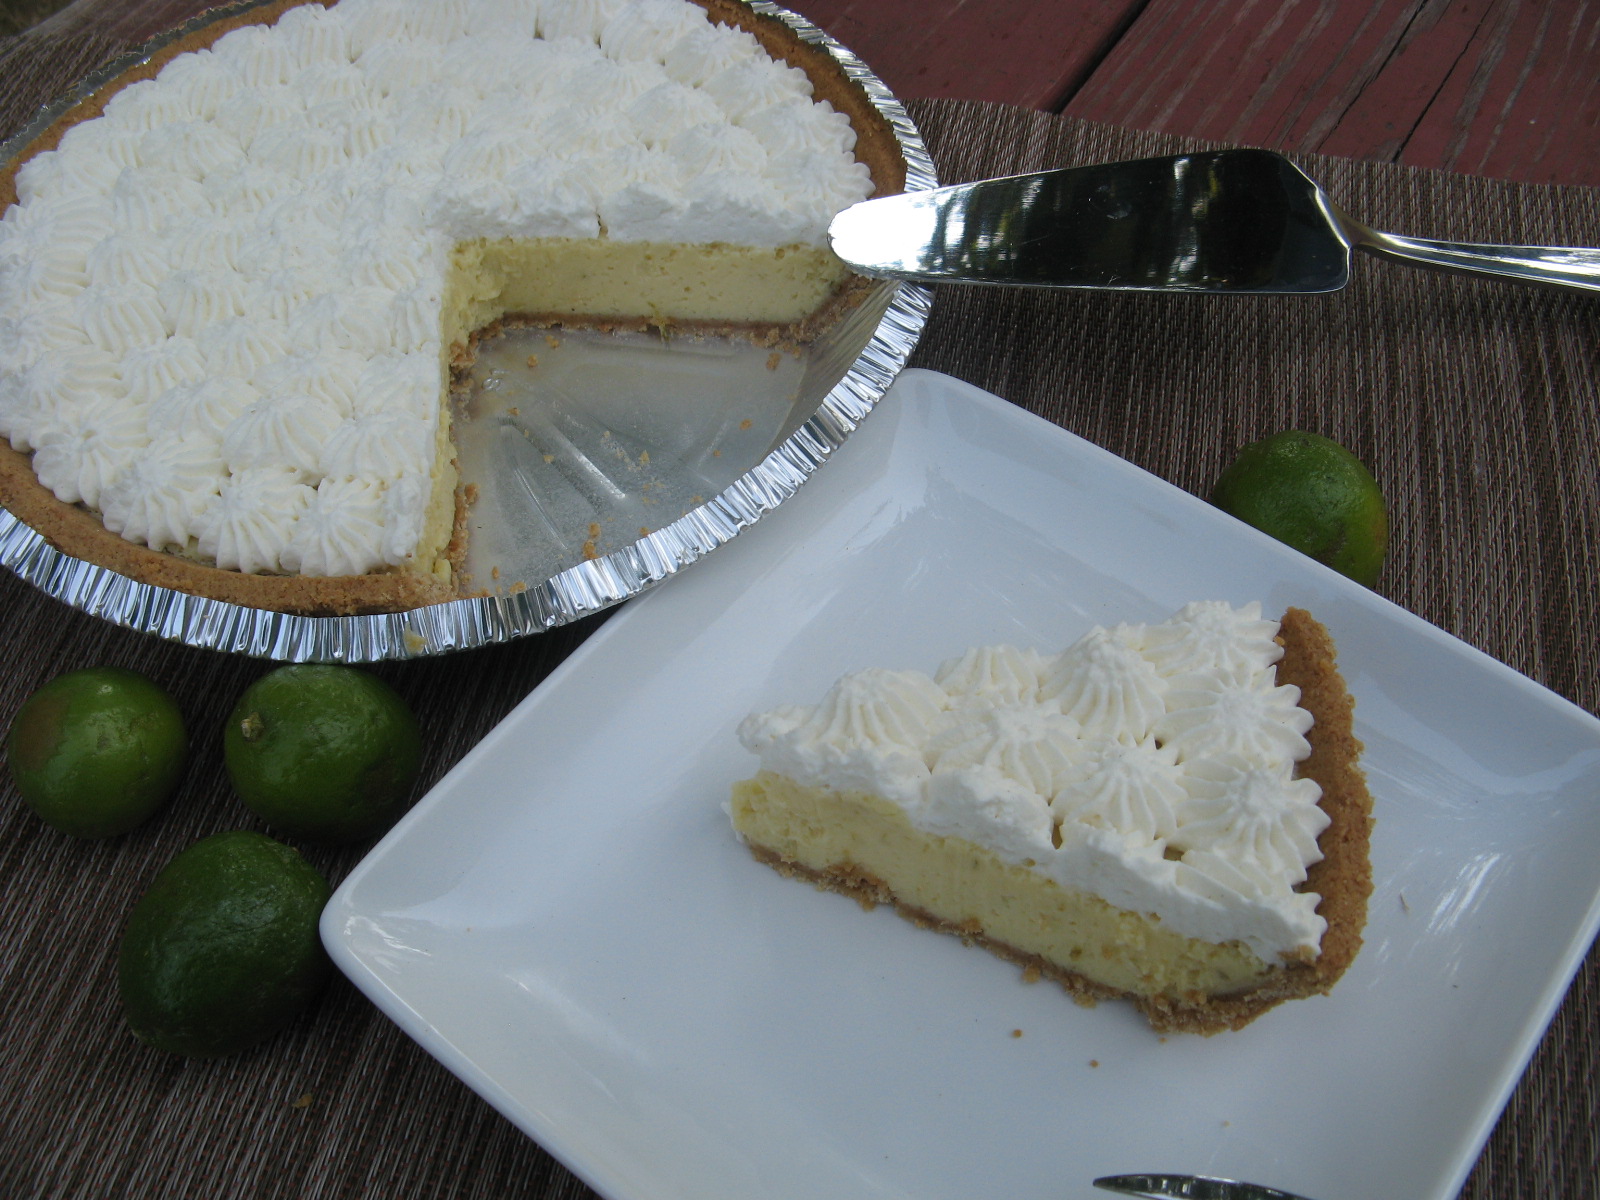
I made Key Lime Pie for the first time last year when I came across the small limes while grocery shopping. I picked them up having only tried Key Lime Pie once and not caring for it and unsure how easy or difficult the pie would be to make. A quick call to friend and a Google search later let me know it wouldn’t be all that bad. And after my second tasting of Key Lime Pie I was hooked. Unfortunately key limes aren’t something that are readily available in my area throughout the year so I haven’t gotten to enjoy the pie since last year. Granted, I have seen key lime juice in the baking aisle of my local supermarket, but, I have a feeling that using the bottled juice just won’t taste the same as the freshly squeezed version. During a recent shopping trip I came across the limes once again and without hesitation I bought a bag and made another Key Lime Pie and just wanted to share the recipe with you all once again.

IMG_4678


Key Lime Pie

Ingredients

1 9-inch graham cracker pie shell

1/2 cup key lime juice (approximately 12 key limes)

1 14 oz. can sweetened condensed milk

4 egg yolks

Grated lime zest of one lime

Directions

1) Preheat the oven to 350 degrees

2) Whisk together the four eggs yolks until pale and fluffy

3) Gradually add in the condensed milk and continue mixing until the mixture becomes light and fluffy

4) Add in the lime juice and finally the lime zest.

5) Pour the filling into the graham cracker pie shell and bake for about 20 minutes, or until the filling is set.

6) Let the pie cool completely on a wire rack and then cover and refrigerate for a few hours.

7) Decorate with whipped cream or save for serving and drop heaping spoonfuls of whipped cream on each slice.


Whipped Cream

Ingredients:

1 cup heavy cream

2 tablespoons confectioners’ sugar

1 teaspoon vanilla extract

Directions

Whip cream and sugar in a large bowl until soft peaks form. Add in the vanilla extract and continue whipping until stiff peaks form.

A Delicious Short-Cut Peach Pie

Short-cuts aren’t always a bad thing. When you are driving they can get you where you have to go quicker and hopefully help you avoid some traffic along the way. In our day-to-day lives they can make us a bit more efficient to get daily tasks completed. And in baking they can guarantee us a flakier crust and fruit that’s perfectly ripe for a pie!

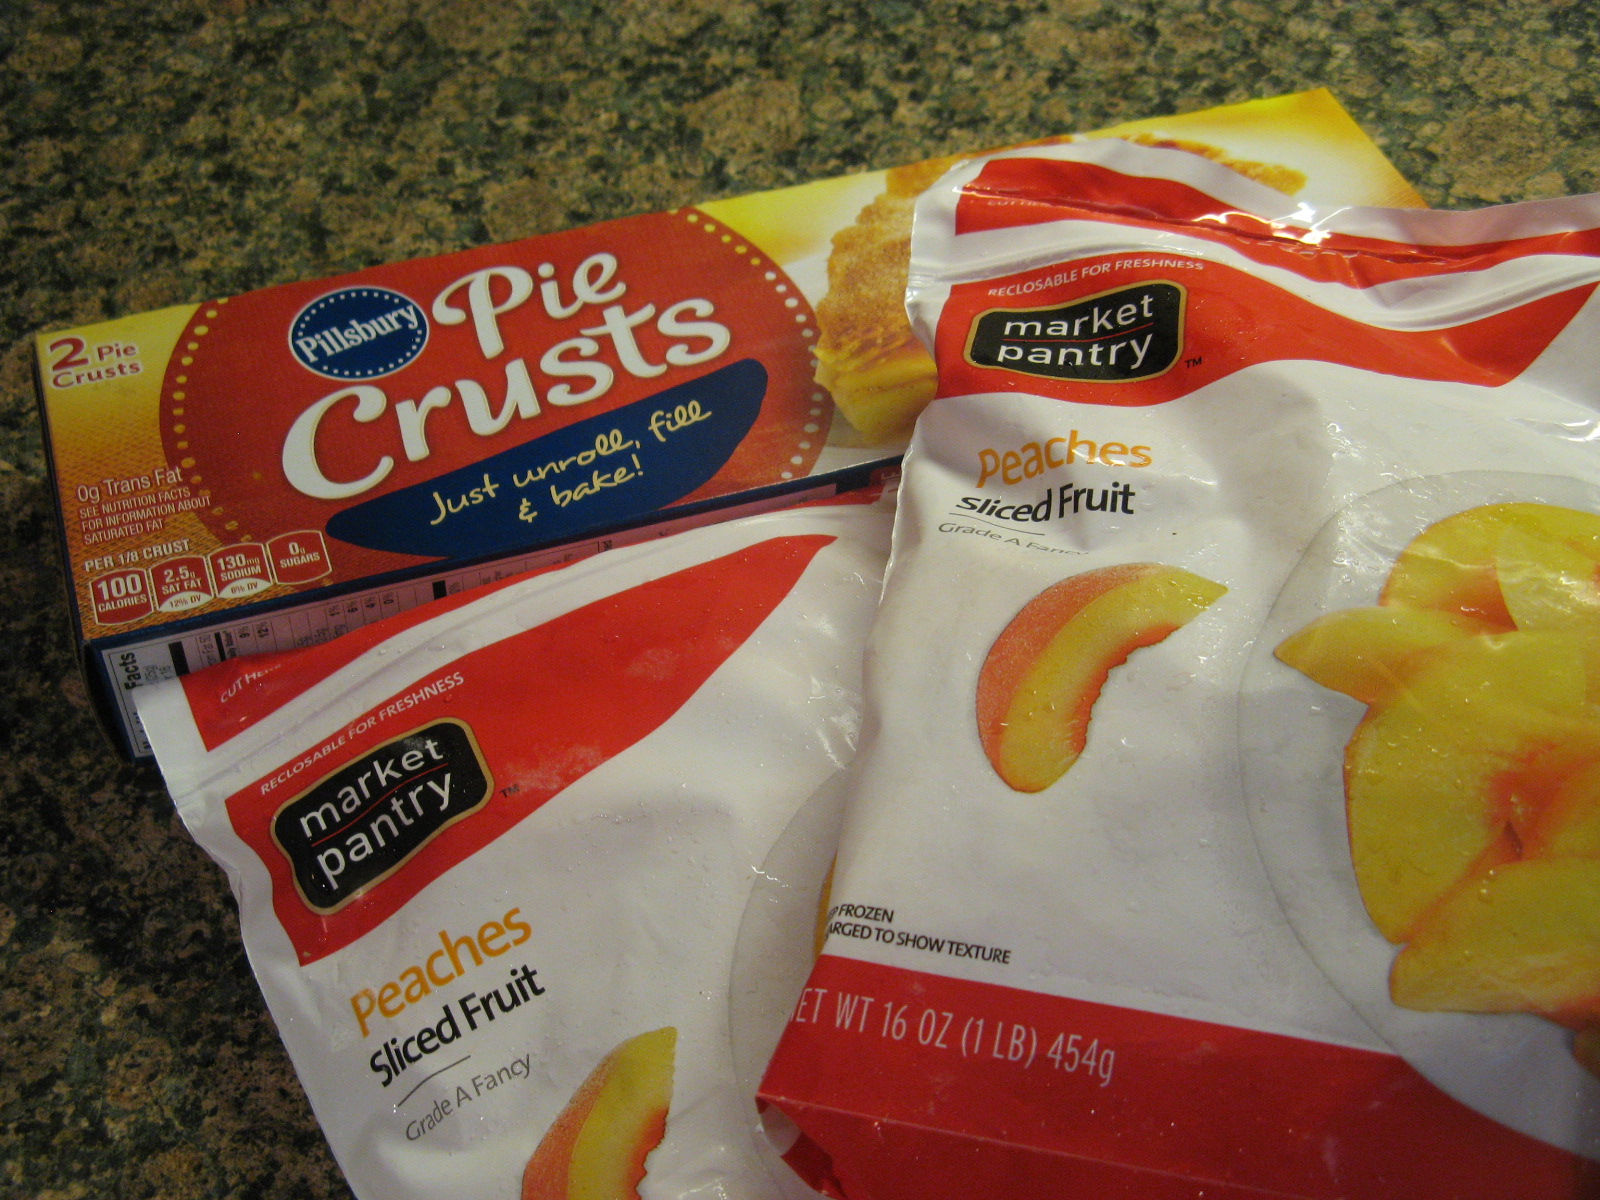
A few weeks ago I got it in my head that I wanted to make a peach pie. I’m actually not a big fruit pie fan – I’m not that keen on fruit pie filling, especially when it’s on the runny side – but, I think the Pillsbury Pie Crust sitting in my refrigerator got me thinking. I’ve made pie crusts from scratch once or twice before but, like I said there’s nothing wrong with taking a short-cut every now and then. I went one step further with my short-cut and opted to use frozen peaches. I just wasn’t in the mood to peel and slice a few pounds of peaches.

IMG_4587

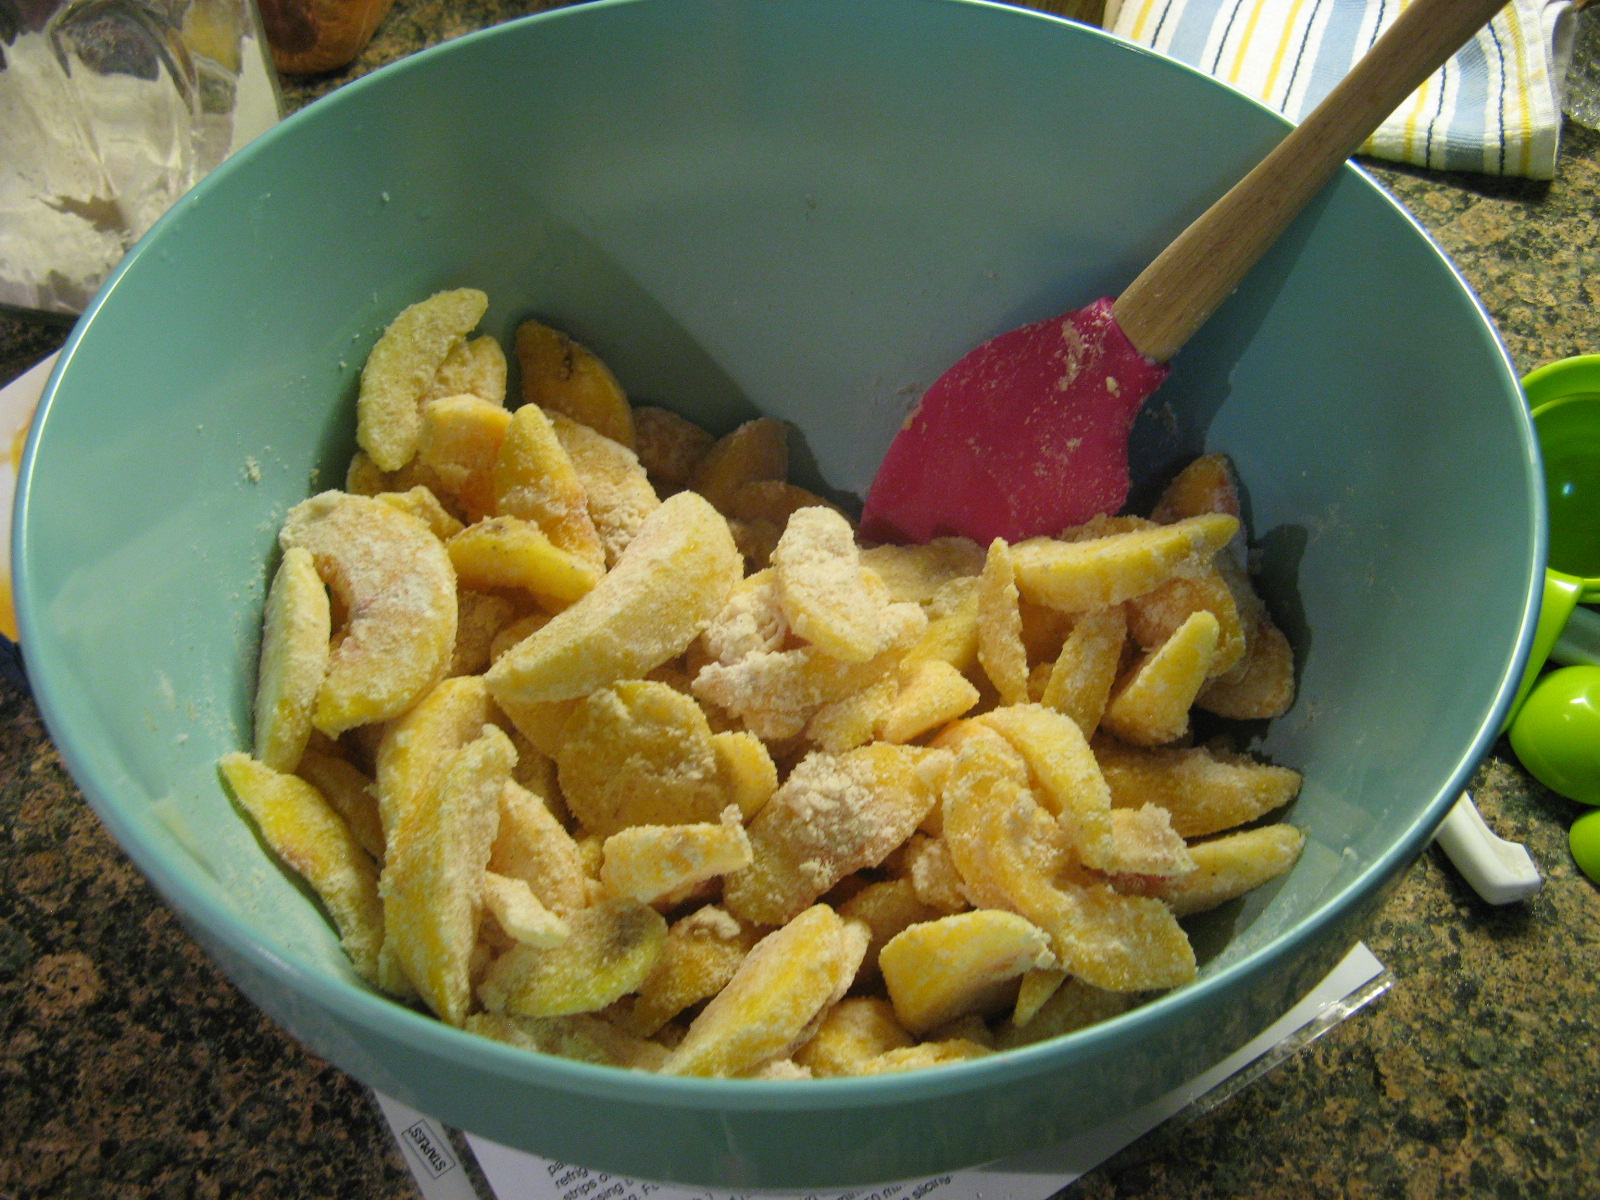
I combined 2 pounds of frozen sliced peaches with sugar, flour, lemon juice, cinnamon, allspice and almond extract. I decided on the almond extract after reading that many bakers used to add the nut – sometimes called a “bitter almond” –  that’s inside the pit of the peach to the pie while baking to give it an almond flavor. That practice has since diminished as it was discovered that the nut contains trace amounts of cyanide, granted you would have to eat a large quantity of them for anything to happen, but, who wants to bite down on something hard when they are enjoying a piece of pie.

IMG_4588

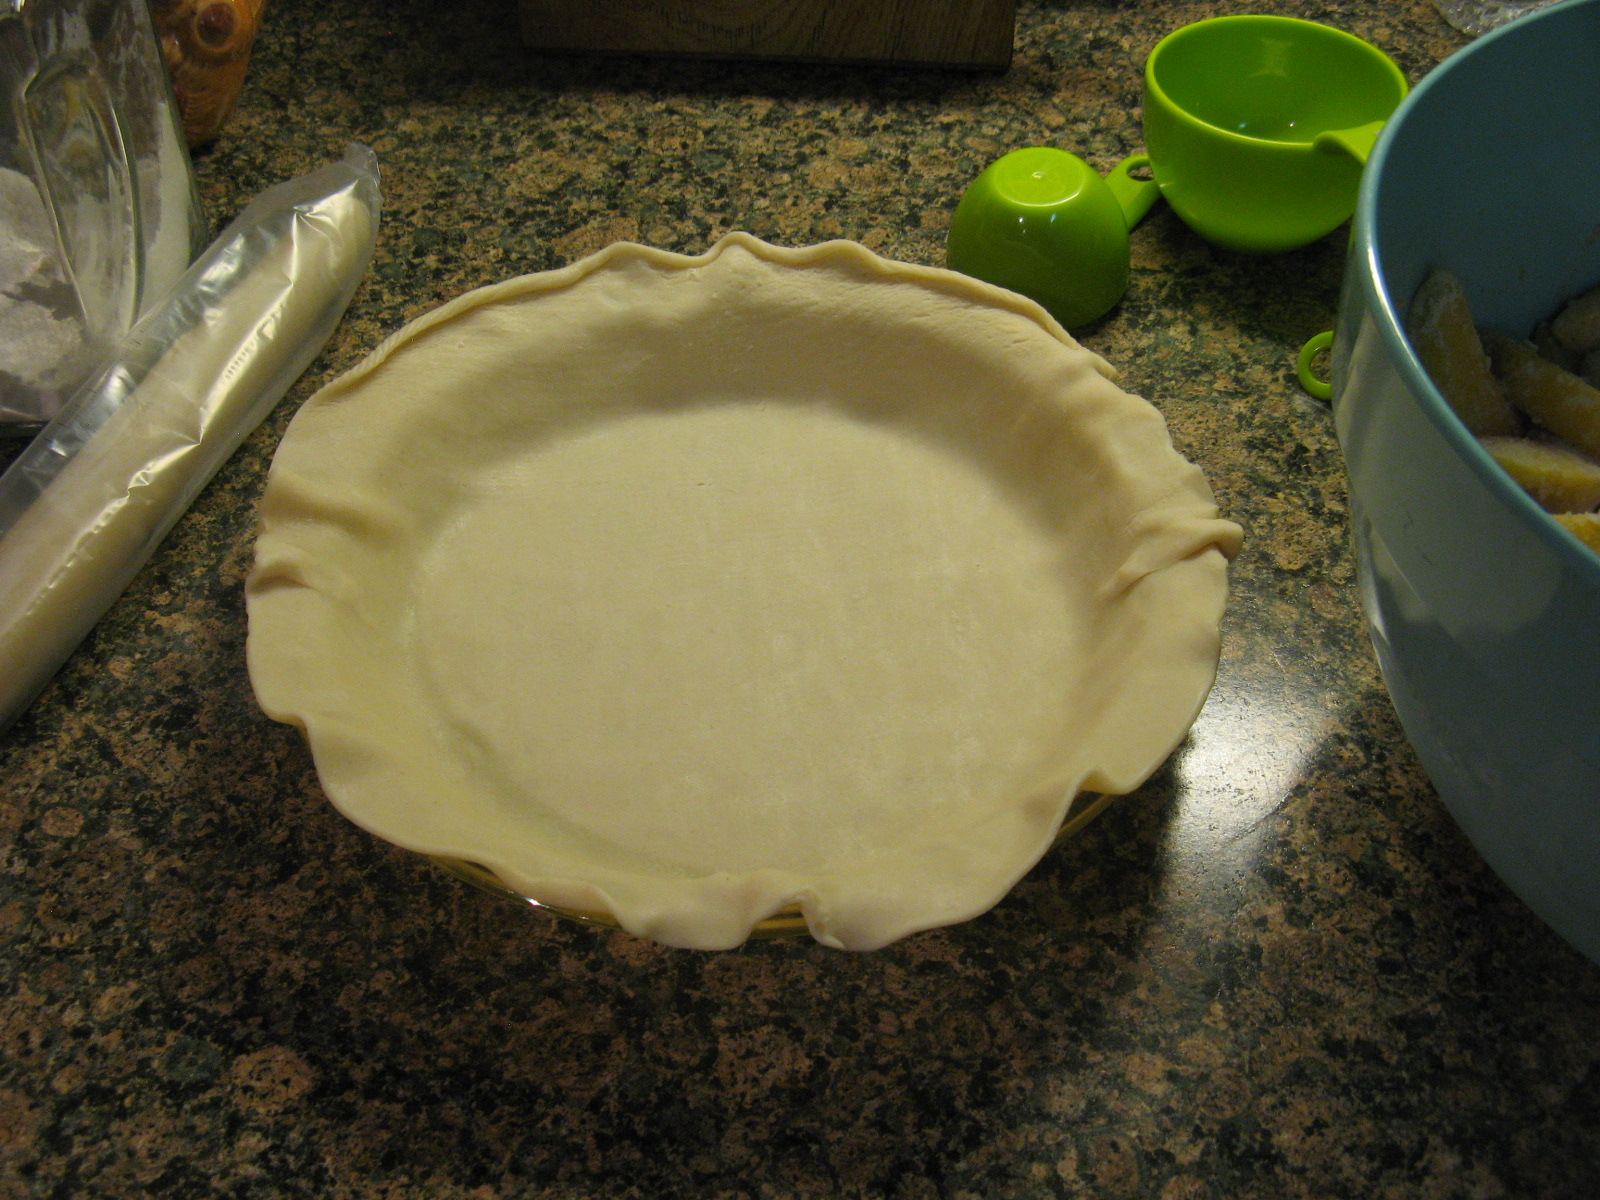
Next I unrolled one of the pie crusts and pressed it into the bottom of the pie dish.

IMG_4590

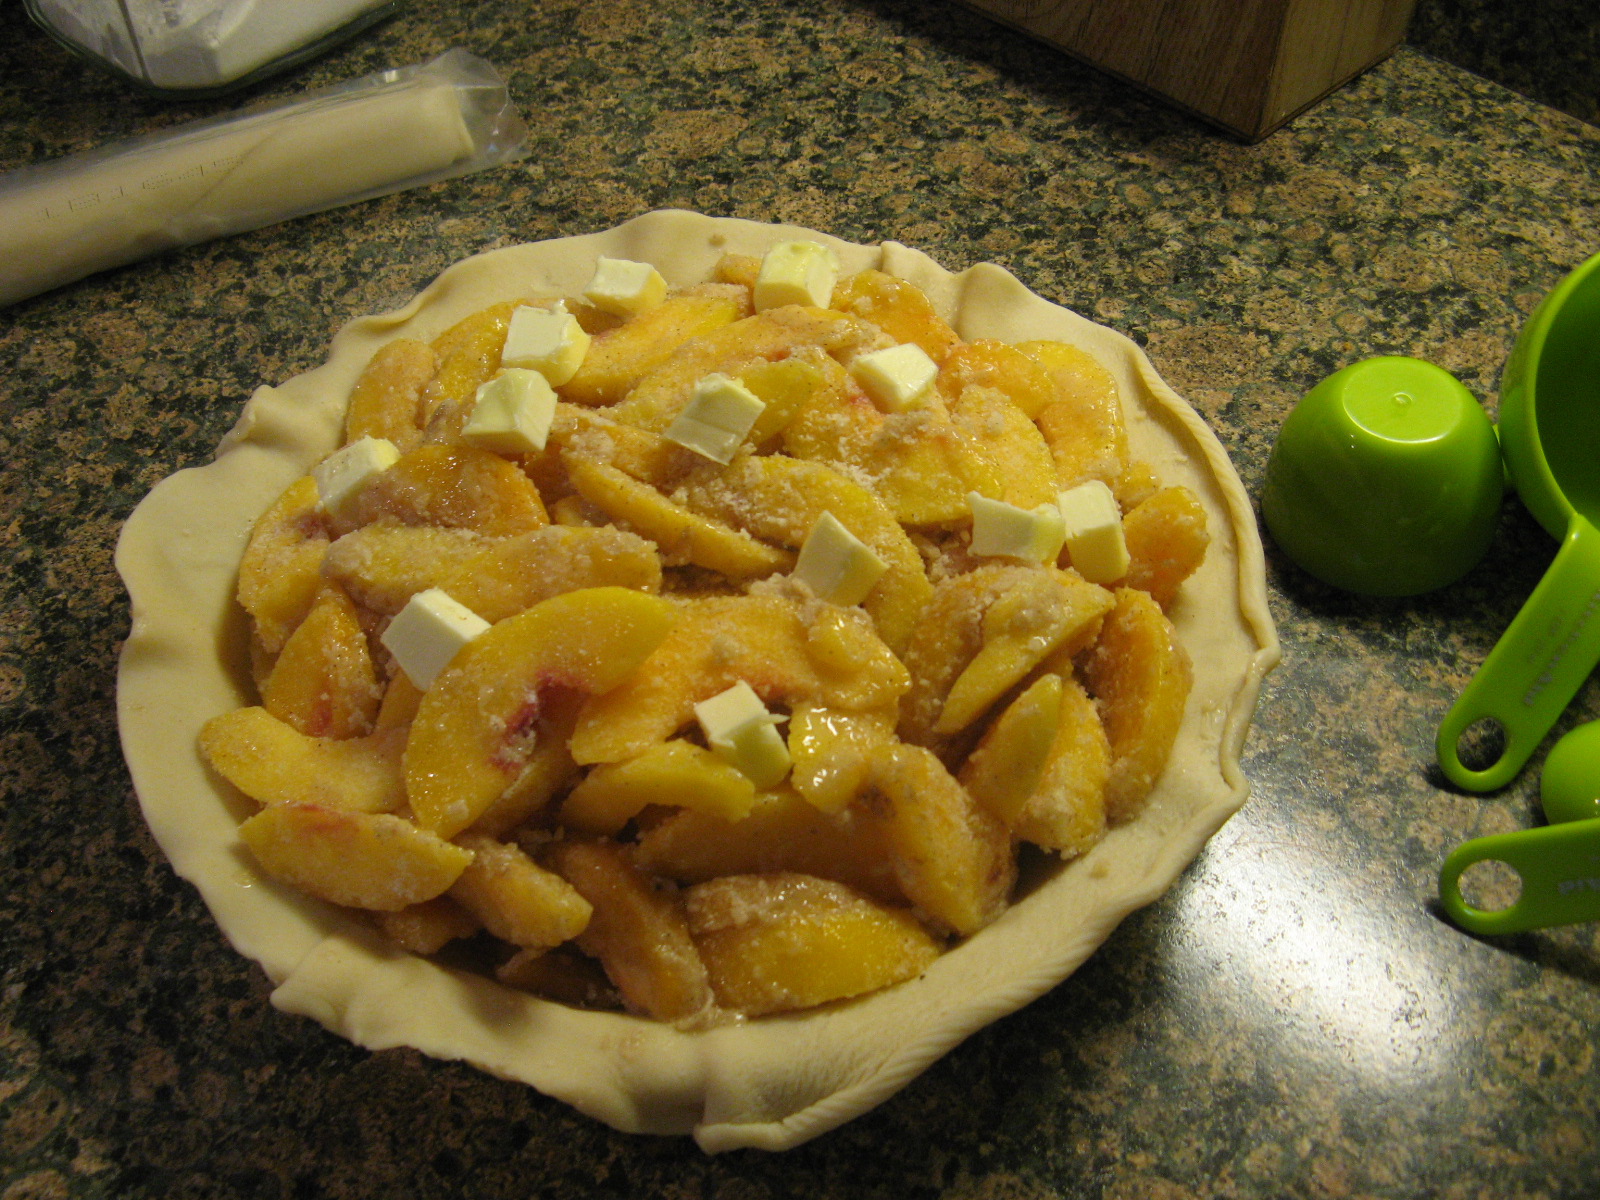
I then added the filling and mounded it slightly in the middle and dotted it with small pieces of unsalted butter.

IMG_4593

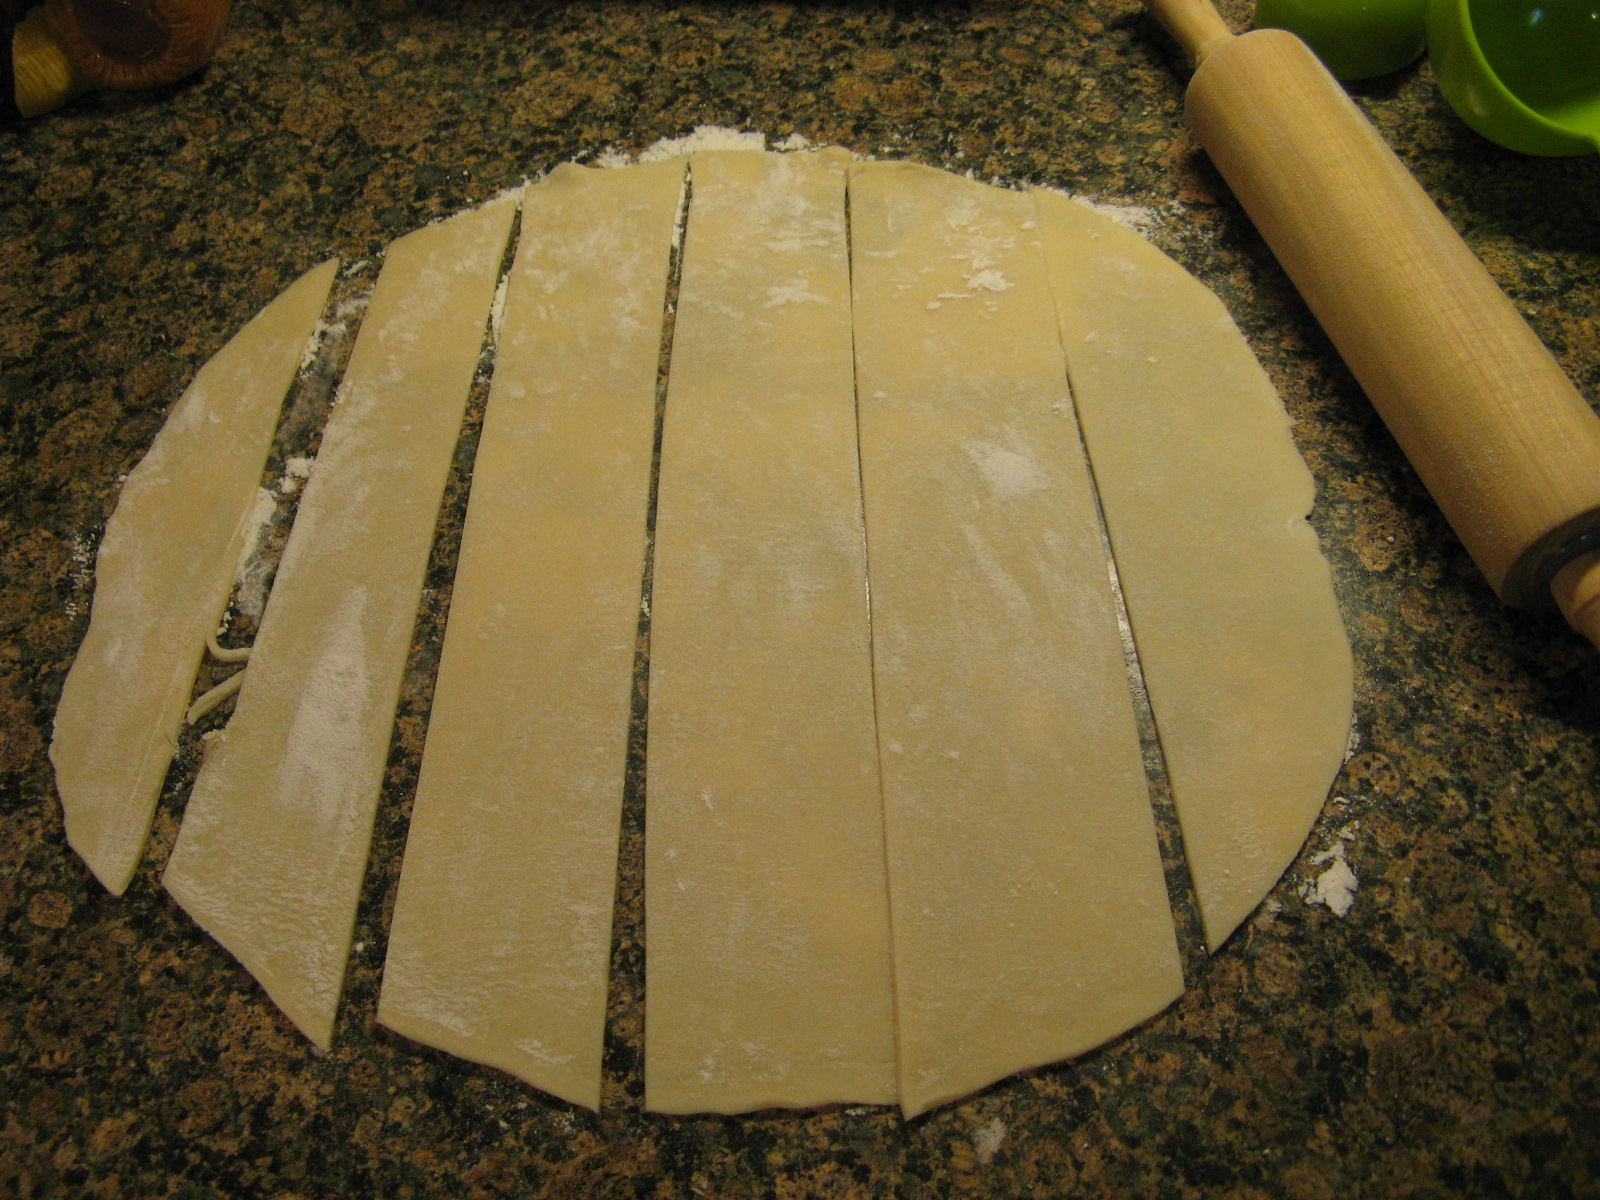
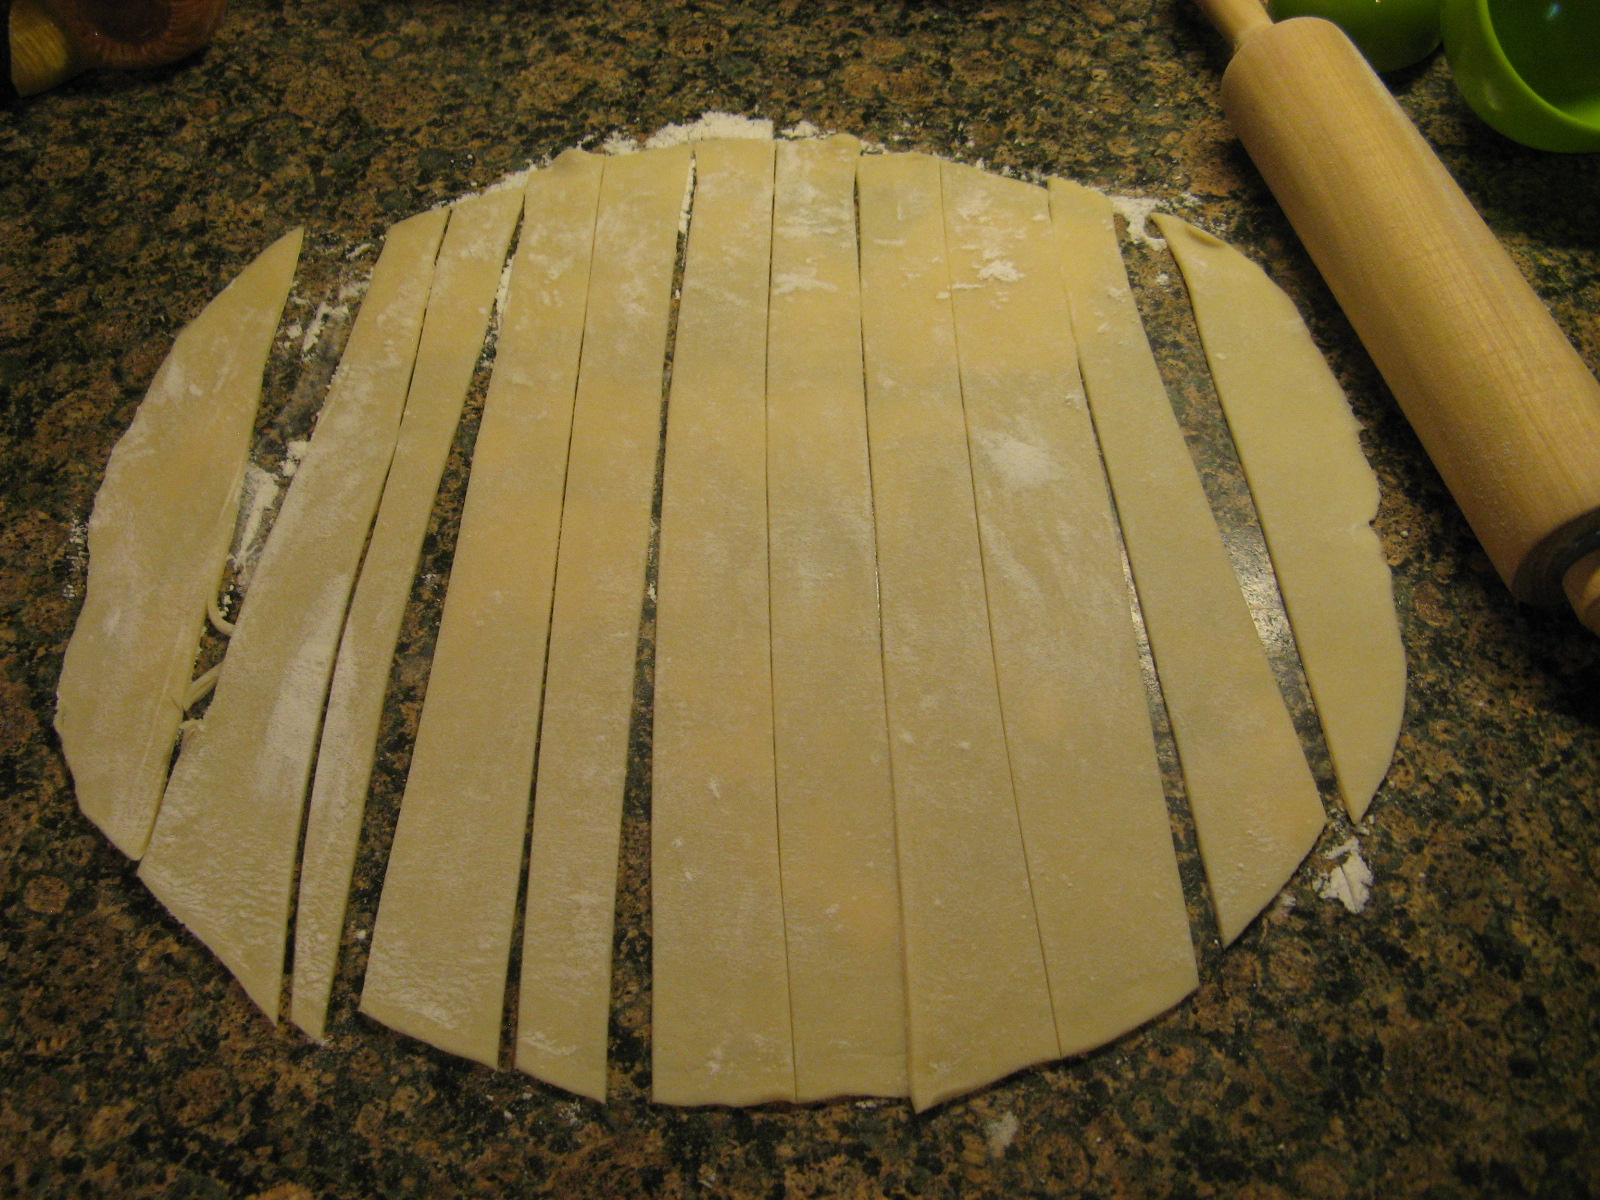
Instead of just unrolling the other pie crust on top of the pie I decided to give it a little pizazz with a lattice pattern that wouldn’t require weaving. First I sliced the top pie crust into 6 1-inch strips…

IMG_4595

And then divided those strips in half to end up with a total of 12 1/2-inch strips.

IMG_4596

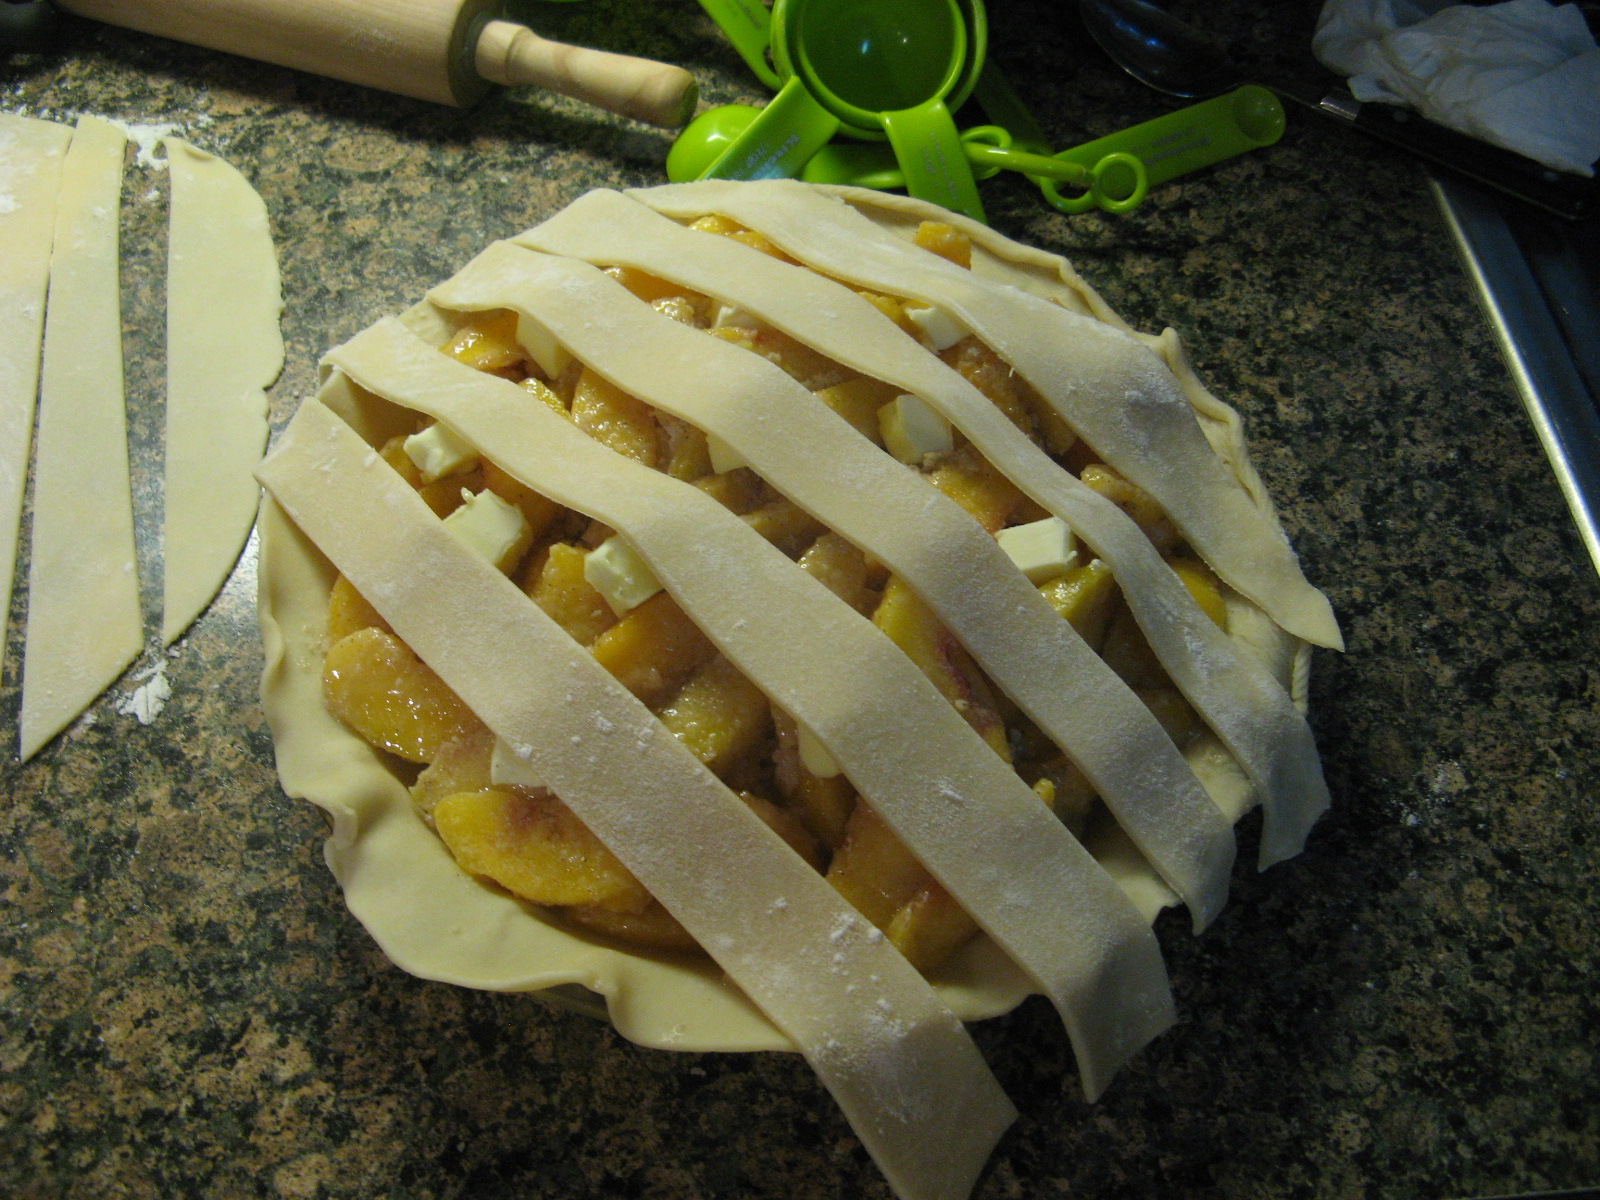
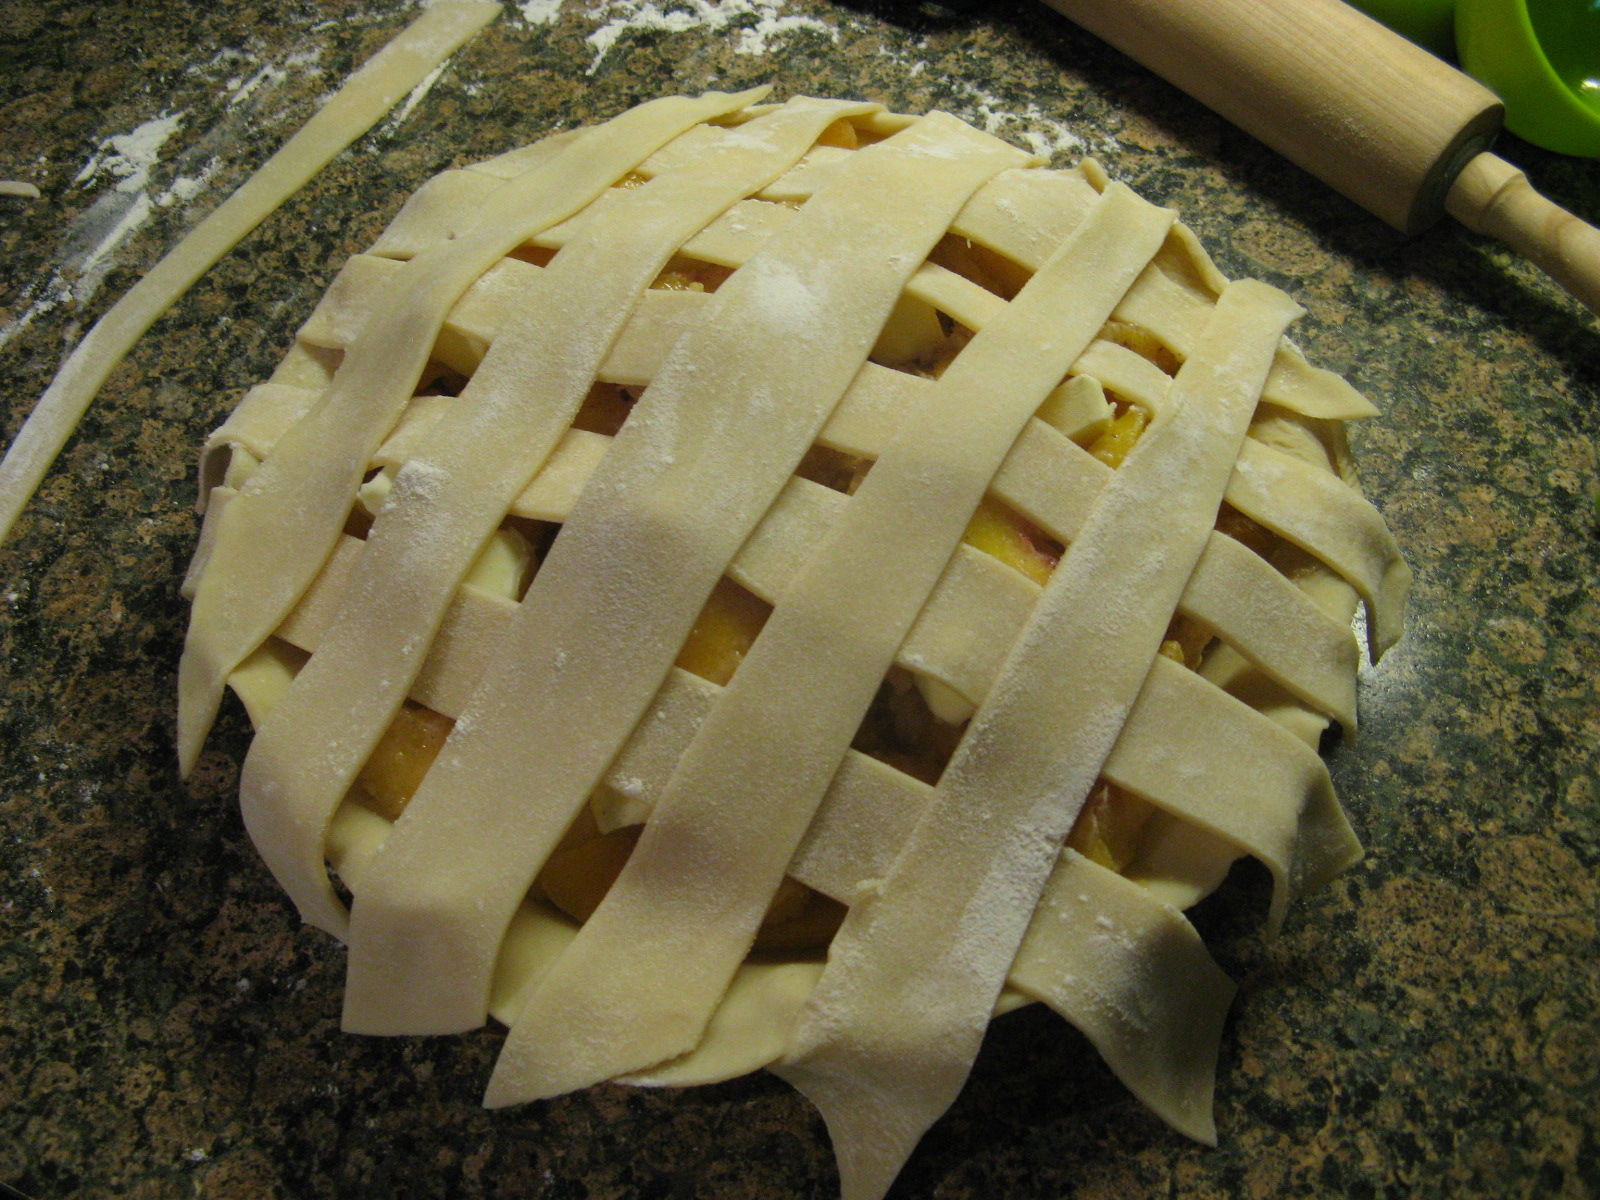
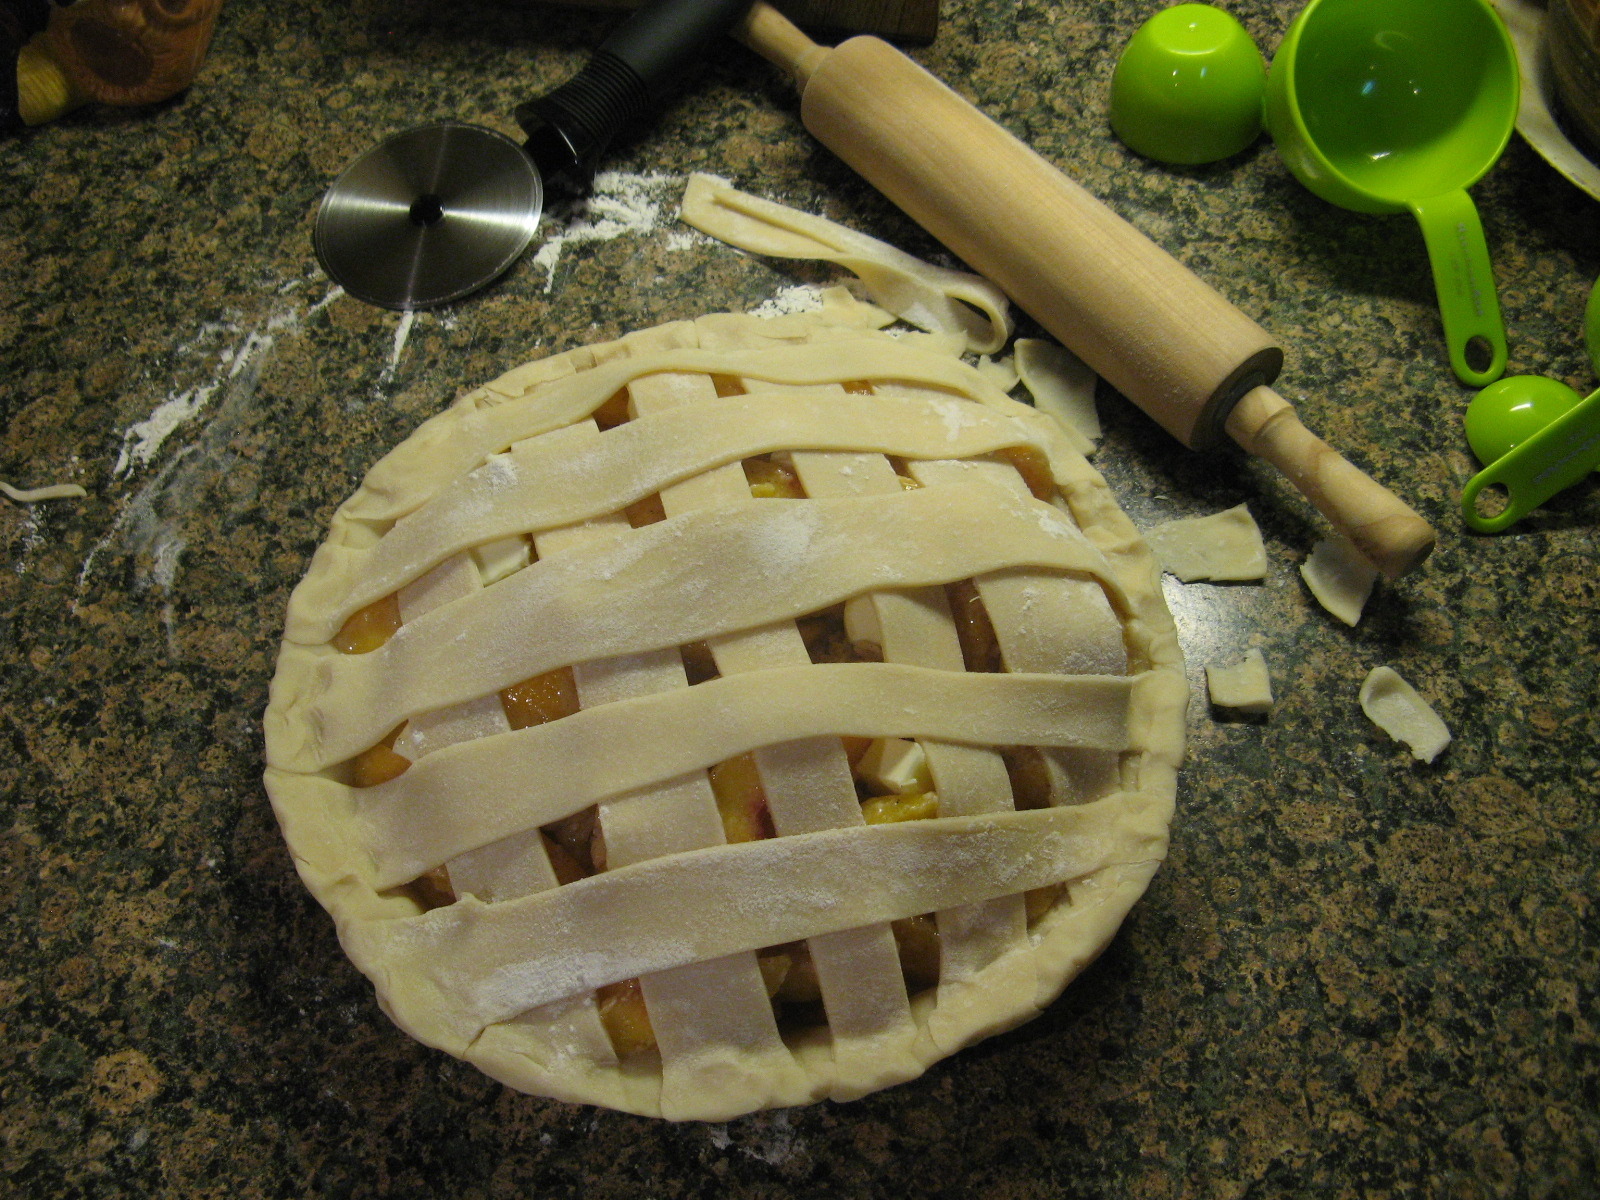
I laid five strips across the pie, doing my best to equally space them

IMG_4597

Then I laid four strips across the previous strips diagonally.

IMG_4598

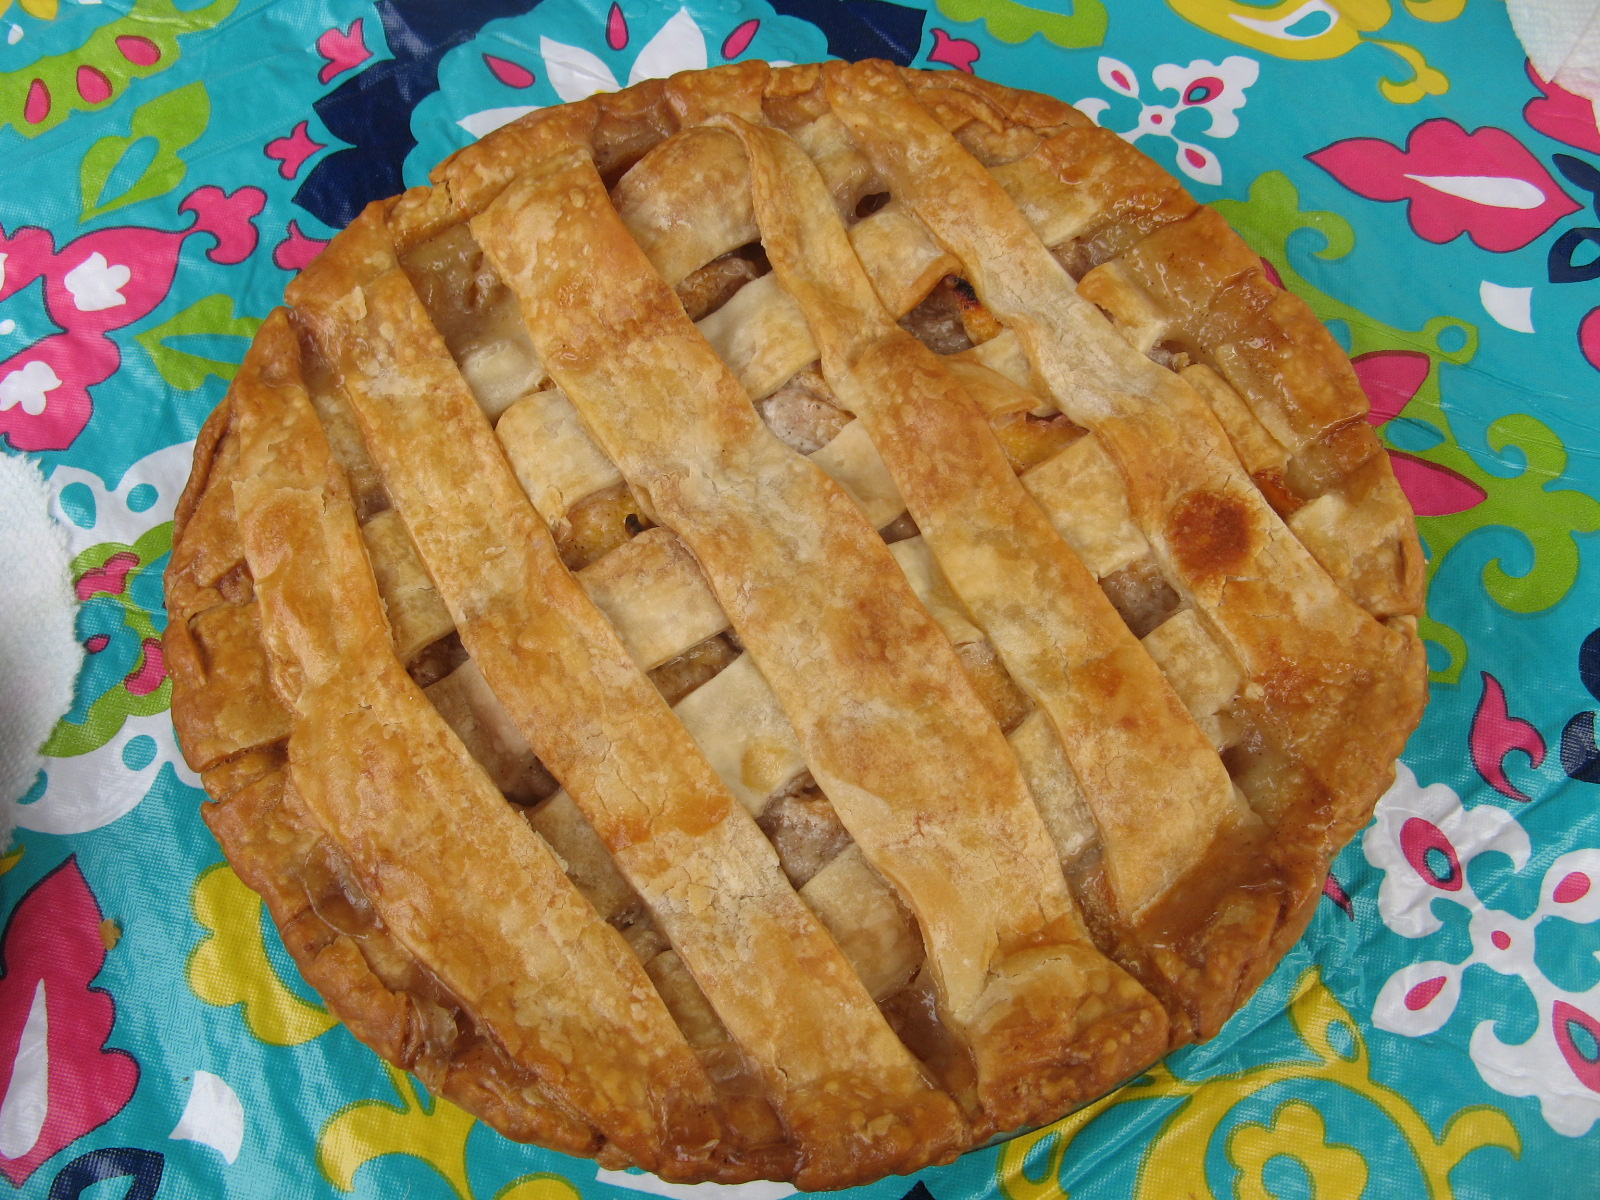
And after some trimming and crimping, voila, a simple lattice pattern.

IMG_4600

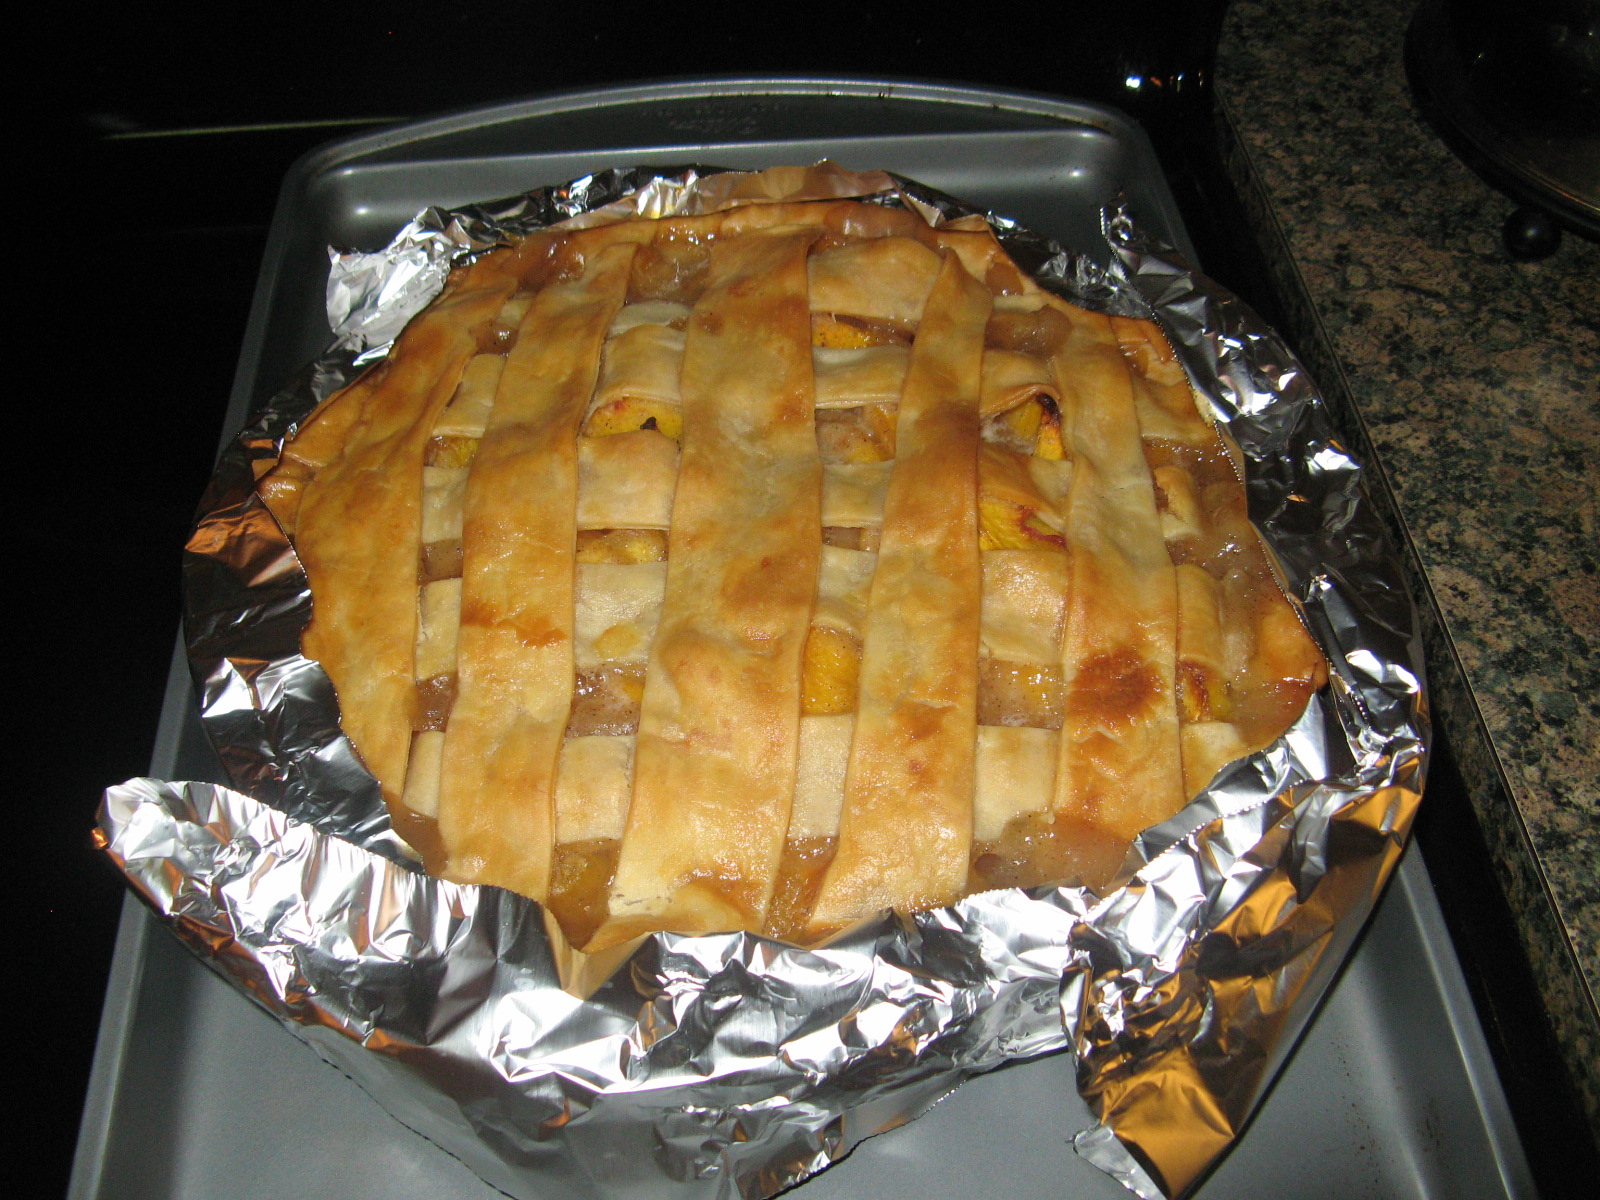
I then placed the pie on a baking sheet in a 400 F preheated oven for about 25 minutes. I then lowered the oven to 375 F and baked the pie for about another hour. Prior to lowering the temperature I brushed the top of the pie with an egg wash to ensure a nice golden brown color. I kept a close eye on the pie and when I noticed the rims of it were browning a tad bit too much I covered it with aluminum foil. I knew it was time to take the pie out of the oven when the filling was bubbling.
IMG_4617

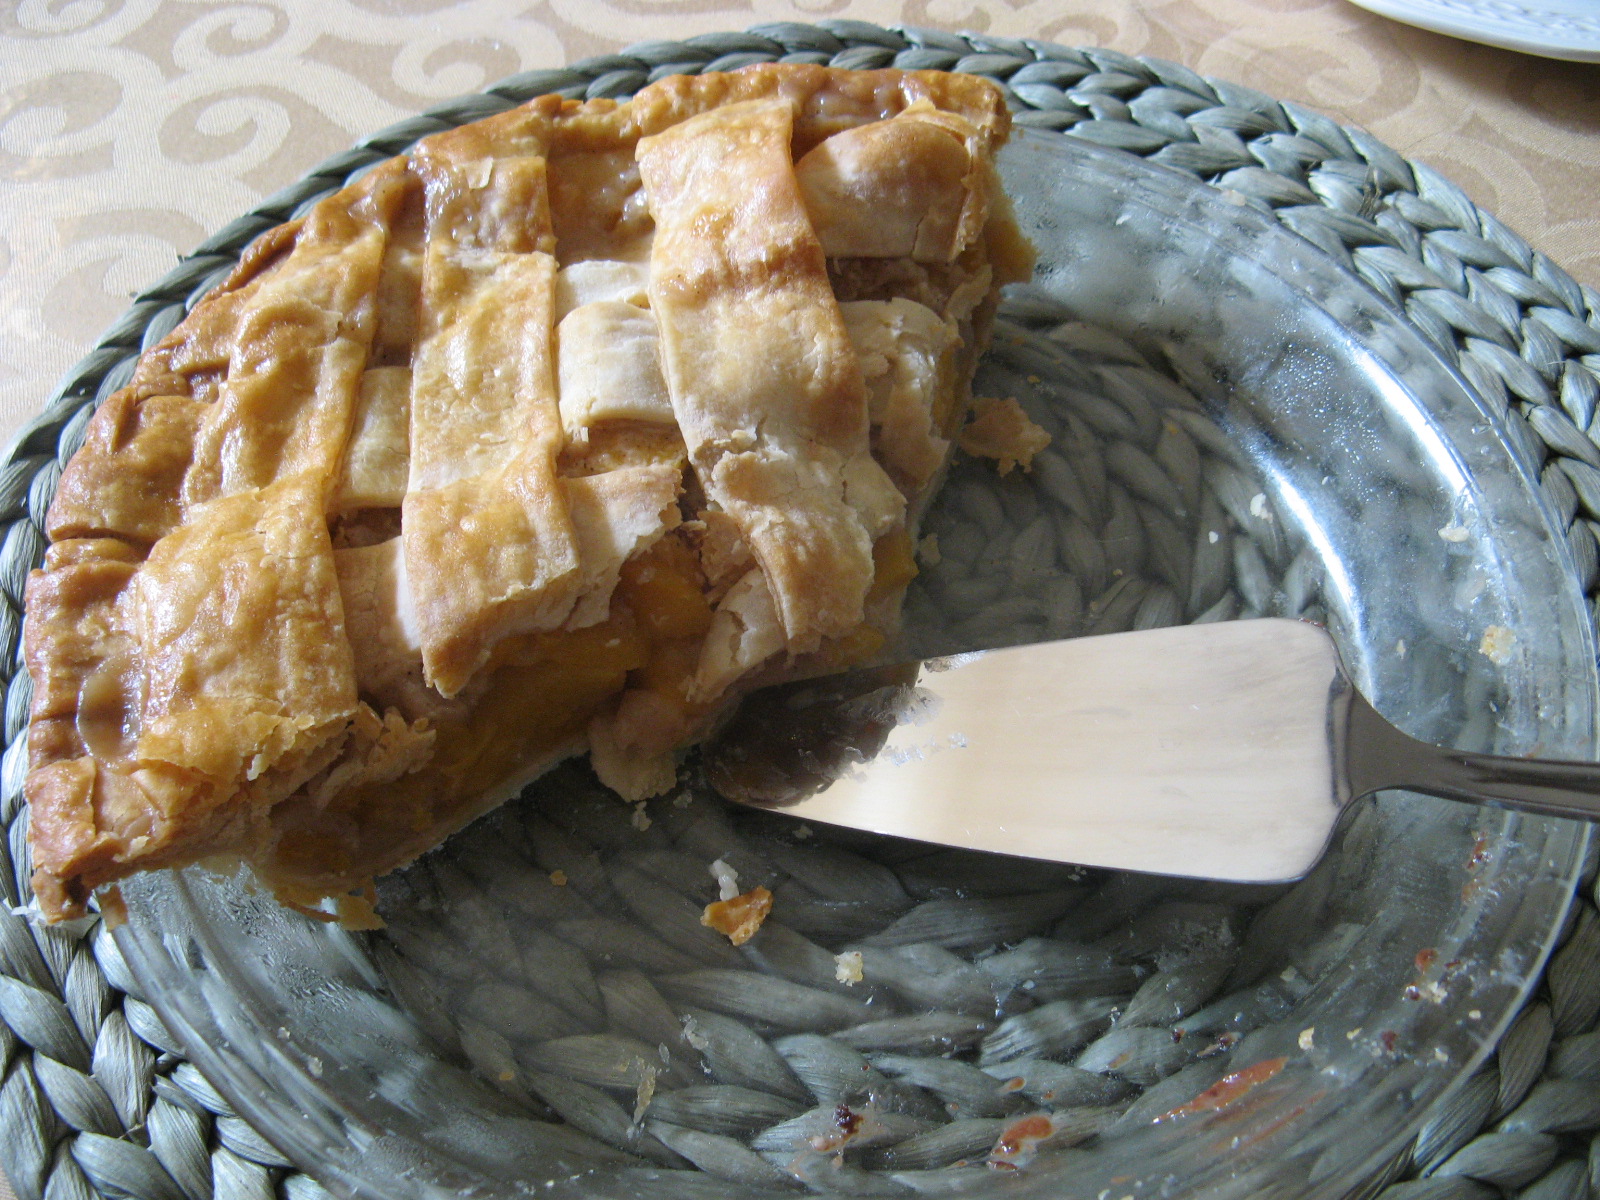
After letting it cool it was time to slice into it…

IMG_4639

And I happy to say that the pie was a perfect consistency… Not too watery and not too dry! It was a definite winner!

IMG_4645


Peach Pie – Adapted from here

1 box refrigerated pie crusts, softened as directed on box

Filling:

2 pounds of sliced and peeled frozen peaches (Use frozen, do not thaw)

3/4 cup sugar

1/2 cup flour (I doubled the amount the original recipe called for to allot for the water the frozen fruit would release while baking)

1 tablespoon lemon juice

1/2 teaspoon cinnamon

1/4 teaspoon all spice

1/2 teaspoon almond extract

2 tablespoons unsalted butter, cut into small pieces

1 large egg

Directions:

1. Preheat the oven to 400 F.

2. Make the filling by mixing the peaches in a large bowl with the sugar, flour, lemon juice, cinnamon, all spice and almond extract.

3. Unroll one pie crust and place in an ungreased 9-inch pie plate. Add the filling, mounding it slightly in the center and dot with the butter.

4. Unroll the second crust and dust it lightly with flour and cut it into 1/2-inch wide strips. Lay half of the strips on the pie in one direction, leaving about a 1-inch space between each strip. Lay the remaining strips on top, crossing them diagonally to make a faux lattice pattern. Trim the edges of the strips leaving a small overhang and crimp the edges into the bottom crust with your fingers.

5. Place the pie on a baking sheet and place it in the oven for 20 minutes. Lower the temperature of the oven to 375 F and brush the pie with an egg wash (beat the egg with a tablespoon of water). Bake for another hour until the filling it bubbly. If you notice the out crusts of the pie is browning too quickly cover it loosely with aluminum foil. Once baked, transfer to a rack to cool completely before slicing. Store remaining pie in the refrigerator.
 

Chocolate-Hazelnut Icebox Cake

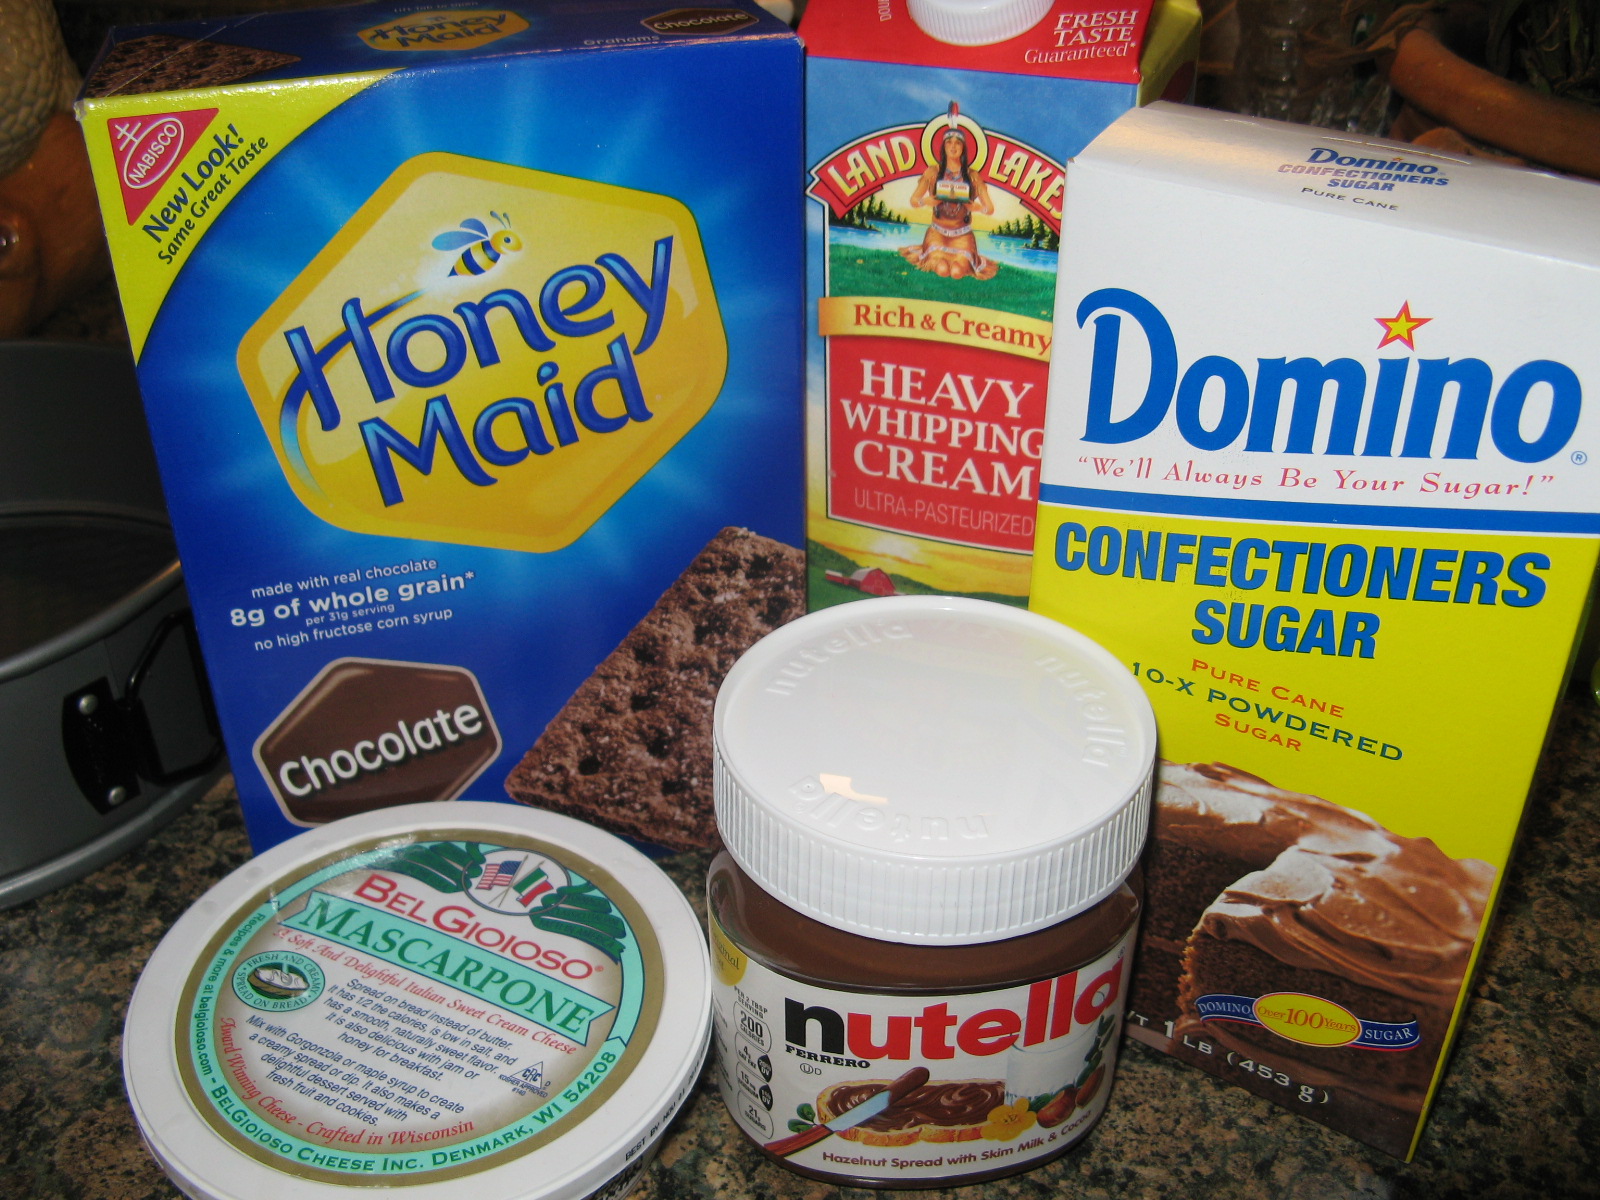
Have you ever come across a recipe that you knew you just had to try only to discover that one ingredient in that recipe would be a mission to find? That’s exactly what happened to me. I came across a recipe for a Chocolate-Hazelnut Icebox Cake in a recent issue of Food Network Magazine and a key ingredient in for the cake was chocolate graham crackers. I was pretty sure that I had seen them before at a local supermarket or Target, but then after searching quite a few supermarkets and a few Targets I was still out of luck. I even searched the Nabisco website to make sure they were still available and found out that in fact Honey Maid Chocolate Graham Crackers were still in production. So, it was just a matter of finding them and lo and behold I did just that when I randomly strolled down the cookie aisle of a supermarket I normally don’t shop at.

With ingredients like confectioners’ sugar, Nutella, mascarpone cheese, heaving whipping cream and those hard-to-find chocolate graham crackers this was sure to be a delicious cake.

IMG_4603

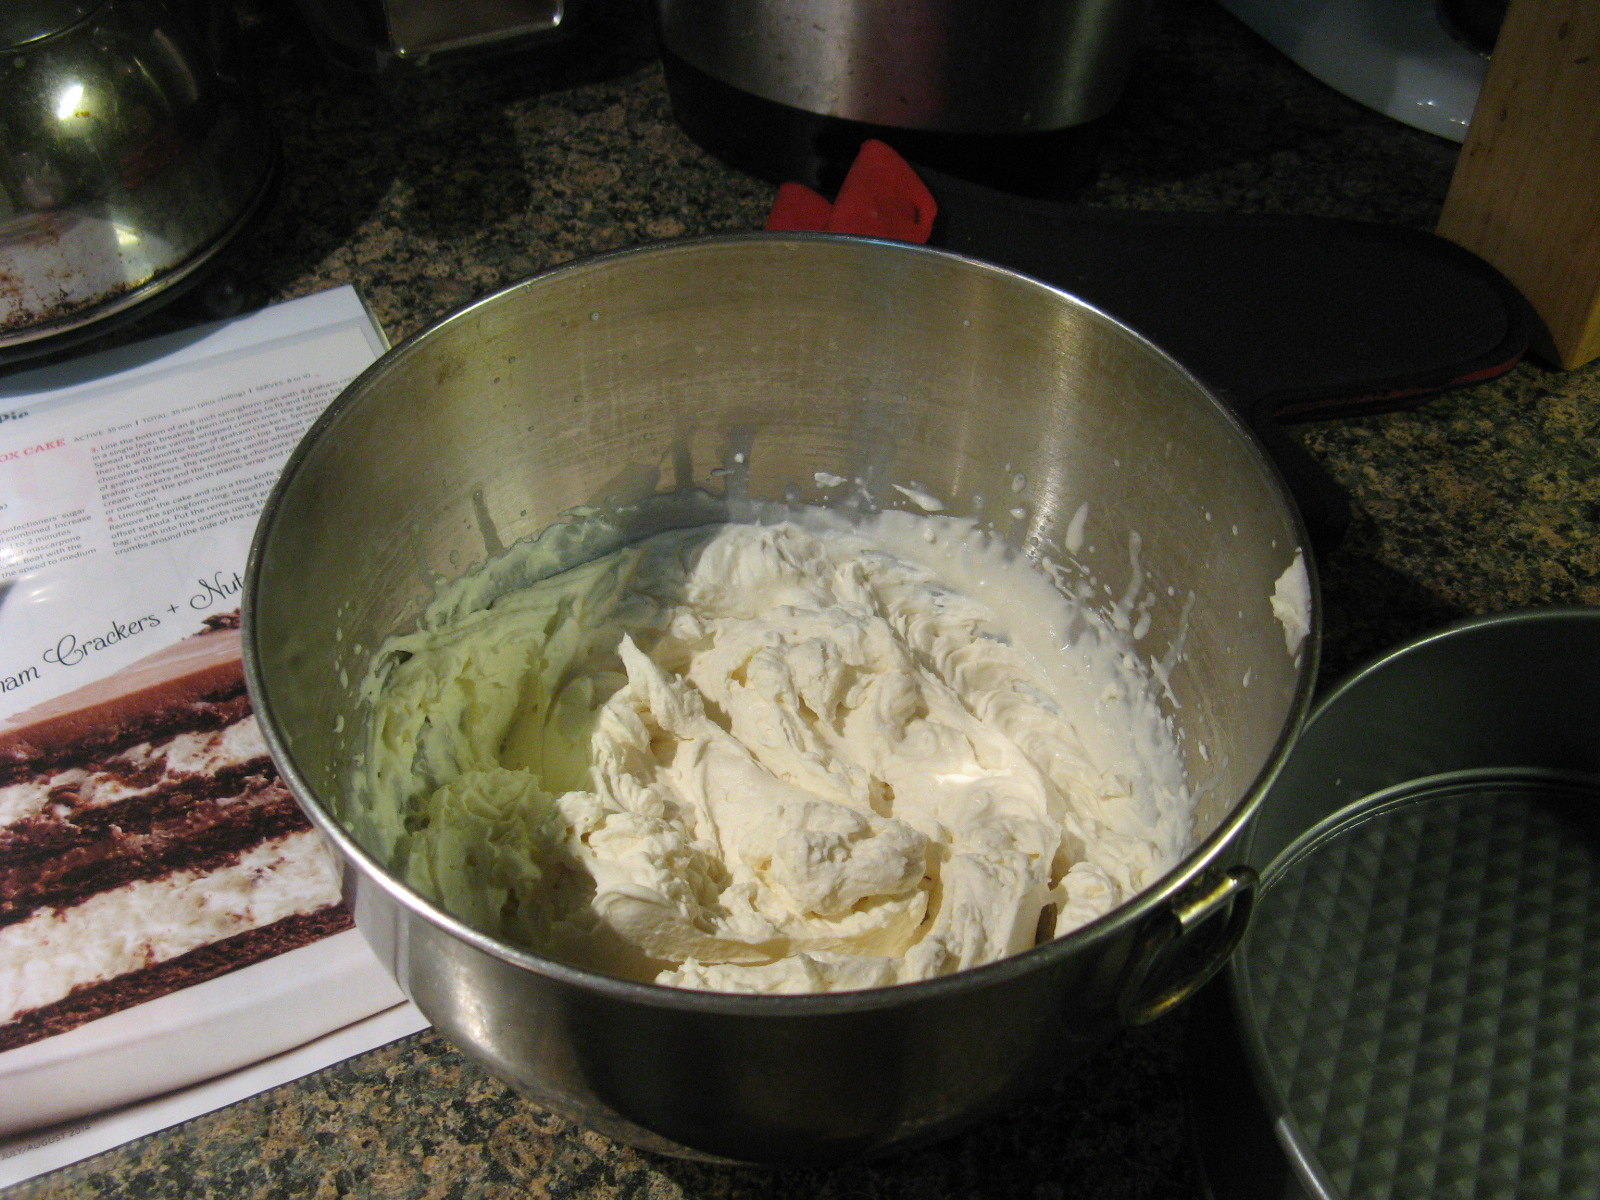
To begin I whipped together heavy cream, mascarpone cheese, confectioners’ sugar and vanilla extract in one bowl until stiff peaks formed.

IMG_4605

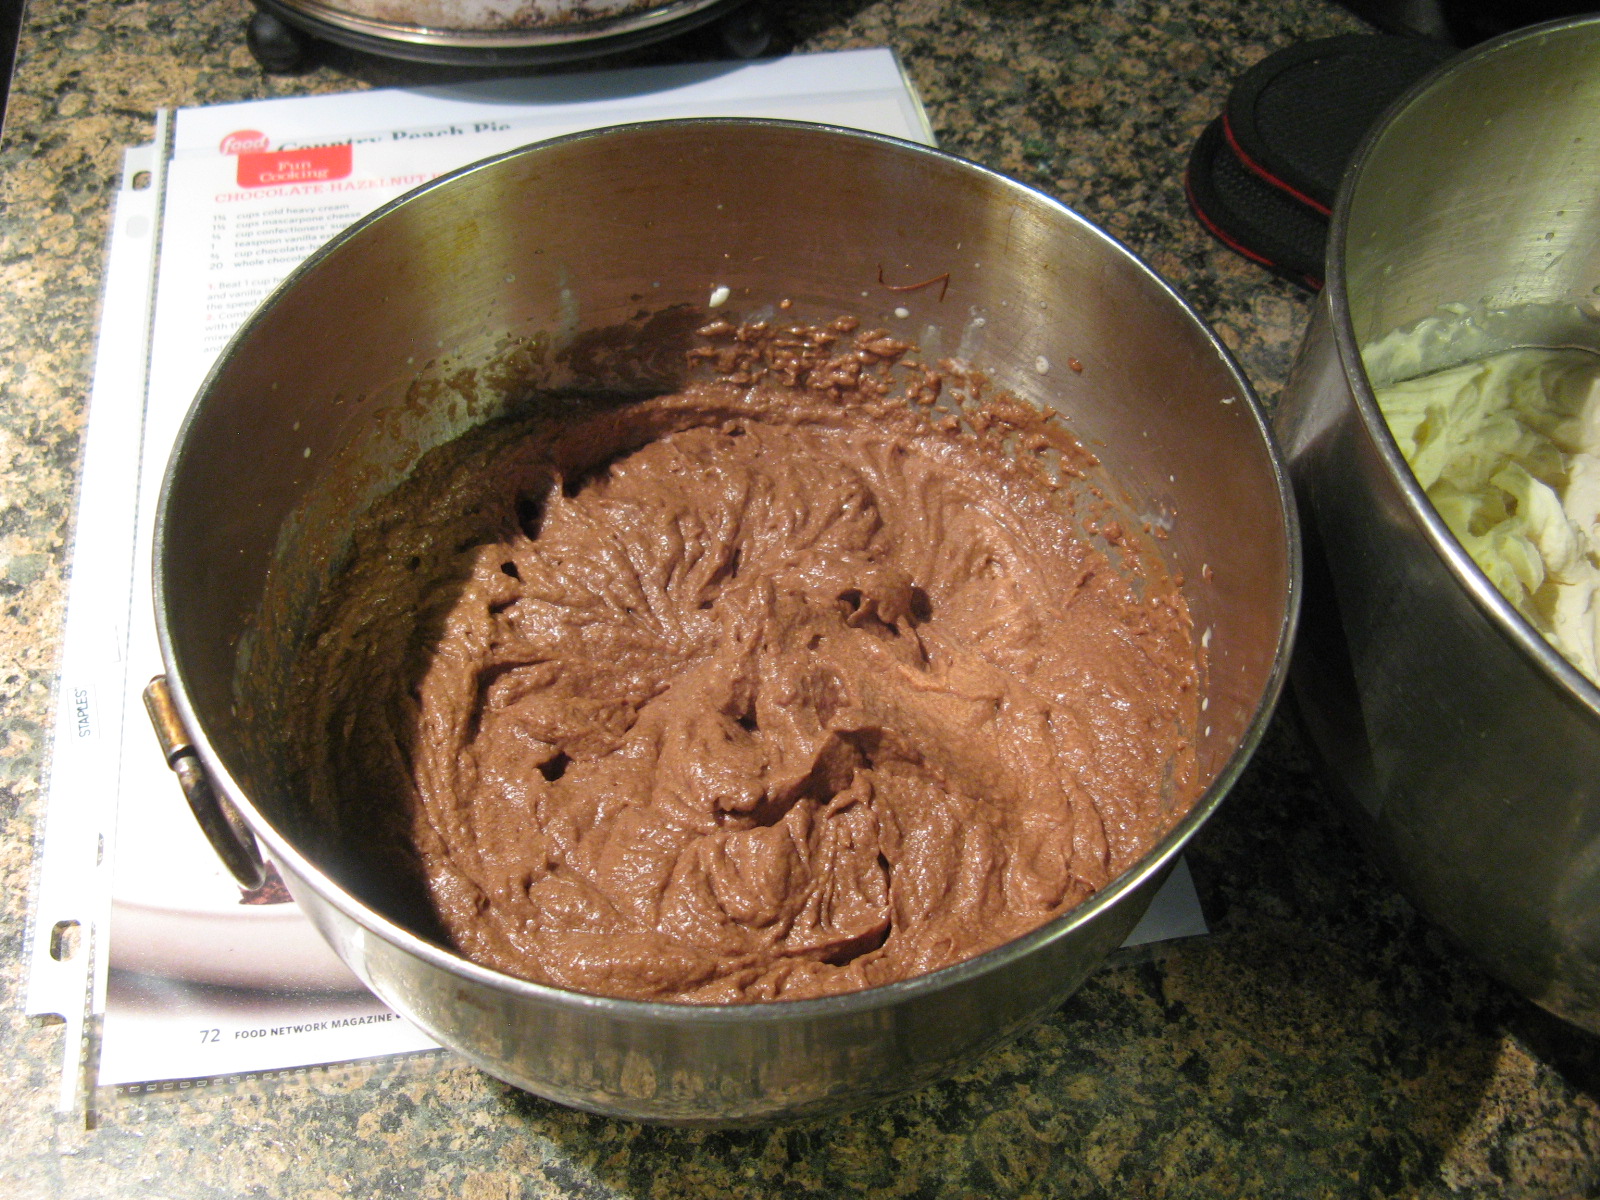
In another bowl I whipped together the remaining heavy cream and mascarpone cheese the recipe called for along with the Nutella until once again stiff peaks formed.

IMG_4607

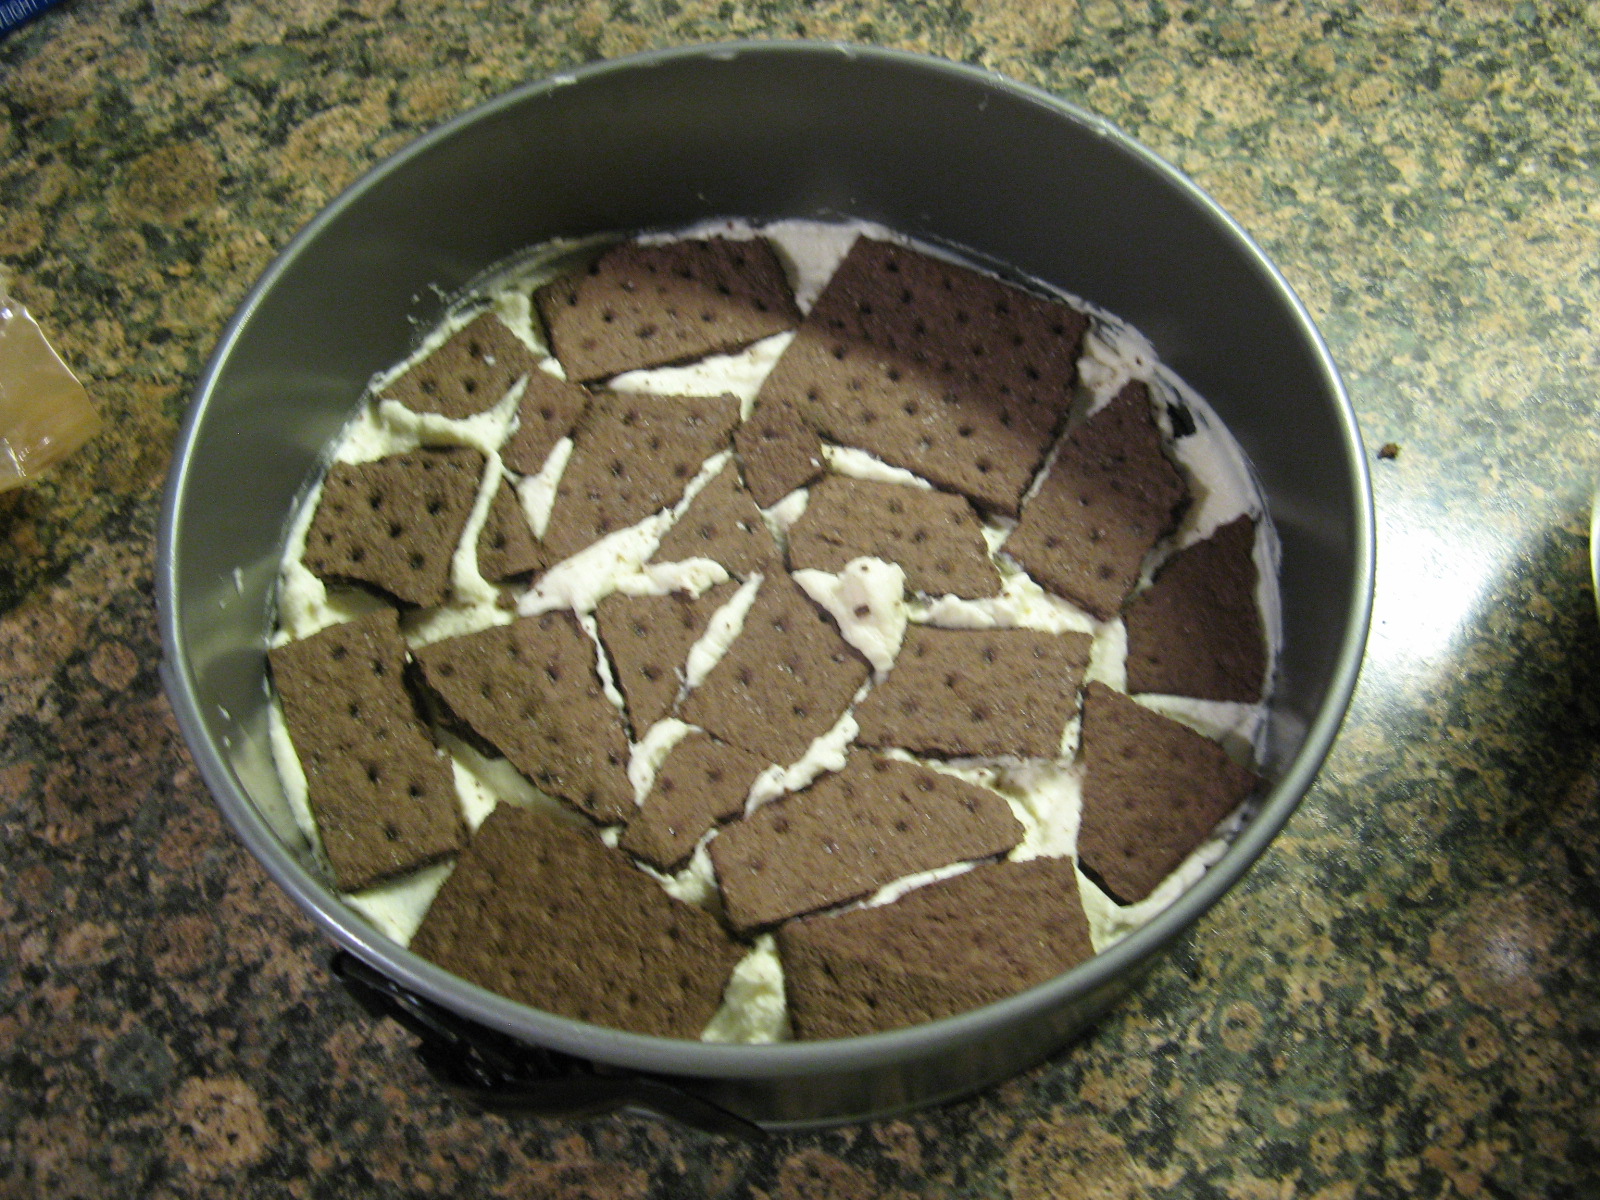
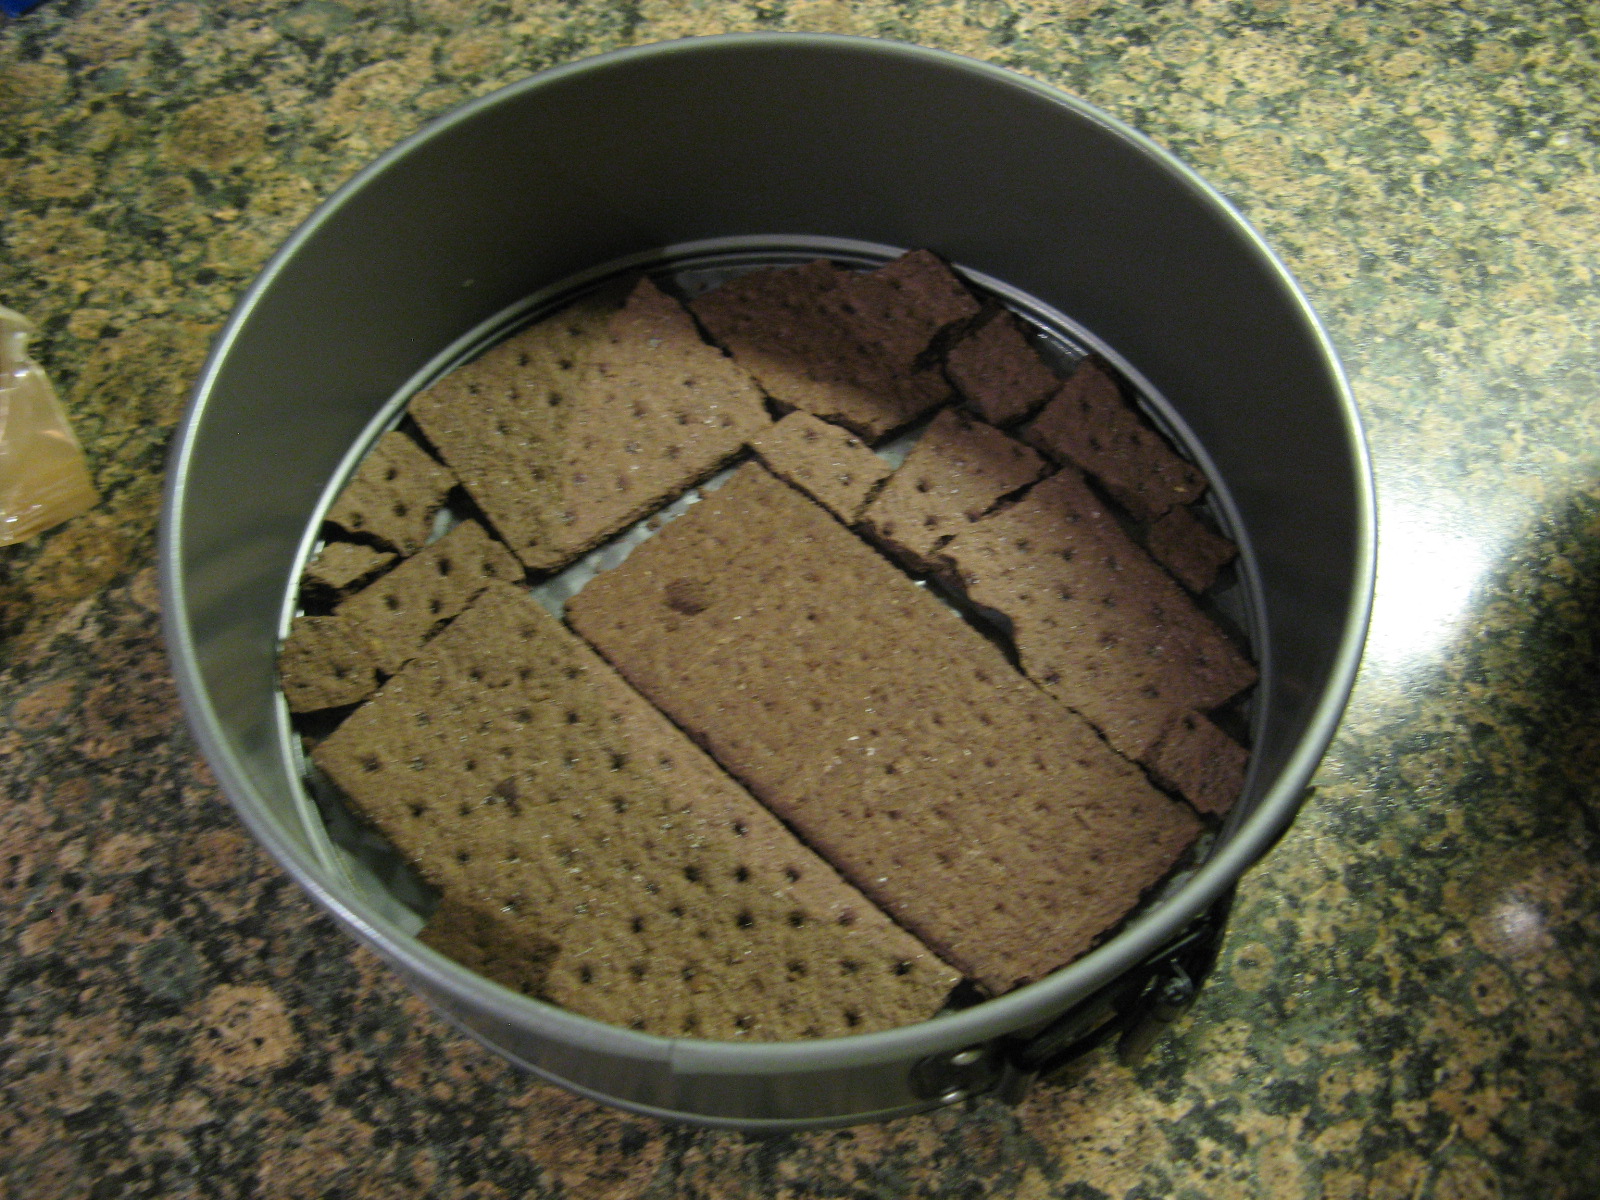
Then it was time to begin assembling the cake. (Of course before assembling I had to try both of the whipped mixtures and they were delicious.) I lined the bottom of an 8-inch springform pan with 4 graham crackers, breaking the crackers as need be so there wouldn’t be any big gaps.

IMG_4609

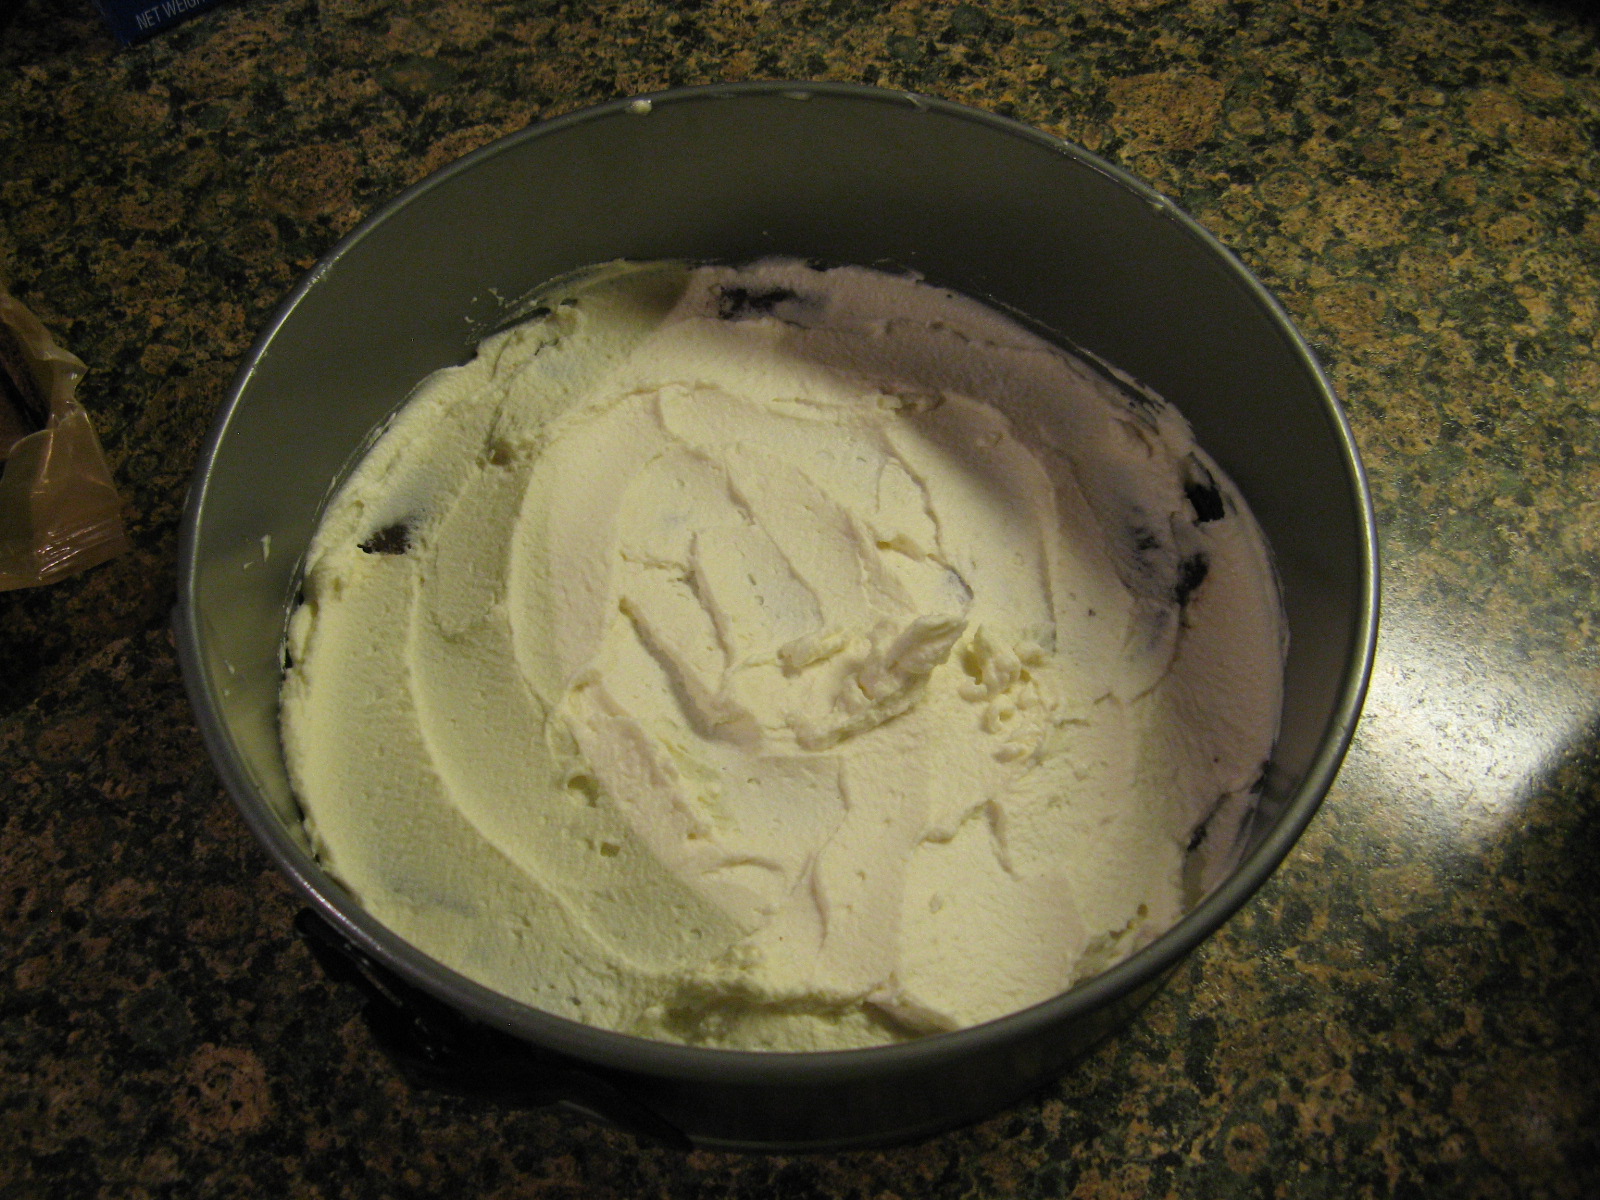
I then spread half of the mascarpone-vanilla mixture over the crackers…

IMG_4610

And then layered another four graham crackers over it…

IMG_4611

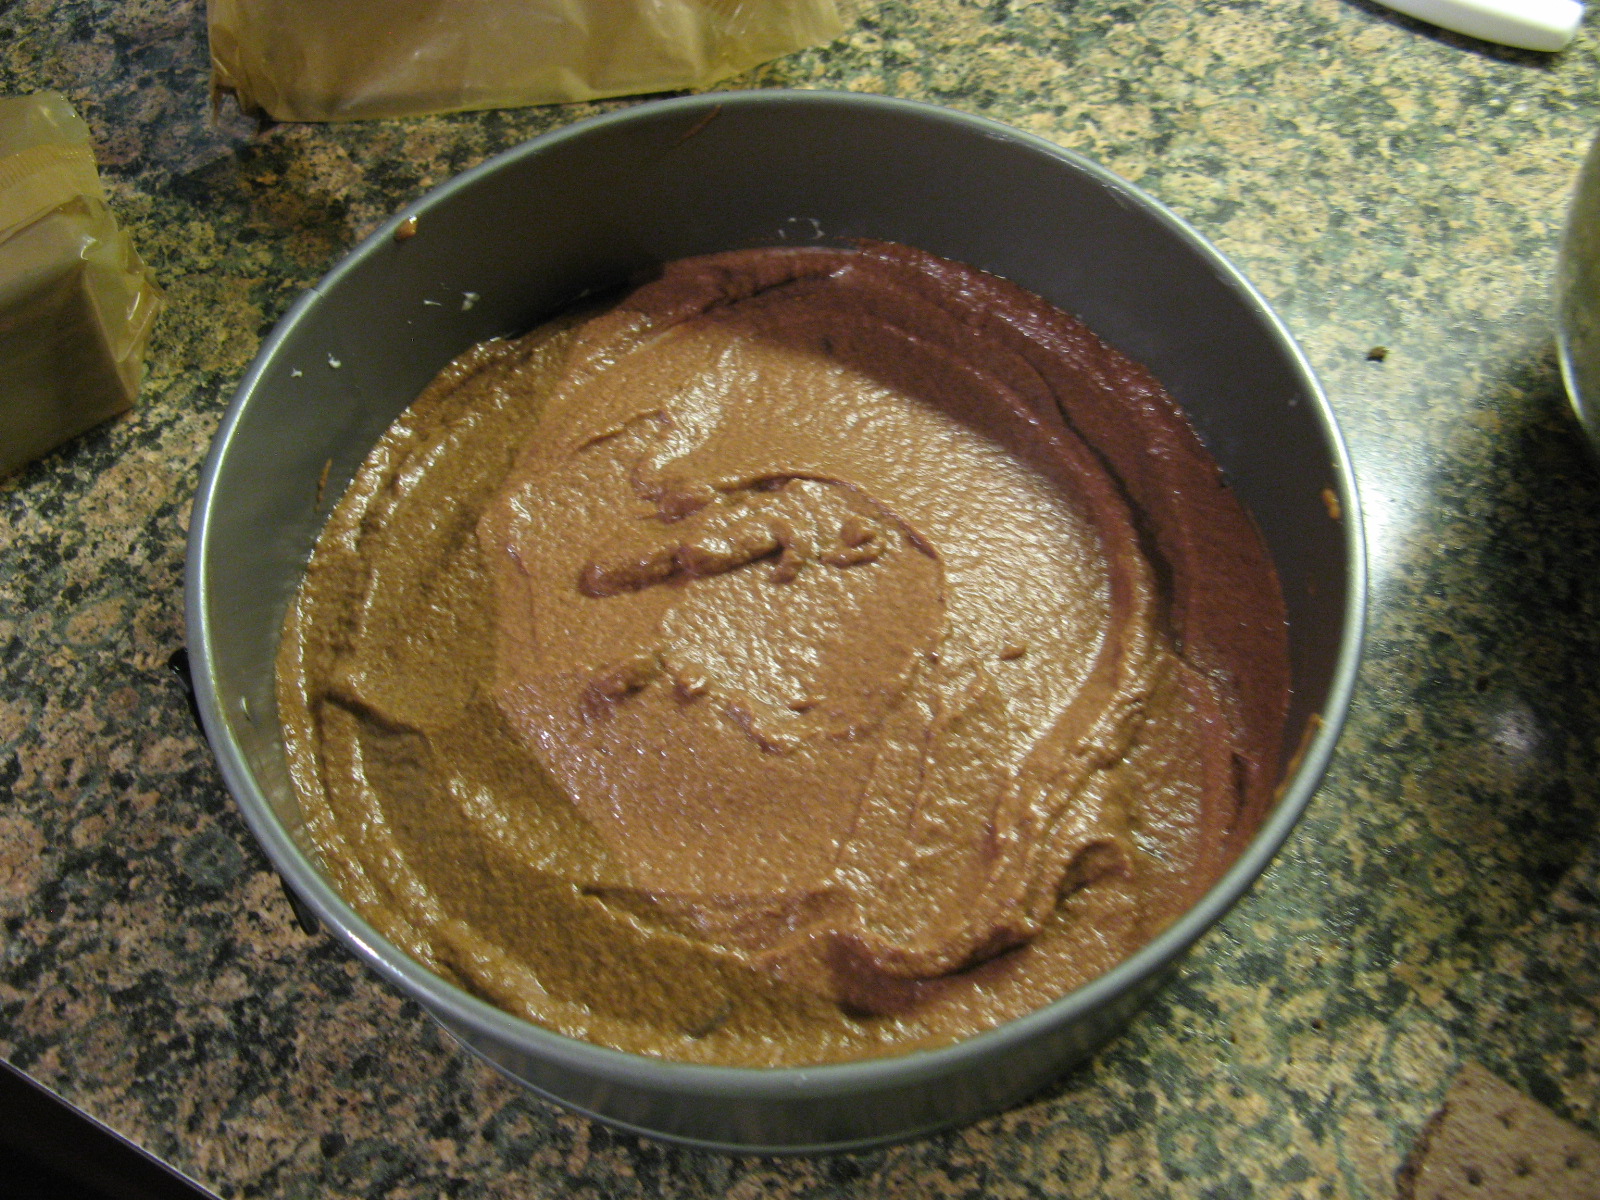
And then spread half of the mascarpone-Nutella mixture over the crackers…

IMG_4612

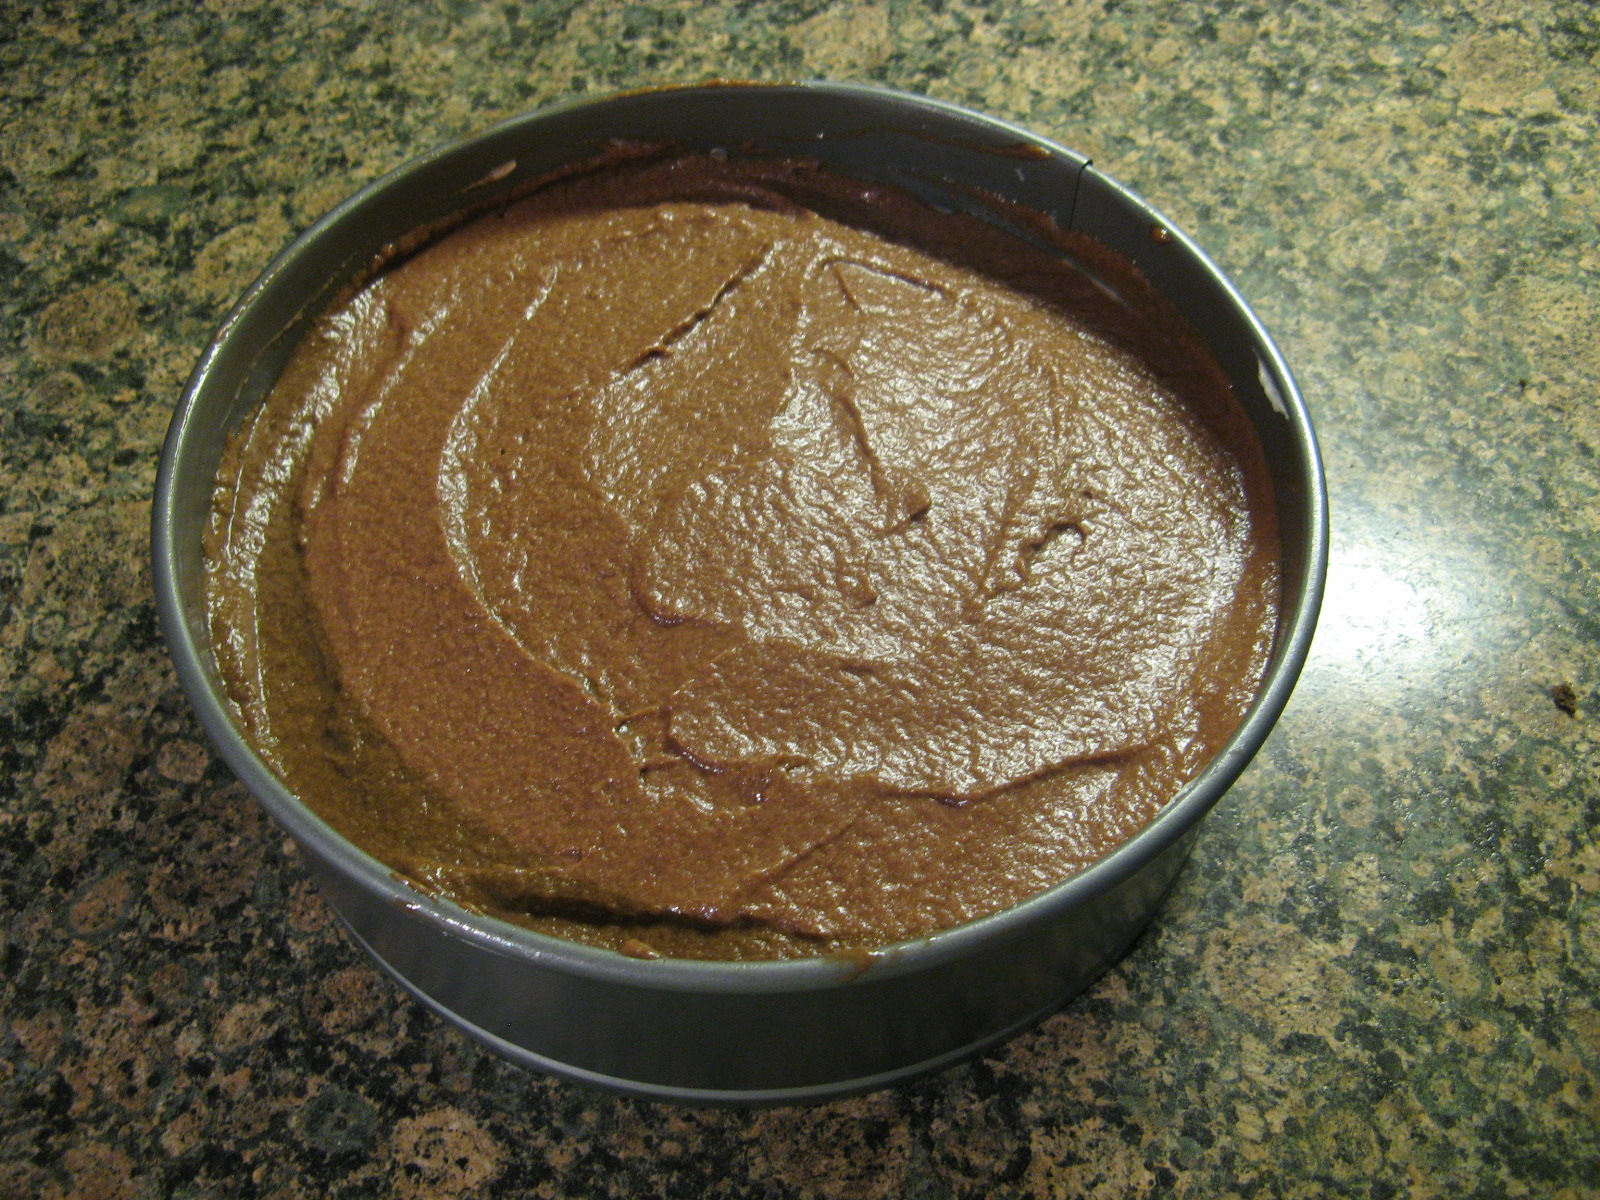
I continued the layering process ending with a top layer of the mascarpone-Nutella mixture.

IMG_4614

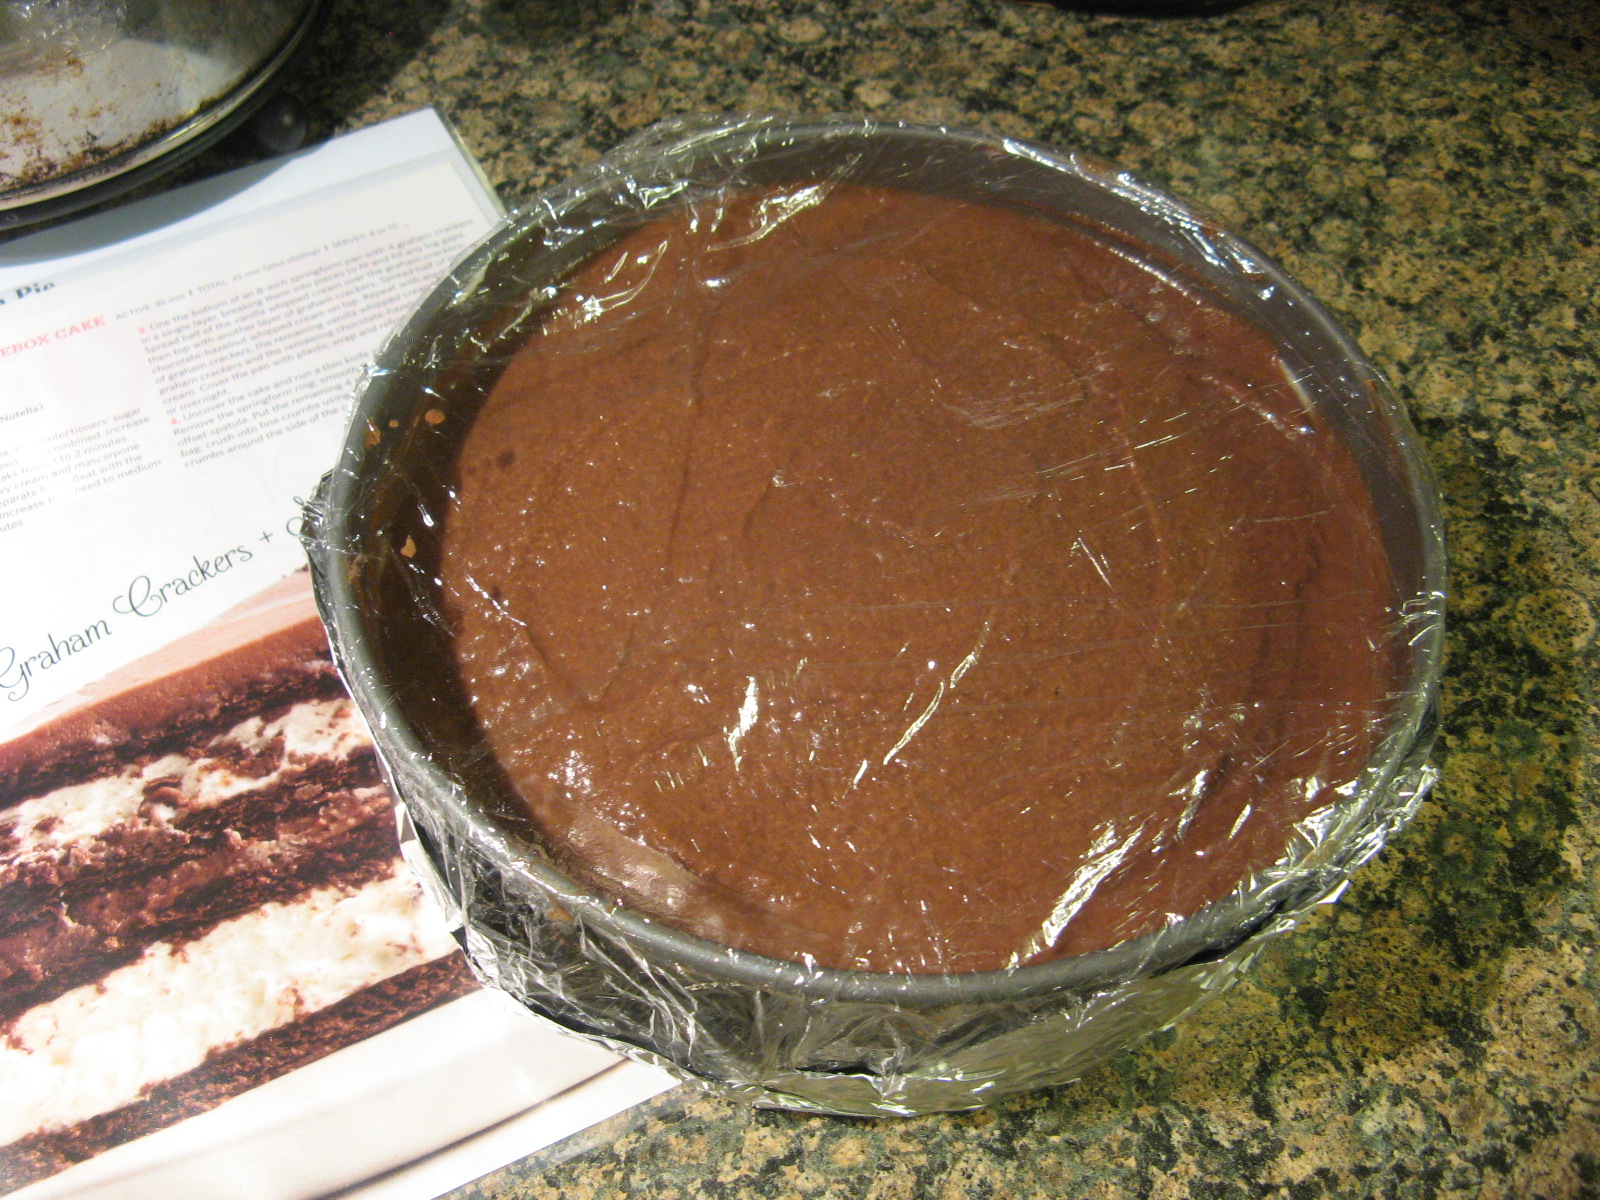
I wrapped the cake with plastic wrap – I also wrapped the bottom with aluminum foil to make sure the plastic wrap would stay on – and refrigerated it overnight.

IMG_4615

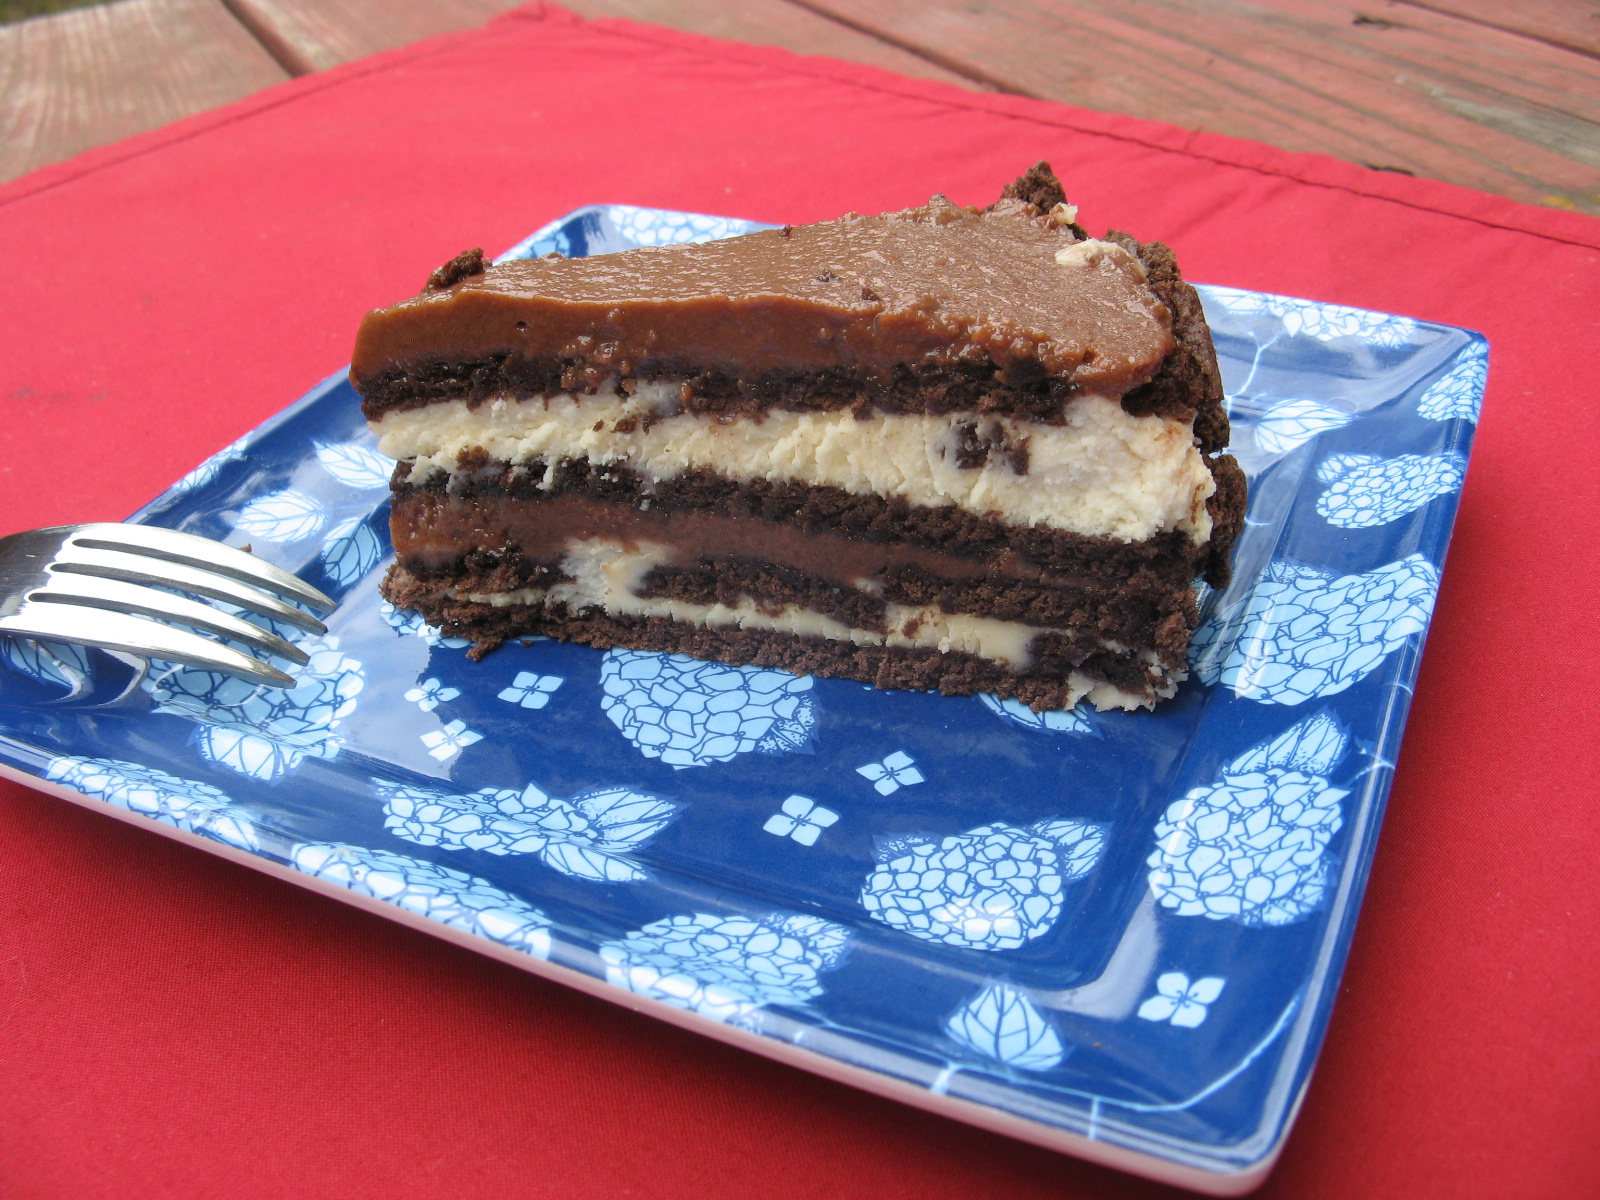
Prior to serving the cake I unmolded it from the springform pan and pressed the crumbs of 4 crushed graham crackers around the sides of the cake.

Final verdict… It was AMAZING! If you follow by blog regularly you know that in February I always make a character cake – first there was Elmo, then Minnie Mouse and this year it was an Enchanted Castle – for my friend’s daughters’ birthday, well, she happily ate a slice of this cake in record time and when I saw how much she enjoyed it I told her that next year this would be the cake I make for her birthday and she had no objections! We’ll see what happens when February rolls around though… I’ve already been thinking about some sort of Frozen theme. Regardless, I’m already looking forward to making this cake again. I should head back to that supermarket to pick up another box or two of the graham crackers just in case… Another search for them would not be fun, especially since I know how delicious this cake is now.

IMG_4670


Chocolate-Hazelnut Icebox Cake

1 3/4 cups cold heavy cream

1 1/2 cups mascarpone cheese

1/3 cup confectioners’ sugar

1 teaspoon vanilla extract

2/3 cup chocolate-hazelnut spread (such as Nutella)

20 whole chocolate graham crackers

1. Beat 1 cup heavy cream, 3/4 cup mascarpone, the confectioners’ sugar and vanilla in a bowl with a mixer on low speed until combined. Increase the speed to medium and beat until stiff peaks form, 1 to 2 minutes.
2. Combine the remaining 3/4 cup each heavy cream and mascarpone with the chocolate-hazelnut spread in a separate bowl. Beat with the mixer on low speed until combined, then increase the speed to medium and beat until stiff peaks form, 1 to 2 minutes.
3. Line the bottom of an 8-inch springform pan with 4 graham crackers in a single layer, breaking them into pieces to fit and fill and big gaps. Spread half of the vanilla whipped cream over the graham crackers, then top with another layer of graham crackers. Spread half of the chocolate-hazelnut whipped cream on top. Repeat with another layer of graham crackers, the remaining vanilla chipped cream, then more graham crackers and the remaining chocolate-hazelnut whipped cream. Cover the pan with plastic wrap and refrigerate at least 6 hours or overnight.

4. Uncover the cake and run a thin knife around the edge to loosen. Remove the springform ring; smooth the sides of the cake using an offset spatula. Put the remaining 4 graham crackers in a large resealable bag; crush into fine crumbs using the bottom of a skillet. Press the crumbs around the side of the cake.


Zucchini Spice Bread

Another mini road trip meant it was time to bake another dessert that wouldn’t require refrigeration. This time I went with a Zucchini Spice Bread. If you are not a fan of zucchinis, or vegetables for that matter, no worries the addition of some warm spices masks the fact that a vegetable is the main ingredient in this delicious loaf cake. Luckily for me, I love all vegetables – even those bitter Brussels sprouts. Trust me; they can be delicious when made the right way.

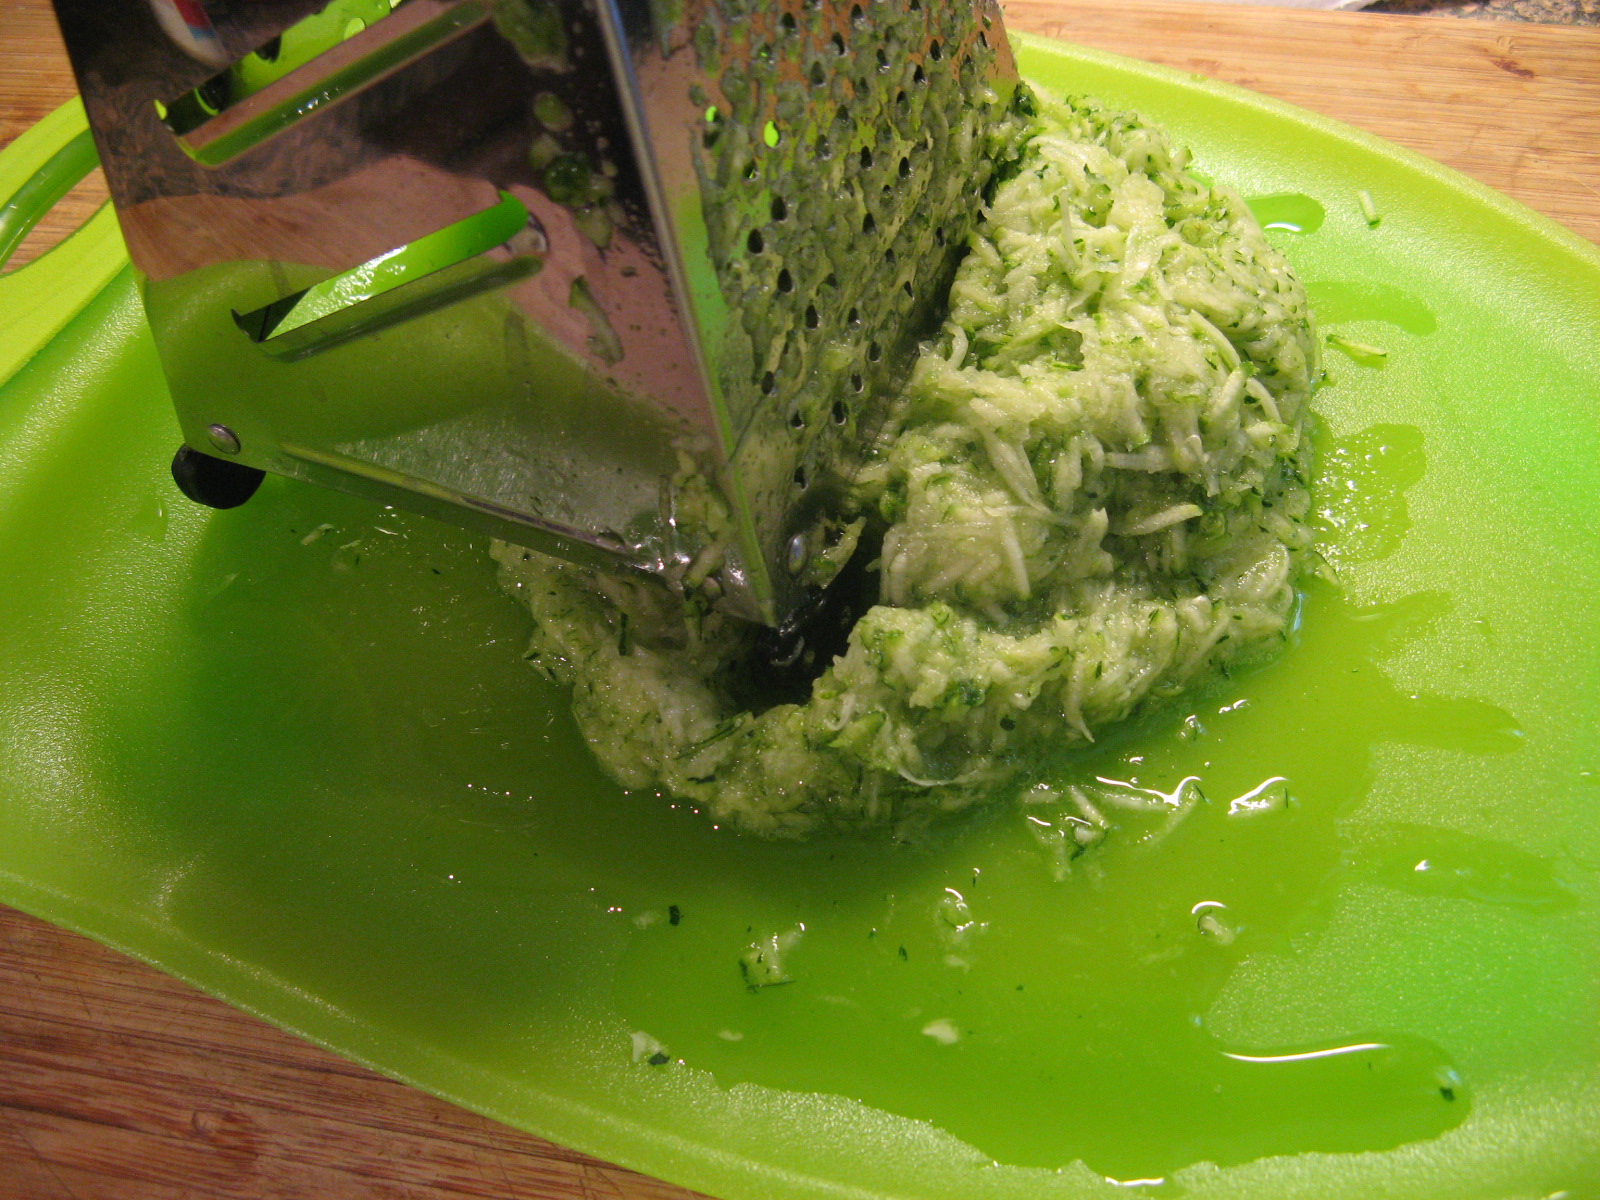
I began by grating a medium-sized zucchini. While the recipe called for the zucchini to be coarsely grated I opted to finely grate it which I think added to the moisture of the bread.

IMG_4527

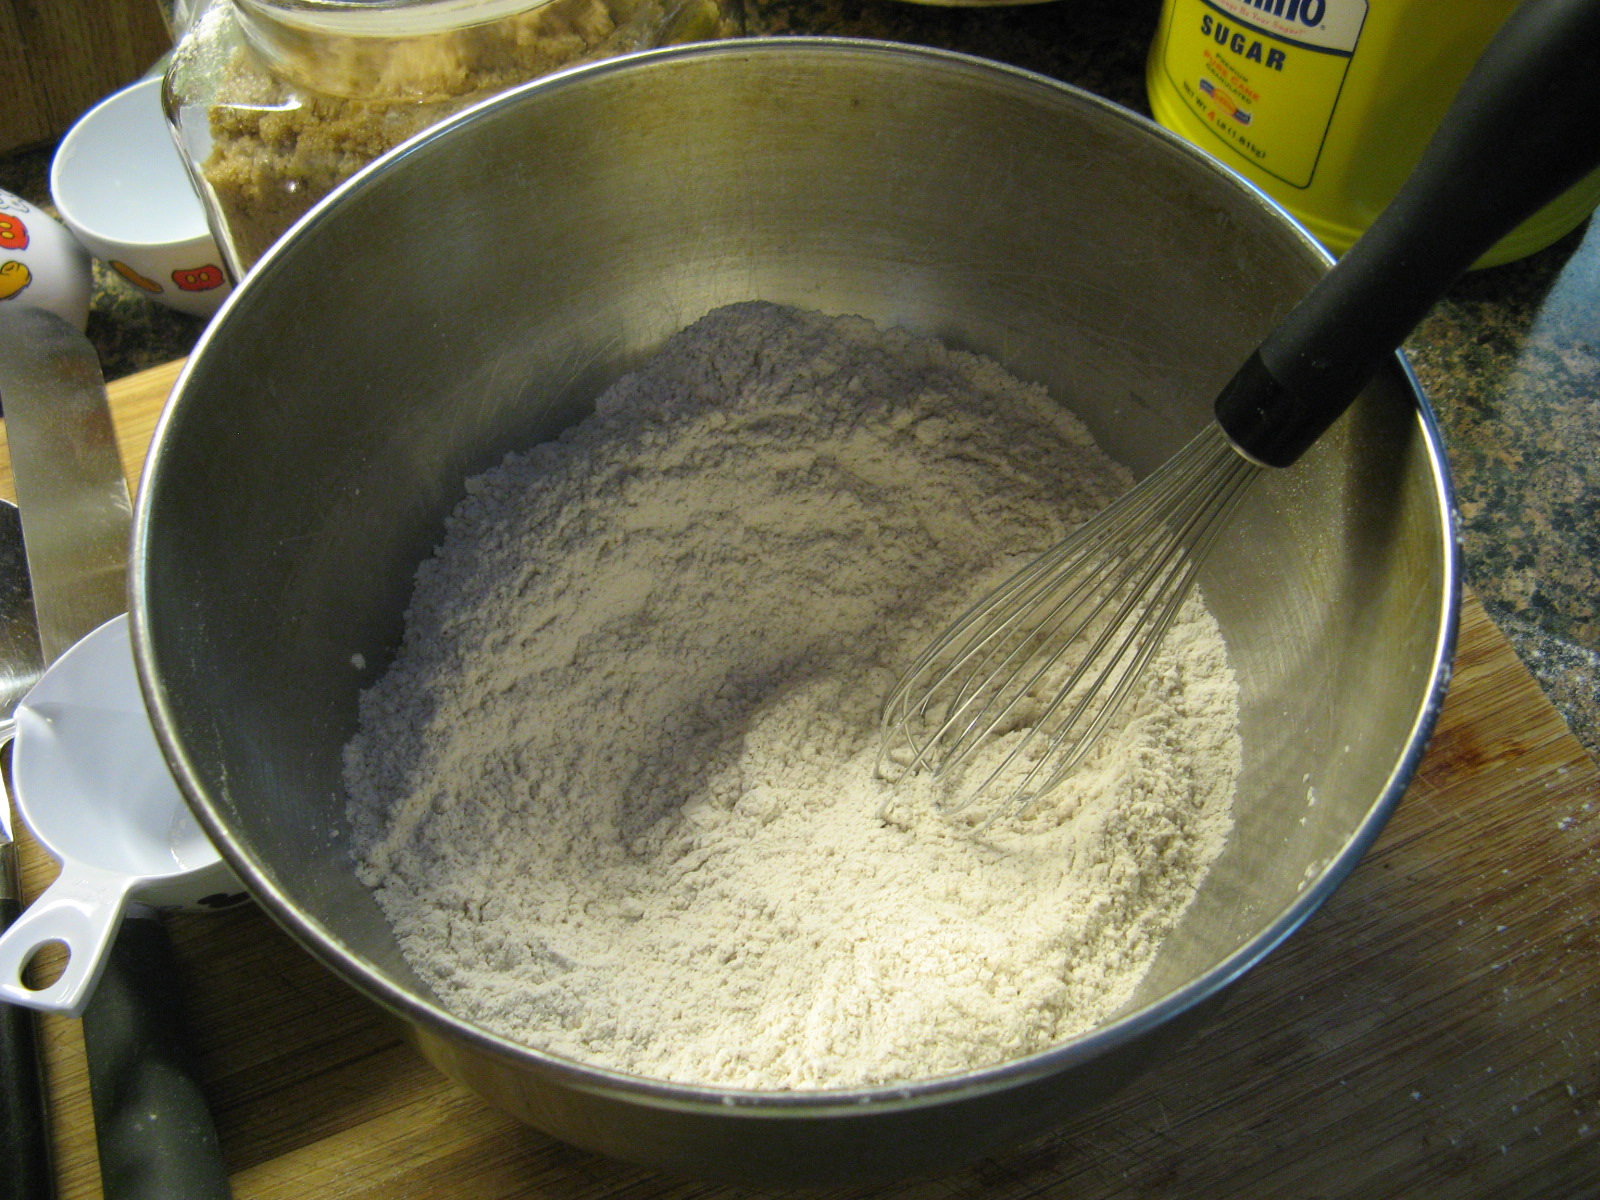
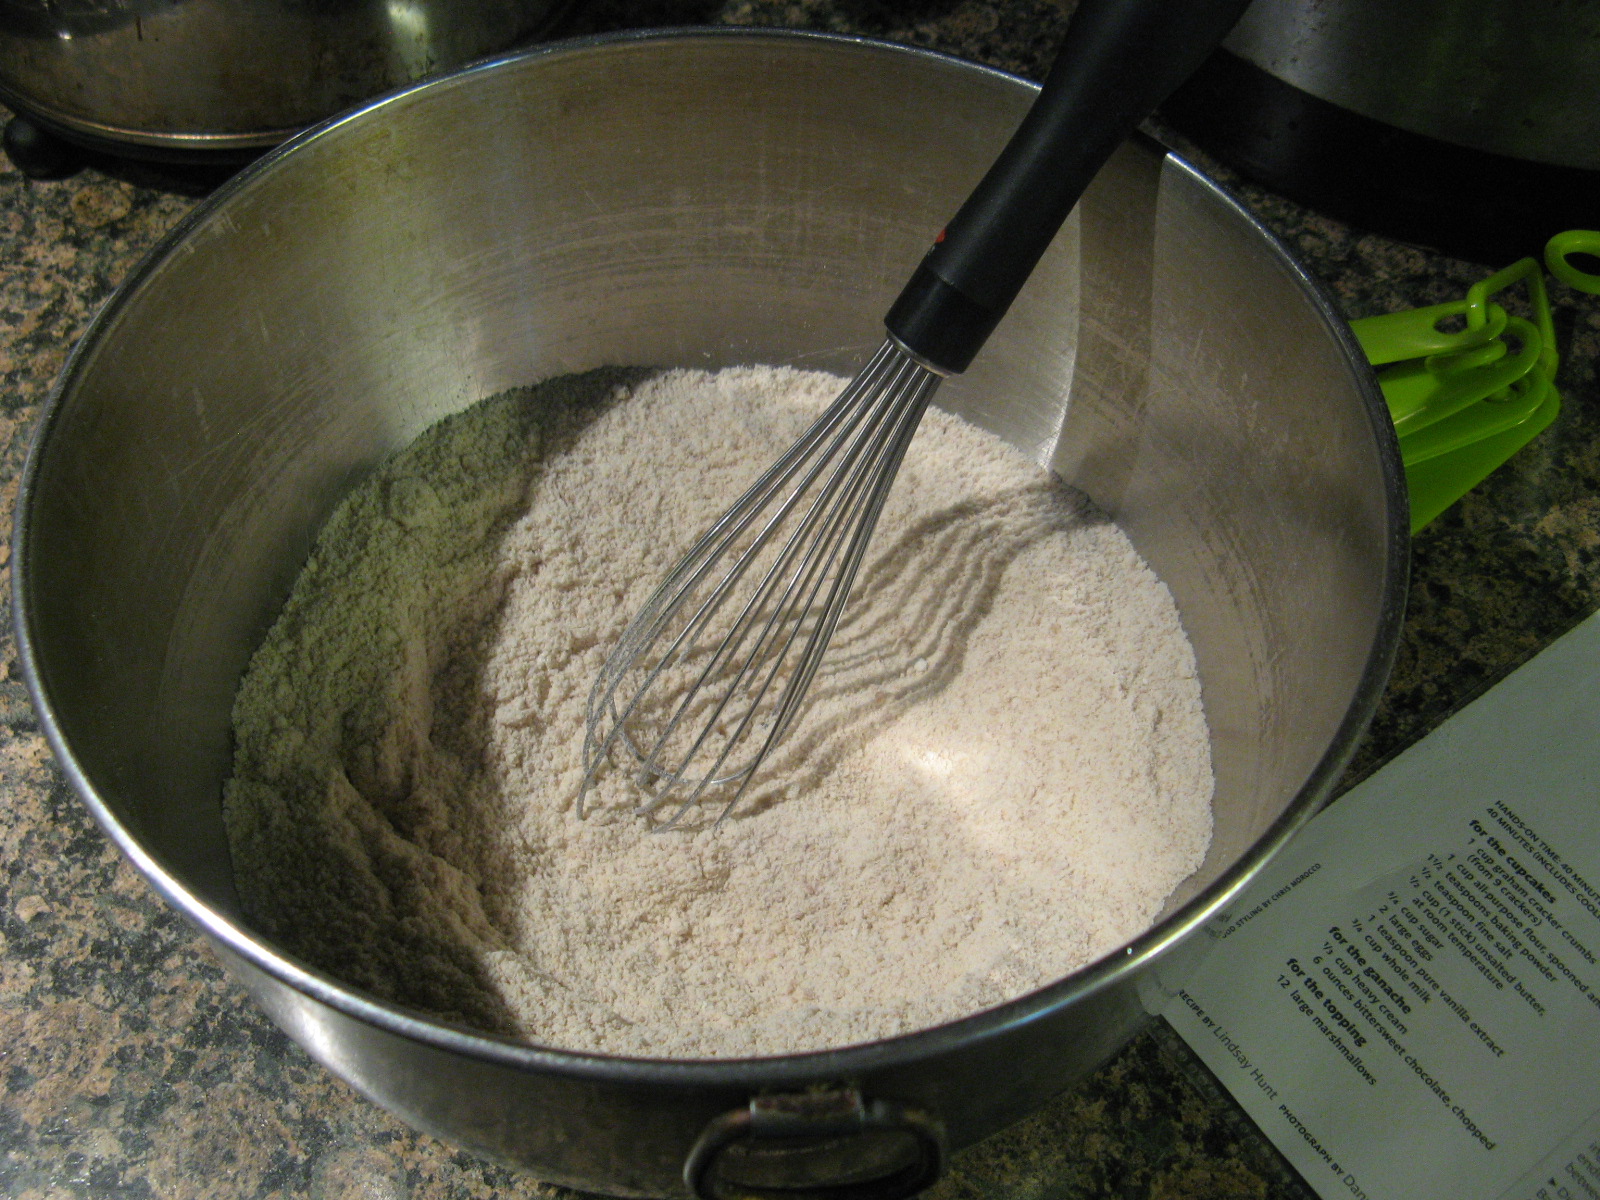
Next I whisked together the dry ingredients; flour, baking powder, baking soda, salt and the spices: cinnamon, ginger, nutmeg and ground cloves.

IMG_4530

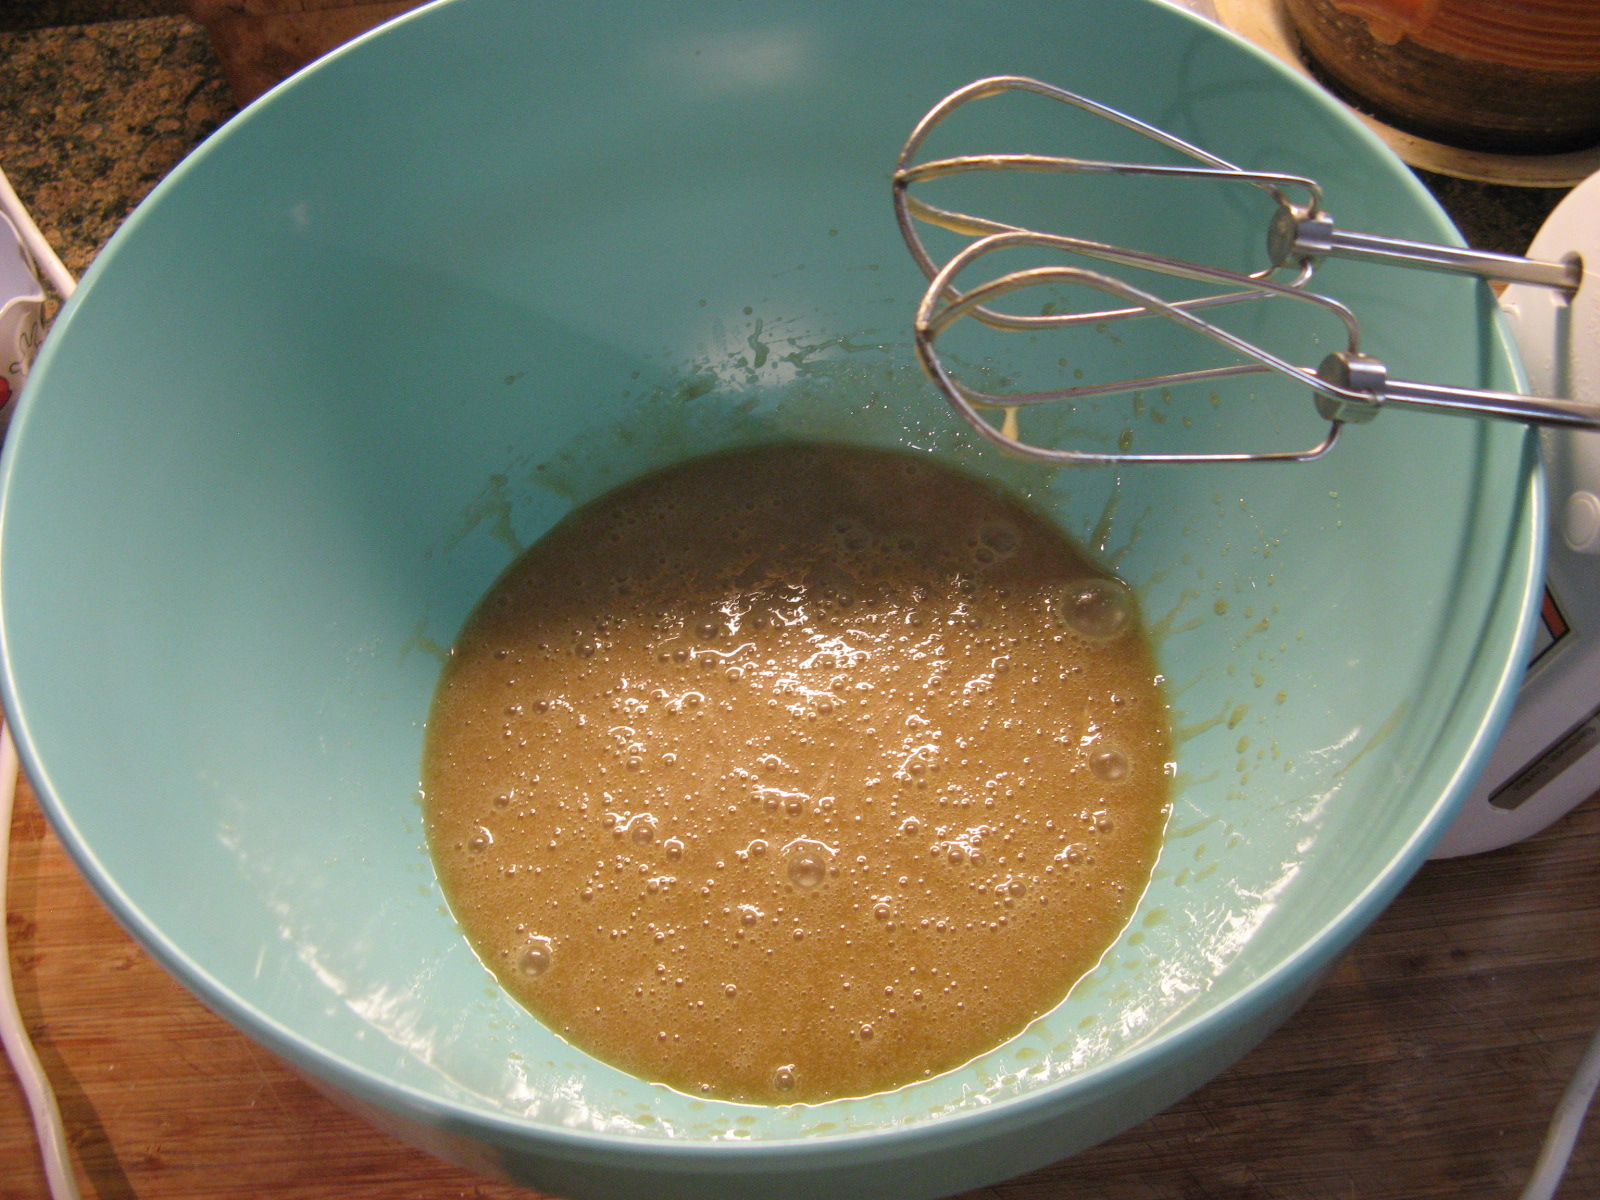
In another bowl I used a hand mixer to mix together canola oil, light brown and granulated sugar, two eggs, vanilla extract…

IMG_4532

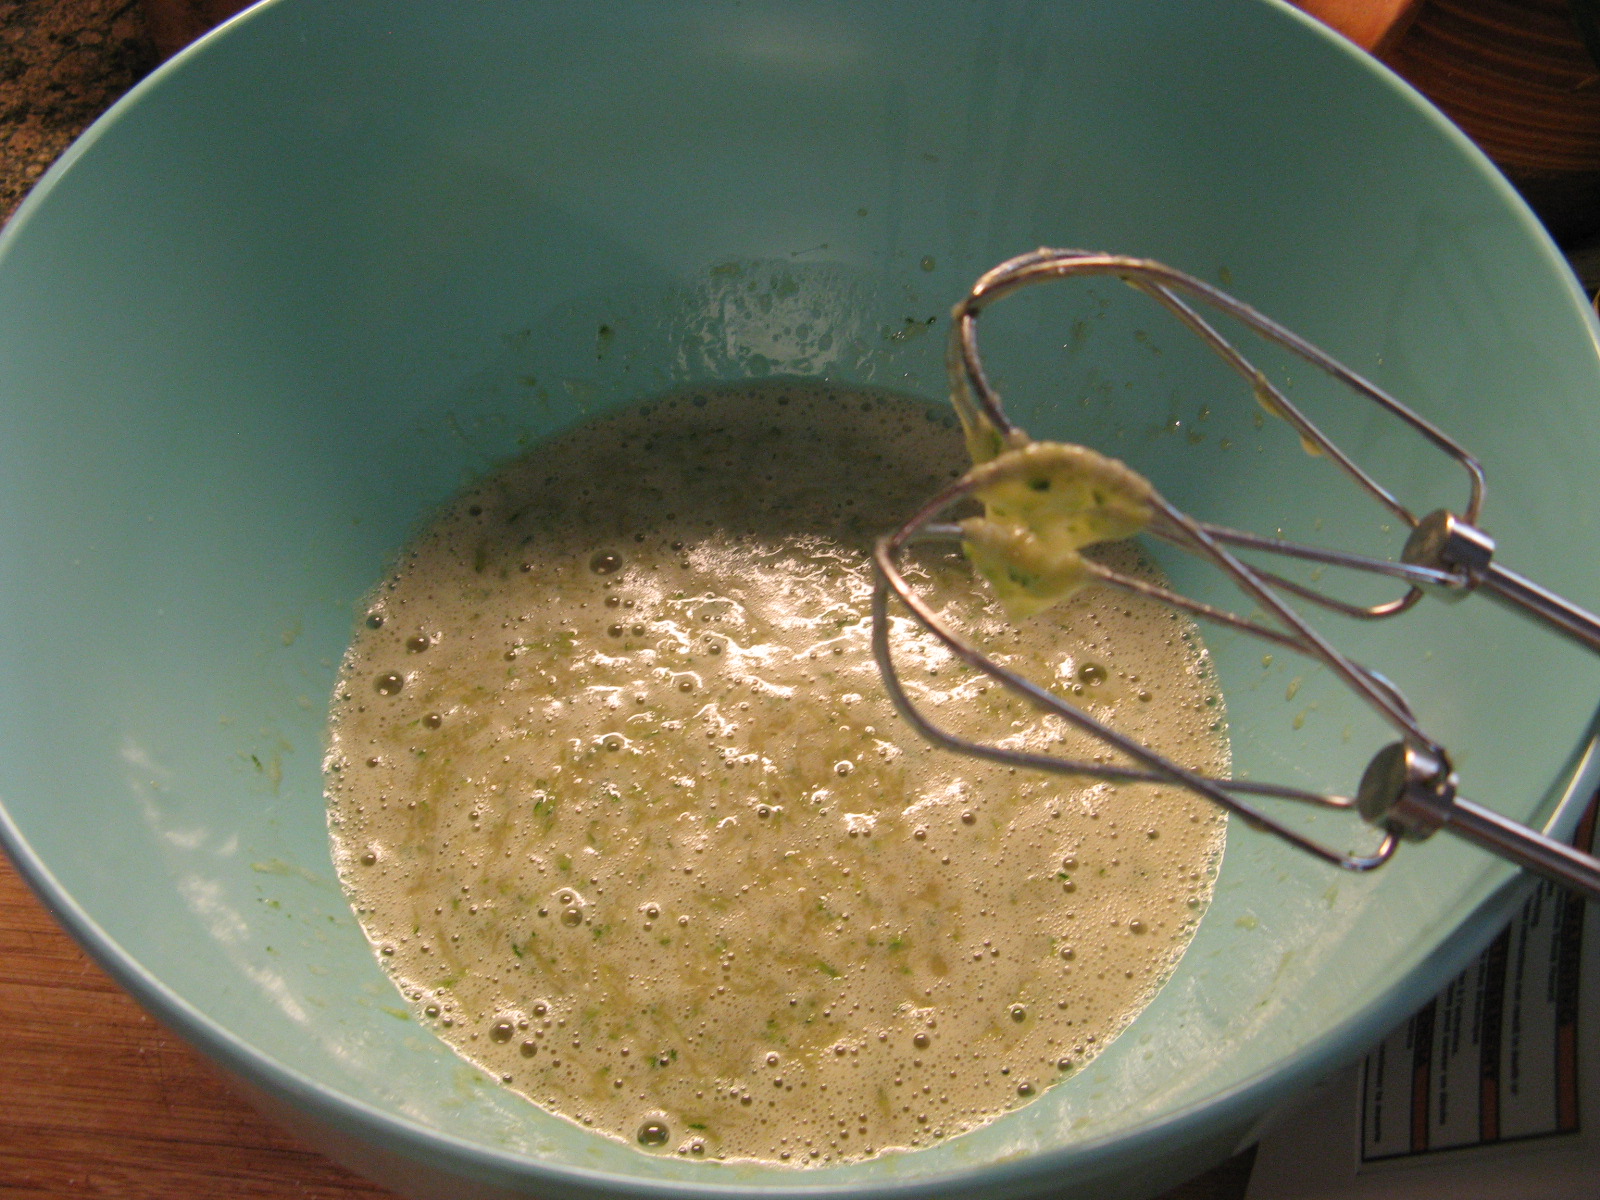
And finally the zucchini.

IMG_4533

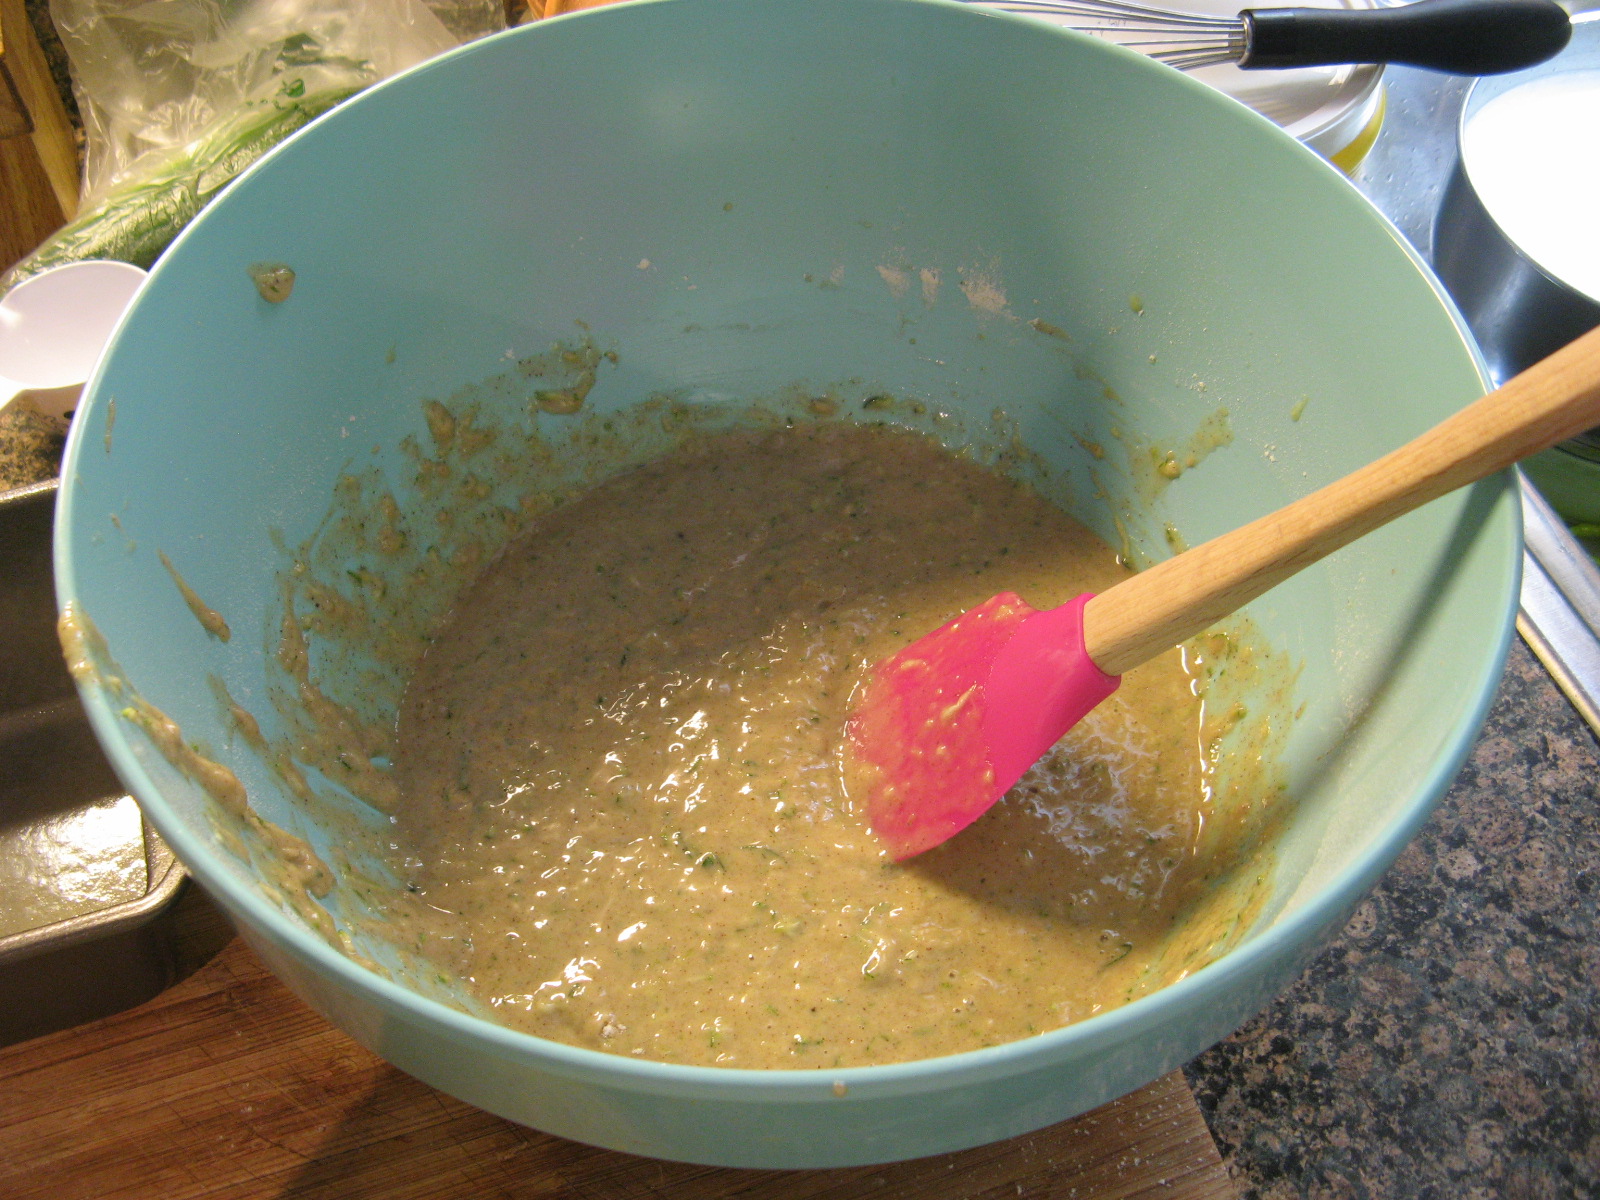
I then added in the flour mixture and mixed it until it was just combined.

IMG_4535

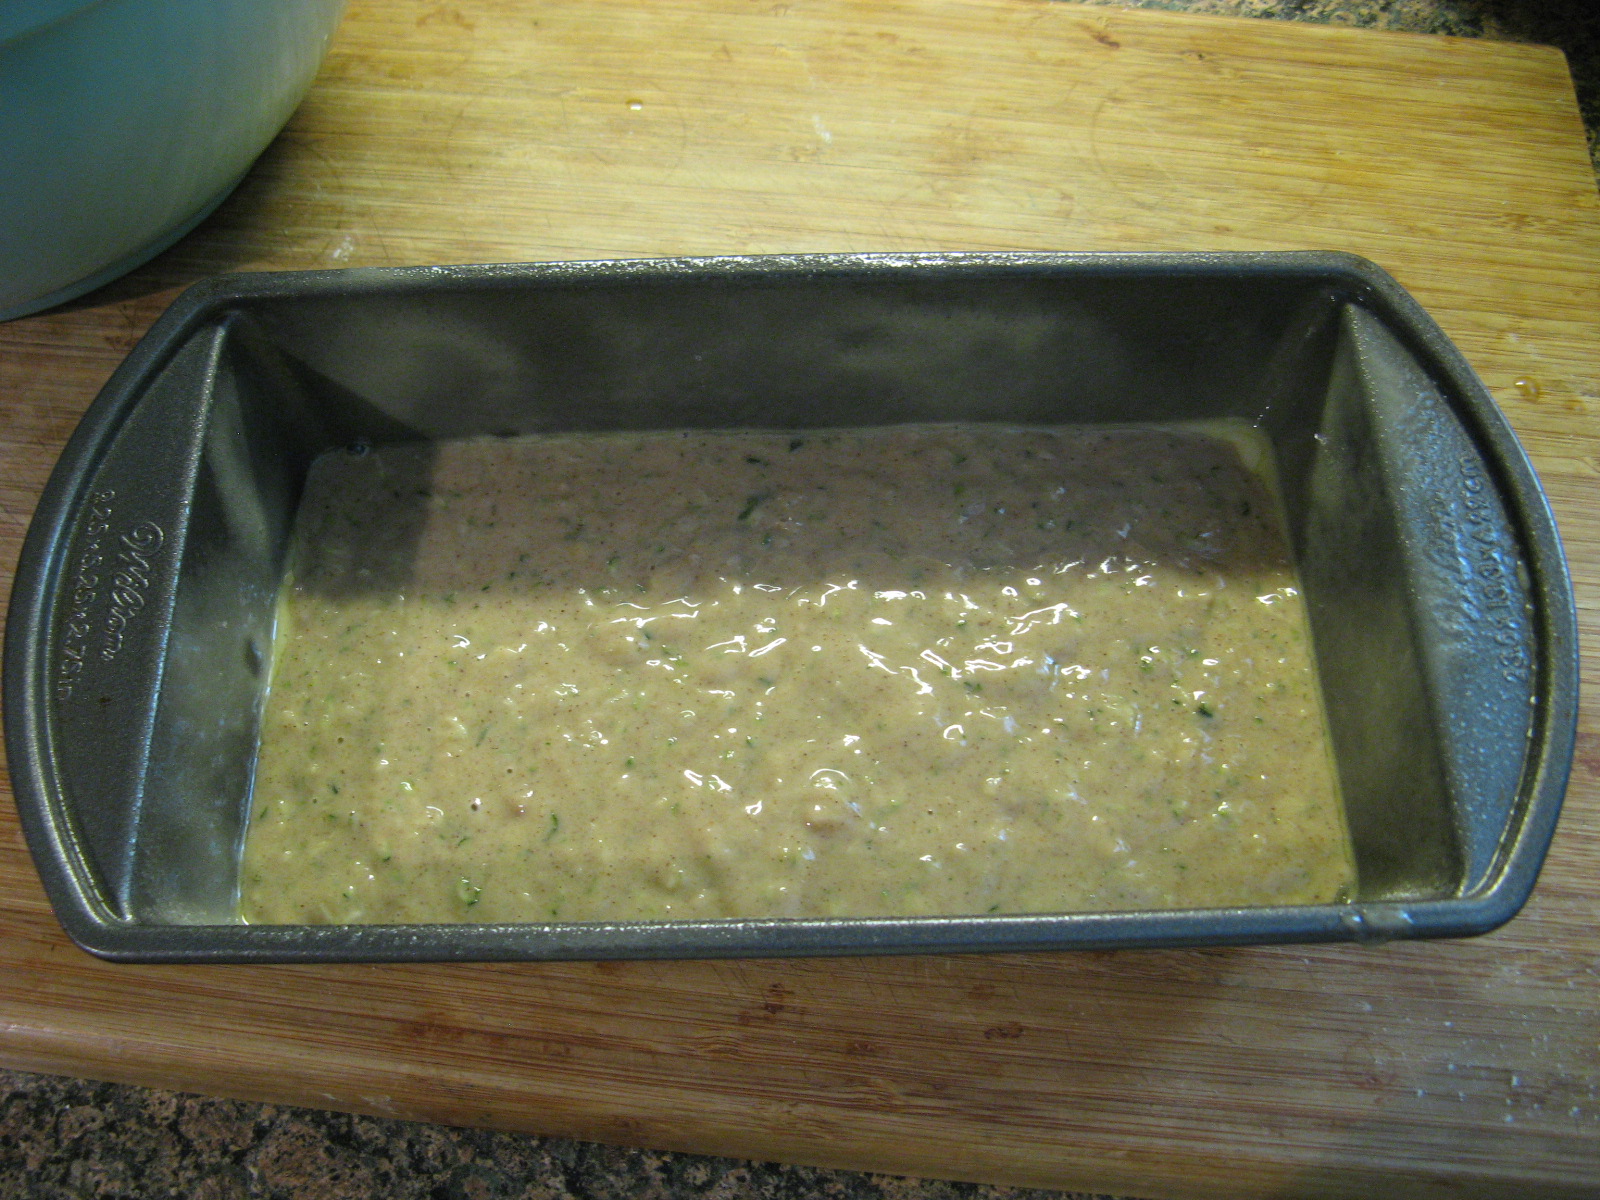
After pouring it into my prepared loaf pan – I sprayed it with baking spray – I baked it in a preheated 350 F oven for about 50 minutes.
IMG_4540

The cake smelled delicious right out of the oven and I couldn’t wait for it to cool so I could try a piece.

IMG_4547

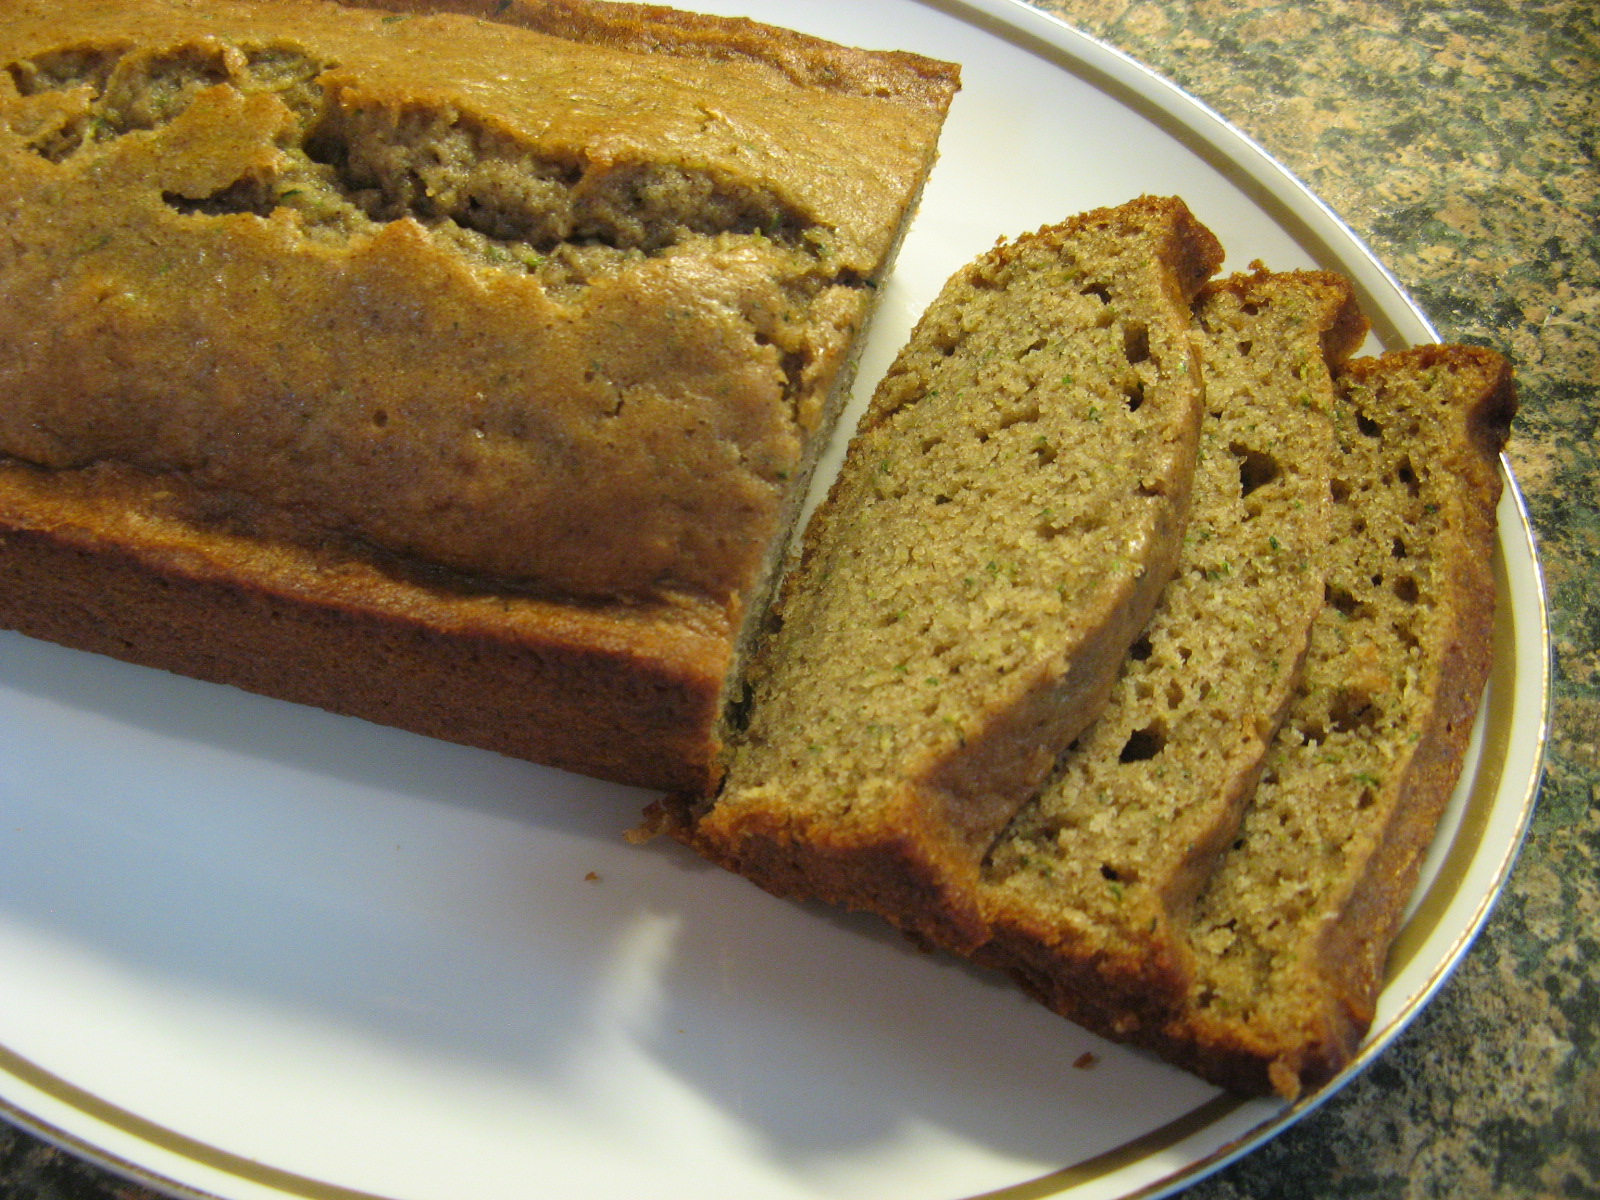
After letting it cool for a half hour in the pan and then transferring it to a wire rack to cool completely I was finally able to slice into the loaf and I definitely wasn’t disappointed. It was incredibly moist and the spices were a perfect touch. Next time I make it though I will probably add in some walnuts for a little texture and added flavor.

IMG_4561


Zucchini Spice Bread

Ingredients

1/2 cup canola oil

1 1/2 cups all-purpose flour

1 teaspoon baking powder

1 teaspoon ground cinnamon

1/2 teaspoon ground ginger

1/2 teaspoon kosher salt

1/4 teaspoon baking soda

1/4 teaspoon ground nutmeg

A pinch of ground cloves

1/2 cup light brown sugar

1/4 cup granulated sugar

2 large eggs

1 teaspoon vanilla extract

1 medium zucchini, coarsely grated (about 1 1/2 cups)

Directions 

1. Heat oven to 350 F. Grease a loaf pan (I used a 9 1/4 x 5 1/4 inch pan.) In a medium bowl, whisk together the flour, baking powder, cinnamon, ginger, salt, baking soda, nutmeg and cloves.

2. In a large bowl, mix together the oil, light brown and granulated sugars, eggs and vanilla; mix in the zucchini. Add the flour mixture and mix until just combined (do not over mix.)

3. Spread the batter in the prepared pan bake until a toothpick inserted in the center comes out clean, 50 to 60 minutes. Cool in the pan for 30 minutes, then transfer to a wire rack to cool completely.
Nilla Wafer Cupcakes with Banana Cream Cheese Frosting

I have a confession to make; I have never had a s’more. It sounds like a good combination, a roasted marshmallow sandwiched between two graham crackers and a piece of chocolate; then again, I am not a big fan of marshmallows. I used to love them as a child but somewhere along the way I just wasn’t as keen on them as I got older. And then recently, in the July issue of Real Simple magazine, I came across a recipe for S’mores Cupcakes that I thought of trying but then I had the idea of swapping out the graham cracker crumbs in the cupcake for Nilla Wafer crumbs and because I didn’t think that the marshmallow and chocolate ganache would be the right topping for it I decided to create a banana cream cheese frosting to top it off.

IMG_4483

To begin I used a food processor to turn approximately twenty-five Nilla Wafer cookies into crumbs.

IMG_4458

I then whisked the crumbs in with flour, baking powder and salt.

IMG_4459

In another bowl I creamed together butter and sugar until it was light and fluffy and then added in two eggs – one at a time – and finally vanilla extract. It was then time to add the crumb mixture along with whole milk to this mixture.

IMG_4461

I alternated between the crumb mixture and milk, beginning and ending with the crumb mixture, until the batter came together.

IMG_4462

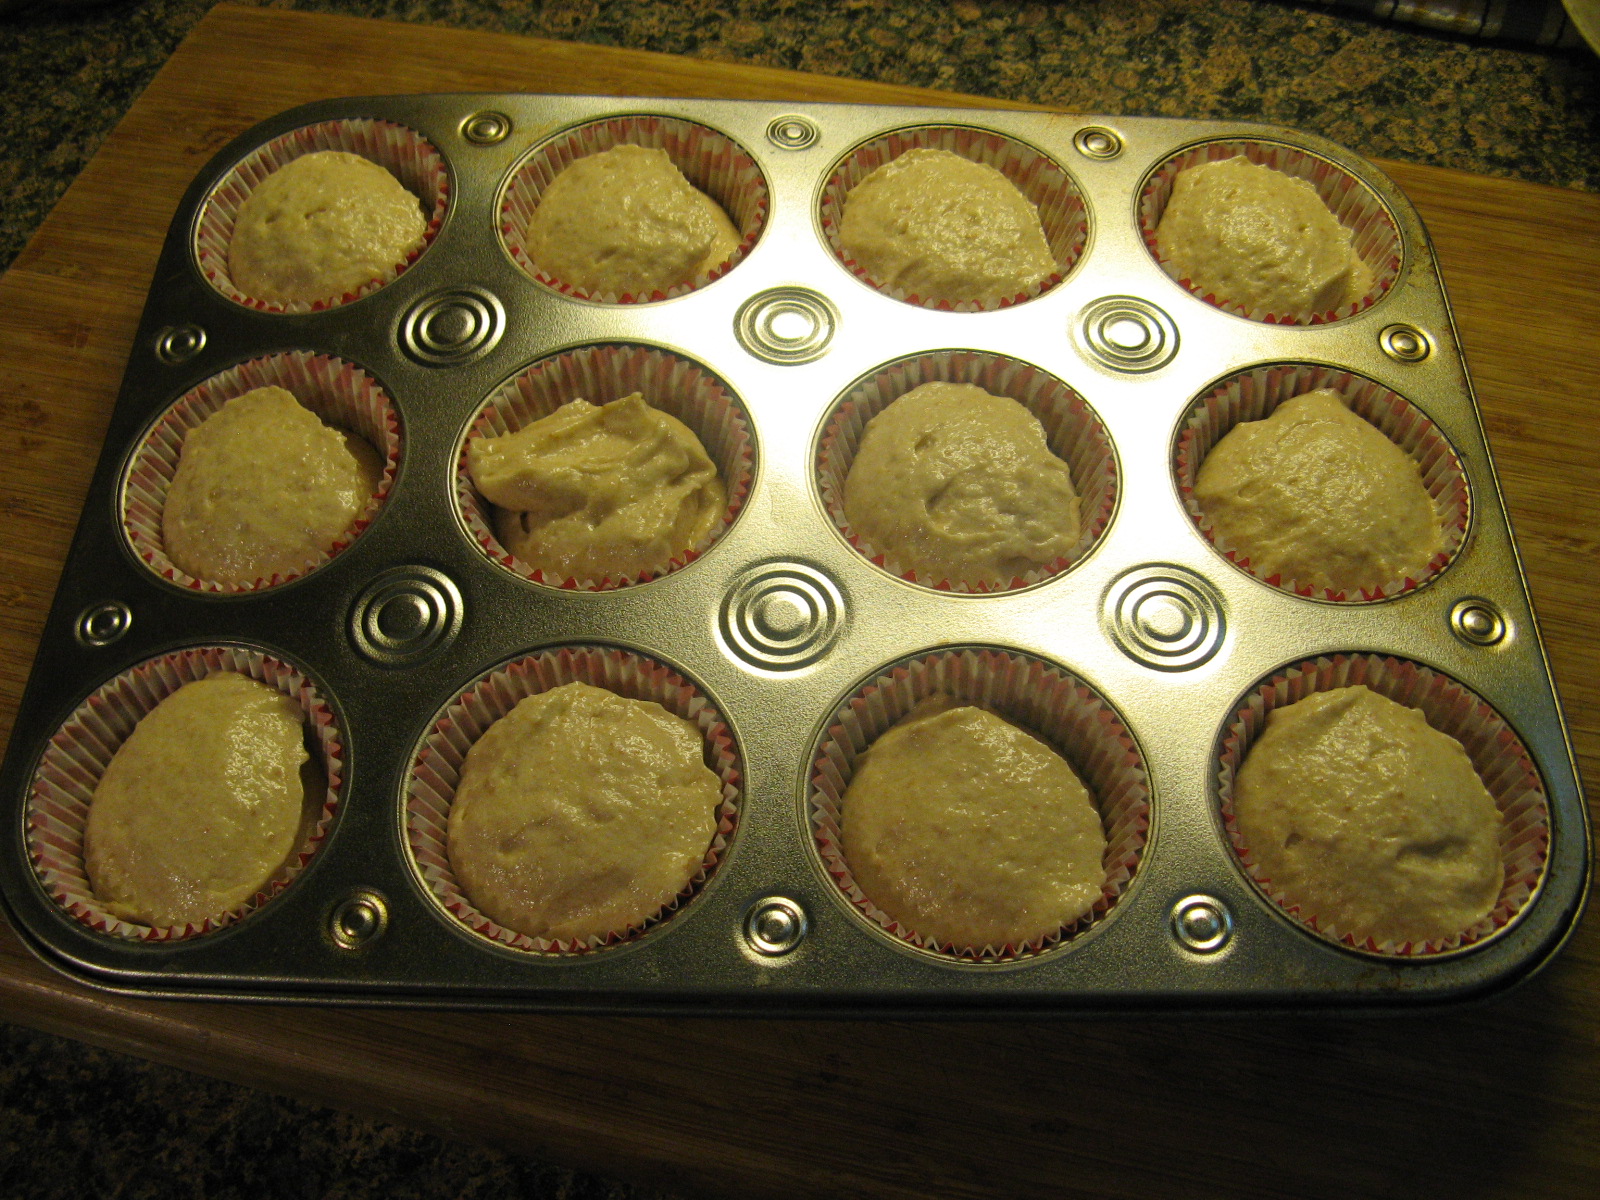
Using my trusted ice cream scoop I filled a 12-cup muffin tin lined with paper liners.

IMG_4466

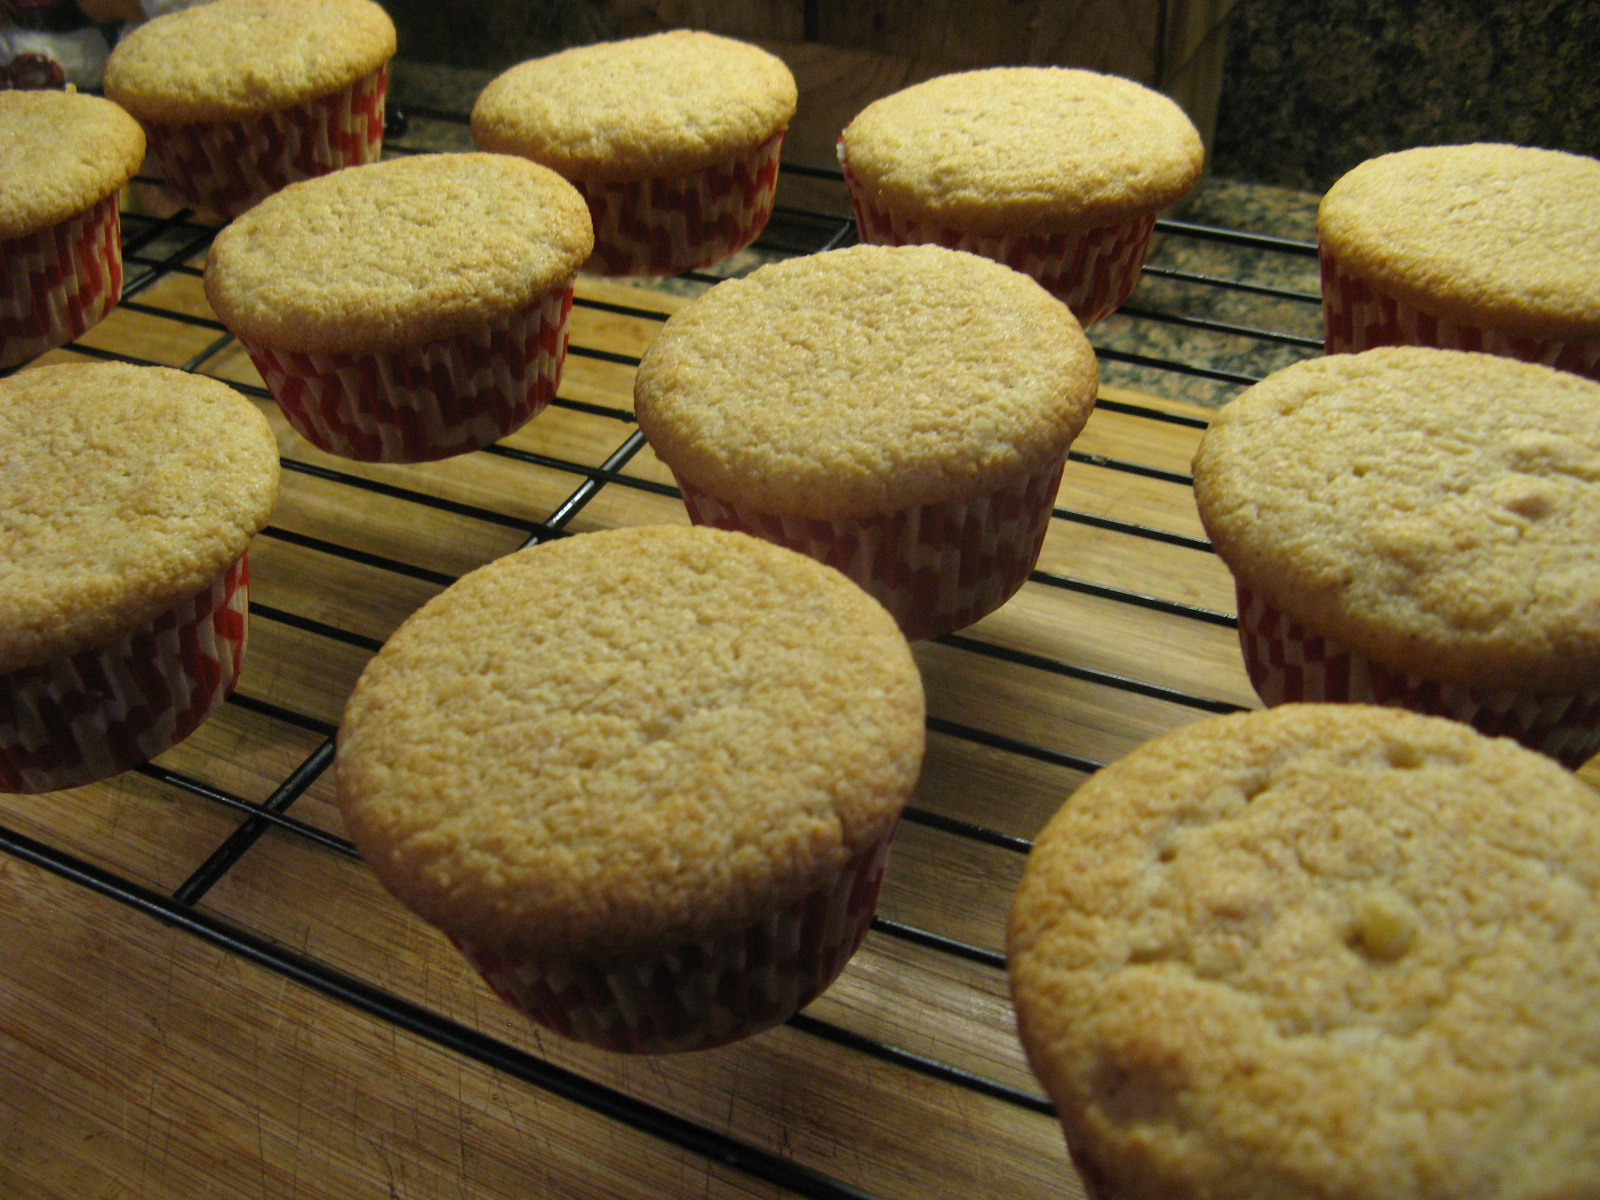
After baking for a little over 20 minutes (I rotated the tin halfway through) the cupcakes were done. I let them cool in the tin for 10 minutes before removing them and letting them cool completely on a wire rack.

IMG_4471

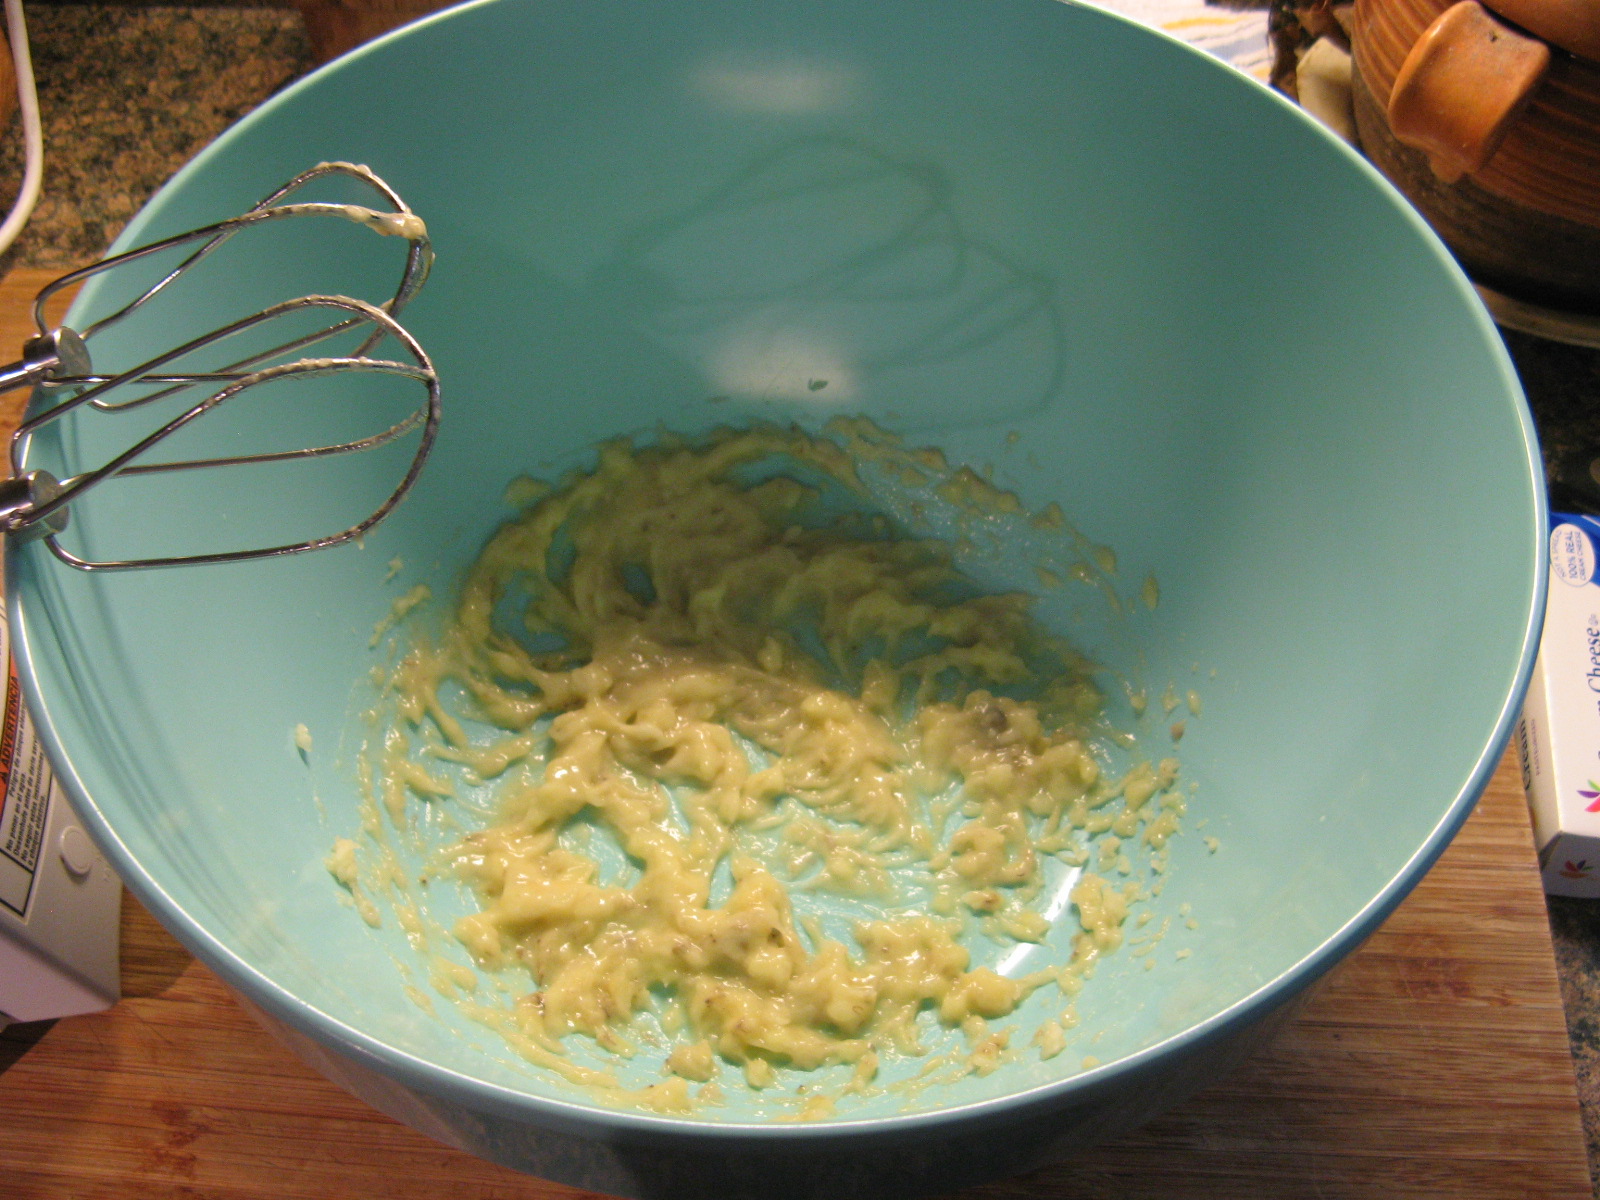
And then it was time for the frosting… To begin I used an electric mixer to beat an overripe banana to “liquefy” it.

IMG_4475

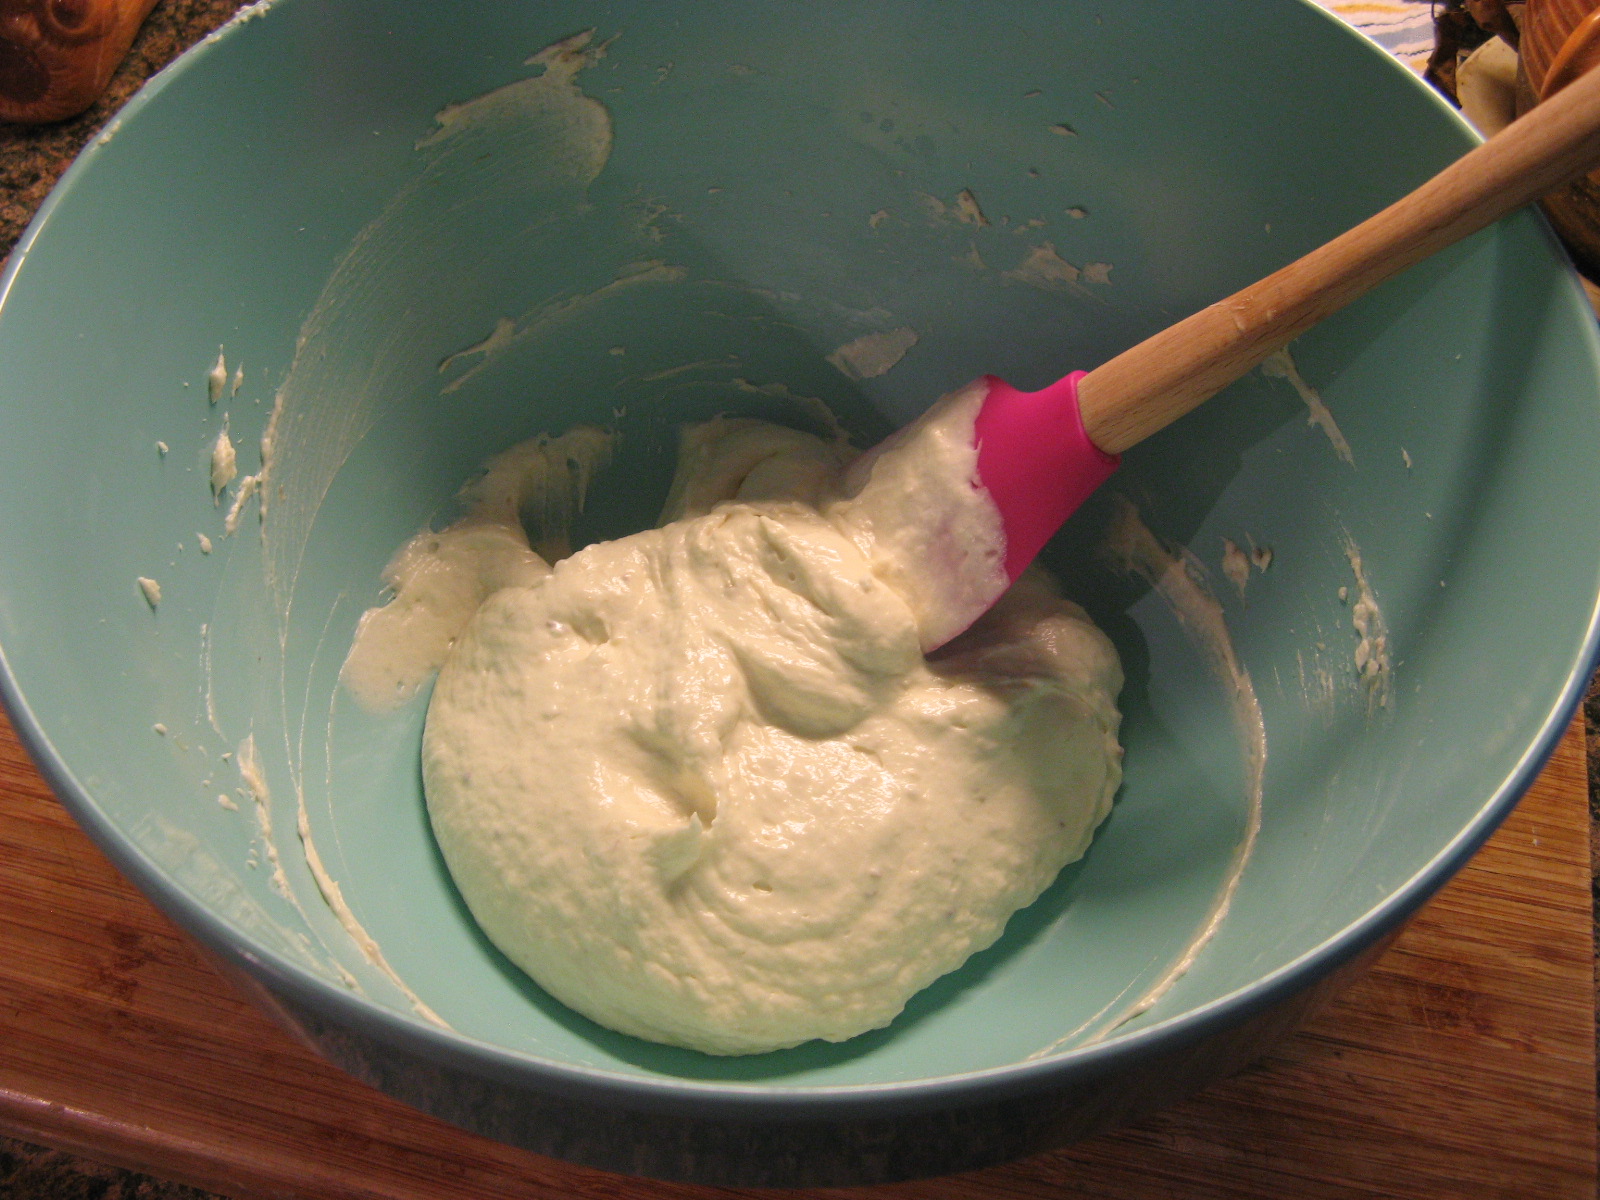
Following that I added in one stick of butter and an 8 oz. bar of cream cheese – both at room temperature – and creamed them together until they were incorporated. To sweeten the frosting a bit I added in 1/2 cup of confectioners’ sugar 1/4 cup at a time. I ended up with a frosting that was quite fluffy.

IMG_4476

While it wouldn’t have been a bad idea to let the frosting sit in the refrigerator for a few minutes so it could stiffen up a bit, I opted to frost with it immediately.

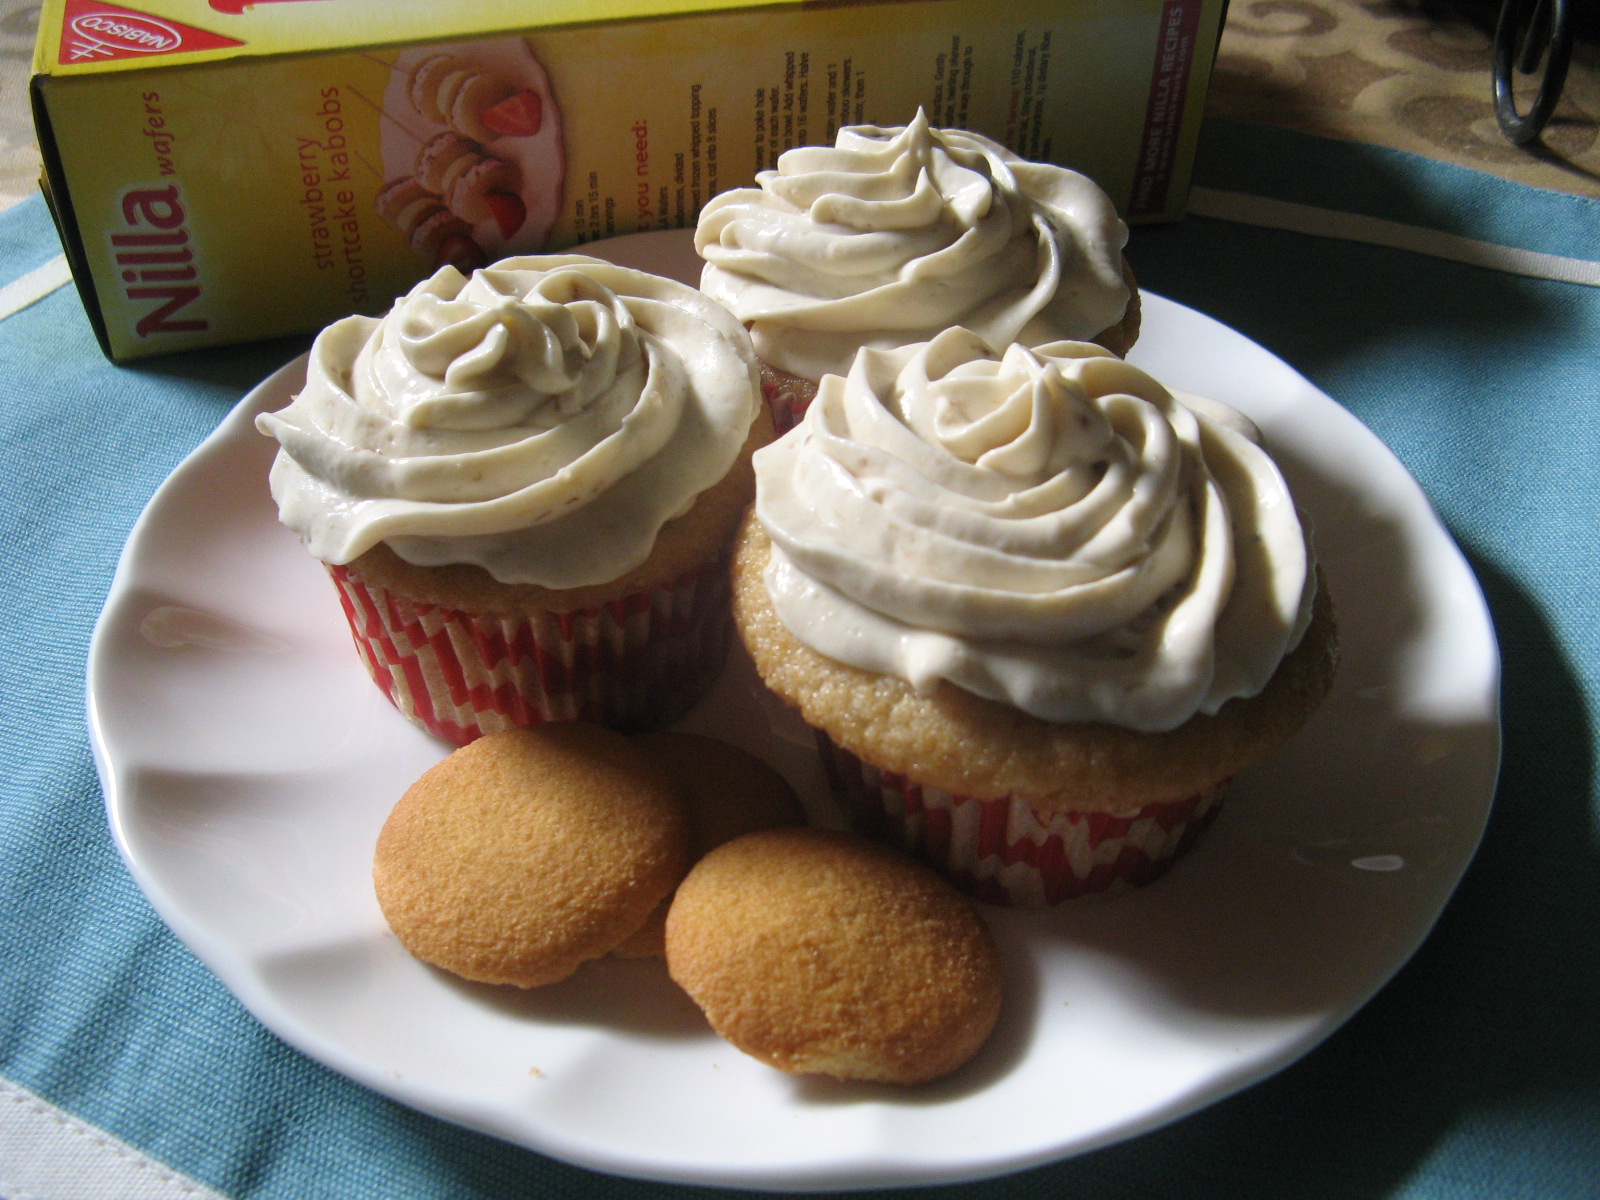
IMG_4480

Final verdict… A winning flavor combination!

IMG_4489


Nilla Wafer Cupcakes – Adapted from here

Makes 12

1 cup Nilla Wafer crumbs (from 25-30 crackers – If you have any extra crumbs you can use them as a topping for the cupcakes)

1 cup all-purpose flour, spooned and leveled

1 1/2 teaspoons baking powder

1/2 teaspoon fine salt

1/2 cup (1 stick) unsalted butter, at room temperature

3/4 cup sugar

2 large eggs

1 teaspoon pure vanilla extract

3/4 cup whole milk

1. Heat the oven to 350 F and line a standard 12-cup muffin tin with paper liners. Whisk together the Nilla Wafer crumbs, flour, baking powder and salt in a medium bowl.

2. Beat the butter and sugar in a separate bowl with an electric mixer until light and fluffy, 2 to 3 minutes. Beat in the eggs, one at a time, then the vanilla extract, scraping down the sides of the bowl as necessary. Reduce the mixer to low and add the dry ingredients and milk, alternately, beginning and ending with the dry ingredients and mixing well between additions. Mix until just combined.
3. Divide the batter among the muffin cups. Bake, rotating once, until a toothpick inserted in the center of a cupcake comes out clean, 20 to 24 minutes. Cool in the tin for 10 minutes; transfer to a wire rack to cool completely.


Banana Cream Cheese Frosting

1 overripe banana

1/2 cup (1 stick) unsalted butter, at room temperature

8 oz. (1 bar) cream cheese, at room temperature

1/2 cup confectioners’ sugar

1. Beat the banana with an electric mixer on medium speed to “liquefy” it. Add the butter and cream cheese and continues mixing until all of the ingredients are well combined.

2. Beat in the confectioners’ sugar in 2 additions – 1/4 cup at a time. Continue mixing until the sugar has been completely incorporated.

Blueberry Crumb Muffins

While berries can pretty much be found year-round at most supermarkets, there’s nothing like getting them during the summer when they are at their peak. I have definitely made the most of them this summer incorporating them into quite a few desserts – as the pièce de résistance on a lemon & pastry cream cake, as a topping to 4th of July themed cupcakes and most recently in raspberry cupcakes. And when I saw that I had a pint of blueberries sitting in my refrigerator a little longer than I would have liked, I decided it was time to use them before losing them. I opted on making a recipe that I love using for blueberries – and one that I have blogged about before – a Blueberry Crumb Cake. Although, this time around I made two tweaks to the recipe….

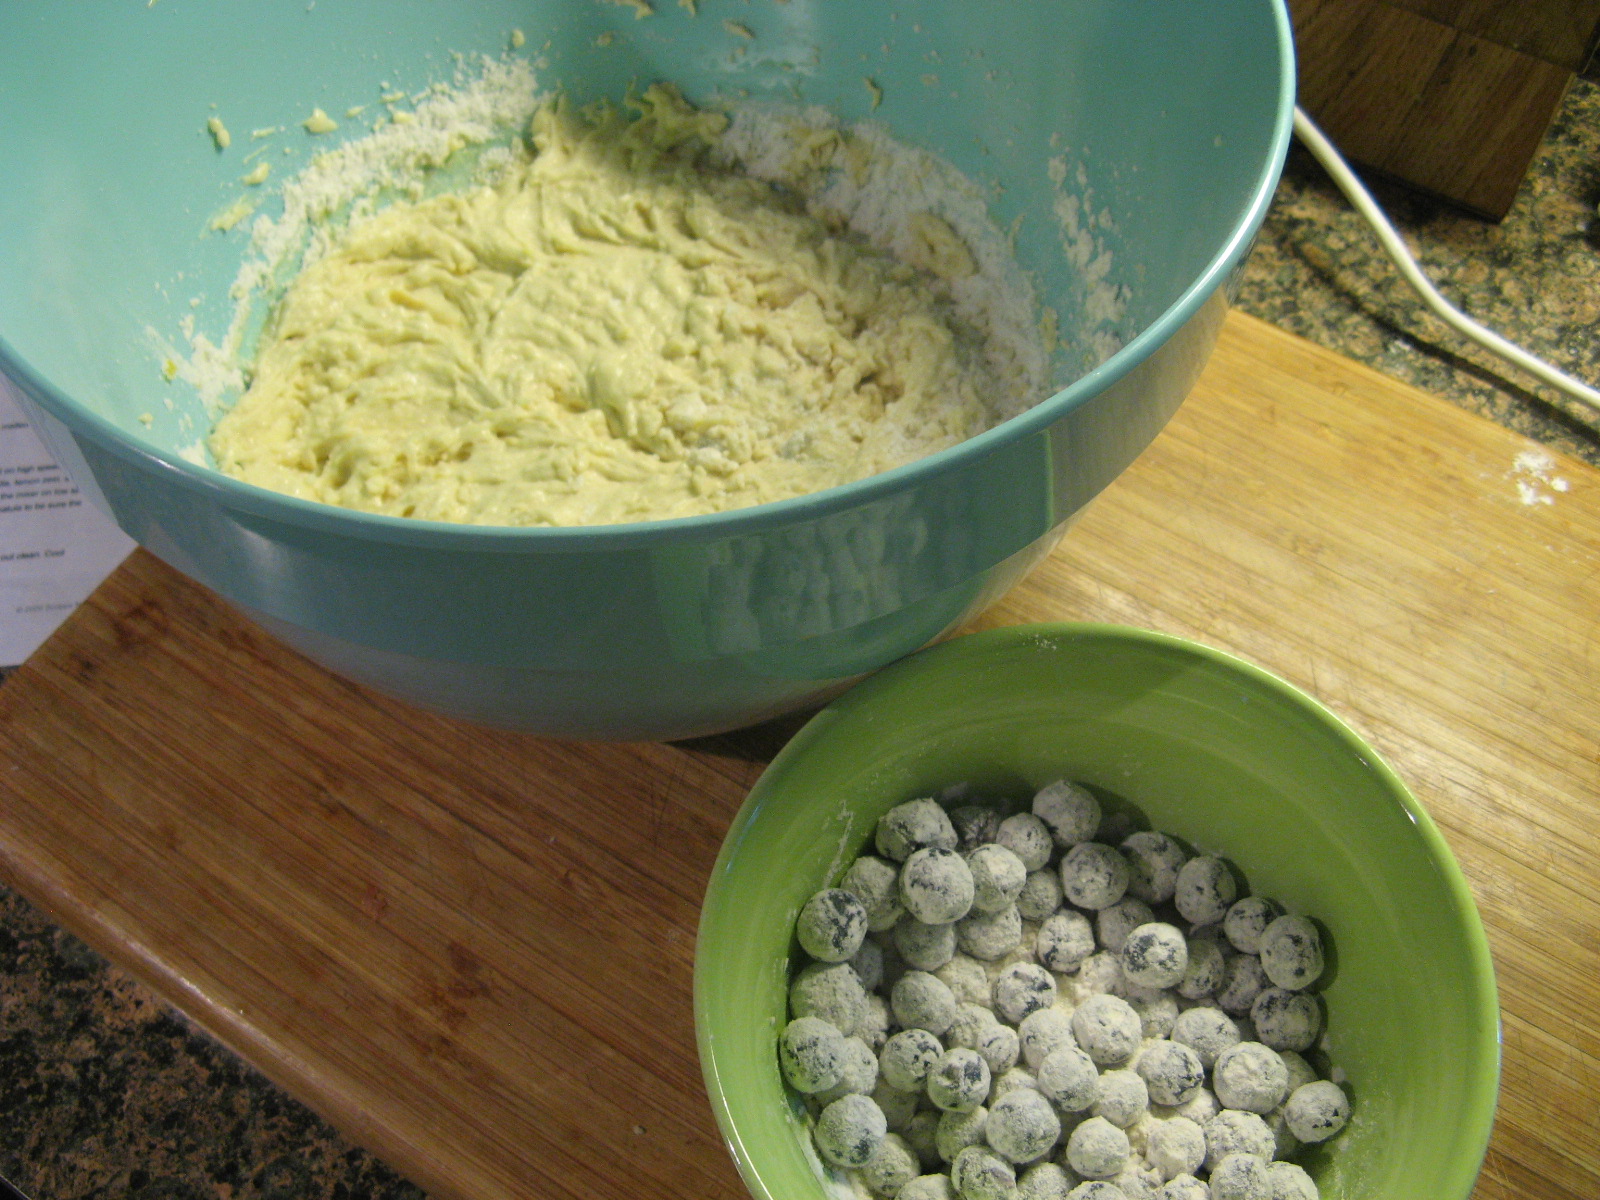
I dredged the blueberries in flour before folding them into the batter so they wouldn’t all sink to the bottom…

IMG_4397

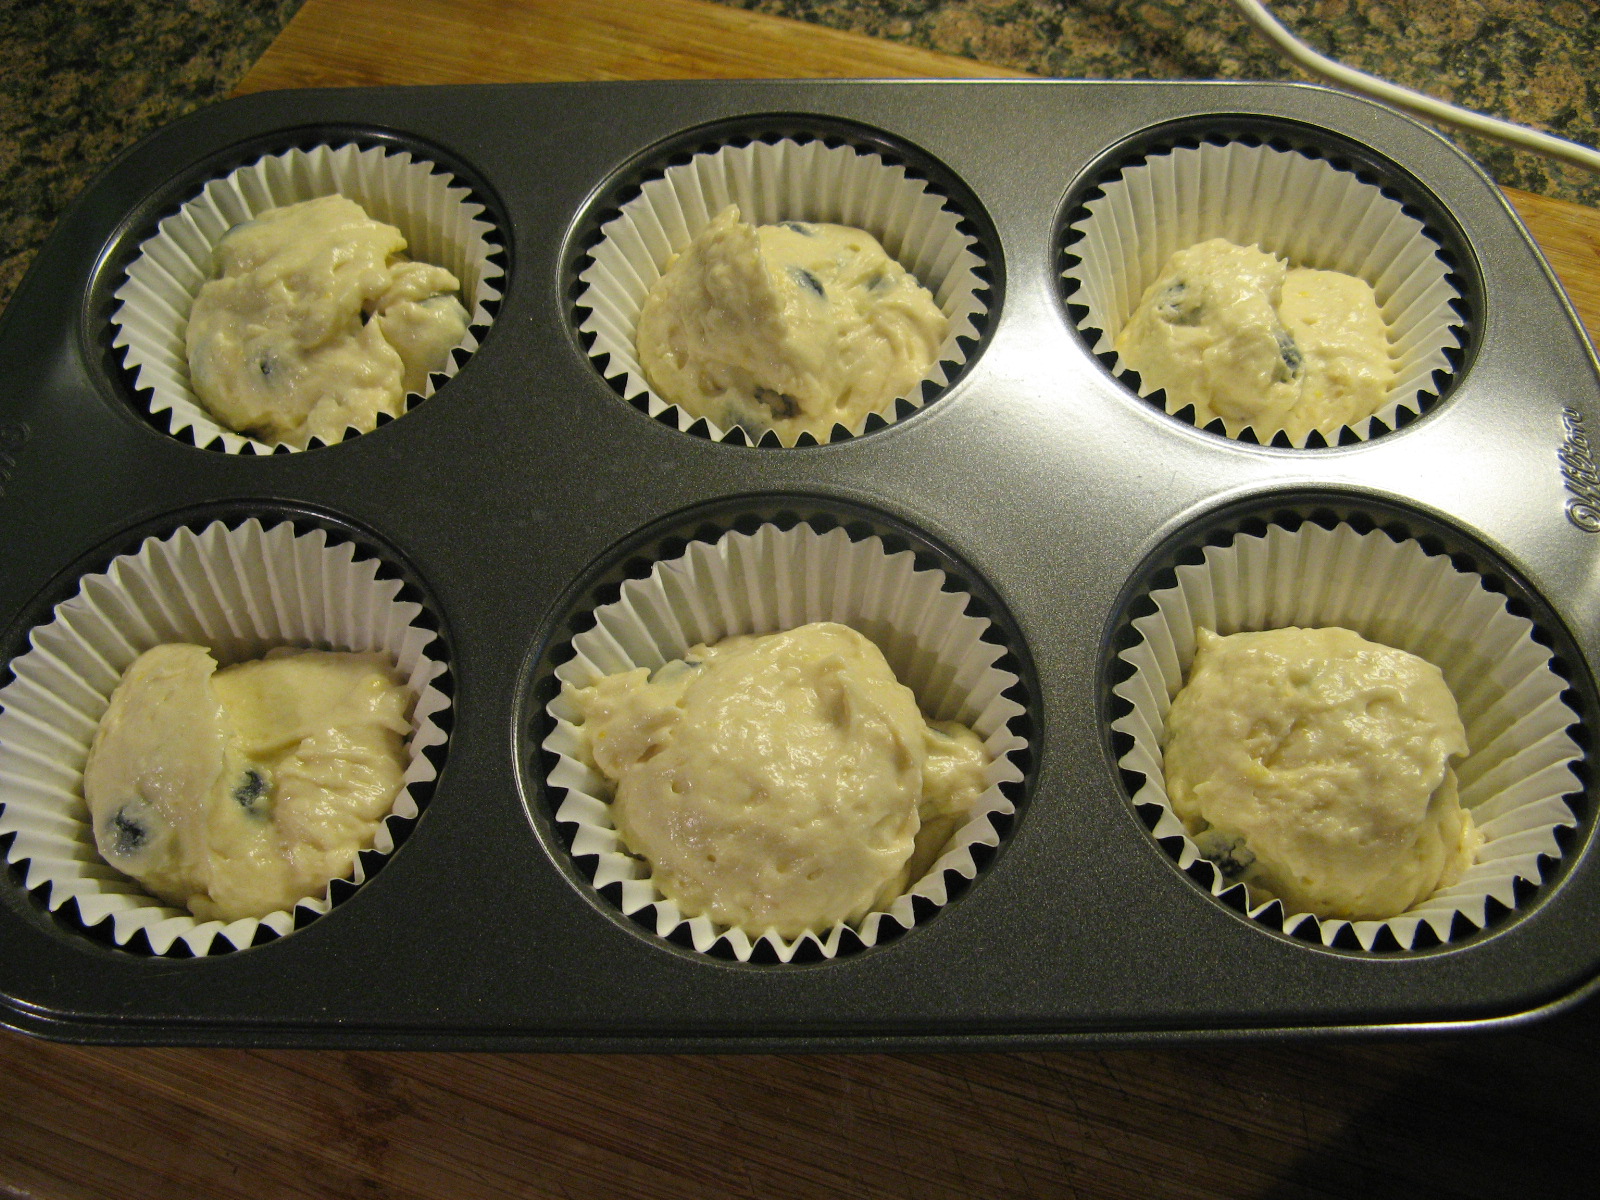
And I used the batter to make muffins instead of a cake,

IMG_4398

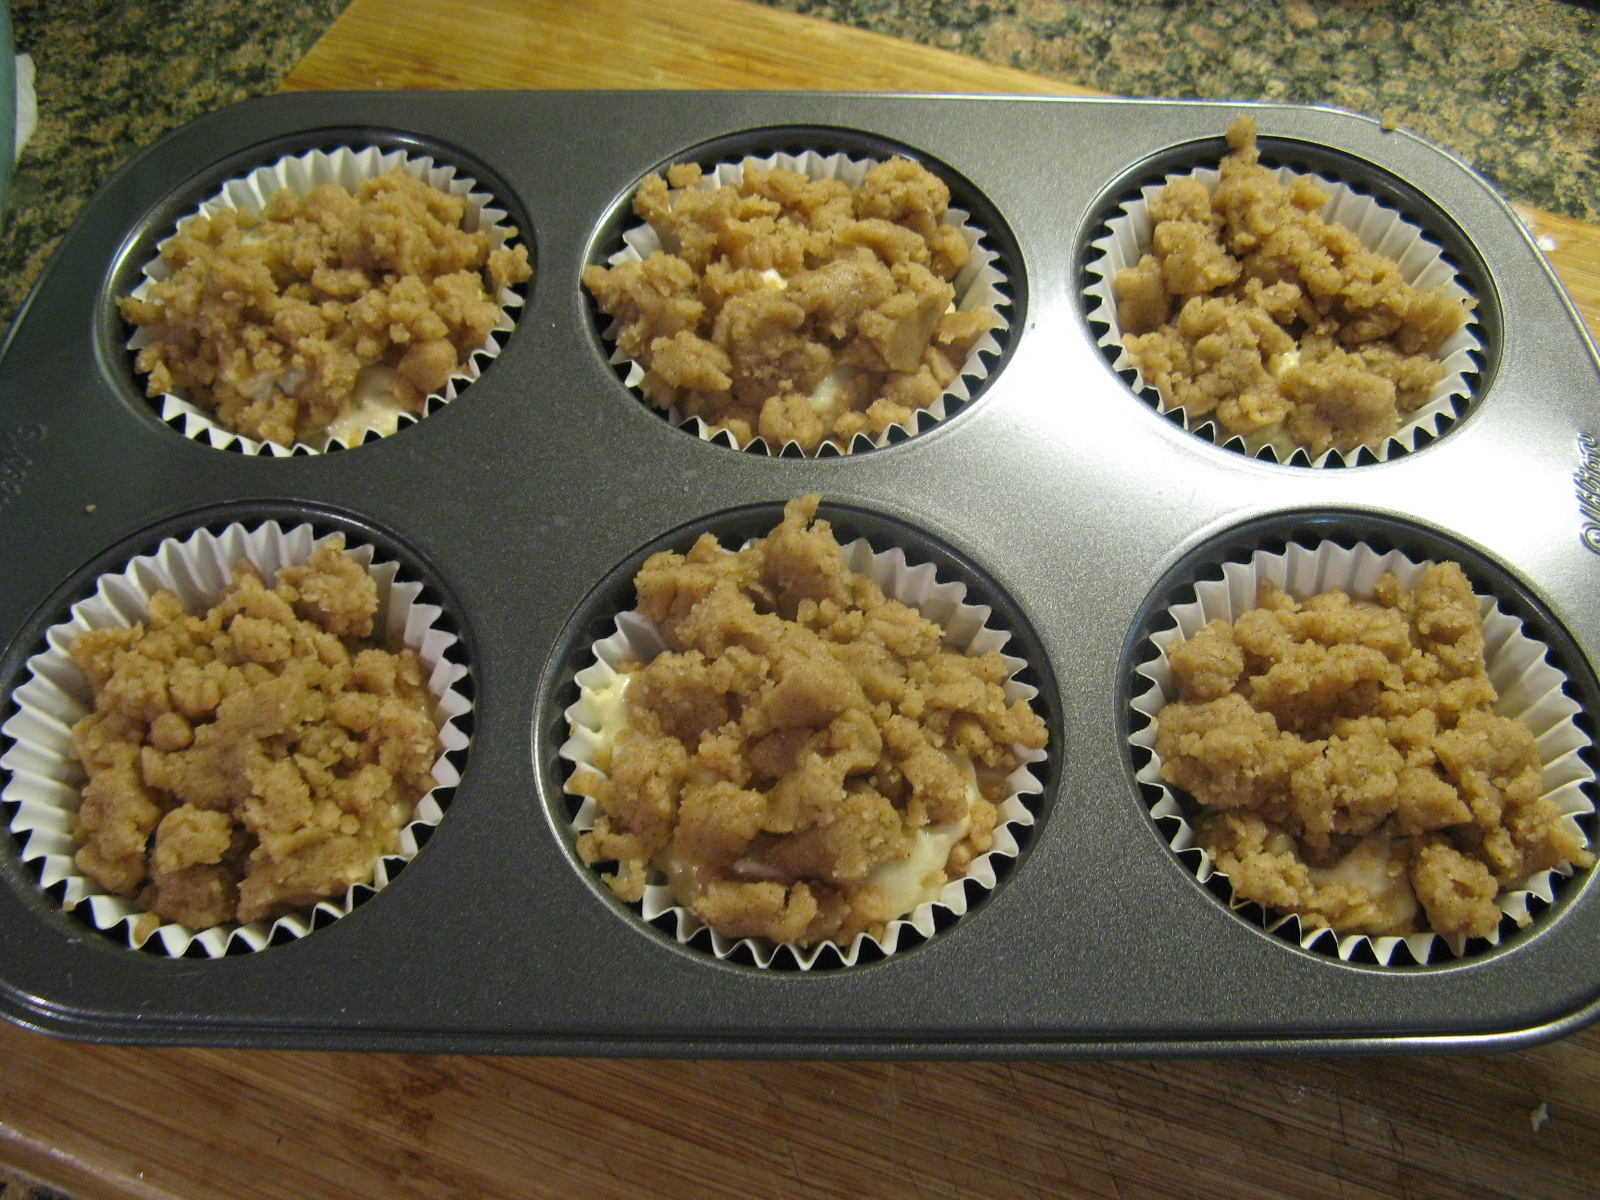
Which I still topped with streusel before baking.

IMG_4399

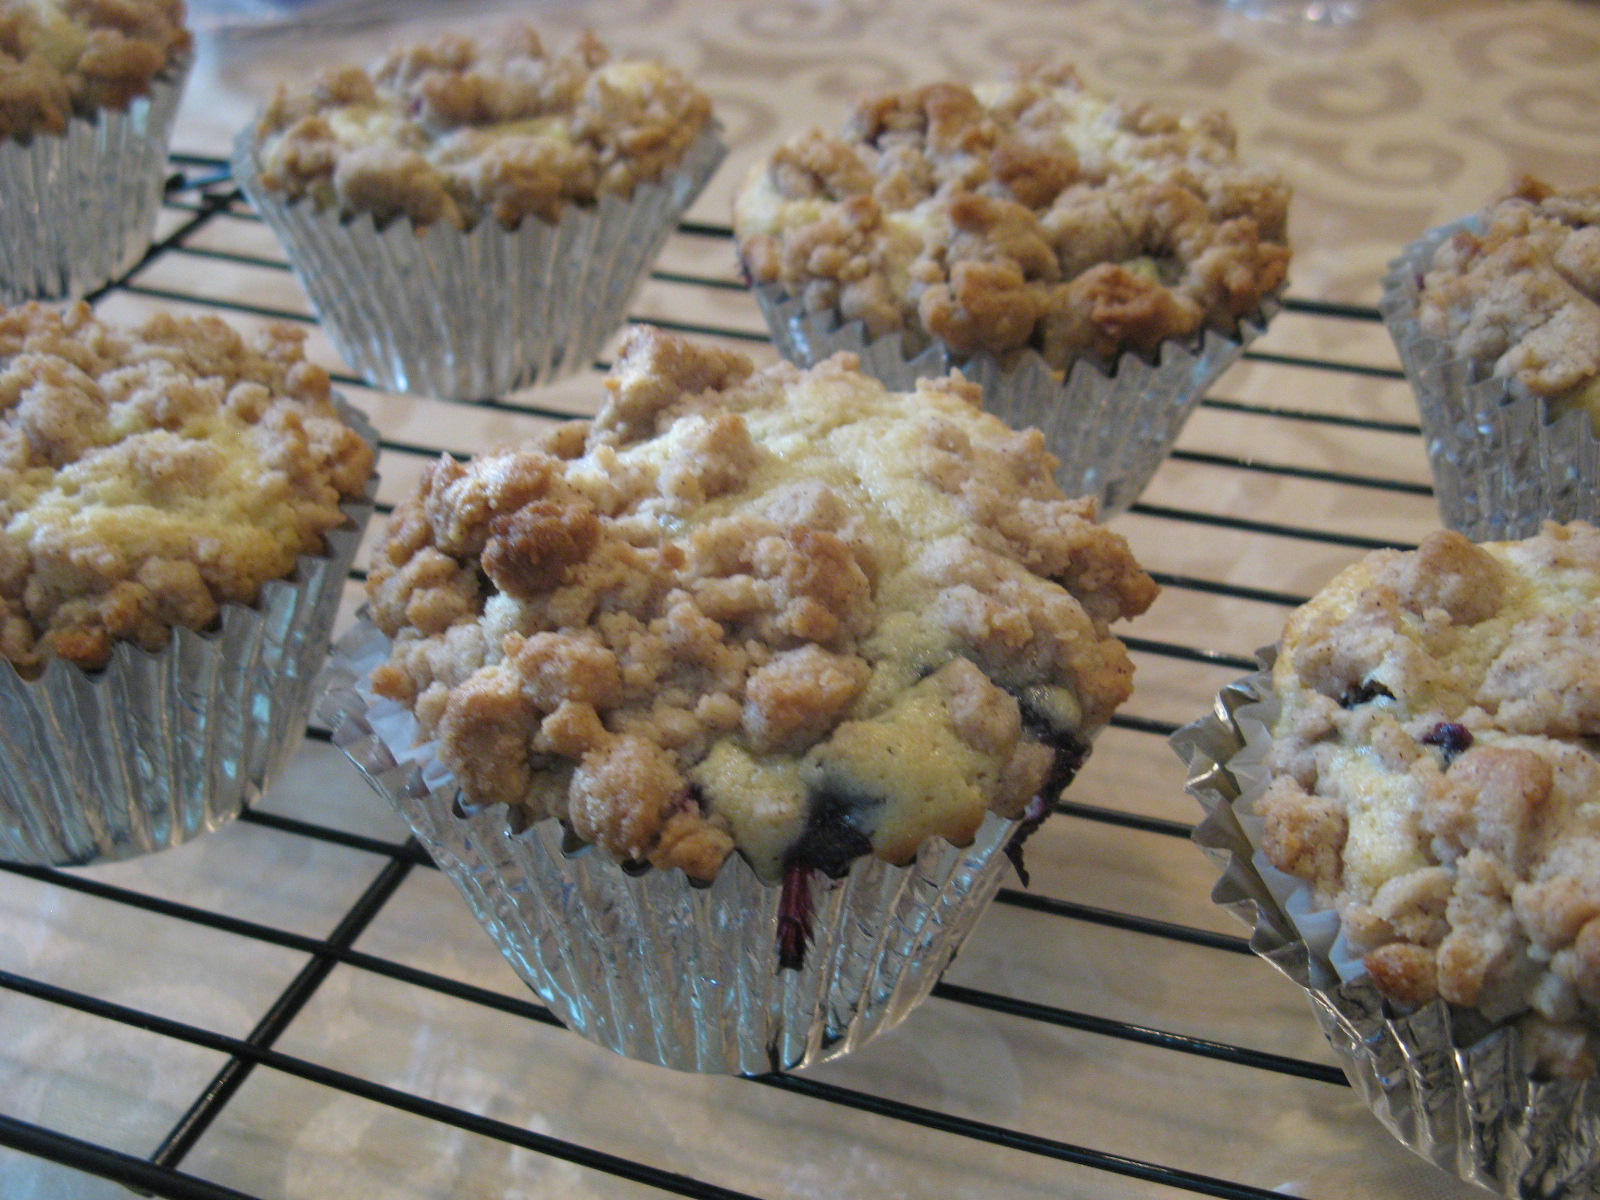
Hence, Blueberry Crumb Muffins.

IMG_4417

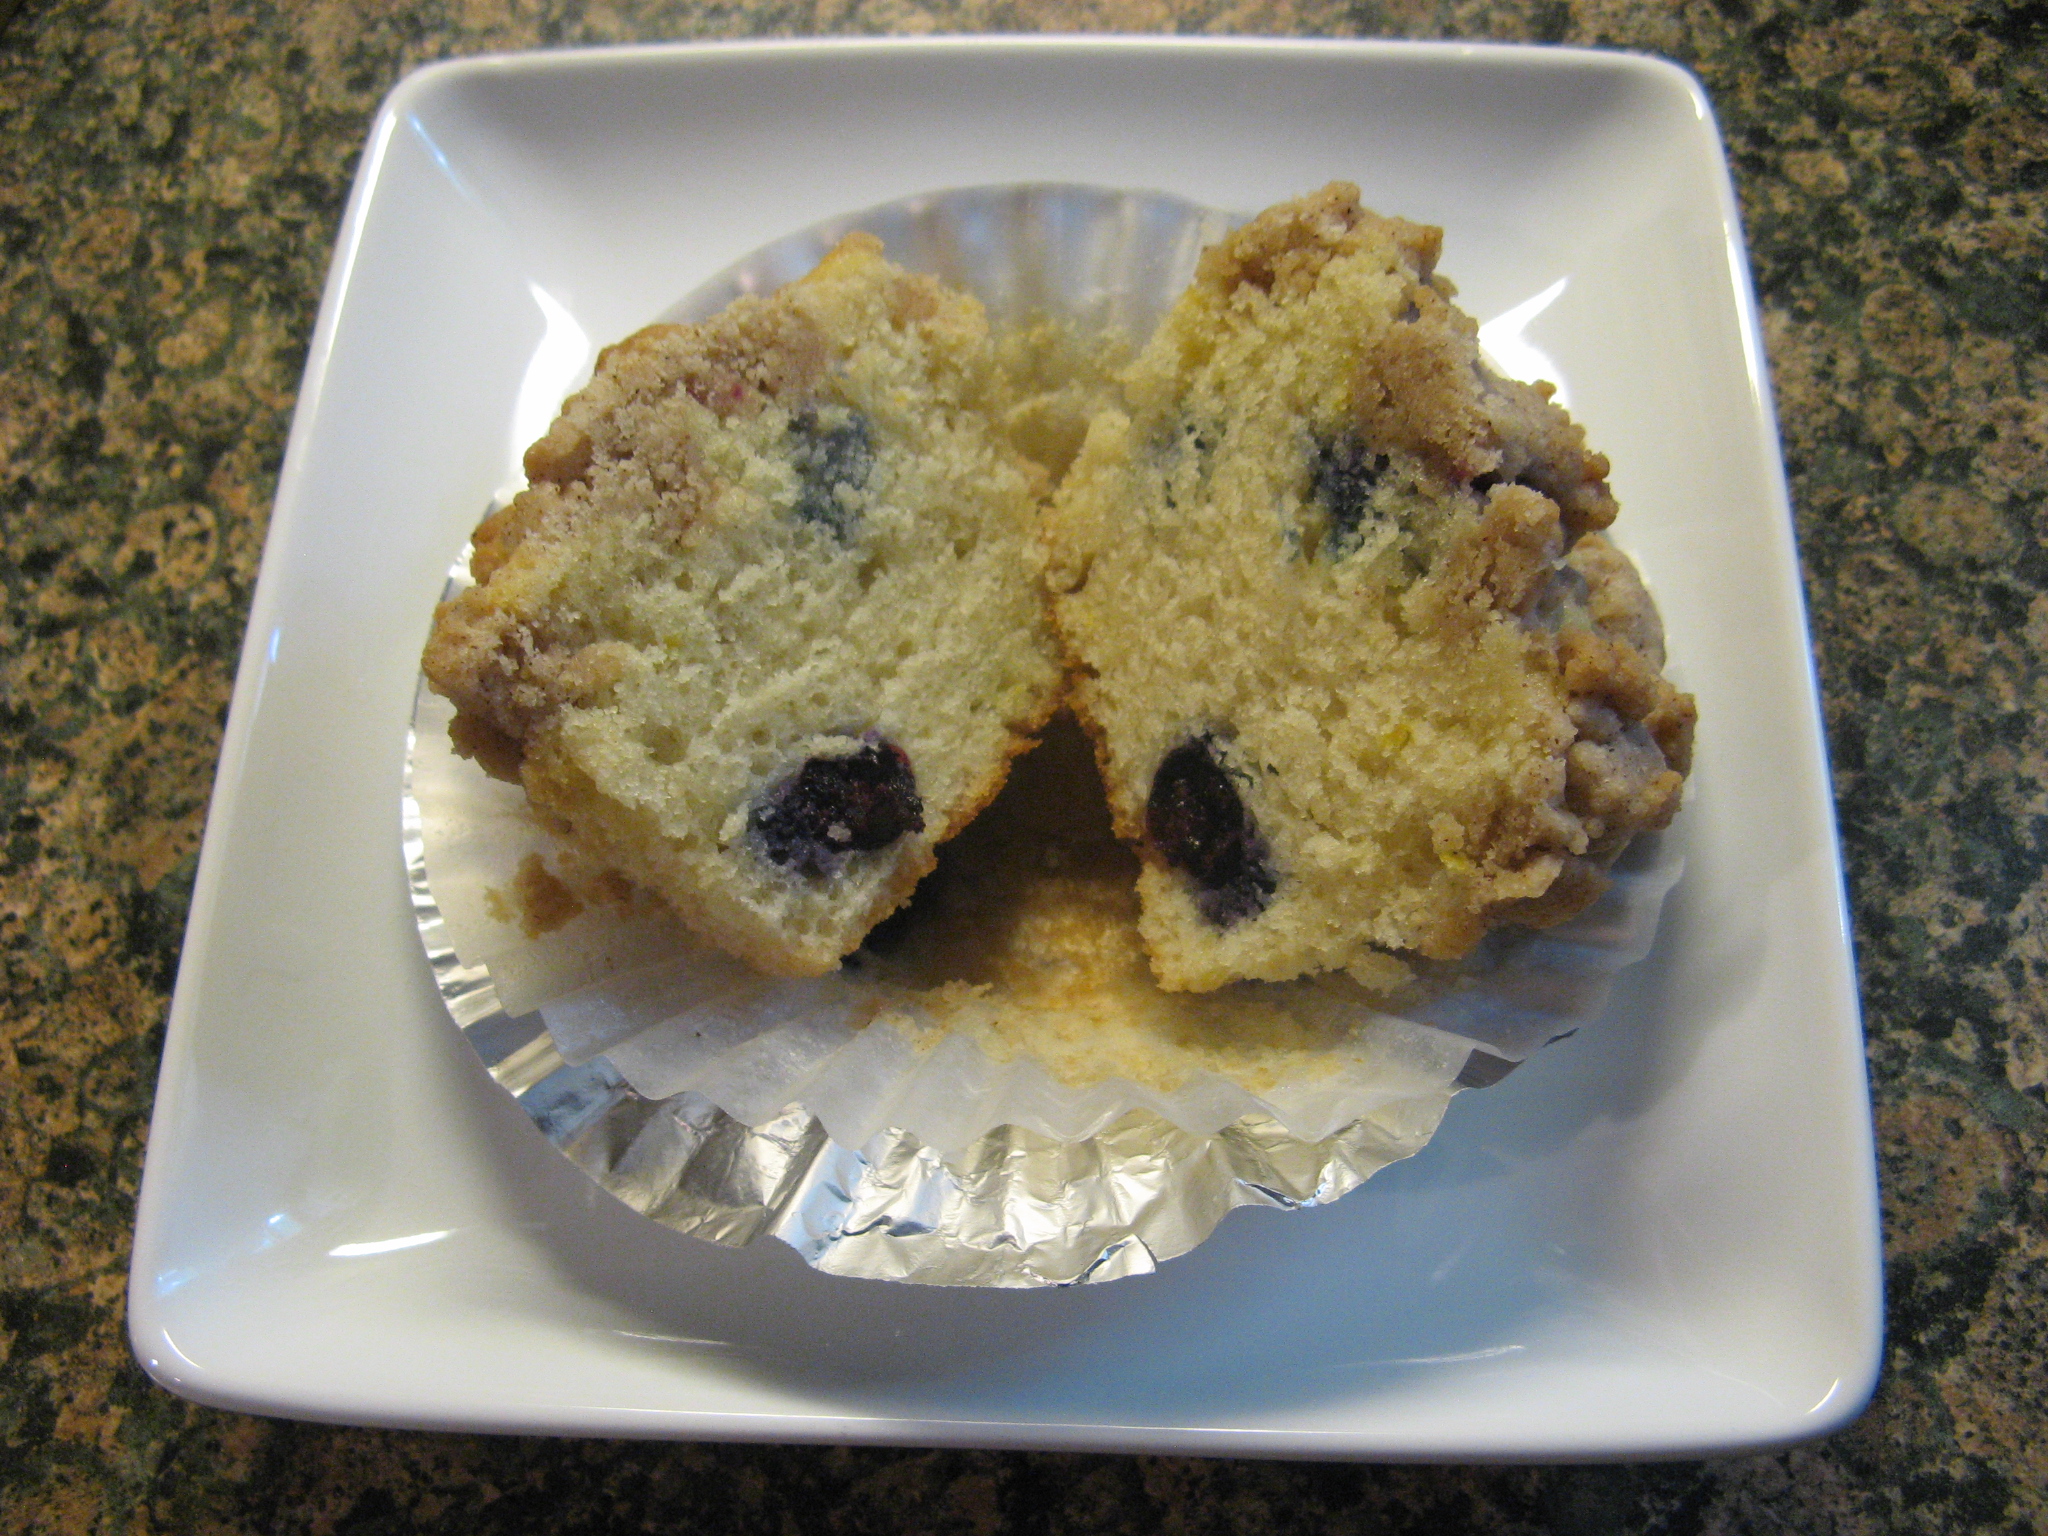
And if you are wondering if the flour covered blueberries worked, just take a look. You can see hints of blueberries at the top of the muffin near the crumb topping as opposed to seeing all of the blueberries at the bottom.

IMG_4439

Blueberry Crumb Muffins – adapted from here

Makes 8 Muffins

Streusel:

1/4 cup granulated sugar

1/3 cup light brown sugar

1 teaspoon ground cinnamon

1/8 teaspoon ground nutmeg

1/4 pound (1 stick) unsalted butter, melted

1 1/3 cups all-purpose flour

Muffins:

6 tablespoons unsalted butter, at room temperature (3/4 stick)

3/4 cup granulated sugar

2 large eggs, at room temperature

1 teaspoon pure vanilla extract

1/2 teaspoon grated lemon zest

2/3 cup sour cream

1 1/4 cups all-purpose flour

1 teaspoon baking powder

1/4 teaspoon baking soda

1/2 teaspoon kosher salt

1 cup fresh blueberries, dredged in enough flour to coat them


Preheat the oven to 350 F. Line 8 muffins cups with paper liners.

For the streusel:

Combine granulated sugar, brown sugar, cinnamon and nutmeg in a bowl. Stir in the melted butter and then the flour. Mix well and set aside.

For the muffins:

In a medium bowl sift the flour, baking powder, baking soda and salt together, set aside.

In the bowl of an electric mixer fitted with the paddle attachment cream the butter and sugar on high speed for 4 to 5 minutes, until light. Reduce the speed to low and add the eggs, one at a time. Then add the vanilla, lemon zest and sour cream.

With the mixer on low speed, add the flour mixture to the batter until just combined. Fold in the blueberries and stir with a spatula to be sure the batter is completed mixed.

Divide the batter among the muffin cups – I used an ice cream scoop – and crumble the streusel over the batter.

Bake for 20 – 25 minutes, until a cake tester comes out clean. Remove the cupcakes from the tins and let them cool completely on a wire rack.


Raspberry Ripple Cupcakes

Last week I took a mini road trip which of course meant I had to bake some yummy treats for the drive. I didn’t want to make anything that could possibly spoil so I settled on trying a cupcake recipe that didn’t call for the cupcakes to be frosted – mini Raspberry Ripple Cupcakes. I’ve wondered whether an unfrosted cupcake would qualify as being a muffin and after a few Google searches I haven’t been able to get a concrete answer on that one. Do you guys have any ideas on that?

IMG_4269

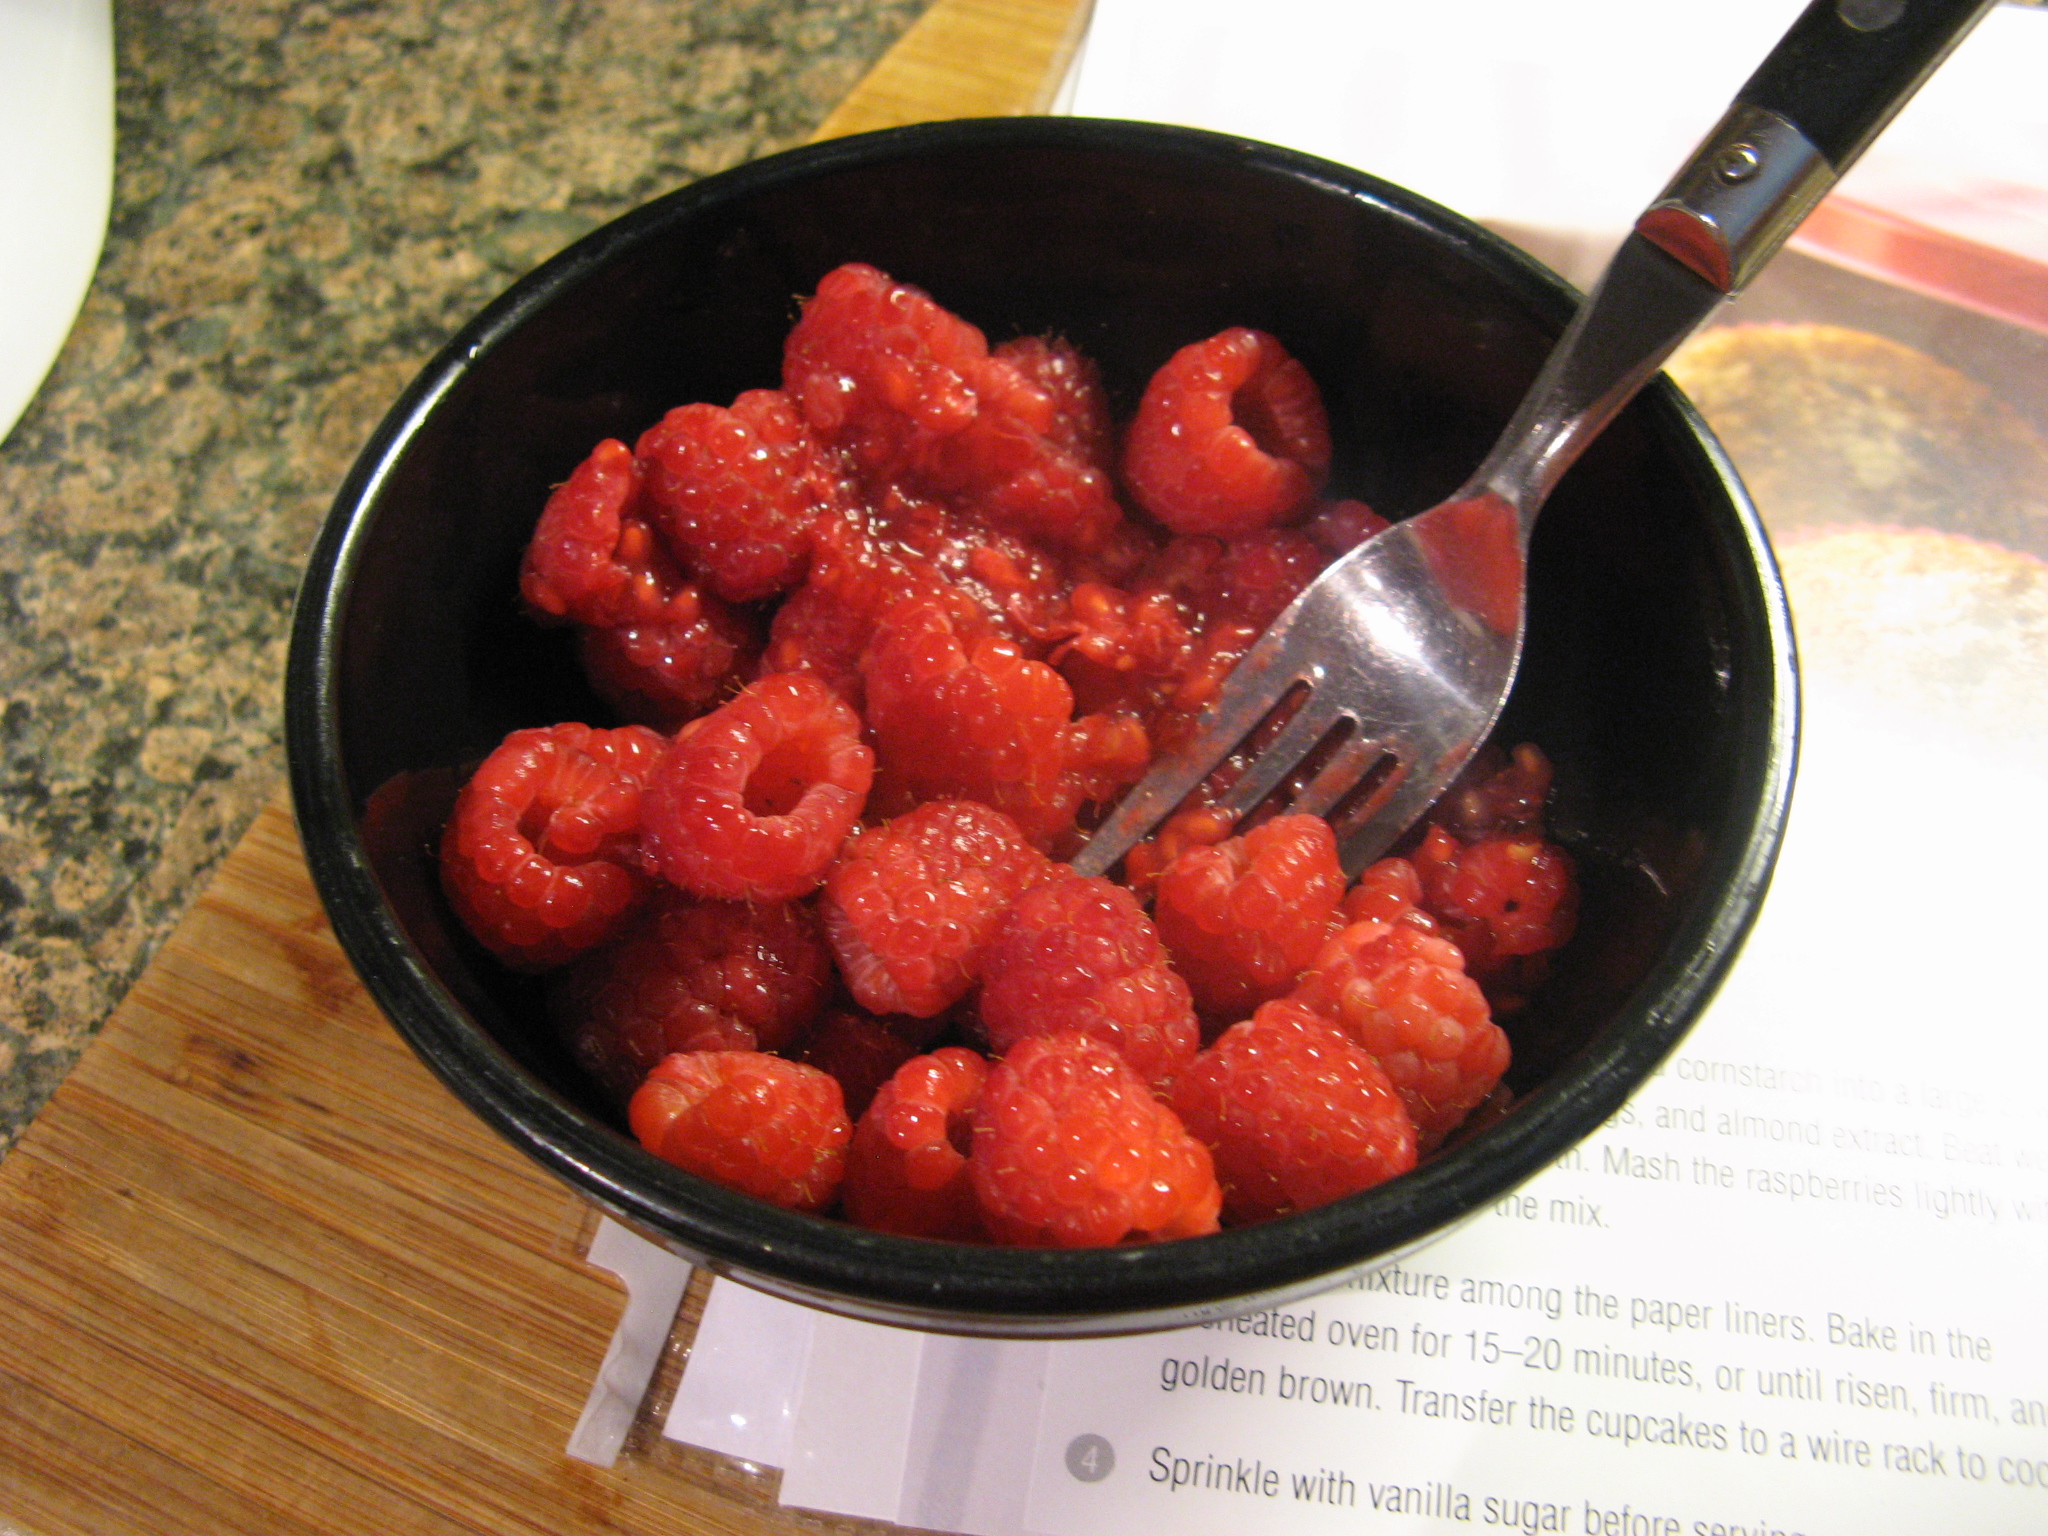
To begin, I lightly mashed a cup of fresh raspberries with a fork.

IMG_4233

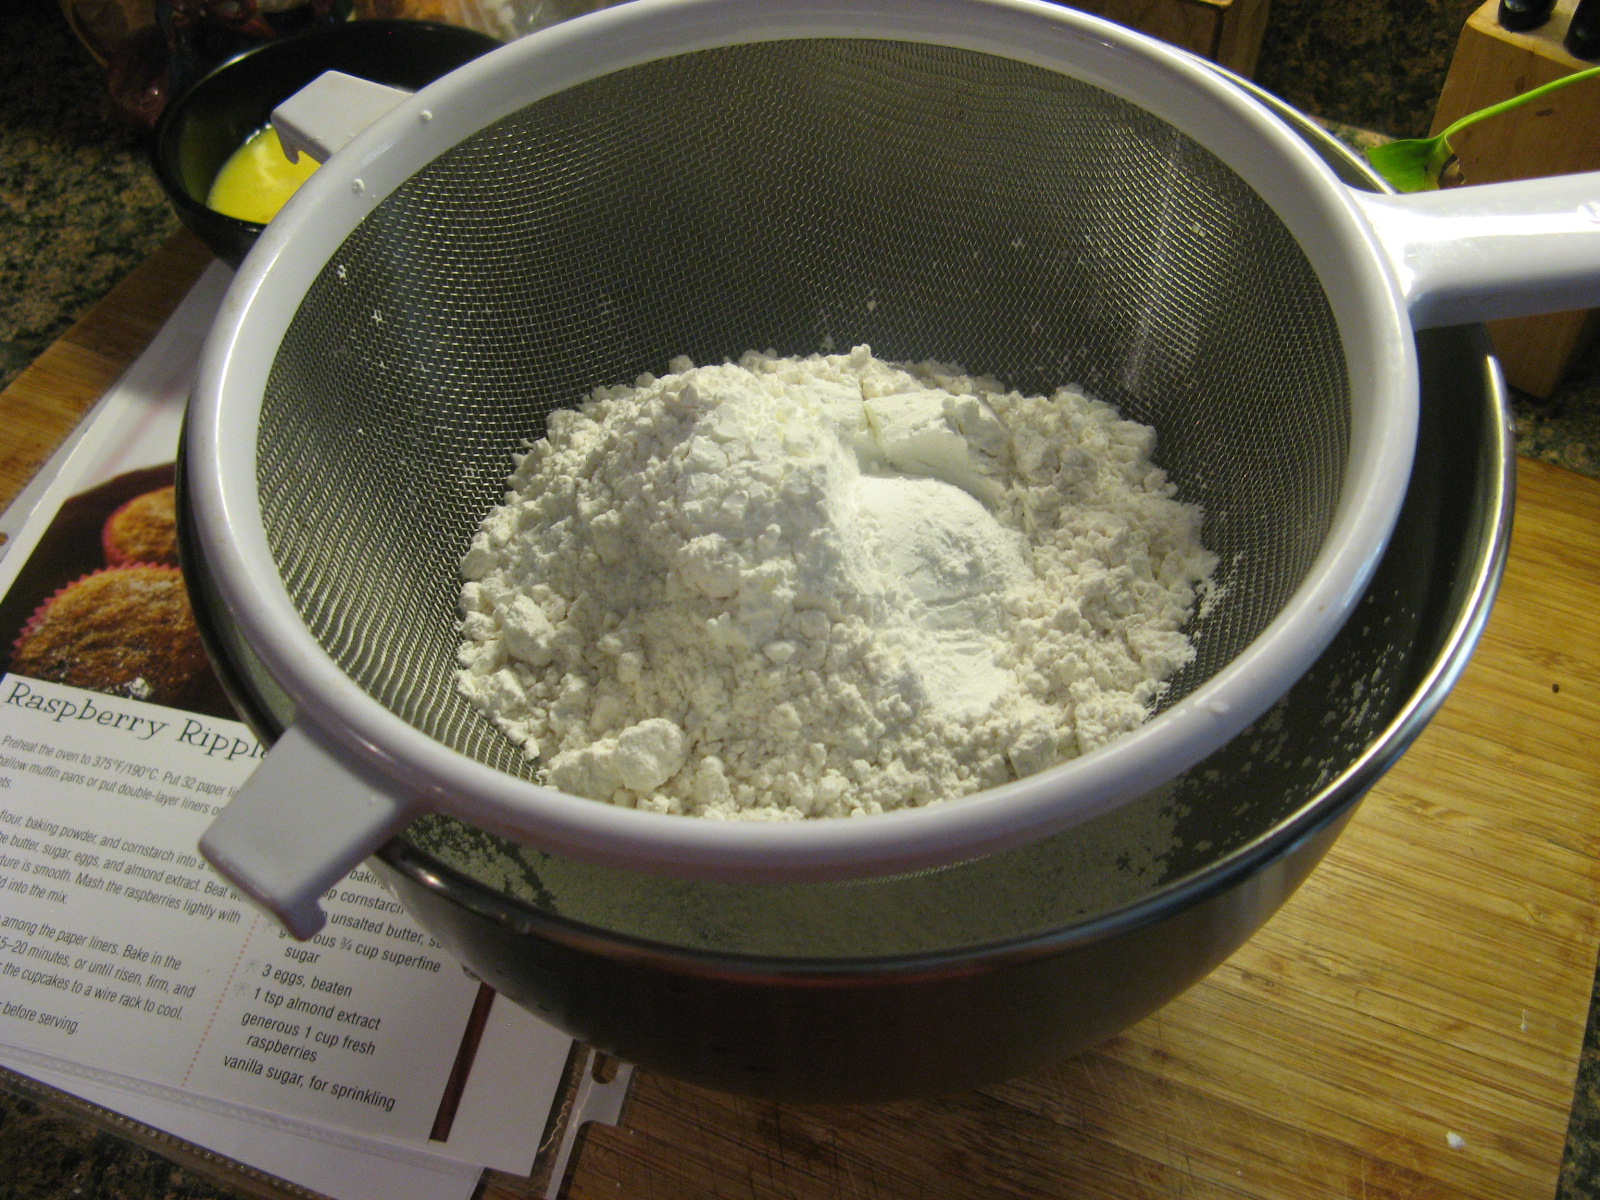
I then sifted flour, baking powder, and cornstarch into the bowl of my stand mixer.

IMG_4235

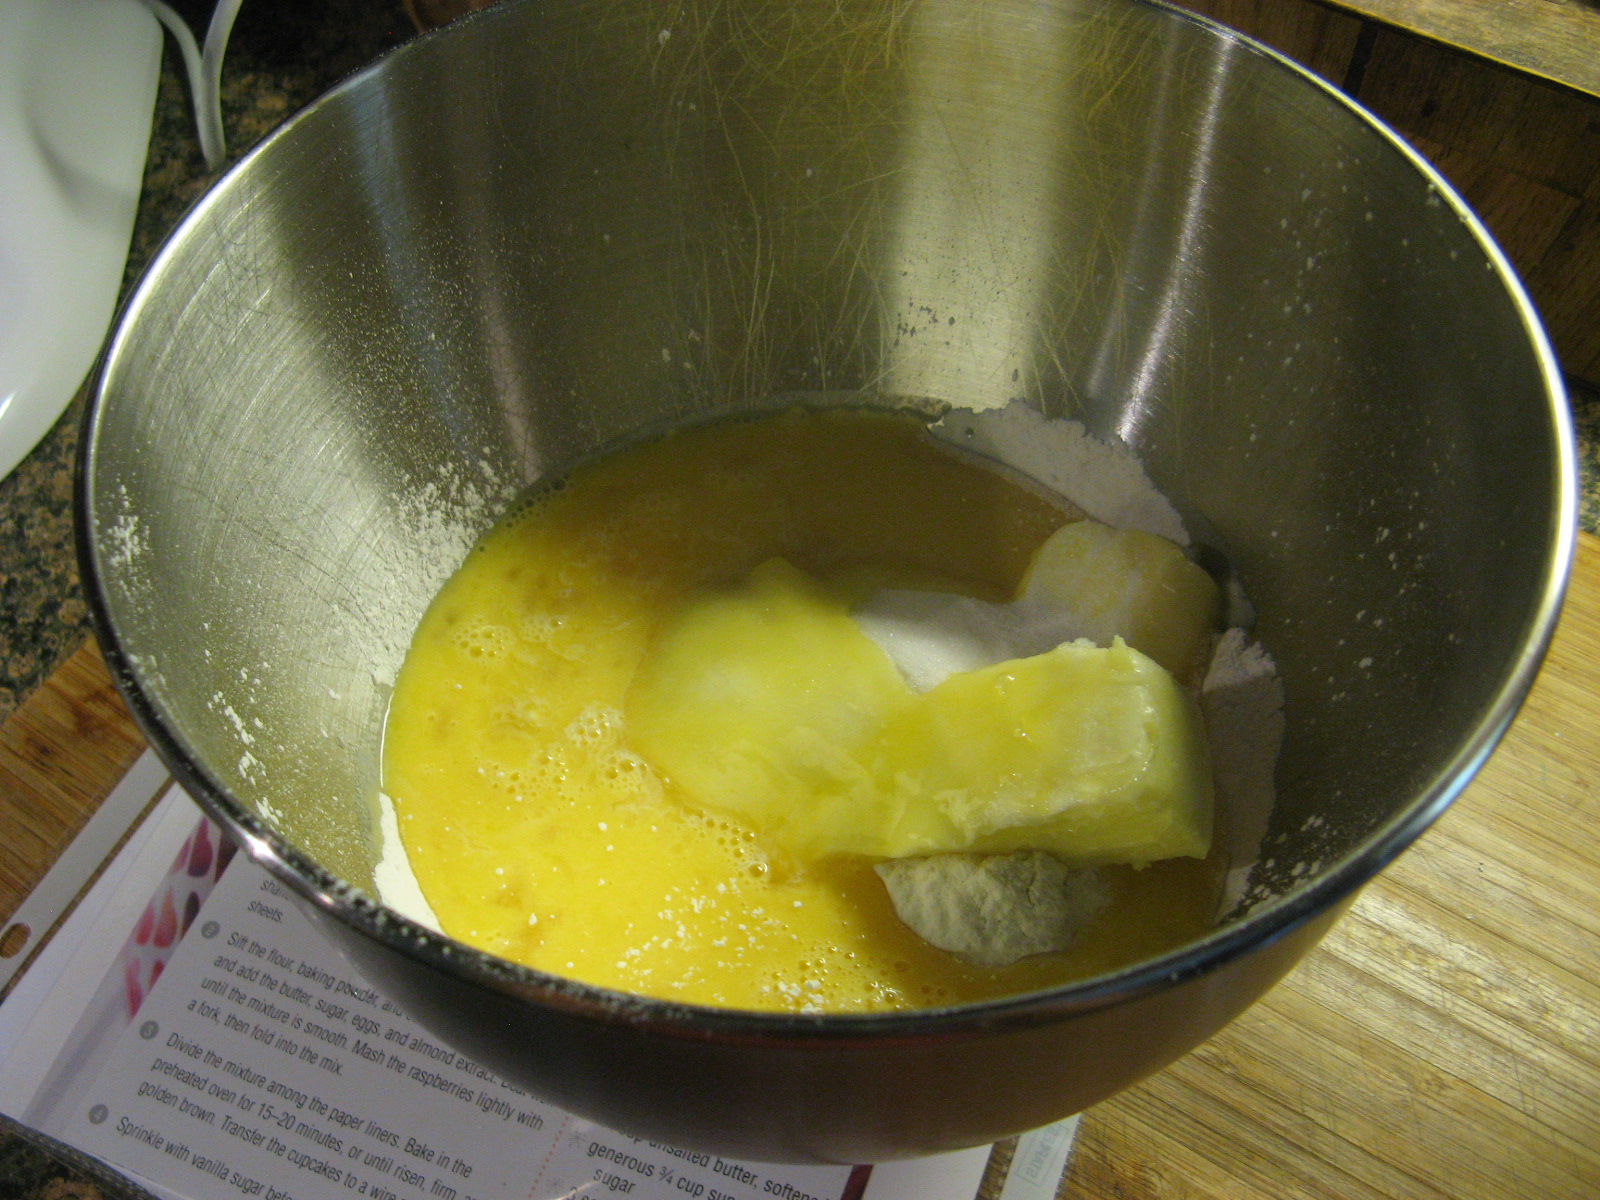
Following that I added in softened butter, sugar, eggs and almond extract (I knew these cupcakes would be delicious once I saw this final ingredient.)

IMG_4237

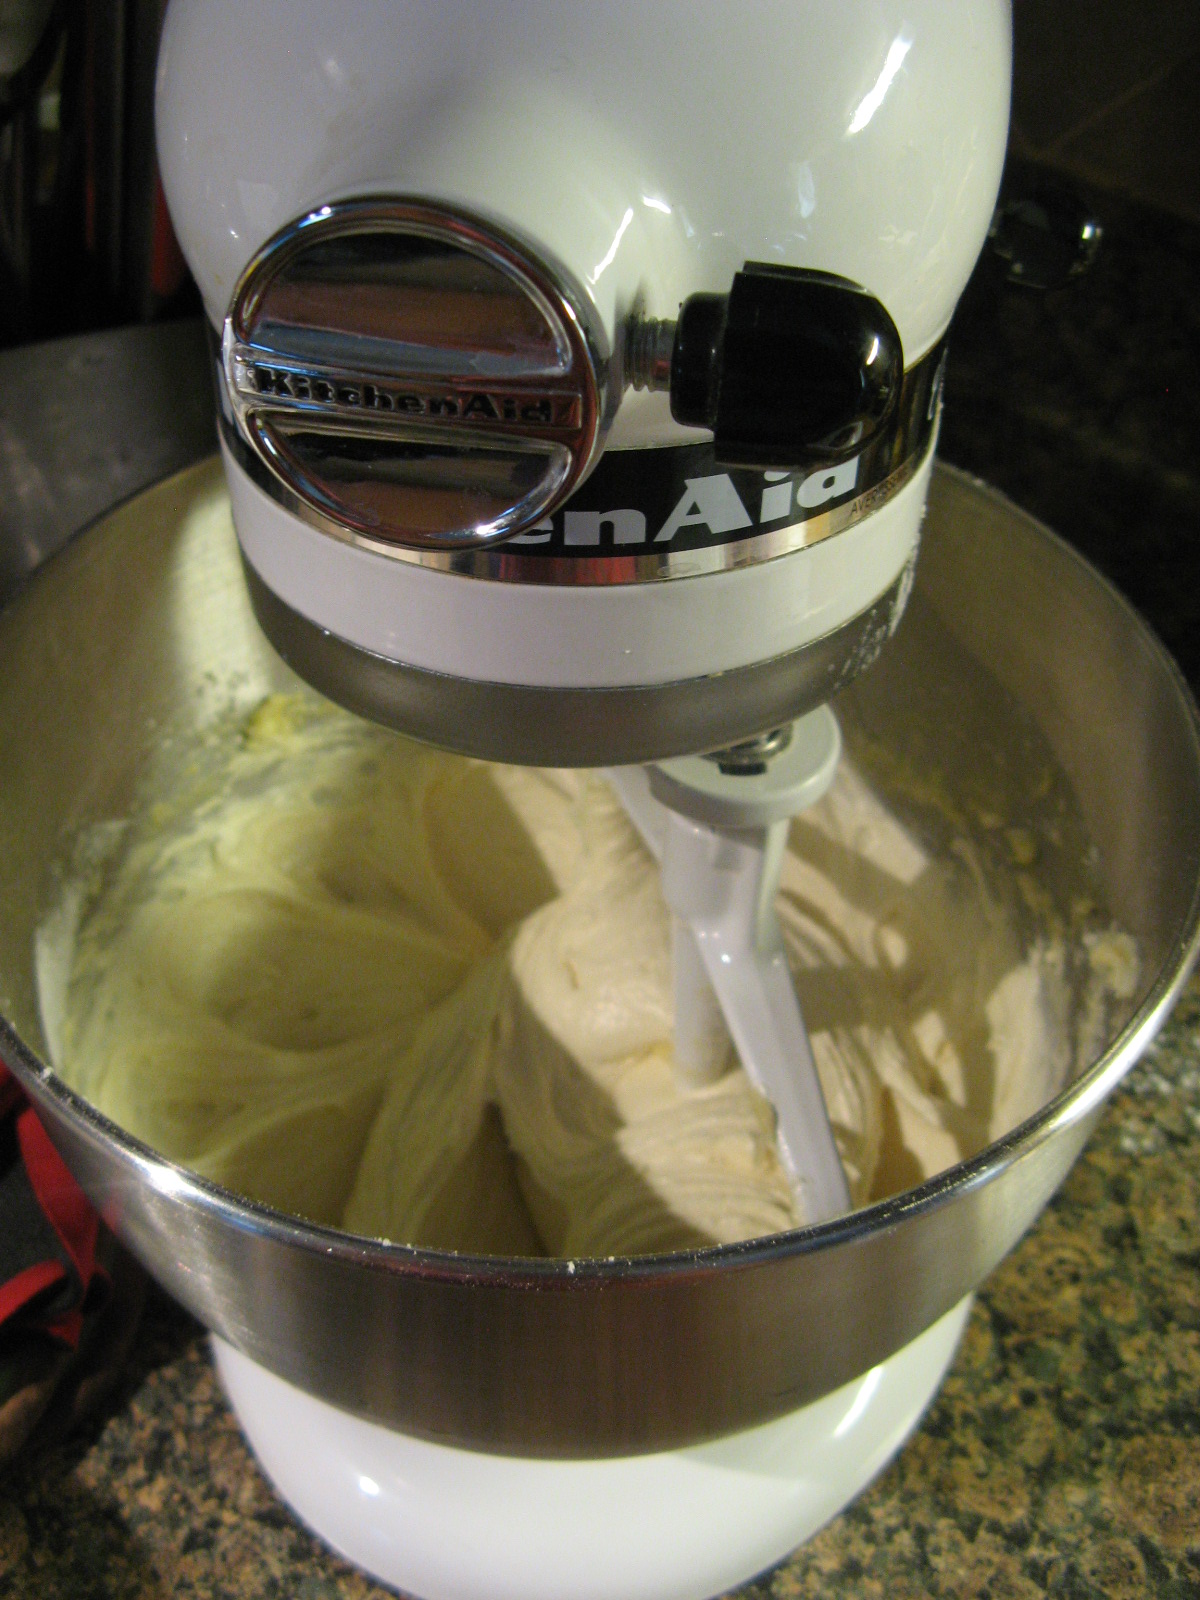
I then beat all of the ingredients together until the mixture was smooth.

IMG_4241

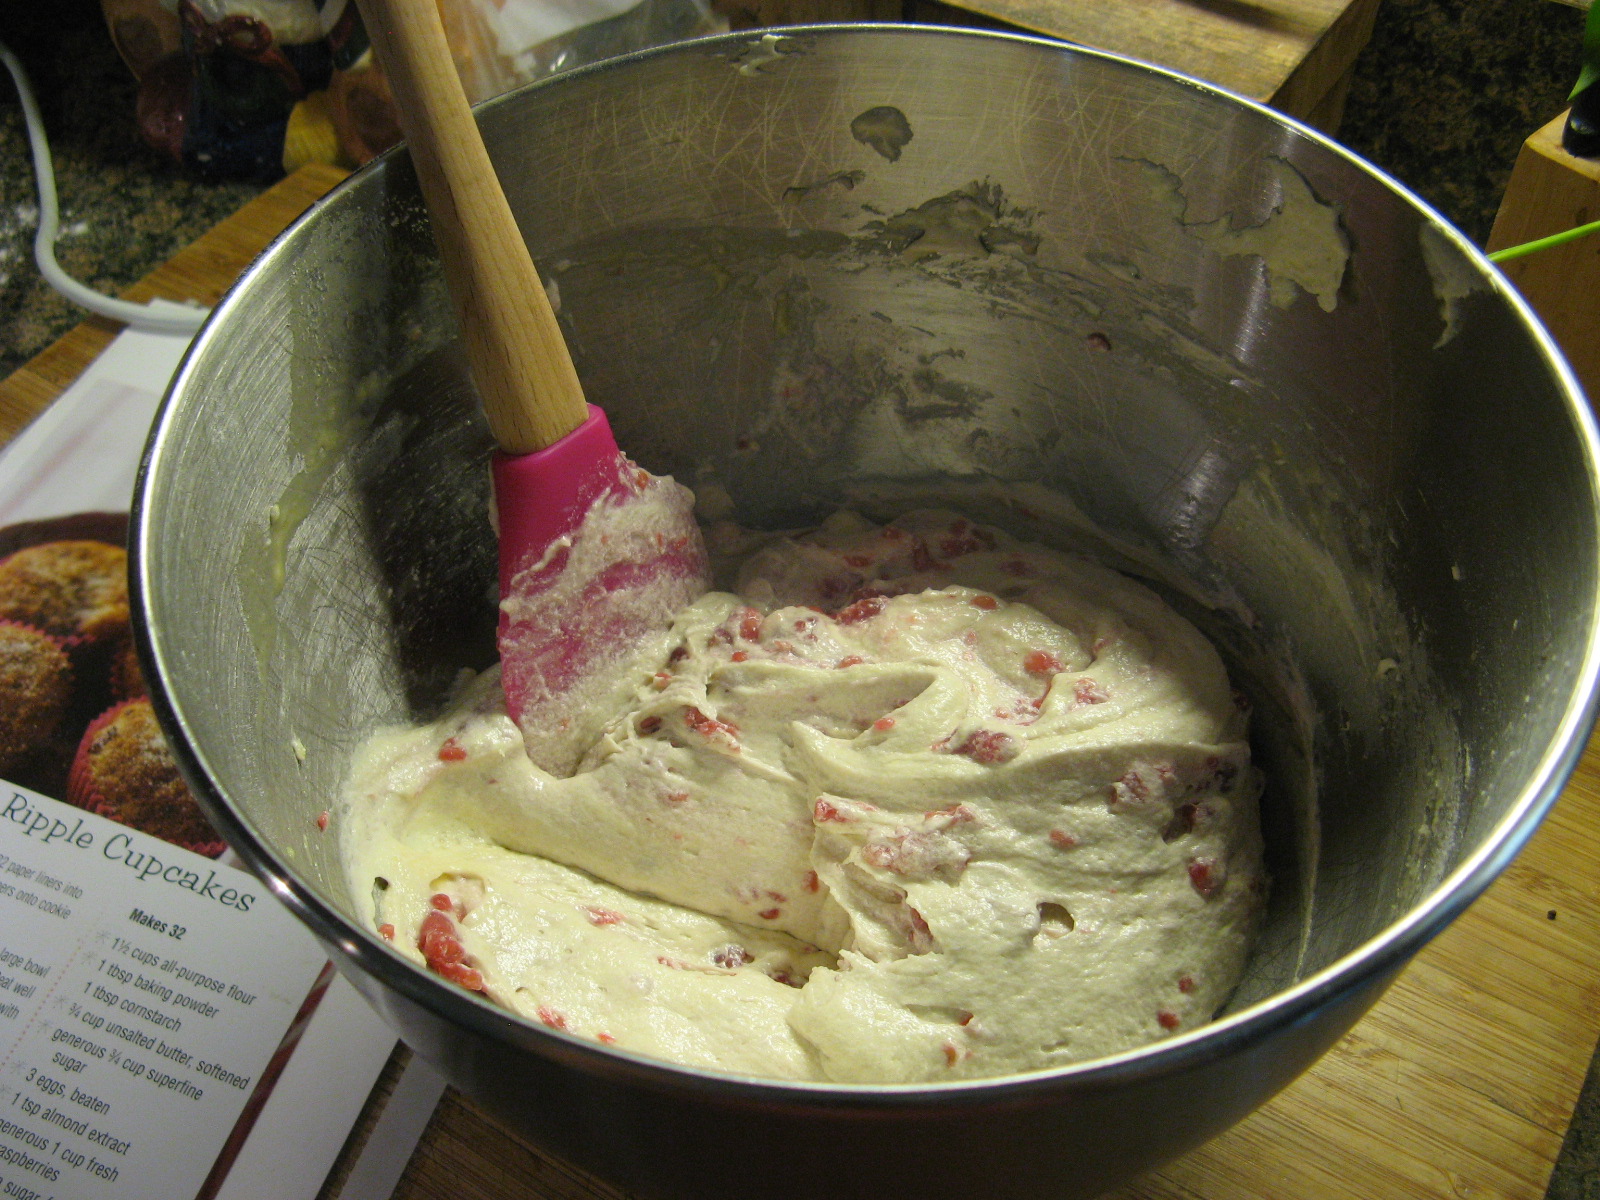
And finally I folded in the mashed raspberries. And that was it… Sometimes you have to relish those recipes that are super quick to put together!

IMG_4243

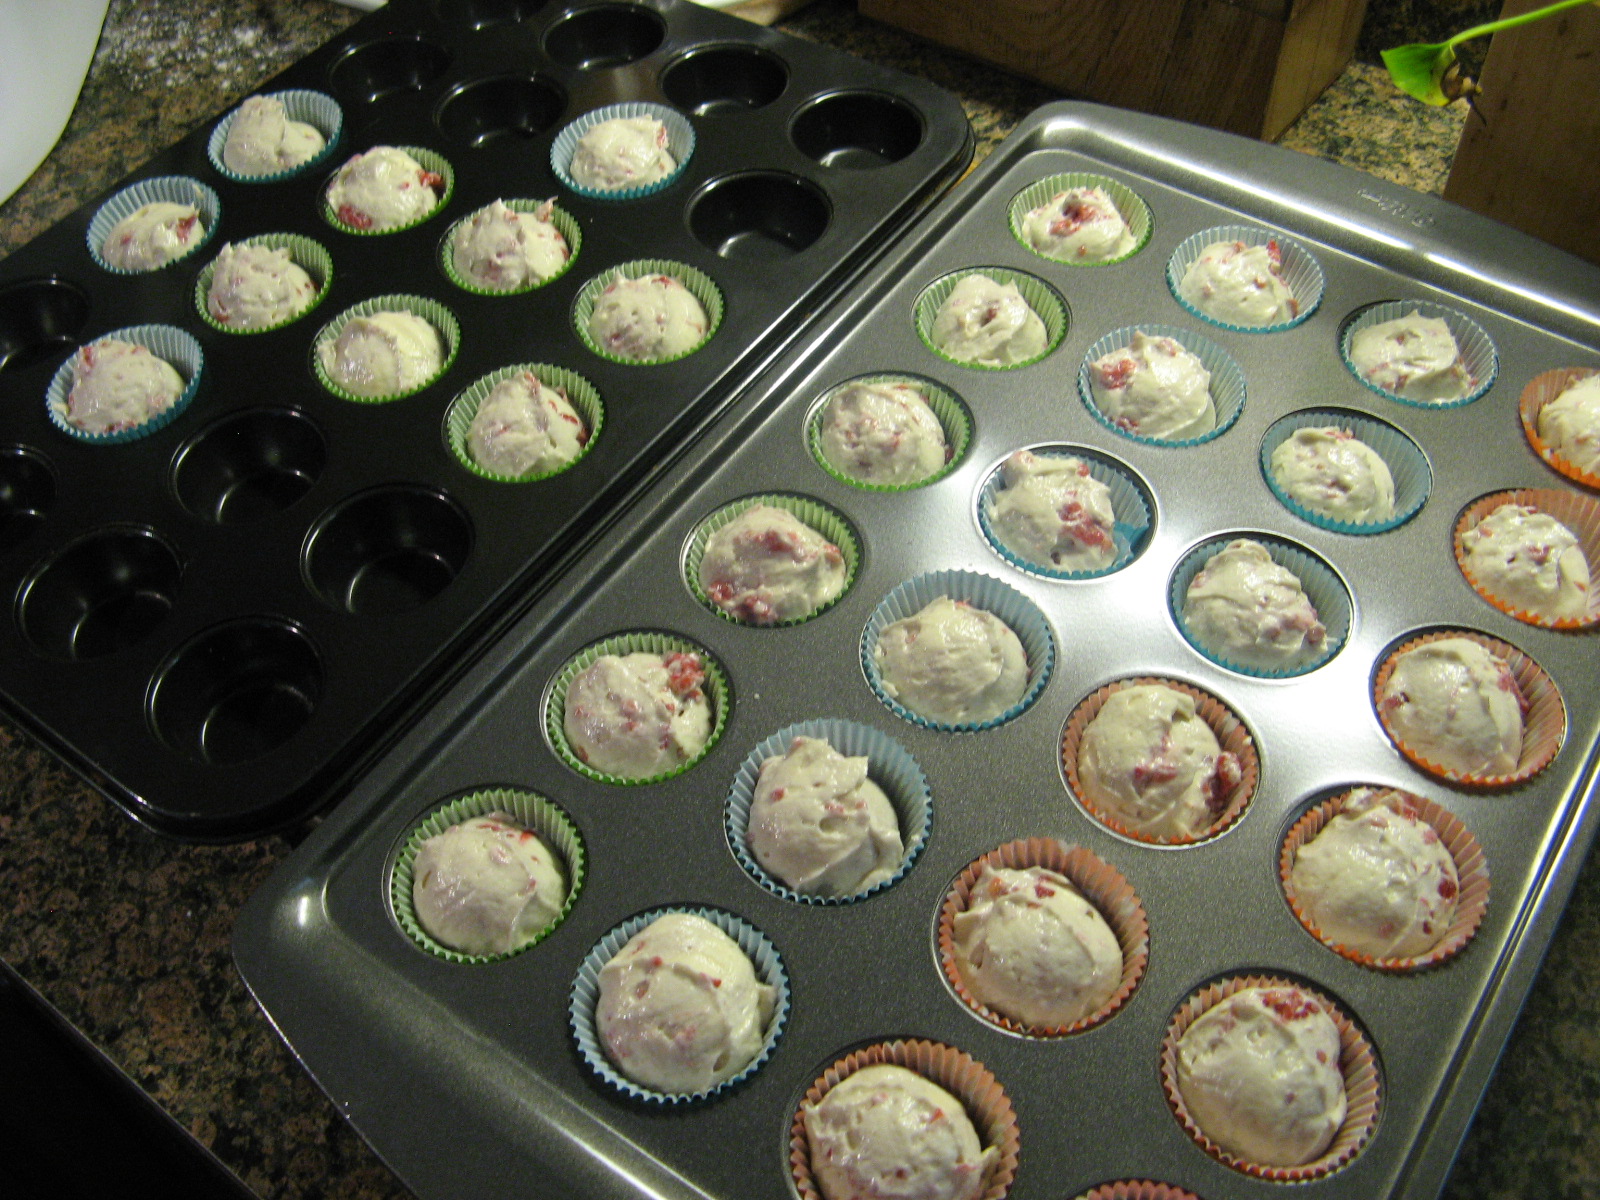
After dividing the batter among paper lined mini muffin tins I baked them in a 375 F preheated oven for about 20 minutes.

IMG_4244

Once I removed them from the oven I transferred the cupcakes to a wire rack to cool completely.

IMG_4272

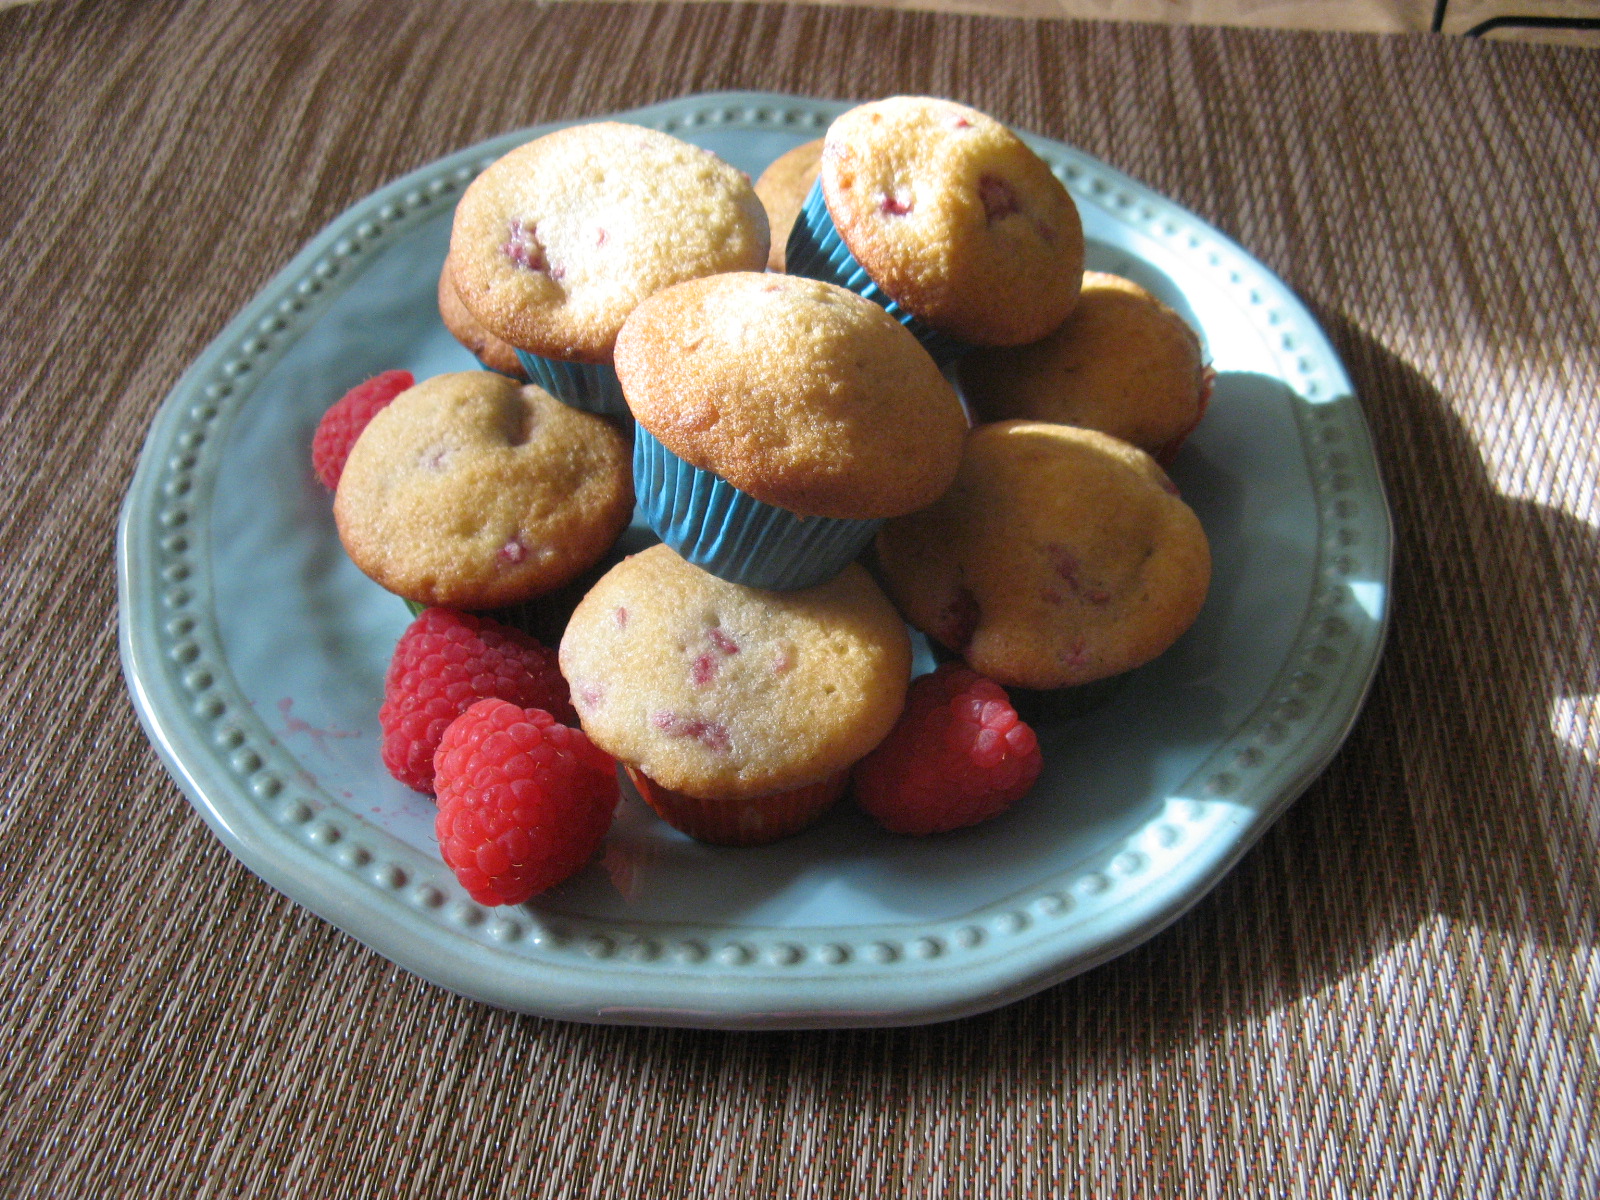
And of course I had to try a few before heading out on said road trip and they were super delicious… Moist and fluffy bursting with the flavors of almond and raspberries. Yum!

IMG_4263

To go along with these cupcakes I also made a batch of rugelach. Both of which were a hit with my fellow road trippers… We came back with empty tins!

IMG_4281


Raspberry Ripple Cupcakes*

Makes 32 mini cupcakes

1 1/2 cups all-purpose flour

1 tablespoon baking powder

1 tablespoon cornstarch

3/4 cup unsalted butter, softened

3/4 cup superfine sugar

3 eggs, beaten

1 teaspoon almond extract

1 cup fresh raspberries

1. Preheat the oven to 375F. Put 32 paper liners into shallow muffin tins.

2. Sift the flour, baking powder, and cornstarch into a large bowl and add the butter, sugar, eggs and almond extract. Beat well until the mixture is smooth. Mash the raspberries lightly with a fork, then fold into the mix.

3. Divide the mixture among the paper liners. Bake in the preheated oven for 15-20 minutes, or until risen, firm and golden brown. Transfer the cupcakes to a wire rack to cool.

*Unfortunately I cannot tell you the origin of the recipe as I ripped it out of a book (I know not so nice, but, my bookshelf was getting a little overloaded) and didn’t make note of which one.