Have you ever come across a recipe that you knew you just had to try only to discover that one ingredient in that recipe would be a mission to find? That’s exactly what happened to me. I came across a recipe for a Chocolate-Hazelnut Icebox Cake in a recent issue of Food Network Magazine and a key ingredient in for the cake was chocolate graham crackers. I was pretty sure that I had seen them before at a local supermarket or Target, but then after searching quite a few supermarkets and a few Targets I was still out of luck. I even searched the Nabisco website to make sure they were still available and found out that in fact Honey Maid Chocolate Graham Crackers were still in production. So, it was just a matter of finding them and lo and behold I did just that when I randomly strolled down the cookie aisle of a supermarket I normally don’t shop at.
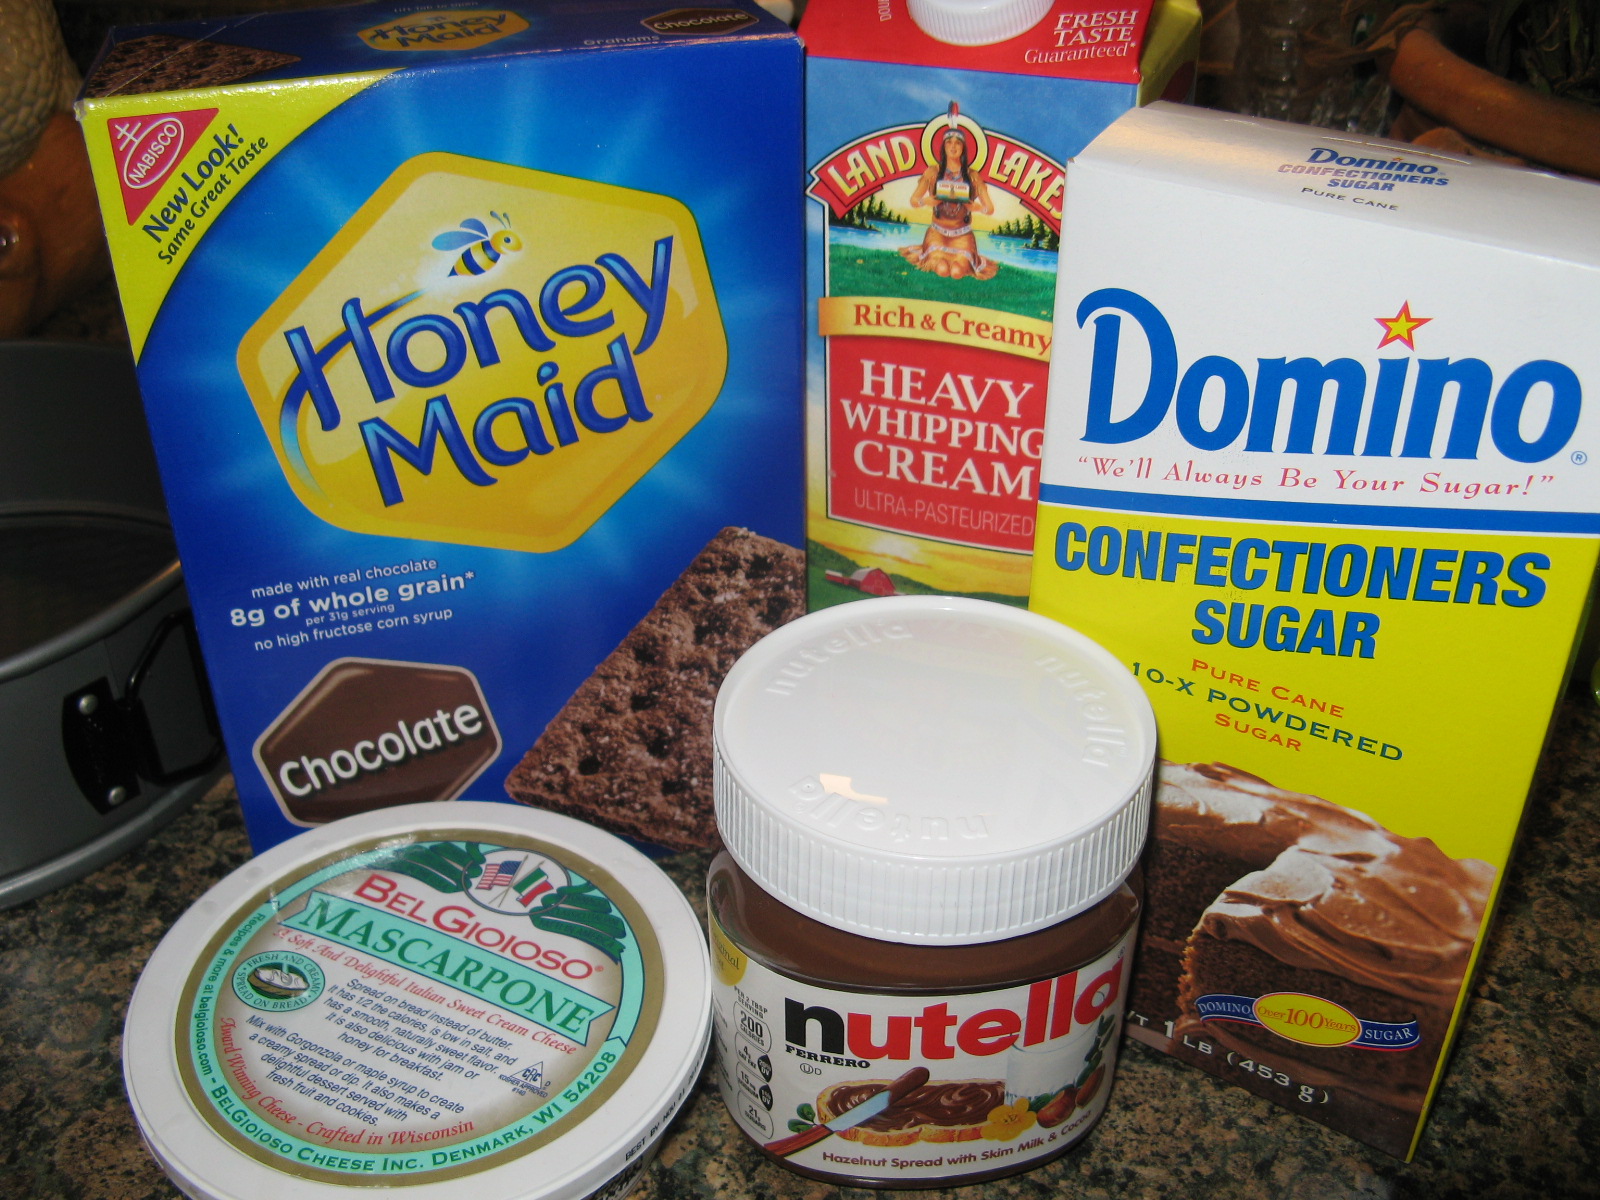
With ingredients like confectioners’ sugar, Nutella, mascarpone cheese, heaving whipping cream and those hard-to-find chocolate graham crackers this was sure to be a delicious cake.
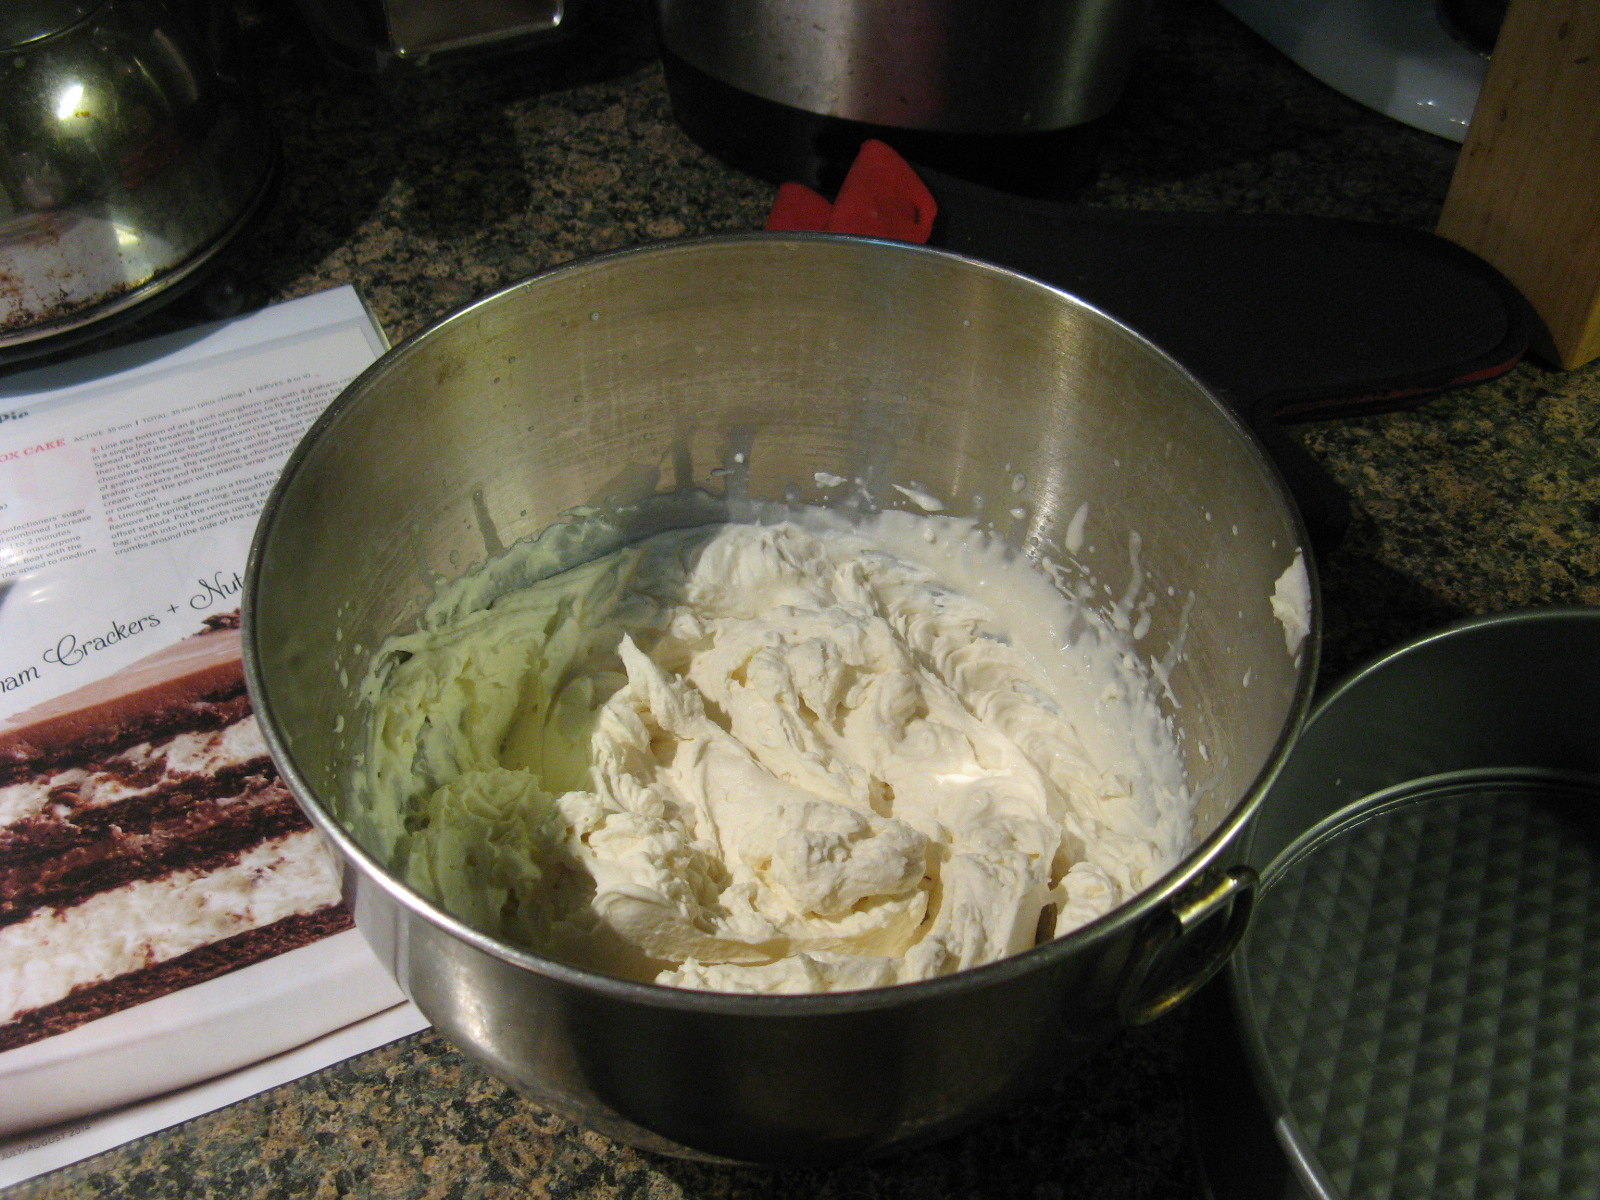
To begin I whipped together heavy cream, mascarpone cheese, confectioners’ sugar and vanilla extract in one bowl until stiff peaks formed.
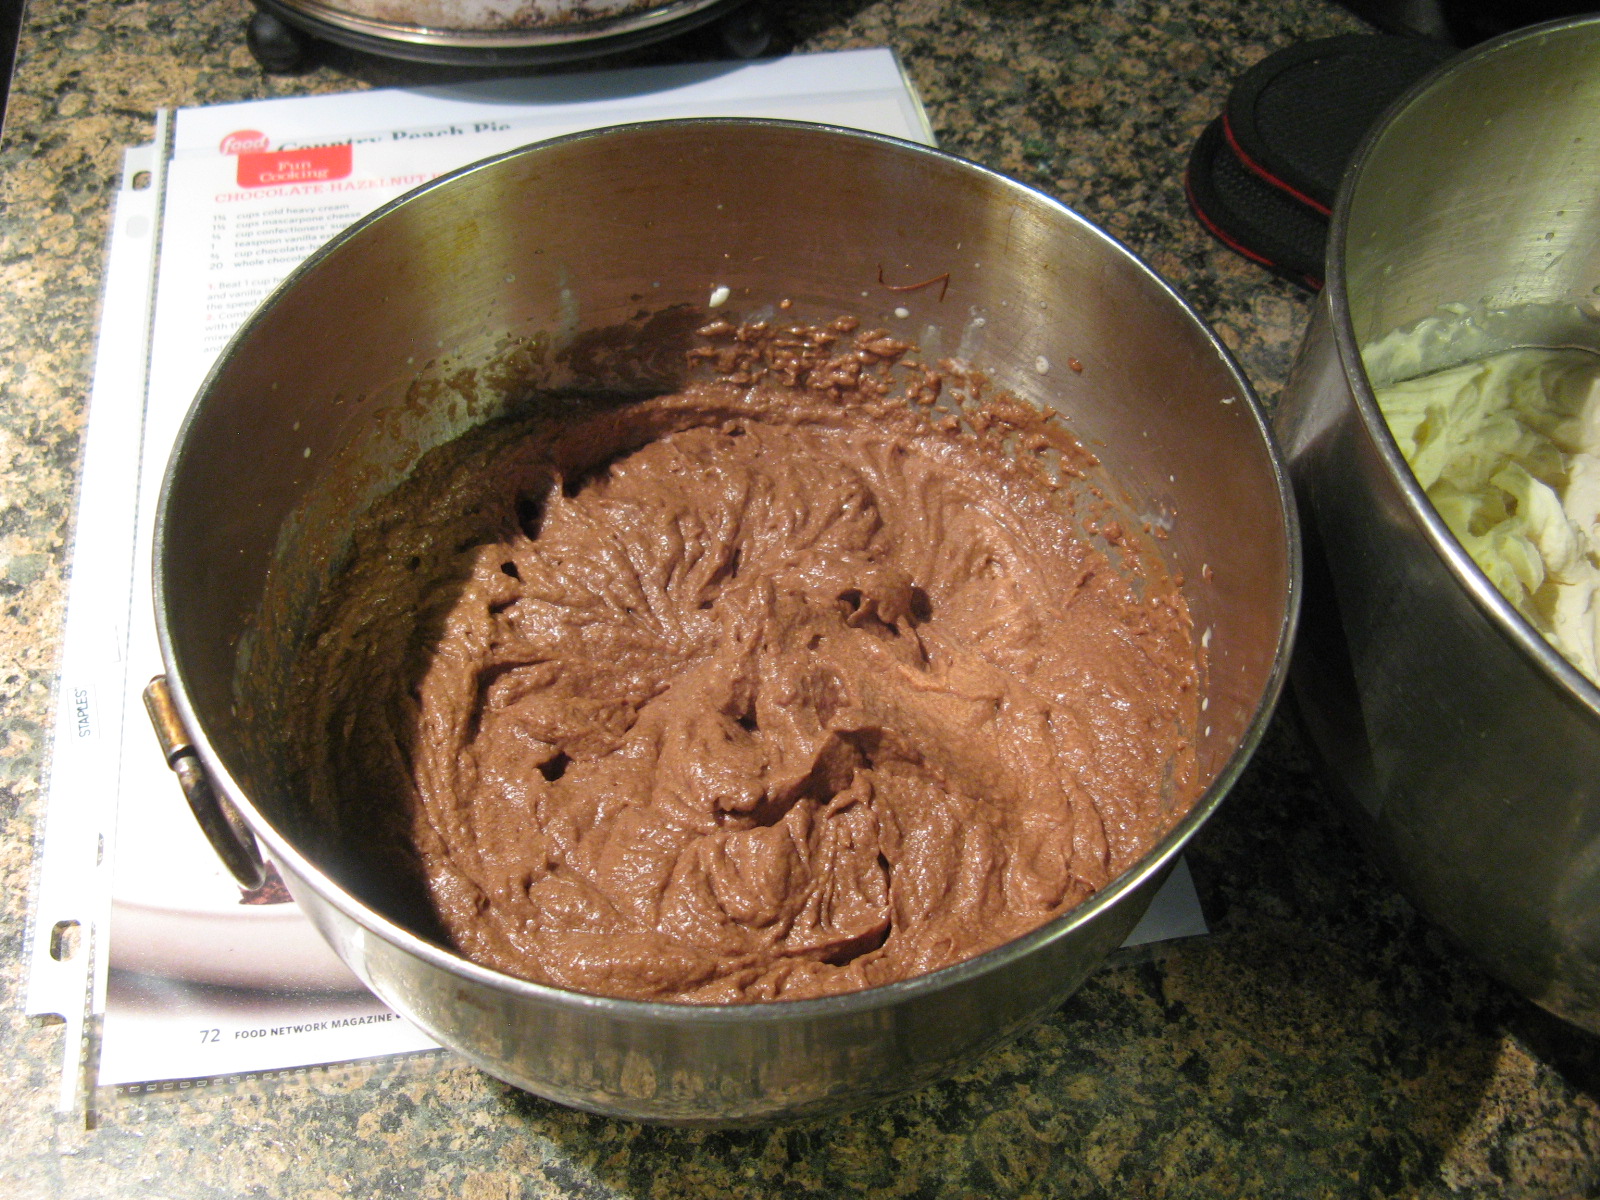
In another bowl I whipped together the remaining heavy cream and mascarpone cheese the recipe called for along with the Nutella until once again stiff peaks formed.
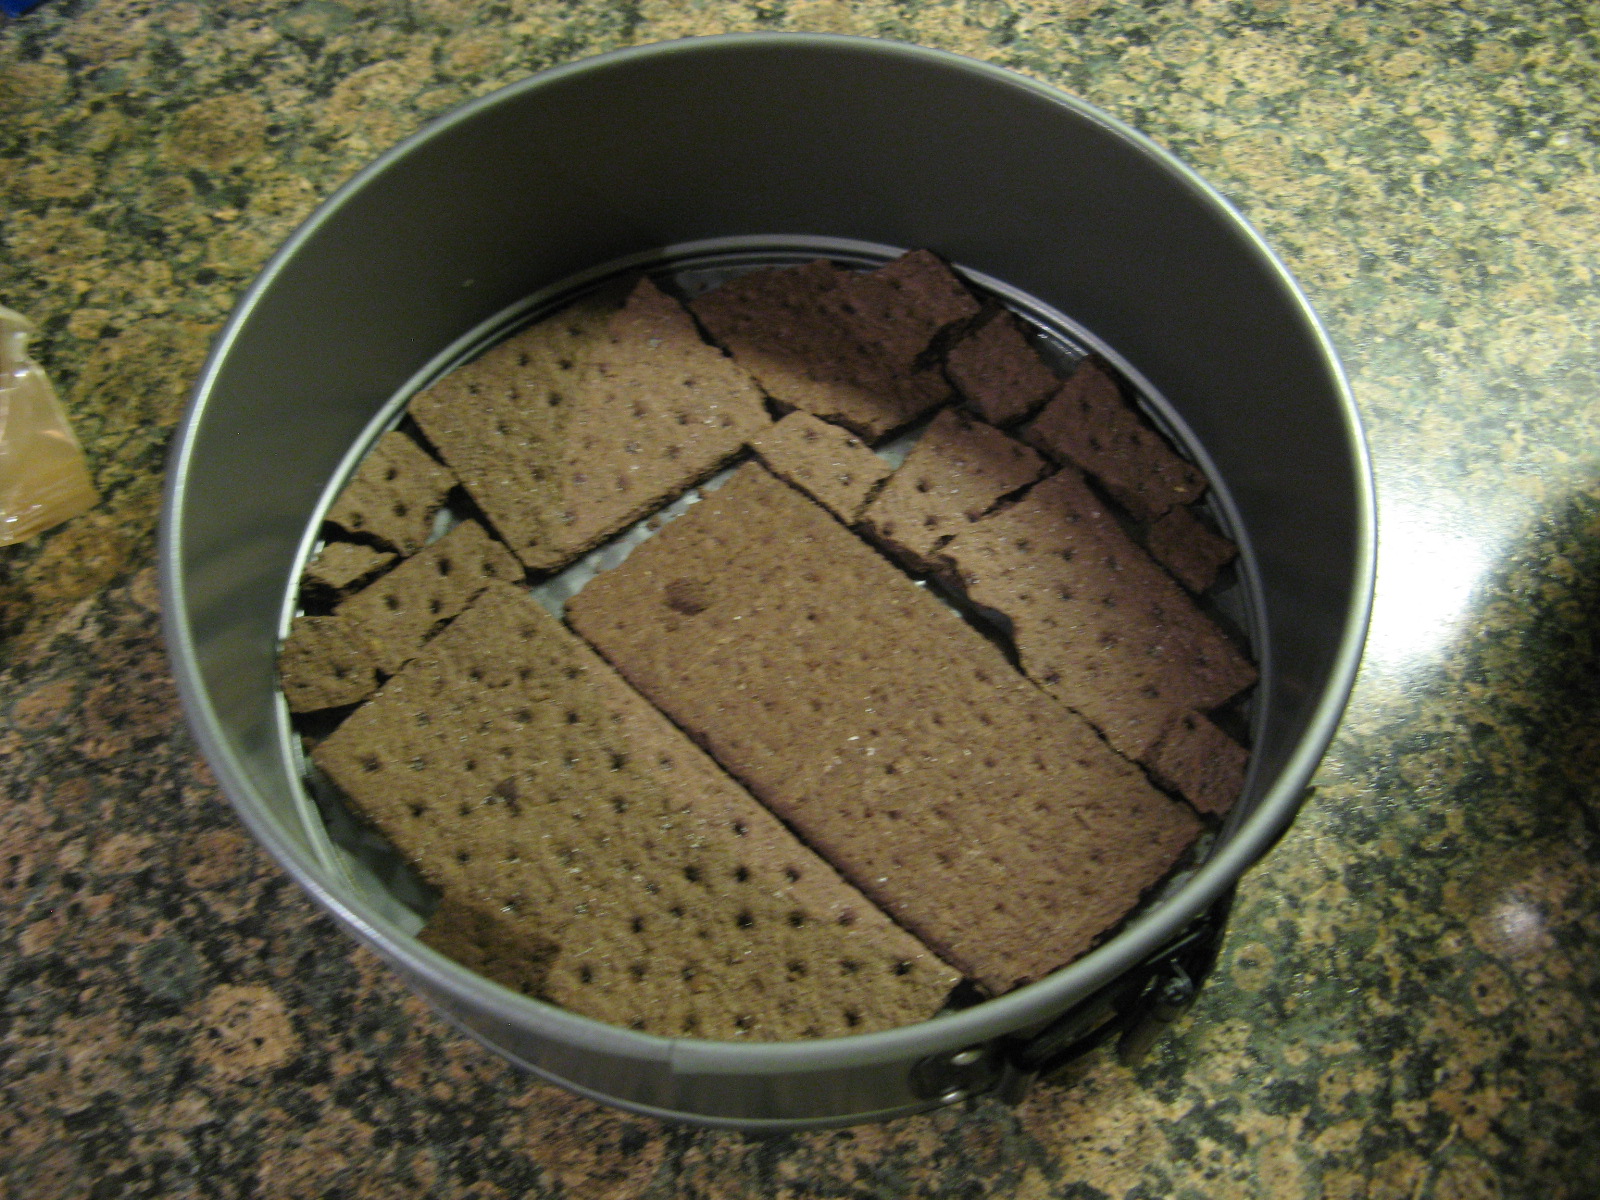
Then it was time to begin assembling the cake. (Of course before assembling I had to try both of the whipped mixtures and they were delicious.) I lined the bottom of an 8-inch springform pan with 4 graham crackers, breaking the crackers as need be so there wouldn’t be any big gaps.
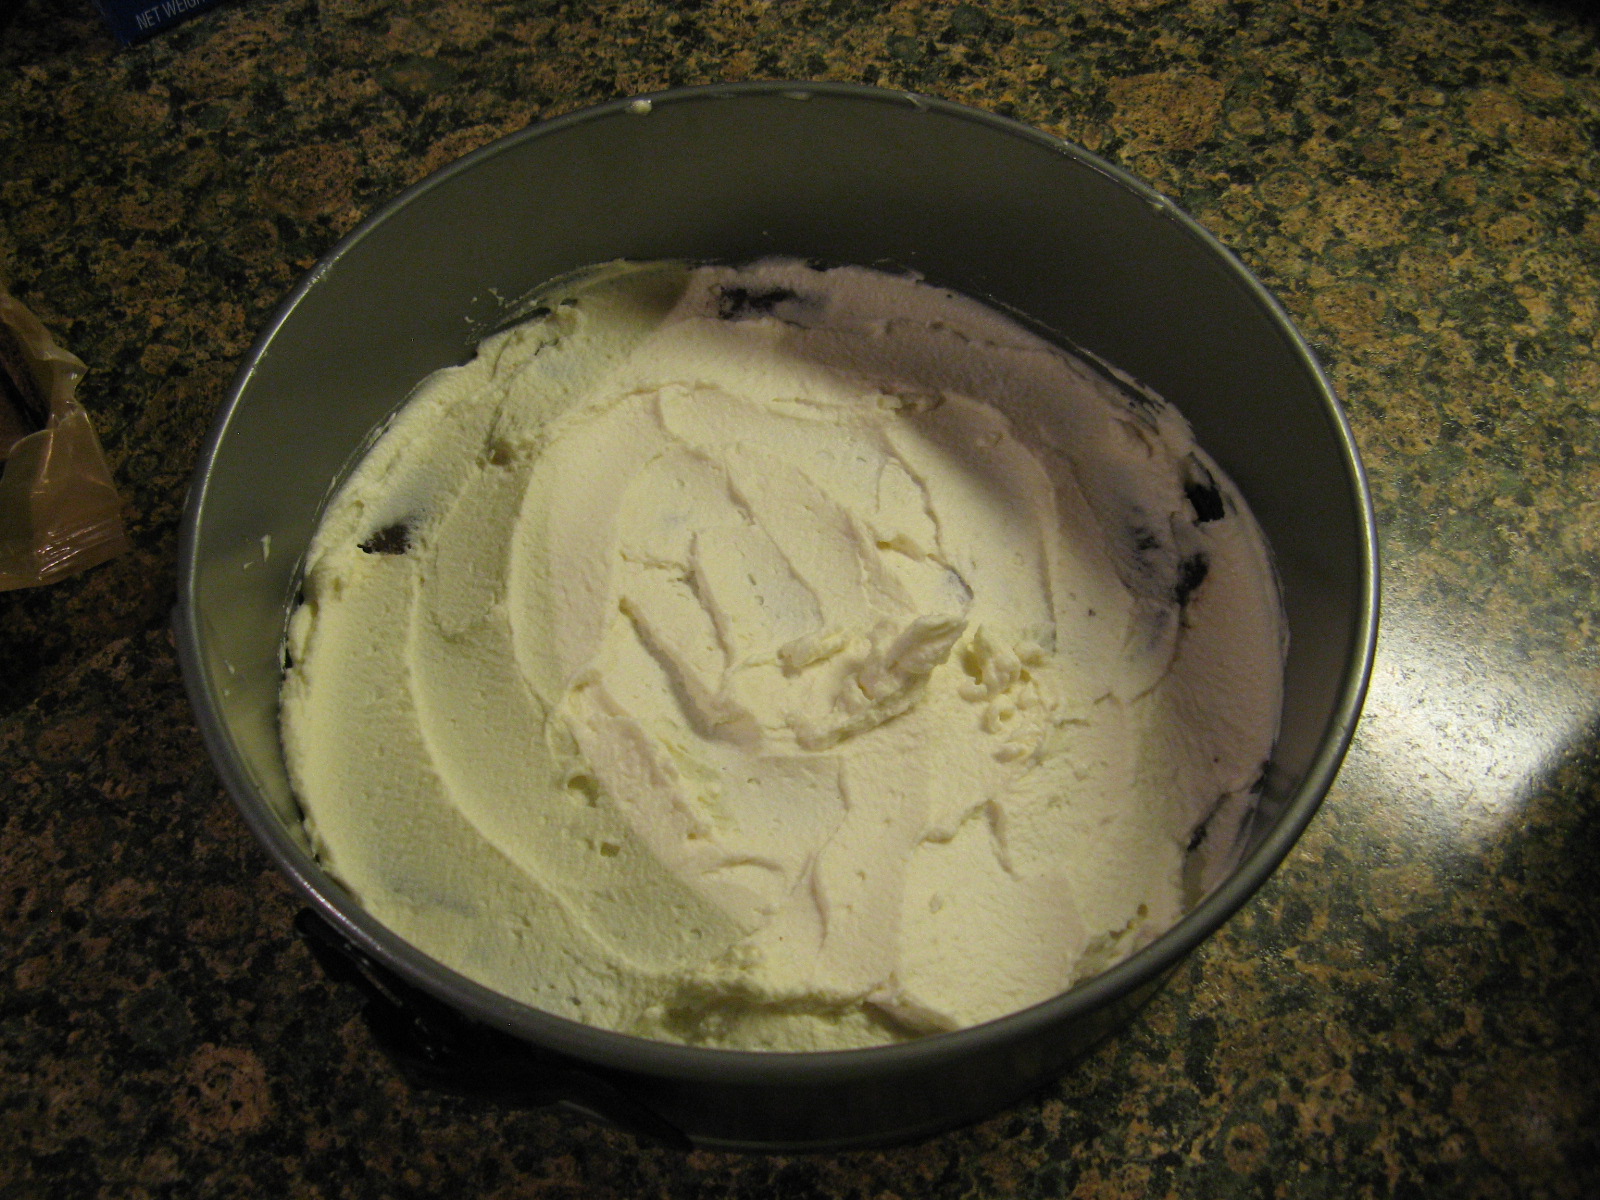
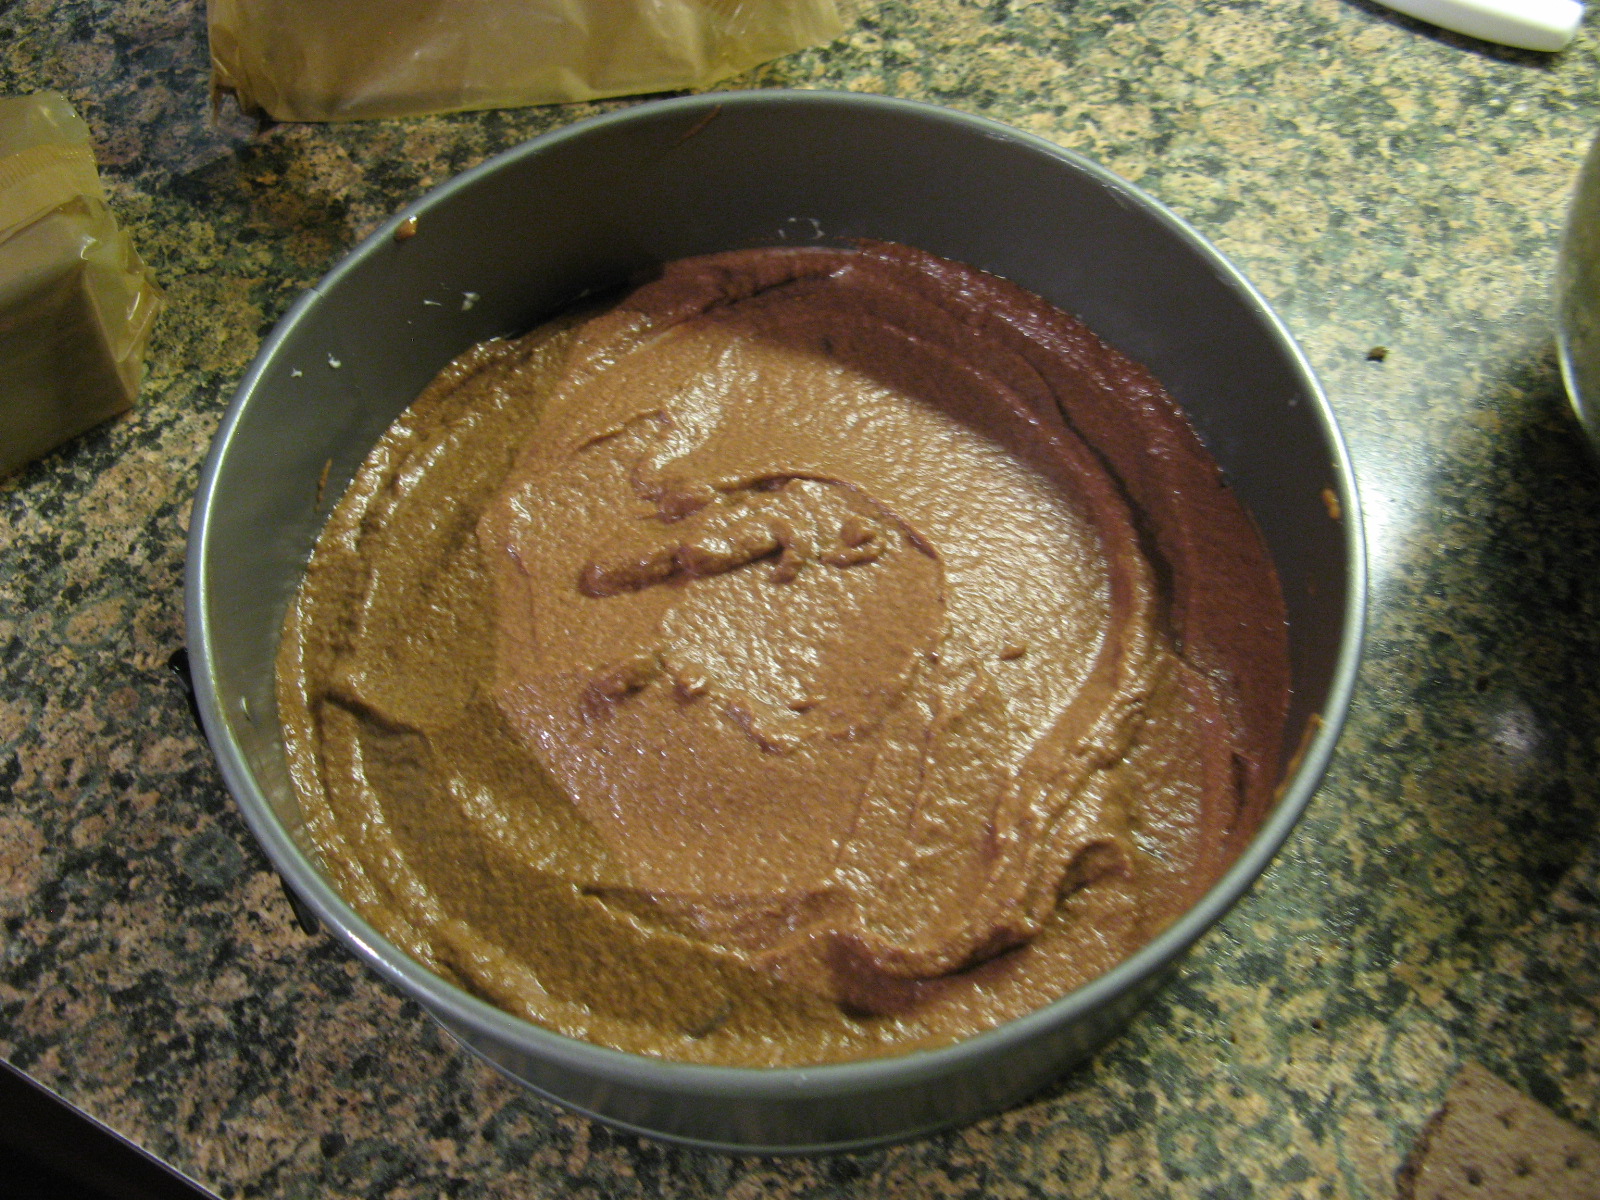
I then spread half of the mascarpone-vanilla mixture over the crackers…
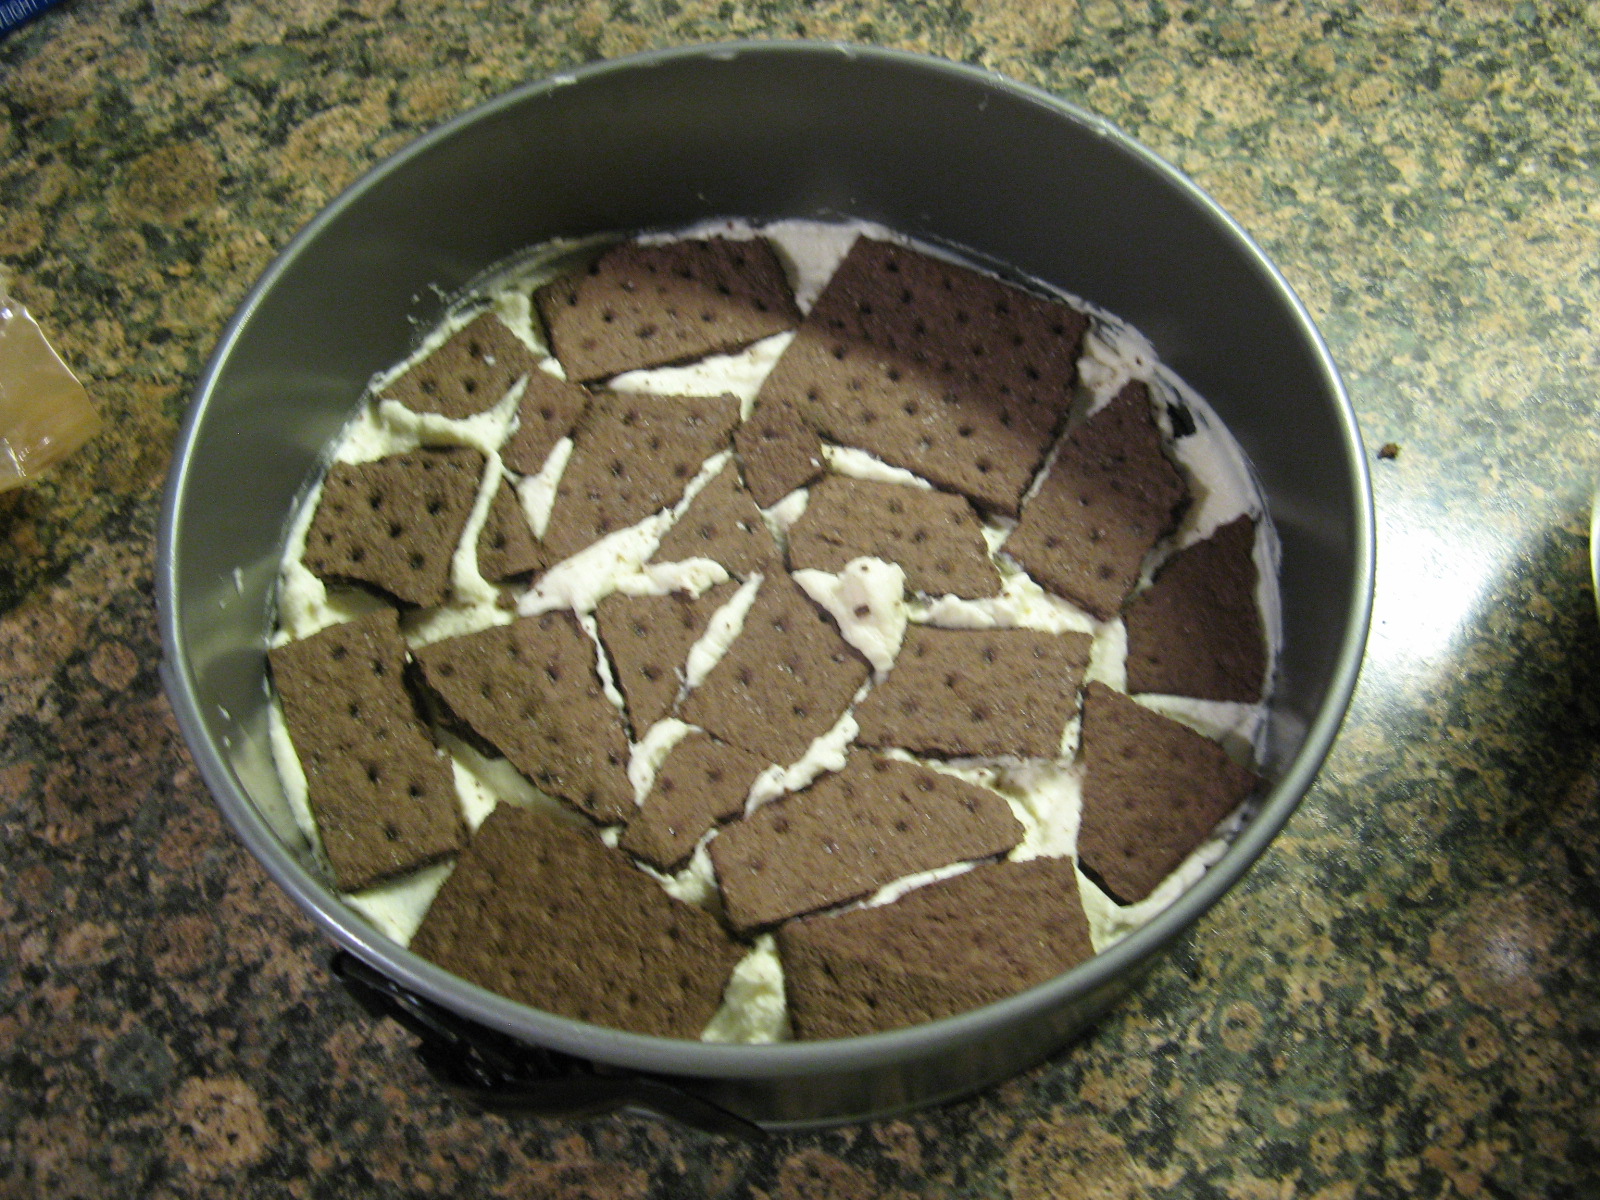
And then layered another four graham crackers over it…
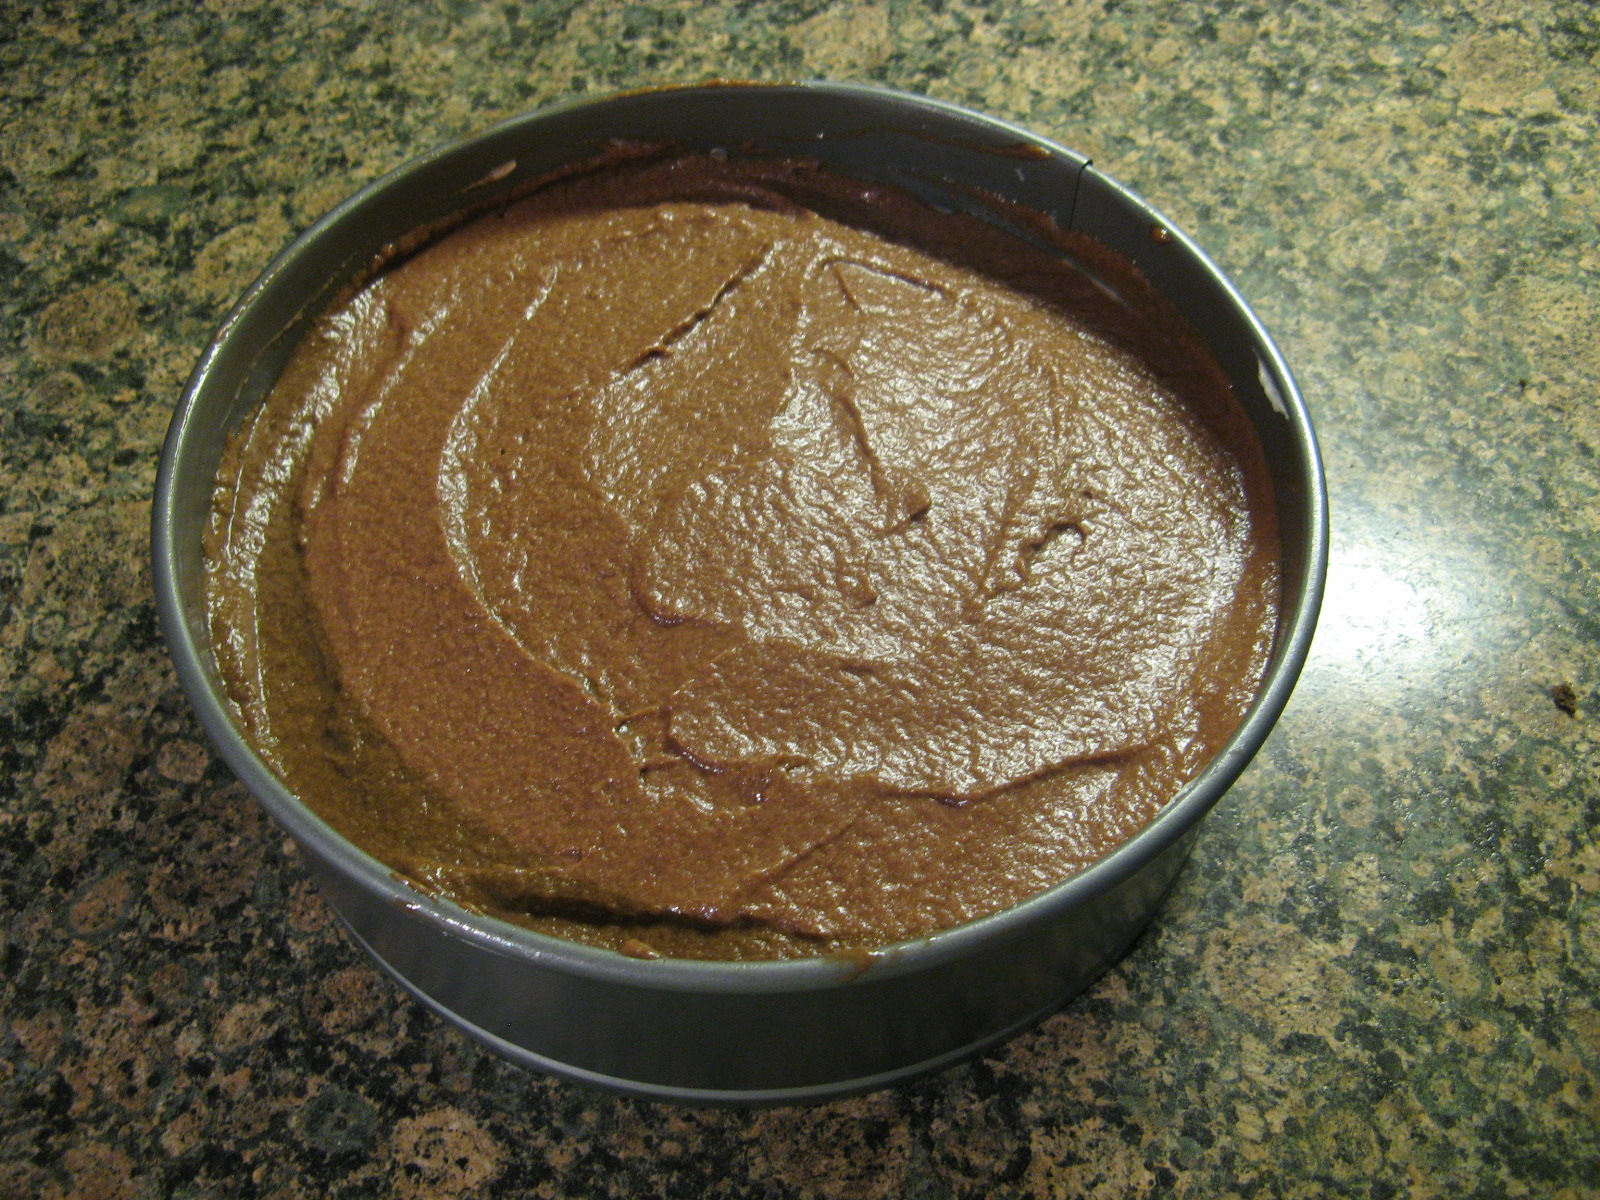
And then spread half of the mascarpone-Nutella mixture over the crackers…
I continued the layering process ending with a top layer of the mascarpone-Nutella mixture.
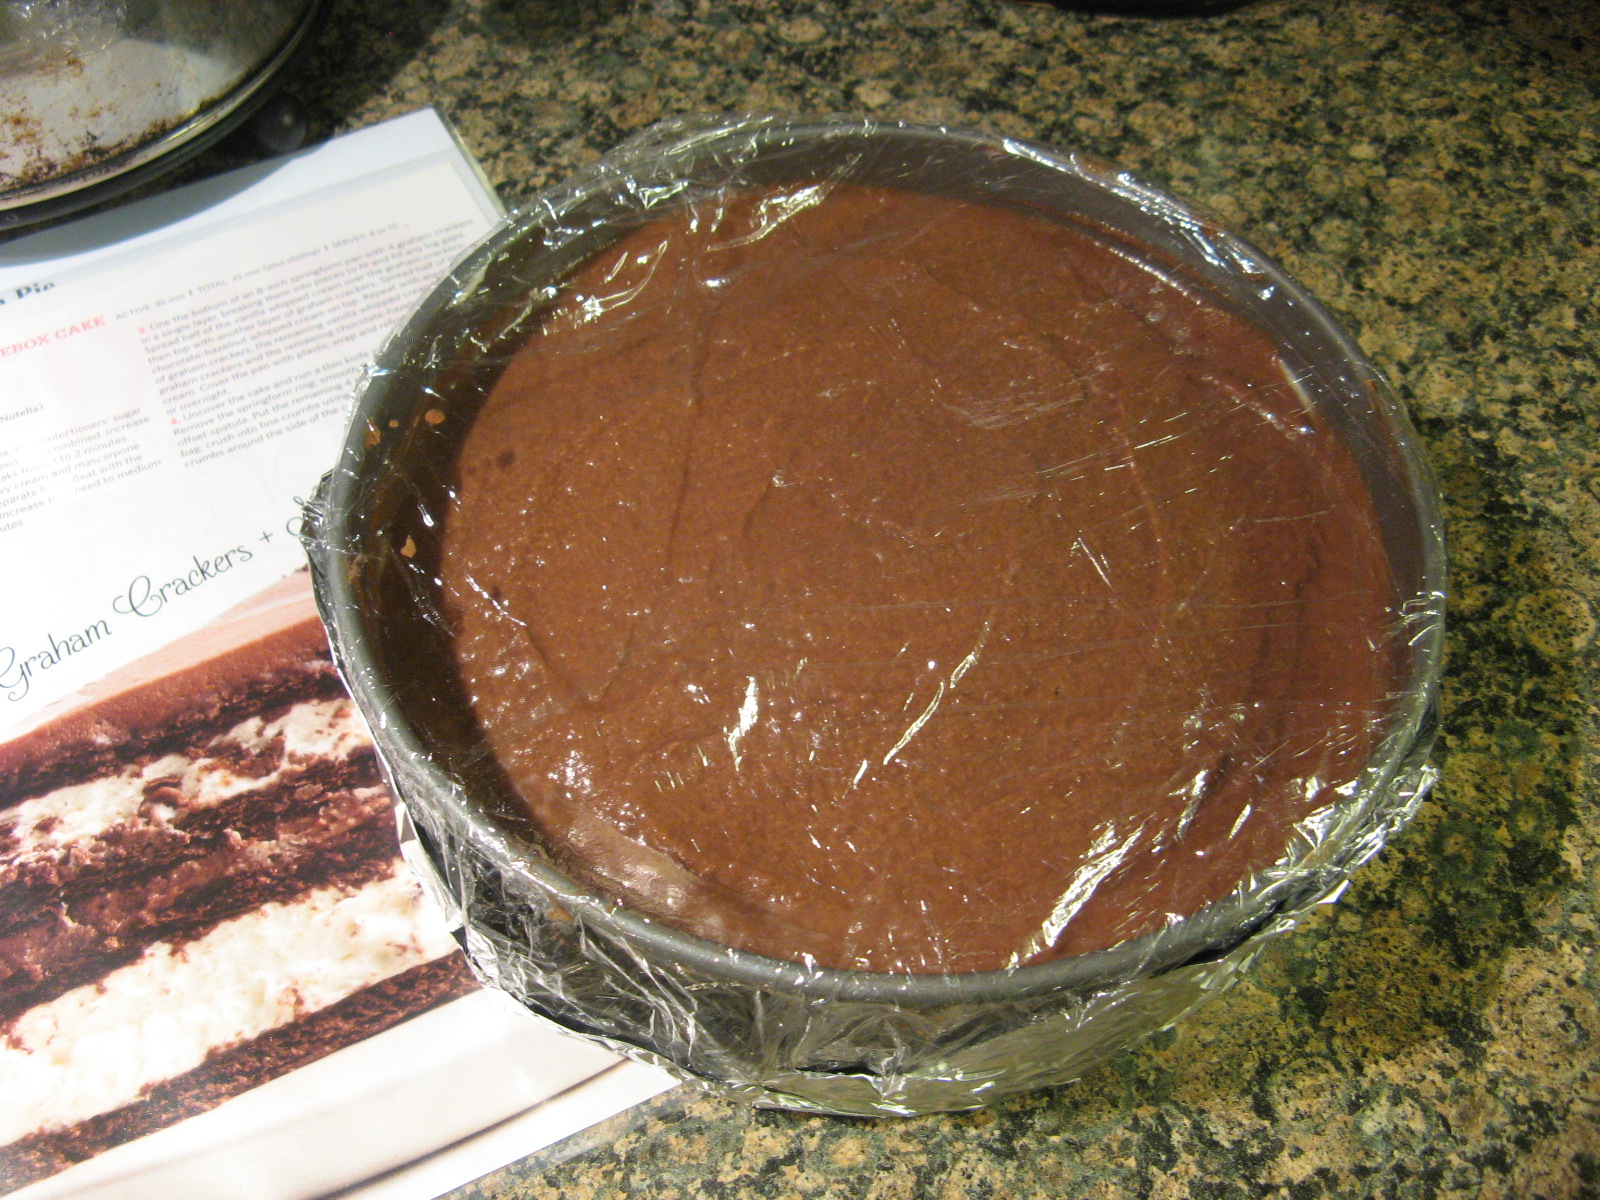
I wrapped the cake with plastic wrap – I also wrapped the bottom with aluminum foil to make sure the plastic wrap would stay on – and refrigerated it overnight.
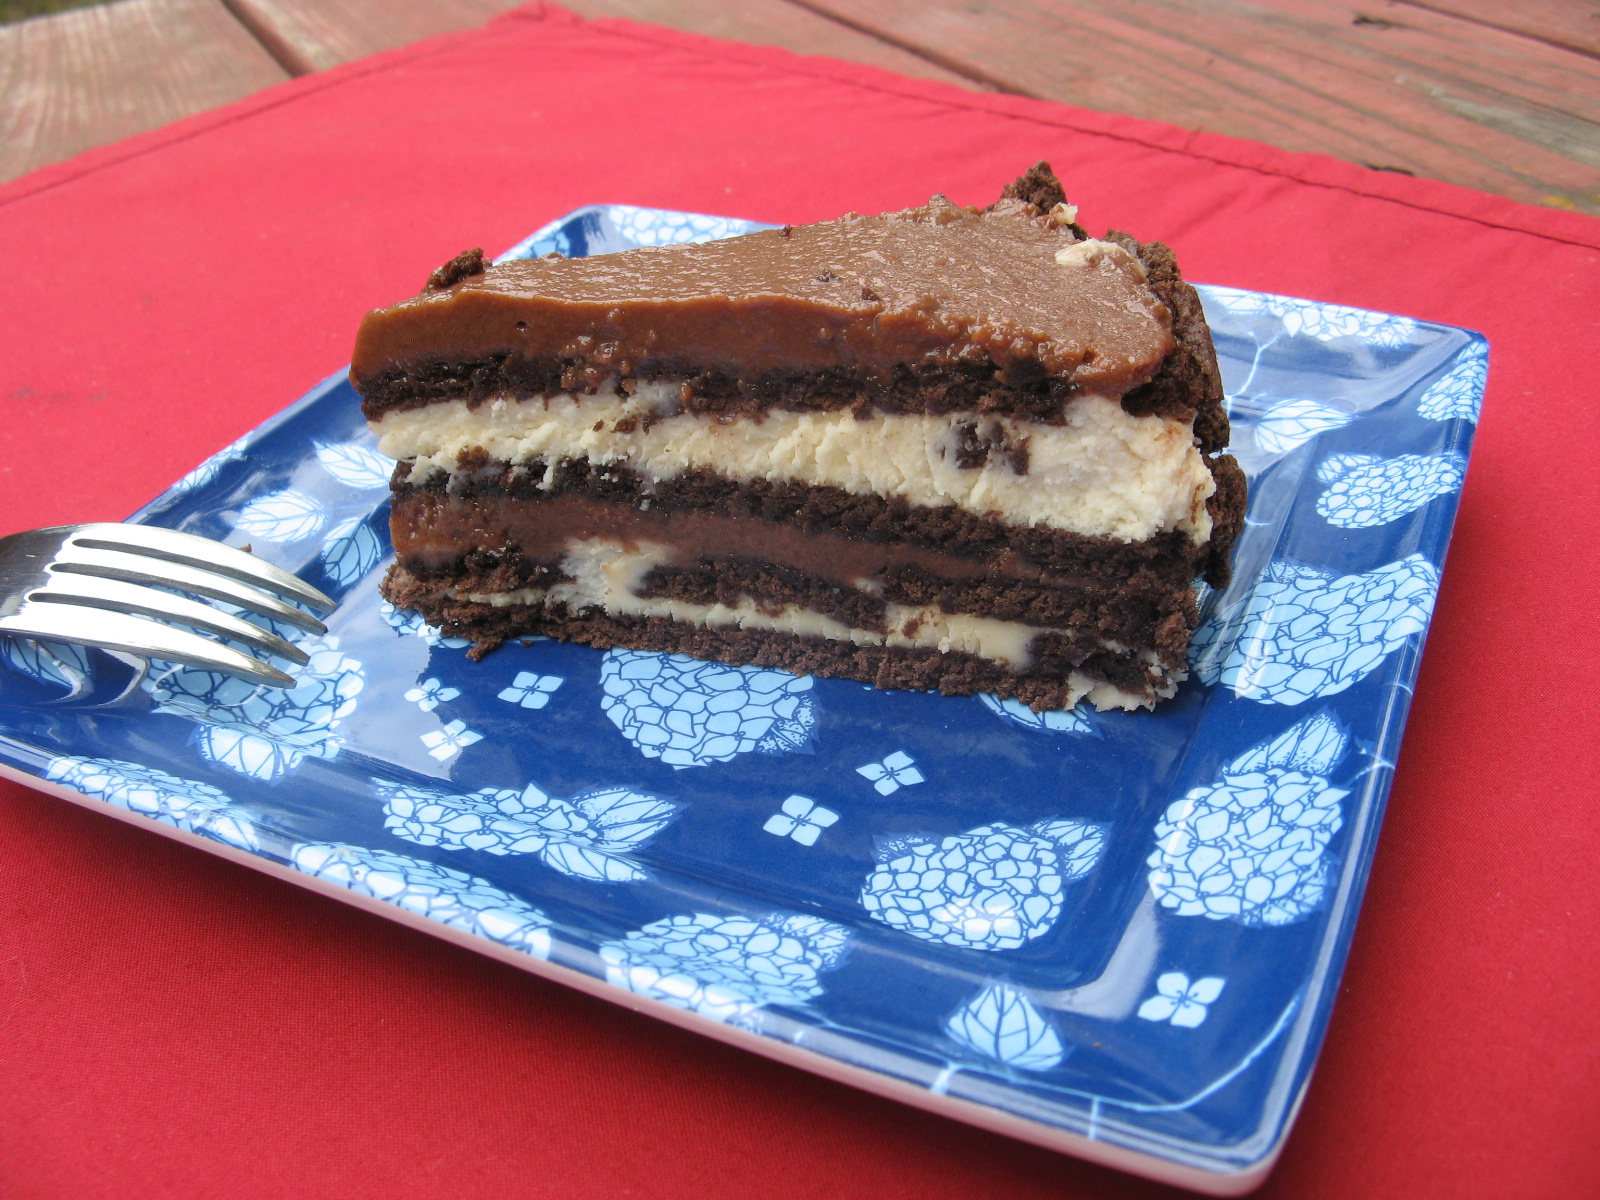
Prior to serving the cake I unmolded it from the springform pan and pressed the crumbs of 4 crushed graham crackers around the sides of the cake.
Final verdict… It was AMAZING! If you follow by blog regularly you know that in February I always make a character cake – first there was Elmo, then Minnie Mouse and this year it was an Enchanted Castle – for my friend’s daughters’ birthday, well, she happily ate a slice of this cake in record time and when I saw how much she enjoyed it I told her that next year this would be the cake I make for her birthday and she had no objections! We’ll see what happens when February rolls around though… I’ve already been thinking about some sort of Frozen theme. Regardless, I’m already looking forward to making this cake again. I should head back to that supermarket to pick up another box or two of the graham crackers just in case… Another search for them would not be fun, especially since I know how delicious this cake is now.
Chocolate-Hazelnut Icebox Cake
1 3/4 cups cold heavy cream
1 1/2 cups mascarpone cheese
1/3 cup confectioners’ sugar
1 teaspoon vanilla extract
2/3 cup chocolate-hazelnut spread (such as Nutella)
20 whole chocolate graham crackers
1. Beat 1 cup heavy cream, 3/4 cup mascarpone, the confectioners’ sugar and vanilla in a bowl with a mixer on low speed until combined. Increase the speed to medium and beat until stiff peaks form, 1 to 2 minutes.
2. Combine the remaining 3/4 cup each heavy cream and mascarpone with the chocolate-hazelnut spread in a separate bowl. Beat with the mixer on low speed until combined, then increase the speed to medium and beat until stiff peaks form, 1 to 2 minutes.
3. Line the bottom of an 8-inch springform pan with 4 graham crackers in a single layer, breaking them into pieces to fit and fill and big gaps. Spread half of the vanilla whipped cream over the graham crackers, then top with another layer of graham crackers. Spread half of the chocolate-hazelnut whipped cream on top. Repeat with another layer of graham crackers, the remaining vanilla chipped cream, then more graham crackers and the remaining chocolate-hazelnut whipped cream. Cover the pan with plastic wrap and refrigerate at least 6 hours or overnight.
4. Uncover the cake and run a thin knife around the edge to loosen. Remove the springform ring; smooth the sides of the cake using an offset spatula. Put the remaining 4 graham crackers in a large resealable bag; crush into fine crumbs using the bottom of a skillet. Press the crumbs around the side of the cake.