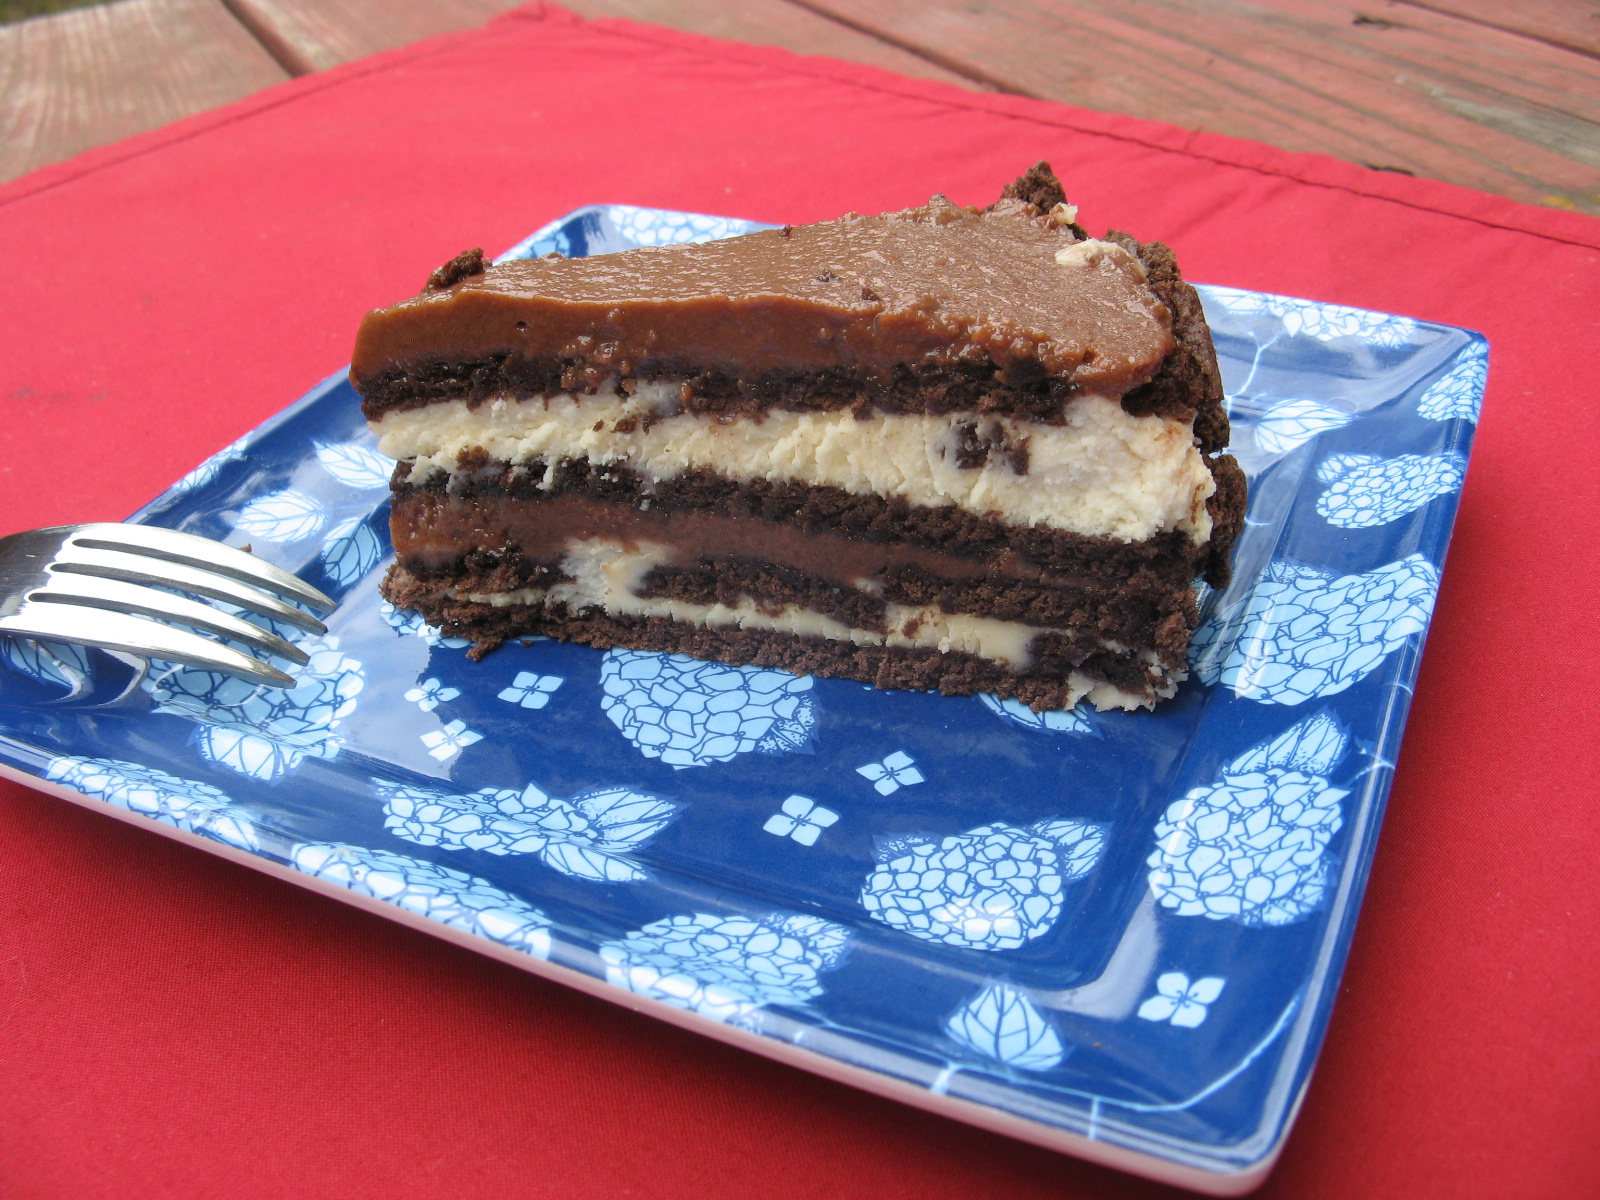
Happy Fall Y’all! While I normally welcome my favorite season with a pumpkin dessert, I decided to switch it up this year with an apple one, well sort of. It’s a spice cake with an apple pie filling topped with cream cheese frosting. You get all the Fall feels with this cake… the warm spices – cinnamon, ginger, nutmeg, allspice and cloves – from the spice cake, the deliciousness of apple pie and you can never go wrong with cream cheese frosting!

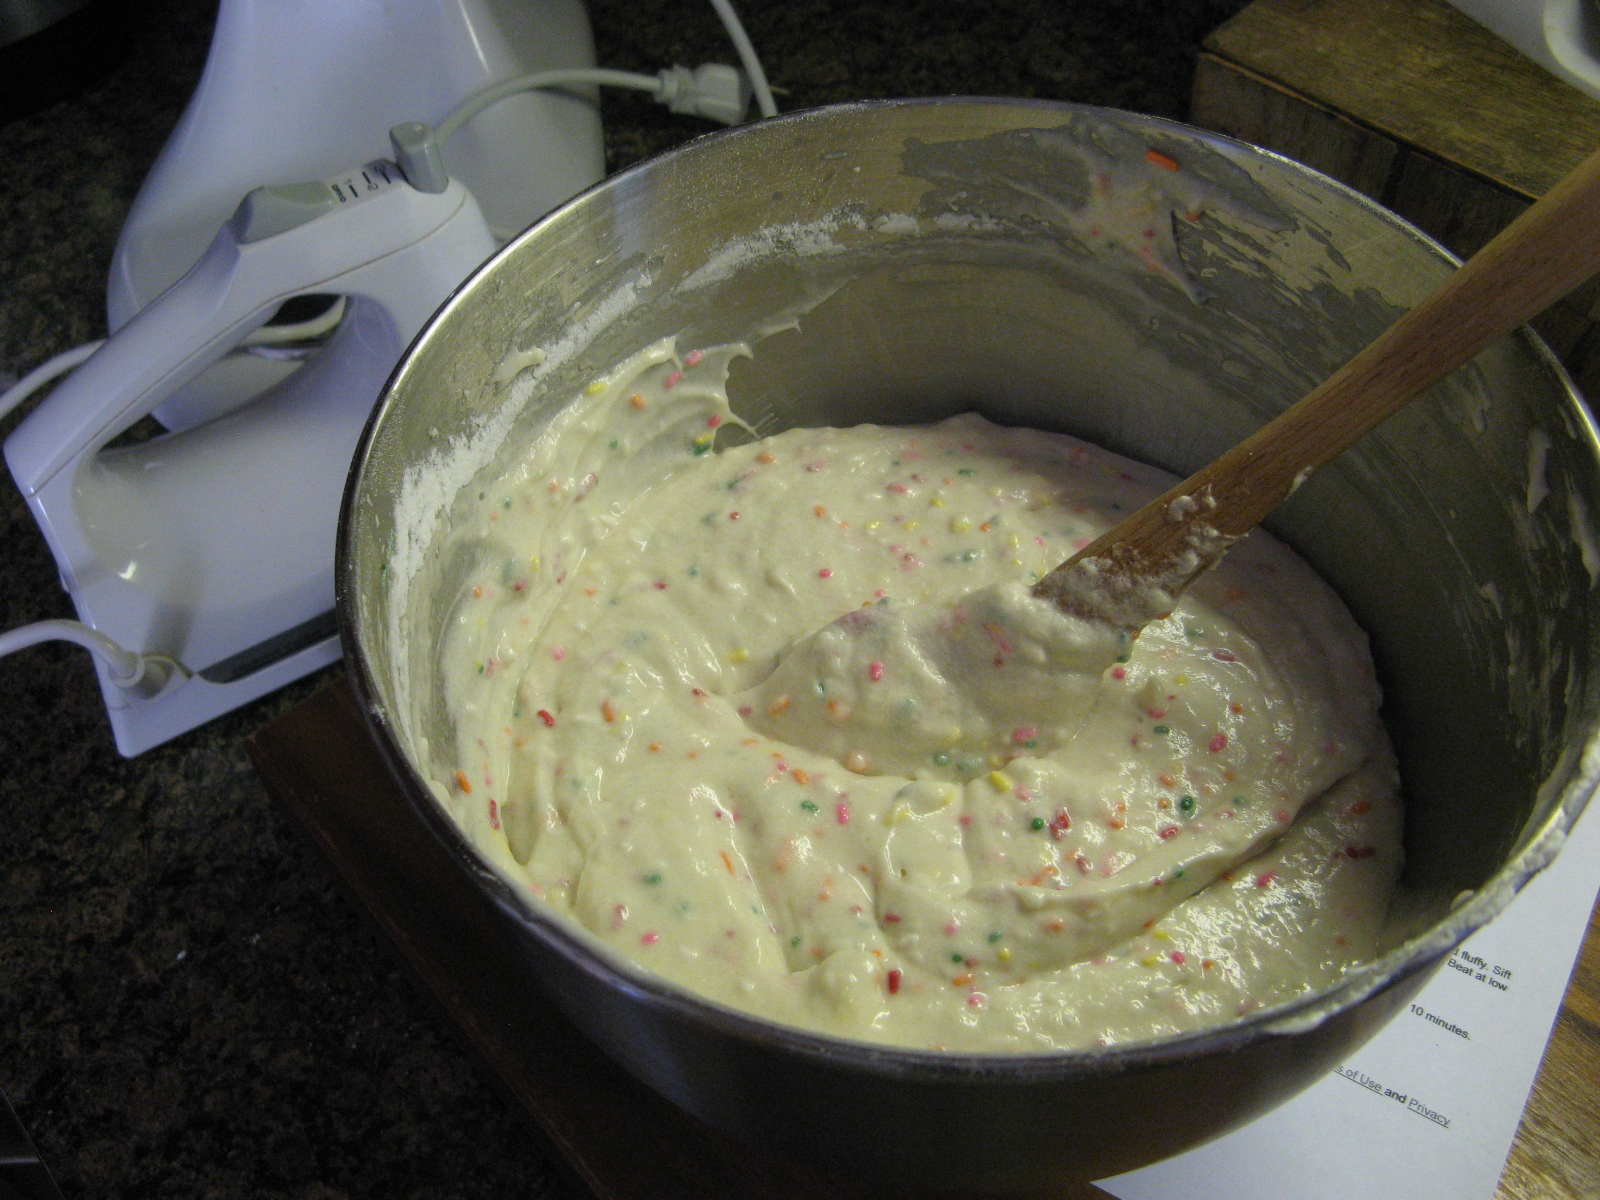
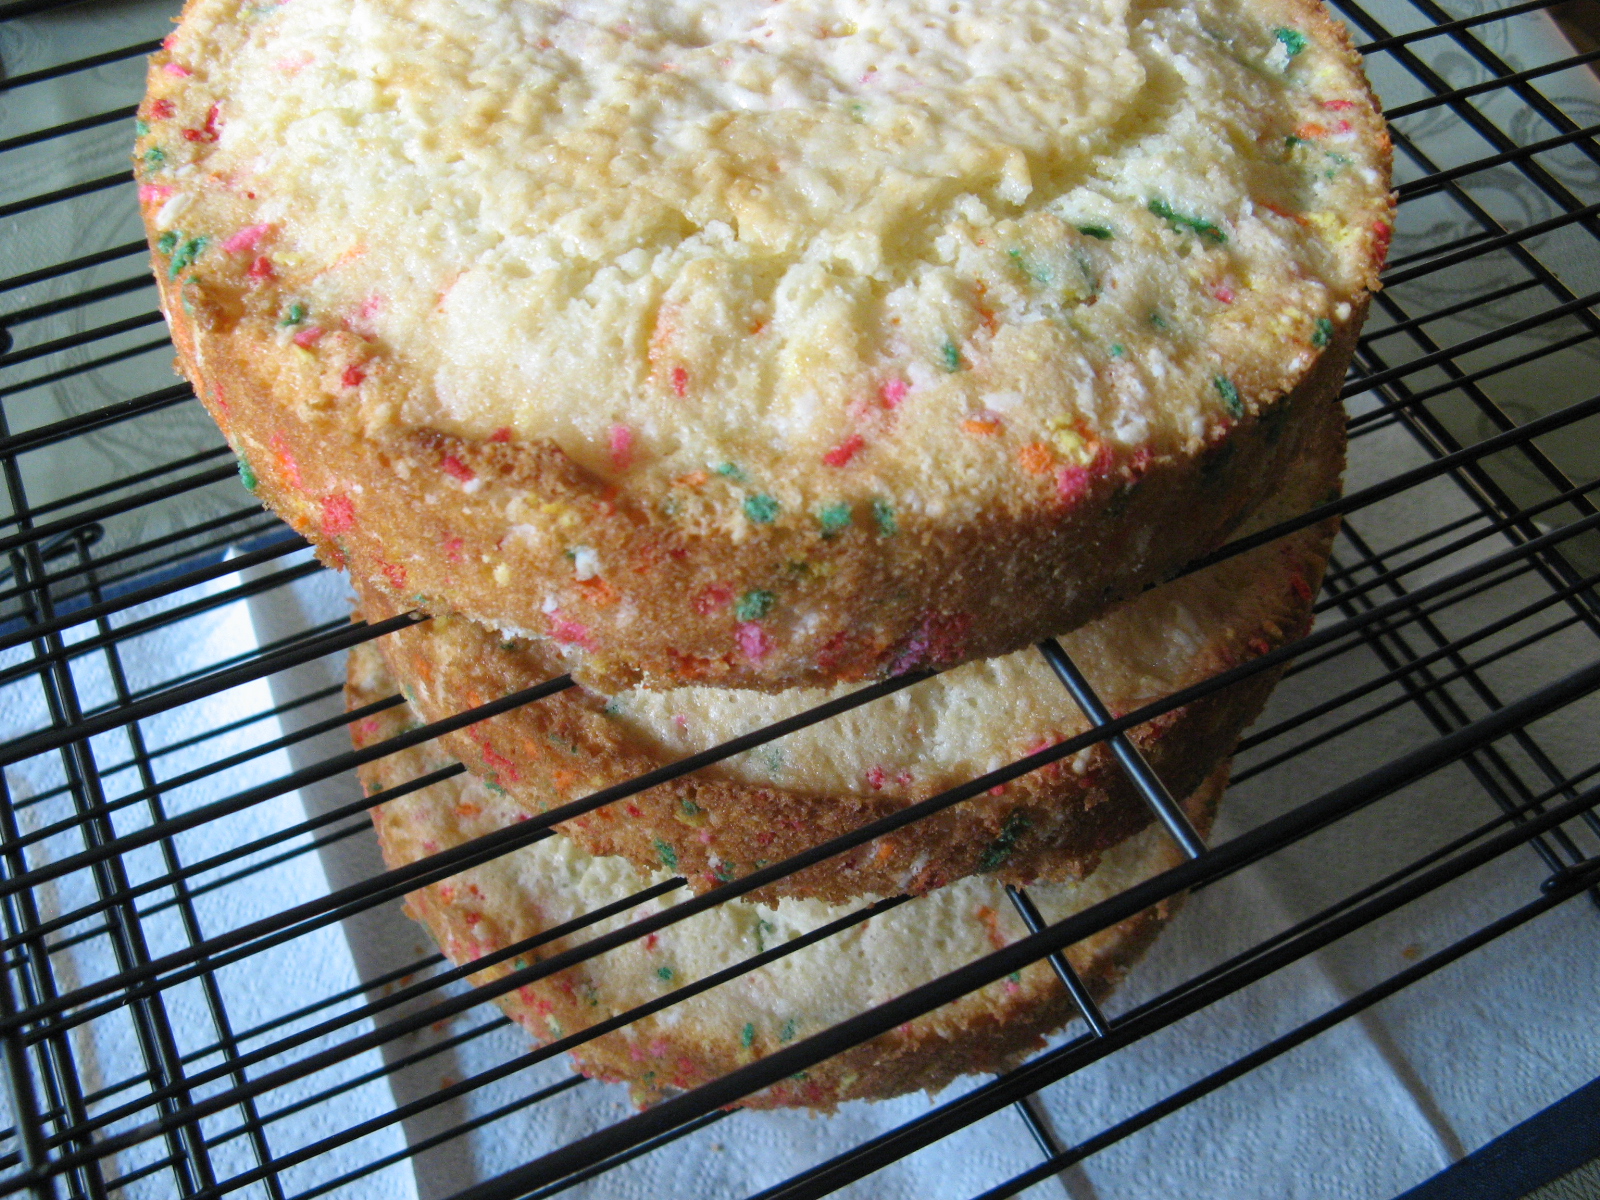
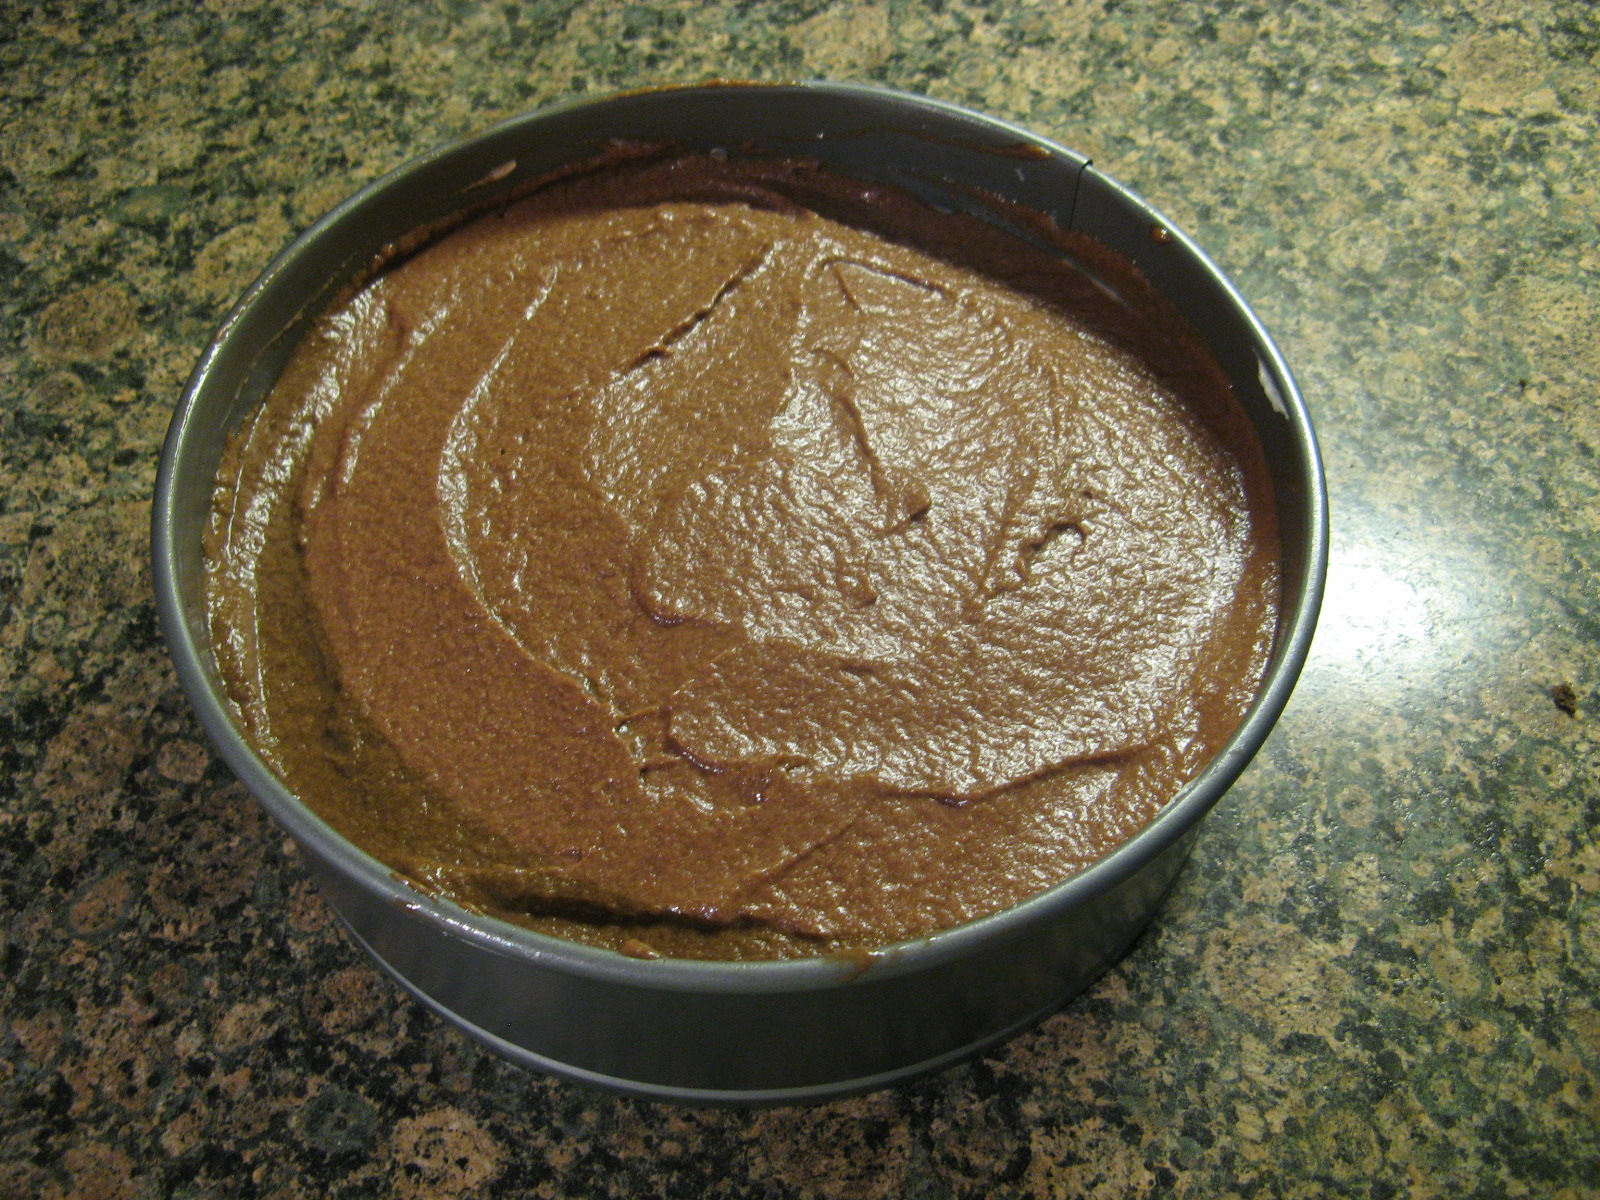
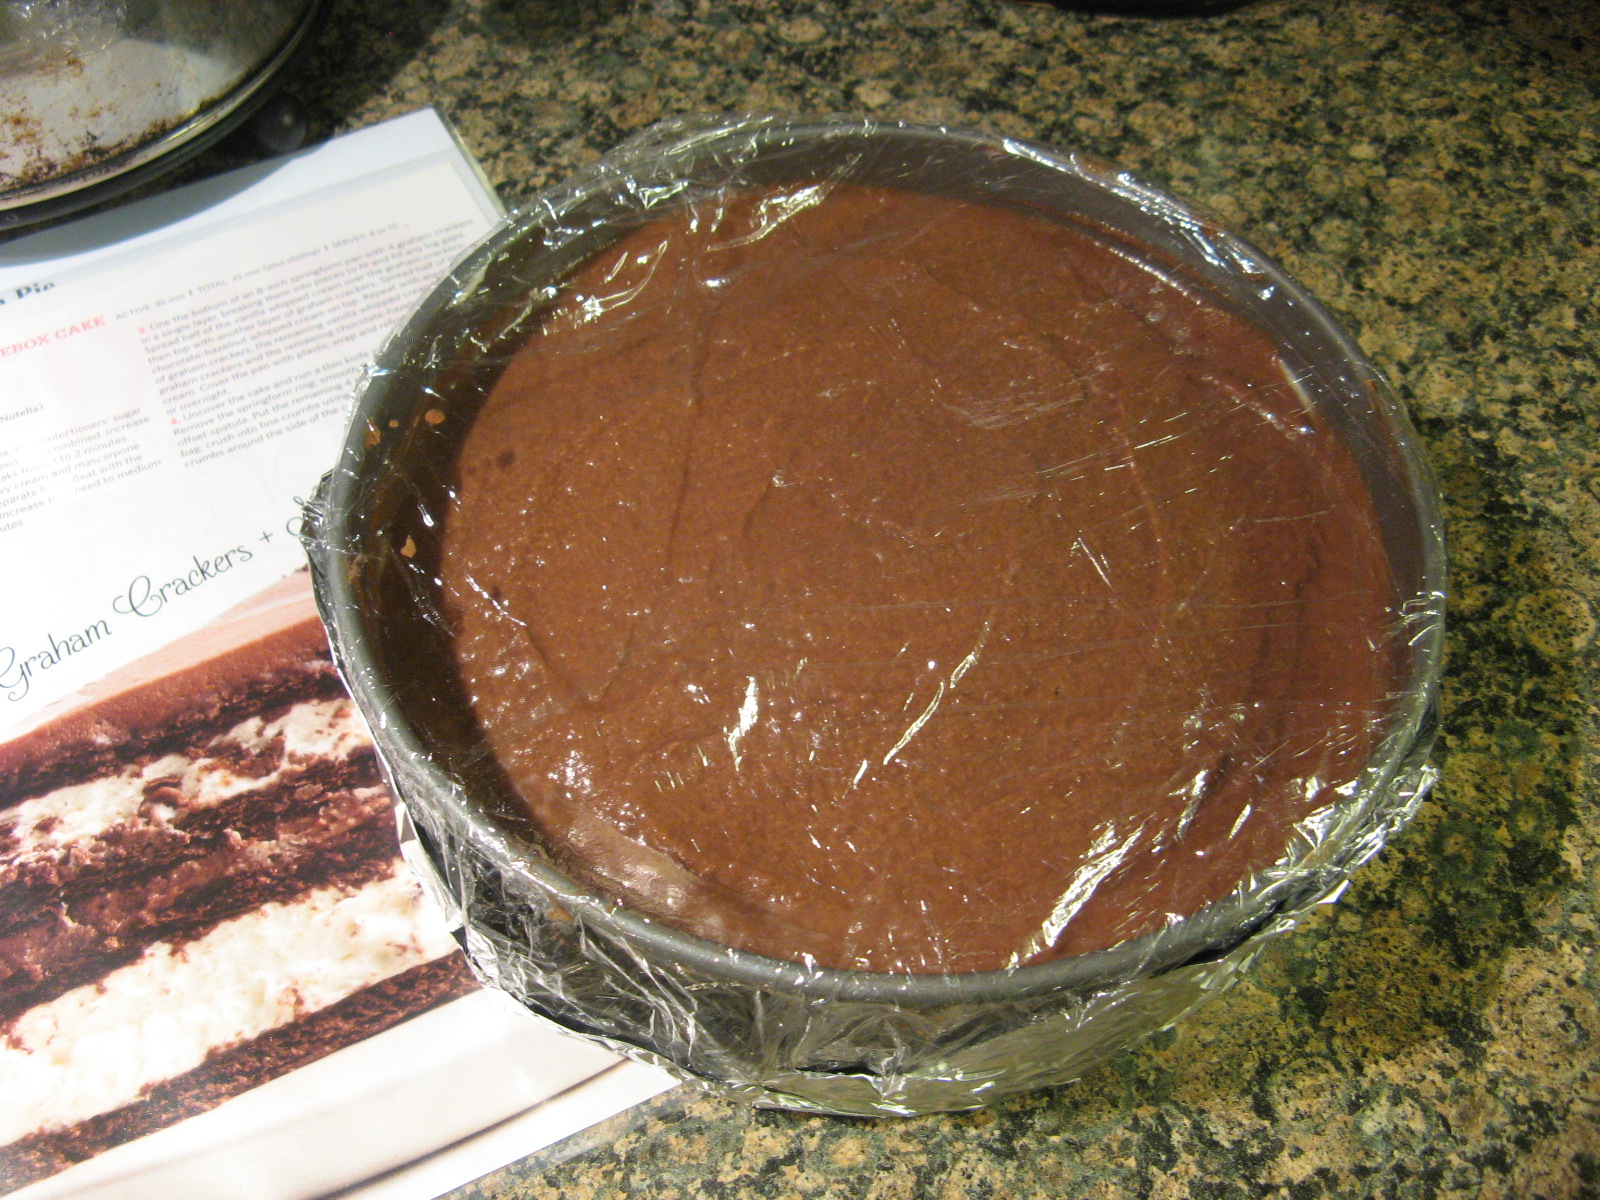
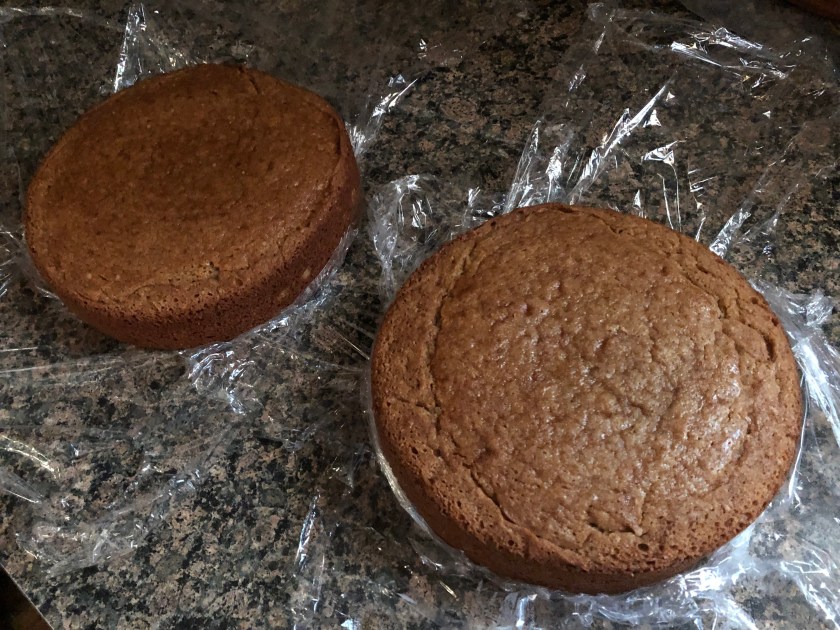
To start I made the spice cake. I whisked together the dry ingredients and then beat the wet ingredients together and then incorporated both until it was just combined. To make sure I don’t overmix my batter I normally use a hand mixer and beat everything for about 30 seconds to a minute and then finish mixing everything with a rubber spatula. Once the batter was ready, I divided it among two 8-inch pans that I sprayed with baking spray and baked the cakes for about 40 minutes. After letting them cool in the pan for a few minutes I transferred them to a wire rack to cool completely. I always like to make my cakes a day or two in advance of assembling them so I wrapped them in plastic wrap and refrigerated them until I was ready to use them.
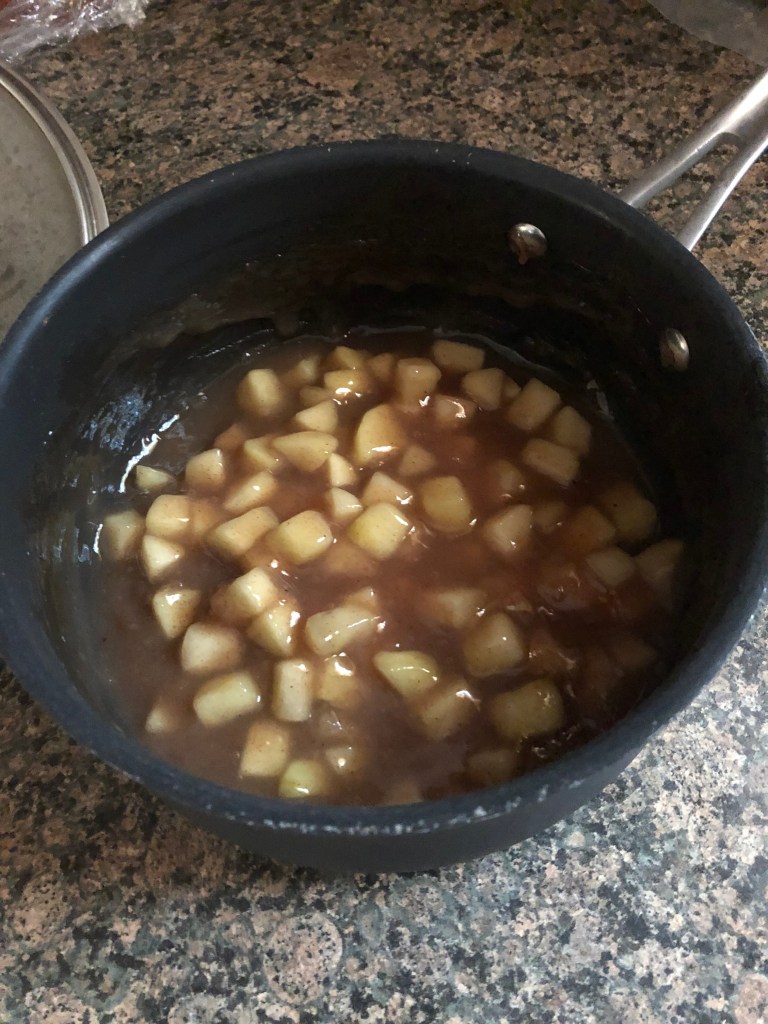
For the apple filling you can either make it a day ahead or if you plan on making it the day you intend to use it, just make sure to let it cool completely. I opted to use Granny Smith apples since these are one of the best apples for baking and can be found at pretty much any supermarket. Since you are cooking the apples you want to make sure you choose a variety that won’t get too mushy after cooking. The Granny Smith apples held up well after being boiled and simmered, they were tender but still firm.
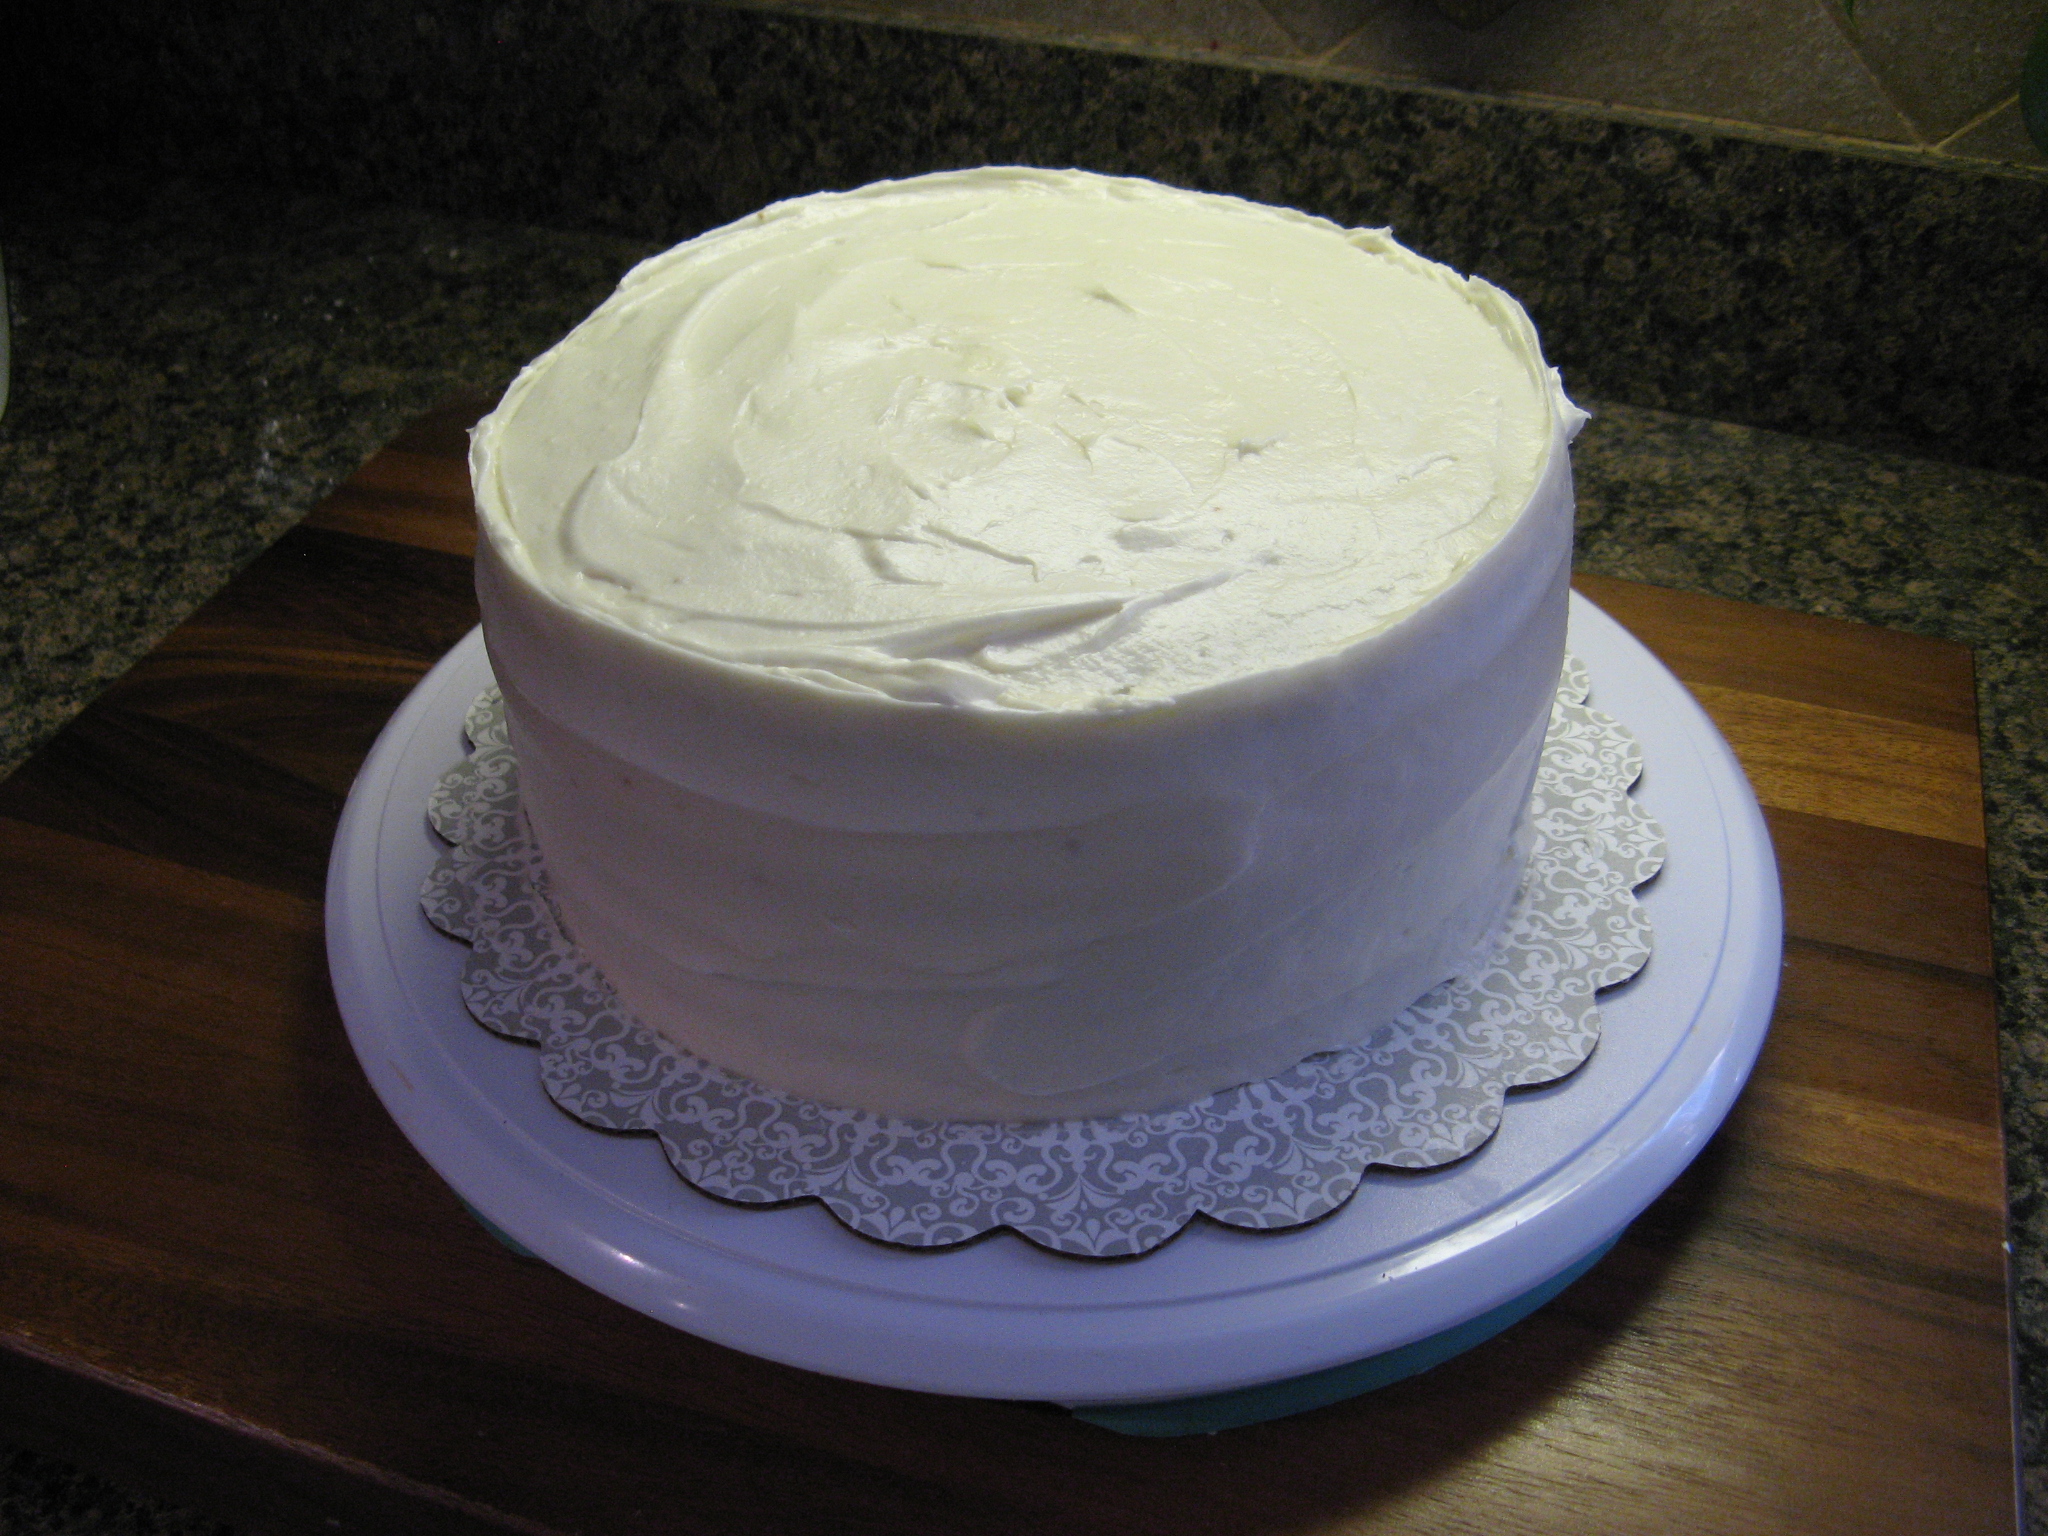
Next, I made the cream cheese frosting. I let my butter come to room temperature and then took my cream cheese out for only about five minutes. I don’t like using cream cheese that is too warm because I find that the frosting gets too soft then. I added the butter and cream cheese to the bowl of my stand mixer and beat it on low for a minute or two to incorporate them. I then sifted 2 cups of confectioners’ sugar right into the bowl, beat it on medium for about 30 seconds to blend it all together. And then sifted in another 2 cups of confectioners’ sugar and beat it on medium-high speed until the frosting was light and fluffy. Finally, I added in vanilla extract and beat everything on high for 30 seconds. I did find that my frosting was a little soft so I refrigerated it for a few minutes before using.

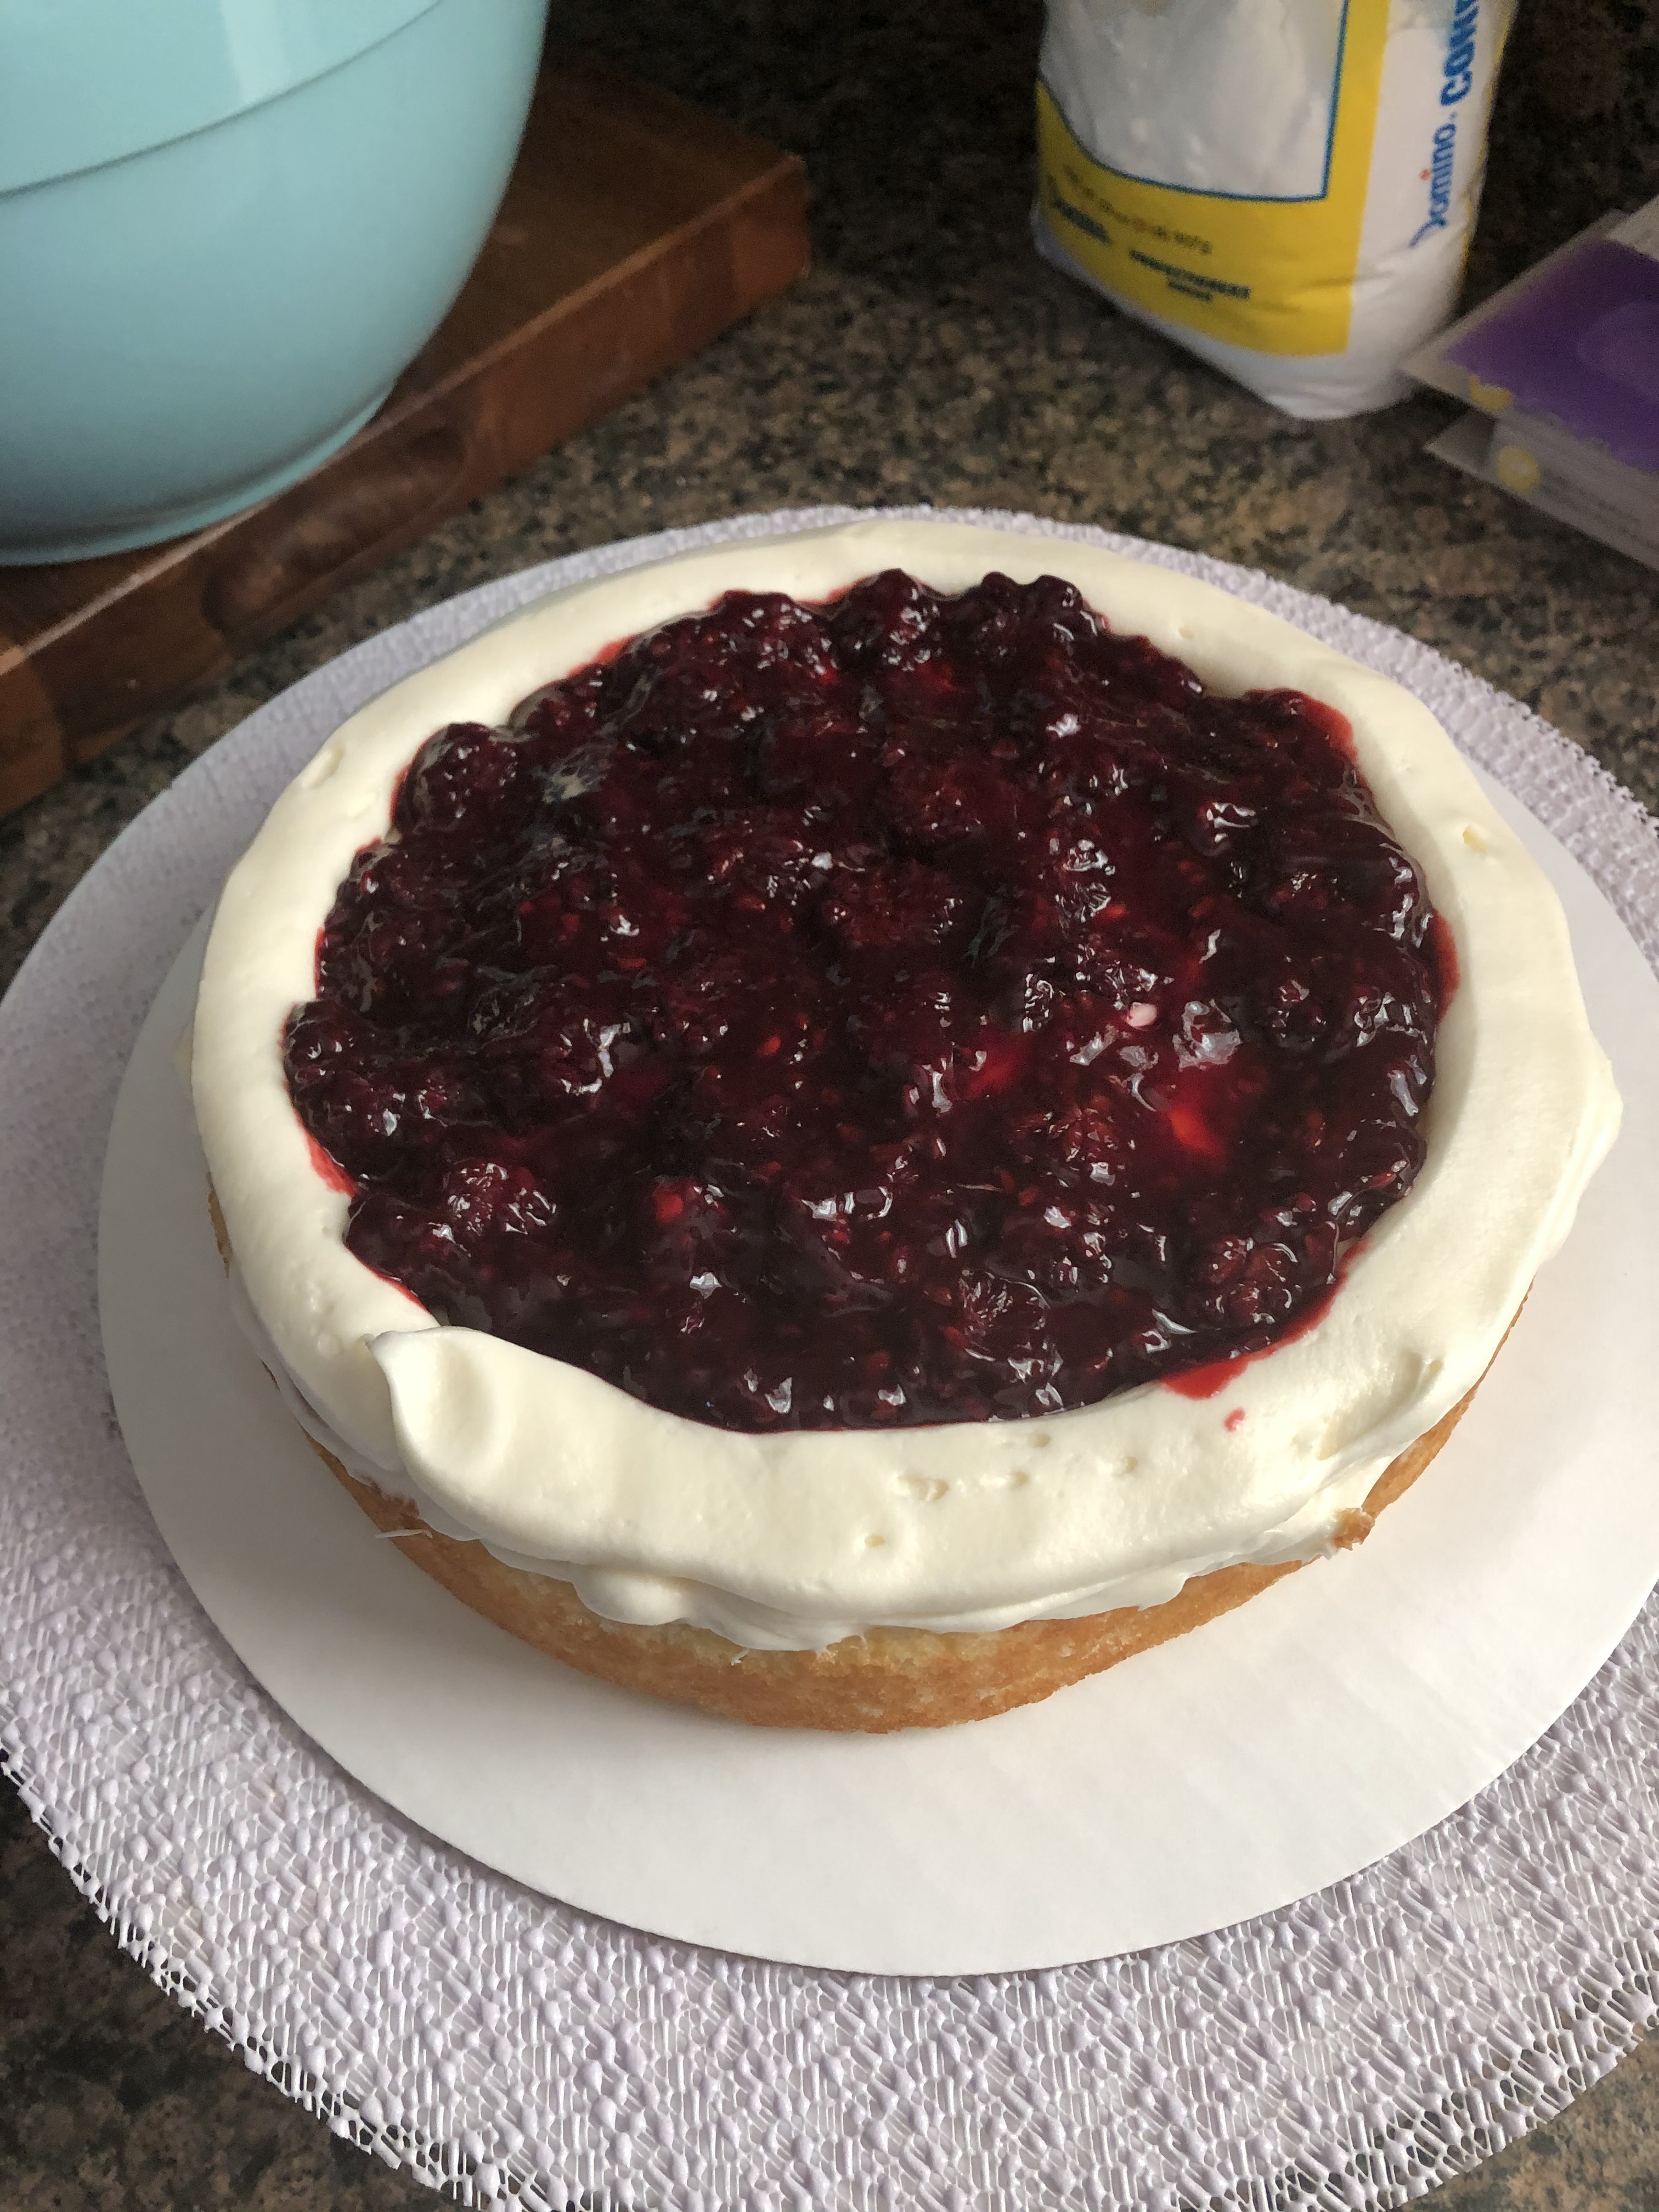
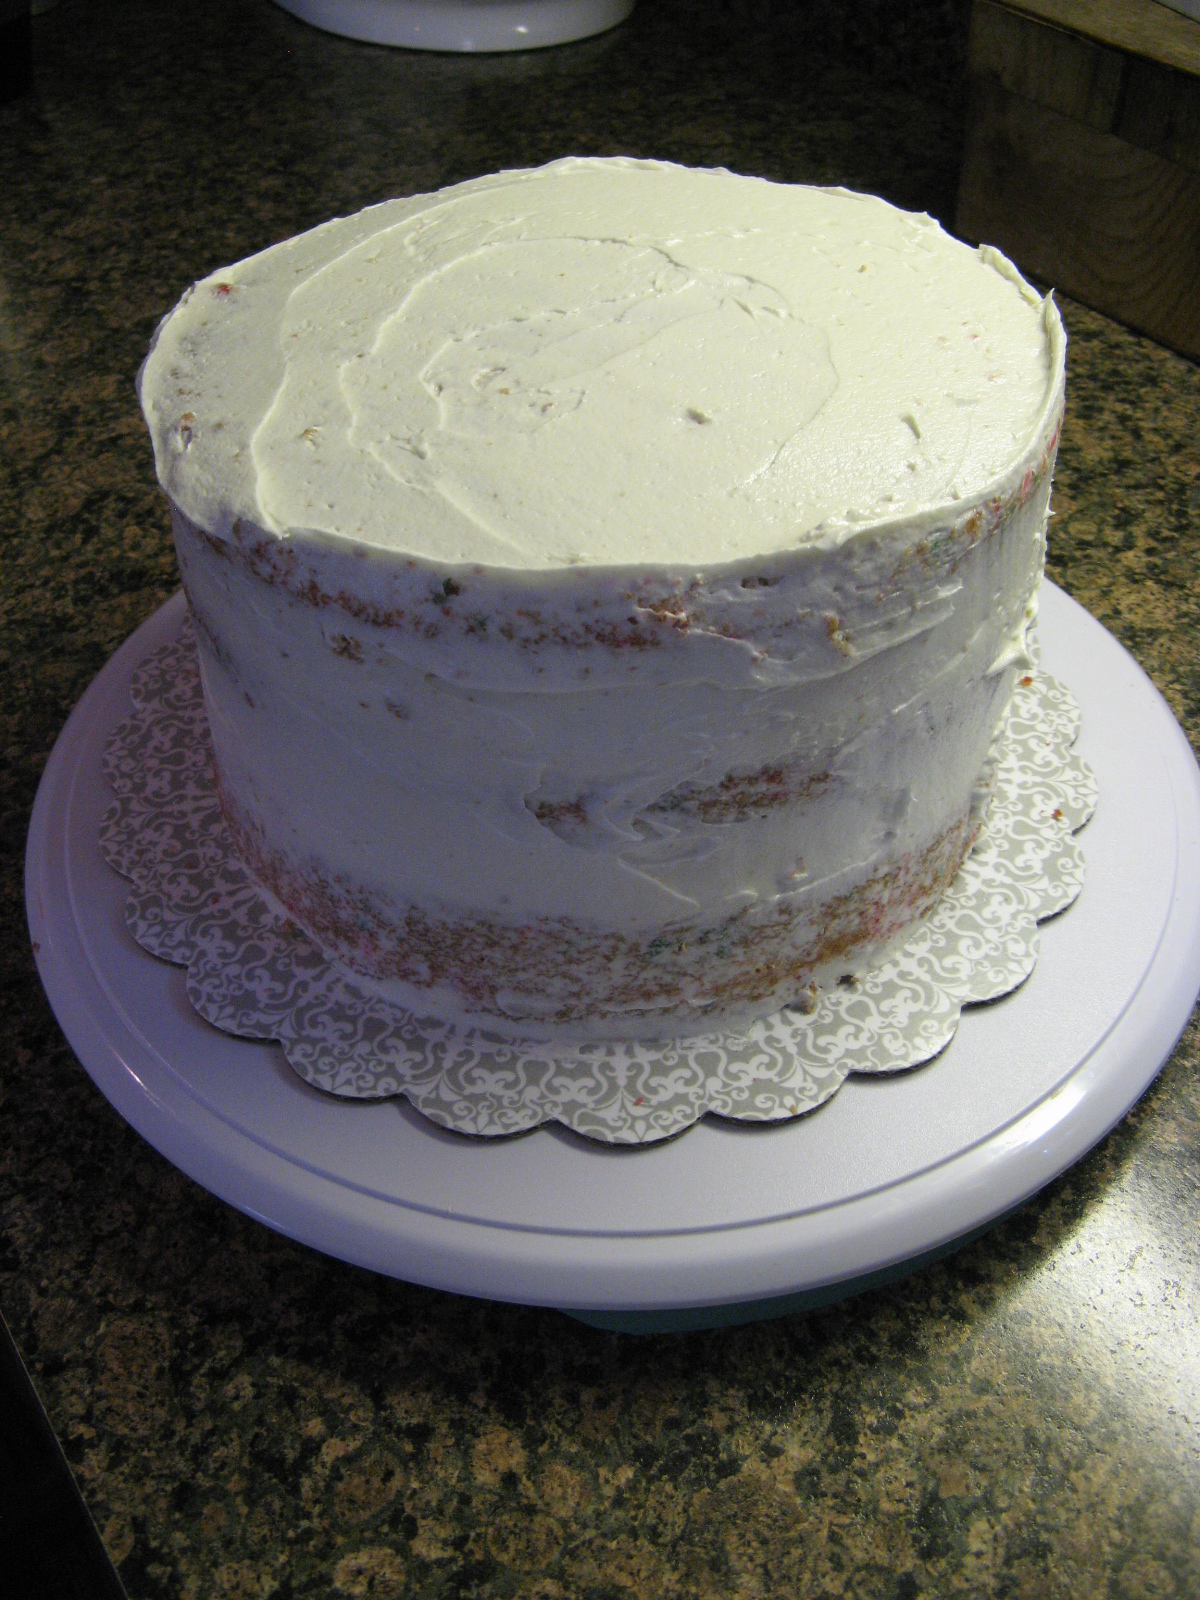
With all my components ready to go it was time to assemble my cake. I began by leveling the cakes. On the bottom cake, I spread a thin layer of frosting on it and then piped a dam around the perimeter of the cake so the apple filling wouldn’t “escape.”
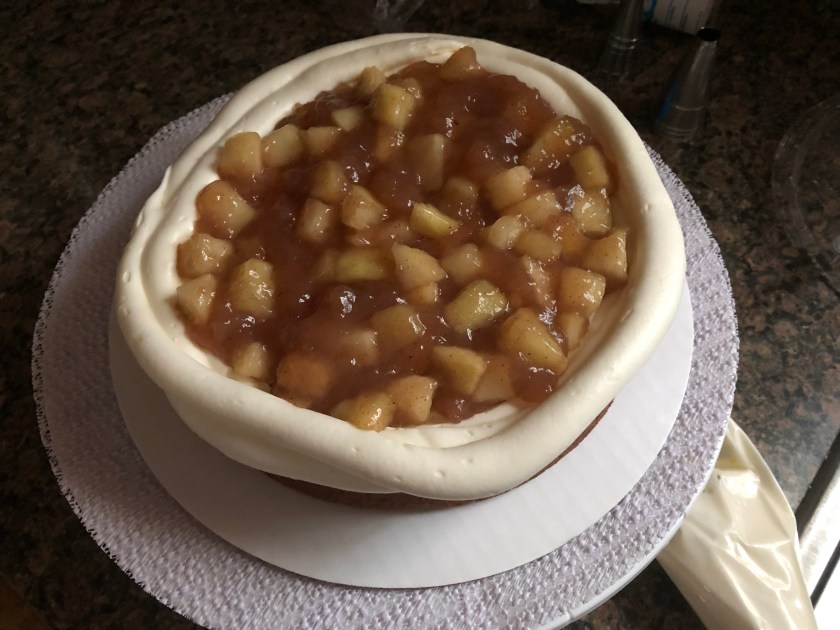
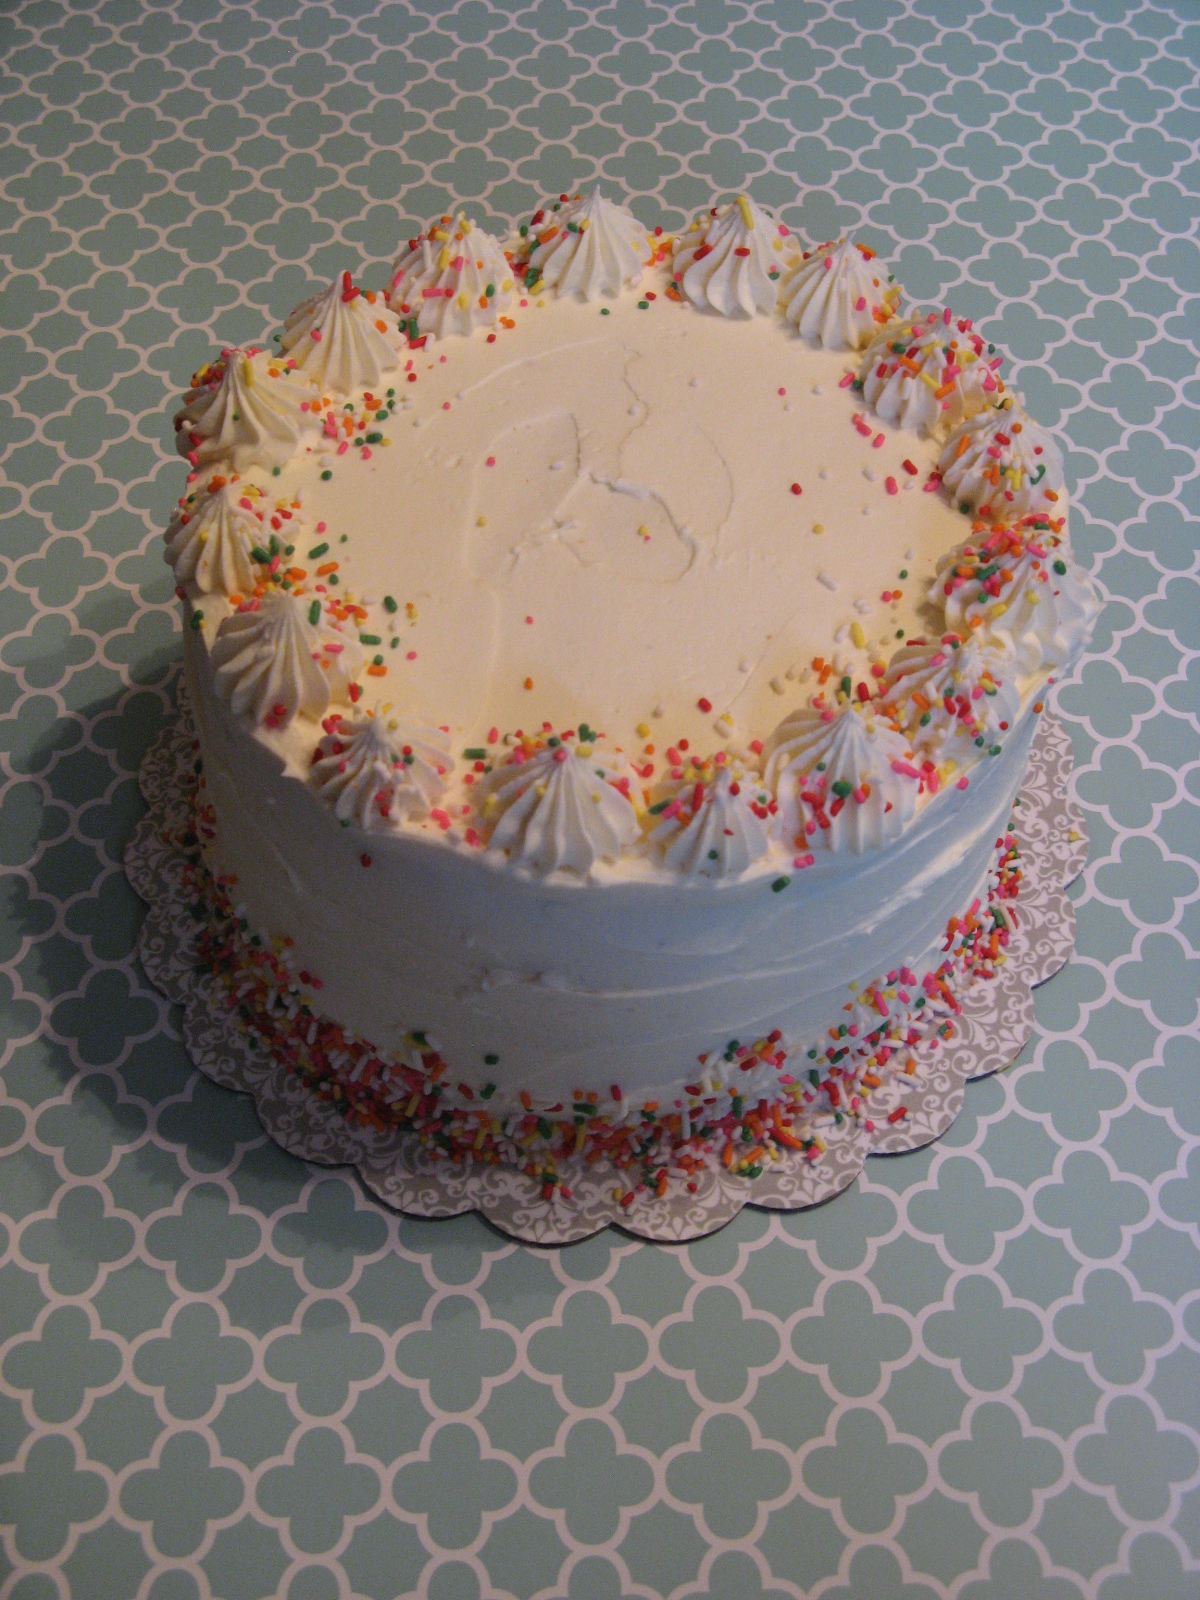
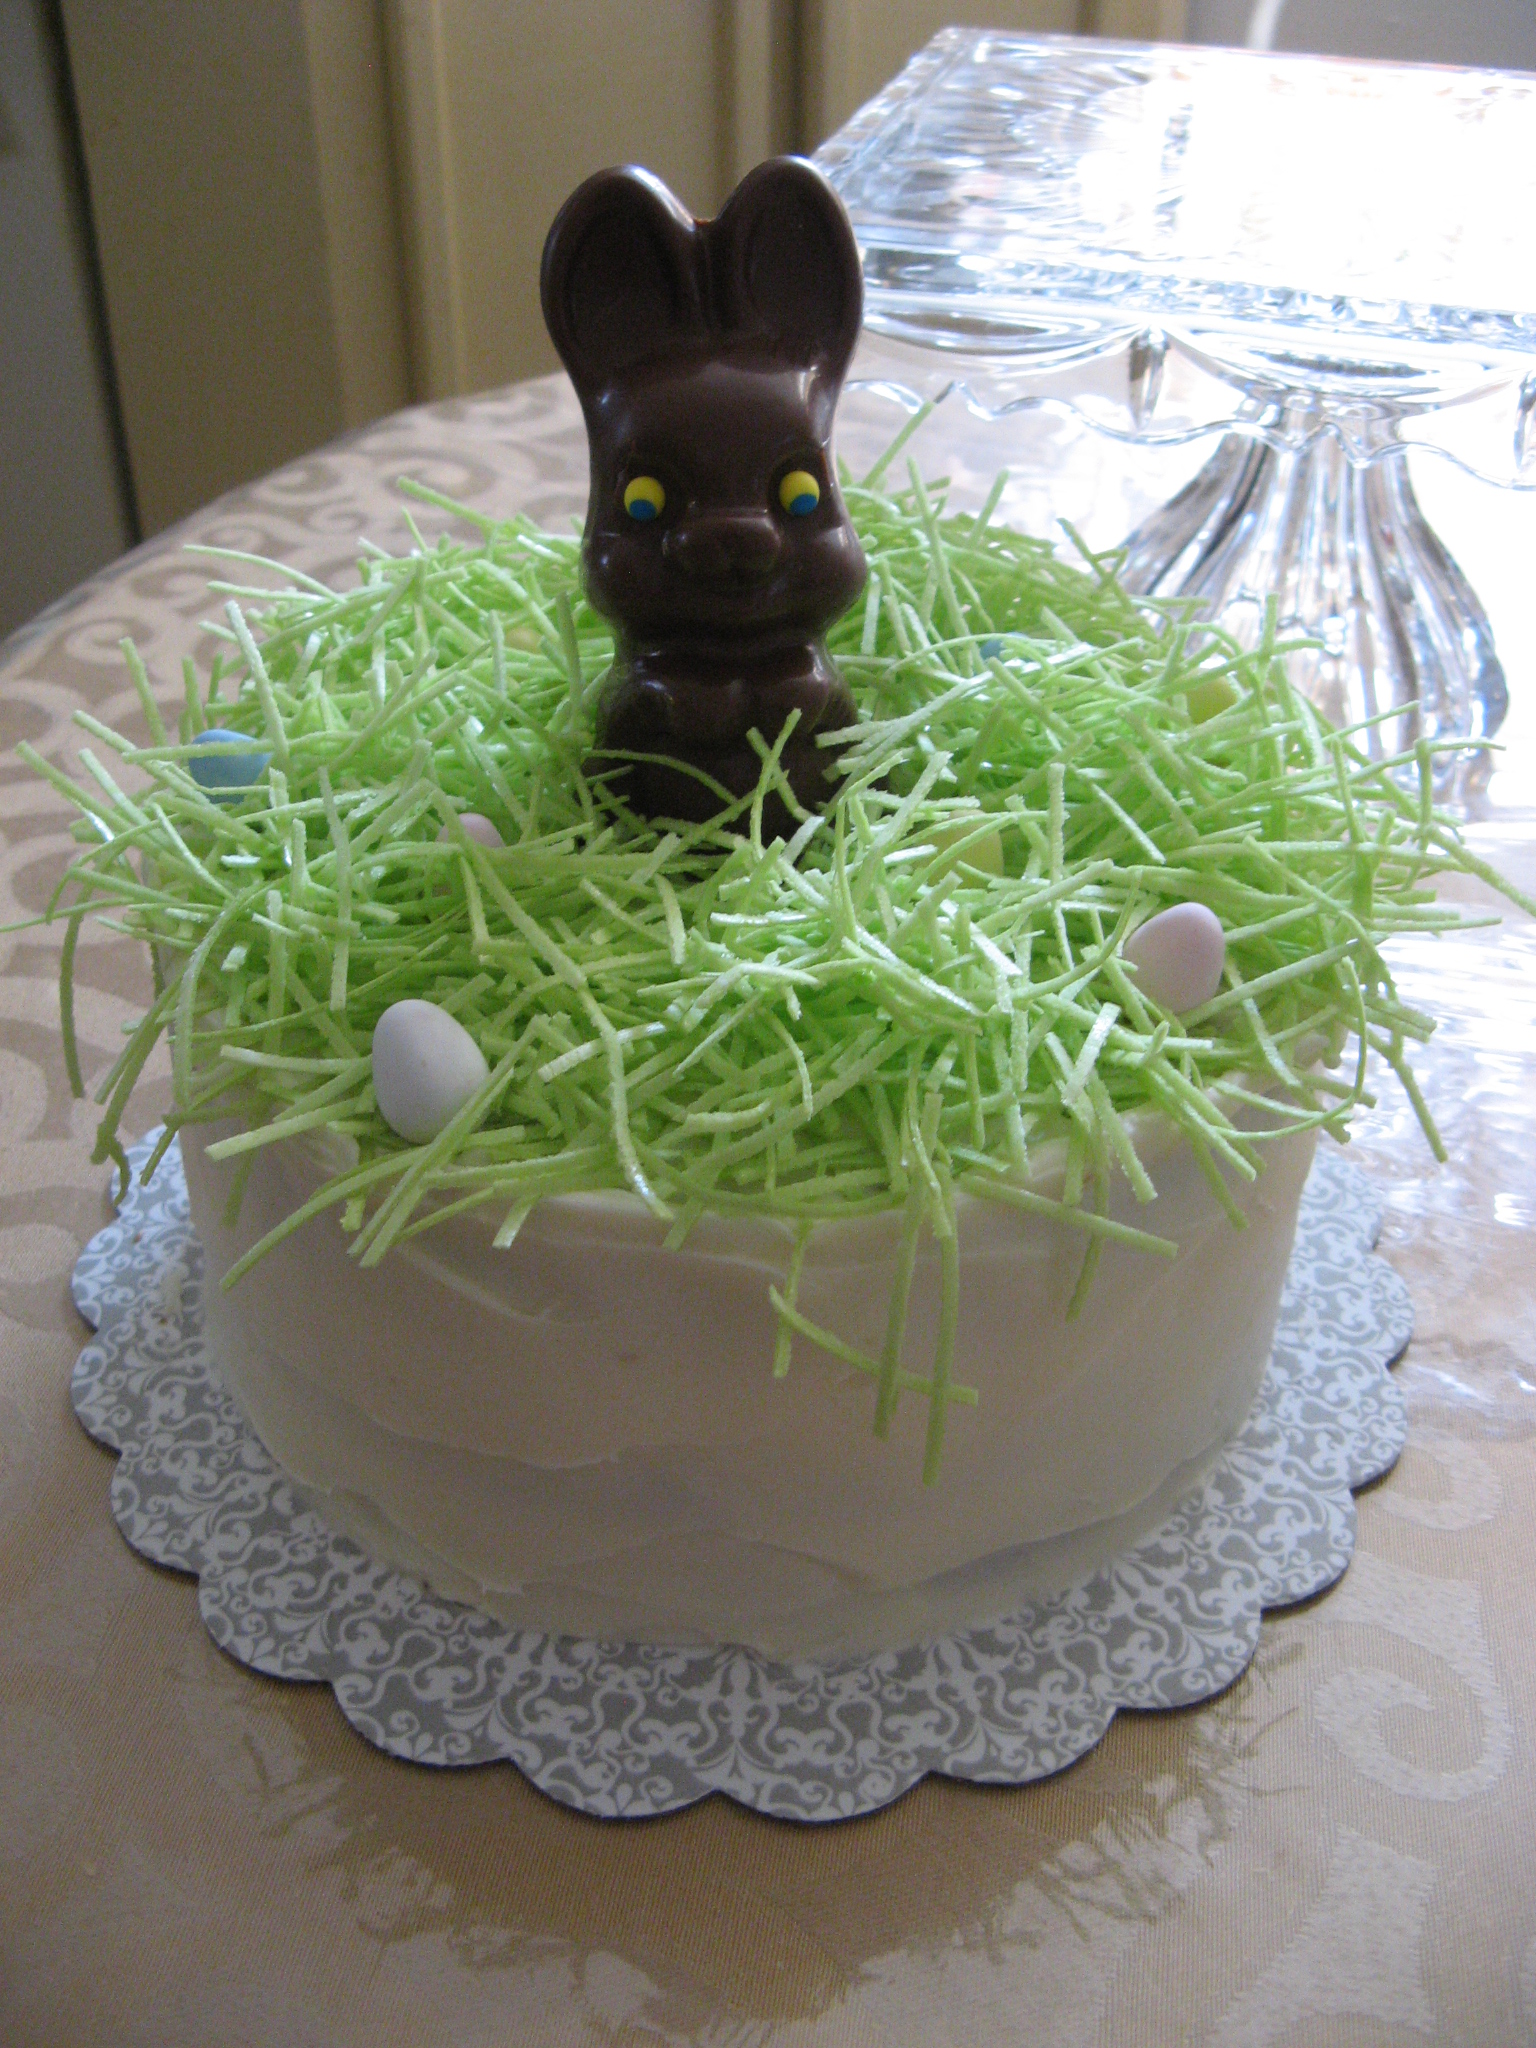
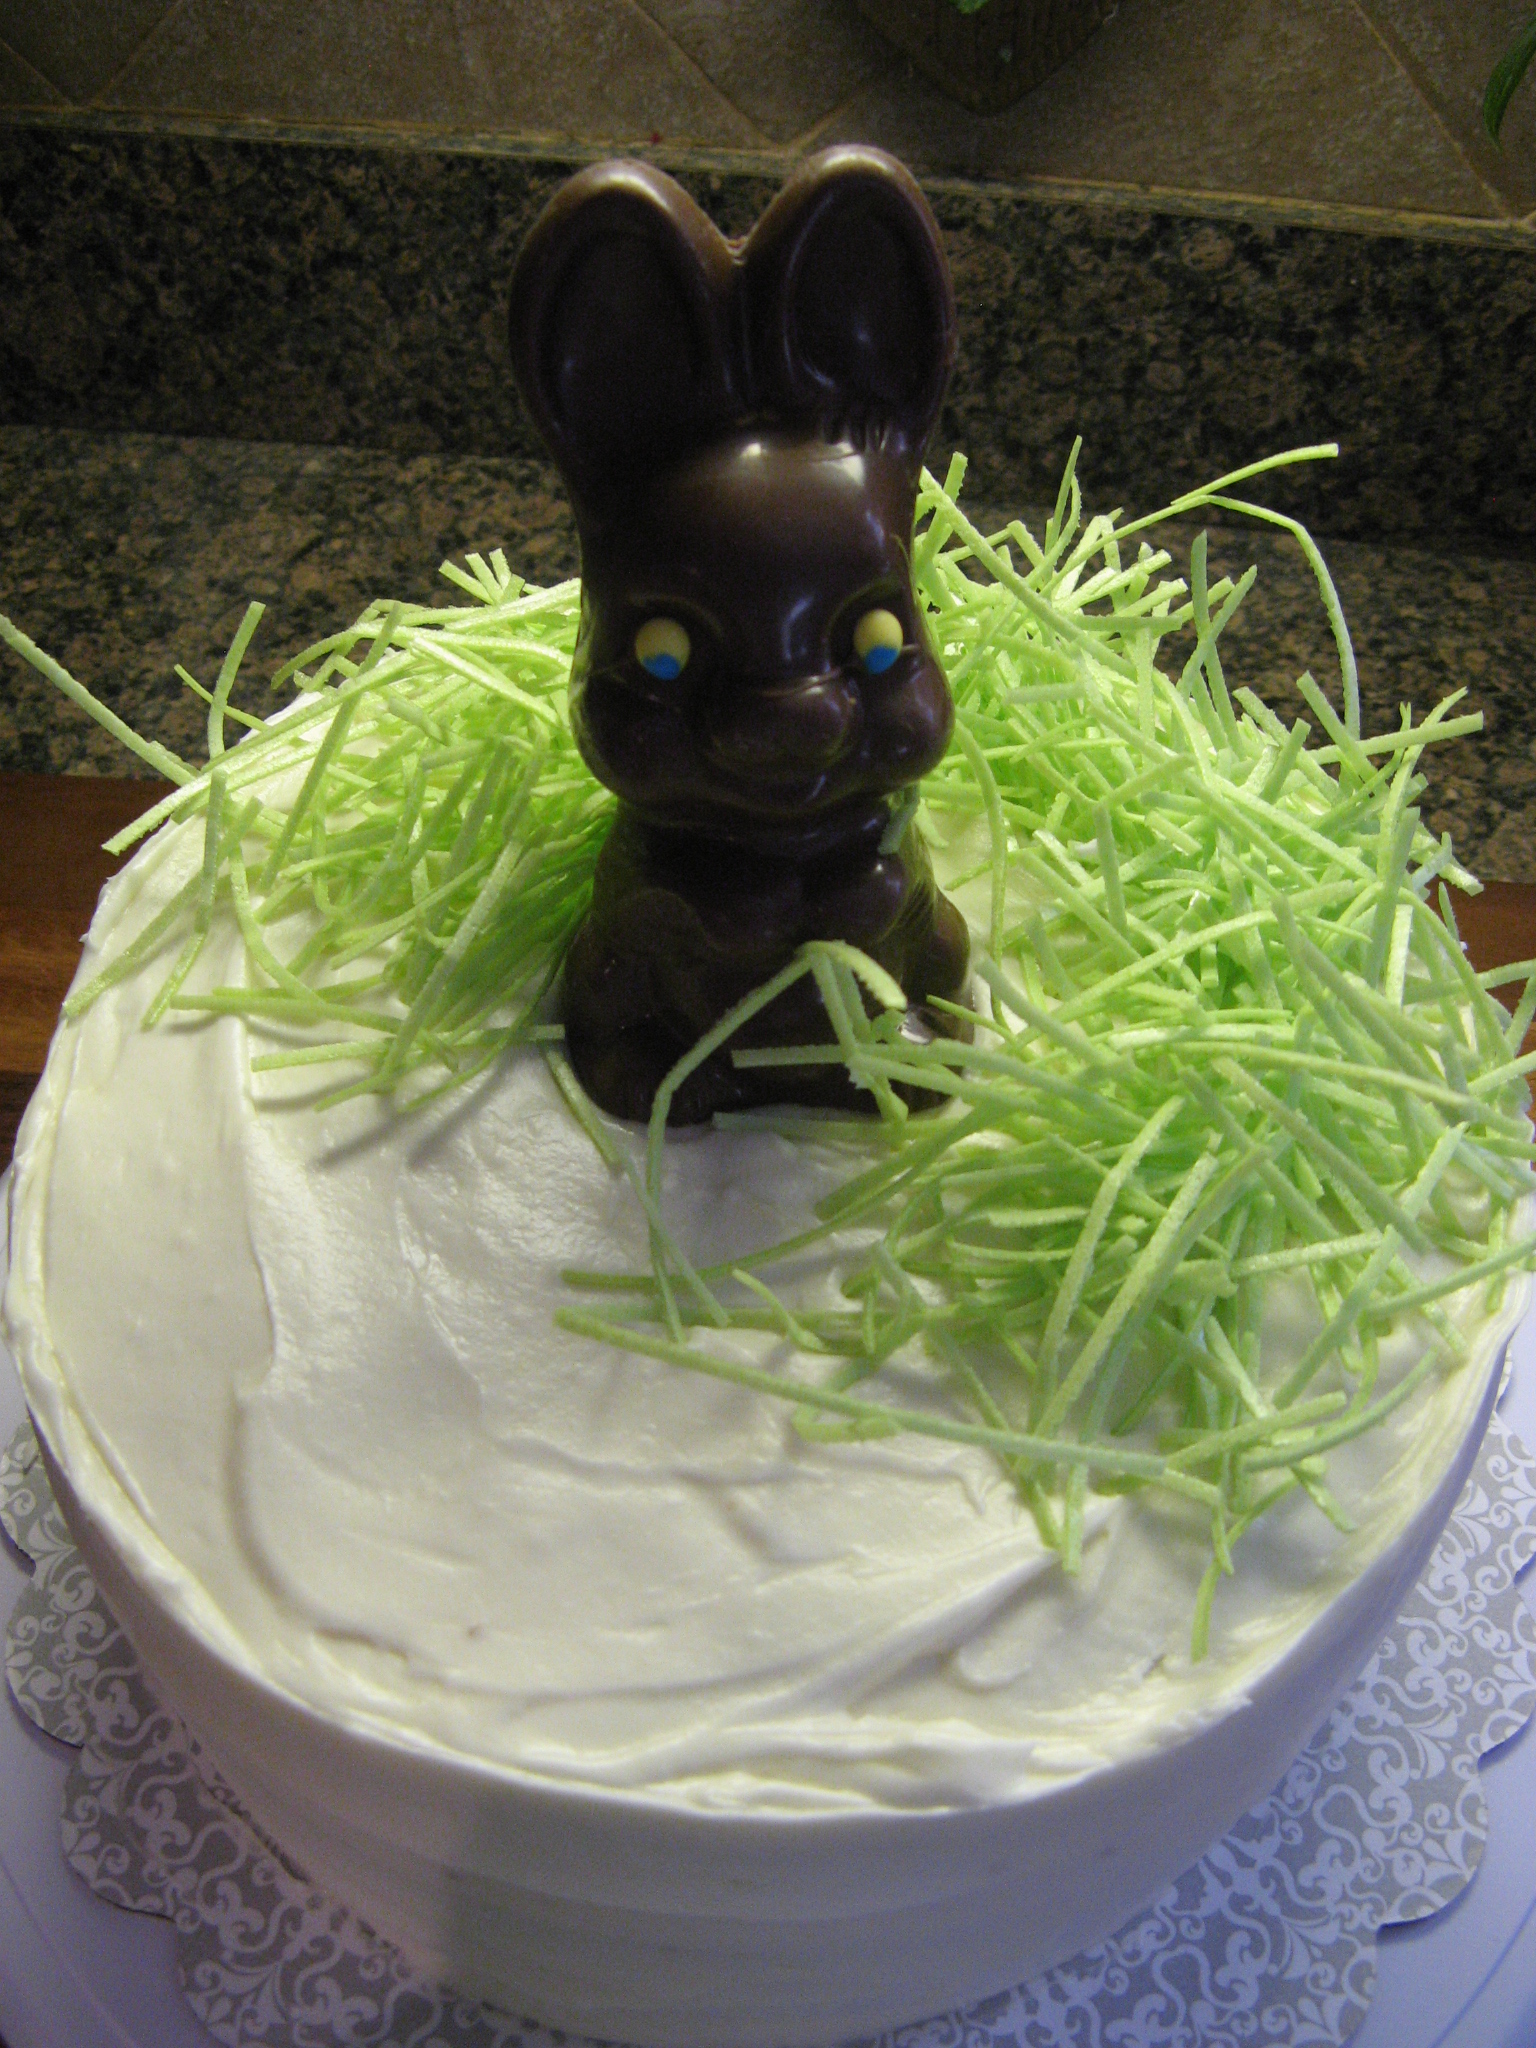
I’ll admit that I didn’t pipe my dam perfectly, but, it did the trick and none of the apple filling escaped when I topped it with the other cake layer and finished frosting and decorating it!
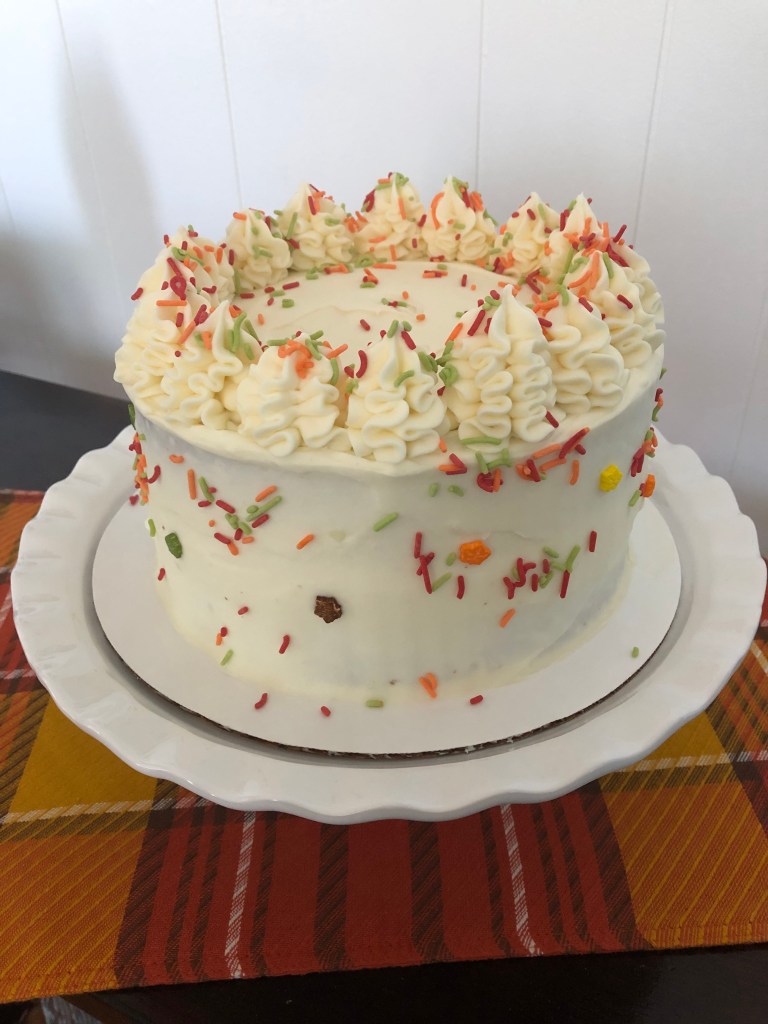
Apple Pie Spice Cake with Cream Cheese Frosting
For the Cake:
2 1/2 cups flour
1 teaspoon baking powder
1 teaspoon baking soda
1/2 teaspoon salt
1 1/2 teaspoons cinnamon
3/4 teaspoons ginger
3/4 teaspoons nutmeg
1/2 teaspoon allspice
1/4 teaspoon ground cloves
2 sticks unsalted butter, melted
1 cup sugar
1 cup light brown sugar
1 cup sour cream
4 eggs, at room temperature
2 teaspoons vanilla extract
For the Apple Pie Filling:
2 Granny Smith apples, peeled and chopped
2 teaspoons lemon juice
1/4 cup sugar
1/4 cup light brown sugar
2 tablespoons cornstarch
1/2 teaspoon cinnamon
1/4 teaspoon nutmeg
1/8 teaspoon salt
1 1/2 cups water
For the Frosting:
2 8 oz. packages cream cheese
2 sticks unsalted butter, at room temperature
4 cups confectioners’ sugar, sifted
2 teaspoons vanilla extract
Directions:
For the cake: Preheat the oven to 350 F. Spray two 8-inch round pans with baking spray and set aside.
In a medium bowl whisk together the flour, baking powder, baking soda, salt, cinnamon, ginger, nutmeg, allspice and cloves and set aside.
In a large, using a handheld mixer on medium speed, beat the butter and both sugars together until smooth. Add in the sour cream and continue beating until well incorporated. Add the eggs, 1 at a time, beat well after each addition, and finally the vanilla extract.
On low speed beat in the dry ingredients until just combined.
Divide the batter among the two prepared pans and bake in the preheated oven for 35-40 minutes, or until a cake tester inserted in the center comes out clean.
Cool the cakes in the pan on a wire rack for 15 minutes and then remove from the pans and place on the wire rack to cool completely.
For the Apple Filling: Toss the apples in the lemon juice and set aside.
In a medium saucepan combine both sugars, the cornstarch, cinnamon, nutmeg and salt. Stir to combine and then add in the water and stir once again to combine. Bring the mixture to a boil over medium heat, stirring occasionally. Add the apples and bring to boil once again. Lower the heat to a simmer and let cook for about 10 minutes, or until the apples are tender. Remove the pan from the heat and let the apples cool completely before using. Can make a day ahead and refrigerate until ready to use.
For the Frosting: Using a stand mixer beat the cream cheese and butter together on medium speed to incorporate. Add in 2 cups of the confectioners’ sugar to mixture and beat on medium for 30 seconds, add the remaining 2 cups of confectioners’ sugar and beat on medium-speed until the frosting is light and fluffy. Add the vanilla extract and beat on high speed for 30 seconds. Refrigerate the frosting until ready to use.
To assemble the cake: Level the cake layers if necessary. Lightly frost the top of the bottom layer. Fill a piping bag with the frosting and pipe a dam around the bottom layer (a ring of frosting around the perimeter of the cake). It may be necessary to pipe two layers of the frosting. Fill with the apple mixture and top with the other cake. Crumb coat the cake and refrigerate for 15 minutes (place the remaining frosting in the refrigerator during this time as well). Finish frosting the cake and decorate as desired.
Recipe first published on Bead Yarn & Spatula