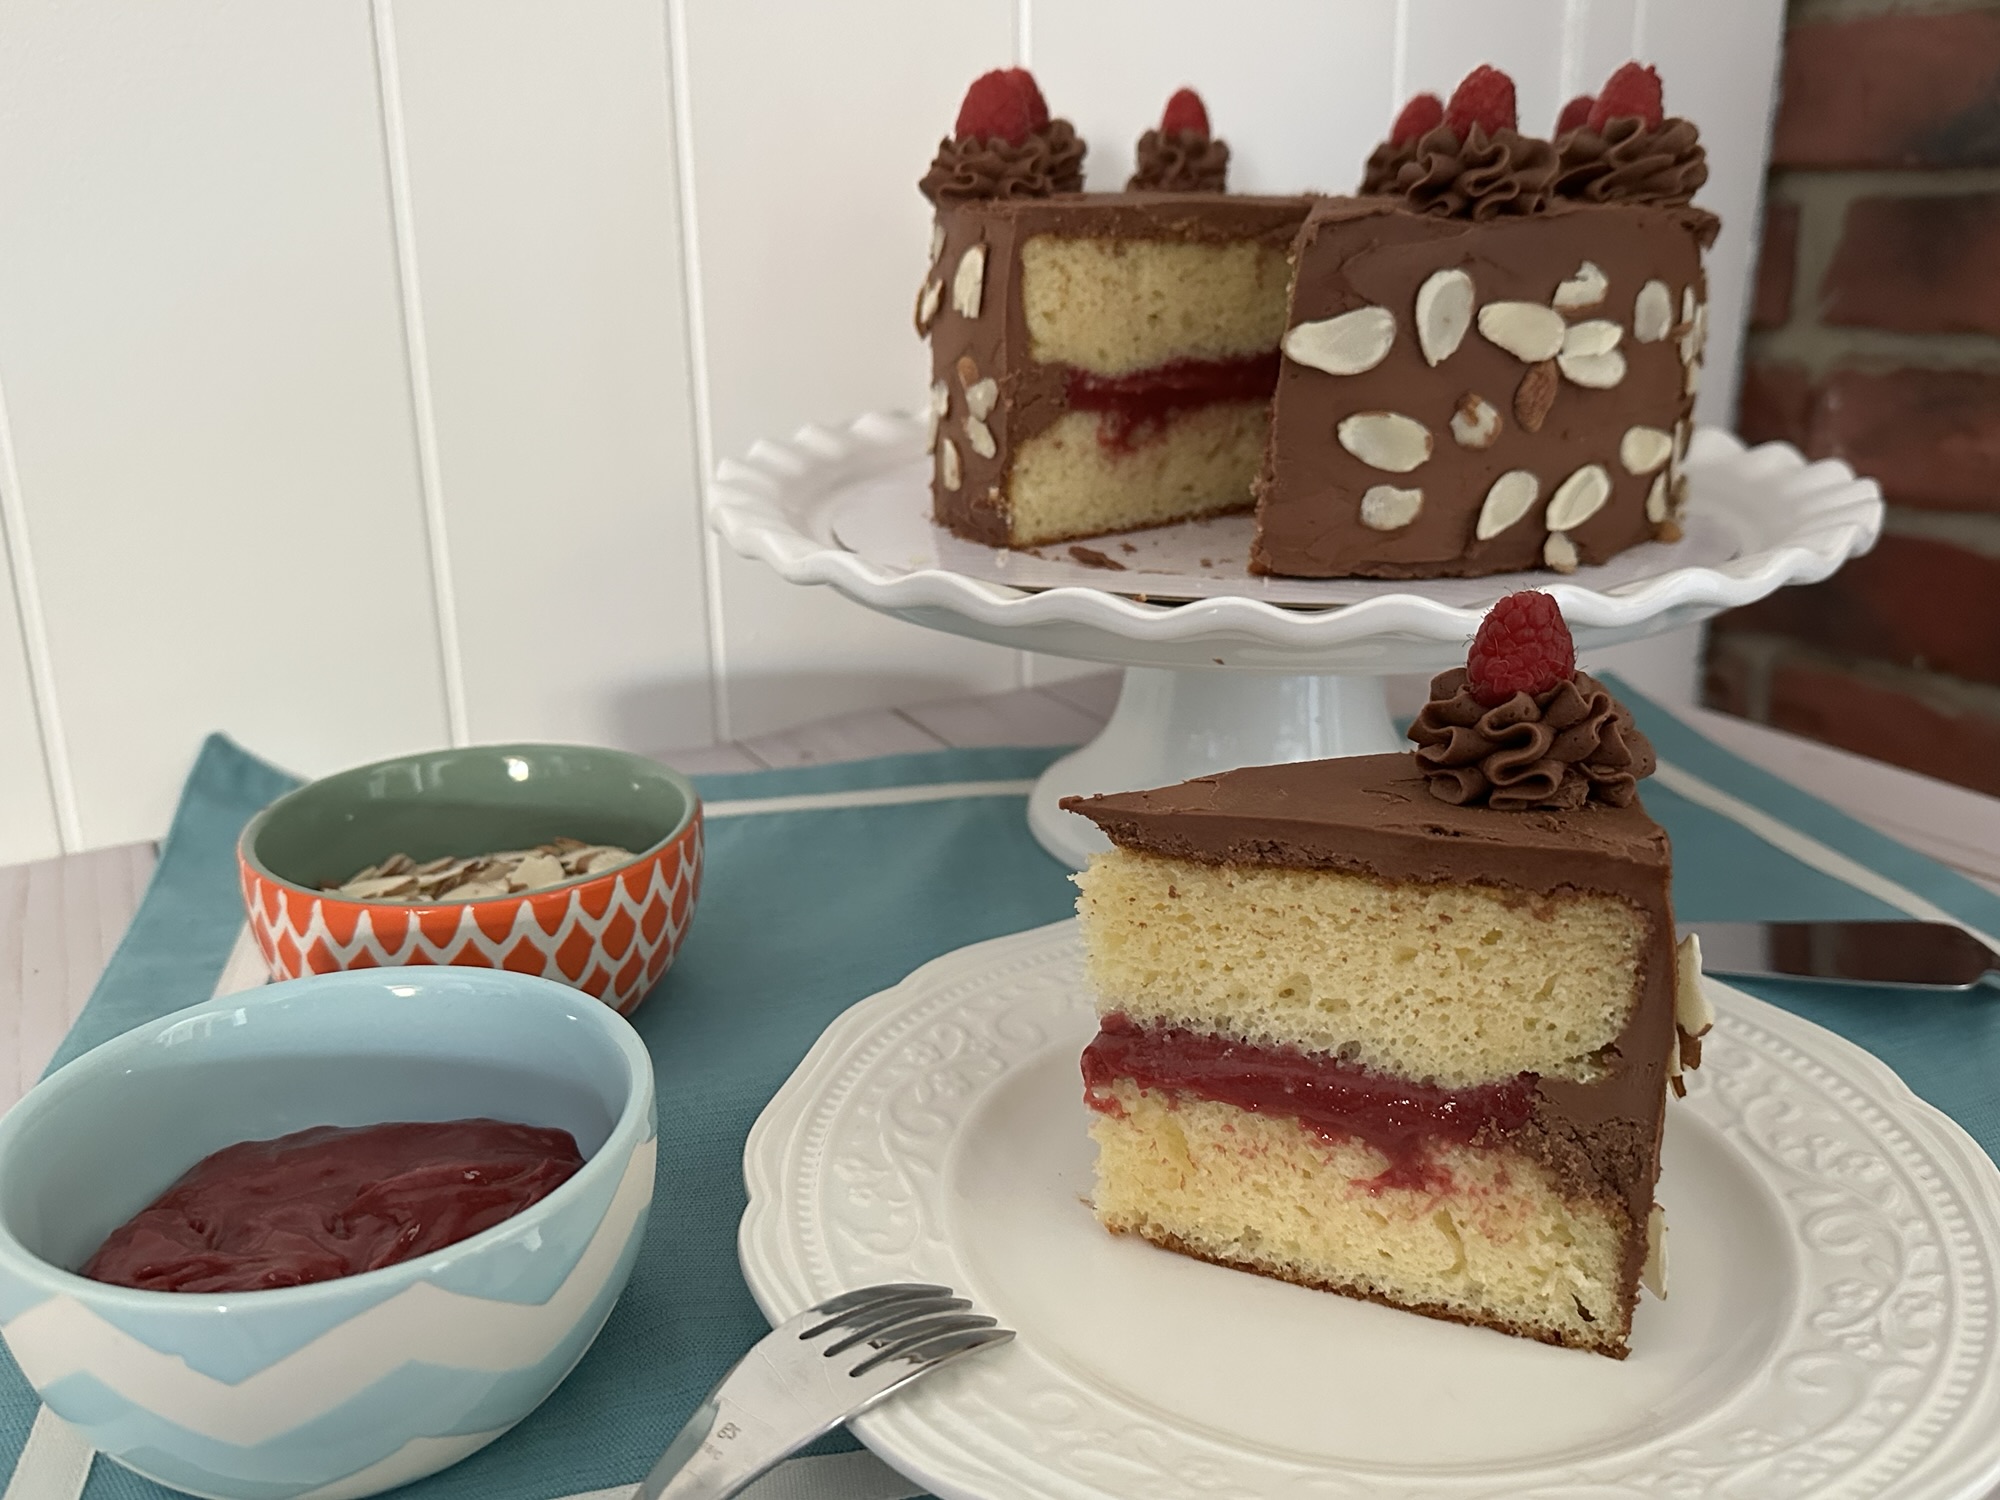
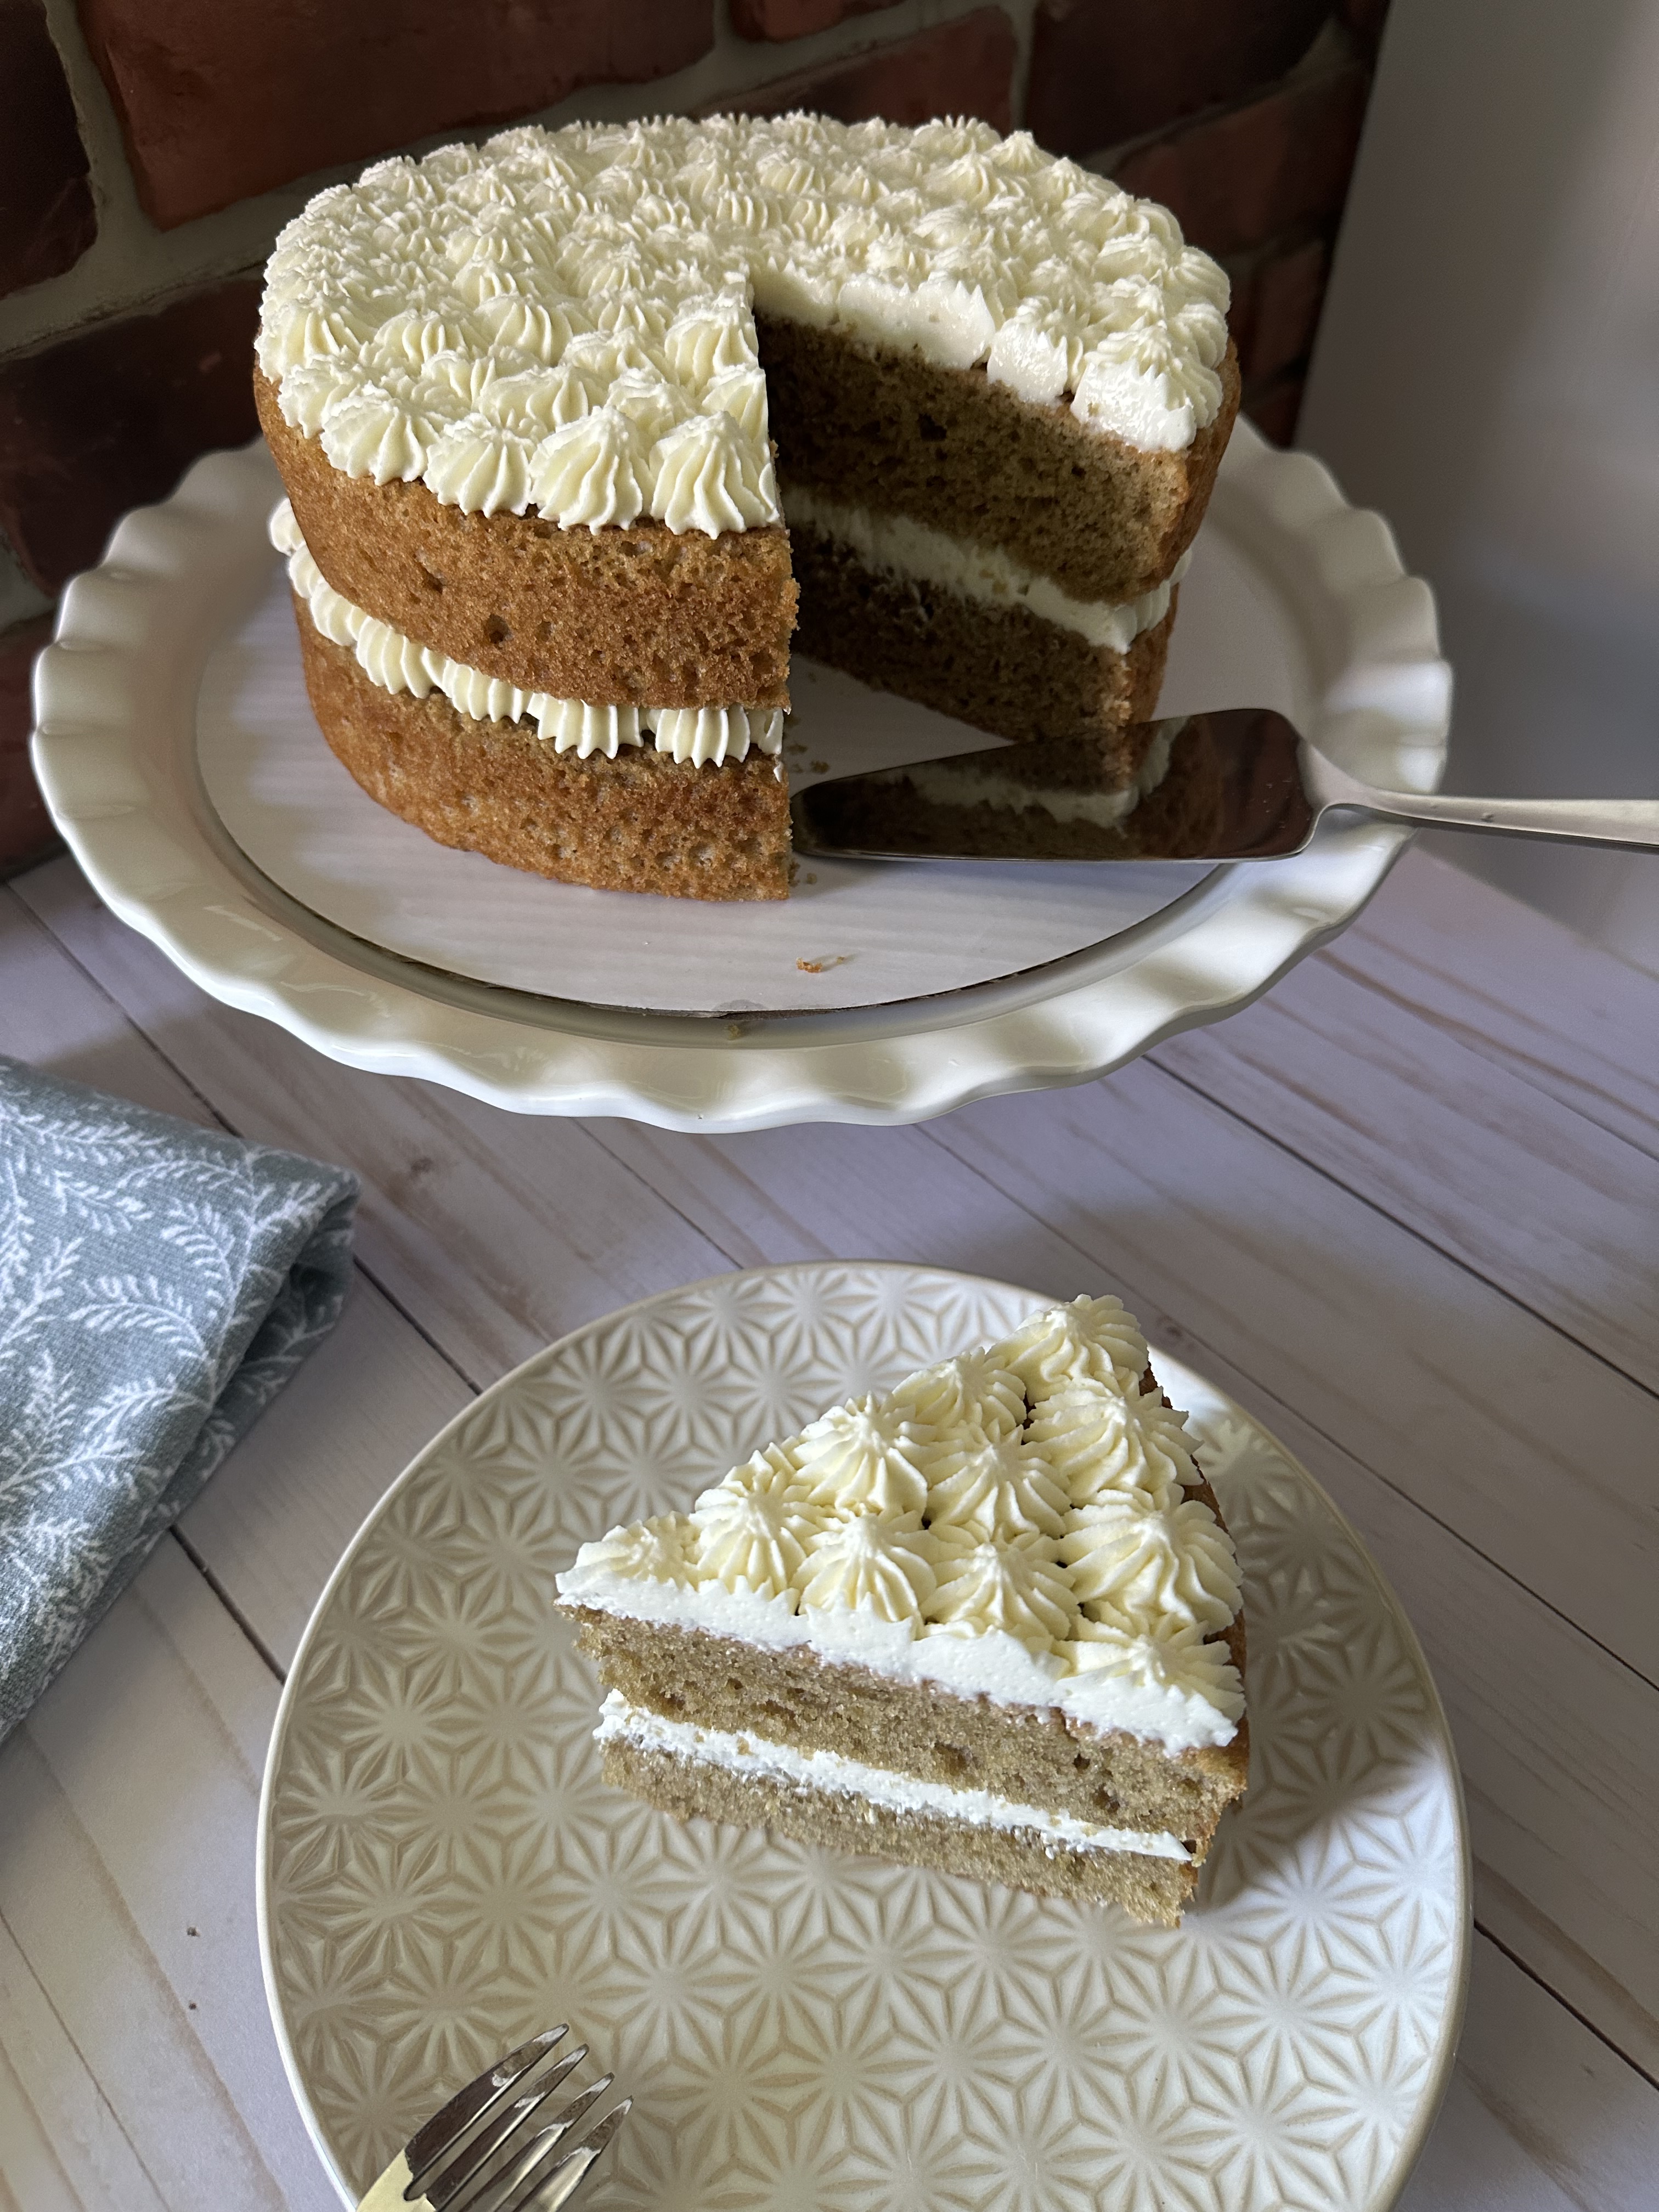
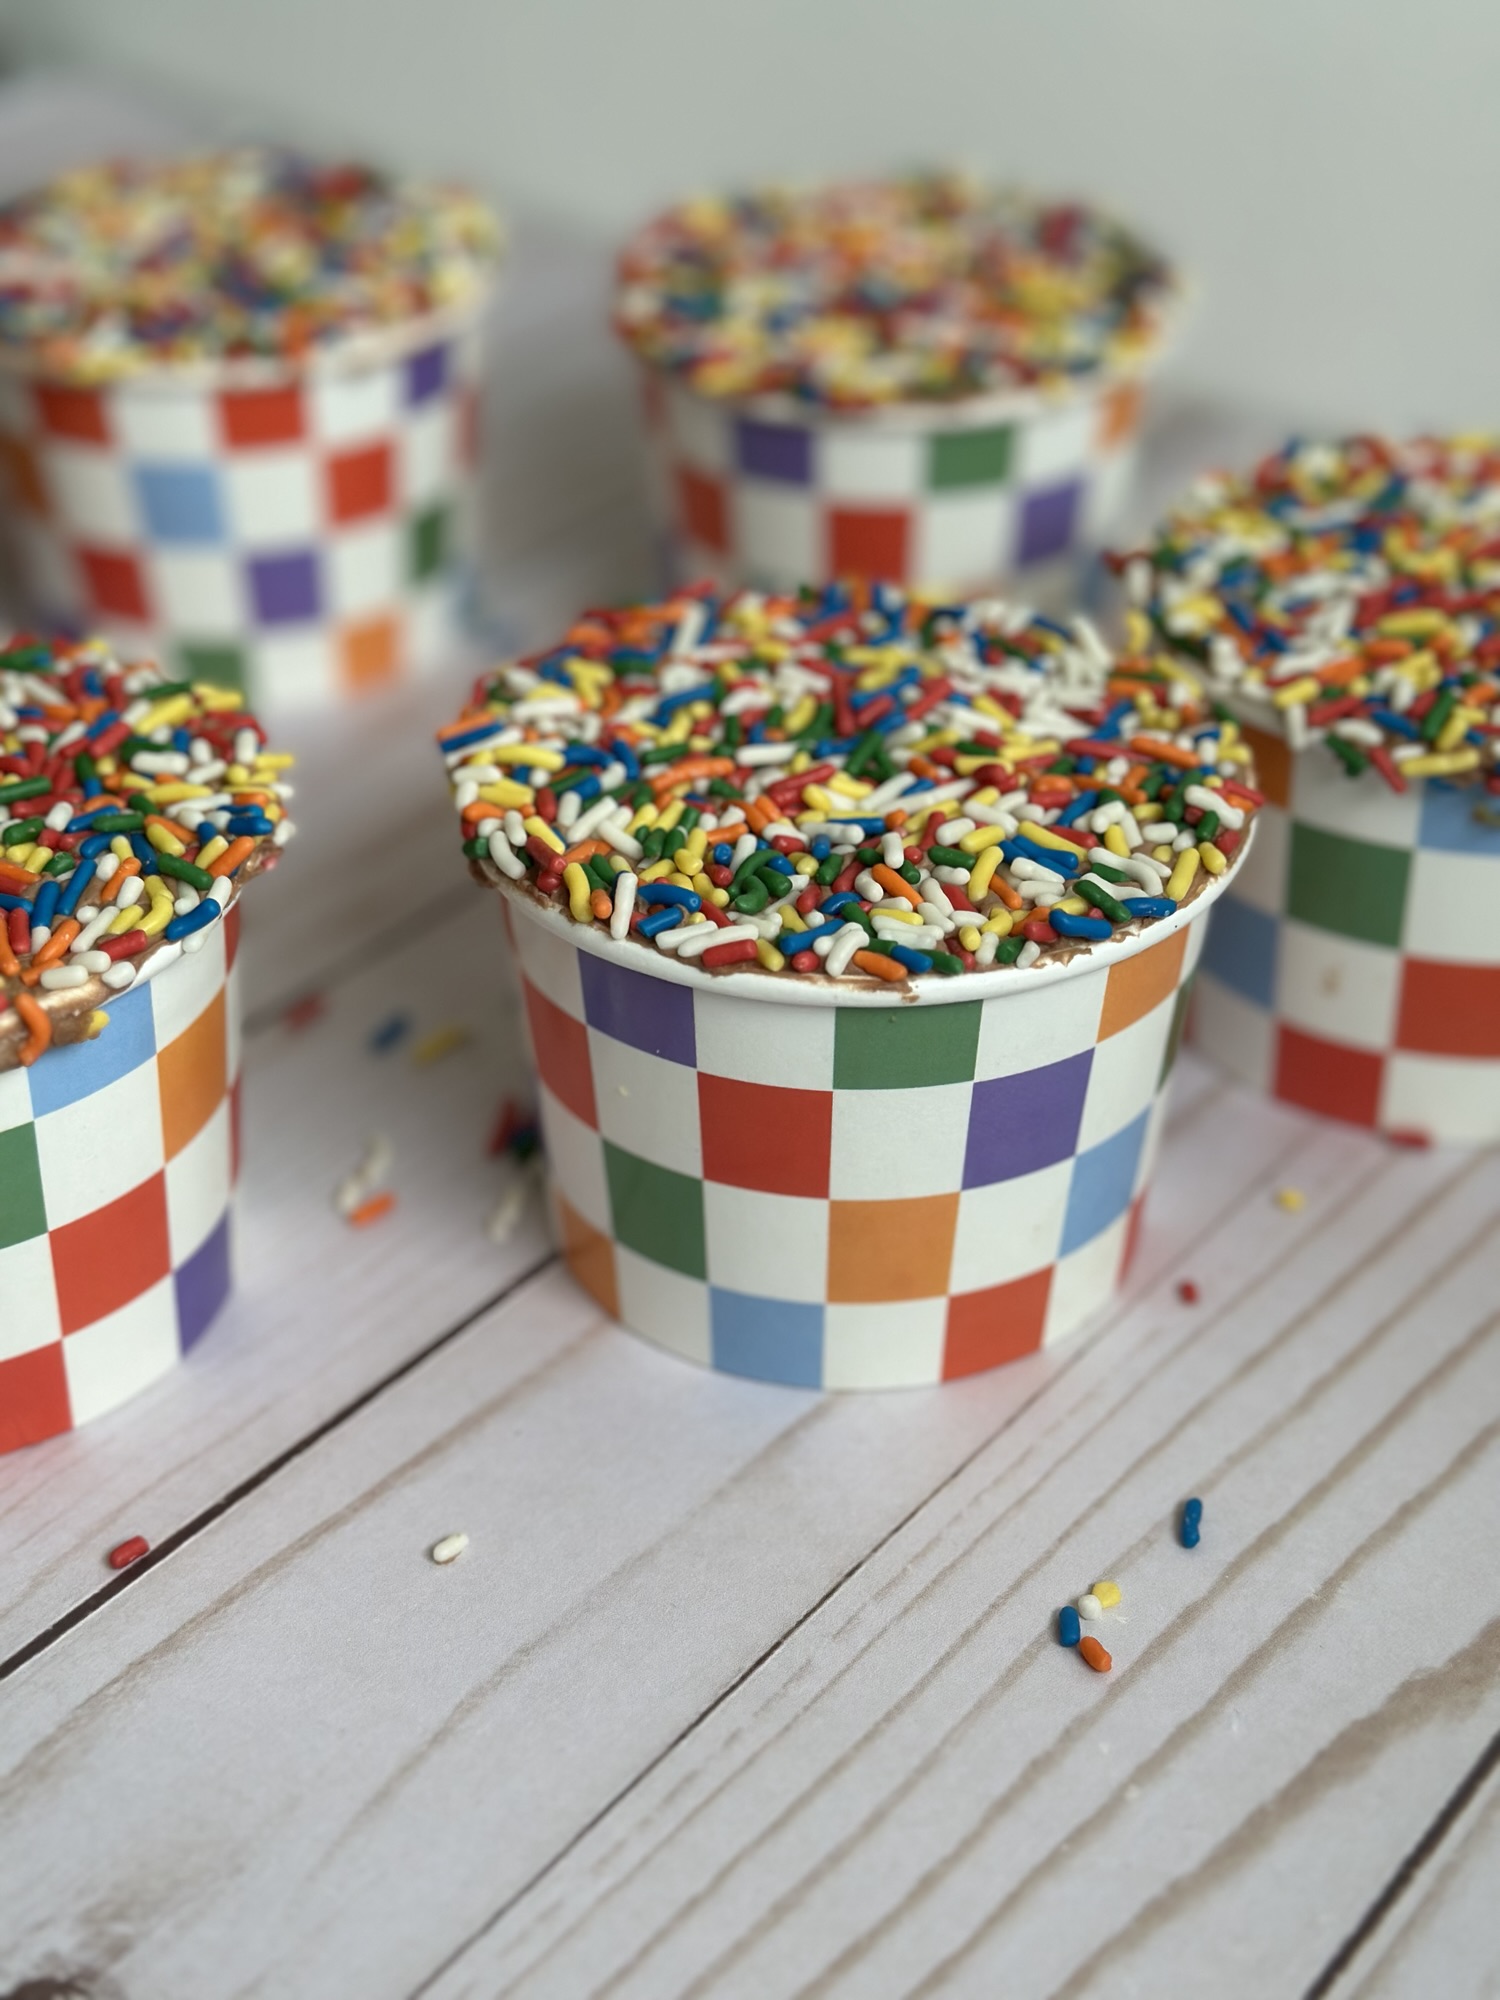
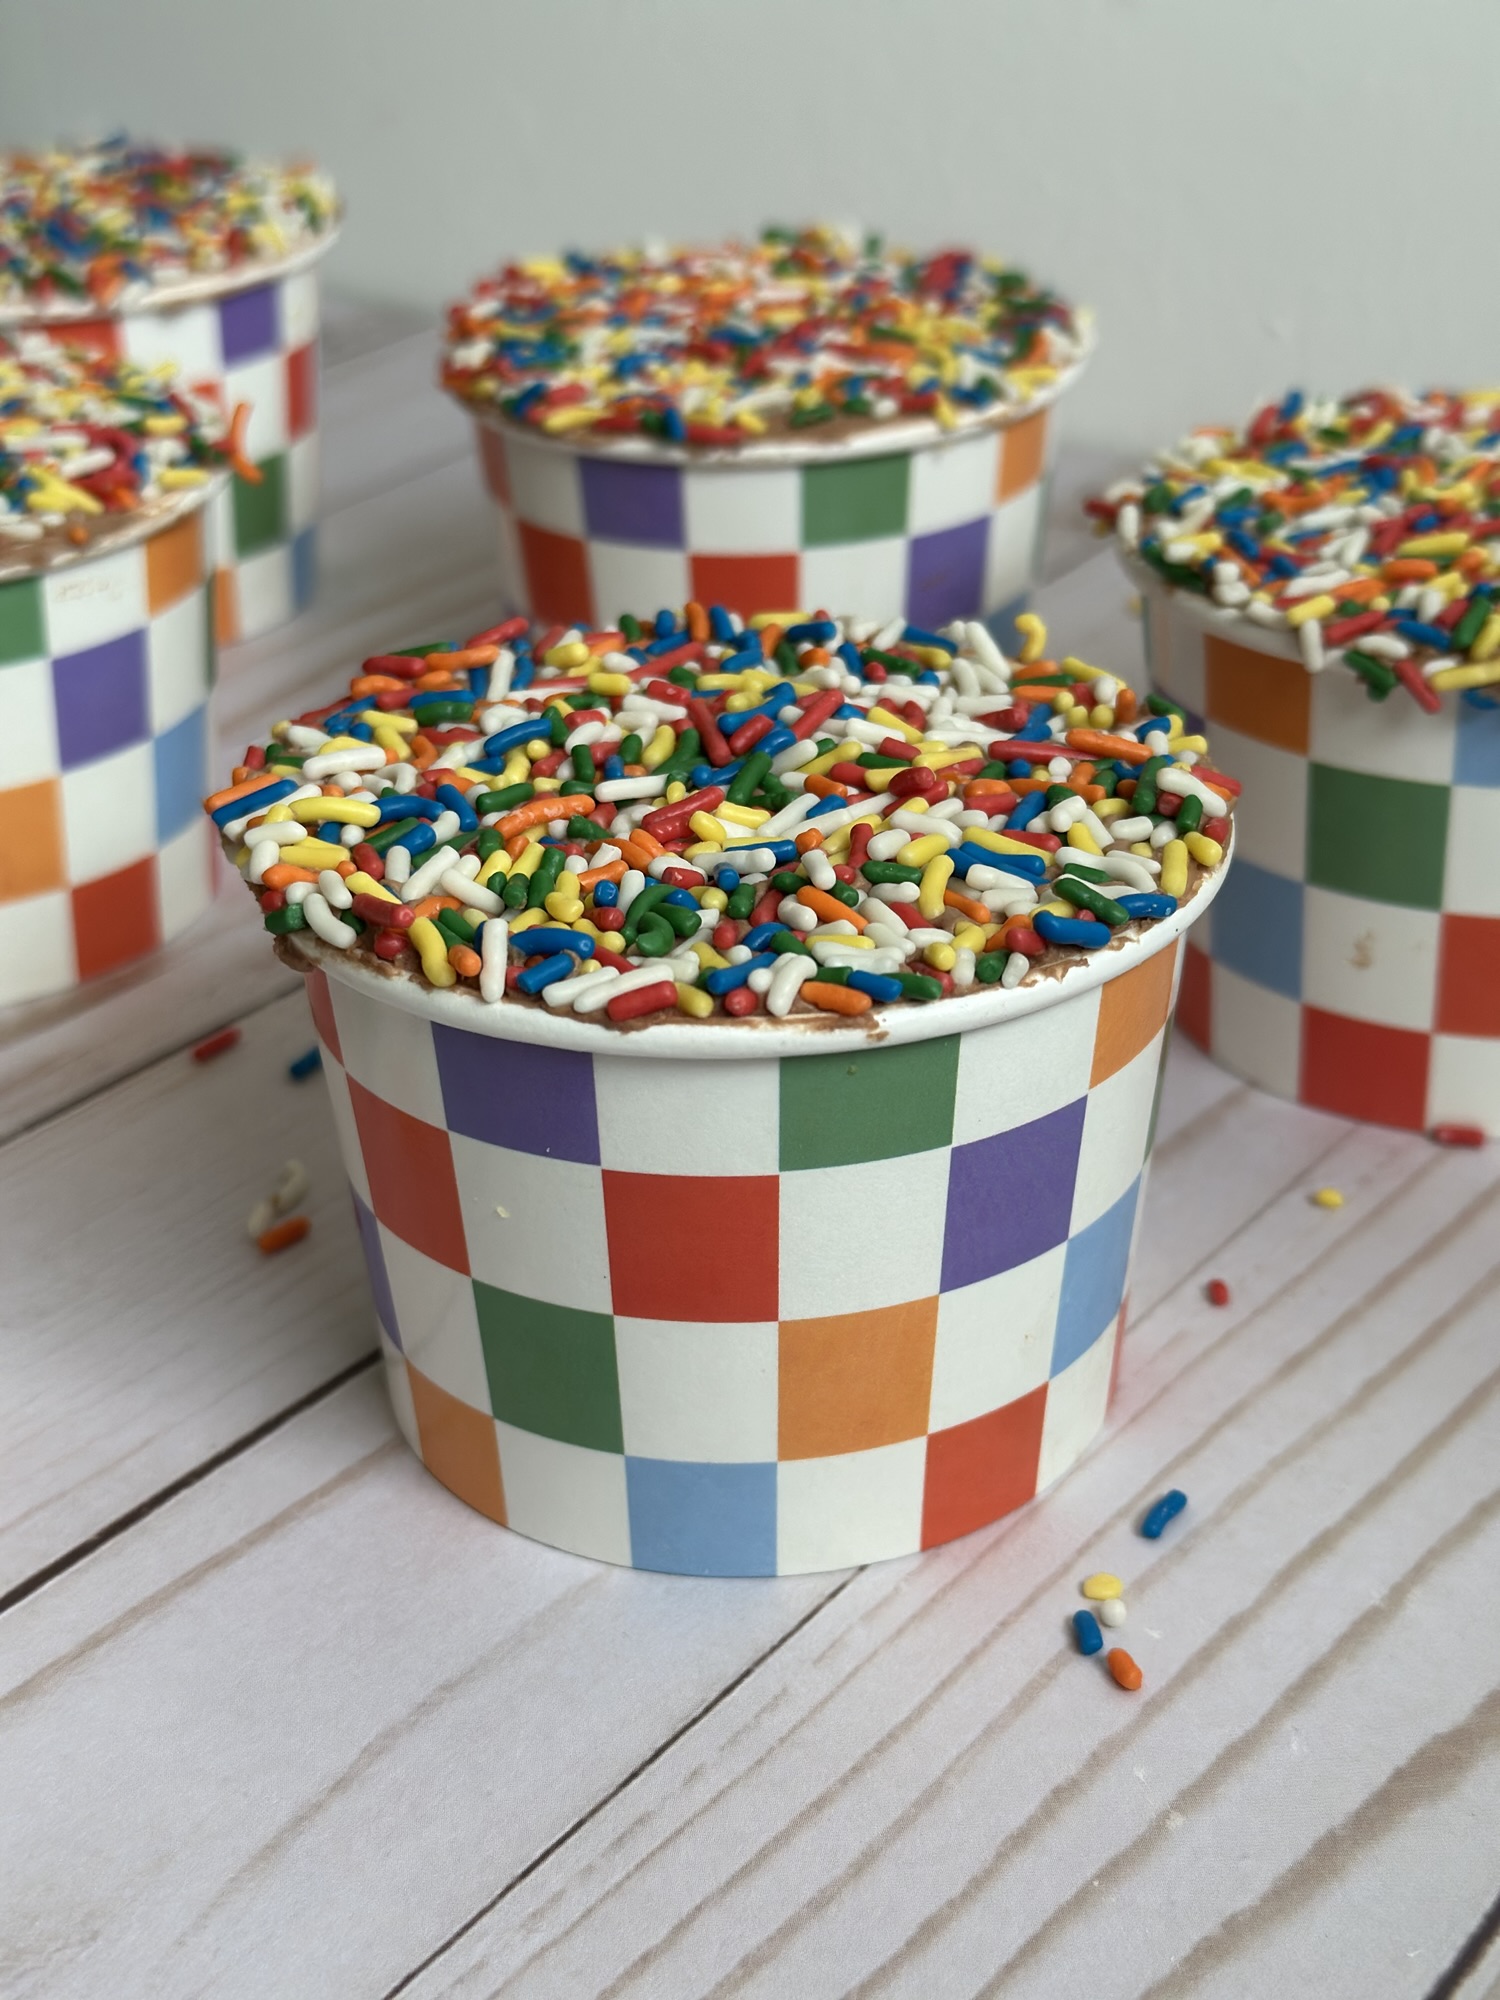
It seems appropriate to break my blogging hiatus with my take on a viral craze. If you’ve been on social media lately you more than likely have seen a post, video and/or reel of the latest dessert craze…. Dot Cakes. Originated by a bakery of the same name on Long Island, the cakes are also being sold at Butterfield Market in NYC where people have waited in line for hours to score one or more of these 8 oz. cake filled cups topped with frosting and nonpareils. You may be wondering what’s the big deal and truthfully, I am as well. It’s just cake and frosting completely covered with nonpareils. And if you are not familiar, nonpareils are those round sprinkles (hence Dot Cake) that don’t taste as good as your traditional sprinkles (jimmies) and their colors tend to bleed. One thing people have been enjoying with these cakes is the ASMR inducing sound made when you scrape your spoon across the dots. I’m not one to jump on a bandwagon but I did want to create my own version using my favorite cake and frosting combination – yellow cake and chocolate frosting – topped with my favorite sprinkles, rainbow jimmies.
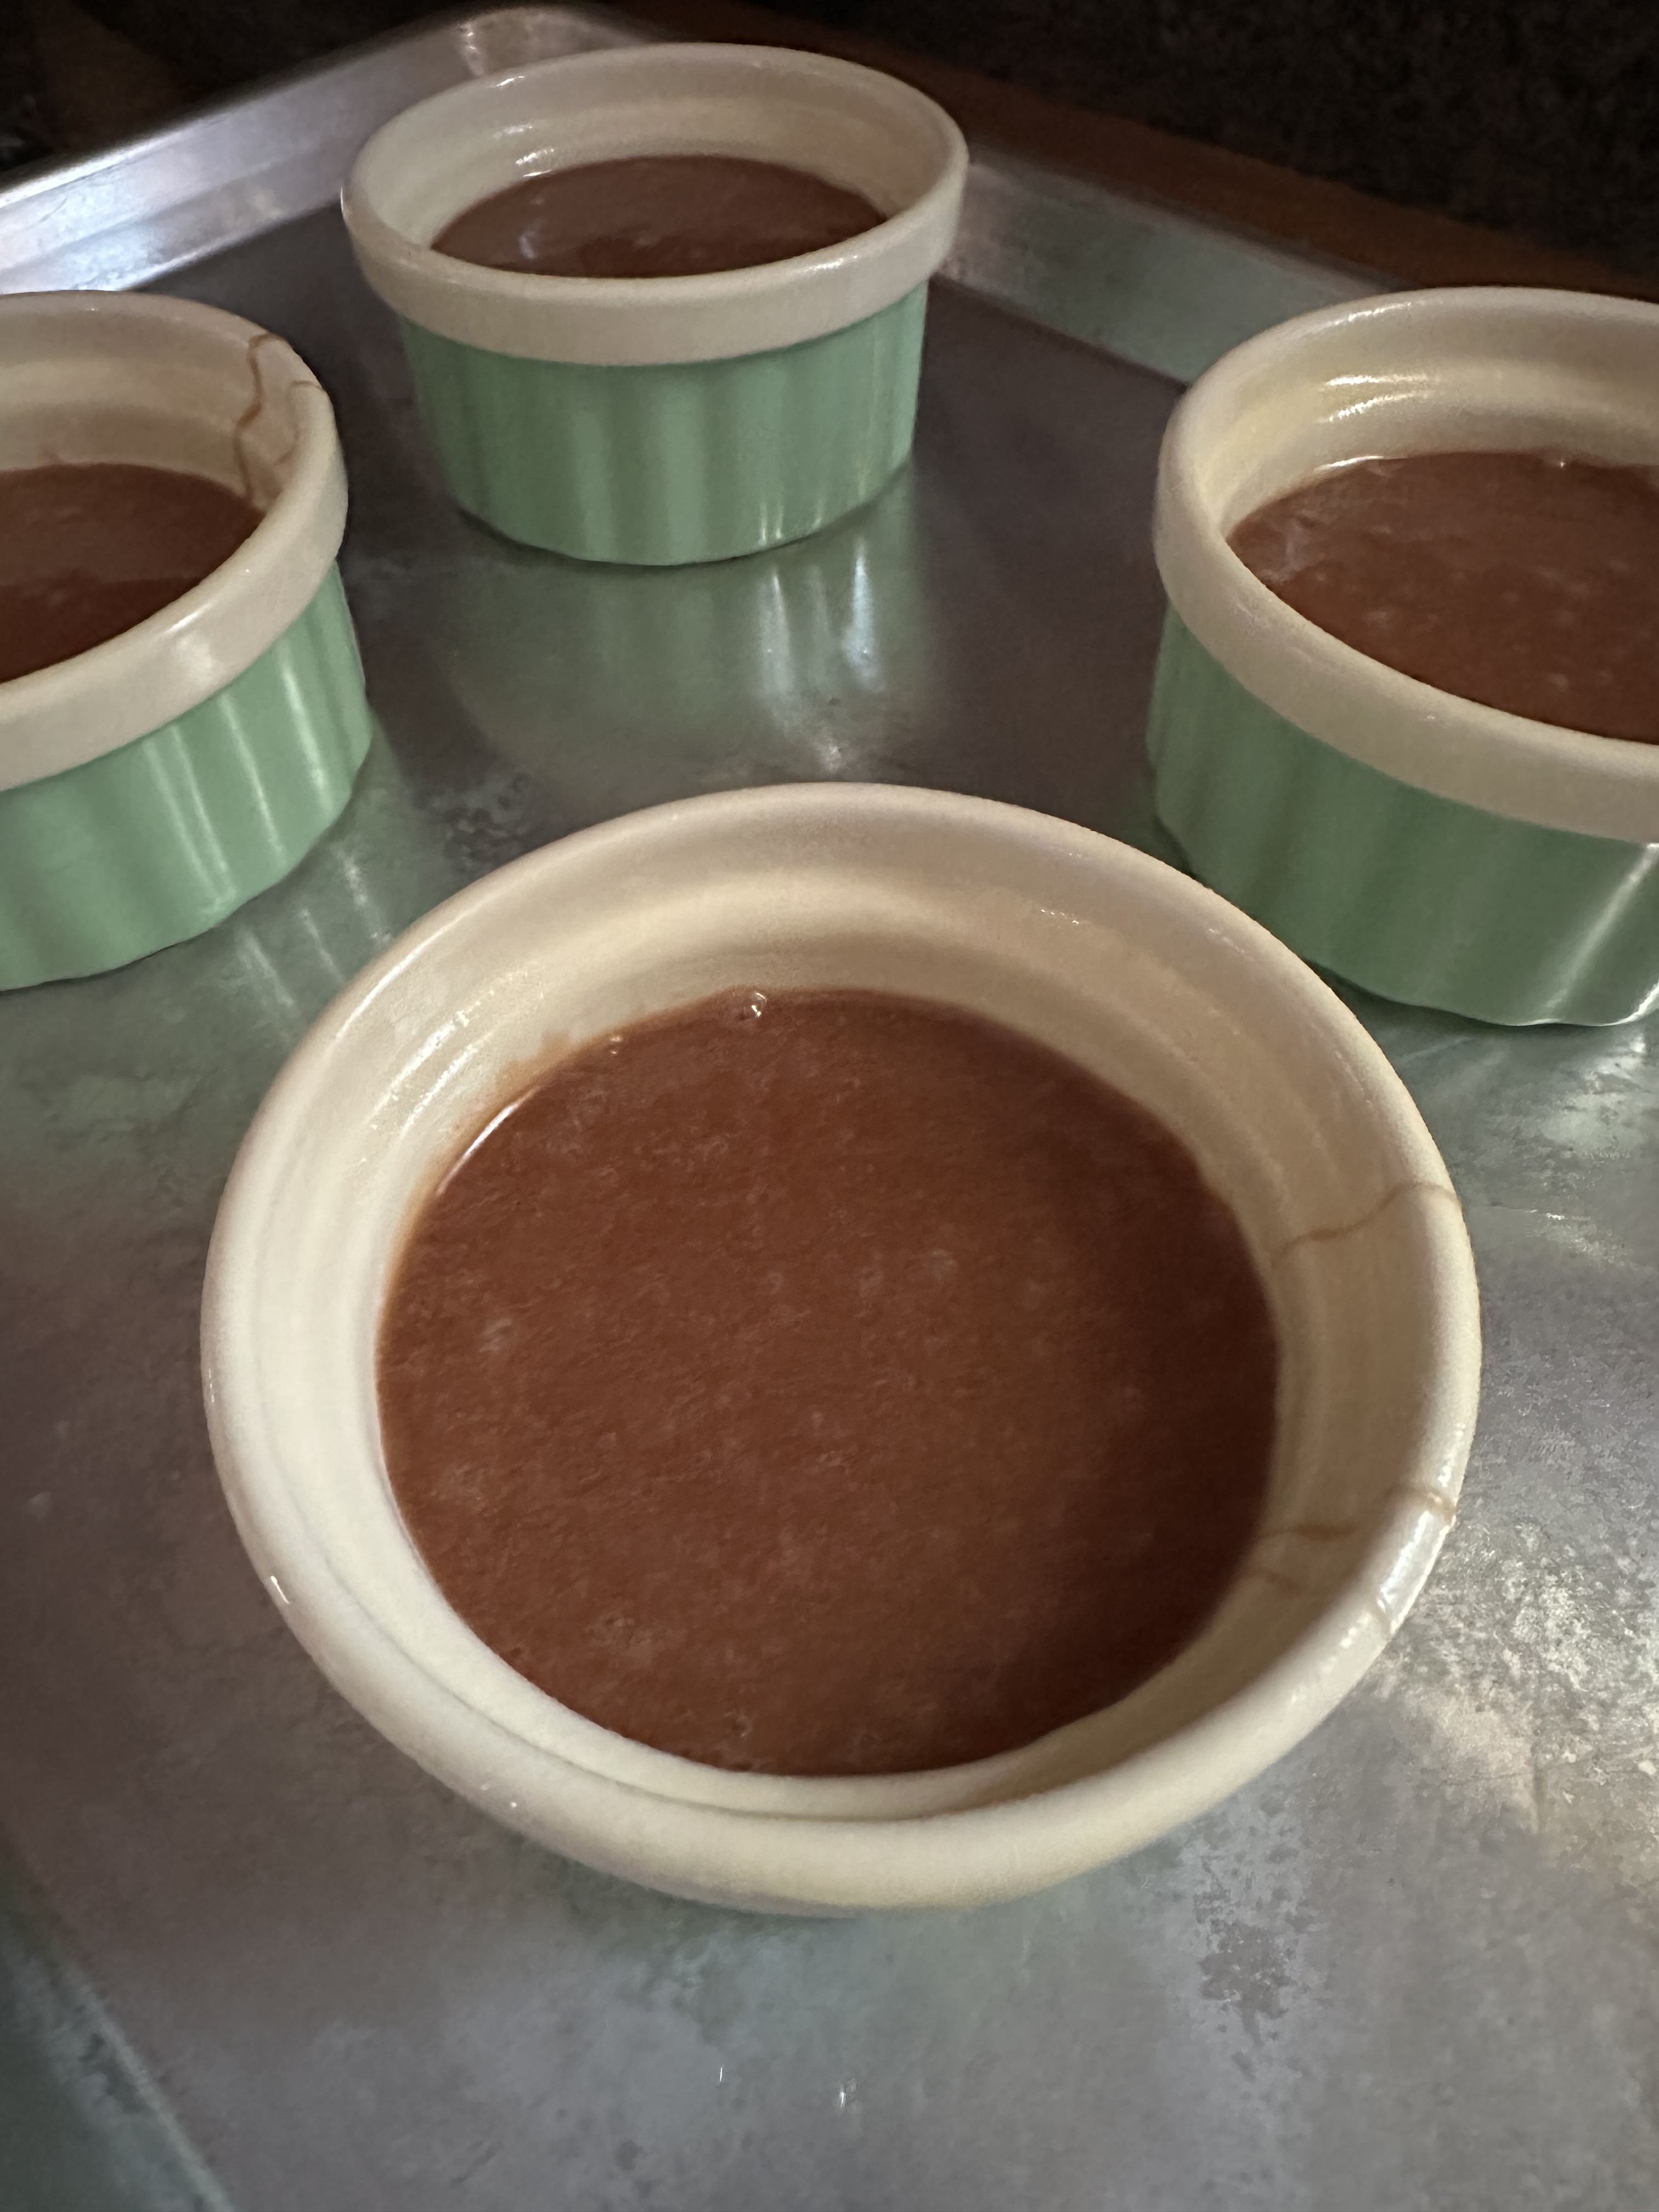
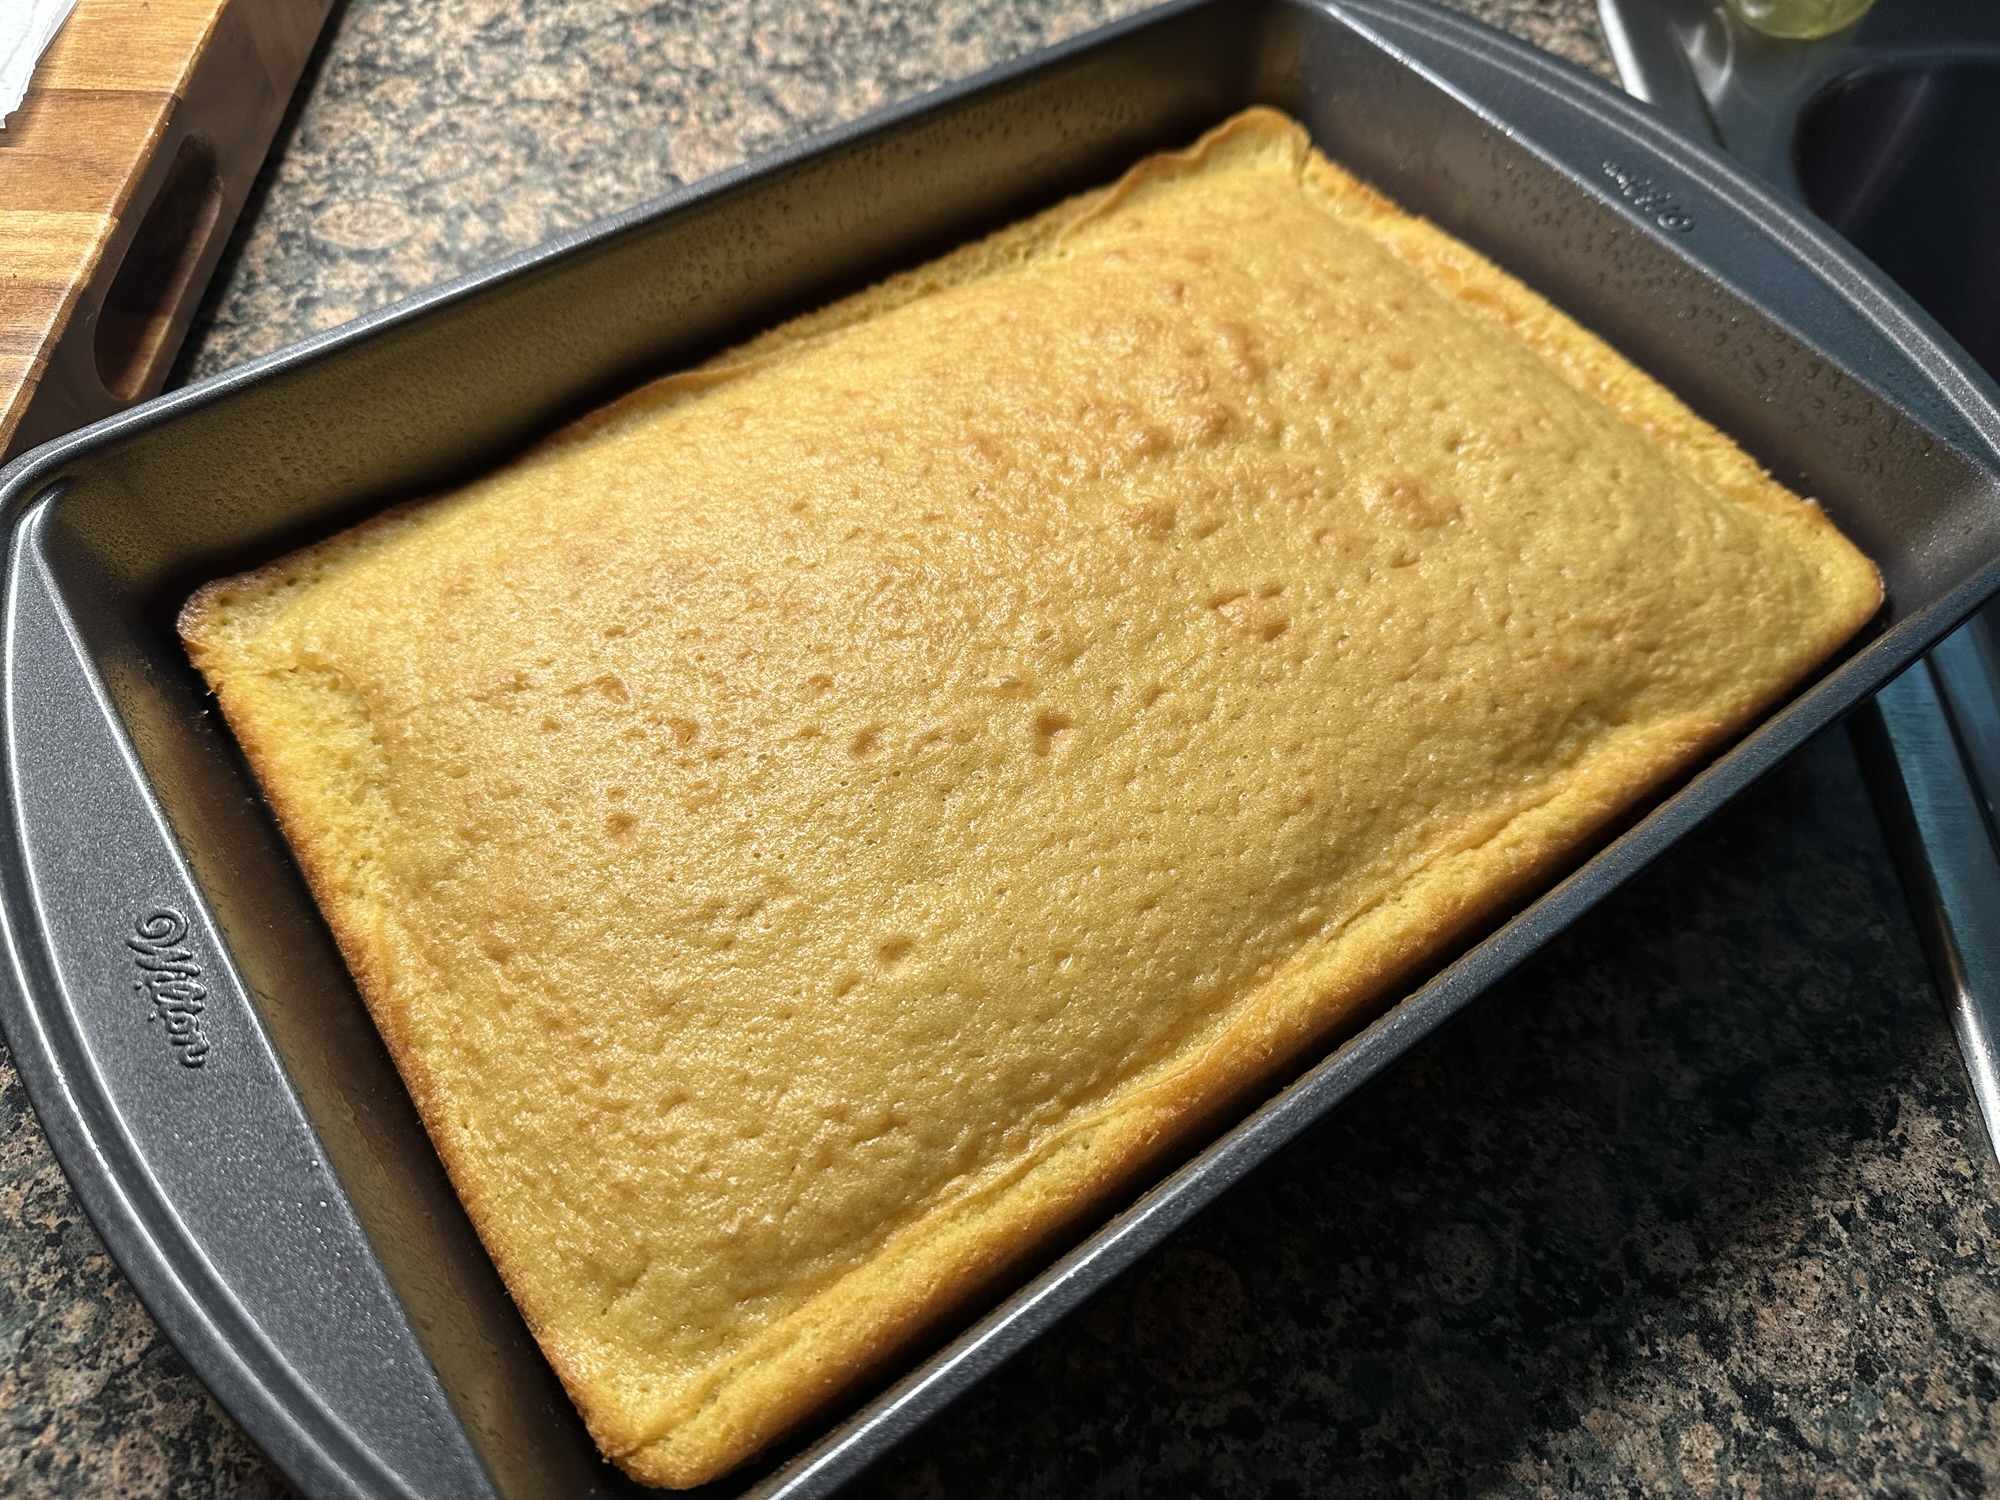
When it came to making the cake, I decided to go the easy route and used a yellow box cake. I normally tweak the recipe to make the flavor a bit more homemade, but I opted to follow the directions on the box and baked the cake in a 9×13 baking pan. Once it was done, I let it cool to room temperature in the pan and then refrigerated it until I was ready to assemble my cakes. While my cake cooled, I made a batch of Chocolate Buttercream (recipe below) that was the perfect amount for the six cakes I made.
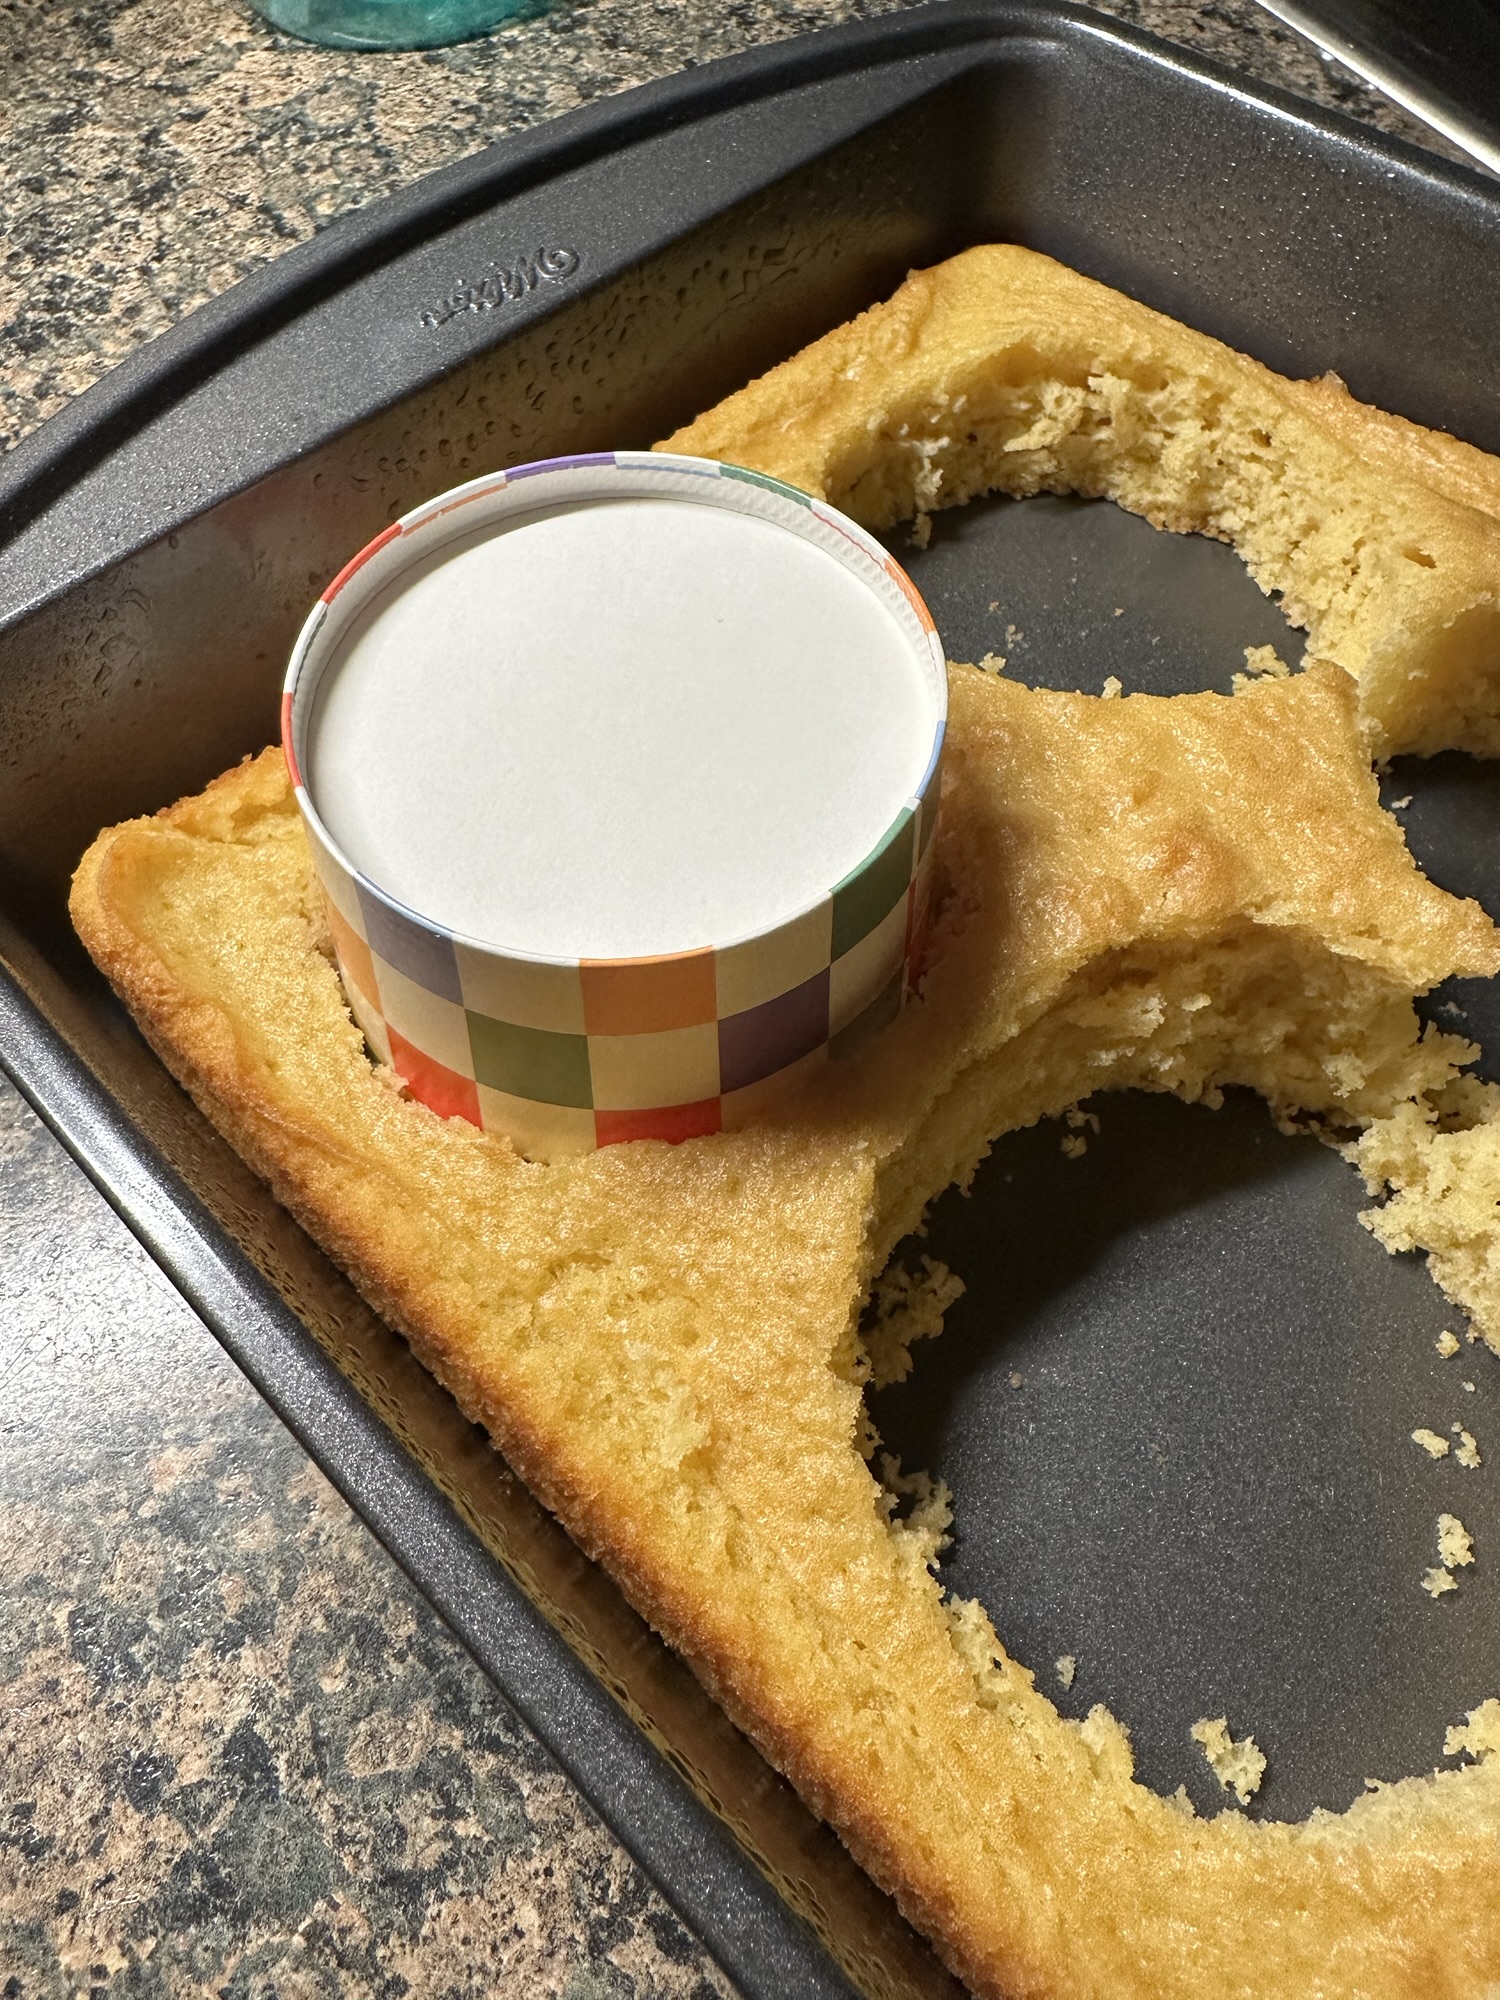
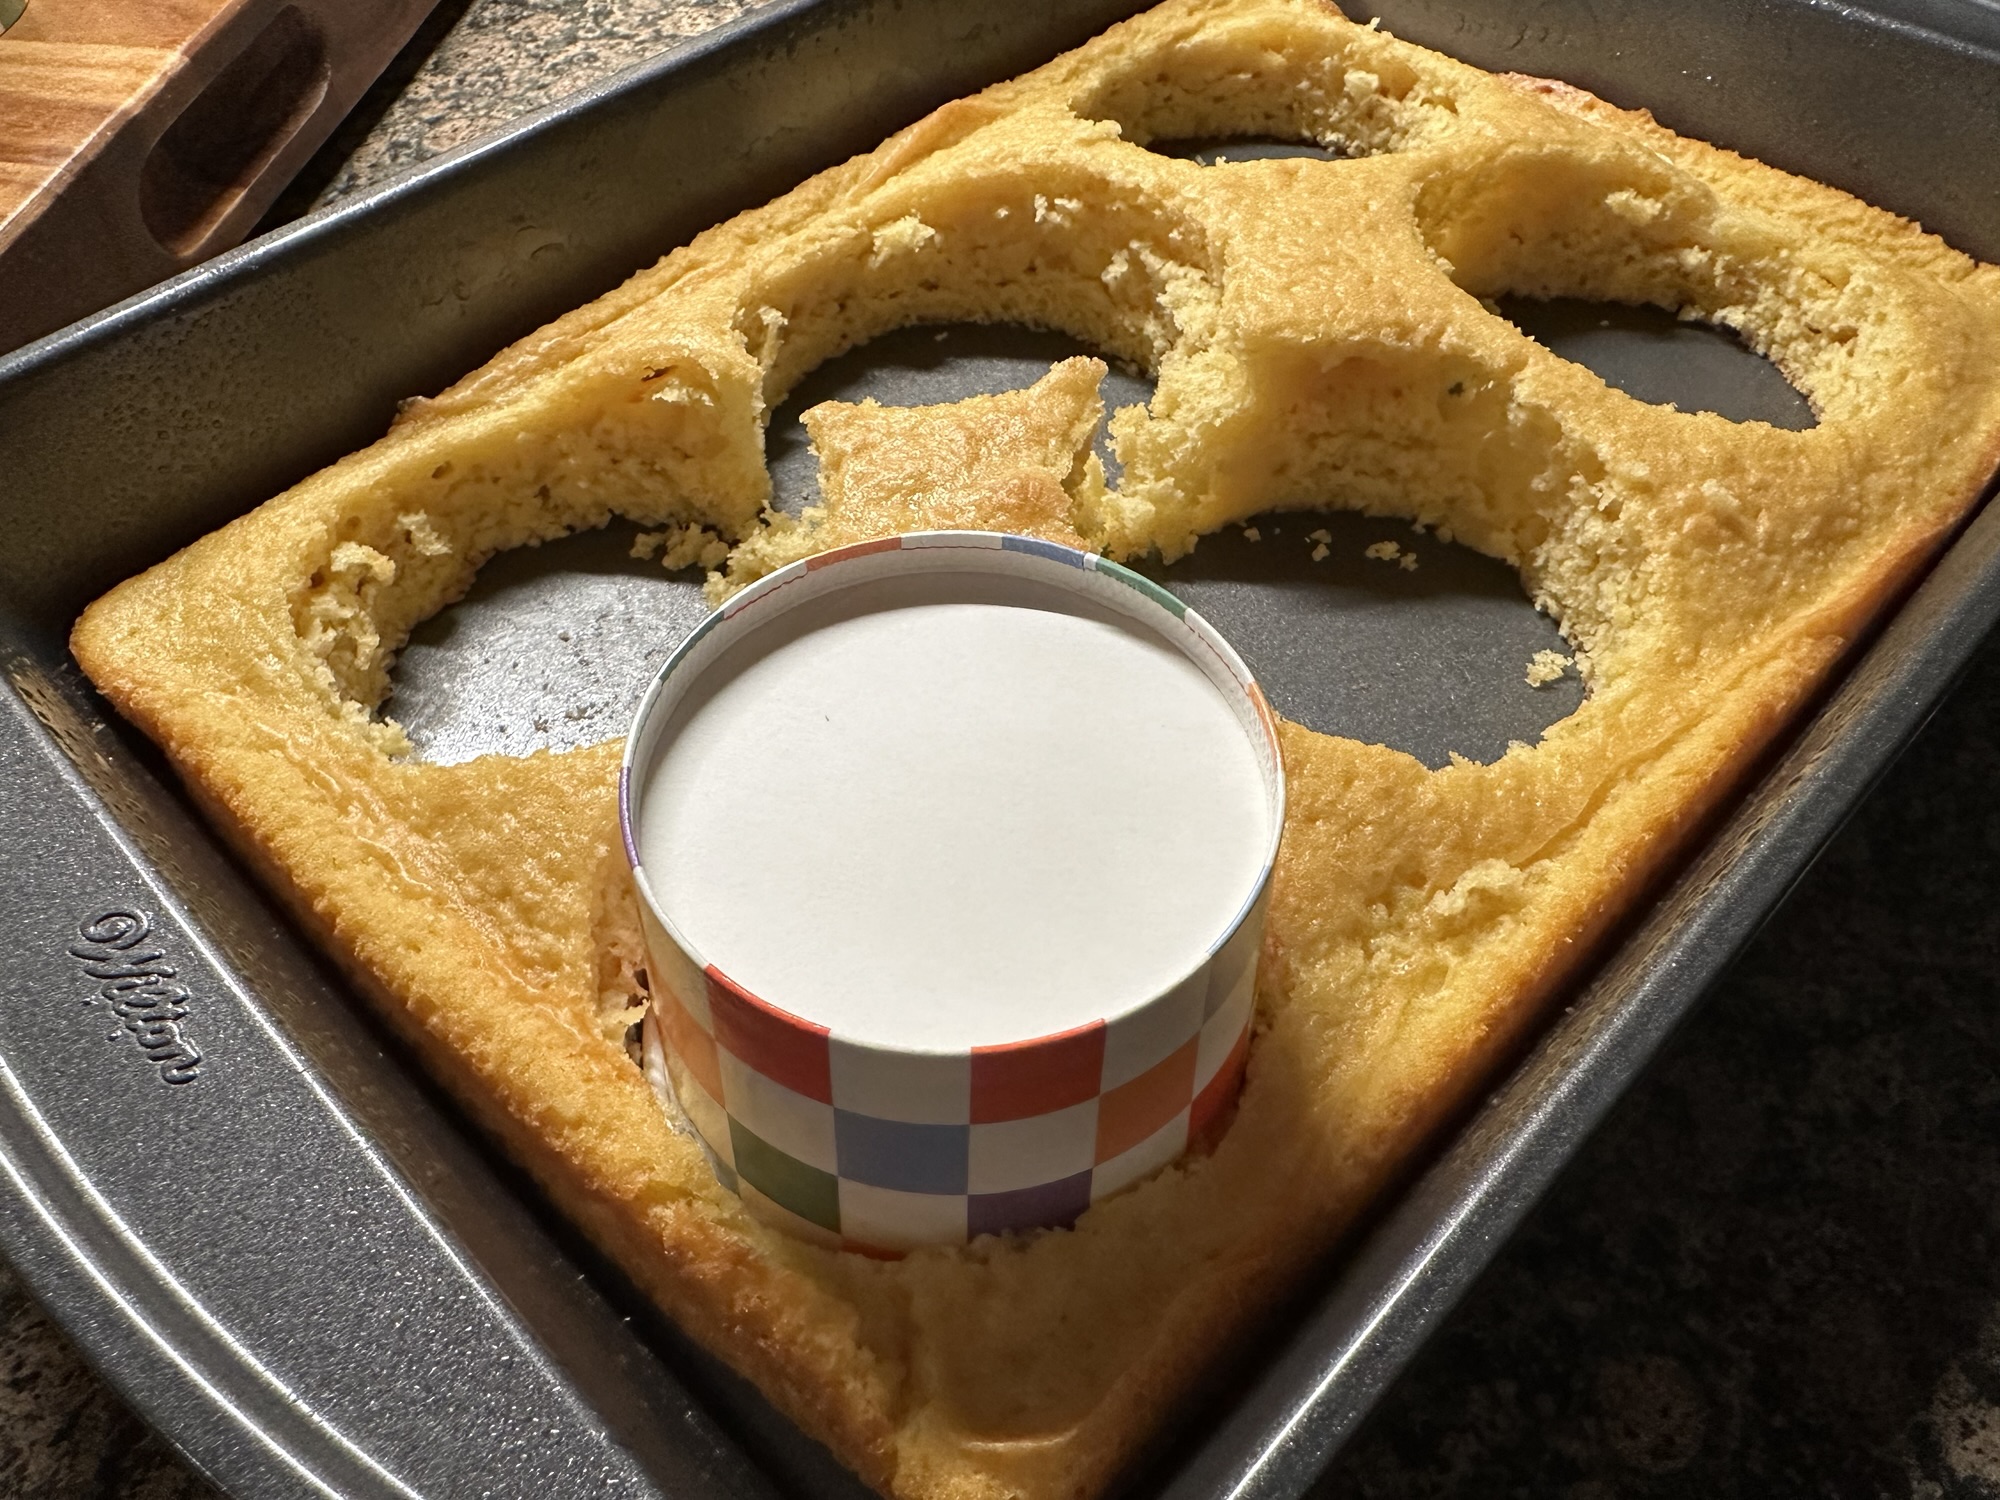
To assemble the cakes, I inverted 8oz snack cups into the cakes and after flipping them over I pressed the cake into the bottom of the cups. Next, I frosted the cake right to brim of the cup and smoothed it out using an off-set spatula. I poured a good amount of sprinkles onto a plate then pressed the cakes into them. It’s best to do this right after smoothing the frosting while it’s still soft so the sprinkles can adhere well. And that was it!
I have read some reviews saying these cakes are basically just an oversized cupcake, I wouldn’t really say that. You wouldn’t eat a cupcake with a spoon and you’re not going to peel the cup away from the cake. I find it’s the perfect portion of cake contained in a cup enabling you to get every bit of frosting and cake, and there’s nothing to complain about with that!

Chocolate Buttercream
Ingredients:
1/3 cup semi-sweet chocolate chips
2 sticks unsalted butter, at room temperature
2 1/2 cups confectioner’s sugar
1/4 cup cocoa powder
1 teaspoon vanilla extract
1/4 teaspoon salt
2 tablespoons heavy cream
Directions:
In a microwave safe bowl melt the chocolate chips in 15-second intervals, stirring between each interval, until the chocolate is melted and smooth. Set aside to cool.
In a large bowl using a hand mixer cream the butter until pale and creamy. Add half of the confectioner’s sugar and continue mixing on low speed until combined. Add the remaining half of the sugar and continue mixing until well combined. Add the melted chocolate, cocoa powder, vanilla extract and salt and continue mixing on low speed until well combined.
Finally, add the heavy cream and raise the mixer speed to medium and whip the frosting until it’s smooth and creamy.