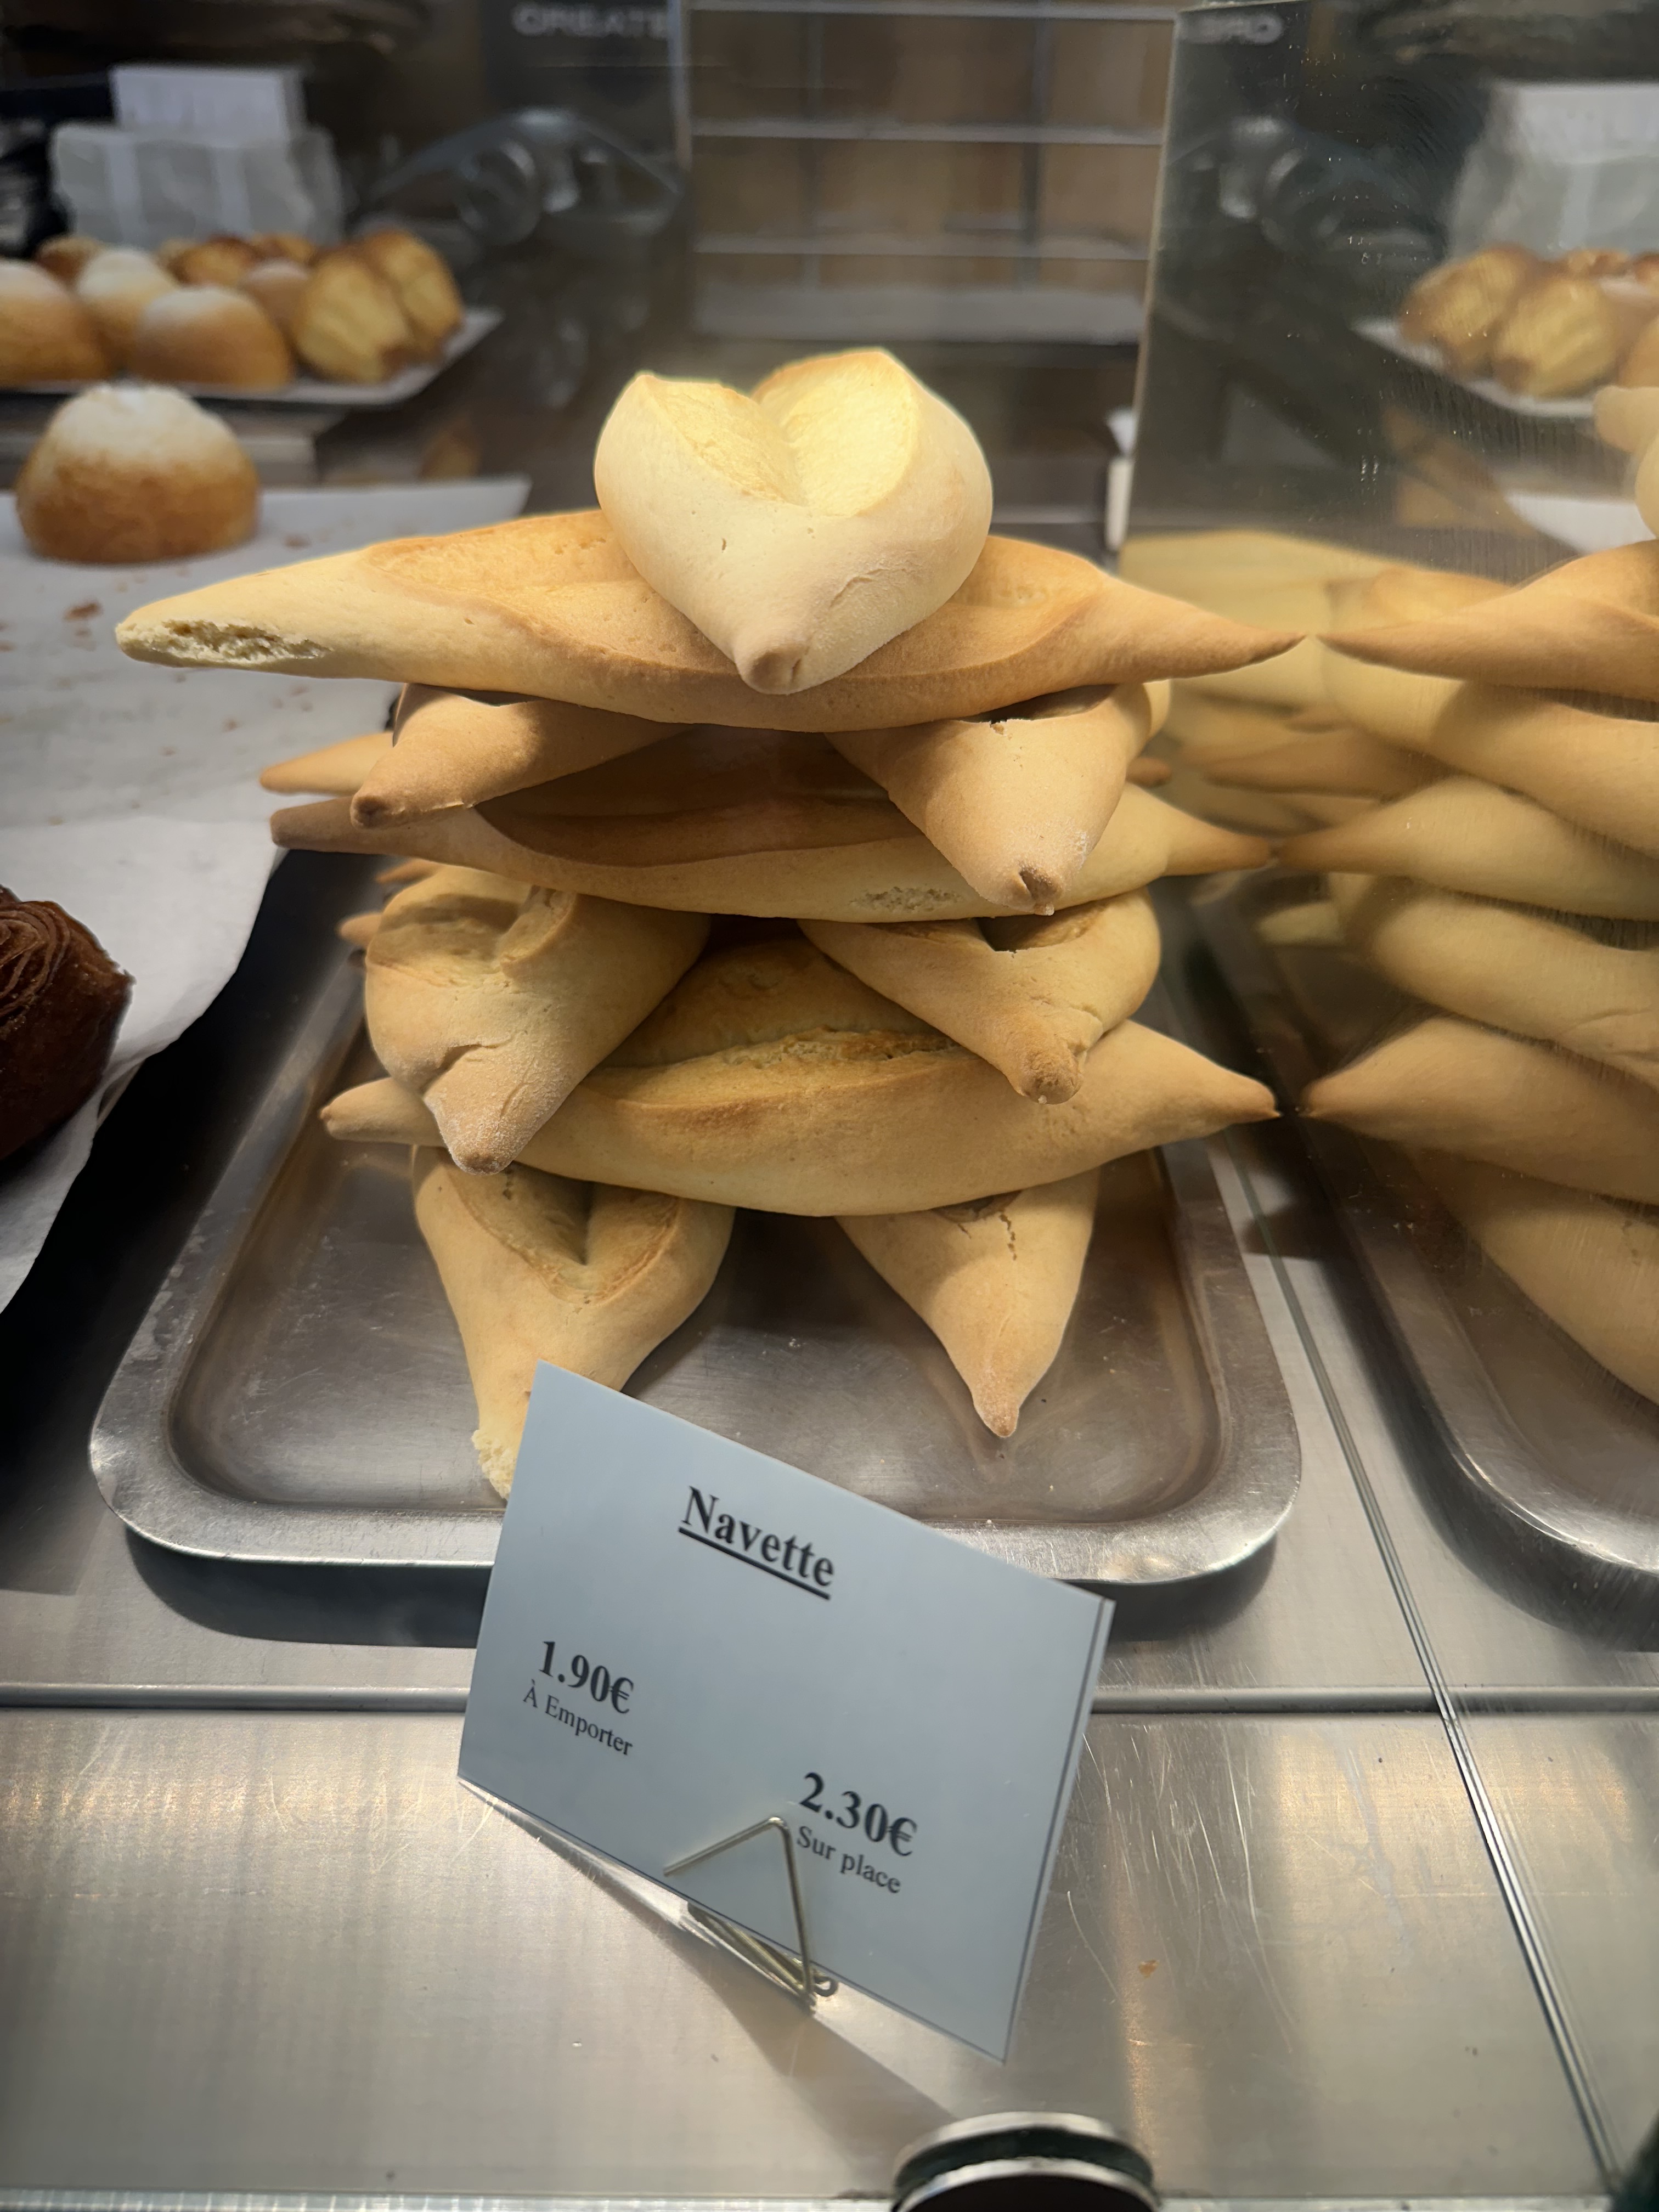
It’s been a bit quiet around here. Almost two months since my last post. Partly because this summer has been way too hot to turn my oven on to bake anything and because I was gone for about 10 days in late July / early August. I finally made it across the pond! I went to Barcelona for two days and then headed out on a Mediterranean cruise which made stops in Mallorca, Marseille, La Spezia (Florence), Civitavecchia (Rome) and Naples. Since I was on a cruise, I really didn’t get the opportunity to try a lot of the local food, but while in Marseille I did try a traditional cookie called a Navette (it wasn’t to my liking) and while in Lucca I enjoyed pizza and gelato (both were delish!).


And not food related whatsoever, but too beautiful not to share a few pics of the Mediterranean and a few sunrise and sunset pics from the ship.


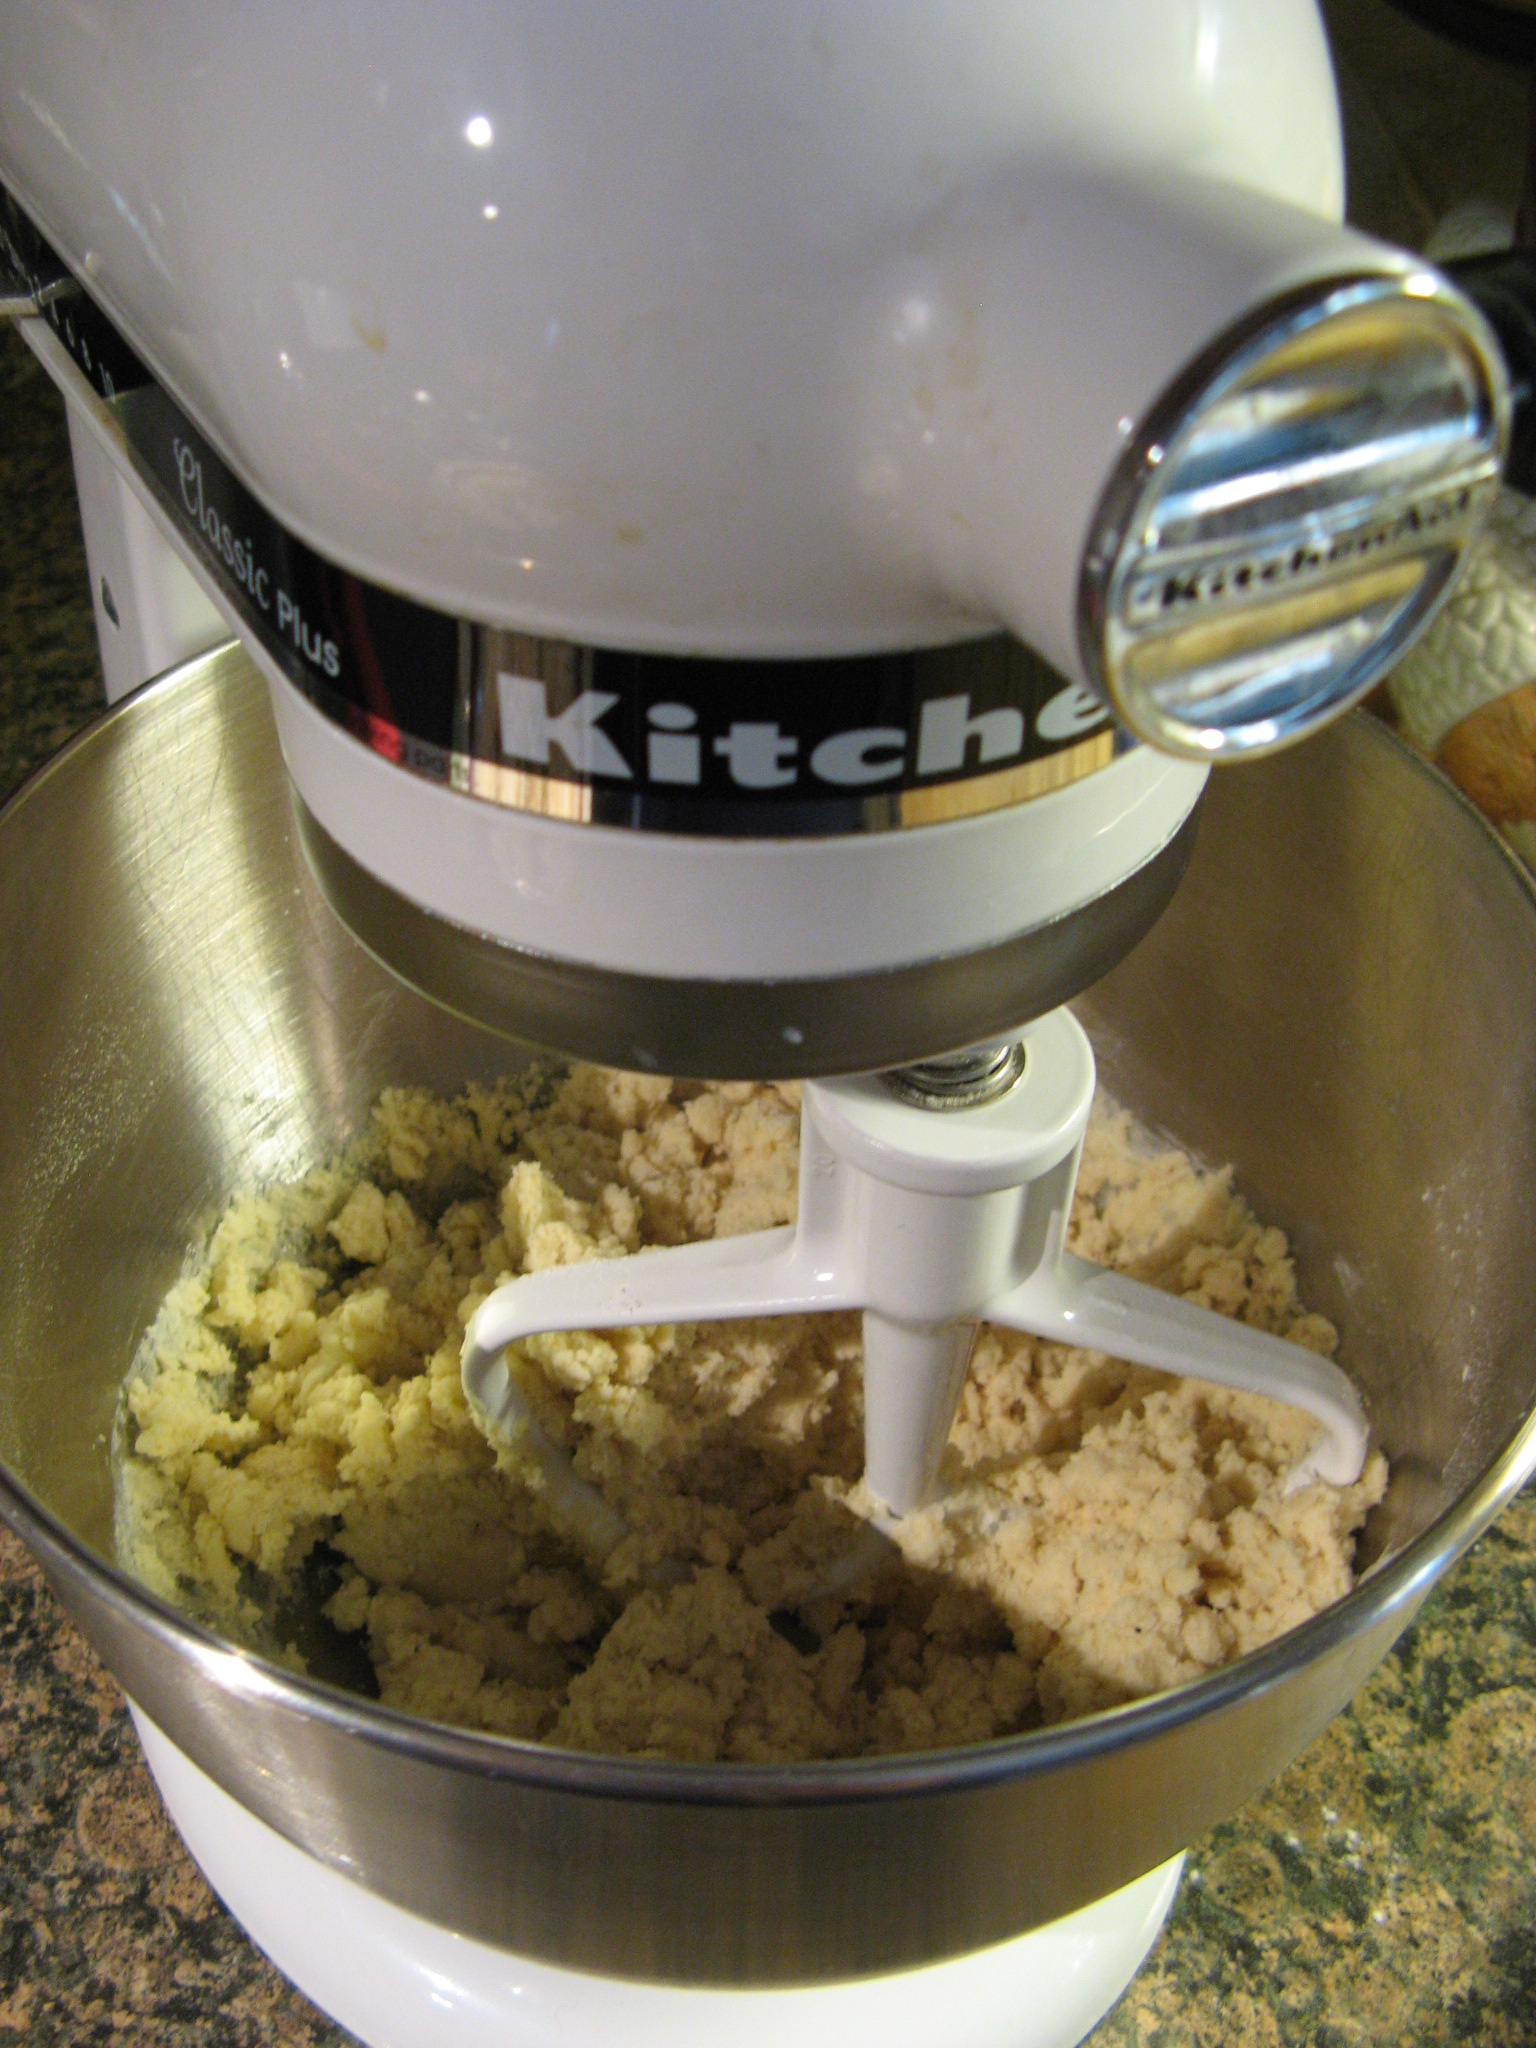
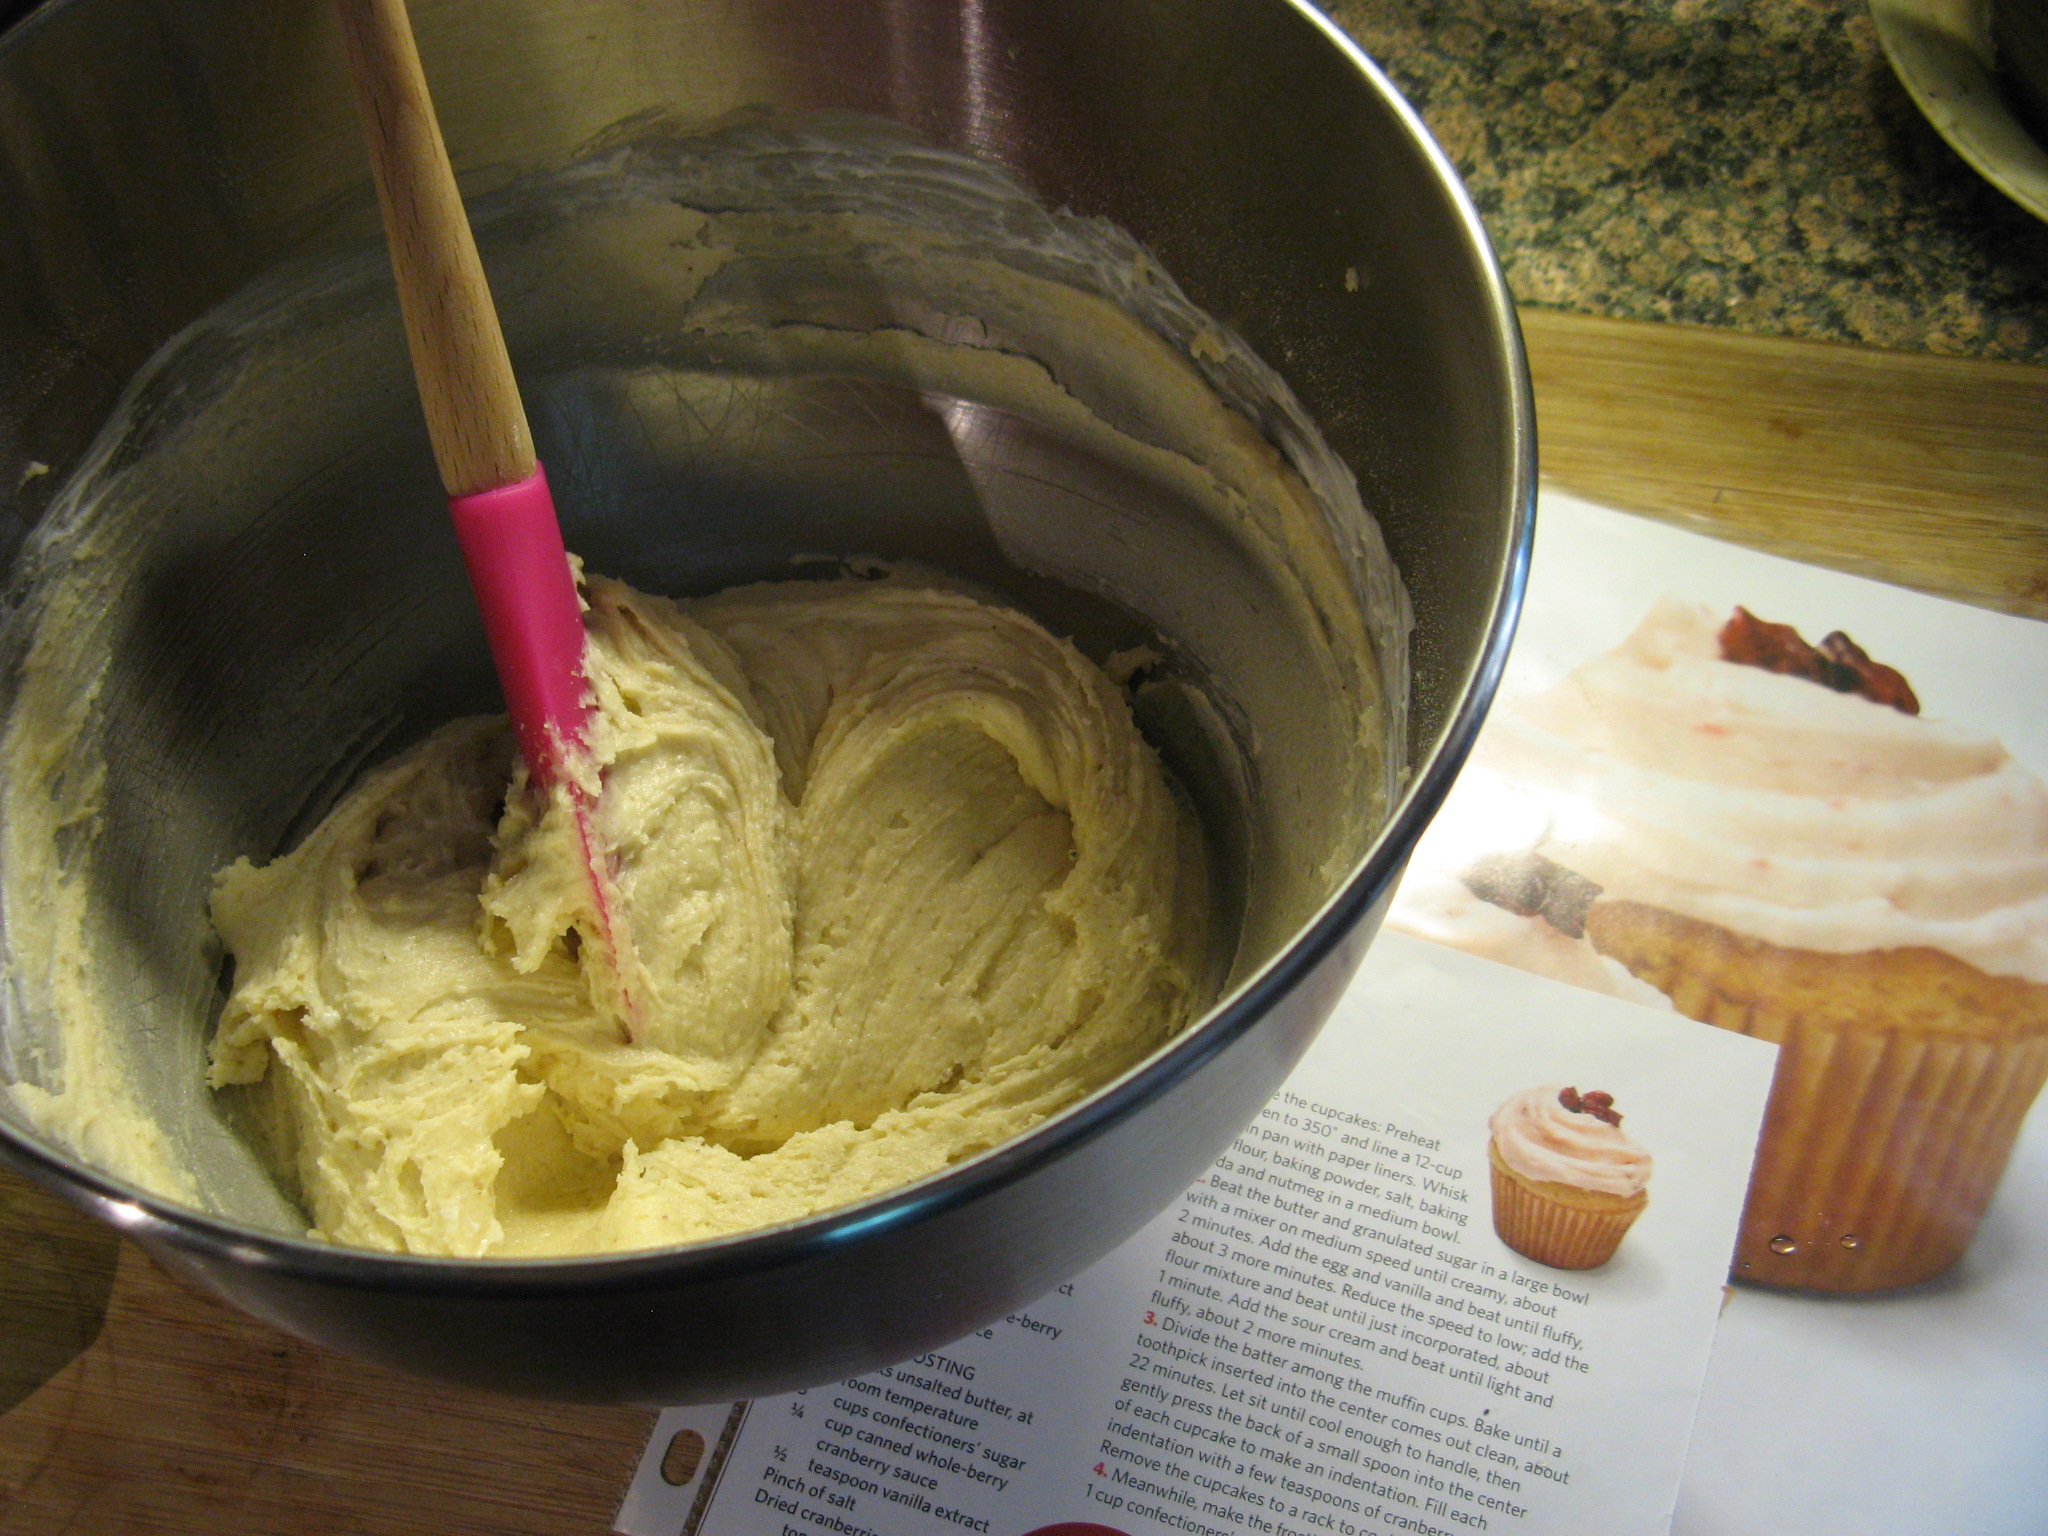
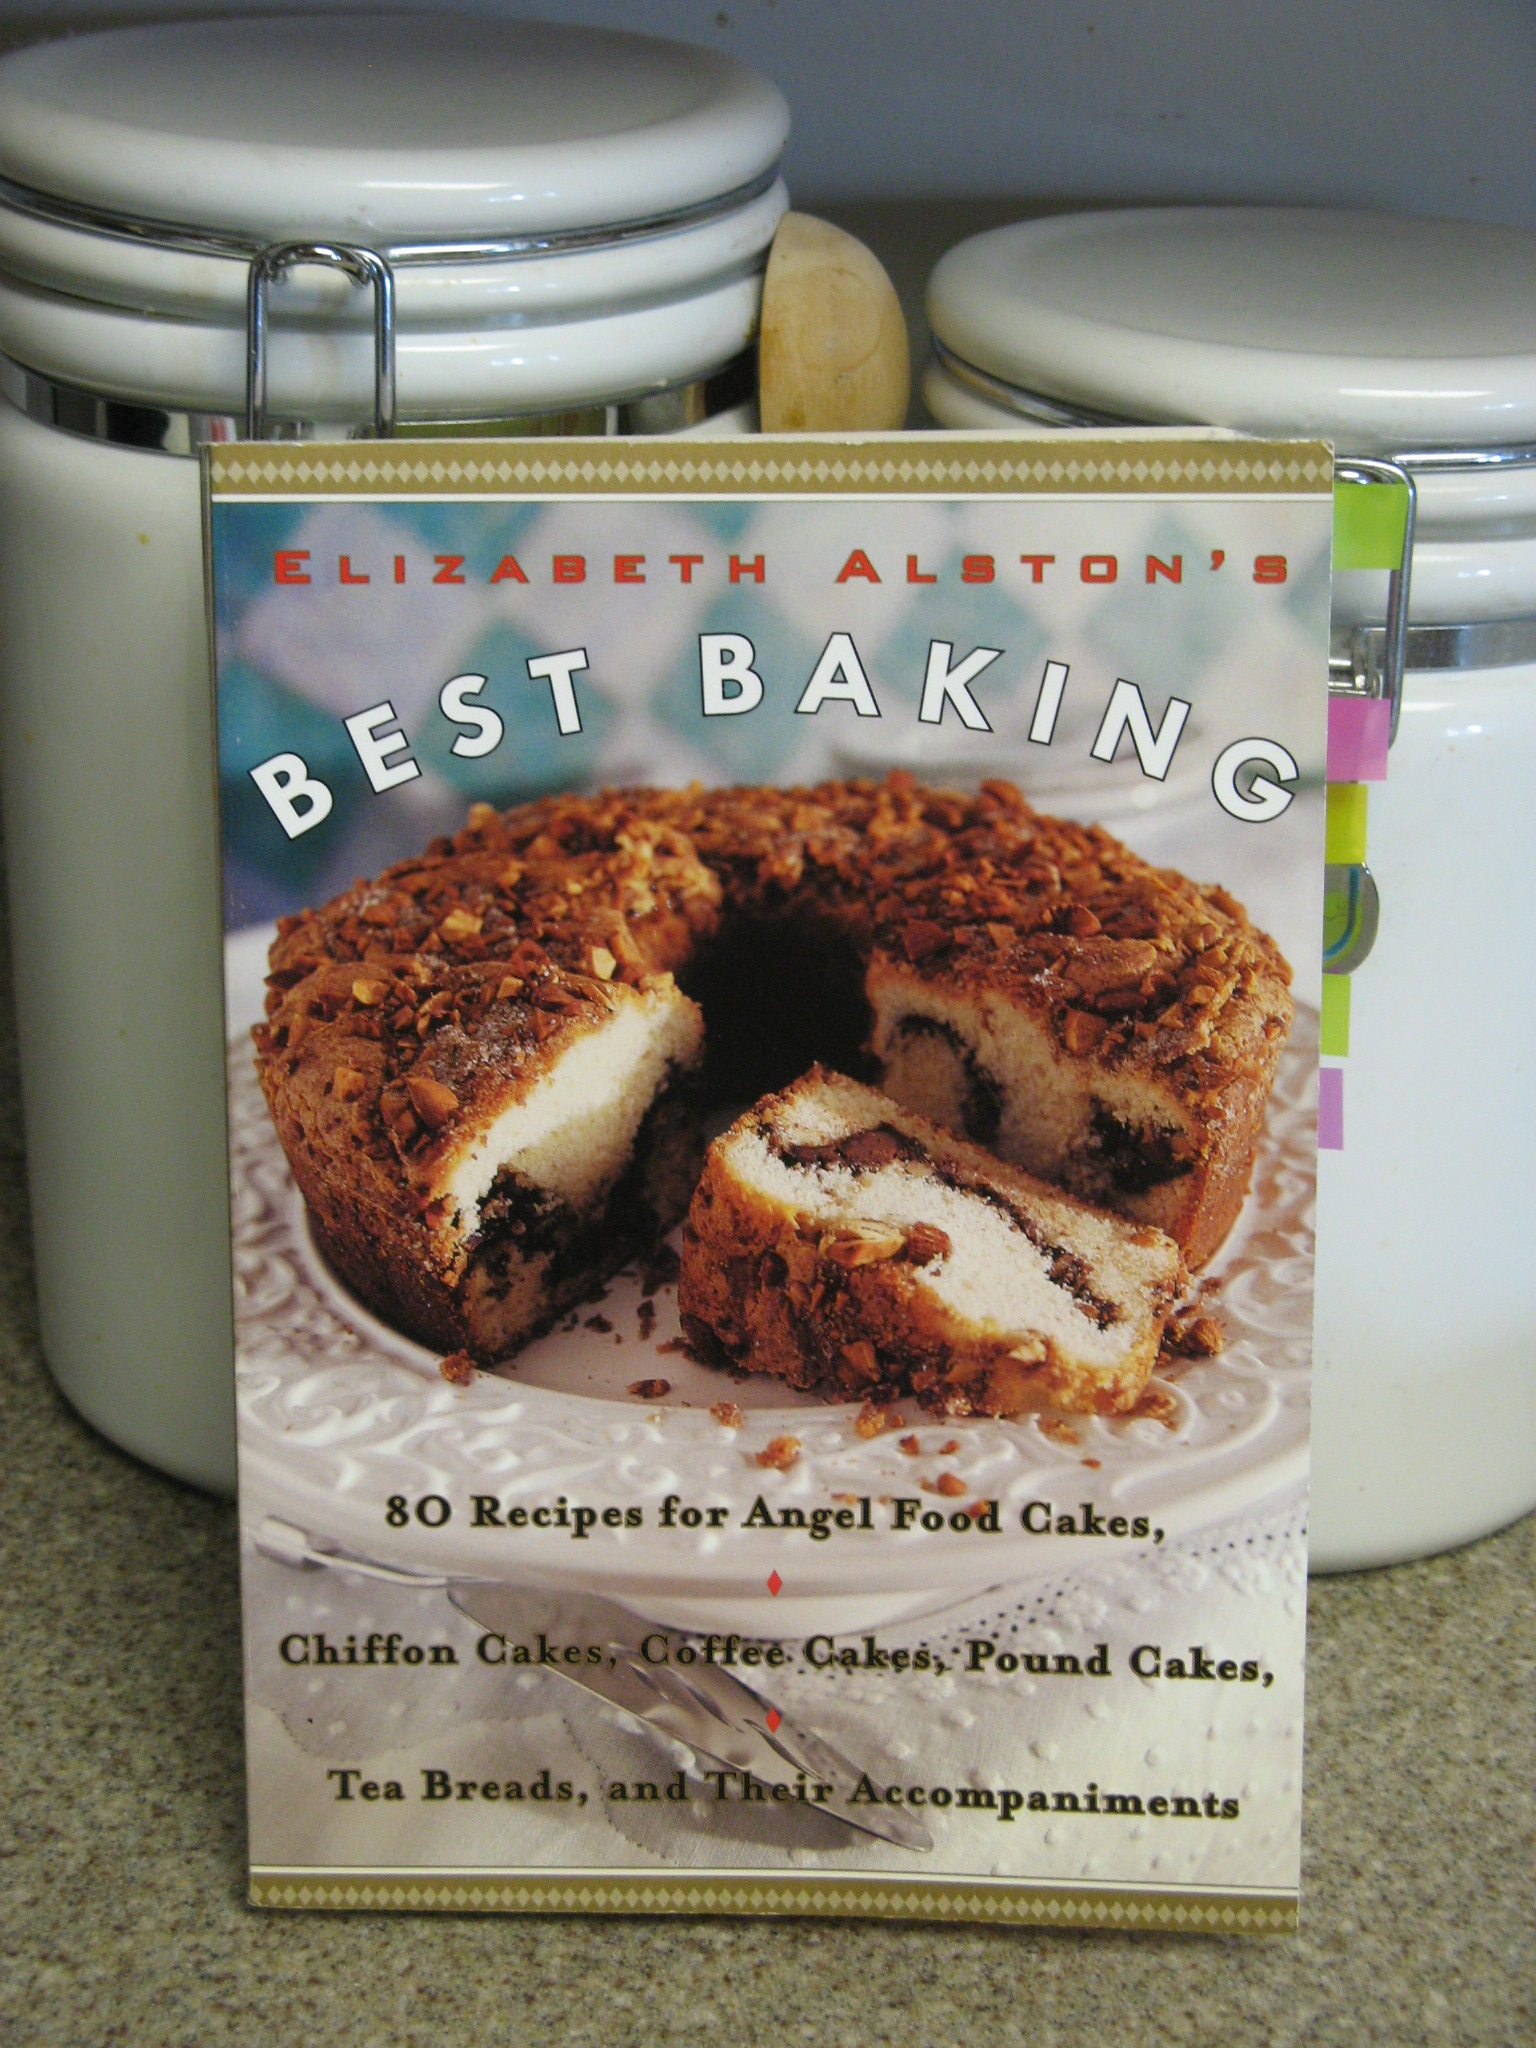
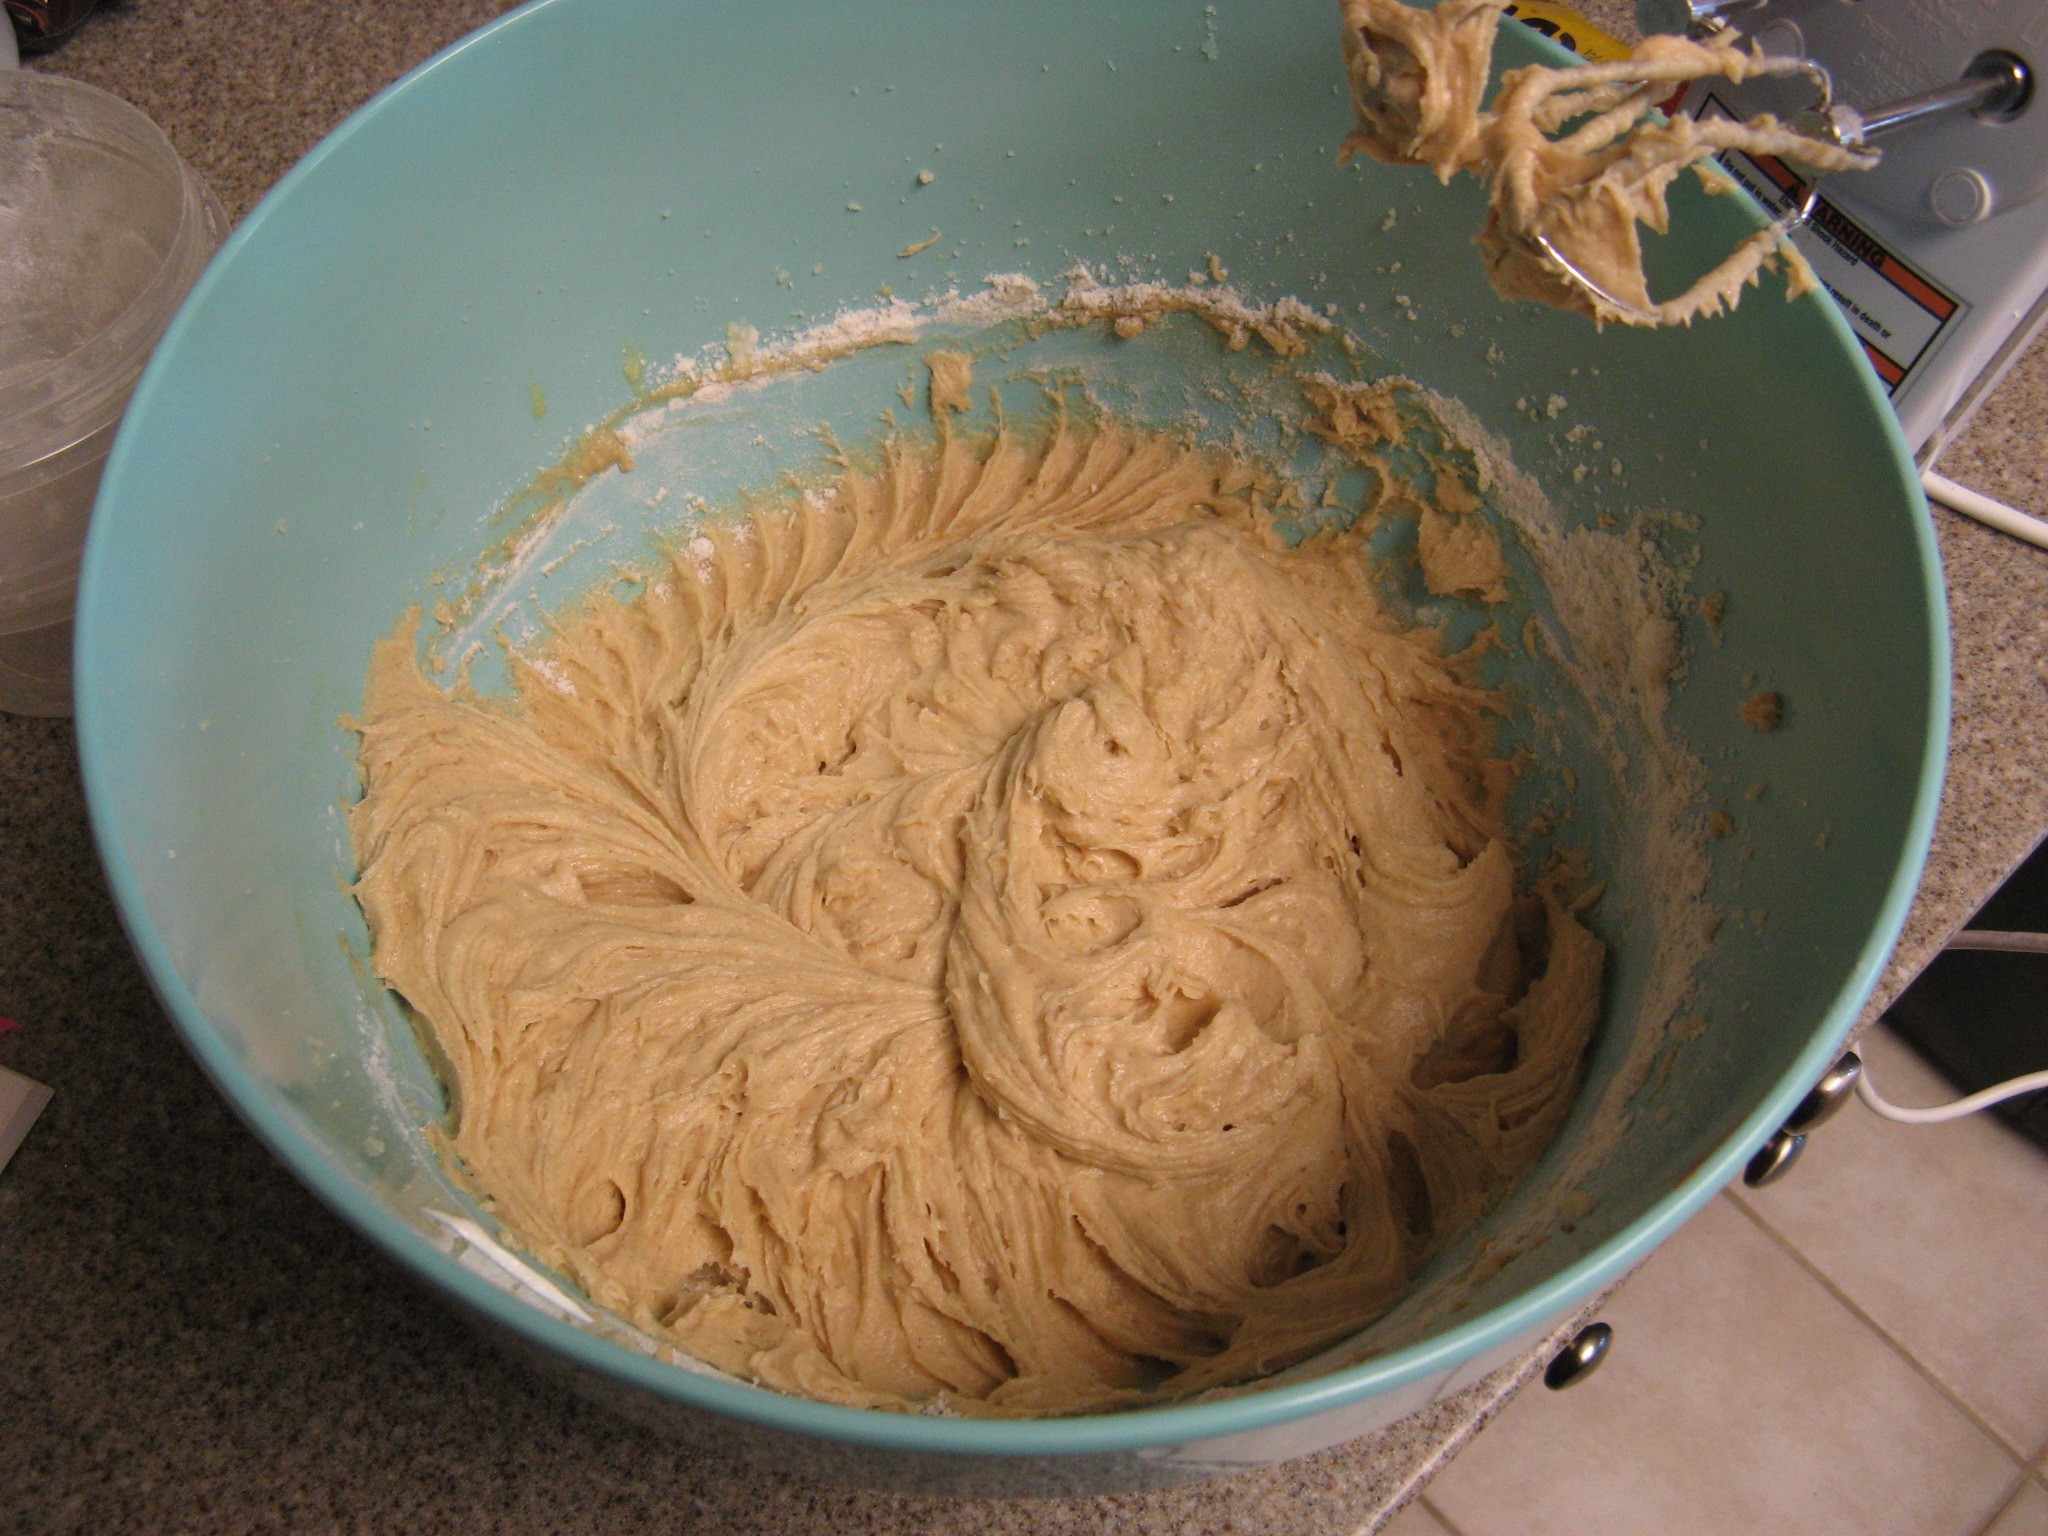
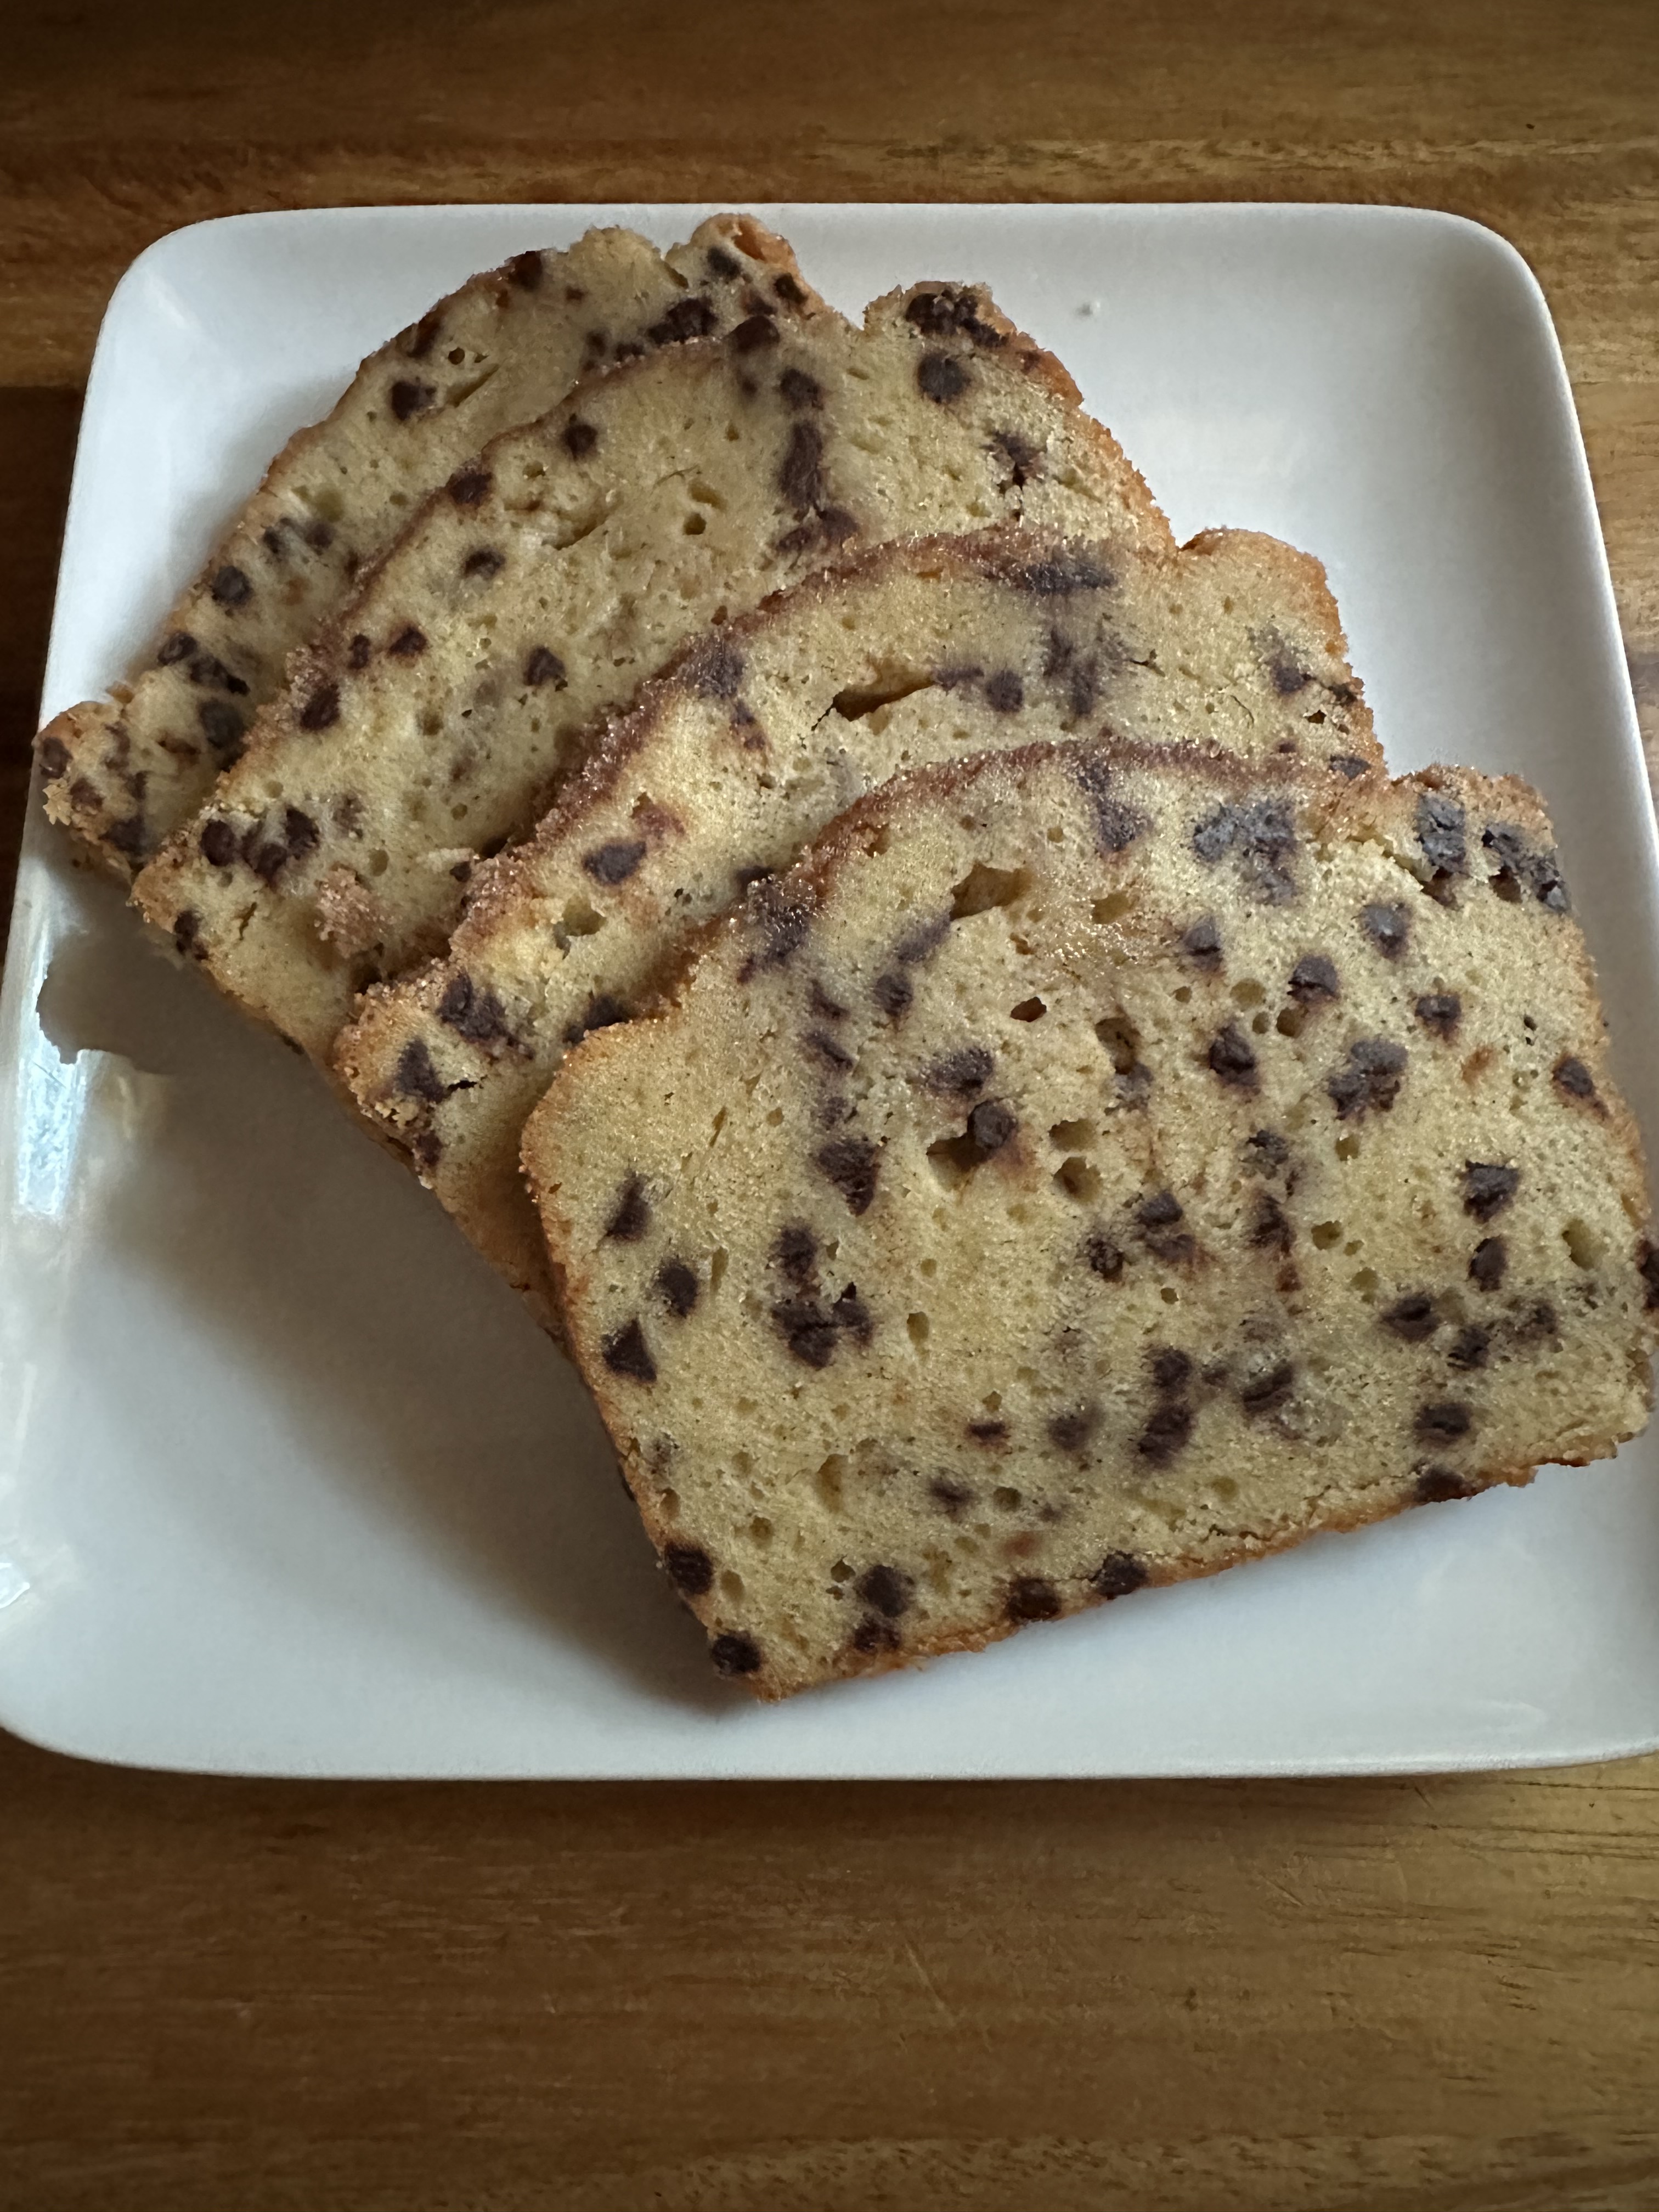
A few weeks after getting back I finally turned my oven on to bake something as I was planning to visit family and wanted to bring dessert. I opted to make a Sour Cream-Chocolate Chip Pound Cake that I had flagged in a cookbook quite some time ago but hadn’t gotten around to making. I really need to go through my cookbooks and see what else I have flagged that I haven’t made! Truthfully, I felt out of sorts while prepping the batter for the cake. It was almost like I was tripping over myself. Don’t get me wrong, I have been cooking for myself even though I wasn’t baking but I never realized that I had developed a rhythm of sorts while baking.

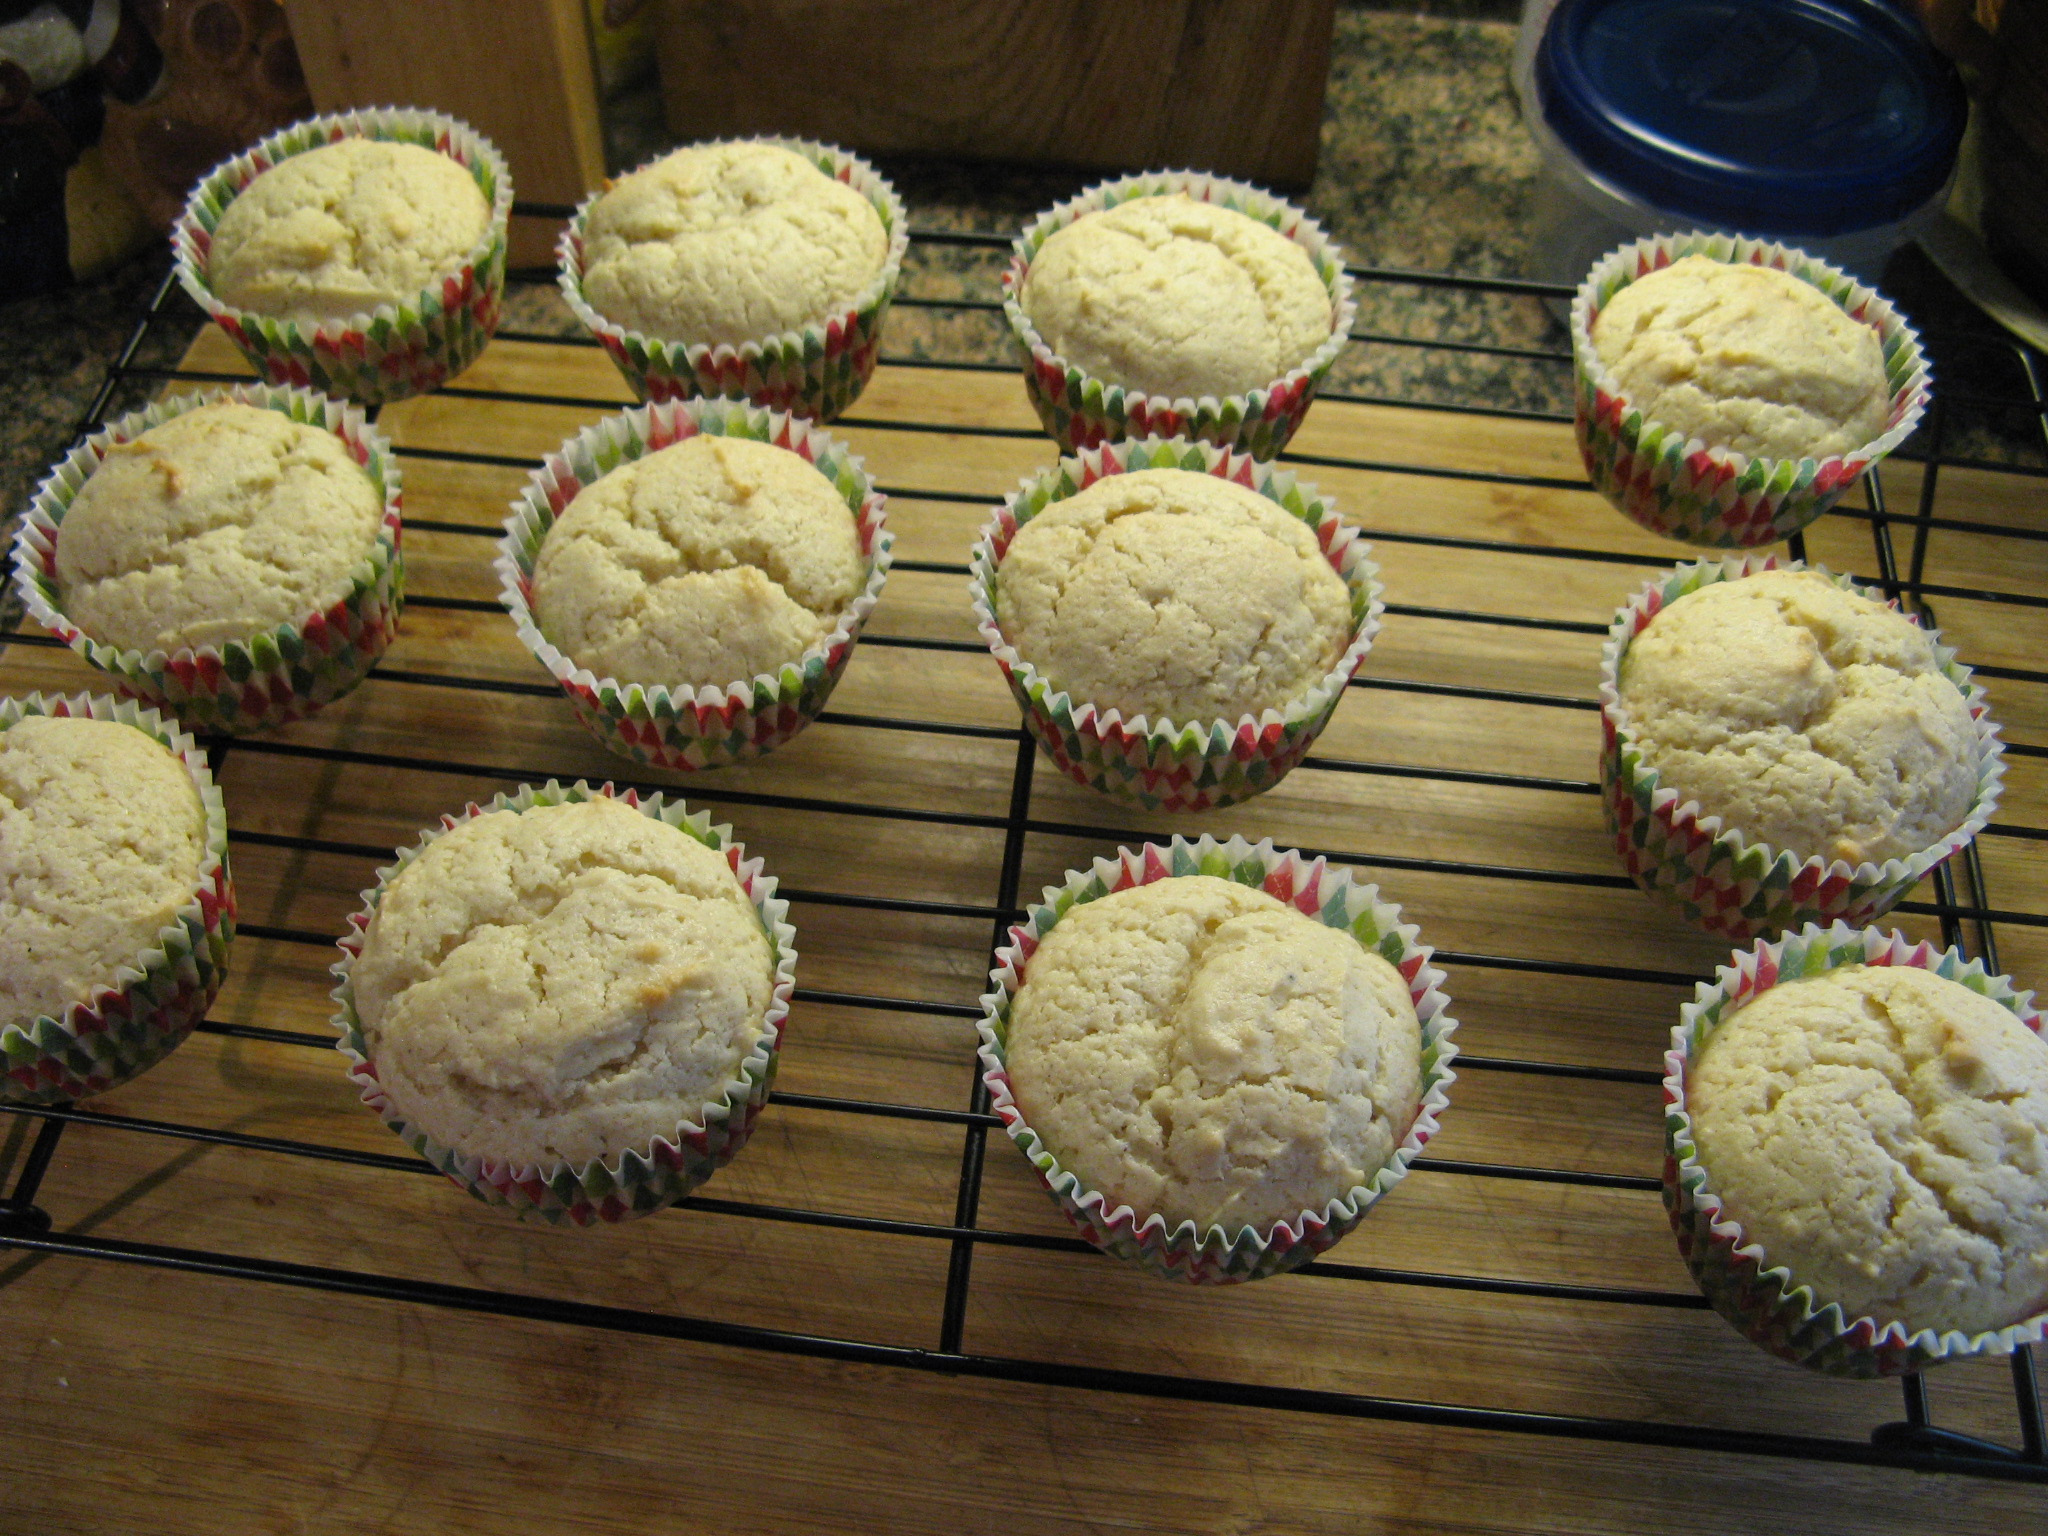
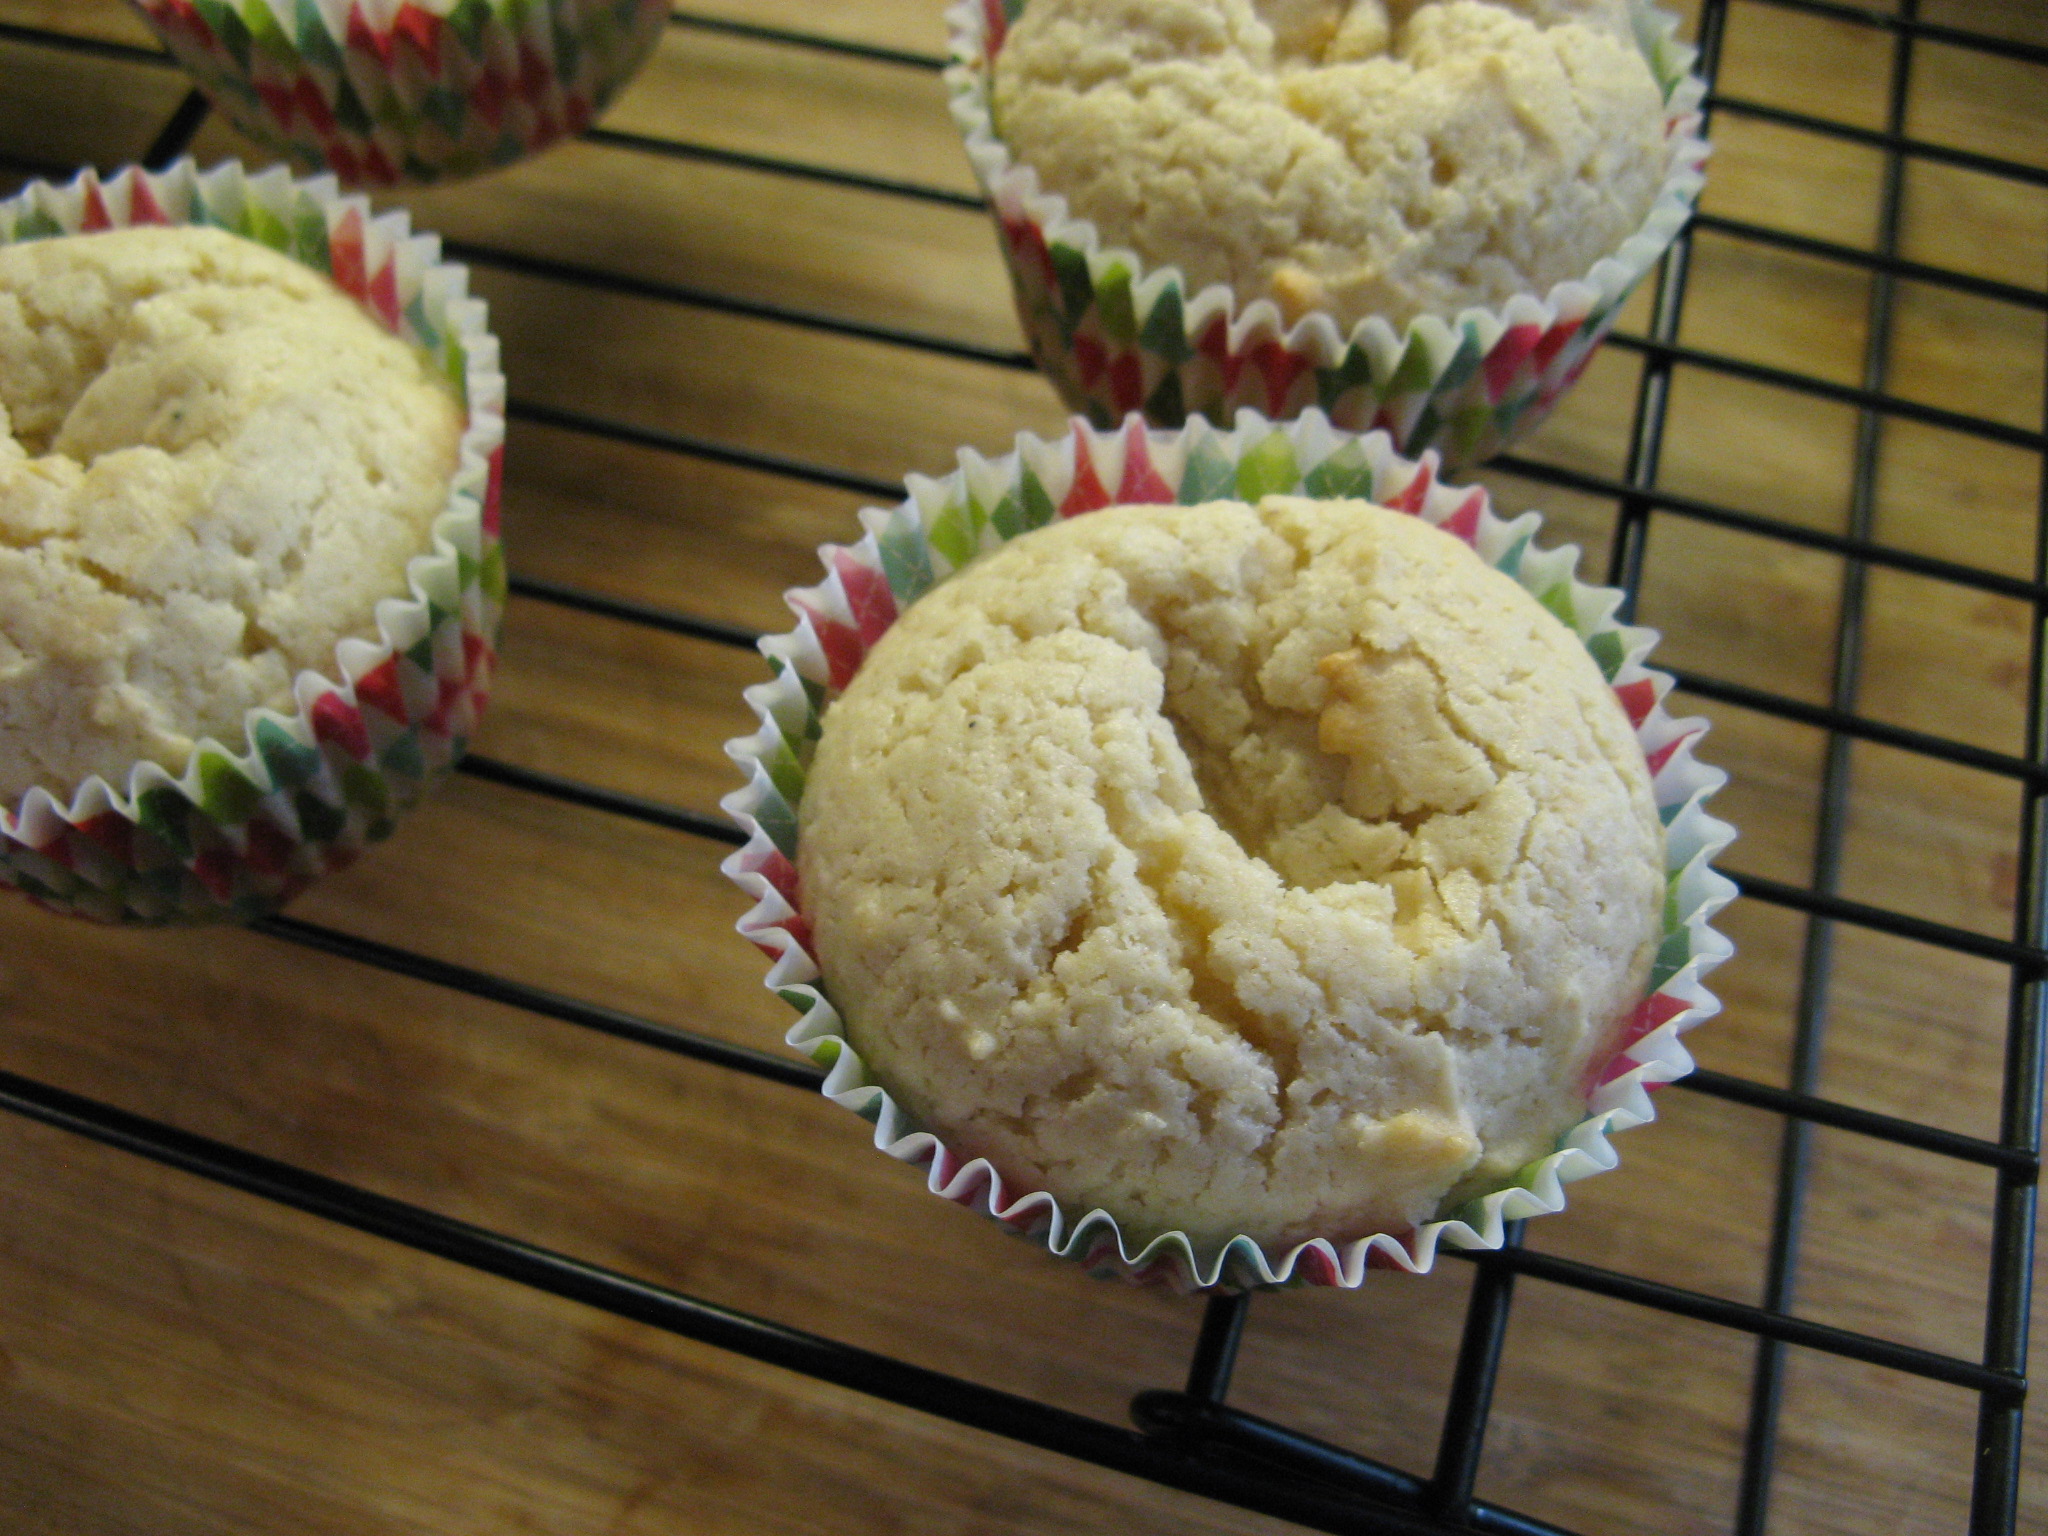
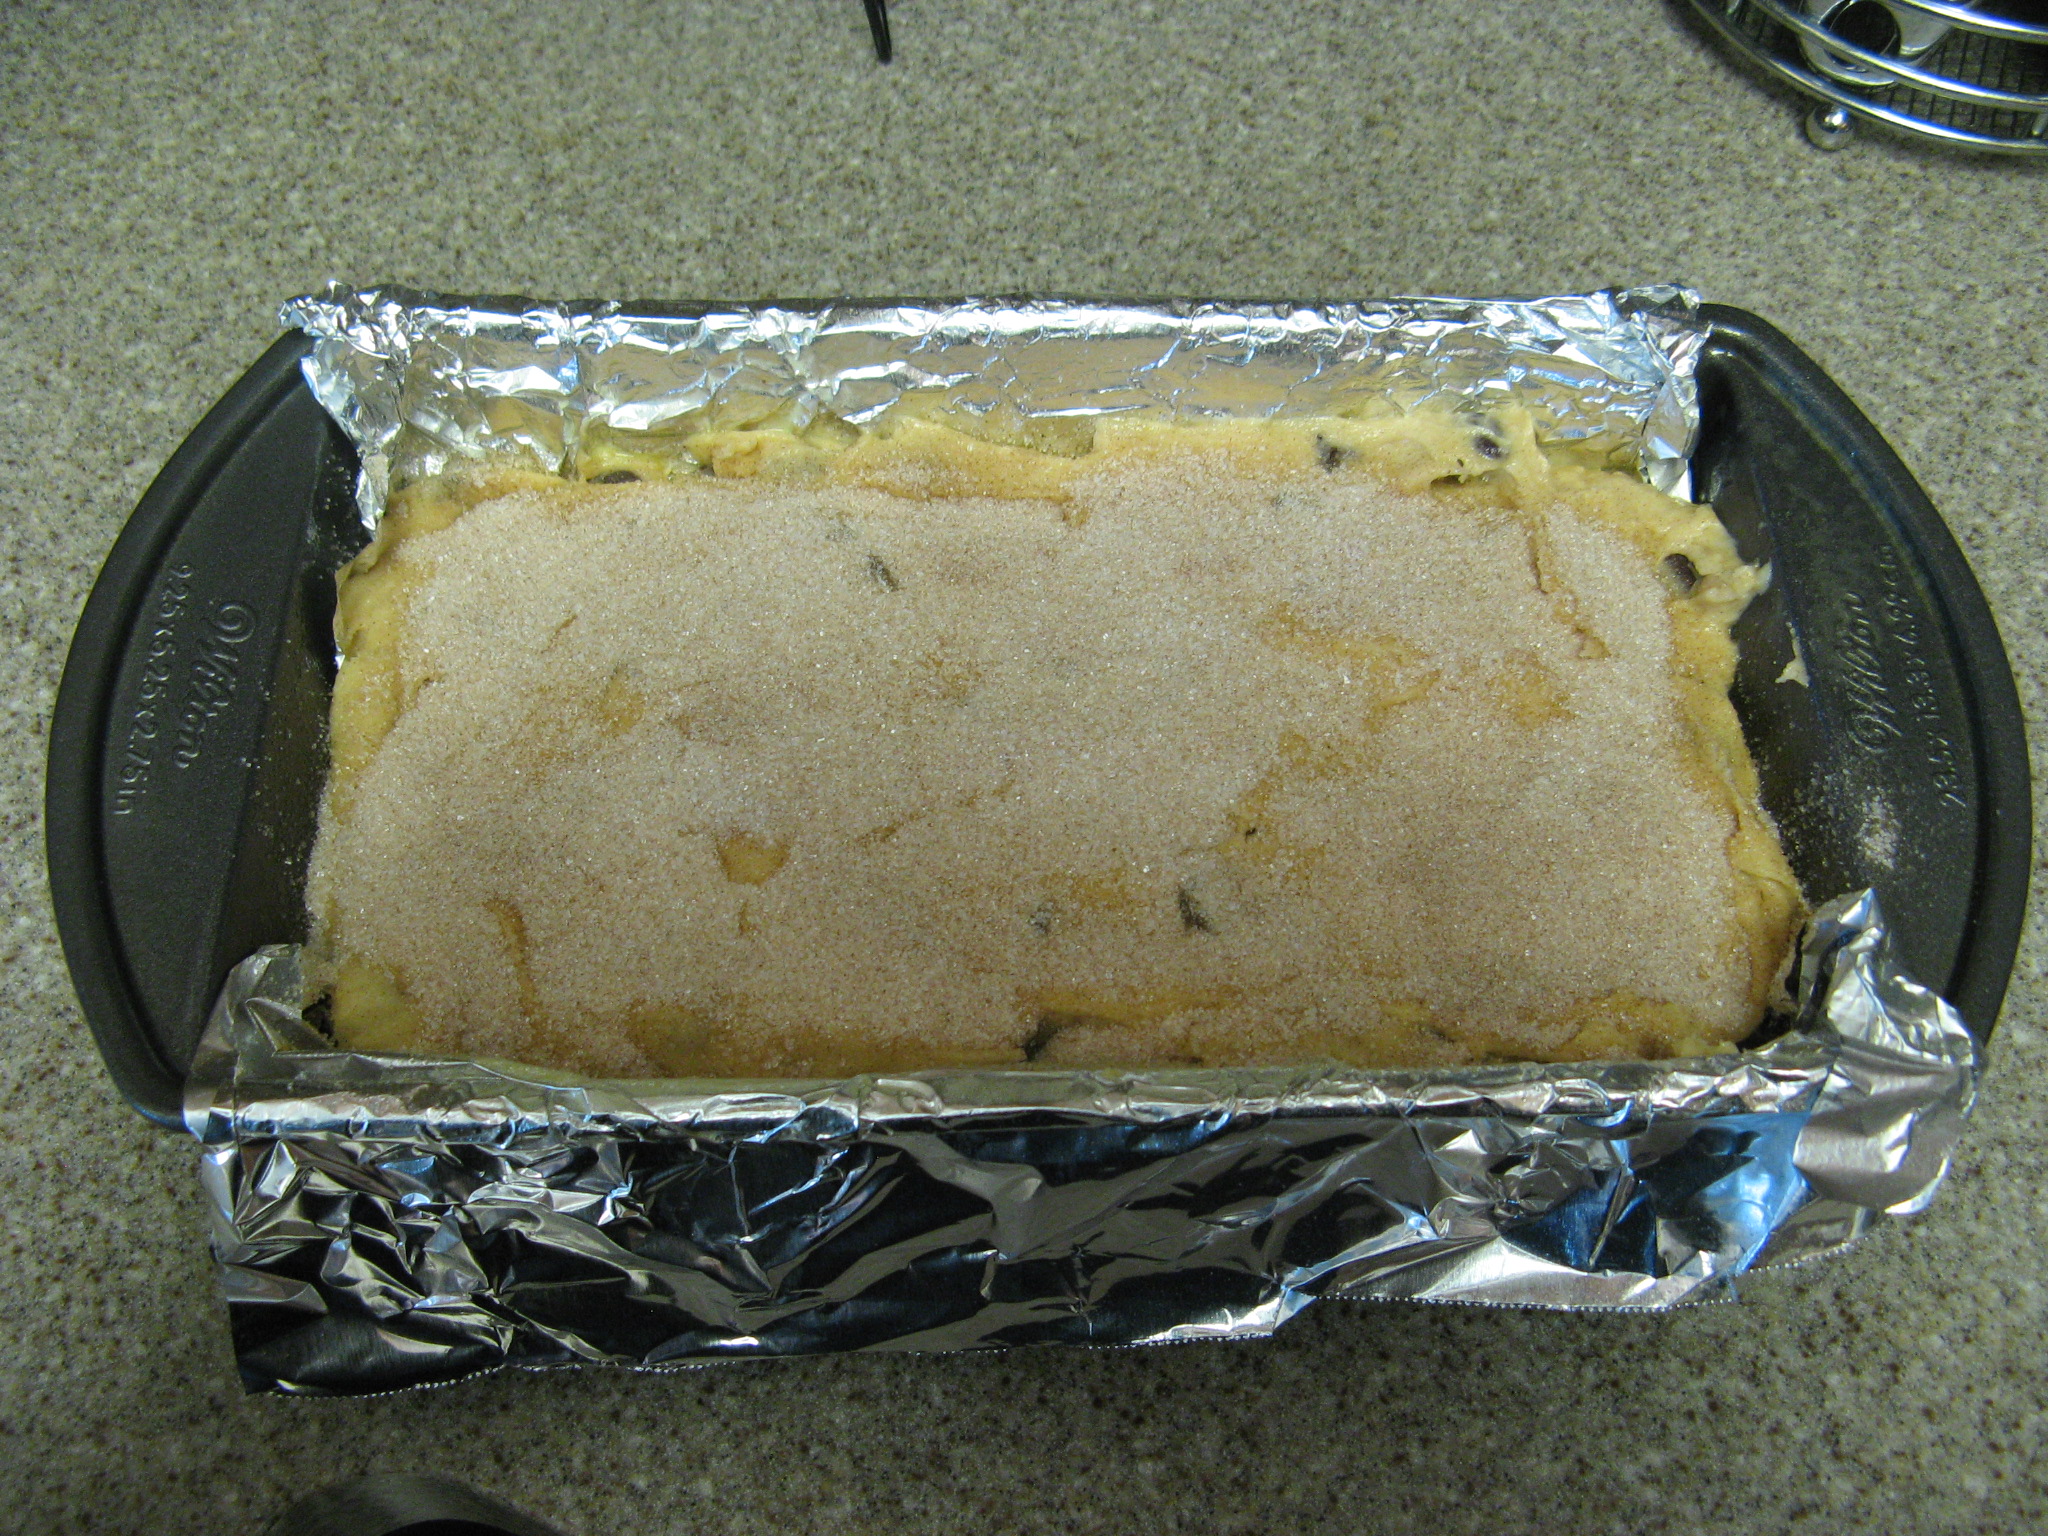
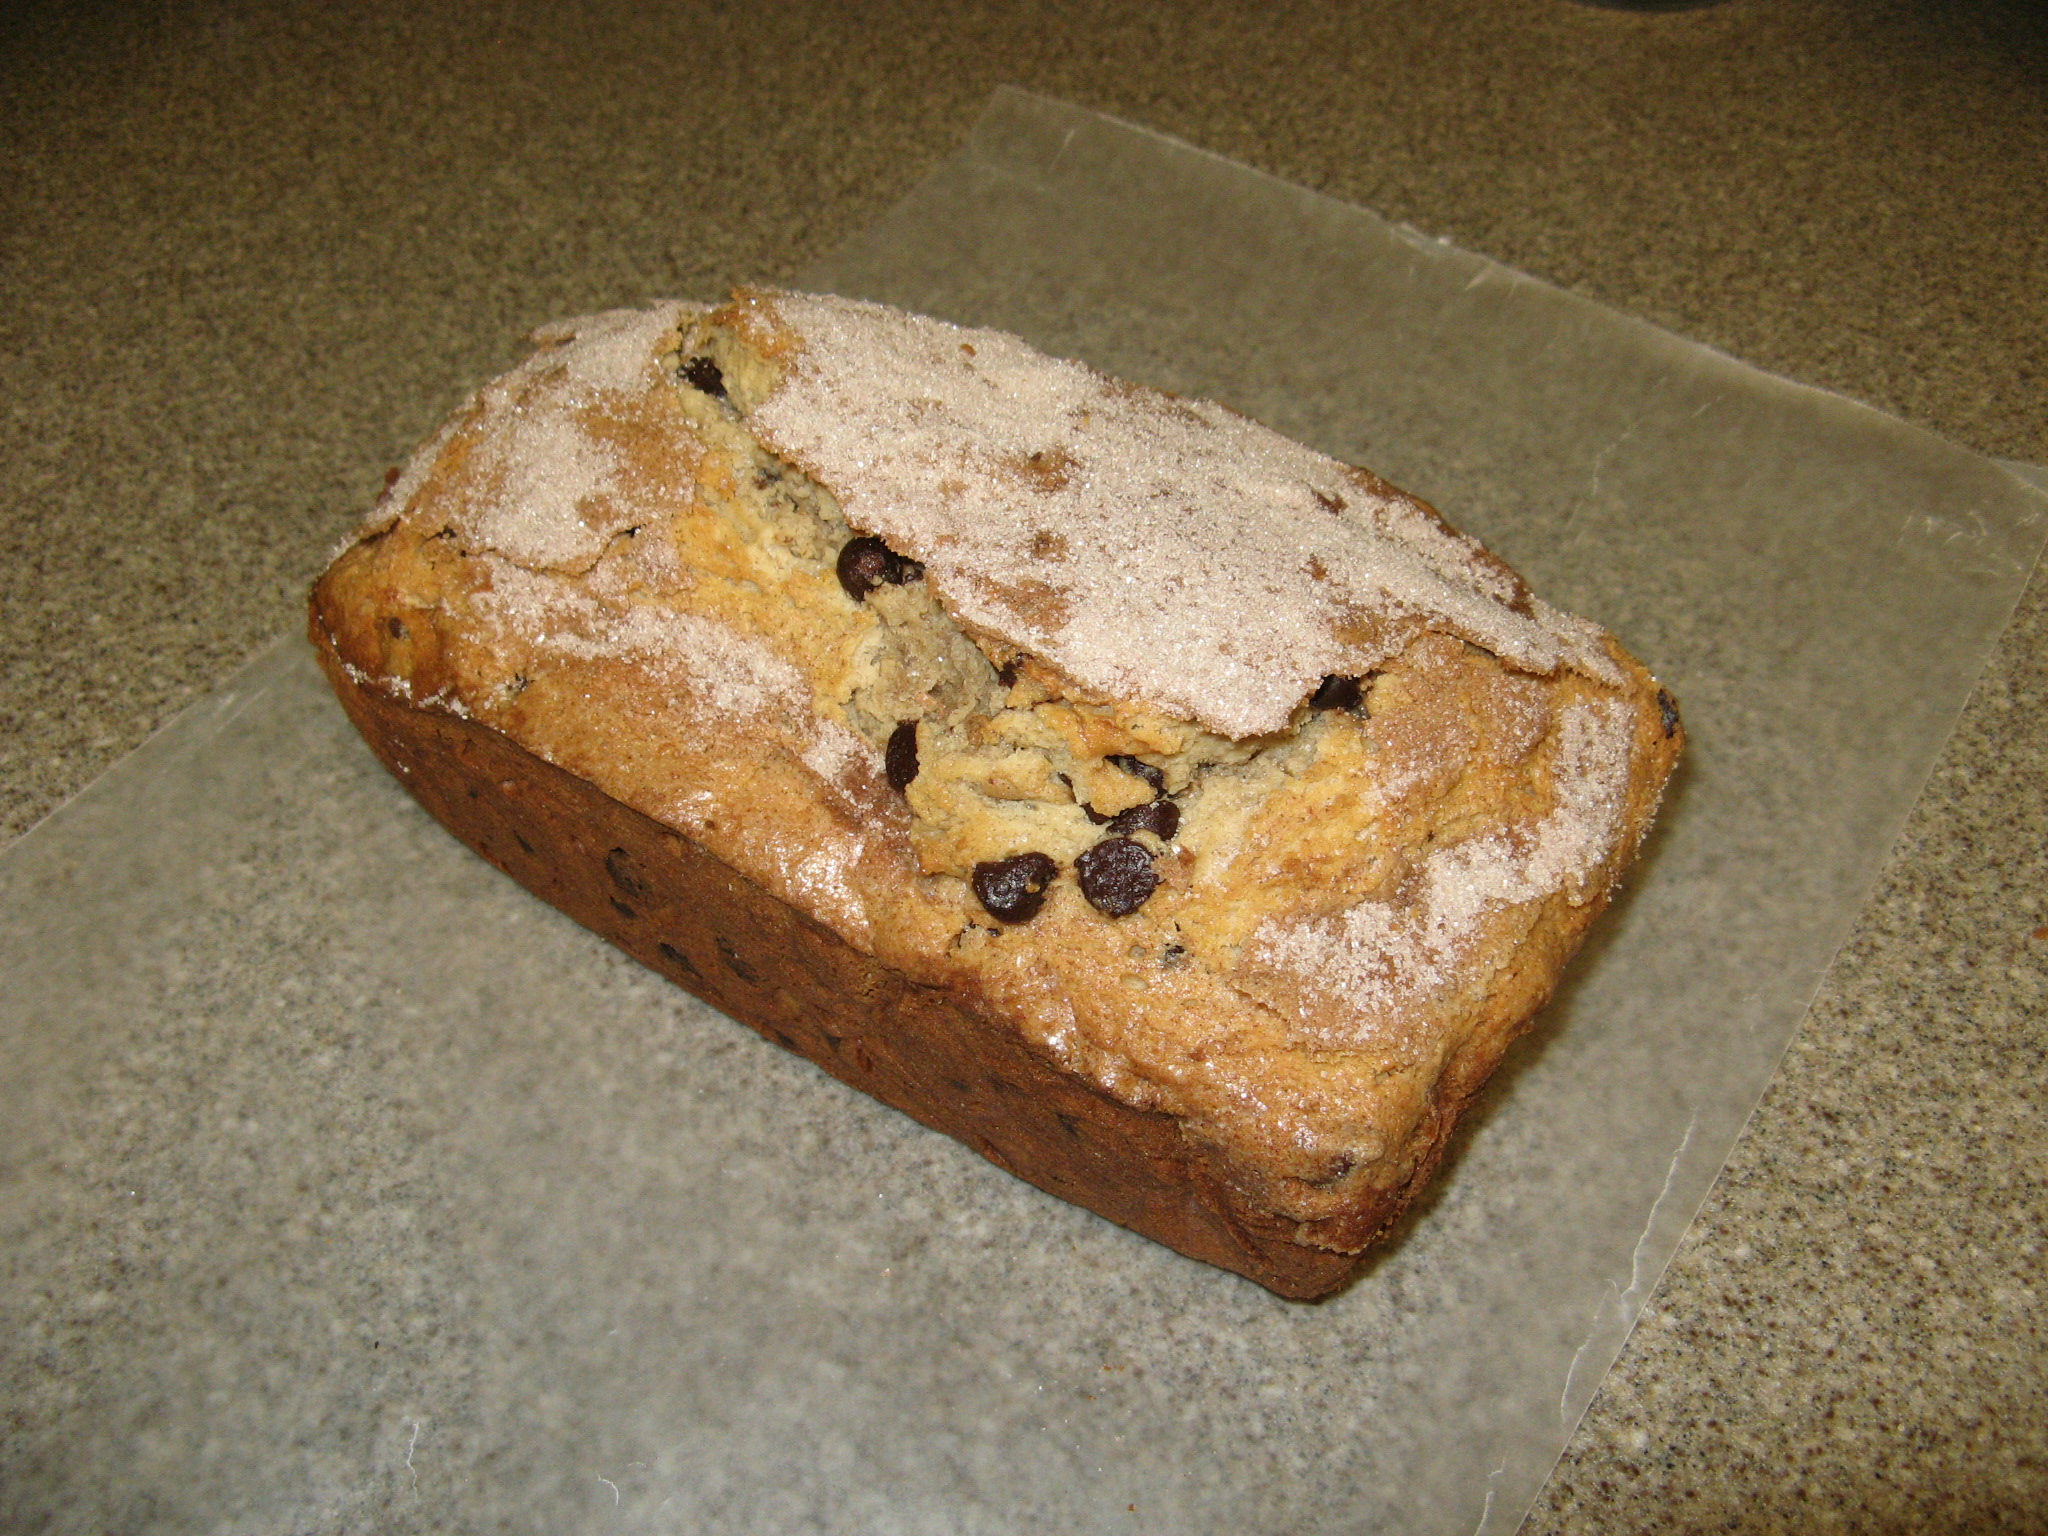
Thankfully, my out of sorts feeling didn’t translate into the cake… It turned out delicious! The recipe called for a cinnamon sugar topping which I thought to be a bit odd, but I went with it and am happy that I did. The cinnamon flavor really added to the flavor of the cake. You could taste it, but it wasn’t overpowering.

One thing to note, the flavor of this cake gets better with time. I suggest making it a day or two ahead of time and then wrapping it tightly to keep it fresh and let the flavors develop.
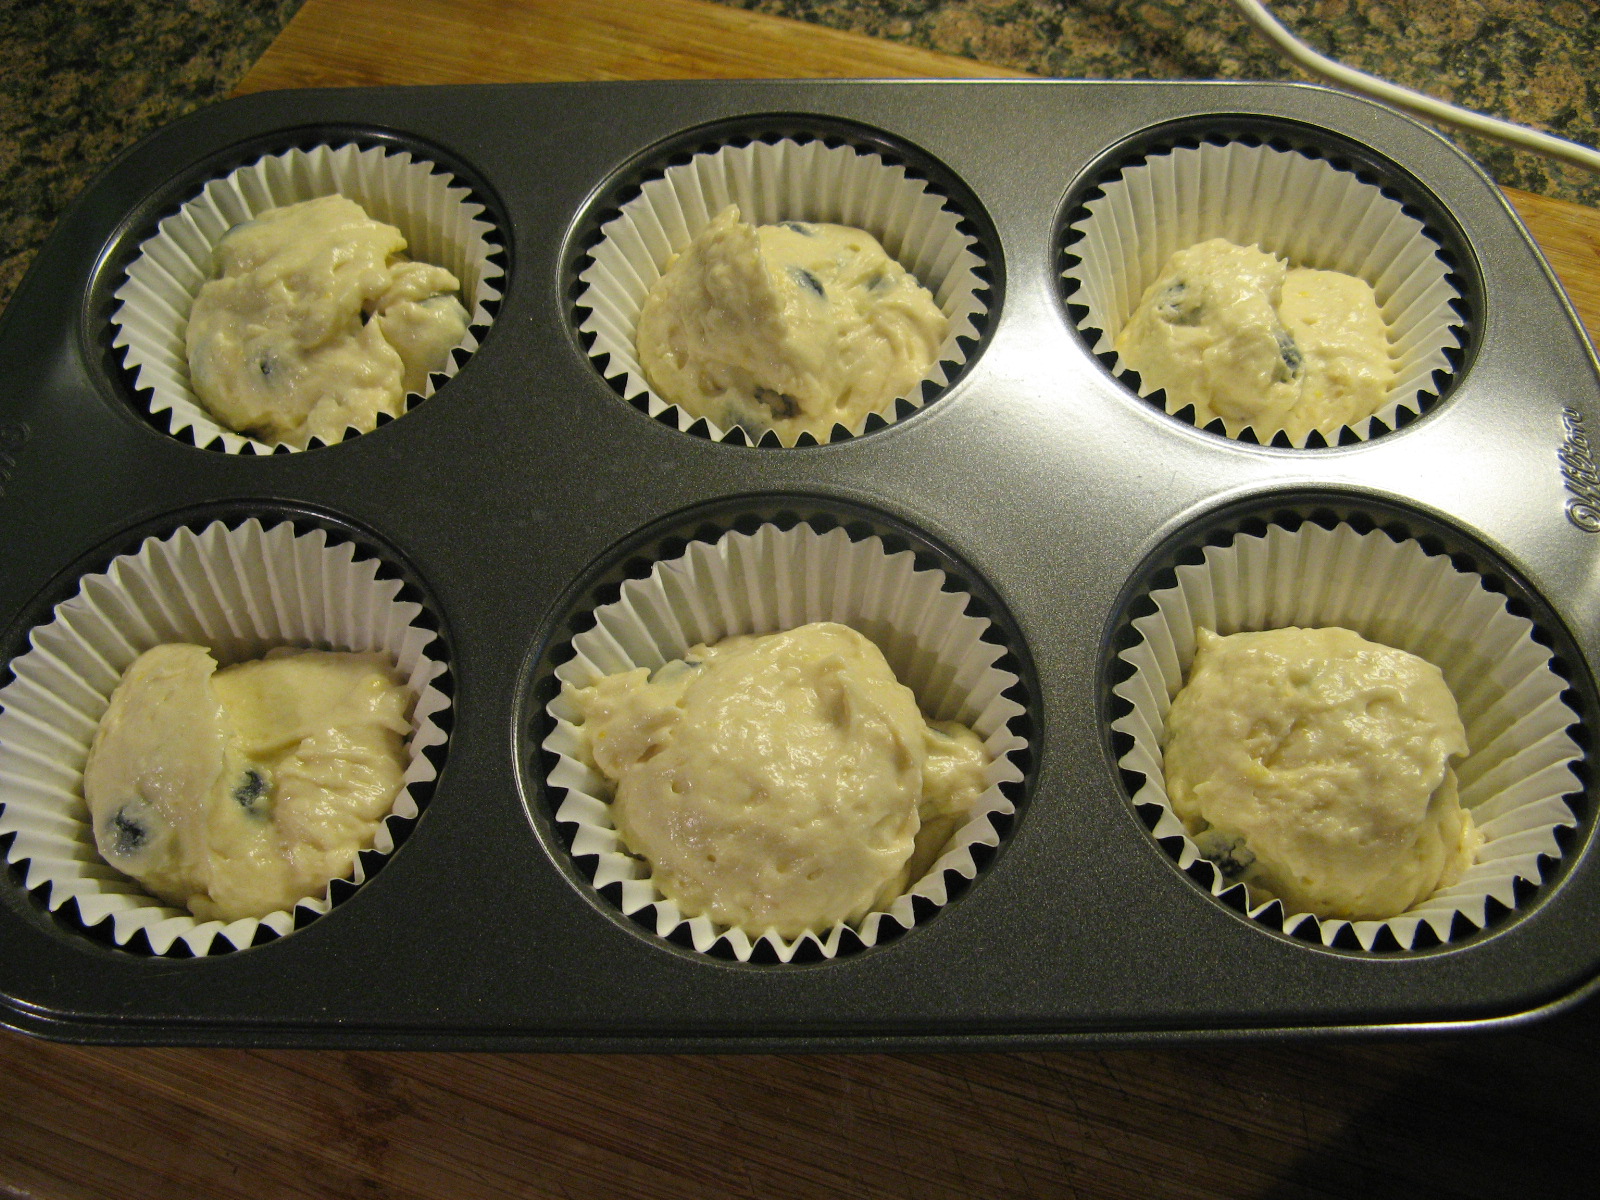
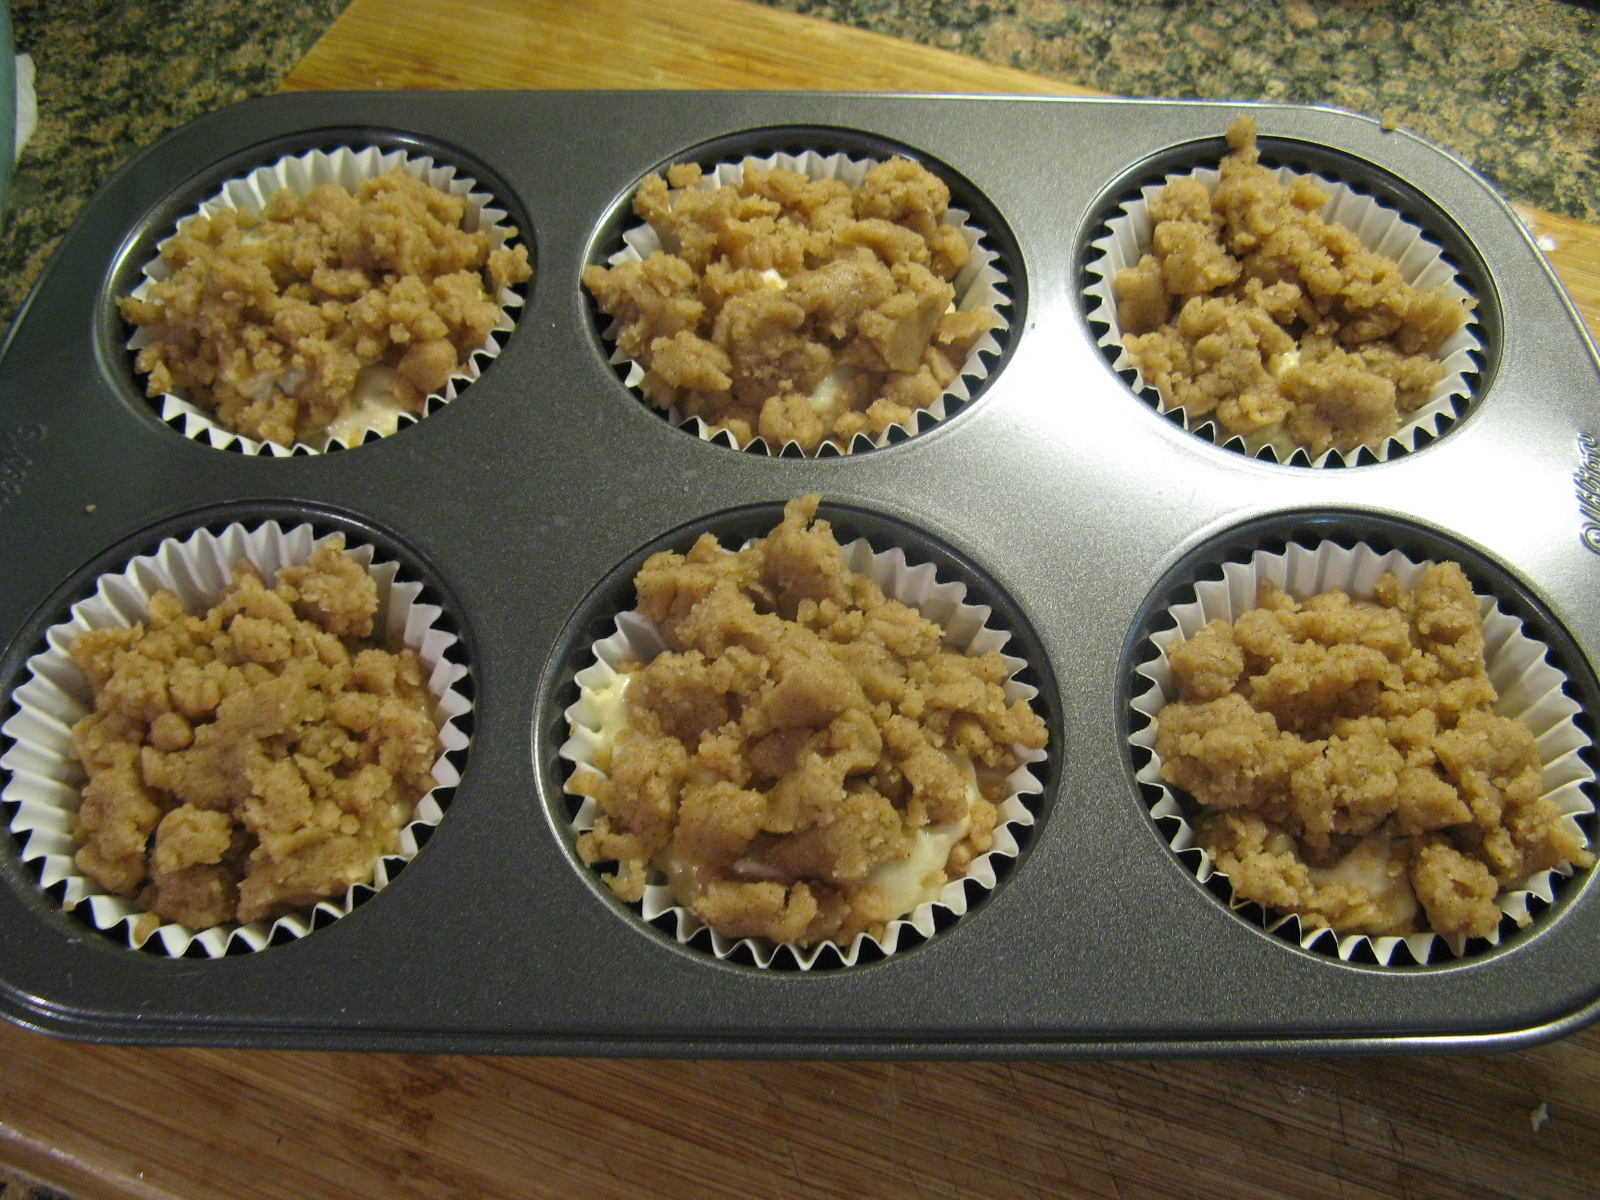
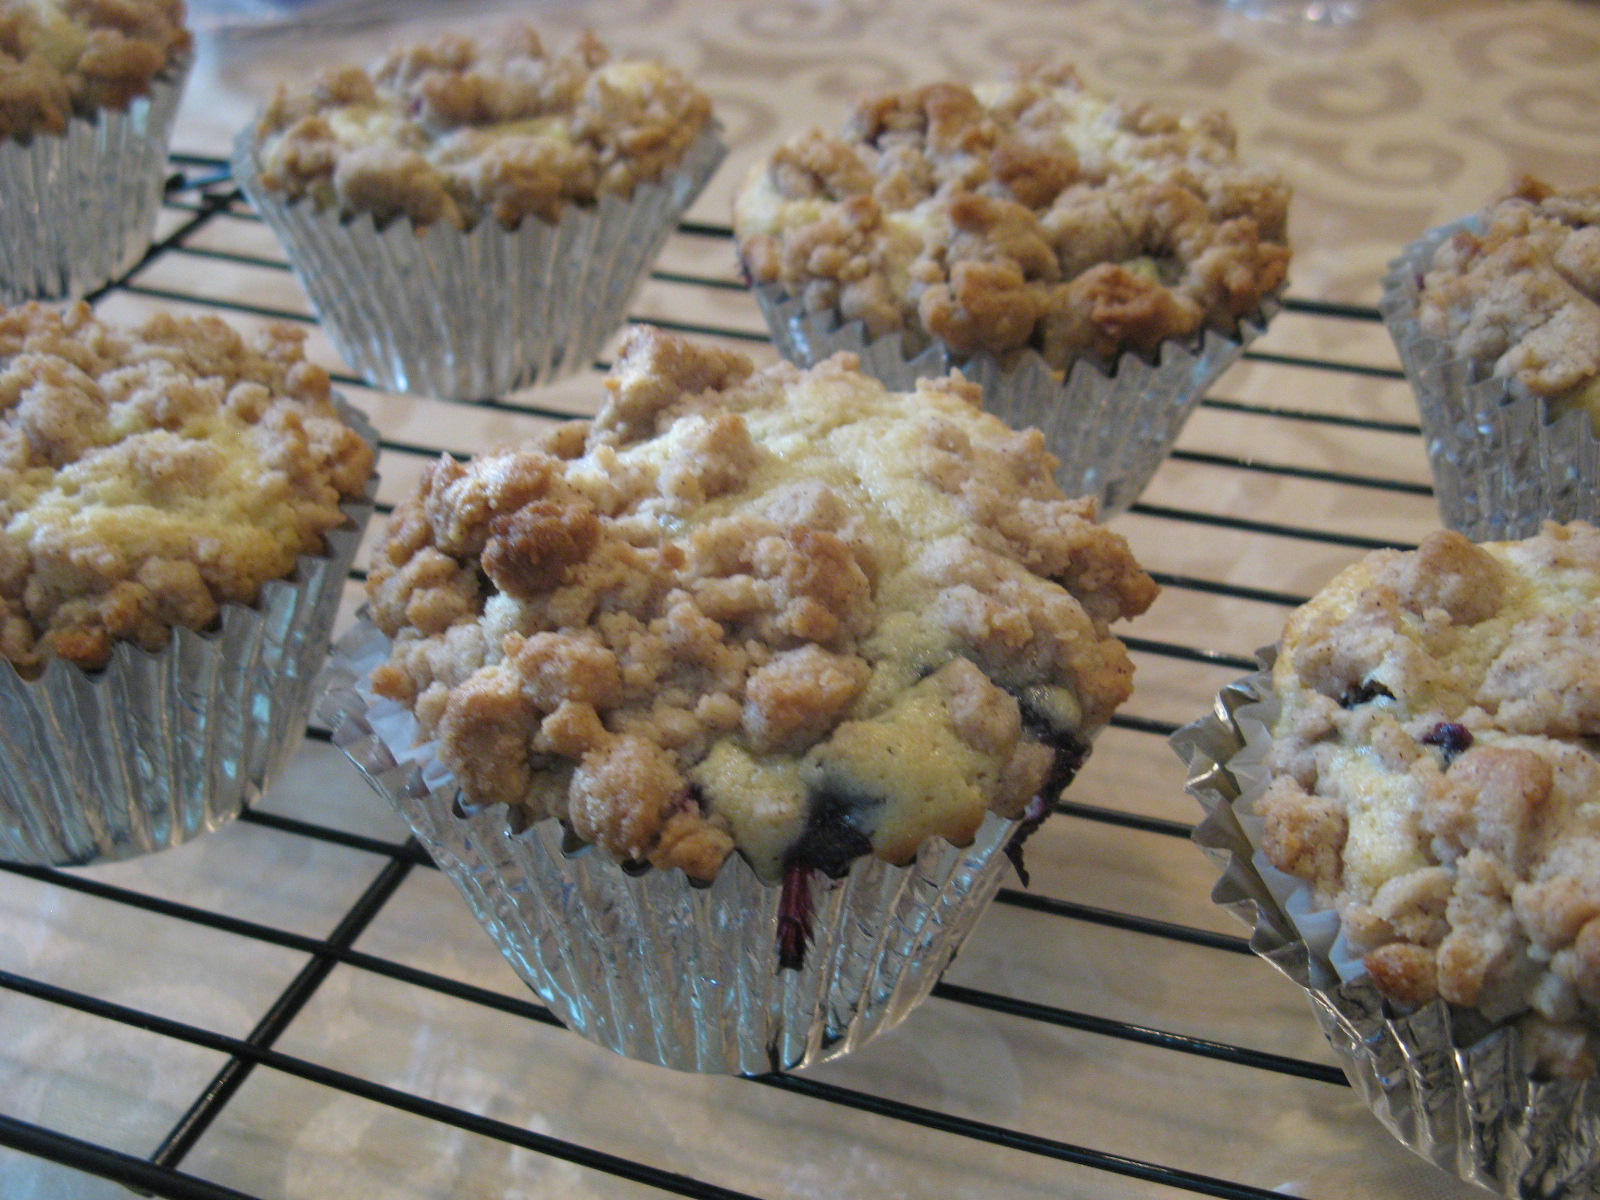
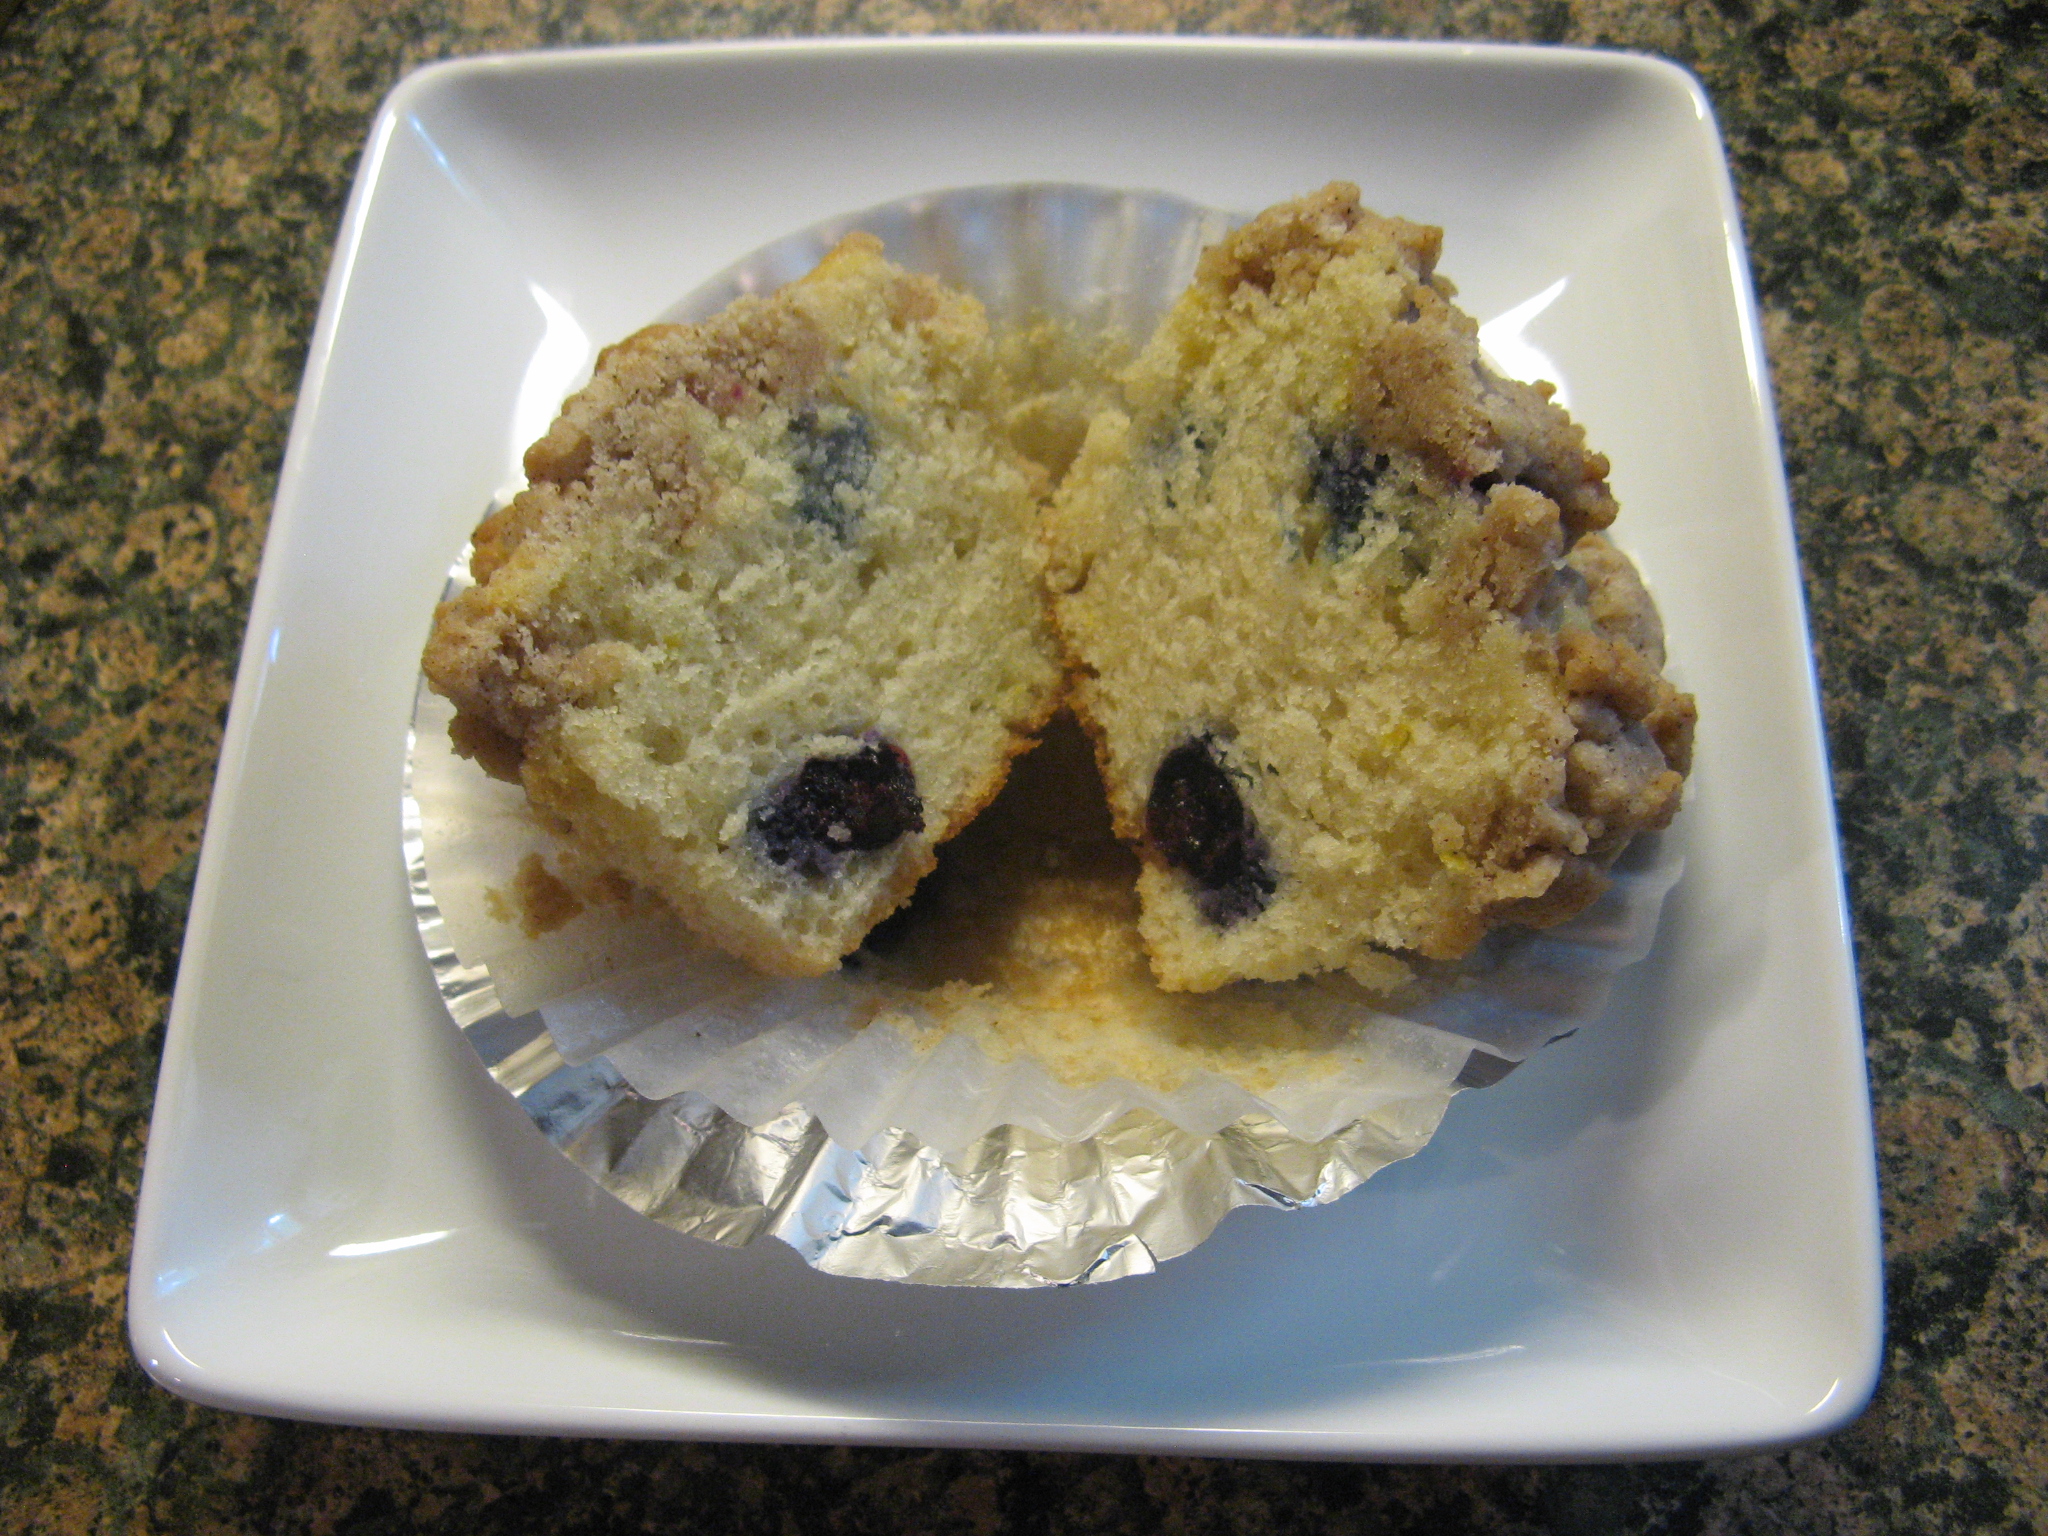
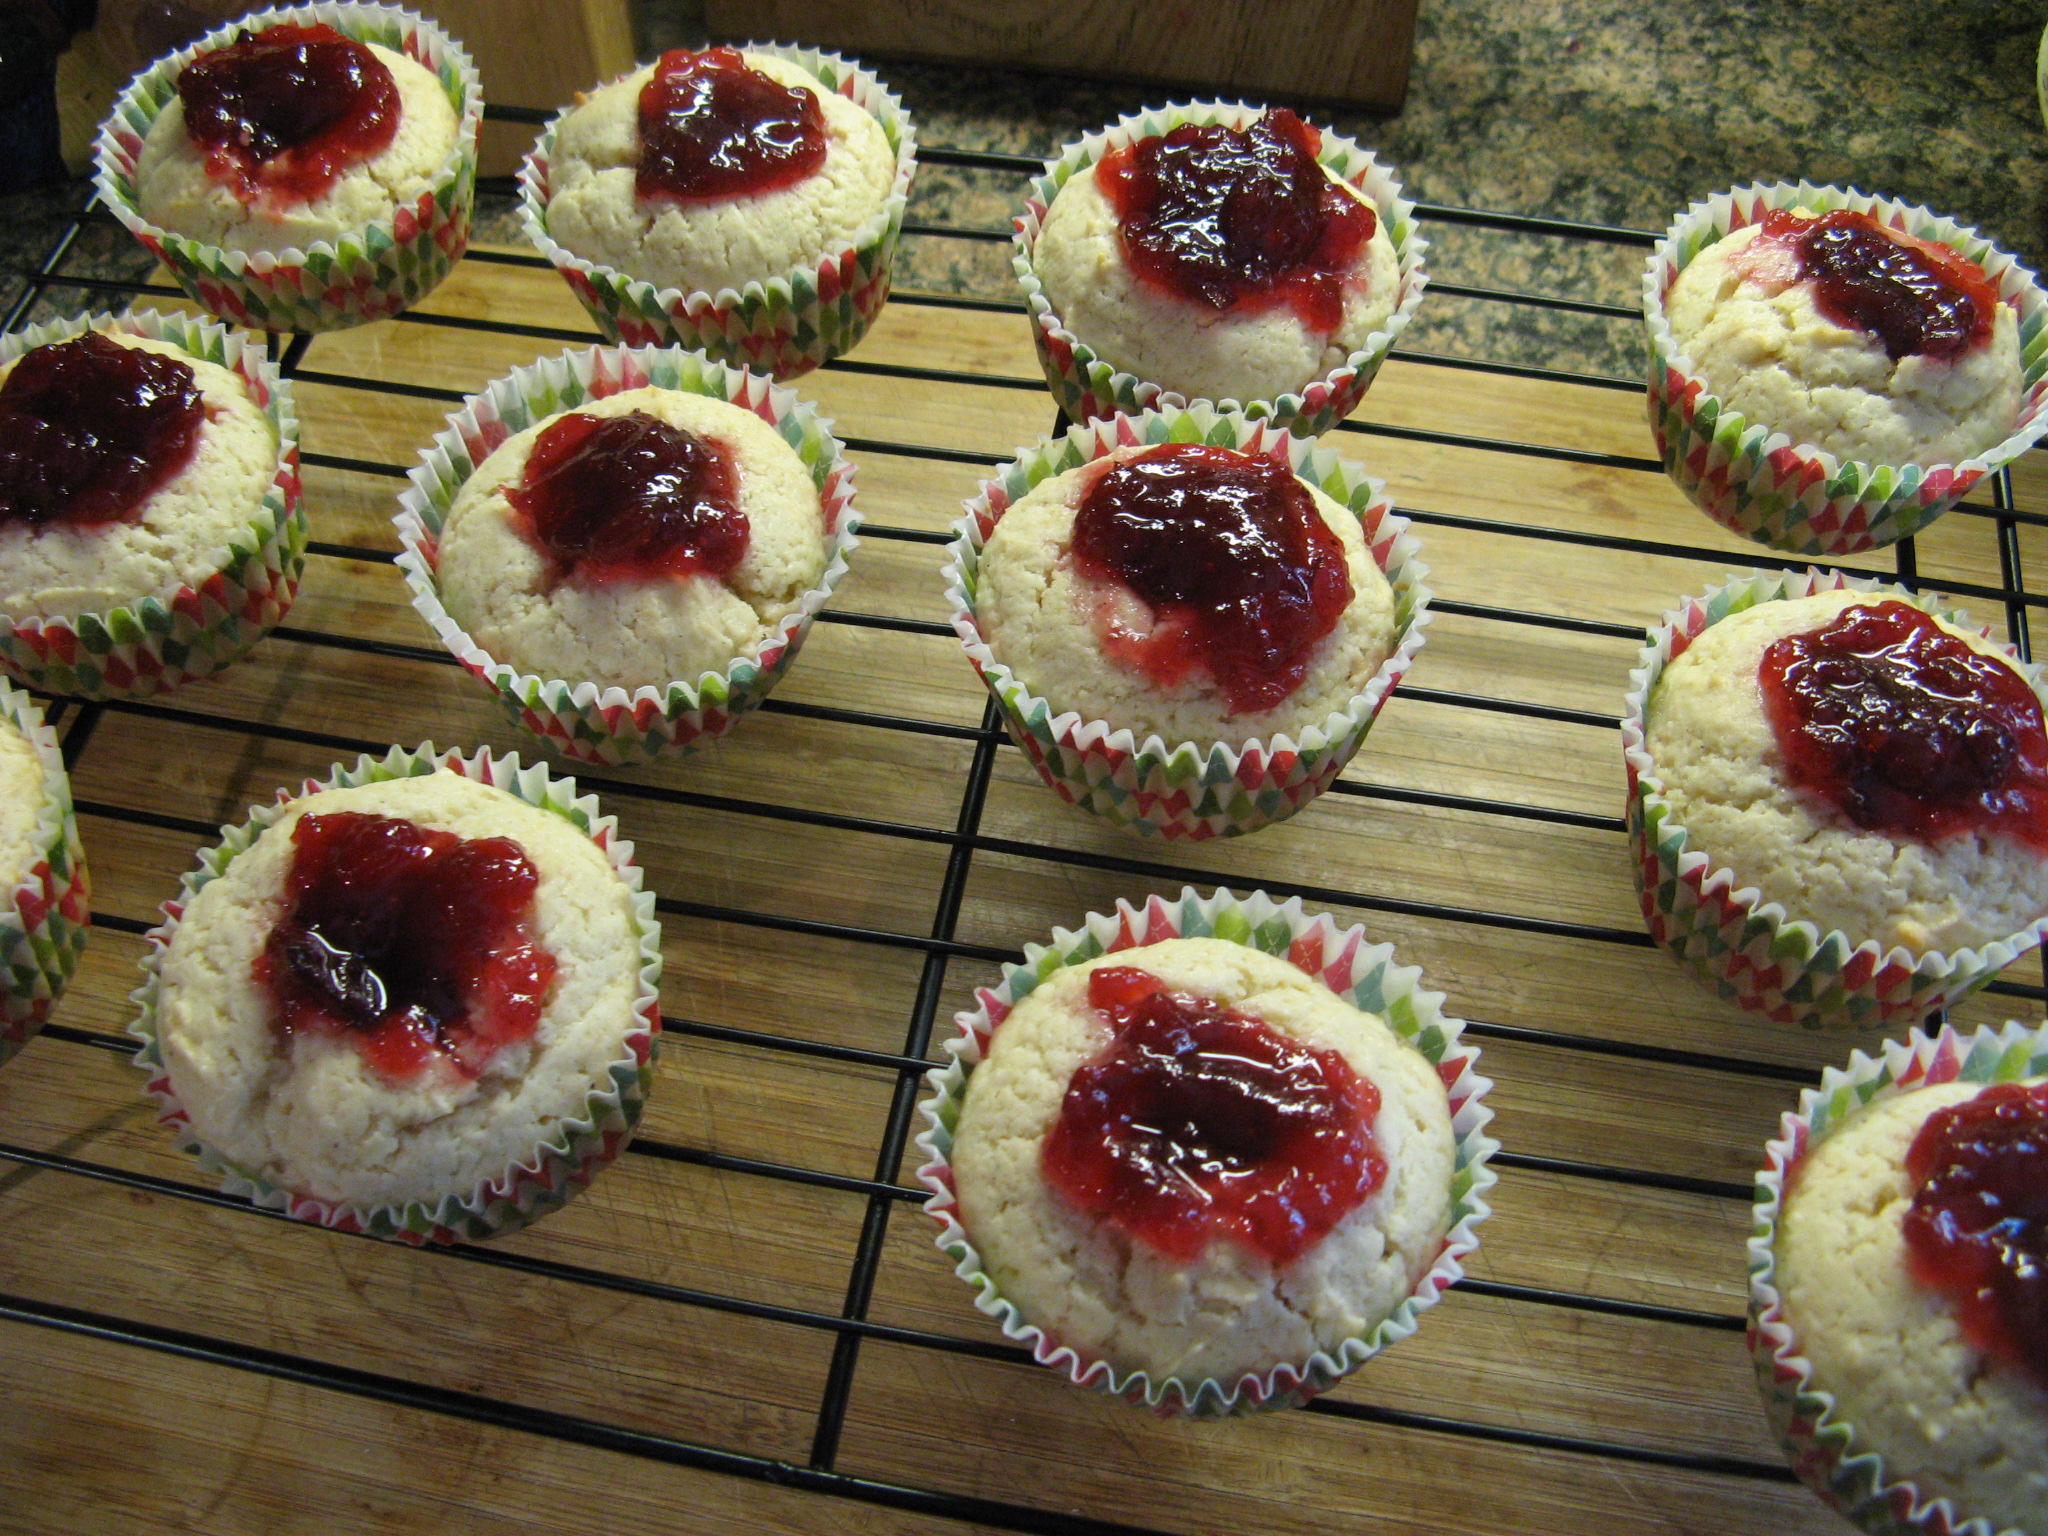
I think I am finally getting my baking legs back! I baked a Blueberry Crumb Cake that came out delish – although I did have to mix my dry ingredients twice. I flipped the measurements for salt & baking soda and added in more baking soda than the recipe called for and I didn’t want to end up with metallic soapy flavored cake. Maybe that isn’t a good example. I did bake up some treats (cookies and cheesecake brownie bites) last week along with a birthday cake that all came out perfect! I even decorated the cake… It’s been a while since I have done that. So, I guess I am getting back into the swing of things. Perfect timing to with Fall and the holidays just around the corner.
Sour Cream-Chocolate Chip Pound Cake
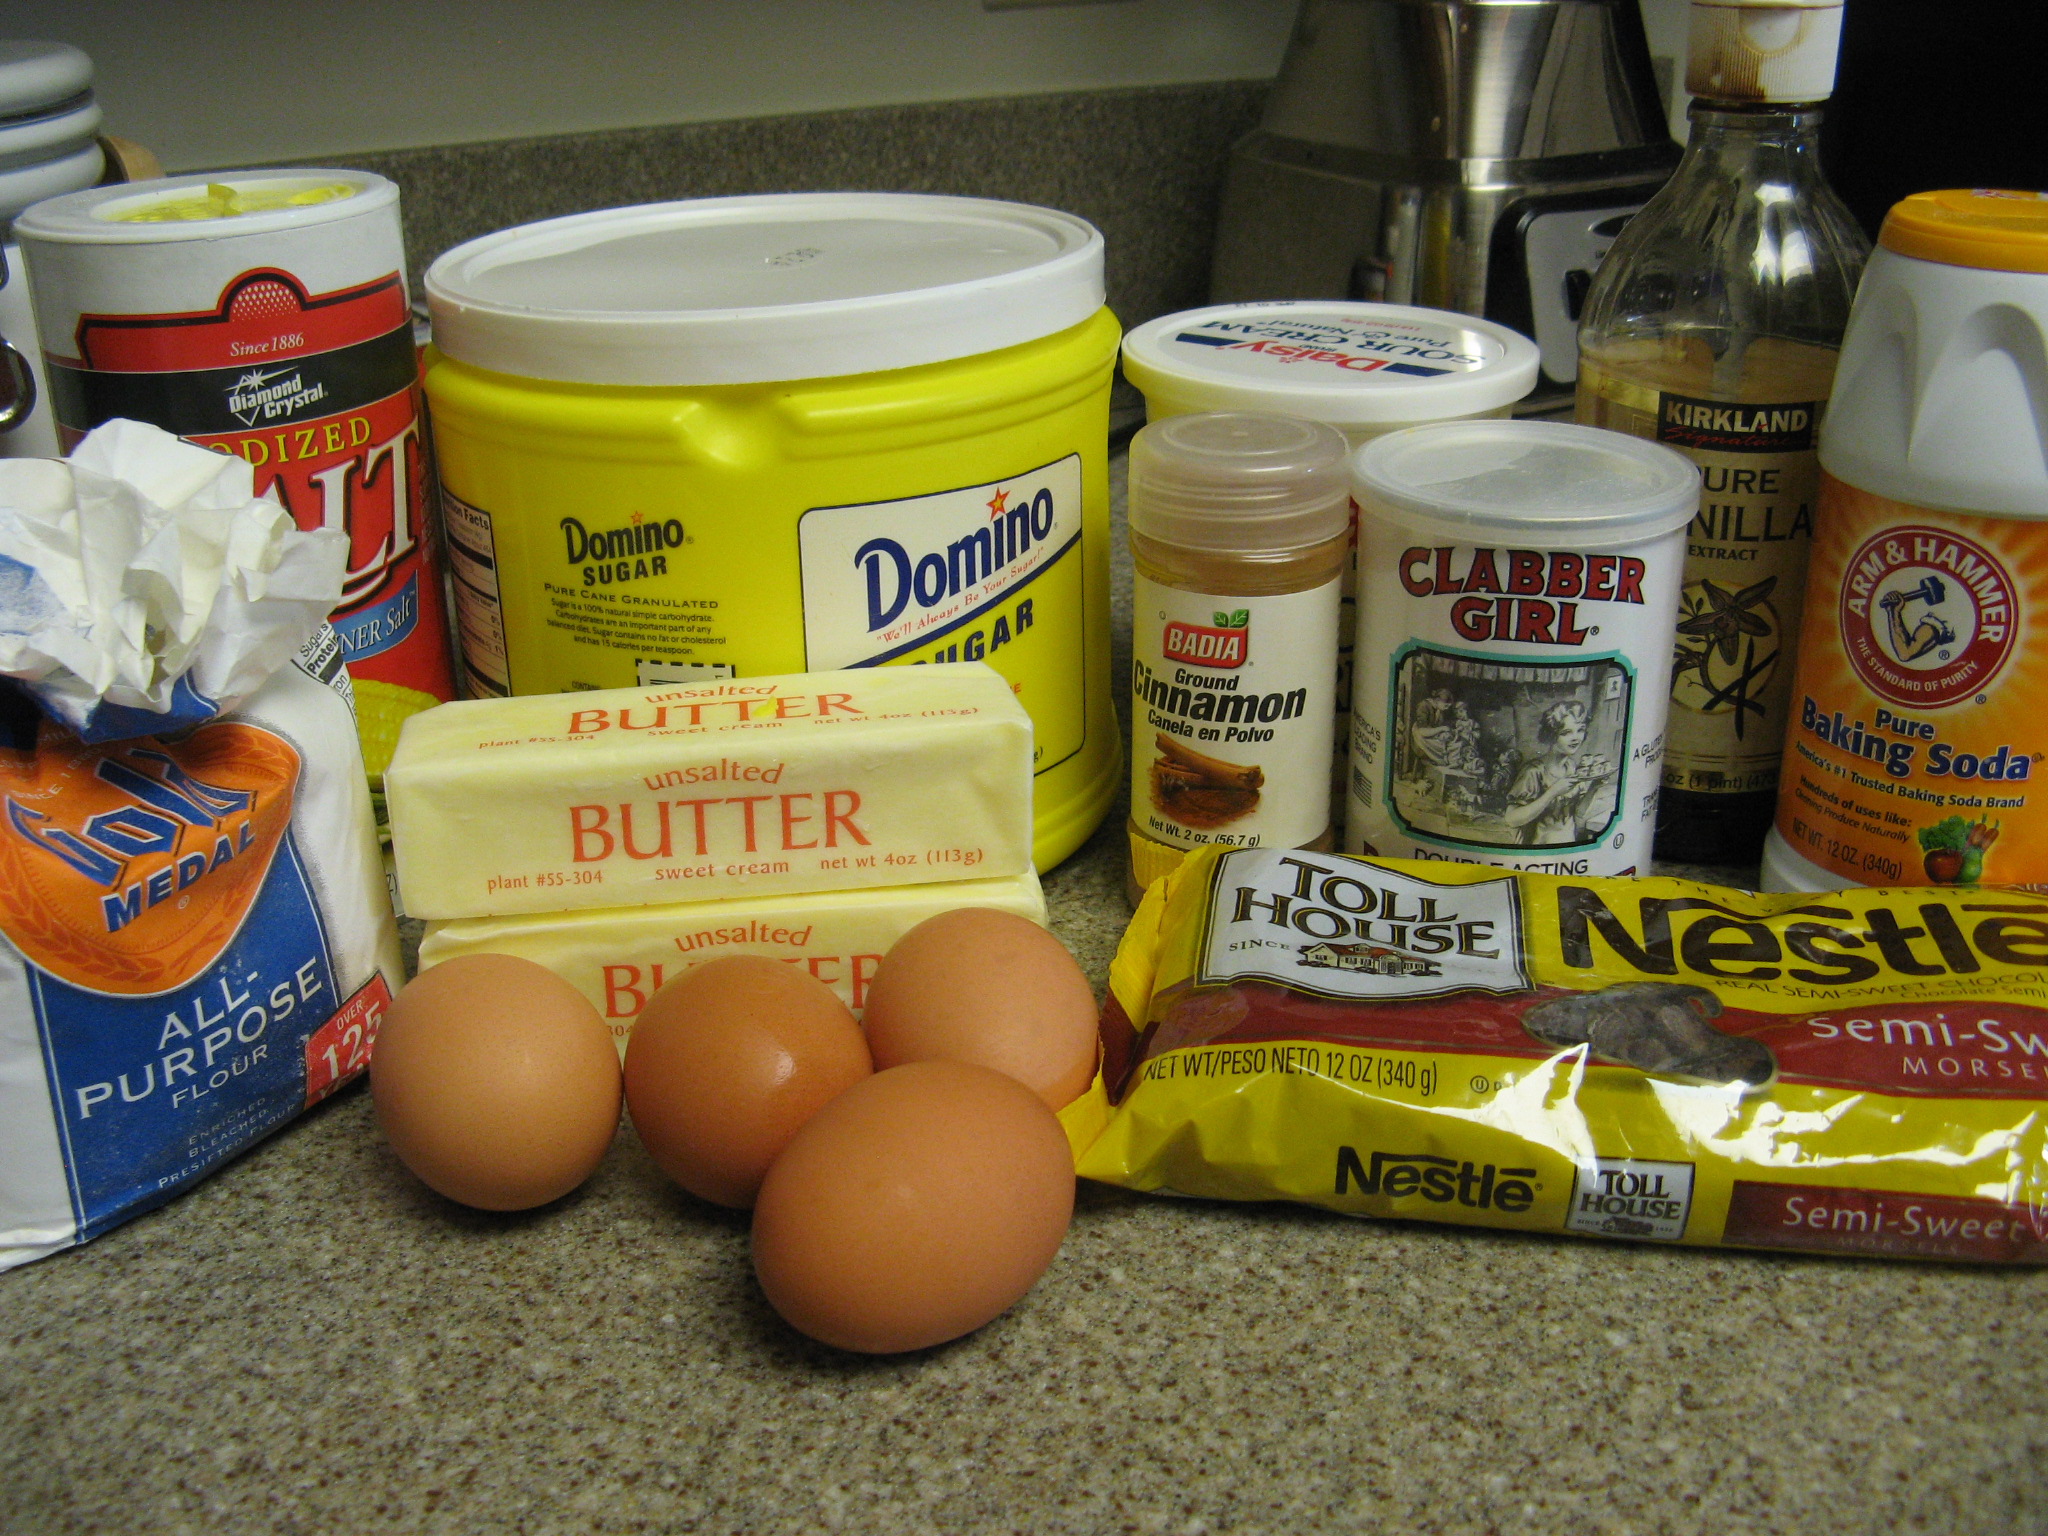
Ingredients:
1 cup plus 4 tablespoons sugar
1 1/2 teaspoons cinnamon
1 3/4 stick (14 tablespoons) unsalted butter, at room temperature
2 teaspoons vanilla extract
4 large eggs, at room temperature
3/4 cup sour cream
1 teaspoon baking powder
1/4 teaspoon baking soda
1/4 teaspoon salt
2 1/4 cups flour
1 1/2 cups semi-sweet chocolate chips
Directions:
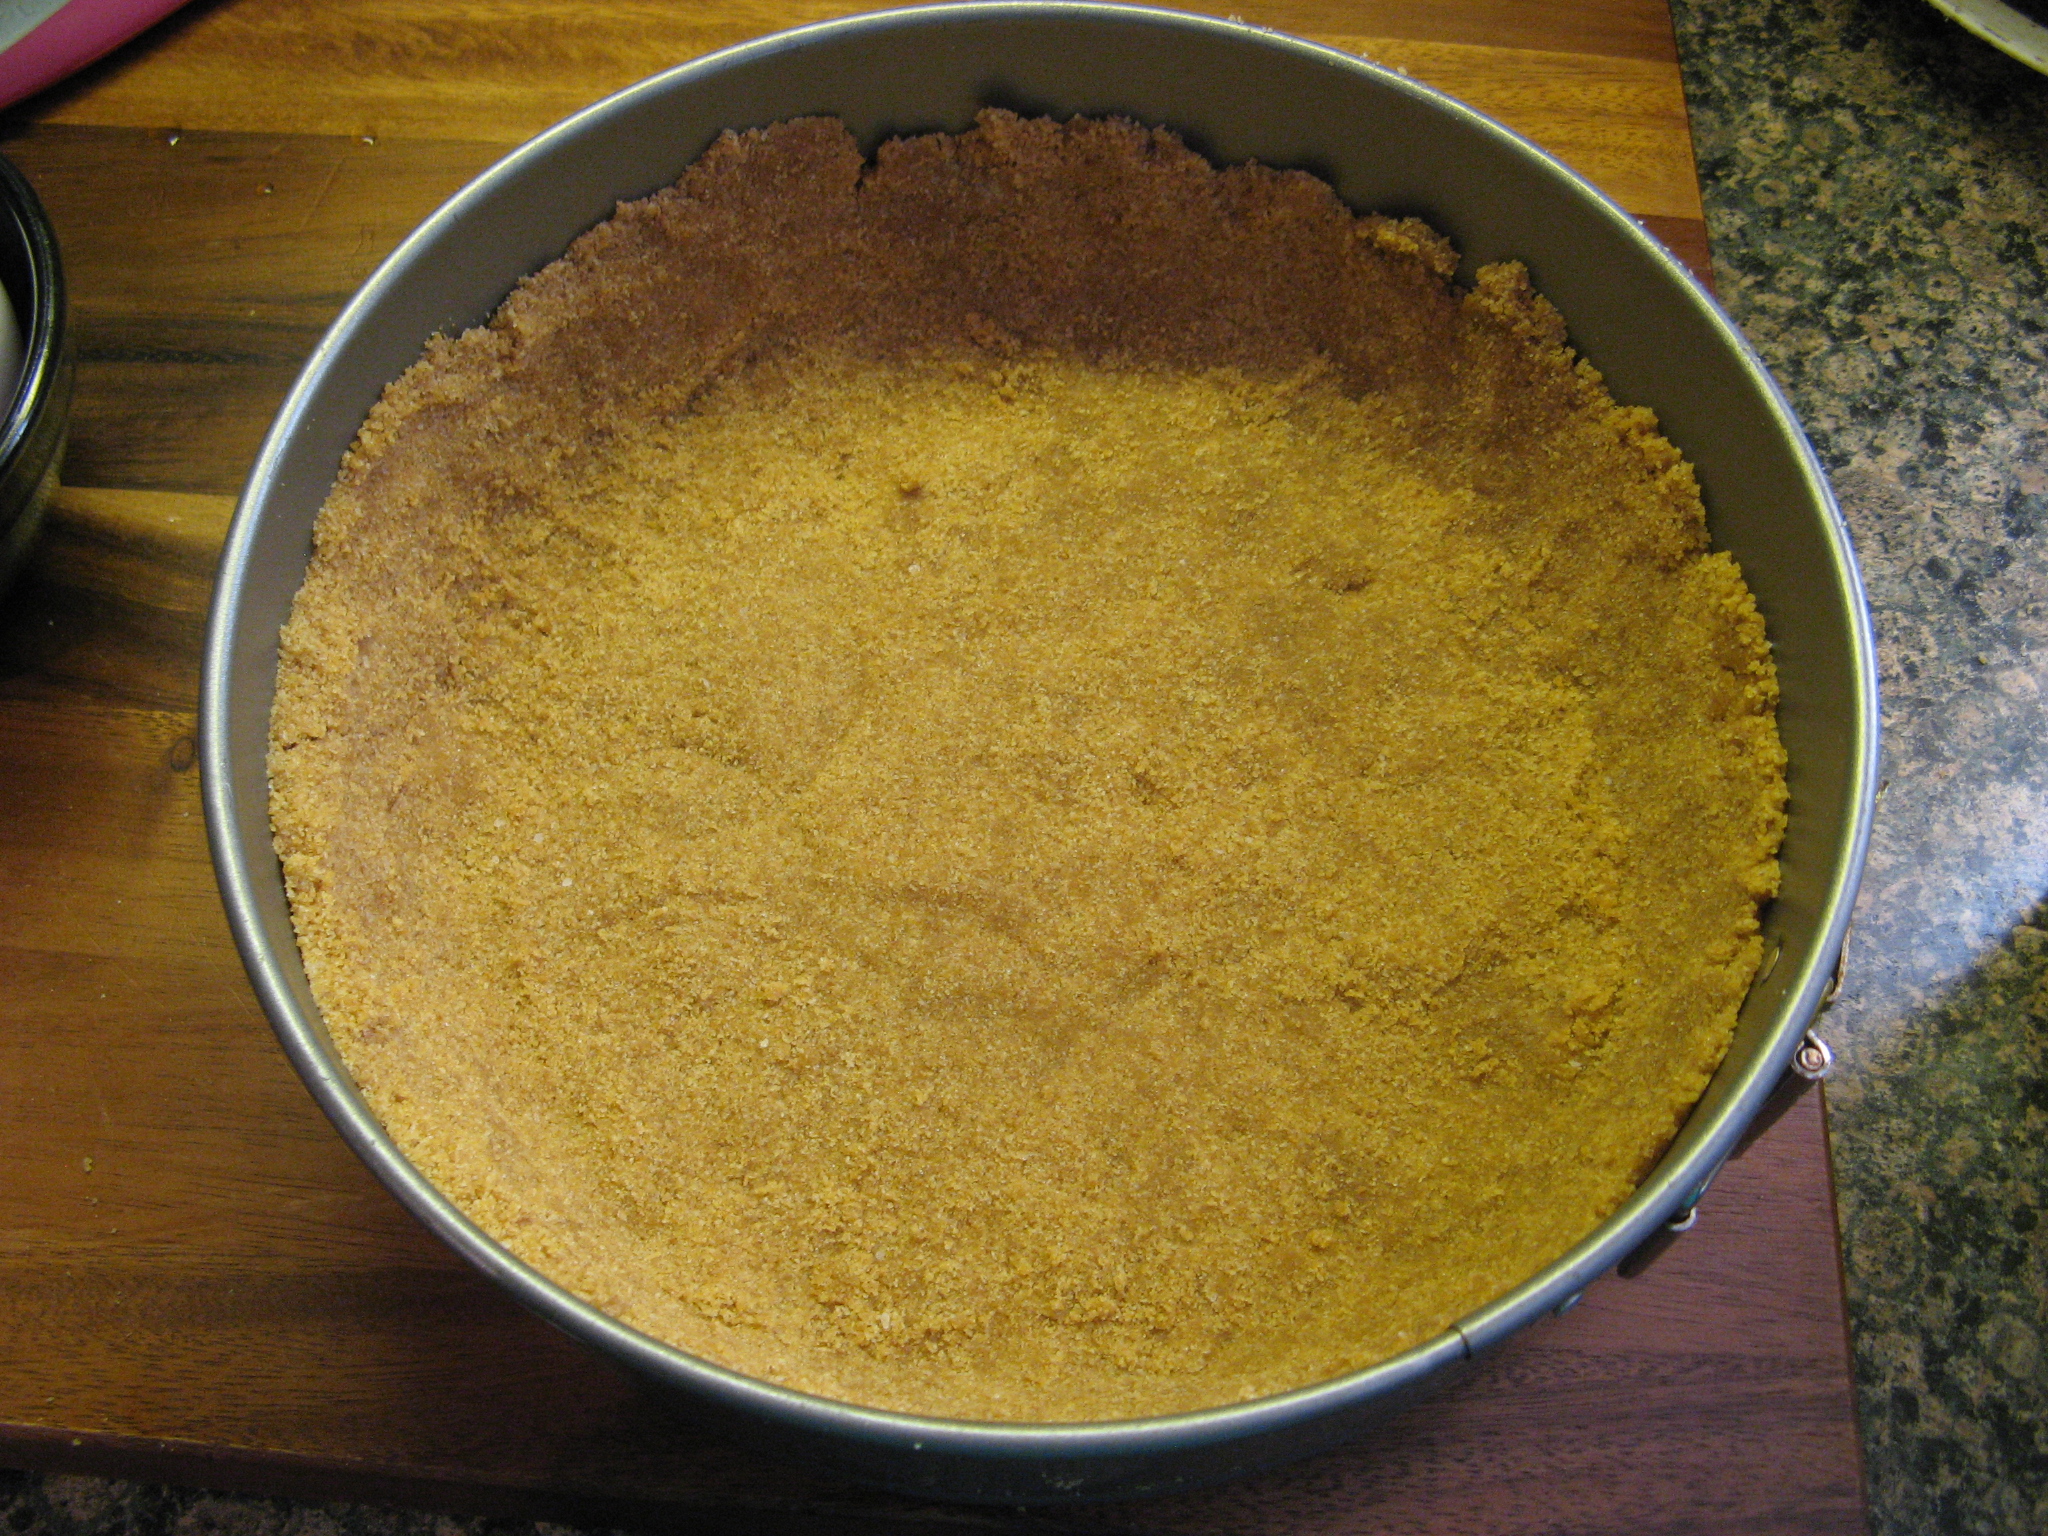
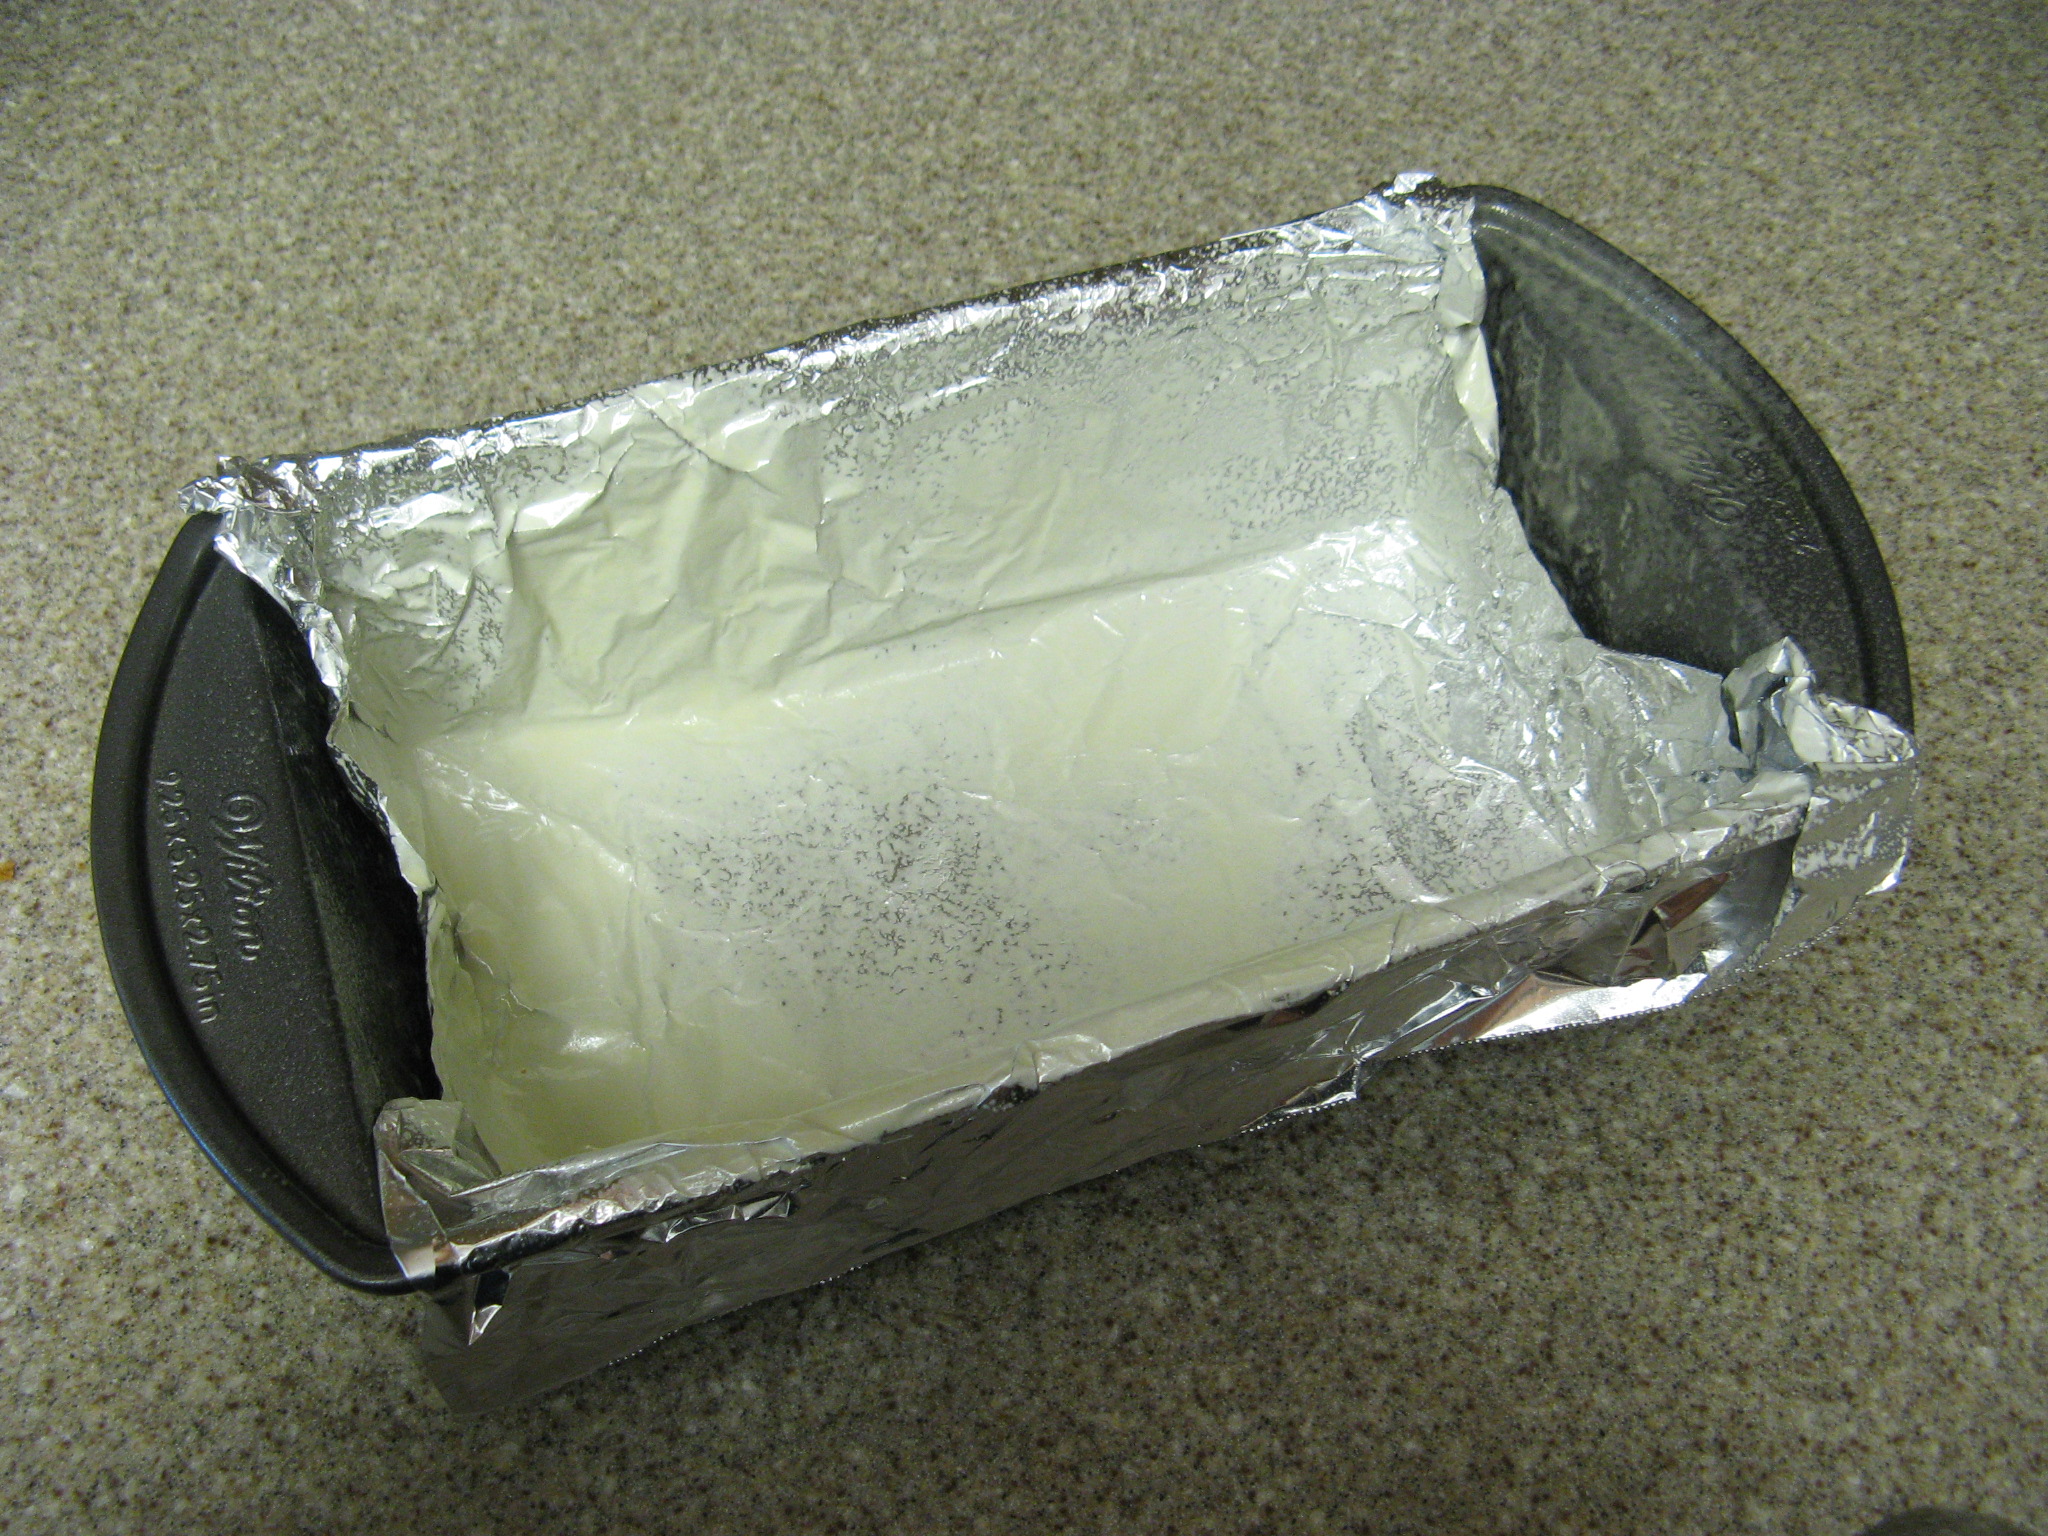
Preheat the oven to 325 F. Spray a 9x5x3- inch loaf pan with baking spray then line with aluminum foil, leaving an overhang, then spry with additional baking spray. Set aside.
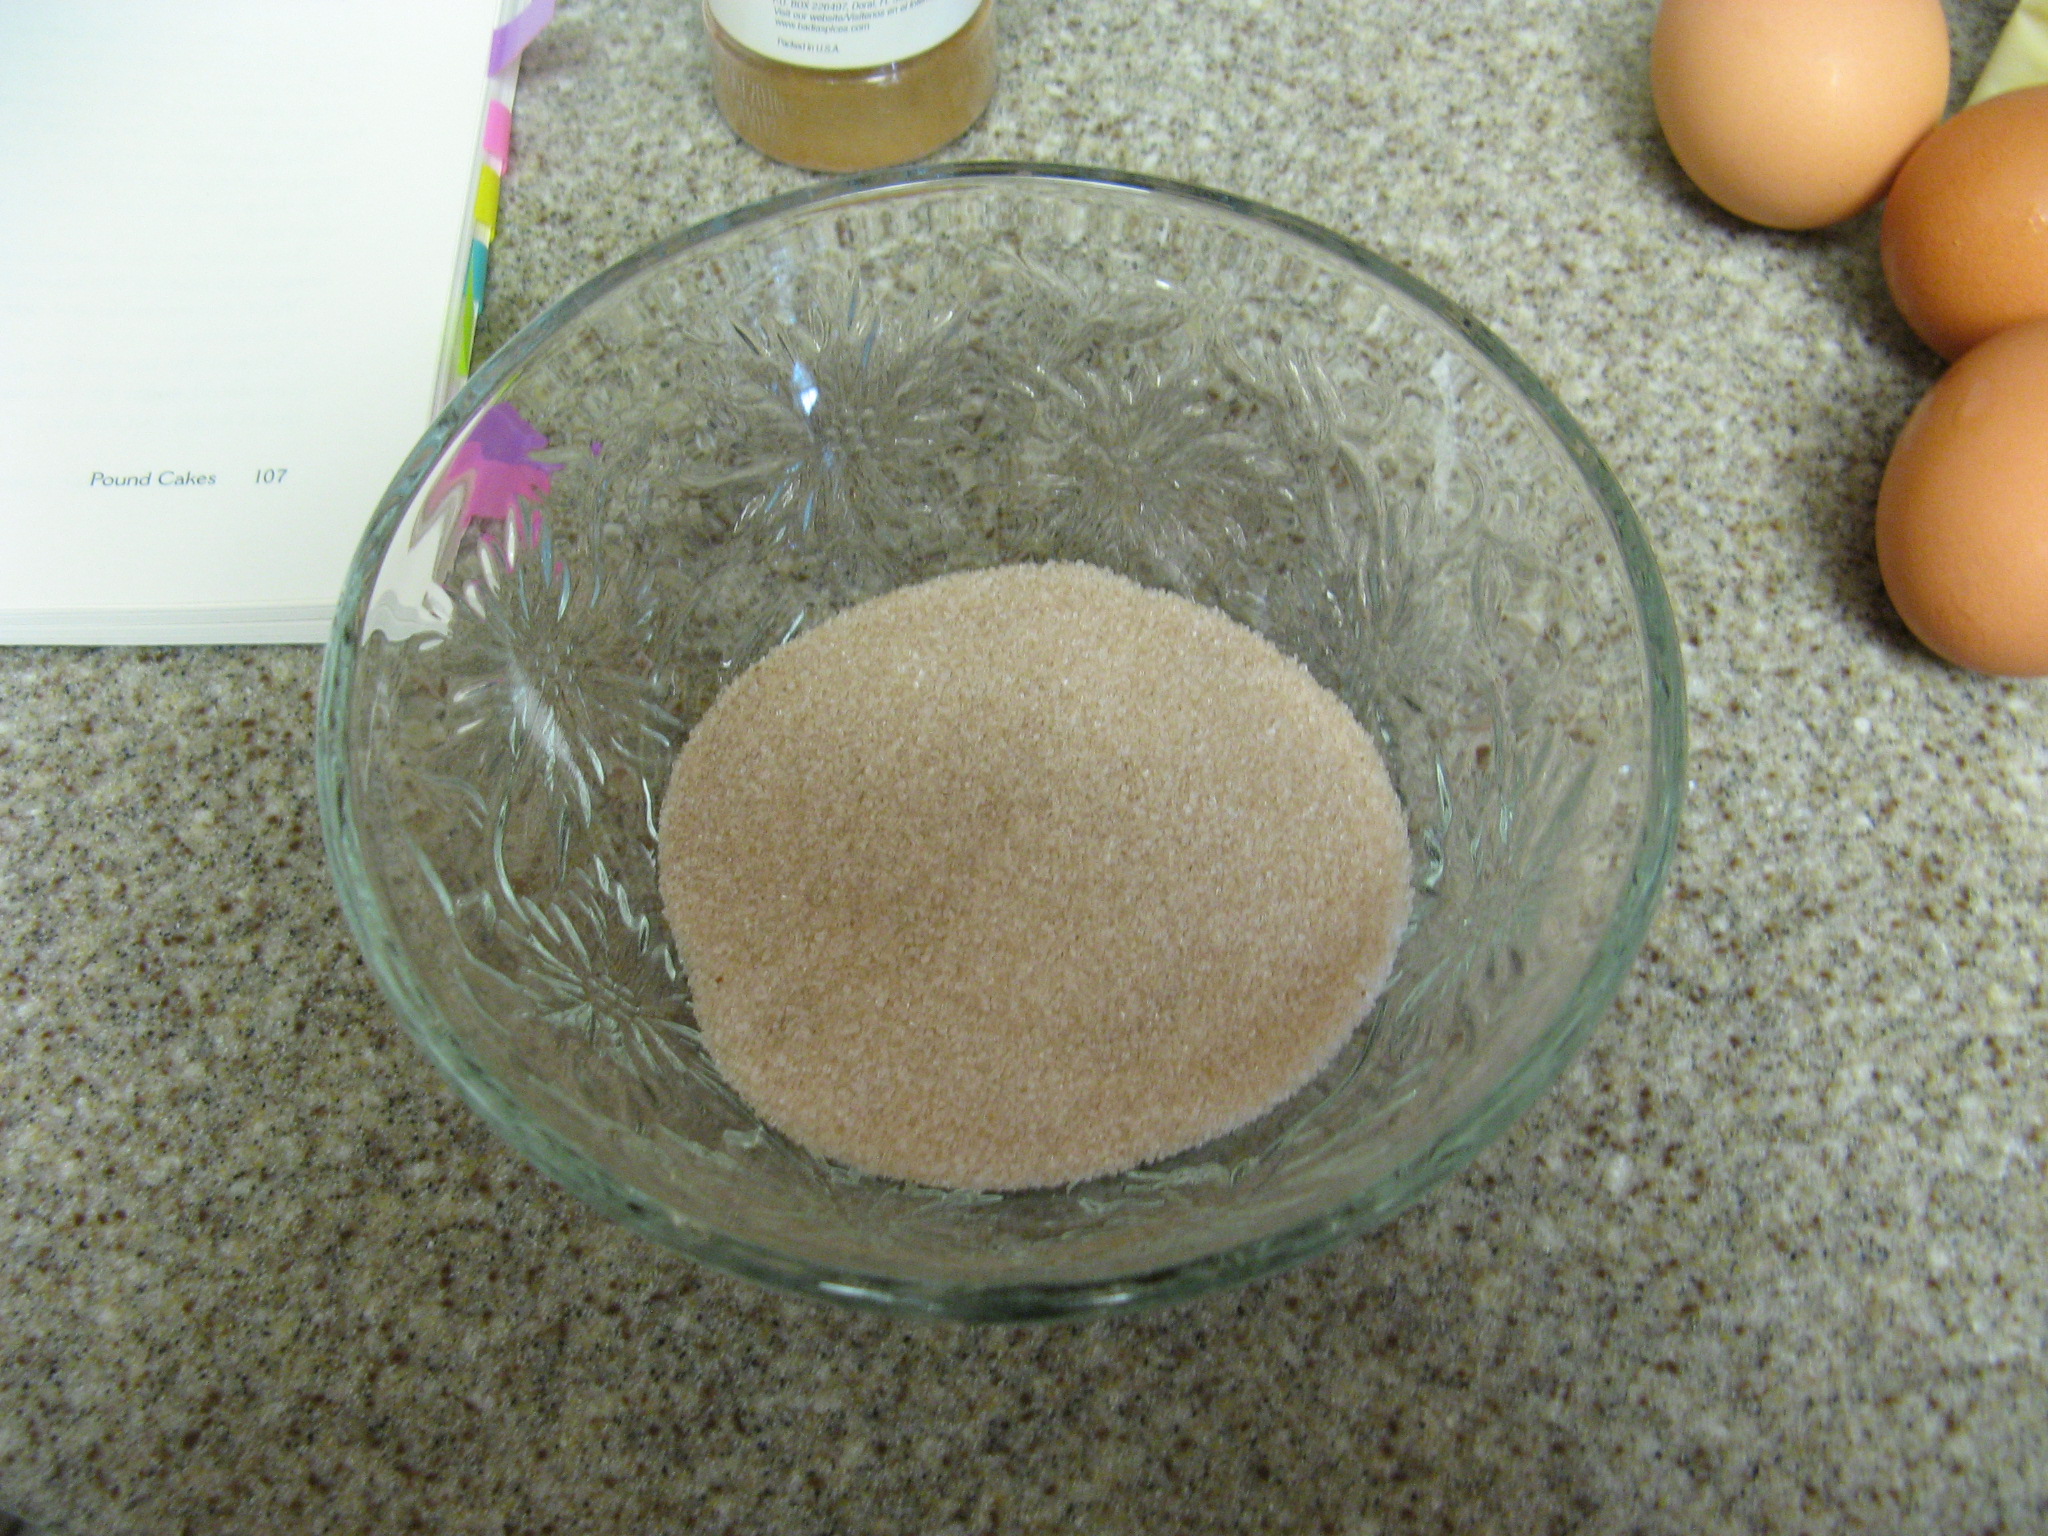
Cinnamon Sugar Topping- In a small bowl mix 2 tablespoons of the sugar with 1/4 teaspoon of the cinnamon and set aside.
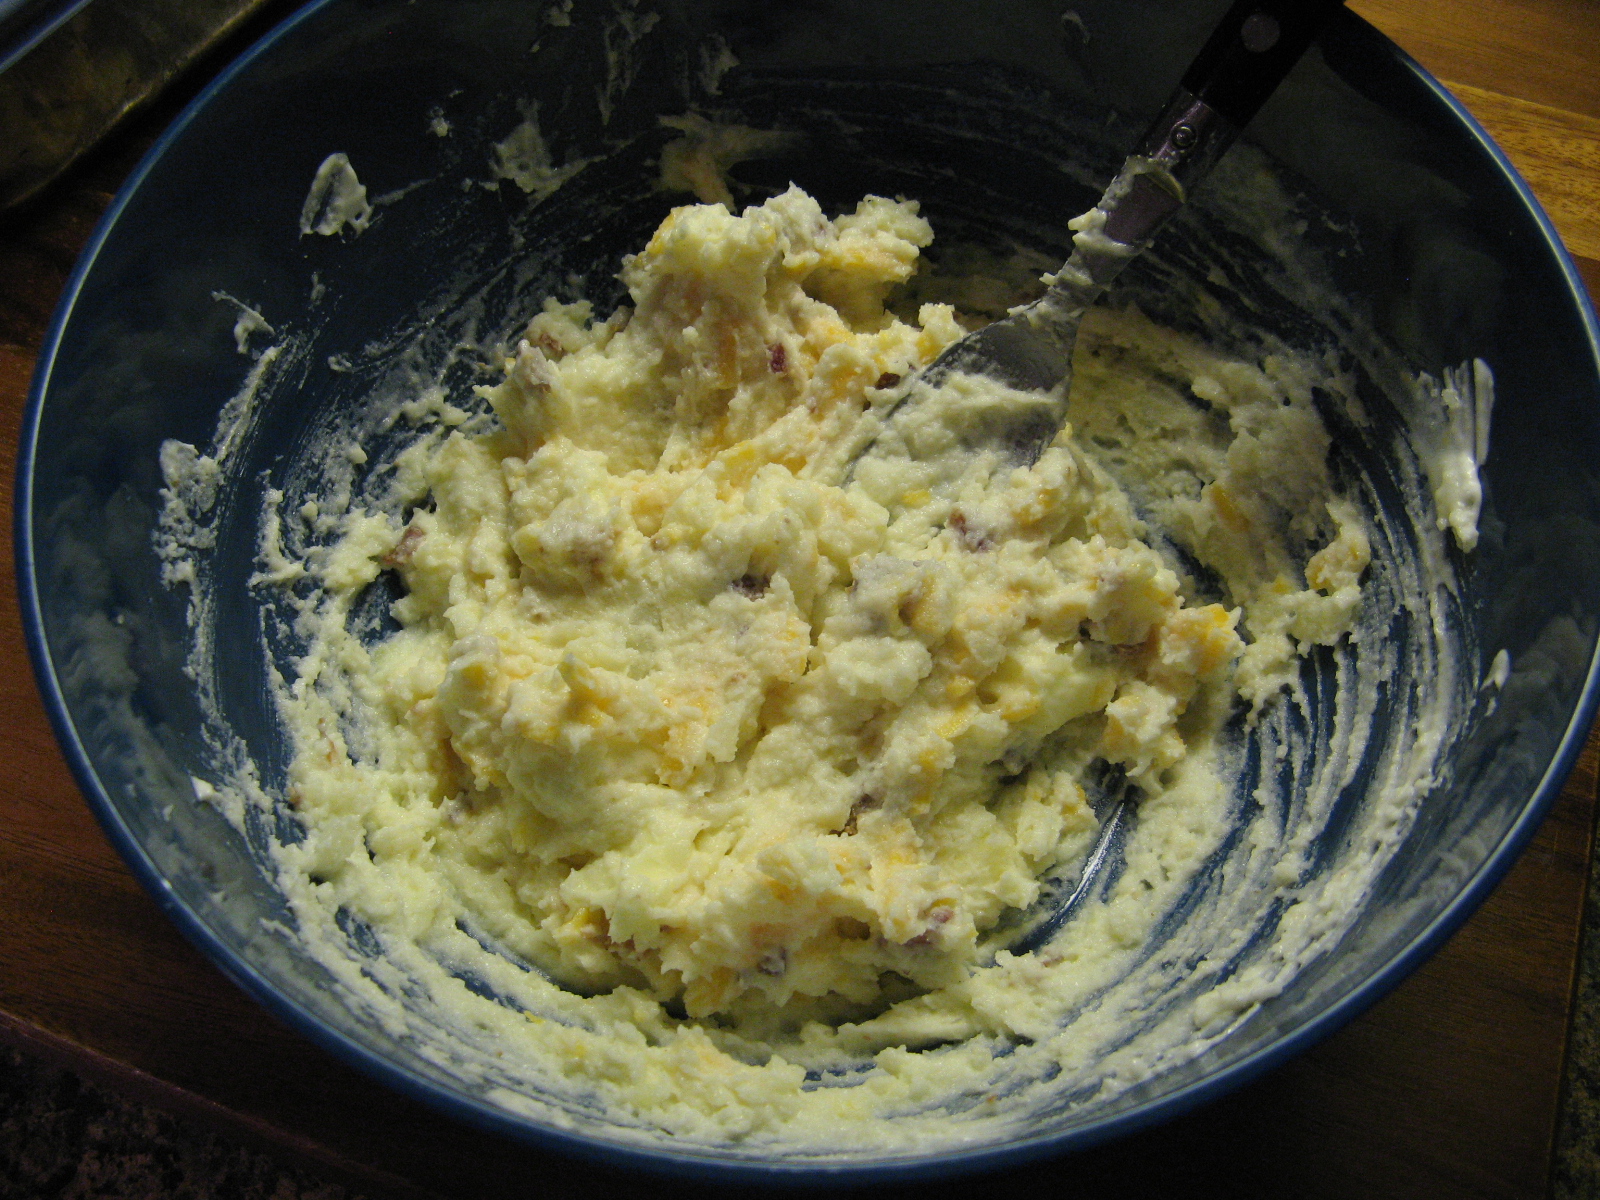
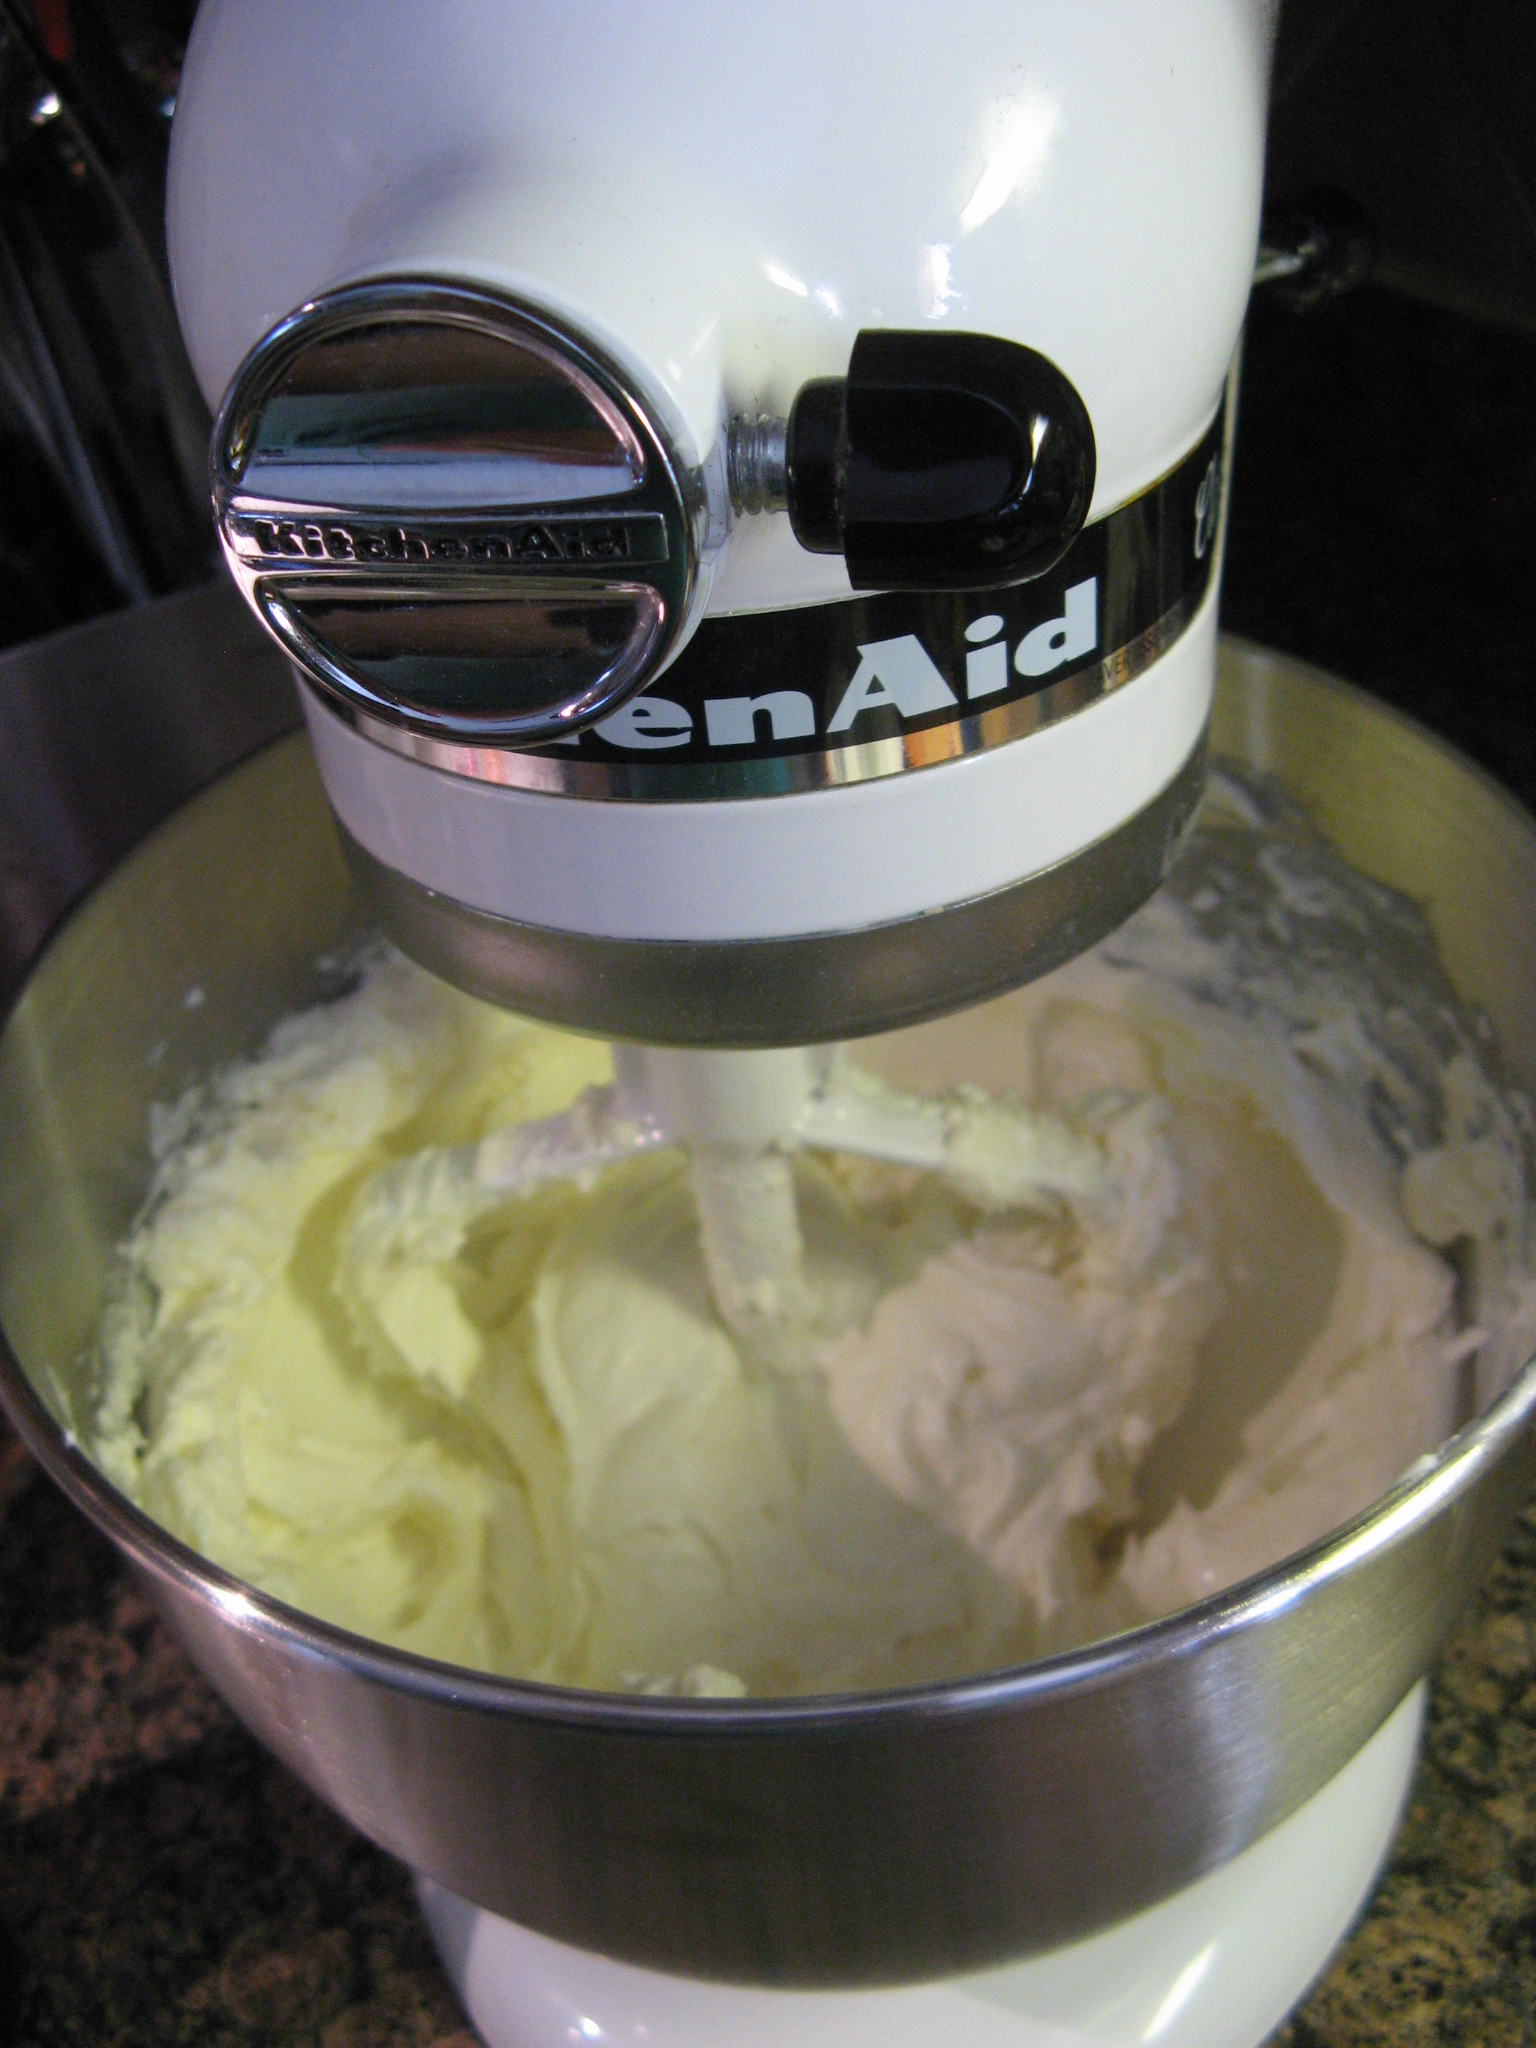
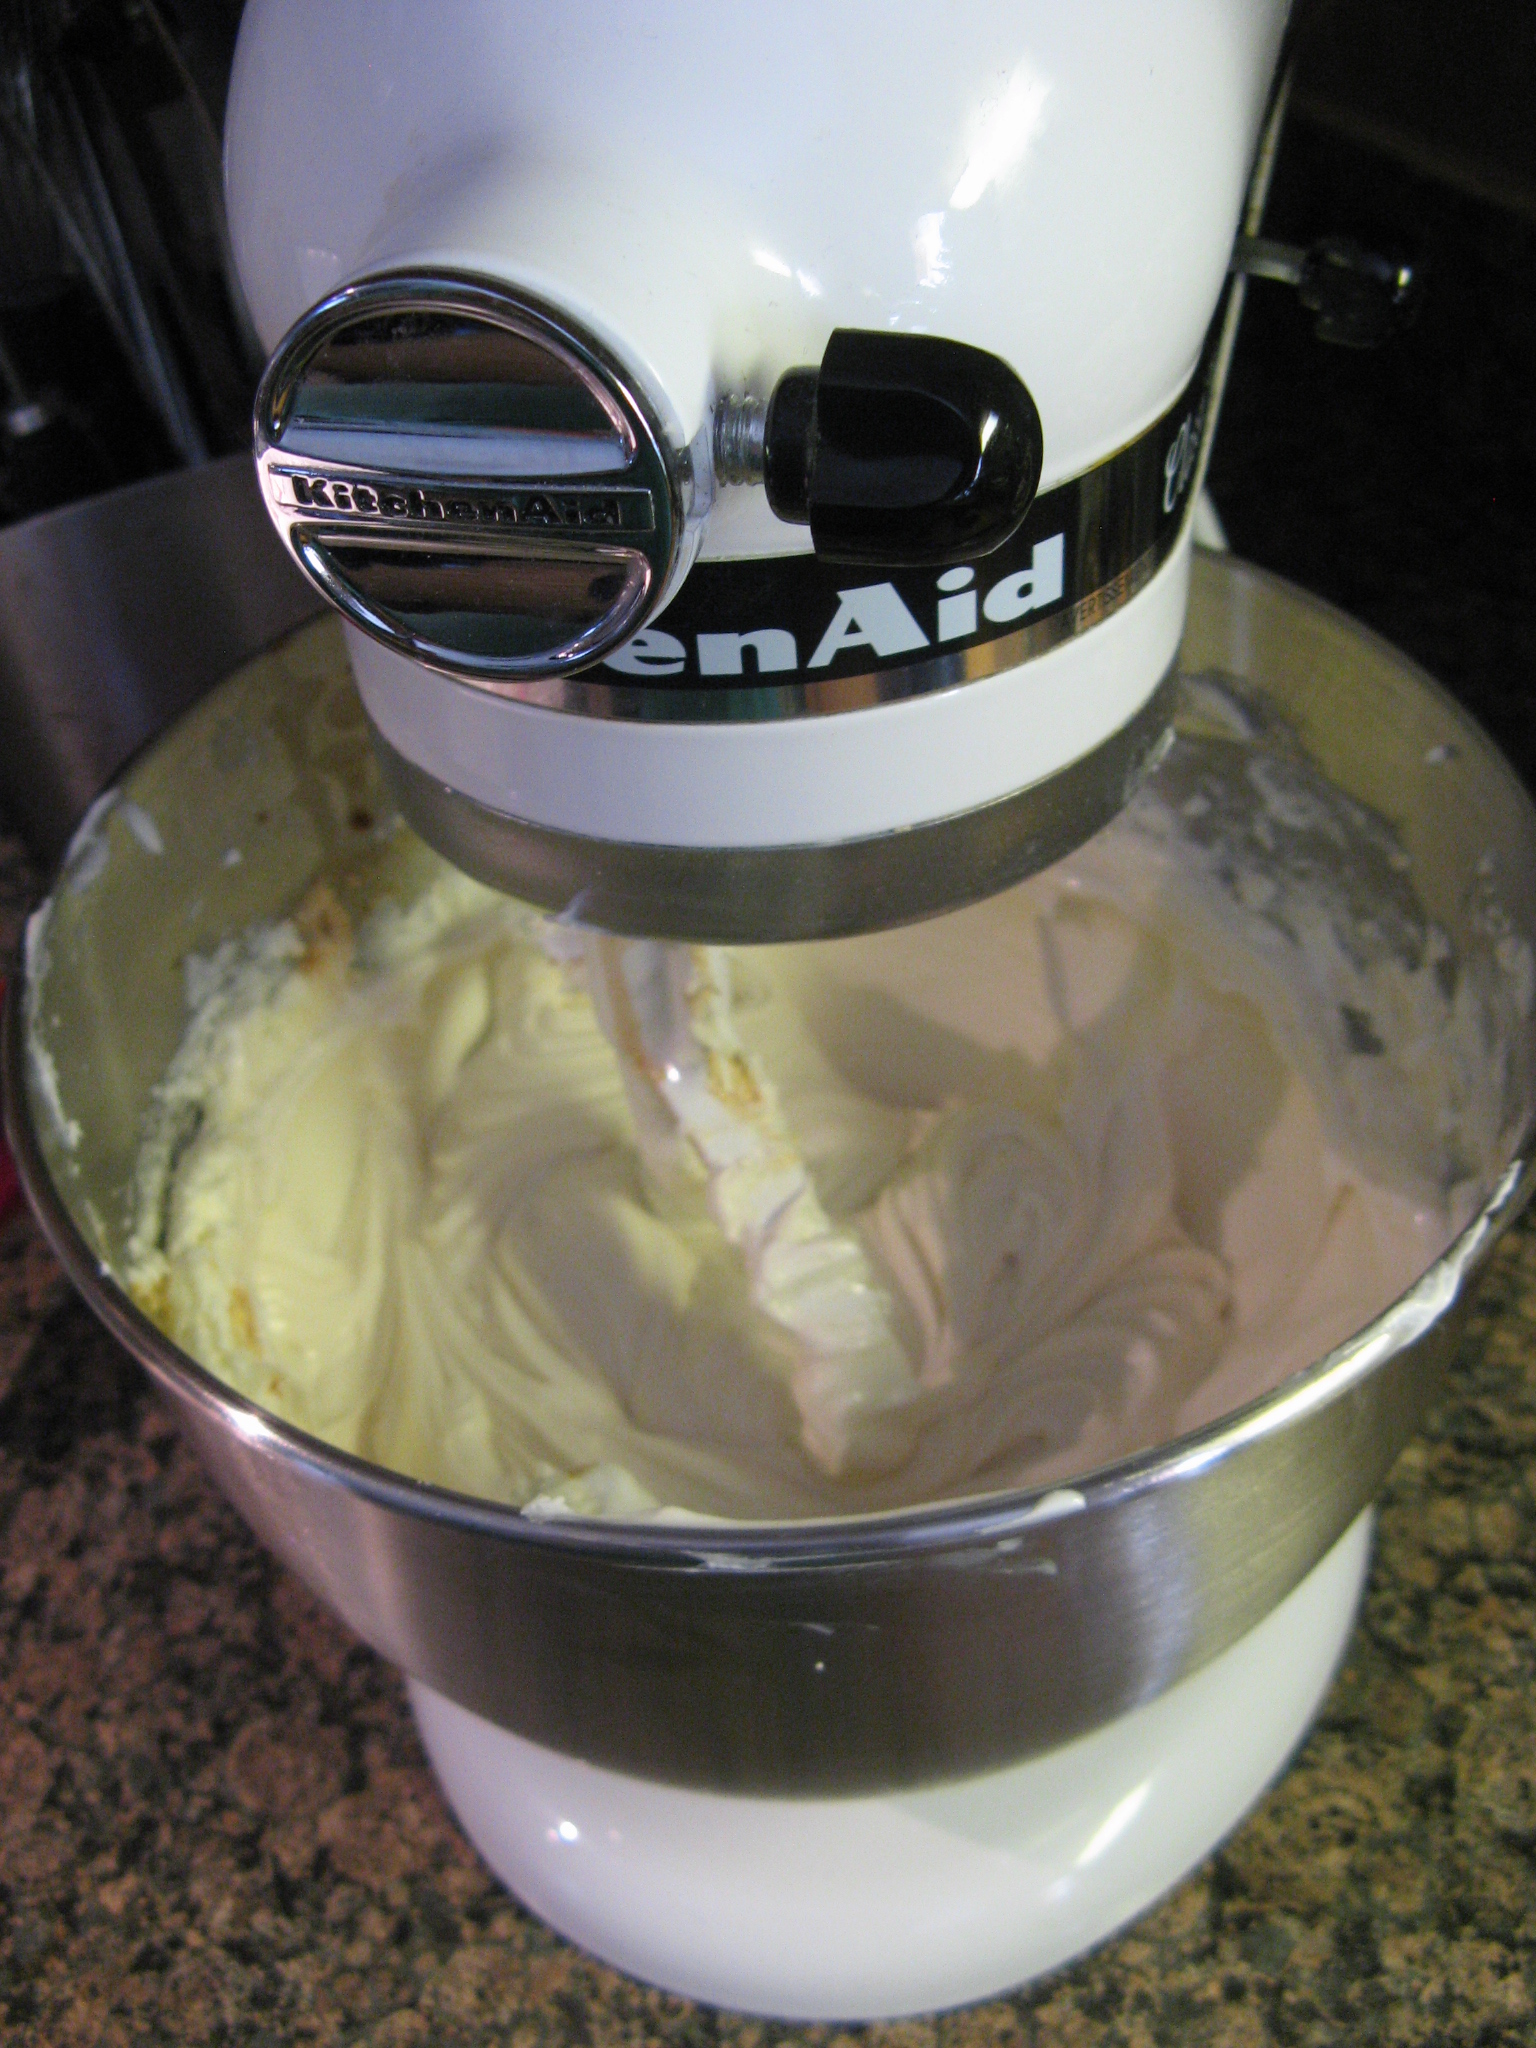
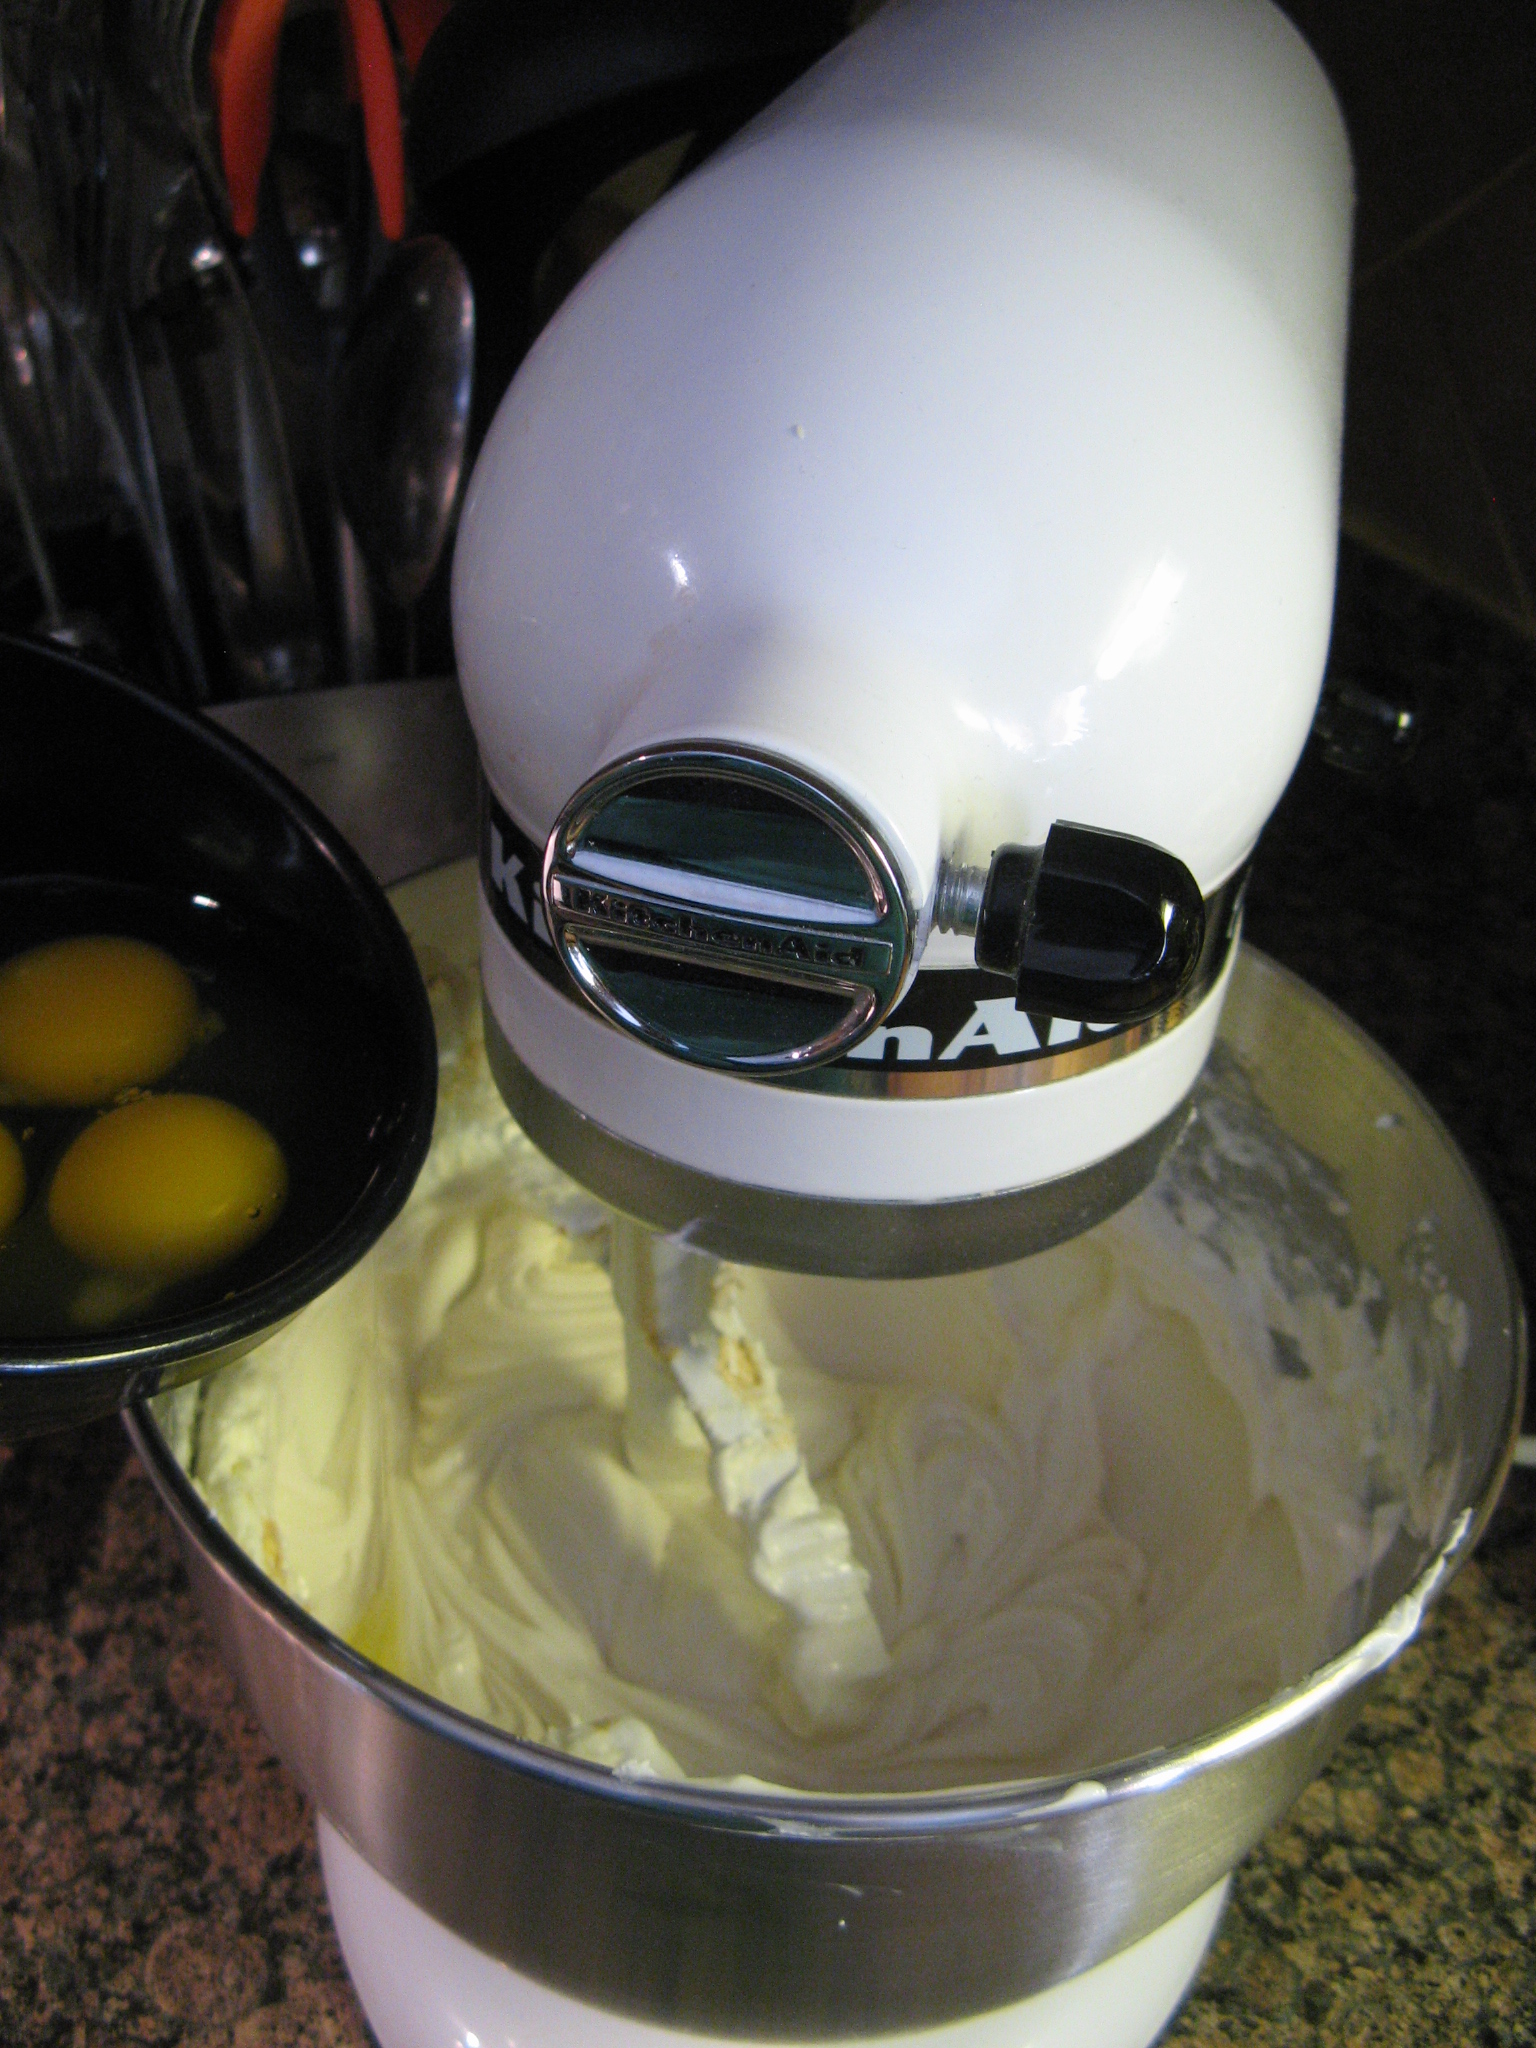
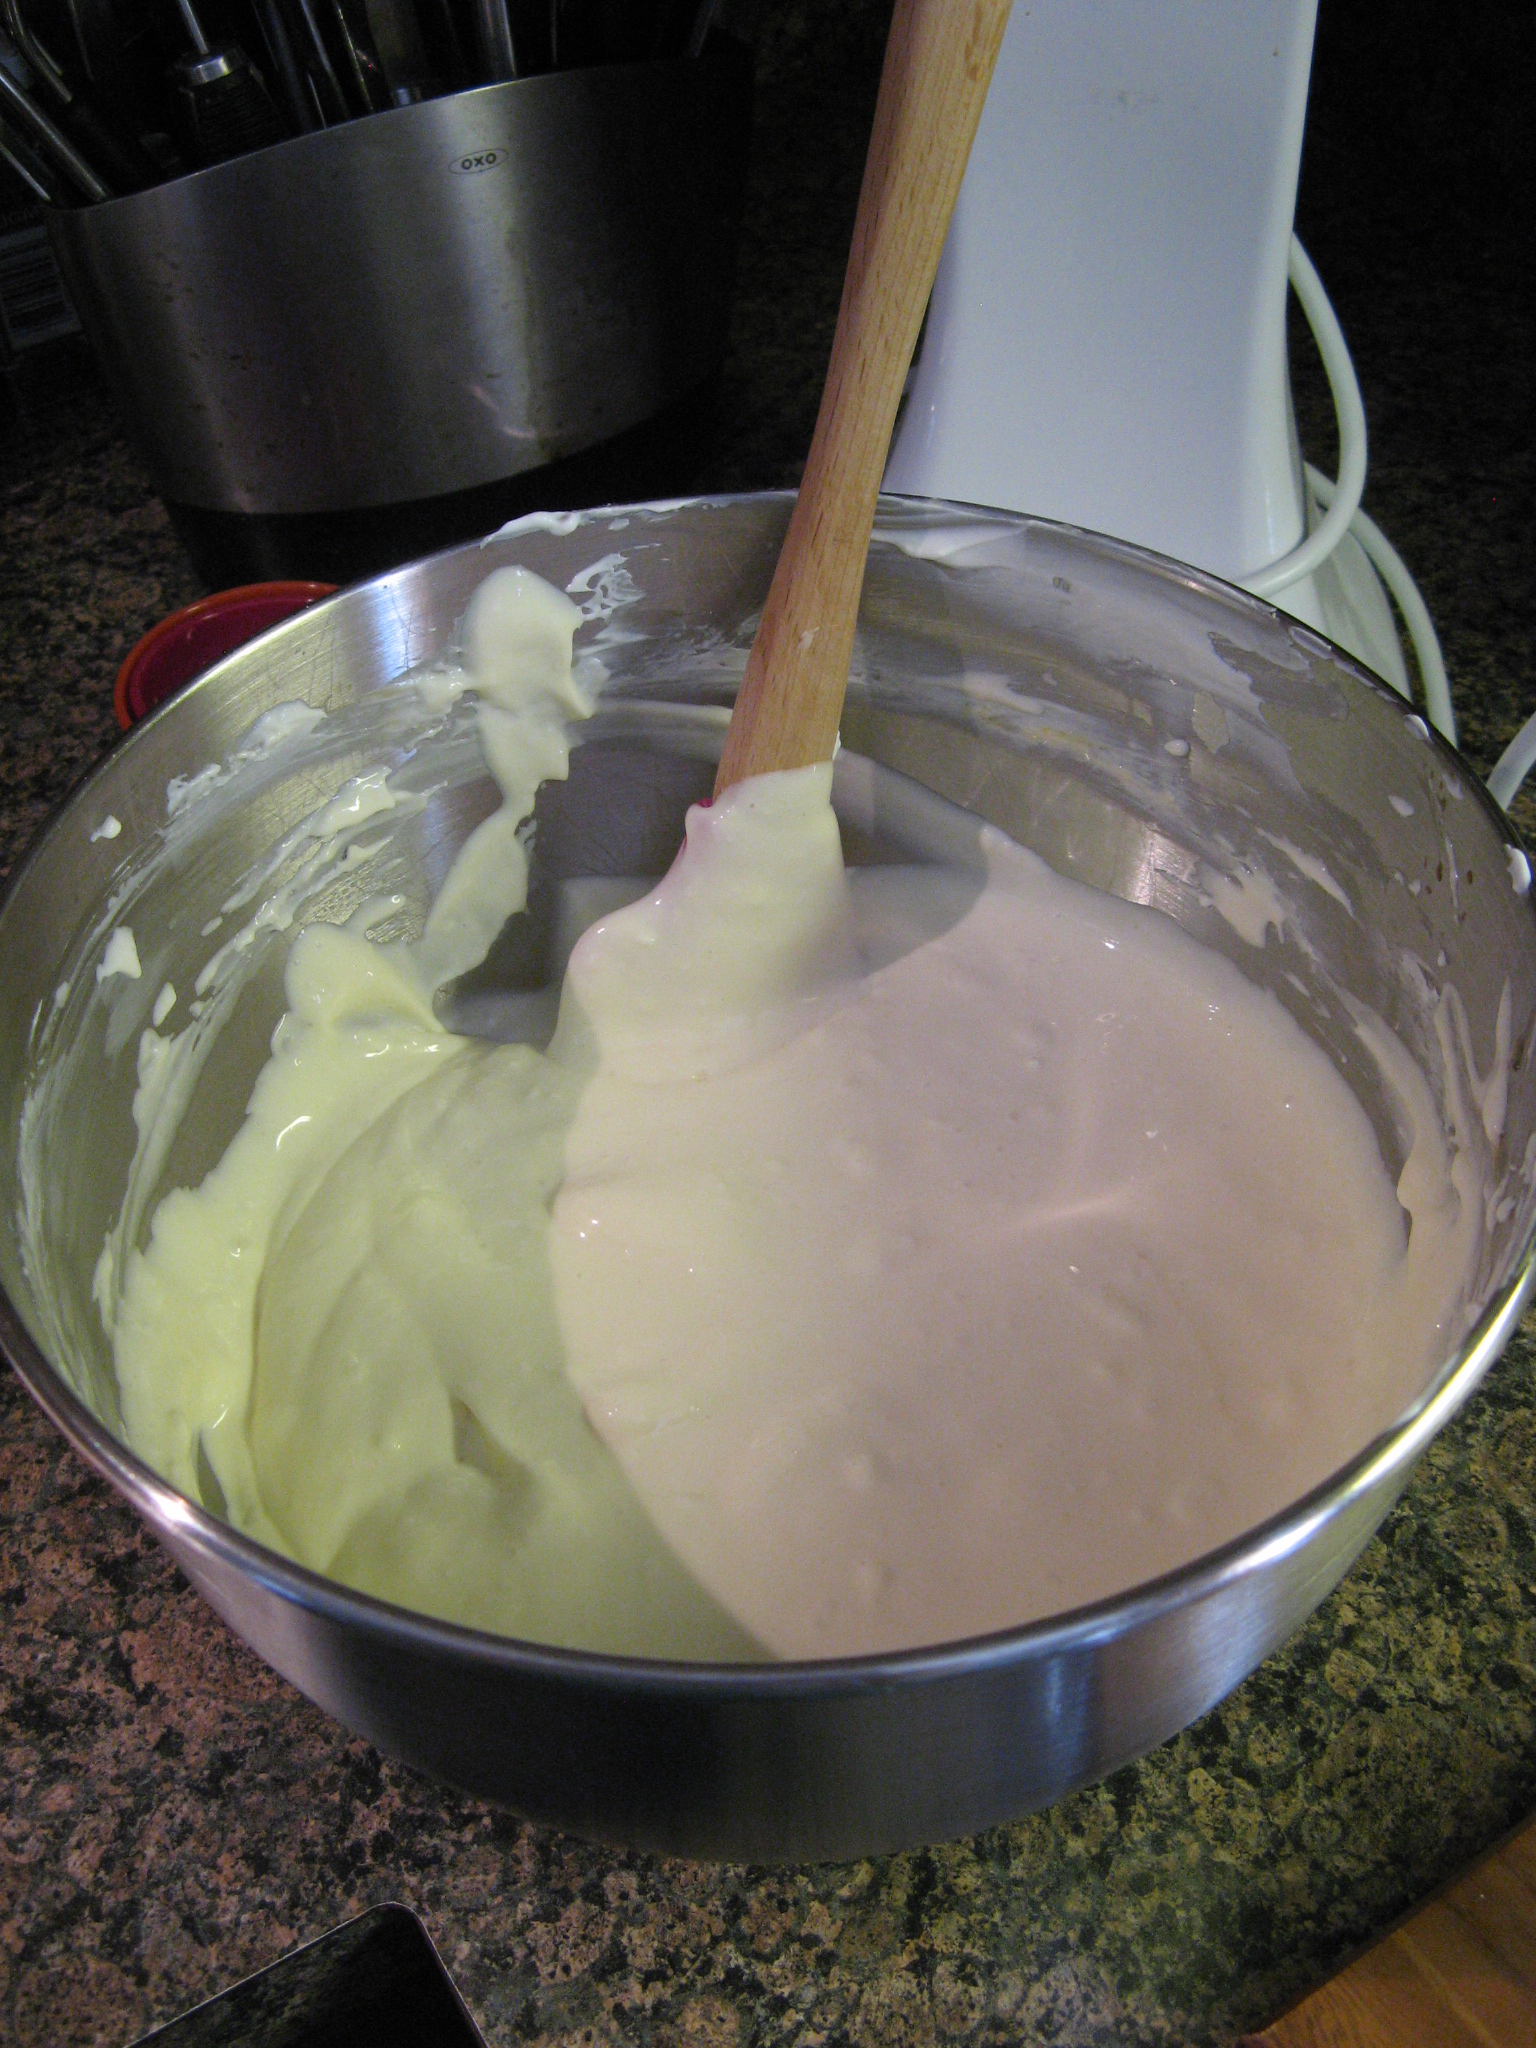
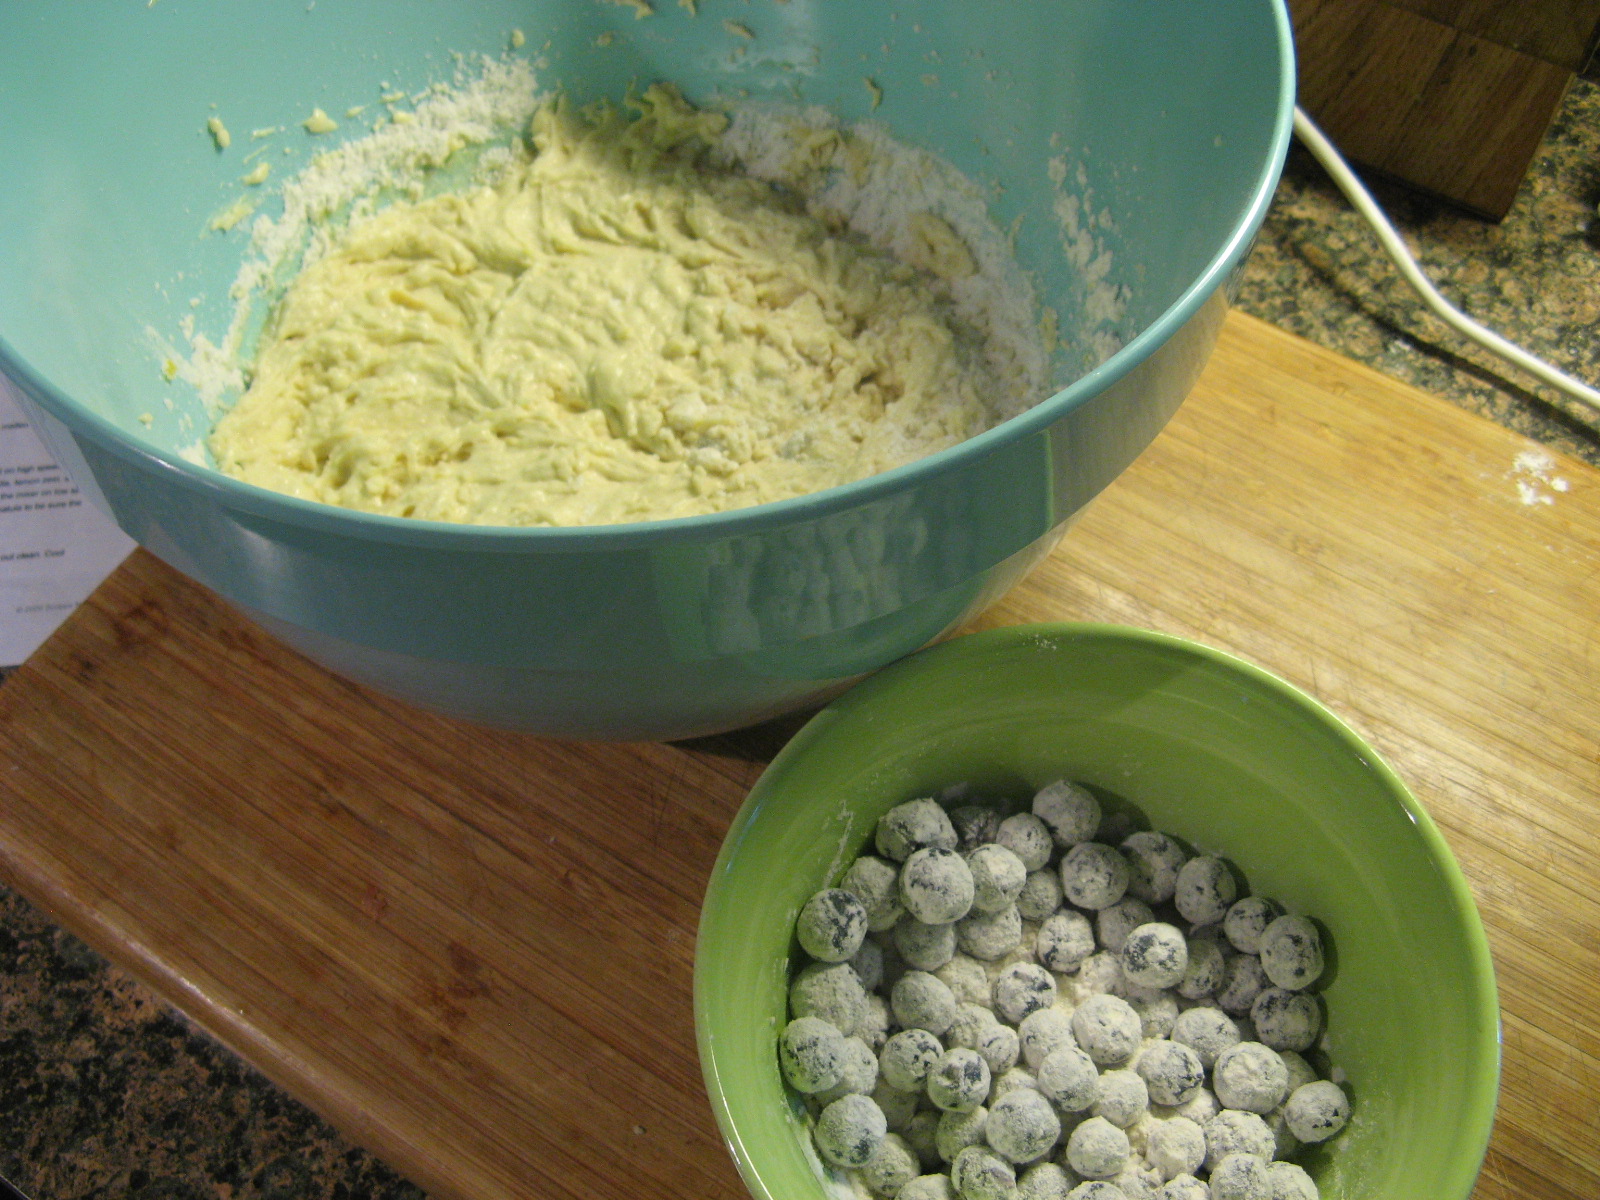
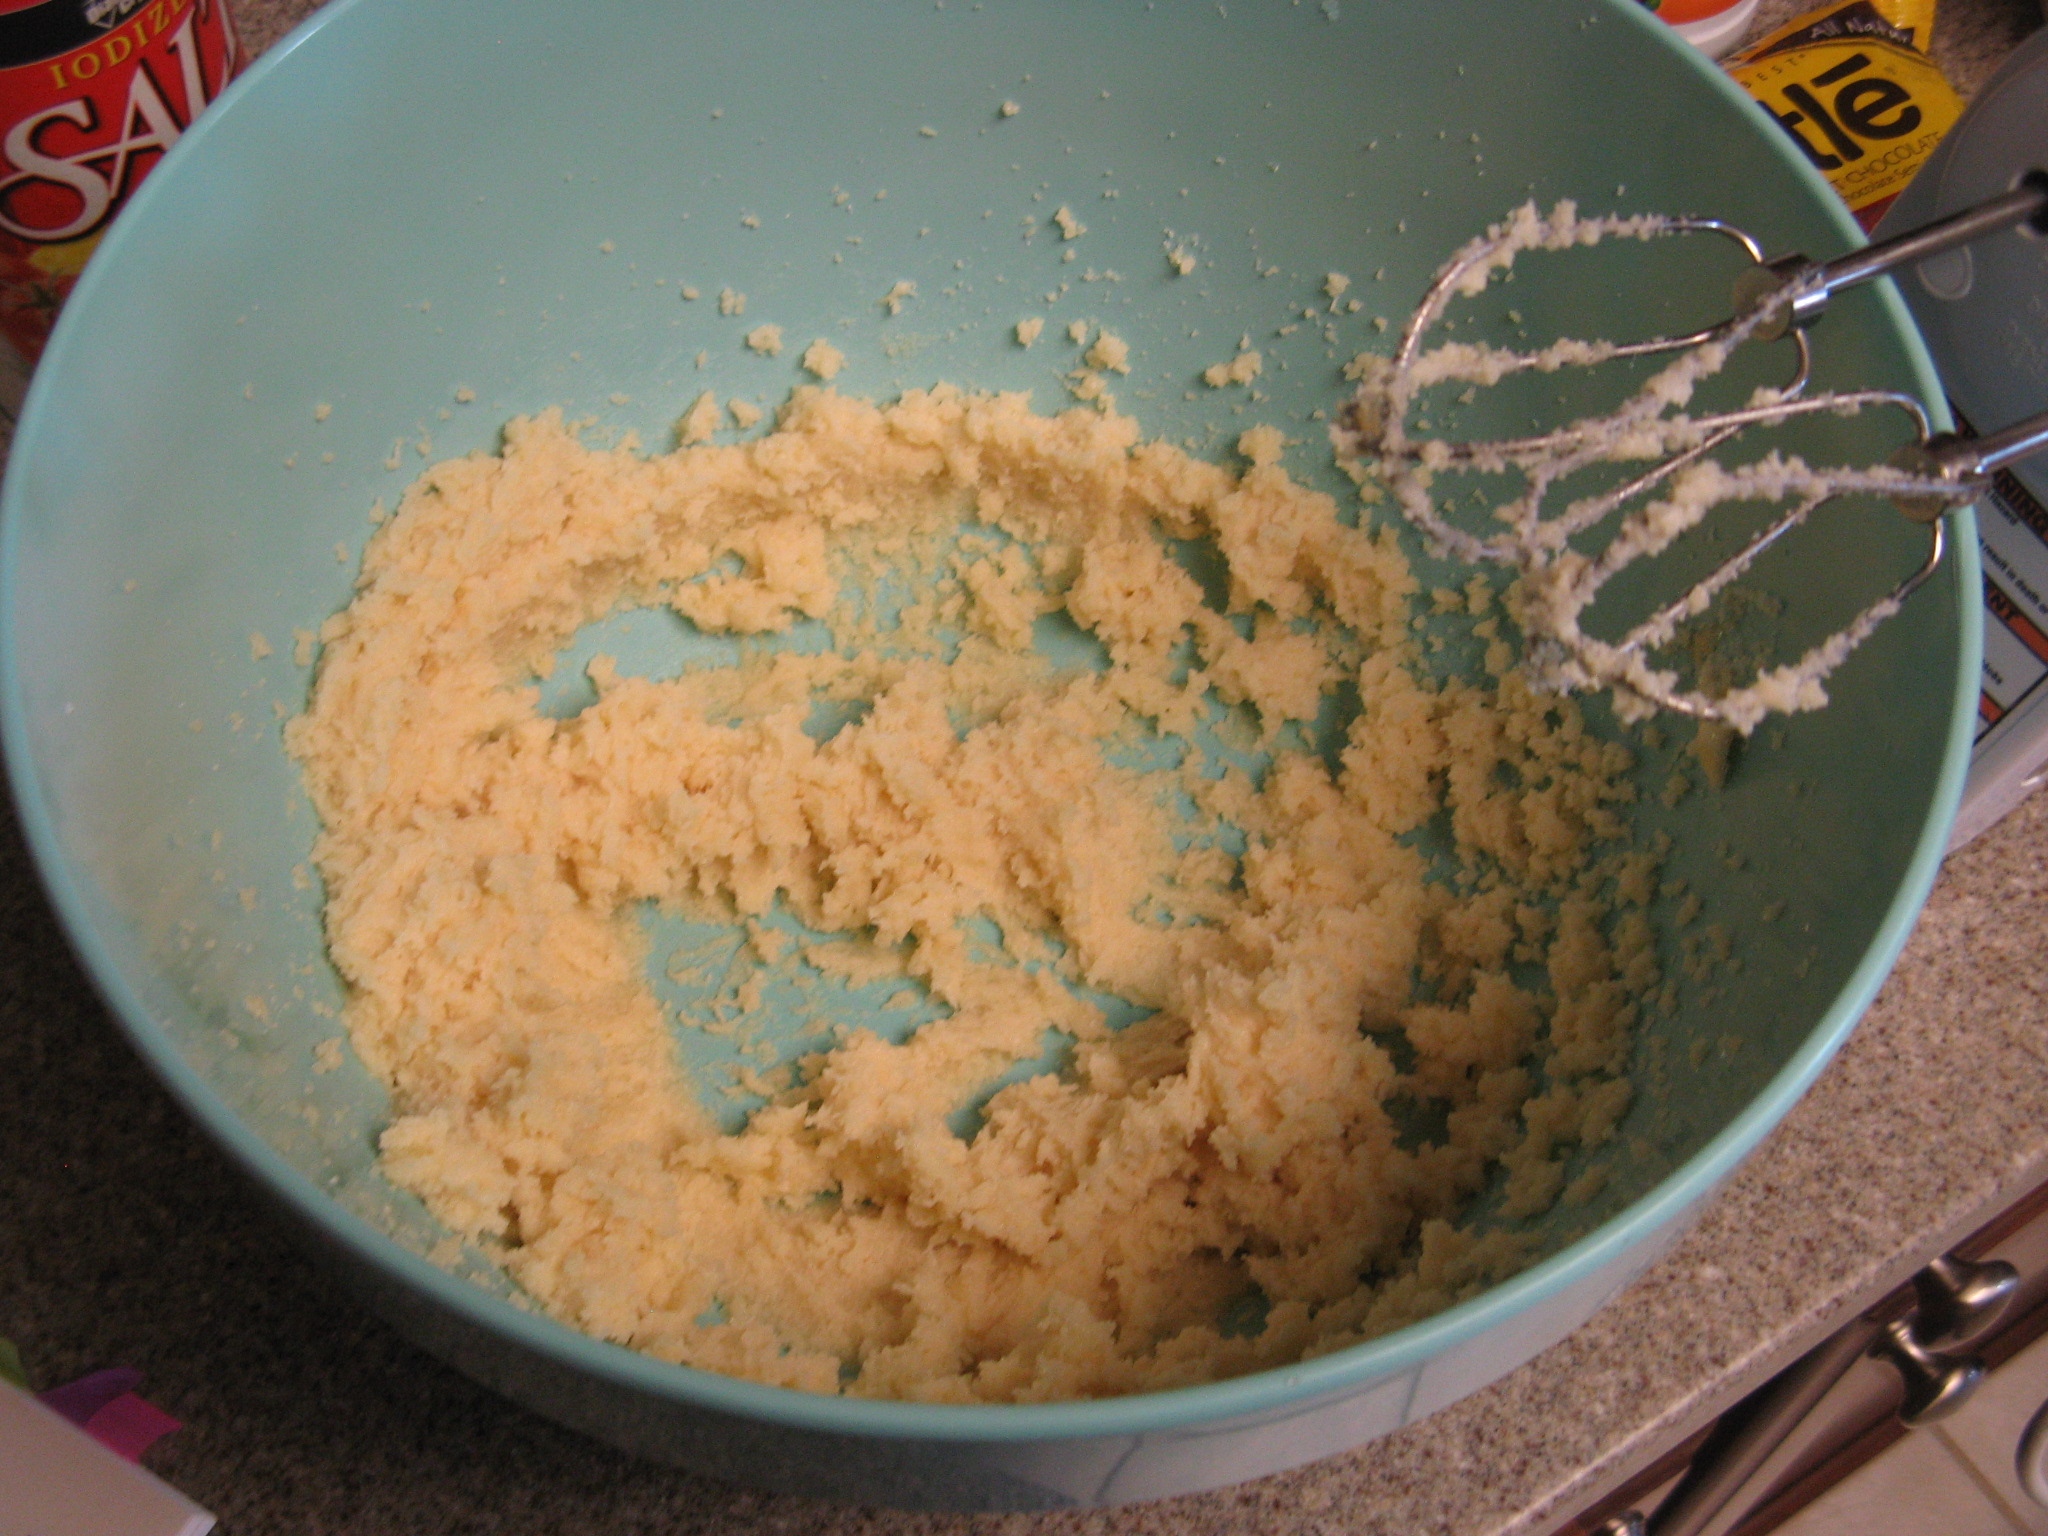
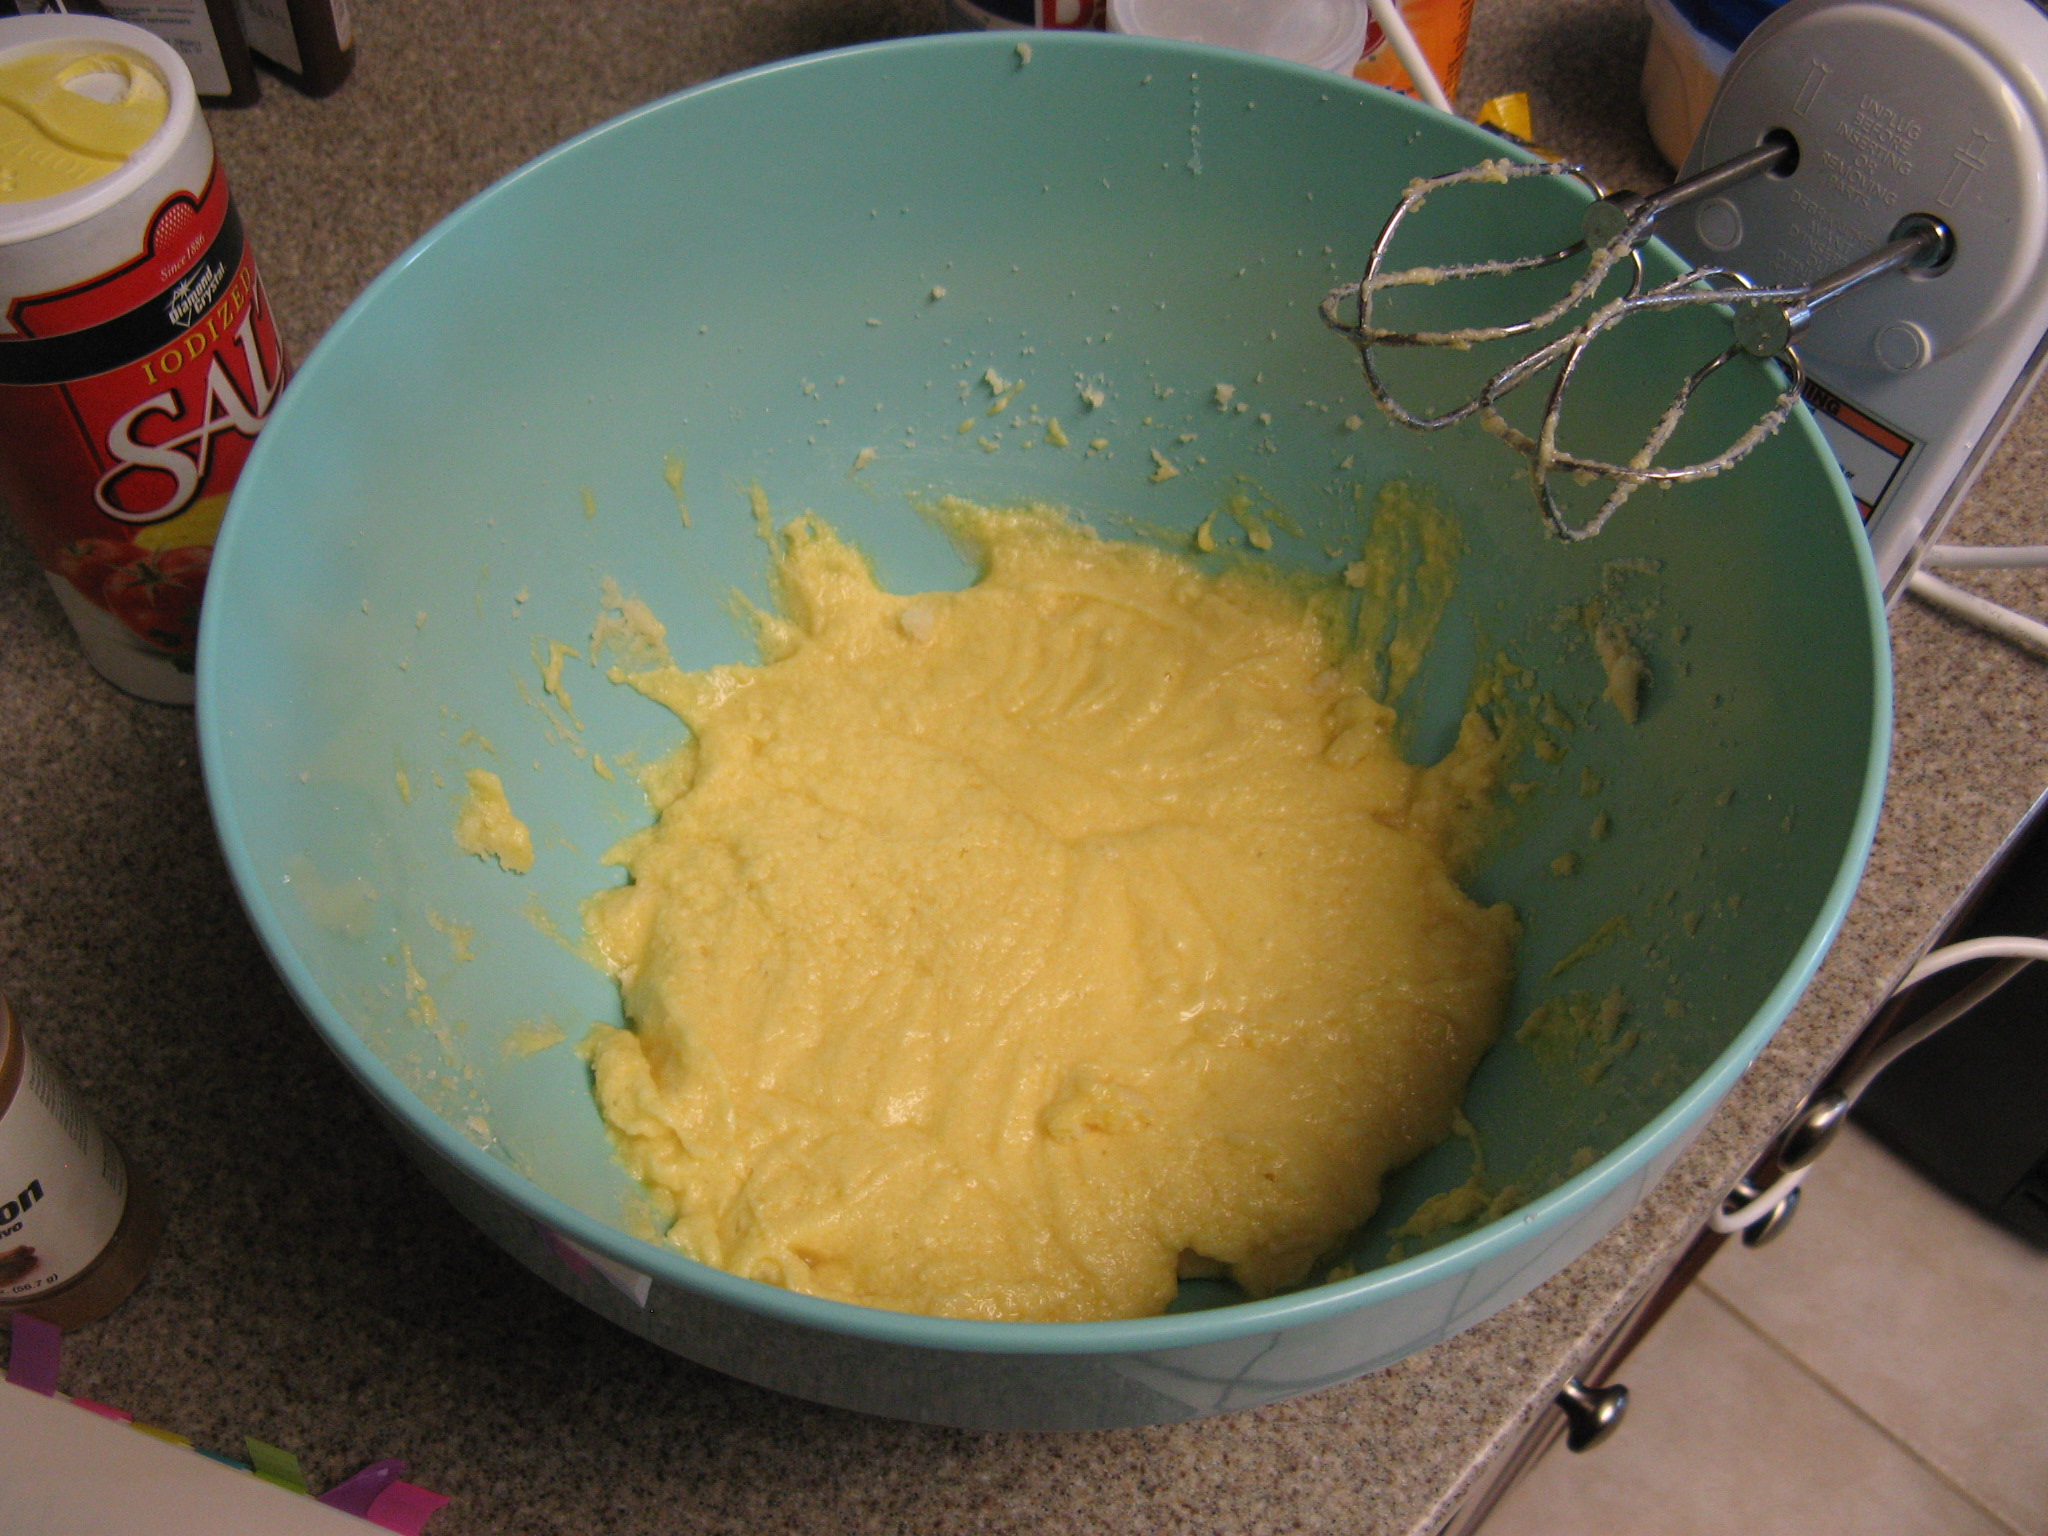
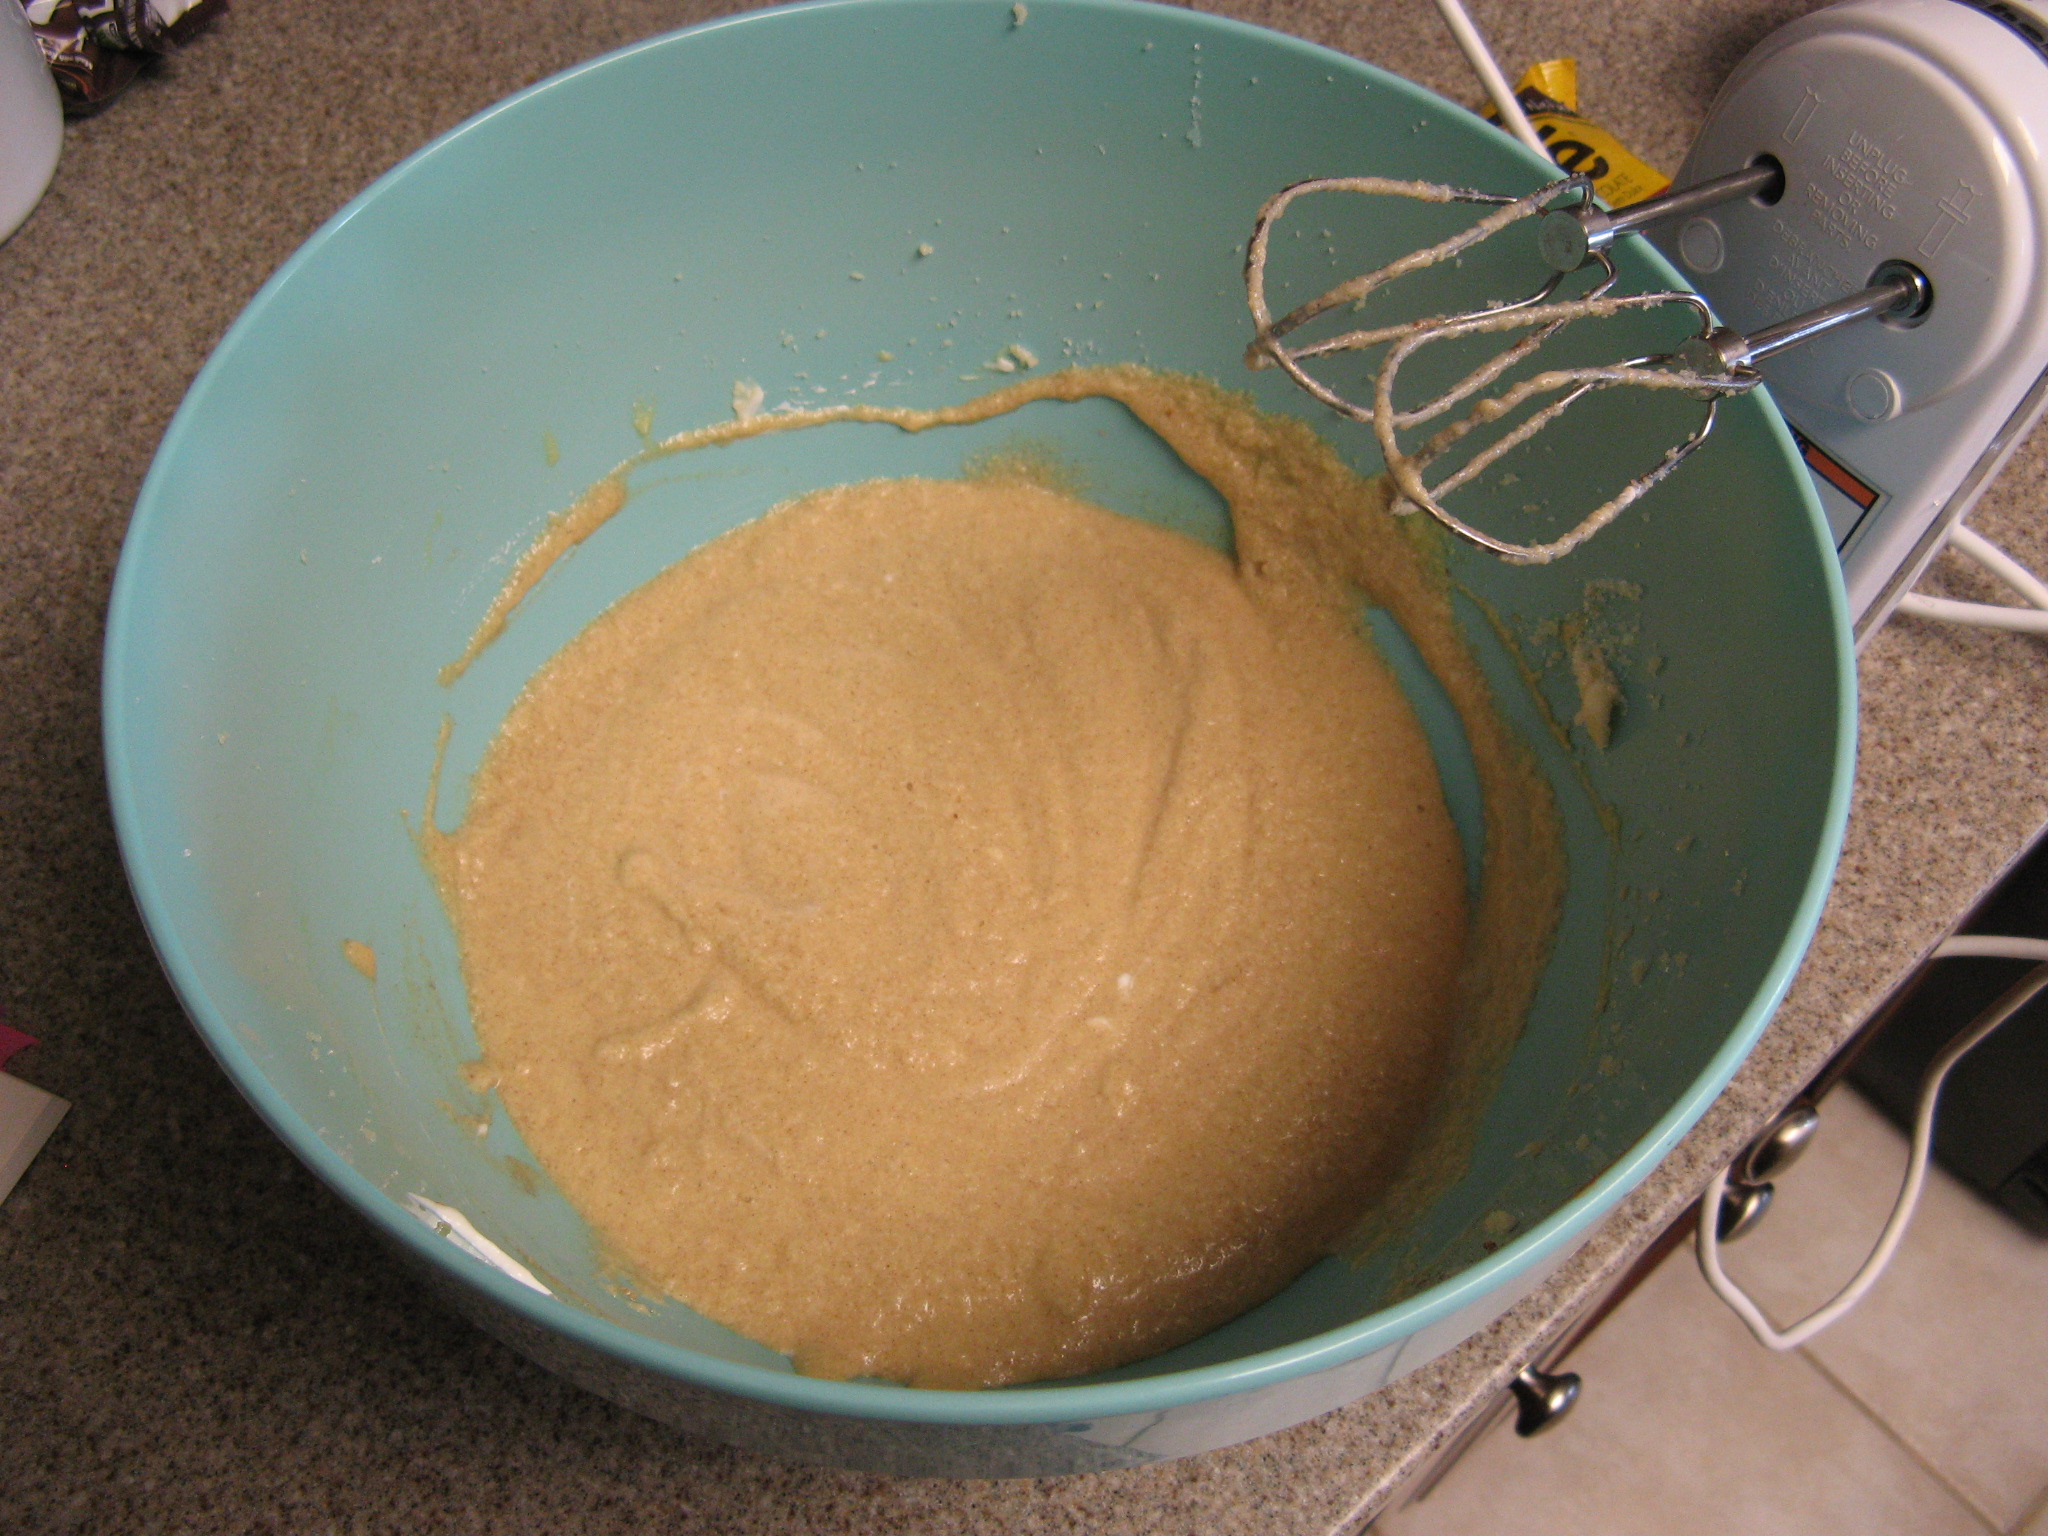
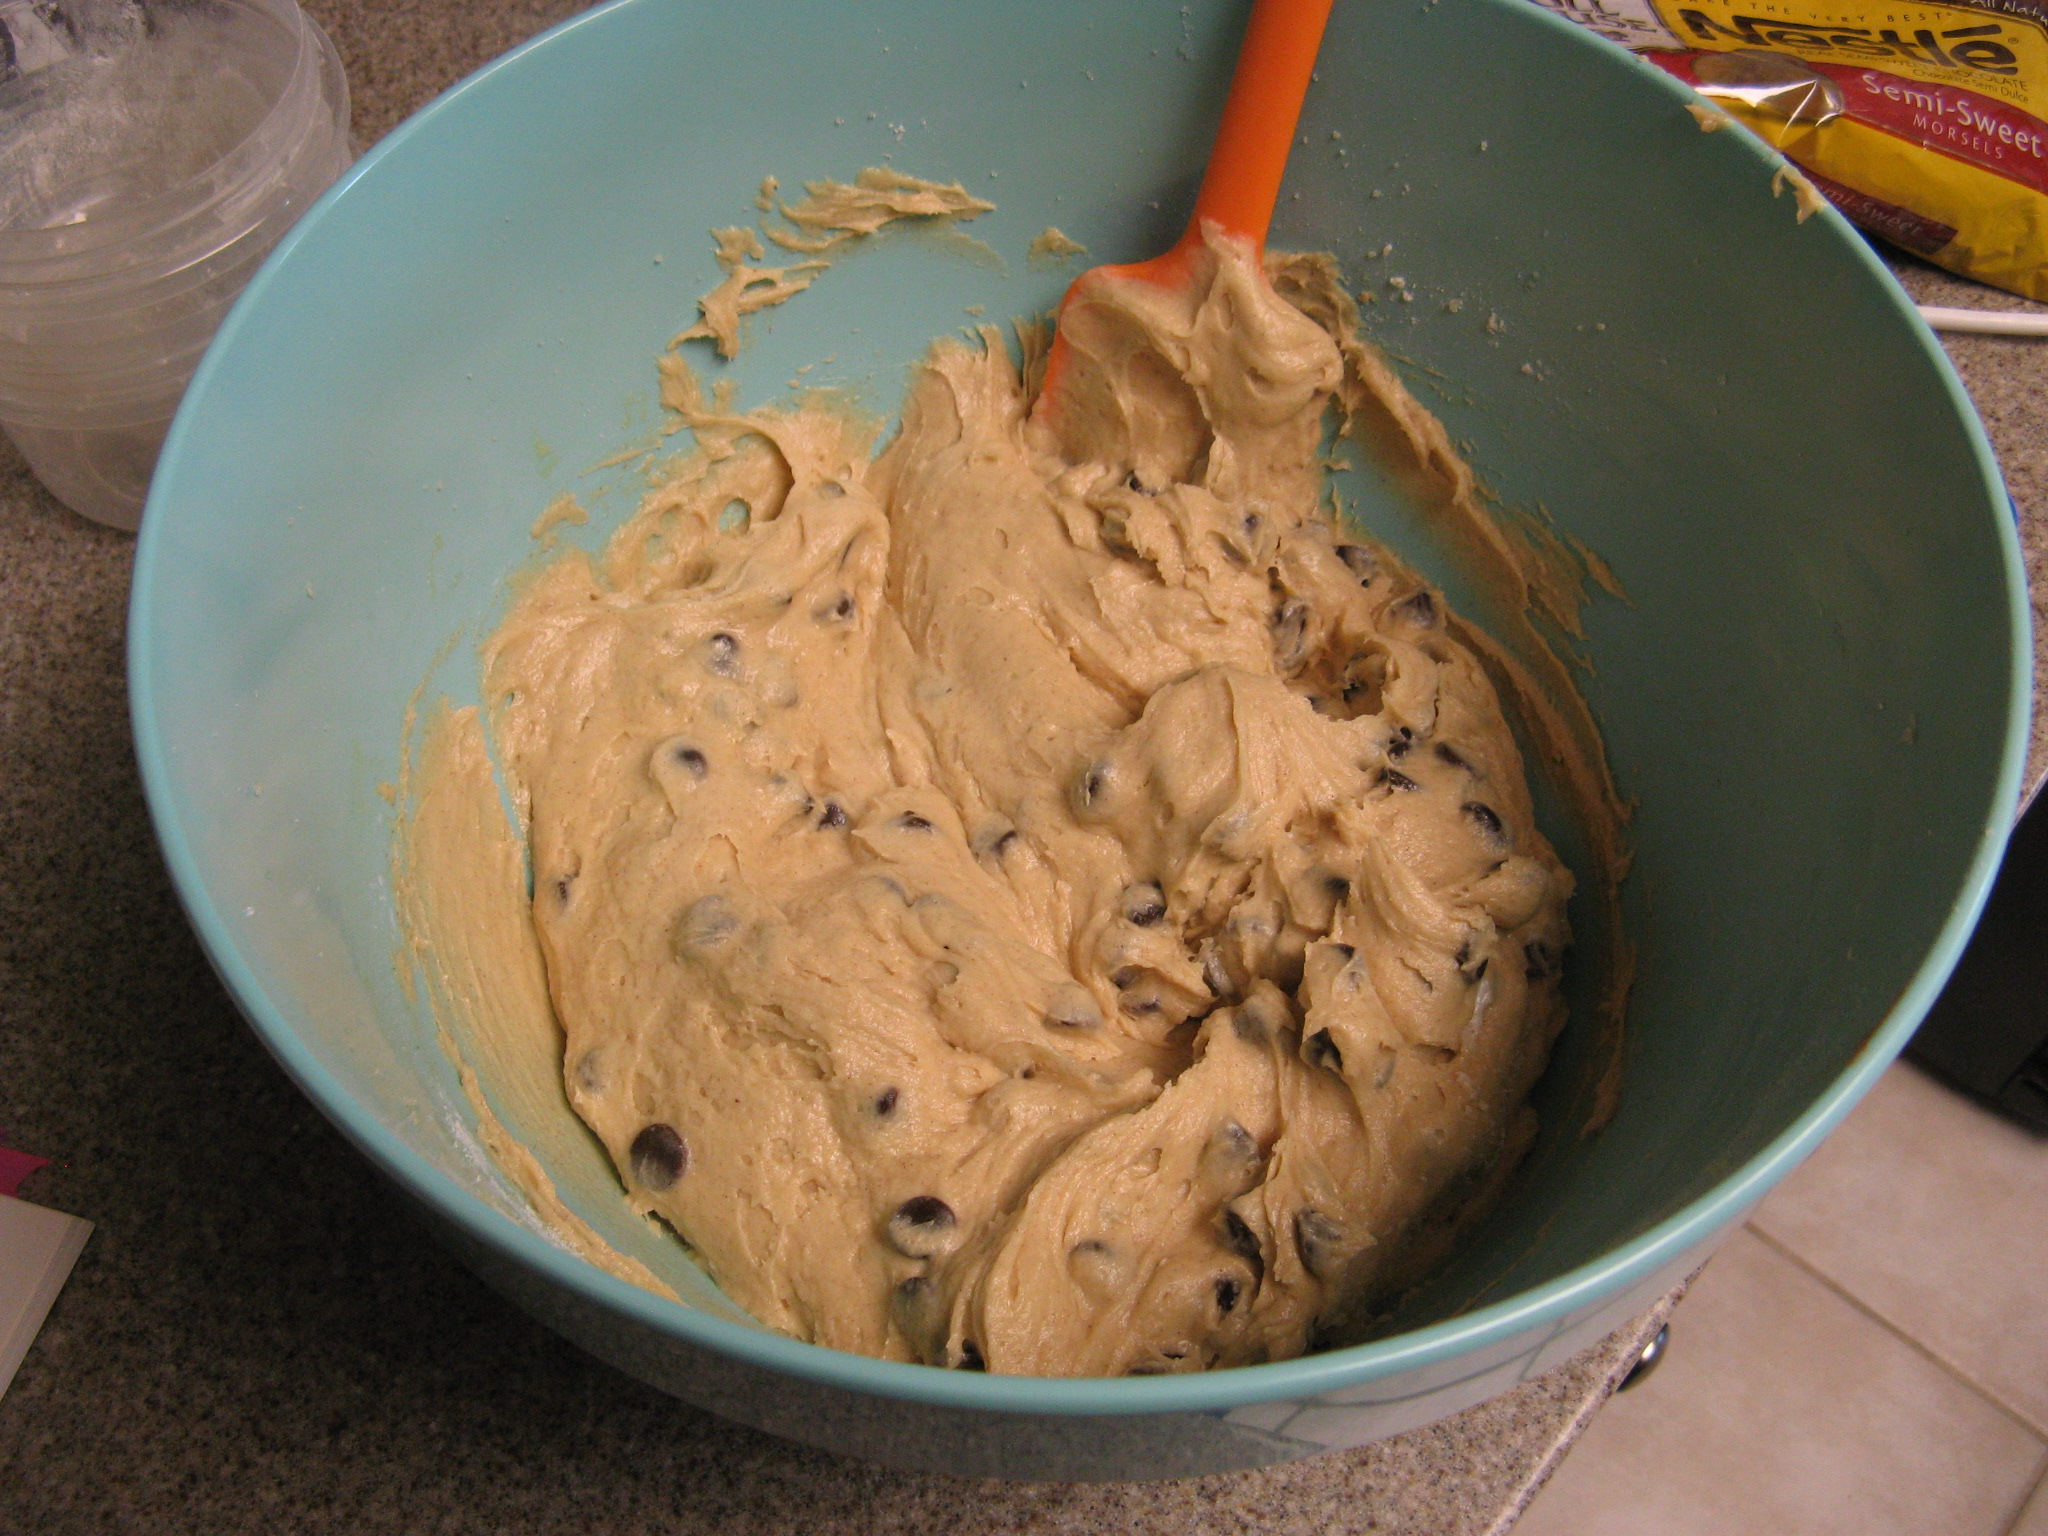
In a large bowl beat the butter, vanilla extract and the remaining sugar together with a hand mixer on high speed until pale and fluffy. Reduce the speed to medium and add the eggs one at a time, beating after each. Beat in the sour cream, baking powder, baking soda, salt and the remaining cinnamon. Scraping the sides of the bowl as needed. With the mixer on low, add in the flour until almost combined. Finally add in the chocolate chips and continue mixing on low until the batter is well combined.
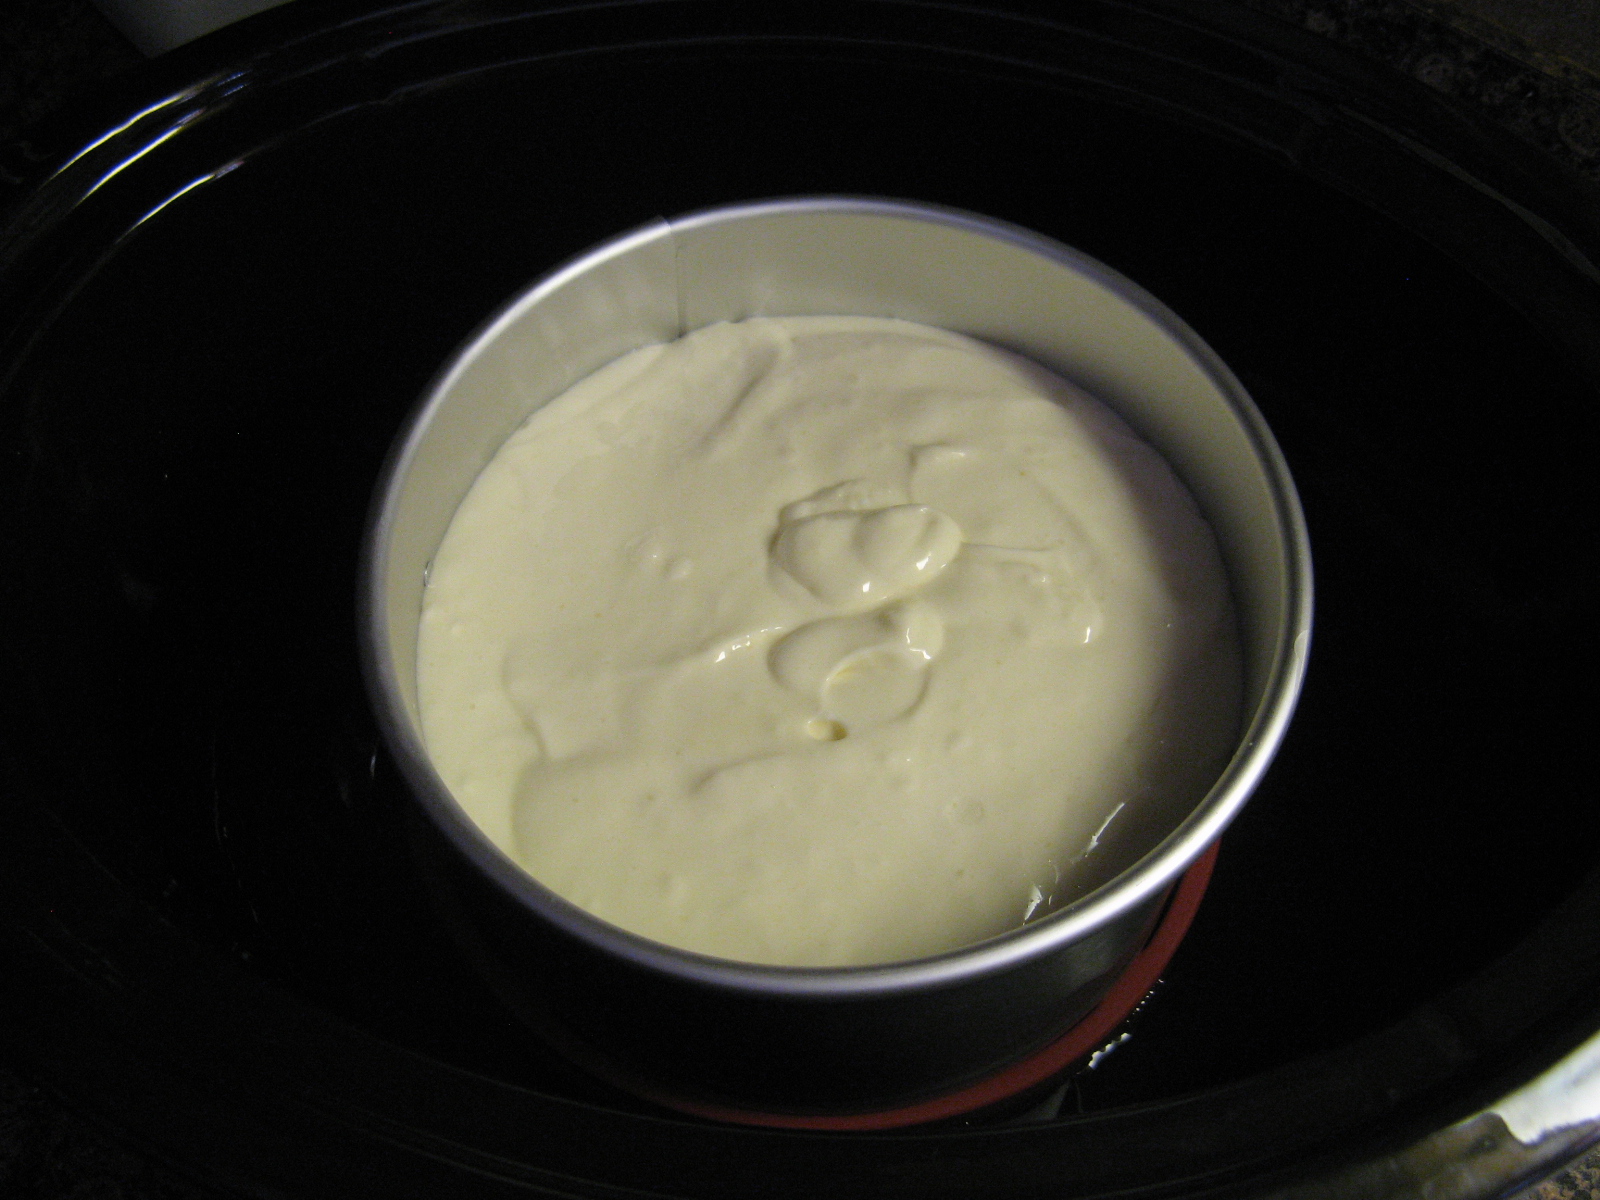
Transfer the batter to the prepared pan. Tap the pan on the counter a few times to release any air bubbles and then sprinkle the cinnamon sugar topping on top of the cake.
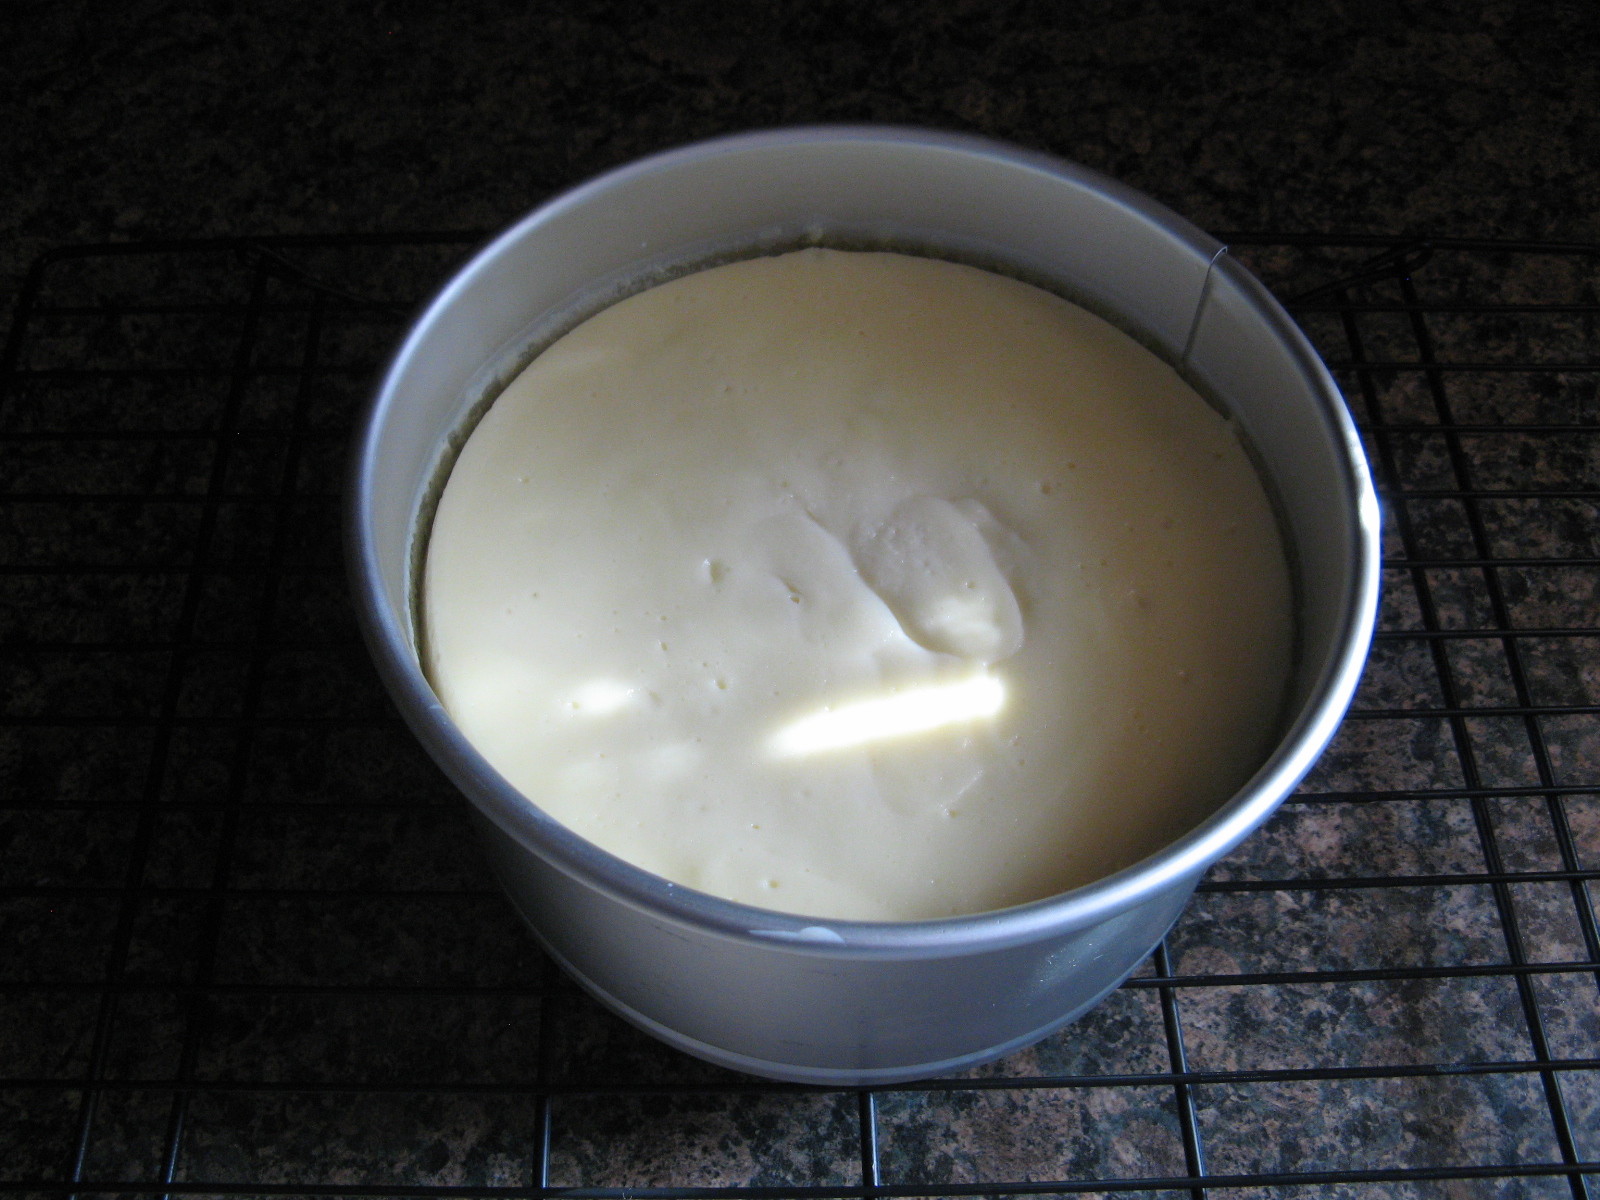
Bake in the preheated oven until a cake tester inserted in the center comes out clean, 70 – 75 minutes.
Allow the cake to cool in the pan on a wire rack for 30 minutes. Then using the overhang lift the cake out of the pan and place on the wire rack to cool completely. Remove the foil and serve or wrap tightly in plastic wrap and leave at room temperature until ready to serve. For best flavor, let the cake sit for 1 day before serving.
Recipe from Elizabeth Alston’s Best Baking