Pretzel Monkey Muffins

I always come across recipes for pretzels that sound amazing and I am tempted to make them, but it never happens. I attempted to make pretzels from scratch once years ago (before I even started blogging) and I must have been scarred by the experience because since then I haven’t tried again. Those pretzels were a complete fail so subconsciously I must be holding on to that. Recently though while scrolling through Instagram I came across a video from Food Network that used refrigerated biscuit dough to make Pretzel Monkey Muffins and I knew I had to try them.

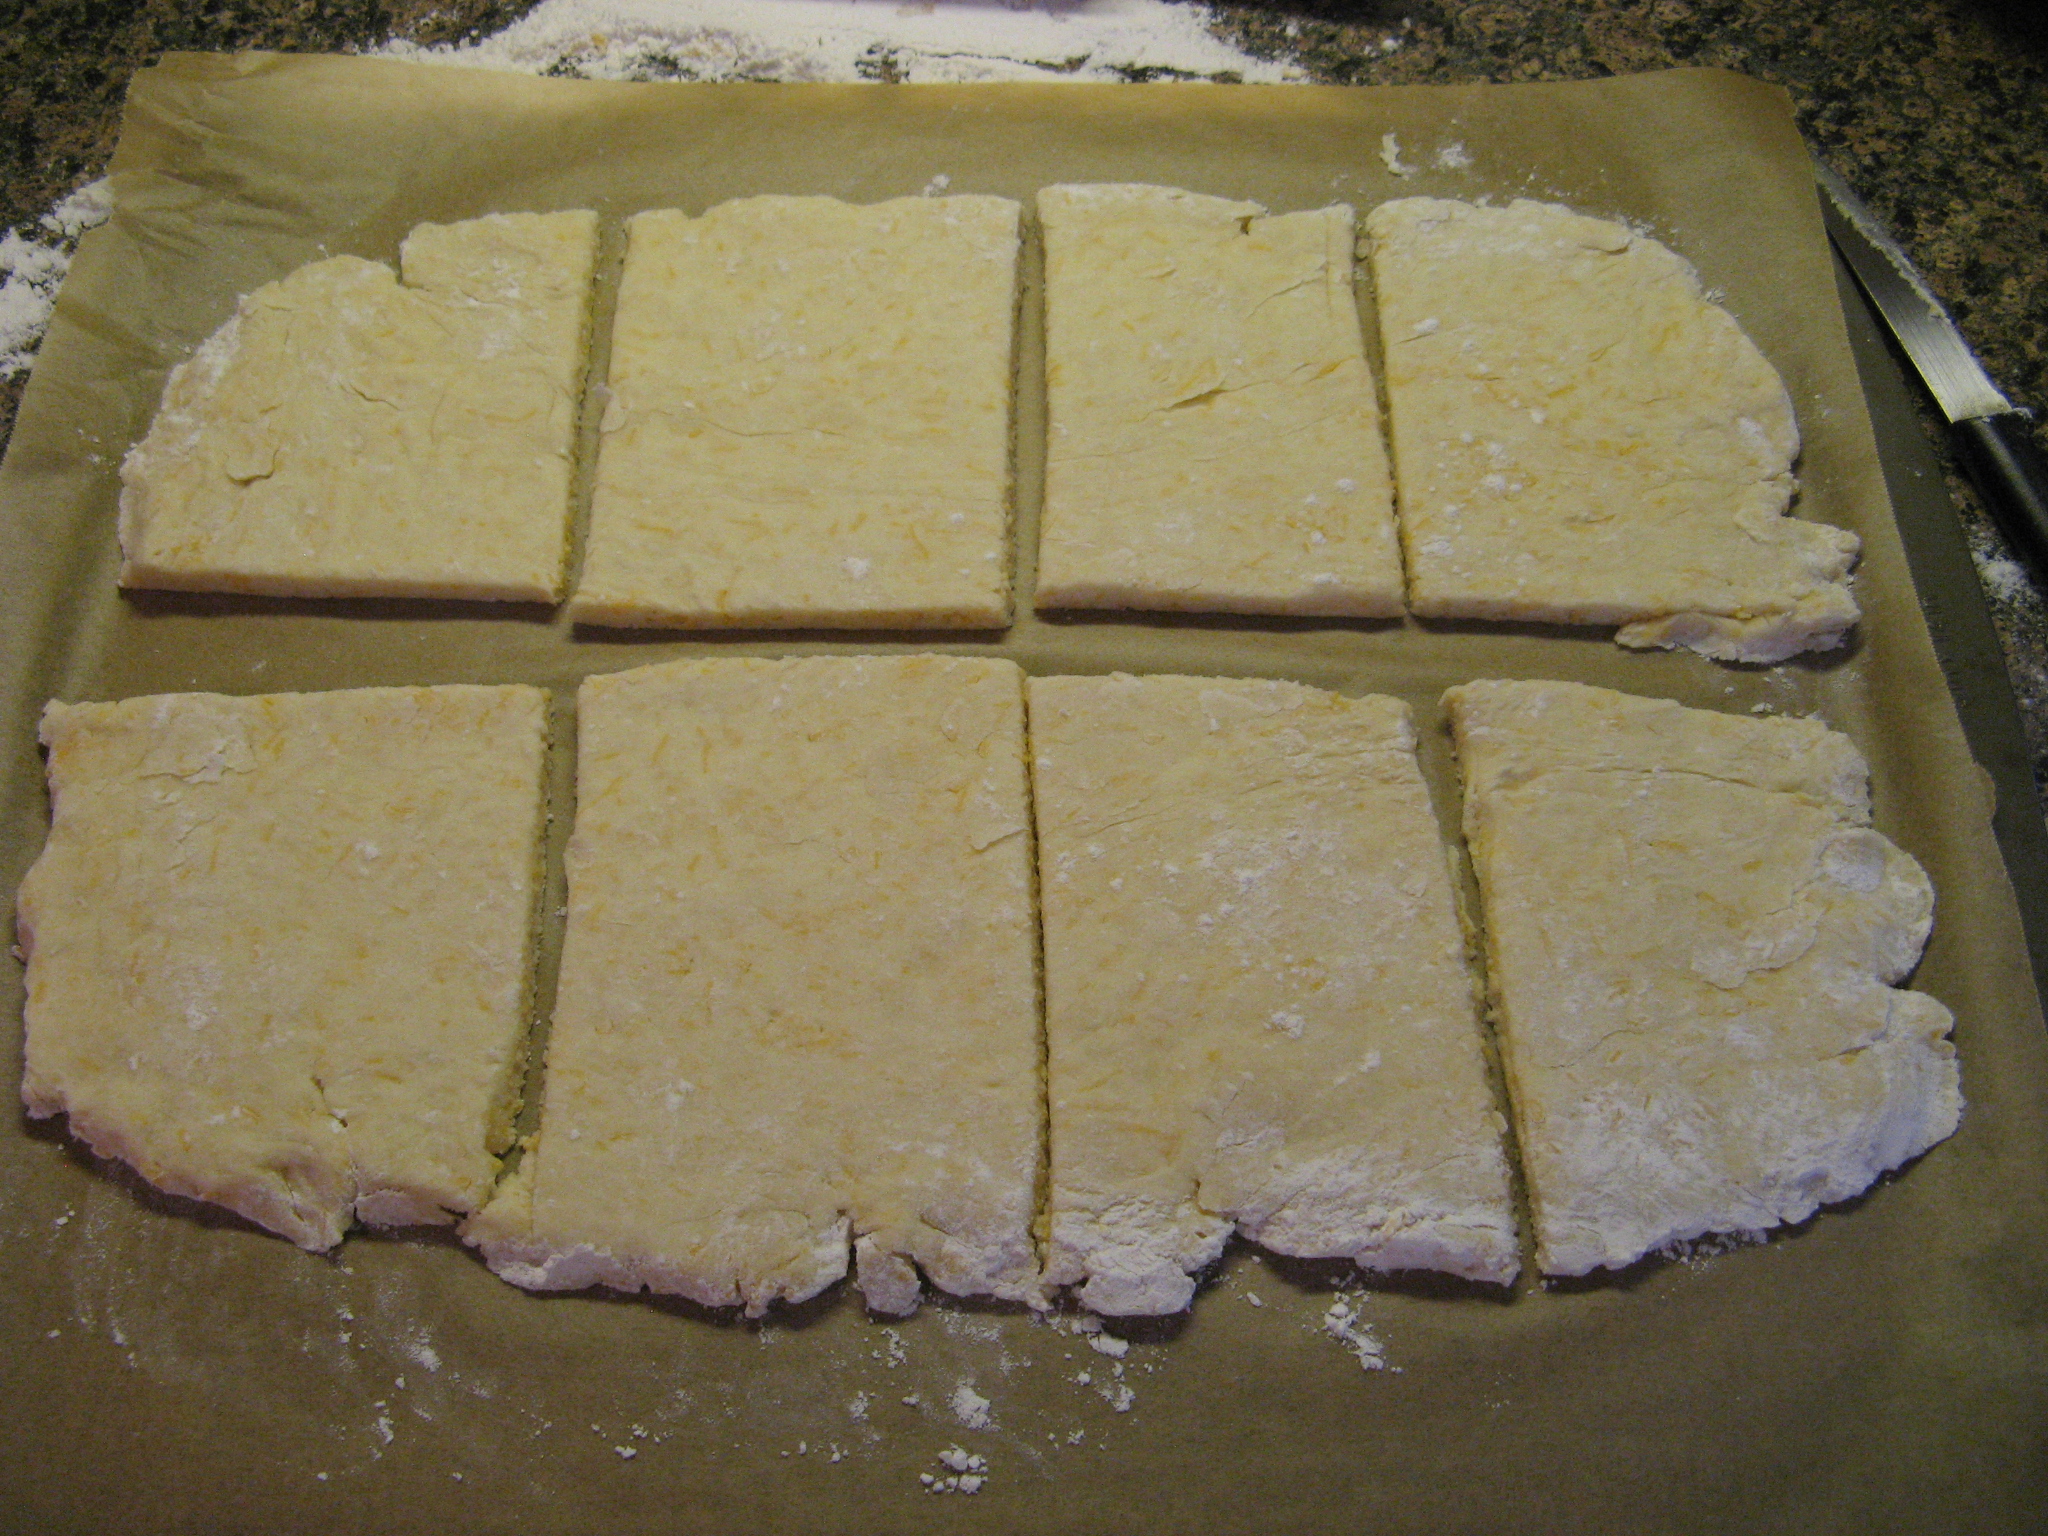
After separating the biscuits, I cut them into quarters…

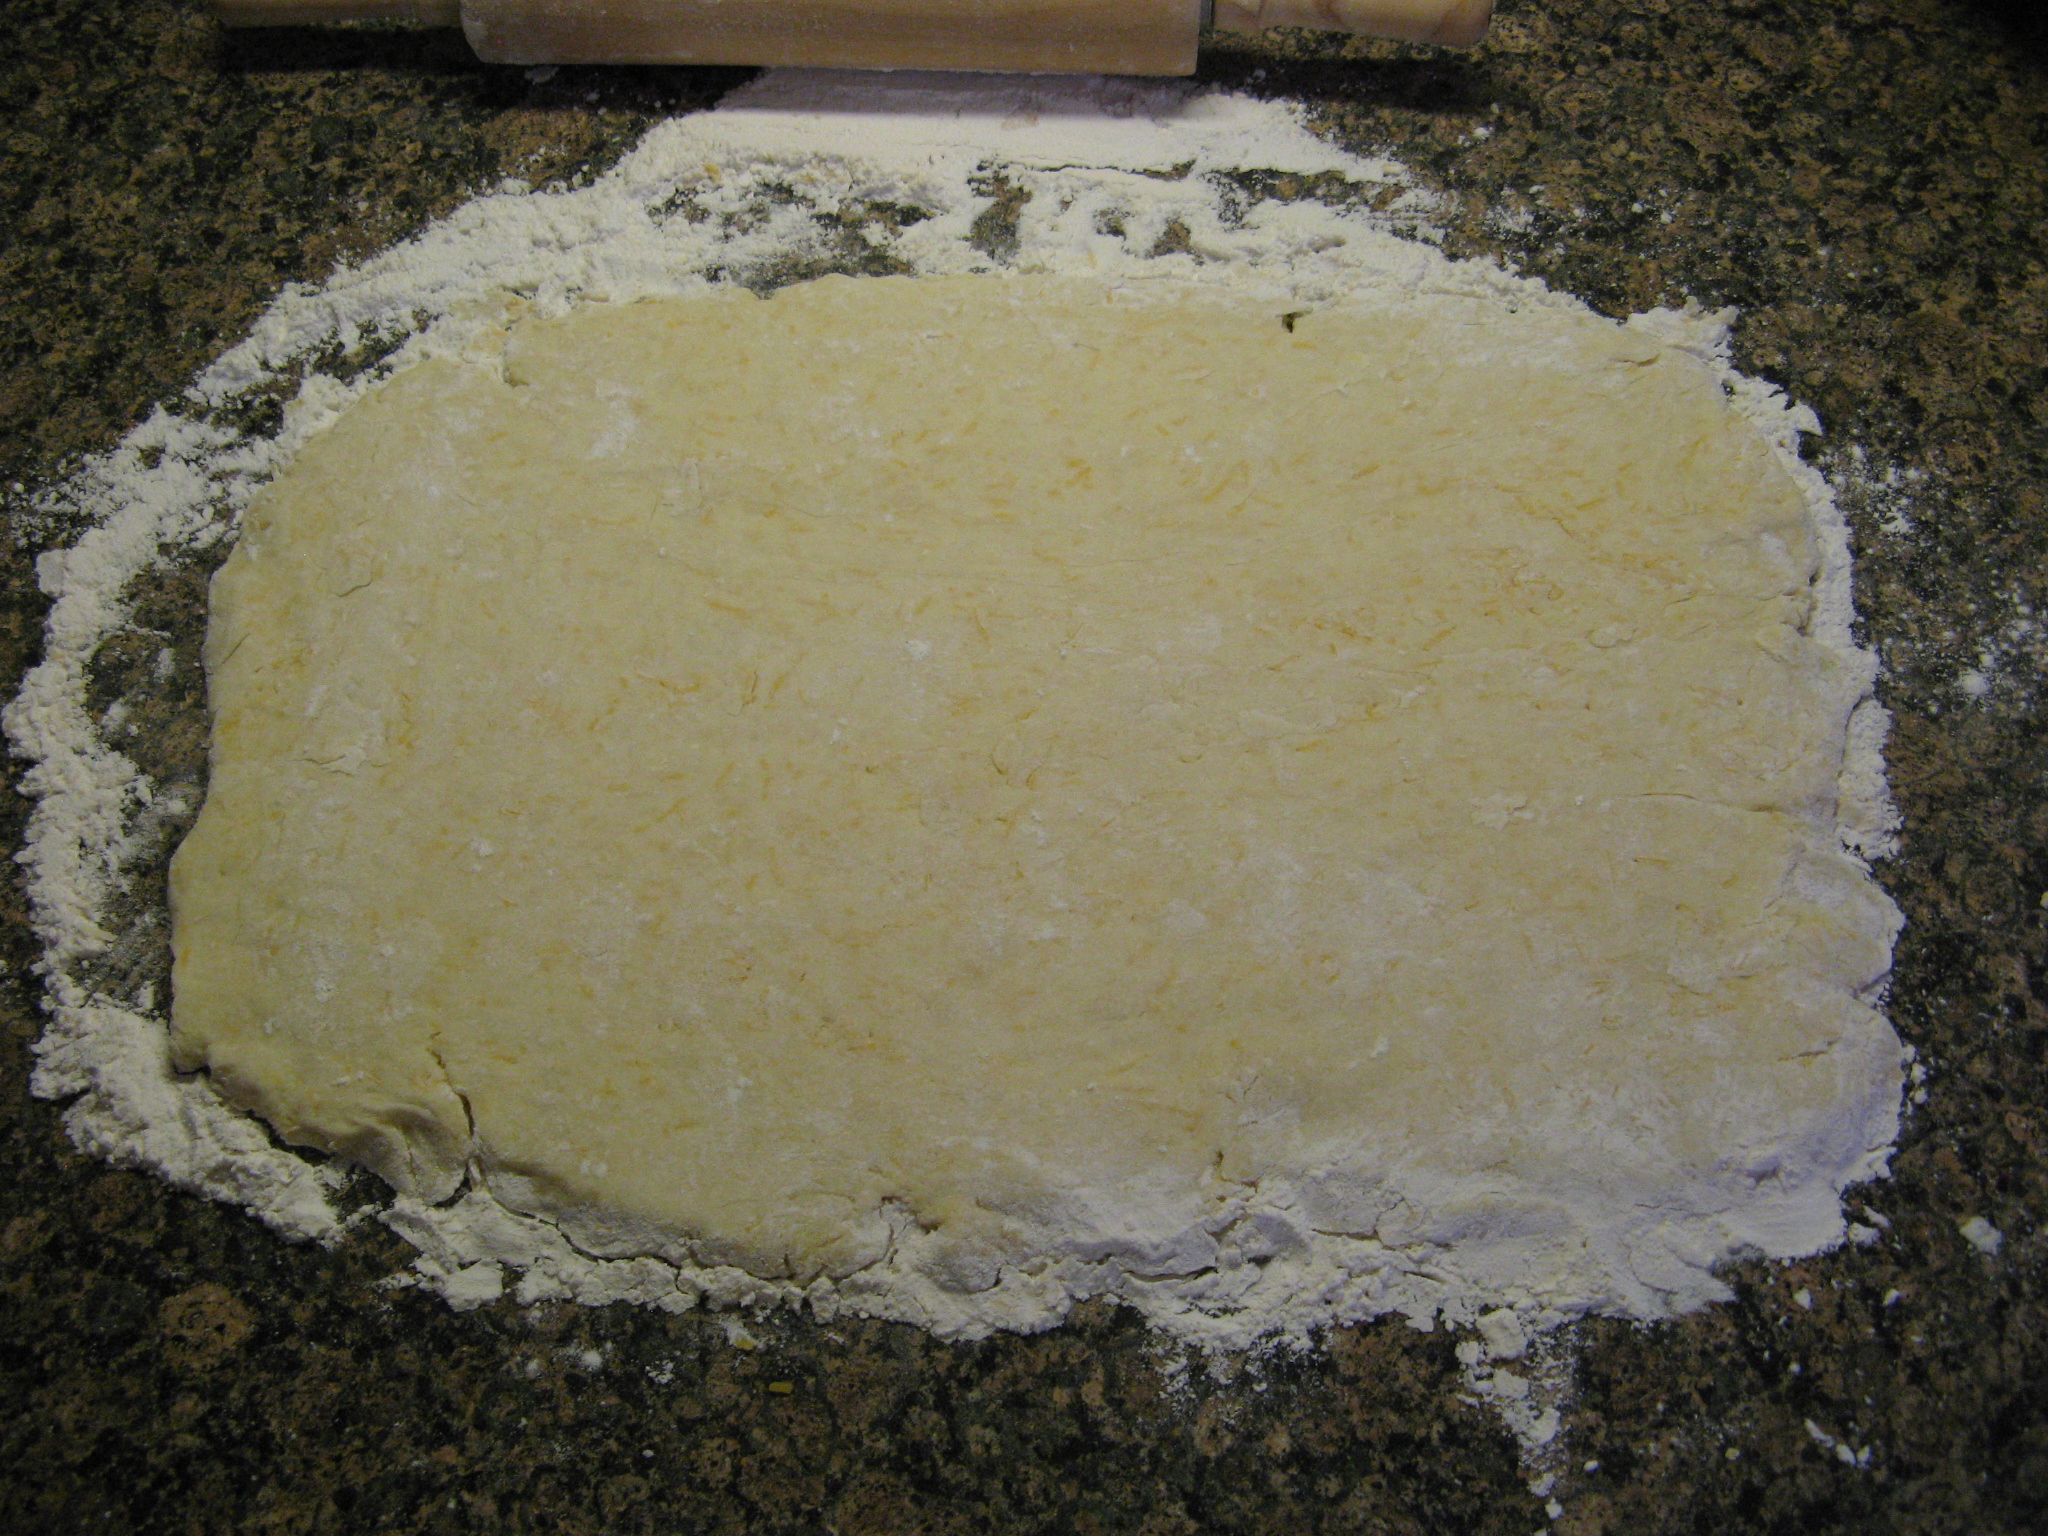
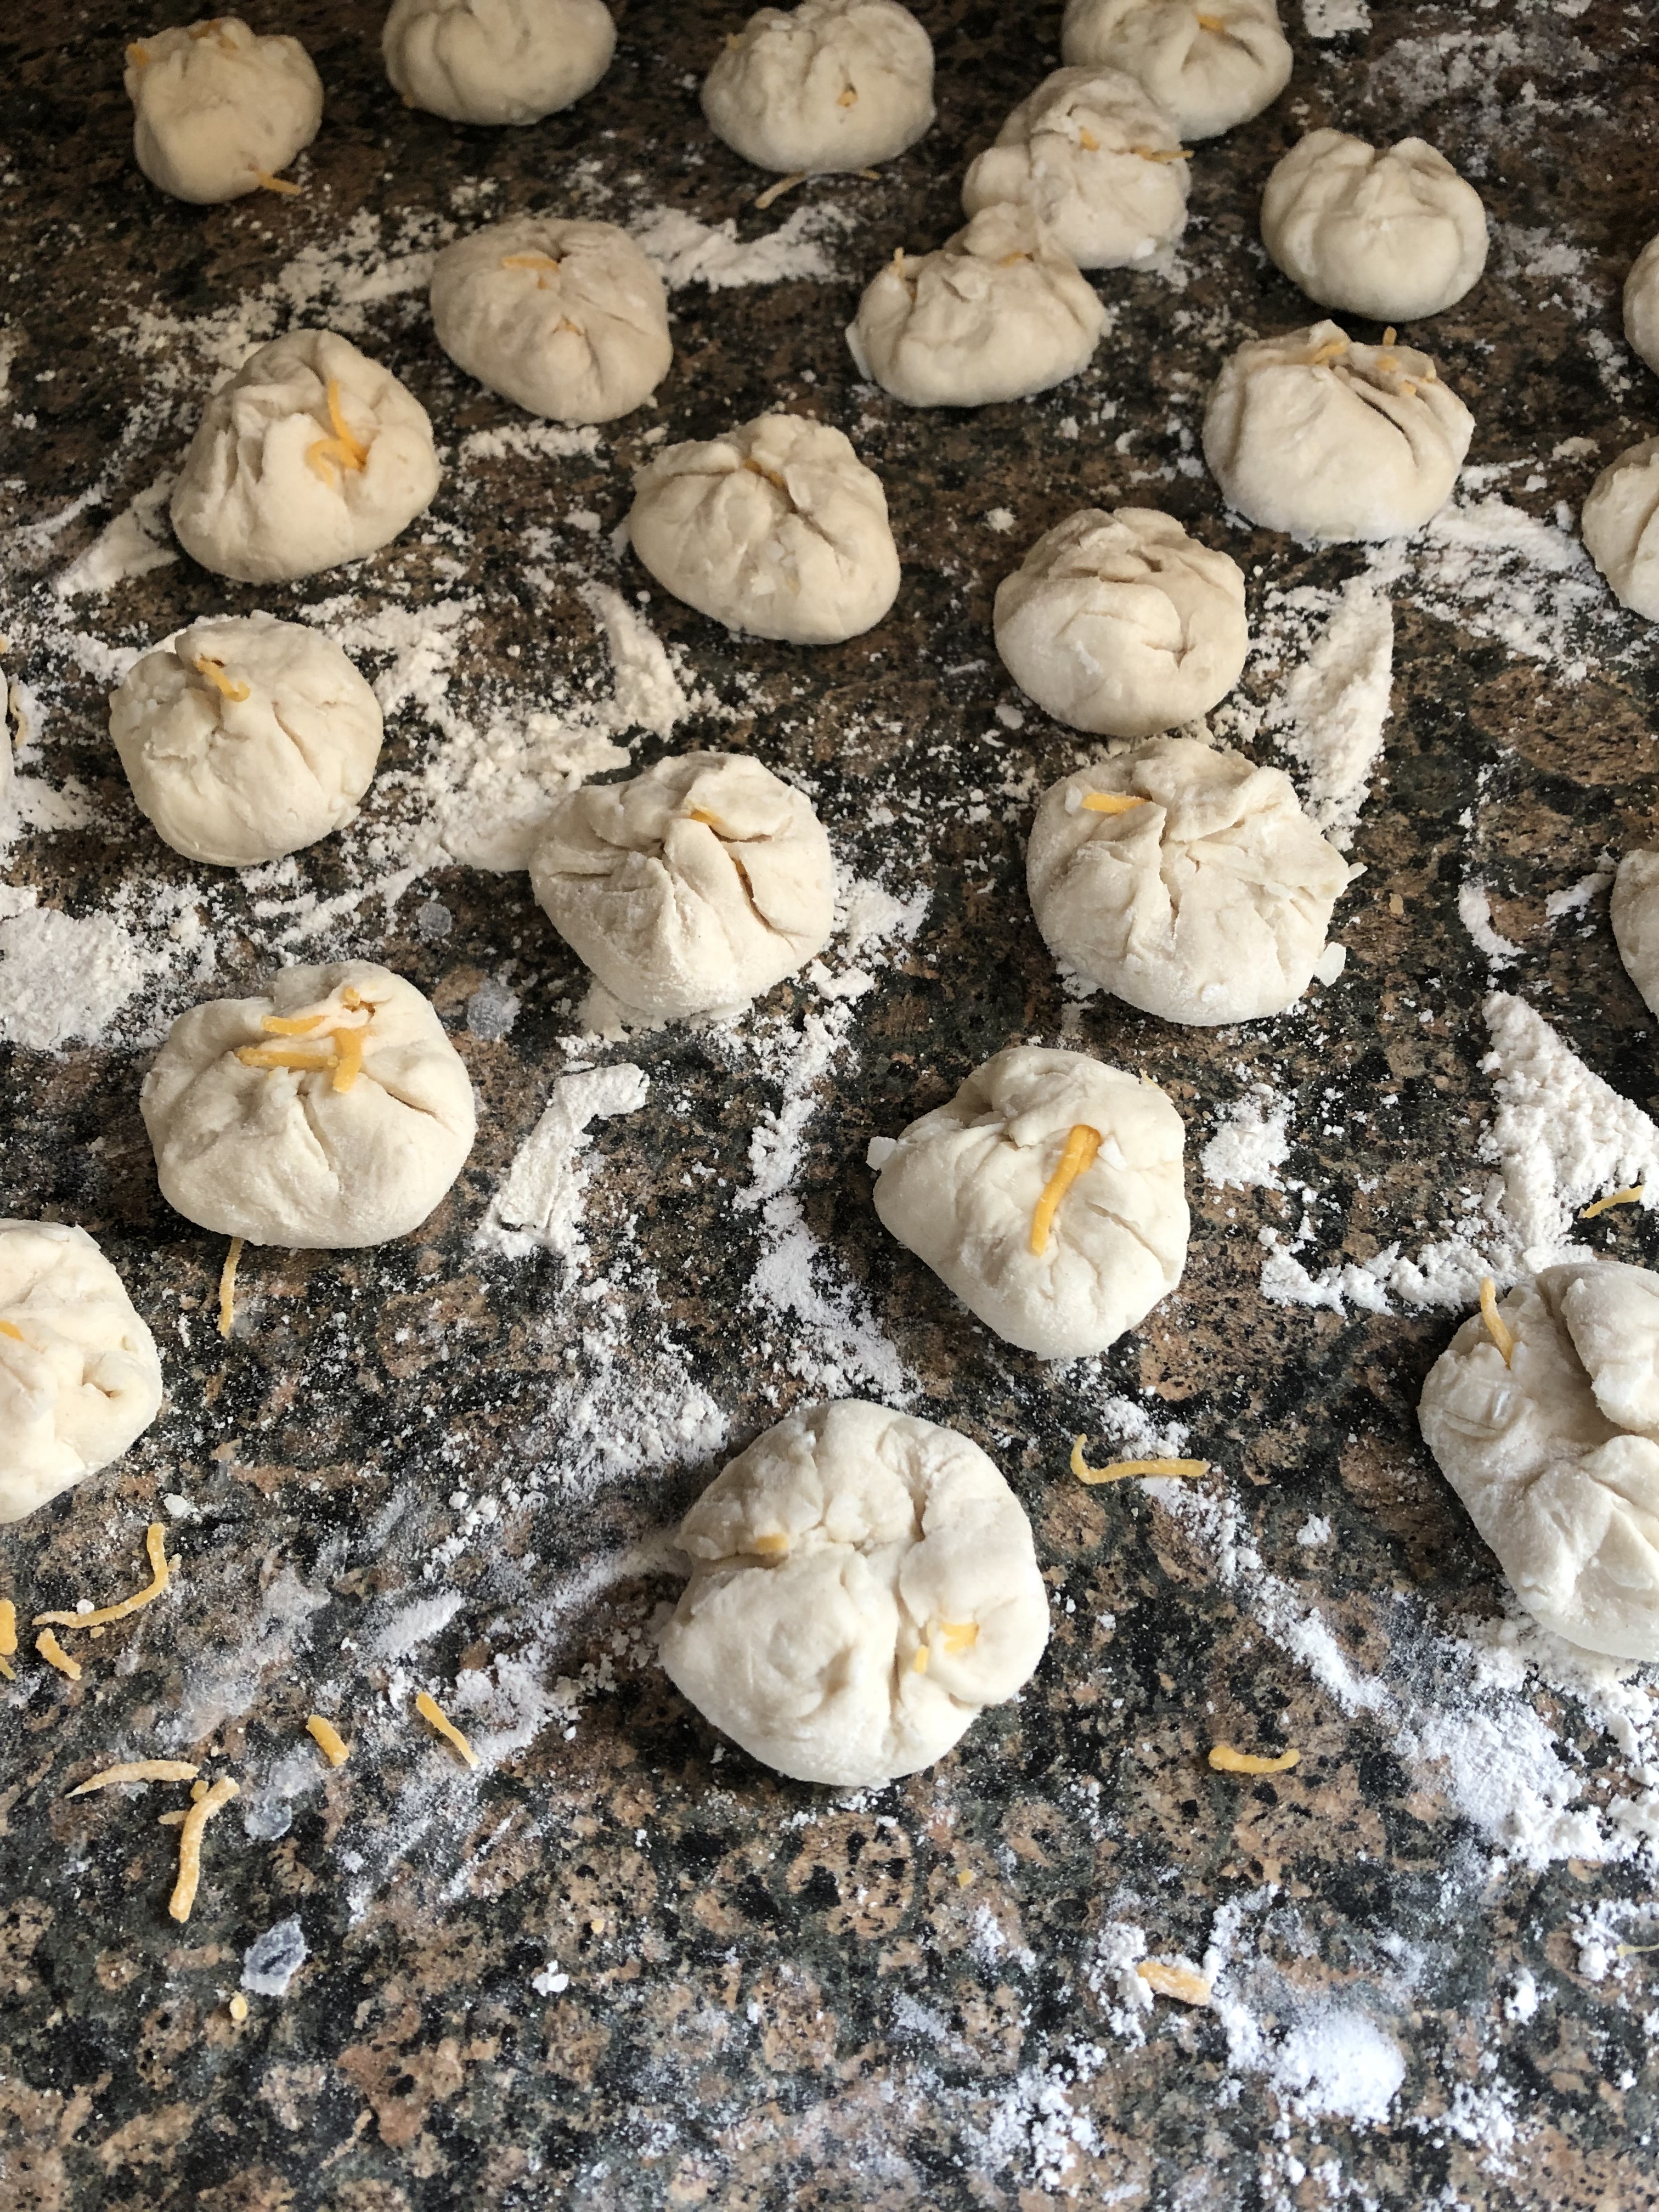
And then on a lightly floured surface I rolled each piece of dough with a rolling pin to flatten.

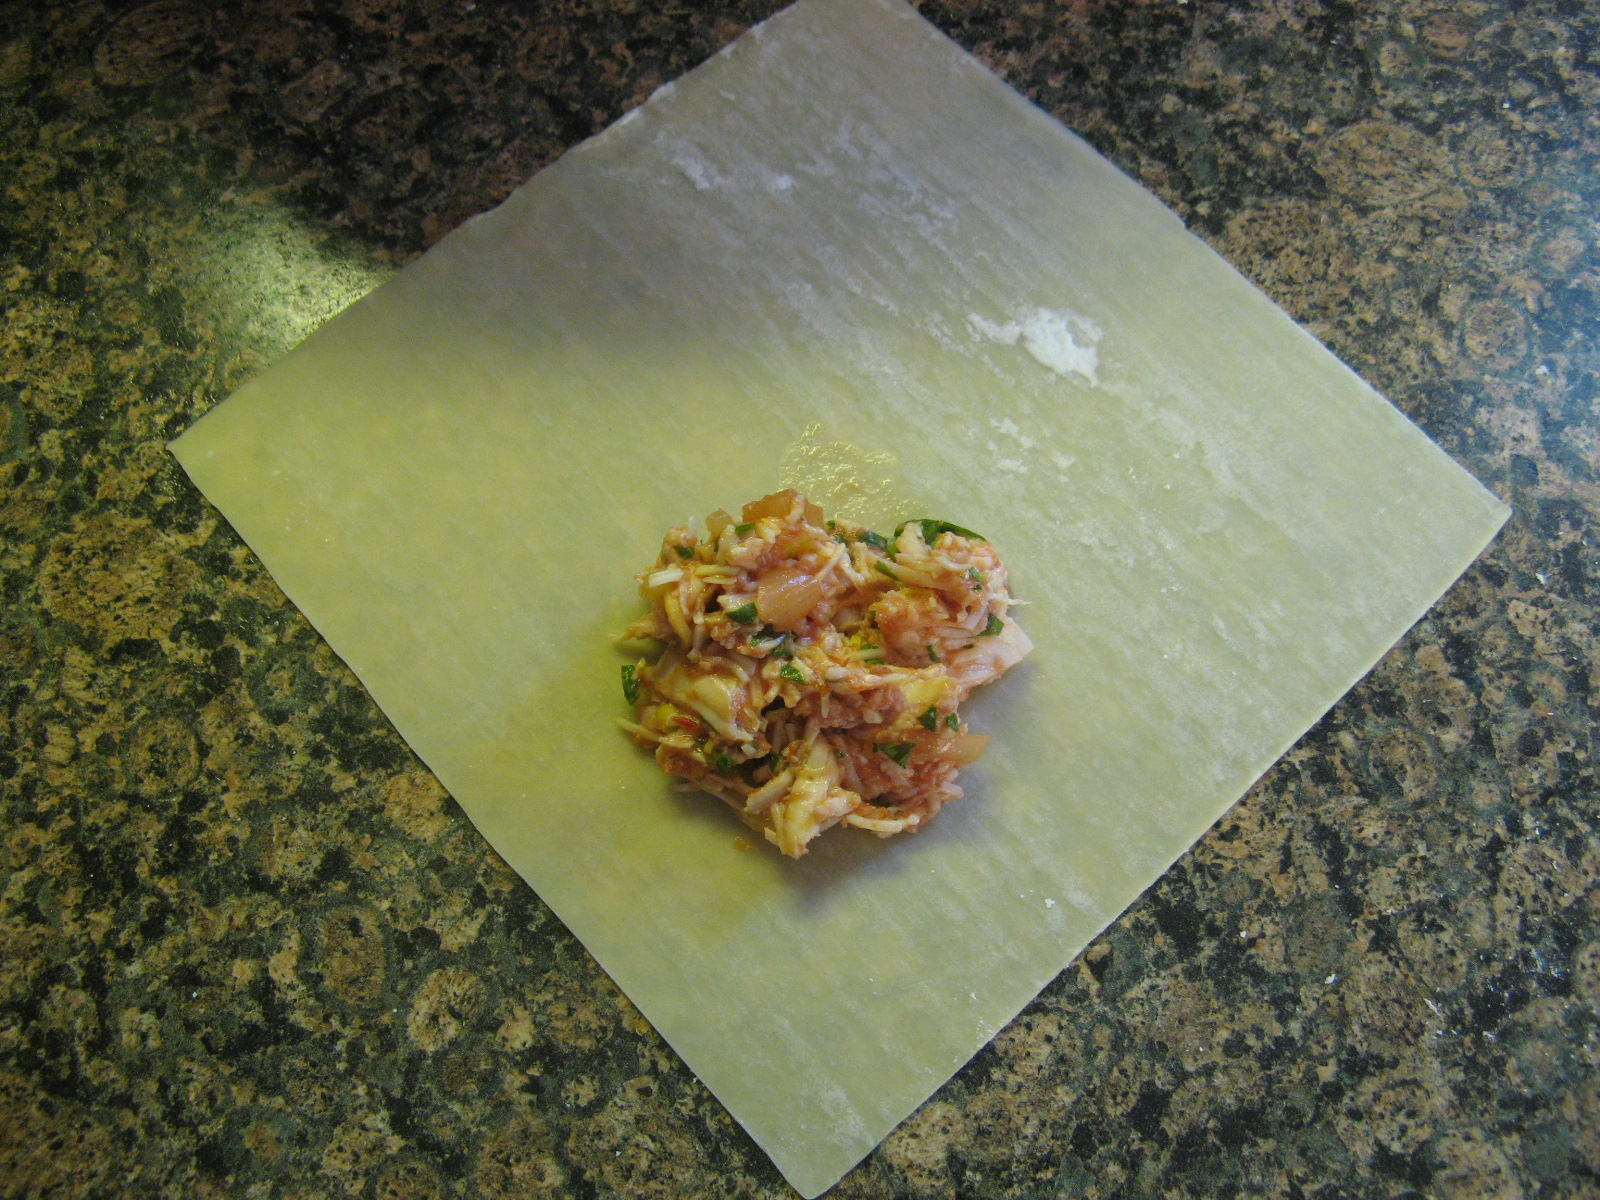
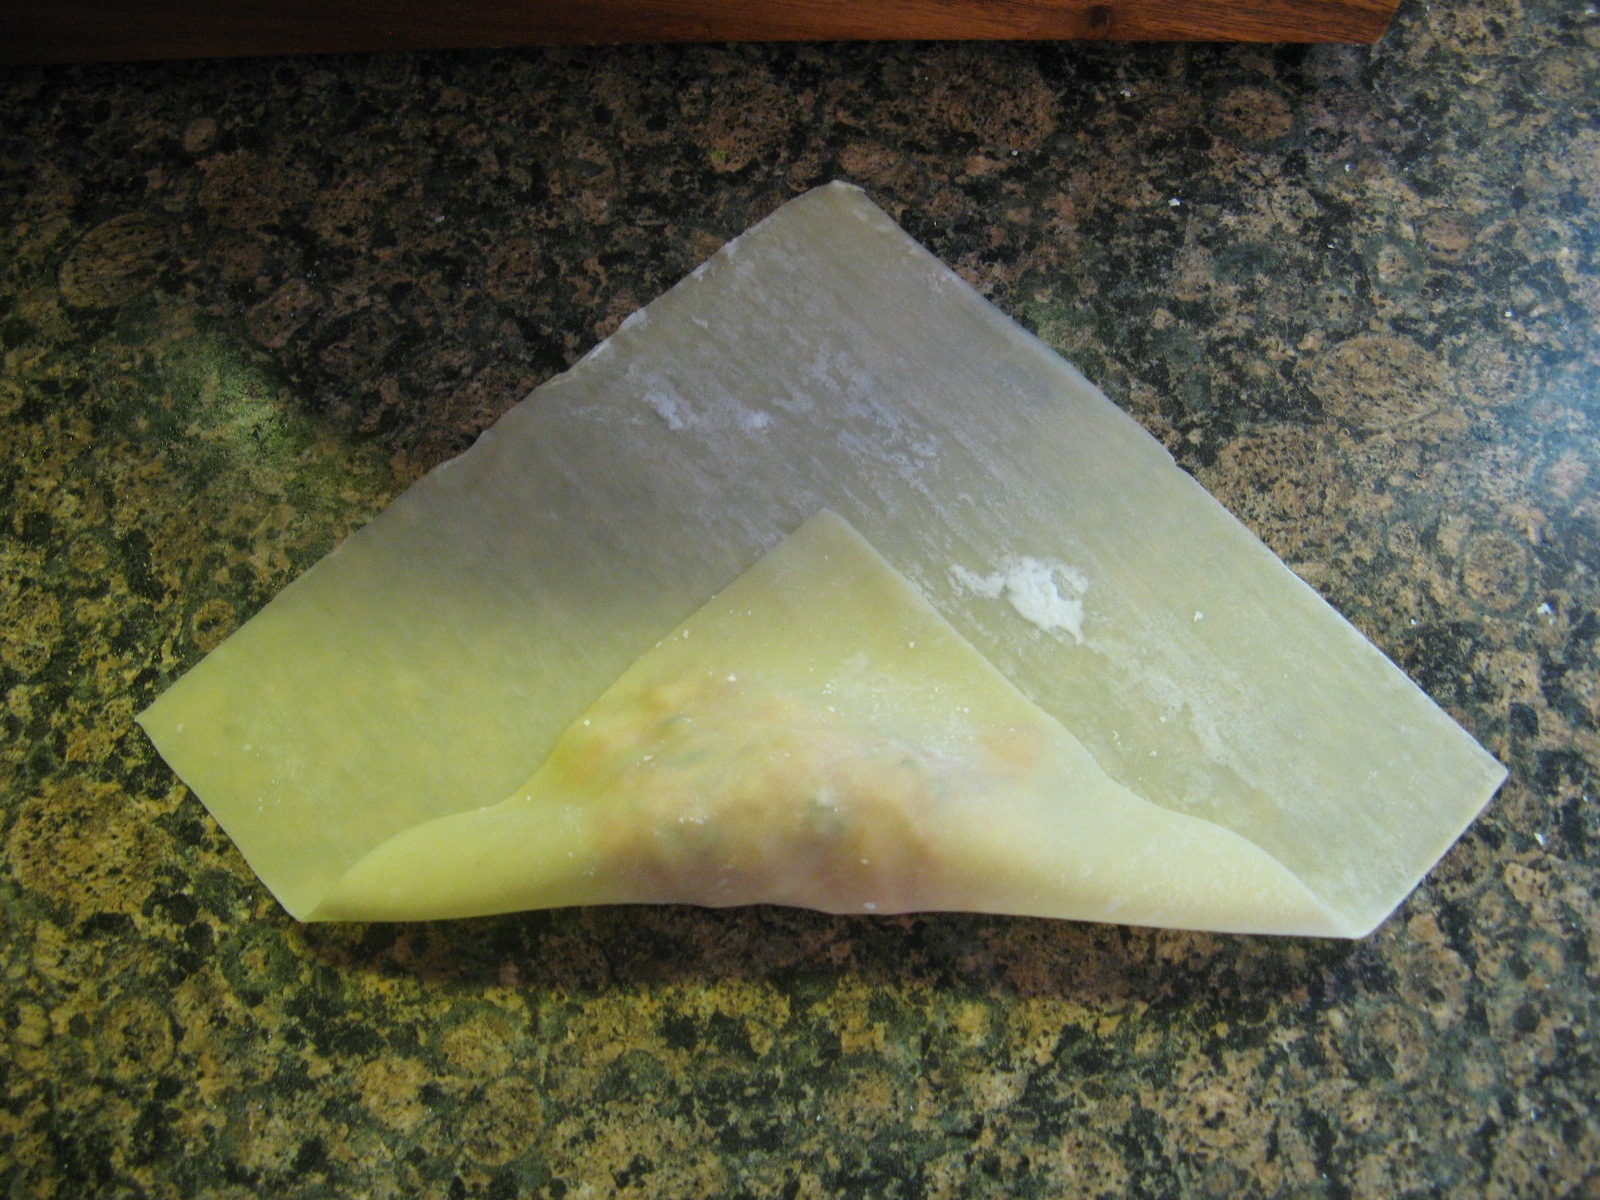
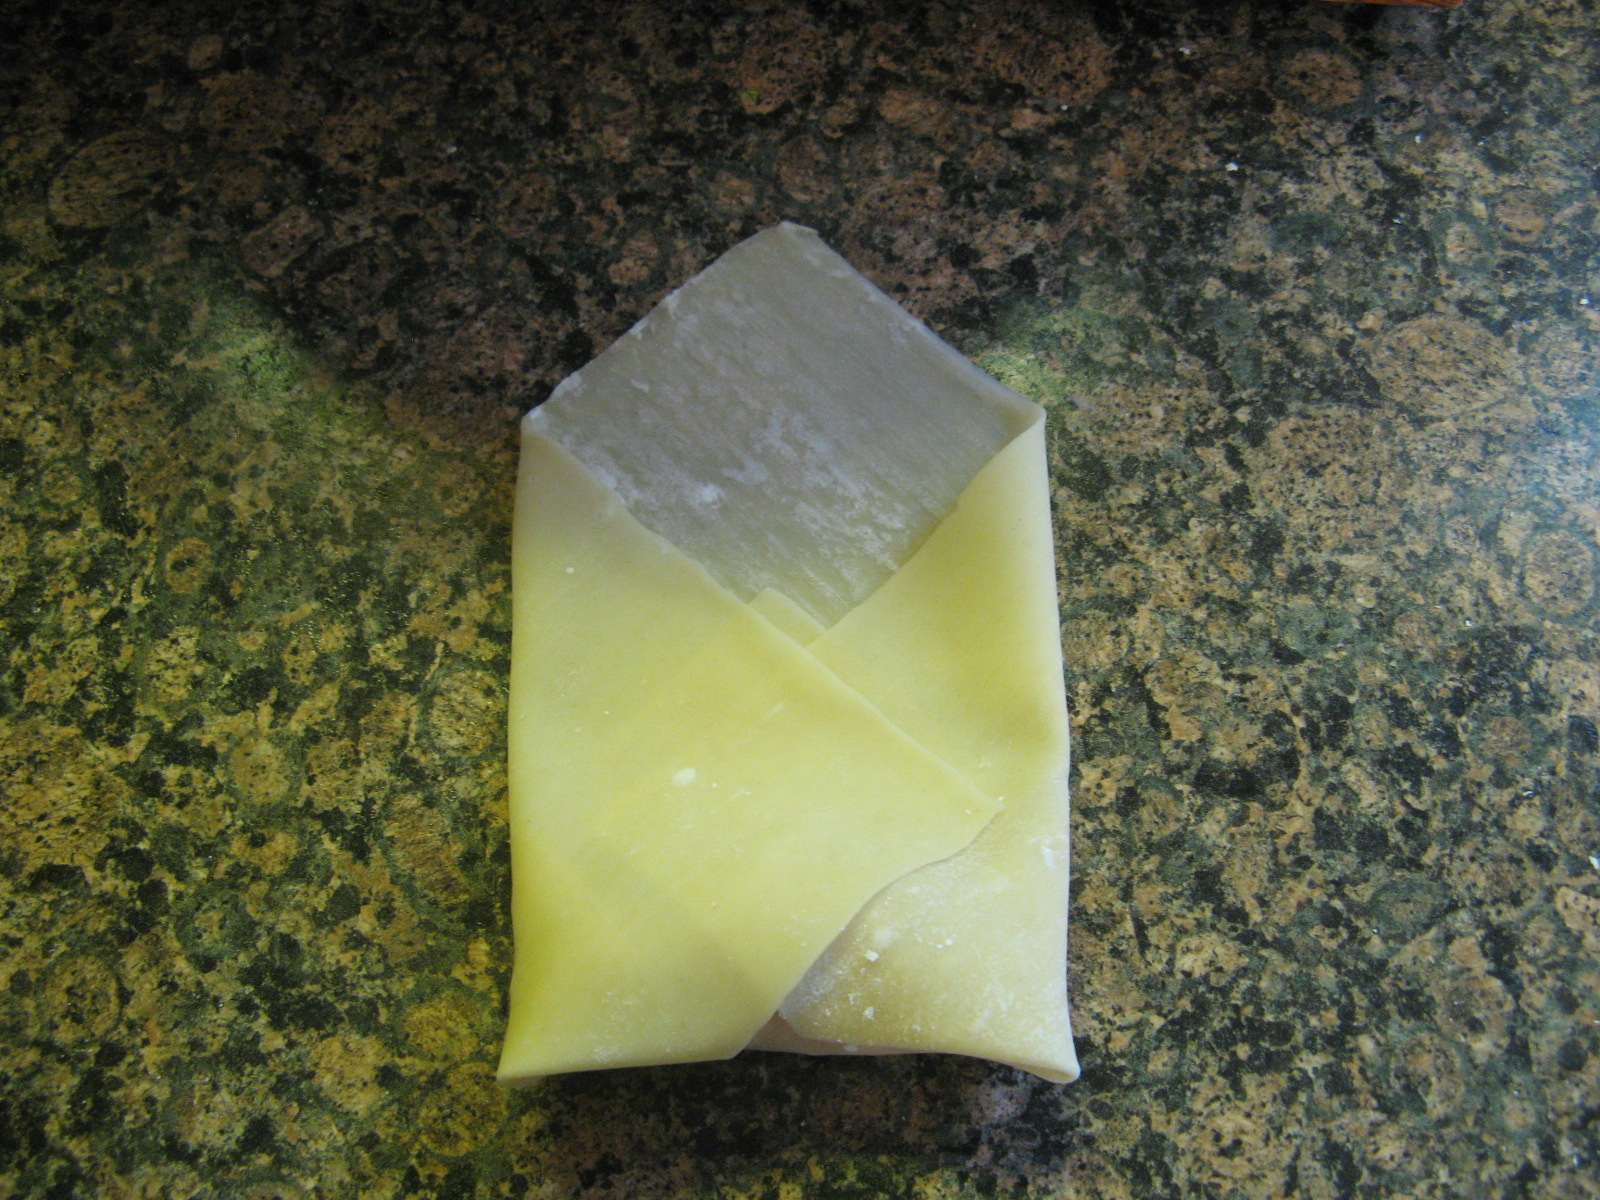
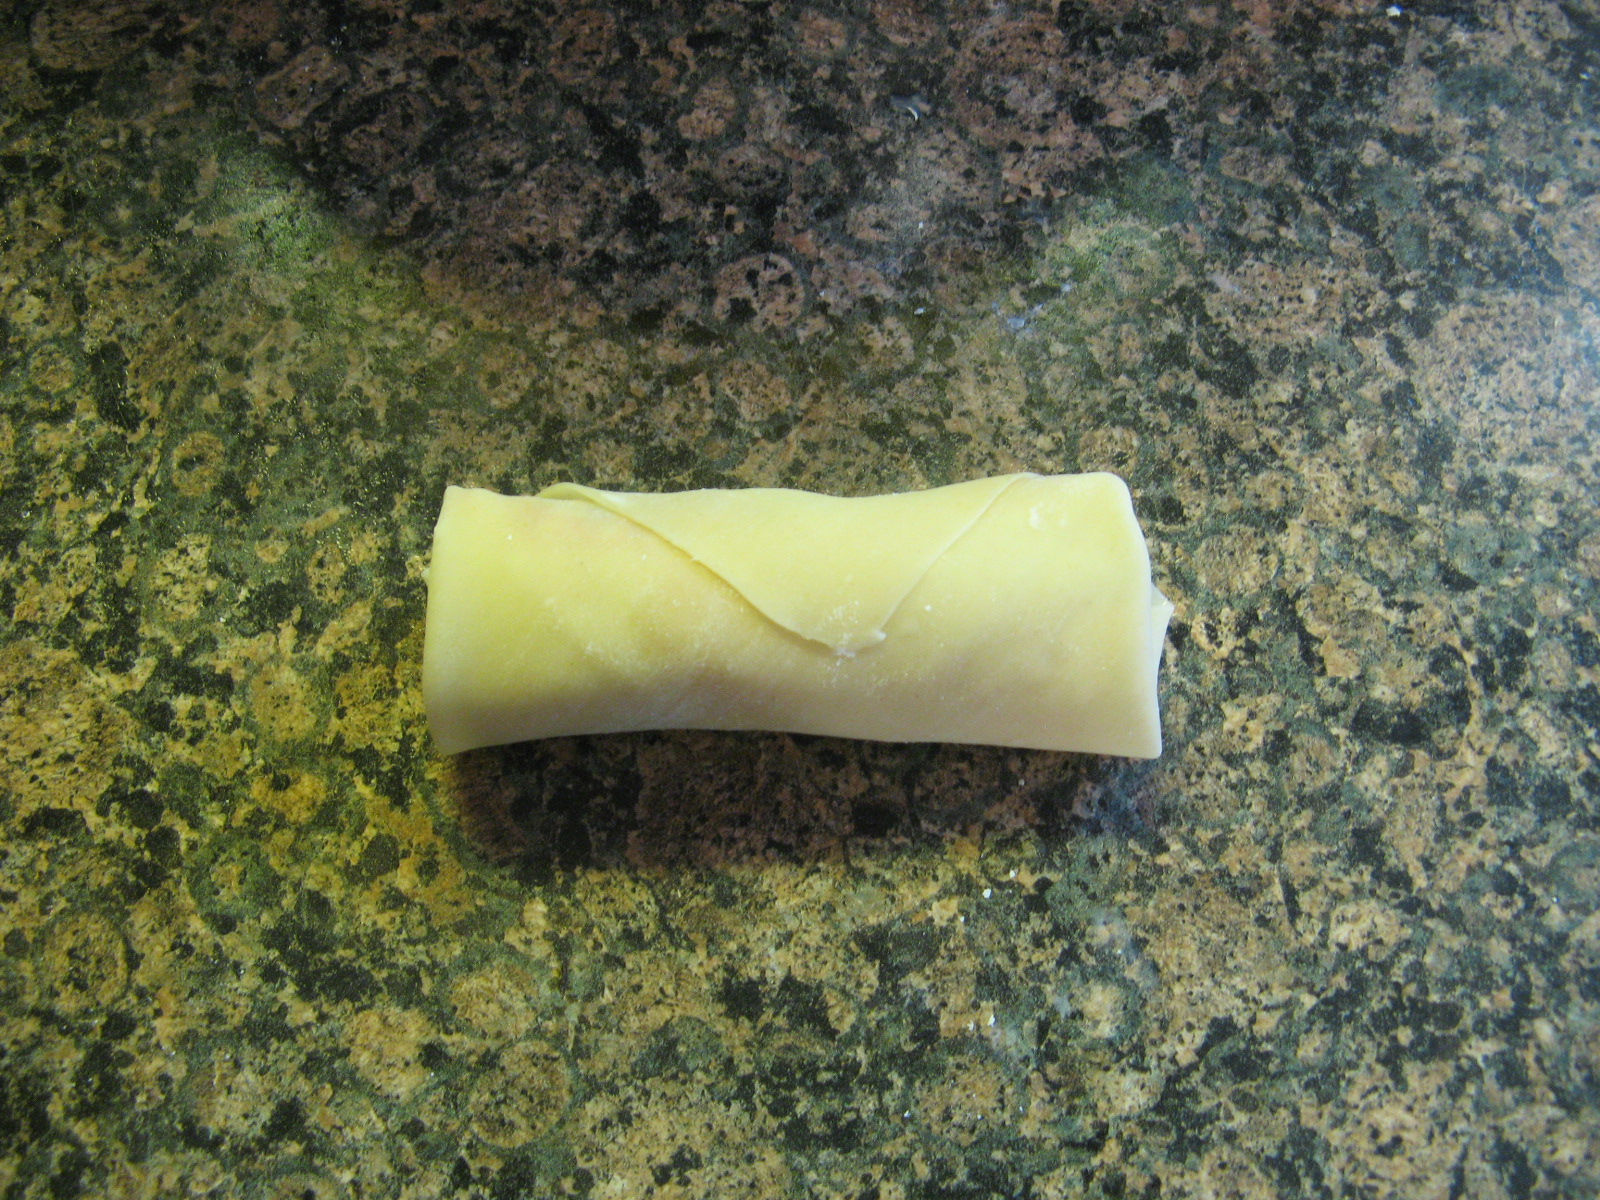
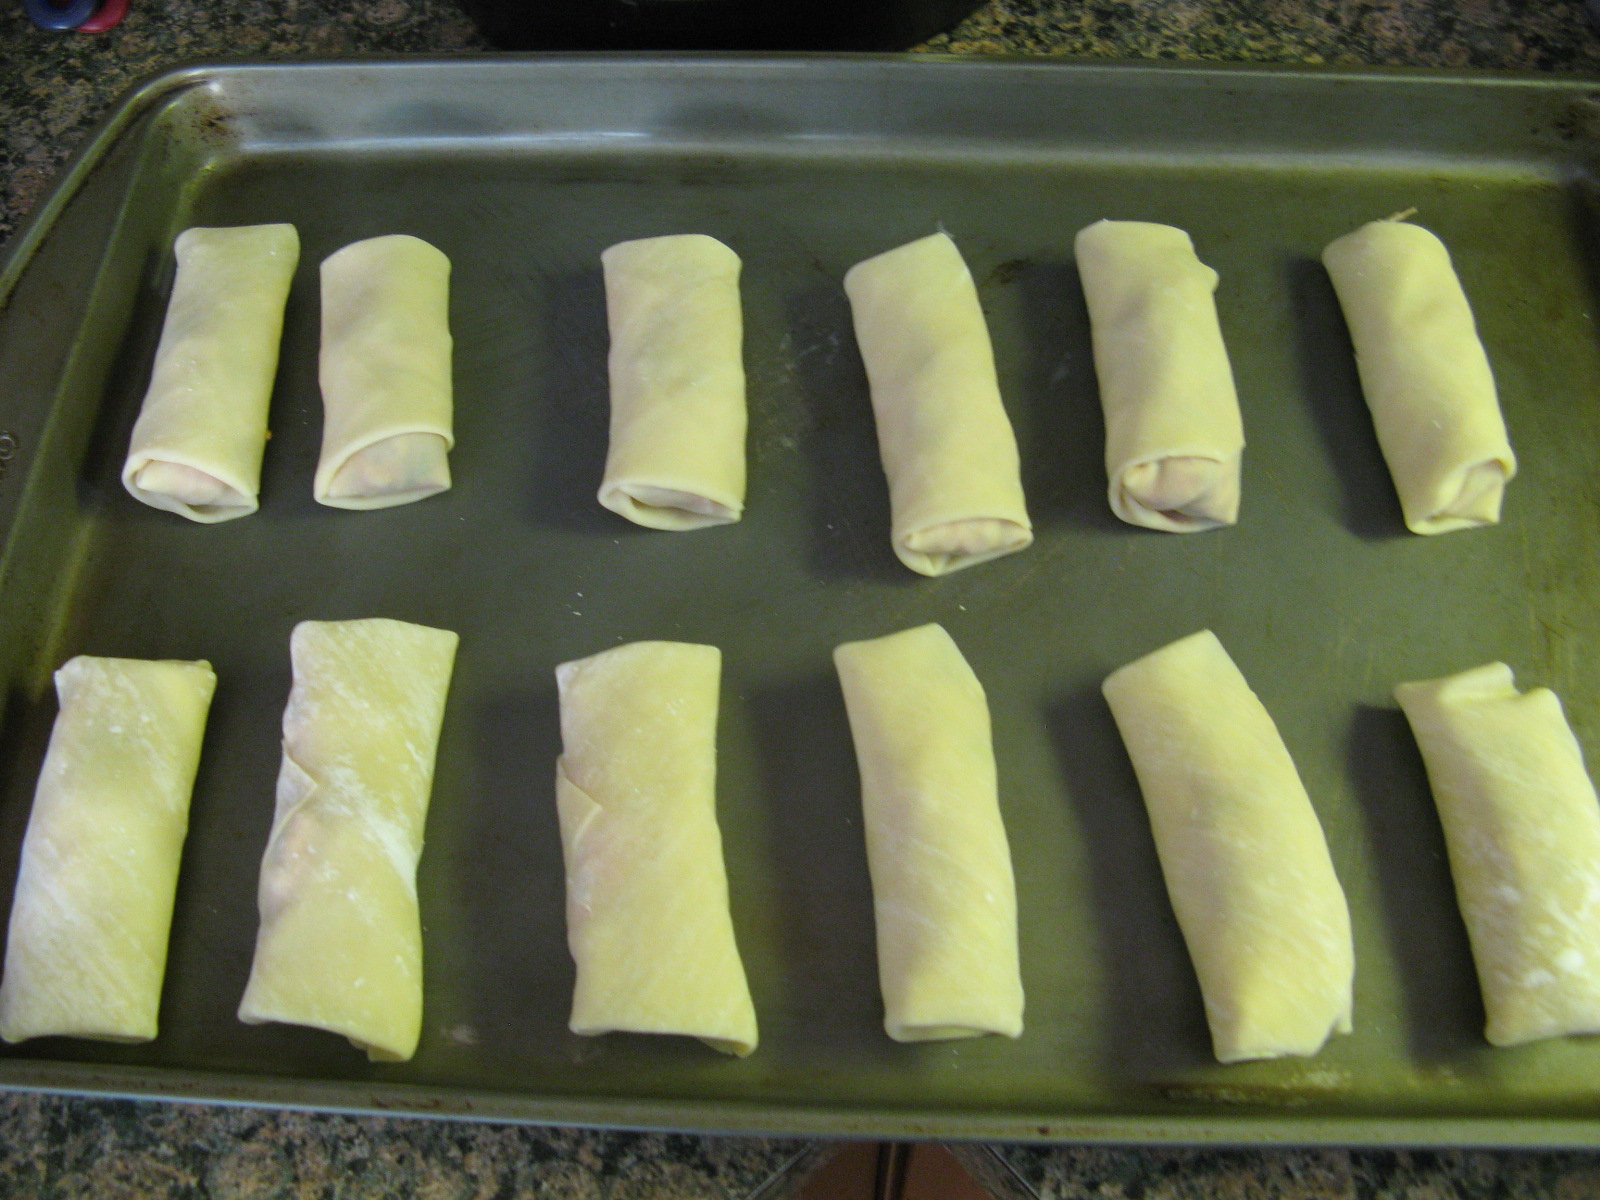
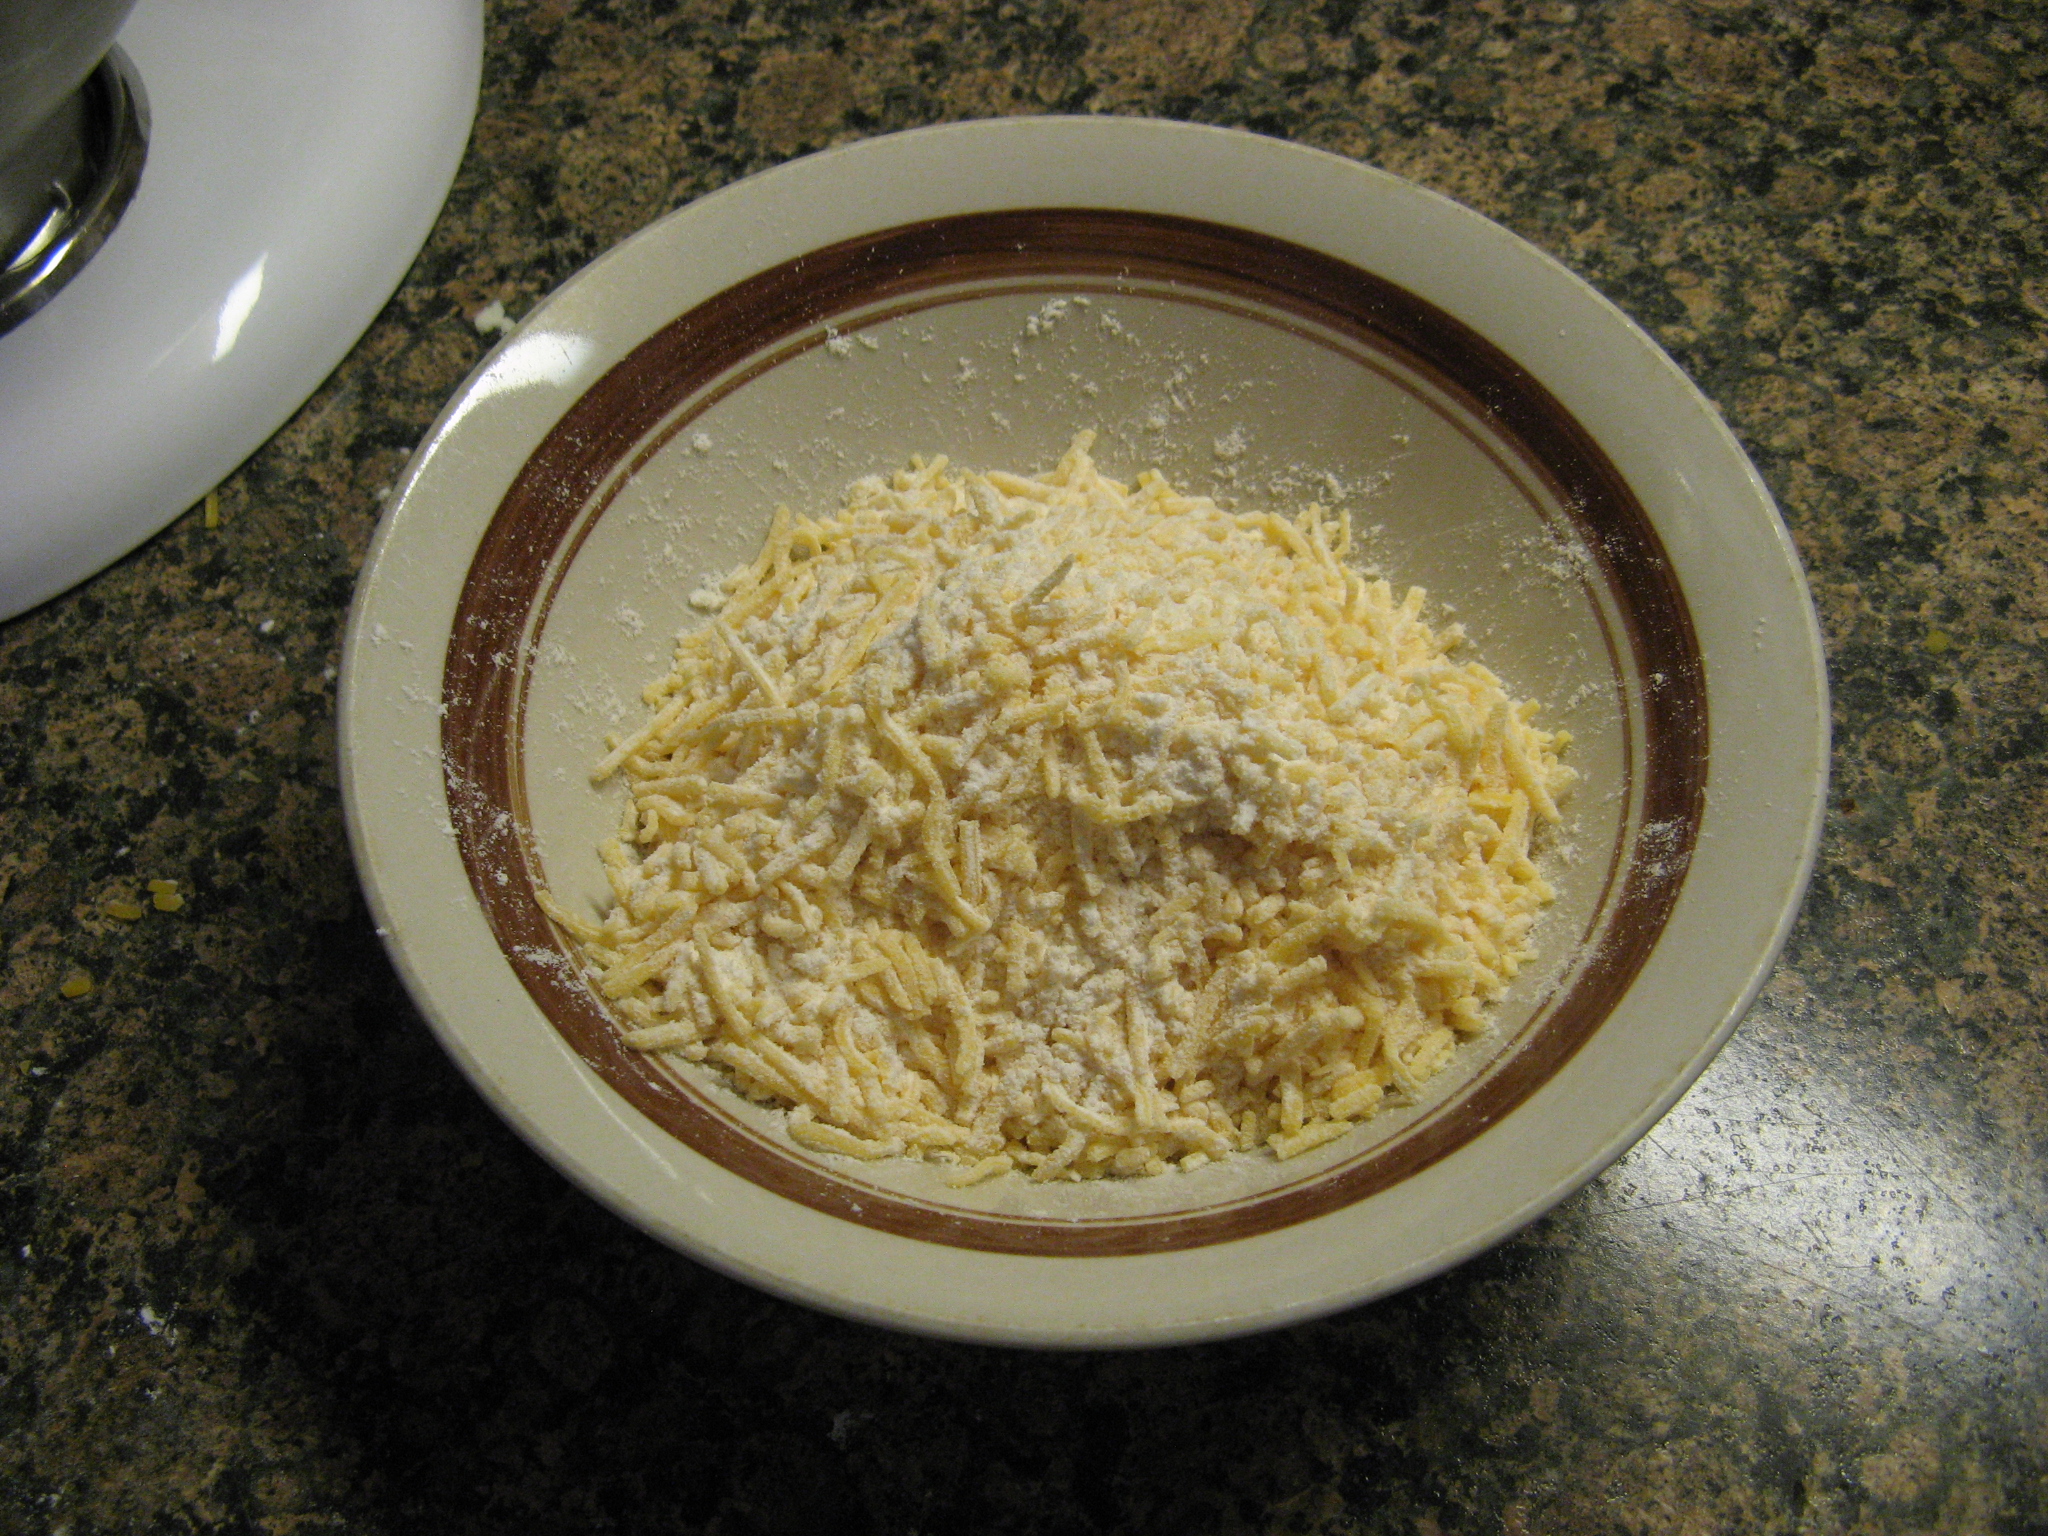
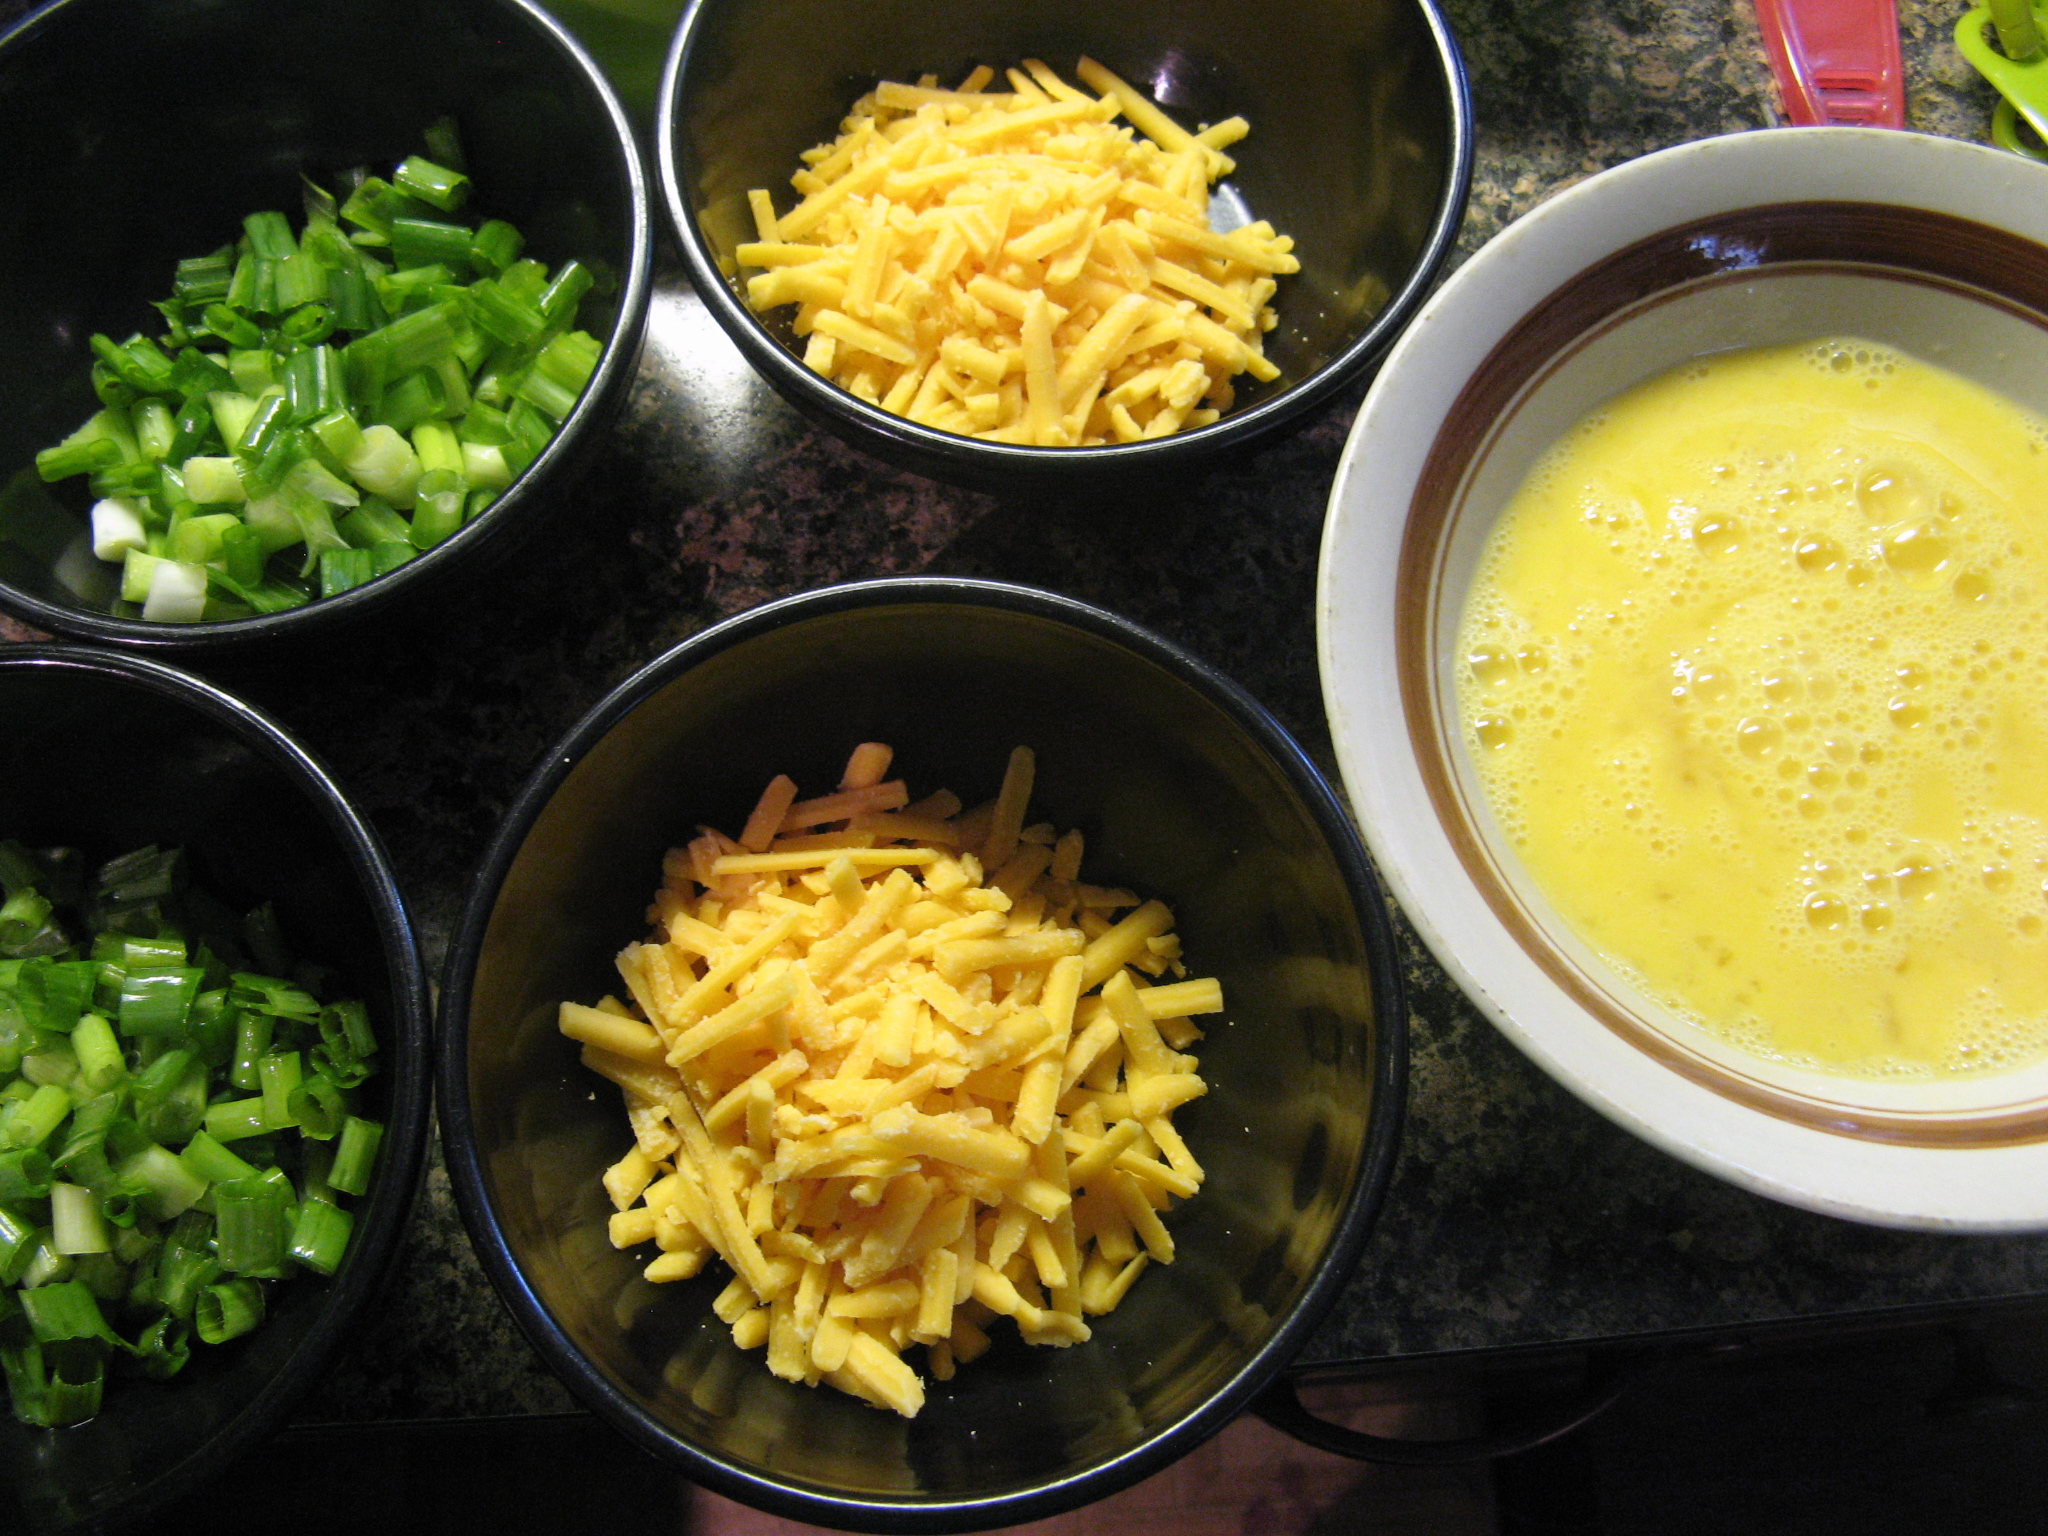
Next, I placed about a teaspoon of shredded cheddar cheese in the center of each dough piece and pinched it closed.

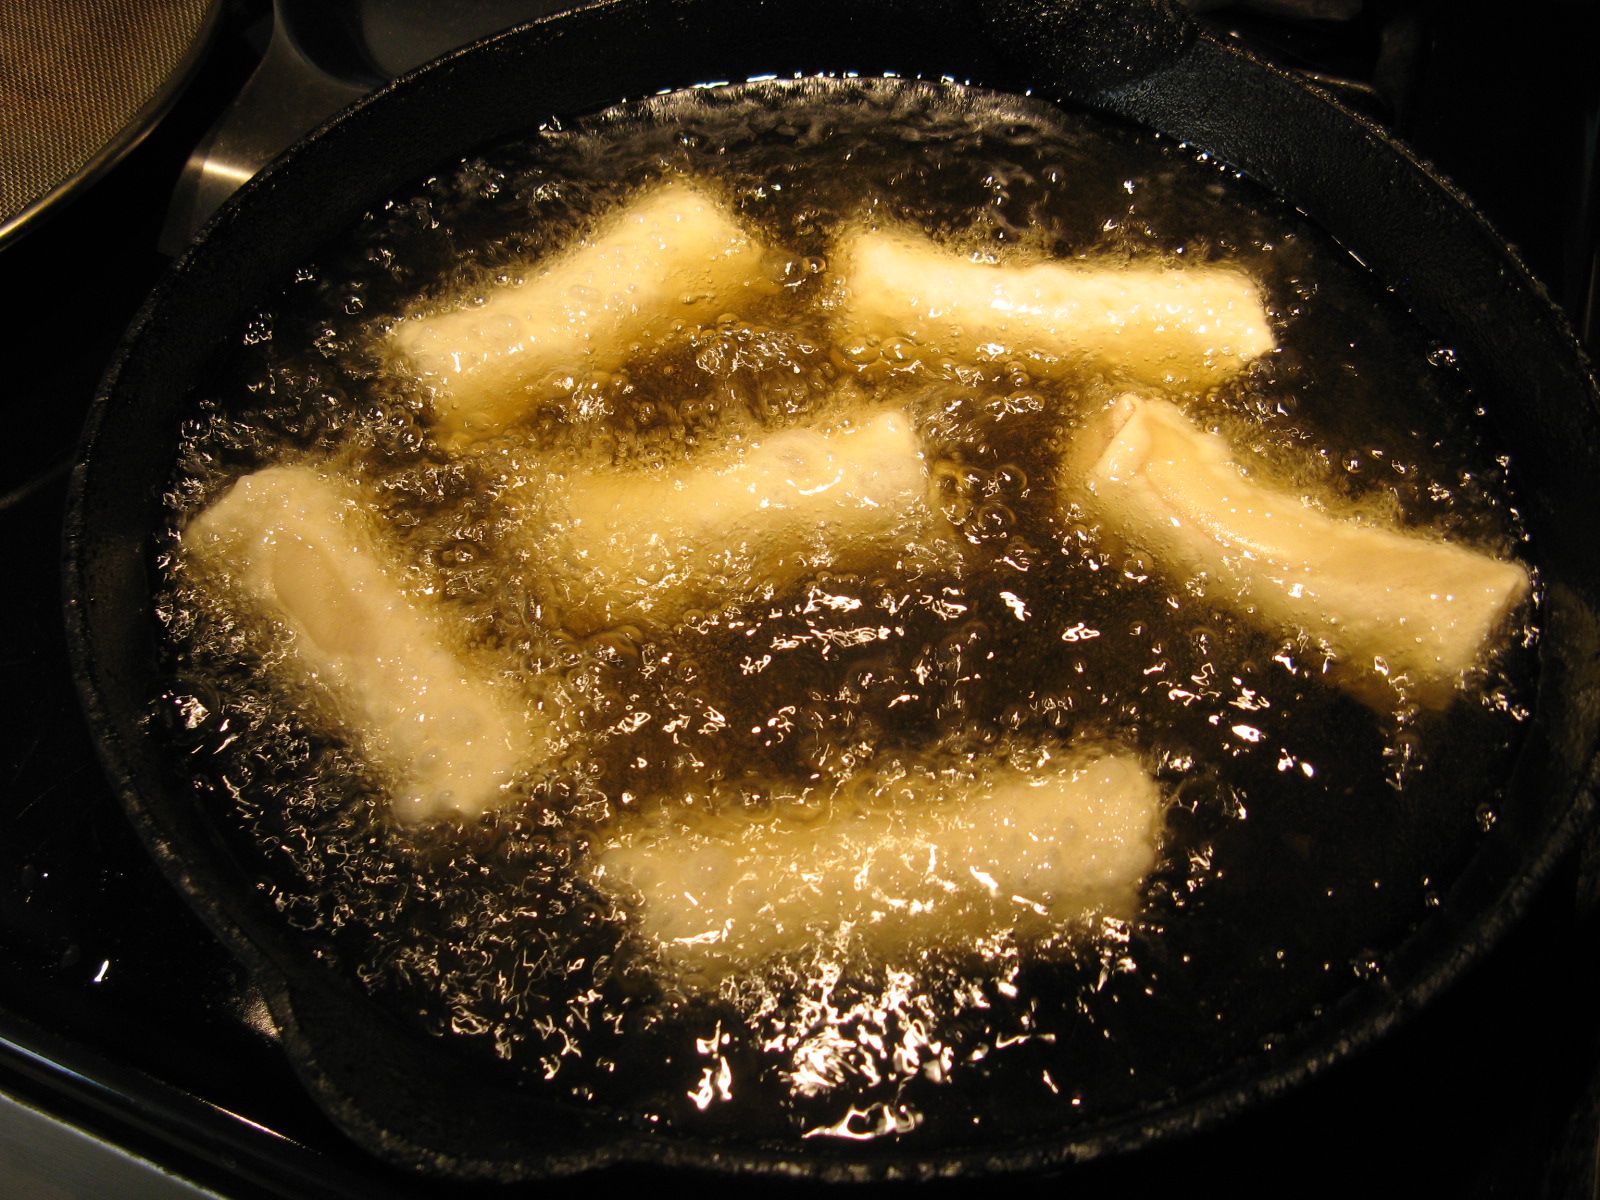
Here’s the one step from making traditional pretzels I couldn’t avoid. I boiled each of the dough balls in a pot of boiling water with baking soda & Kosher salt for about 30 seconds, until they were slightly puffed. I was concerned that they would open while they were in the hot water but none of them did. I did have to do a major cleaning of my stove afterwards since I had so much residue from the steam of the water.  

Next, I sprayed 8 cups of a 12-cup cupcake tin with baking spray and placed three dough balls in each. I then sprinkled each with an additional teaspoon of shredded cheddar cheese and topped each with the remaining dough balls.

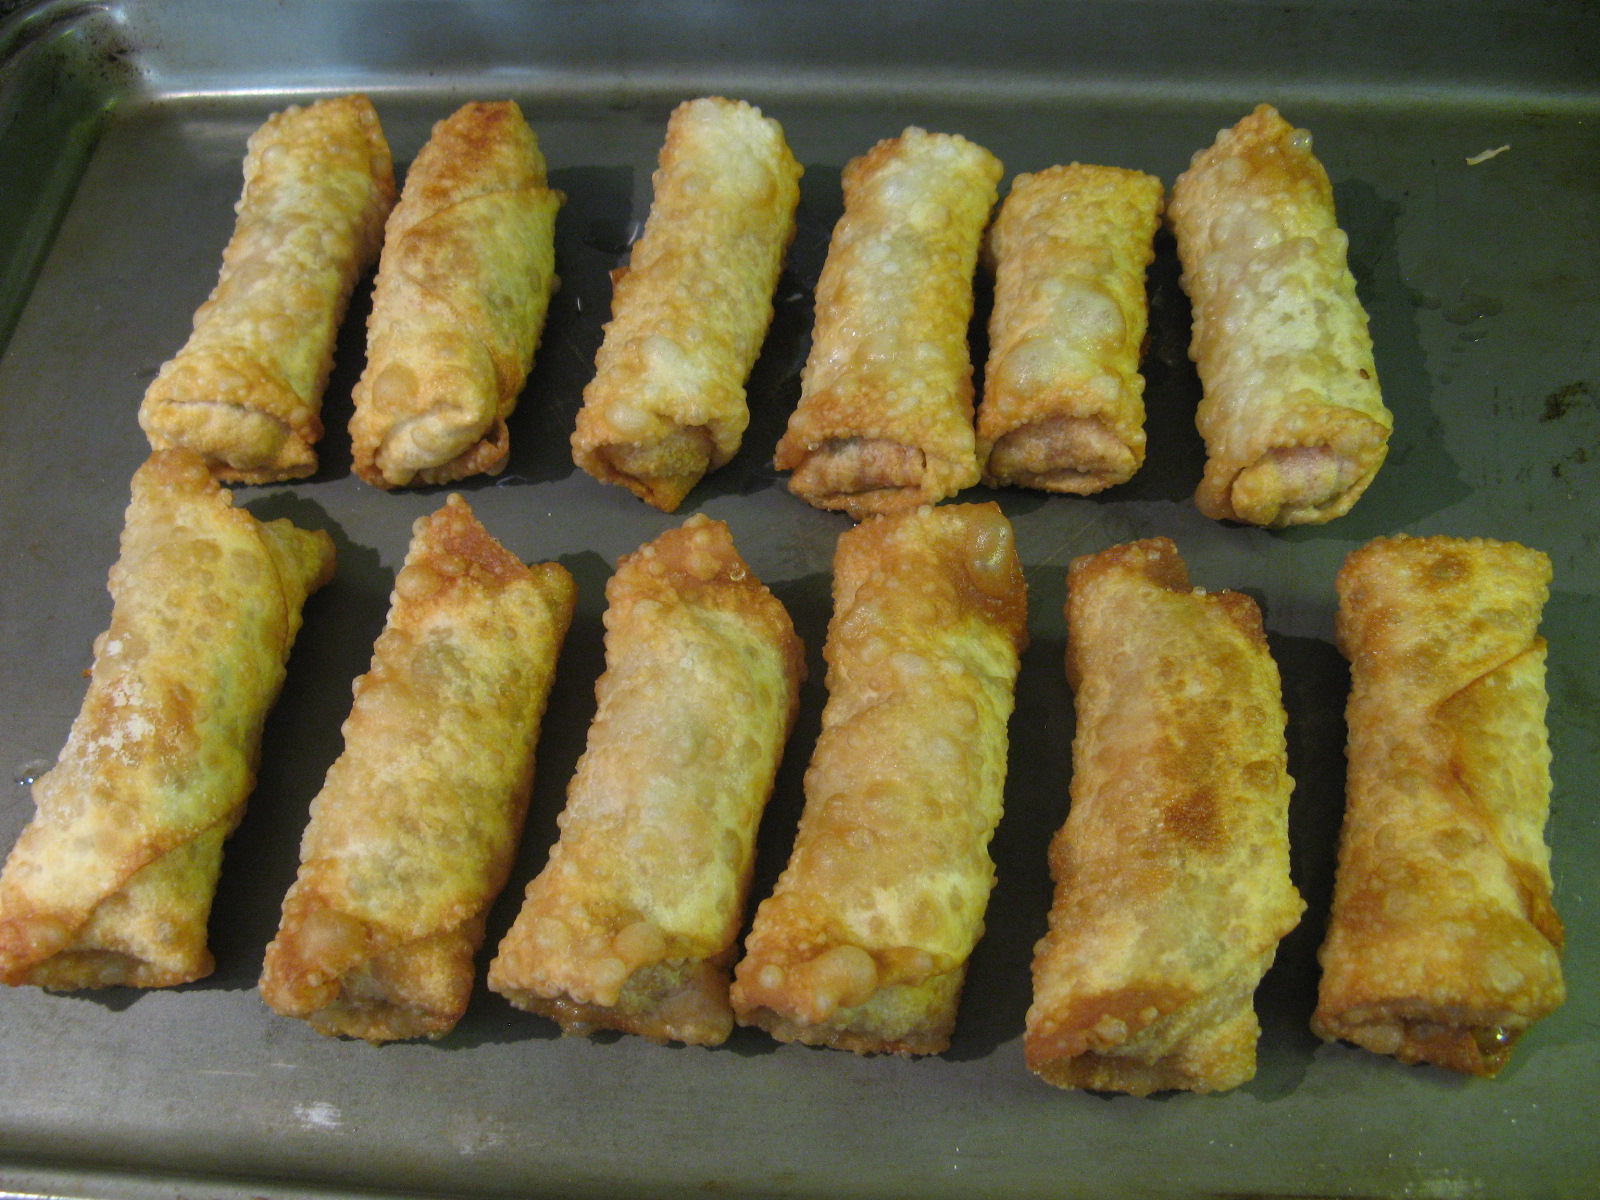
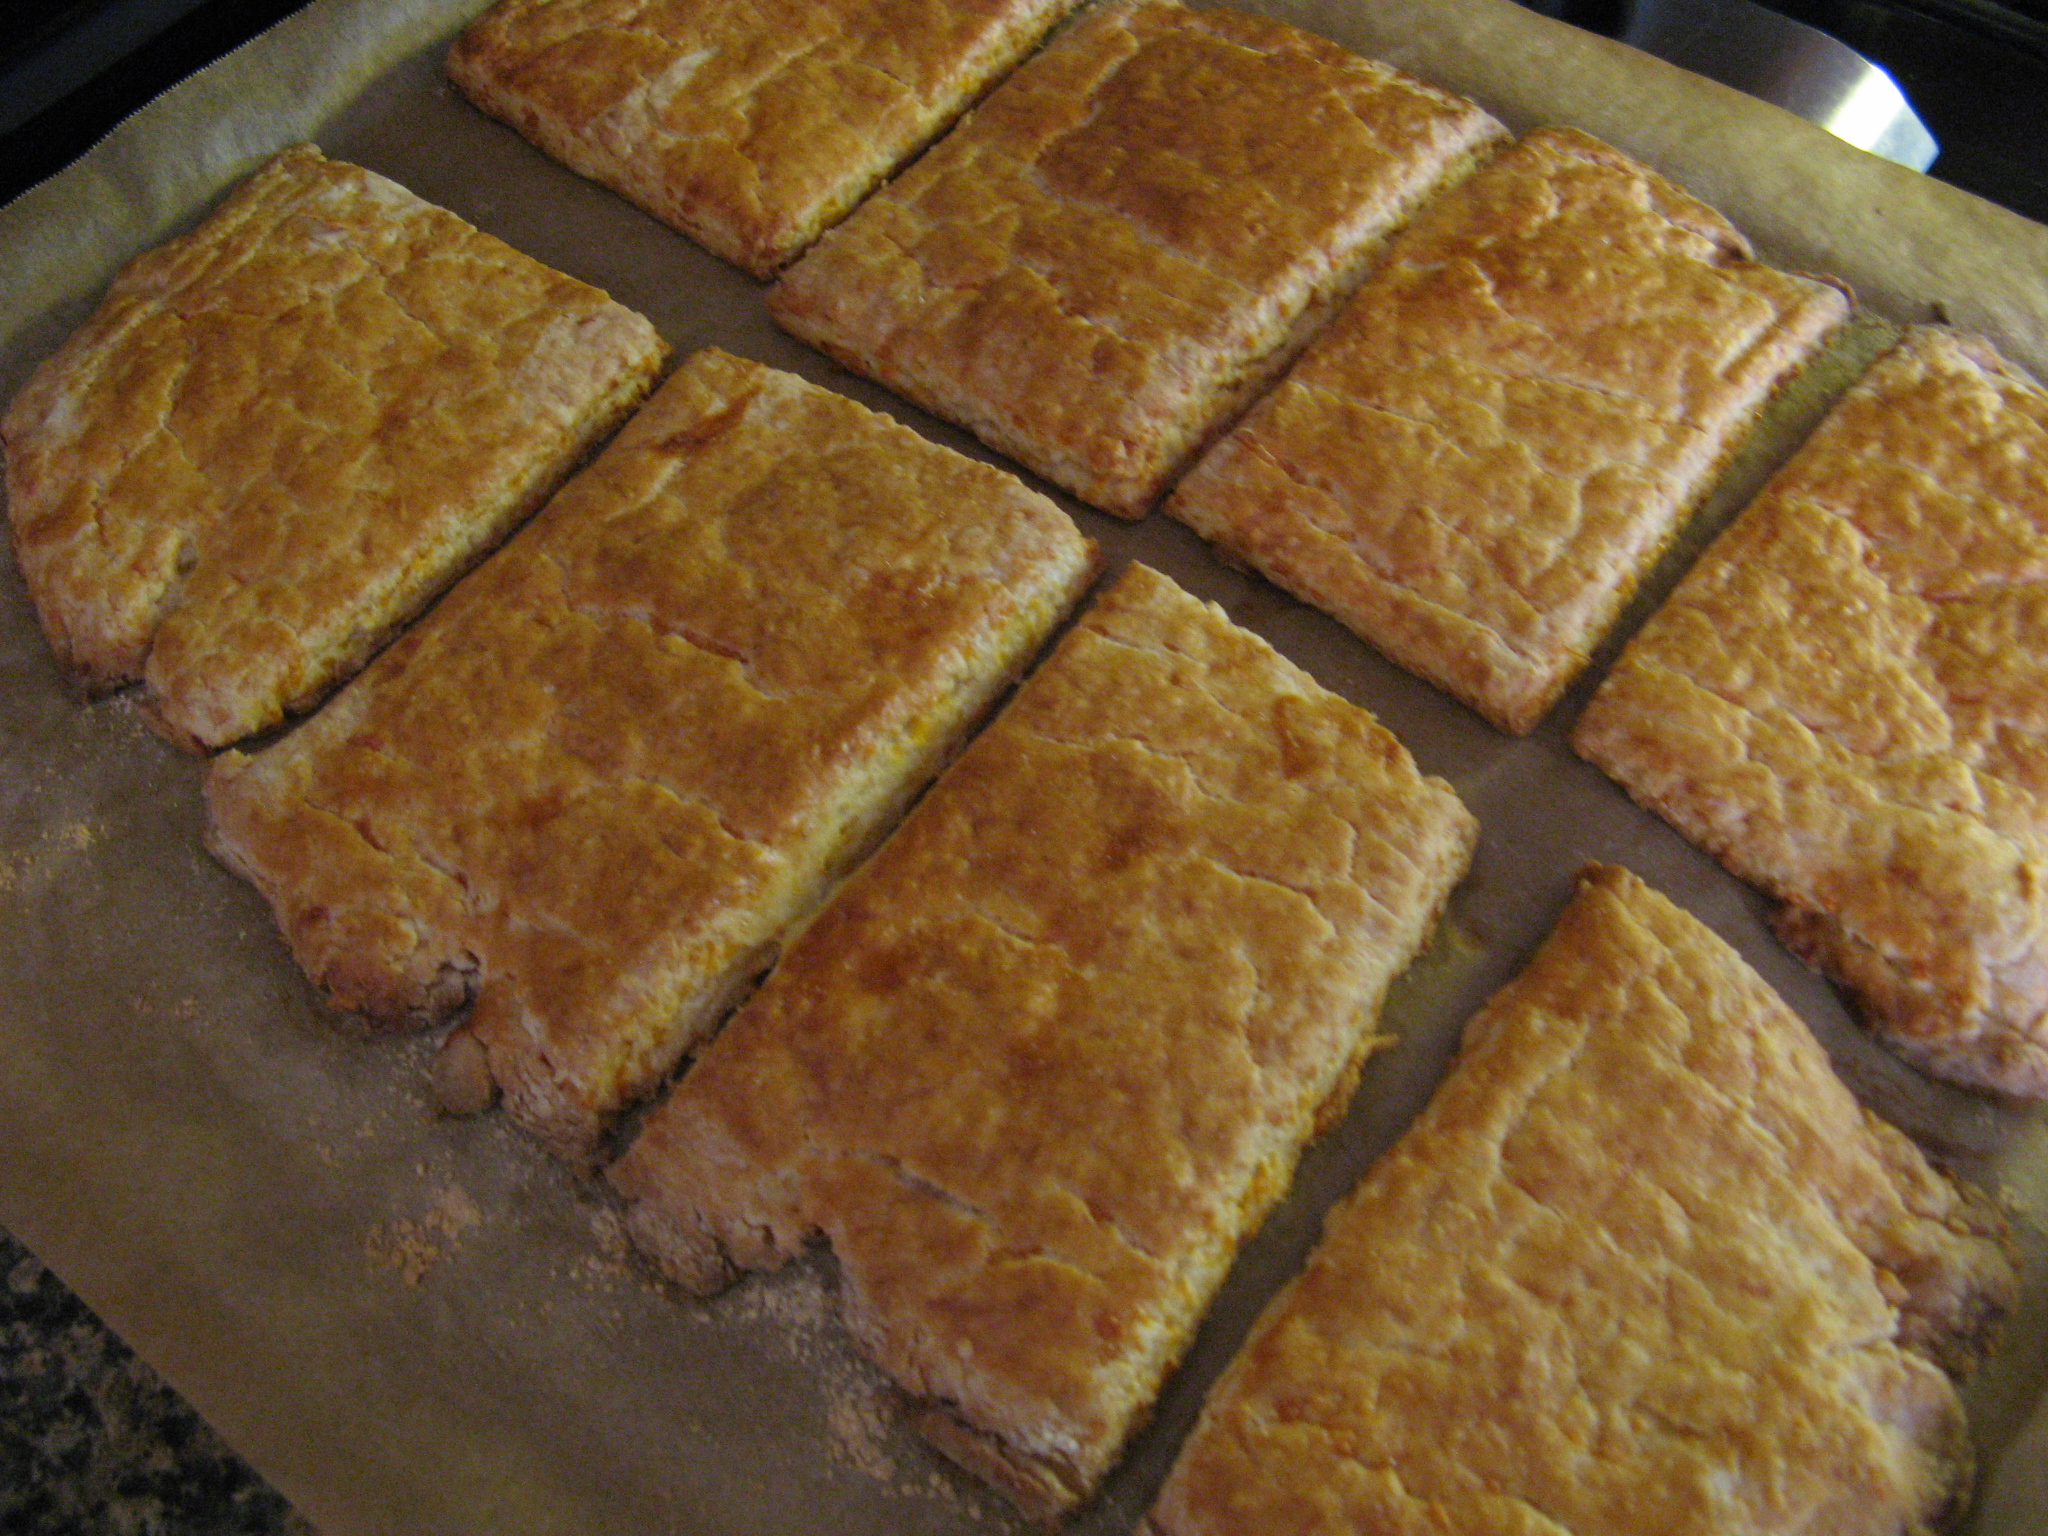
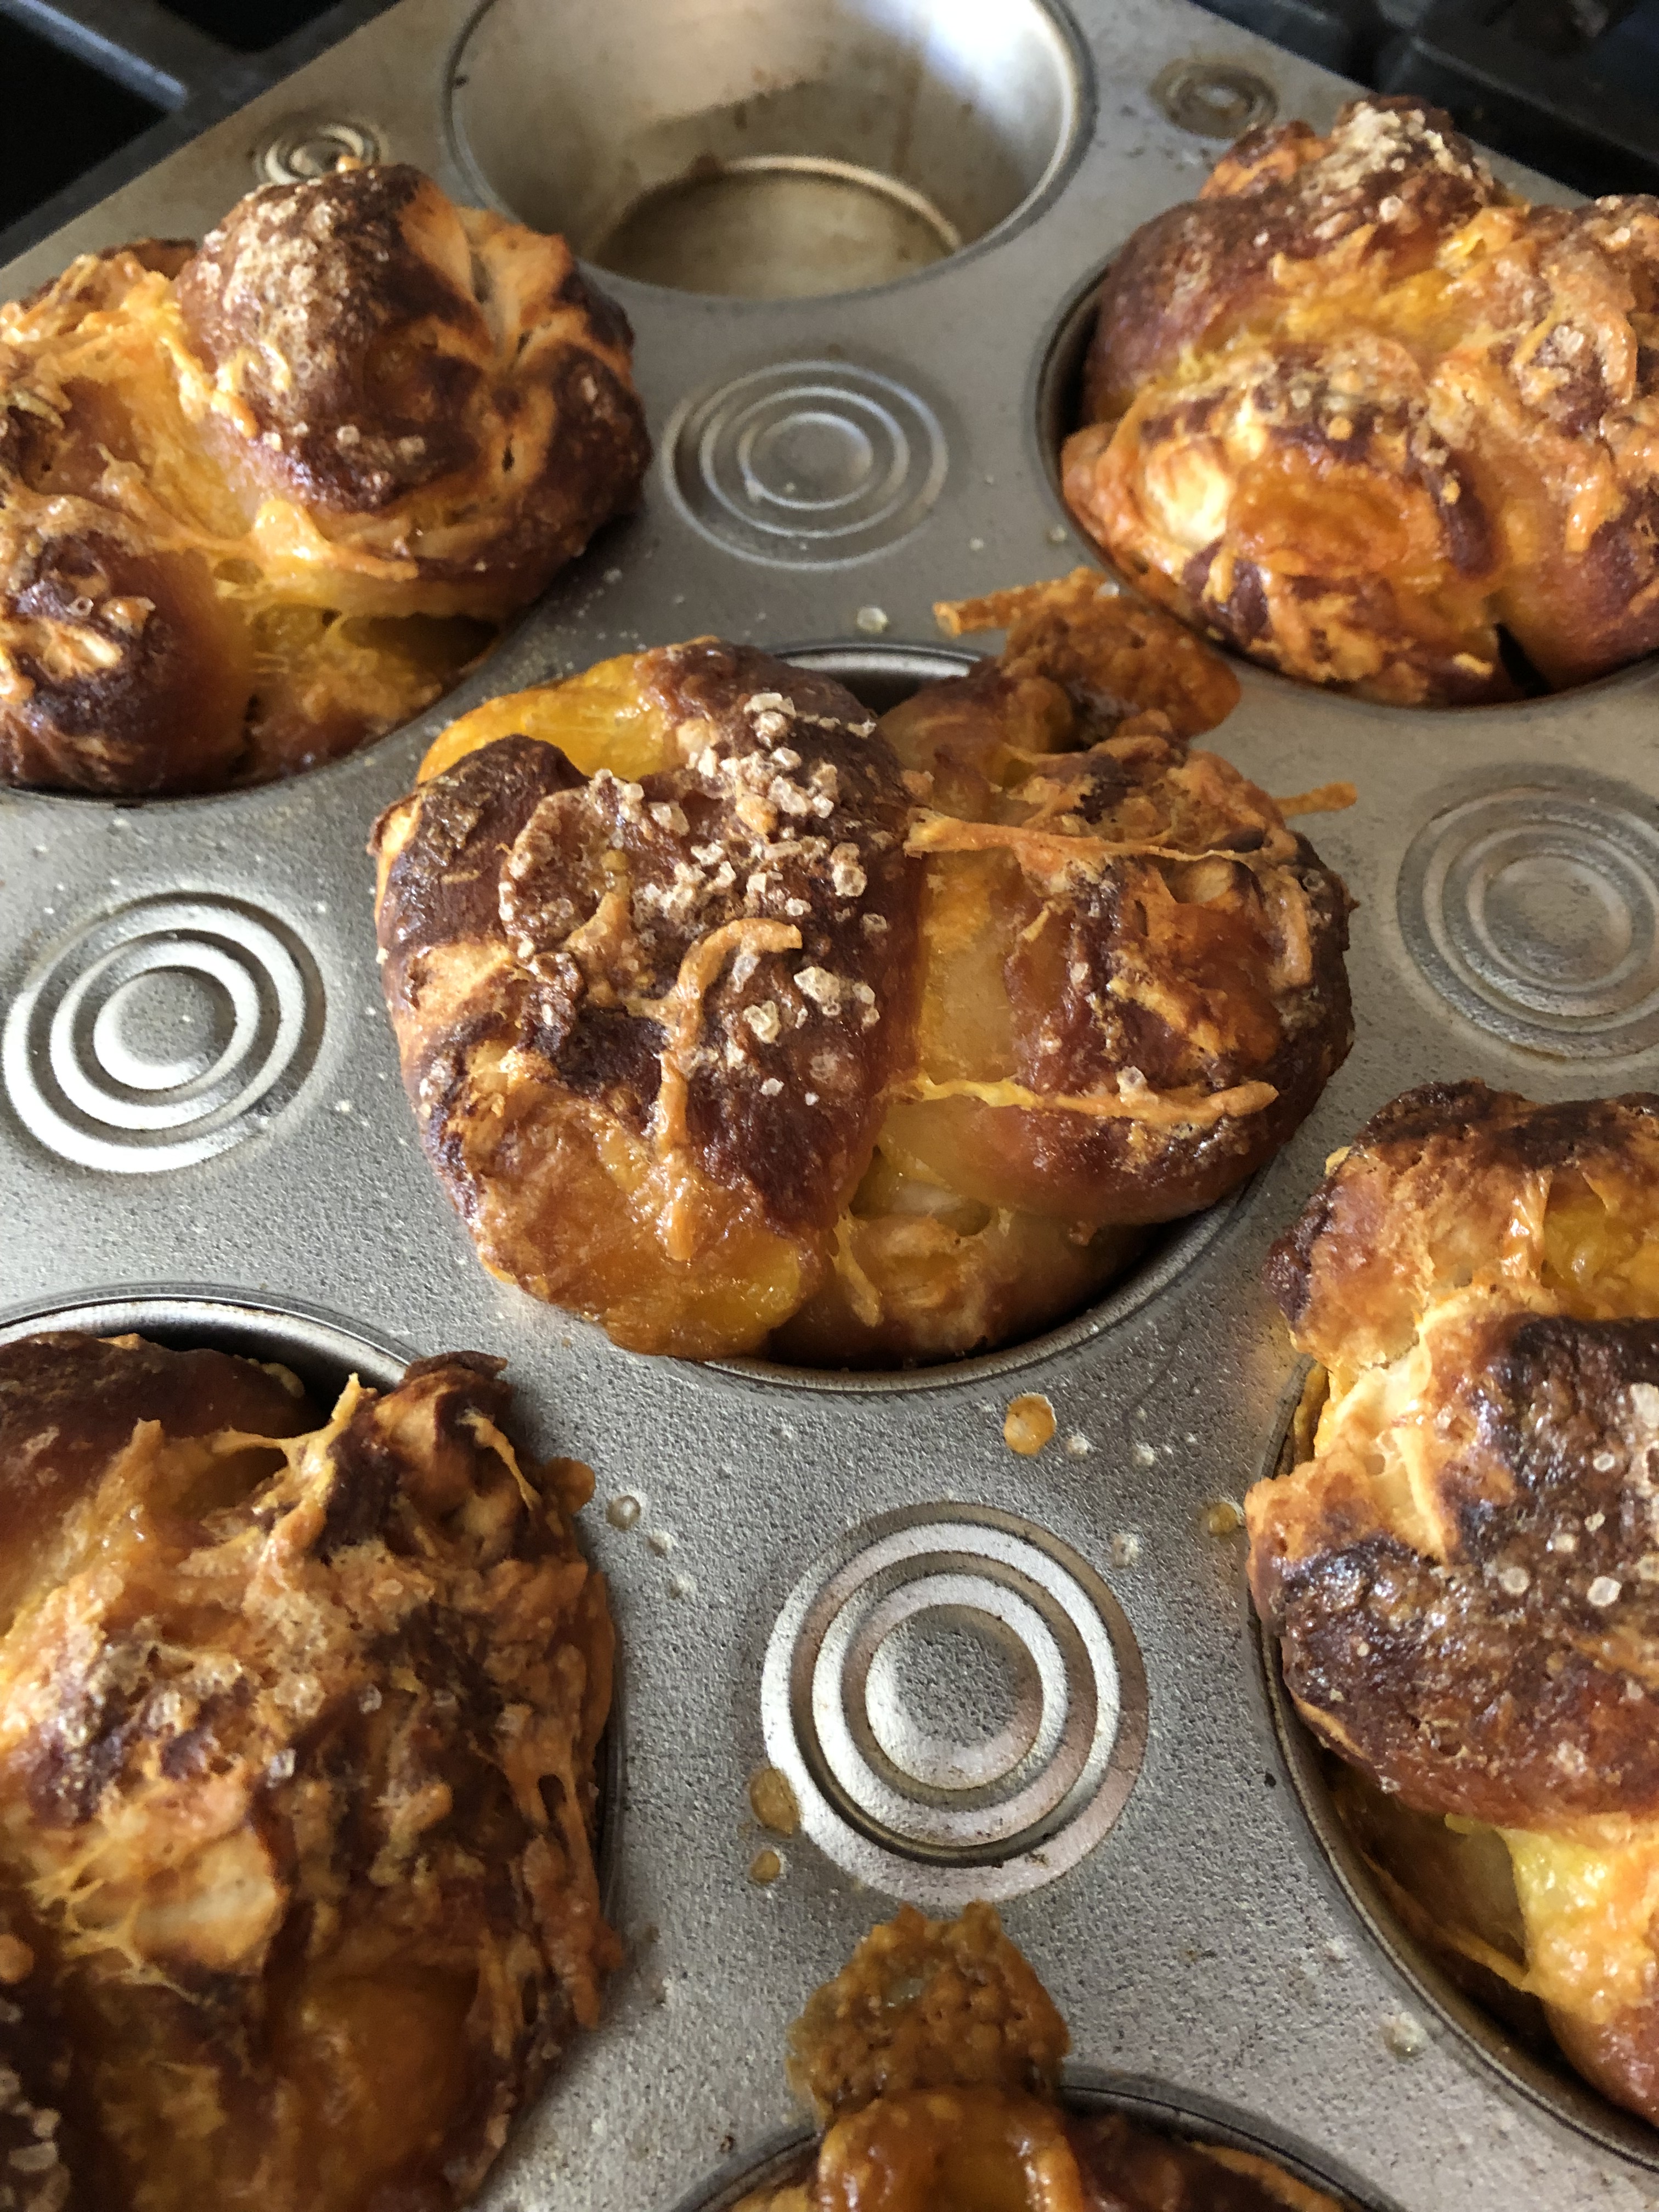
After brushing each with an egg wash and sprinkling them with salt I baked them in a 400 F preheated oven for 15 minutes (per the instructions). When I took them out of the oven they did have a nice color to them, but, they looked slightly undercooked in certain spots and I didn’t like how moist the areas where the dough balls stuck together seemed. So, I placed them back in the oven for an additional 5 minutes or so…

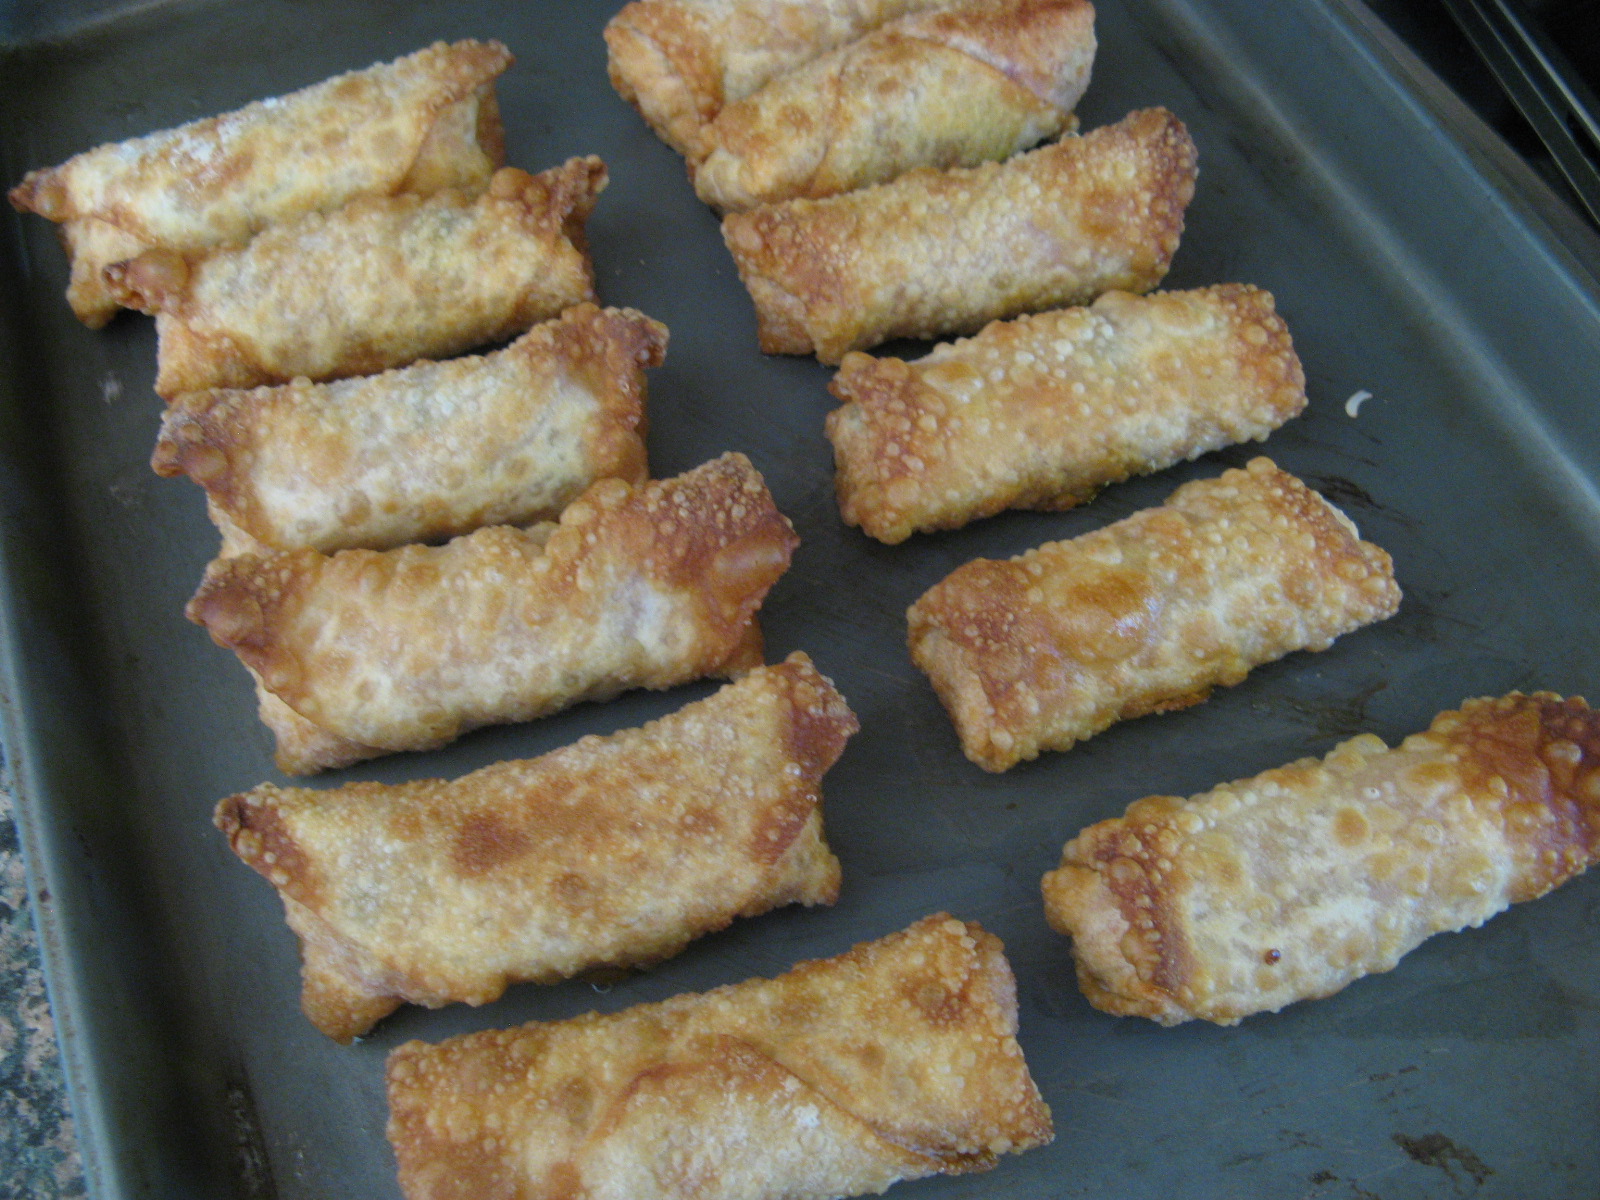
And then they had the golden brown hue of a traditional pretzel. Trust me, they weren’t burnt! They were delish on their own but even better with a dollop of honey mustard to dip into.

Some things to note about these muffins though… They are best enjoyed the day they are made and within an hour or two of making them. They really didn’t reheat that well. They would be the perfect snack for a game night or such.

Pretzel Monkey Muffins

Ingredients:

1/2 cup baking soda

2 teaspoons Kosher salt

1 16.3-oz tube of refrigerated biscuit dough (not flaky)

1 cup shredded cheddar cheese

Flour, for dusting

1 egg

Coarse salt, for sprinkling*

Honey Mustard, for serving

*can use Kosher salt

Directions:

Preheat the oven to 400F. Line a baking sheet with parchment paper and set aside.

In a large pot add 8 cups of water along with the baking soda and Kosher salt. Bring to a boil over high heat.

Separate the biscuits and cut each one into quarters. Lightly flour a work surface and roll each quarter with a rolling pin until flattened, about 3 inches. Spoon 1 teaspoon of the shredded cheese in the center of each flattened dough piece and pinch closed.

Once the water is boiling, working in batches, boil the dough balls, flipping once, until they are slightly puffed. Using a slotted spoon remove them from the water and place on the parchment lined baking sheet.

Spray 8-cups of a 12-cup cupcake tin with non-stick spray. In a small bowl beat the egg with 1 tablespoon of water.

Add 3 balls of dough to the bottom of each prepared cupcake cup. Top each with an additional teaspoon of shredded cheese and place the remaining dough balls on top of each. Brush each with the egg wash and sprinkle with salt.

Bake in the preheated oven for 15-20 minutes, until the tops are golden brown. Cool slightly before removing from the pan. Serve with honey mustard sauce.

Recipe from Food Network

Mushroom Quiche

I’ve had two frozen deep dish pie crusts in my freezer since a little before Thanksgiving. I purchased an extra pack just in case of a mishap while baking my pies for the holiday. Thankfully I didn’t need them. And then they sort of got buried in my freezer to make room for the frozen cookie dough I had stored in there for my Christmas baking. Once all the cookies had been baked though the crusts reemerged and I decided it was time to make something with them, something other than pie. And then I remembered I had photocopied a Mushroom & Sausage Quiche recipe from a cookbook I ultimately got rid of (I had one too many and needed to purge them). Which I then I decided to omit the sausage from and increase the amount of mushrooms and ended up with the Mushroom Quiche recipe below. Which I am happy to say will be made again and possibly with some baby spinach next time.

img_1299

Mushroom Quiche

Ingredients:

1 frozen deep dish 9-inch pie crust

1 tablespoon butter

8 oz. sliced white mushrooms

1 medium sweet onion, chopped

4 eggs

1 cup sour cream

1 cup cottage cheese, 2% or 4% milkfat

2 tablespoons flour

1 teaspoon hot sauce

3 tablespoons grated parmesan cheese

1 8 oz. package shredded cheddar cheese


Directions:

Preheat the oven to 350 F. Place the pie crust on a baking a sheet.

In a large skillet melt the butter over medium-high heat. Add the mushrooms and chopped onions and cook for 5 minutes, or until both are tender.

Place the eggs, sour cream, cottage cheese, flour, parmesan cheese and hot sauce in a food processor (or blender) and process until smooth. Scraping the bowl as necessary.

Transfer the mushrooms and onions to a large bowl and add in the egg mixture and cheddar cheese, stir to combine. Spoon the mixture into the pie crust (you may have some leftover). Cover the edges of the pie crust with strips of aluminum foil to prevent the crust from burning.

Bake in the preheated oven for 50 – 60 minutes, until the top is golden brown and the center is set. A toothpick or cake tester inserted in the middle should come out clean. Let cool for 10 minutes and enjoy!

Recipe adapted from a Mushroom & Sausage Quiche recipe found in the cookbook Paula Deen & Friends


Cauliflower Mac and Cheese

Cauliflower has become the rage in recent years. People have been using it to make pizza crust, rice, and it’s a great substitute for pasta, especially in Mac and Cheese. Hence the recipe I am sharing with you today.

I’ll go out on a limb and say that I actually enjoyed this Cauliflower Mac and Cheese more so than the traditional Mac and Cheese I normally make. Using cauliflower as opposed to pasta makes the dish a lot lighter and the cheese sauce was much lighter as well since the base is heavy cream and cream cheese as opposed to milk and flour.

I began by cutting a large head of cauliflower into small florets. I then boiled them in salted boiling water for 5 minutes until the cauliflower was crisp tender. You don’t want to boil them too long as you don’t want your Mac and Cheese to become mushy. After draining the cauliflower I patted it dry with a few paper towels and then transferred it to a greased 8 x 8 baking dish. You could use frozen cauliflower and steam it in your microwave oven. Once again, don’t overcook it.

Next, I made the cheese sauce. In a small saucepan I simmered heavy cream and then added in cream cheese and mustard, whisking it until it was smooth. I then stirred in cup of cheddar cheese, salt, pepper and garlic powder until the cheese melted. Not a fan of cheddar, try mozzarella, Monterey jack cheese for a little kick, or a combination of your favorite cheeses. I then poured the cheese sauce over the cauliflower, stirred it together and then topped it with more shredded cheddar cheese. I baked it in a preheated 375 oven for about 15 minutes and it was ready to enjoy.

This recipe would also be delicious with broccoli!

Cauliflower Mac and Cheese

Ingredients:

1 large head cauliflower, cut into small florets

1 cup heavy cream

2 ounces cream cheese, cut into small pieces

1 1/2 teaspoons Dijon mustard

2 cups shredded cheddar cheese

1/4 teaspoon ground black pepper

1/8 teaspoon garlic powder

Kosher salt

Directions:

Preheat oven to 375 F. Butter an 8 x 8 baking dish with butter, or spray with cooking spray.

Bring a large pot of water to boil and season with salt.

Cook the cauliflower in the boiling water until crisp tender, about 5 minutes. Drain and then pat dry between paper towels. Transfer the cauliflower to the prepared baking dish.

In a small saucepan bring the heavy cream to a simmer and then whisk in the cream cheese and mustard until smooth. Stir in 1 1/2 cups of the cheese, salt, pepper and garlic powder and continue whisking until the cheese melts. Pour the cheese sauce over the cauliflower and stir to combine.

Bake in the preheated oven until browned and bubbly, about 15 minutes.

Recipe from Food Network

Southwestern Chicken Egg Rolls

You may recall a while back I made Chicken Egg Rolls that were super simple and quite delicious. Well, the wrappers I used came with a few more recipes and I finally got around to trying one of them out… A Southwestern Chicken Egg Roll.

I began my mixing together chicken, cilantro, salsa, jack cheese and fresh lime juice in a bowl and chilled it in the refrigerator for a few minutes. Instead of cooking chicken I opted to pick up a rotisserie chicken from Costco… they are cheap enough and then I have leftovers to make other things or for lunch.  I should note that the original recipe also called for a slice of avocado in each egg roll and while I had every intention of adding it, my avocado never ripened properly. On a side note, have you noticed that the price of avocados is rising and they don’t taste as good? I guess once something goes mainstream prices must rise. There is that whole rage of avocado toast now, can I just say that I have been eating avocado on bread  – as I always have referred to it as – for years, way before it was cool… LOL!

Next, I filled the wrappers and folded them to create the egg rolls.


I ended up with 12 egg rolls…

And then fried them for 2 minutes…

Then transferred them to a baking sheet….

To then bake them in a 425 F oven for about 4 minutes – until they were crispy and the filling was hot.

There’s no need for a dipping sauce for these egg rolls as the salsa added to the chicken mixture kept the filling moist and quite honestly I didn’t miss the avocado! I can’t wait to make these again!

Southwestern Chicken Egg Rolls

  • Servings: 12 Egg Rolls
  • Print

Ingredients:

1 1/2 cups chicken meat, cooked and shredded

2 tablespoons cilantro, chopped

3/4 cup salsa

1/4 cheddar jack cheese, shredded

1 1/2 teaspoons fresh lime juice

12 egg roll wrappers

oil for frying

Directions:

Preheat oven to 425 F.

Mix chicken, cilantro, salsa, cheese and lime juice together in a bowl and set aside in the refrigerator to chill for a few minutes.

With a wrapper in front you in a diamond shape moisten all 4 edges of the wrapper. Place 2 tablespoons of the chicken mixture just below the center and fold up the bottom corner, then fold in the sides and finally roll the egg roll and seal the top corner.

Fry for 2 minutes in 350 F oil and then place on a baking sheet. Once all the egg rolls have been fried place the baking sheet in the oven for 3-5 minutes until the egg rolls are crispy and the filling is hot.

Recipe adapted from JSL Foods

Slow Cooker Sunday: Creamy Corn Casserole

As the days start to get warmer I am trying to find things to make in my slow cooker that aren’t too heavy. This Corn Casserole fits the bill and it’s perfect for warmer days when fresh corn starts flooding your supermarket and you don’t want to turn on your oven.

I started off by mixing all the ingredients together in a large bowl. I started off by creaming sugar and cream cheese together. Then adding in two eggs. Next, I stirred in the dry ingredients – flour, cornmeal, baking powder, salt, pepper and cayenne. And then some more wet ingredients – melted butter, milk and heavy cream. And finally, I stirred in a chopped jalapeno, cheddar cheese and corn. I used frozen corn, to thaw it out, I left it in a bowl on my counter for a few hours stirring it occasionally.


I then poured the mixture into the insert of my slow cooker that I generously sprayed with cooking spray. I covered it and set it to cook on low for 4 hours. I knew it was was ready once it was set in the middle and the delicious aroma started filling my house.


Now, I made the big mistake of trying to remove the casserole from my slow cooker while it was still warm, so, it broke apart. I “saved” it by just scooping it into a glass dish. Trust me, it didn’t alter the flavor one it. To avoid my mishap, I suggest you remove the insert from the slow cooker once the casserole is done and let it cool a bit.


Slow Cooker Creamy Corn Casserole

Ingredients:

8 ounces cream cheese, softened

1 tablespoon sugar

2 large eggs

1/2 cup all-purpose flour

1/4 cup cornmeal

1 teaspoon baking powder

1 teaspoon salt

1/4 teaspoon freshly ground black pepper

1/2 teaspoon cayenne pepper

2 tablespoons unsalted butter, melted

1 1/2 cups whole milk

1/2 cup heavy cream

1 jalapeno pepper, seeded and minced

2 cups shredded cheddar cheese

4 cups corn, fresh or frozen thawed

Directions:

Spray the inside of a slow cooker with cooking spray.

In a large bowl cream together the cream cheese and sugar until fluffy. Beat in the eggs one at a time. Stir in the dry ingredients – flour, cornmeal, baking powder, salt, pepper, and cayenned pepper, mixing the ingredients together well. Add in the melted butter, milk and heavy cream. Once everything is well combined, stir in the jalapeno, cheddar cheese and the corn.

Pour the mixture into the slow cooker and cook on low for 3 1/2 to 4 hours. Until the center is set and the top is puffy.

Recipe from Slow Cooker Family Favorites

Twice Baked Potato… In the Microwave

I made Twice Baked Potato a month or so ago for the first time the traditional way – in an oven. Just in case you don’t know, Twice Baked Potato is exactly what it says… A potato that’s baked 2 times. First you bake the potato, slice it in half, scoop it out, mix it with some toppings, spoon it back into the potato skins, top it with cheese and bake it again. And it’s delicious! But, I was left wondering if I can bake a potato in the microwave then why can’t make Twice Baked Potato in there also, so, I decided to try it out and I am so happy I did. It came out perfect and just as delicious.

I began by scrubbing two russet potatoes and pricking them with a fork a few times. Next, I baked them in the microwave. Luckily my microwave has a potato button, but, if yours doesn’t the average time is about 8-10 minutes.

img_0070

I let them cool for a few minutes and then sliced them in half and scooped out the inside.

img_0071

I mashed the potato with butter, sour cream and bacon bits. I then added in shredded cheddar cheese, milk, salt and pepper to taste.

img_0072

I then spooned the mixture into the potato skins and topped it with some more cheddar cheese.

img_0073

And finally I placed the potato back in the microwave and heated it for about 2 minutes, until the cheese melted.

img_0076

And that’s how simple it is to make Twice Baked Potato in the microwave!


Twice Baked Potato... In the Microwave

Ingredients:

2 medium russet potatoes

1/4 cup (1/2 stick) salted butter, sliced

1/4 cup bacon bits

1/4 cup sour cream

1/4 cup shredded cheddar cheese, plus more for topping

2 tablespoon milk*

salt and pepper

*I’ve used whole milk and 2% milk

Directions:

Scrub the potatoes and prick with a fork. Place the potatoes on a microwave safe plate and bake in the oven, using your microwave’s potato button, or for 8 – 10 minutes.

Let potatoes cool for a few minutes and then slice them in half. Scoop out the insides (be careful not to tear the potato skins) and place in a bowl with the butter, bacon bits and sour cream. Mash these four ingredients together and then add in the cheese, milk, salt and pepper.

Spoon the mixture back into the potato skins and top with cheese and return to the microwave for another minute or two until the cheese has melted.

Recipe modified from The Pioneer Woman on The Food Network

Buttermilk Cheddar Not Quite Biscuits

We’ve all been there, a mishap in the kitchen. Could it be the recipe, a missed ingredient, an incorrect measurement or maybe it was just an off day for your oven? I had one of those mishaps happen to me recently when I made Buttermilk Cheddar Biscuits. I had some leftover buttermilk in my fridge from a previous recipe and I didn’t want to go to waste and I wanted to make something different; I’ve never made biscuits before. Unfortunately my biscuits didn’t rise and I ended up with some pretty flat biscuits – I don’t even think I can call them biscuits. I’m still not sure what exactly went wrong.

My prep work seemed to be just fine… I started by putting flour, baking powder and salt in the bowl of my stand mixer.

IMG_7596

With the mixer on low I added in cold diced unsalted butter.

IMG_7597

Once the butter looked like small peas I added in a buttermilk / egg mixture and continued mixing the ingredients until the mixture was moistened.

IMG_7600

In a small bowl I combined shredded cheddar cheese with a small handful of butter.

IMG_7601

After adding in the cheddar to the dough I dumped the dough onto a well-floured surface and kneaded the dough a few times and then rolled it into a rectangle.

IMG_7602

I then sliced the dough into 8 pieces and placed it onto a parchment lined cookie sheet and brushed them with an egg wash.

IMG_7606

After baking in a 425 F preheated oven for about 25 minutes this is what I got… Flat biscuits.

IMG_7608

Luckily they tasted really good and were a nice breakfast treat the following morning with my cup of tea! Thankfully my mishap wasn’t a total loss.

IMG_7694

What kind of mishaps have you encountered in your cooking and baking adventures?

Buttermilk Cheddar Biscuits

Yield: 8 Biscuits

Ingredients:

2 cups all-purpose flour, plus more as needed

1 tablespoon baking powder

1 1/2 teaspoon kosher salt

12 tablespoons (1 1/2 sticks) cold unsalted butter, diced

1/2 cup cold buttermilk, shaken

1 cold extra-large egg

1 cup grated cheddar cheese

1 egg, beaten with 1 tablespoon milk

Directions:

1. Preheat oven to 425 F

2. Place 2 cups of flour, the baking powder, and salt in the bowl of an electric mixer and mix on low. Add the butter and mix until the butter is the size of peas.

3. Combine the buttermilk and egg in a small bowl or measuring cup and beat lightly with a fork. With the mixer still on low, quickly add the buttermilk mixture to flour mixture and mix only until it’s moistened. In a small bowl mix the cheddar cheese with a handful of flour. Add the cheese to the dough, still mixing it on low, and mix until roughly combined.

4. Dump the dough onto a well-floured surface and knead lightly about 6 times. Rolled the dough out to a rectangle (10 by 5 inches.) With a sharp floured knife cut the dough lengthwise in half and then across in quarters, making 8 rough rectangles. Transfer to sheet pan lined with parchment paper. Brush the tops with the egg wash and bake for 20 to 25 minutes, until the tops are browned and the biscuits are cooked through. Can serve hot or warm.

Mushroom & Sausage Quiche

Usually I add ground sausage to my Thanksgiving stuffing, this year though I was on the fence as to whether or not to add it in. As you can guess from this post I opted not to add it, but then the question was what to do with it. I could have frozen it and used it another time but then I remembered a recipe I had for a quiche that called for sausage and mushrooms, another ingredient for the quiche that I had left over from said stuffing. The recipe – Mushroom & Sausage Quiche – is one I came across in a cookbook I picked up years ago and ended up not using. While it was filled with many recipes most of them weren’t appealing to me except this one – which I ended up photocopying and then donating the book.

IMG_6080

I began by cooking the ground sausage.

IMG_6051

While the ground sausage was cooking I chopped up half a Vidalia onion and sliced half-a-pound of white mushrooms.

IMG_6053

After the sausage was cooked I transferred it to a bowl and wiped the skillet down and cooked the chopped onions and sliced mushrooms in a tablespoon of melted butter.

IMG_6055

Meanwhile in the bowl of my food processor I combined eggs, sour cream, cottage cheese (those of you not fond of cottage cheese don’t worry once the quiche is done you won’t even remember it’s there), flour and parmesan cheese and blended them until the mixture was smooth.

IMG_6056

I then stirred together the sausage, sautéed onions and mushrooms, the egg mixture and shredded sharp Cheddar cheese in a large bowl.

IMG_6057

And then spooned it into my pie dish which I fitted with a refrigerated piecrust.

IMG_6060

Following that I baked it in a 350 F preheated oven for about 50 minutes.

IMG_6079

After letting it cool for about 10 minutes I sliced into it and enjoyed the every bite of it!

IMG_6083

Mushroom and Sausage Quiche 

Ingredients:

One 9-inch refrigerated piecrust, fitted into a 9-inch glass plate

One 1-pound package ground sausage

1 tablespoon butter

1/2 pound fresh mushrooms, sliced

1/2 large Vidalia onion, chopped

4 eggs

1 cup sour cream

1 cup cottage cheese, 2% or 4% milk fat

3 tablespoons all-purpose flour

3 tablespoons freshly grated Parmesan cheese

1 teaspoon hot sauce*

One 8-ounce package shredded sharp Cheddar cheese

*I omitted this from my version

Directions:

1. Preheat the oven to 350 F. Crimp the edges of the crust.

2. In a large skillet, cook and drain the sausage, and set aside. Wipe out the pan, and in the same pan, melt the butter over medium-high heat. Add the mushrooms and onion, and sauté for 5 minutes, or until tender.

3. Place the eggs, sour cream, cottage cheese, flour, Parmesan cheese, and hot sauce in a food processor and process until smooth, stopping to scrape down the sides of the bowl.

4. Stir together the crumbled sausage, mushroom mixture, egg mixture, and Cheddar cheese, and spoon into the piecrust. Cover the edges of the piecrust with aluminum foil to prevent the crust from burning.

5. Bake for 50 to 60 minutes, until golden brown and the center is set. Cool for 10 minutes and cut into 8 wedges.

Tomato and Corn Custard Pie

A few weeks ago I posted about a Tomato Fontina Torte with Rosemary Crust that was quite delicious. I got the recipe from a recent issue of Food Network Magazine, well, when I went to put the recipe back into my recipe binder (I’m one of those super-organized individuals) I noticed another recipe that I must have overlooked when I flipped through the magazine, a recipe for a Tomato and Corn Custard Pie that I knew I had to try and finally got around to it earlier this week. It ended up being the perfect combination of sweet and savory.

IMG_5524

To begin I baked the pie crust. I wish I had used my crust cover while baking the crust so it wouldn’t have browned as much during the final cooking with the actual pie in it.

IMG_5537

While the crust was in the oven I prepped all of my ingredients. I began by coring the tomatoes and slicing them into quarters. I then tossed them with kosher salt and spread them on a paper towel lined baking sheet so they could release their juices.

IMG_5528

Next I chopped up 6 scallions and divided them into two bowls and lightly beat three eggs. I took two major shortcuts for this recipe… I used pre-shredded sharp cheddar cheese and instead of using fresh corn I opted to use frozen corn that I steamed in the microwave.

IMG_5533 IMG_5530

Following that I reserved 1/2 cup of the cooked corn in a large bowl and placed the remaining corn, about 1 1/2 cups, in a sauté pan with heavy cream and brought it to a simmer on medium heat.

IMG_5534

I then poured the mixture into the bowl of my food processor and blended it until it was smooth.

IMG_5539

I transferred the pureed corn-heavy cream mixture to the bowl with the reserved corn and whisked in the eggs, half of the cheese and scallions and some fresh ground black pepper.

IMG_5540

I poured this mixture into my cooked pie crust and placed it in a 350 F oven for 35 minutes until it was just set.

IMG_5541

While the custard was cooking in the oven I mixed the remaining scallions and cheese along with panko breadcrumbs and seasoned it with paprika, salt and pepper.

IMG_5548

I reserved 1/4 cup of the mixture and tossed the remaining mixture with the tomatoes.

IMG_5552

Once I removed the pie from the oven I increased the oven temperature to 400 F…

IMG_5549

And then topped the pie with the reserved mixture and placed the coated tomatoes on top of the pie and topped it with the remaining panko mixture left in the bowl. Finally I dotted the top of the pie with a tablespoon of butter.

IMG_5556

I placed the pie back in the oven for another 15 minutes, until the top was golden, and let it cool for a bit before slicing into it.

IMG_5563

Final verdict… Absolutely delicious! The custard is a tad bit sweet because of the corn and the panko breadcrumb topping is on the savory side because of the addition of the scallions, paprika and cheddar cheese. This is a definite winner I can see myself making many times to come!

IMG_5572


Tomato and Corn Custard Pie

Serves 6 to 8

Ingredients:

1 round refrigerated pie dough (half of a 14-ounce package)

2 beefsteak tomatoes (about 12 ounces)

Kosher salt

2 tablespoons unsalted butter

2 ears of corn, kernels cut off (1 to 1 1/2 cups) *I opted to use a 10 ounce bag of frozen corn that I steamed in the microwave)

1 cup heavy cream

3 large eggs, lightly beaten

6 scallions, chopped

1 cup grated sharp cheddar cheese (about 4 ounces)

Freshly ground black pepper

1/2 cup panko breadcrumbs

1 teaspoon chopped fresh thyme*

1/2 teaspoon paprika

Pinch of cayenne pepper*

*I omitted these two spices from my version

Directions:

1. Position racks in the middle and upper third of the oven and preheat to 350 F. Line a 9-inch pie plate with the dough, crimping the edge with your fingers. Poke the bottom of the crust all over with a fork. Line with foil and fill with pie weights or dried beans. Bake on the middle rack until golden around the edge, about 20 minutes. Remove the foil and weights; continue baking until golden all over, about 10 more minutes.

2. Meanwhile, core the tomatoes and cut into 1/2-inch wedges; toss with 1 1/2 teaspoons salt. Spread the tomatoes in a single layer on paper towels to drain until ready to use.

3. Melt 1 tablespoon butter in a medium saucepan over medium heat. Add the corn and cook stirring occasionally, until tender, about 5 minutes. Transfer 1/2 cup of the corn to a large bowl.

4. Add the heavy cream to the saucepan with the remaining corn and bring to a simmer. Carefully transfer the mixture to a blends and puree until smooth; transfer to the bowl with the corn. Whisk in the eggs, half each of the scallions and cheese, and a few grinds of black pepper; pour into the crust. Bake of the middle rack until the custards is just set, 35 to 40 minutes. Remove from the oven and increase the temperature to 400 F.

5. Mix the remaining scallions and cheese, the panko, thyme, paprika and 1/4 teaspoon each salt and pepper in a bowl. Sprinkle 1/4 cup of the mixture on top of the pie. Pat the tomato wedges with paper towels to absorb the excess moisture, then coat with the remaining panko mixture and arrange on top of the tart. Sprinkle any remaining panko on top; dot with the remaining 1 tablespoon butter. Return to the oven on the upper rack and bake until the top is golden, about 15 minutes. Let cool 30 minutes before slicing.


Chicken Spaghetti Casserole

You ever have something so delicious at someone else’s house that you can’t wait to make it yourself? That’s what happened to me this week. Over the weekend I had Chicken Spaghetti casserole at a friend’s house and instantly knew I had to make it myself. So, when I had some leftover chicken from dinner the other night I knew exactly what I would be using it for.

First up I got all of my ingredients prepped and together: 2 cups of shredded cheddar cheese, 1/3 cup of diced green and red bell peppers, two cooked chicken thighs shredded, half an onion diced, a can of cream of mushroom soup and spaghetti (I used only half of this one pound box). I should note that my measurements versus the original recipe are different since I opted to halve my version.

IMG_2914

After cooking the spaghetti – I broke it into thirds prior to adding it to the boiling water- I mixed it with all of the ingredients minus 1 cup of the shredded cheese. Prior to draining the spaghetti I reserved about 2 cups of the water from which I added about a cup to the mixture so it wouldn’t be too dry.

IMG_2920

I then poured the mixture into a greased 8 x 8 baking dish and topped it with the remaining shredded cheese

IMG_2921

And finally after baking it for 30 minutes in a 350F pre-heated oven it was ready and just as delicious as the first time I had it!

IMG_2927

The original recipe…

Chicken Spaghetti

Recipe courtesy of Ree Drummond

Total Time: 1 hr. 40 min

Prep: 20 min

Cook: 1 hr. 20 min

Yield: 8 servings

Ingredients

1 whole raw chicken, cut into 8 pieces

1 pound thin spaghetti, broken into 2-inch pieces

2 1/2 cups shredded sharp Cheddar

1/4 cup finely diced green bell pepper

1/4 cup finely diced red bell pepper

1 teaspoon seasoned salt

1/8 to 1/4 teaspoon cayenne pepper

Two 10 3/4-ounce cans cream of mushroom soup

1 medium onion, finely diced

Salt and freshly ground black pepper

Directions

Preheat the oven to 350degrees F.

Bring a large pot of water to a boil. Add the chicken pieces to the boiling water and boil for a few minutes, and then turn the heat to medium-low and simmer, 30 to 45 minutes.

Remove the chicken and 2 cups of the chicken cooking broth from the pot. When the chicken is cool, remove the skin and pick out the meat (a mix of dark and white) to make 2 generous cups. Discard the bones and skin.

Cook the spaghetti in the chicken cooking broth until al dente. Do not overcook. When the spaghetti is cooked, combine with the chicken, 1 1/2 cups of the cheese, the green peppers, red peppers, seasoned salt, cayenne, soup and onions, and sprinkle with salt and pepper. Stir in 1 cup of the reserved chicken cooking broth, adding an additional cup if needed.

Place the mixture in a 9- by 13-inch casserole pan and top with the remaining 1 cup cheese. Bake immediately until bubbly, about 45 minutes. (If the cheese on top starts to get too dark, cover with foil.)

%d bloggers like this: