Mushroom Quiche

I’ve had two frozen deep dish pie crusts in my freezer since a little before Thanksgiving. I purchased an extra pack just in case of a mishap while baking my pies for the holiday. Thankfully I didn’t need them. And then they sort of got buried in my freezer to make room for the frozen cookie dough I had stored in there for my Christmas baking. Once all the cookies had been baked though the crusts reemerged and I decided it was time to make something with them, something other than pie. And then I remembered I had photocopied a Mushroom & Sausage Quiche recipe from a cookbook I ultimately got rid of (I had one too many and needed to purge them). Which I then I decided to omit the sausage from and increase the amount of mushrooms and ended up with the Mushroom Quiche recipe below. Which I am happy to say will be made again and possibly with some baby spinach next time.

img_1299

Mushroom Quiche

Ingredients:

1 frozen deep dish 9-inch pie crust

1 tablespoon butter

8 oz. sliced white mushrooms

1 medium sweet onion, chopped

4 eggs

1 cup sour cream

1 cup cottage cheese, 2% or 4% milkfat

2 tablespoons flour

1 teaspoon hot sauce

3 tablespoons grated parmesan cheese

1 8 oz. package shredded cheddar cheese


Directions:

Preheat the oven to 350 F. Place the pie crust on a baking a sheet.

In a large skillet melt the butter over medium-high heat. Add the mushrooms and chopped onions and cook for 5 minutes, or until both are tender.

Place the eggs, sour cream, cottage cheese, flour, parmesan cheese and hot sauce in a food processor (or blender) and process until smooth. Scraping the bowl as necessary.

Transfer the mushrooms and onions to a large bowl and add in the egg mixture and cheddar cheese, stir to combine. Spoon the mixture into the pie crust (you may have some leftover). Cover the edges of the pie crust with strips of aluminum foil to prevent the crust from burning.

Bake in the preheated oven for 50 – 60 minutes, until the top is golden brown and the center is set. A toothpick or cake tester inserted in the middle should come out clean. Let cool for 10 minutes and enjoy!

Recipe adapted from a Mushroom & Sausage Quiche recipe found in the cookbook Paula Deen & Friends


Cheesy Garlic Monkey Bread

So this is sort of a continuation from yesterday’s post – Slow Cooker Marinara Sauce. I made the sauce to go along with today’s post… A Cheesy Garlic Monkey Bread. I originally came across this recipe in an issue of Rachael Ray Magazine last year. Well, the recipe was for a Basic Monkey Bread and then you had a few options to flavor the bread. I was partial to trying the Cheesy Garlic version.

The version in the magazine called for you to actually make the dough for the bread, but, to be honest working with yeast and me don’t always go over that well. So, when I saw a recipe that used Pillsbury Grands! Biscuits as the base for a monkey bread I knew I had to try it.

I began by combining olive oil, grated Parmesan, minced garlic and salt in a large bowl.

img_0412

Next, I cut each Grands! Biscuit into four equal pieces. I ended up using 2 cans of biscuits, each of which has 8 biscuits so I ended up with 64 pieces. After cutting the biscuits of the first can I placed them back in the refrigerator so they would stay cold while I cut biscuits from the second can. It’s best to work with the biscuits when they are cold, you don’t want them to become warm & sticky.

img_0416

I then tossed half of the quartered biscuits in the olive oil mixture and gradually added in the remaining quarters.

img_0417

After spraying a Bundt pan with cooking spray, I layered the biscuit pieces into the pan. I opted to use my hands to spread the pieces into the pan to ensure they would be even throughout the pan.

img_0423

I then baked it in a 350F preheated oven for about 35 to 40 minutes. Until it was browned on top and I was sure that all of the biscuit pieces had cooked throughout the monkey bread. After letting it cool in the pan for a few minutes I inverted it and sprinkled it with freshly chopped parsley…

img_0431

And a side of homemade marinara sauce.

img_0427


Cheesy Garlic Monkey Bread

Ingredients:

2 Cans (16.3 oz.) Grands! Original Biscuits

3/4 cup olive oil

1 cup grated Parmesan cheese

4 garlic cloves, minced

1 1/2 teaspoons salt

2 tablespoons chopped fresh parsley

Directions:

Preheat the oven to 350 F and butter a large Bundt pan.

In a large bowl combine the olive oil, parmesan cheese, garlic and salt and set aside.

Working with 1 can at a time, cut each of the biscuits into quarters. After cutting the first can place it back in the refrigerator while cutting the biscuits of the second can.

Fold half of the quartered biscuits into the olive oil mixture and gradually add in the remaining pieces.

Pile the biscuit pieces evenly into the prepared Bundt pan and bake for 35 to 40 minutes, until browned and cooked through.

Let cool for 5 minutes in the pan and then invert onto a large plate and sprinkle with parsley. Serve with marinara sauce for dipping.

Recipe Adapted From Rachael Ray Magazine


A Quick & Easy Bolognese

As the temperatures begin to drop our need and desire for hearty and comforting dishes begins to rise. There’s nothing like coming in from the cold with a nice hot bowl of soup waiting for you. That’s my usual go-to after a morning of shoveling, but let’s not talk about snow so early in the season. We haven’t even had our first frost yet! And just as comforting as soup is pasta and today I have a recipe for you for a quick and easy Bolognese. I came across it in a recent issue of Food Network Magazine where they coined it Weeknight Bolognese. I’m calling it quick and easy because I was able to make twice in one day without breaking a sweat. Why did I make it twice in one day you may be wondering? Well, it’s not because it was so delicious I finished it one sitting – don’t get me wrong, it was delicious – but, it was because I made a MAJOR snafu! If you didn’t know I am more of baker than a cook. The cooking thing is still fairly new to me and I have a lot to learn, like you shouldn’t substitute cooking wine for a dry red wine in any recipe. That’s why I made this recipe twice. The first time I used cooking wine in lieu of dry red wine and it was atrocious and incredibly salty. At first I couldn’t figure out what I had done wrong, but, a quick Google search let me know. I believe I may have made this mistake once before with another recipe but, it’s not coming to me right now. At least I know for future cooking endeavors!

So, on my second go around I had a delicious dinner to eat and with the temps a little cooler in the evening it was quite comforting.

IMG_9197

A Quick and Easy Bolognese

  • Servings: 4 to 5
  • Print

Ingredients:

2 tablespoons olive oil

1 pound lean ground beef*

4 garlic cloves, minced

1 tablespoon dried oregano

1/4 teaspoon crushed red pepper flakes

1 1/4 cups dry red wine**

1 28-ounce can of crushed tomatoes

2 tablespoons tomato paste

Kosher salt and black pepper

3/4 pound dried pasta, such as orecchiette or small shells

1/4 teaspoon ground nutmeg

1/4 cup chopped fresh basil leaves

1/4 cup heavy cream

1/2 cup freshly grated Parmesan cheese, plus extra for serving

*I used a 93% / 7% split

** I used Merlot

Directions:

Heat the olive oil in a large skillet over medium-high heat. Add the ground beef and cook, crumbling the meat with a wooden spoon until the meat has lost its pink color and has begun to brown. Add in the garlic, oregano, and red pepper flakes. Pour in 1 cup of the red wine, the crushed tomatoes, tomato paste, 2 teaspoons of salt and 1 teaspoon of black pepper, stirring until combined. Bring to a boil, then lower the heat and let simmer for 10 minutes.

Bring a large pot of water to boil and cook the pasta according to the package directions.

While the pasta is cooking finish the sauce by adding in the nutmeg, basil, cream and the remaining 1/4 cup of wine and continue simmering for 8 to 10 minutes, stirring occasionally until thickened.

When the pasta is cooked, drain and pour into a large serving bowl and top with the sauce and 1/2 cup of the Parmesan and toss well. Serve hot with extra Parmesan on top.

Recipe from Food Network

Parmesan Herb Loaf

If you follow my blog you know that I tend to try out a lot of Food Network recipes. It’s one of my go-to stops for looking for a recipe when I have something in mind and since I receive their monthly magazine it’s hard to resist the amazing recipes they include each month. Also included each month is a tear out booklet with 50 recipes designated to a specific thing… for the October issues it was 50 Quick Breads. And I was quick to try out one of those breads, the Parmesan Herb Bread to go along with the soup I posted about yesterday.

IMG_5607

To begin I caramelized two onions on medium-low heat for about 30 minutes.

IMG_5582

Following that I whisked sour cream, vegetable oil and eggs together in one bowl.

IMG_5585

In another bowl I combined flour, grated parmesan cheese, sugar, chopped rosemary, baking powder, lemon zest, baking soda, salt and pepper and finally the caramelized onions. If you are wondering why the onions were mixed in to the flour mixture as opposed to the egg mixture it’s because coating the onions with the flour will prevent them from sinking to the bottom of the bread. Hence they will be evenly distributed throughout the bread.

IMG_5588

After that I folded the wet ingredients into the dry ingredients.

IMG_5595

I then poured the batter into my prepared loaf pan – I lined it with parchment paper and sprayed it with baking spray – and baked it in a 350 F preheated oven for 40 minutes.

IMG_5598

I let the bread cool in the pan for about an hour and then removed it and let it cool completely on a wire rack.

IMG_5601

Then it was time to slice it up… As you can see each slice had a nice amount of onions throughout it as opposed to just on the bottom. This bread was super simple to make; granted waiting for the onions to caramelize does take some patience but the end product is definitely worth it. It was incredibly moist and flavorful, it reminded me of Thanksgiving!

IMG_5618


Parmesan Herb Bread

Ingredients:

2 onions sliced and caramelized

3/4 cup sour cream

1/2 cup vegetable oil

2 eggs

1 3/4 cups flour

1/2 cup grated parmesan cheese

1 tablespoon sugar

2 teaspoons chopped rosemary*

1 1/2 teaspoon baking powder

1 teaspoon lemon zest

1/2 teaspoon salt

1/2 teaspoon pepper

1/4 teaspoon baking soda

*The original recipe also called for 2 teaspoons of chopped thyme which I omitted

Directions:

1. Preheat the oven to 350 F. Prepare a 9 x 5 loaf pan by lining it with parchment paper, leaving an overhang, and spraying it with baking spray.

2. To caramelize the onions, cook in olive oil over medium-low heat for 30 minutes.

3. Whisk together the sour cream, vegetable oil and eggs in a medium-sized bowl.

4. In a large bowl whisk together the flour, grated parmesan, sugar, chopped rosemary, baking powder, lemon zest, salt, pepper and baking soda. Add in the onions.

5. Fold the wet ingredients into the dry ingredients and pour the batter into the prepared pan and bake 40 to 50 minutes until a tester comes out clean.

6. Let cool 1 hour, then remove the bread from the pan and transfer to a wire rack to cool completely.


Chicken Parm Pizzas

Aaaahhh pizza. What is there not to like about it? I have been a pizza lover since a very young age. I can remember quite a few times when I was younger (I am talking under the age of 10) when I didn’t want to eat whatever my mom cooked for dinner so then dinner for me would be a slice of pizza. When I got to college, pizza was one of the tastiest (and safest) things to eat in the cafeteria. Thankfully they switched it up every day with Hawaiian pizza, pepperoni pizza, white pizza, focaccia pizza and so forth. So, what if you combined pizza – one Italian classic – with another classic, Chicken Parmesan? Well, you would get Chicken Parm Pizzas. And no, it’s not just a breaded chicken cutlet shaped into a circle. The key to this classic combo mash-up is using ground chicken to get that perfectly round pie.

IMG_5201

To begin I mixed a pound of ground chicken with Italian herb blend, salt, garlic and onion powders. I divided the mixture in half and then pressed it into two 8-inch cake plans that I lined with plastic wrap. Following that I covered the two pans with plastic wrap and placed them in the freezer for 4 hours.

IMG_5181

Before removing the ground chicken from the freezer I preheated the oven to 400 F and assembled the three separate coatings I would need for the chicken: Wondra Flour, 3 eggs lightly beaten and a breadcrumb – cheese mixture.

IMG_5186 IMG_5189 IMG_5188

The frozen chicken…

IMG_5190

Which I then coated in the flour, then in the eggs and finally in the breadcrumb – cheese mixture and then placed on a baking sheet.

IMG_5191

I then heated olive oil in a large skillet over medium-high heat and cooked the chicken rounds until they were golden. After draining them on paper towels I transferred them to a wire rack set inside a rimmed baking sheet.

IMG_5193

And then it was time for them to become “pizza.” I topped them with marinara sauce and sprinkled them with mozzarella and Parmesan cheese.

IMG_5195

I cooked them on the wire rack set inside the baking sheet for about 15 minutes, until the cheese was melted and the chicken was fully cooked through.

IMG_5202

While Chicken Parmesan is customarily served with pasta I opted to serve these pizza versions with steamed broccoli.

IMG_5216

Overall, these were quite tasty, but, I didn’t find them to be better than your typical Chicken Parmesan that definitely doesn’t require as much time or work. It’s definitely a nice twist on two classics though. One thing though, if I do make them again I will reduce the salt content in the seasoning for the ground chicken from a teaspoon to 1/2 teaspoon (or even a 1/4) since I did find them to be a bit salty.


Chicken Parm Pizzas

Ingredients:

1 1/4 lbs. ground chicken

1 1/2 teaspoon Italian herb blend

3/4 teaspoon garlic powder

3/4 teaspoon onion powder

3 eggs

1/4 cup Wondra flour

1 cup seasoned Italian breadcrumbs

1/2 cup panko

4 tablespoons grated Parmesan*

4 tablespoons grated pecorino*

1 cup extra virgin olive oil

1 cup shredded mozzarella

1/2 cup marinara sauce

*I didn’t have pecorino so I opted to use 8 tablespoons of Parmesan

 Directions:

1. Line 2 eight-inch cake pans with plastic wrap. In a medium bowl, mix the chicken, 1 tsp. herb blend, 1 tsp. salt, and 1/2 tsp. each garlic and onion powders. Divide chicken mixture and press into the prepared pans. Cover with plastic wrap. Freeze 4 hours.

2. Preheat the oven to 400 F. In a shallow bowl, beat the eggs. Place the flour on a large plate. On another plate, combine the breadcrumbs, panko, 2 tbsp. Parmesan, 2 tbsp. pecorino, and the remaining Italian herb blend and garlic and onion powders. Unwrap the chicken; remove from the pans. Coat the chicken in the flour, then the egg, then the breadcrumb mixture. Transfer to a baking sheet.

3. Set a rack inside a rimmed baking sheet. In a skillet, heat the olive oil over medium high. Cook 1 chicken round, turning once, until golden, about 4 minutes. Transfer the patty to paper towels. Repeat with the second chicken round. Transfer both to the rack.

4. Combine the remaining cheeses. Spread the marinara on the chicken, leaving a 1-inch border; sprinkle with the cheese mixture. Bake until the chicken is cooked through, about 15 minutes.

Tomato-Fontina Torte with Rosemary Crust

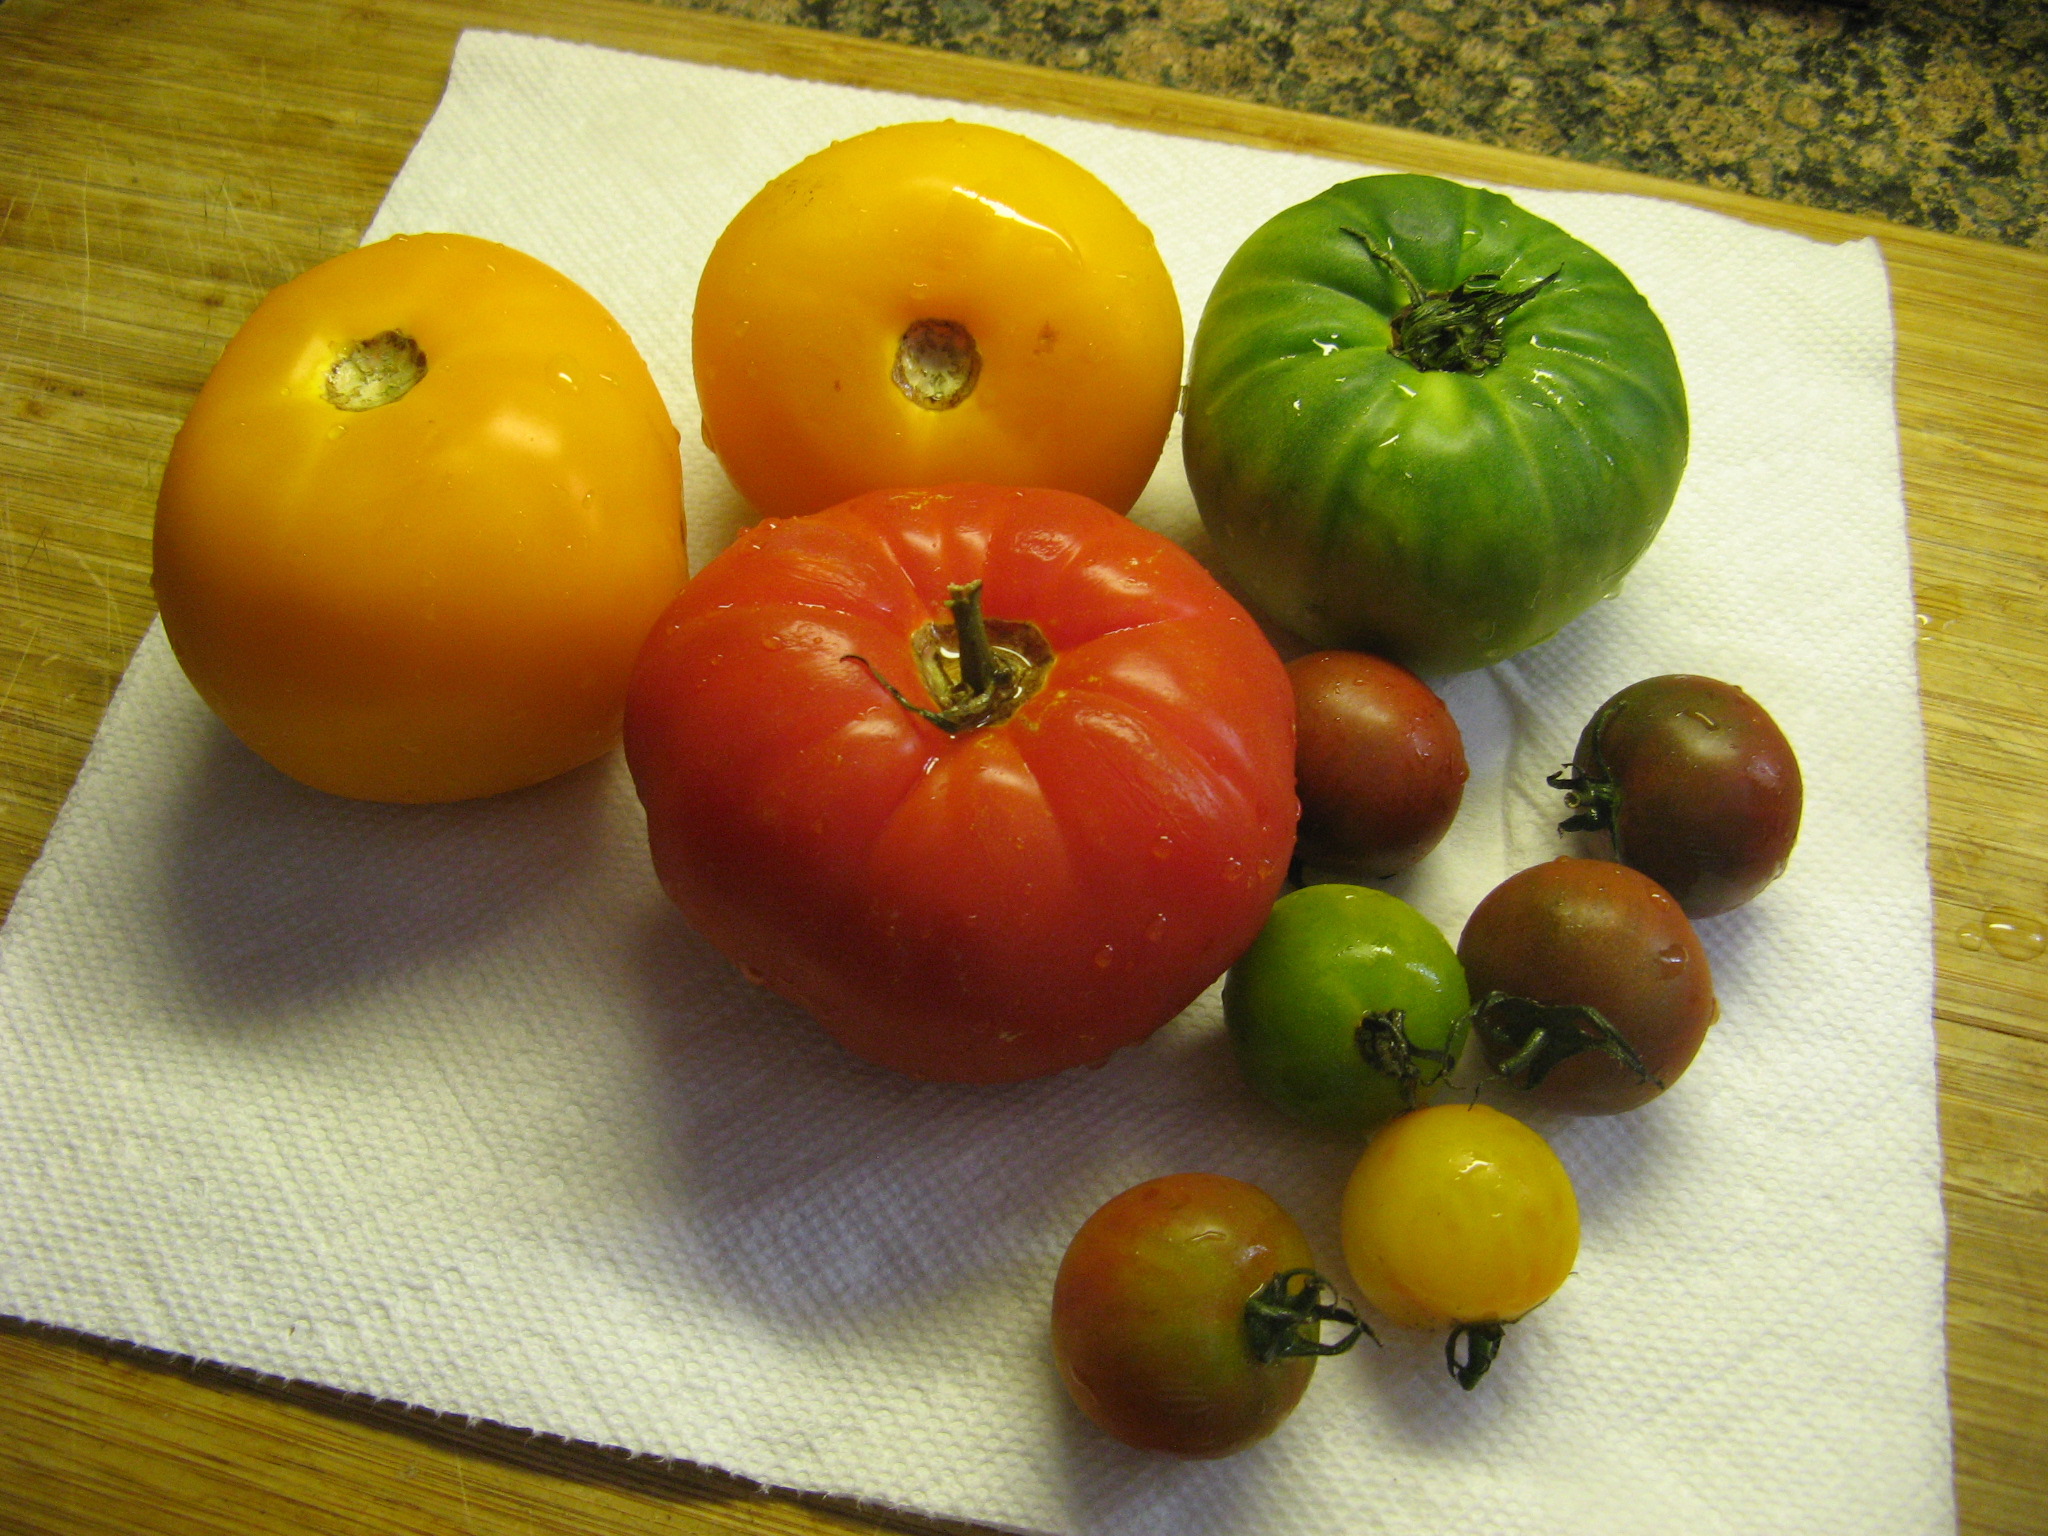
There is nothing like home-grown fruits and vegetables! When I was younger we used to always grow cucumbers, eggplant, lettuce, string beans, strawberries (the only fruit with its seeds on the outside) and my favorite, tomatoes. I remember picking the tomatoes, rinsing them and biting into them like they were an apple. Unfortunately store bought tomatoes don’t invoke that same zeal in me. I strictly use those for sandwiches and salads. But, there is one store-bought tomato that does come close to that memory of my childhood… Heirloom Tomatoes. You may or may not have seen them at your local supermarket. They are usually not the perfect round tomatoes that many of us have come accustomed to seeing and they come in an array of colors – red, orange, yellow, green and purple. Recently I came across a torte recipe – Tomato-Fontina Torte with Rosemary Crust – incorporating these tomatoes and I knew I had to try it. It took visiting a few different supermarkets, but, I finally found decent heirloom tomatoes to use.

IMG_4991

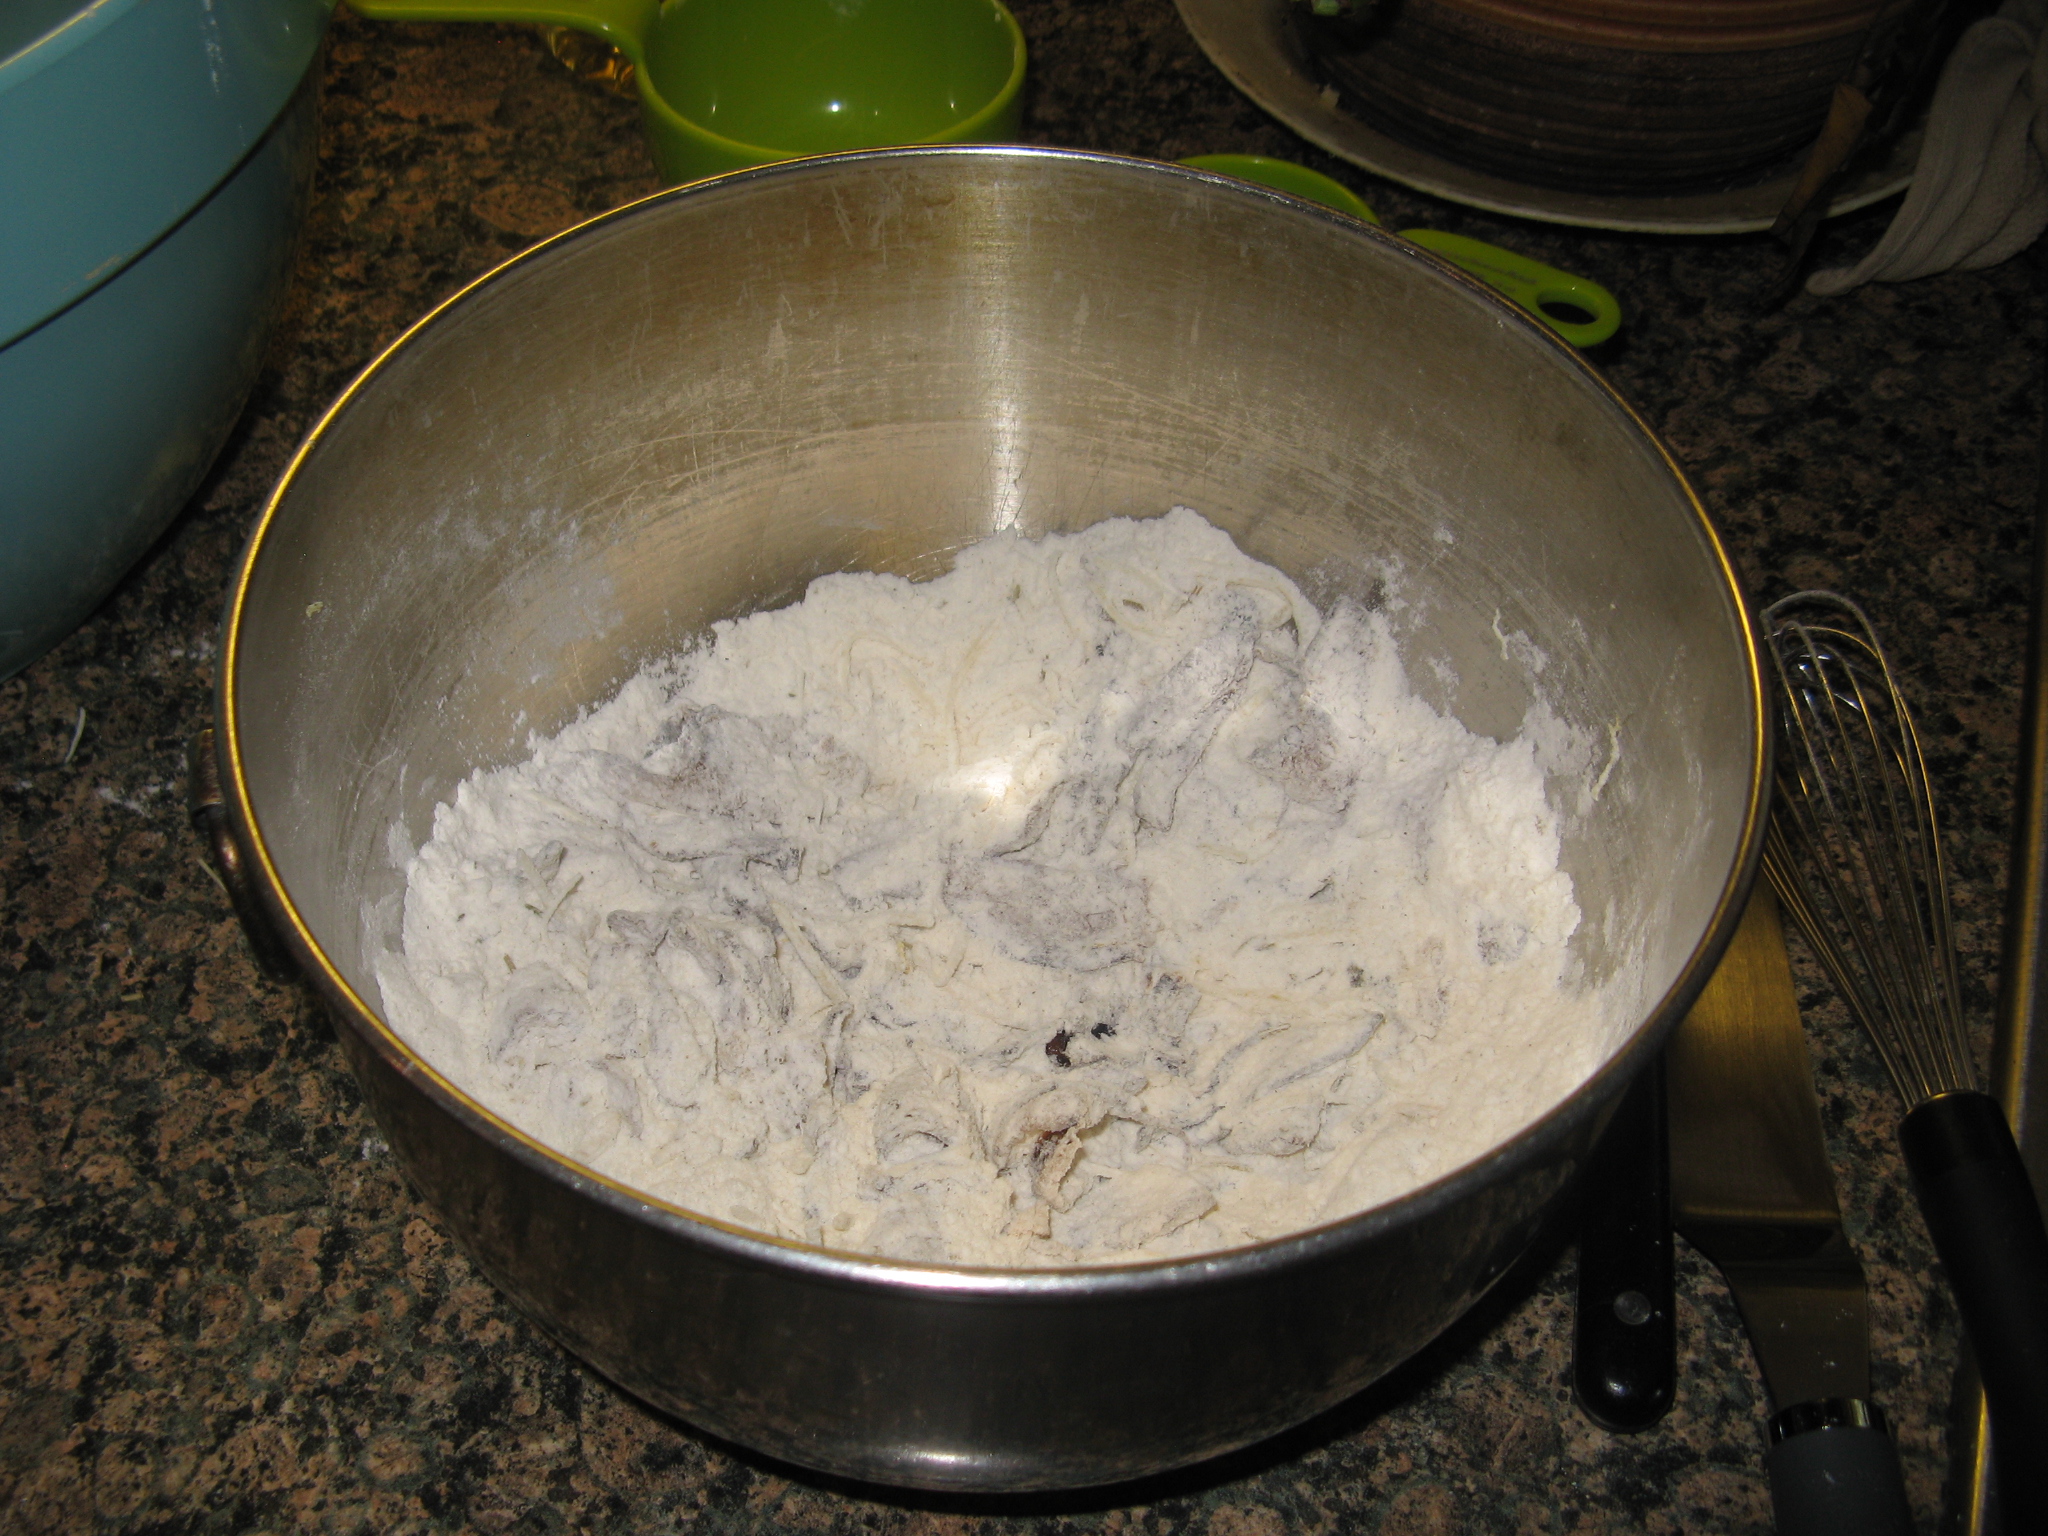
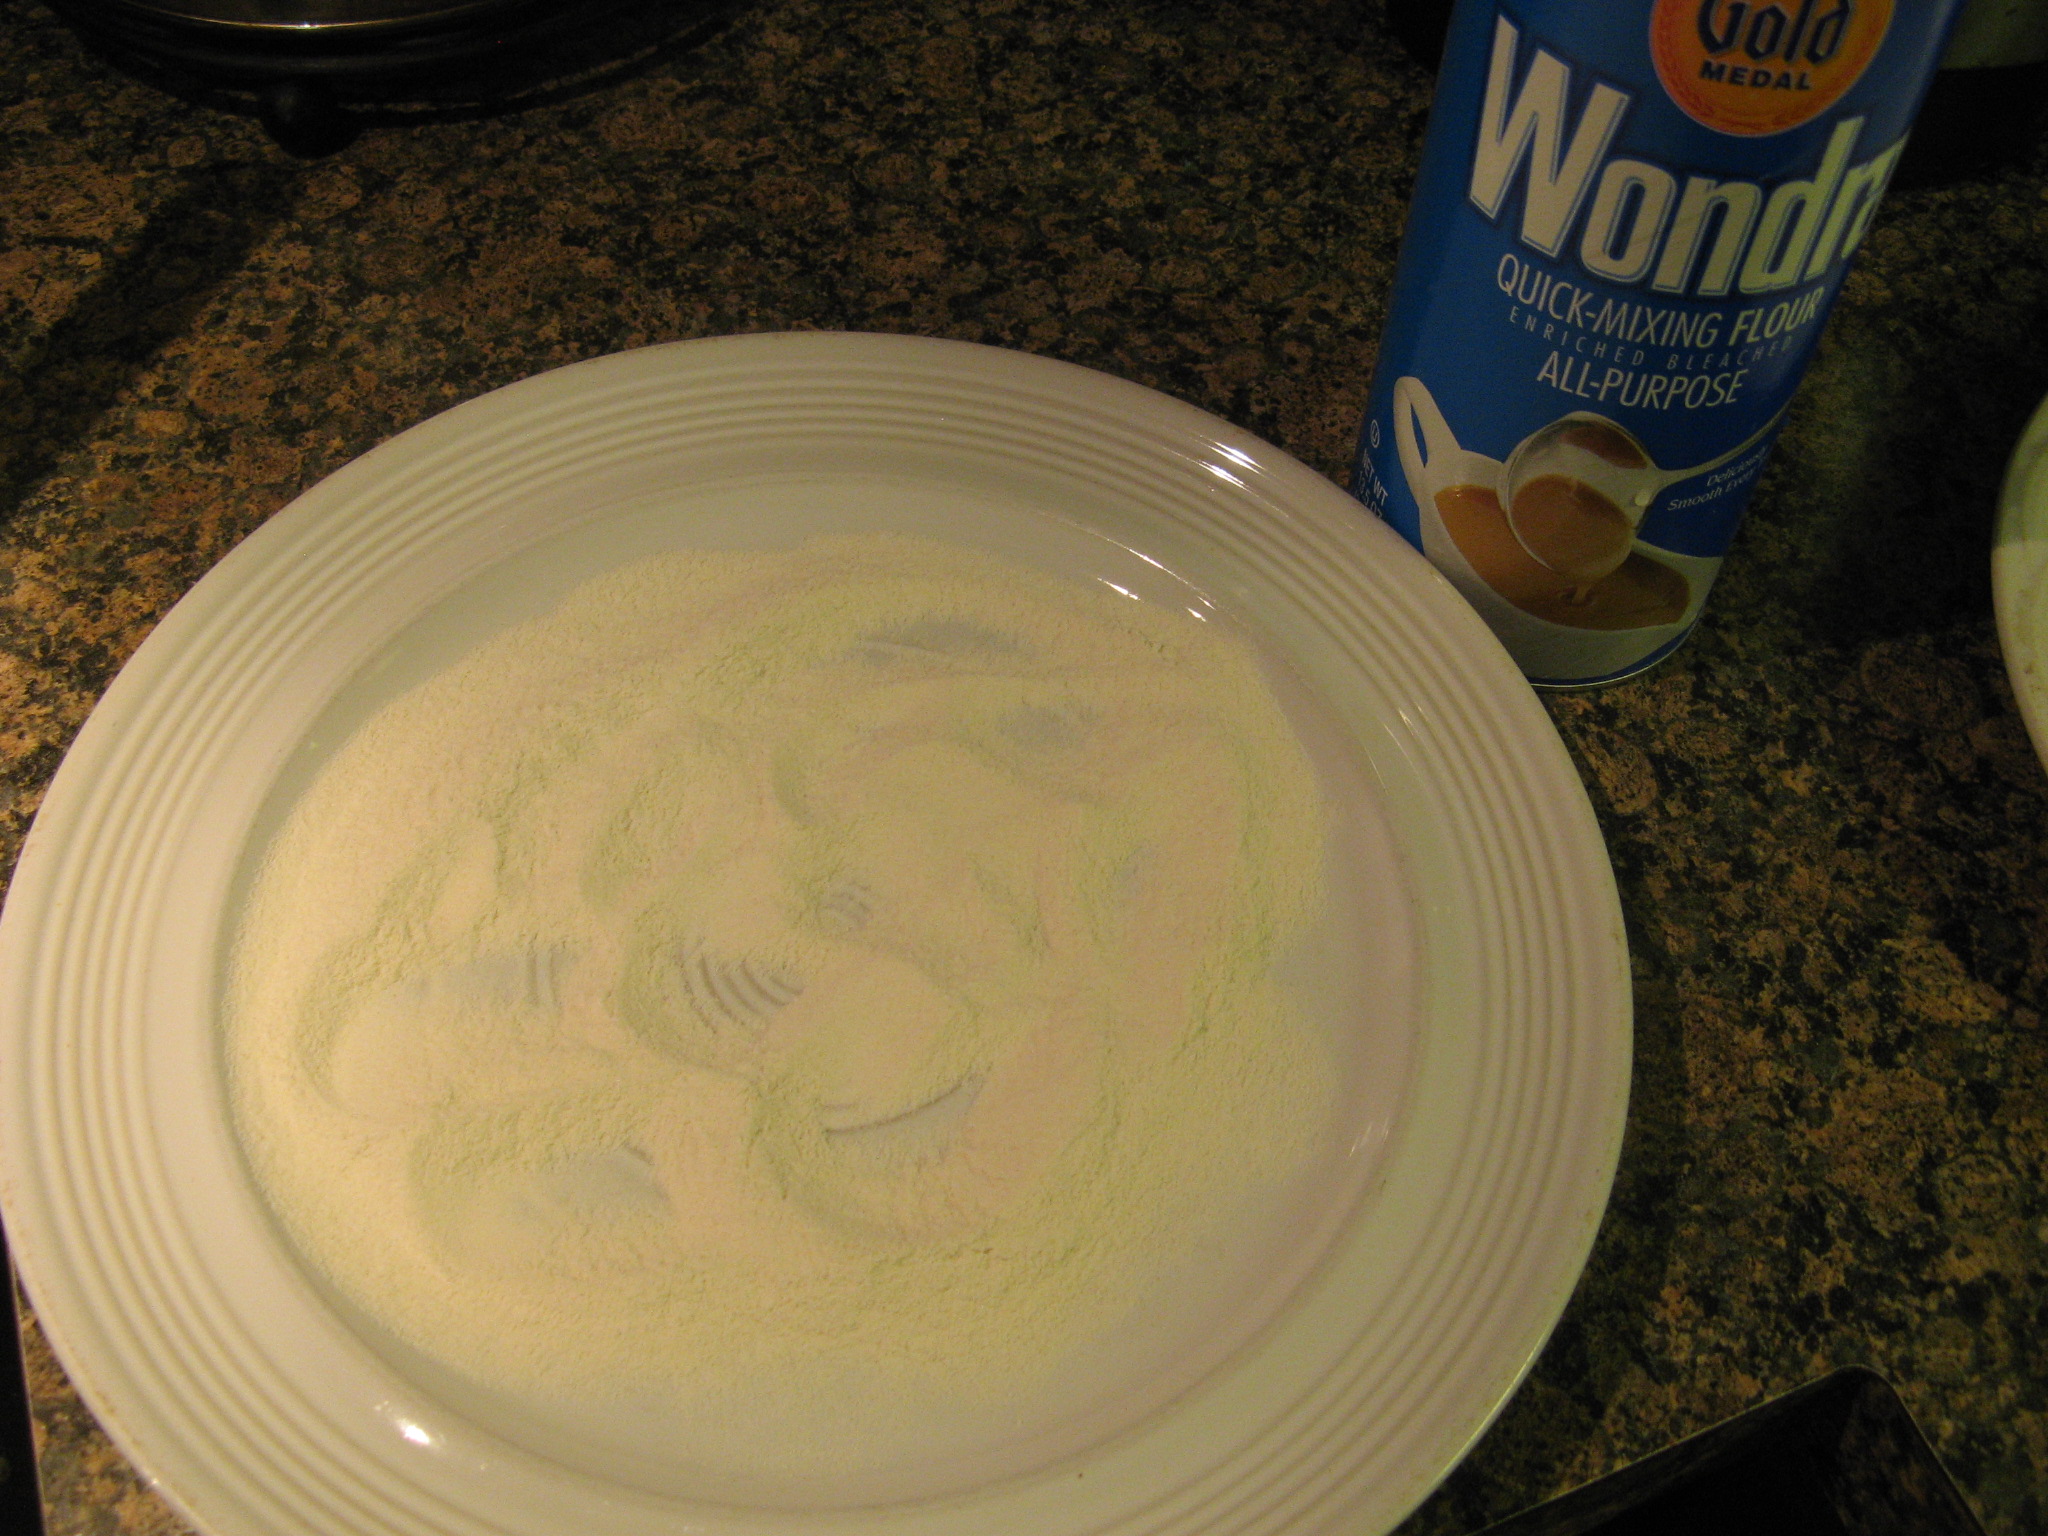
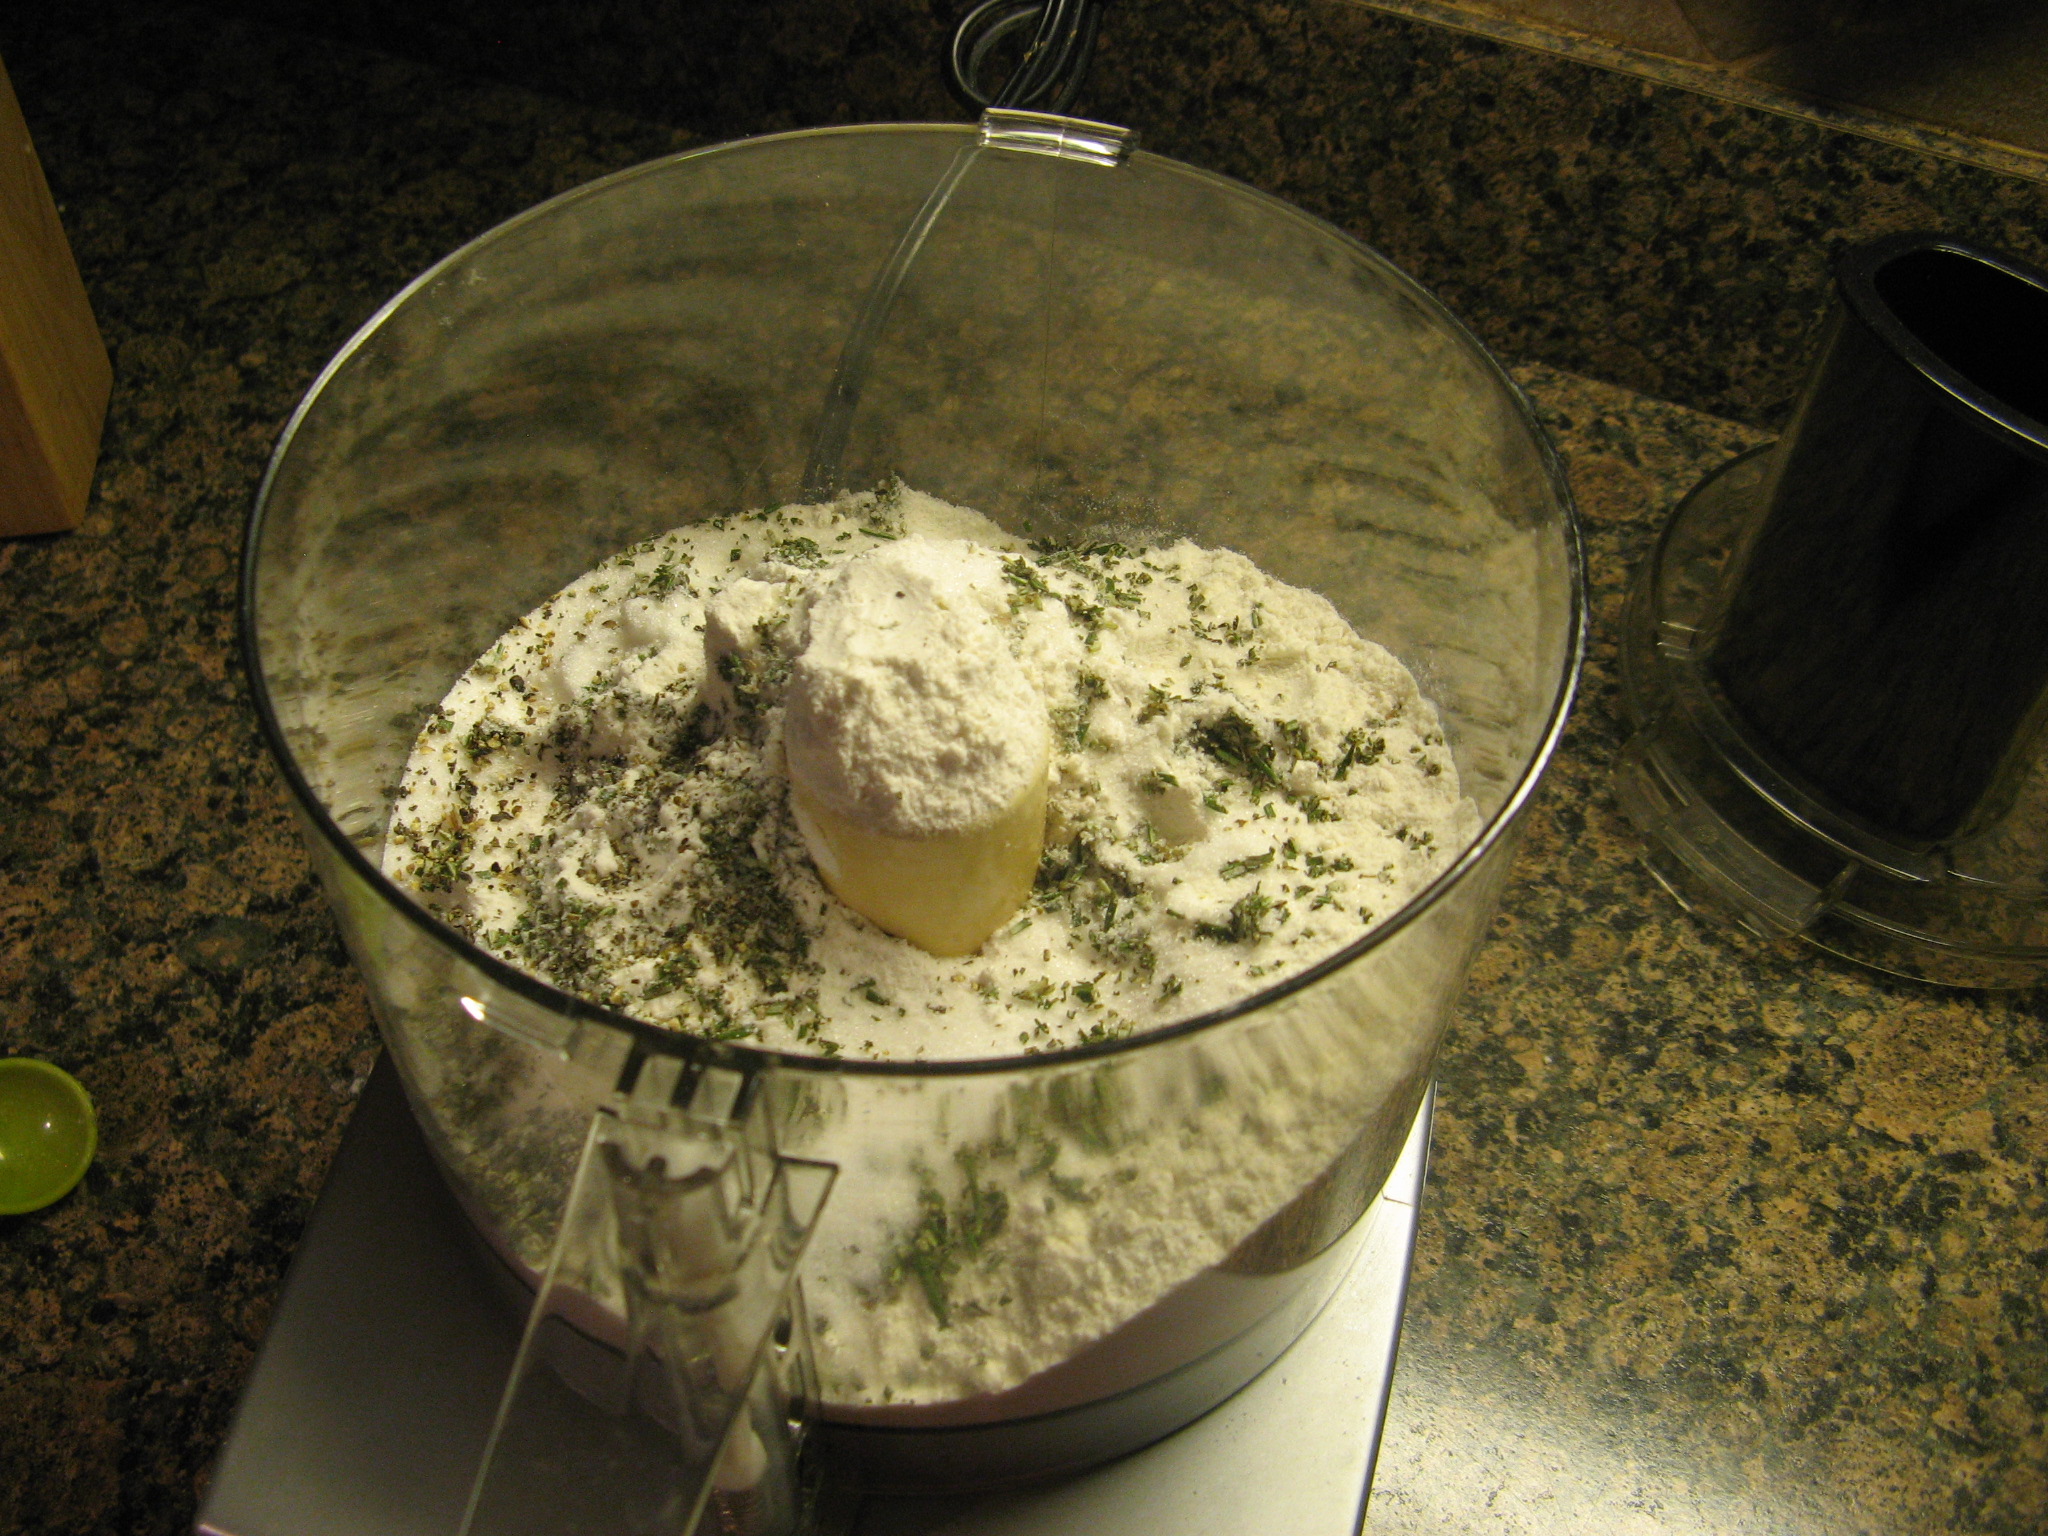
I started the torte by making the crust… I combined flour, sugar, fresh rosemary, salt and pepper in the bowl of my food processor.

IMG_4980

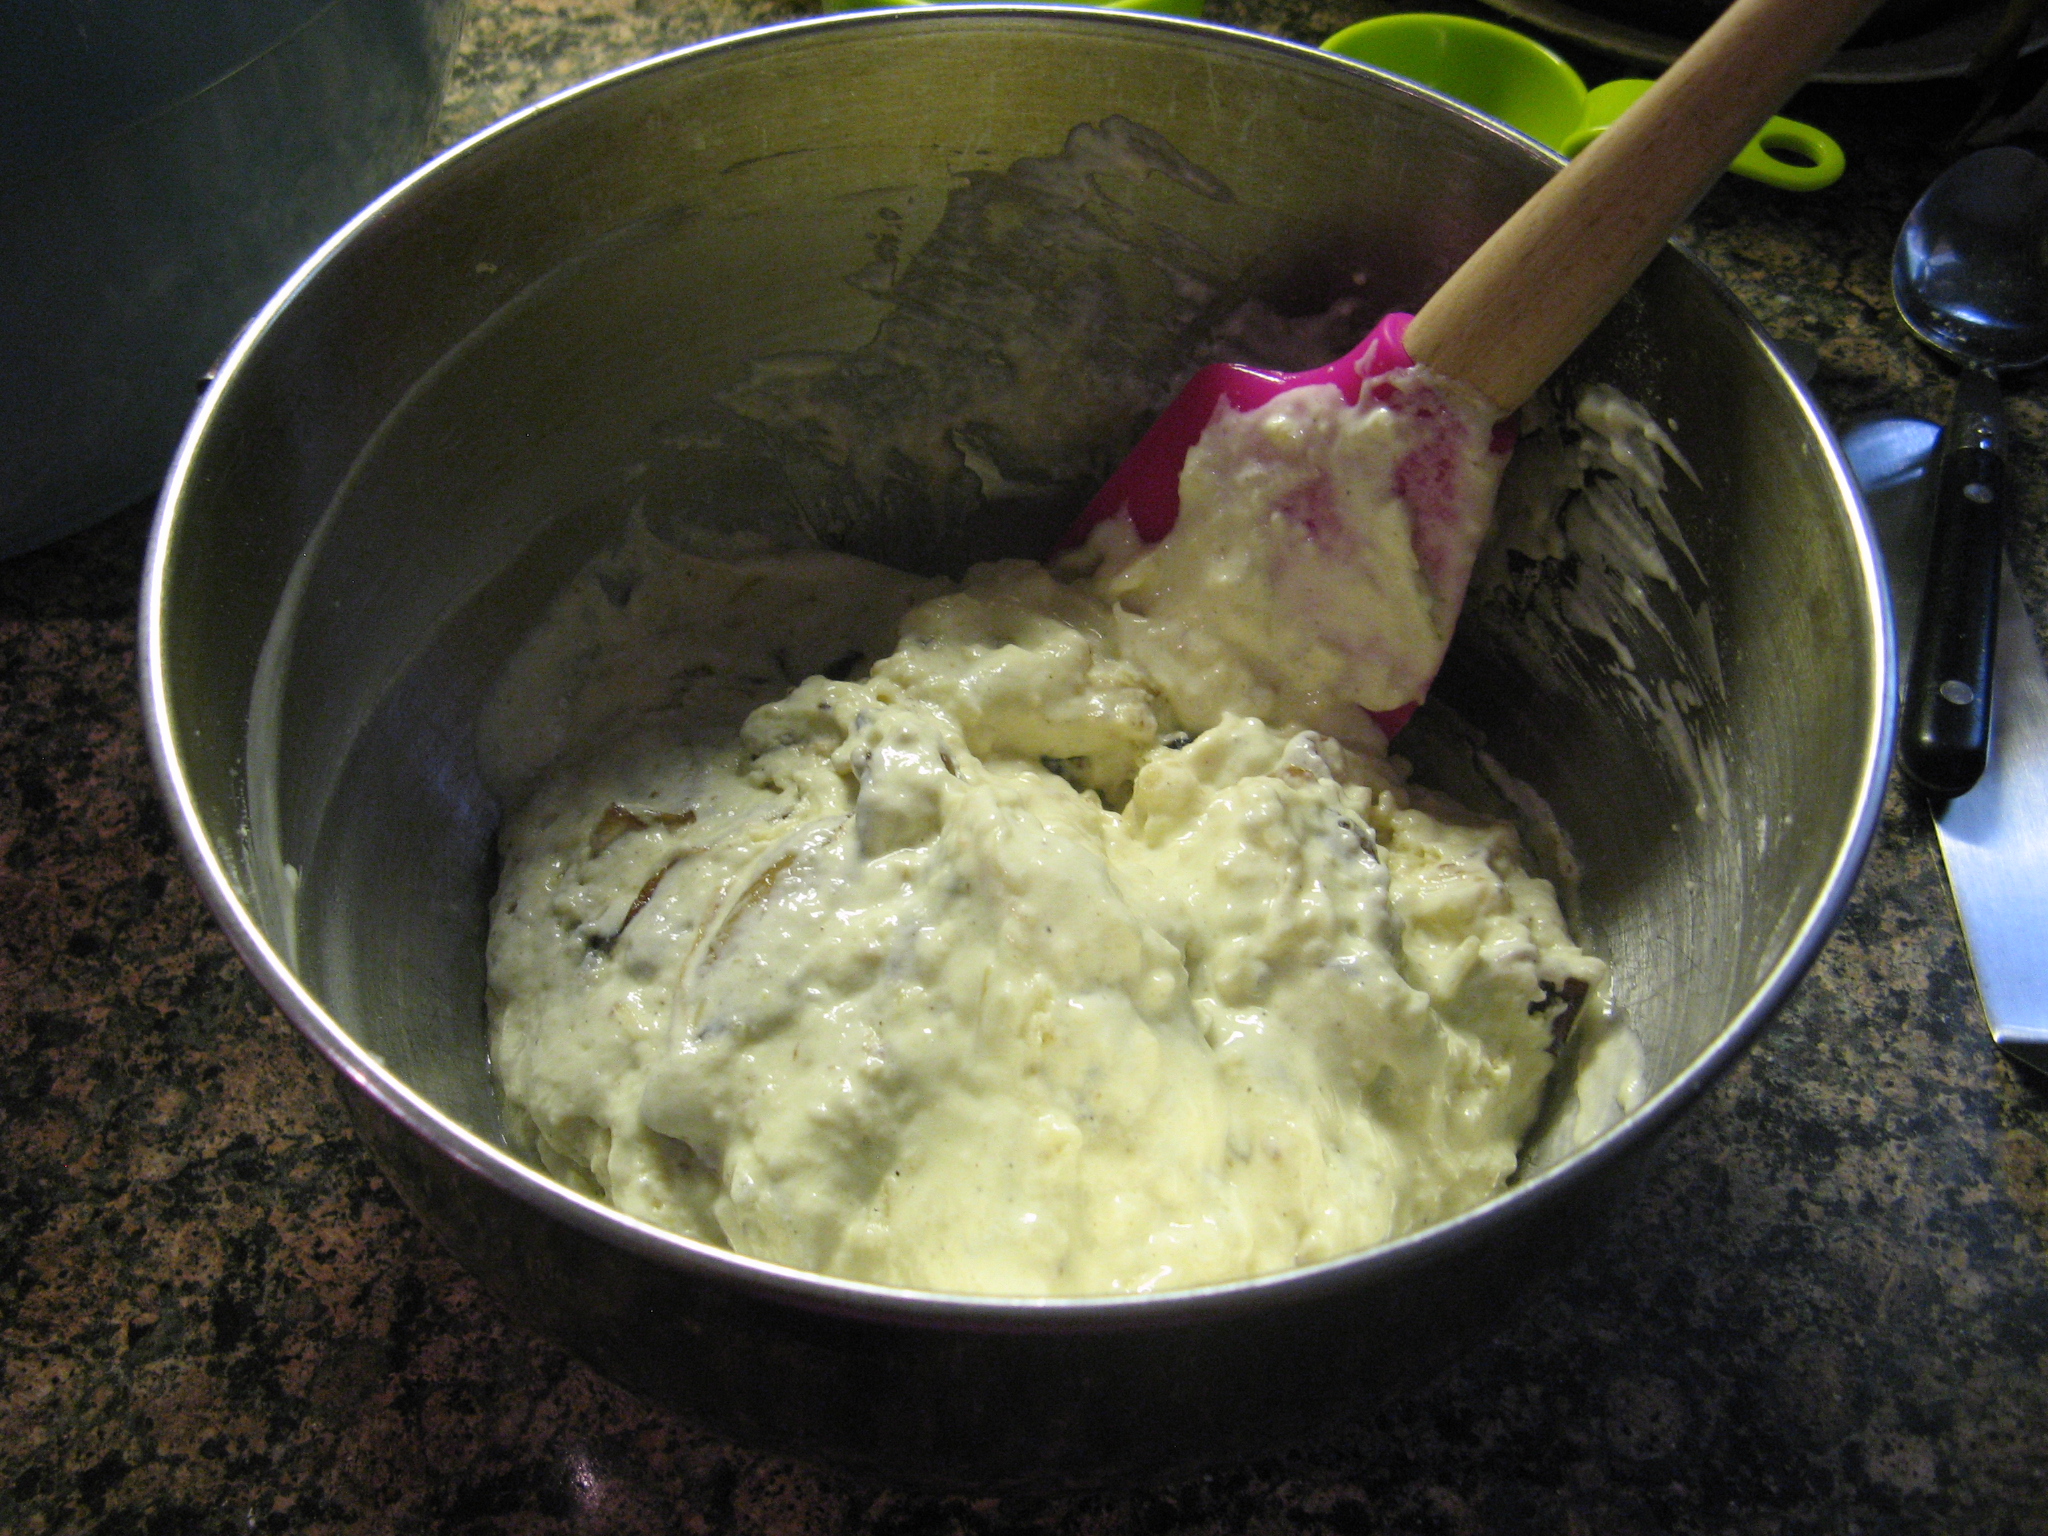
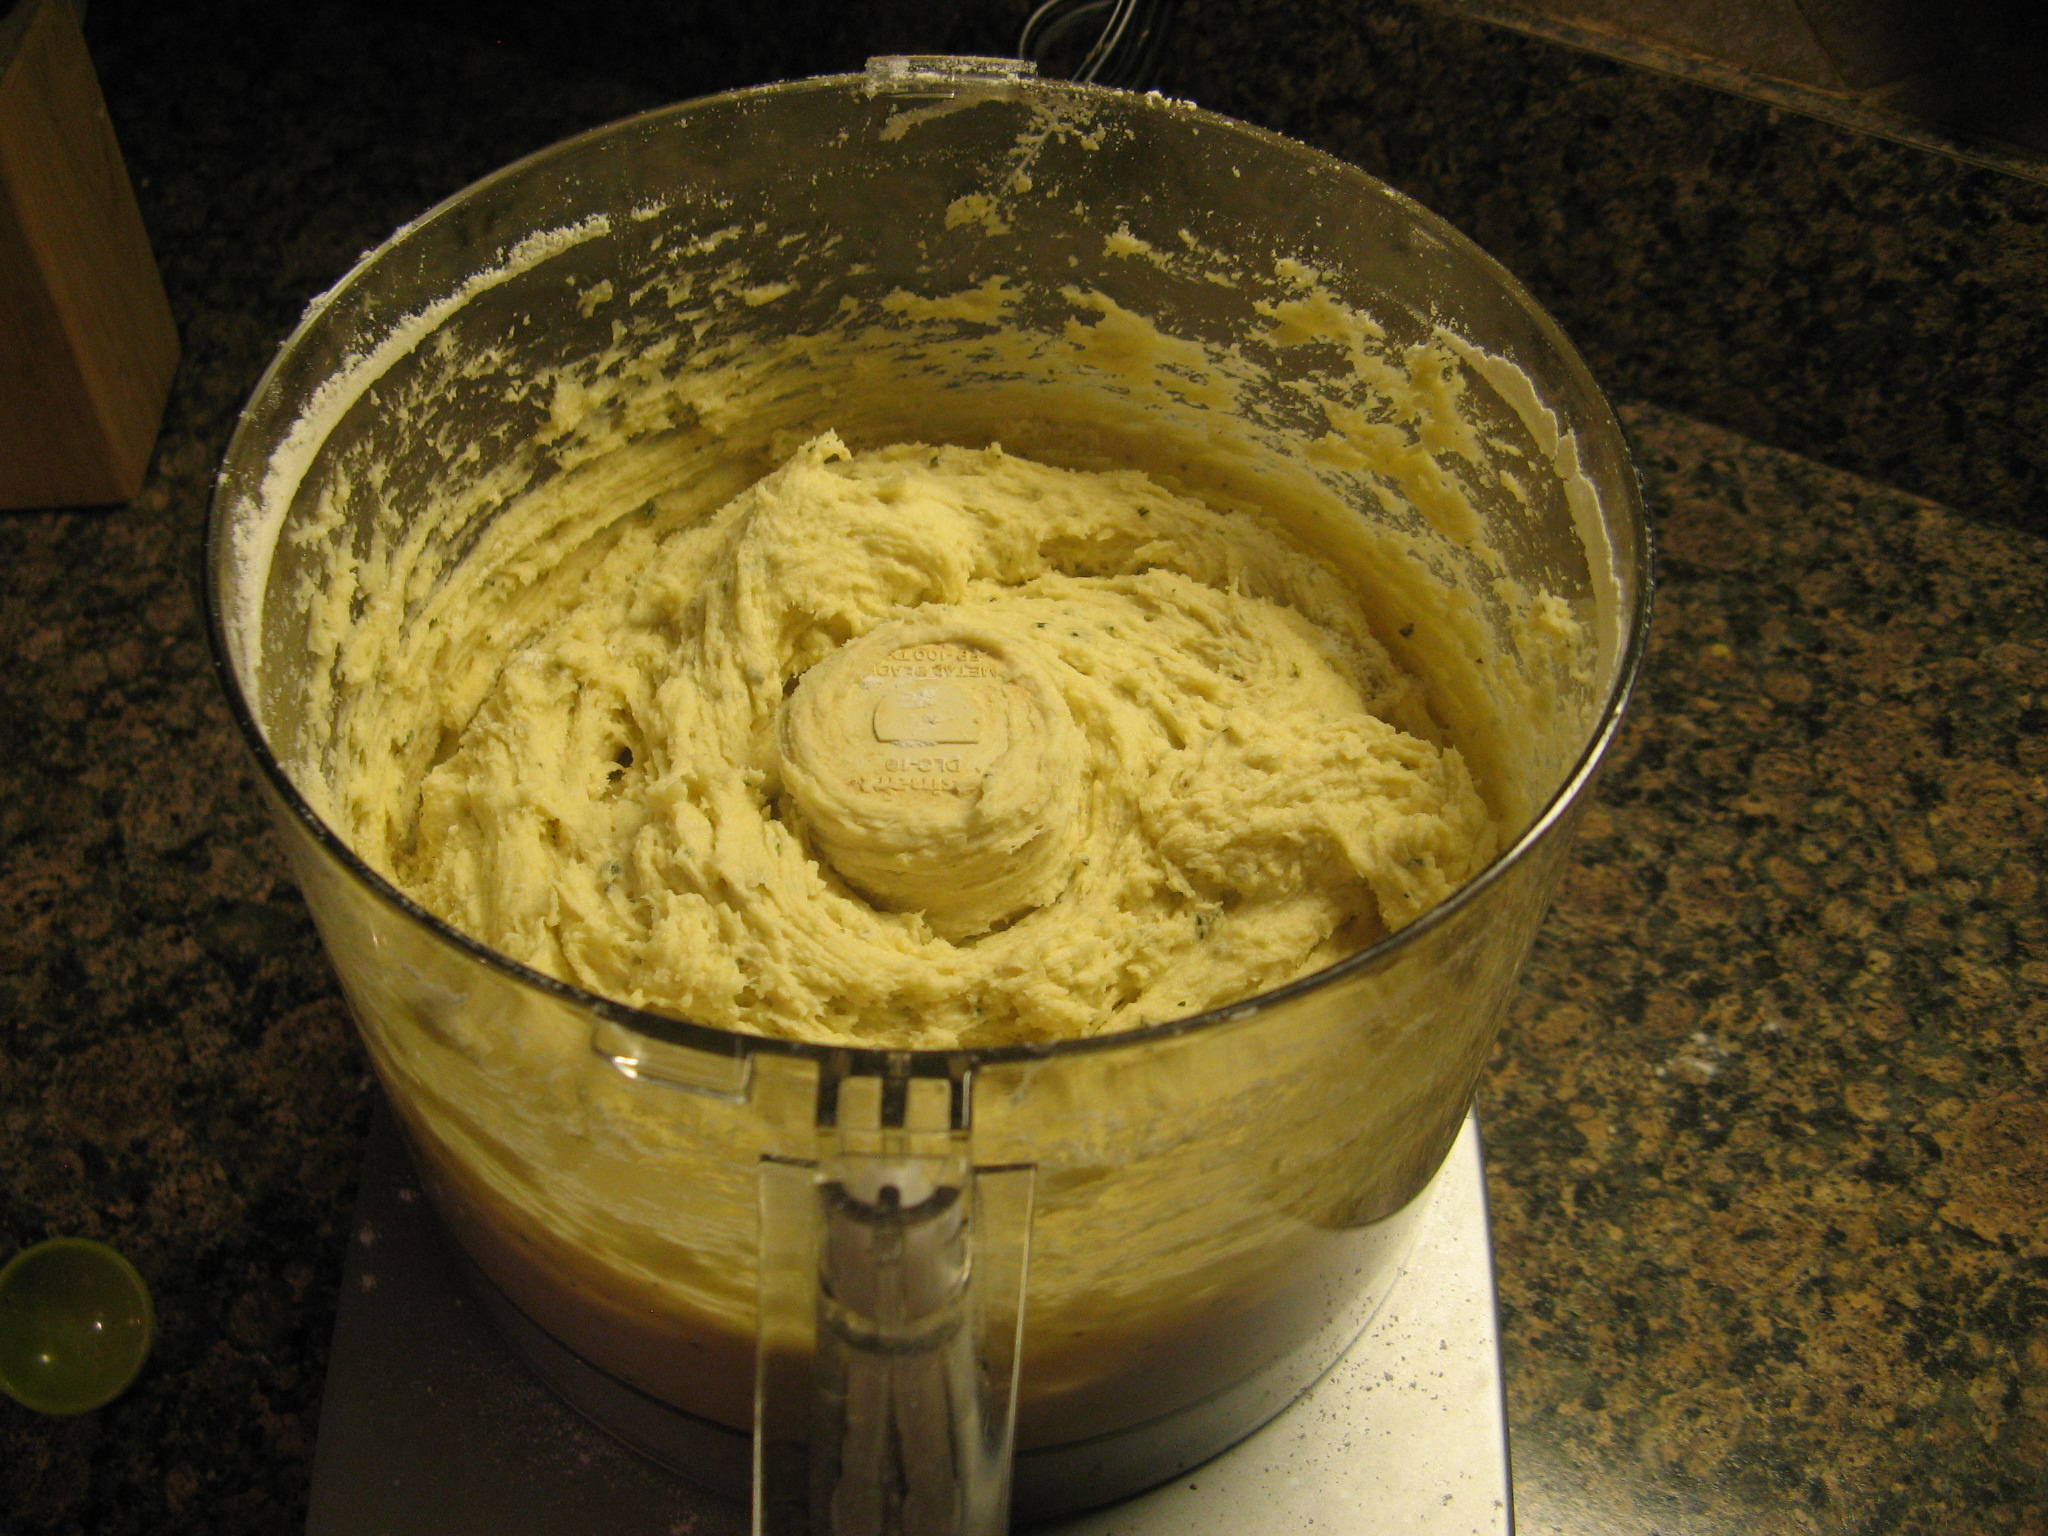
After I pulsed it until it was just combined I added in 12 tablespoons of cold butter cut into small pieces and pulsed the mixture until it looked like coarse meal.

IMG_4984

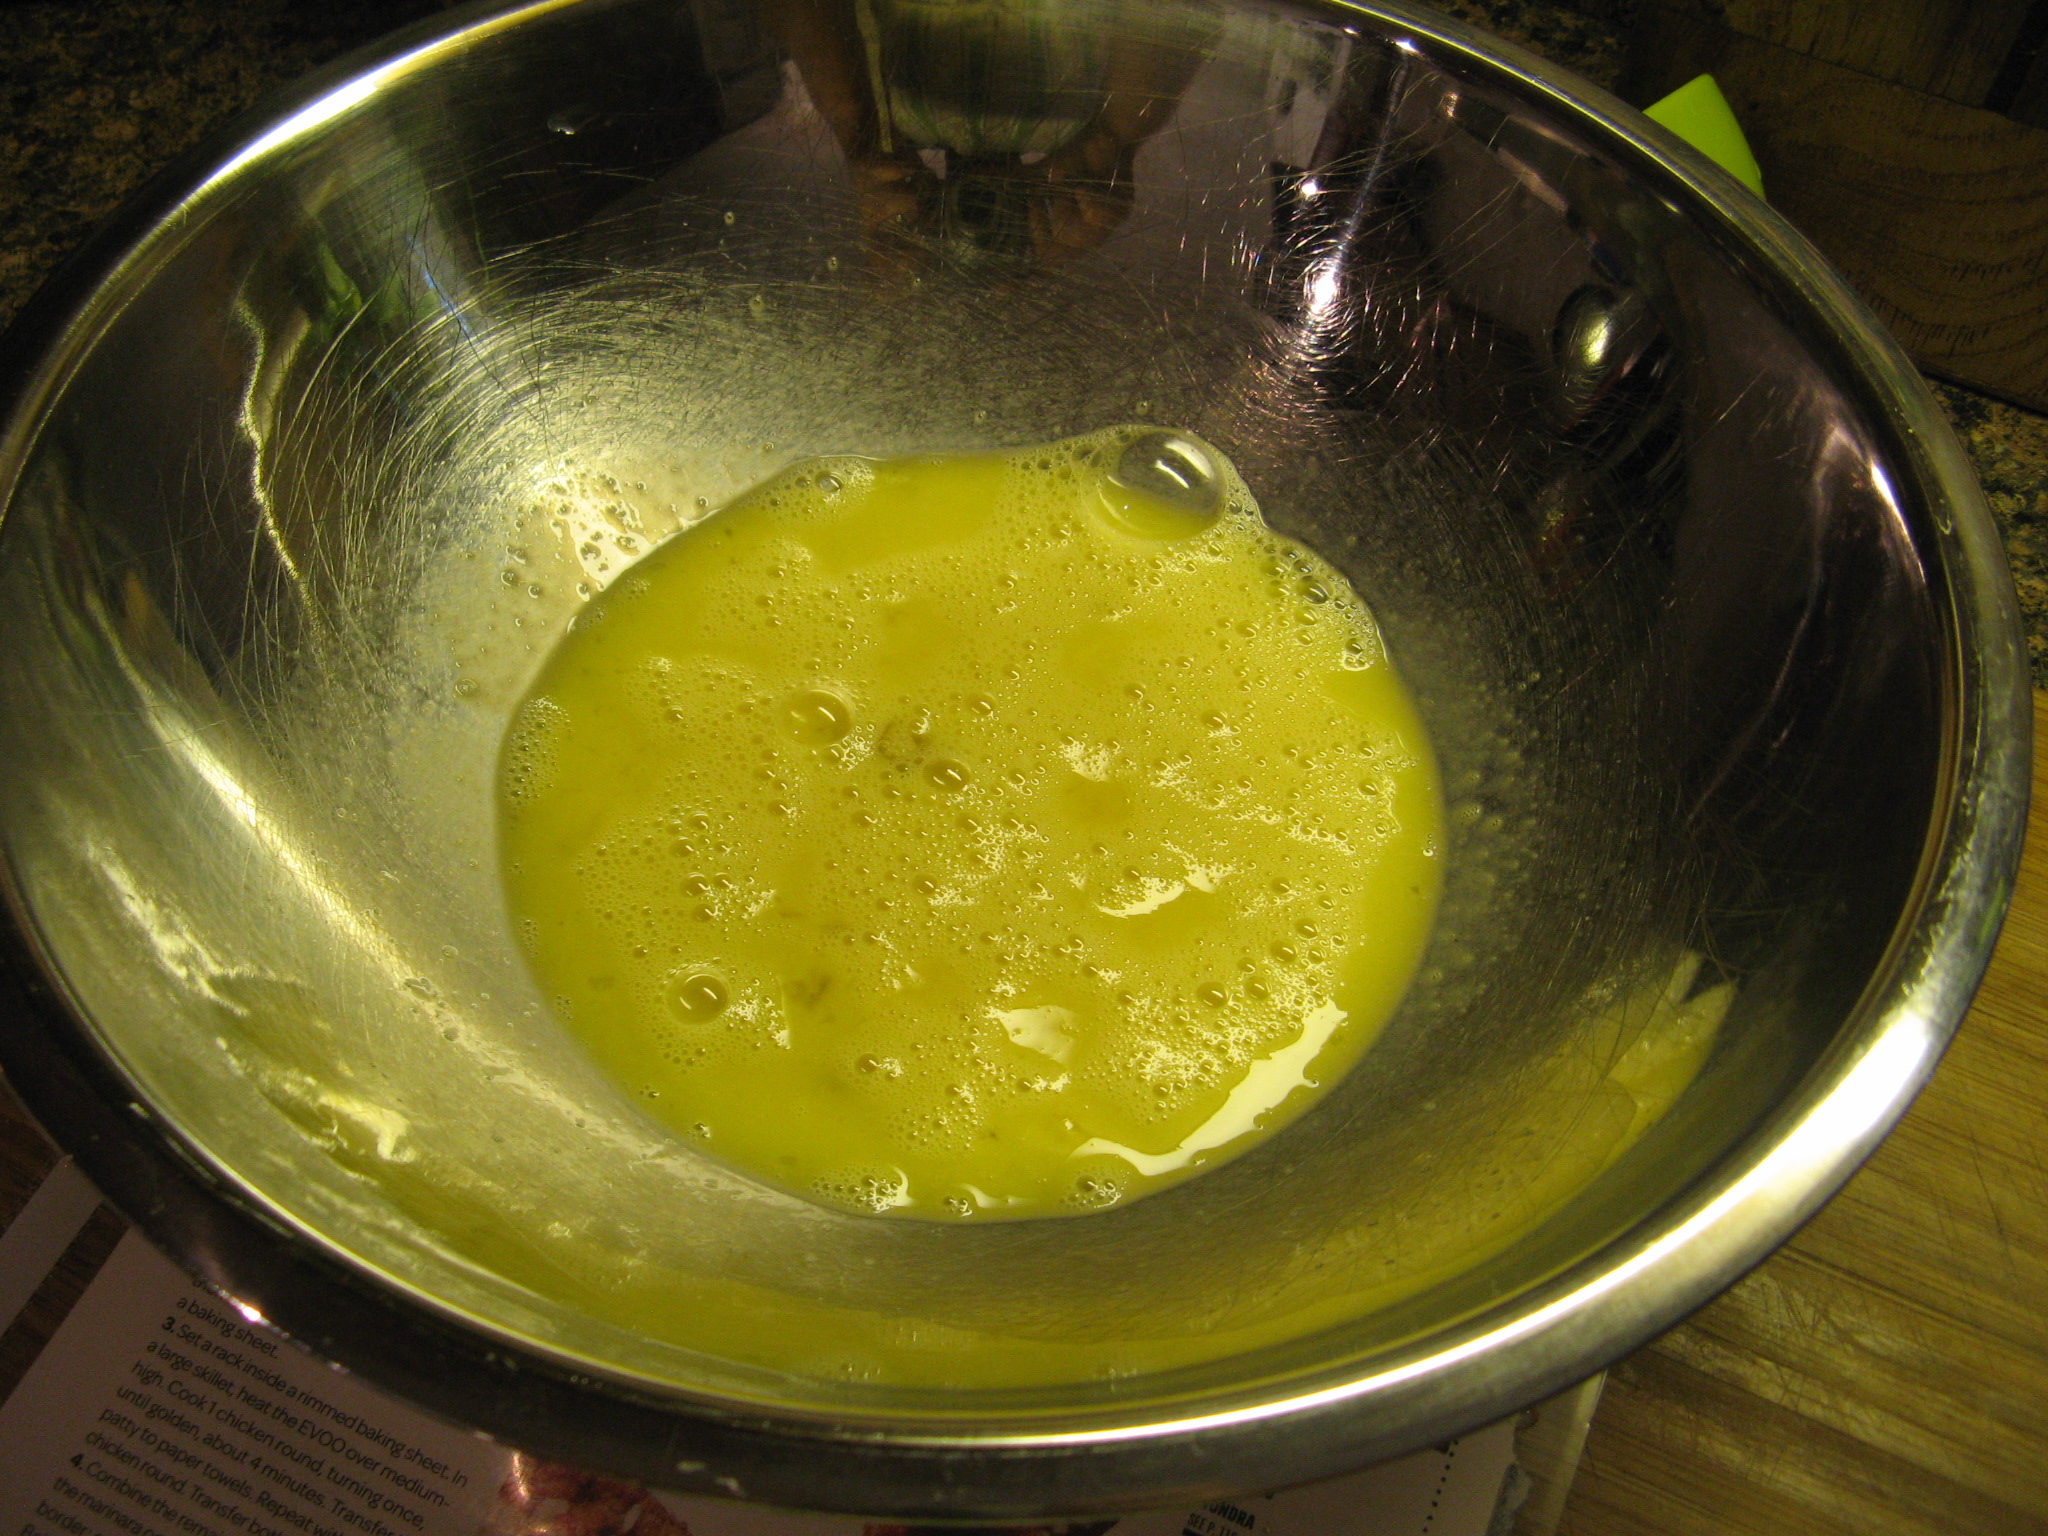
I then added in eggs while the food processor was running so the dough could come together.

IMG_4986

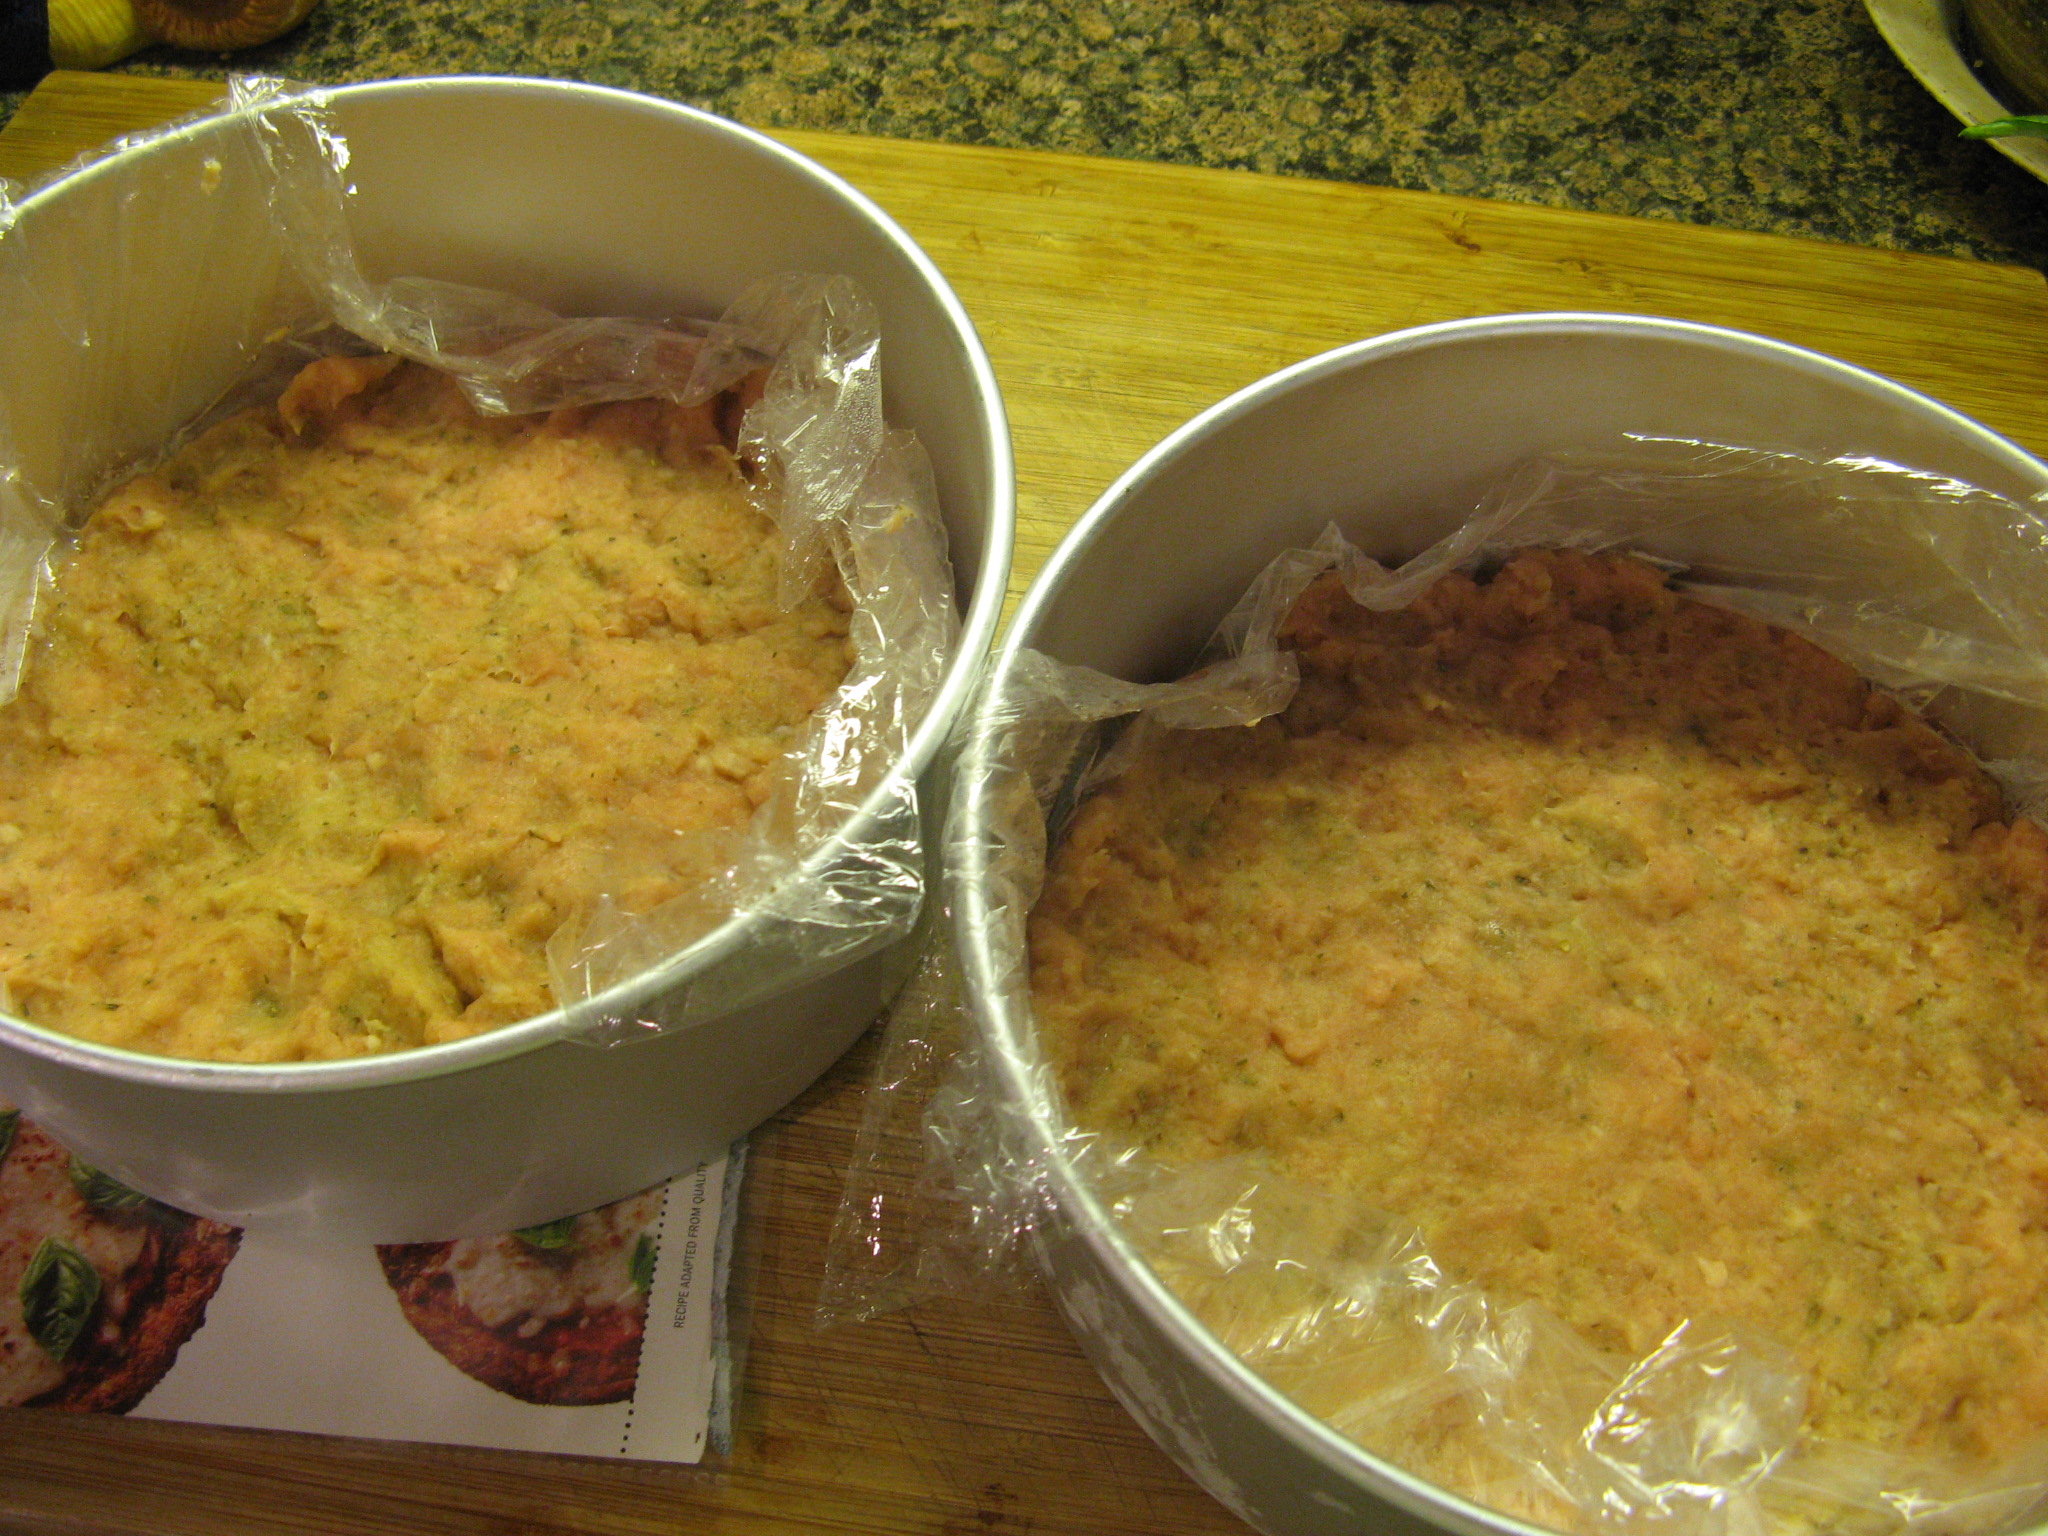
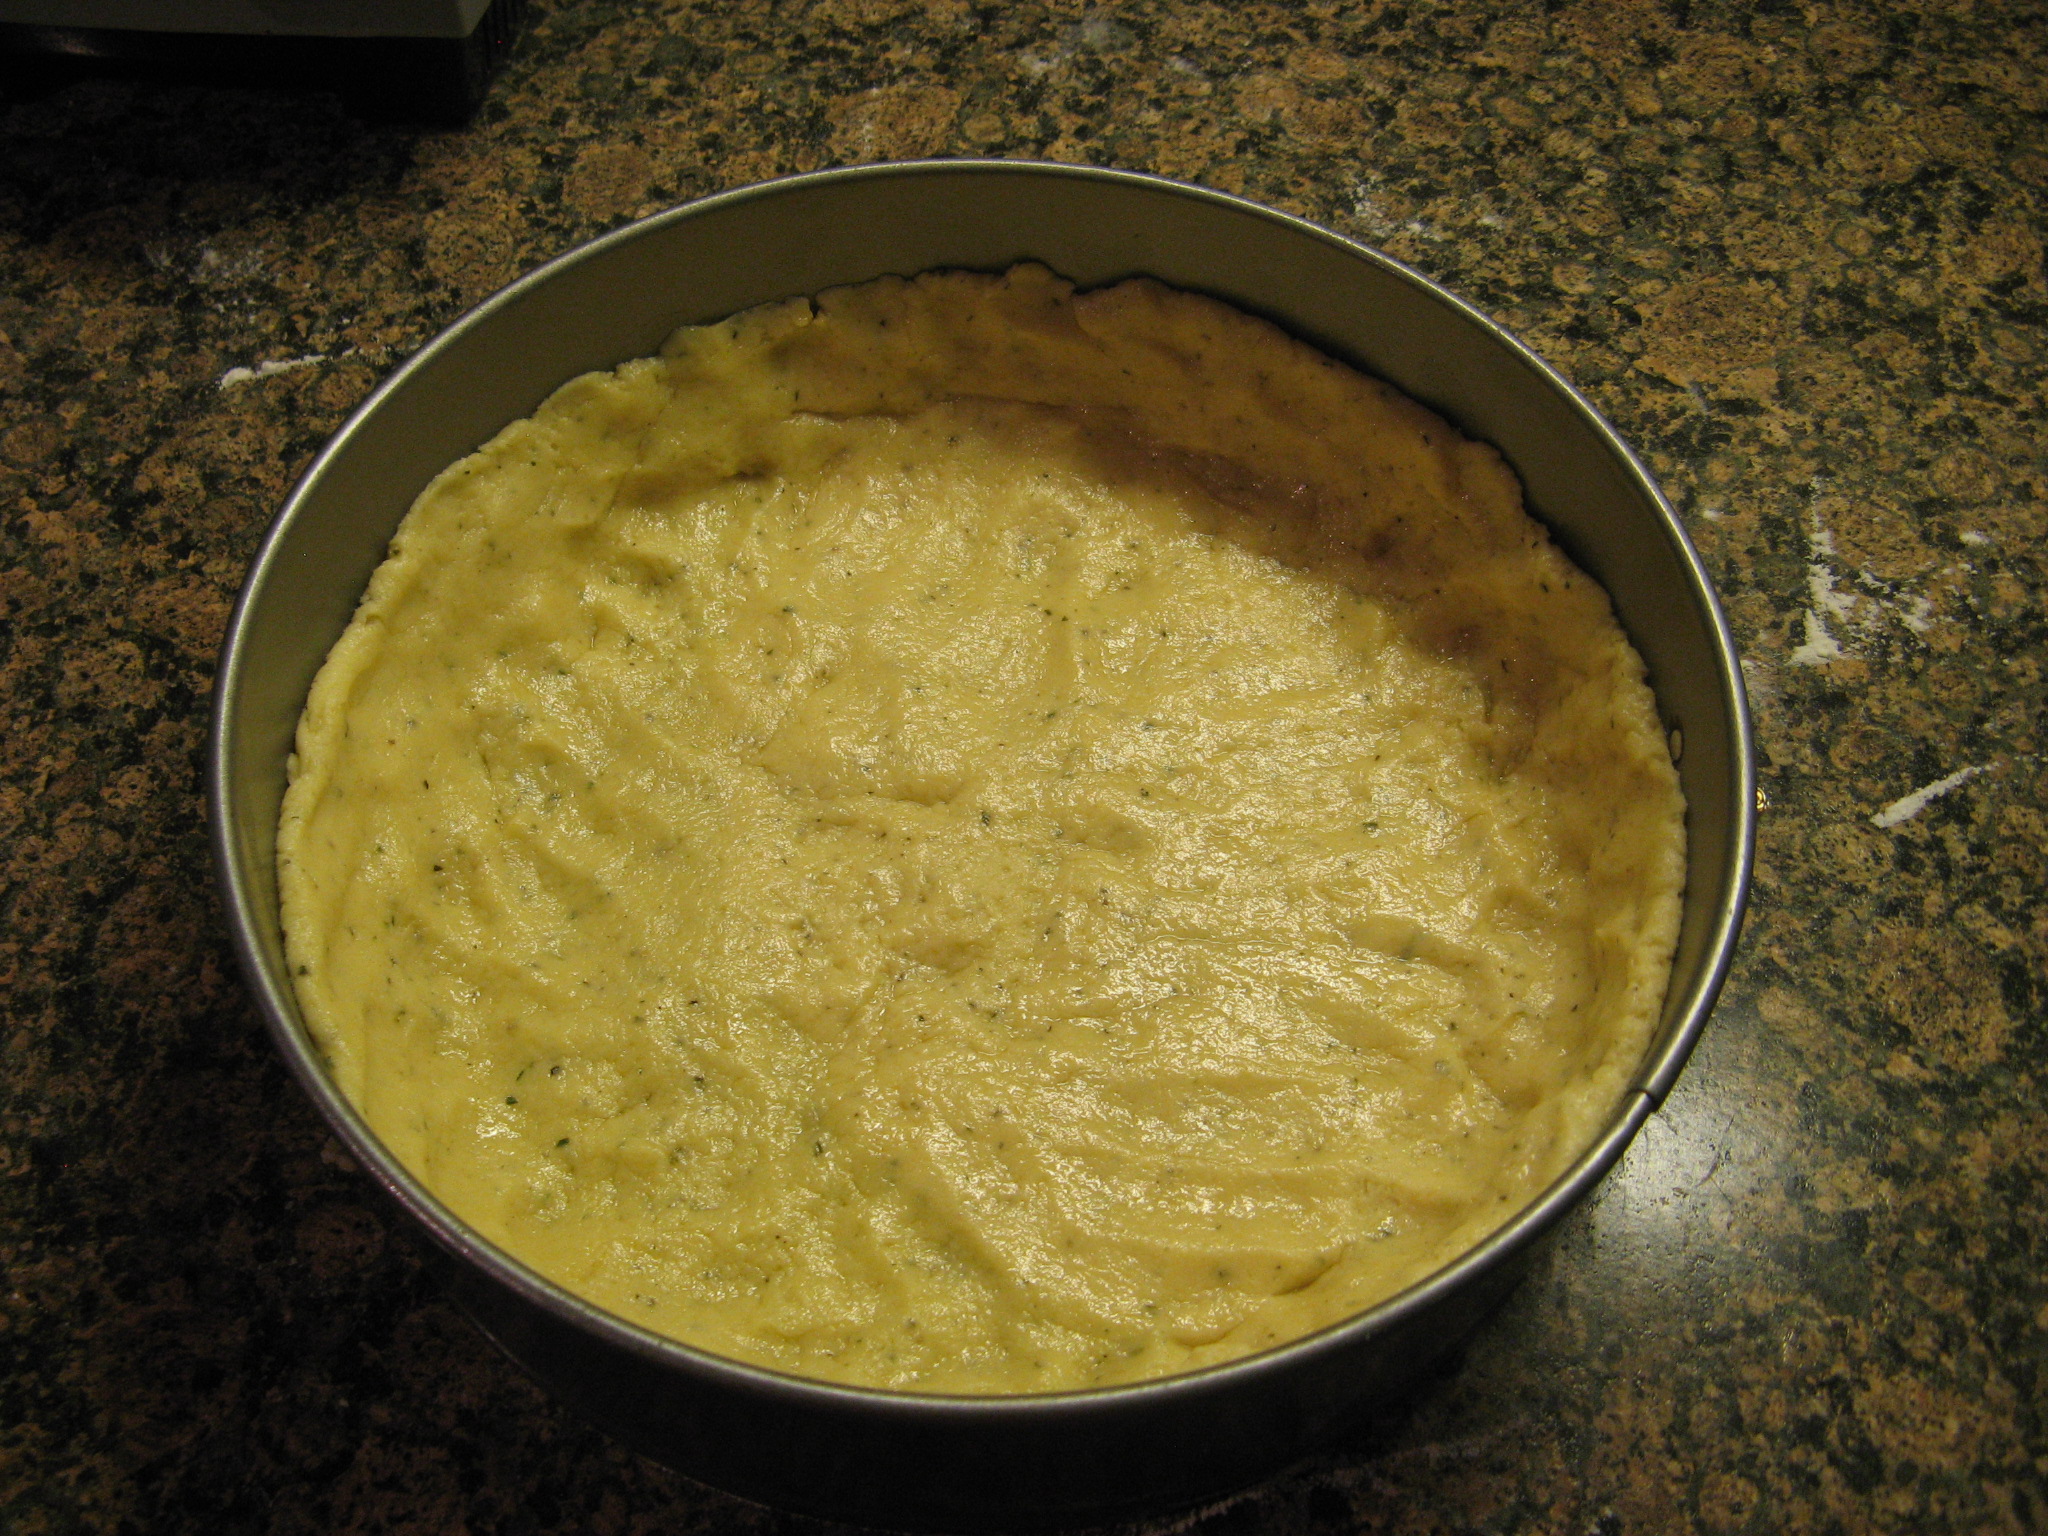
After kneading the dough on a lightly floured surface I pressed it into the bottom and halfway up the sides of a 9-inch springform pan. I then covered it and refrigerated it overnight.

IMG_4988

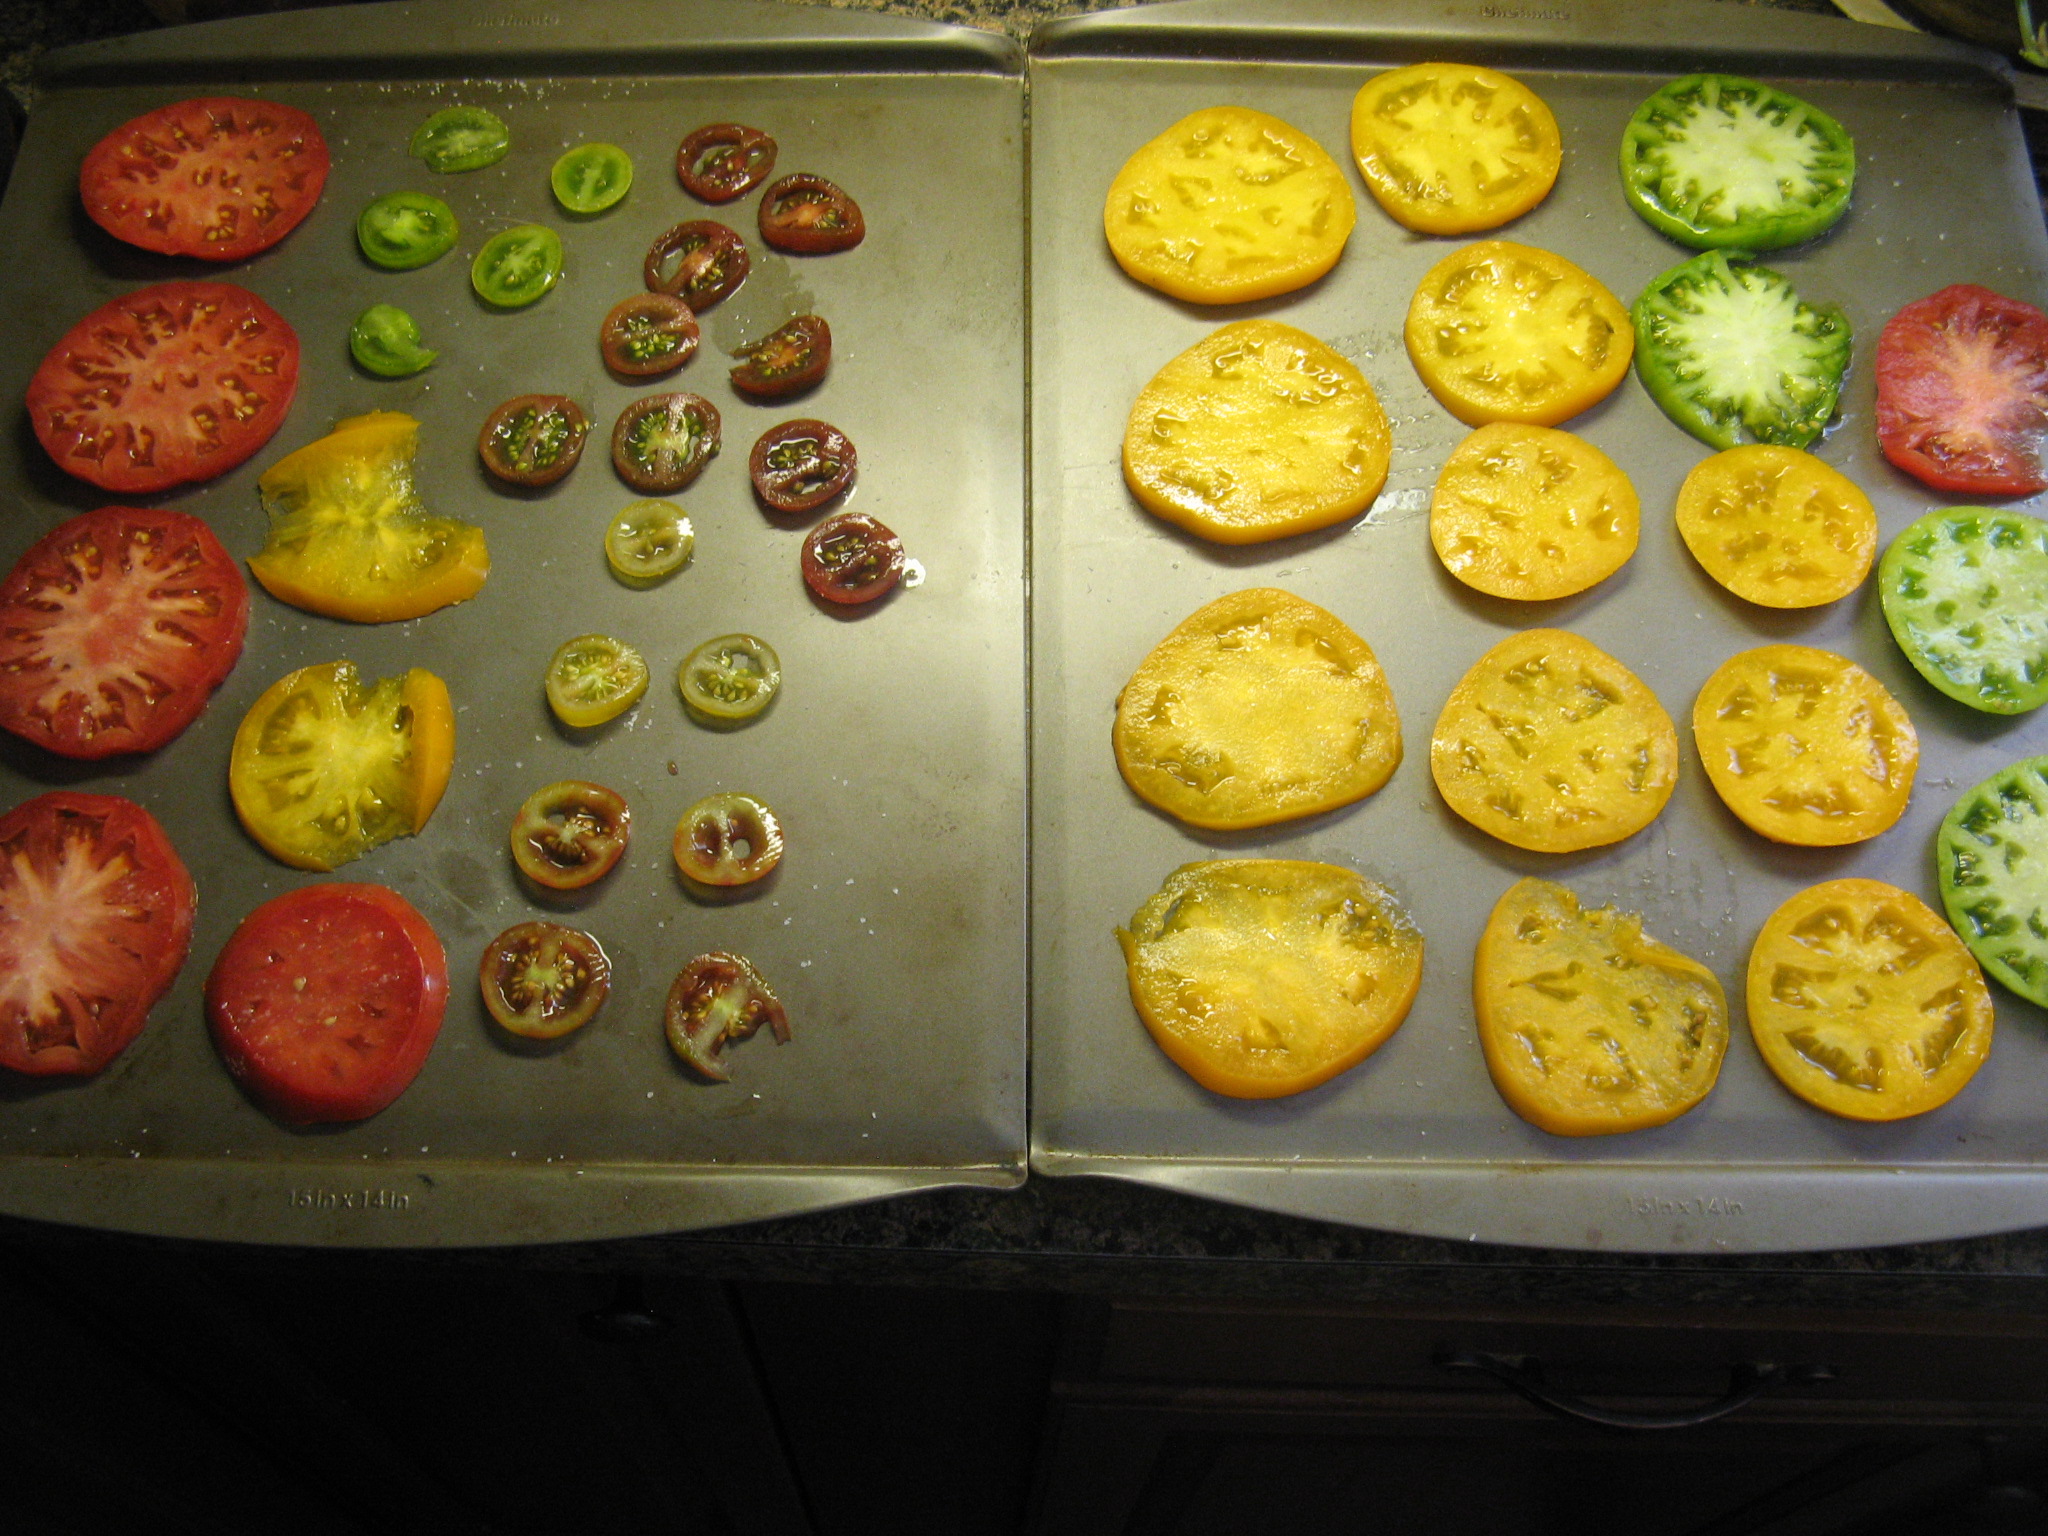
The following day, while the crust was still in the refrigerator, I prepped the heirloom tomatoes by slicing them, spreading them on baking sheets and sprinkling them with kosher salt so they could release some of their juices.

IMG_4998

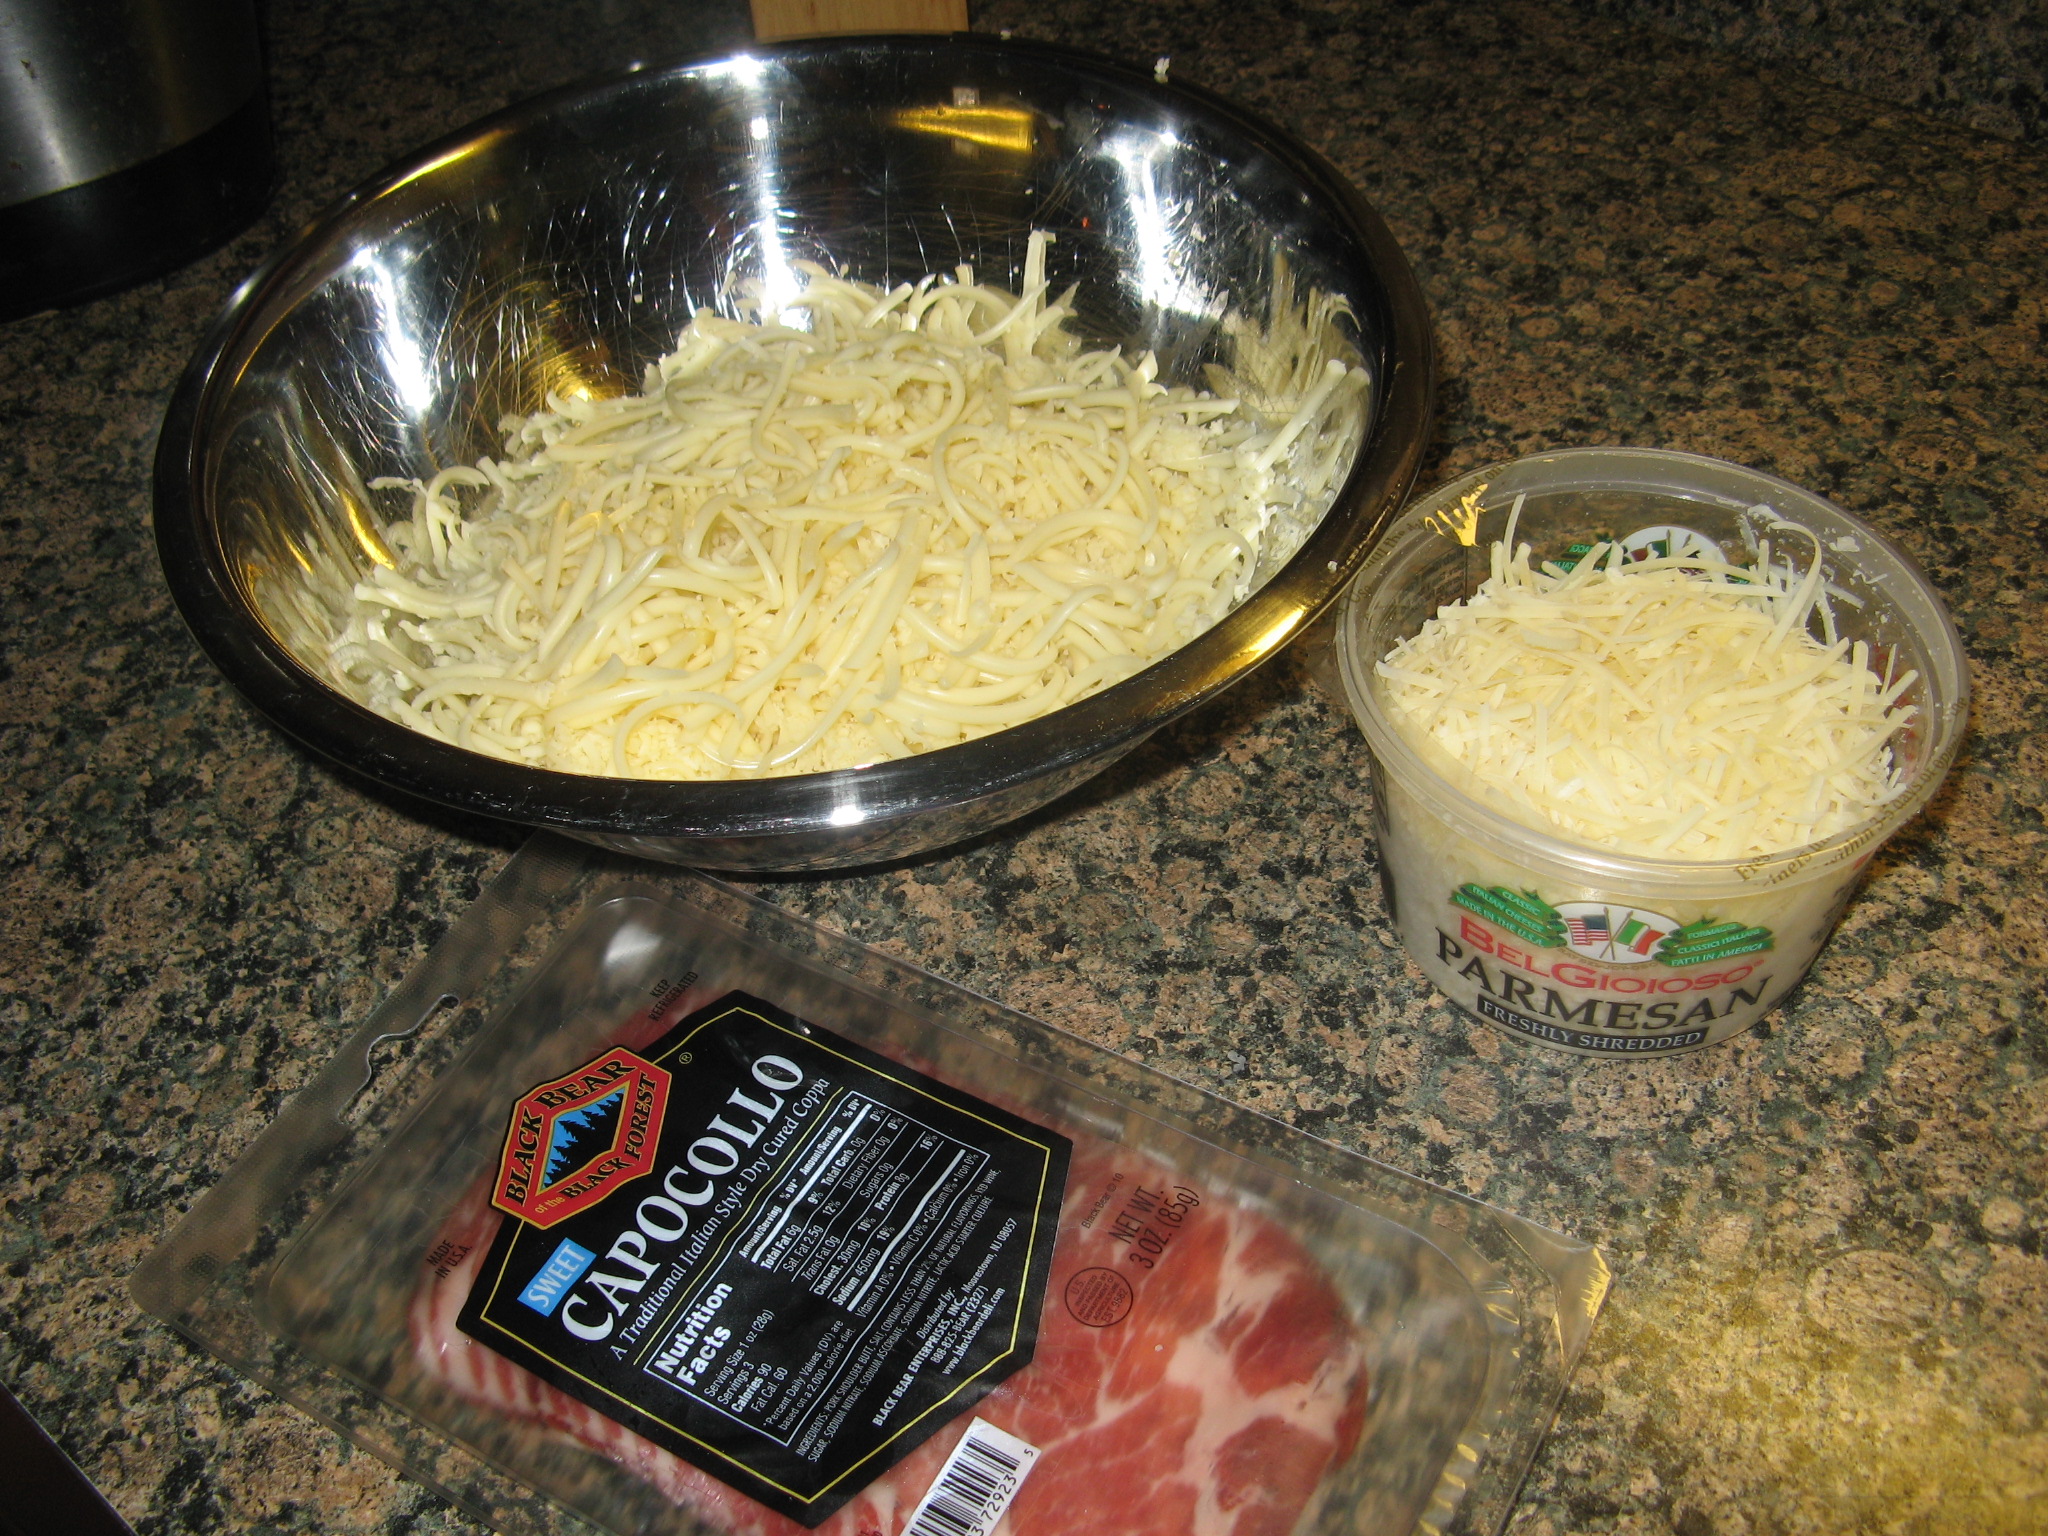
I also got my other ingredients together… shredded fontina and parmesan cheeses and capocollo.

IMG_5000

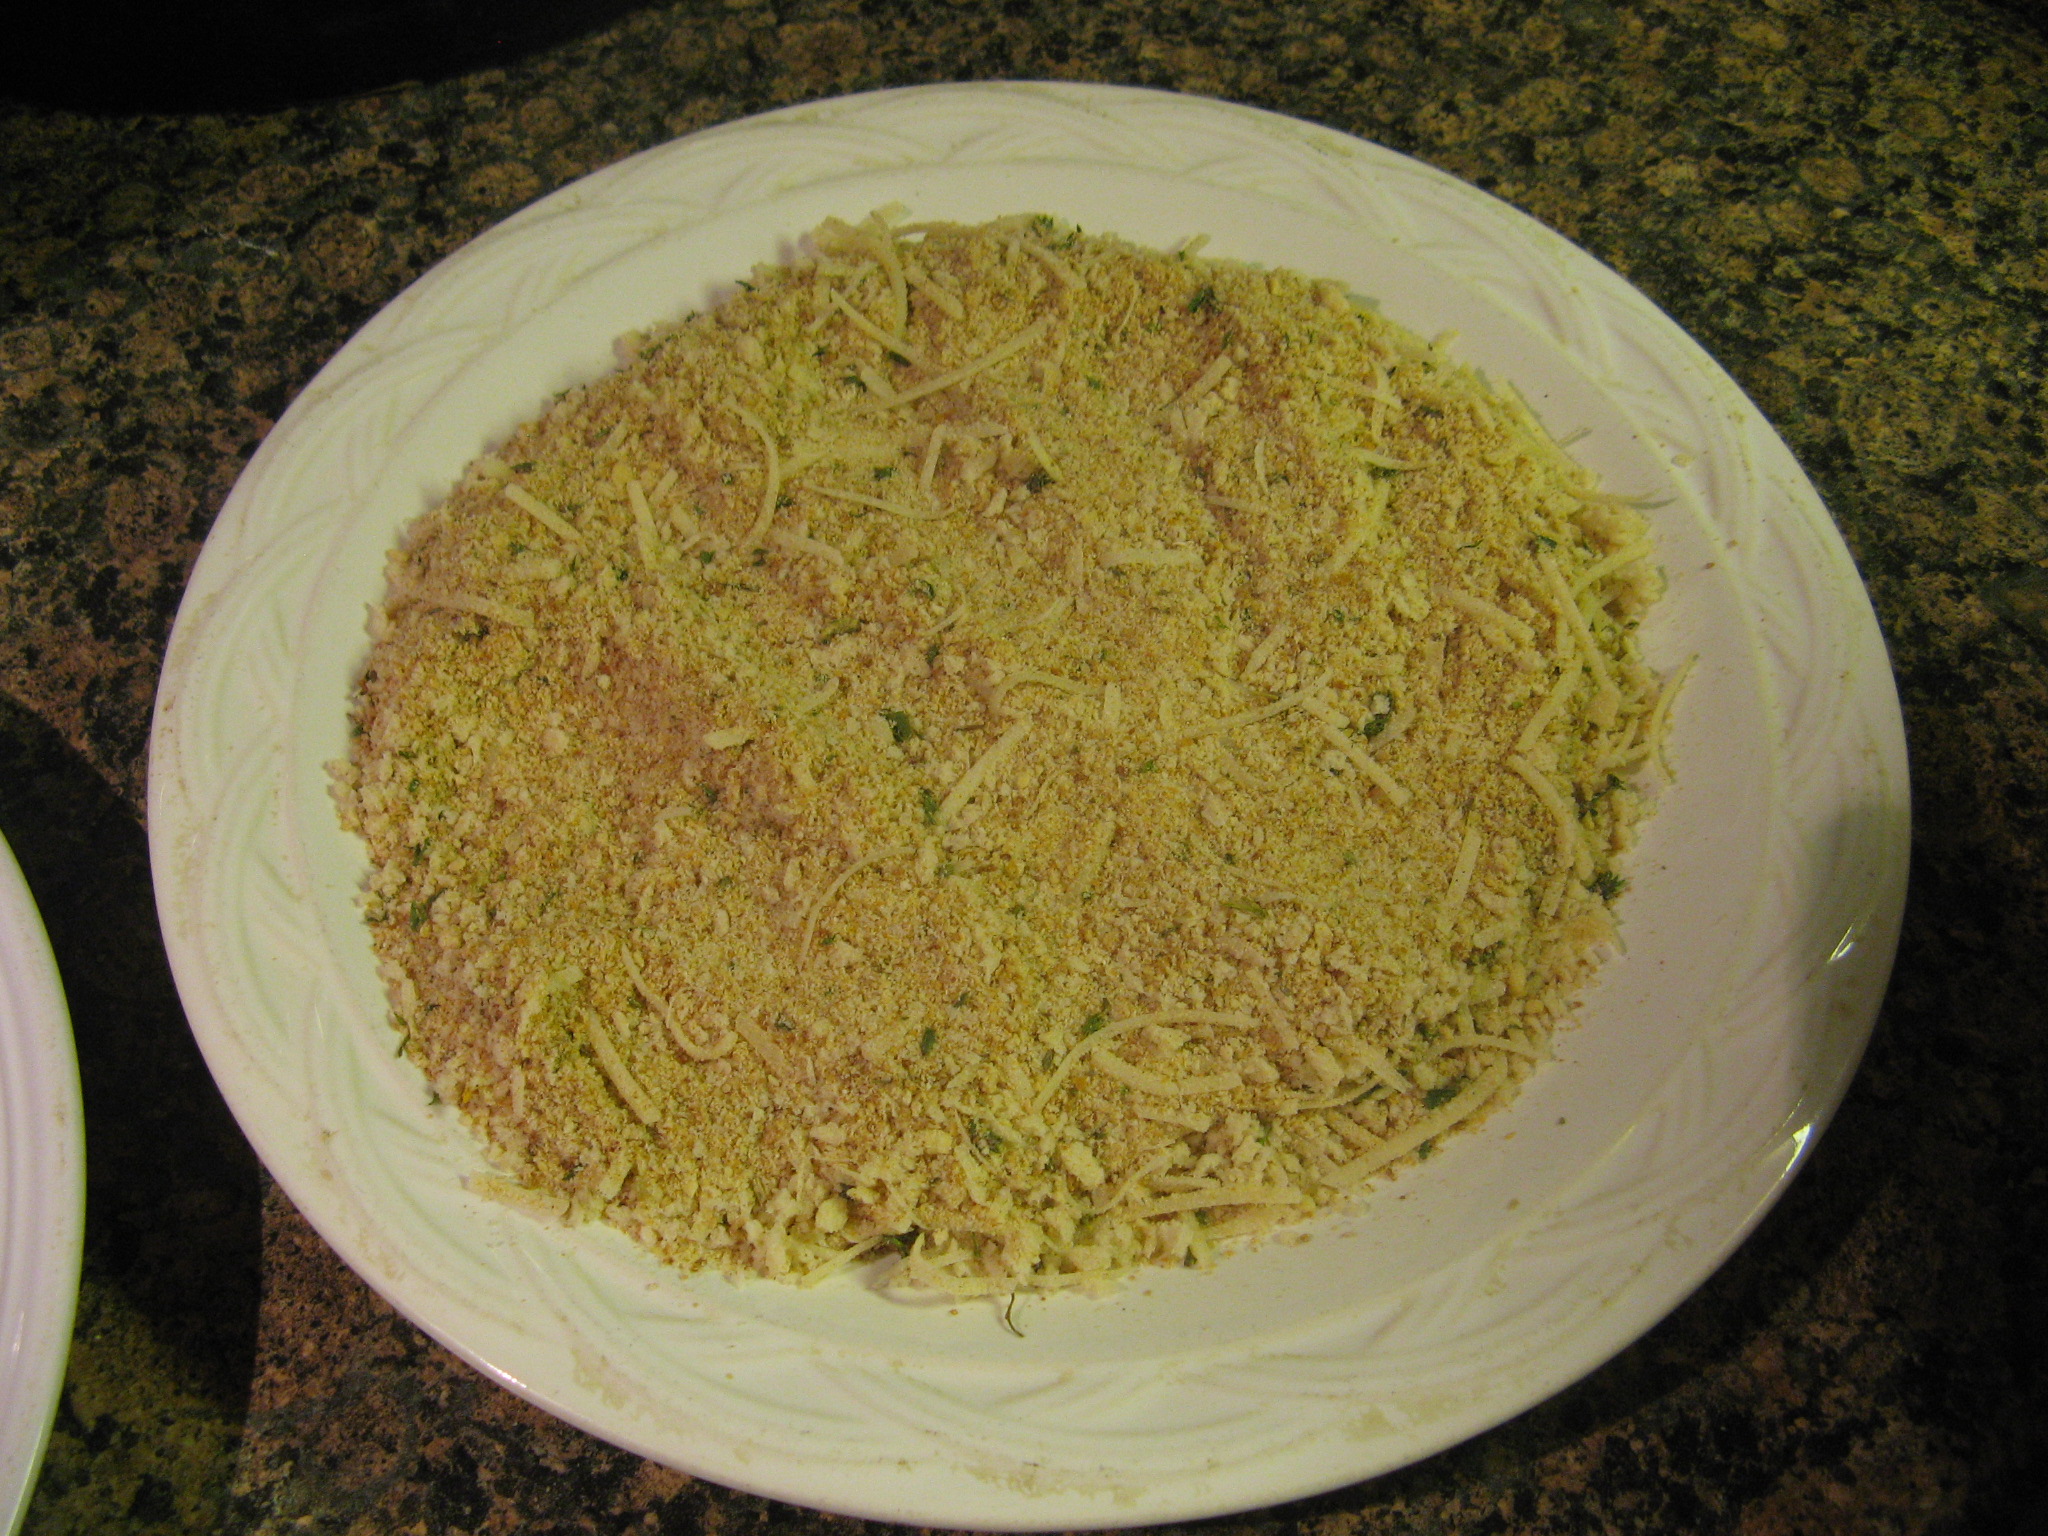
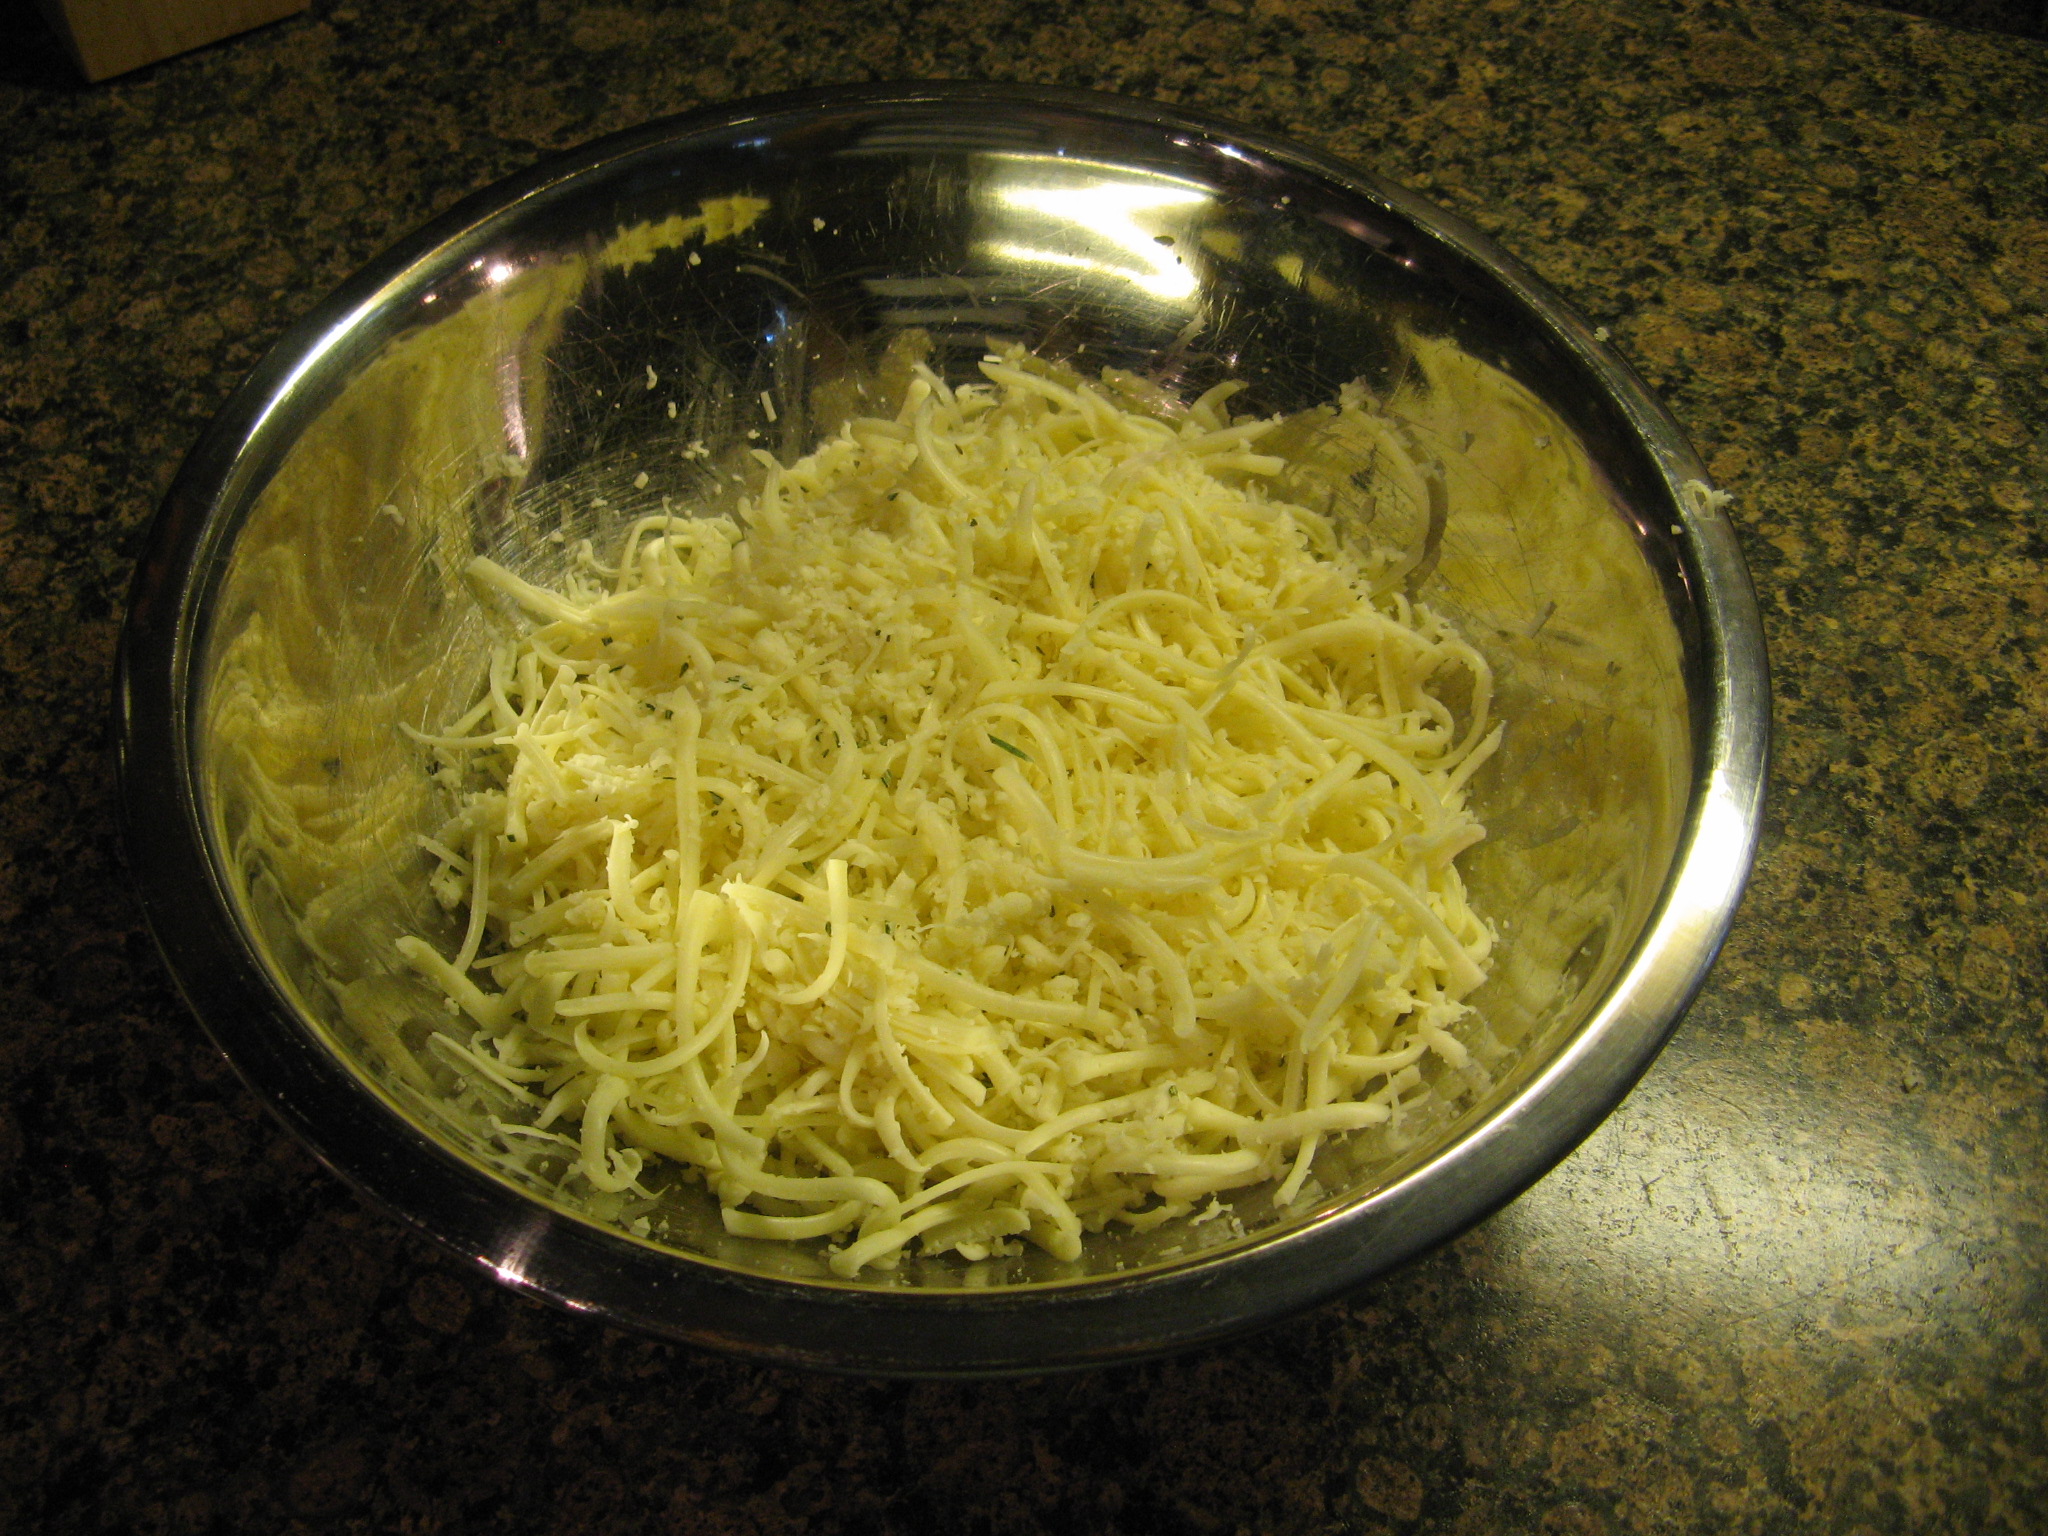
I combined the 3 cups of shredded fontina with 7 tablespoons (1/2 cup minus 1 tablespoon) of shredded parmesan along with a teaspoon of fresh chopped rosemary.

IMG_5003

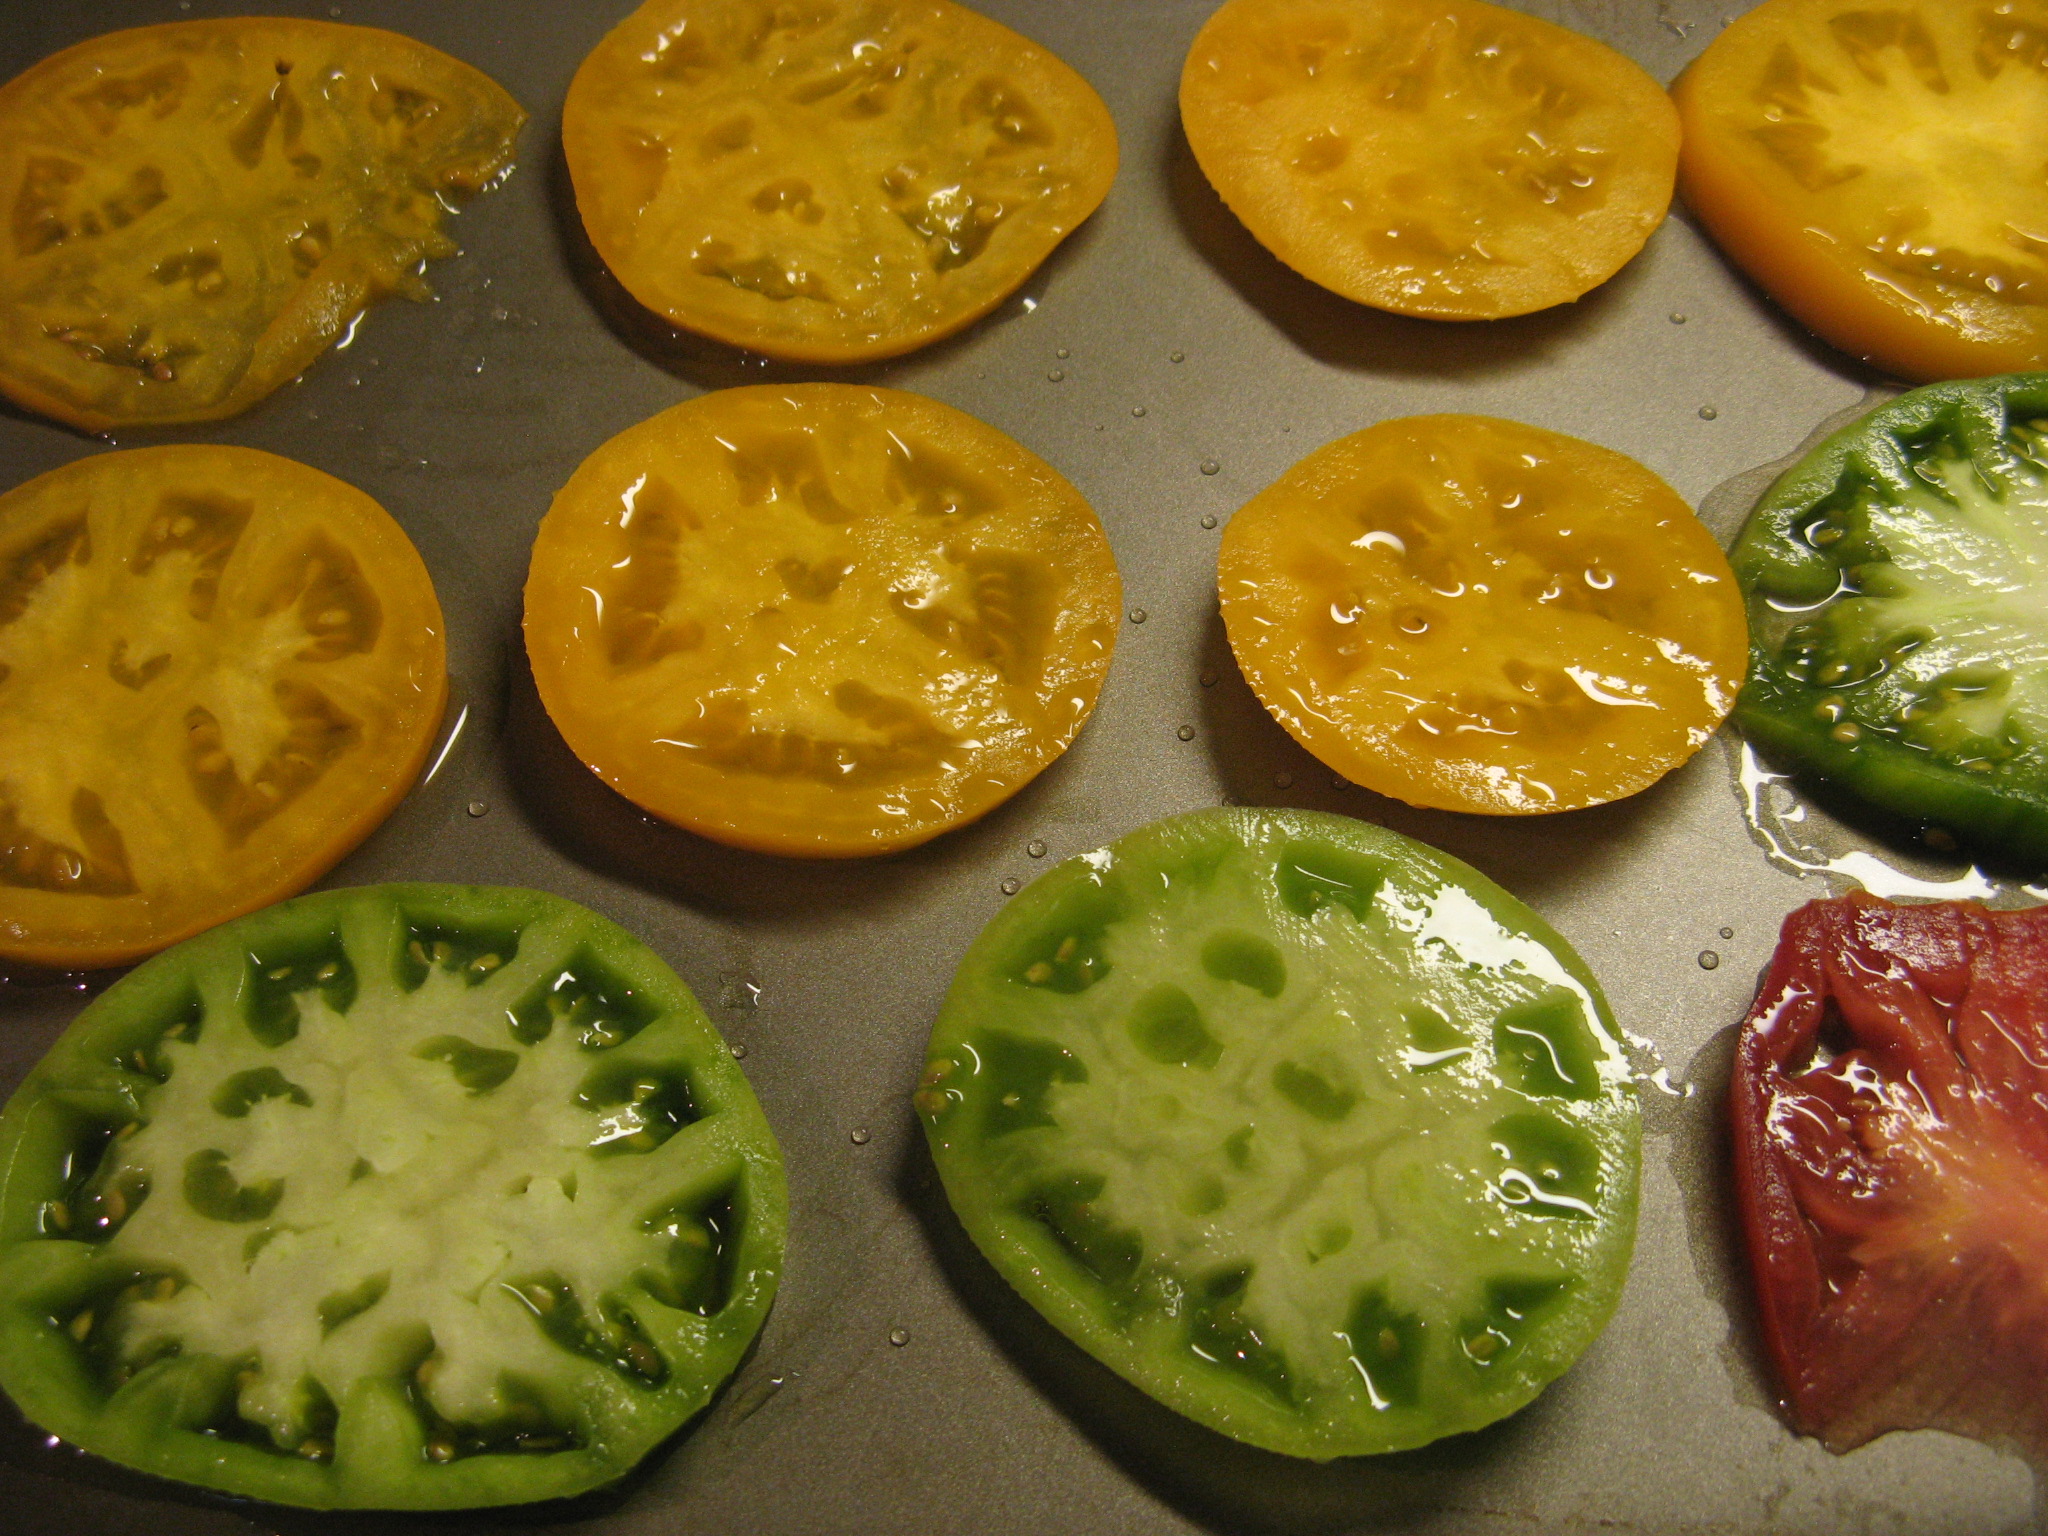
As you can see my tomatoes did a great job of releasing their juices. I should note that I did let them sit for about an hour as opposed to the recipe recommended 30 minutes.

IMG_5004

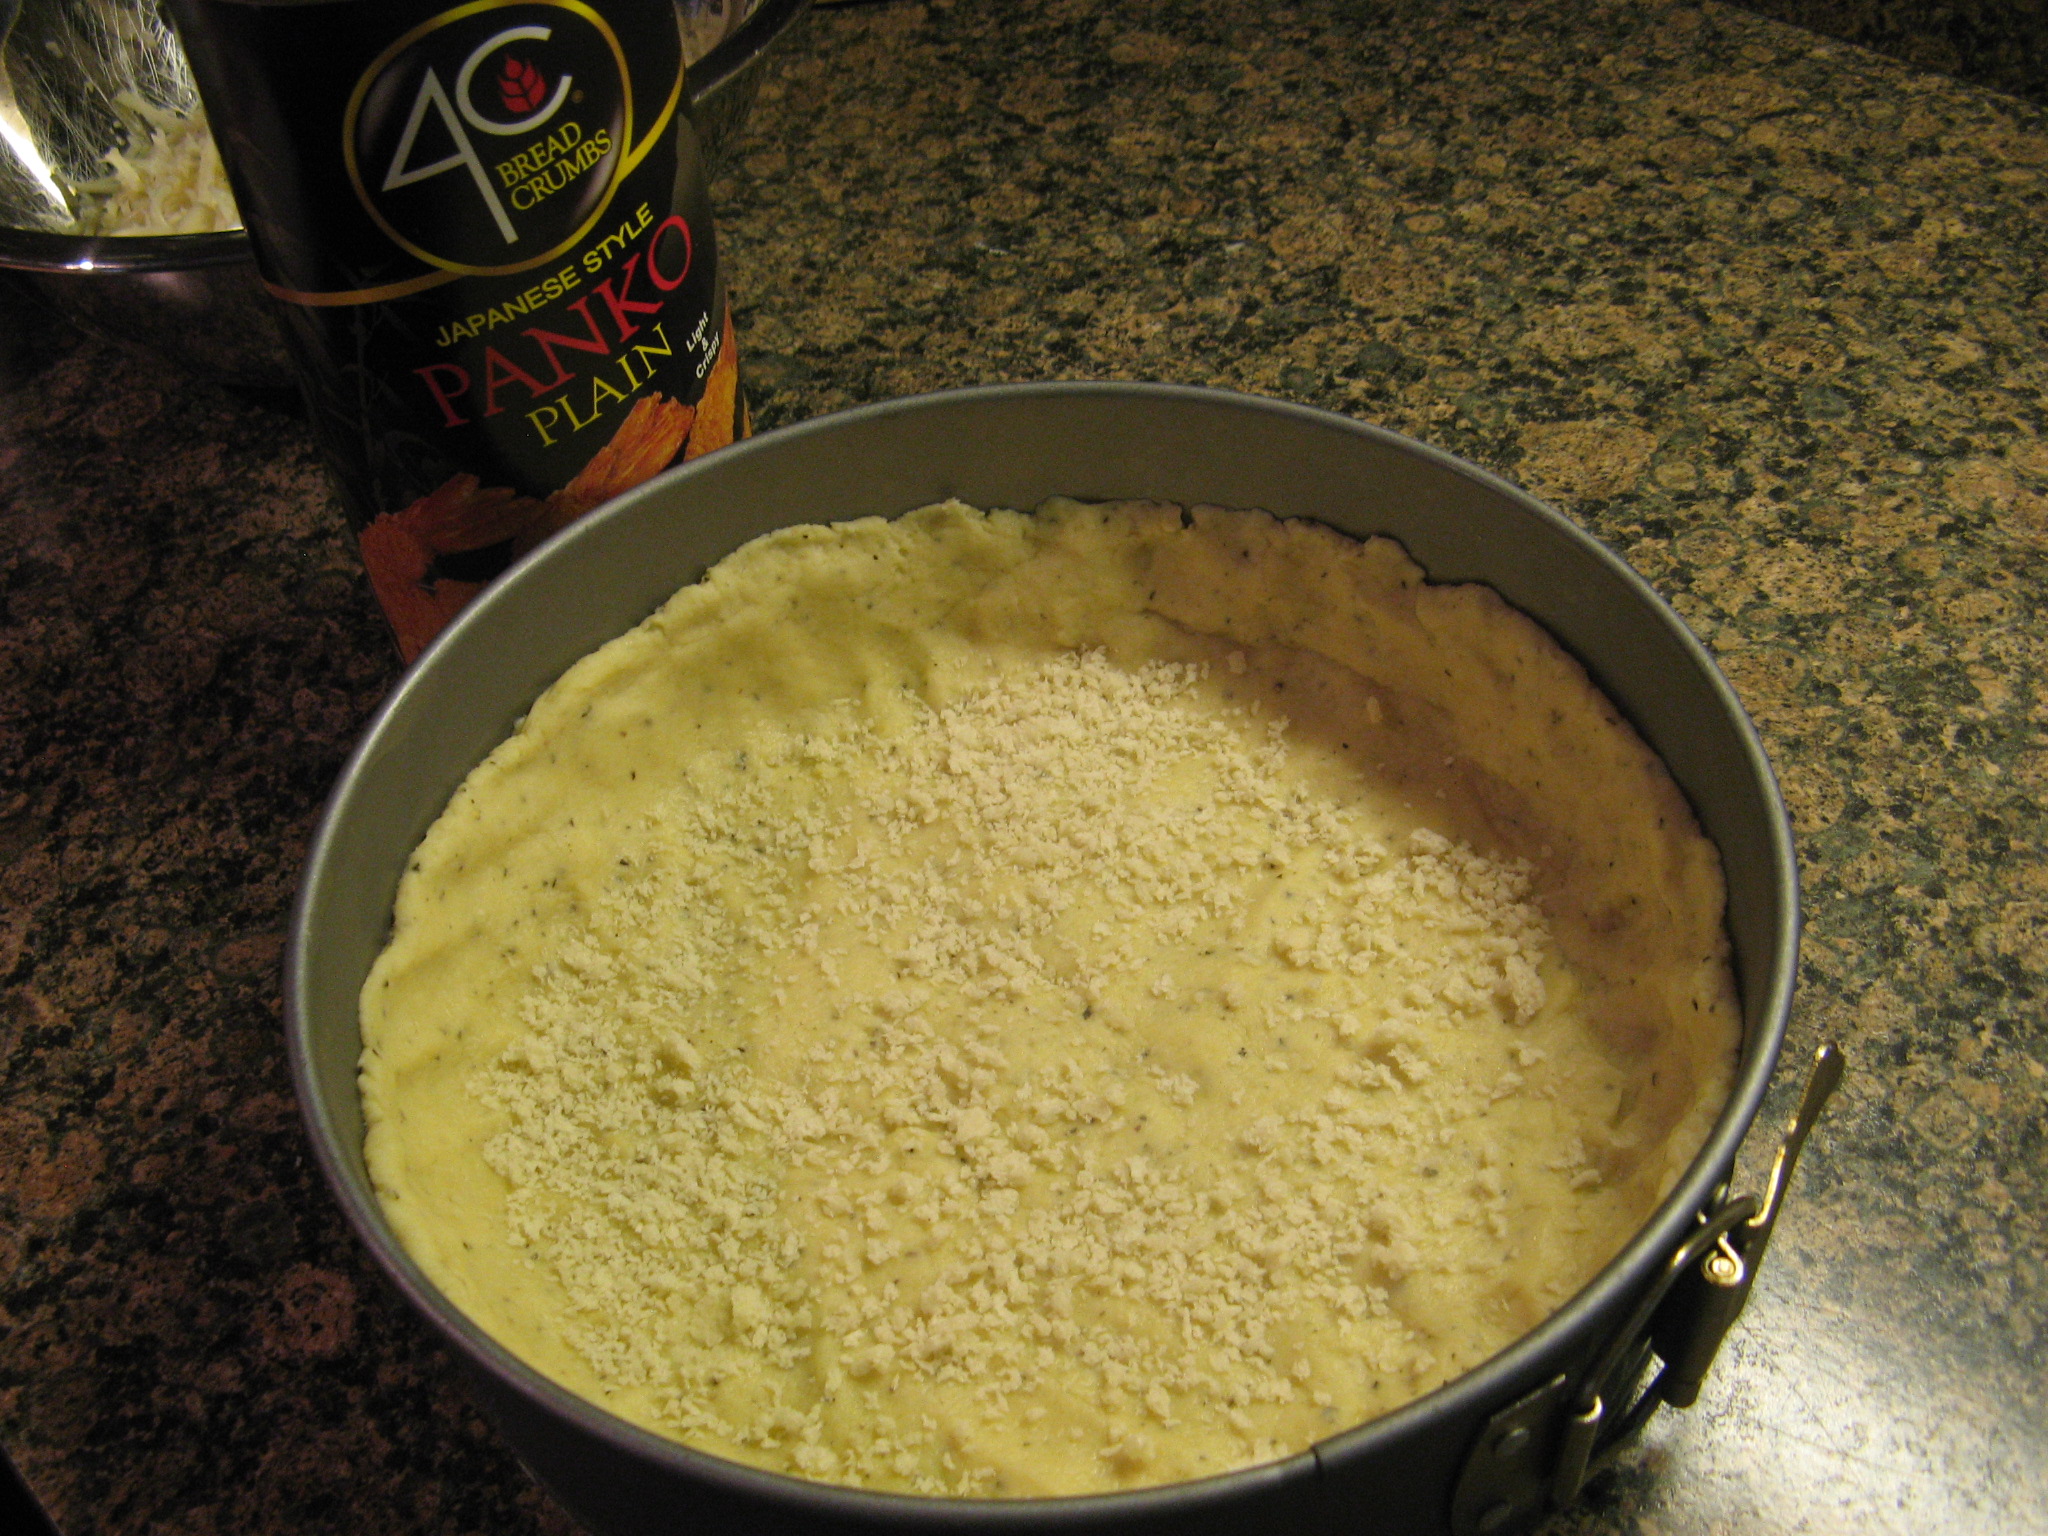
After patting them dry it was time to start assembling the torte. I finally took the very cold crust of out the refrigerator and sprinkled it with a tablespoon of panko breadcrumbs.

IMG_5006

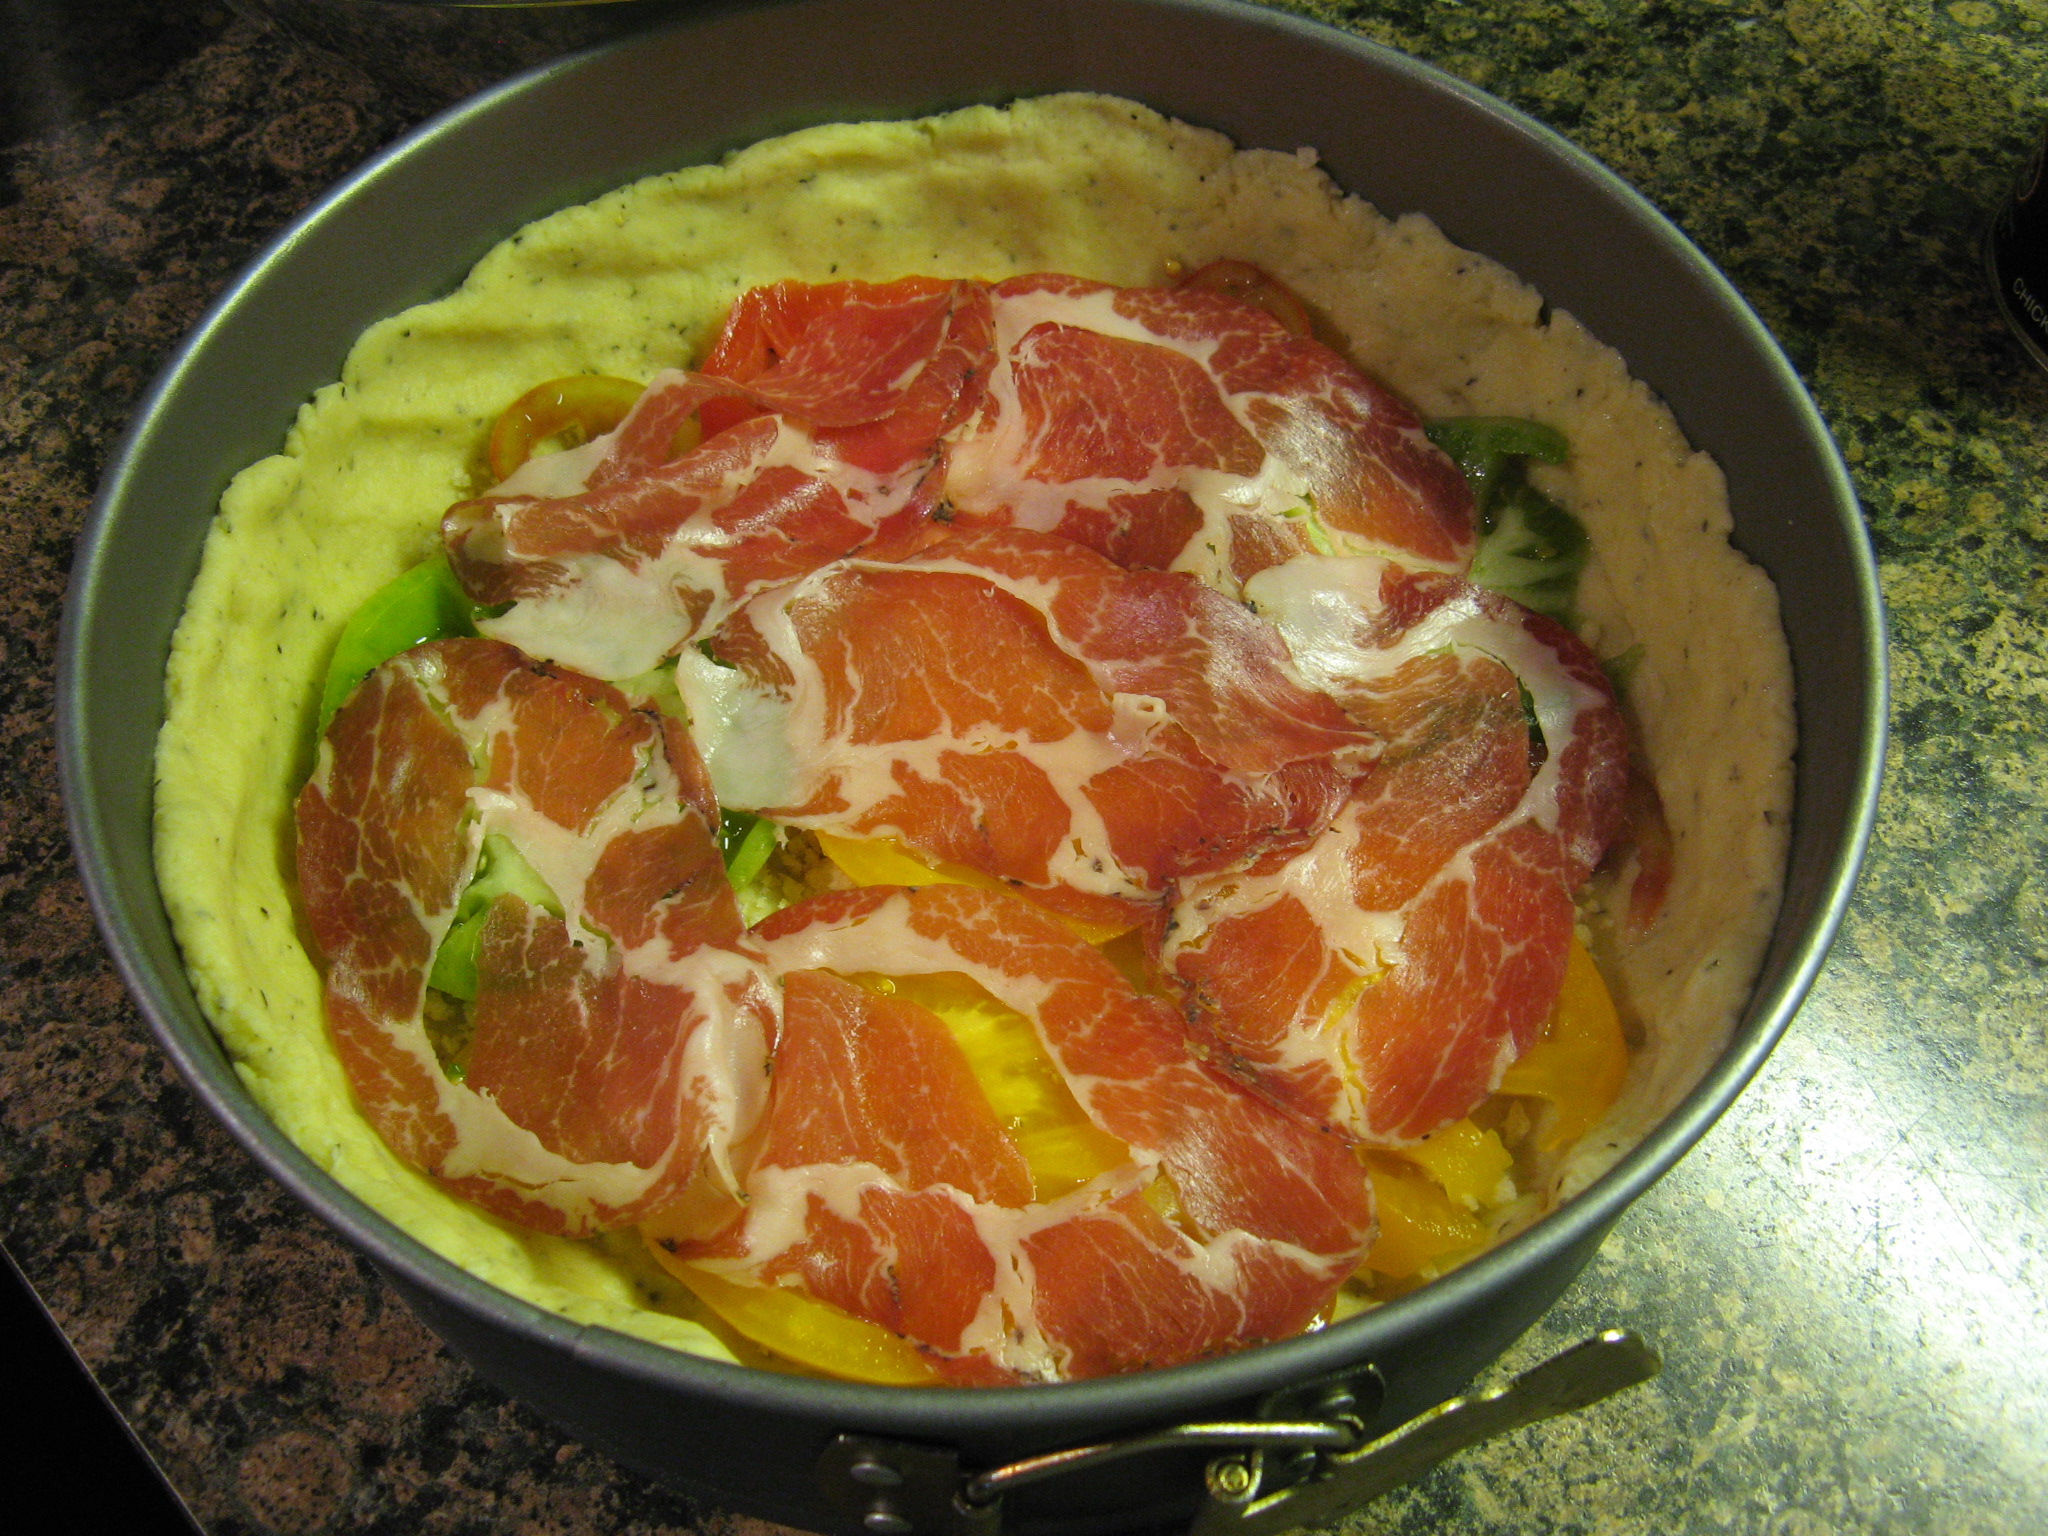
Next I topped the breadcrumbs with about 1/3 of the tomatoes and then topped the tomatoes with the capocollo.

IMG_5007

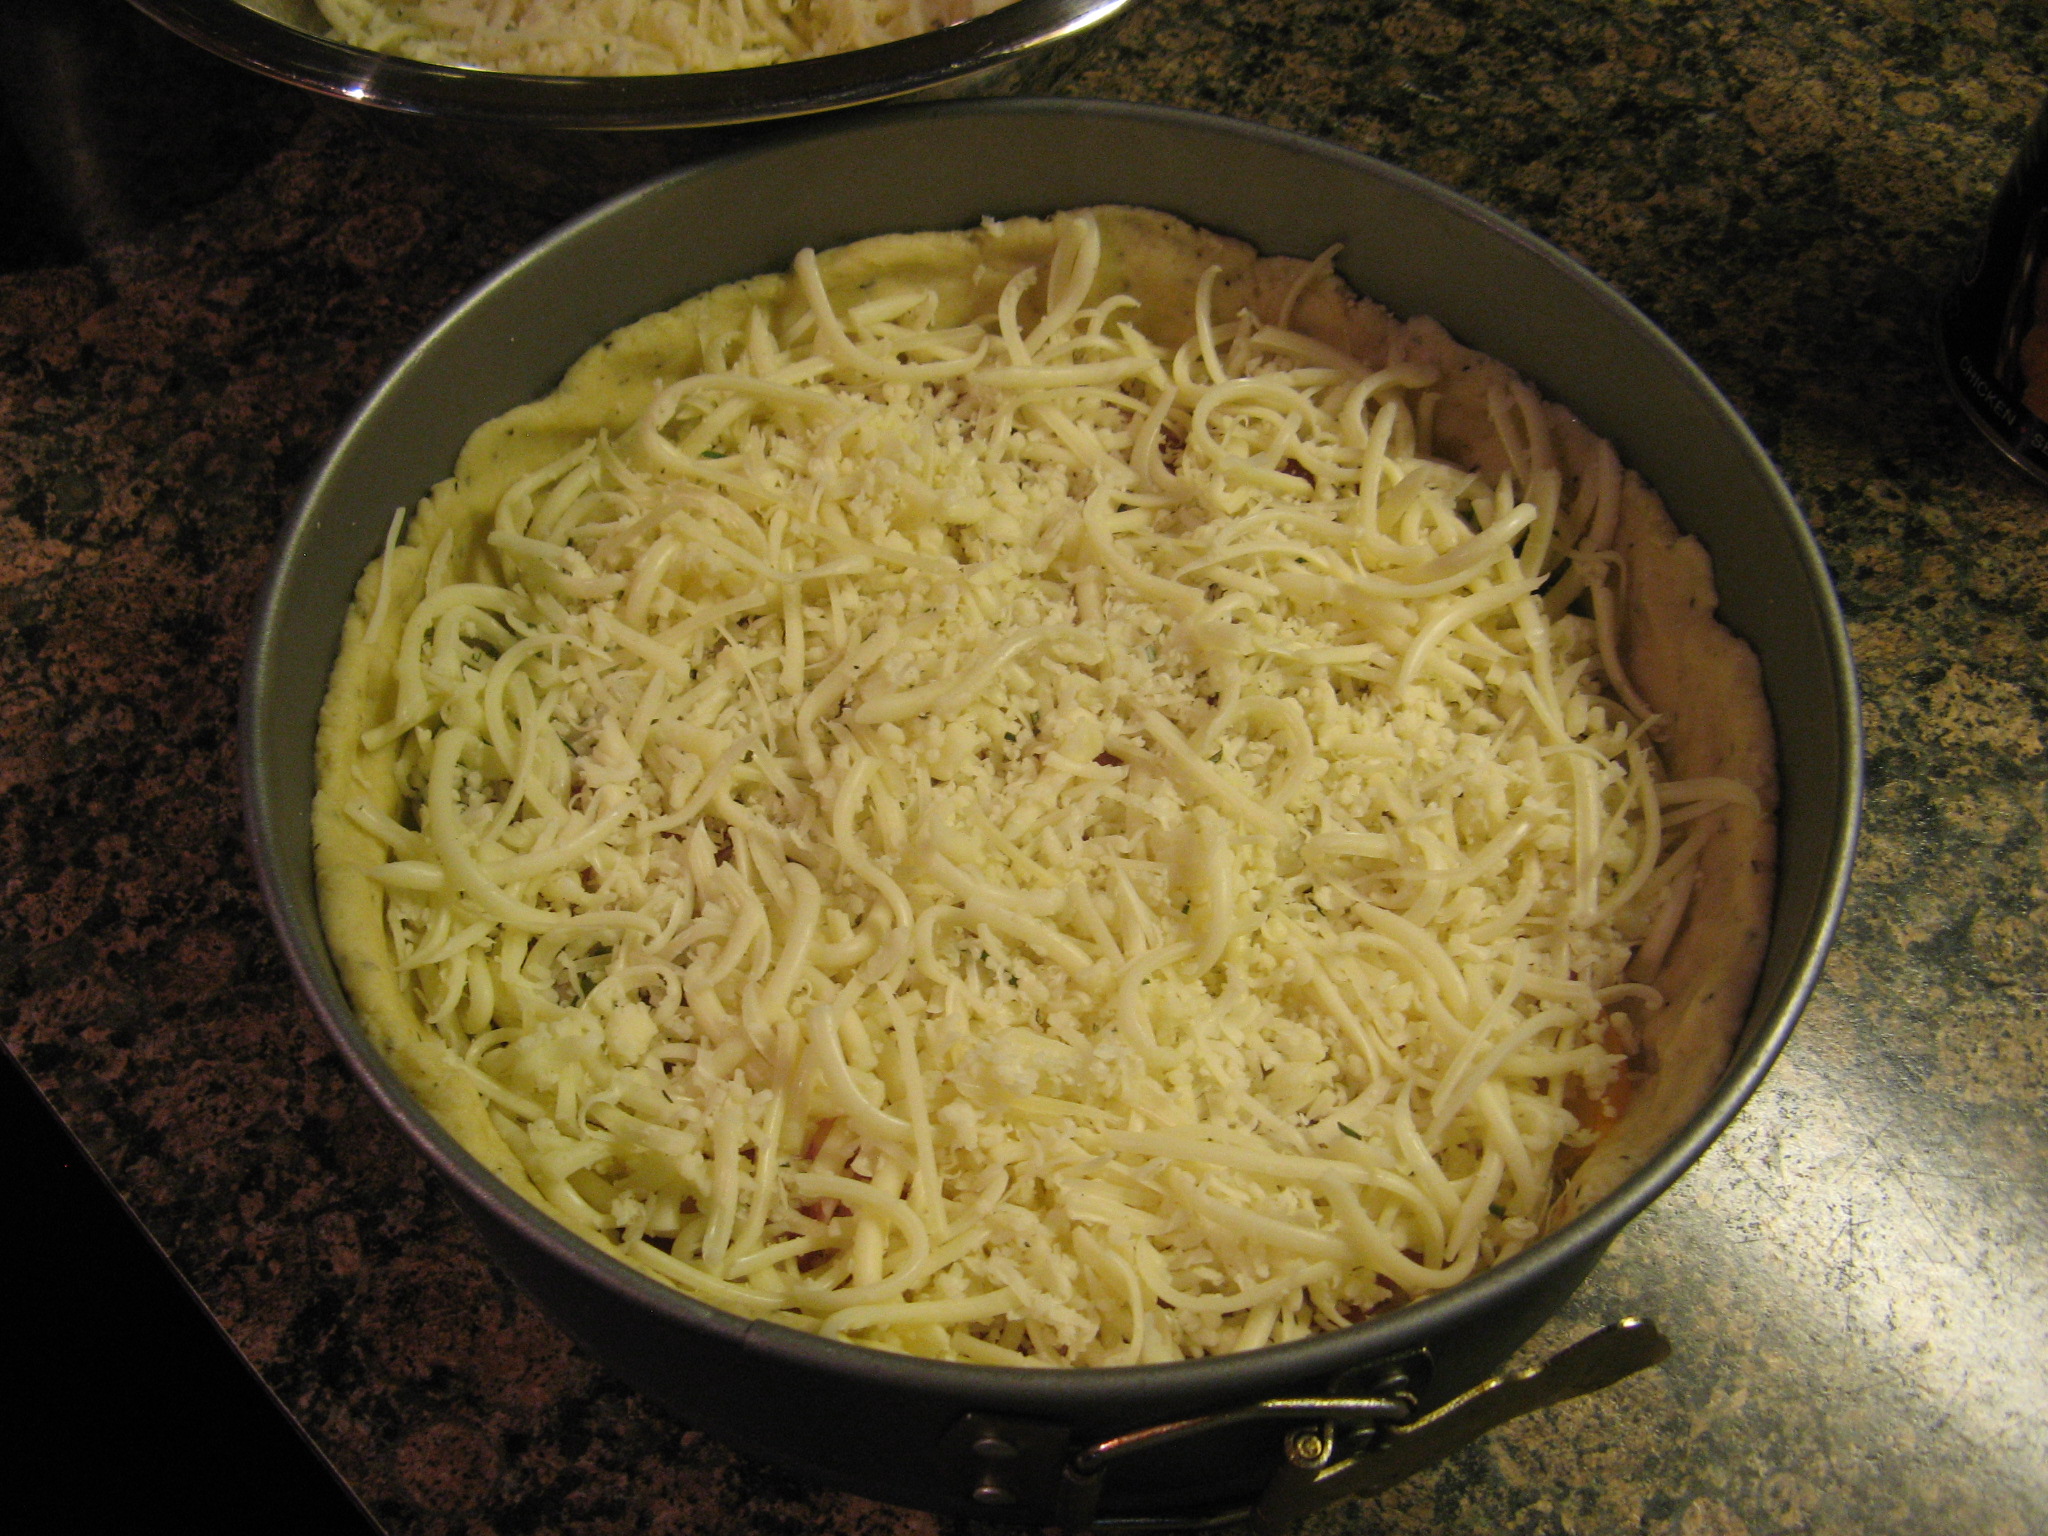
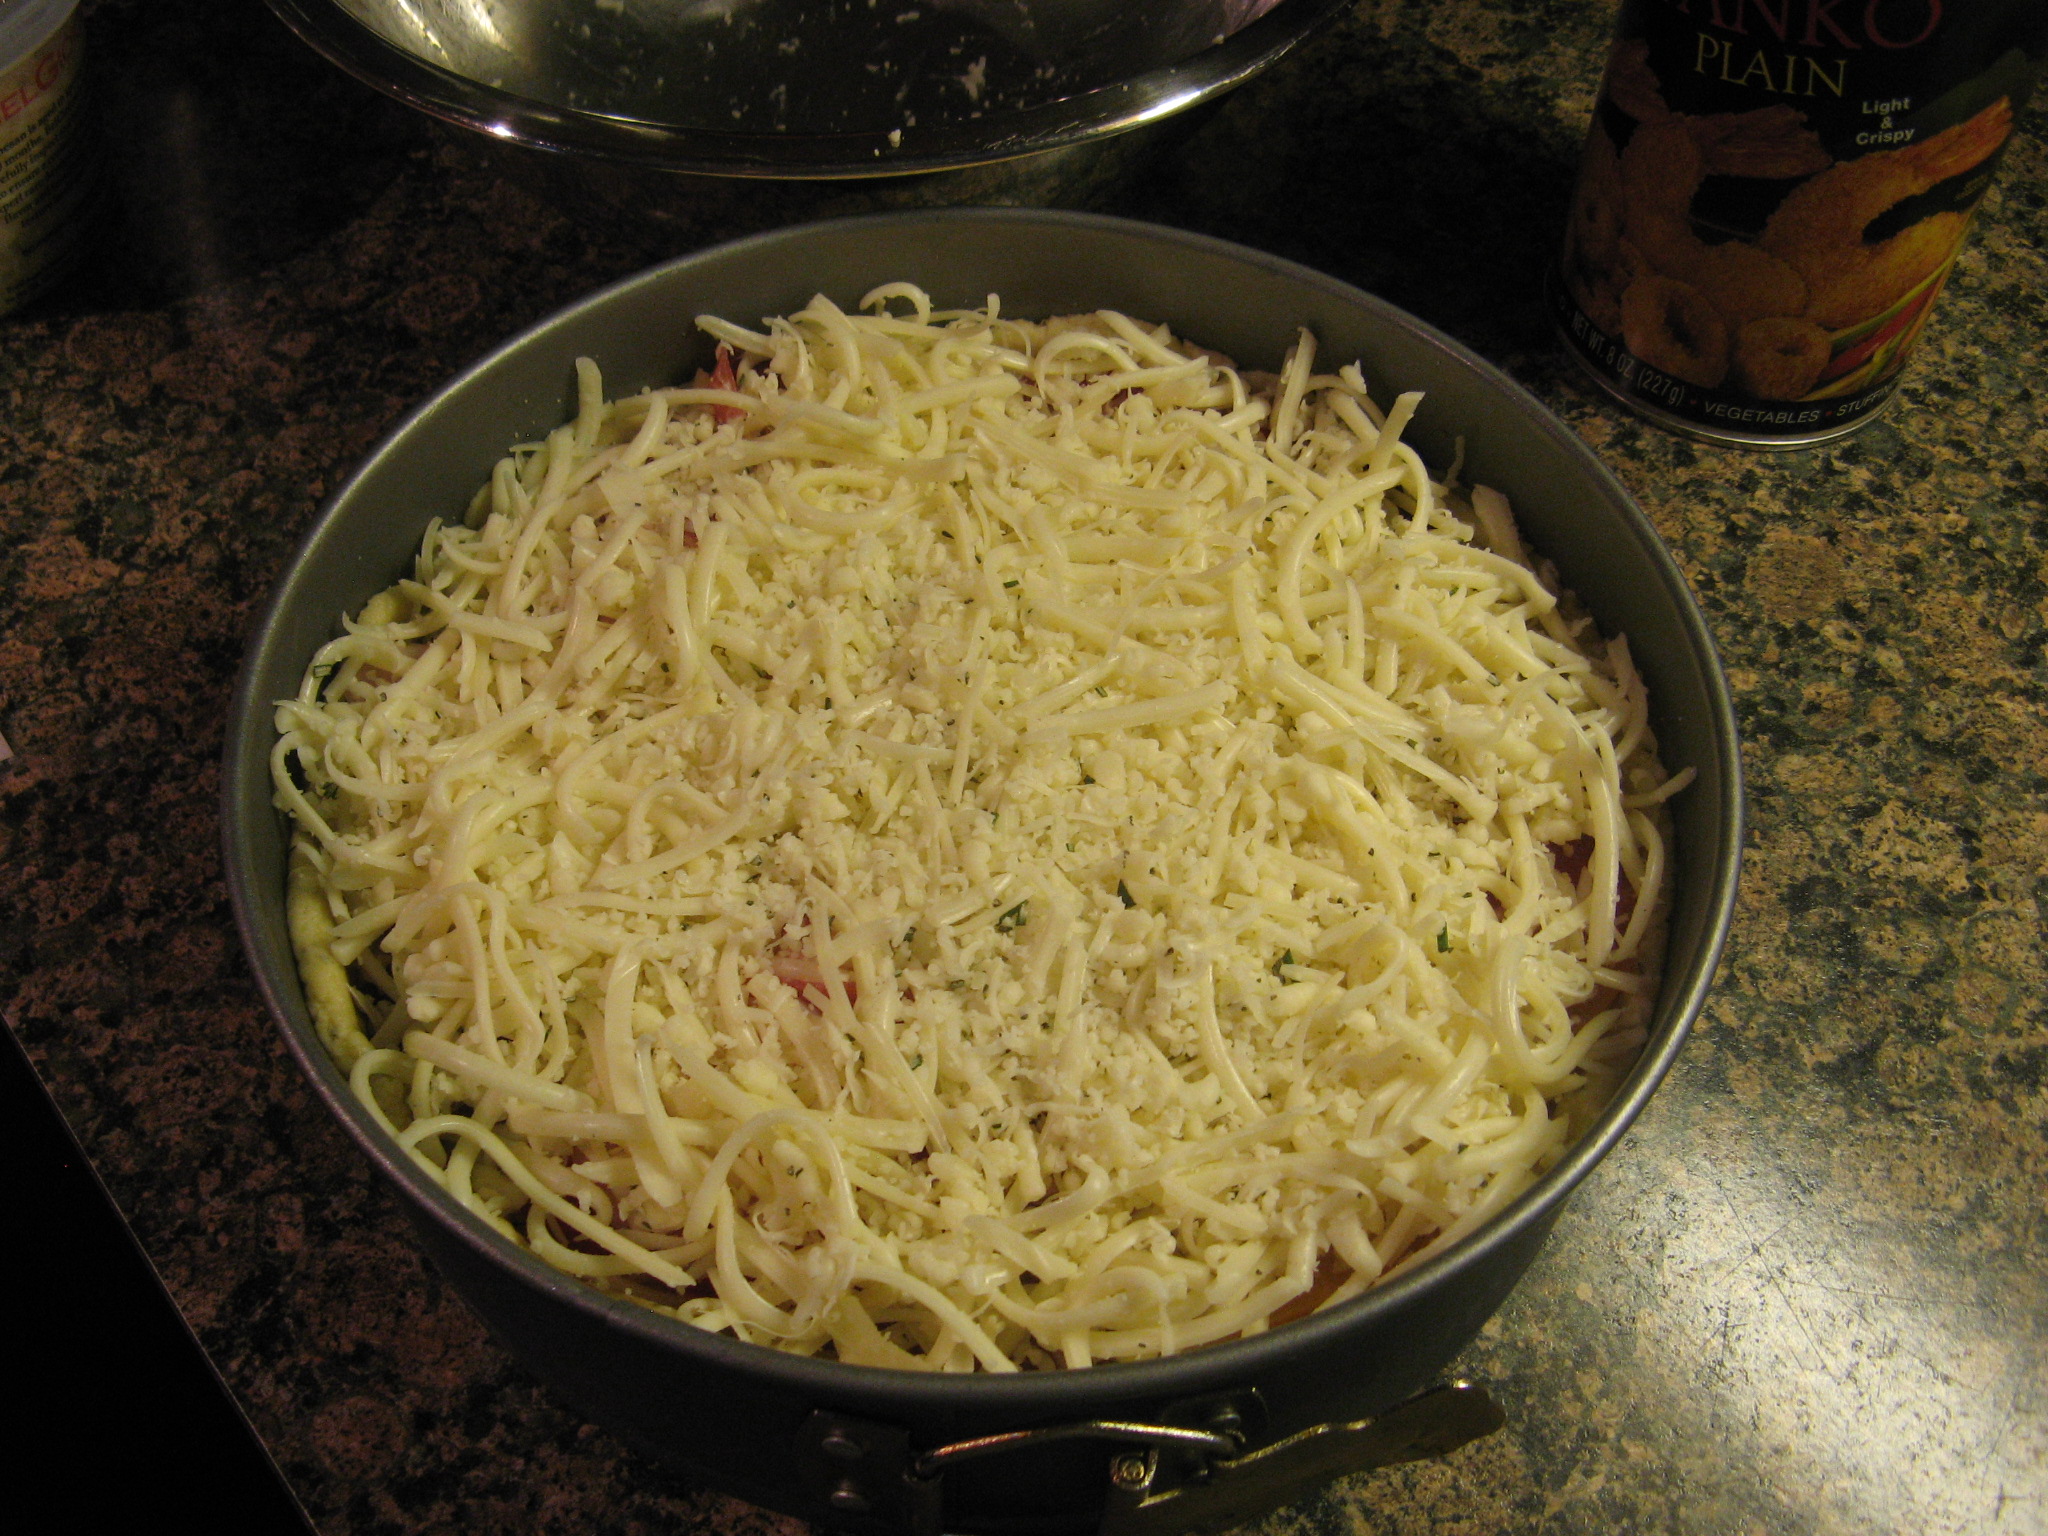
On top of the capocollo I scattered half of the cheese mixture.

IMG_5008

I repeated the layering once again.

IMG_5009

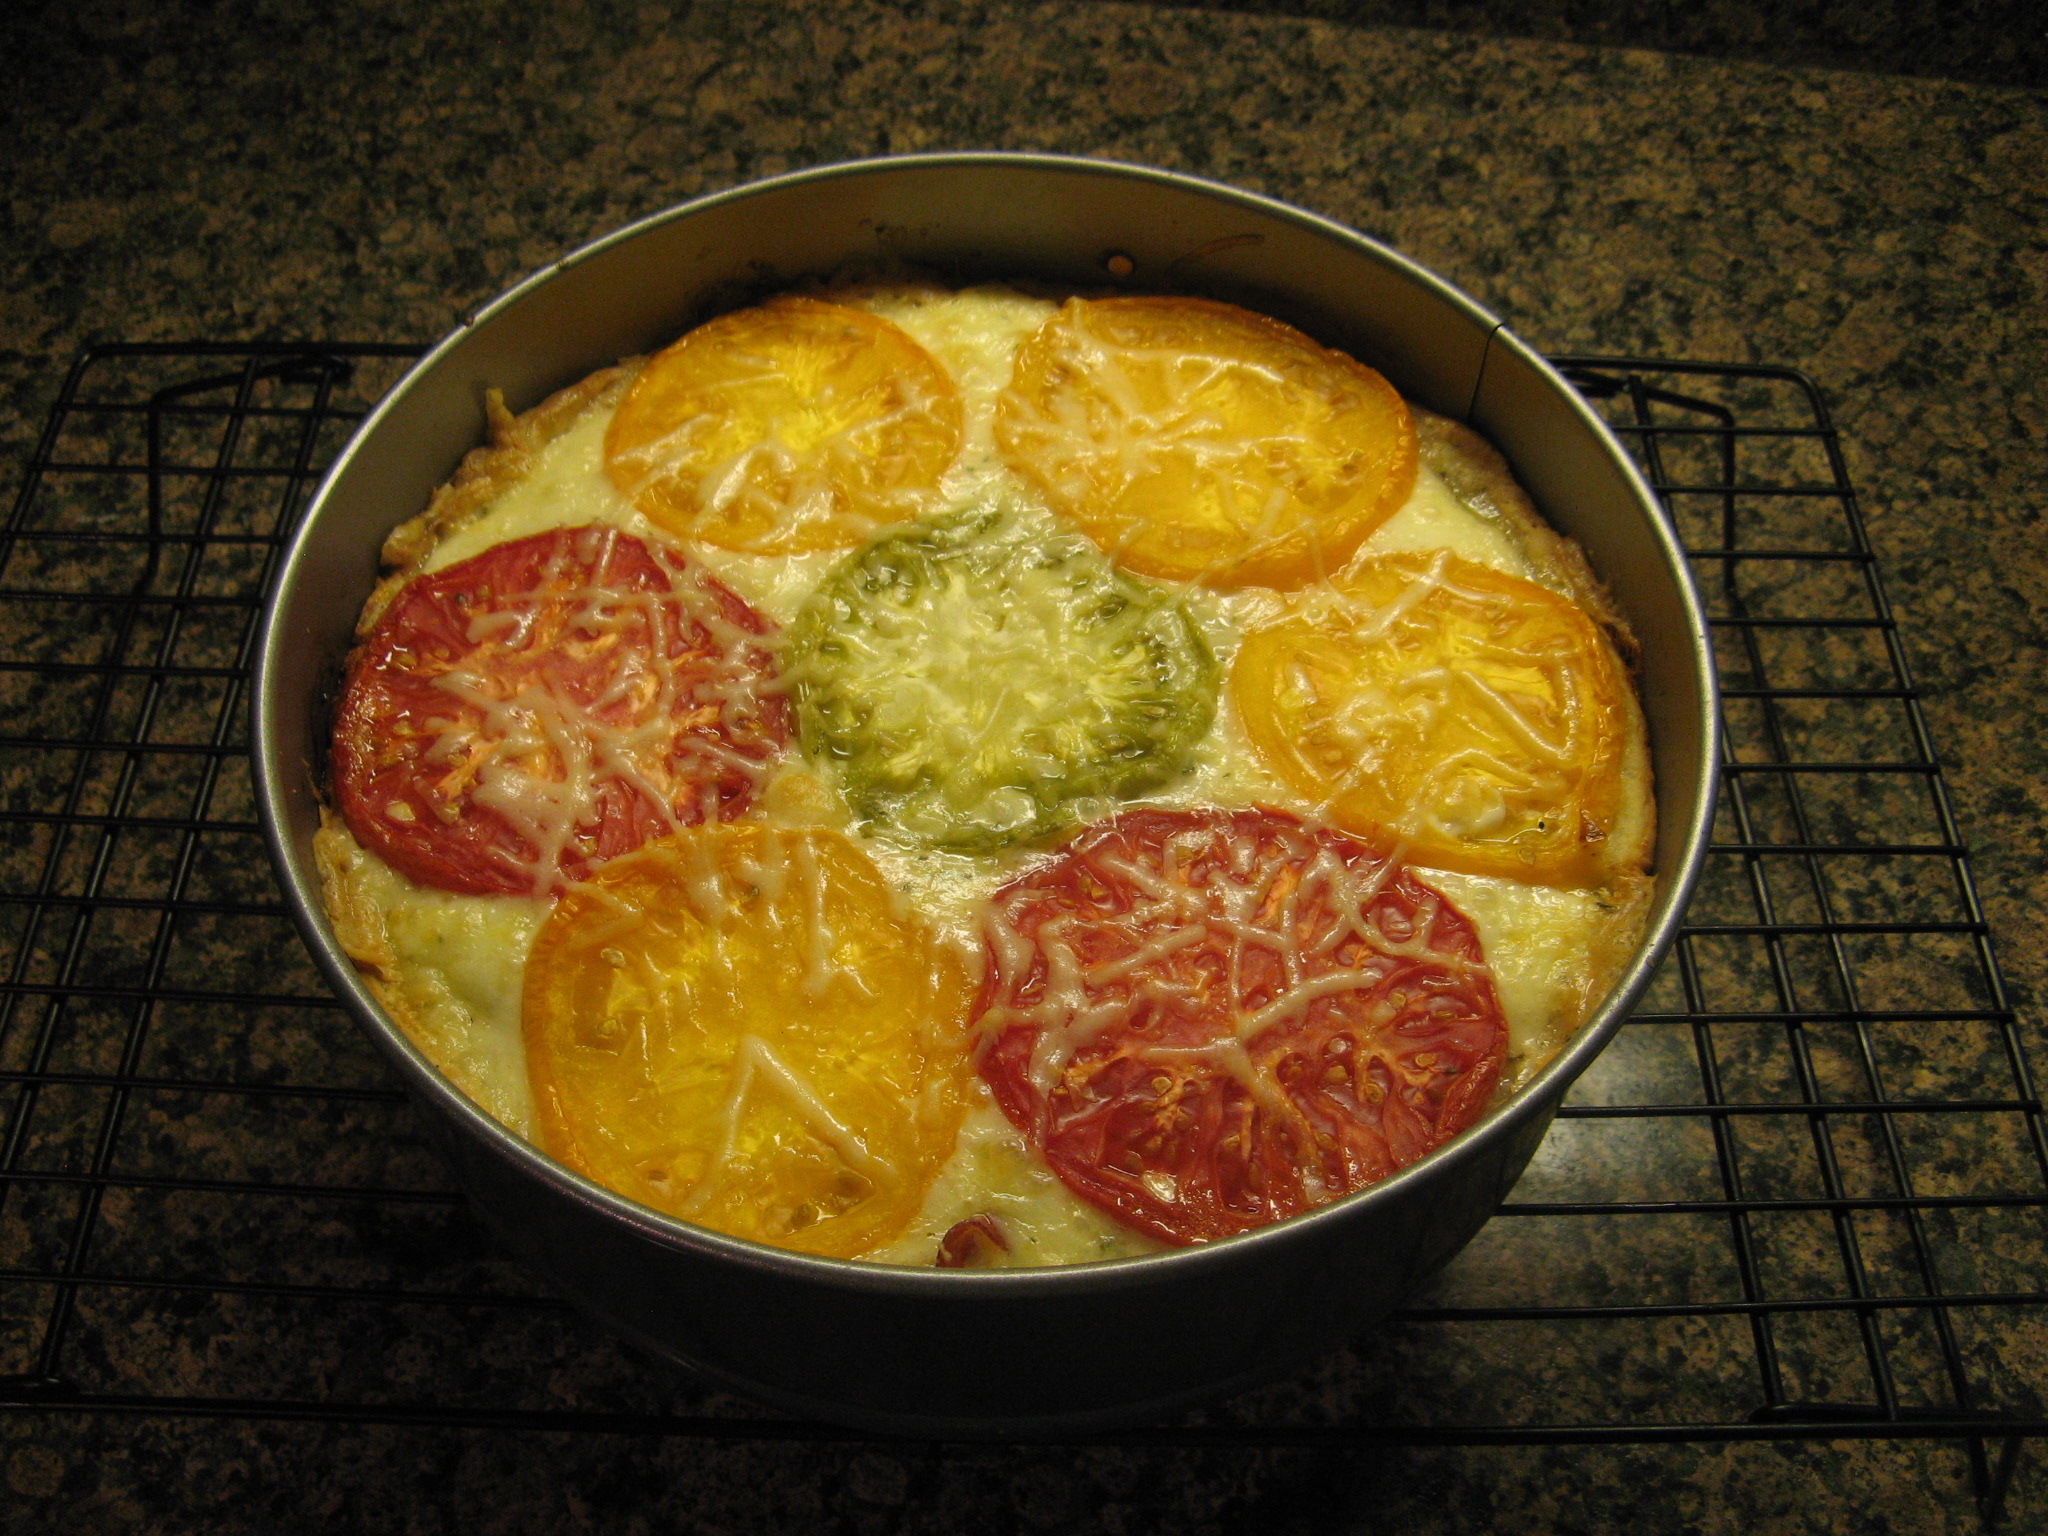
And finally I used up the rest of my tomatoes for the very top layer and then sprinkled it with a tablespoon of shredded parmesan cheese.

IMG_5010

I placed the torte on a baking sheet and baked it in a 375 F preheated oven for 40 minutes. I wanted to be sure that the crust was completely cooked through so I dropped the temperature of the oven to 350 F and baked the torte for another 7 minutes. While the recipe did call for 35 minutes in a 400 F preheated oven I didn’t want to run the risk of over-cooking the torte at such a high temperature. And I am happy to say that my temperature and time adjustment was just perfect…

IMG_5012

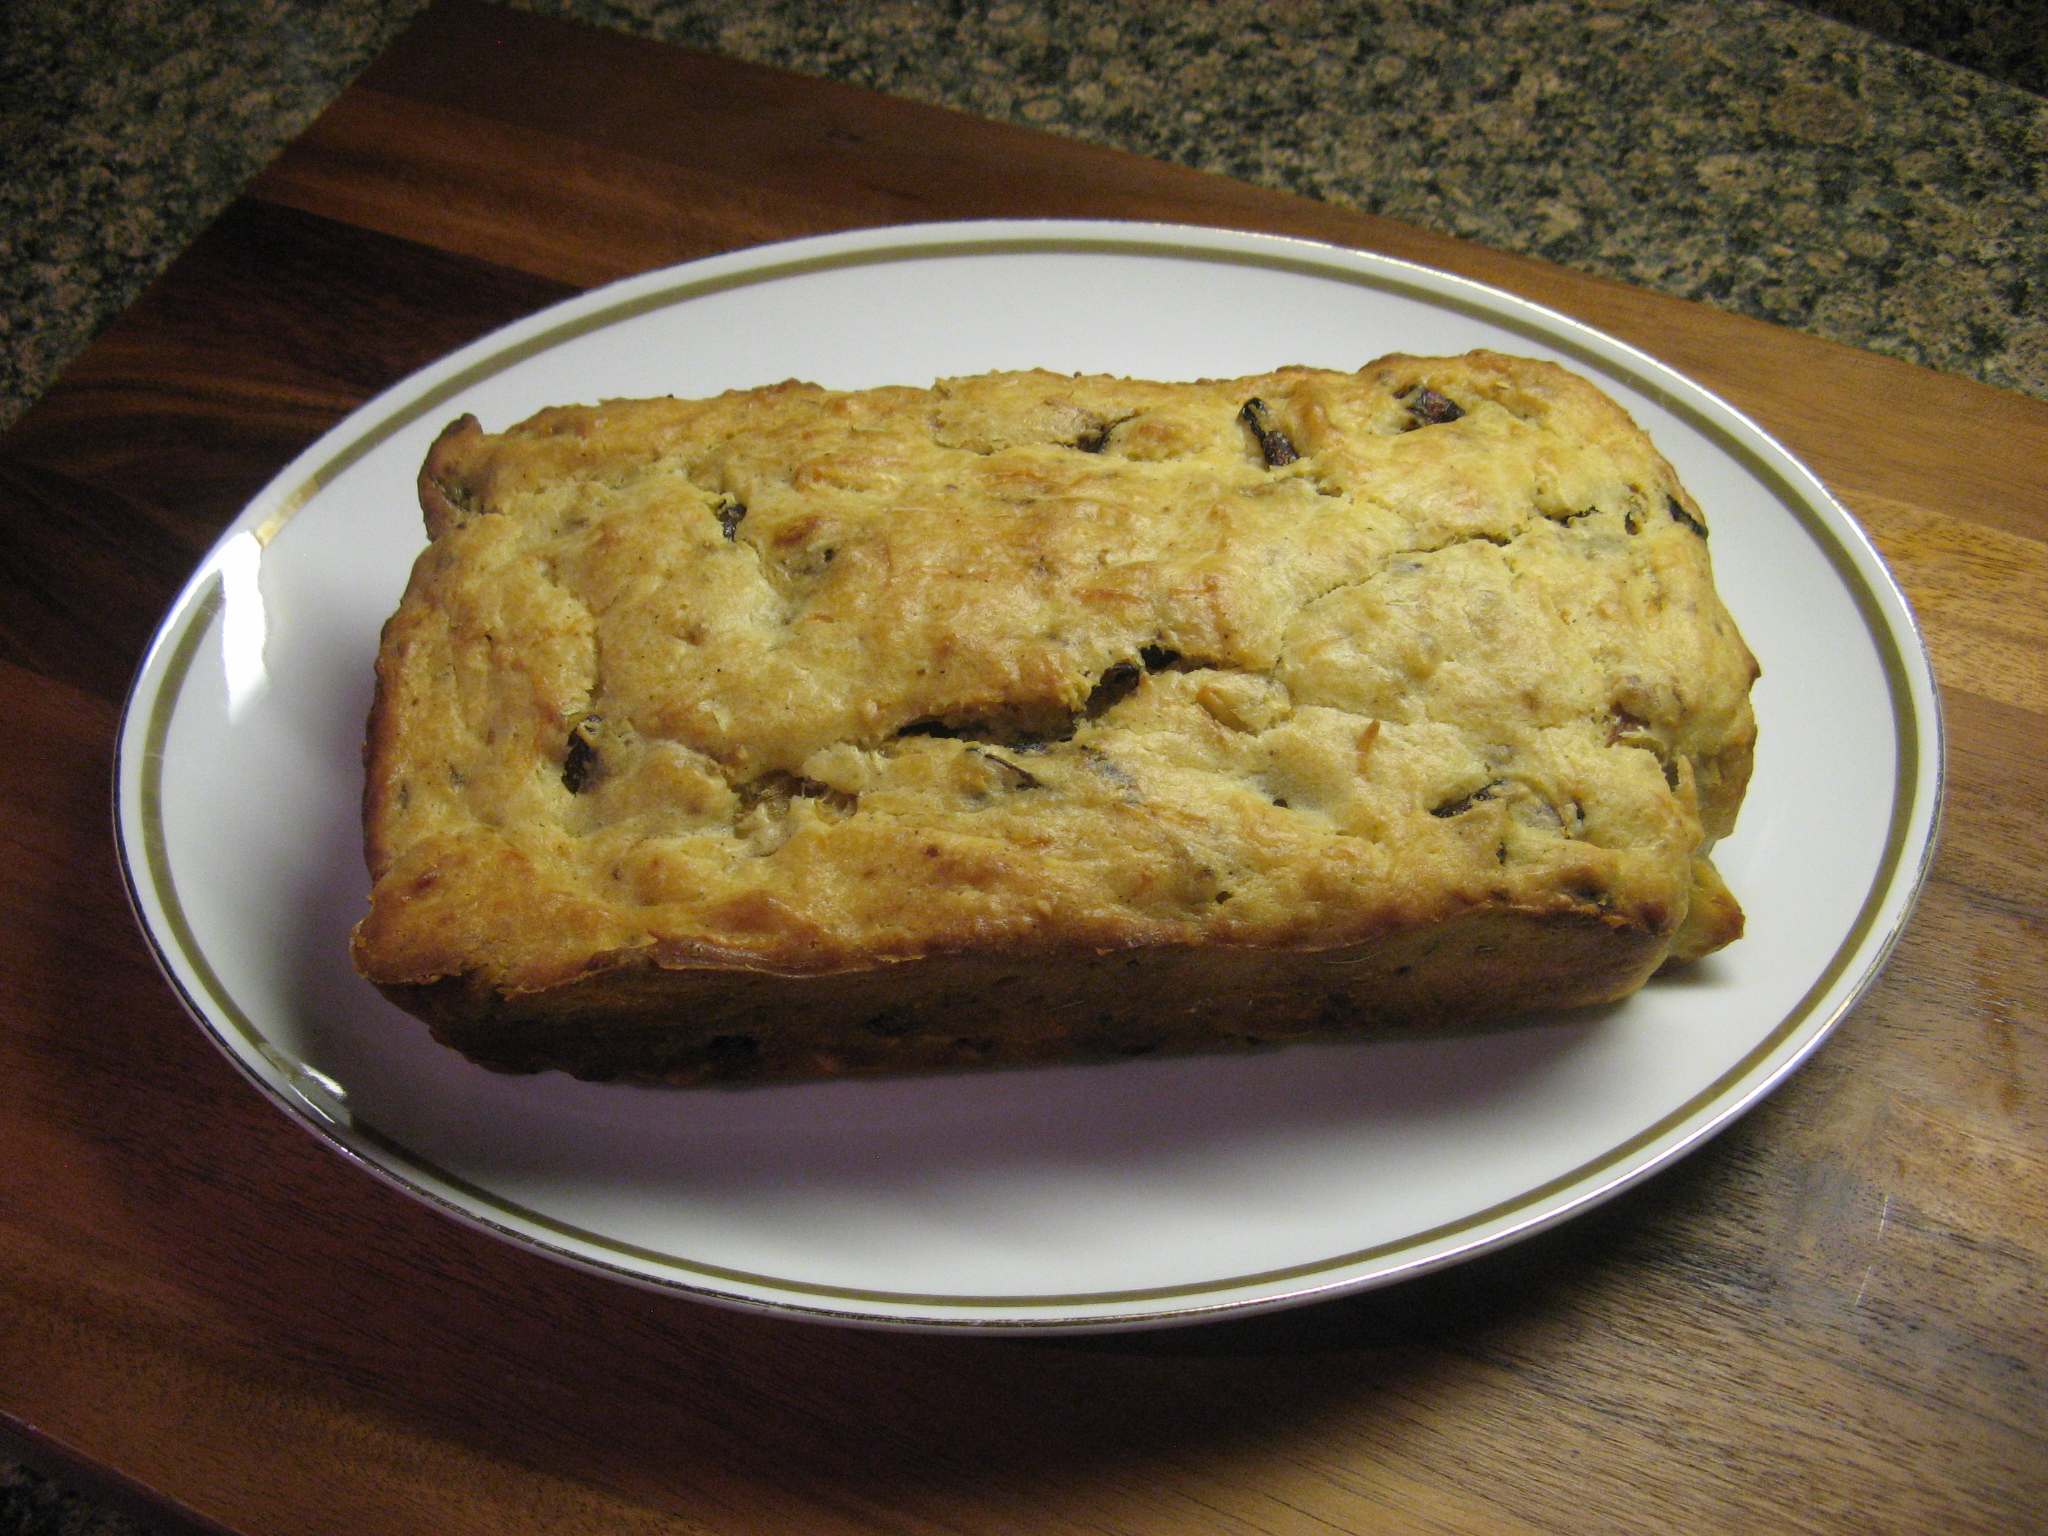
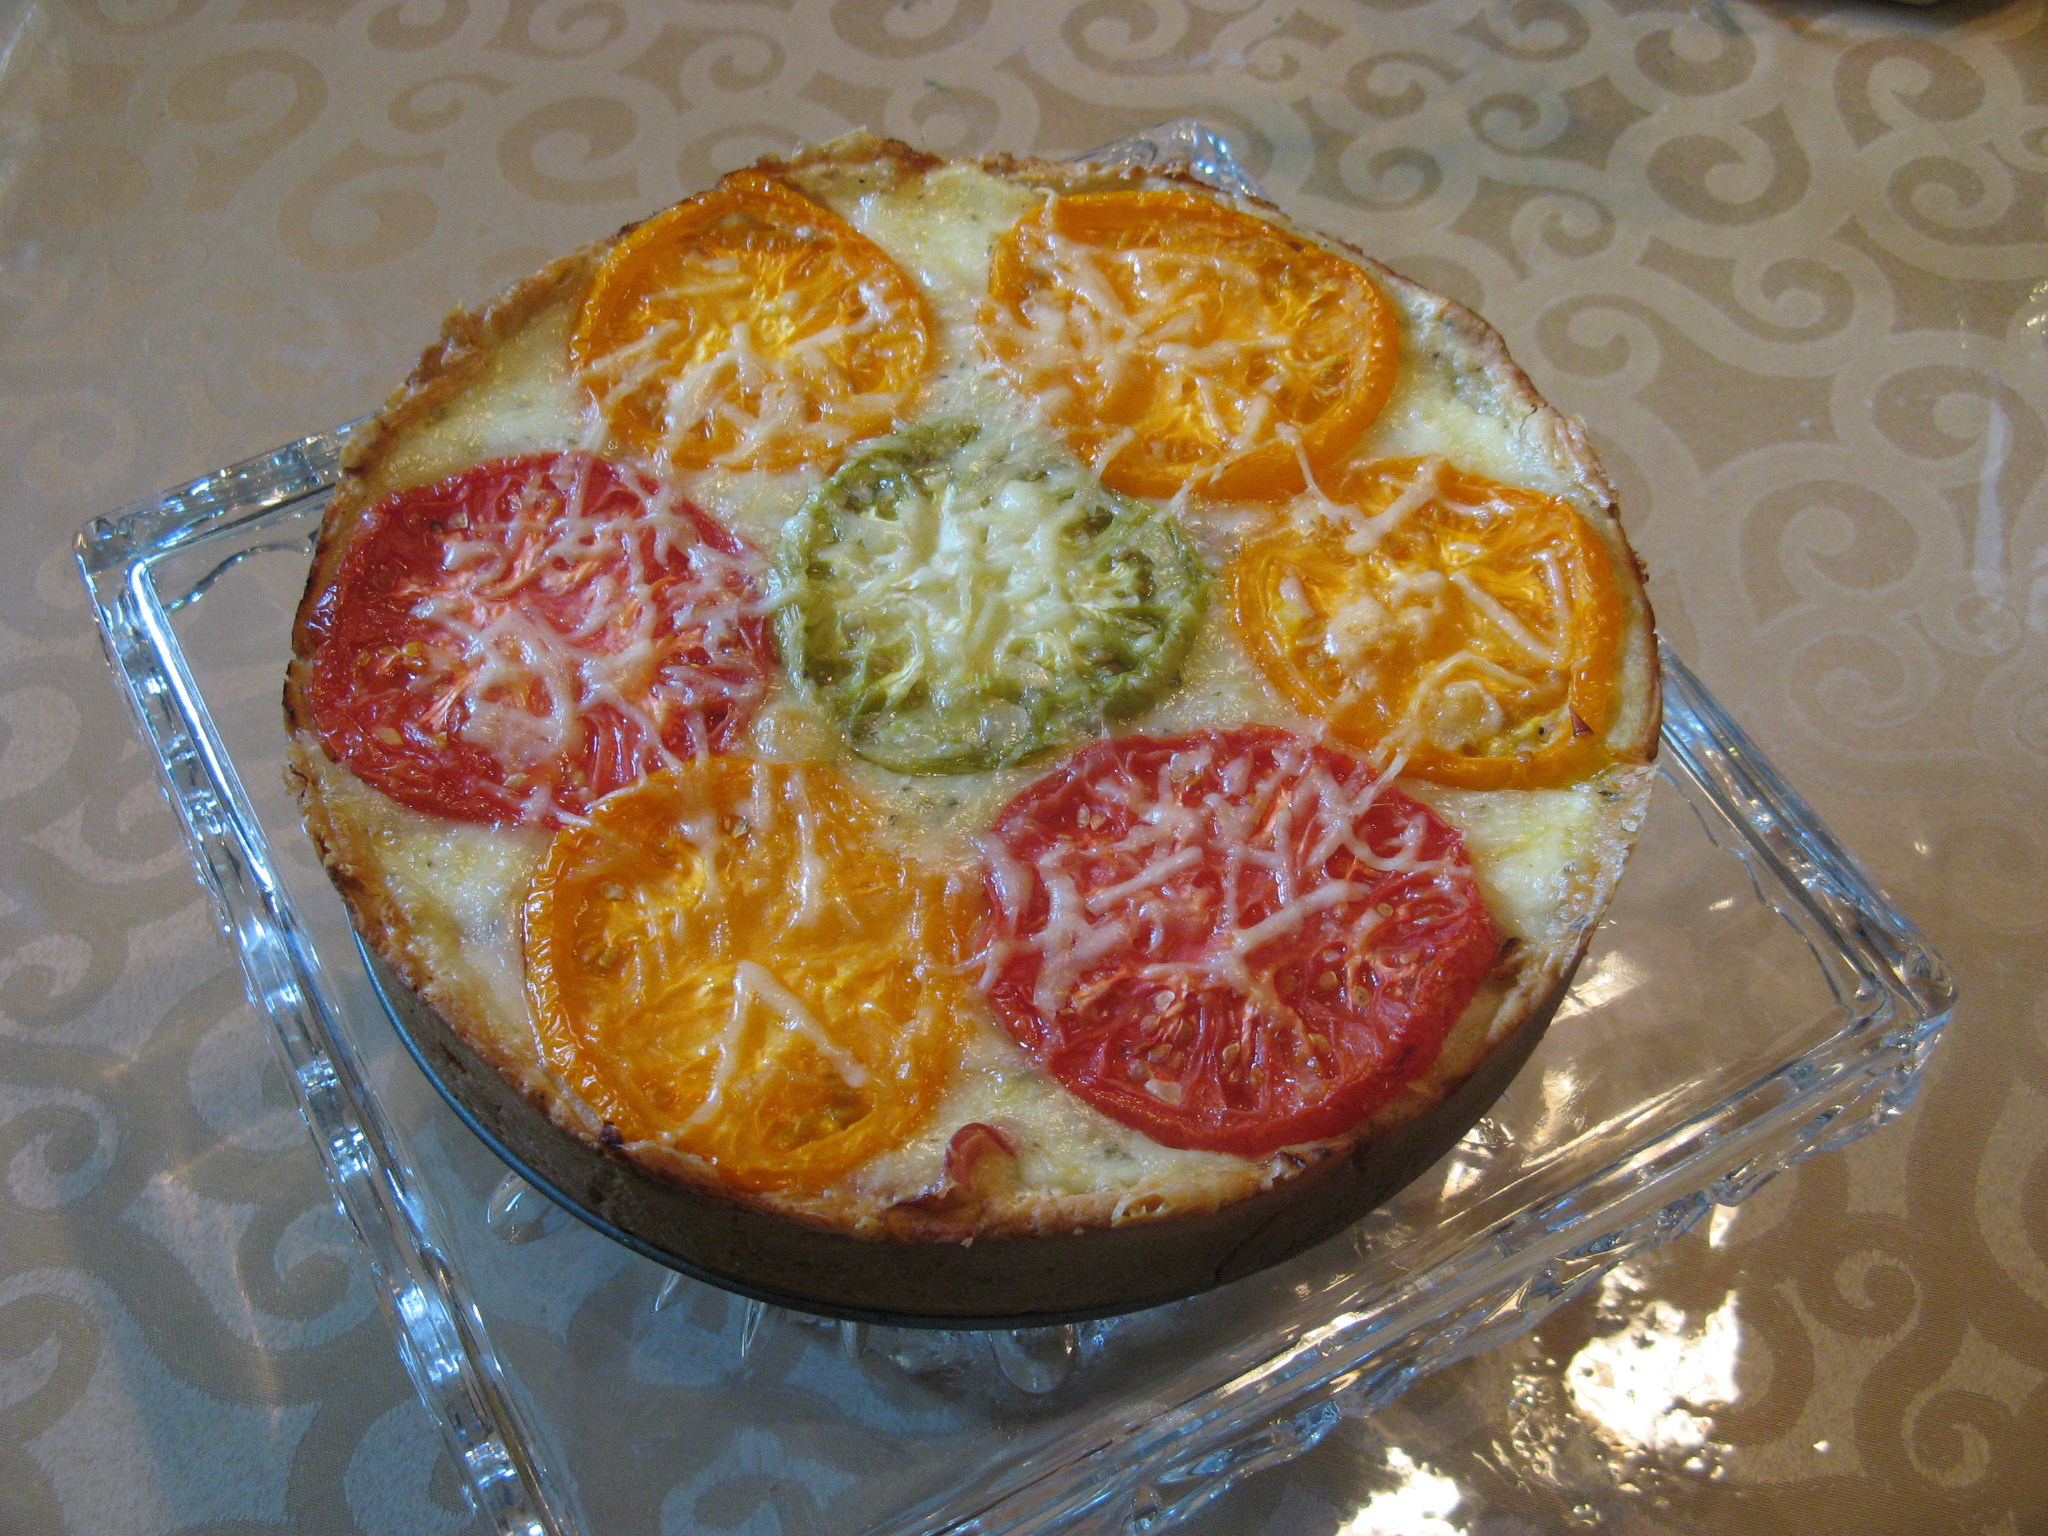
I let the torte cool for about an hour before removing the ring from the springform pan.

IMG_5028

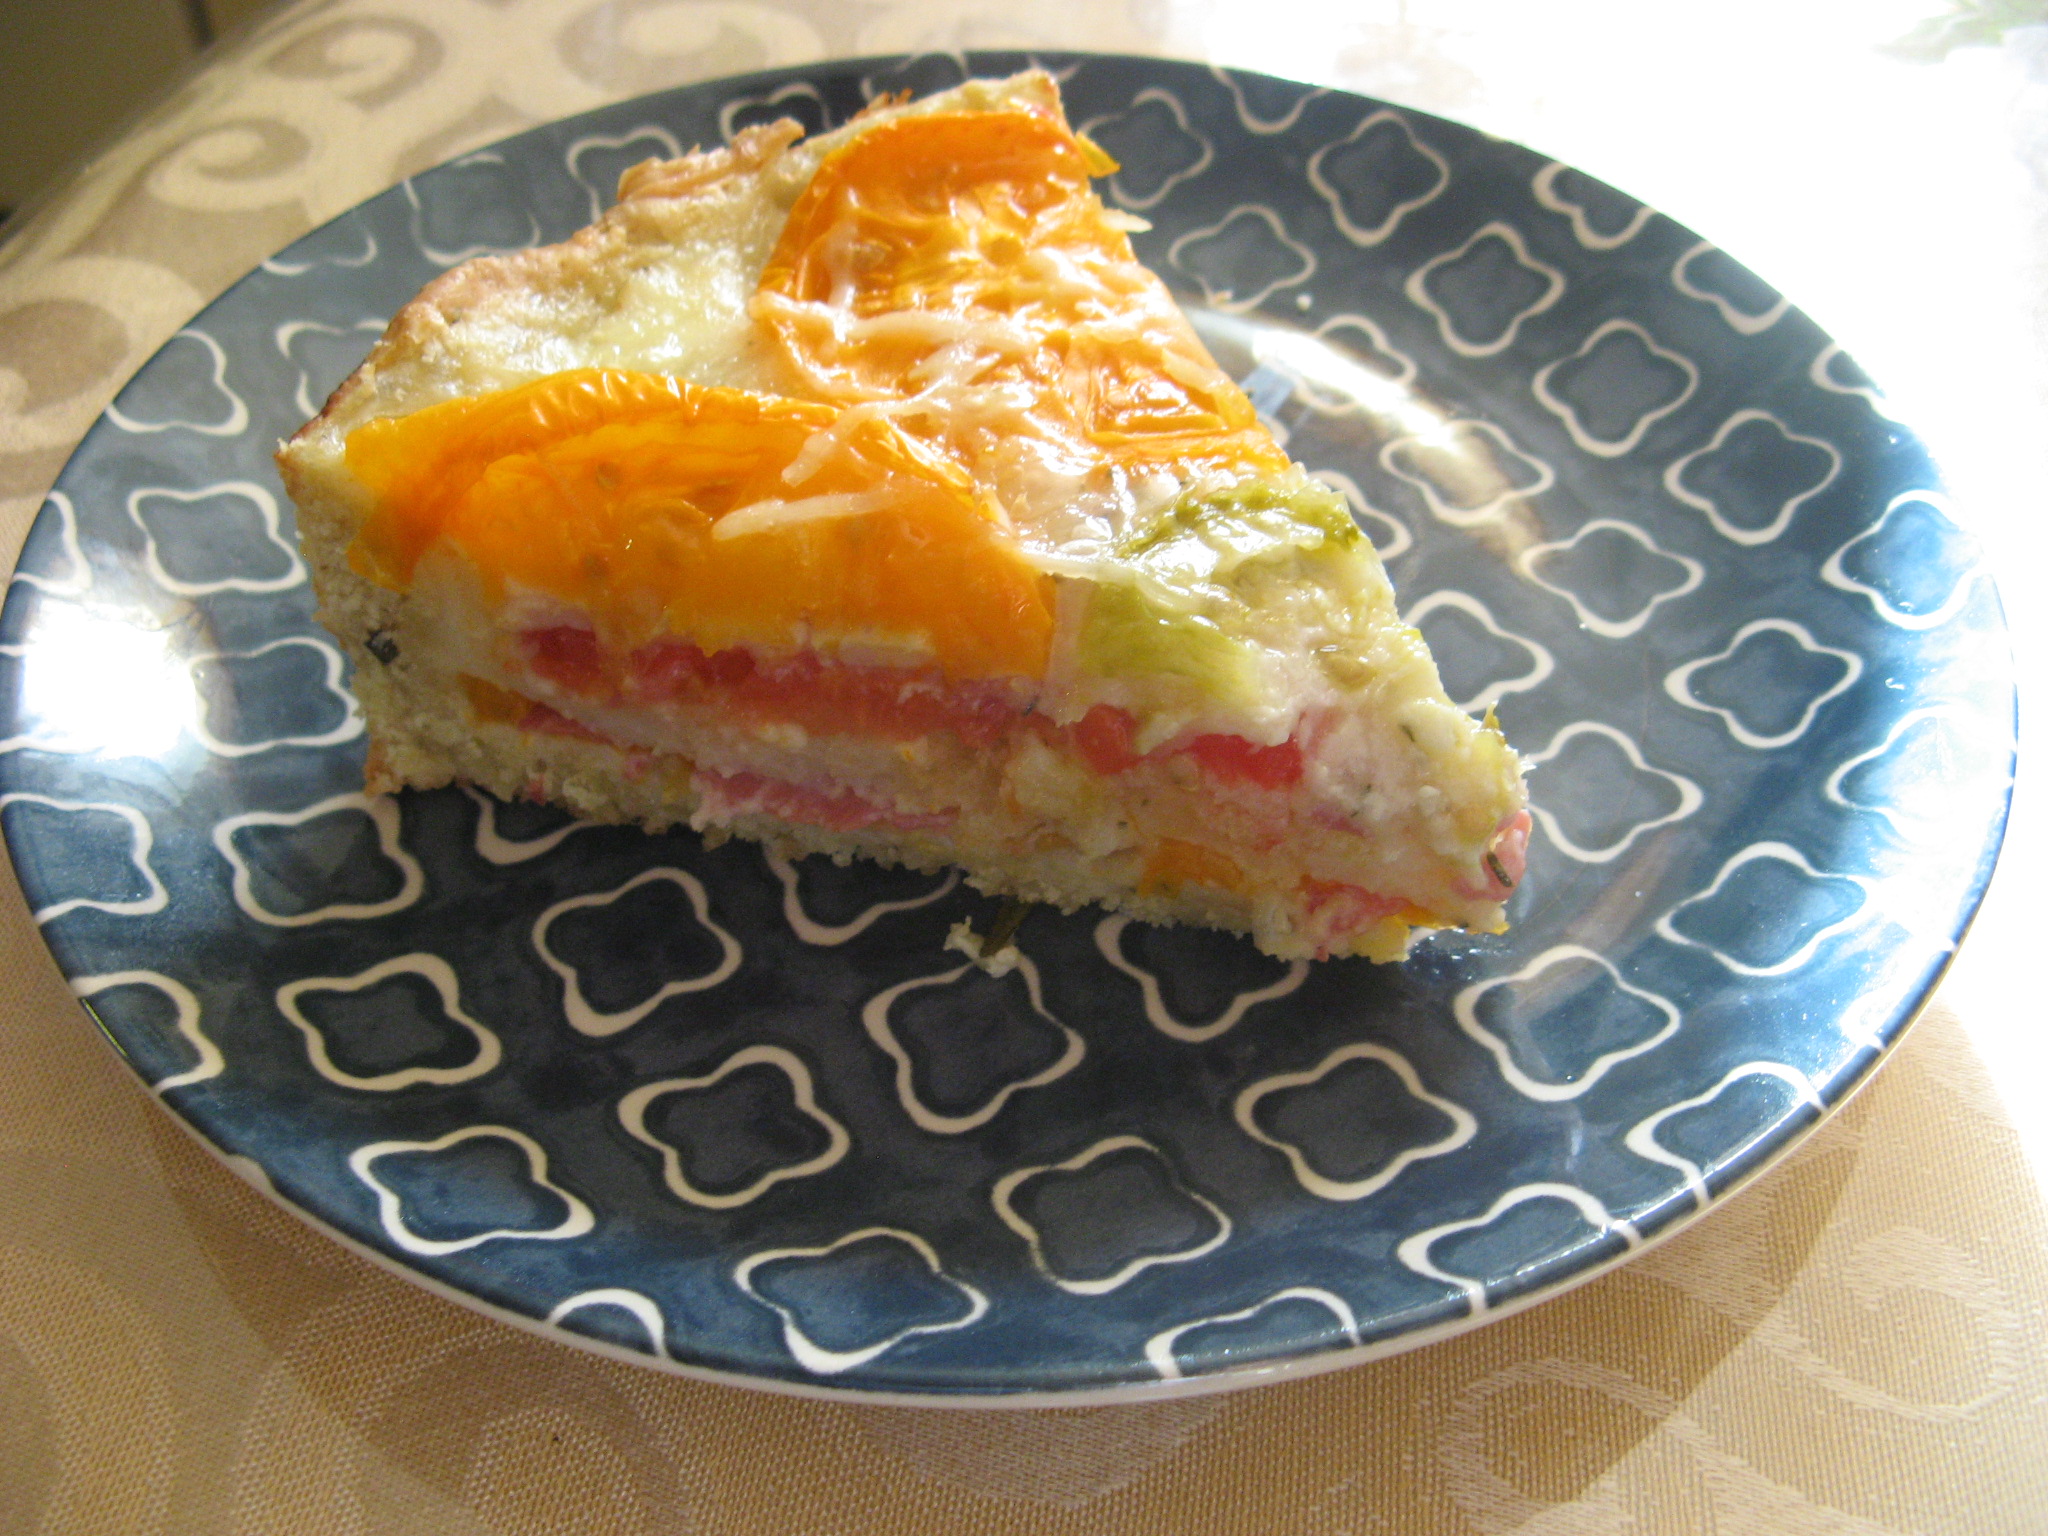
This was absolutely delicious and I can’t wait to make it again! There’s isn’t one flavor that overpowers the torte… In every bite you get a hint of the rosemary, the tomatoes, capocollo and best of all the cheese.

IMG_5032n


Tomato-Fontina Torte with Rosemary Crust

Ingredients:

2 cups all-purpose flour, plus more for dusting

2 tablespoons sugar

2 teaspoons chopped fresh rosemary

Kosher salt and freshly ground pepper

1 1/2 sticks (12 tablespoons) cold unsalted butter, cut into small pieces

2 large eggs, plus 1 egg yolk

2 1/2 to 3 pounds assorted heirloom tomatoes

3 cups shredded fontina cheese (about 12 ounces)

1/2 cup grated pecorino cheese or parmesan cheese (1 ounce)

1/4 cup panko breadcrumbs

1/3 pound thinly sliced capicola (capocollo) ham, cut into strips

2 teaspoons extra-virgin olive oil


Directions:

1. Combine the flour, sugar, 1 teaspoon rosemary, 1/4 teaspoon salt and 1/2 teaspoon pepper in a food processor and pulse until just combined. Add the butter and pulse until the mixture looks like coarse meal.

2. Whisk the eggs and egg yolk in a small bowl. With the motor running, add the eggs to the food processor and process until the dough just gathers into a ball. Turn out onto a lightly floured surface and gently knead until soft and pliable. Press the dough into the bottom and about halfway up the side of a 9-inch springform pan. Cover and refrigerate the crust until very cold, at least 1 hour or overnight.

3. Slice the tomatoes and spread them out on 2 baking sheets in a single layer. Sprinkle lightly with salt and set aside until they release some of their juices, about 30 minutes. Meanwhile, combine the fontina and all but 1 tablespoon of the pecorino (parmesan) in a bowl; add the remaining 1 teaspoon rosemary.

4. Preheat the oven to 400 F. Pat the tomatoes gently with paper towels to absorb the excess moisture. Sprinkle 1 tablespoon panko in the crust, then top with one-third of the tomatoes. Scatter half of the ham over the tomatoes, then half of the cheese mixture. Repeat with the remaining 3 tablespoons panko, another one-third of the tomatoes and the remaining ham and cheese. Top with a final layer of tomatoes and sprinkle with the reserved 1 tablespoons pecorino (parmesan); drizzle with olive oil.

5. Transfer the pan to a baking sheet and bake until the crust is golden and the cheese is melted, about 35 minutes. Transfer to a rack and let cool about 1 hour, then remove the springform ring.


%d bloggers like this: