Rosemary & Tomato Focaccia Bread

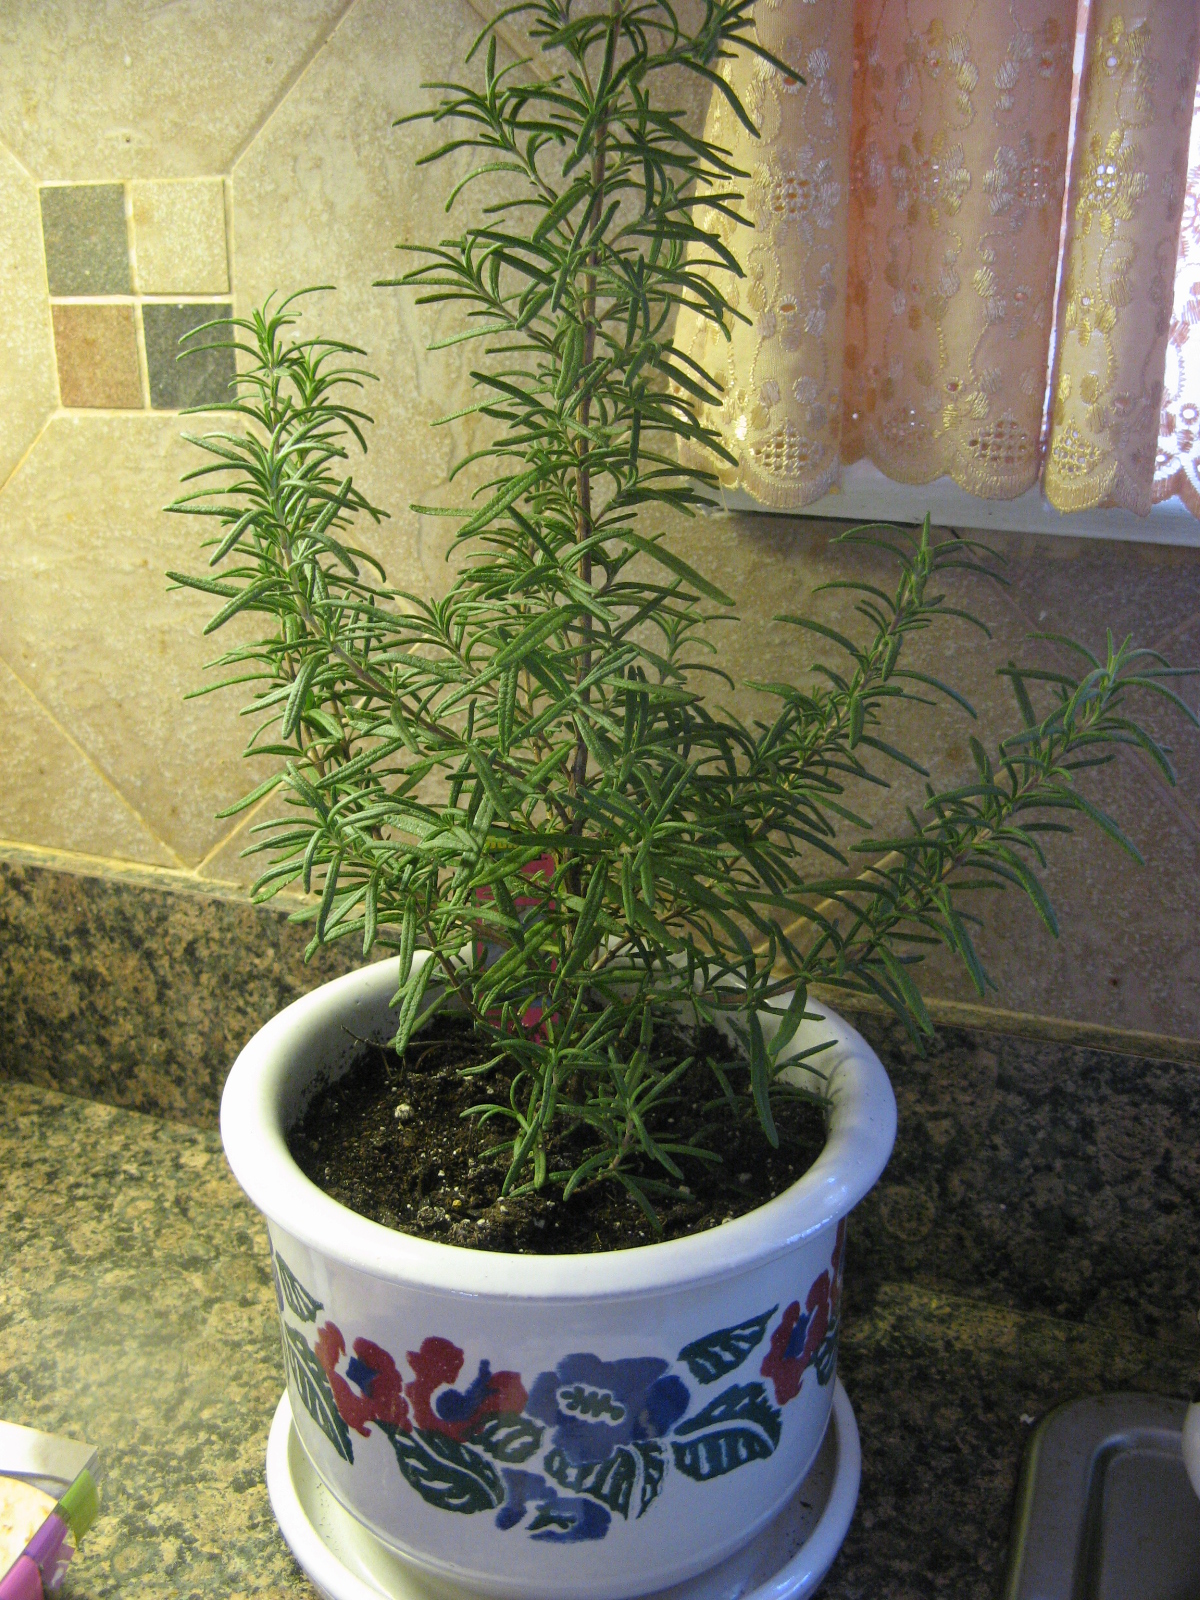
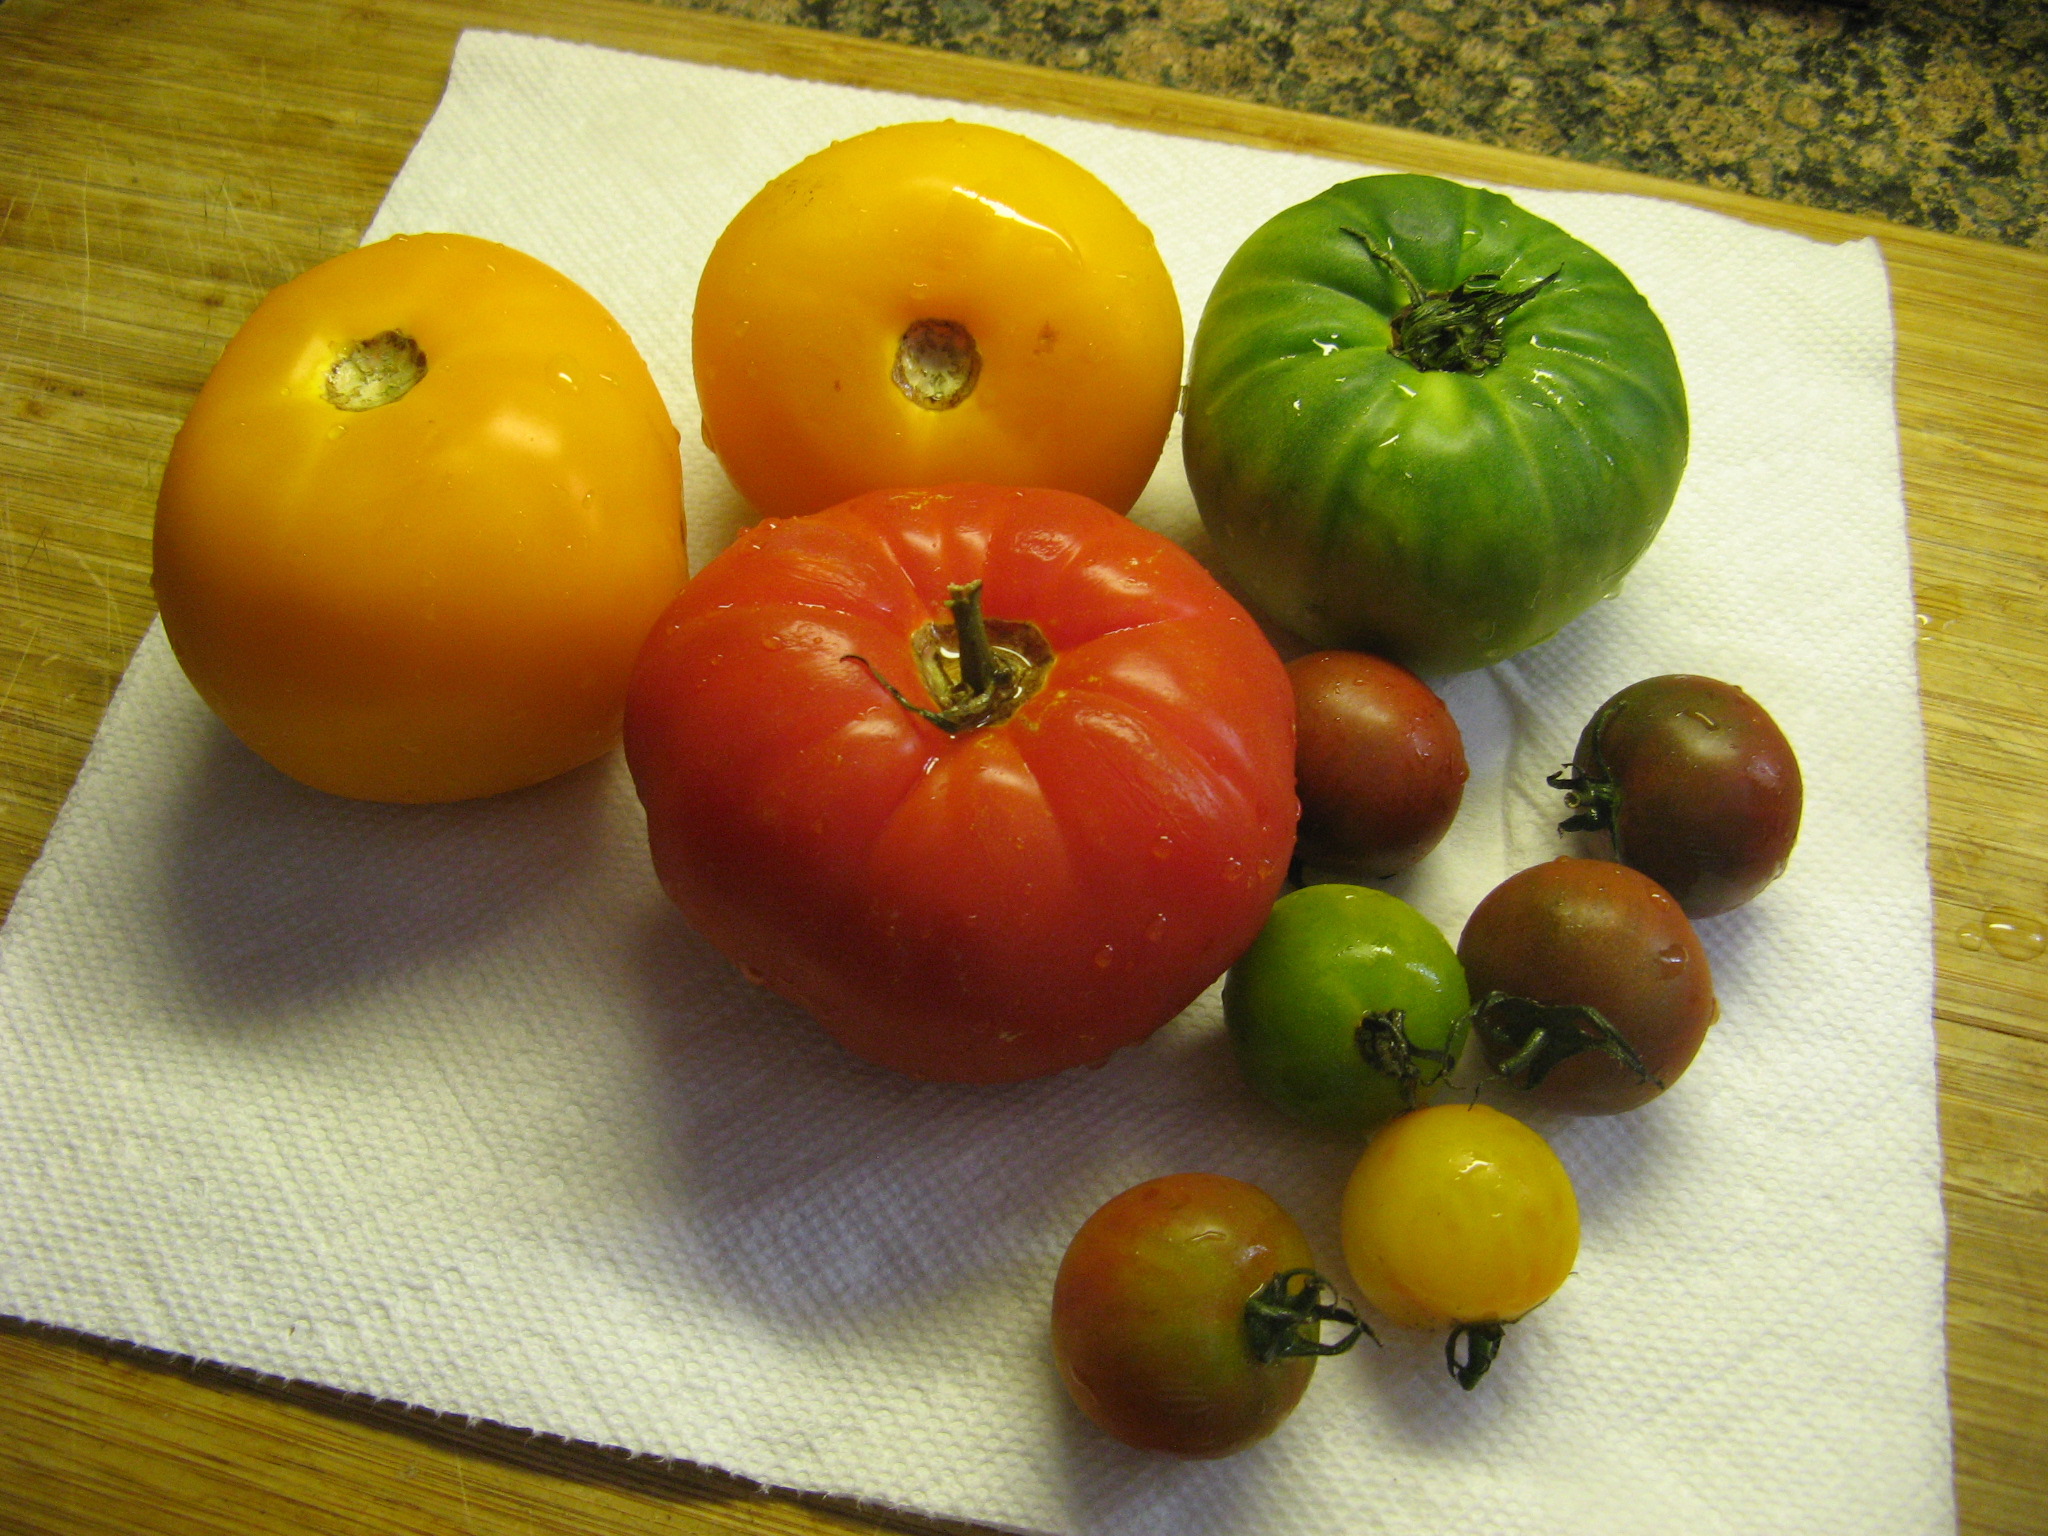
I decided to plant some veggies and herbs again this year. I passed on planting zucchini again, which I used to make these delicious zucchini fries last year, and went with cucumbers and eggplant instead. I haven’t picked any eggplant yet, but, I have picked quite a few cucumbers. Some of which I turned into some yummy pickles. That’s another post though. I also planted tomatoes again this year, but instead of beefsteak one’s I went with cherry tomatoes. And for the herbs, I went with rosemary, basil, sage and lemon thyme. I mainly planted the herbs in hopes of repelling mosquitoes. While they have been around I will say that it hasn’t been as bad as past years. Initially I wasn’t planning on picking any of the herbs, but, they grew so well that I decided it would be a shame not to use them. So, I decided to use the rosemary and some of the tomatoes to make homemade focaccia bread.

Now, I am always leery of working with yeast. I am apprehensive that it won’t proof well enough, that my final product will be tough and not flaky and whatever else can go wrong. Believe it or not, the weather also plays a factor. While you may think that a humid day will help your bread rise quicker, that’s not always the case and a very cool day can make your bread take even longer to rise. I baked this focaccia on a rainy unseasonably cool summer day that had very low humidity and it came out perfect.

I completely relied on my stand mixer to knead the dough using the dough attachment. And for the first rise I preheated my oven to 200 F, turned it off and then put my dough, that I had placed in a greased bowl, in there for about an hour so it could rise. It’s a good trick I learned and have done it every time I need dough to rise. When I removed it from the oven it had doubled in size. And for the second rise I rolled the dough out on my counter that I dusted with flour and let it rise for a few more minutes.

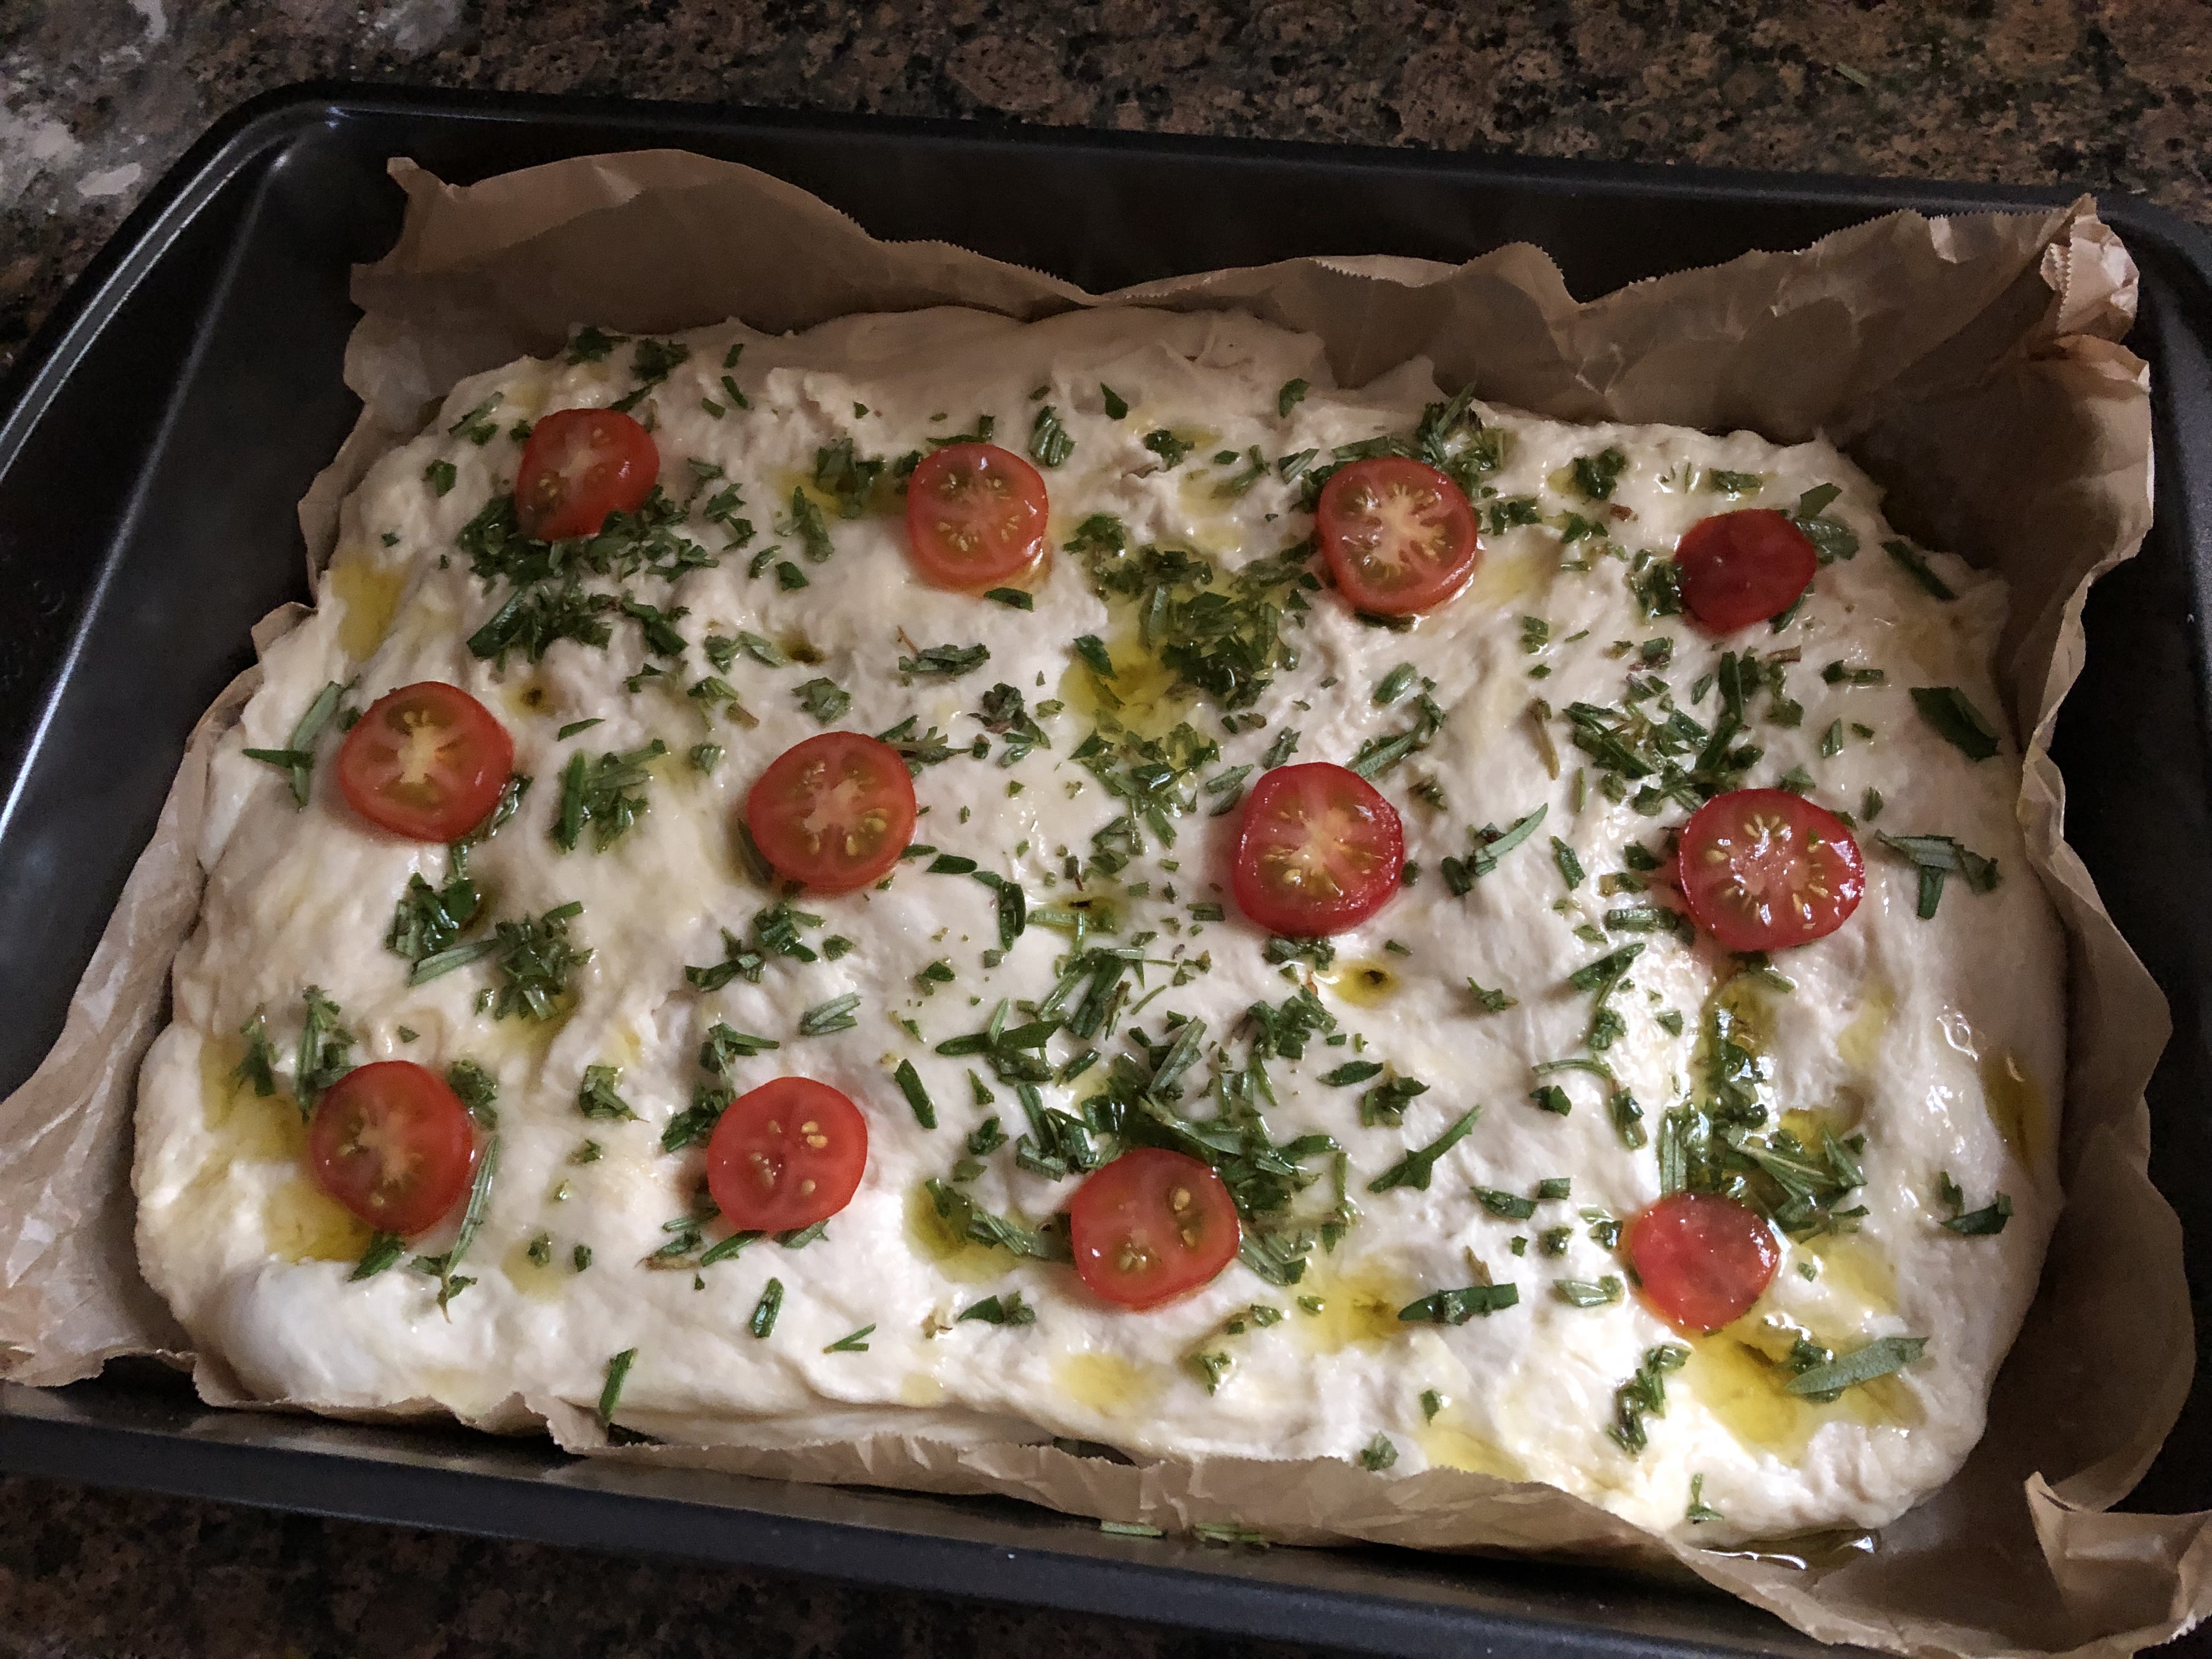
Once the dough was ready, I transferred it to a 9 x 13 – inch baking pan that I lined with parchment paper. I stretched the dough to fill the pan and then poked deep holes into the dough. Next, I sprinkled the dough with minced fresh rosemary and sliced cherry tomatoes. I drizzled a few tablespoons of olive oil over everything and then sprinkled it with salt.

I then baked it in a 400 F preheated oven for about 25 minutes, until it was lightly golden on top and the bread had cooked through.

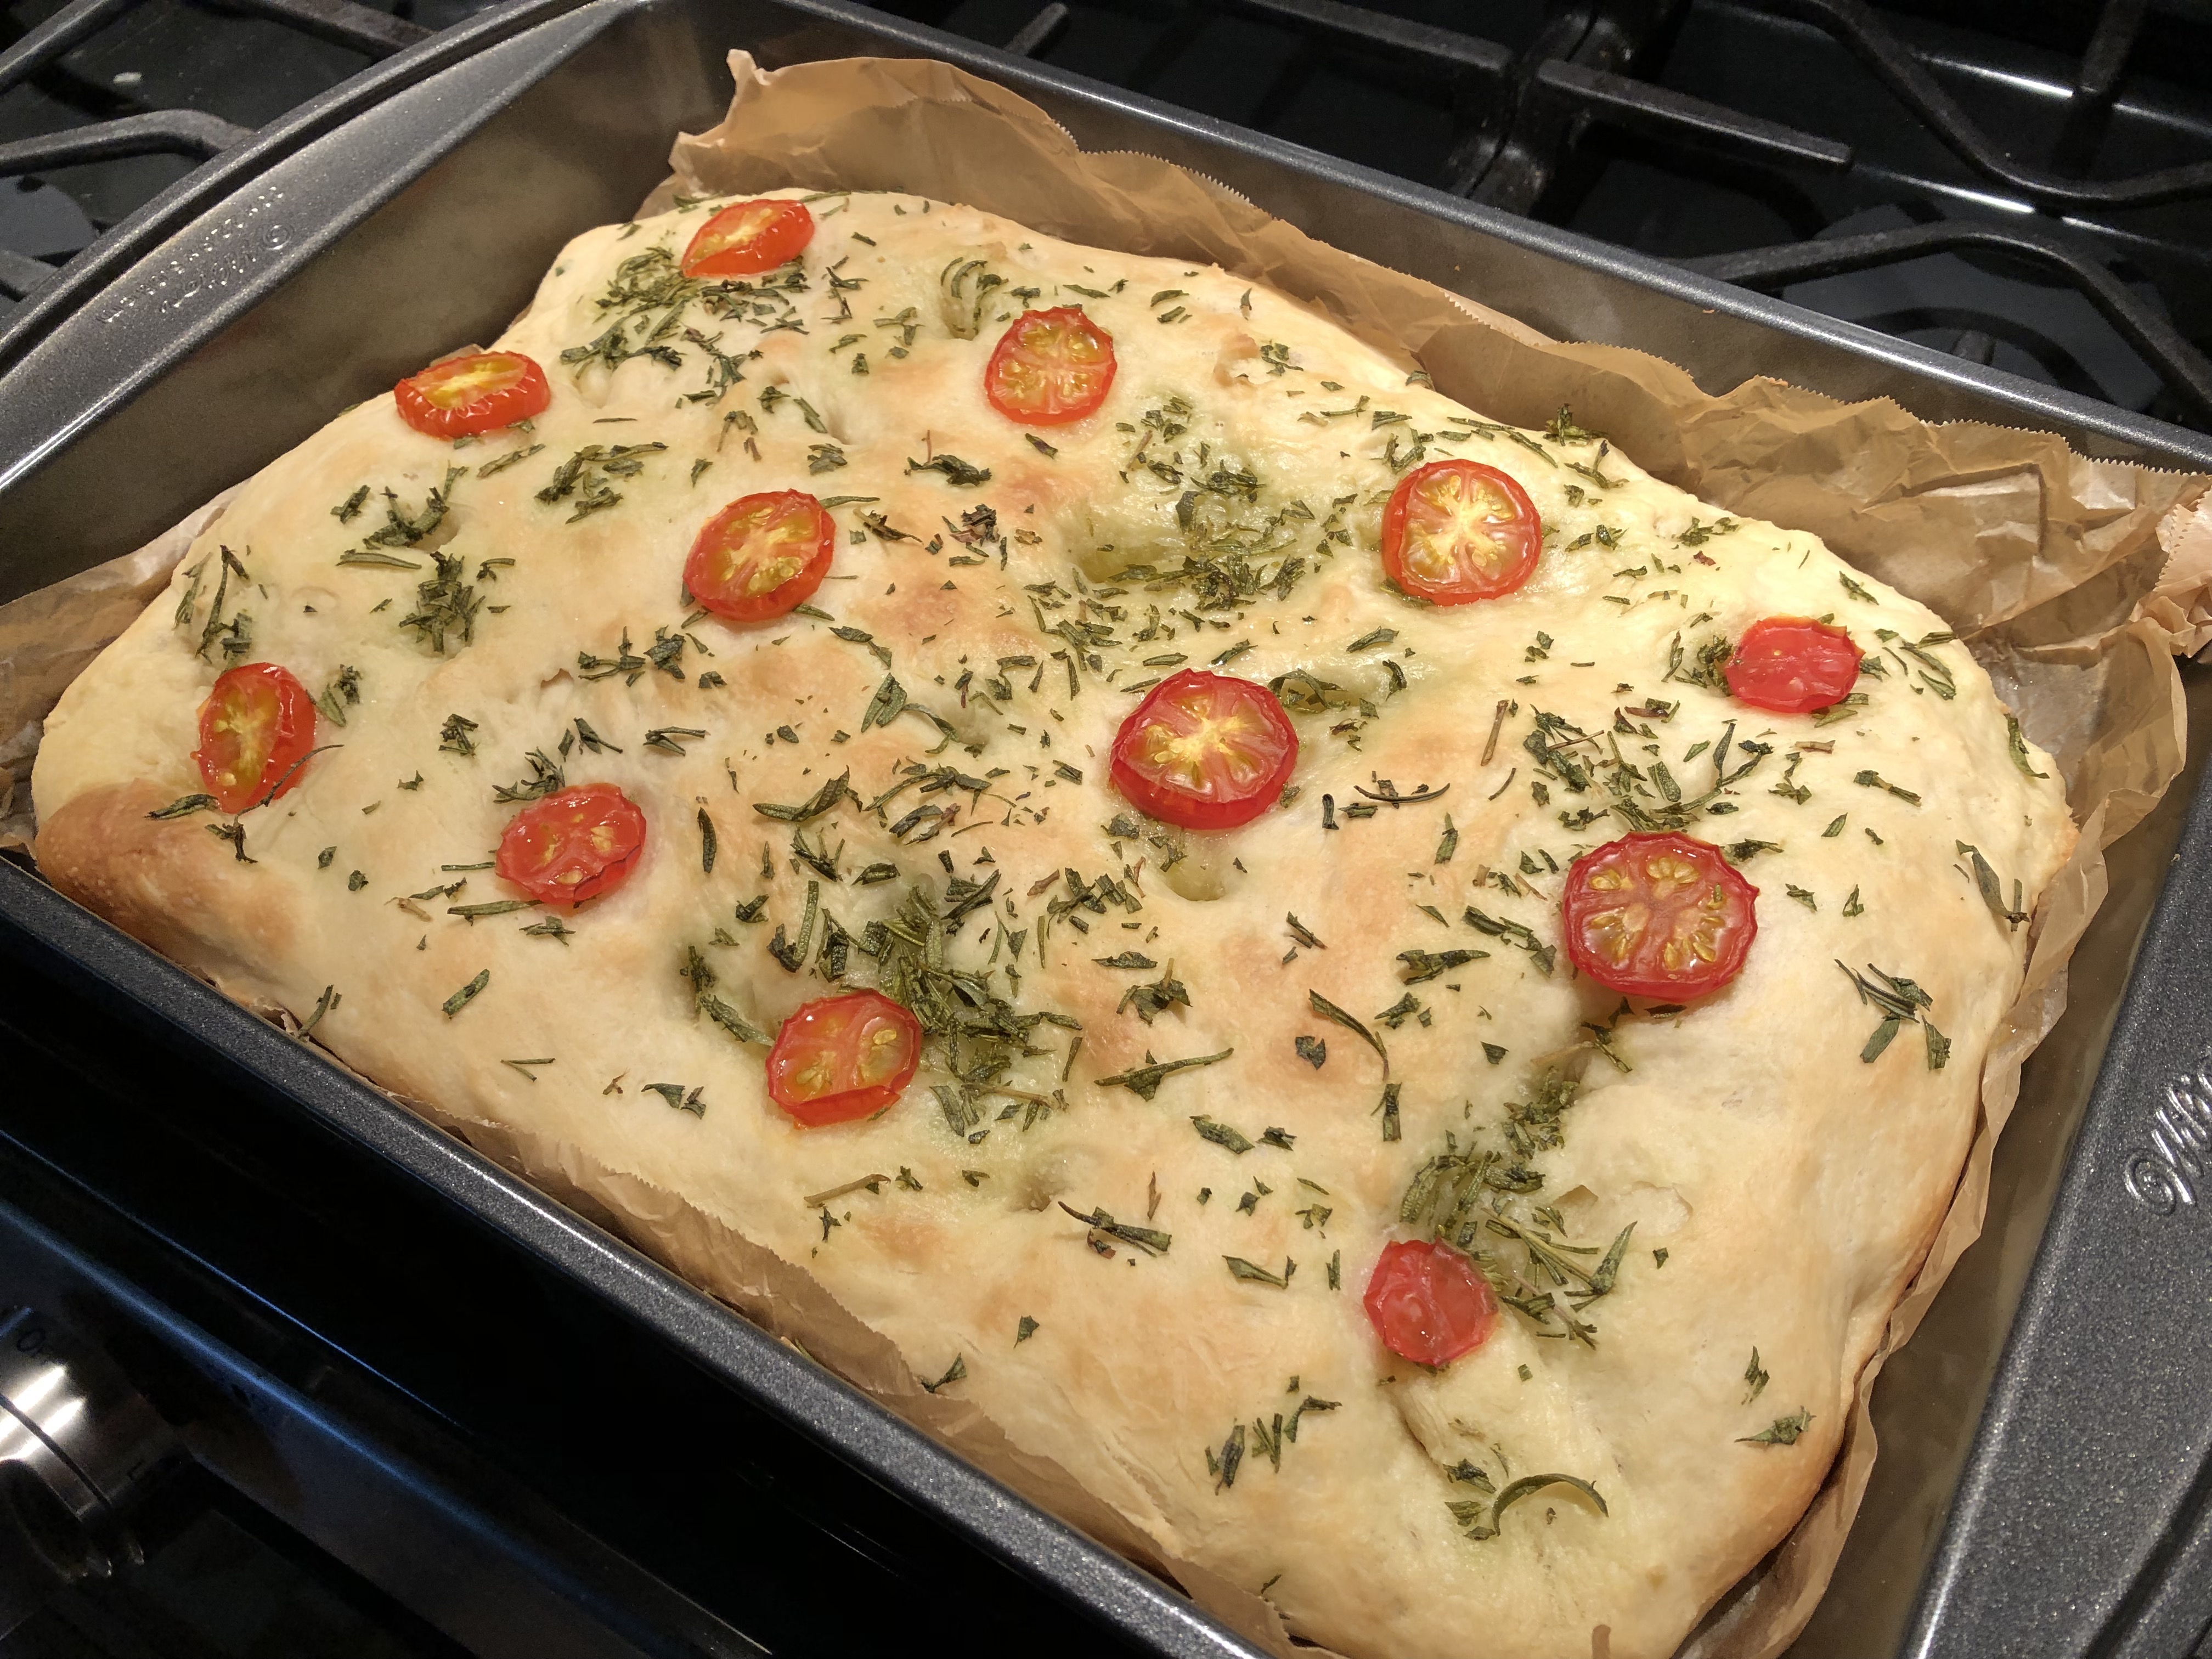
I let it rest for a few minutes before removing it from the pan using the parchment paper and slicing off a piece to enjoy! The texture was spot on. It was firm with just enough chew. You can definitely customize this focaccia to your liking by using different herbs, vegetables and so forth. One thing I would avoid using though is sun-dried tomatoes. That’s what I was initially thinking of using instead of the fresh ones, but, I thought that the sun-dried tomatoes would burn while they were in the oven. The fresh tomatoes do get a nice sweetness to them while baking.

Rosemary & Tomato Focaccia Bread

Ingredients:

1 1/3 cup warm water (about 110F)

1 teaspoons sugar

1 package of active-dry yeast (0.25 ounces)

3 1/2 cups flour

1/4 cup extra virgin olive oil, plus more for drizzling

1 teaspoon fine sea salt

2 sprigs fresh rosemary, chopped

1/4 cup cherry/grape tomatoes, sliced

Directions:

In the bowl of a stand mixer fitted with the dough attachment add the water and sugar and stir combine. Sprinkle the yeast on top of the water and give it a quick stir to mix it into the water. Let the mixture sit for 5-10 minutes until it becomes foamy.

With the mixer on low speed gradually add in the flour, olive oil and salt. Once everything has been added increase the speed to medium-low and continue mixing the dough for 5 minutes. The dough should be pulling away from the sides of the bowl. If it isn’t, this means that the dough is too sticky and you should add in additional flour, about 1/4 cup. Add it gradually until the dough is the right consistency.

Remove the dough from the bowl and use your hands to shape it into ball. Grease the mixing bowl, or another bowl, with olive oil and place the dough inside of it and coat it with the oil. Cover the bowl with a damp paper towel and place in a warm spot for 45-60 minutes so it can rise. It should just about double in size. To ensure a warm spot, preheat your oven to 200 F and then turn it off and place the bowl inside of the oven with the door closed for the allotted time.

Once the dough has risen turn it out on a floured surface and roll it into a rectangle that’s about a 1/2 inch thick. Cover the dough again with a damp paper towel (you will probably need two) and let the dough rise for 20 minutes.

While the dough is rising, preheat the oven to 400 F and prep a 9 x 13-inch baking pan by lining it with parchment paper leaving a slight overhang. Transfer the dough to the pan and use your hands to stretch the dough to fit into the pan. Use your fingers to poke holes all over the dough. The holes should be deep enough that you reach the bottom of the baking pan. Drizzle two tablespoons of olive oil all over the dough and then sprinkle with the chopped rosemary, sliced tomatoes and additional sea salt.

Bake in the preheated oven for 20-25 minutes, until the dough is slightly golden on top and is fully cooked through. Remove from the oven and carefully remove the bread using the parchment paper and let cool for a few minutes before slicing and serving. If you are not planning on serving all of the bread at once, slice what you are going to eat and wrap the leftovers in wax paper and store in an airtight container or resealable bag.

Recipe adapted from Gimme Some Oven

Gingerbread Cake

While peppermint gets all the glory as the flavor of the holiday season there is another flavor that is just as popular… Gingerbread. And while you may only think of houses and cookies when it comes to gingerbread, it’s also a great flavor for a holiday themed cake.

So, what exactly is gingerbread flavor? Well, it’s a combination of spices – ginger, cloves, nutmeg and cinnamon – and usually sweetened with molasses. I honestly think it’s the molasses that gives gingerbread it’s distinct flavor more so than the spices.

To make things a little easy I used a spice cake mix as the base for my cake and then added in some additional spices, molasses and other ingredients to doctor it up. I got the recipe from fellow blogger Baking with Blondie. She made cupcakes with her recipe whereas I opted to use the recipe to make 2 6-inch cake layers. Once they were cooled, I wrapped them in plastic wrap and refrigerated them overnight before frosting. Frosting cold cakes is a lot easier than frosting cooled, but still room temperature ones.

I left the cakes in the refrigerator overnight and before removing them I made a Spiced Almond Cream Cheese Frosting. This frosting is so good I could eat spoonful’s as dessert!

Once the frosting was ready I torte the cakes and filled and frosted them with the frosting.

And finally, I decorated the cake with gingerbread men (you could bake them or, do as I did and use store-bought ones), fresh rosemary and sugared cranberries.

Gingerbread Cake with Spiced Almond Cream Cheese Frosting

Ingredients:

For the Cake:

3 large eggs

1 tablespoon vanilla extract

2/3 cup sour cream

2/3 cup buttermilk*

1/4 cup vegetable oil

1/2 cup molasses

1 teaspoon ground ginger

1/4 teaspoon ground cloves

1 box spiced cake mix

For the Frosting:

2 sticks unsalted butter, at room temperature

1 8oz. block cream cheese, at room temperature

1 tablespoon vanilla extract

1 teaspoon almond extract

1 teaspoon ground cinnamon

1/4 teaspoon ground nutmeg

1/4 cup heavy cream

4 cups confectioners’ sugar, sifted

Gingerbread Men, Fresh Rosemary Sprigs, Sugared Cranberries for decoration

*I made my own by combining 2/3 cup whole milk with 3 teaspoons of white vinegar. Stir together and let it sit for 10-15 minutes. It will begin to curdle when ready.

Directions:

Preheat oven to 350 F. Spray two 6-inch pans with baking spray and set aside.

To make the cake: In a large bowl combine all the ingredients for the cake, except the spiced cake mix, and stir together until well combined. Sift the cake mix into the mixture and stir all the ingredients together until just combined. Divide the batter among the prepared pans and bake in the preheated oven for 35-40 minutes, or until a cake tester inserted into the middle of the cakes comes out clean.

Let the cakes cool in the pan for 15 minutes before removing them and transferring them to a wire rack to cool completely.

To make the frosting: Using a hand mixer, or a stand mixer fitted with the paddle attachment, beat together the butter and cream cheese on high speed until light and fluffy. Add in the vanilla extract, almond extract, cinnamon, nutmeg and heavy cream. Continue mixing and gradually add in the confectioners’ sugar until thoroughly combined.

Torte the cooled cakes and then frost about a cup of the frosting on one of the cakes. Stack the other cake on top and crumb coat the cake. Refrigerate for about 15 minutes and then use the remaining frosting to finish frosting the cake. Decorate with gingerbread men, sugared cranberries and fresh rosemary.

Recipe from Baking with Blondie

Sugared Cranberries

Ingredients:

1/2 cup water

1 1/2 cups sugar

12oz. bag fresh cranberries

Directions:

Combine 1/2 cup sugar and the water in a medium saucepan over medium heat stirring until the sugar has dissolved. Stir in the cranberries until well coated. You will want to work fast as the cranberries may begin to burst.

Use a slotted spoon to transfer the cranberries to a parchment lined wire rack to dry for at least an hour.

Pour the remaining sugar into a bowl. Once the cranberries are dry work in batches to coat the cranberries in the sugar. Transfer to a clean piece of parchment paper and let the cranberries dry for at least an hour.

Rosemary and Pine Nut Cookies

December has rolled in, and you know what means… The Holidays are in full force! Everywhere you look there is red and green, Christmas trees, Snowmen, Poinsettias and Dessert! Specifically cookies. There is something about this time of year that makes all of kinds of cookies come out of the woodwork. Okay, maybe that’s not a great way of saying it, but, you catch my drift. Desserts go into overdrive this time of the year. Not that I am complaining though. I do my part and join in on the fun and add to that dessert pile. So, be on the lookout for some new cookie recipes hitting my blog over the next few weeks. The recipes are ones that I have had for quite some time – did I ever mention that I am bit of a recipe hoarder, thankfully they are all nicely organized – but I have never tried making. Well, as they say there’s no time like the present. No pun intended.

Now, you know how they say “Don’t knock it till you try it,” well, I definitely think these cookies could fall into that category. They are a buttery and crisp Rosemary and Pine Nut Cookie. Yes, you read that correctly… Rosemary in a sweet and buttery cookie. Rosemary is not just a wonderful and flavorful herb to add your meats, it can be used in baking and with the right amount it’s not overpowering but instead a welcomed addition. I may have to look for a few more baking recipes that incorporate it. Especially since I have a lovely rosemary plant growing in my kitchen. I originally planted it outside over the summer and since it was growing so well I decided to repot it and bring it indoors.

IMG_9720

For these cookies the key to using the Rosemary is making sure that you chop it first and then combine it with sugar in the bowl of a food processor and pulse it until the rosemary is finely chopped. You definitely don’t want to take a bite of any cookie and get a nice whole piece of rosemary in it. That would definitely be overpowering.

IMG_9721

Once that is done you beat it with butter until it’s fluffy and then add in vanilla extract and eggs. Next add in toasted pine nuts that have been finely chopped in a food processor and finally a mixture of flour, baking soda and salt. Once the dough comes together dump it on a sheet of plastic wrap…

IMG_9722

And form it into a log and wrap it up. I then placed it in the refrigerator for two hours so it could firm up. Once it was slightly firm I removed it from the refrigerator to shape it a little better and then placed in back in the refrigerator.

IMG_9725

After the two hours I sliced the dough into discs about 1/4 inch thick. Unfortunately I didn’t really form my log correctly so my cookies were not perfectly round. I pressed a few toasted pine nuts onto the cookies and baked them in a 350 F preheated oven for 10 minutes.

IMG_9730

I let them cool on the pan for 10 minutes and then transferred them to a wire rack so they could cool completely.

IMG_9734

And I must say these are one of the best cookies I’ve ever had! The butter, pine nuts and rosemary work so well together. And they tasted even better the second day. The flavors only get stronger but in a good way!


Rosemary and Pine Nut Cookies

  • Servings: 30 cookies
  • Print

Ingredients:

1 1/2 cups all-purpose flour

1/2 teaspoon baking soda

1/4 teaspoon salt

3/4 cup granulated sugar

1 1/2 teaspoons fresh rosemary, chopped

3/4 cup unsalted butter, softened

1 large egg

1/2 teaspoon vanilla extract

1/2 cup pine nuts, toasted*


*To toast the pine nuts spread them on a baking sheet and bake them in a 350 F preheated oven for about 5-7 minutes.


Directions:

In a medium bowl combine the flour, baking soda and salt until well blended, set aside.

In a food processor pulse the sugar and rosemary until well combined and the rosemary is finally chopped. Transfer to a stand mixer. Put all but 2 tablespoons of the pine nuts in the food processor and process until finely chopped.

Add the butter to the rosemary mixture and beat on medium speed until light and fluffy. Reduce the speed to low and add in the egg and vanilla extract, beat until combined. Add the chopped pine nuts and then the flour mixture and mix until the dough absorbs the flour and become to come together. Turn the dough out onto a large piece of plastic wrap and form it into a log about 2 inches thick and 11 inches long. Wrap and refrigerate until firm, 1 to 2 hours. If the dough is too soft to form a log, refrigerate for about 30 minutes, remove from the refrigerator form it and then place it back in the refrigerator.

Once firm cut the dough into discs between 1/4 and 1/2 inch thick and place on parchment lined cookie sheets. Sprinkle the cookies with the whole pine nuts, lightly pressing them into the dough. Bake in a 350 F preheated oven for 10 to 12 minutes. Let cool on the sheet for 10 minutes then transfer to a wire rack to cool completely.

Recipe from Fine Cooking

Tomato-Fontina Torte with Rosemary Crust

There is nothing like home-grown fruits and vegetables! When I was younger we used to always grow cucumbers, eggplant, lettuce, string beans, strawberries (the only fruit with its seeds on the outside) and my favorite, tomatoes. I remember picking the tomatoes, rinsing them and biting into them like they were an apple. Unfortunately store bought tomatoes don’t invoke that same zeal in me. I strictly use those for sandwiches and salads. But, there is one store-bought tomato that does come close to that memory of my childhood… Heirloom Tomatoes. You may or may not have seen them at your local supermarket. They are usually not the perfect round tomatoes that many of us have come accustomed to seeing and they come in an array of colors – red, orange, yellow, green and purple. Recently I came across a torte recipe – Tomato-Fontina Torte with Rosemary Crust – incorporating these tomatoes and I knew I had to try it. It took visiting a few different supermarkets, but, I finally found decent heirloom tomatoes to use.

IMG_4991

I started the torte by making the crust… I combined flour, sugar, fresh rosemary, salt and pepper in the bowl of my food processor.

IMG_4980

After I pulsed it until it was just combined I added in 12 tablespoons of cold butter cut into small pieces and pulsed the mixture until it looked like coarse meal.

IMG_4984

I then added in eggs while the food processor was running so the dough could come together.

IMG_4986

After kneading the dough on a lightly floured surface I pressed it into the bottom and halfway up the sides of a 9-inch springform pan. I then covered it and refrigerated it overnight.

IMG_4988

The following day, while the crust was still in the refrigerator, I prepped the heirloom tomatoes by slicing them, spreading them on baking sheets and sprinkling them with kosher salt so they could release some of their juices.

IMG_4998

I also got my other ingredients together… shredded fontina and parmesan cheeses and capocollo.

IMG_5000

I combined the 3 cups of shredded fontina with 7 tablespoons (1/2 cup minus 1 tablespoon) of shredded parmesan along with a teaspoon of fresh chopped rosemary.

IMG_5003

As you can see my tomatoes did a great job of releasing their juices. I should note that I did let them sit for about an hour as opposed to the recipe recommended 30 minutes.

IMG_5004

After patting them dry it was time to start assembling the torte. I finally took the very cold crust of out the refrigerator and sprinkled it with a tablespoon of panko breadcrumbs.

IMG_5006

Next I topped the breadcrumbs with about 1/3 of the tomatoes and then topped the tomatoes with the capocollo.

IMG_5007

On top of the capocollo I scattered half of the cheese mixture.

IMG_5008

I repeated the layering once again.

IMG_5009

And finally I used up the rest of my tomatoes for the very top layer and then sprinkled it with a tablespoon of shredded parmesan cheese.

IMG_5010

I placed the torte on a baking sheet and baked it in a 375 F preheated oven for 40 minutes. I wanted to be sure that the crust was completely cooked through so I dropped the temperature of the oven to 350 F and baked the torte for another 7 minutes. While the recipe did call for 35 minutes in a 400 F preheated oven I didn’t want to run the risk of over-cooking the torte at such a high temperature. And I am happy to say that my temperature and time adjustment was just perfect…

IMG_5012

I let the torte cool for about an hour before removing the ring from the springform pan.

IMG_5028

This was absolutely delicious and I can’t wait to make it again! There’s isn’t one flavor that overpowers the torte… In every bite you get a hint of the rosemary, the tomatoes, capocollo and best of all the cheese.

IMG_5032n


Tomato-Fontina Torte with Rosemary Crust

Ingredients:

2 cups all-purpose flour, plus more for dusting

2 tablespoons sugar

2 teaspoons chopped fresh rosemary

Kosher salt and freshly ground pepper

1 1/2 sticks (12 tablespoons) cold unsalted butter, cut into small pieces

2 large eggs, plus 1 egg yolk

2 1/2 to 3 pounds assorted heirloom tomatoes

3 cups shredded fontina cheese (about 12 ounces)

1/2 cup grated pecorino cheese or parmesan cheese (1 ounce)

1/4 cup panko breadcrumbs

1/3 pound thinly sliced capicola (capocollo) ham, cut into strips

2 teaspoons extra-virgin olive oil


Directions:

1. Combine the flour, sugar, 1 teaspoon rosemary, 1/4 teaspoon salt and 1/2 teaspoon pepper in a food processor and pulse until just combined. Add the butter and pulse until the mixture looks like coarse meal.

2. Whisk the eggs and egg yolk in a small bowl. With the motor running, add the eggs to the food processor and process until the dough just gathers into a ball. Turn out onto a lightly floured surface and gently knead until soft and pliable. Press the dough into the bottom and about halfway up the side of a 9-inch springform pan. Cover and refrigerate the crust until very cold, at least 1 hour or overnight.

3. Slice the tomatoes and spread them out on 2 baking sheets in a single layer. Sprinkle lightly with salt and set aside until they release some of their juices, about 30 minutes. Meanwhile, combine the fontina and all but 1 tablespoon of the pecorino (parmesan) in a bowl; add the remaining 1 teaspoon rosemary.

4. Preheat the oven to 400 F. Pat the tomatoes gently with paper towels to absorb the excess moisture. Sprinkle 1 tablespoon panko in the crust, then top with one-third of the tomatoes. Scatter half of the ham over the tomatoes, then half of the cheese mixture. Repeat with the remaining 3 tablespoons panko, another one-third of the tomatoes and the remaining ham and cheese. Top with a final layer of tomatoes and sprinkle with the reserved 1 tablespoons pecorino (parmesan); drizzle with olive oil.

5. Transfer the pan to a baking sheet and bake until the crust is golden and the cheese is melted, about 35 minutes. Transfer to a rack and let cool about 1 hour, then remove the springform ring.


%d bloggers like this: