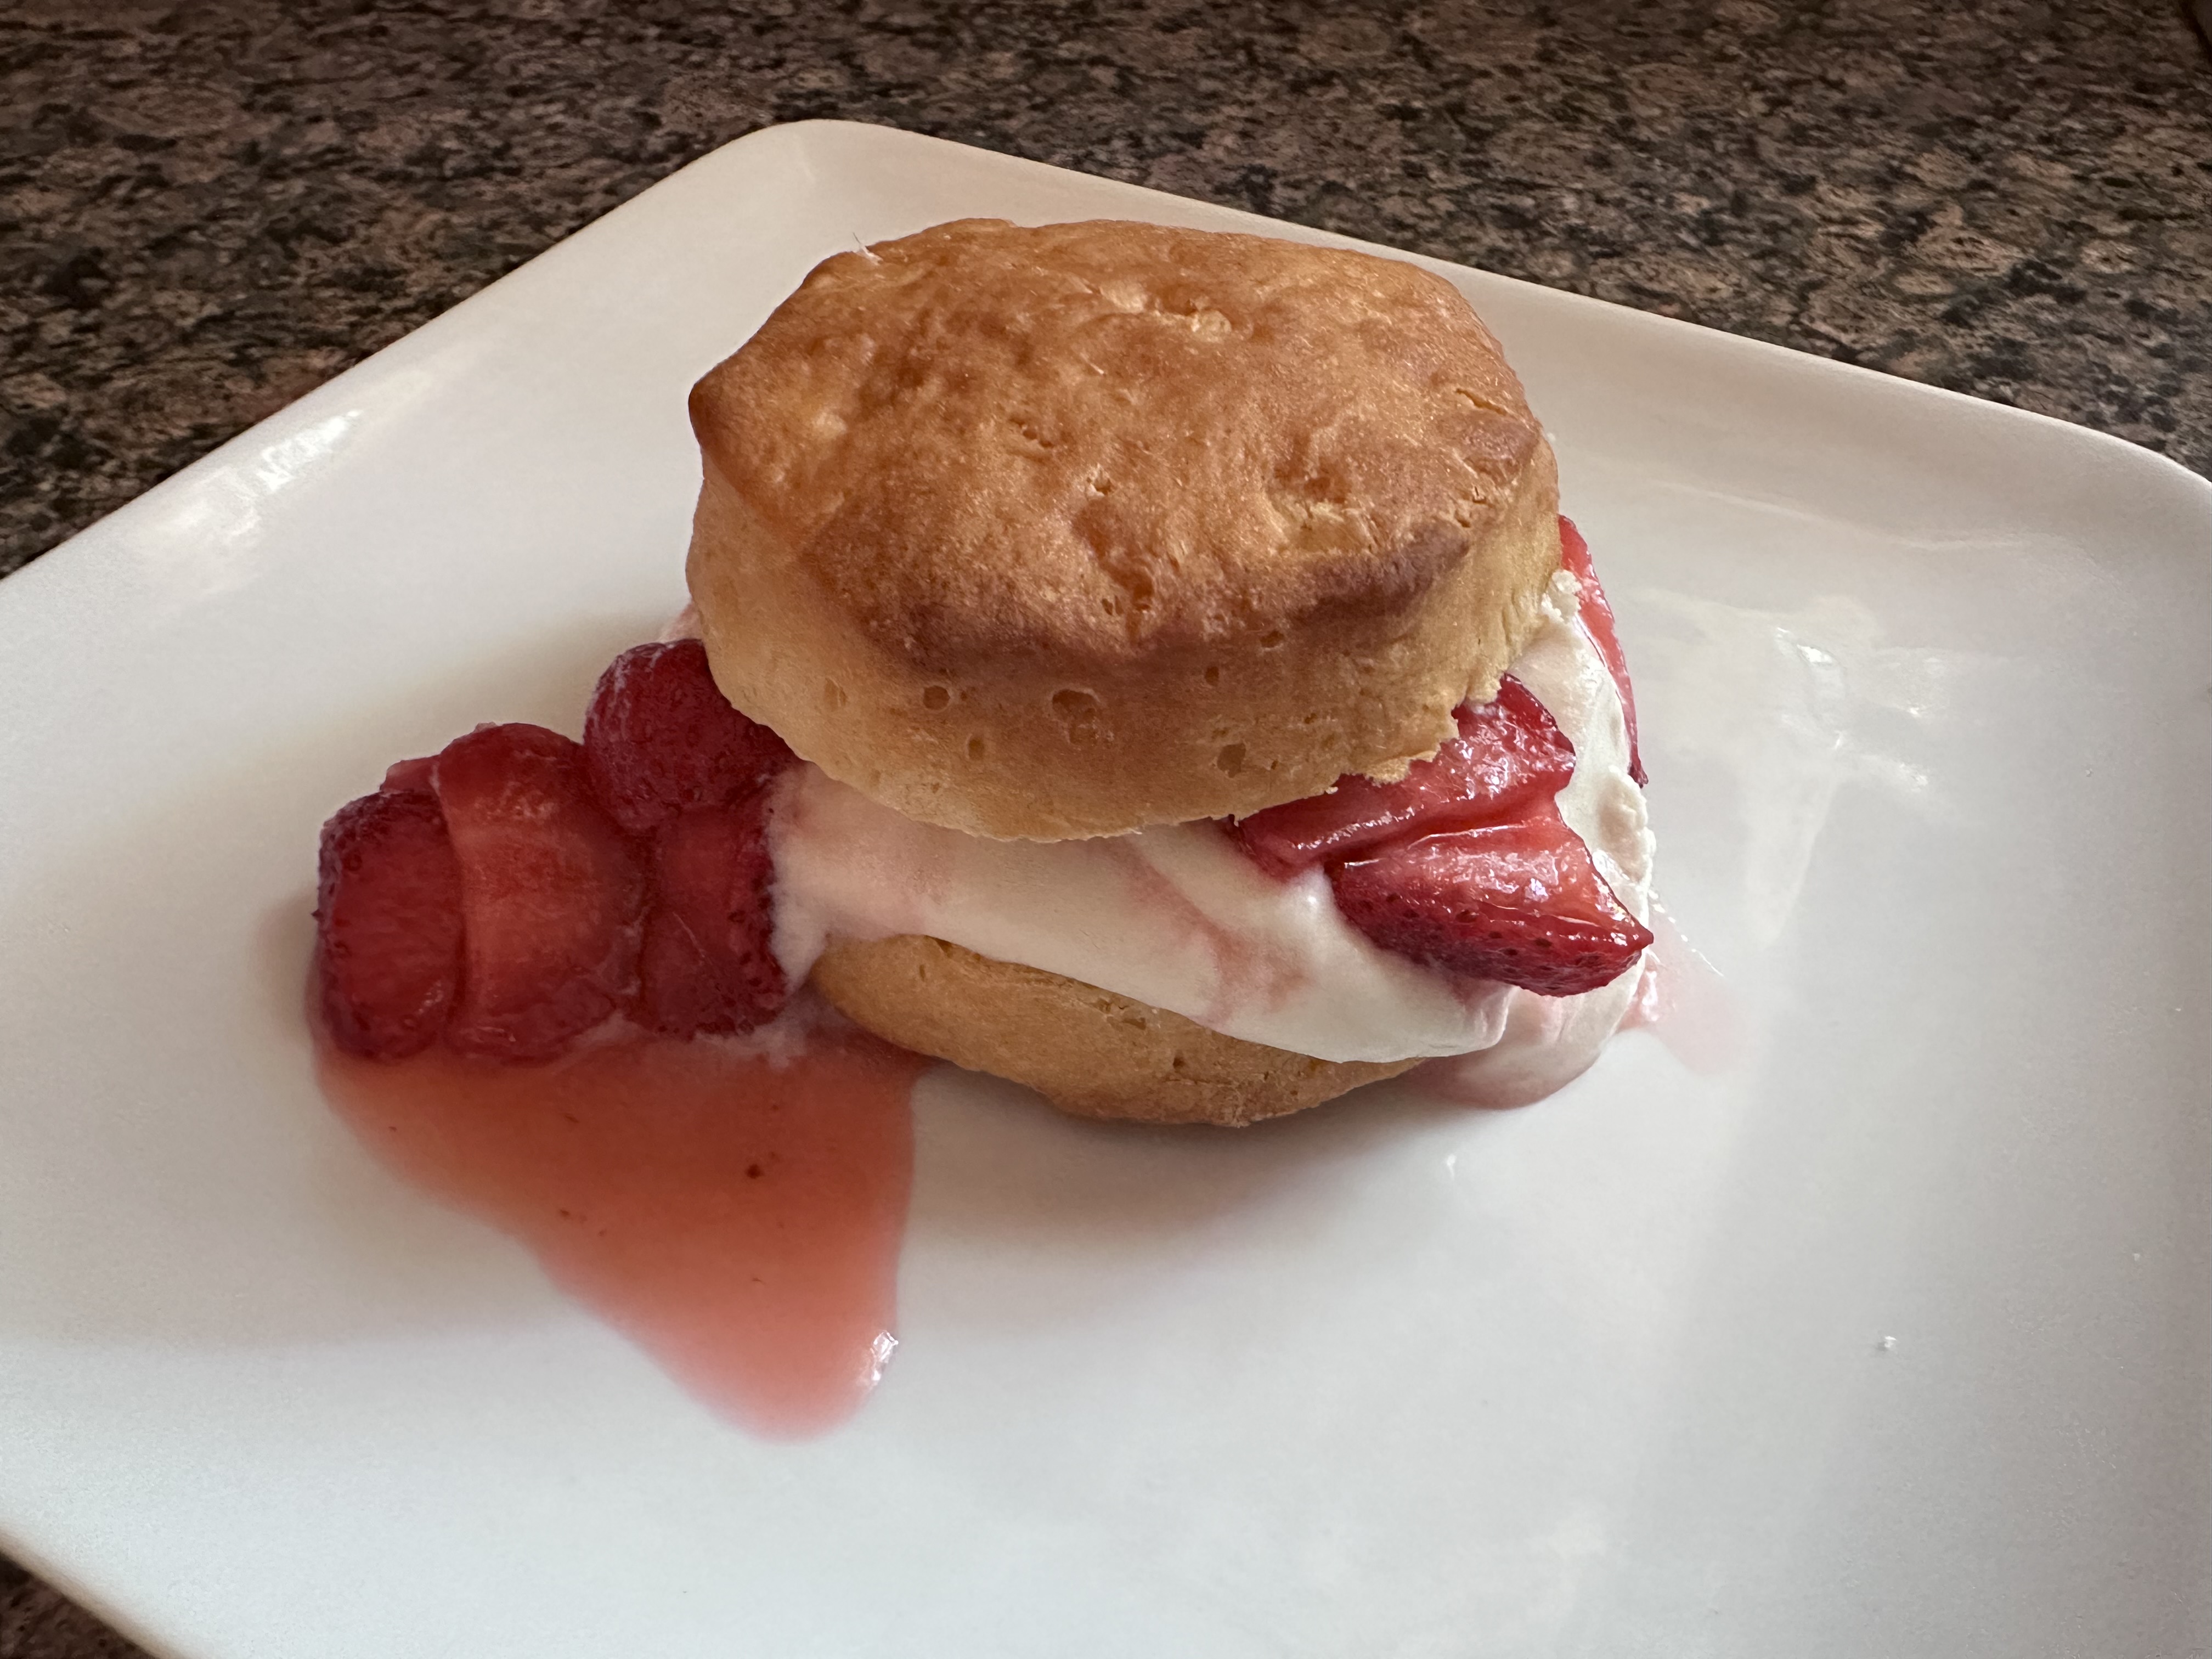
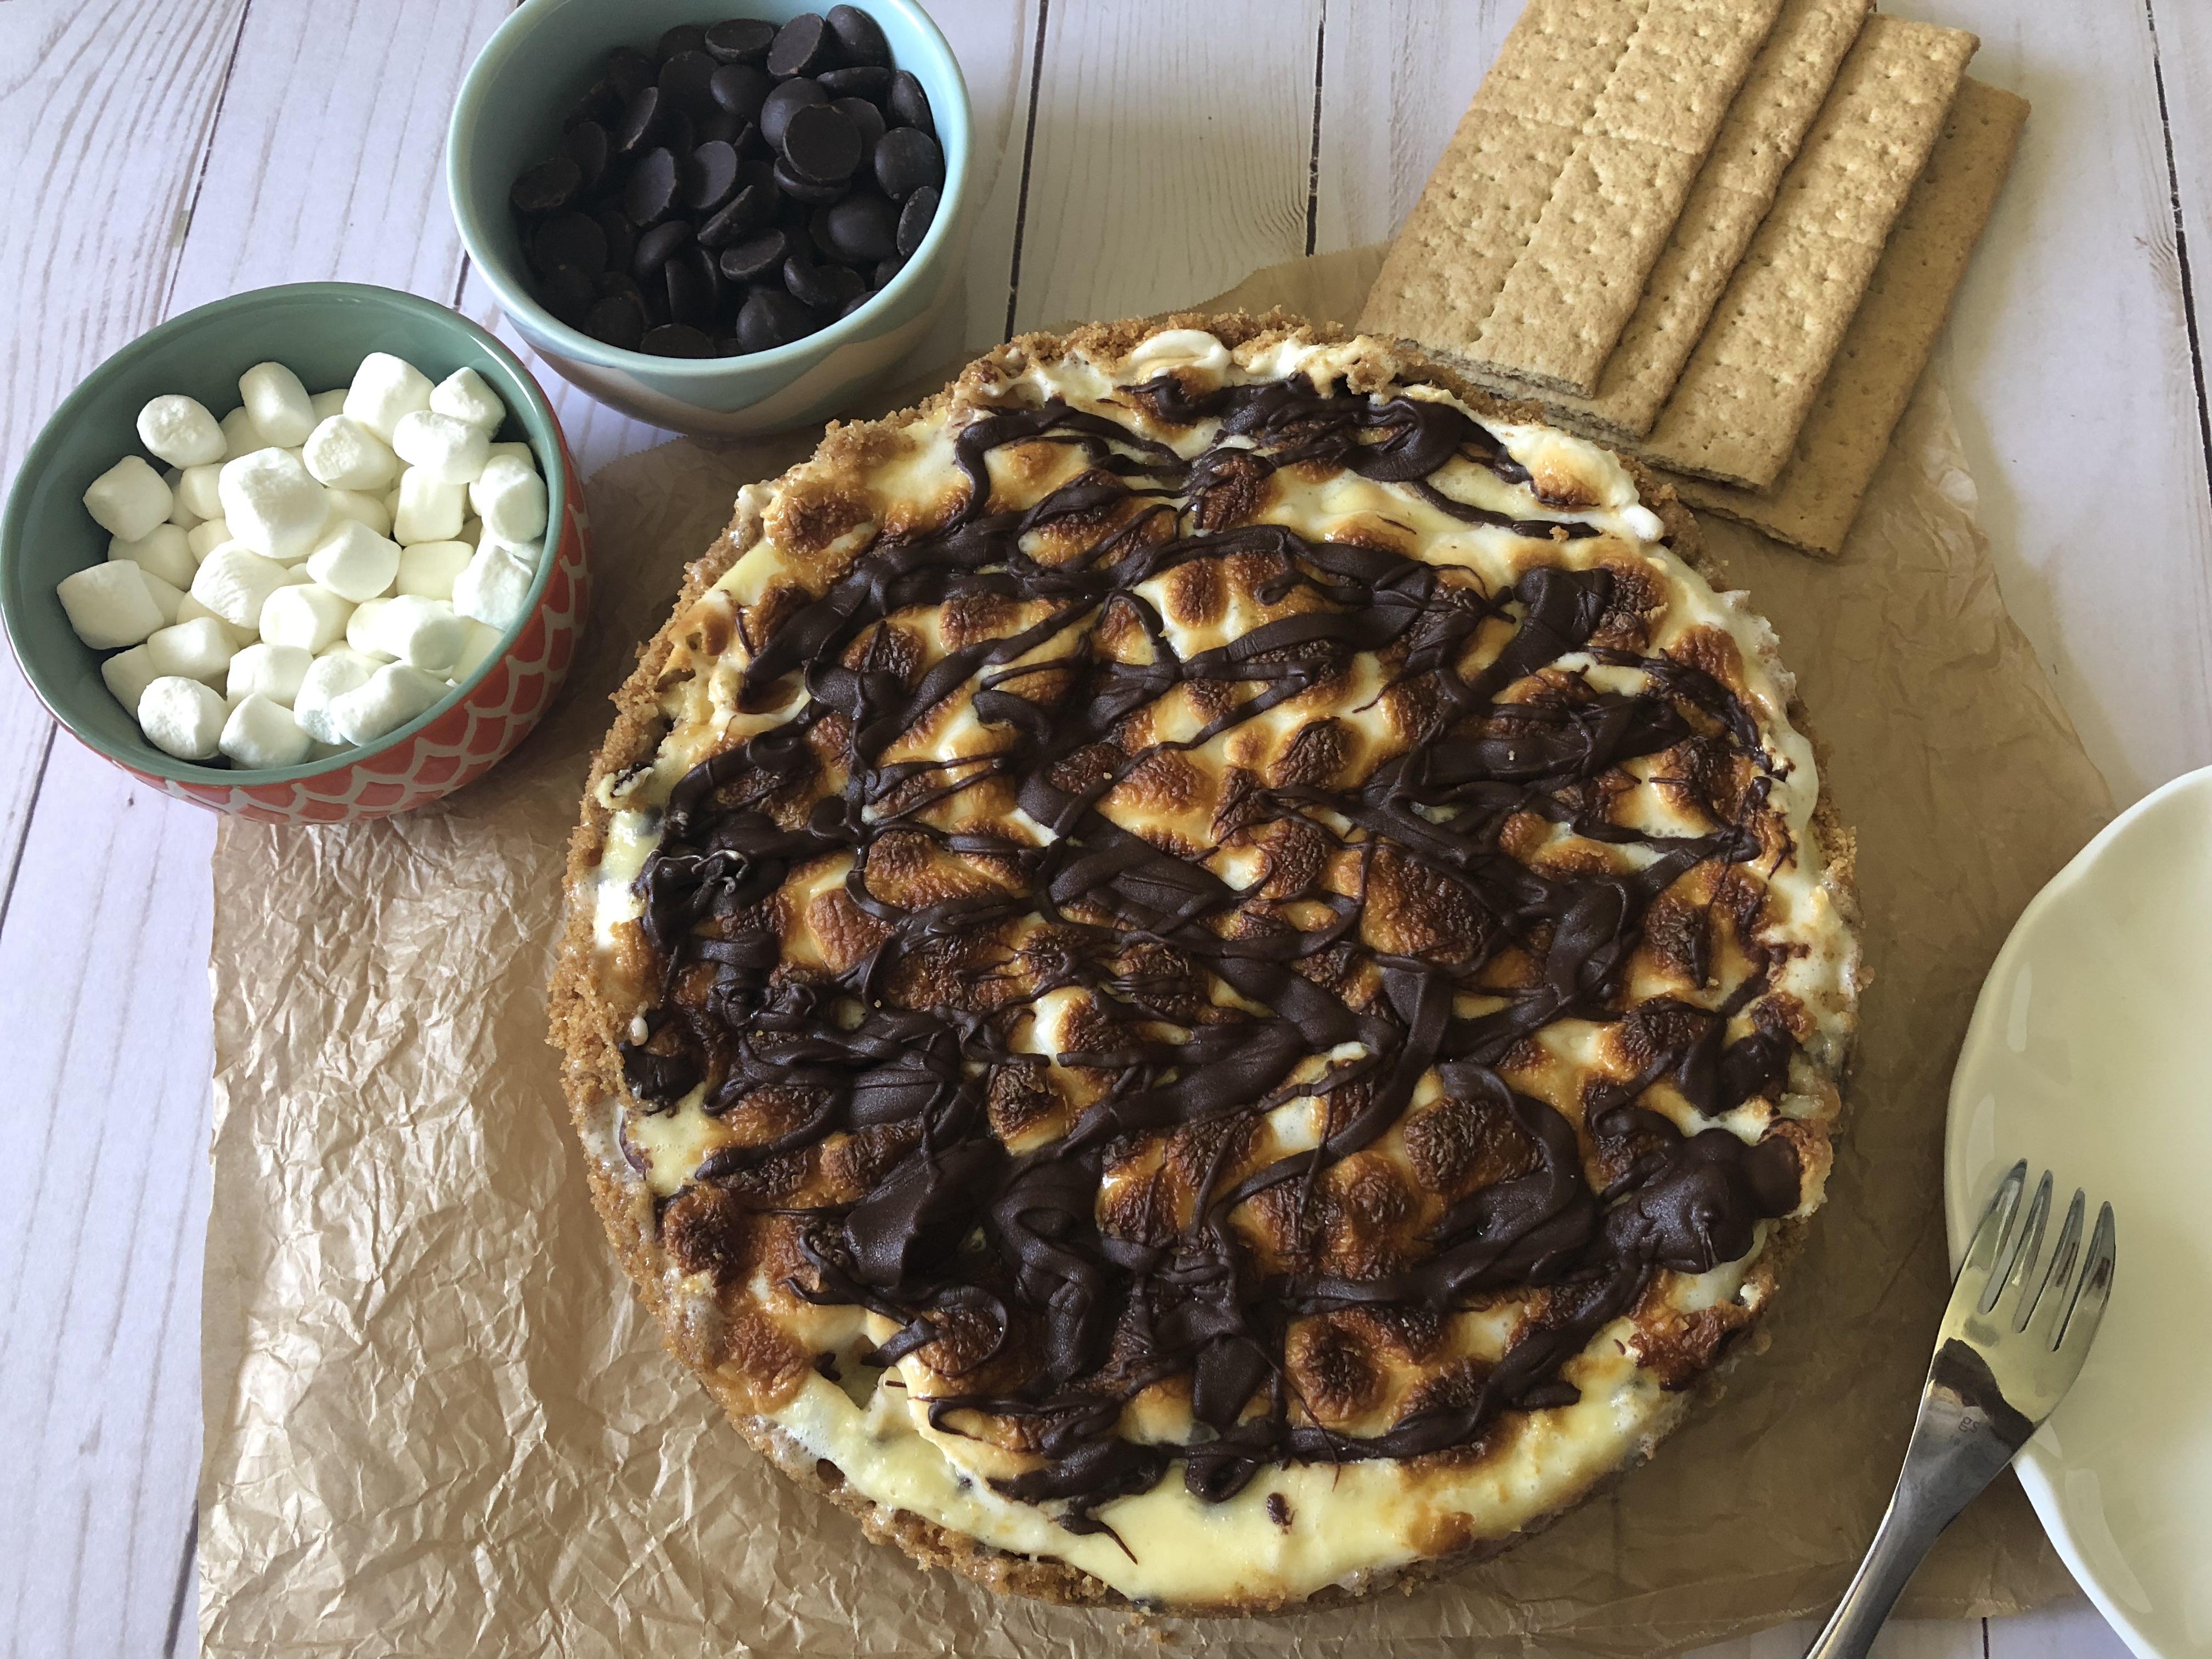
We are officially in the dog days of summer. And today I am sharing a dessert that doesn’t require you to turn on your oven or put forth much effort, perfect these hot and humid days. It only requires 2 ingredients – 5 if you are feeling fancy. What is it… An Ice Cream Loaf Cake.
While I have seen recipes for ice cream cakes that involve baking the loaf cake from scratch using a store-bought loaf cake works just as well. I opted to use an Entenmann’s All Butter Loaf Cake, but you could also use a frozen one. As for the ice cream, your favorite flavor works best. I decided to go with chocolate and vanilla.
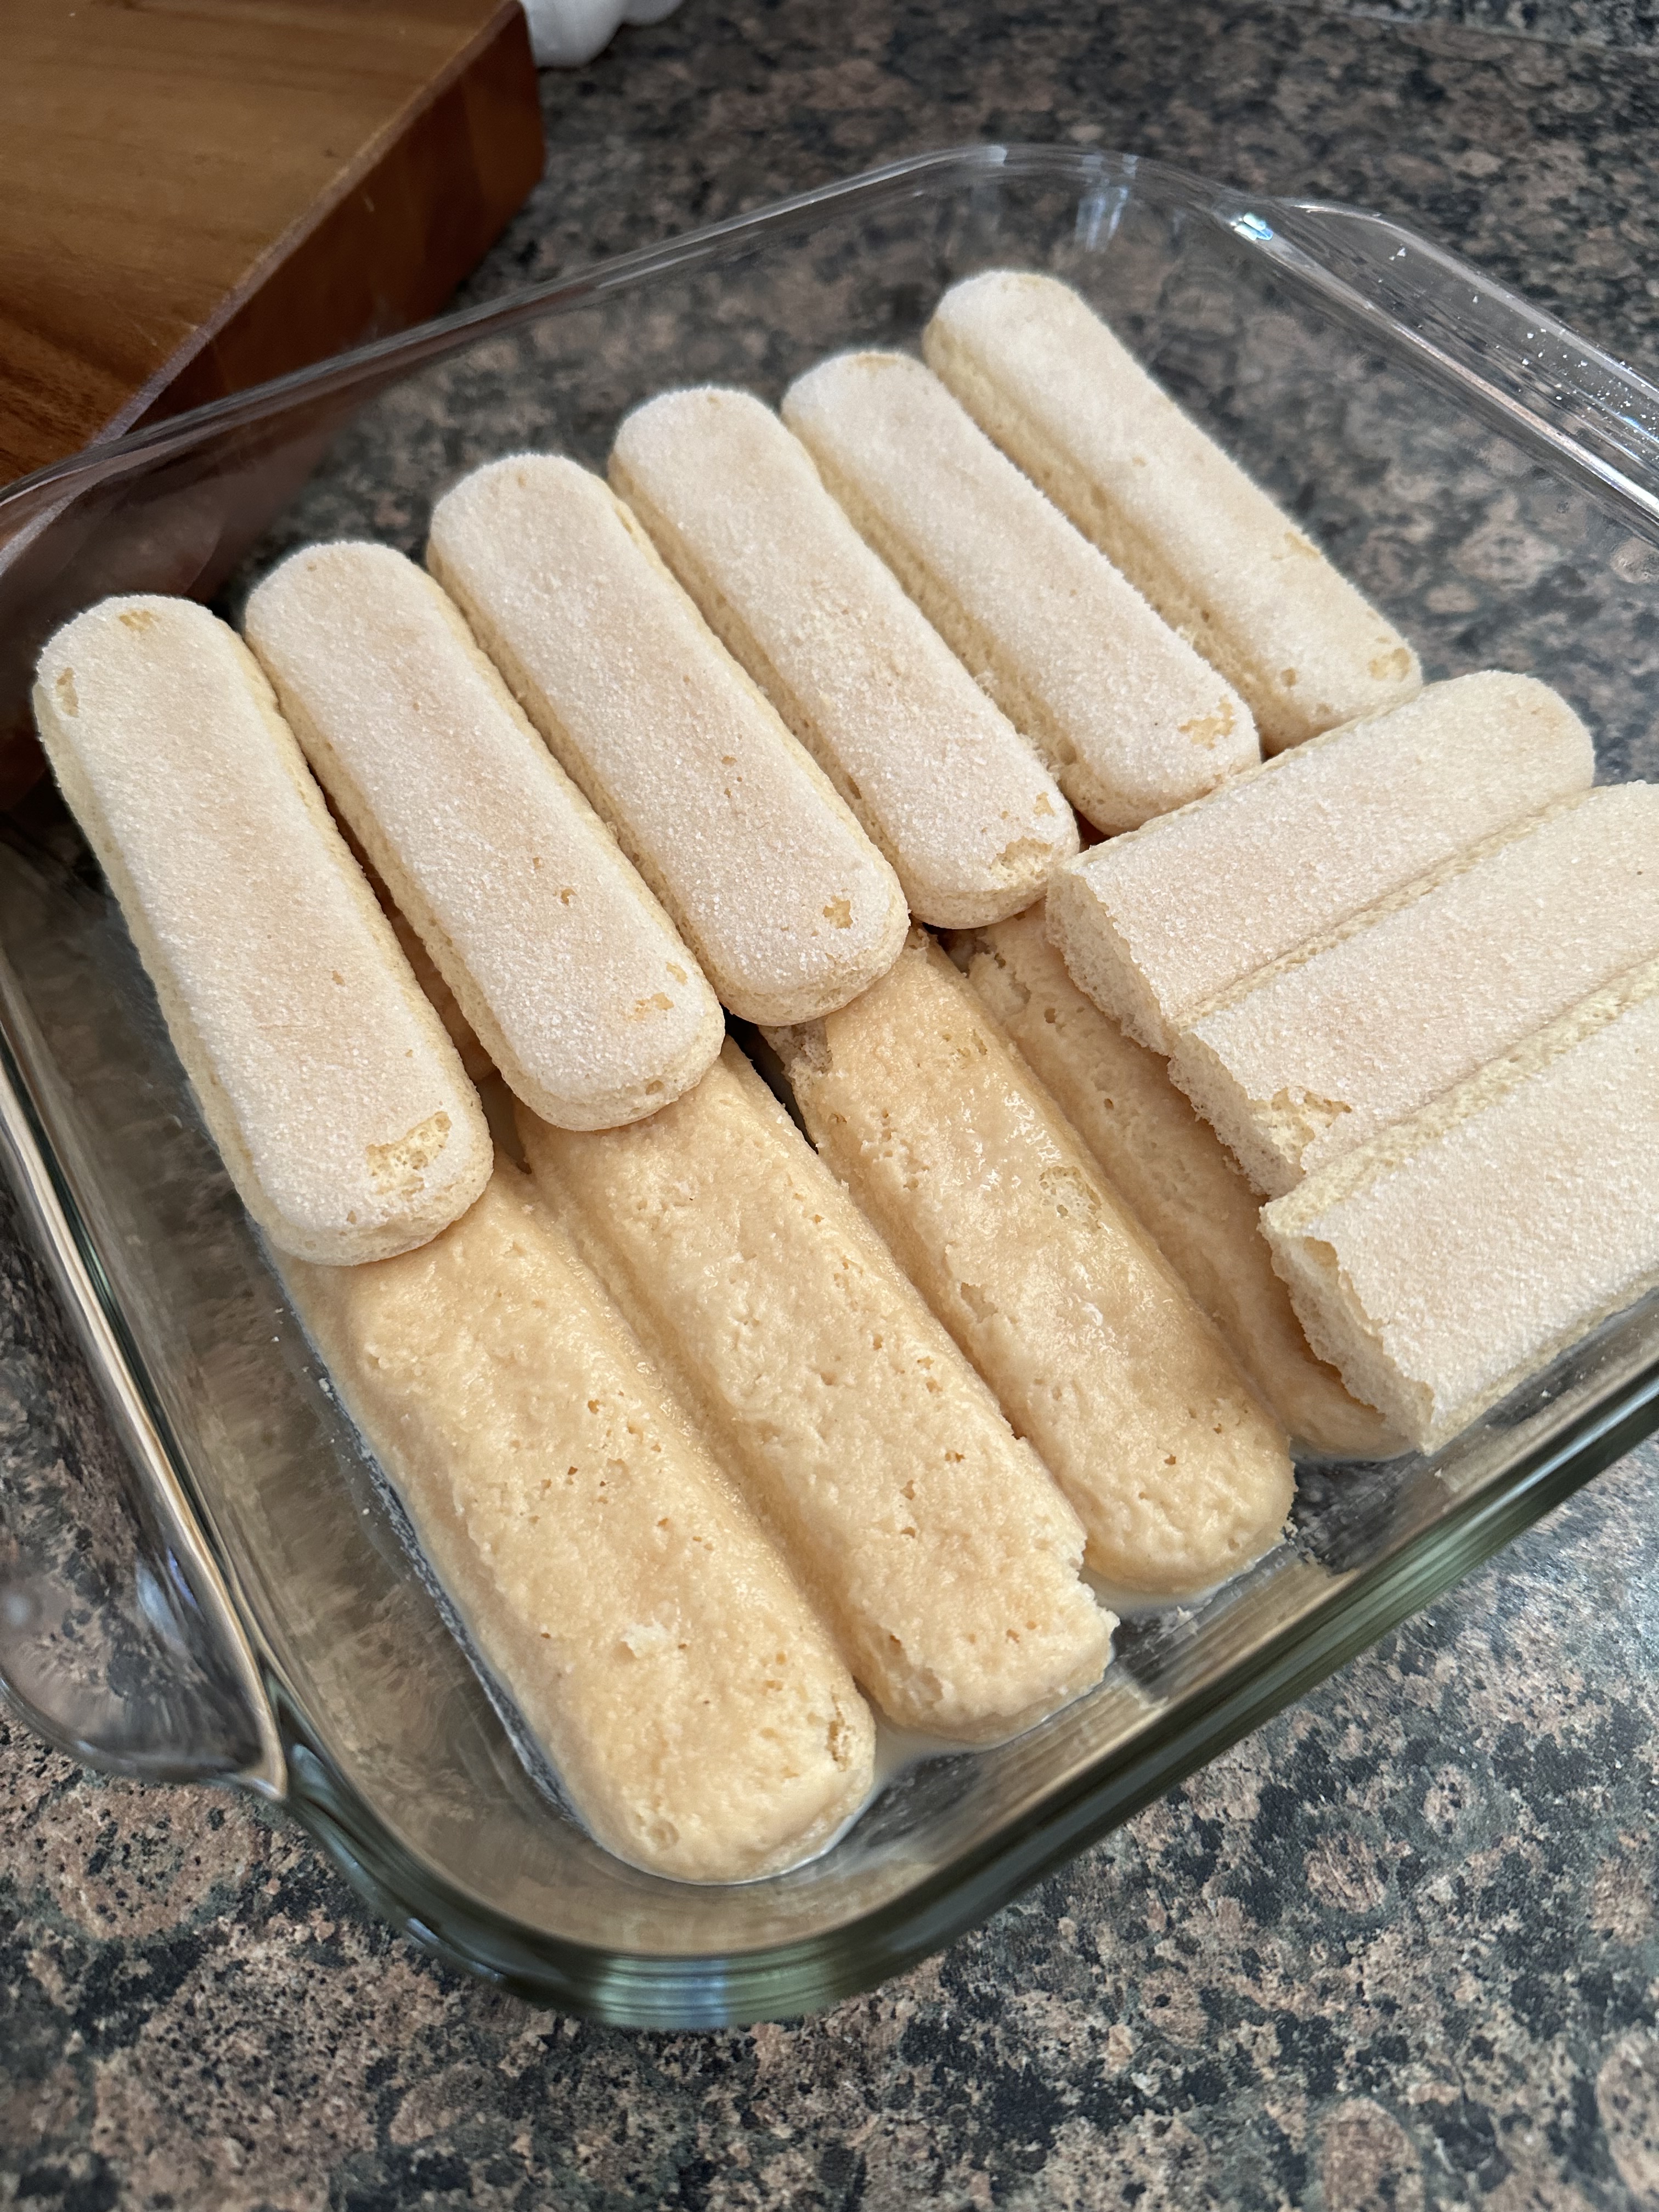
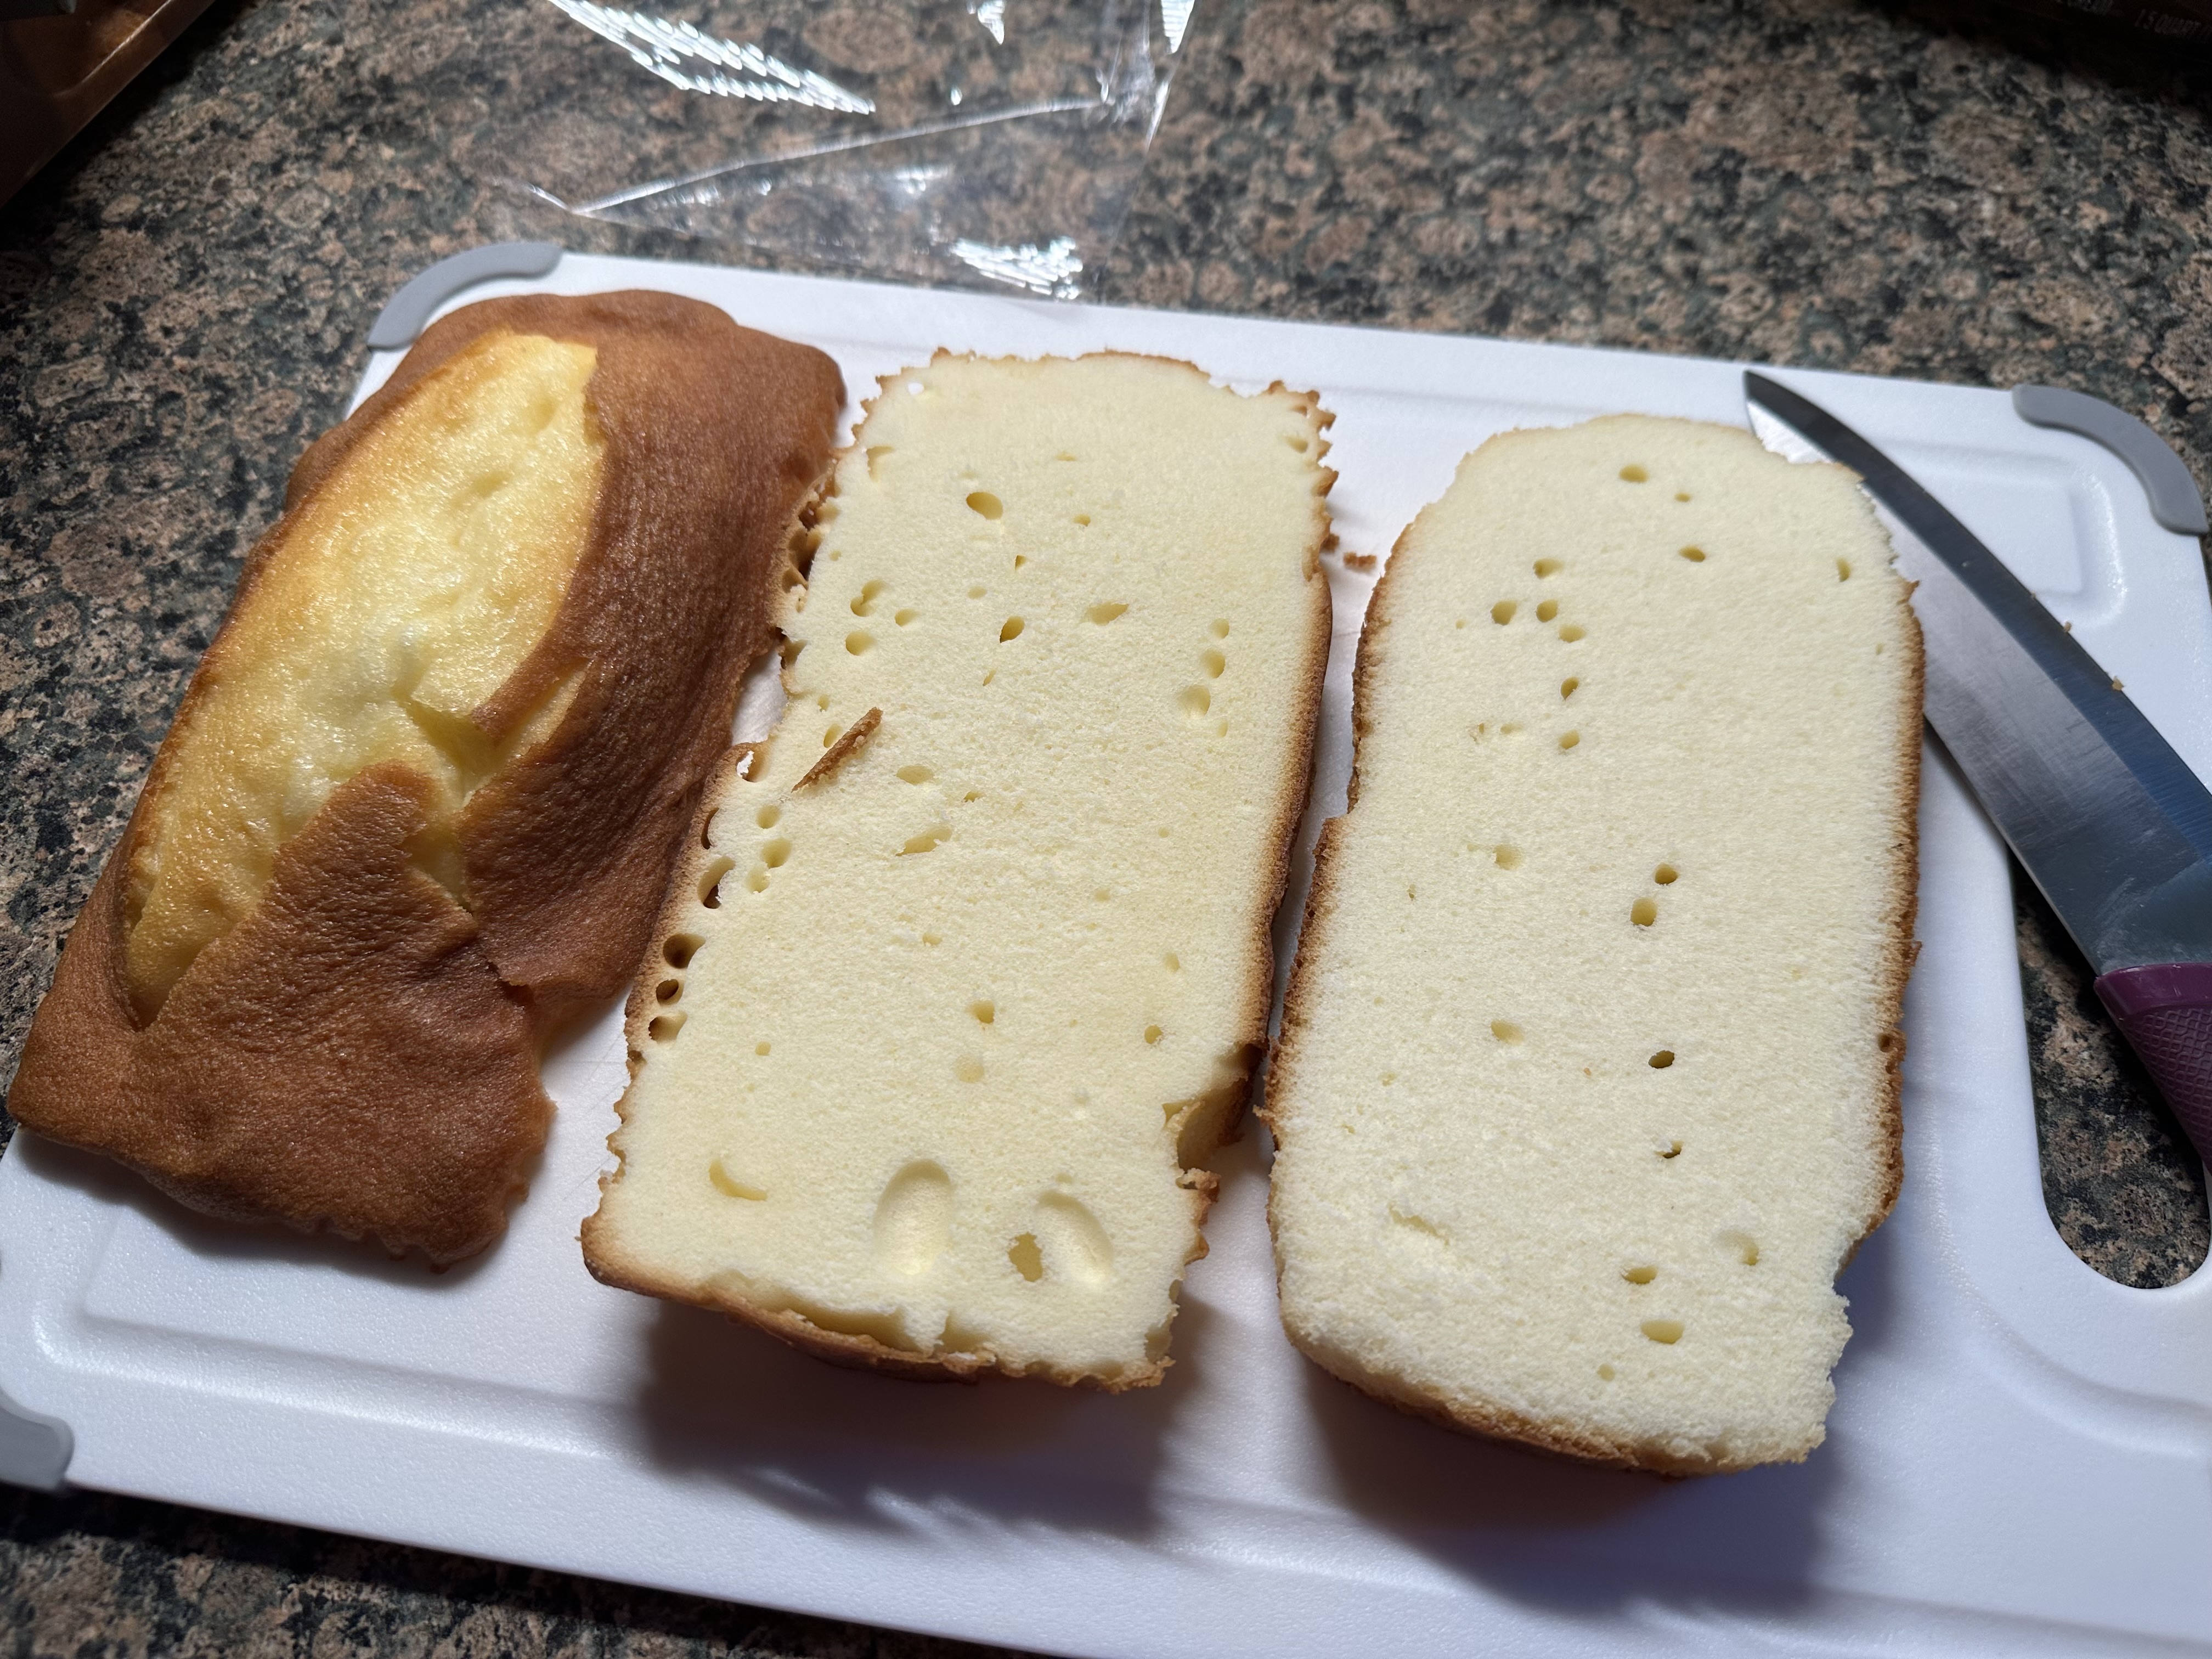
The first thing I did was slice the loaf cake into thirds. To make slicing the cake a bit easier and to reduce the number of crumbs I refrigerated the cake for about an hour.
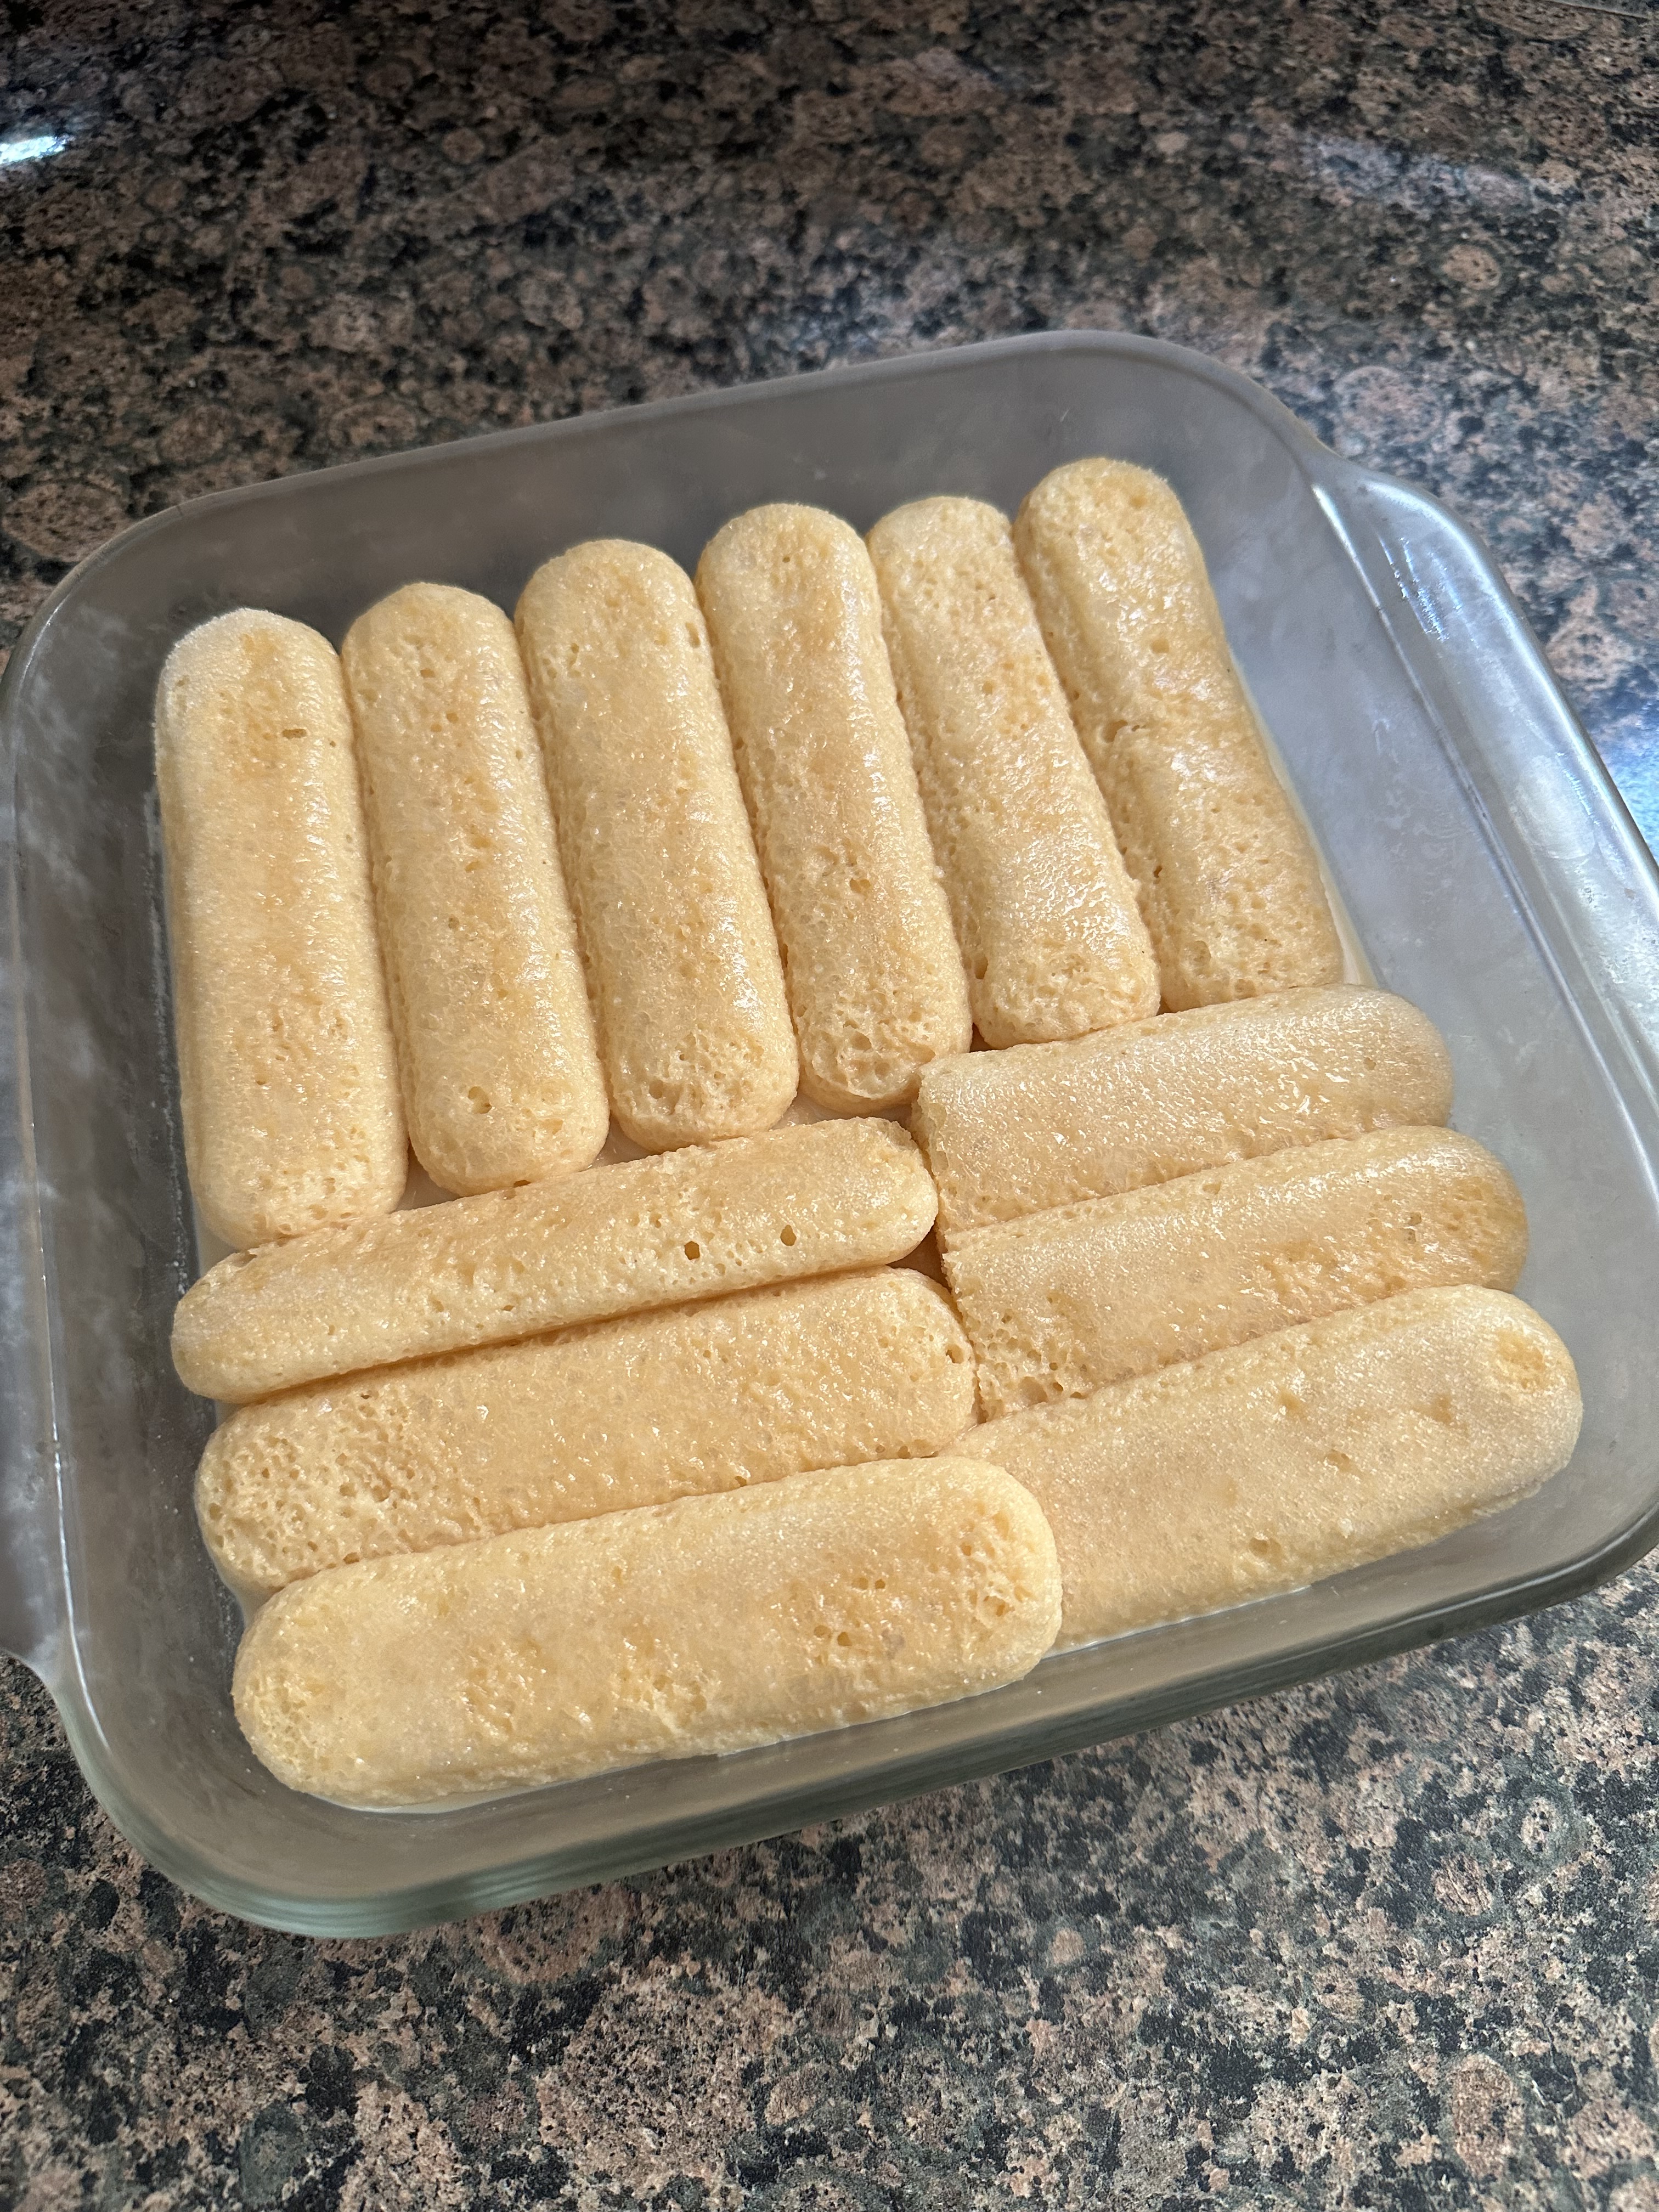
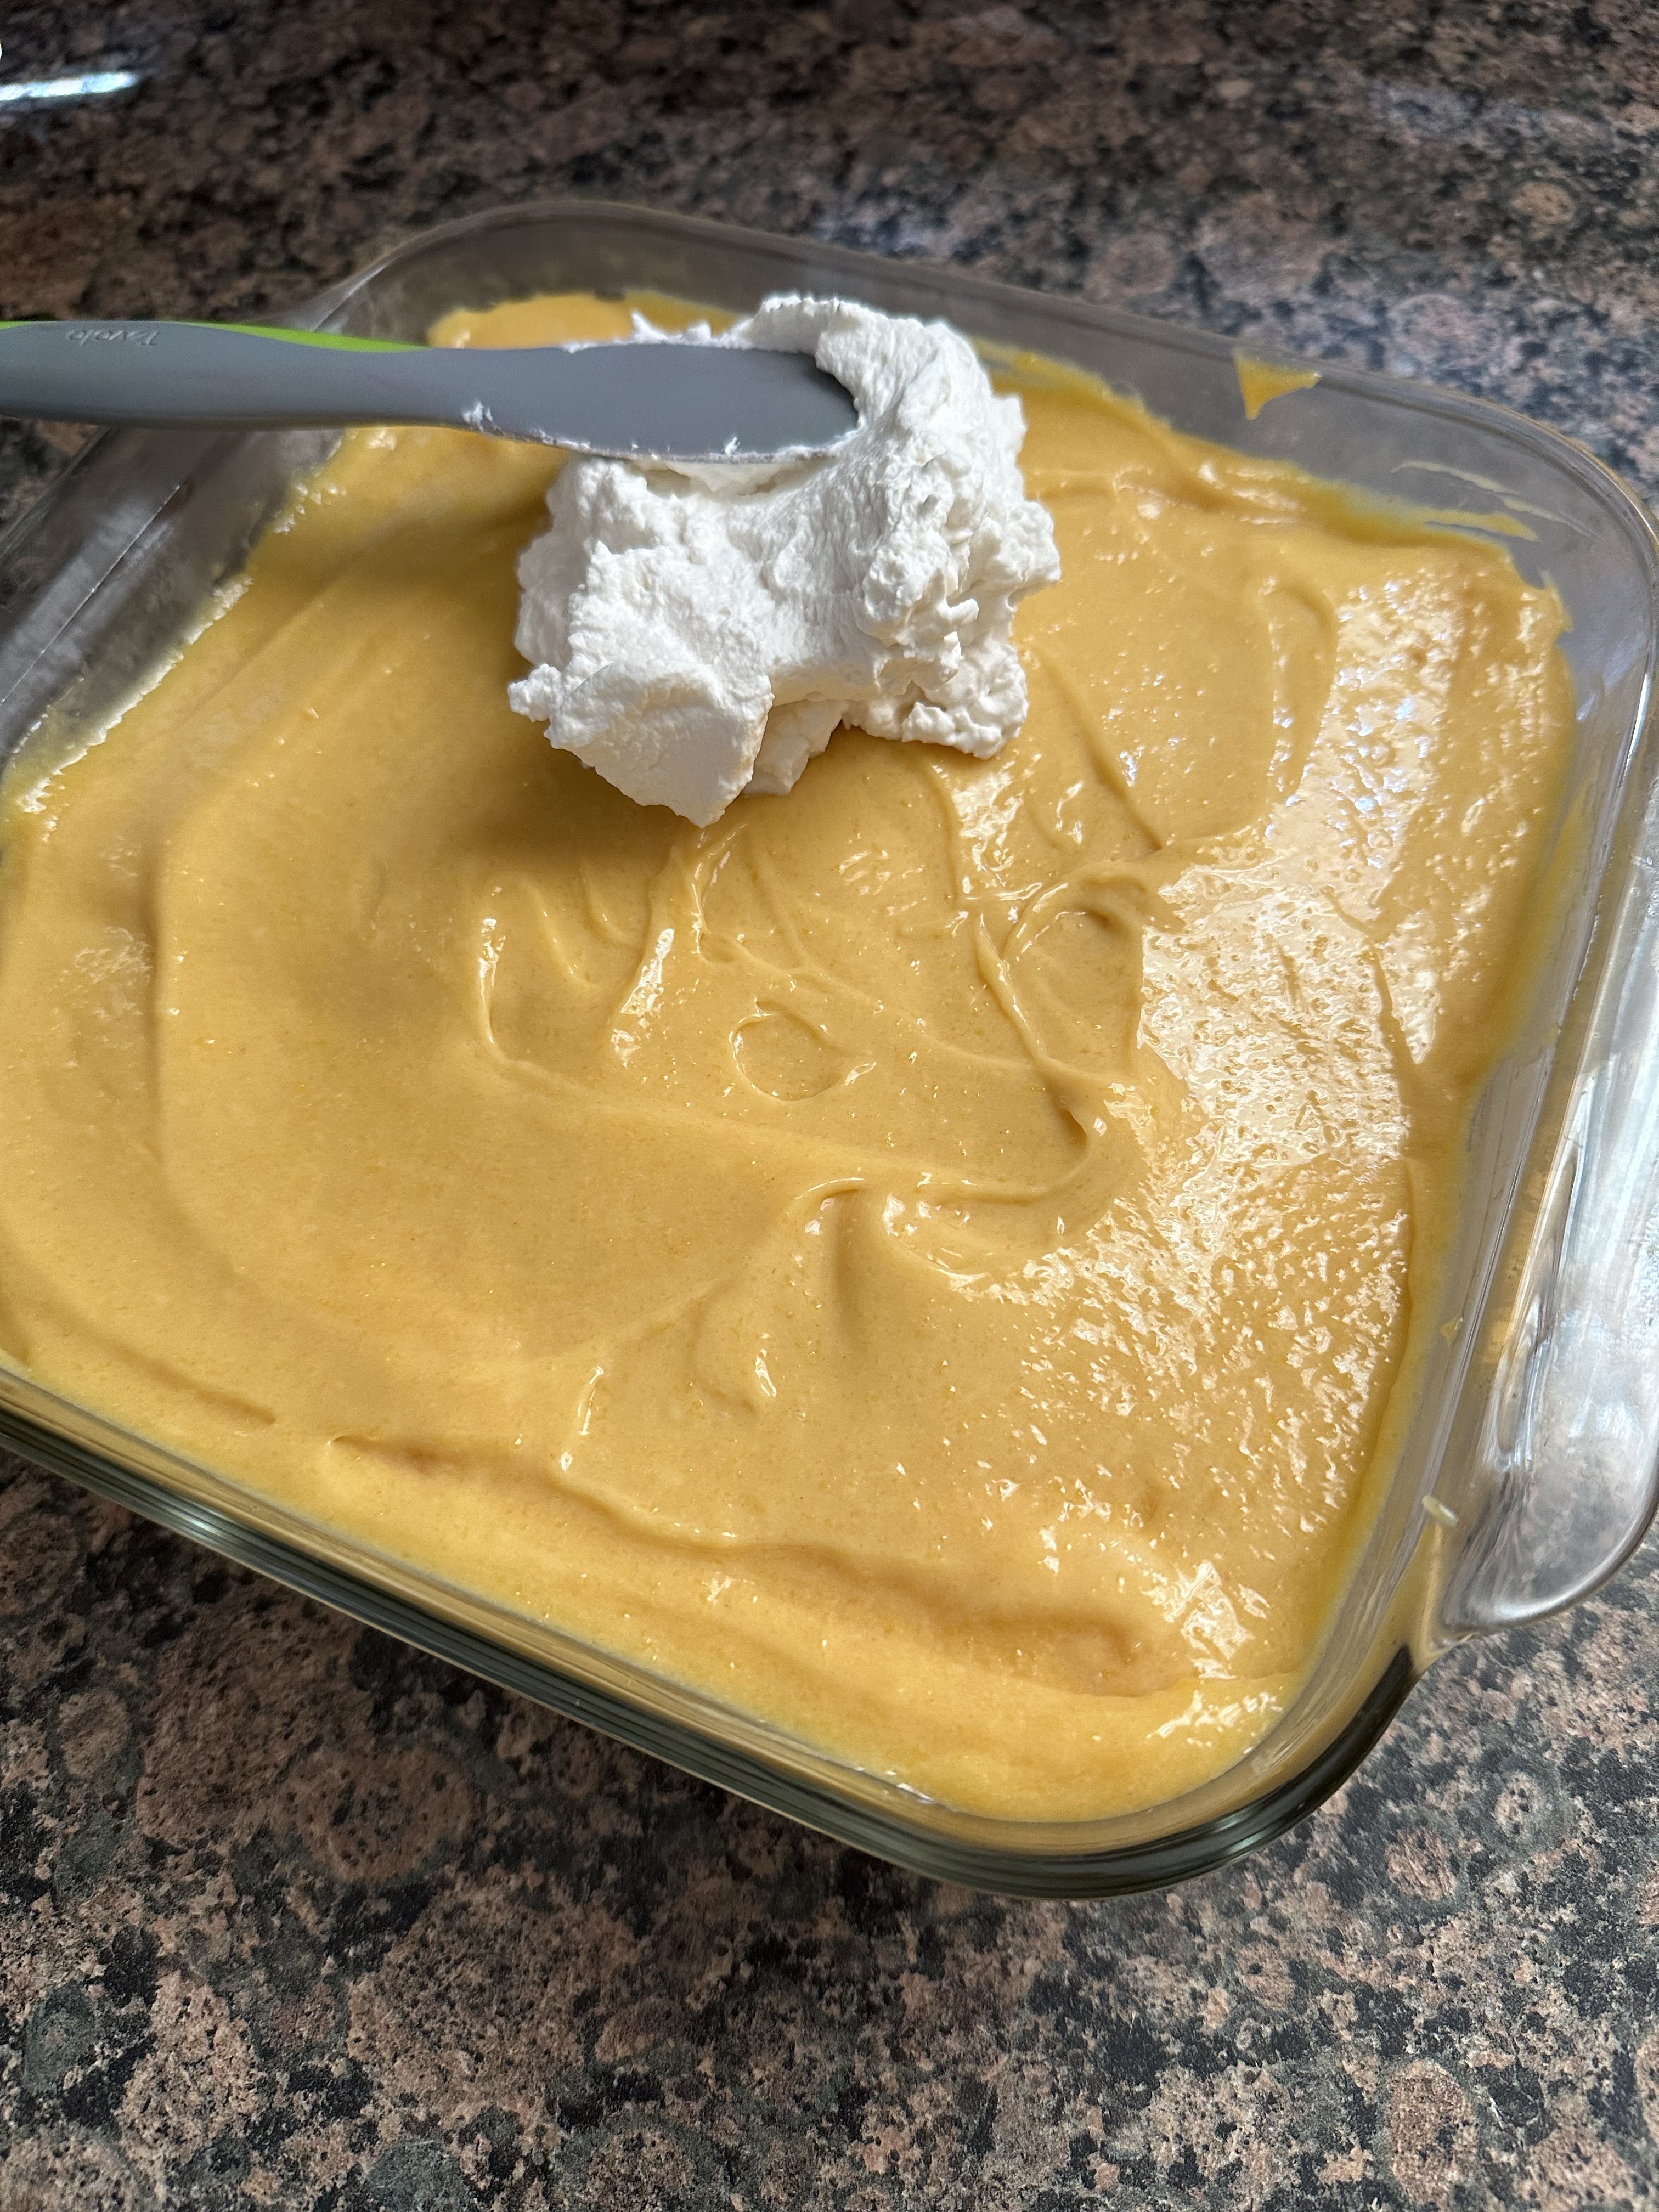
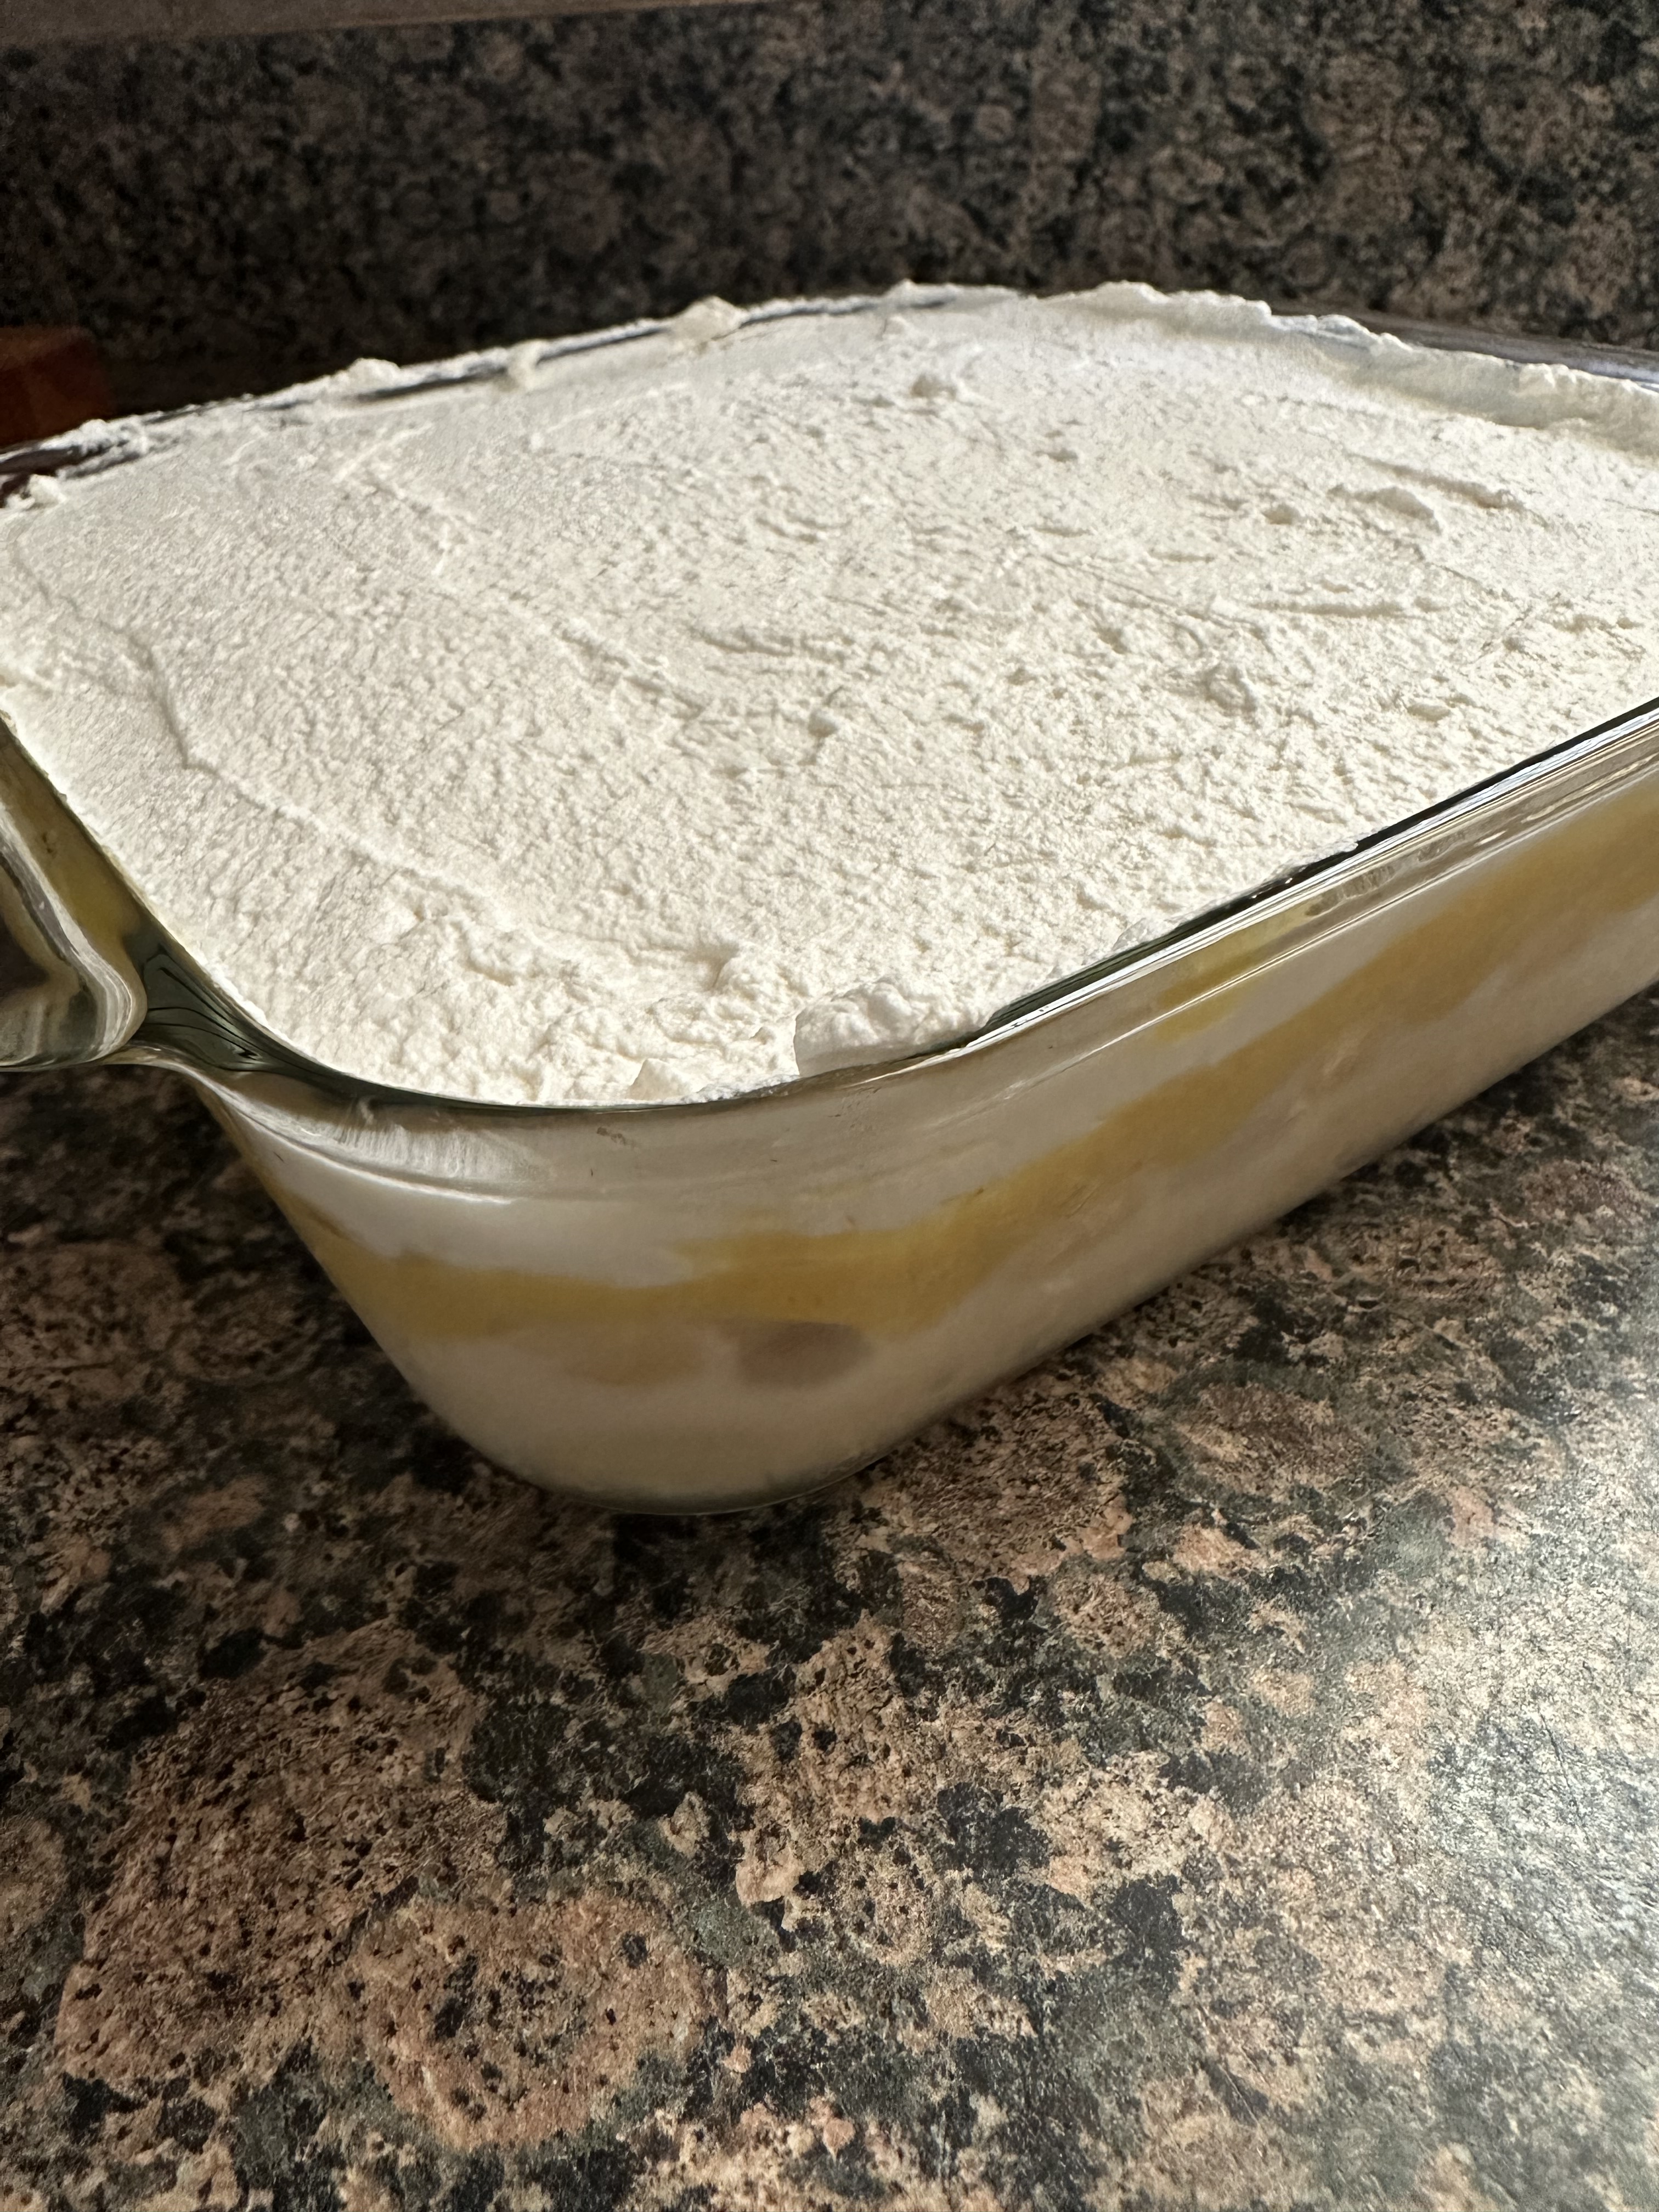
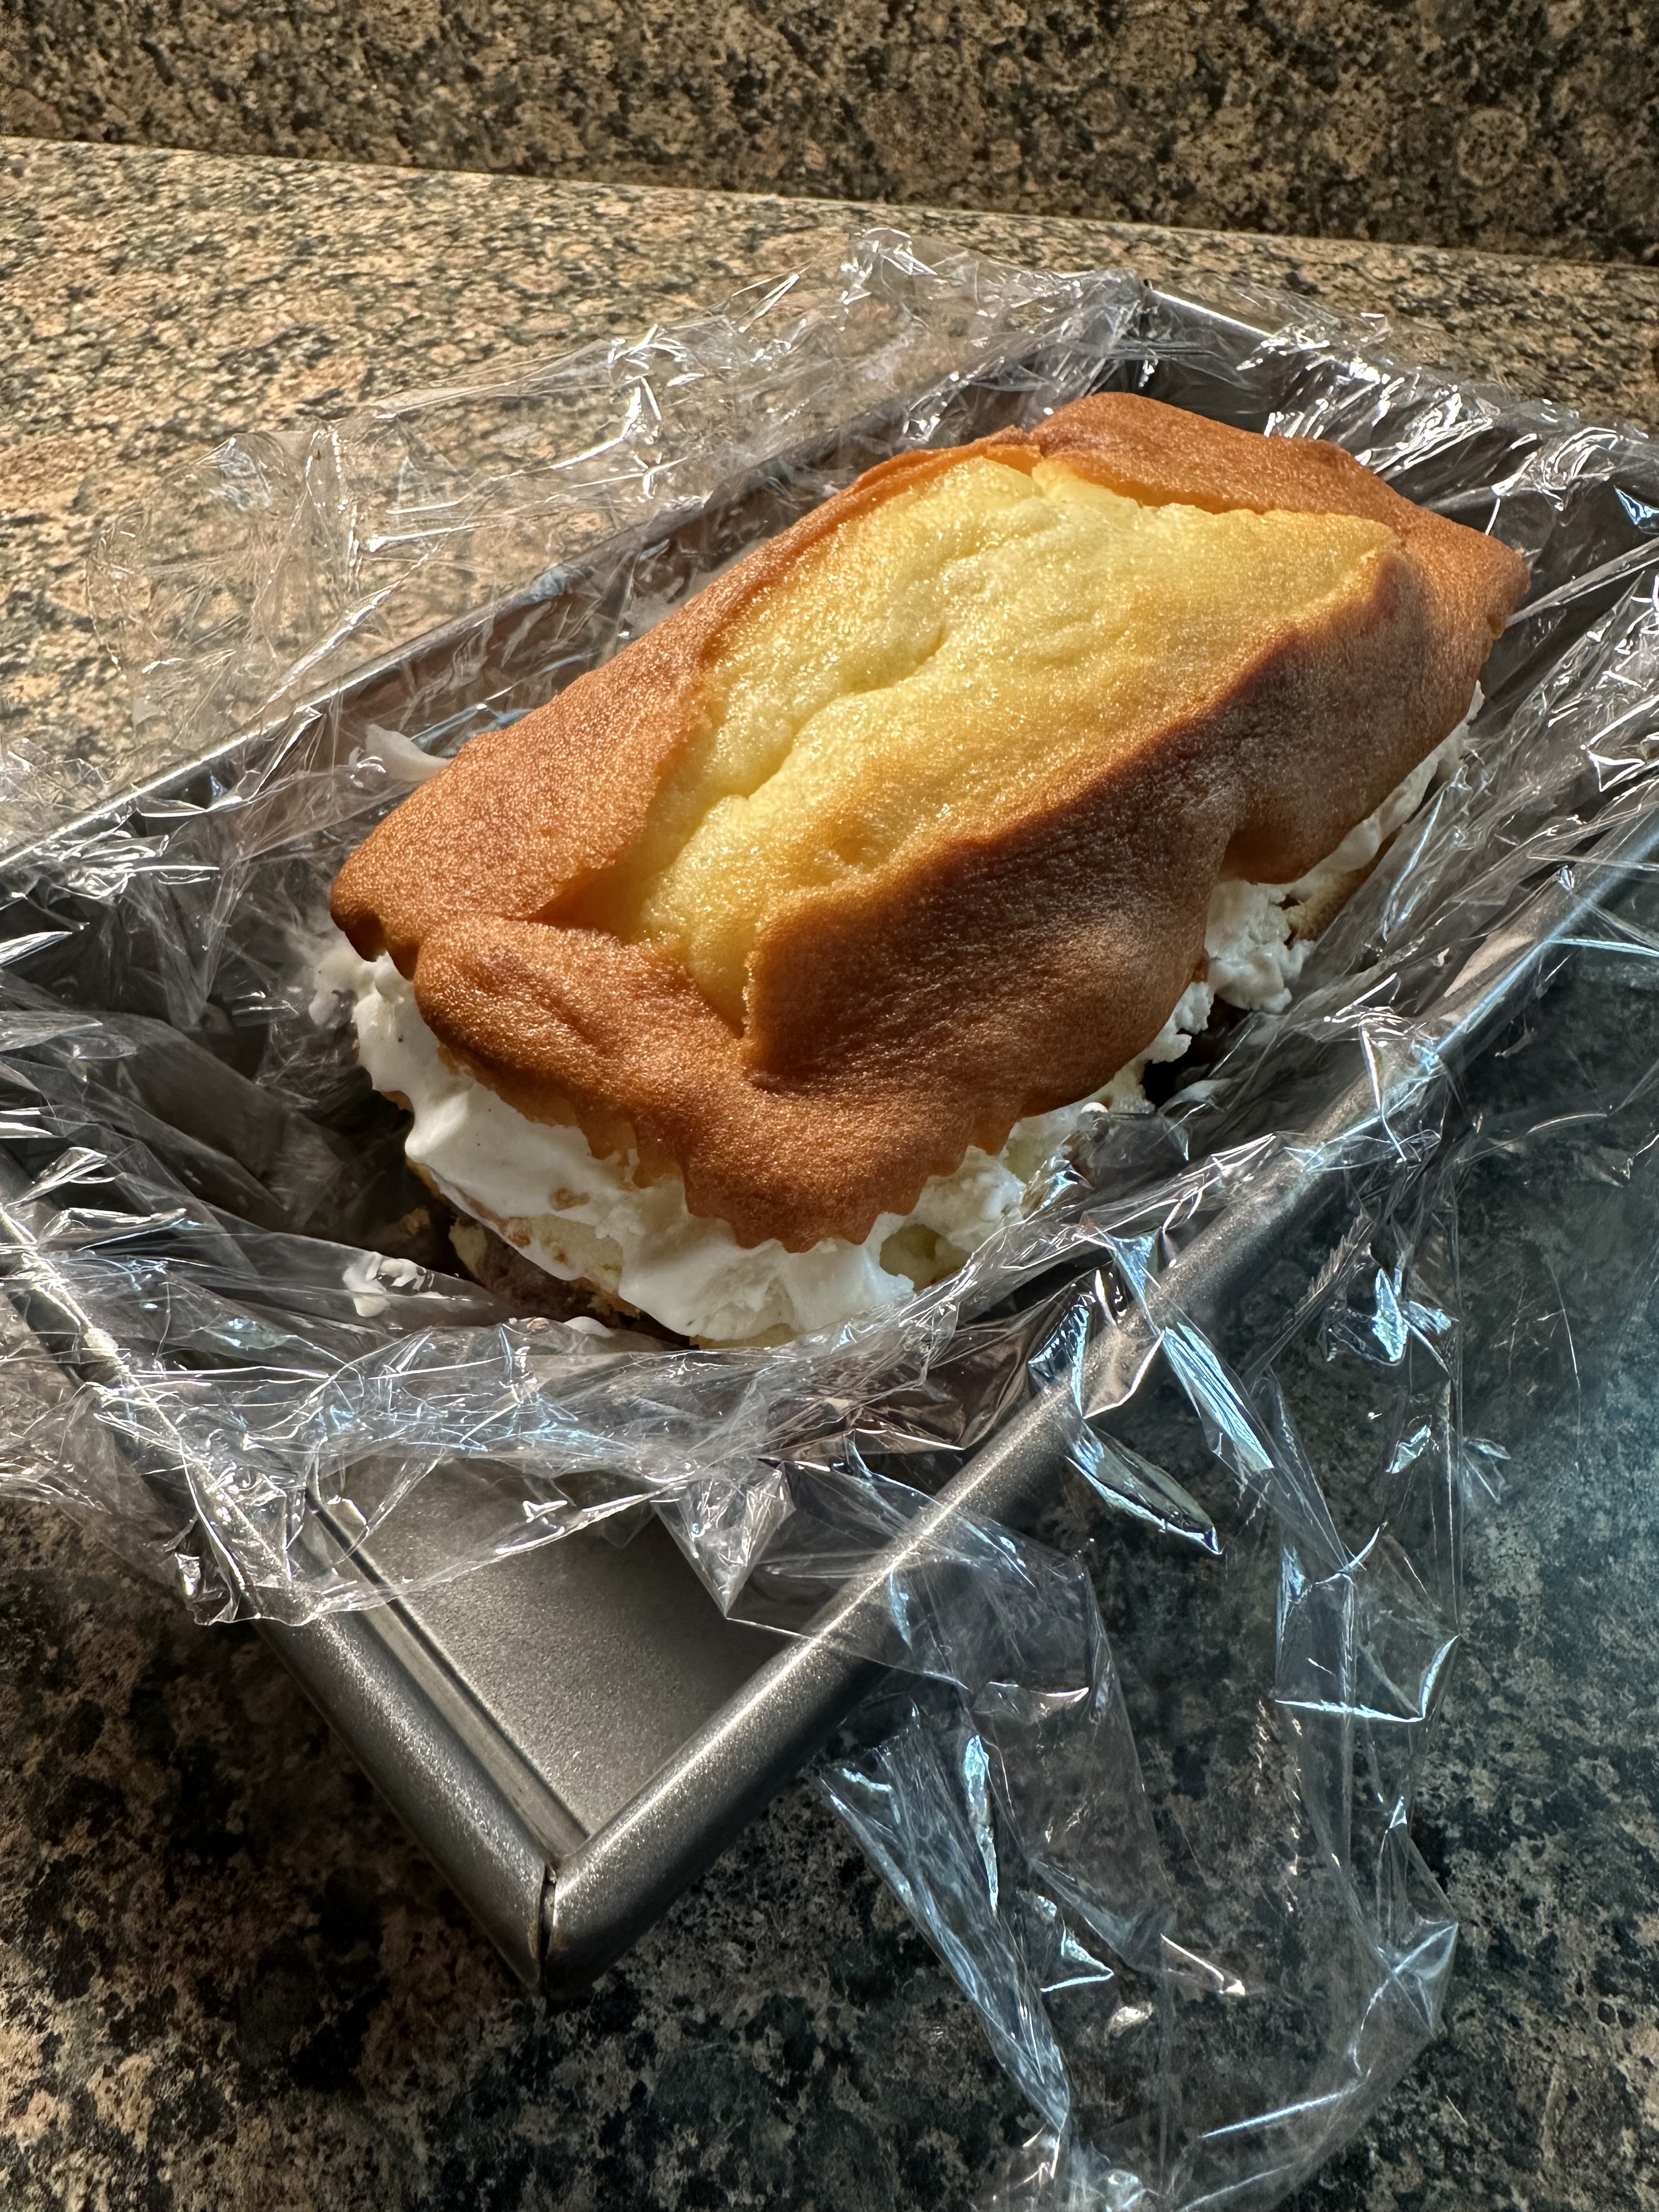
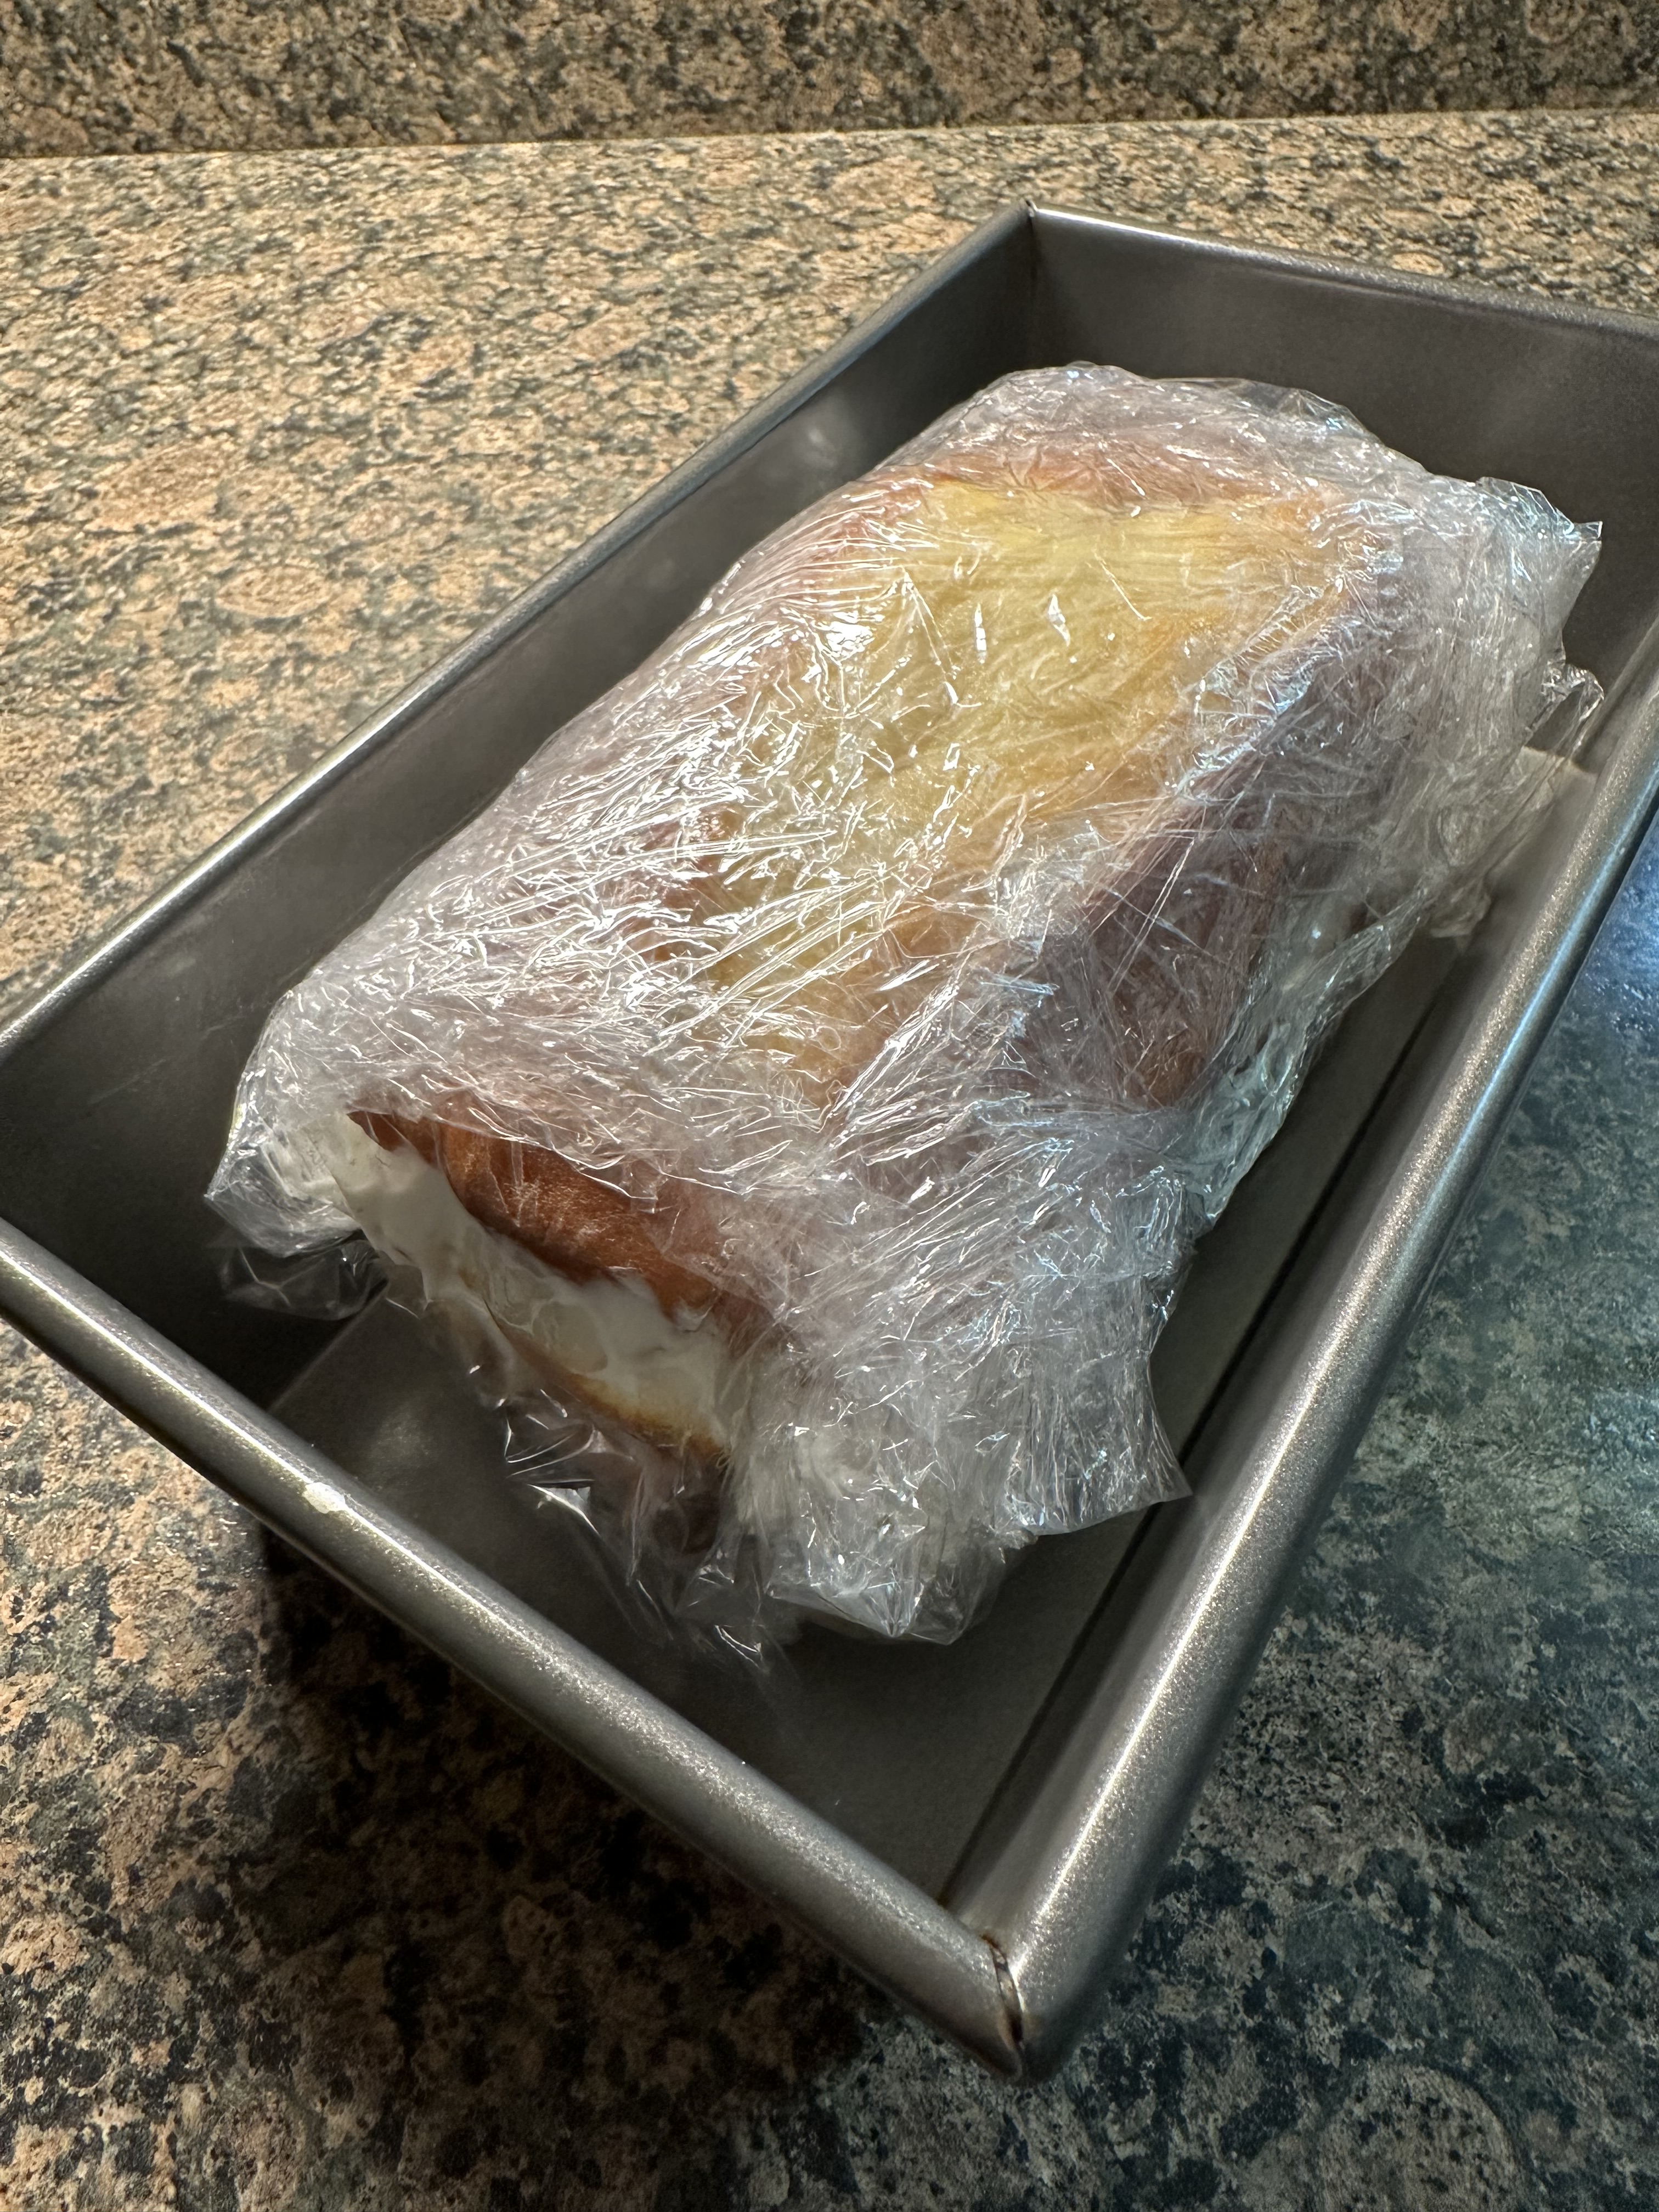
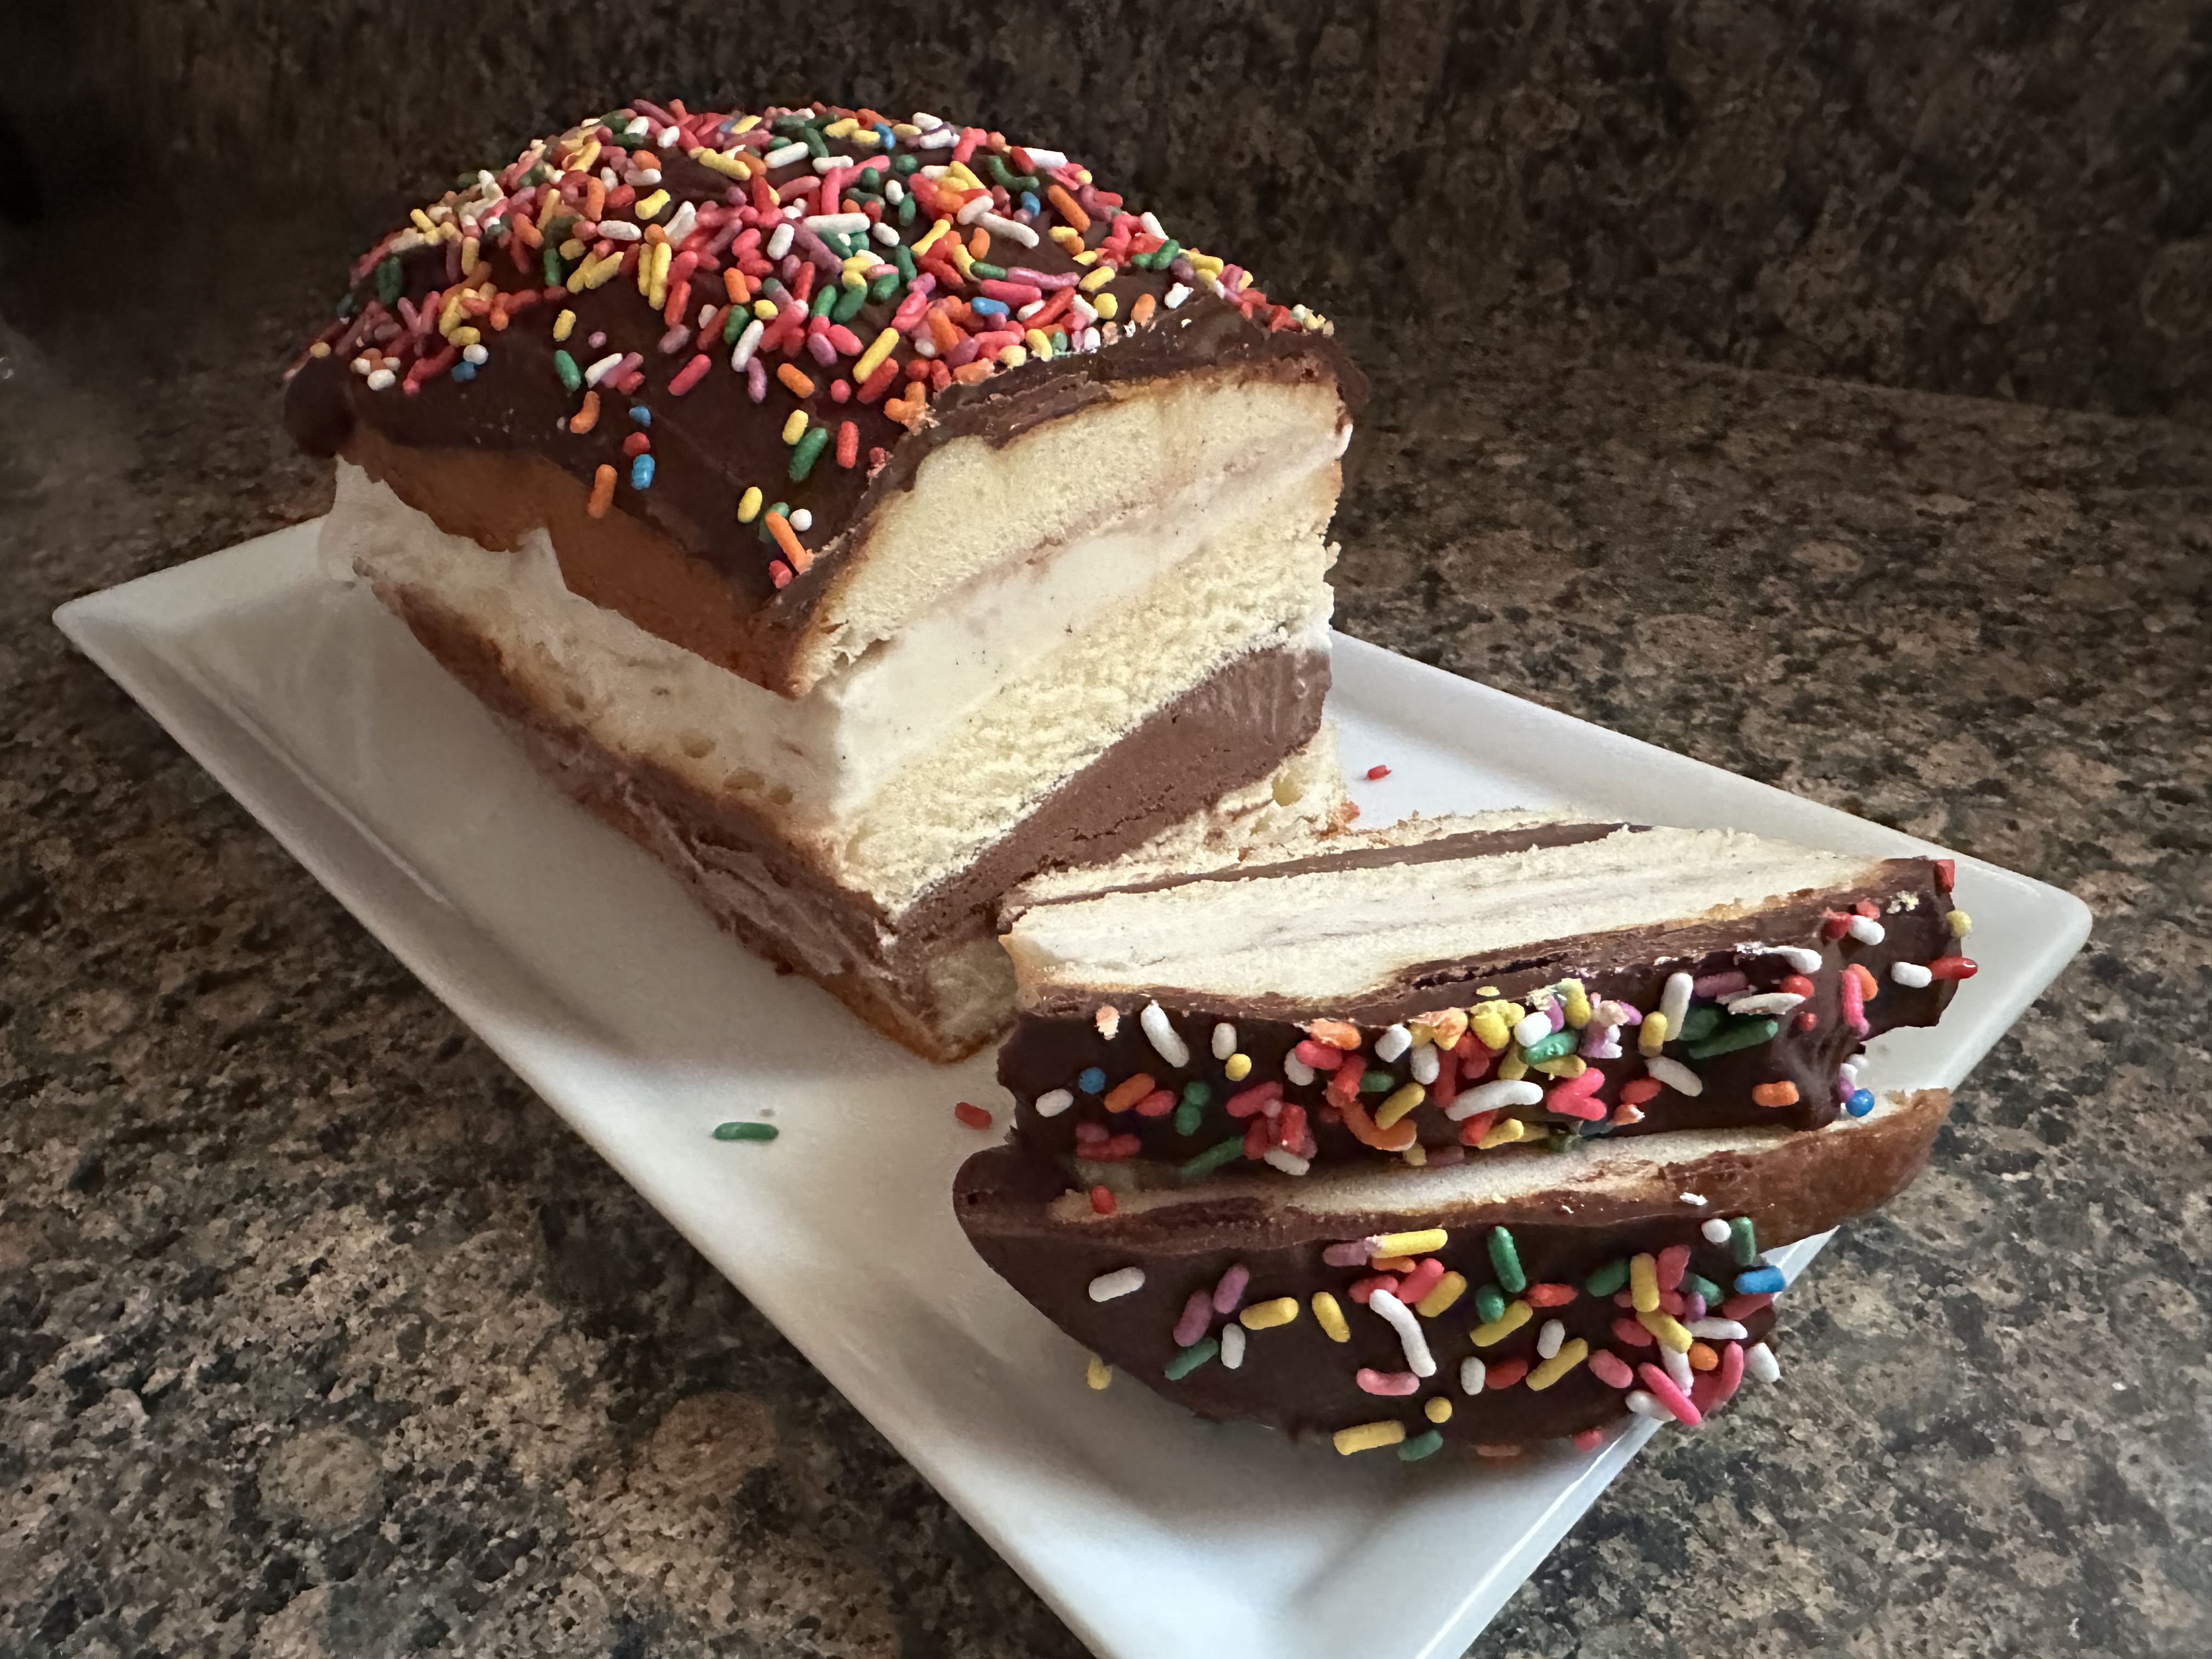
After that, I laid the bottom of the cake in a loaf pan lined with plastic wrap. To line the pan, I placed one piece of plastic wrap vertically and another horizontally to ensure the corners of the cake would be covered. Next, I spread about 1 ½ cups of ice cream over the cake. You want a nice layer of ice cream but not so much that it starts to overflow from the sides once the cake is fully assembled. To make spreading the ice cream easier I let it sit at room temperature for about 5-10 minutes. You don’t want it so soft that it becomes a soupy mess, just enough to make it easy to spread. I repeated these layers with the middle slice of the cake and more ice cream. Finally, I topped the cake with the top third and wrapped it tightly with the plastic wrap and placed it in the freezer overnight.
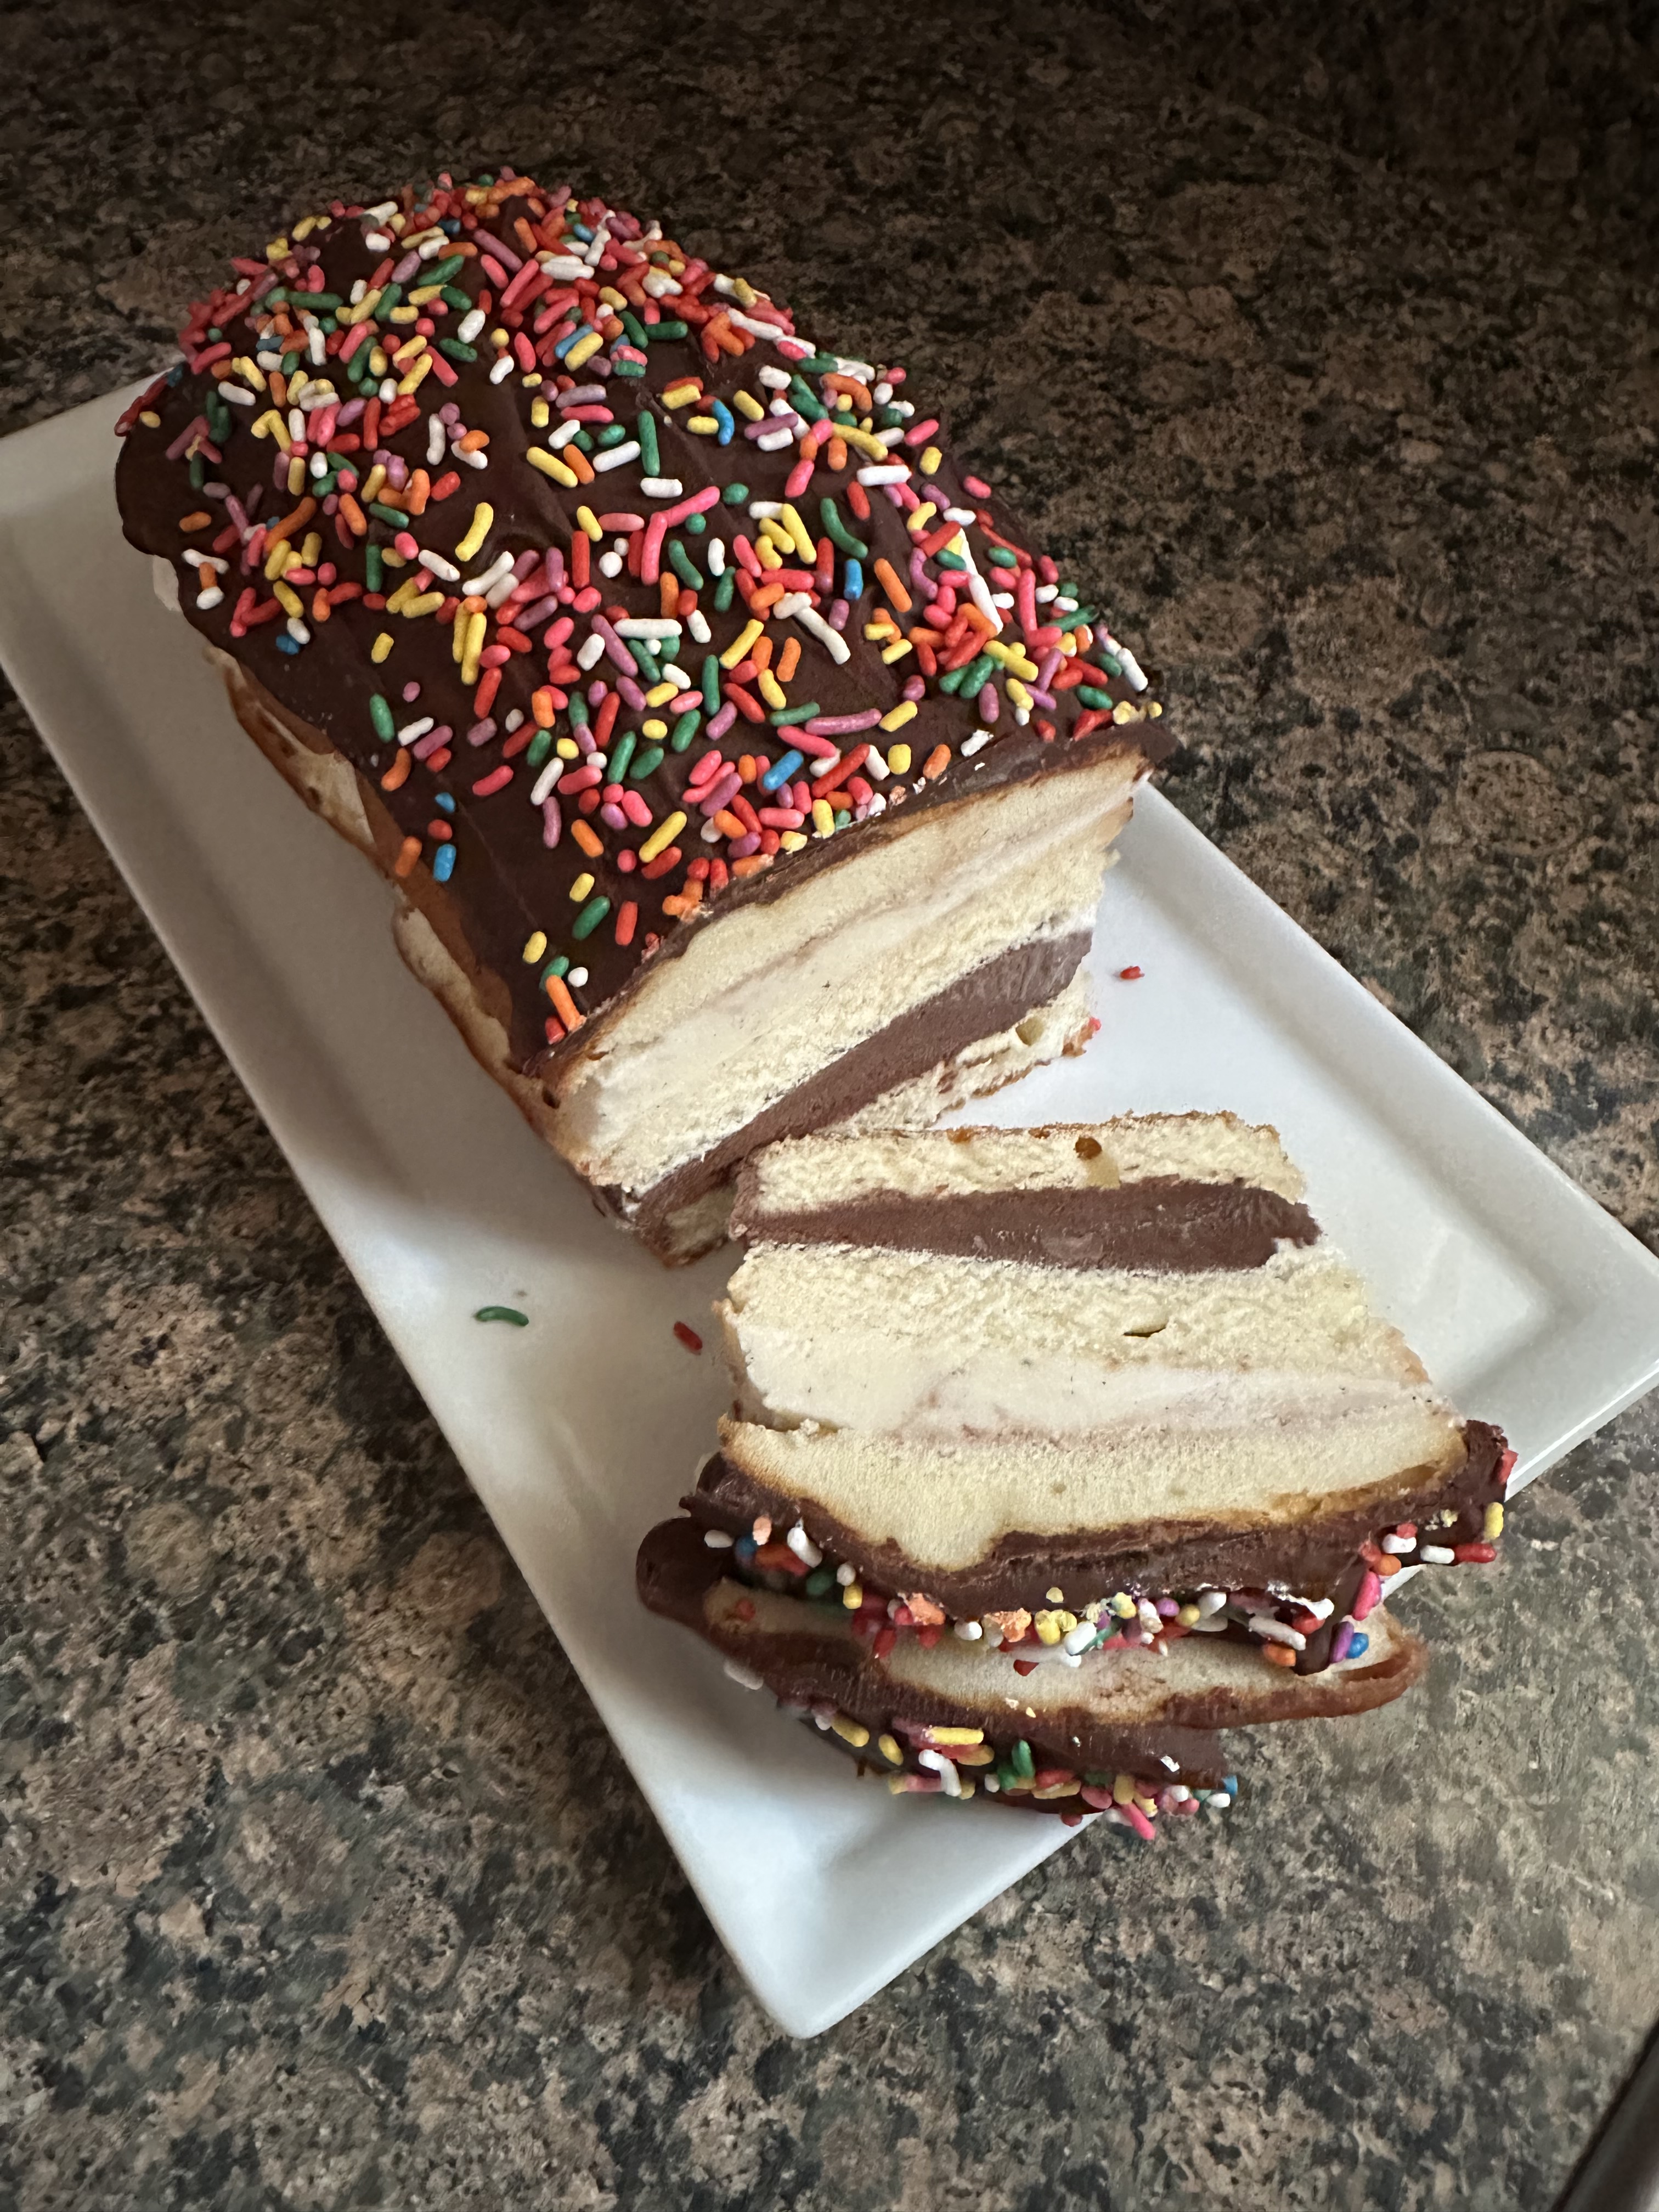
While I could have enjoyed the cake as is I decided to get a little fancy and topped it with a quick and easy chocolate ganache and sprinkles. What’s ice cream without sprinkles??? To make the ganache I stirred together warmed heavy cream and chocolate chips until the chocolate melted. After letting it sit for a few minutes I poured it over the cake. I added some sprinkles on top and then popped it back in the freezer so the chocolate could set.

Once the chocolate was set it was time to enjoy a slice (or two)!
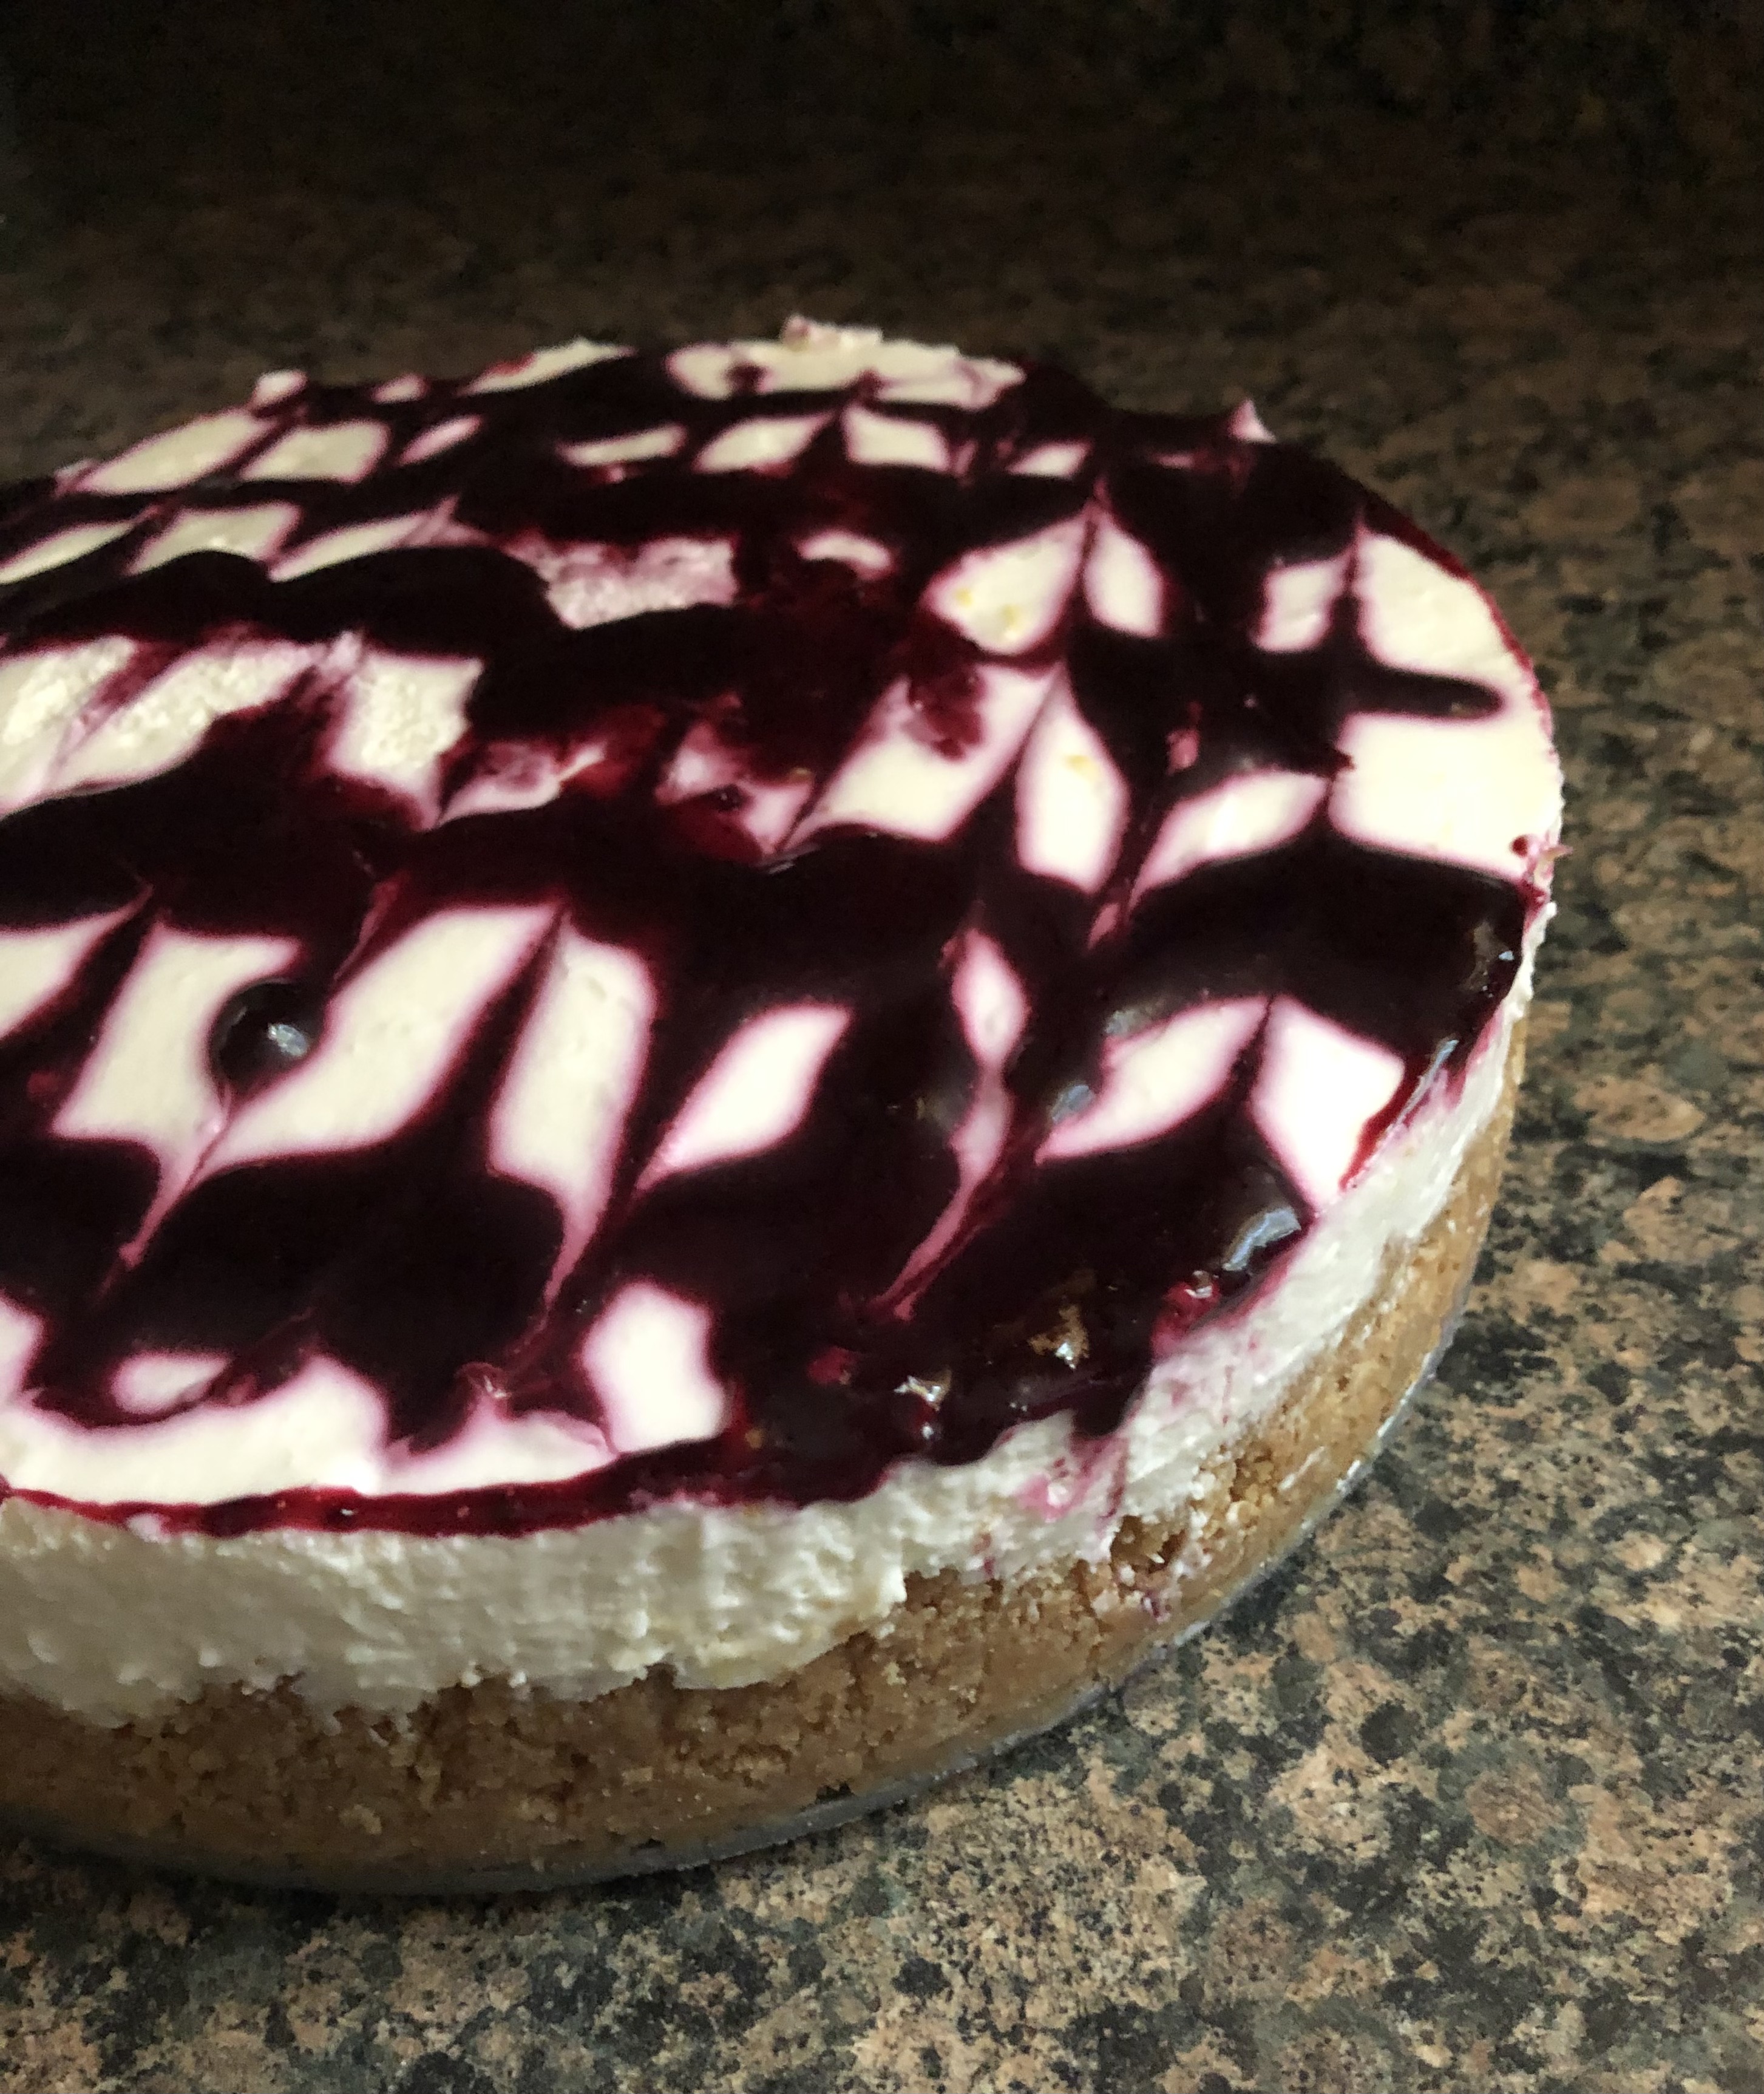
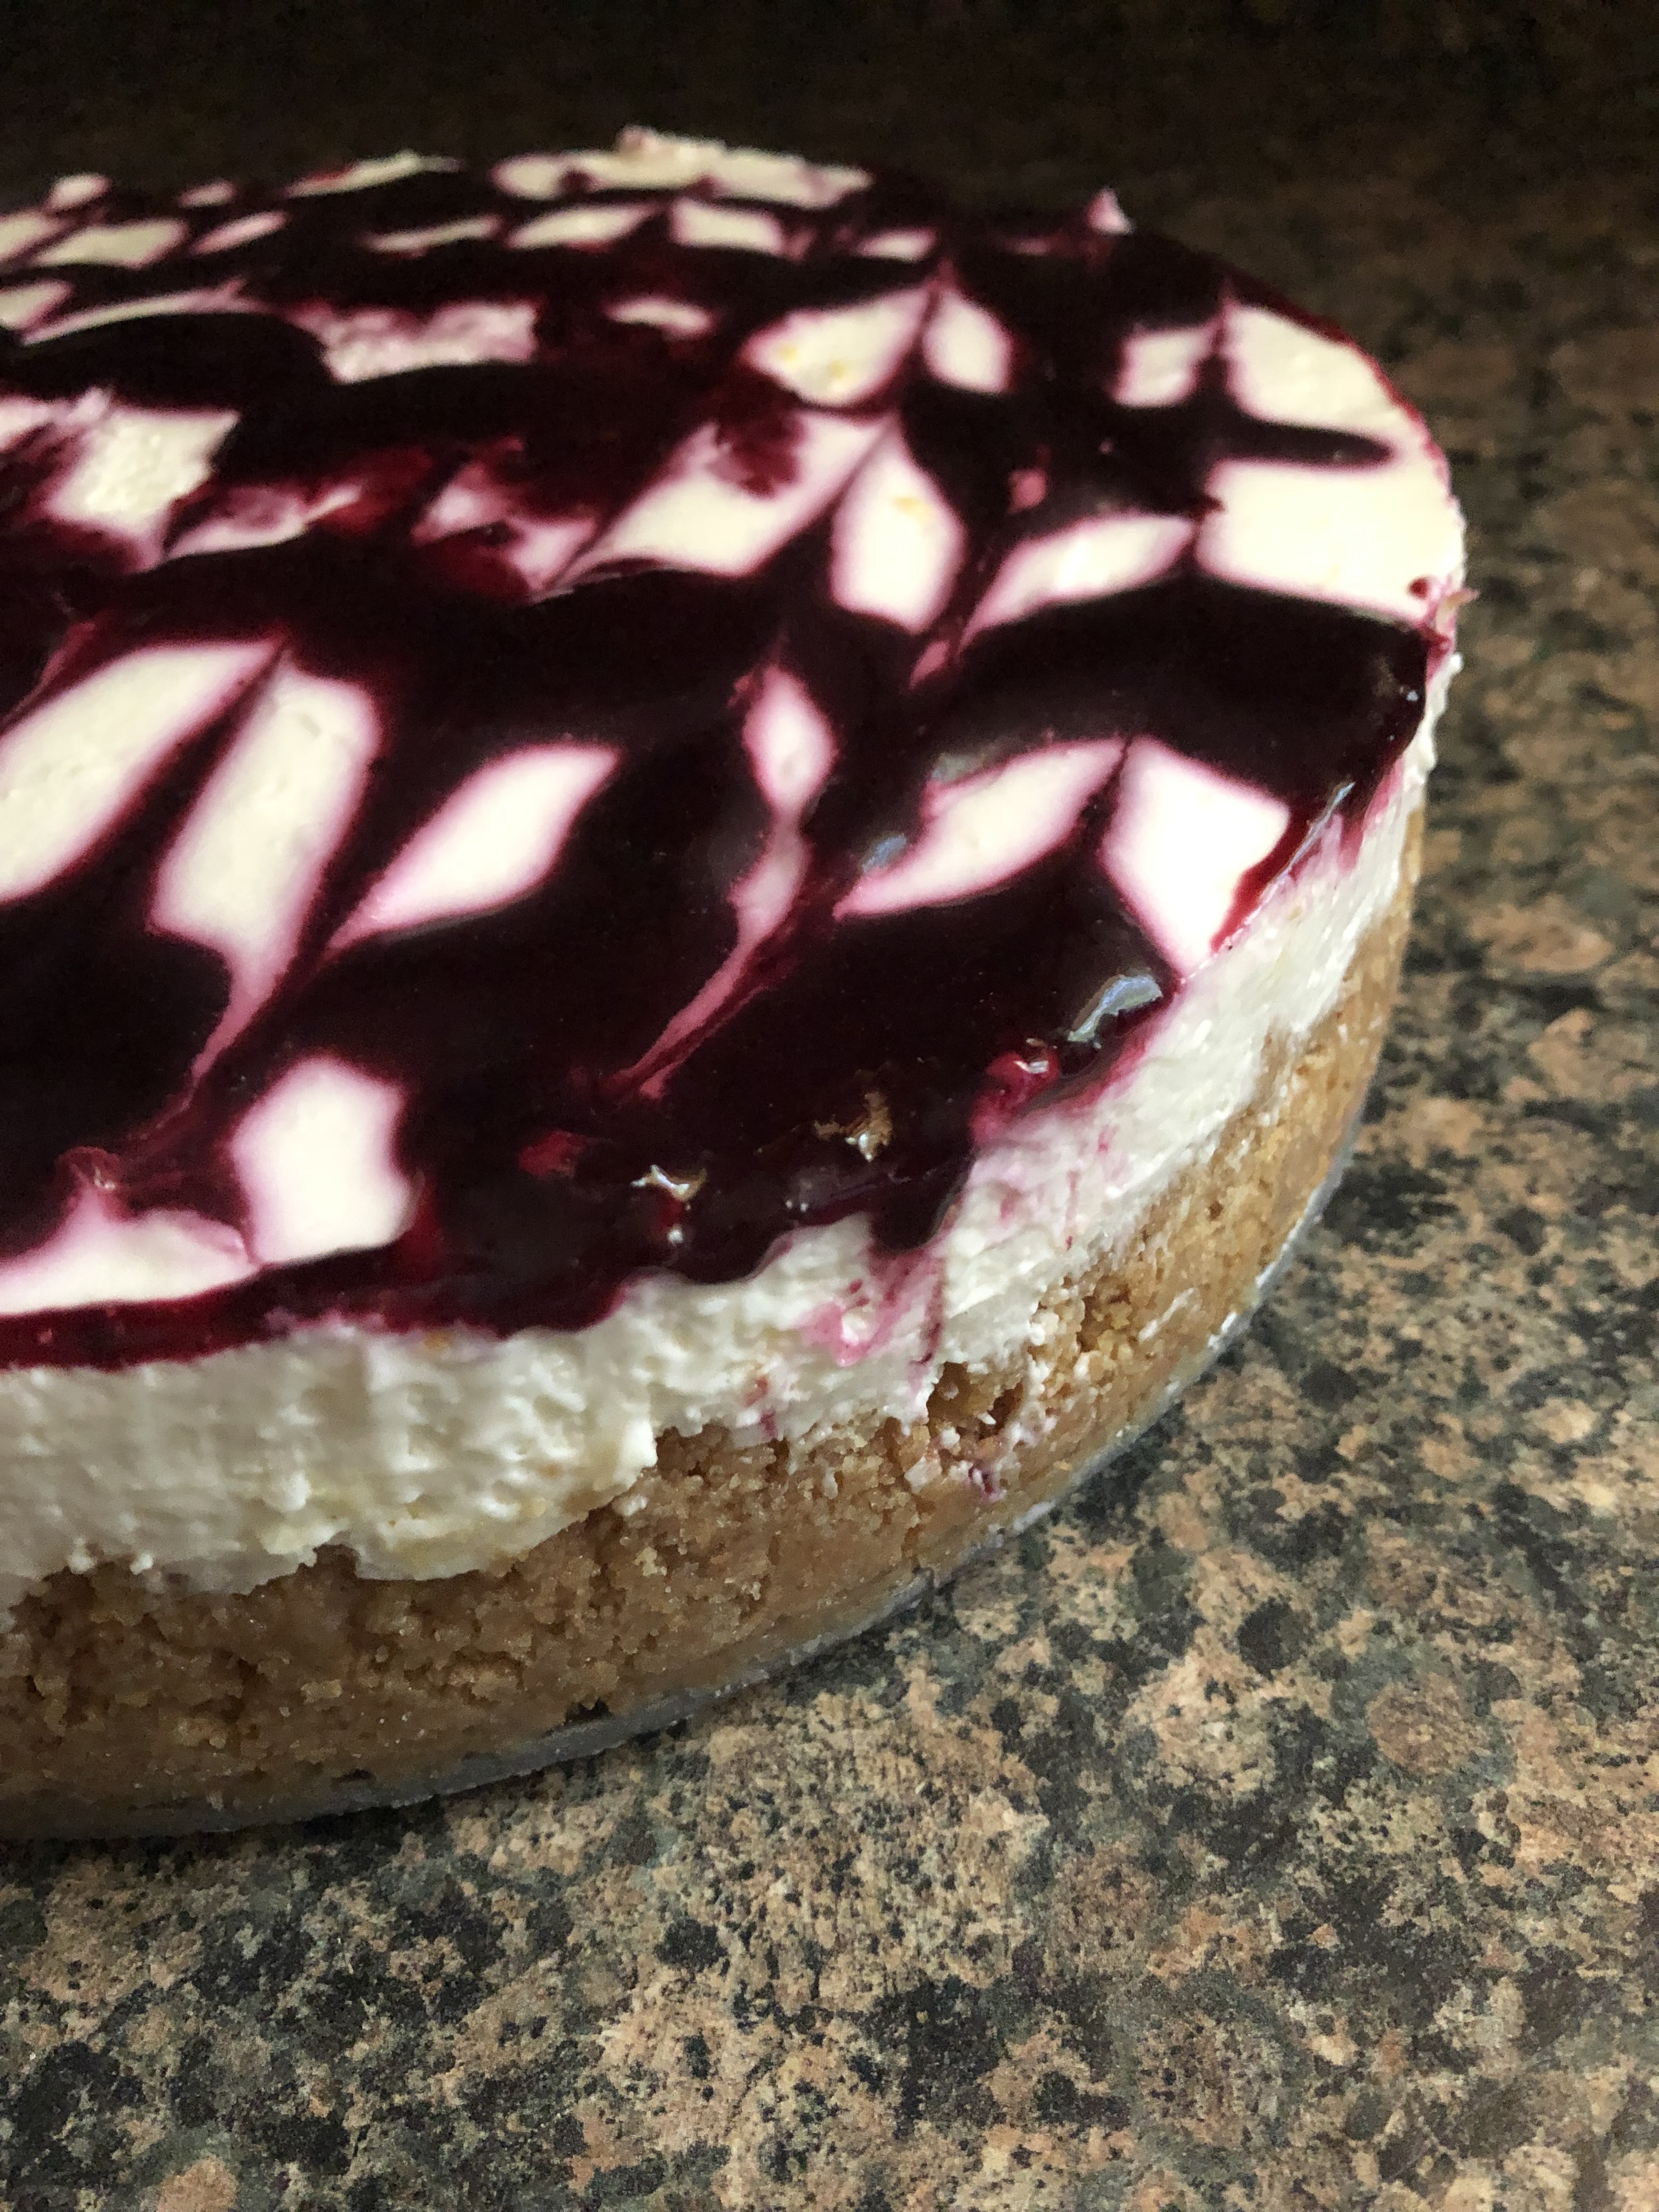
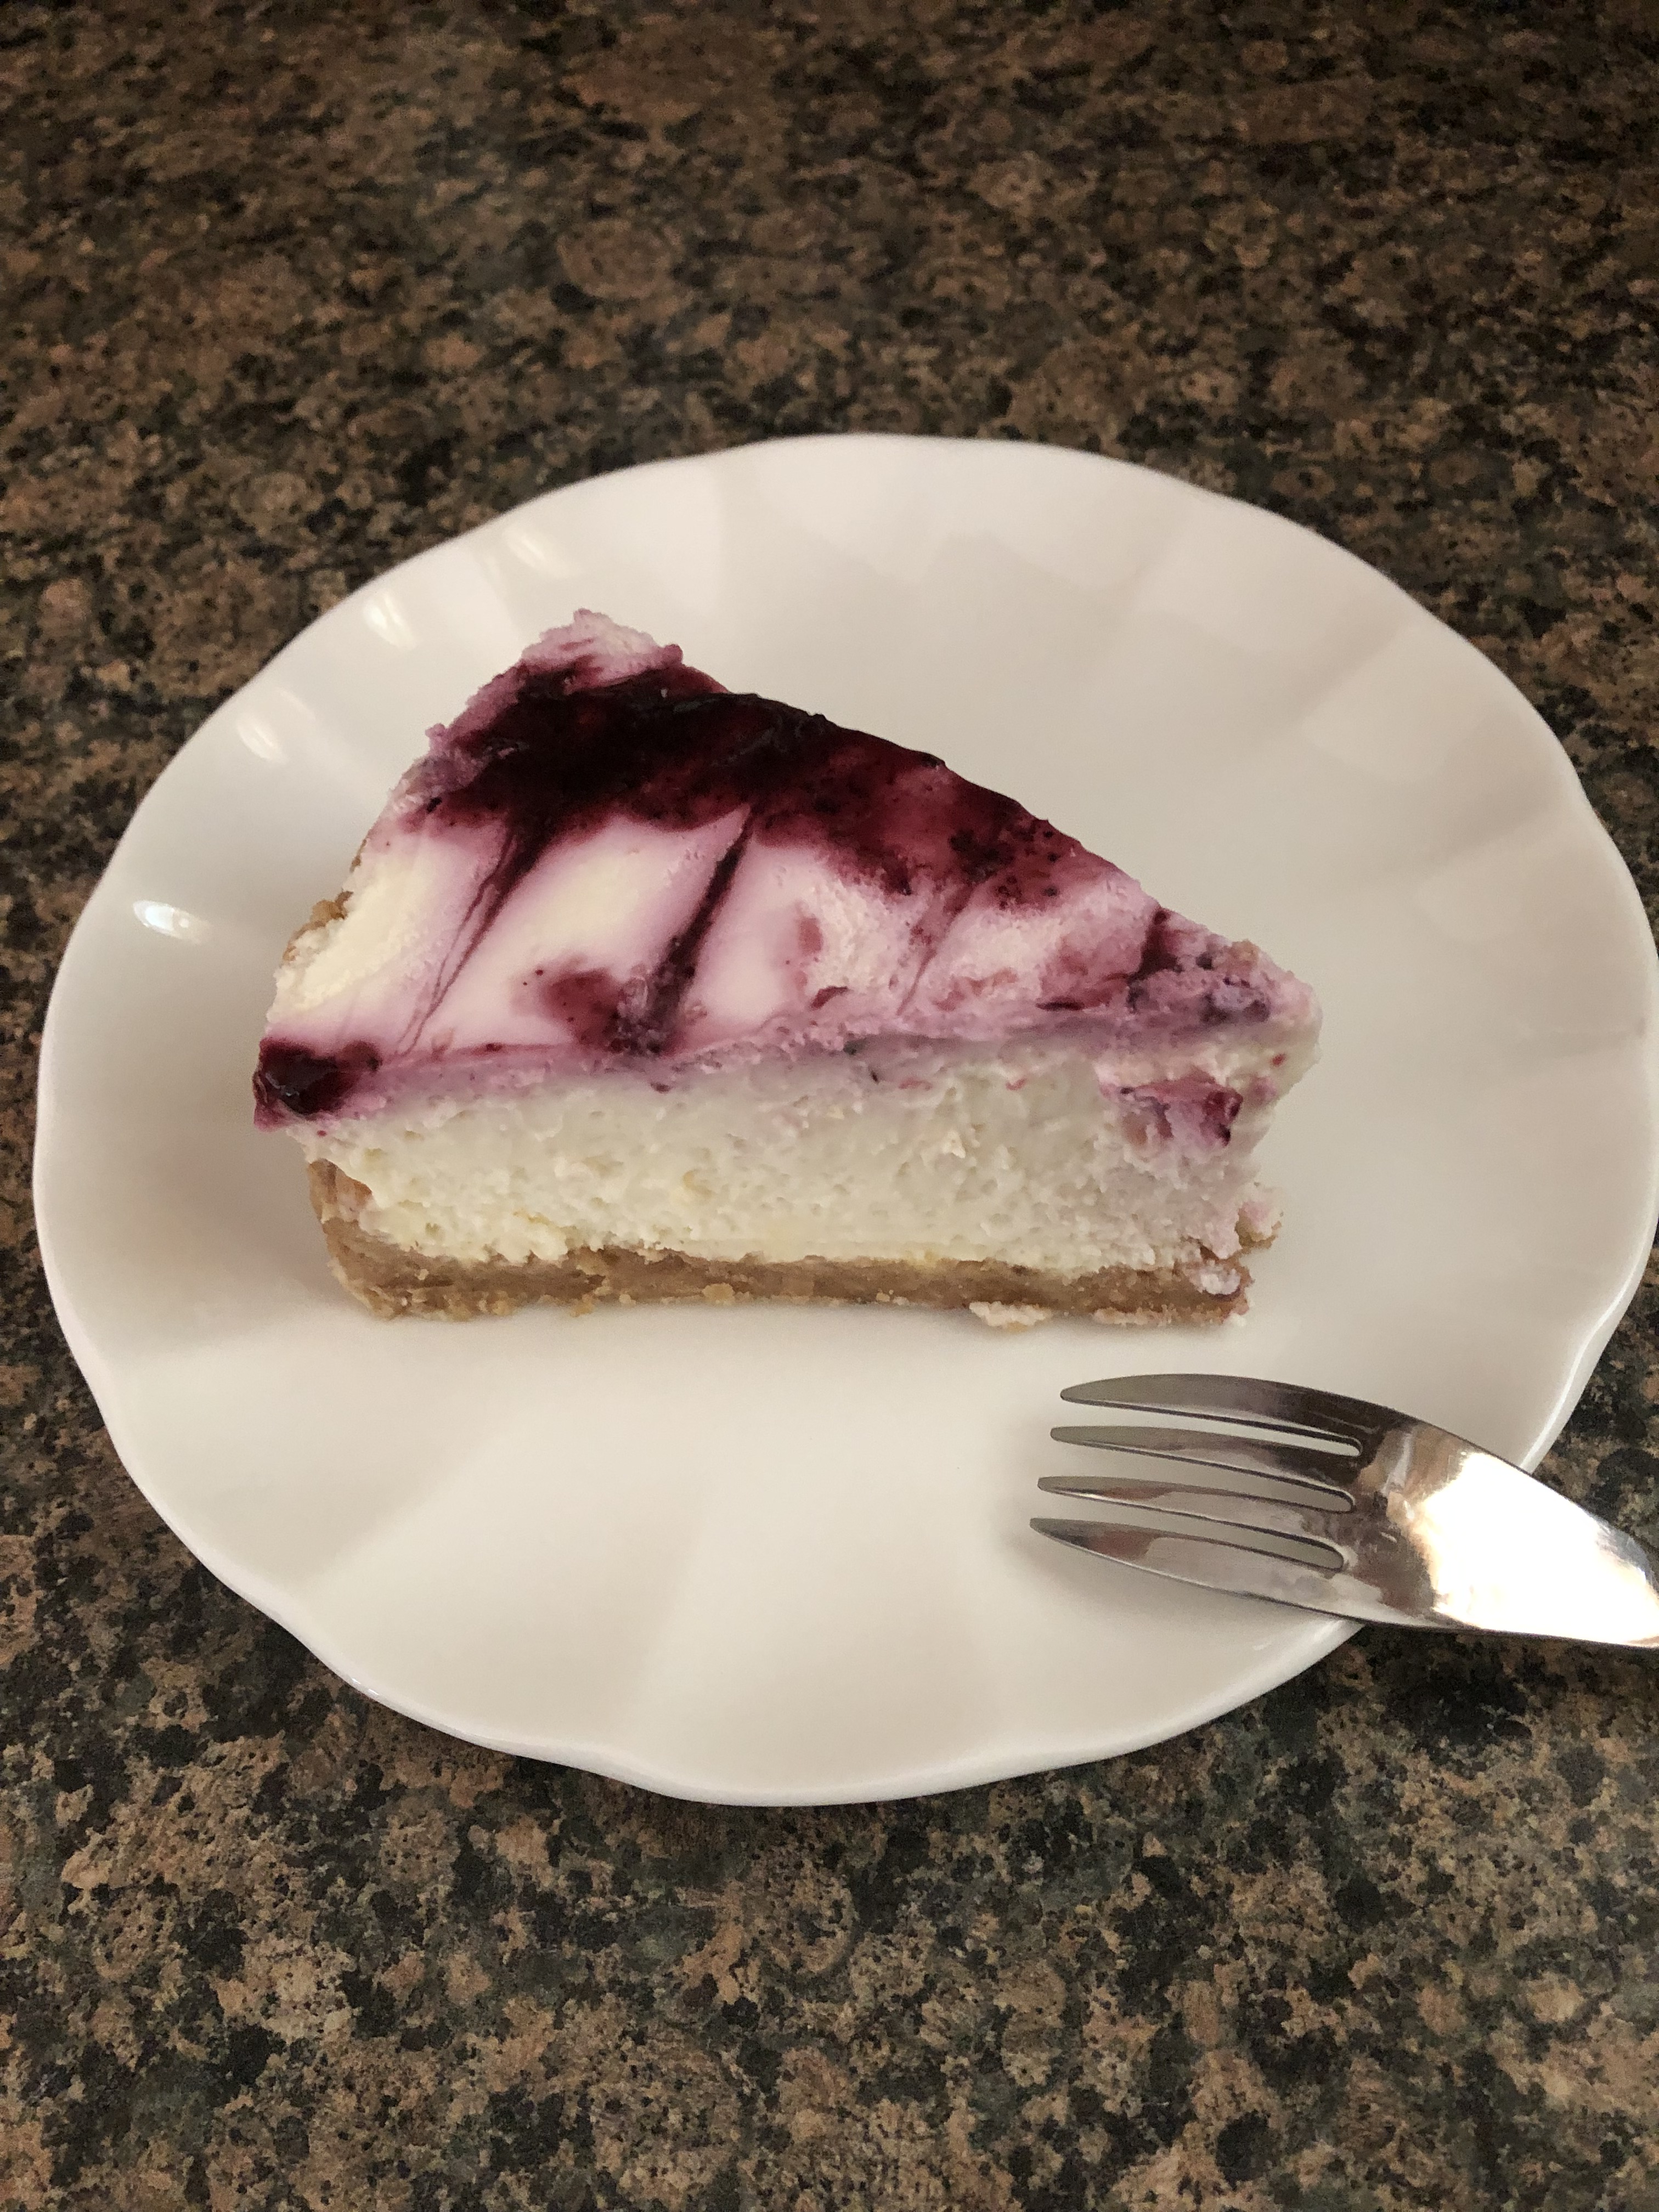
To make your cake really unique use a flavored loaf cake. Think marbled, chocolate chip, lemon, etc. A lemon loaf cake with a raspberry sorbet would be the perfect refreshing treat for these warmer months!
No-Bake Ice Cream Loaf Cake
Ingredients:
1 store-bought loaf cake, chilled*
2-3 cups ice cream, softened
1/4 cup heavy cream
1/2 cup semi-sweet chocolate chips
Sprinkles
*You could also use a frozen loaf cake; you may need to let it thaw slightly before slicing though
Directions:
Line a loaf pan with plastic wrap – horizontally & vertically. Any size loaf pan works, just make sure it’s big enough to fit the cake you’re using. If you opt to use a frozen loaf cake, use the pan the cake comes in.
Slice the cake into thirds horizontally so you have three pieces about the same thickness.
Place the bottom piece of the cake into the prepared loaf pan. Spread half of the ice cream over the cake. Repeat these layers with the middle piece of the cake and the remaining ice cream. Finally, gently press the top of the cake onto the ice cream. Cover tightly with the plastic wrap and freeze for a few hours (or overnight) so the ice cream can set.
Just before serving the cake place the chocolate chips in a heatproof bowl. Heat the heavy cream in the microwave or stove until it’s steaming (but not boiling). Pour the heated heavy cream over the chocolate chips. Let it sit for a few minutes and then stir together so the chocolate chips can melt. Once the mixture is smooth let it sit for about 5 minutes so it can thicken.
Remove the cake from the freezer and unwrap. Slowly pour the ganache over the cake. Spread the chocolate evenly over the cake using an offset spatula. Top with sprinkles and then place the cake back in the freezer – unwrapped – for 10-15 minutes so the chocolate can harden.
To serve, carefully remove the cake from the pan and plastic wrap then slice. Store leftovers in the freezer for 3-5 days.
Recipe first appeared on Bead Yarn & Spatula.