Here it is… My first pumpkin recipe of the season! Not sure how many more are to follow. This could very well be the only pumpkin recipe I share this year. I’m just not into it this year as I have been in the past. I did get my fair share of pumpkin beverages from Starbucks last month during their BOGO promotion, so I am getting my pumpkin fill. Before we know it though, pumpkin will be replaced by peppermint and all the pretty fall colors will be replaced by holiday colors. I walked into a Lowe’s the other day and right smack in my face was a full Christmas display flanked by two very large Santa Clauses’. I had to stop and think for a moment what date it was and how long until Christmas is actually here. Don’t get me wrong I enjoy the holidays, but this year feels like it has flown by incredibly fast so savoring these last few months of the year and the remaining holidays would be nice.
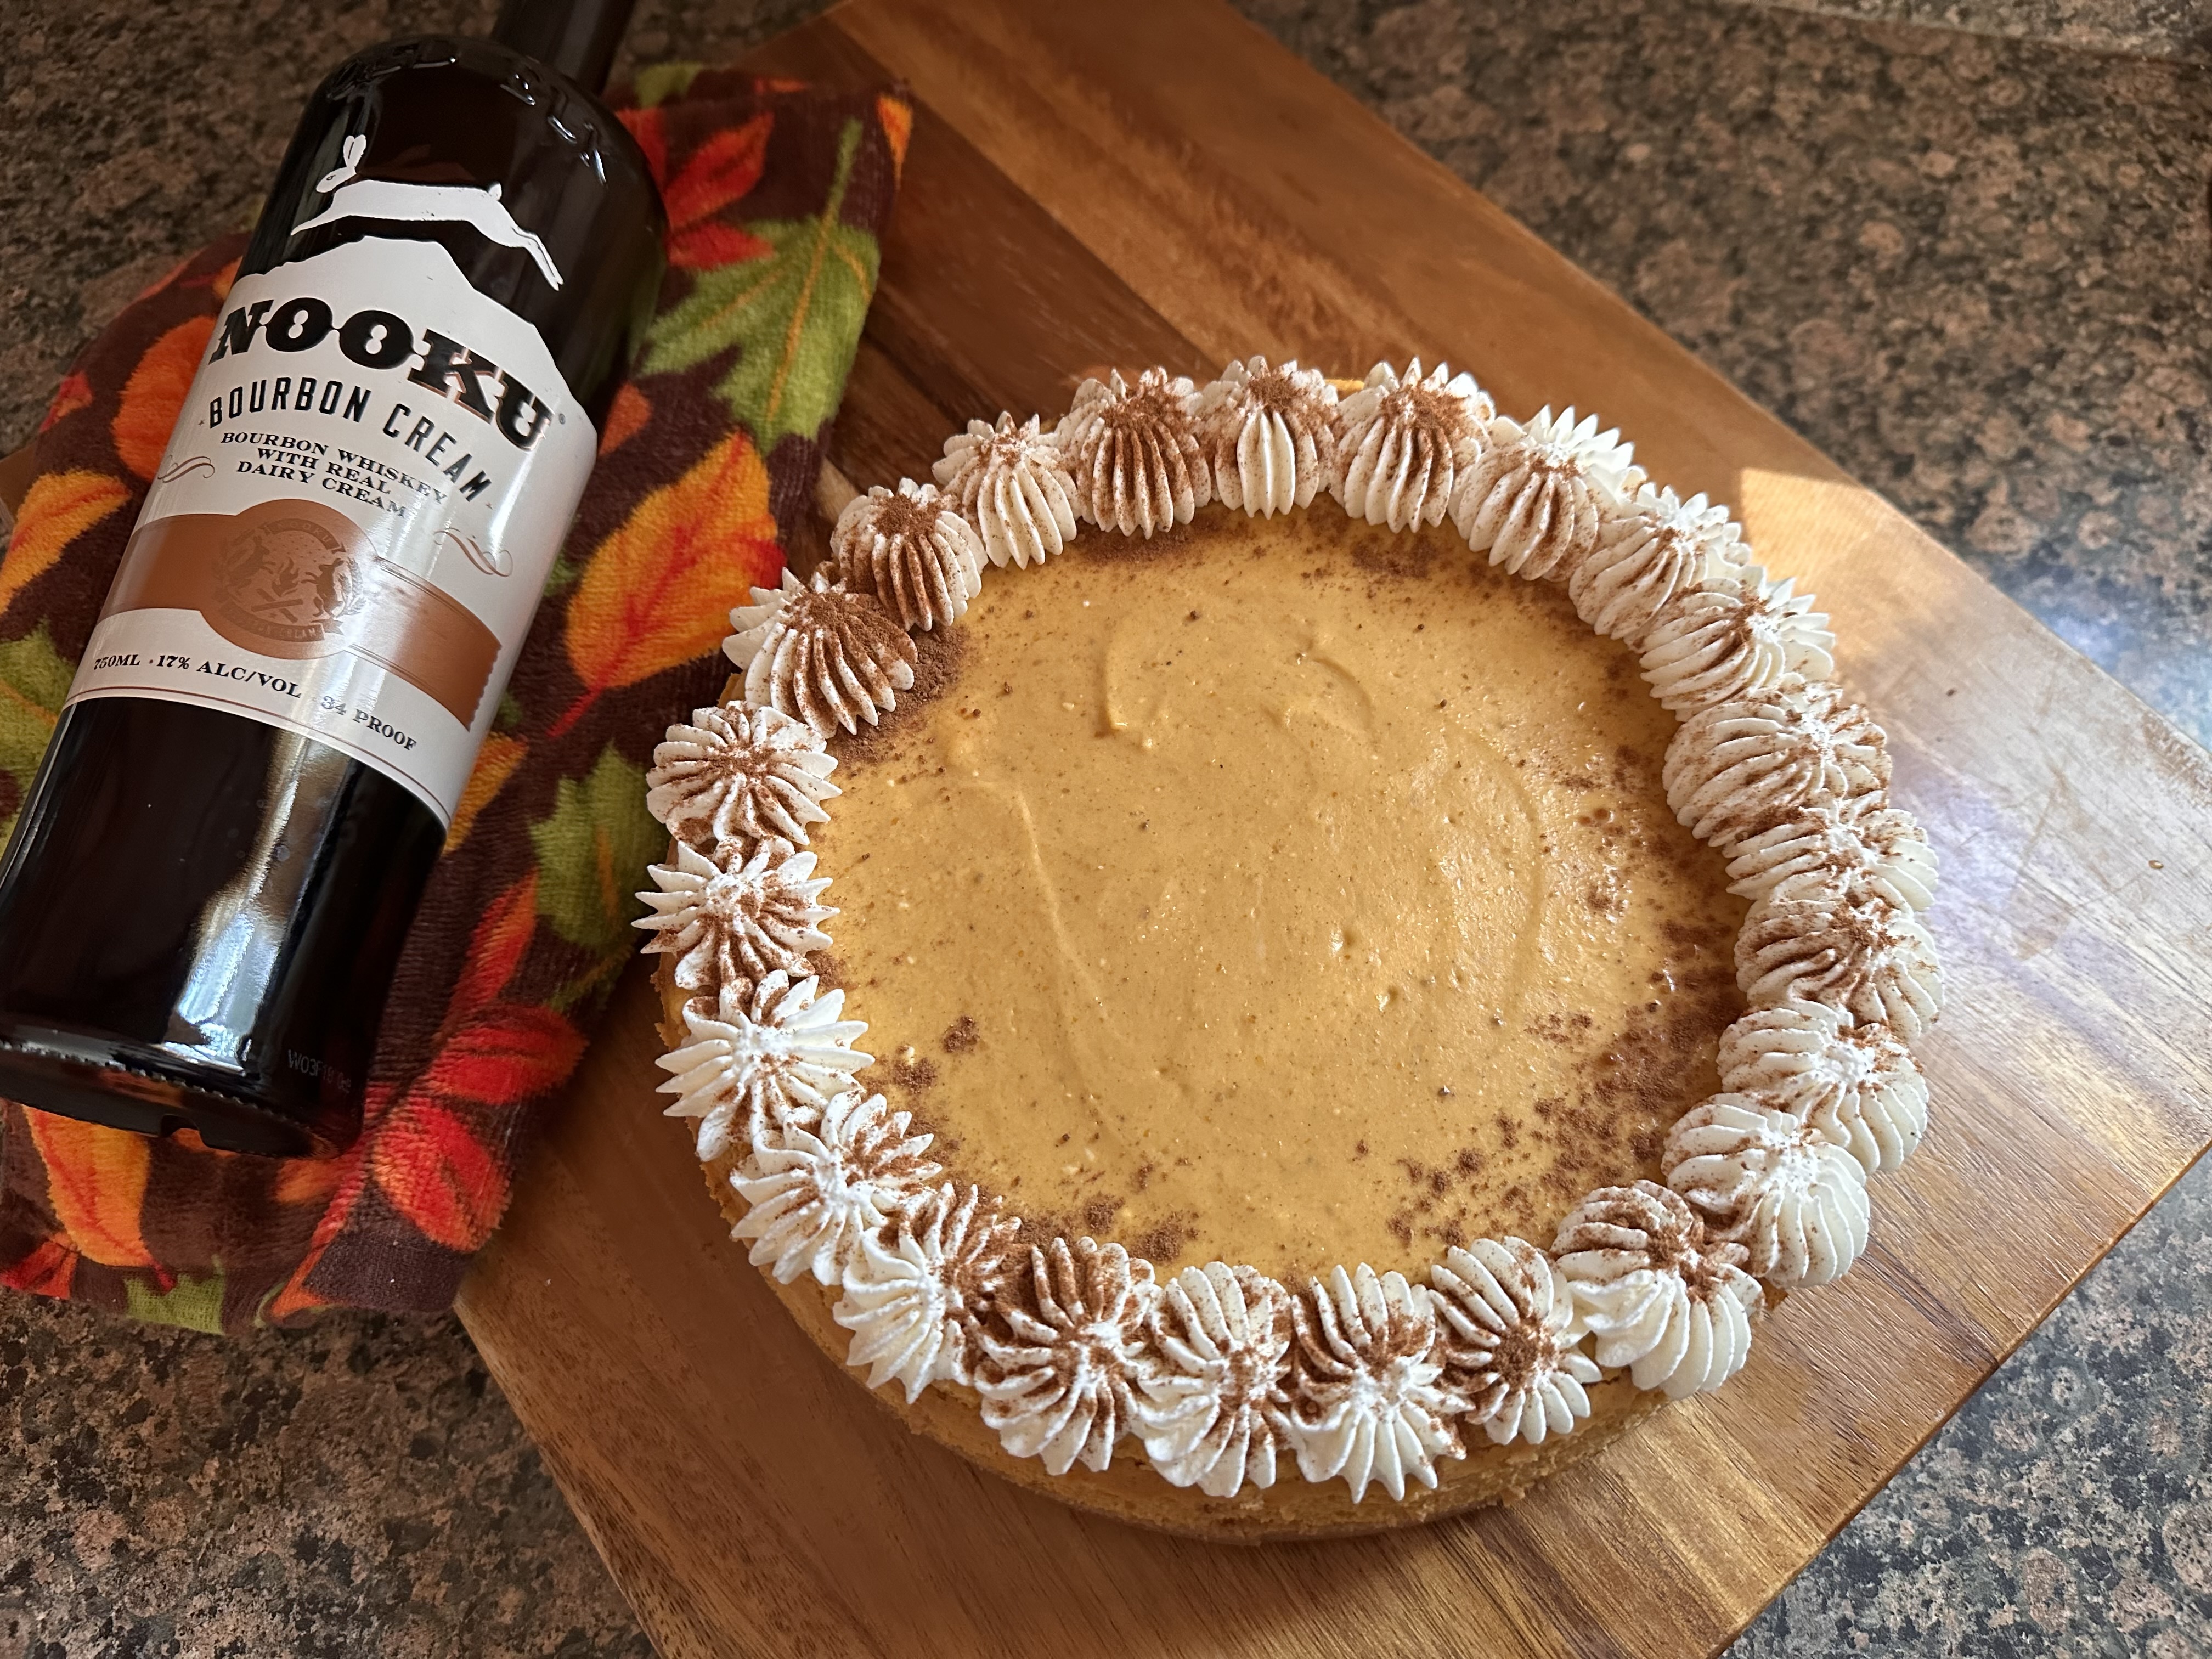
A few months ago, I received a bottle of bourbon cream from Nooku. They reached out to me on Instagram and offered to send me a bottle. I never tried bourbon cream before but was pleasantly surprised when I did. While the tasting notes are different, it reminded me of Irish cream. And while it is delicious to drink on its own chilled or at room temperature, I thought I could use it to make some sort of dessert. Initially I was thinking of making a bourbon cream cheesecake, but it being Fall and all I decided to give the cheesecake a Fall twist and add pumpkin to create a Pumpkin Bourbon Cream Cheesecake.
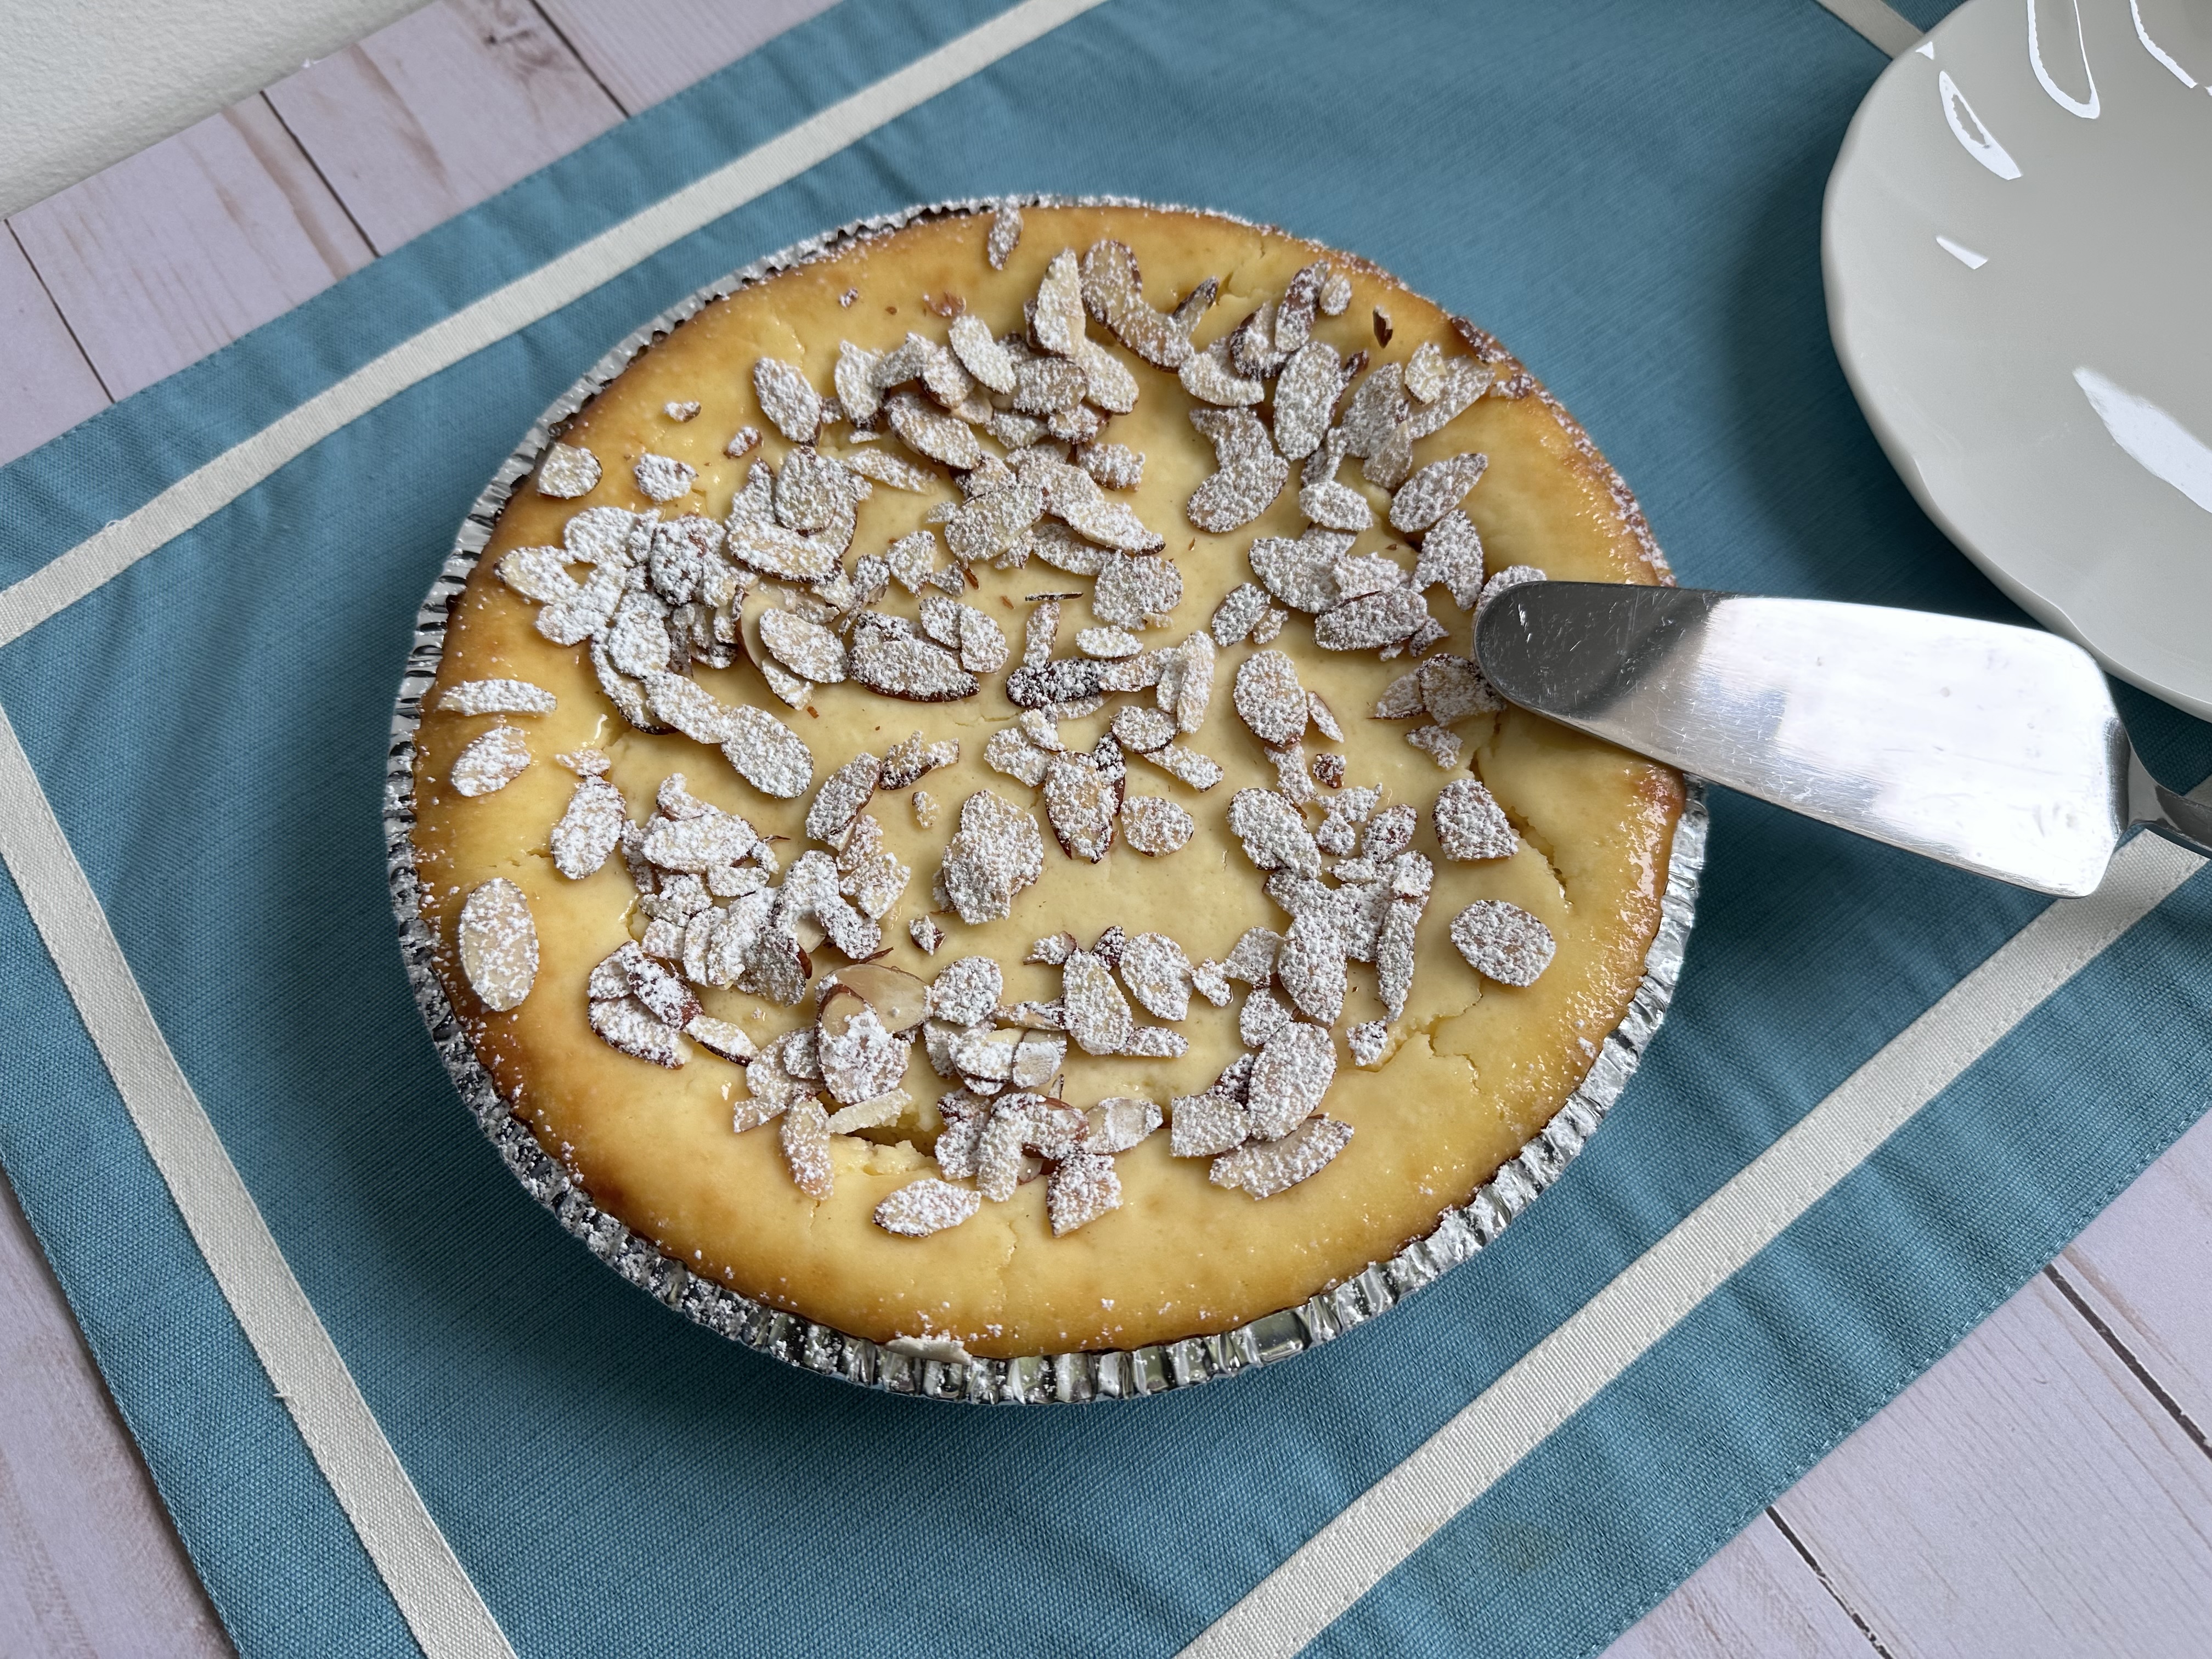
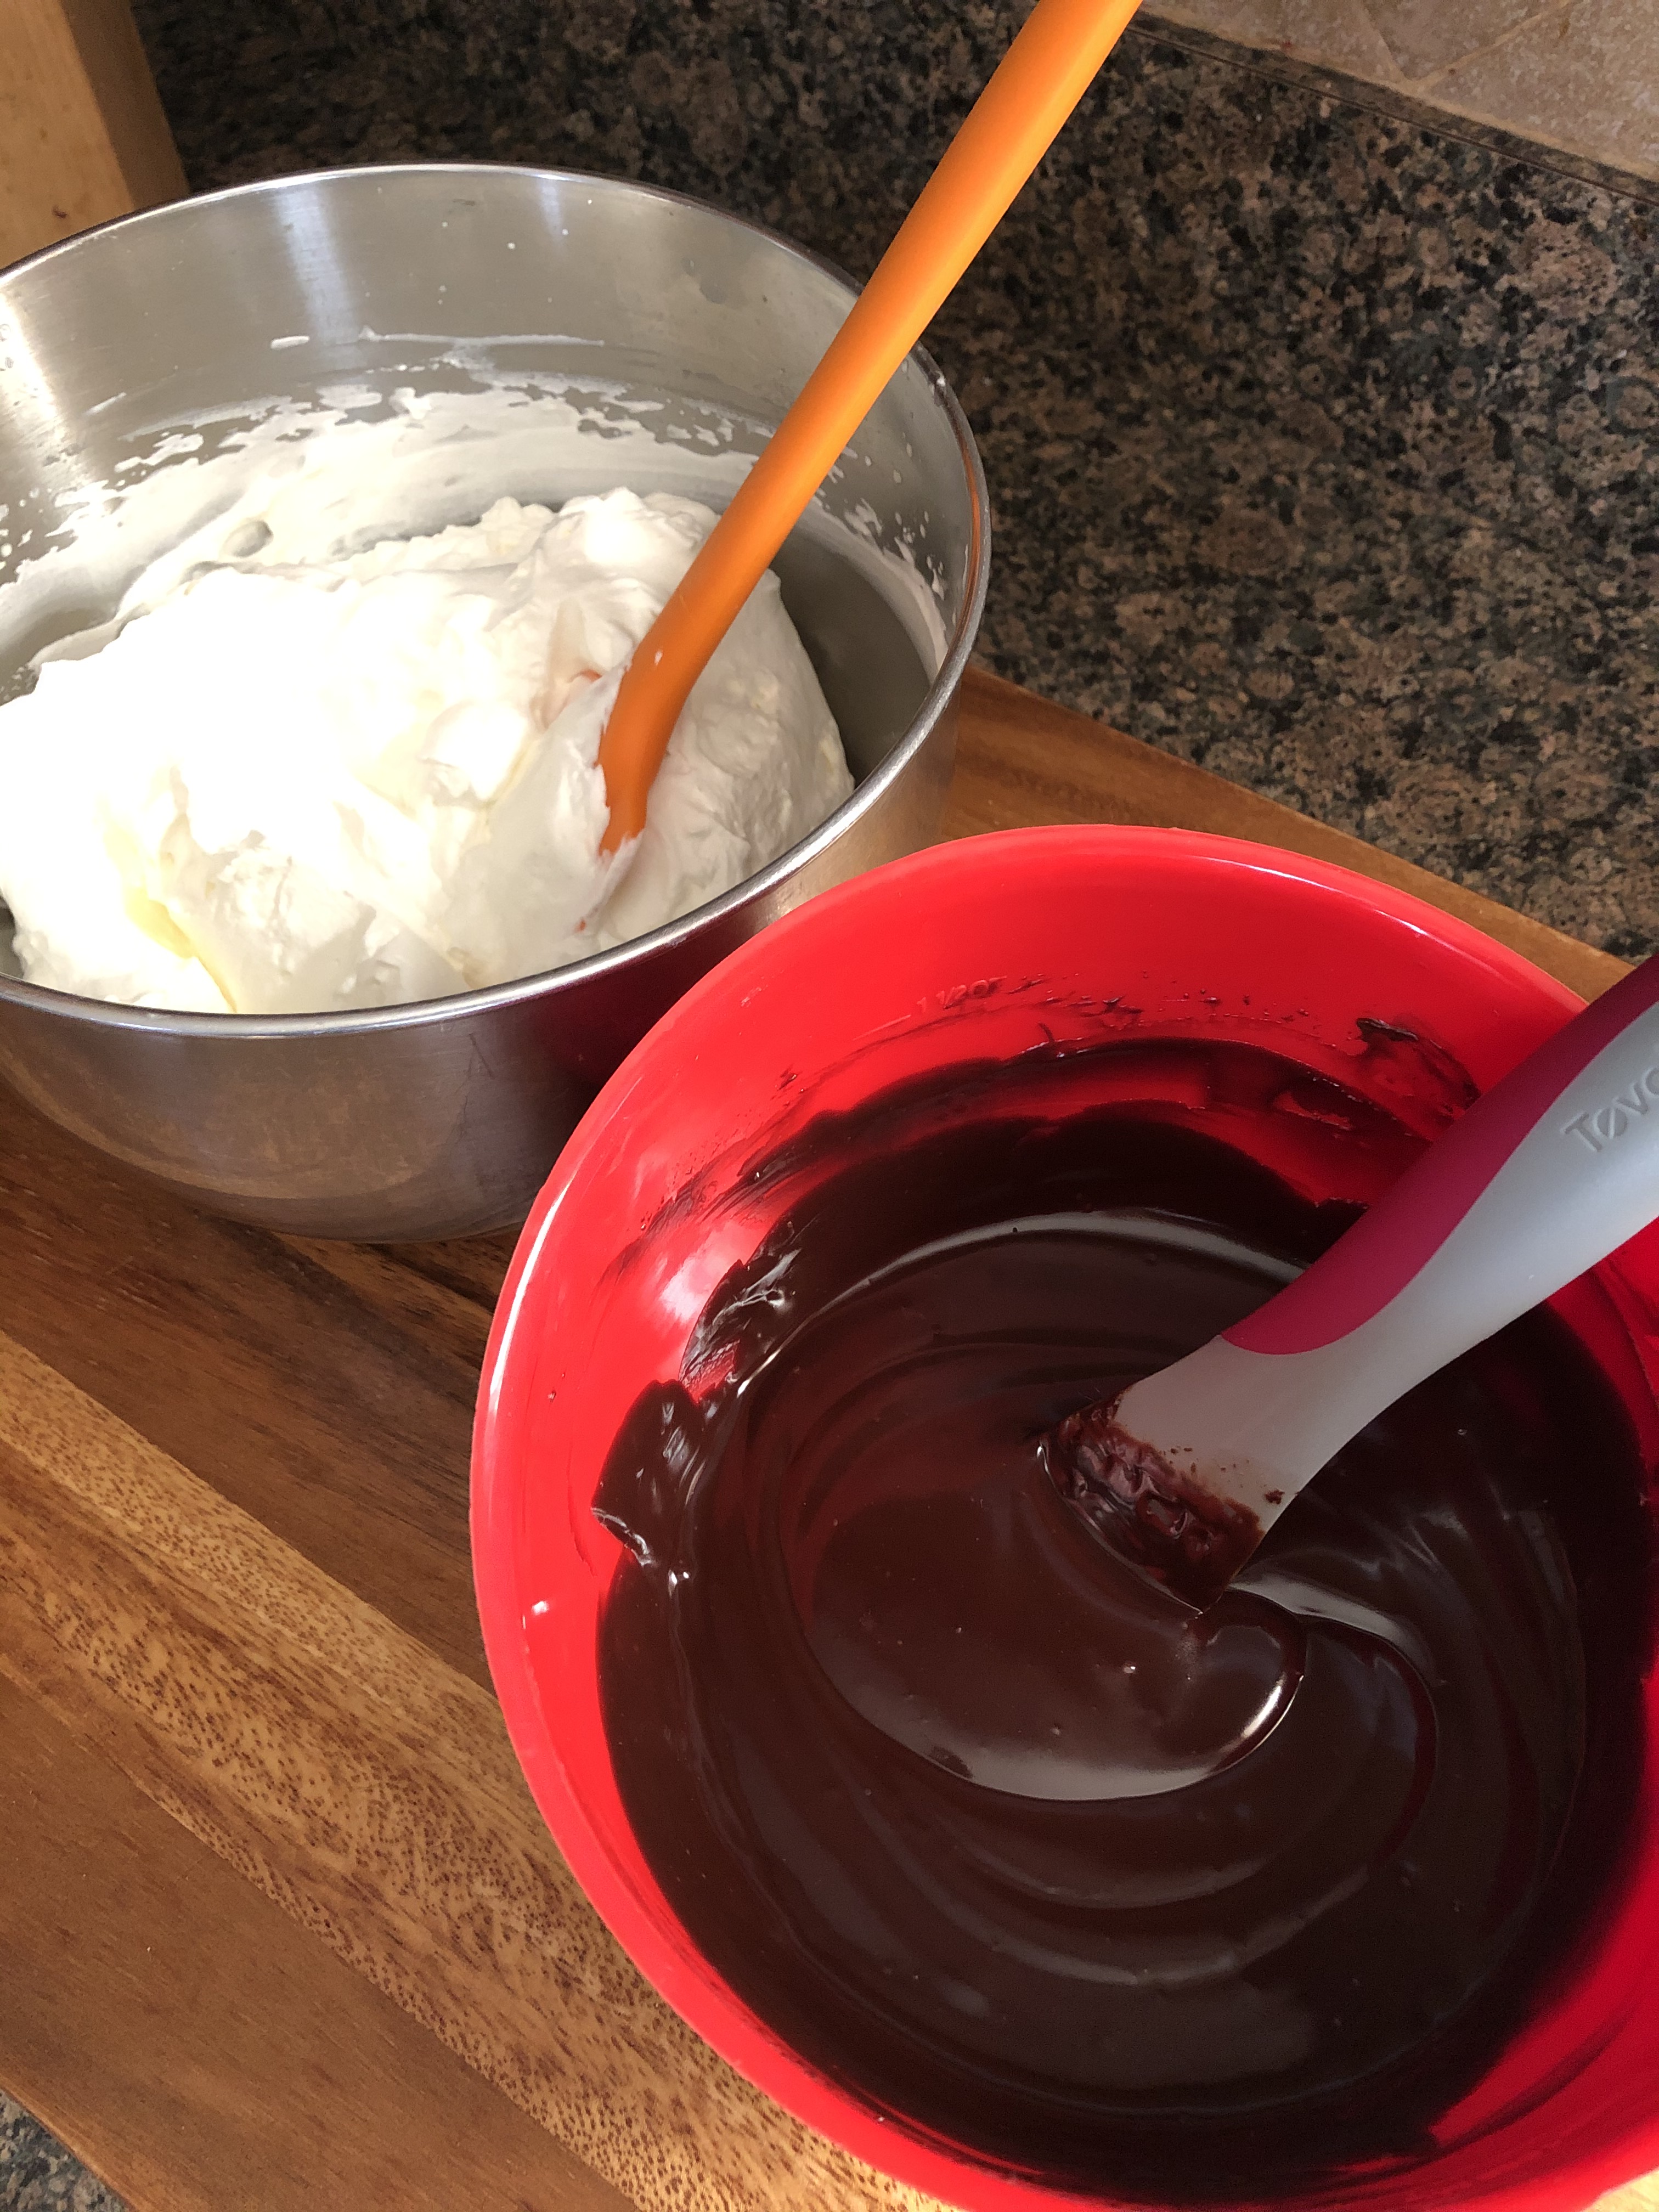
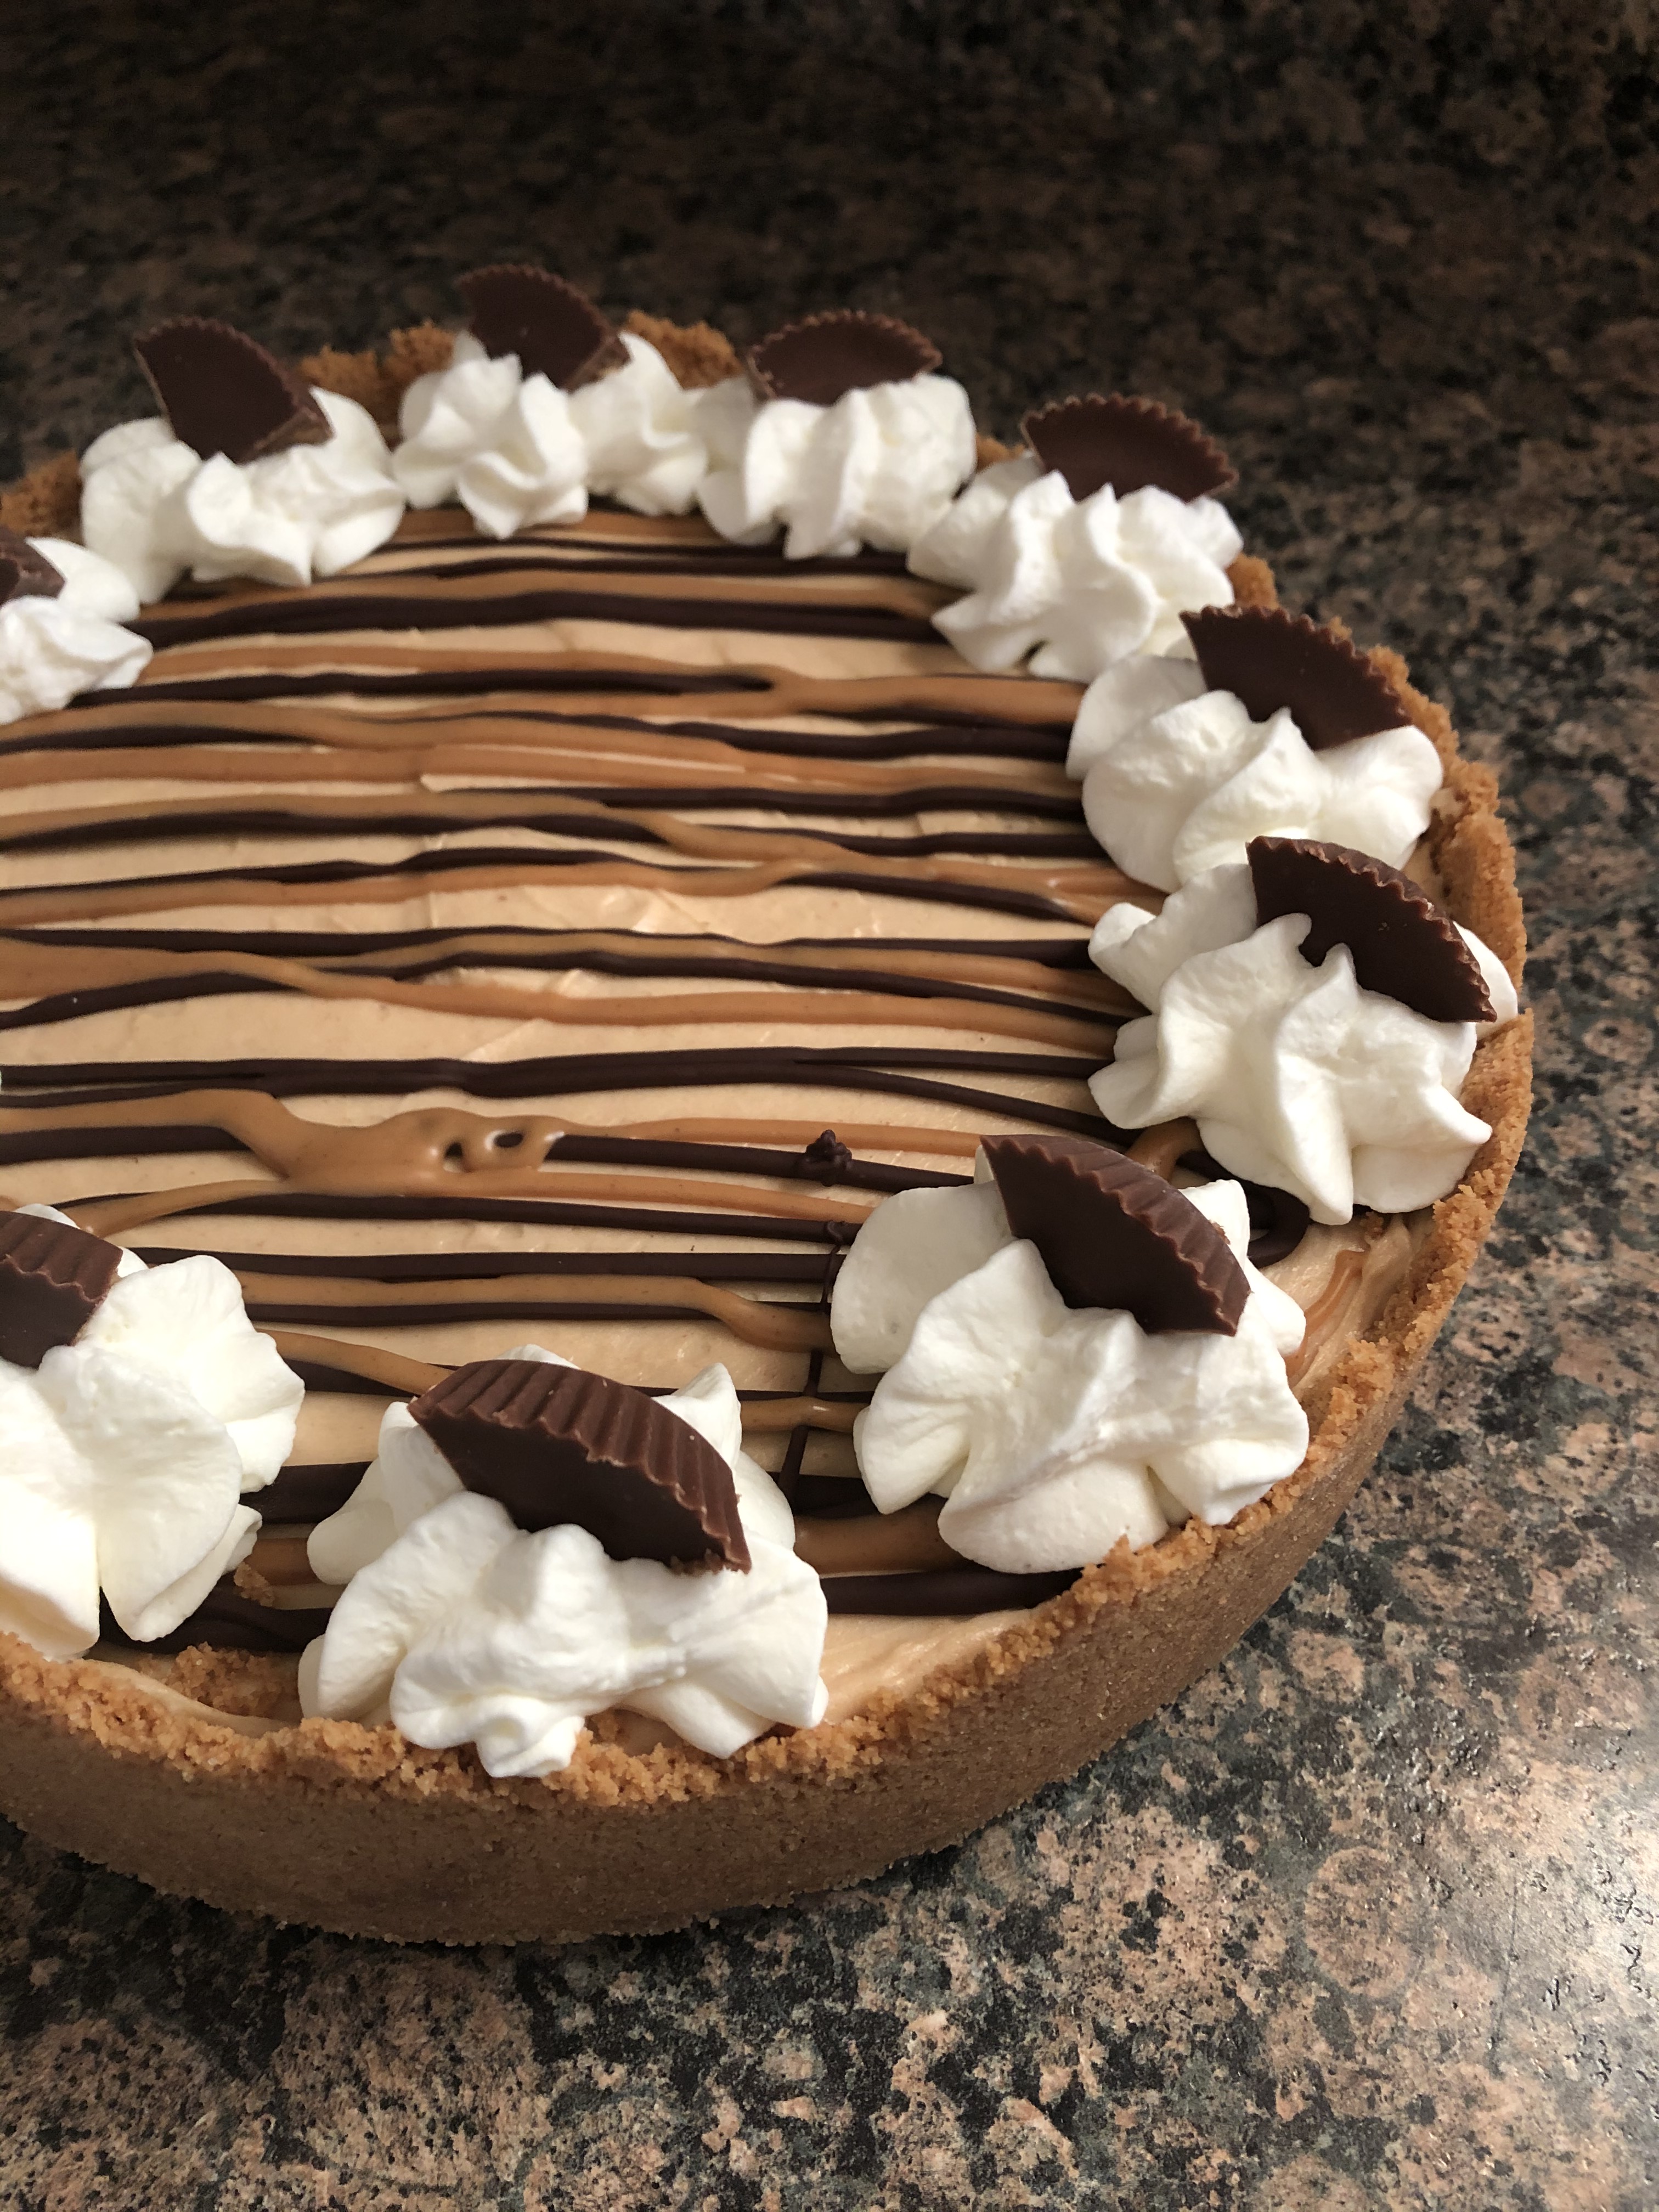
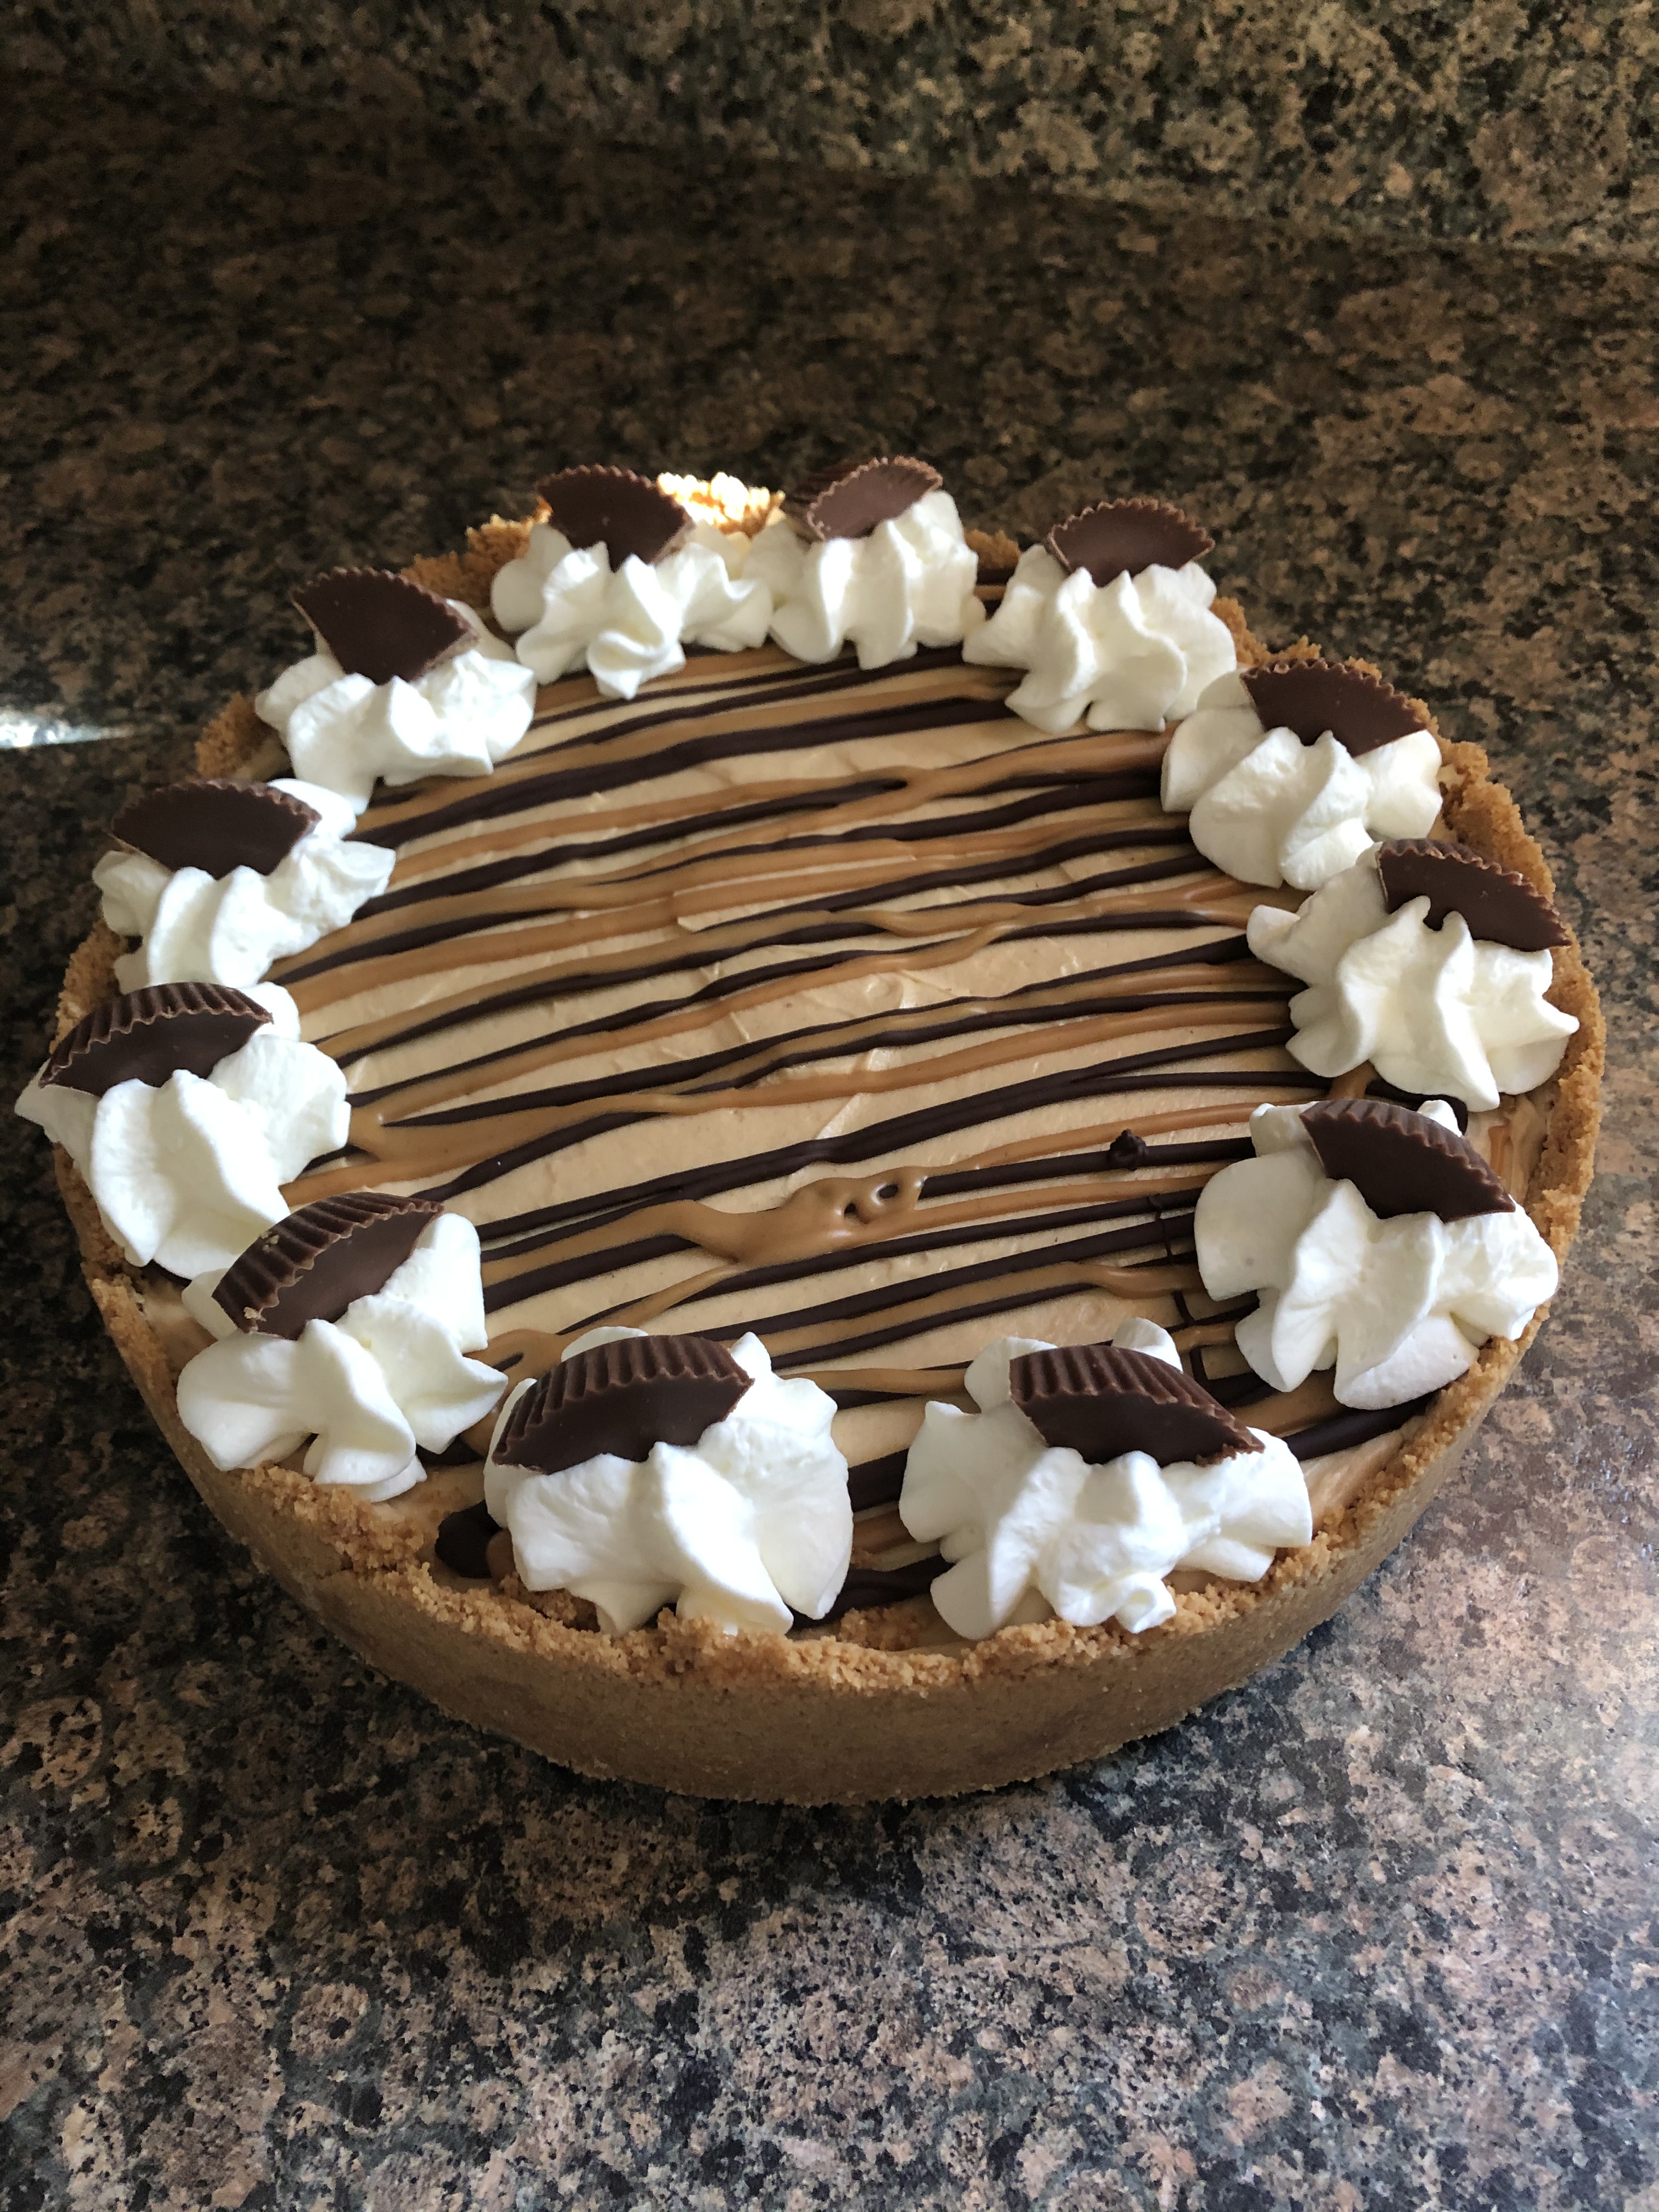
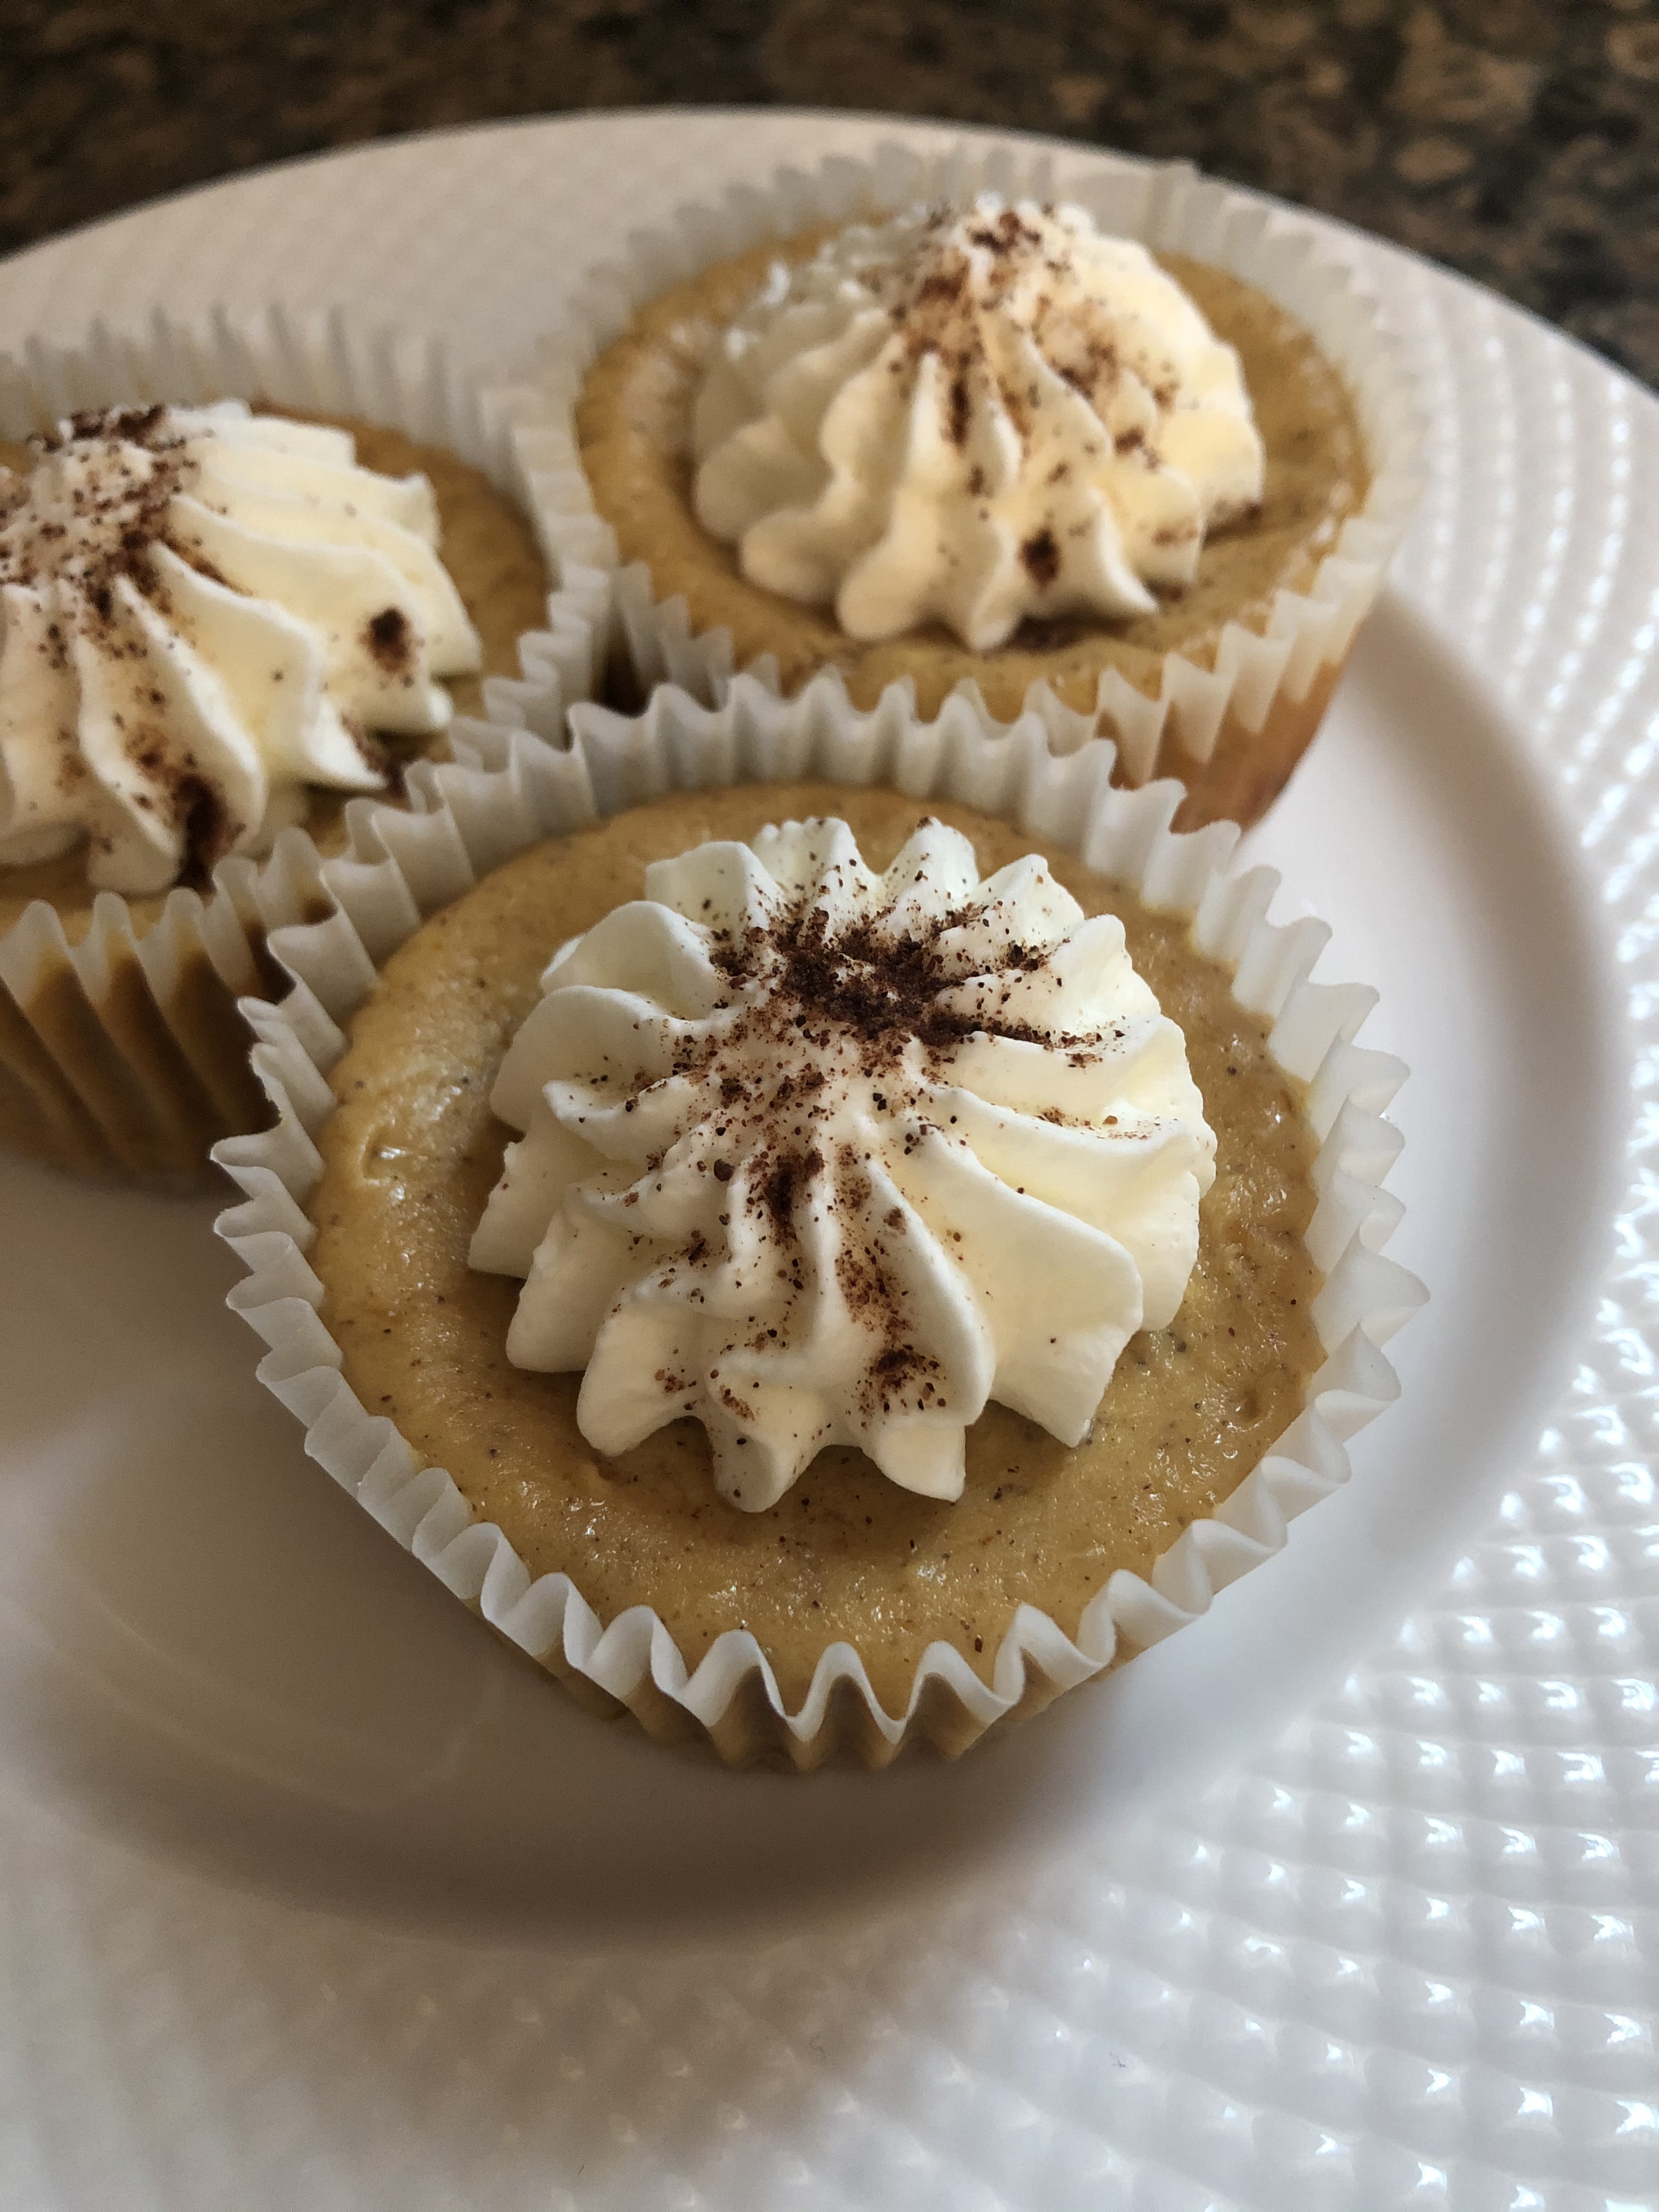
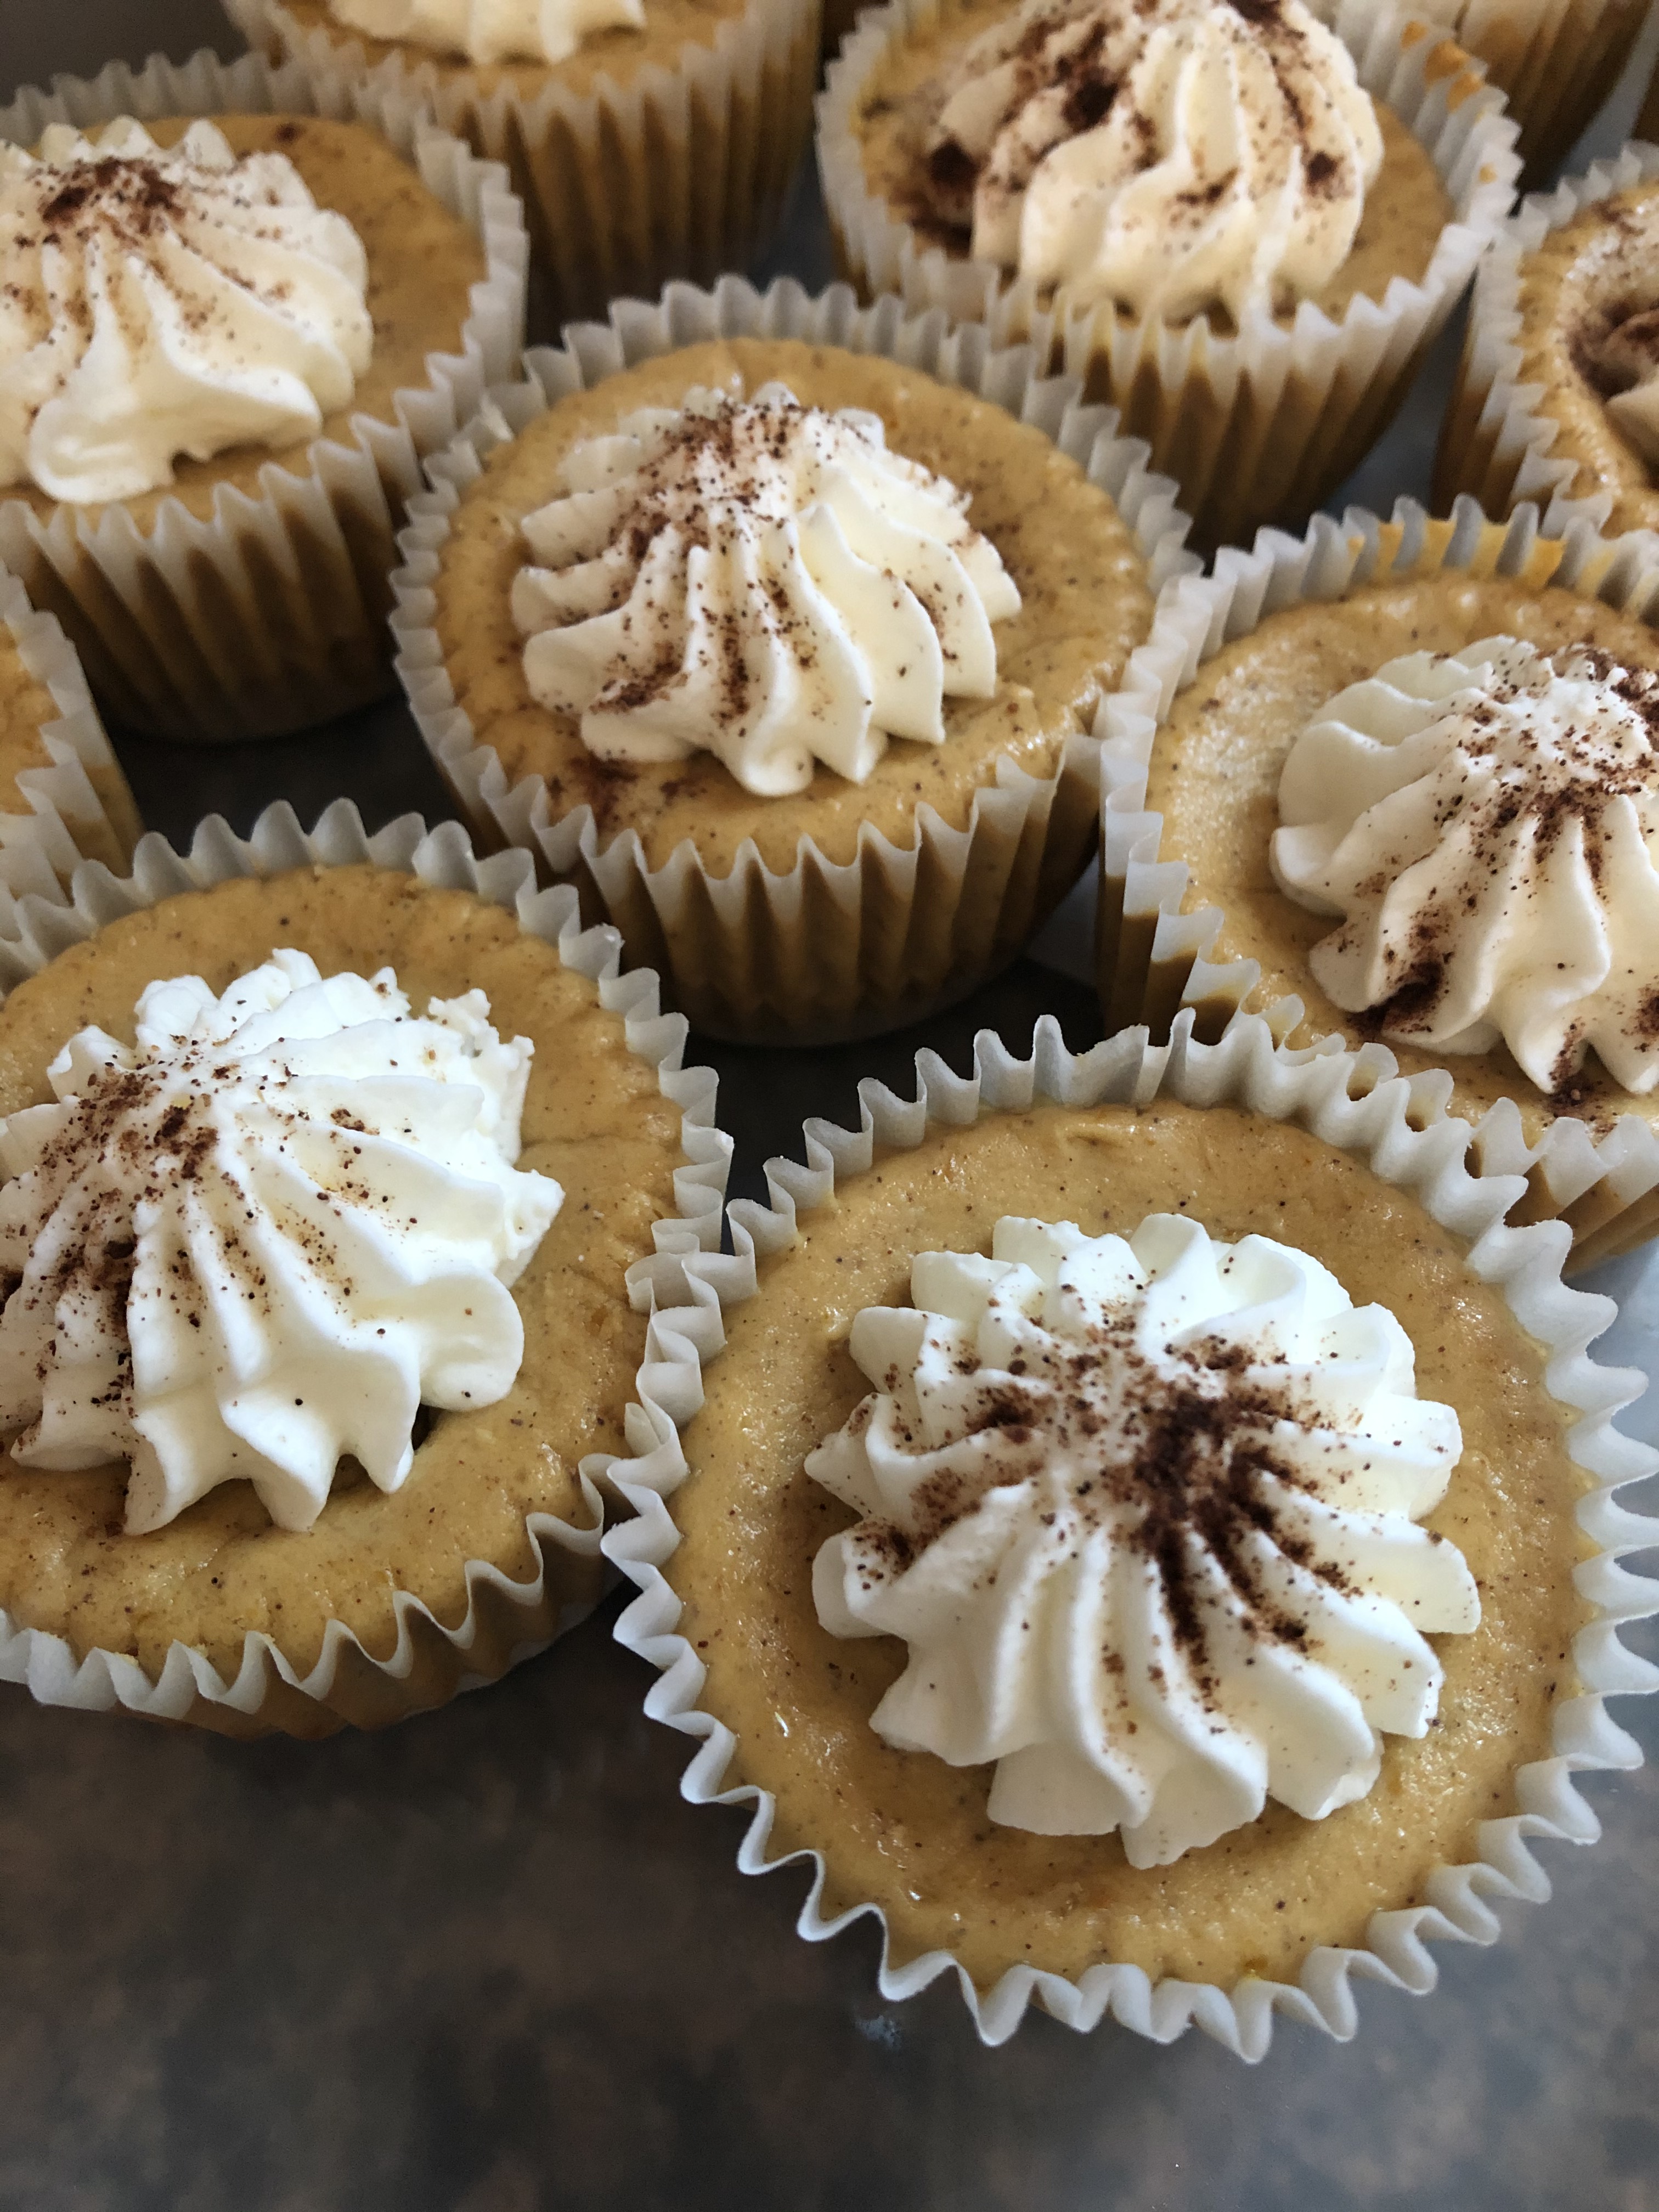
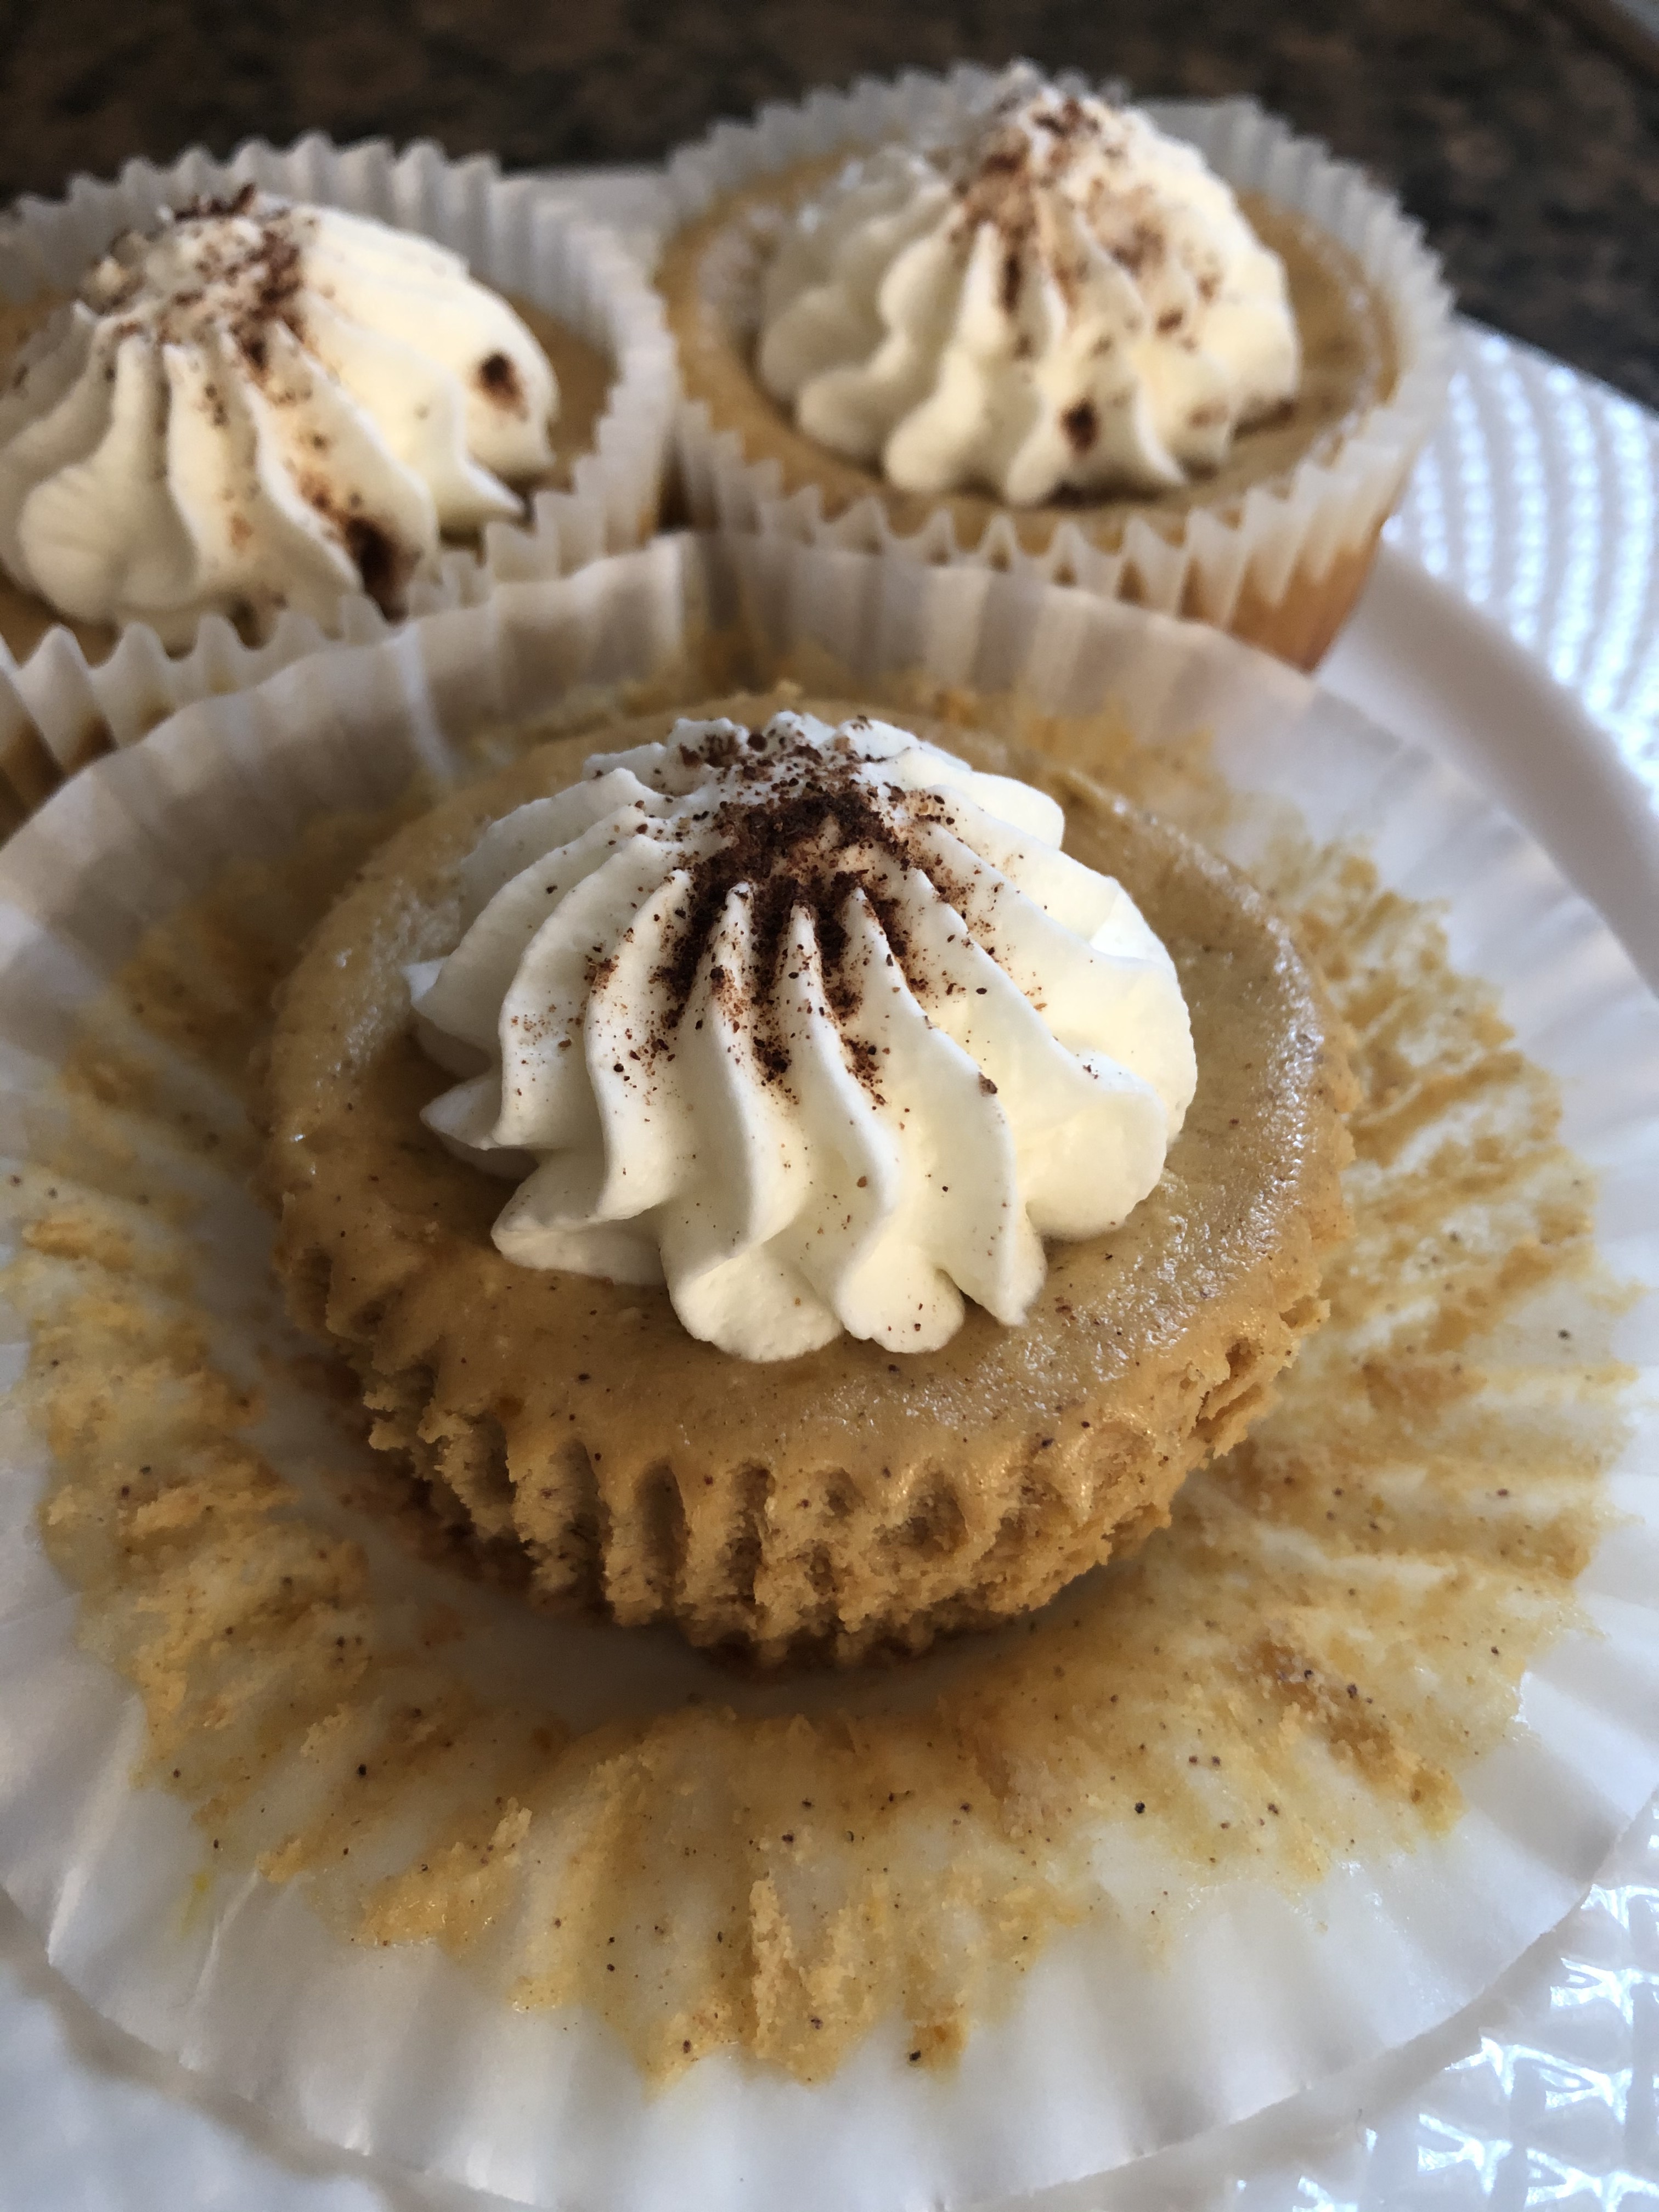
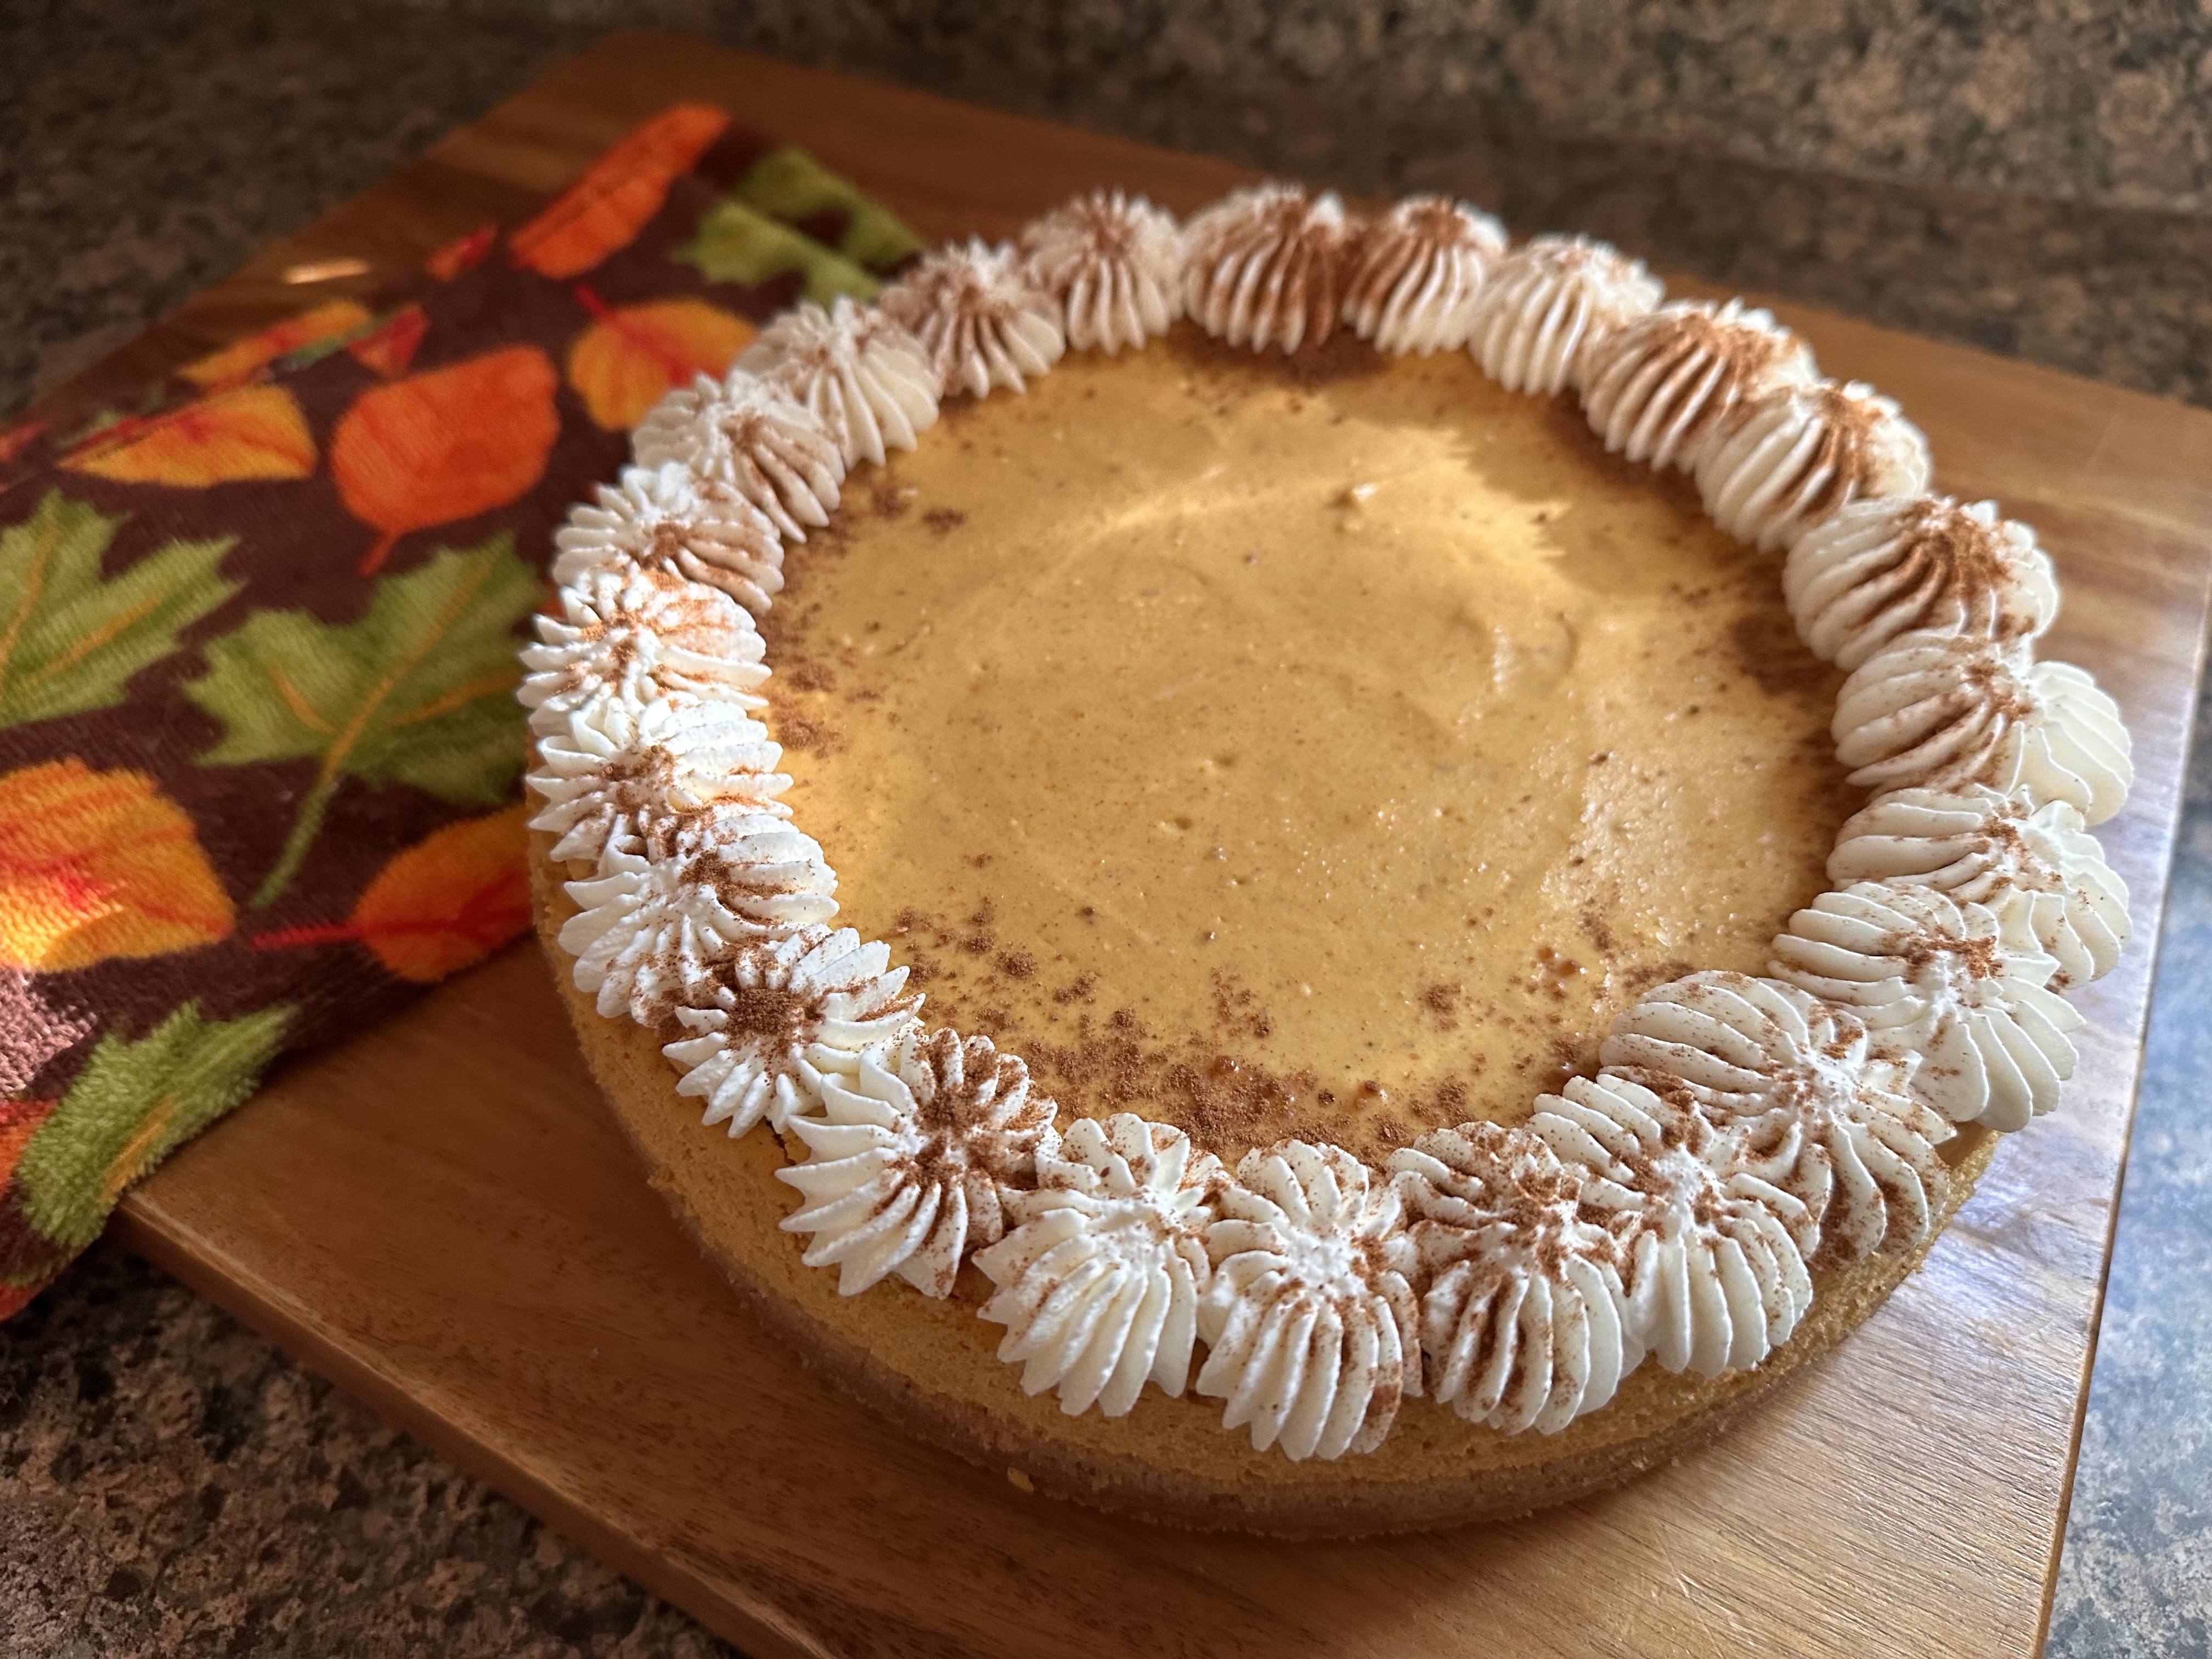
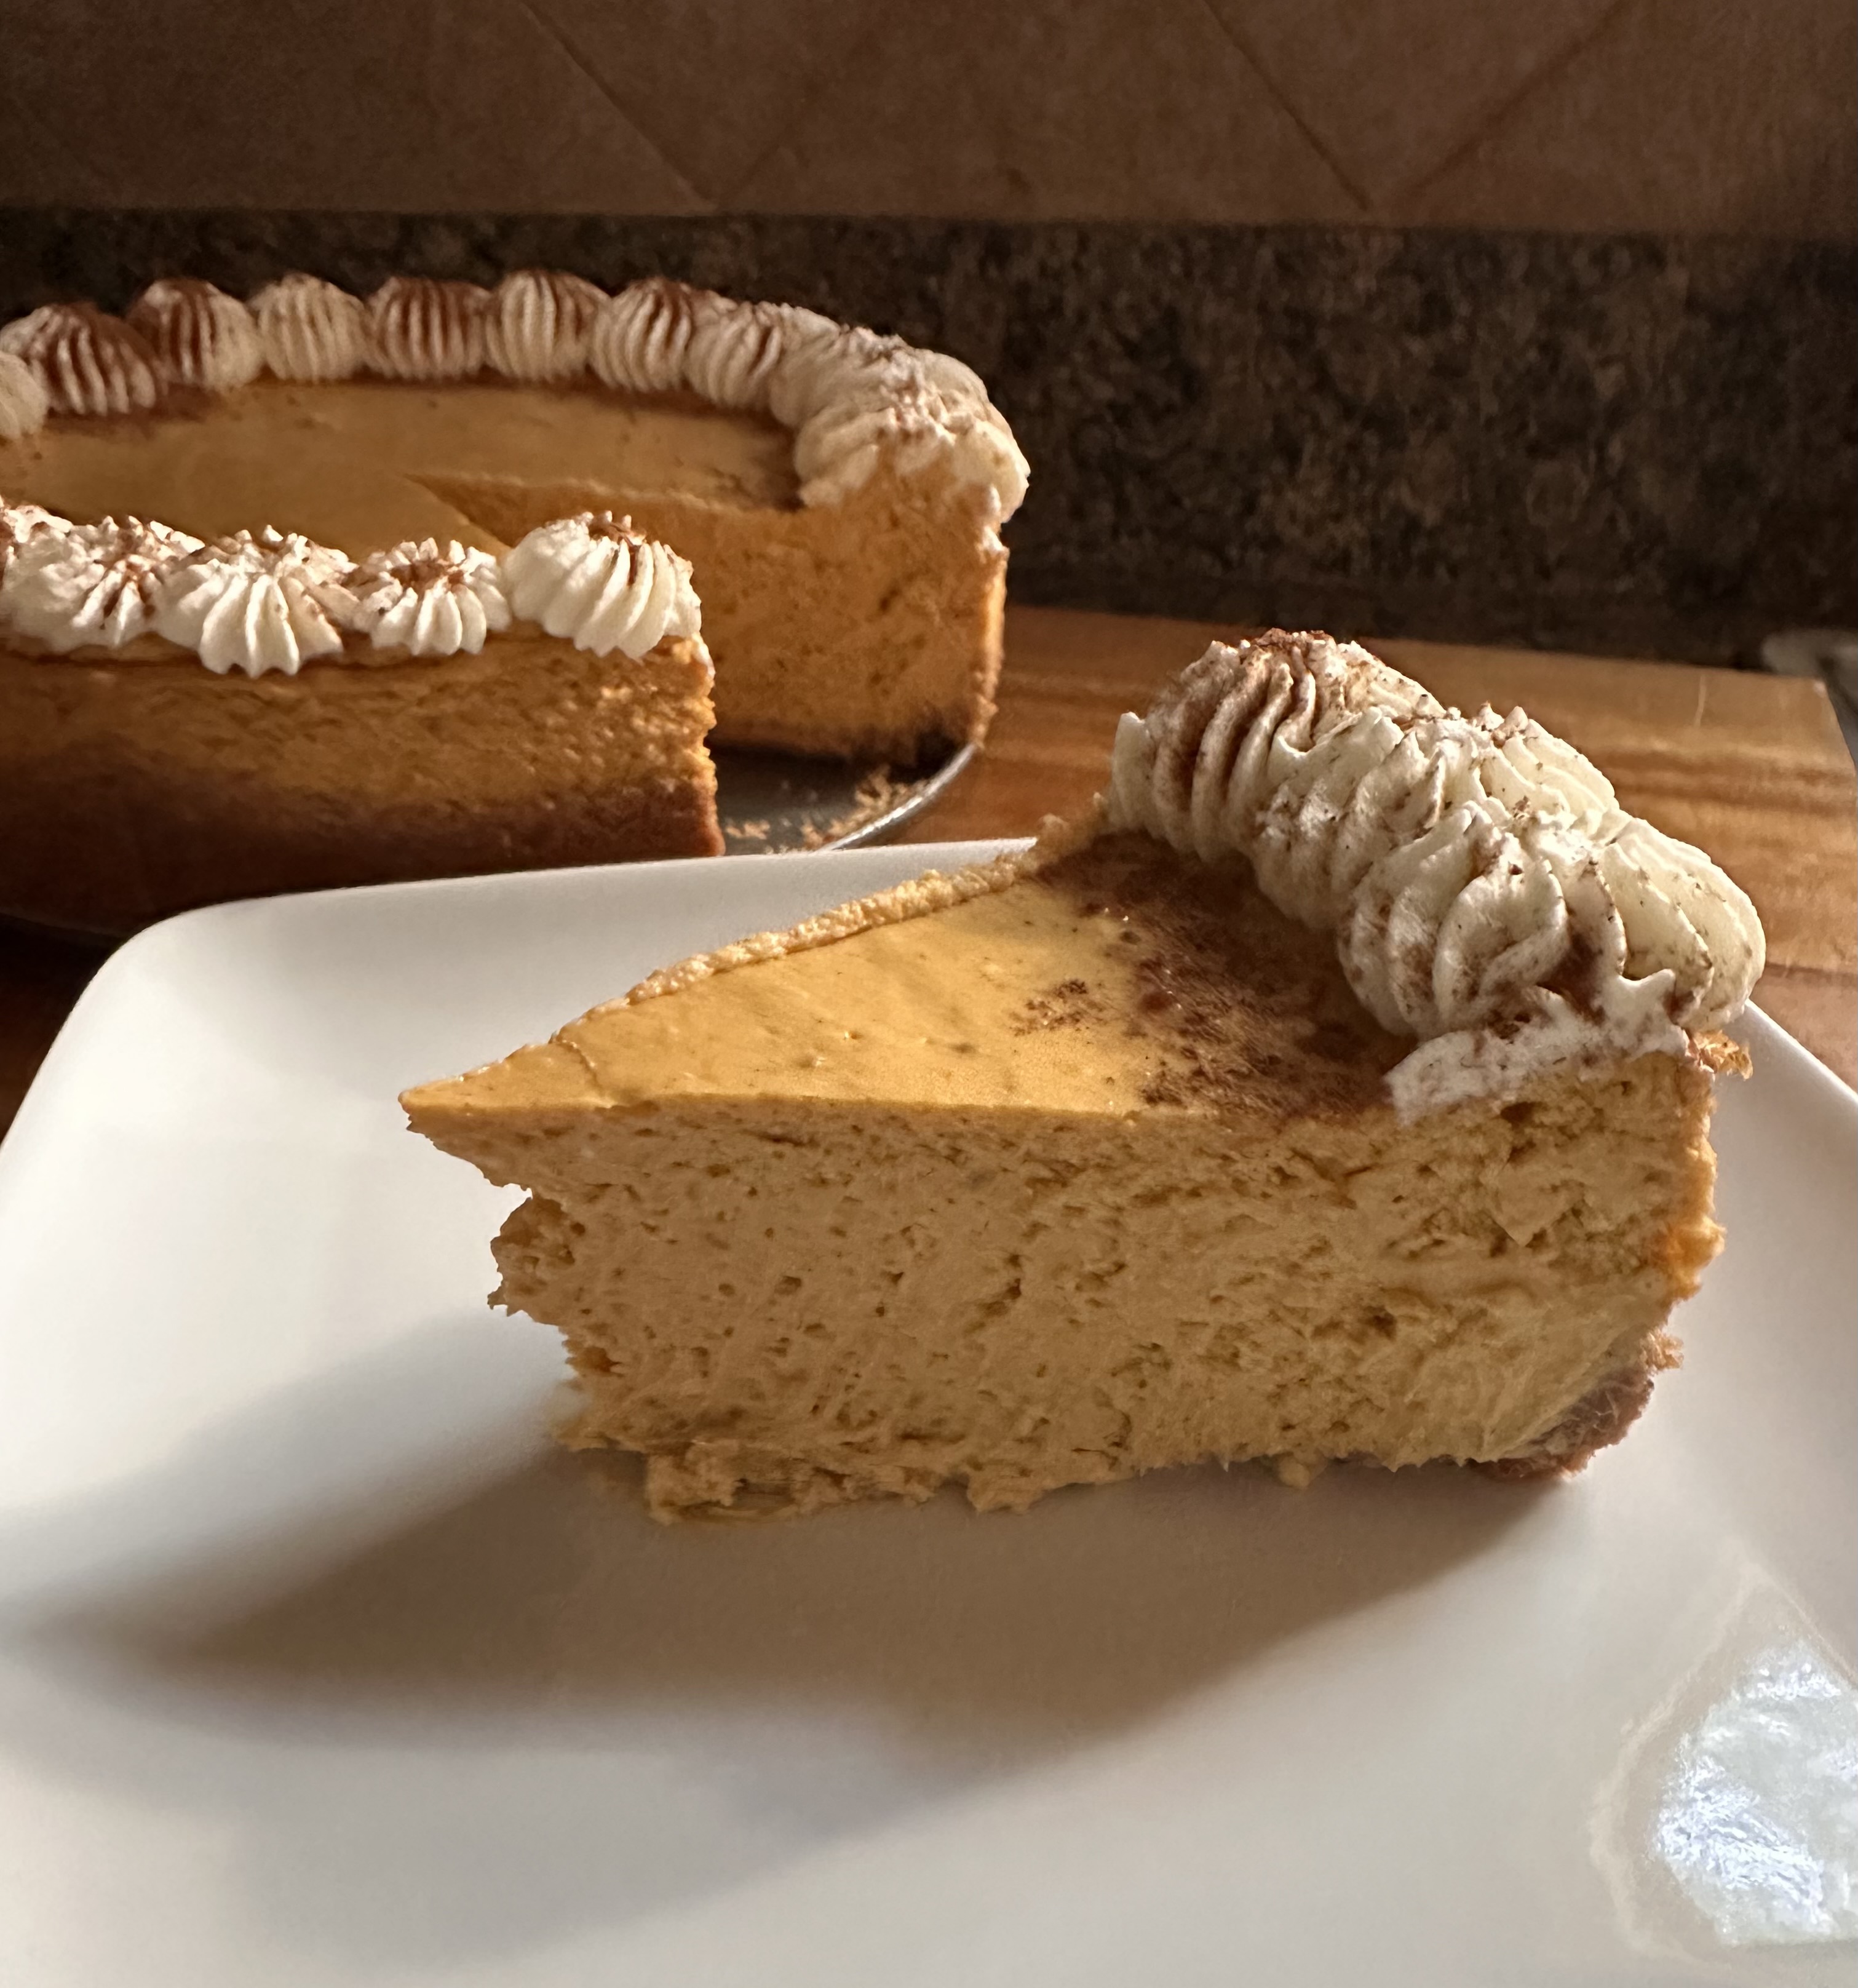
So, with some bourbon cream, pumpkin puree and of course pumpkin spice (along with a few other ingredients) I ended up with a delicious cheesecake that’s perfect for these Fall days. And while I was initially thinking of topping the cheesecake with a chocolate ganache drizzle, I opted to go a simpler route and whipped up a small batch of bourbon cream whipped cream to pipe along the edges of the cheesecake which I then sprinkled with pumpkin spice (because you can never have too much of it).
Pumpkin Bourbon Cream Cheesecake
Ingredients:
For the Graham Cracker Crust:
12 graham crackers
1 tablespoon sugar
6 tablespoons unsalted butter, melted
For the Cheesecake:
3 8oz blocks of cream cheese, at room temperature
1/2 cup sugar
1/2 cup light brown sugar
1/4 cup sour cream, at room temperature
15oz. can pumpkin puree
2 teaspoons vanilla extract
2 teaspoons pumpkin pie spice
3 large eggs, at room temperature
1/3 cup bourbon cream*
For the Bourbon Cream Whipped Cream:
1/2 cup heavy whipping cream
1 tablespoon bourbon cream*
1 tablespoon confectioners’ sugar
Additional pumpkin pie spice to sprinkle on top of cheesecake
*I used Nooku Bourbon Cream
Directions:
Preheat the oven to 325 F.
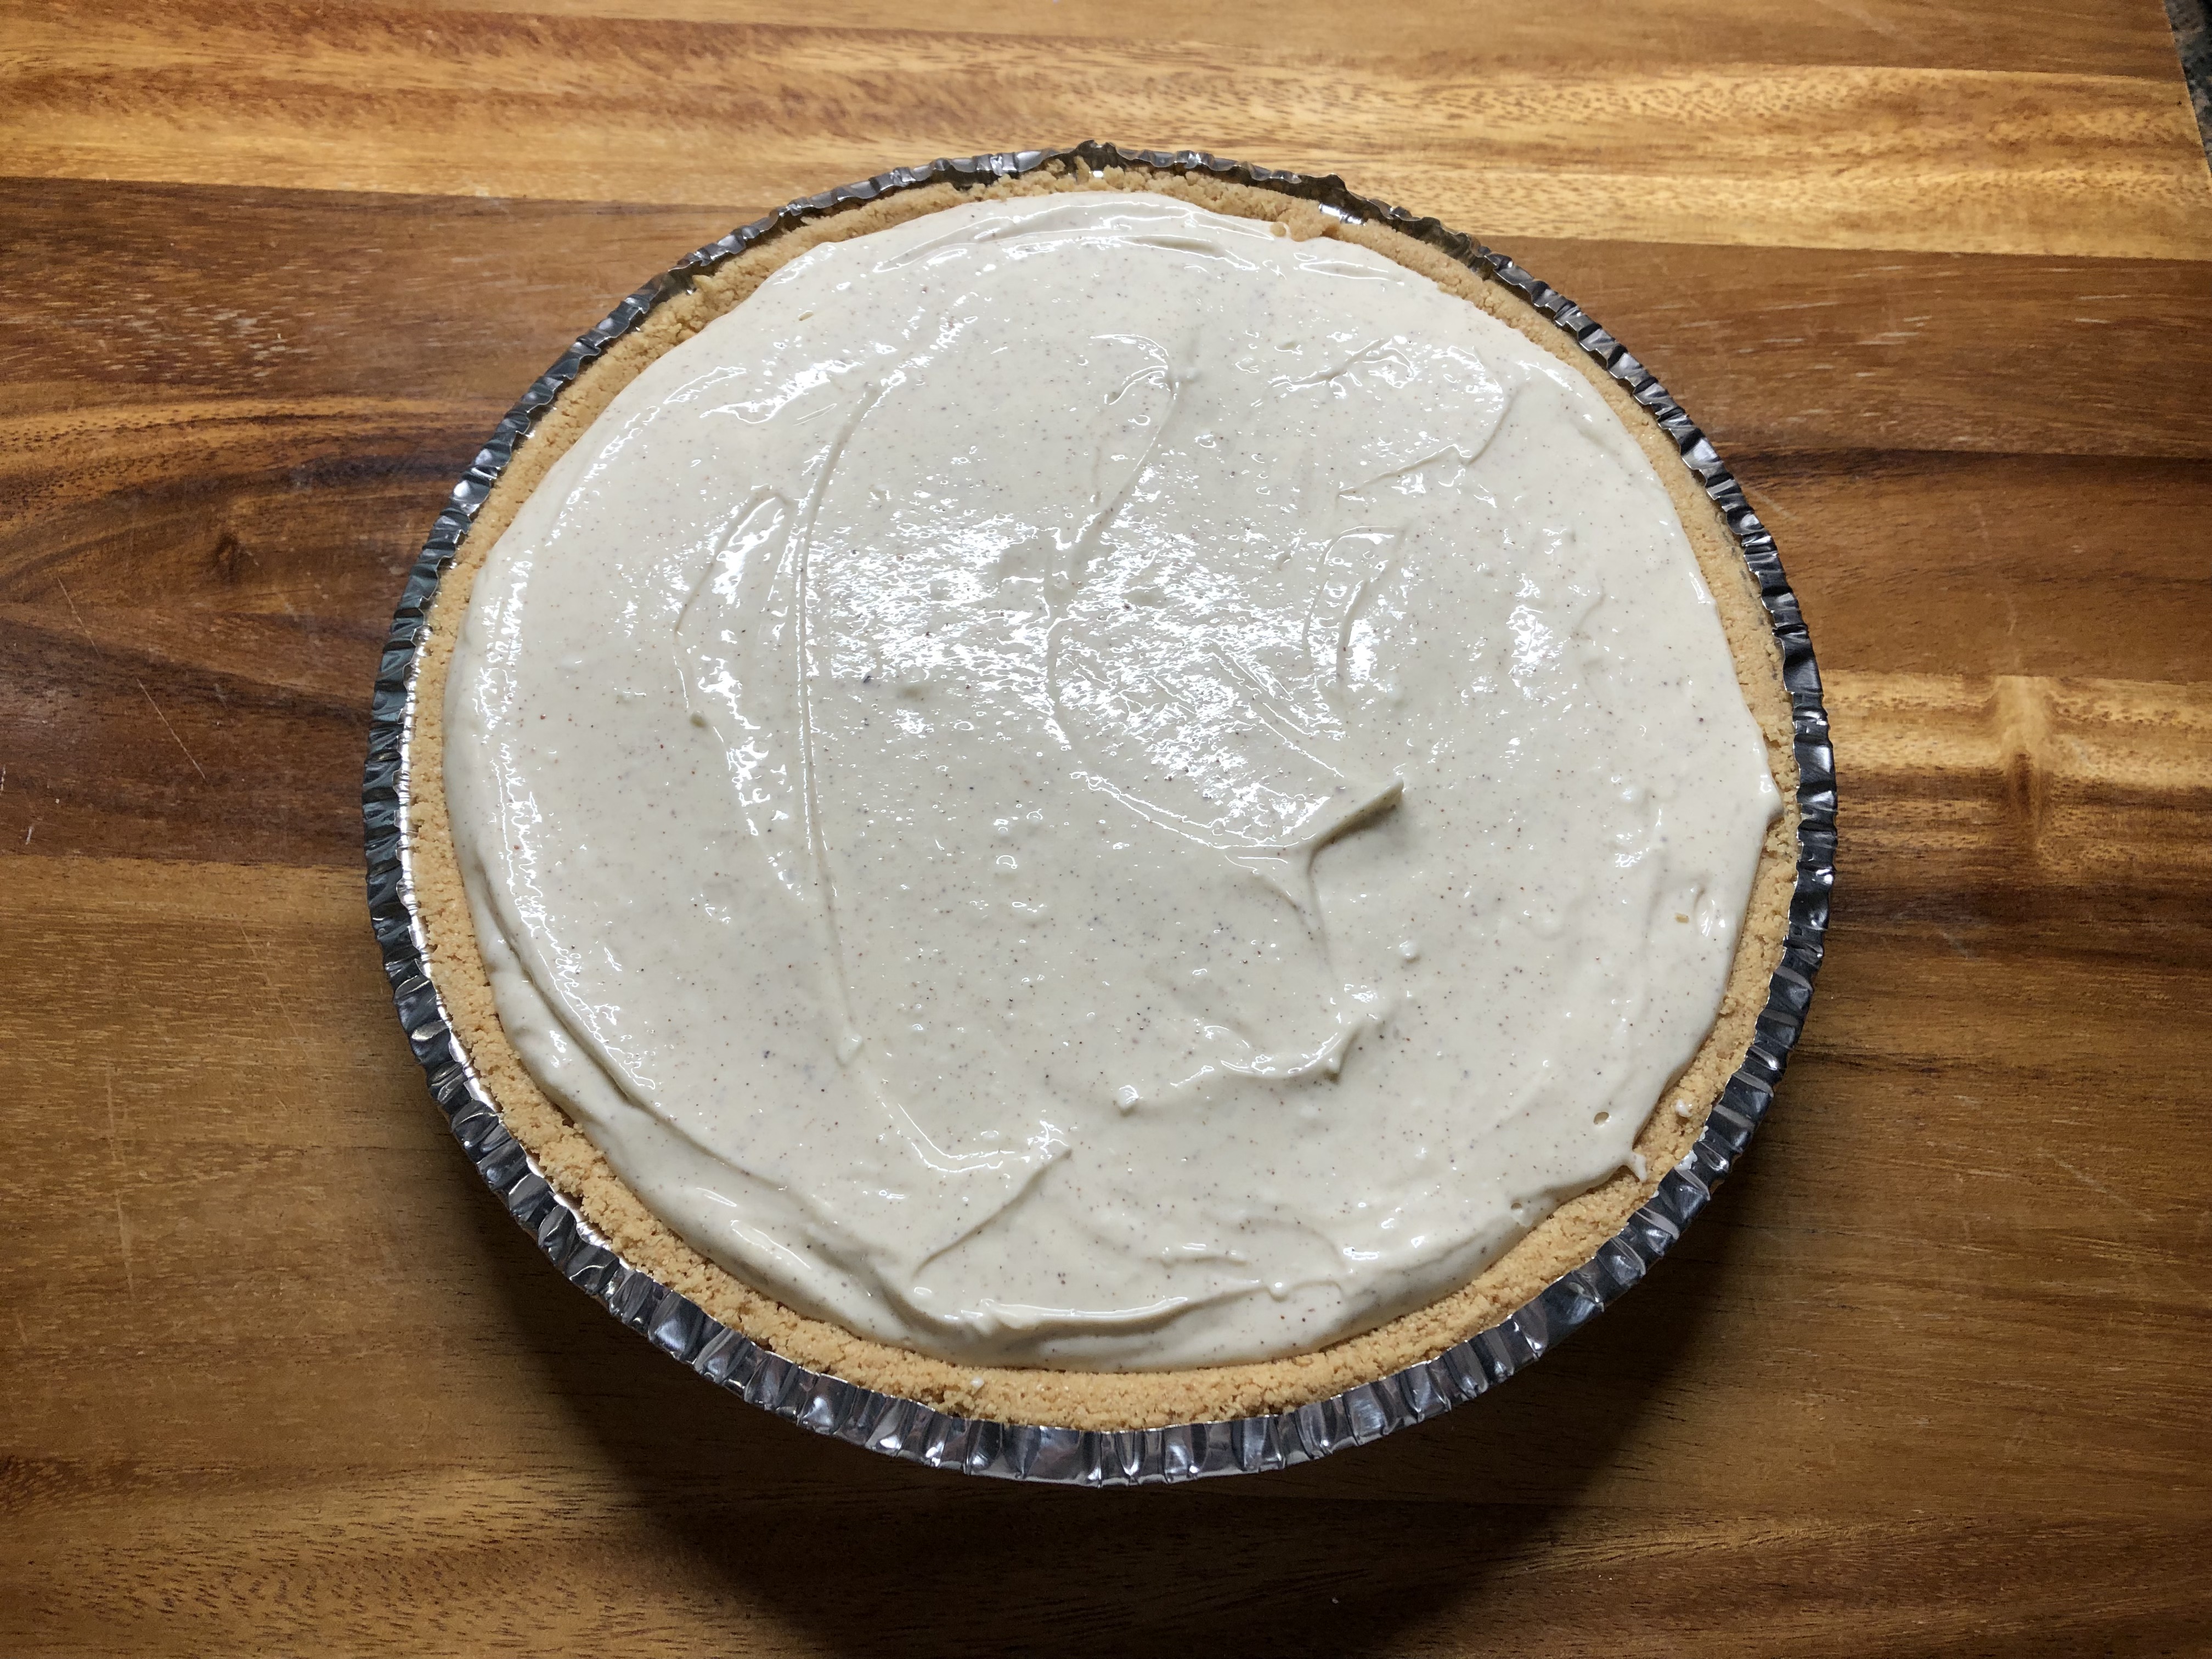
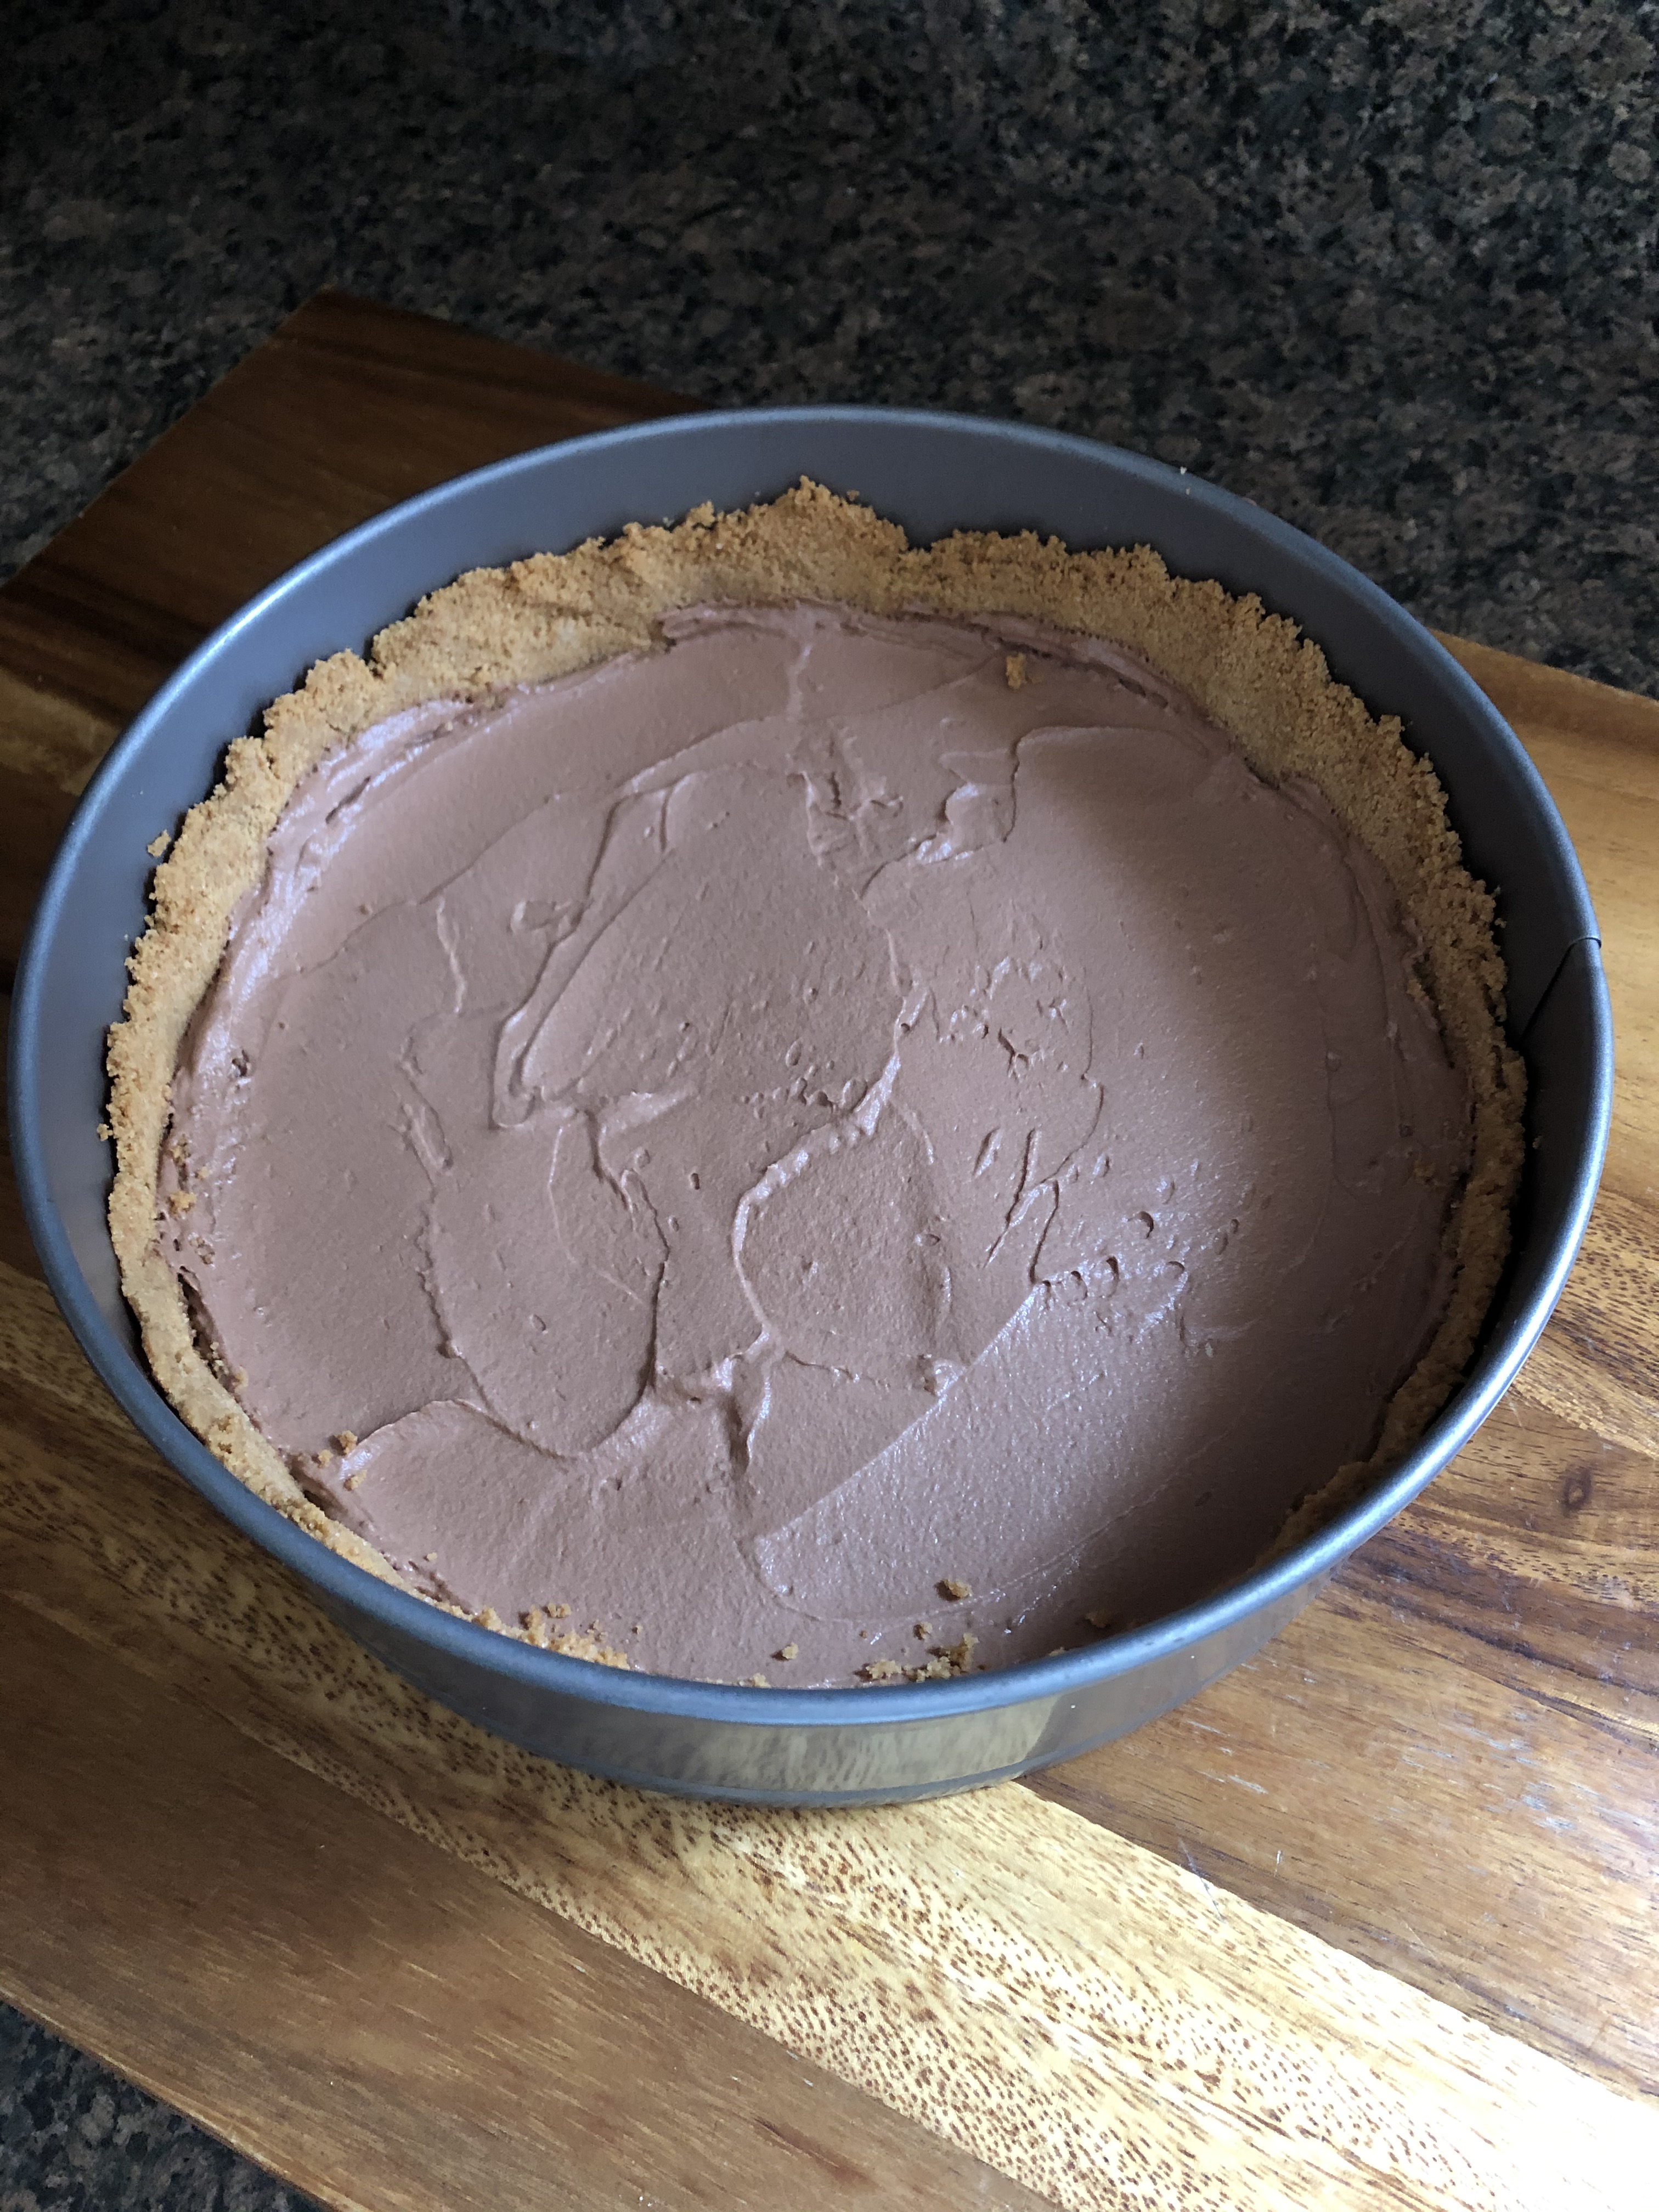
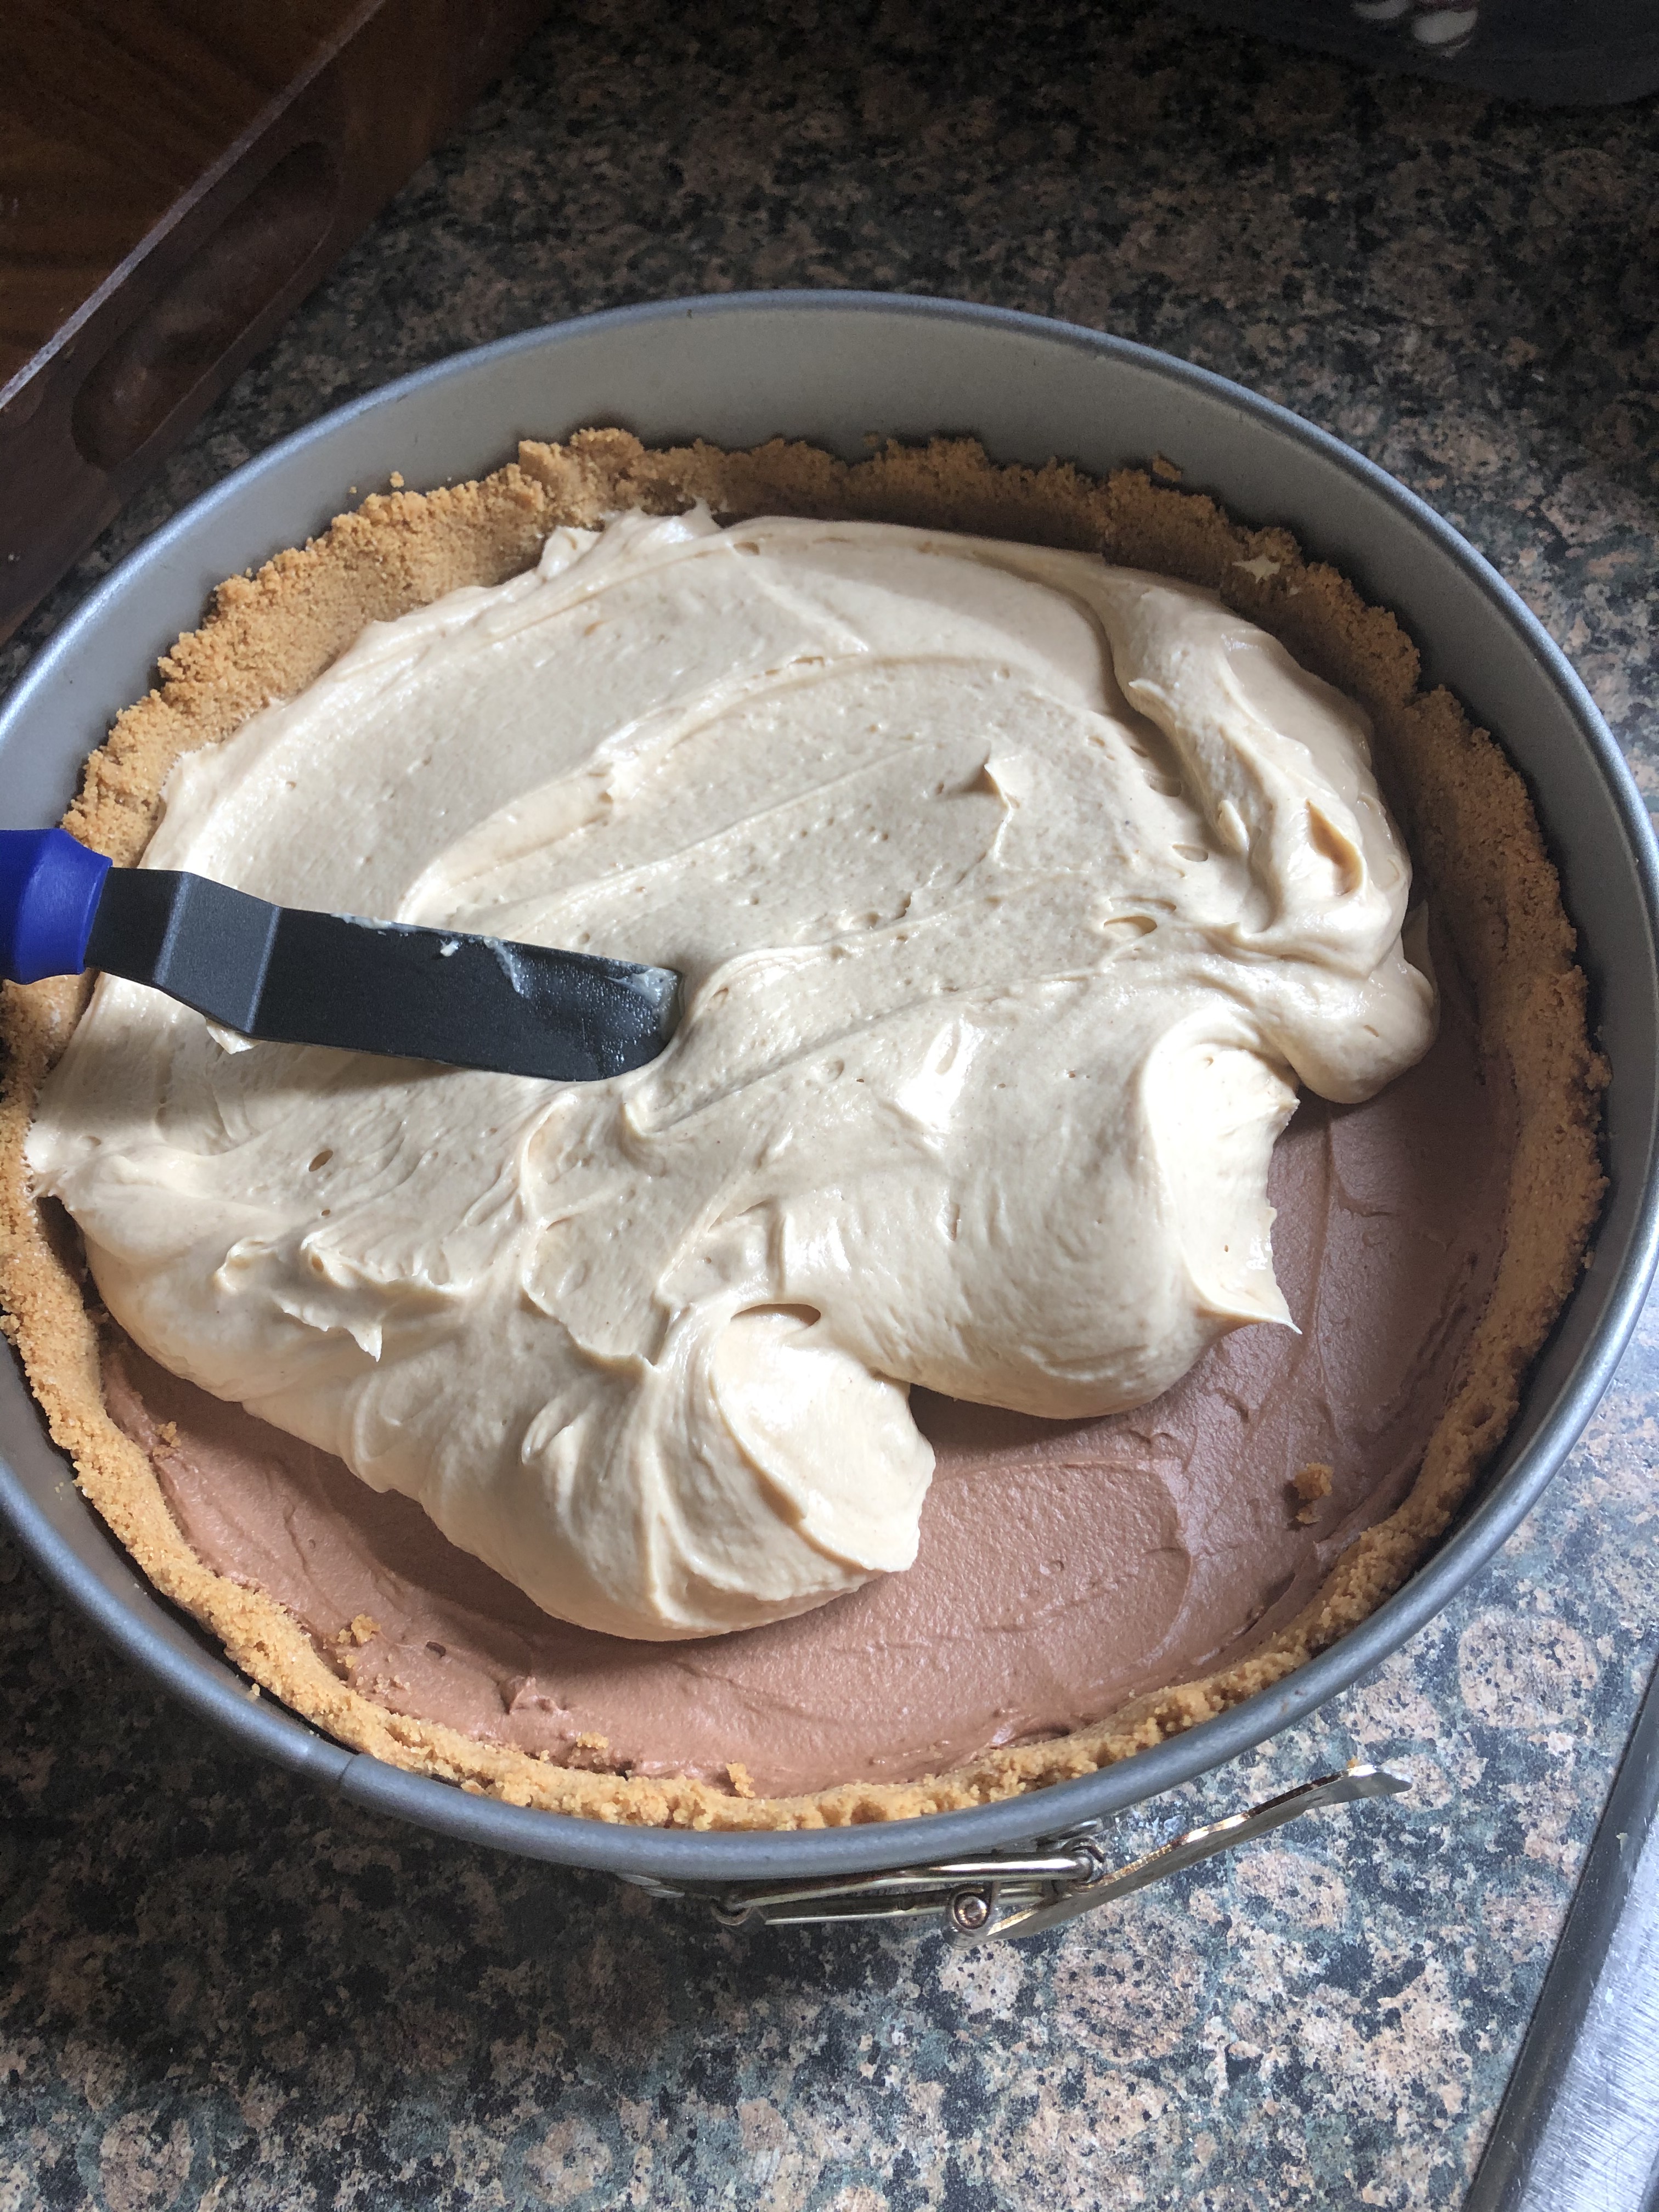
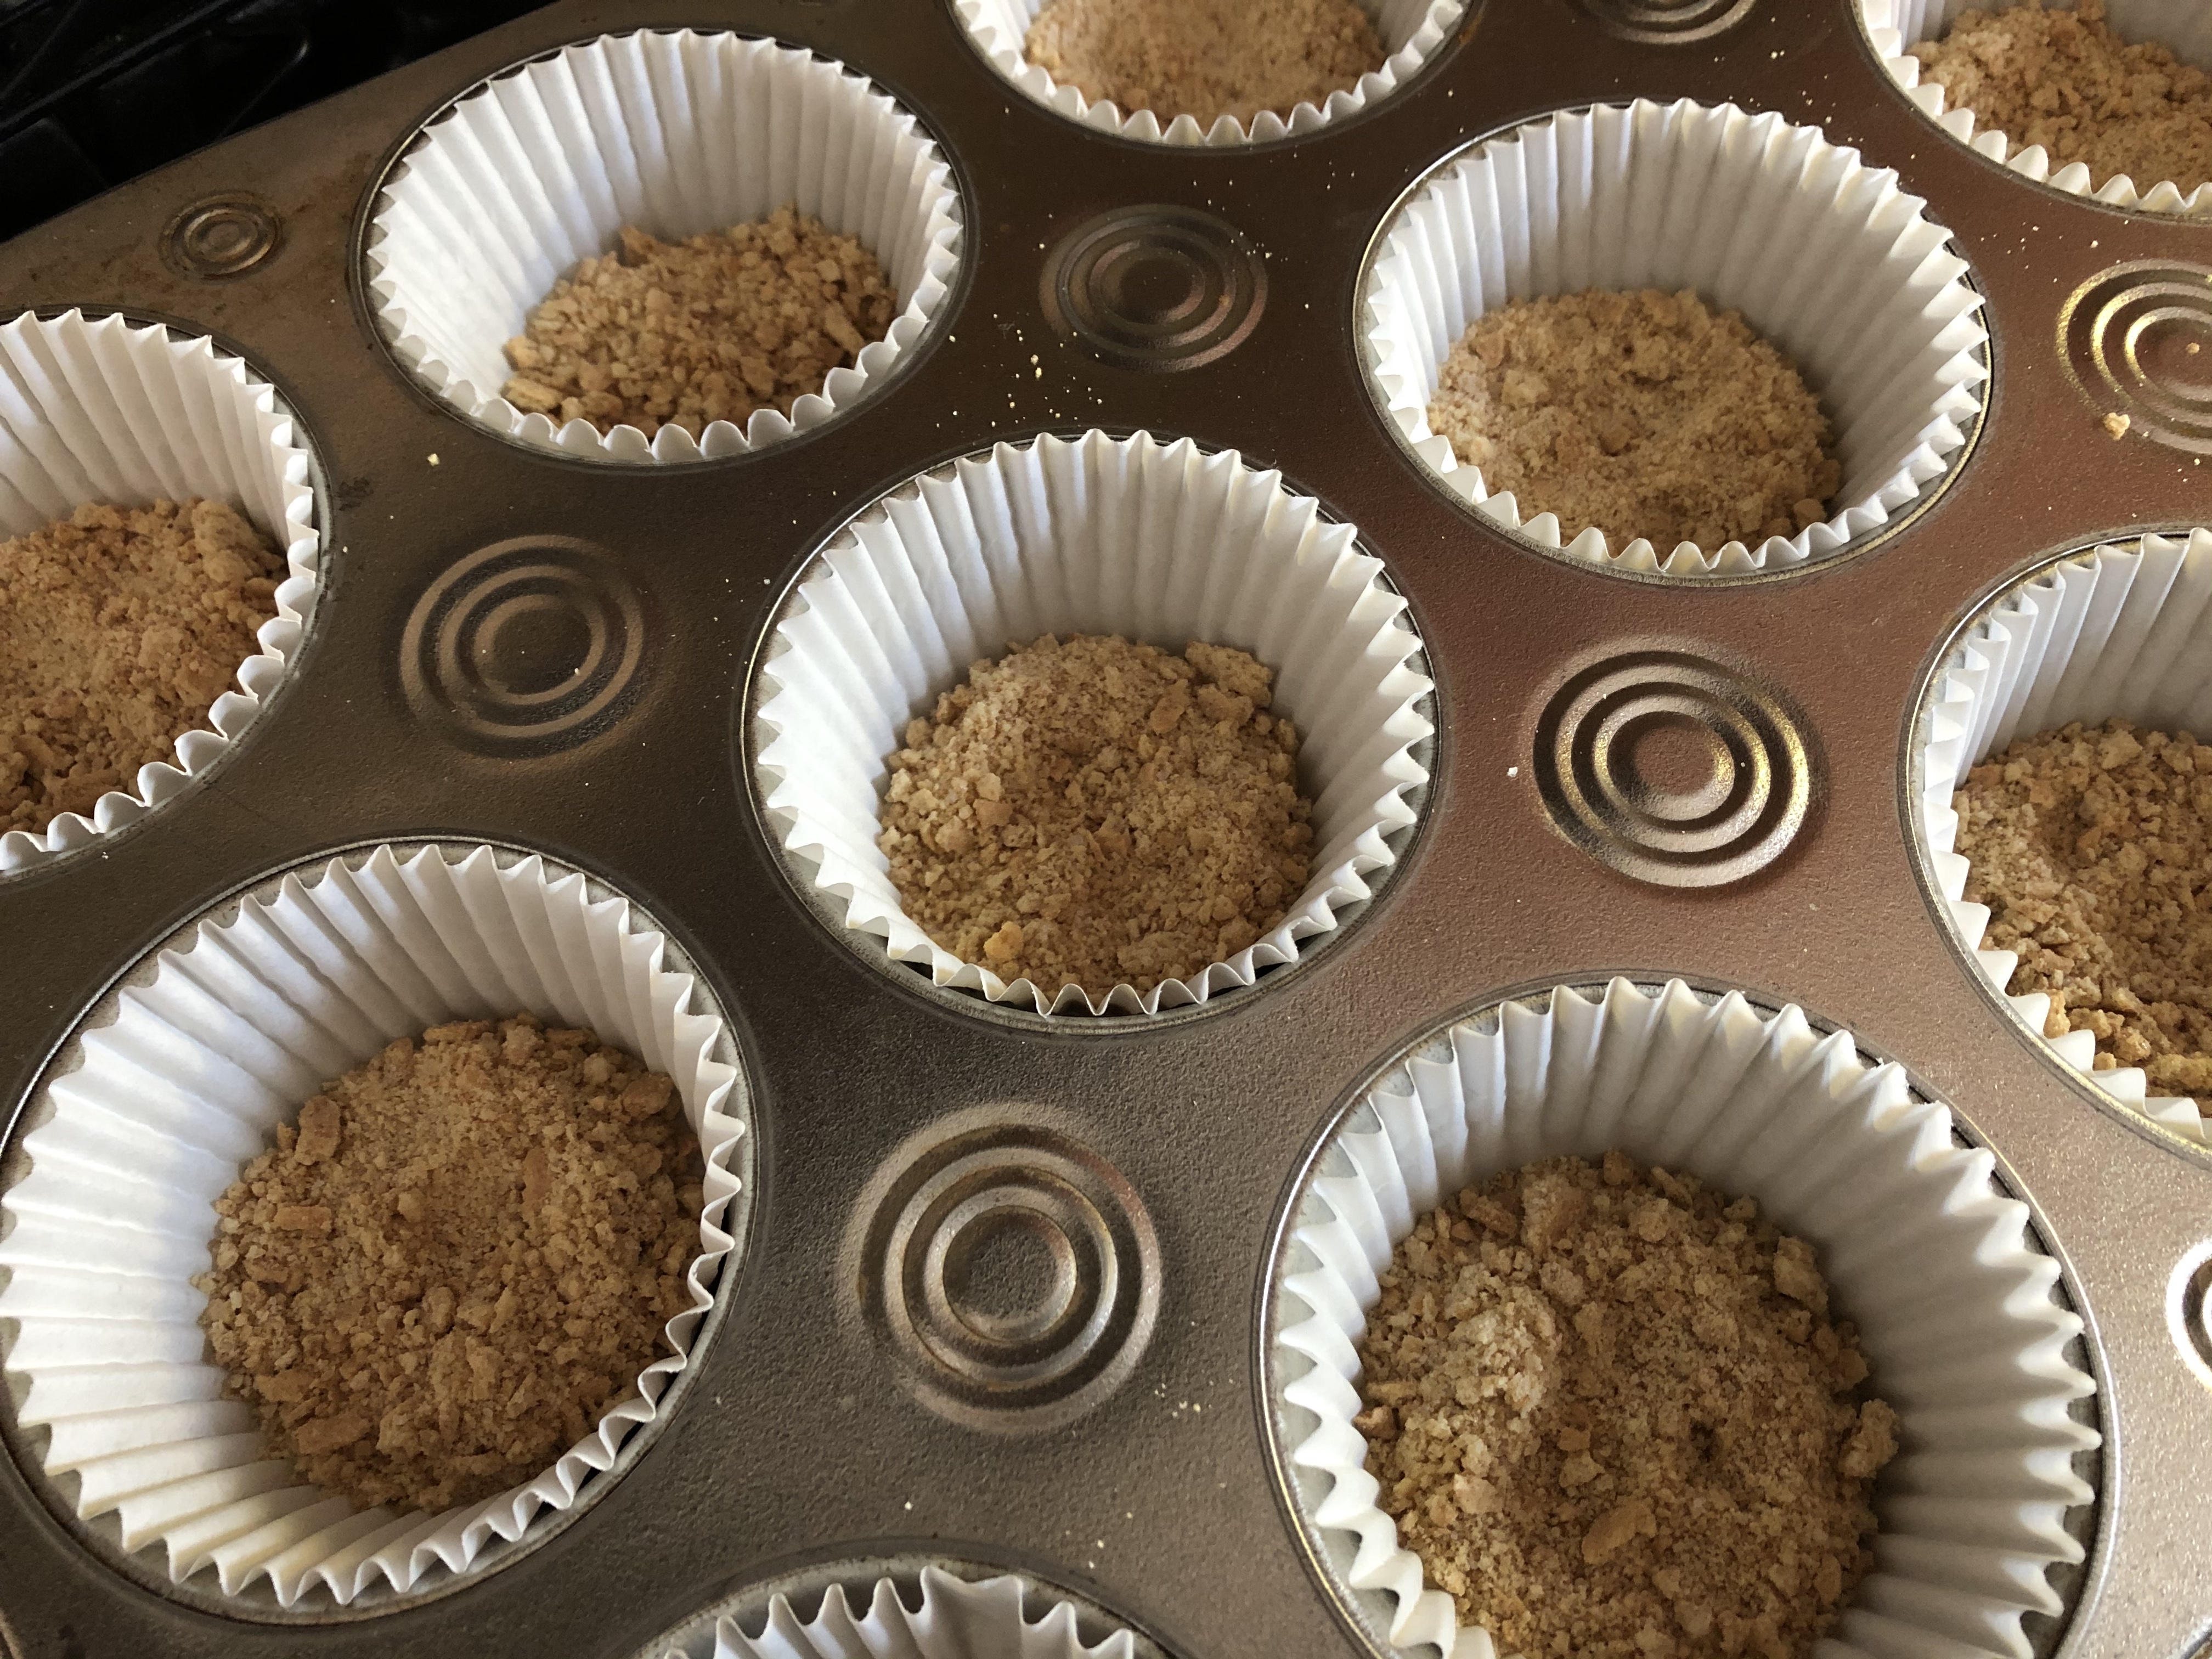
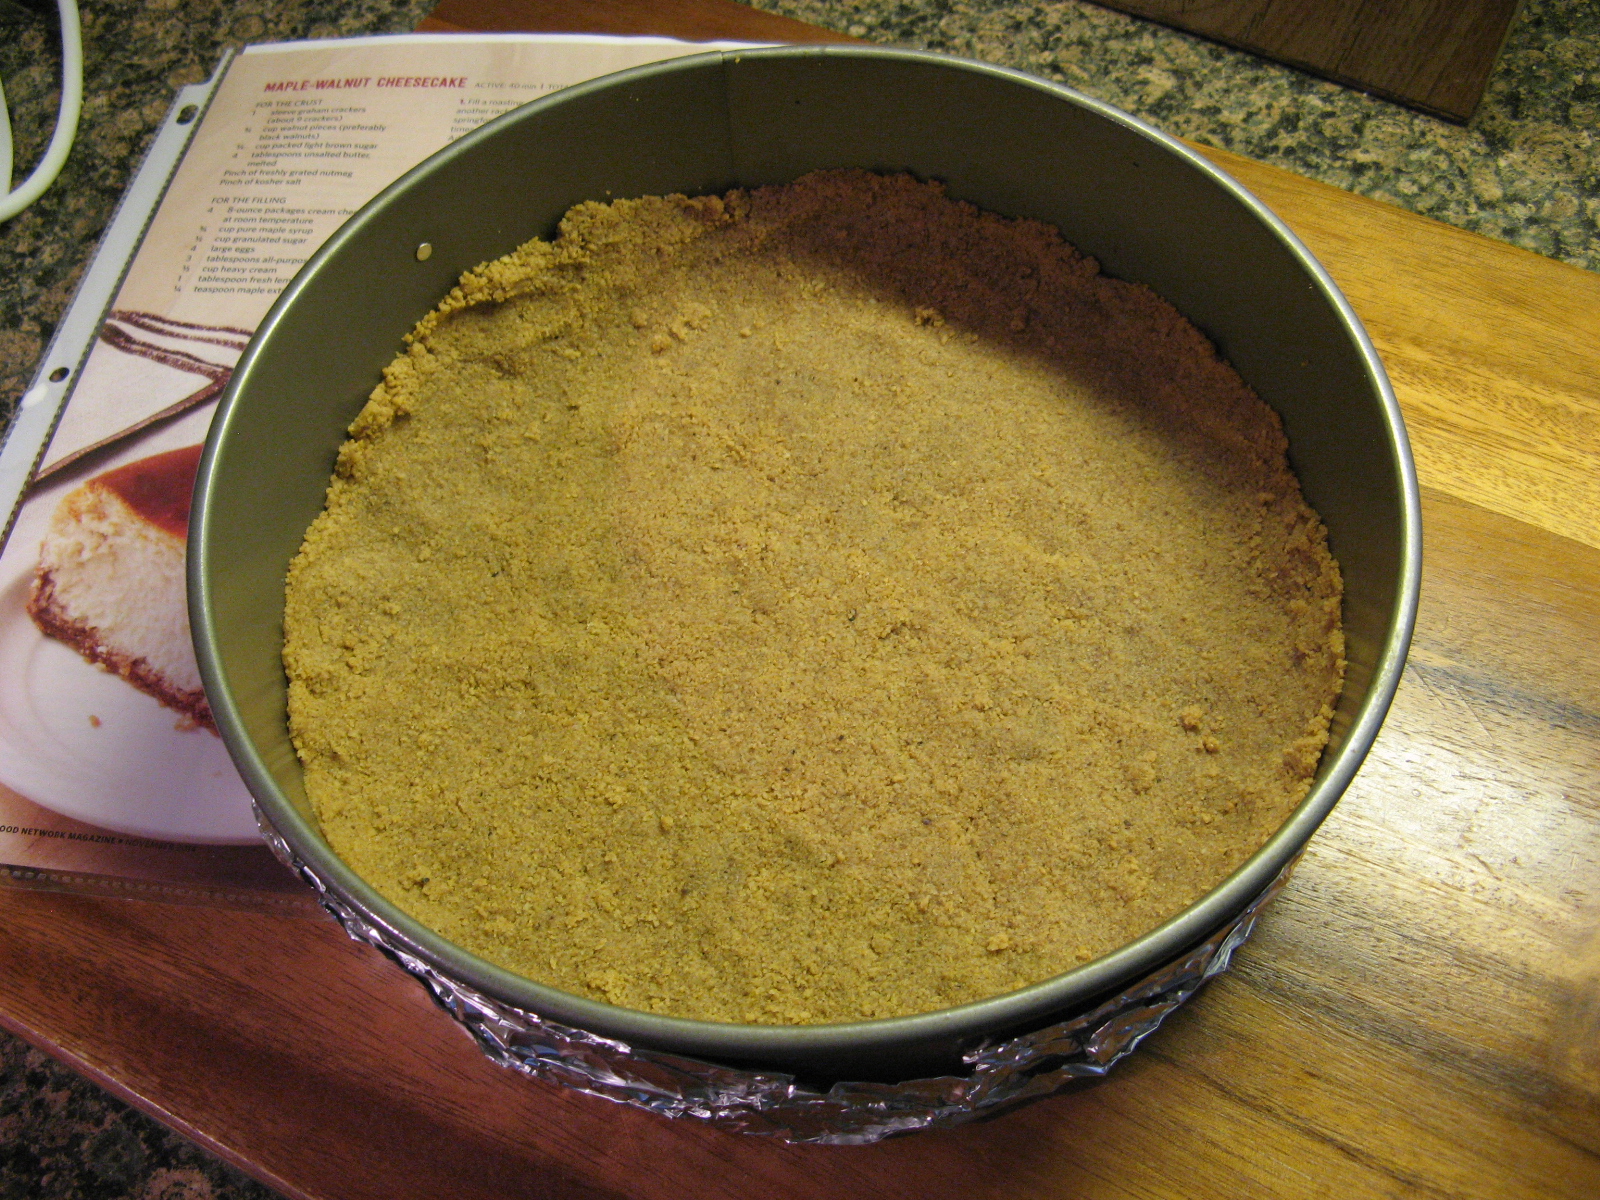
In the bowl of a food processor process the graham crackers into fine crumbs. Add the sugar and melted butter and pulse a few times until the mixture is combined. Transfer to a 9-inch springform pan and press the crumbs into an even layer along the bottom of the pan and up the sides. Set aside.
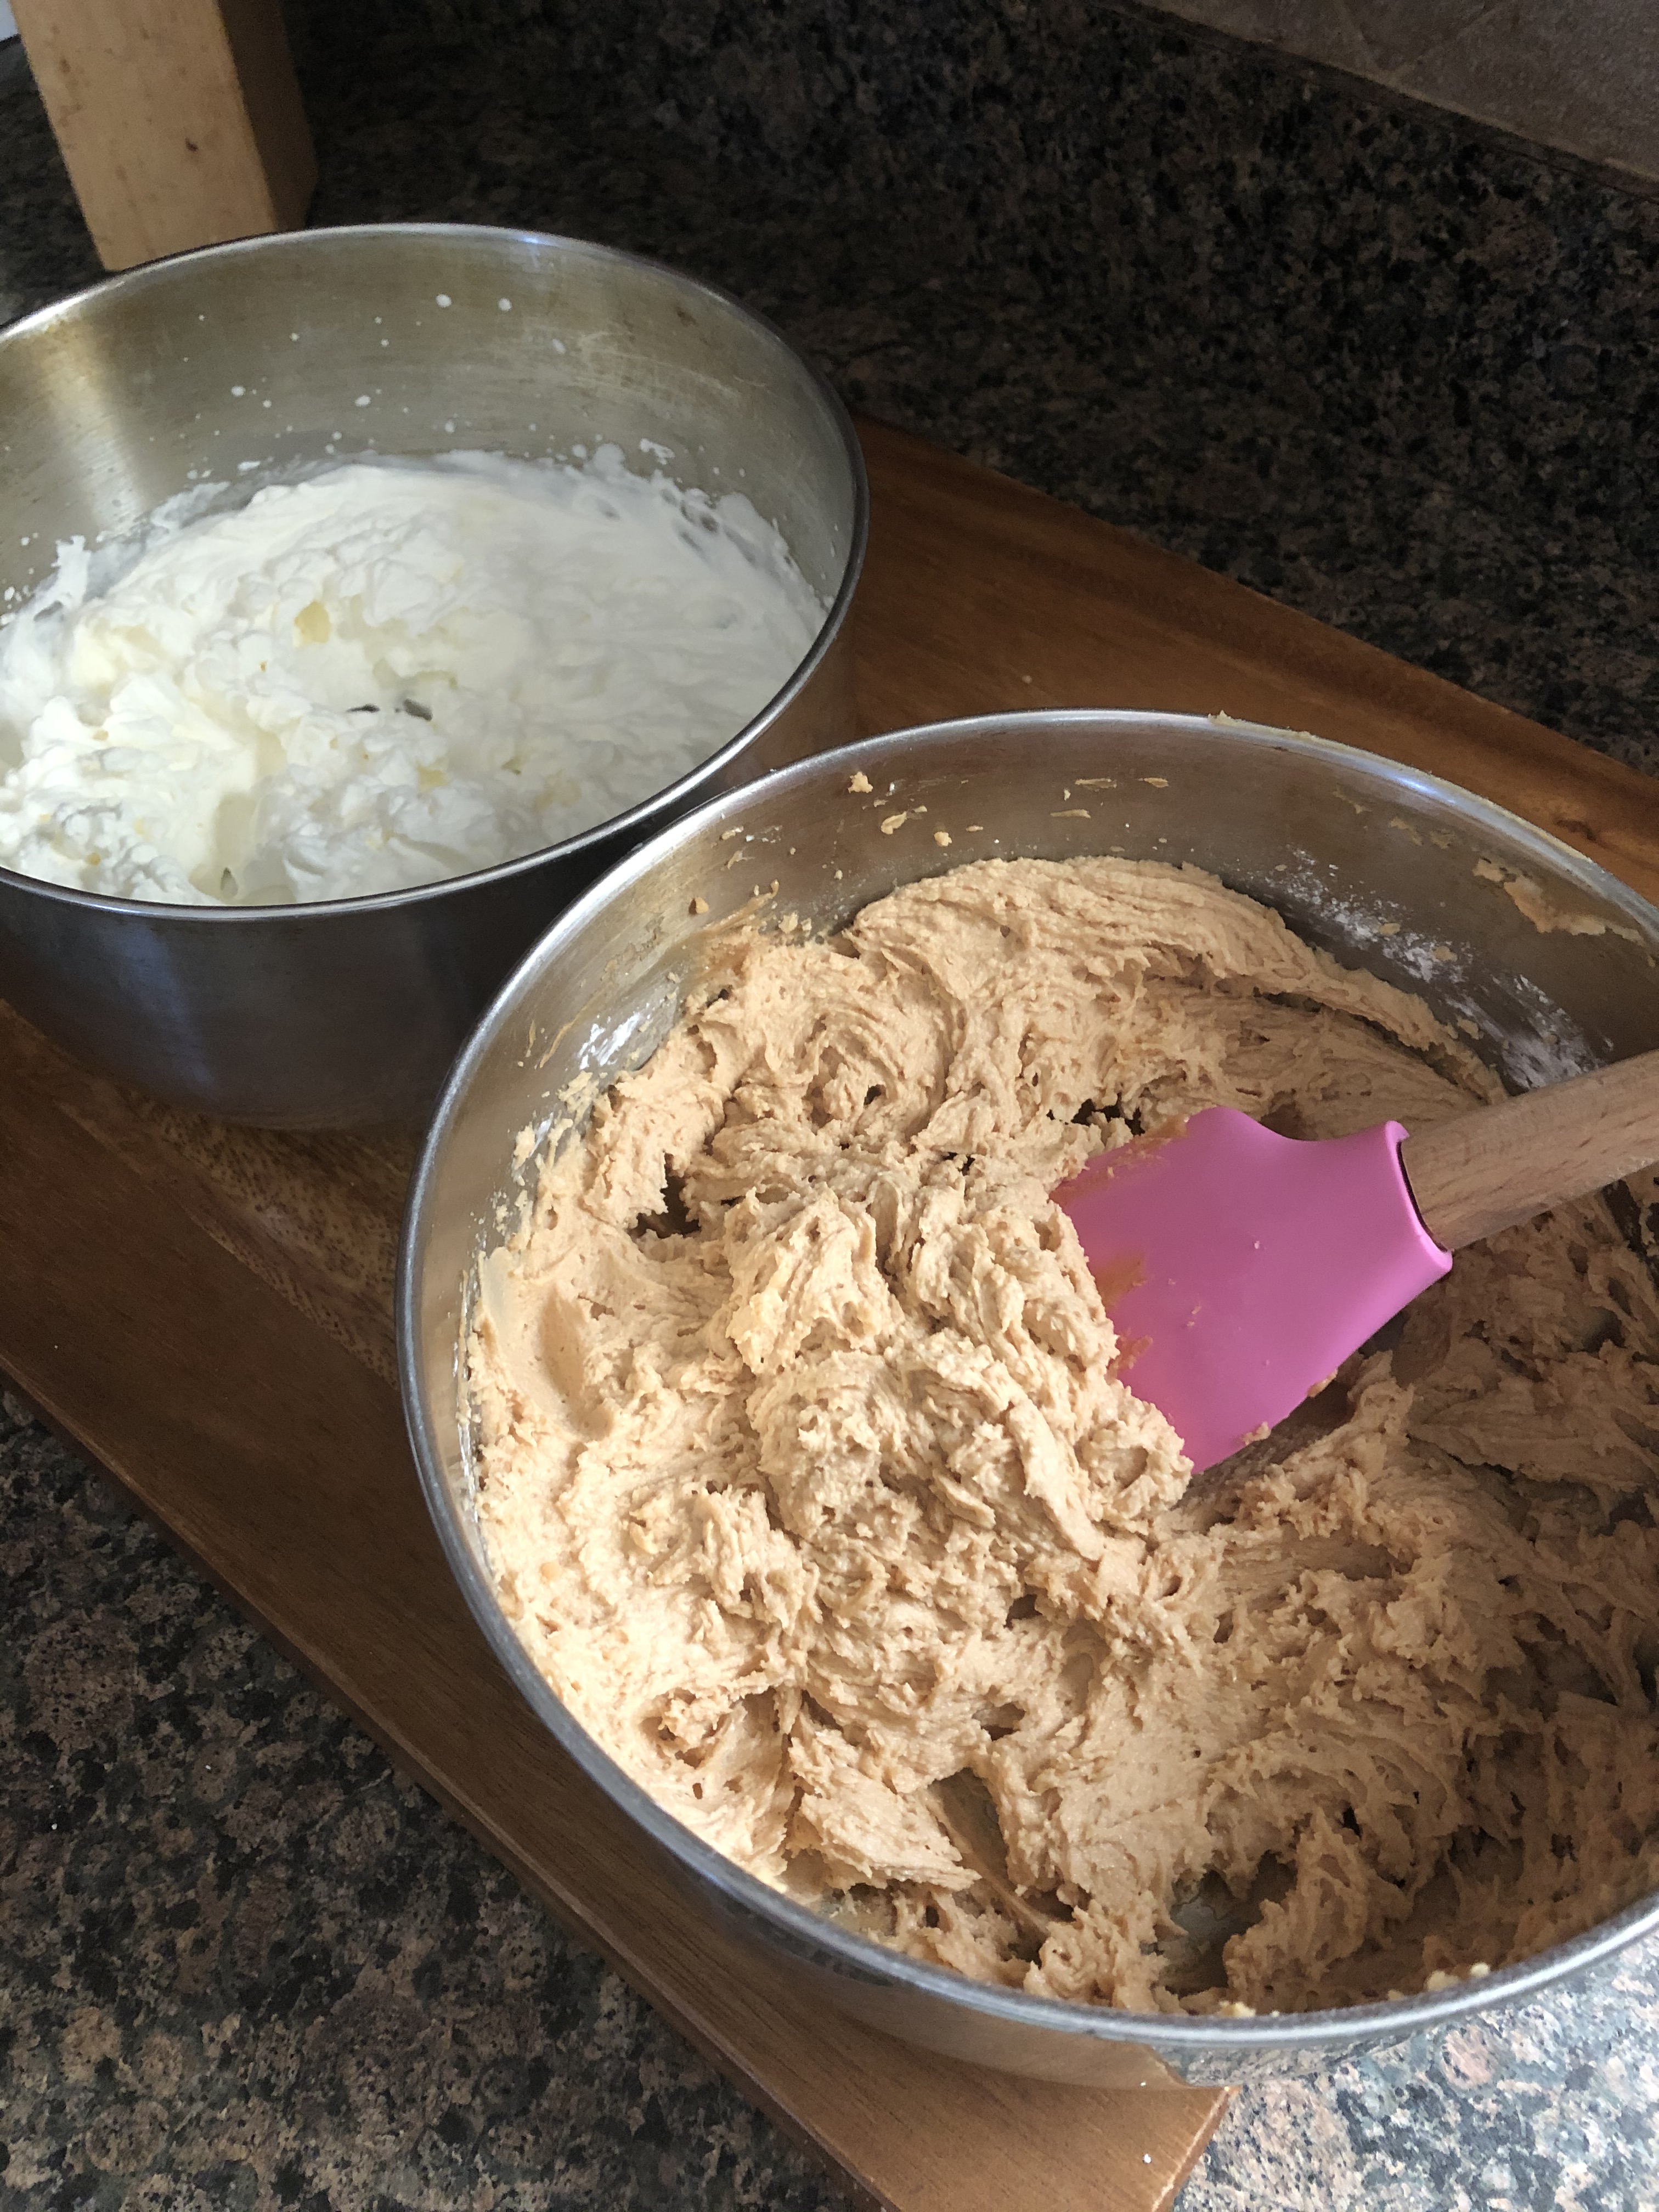
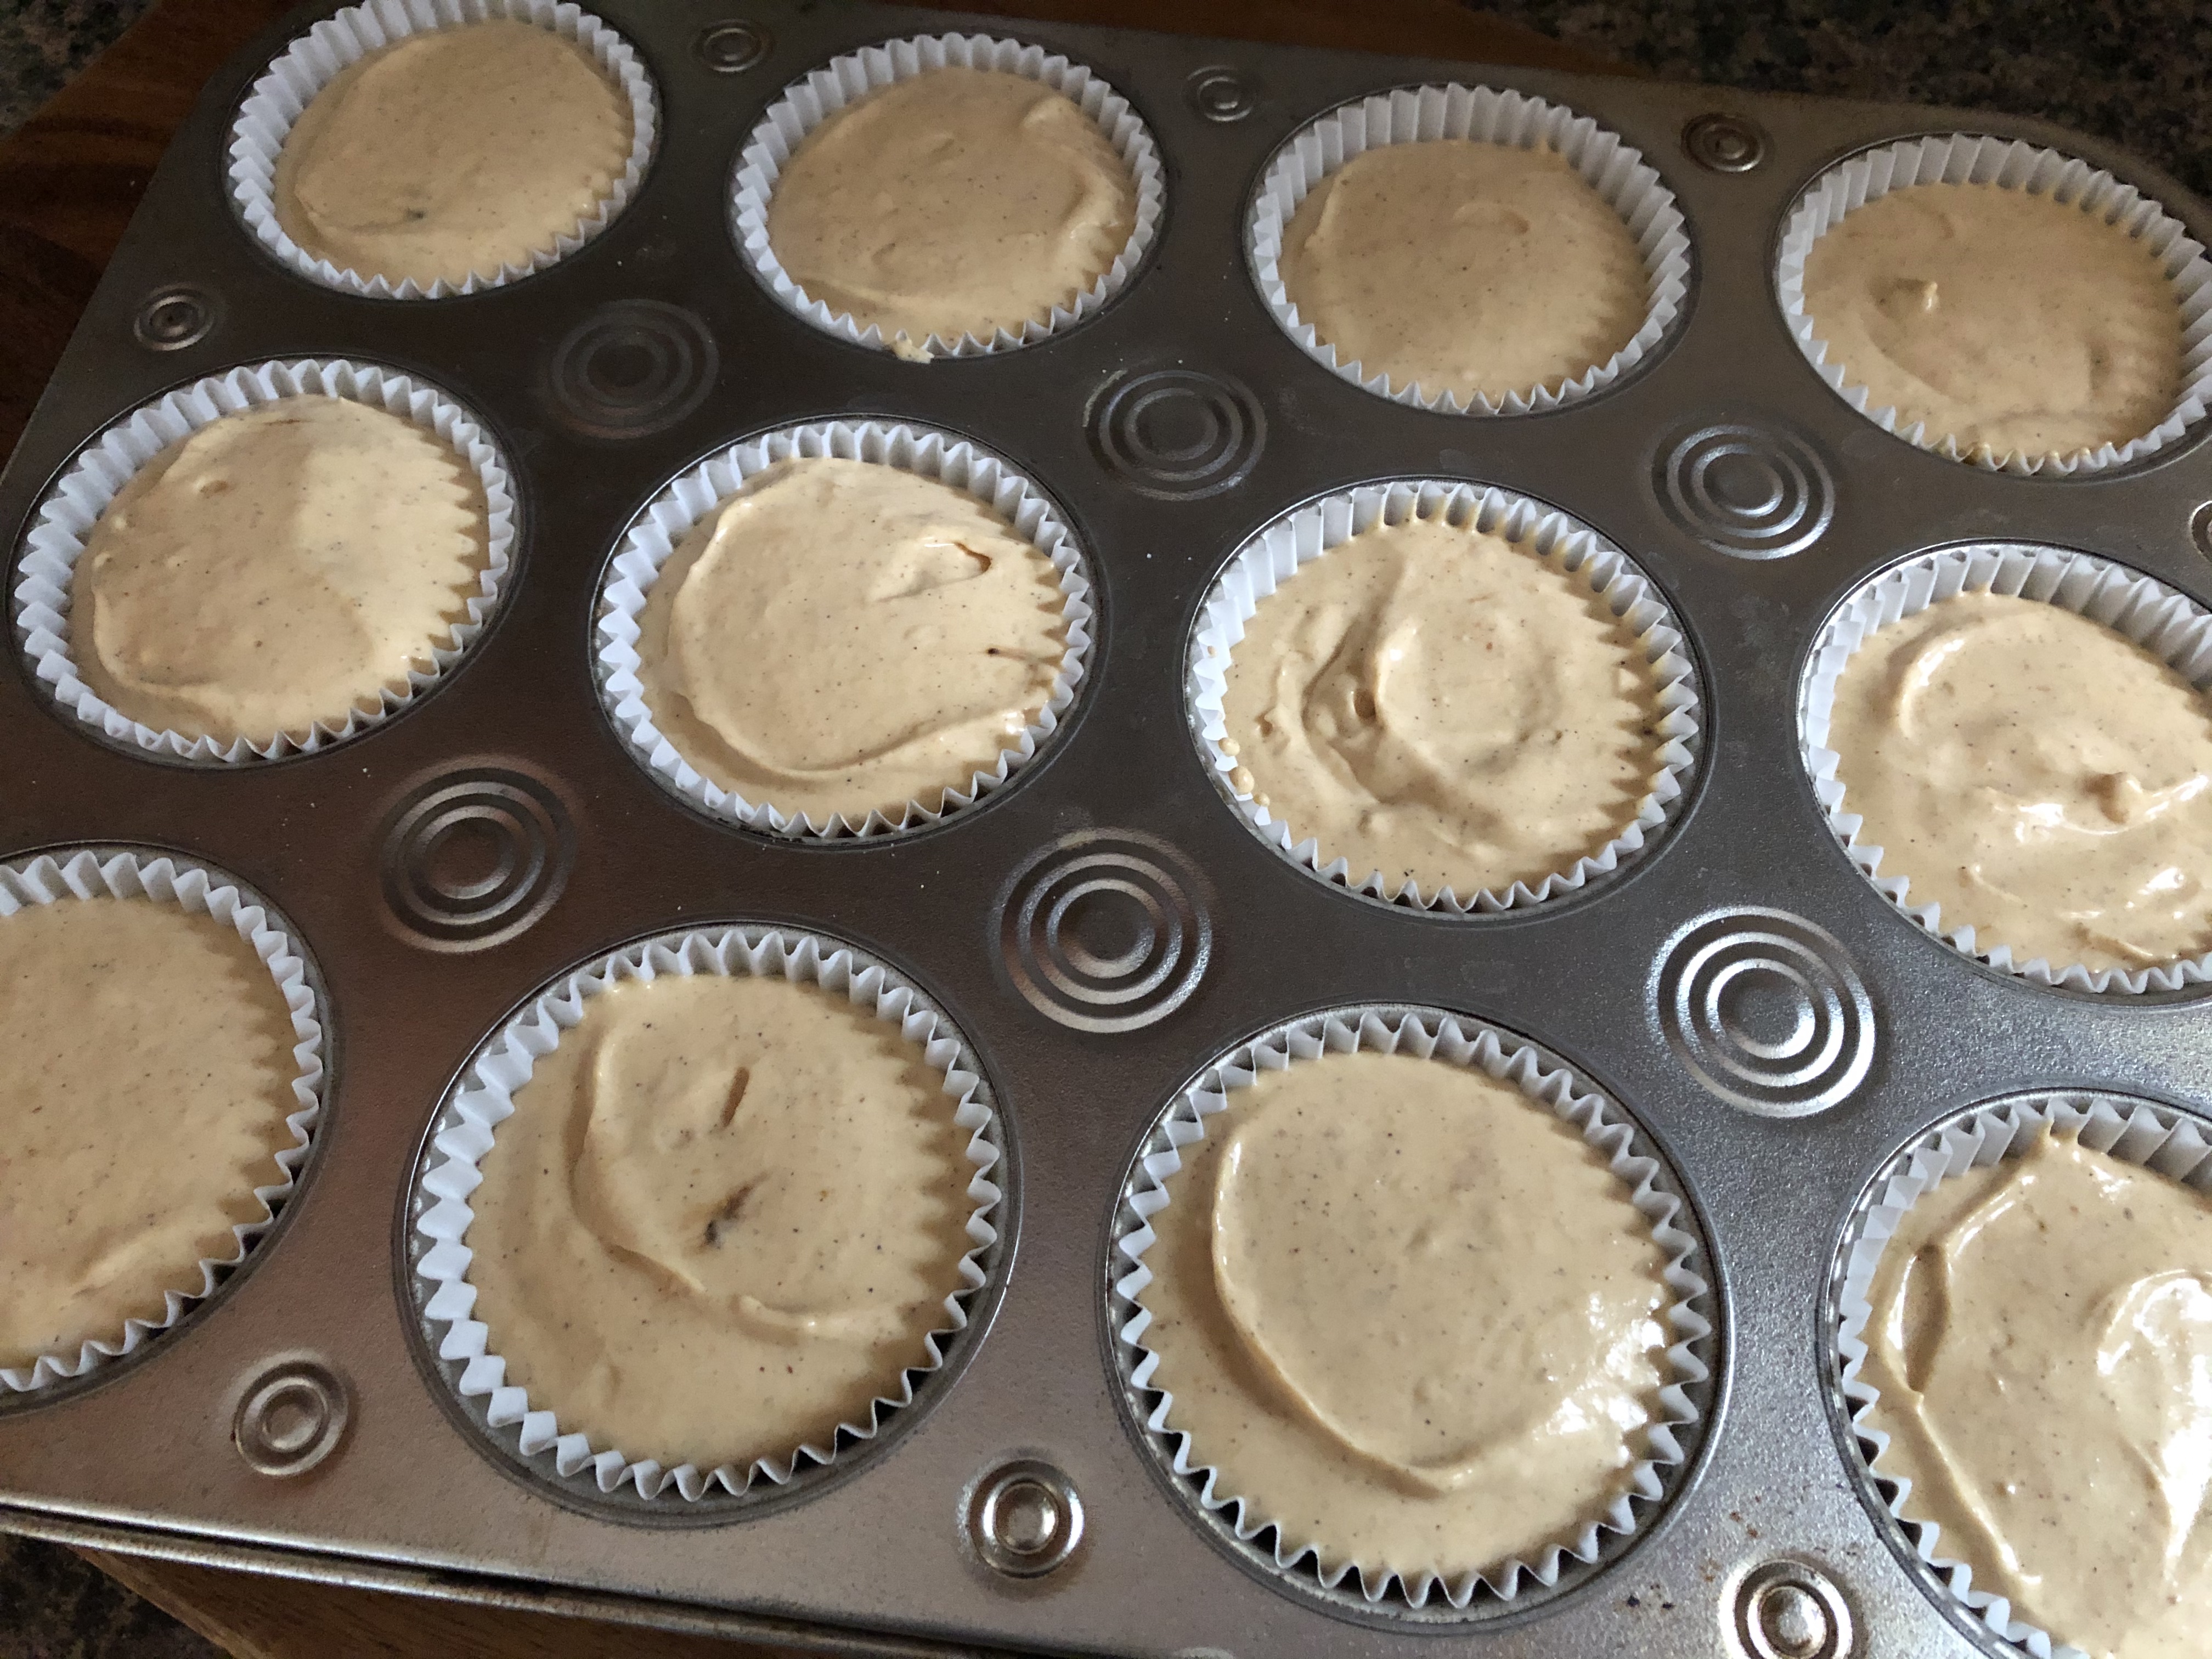
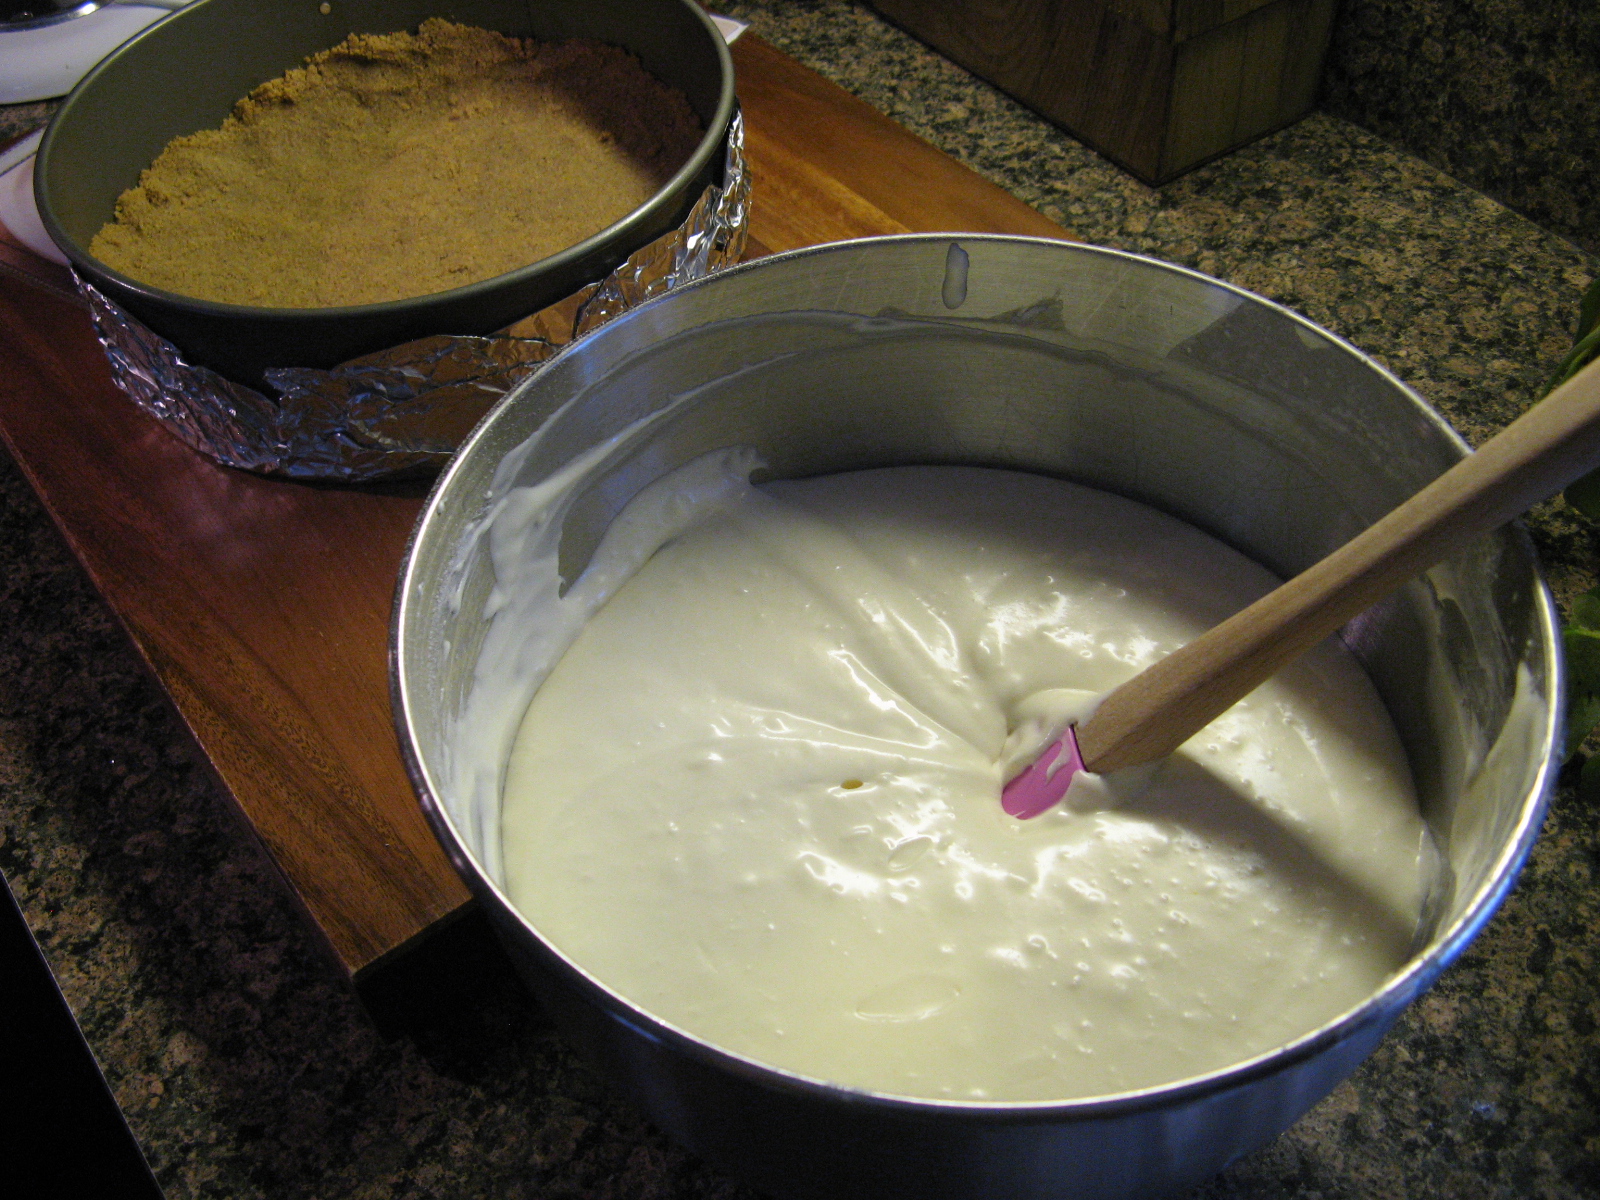
In a large bowl beat the cream cheese and both sugars with a hand mixer on medium speed until well combined. Add in the sour cream, pumpkin puree, vanilla extract and pumpkin pie spice until beat until just combined. Add the eggs 1 at a time, beating well after each addition. Finally beat in the bourbon cream.
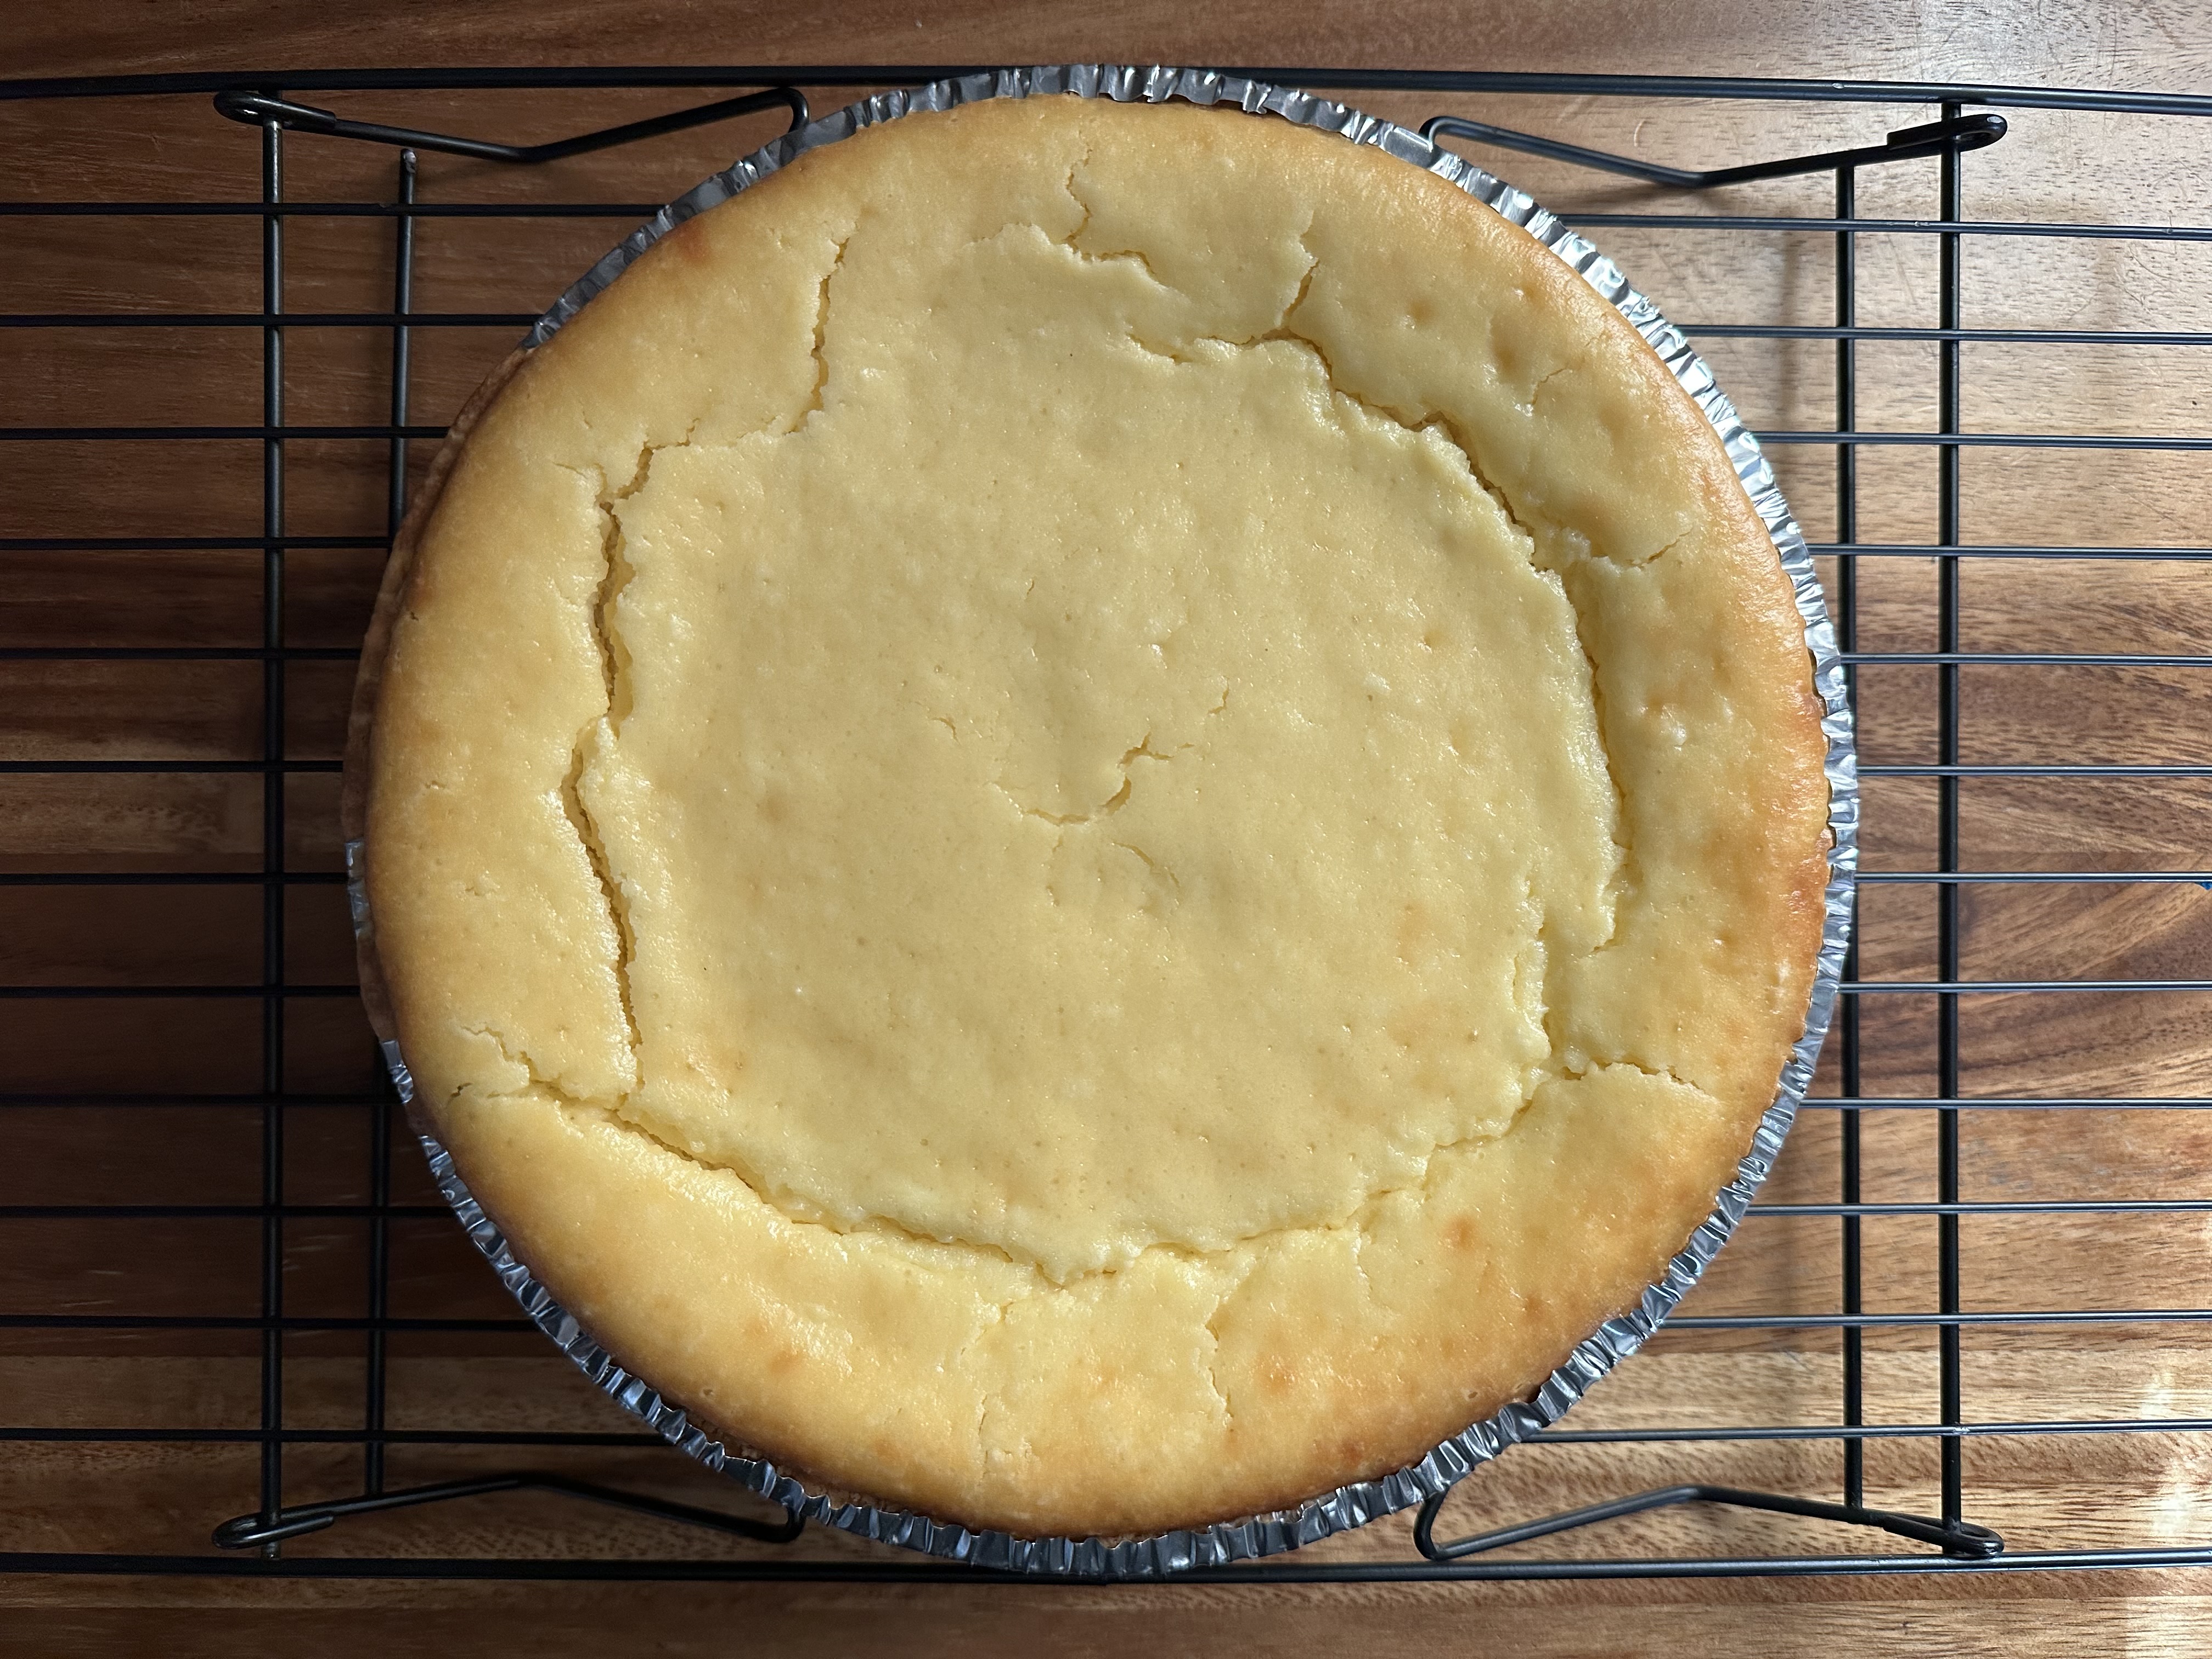
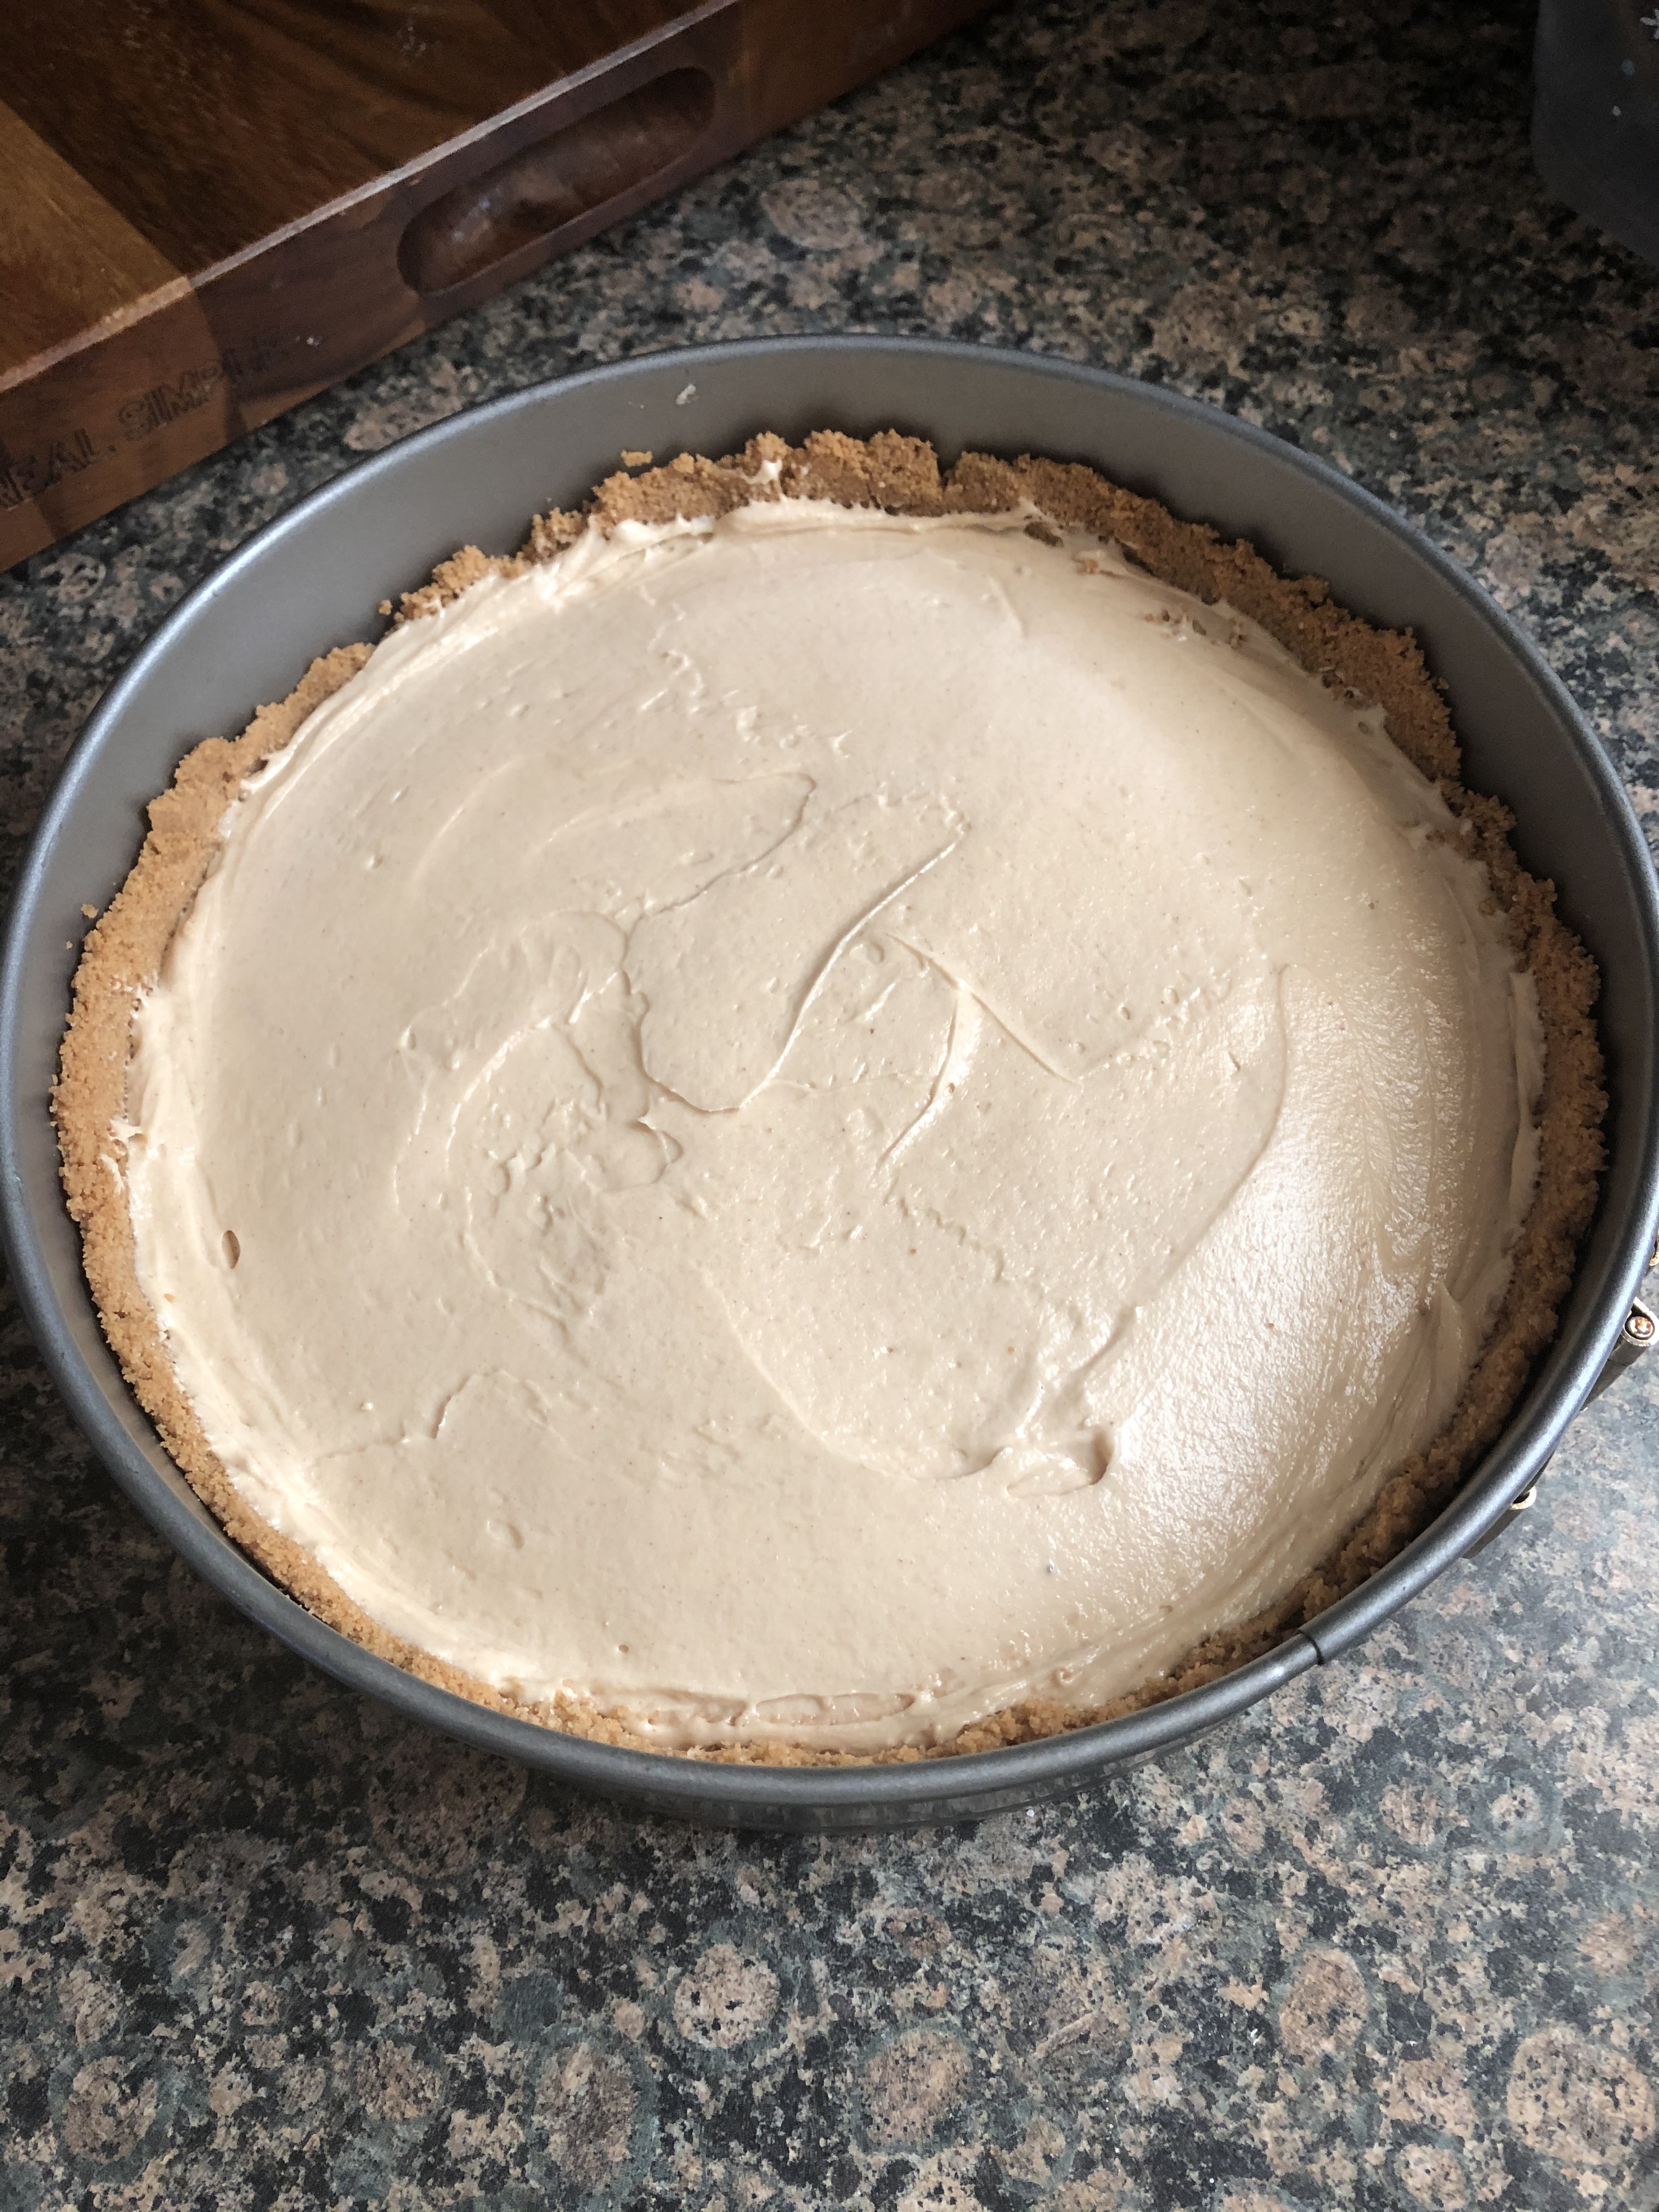
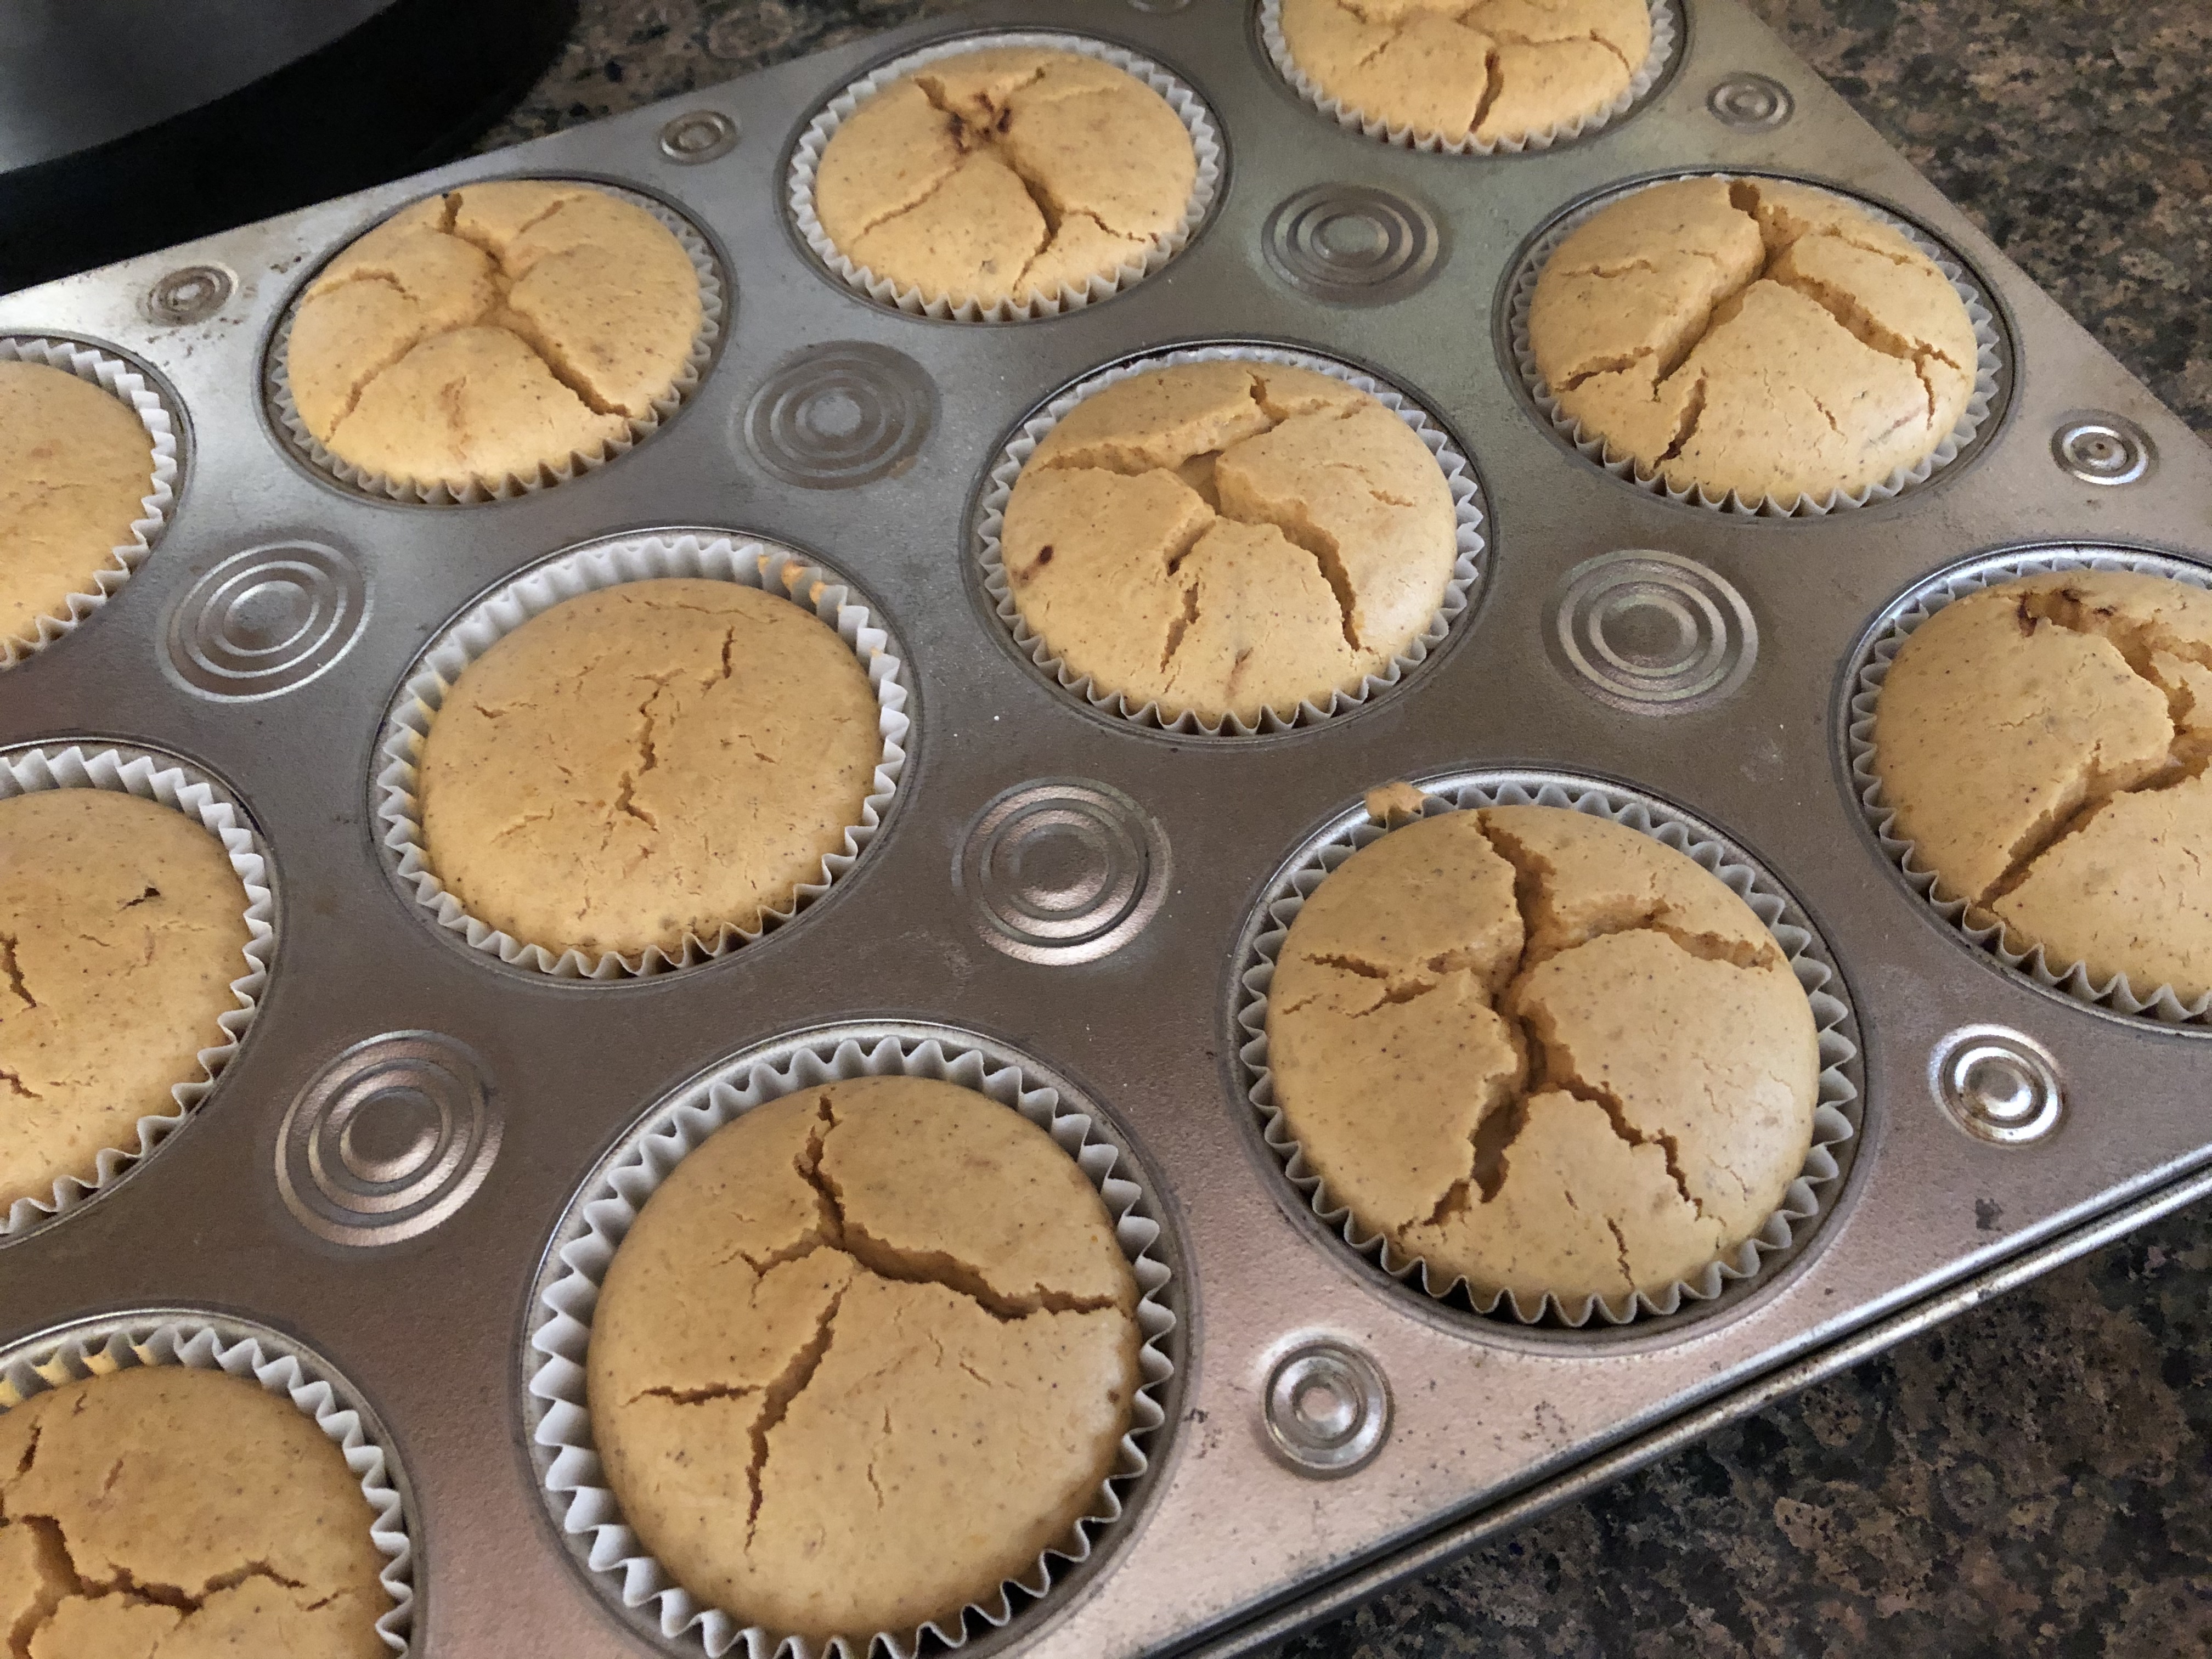
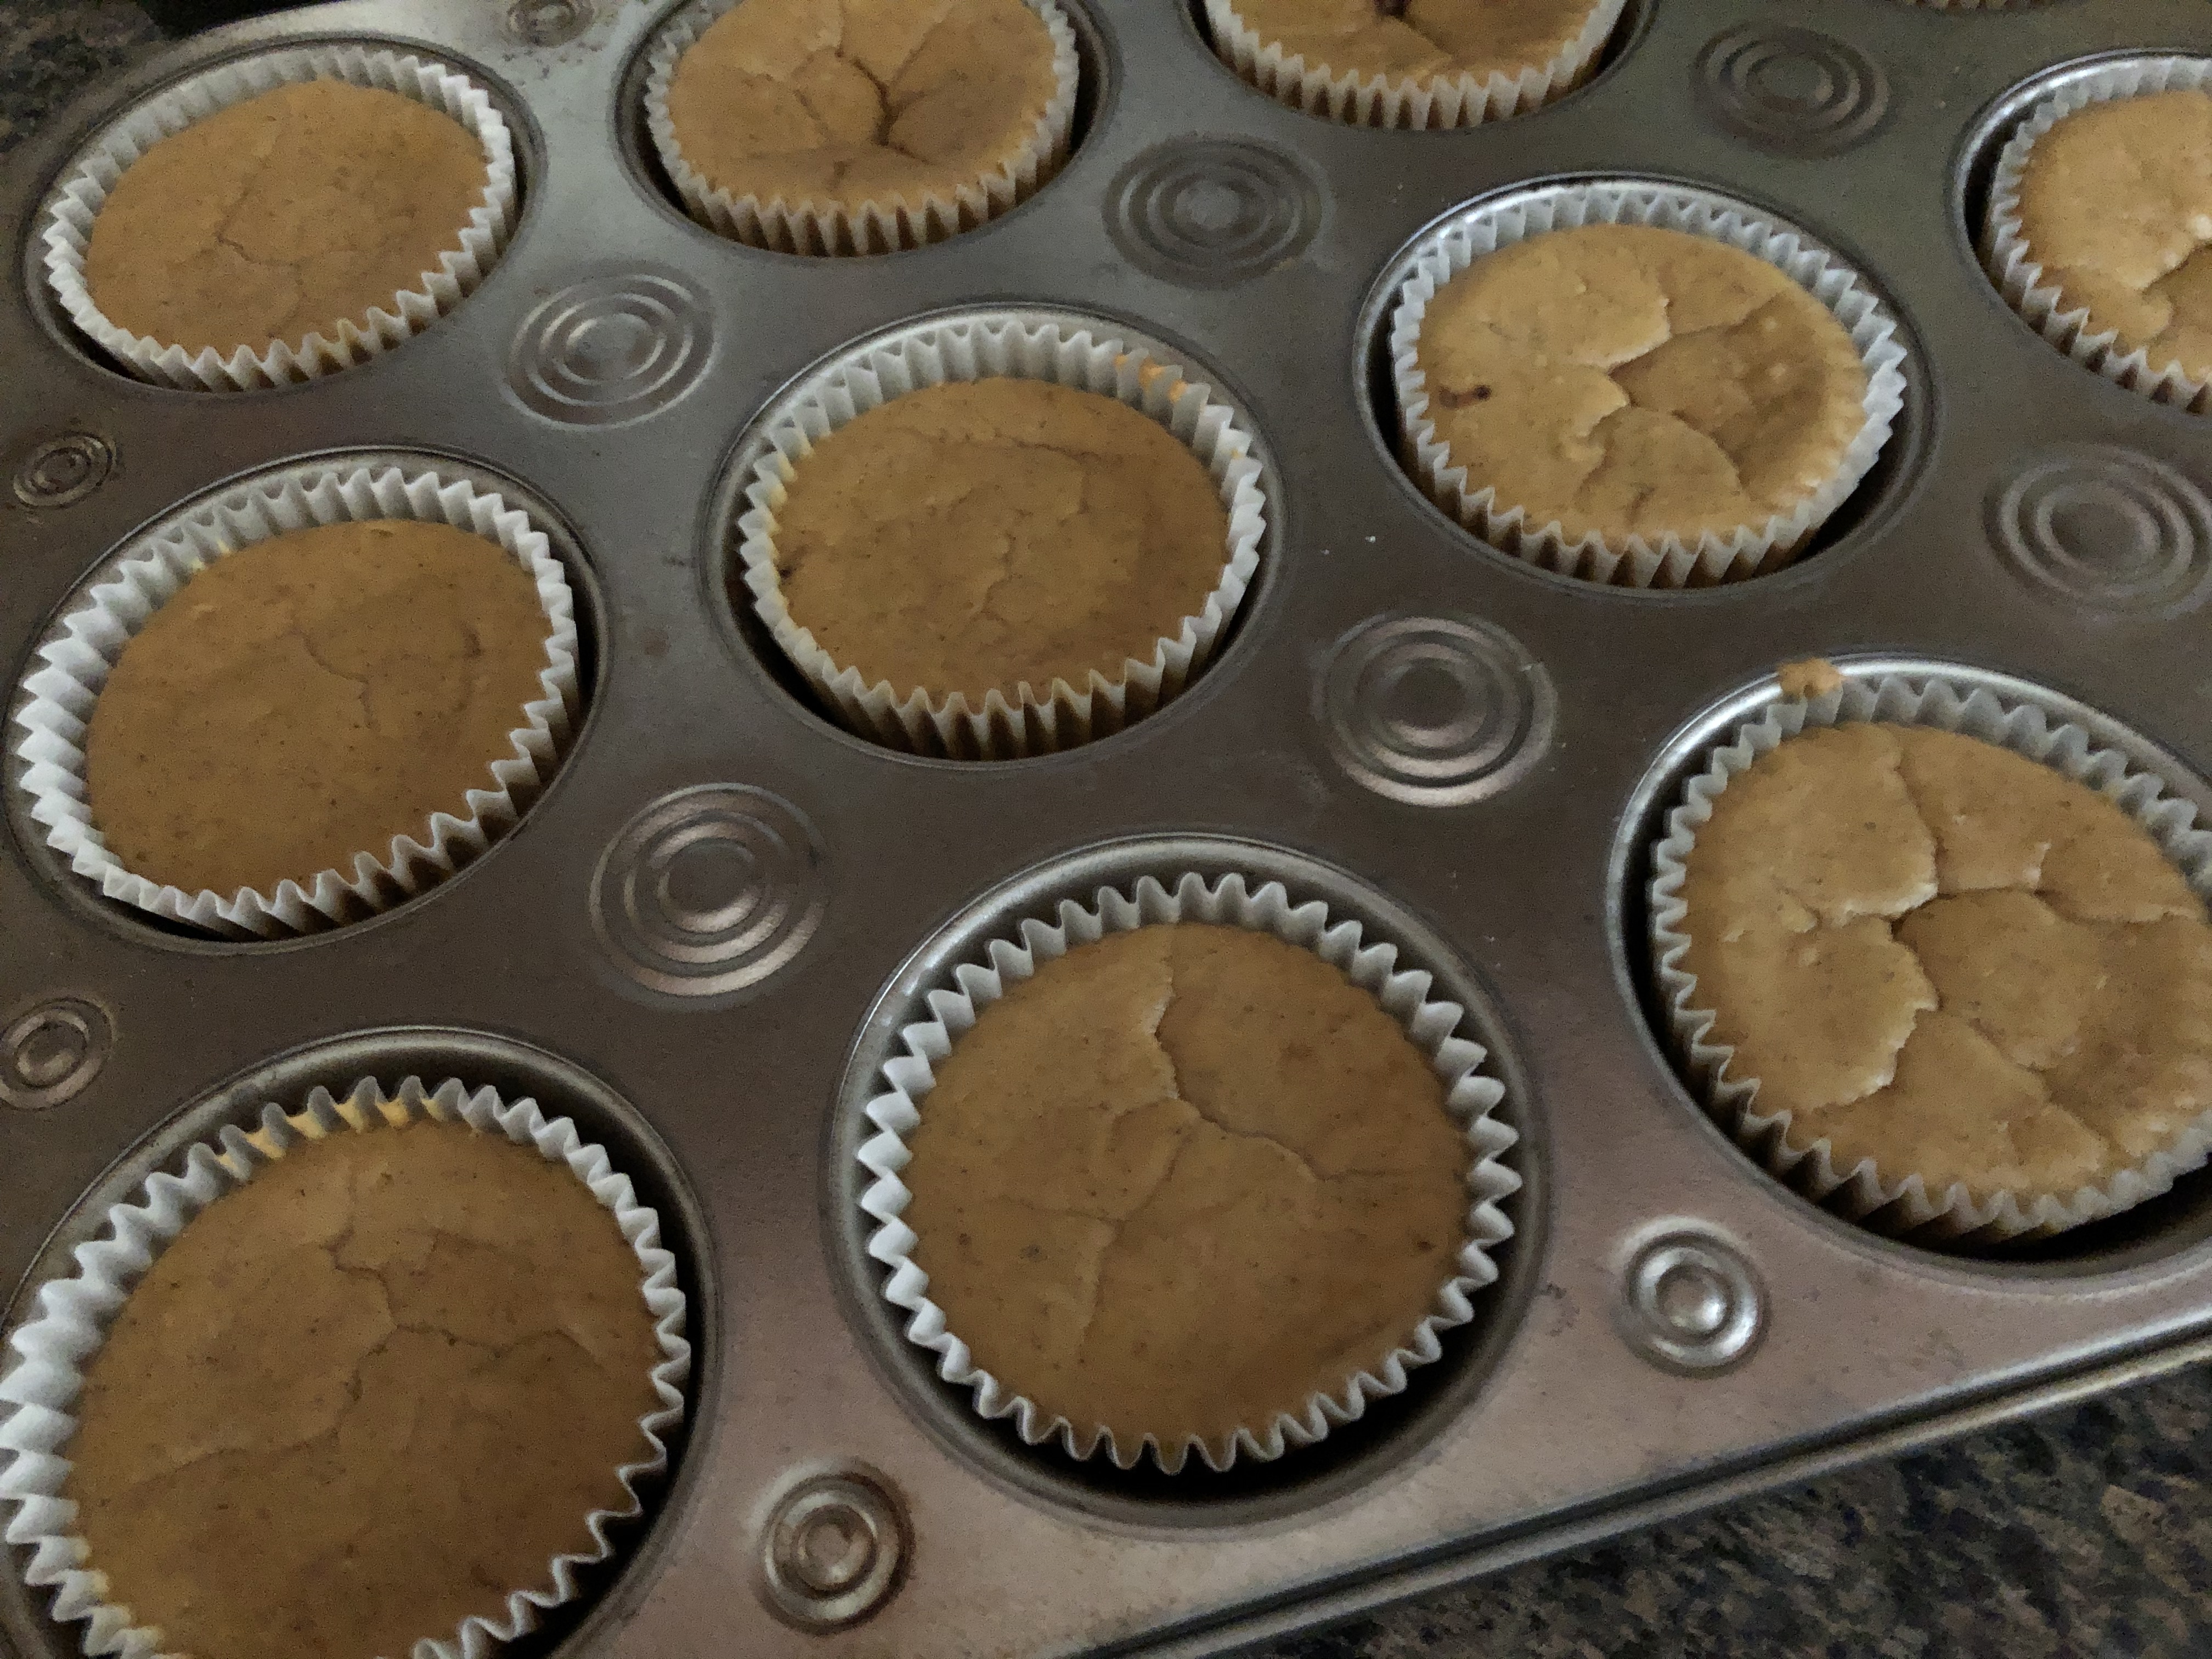
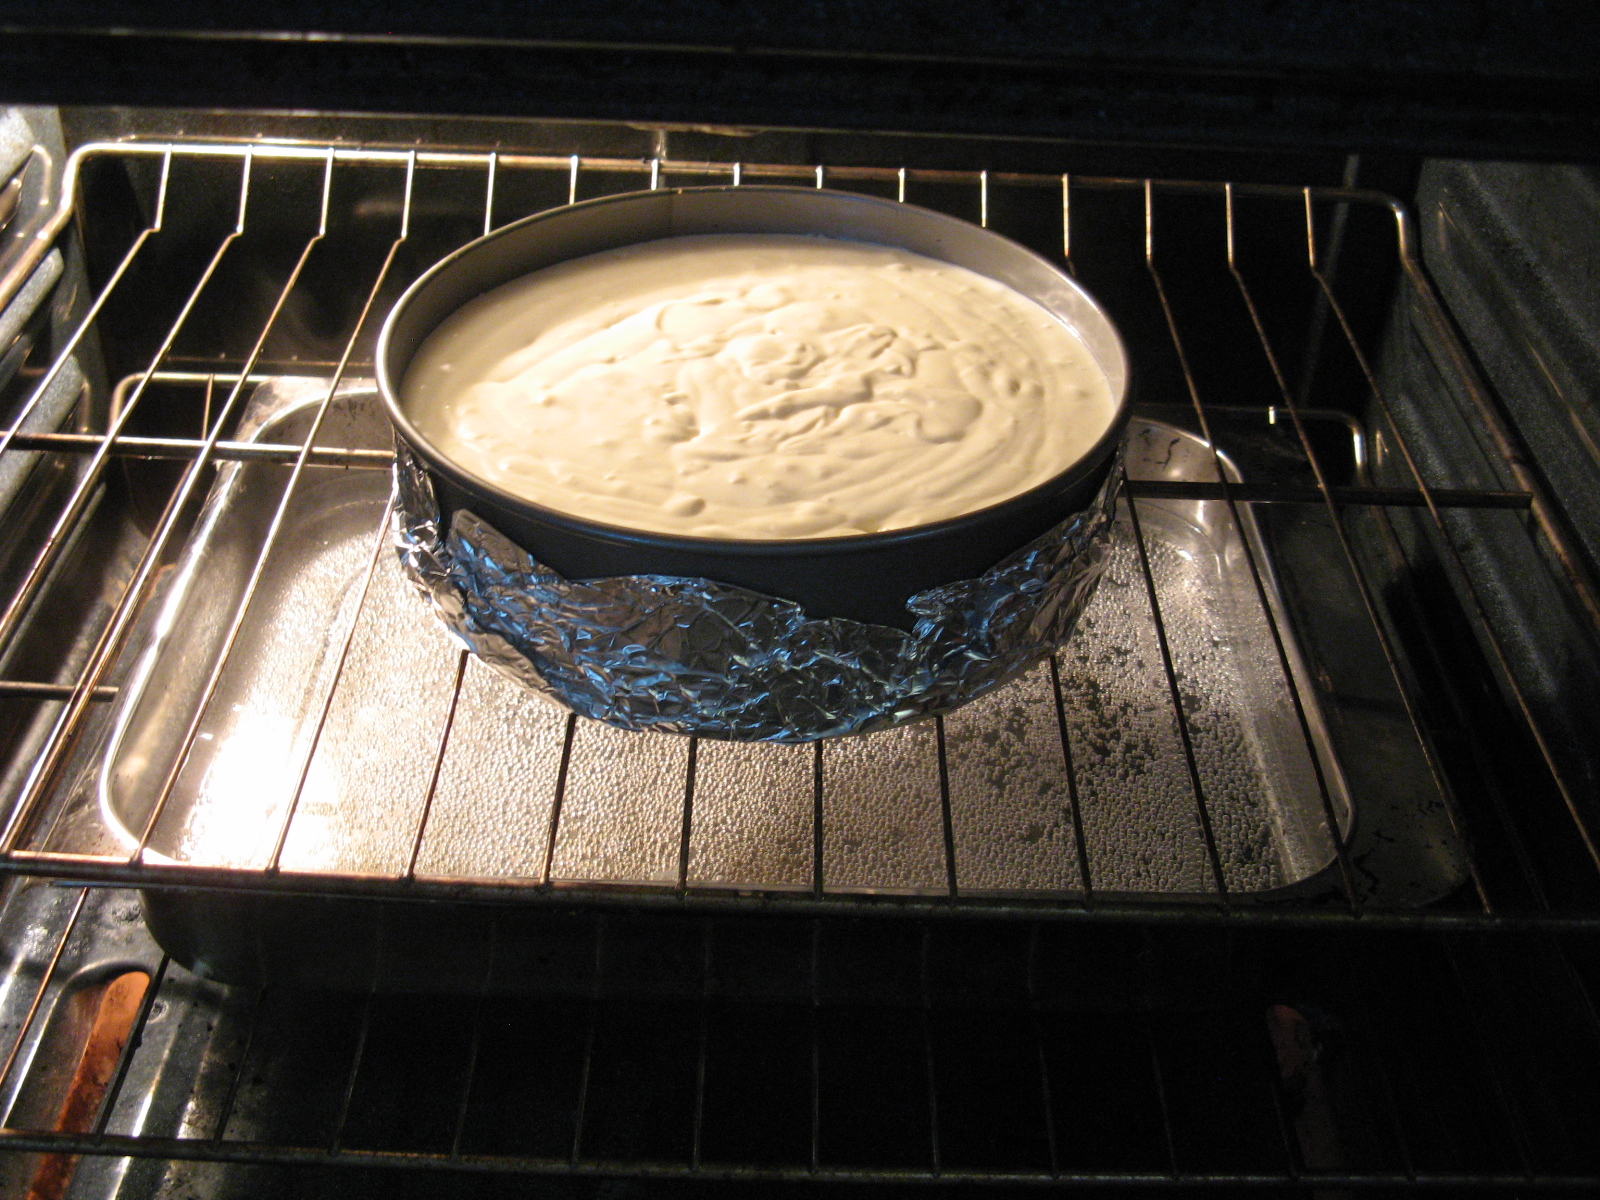
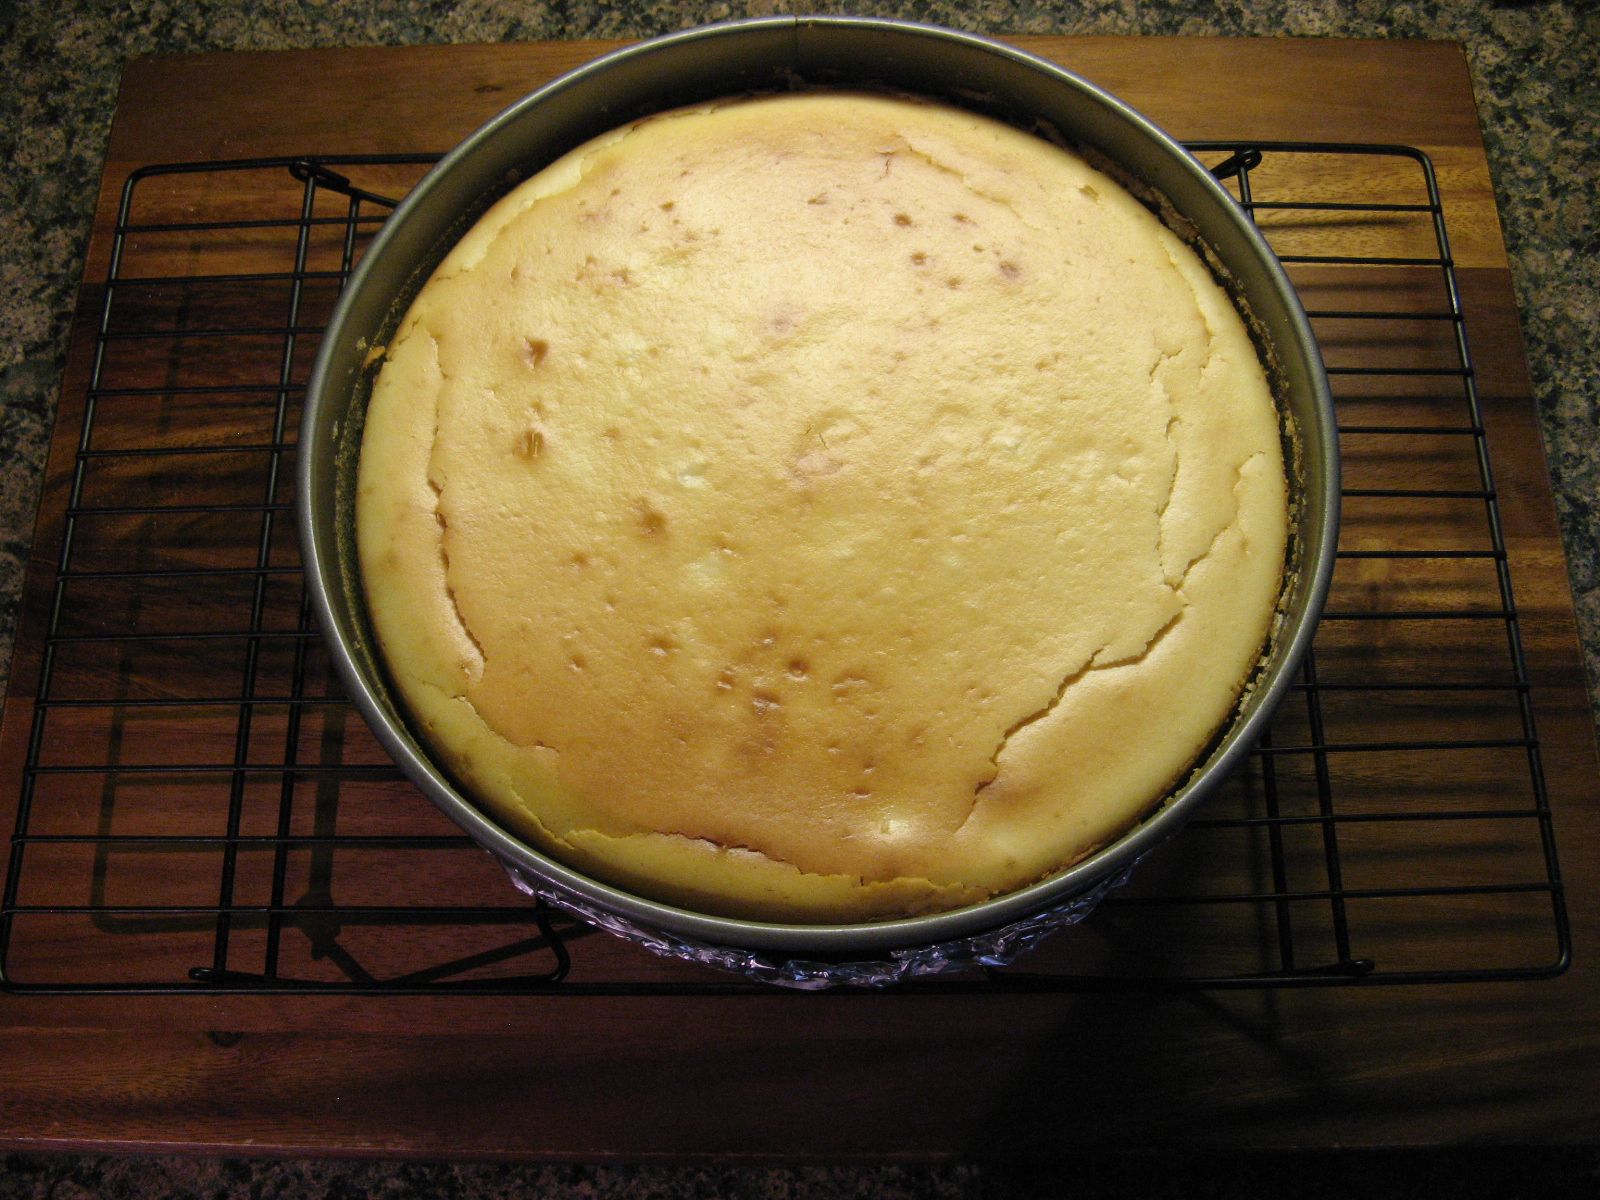
Transfer the cheesecake filling to the prepared pan and bake in the preheated oven for 50-55 minutes. The cheesecake should be set but the center a bit wobbly.
Leave the cheesecake in the oven with the door open and allow the cheesecake to cool as the oven cools, about 30 minutes. Finish cooling on a wire rack and then cover and refrigerate for at least 8 hours or overnight.
Before serving make the whipped cream topping. In a medium bowl beat the whipped cream, bourbon cream and confectioners’ sugar on medium speed until stiff peaks form. Transfer the whipped cream to a piping bag fitted with a large star tip. Carefully remove the ring from the cheesecake and drop dollops of the whipped cream along the edge of the cheesecake. Finish by sprinkling pumpkin pie spice over the whipped cream. If you don’t have piping bags and/or tips, you can use a large resealable bag. Snip one of the corners and drop dollops of the whipped cream on the cheesecake.
Store leftovers in the refrigerator.
Recipe first appeared on Bead Yarn & Spatula