Almond Ricotta Cheesecake

I tend to buy ricotta cheese when it’s on sale with the idea that I am going to make baked ziti or possibly stuffed shells. I check the date and usually it’s not expiring for a month or two, so I think to myself “I have time.” What ends up happening is I remember that said ricotta cheese is in the fridge usually a week or two before it’s going to expire, and I start racking my brain on what to make with it. And of course, I am not in the mood to make anything Italian at that time. You would think I would have learned my lesson by now, but of course not. But it is how I came up with the recipe for today’s post, a quick and easy Almond Ricotta Cheesecake.

After combining six simple ingredients and pouring the batter into a 9-inch graham cracker crust I popped the cheesecake in the oven. Unfortunately, it did crack. I probably left it in the oven just a few minutes too long.

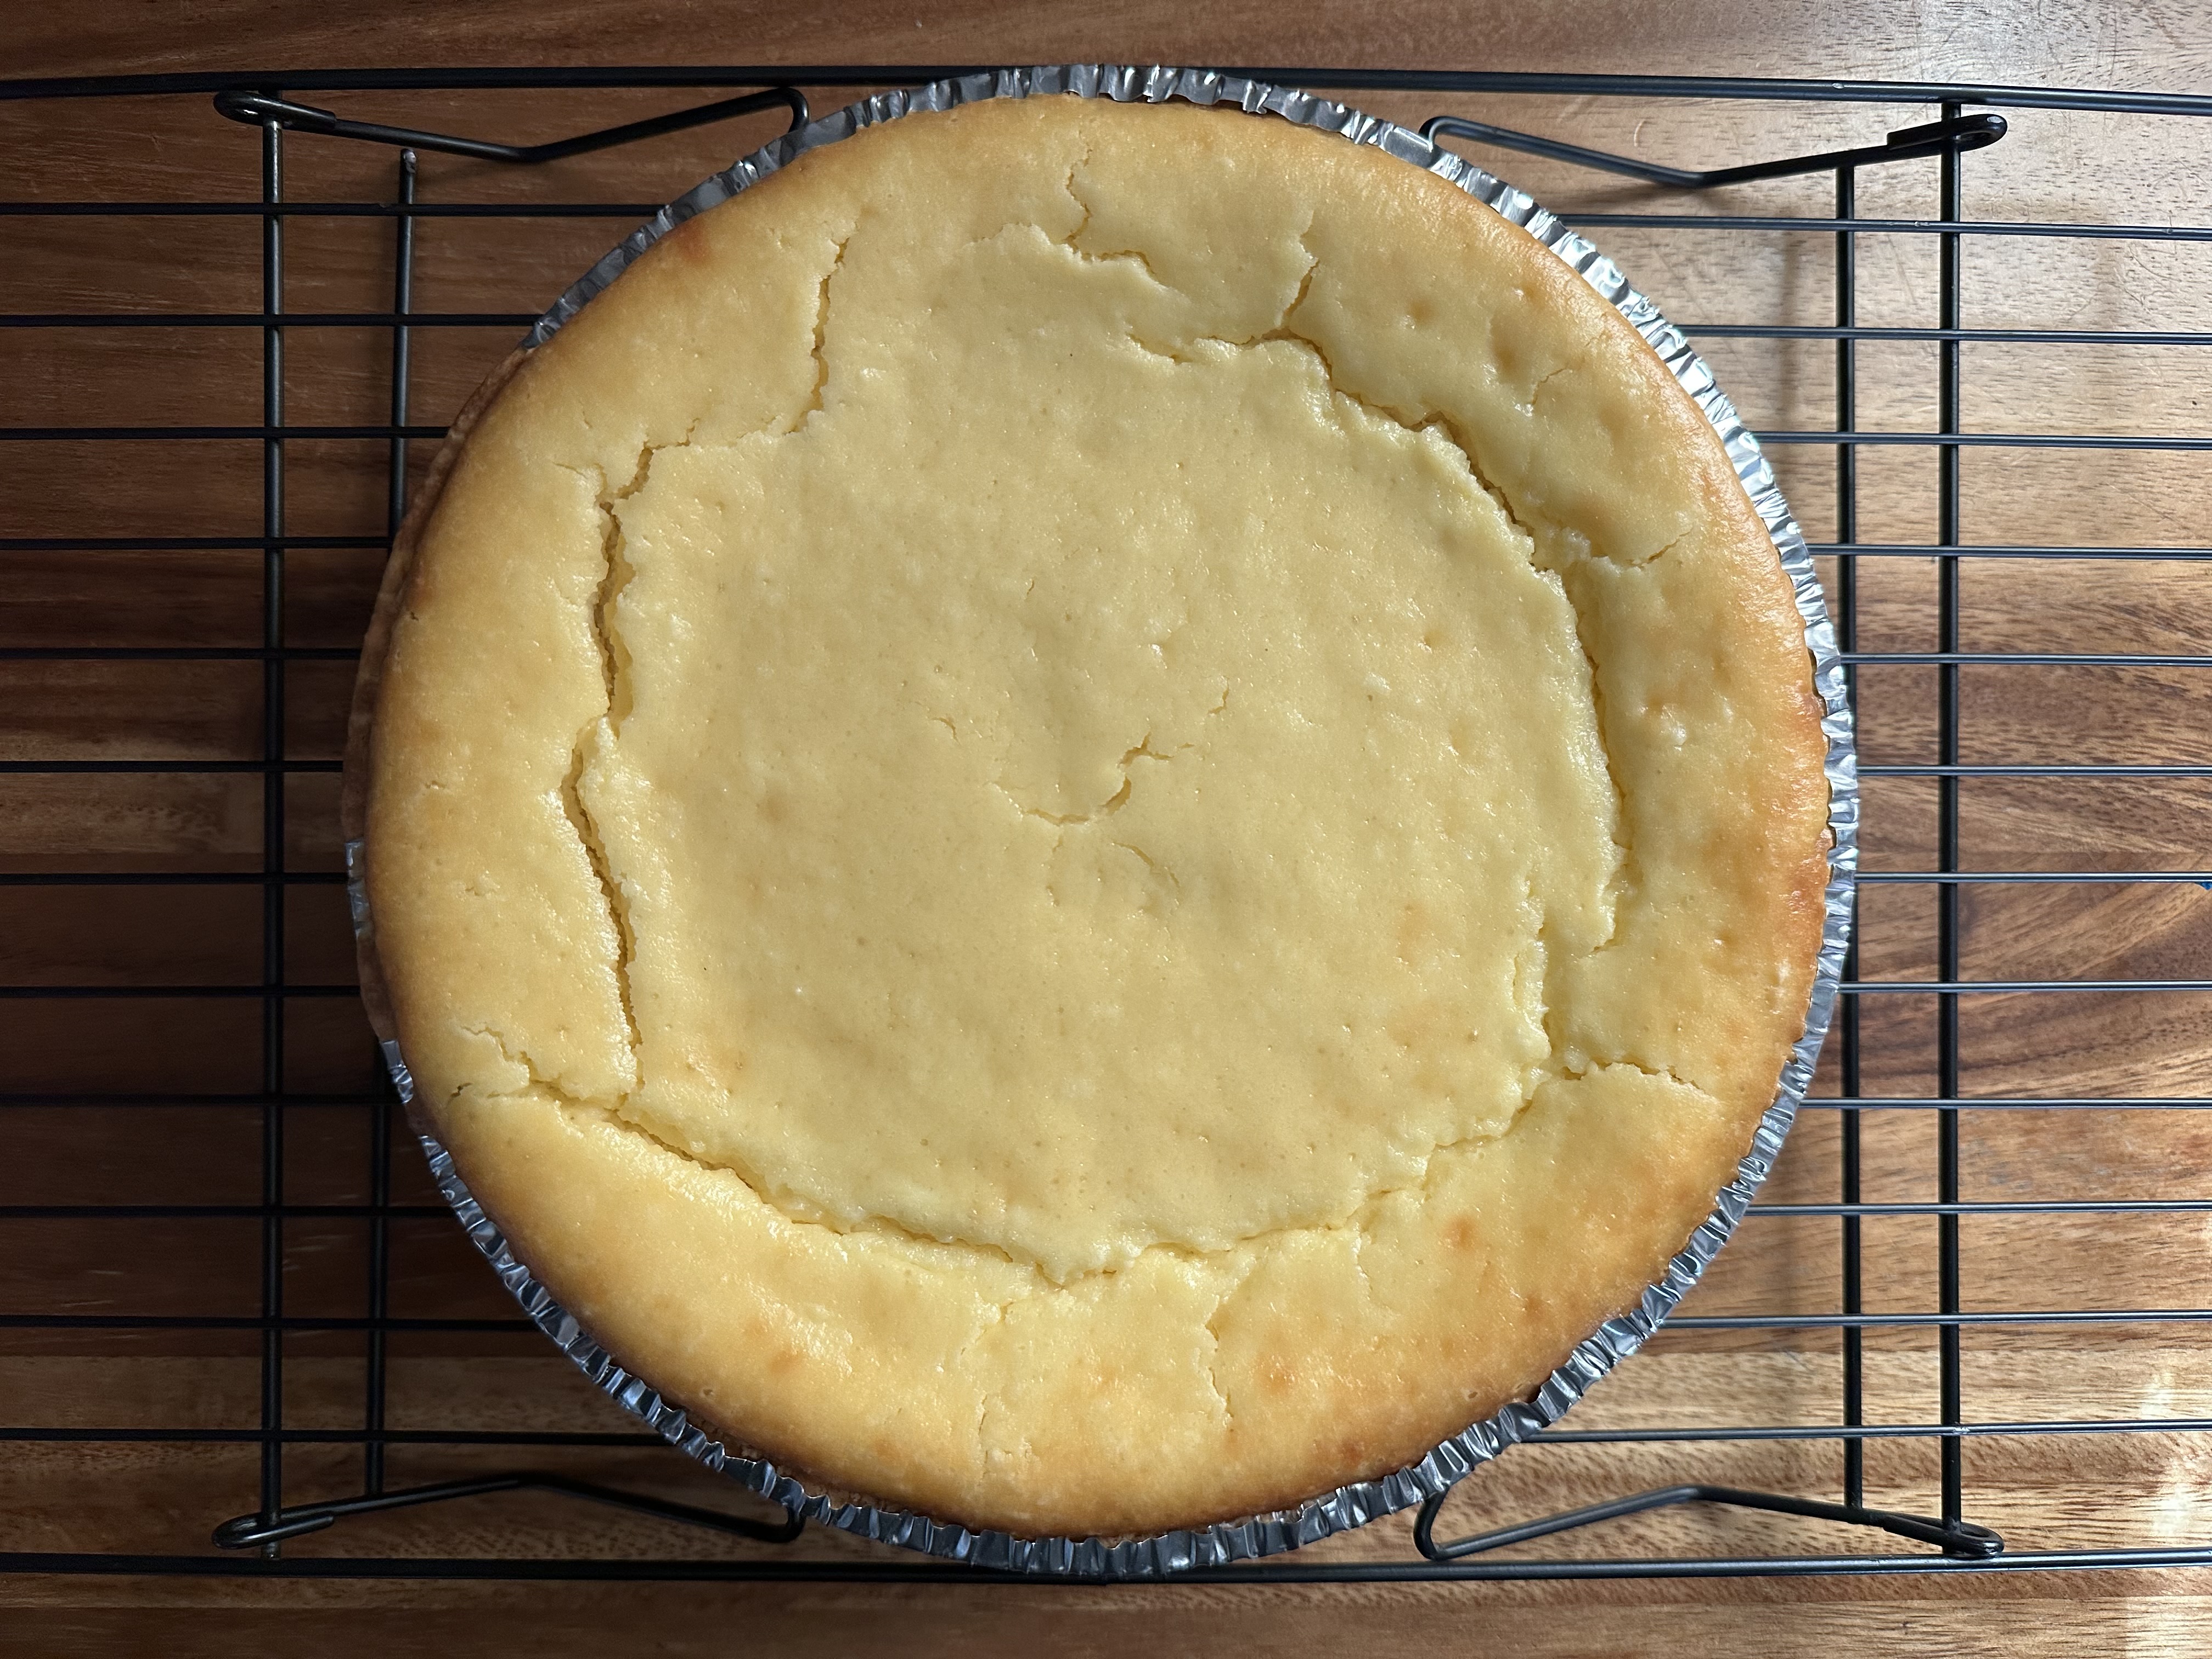
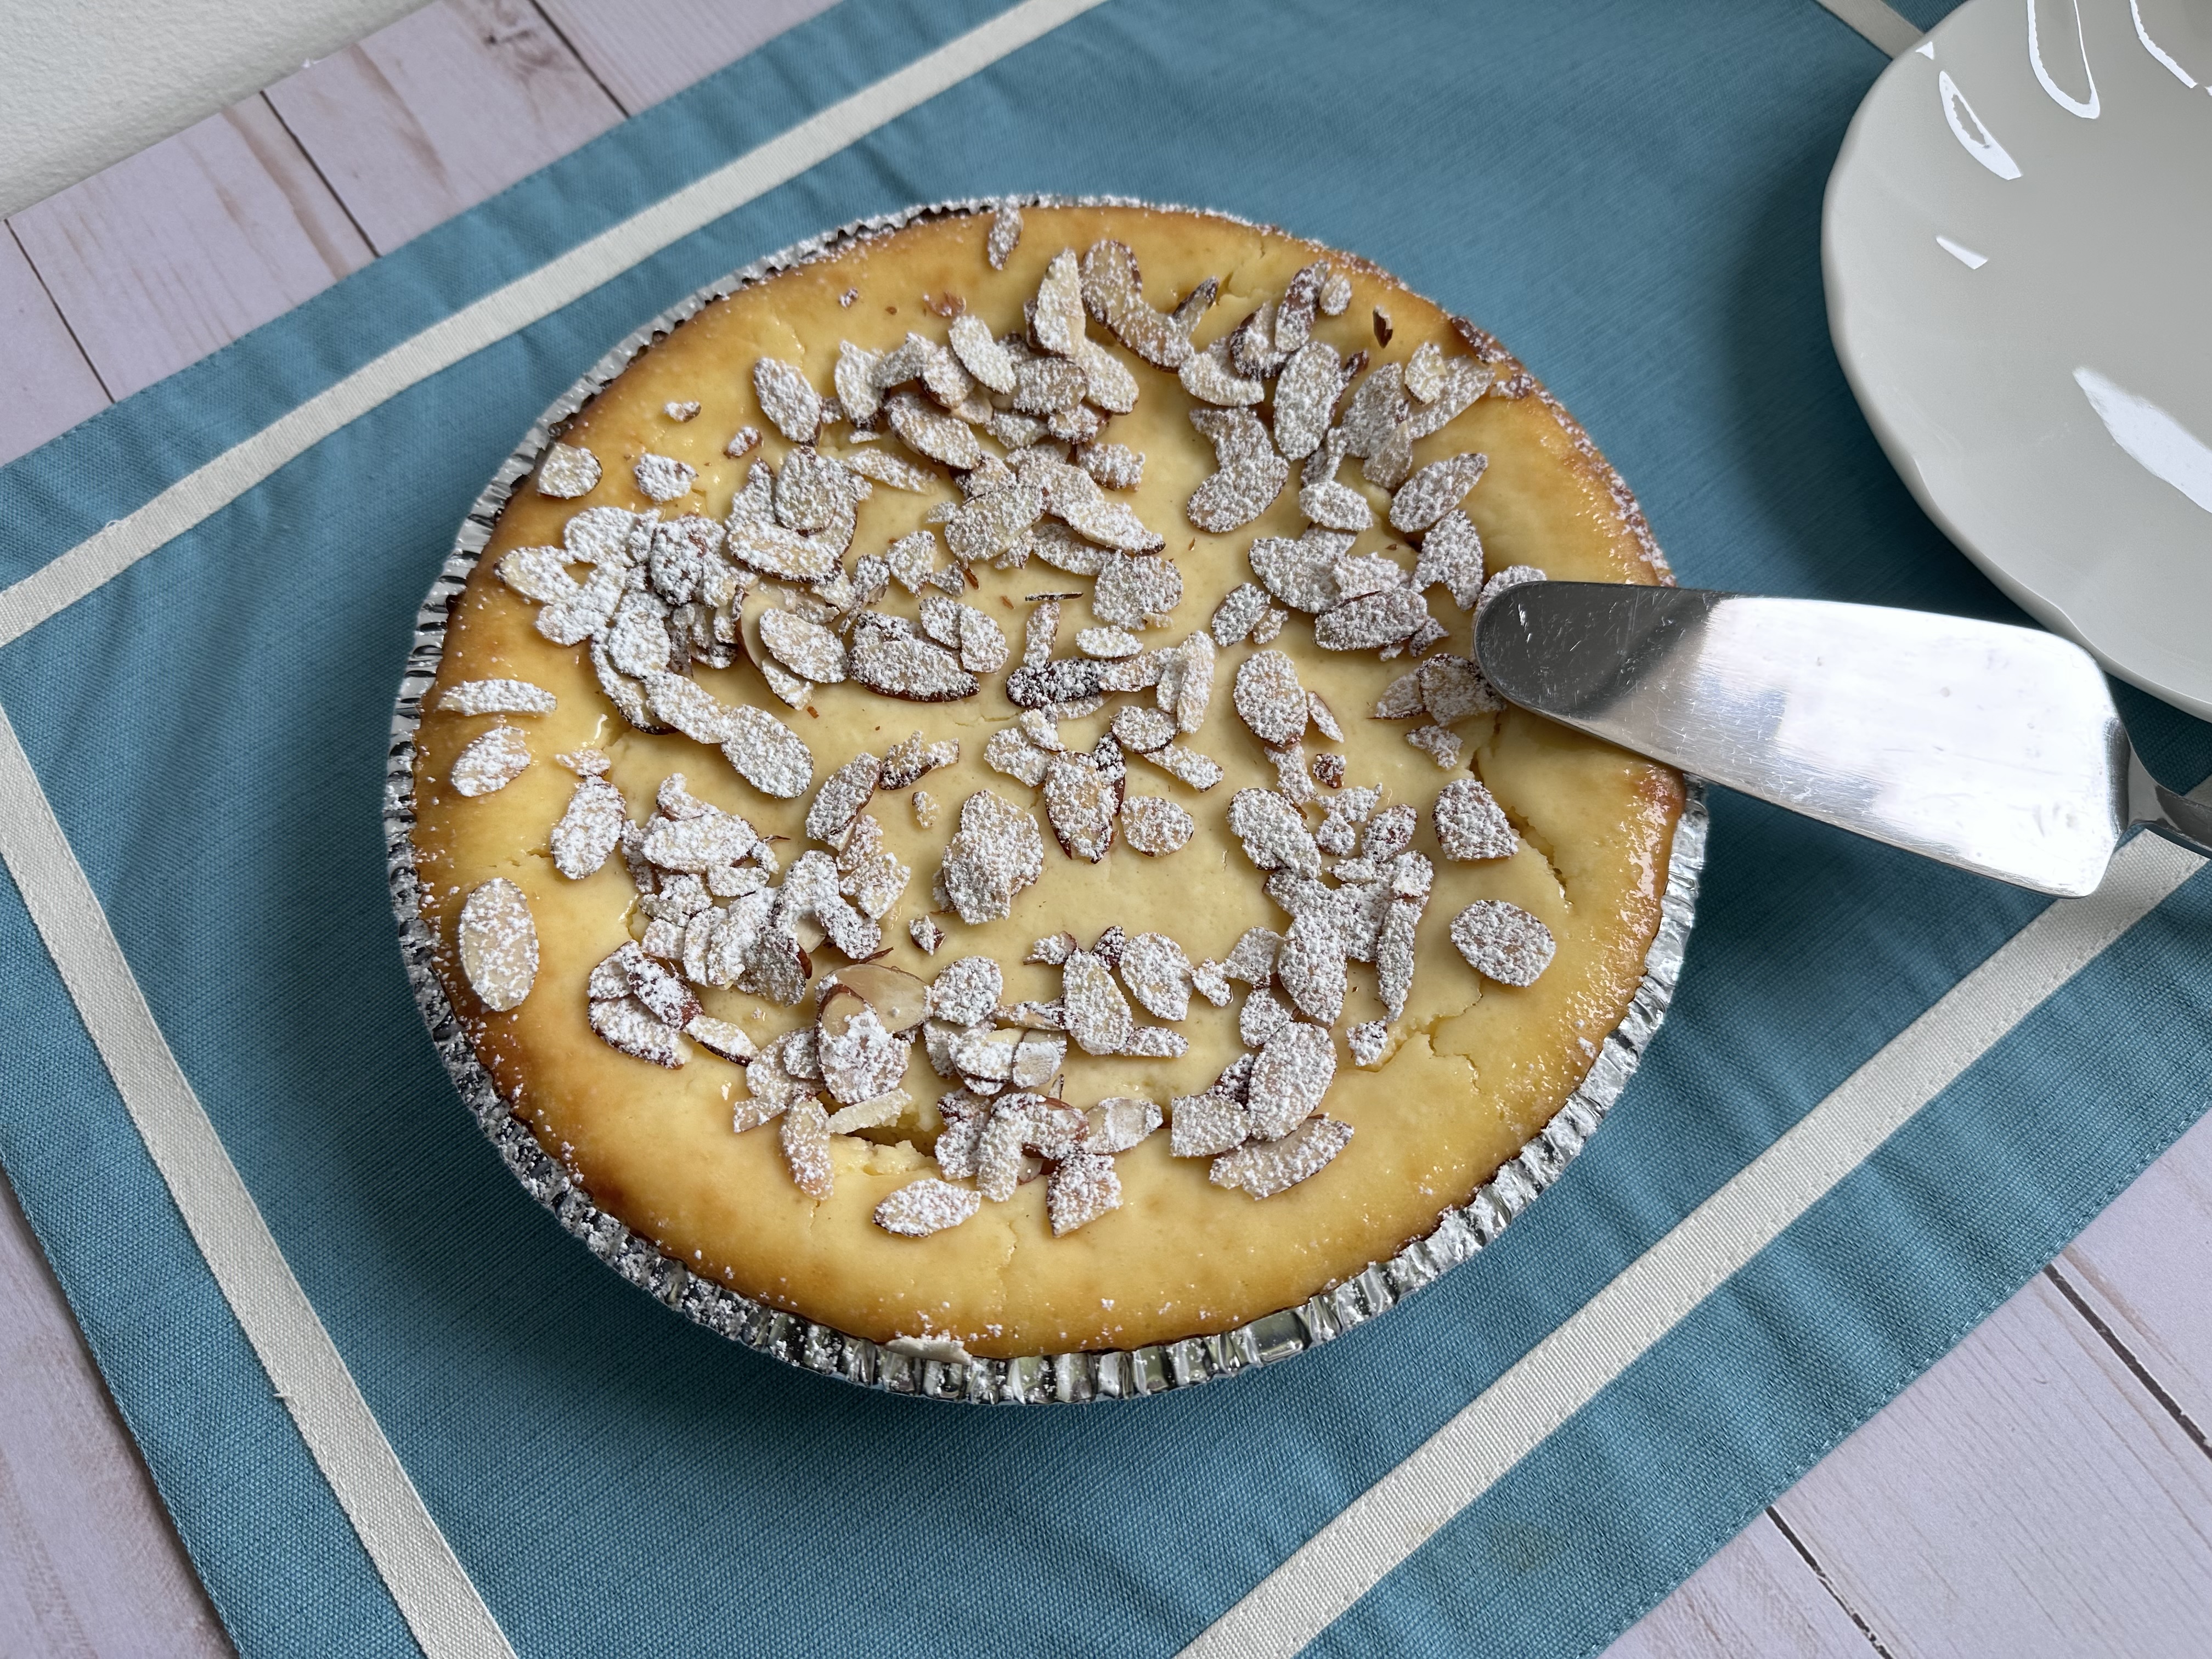
It didn’t ruin the taste though and some toasted sliced almonds covered up any imperfections. As well as a dusting of confectioners’ sugar. Now, if you’ve never had a ricotta cheese-based cheesecake, I should note that it’s not as smooth and creamy as a cream cheese one. Some may even say it’s a bit granular, but it is delicious nonetheless and the almond flavor in this one really stands out. So, if you find yourself with an extra two cups of ricotta cheese or happen to see a small container on sale, you have the perfect recipe for it.

Almond Ricotta Cheesecake

Ingredients:

9-inch graham cracker crust

2 cups whole milk ricotta cheese

1 8oz. block cream cheese, at room temperature

1/2 cup sugar

1/2 tablespoon almond extract

1/2 teaspoon vanilla extract

2 large eggs, at room temperature

1/3 cup slice almonds, toasted*

Confectioners’ sugar, for dusting

*To toast the almonds, spread on a baking sheet and bake in a 350 F oven for 8 minutes. Cool before using.

Directions:

Preheat oven to 325F. Place the graham cracker crust on a baking sheet.

In a large bowl beat together the ricotta cheese, cream cheese, sugar, almond and vanilla extracts with a hand mixer on medium speed until blended. Add the eggs and continue beating until the eggs are well incorporated and the mixture is smooth.

Pour the batter into the graham cracker crust and bake for 45-55 minutes. Until the cheesecake is set around the edges and still slightly jiggly in the center.

Cool on a wire rack and then refrigerate for at least 2 hours.

Prior to serving spread the toasted almonds on top of the cheesecake and then sift confectioners’ sugar on top.

Store leftovers in the refrigerator.

Recipe first appeared on Bead Yarn & Spatula.

Individual Mini Apple Crisps

While pumpkin recipes have been the focus of most of my recent blog posts, there is another fruit that deserves some love this time of the year… Apples. I went apple picking in early October and while I didn’t get to pick my favorite apple, Honeycrisp, I did end up with a good amount of delicious apples that I have been enjoying. As my bag of apples begins to dwindle down some of them aren’t as crisp for eating so I have finally started baking with them. So this week I will be bringing you three recipes apples related. Today’s Individual Mini Apple Crisps, an Apple Cider Doughnut Cake (which didn’t require apples, but, fresh apple cider which I picked up while apple picking) and finally an Apple Crumb Pie. This pie is perfect if you love apple pie but are a little intimidated with making and/or decorating pie crusts.

While these apple crisps are perfect to serve as a dessert if you are having people over for dinner or part of your Thanksgiving desserts (the recipe can easily be doubled or halved as I did) they are a great make ahead dessert as well. I prepped them, covered them with aluminum foil and then refrigerated them until I was ready to bake it. I didn’t change much from the recipe, well, I did make my own apple pie spice since I had the spices on hand and it was cheaper than buying it.

I began by combining the ingredients for the crust and topping (the crisp part) in one bowl. And in another bowl I combined the ingredients for the apple filling. I began assembling the crisps by pressing two tablespoons of crisp mixture into the bottom of ramekins I sprayed with cooking spray. I then evenly divided the apple filling into each of the ramekins. And finally, I sprinkled the remaining crisp mixture over the apple filling. At this point you could bake the crisps in the oven on a baking sheet or, do what I did.

I covered each of the ramekins with aluminum foil and placed them in the refrigerator until I was ready to enjoy them.

When I was, I placed the ramekin on a baking sheet and baked it in a 350 F preheated oven for 30 minutes. As a note, I prepped these on a Sunday and enjoyed my last one on a Wednesday so these will definitely keep in the refrigerator for a few days.

I then topped it with a few scoops of ice cream before digging in. If you omit the ice cream, these are pretty healthy. The crisp is made with old-fashioned oats, raw almonds and honey. While the apple filling just requires a few tablespoons of sugar. This is definitely something I will be making again. Probably next time though I won’t halve the recipe. Since I know for sure that the crisps will keep in the refrigerator for a few days I wouldn’t mind having a few more on hand for a dessert fix.

Mini Apple Crisps

Ingredients:

Crust & Topping:

1/4 cup unsalted butter, at room temperature

3 tablespoons honey

1/2 teaspoon vanilla extract

1/2 teaspoons apple pie spice*

1 cup crush raw almonds**

1 cup old-fashioned oats

Apple Filling:

3 unpeeled medium apples, chopping into 1/2 inch pieces

3 tablespoons sugar

1 tablespoon fresh lemon juice

1 tablespoons apple pie spice

Vanilla ice cream, optional


Directions:

Preheat the oven to 350 F. Spray 6 ramekins with cooking spray.

In a large bowl mix together the butter, honey, vanilla extract and apple pie spice. Add in the almonds and oats and toss together until well coated. Press two tablespoons onto the bottoms of each of the prepared ramekins.

In a medium bowl combine the apples, sugar, lemon juice and apple pie spice. Toss the ingredients together well and then divide it evenly among the ramekins. Sprinkle the top of the filling with the remaining oats and almond mixture.

Place the ramekins on a baking sheet and bake in the oven for 30 minutes, or until the apples are soft and topping is golden brown. ***

Serve warm, topped with ice cream.

*To make your own Apple Pie Spice combine 1 1/2 tablespoons cinnamon, 1 1/2 teaspoons of nutmeg and 1 teaspoon allspice.

**I used raw sliced almonds. I put them in a resealable bag and then rolled them with a roll pin to crush them.

***Alternatively you can cover each of the ramekins with aluminum foil and place in the refrigerator to heat at a later time.

Recipe from Taste of Home

Almond Horns

If you didn’t know, almond is one of my favorite flavors when it comes to dessert. Give me an Almond Croissant for breakfast and I am a happy camper – although that’s not really a dessert item, but, it could be. LOL! Since I am a fan of almond I regularly get the Odense Newsletter that features recipes using their almond paste. In their latest newsletter they had a recipe for Almond Horns that were super simple, I had most of the ingredients on hand and I figured it was time to bake something sweet.

To make the dough I broke the almond paste into small pieces and added it to the bowl of my food processor along with confectioners’ sugar. I mixed the two until it was the texture of fine crumbs. I then added in an egg white (reserving the yolk) and almond flour. I continued mixing the dough until it became a smooth paste.

Next I turned the dough onto my counter that I dusted with confectioners’ sugar and rolled the dough into a 12-inch log and then divided it into 12 equal pieces and rolled each piece into a ball.

img_0485

After that I rolled the balls into 3-inch logs that were slightly tapered toward the ends.

img_0486

I added water to the reserved yolk and beat the two and spread thinly sliced almonds, which I crushed slightly, on a plate.

img_0487

I then dampened the logs in the egg yolk and rolled them in the almonds bending them into crescents and placed them on a parchment lined cookie sheet that I then placed in the refrigerator for 20 minutes.

img_0488

While the Almond Horns were in the refrigerator I preheated the oven to 350F. After the 20 minutes, I baked them for 14 minutes and then let them cool completely on a wire rack.

img_0489

Once they were cooled I melted bittersweet chocolate and dipped the ends of the horns in.

img_0490

These are so good and so easy and quick to make. The outside is crispy while the inside is moist and chewy.


Almond Horns

Ingredients:

1 box Odense almond paste, broken into small pieces

3/4 cup confectioners’ sugar, plus more for dusting

1 large egg, separated and at room temperature

1 tablespoons and 2 teaspoons all-purpose flour*

1 cup thinly sliced almonds, slightly crushed

4 oz. bittersweet chocolate

*Can substitute Almond Flour. Using Almond Flour will make these cookies Gluten Free

Directions:

Line a cookie sheet with parchment paper

Using a food processor or mixer combine the almond paste and 3/4 cup of sugar. Mix until the texture is that of fine crumbs. Add the egg white and flour and continue mixing until the dough becomes a smooth paste, it will be slightly sticky.

Turn the dough out onto a confectioners’ sugar dusted work surface and roll into a 12-inch log. Divide the log into 12 equal pieces and roll each piece into a ball. Roll the balls into a 3-inch log that is slightly tapered at then ends.

Spread the almonds on a plate and beat the egg yolk with 2 tablespoons of water. Dampen the logs in the yolk mixture and then rolls in the almonds shaping the logs into a crescent. Place the crescents onto the prepared cookie sheet 2-inches apart and refrigerate for 20 minutes.

Preheat the oven to 350 F.

Bake 14 to 16 minutes, until lightly golden. Cool the cookie sheet on a wire rack for 5 minutes and then slide the parchment paper off of the cookie sheet and onto the wire rack so the cookies can cool completely.

Once cooled melt the chocolate in a double boiler or in the microwave. Dip the ends into the melted chocolate and return to the parchment paper so the chocolate can set. Layer the cookies between sheets of wax paper in an airtight container for up to 5 days.

Recipe from Odense

%d bloggers like this: