A popular treat around this time of the year is Apple Cider Donuts. If you partake in any type of Fall festival or activity – especially visiting an apple orchard – chances are you will come across them. Not as popular but just as perfect for these crisp autumn days are Pumpkin Donuts. And while I have shared recipes for both donuts before, today’s recipe takes a major short-cut and uses one box of spice cake mix to whip up a batch of both.

To start I made the “base” for each donut. To avoid overbeating and ending up with dense donuts, I opted to mix everything by hand. In a large bowl I stirred the cake mix along with eggs, oil and vanilla extract until just combined. The mixture was quite thick, resembling more of a cookie dough than a batter. I divided it in half, leaving one half in the bowl and placing the other in a medium size bowl. In one I added in apple cider and in the other pumpkin puree. I stirred each until it was the consistency of cake batter and then transferred it to piping bags and filled each donut cavity about halfway. It was easy not to confuse which was which since the pumpkin donuts had an orange hue to them.
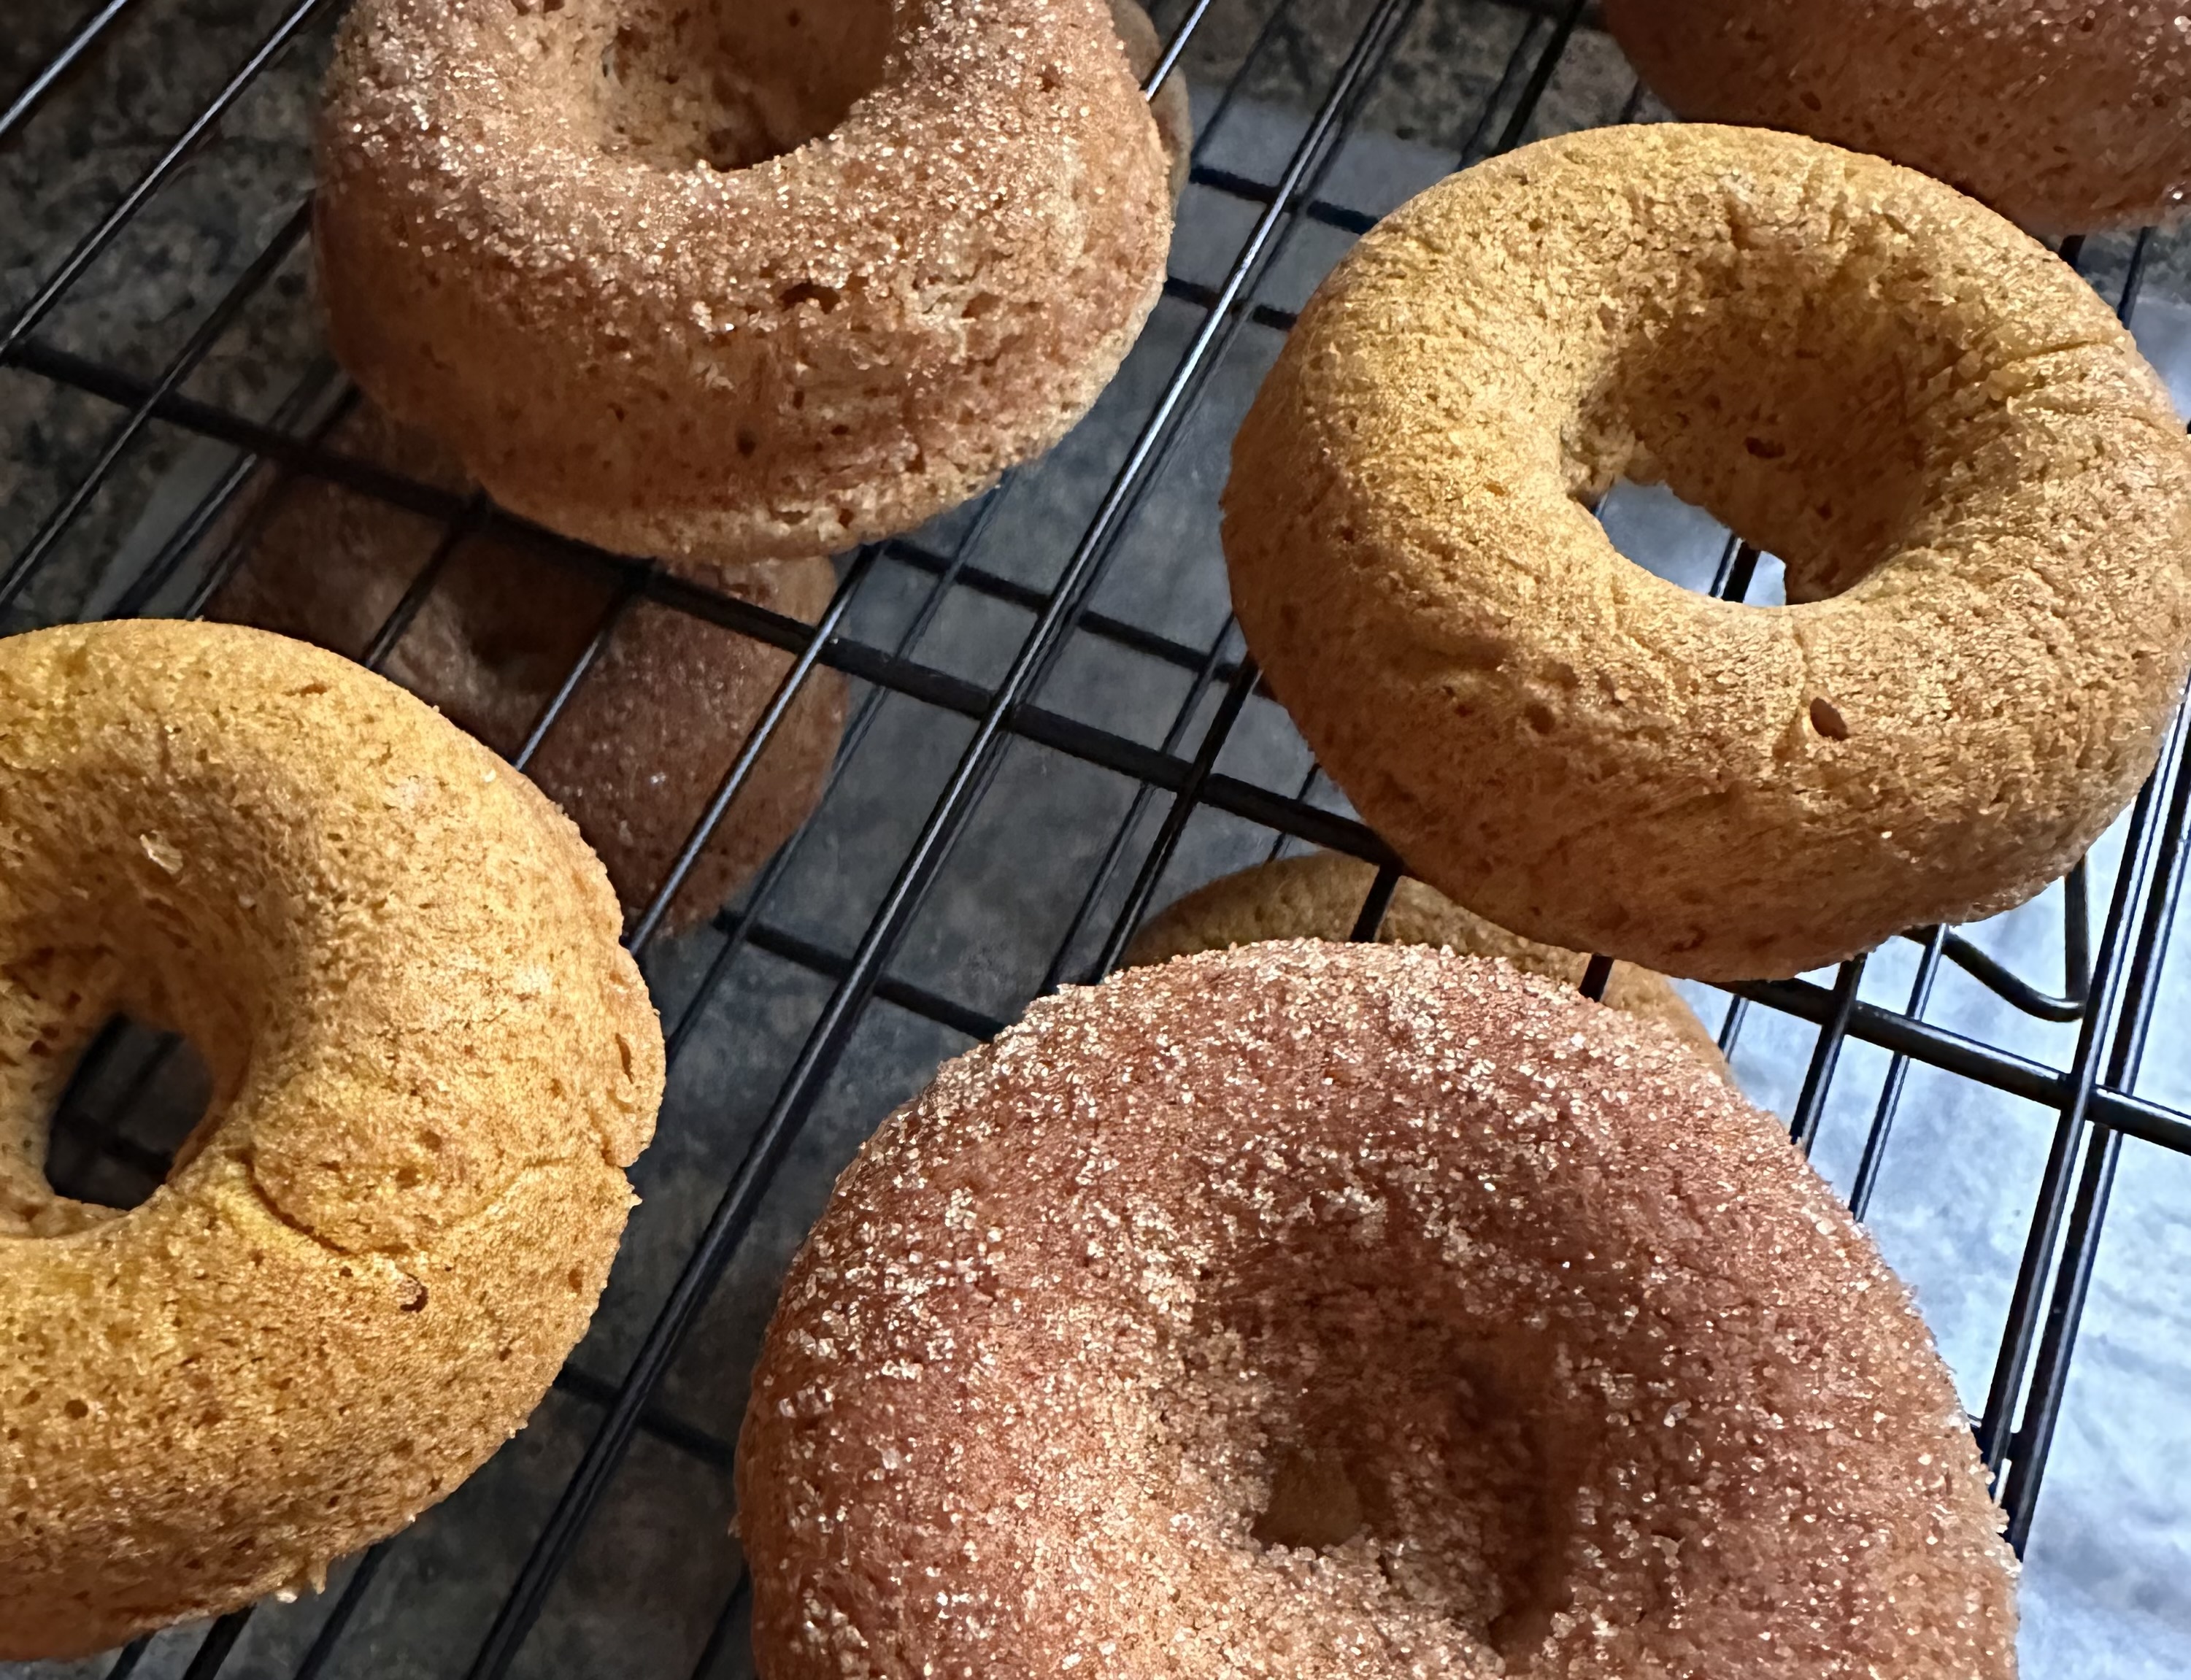
After baking I let the pumpkin donuts cool in the pan for 10 minutes before transferring to a wire rack to cool completely. As for the apple cider donuts, I coated them in cinnamon sugar while they were still warm. Coating them while warm eliminates the need to brush them with melted butter for the cinnamon sugar to adhere to them. If you want to add cinnamon sugar to your pumpkin donuts as well, follow the same steps.

Now, if you aren’t a fan of either apple cider donuts or pumpkin donuts or just want to make a full batch of one or the other, you can simply double the amount of apple cider or pumpkin puree you add in. The amount for that is in the recipe below.
Spice Cake Mix Apple Cider Donuts & Pumpkin Donuts
Ingredients:
1 15.25oz box of spice cake mix (I used Duncan Hines)
2 large eggs
1/4 cup oil
1 teaspoon vanilla extract
For the Pumpkin Donuts:
6 tablespoons pumpkin puree
For the Apple Cider Donuts:
6 tablespoons apple cider
Cinnamon Sugar Topping:
3/4 cup sugar
2 teaspoons cinnamon
*If you want to make a full batch of apple cider donuts add in 3/4 cup of apple cider to the batter and similarly, if you want to make a full batch of pumpkin donuts add in 3/4 cup of pumpkin puree.
Directions:
Preheat the oven to 350 F. Spray 2 donuts pans with baking spray.
In a large bowl stir together the cake mix, eggs, oil and vanilla extract until just combined. Divide the batter in half (it will be thick) and place one half in another bowl.
In one of the bowls add in the pumpkin puree and in the other the apple cider. Stir each of the batters until the ingredients are well incorporated.
Transfer each batter to a piping bag or resealable bag. Snip the end of the bag (or corner if using a resealable bag) and pipe the batters into the prepared pans about half-way.
Bake in the preheated oven for 10-12 minutes. You can insert a cake tester into one of the donuts to make sure it comes out clean.
In a shallow bowl stir together the cinnamon and sugar.
Let the pumpkin donuts cool in the pan for 10 minutes before transferring to a wire rack to cool completely.
Carefully remove the apple cider donuts from the pan one at a time and coat in the cinnamon sugar topping before transferring to a wire rack to cool completely.
*If you want to coat the pumpkin donuts with cinnamon sugar as well follow the same steps as the Apple Cider Donuts after removing from the oven.
Store in an airtight container.