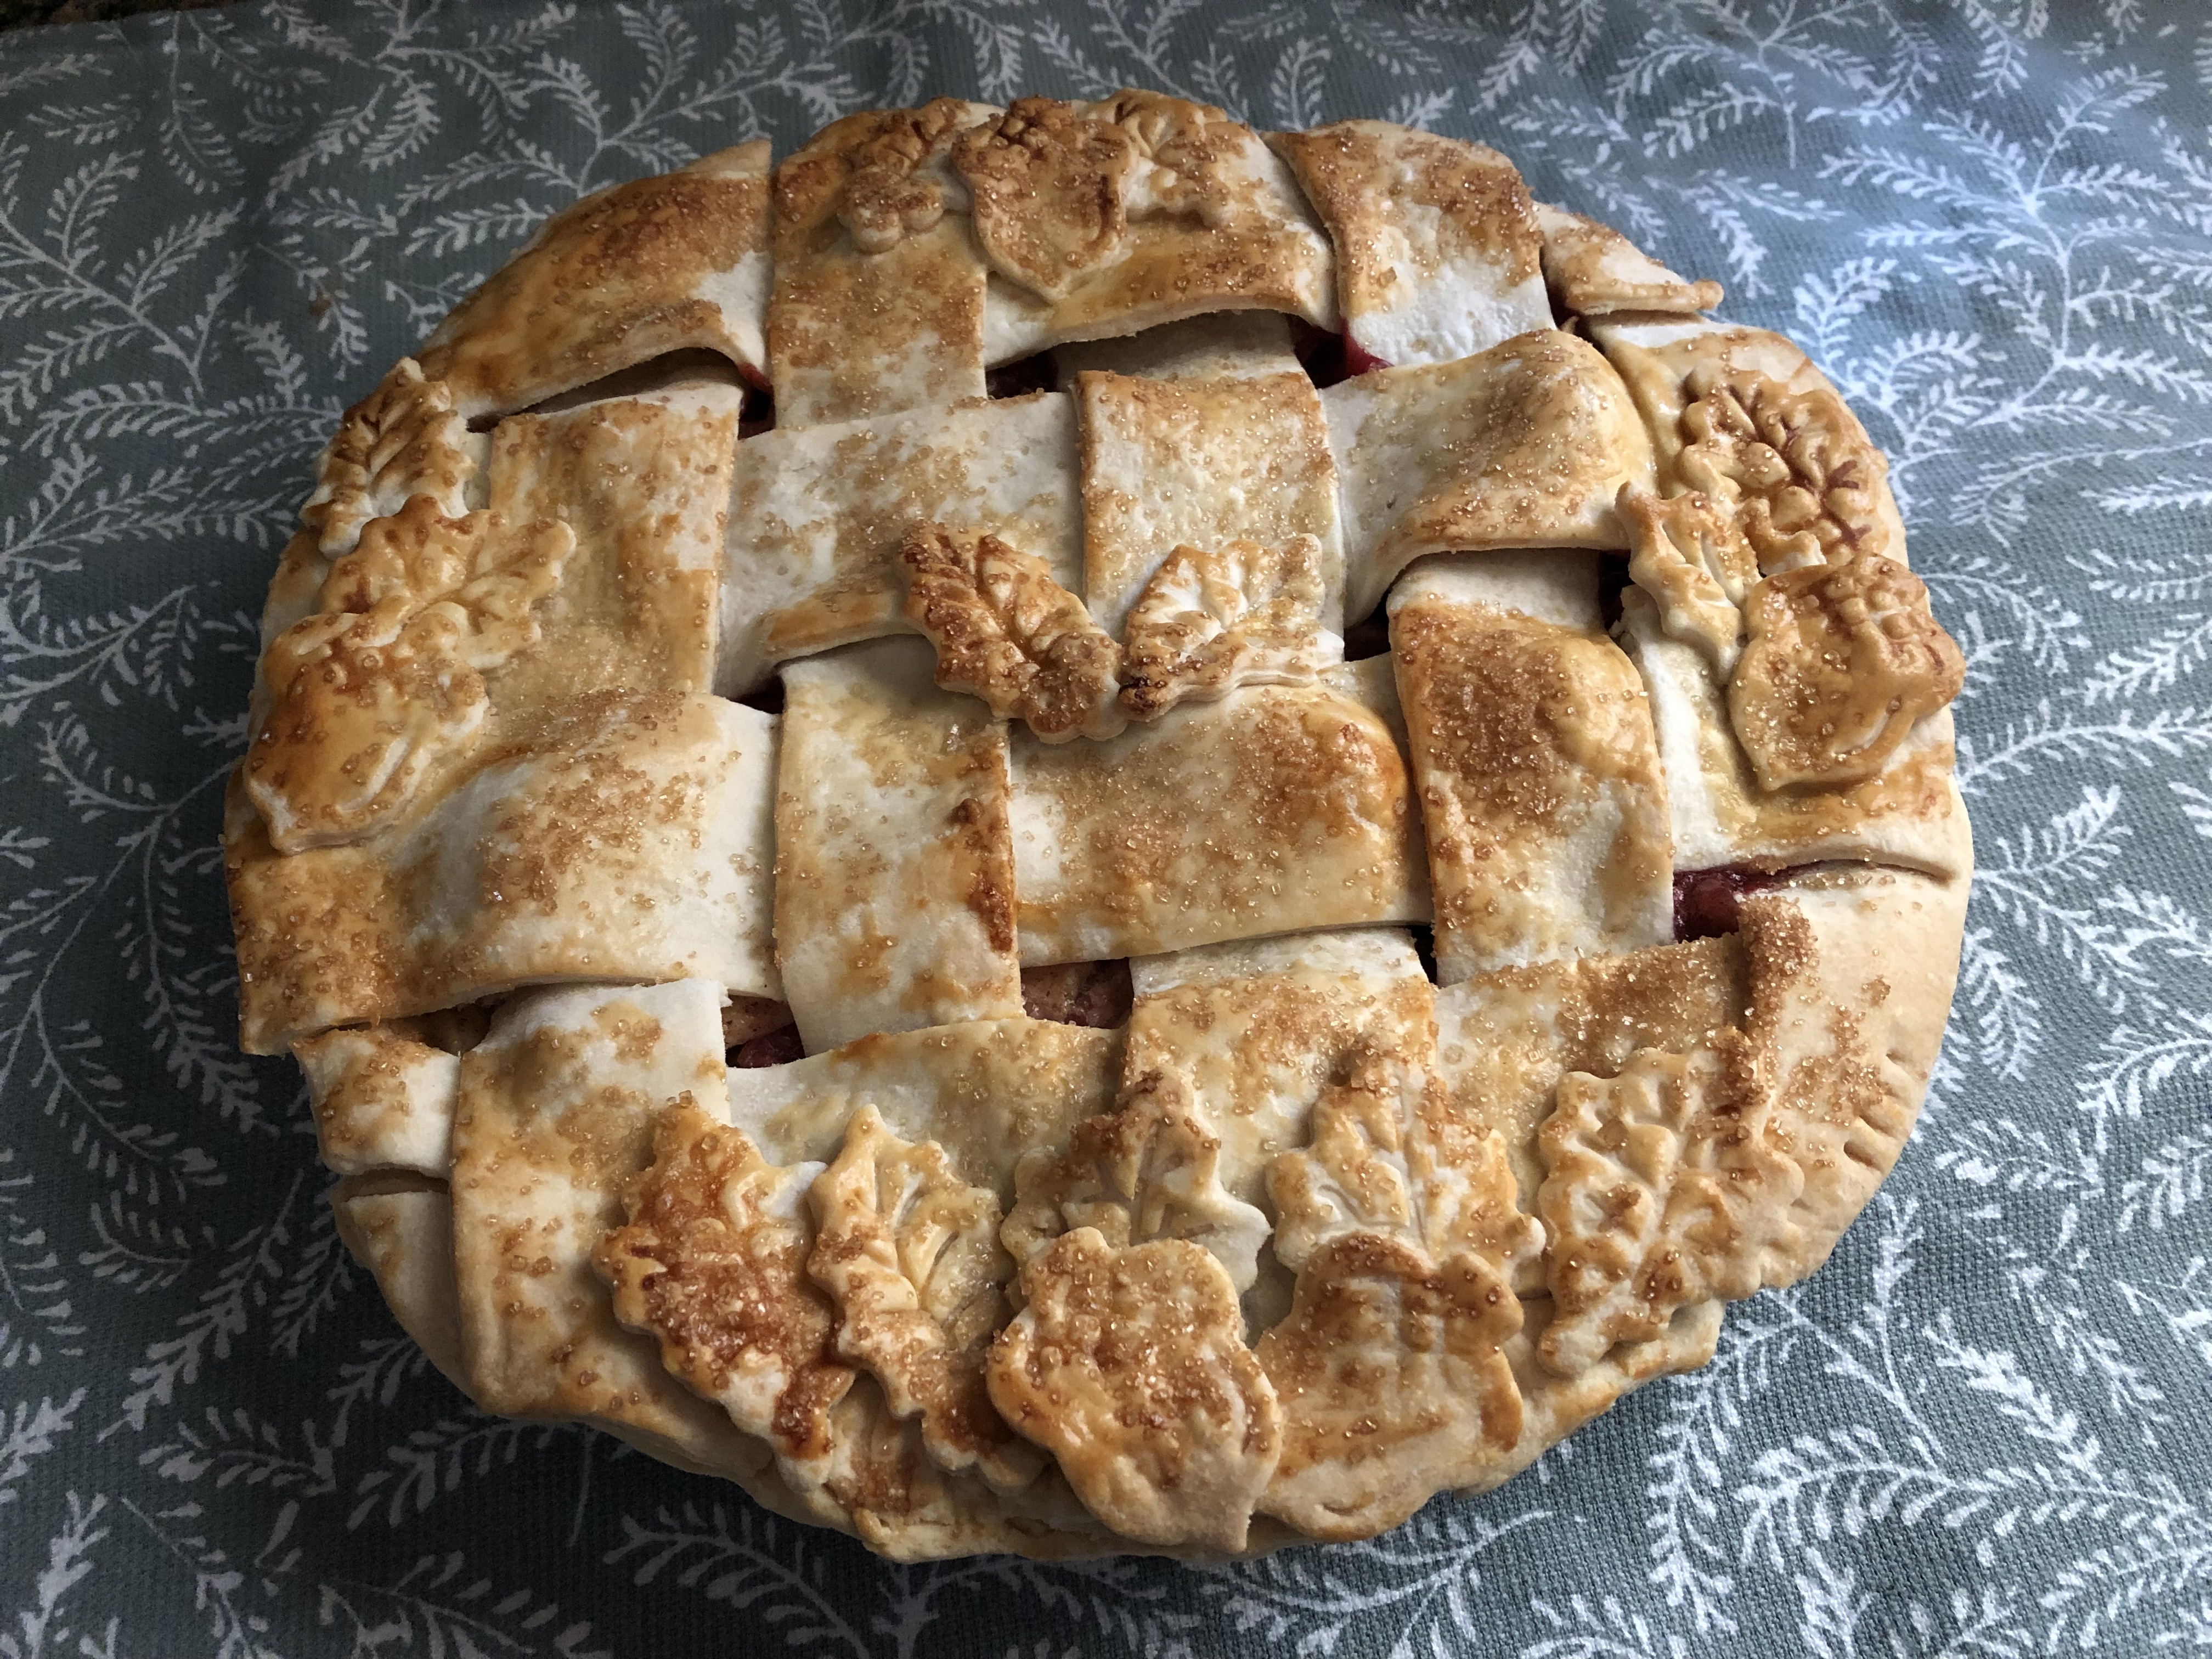
Happy Thanksgiving!

It’s Thanksgiving week! Do you have your menus set or are you still searching for one of two sides to round things out? Or maybe, you are still looking for that perfect dessert to serve or bring to your get together. Below I’ve assembled 5 of my most favorite pies that I have made over the years. I will personally be making the Apple Crumb Pie.

Apple Cranberry Pie

Peanut Butter & Chocolate Mousse Pie

Honey Pumpkin Pie

Apple Crumb Pie

Brown Butter & Vanilla Pear Pie

Have a wonderful Thanksgiving!

Apple Cranberry Pie

Are you deep into prepping for Thanksgiving? Or, are you just showing up somewhere with an empty belly and possibly a bottle of wine in hand? Or, maybe you are like me, you bring the desserts? If you are the latter, today I am bringing you a pie that’s quick to prepare and combines two traditional flavors of Thanksgiving… Apples & Cranberries.  Simply stated an Apple Cranberry Pie.

Now, cranberries are not a favorite among many. Most prefer it in the canned jellied form when it comes to eating it with their holiday meal, and don’t get me wrong, I won’t pass up a slice or two of it, but, even though fresh cranberries are tart and not enjoyable to snack on like a blueberry, they can be turned into a delicious sauce. While I don’t go all out and cook a Thanksgiving meal, I will whip a batch or two of cranberry sauce around this time of the year. For this pie, I used some of the same ingredients I use in my cranberry sauce (orange zest & ginger) along with the traditional sugar, cinnamon and nutmeg from apple pie to create a filling that would allow both fruits to complement each other.

When it comes to making pies, I take a major short-cut and use store-bought pie crusts. It’s fool-proof and a great time-saver. The one time I decided to make a pie crust from scratch it didn’t bake evenly and even though my pie filling was delicious the failed crust just took away from it. One day I will attempt to do it again though. For this pie, I opted to use a frozen pie crust as my bottom crust. In a large bowl, I folded all the pie ingredients together and then spooned it into the crust.

Since I was planning on making a decorative top crust I let two refrigerated pie crusts come to room temperature and then lightly rolled them out on a floured surface before slicing them into strips to create a lattice design on the pie. I also cut out a few leaf and acorn designs to apply to the crust. I then brushed it with a beaten egg and sprinkled it with turbinado sugar. I used turbinado sugar since I had it on hand and it gives the crust a nice golden color, but, you could use regular sugar instead. Alternatively, if you are not planning on making a decorative top crust, you can use 2 refrigerated pie crusts to make your pie. Simply roll out one into your pie dish, fill it and then top it with the second pie crust. Seal the edges, cut slits into the top crust, brush with an egg, sprinkle with sugar and then proceed to bake it.

I placed the pie on a baking sheet and baked it in a 400 F preheated oven for 20 minutes. I then lowered the oven temperature to 350 F and tented the pie with aluminum foil so it wouldn’t brown too quickly on top and baked it for an additional 35 minutes. I removed the foil for the last 5 minutes so the pie could get a nice golden color.

After letting the pie cool completely it was time to slice into it and enjoy a piece. And I must say all the flavors worked well together. The orange zest helped to cut the tartness of the cranberries and the sugar, of course, brought out the sweetness of both the apples and the cranberries. I was also about to taste hints of the cinnamon, nutmeg and ginger.

Another great thing, the pie held together perfectly when sliced. No runny messes.

Happy Thanksgiving!!!

Apple Cranberry Pie

Ingredients:

1 box refrigerated pie crusts (2 count)

3 large Granny Smith Apples, peeled & sliced 1/4 inch thick

1 1/2 cups fresh cranberries

3/4 cup sugar

1/2 tablespoon lemon juice

1 teaspoon cinnamon

1/4 teaspoon ground nutmeg

1/4 teaspoon ground ginger

2 teaspoons orange zest

1/3 cup flour

Egg Wash:

1 egg, beaten

Sugar

Directions:

Preheat oven to 400 F.

Place 1 pie crust in an ungreased 9-inch glass pie plate. Press firmly into the dish.

In a large bowl, gently mix the remaining pie ingredients with a rubber spatula until well incorporated. Spoon the filling into the prepared pie dish.

Top the filling with the second pie crust and press the edges together to seal. Cut 4 slits in the center of the top crust. Brush the pie with the beaten egg and sprinkle with sugar.

Place on a baking sheet and bake for 20 minutes. Lower the oven to 350F and tent the pie with aluminum foil and bake for an additional 35-40 minutes. Or until the filling begins to bubble. If desired, remove the foil for the last 5 minutes of baking so the crust can brown a bit more.

Let cool on a wire rack.

Recipe first appeared on Bead Yarn & Spatula

Apple Crumble

While pumpkin and pumpkin spice does dominate as the flavor of the Fall, there’s another fruit that is just as delicious… Apples. One of my favorite things to do in the Fall is to go apple picking. And while I have had to forgo many activities due to the pandemic, thankfully apple picking wasn’t one of them. I’ll admit though that this year I haven’t been snacking on my apples as much as I have in the past. I think that’s partly due to the fact that I am working from home. I have been snacking on other things instead, whereas an apple was my snack for my drive home. It’s all good though, it just means I can bake with them instead. Last year I made an Apple Crumb Pie that was a hit! I actually ended up making two of them for Thanksgiving. And this year I am bringing you a recipe for an Apple Crumble that’s just as good. You get all the flavors of apple pie without the fuss of making a crust and with the added deliciousness of a crumble topping.

After peeling, coring and chopping the apples I tossed them with sugar, flour, lemon juice, cinnamon and salt. I then transferred them to a baking dish that I greased with unsalted butter.

To make the crumble topping, using a handheld mixer, I beat together a stick of softened unsalted butter with brown sugar until fluffy and then added in flour and salt and continued beating the mixture until large pieces began to form.

I then sprinkled the crumble topping over the apples.

And then baked it in a 375 F preheated oven for about an hour, until the mixture was bubbling.  After the first 20 minutes, I tented the dish with aluminum foil to prevent the topping from burning.

After letting it cool, I enjoyed some with vanilla ice cream.


Apple Crumble

Ingredients:

For the Apples:

1 tablespoon butter to grease dish

3 lbs. apples, peeled, cored & chopped

6 tablespoons sugar

2 tablespoons flour

2 tablespoons fresh lemon juice

1/2 teaspoon cinnamon

1/4 teaspoon kosher salt


For the Crumble Topping:

1 stick unsalted butter, at room temperature

1/2 cup light brown sugar

1 cup flour

1/2 teaspoon salt


Vanilla Ice Cream, for serving


Directions:

Preheat the oven to 375 F. Grease a 2-quart baking dish the tablespoon of butter.

Toss the apples, sugar, flour, lemon juice, cinnamon and salt in a large bowl. Transfer to the prepared baking dish and set aside.

Make the crumble topping: In a medium bowl beat the butter and light brown sugar together until light and fluffy. Add in the flour and salt and continue beating until large pieces form.

Sprinkle the crumble topping over the apples and bake in the oven. After the first 20 minutes tent the dish with aluminum foil and continue baking until the mixture begins to bubble, about an hour.

Let cool for 20 minutes and then serve.

Recipe from Martha Stewart

Apple Crumb Pie

I’m wrapping up my mini apple week today with a pie that would be a perfect addition to your Thanksgiving dessert table… An Apple Crumb Pie. I make my fair share of desserts for Thanksgiving and this year I decided to make things a little easier on myself and forgo making any pies with a decorative pie crust. My baking list for Thanksgiving usually includes about 6 or 7 different desserts so taking that small thing off of my list is definitely going to help me get everything done in a timely fashion. And since I normally head to the city to see the Macy’s Thanksgiving Day Parade balloons get inflated the night before Thanksgiving I have limited time on that day to bake so I normally end up baking one last thing on Thanksgiving morning and I am trying to avoid that this year. Coupled with no decorative pie crusts I am also thinking of baking one or two things ahead of time which should definitely free up some time for me.

To begin this pie I started by making the crumb topping. Once I mixed all of the ingredients together I placed it in the freezer so it could firm up. Next, I covered a large baking sheet with aluminum foil and placed it on the bottom rack of my oven and preheated it to 400 F. And finally I made the filling. I added all of the ingredients for the filling to a large bowl and using a rubber spatula gently folded them together.

Now, I’ve never had much success in making pie crust from scratch so I always opt to either use refrigerated pie crust or my real favorite frozen pie crust. I apologize to those of you who are cringing right now. I just find it fool-proof, especially the frozen one, and since I am usually more concerned with how the filling is going to come out and perfecting a decorative crust it’s just easier for me. To be honest, when I do make a decorative pie crust I use a frozen crust for the filling and a refrigerated pie crust to decorate it. It’s so much easier to make cut outs or cut long strips with pie crust that is already the perfect thickness. If you’re thinking of following my trick here’s another one. If you want to decorate your pie with cut-outs make sure you refrigerate them after cutting them out before placing them on your pie. Same thing goes for the strips you would use for braiding or a lattice design. Handling the pie crust softens it quickly and then when you go to place it on your pie it won’t place as well or may start to break (especially if you are making a lattice design), firming it up again makes it easier to work with and it will bake better. Okay, so back to the pie at hand. I used a frozen 9-inch deep dish pie crust. I kept the pie crust in the freezer until I was ready to fill it. I spooned the filling into the pie crust and then gently topped it with the crumb topping, breaking any pieces of crumb that were too large. I carefully removed the hot pan from the oven and placed the pie on it and then returned it to the oven.

Look at those nice pieces of crumb topping… YUM!!!

I baked it at 400 F for about 25 minutes and then reduced the oven temperature to 350 F and baked it for about another 50 minutes. My apples were a tad soft to begin with (I got them a few weeks ago from apple picking) so my pie was ready rather quickly. About 25 minutes after reducing the heat I covered the top of the pie with a piece of aluminum foil so the crumb topping wouldn’t burn. Once I removed it from the oven the crumb topping was a perfect golden color and the filling had bubbled out just a bit.

After letting it cool completely I placed it in the refrigerator covered with aluminum foil for a few days before cutting into it -I baked it on a Thursday night and sliced it on Sunday. Final verdict… It was the best apple pie I’ve ever made. I would say pie in general, but that distinction belongs to Key Lime Pie. Per requests, I am planning on making two of these for Thanksgiving!


Apple Crumb Pie

Ingredients:

1 Frozen 9-inch deep dish pie crust*
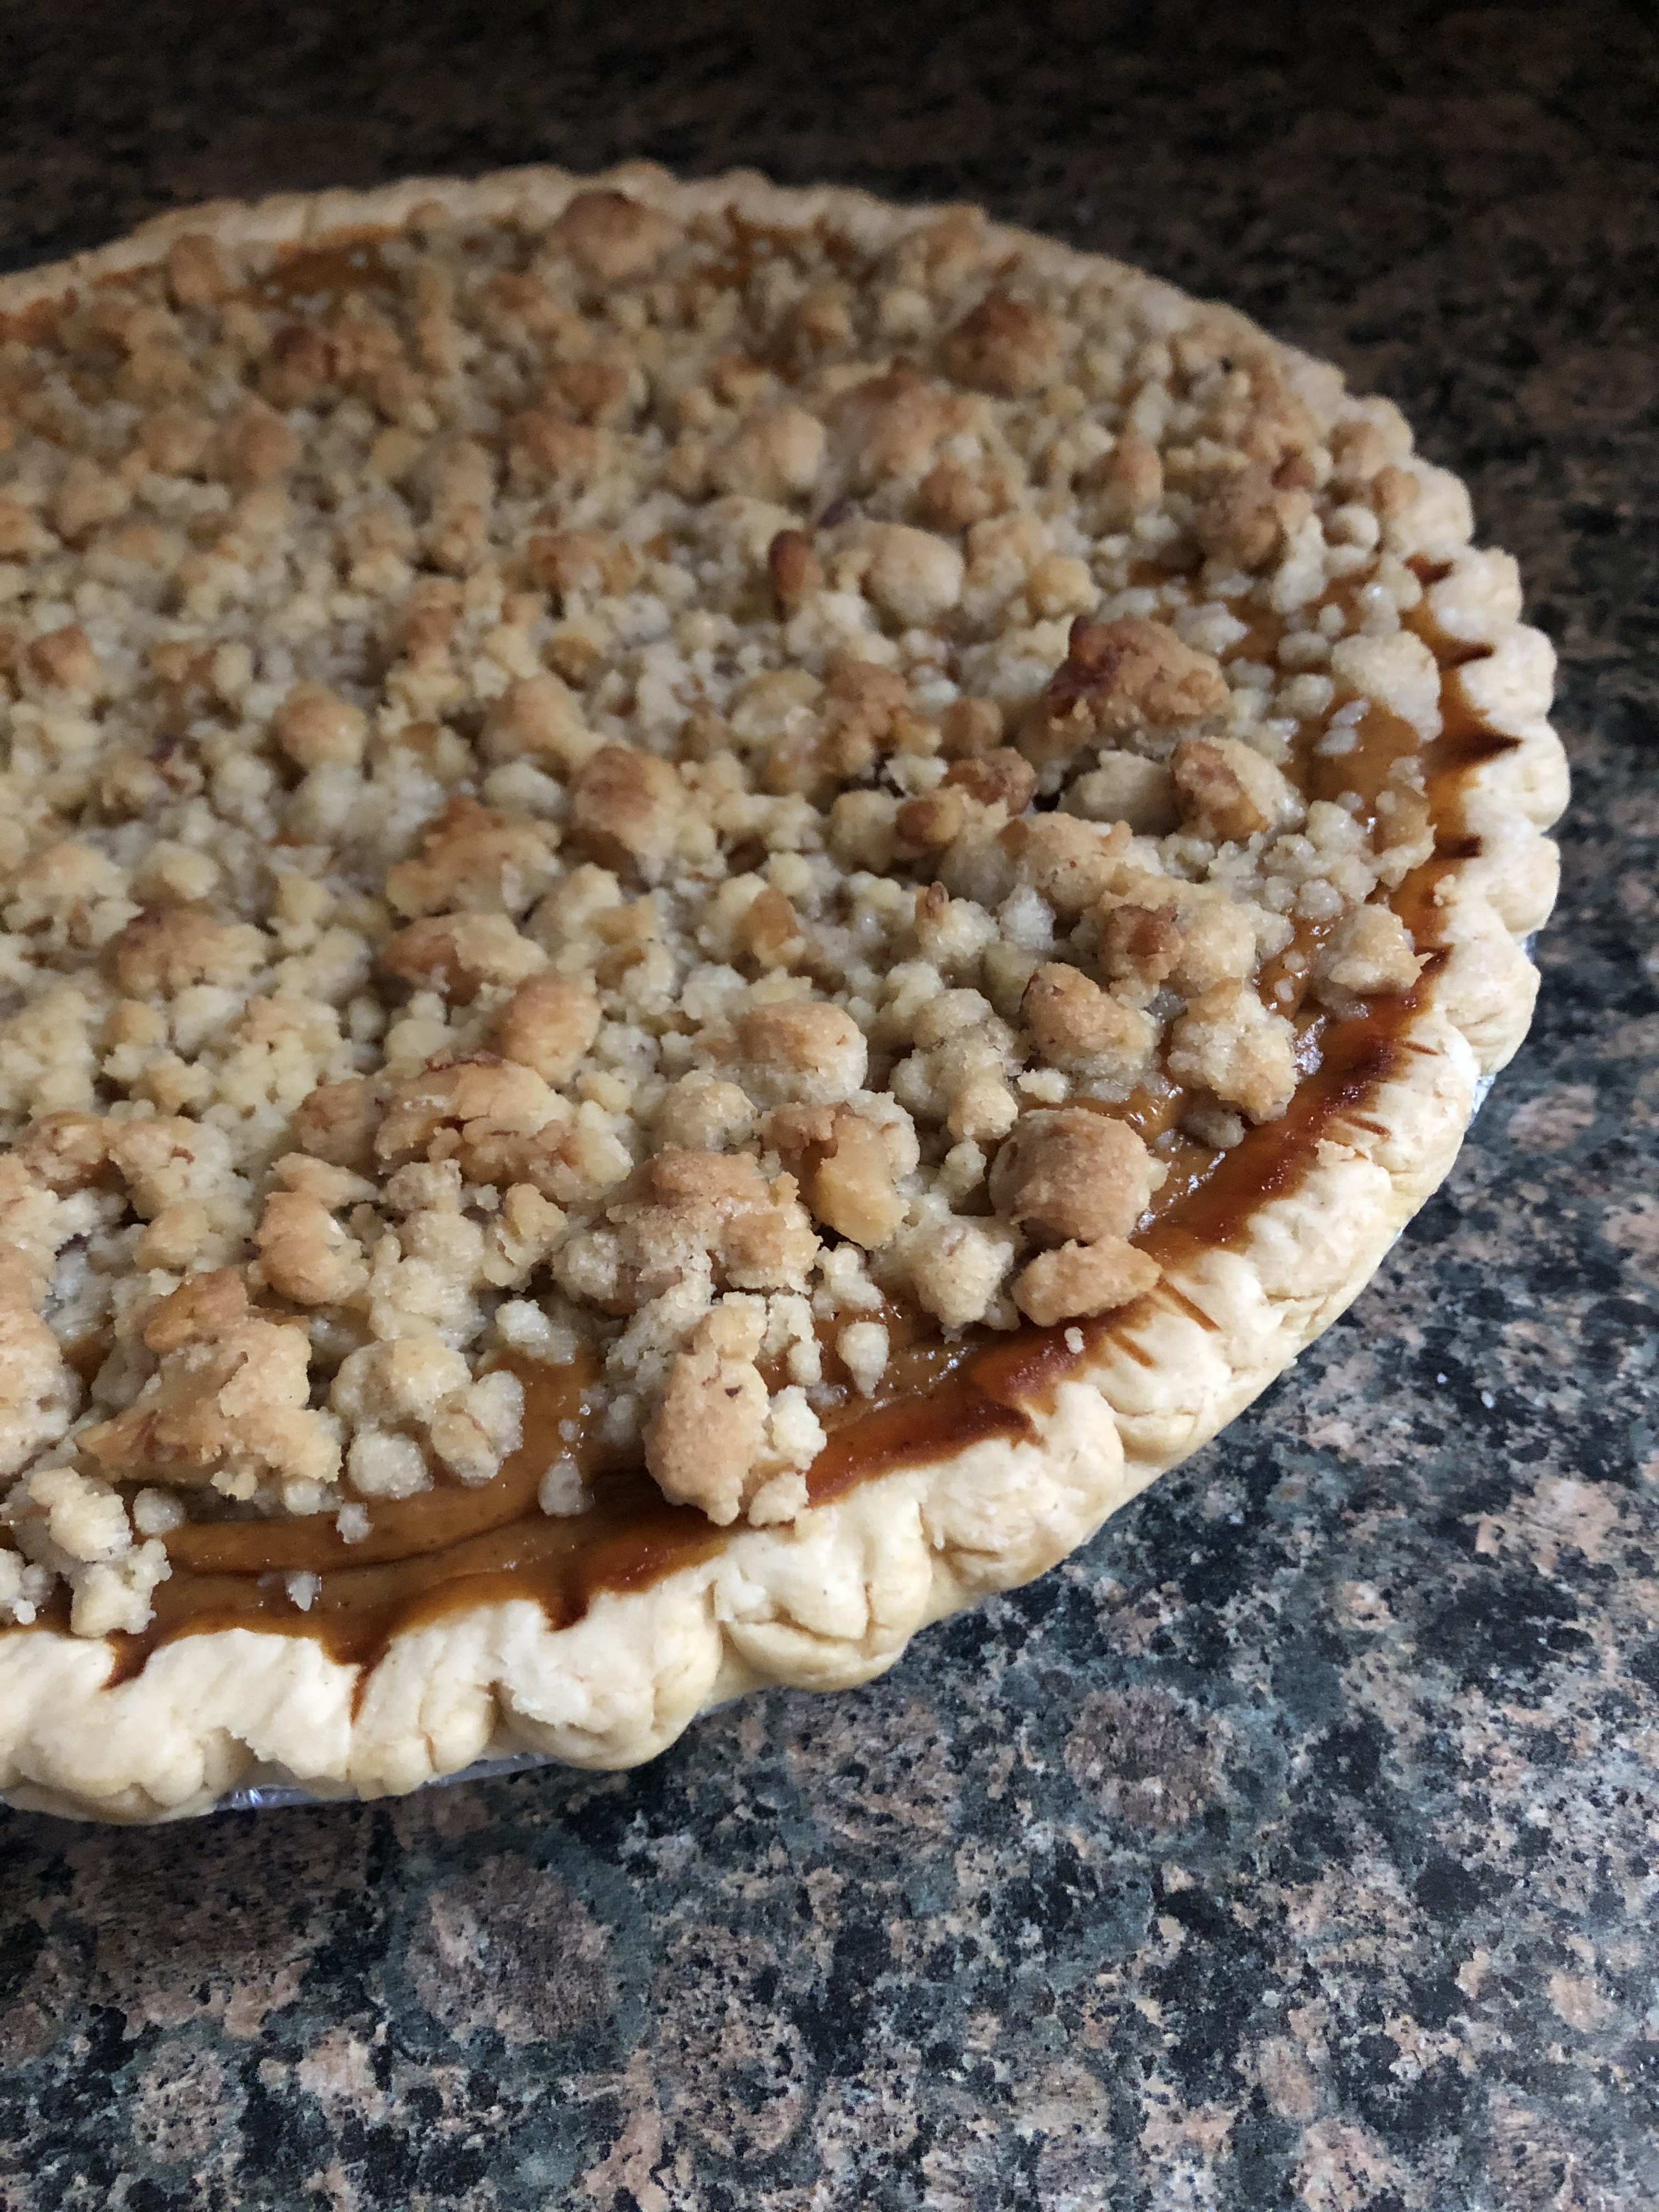
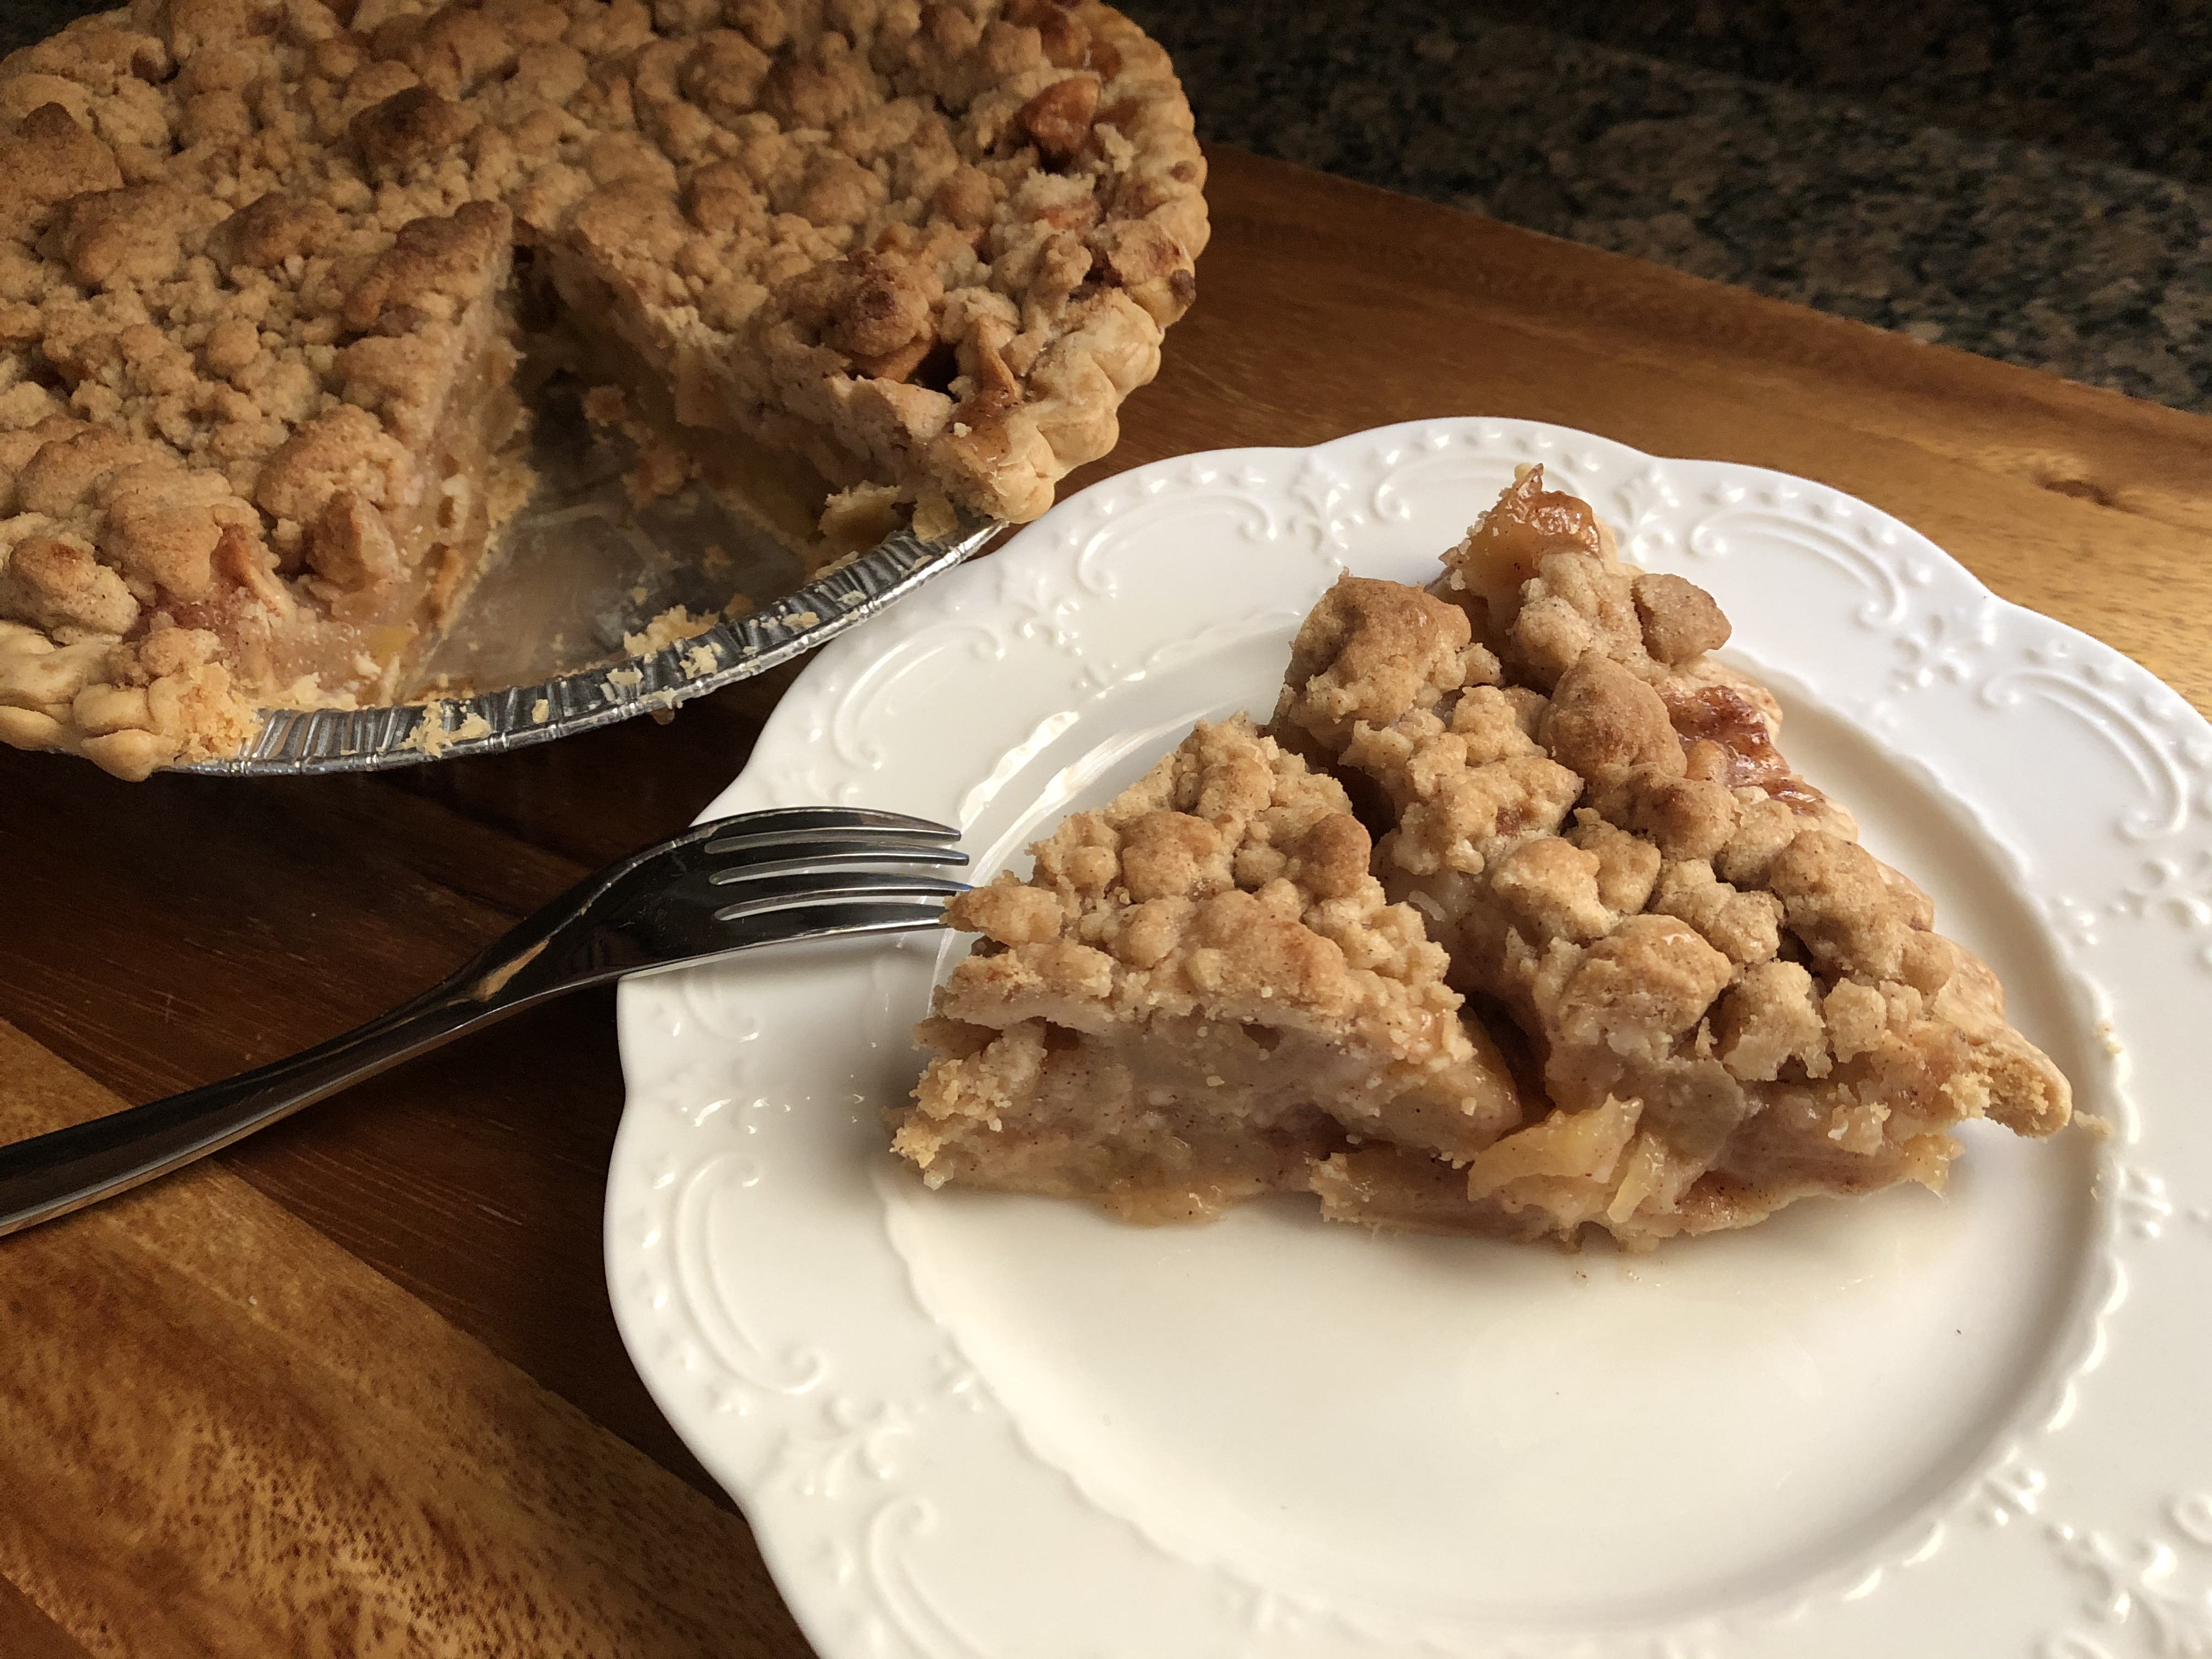
Crumb Topping:

1 cup all-purpose flour

1/3 cup light brown sugar

1/4 teaspoon ground cinnamon

1/4 teaspoon salt

1 stick unsalted butter, cut into 1/2-inch pieces at room temperature

Filling:

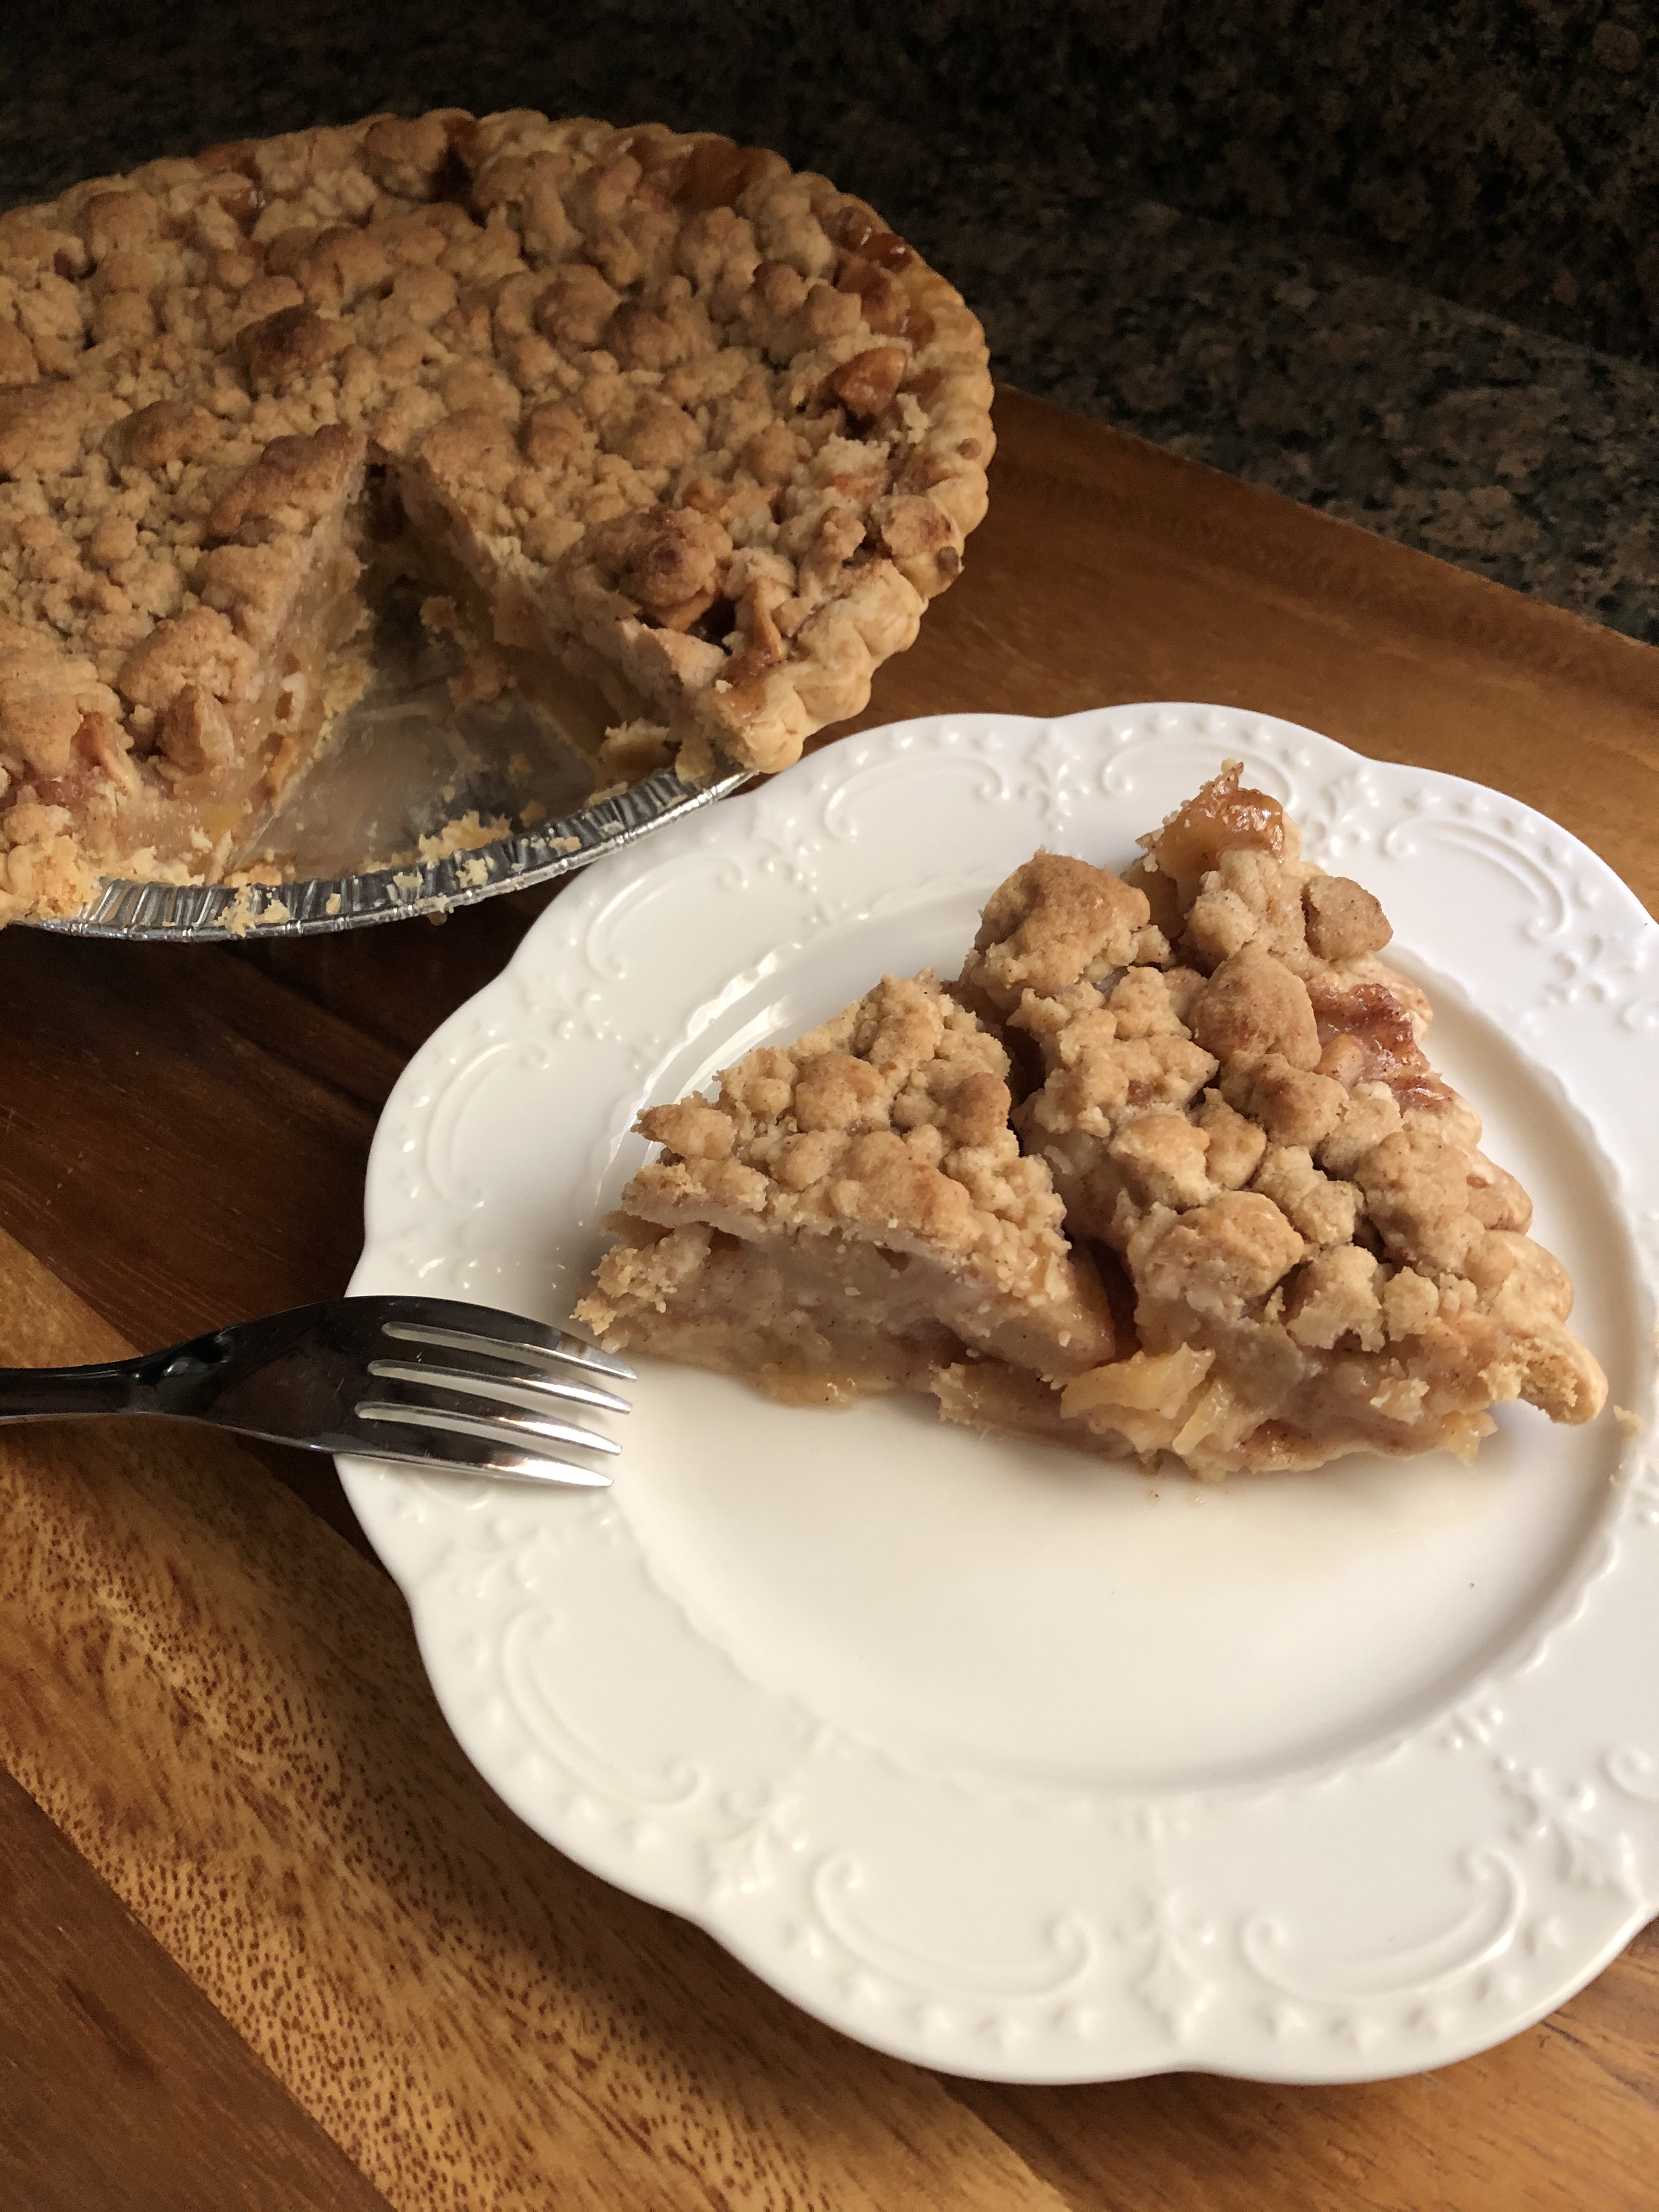
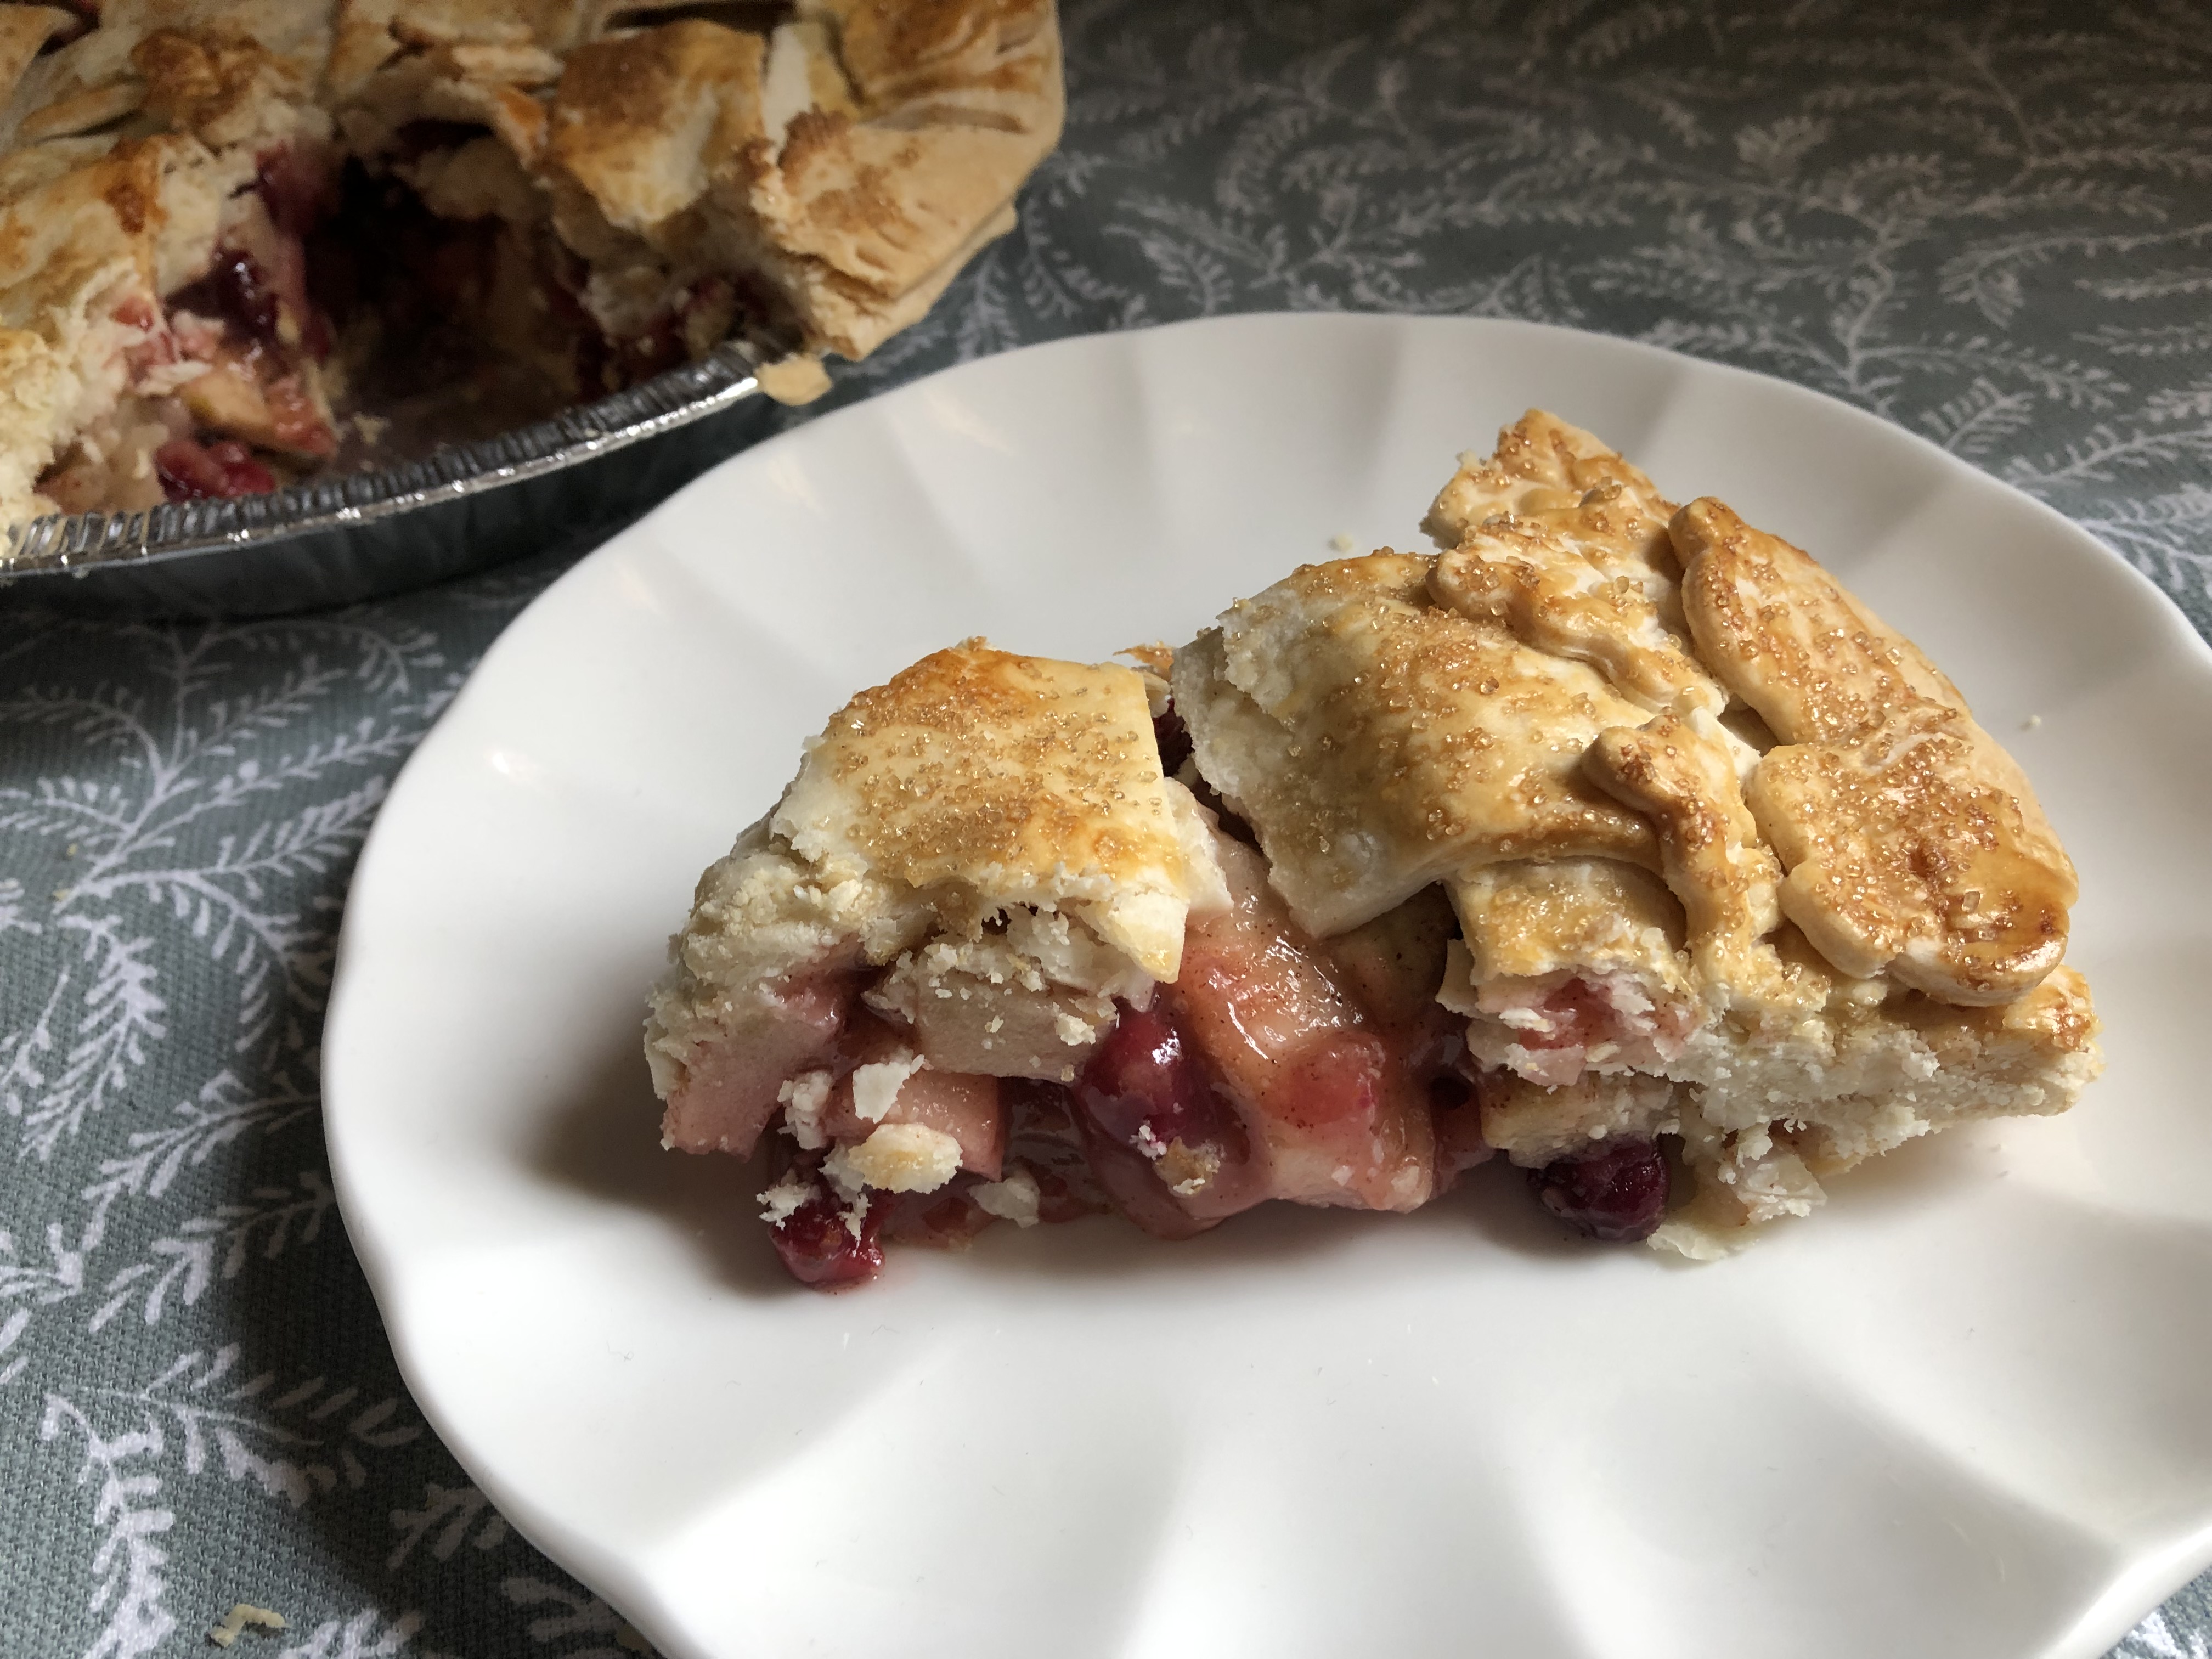
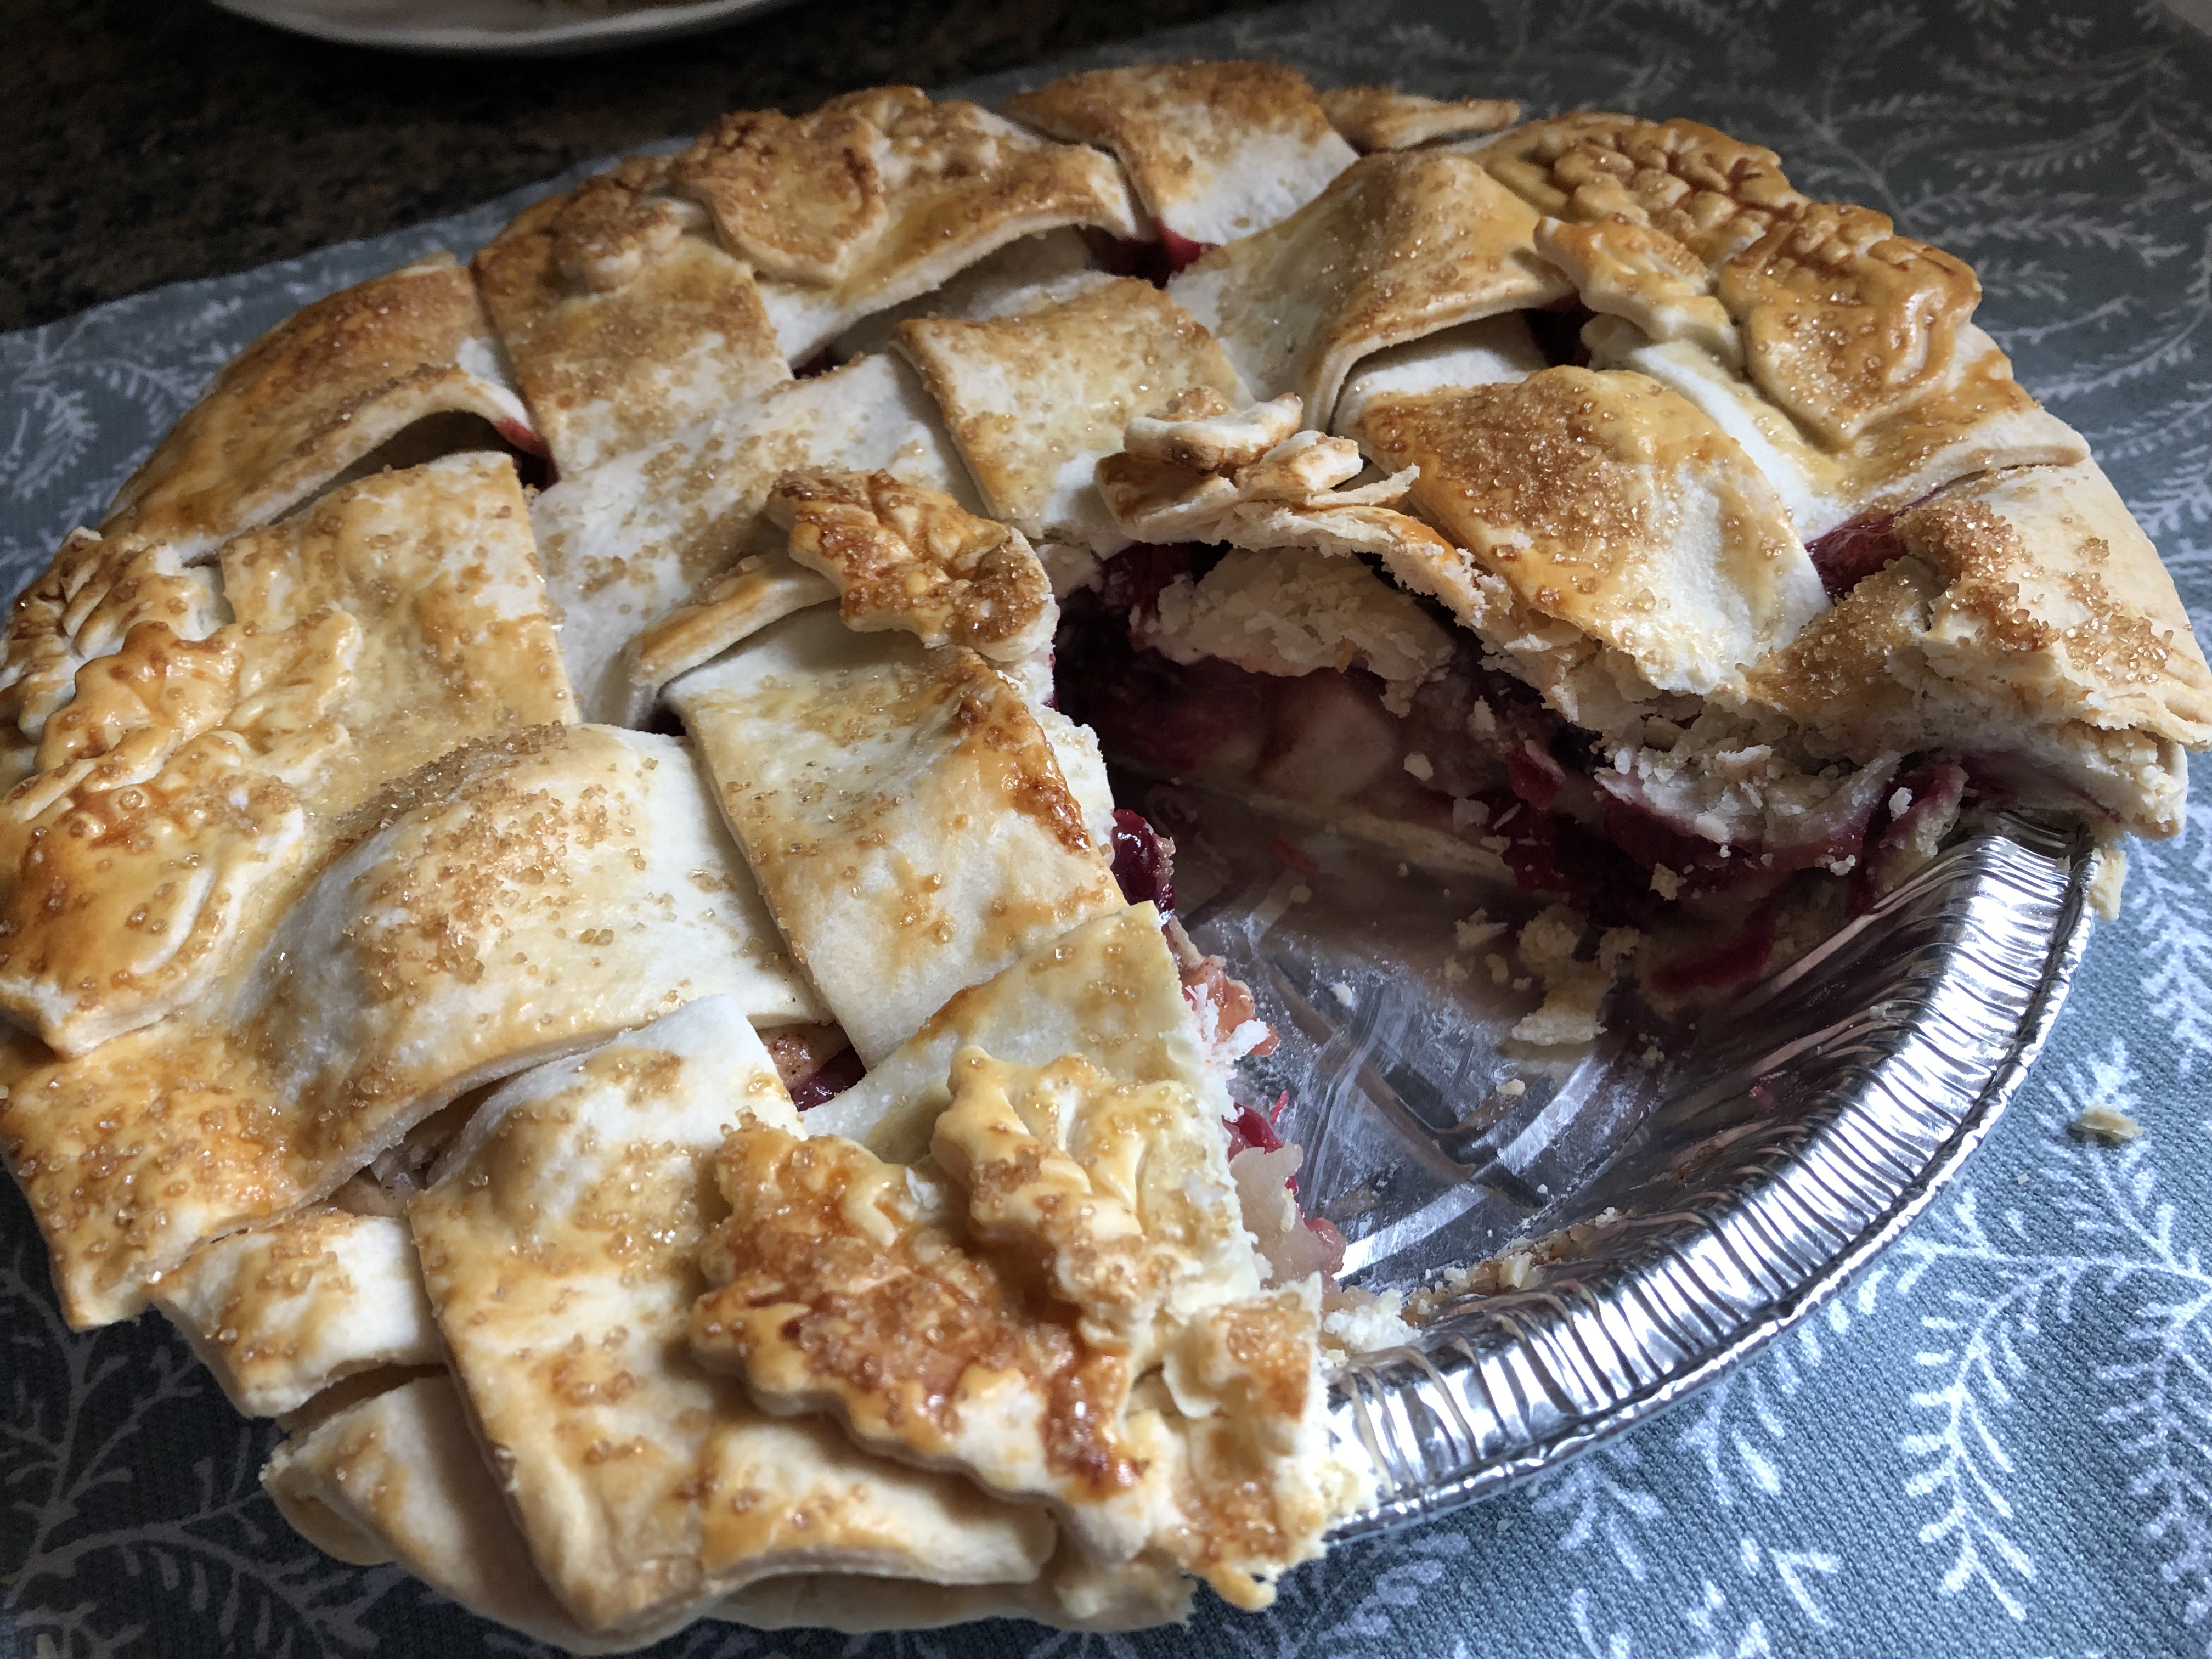
3 pounds mixed apples, peeled and sliced 1/4-inch thick

4 tablespoons unsalted butter, melted

1/3 cup granulated sugar

1/4 cup light brown sugar

2 tablespoons all-purpose flour

1 tablespoon fresh lemon juice

1 teaspoon ground cinnamon

1/8 teaspoon salt

*You could also use a homemade pie crust or a refrigerated pie crust. If using either, once you have prepped your pie plate with the crust place the dish in the refrigerator until the crust is firm, at least 1 hour or overnight. If using a frozen pie crust, you can fill the crust right out of the freezer.


Directions:

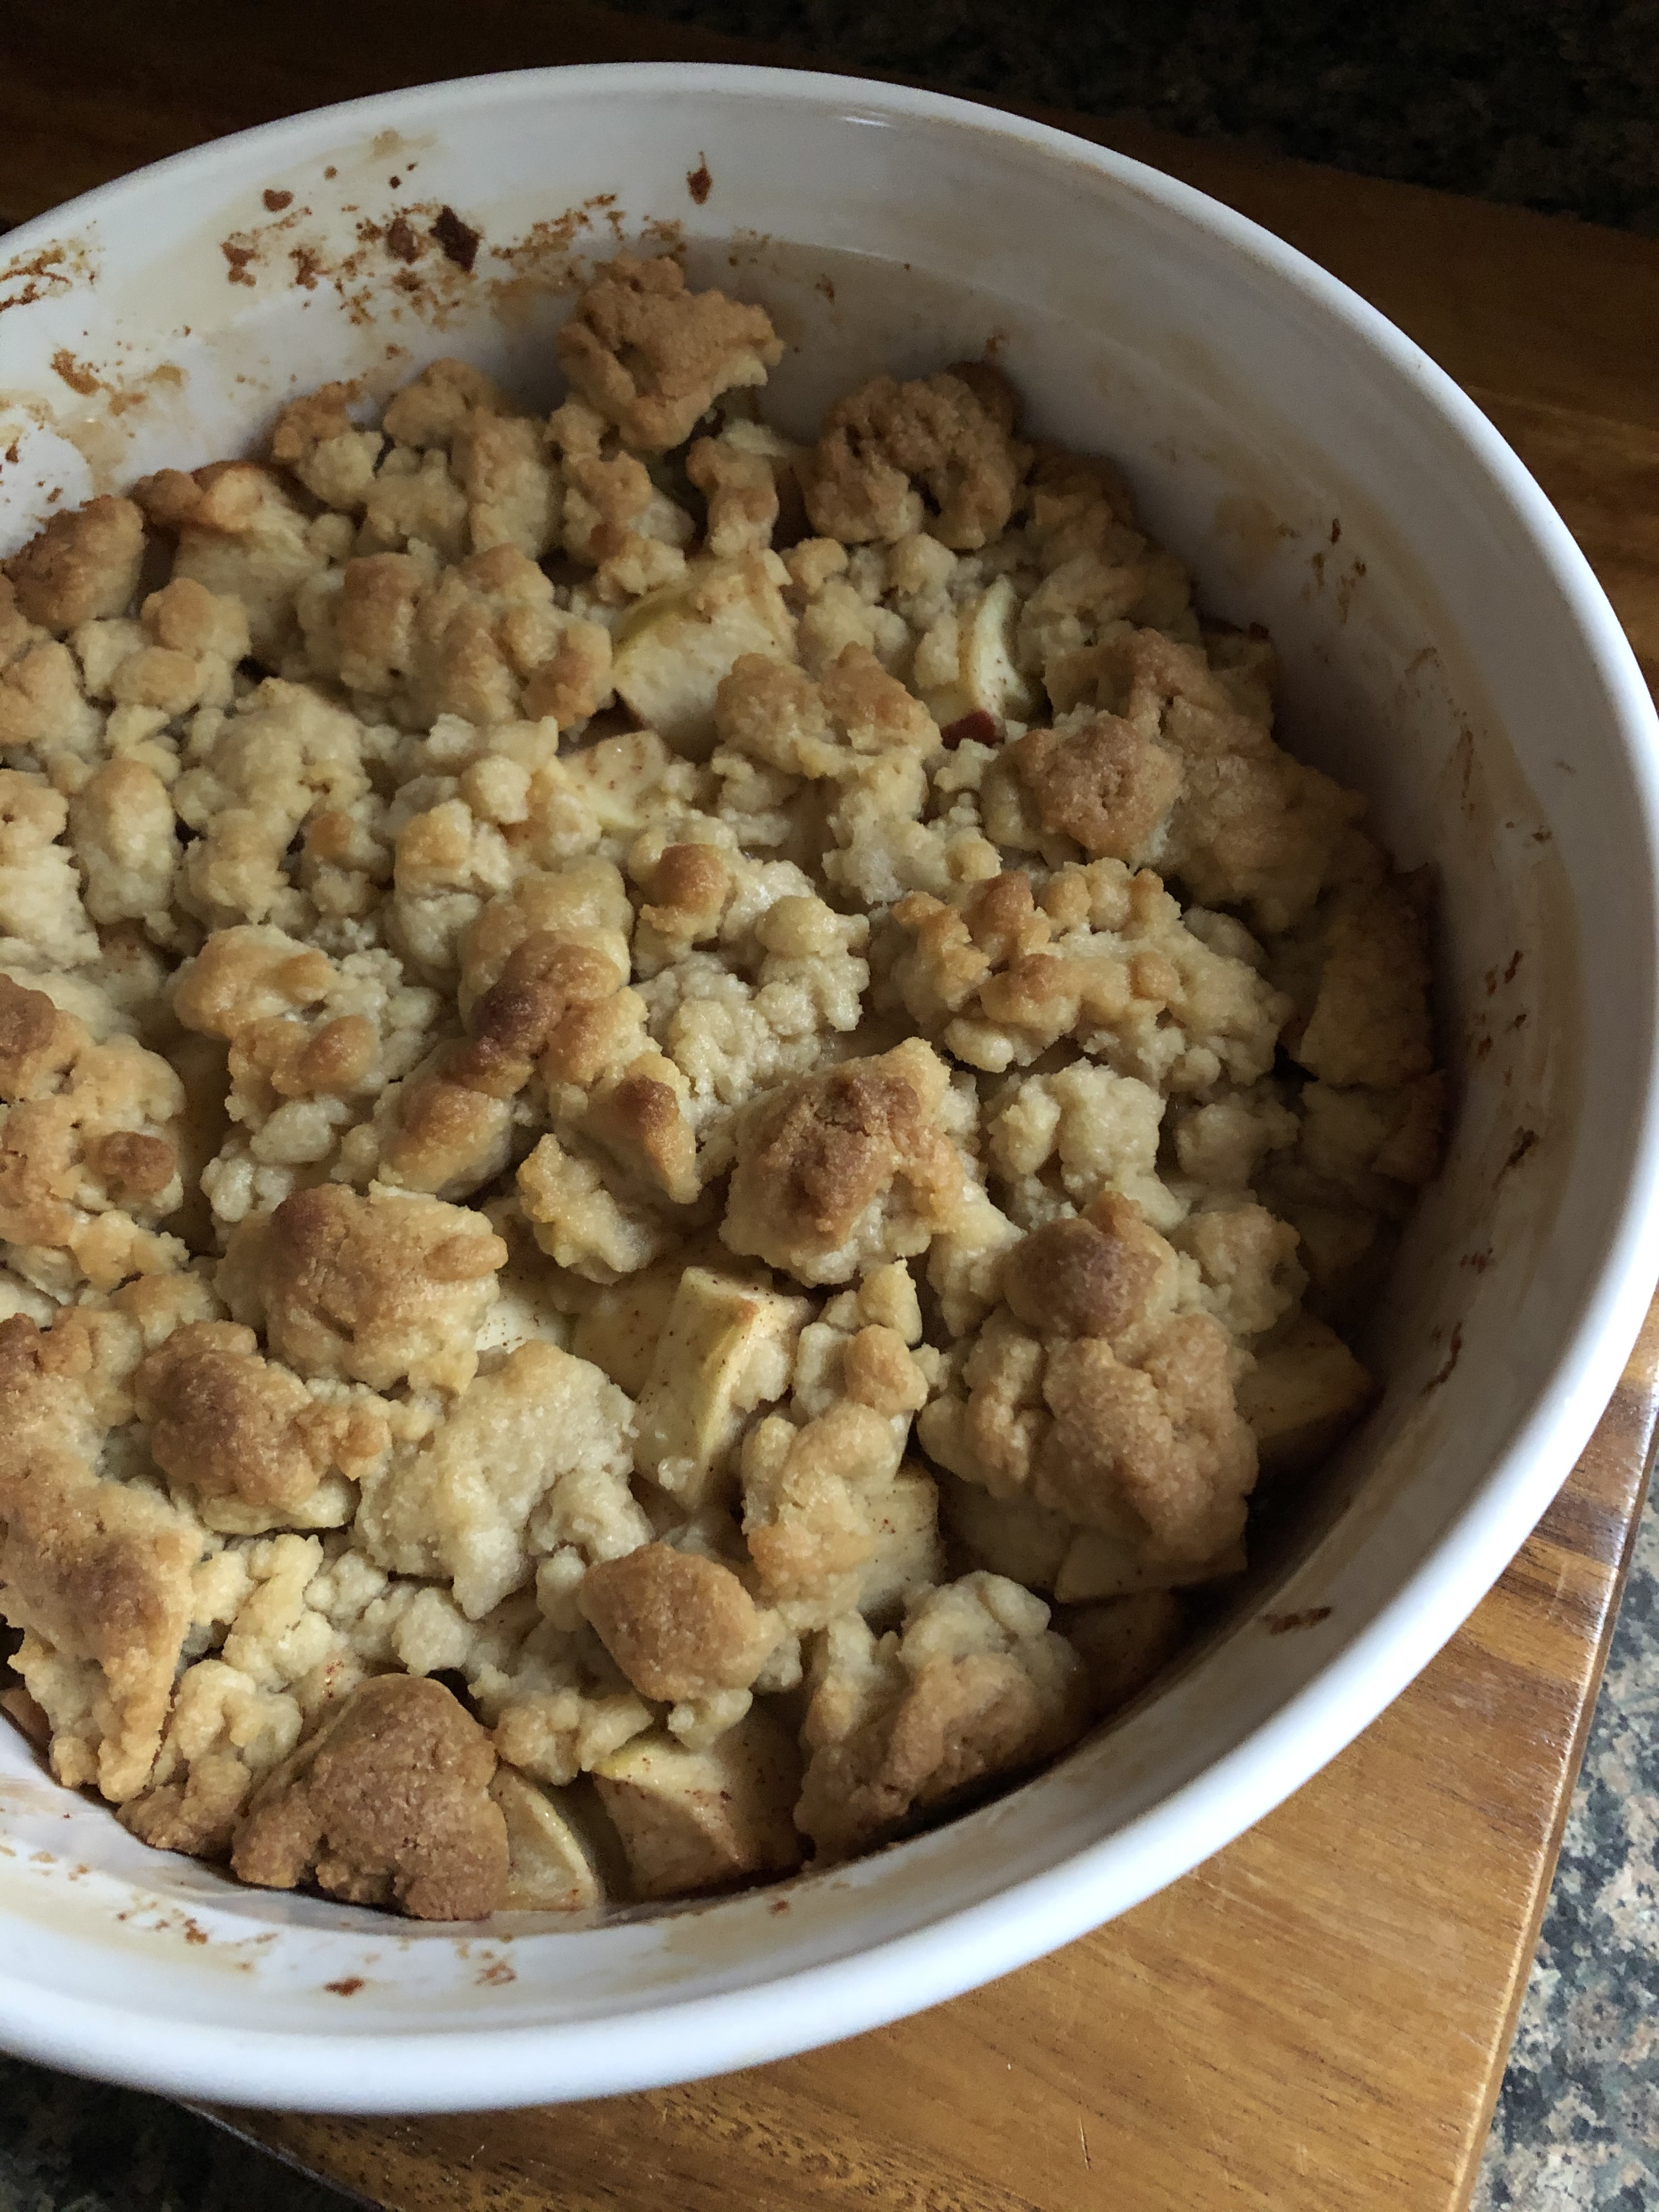
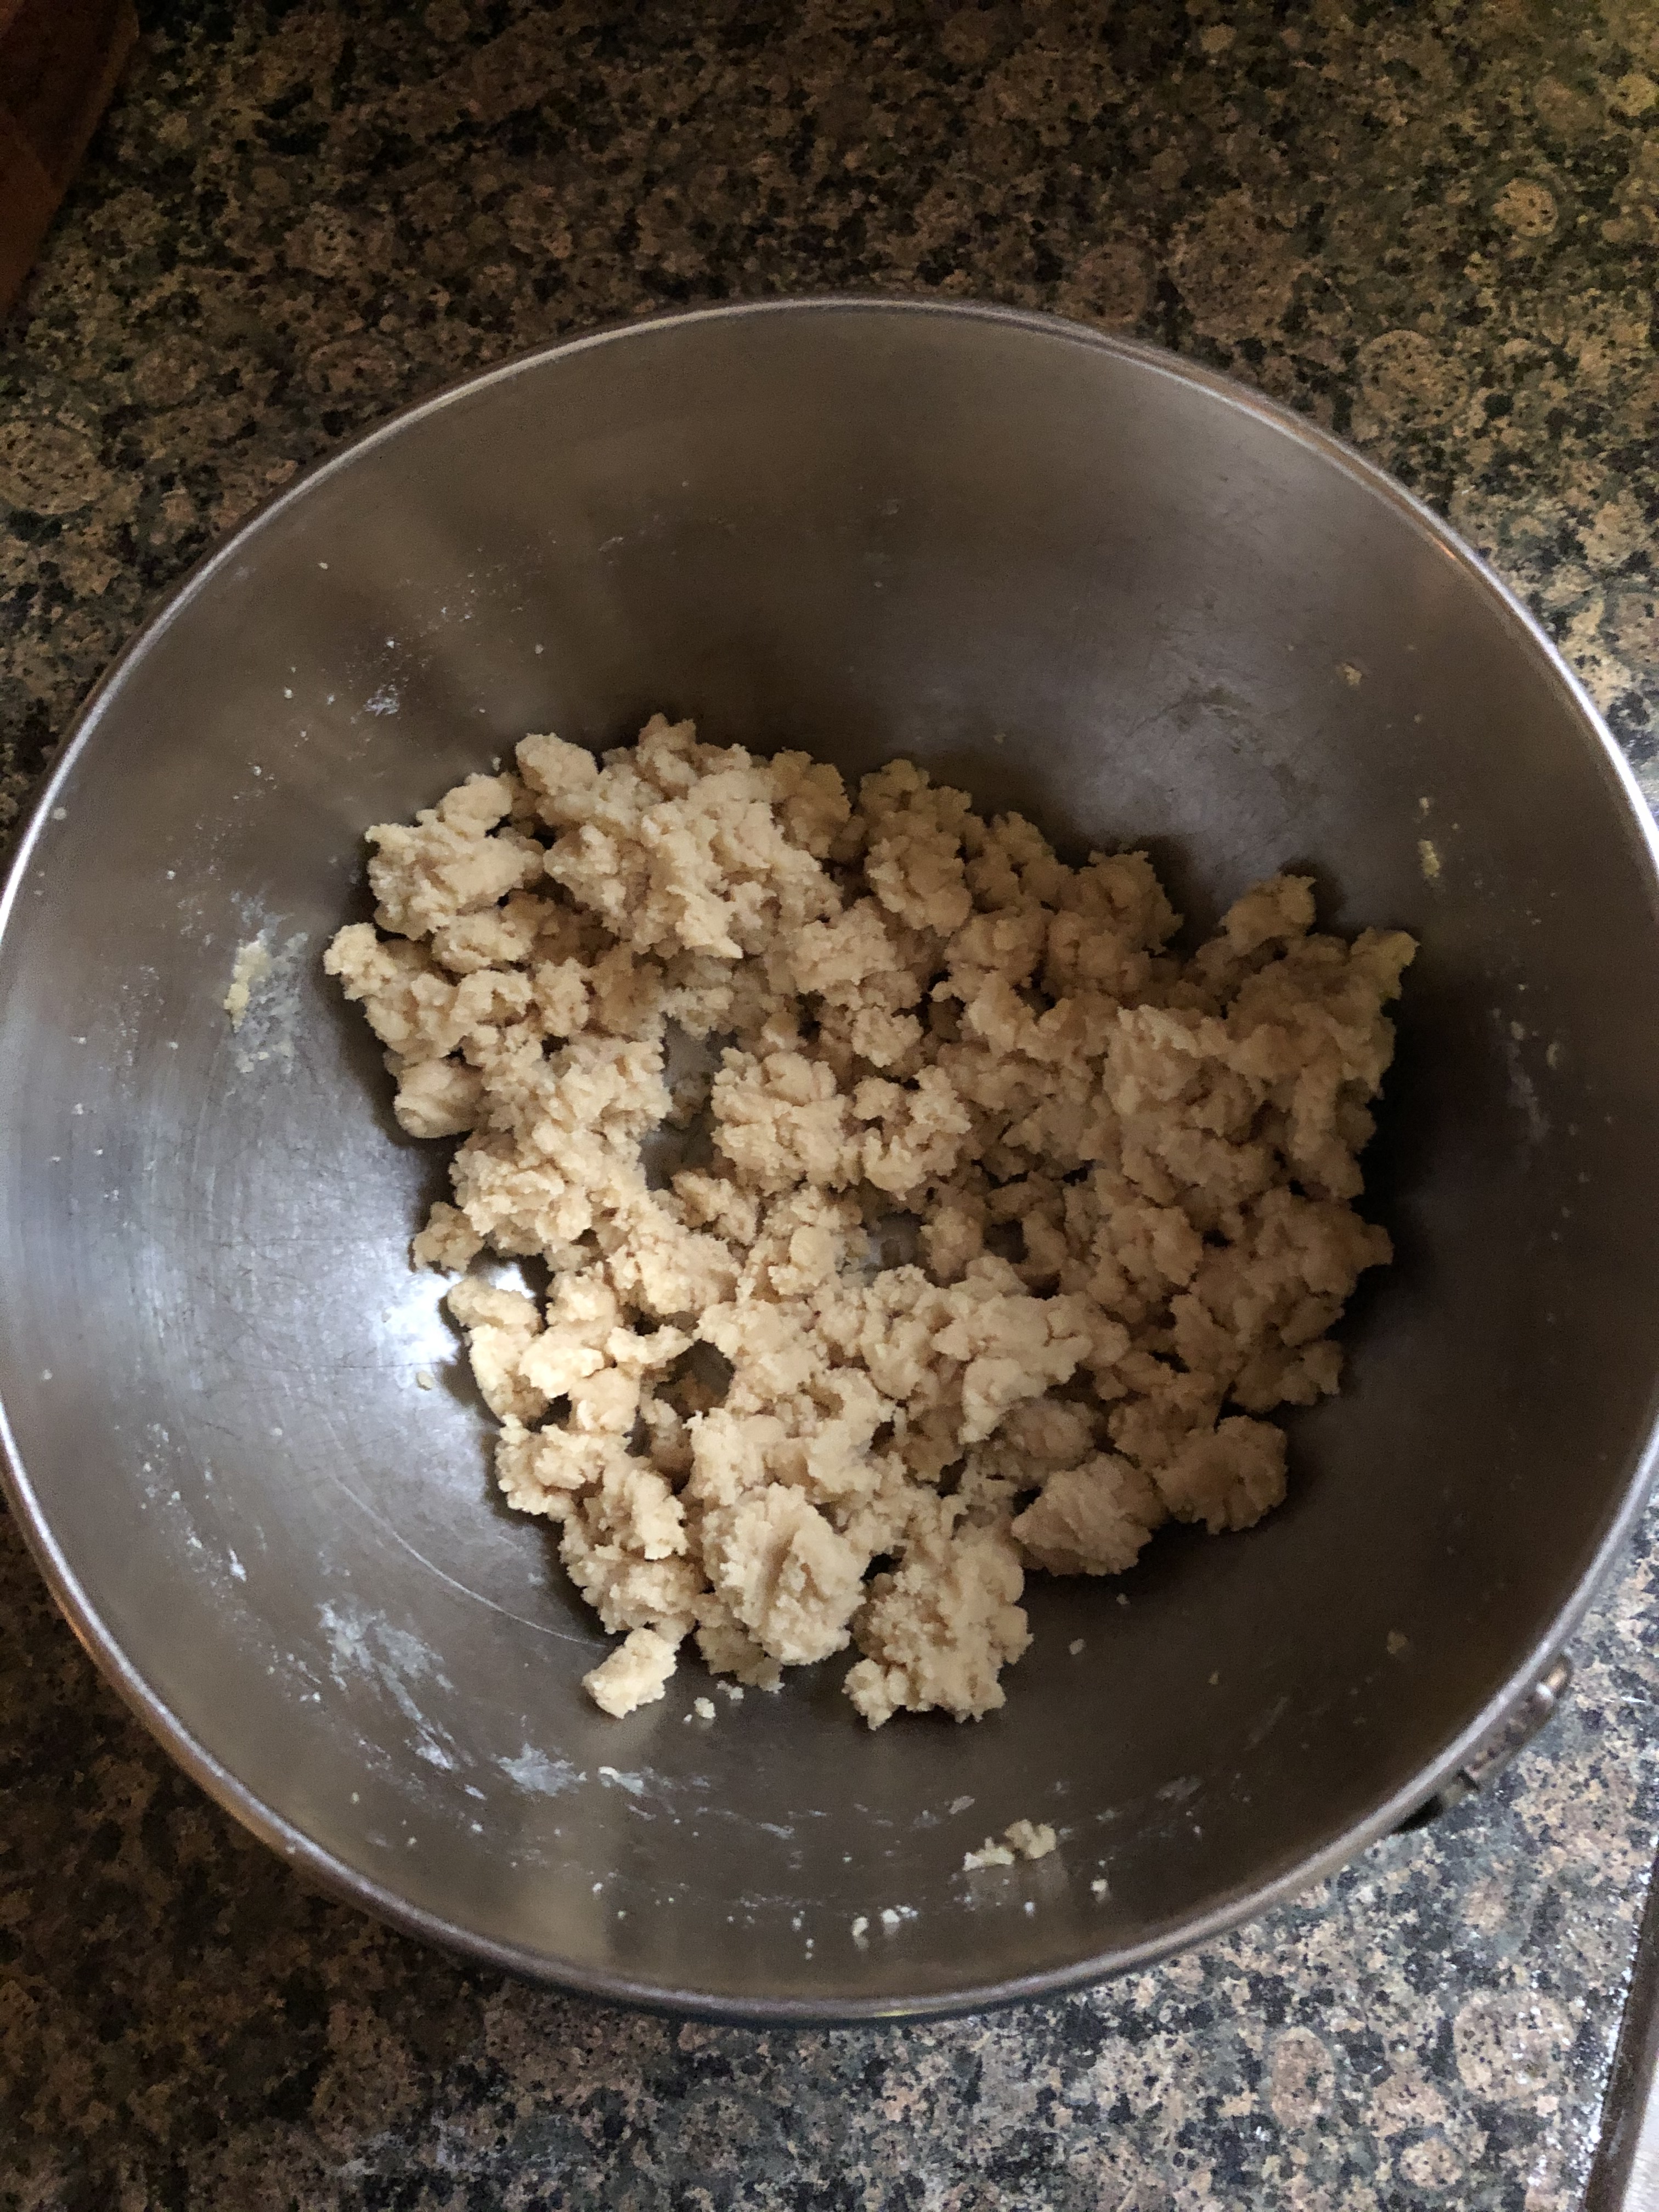
Make the crumb topping: Mix the flour, brown sugar, cinnamon and salt in a medium bowl. Add the butter to the mixture and use your hands to mix it until crumbs form. Place in the freezer until ready to use.

Line a large baking sheet with aluminum foil and place it in the bottom rack of your oven and then preheat the oven to 400 F.

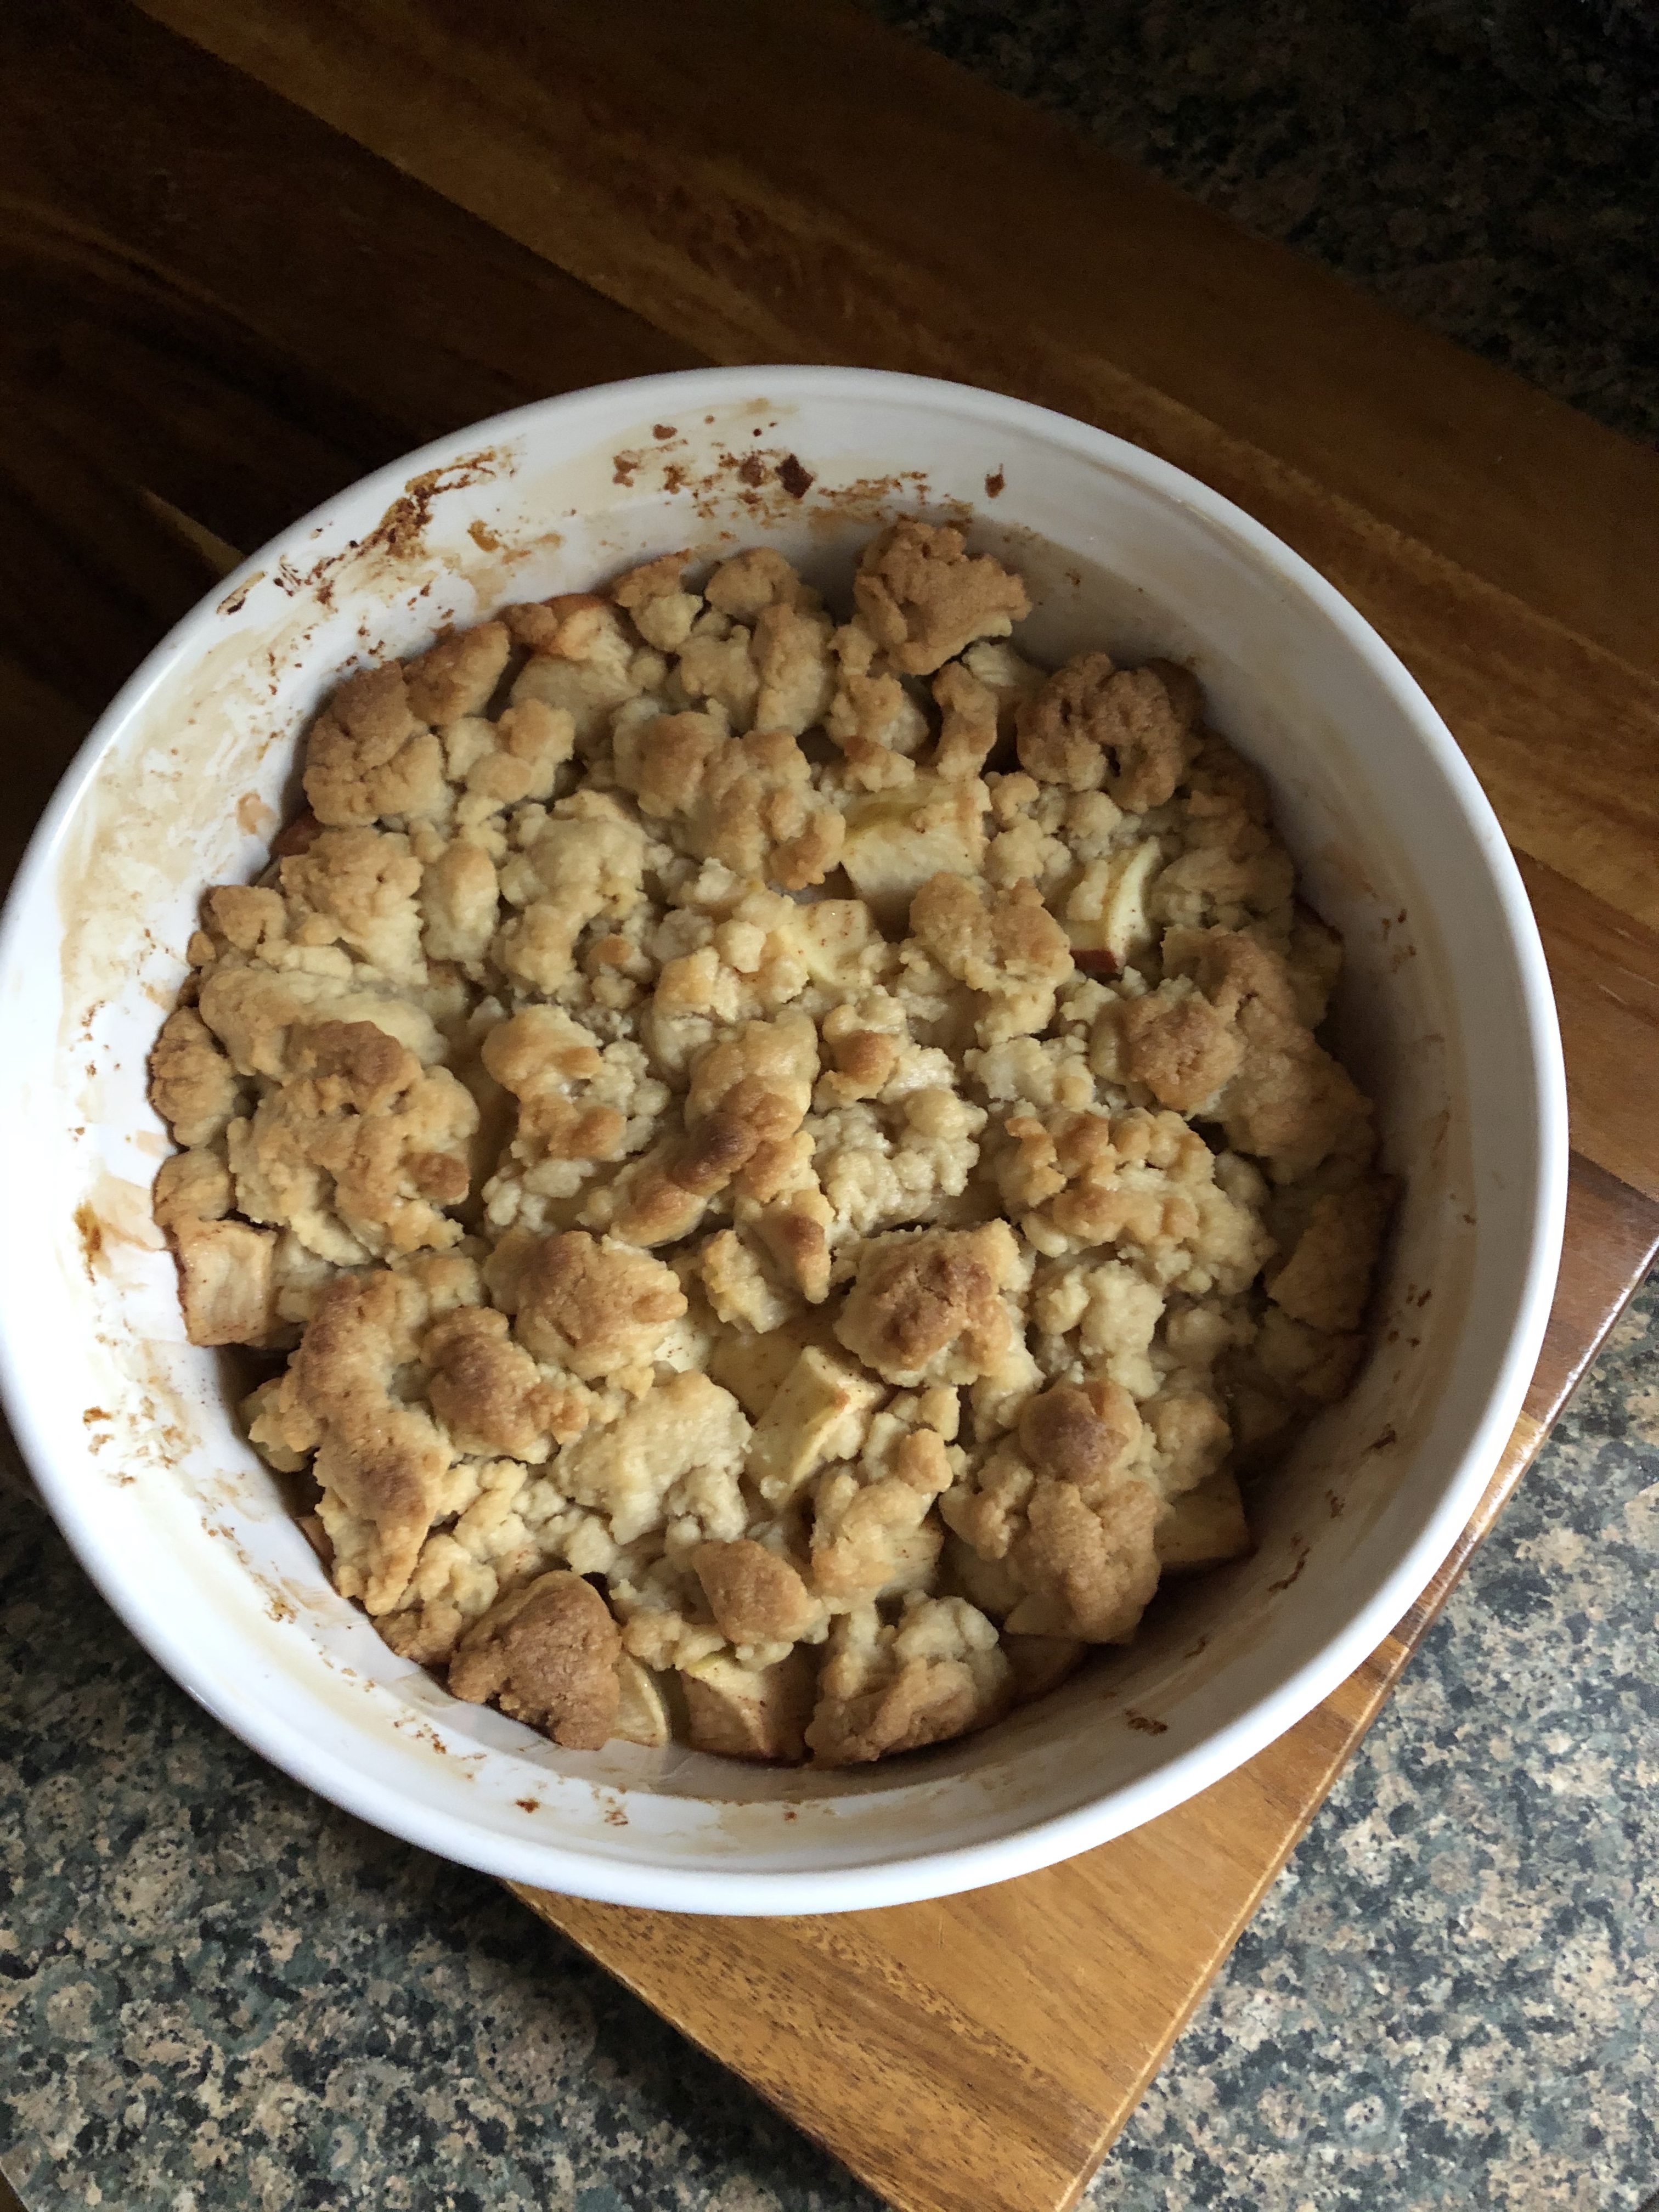
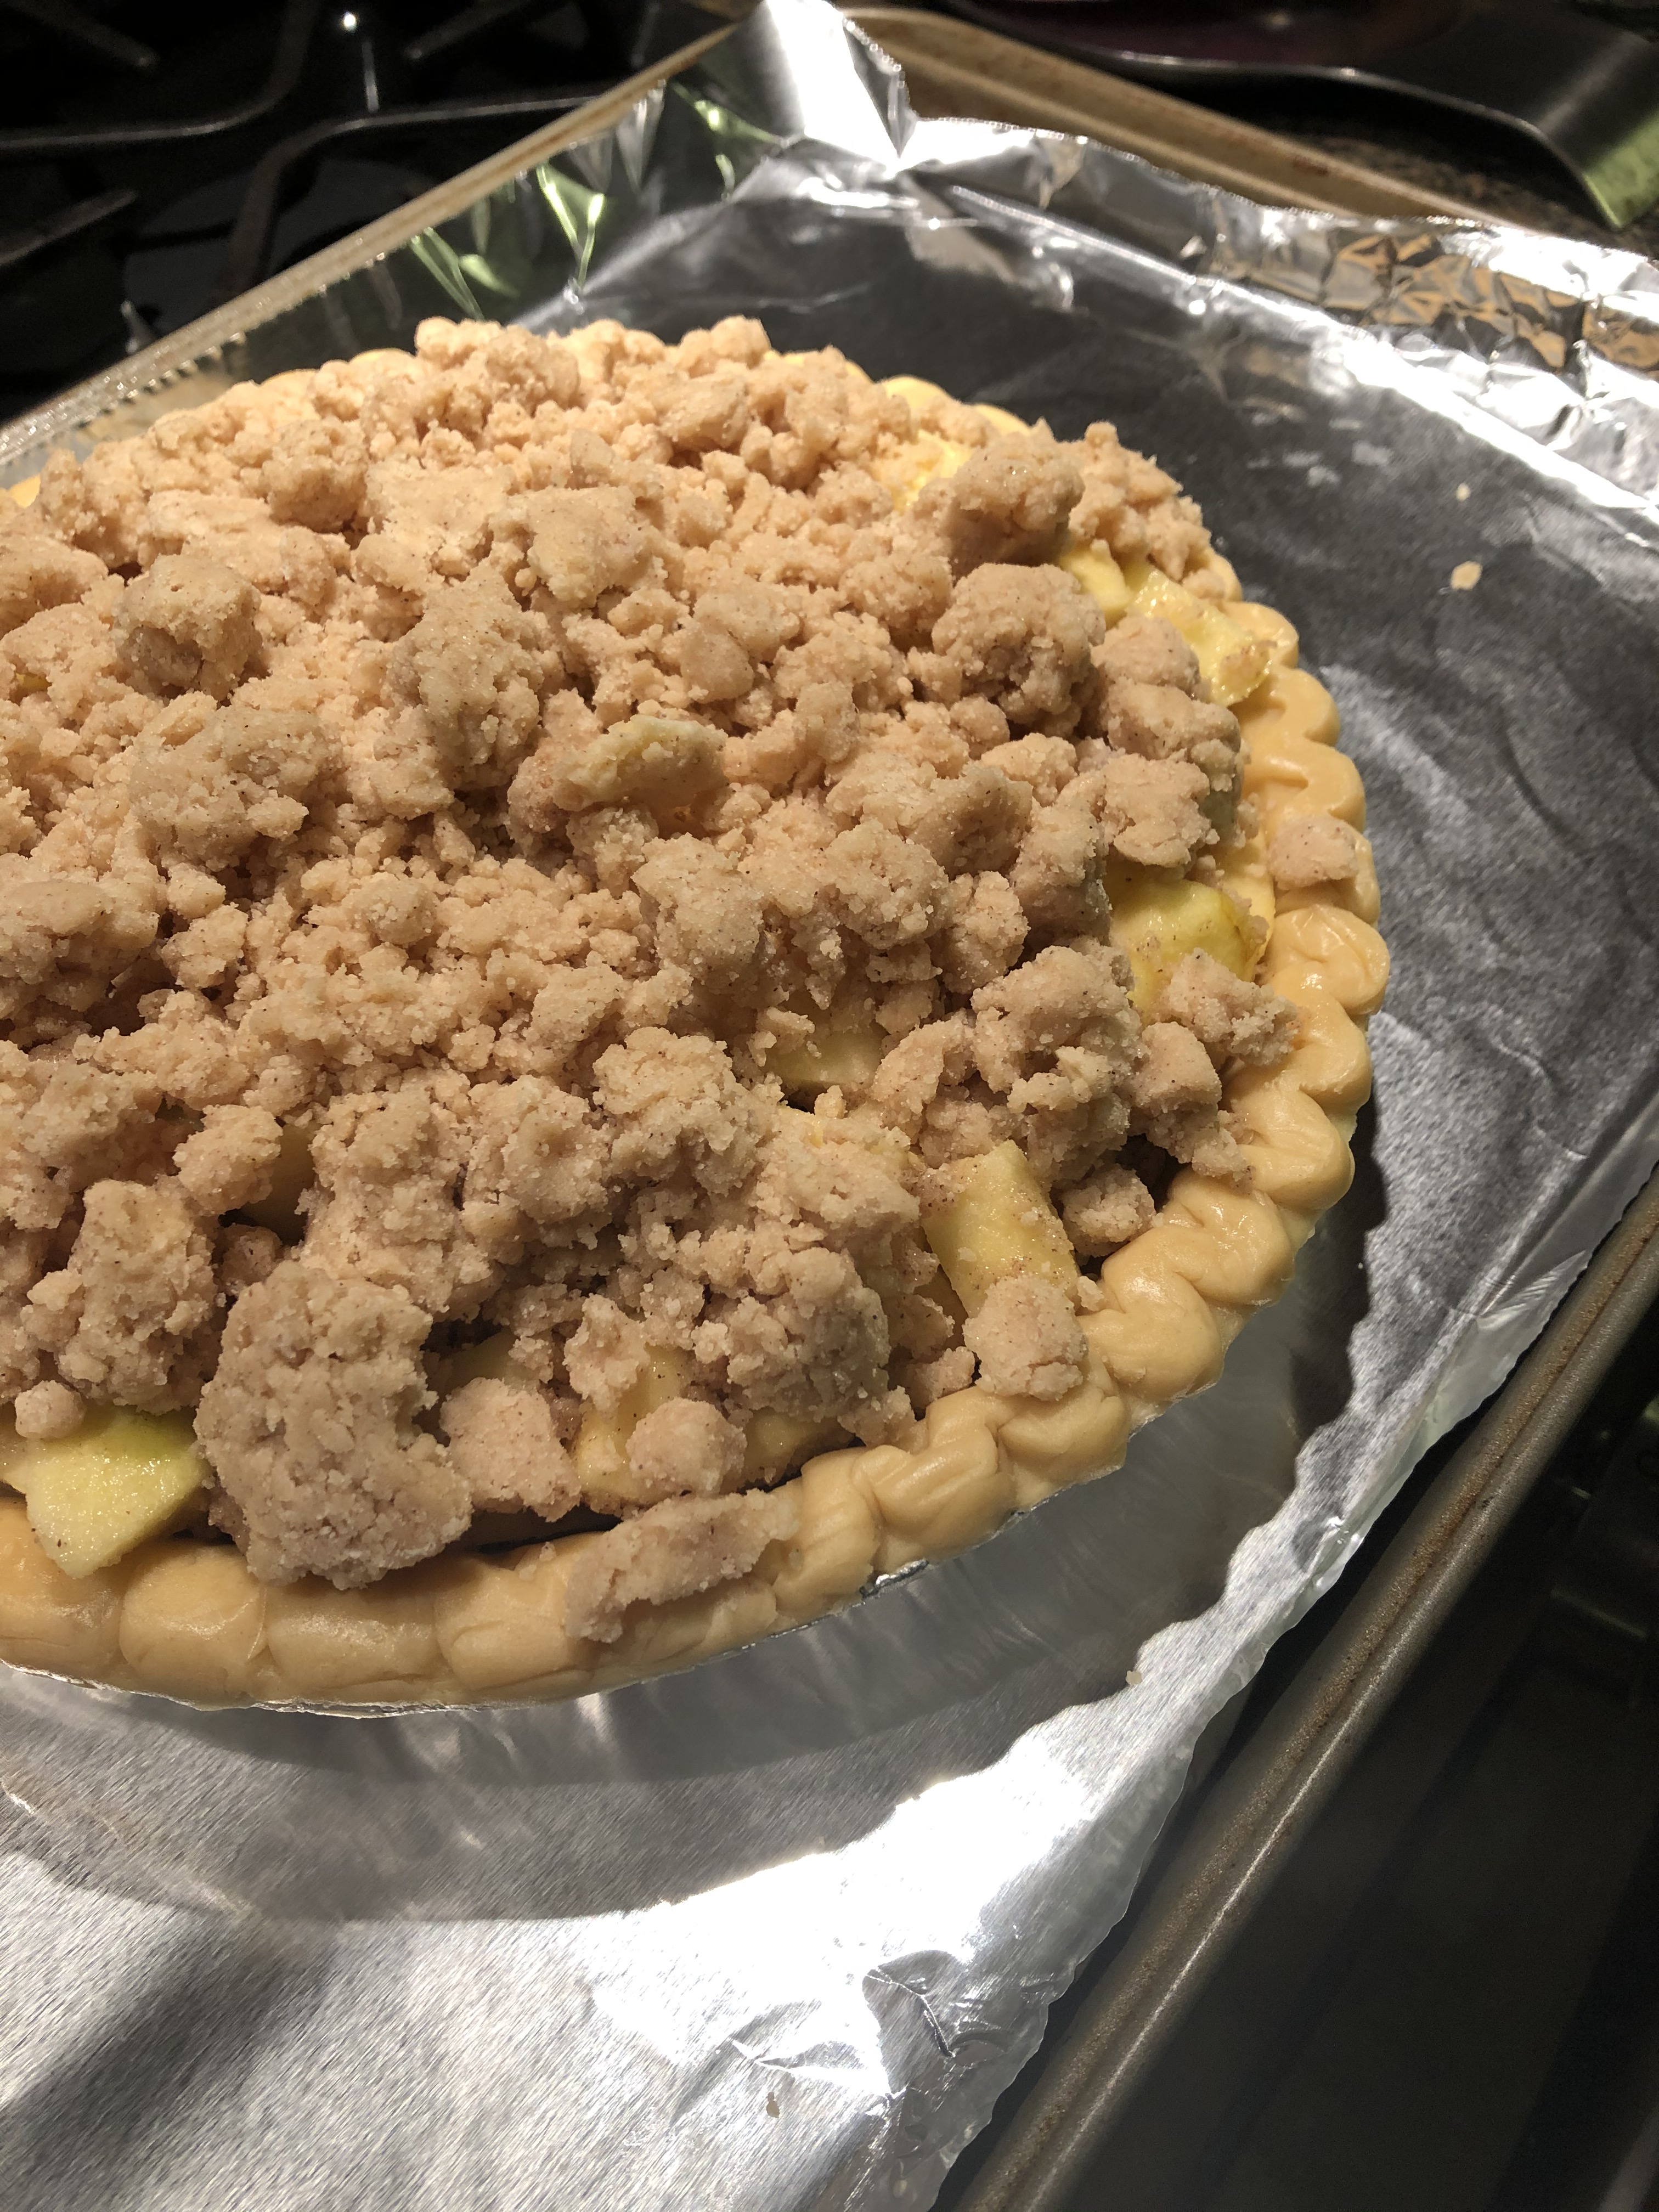
Make the filling: Mix the apples, melted butter, both sugars, flour, lemon juice, cinnamon and salt in a large bowl. Spoon the filling into the pie crust. Sprinkle the filling with the frozen crumbs. Breaking any large crumbs into smaller pieces and making sure to spread them evenly over the pie and patting them down while doing so.

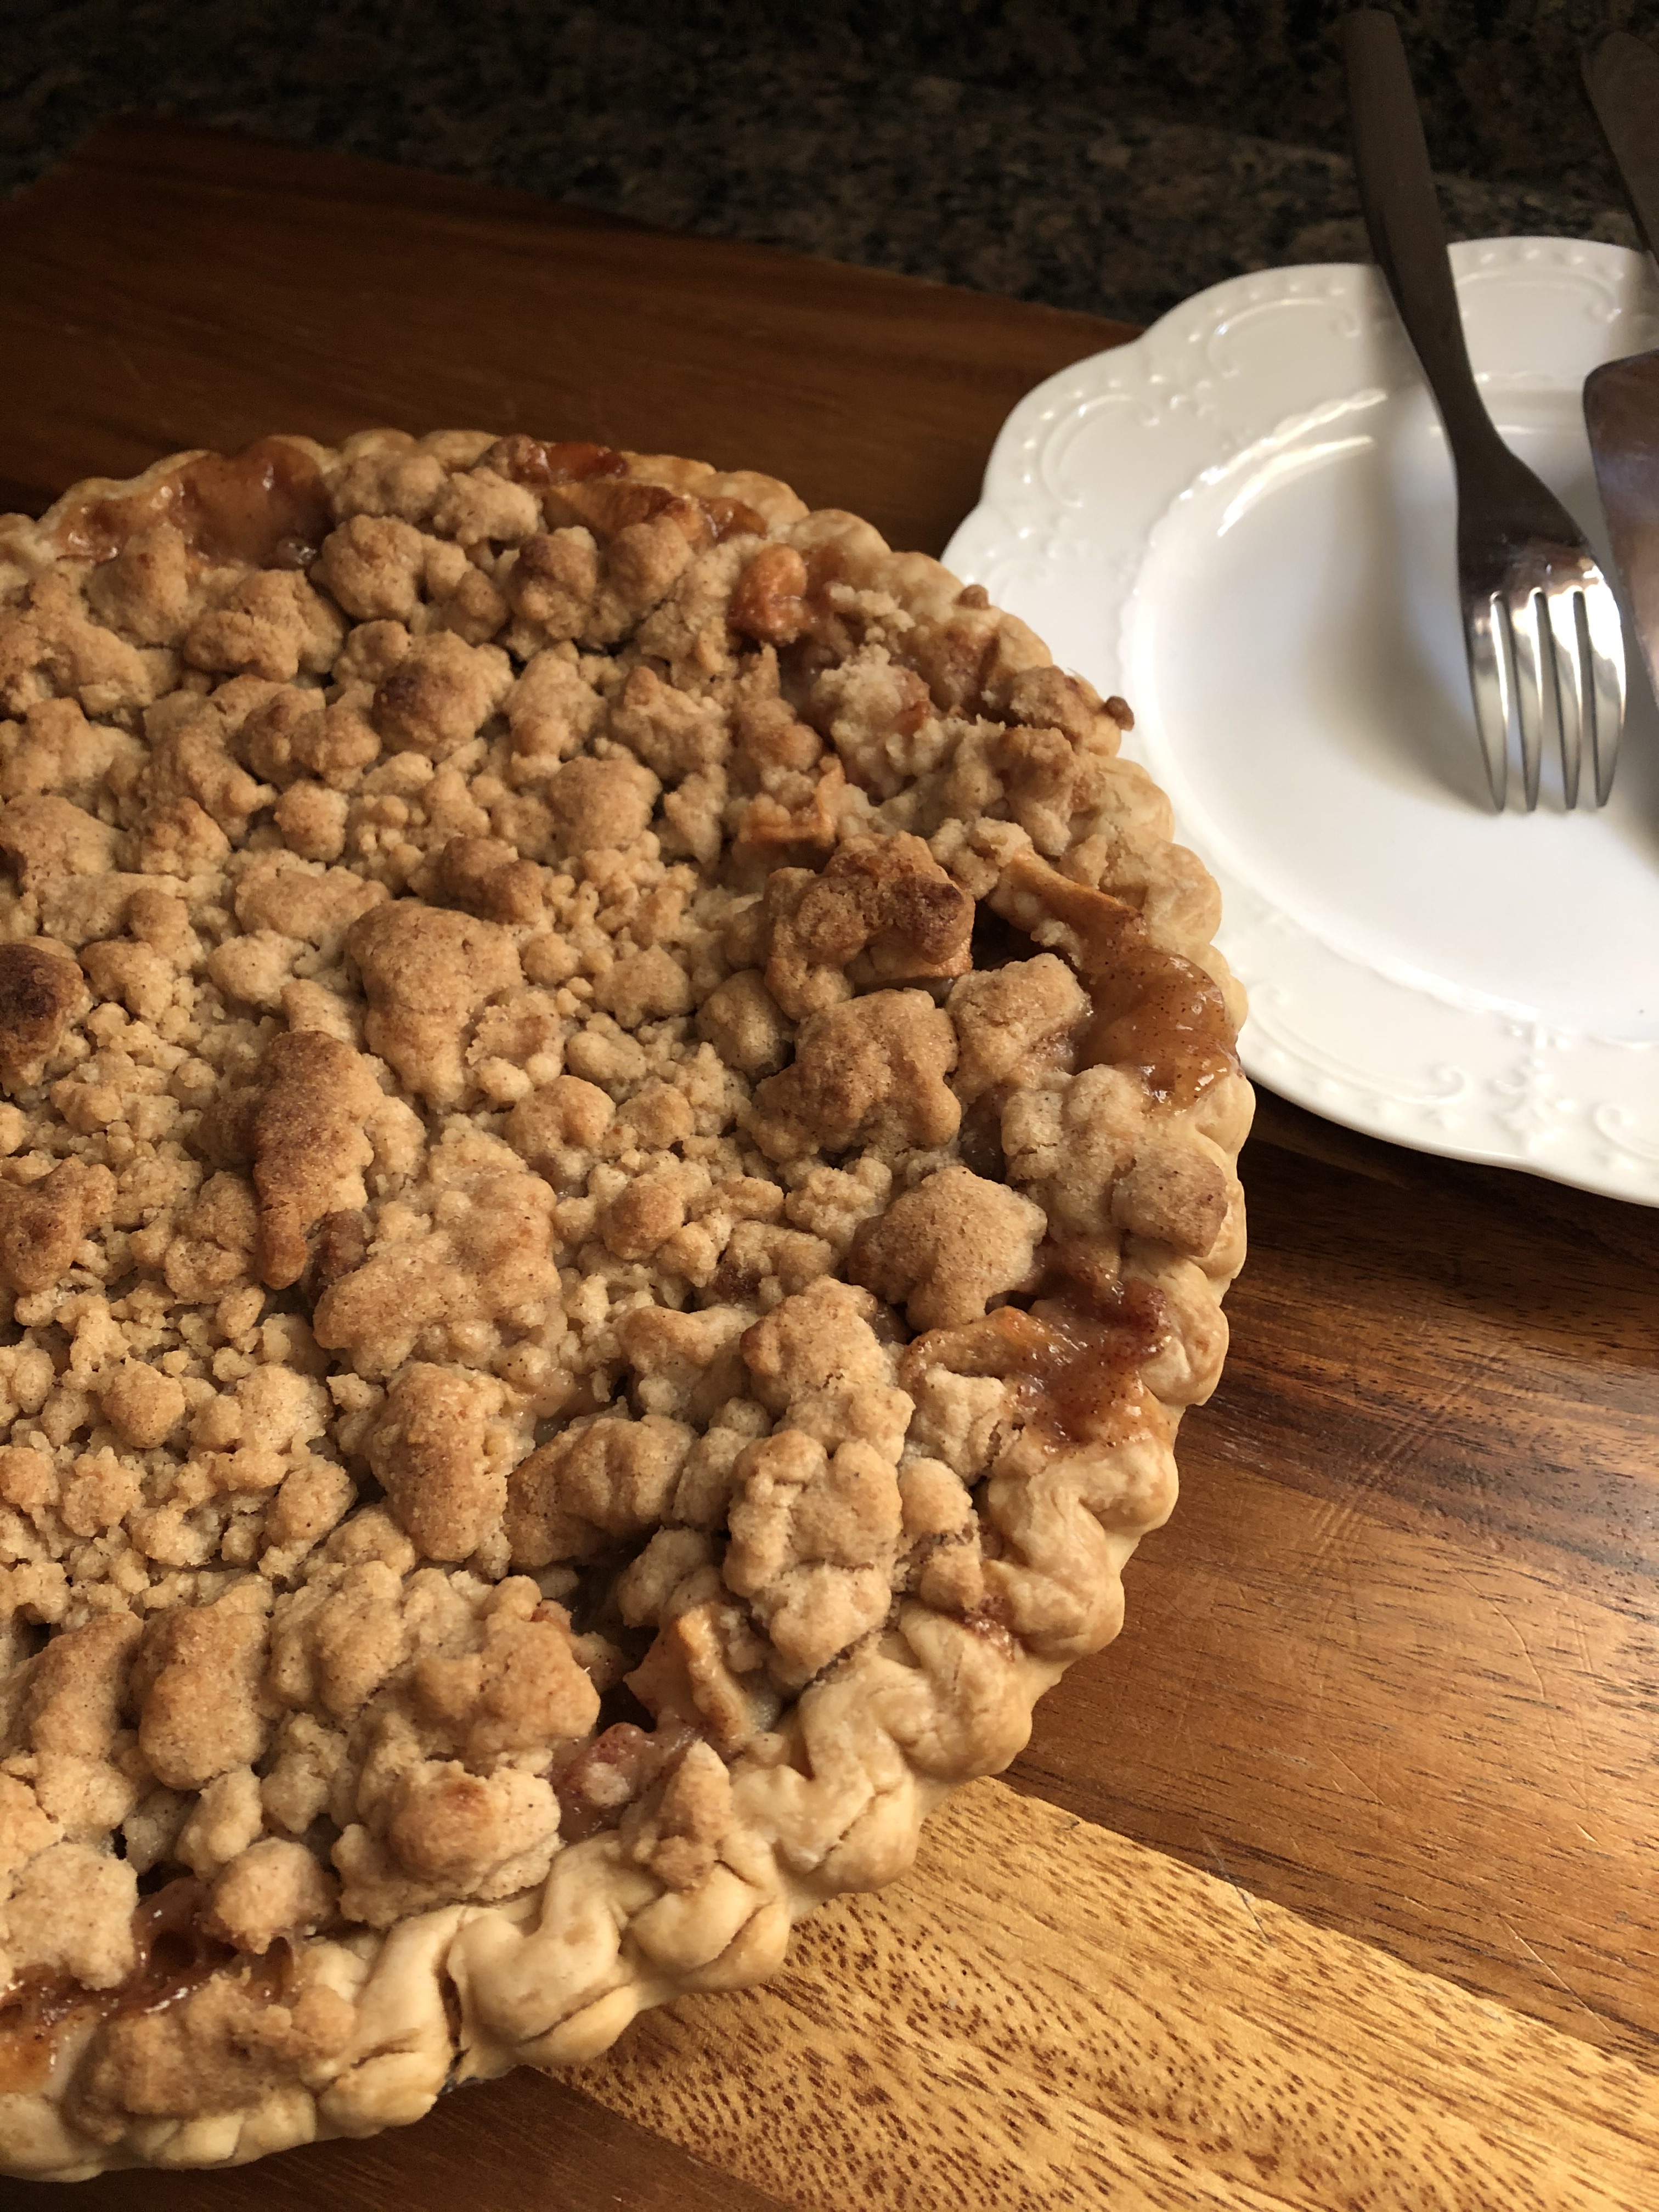
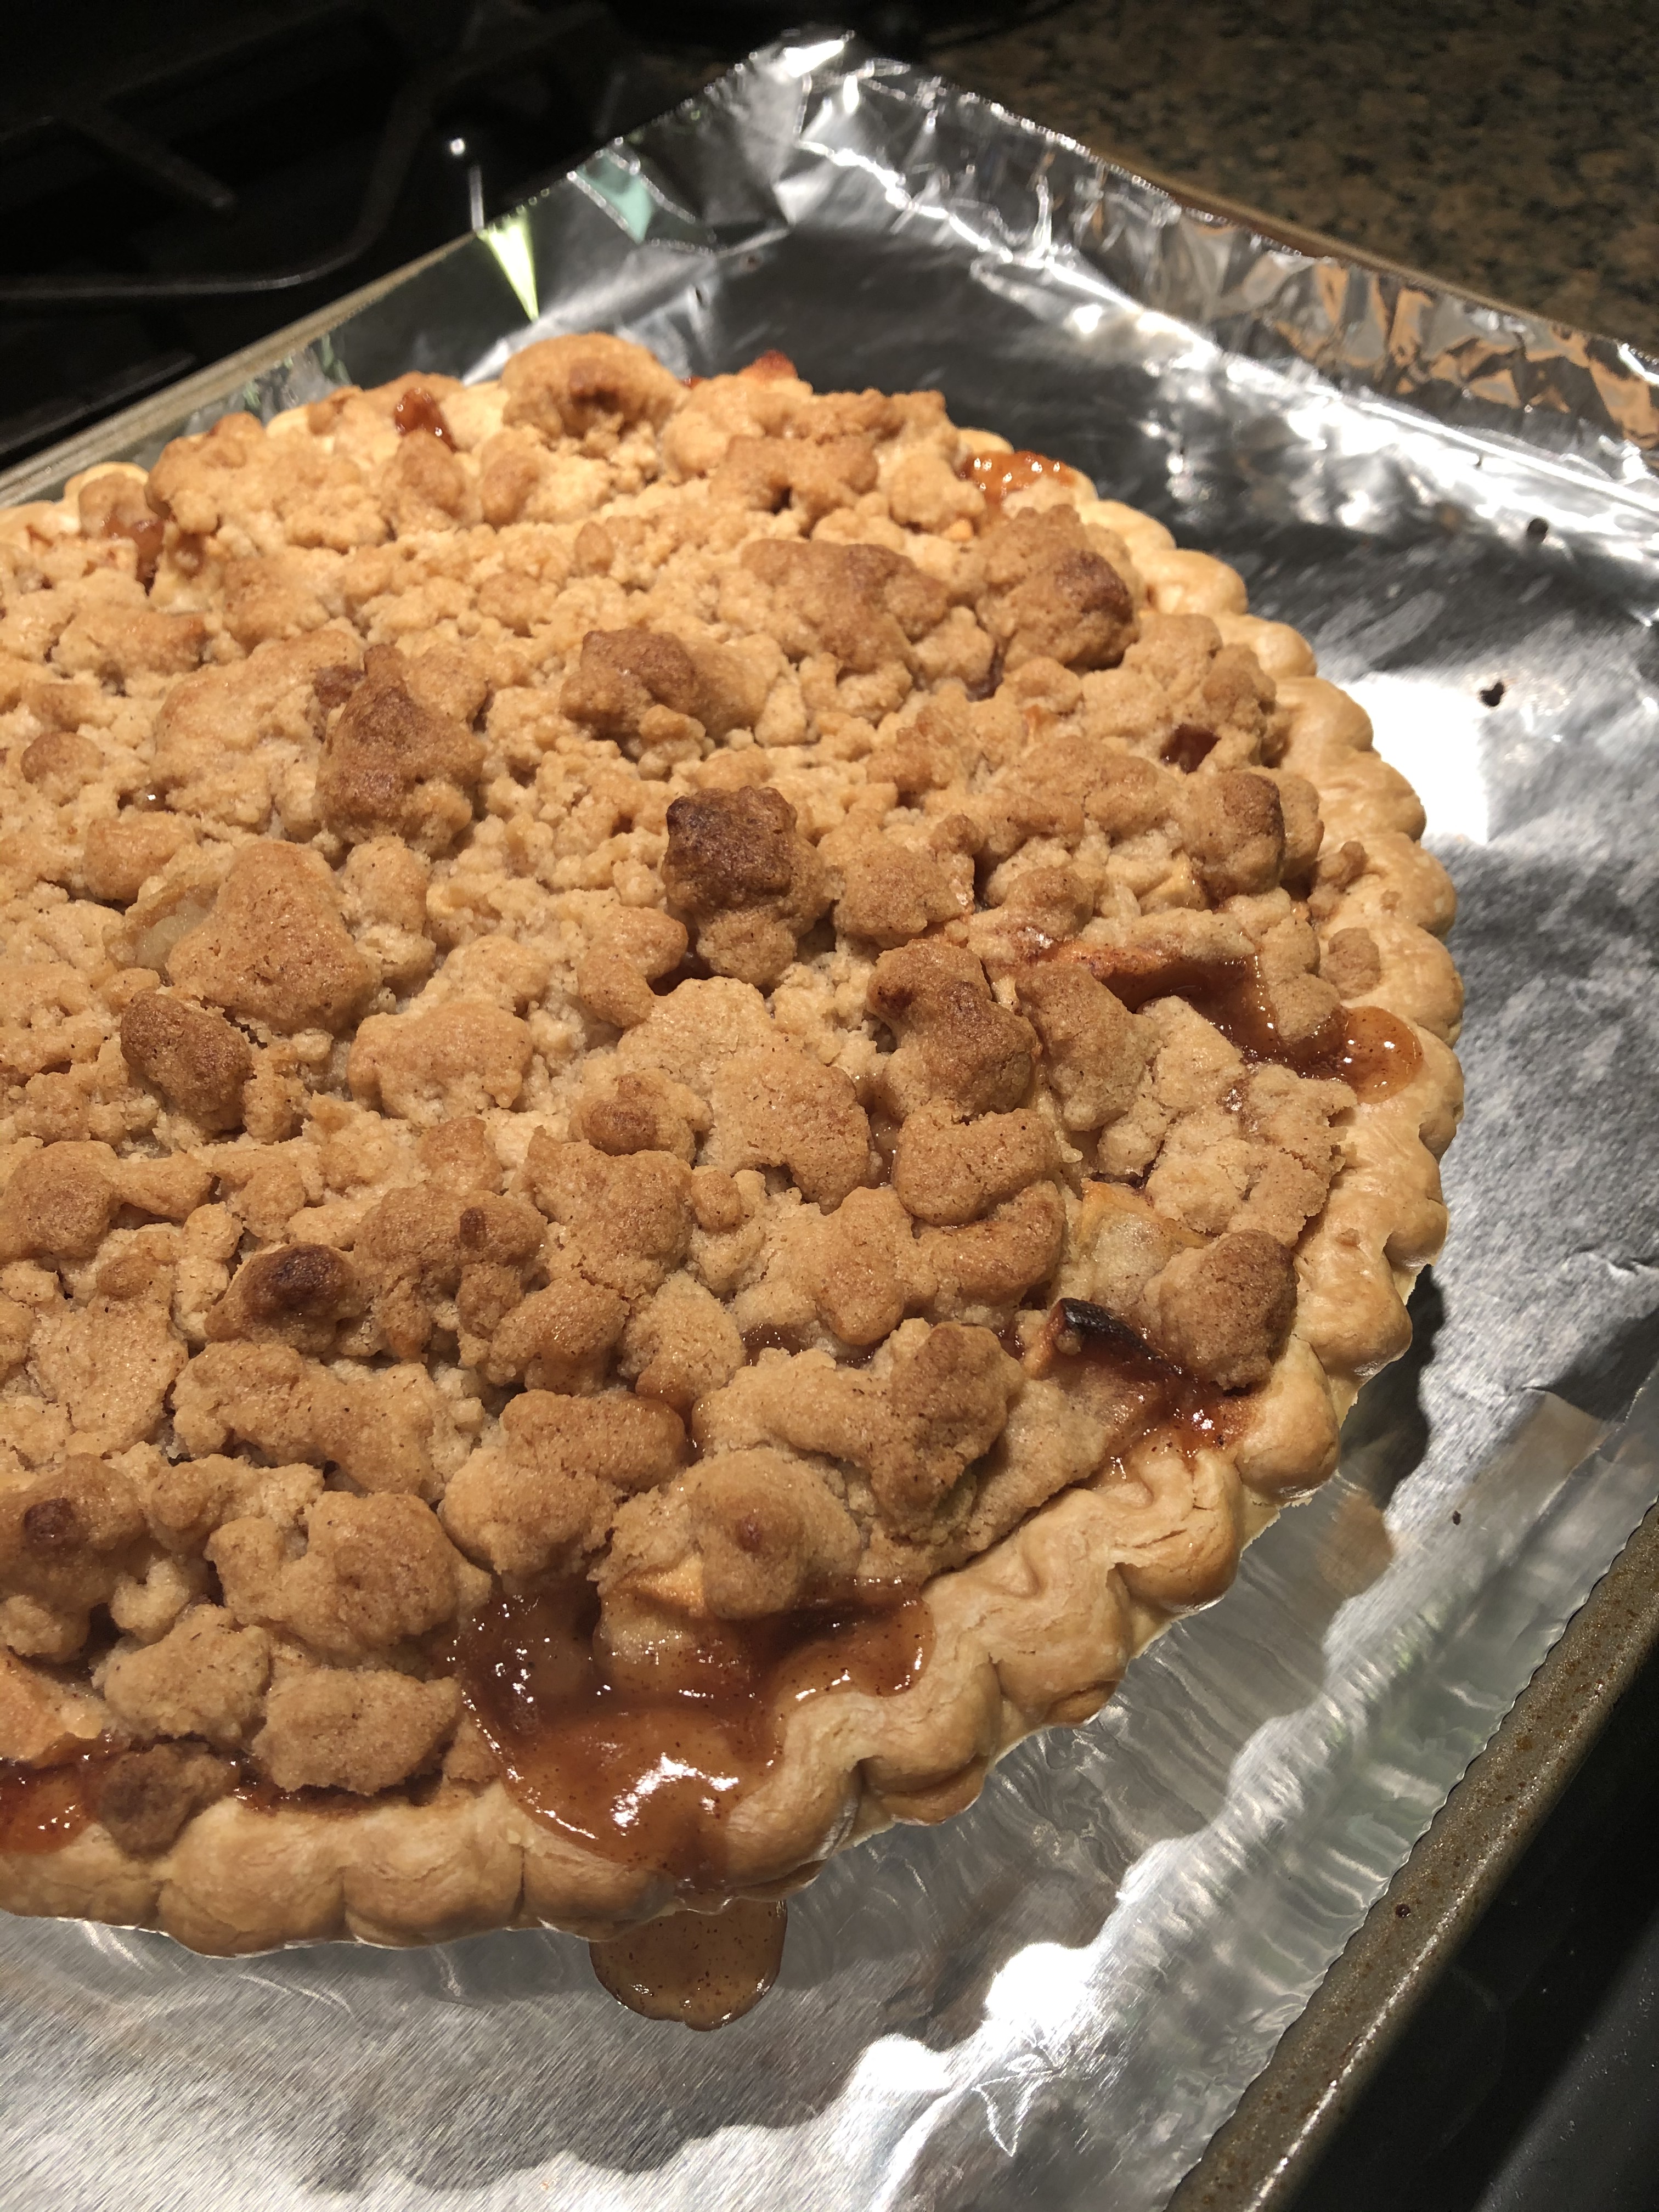
Place the pie on the baking sheet in the oven and bake until the crumbs lightly brown, about 25-30 minutes. Reduce the oven temperature to 350 F and continue baking until the apples are completely soft when pierced with a knife, about an additional 60 to 80 minutes. If you find the crumb topping is getting too dark cover it loosely with a piece of aluminum foil. Transfer the pie to a wire rack to cool completely.

Recipe from Food Network

Brown Butter & Vanilla Pear Pie with a Leaf Cut-Out Crust

With Thanksgiving next week you may be on the lookout for a new or different pie to make. Today I am bringing you a Brown Butter & Vanilla Pear Pie that I saw in a recent issue of Real Simple magazine that would be a wonderful addition to your dessert table.

I began by browning the butter. To do so, I simply melted a stick of butter in a saucepan stirring it until it was golden and nutty smelling – trust me, it will get a nutty scent. Don’t leave it on the stove too long or your brown butter will turn to burnt butter.

I poured the butter in to a large bowl and added in 5 peeled and chopped Bartlett pears, 2 peeled and chopped Granny Smith apples, flour, vanilla extract, salt and sugar. After giving this a few good stirs to mix it all together I transferred the mixture to a prepared pie dish – I had placed an unbaked piecrust in the dish.

Now it was time to work on the top crust. I’ve been wanting to try a different type of decorative pie crust… A leaf cut-out pie crust. I have made cut-outs before for a pie crust, but, they have been just accent pieces. I had never completely covered the pie with cutouts. What’s nice about this… its fool-proof and looks a lot more difficult than what it is. One thing you do need though is patience! Using leaf design pie crust cutters I cut out a bunch of leaves – I had around 60.

I then arranged them on the top of my pie. I brushed the pie with a beaten egg and sprinkled sugar on it and placed it in the freezer for 15 minutes.

A side note, as I have mentioned before I normally use store bought pie crust – always the Pillsbury refrigerated pie crust. So, for this pie I needed 3 pie crusts; 1 for the bottom and I needed two in order to cut out enough leaves to cover my pie. I decided that next time I make a pie with cut-outs for the crust I am going to cut them out the day before and refrigerate them to save time the day of.

I was concerned that the leaf design wouldn’t hold-up during baking – that it would possibly burn or some of the leave would crack. Thankfully baking the pie on the lowest rack of the oven and at a lower temperature (350 F) prevented that from happening.

This pie is delicious… Not overly sweet and the combination of pears and apples is just perfect!

Brown Butter & Vanilla Pear Pie

Ingredients:

1 stick (1/2 cup) unsalted butter

2 1/2 lbs. (5) pears, peeled, cored and chopped

1 Granny Smith apples, peeled, cored and chopped

3 tablespoons flour

1 tablespoon vanilla extract

1/4 teaspoon kosher salt

1/4 cup sugar, plus more for sprinkling

Preferred pie crust

1 large egg, lightly beaten

Directions:

Lower a rack in the oven to the lowest position and preheat the oven to 350 F.

In a medium bowl / skillet, melt the butter over medium heat stirring until golden and nutty smelling. Pour into a large bowl and let cool for a few minutes.

Add the apples, pears, flour, vanilla, salt 1/4 cup sugar to the brown butter and toss.

Roll out your pie crust to 14 inches and line a 9-inch pie plate with it and trim the dough to a 1-inch overhang. Fill the pie crust with the pear apple filling and top the pie with your decided pie crust design. If you plan on just covering the pie with no design, roll the dough out to 12 inches and lay over the filling. Fold the top edge over and tuck under bottom edge; crimp edge as desired. Cut a few vents. Brush the crust with the beaten egg and sprinkle with sugar and freeze for 15 minutes

Bake on the bottom rack until the juices start bubbling, about 60 to 75 minutes. If you notice that the edges of the pie are browning too quickly cover them with aluminum foil for the remaining baking time.

Let the pie cool for at least 4 hours before slicing.

Recipe from Real Simple Magazine

Thanksgiving Desserts

Hope you all had a wonderful Thanksgiving filled with delicious food and joyous times with loved ones. This year I spent the day at a friend’s house enjoying said delicious food and joyous times – although I did cook a turkey the following day. At this point though I am kind of turkeyed out! I didn’t go empty handed to the Thanksgiving celebration though; I brought the dessert… three pies, a cheesecake and a chocolate cake. What can I say, I love to bake!

Among the pies was a Pumpkin Pie that I decorated using Fall themed pie cutters. Then there was a Sweet Potato Pie 

that I decorated with a leaf border. I made this pie because I had never tried Sweet Potatoe Pie and was curious as to what all the fuss was about. It was good, but, I am partial to pumpking. And finally an Apple Pie that I gave a nice twisted pie crust design to.

IMG_9940

For the Cheesecake I stuck to a recipe that was a hit and topped it with sugared cranberred. The cranberries were so good that I ended up eating the leftovers like they were candy.

IMG_9938

And finally, the Chocolate Cake. The cake had a pumpkin spice mousse filling – it was super simple to make and delish thanks to a box of Jell-O Pumpkin Spice Pudding mix – and frosted it with chocolate frosting. And to give it a Fall theme I topped it with white chocolate leaves in seasonal colors.

IMG_9928

%d bloggers like this: