This weekend, Memorial Day weekend, is the unofficial start of the summer. Bring on the BBQs, warm weather, and all the other fun things associated with this time of the year! One thing I personally love about this time of the year is the in-season fruit and veggies. Yes, you can get most fruit and vegetables year-round, but certain ones just taste better now. Especially berries! Today I am sharing a pie that is perfectly patriotic for your Memorial Day & July 4th celebrations, but, truth-be-told, perfect for all your summer get-togethers… A Mixed Berry Crumble Pie. It’s also super simple to put together and perfect for a last-minute dessert.
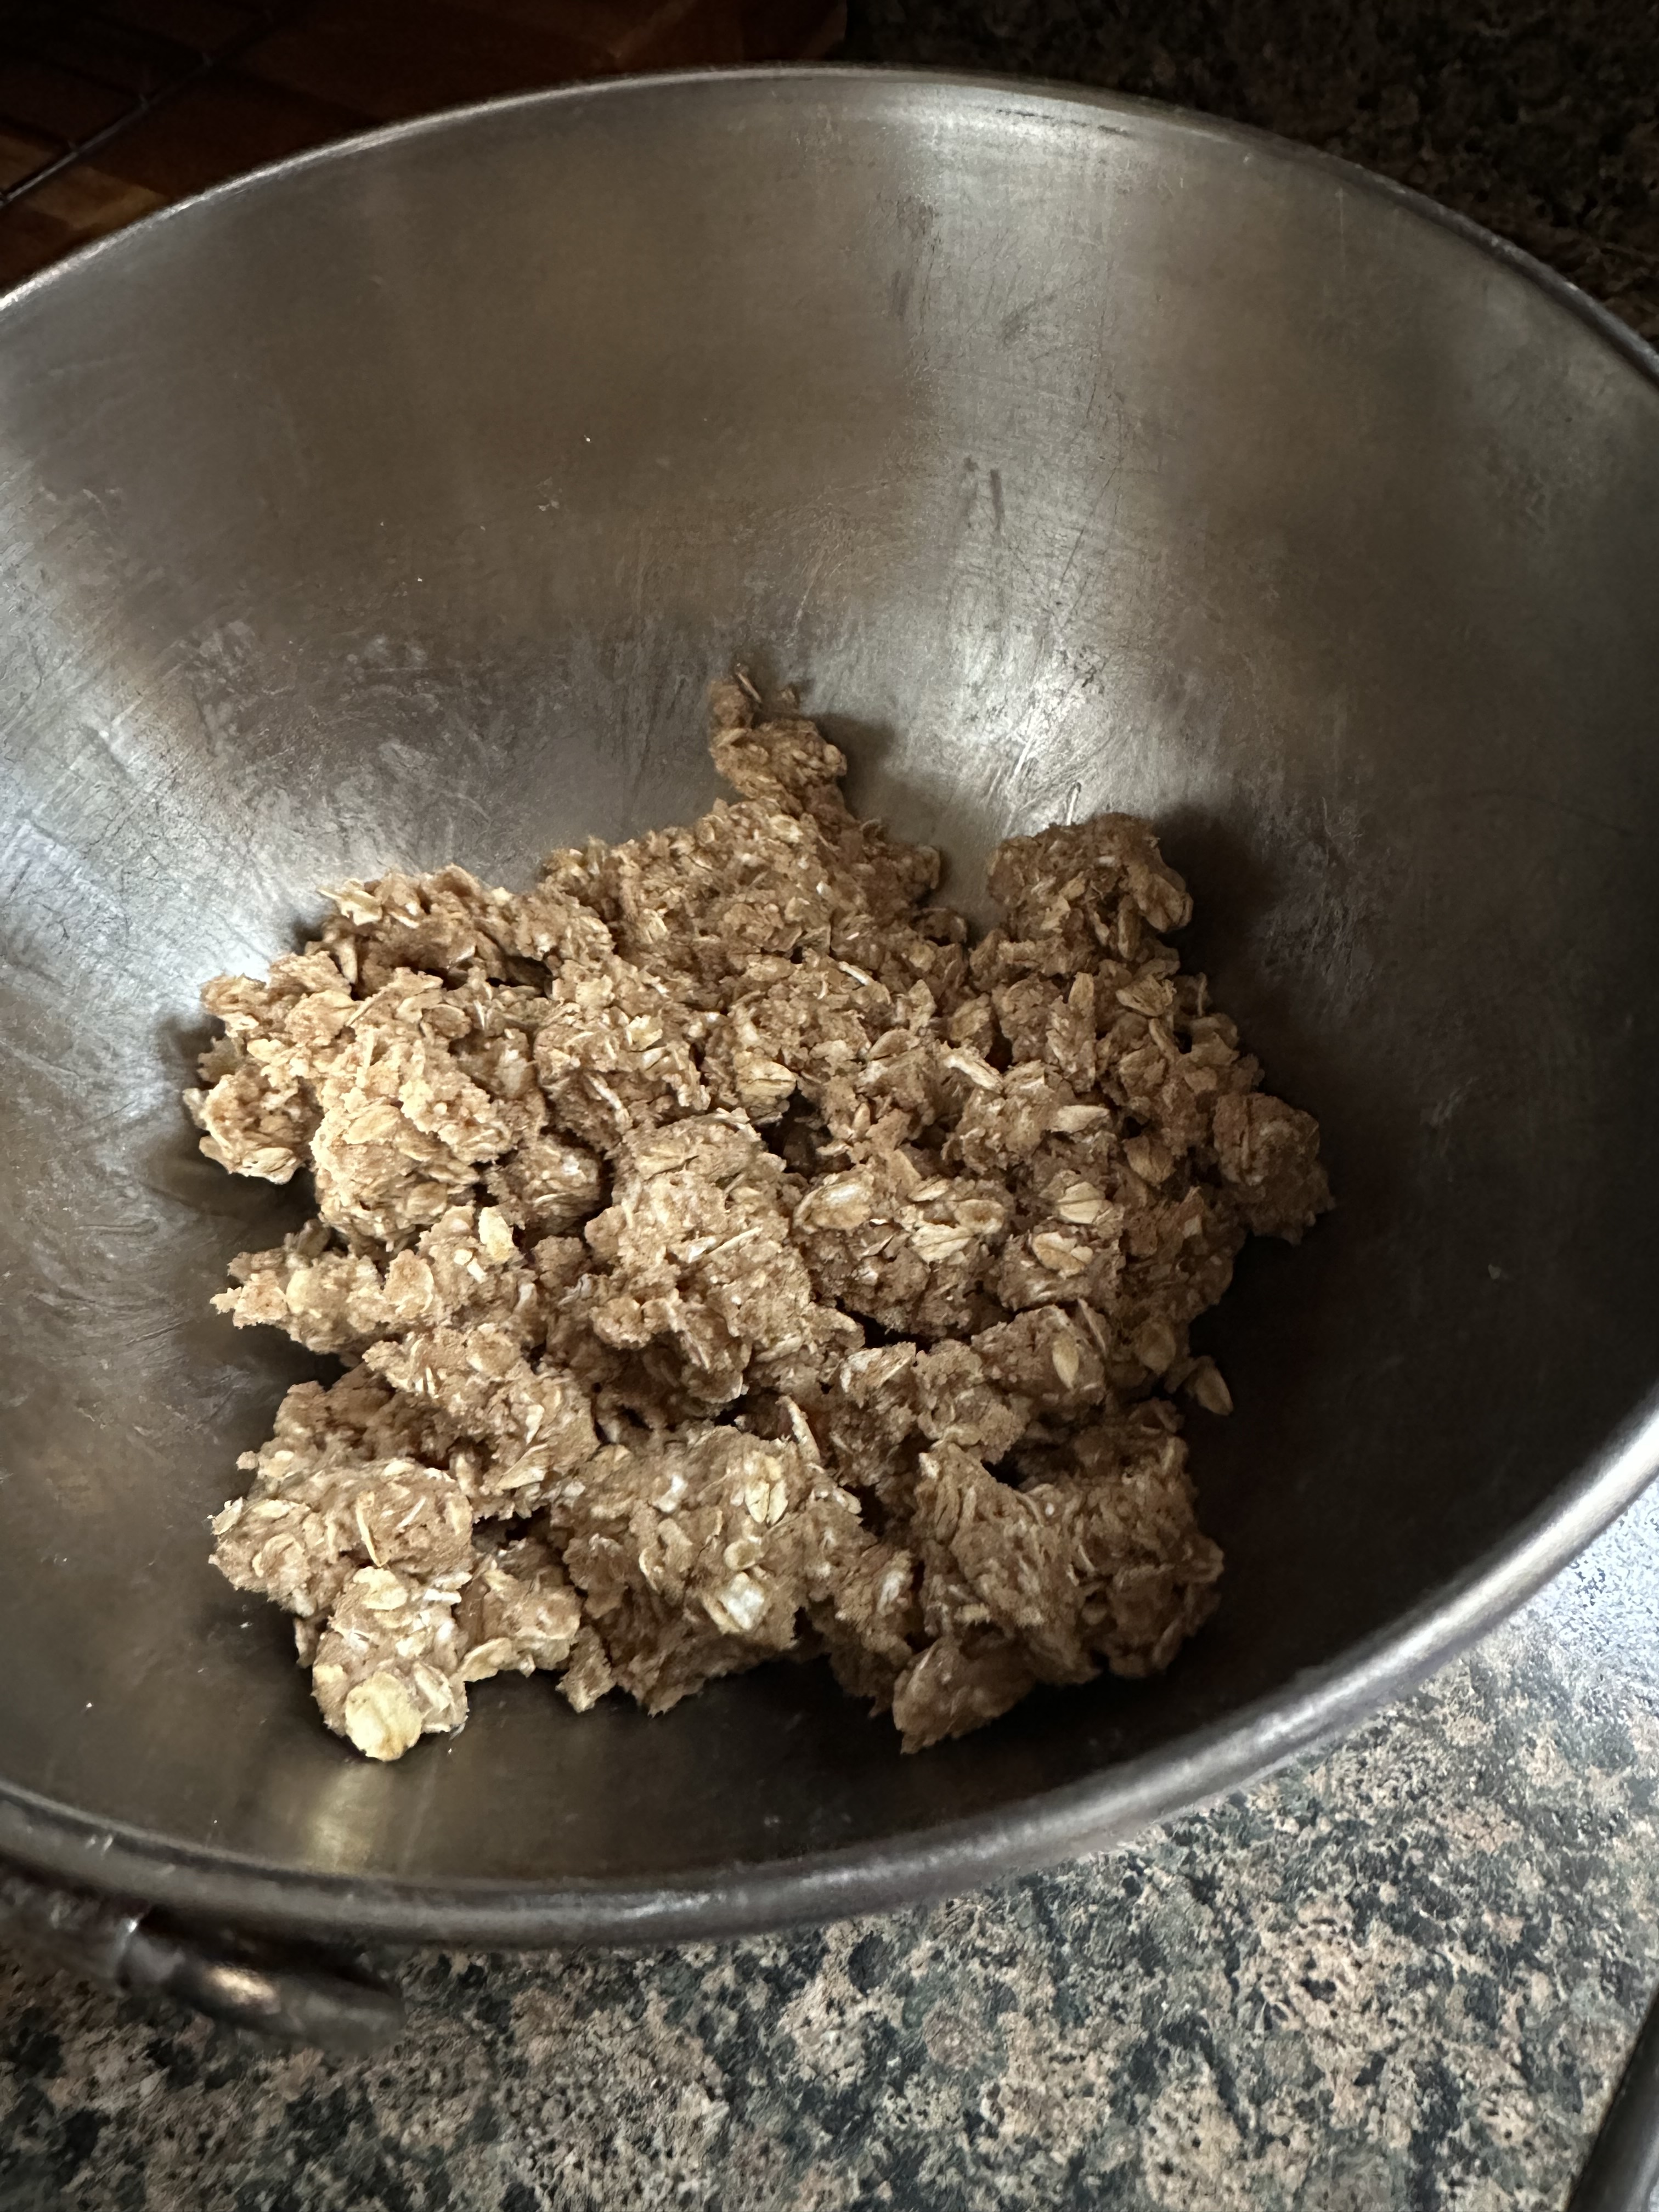
I started off by making the crumble topping since I needed to refrigerate it for a few minutes before sprinkling it on the pie. In a medium bowl I whisked together old-fashioned oats, flour, light brown sugar, salt, cinnamon and allspice. Then, using my hands, I mixed in cold butter that I cut into small pieces. If you are averse to using your hands you could also use a fork or pastry cutter. You want the butter to be completely incorporated into the mixture. Once its ready the ingredients should easily clump together. While the topping chilled, I prepped the rest of the pie.
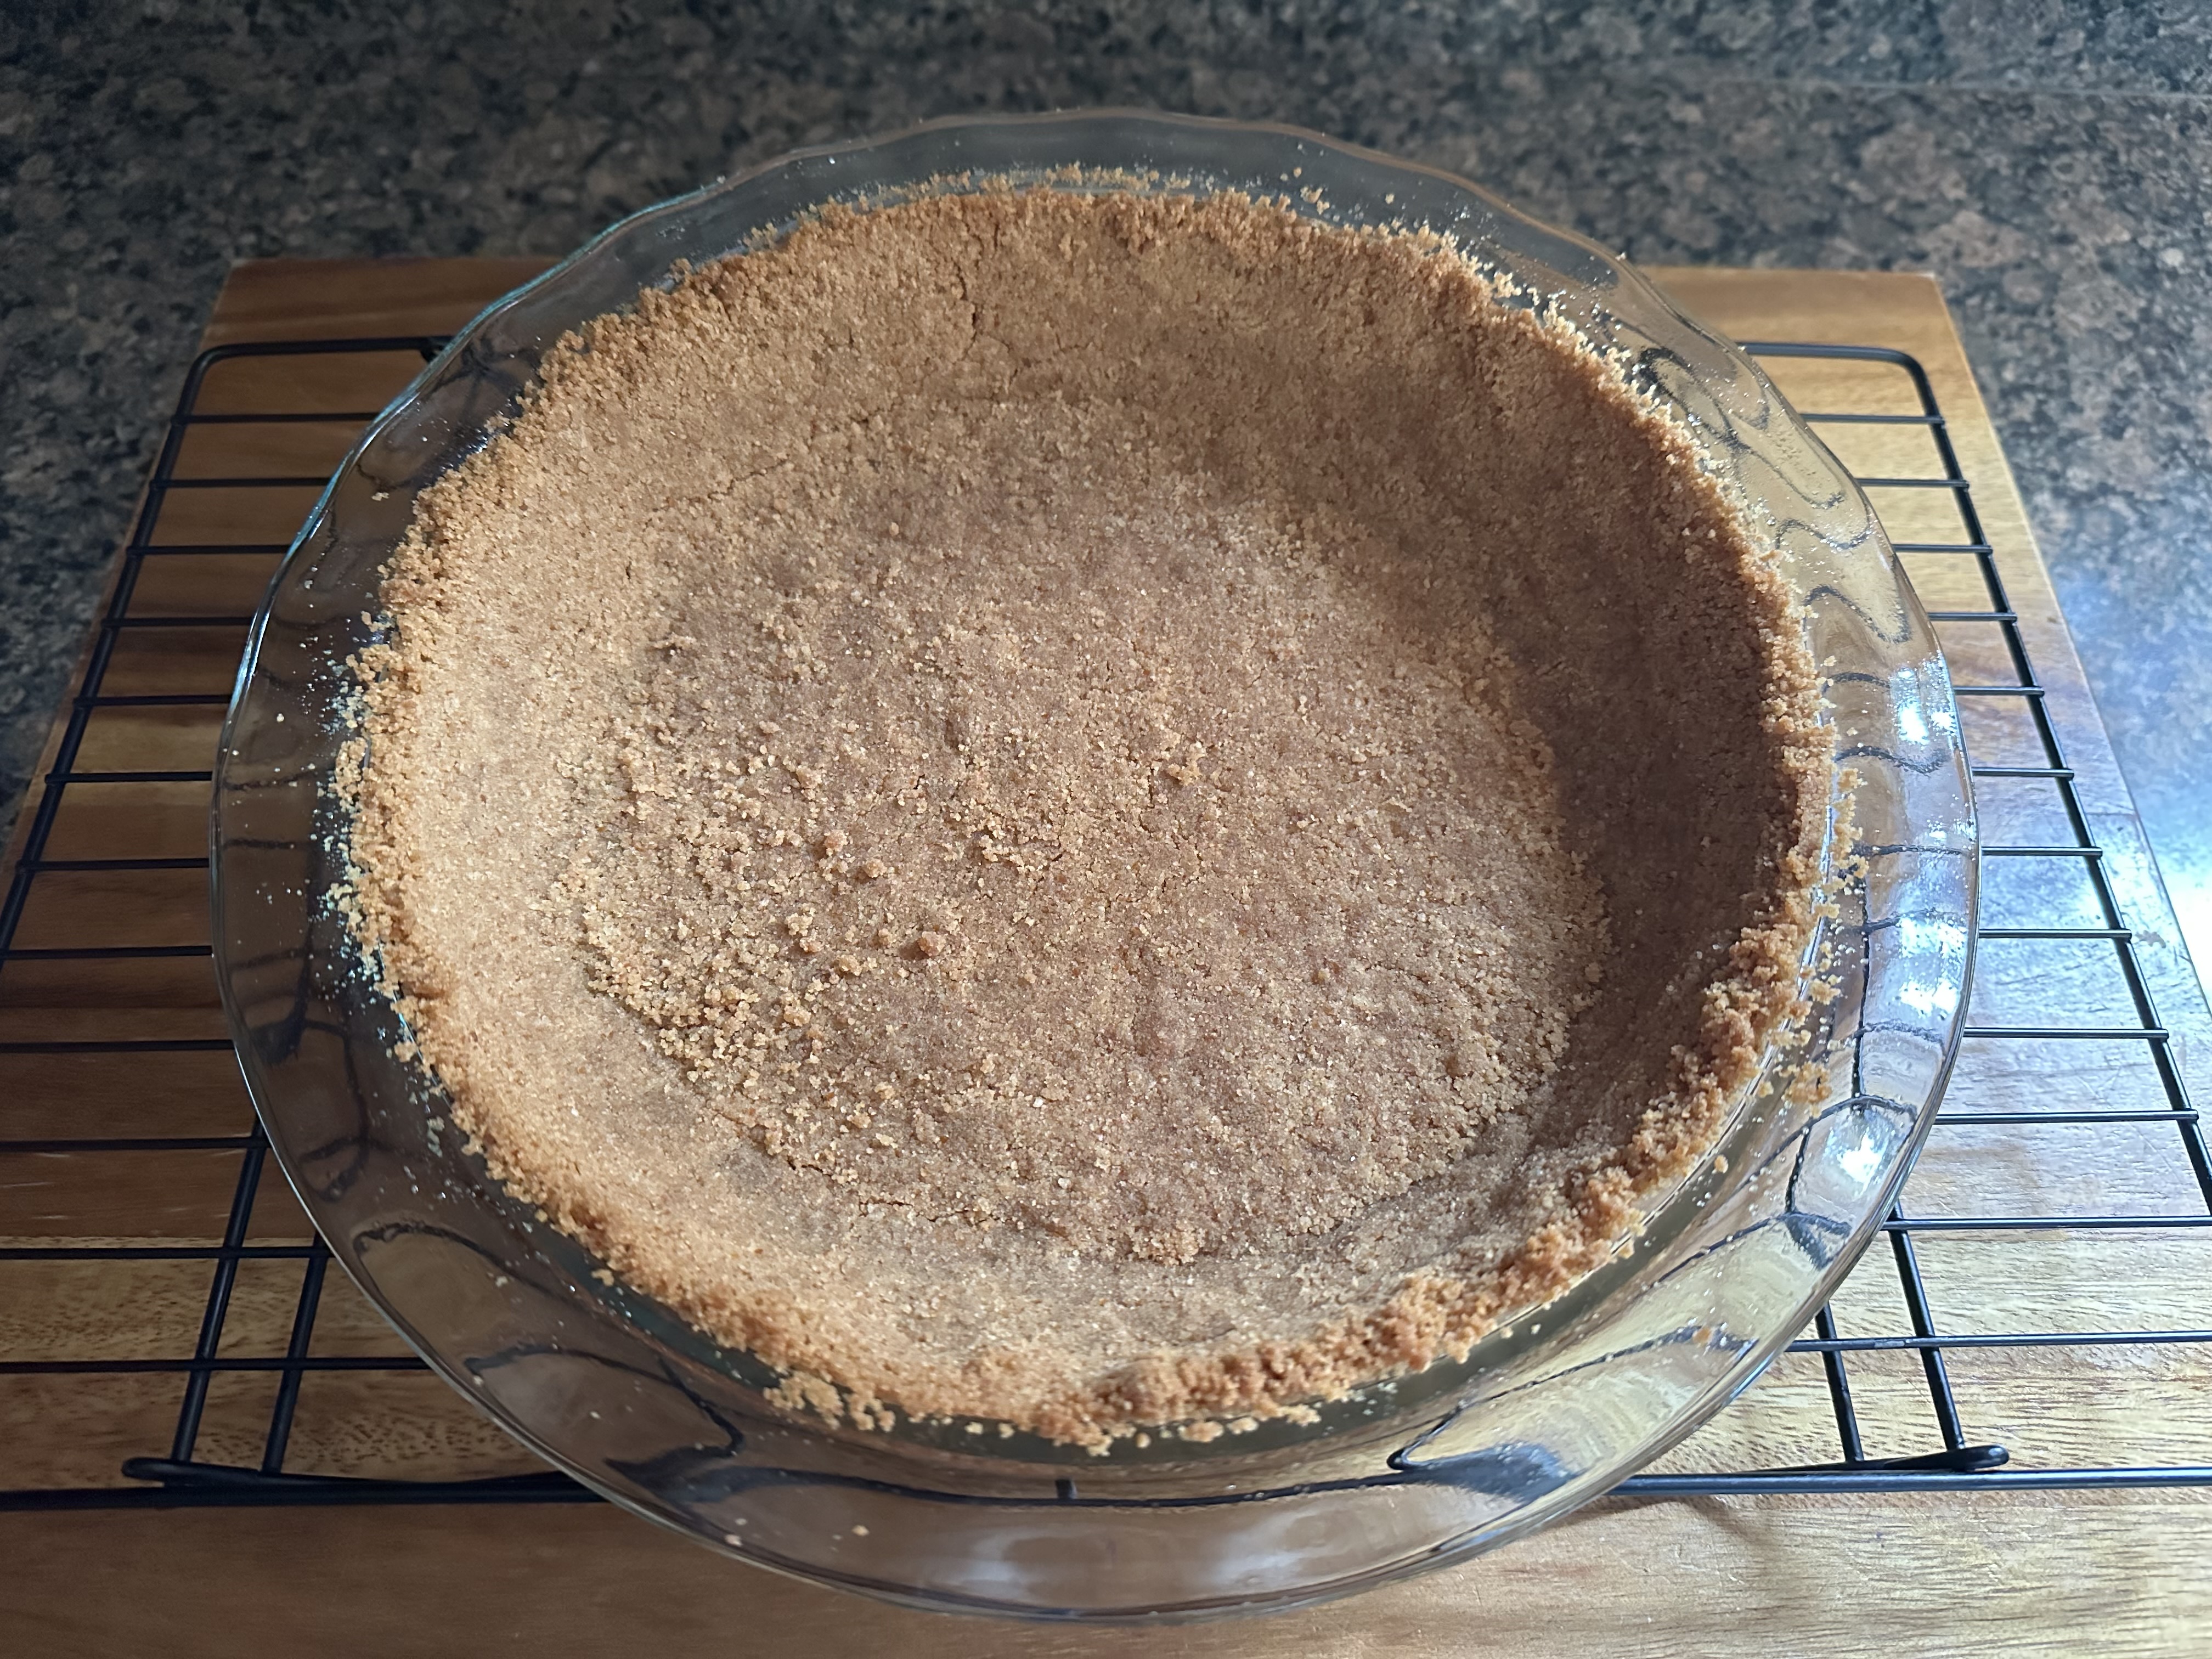
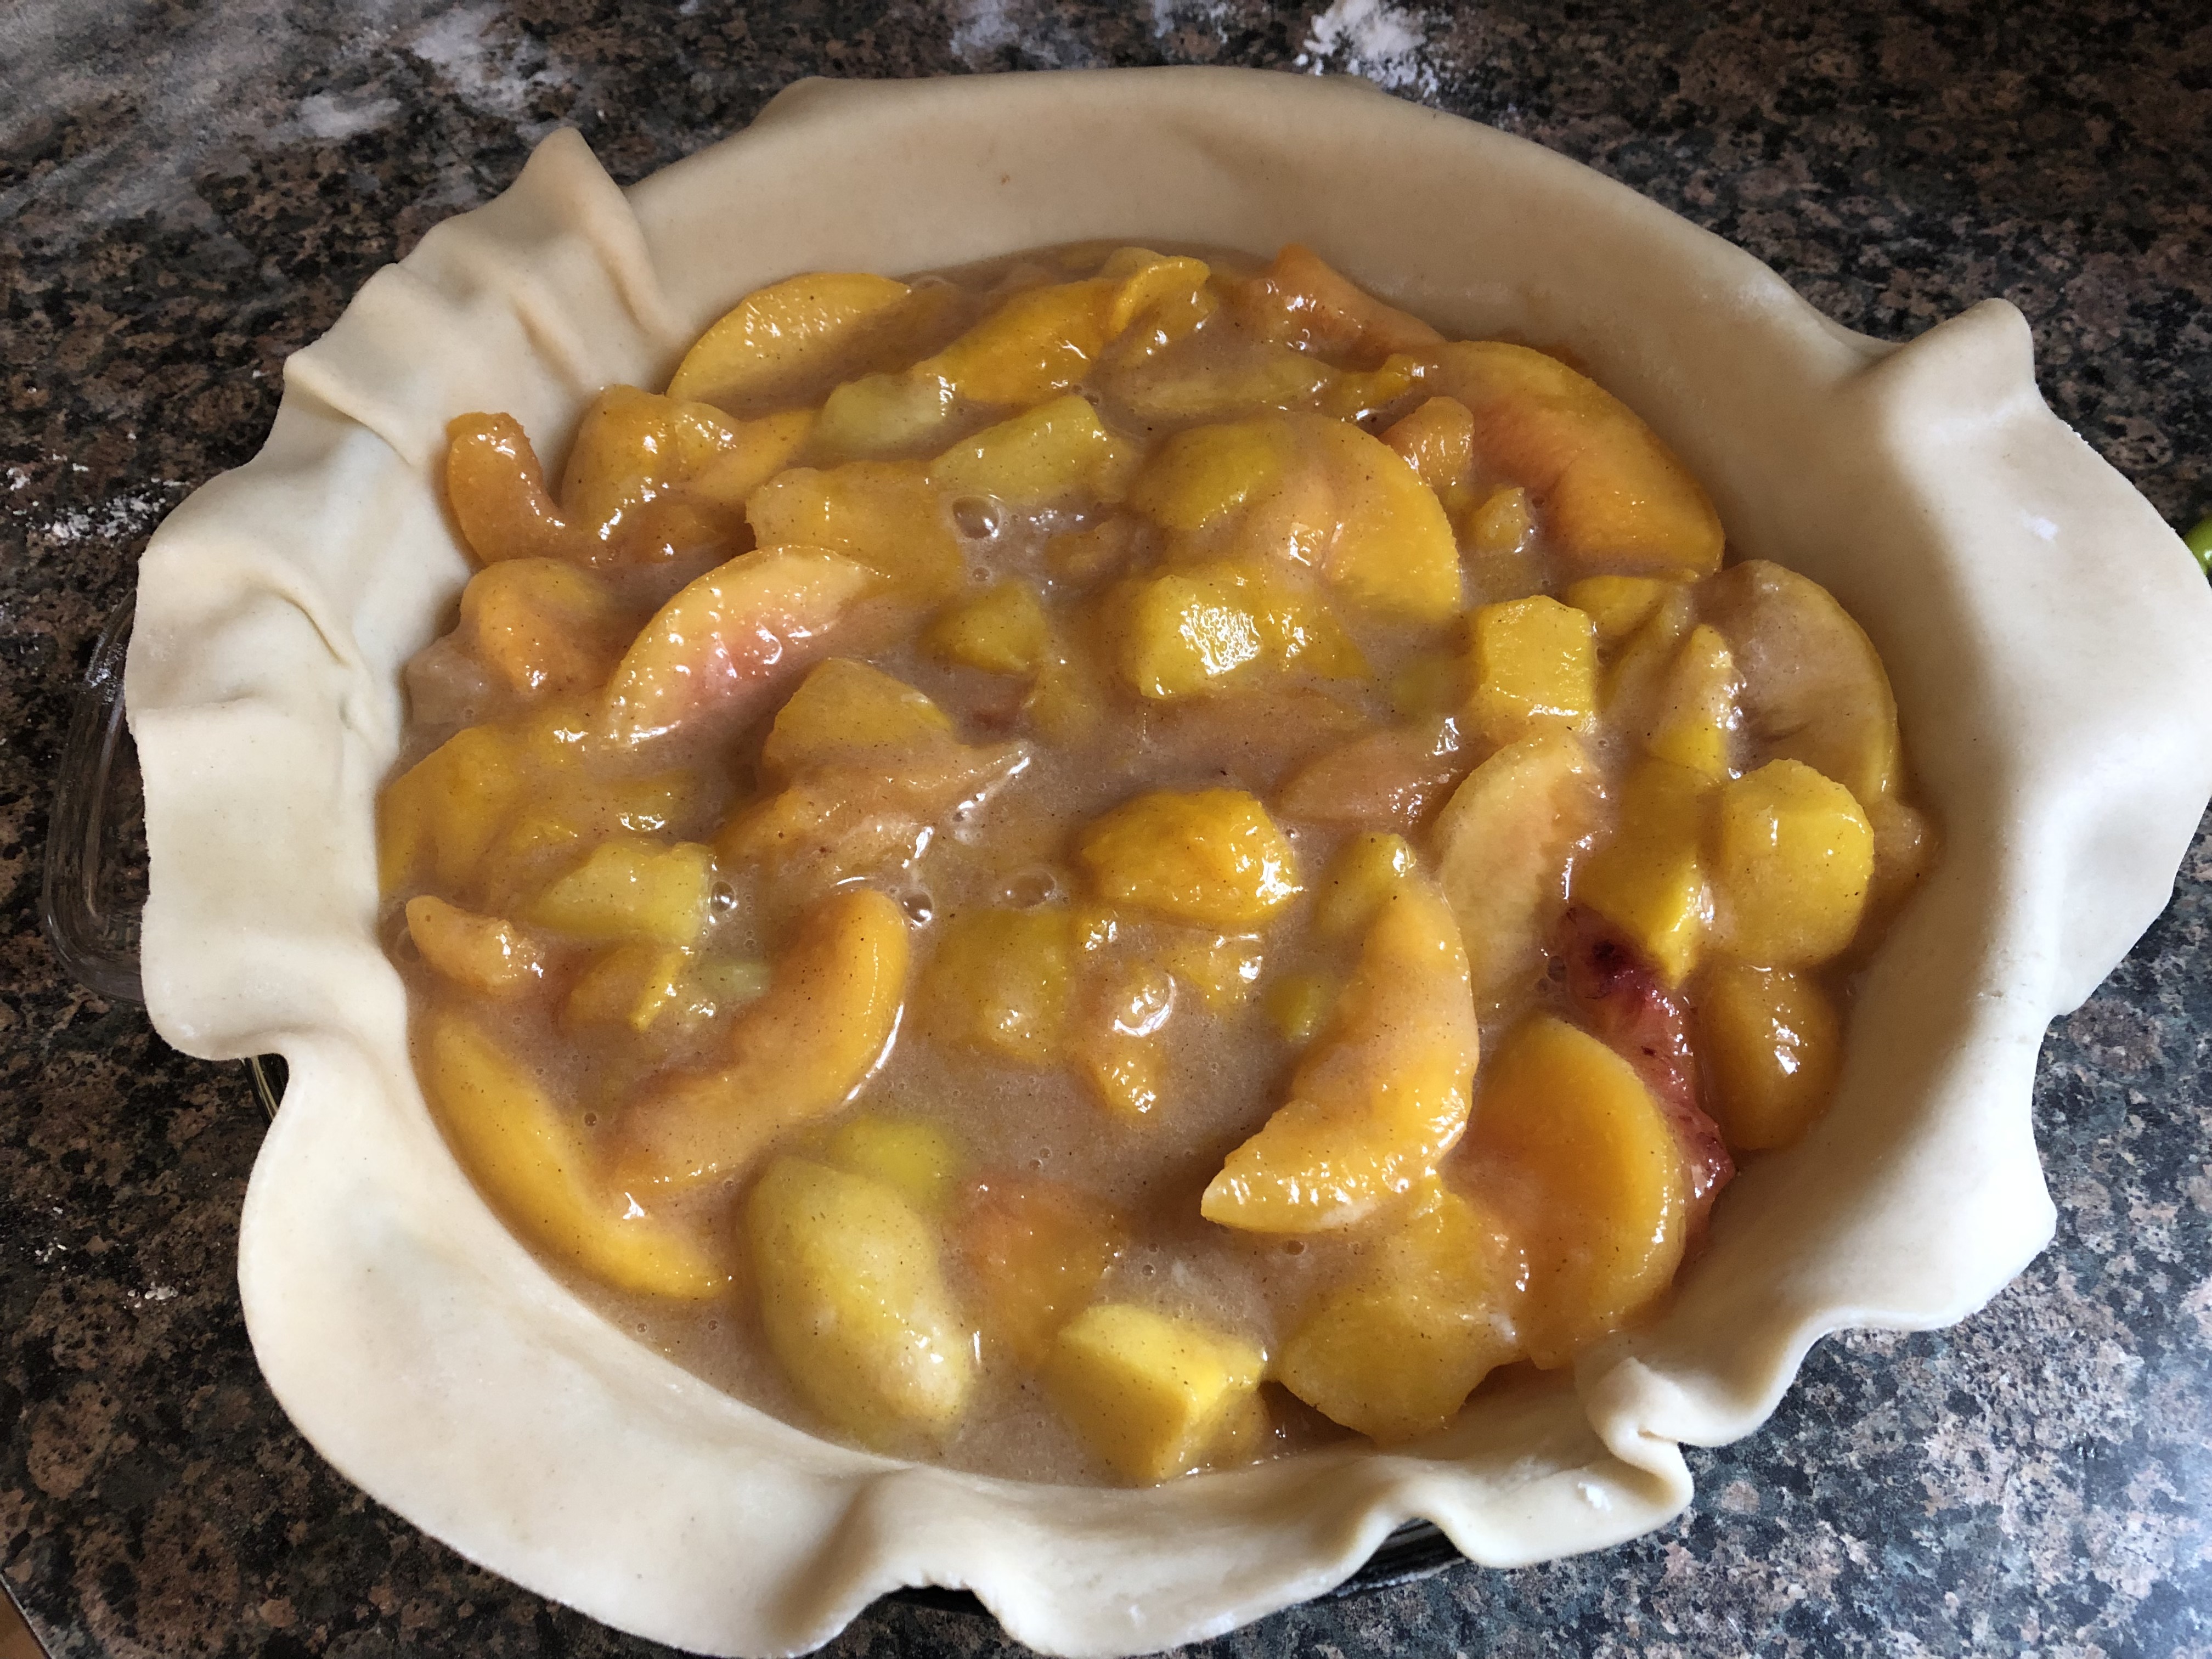
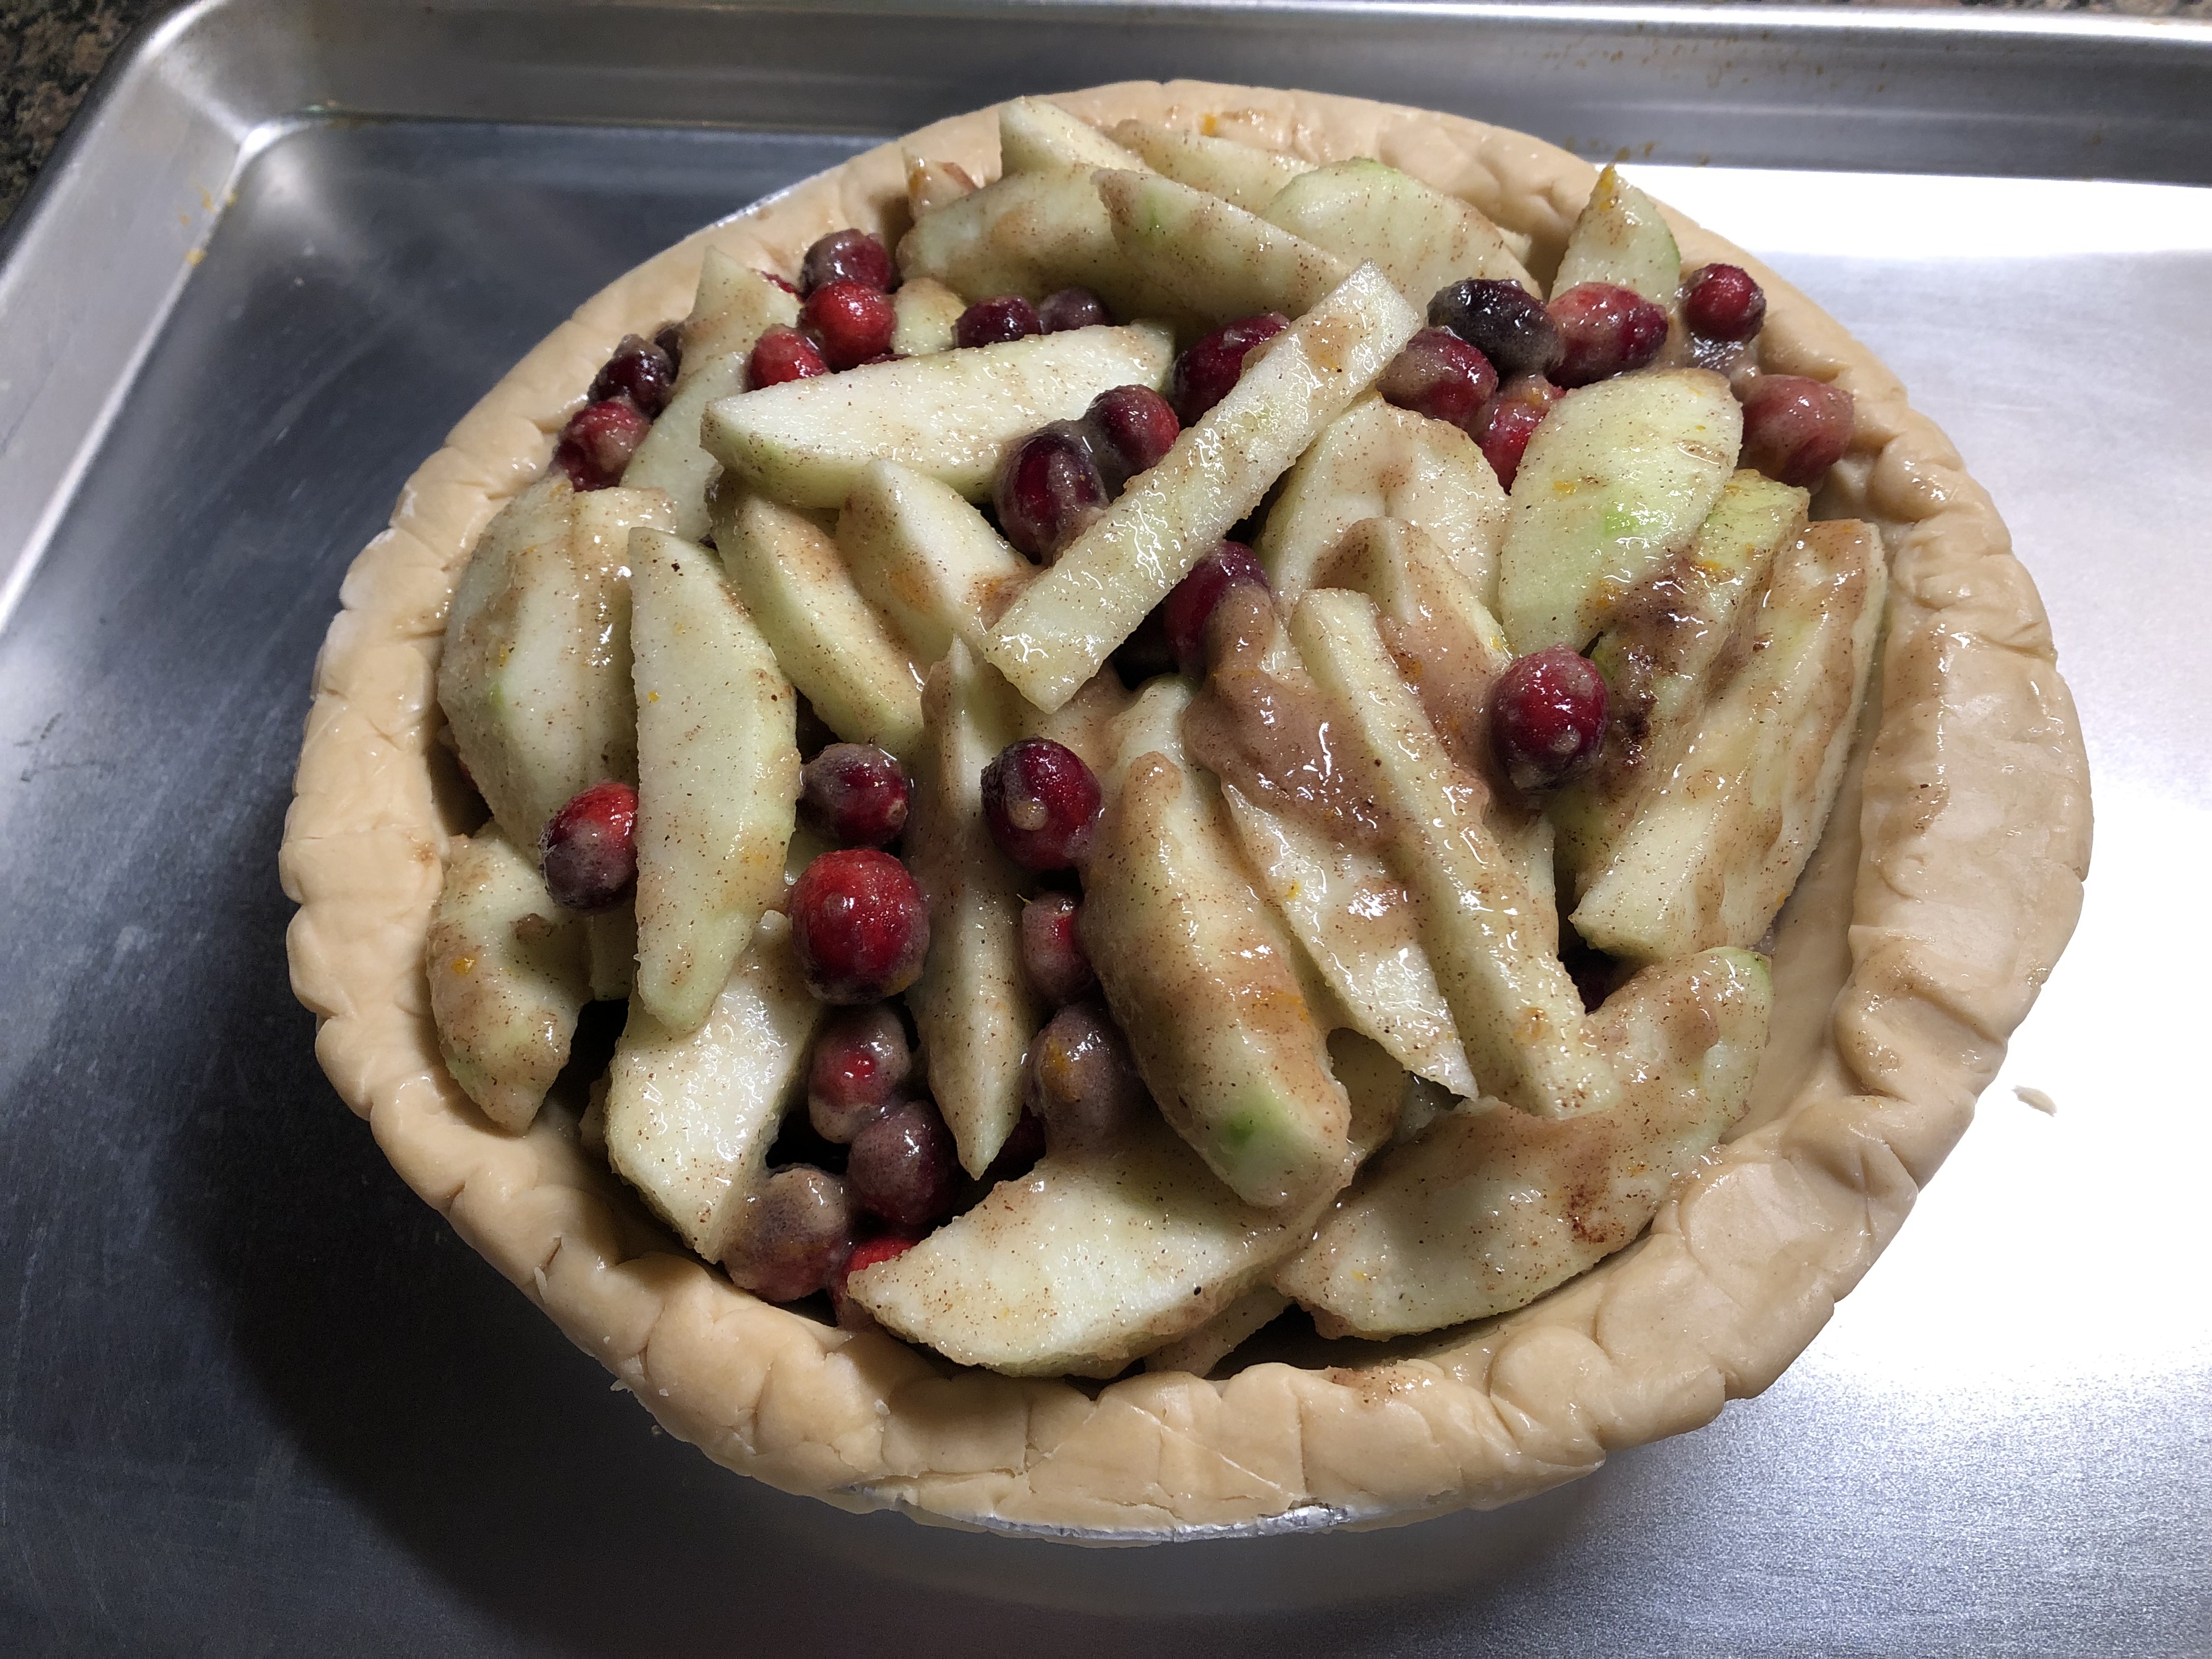
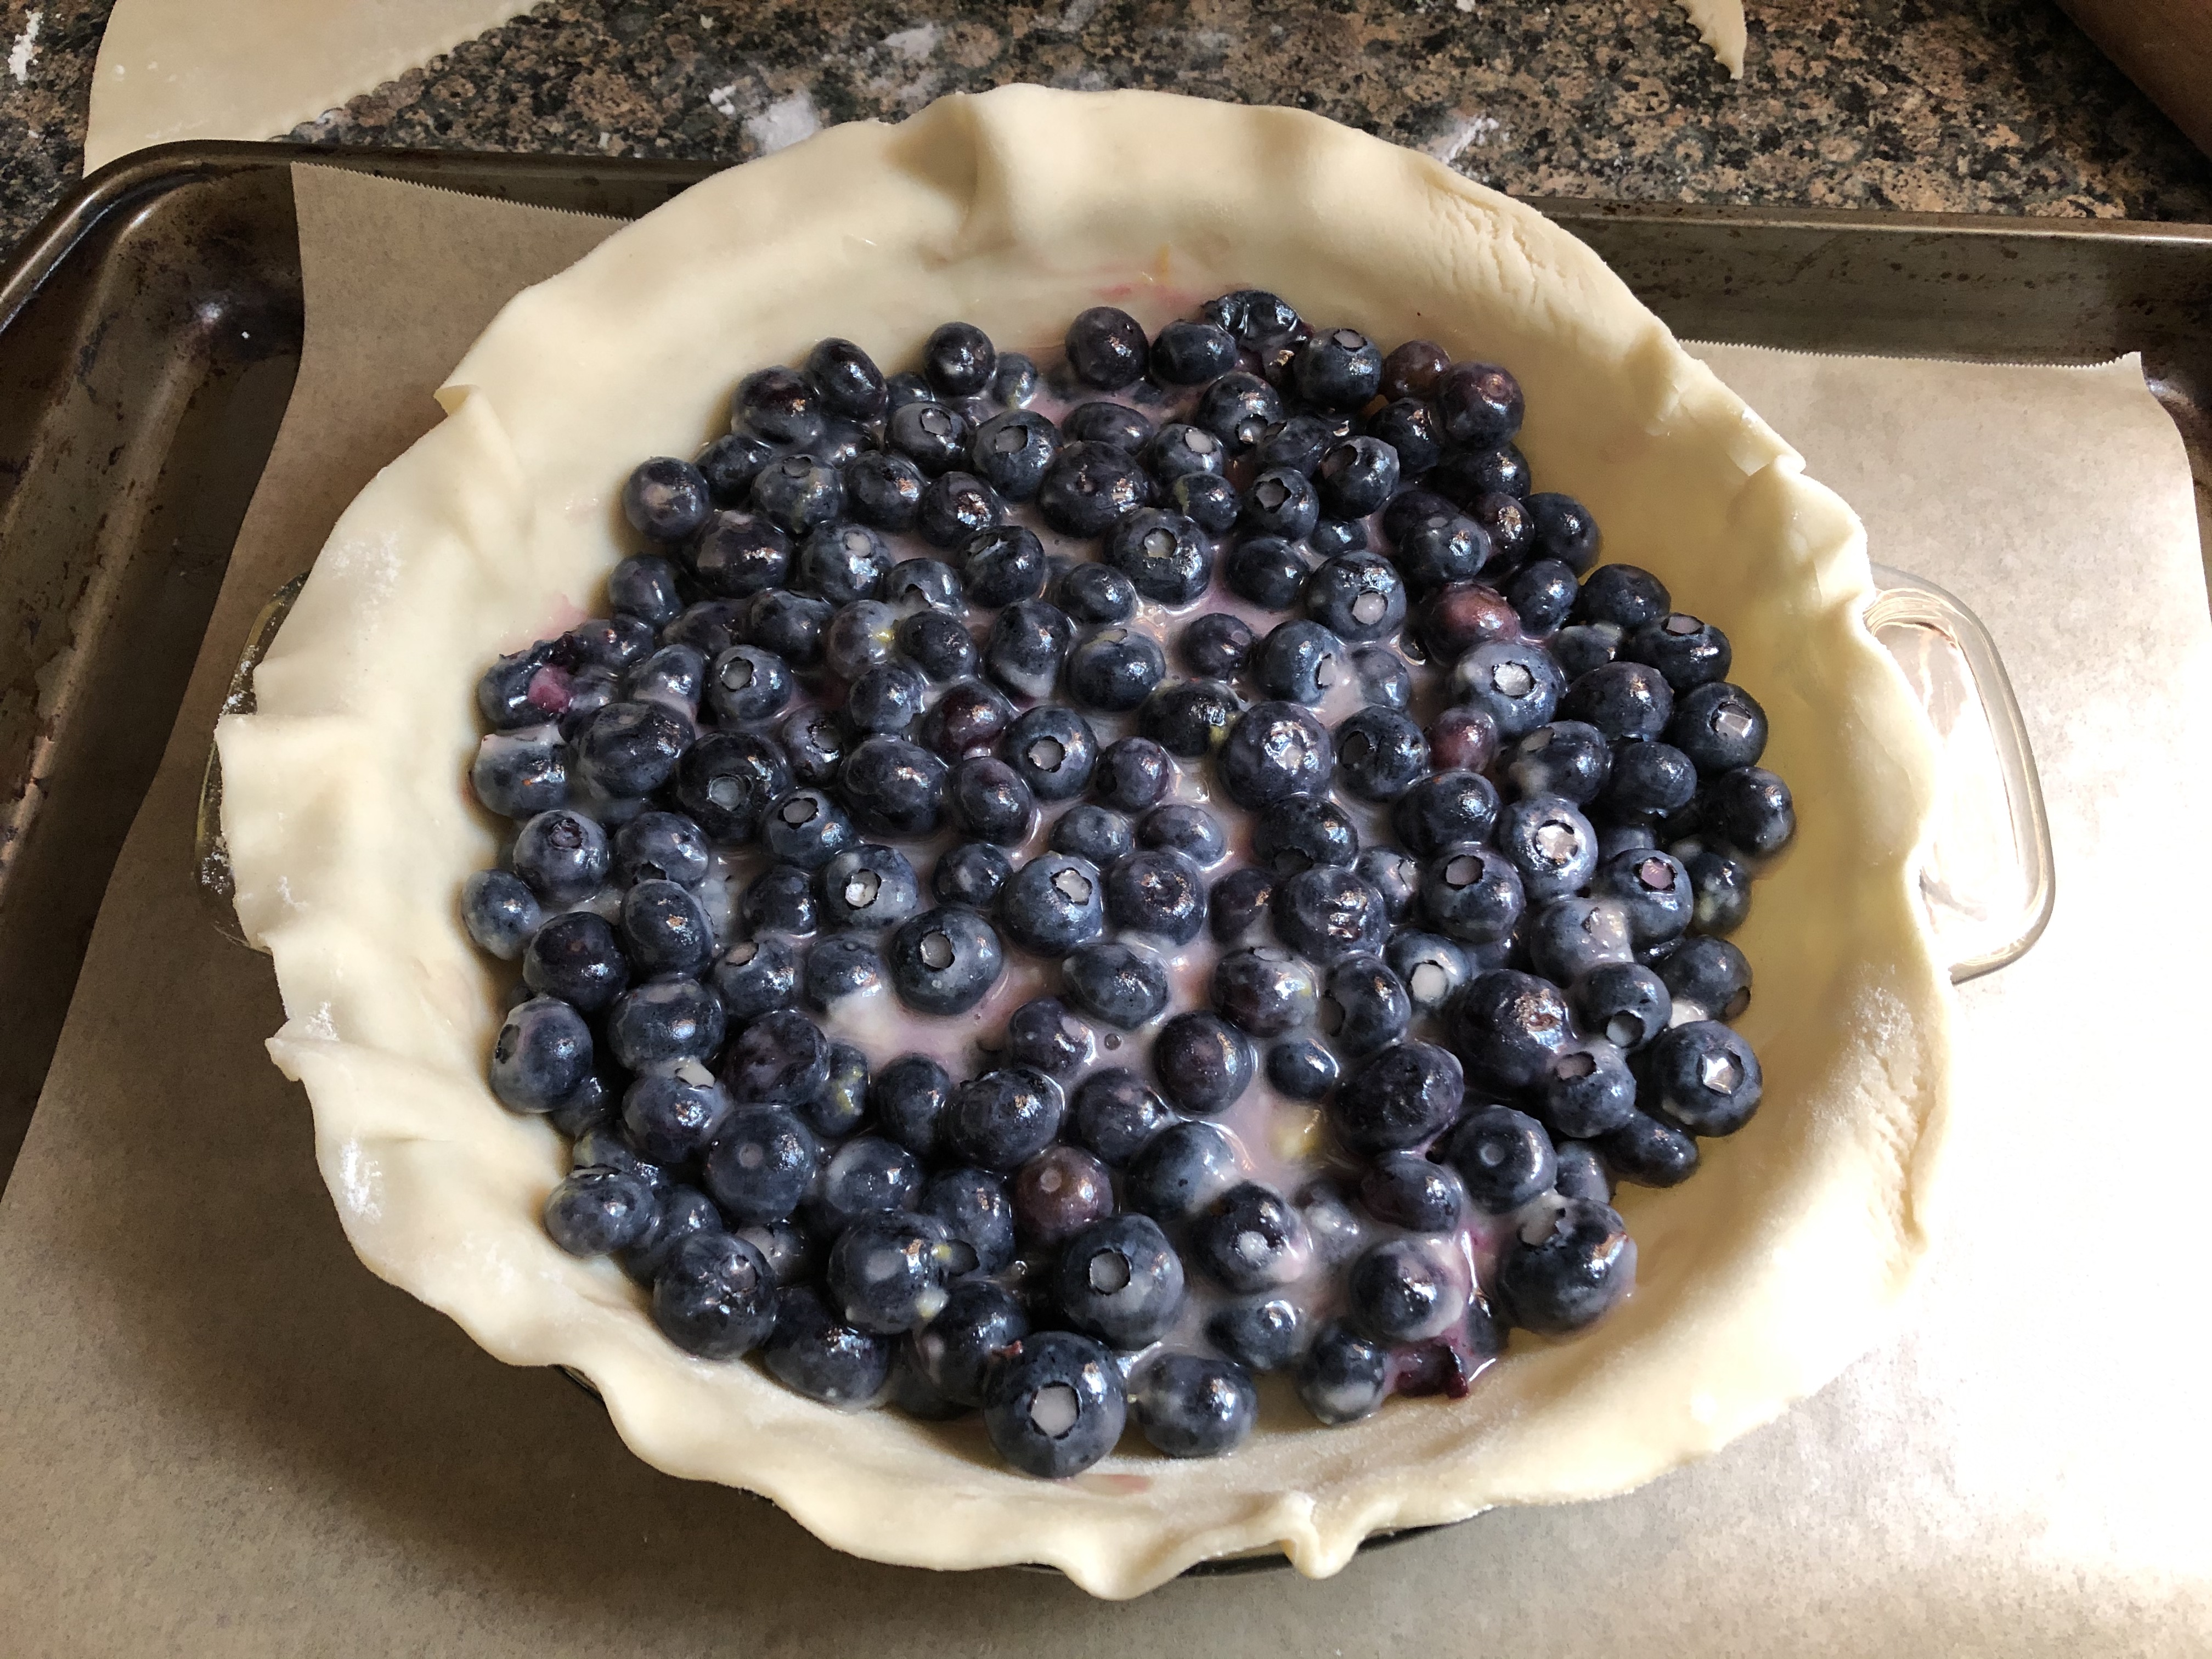
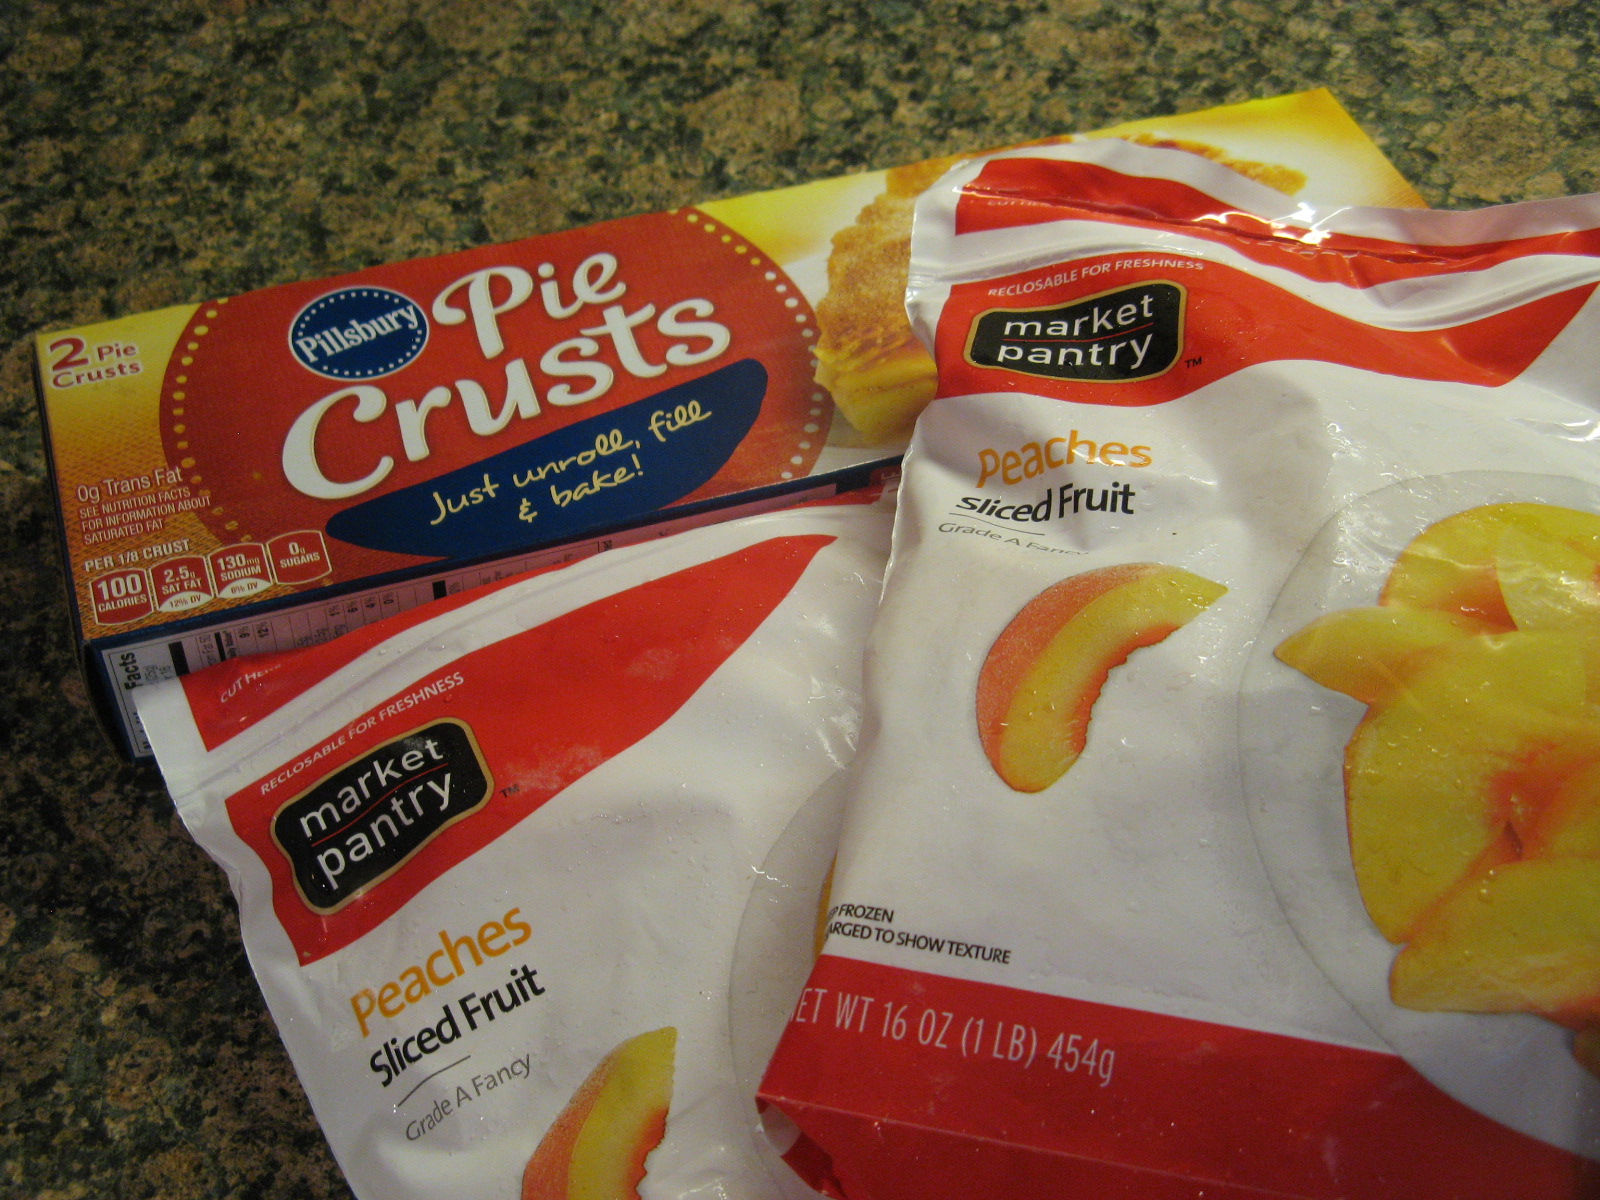
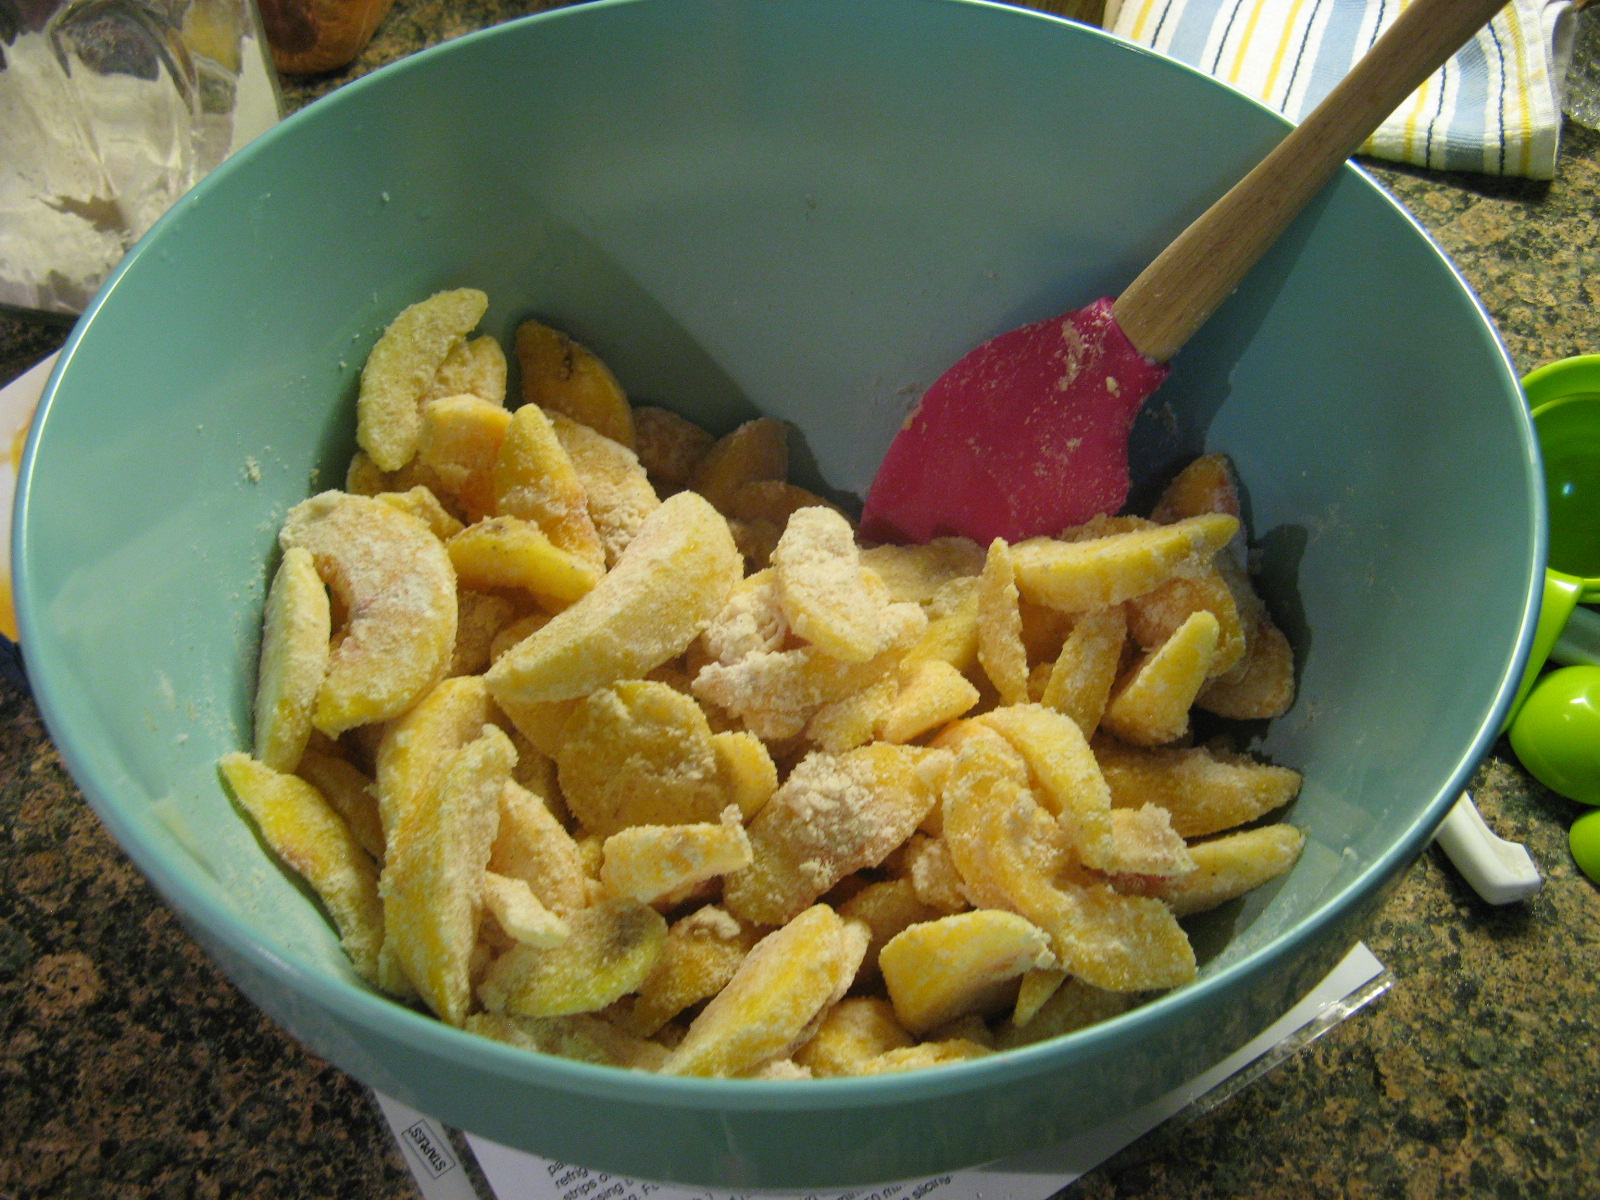
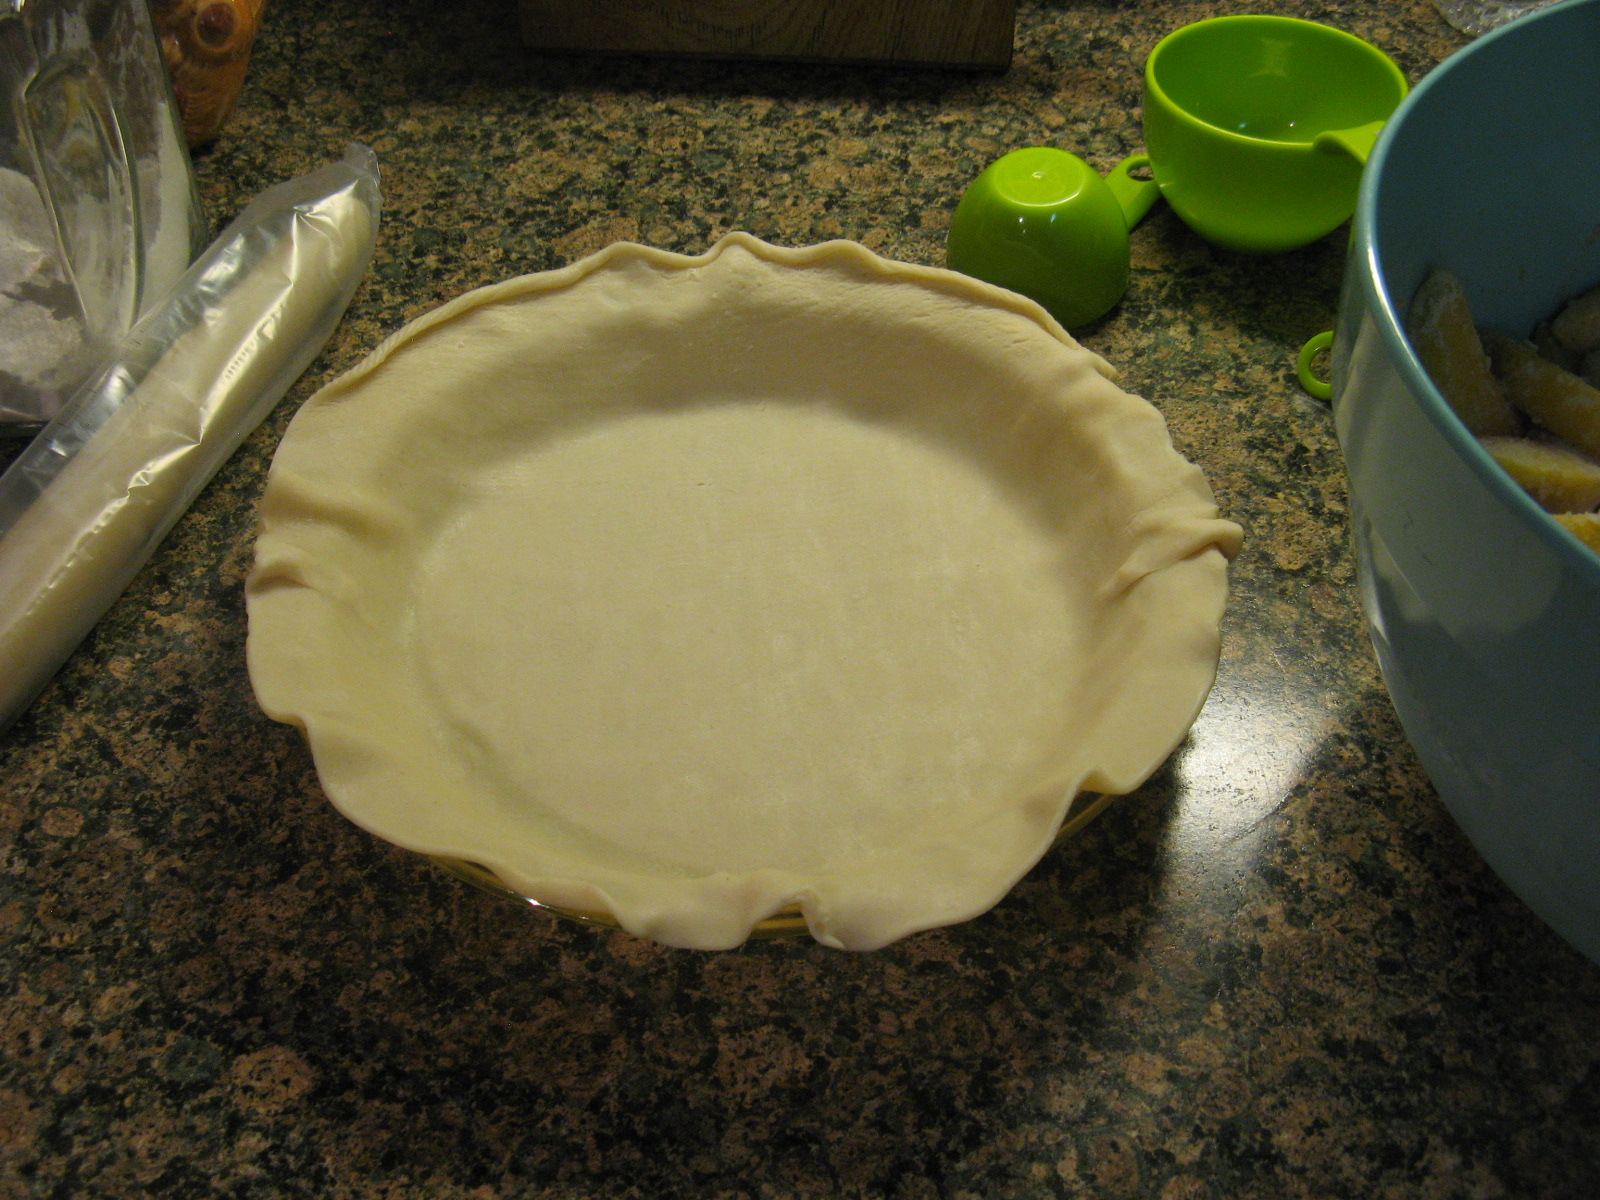
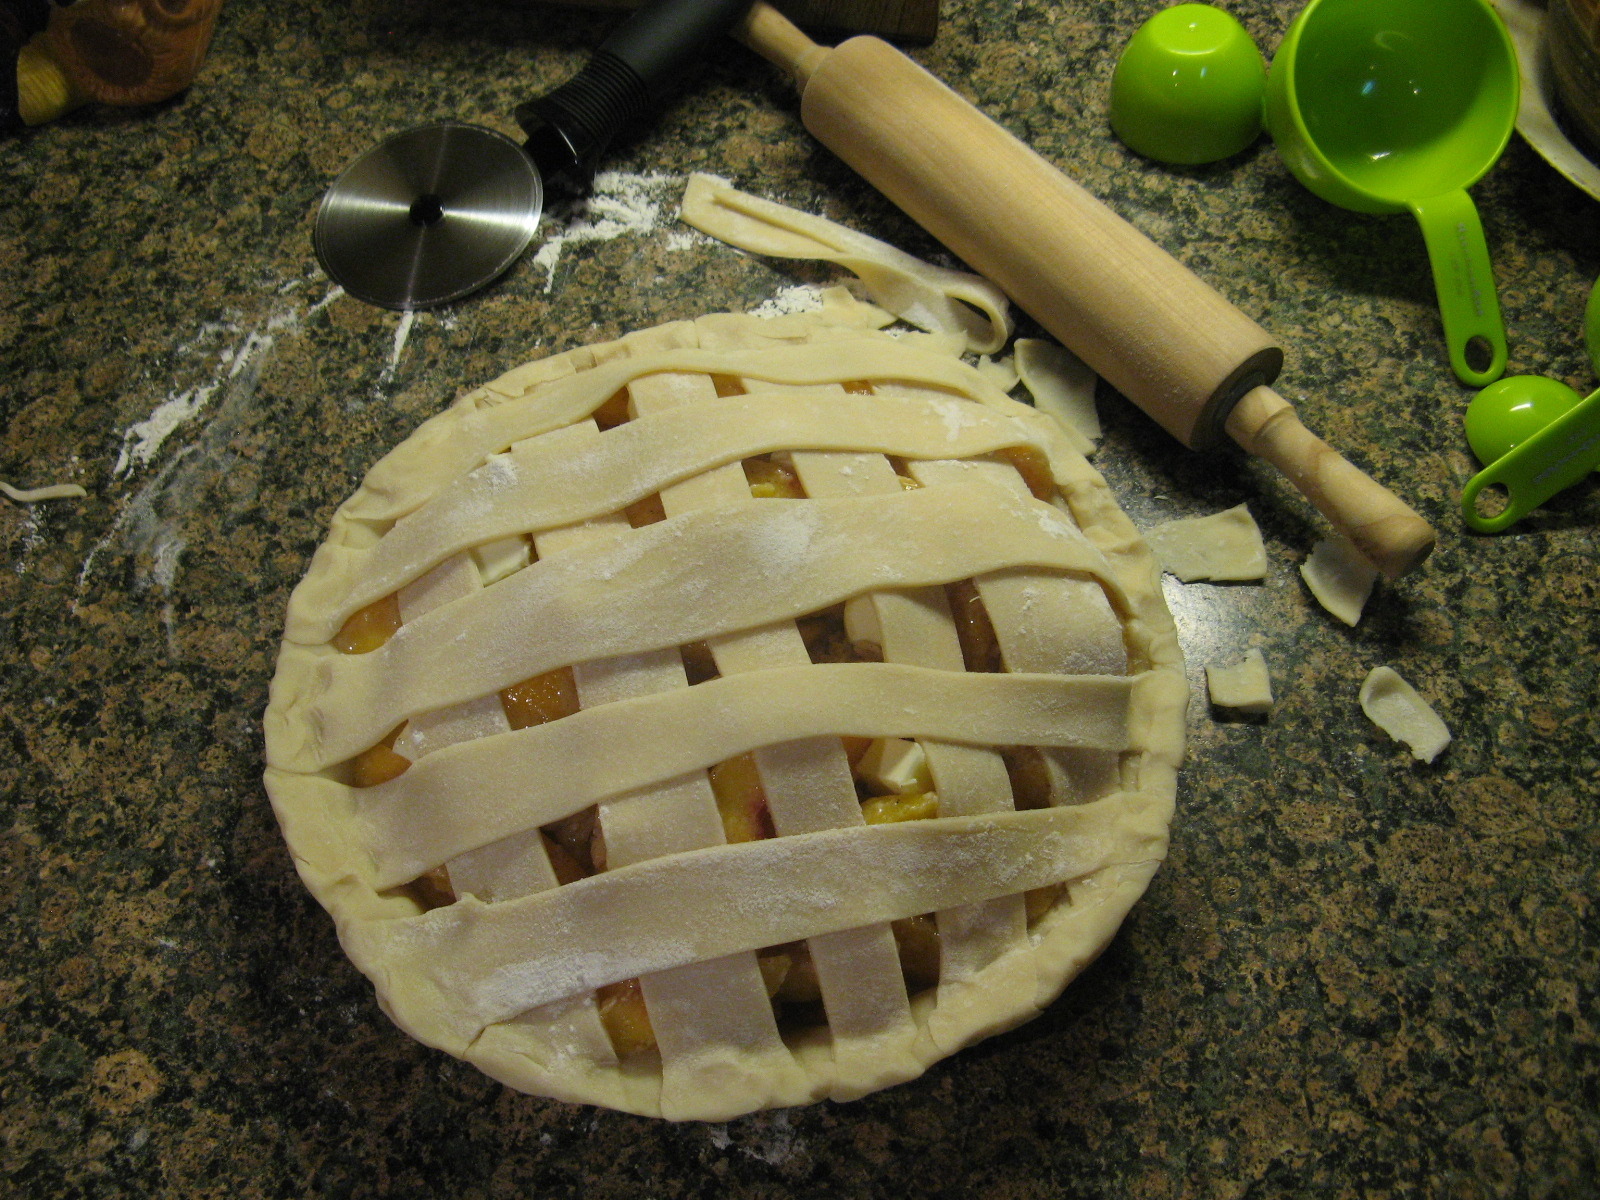
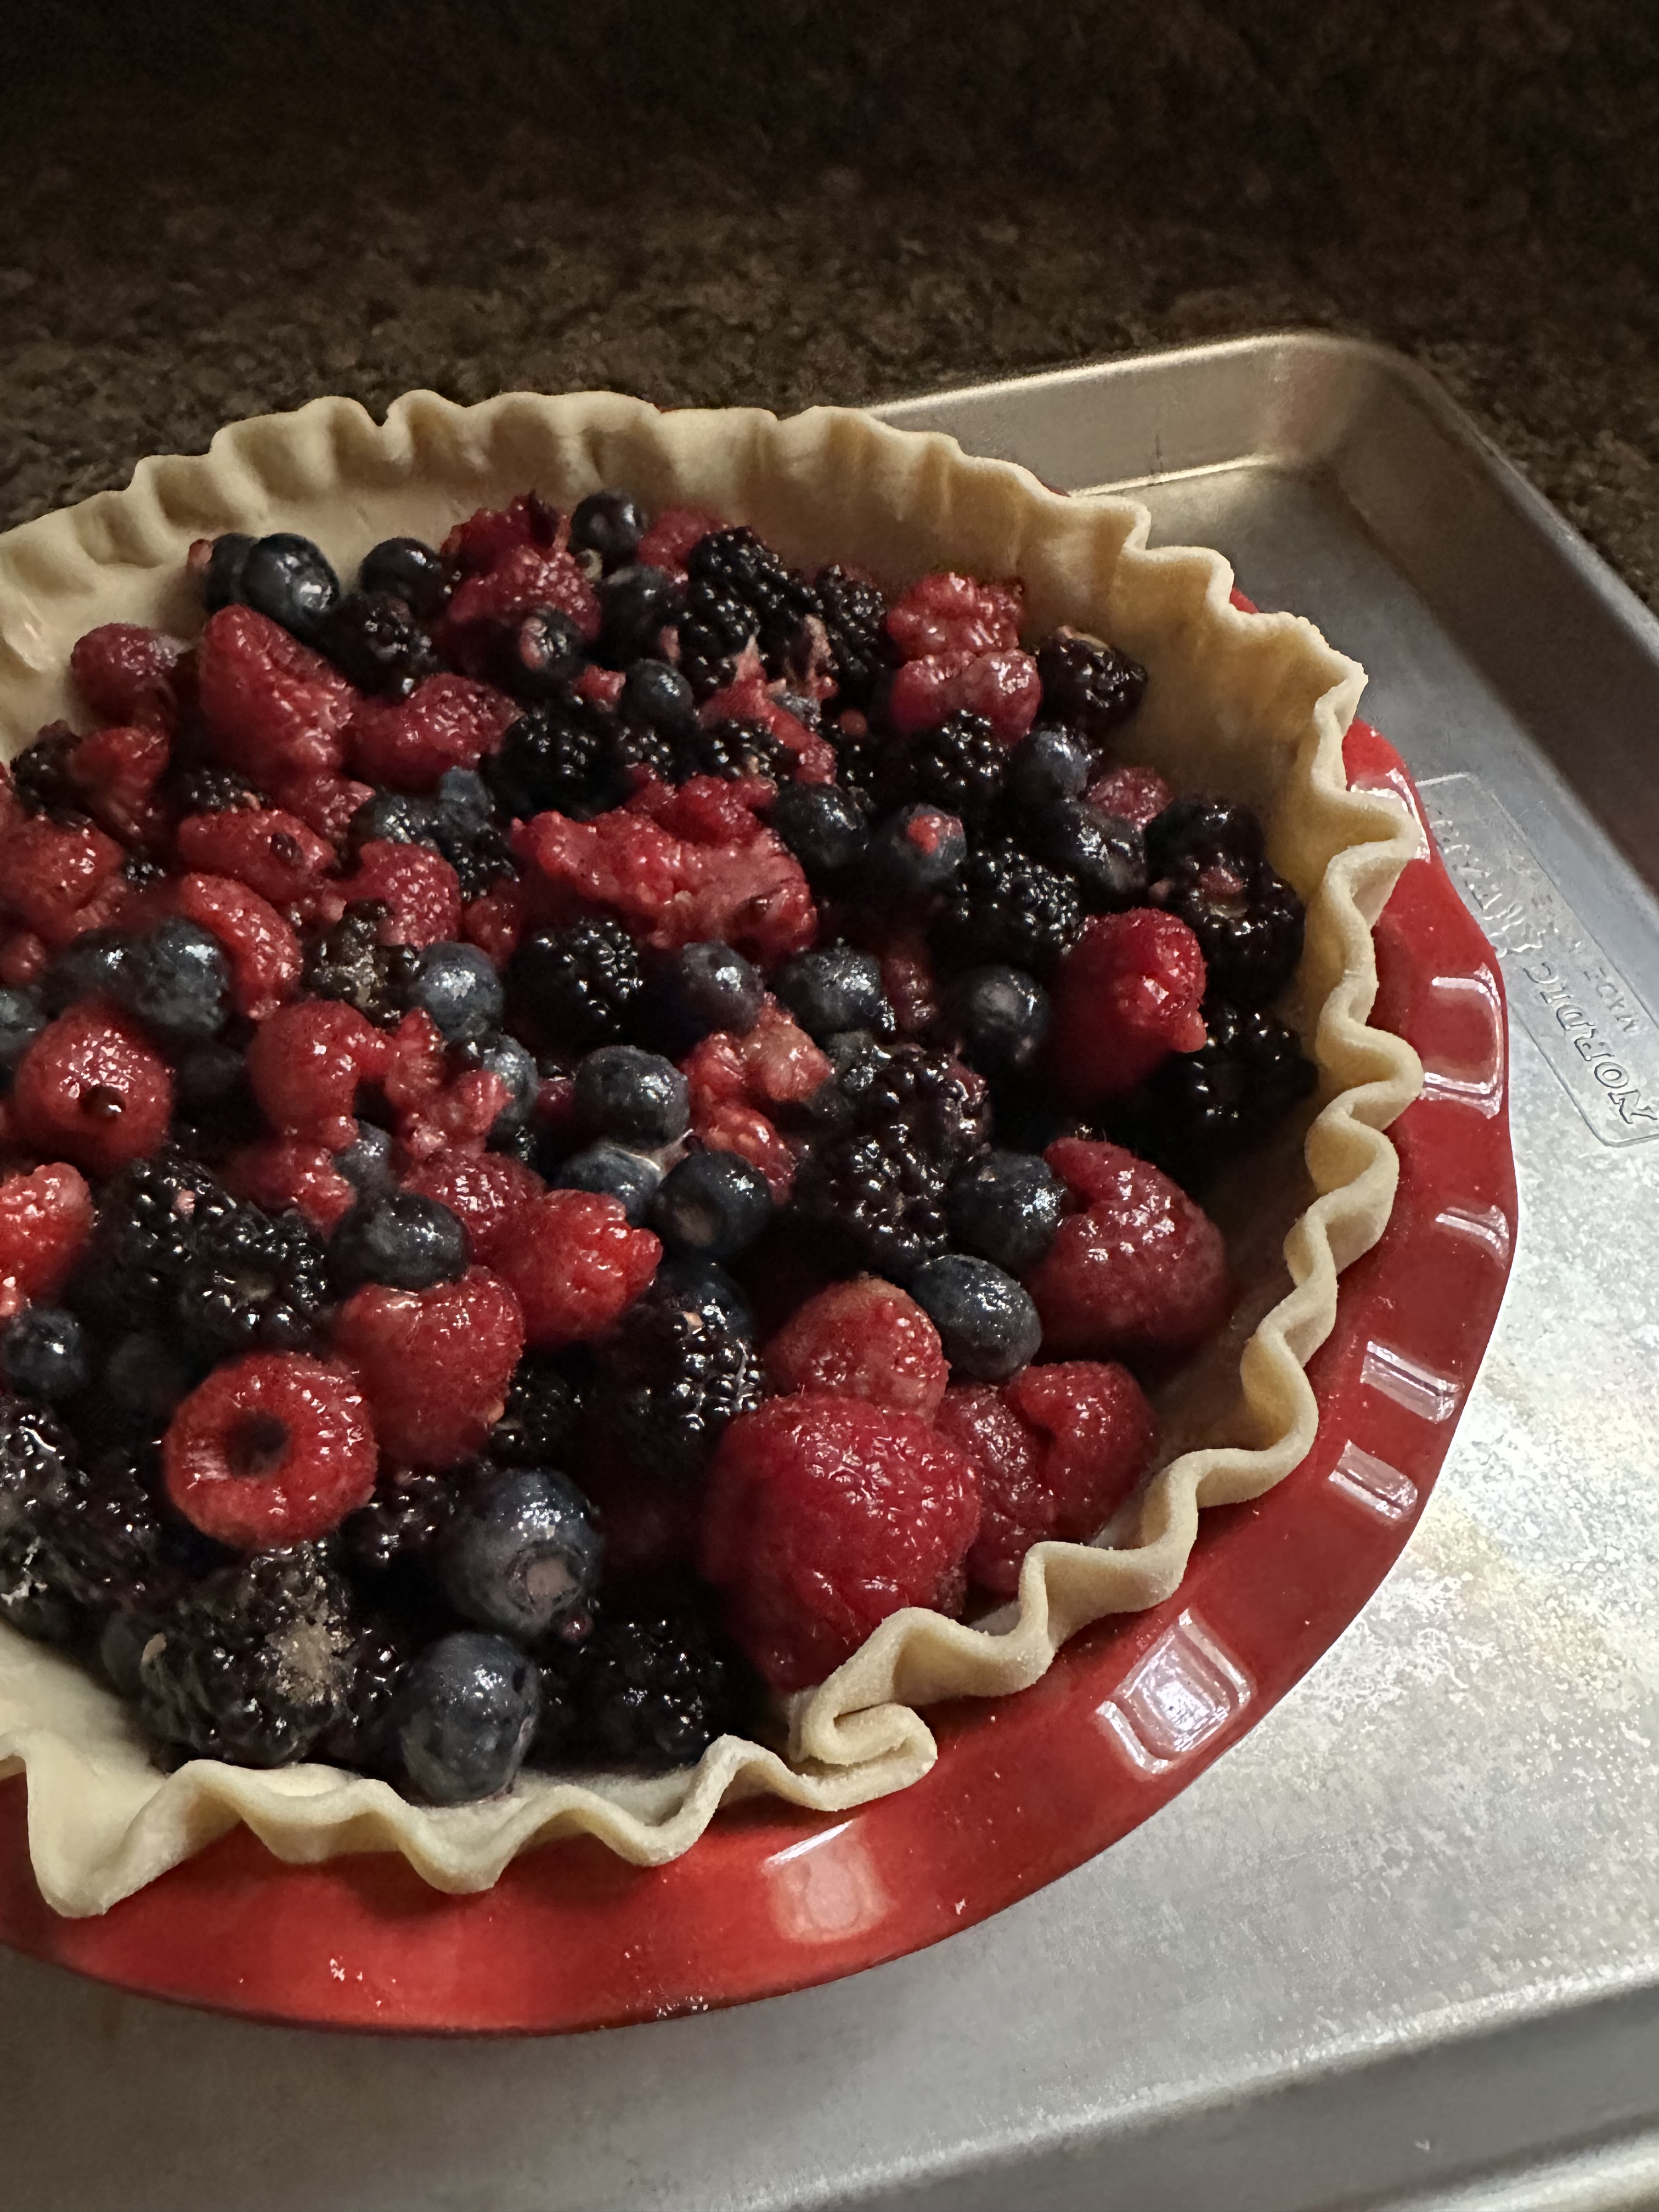
As I am sure I’ve mentioned before I normally use store-bought pie crust. It’s fool-proof and it saves time. Before making the filling, on a lightly floured surface (my countertop) I rolled out a store-bought pie crust and an extra inch or so. I then placed it in a 9-inch pie dish and crimped the edges. To make the filling, I gently mixed fresh blueberries, blackberries and raspberries together along with light brown sugar, sugar, lemon juice, cornstarch, cinnamon, freshly grated nutmeg and salt. I started off using a wooden spoon but quickly switched to a rubber spatula to avoid breaking up the berries. I wanted most of them to remain intact during baking so the pie would still look appealing once done and have some texture to it.
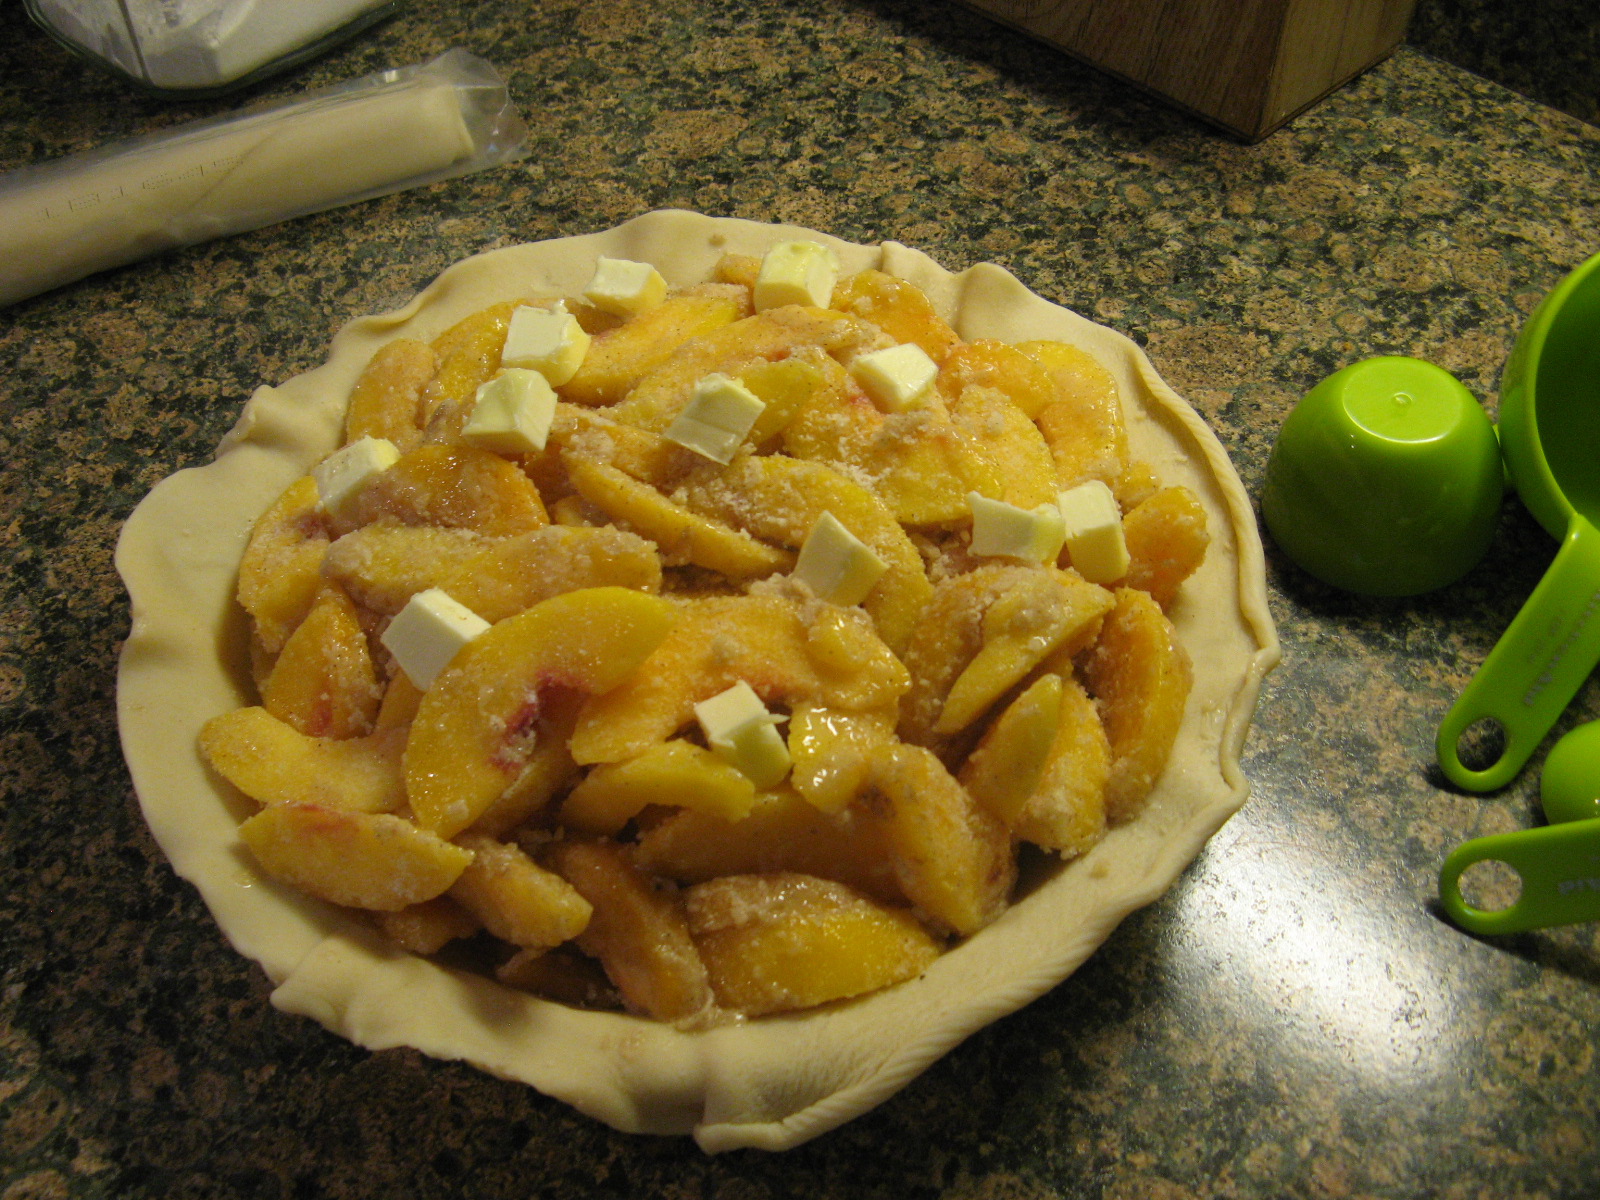
I transferred the berry mixture to the prepared pie dish…
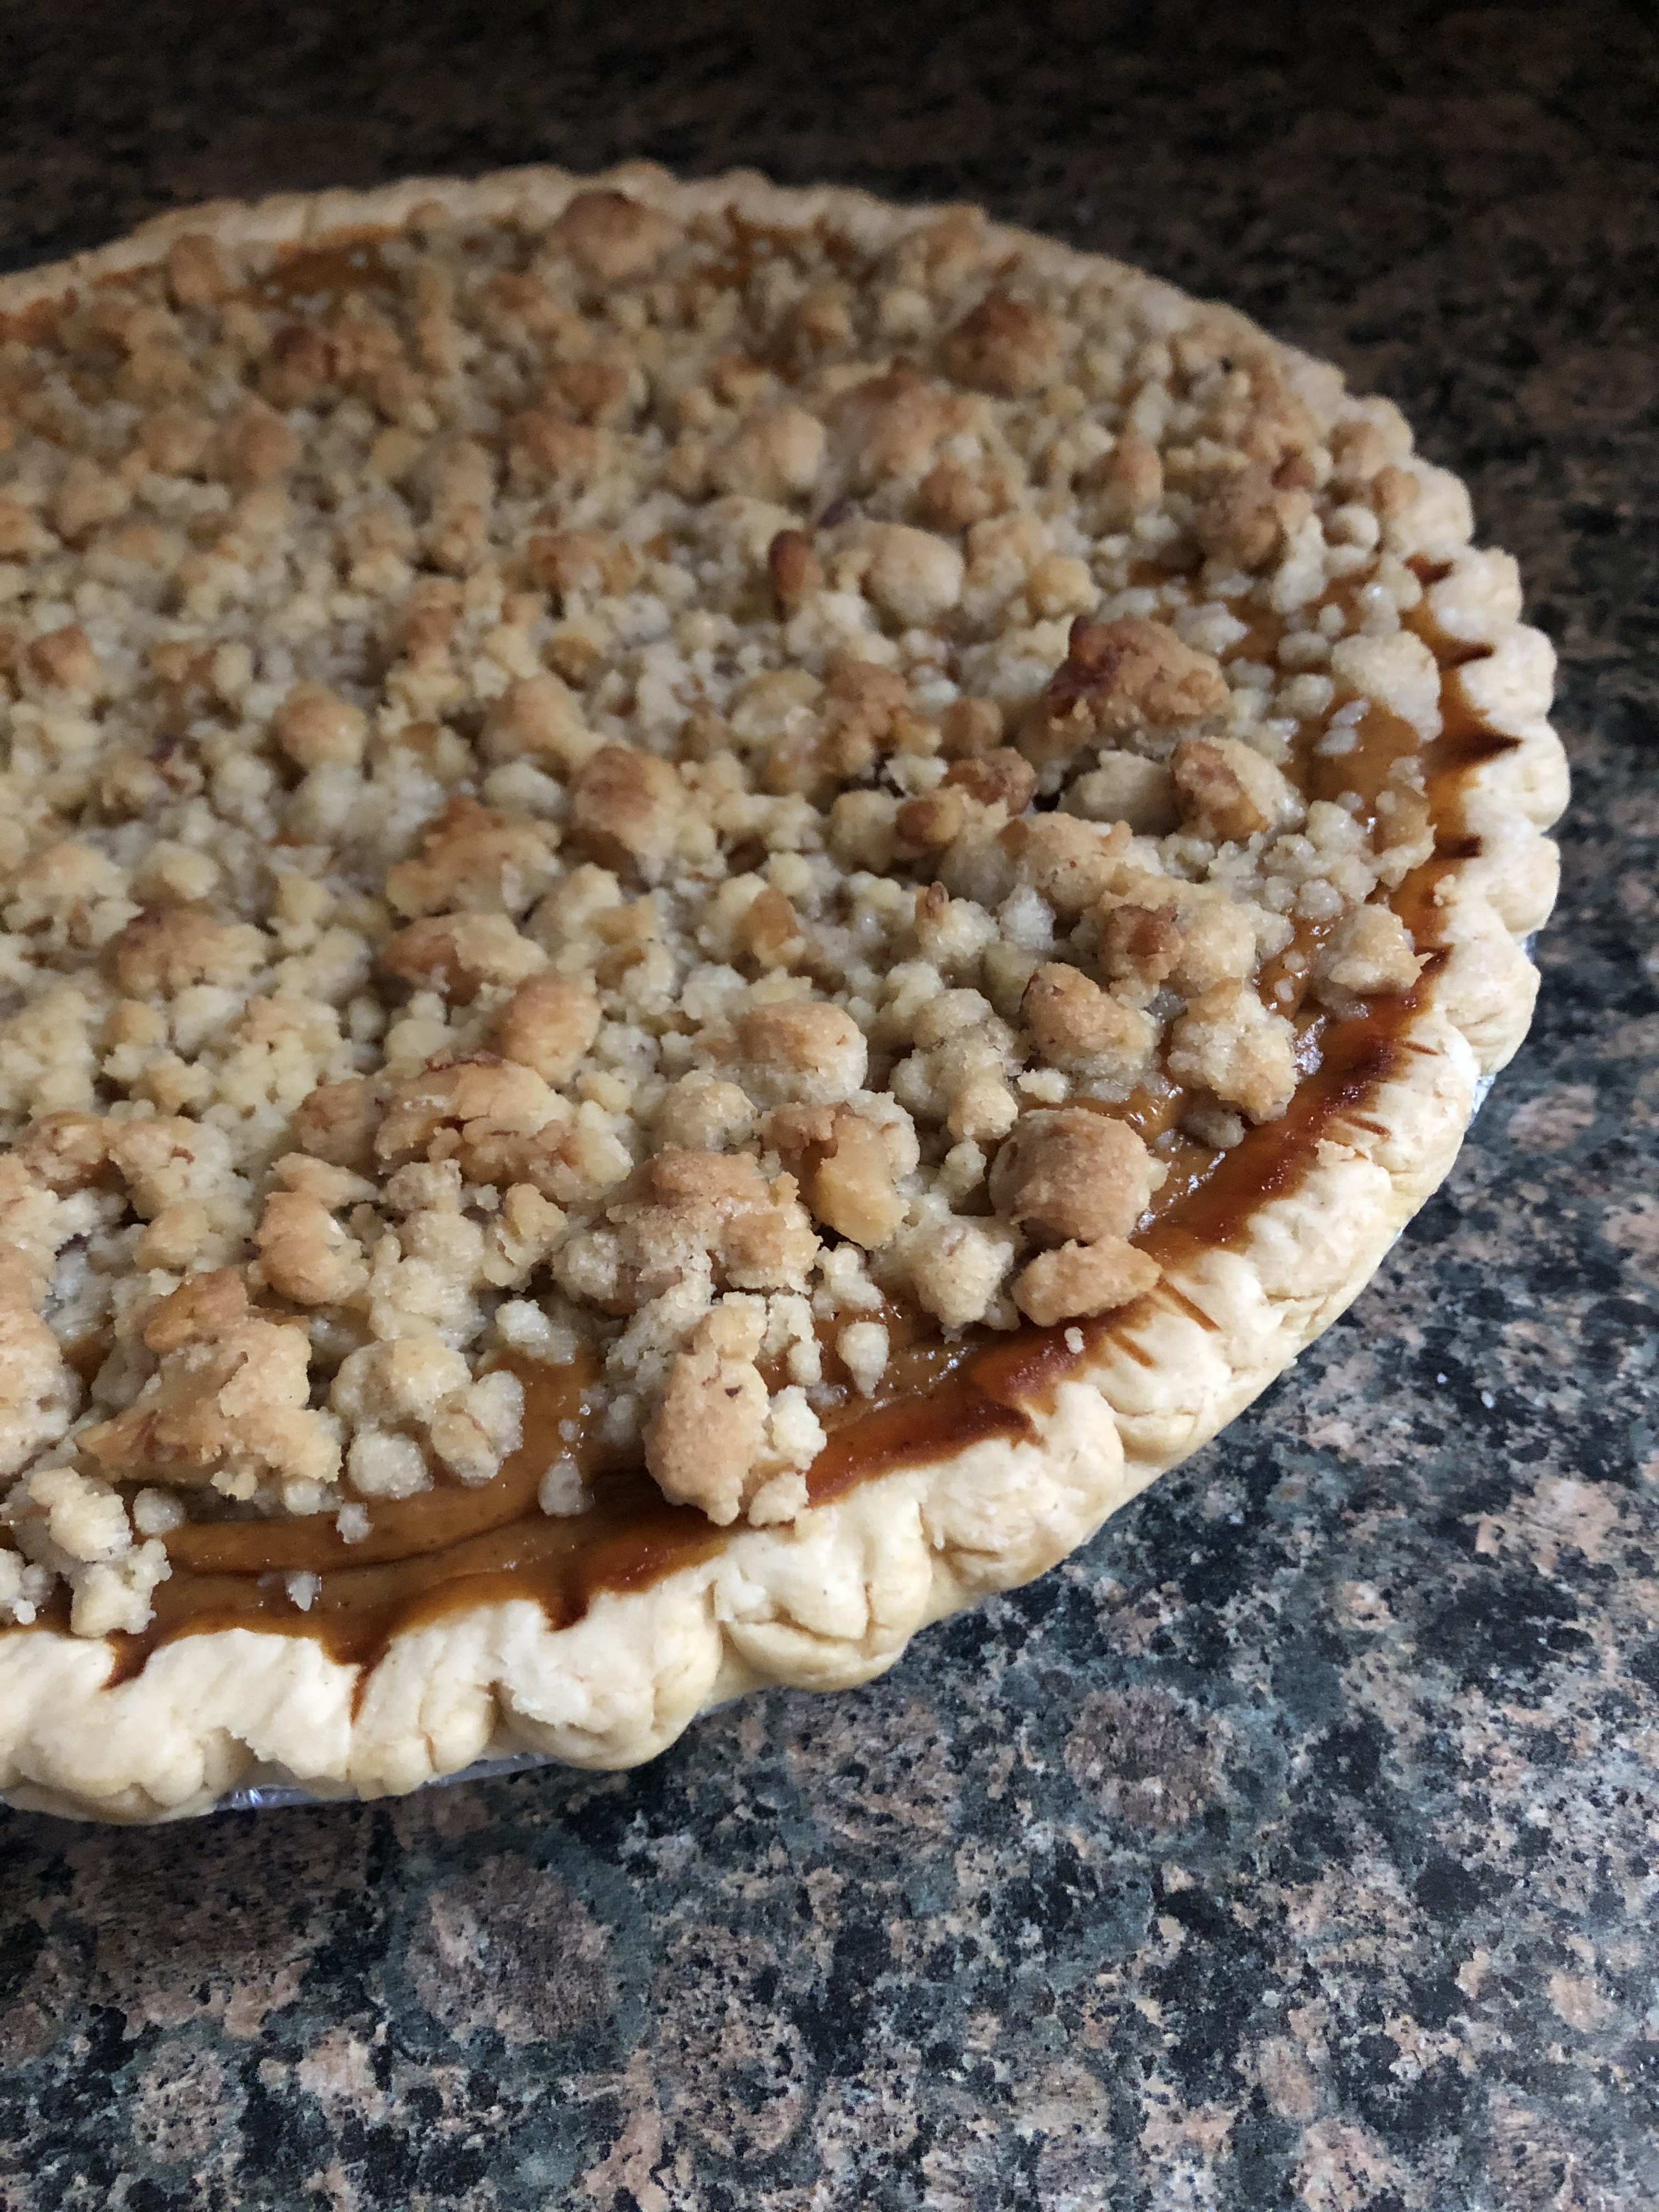
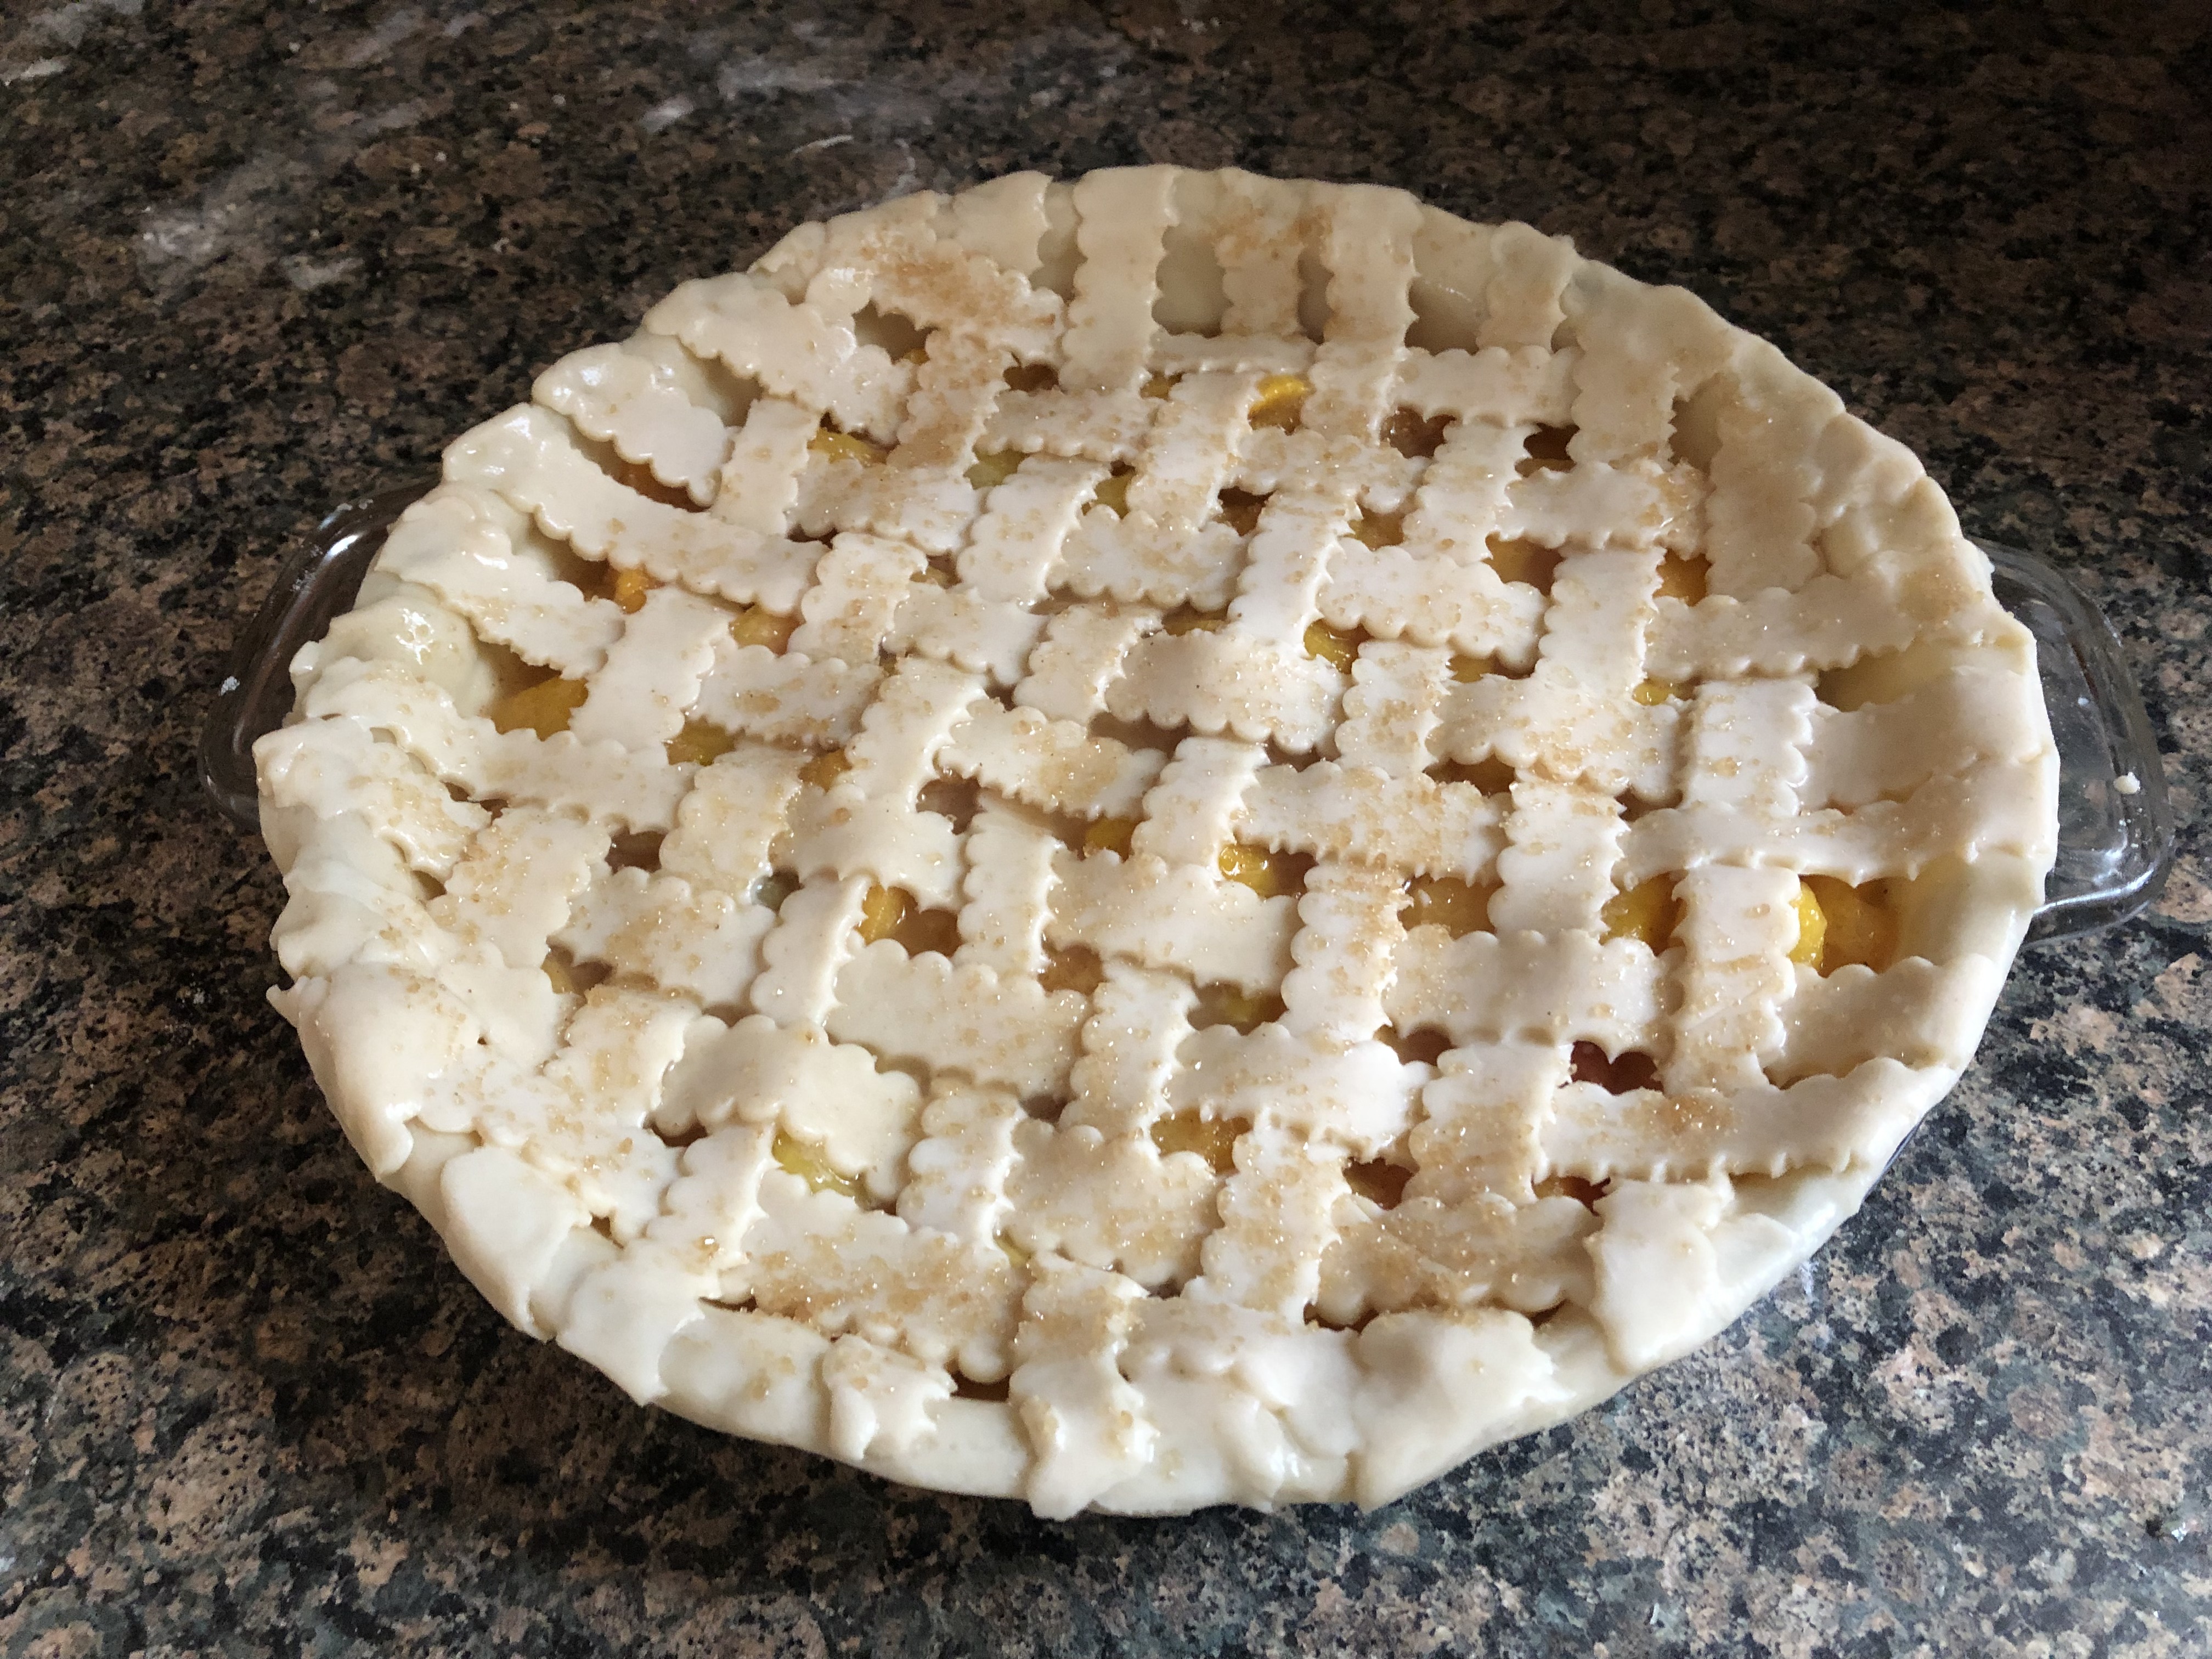
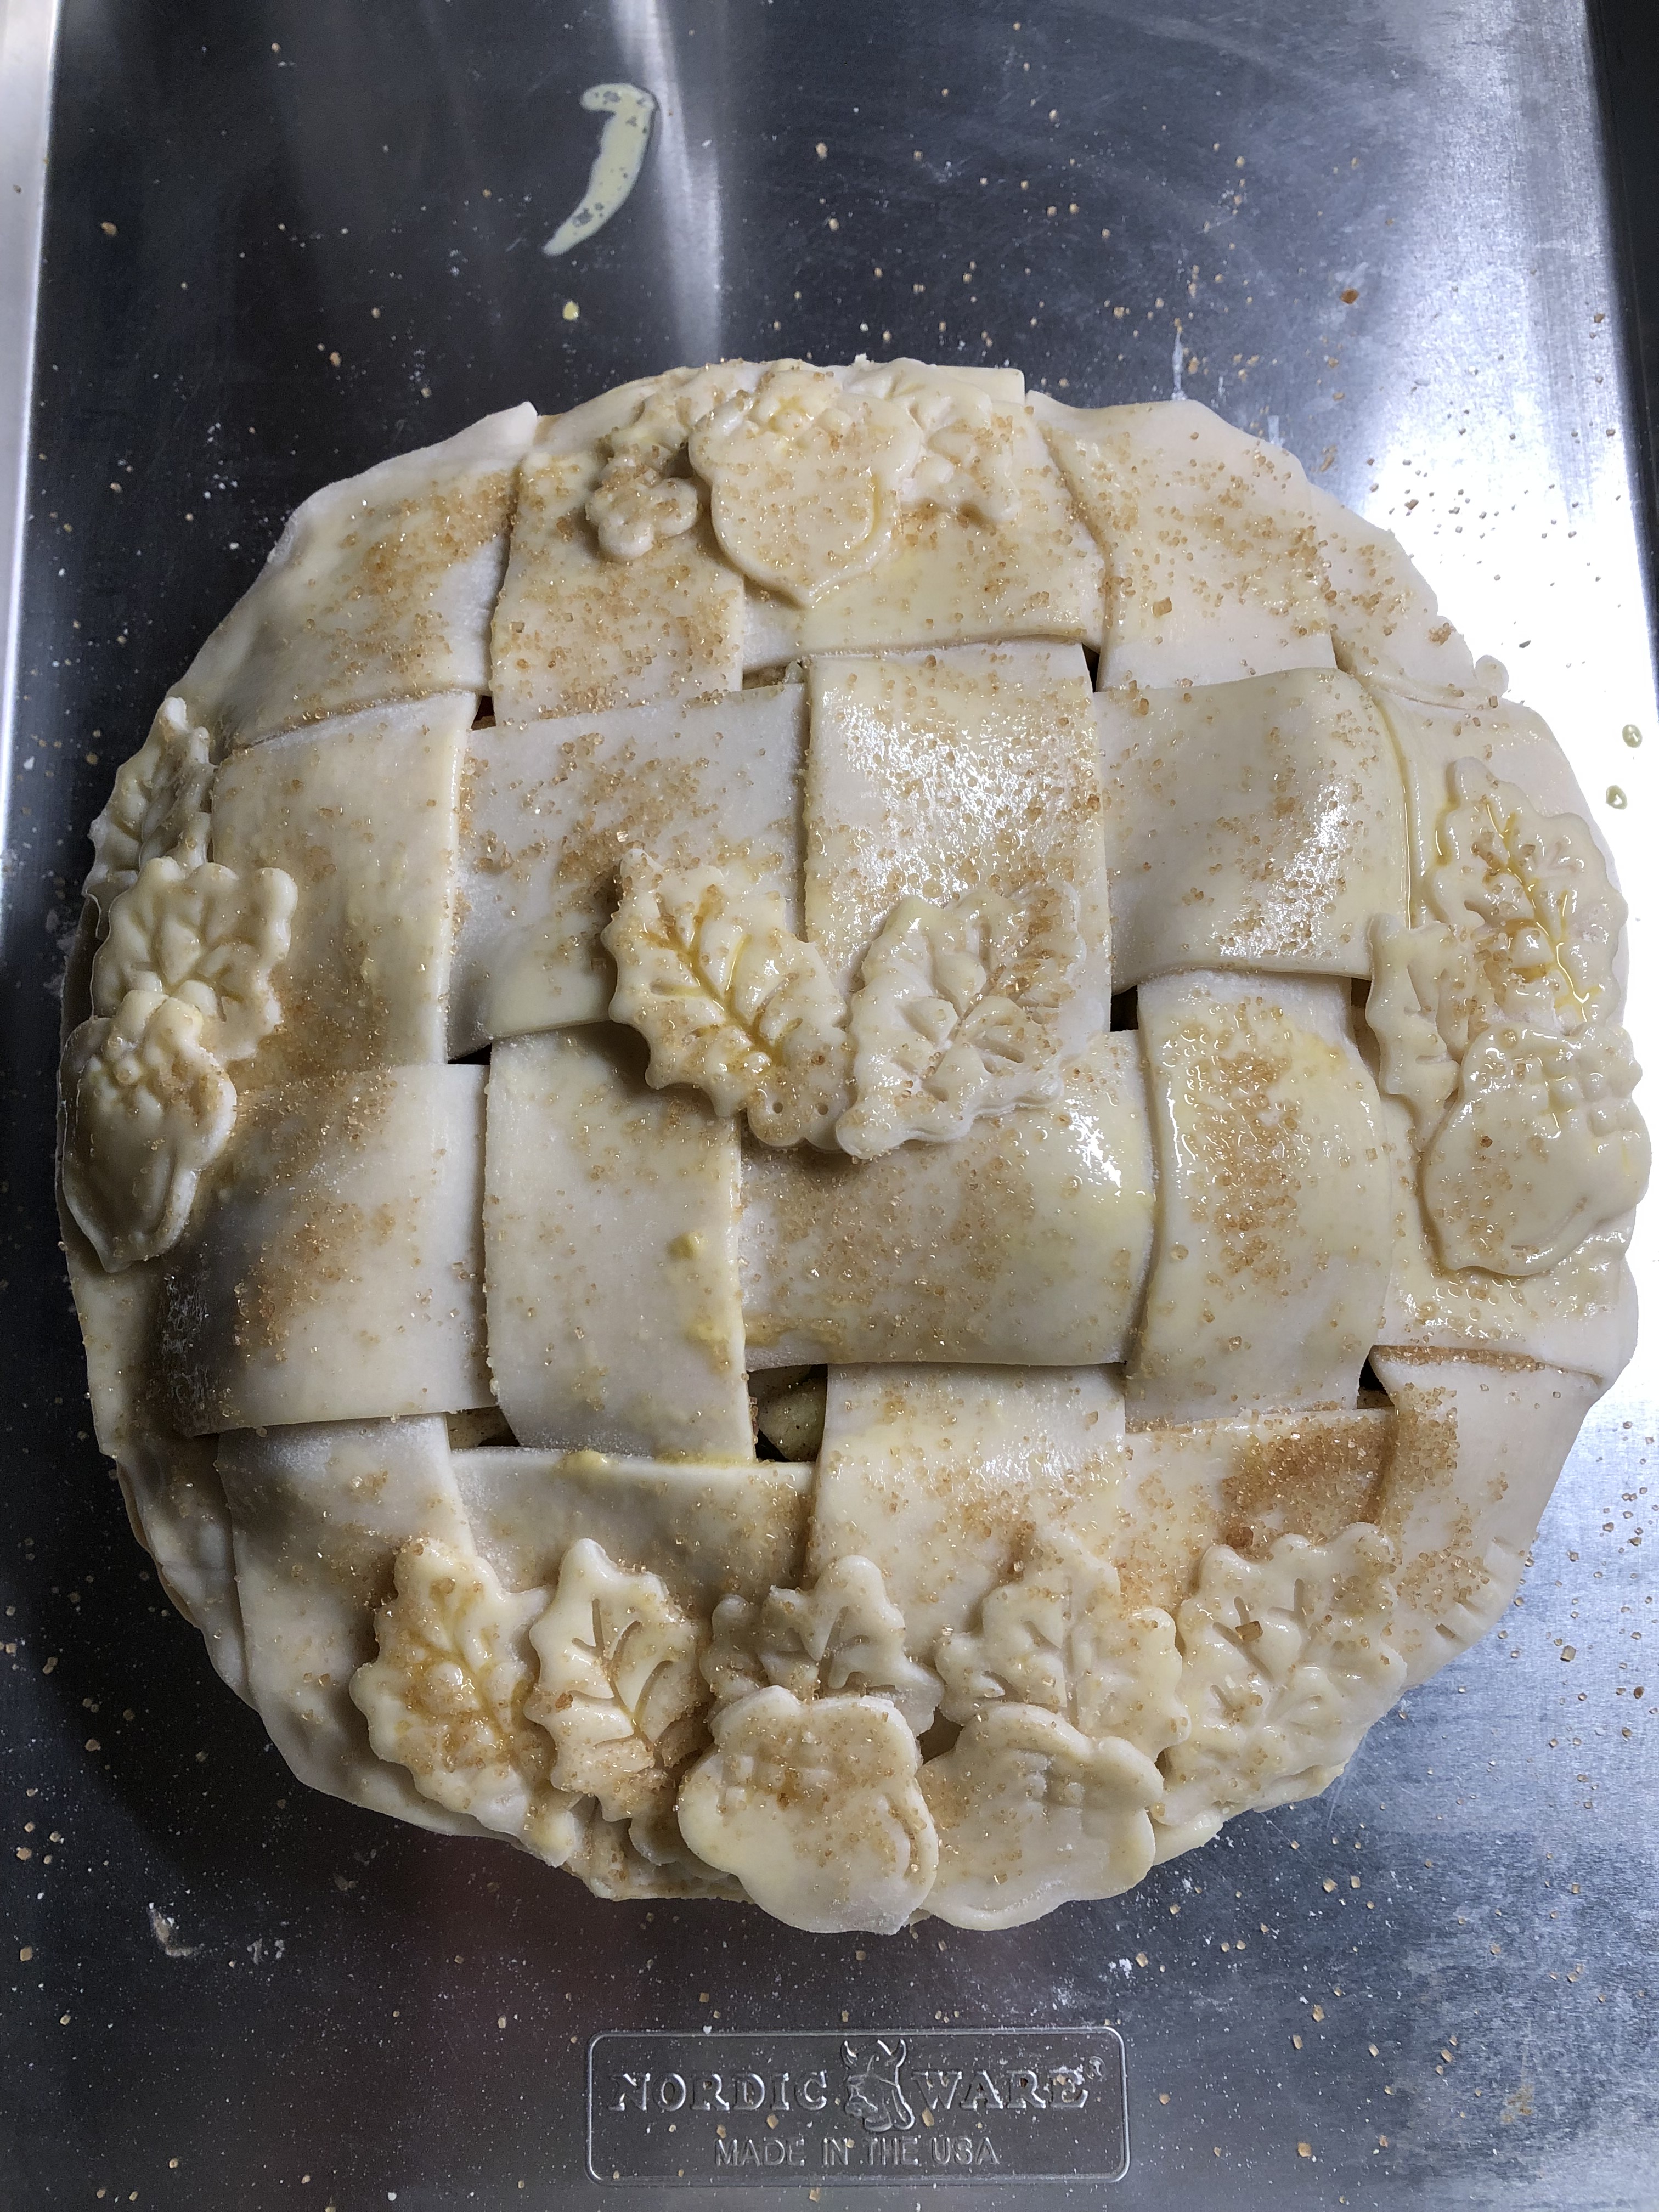
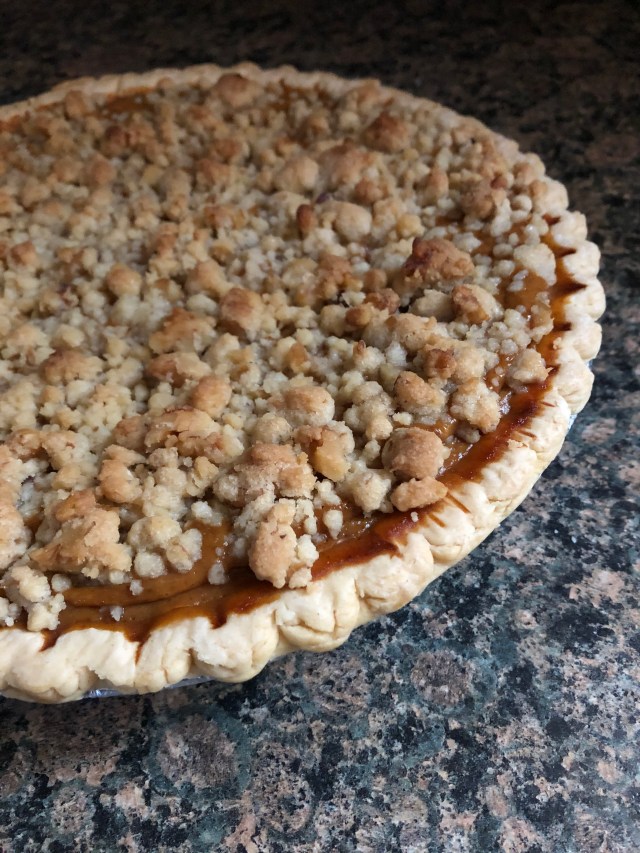
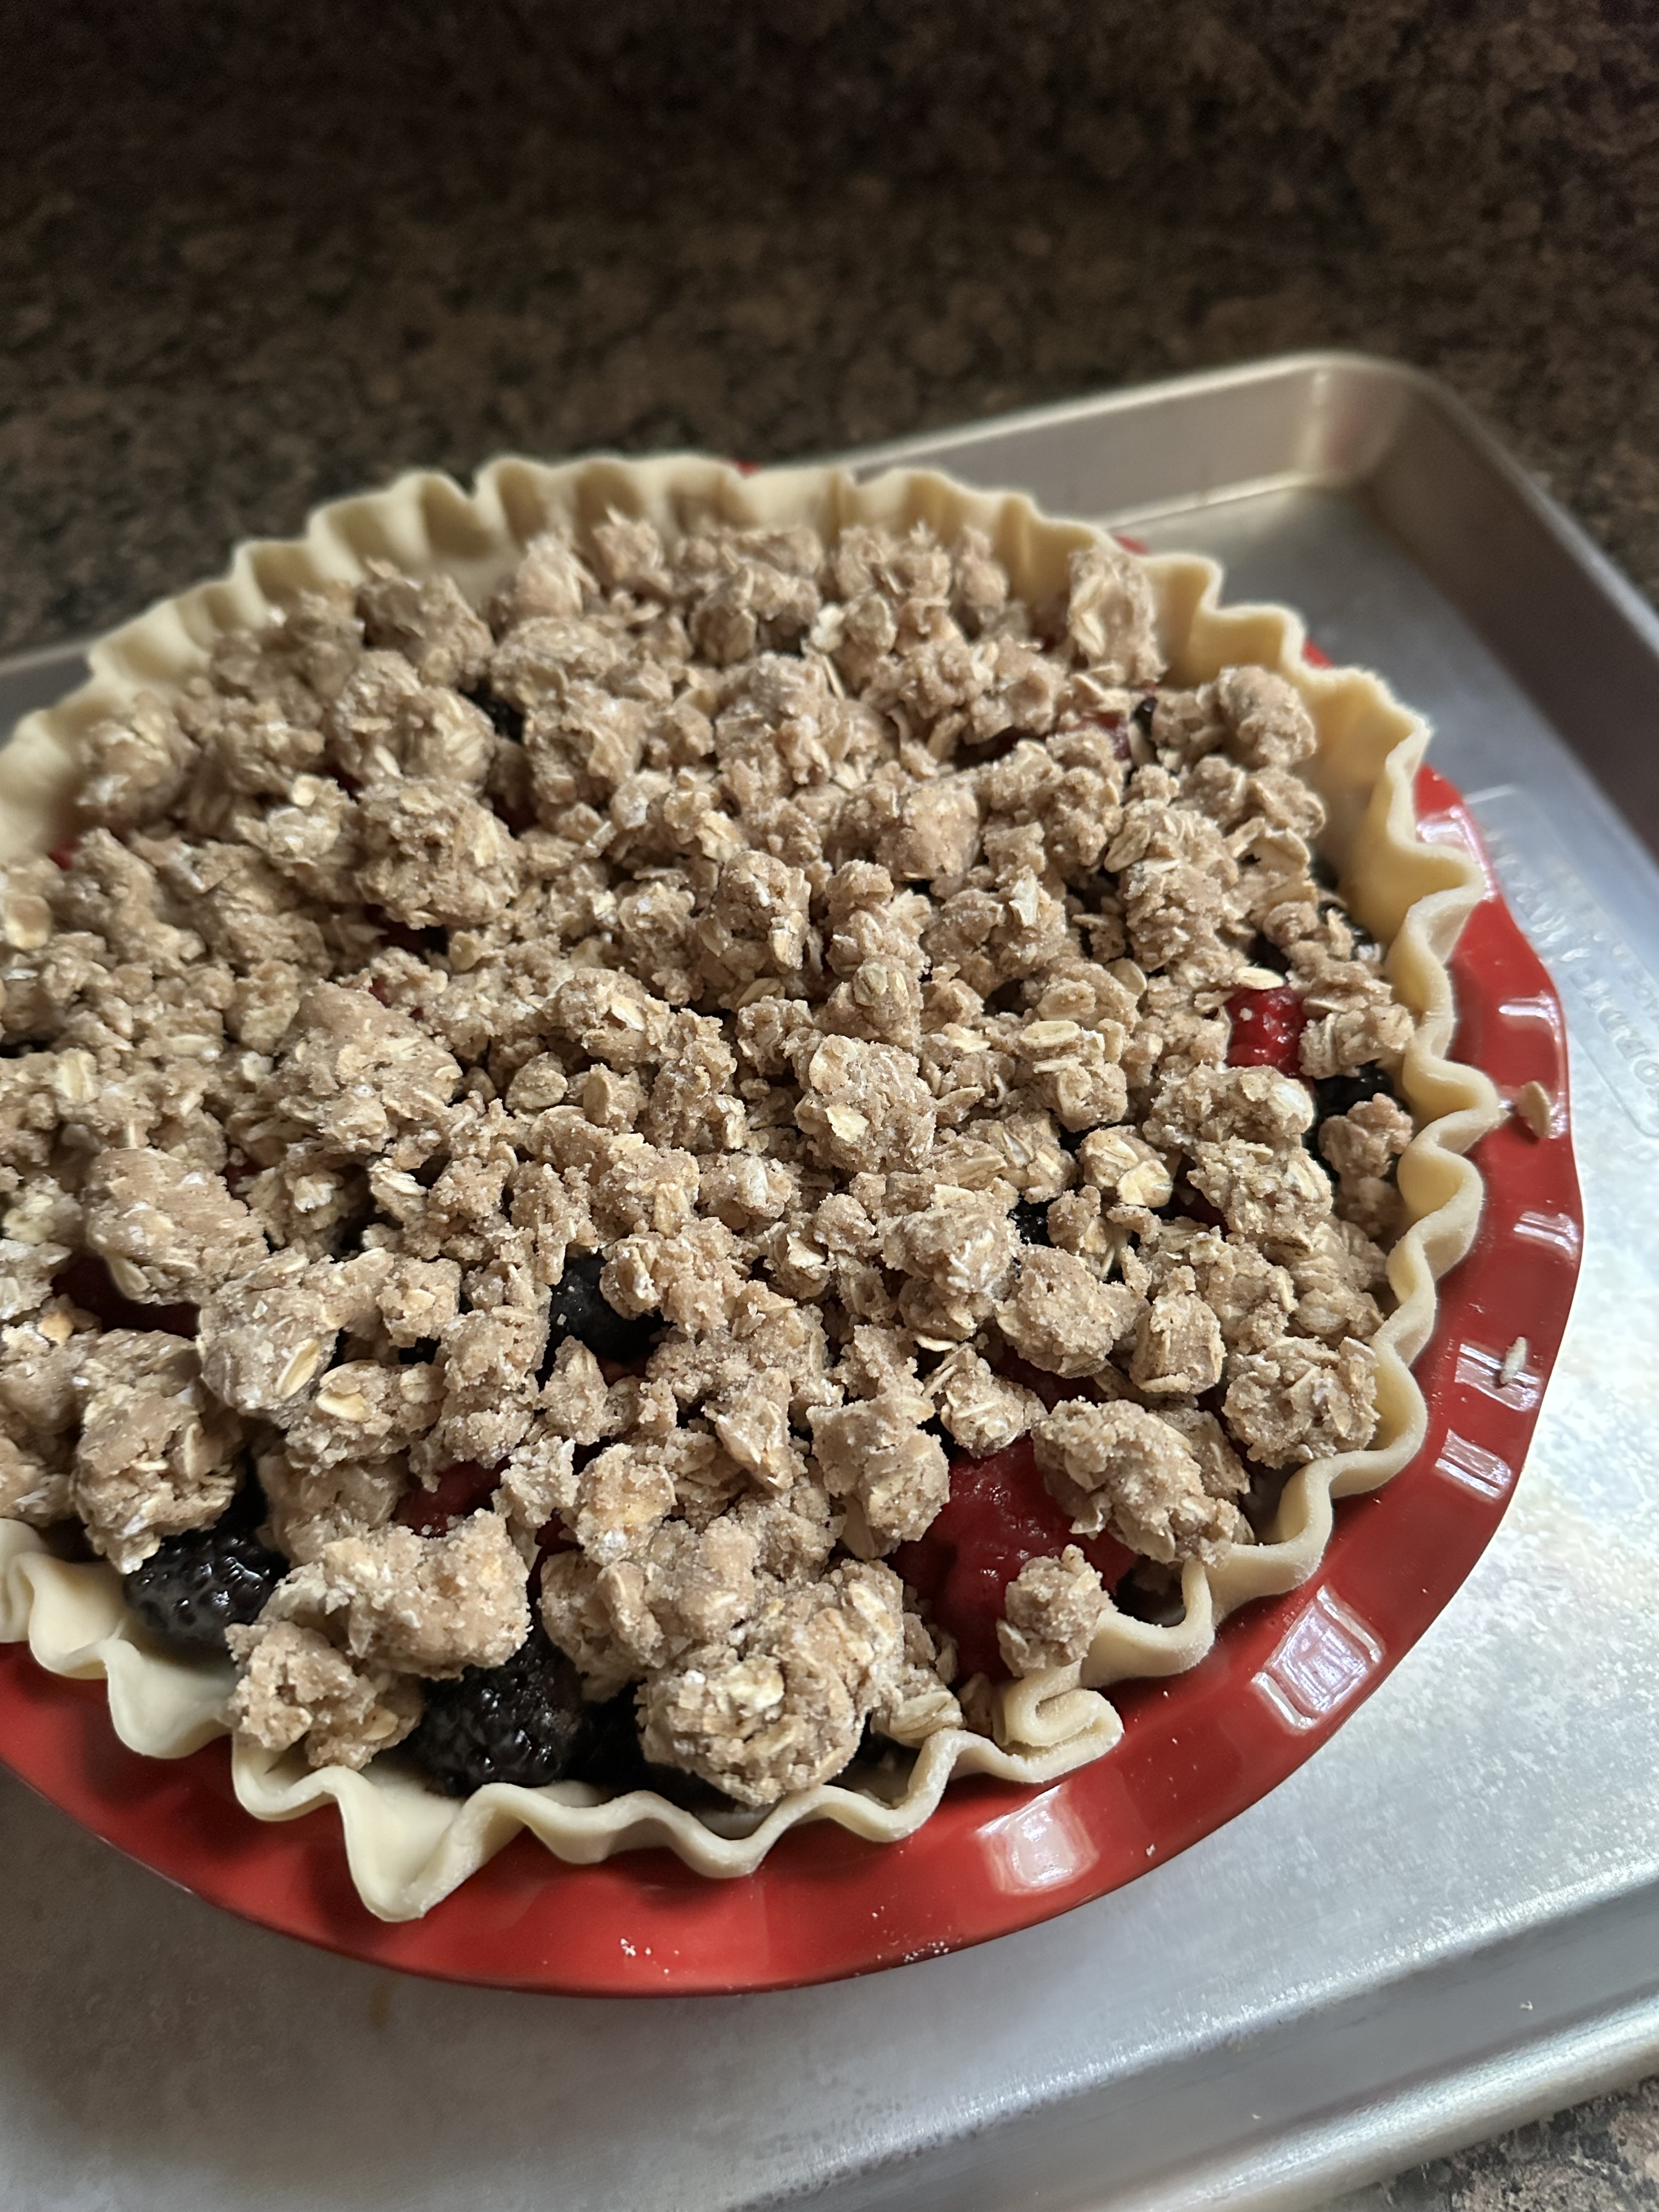
And then sprinkled the crumble topping on top before baking in a 375 F preheated oven.
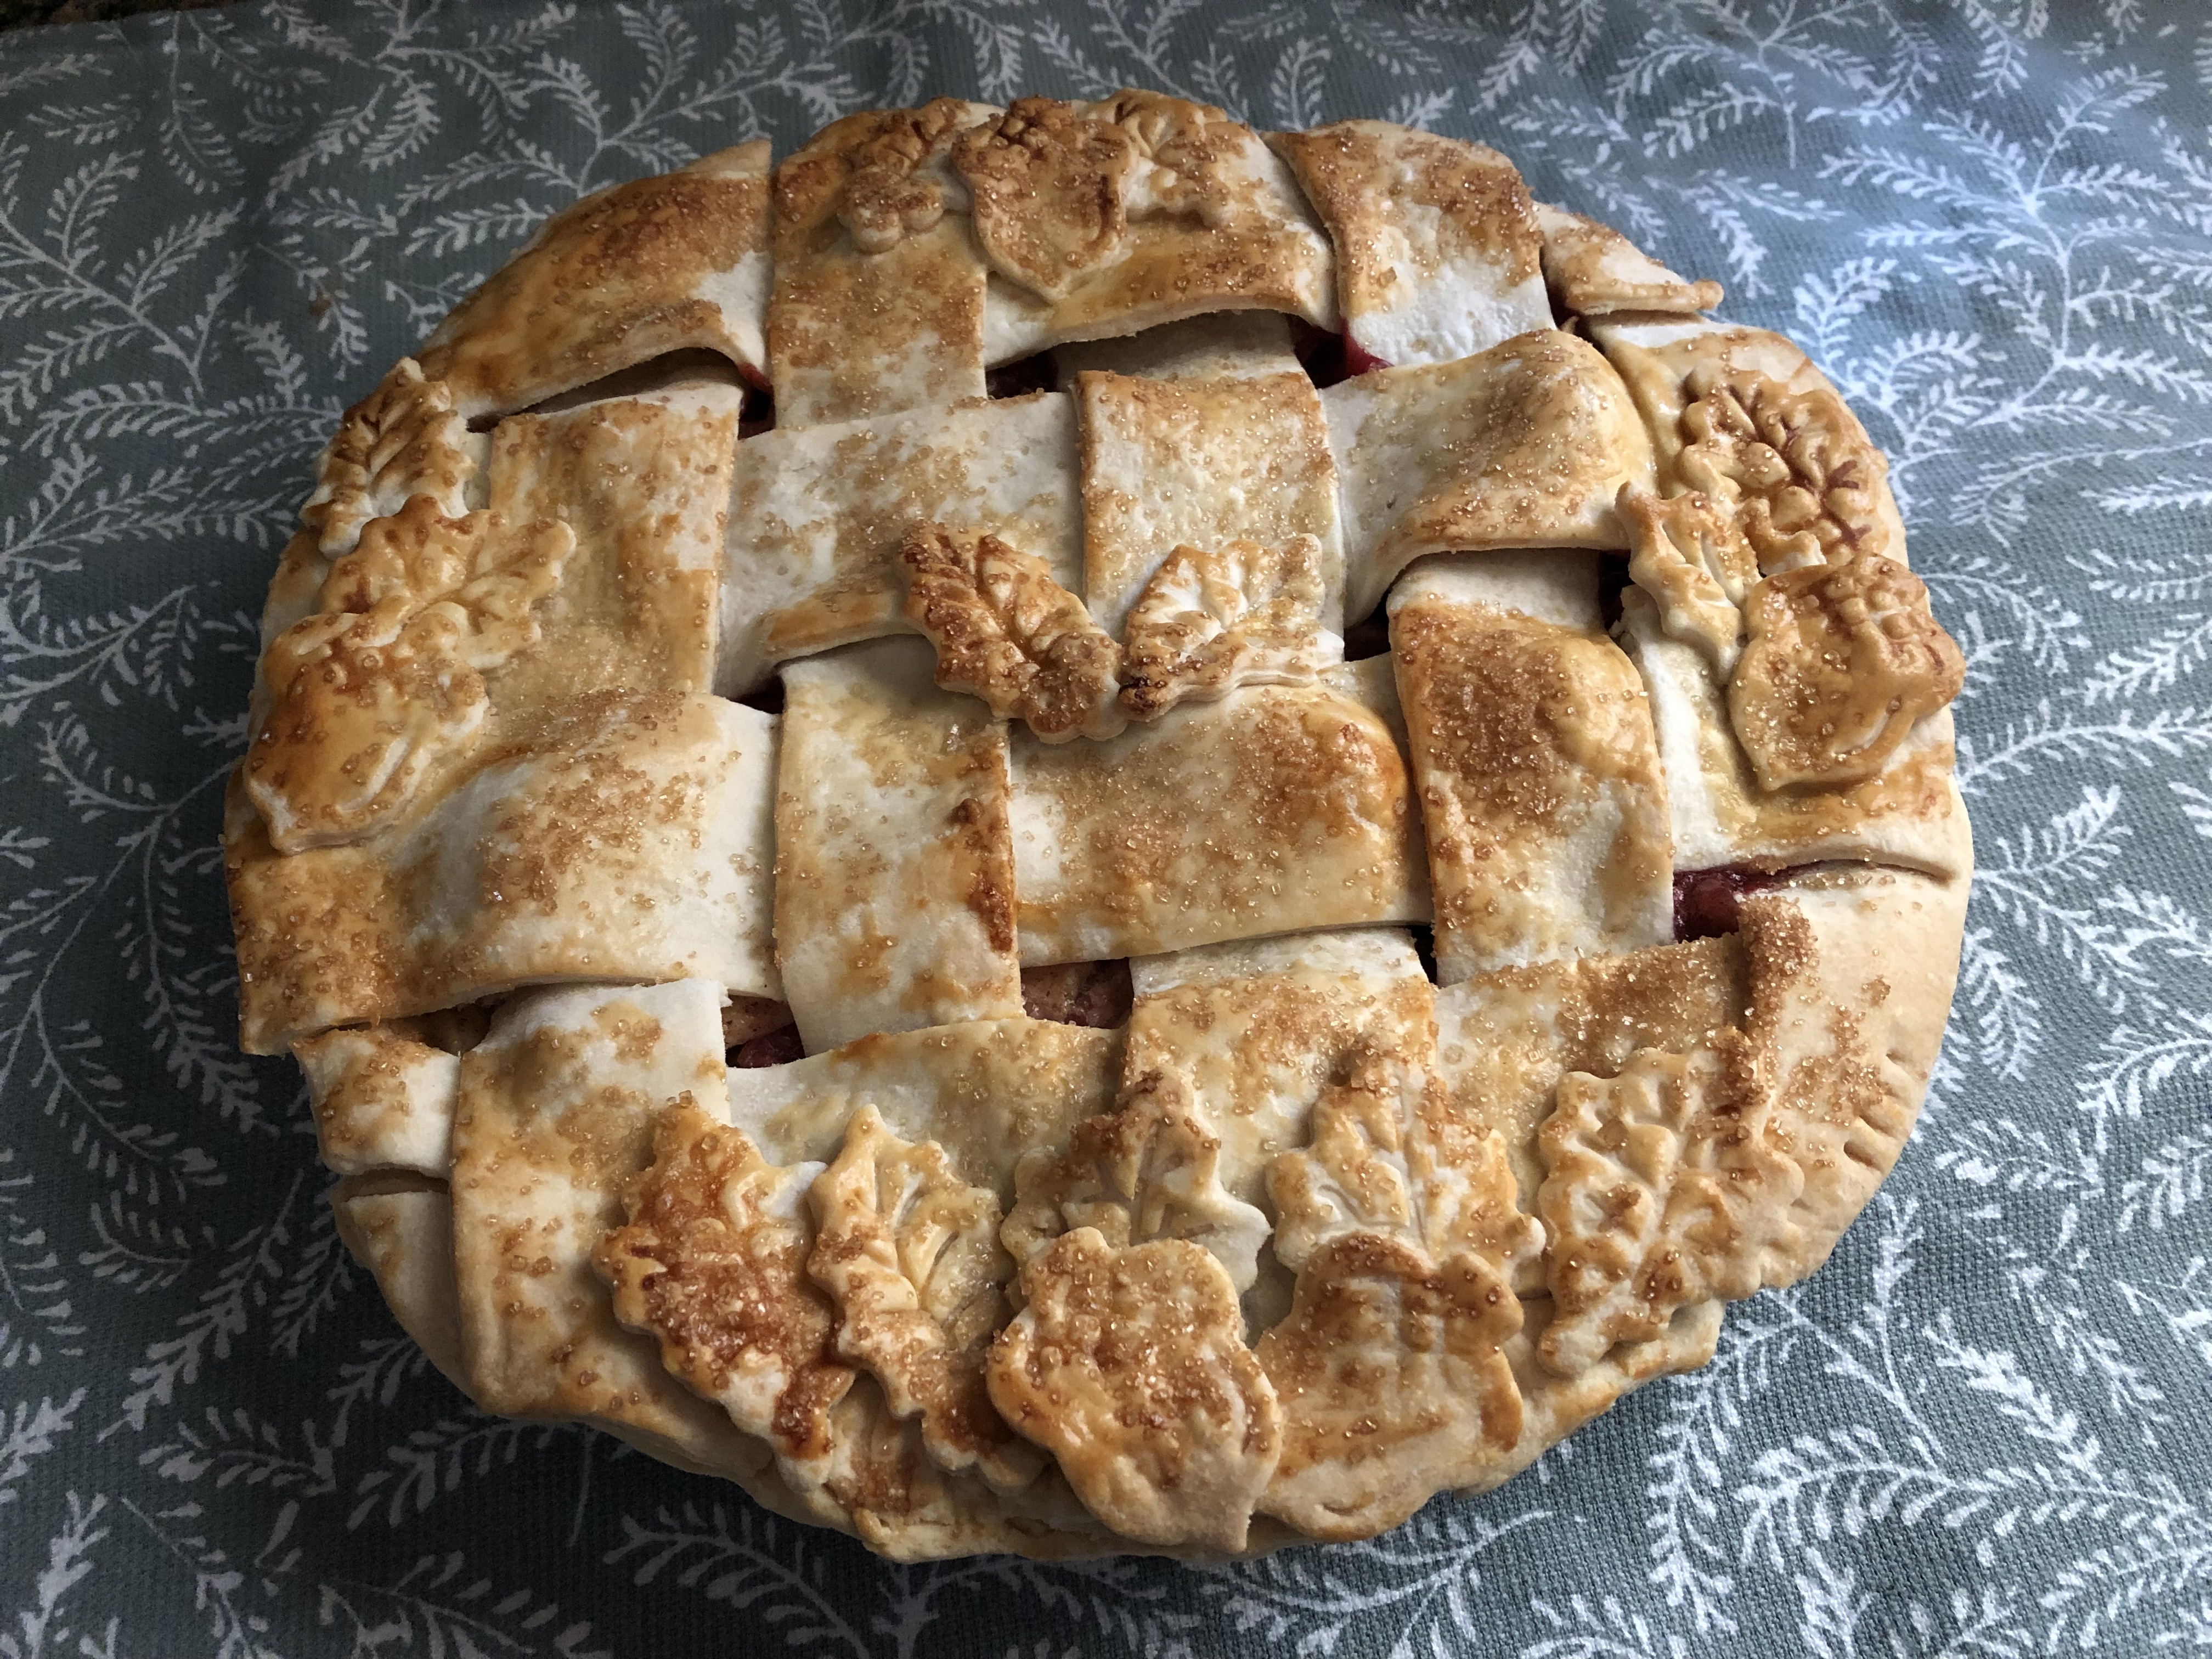
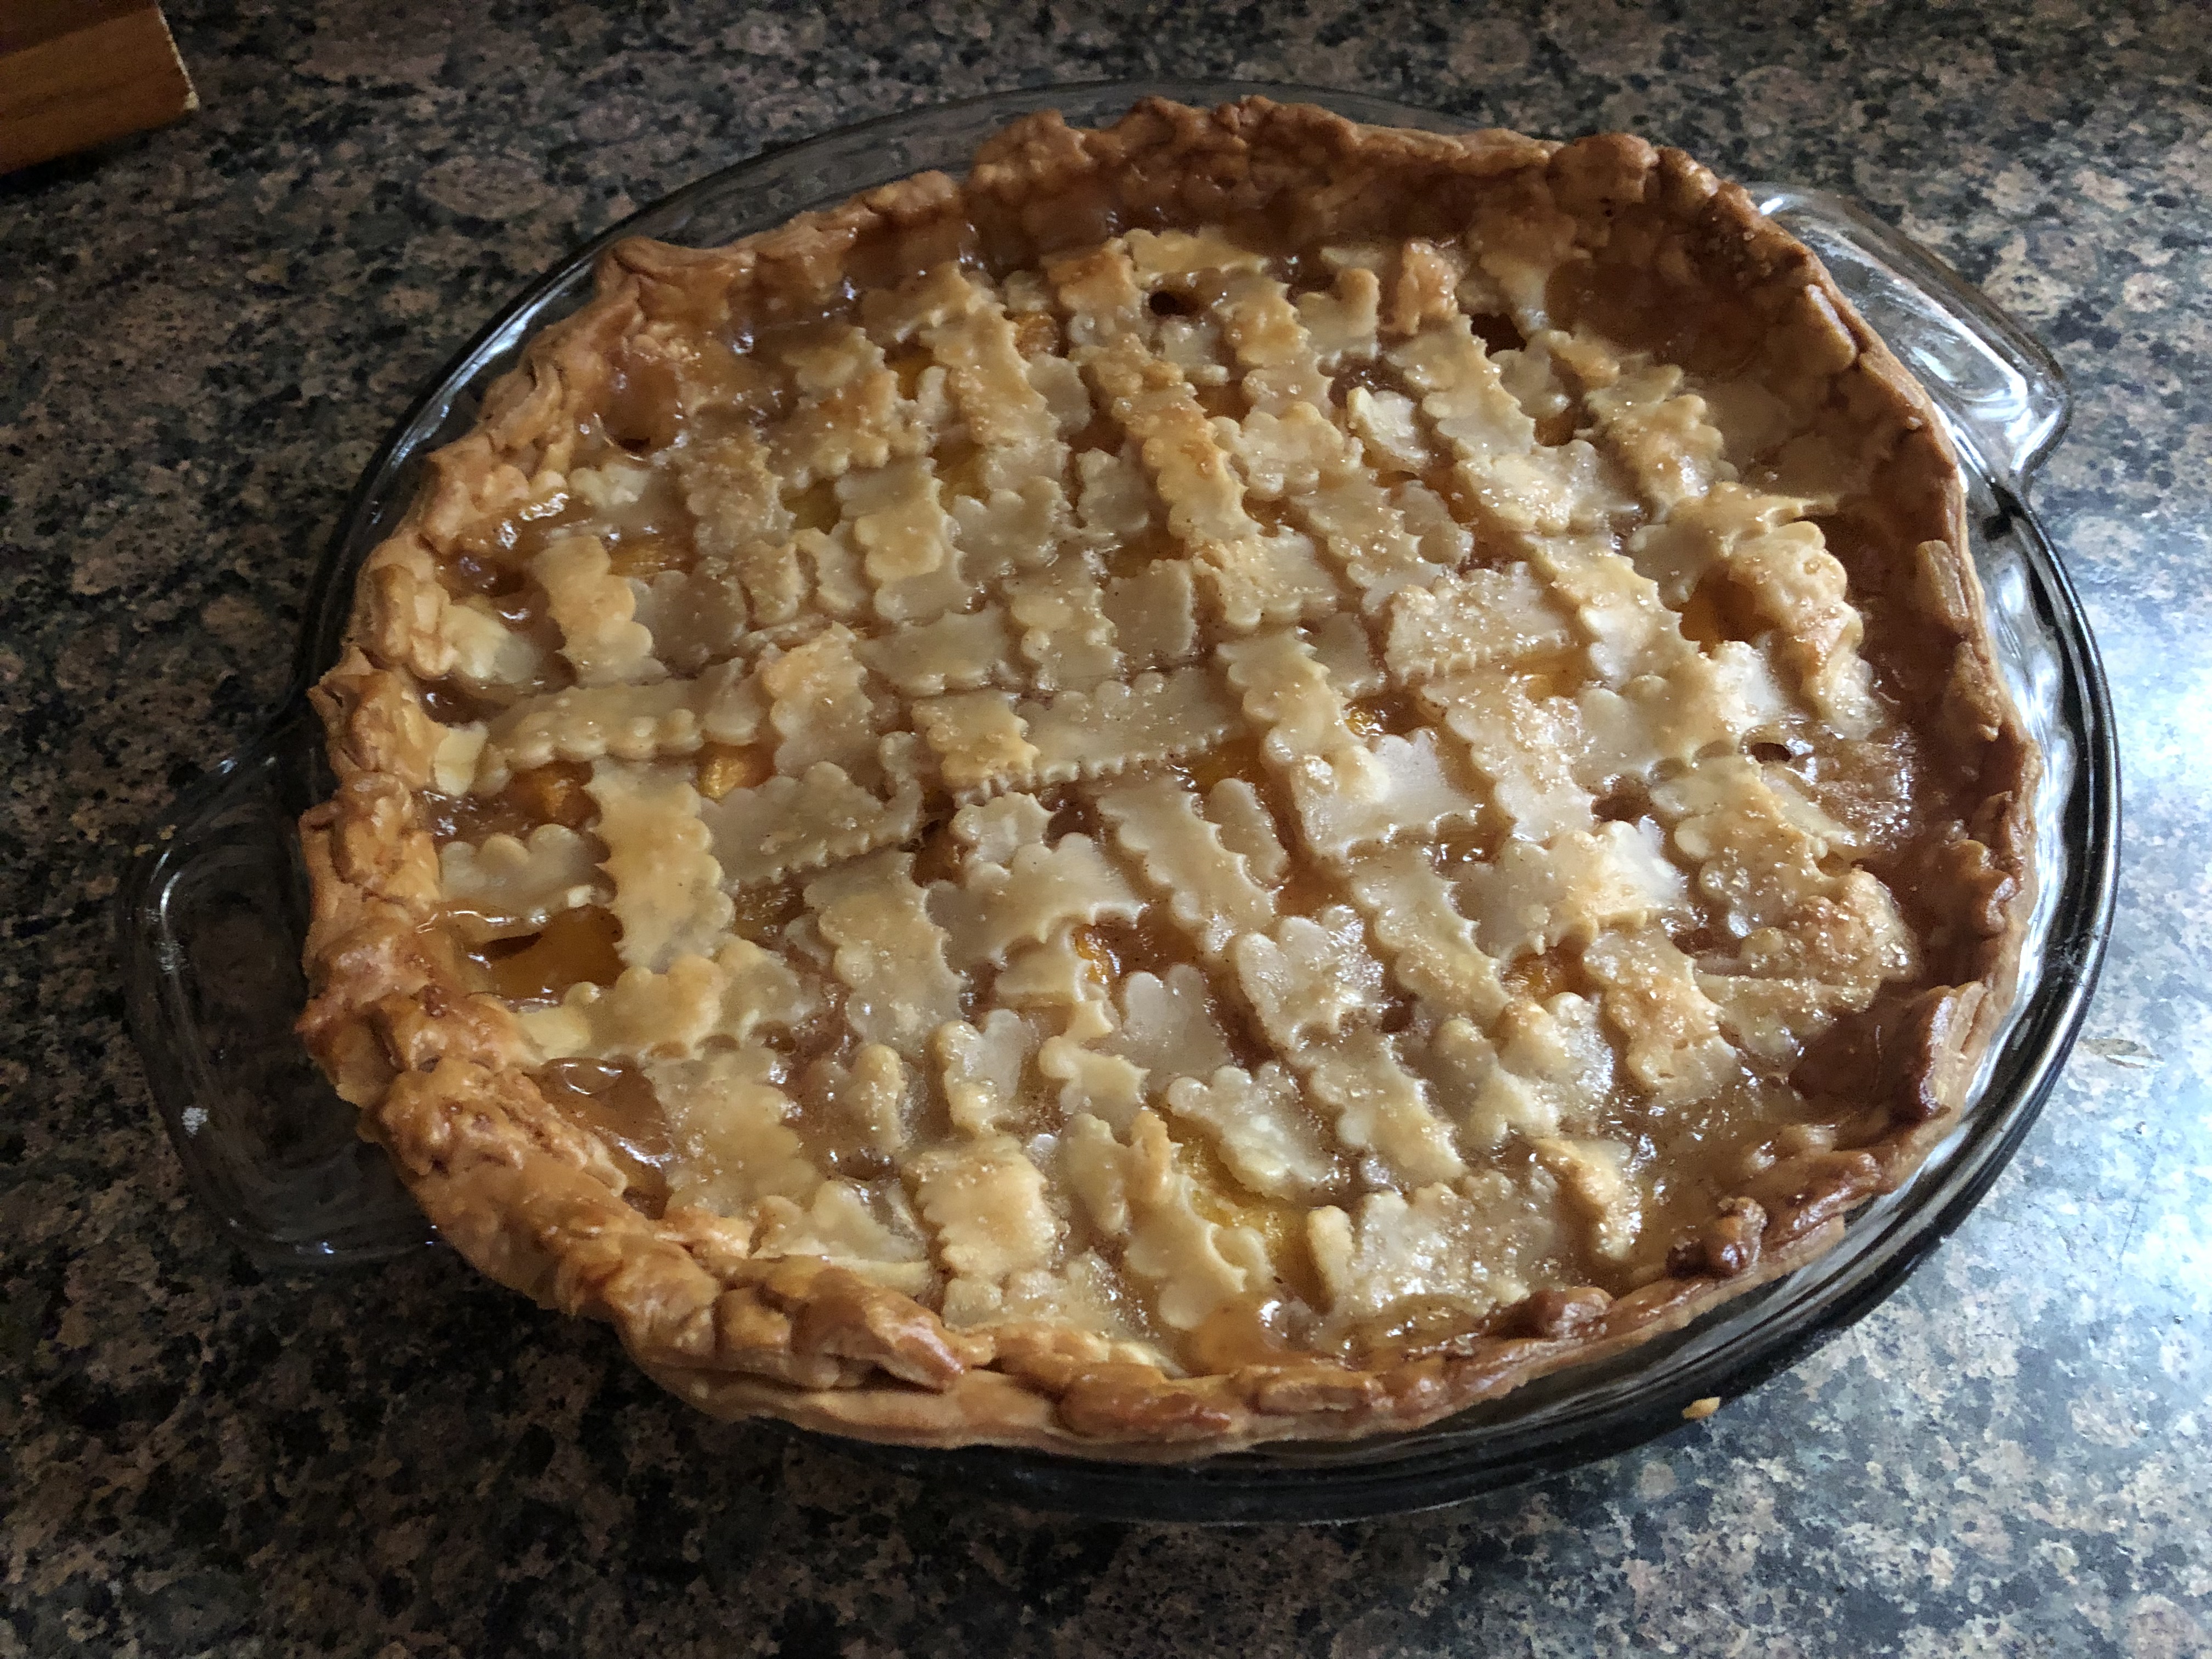
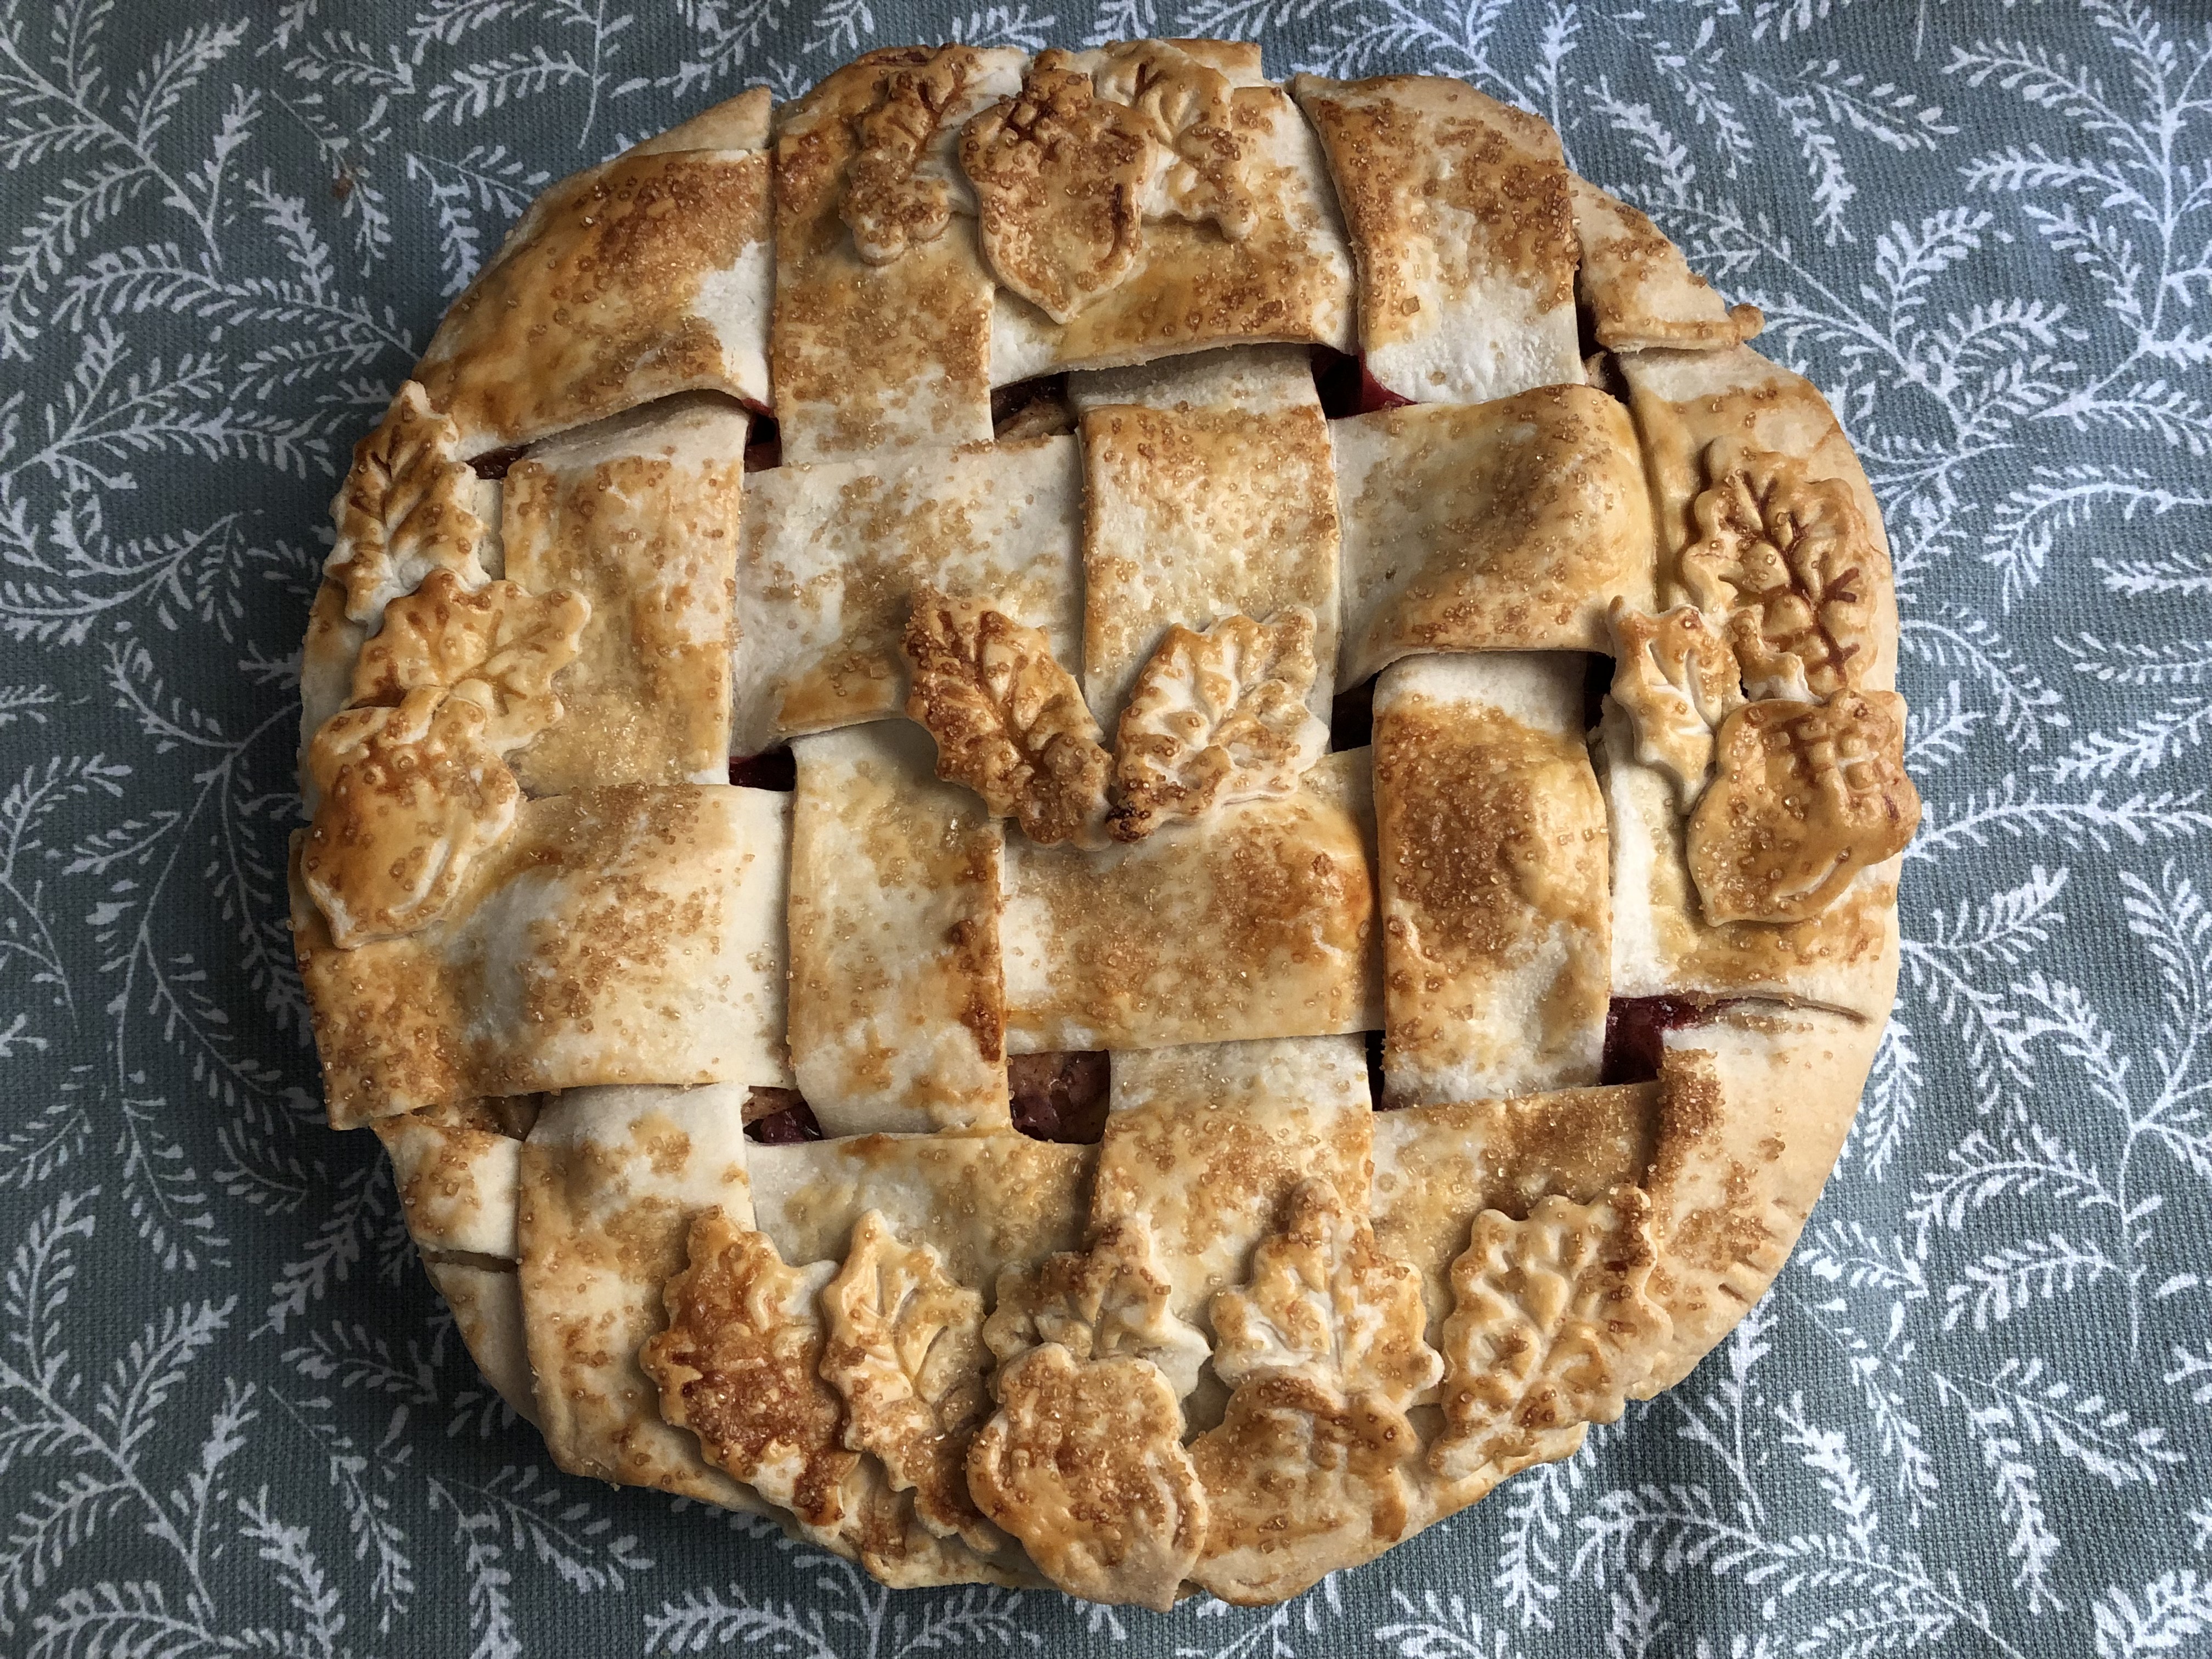
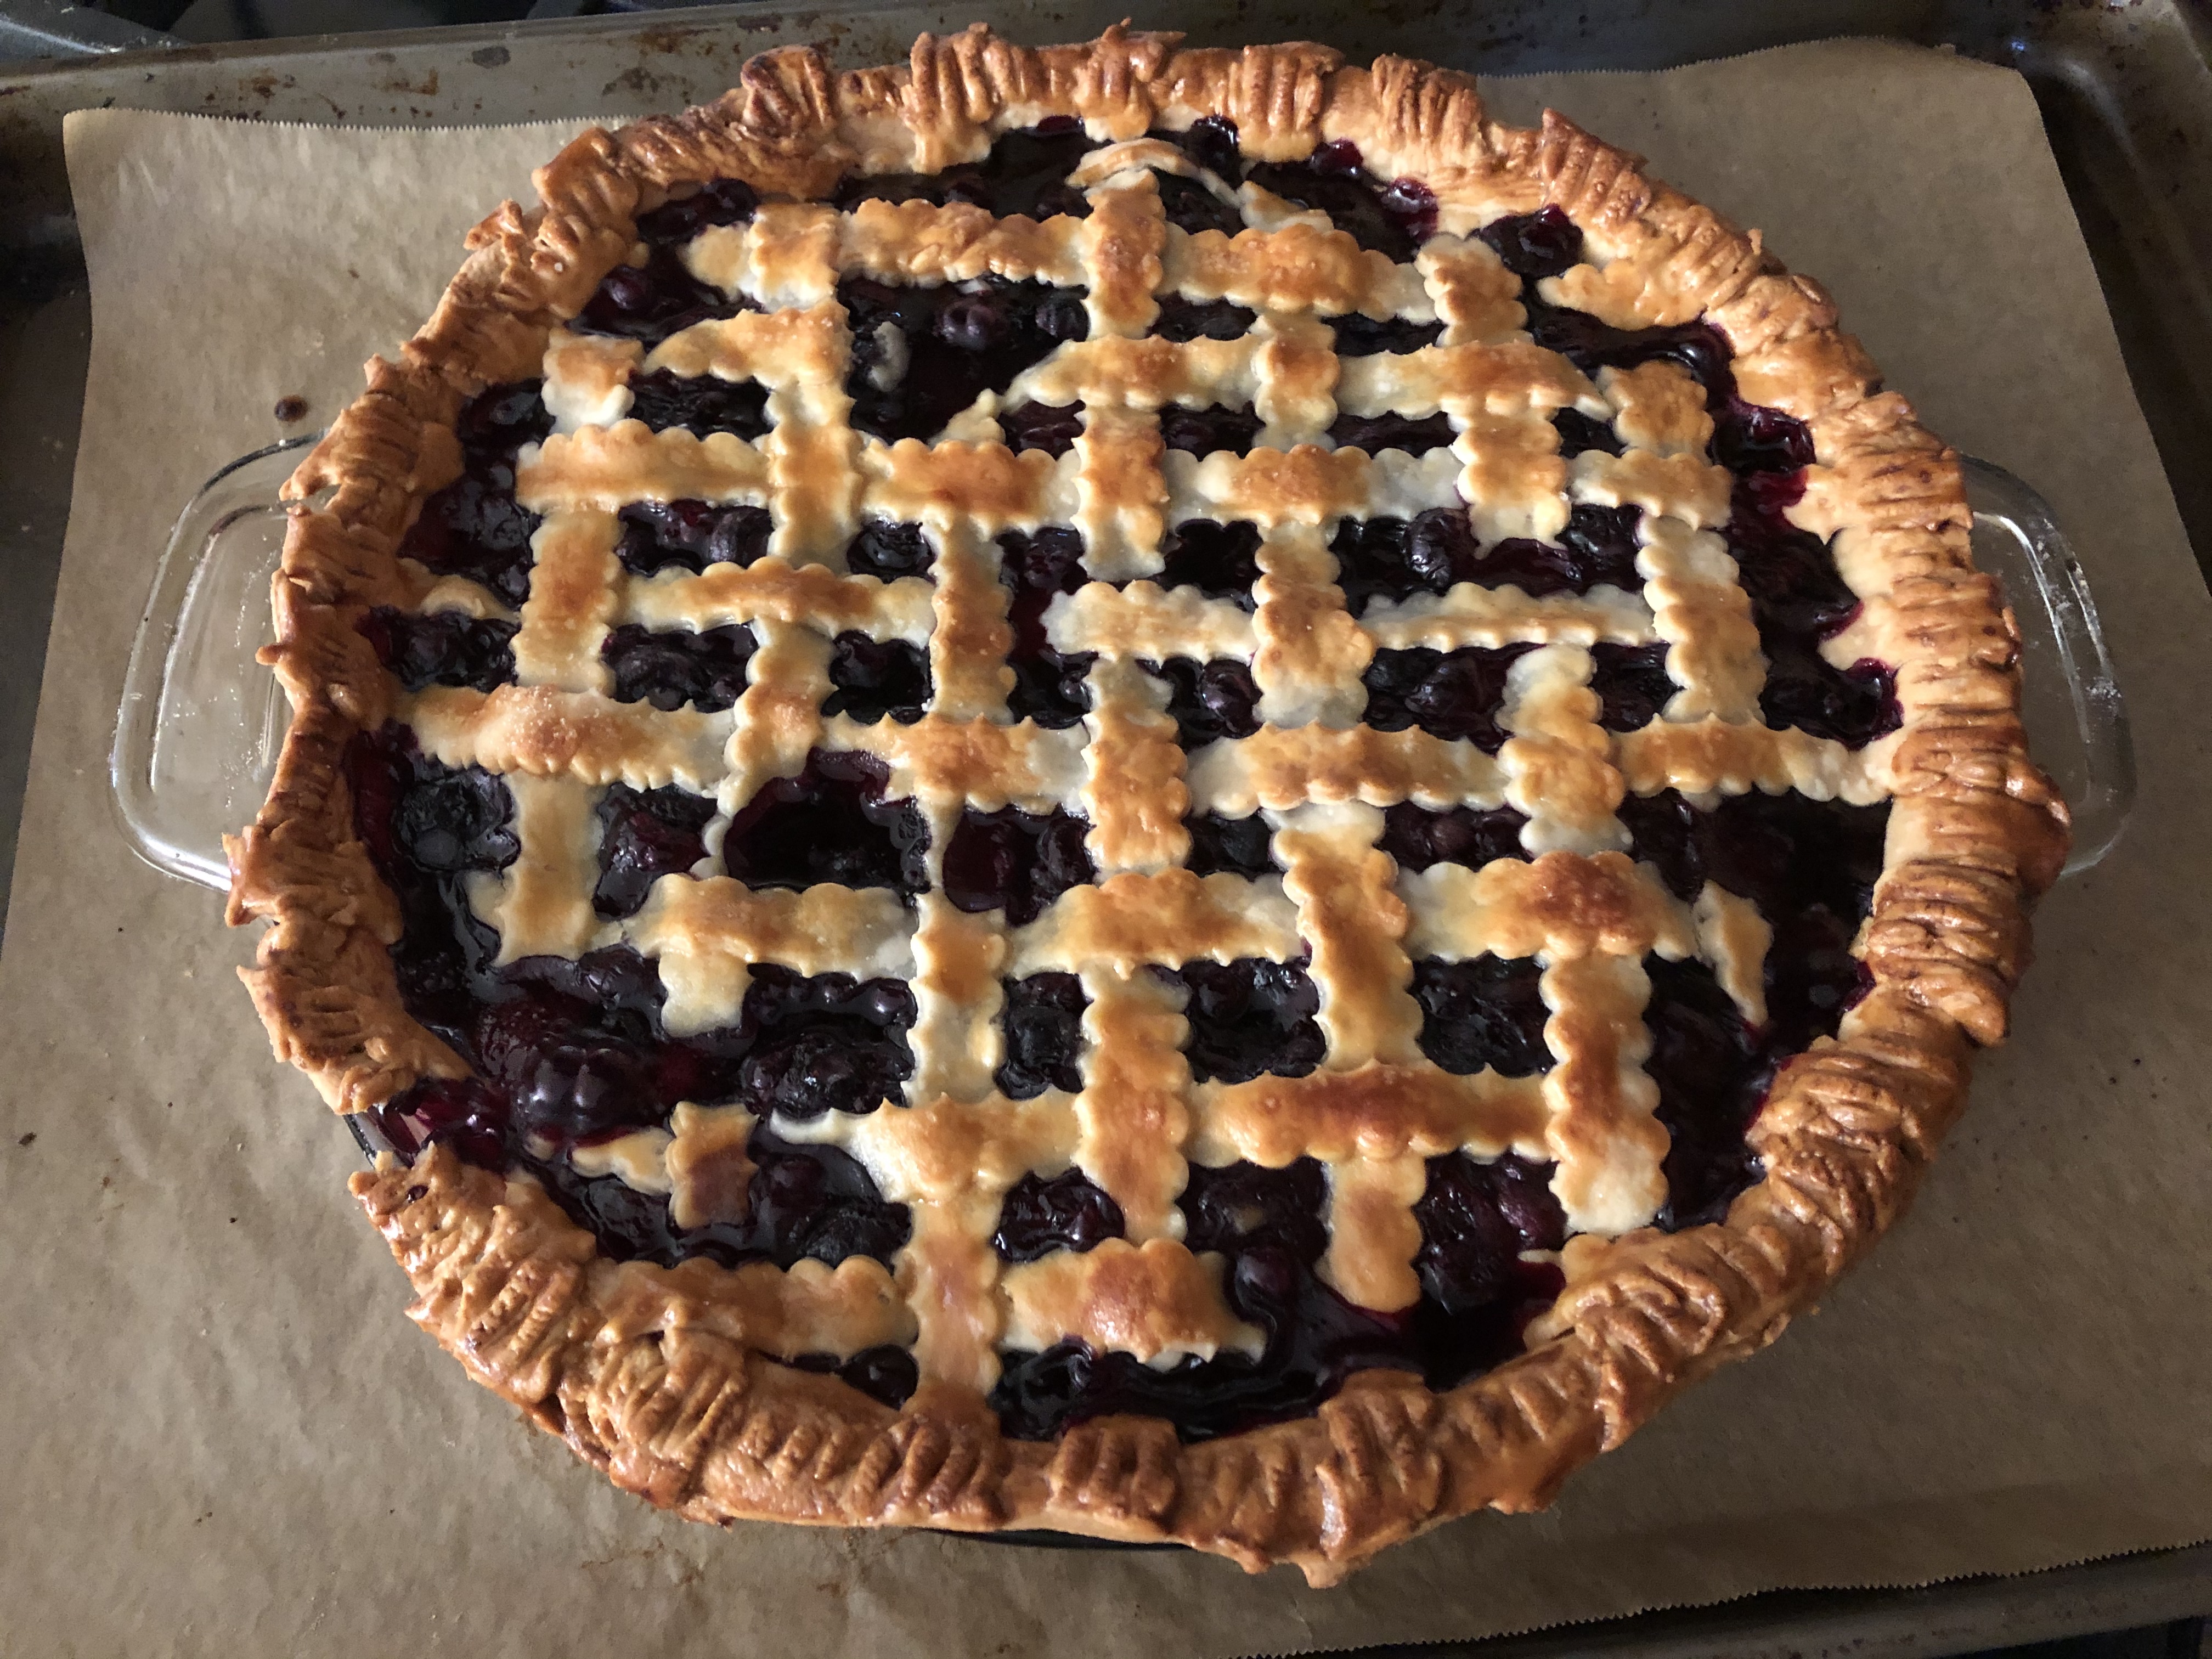
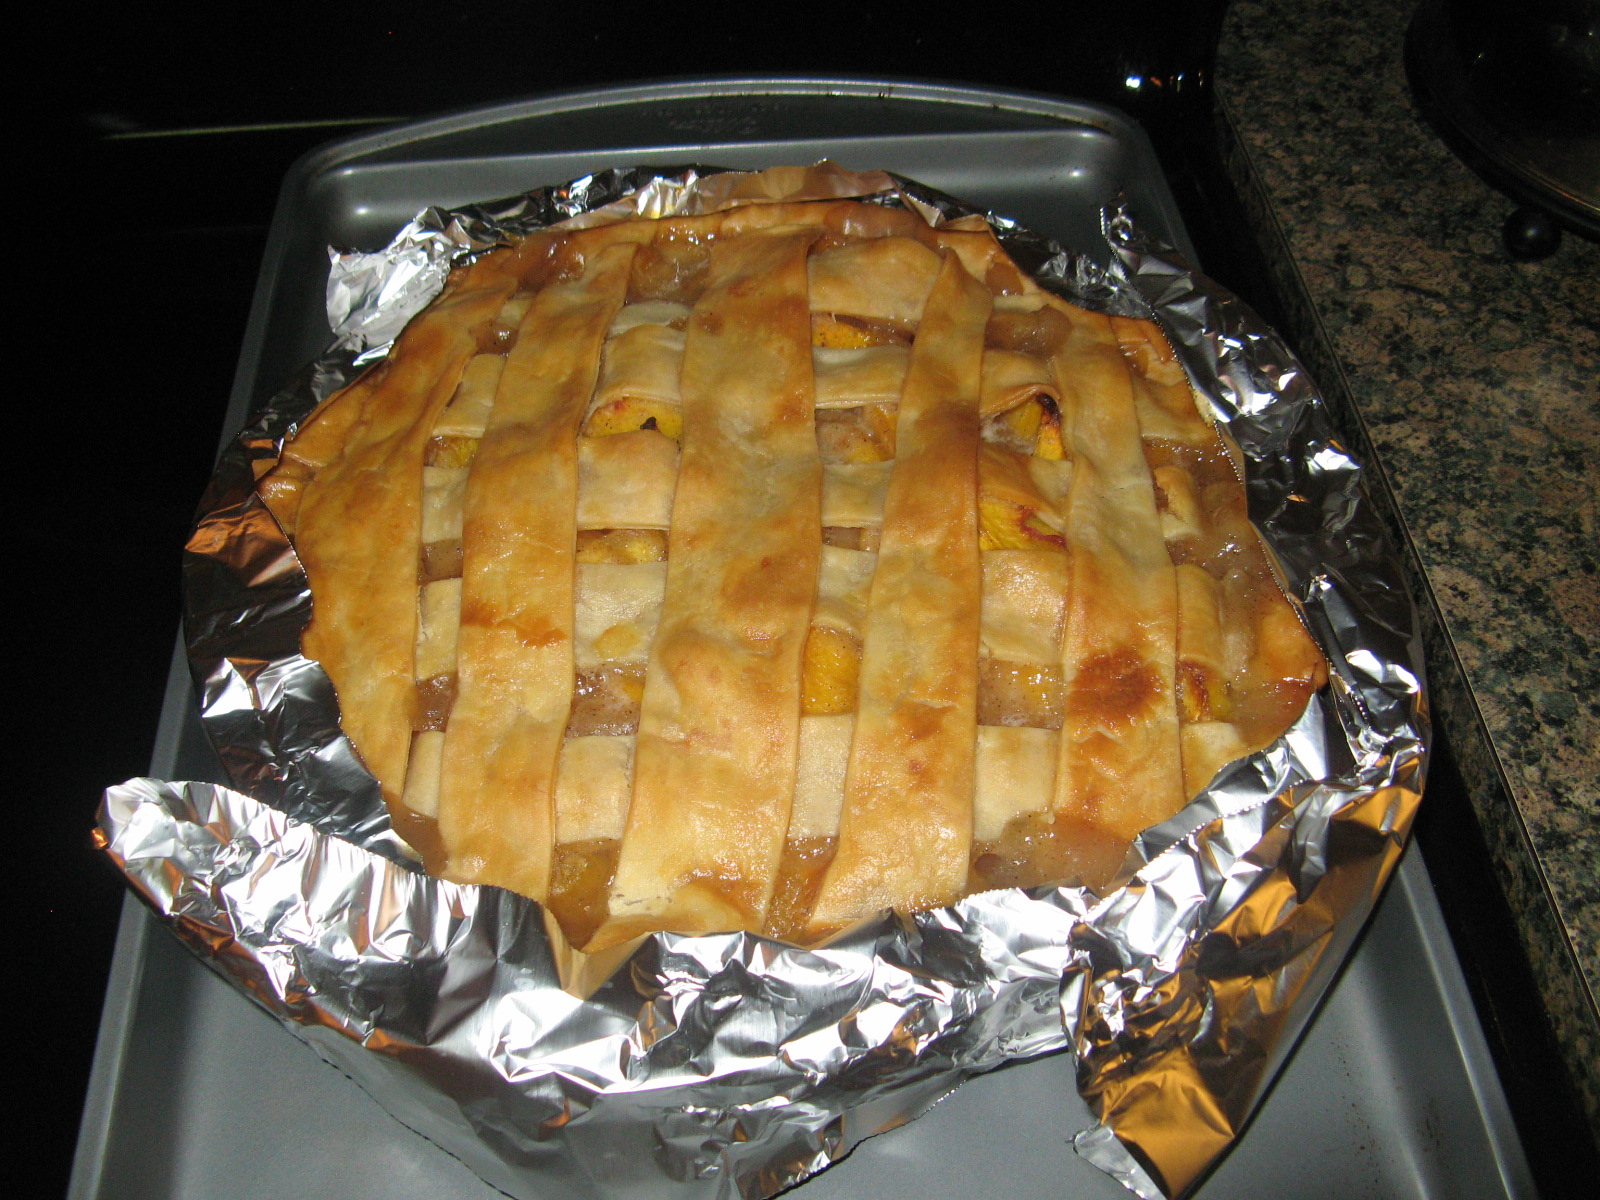
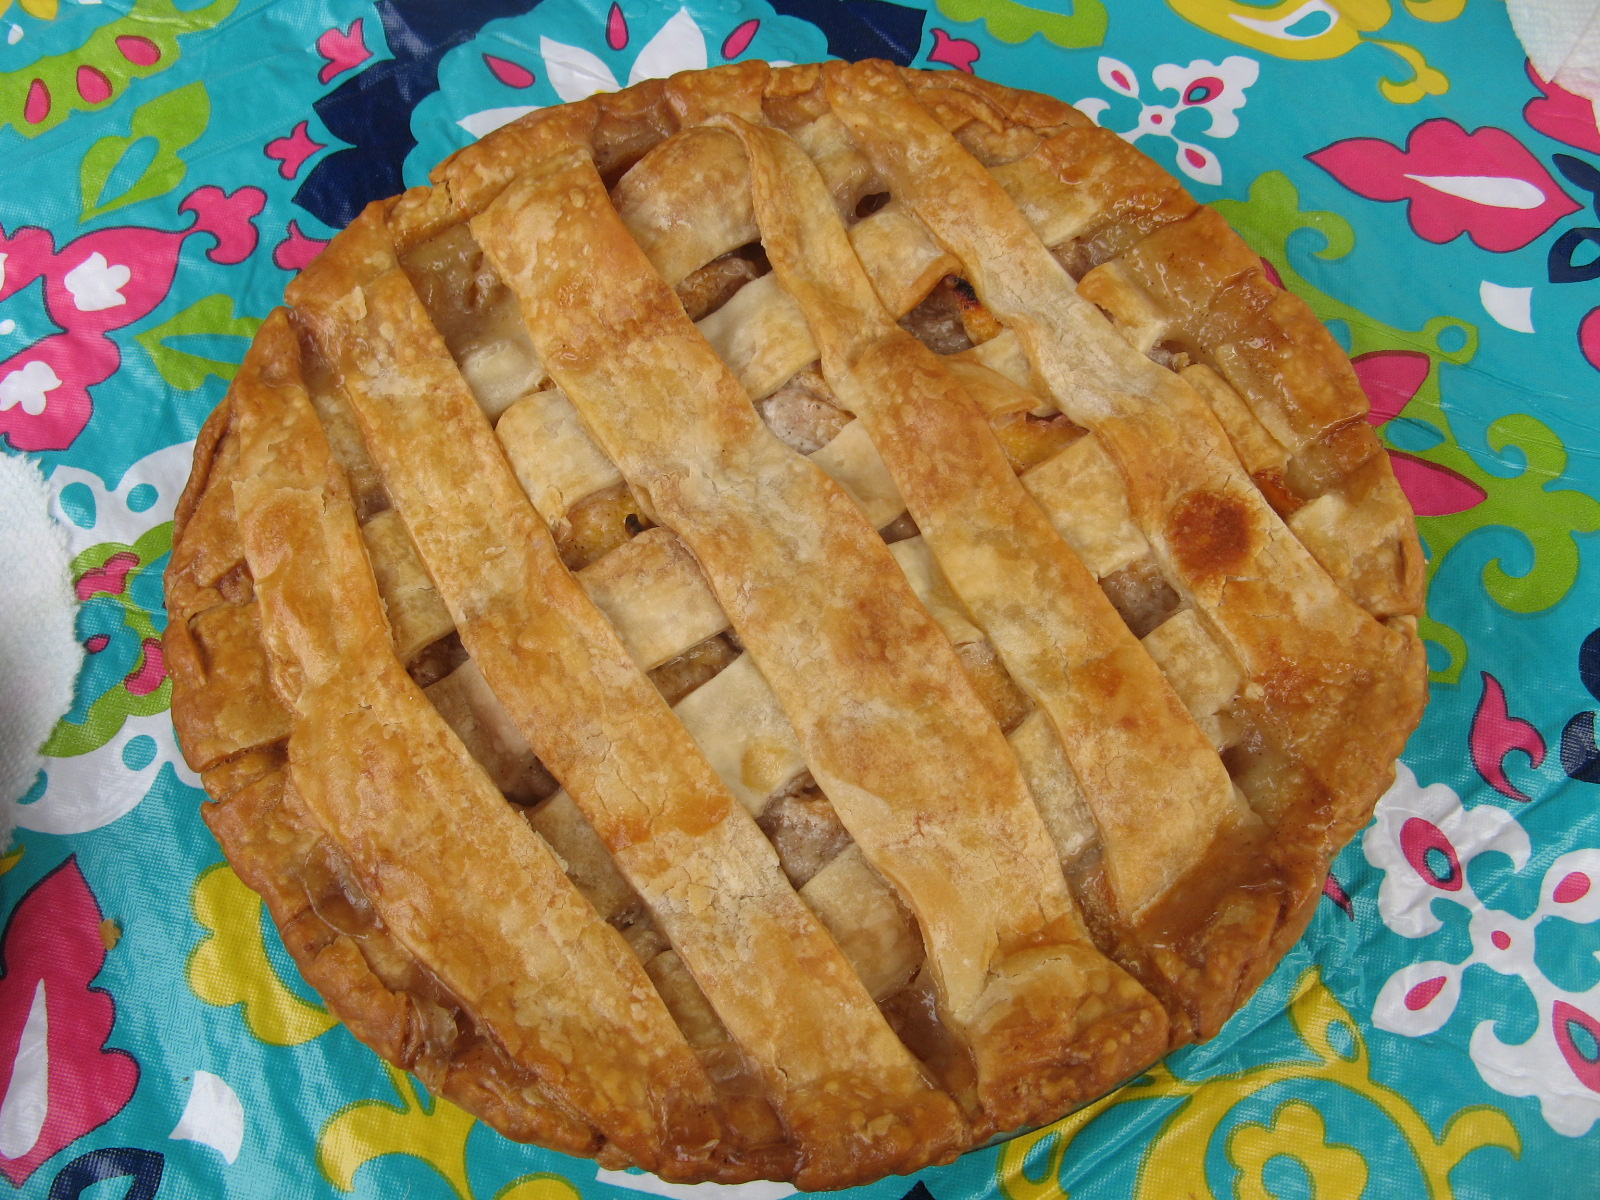
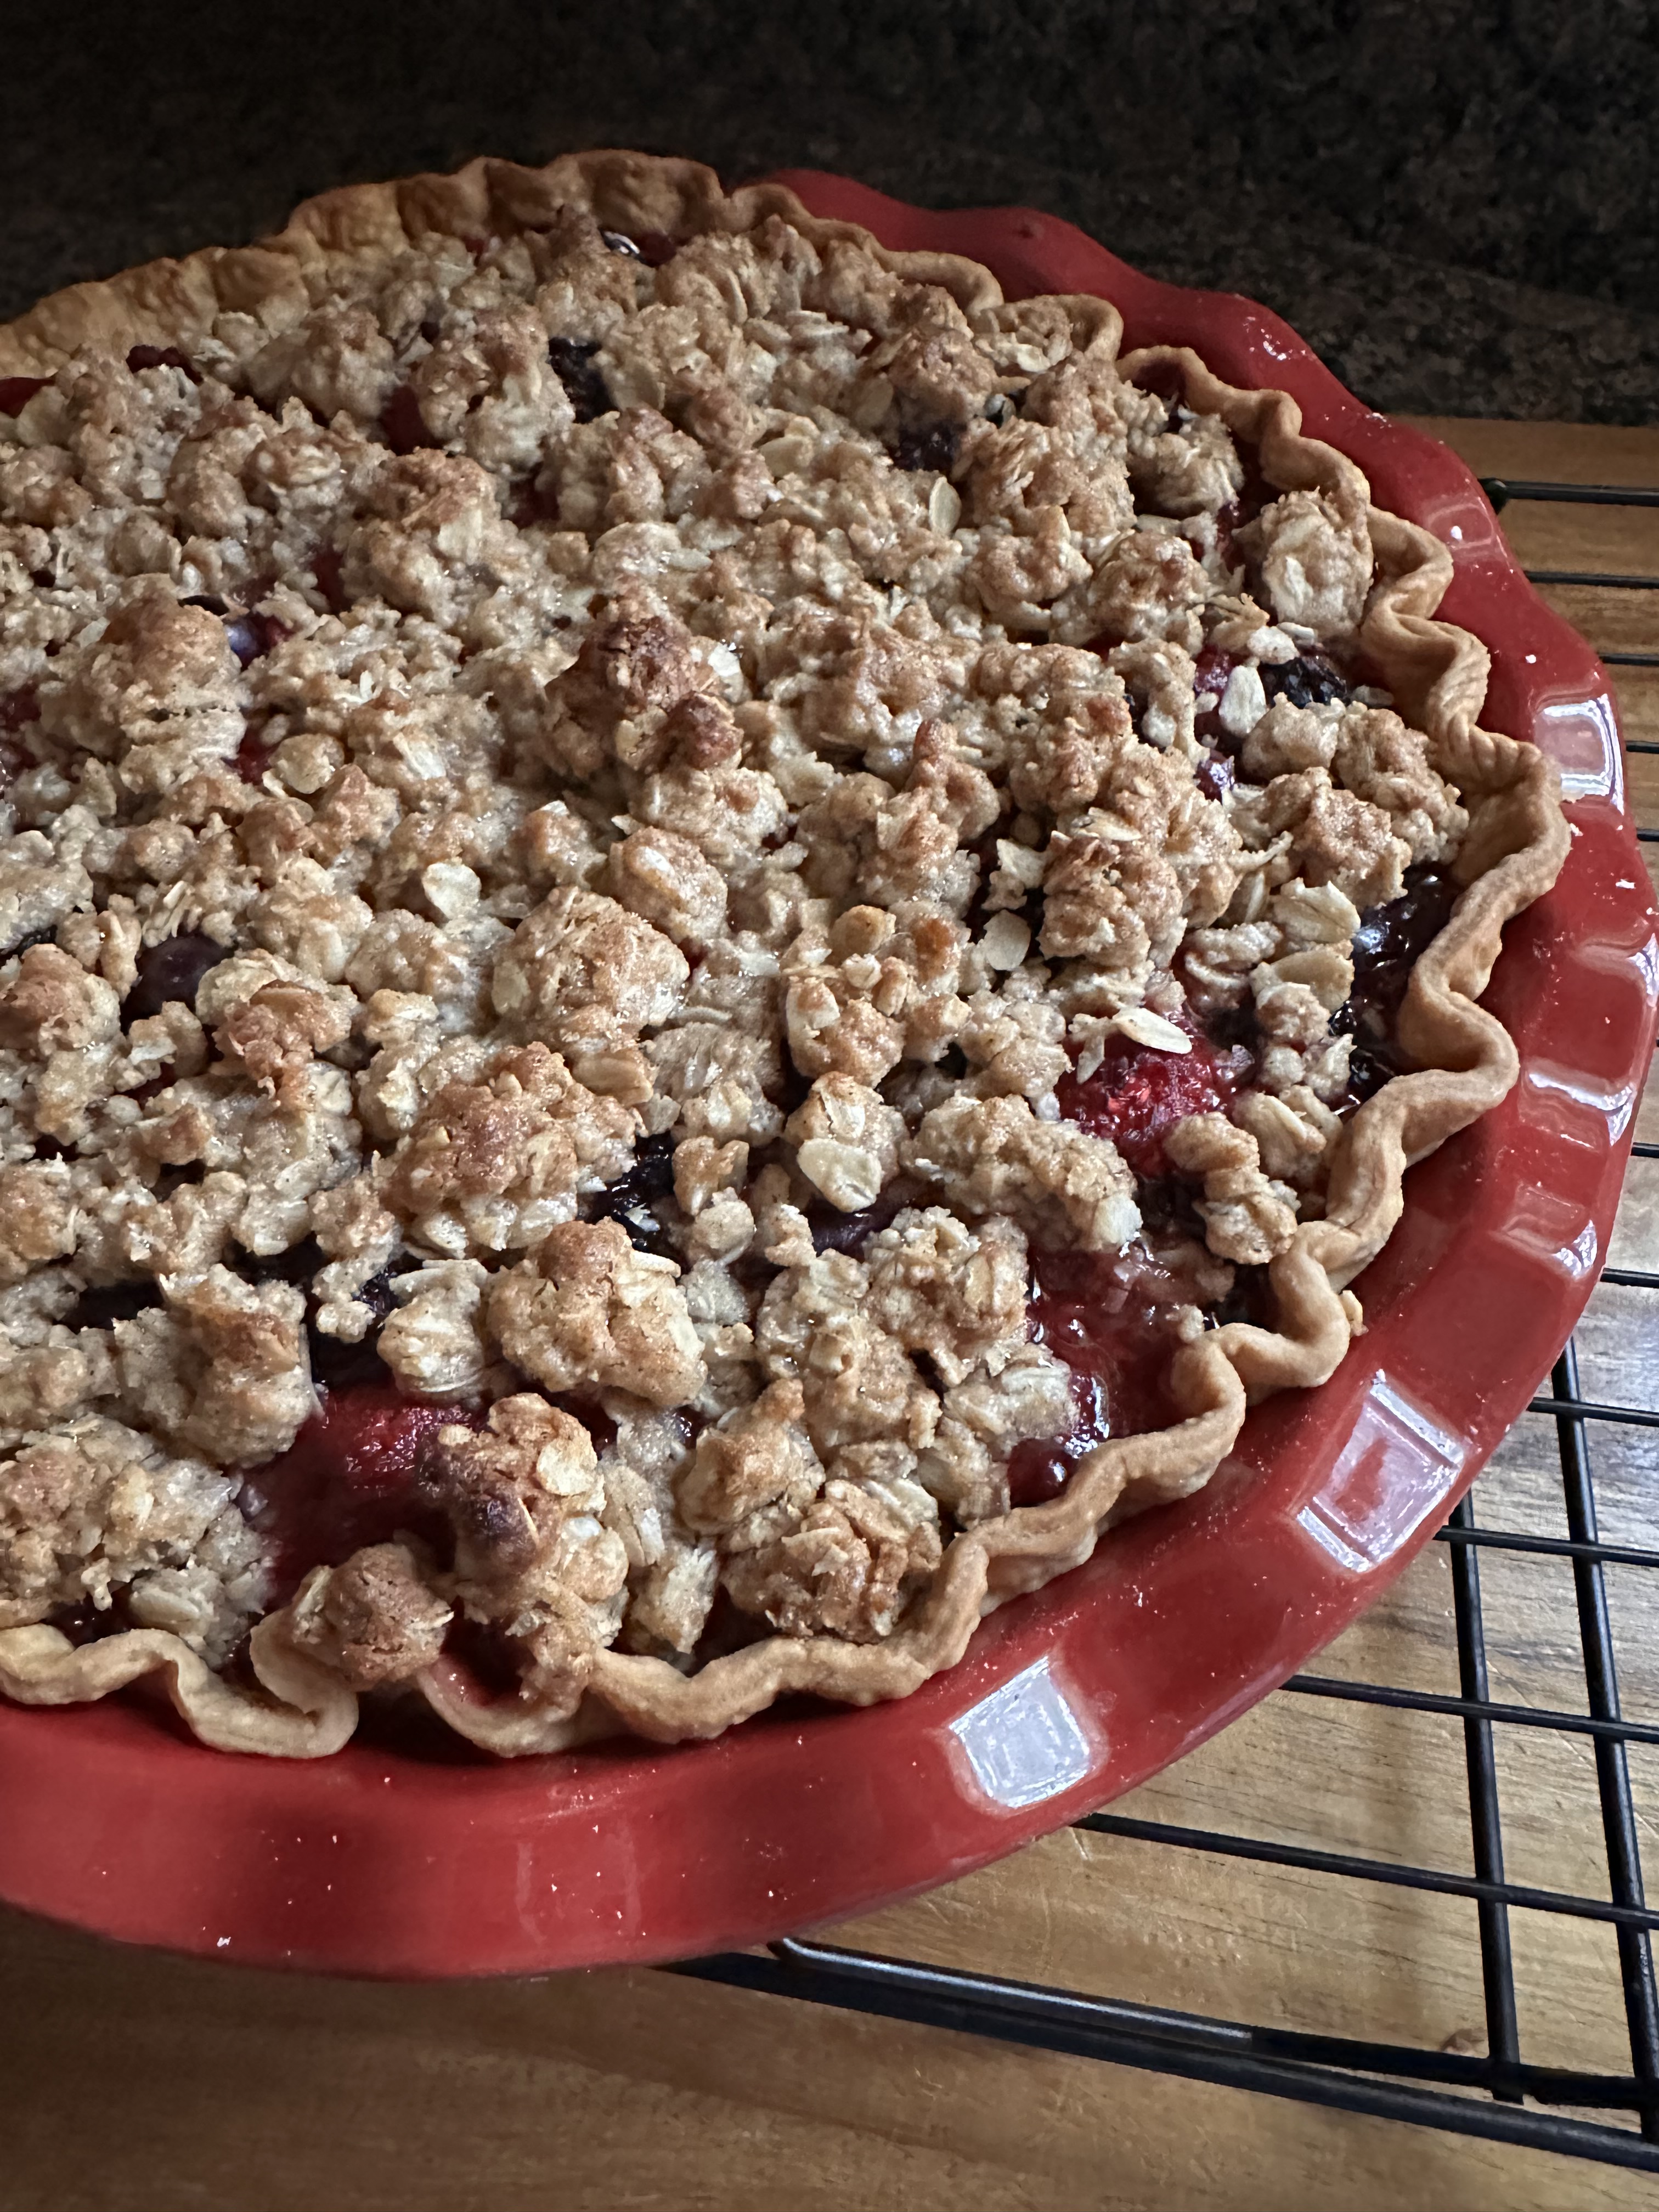
I checked on the pie after 25 minutes and noticed that the edges of the crust and the topping were beginning to brown, so I tented it with a piece of aluminum foil until to prevent it from burning. After about another 40 minutes the pie was ready. The crumble topping had a nice golden color and the filling had just started to bubble.
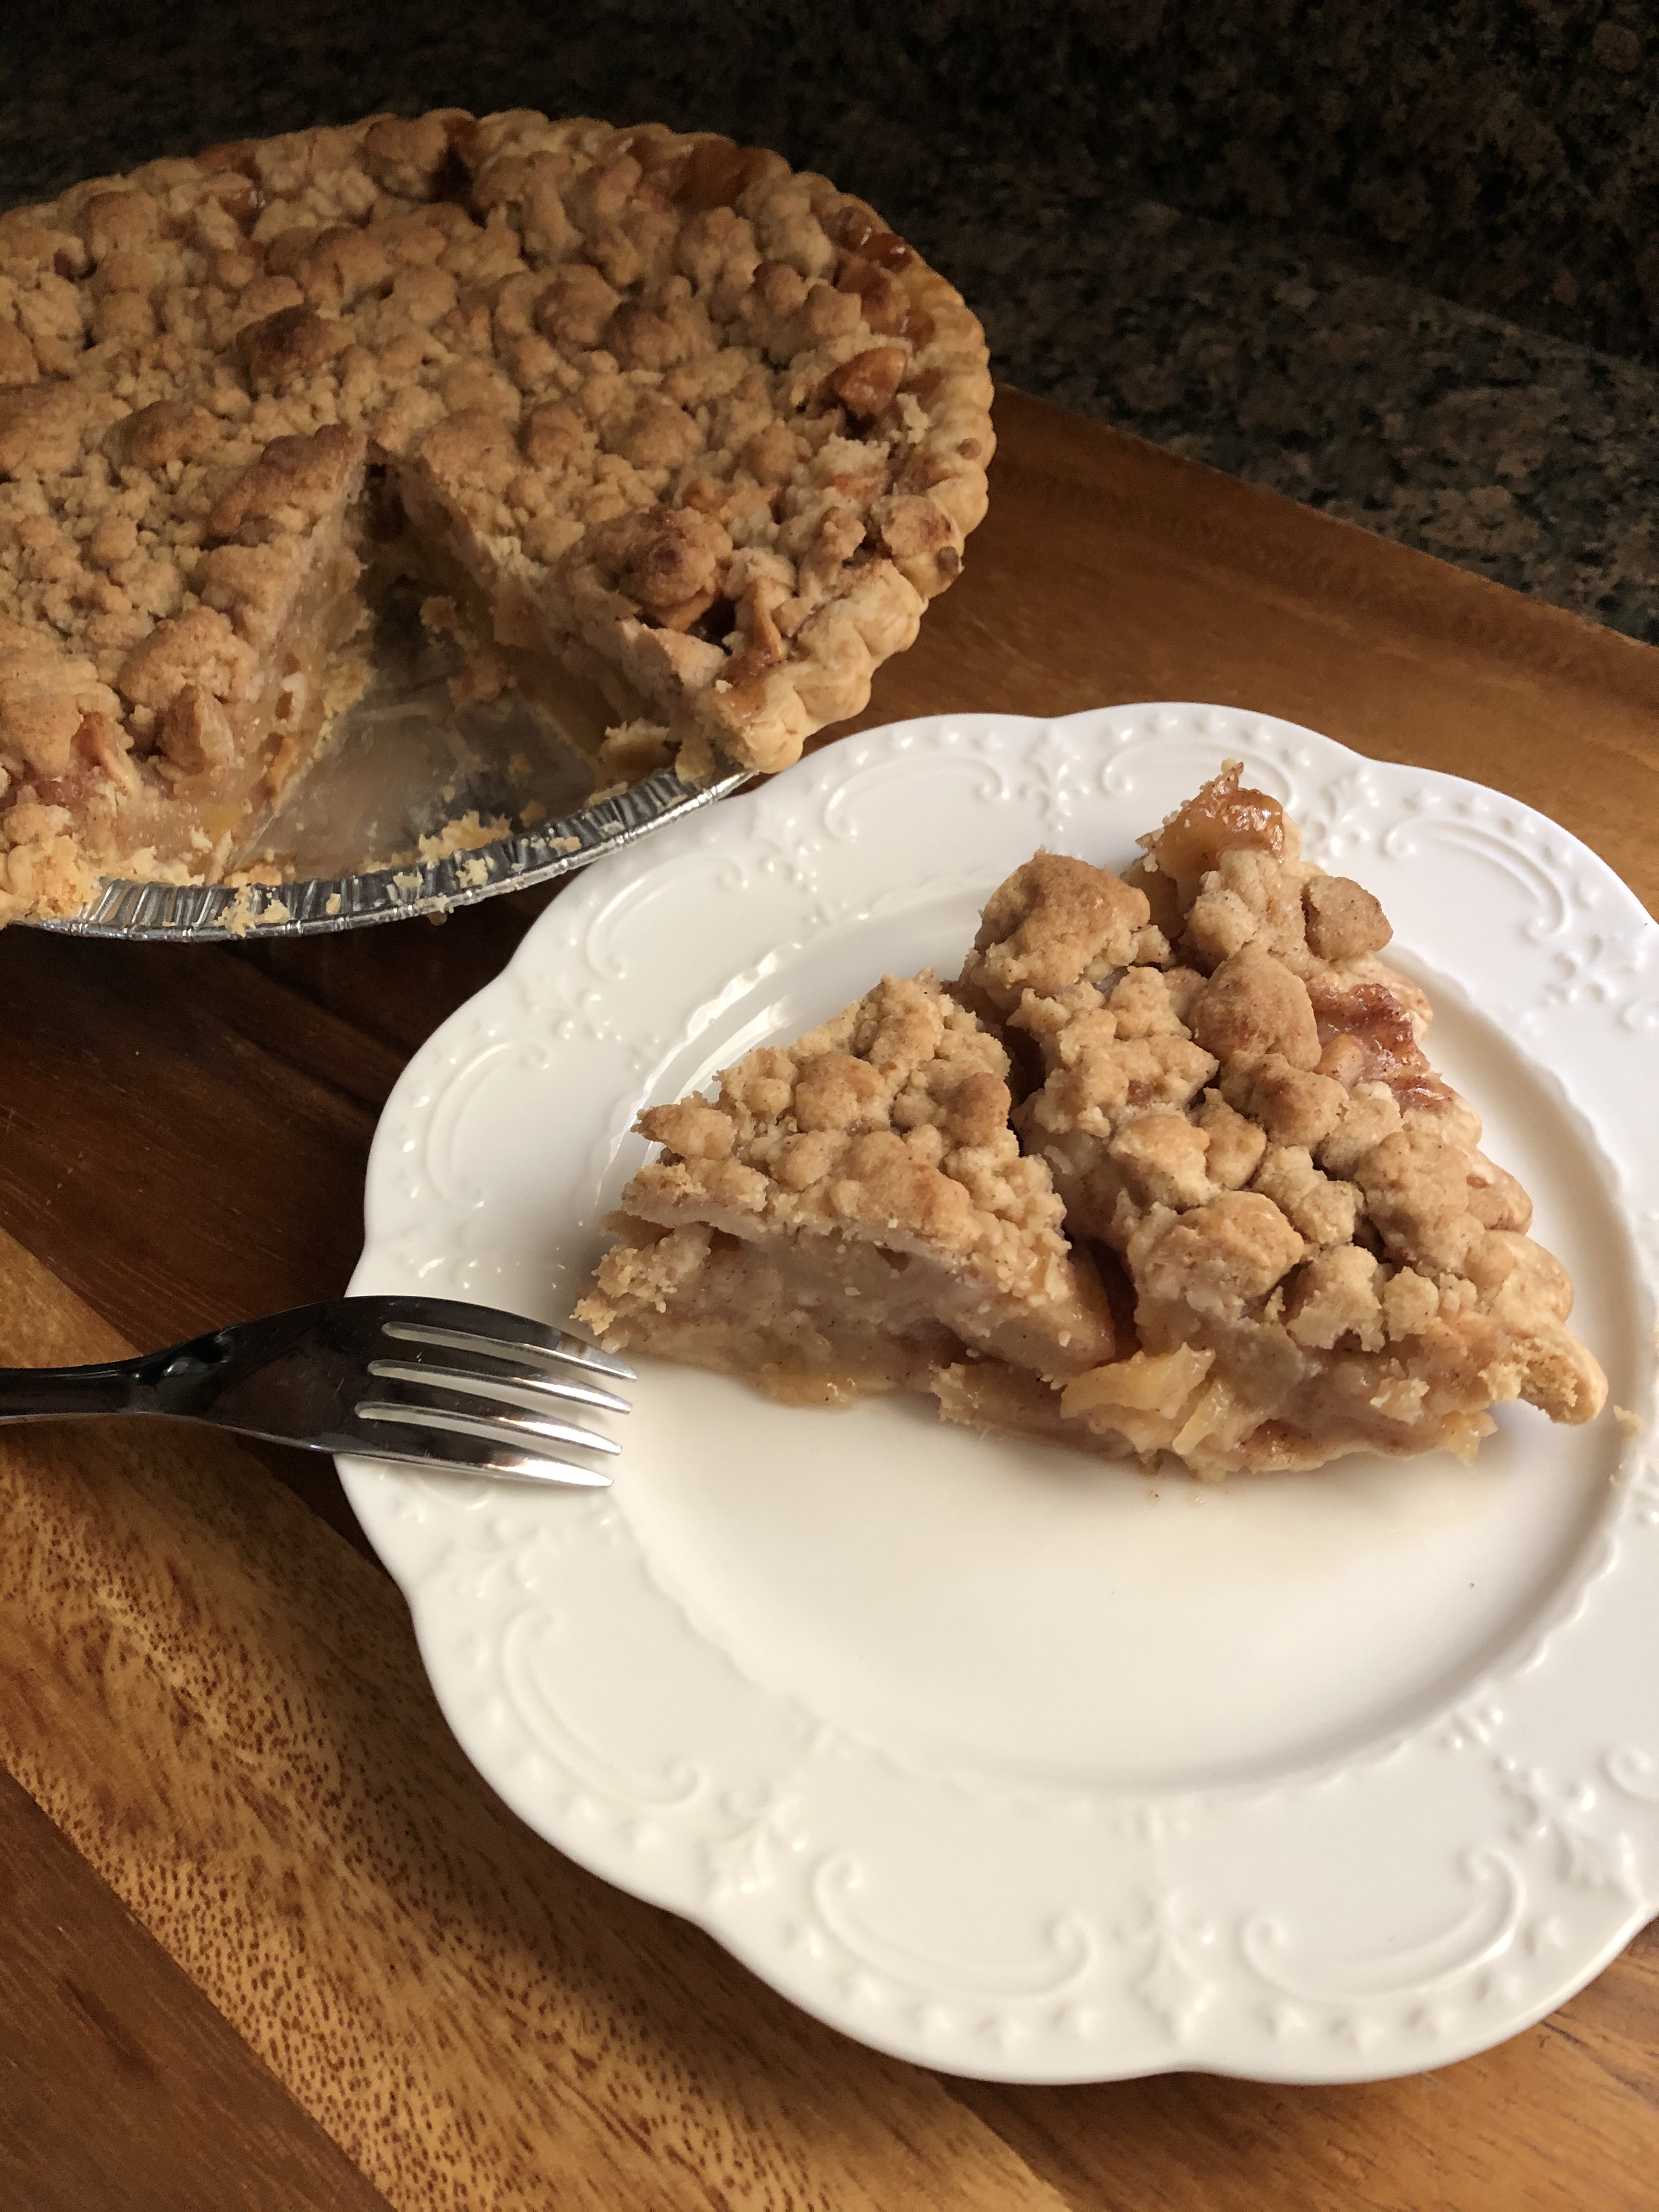
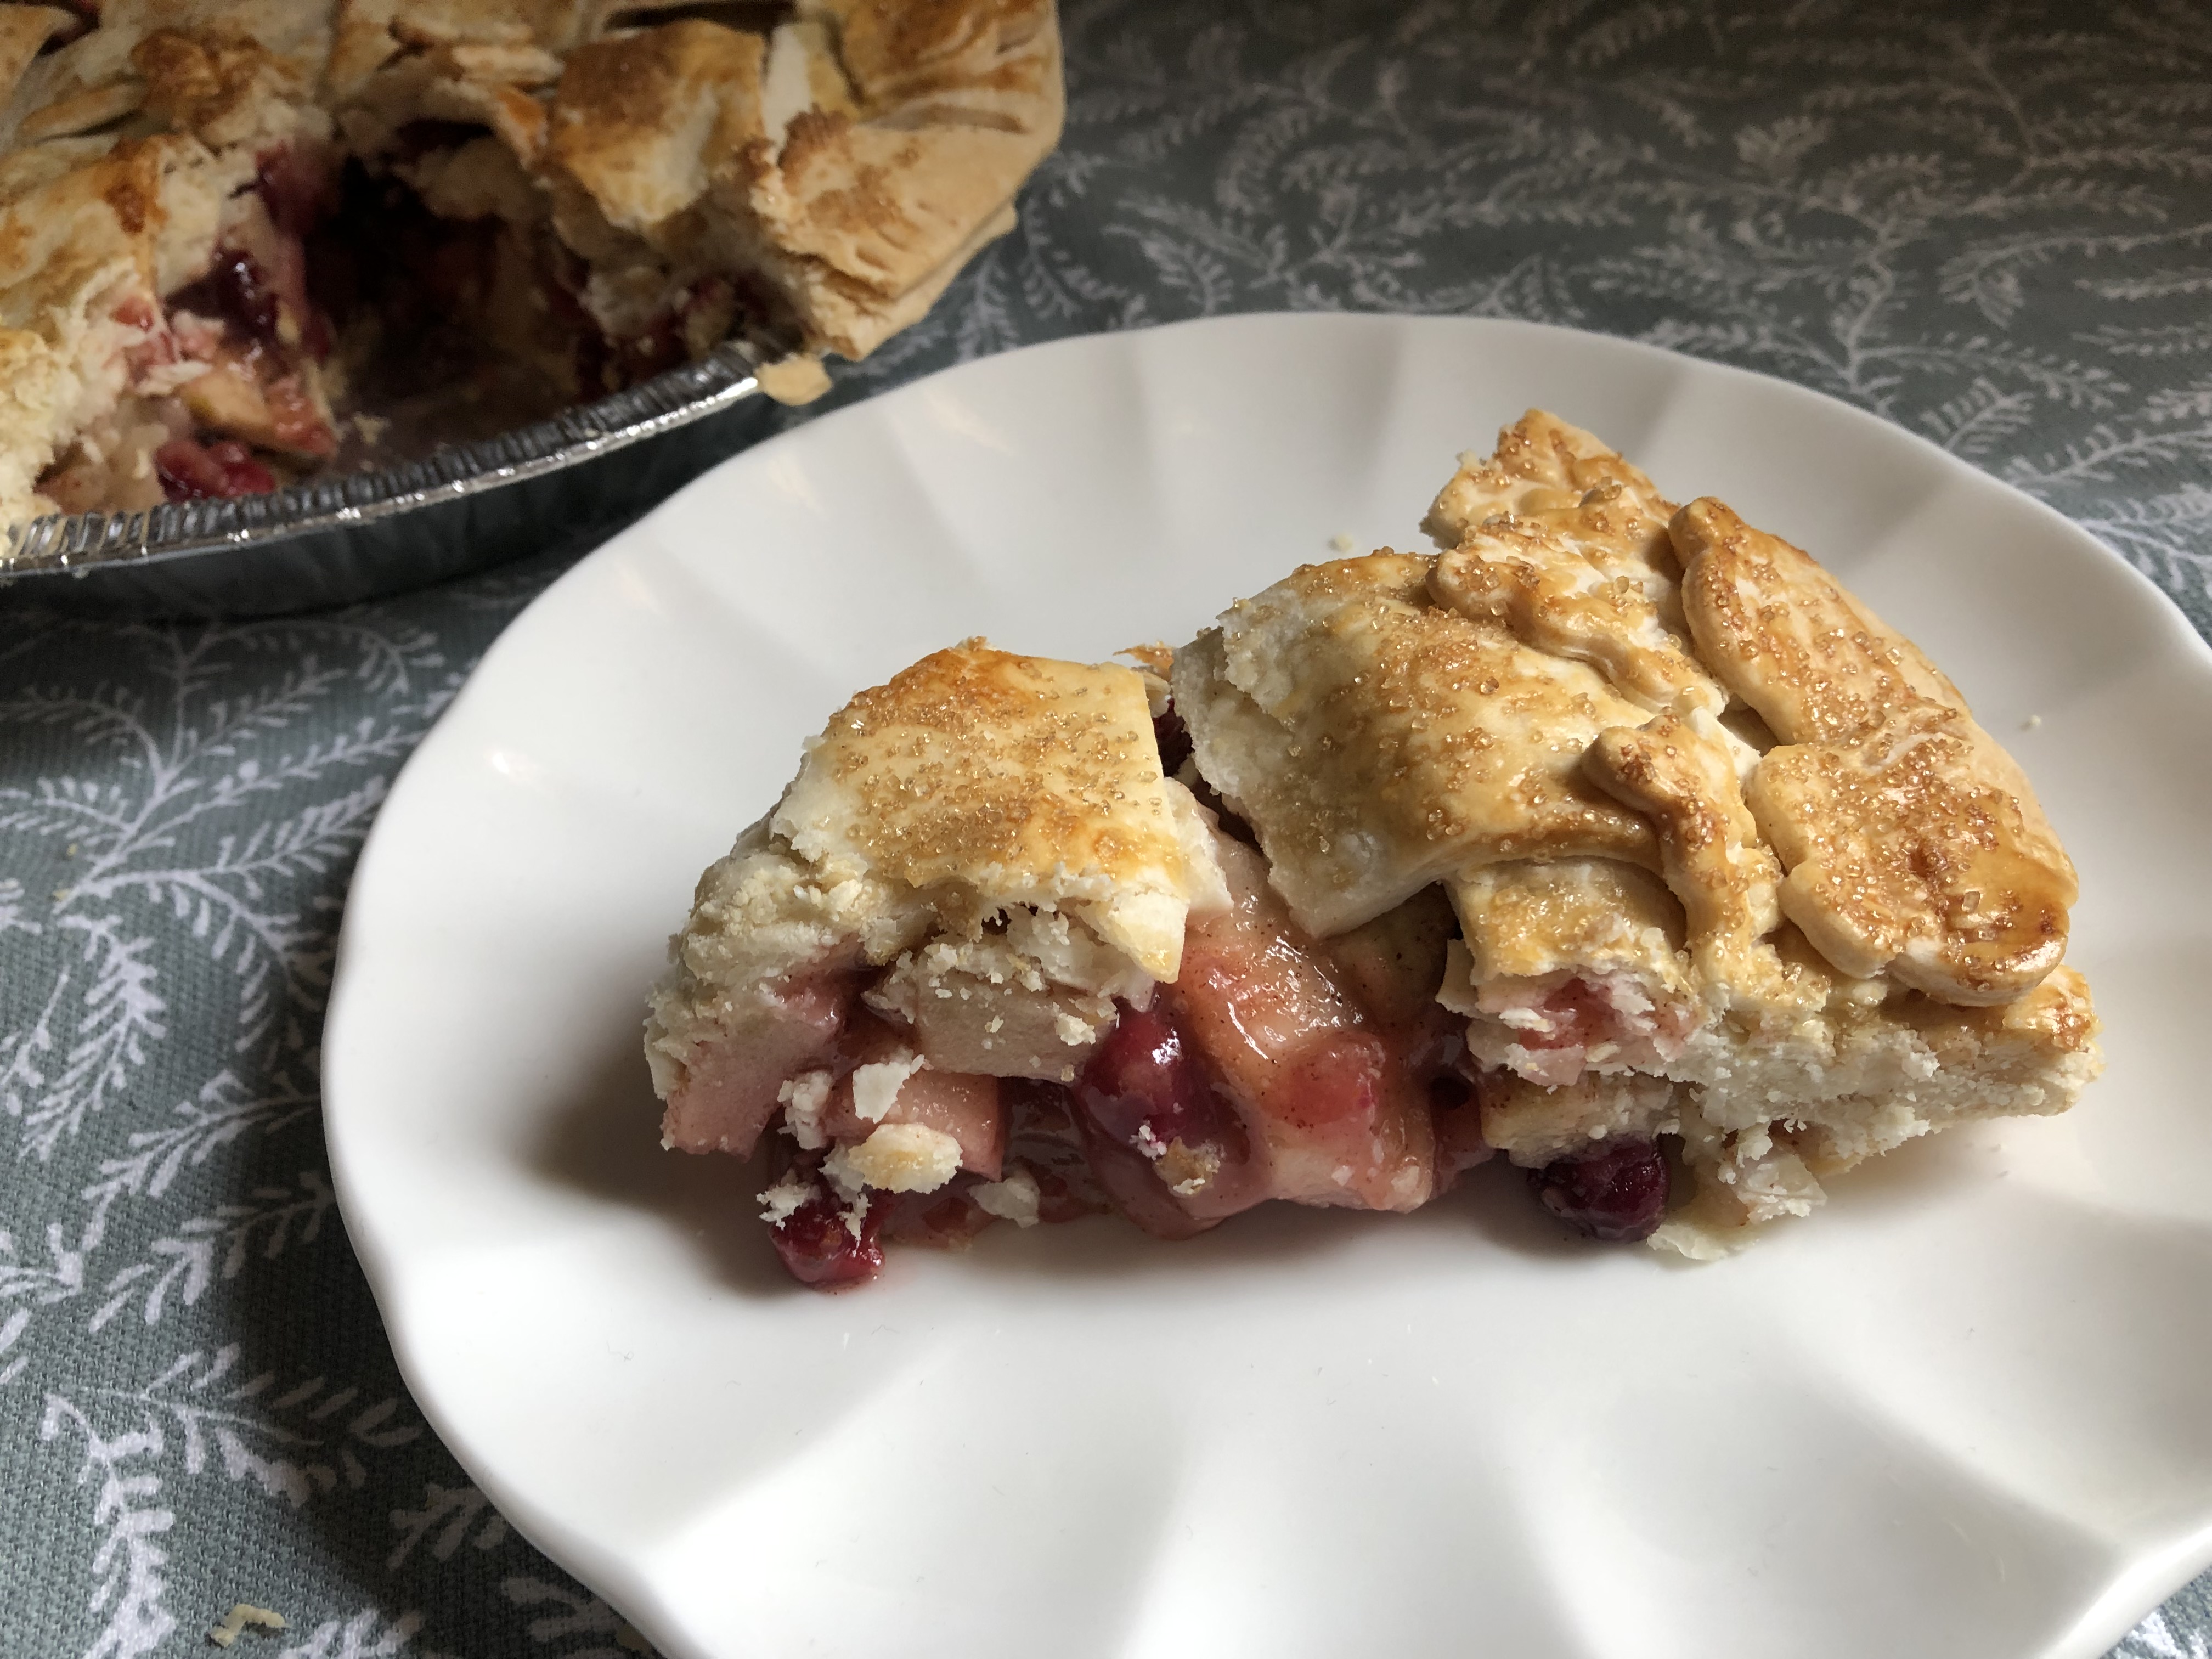
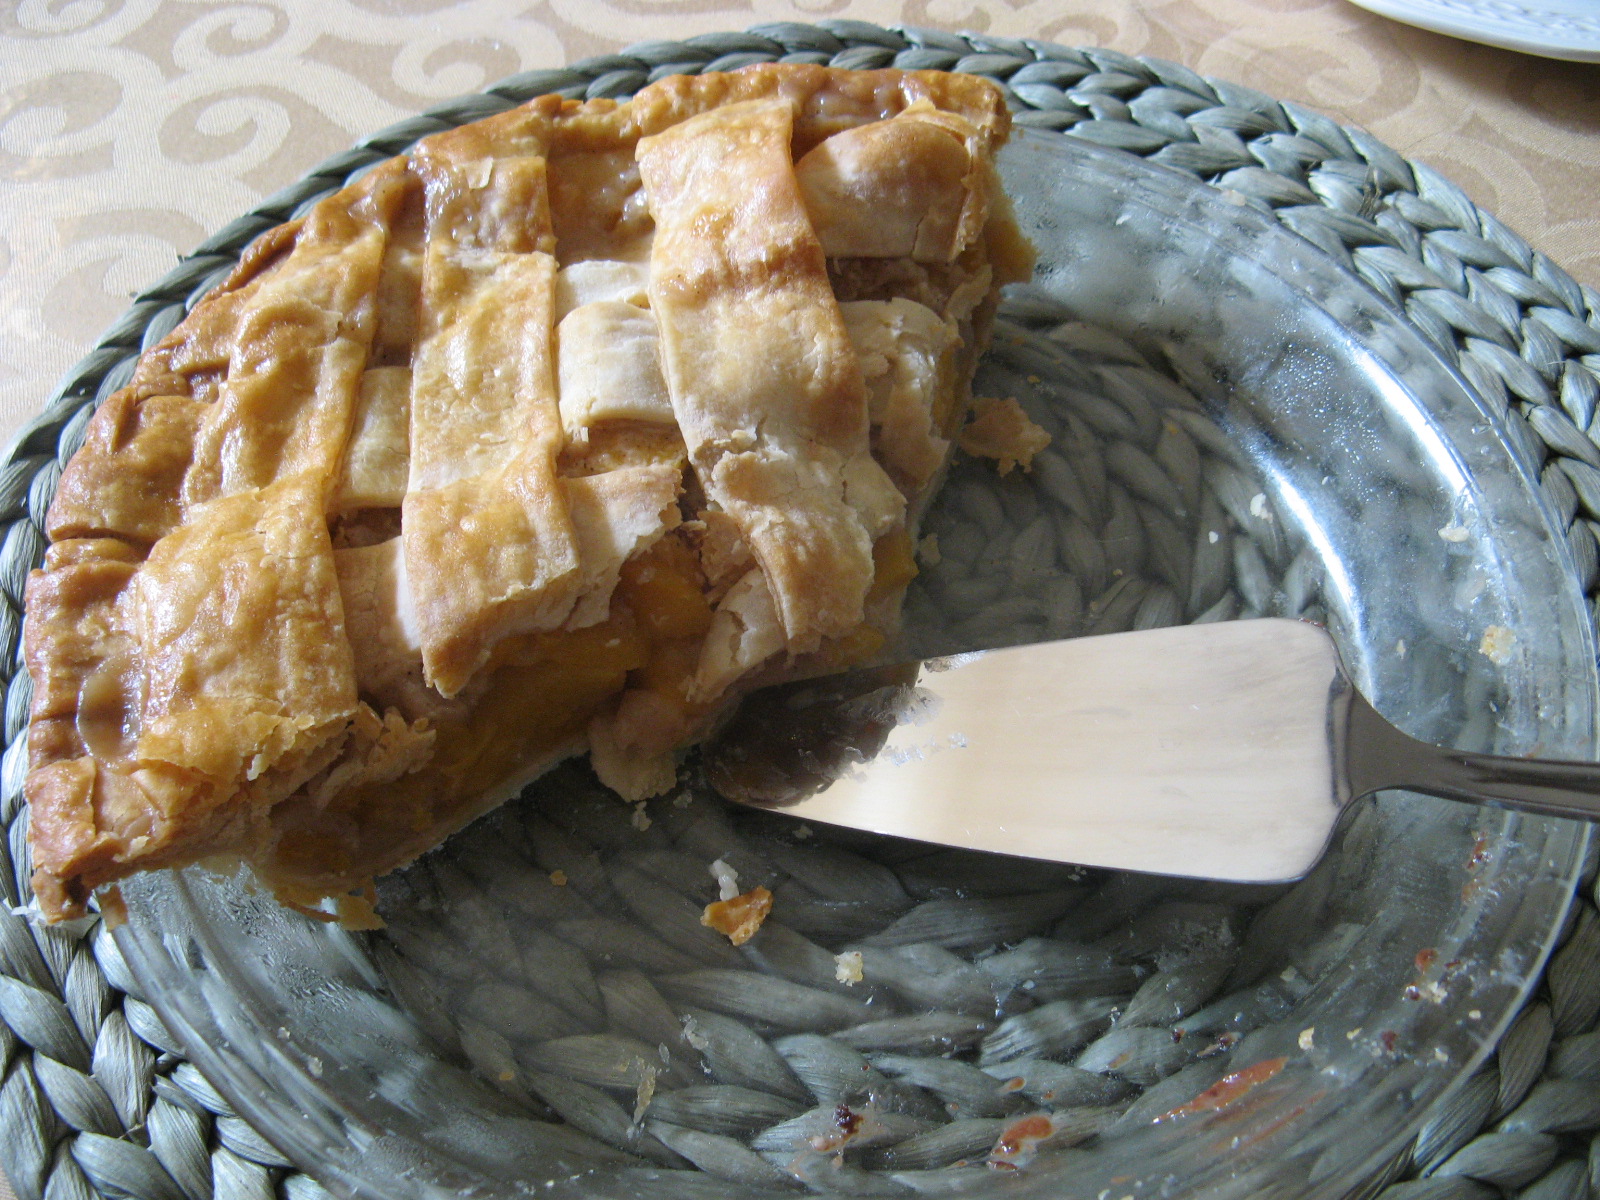
After letting it cool it was time to enjoy a piece and it was DELISH! Not too sweet and some of the berries were still intact.
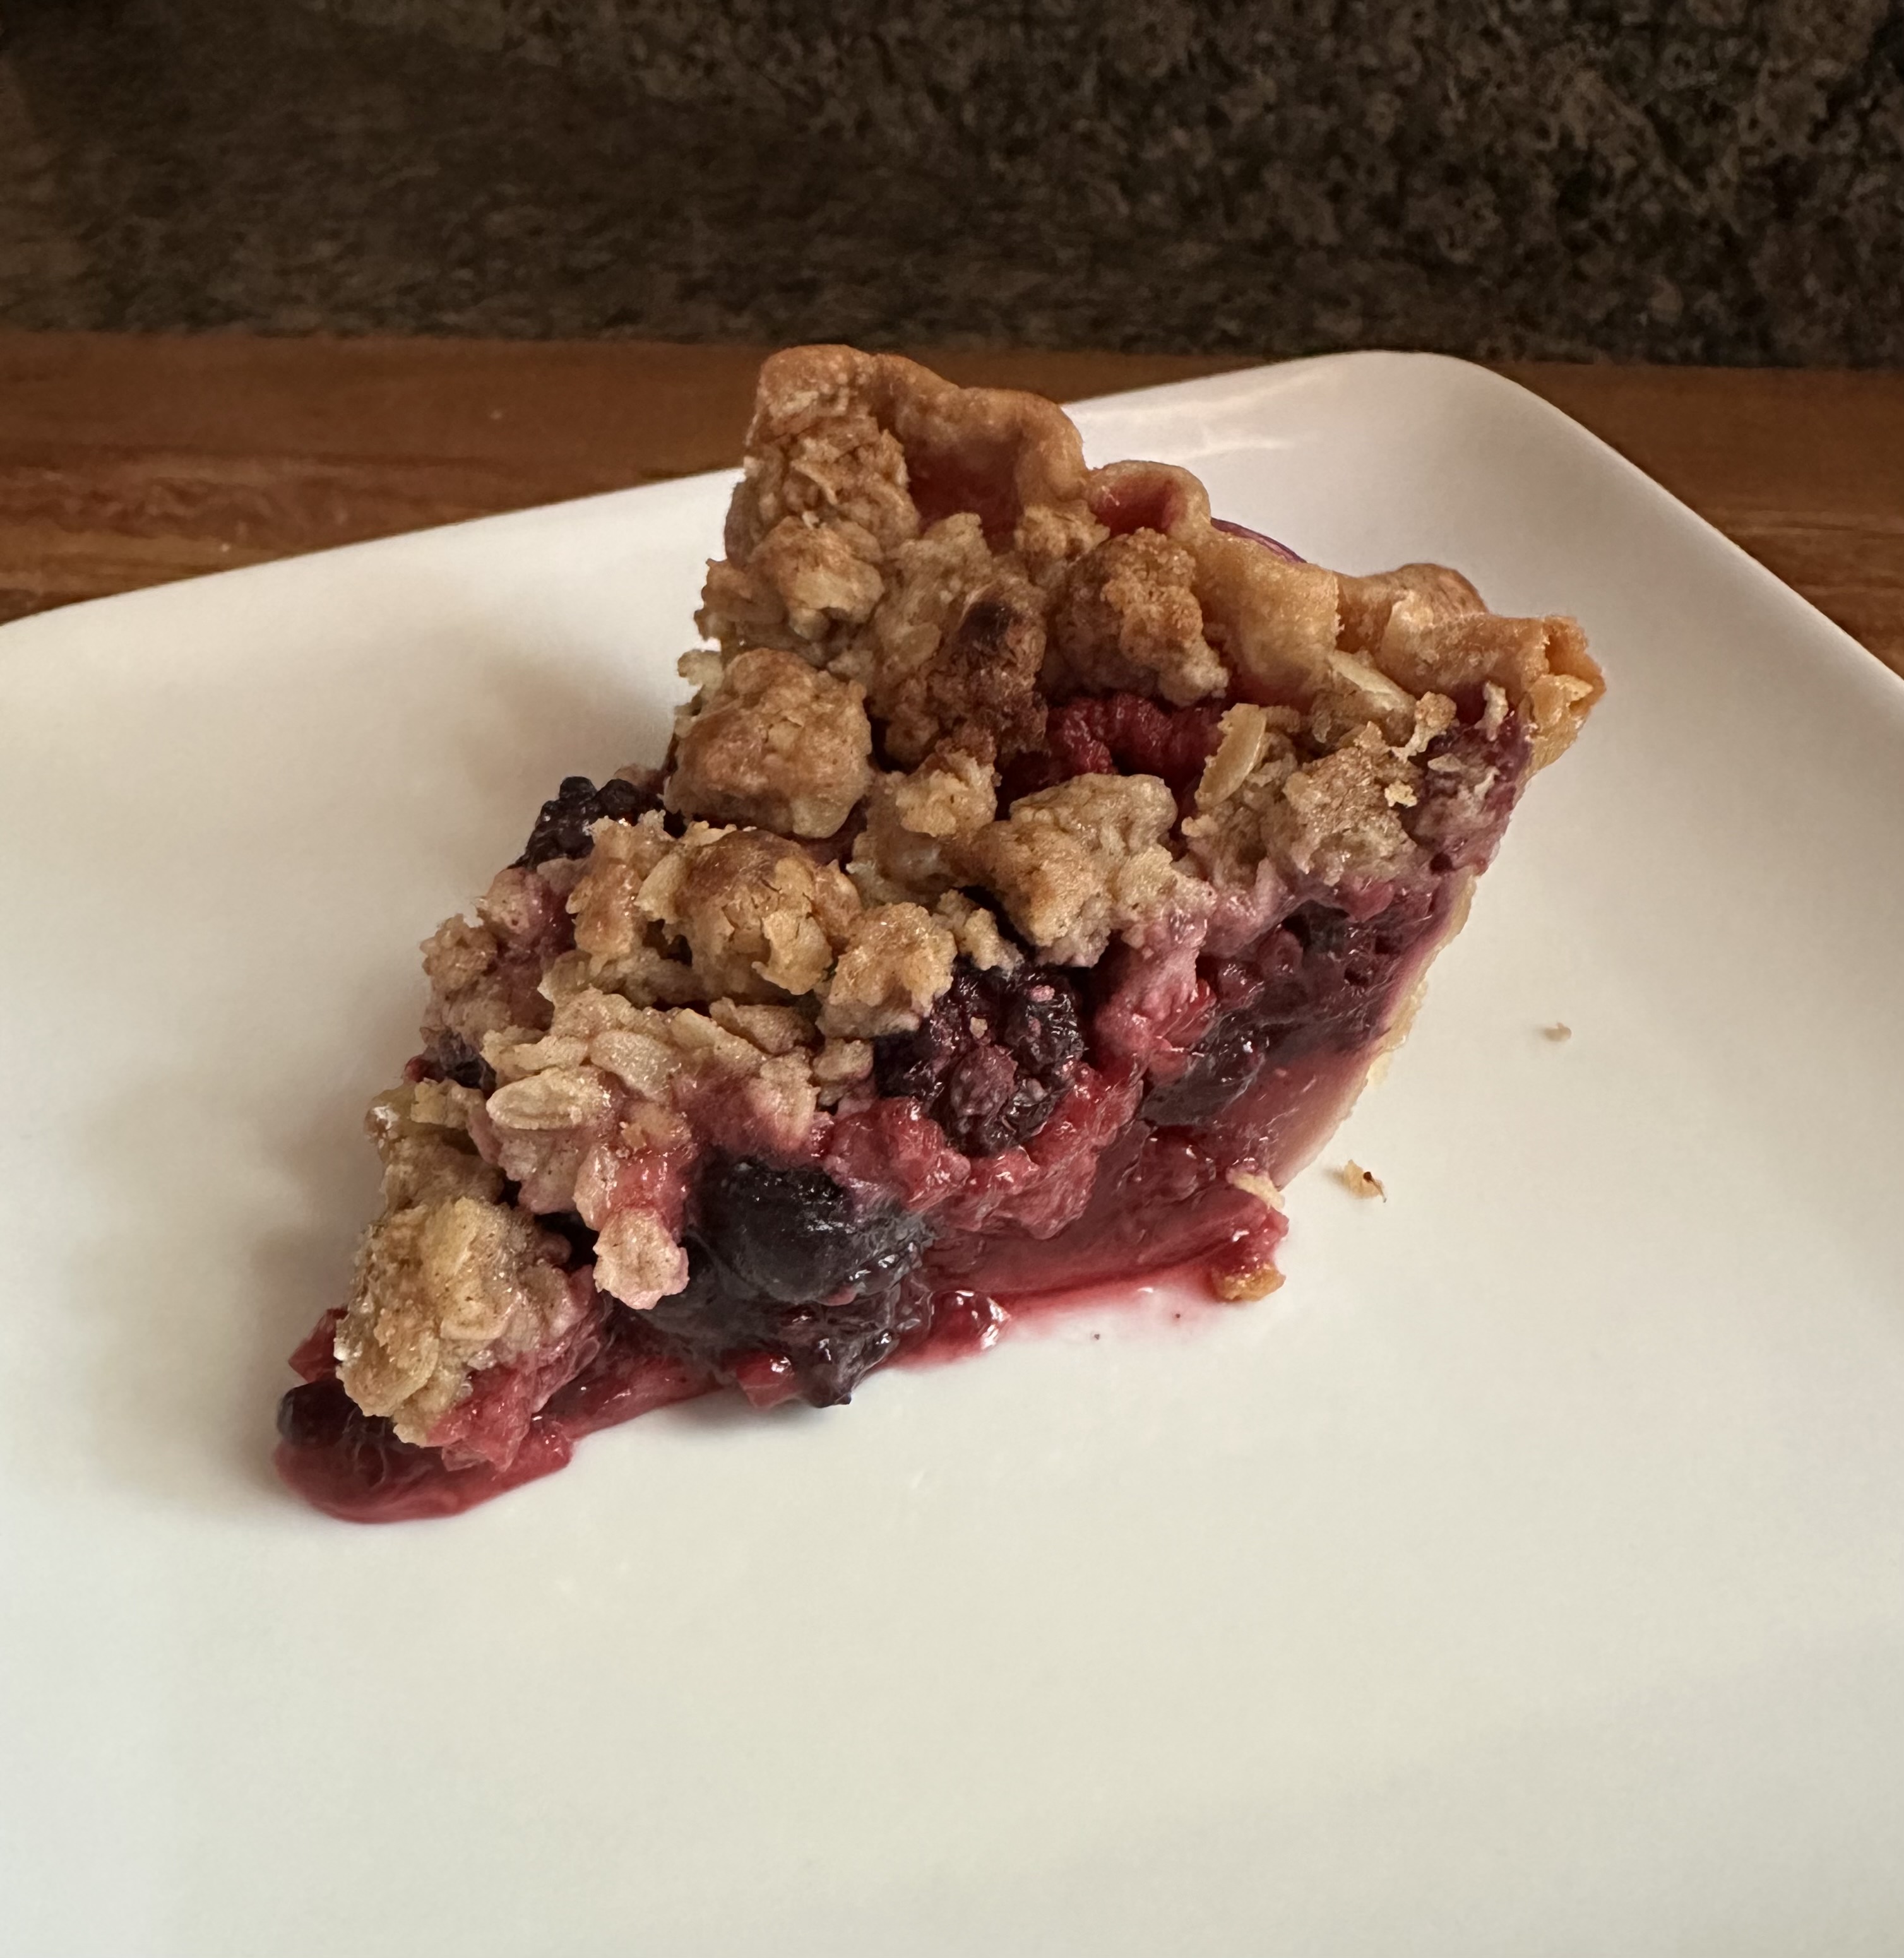
Mixed Berry Crumble Pie
Ingredients:
For the Crumble Topping:
3/4 cup old-fashioned oats
1/2 cup flour
1/2 cup light brown sugar
1/2 teaspoon salt
1/2 teaspoon cinnamon
1/4 teaspoon allspice
6 tablespoons cold unsalted butter, cut into small pieces
For the Pie:
1 single pie crust (either store-bought or homemade)
2 cups fresh blackberries
2 cups fresh blueberries
2 cups fresh raspberries
1/3 cup light brown sugar
1/3 cup sugar
3 tablespoons lemon juice
1/4 cup cornstarch
1/4 teaspoon cinnamon
1/8 teaspoon freshly grated nutmeg
1/4 teaspoon salt
Directions:
Preheat oven to 375 F.
For the crumble topping: In a medium bowl whisk together the oats, flour, sugar, salt, cinnamon & allspice. Cut in the butter using a pastry cutter (or much easier your hands), until everything is well combined and the mixture clumps together. Refrigerate until ready to use.
For the pie: Roll out the pie crust to about 10-11 inches and then place in a 9-inch pie dish and crimp the edges. Place the pie dish on a baking sheet and set aside.
In a large bowl gently mix the berries, both sugars, lemon juice, cornstarch, cinnamon, nutmeg and salt together until well combined. Transfer to the pie dish and then sprinkle the crumble topping on top.
Bake in the oven for 55 to 65 minutes, or until the filling just begins to bubble. If the edges of the pie and/or the crumble topping begin to brown too quickly tent with aluminum foil.
Allow to cool to room temperature on a wire rack before slicing and enjoying.
Recipe first appeared on Bead Yarn & Spatula