Peach Blueberry Crumble

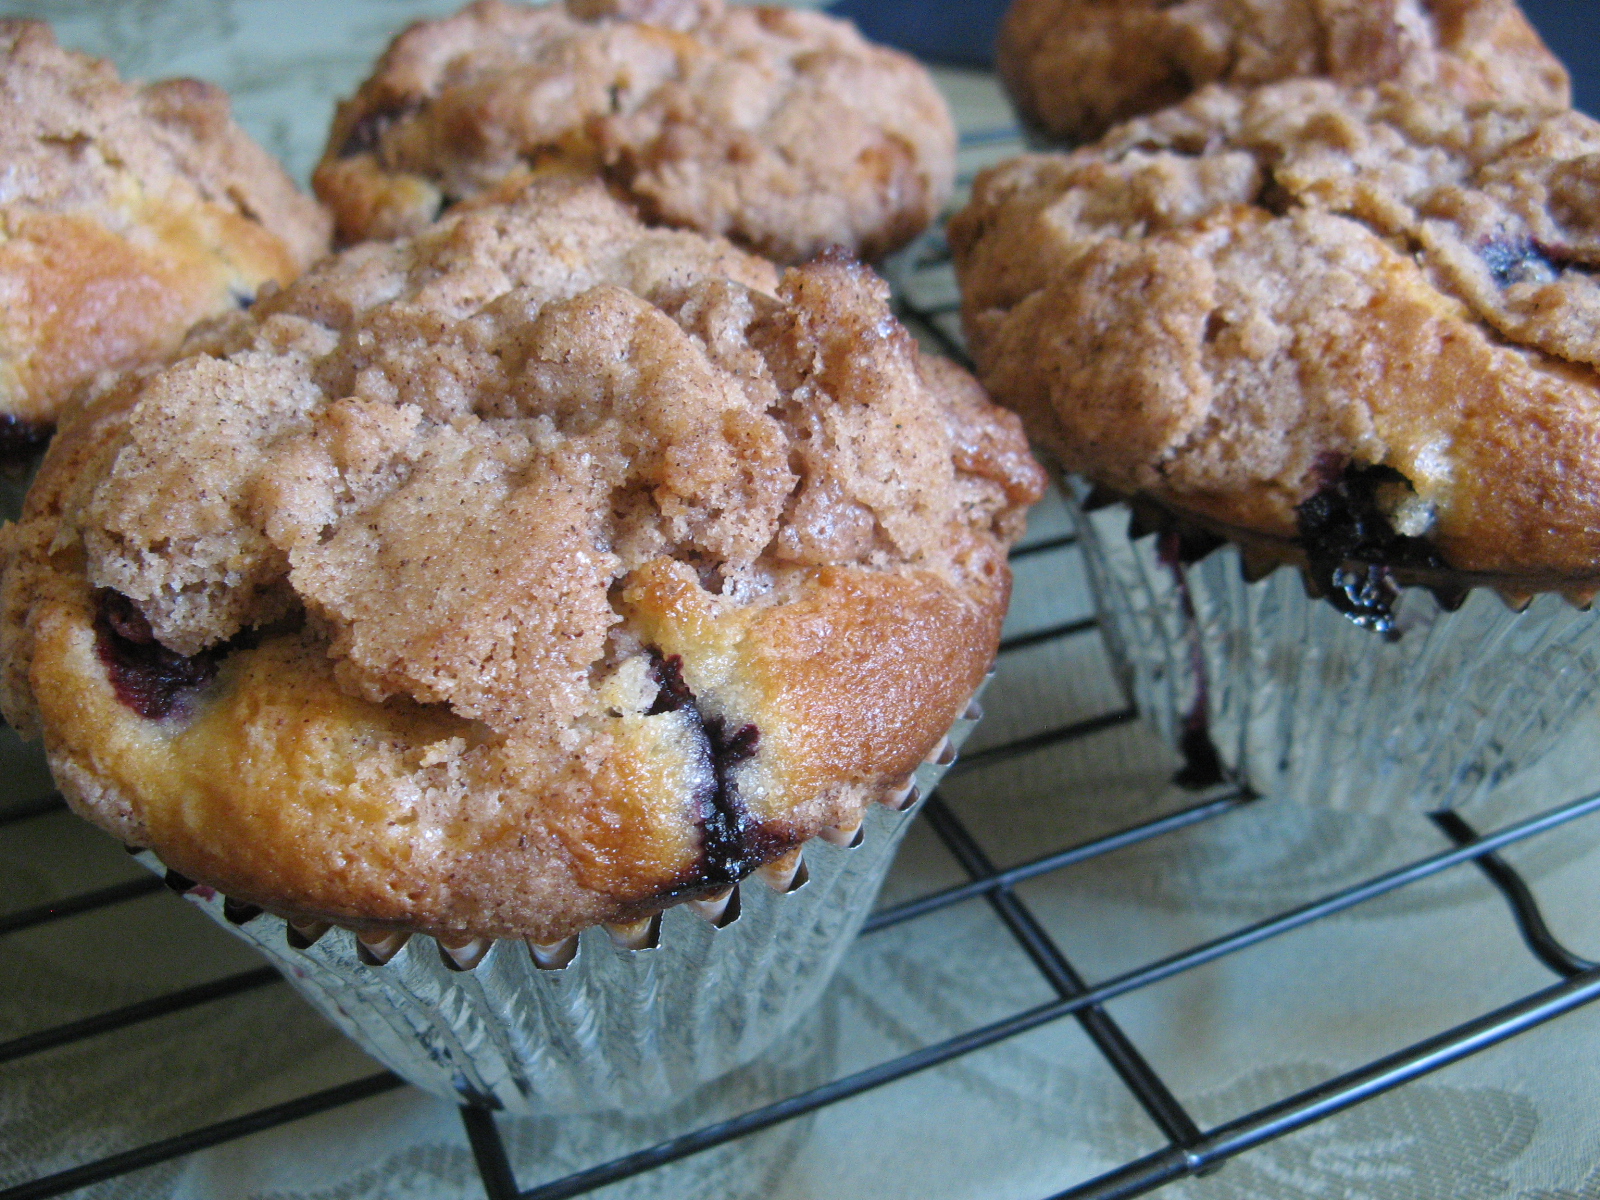
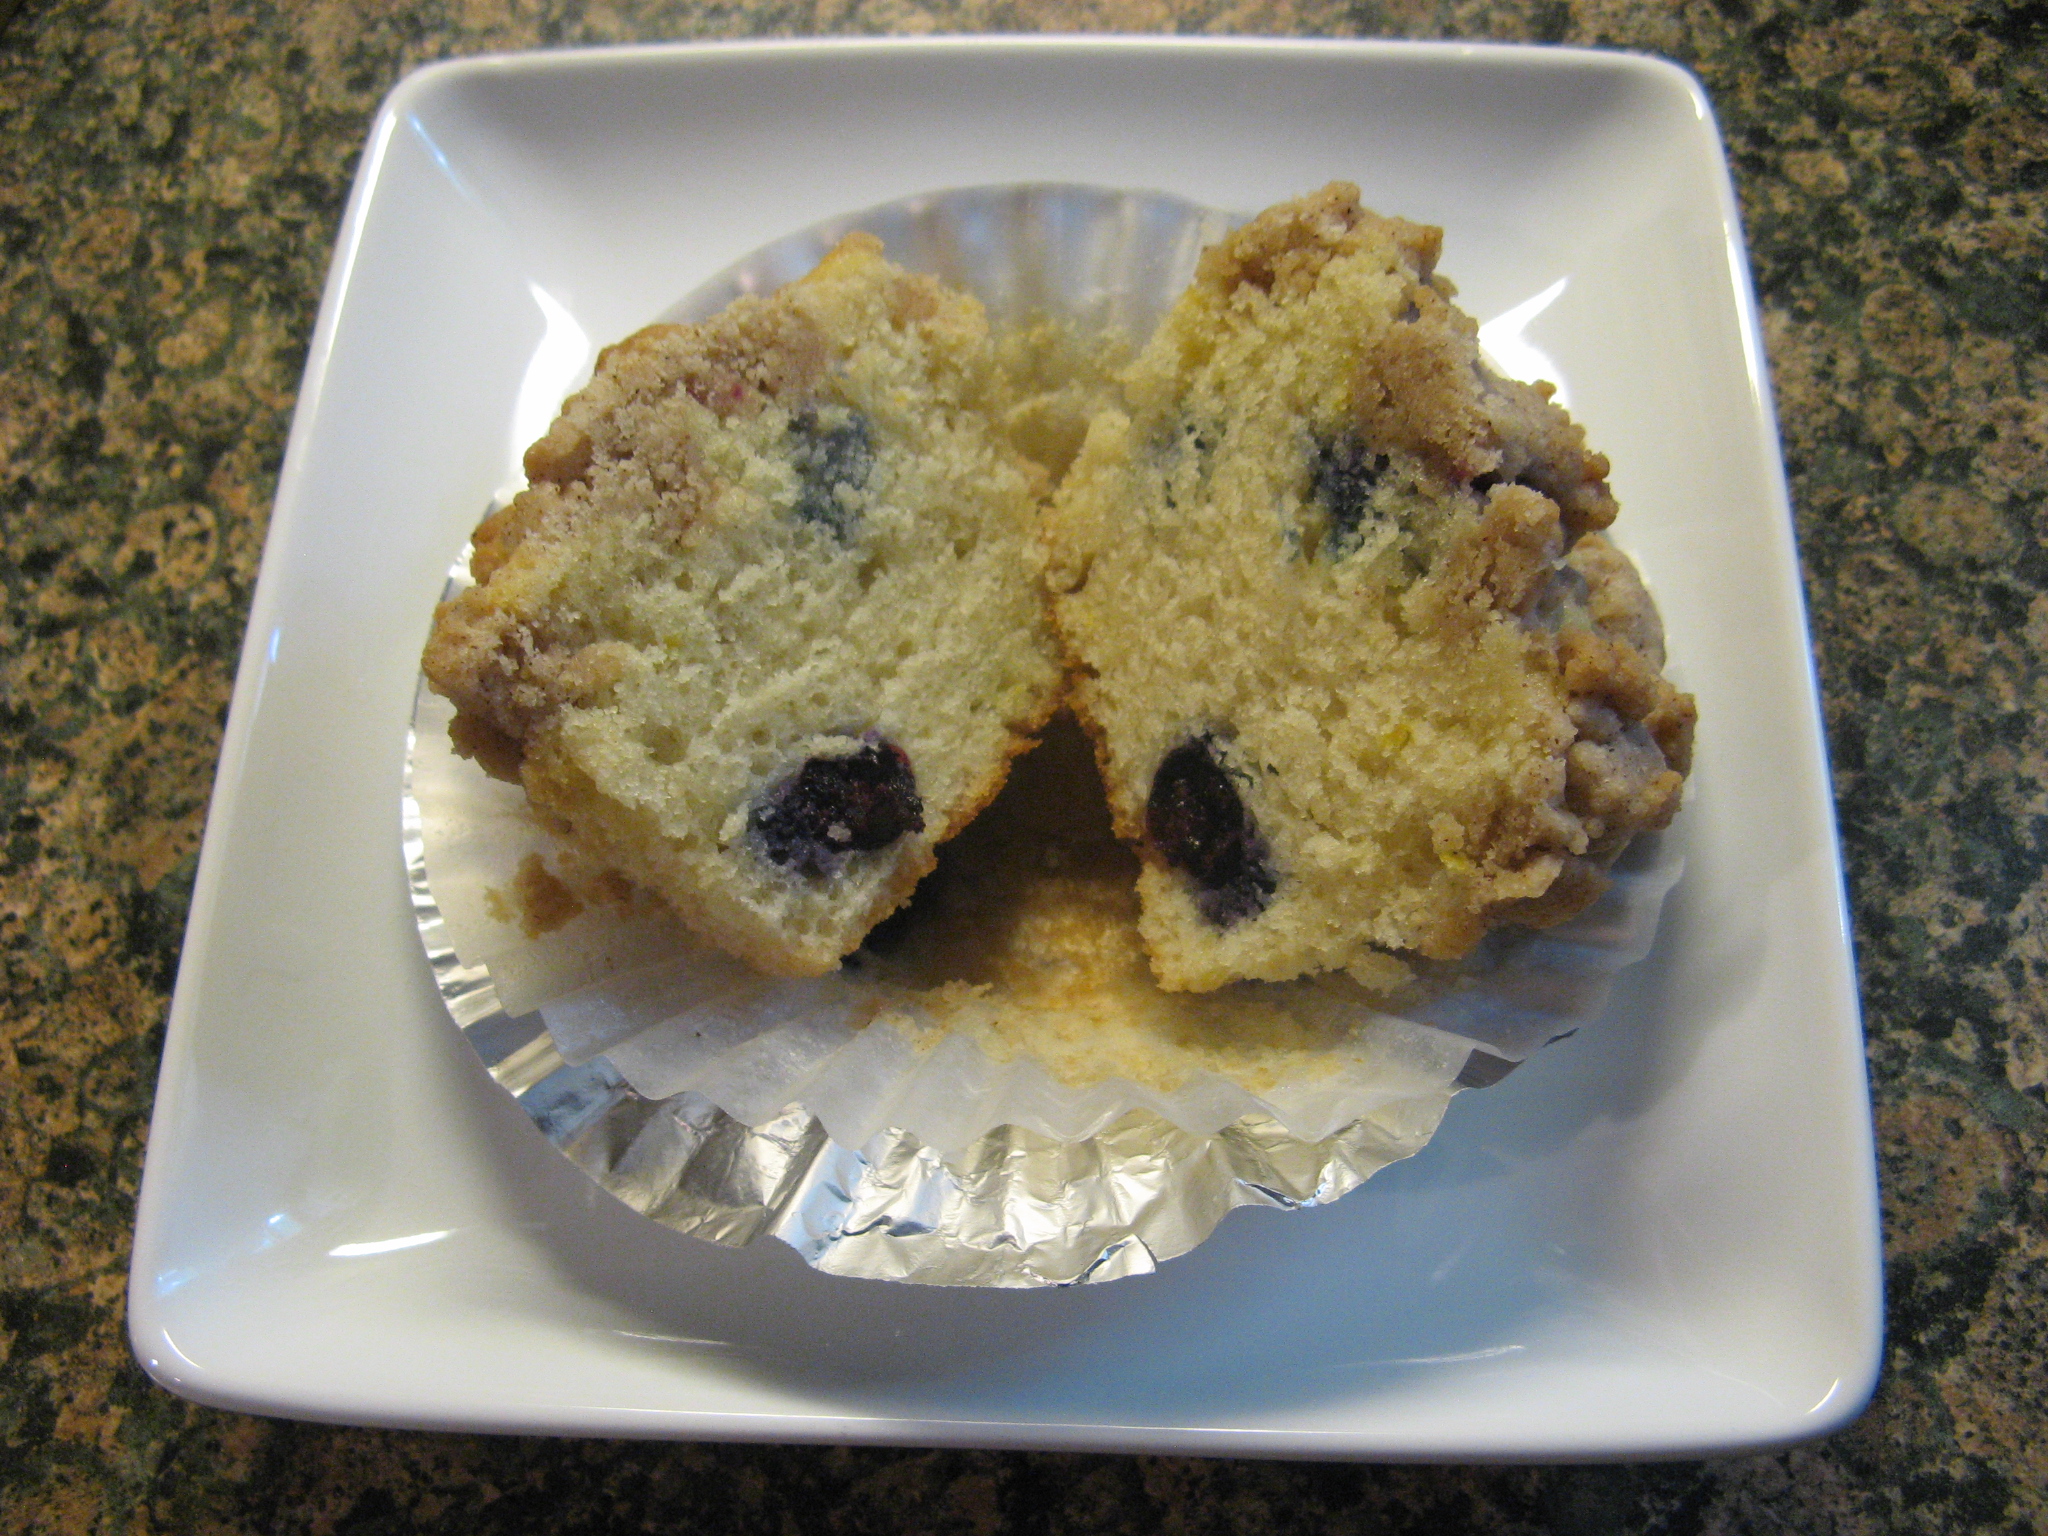
So last week I brought you a Peach Mango Pie and this week I am bringing you a Peach Blueberry Crumble. Besides the blueberries and it being a crumble the other big difference is that I used fresh fruit for this crumble.

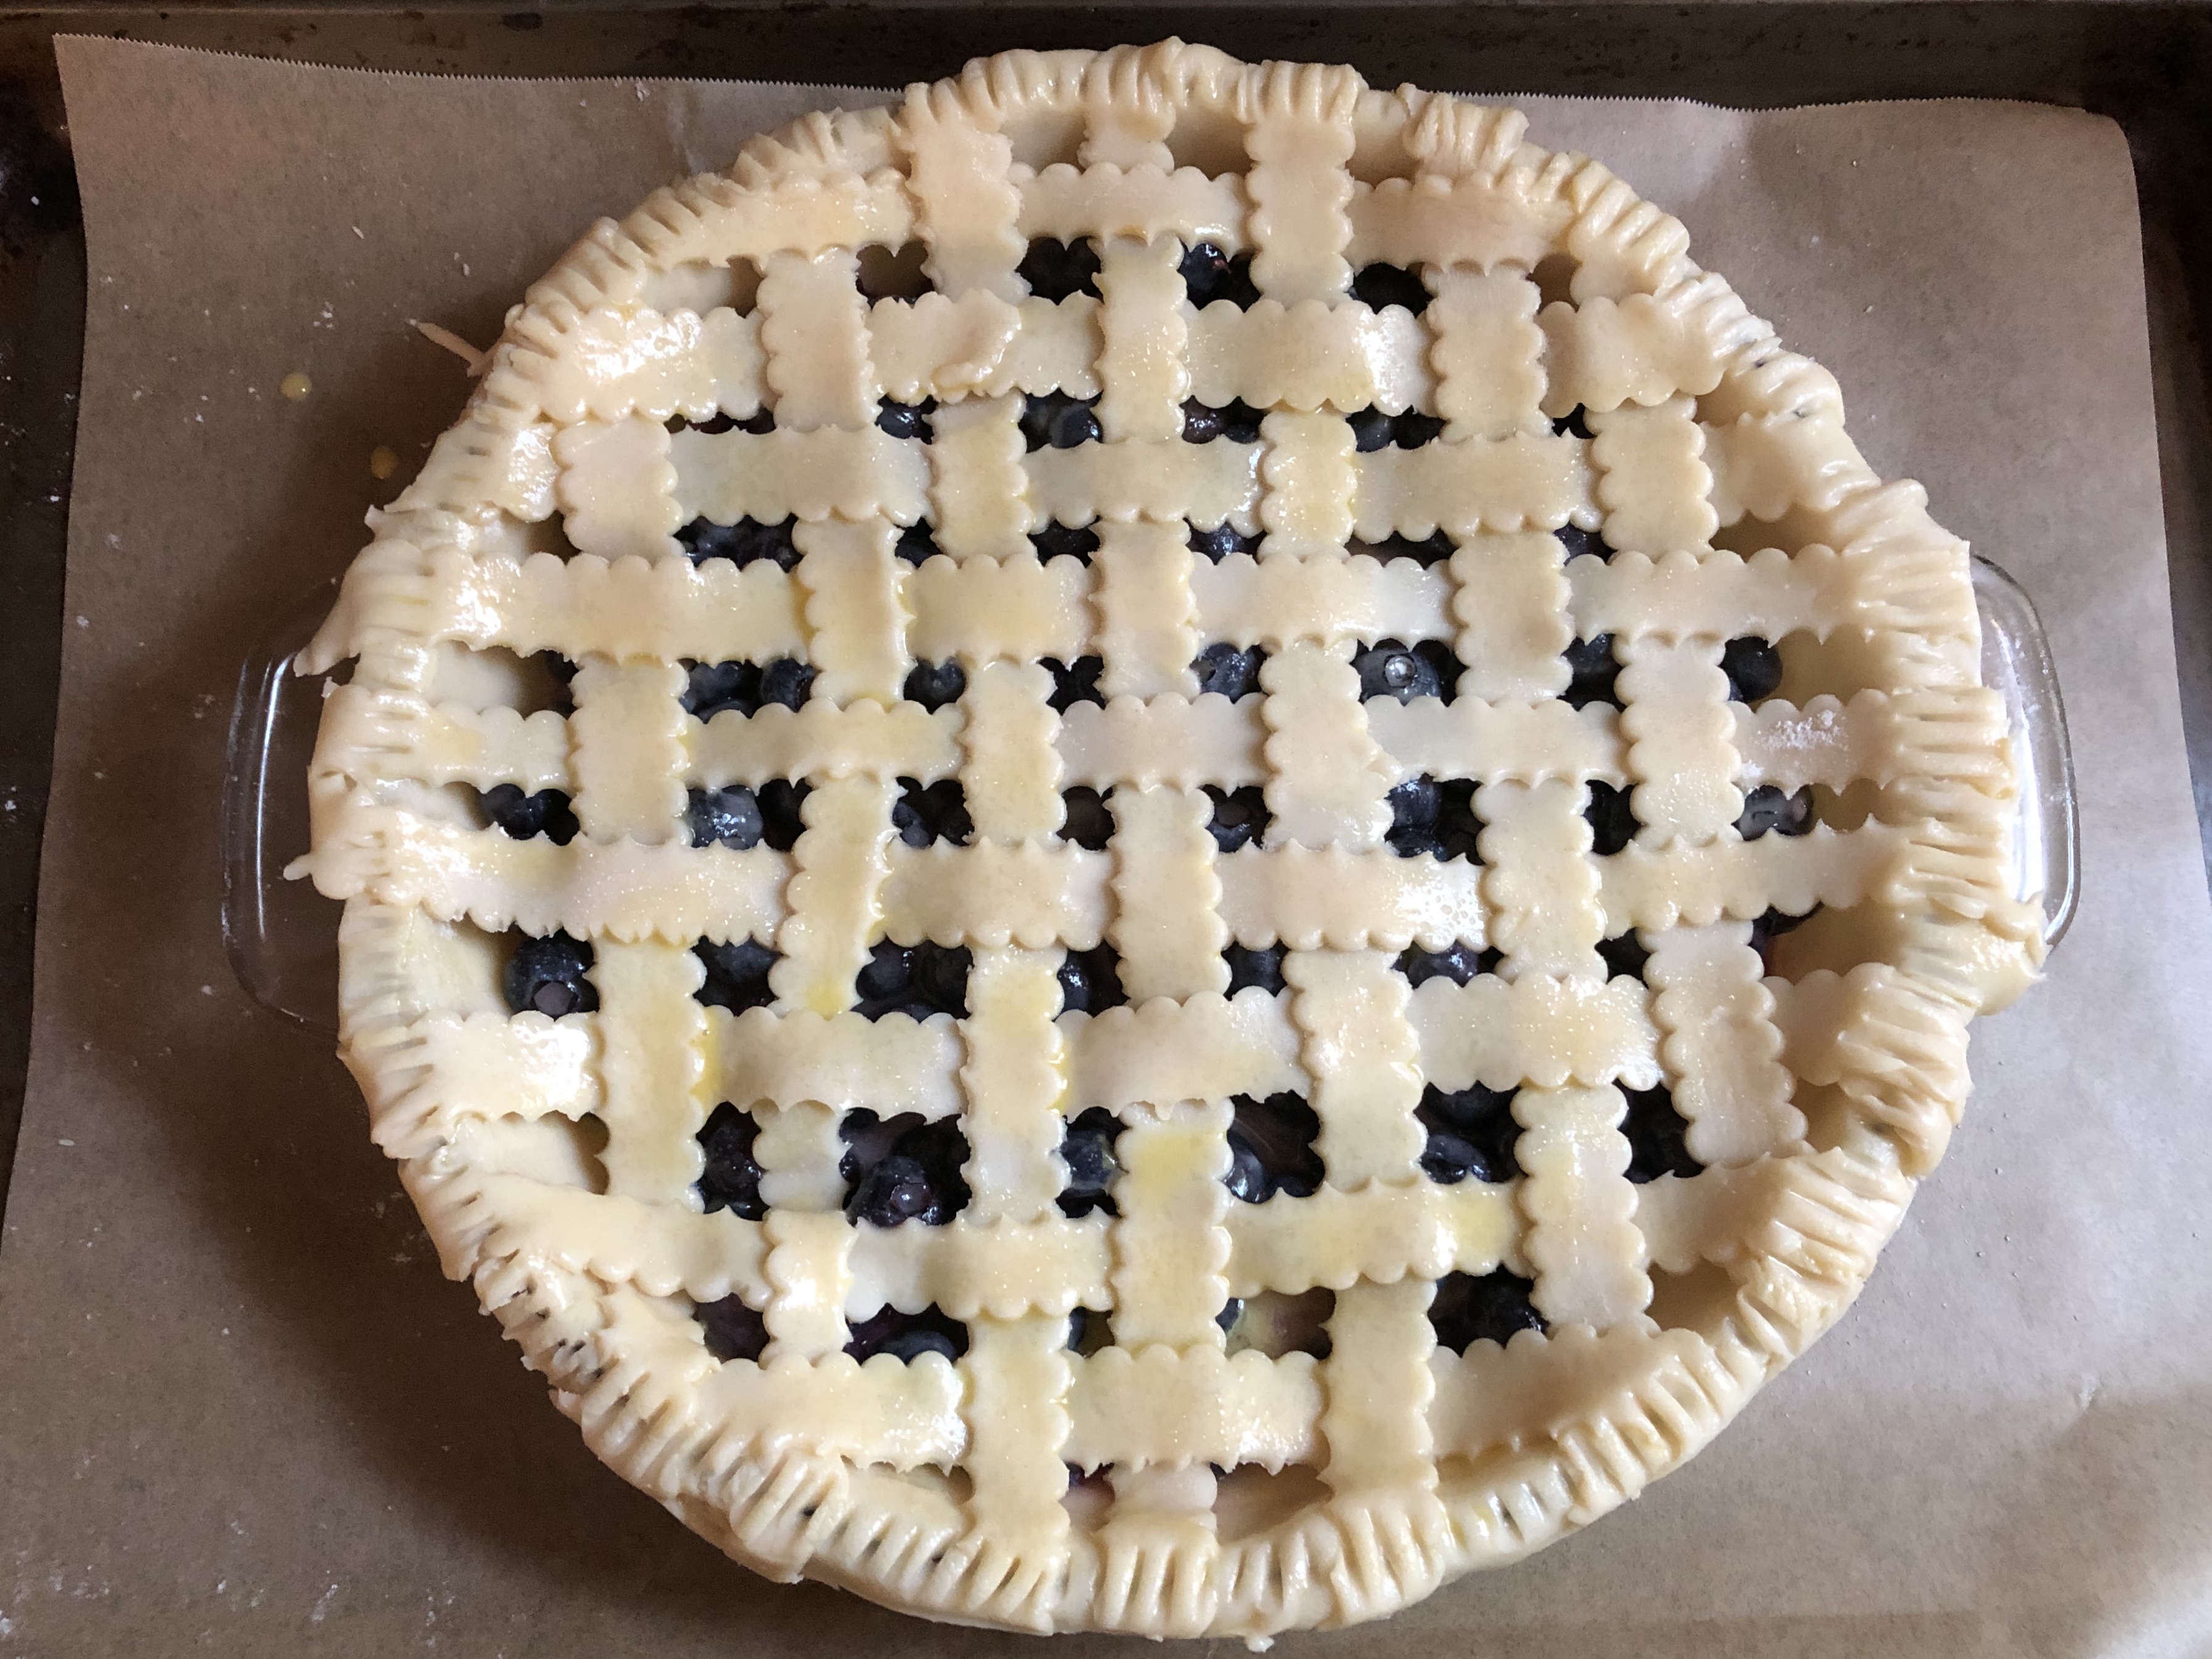
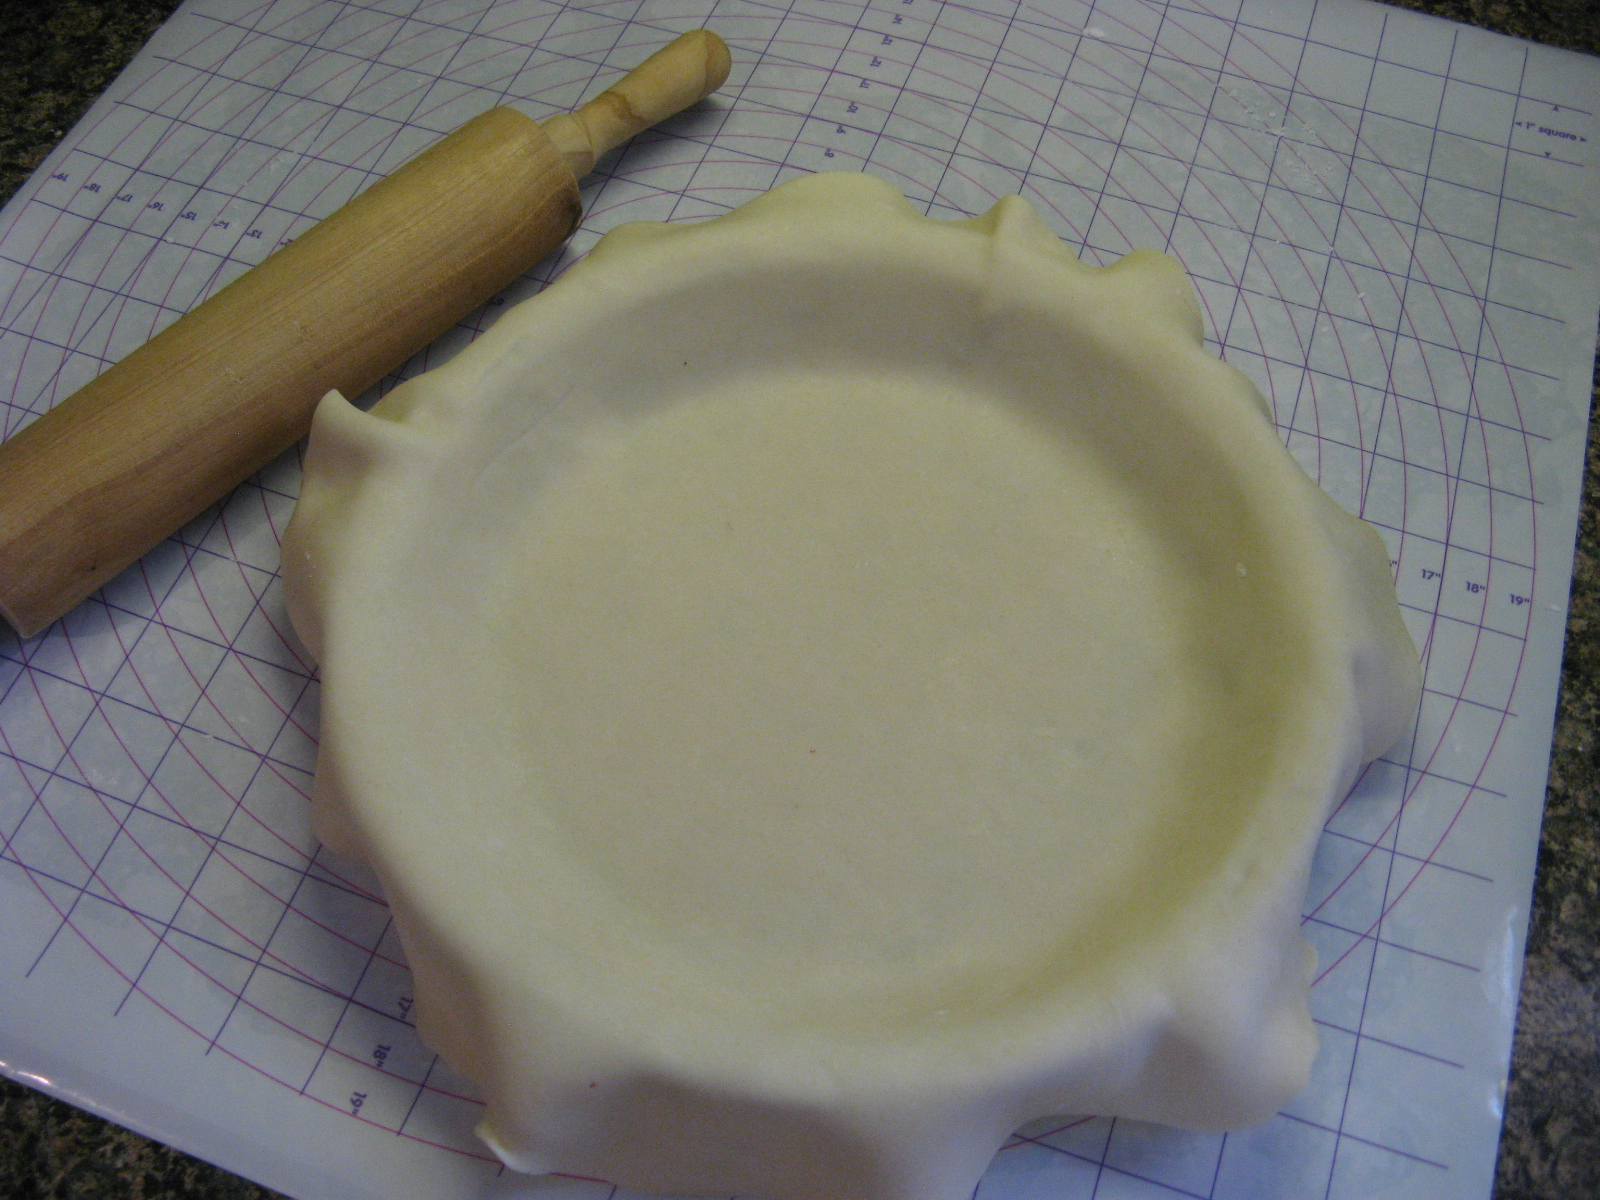
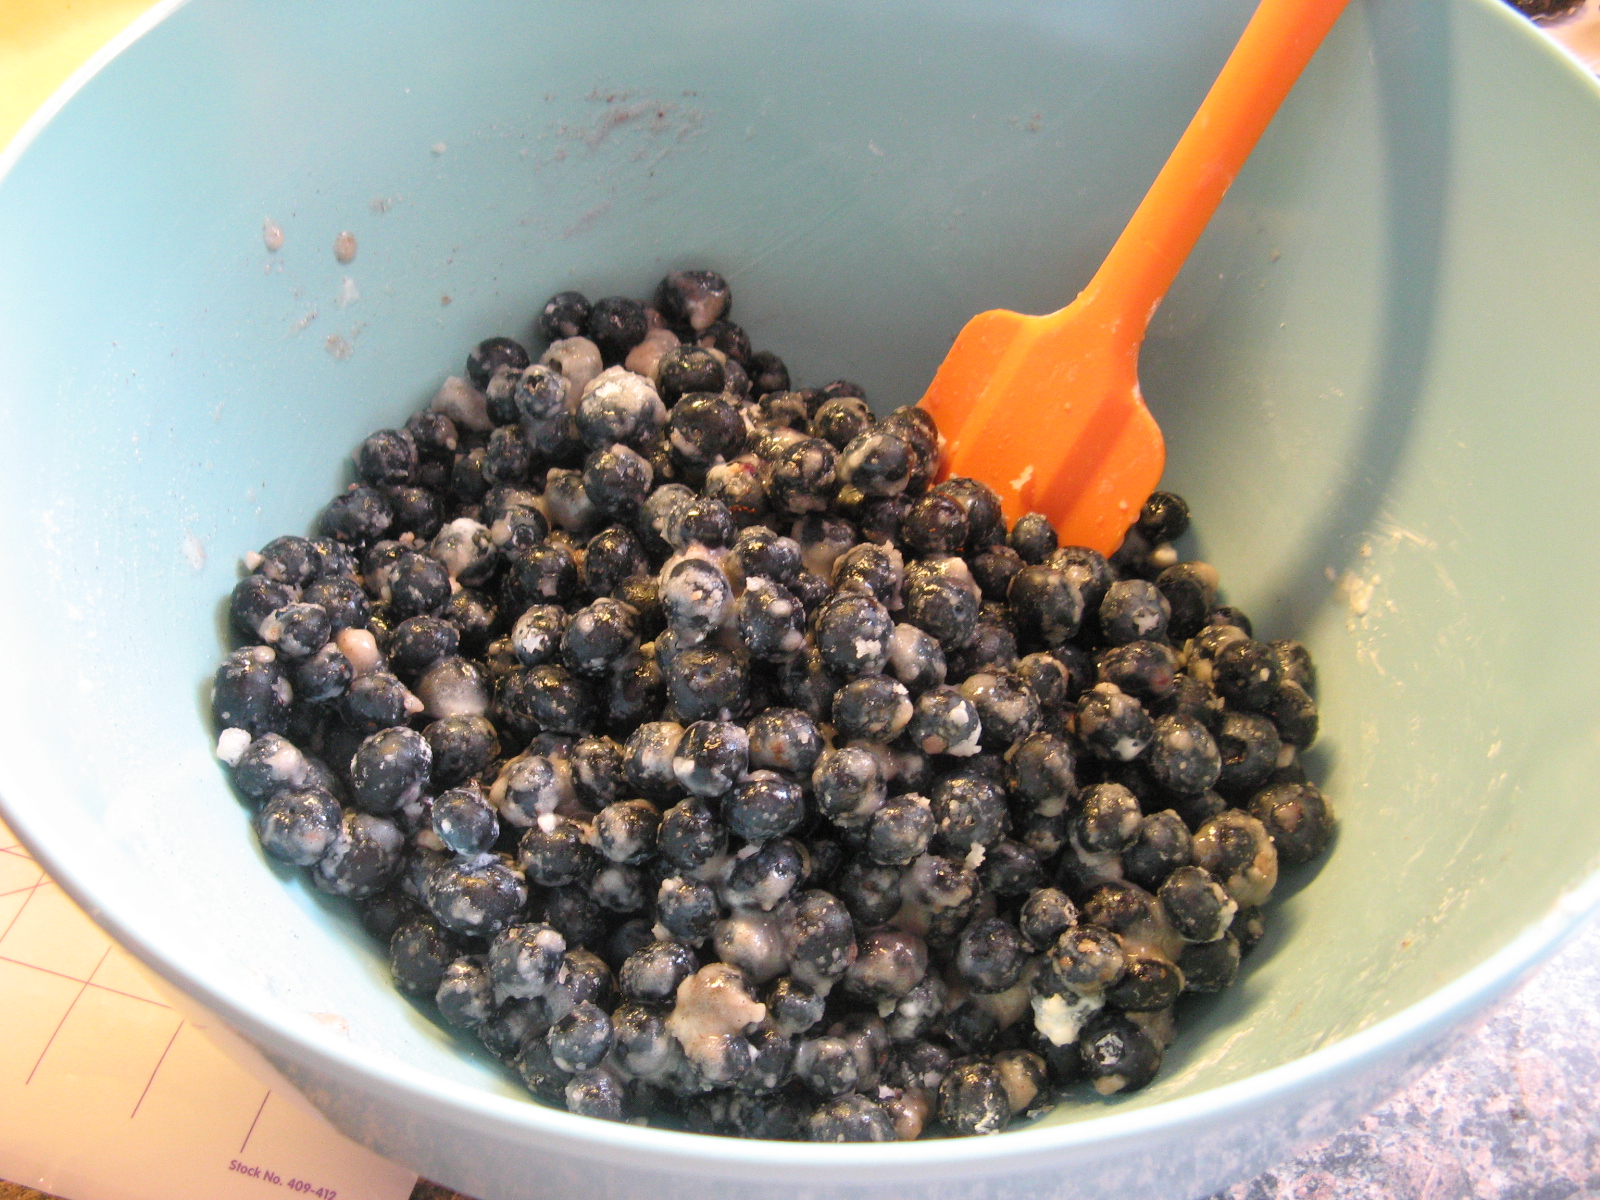
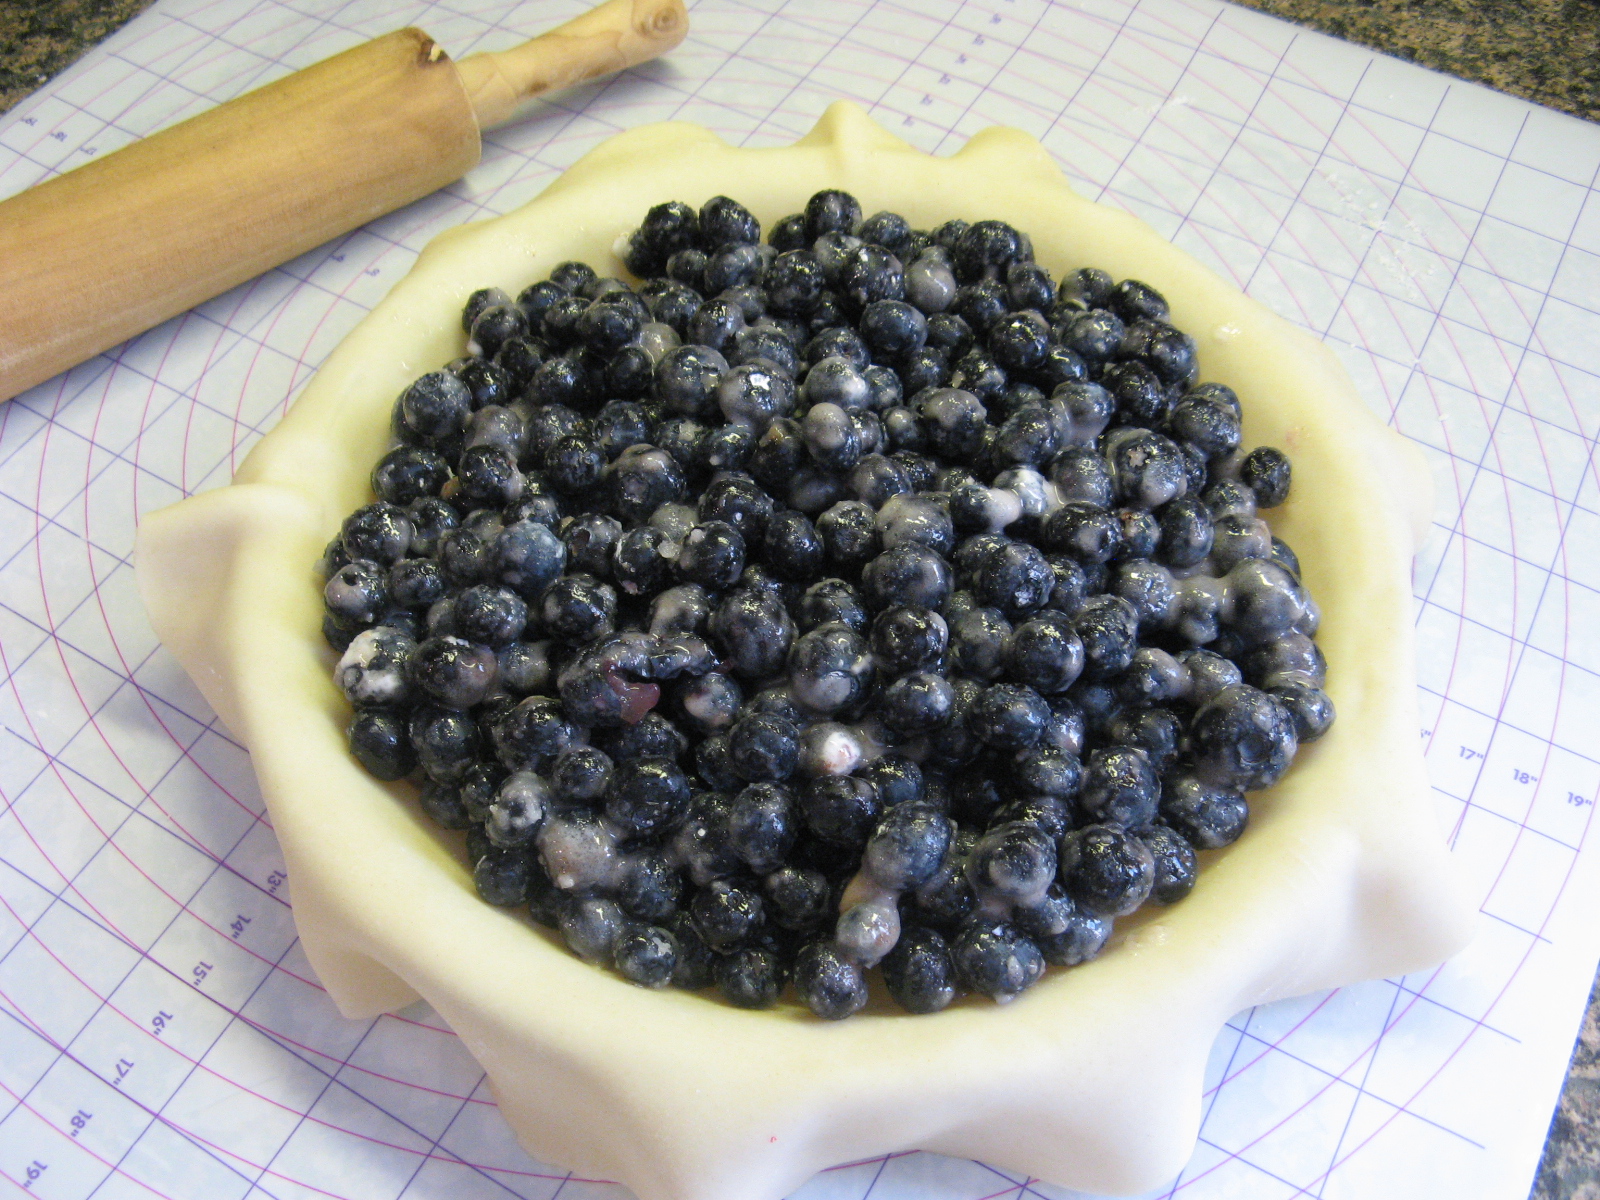
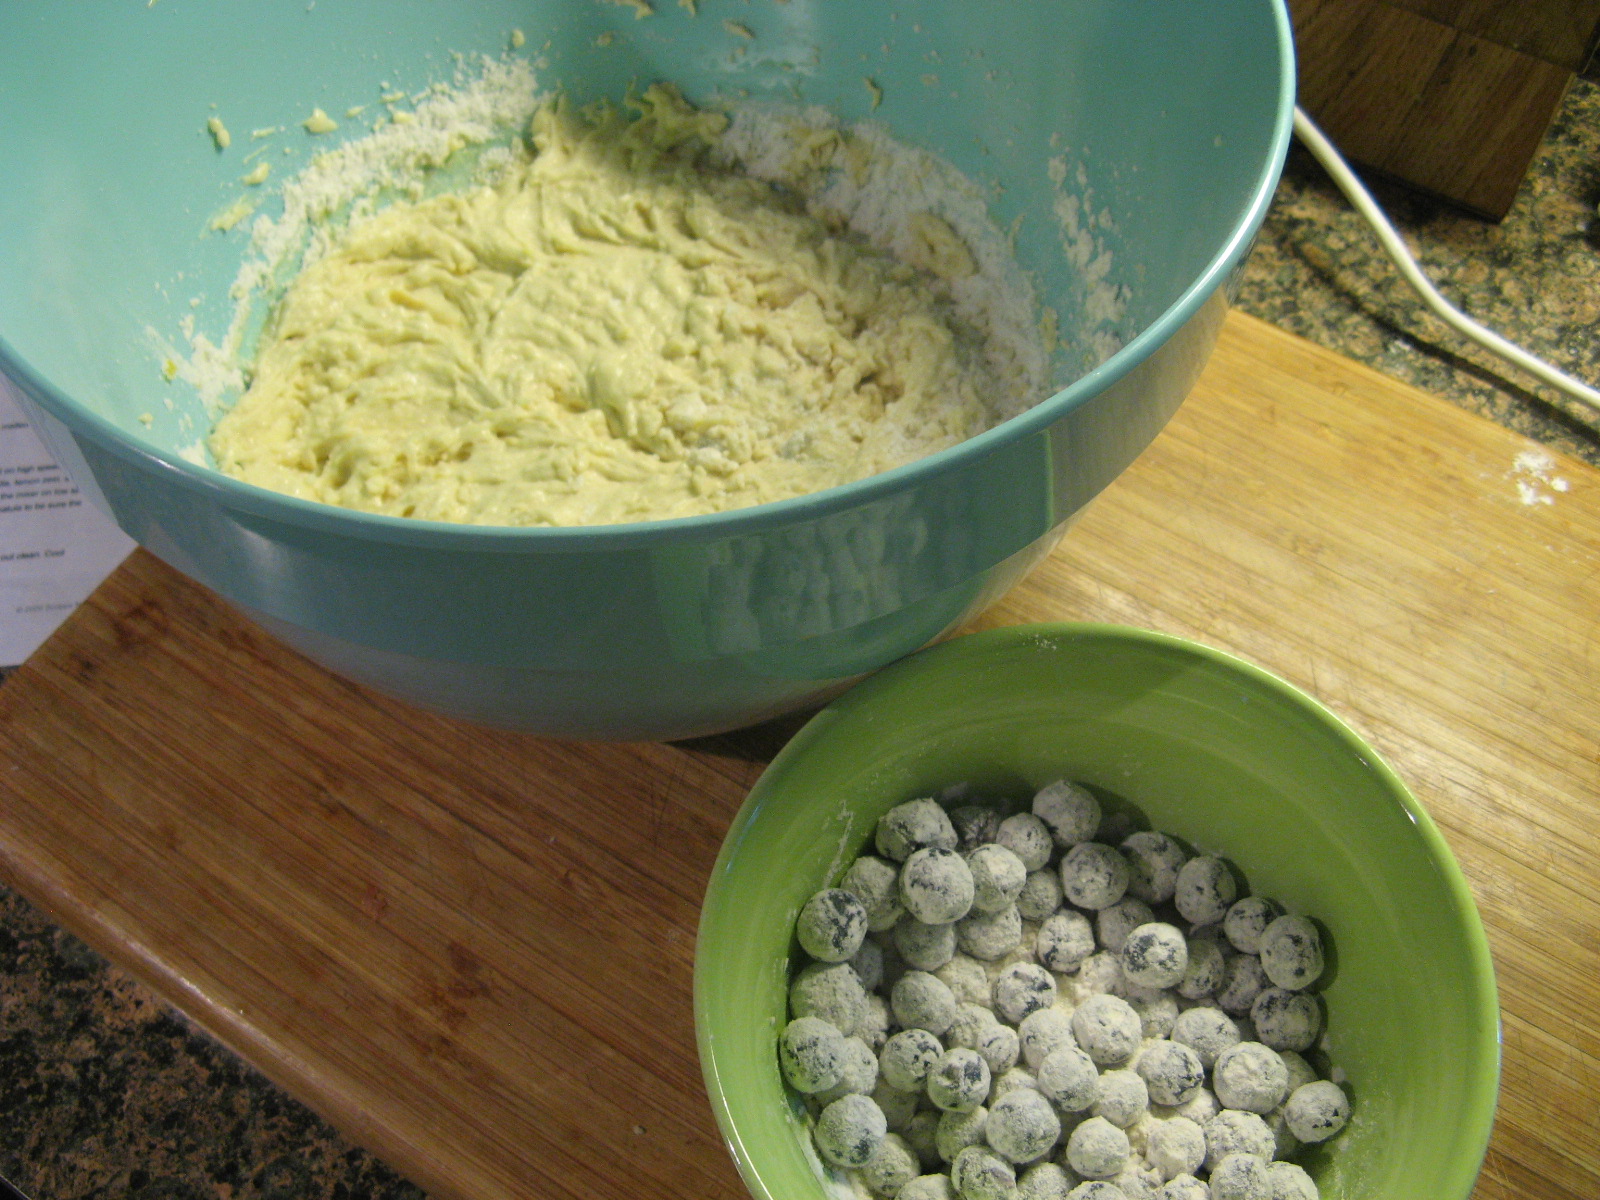
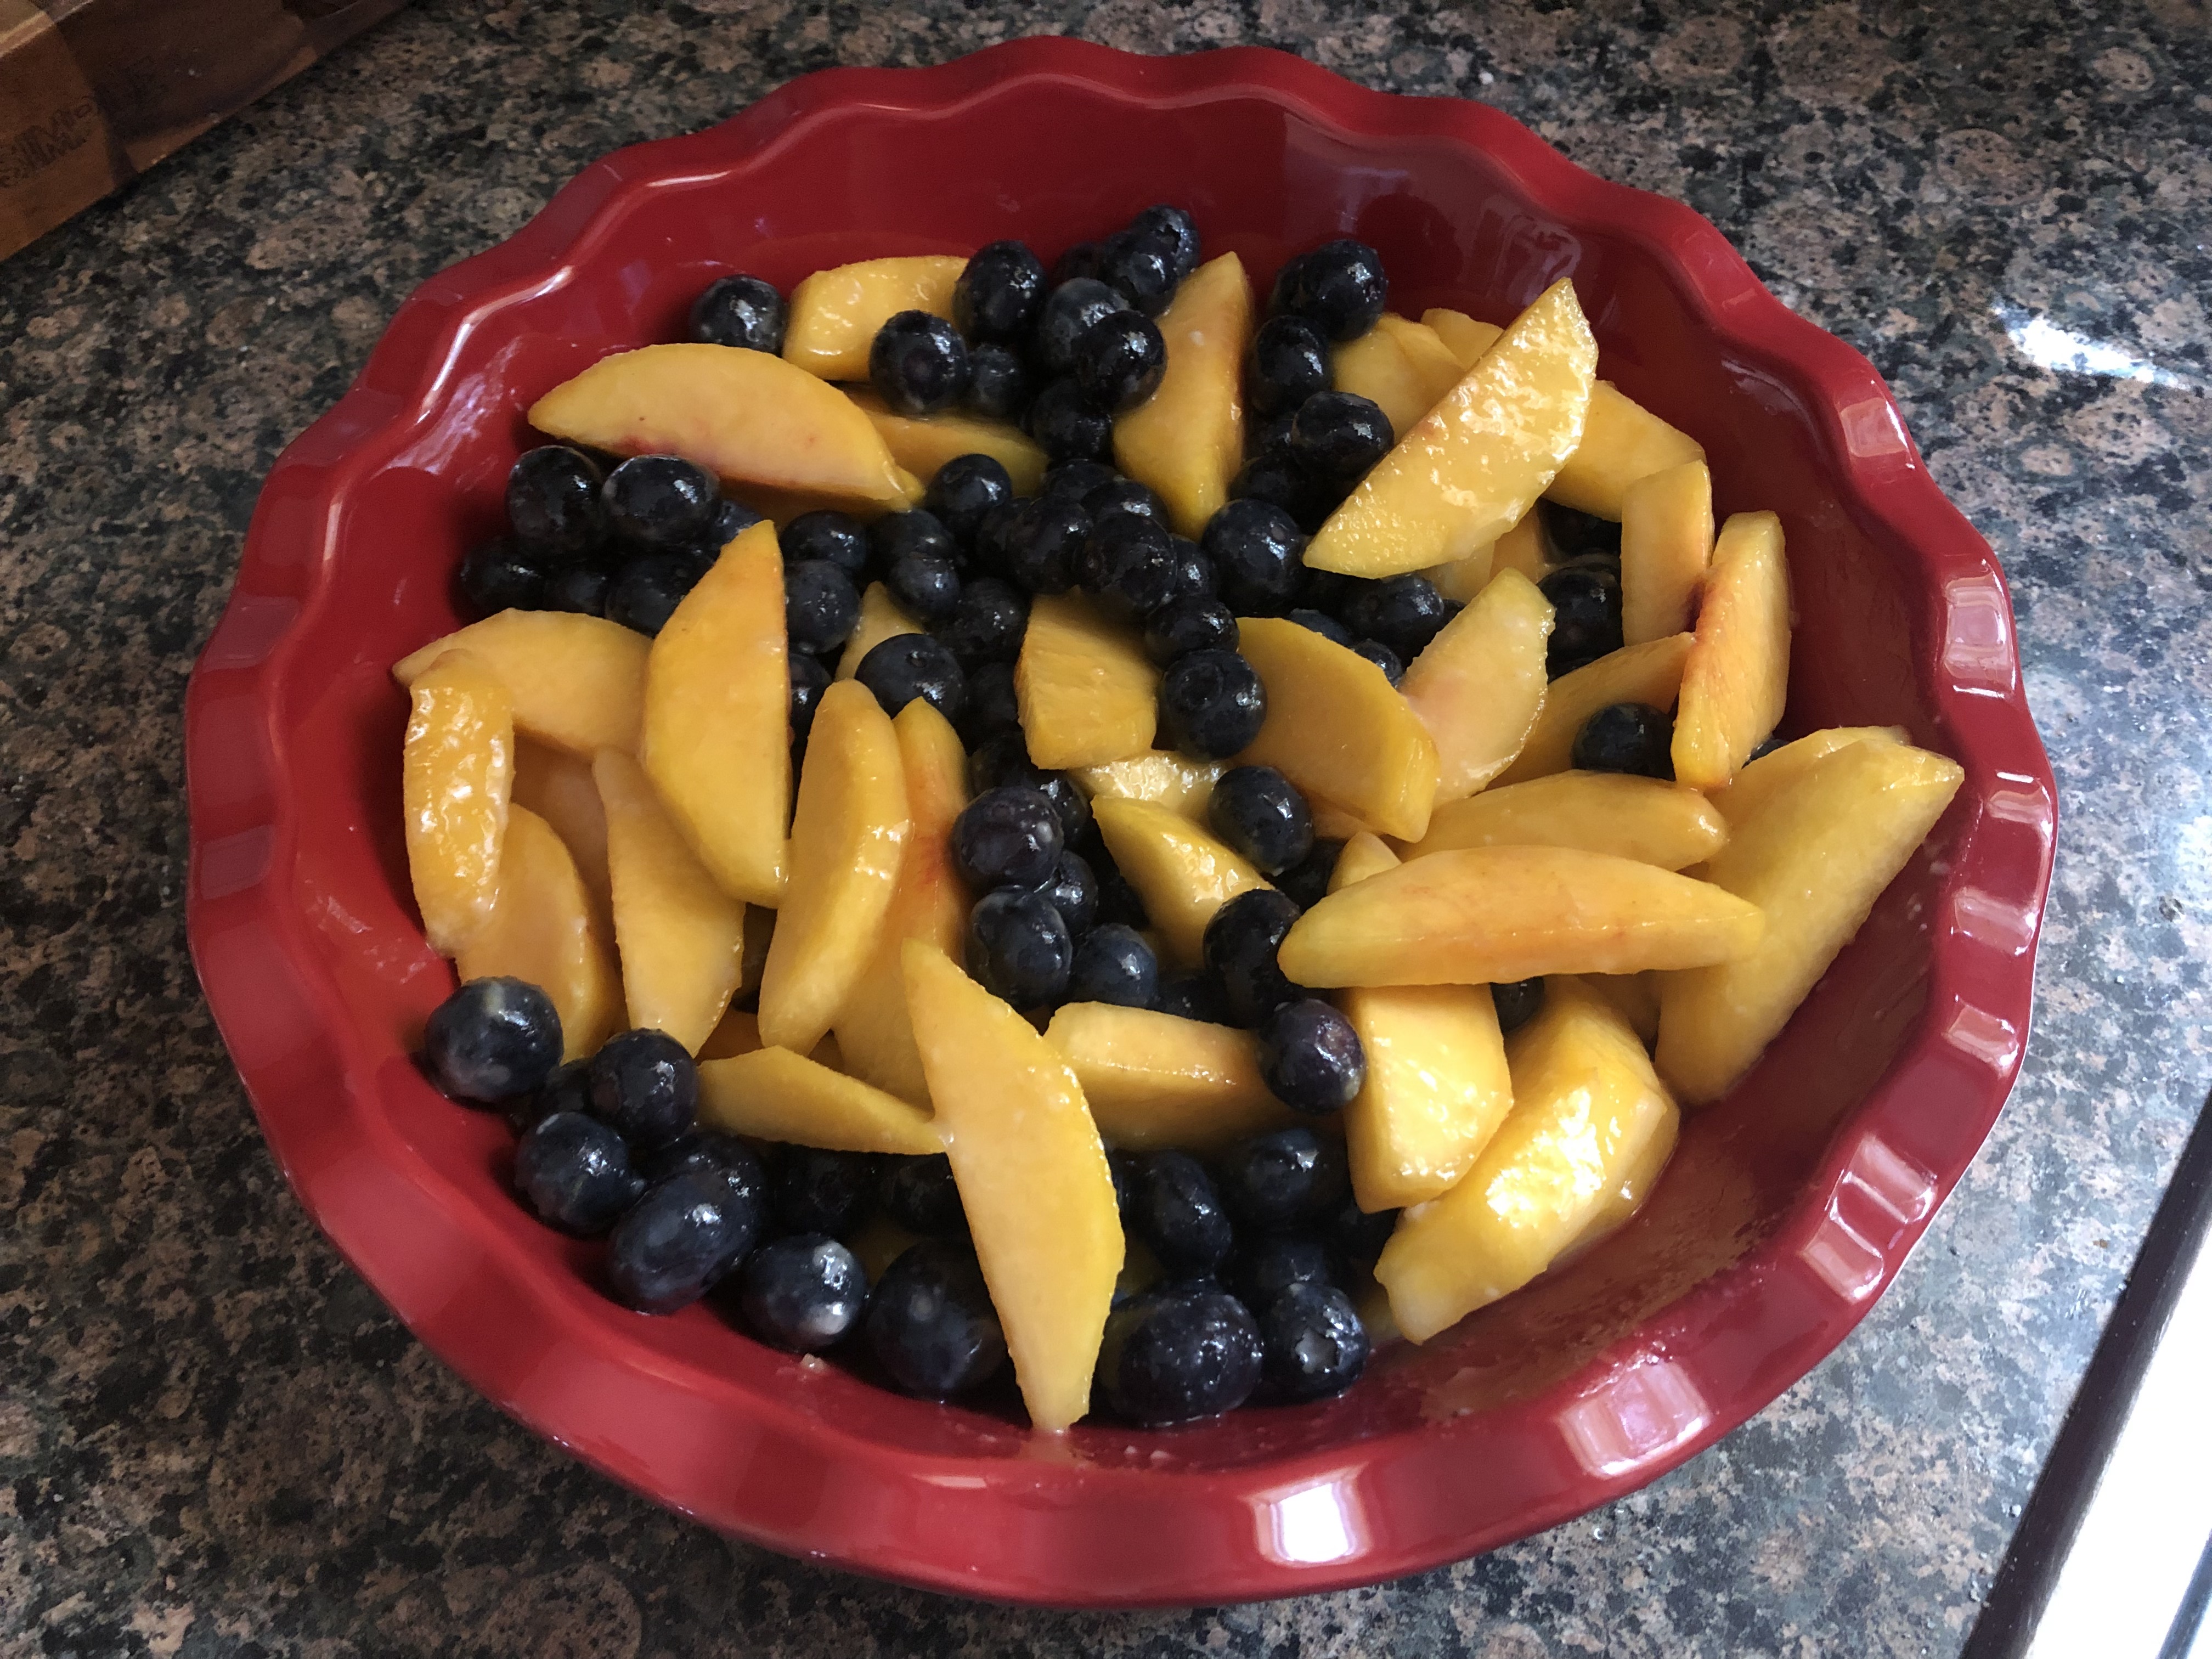
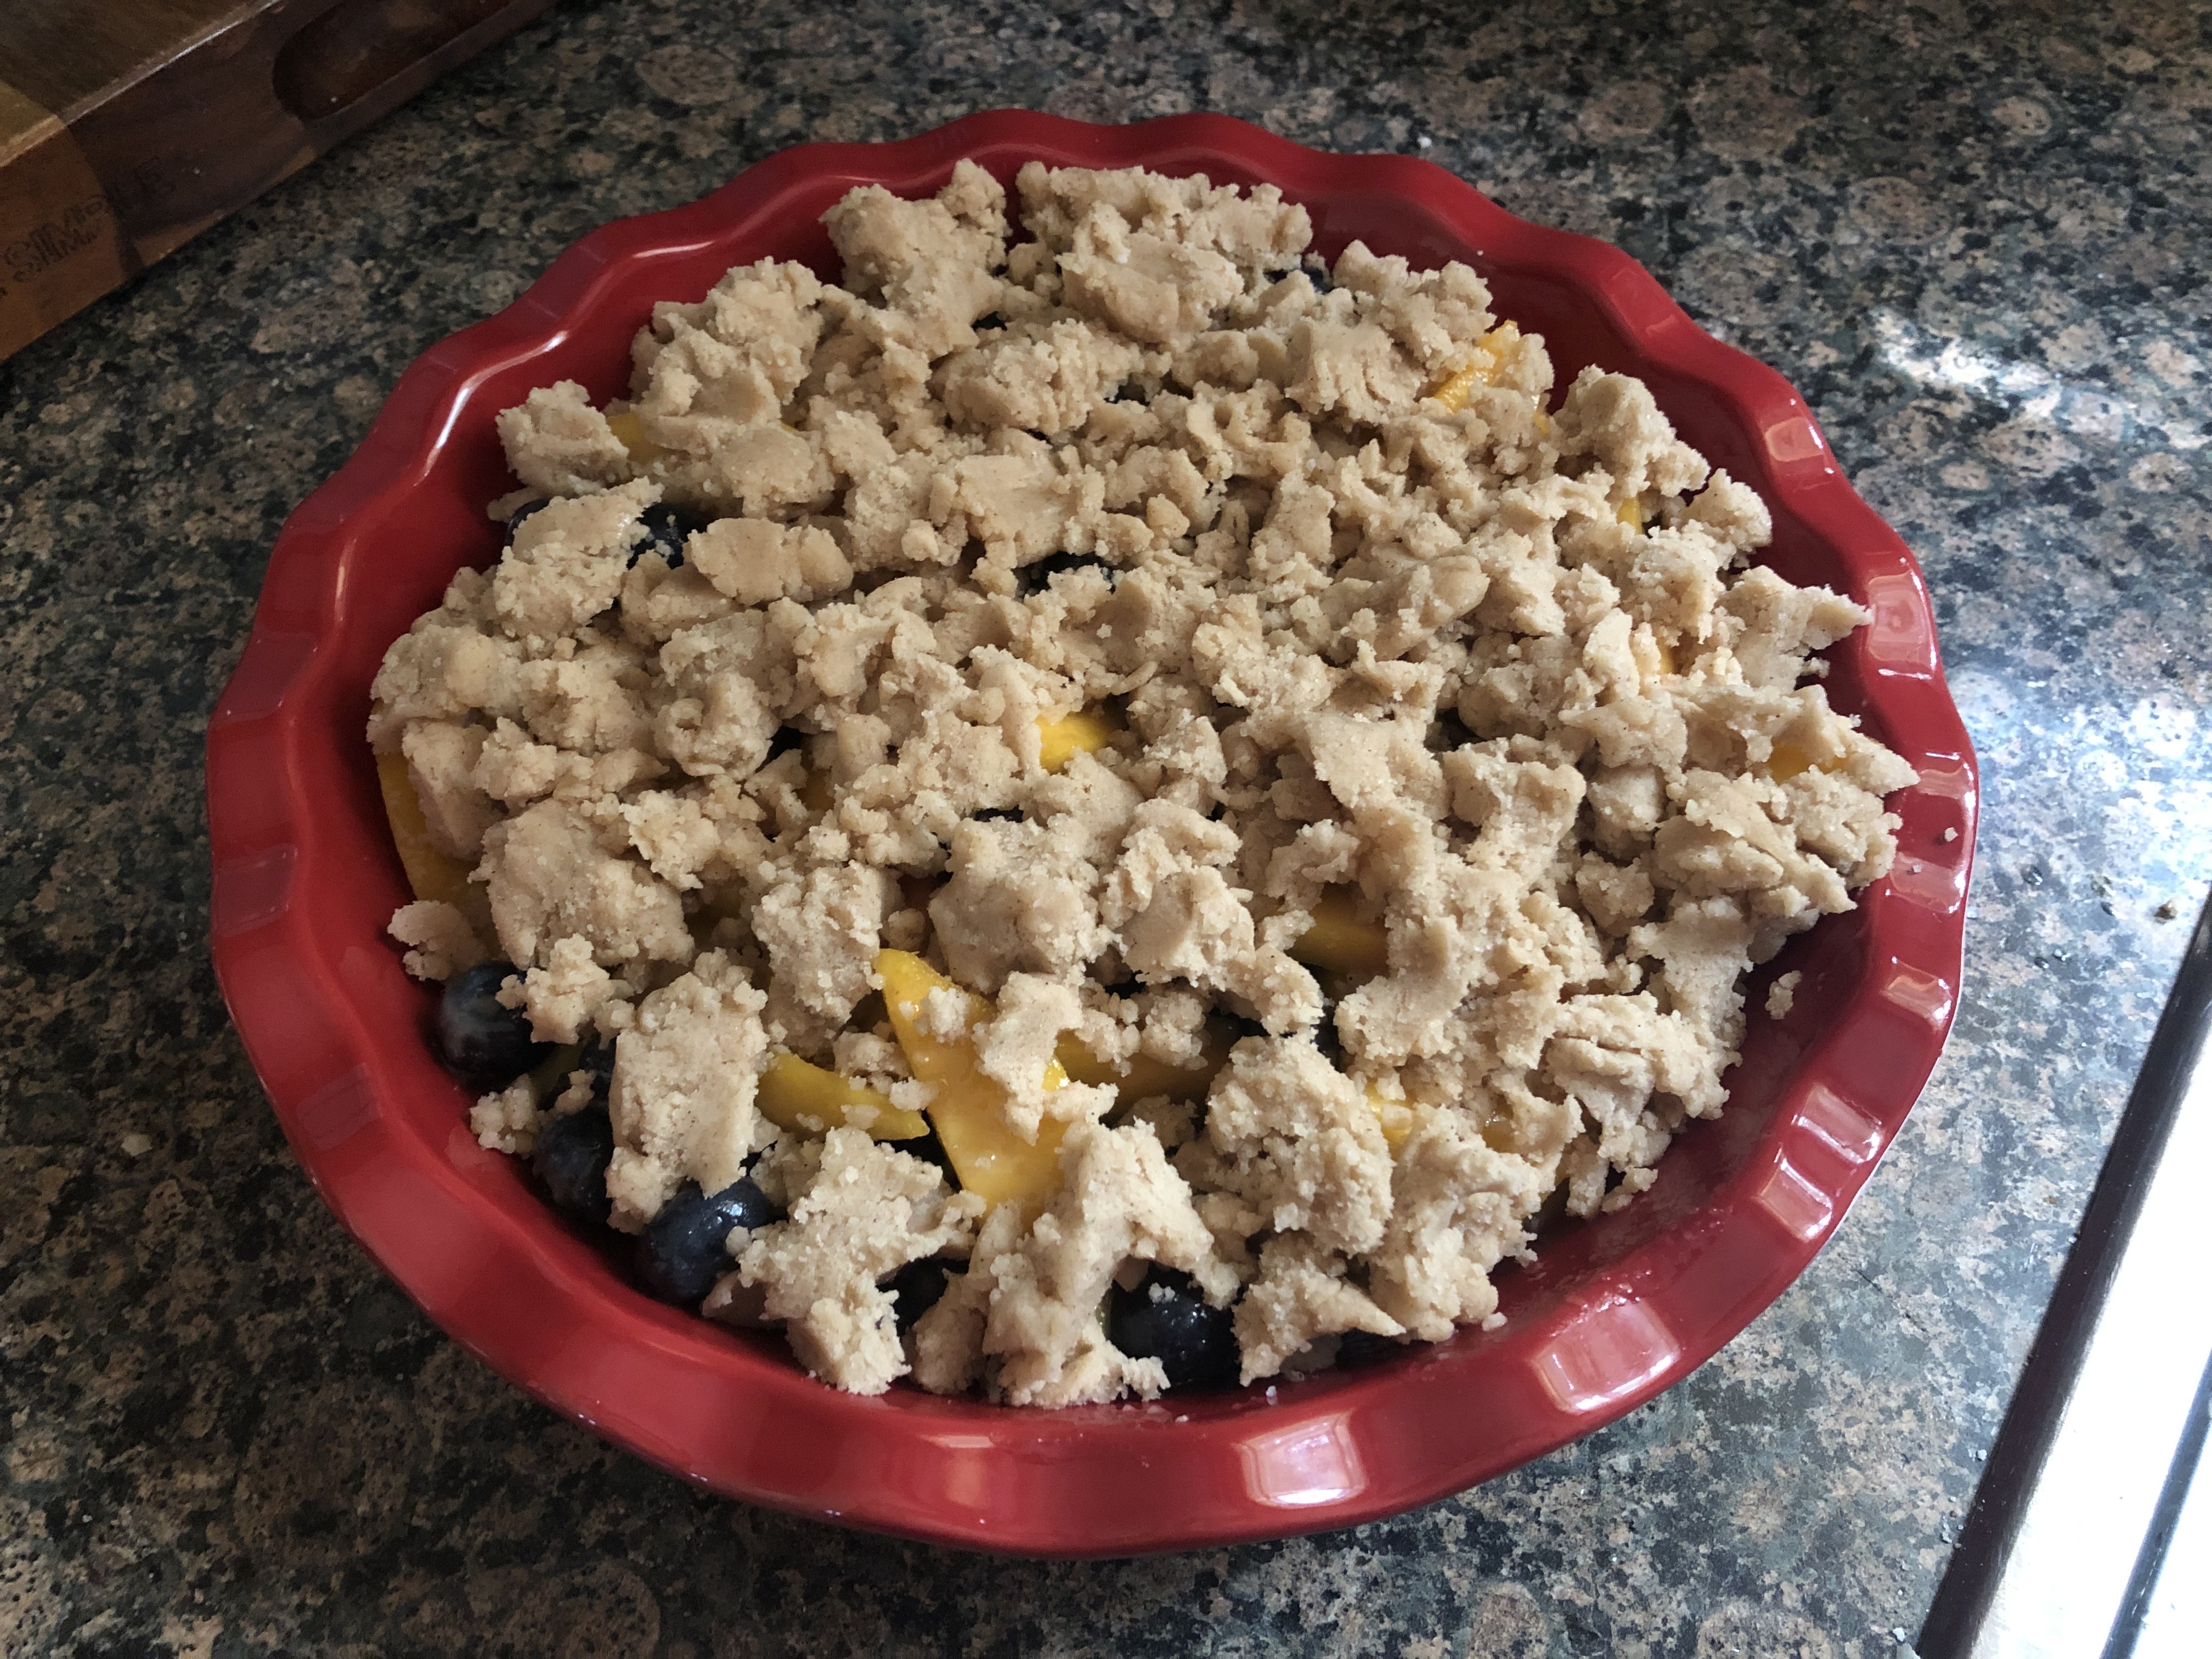
First thing I needed to do was peel the peaches. To make it easy I opted to blanch them. I brought a pot of water to a boil and then added the peaches for about a minute. While the peaches were boiling, I placed a colander in my sink and ran cold water over it. Once the peaches were ready, I transferred them to the colander and let the cold water cool them down. It was then easy to peel off the skin using a paring knife and then slice the peaches into wedges. Along with the peaches, I folded together blueberries, lemon juice, lemon zest, sugar and flour. After letting it sit for a few minutes I transferred it to a 9-inch pie dish.

Next, I made the crumble topping. If you have a stand mixer, I highly suggest using it to make the topping. I opted to use my hand mixer instead and it took much longer to get the consistency – small peas – I needed and some of the mixture went flying out of the bowl while I was mixing it.

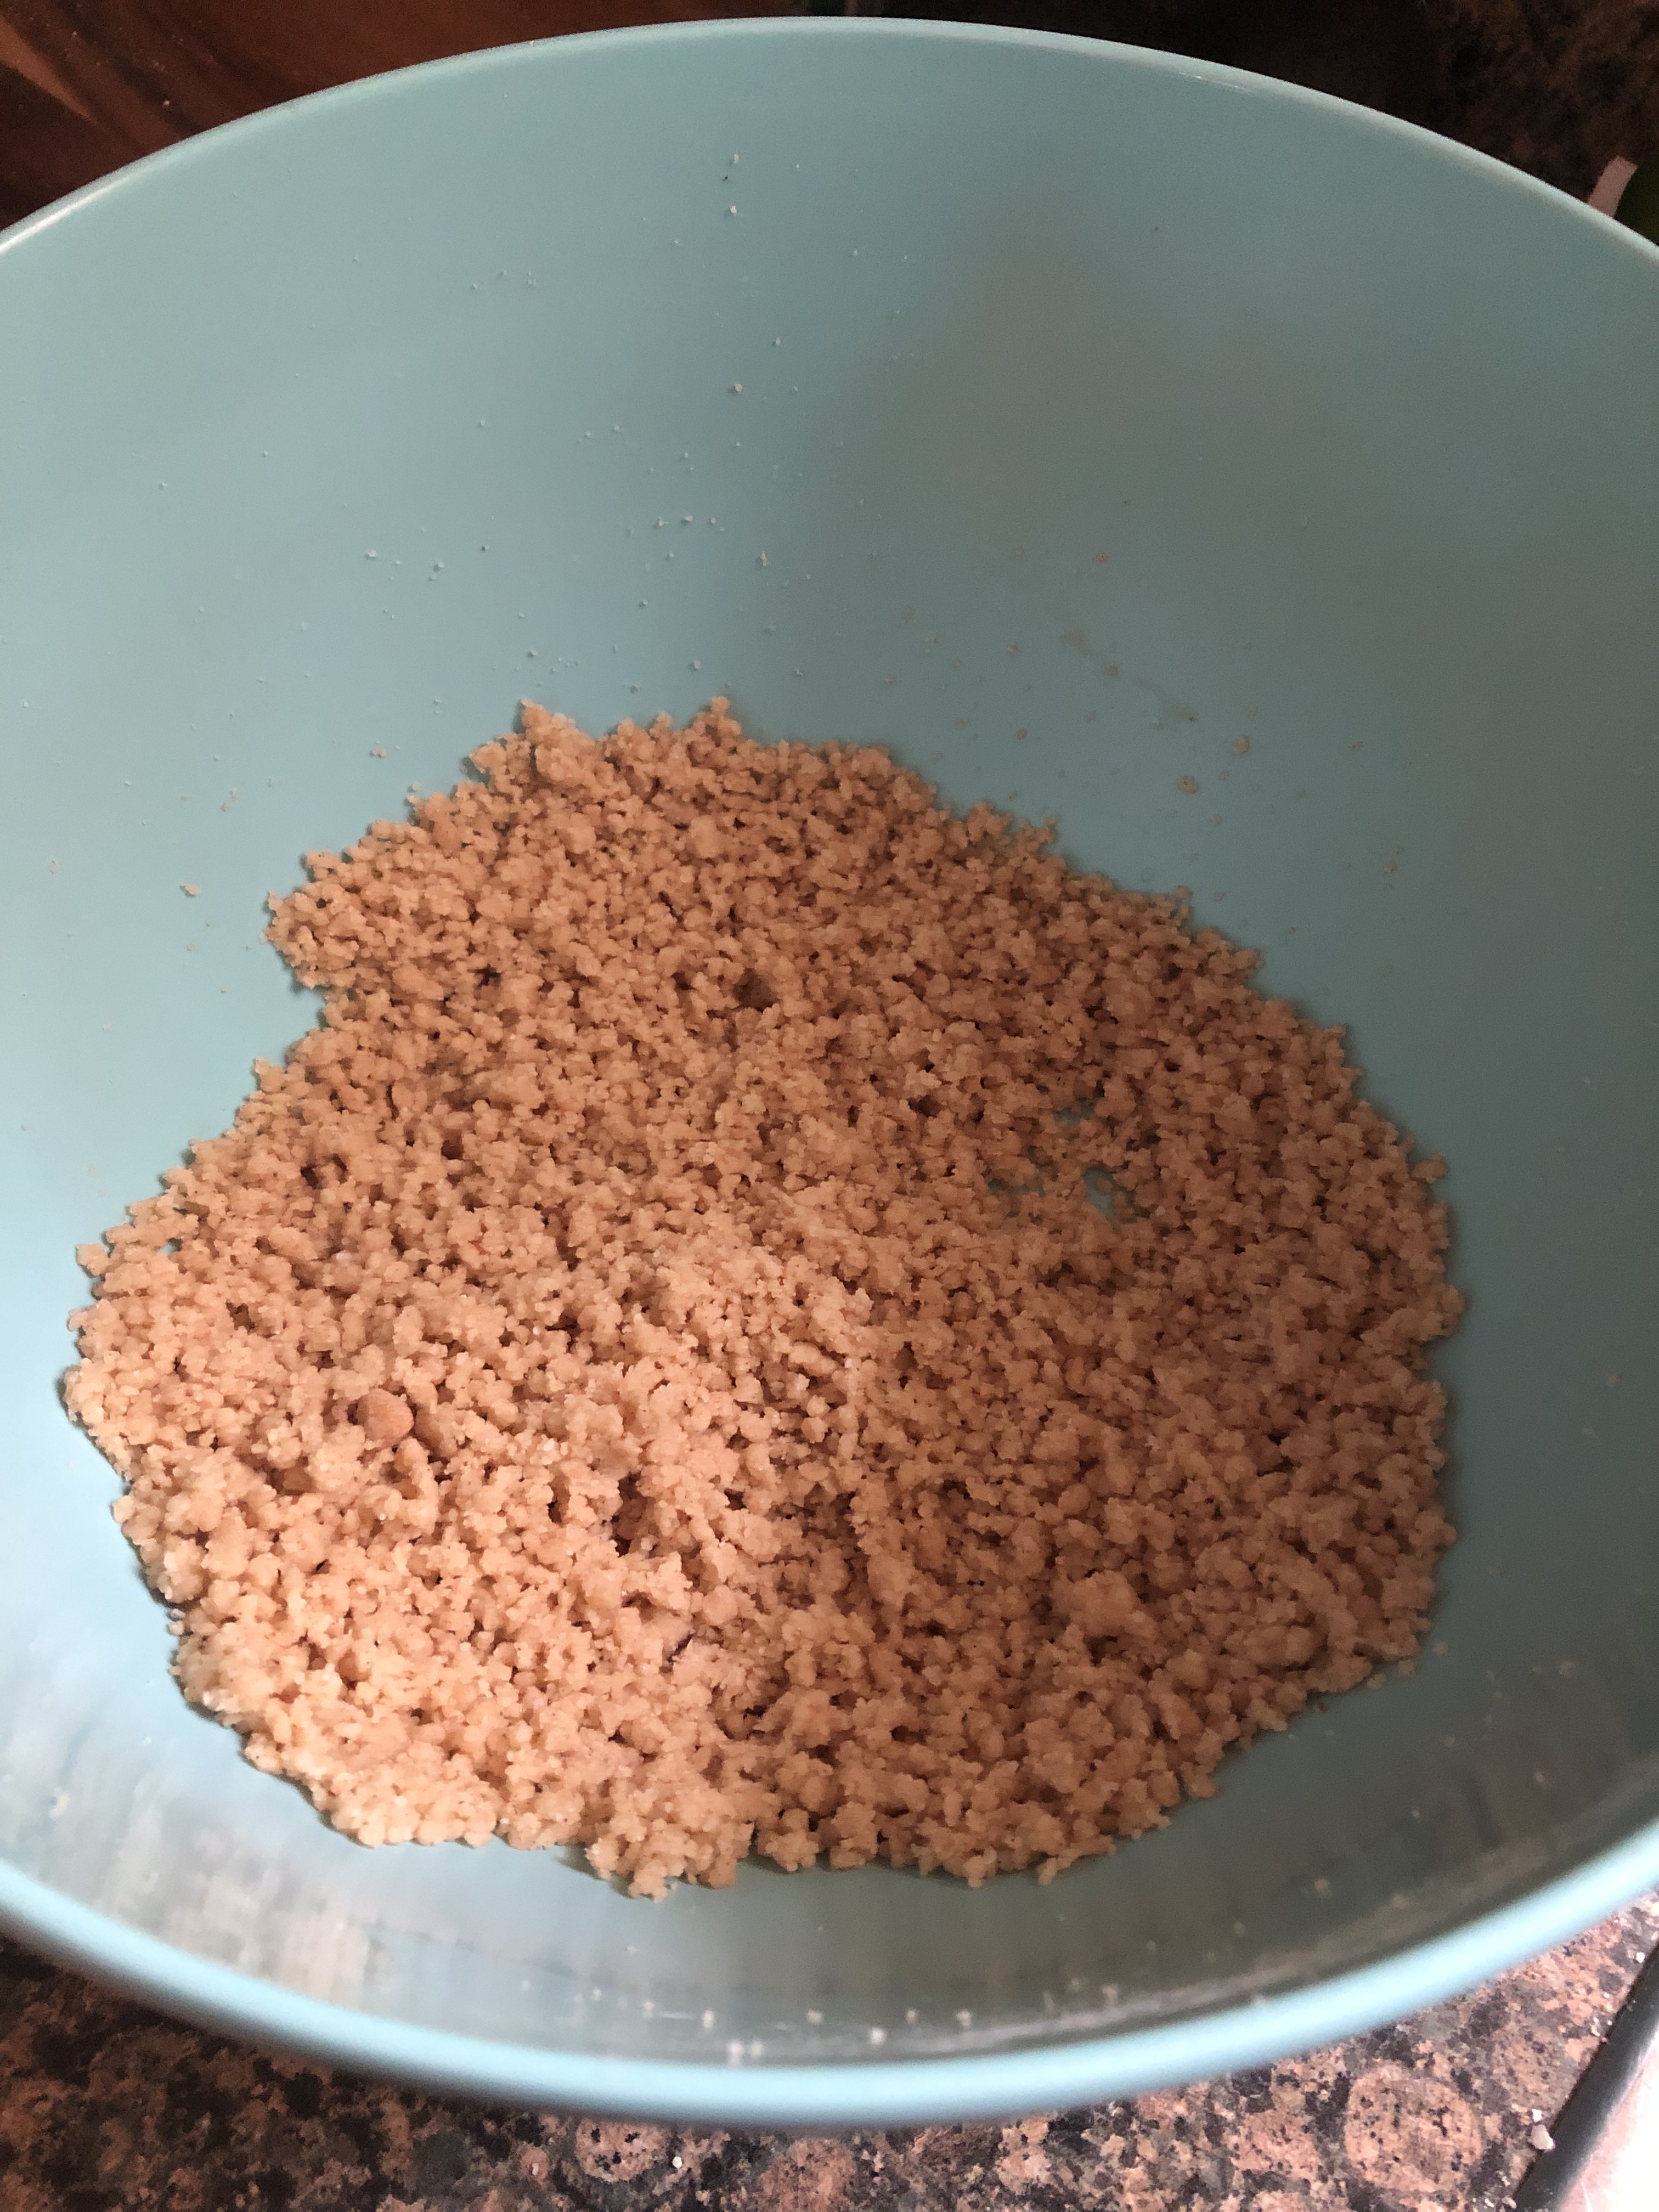
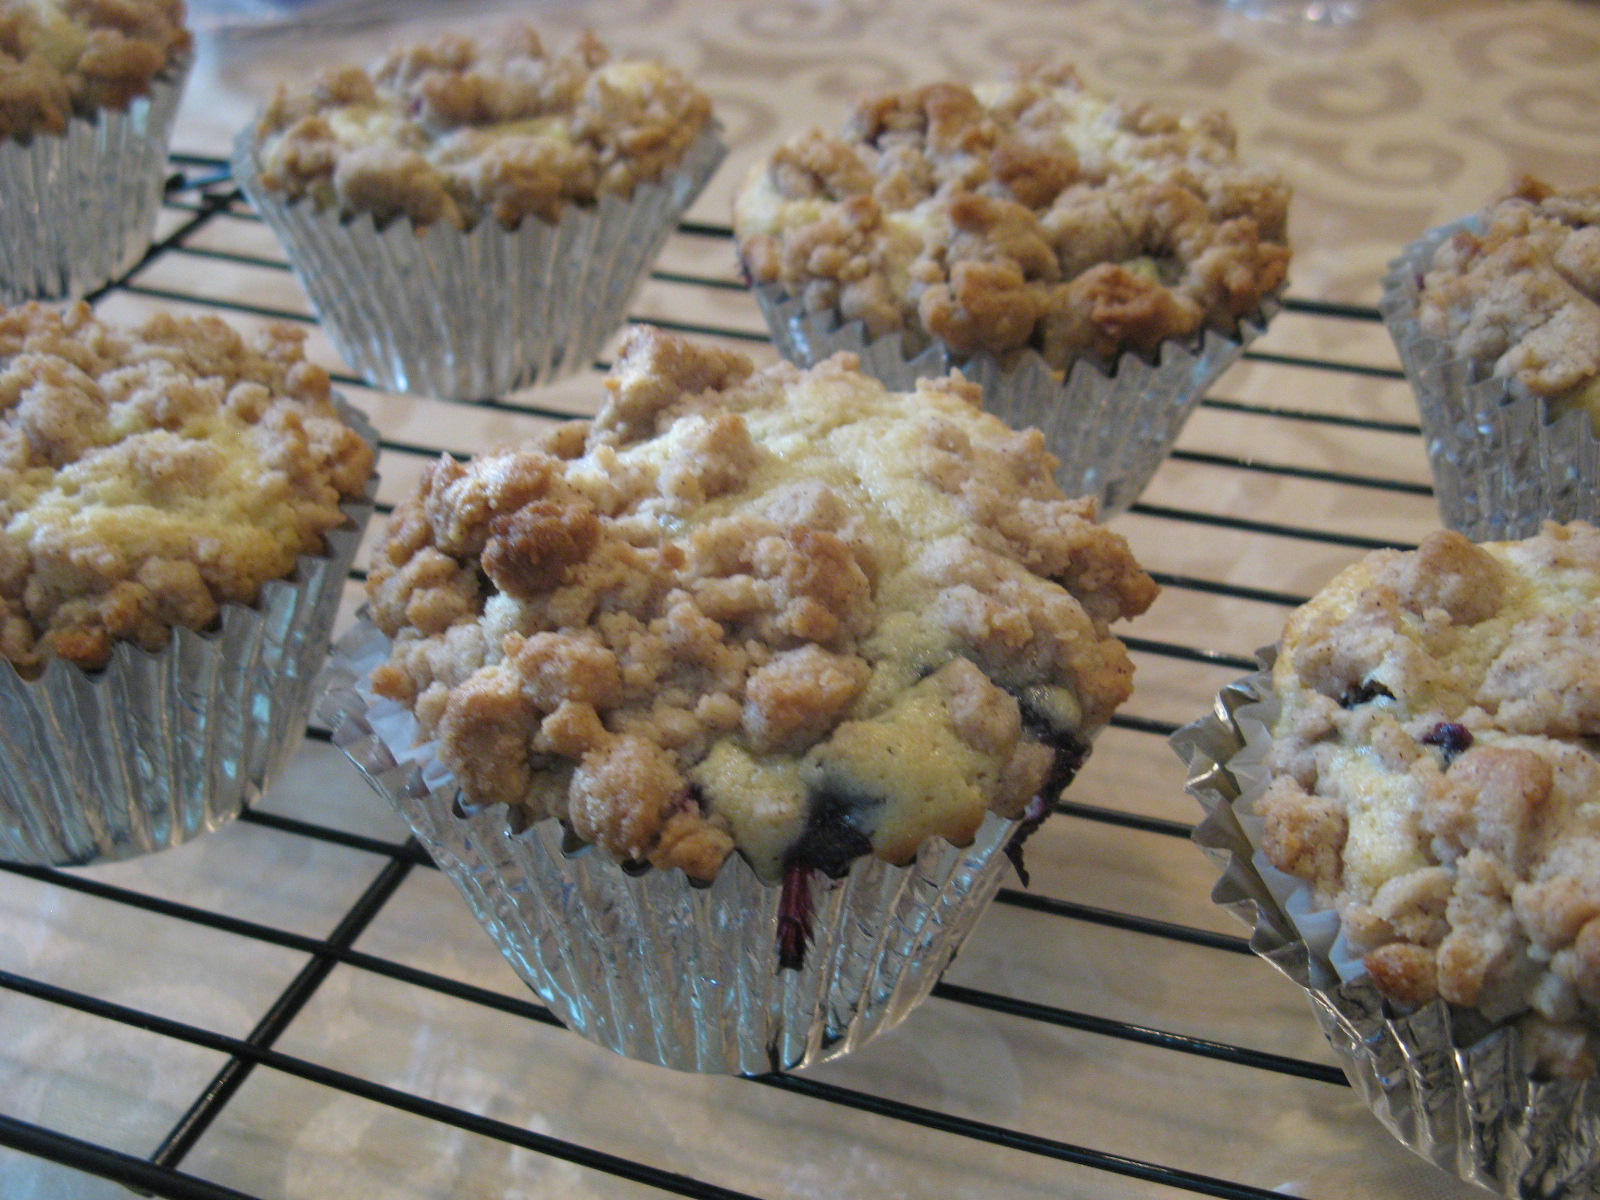
Once it was right though I used my fingers to create large crumbs and sprinkled it evenly over the fruit.

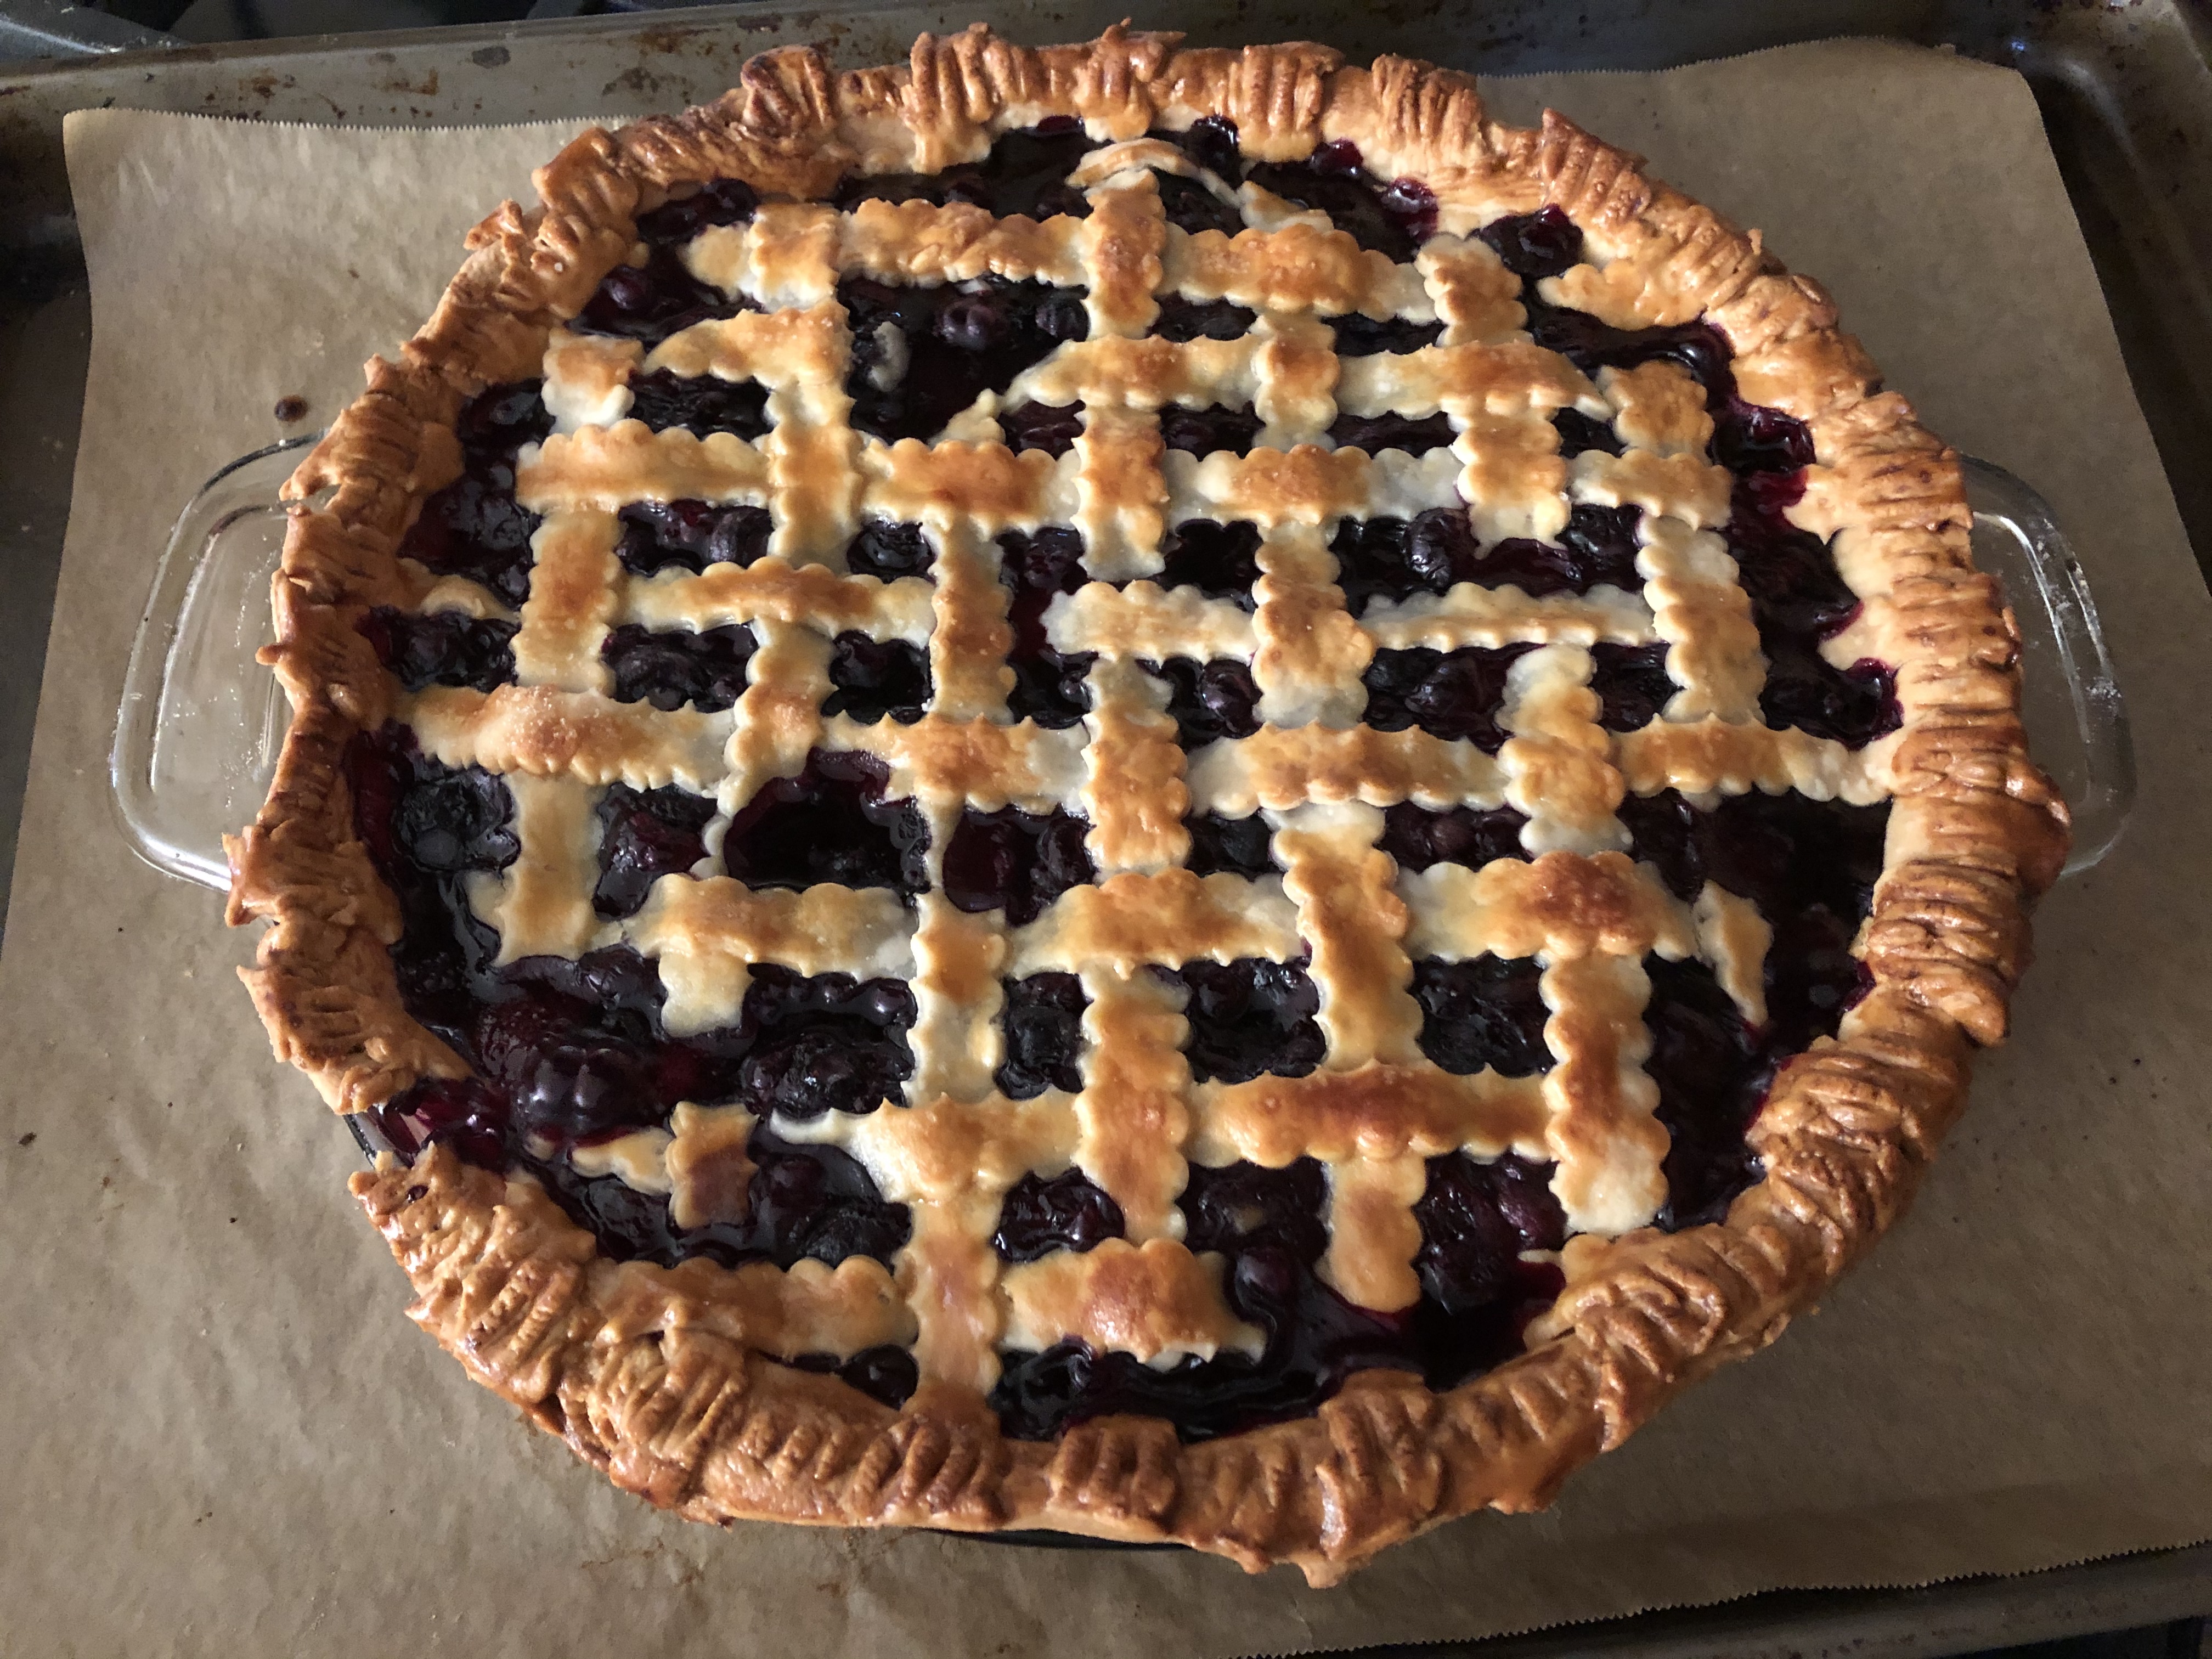
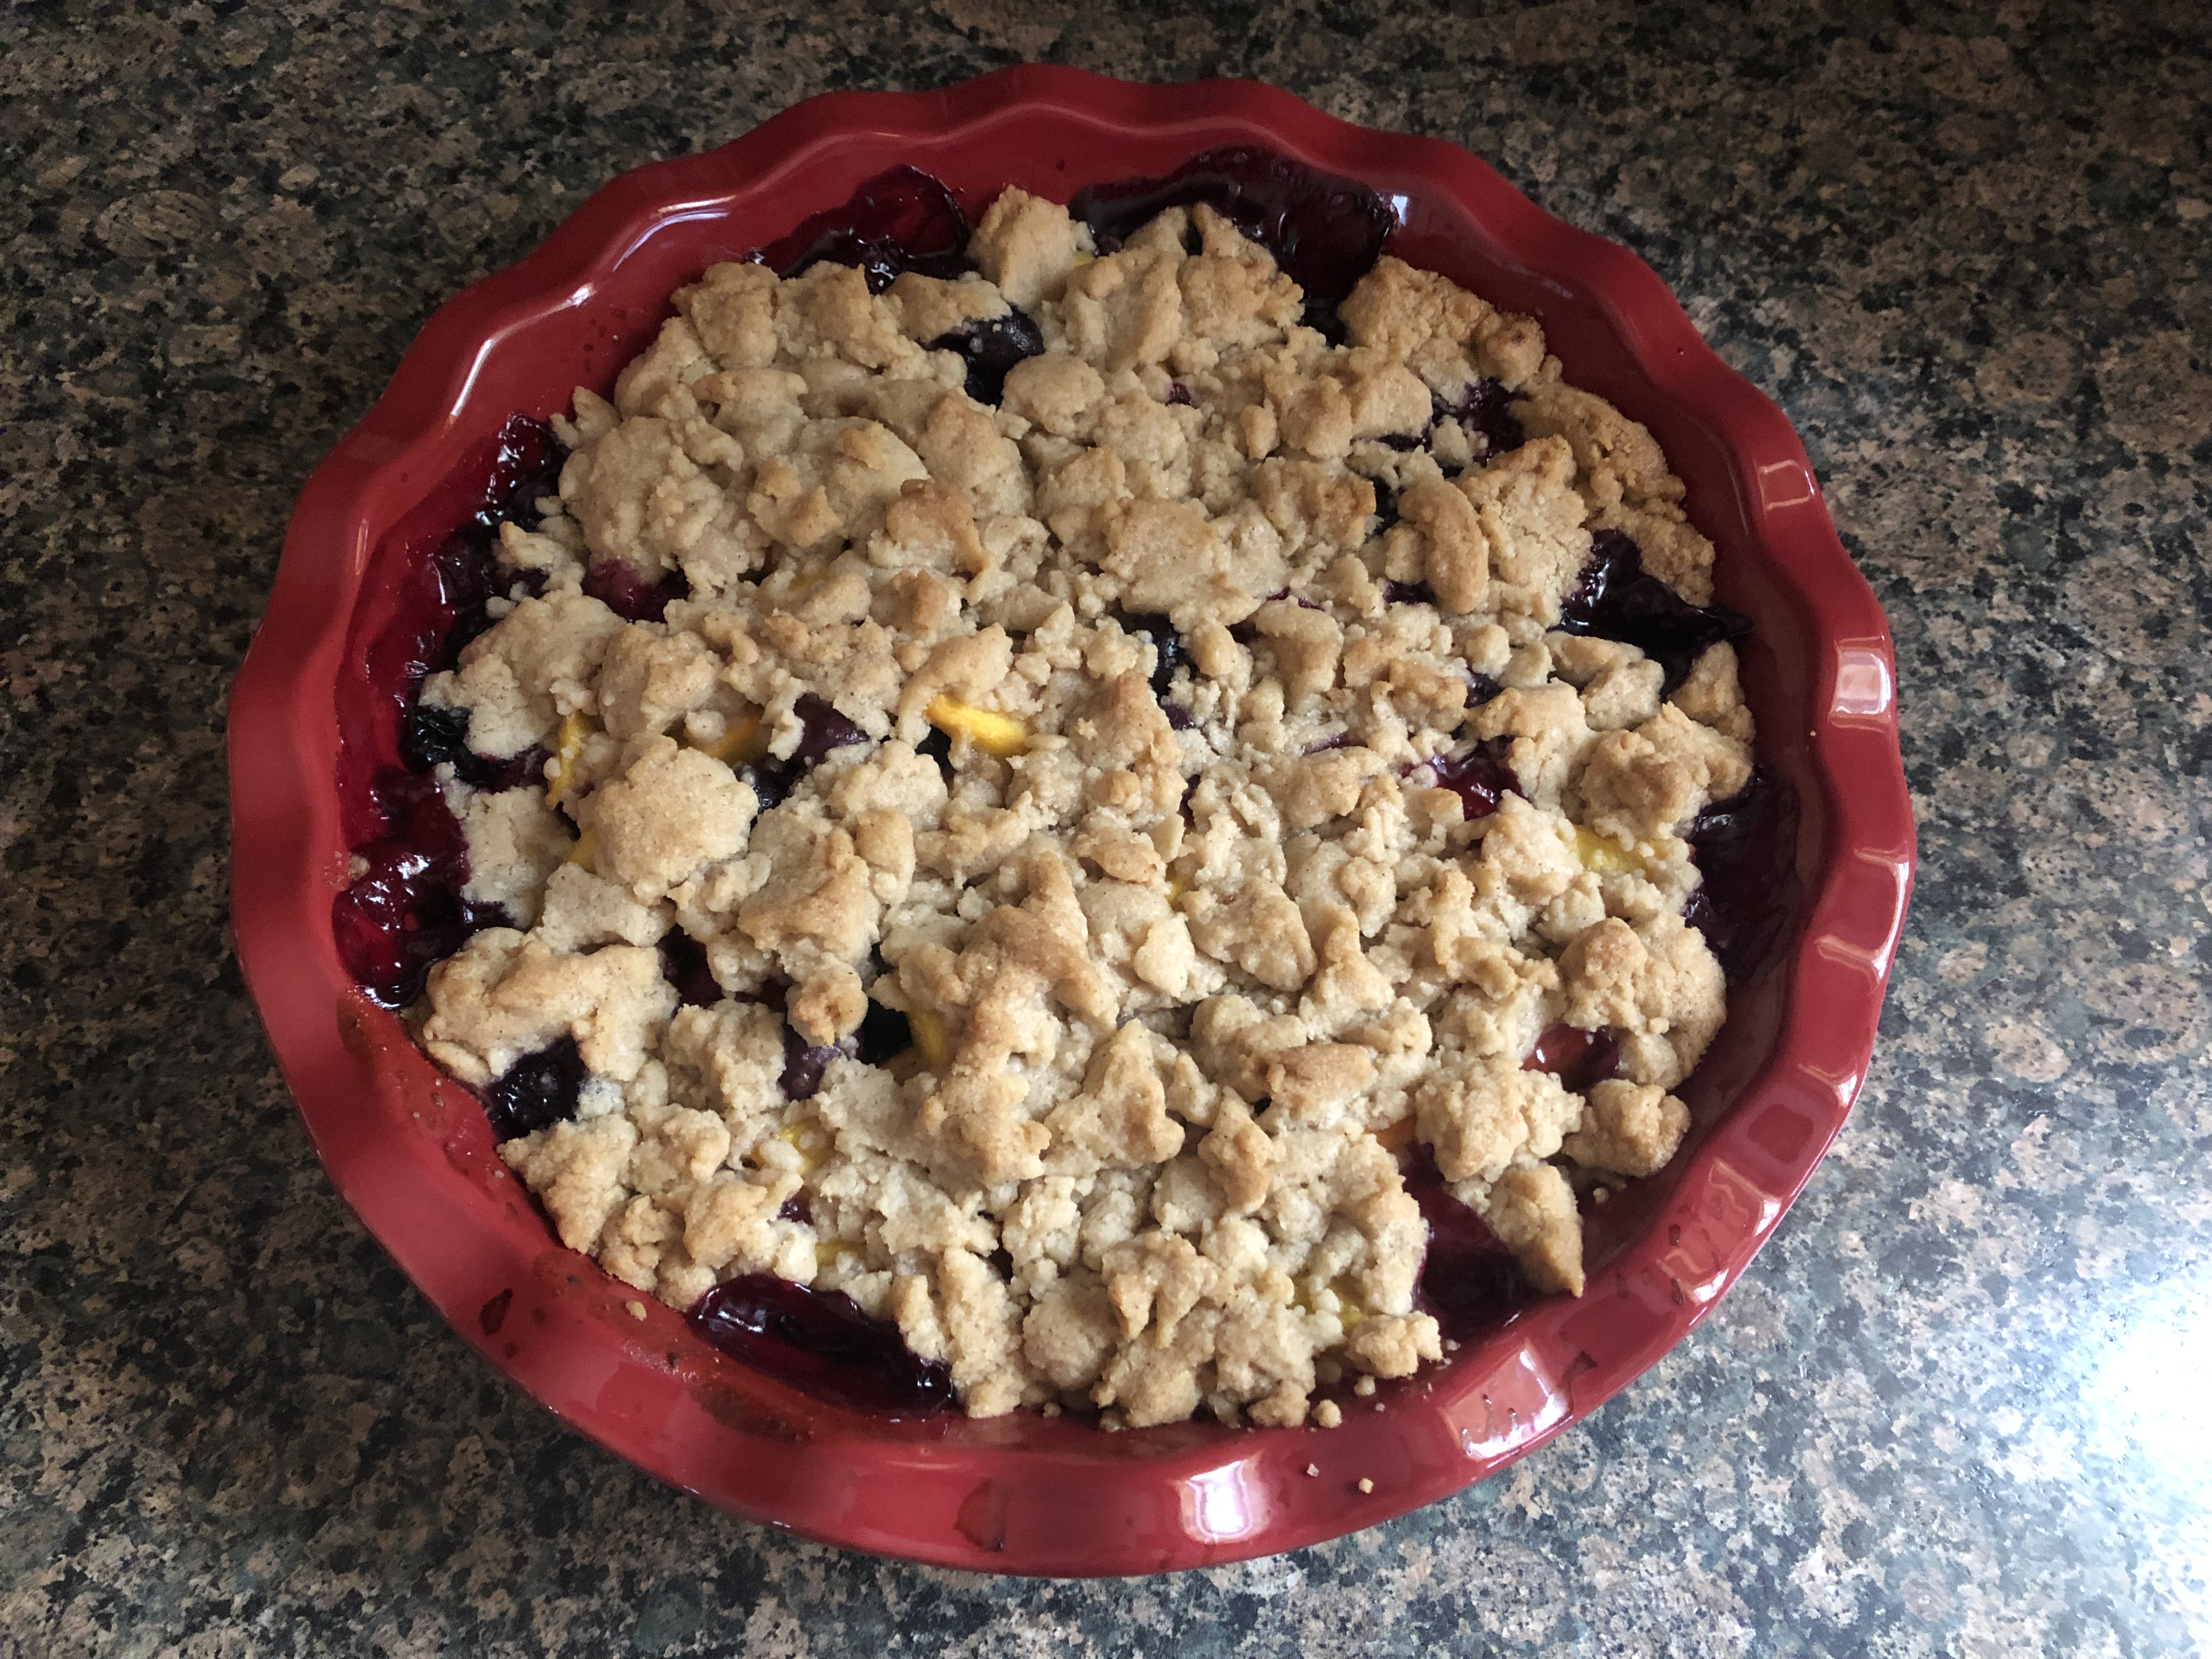
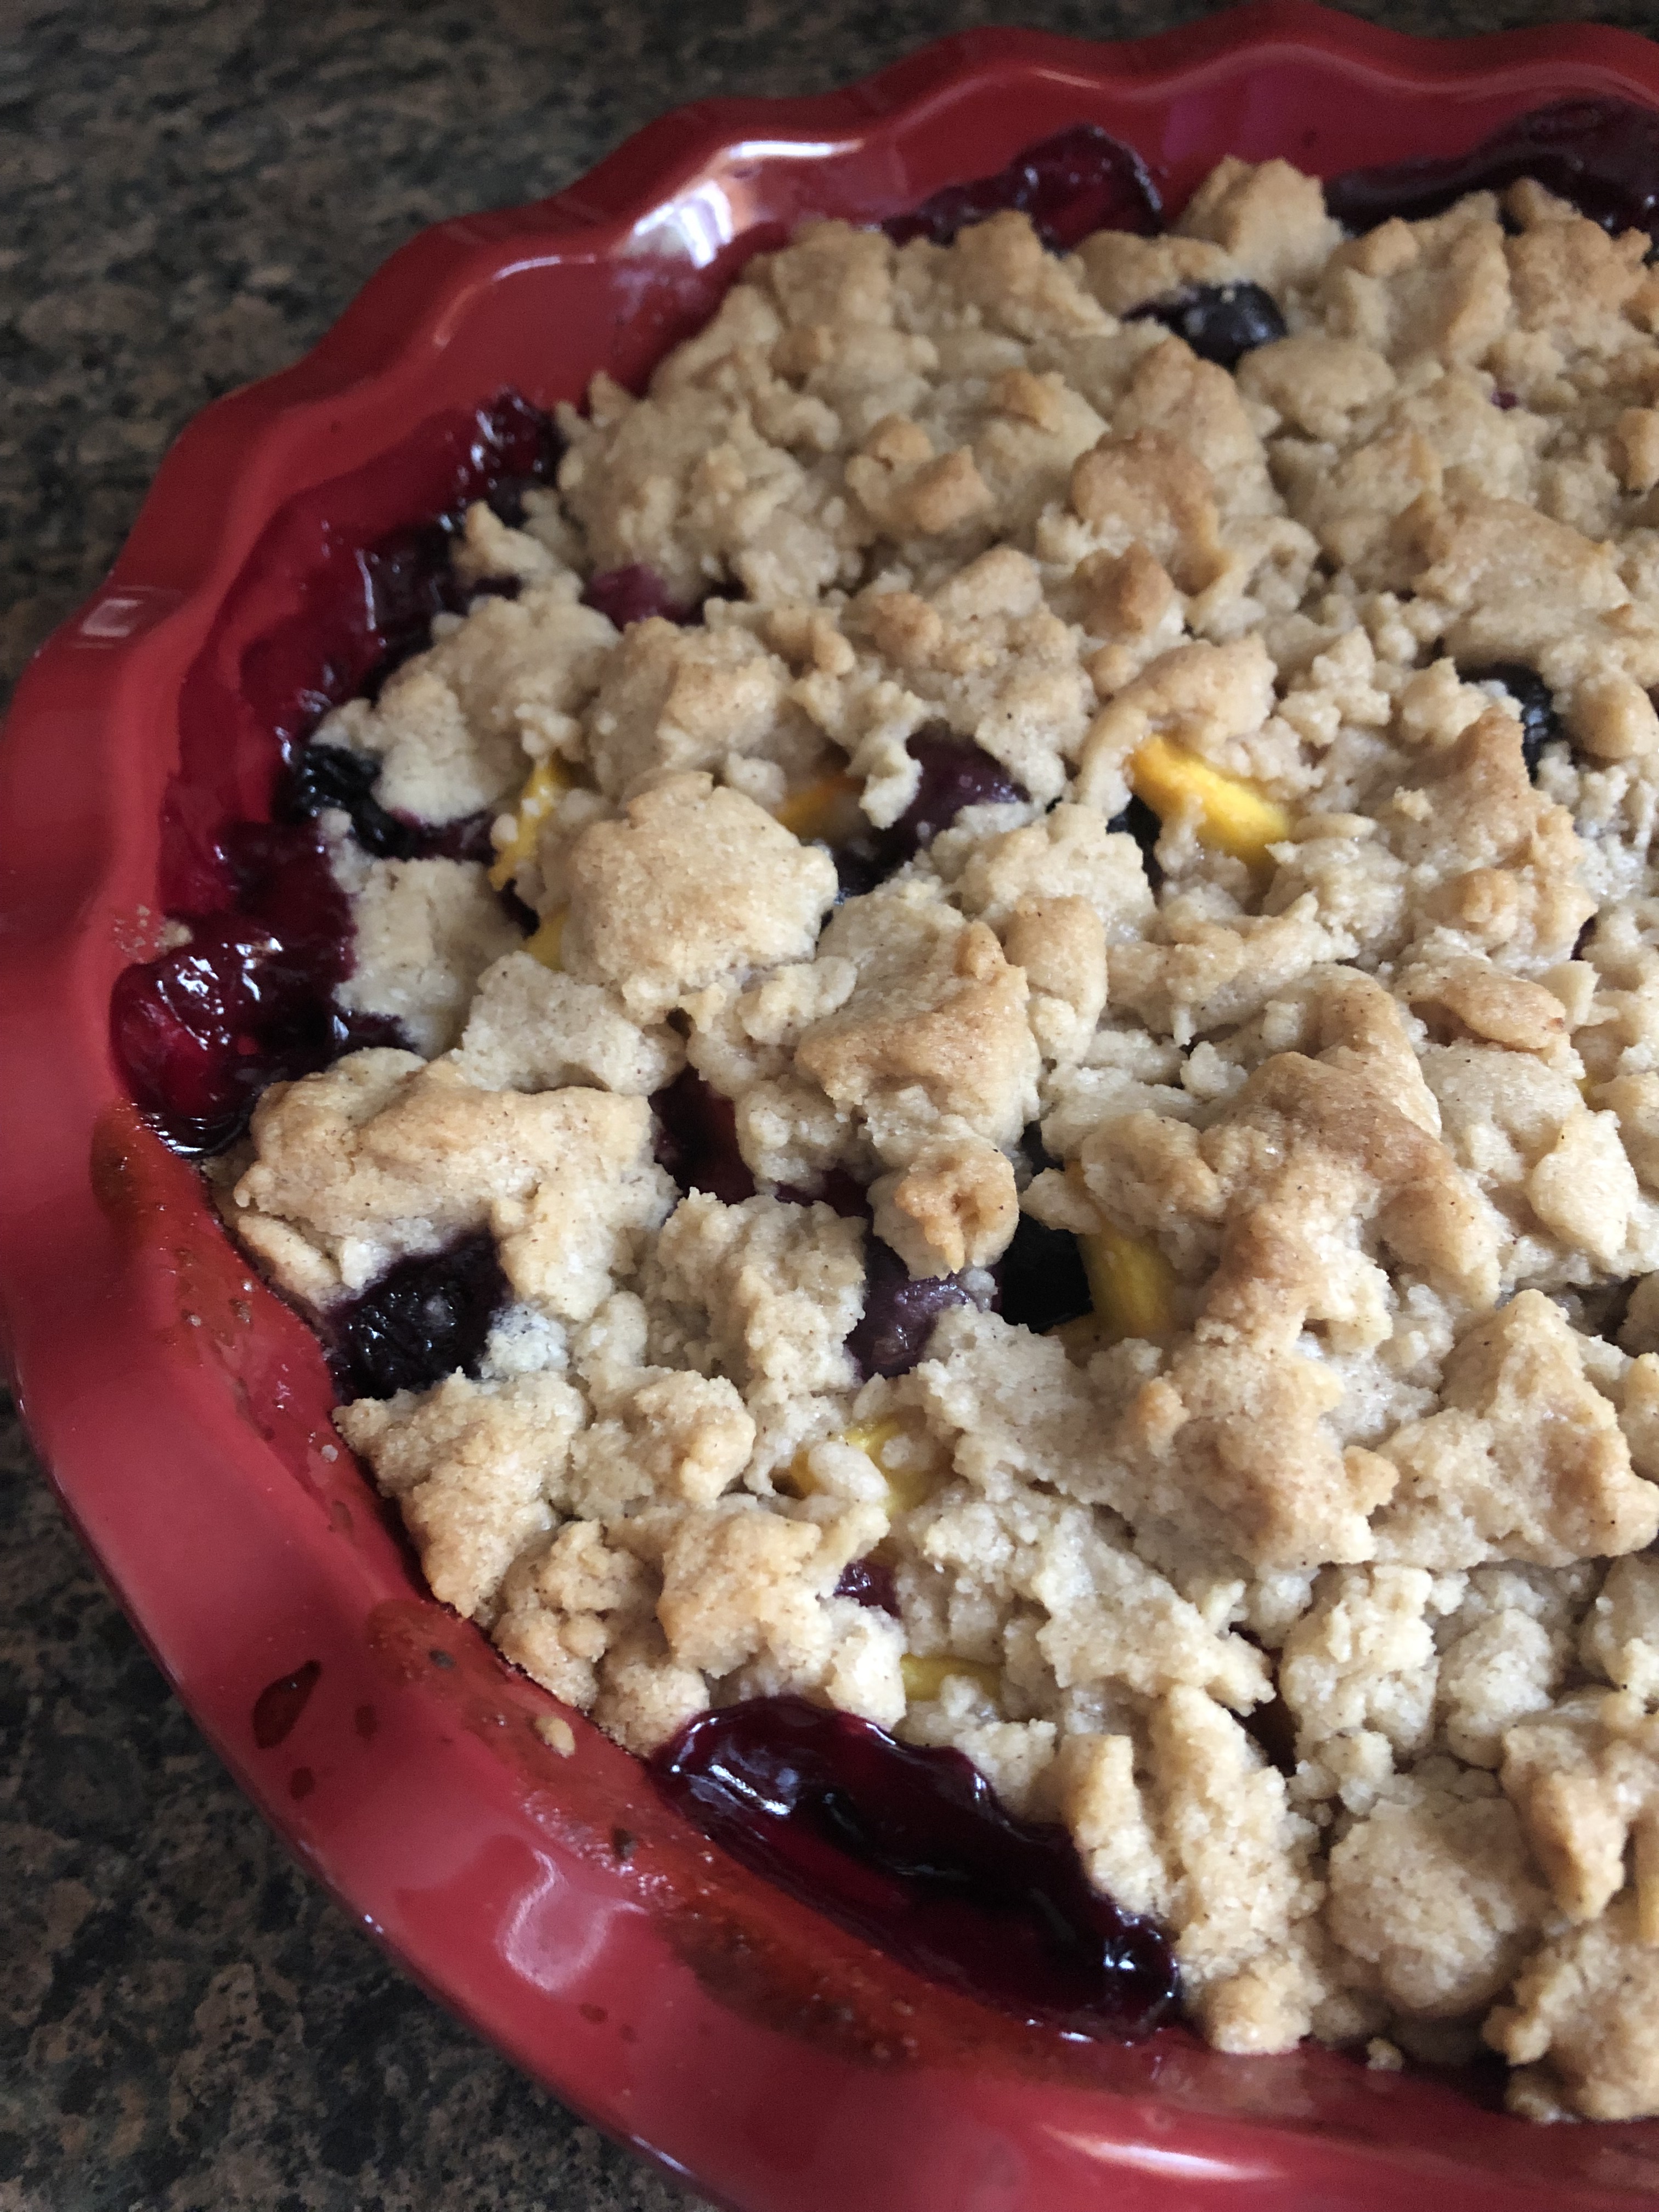
I baked it in a 350 F preheated oven until the topping turned a golden brown and the juices were bubbling. While this takes about 45-50 minutes to achieve, it won’t be that long before this dessert makes your home smell AH-MAZING! And since peach season is slowly winding down this would be a great dessert to make in the fall with apples and dried cranberries. I would just reduce the amount of cranberries to maybe 3/4 – 1 cup and the flour to 1/4 cup.

Peach & Blueberry Crumble

Ingredients:

For the Fruit:

3 large ripe peaches (about 2 lbs.)

1 pint of fresh blueberries (2 cups)

Zest & juice of 1 lemon

1/2 cup sugar

1/3 cup flour

For the Crumble Topping:

1 cup flour

1/3 cup sugar

1/4 cup light brown sugar

1/2 teaspoon kosher salt

1/2 teaspoon cinnamon

1 stick cold unsalted butter, diced

Vanilla Ice Cream, for serving

Directions:

Preheat the oven to 350 F.

Bring a pot of water to a boil, add the peaches and boil for 1 minute. Transfer them immediately to cold water. Peel the peaches and then slice them into thick wedges and place them in a large bowl. Add the blueberries, lemon zest, lemon juice, sugar and flour. Gently fold everything together using a rubber spatula. Let the mixture sit for a few minutes before transferring to a 9-inch pie dish.

Add the ingredients for the crumble topping to the bowl of a stand mixer fitted with the paddle attachment. Mix on low speed until the mixture resembles peas. Using your fingers to clump the mixture together into large crumbles and sprinkle evenly over the fruit.

Bake for 45 to 50 minutes, until the crumble topping begins to brown and the juices from the fruit are bubbly.

Let cool for a few minutes before serving.

Blueberry Lattice Pie

Truth be told I am not a big pie eater or baker; I may have mentioned that on here a few times before. I sometimes find them too sweet and pie crust is not one of my favorite things to work with. I always have these ambitious thoughts to make pie crust from scratch, but it never happens. My go-to is always Pillsbury refrigerated pie crusts. It’s been a no-fail for me and why risk a good thing. A bad crust can ruin any pie, even one with a delicious filling. With berries being in season I decided to try my hand at a Blueberry Pie. And this pie was a WINNER! Everyone who had a piece loved it and my niece, who is also not a big pie eater, had two pieces.

To make the filling I combined fresh blueberries, sugar, flour, lemon zest and freshly squeezed lemon juice in a large bowl. Using a store-bought pie crust, I rolled out one of the crusts an extra inch or so and then placed it in a 9-inch pie plate. I then filled the crust with the blueberry filling. I won’t lie, I thought it looked a bit sparse, but I figured the filling would be the perfect amount once the pie was baked.

Next, I worked on the lattice topping. I rolled out another store-bought pie crust an extra inch or so and using a pastry wheel lattice cutter I cut strips of the crust. This small tool makes it super easy to make a lattice pie. Each strip is the same width so there’s no need for measuring and hoping you will cut each piece the same size.

I don’t have a great way of explaining how to make a lattice topped pie and unfortunately, I didn’t take pictures while making this one. It was 90 degrees outside, and my oven was already preheated to 400 F so I wanted to get it done quickly and, in the oven, so I could get out of the kitchen. After cutting all the strips, I placed half of the strips on the pie close together. Next, I weaved in the strips to make the lattice design by folding back every other strip that was on the pie and placed a pie strip perpendicular to the strips folded back and then unfolded the strips I folded down. For the next row I folded back those strips I hadn’t folded back from the first row and then placed another pie strip across. I repeated these steps until my pie was covered with the lattice design.

To finish the pie, I trimmed the edges around the pie and crimped the edge of the pie with a fork and then brushed the entire pie with an egg wash and sprinkled it with sugar.

I placed the pie on a parchment lined baking sheet and baked it in a 400 F preheated oven for about 45 minutes, the blueberry filling was quite bubbly. After about the first 20 minutes of baking I placed a pie shield around the pie so the edges of the pie wouldn’t burn.

Unfortunately, my lattice wasn’t as pretty coming out of the oven as it was going in, but it was delicious!

And as you can see, my filling was the perfect amount. It was also the perfect consistency; it wasn’t runny at all.


Blueberry Pie

Ingredients:

Store-bought pie crust, or your favorite homemade pie crust

4 cups fresh blueberries, washed and dried

1/2 cup sugar, plus extra for sprinkling on the pie

1/2 cup flour

1 teaspoon lemon zest

1/4 cup freshly lemon juice, from two lemons

1 egg beaten with 1 tablespoon milk for egg wash


Directions:

Preheat the oven to 400 F. Line a baking sheet with parchment paper and set aside.

In a large bowl combine the blueberries, sugar, flour, lemon zest and lemon juice. Mix the ingredients together well. Set aside.

Place one of the crusts into a 9-inch pie plate and fill with the blueberry mixture. Lay the second crust on top of the pie, or, use the second pie crust to create a design for the top of the pie. Place the pie on the prepared baking sheet and then brush with the egg wash and sprinkle the top with sugar.

Bake in the preheated oven for 45 – 50 minutes, or until the filling is bubbly and the crust has a nice golden color.

Cool on a wire rack to room temperature and then serve and enjoy!

Lemon Blueberry Snack Cakes

I don’t have enough space in my kitchen to store all of my baking supplies so I keep them nicely organized on a shelving until in my basement. Not long ago while grabbing my Bundt pan to make a pound cake I thought it was about time I use my snack cake pans again. I’ve only used them once to make these Chocolate Snack Cakes. So, the wheels started turning to come up with a flavor. Initially I was thinking of making a Raspberry Cake with a Lime Curd Filling, then, it became a Raspberry Cake with a Lemon Curd Filling, next, a Lemon Raspberry Cake with a Pastry Cream filling, but, since blueberries were on sale the week I decided to make them it ended up being a Lemon Blueberry Snack Cake. Maybe another day will try out one of those other flavors. Oh, and in case you are wondering what a snack cake pan is, it’s essentially a pan that will make cakes that look like Twinkies. I have this one from Fat Daddio, which I believe isn’t available anymore, but, Wilton makes a similar one.

I tweaked the recipe that I used to make this Lemon Cake a few years back and then gently folded in blueberries that I dredged in flour (a little trick to ensure the blueberries won’t sink to the bottom of the batter while baking). I then divvied the batter among my snack cake pans and baked them in the oven. If you don’t have snack cake pans, you can use the batter to make cupcakes. They are delicious on their own, but, it you opt to make the cupcakes top them with cream cheese frosting and decorate with lemon zest and a few more blueberries for a little extra wow.


Lemon Blueberry Snack Cakes

Ingredients:

1 stick unsalted butter, at room temperature

1 1/2 cups flour

1/2 tablespoon baking powder

1/2 teaspoon baking soda

1/4 teaspoon salt

1 cup sugar

2 large eggs, at room temperature

5 oz. buttermilk*

3/4 teaspoons pure vanilla extract

Zest of 1 lemon

1/2 cup blueberries, dredged in flour


*I made my own buttermilk by stirring together 4 1/2 teaspoons of white vinegar and 1 cup whole milk and let it sit for 10-15 minutes until it curdled. You can refrigerate the leftovers.


Directions:

Preheat the oven to 350 F. Spray a snack cake pan with baking spray. If making cupcakes, line a cupcake tin with liners.

Sift together the dry ingredients (flour, baking powder, baking soda & salt) and set aside.

In a large bowl beat the butter and sugar on medium speed until light & fluffy, 3 to 5 minutes. Add the eggs 1 at a time, beating well after each addition.

Add the flour mixture in 3 batches, alternating with the buttermilk and beat until just combined. Add in the lemon zest and vanilla extract.

Fold in the blueberries and pour batter into the pan. For the snack cake pan use about 3 tablespoons of batter per cavity, for cupcakes 1/4 cup of batter.

Bake for 18 – 20 minutes, or until a cake tester inserted in the middle comes out clean. Let cool in the pan for 5 minutes before transferring to a wire rack to cool completely.

Blueberry Crumb Muffins

Do you ever notice that you don’t normally see oddball (maybe that’s not the best word choice) muffin flavors like you do for cupcakes? I guess since muffins are traditionally a breakfast food people don’t want to eat anything to out of the ordinary that early in the day. I don’t know if I would eat a lavender vanilla muffin as quickly as I would a lavender vanilla cupcake! Today, I am bringing you a tried and true muffin flavor… Blueberry. Maybe another day I’ll make something a little more adventurous… Pumpkin Spice season is quickly approaching and I am sure that would make the base for a delicious muffin.

What makes these muffins a real stand-out is the streusel topping. It’s an added layer of yumminess and sweetness.


Blueberry Crumb Muffins

  • Servings: 8 small or 5 large
  • Print

Ingredients:

Muffins:

1 1/2 cups all-purpose flour

3/4 cups granulated sugar

1/2 teaspoon kosher salt

2 teaspoons baking powder

1/3 cup vegetable oil

1 egg, beaten

1/3 cup milk*

1 cup fresh blueberries


*I used whole milk


Crumb Topping:

1/2 cup granulated sugar

1/3 cup all-purpose flour

1/4 cup unsalted butter, cubed

1 1/2 teaspoons ground cinnamon


Directions:

Preheat the oven to 400 F. Line the muffin tin with liners and then spray the top of the muffin pan with baking spray. Doing this will allow you to remove the muffins easily if they happen to rise and bake onto the pan.

Crumb Topping:

Mix together all of the ingredients in a medium bowl with a fork or with your hands until well combines, set aside.

Muffins:

Combine the flour, sugar, salt and baking powder in a large bowl. Measure the vegetable oil in a measuring up, add the egg and enough milk to bring the mixture to 1 cup. Add the liquid mixture to the flour mixture and mix well. Fold in the blueberries. Fill the muffin cups to the top and sprinkle with the crumb topping.

Bake for 20 to 25 minutes, or until a cake tester comes out clean. Let cool on a wire rack before enjoying.

Recipe from Allrecipes

Lattice-Top Blueberry Pie

It’s Pi day! And no, I didn’t spell that wrong. Today is 3/14, the first 3 numbers for Pi. The Greek letter that is a symbol in mathematics to represent a constant – the ratio of the circumference of a circle to its diameter. It’s an irrational and transcendental number, i.e. it will go on infinitely without repetition or a pattern. Have I bored you yet? Sorry… On to the Pie. In honor of Pi Day, I decided to bake a pie I had never had before, a blueberry pie. A Lattice-Top Blueberry Pie to be exact. Yes, I never had Blueberry Pie until I made this one. I must say, I am not a big pie eater, especially fruit pie. I always feel like they are going to be super sweet. What made this pie a hit amongst those who tried it was the fact that it wasn’t super sweet. Something I was quite happy about as well.

I’m not a fan of making pie crust from scratch so I buy Pillsbury refrigerated crust. I find it works just as well as homemade crust – I am sure there are plenty of you shaking your heads at that comment right now – and its super easy to use to make a decorative crust. And another plus, clean-up is a cinch! So after letting my two crusts (one for the top and one for the bottom) come to room temperature I rolled out what would be the bottom into a 13 inch round; the crust was already a 9-inch round so I had no problem rolling it out the extra few inches. I then fitted it into my 9-inch pie plate.

Next, I made the filling. I combined 7 cups of fresh blueberries with sugar, cinnamon, cornstarch & lemon juice.

I then poured the mixture into the pie plate.

To make the lattice top, I started by rolling out the other half of the pie crust into another 13-inch round.  Then using a fluted pastry wheel I cut the dough into ten 1-inch strips. Thankfully my work mat has 1-inch grid lines on it so cutting out the strips was a breeze. I just had to be sure to cut in a straight steady line.

I placed five of the strips vertically on the pie, evenly spaced.

And then proceeded to fold and unfold the strips to create a lattice pattern.

I then trimmed and tucked in the edges of the crust and crimped it with a fork.

Next, I brushed the pie with an egg yolk-heavy cream egg wash and sprinkled sanding sugar on top.

And after refrigerating the pie for about a half hour in the fridge I placed it on a parchment lined baking sheet and baked it in a 400 F preheated oven for about 20 minutes, until the crust began to brown, and then lowered the oven to 350 F and continued baking the pie for about another hour, until the crust was a deep golden brown and the juices began to bubble. I kept the pie tented with aluminum foil for most of the baking time, removing it for the last 30 minutes of baking so the crust wouldn’t brown too quickly.

Lattice-Top Blueberry Pie

Ingredients:

Pie Crust – Bake your own or store bought

2 pounds (about 7 cups) fresh blueberries

1/2 cup sugar

1/4 cup cornstarch

1/4 teaspoon ground cinnamon

1 tablespoon fresh lemon juice

1 large egg yolk, for egg wash

1 tablespoon heavy cream, for egg wash

Sanding sugar, for sprinkling

Directions:

Preheat the oven to 400 F.

On a lightly floured surface roll out half of your pie crust into a 13-inch round about 1/8-inch thick. Fit dough into a 9-inch pie plate.

In a large bowl combine the blueberries, sugar, cornstarch, cinnamon and lemon juice. Pour the mixture into the pie plate, piling in the center.

On a lightly floured surface roll out the other half of your pie crust. Once again into a 13-inch round about 1/8 inch thick. To make the lattice, cut the dough into 10 1-inch strips using a fluted pastry wheel or a pizza cutter. Carefully place the strips on the pie weaving into a lattice pattern. Trim the dough to a 1-inch overhang and fold the edges under, then crimp with a fork.

In a small bowl whisk together the egg yolk and heavy cream for the egg wash. Brush on top of the dough strips and then sprinkle with the sanding sugar.

Refrigerate or freeze the pie until firm, about 30 minutes.

Place the pie on a parchment lined rimmed baking sheet and bake until the pie begins to brown, about 20 minutes. Reduce the heat to 350 F and continue baking until the crust is a deep golden brown and the juices begin to bubble, about an hour. If the crust begins to brown too quickly tent the pie with aluminum foil.

Transfer to a wire rack to cool completely before slicing in.

Recipe from Martha Stewart Pies and Tarts Book


Blueberry Vanilla Ice Cream

With berries in season there’s so many delicious treats you can make with them… Pies, Cakes, Muffins and probably something that doesn’t come as quickly to mind… ice cream! Ever since I got my ice cream maker a few years ago I am always trying to come up different flavors to make – Pumpkin, Lavender Vanilla, Mint Chocolate Chip – some common and some not so common. I’ve even made Hibiscus Sorbet. So, with a fridge full of blueberries I decided to make a vanilla ice cream base and then swirl in a blueberry compote, hence Blueberry Vanilla Ice Cream.

To make the vanilla ice cream base I combined milk, sugar and salt in a medium bowl and blended it with a hand mixer on low speed until the sugar was dissolved. I then stirred in heavy cream and vanilla bean paste (you could use vanilla extract.) I covered the bowl and refrigerated it for about 5 hours (you could do as little as 1 to 2 hours, you just want to make sure that the mixture is cold.)

Meanwhile, to make the blueberry compote, I combined blueberries, sugar and lemon juice in a small saucepan over medium-low heat and let the mixture simmer until some of the blueberries burst and the mixture began to thicken. I removed it from the heat to let it cool and then covered it and refrigerated it as well.

Once the ice cream and compote were properly chilled it was time to combine them to make the Blueberry Vanilla Ice Cream. Per the instructions of my ice cream maker, I turned it on and poured in the vanilla ice cream base and let it churn for about 15-20 minutes until it had a soft creamy mixture. With the machine still running, I then poured in the compote and let the machine run for about another 30 seconds until the compote had swirled through the ice cream and was lightly incorporated. I then transferred the ice cream to a freezer-safe container and placed it in the freezer so the ice cream could firm up – about an hour.

IMG_0219

And then it was time to enjoy… And one simple sentence sums up the flavor…. There’s nothing like homemade!

But, if you don’t have an ice cream maker here are two quick ideas on how to make your own Blueberry Vanilla Ice Cream. Use the compote as a topping on your favorite vanilla ice cream. Or take it one step further and soften a pint of your favorite vanilla ice cream and then add it to a large bowl and using a rubber spatula fold the compote into the ice cream. Place the ice cream in a freezer-proof container and place it back in the freezer so it can firm up, about 1-2 hours.


Blueberry Vanilla Ice Cream

Ingredients:

For the vanilla ice cream

1 cup whole milk

3/4 cup granulated sugar

Pinch of salt

2 cups heavy cream

1 tablespoon pure vanilla extract*

*can substitute vanilla bean paste


For the blueberry compote

1/2 cup fresh blueberries

2 tablespoons sugar

1 teaspoon lemon juice


Directions:

For the vanilla ice cream; In a medium bowl, use a hand mixer on low speed (or by hand use a whisk) to combine the milk, granulated sugar and salt until the sugar dissolves. Stir in the heavy cream and vanilla extract. Cover the bowl and refrigerate for 1 to 2 hours, or overnight.

For the blueberry compote; In a small saucepan combine the blueberries, sugar and lemon juice and simmer over medium-low heat until the blueberries begin to burst and the sauce thickens. Let cool, cover and refrigerate.

Follow the directions for your ice cream maker to churn the vanilla ice cream. Once the ice cream thickens slowly pour in the compote and continue to churn for about 30 seconds to lightly incorporate the compote into the vanilla ice cream.

Transfer the ice cream to a freezer-proof container and freeze for about 1 to 2 hours to firm.

Vanilla ice cream recipe from Cuisinart


Blueberry Crumb Muffins

While berries can pretty much be found year-round at most supermarkets, there’s nothing like getting them during the summer when they are at their peak. I have definitely made the most of them this summer incorporating them into quite a few desserts – as the pièce de résistance on a lemon & pastry cream cake, as a topping to 4th of July themed cupcakes and most recently in raspberry cupcakes. And when I saw that I had a pint of blueberries sitting in my refrigerator a little longer than I would have liked, I decided it was time to use them before losing them. I opted on making a recipe that I love using for blueberries – and one that I have blogged about before – a Blueberry Crumb Cake. Although, this time around I made two tweaks to the recipe….

I dredged the blueberries in flour before folding them into the batter so they wouldn’t all sink to the bottom…

IMG_4397

And I used the batter to make muffins instead of a cake,

IMG_4398

Which I still topped with streusel before baking.

IMG_4399

Hence, Blueberry Crumb Muffins.

IMG_4417

And if you are wondering if the flour covered blueberries worked, just take a look. You can see hints of blueberries at the top of the muffin near the crumb topping as opposed to seeing all of the blueberries at the bottom.

IMG_4439

Blueberry Crumb Muffins – adapted from here

Makes 8 Muffins

Streusel:

1/4 cup granulated sugar

1/3 cup light brown sugar

1 teaspoon ground cinnamon

1/8 teaspoon ground nutmeg

1/4 pound (1 stick) unsalted butter, melted

1 1/3 cups all-purpose flour

Muffins:

6 tablespoons unsalted butter, at room temperature (3/4 stick)

3/4 cup granulated sugar

2 large eggs, at room temperature

1 teaspoon pure vanilla extract

1/2 teaspoon grated lemon zest

2/3 cup sour cream

1 1/4 cups all-purpose flour

1 teaspoon baking powder

1/4 teaspoon baking soda

1/2 teaspoon kosher salt

1 cup fresh blueberries, dredged in enough flour to coat them


Preheat the oven to 350 F. Line 8 muffins cups with paper liners.

For the streusel:

Combine granulated sugar, brown sugar, cinnamon and nutmeg in a bowl. Stir in the melted butter and then the flour. Mix well and set aside.

For the muffins:

In a medium bowl sift the flour, baking powder, baking soda and salt together, set aside.

In the bowl of an electric mixer fitted with the paddle attachment cream the butter and sugar on high speed for 4 to 5 minutes, until light. Reduce the speed to low and add the eggs, one at a time. Then add the vanilla, lemon zest and sour cream.

With the mixer on low speed, add the flour mixture to the batter until just combined. Fold in the blueberries and stir with a spatula to be sure the batter is completed mixed.

Divide the batter among the muffin cups – I used an ice cream scoop – and crumble the streusel over the batter.

Bake for 20 – 25 minutes, until a cake tester comes out clean. Remove the cupcakes from the tins and let them cool completely on a wire rack.


%d bloggers like this: