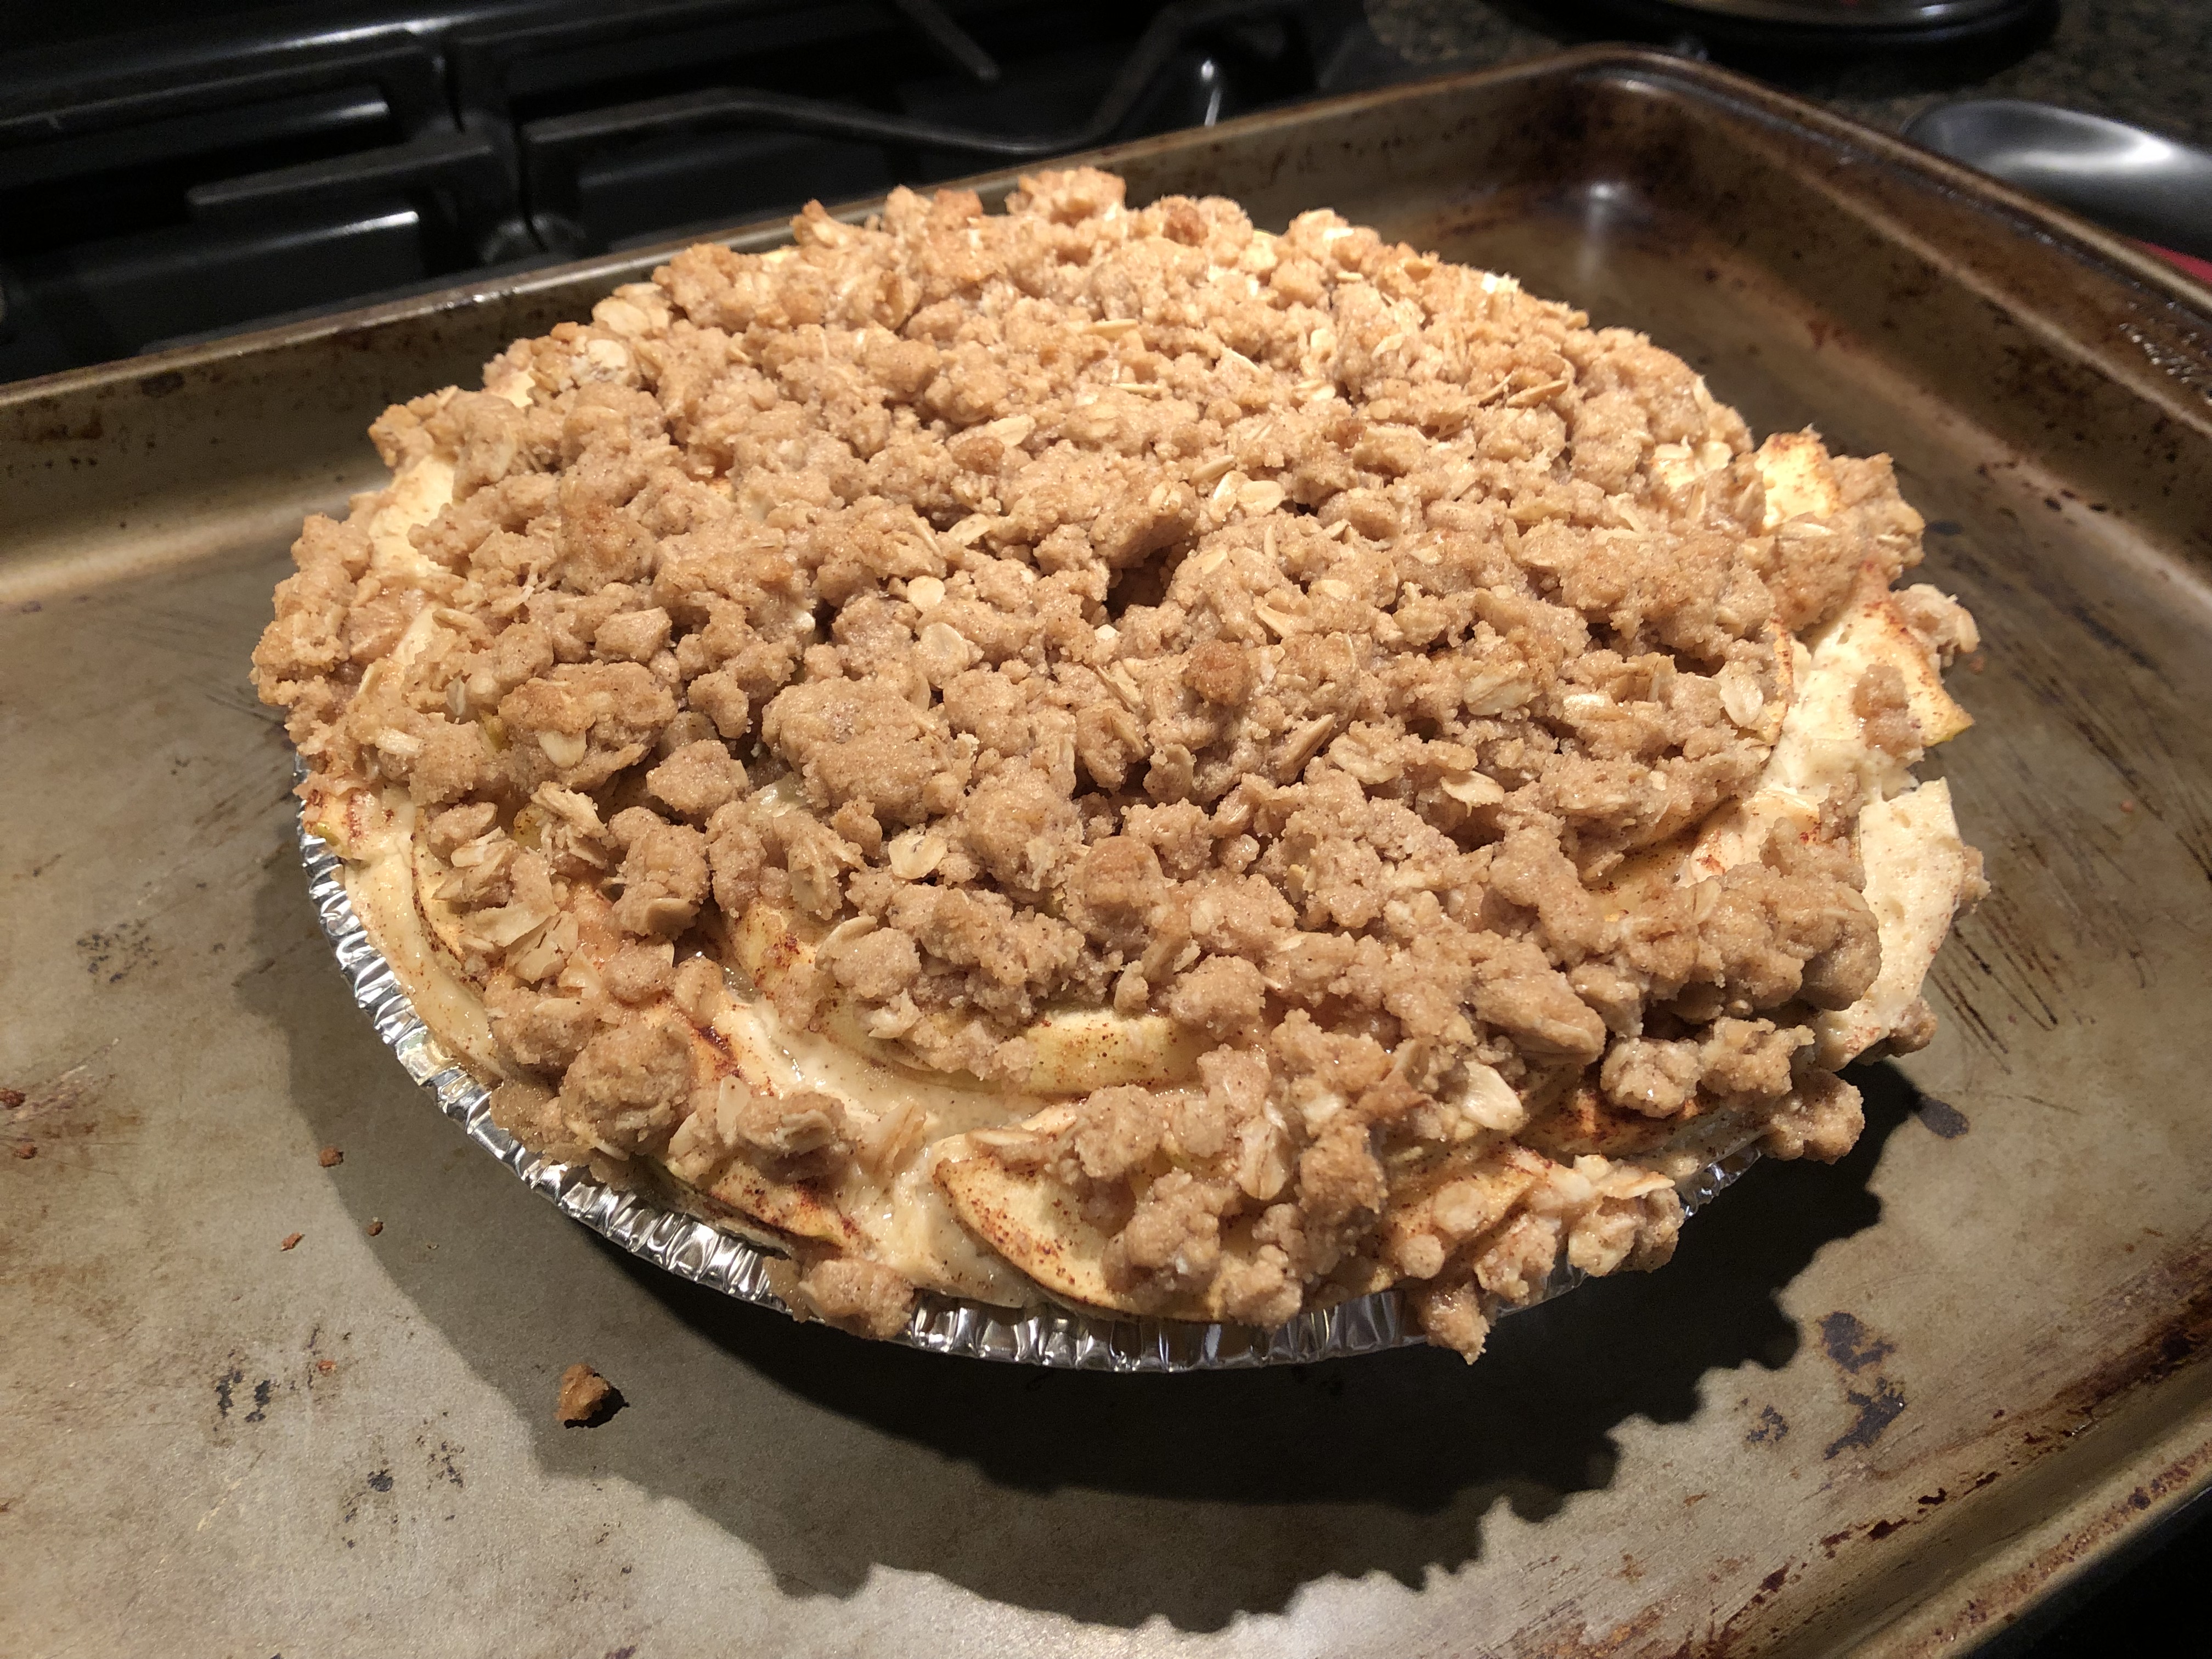
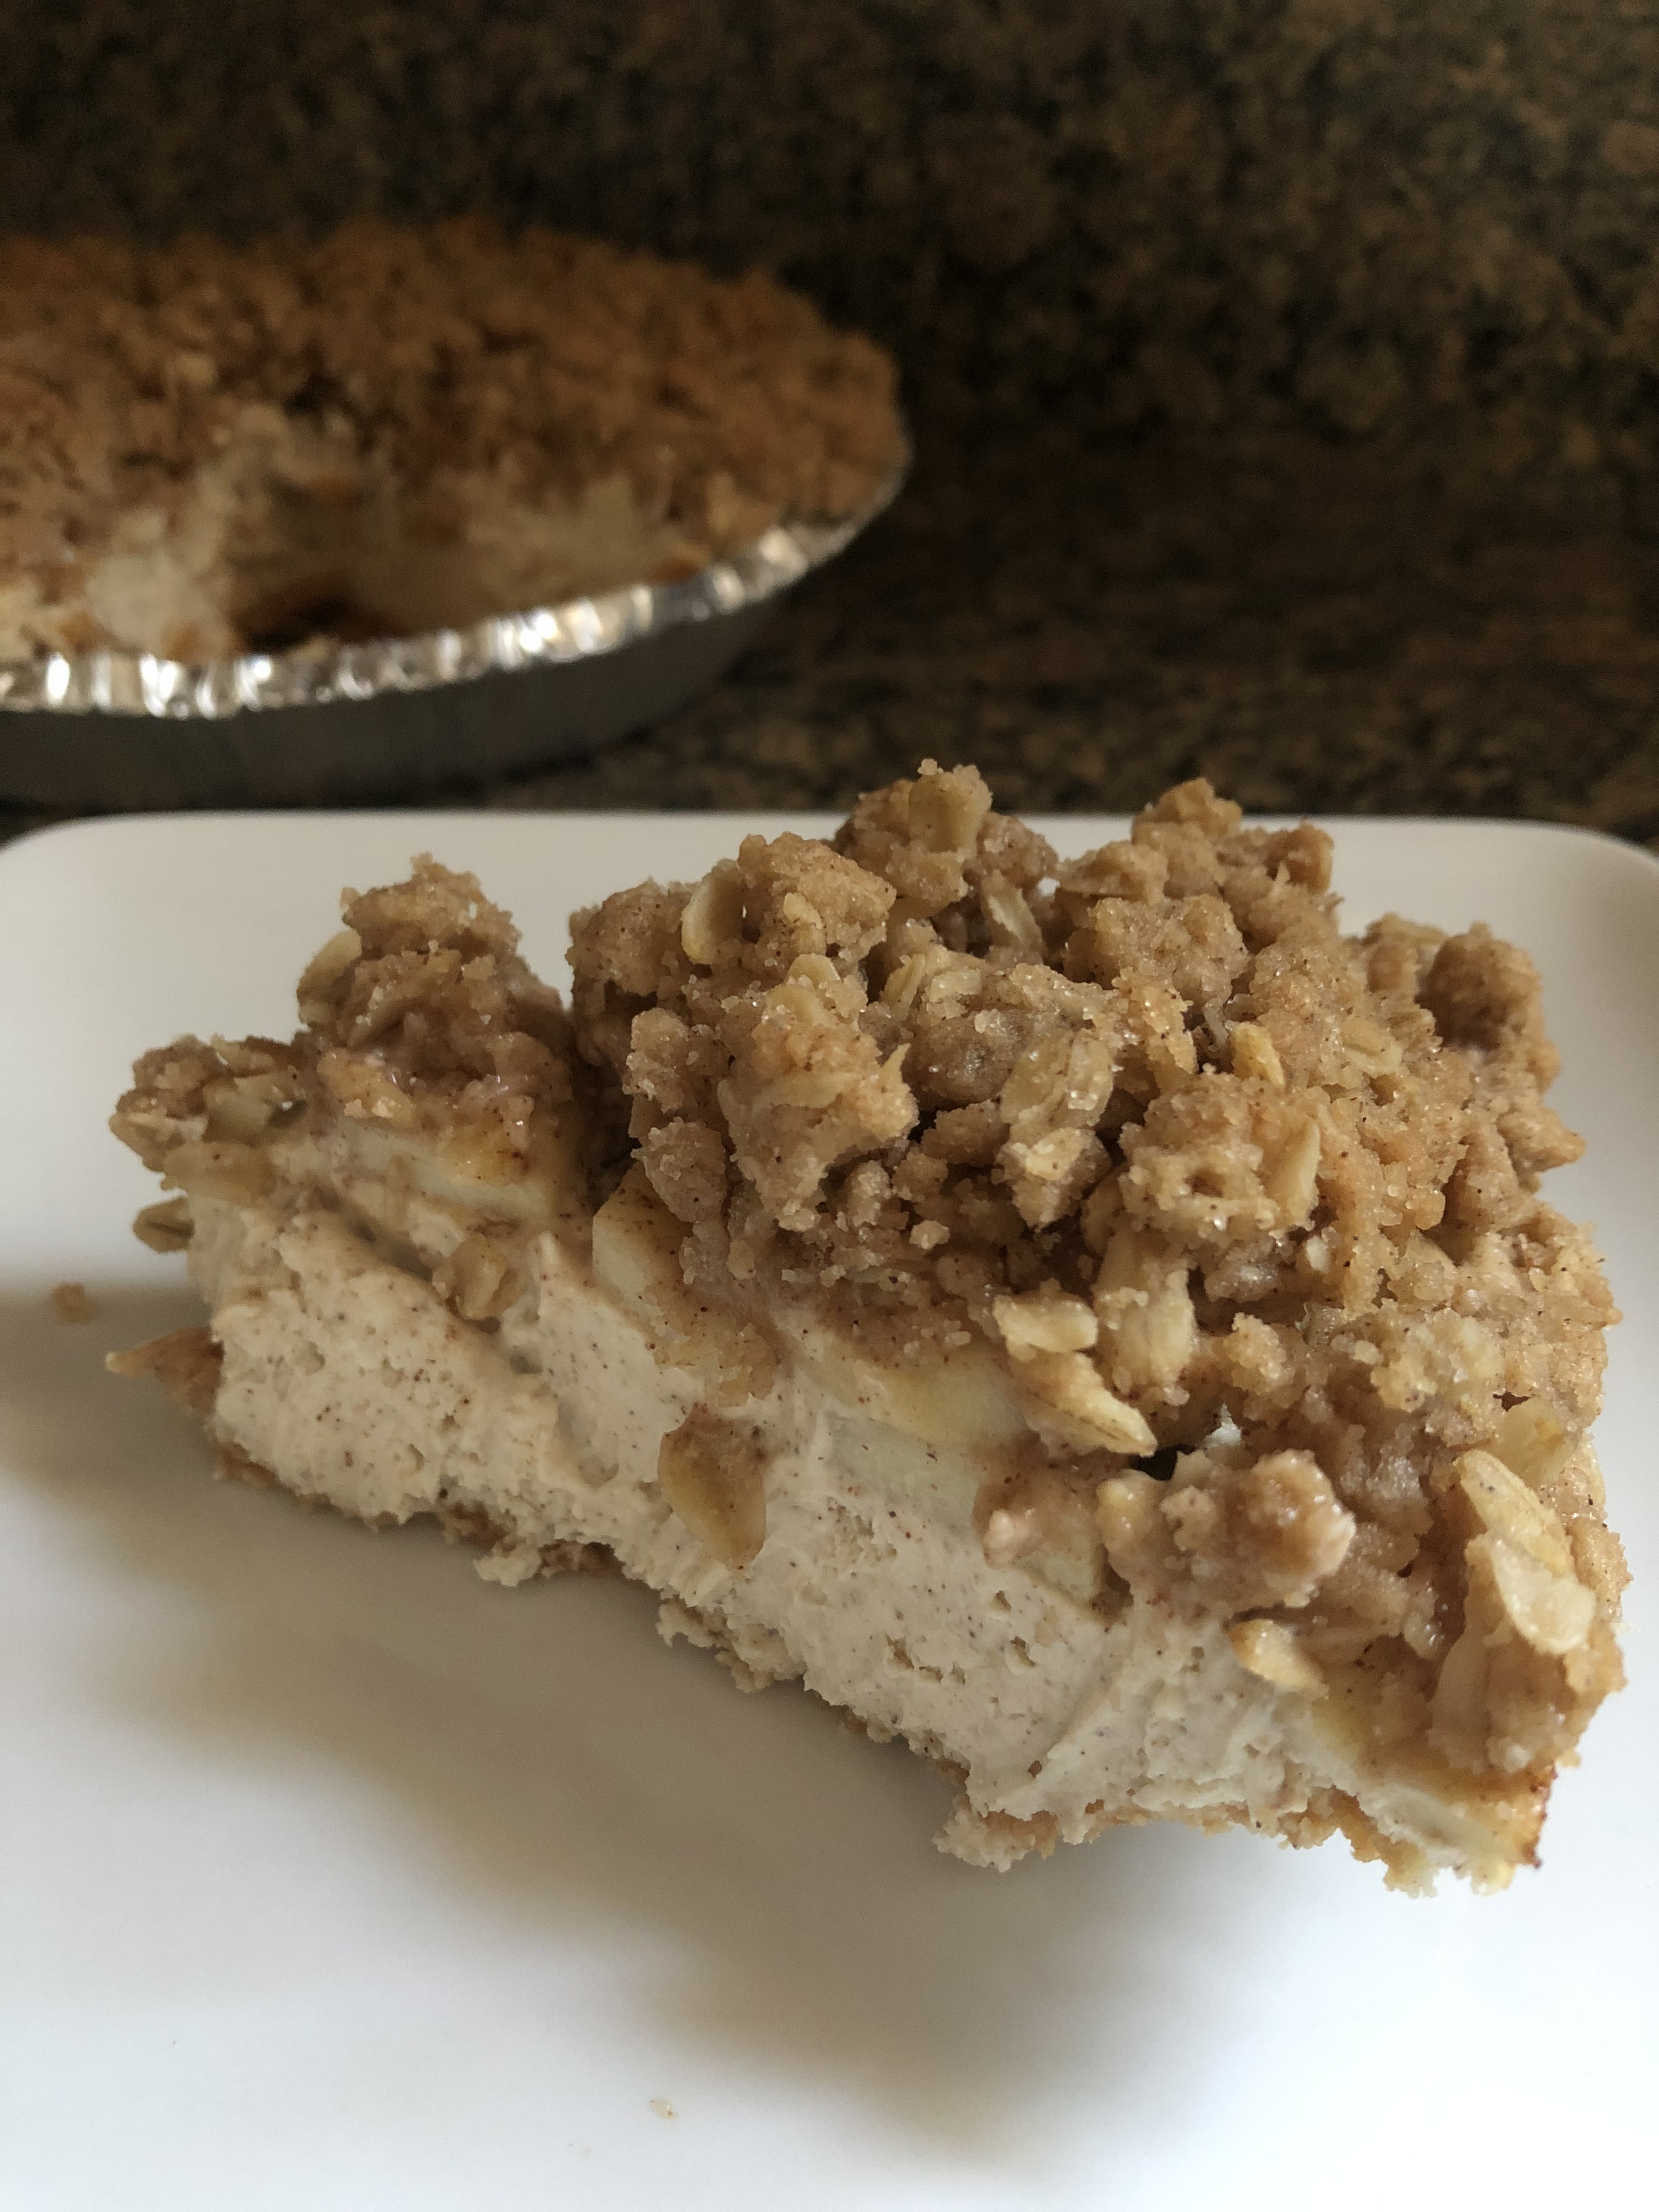
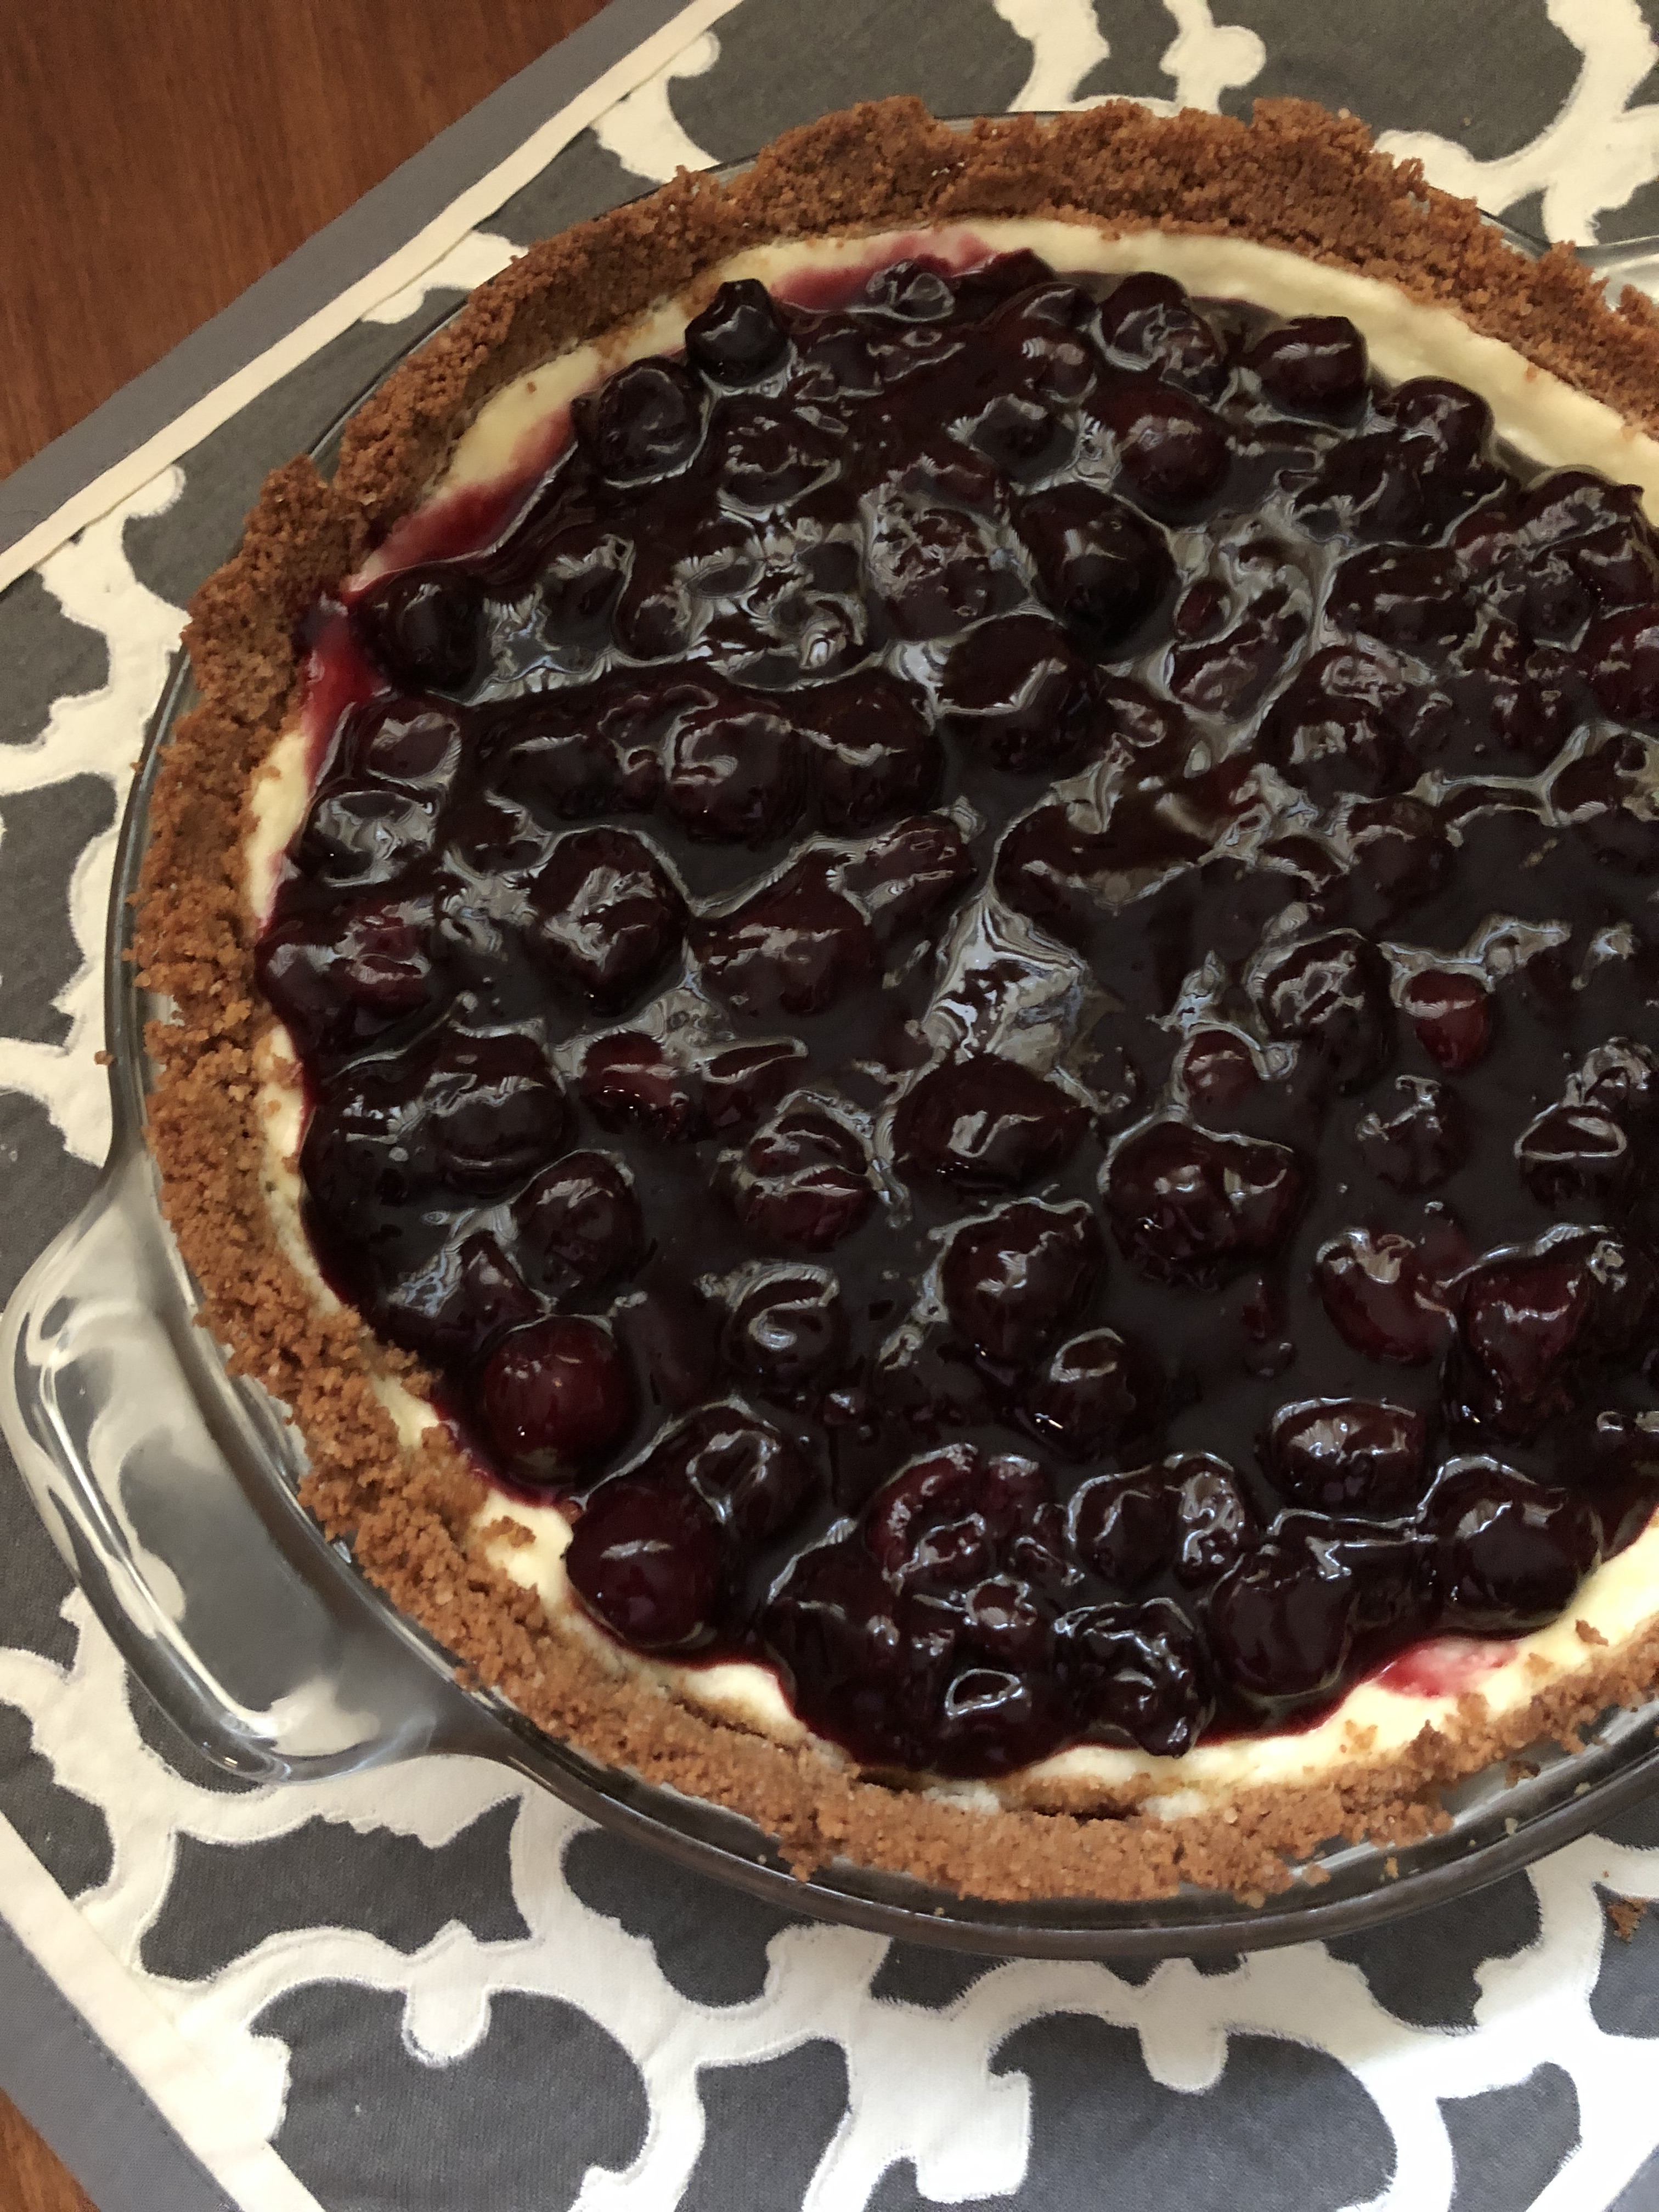
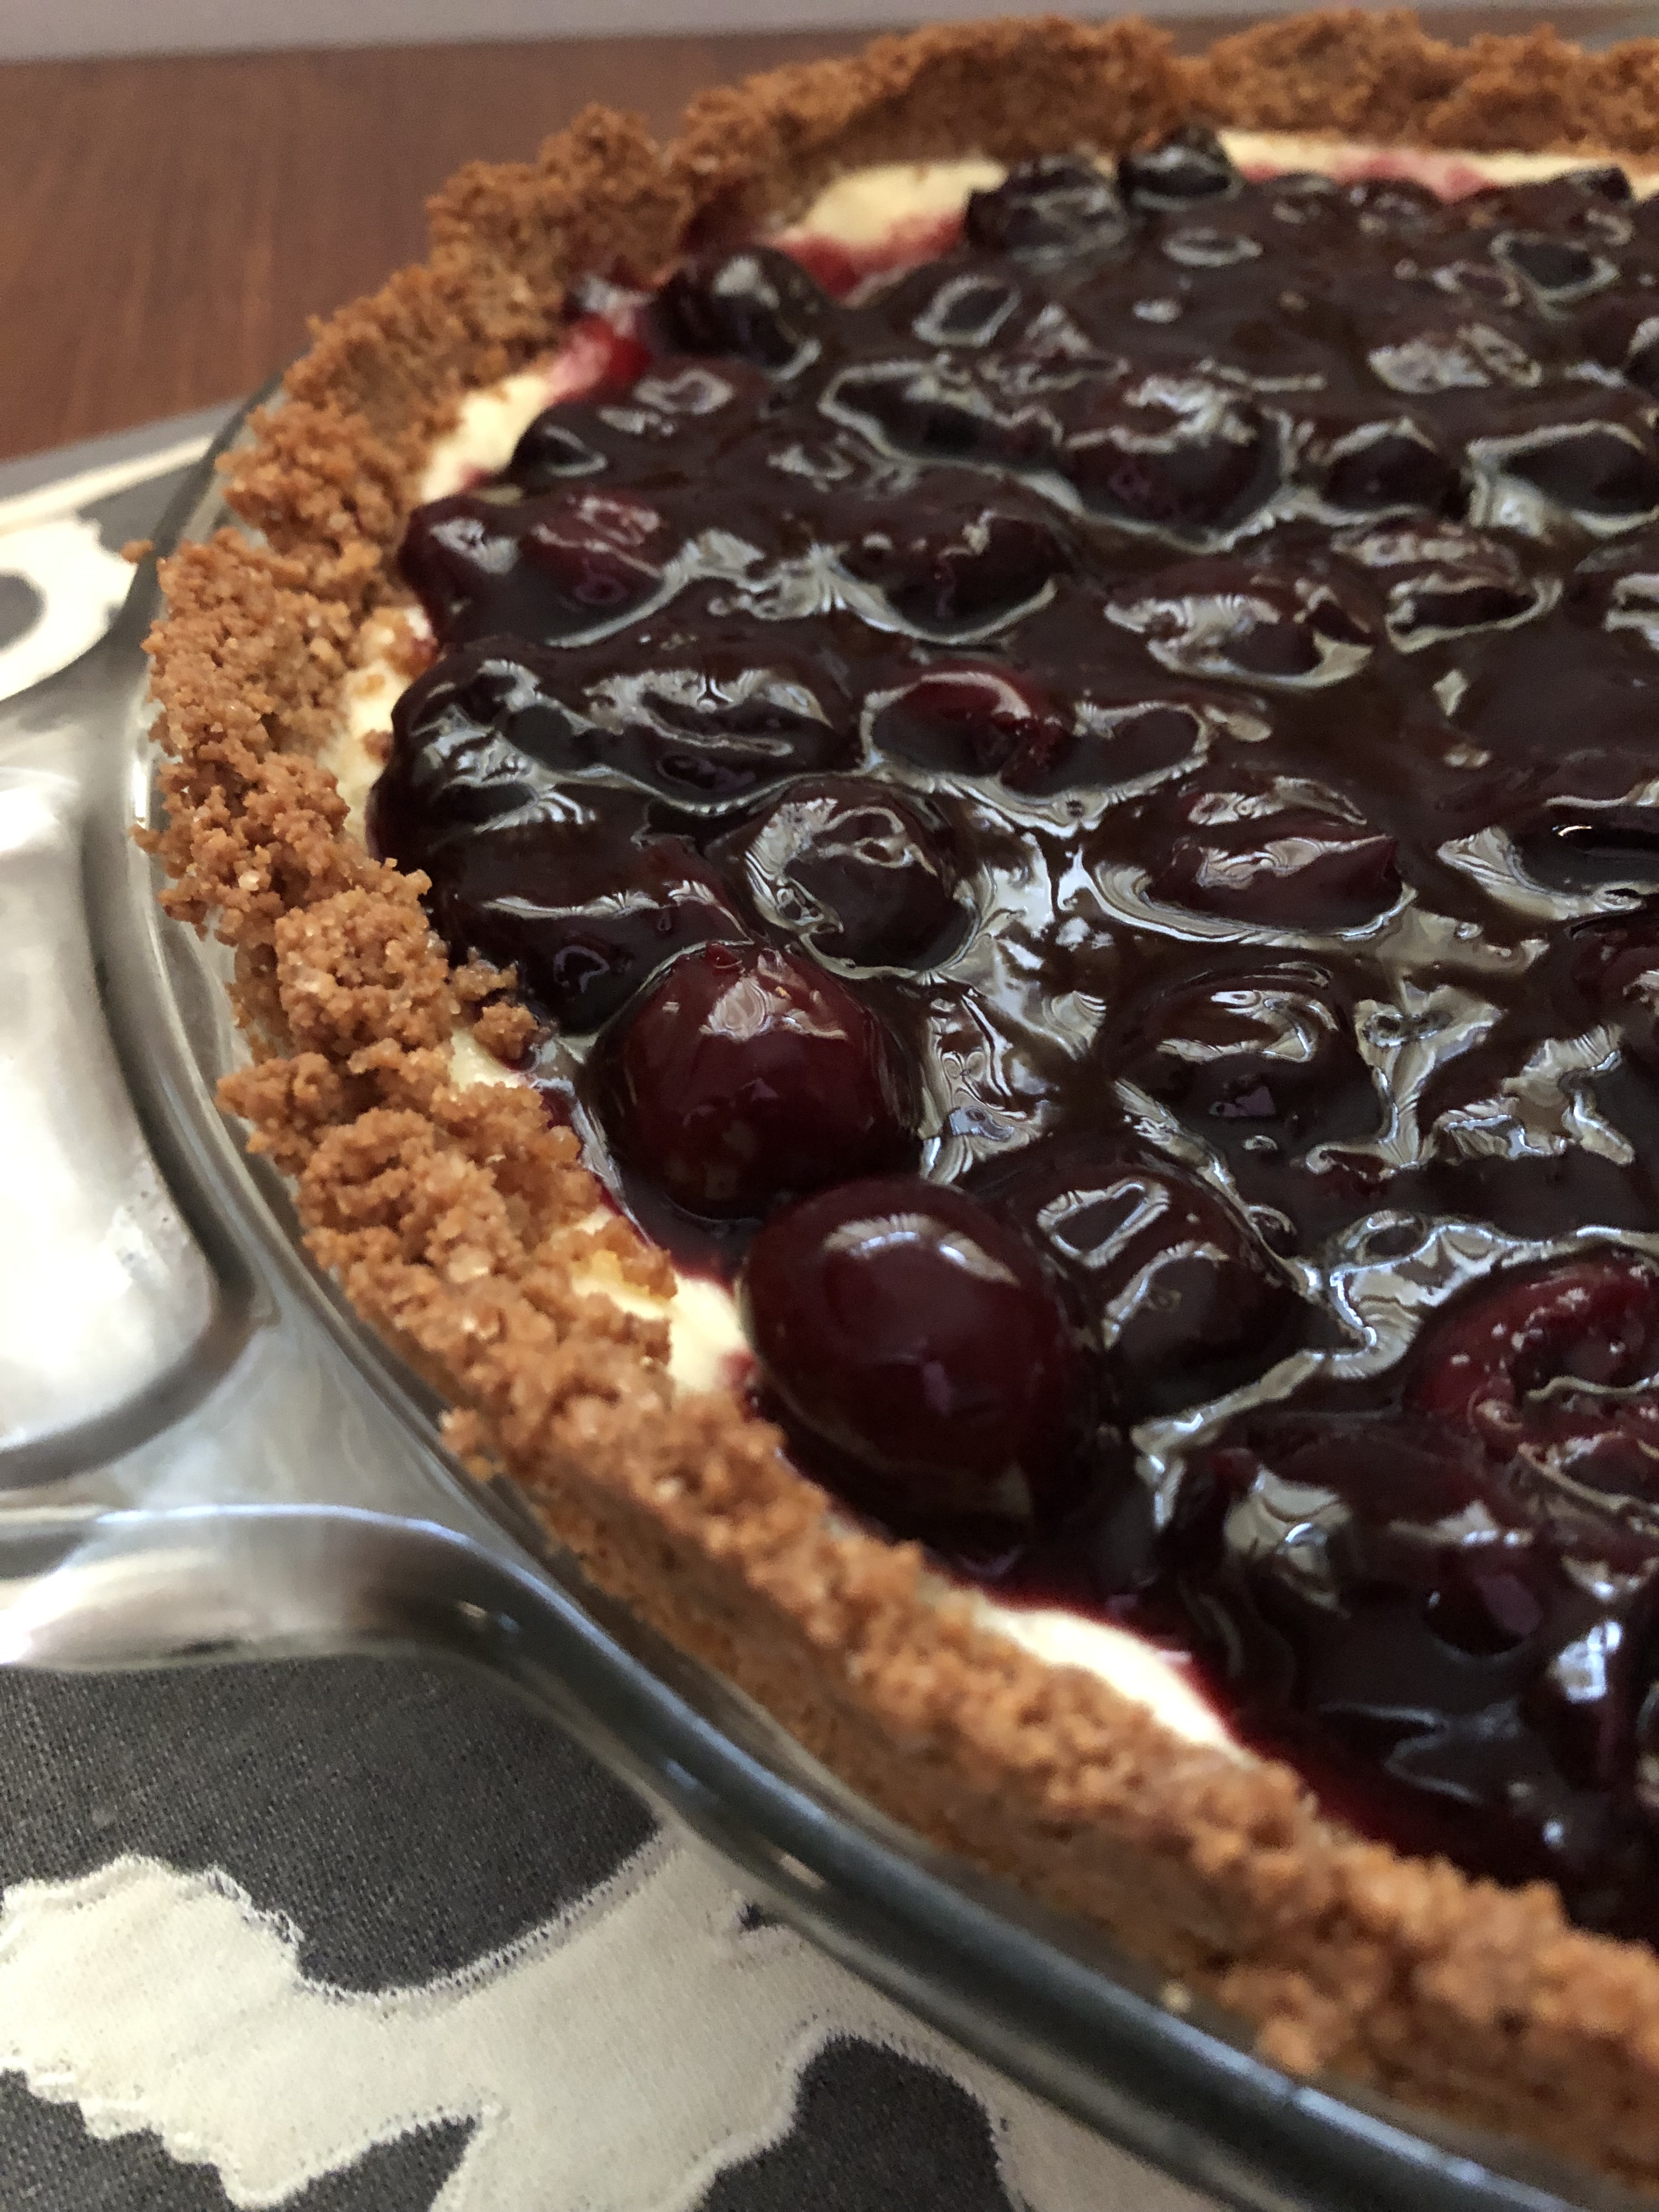
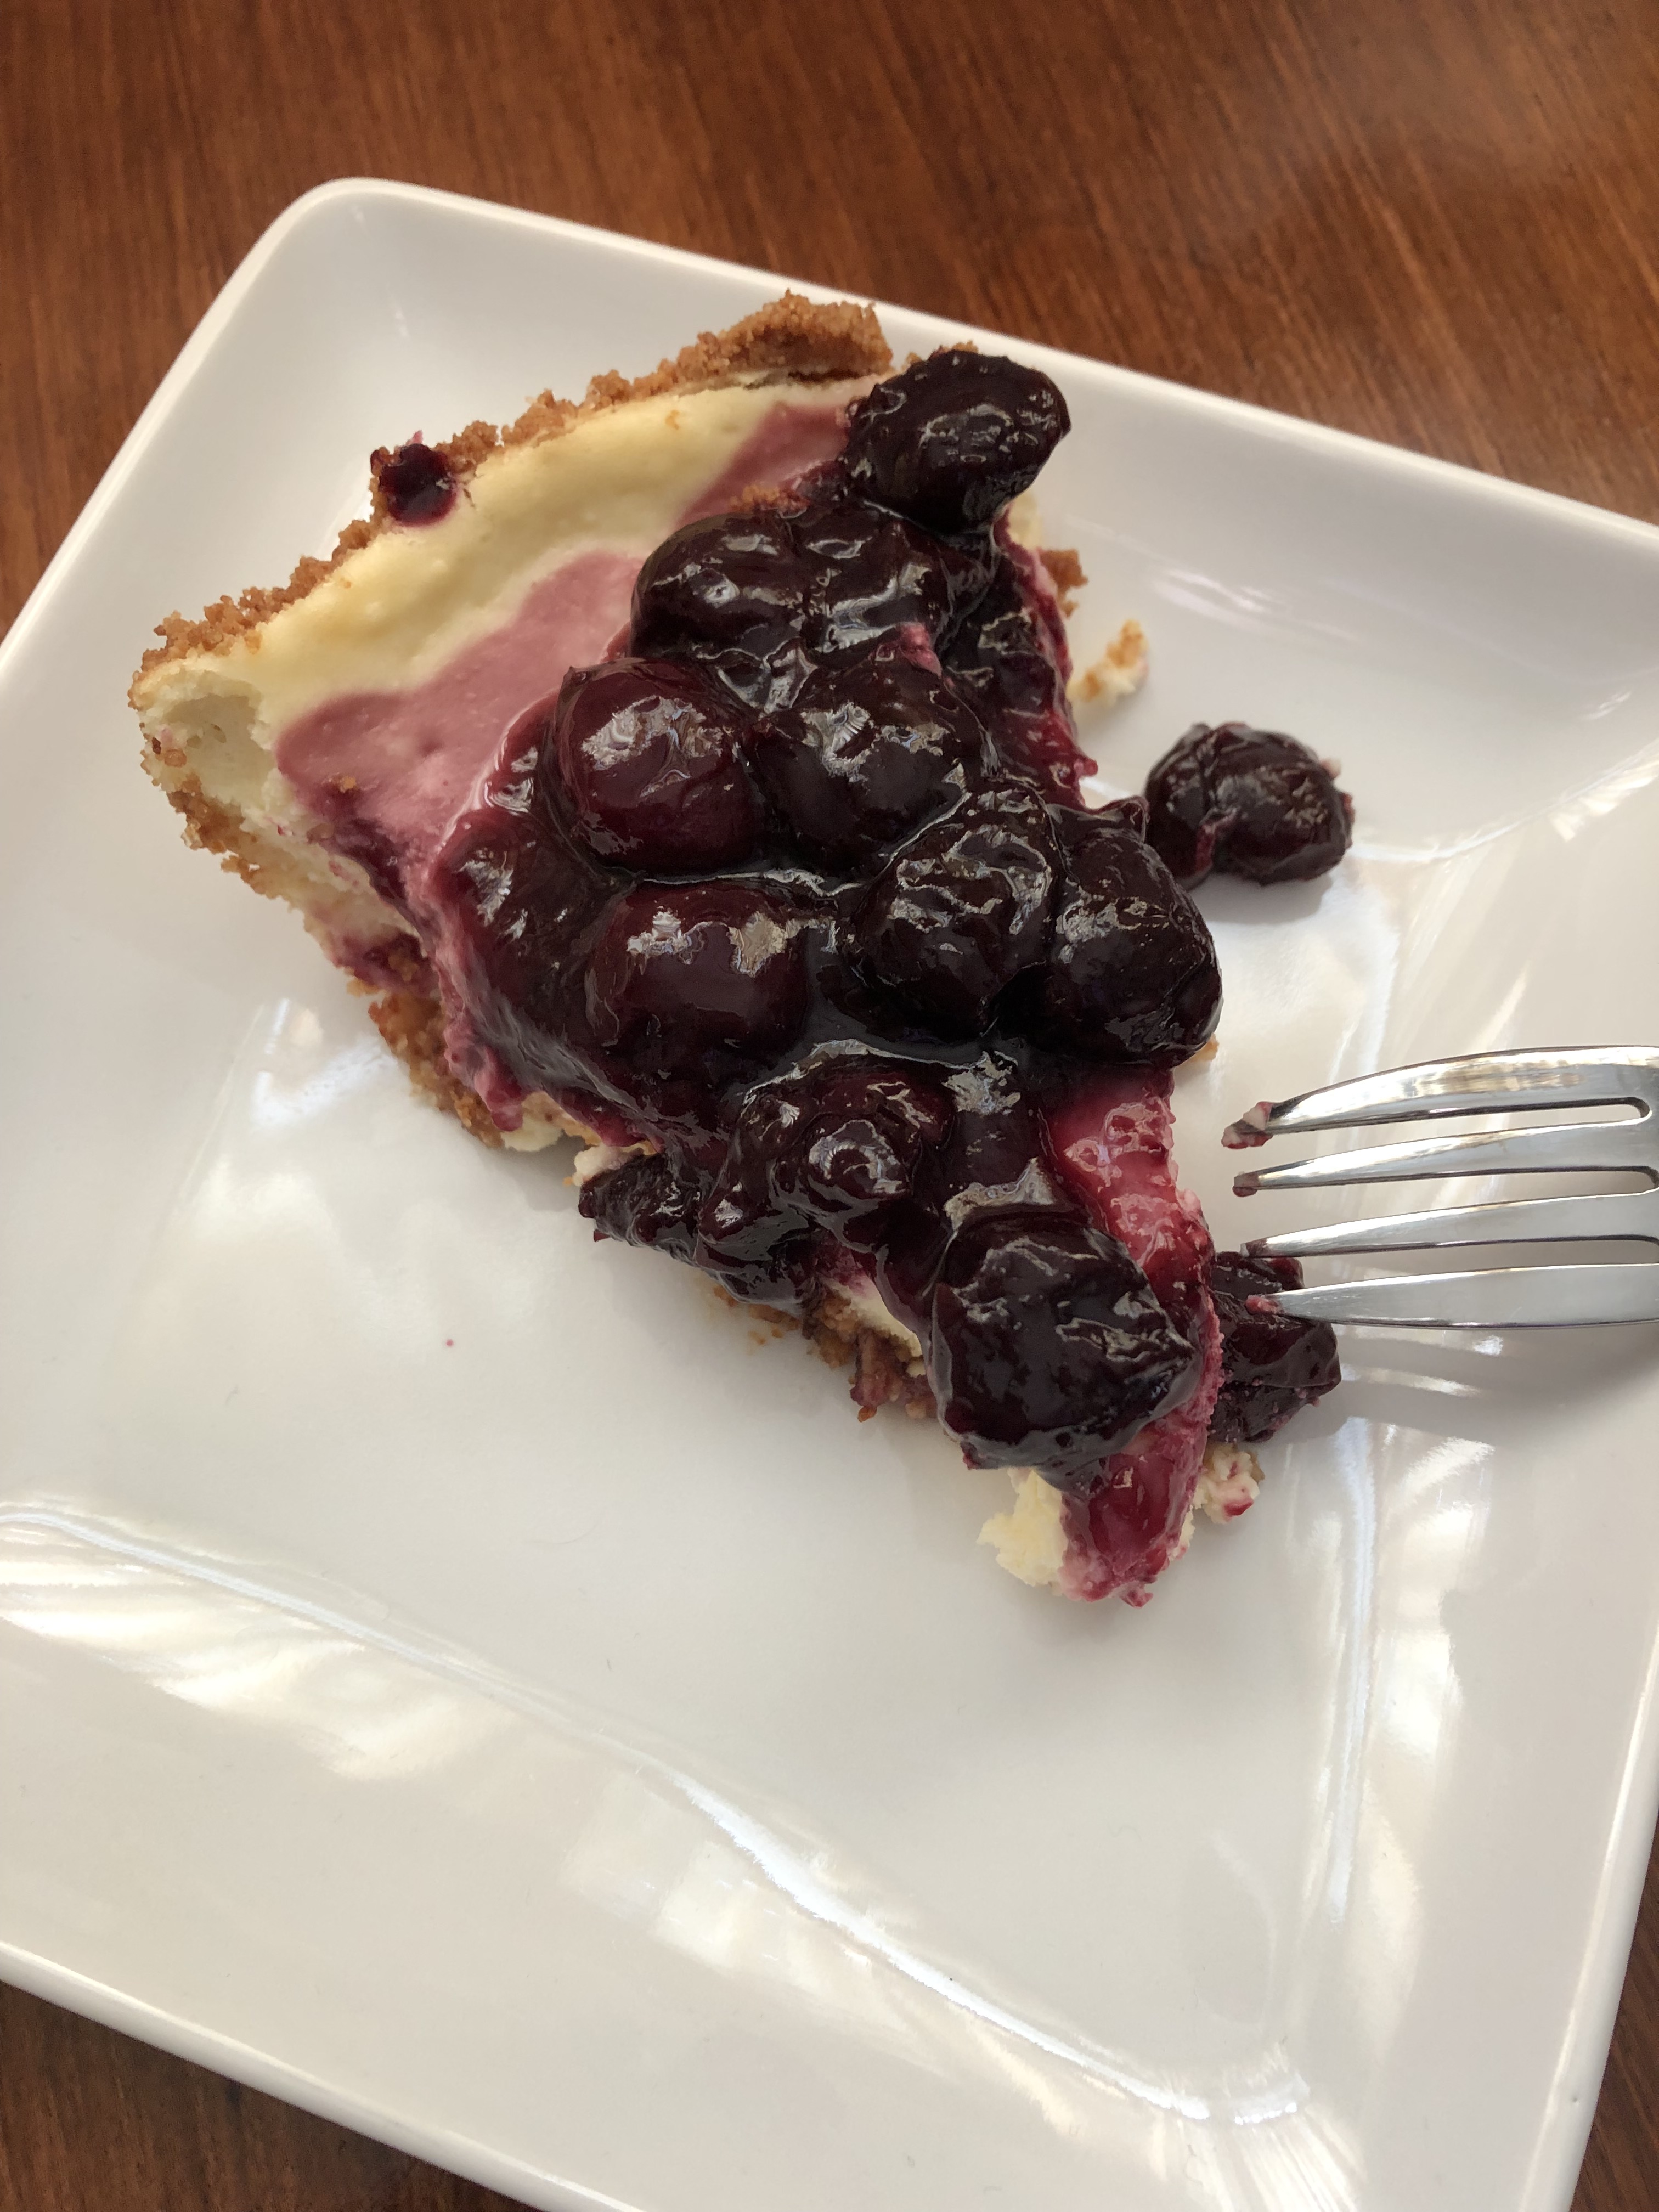
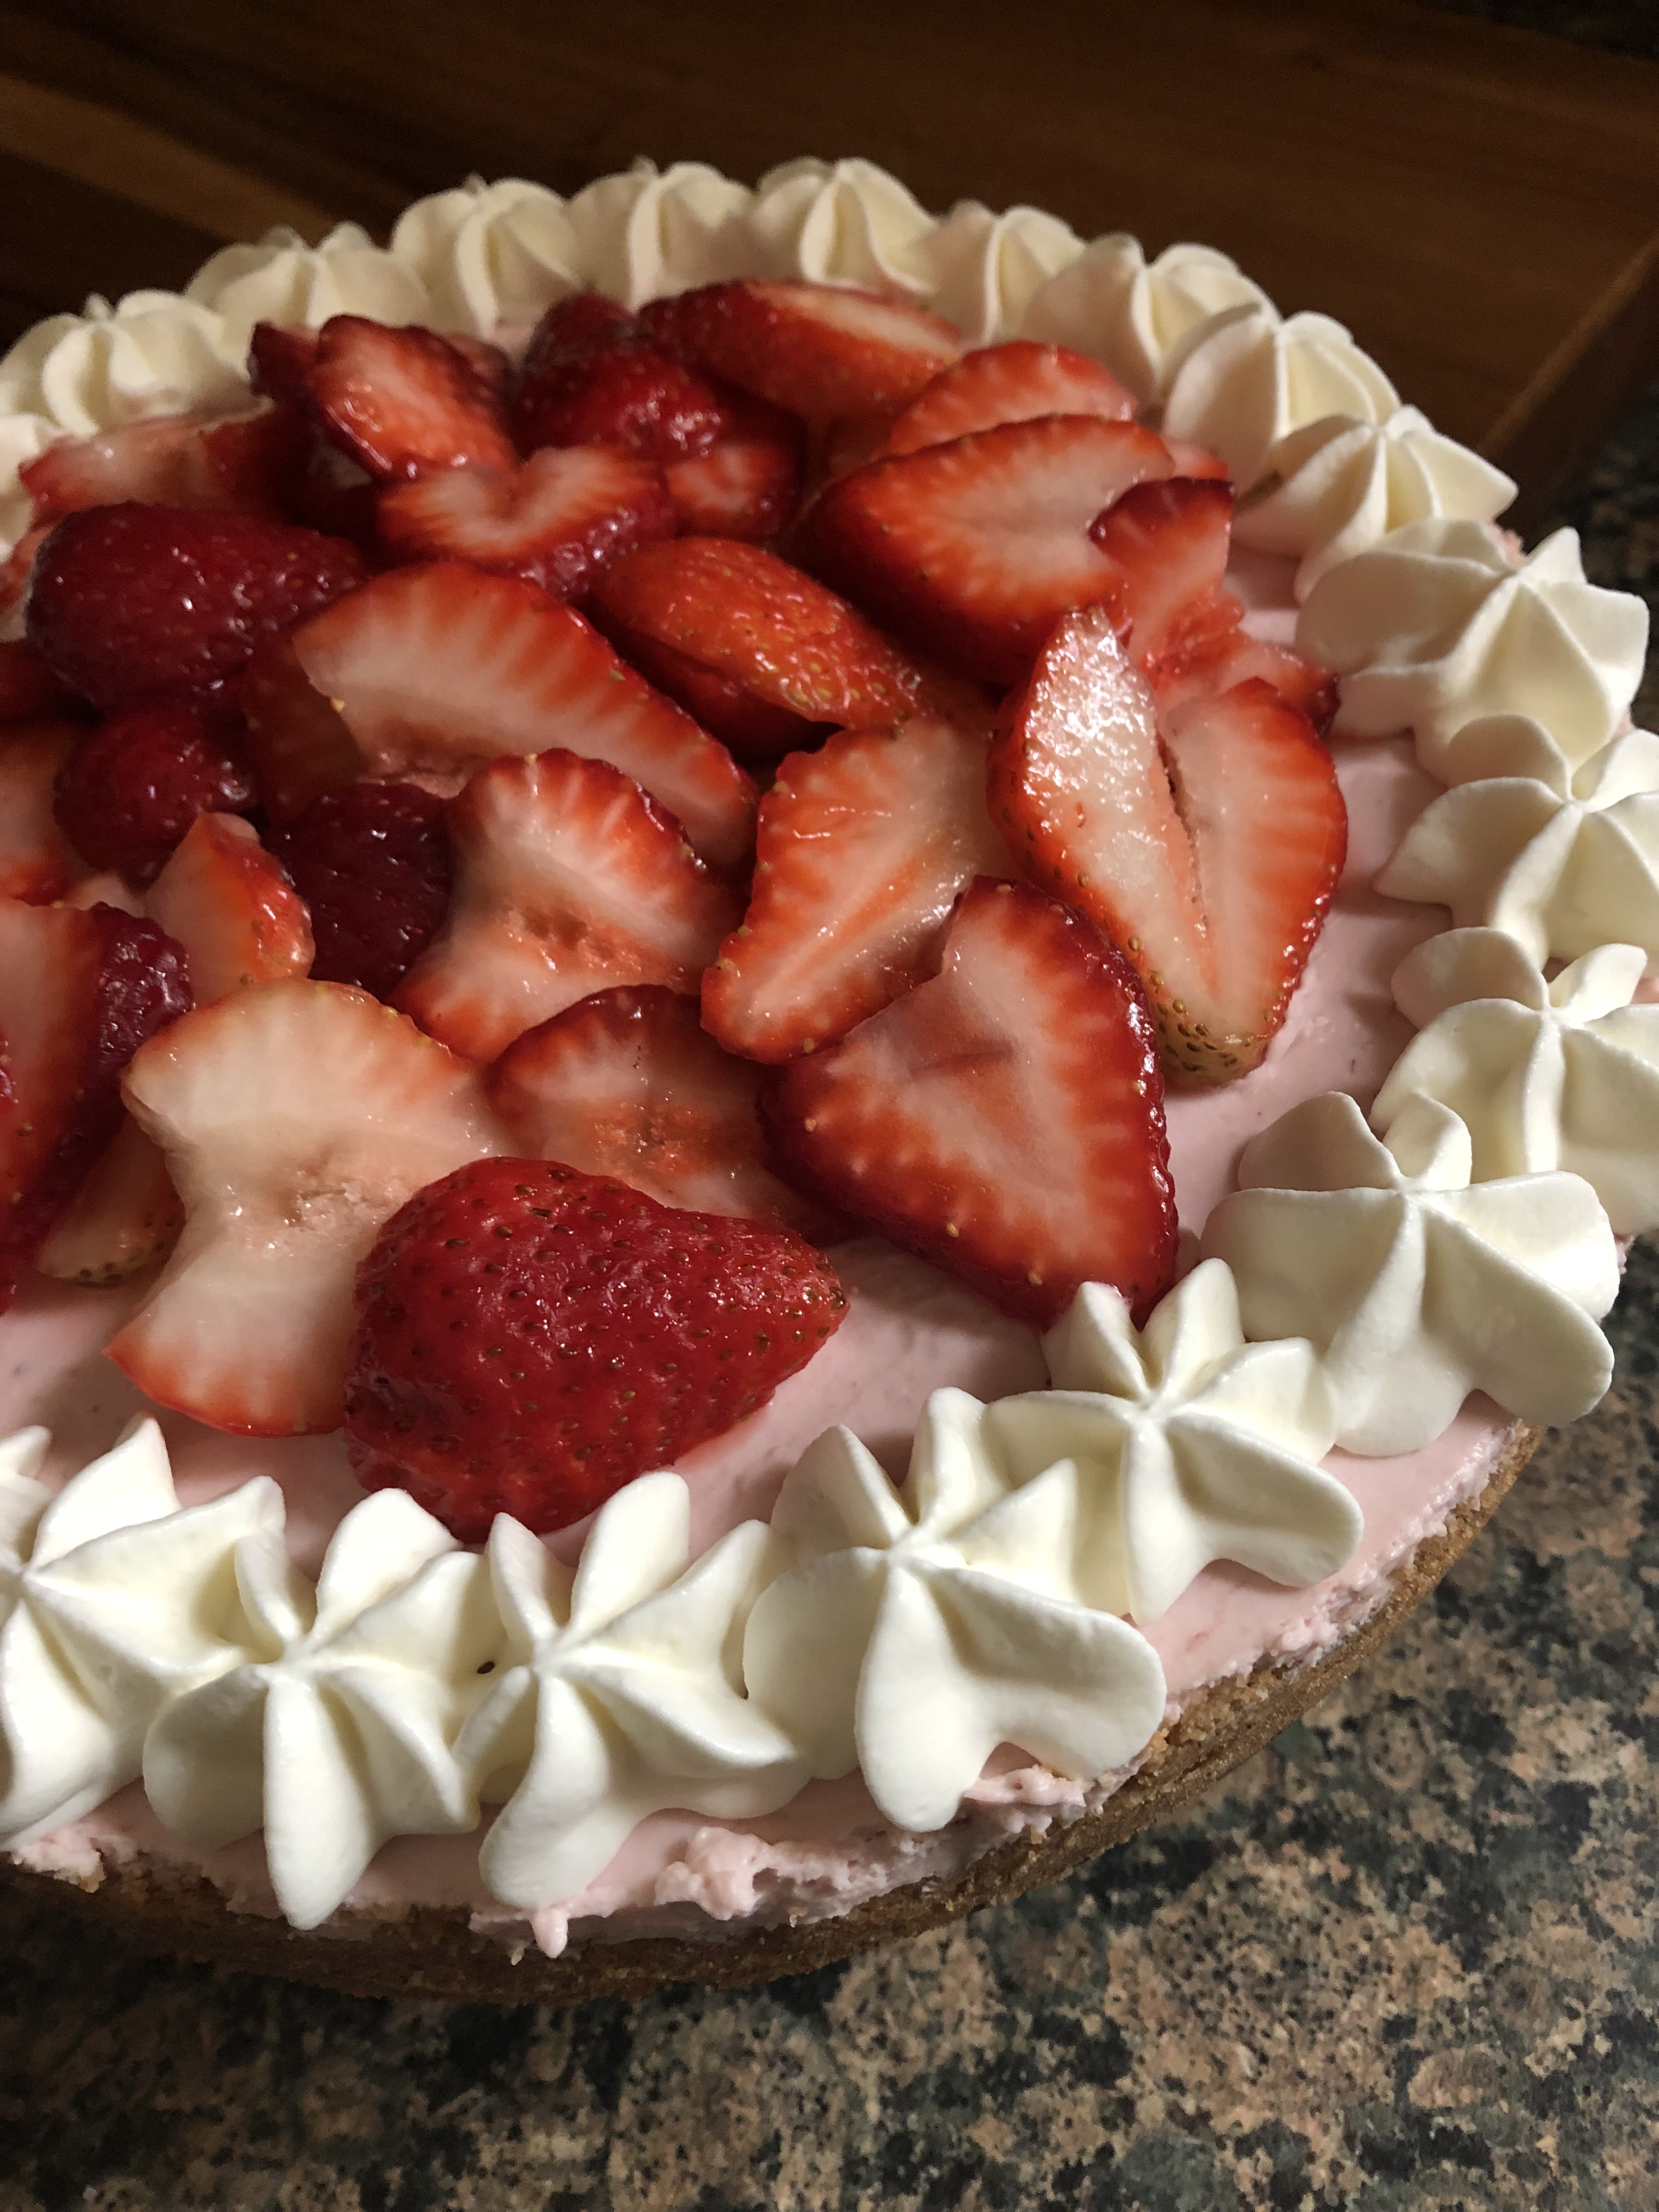
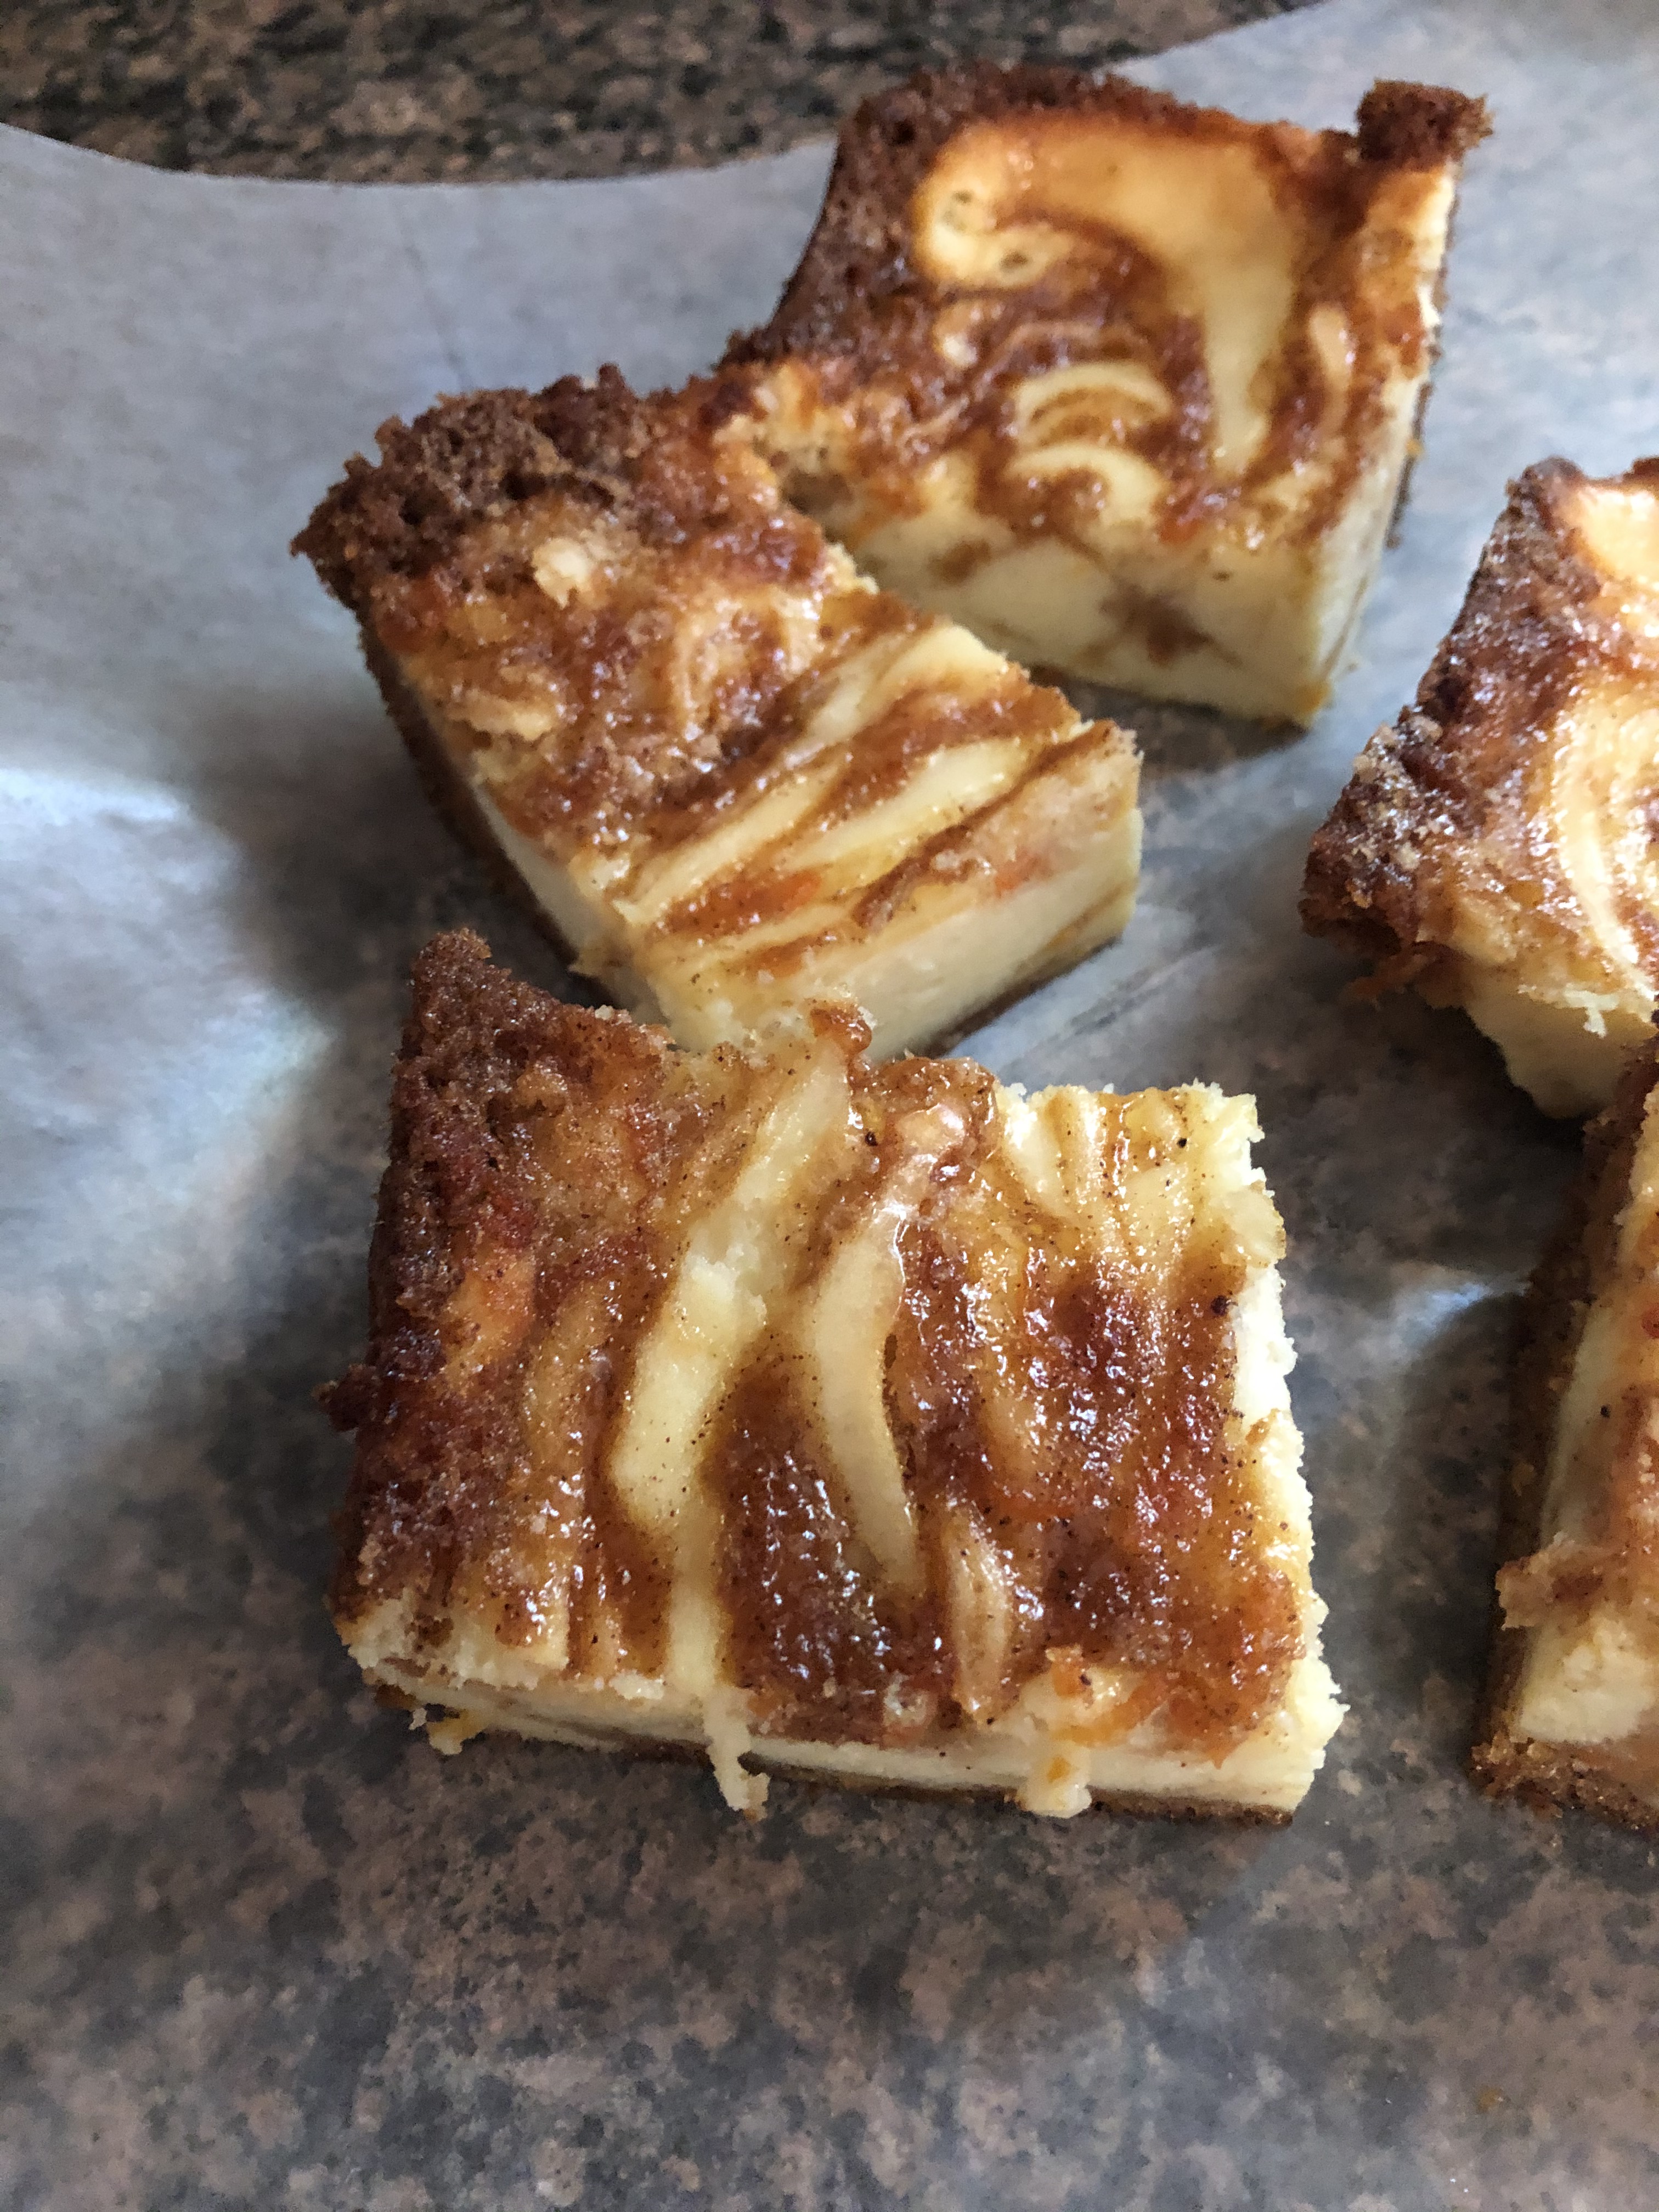
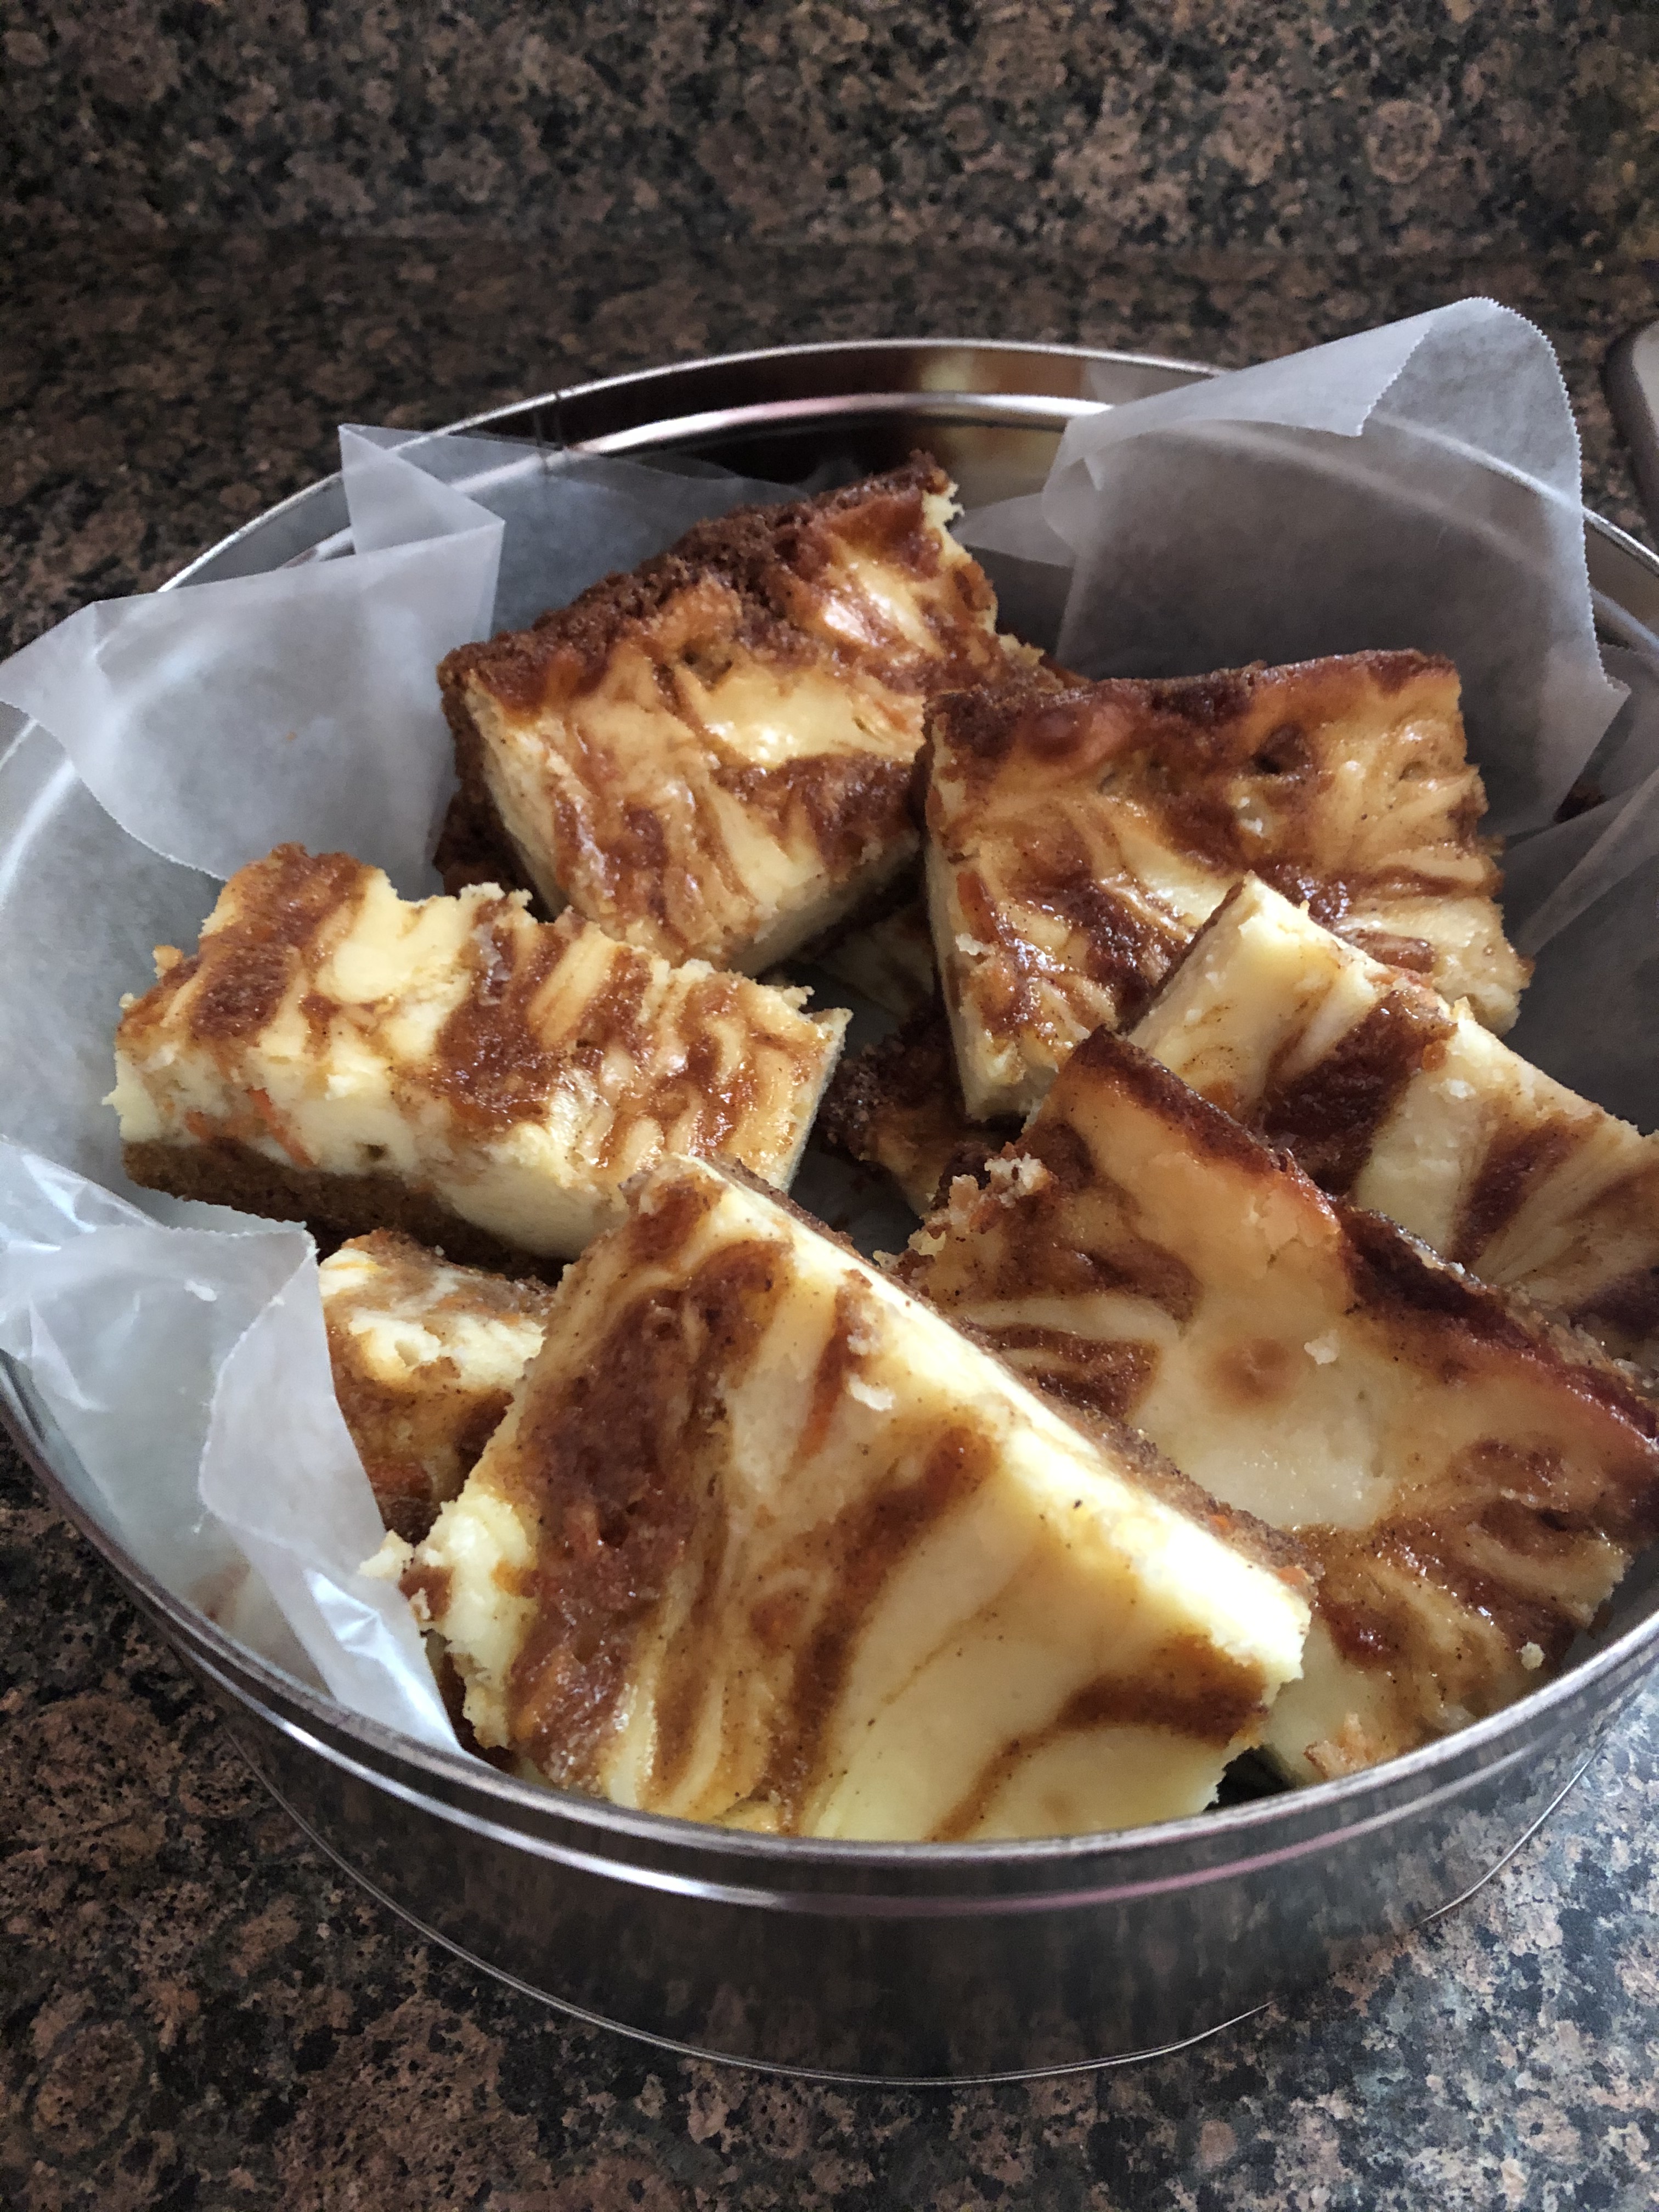
There are many reasons why people create recipes. Following a specific diet, just have a taste for something, curious if certain flavors work together, using up various ingredients… The list goes on and on. For today’s White Chocolate Cheesecake with Mixed Berry Swirl the idea came to me when I had a bag of frozen berries in my freezer and a package of Oreos in my pantry that I didn’t want to go to waste. This is also a slight variation of my favorite cheesecake from The Cheesecake Factory – White Chocolate Raspberry Truffle.

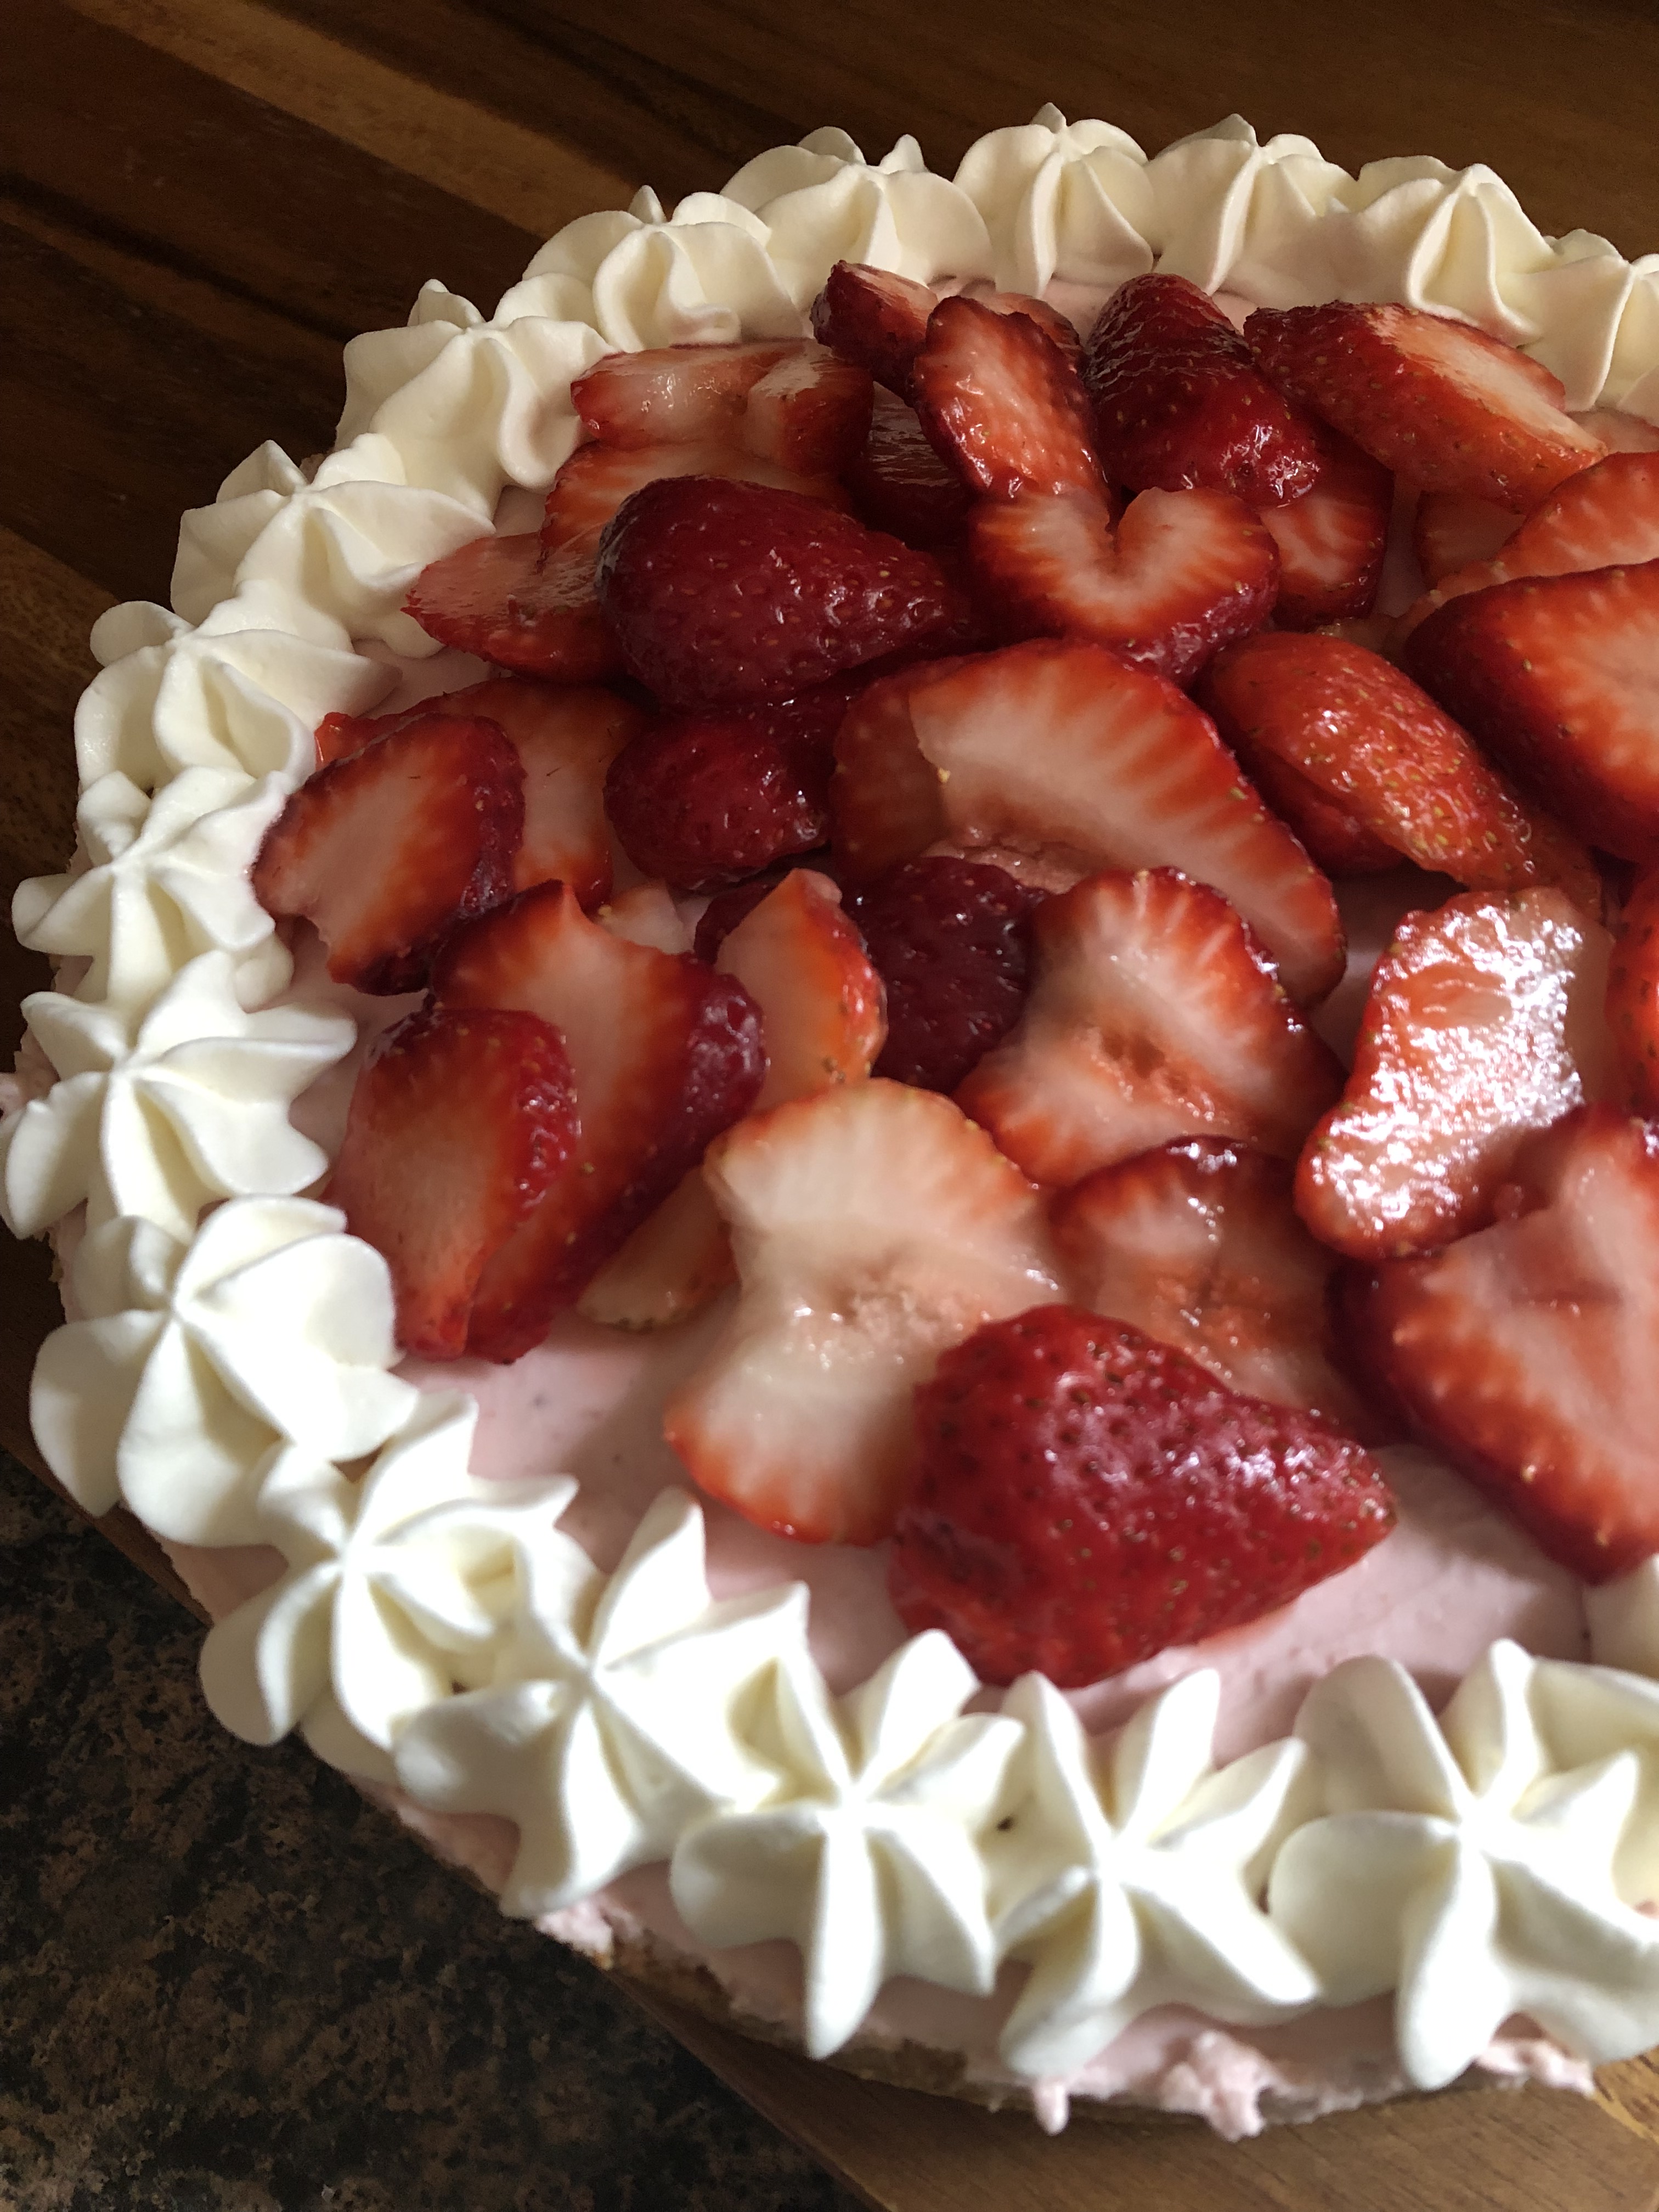
While I used mixed berries for the swirl you could swap them out for any berry – blueberry, raspberry, strawberry, etc. The method of making the sauce will still be the same. And while I am sure I have mentioned in a few different blog posts that when a recipe calls for melted white chocolate you should avoid using white chocolate chips since they are usually not real chocolate and won’t melt properly, I broke that rule for this recipe. I was able to get the white chocolate chips to melt smoothly by melting it along with heavy cream. I then folded it into the cheesecake filling without any little bits of white chocolate chips lingering.

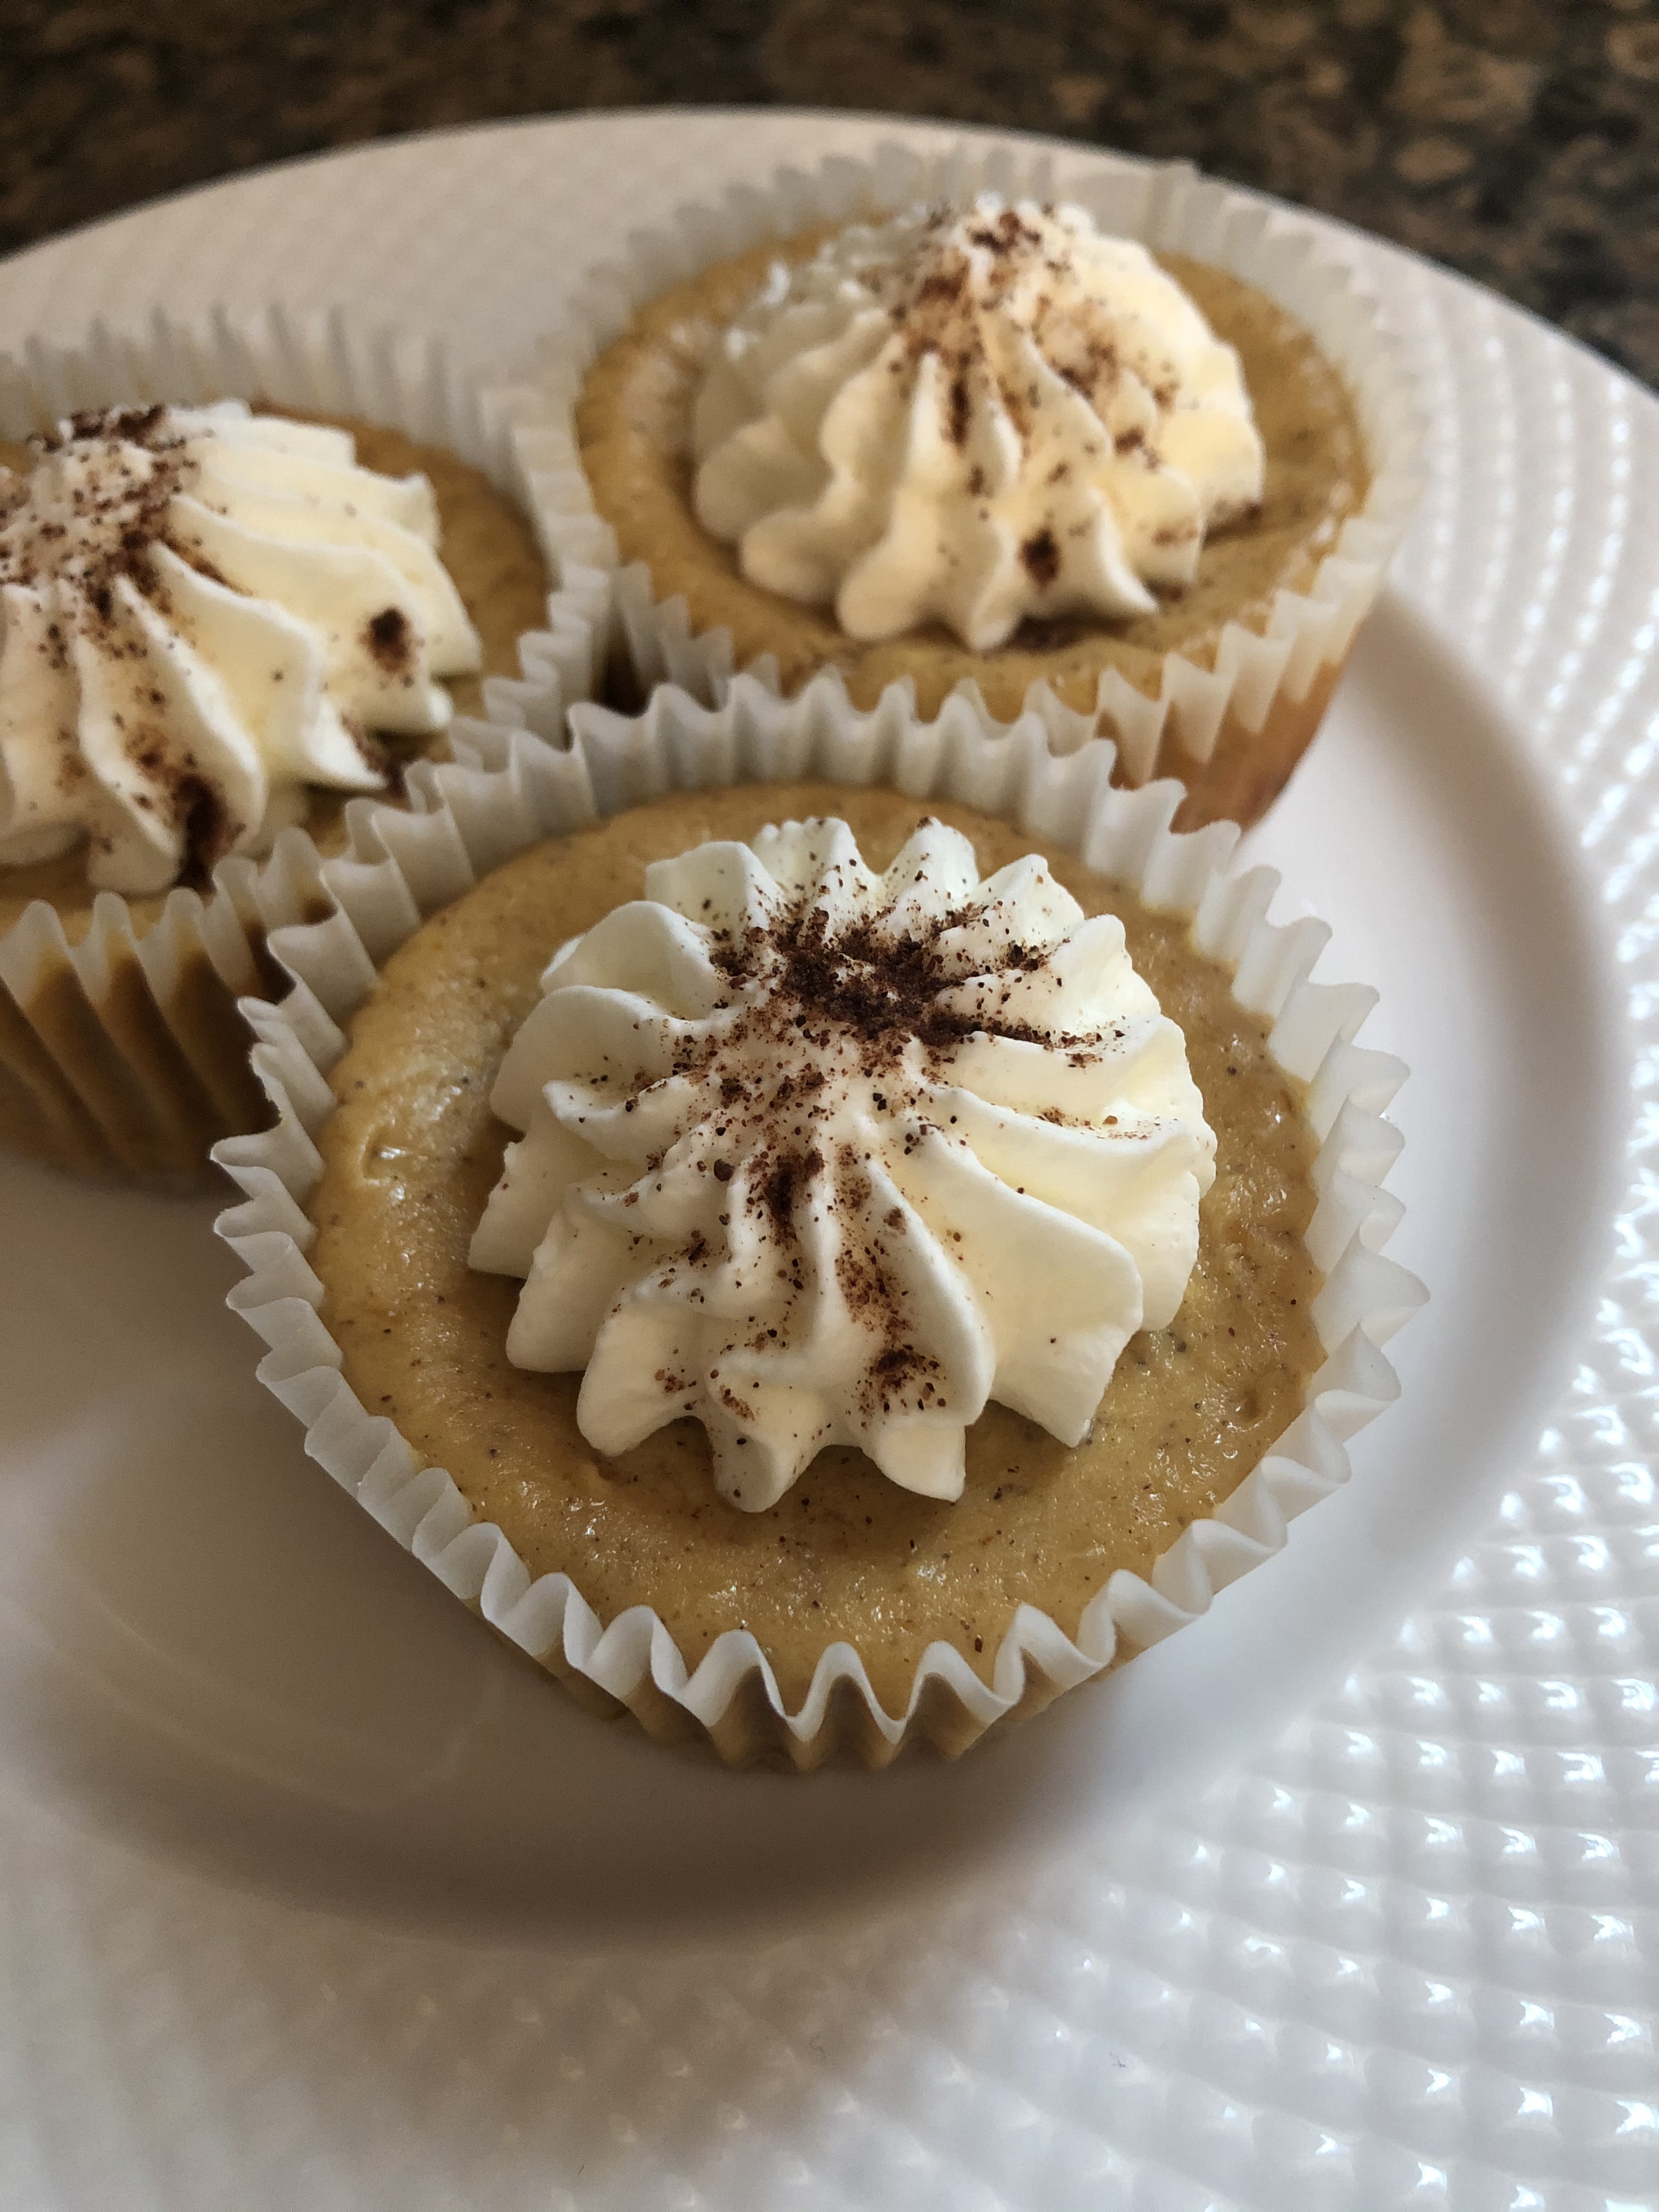
The end result… A delicious cheesecake with hints of white chocolate and a fruity swirl with just the right amount of sweetness!
White Chocolate Cheesecake with Mixed Berry Swirl
Ingredients:
For the Mixed Berry Sauce:
2 1/2 cups (12 oz) frozen mixed berries
1/2 cup water
2 tablespoons sugar
2 teaspoons cornstarch
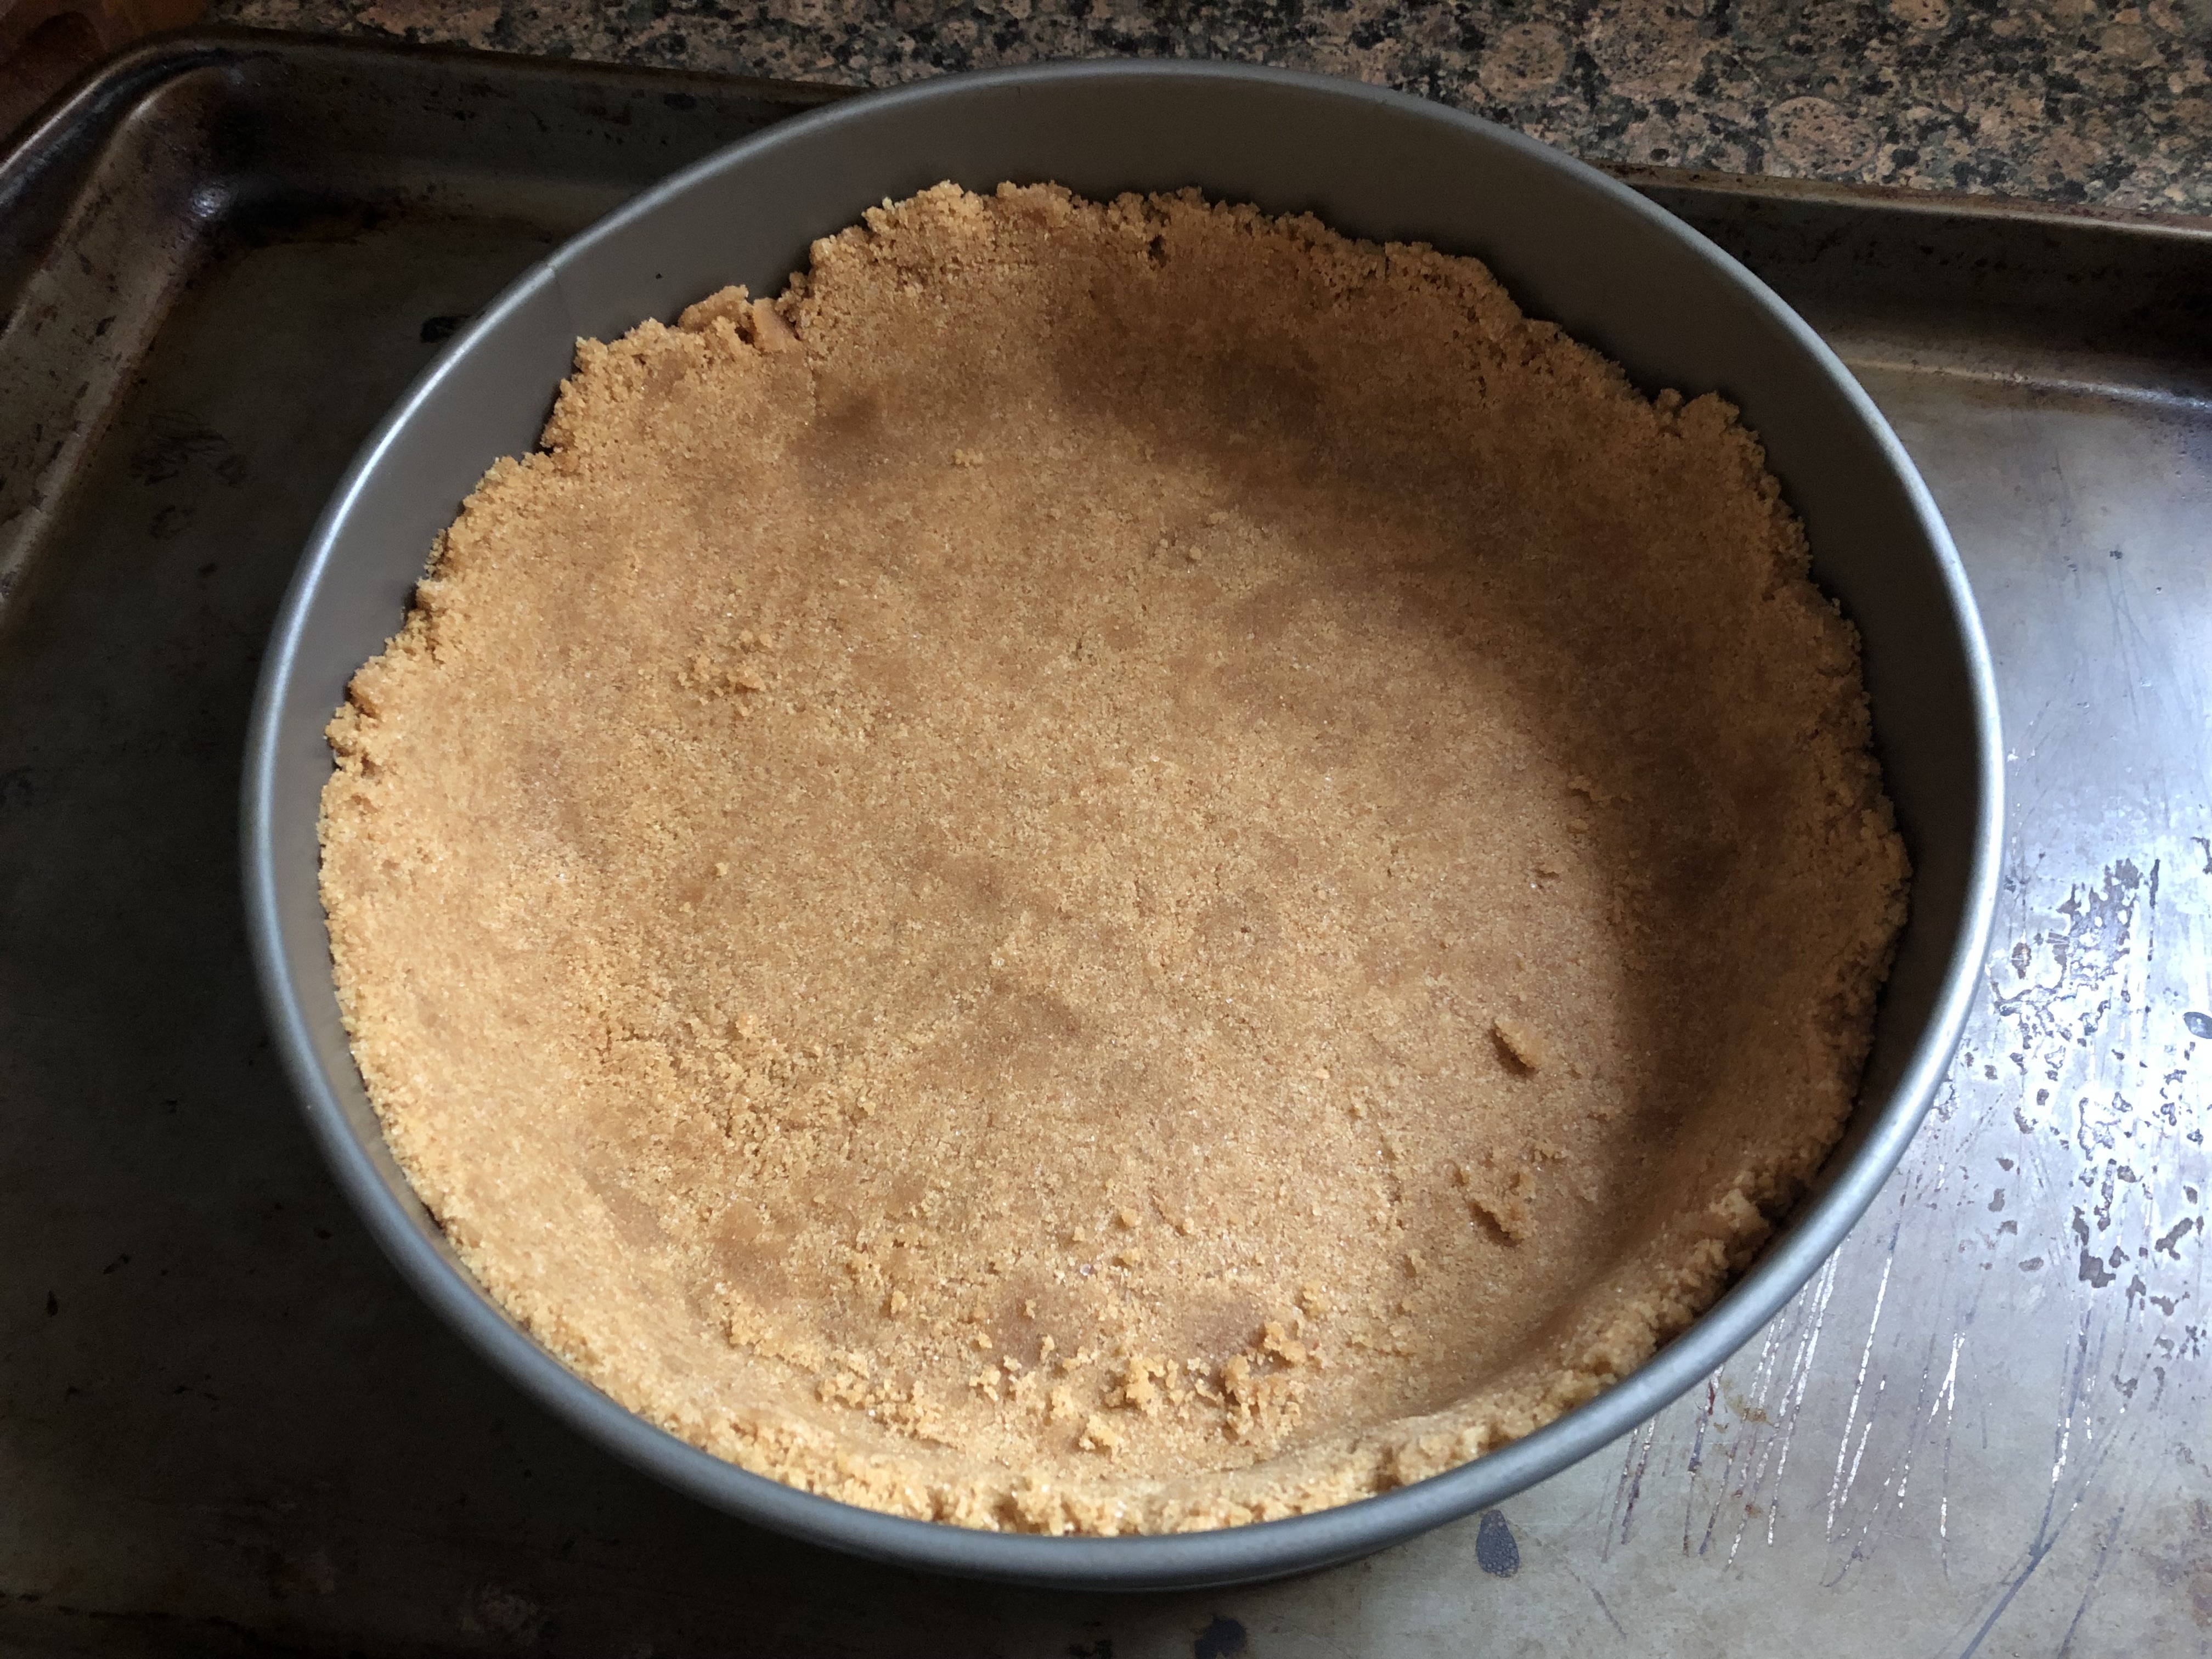
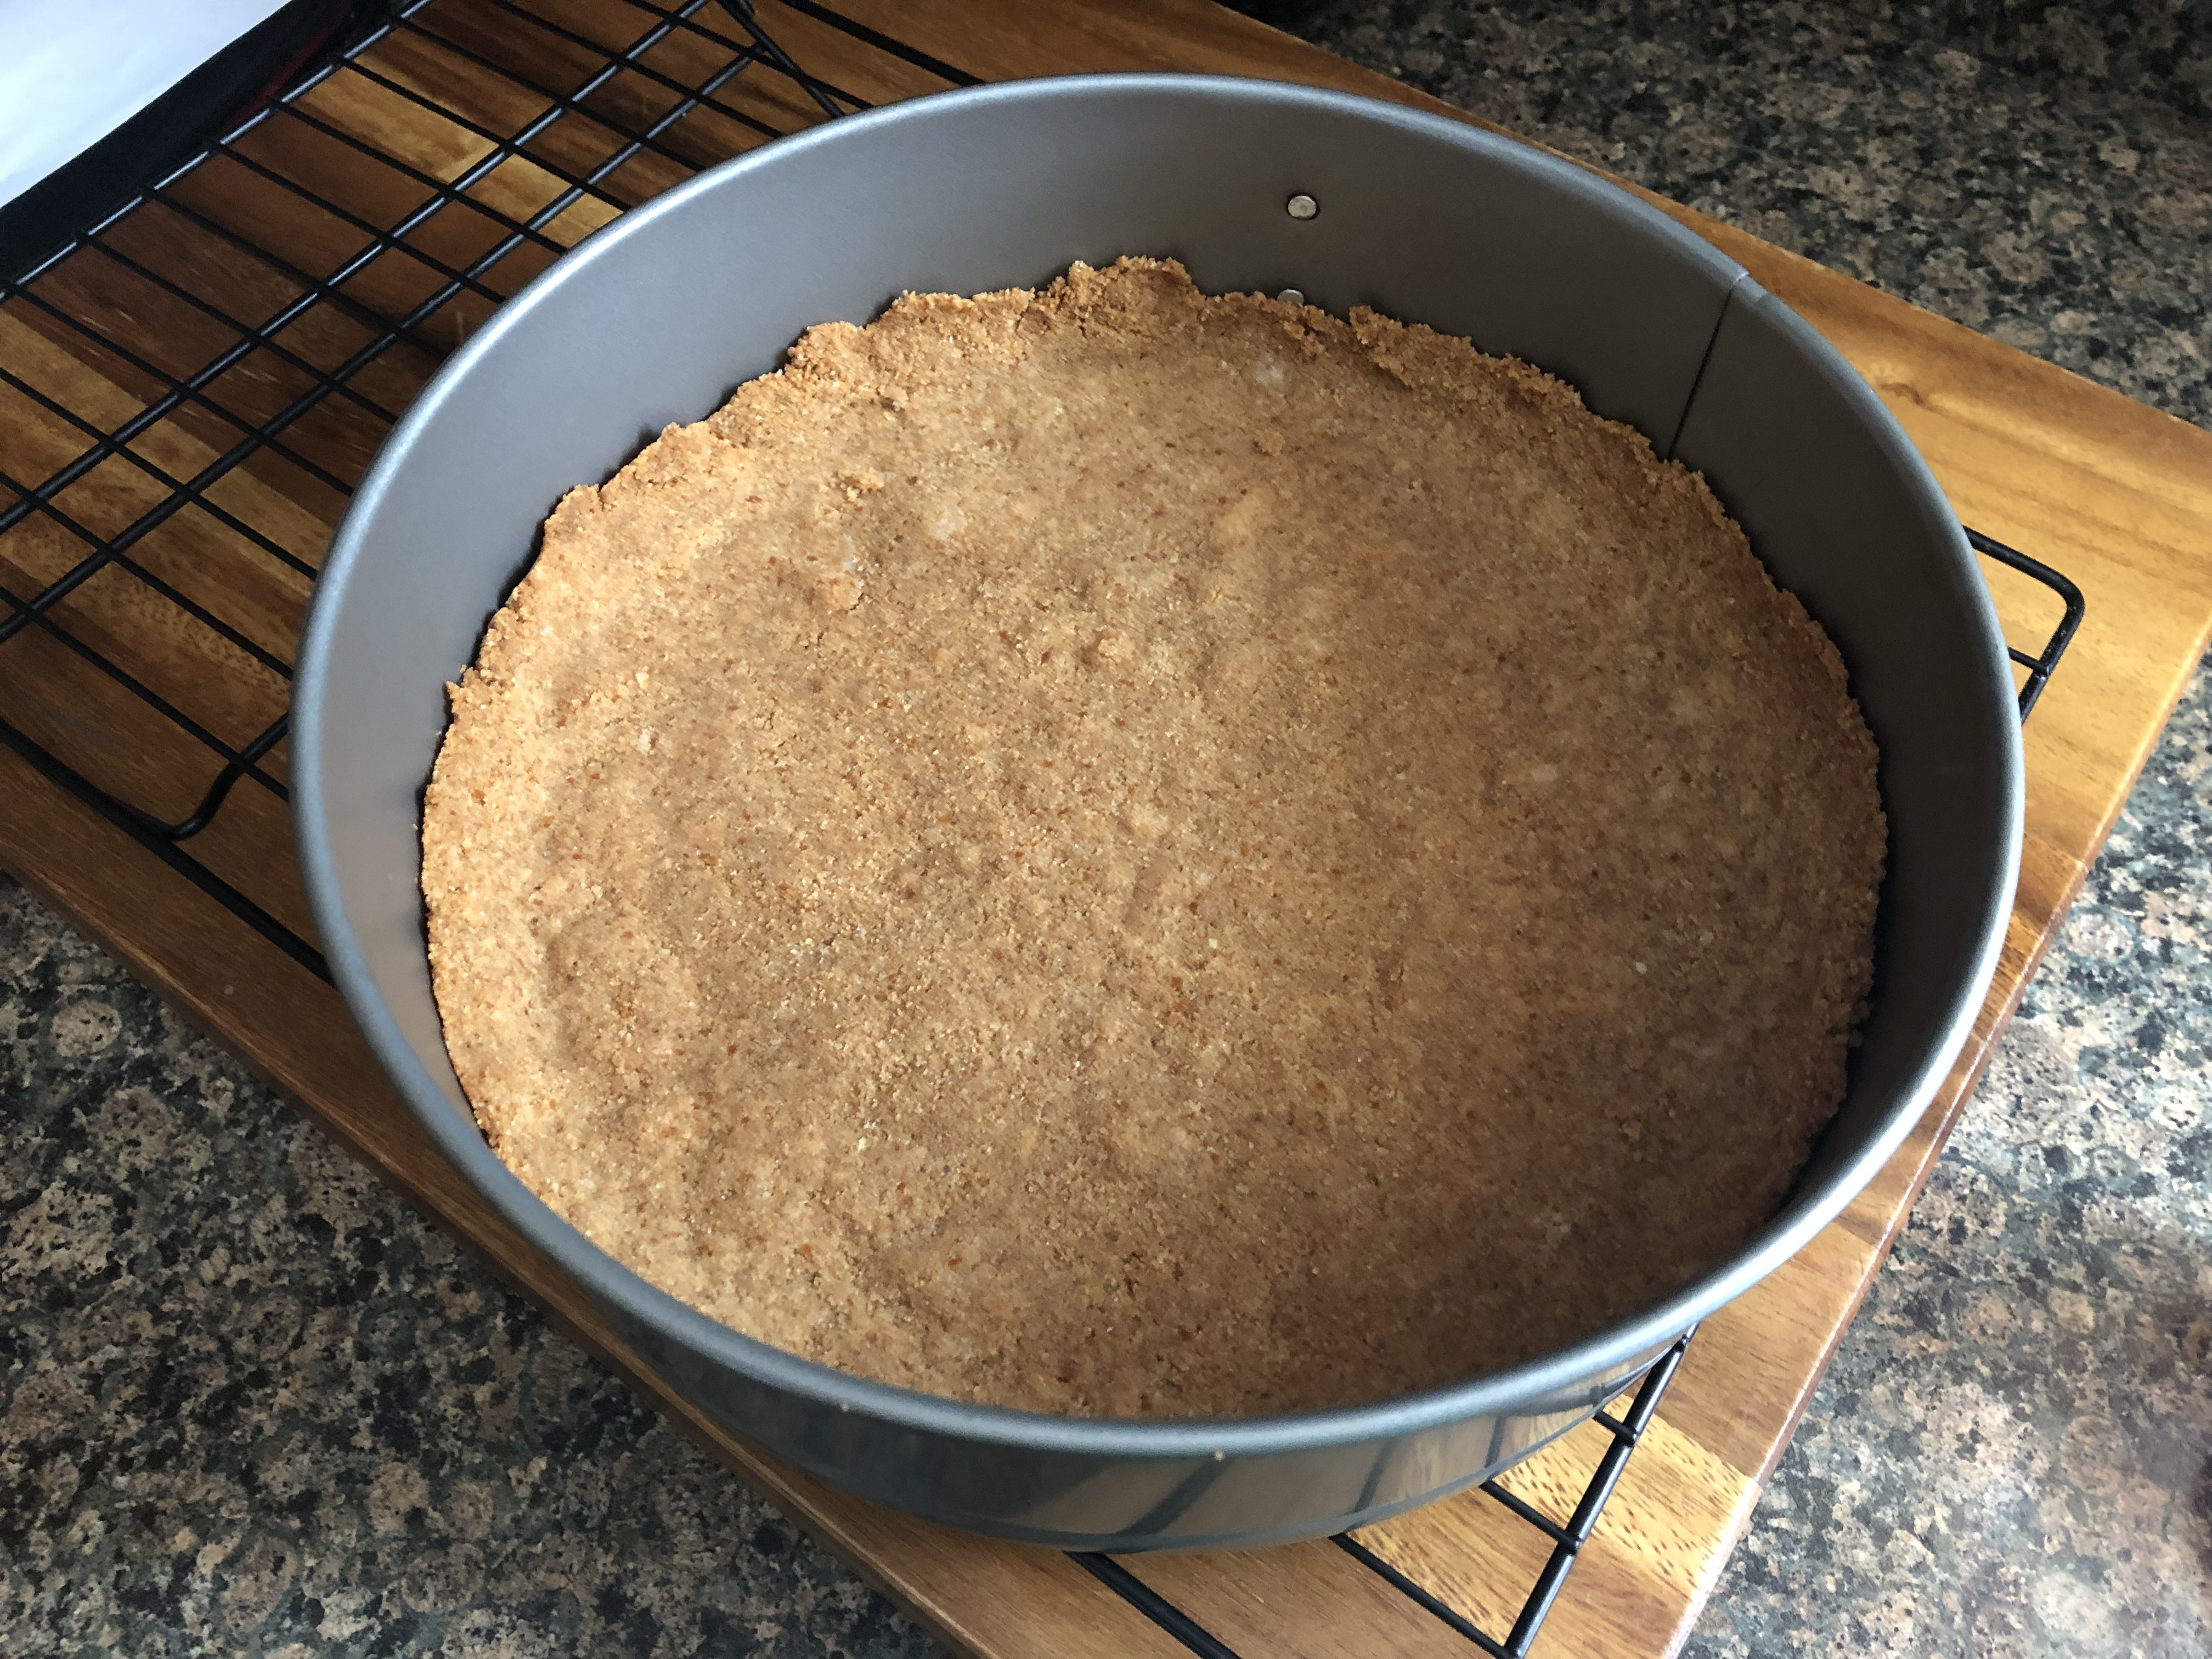
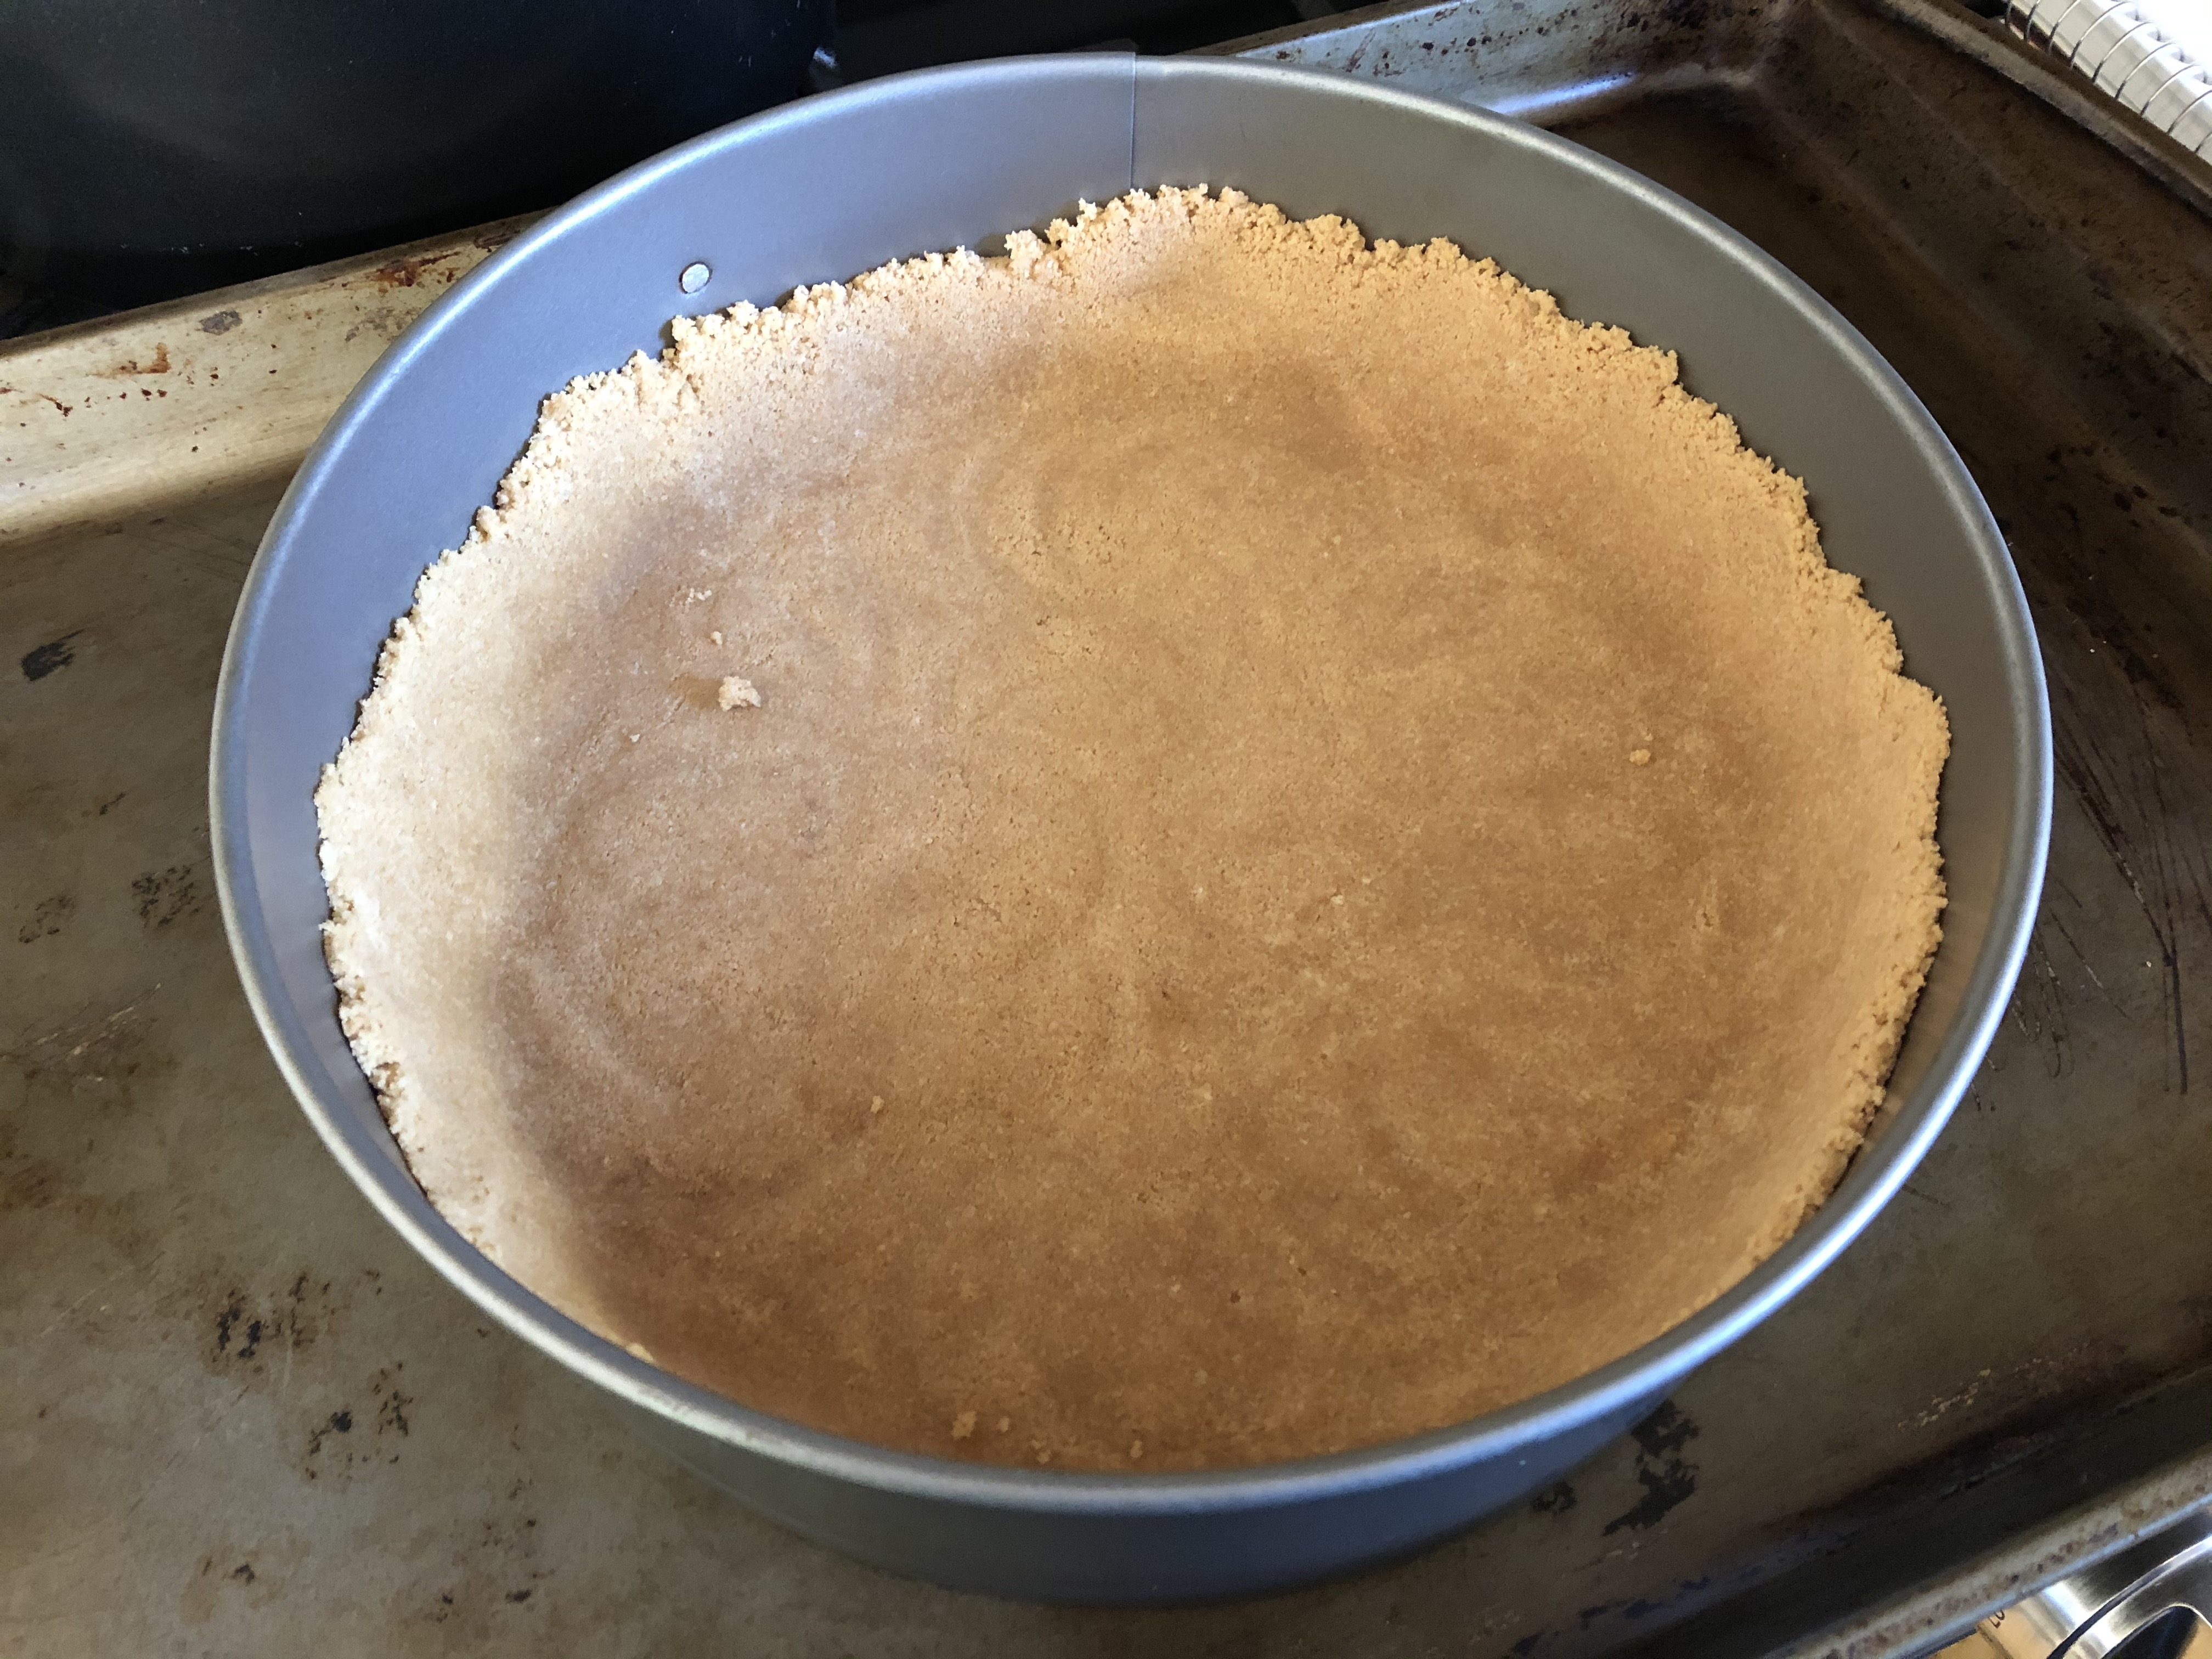
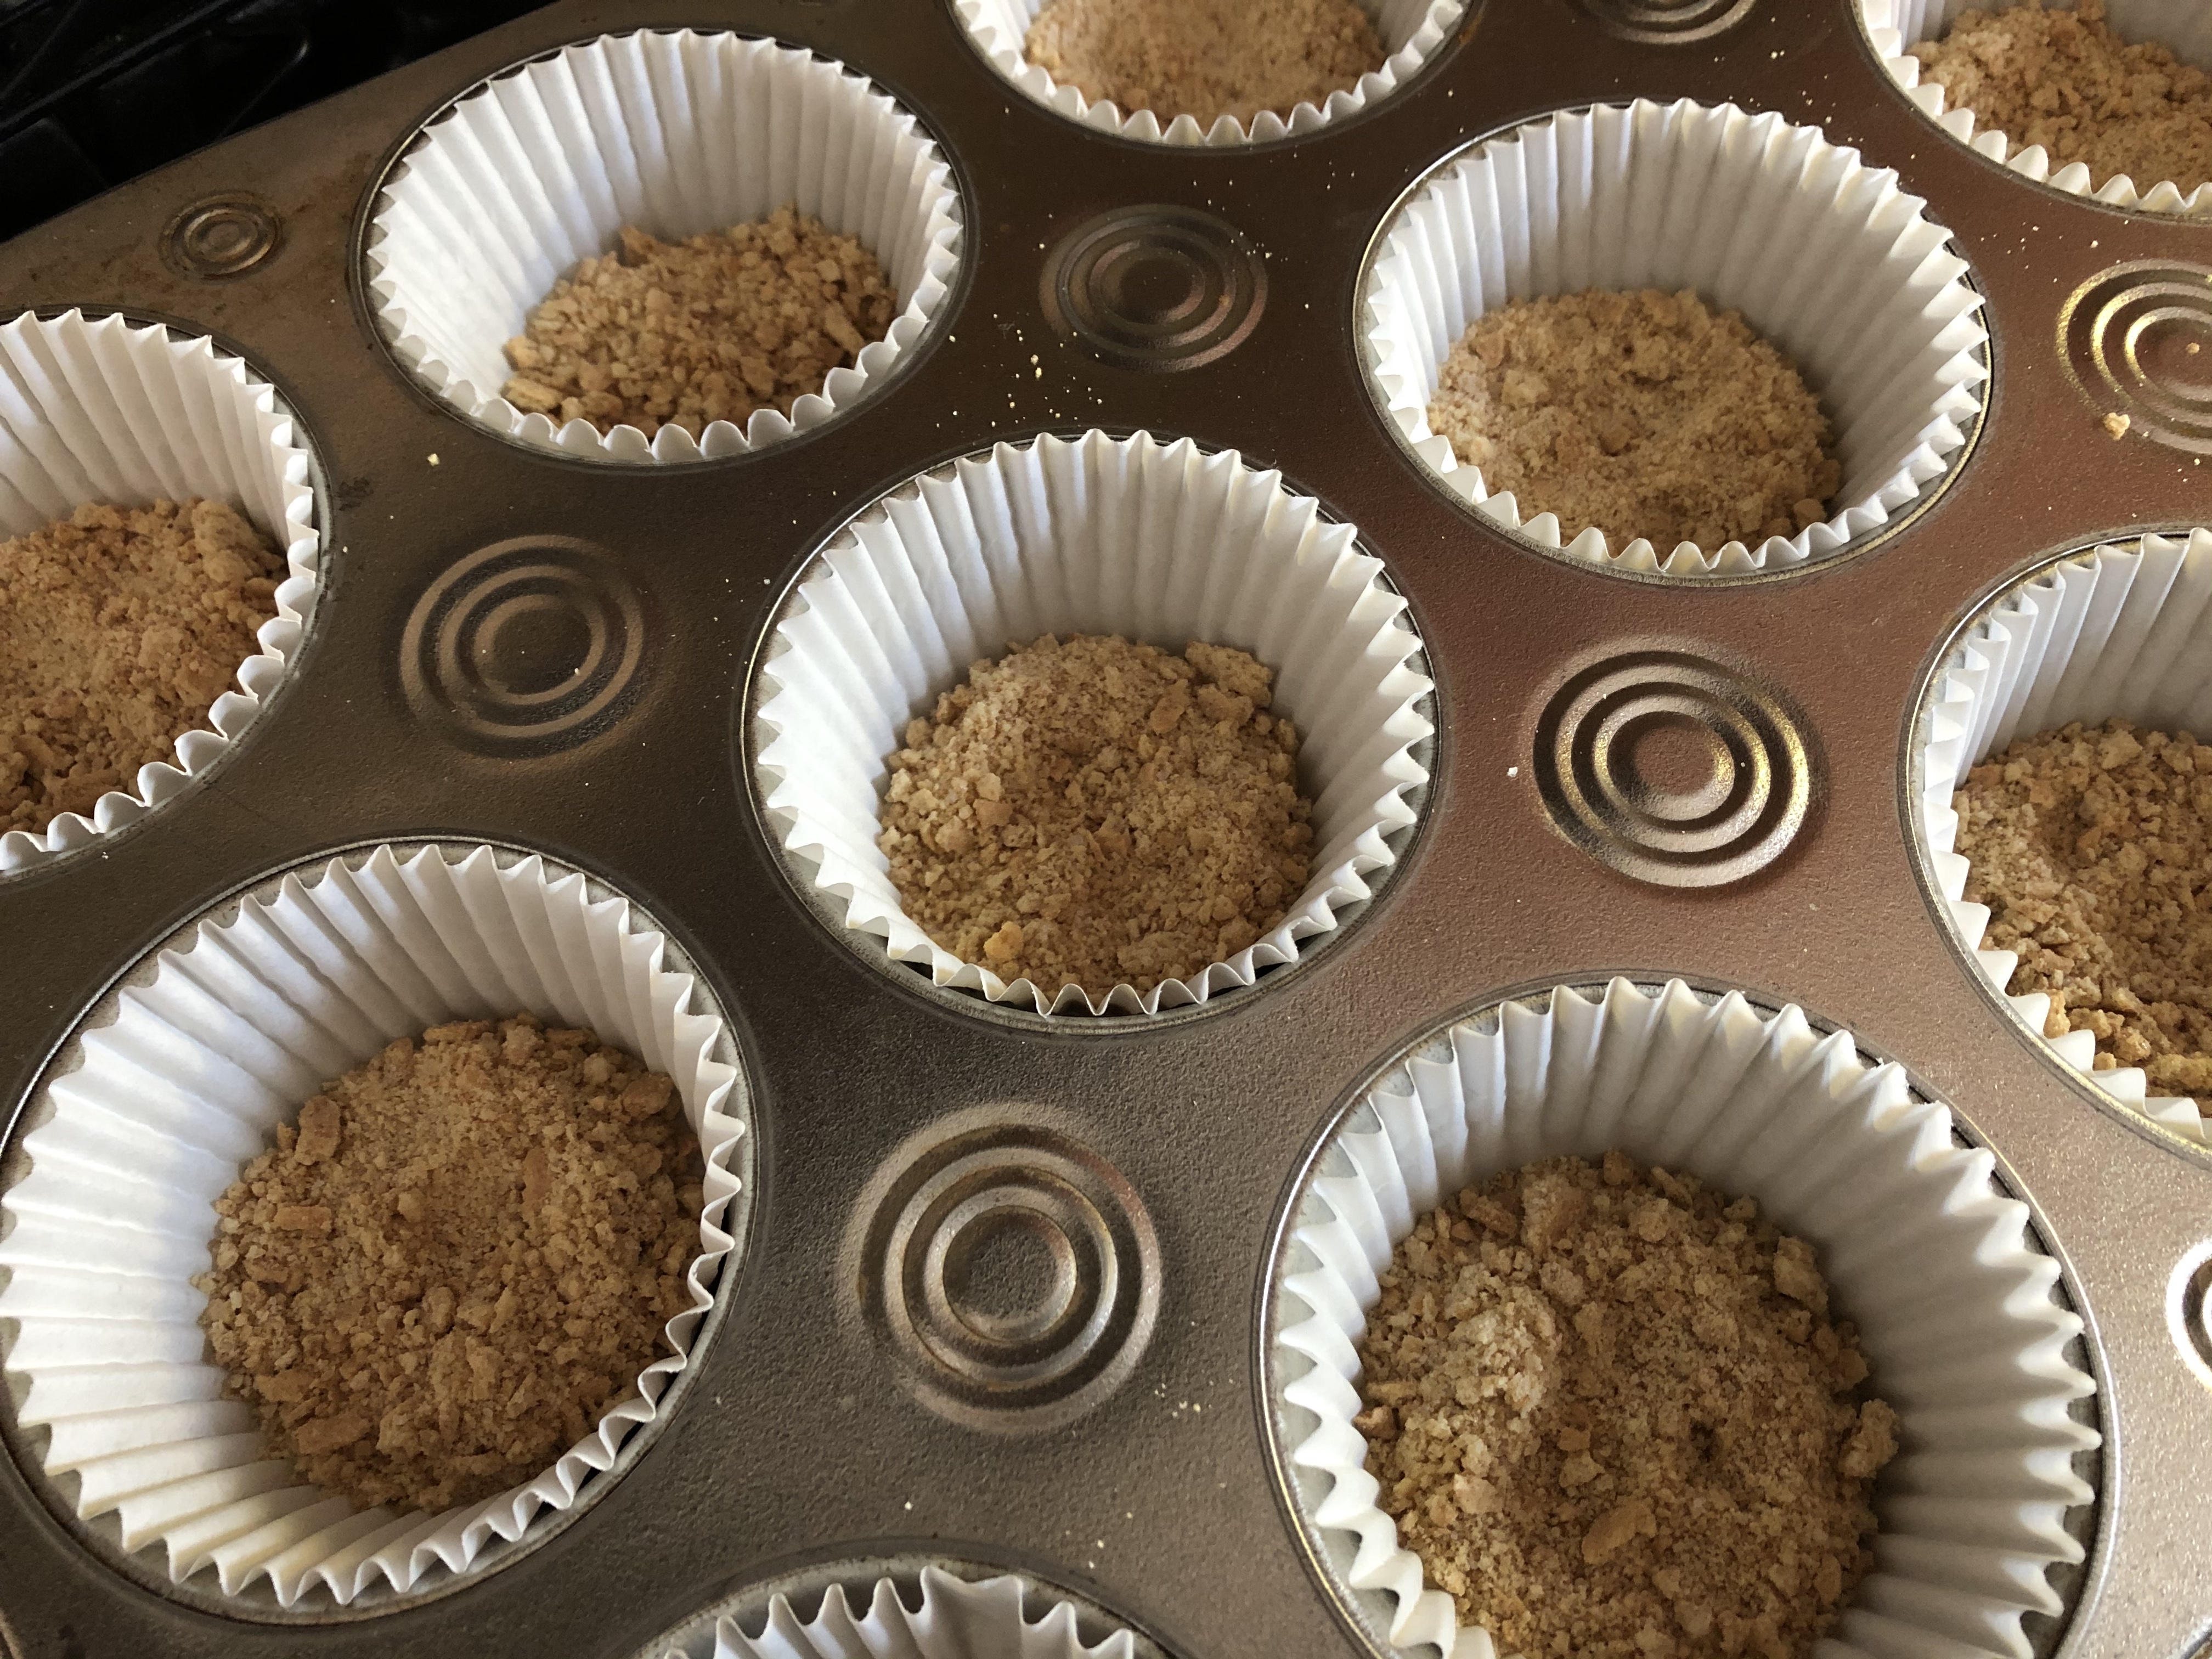
For the Crust:
20 regular Oreos, crushed into fine crumbs
5 tablespoons unsalted butter, melted
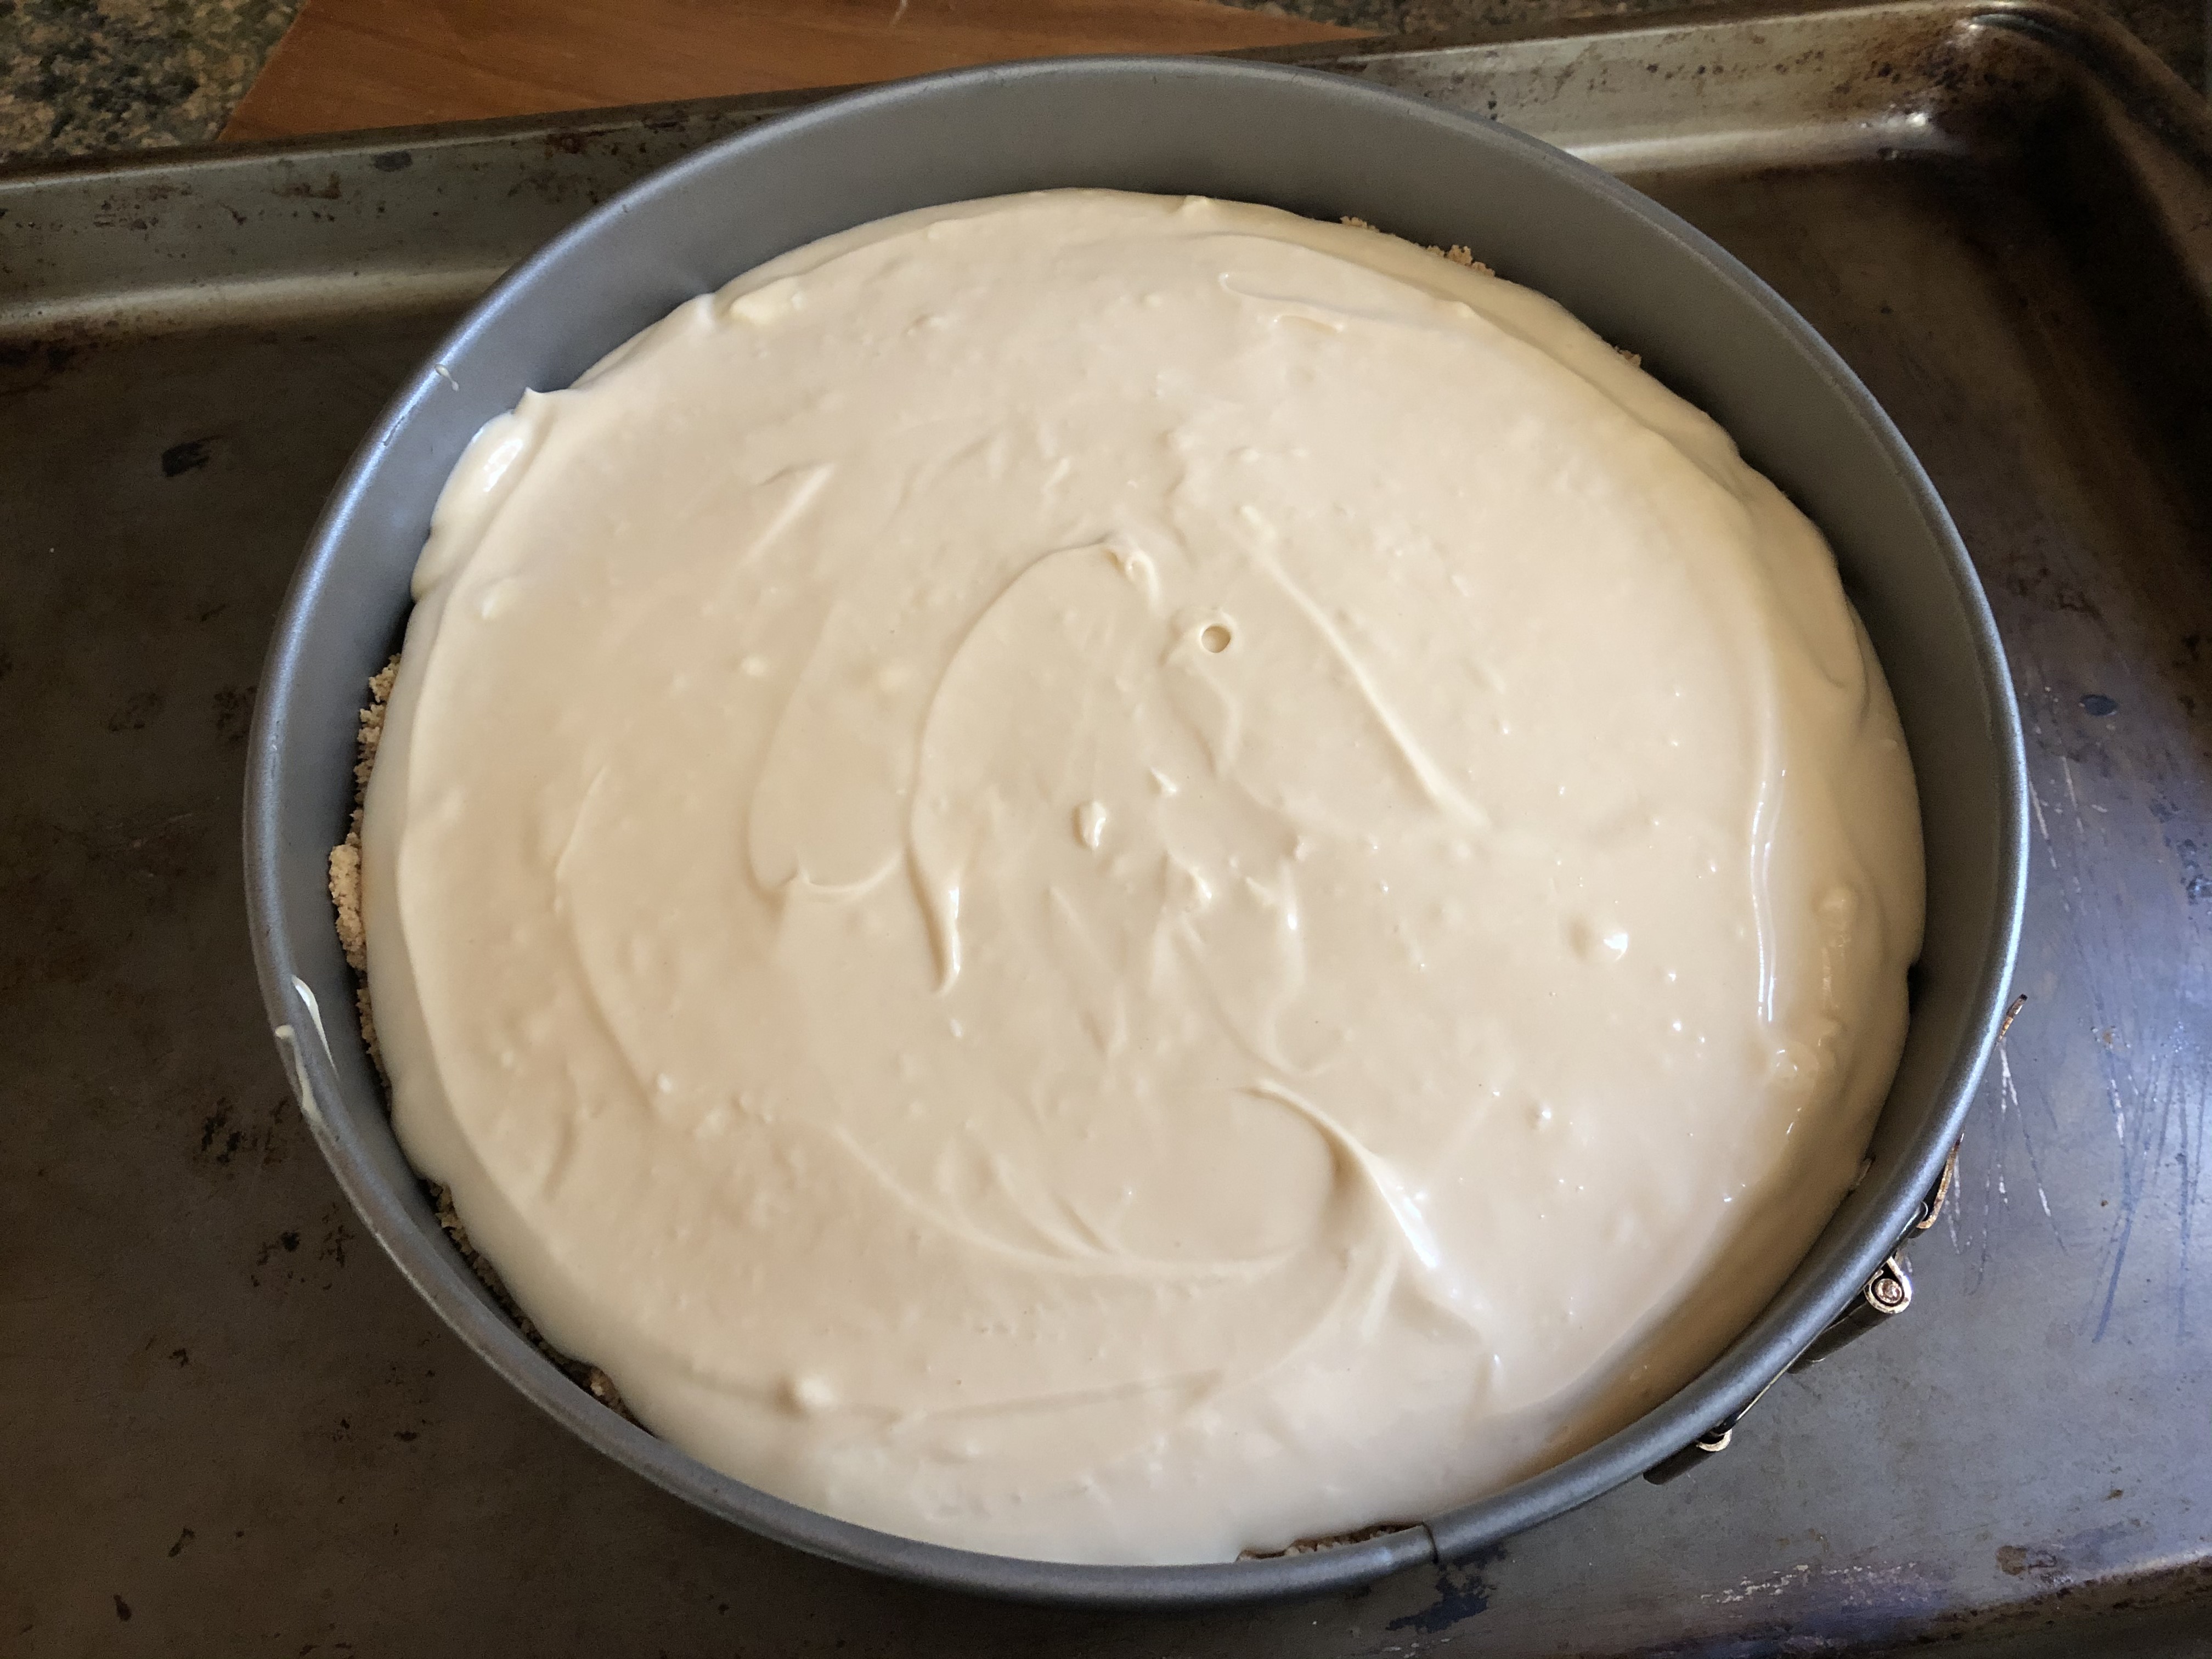
For the Cheesecake Filling:
2 8oz packages cream cheese, at room temperature
2/3 cup sugar
1/4 cup sour cream, at room temperature
2 large eggs, at room temperature
1 teaspoon vanilla extract
1 cup white chocolate chips
1/4 cup heavy cream
Directions:
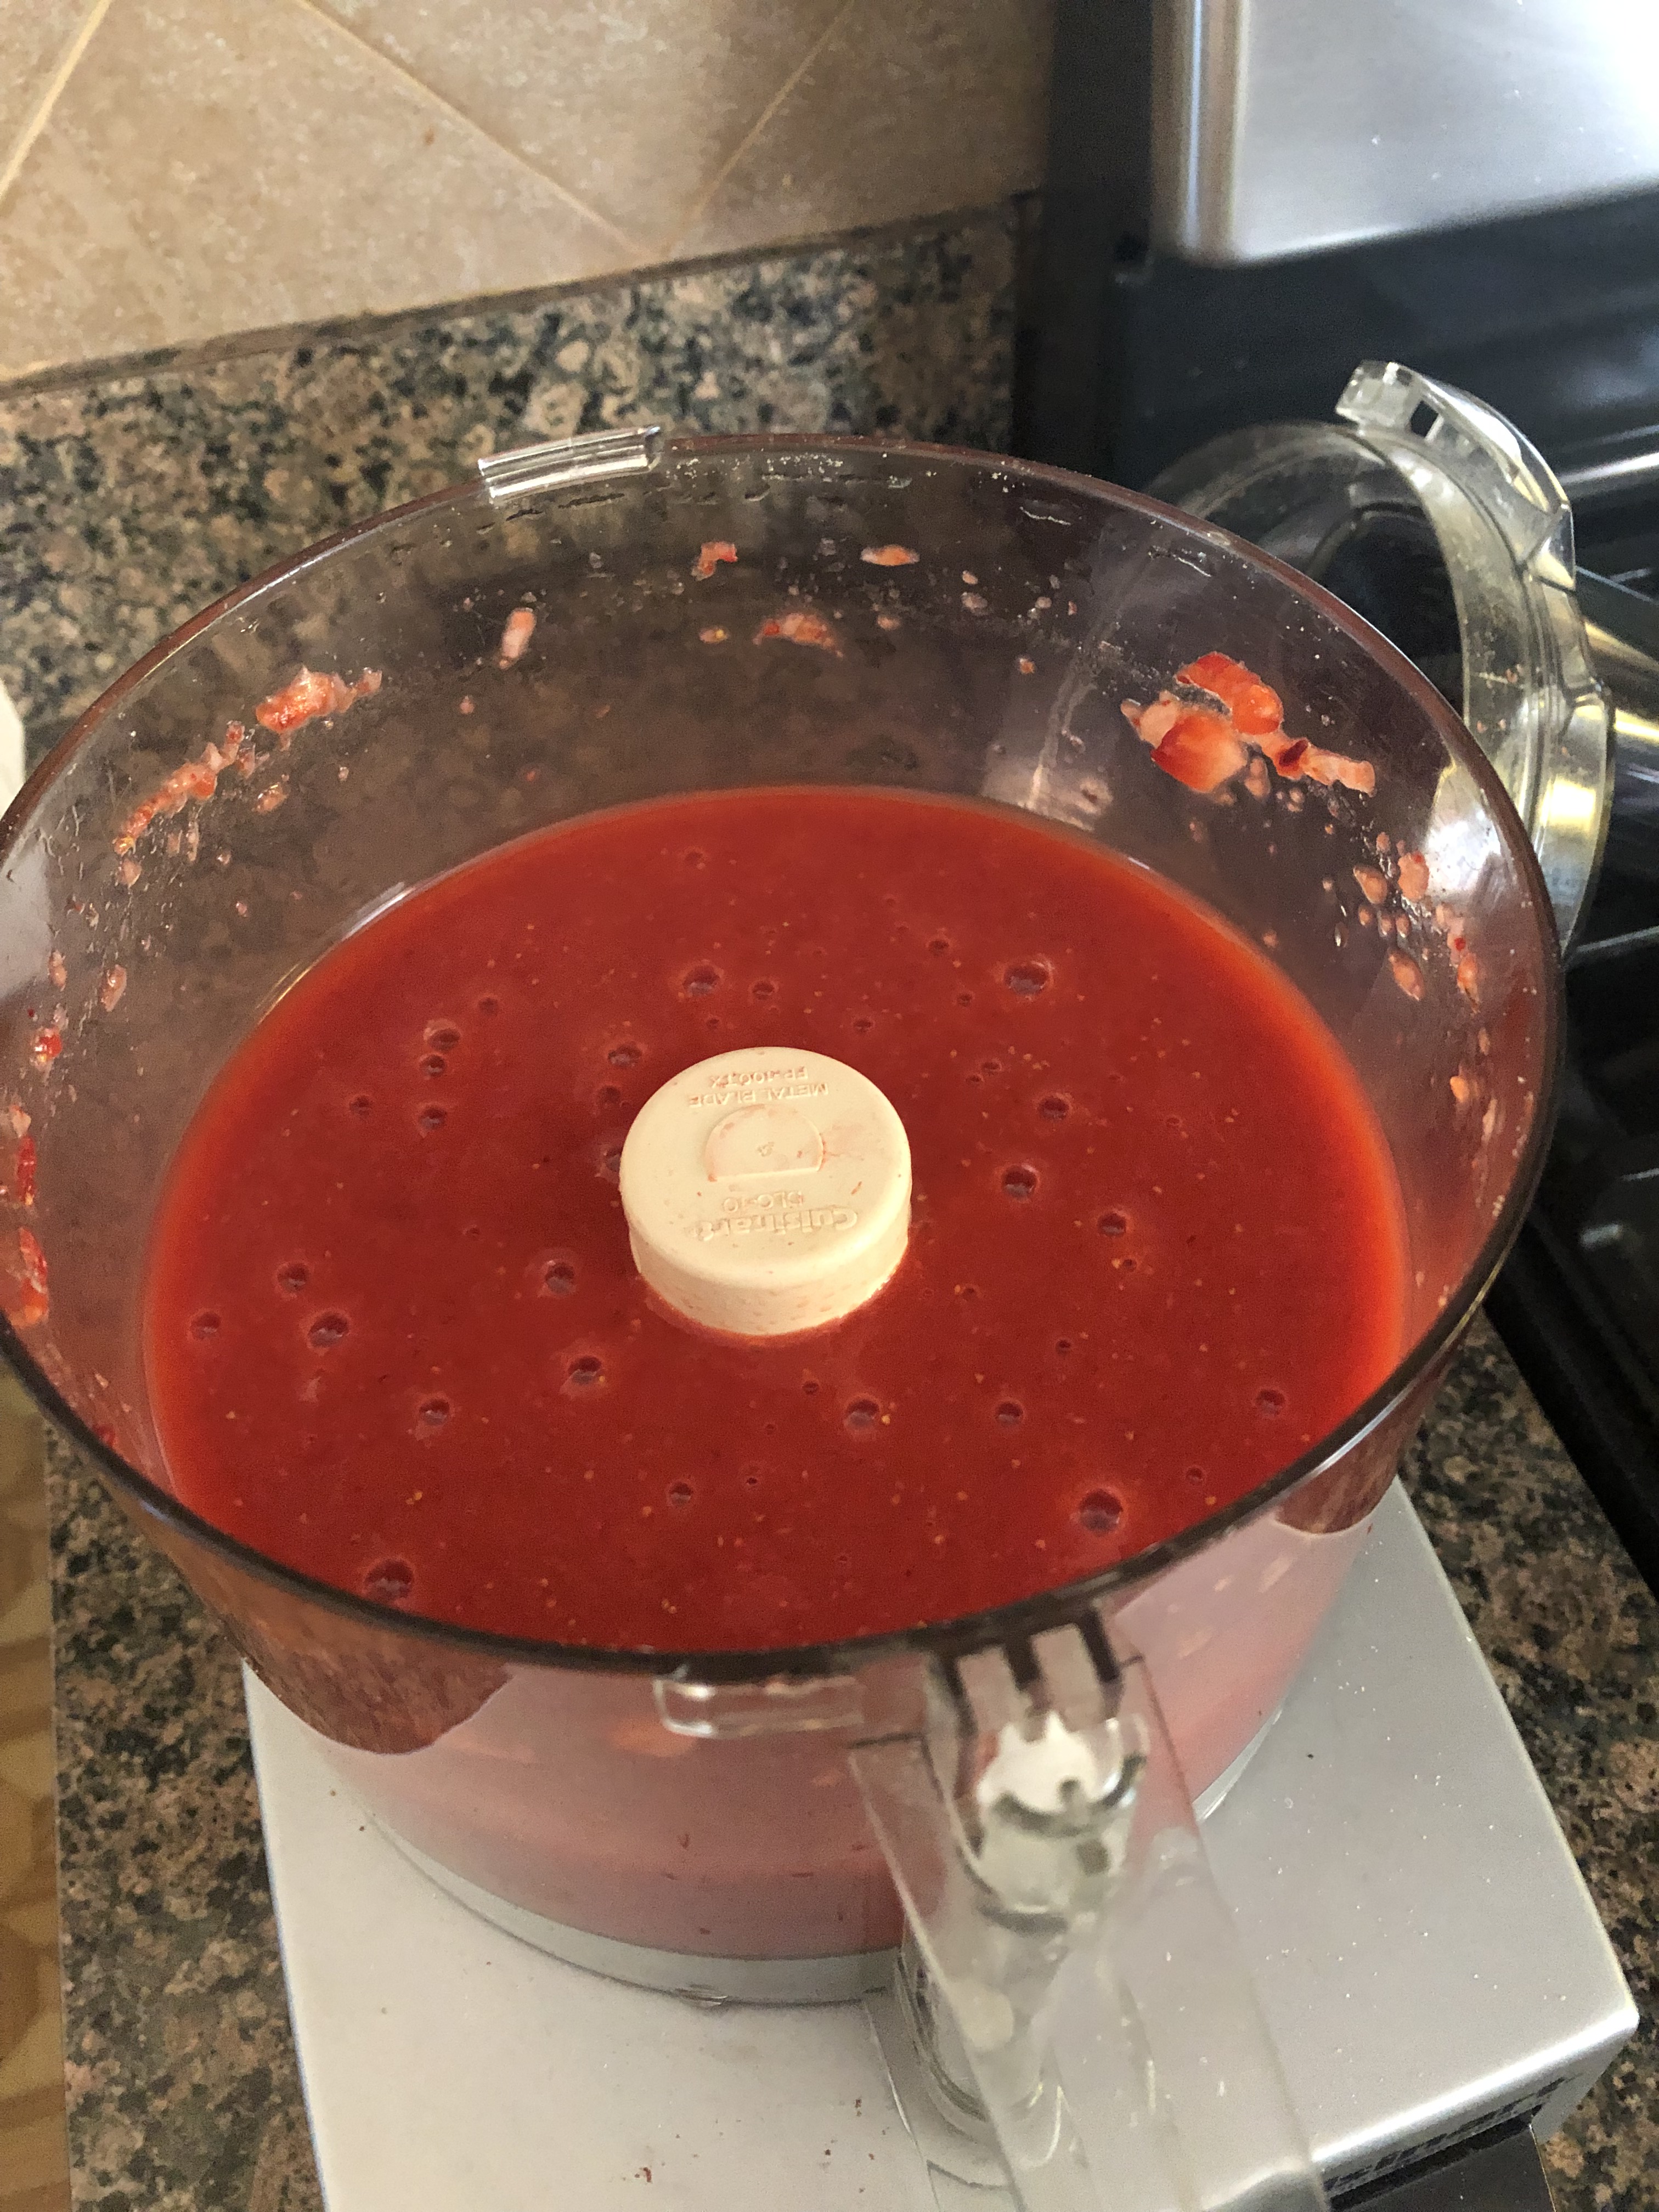
For the Sauce: In a medium saucepan combine the frozen berries, water, sugar and cornstarch. Bring to a boil and allow to boil for 5 minutes, stirring and mashing the berries occasionally, until the mixture thickens. Strain through a fine mesh sieve and allow to cool to room temperature.
Preheat oven to 325 F.
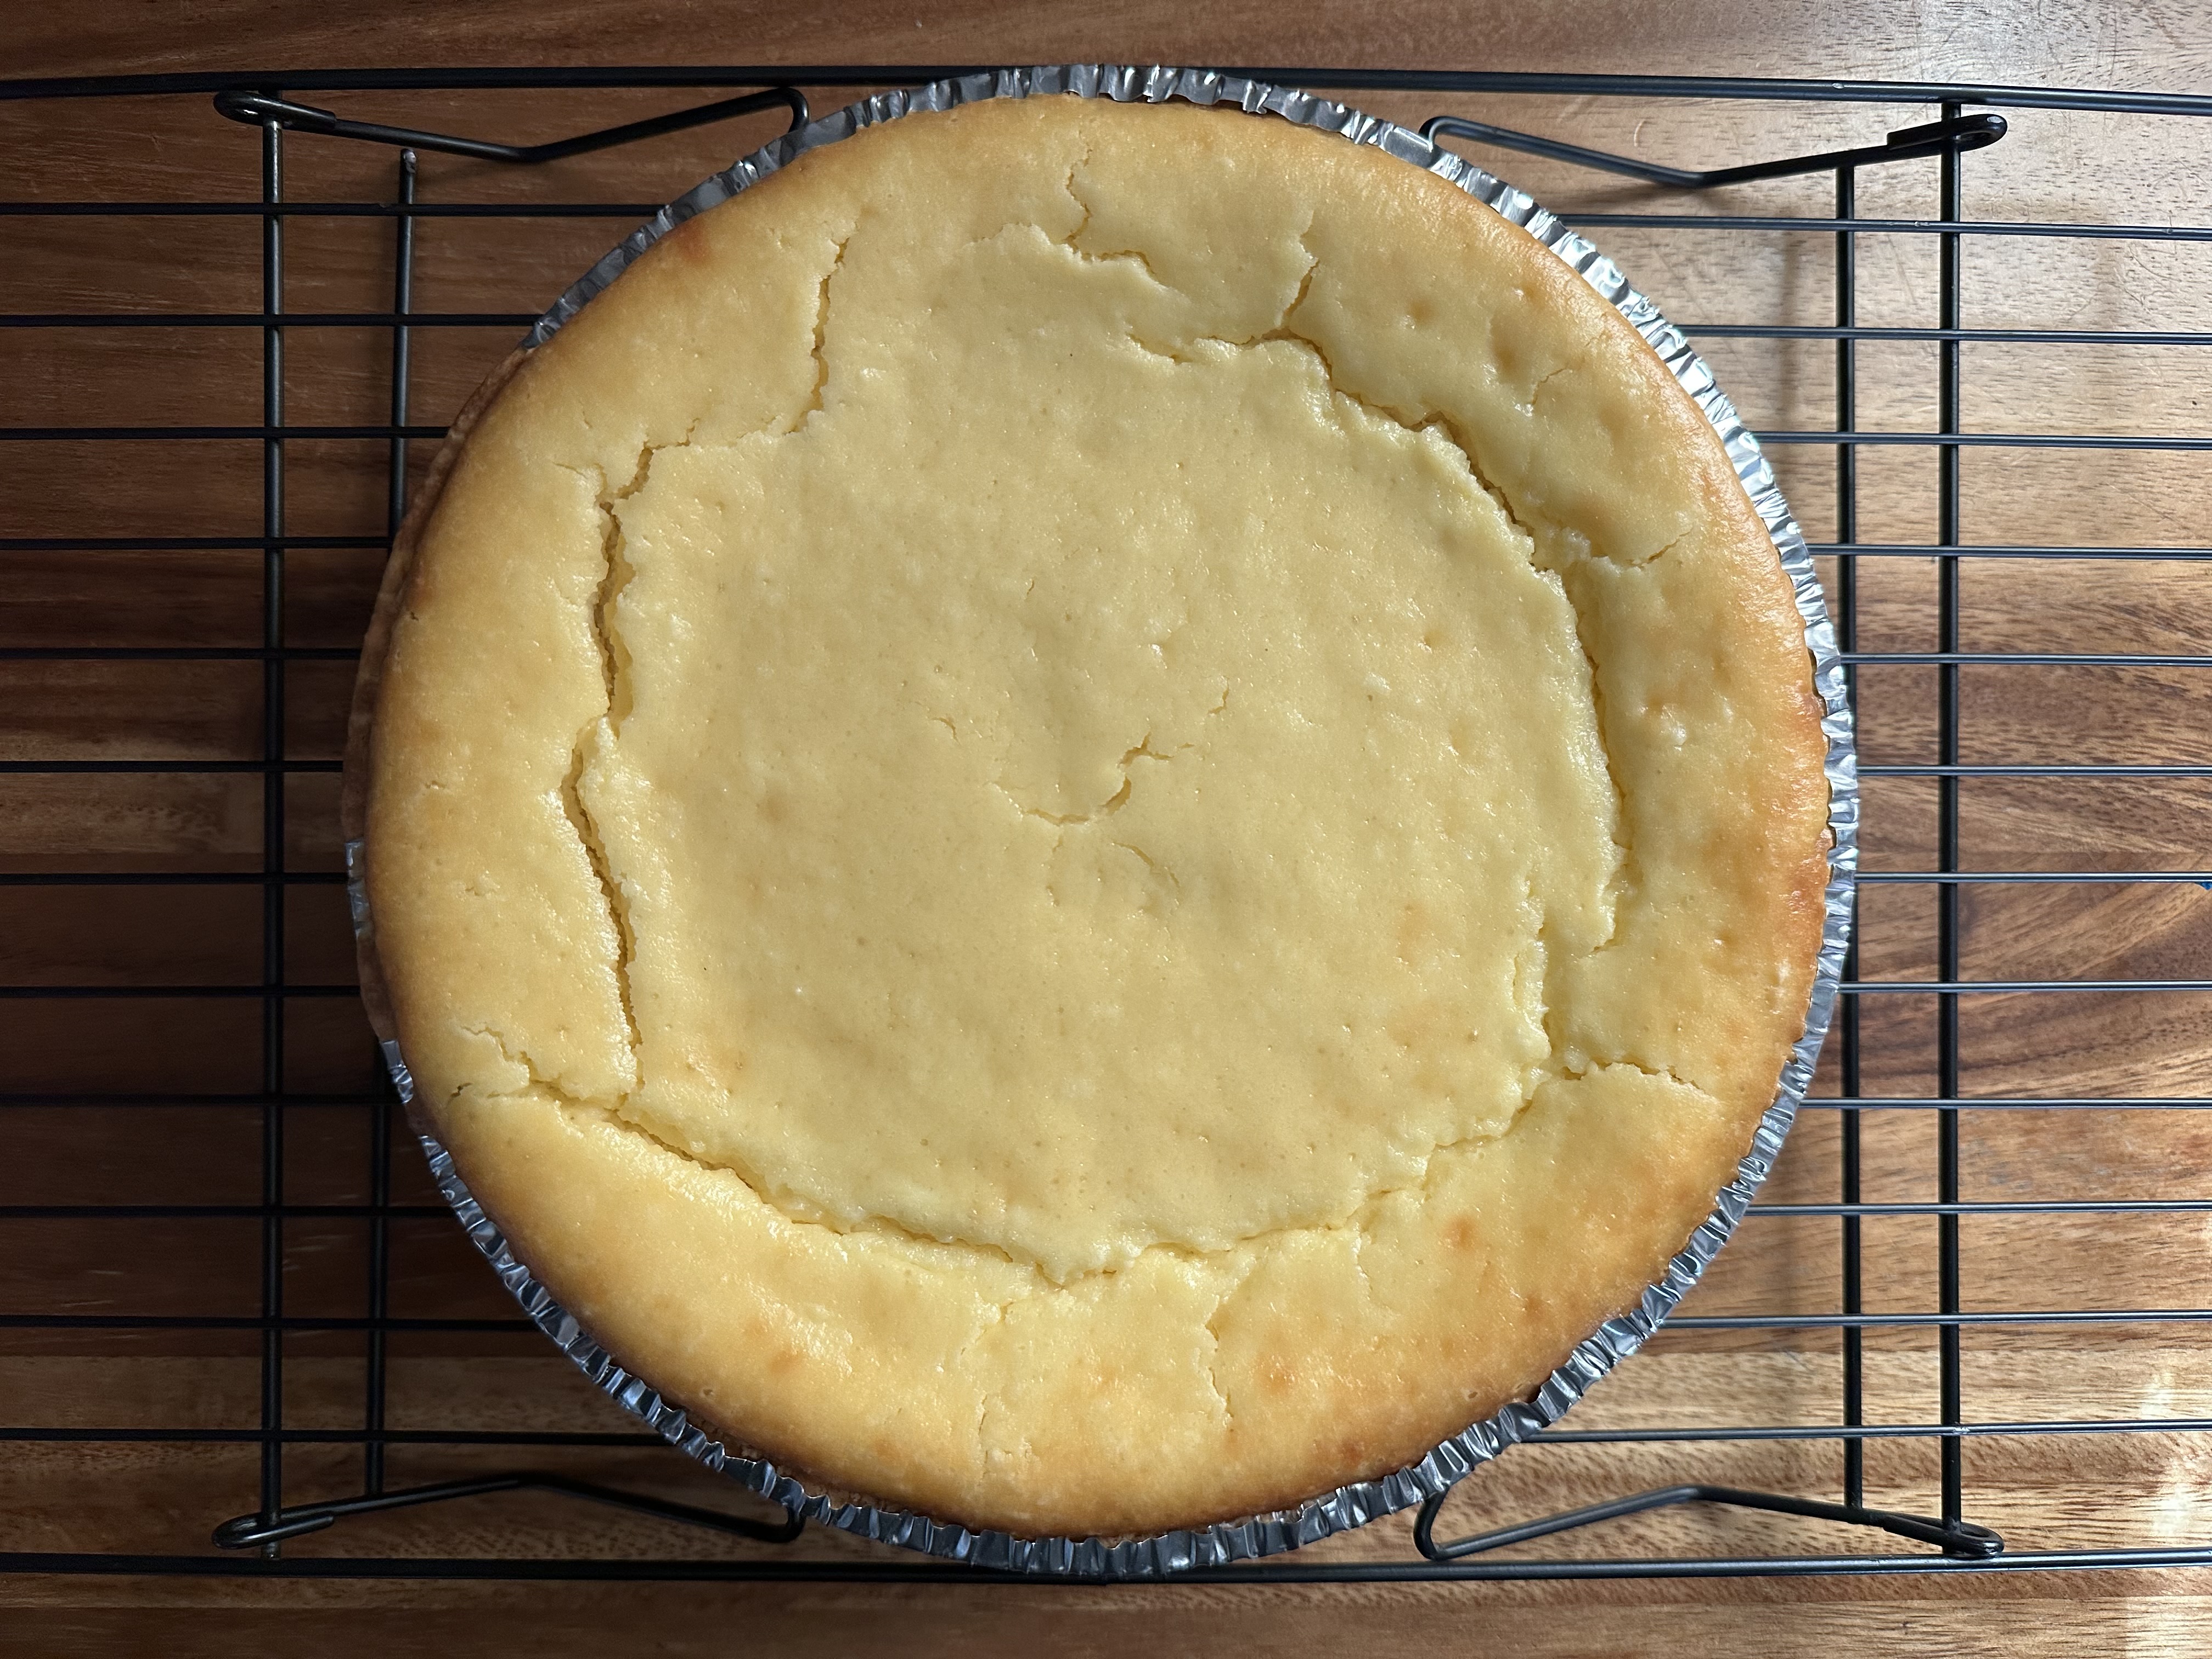
For the Crust: In a medium bowl stir together the cookie crumbs and melted butter, then press into the bottom (in an even layer) and up the sides of a 9-inch pie dash. Bake in the preheated oven for 8-10 minutes, until set. Set aside.
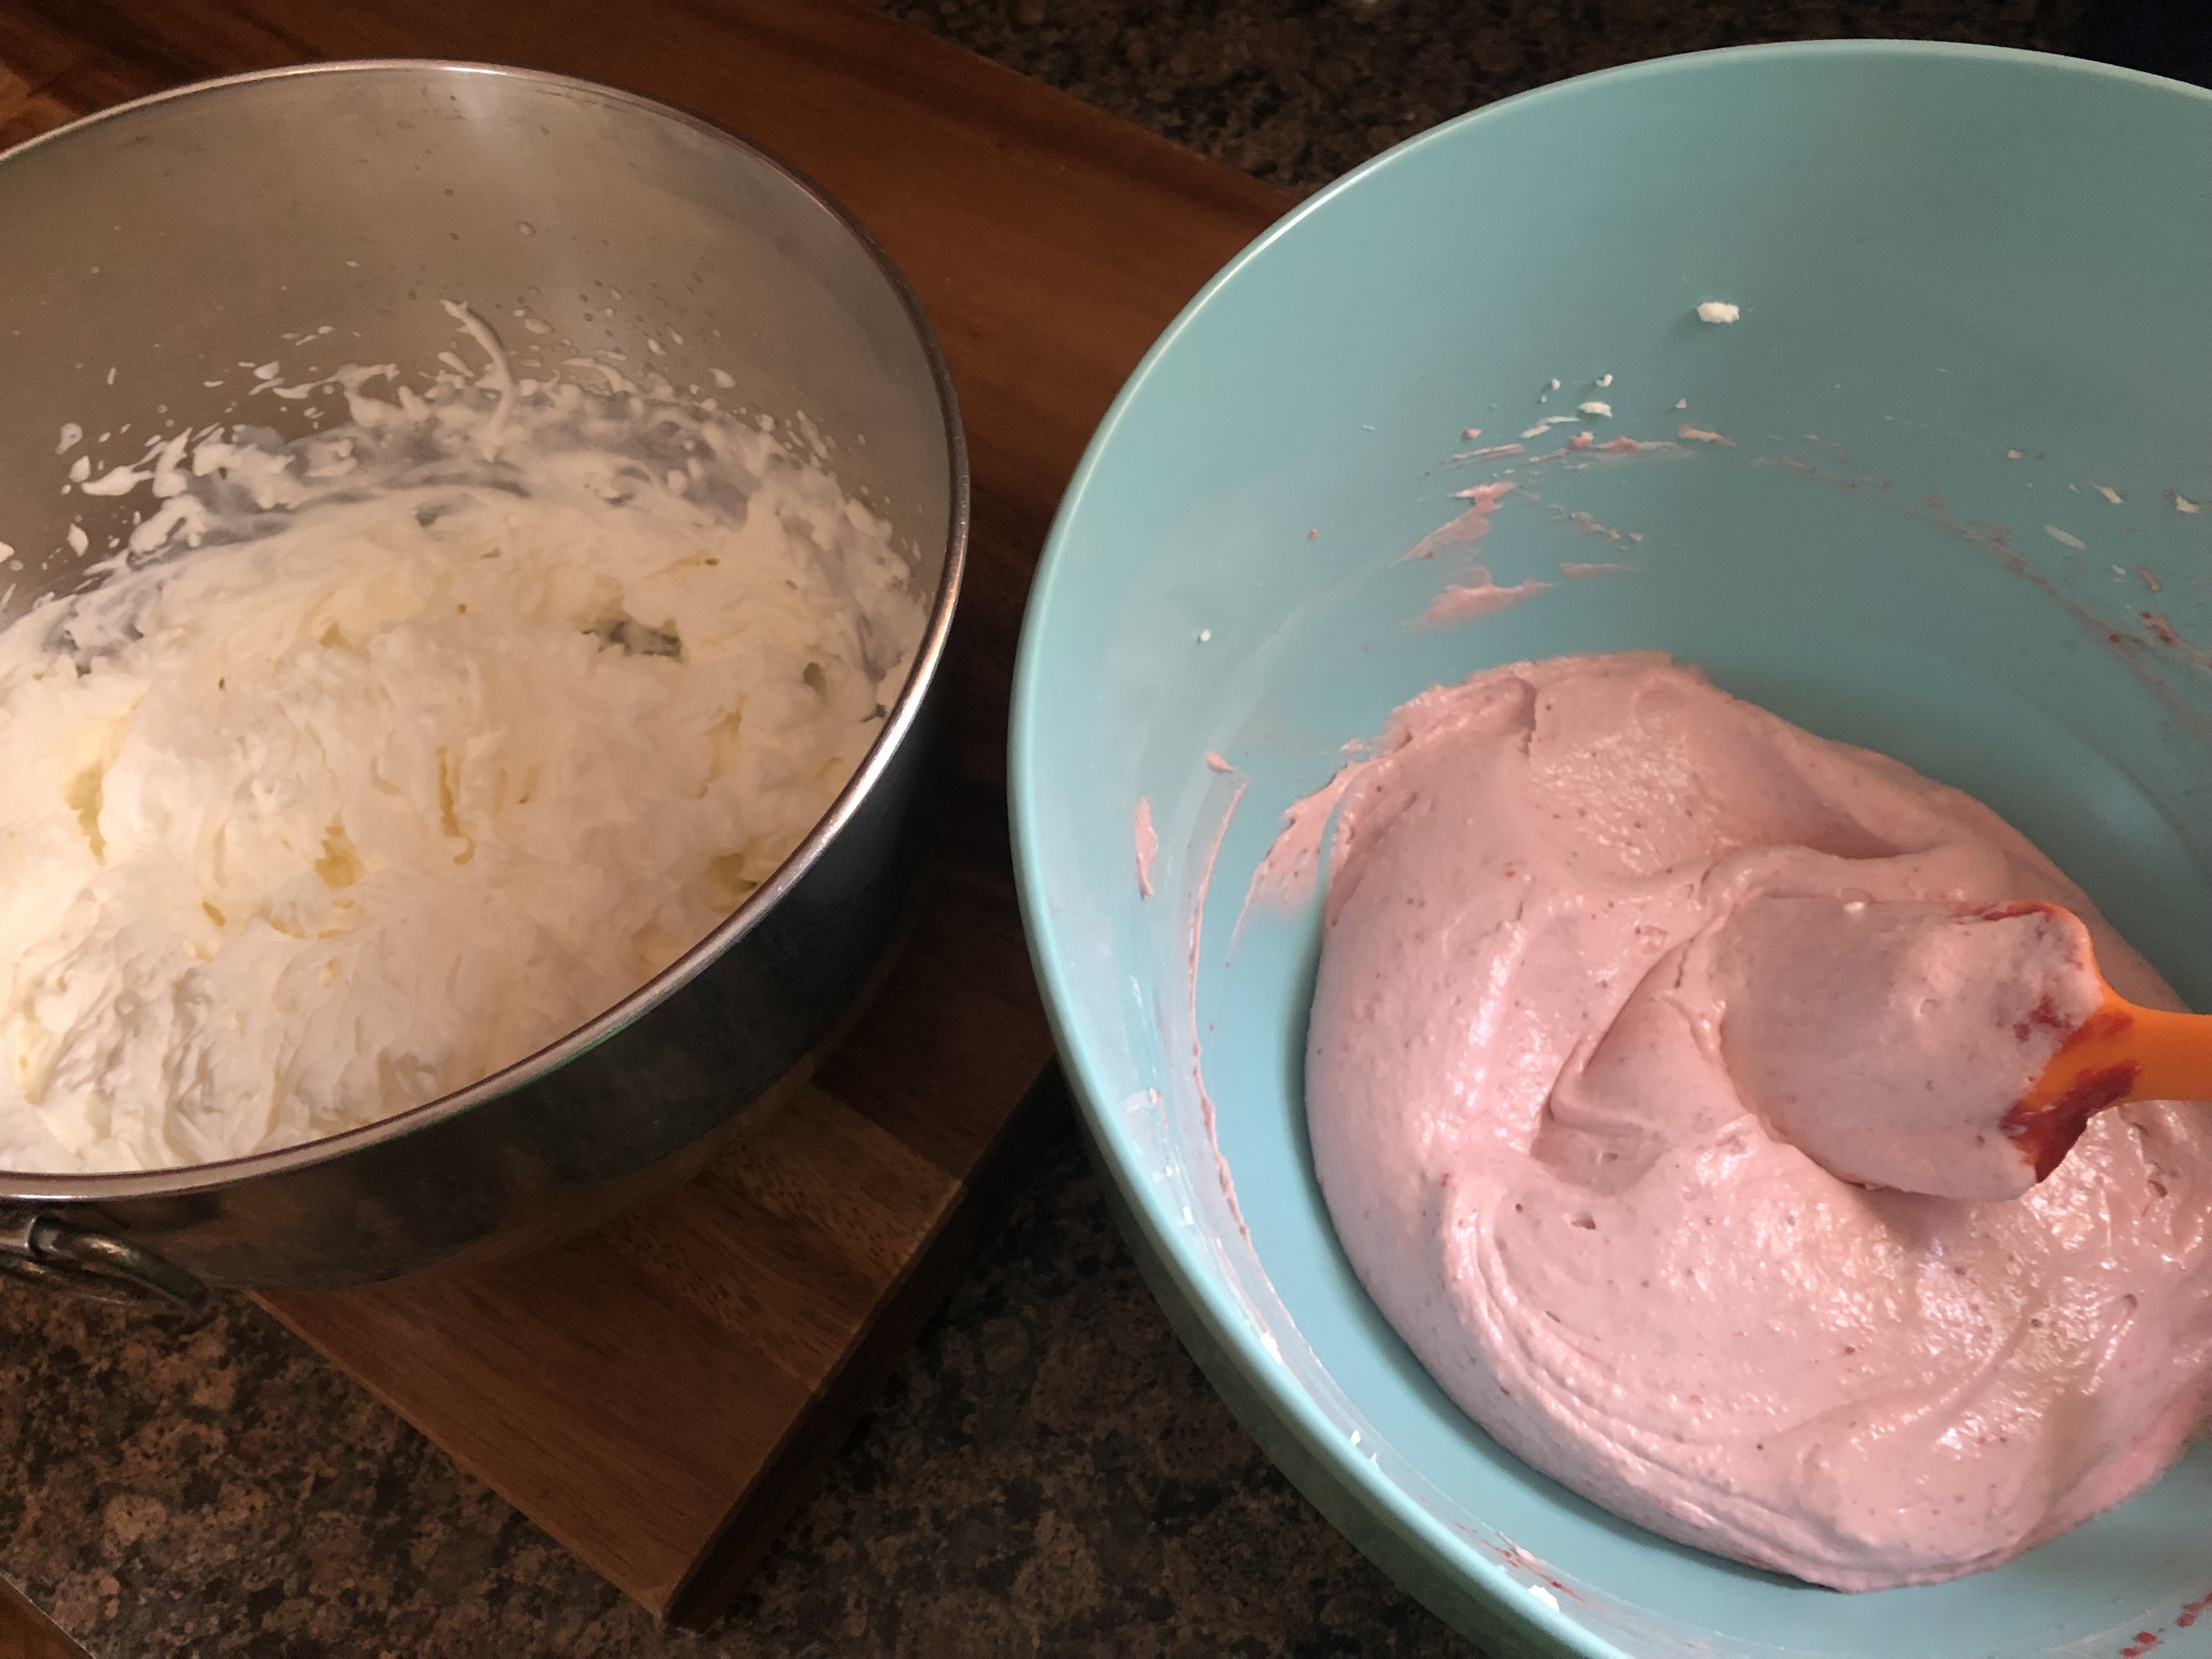
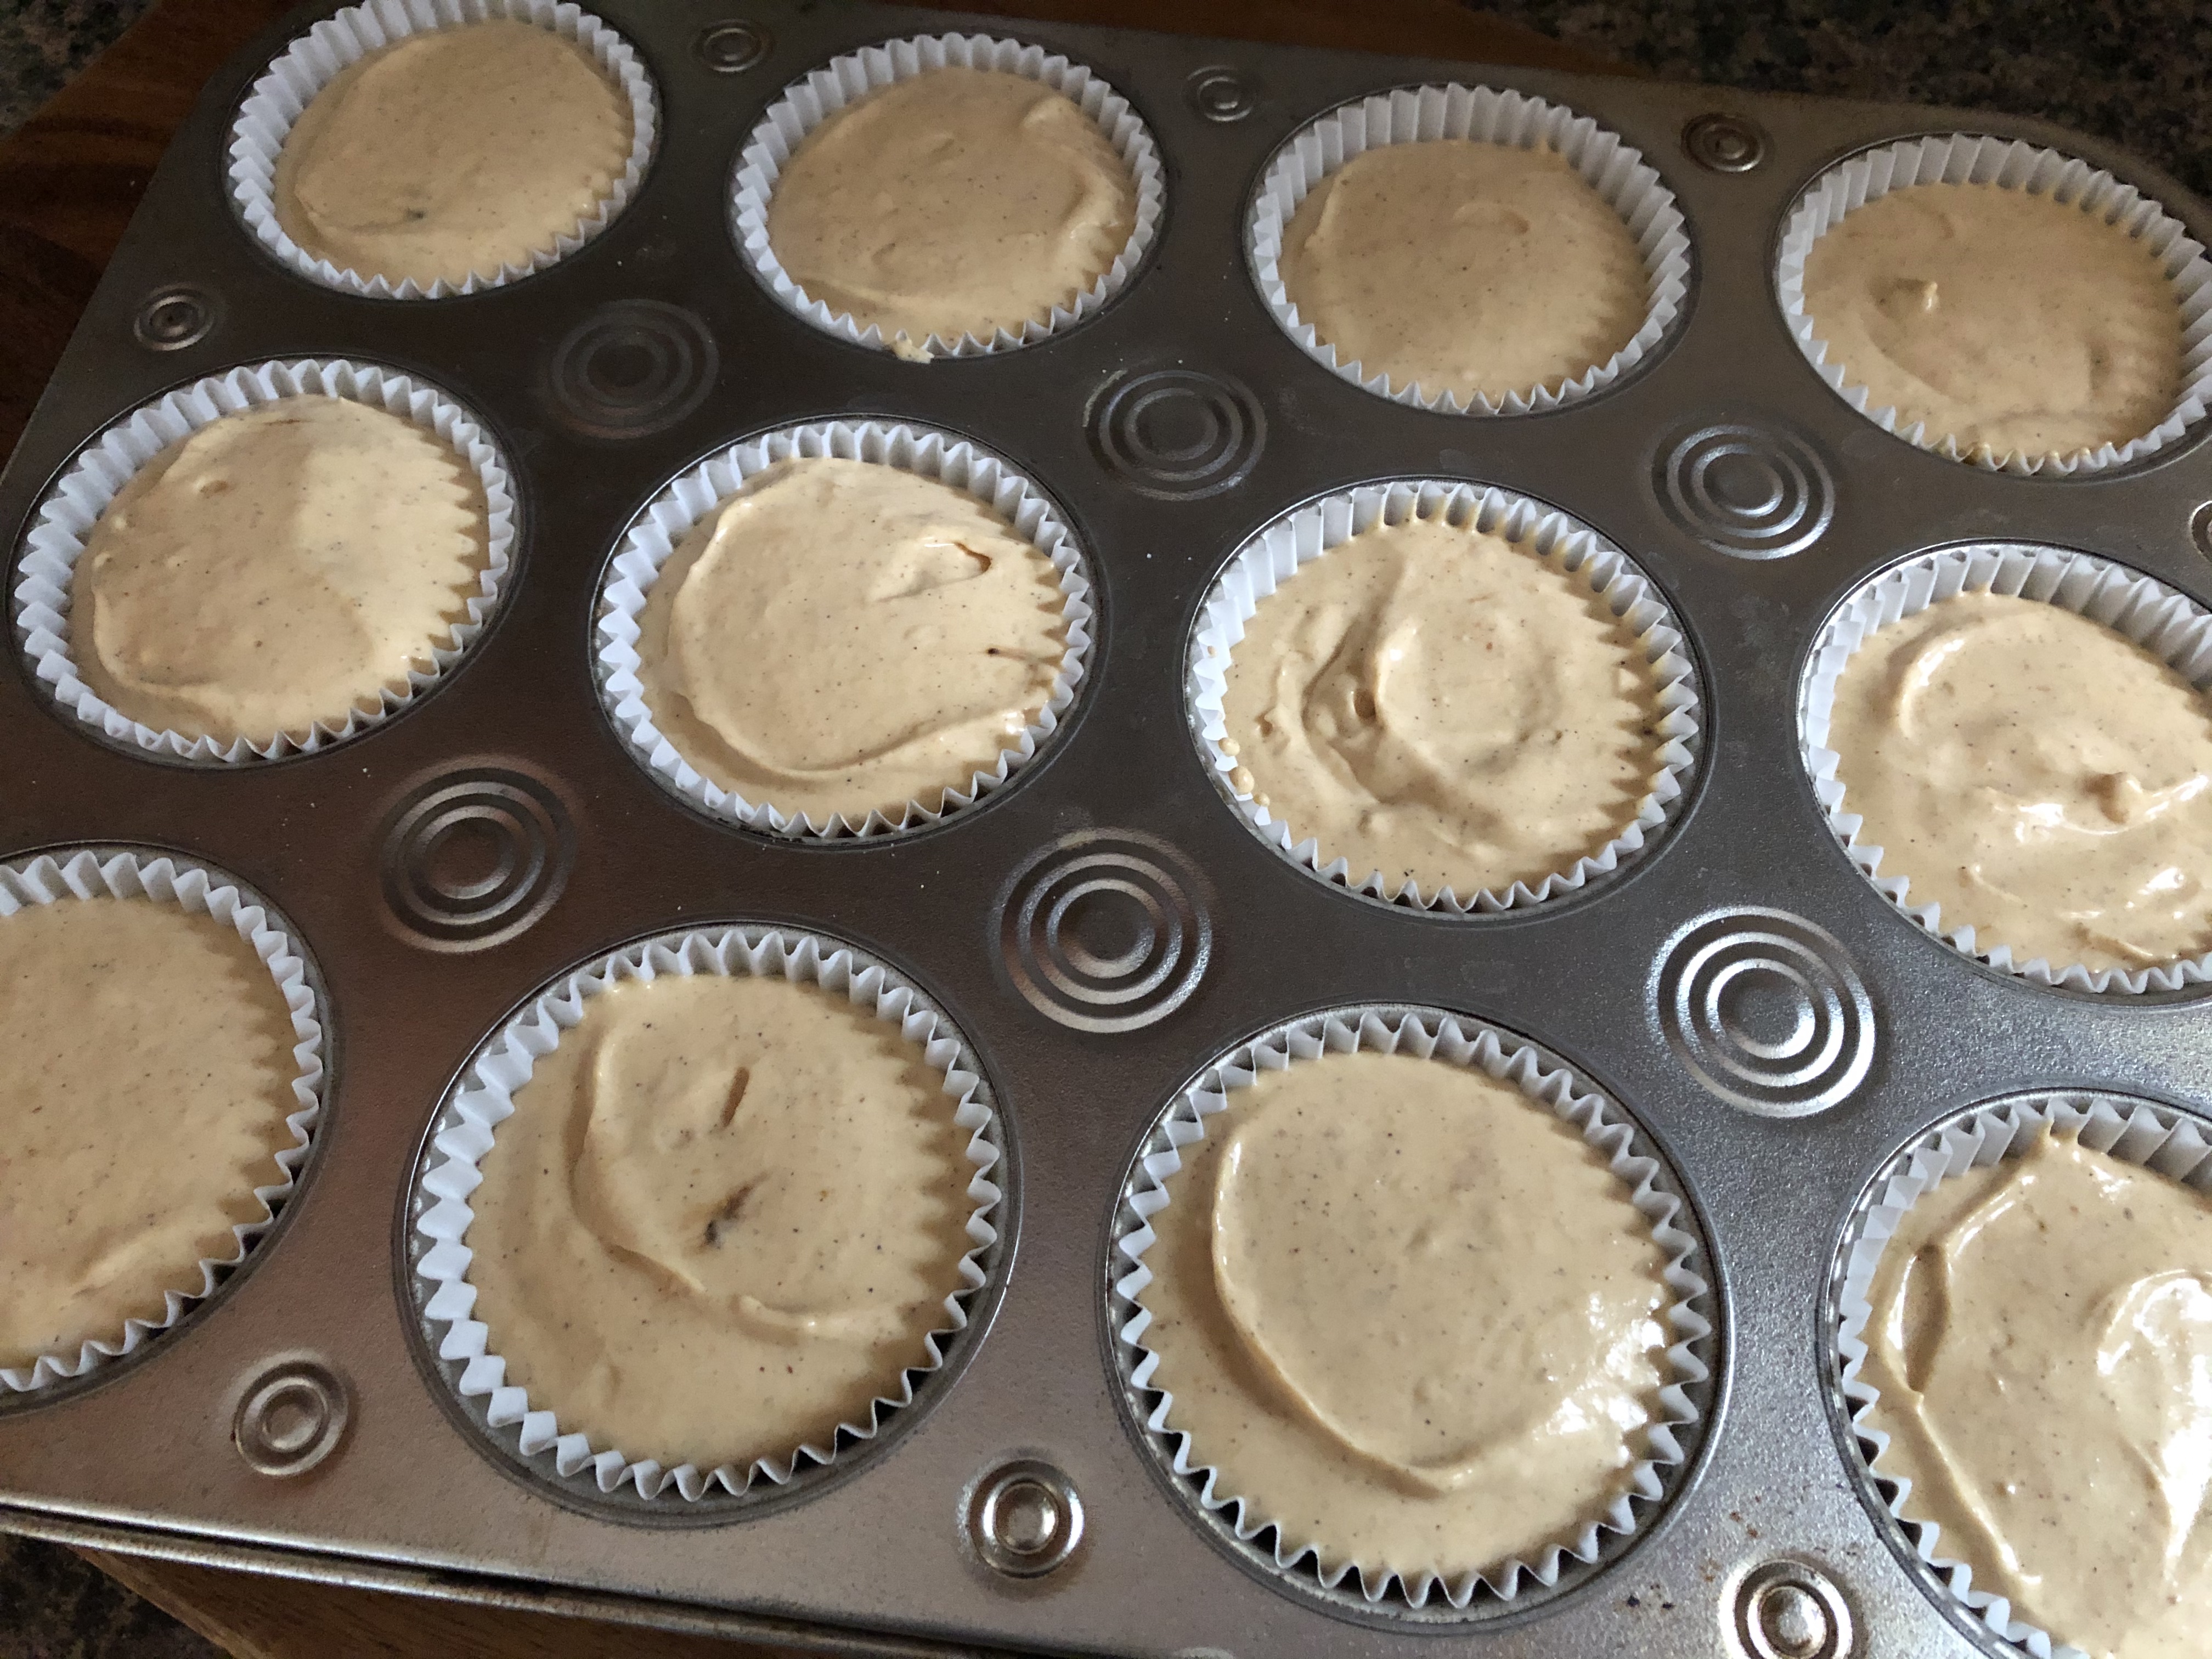
For the Cheesecake Filling: Measure the heavy cream in a glass measuring cup and then add in the chocolate chips. Microwave for 30-second intervals, stirring between each, until the mixture is smooth. Allow to cool.
In a medium bowl beat the cream cheese, sour cream, sugar and vanilla extract together with a hand mixer on medium speed until smooth. Add the eggs one at a time and continue beating until well incorporated and the mixture is smooth. Fold in the melted chocolate until no streaks of either mixture remains.
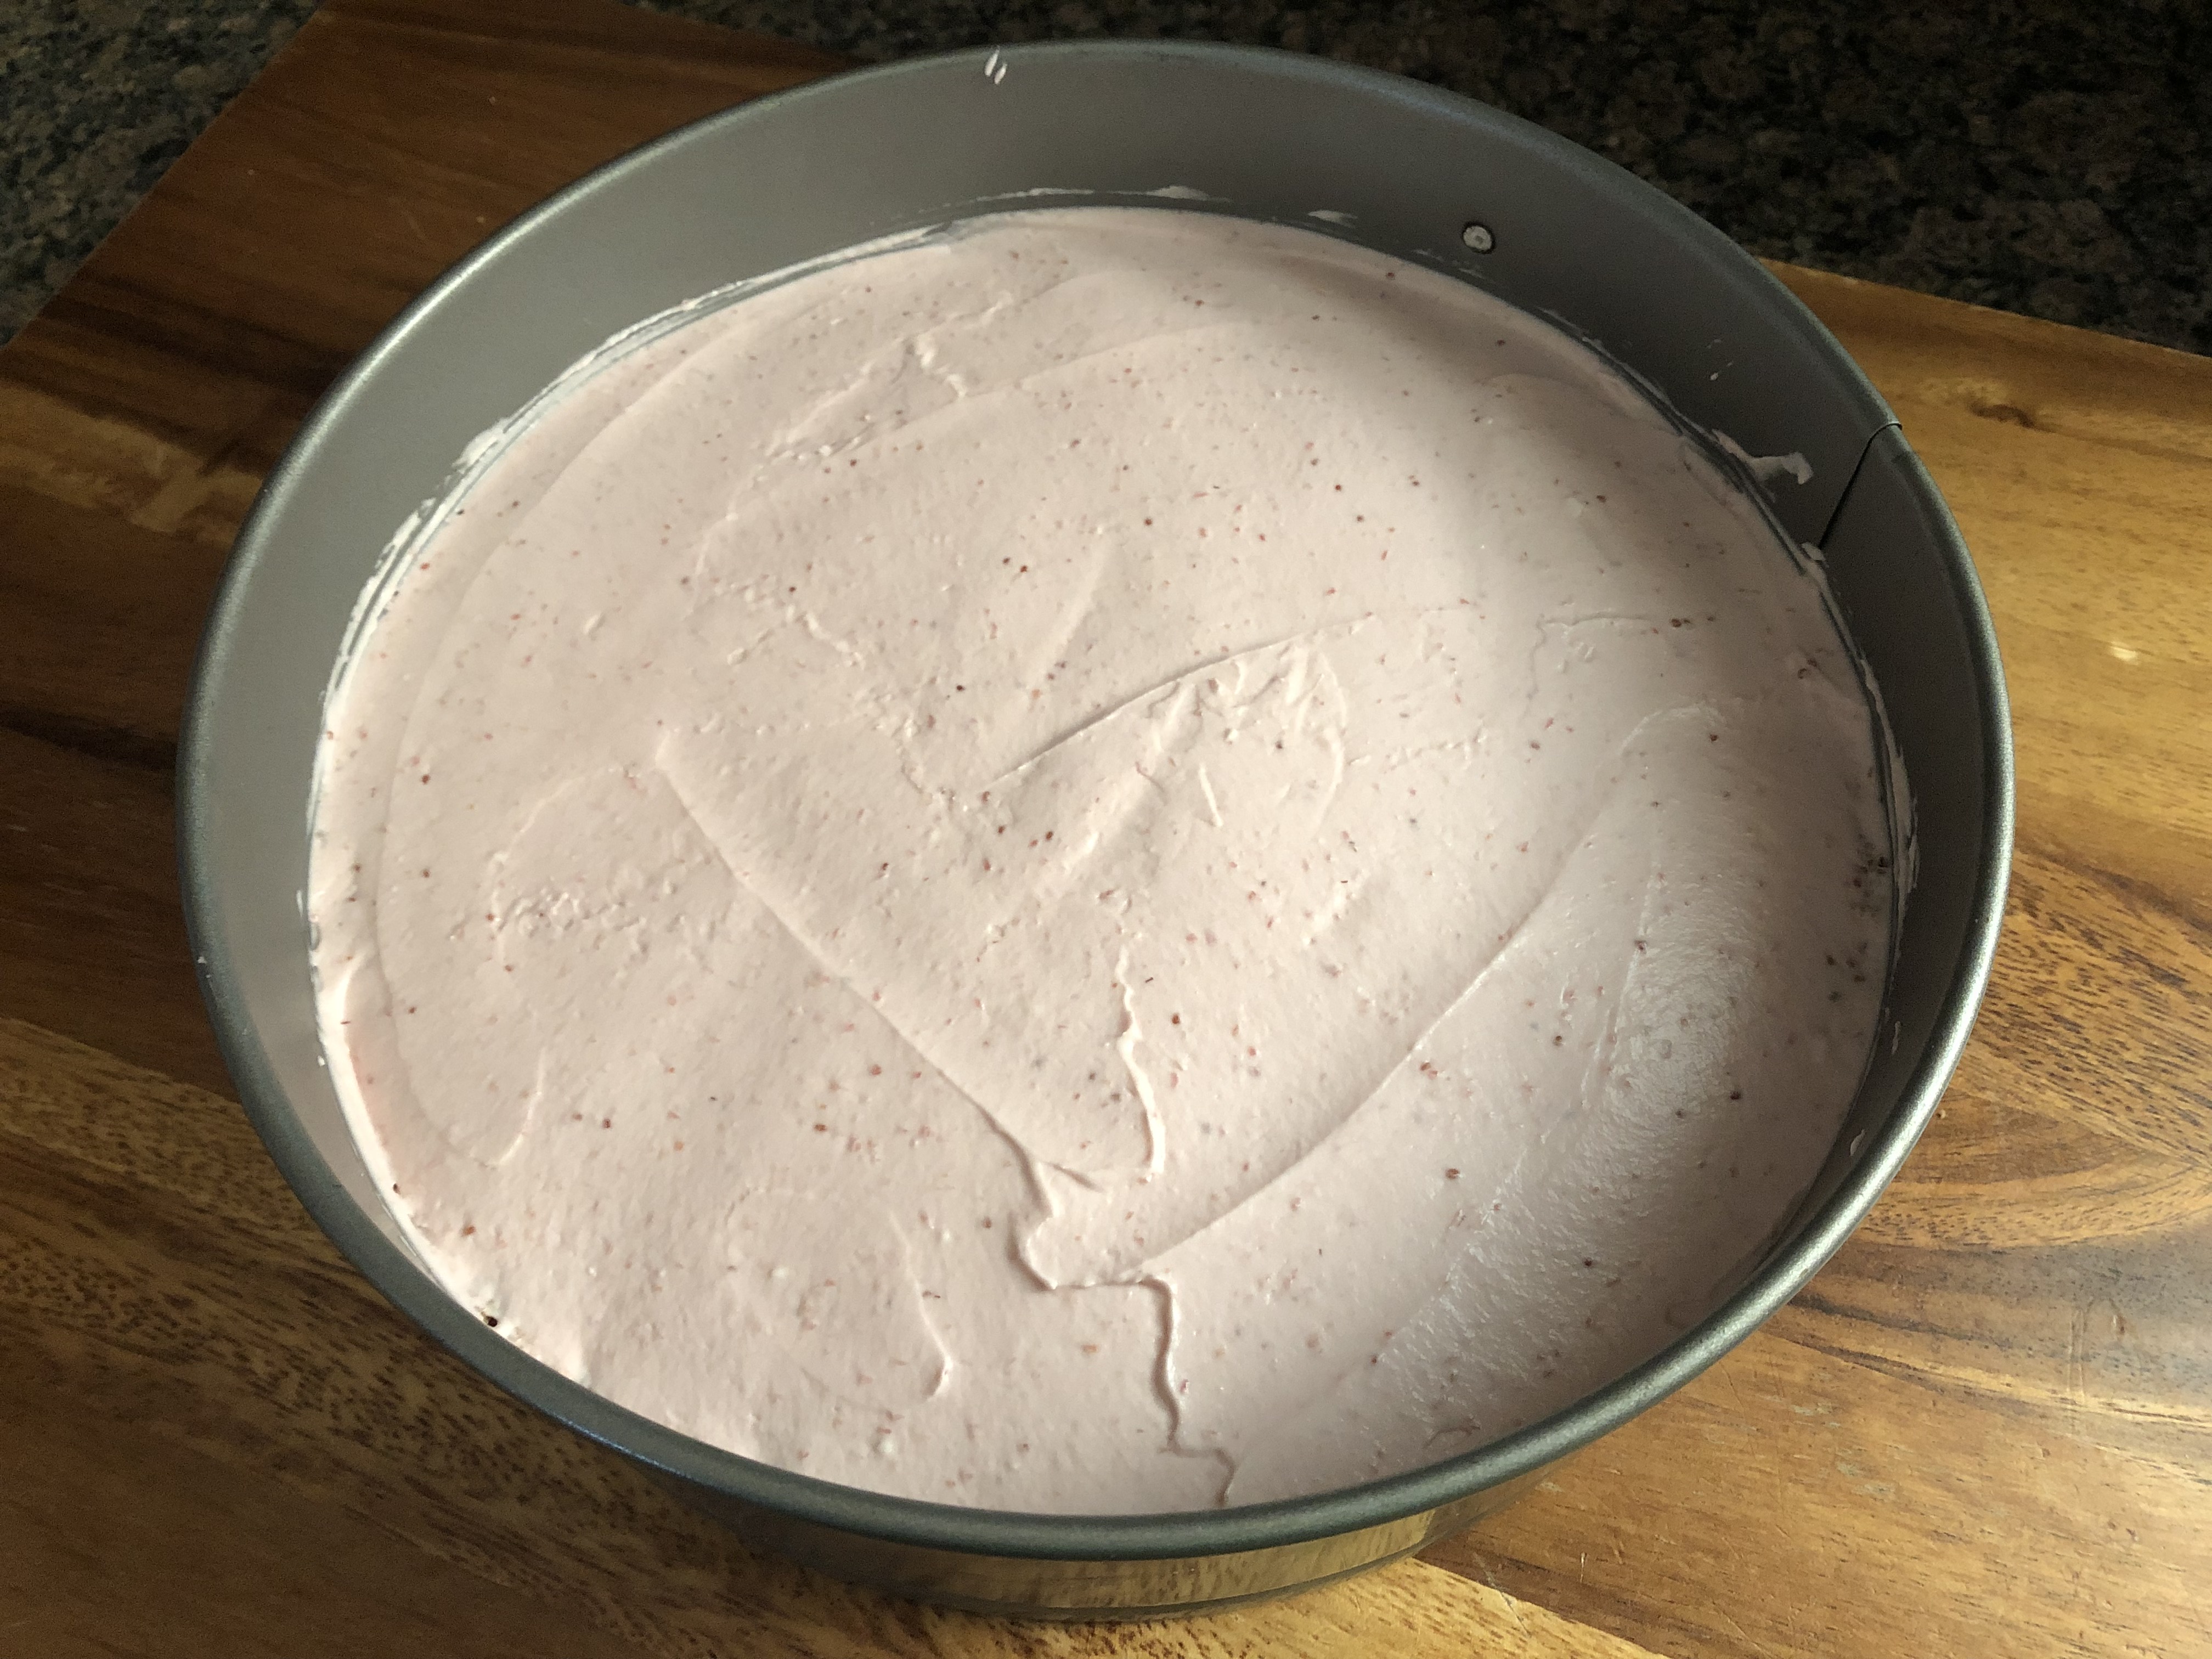
Assemble the Cheesecake: Pour half of the cheesecake filling into the prepared crust. Drizzle half of the berry sauce on top and then gently swirl into the cheesecake mixture with a toothpick or knife. Repeat these layers with the remaining cheesecake filling and berry sauce, once again gently swirling the sauce into the cheesecake.
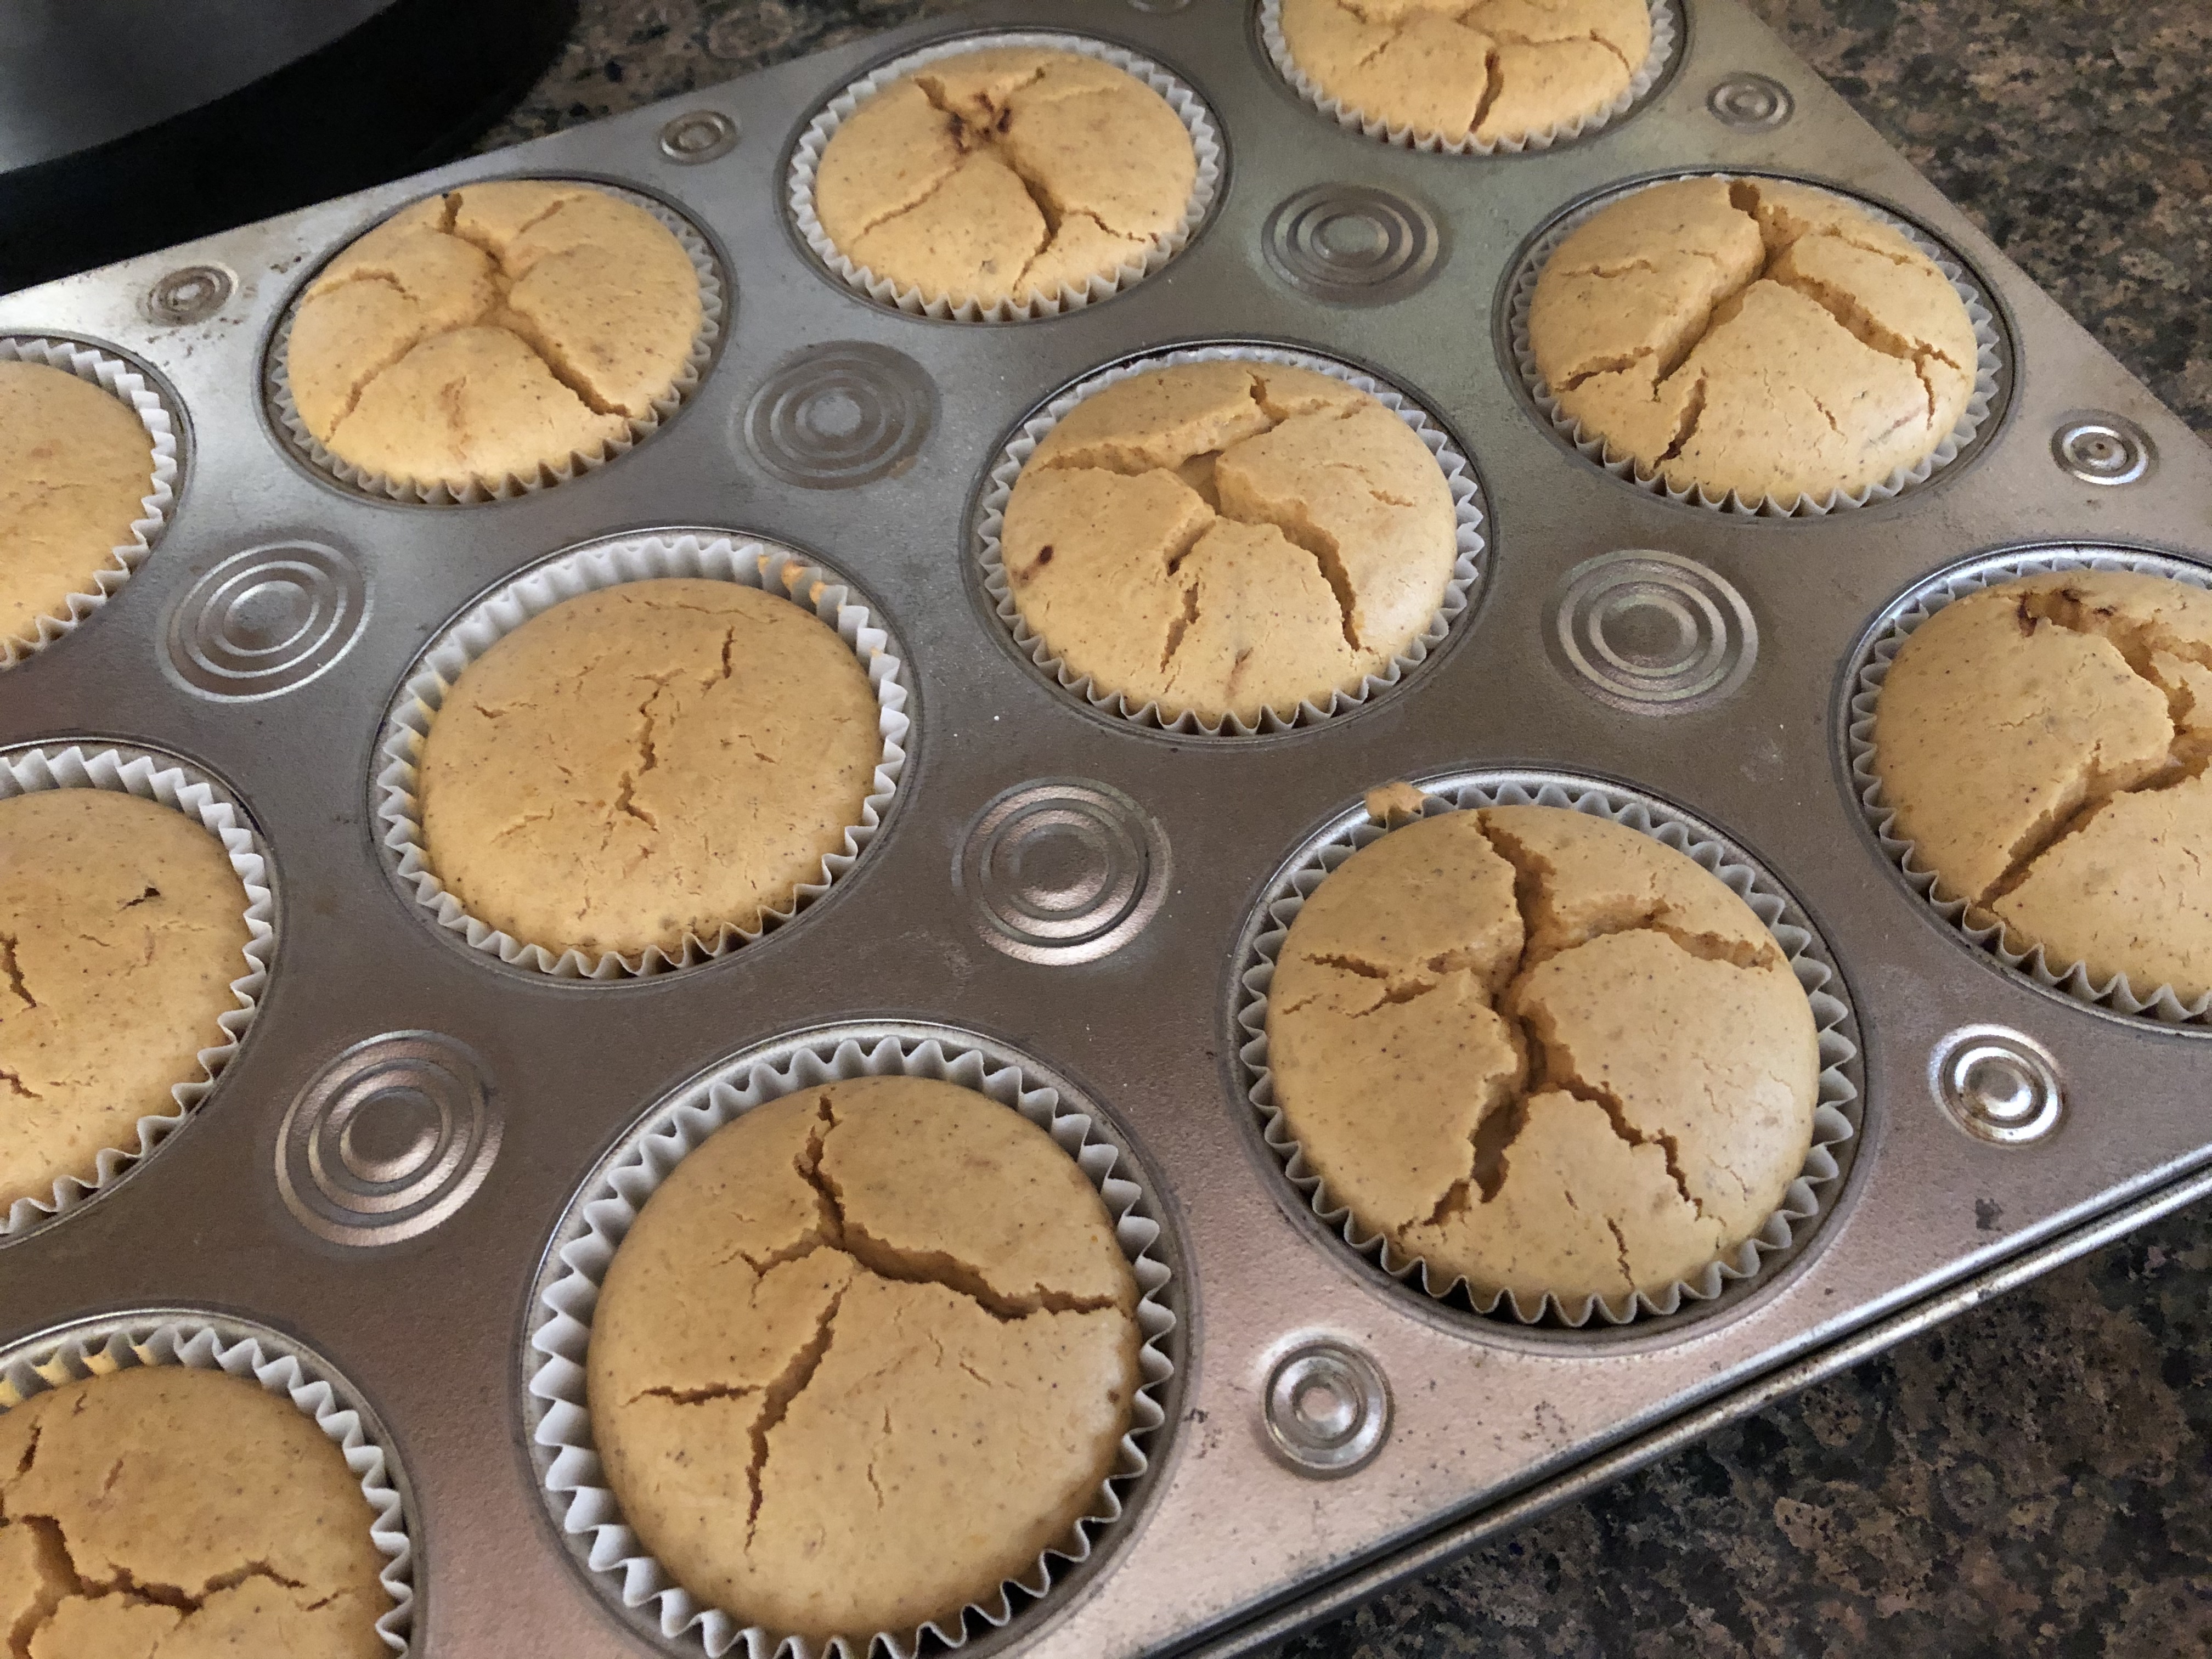
Place in the oven and bake for 60-70 minutes. The cheesecake should be set along the edges but still jiggly in the center.
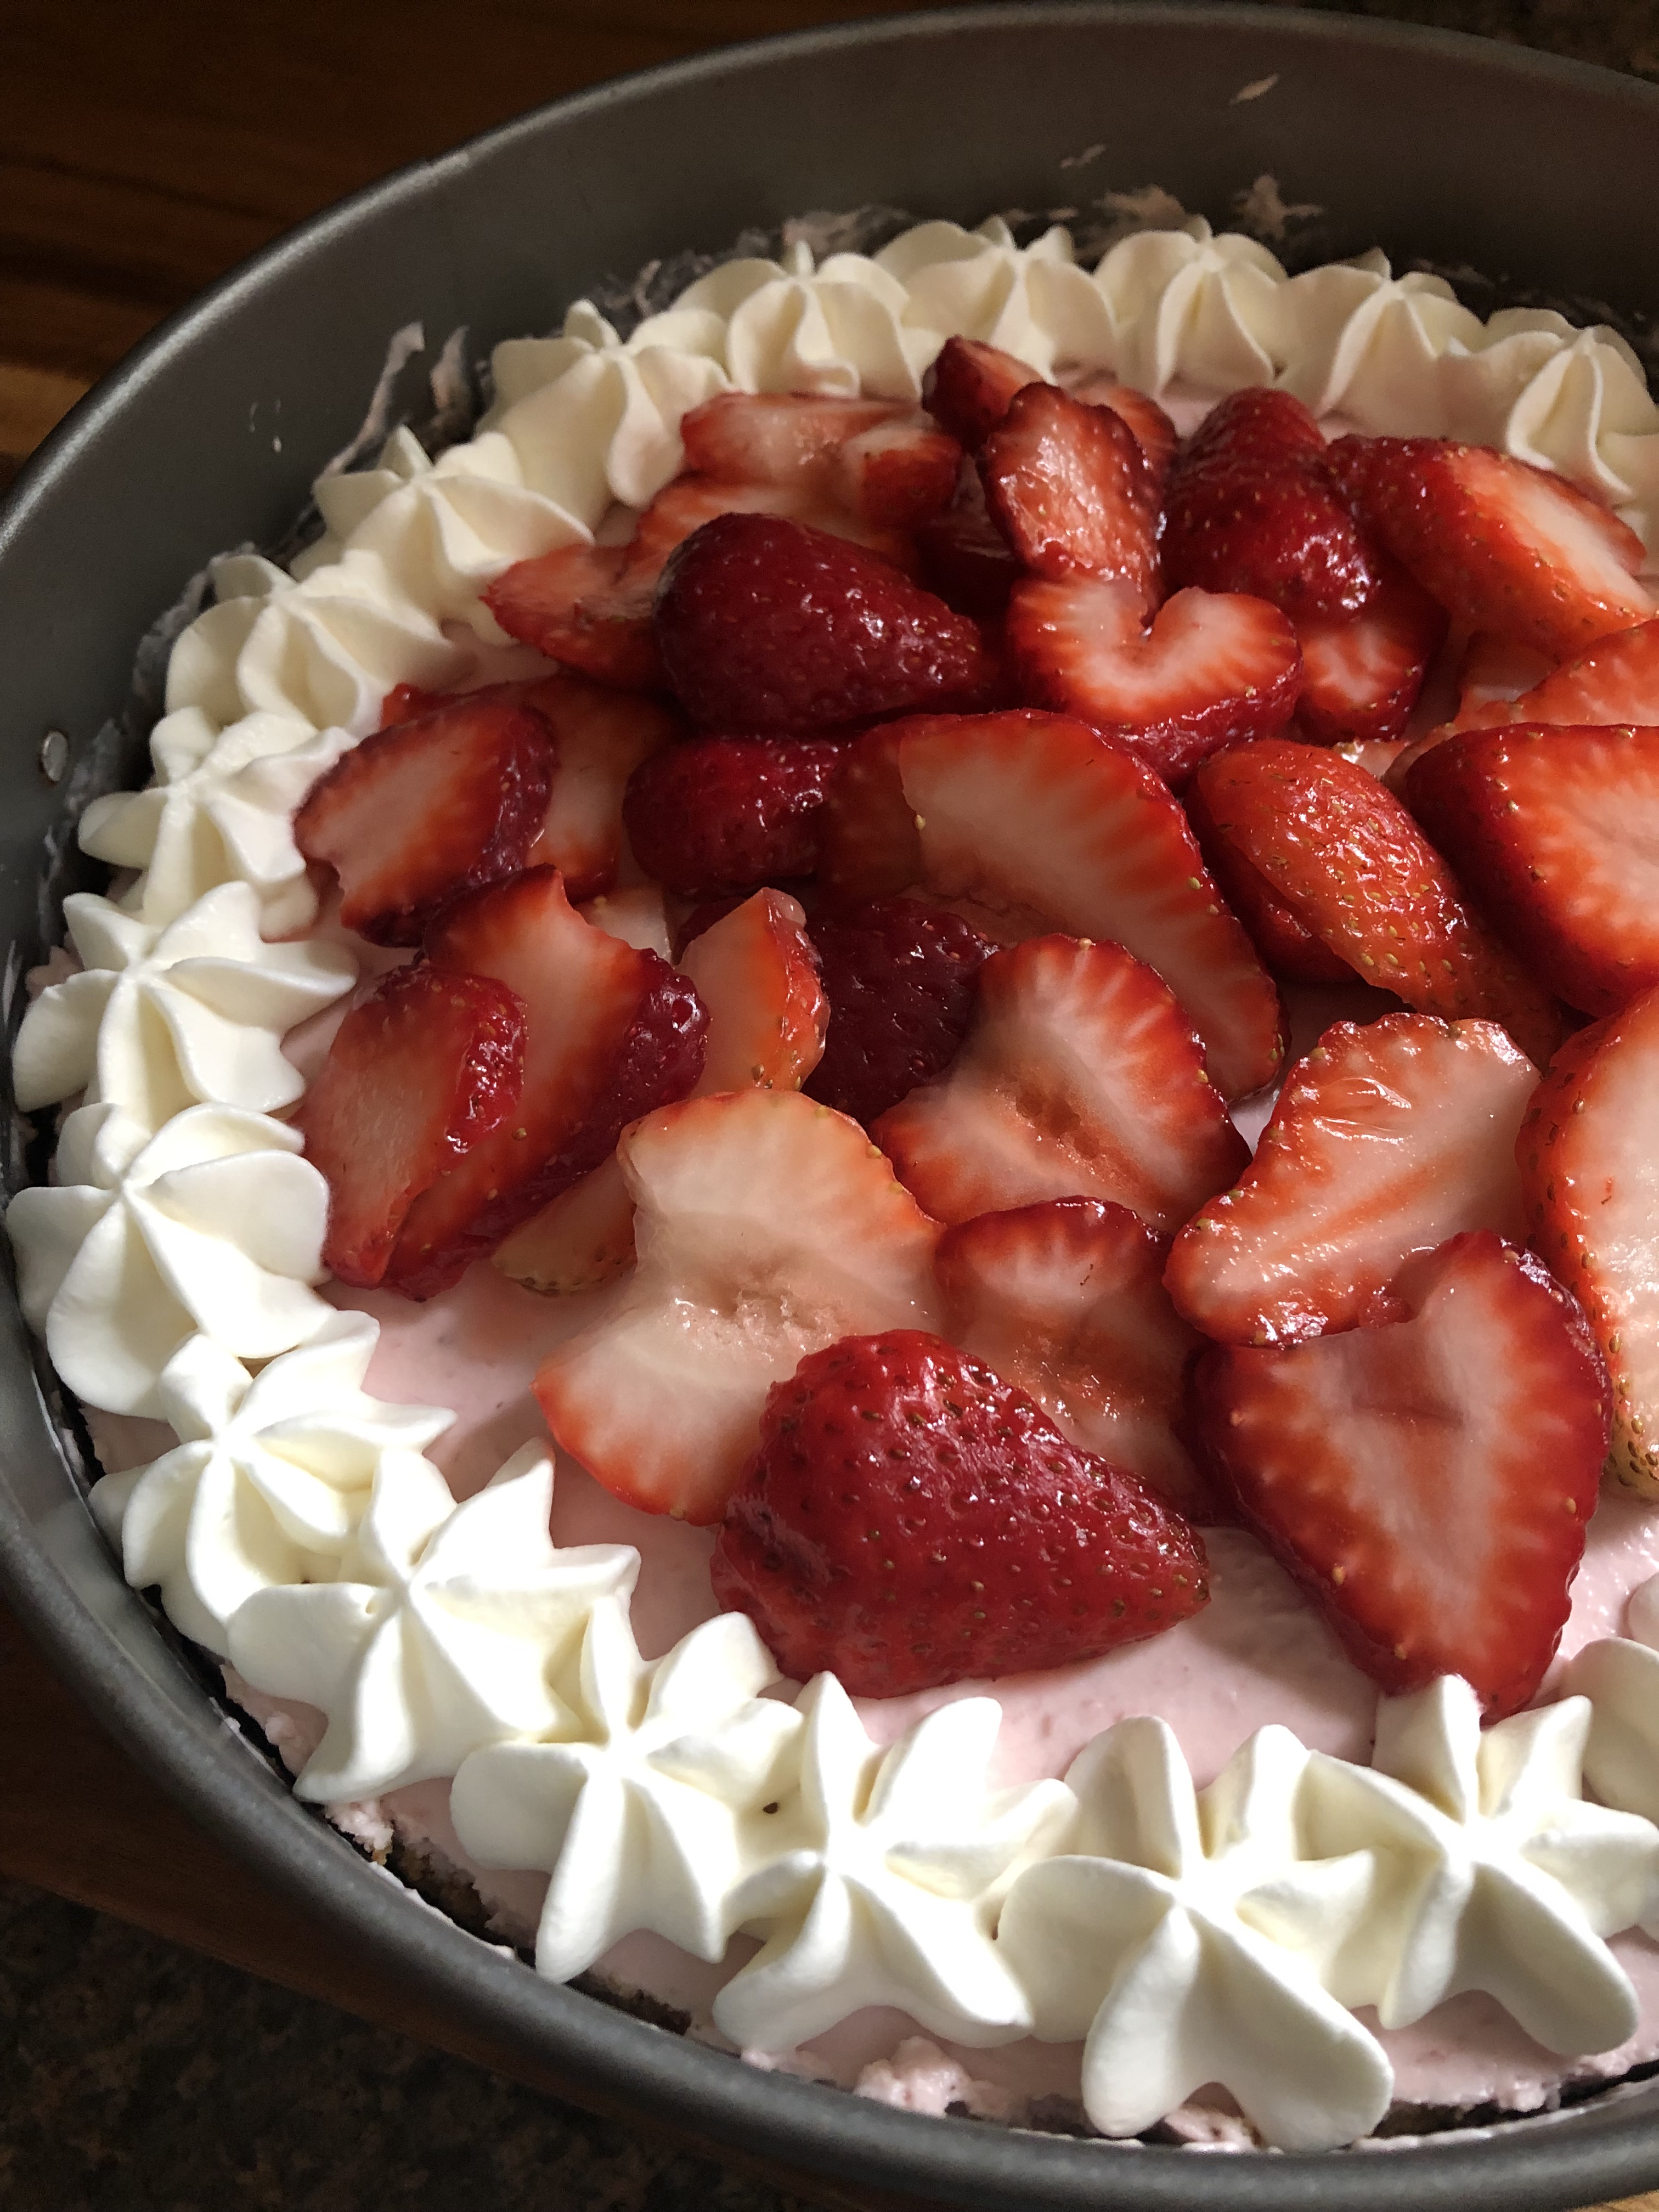
Transfer to a wire rack and cool completely. Gently cover with wax paper and aluminum foil and refrigerate for at least 3 hours or overnight before slicing and serving.
Recipe first appeared on Bead Yarn & Spatula