S’mores Cheesecake

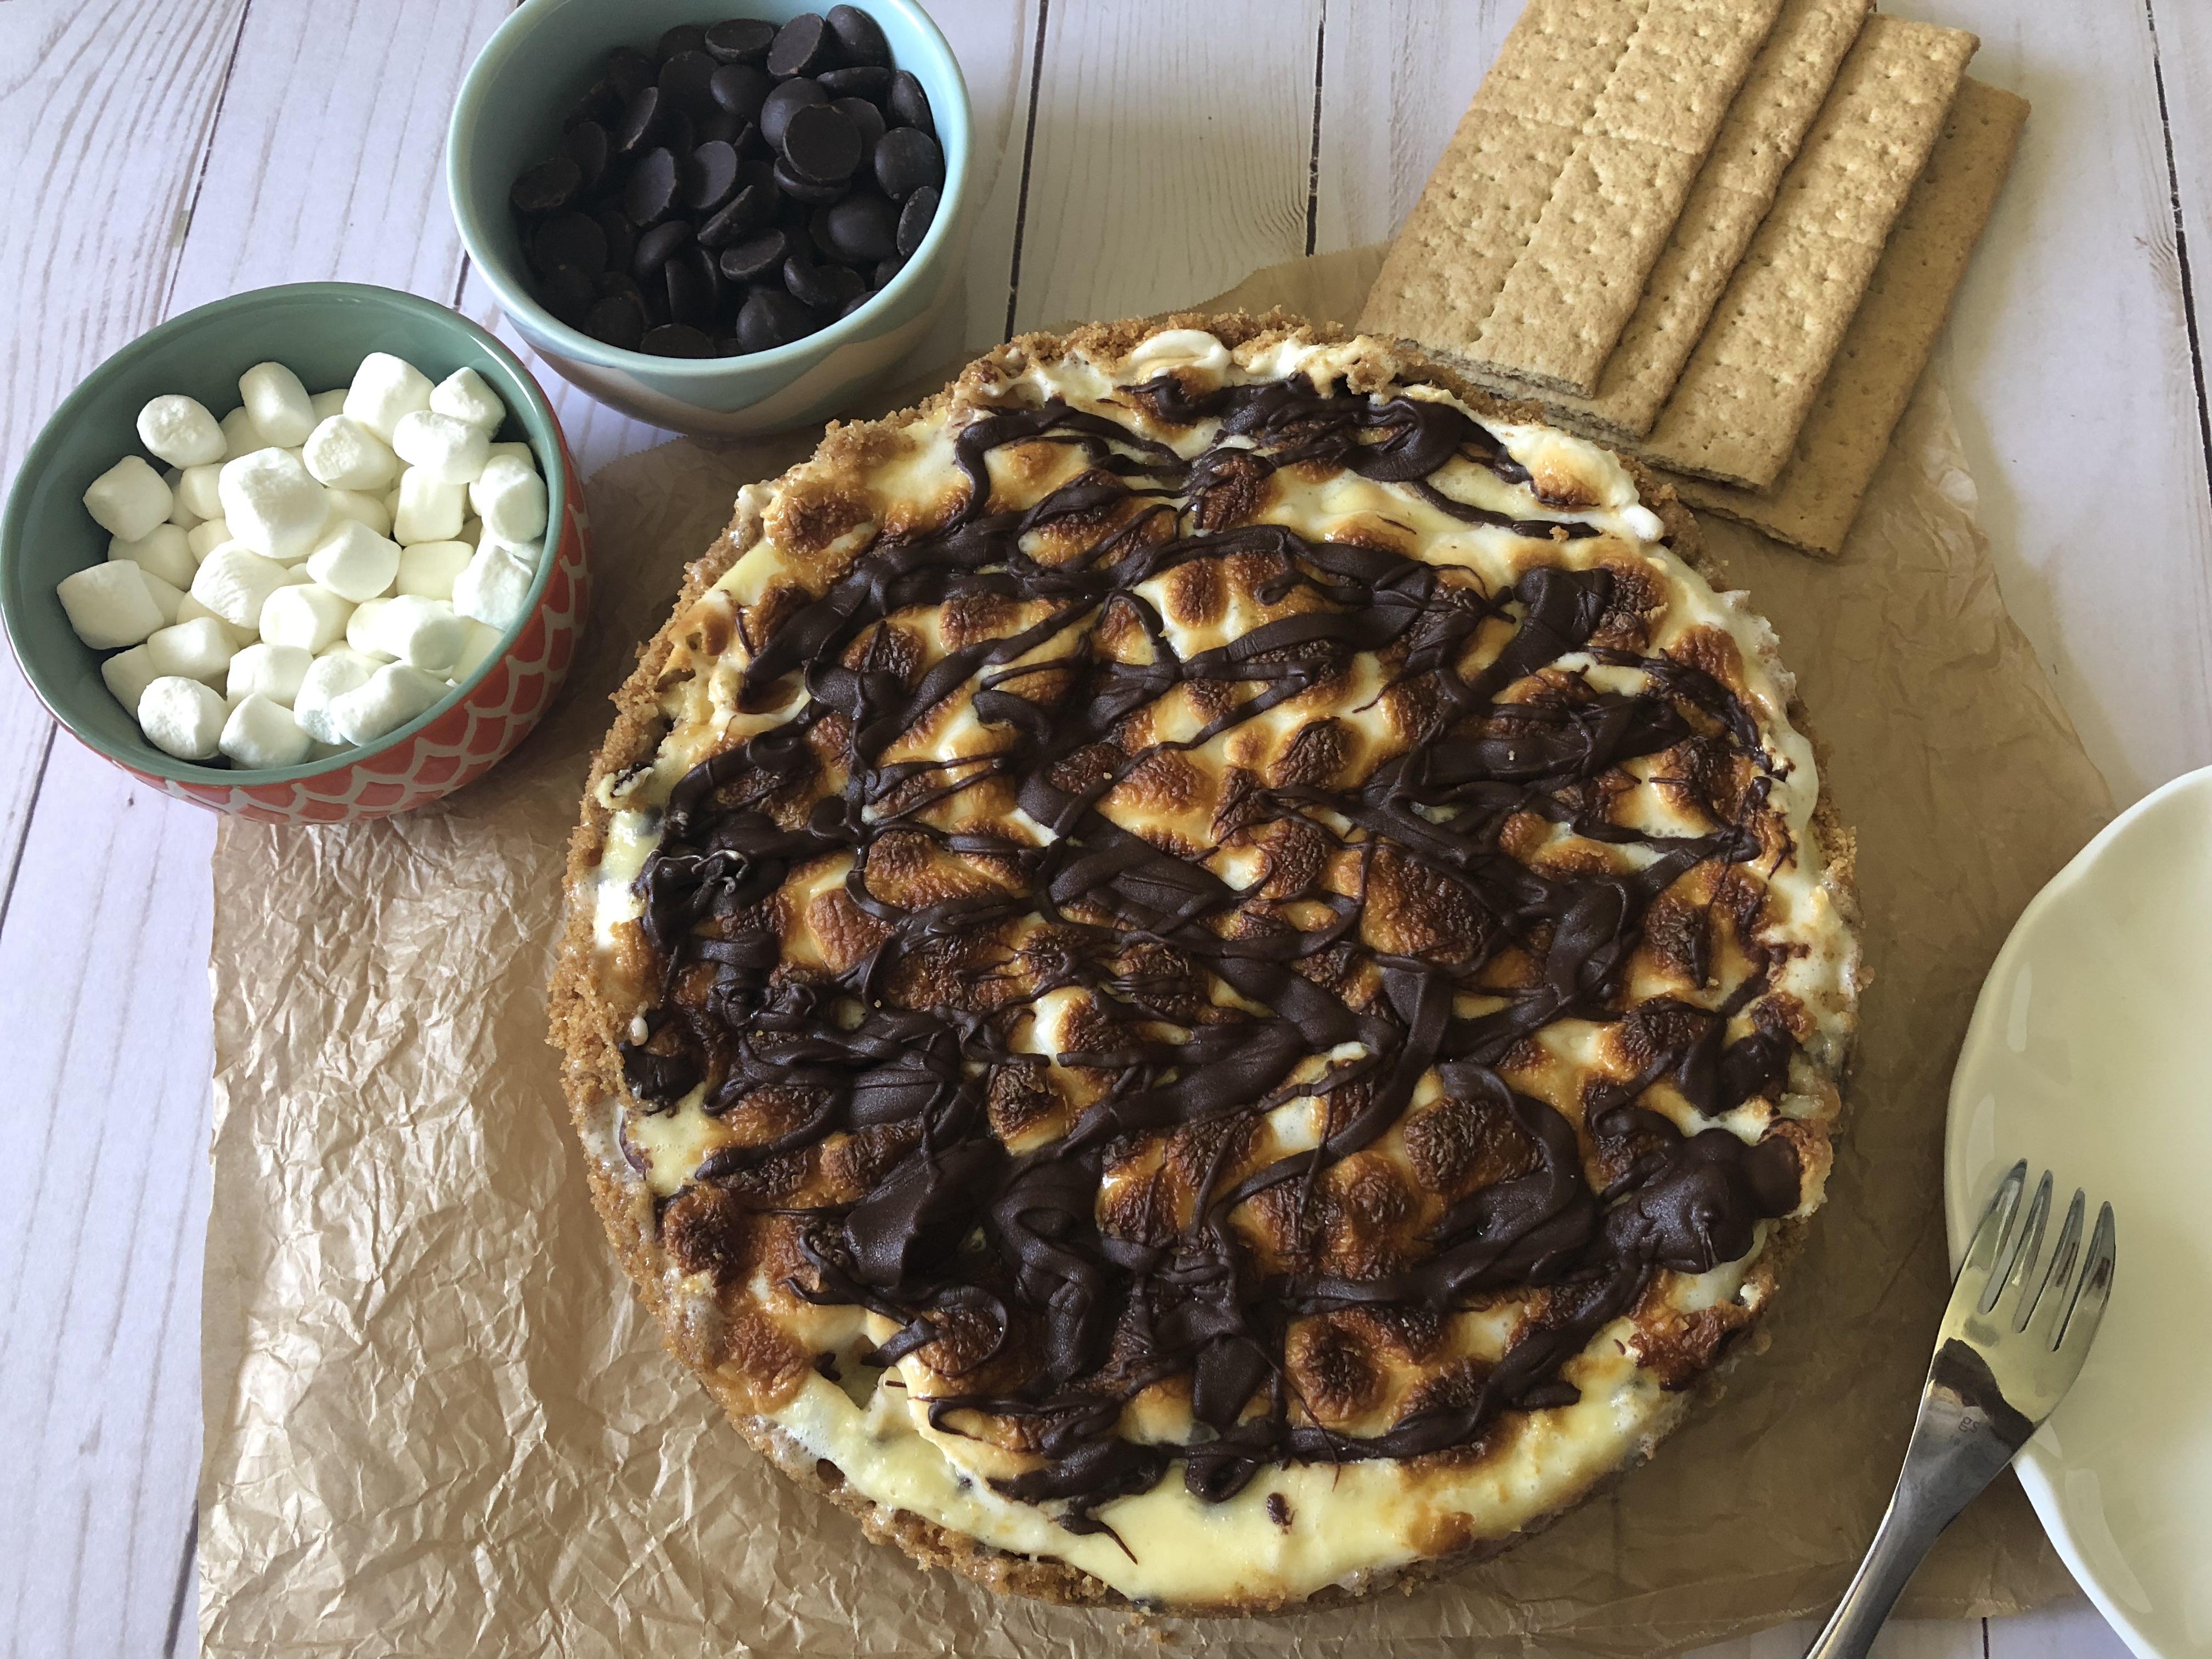
Cheesecake is a versatile dessert. It tastes delicious with its simplest ingredients but can be easily transformed into something more with different variations. Have you seen the cheesecake menu at The Cheesecake Factory? To celebrate National S’mores Day today I am sharing with you a S’mores Cheesecake. A cheesecake with all the flavors and components of your favorite campfire treat. A graham cracker crust, a filling made with mini chocolate chips and marshmallows and finally a topping of toasted marshmallows with a drizzle of melted chocolate… Yum!

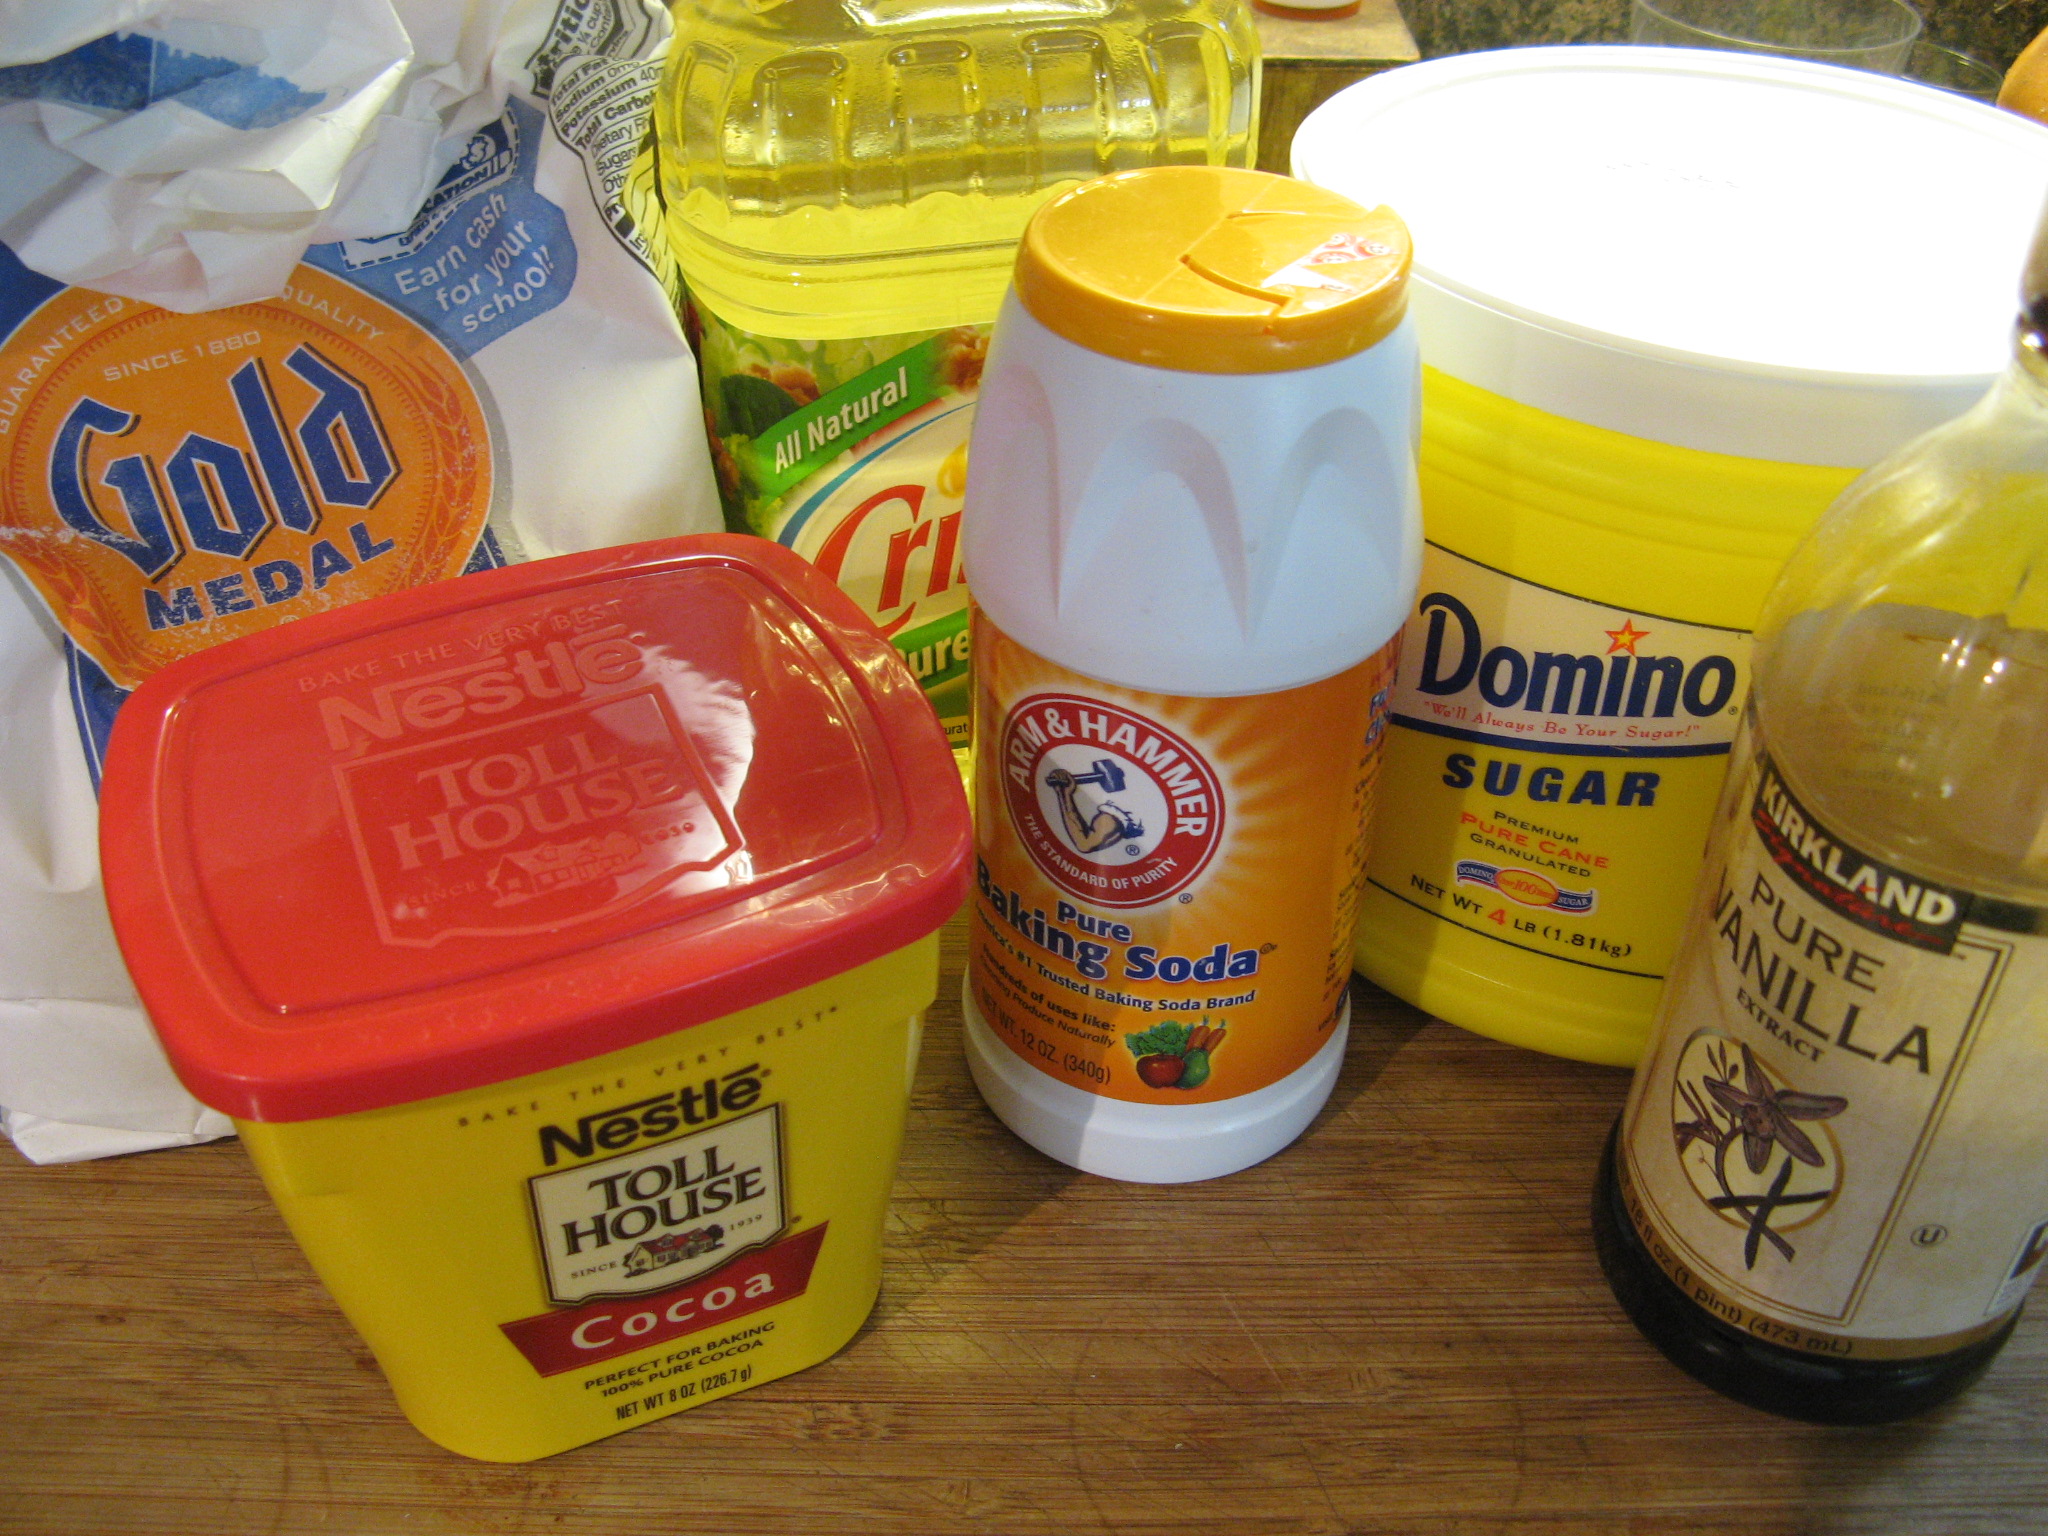
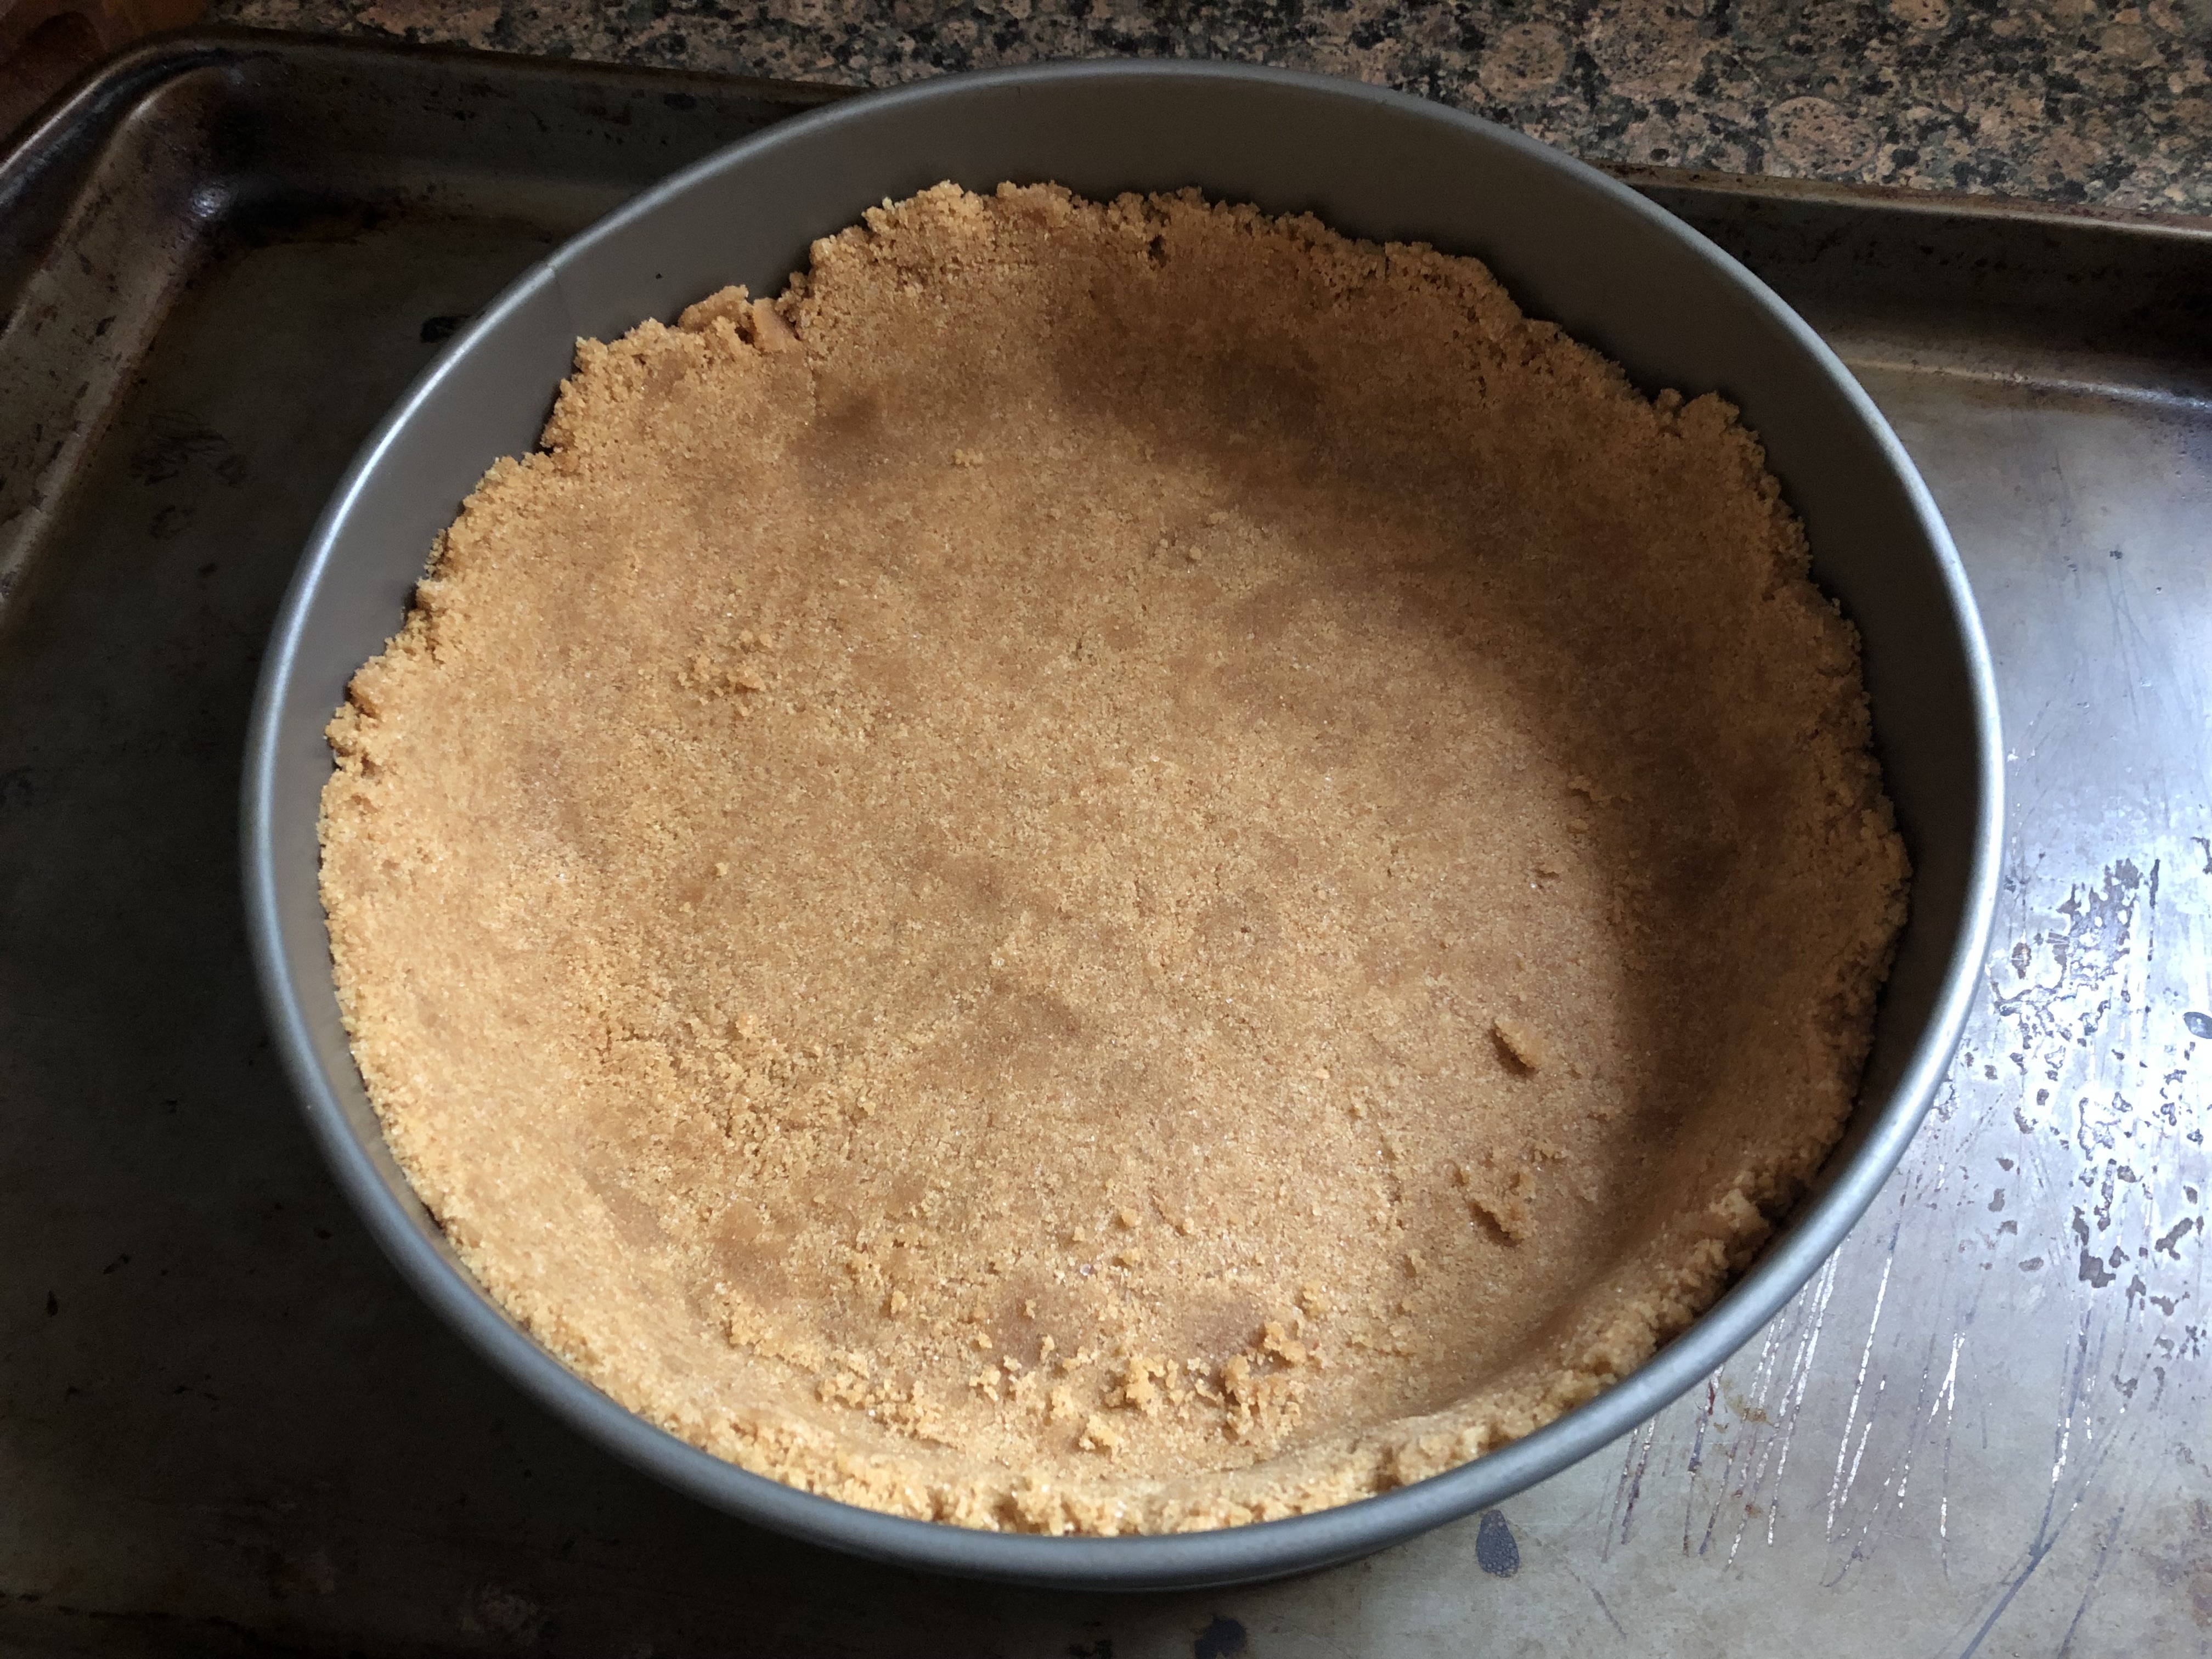
Up first, I made the crust. In my food processor I processed 2 sleeves of graham crackers into fine crumbs and then added in sugar and melted butter. Once everything was well combined, I transferred the mixture to a 9-inch springform pan and pressed it along the bottom and up the sides of the pan. I used a 1 cup measuring cup to press the crumbs into the bottom in an even layer. While some recipes call for you to pre-bake your crust, I opted not to do that. I sometimes find that the crust gets a little too hard to slice then.

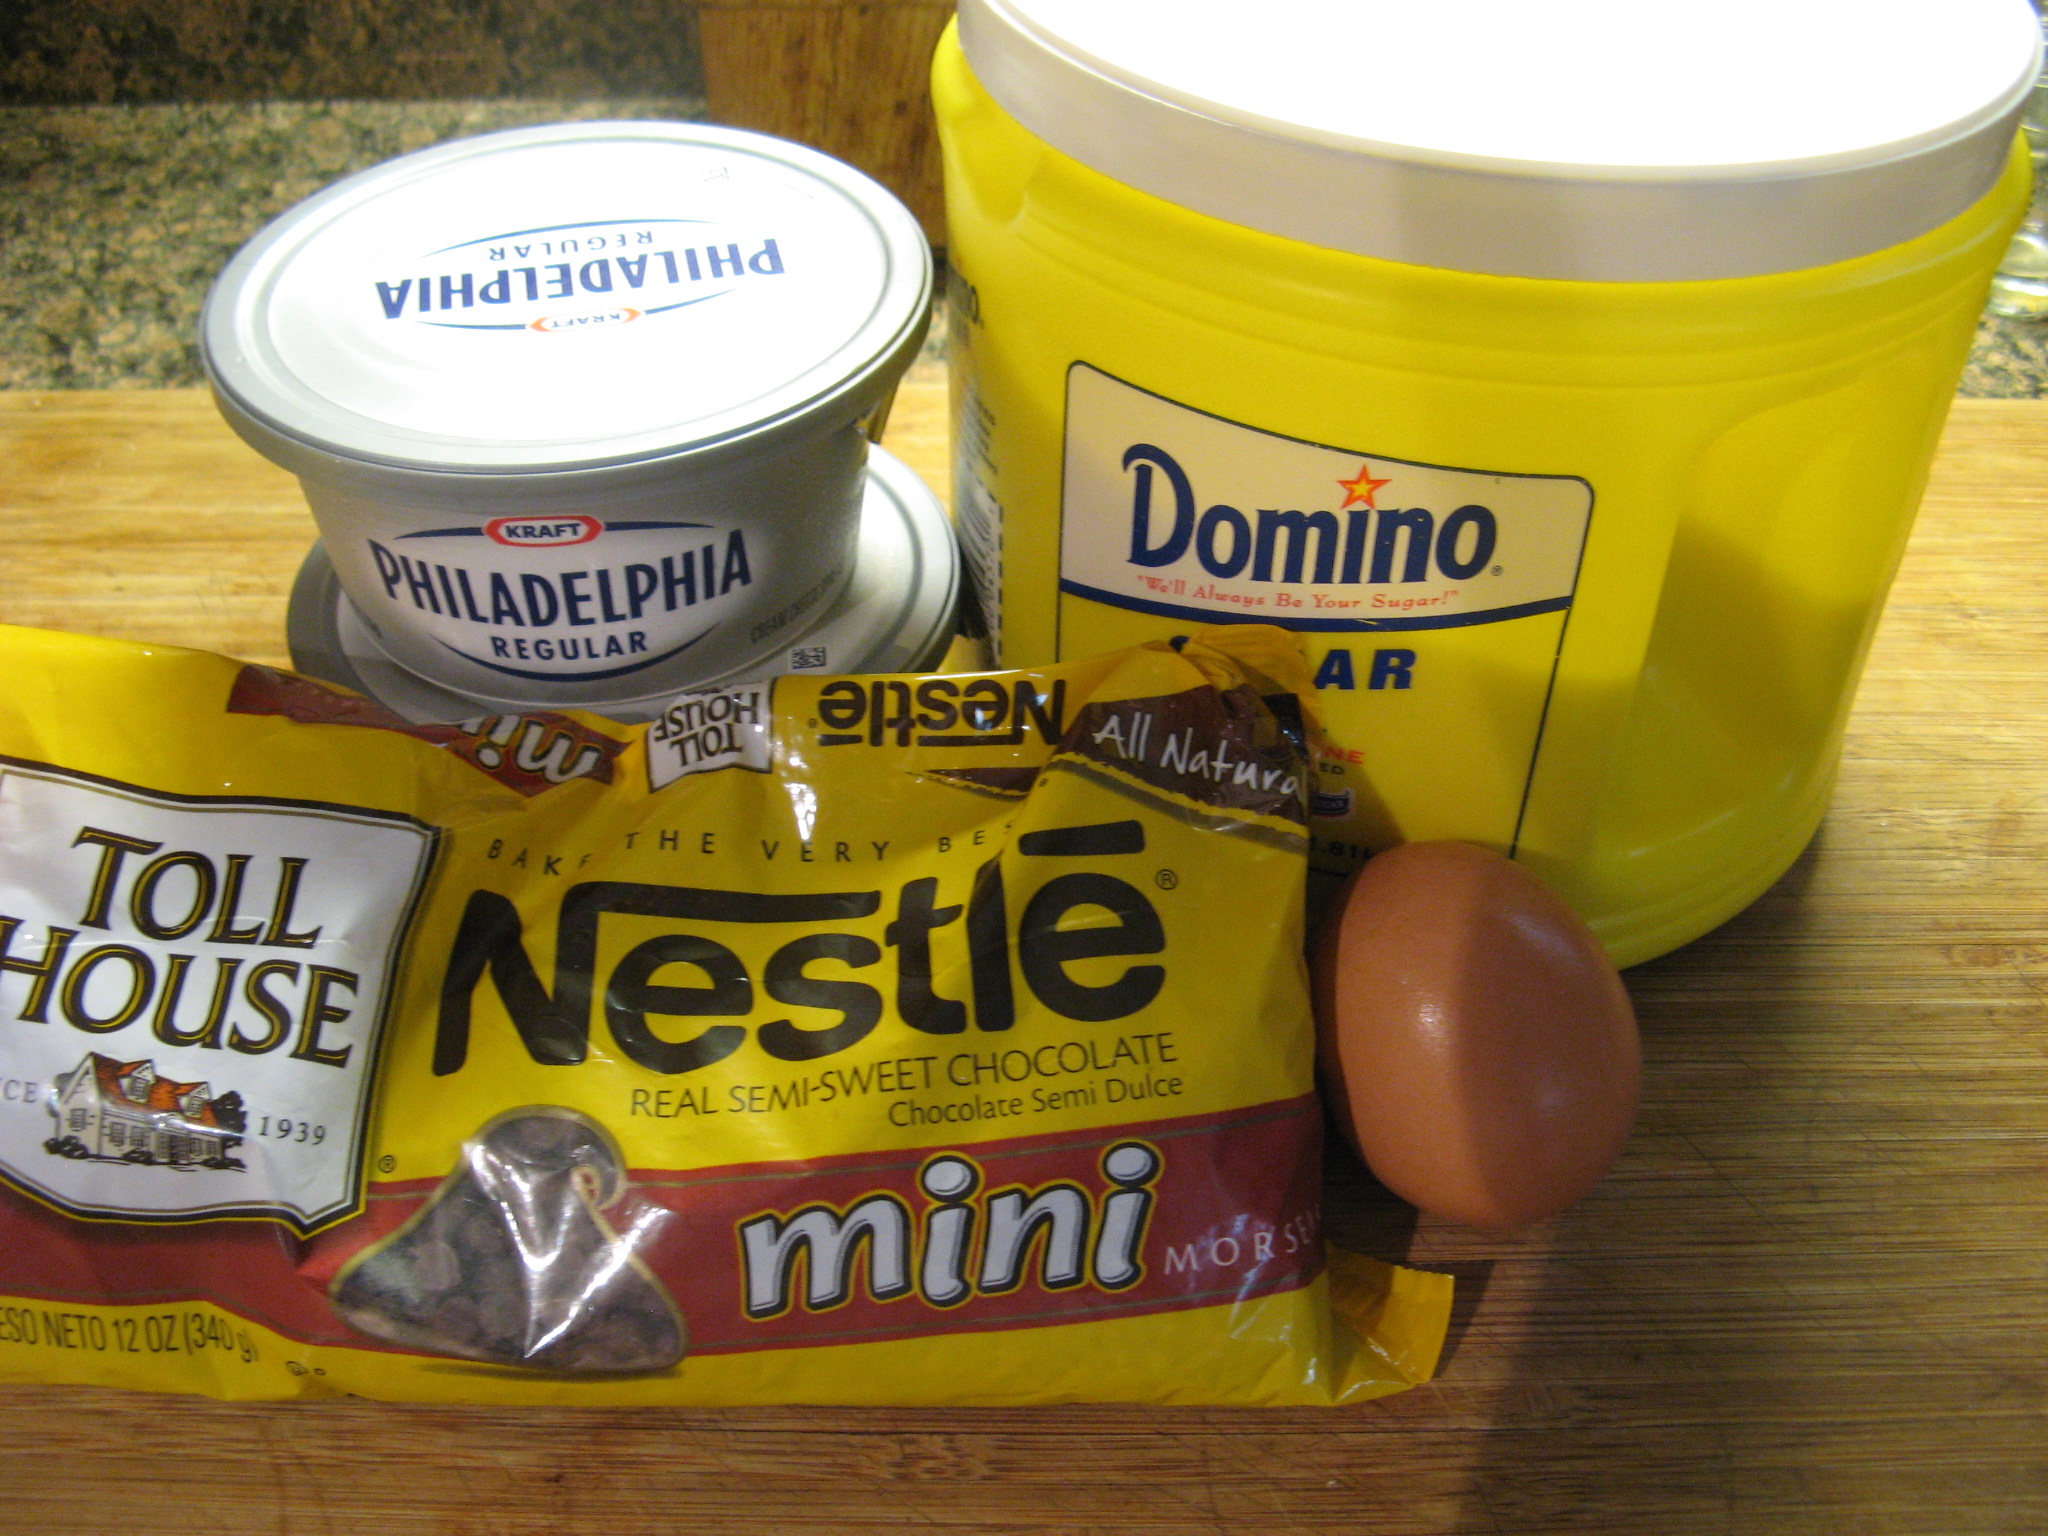
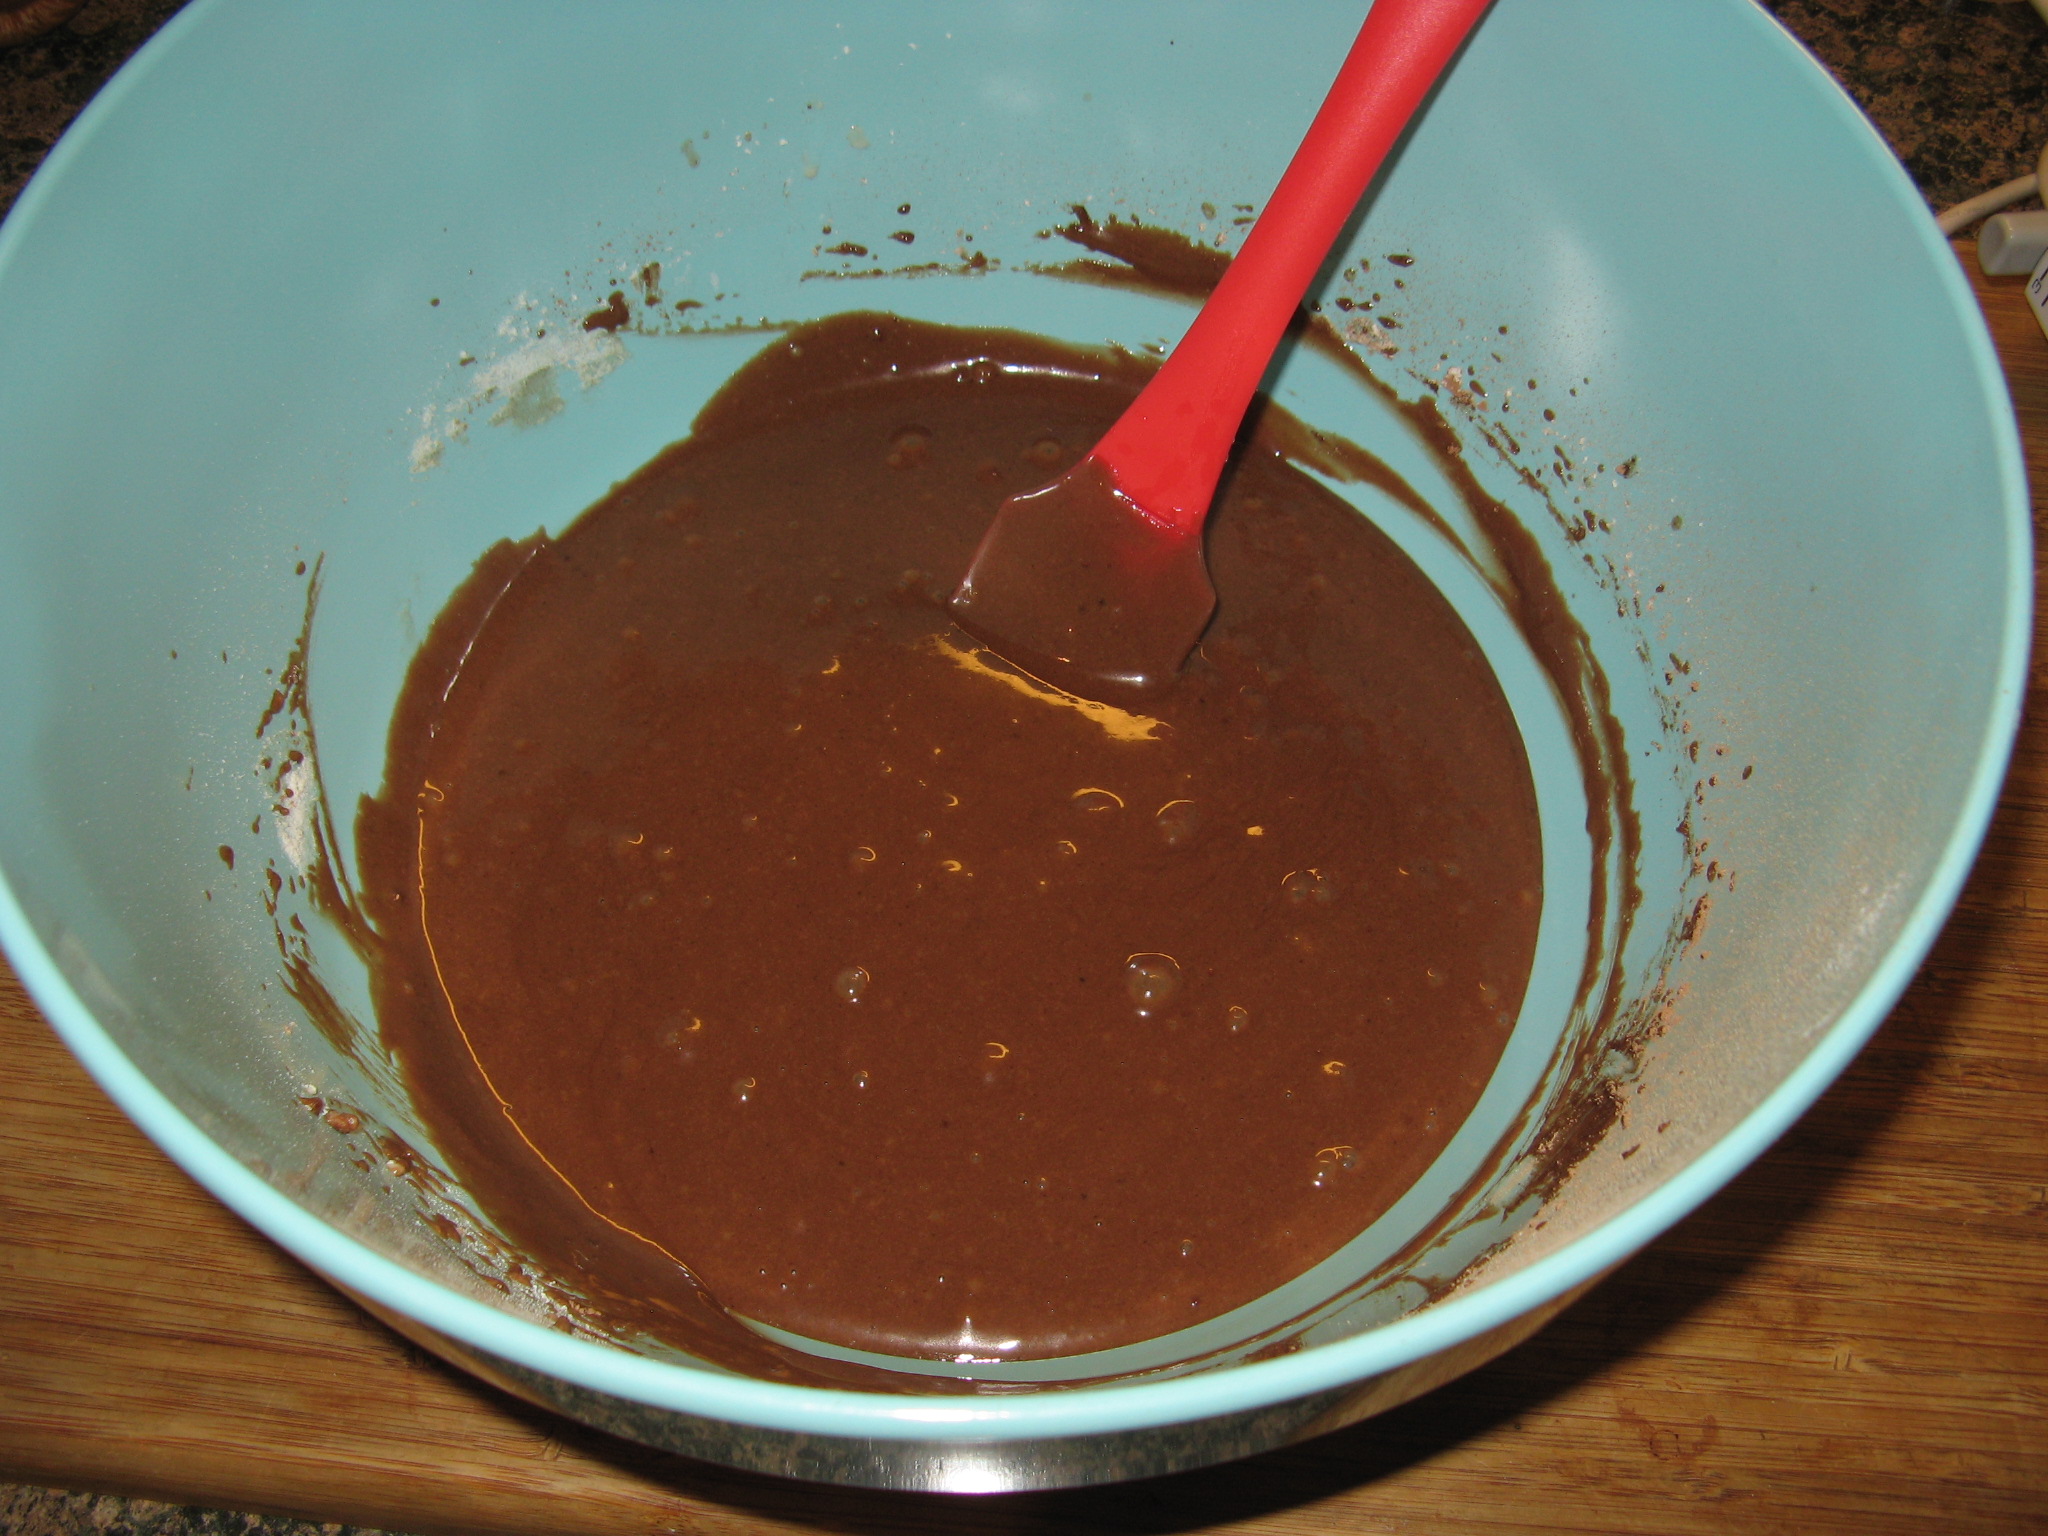
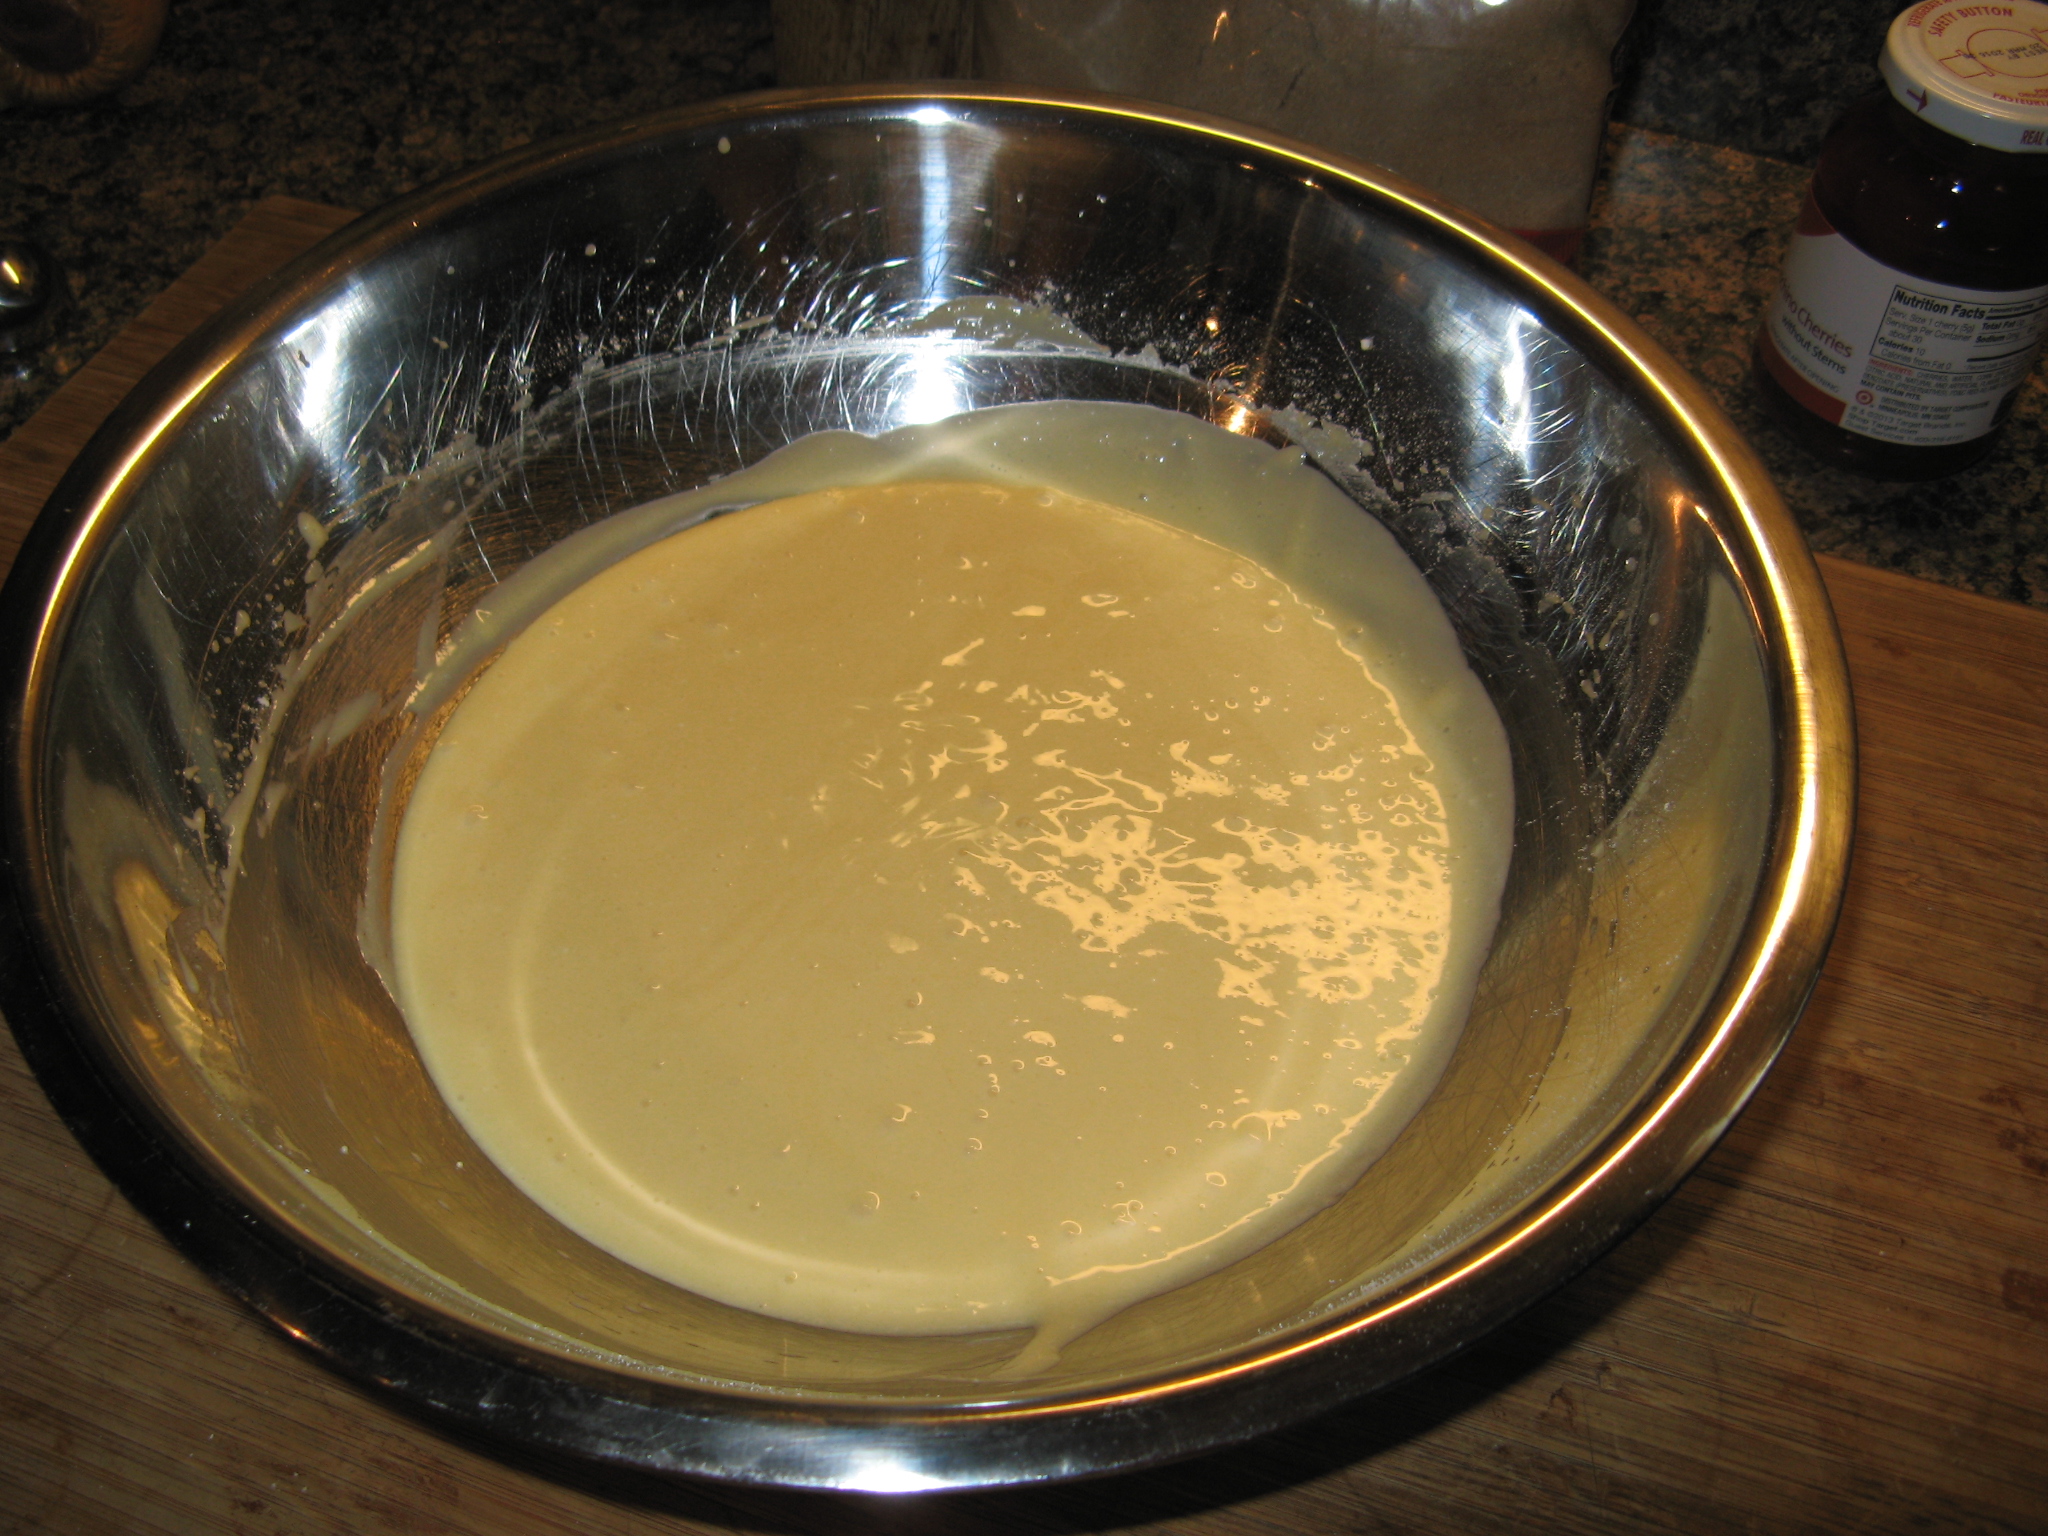
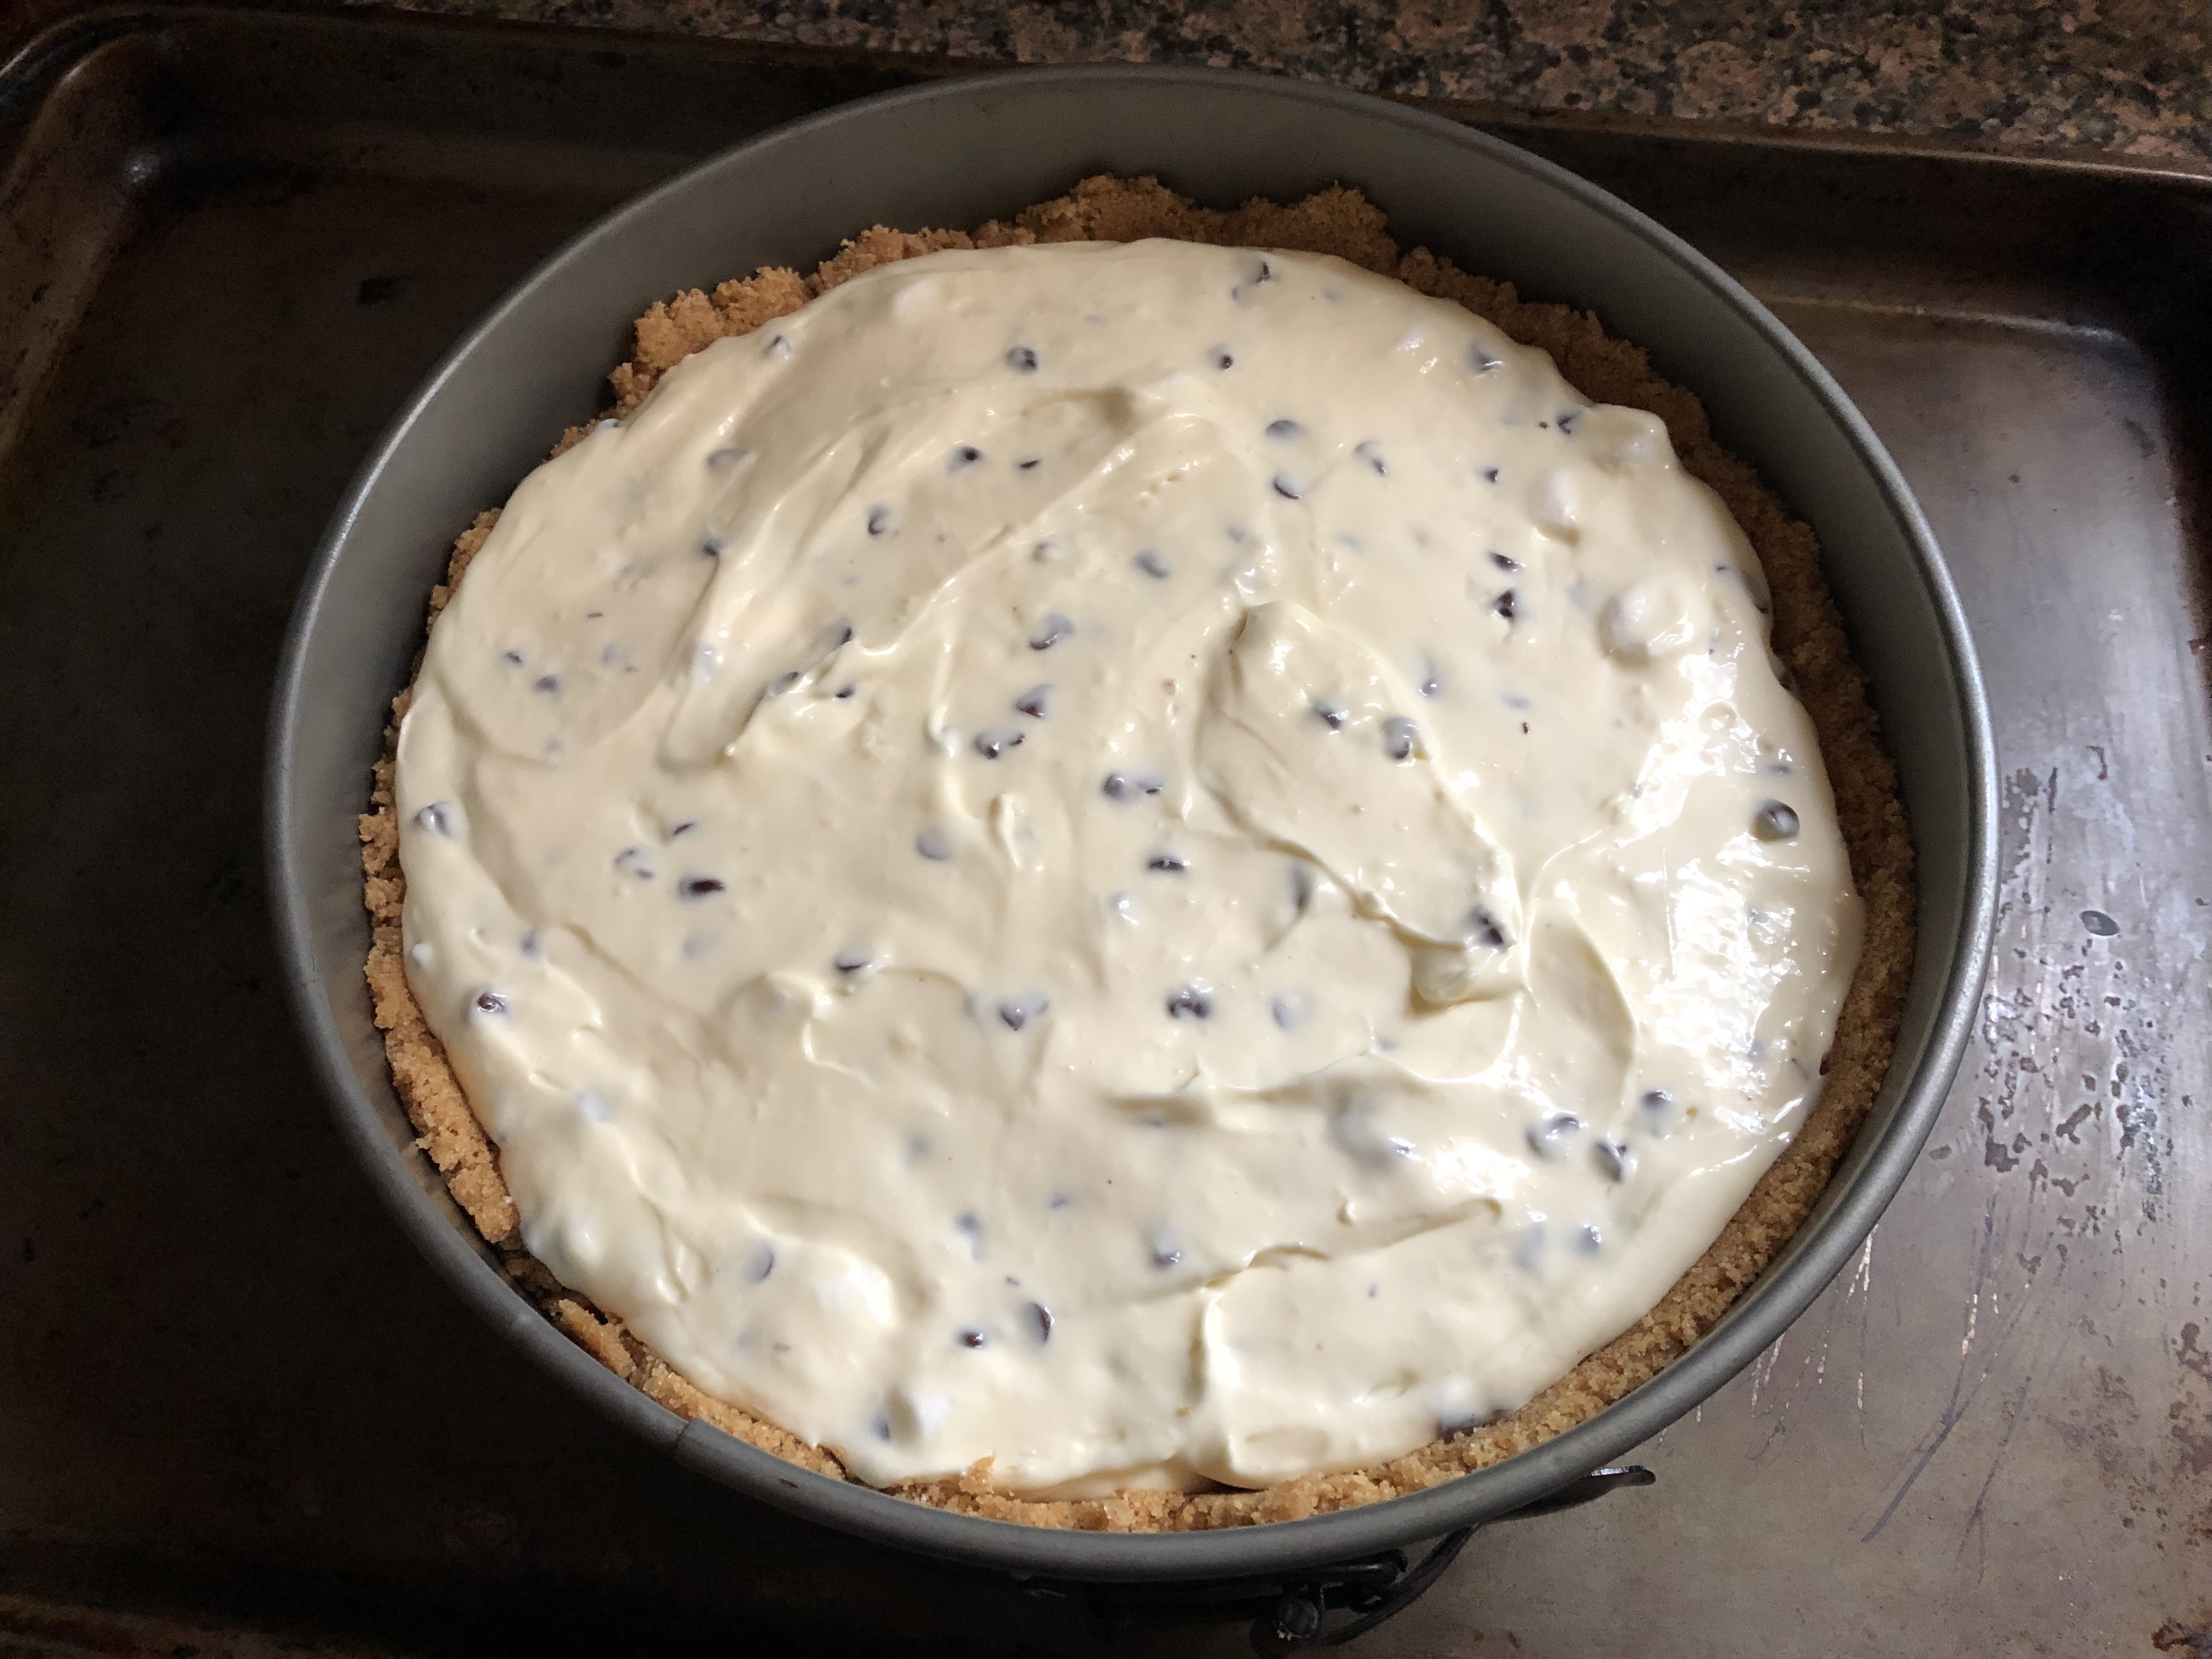
Next, I made the filling. After beating together cream cheese, sour cream, sugar, eggs and vanilla extract with a hand mixer I folded in mini marshmallows and mini semi-sweet chocolate chips with a rubber spatula. I then poured the filling into the prepared crust. I find that springform pans always seem to leak a little when baking so I placed it on a baking sheet before baking the cheesecake in a 325 F preheated oven for about 50 minutes.

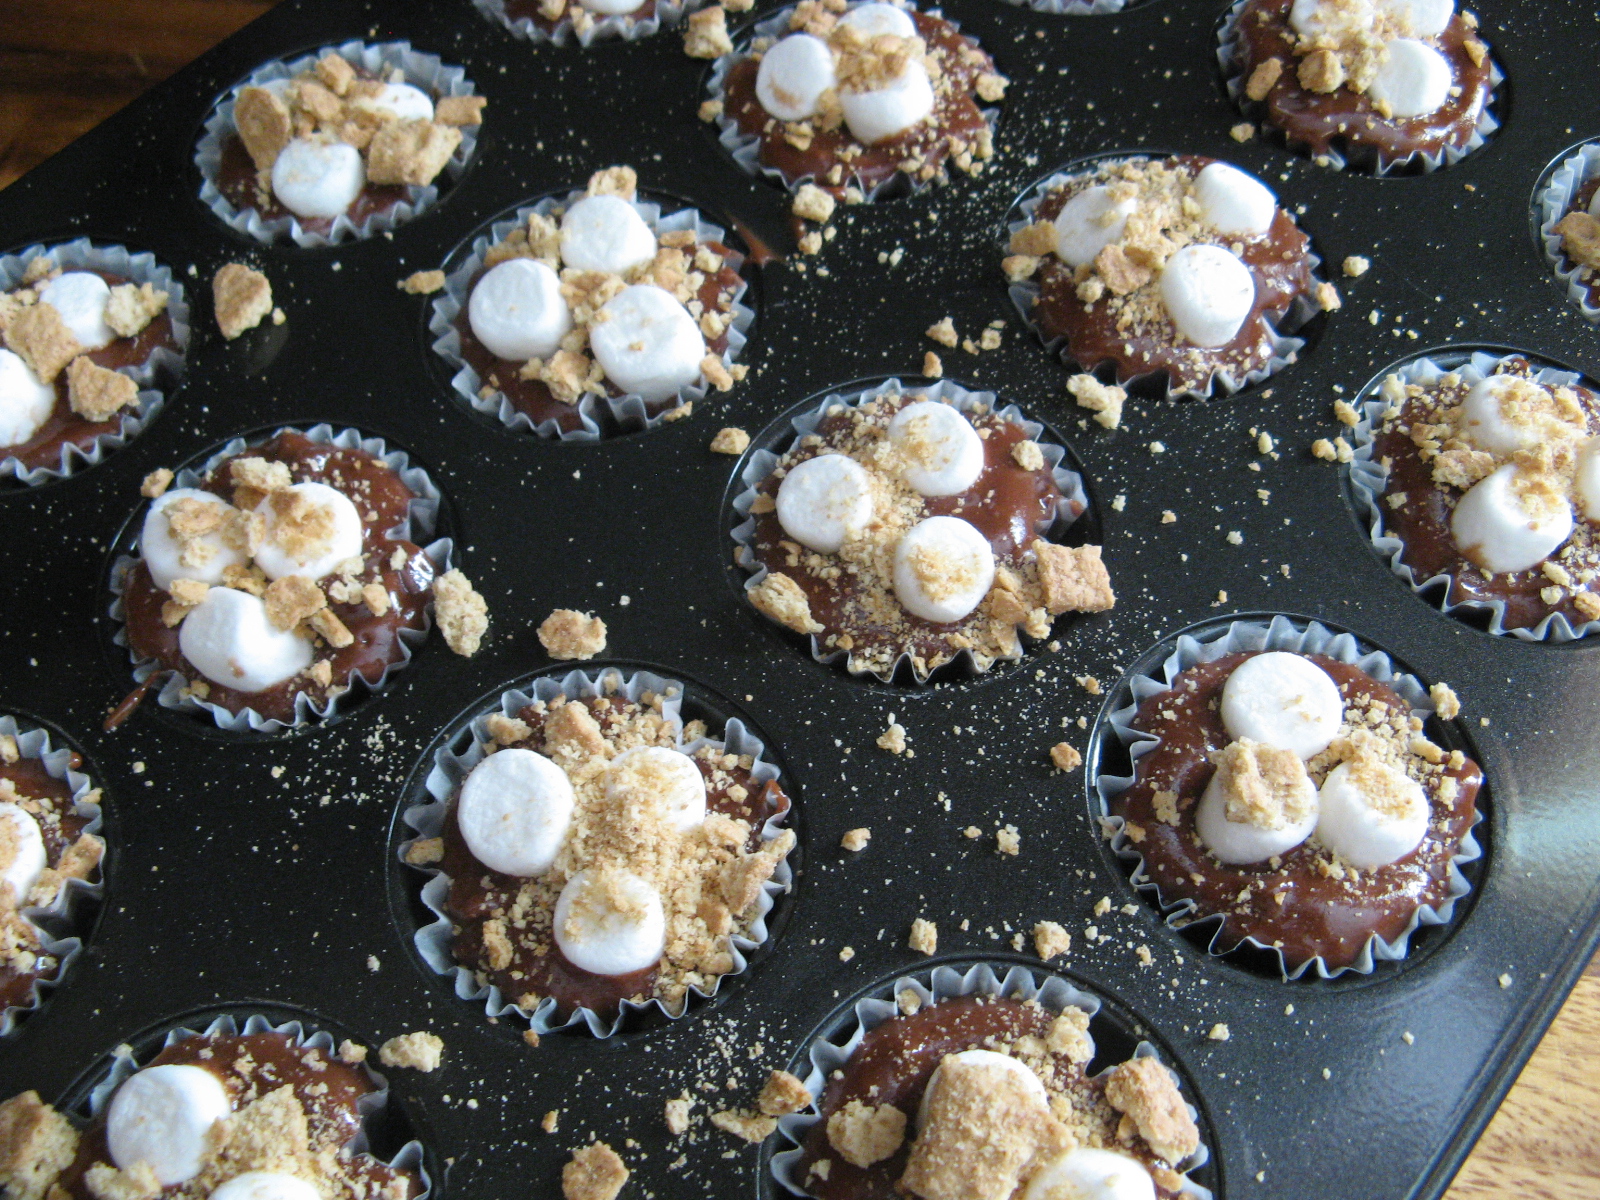
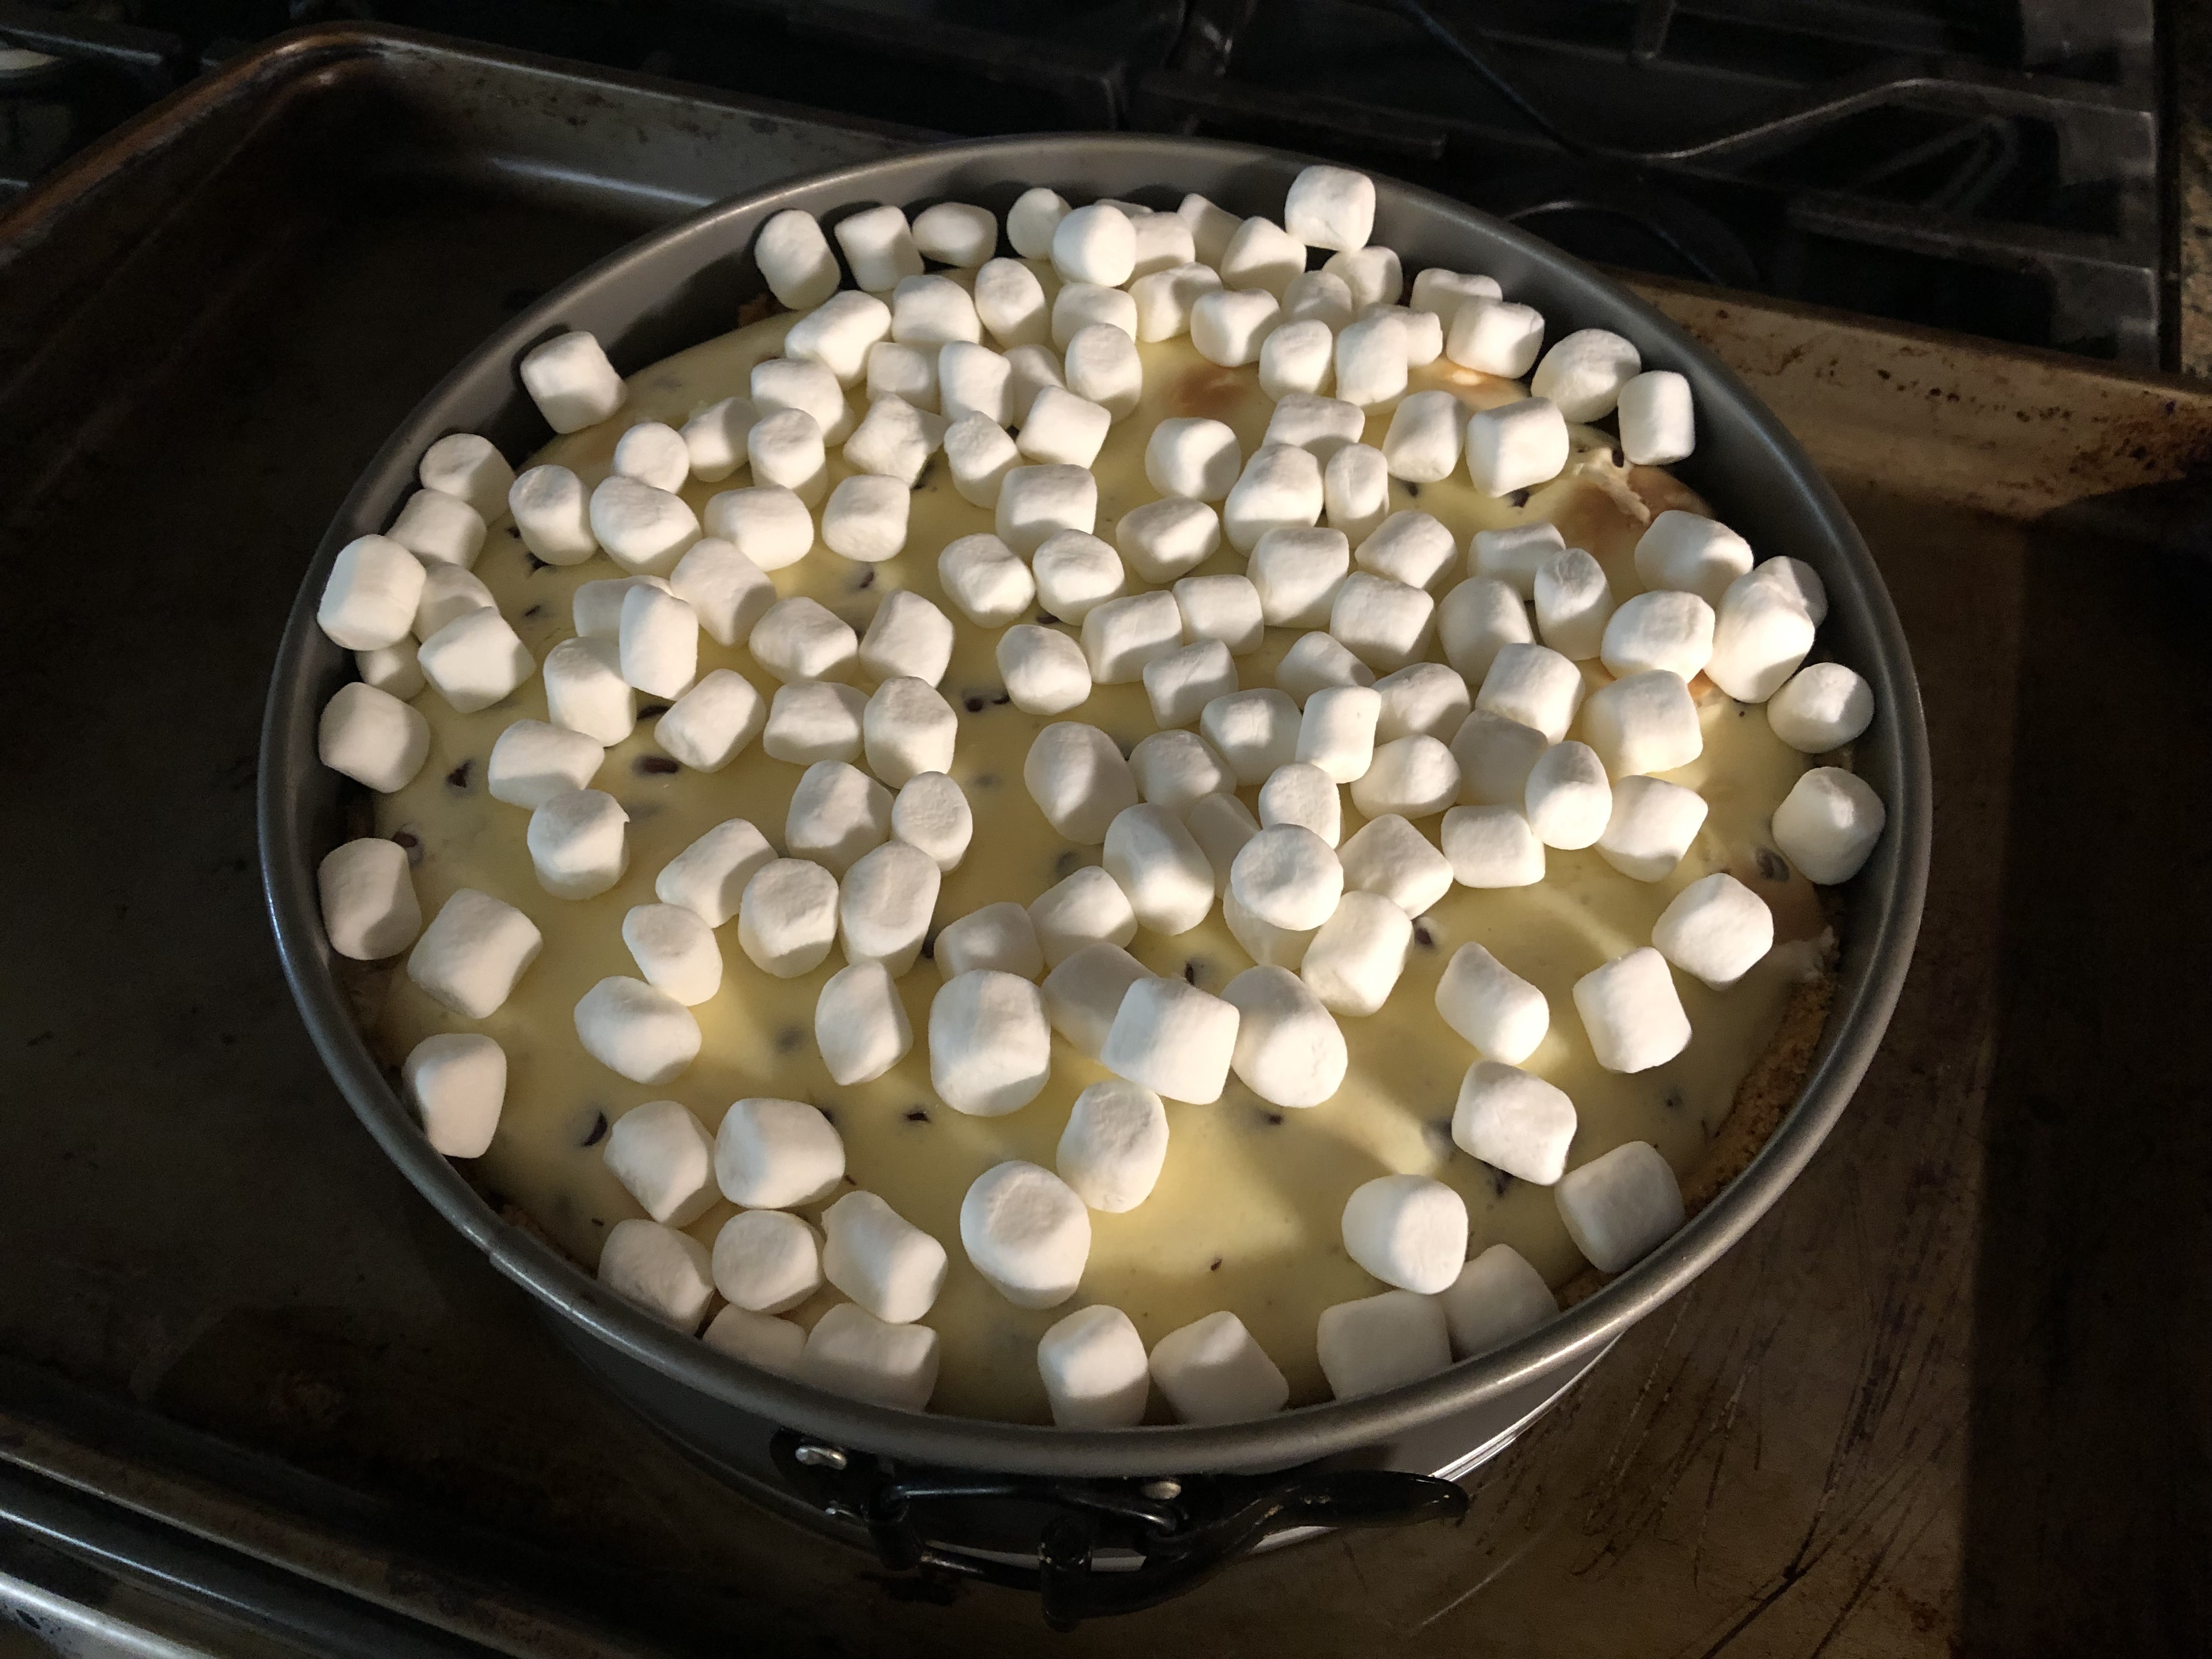
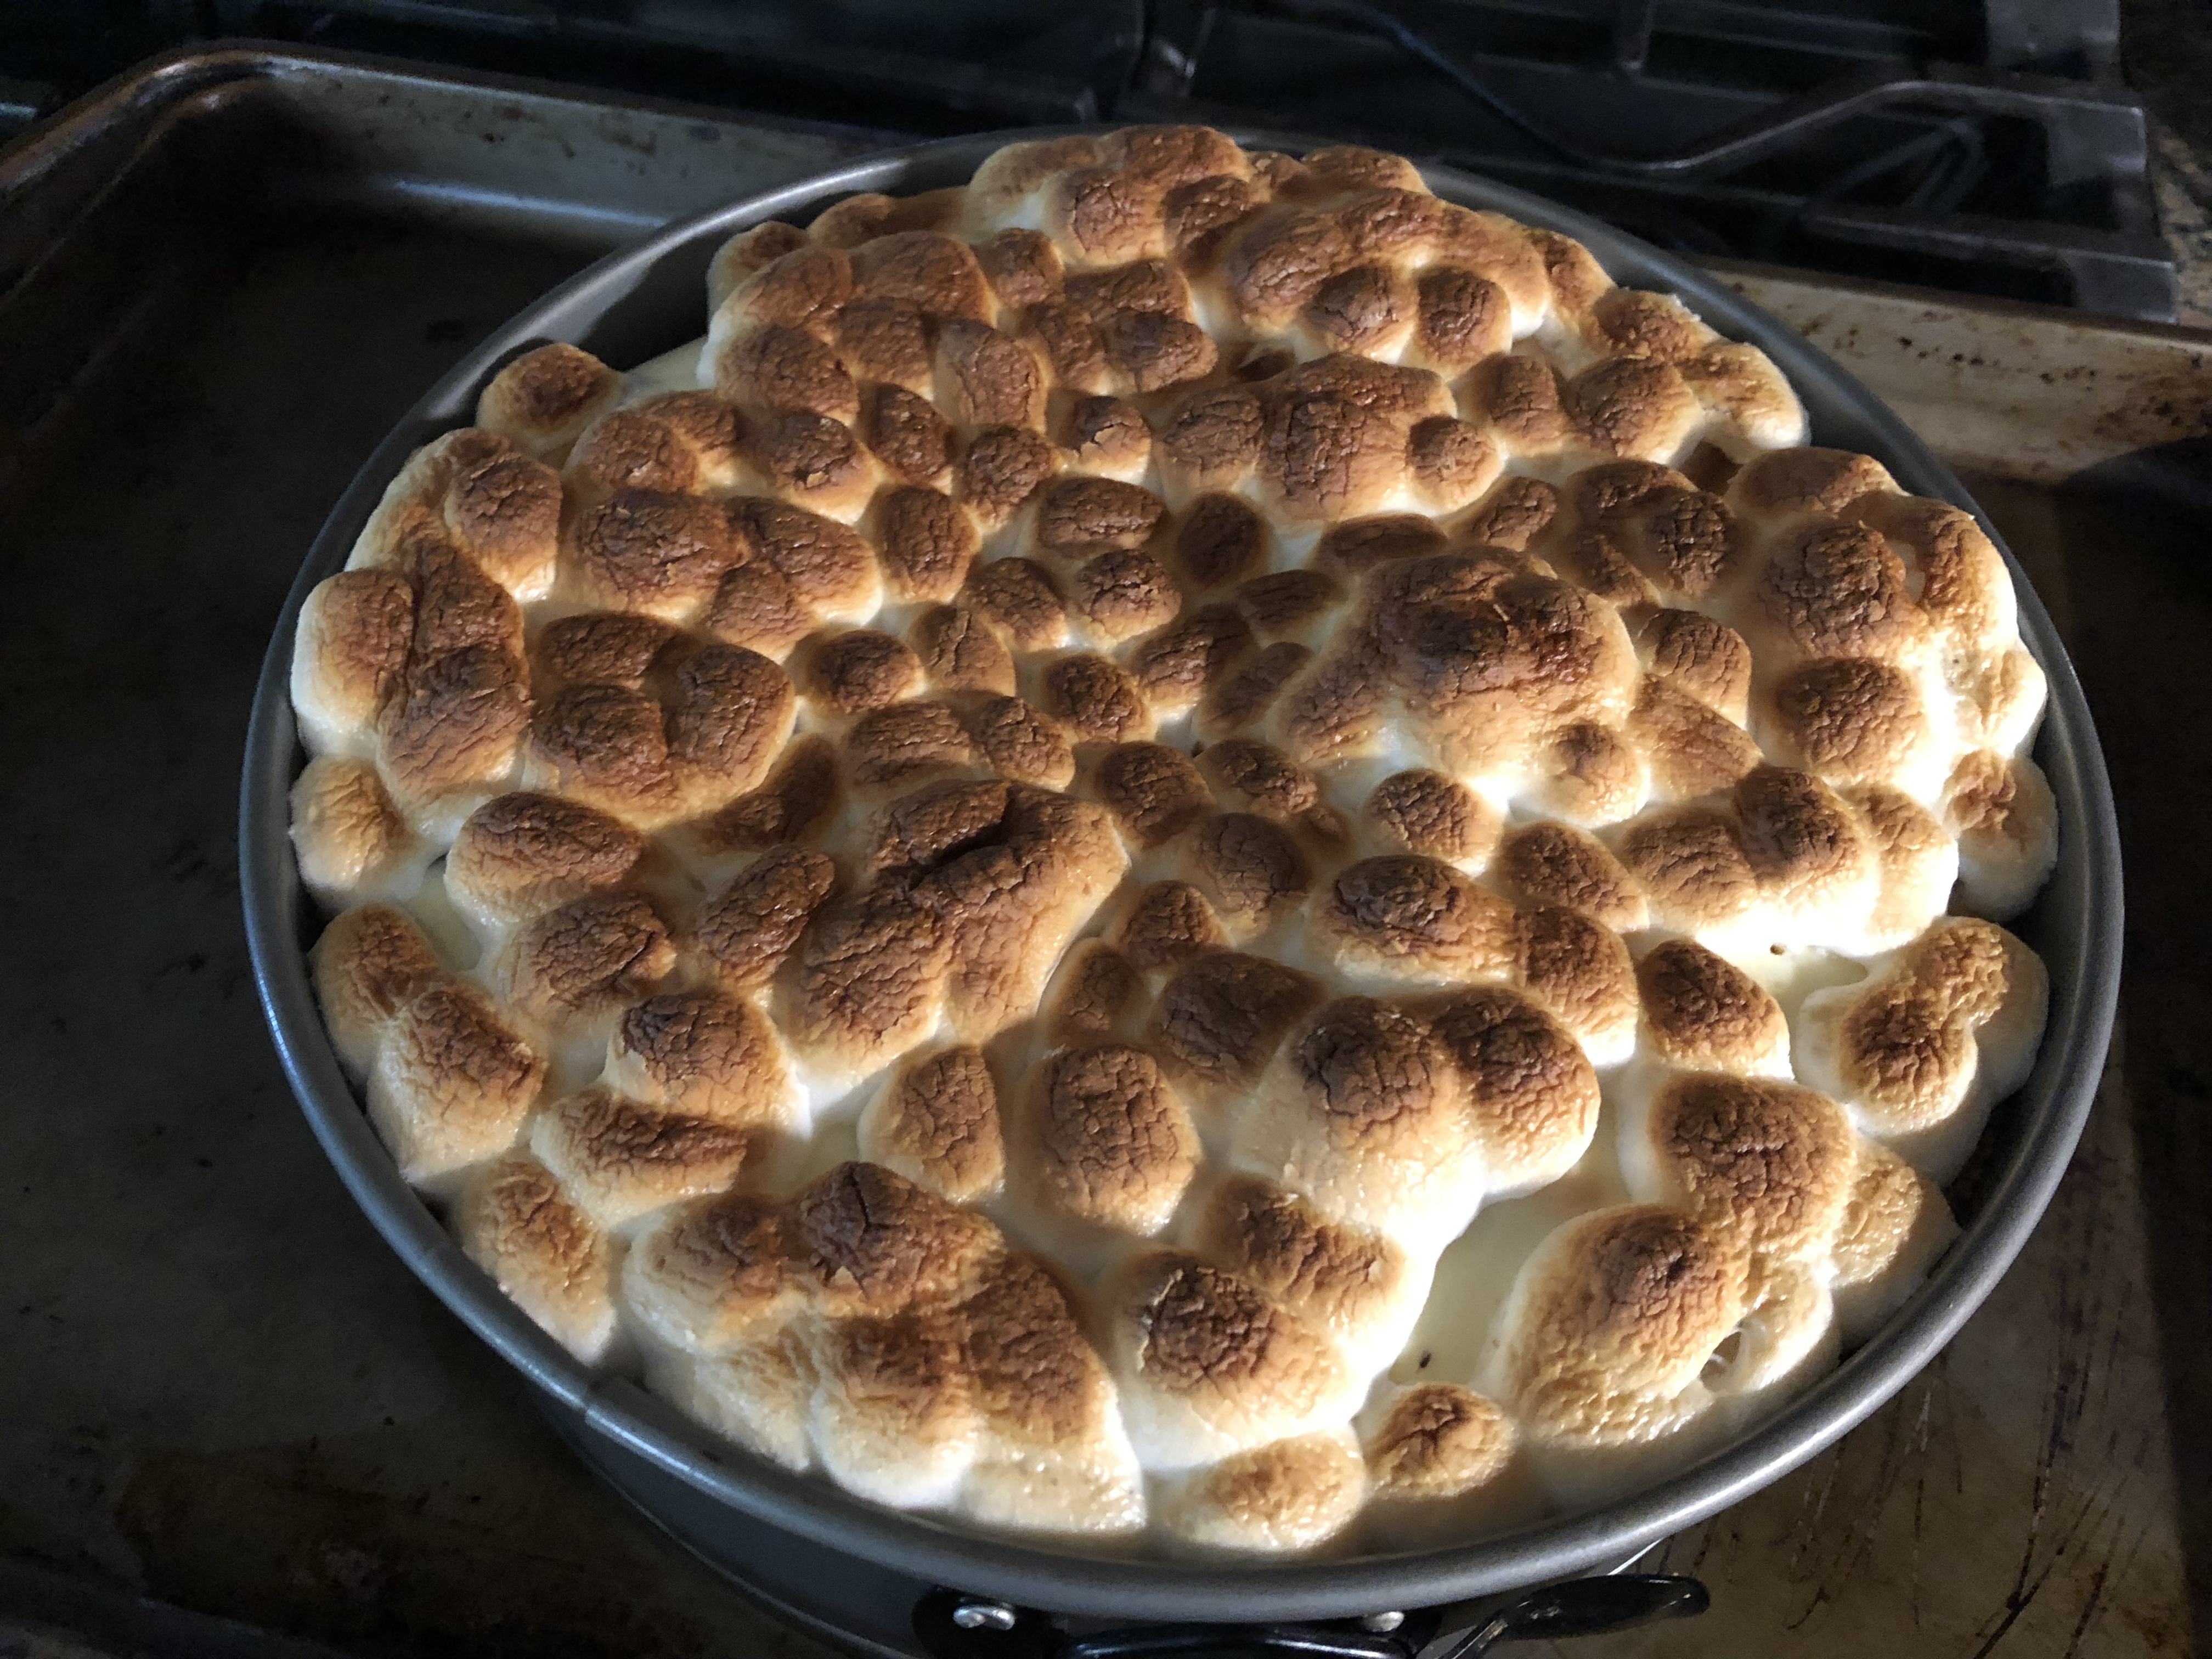
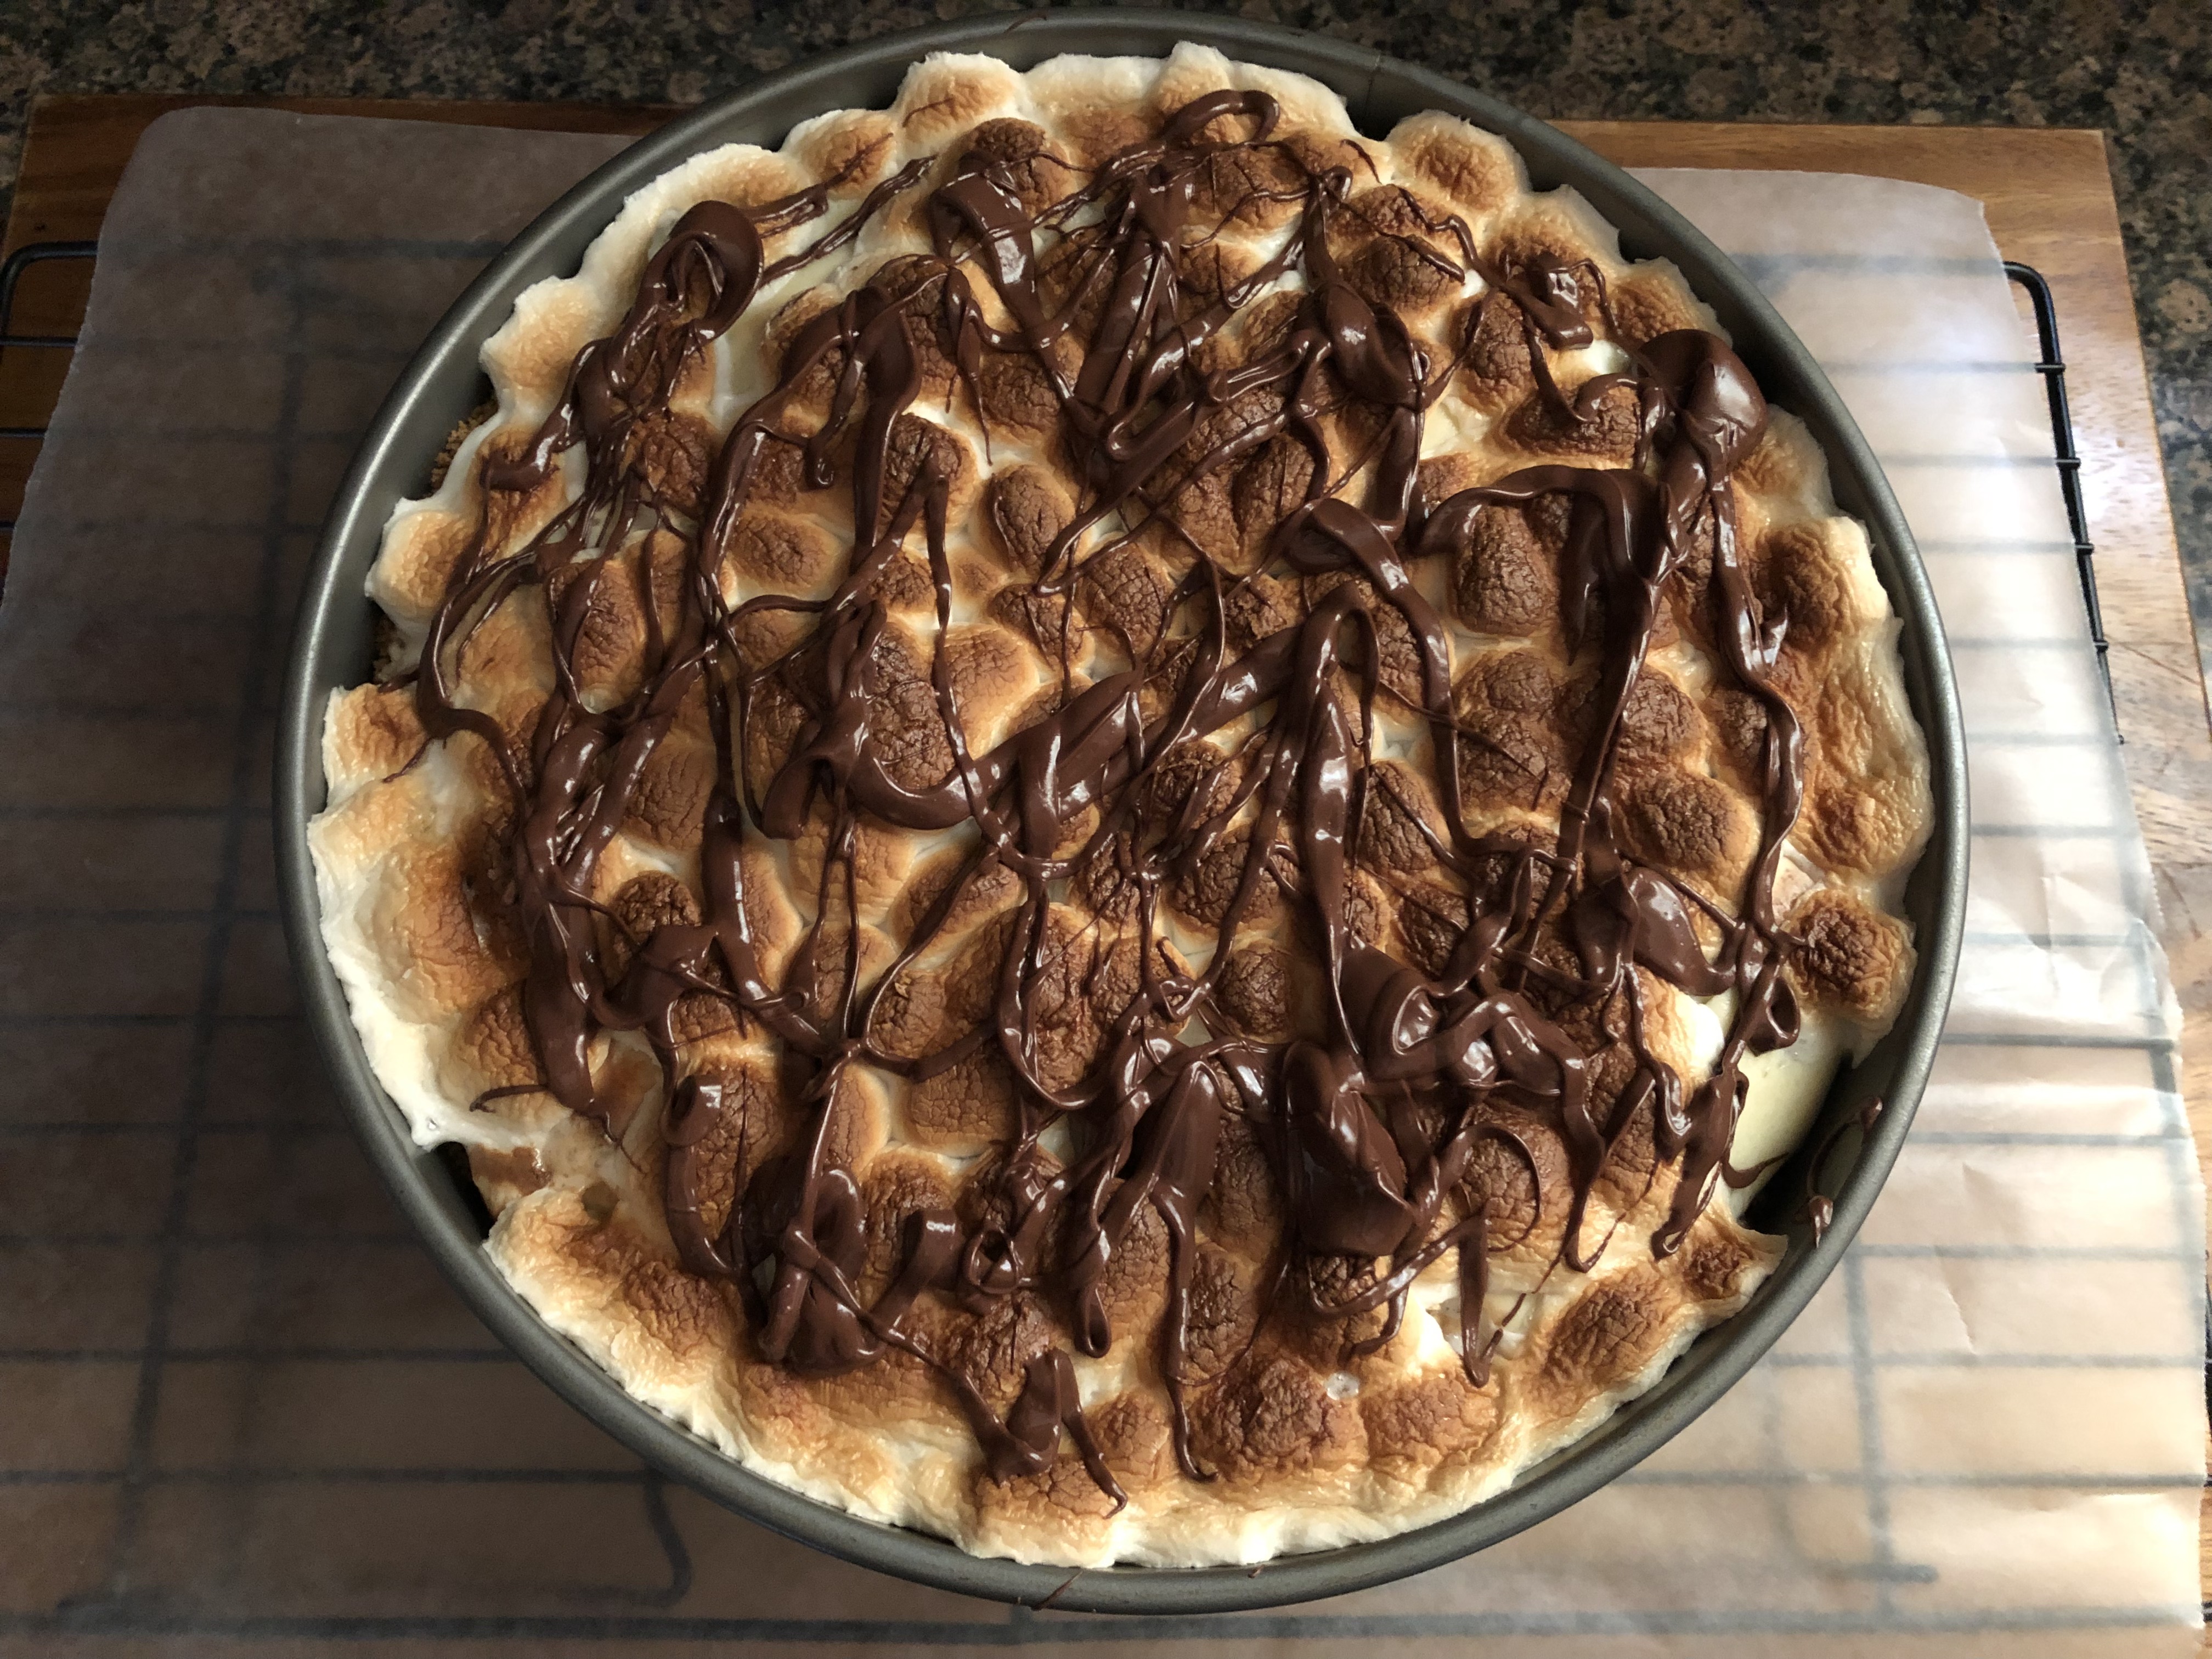
I removed the cheesecake from the oven and sprinkled mini marshmallows on top and placed it back in the oven for an additional 5 minutes. At this point my marshmallows had puffed, but I wanted them to be toasted on top, so I switched my oven to broil for about 30 seconds. Even that was pushing it, marshmallows can go from toasted to burnt very quickly so it’s important to keep an eye on them if you opt to broil them.

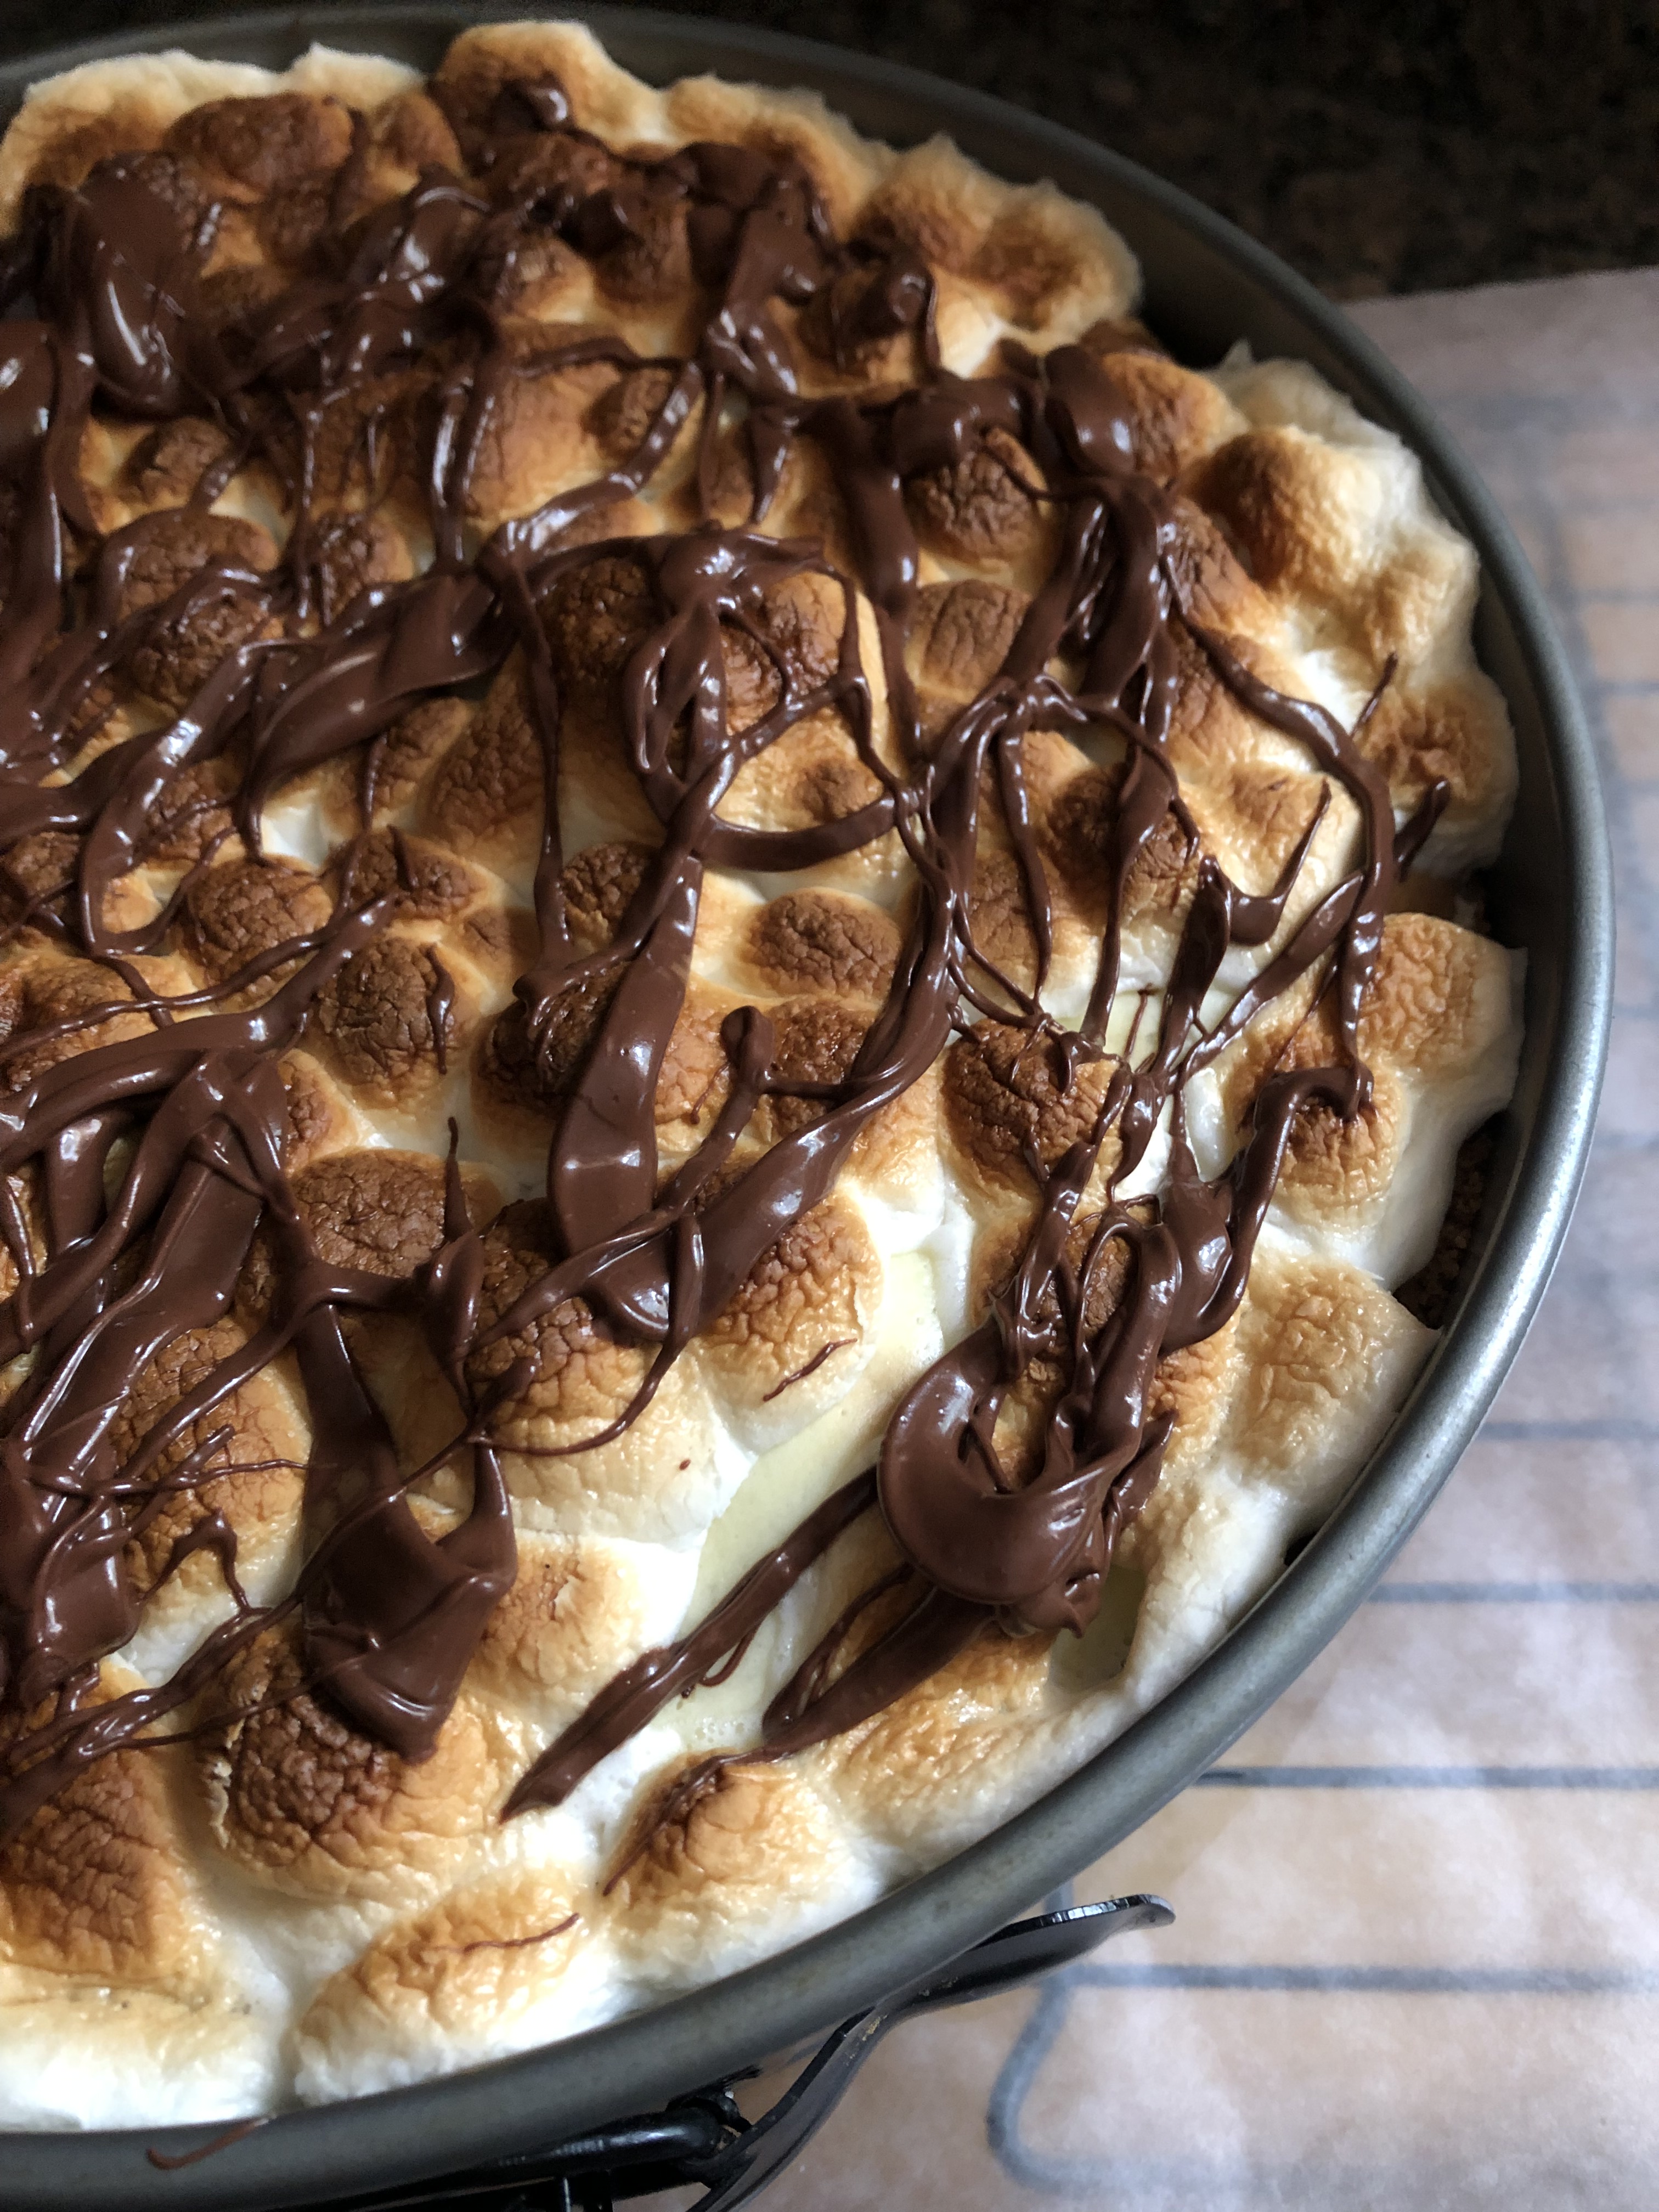
Finally, I melted some semi-sweet chocolate chips and drizzled it on top of the marshmallows. I don’t know if it was because of the humidity in the air, or the chocolate chips themselves, but the melted chocolate was on the thicker side. In other words, it was going to be hard to drizzle it. So, I stirred in a little vegetable oil to thin it out. If you do this, you may notice that it will take longer for your chocolate to harden when left at room temperature. No need to fear, once you place the cheesecake in the refrigerator to cool the chocolate will harden.  

I let the cheesecake cool on a wire rack for about 10 minutes and then I carefully removed the ring (only to put it back on again.) I basically didn’t want the melted marshmallows to get too stuck to the pan. So, before removing the ring I ran a small knife under hot water and carefully ran it along the sides of the pan to separate the crust and marshmallows from it. I wiped the knife and ran it under the hot water as necessary to repeat. Once I was able to easily remove the ring, I put it back on and allowed the cheesecake to cool for another hour before covering and refrigerating it overnight.

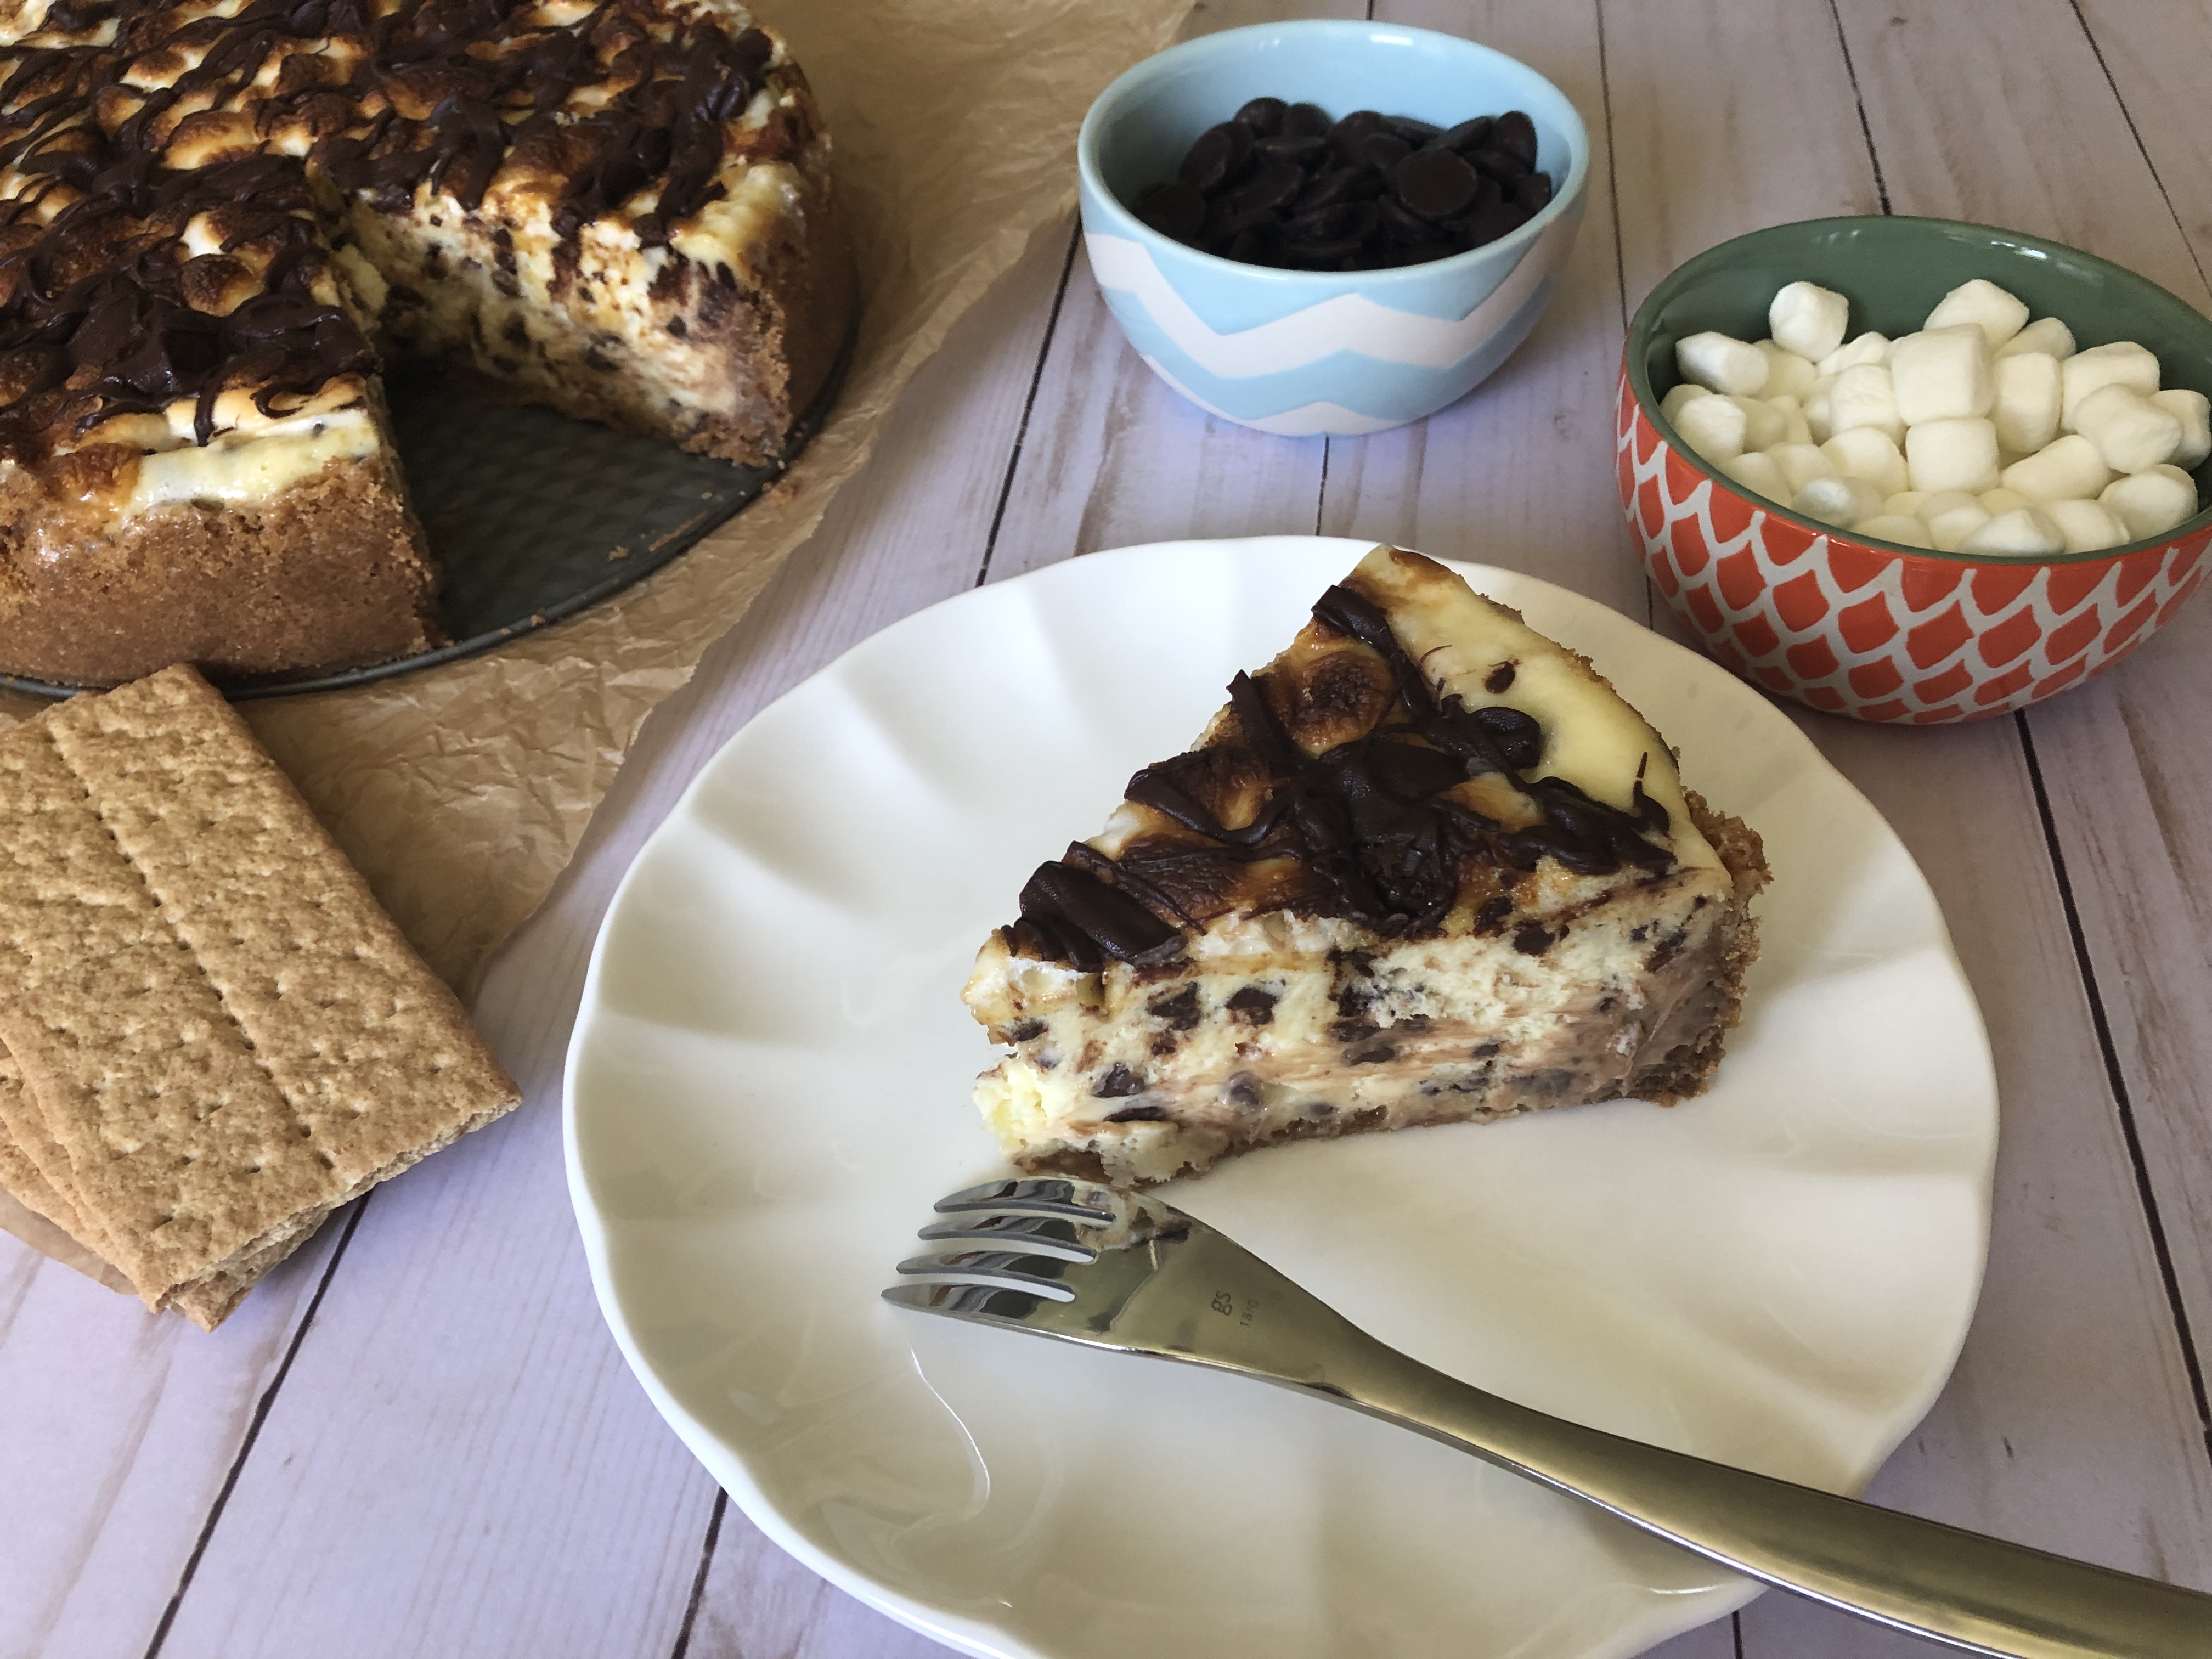
And to serve, since I removed the ring the day before it was a cinch to remove it prior to serving. Also, since I didn’t prebake my crust, it wasn’t a struggle to cut thru it. The cheesecake came out delicious and all the flavors of a S’more were there. And you might think that the cheesecake would be rich or overly sweet due to all the components, but it will satisfy your sweet tooth just perfectly! And you don’t have to worry about burning your fingers or mouth on a hot S’more!

Looking for some other ideas for Cheesecake or S’mores. Check out one of the recipes below.

Cherry Amaretto Cheesecake

Tiramisu Cheesecake

Mini Pumpkin Spice Latter Cheesecakes

S’mores Cupcakes

S’mores Icebox Cake

Malted S’mores Ice Cream

S’mores Cheesecake

Ingredients:

Graham Cracker Crust:

2 1/2 cups graham cracker crumbs (2 sleeves of graham crackers)

1/3 cup sugar

1 stick unsalted butter, melted

Cheesecake:

3 8oz. packages cream cheese, at room temperature

3/4 cup sugar

1/2 cup sour cream, at room temperature

2 teaspoons vanilla extract

3 large eggs, at room temperature

1 cup miniature semi-sweet chocolate chips

1 cup mini marshmallows

Topping:

1 1/4 cup mini marshmallows

1/2 cup semi-sweet chocolate chips, melted*

*If you find the chocolate is too thick to drizzle add in a teaspoon or two of vegetable oil until you reach your desired consistency

Directions:

Preheat the oven to 325 F.

In a medium bowl stir together the graham cracker crumbs, sugar and butter. Transfer to a 9-inch springform pan and press into the bottom and up the sides of the pan. Place on a baking sheet and set aside.

In a large bowl, beat the cream cheese and sugar with a hand mixer on medium speed until combined. Add in the sour cream and vanilla extract and beat until smooth. Add the eggs 1 at a time and beat on low until combined. Fold in the chocolate chips and marshmallows. Pour the filling into the prepared pie crust and bake in the preheated oven for 45-50 minutes. Until the center is almost set.

Remove from the oven and top with the mini marshmallows. Return to the oven and bake an additional 4-6 minutes, or until the marshmallows are puffed. To get the marshmallows toasted on top switch your oven to broil for about a minute. Drizzle with the melted chocolate and allow to cool on a wire rack. Refrigerate for at least 4 hours before serving.

Recipe first appeared on Bead Yarn & Spatula

S’more Brownie Bites

Happy National S’mores Day! Will you be enjoying the campfire treat today? Truth be told, I had my first actual s’more last year and I must admit it was pretty good. I am not a big marshmallow fan so I think that’s why I never tried one, also, I’ve never been camping. Although you don’t have to go camping to have a s’more. Last year friends and I made them for dessert after a BBQ by roasting the marshmallows over sterno gel chafing fuel. Believe it or not, it actually worked! For today’s s’more treat I made S’more Brownie Bites.

I started by making the brownie batter. I melted a stick of butter in a small saucepan and then added in mini chocolate chips and whisked it until it was melted and smooth. I transferred this a medium bowl and stirred in sugar, eggs and vanilla extract. Using a hand mixer I then beat in all-purpose flour. And finally I stirred in mini chocolate chips. Now, the recipe called for quinoa flour along with all-purpose flour. I decided to omit the quinoa flour and just used all-purpose flour. I honestly didn’t want to spend money on quinoa flour which I probably wouldn’t use again and it didn’t seem necessary to the outcome of the recipe. I even researched making my own quinoa flour, but, it just didn’t seem worth the time and effort. Sorry if I sound so negative, but, I’ve finally learned that tweaking a recipe to the ingredients you have on hand is obviously much easier but also builds one’s confidence in the kitchen and you truly learn what works and doesn’t work. Back in the day, I would avoid a recipe if it included an ingredient not readily available or a bit on the pricier side, but, now I look for ways to make the recipe work with what I have on hand.

Once the batter was ready, using a small cookie scoop, I filled a mini cupcake pan, which I lined with liners, with the batter. Next, I pressed three mini marshmallows into each of the brownie bites and then topped them with crushed graham crackers. Here’s my simple trick for crushing graham crackers… Break them up a little and add them to a quart-size Ziploc bag. Seal the bag, removing the air, and then using a rolling pin, roll the graham crackers to crush them to your desired consistency. I opted to leave the graham crackers with little pieces to give the tops of the brownie bites a little texture to them.

After baking in a 350 F preheated oven for about 12 minutes they were ready! One downfall of baking marshmallows is that they melt considerably, so removing the brownie bites from the pan wasn’t as easy as just removing basic cupcakes. I let them cool for a few minutes before removing them so that could have been part of the problem, but, I also didn’t want to remove them right out of the oven since I wanted the brownies to settle a little before removing them. Removing them too soon could have resulted in smooshed brownie bites. Regardless, they still tasted yummy! The extra mini chocolate chips in the batter really added another level chocolate goodness to the brownie part and the marshmallows were perfectly melted into the brownies.


S’more Brownie Bites

  • Servings: 24 Brownie Bites
  • Print

Ingredients:

3-4 large graham crackers, finely crushed

1 stick unsalted butter

1 ¼ cups mini chocolate chips

½ cup sugar

2 large eggs, at room temperature

2 teaspoons pure vanilla extract

1 cup all-purpose flour*

Mini Marshmallows

*Original recipe called ½ cup all-purpose flour & ½ cup quinoa flour

Directions:

Preheat the oven to 350 F. Line a mini cupcake pan with papers liners and set aside.

In a small saucepan, melt the butter over low heat. Remove from the heat and add in ¾ cup of the mini chocolate chips. Whisk until the chocolate chips have melted and the mixture is smooth. Transfer to a medium bowl and whisk in the sugar, eggs and vanilla. Using a handheld mixer, gradually beat in the flour until the mixture is smooth and thick. Finally, whisk in the remaining ½ cup of mini chocolate chips.

Using a small cookie scoop, fill each paper line with the batter. Press 3 mini marshmallows into the center of the batter and then sprinkle with graham cracker crumbs. Bake in the preheated oven for 10 to 12 minutes, the marshmallows will be puffed and lightly golden. Let cool for 20 minutes and enjoy!

Recipe From Food Network

Cookie Palooza: Peanut Butter Crinkles

It’s the first week of December! Are you even remotely ready for the holidays? Have you thought about what you are baking? If not, I am here to help this week. Welcome to my 2nd Cookie Palooza. A week full of cookies… Kicking it off are Peanut Butter Crinkles. A twist on the more popular Chocolate Crinkles.

Made with peanut butter – of course – and mini chocolate chips these cookies are rolled in granulated and confectioners’ sugar for a little extra sweetness prior to baking. If you’re craving more chocolate in your cookie opt to use regular size chocolate chips as opposed to the mini ones. You do get a chocolate taste with the mini ones, but, it’s more of a hint so little so that you wouldn’t miss it if you omitted them from the batter completely.

Peanut Butter Crinkles

  • Servings: 36 cookies
  • Print

Ingredients:

1 1/3 cups flour

1 teaspoon baking soda

1/4 teaspoon baking powder

1/2 teaspoon salt

1 stick unsalted butter, at room temperature

1 cup light brown sugar

3/4 cup creamy peanut butter

1 large egg

1 teaspoon vanilla extract

1/3 cup mini chocolate chips

1/3 cup granulated sugar

1/2 cup confectioners’ sugar, plus more for dusting

Directions:

Position racks in the upper and lower thirds of the oven and preheat to 350 F. Line two baking sheets with parchment paper.

Whisk the dry ingredients – flour, baking soda, baking powder and salt – in a medium bowl.

In another bowl, beat the butter, brown sugar and peanut butter with a mixer until creamy on medium speed. Increase the speed to medium high and beat until fluffy. Add the egg and vanilla extract and continue beating until combined. Reduce the speed to low and add the flour mixture, beat until well blended. Add the chocolate chips and beat until combined.

Put the granulated and confectioners’ sugar in separate bowls. Roll tablespoonful of dough into balls and then roll in the granulated sugar and then the confectioners’ sugar. Place on the prepared baking sheets 2 inches apart.

Bake 15 to 18 minutes, switching the pans halfway through, until the cookies are firm around edges and cracked on top. Let cool a few minutes on the baking sheets before transferring them to a wire rack to cool completely. Dust the cookies with more confectioners’ sugar if desired.

Recipe from The Food Network

Bite-Sized Goodness

As they say good things come in small packages and bite sized treats are no exception. You get all the flavor in a nice small portion. For Mother’s Day I decided to bake up some small treats as opposed to a large cake or pie and it was an overall hit.

First up are Mini Chocolate-Chip Cheesecakes. I came across this recipe a few years ago in a now defunct magazine and it was an instant hit amongst my friends. It’s been a while since I’ve made them so needless to say they didn’t last all that long.

I started off by making the cheesecake part of the bites by mixing together cream cheese, an egg and sugar. I then folded in the mini-chocolate chips and set this aside while I made the cake portion.

IMG_0235 IMG_0236

To make the cake portion I mixed together sugar, flour, cocoa, baking soda, water, oil and vanilla.

IMG_0238 IMG_0239

Now it was time to assemble the mini cheesecakes. I spooned the chocolate mixture into the muffin tins until they were half full and then dolloped about a tablespoon of the cheesecake mixture on top.

IMG_0240 IMG_0242

And after baking in a 350 degrees pre-heated oven for about 20 minutes they were all done.

IMG_0245

Up next… Pineapple Upside-Down Bites. I clipped this recipe out of the May 2013 issue of  Everyday with Rachael Ray. The recipe sounded quick and simple and only required a few ingredients: butter, light brown sugar, maraschino cherries, pineapple and yellow cake mix.

IMG_0252

I started off by preparing the cake mix per the directions on the package. The recipe actually calls for a 16.5oz box of cake mix, but since the recipe states that there would be cake batter left over I decided to use a smaller bag that is meant for 12 cupcakes or an 8×8 cake.

IMG_0254

Up next it was time to prepare the muffin tin for the pineapple portion of these mini bites.

IMG_0256

I spooned a 1/2 teaspoon of melted butter into each cup of the tin and then layered a 1/2 teaspoon of brown sugar, a cherry piece and a layer of pineapple on top of it. Also, while the recipe didn’t call for it I sprayed the muffin tin with baking spray to ensure that the bites wouldn’t stick to it.

IMG_0257

I then spooned about a tablespoon of cake batter into each cup and then baked it in a 350 degrees preheated oven for 12 minutes.

IMG_0259

Once out of the oven I inverted the muffin tin on a baking sheet so the pineapple bites could cool.

IMG_0262

They tasted as good as they looked…

IMG_0266

Mini Chocolate-Chip Cheesecakes

Makes about 4 dozen

1 1/2 lbs (2 12-oz packages) cream cheese

1 egg

1 1/3 cups sugar

1 1/4 mini chocolate chips

1 1/2 cups flour

1/4 cup cocoa

1 tsp baking soda

1 cup water

1/3 vegetable oil

1 tsp vanilla

1. In a bowl, mix cream cheese, egg and 1/3 cup sugar

2. Add mini chocolate chips

3. In another bowl, mix remaining sugar with flour, cocoa, baking soda, water, oil and vanilla

4. Spoon chocolate mixture into mini muffin cups until half full

5. Place 1 teaspoon cream cheese mixture on top of each cupcake

6. Bake at 350 degrees for about 20 minutes or until top springs back when gently pressed

7. Cool on rack for 10 minutes before serving


Pineapple Upside-Down Bites

Makes 24

Prep 30 Minutes

Bake 15 Minutes

1/4 cup unsalted butter, melted

1/4 cup (packed) light brown sugar

5 maraschino cherries, quartered

1/3 cup diced pineapple, patted dry

1 box (16.5oz) yellow cake mix, prepared into batter

1. Preheat the oven to 350 degrees. In the cups of two 12-cup mini muffin tins, layer 1/2 teaspoon butter, 1/2 teaspoon brown sugar, a cherry piece, a single layer of pineapple (about 5 pieces) and about 1 tablespoon cake batter (cups should be about two-thirds full; save remaining cake batter for another use).

2. Bake until golden-brown and a toothpick comes out clean when inserted into the center of the cupcakes, about 12 minutes. Immediately run a knife around the edge of each cake and invert to cool on a baking sheet. Serve warm or at room temperature.

%d bloggers like this: