Banana & Chocolate Marble Loaf Cake

Not too long ago I posted a recipe for a Peanut Butter & Banana Chocolate Chip Bread. That got me thinking about making a marble cake using two of the flavors. After some brainstorming I thought that a super simple way to do so would be to use a yellow cake mix as the base and altering the flavor with some add-ins. Now, I know some people have issues with using box cake mixes, but it really is possible to alter them to make them taste more homemade and they are fool proof! This all led me to creating a few recipes that use cake mixes as their base. And I will be sharing them with you over the next week… Up first, a Banana & Chocolate Marble Loaf Cake.

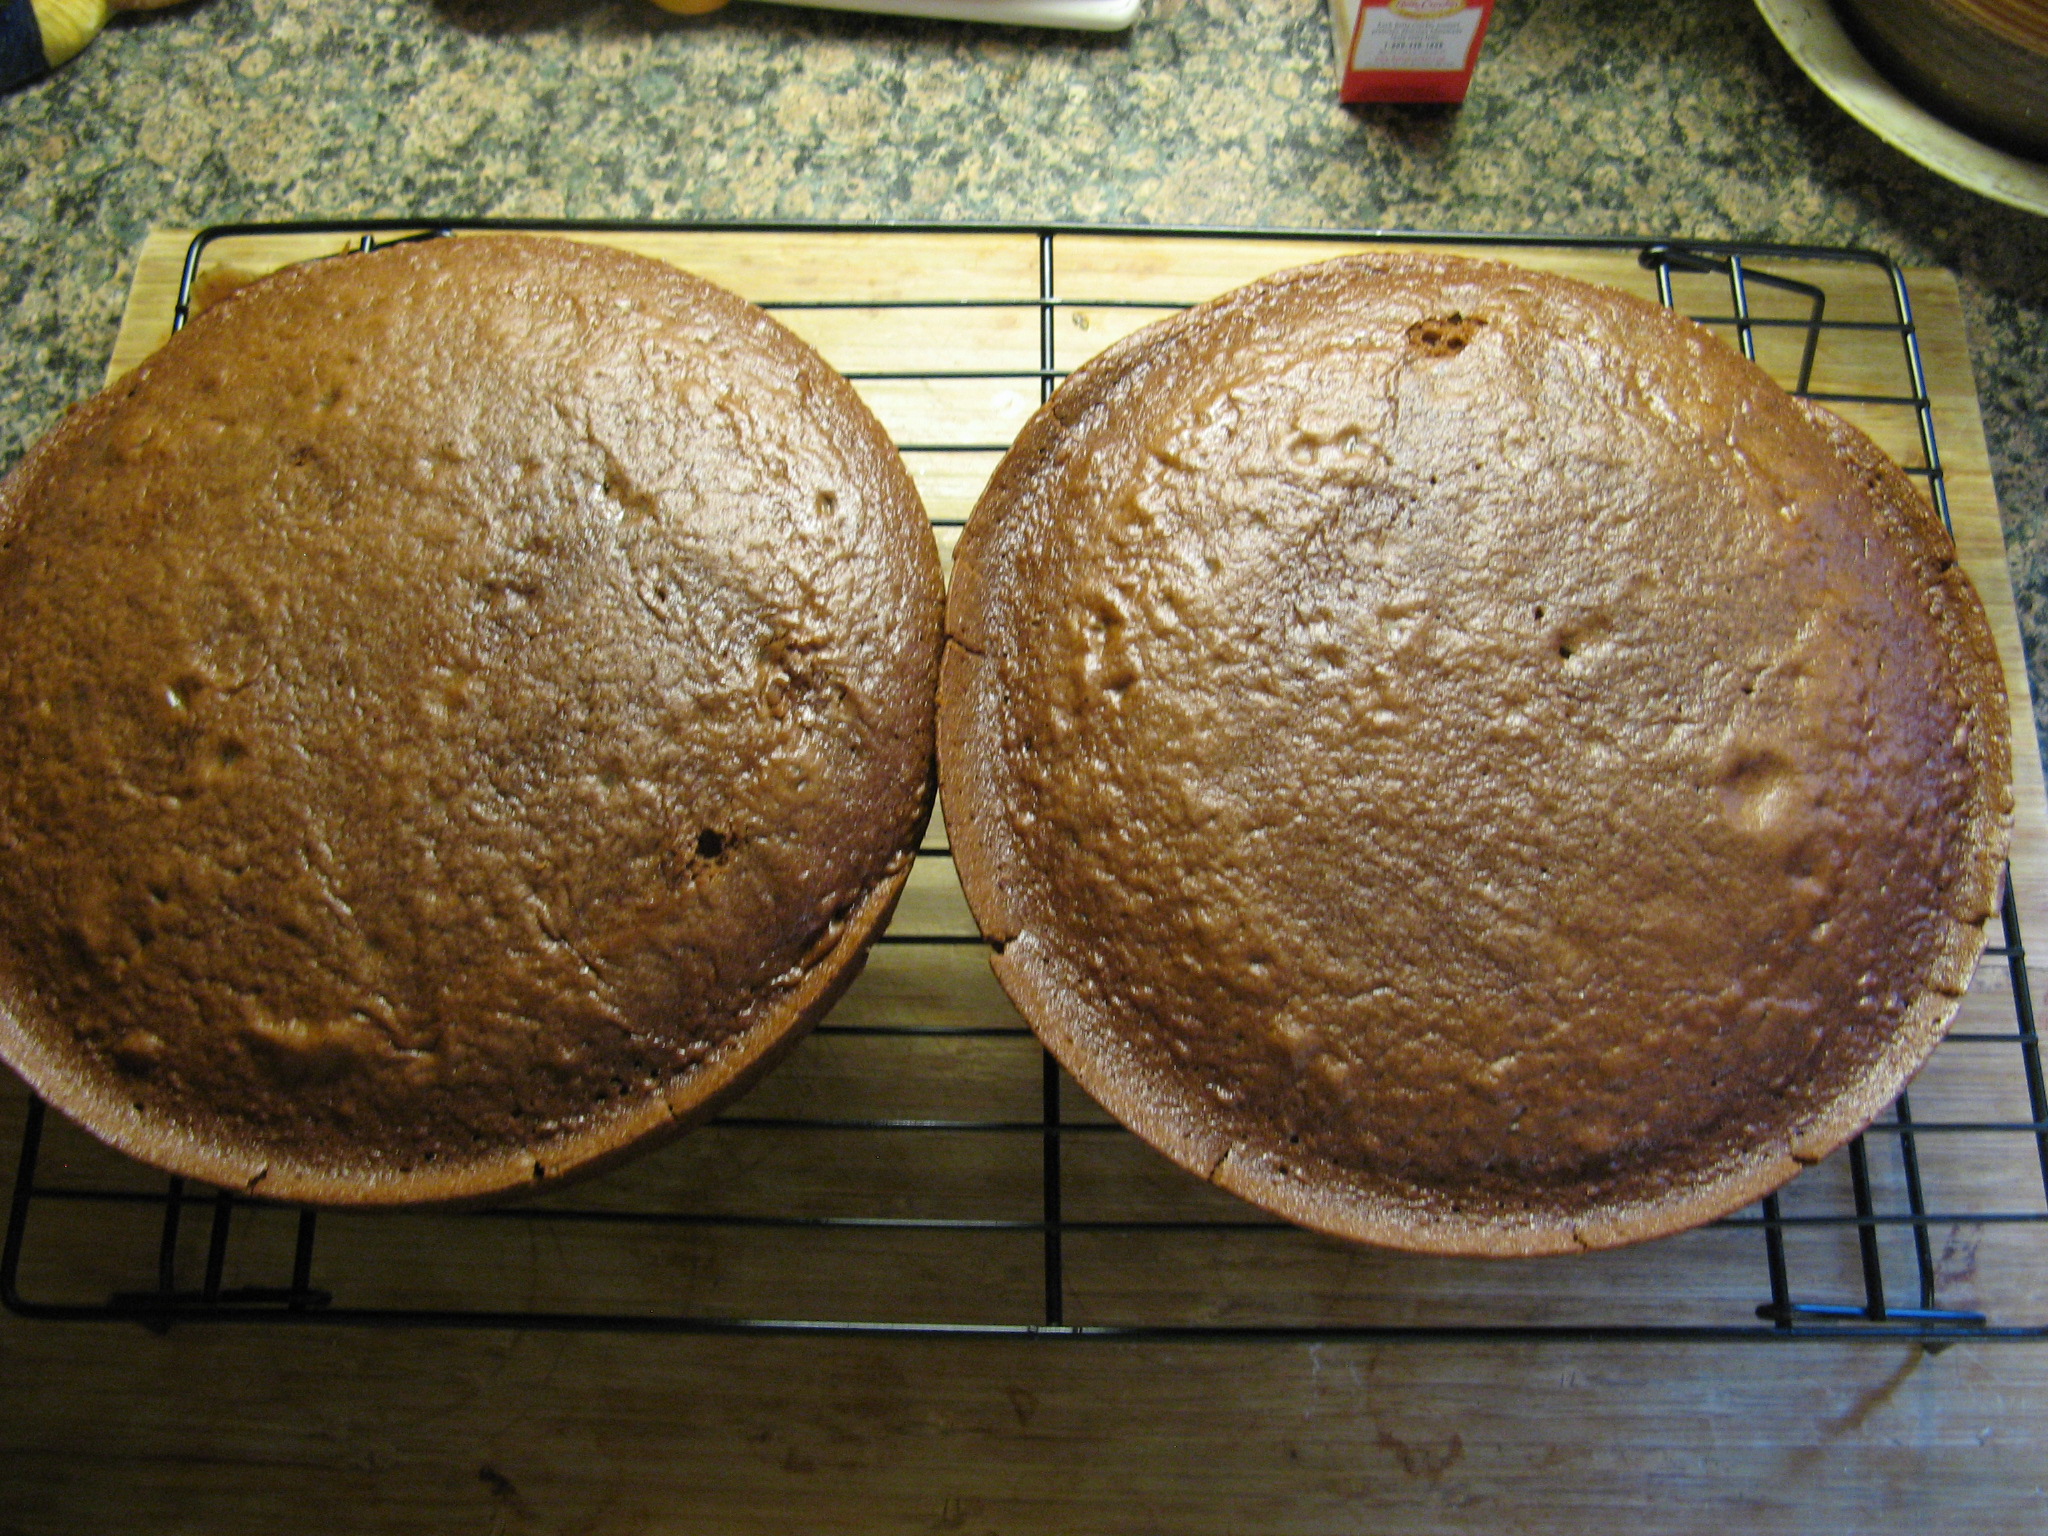
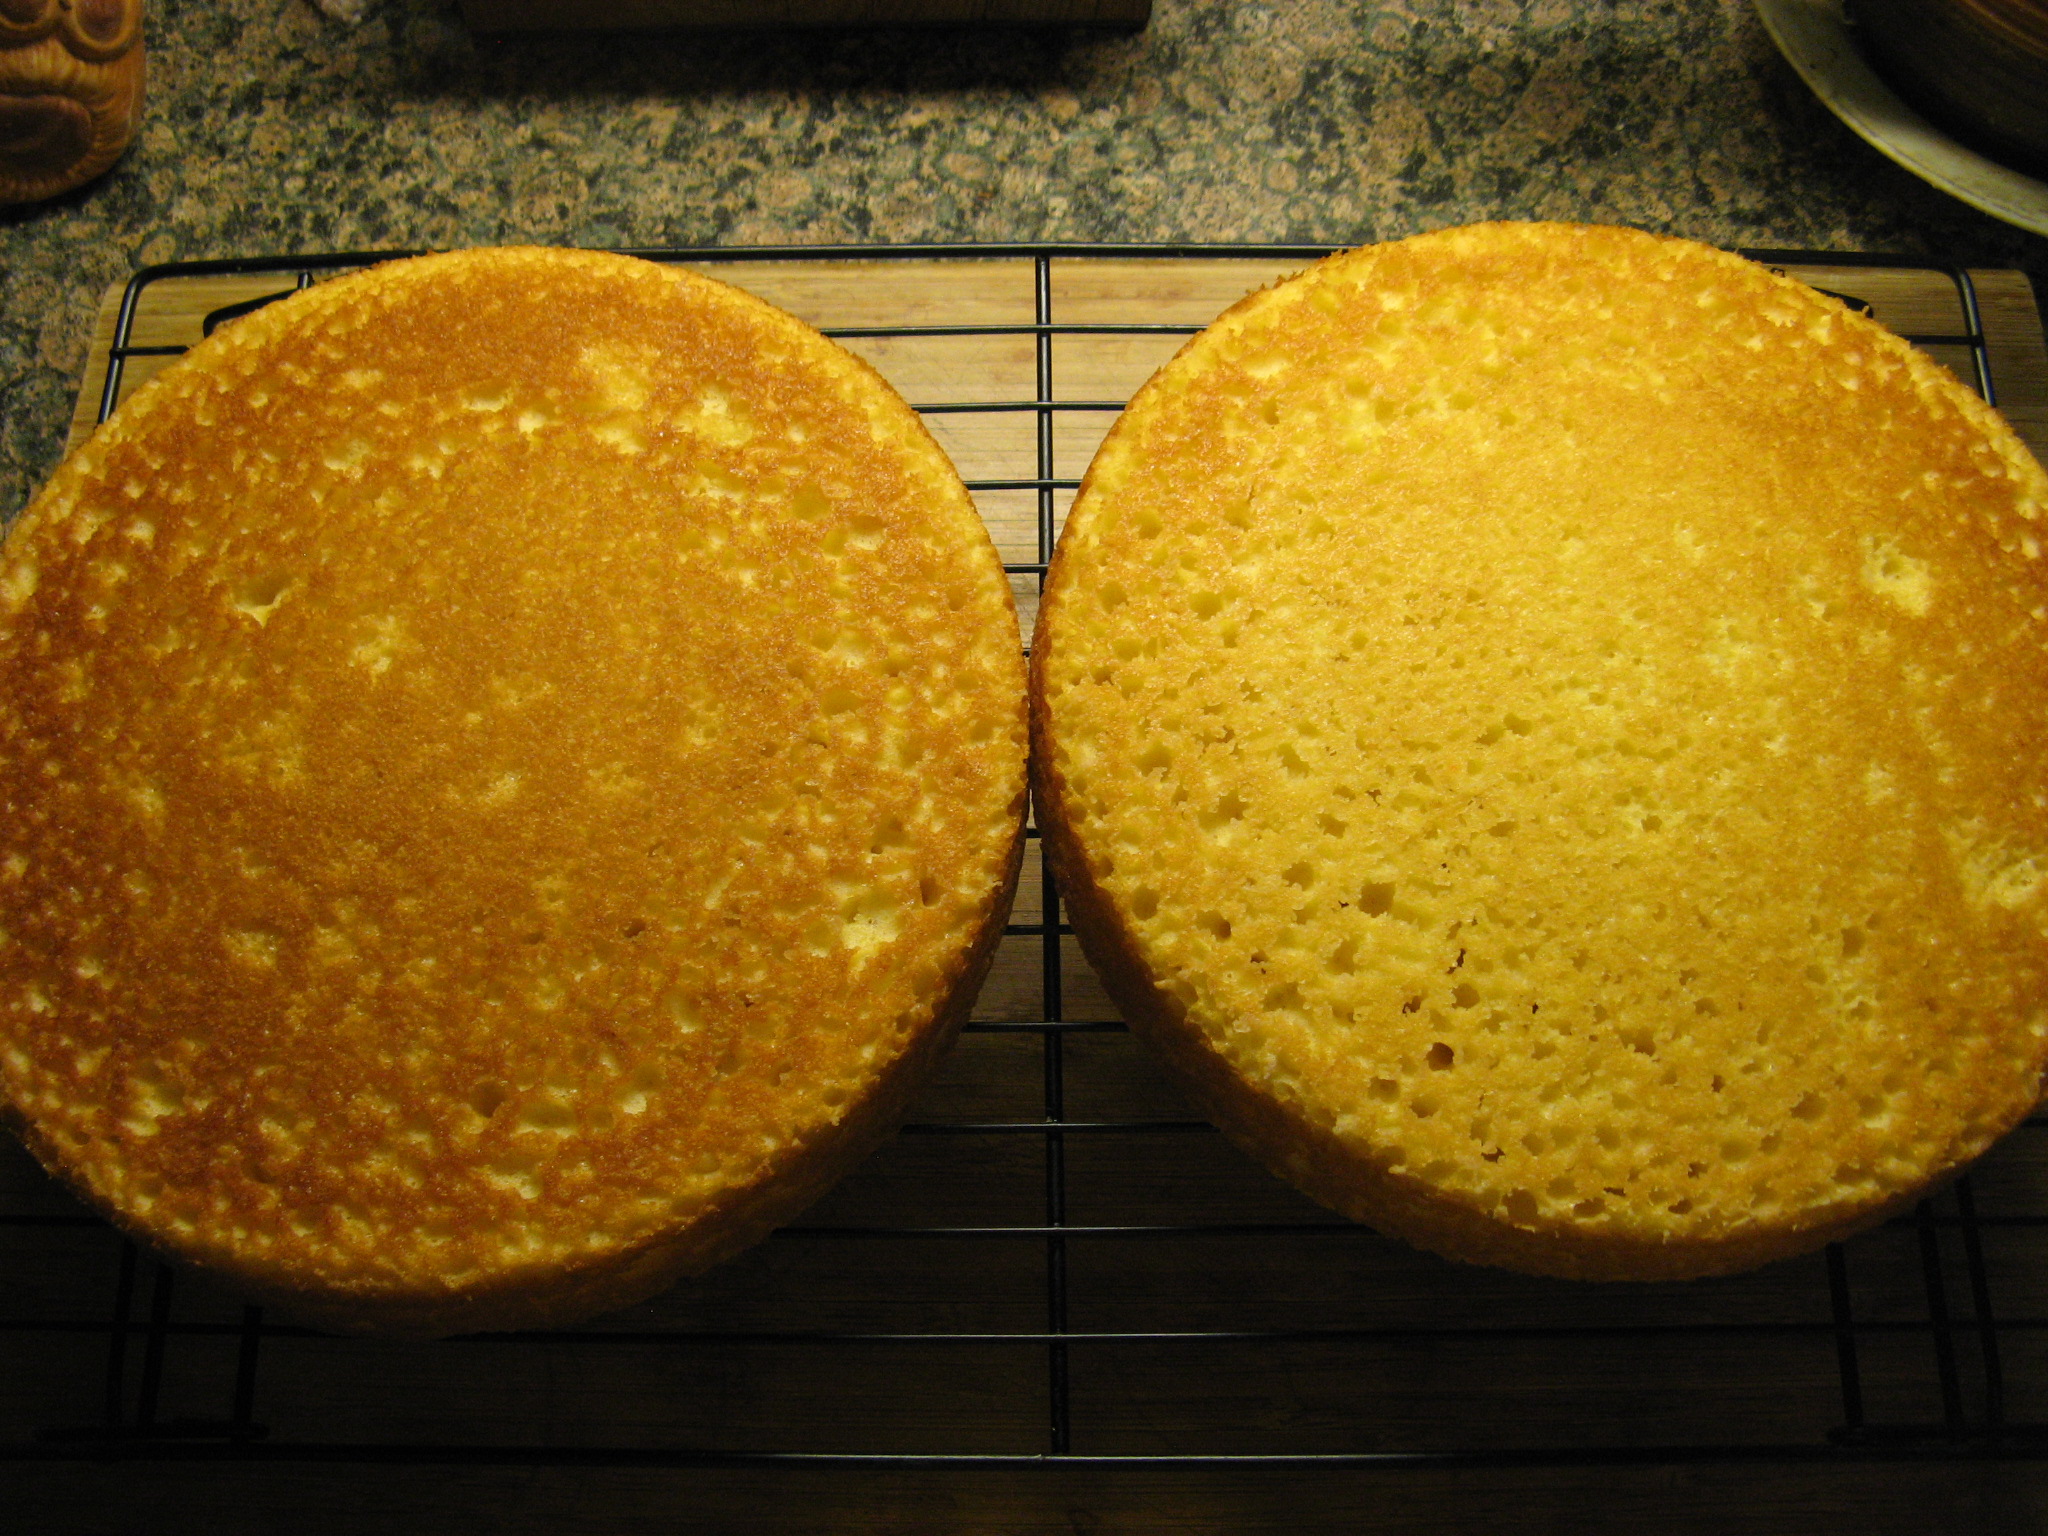
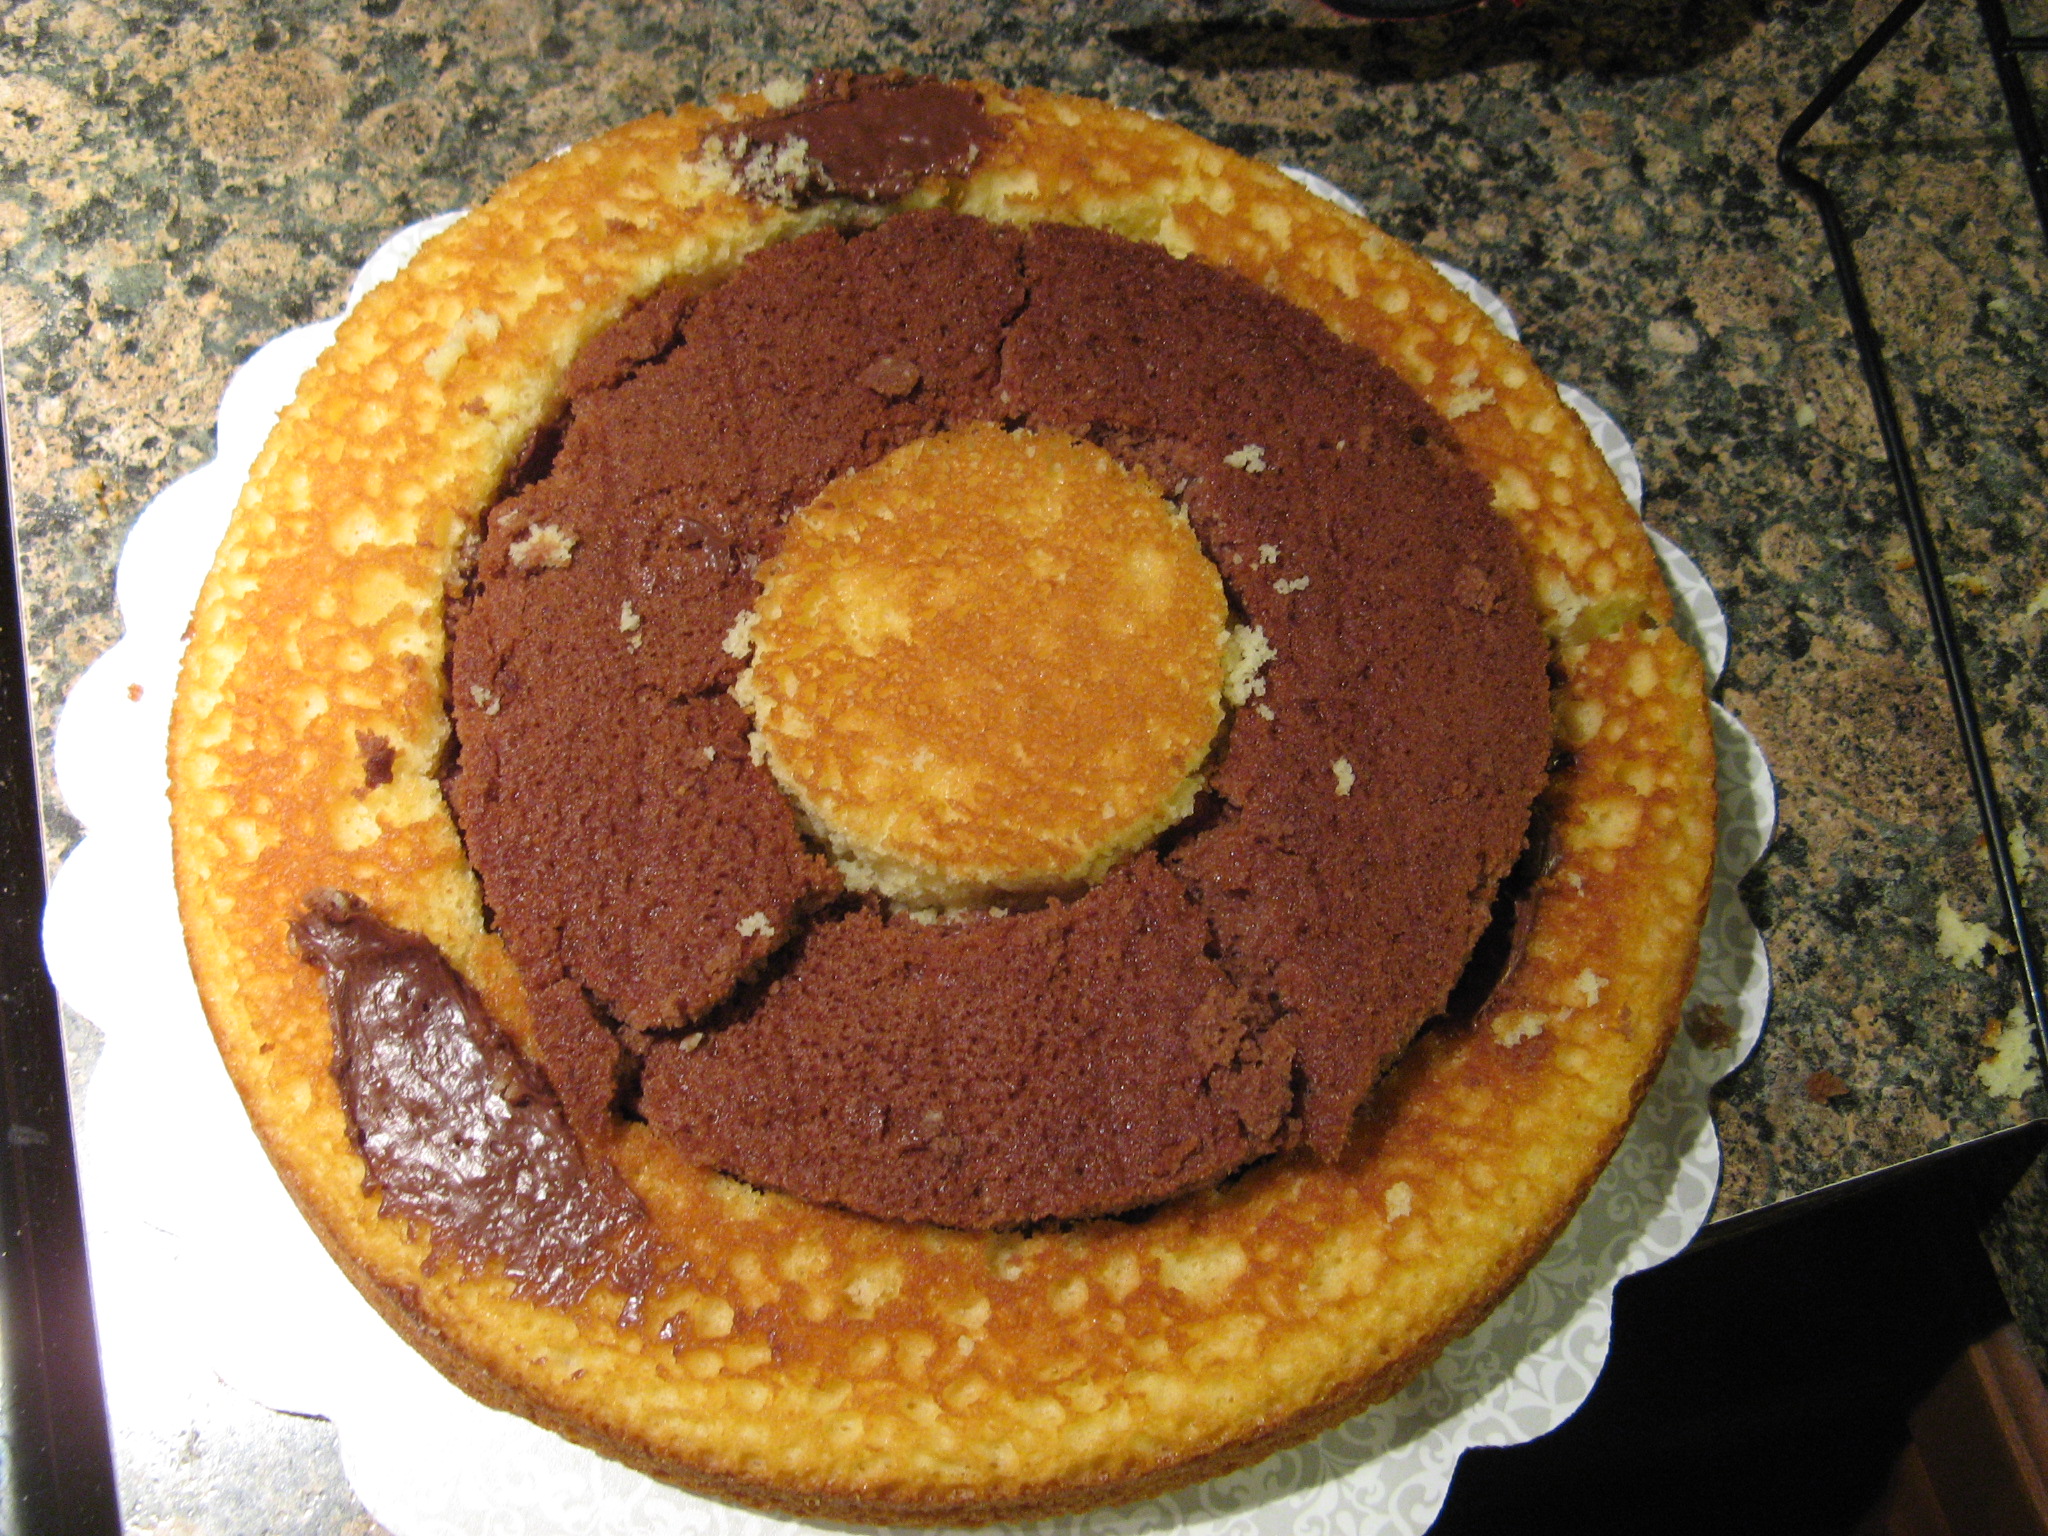
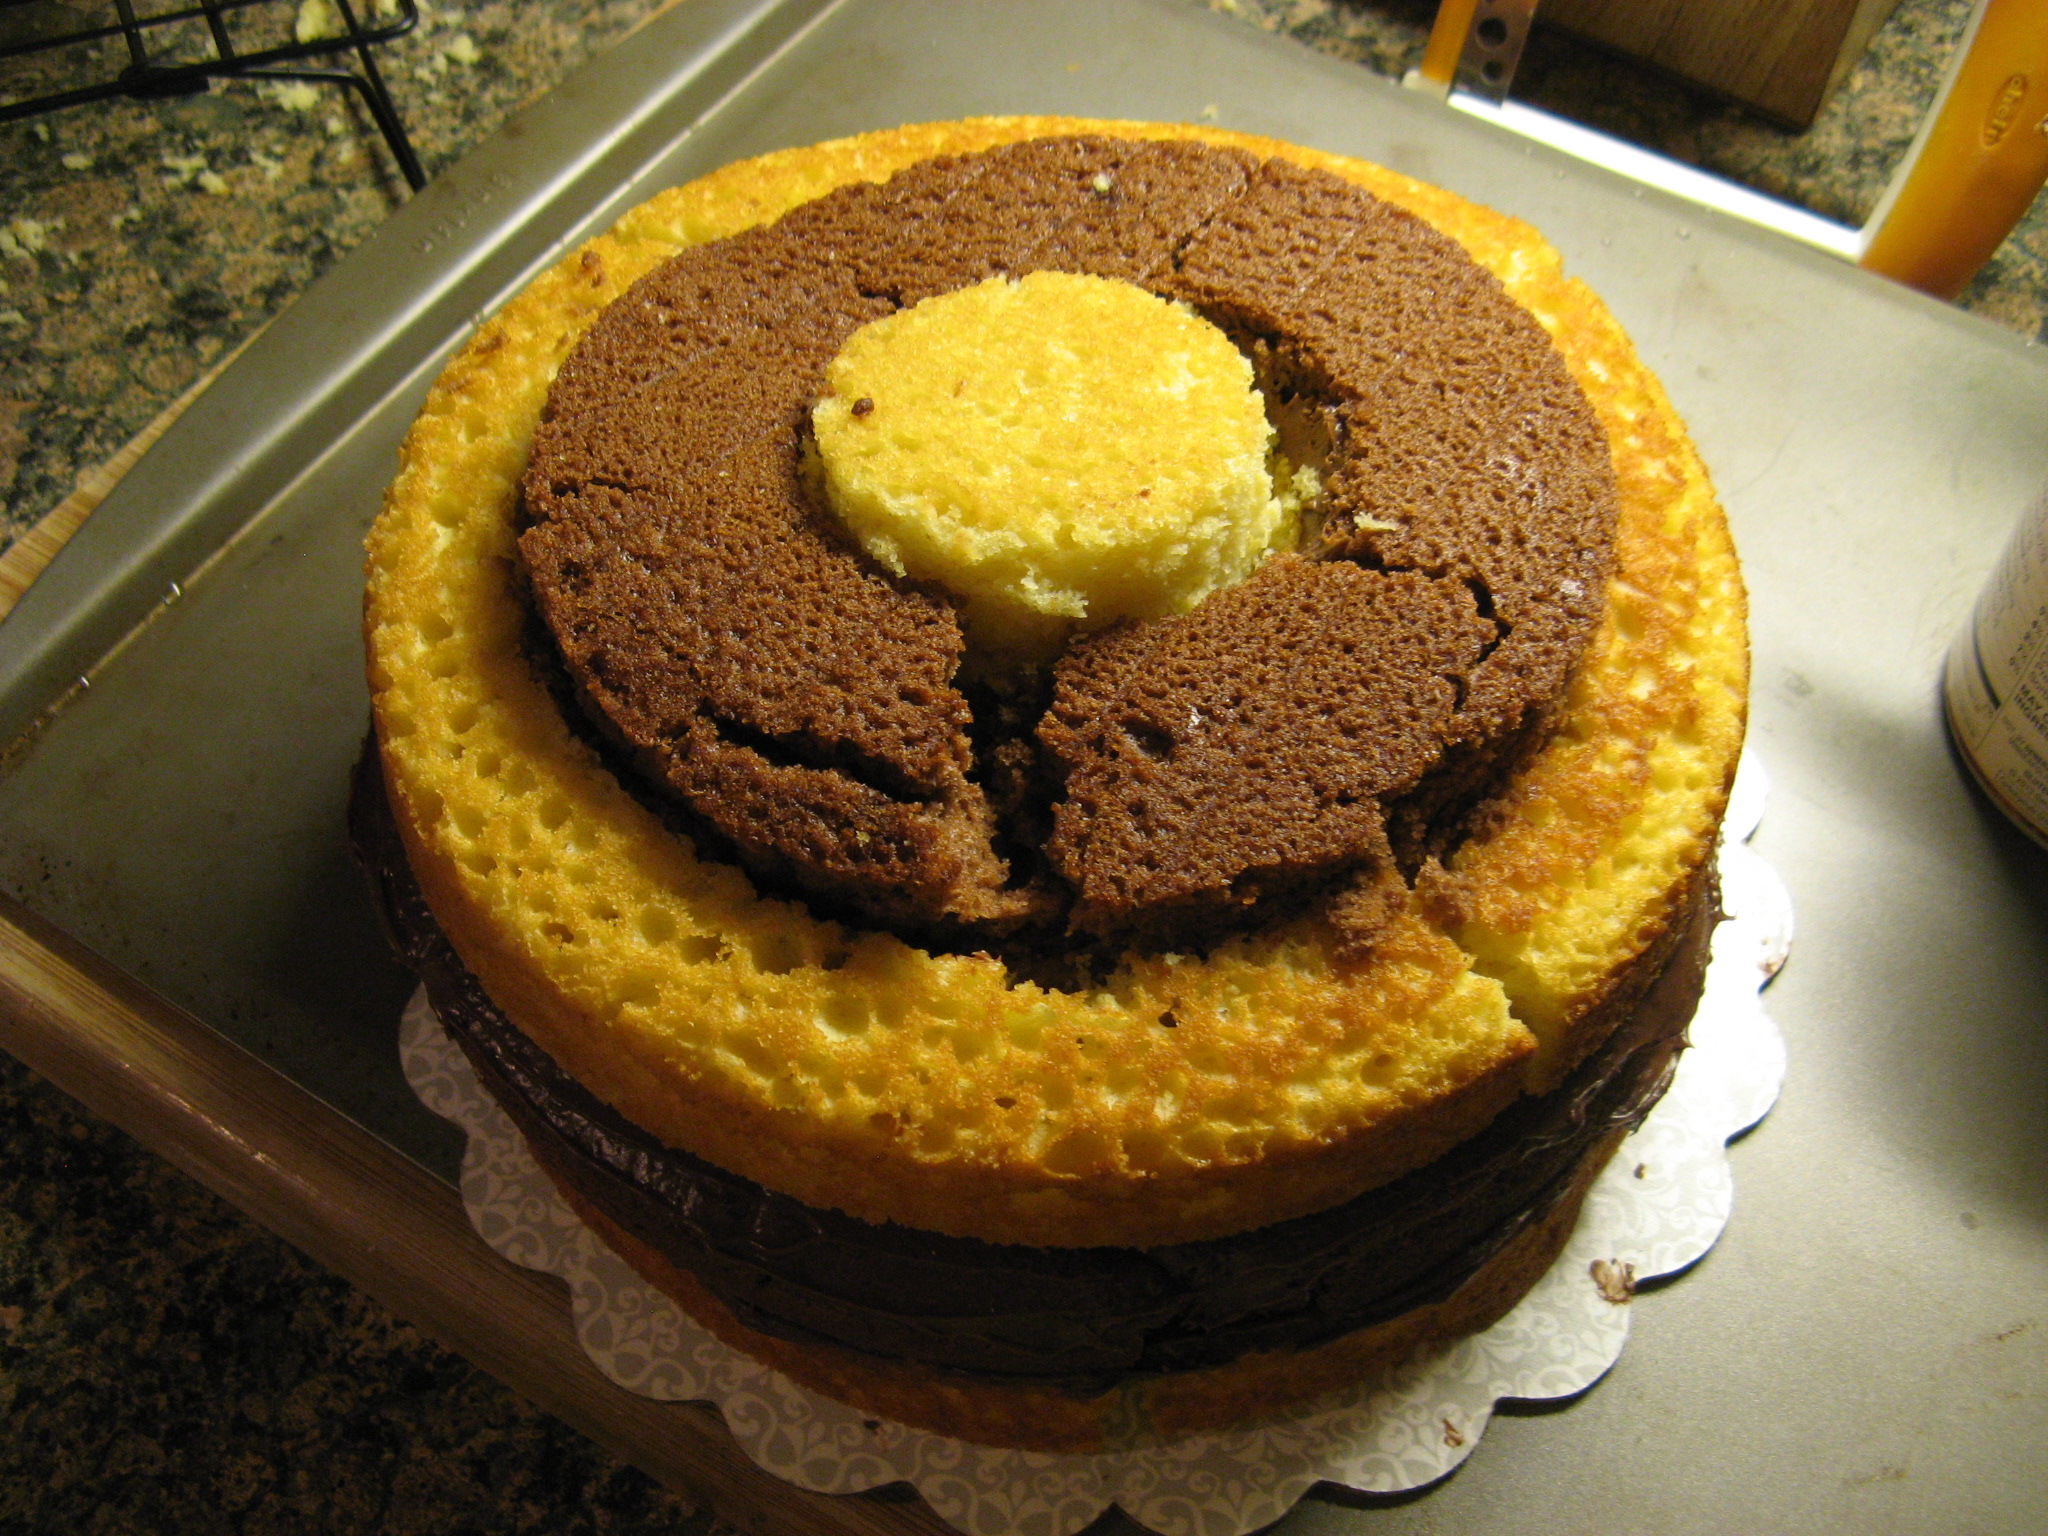
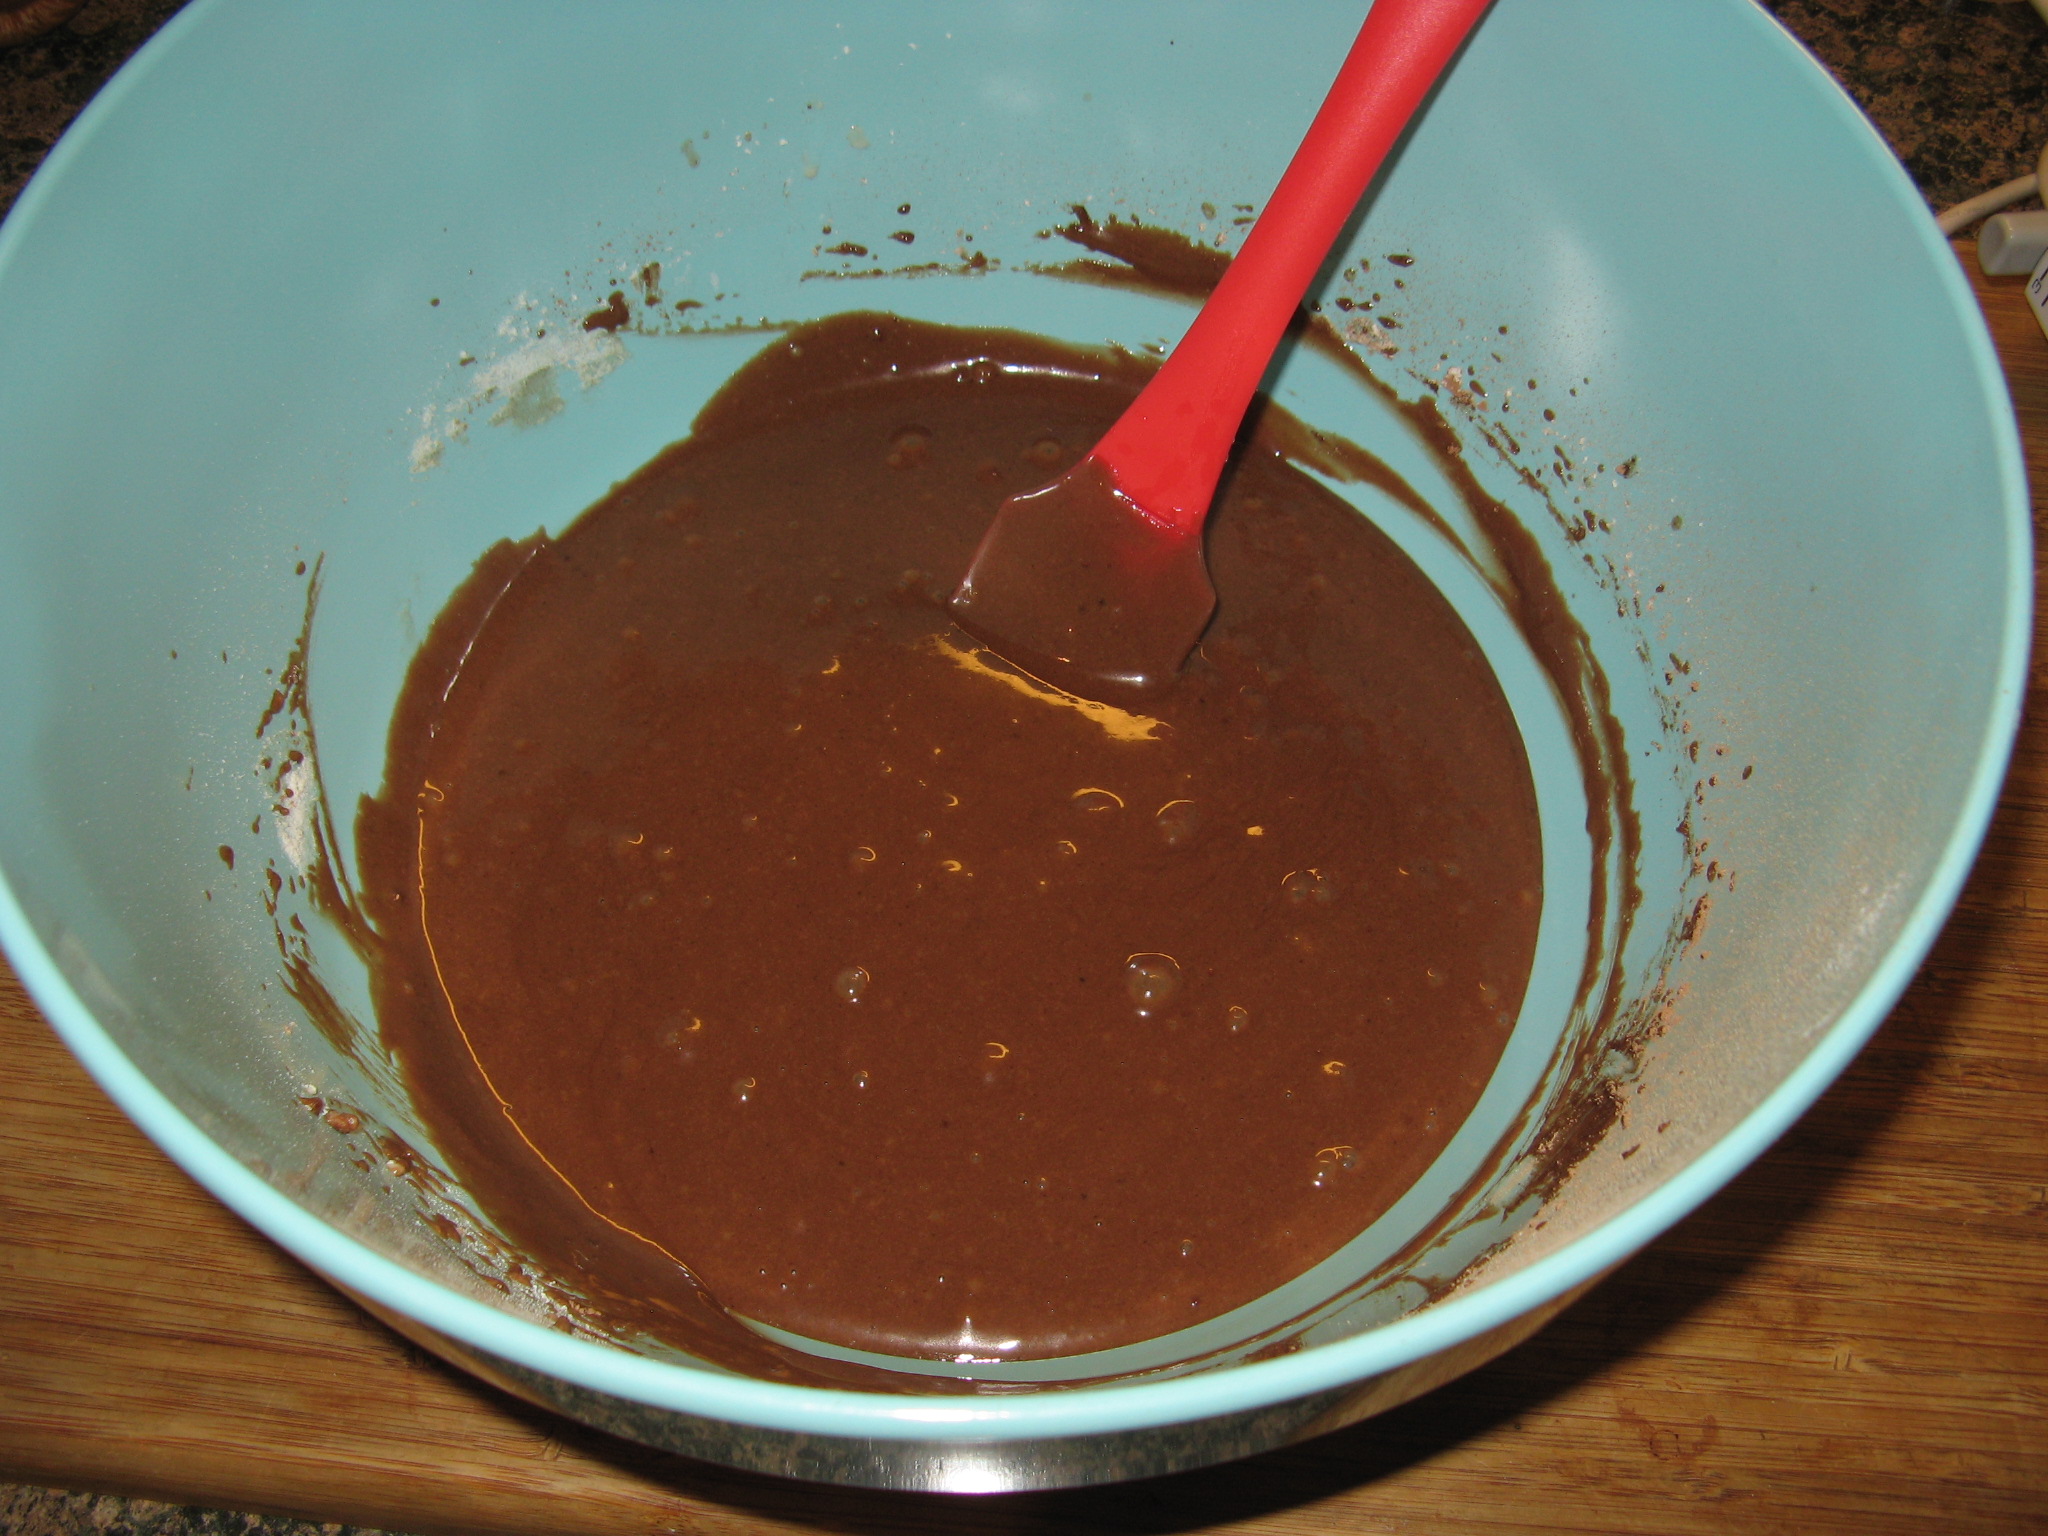
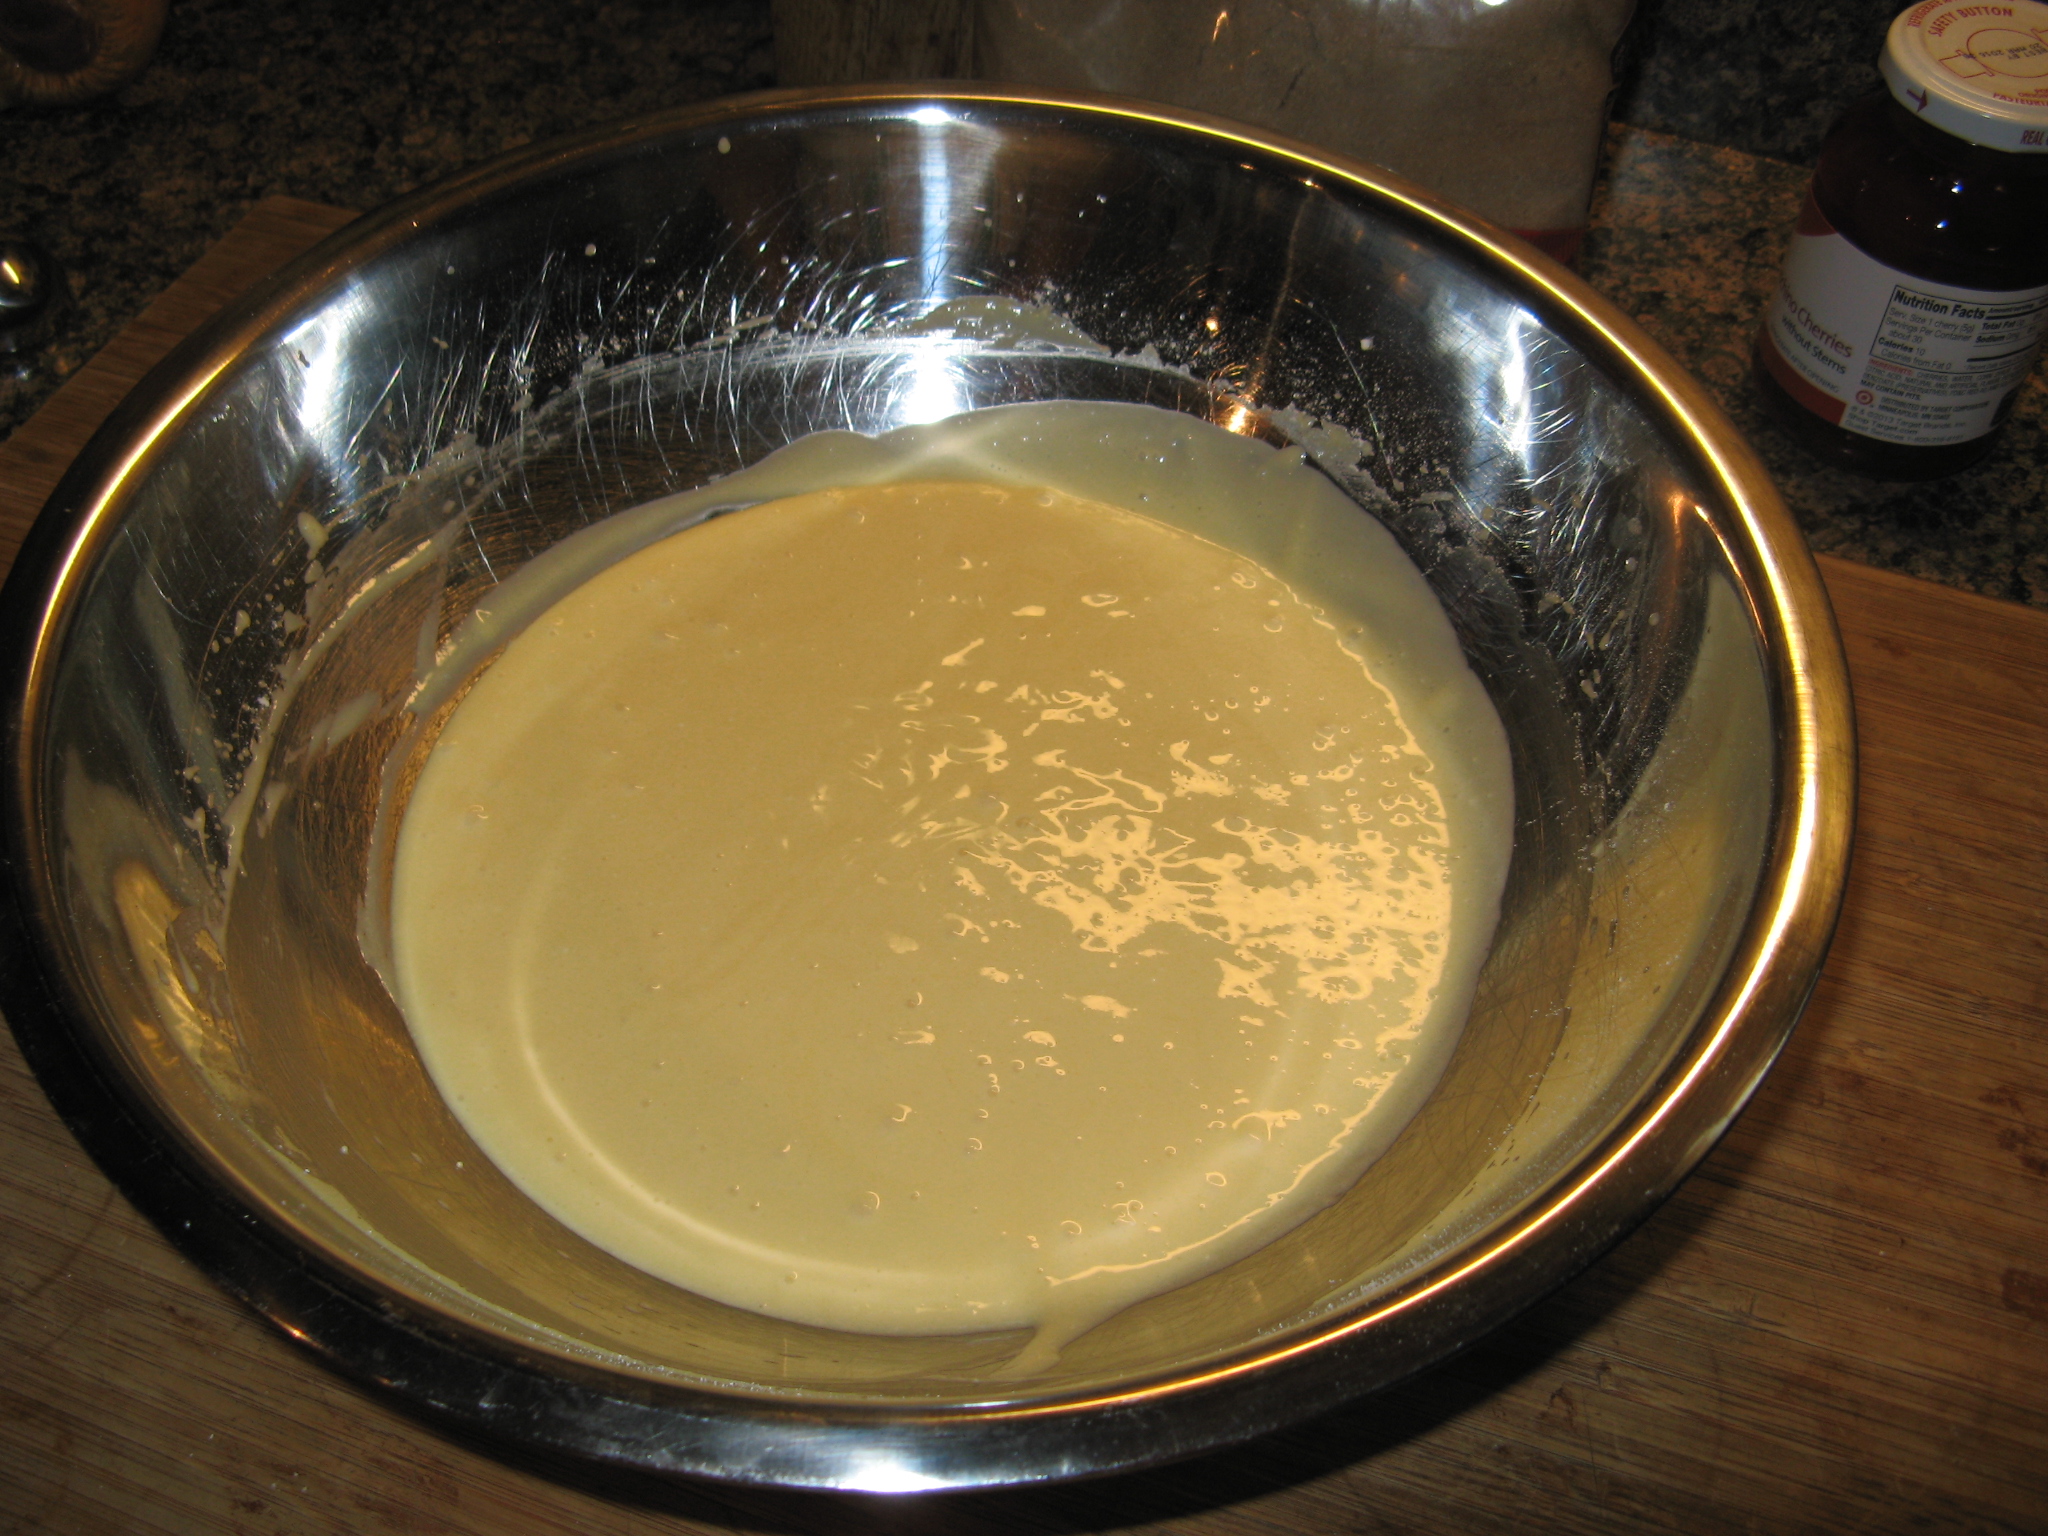
For the base of this loaf cake I used a yellow cake mix. After prepping the batter per the directions on the box I divided it in half. And to be precise, even though I have made plenty of box cake mixes in the past and had a rough idea of how much it was, I measured out the batter using a measuring cup. In total it was 4 cups, so I transferred 2 cups to a bowl and stirred in a mashed banana and in the other half I stirred in 2 tablespoons of cocoa powder.

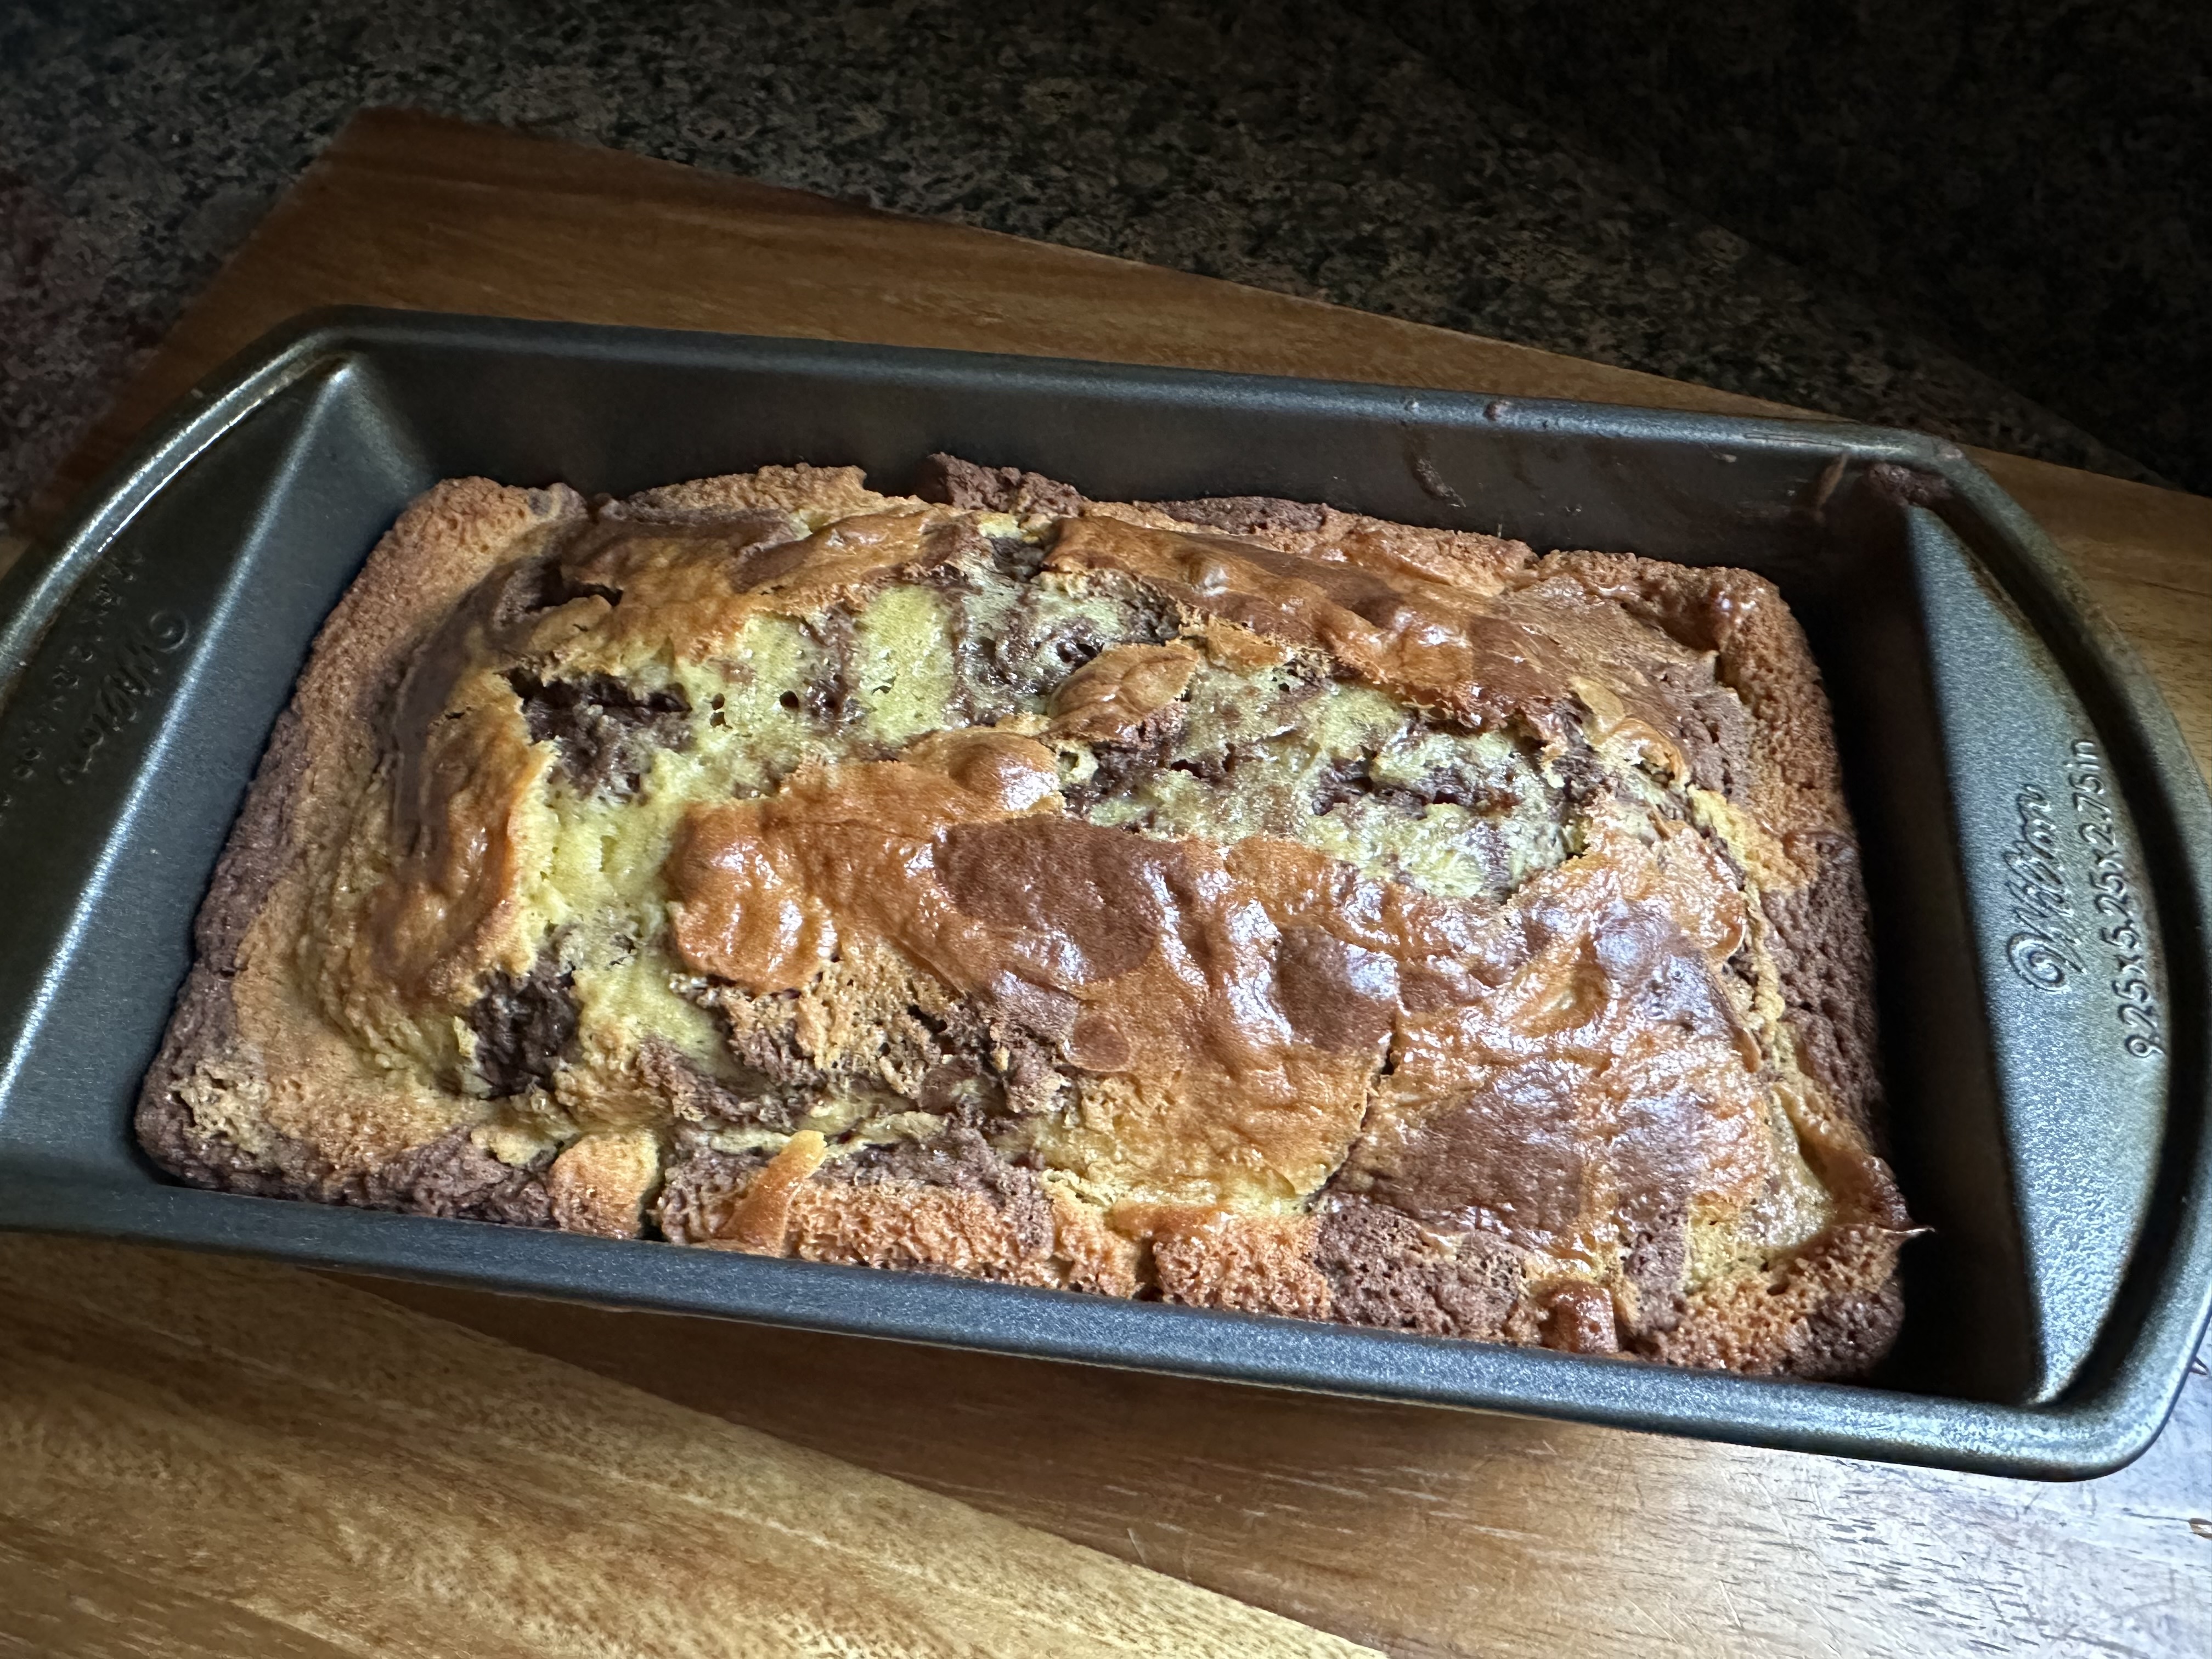
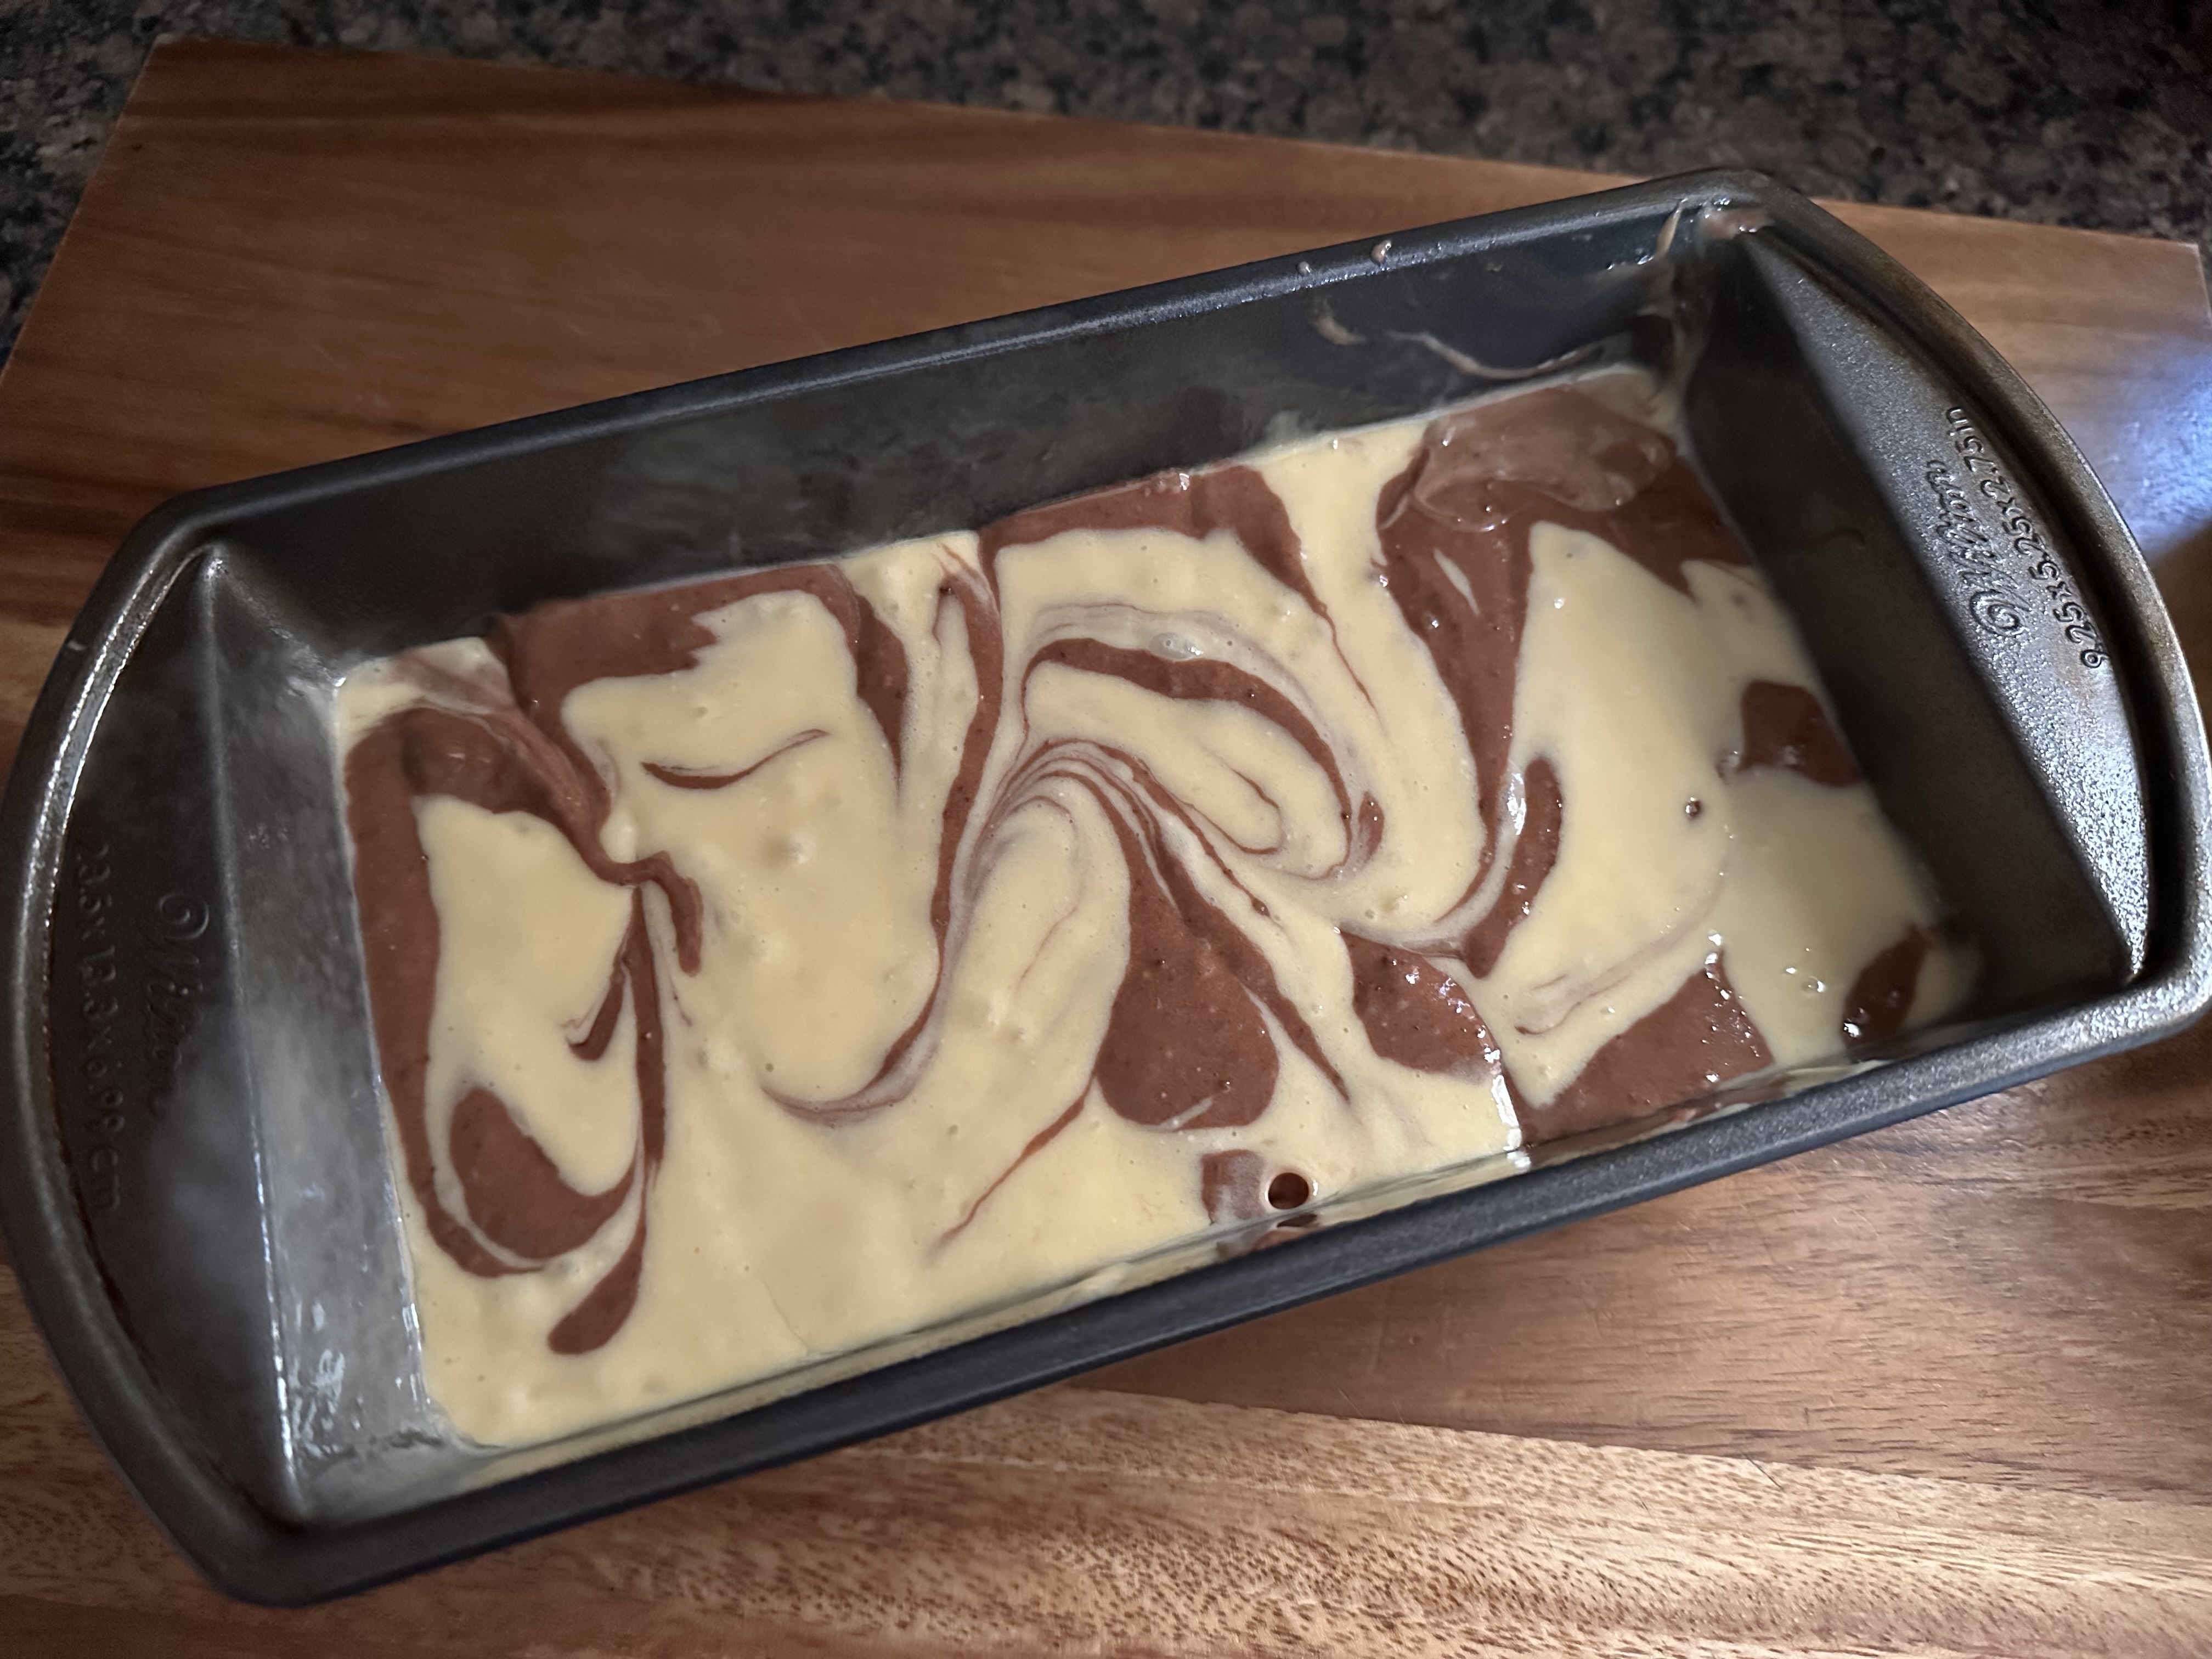
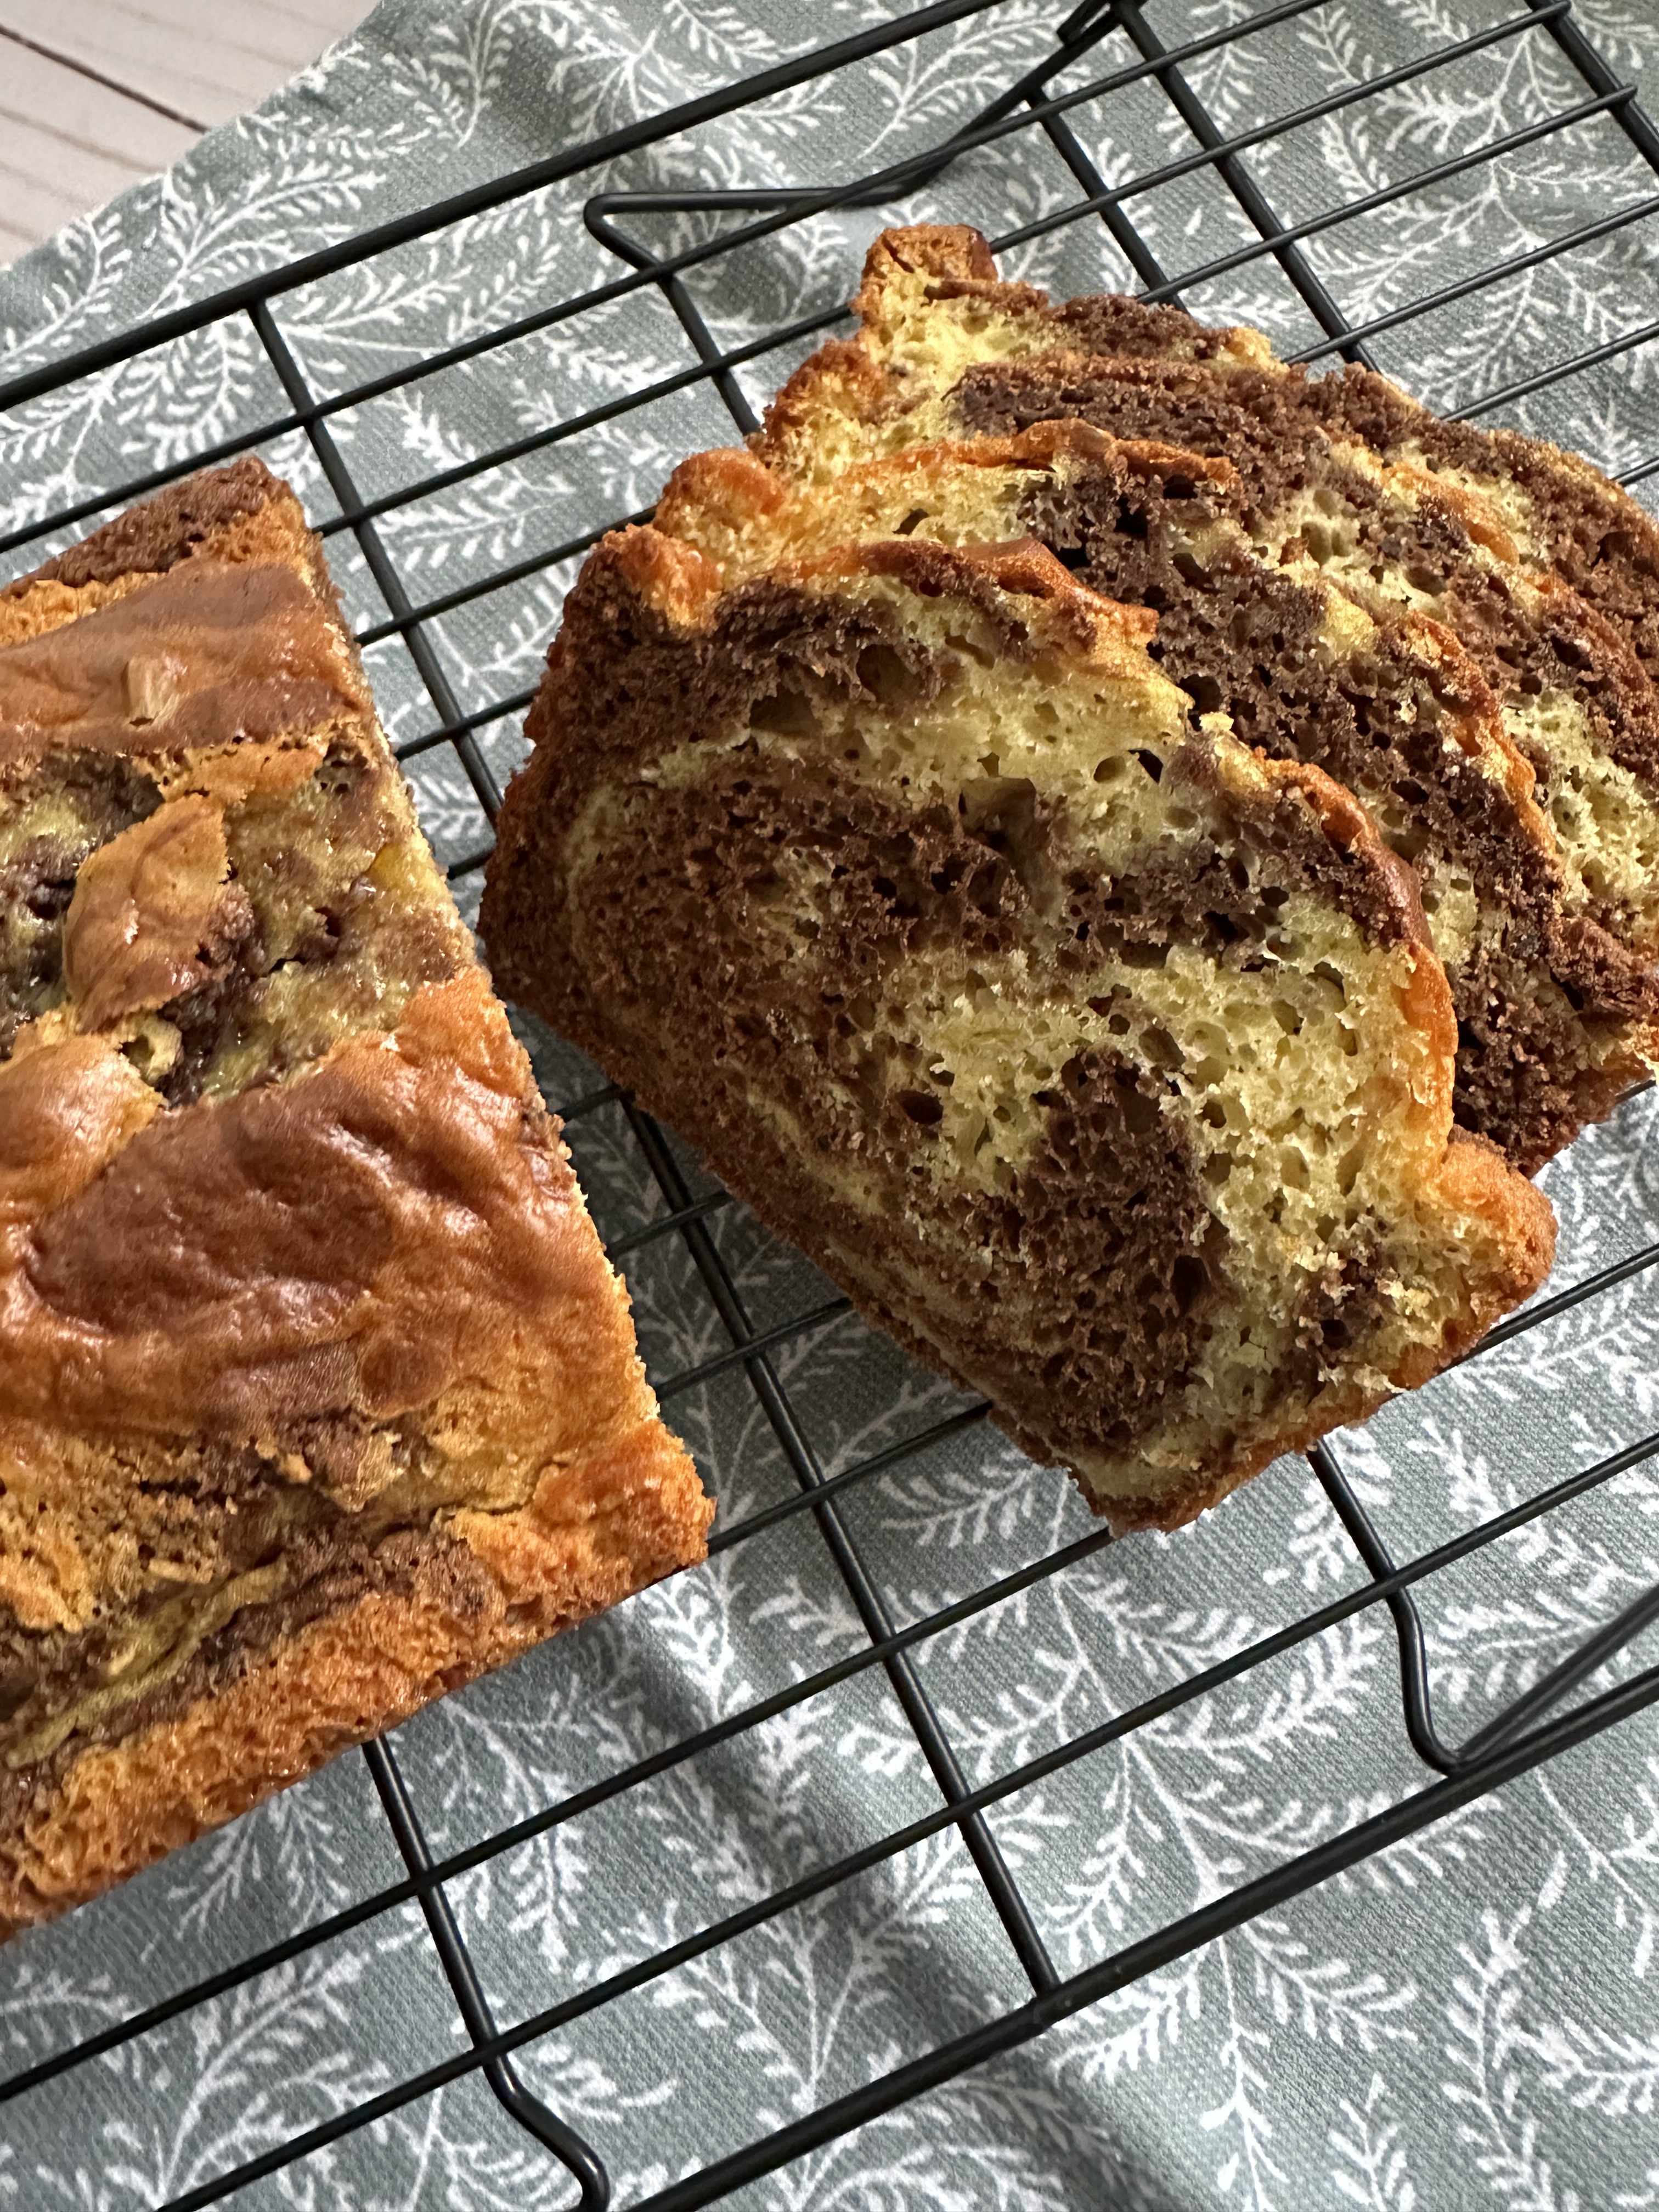
Next, I dropped alternating scoops of each batter into a loaf pan I sprayed with baking spray. To get the marble effect I swirled the two batters together by dragging a knife through them.  

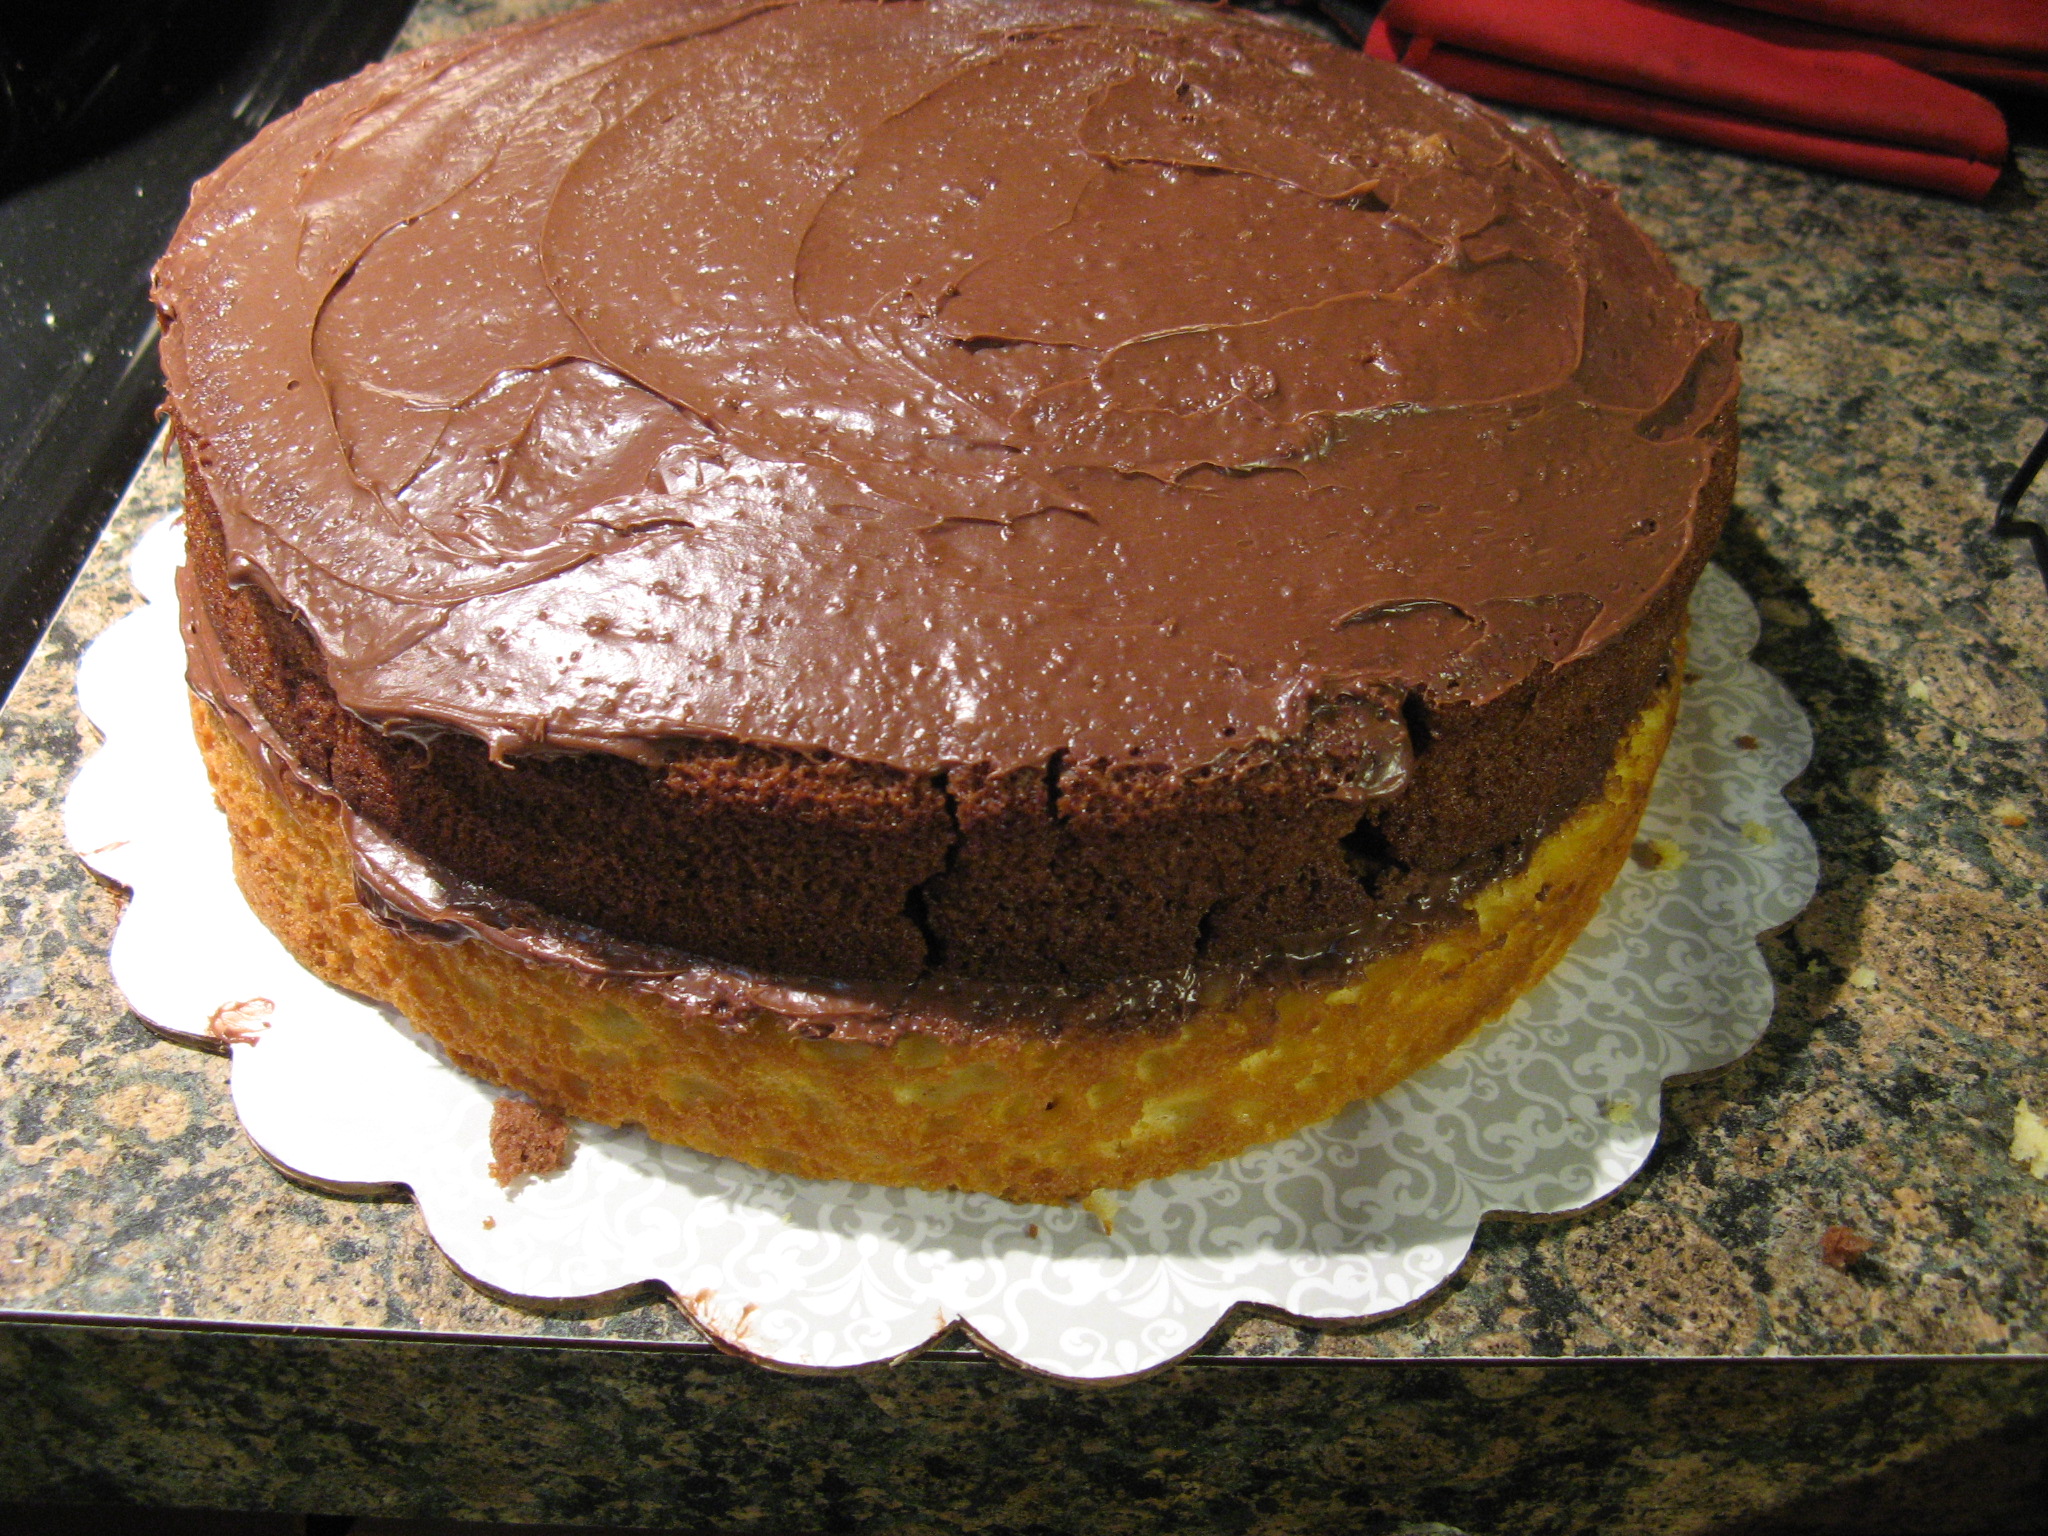
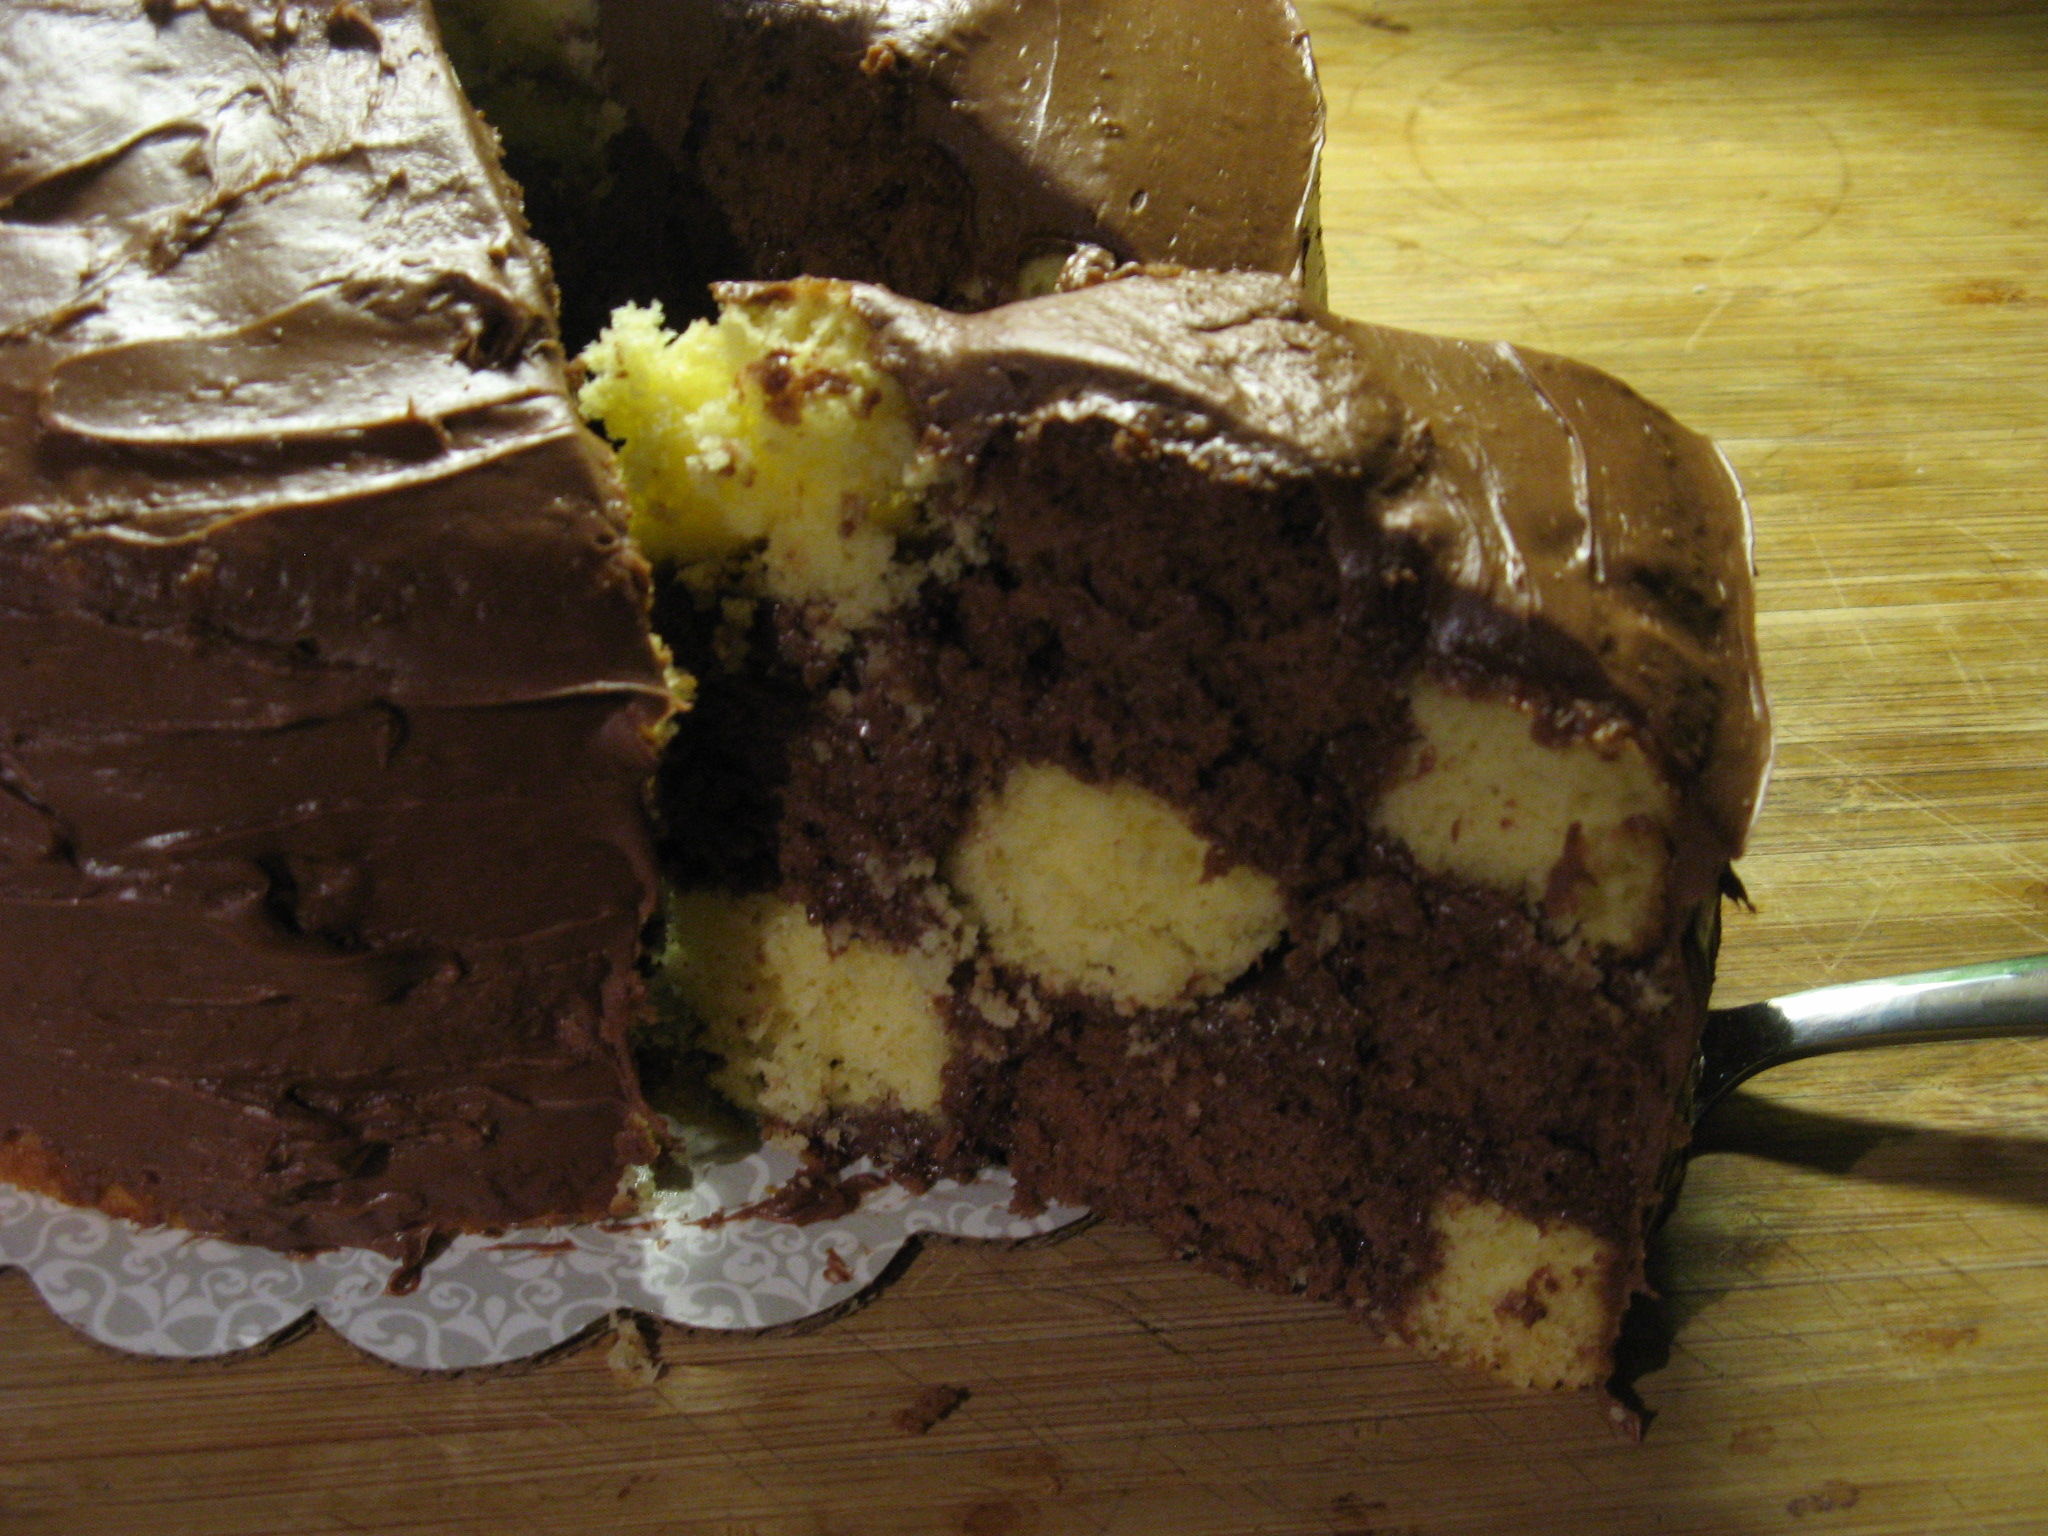
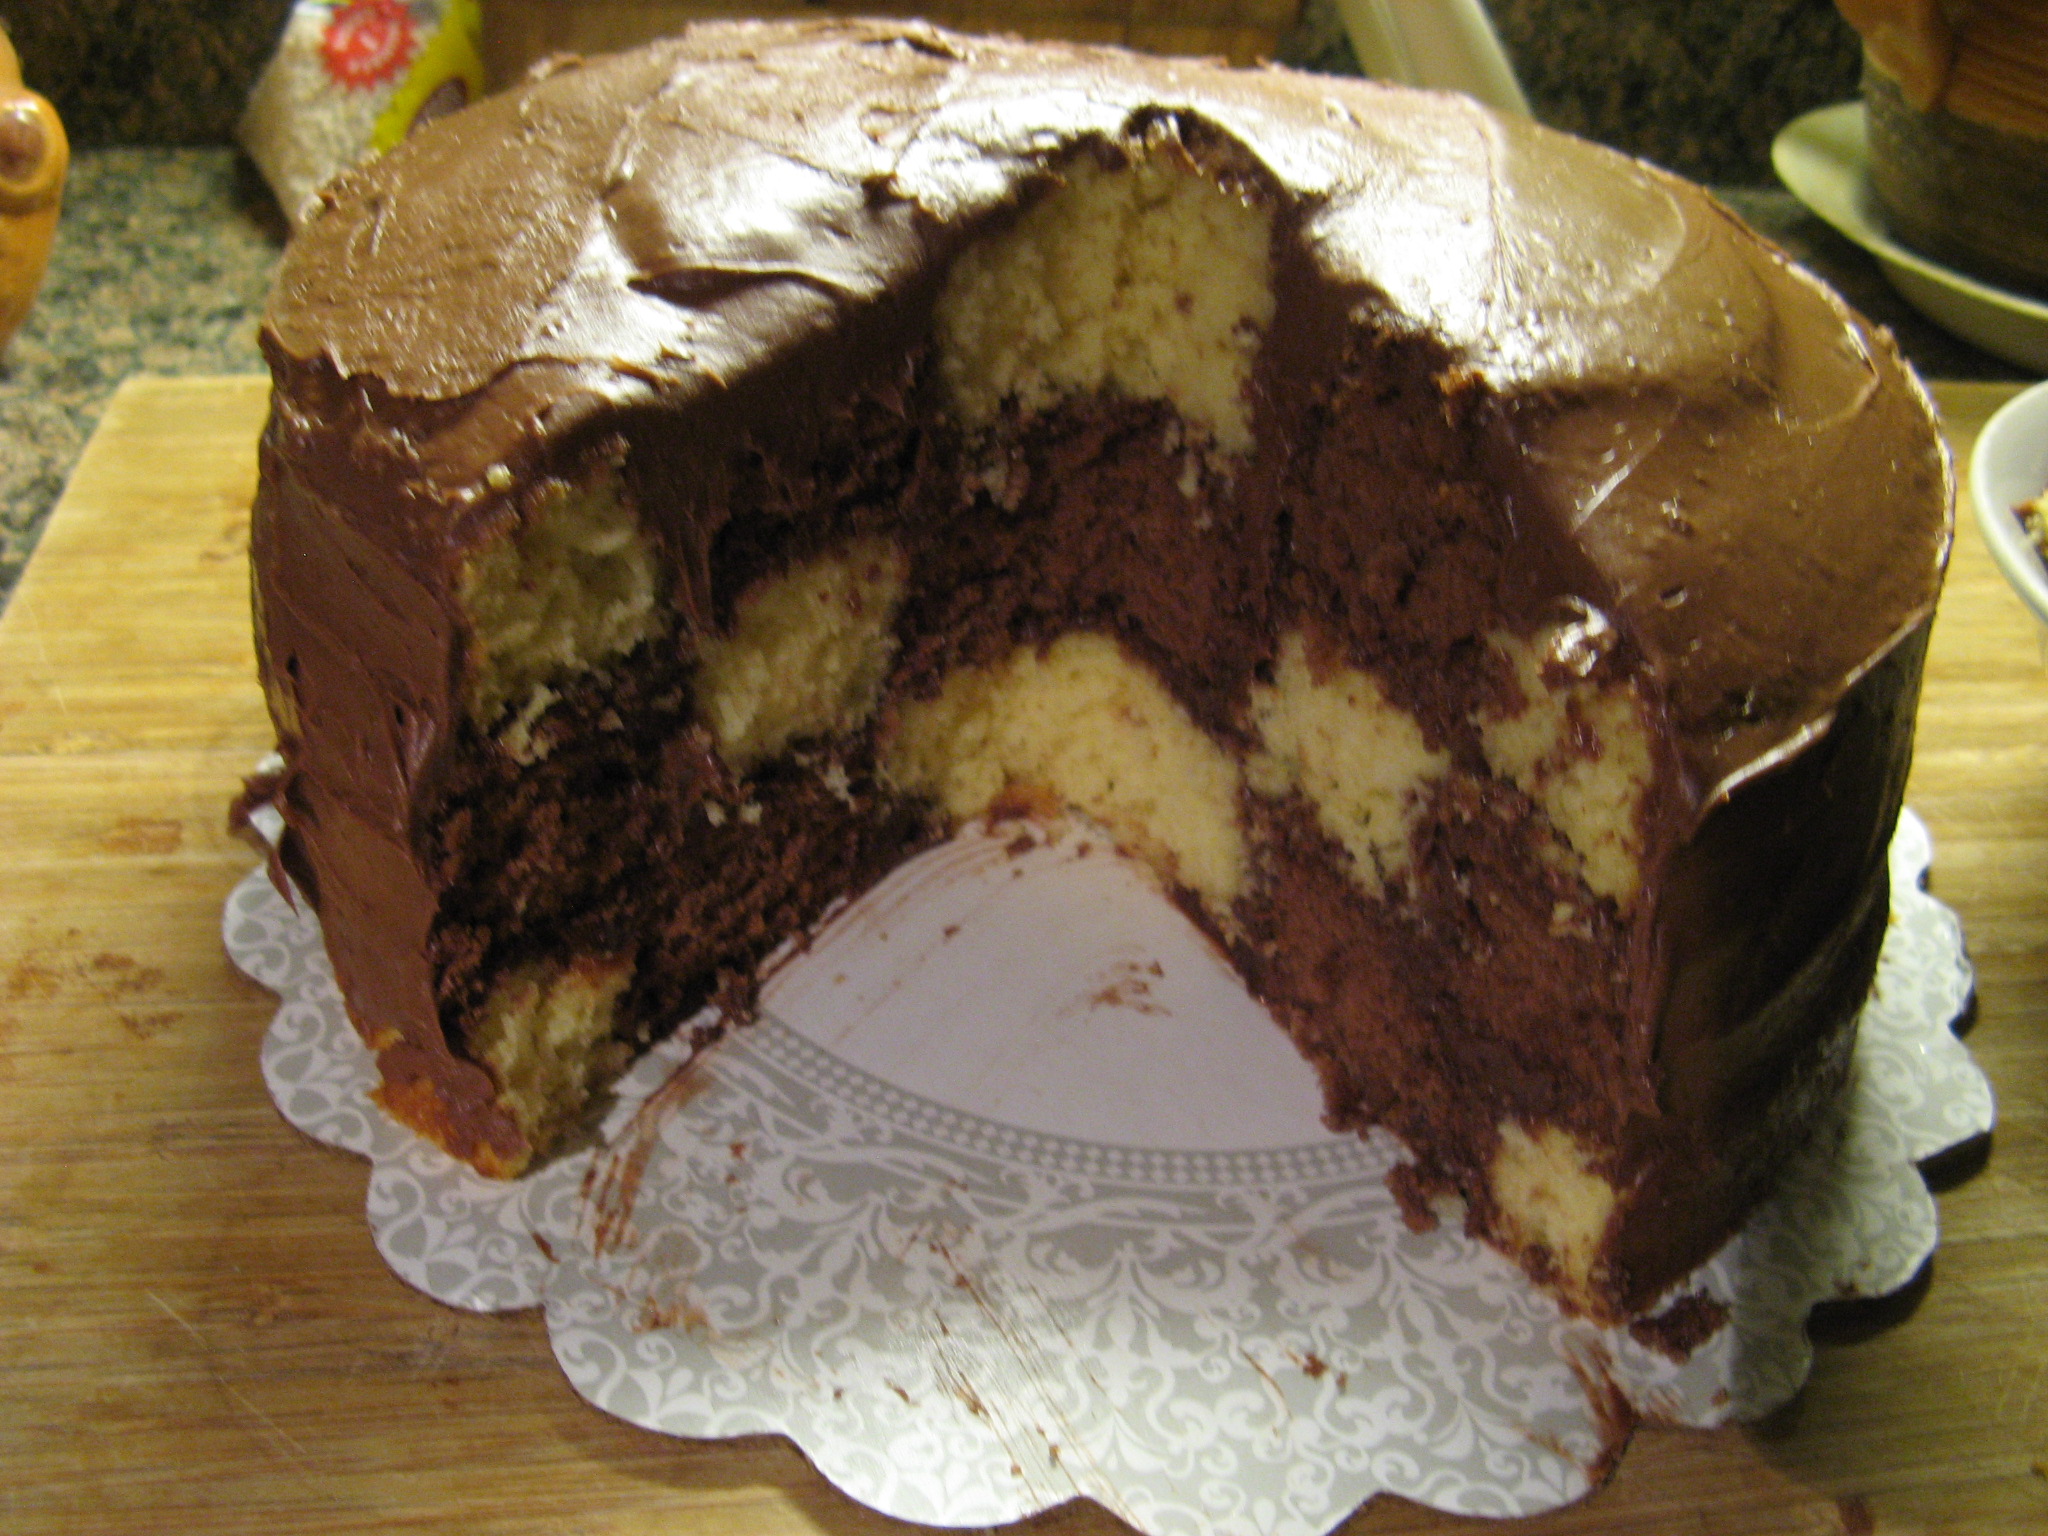
After baking and cooling the cake, it was time to enjoy a slice (or two!) As for the flavor, the chocolate and the banana really stood out without either overpowering the other. A nice twist on your typical marble cake.

A few takeaways… To make chocolate cake from a yellow cake mix you can add a few tablespoons of cocoa powder and to make a super simple banana cake add mashed banana to a yellow cake mix. More specifically, 4 tablespoons of cocoa powder for a chocolate cake and 2 mashed bananas for a banana cake.

Banana & Chocolate Marble Loaf Cake

Ingredients:

1 15.25 box yellow cake mix (I used Duncan Hines)

eggs, water & oil per directions on box

1 ripe banana, mashed

2 tablespoons cocoa powder

Directions:

Preheat the oven to 350 F. Spray a 9×5-inch loaf pan with baking spray and set aside.

Prep the cake mix per the instructions on the box.

Divide the batter in half and stir the mashed banana in one half and the cocoa powder in the other.

Spoon the batters into the prepared pan, alternating between the two. Use a knife to swirl the batters together. Tap the pan on the counter a few times to remove any air bubbles.

Bake for 40-45 minutes, or until a cake tester inserted in the center comes out clean.

Let the cake cool in the pan for 15 minutes then transfer to a wire rack to cool completely.

Store leftovers in an airtight container at room temperature.

Recipe first appeared on Bead Yarn & Spatula.

Checkerboard Cake

I’ve attempted to make a Checkerboard Cake two times before and both times I didn’t have much luck. The first time I followed the directions on the pan set  I have for it exactly, even following the recipe for the cake and I didn’t like the taste of the cake and my cake batter ran into each other so it didn’t look all that great when I sliced into it. The second time I opted to use box cake and while the cake tasted better I still had the issue of the cake batter running so once again not all that checkerboard looking when I sliced into it. According to the directions for the pan set you put the ring separator into the pan, pour the batter in, remove the ring and then bake. This wasn’t working for me, so on this (my third) try I opted to bake the cakes first and then use the ring separator to cut the cakes and then assemble it for the checkerboard pattern and I’m happy to say I didn’t strike out! Granted it was a bit messy to assemble but it wasn’t anything that couldn’t be fixed (or hidden) with a little frosting.

IMG_2245

Using Betty Crocker’s Super Moist Milk Chocolate and Yellow cake mix I prepared the cakes according to the directions on the box.

IMG_2215 IMG_2216

After letting the cakes cool I took the ring separator and sliced each of the cakes into three rings.

IMG_2218 IMG_2219

And then the messy part began… Assembling. As you can see some of the rings broke up a little, but like I said frosting covered up all the little imperfections. To make sure the rings of the cake wouldn’t fall apart when slicing I “glued” them together with icing along the inside of each ring.

IMG_2220

After covering the first layer with frosting I added the second layer and then spread frosting on it as well.

IMG_2223

And finally the third layer…

IMG_2224

I’ll admit the final product was a bit lopsided and could have used a little extra frosting (I used two containers of Betty Crocker’s Milk Chocolate Frosting to get to this point) but this was an afternoon whim of baking to see if the technique would work.

IMG_2225

And the moment of truth… I got a pretty decent looking checkerboard!!! The saying is true… If at first you don’t succeed try, try, try again. And I’ll definitely be trying it again with more time and frosting.

IMG_2227 IMG_2234

Bite-Sized Goodness

As they say good things come in small packages and bite sized treats are no exception. You get all the flavor in a nice small portion. For Mother’s Day I decided to bake up some small treats as opposed to a large cake or pie and it was an overall hit.

First up are Mini Chocolate-Chip Cheesecakes. I came across this recipe a few years ago in a now defunct magazine and it was an instant hit amongst my friends. It’s been a while since I’ve made them so needless to say they didn’t last all that long.

I started off by making the cheesecake part of the bites by mixing together cream cheese, an egg and sugar. I then folded in the mini-chocolate chips and set this aside while I made the cake portion.

IMG_0235 IMG_0236

To make the cake portion I mixed together sugar, flour, cocoa, baking soda, water, oil and vanilla.

IMG_0238 IMG_0239

Now it was time to assemble the mini cheesecakes. I spooned the chocolate mixture into the muffin tins until they were half full and then dolloped about a tablespoon of the cheesecake mixture on top.

IMG_0240 IMG_0242

And after baking in a 350 degrees pre-heated oven for about 20 minutes they were all done.

IMG_0245

Up next… Pineapple Upside-Down Bites. I clipped this recipe out of the May 2013 issue of  Everyday with Rachael Ray. The recipe sounded quick and simple and only required a few ingredients: butter, light brown sugar, maraschino cherries, pineapple and yellow cake mix.

IMG_0252

I started off by preparing the cake mix per the directions on the package. The recipe actually calls for a 16.5oz box of cake mix, but since the recipe states that there would be cake batter left over I decided to use a smaller bag that is meant for 12 cupcakes or an 8×8 cake.

IMG_0254

Up next it was time to prepare the muffin tin for the pineapple portion of these mini bites.

IMG_0256

I spooned a 1/2 teaspoon of melted butter into each cup of the tin and then layered a 1/2 teaspoon of brown sugar, a cherry piece and a layer of pineapple on top of it. Also, while the recipe didn’t call for it I sprayed the muffin tin with baking spray to ensure that the bites wouldn’t stick to it.

IMG_0257

I then spooned about a tablespoon of cake batter into each cup and then baked it in a 350 degrees preheated oven for 12 minutes.

IMG_0259

Once out of the oven I inverted the muffin tin on a baking sheet so the pineapple bites could cool.

IMG_0262

They tasted as good as they looked…

IMG_0266

Mini Chocolate-Chip Cheesecakes

Makes about 4 dozen

1 1/2 lbs (2 12-oz packages) cream cheese

1 egg

1 1/3 cups sugar

1 1/4 mini chocolate chips

1 1/2 cups flour

1/4 cup cocoa

1 tsp baking soda

1 cup water

1/3 vegetable oil

1 tsp vanilla

1. In a bowl, mix cream cheese, egg and 1/3 cup sugar

2. Add mini chocolate chips

3. In another bowl, mix remaining sugar with flour, cocoa, baking soda, water, oil and vanilla

4. Spoon chocolate mixture into mini muffin cups until half full

5. Place 1 teaspoon cream cheese mixture on top of each cupcake

6. Bake at 350 degrees for about 20 minutes or until top springs back when gently pressed

7. Cool on rack for 10 minutes before serving


Pineapple Upside-Down Bites

Makes 24

Prep 30 Minutes

Bake 15 Minutes

1/4 cup unsalted butter, melted

1/4 cup (packed) light brown sugar

5 maraschino cherries, quartered

1/3 cup diced pineapple, patted dry

1 box (16.5oz) yellow cake mix, prepared into batter

1. Preheat the oven to 350 degrees. In the cups of two 12-cup mini muffin tins, layer 1/2 teaspoon butter, 1/2 teaspoon brown sugar, a cherry piece, a single layer of pineapple (about 5 pieces) and about 1 tablespoon cake batter (cups should be about two-thirds full; save remaining cake batter for another use).

2. Bake until golden-brown and a toothpick comes out clean when inserted into the center of the cupcakes, about 12 minutes. Immediately run a knife around the edge of each cake and invert to cool on a baking sheet. Serve warm or at room temperature.

Elmo Cake

It’s been a while since I have properly decorated a cake and I have never done a character cake. But, for my friend’s daughters’ second birthday I decided to make her an Elmo cake; it’s one of her favorite characters and was the theme of her birthday party. After going to three different Michael’s craft stores I was finally able to find the Elmo cake pan that I would need.
 
I used a basic yellow cake mix to make the cake. I have never been so apprehensive about making a cake. I was fearful that when I flipped the pan over Elmo would somehow be stuck to the pan or worse break in half. Thankfully I prepped the pan well and Elmo popped right out!
After cooling overnight Elmo was ready to come to life. First I needed to make the icing and color it. While I did use a box mix for the cake (my favorite is Betty Crocker) I decided to make the buttercream icing from scratch. Coloring icing is not always fun, especially when you have to make dark colors like red and black. I ended up using the entire 1 oz. jar of Wilton no-taste red to get Elmo’s fur the proper shade of red. Thankfully orange wasn’t as daunting to make.
Now that my icing colors were the right shade it was time to decorate. I started off with filling in Elmo’s mouth and icing his nose.
After an hour or so of meticulous work Elmo was done and I must say I was quite pleased with how he came out. His eyes took me a while to get right but it was well worth the time. He was a hit at the party and brought a great big smile to the birthday girl’s face.
Buttercream Icing (From Wilton)
1/2 cup solid vegetable shortening
1/2 cup butter, softened
1 teaspoon clear vanilla extract
4 cups (1 lb.) sifted confectioners’ sugar
2 tablespoons milk
Cream butter and shortening with an electric mixer. Add vanilla. Gradually add sugar, one cup at a time, beating well on medium speed. Scrape sides and bottom of bowl often. When all sugar has been mixed in, icing will appear dry. Add milk and beat at medium speed until light and fluffy.
%d bloggers like this: