Quite a few of my recipes as of late have used a boxed cake mix as their base. There are some bakers who would scoff at this and there are others who always turn to a boxed cake mix for their baking. It’s all a matter of preference. And in all honesty, it is possible to make a boxed cake mix taste homemade by switching out and adding in ingredients.
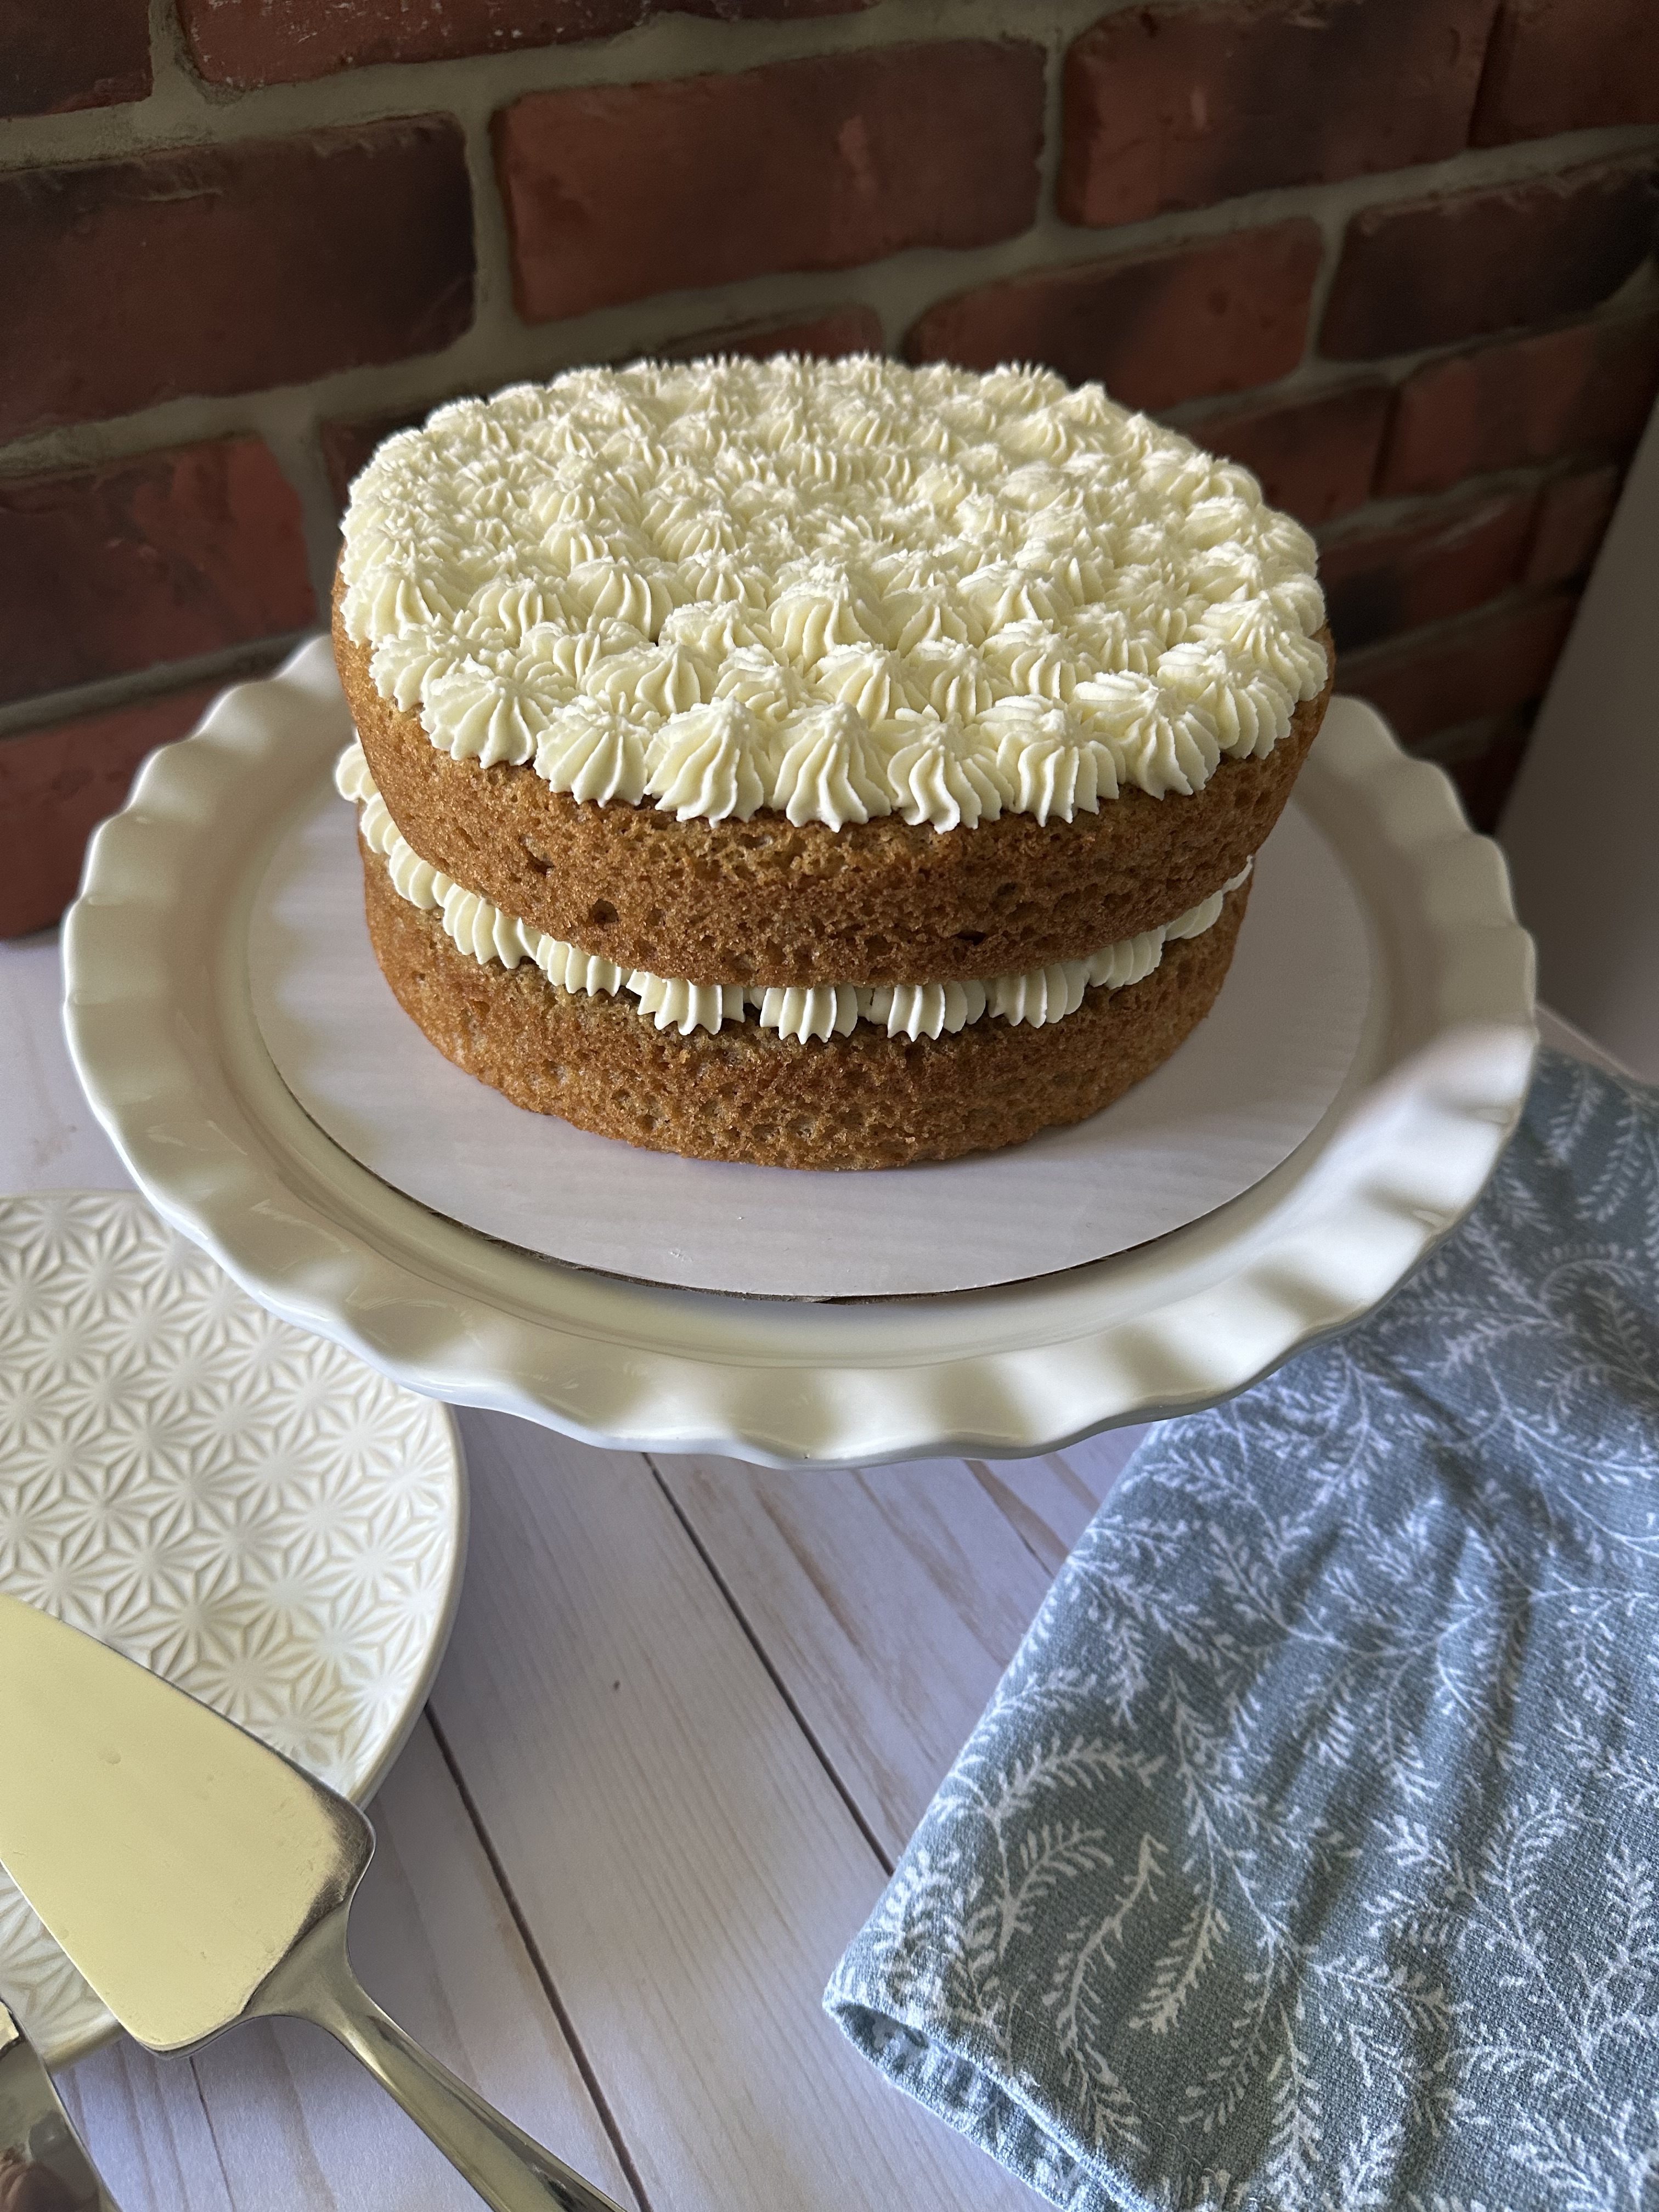
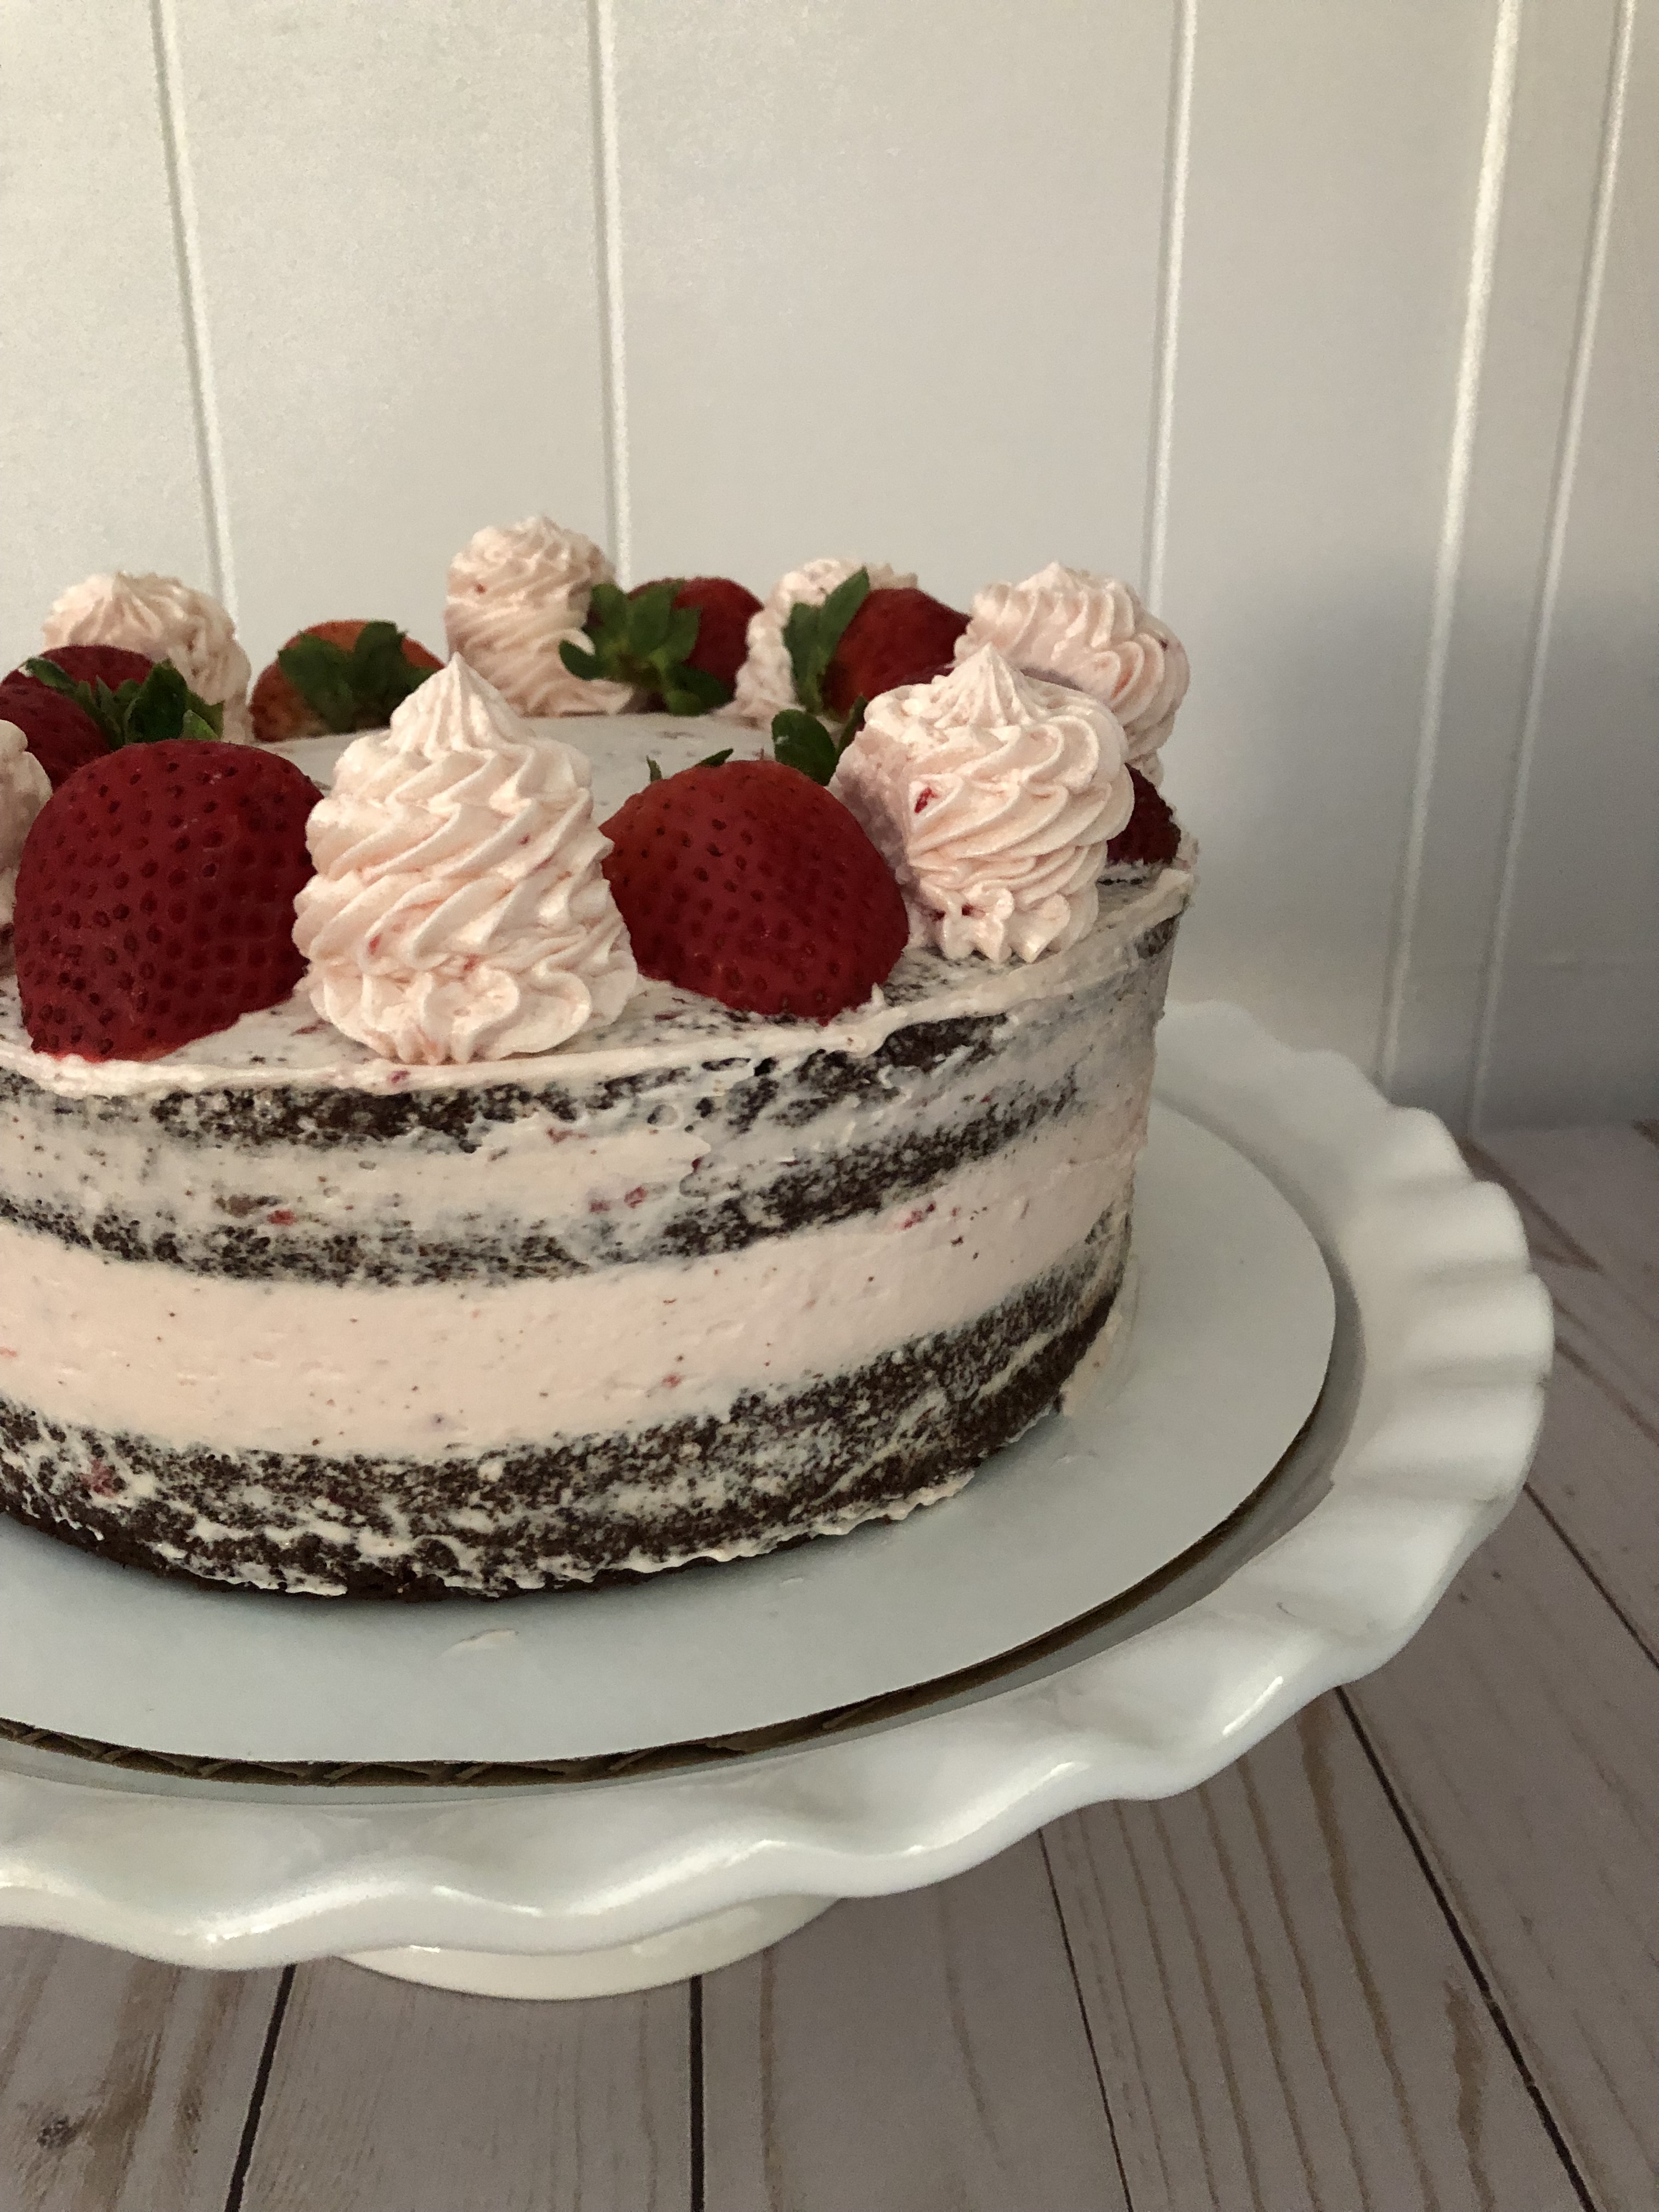
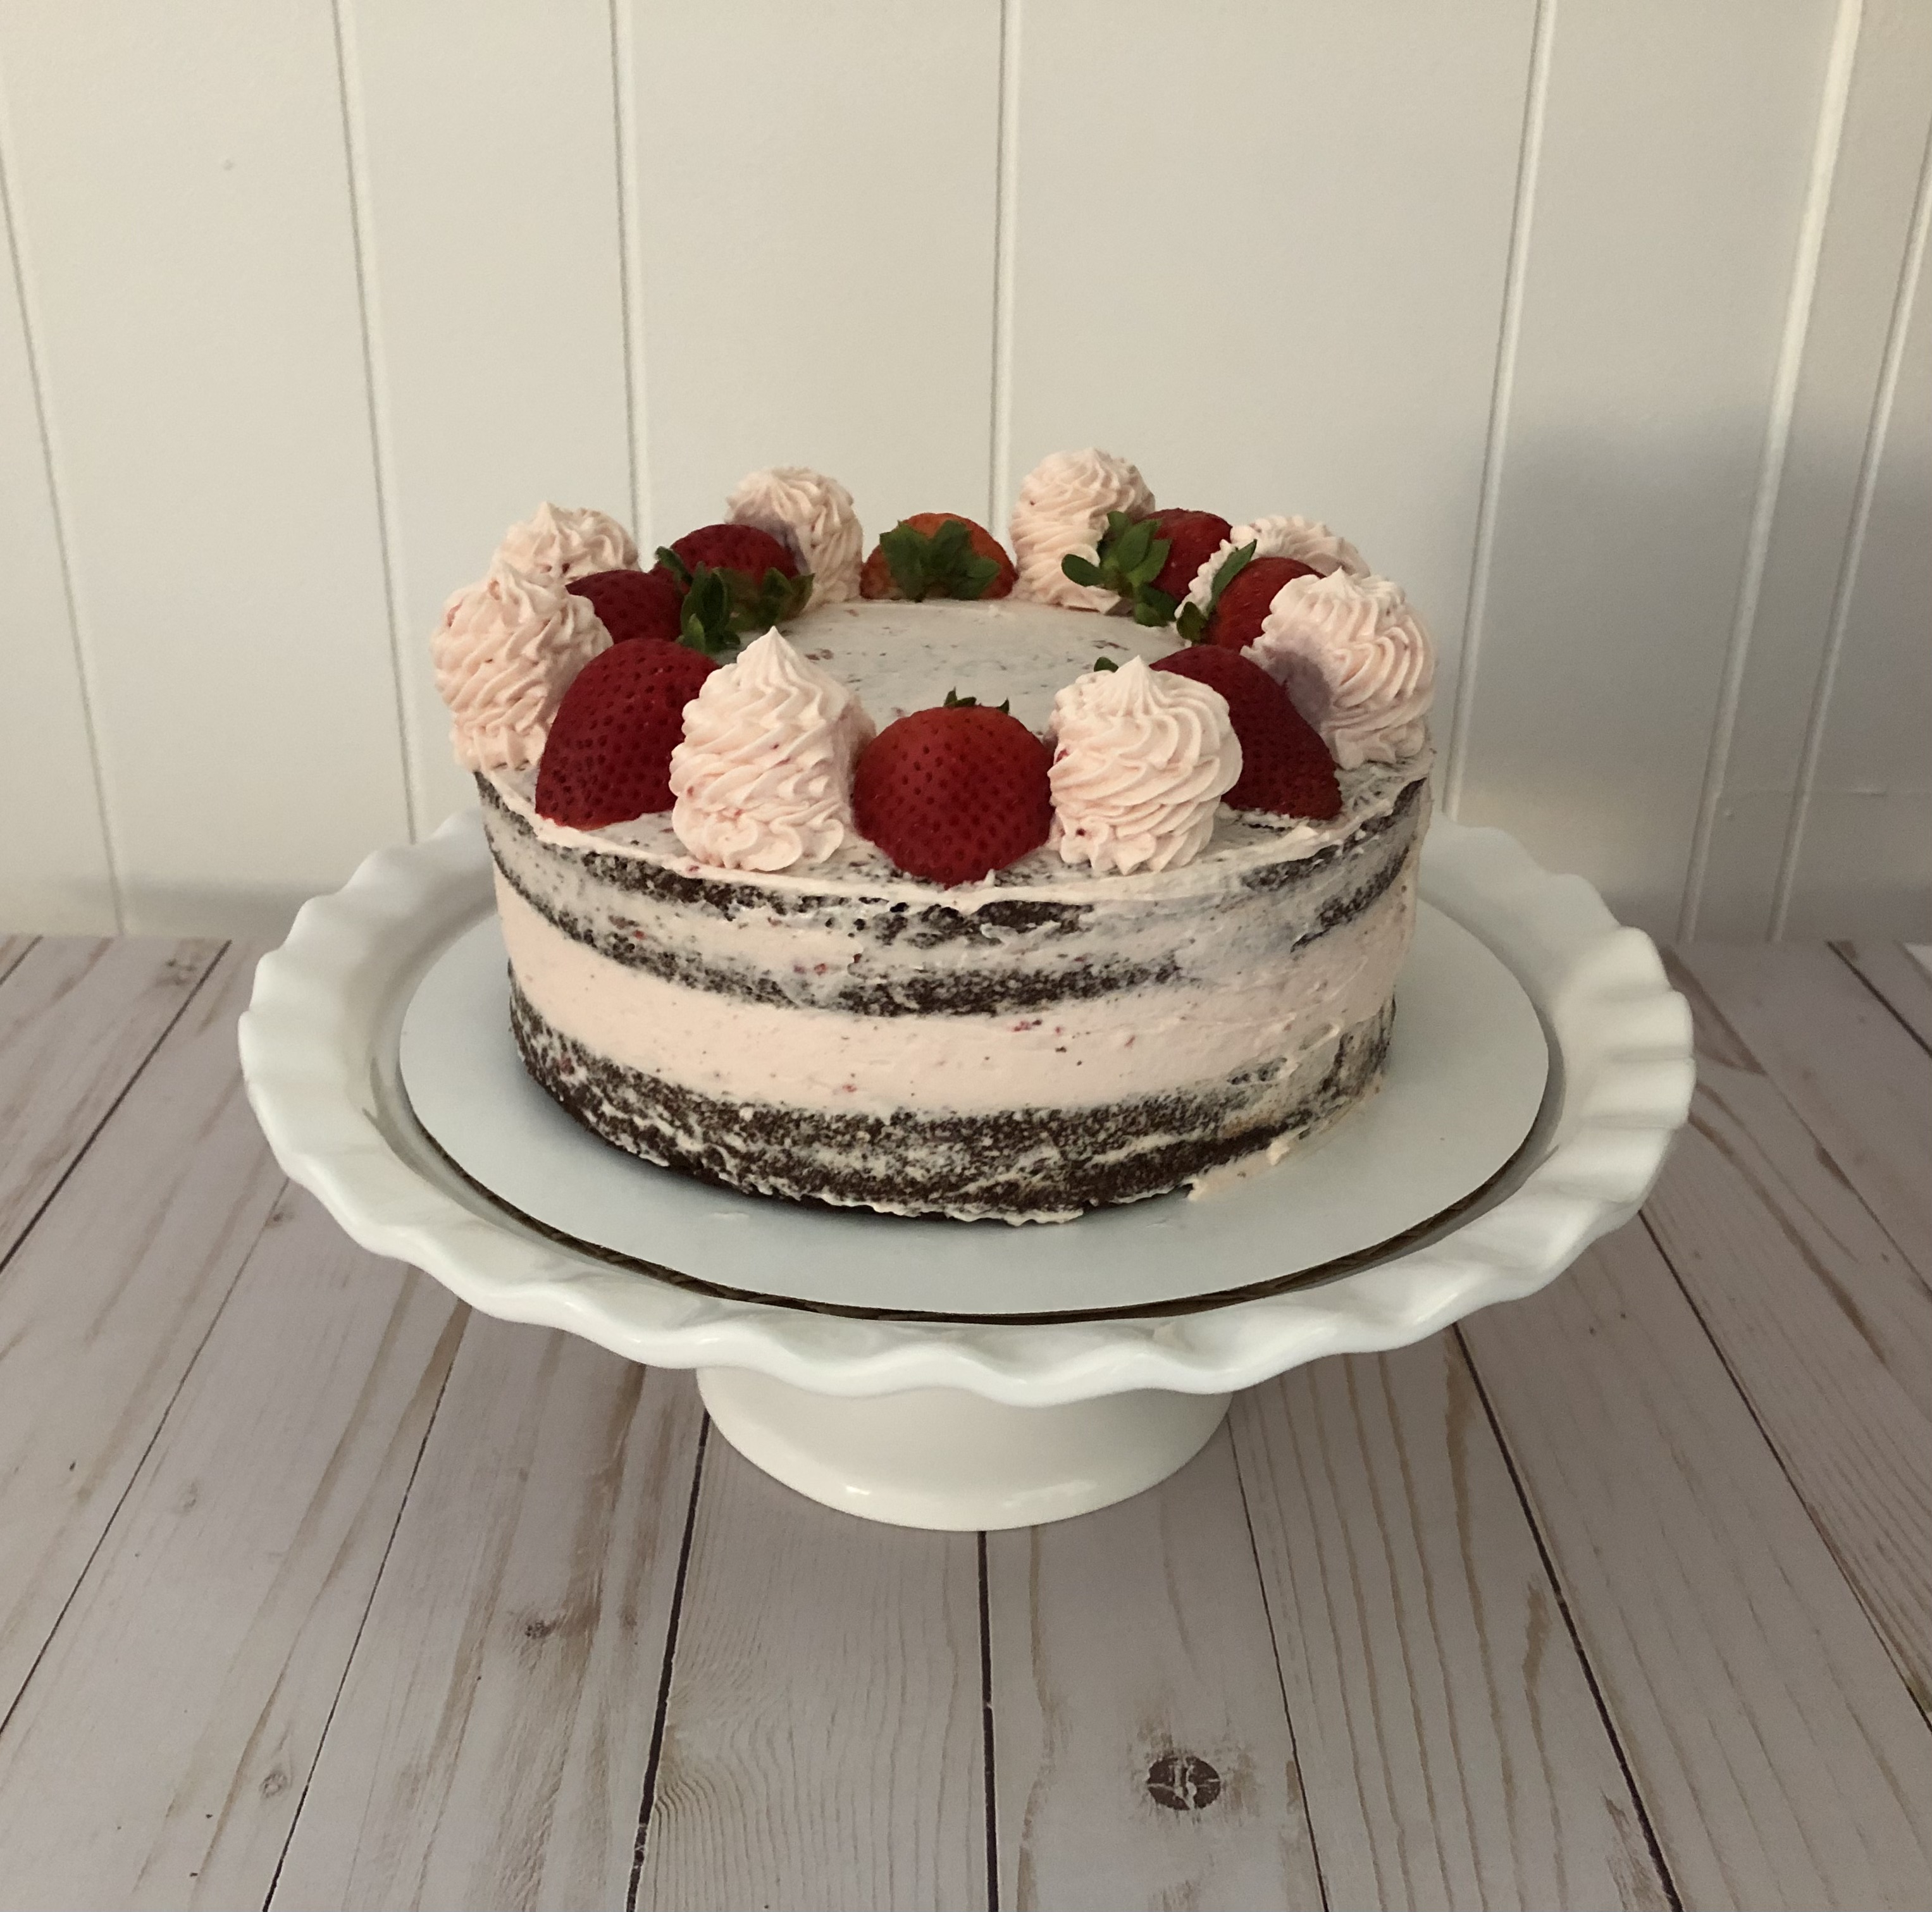
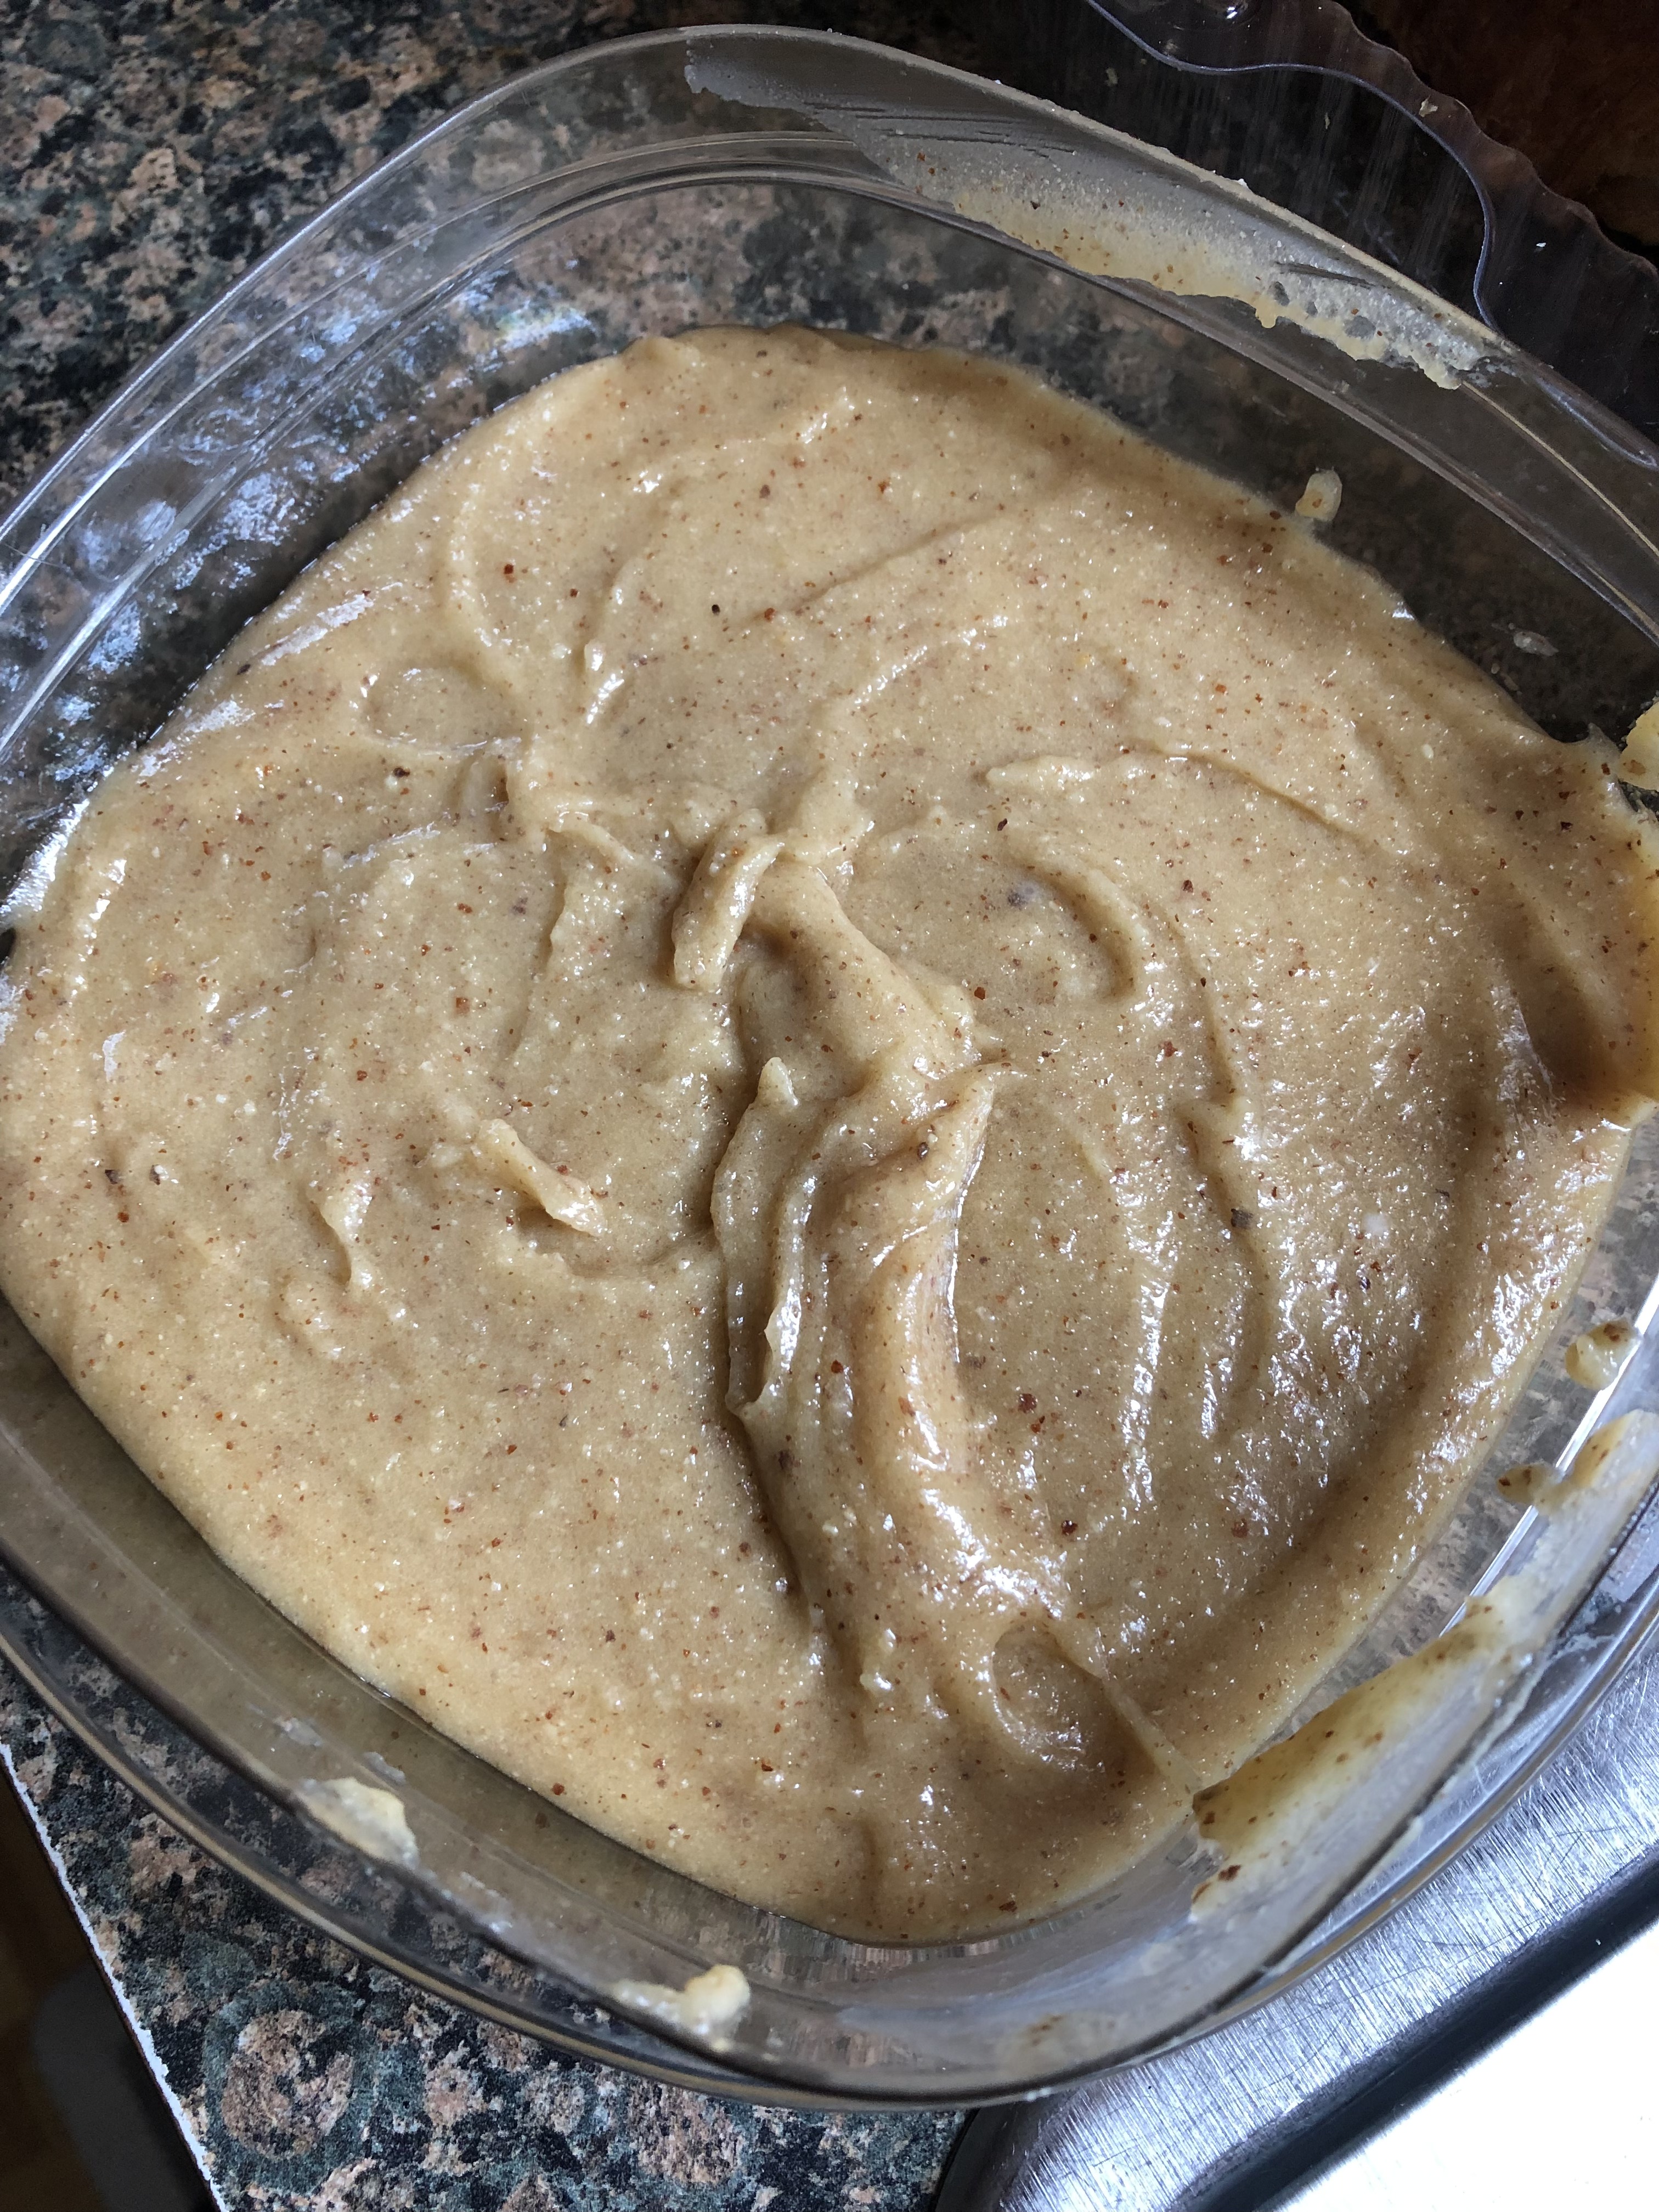
For today’s French Vanilla Espresso Cake with Almond Mascarpone Frosting, I used a French Vanilla boxed cake and instead of adding water to the mix I added in a cup of espresso which toned down the flavor of the French vanilla and gave it a hint of coffee flavor. While the cake is incredibly soft and moist the real stand-out is the frosting. It’s incredibly light and fluffy and the almond flavor is delish without being overpowering. While I opted to pipe stars on the two layers of the cake to decorate it you could also lightly frost it for a naked look.
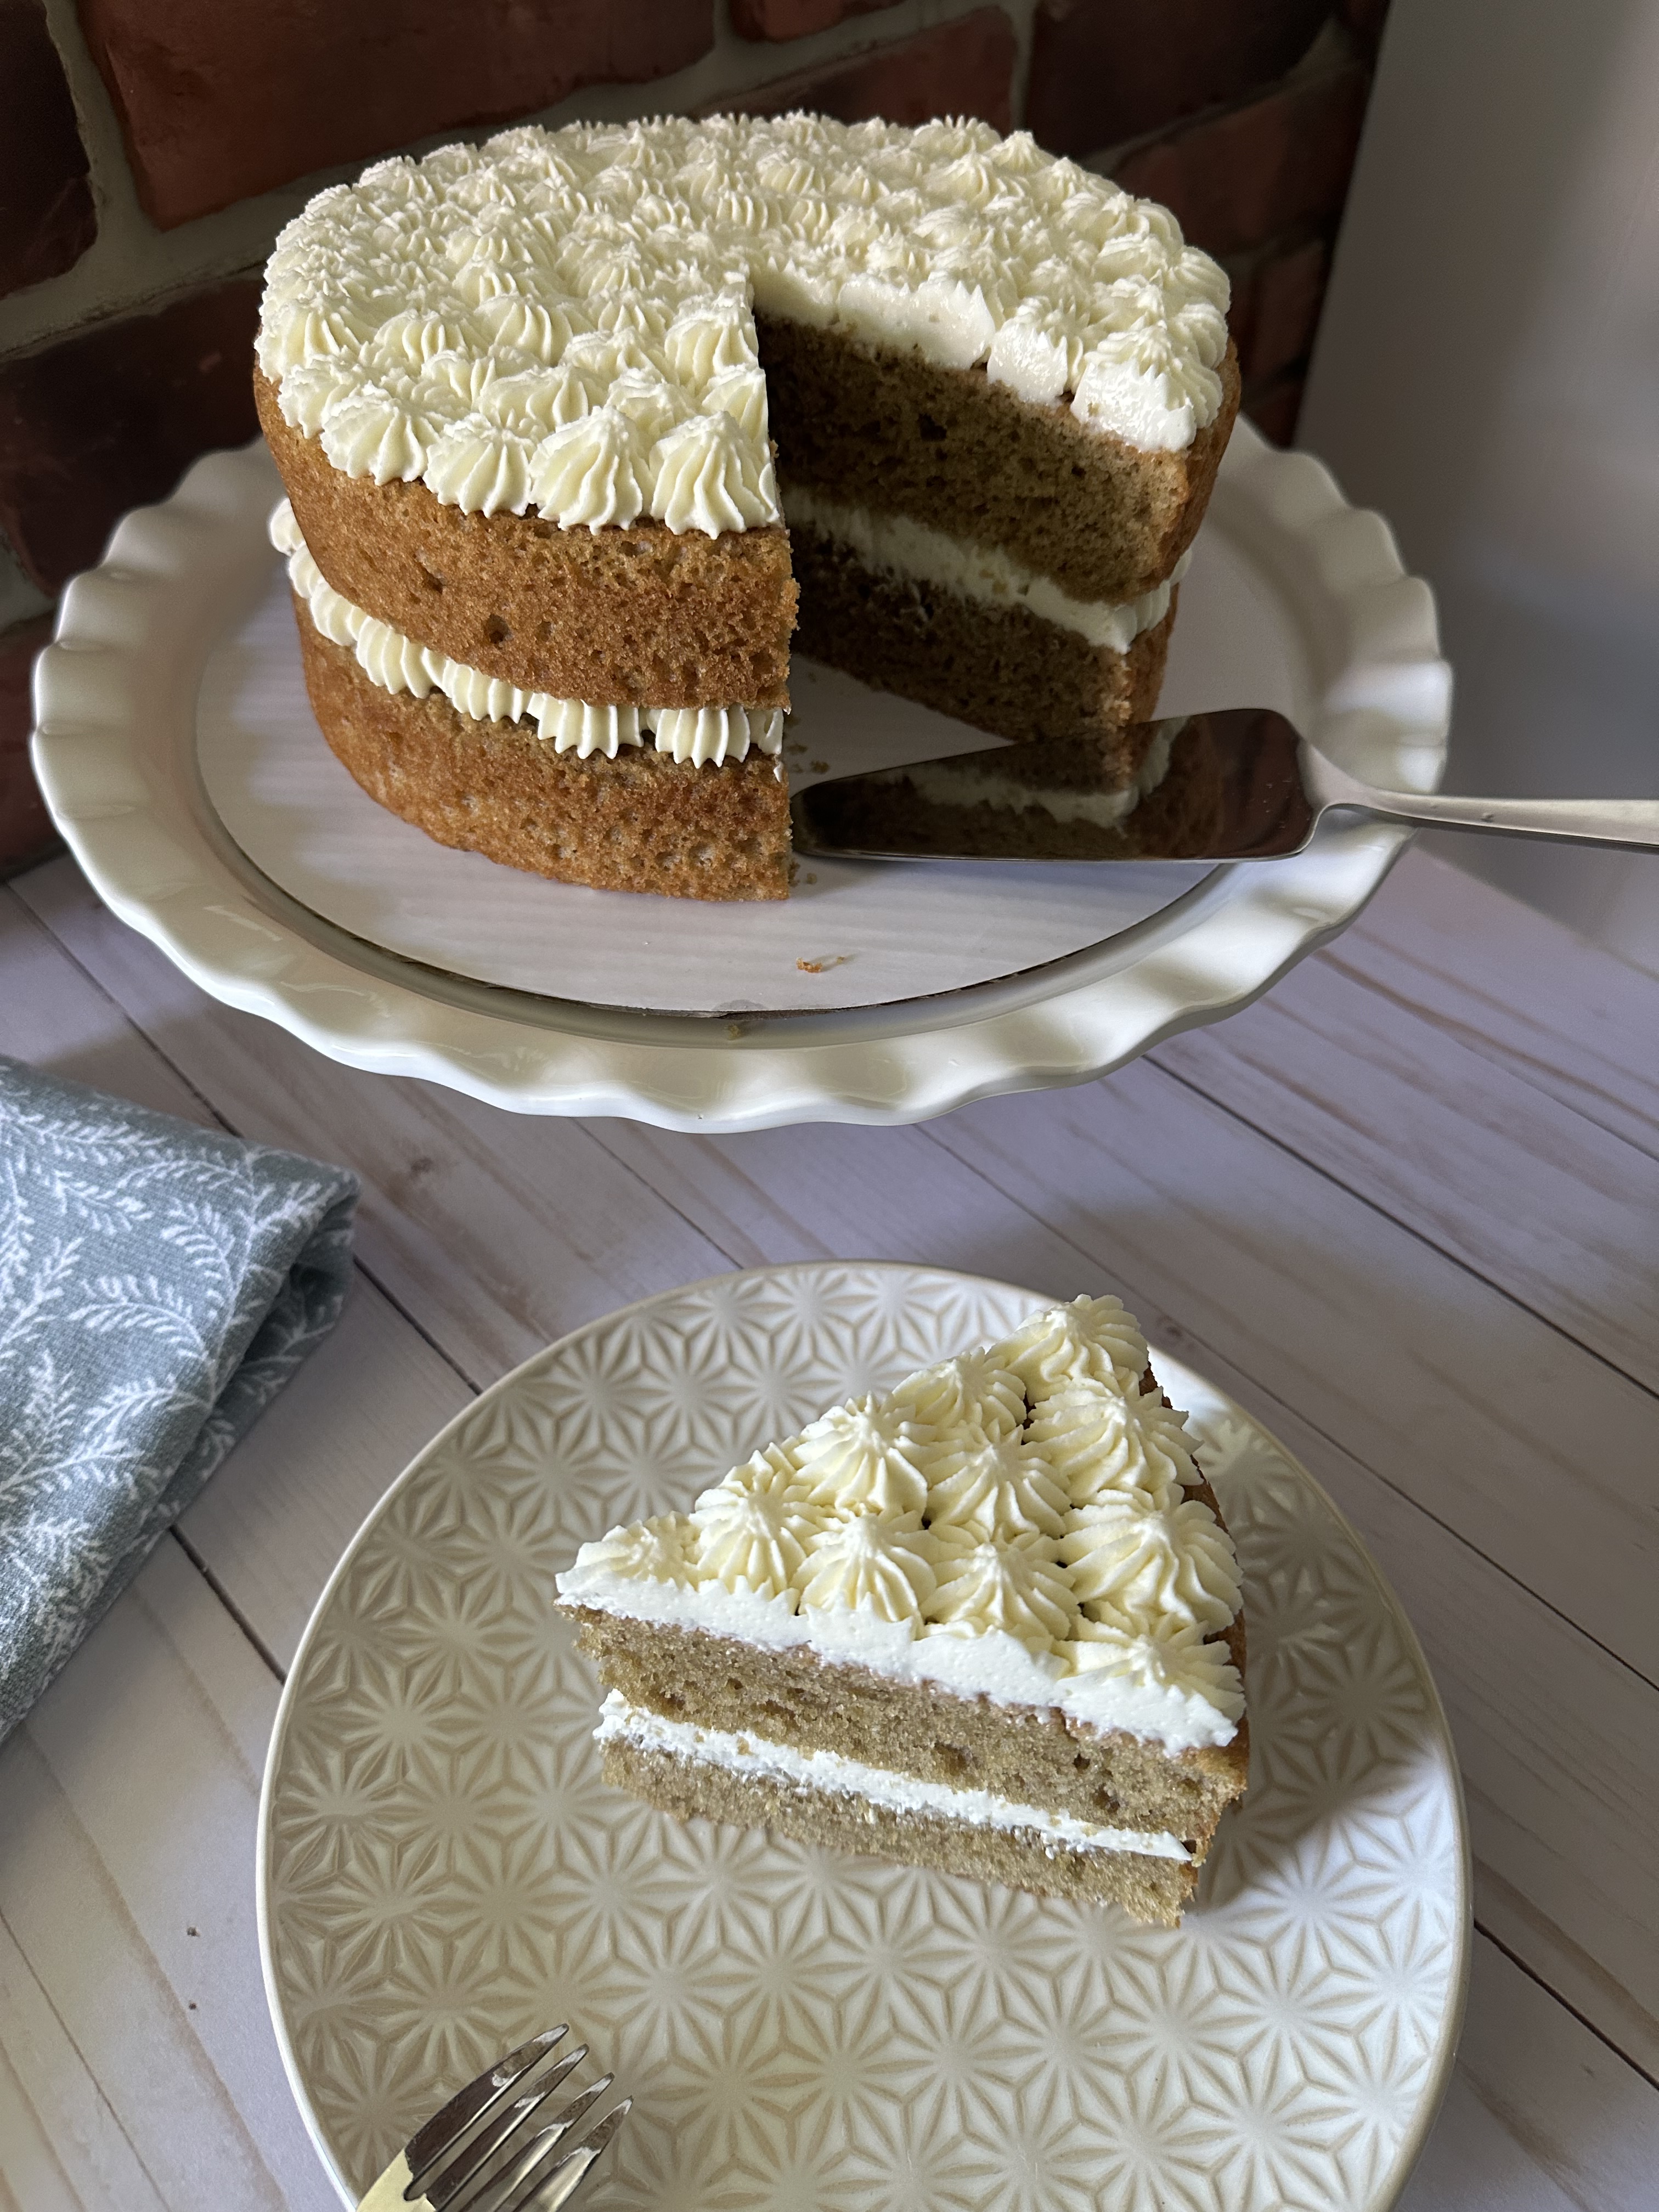
French Vanilla Espresso Cake with Almond Mascarpone Frosting
For the cake:
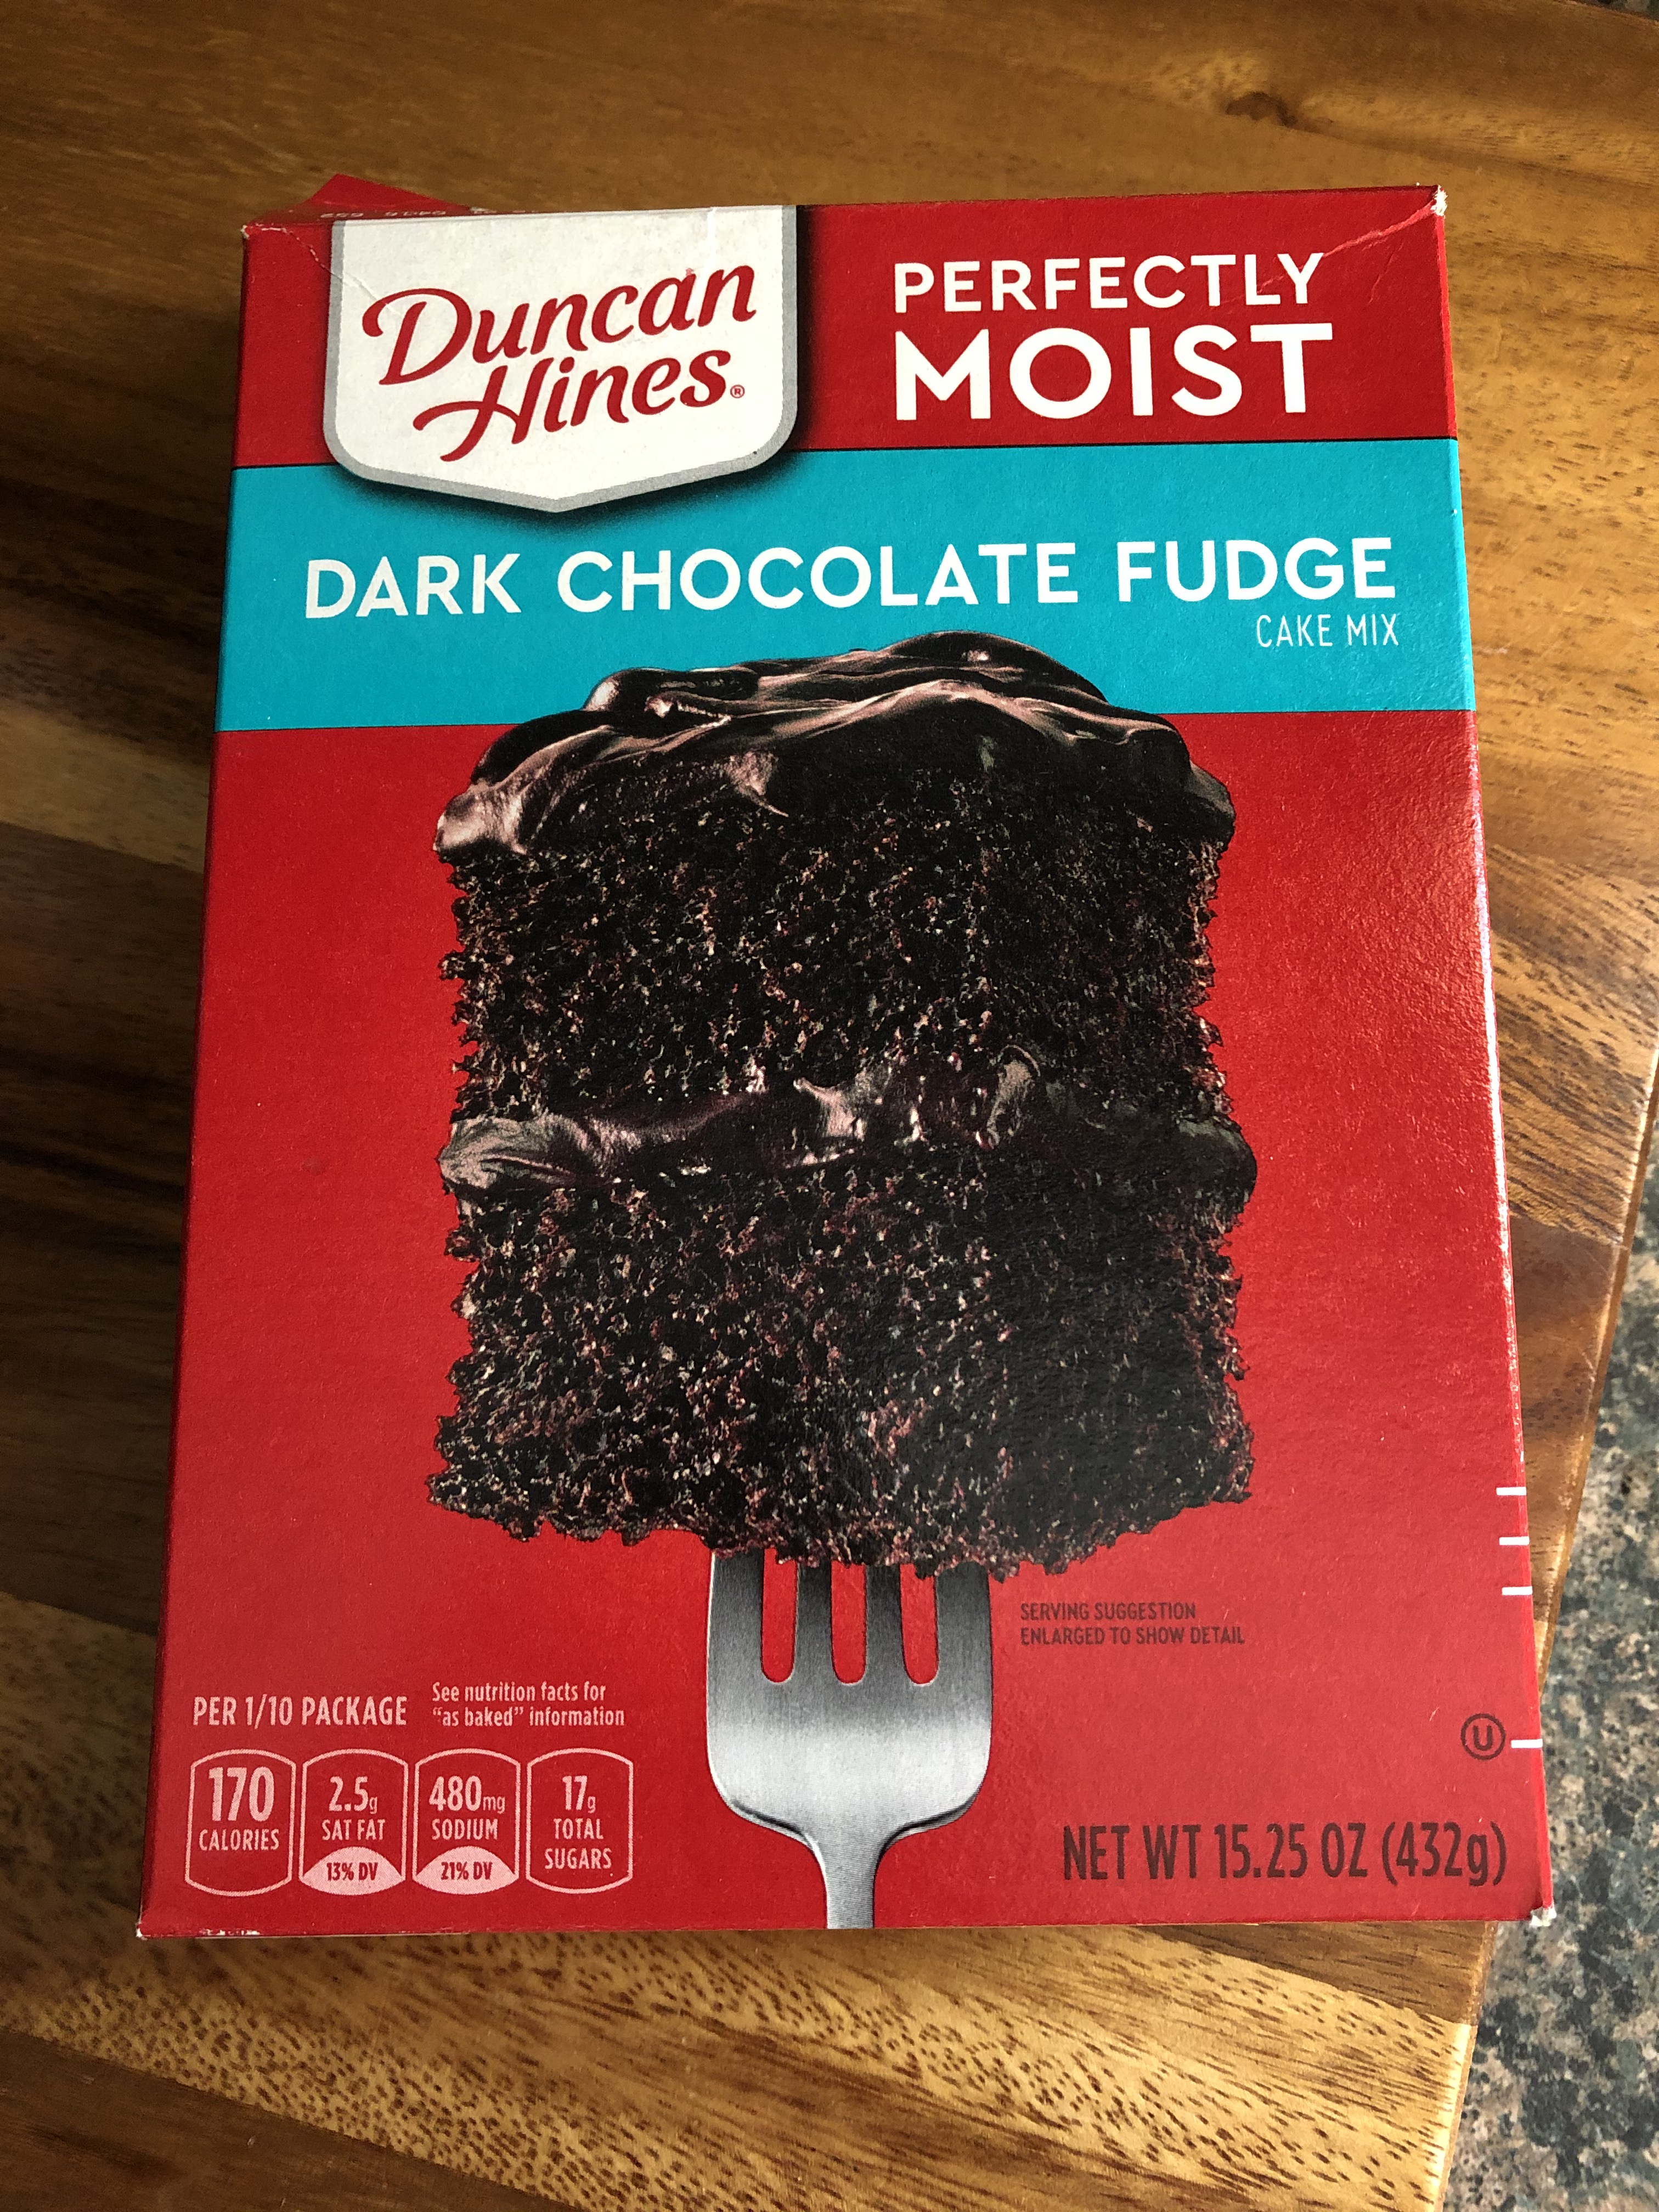
1 15.25 French Vanilla box cake mix*
3 eggs
1 cup espresso (or strong coffee)
1/3 cup vegetable oil
For the frosting:
8oz. mascarpone cheese
1 cup confectioners’ sugar
1 teaspoon vanilla extract
1 teaspoon almond extract
2 tablespoons Amaretto**
1 cup heavy whipping cream
*I used Duncan Hines
**Optional
Directions:
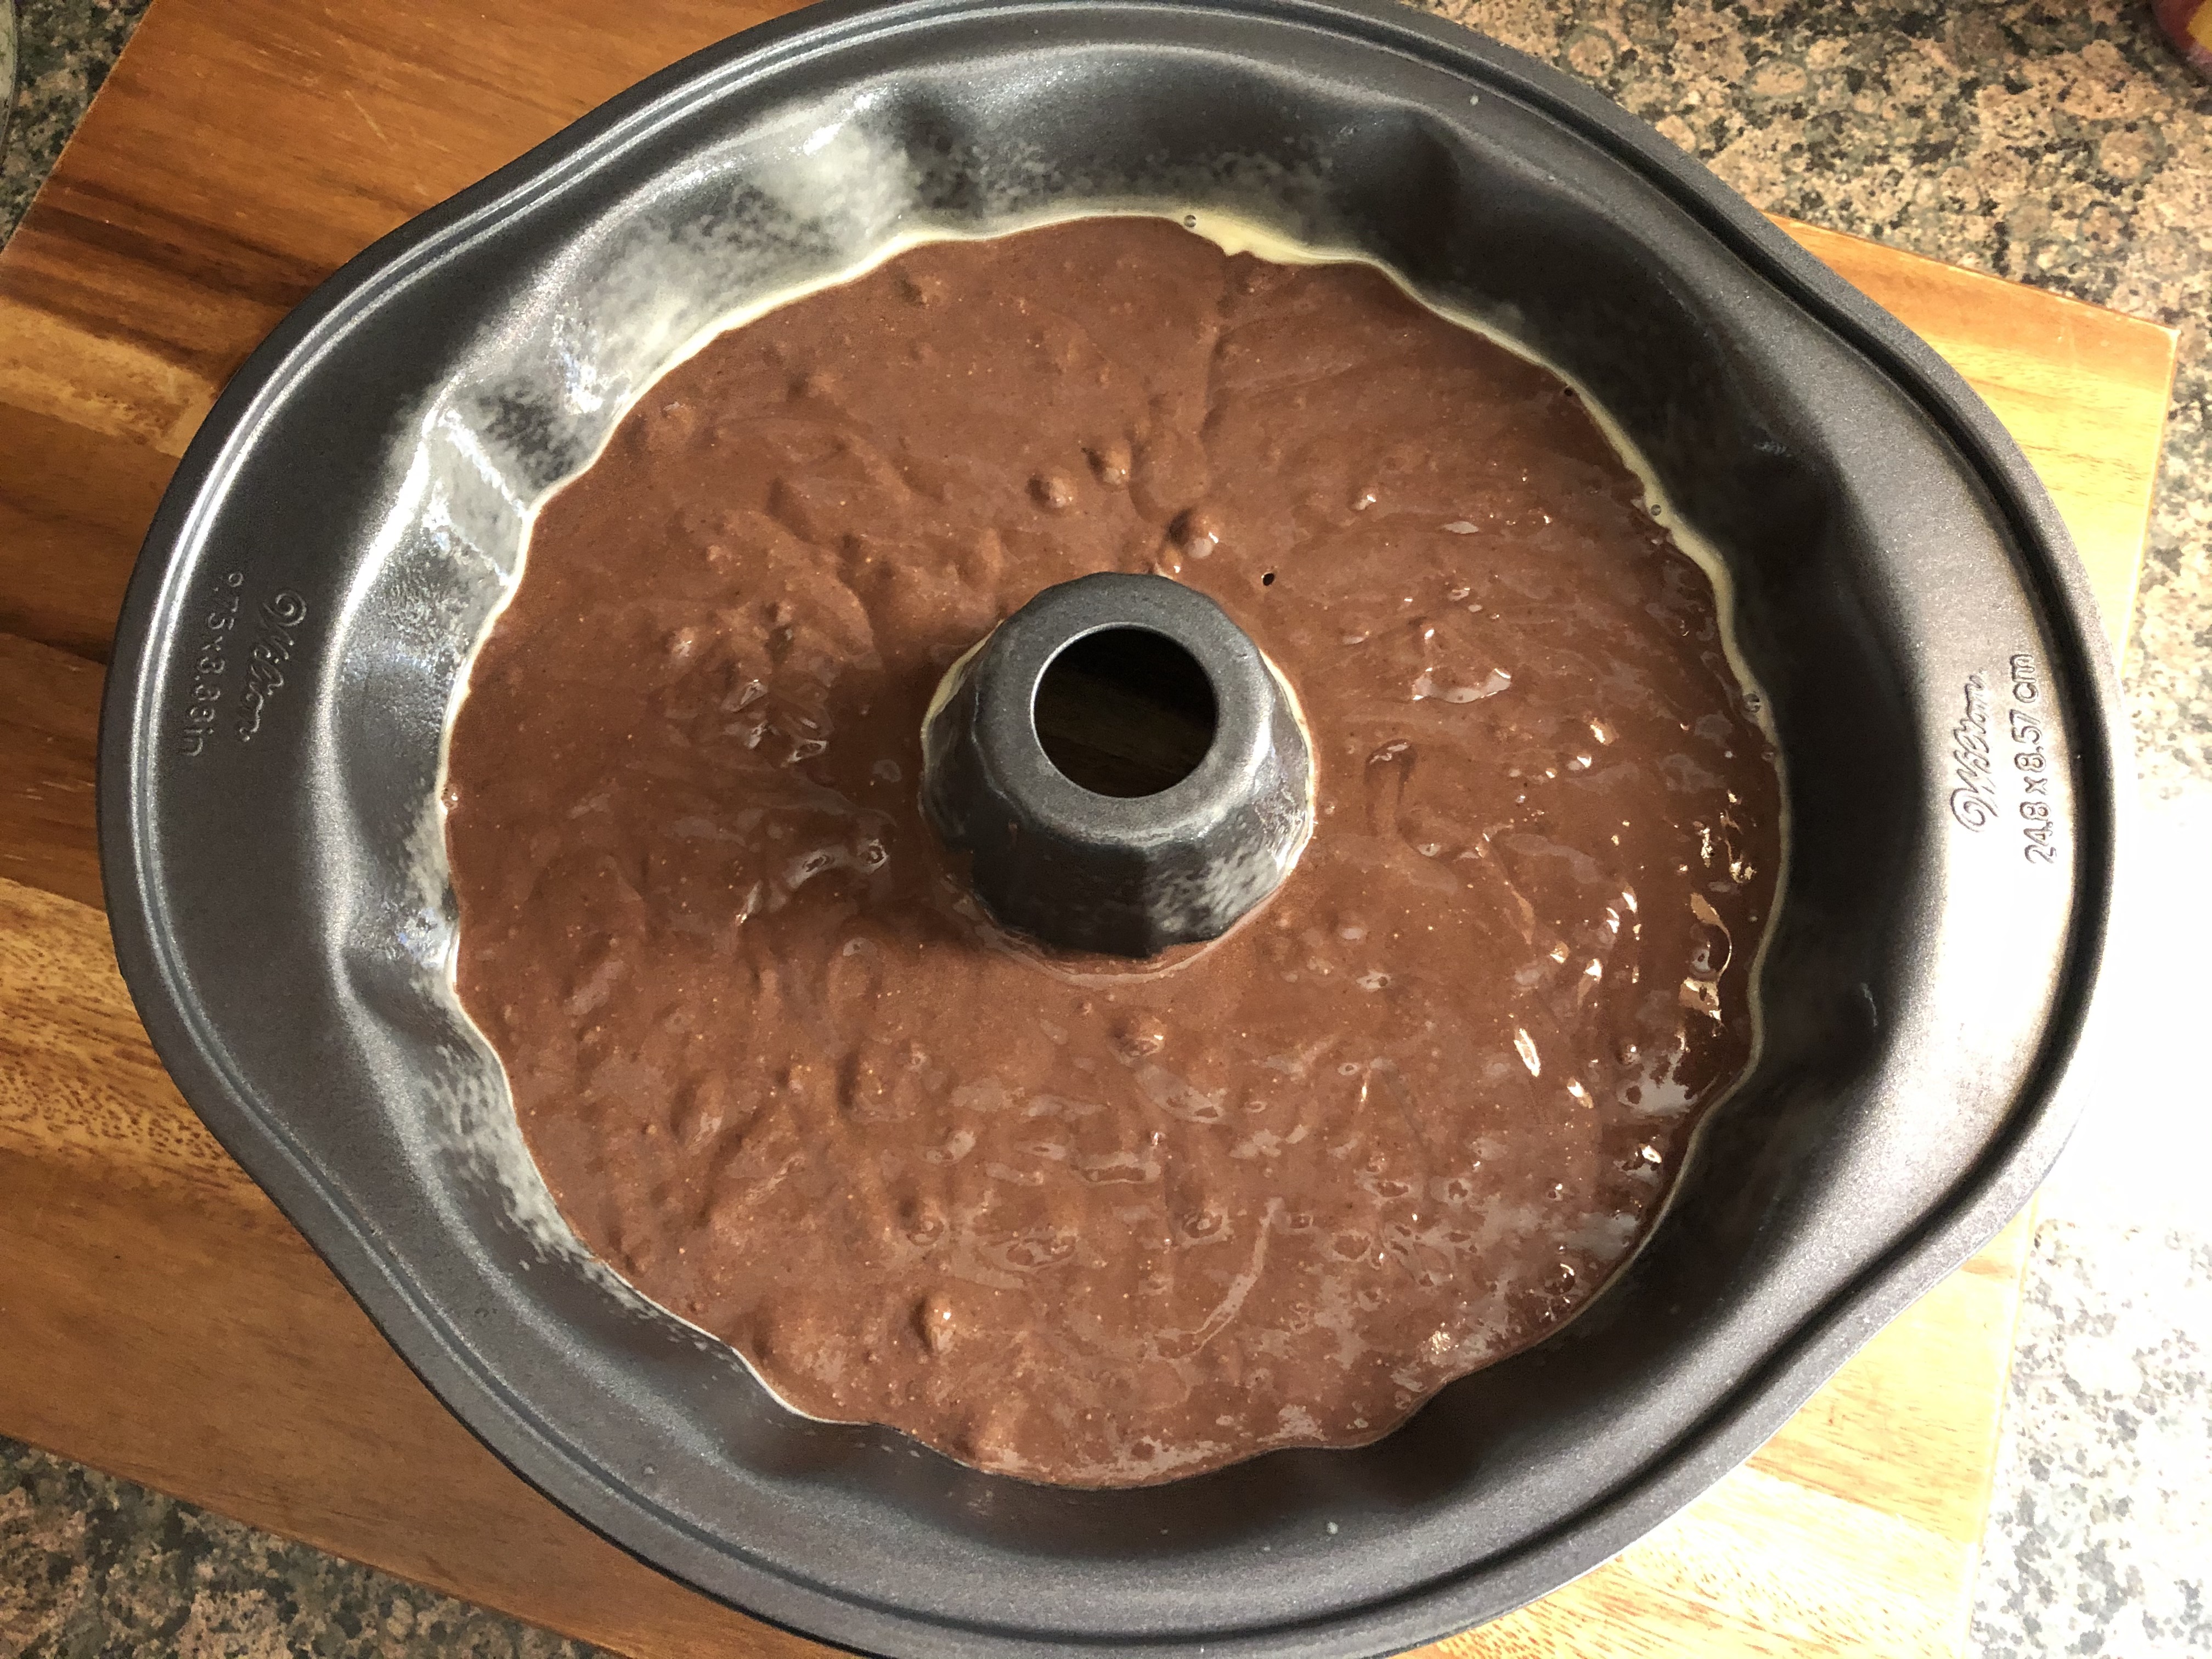
For the Cake: Preheat the oven to 350 F. Spray two 8-inch round cake pans with baking spray and set aside.
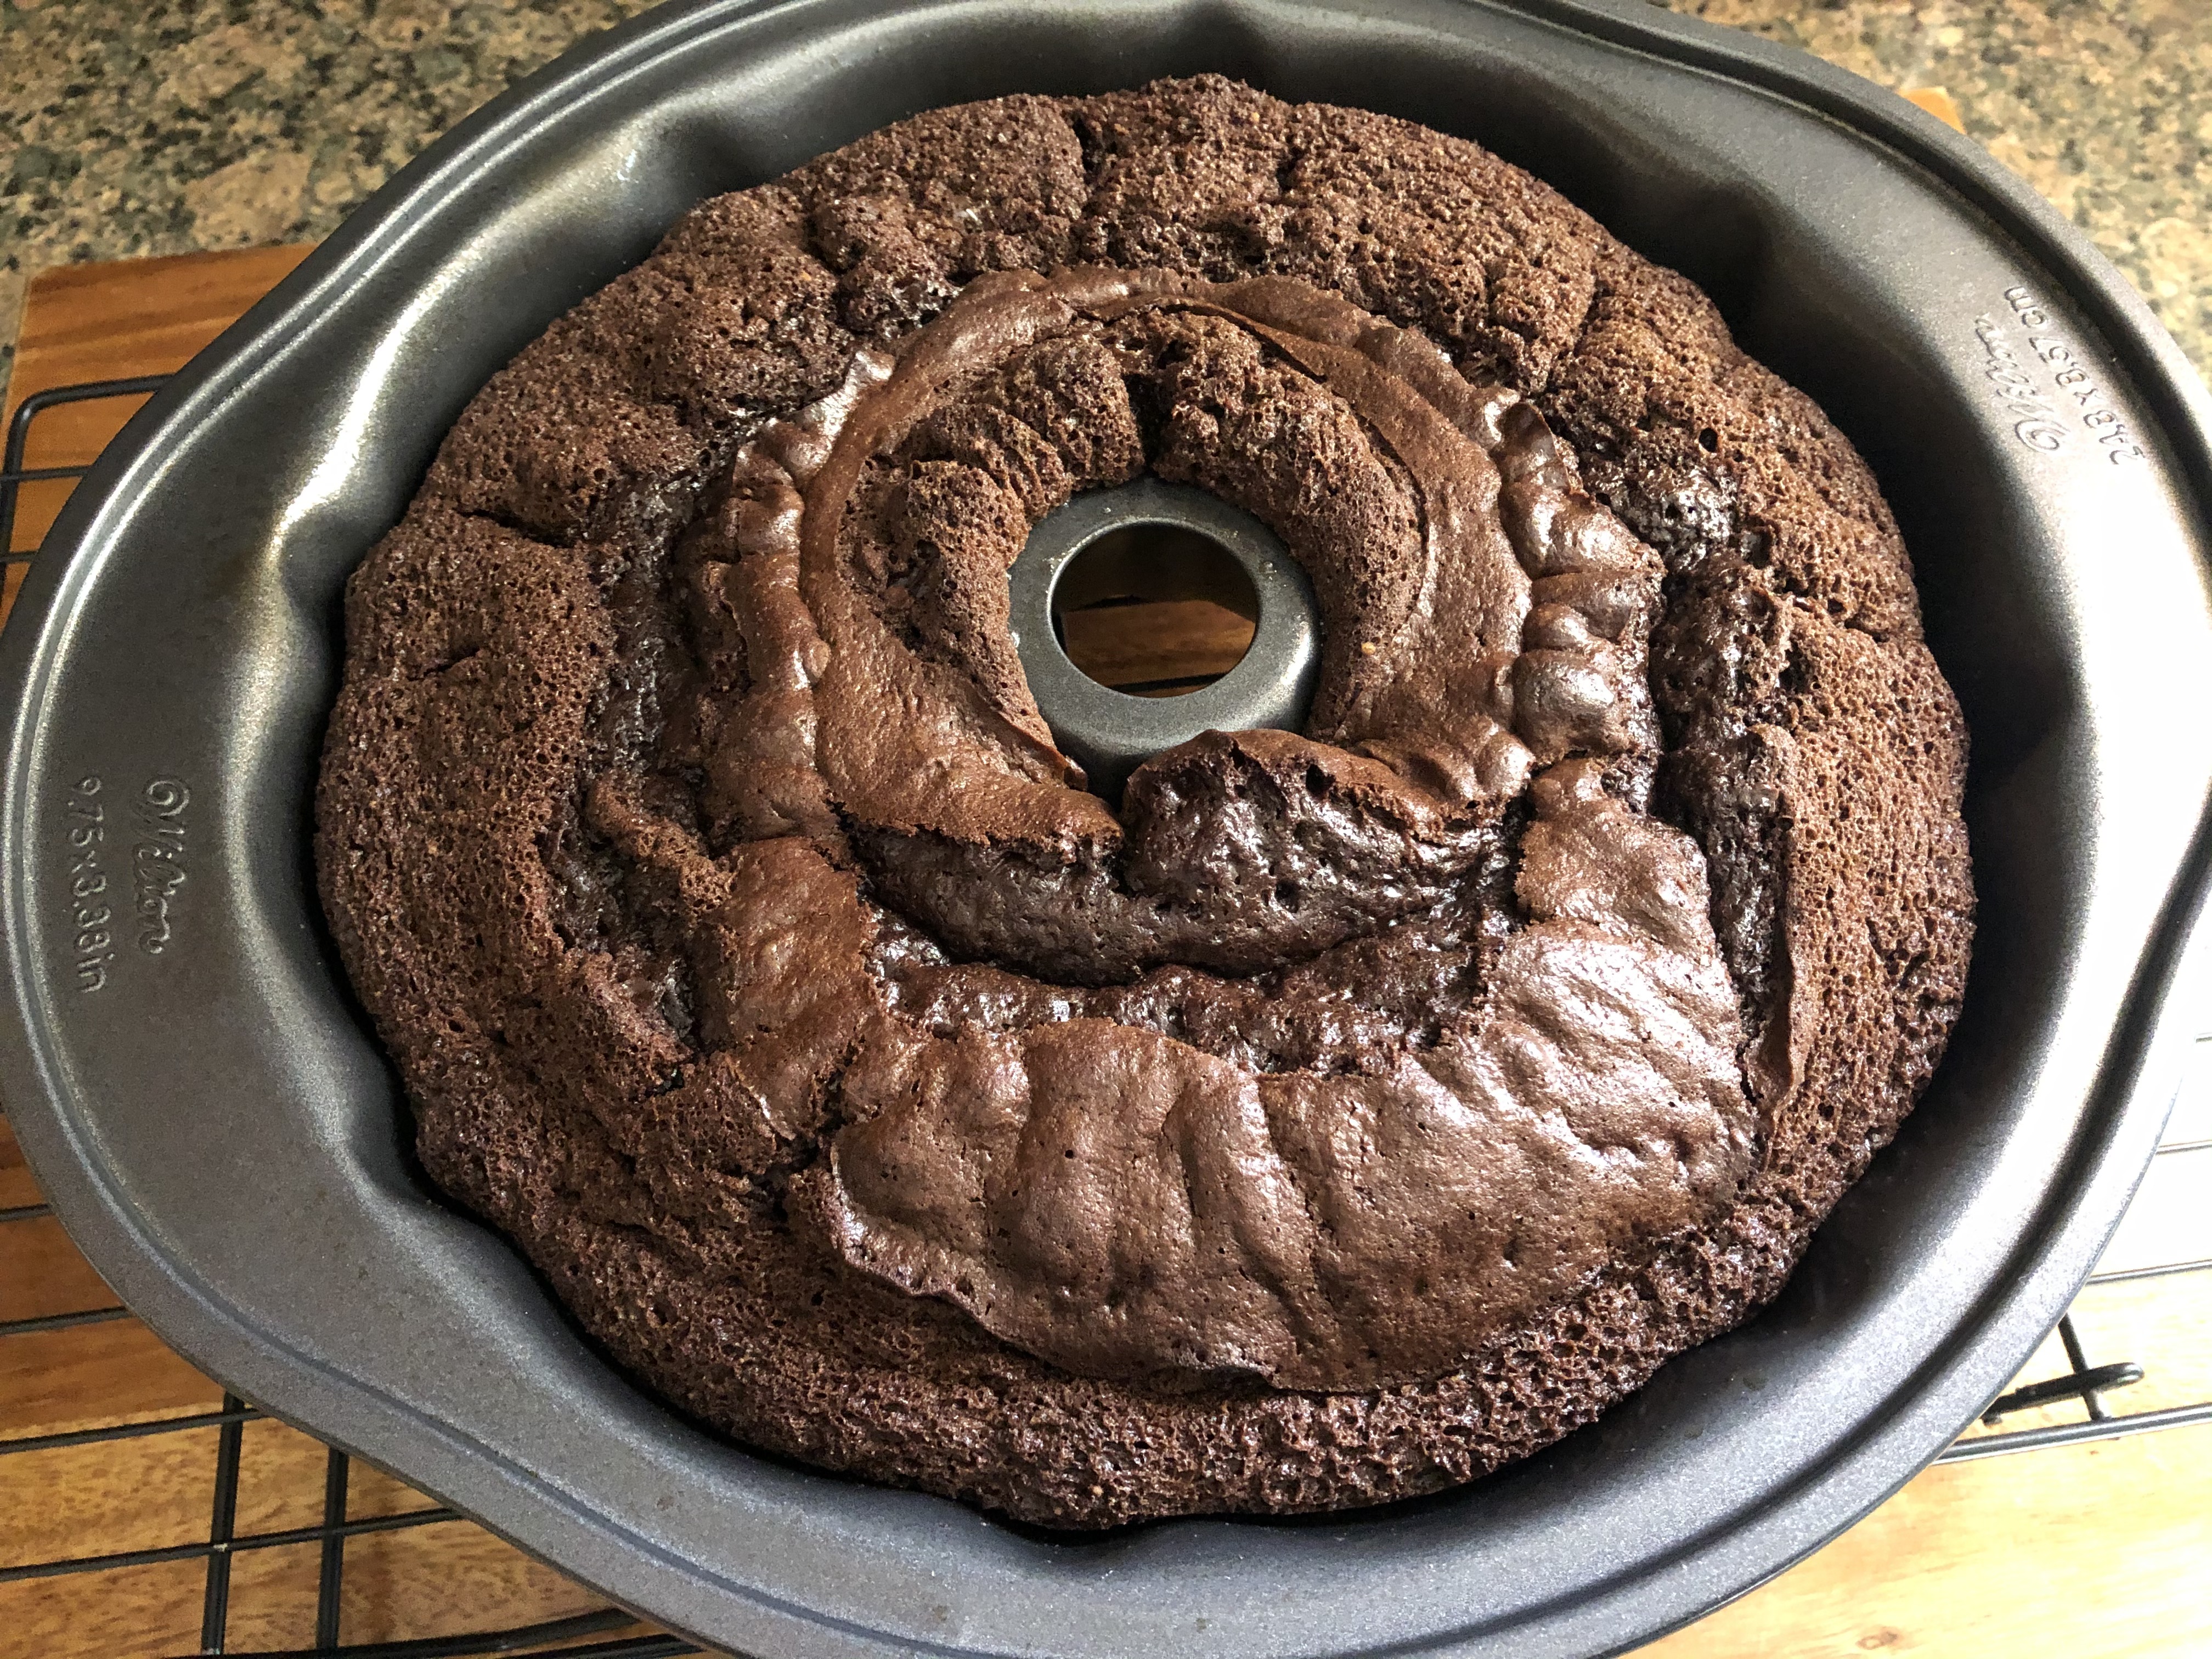
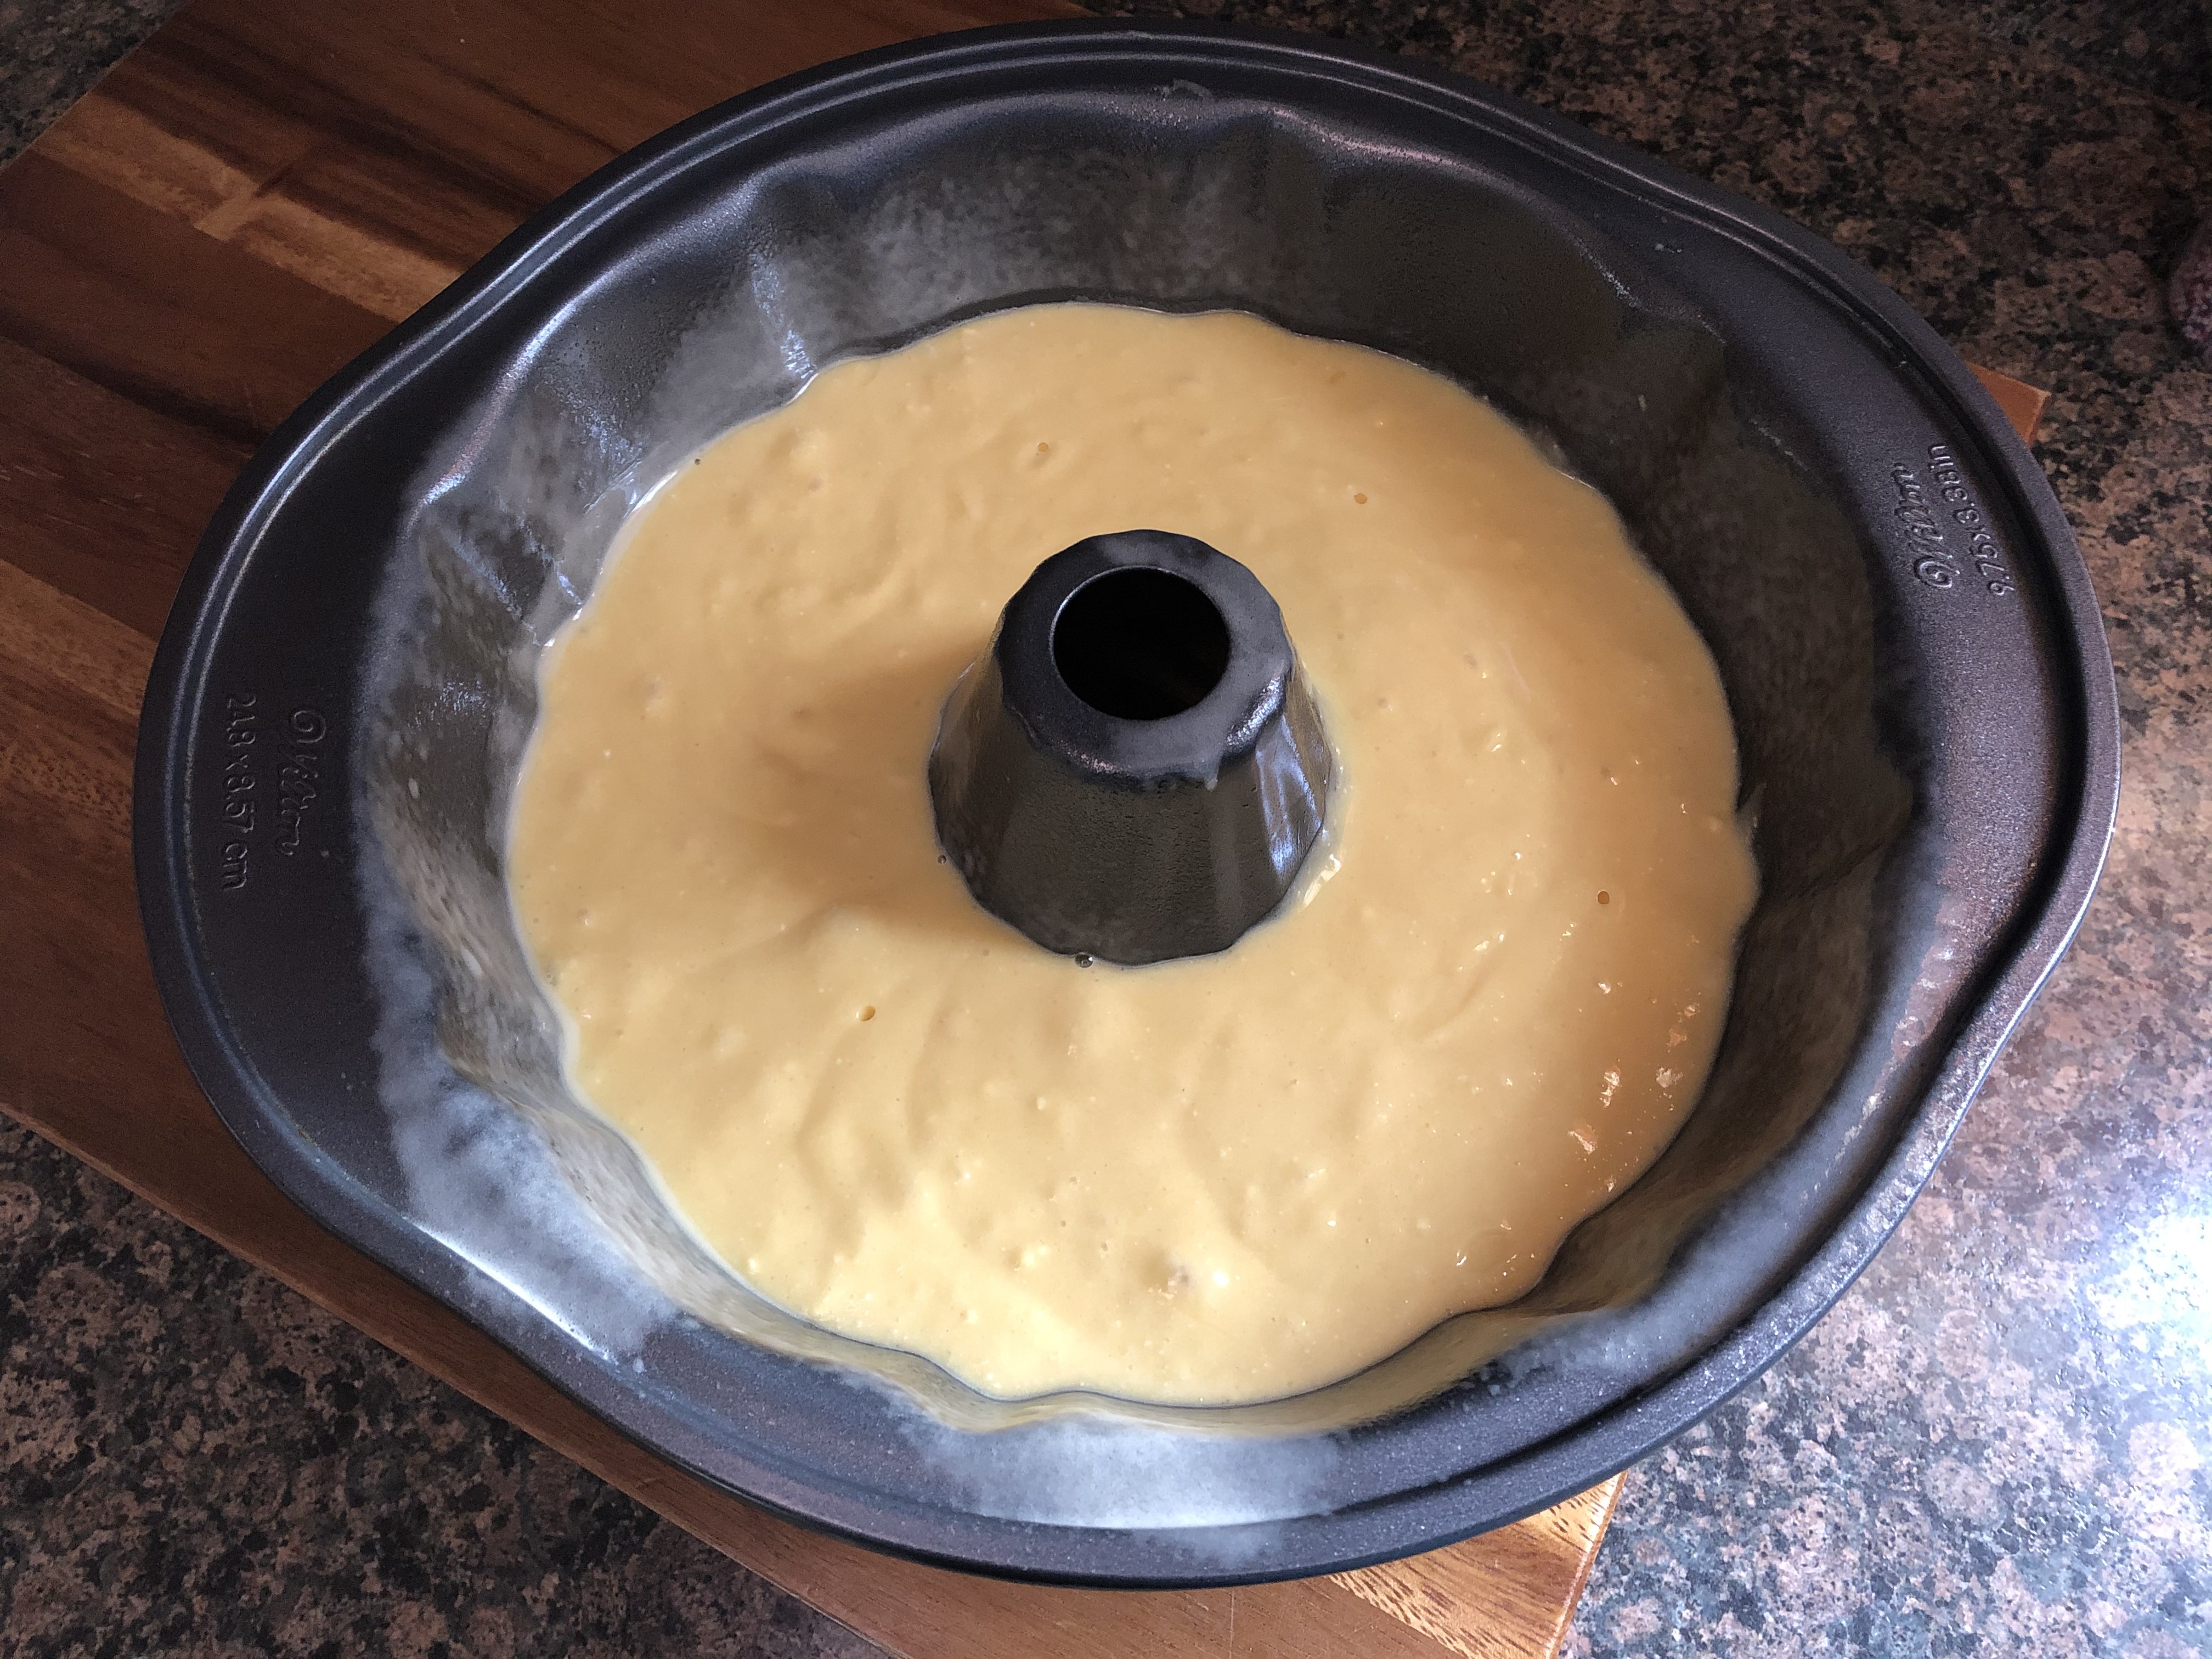
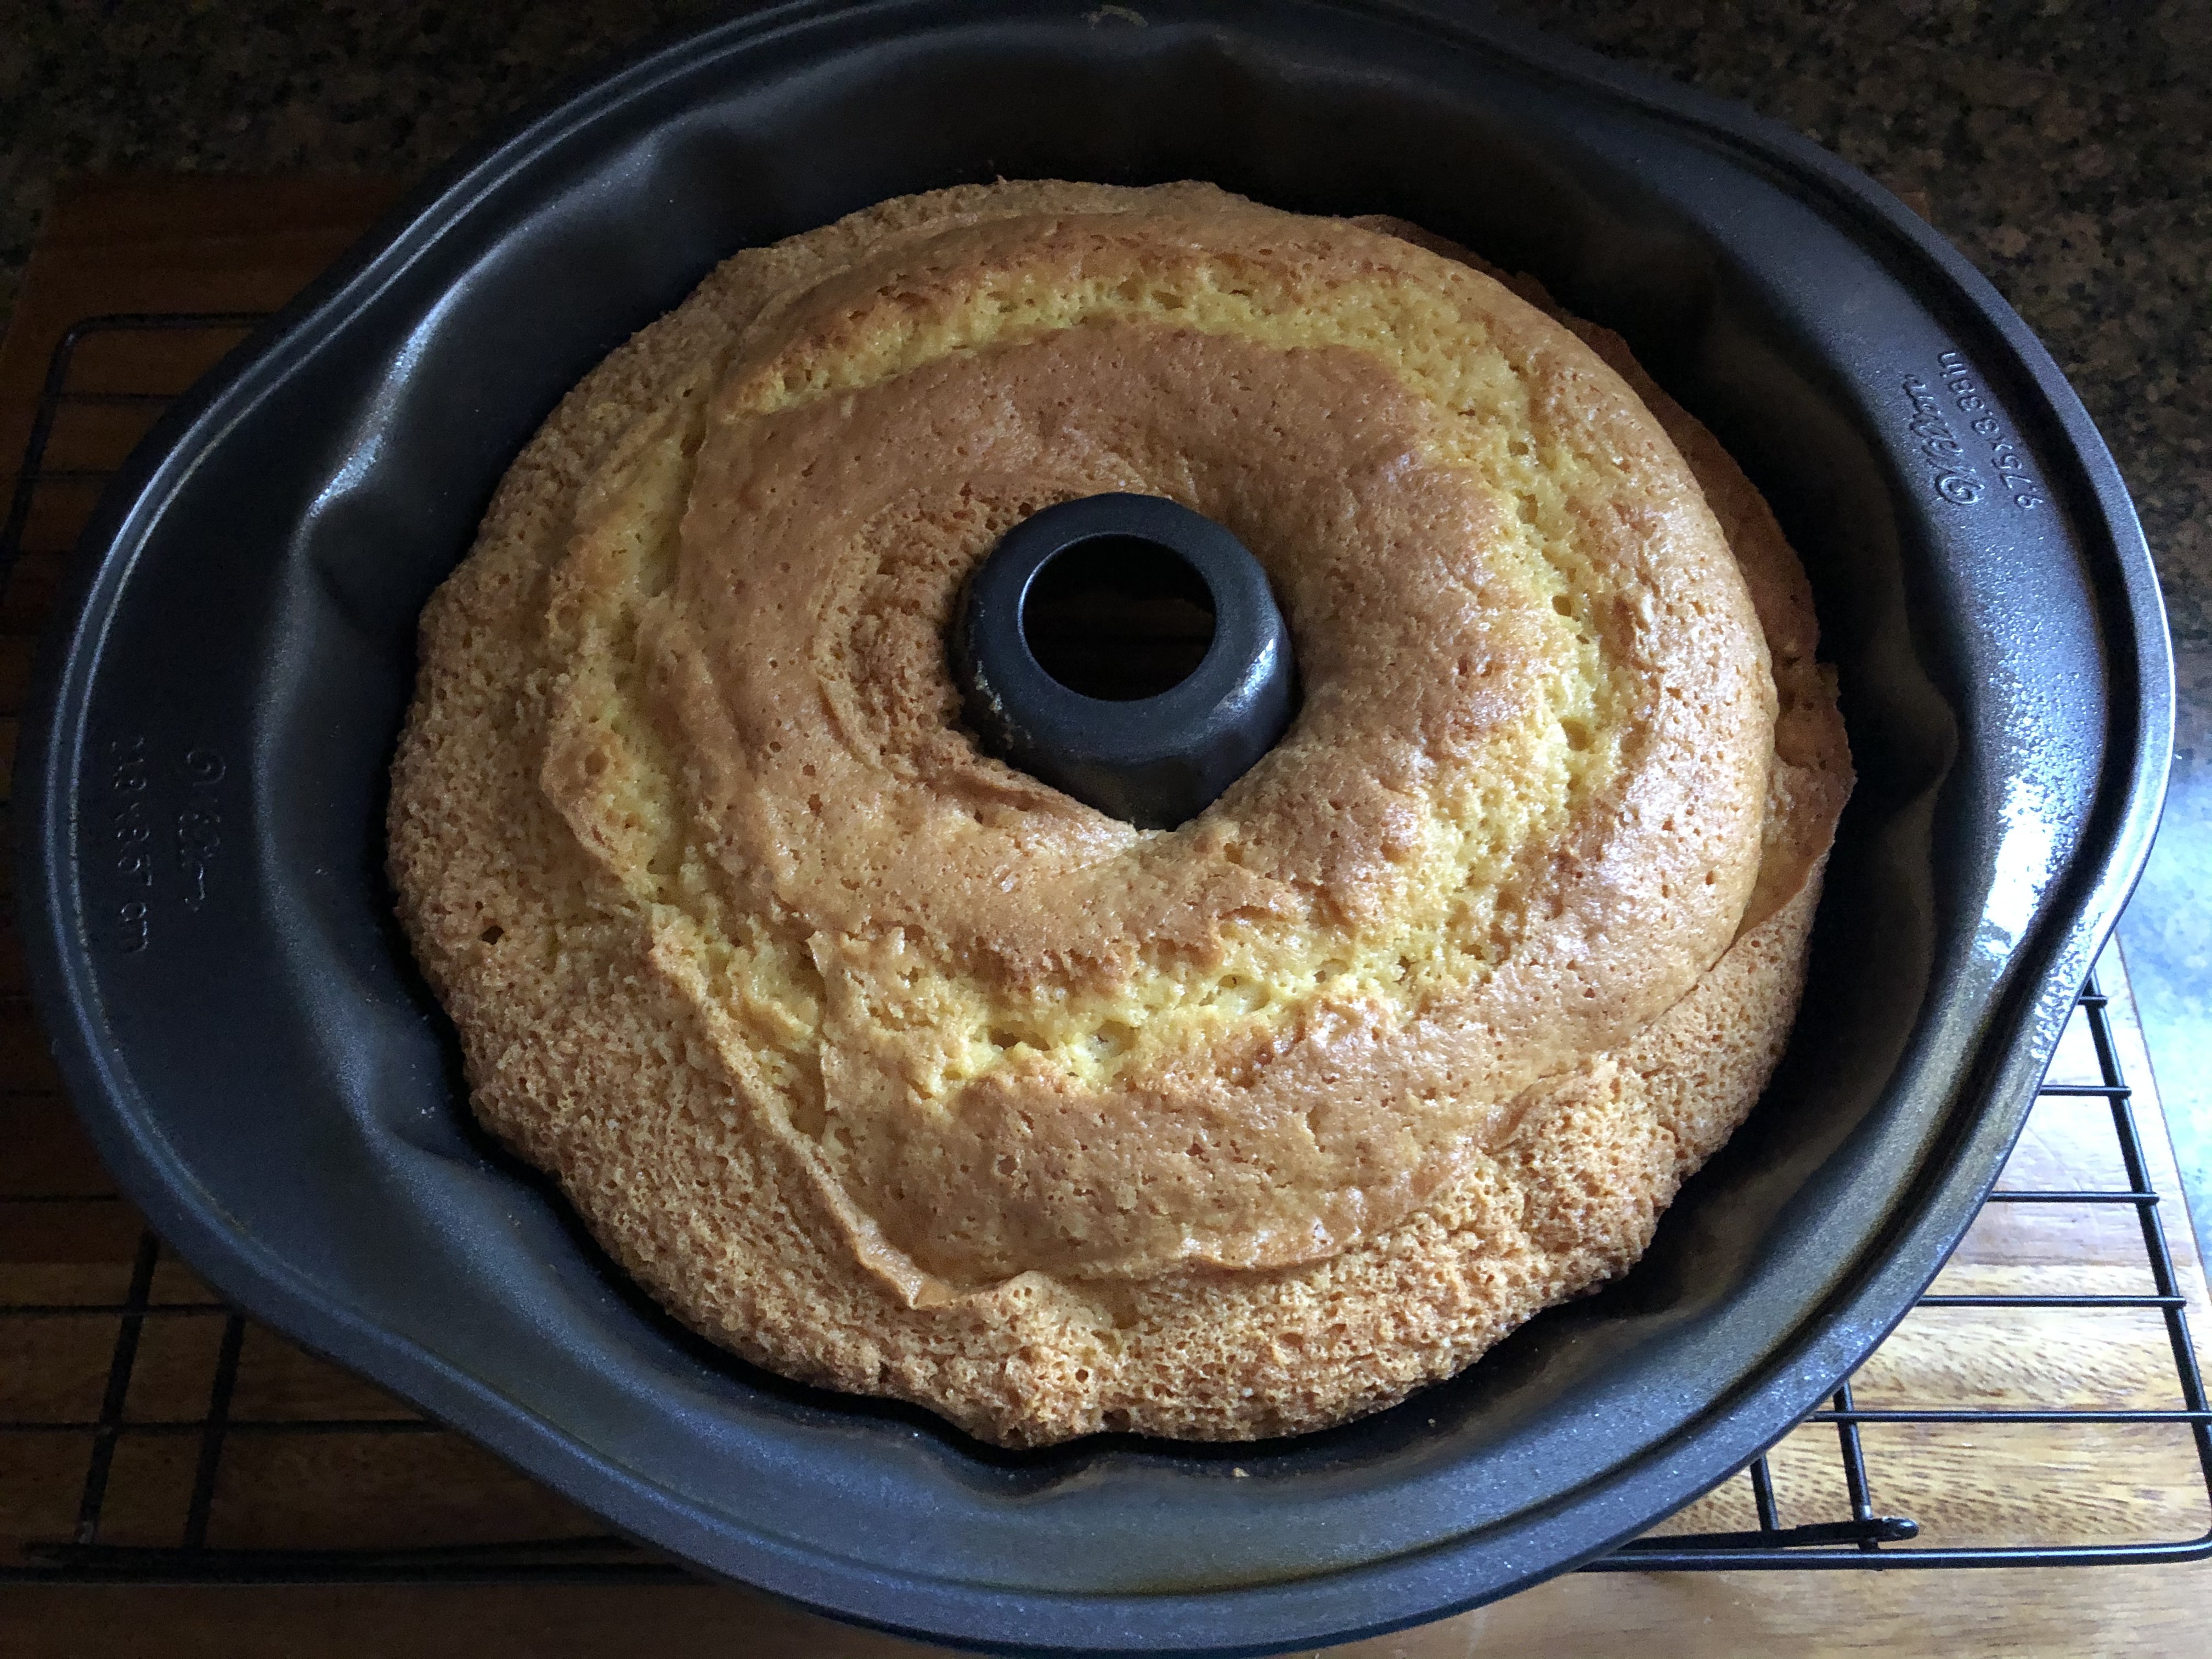
In a large bowl combine the cake mix, eggs, coffee and vegetable oil and beat on medium speed until just combined. Divide the batter between the two pans and bake in the preheated oven for about 25 minutes, or a cake tester inserted in the center comes out clean.
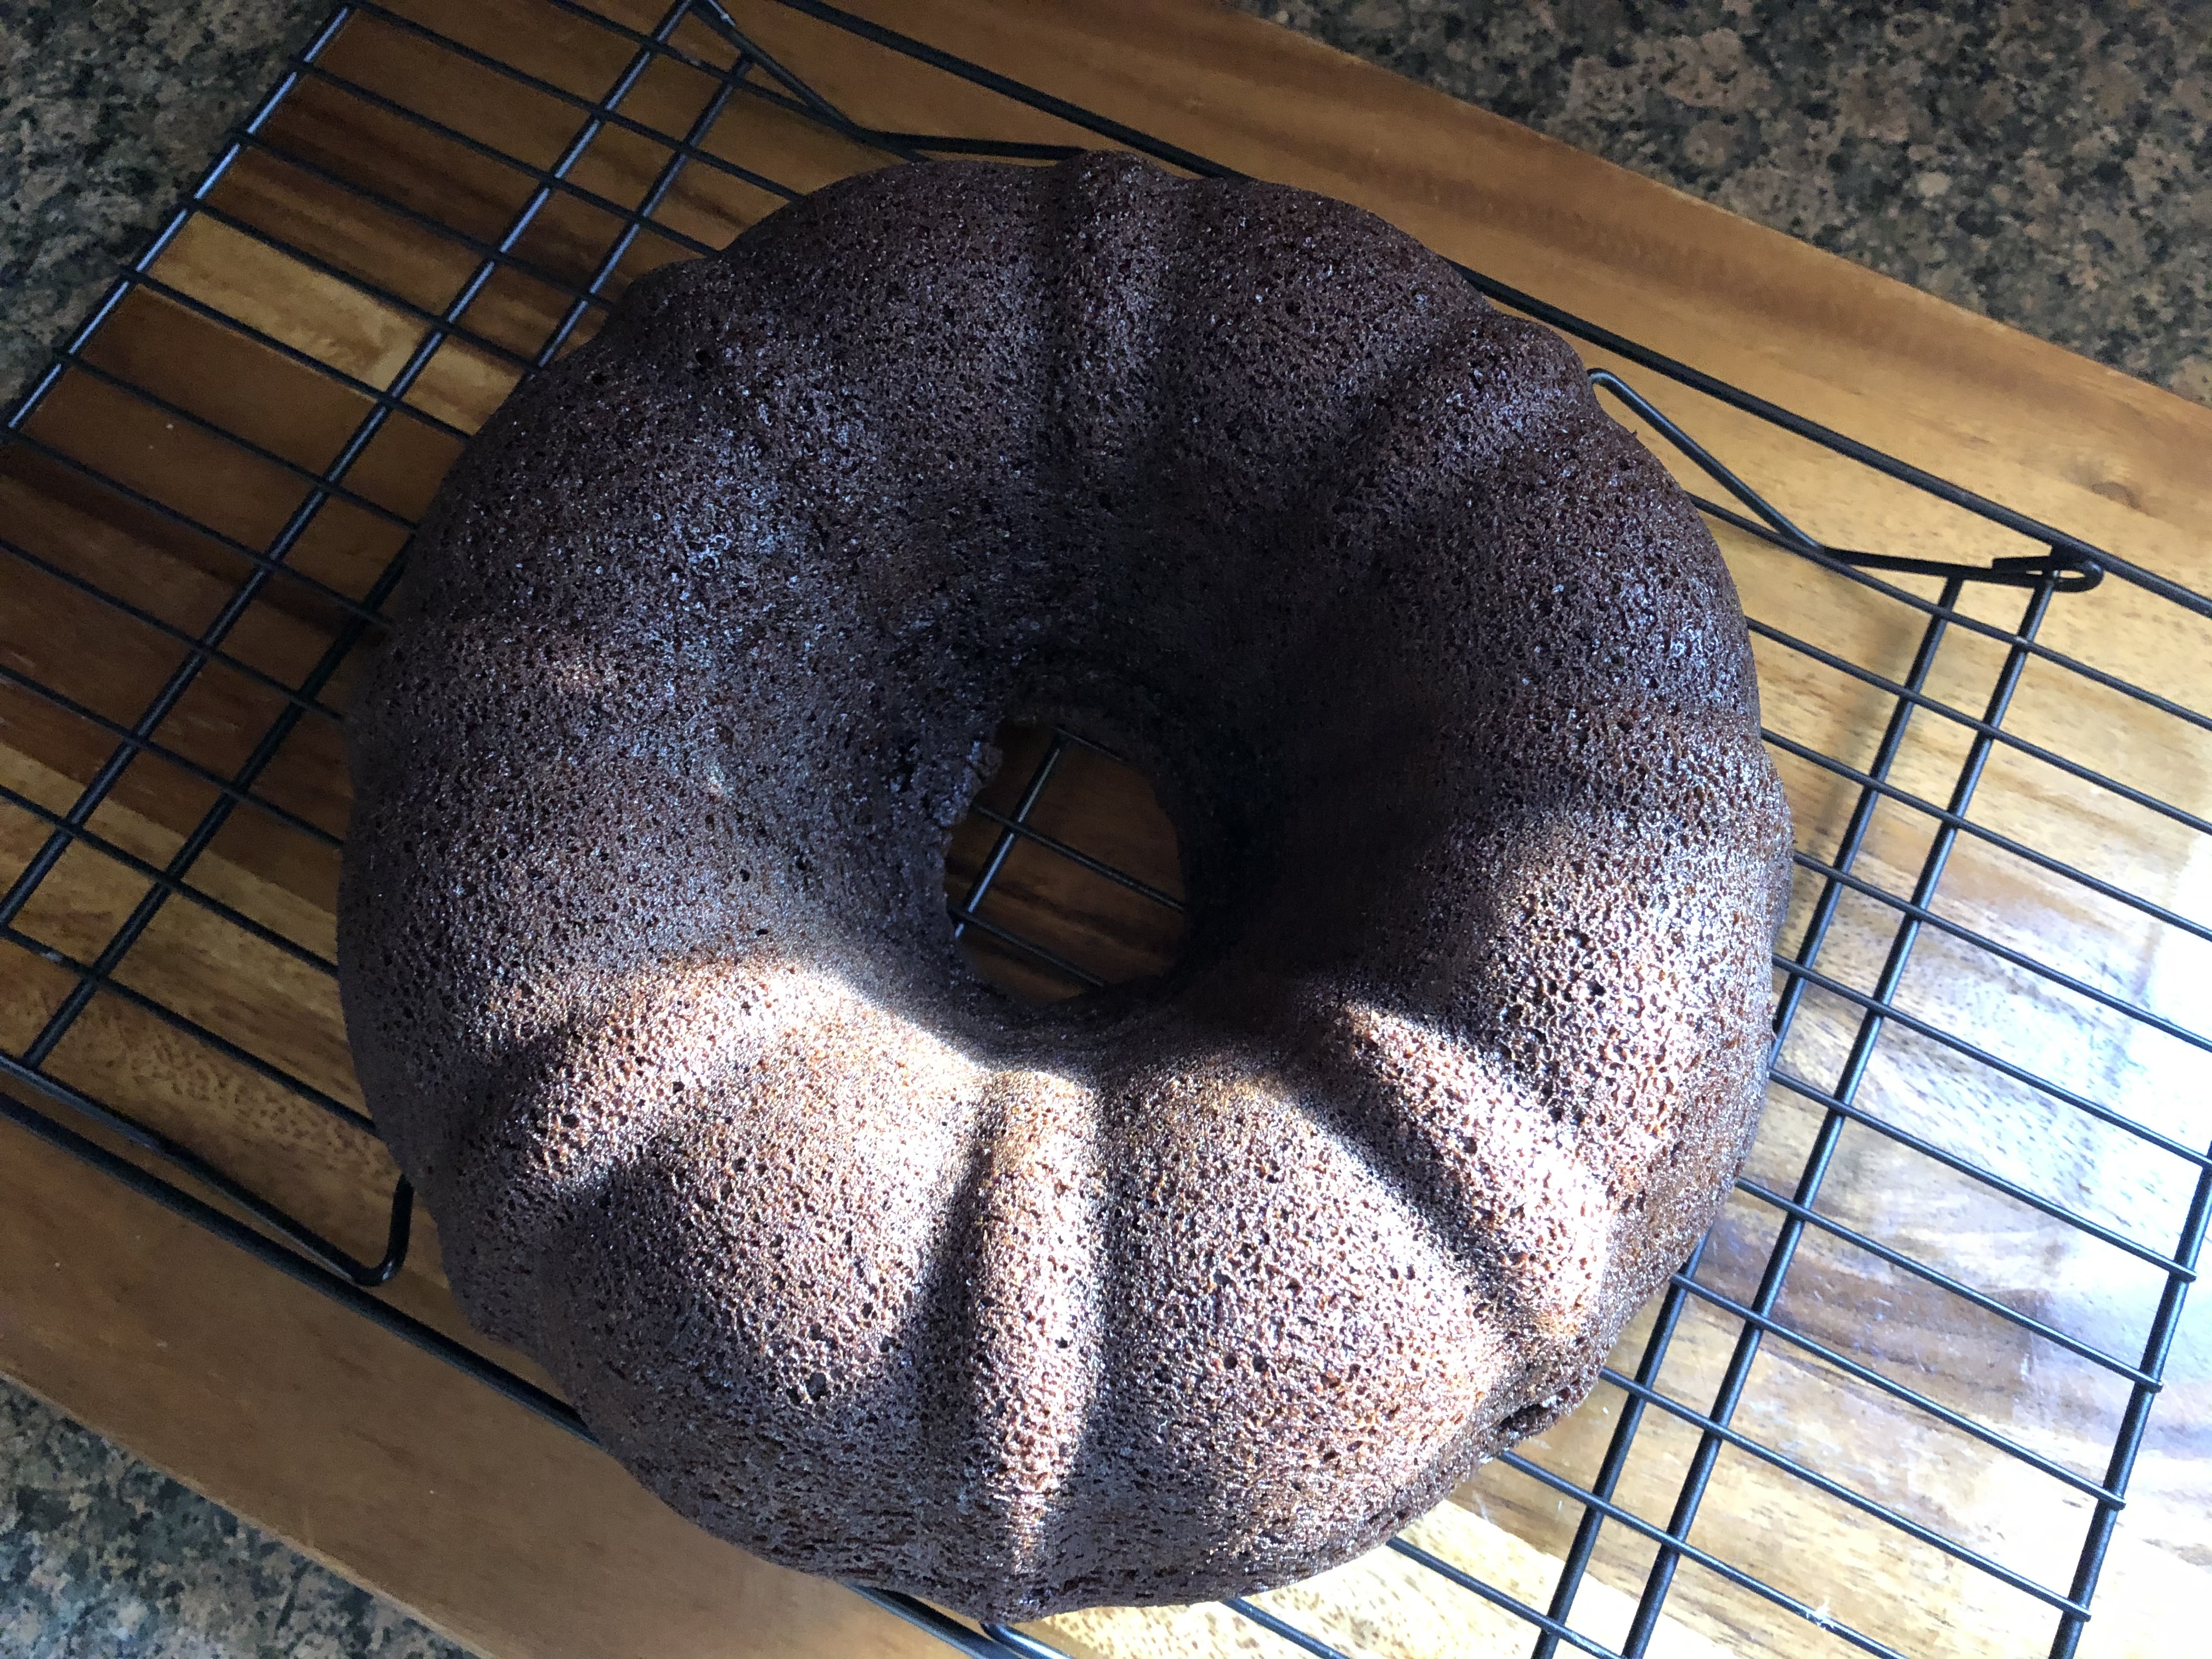
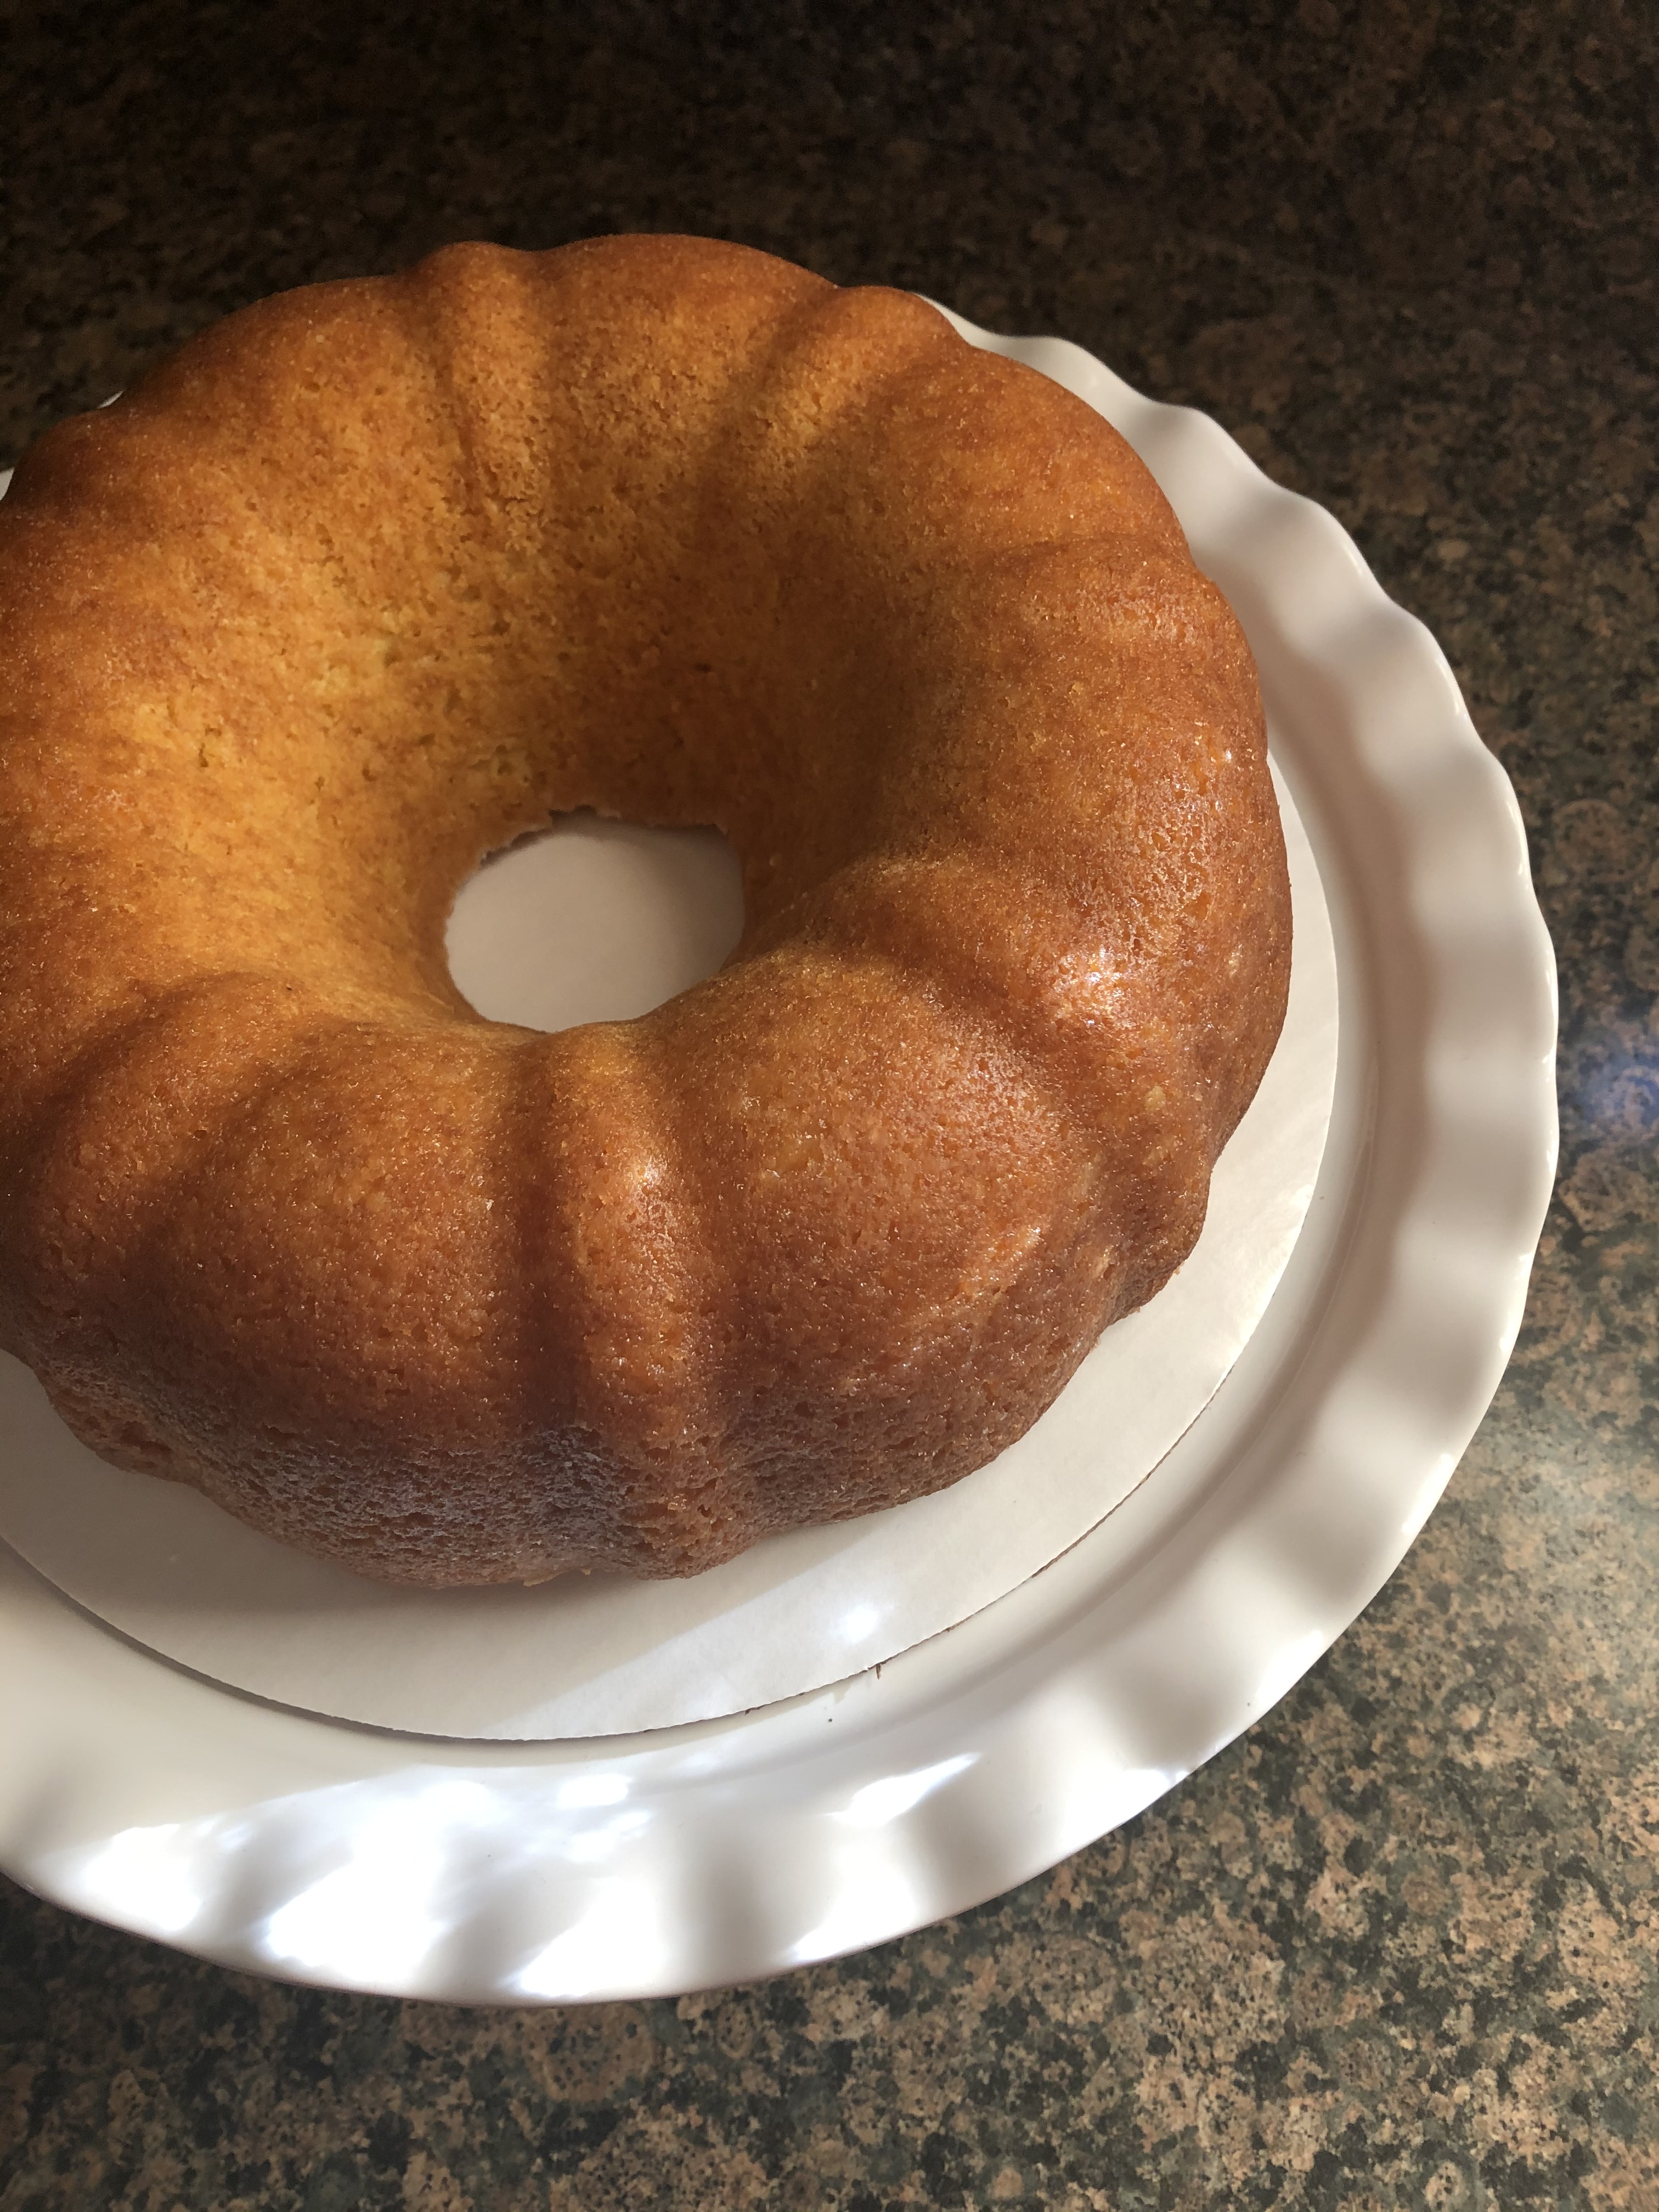
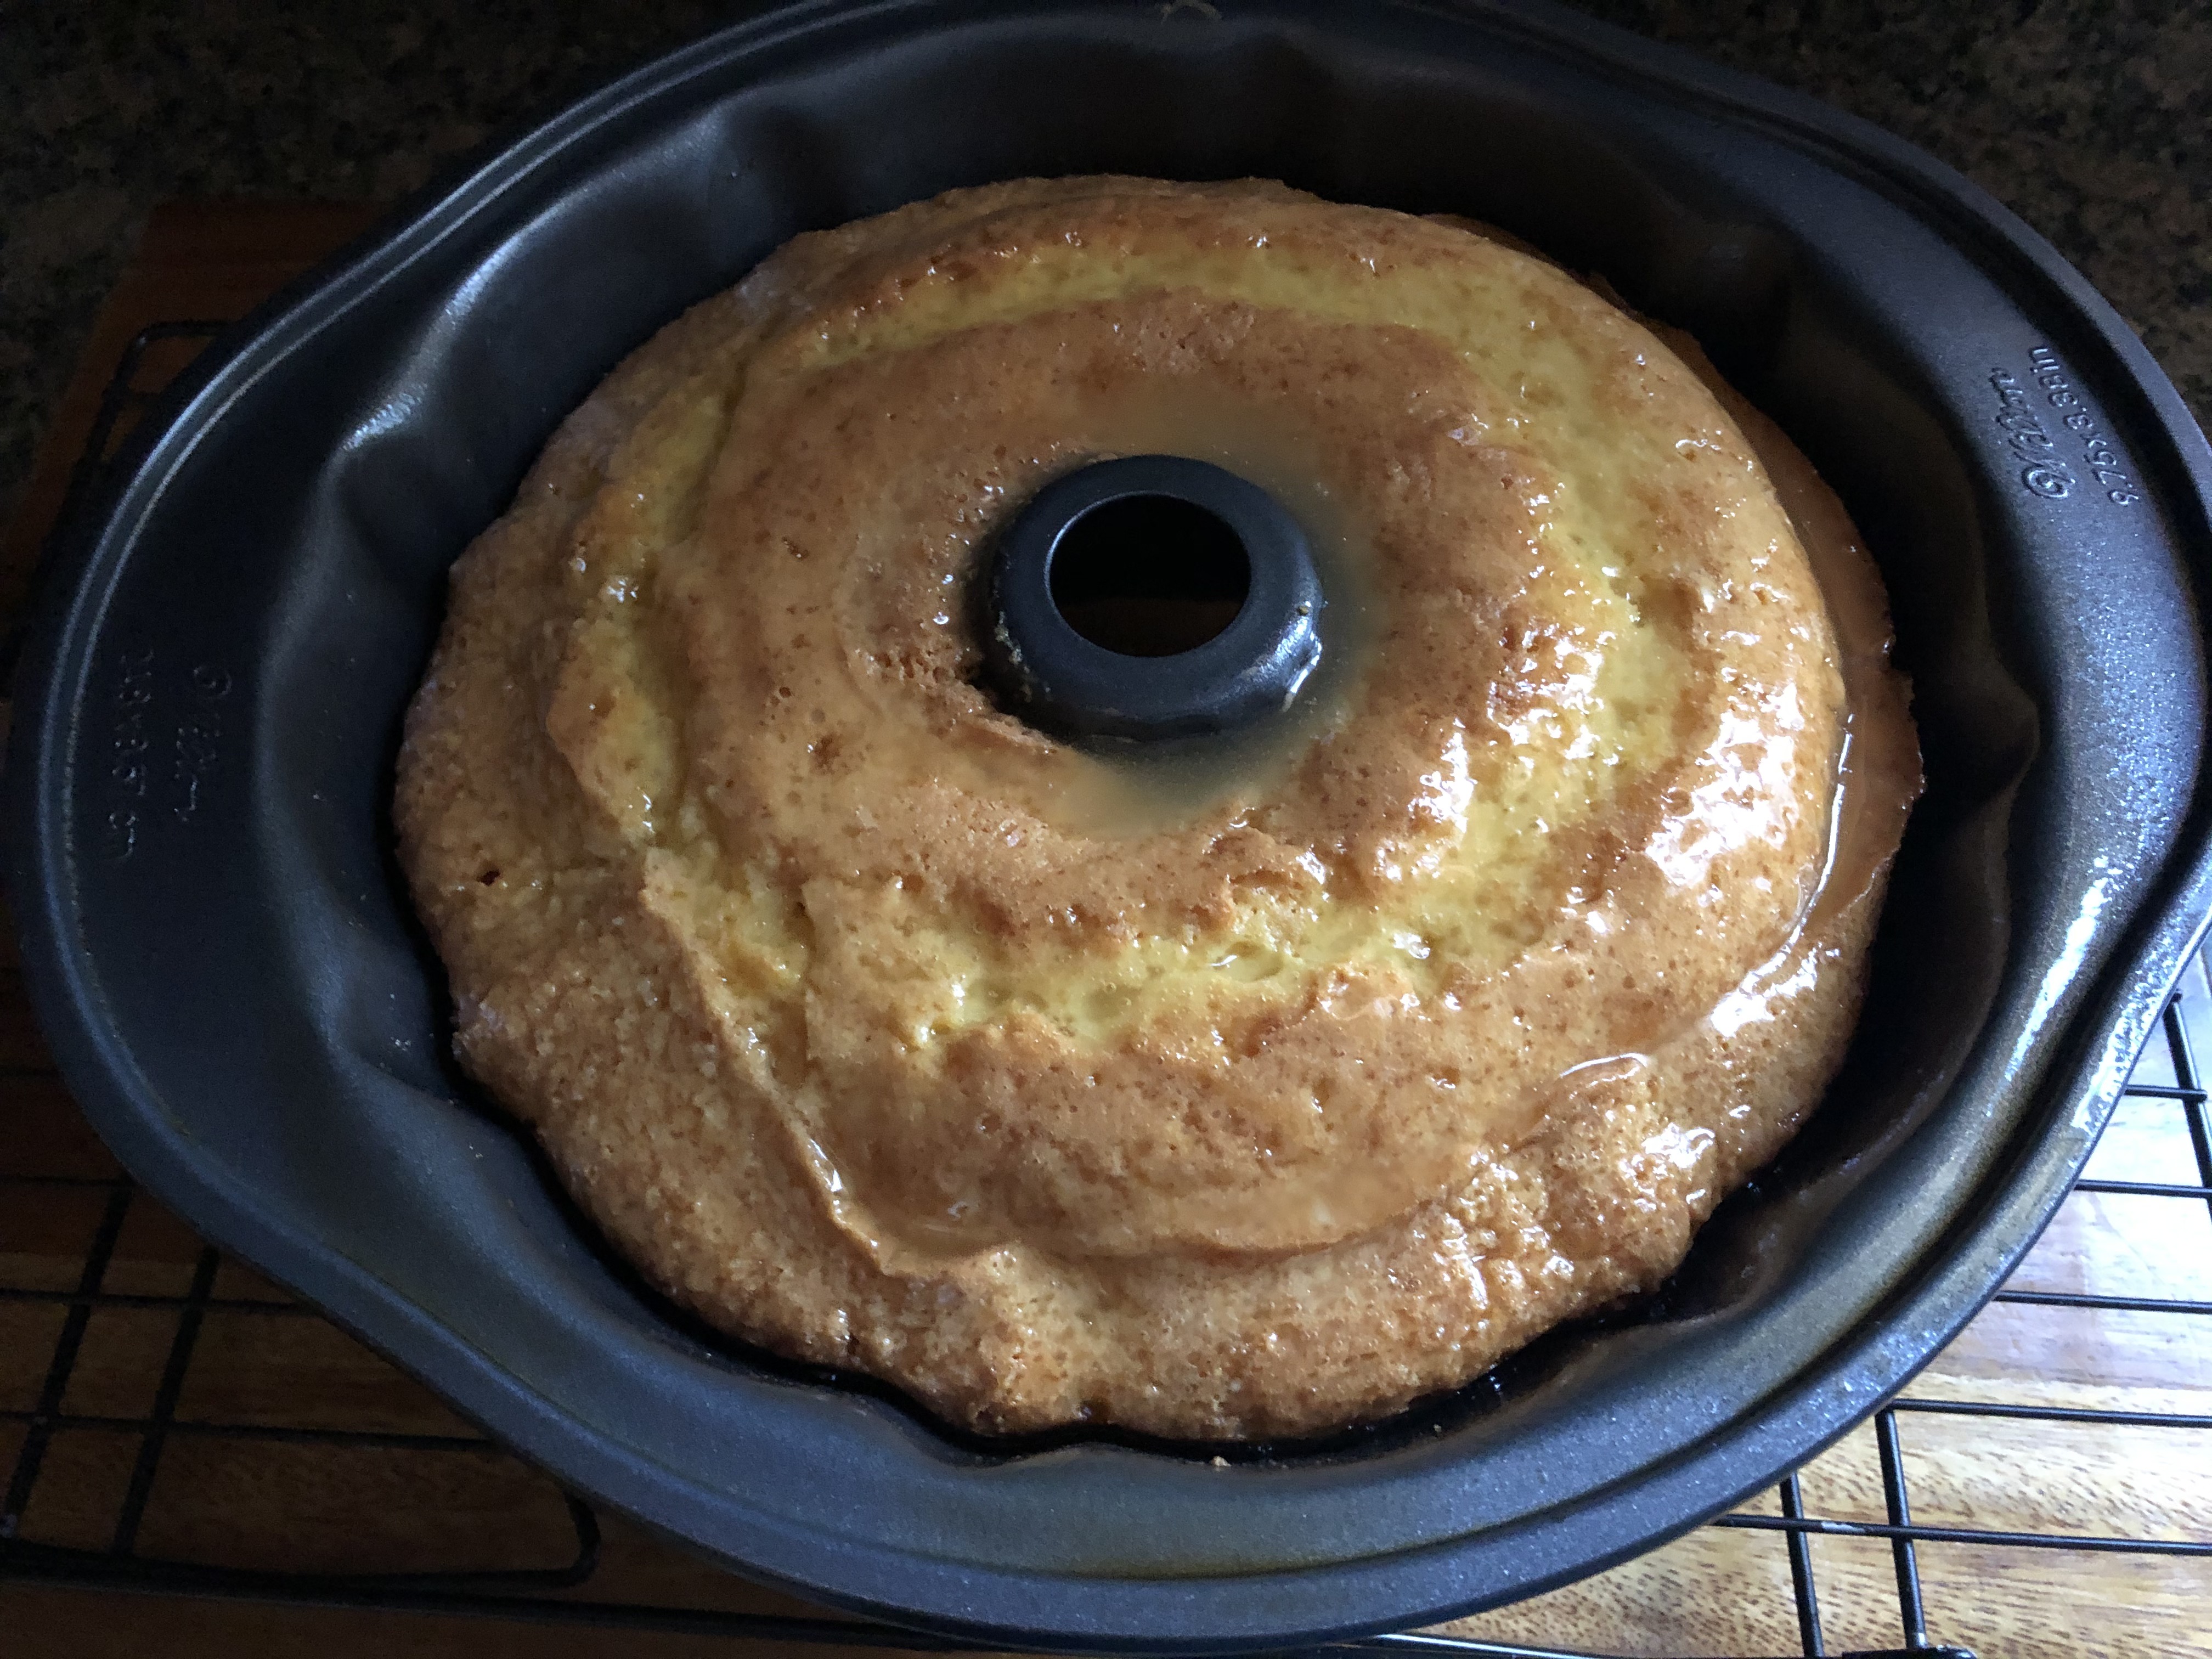
Let the cakes cool in the pan for 15 minutes before inverting on a wire rack to cool completely.
For the Frosting: In a large bowl combine the mascarpone cheese, confectioners’ sugar, both extracts and Amaretto (if using). Beat with a hand mixer on medium speed until just combined. Add in the heavy whipping cream and continue beating until the frosting is light and fluffy. Be careful not to overbeat the frosting as this will cause it to curdle.
To Assemble: Torte the cake layers if necessary. Transfer the frosting to a piping bag fitted with a large star tip. Place one of the cake layers on a cake board or cake stand and pipe the entire top of the cake with dropped stars. Place the second layer on top and pipe the top with stars as well.
Recipe first appeared on Bead Yarn & Spatula