Peanut Butter & Chocolate Marble Loaf Cake

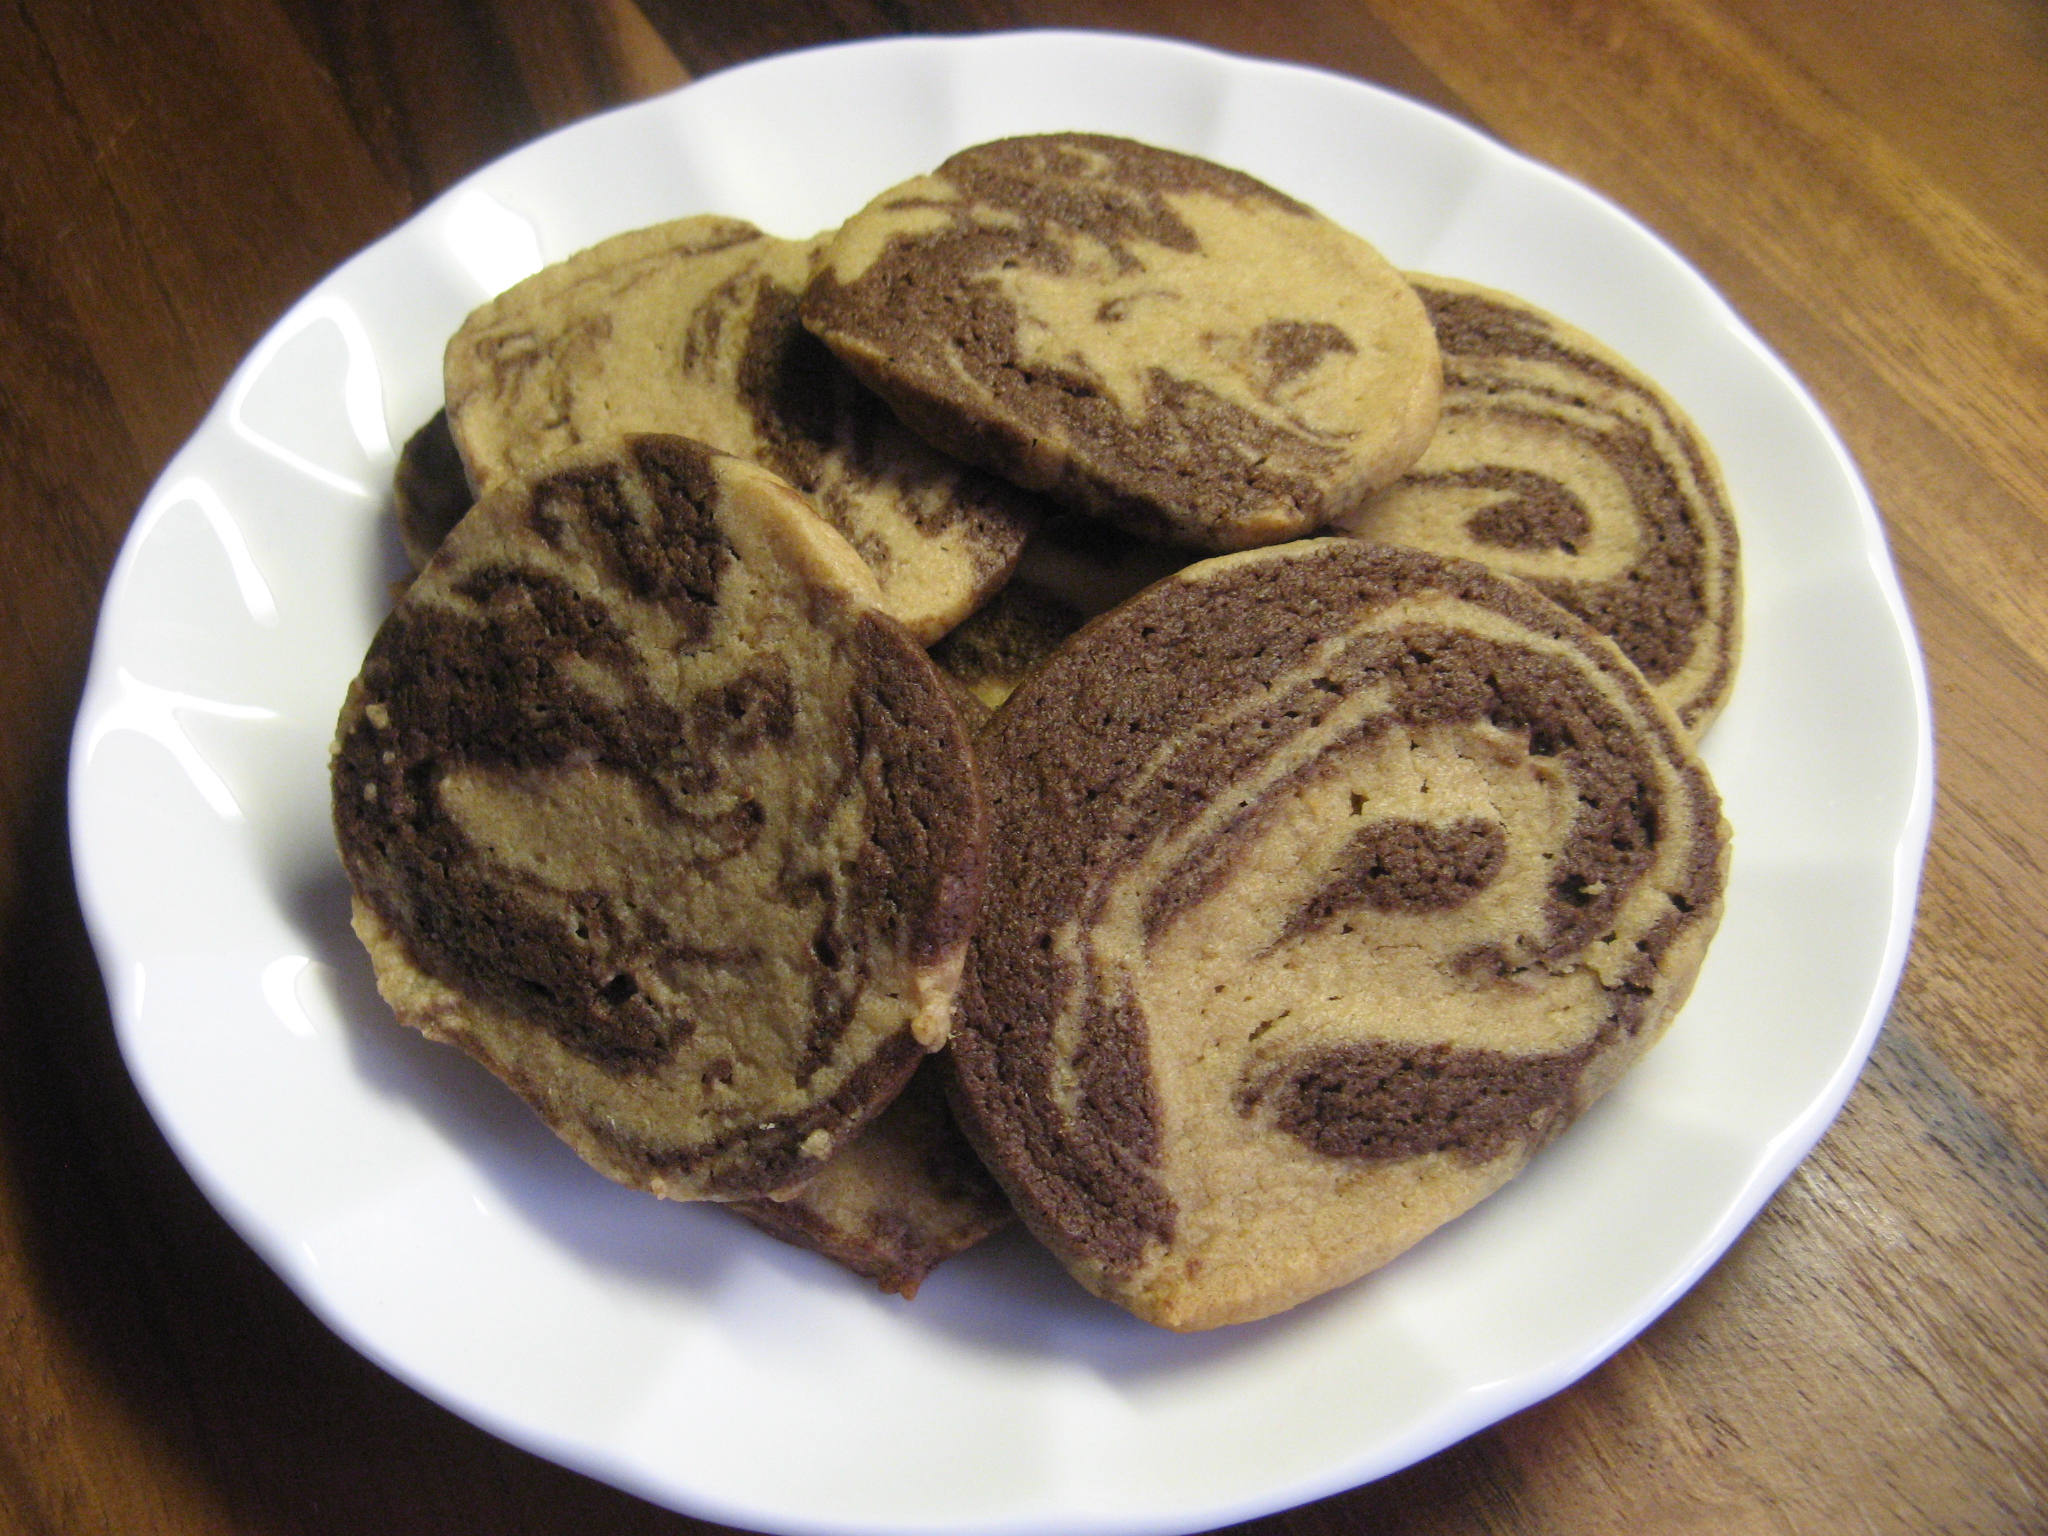
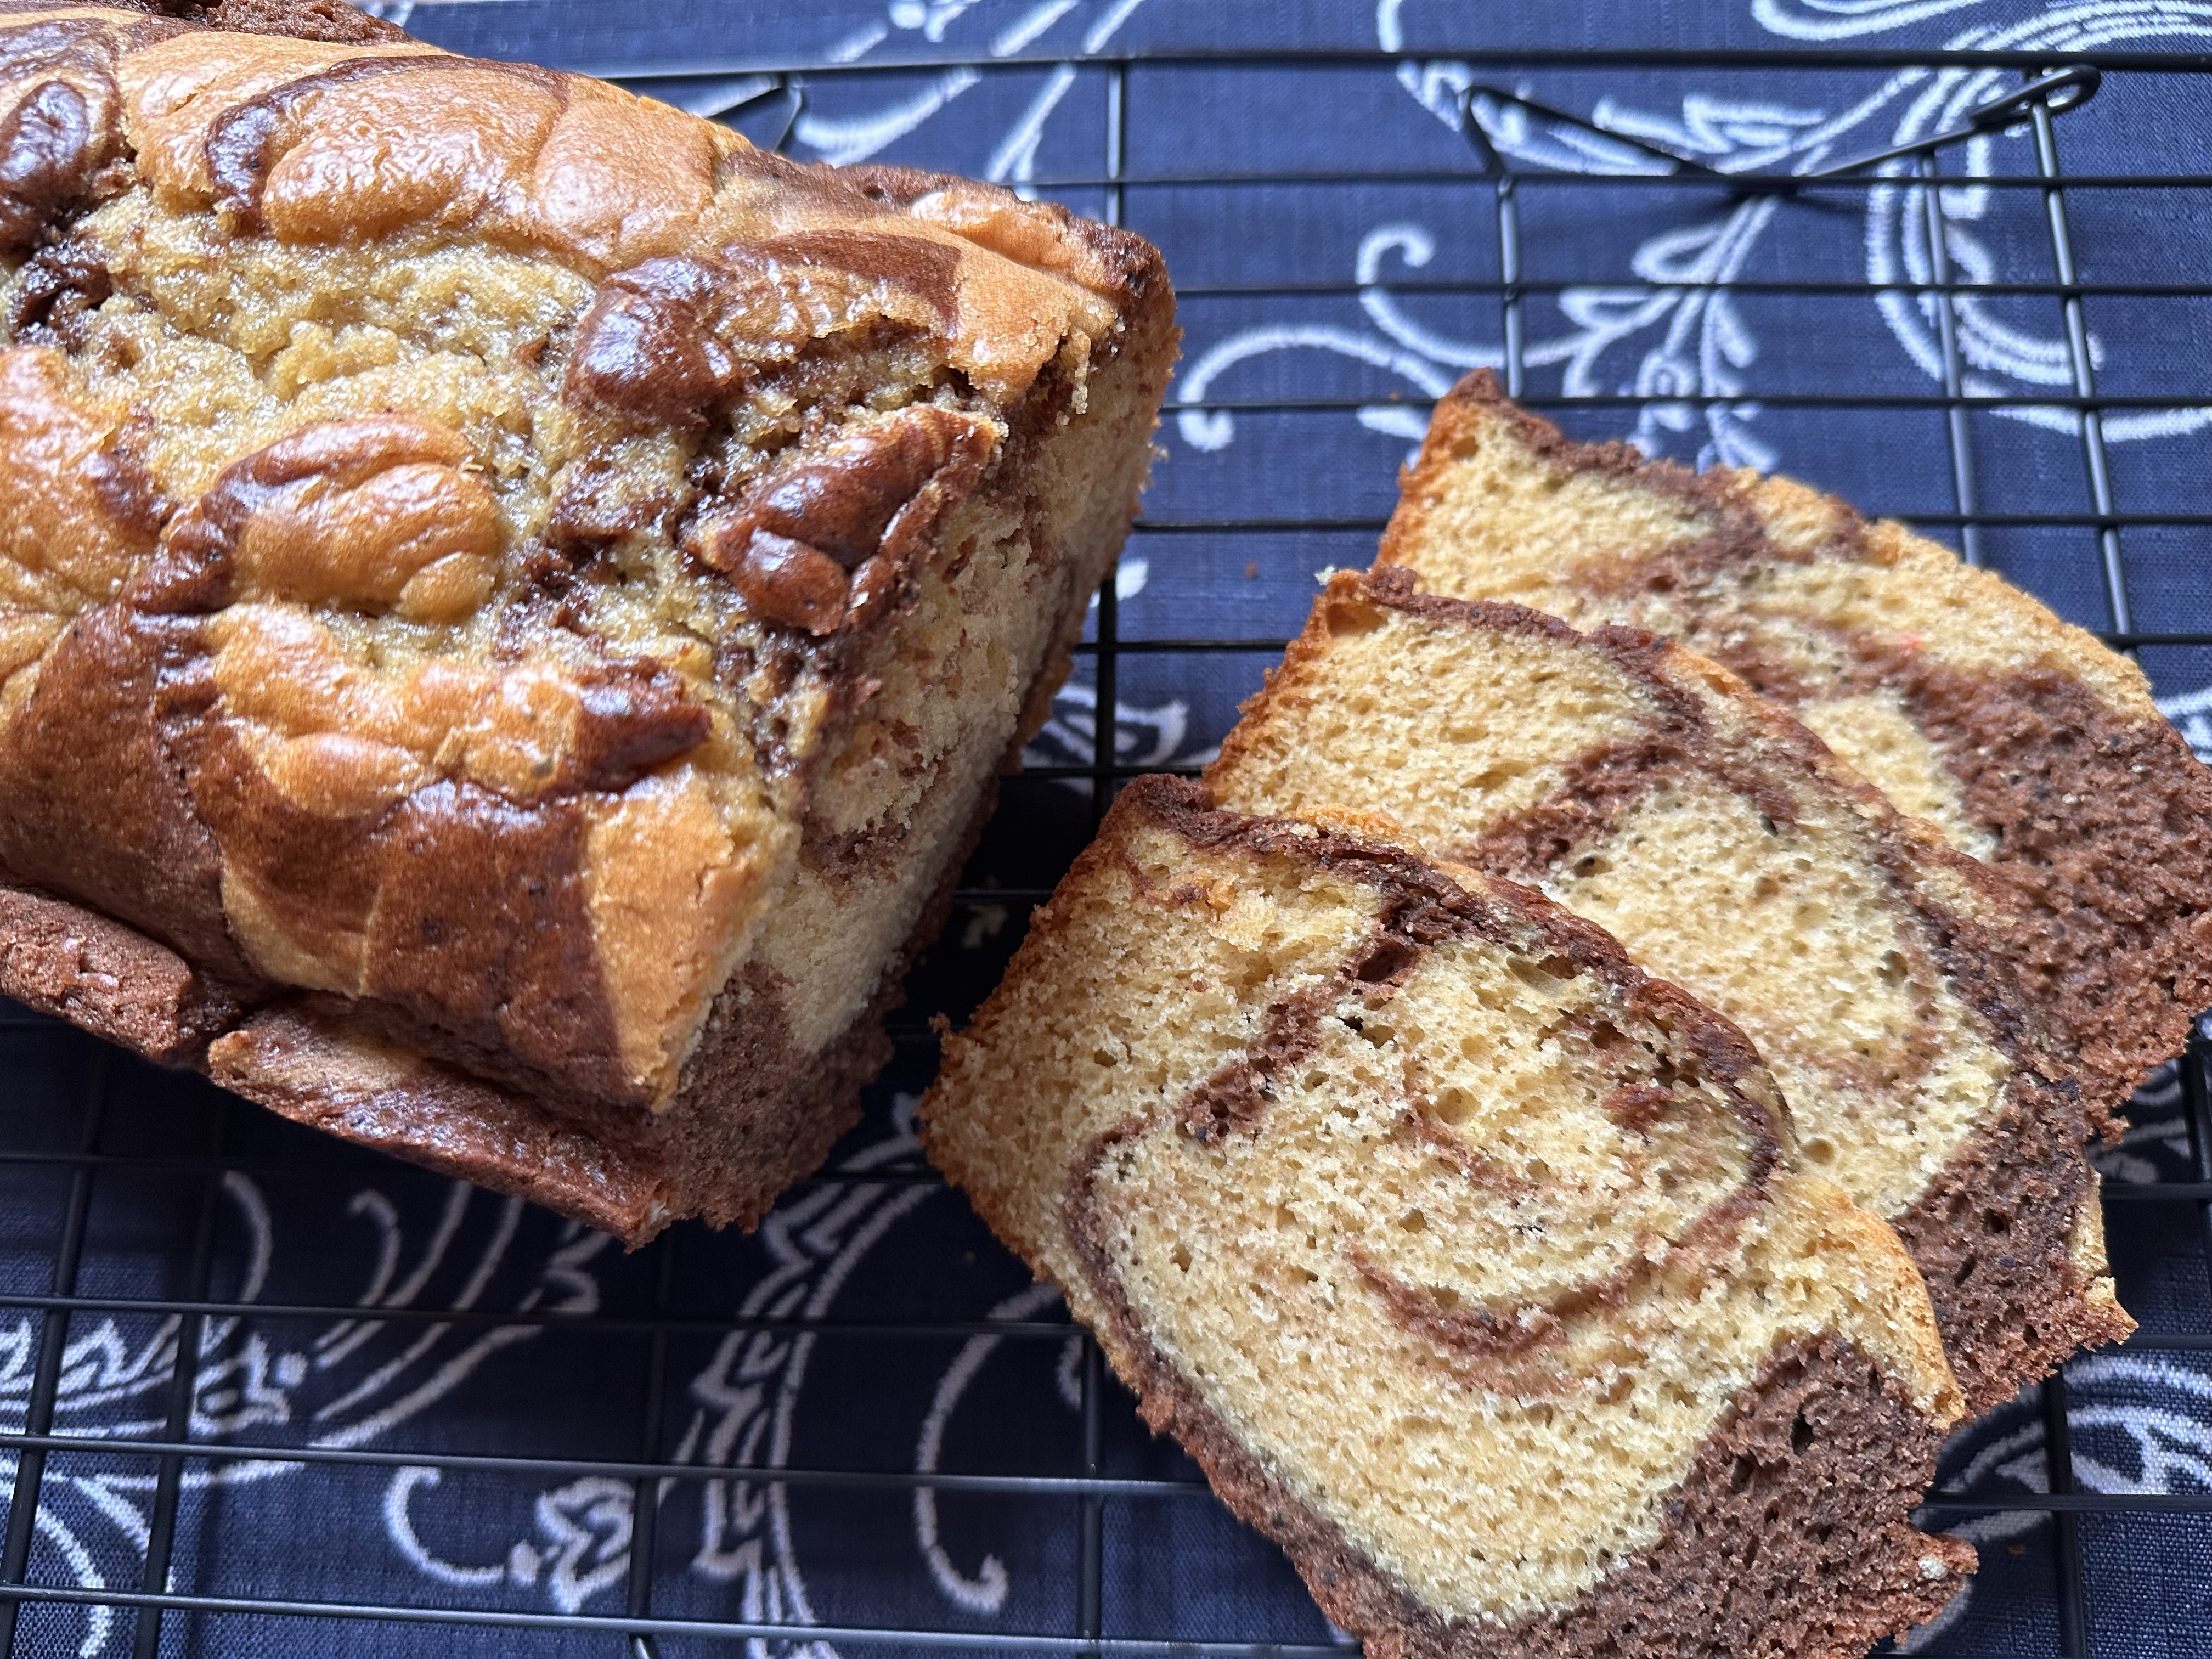
This cake is very similar to the Banana & Chocolate Marble Loaf Cake I recently posted about. The only difference, you guessed it, is that I swapped peanut butter for banana. I think we can all agree that peanut butter and chocolate go together perfectly, if not, Reese’s Peanut Butter Cups would have been off the market years ago. That reminds me, my favorite Reese’s Peanut Butter Cups are back in stores, the Easter Egg ones. I don’t know what it is about those, but they just taste better. Maybe it’s because they don’t have the ridges that typical peanut butter cups have due to the wrapper they are in. Who knows! Back to today’s cake…

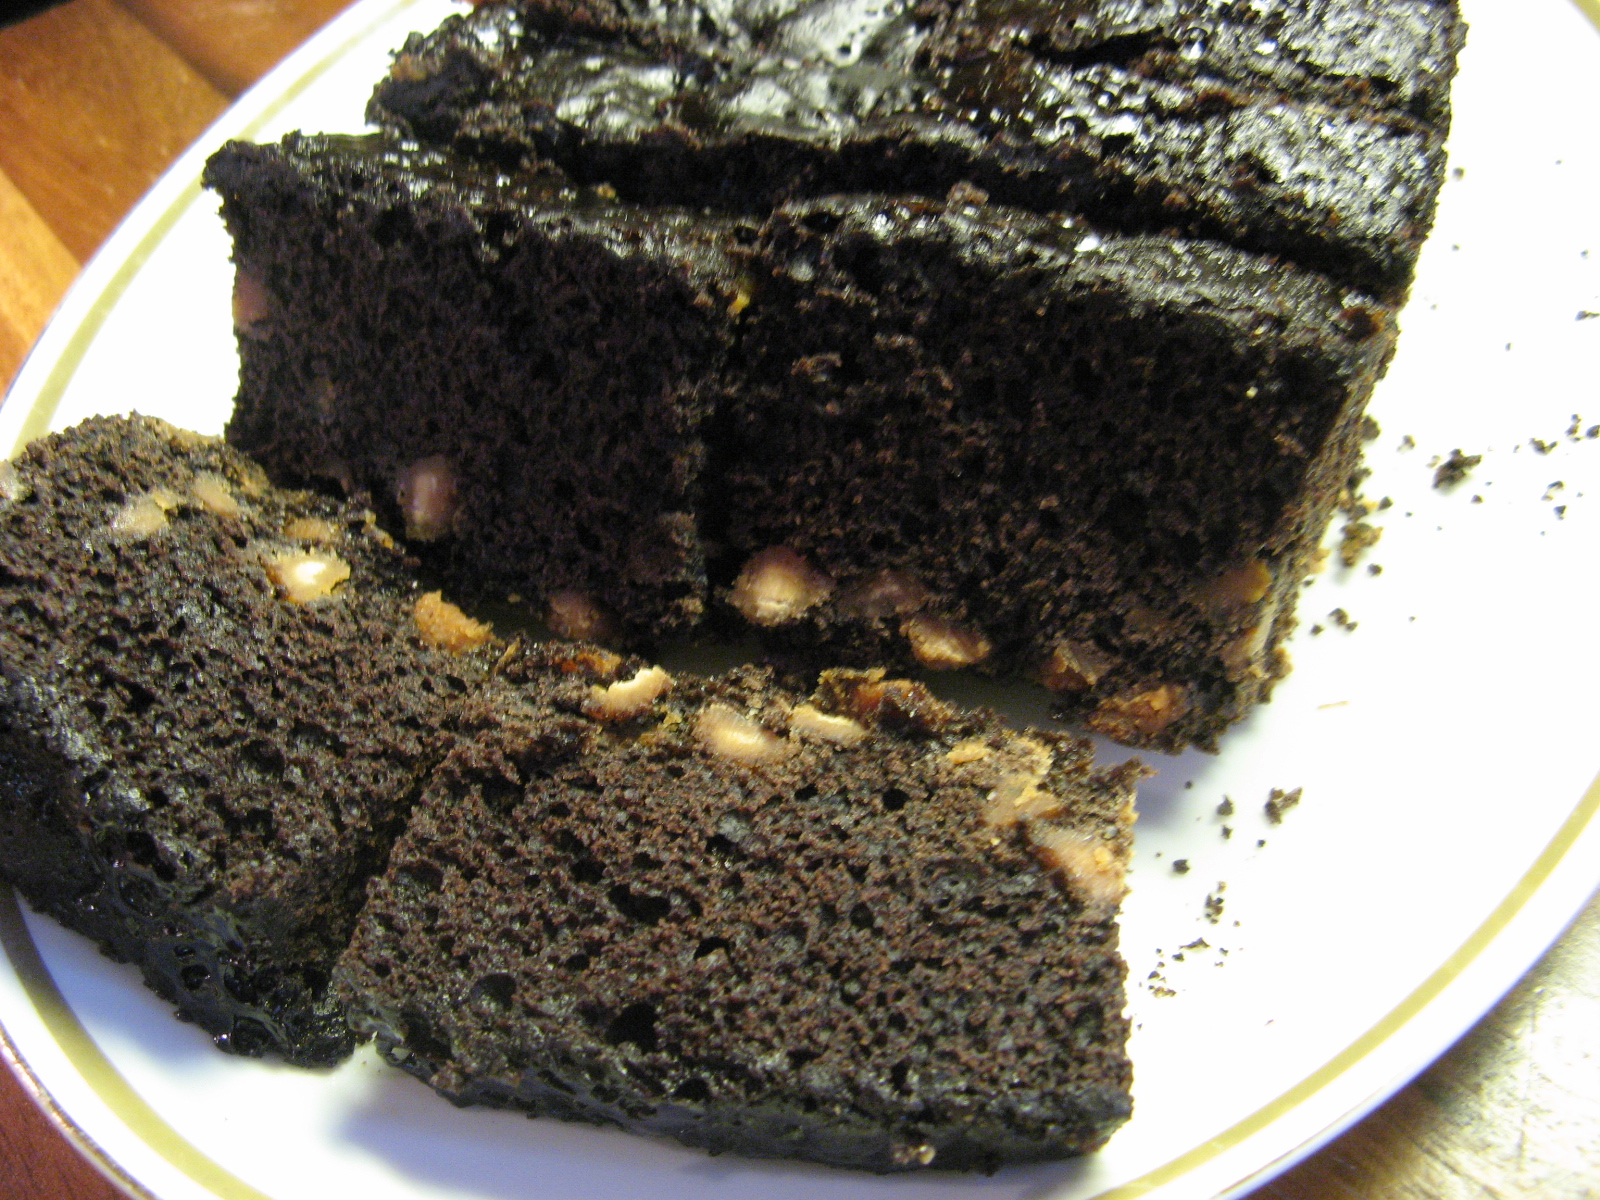
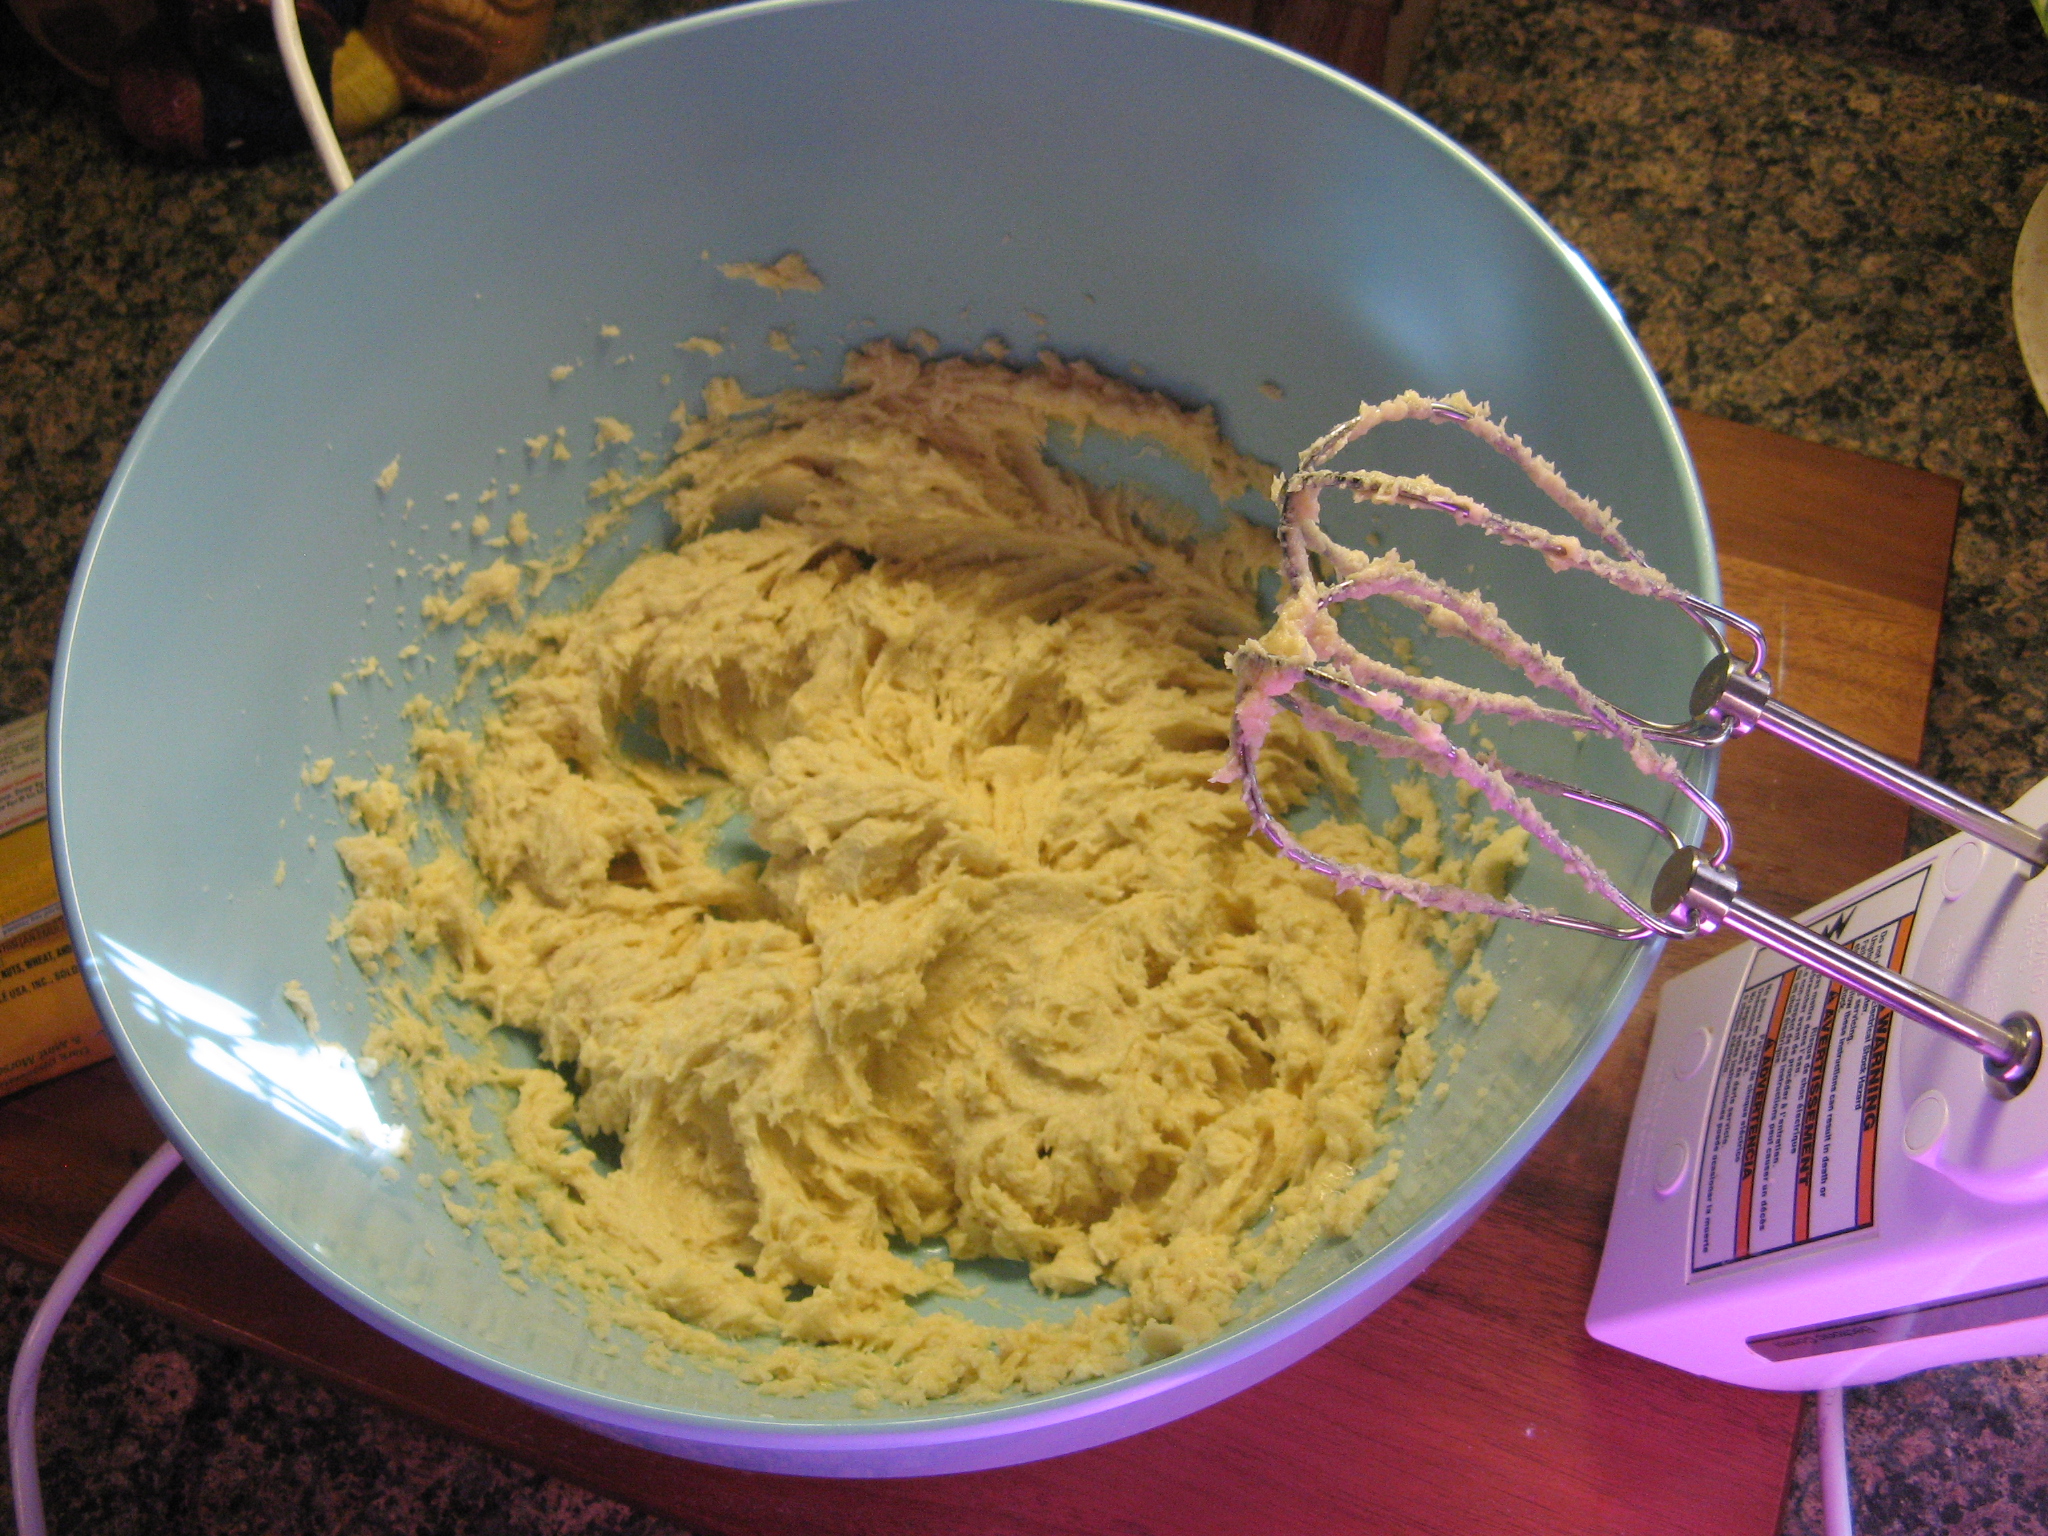
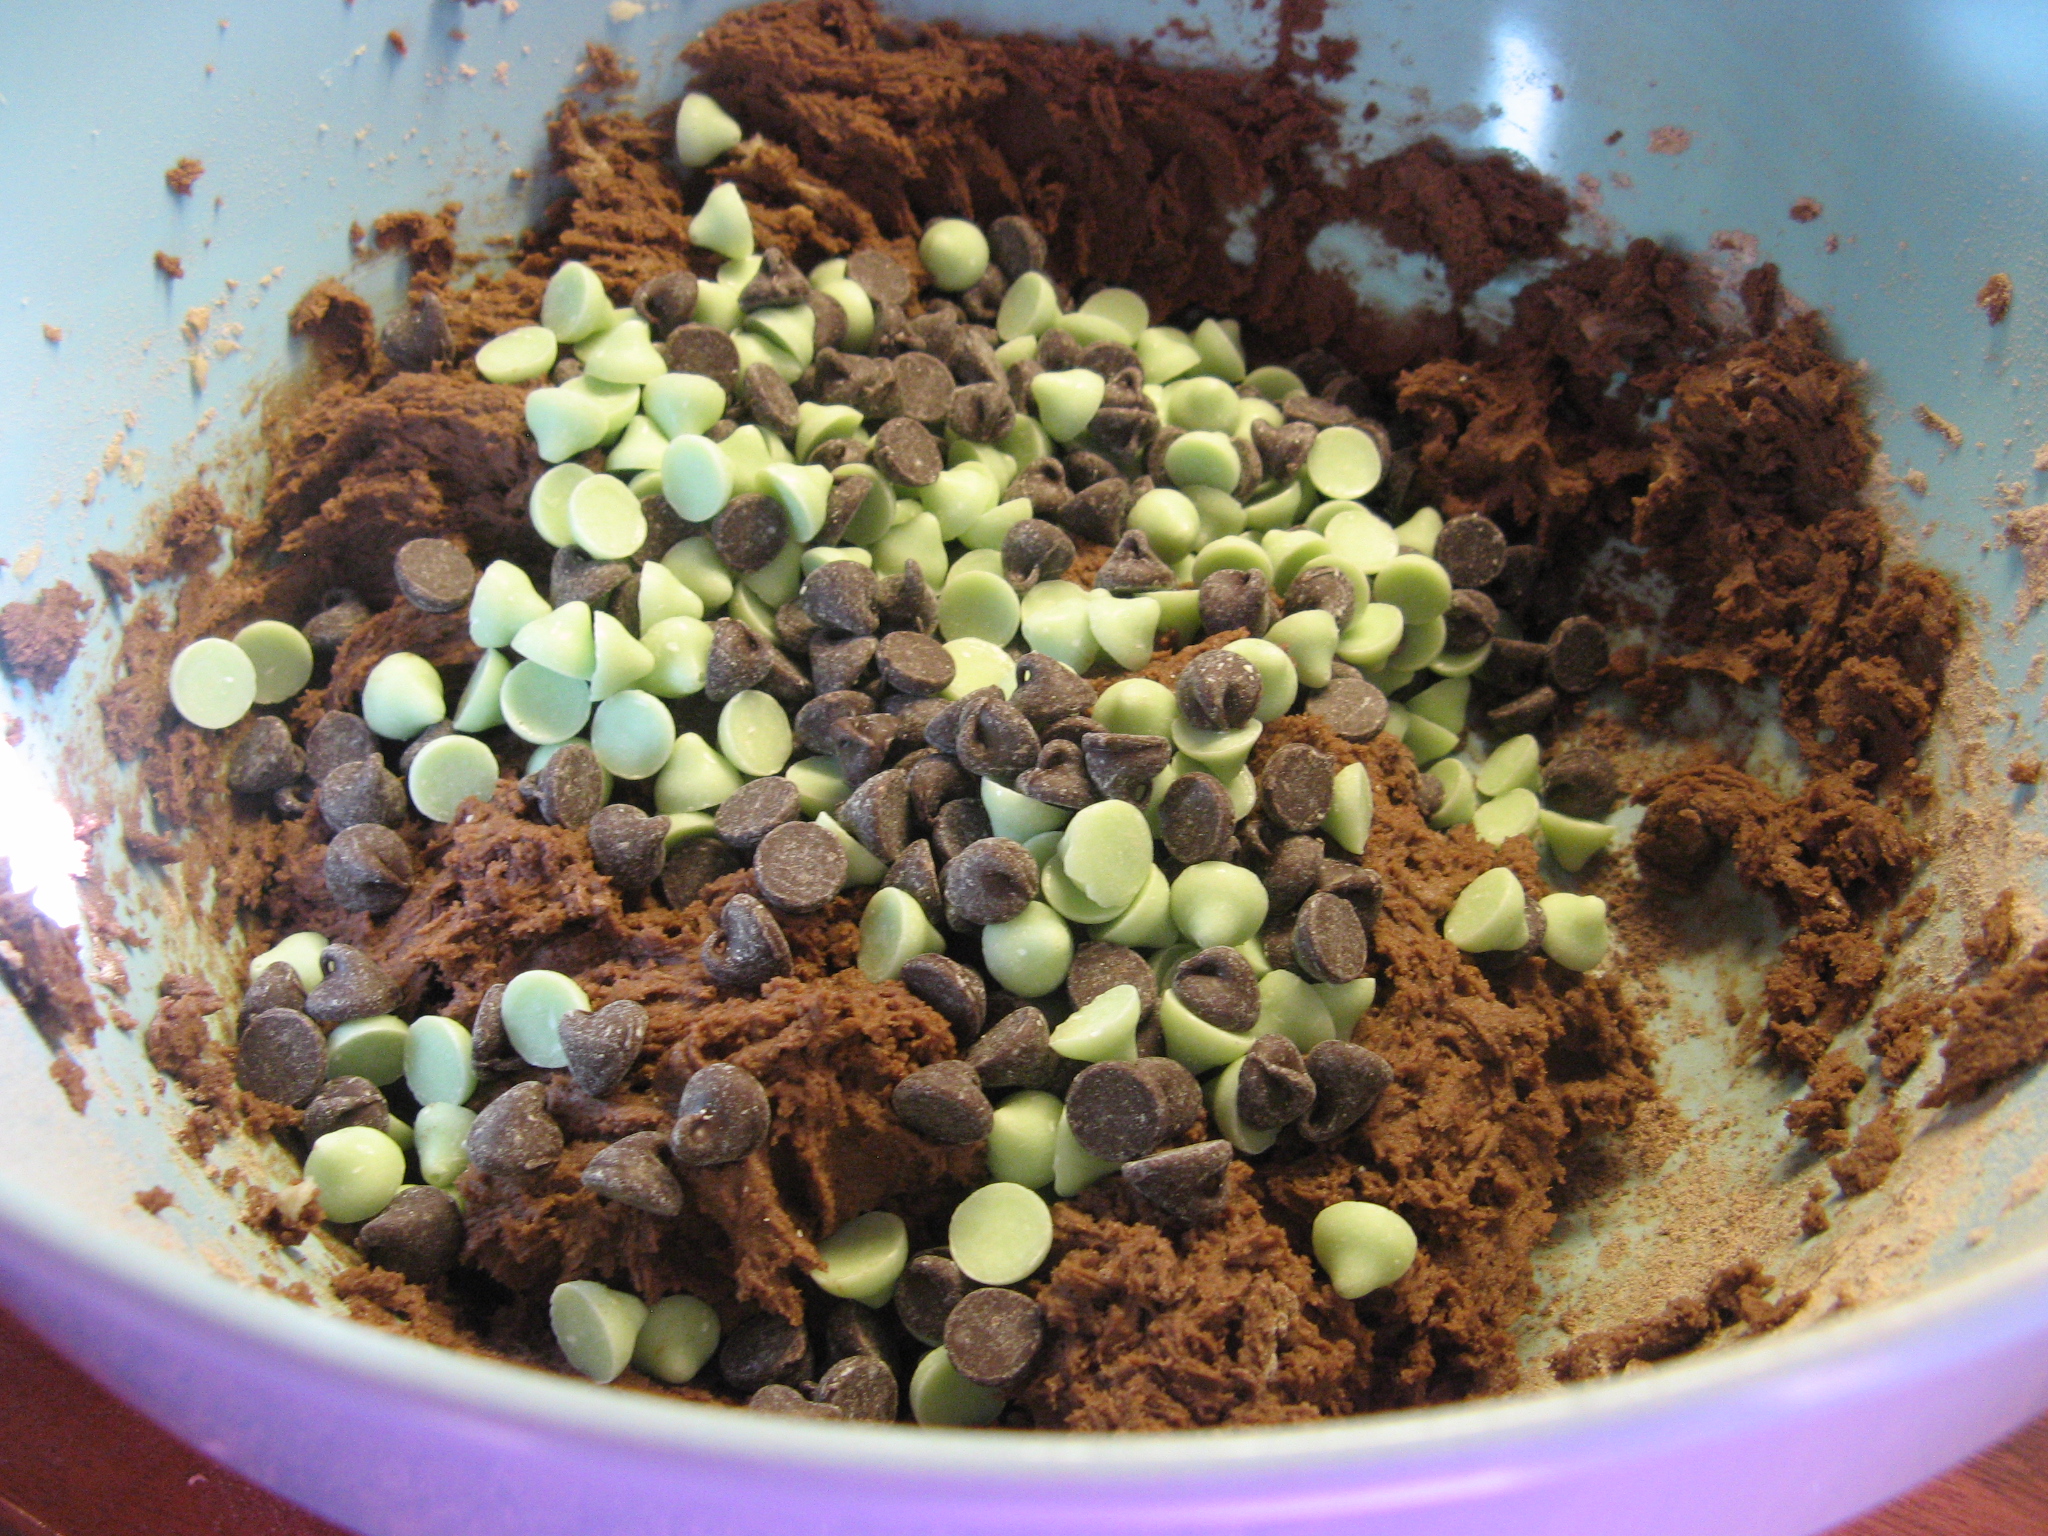
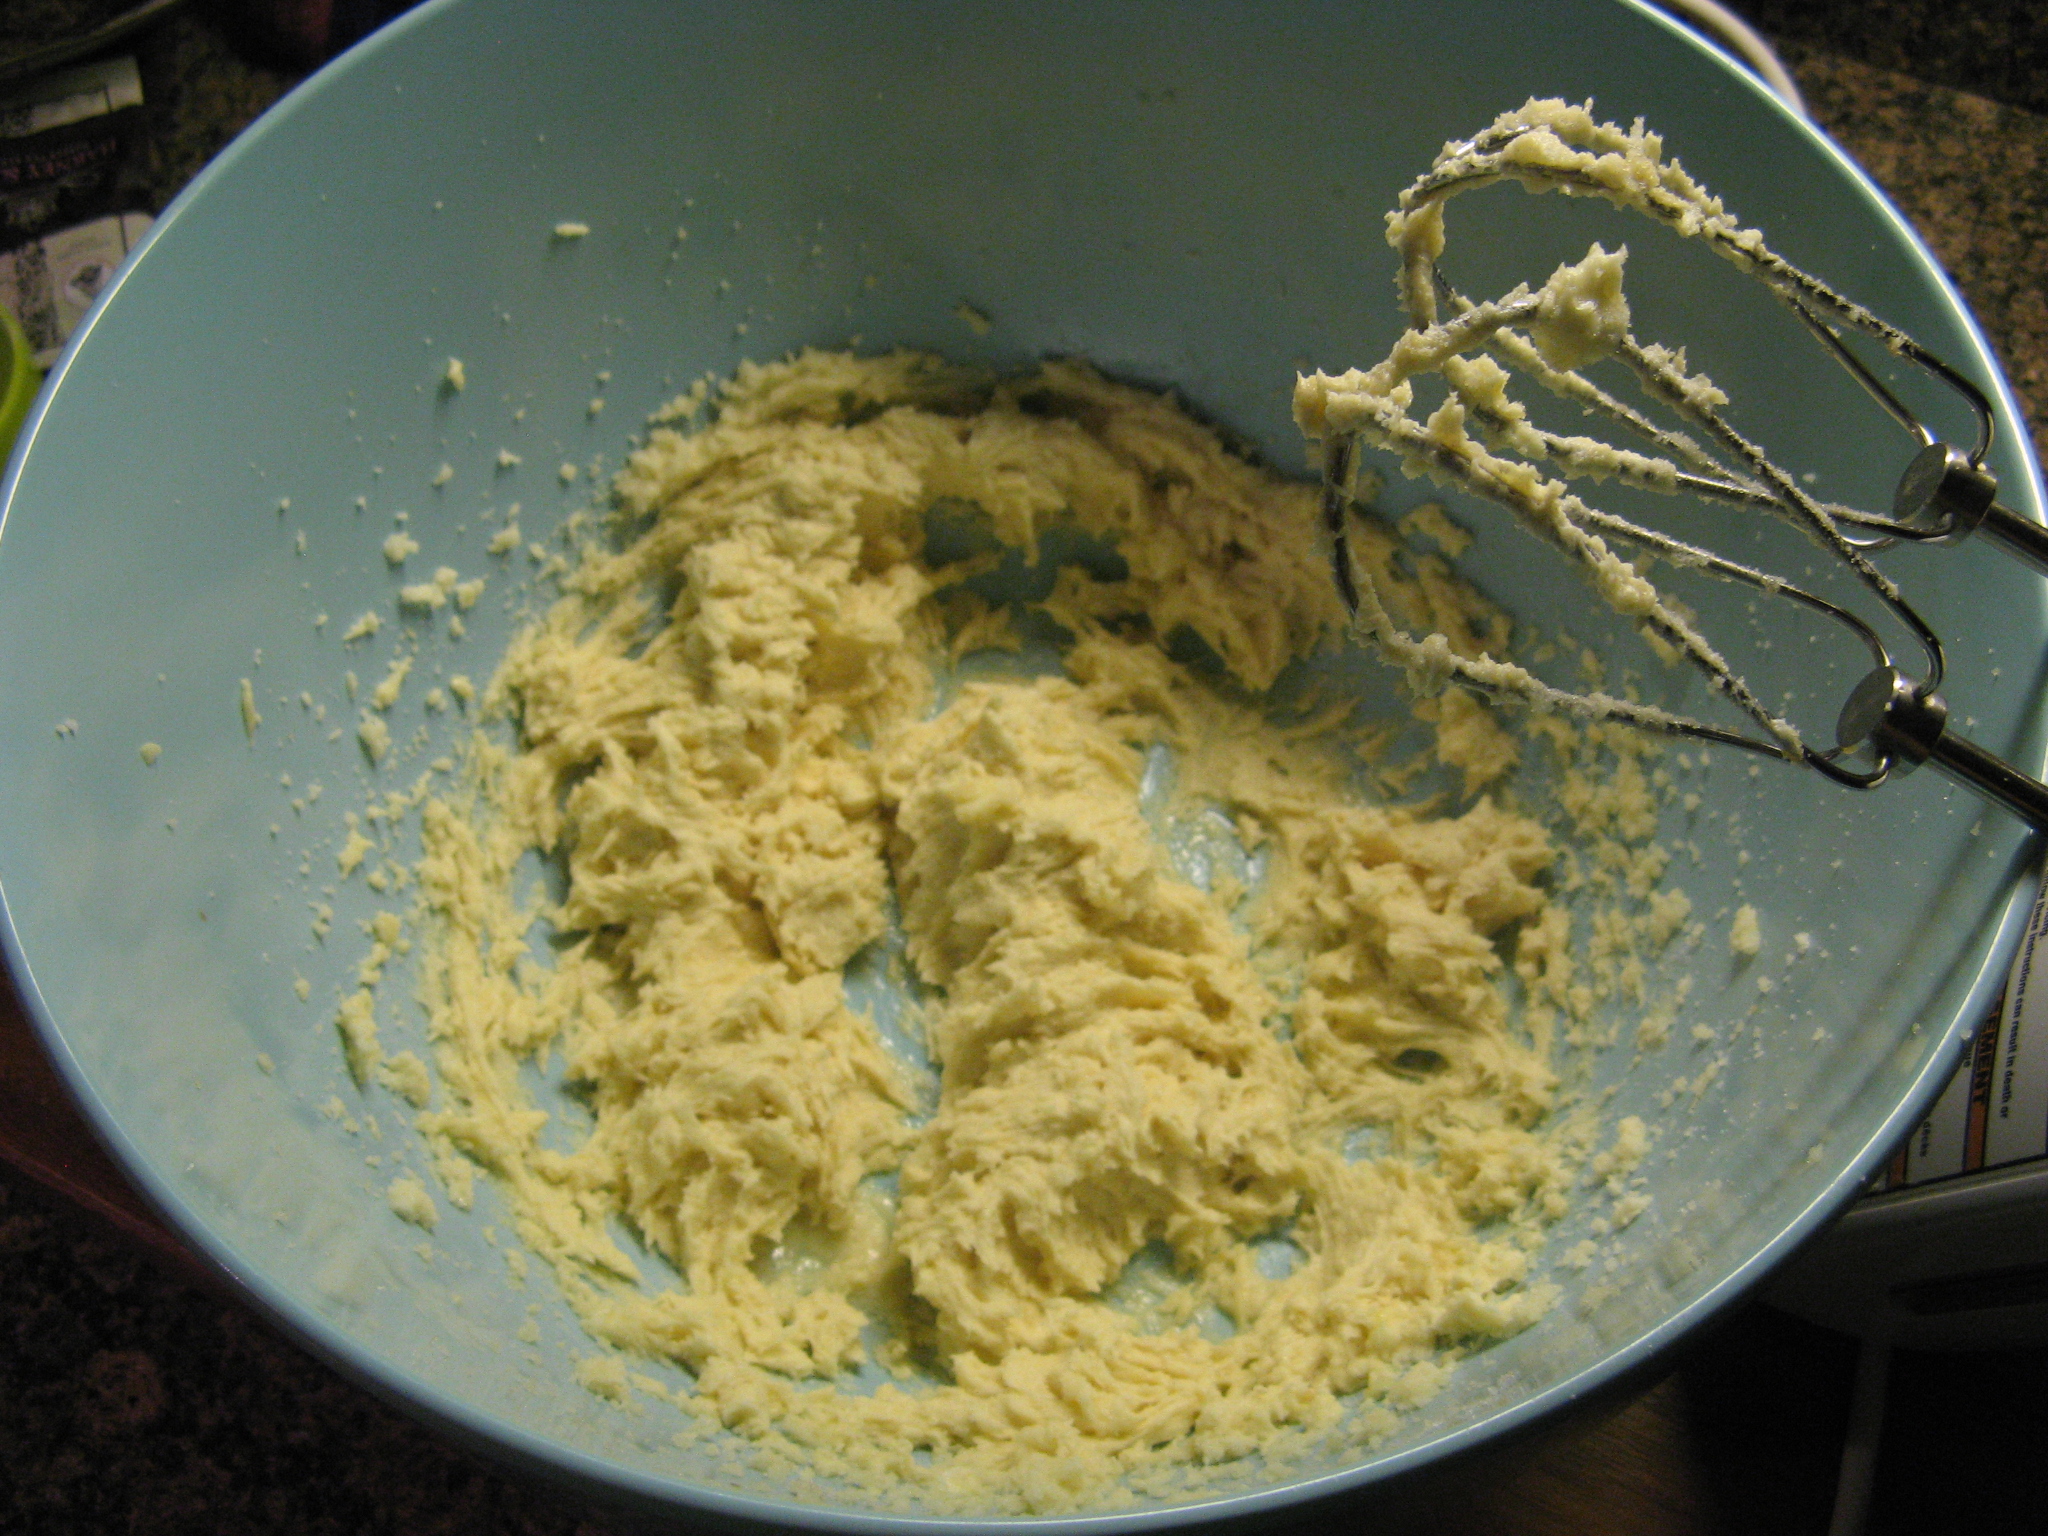
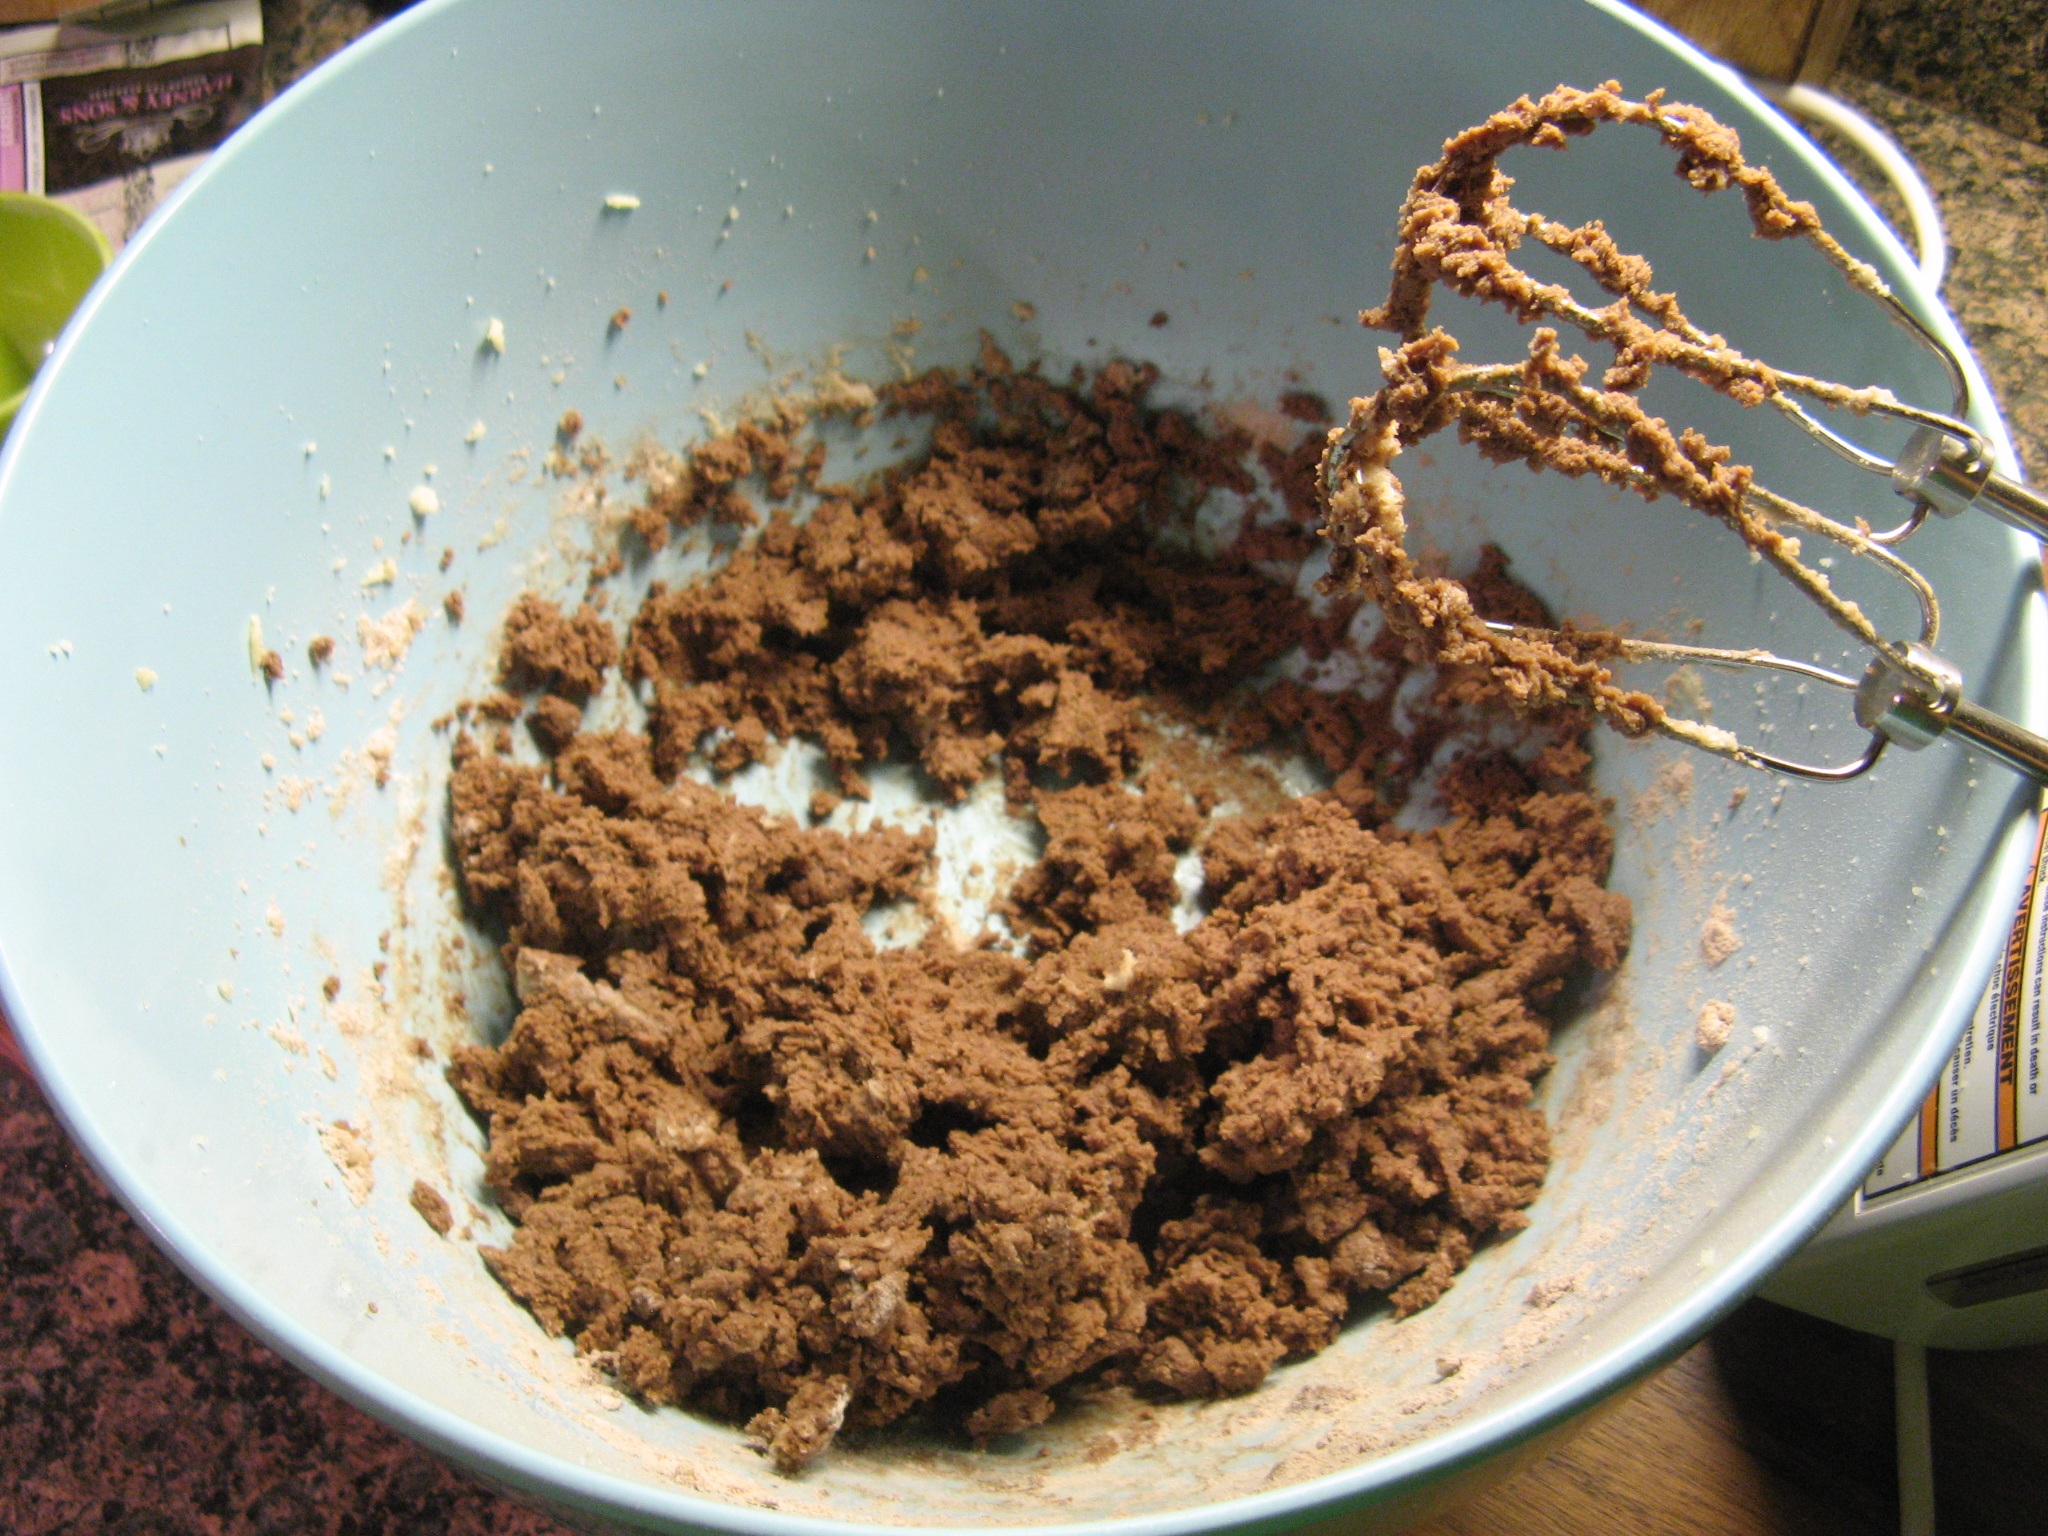
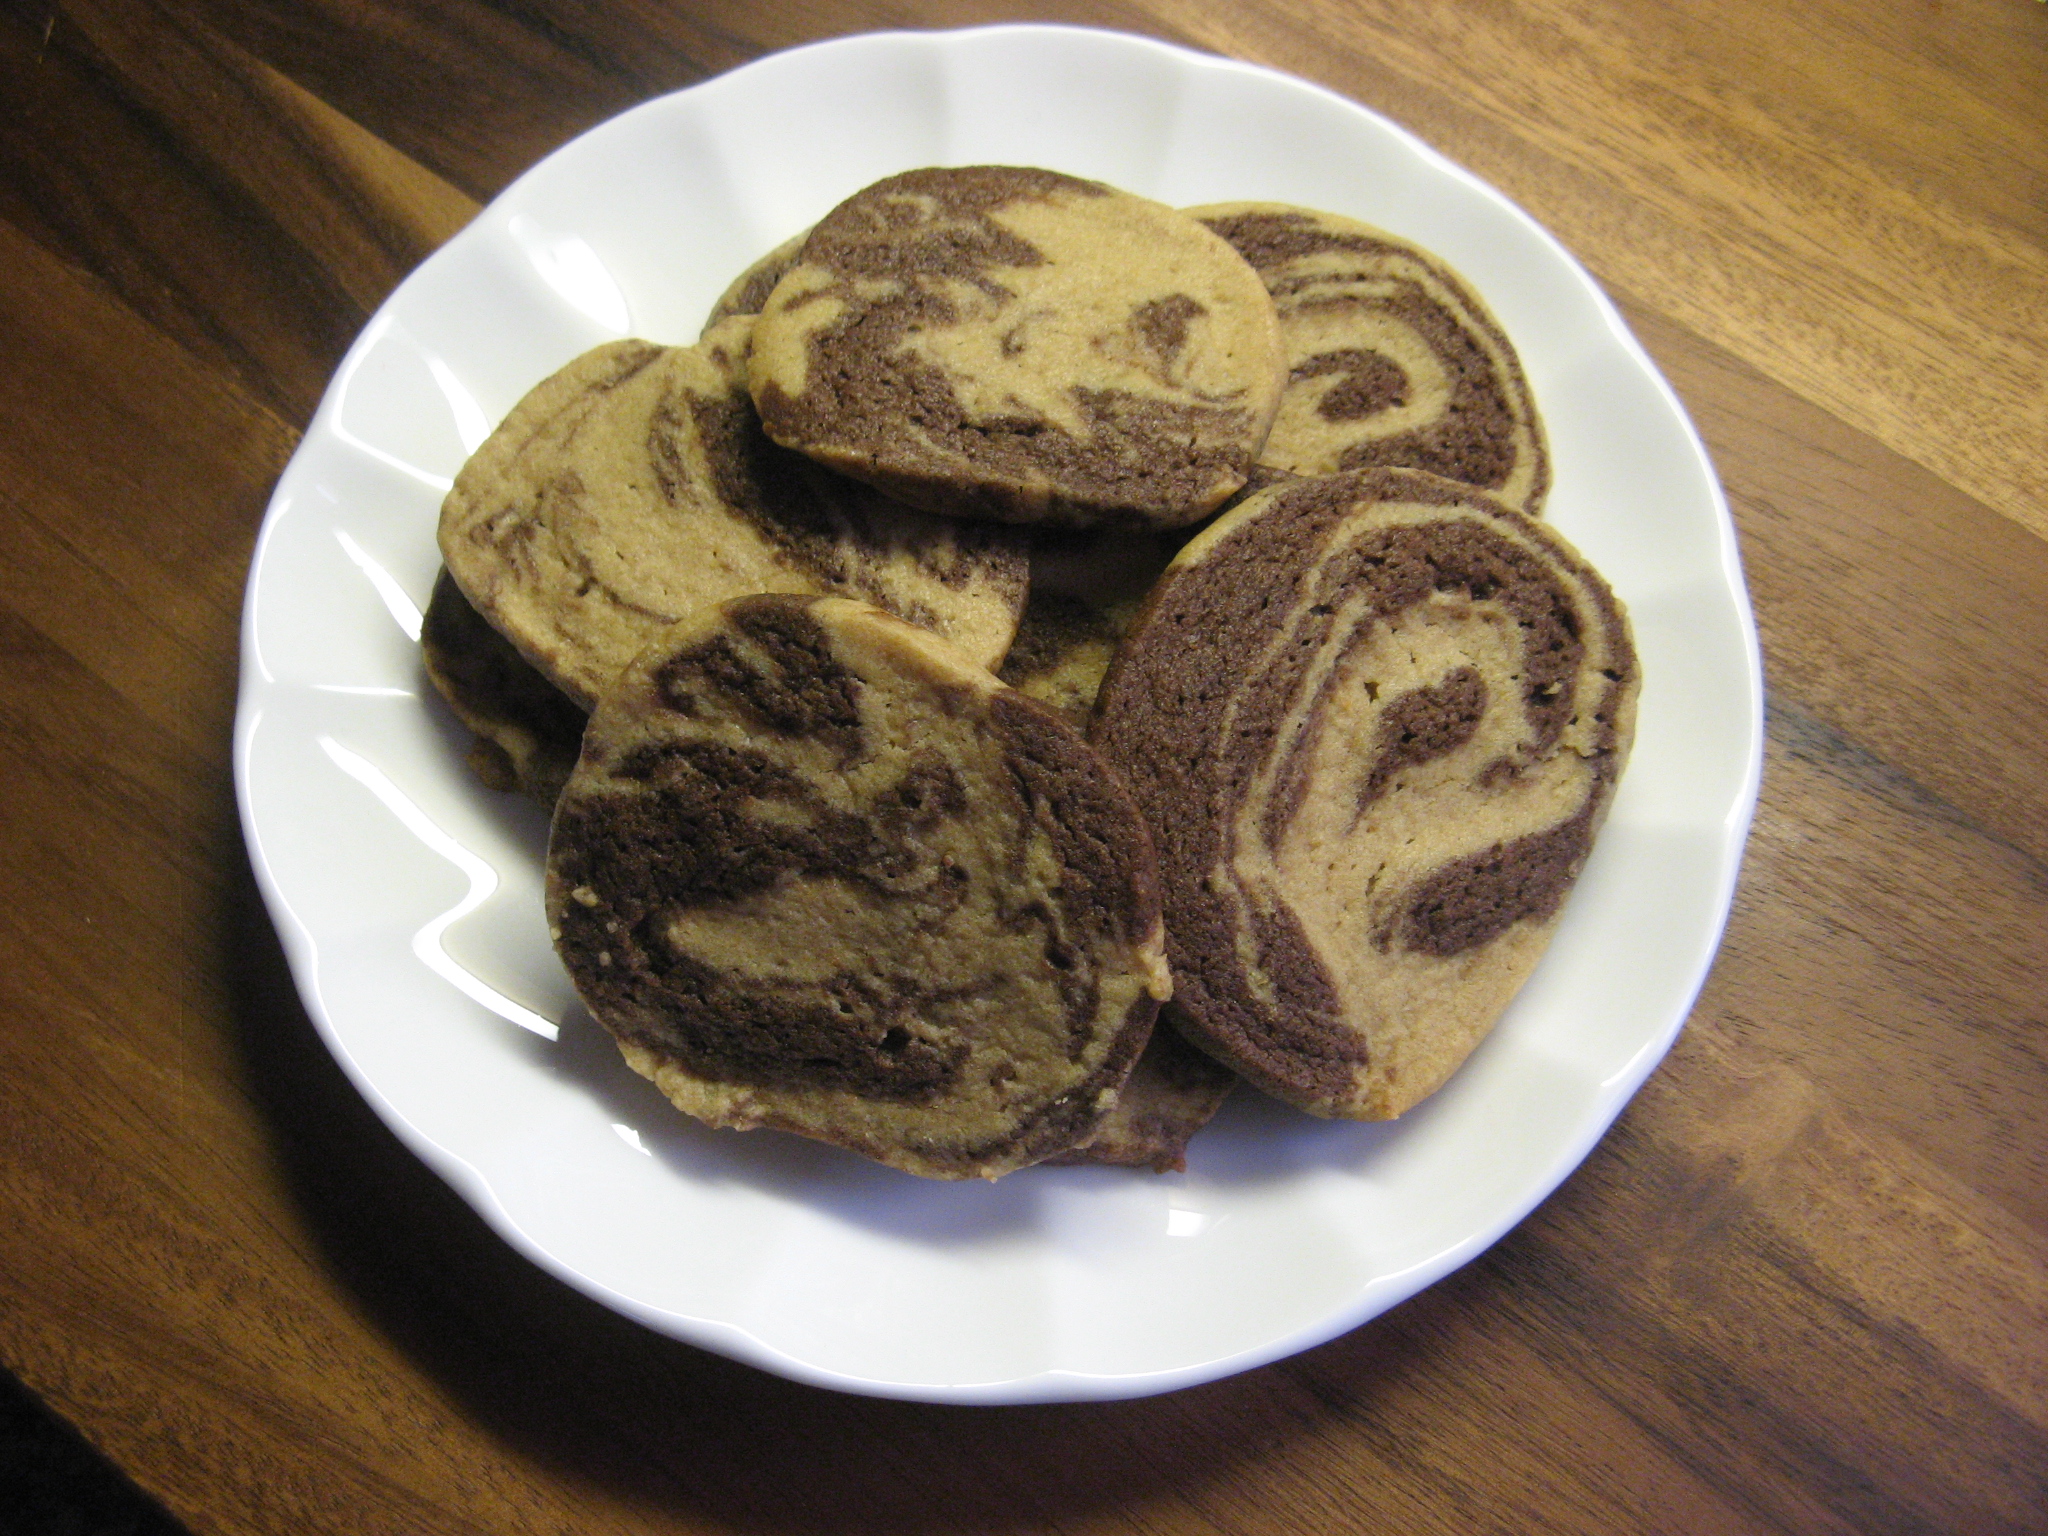
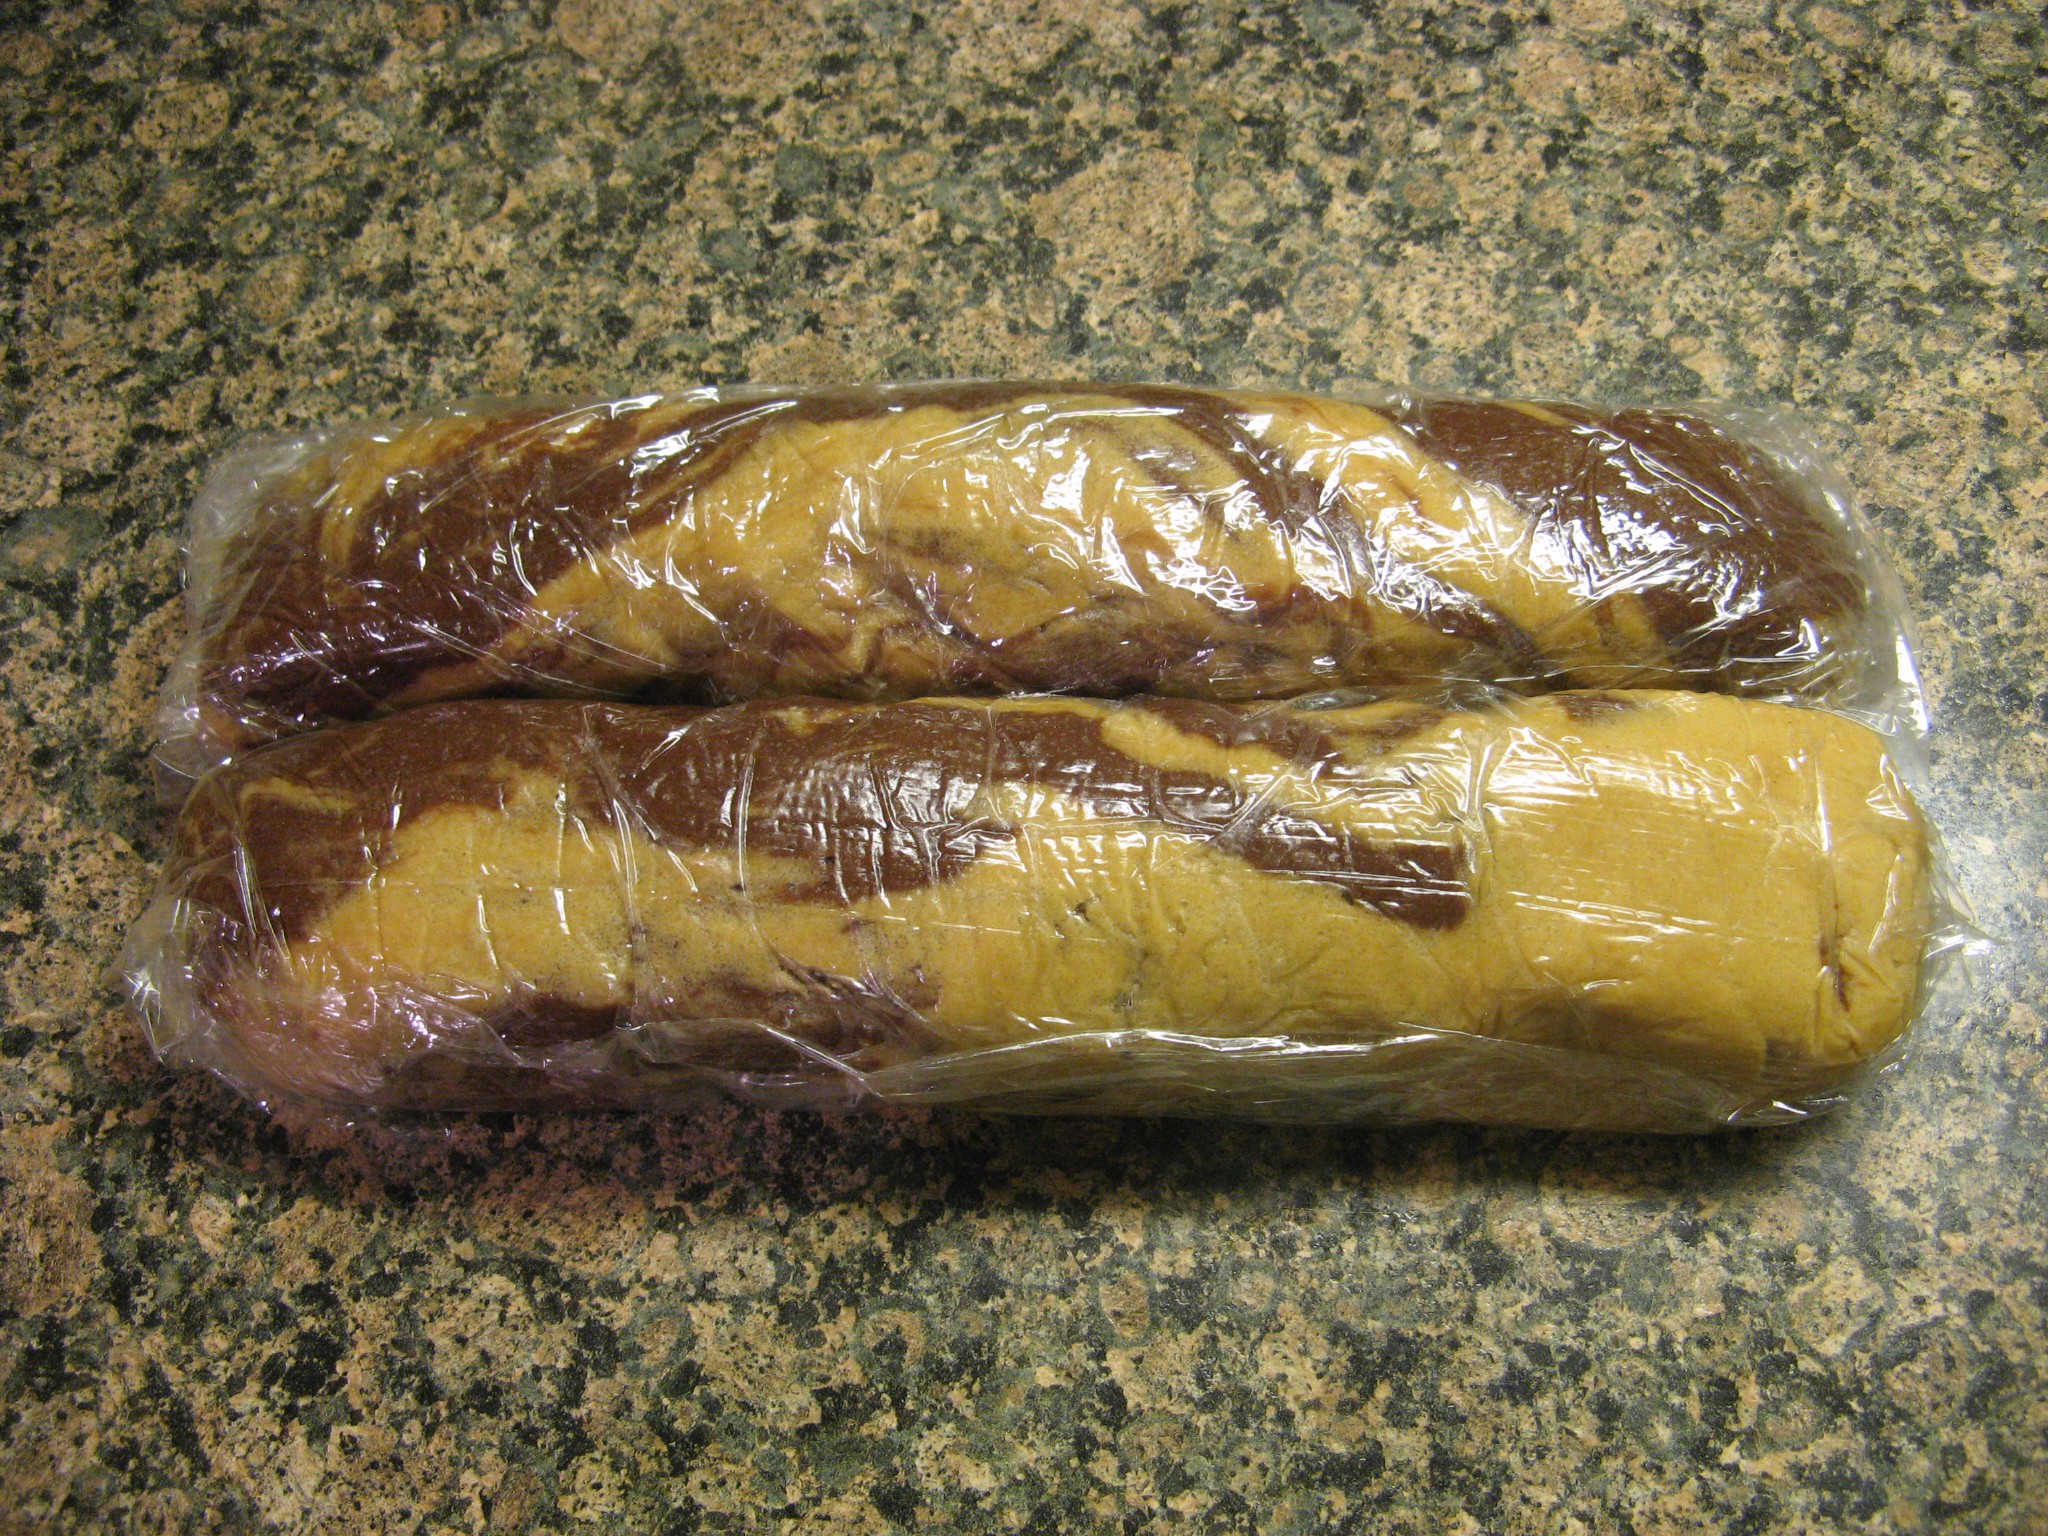
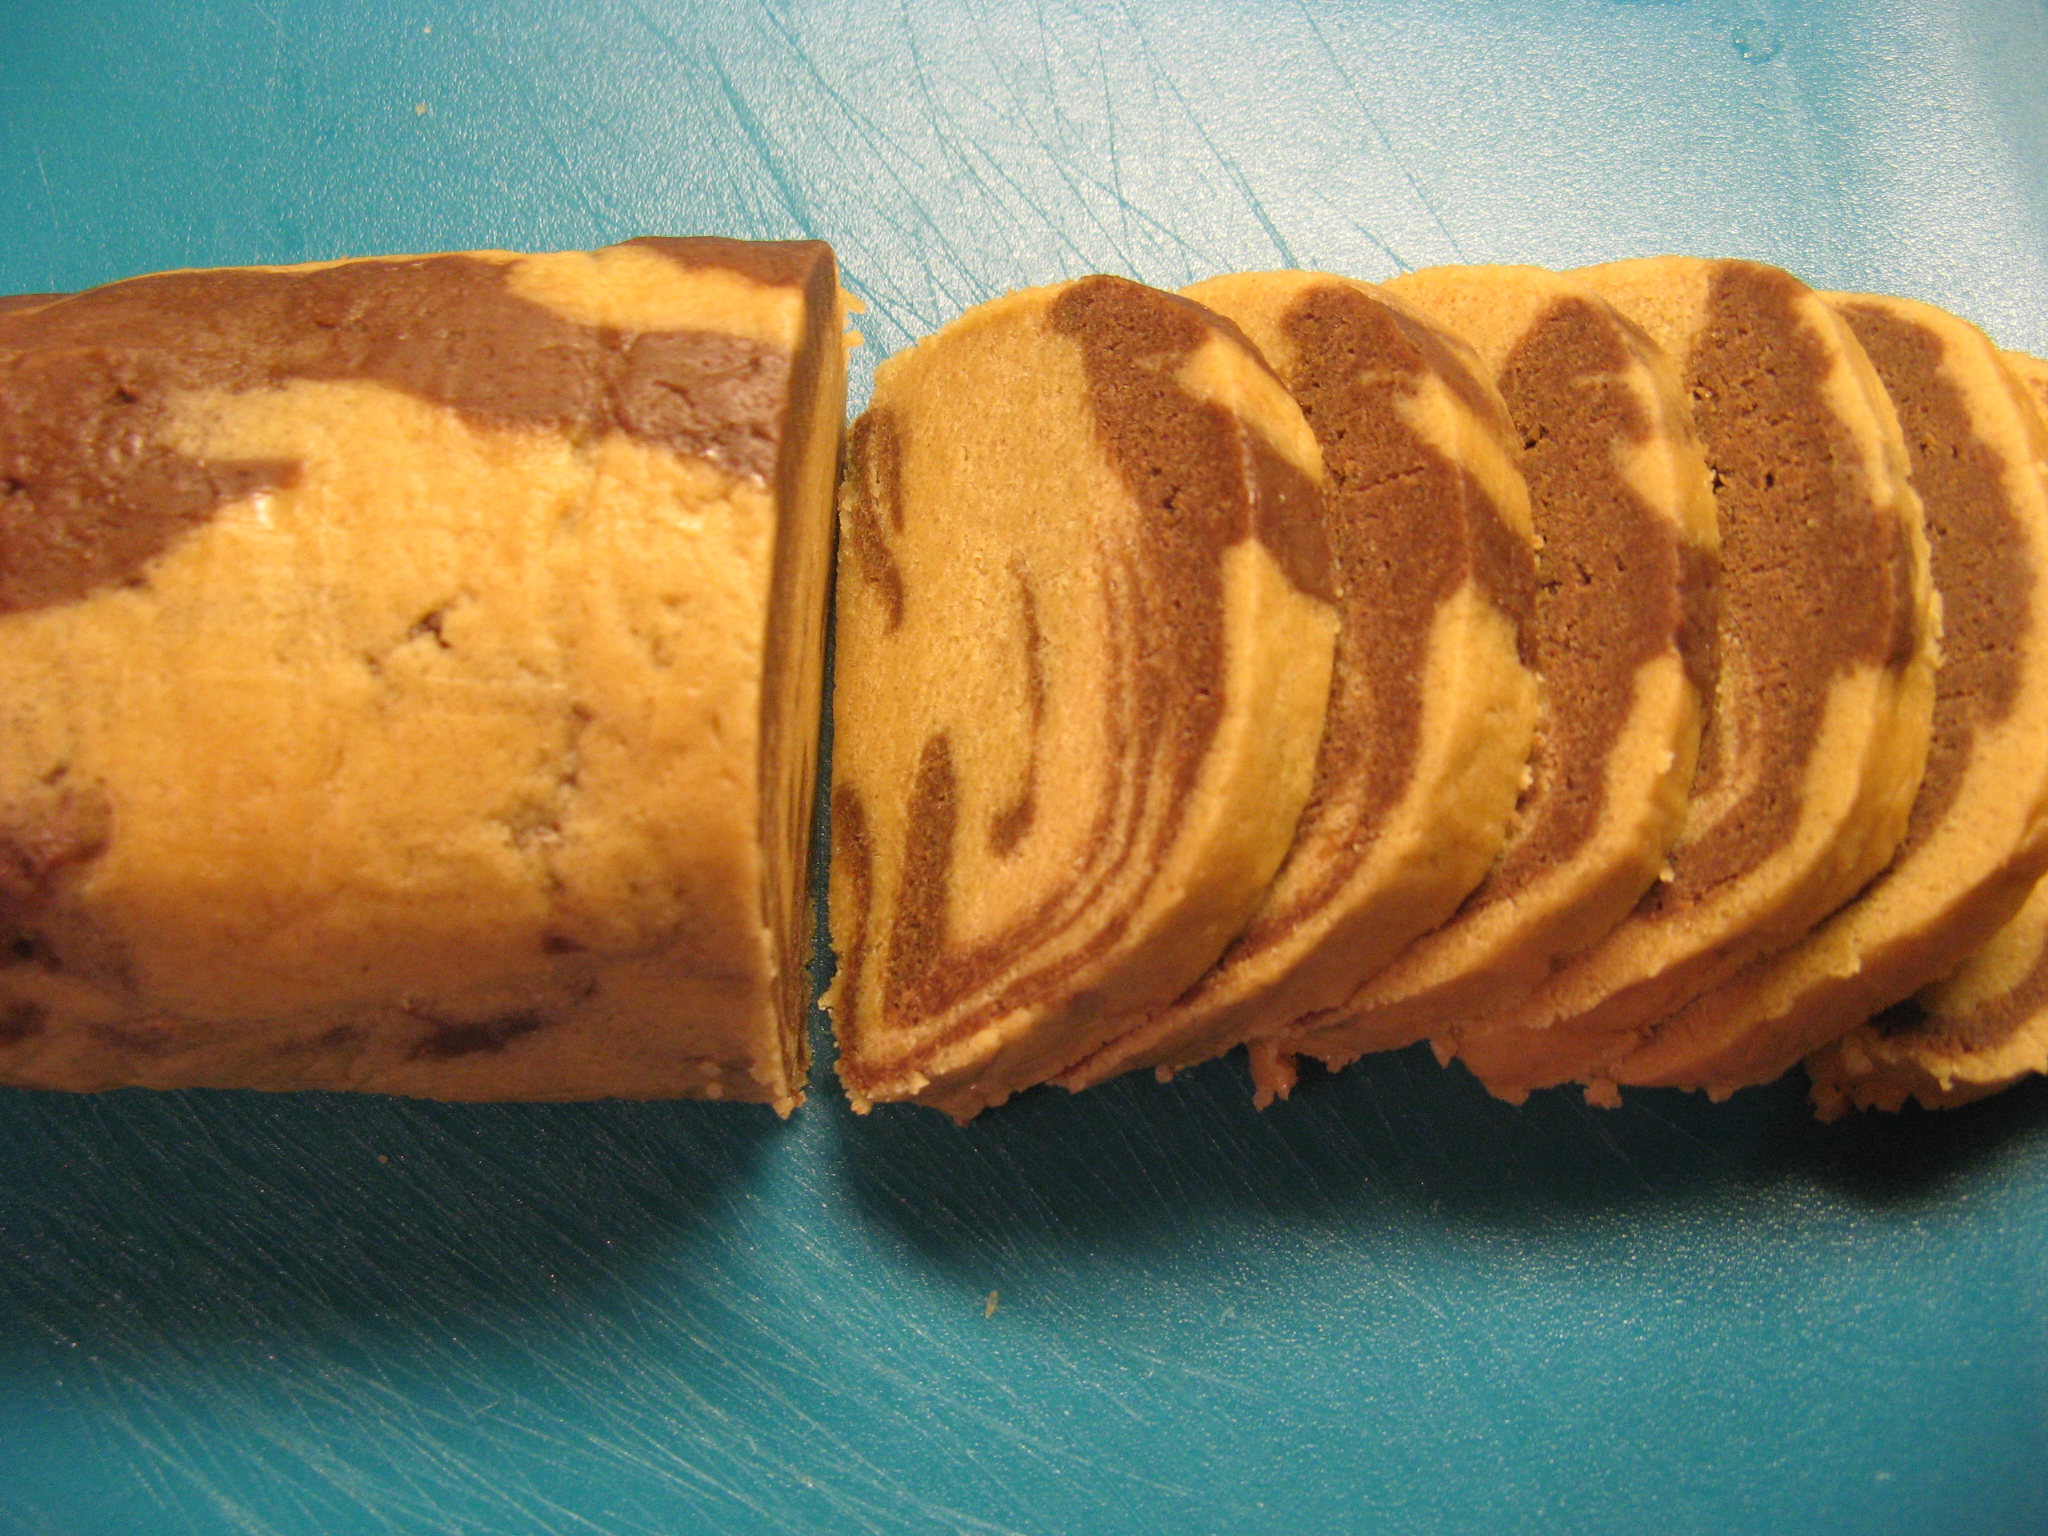
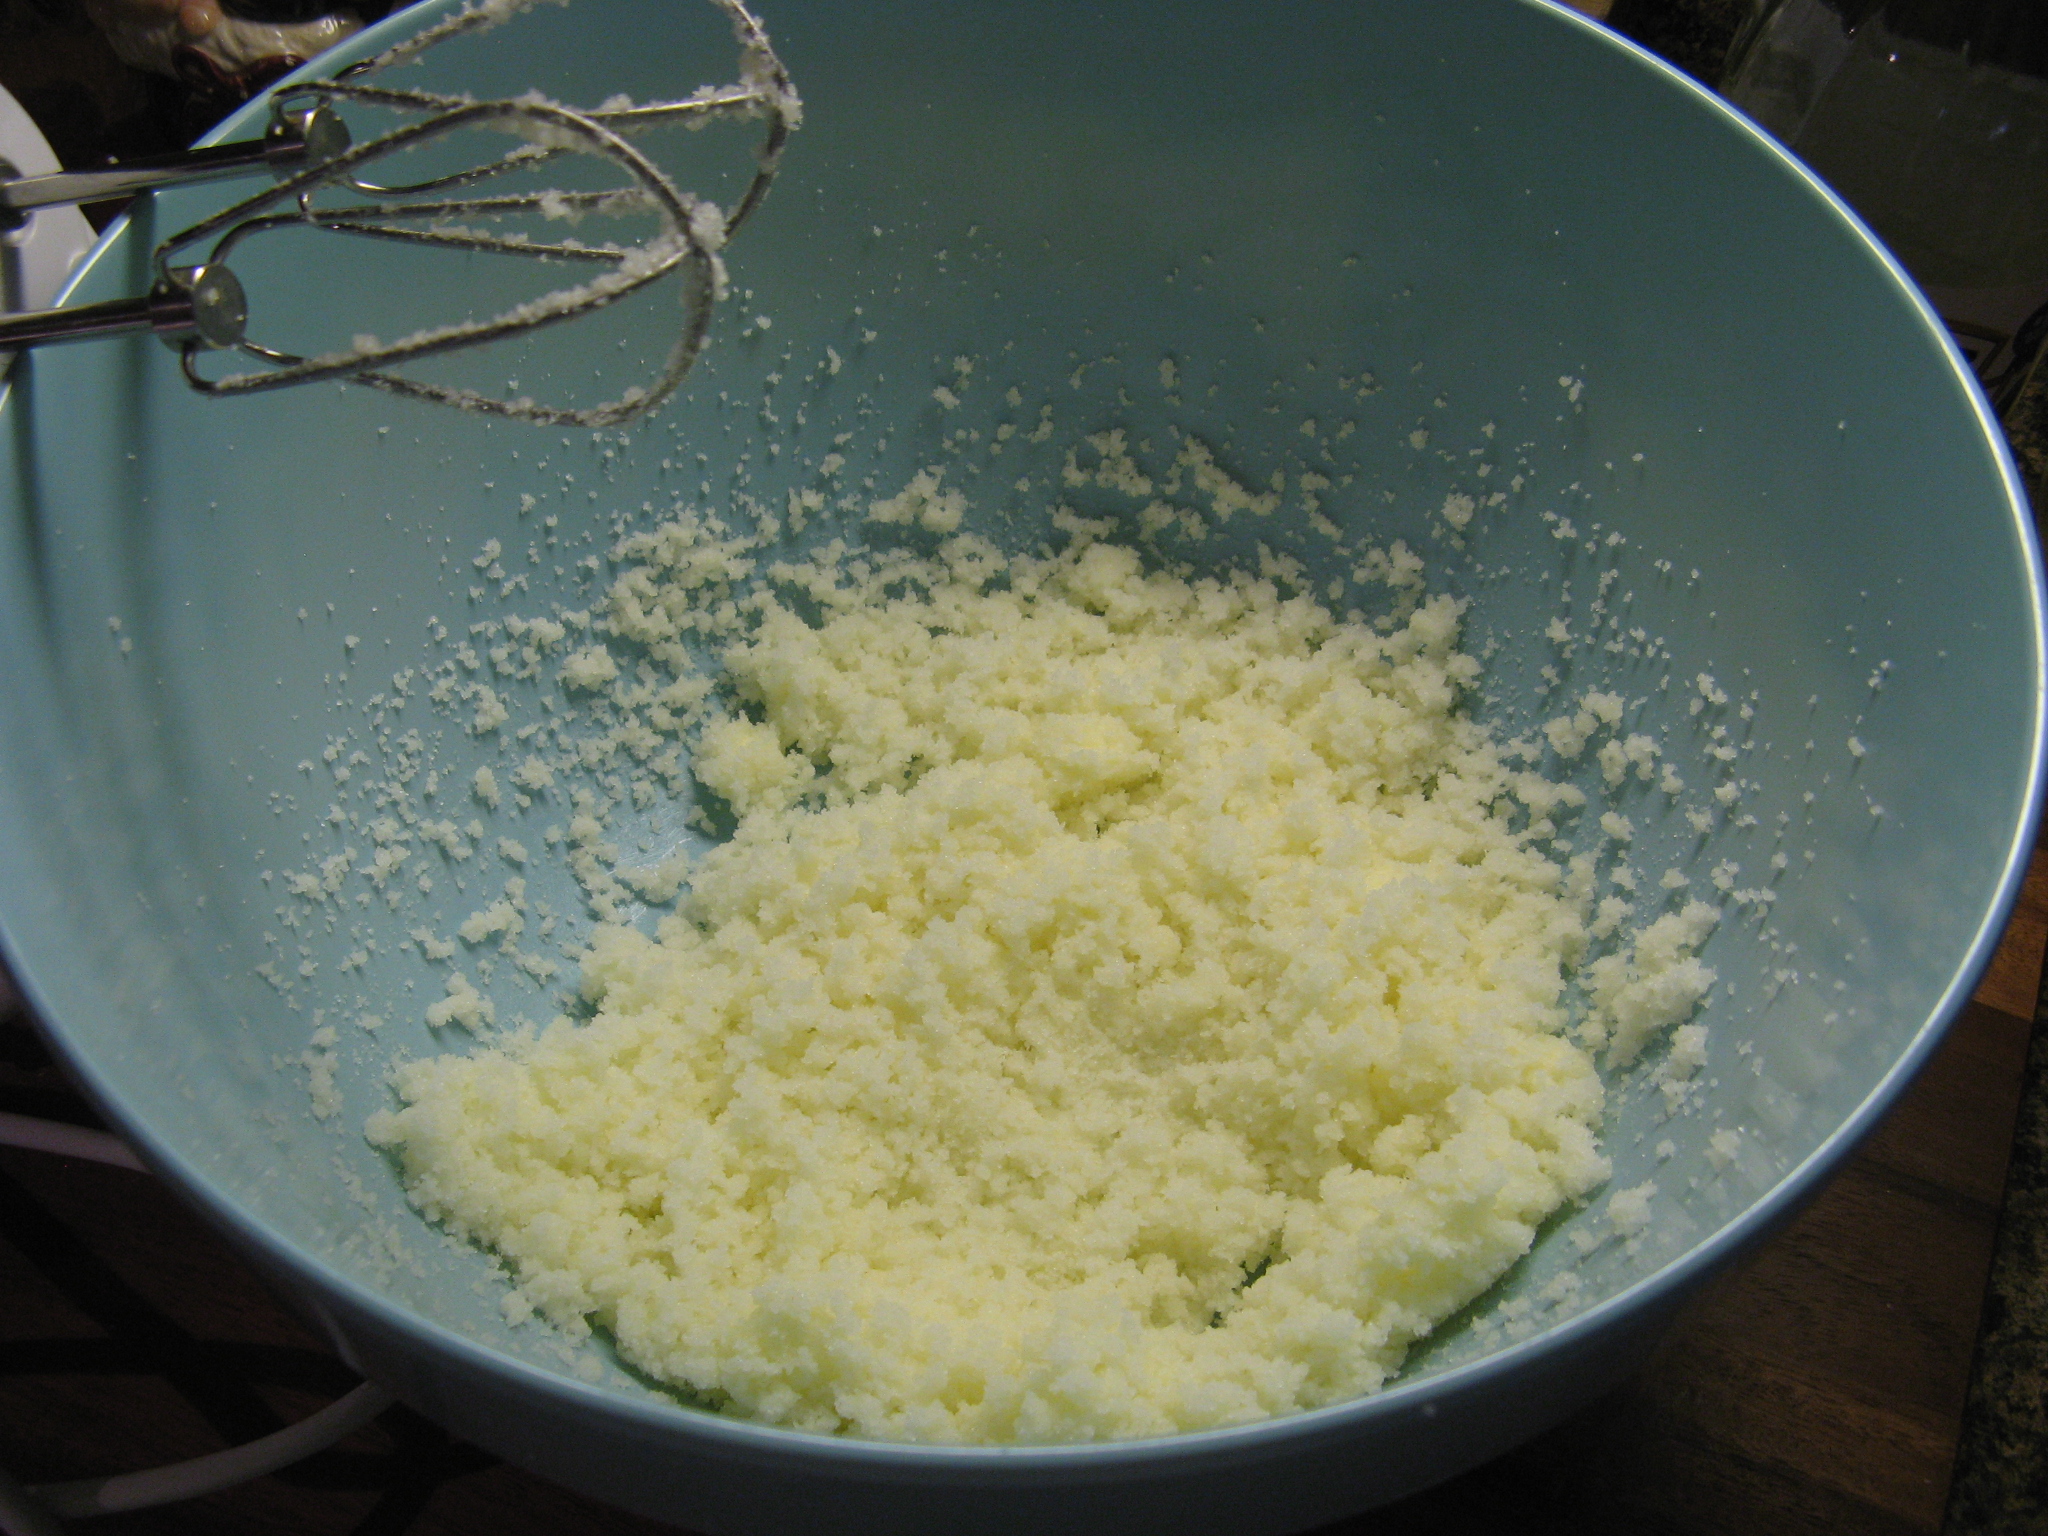
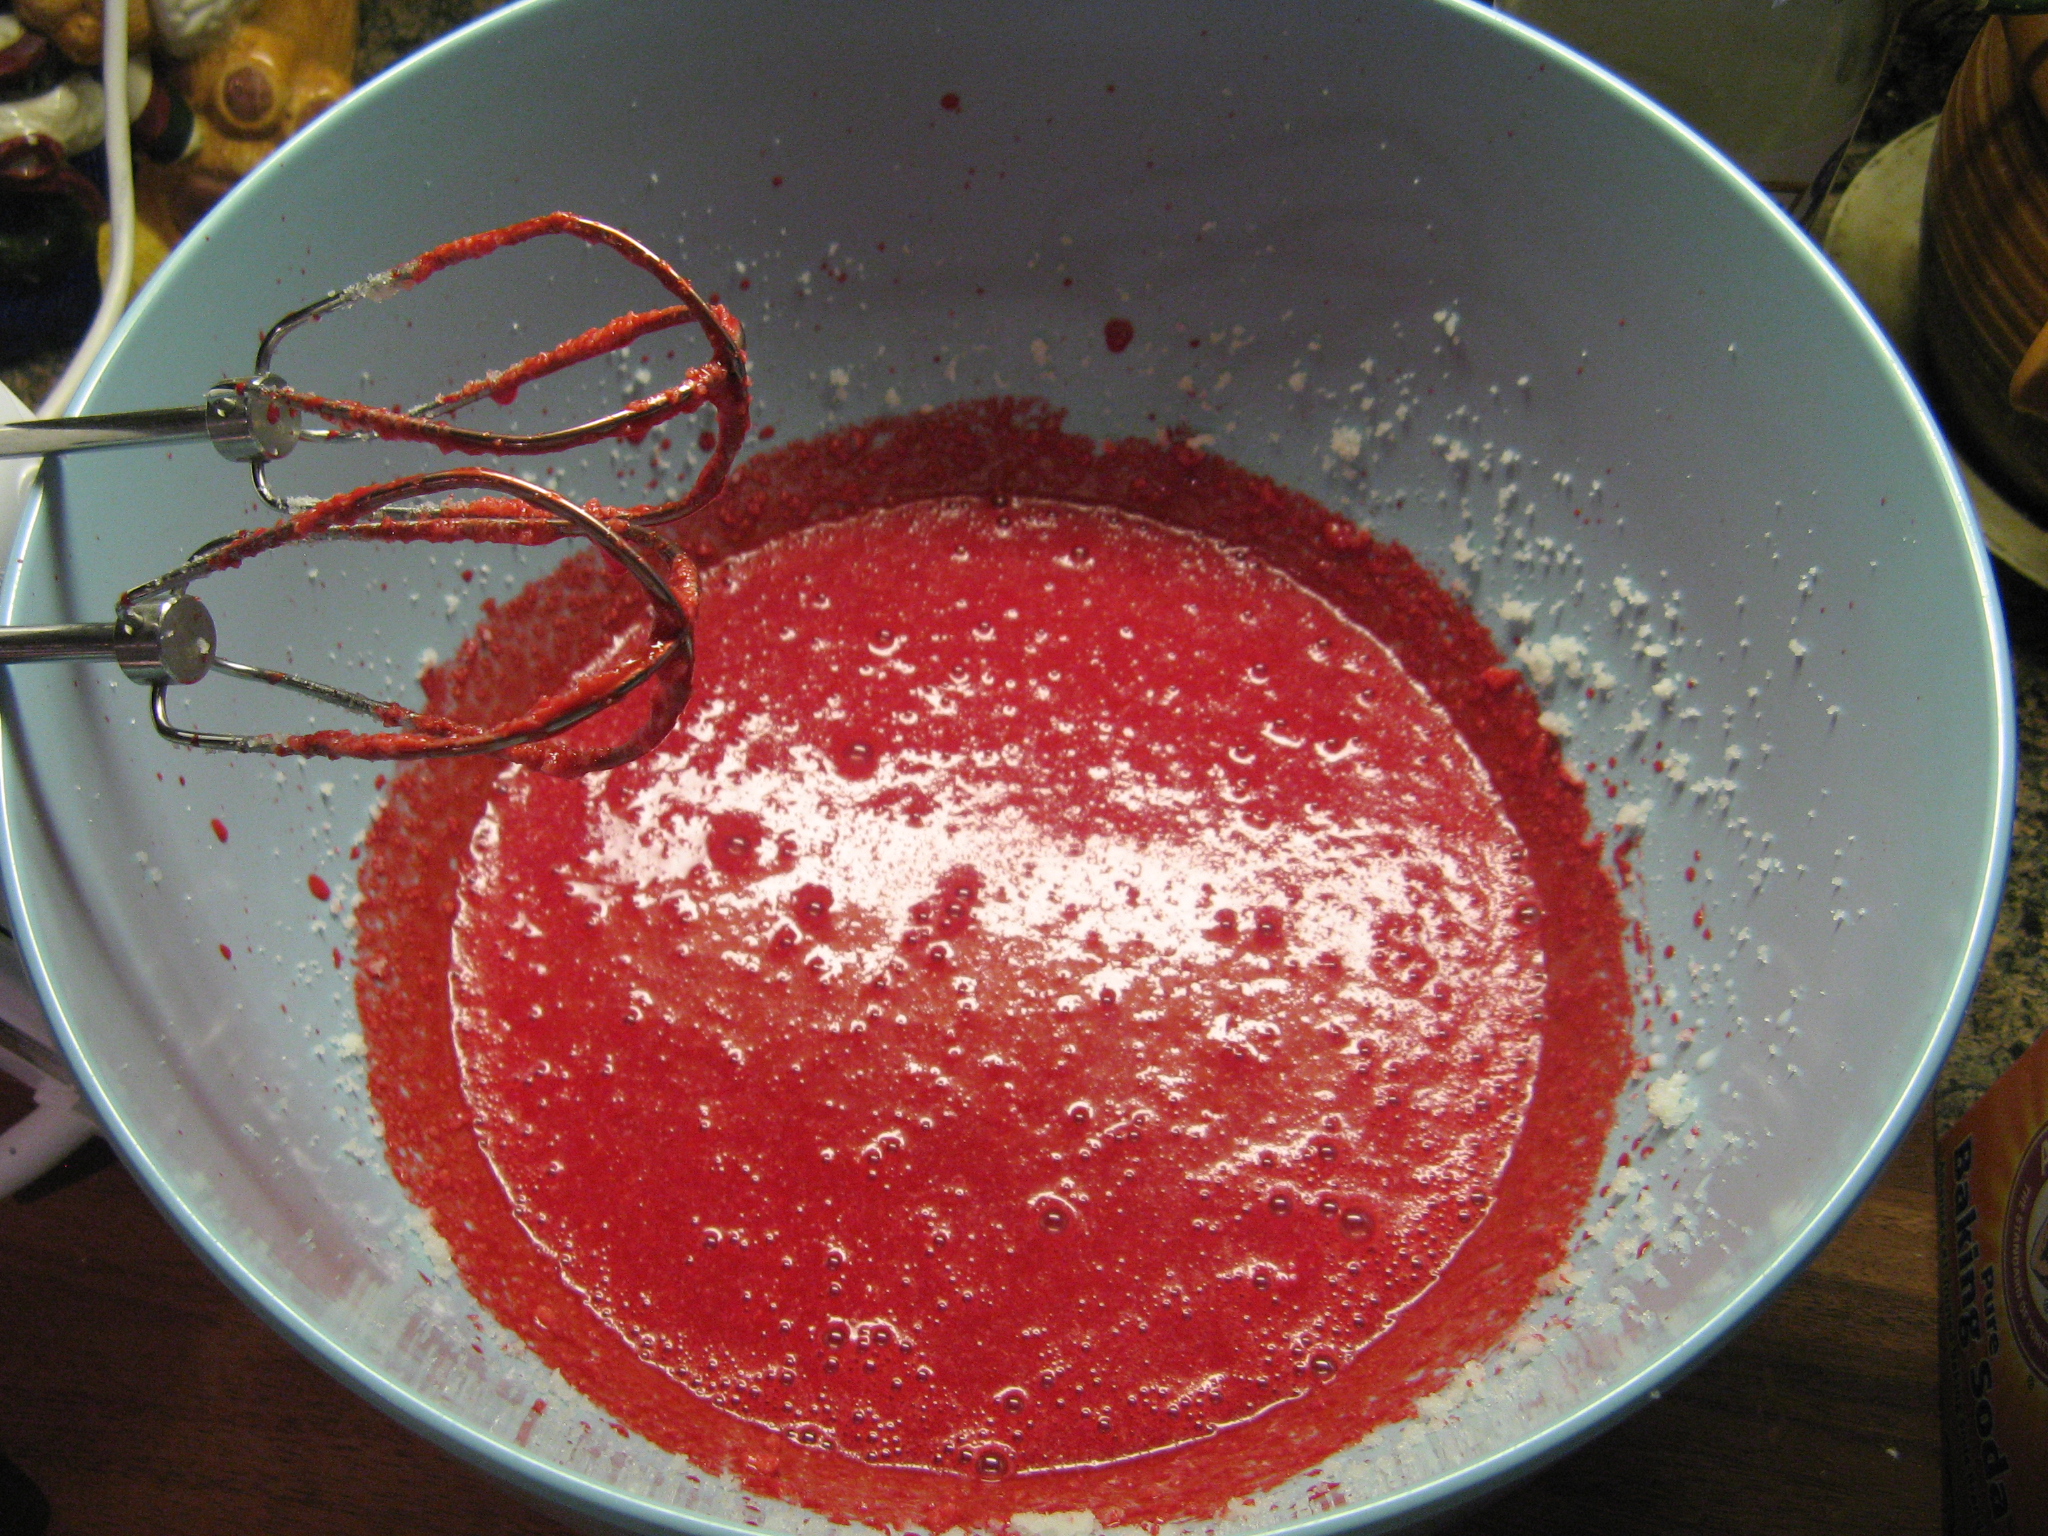
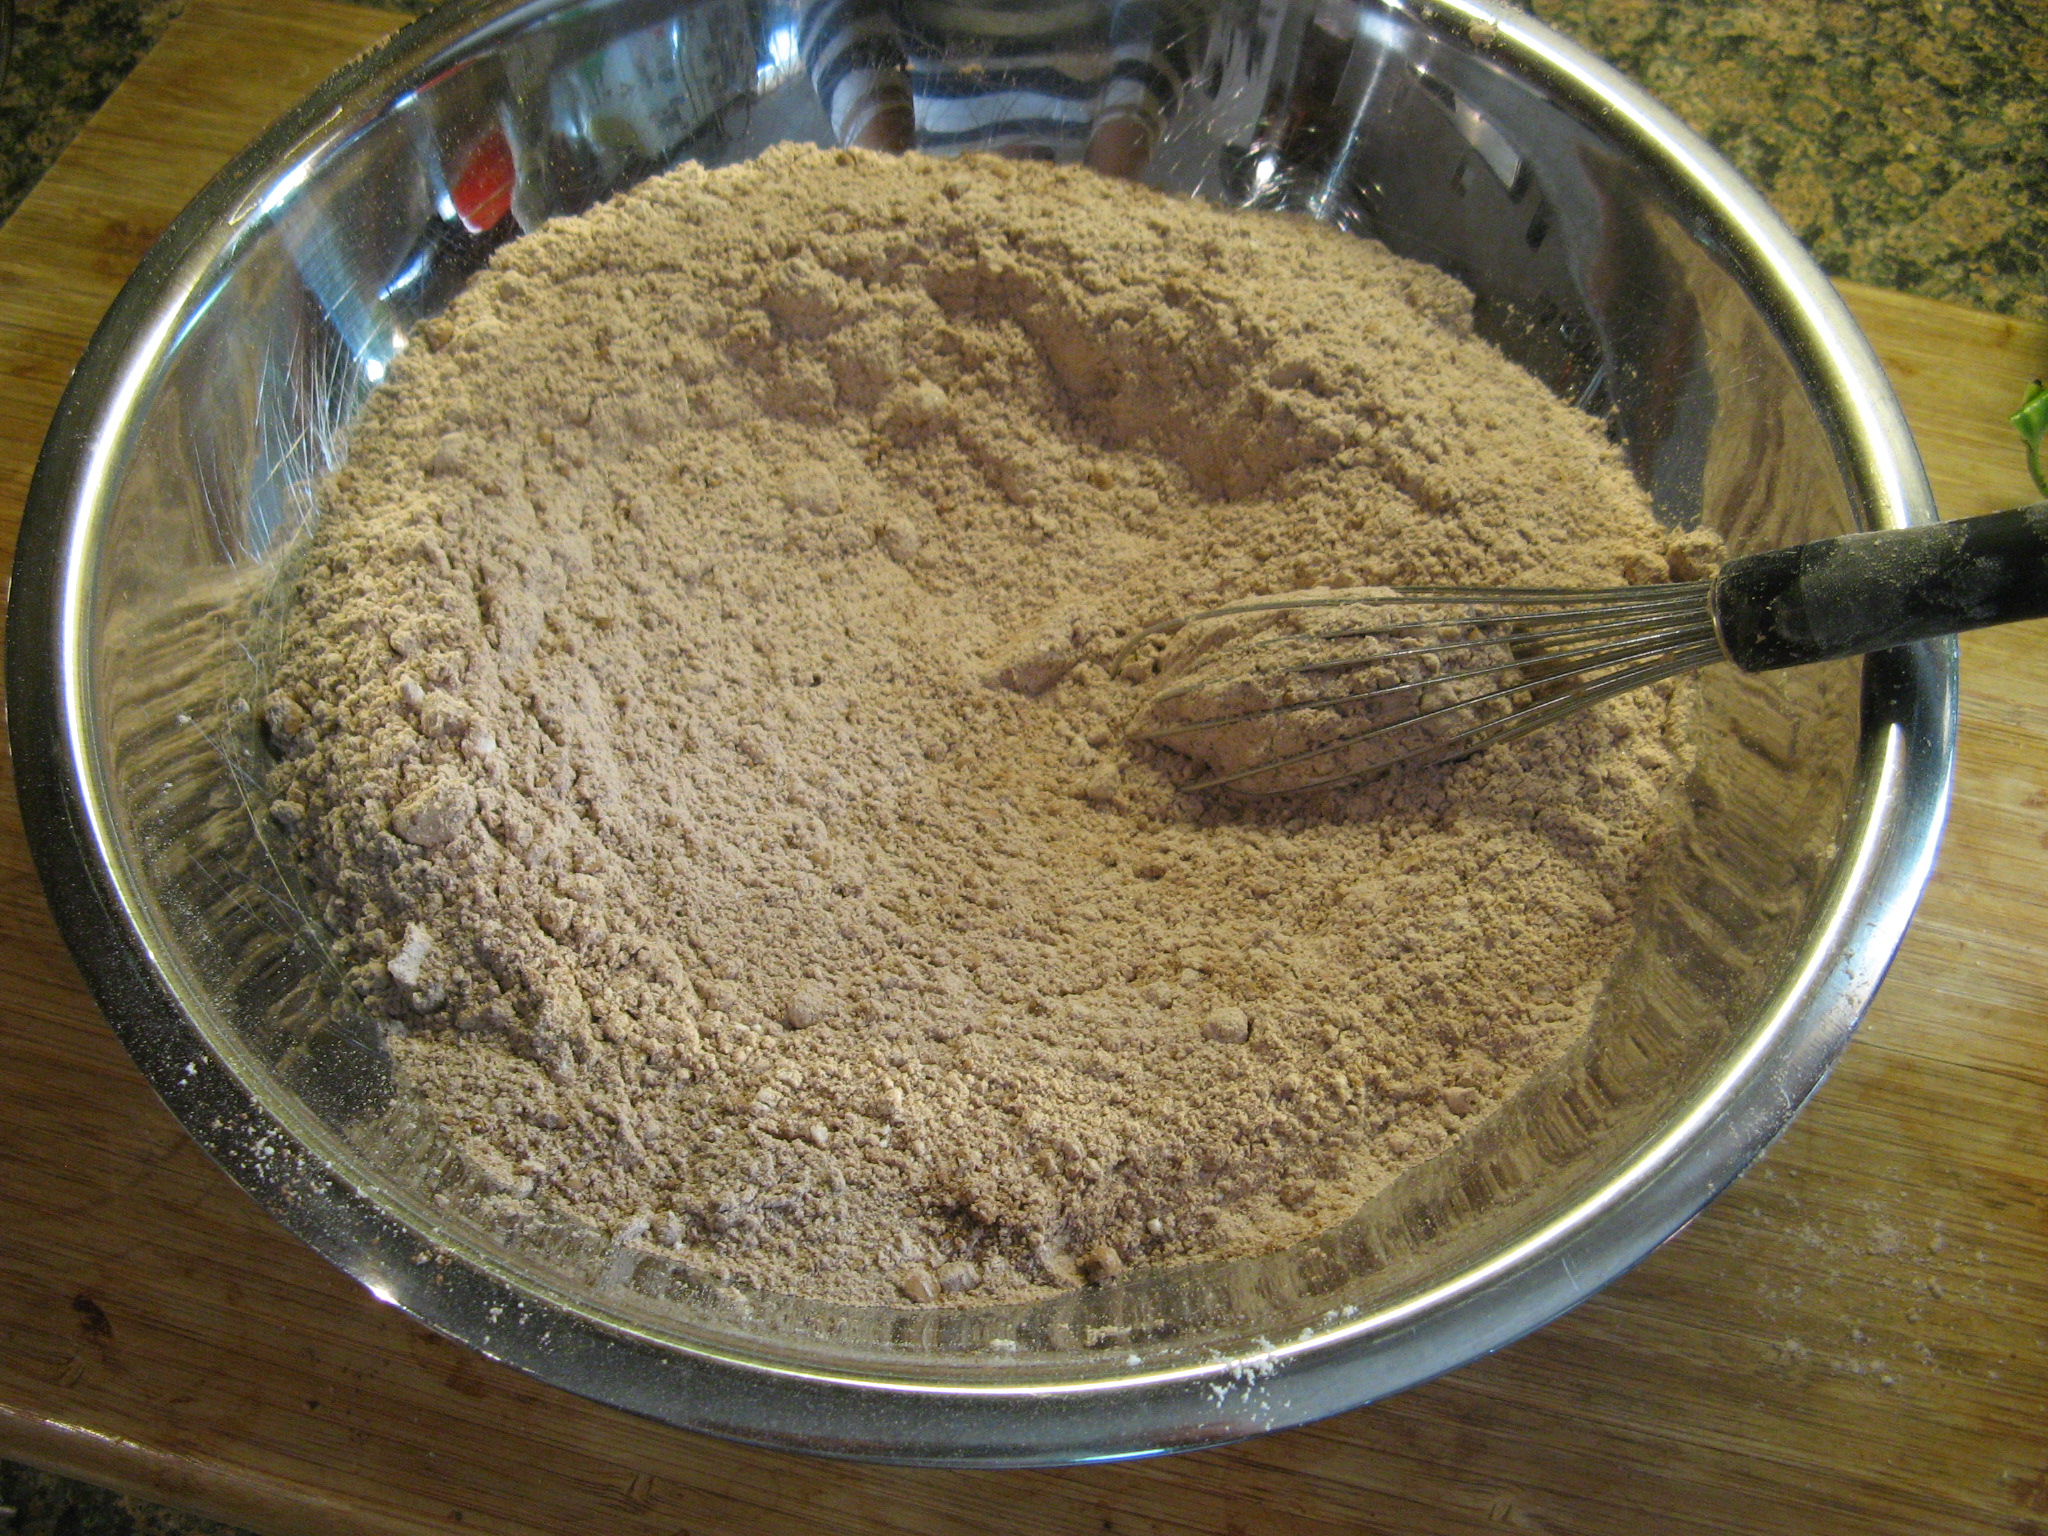
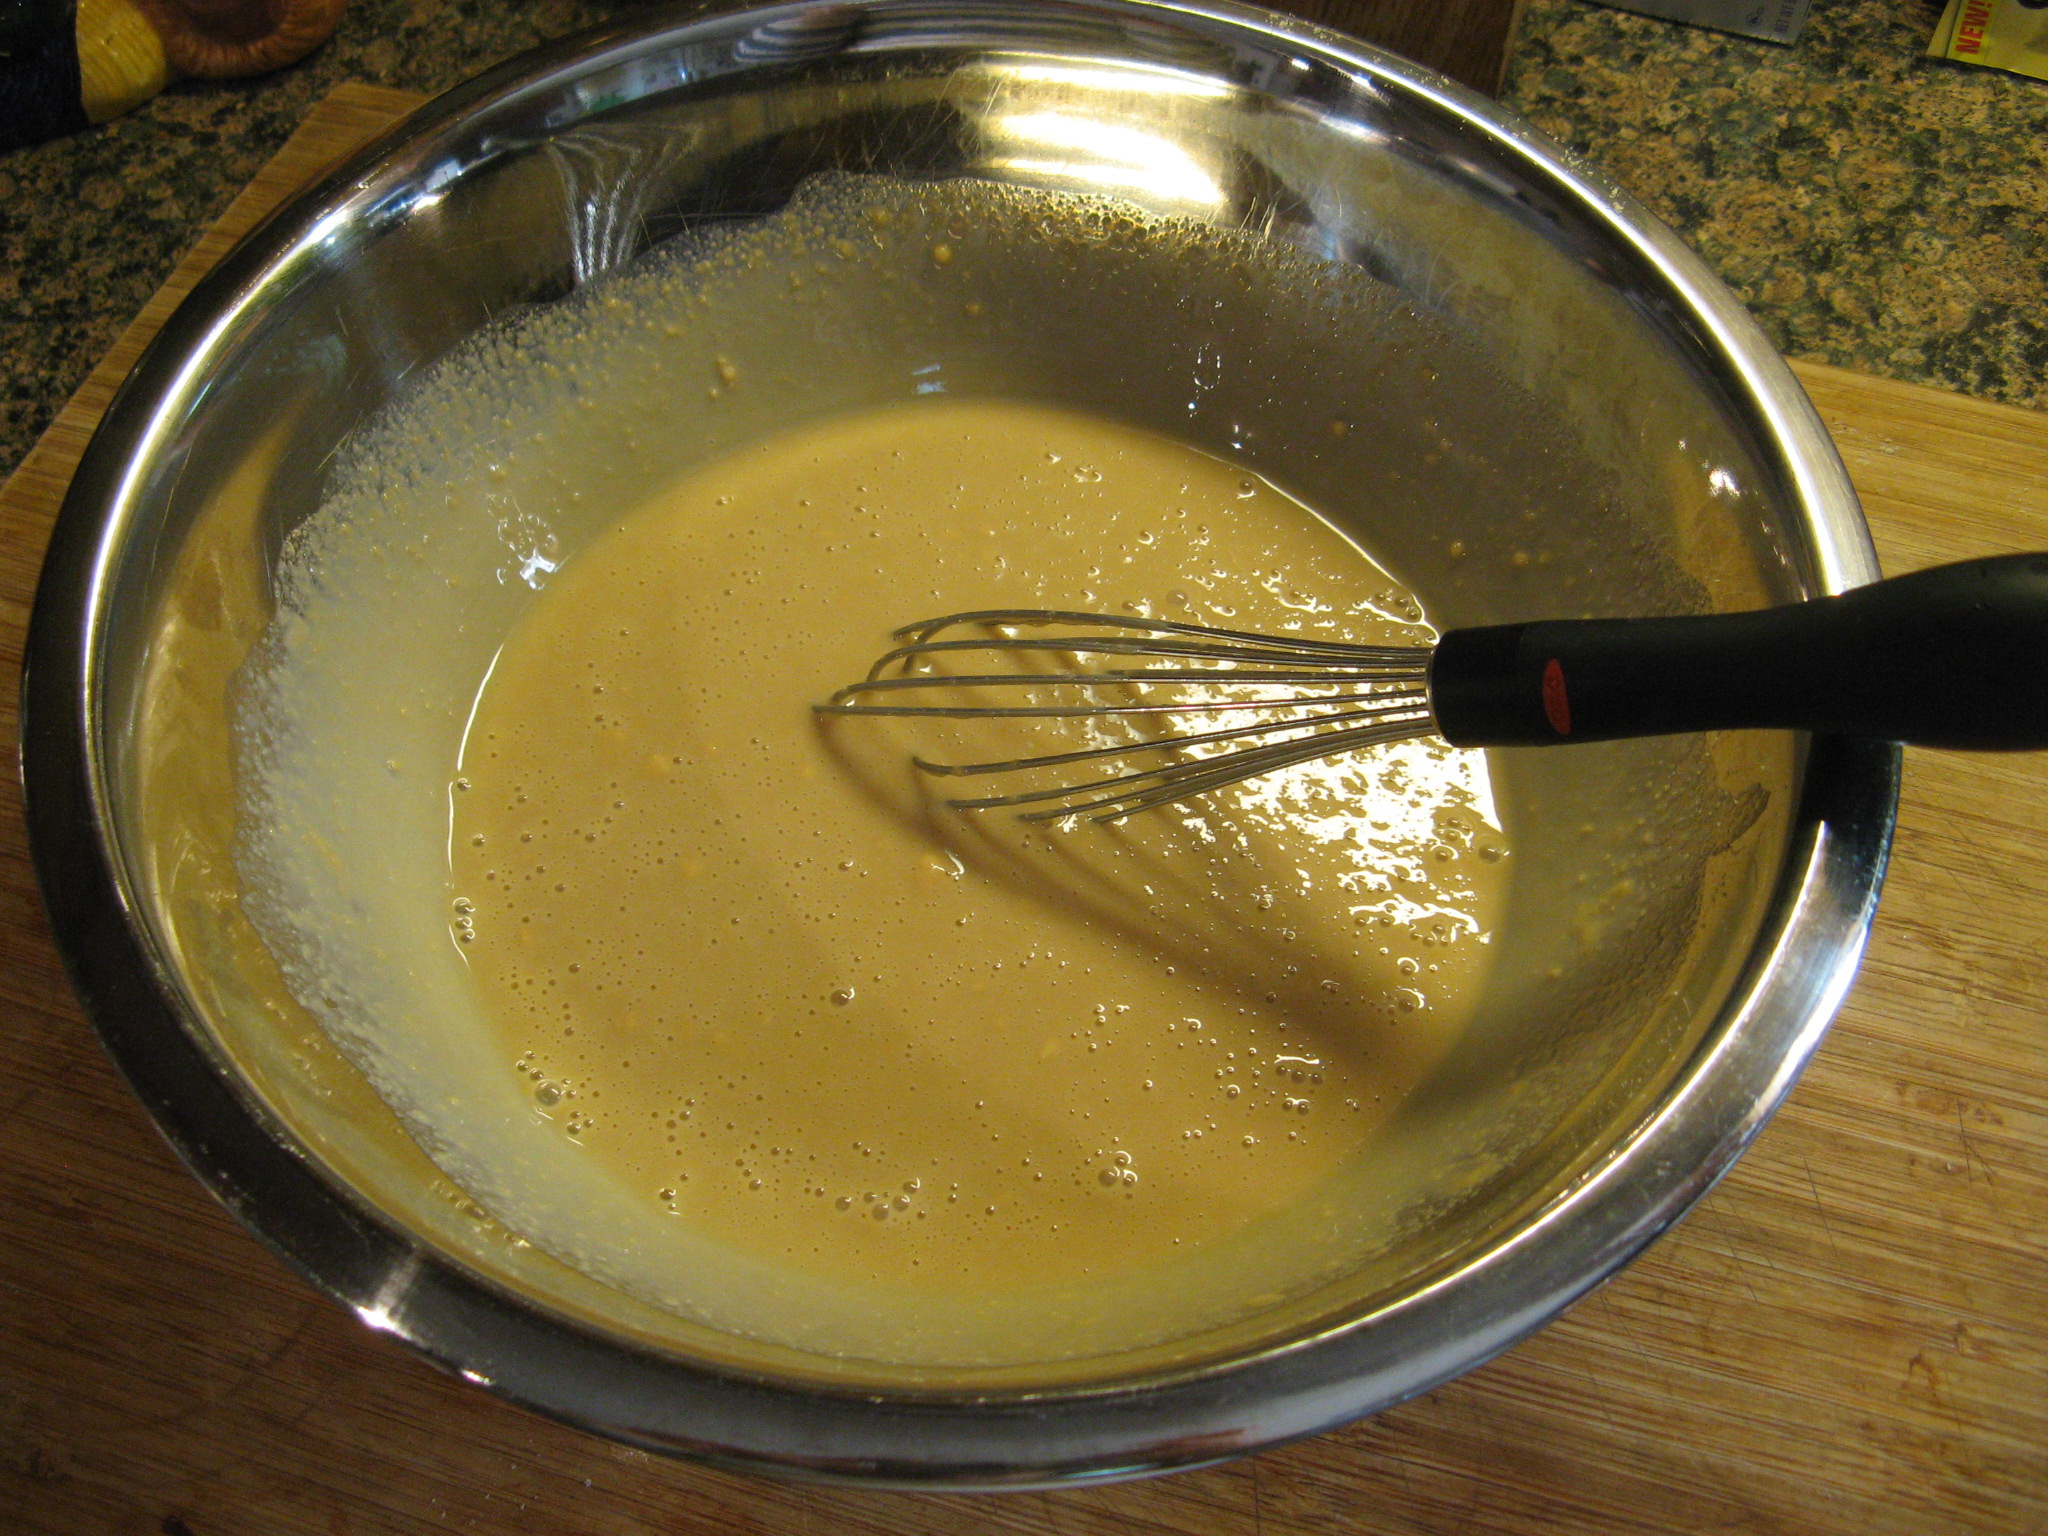
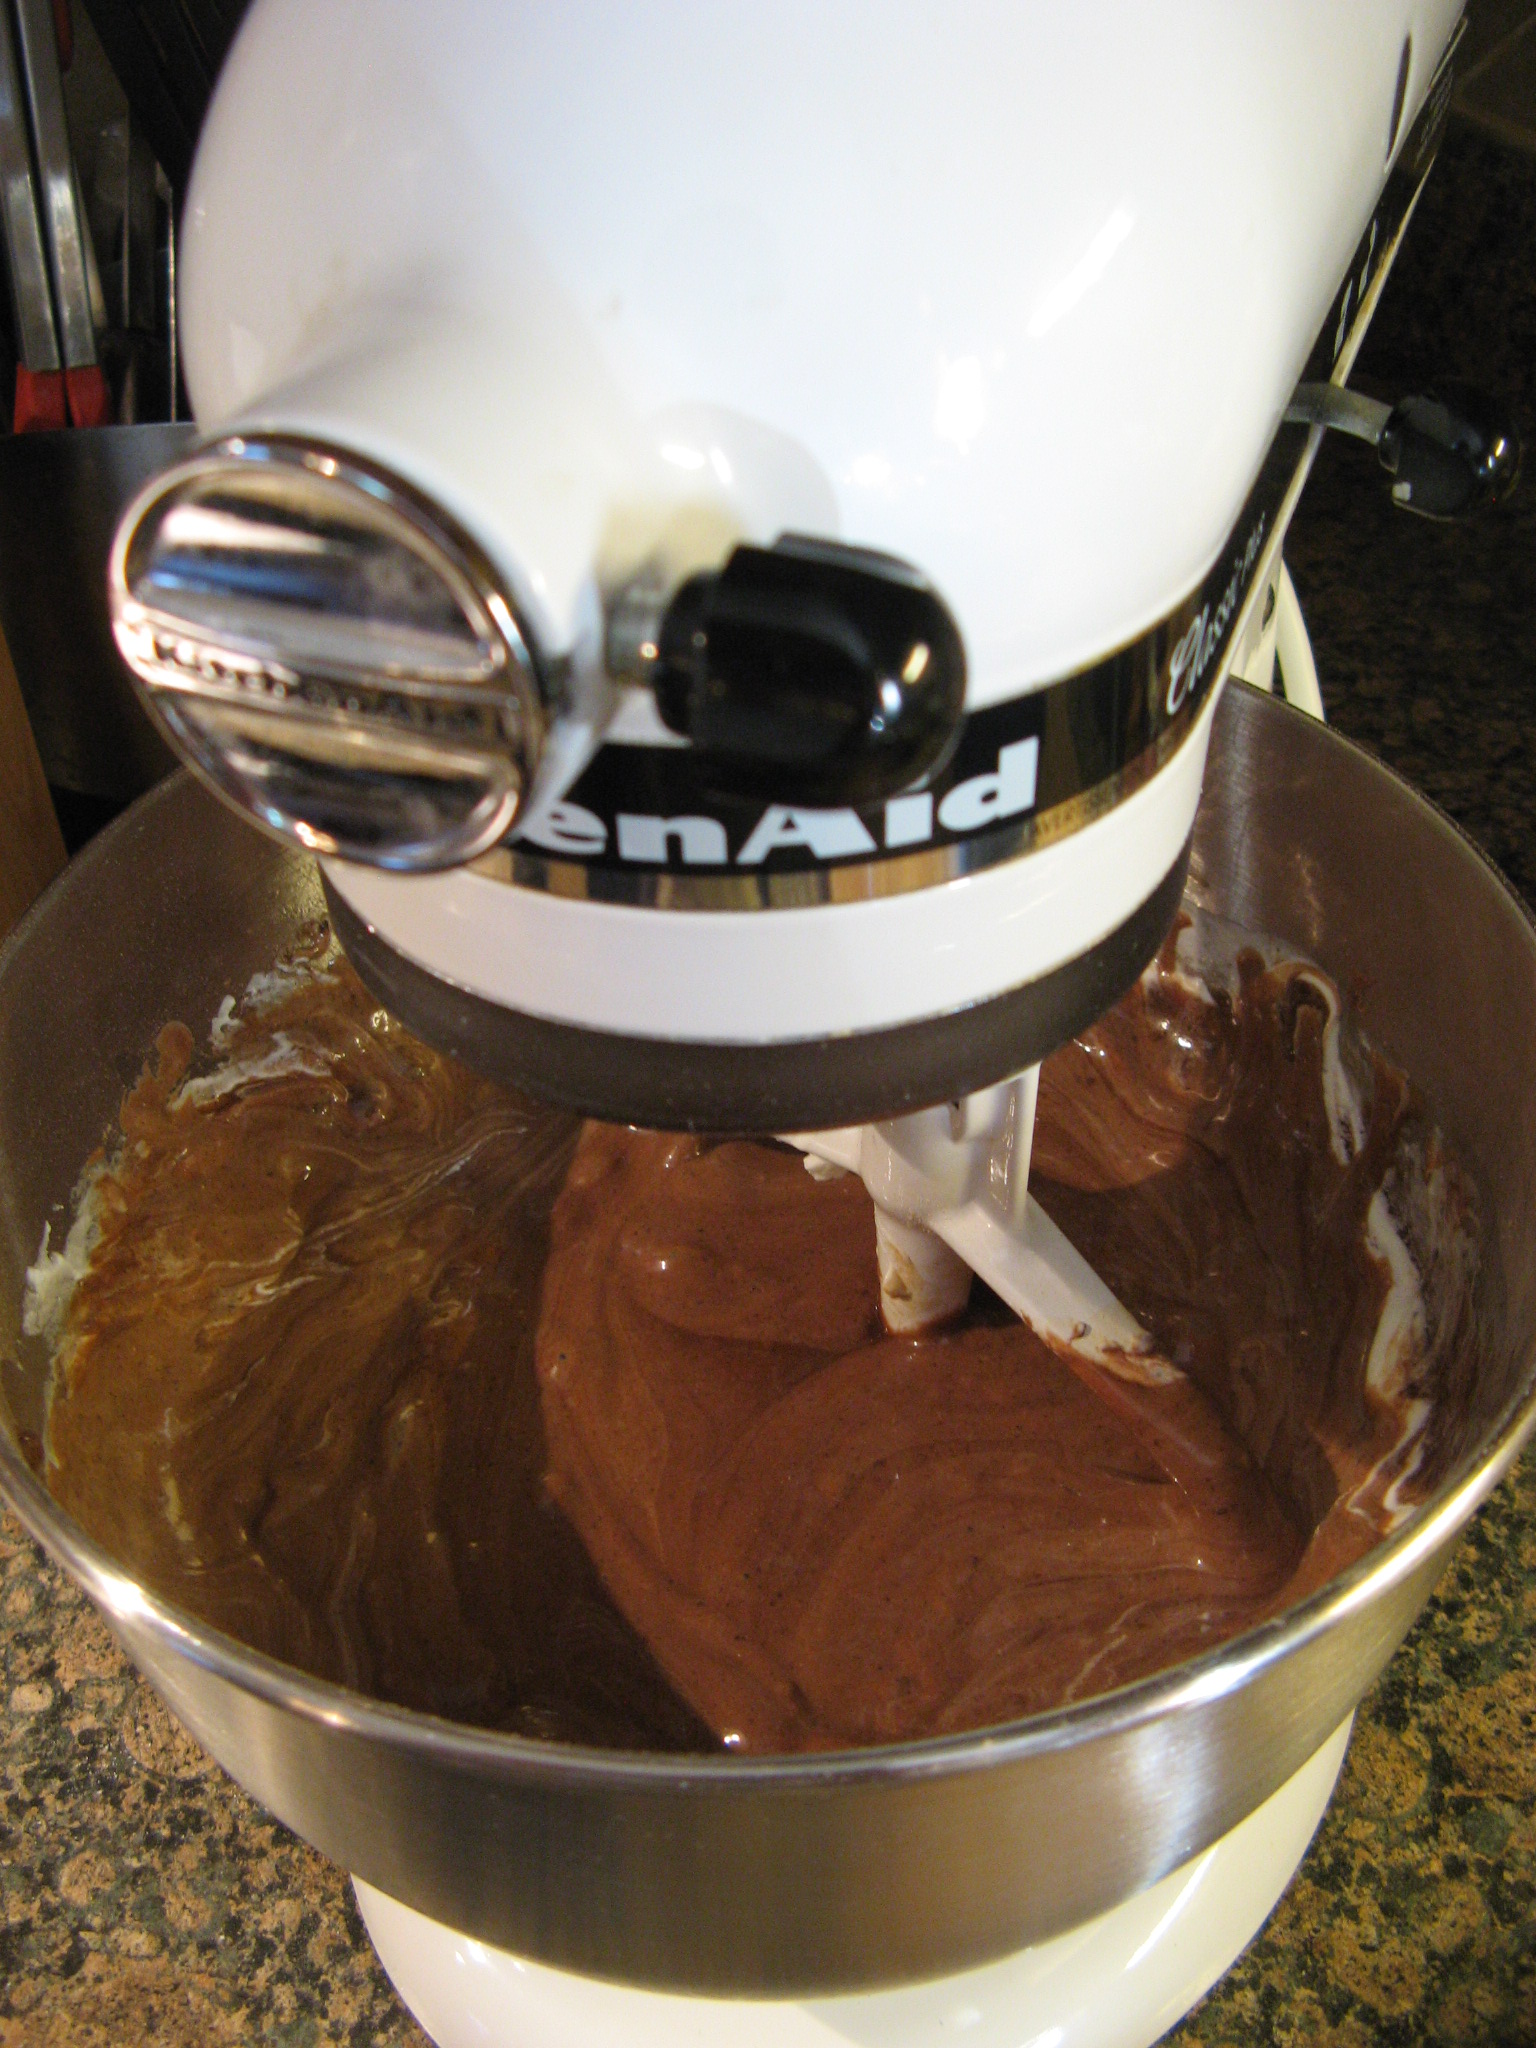
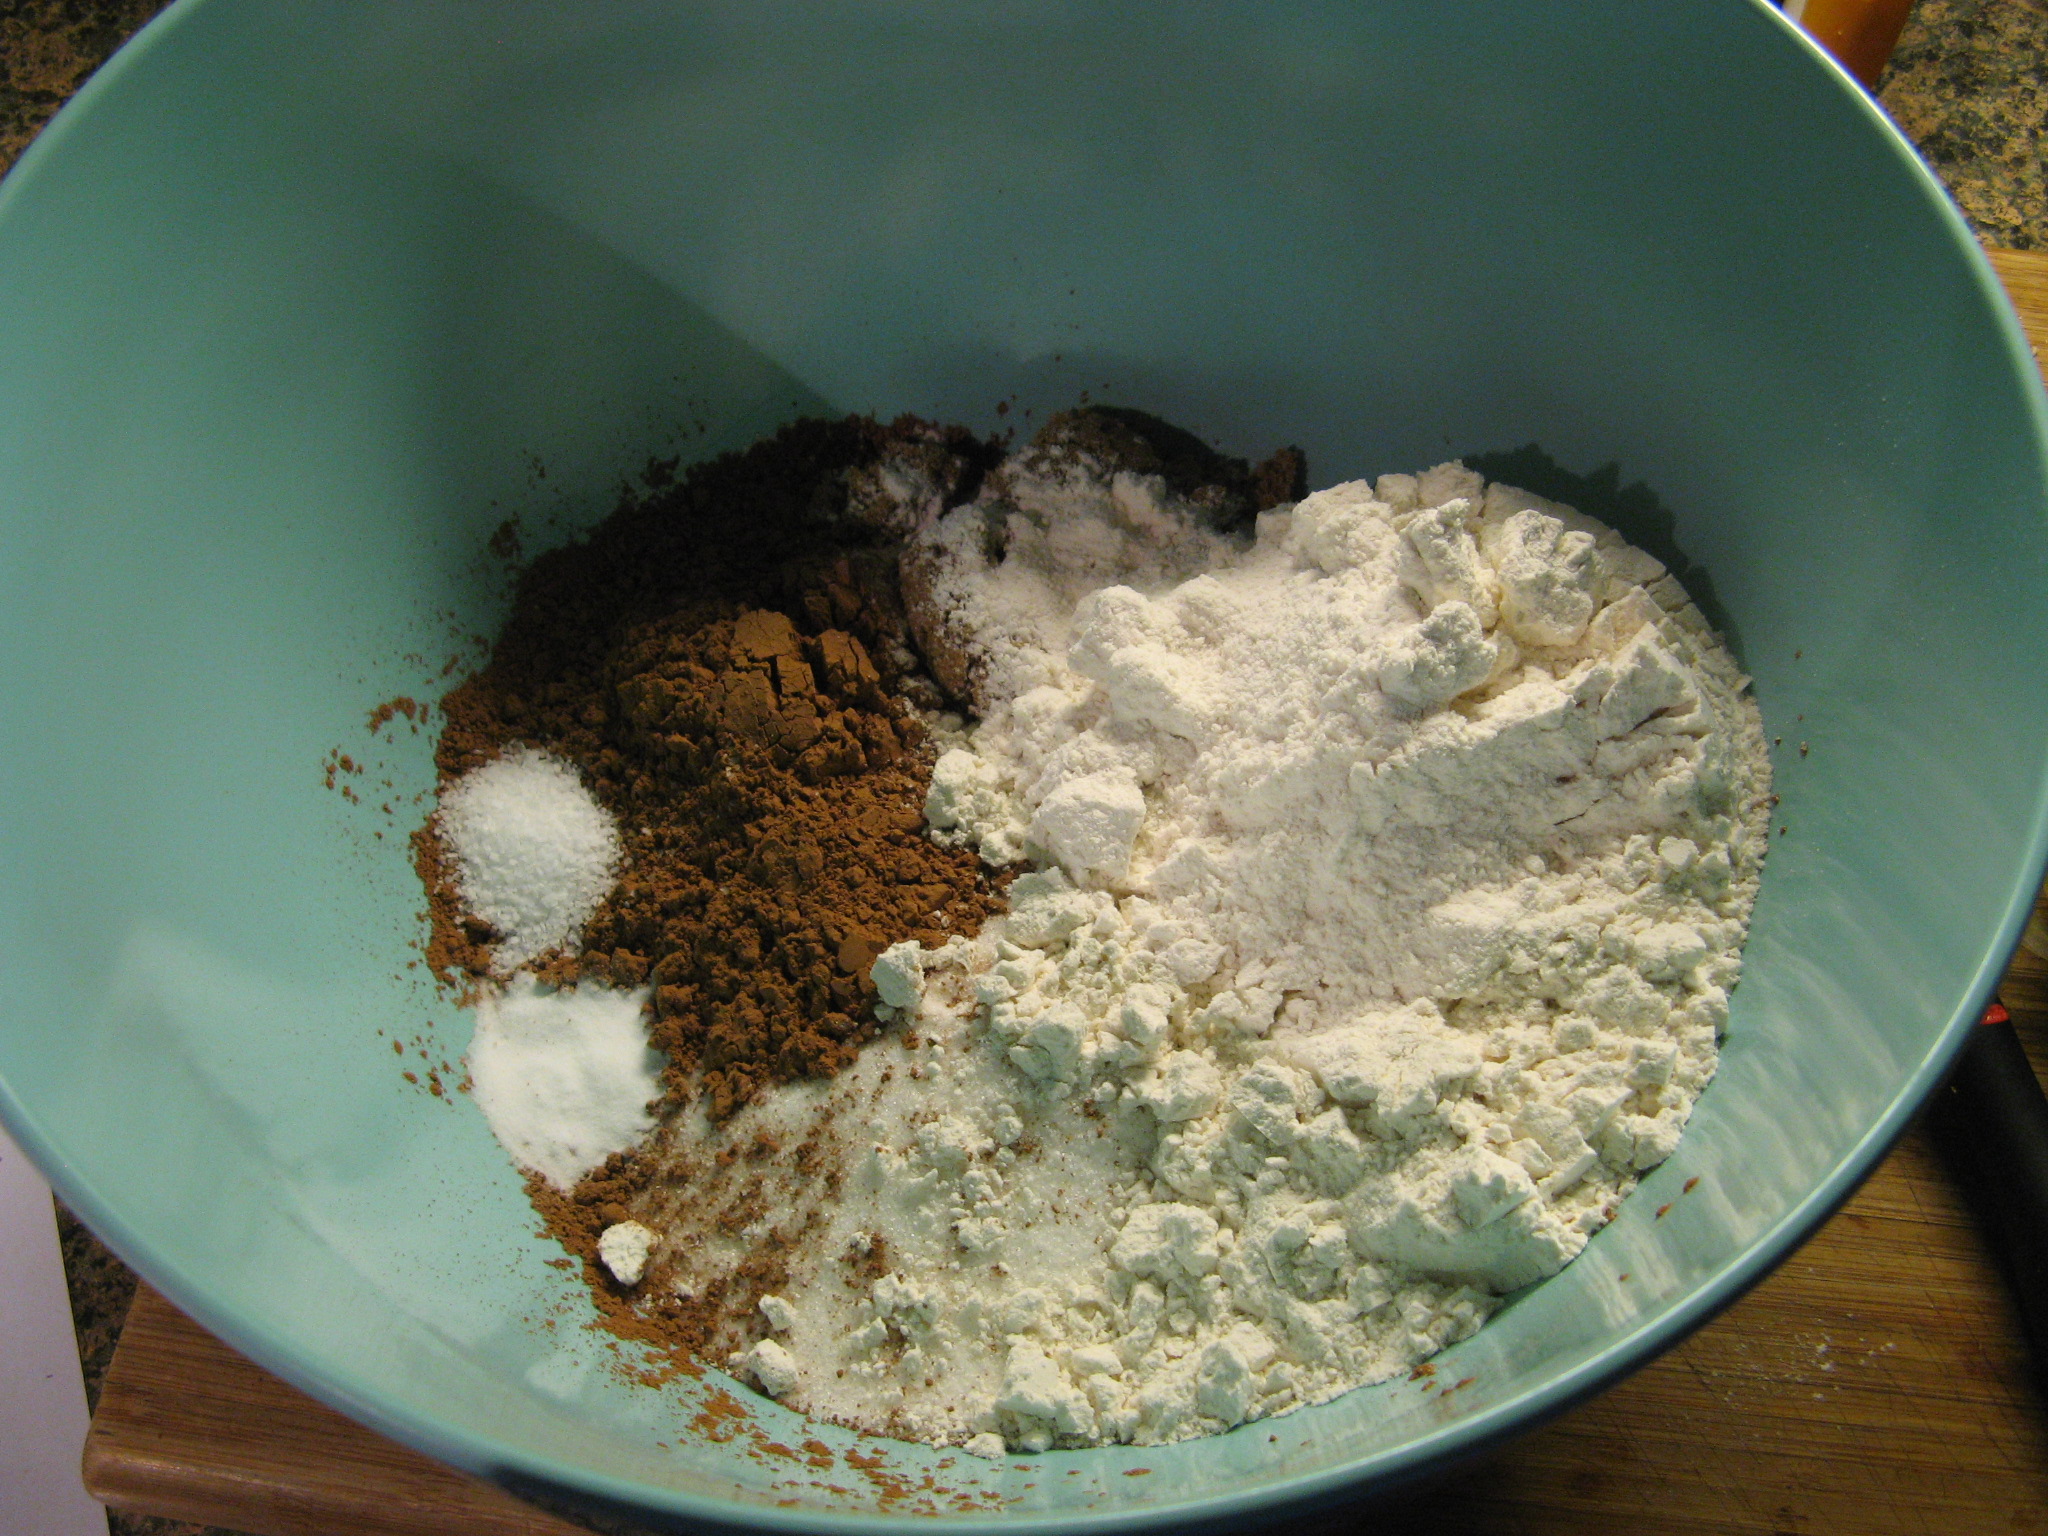
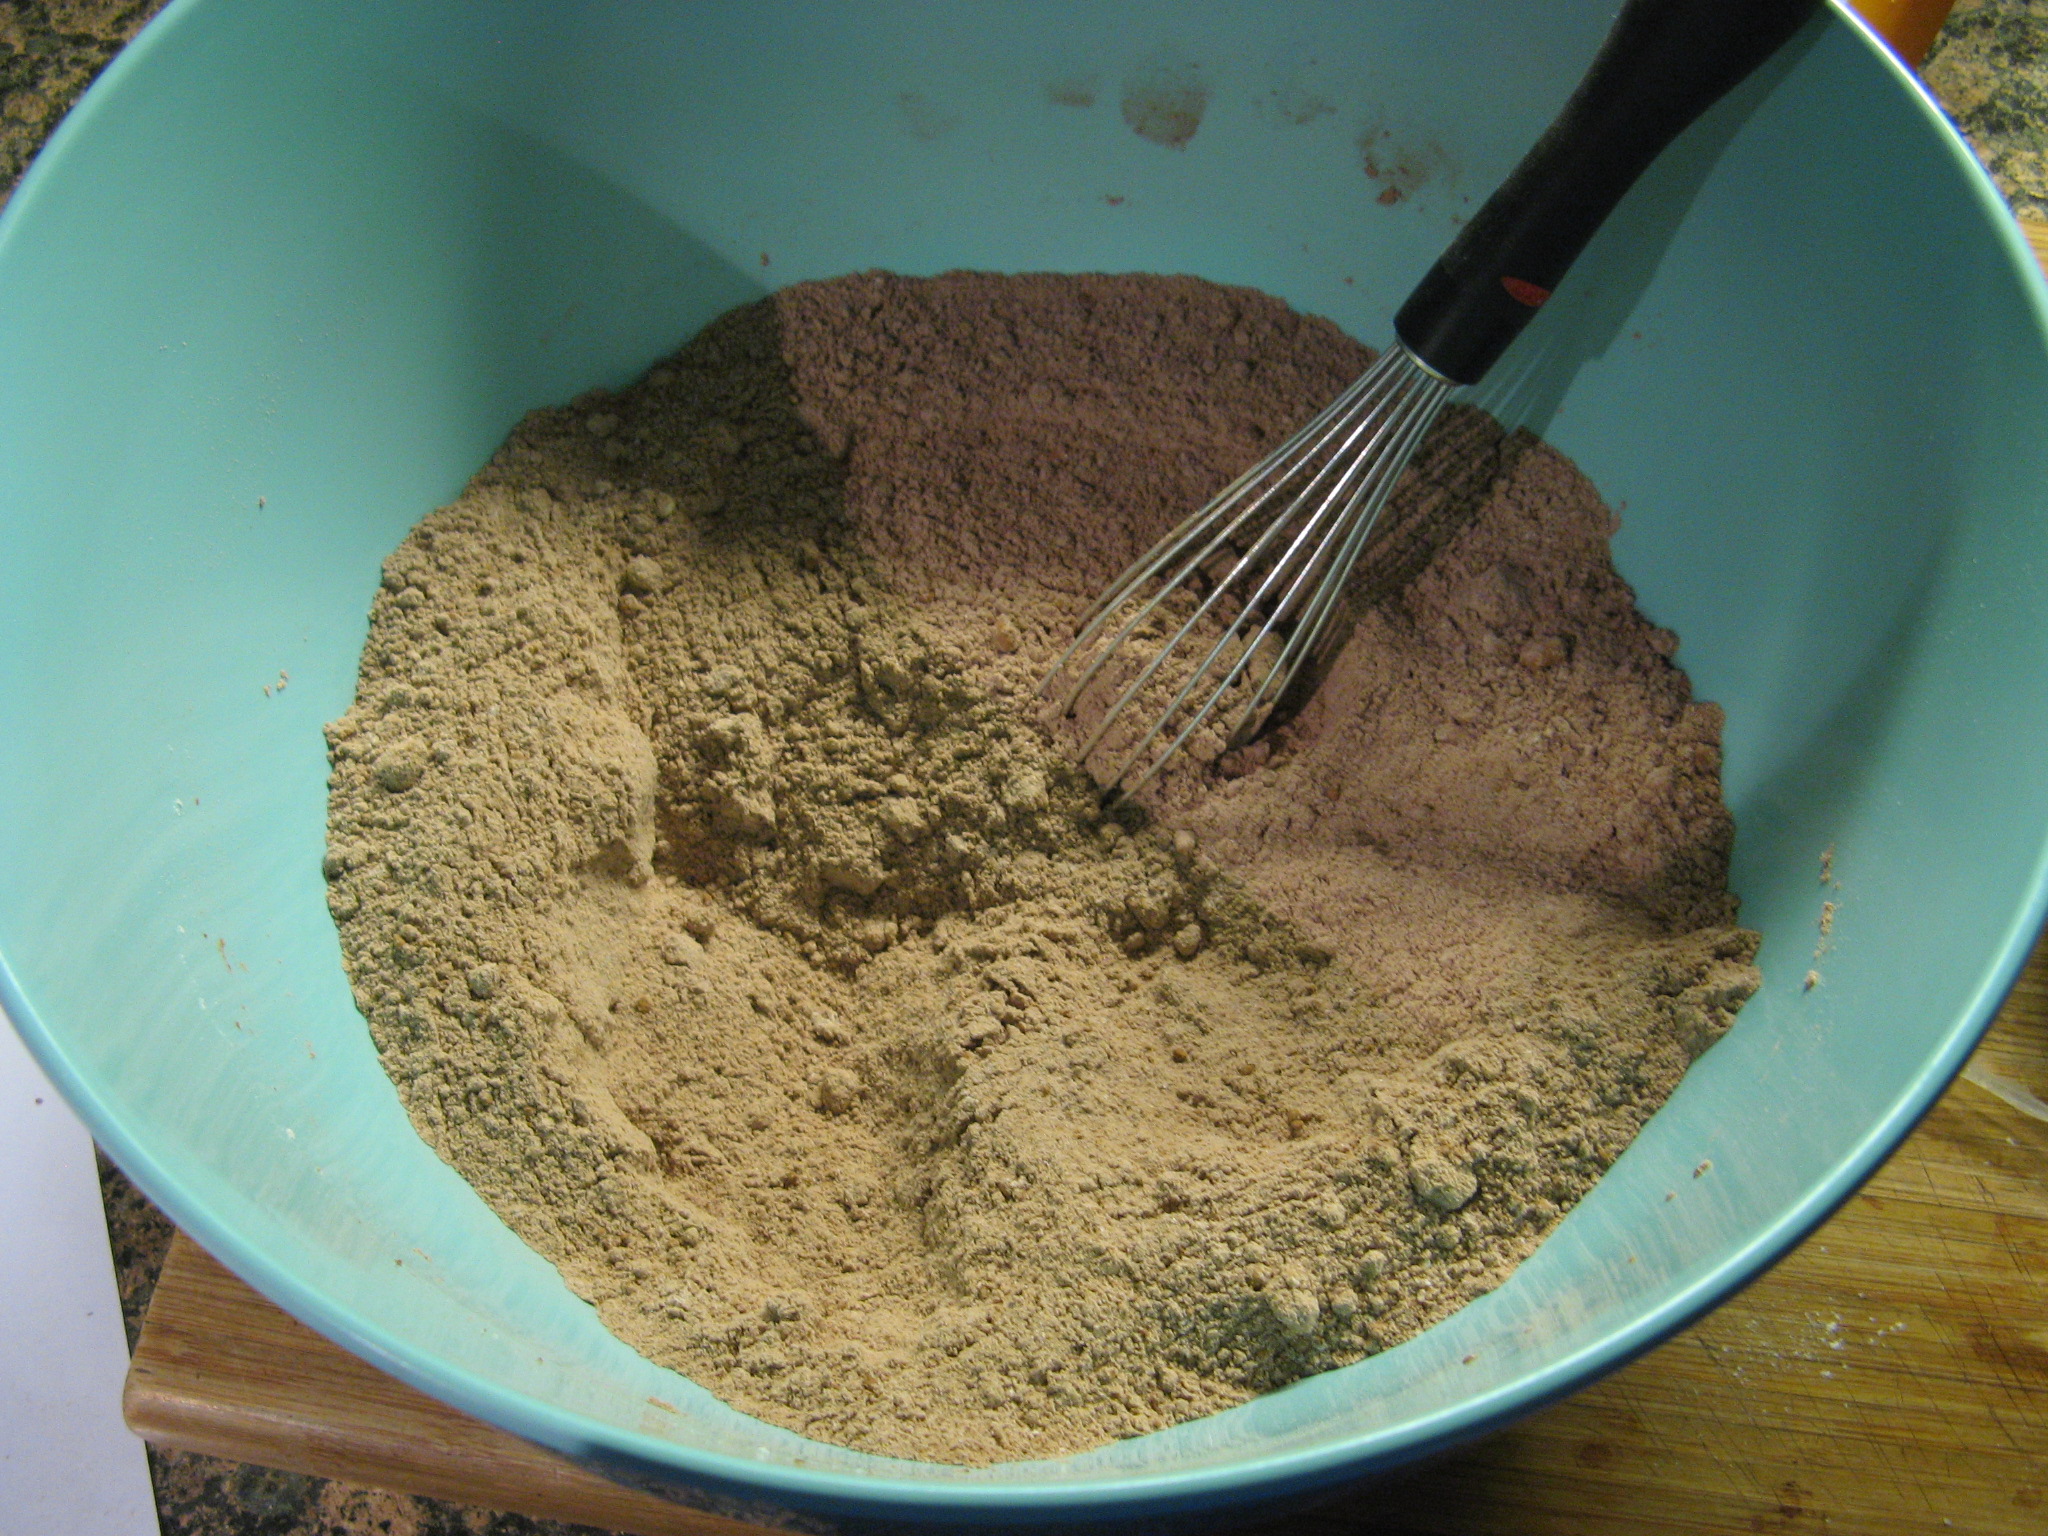
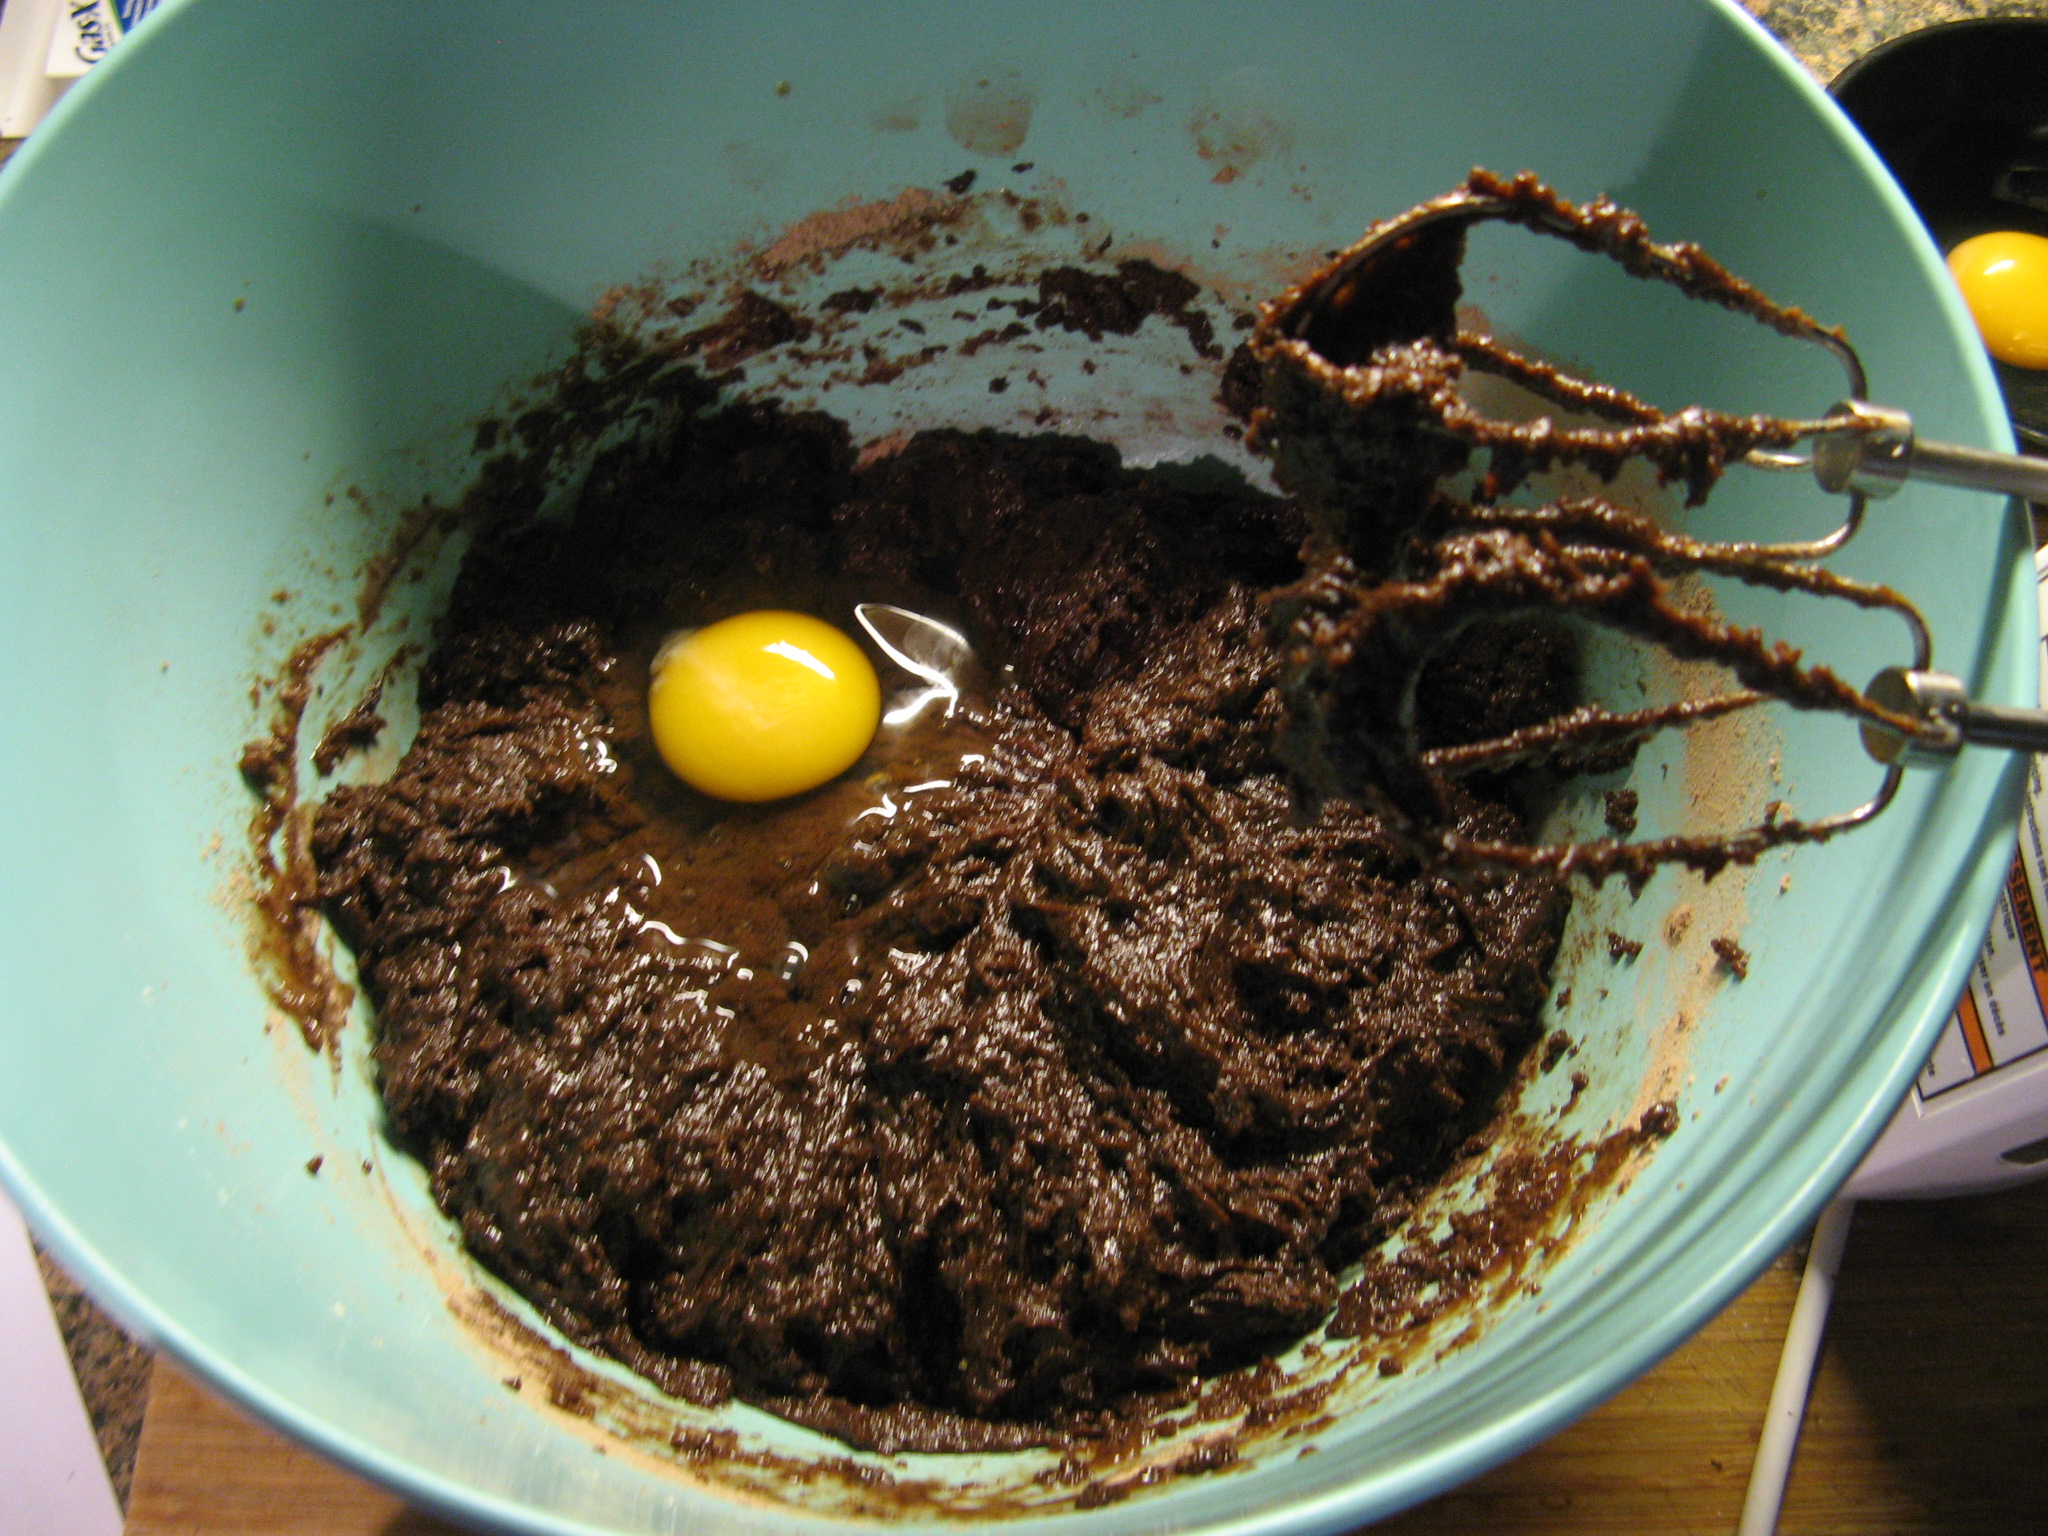
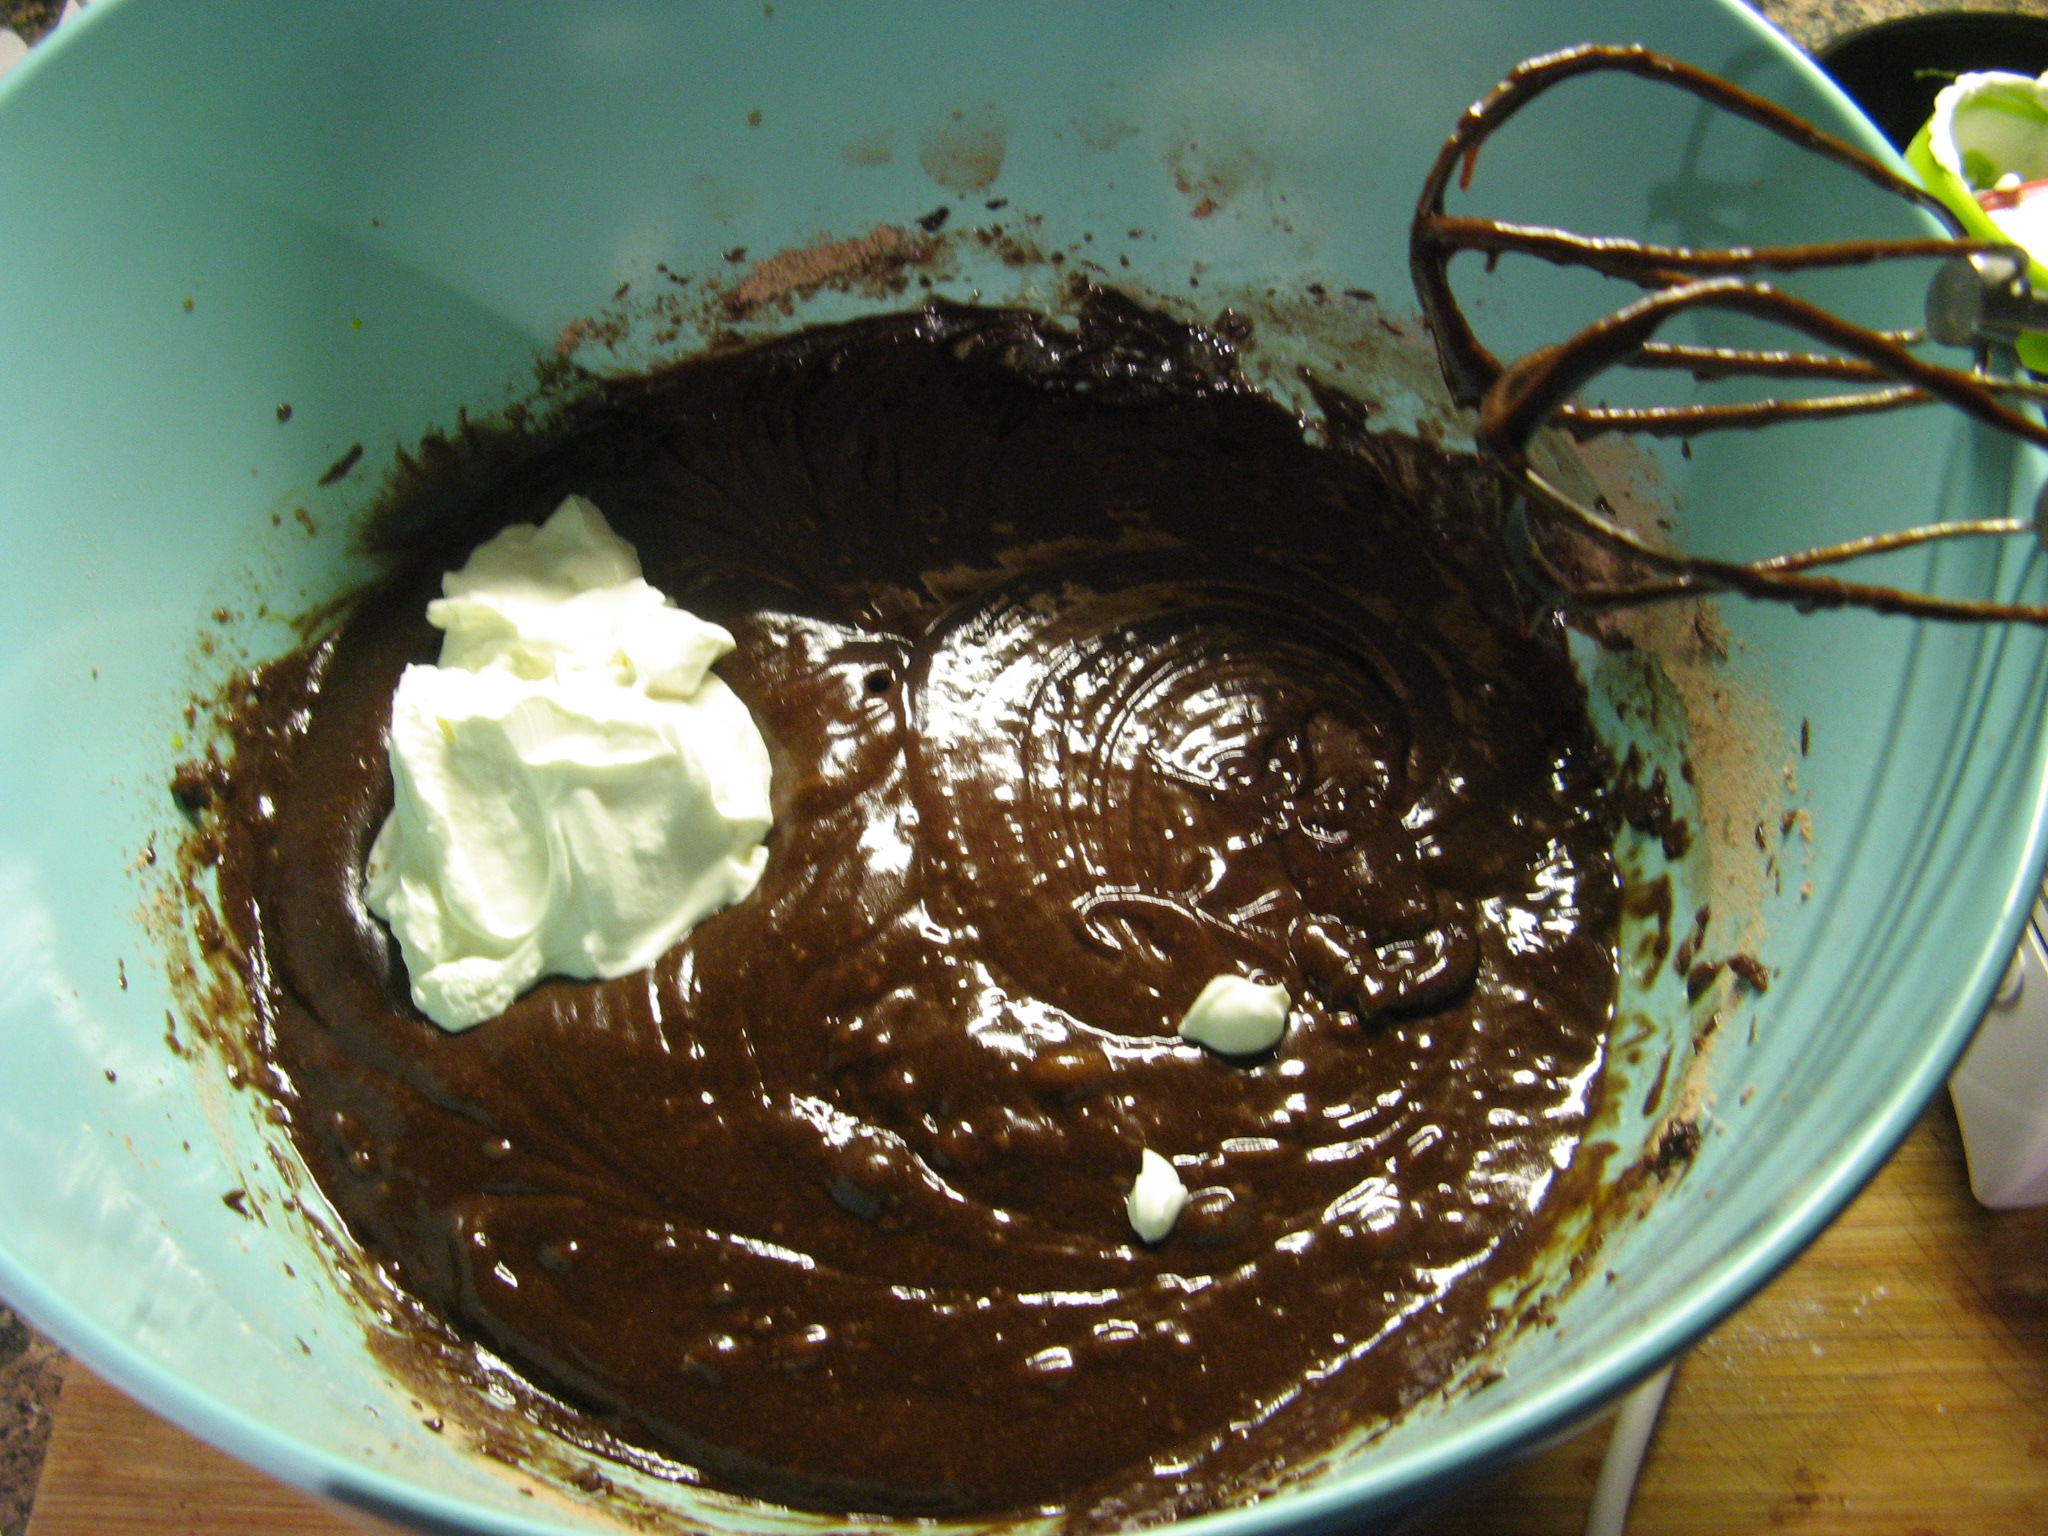
Once again, I used a yellow cake mix as the base for this loaf cake. After prepping the batter I divided it in half and mixed cocoa powder in one half and creamy peanut butter in the other. I used a 1/4 cup of peanut butter, but if you want a stronger peanut butter flavor, I suggest using a 1/3 cup. I then spooned the batter into my prepared loaf pan to create the marble effect.

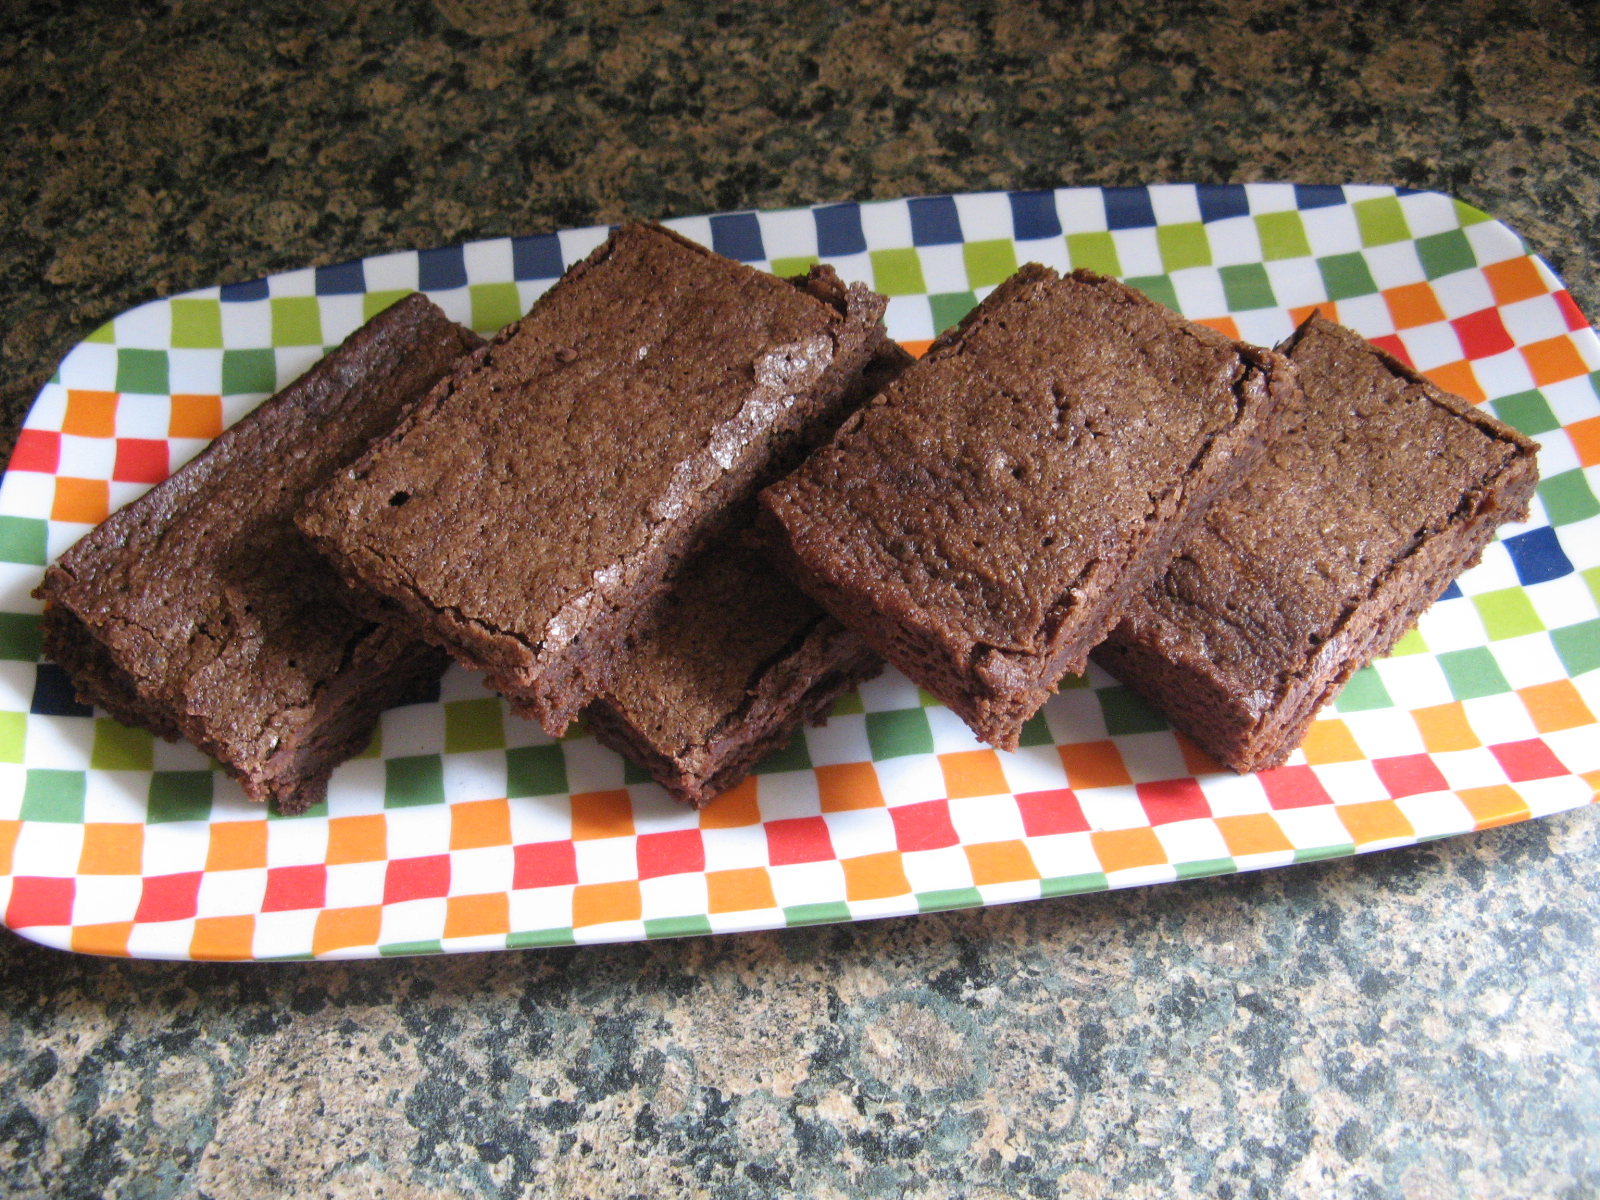
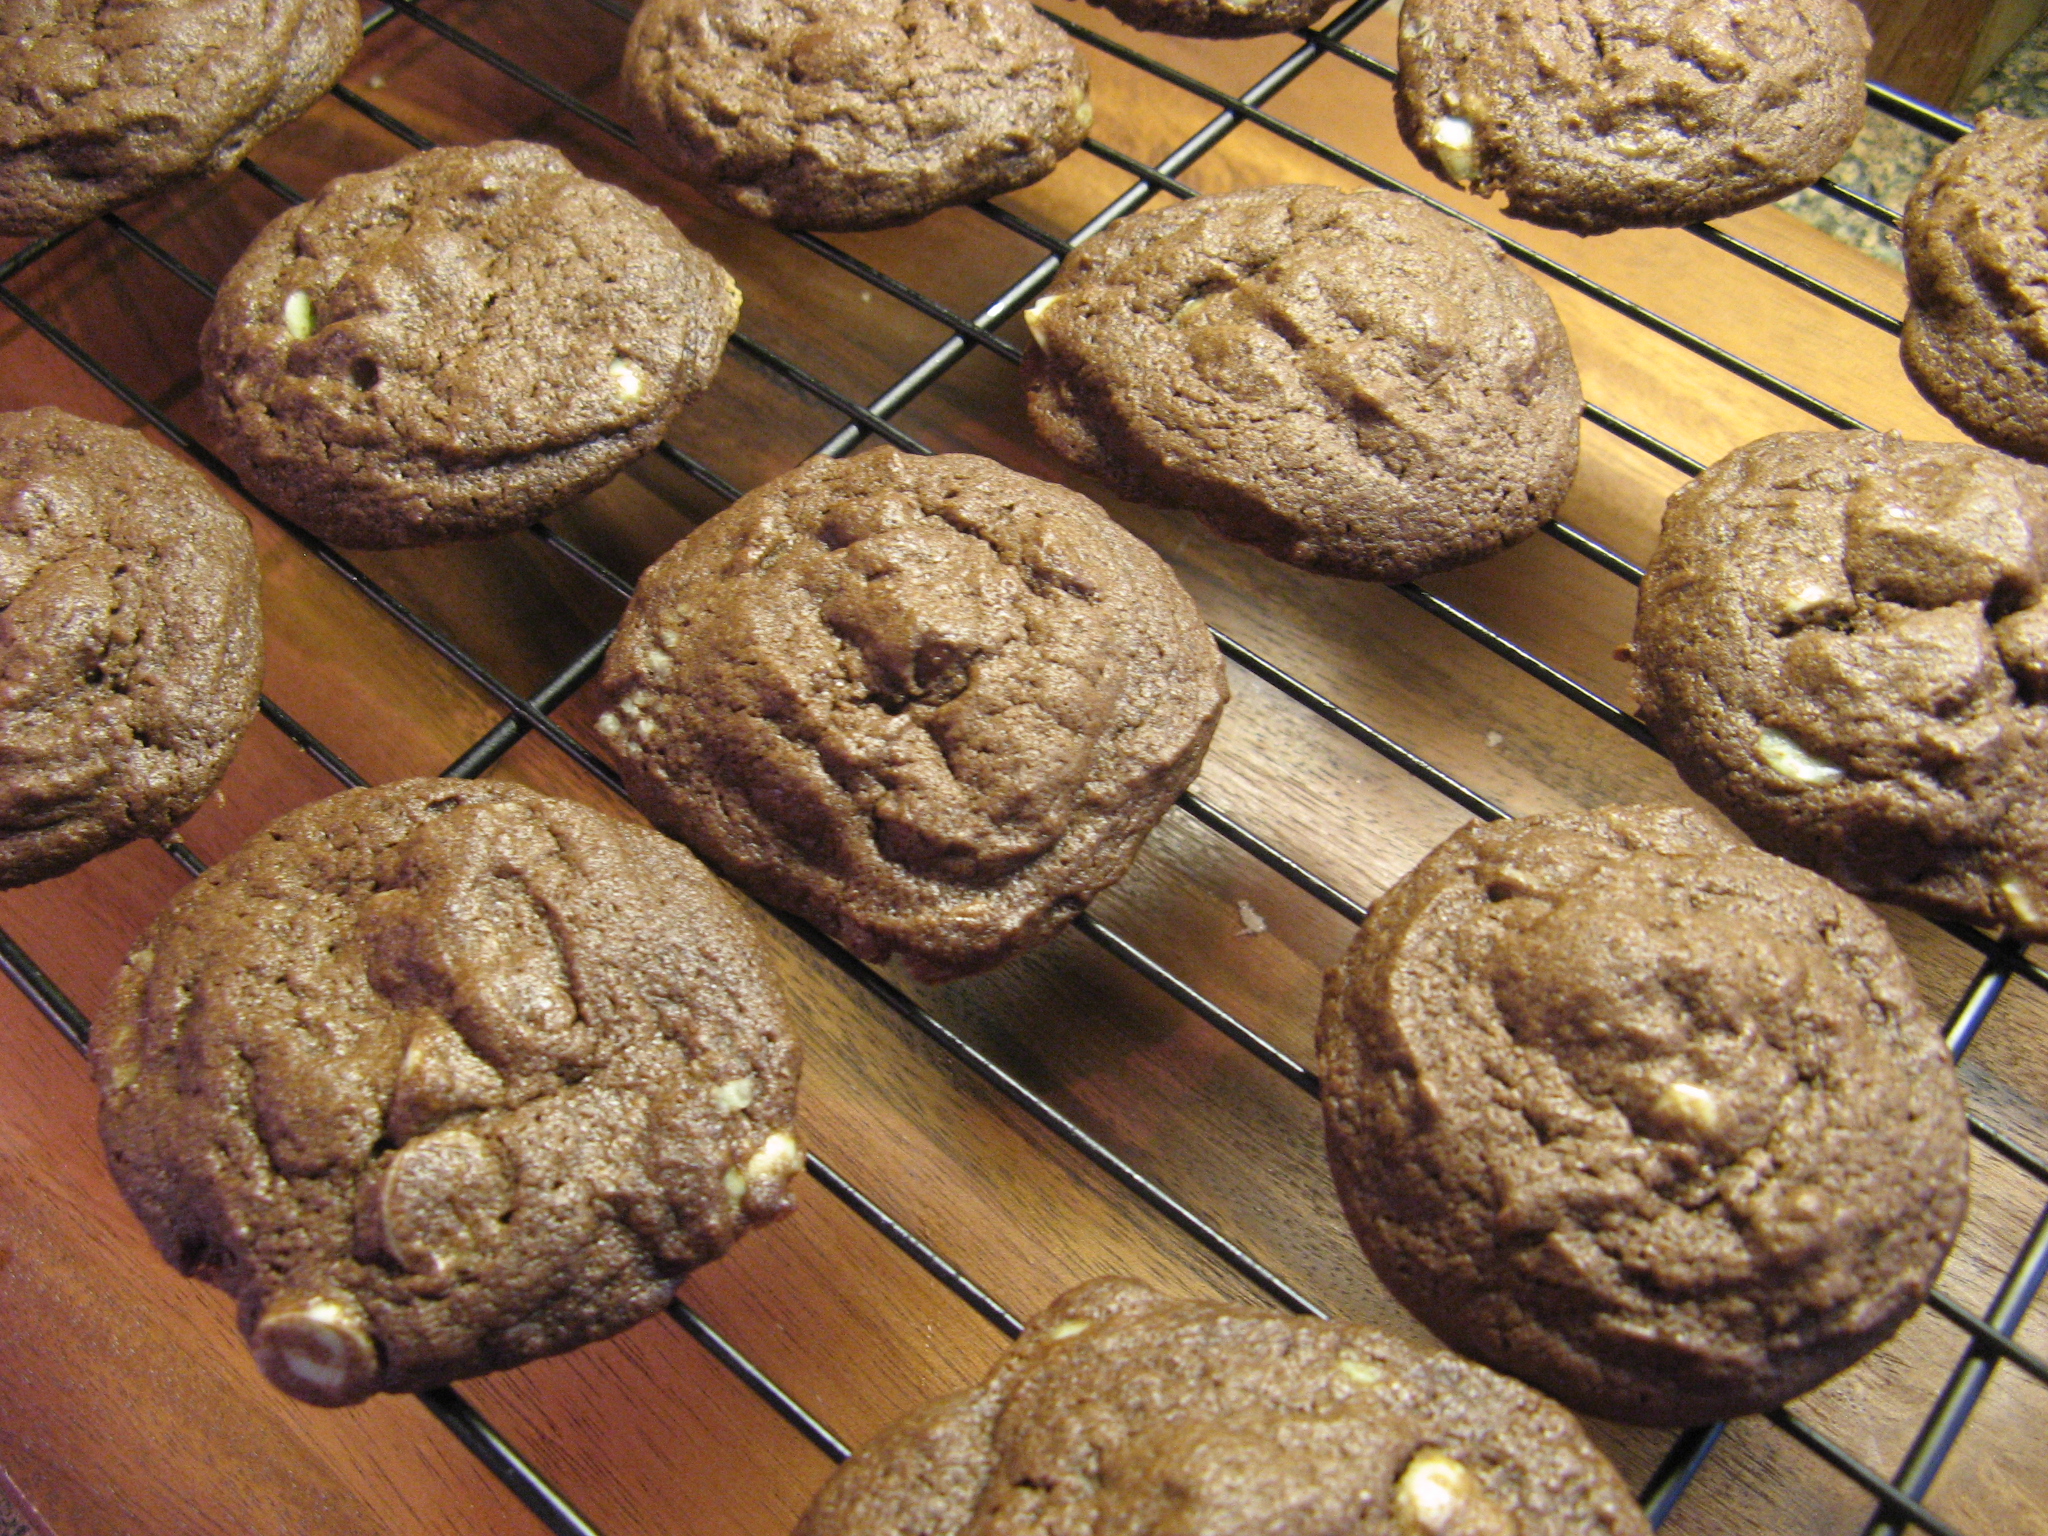
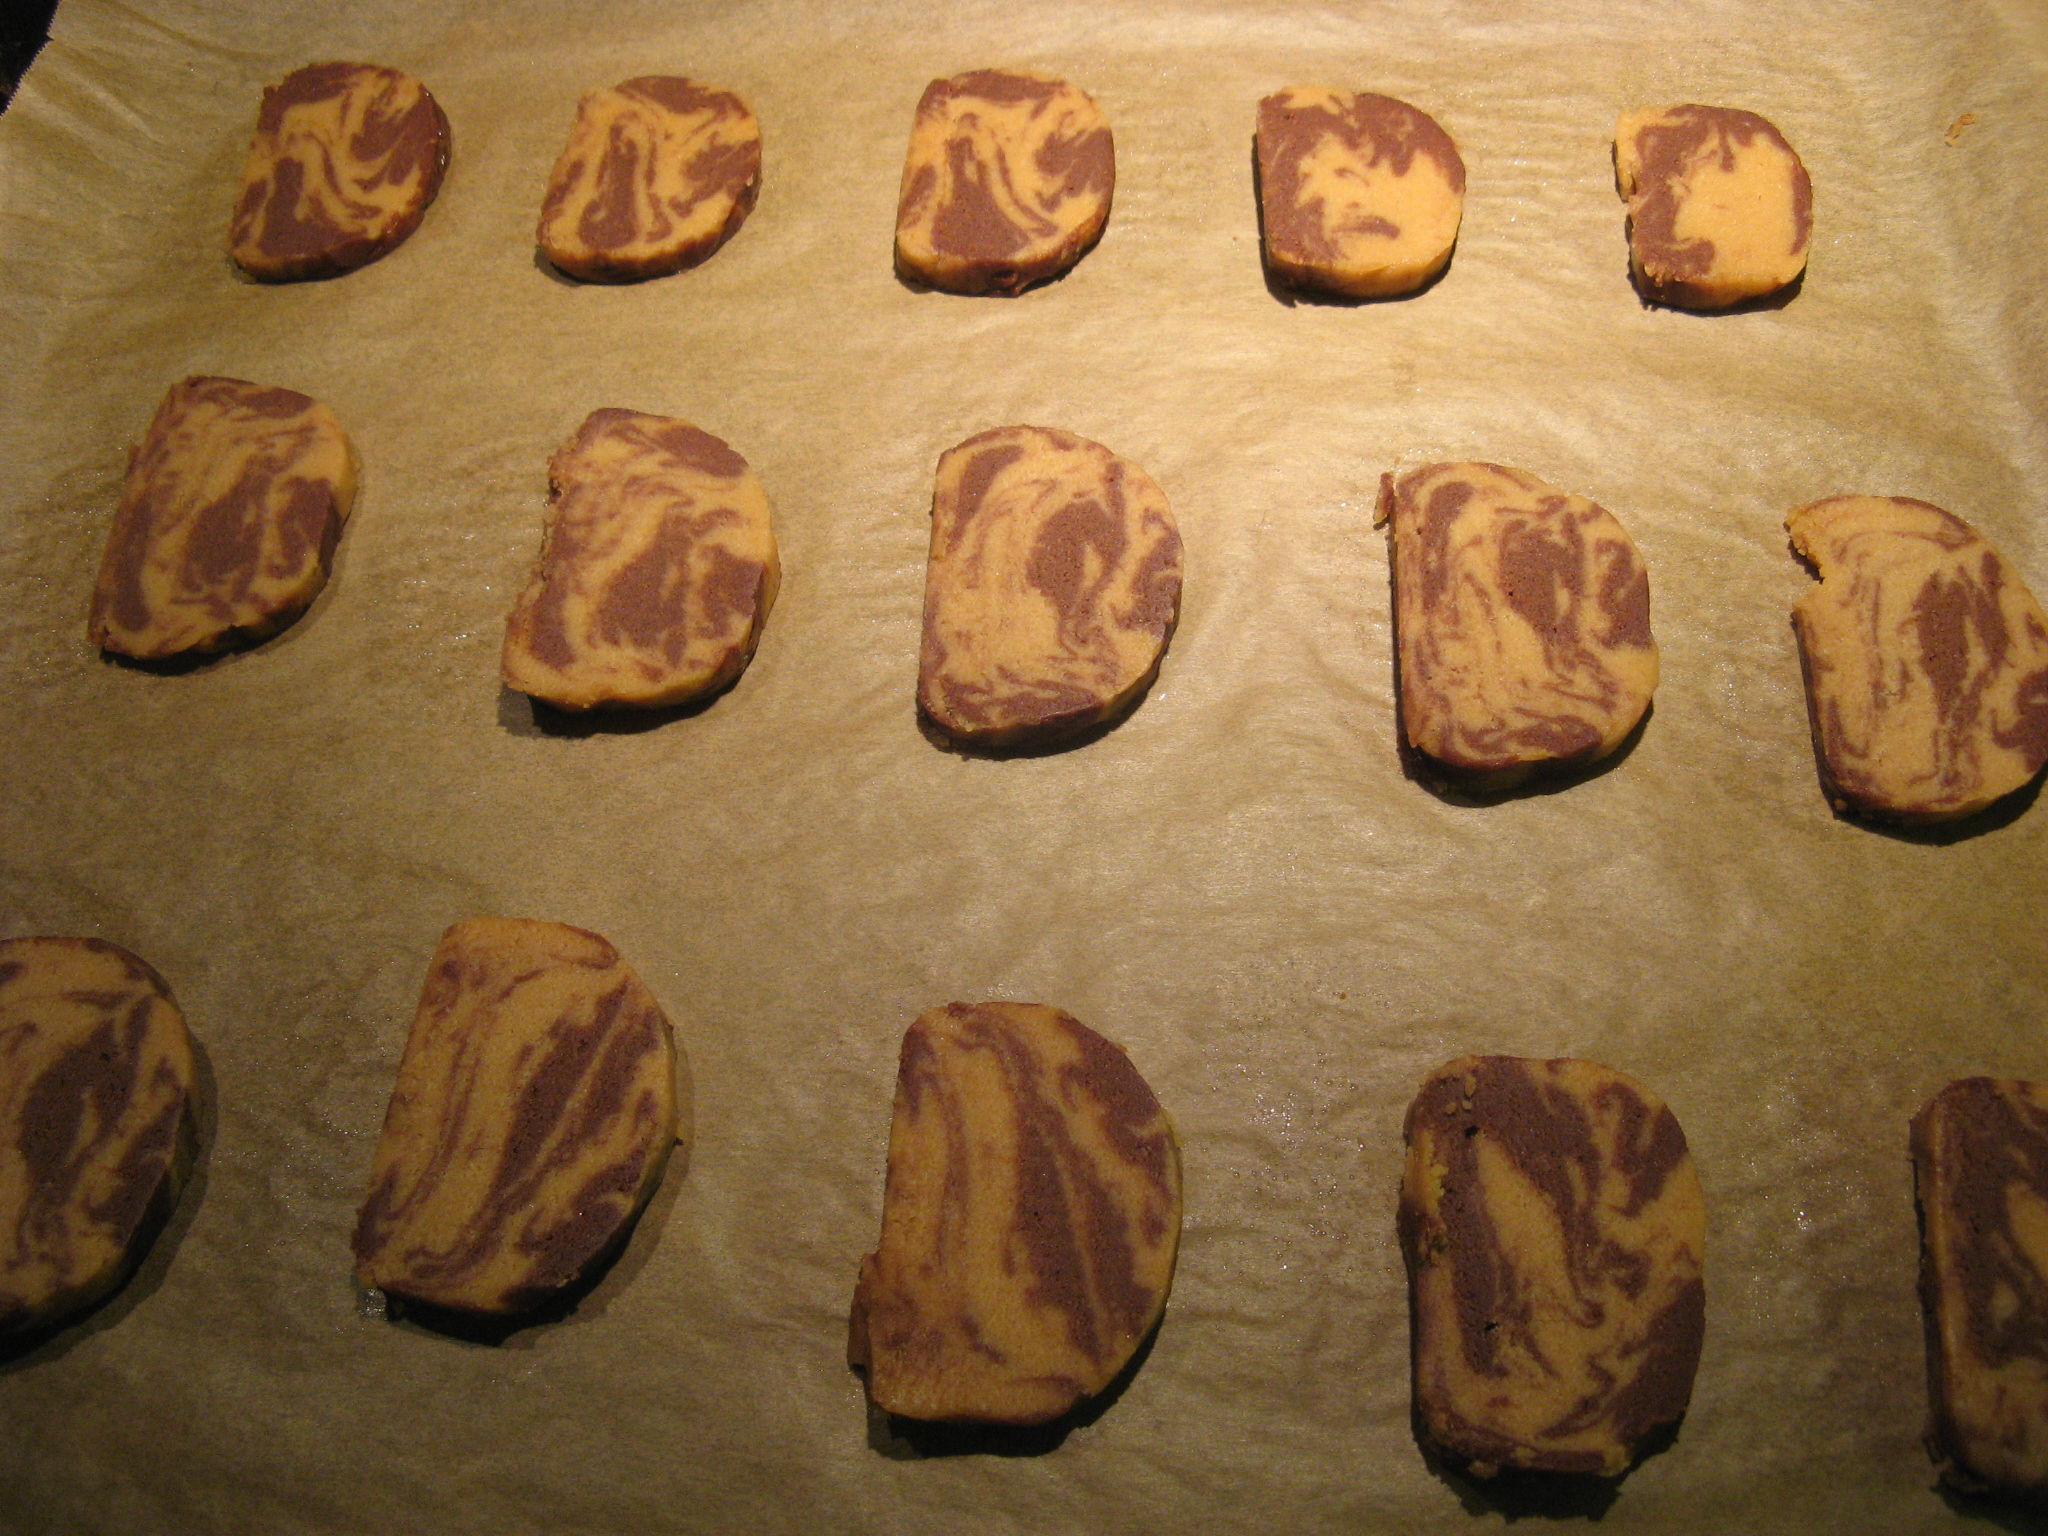
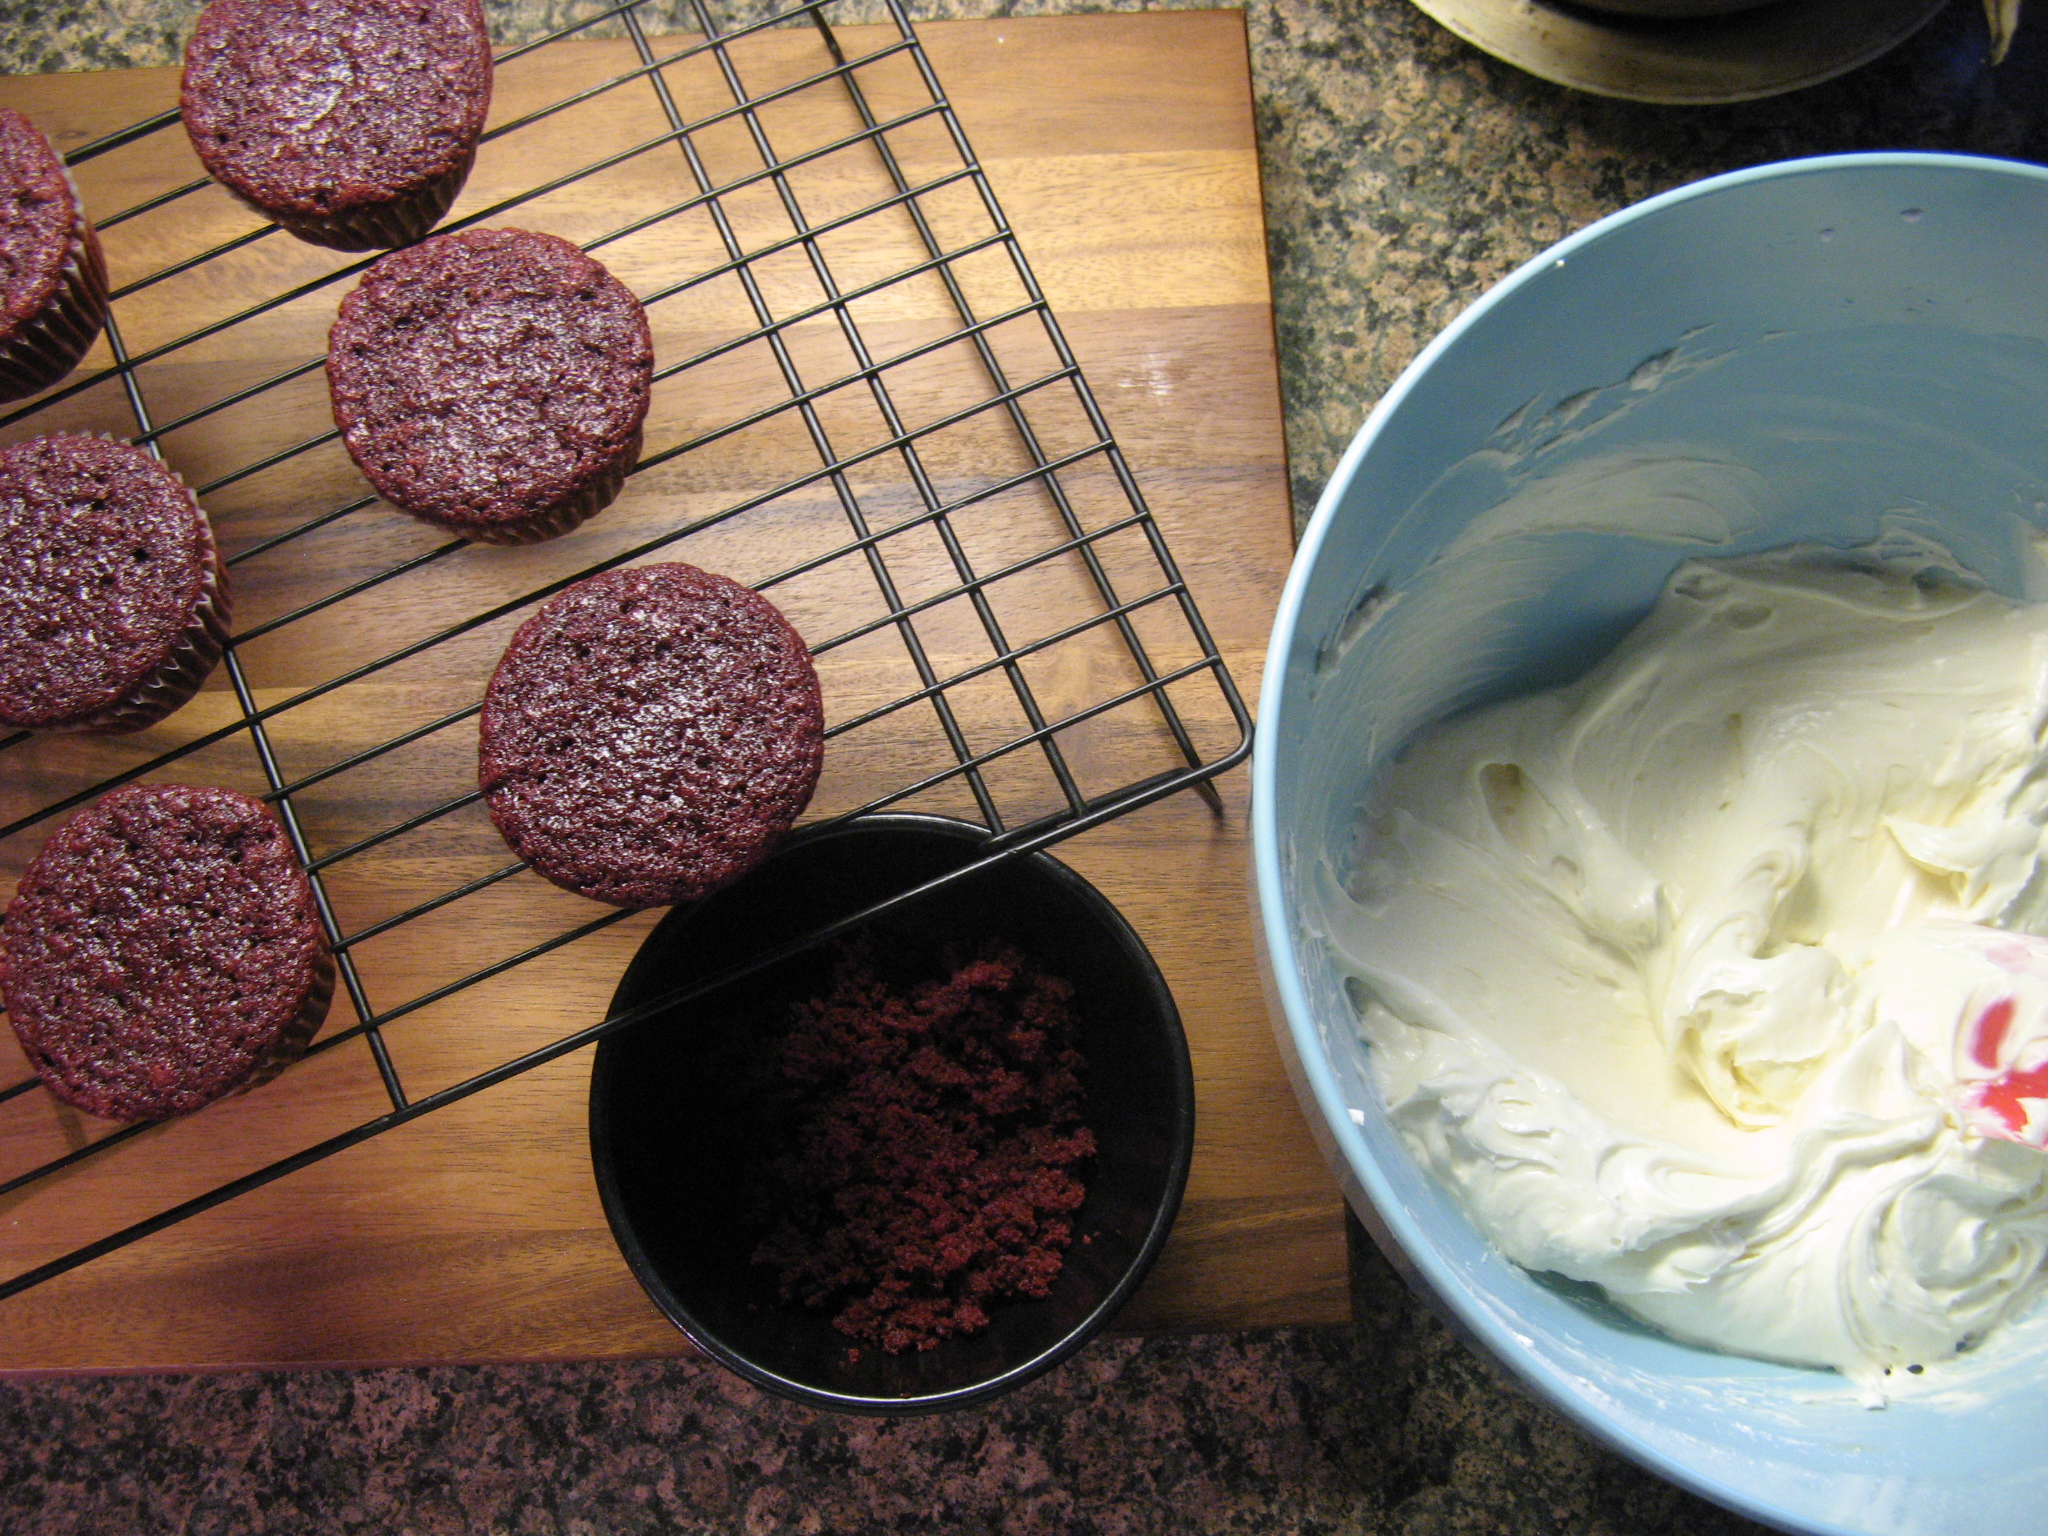
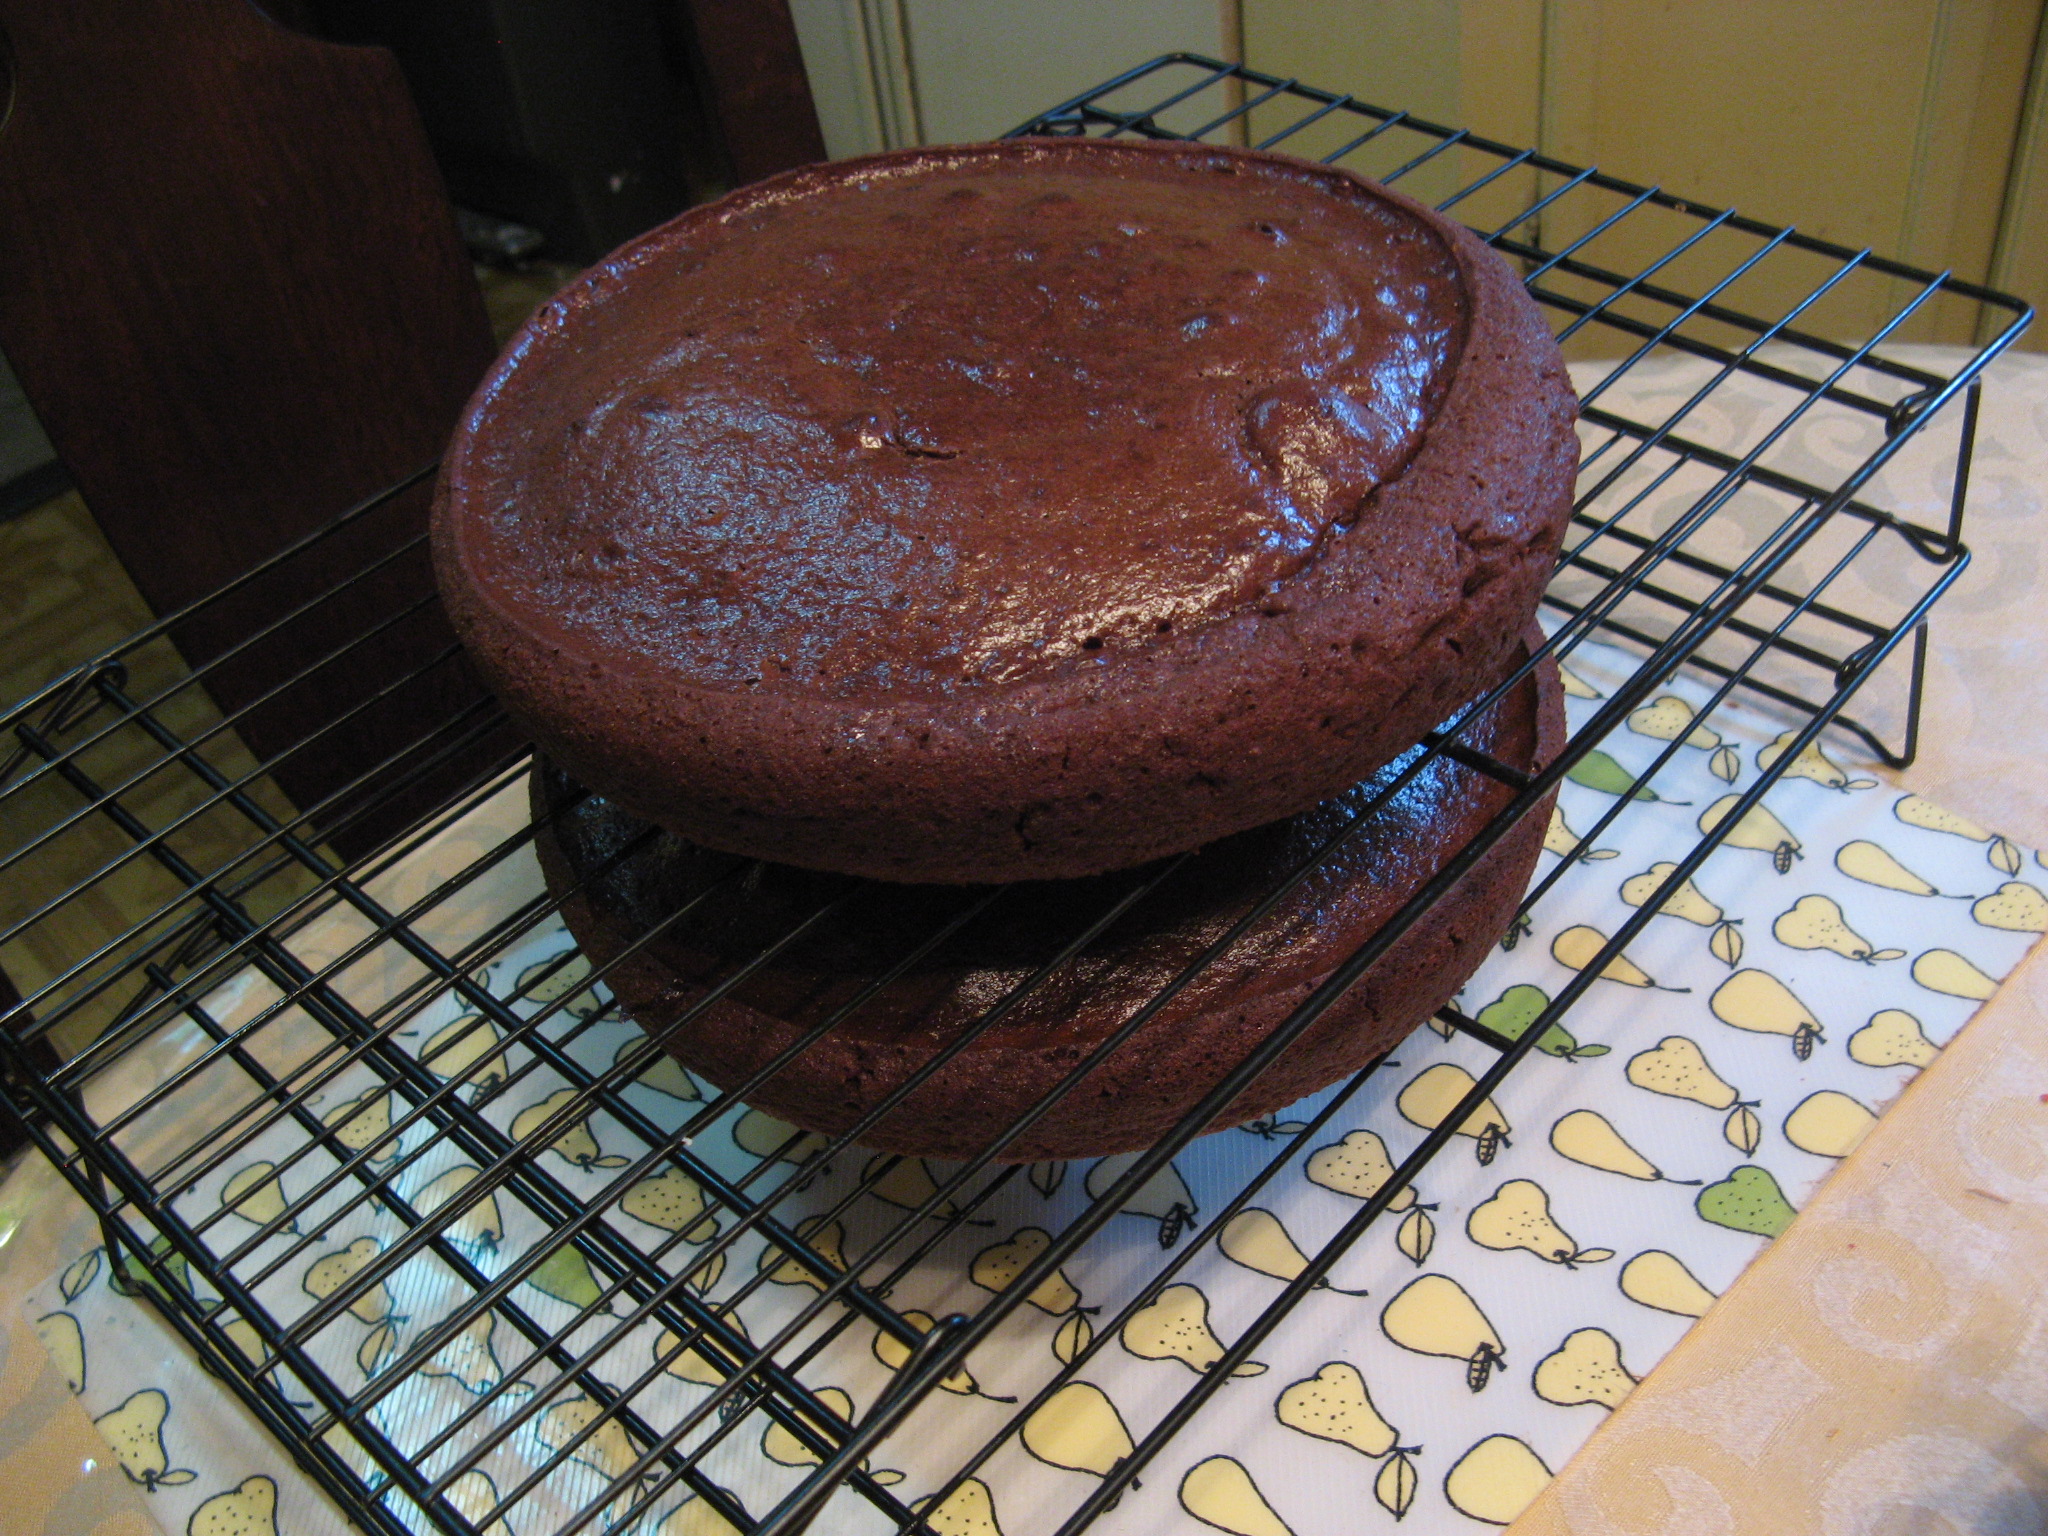
After baking it I let it cool in the pan for a few minutes before transferring it to a wire rack to cool completely. And then it was time to slice and enjoy!

Peanut Butter & Chocolate Marble Loaf Cake

Ingredients:

1 15.25 box yellow cake mix (I used Duncan Hines)

eggs, water & oil per directions on box

1/4 cup creamy peanut butter*

2 tablespoons cocoa powder

*If you want a stronger peanut butter flavor use 1/3 cup

Directions:

Preheat the oven to 350 F. Spray a 9×5-inch loaf pan with baking spray and set aside.

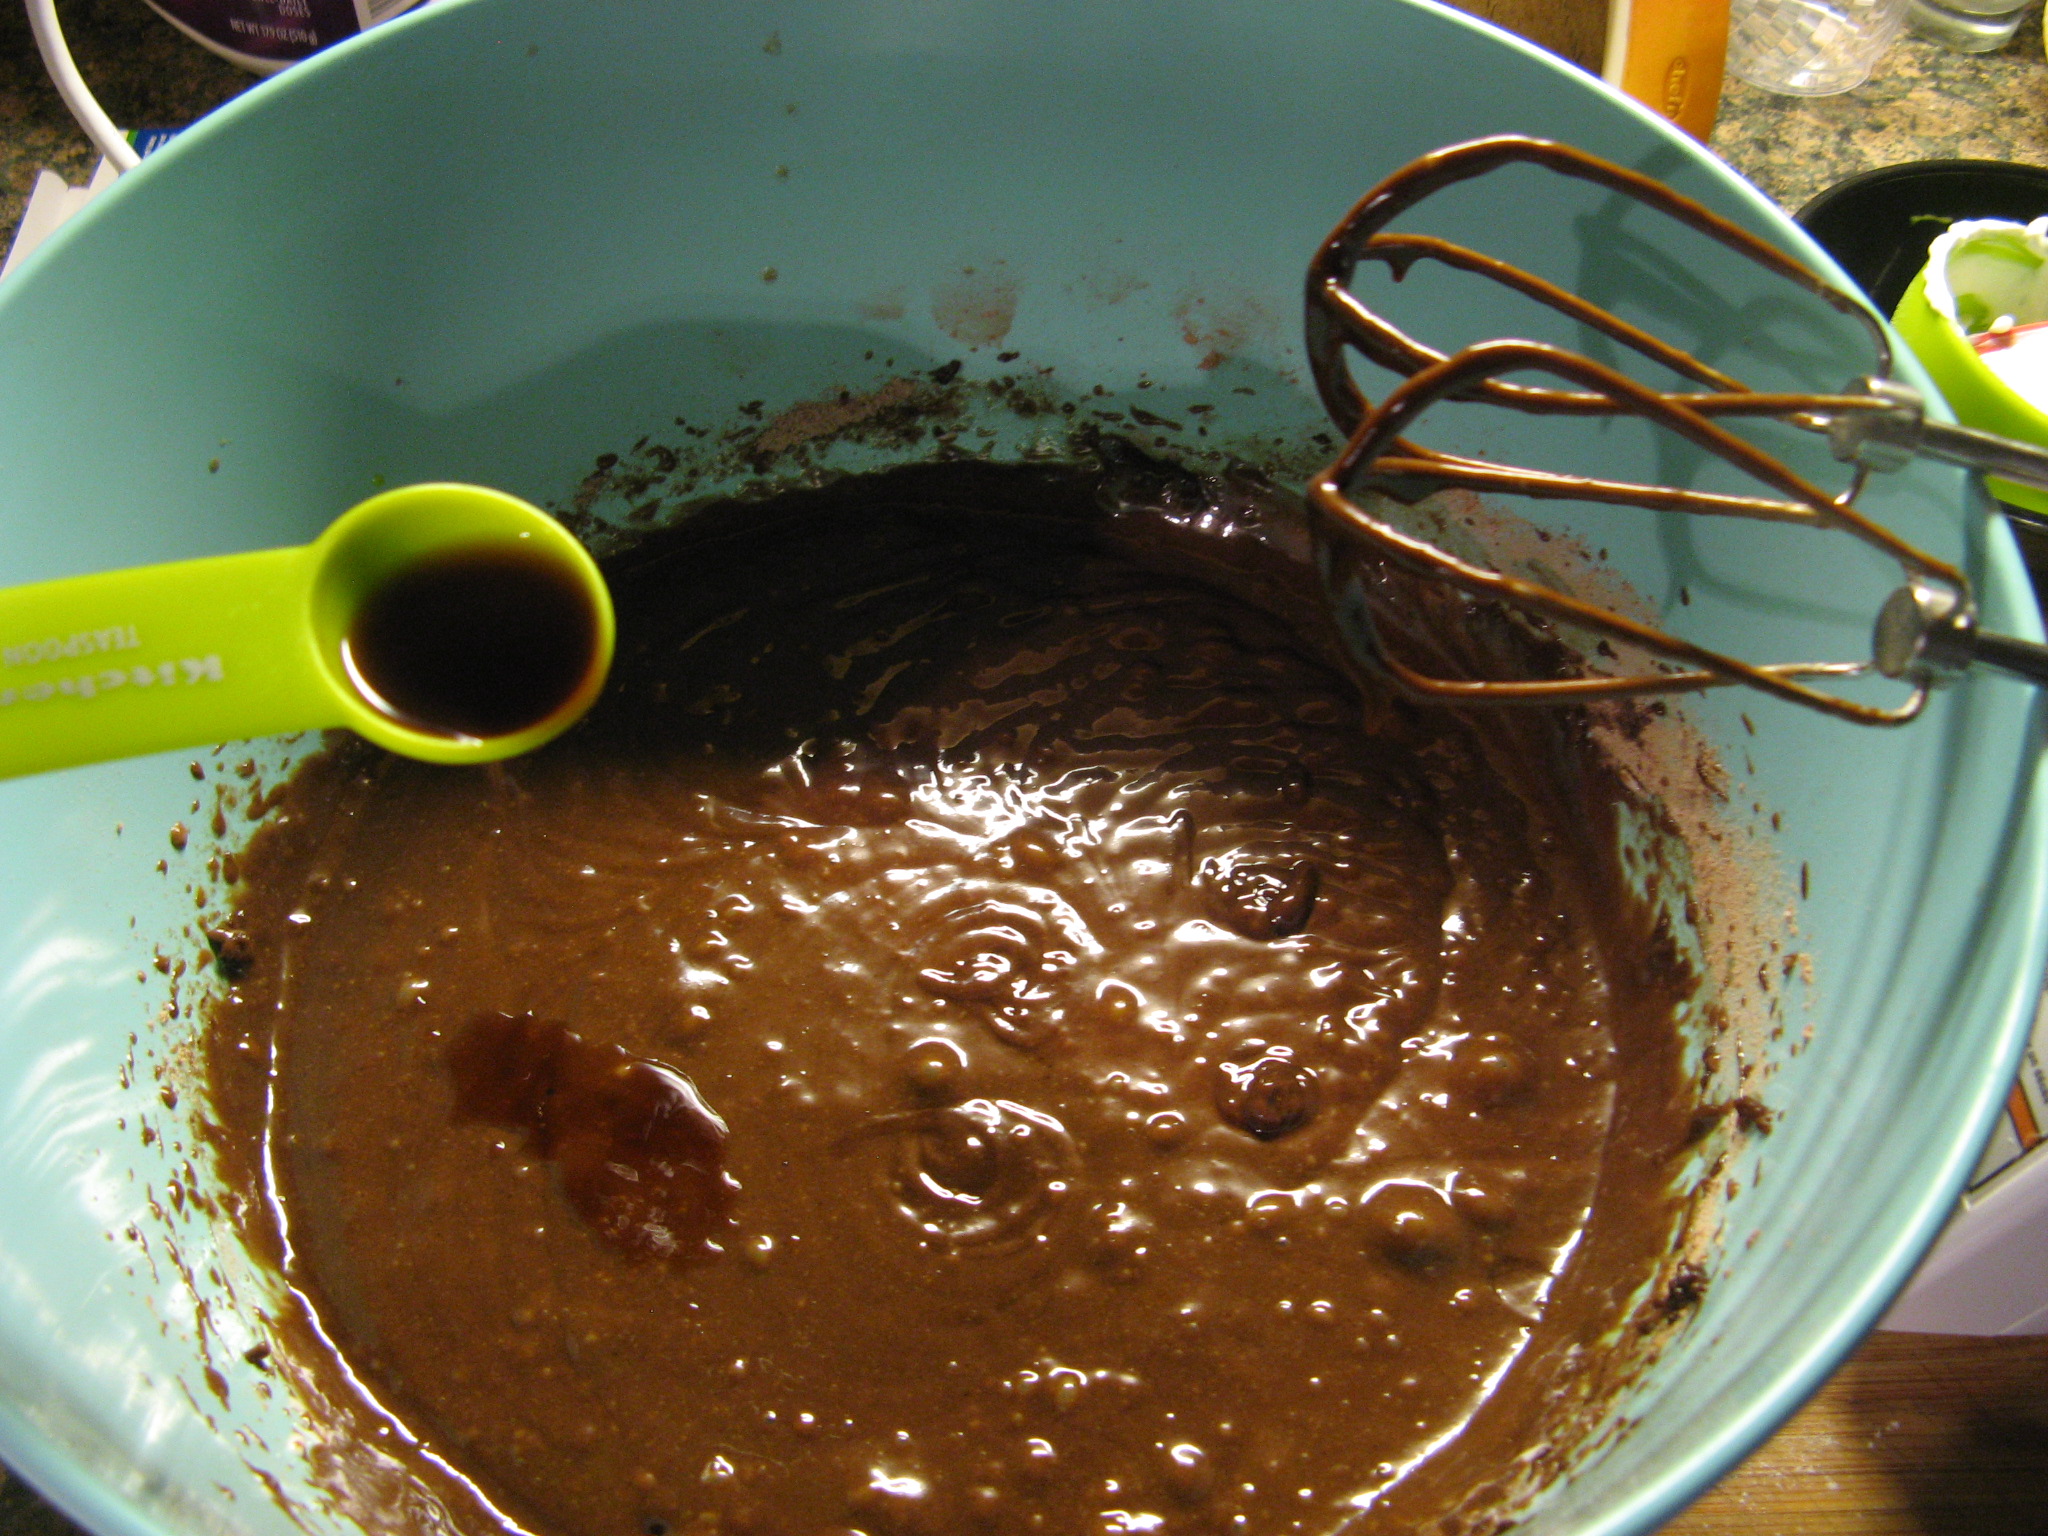
Prepare the cake mix per the instructions on the box.

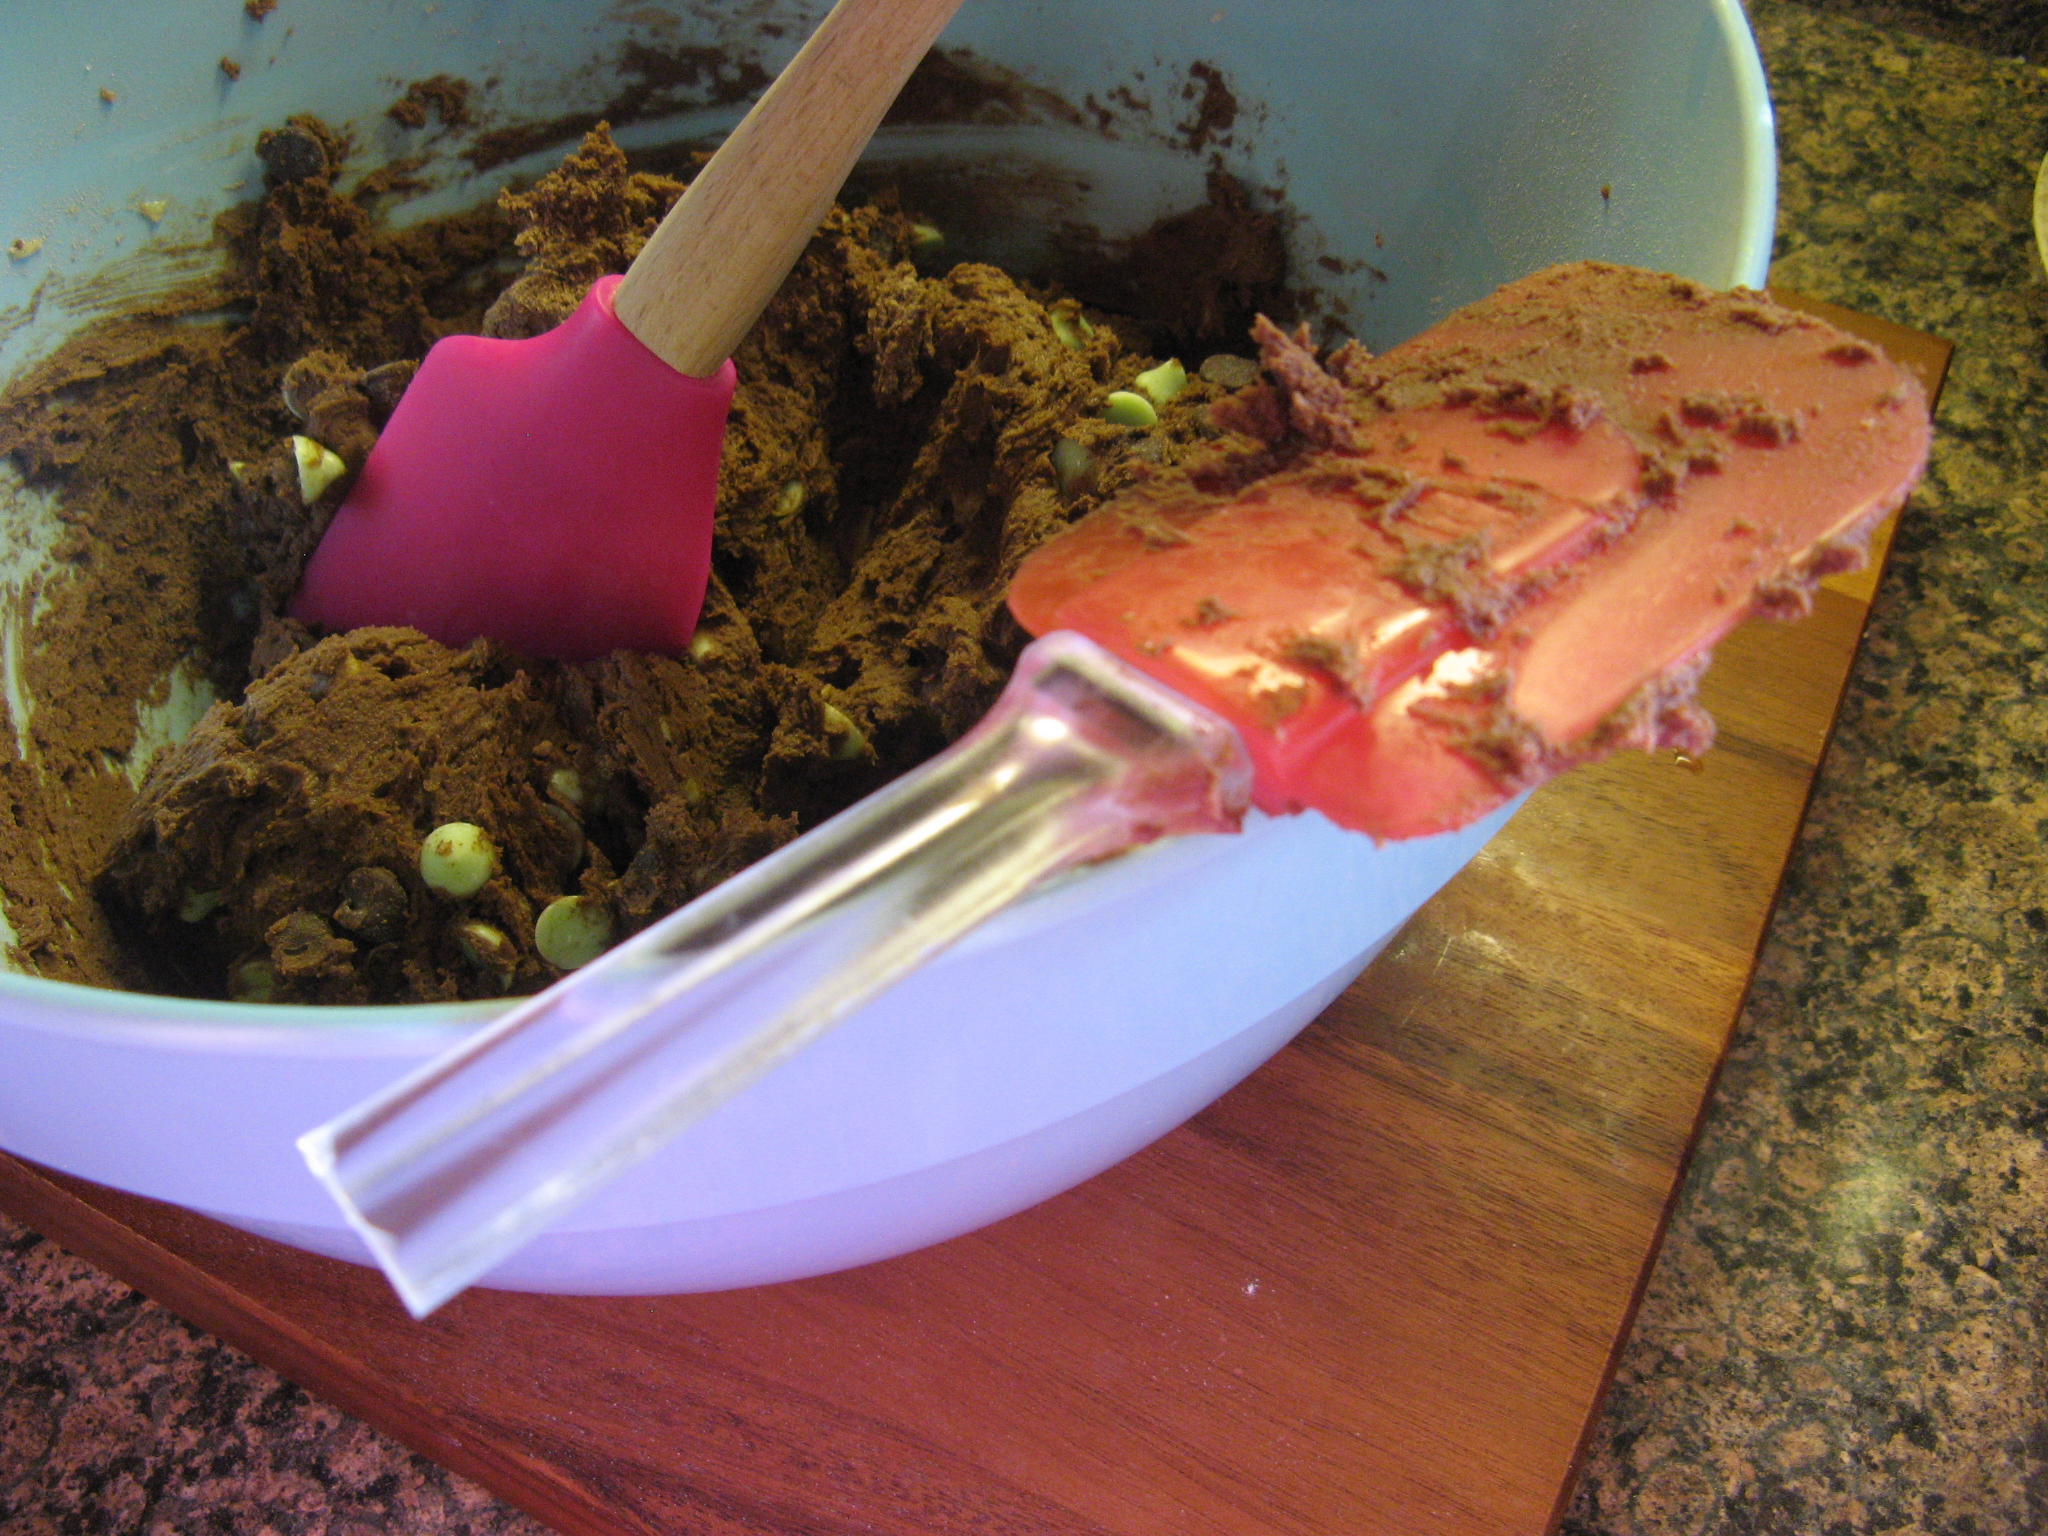
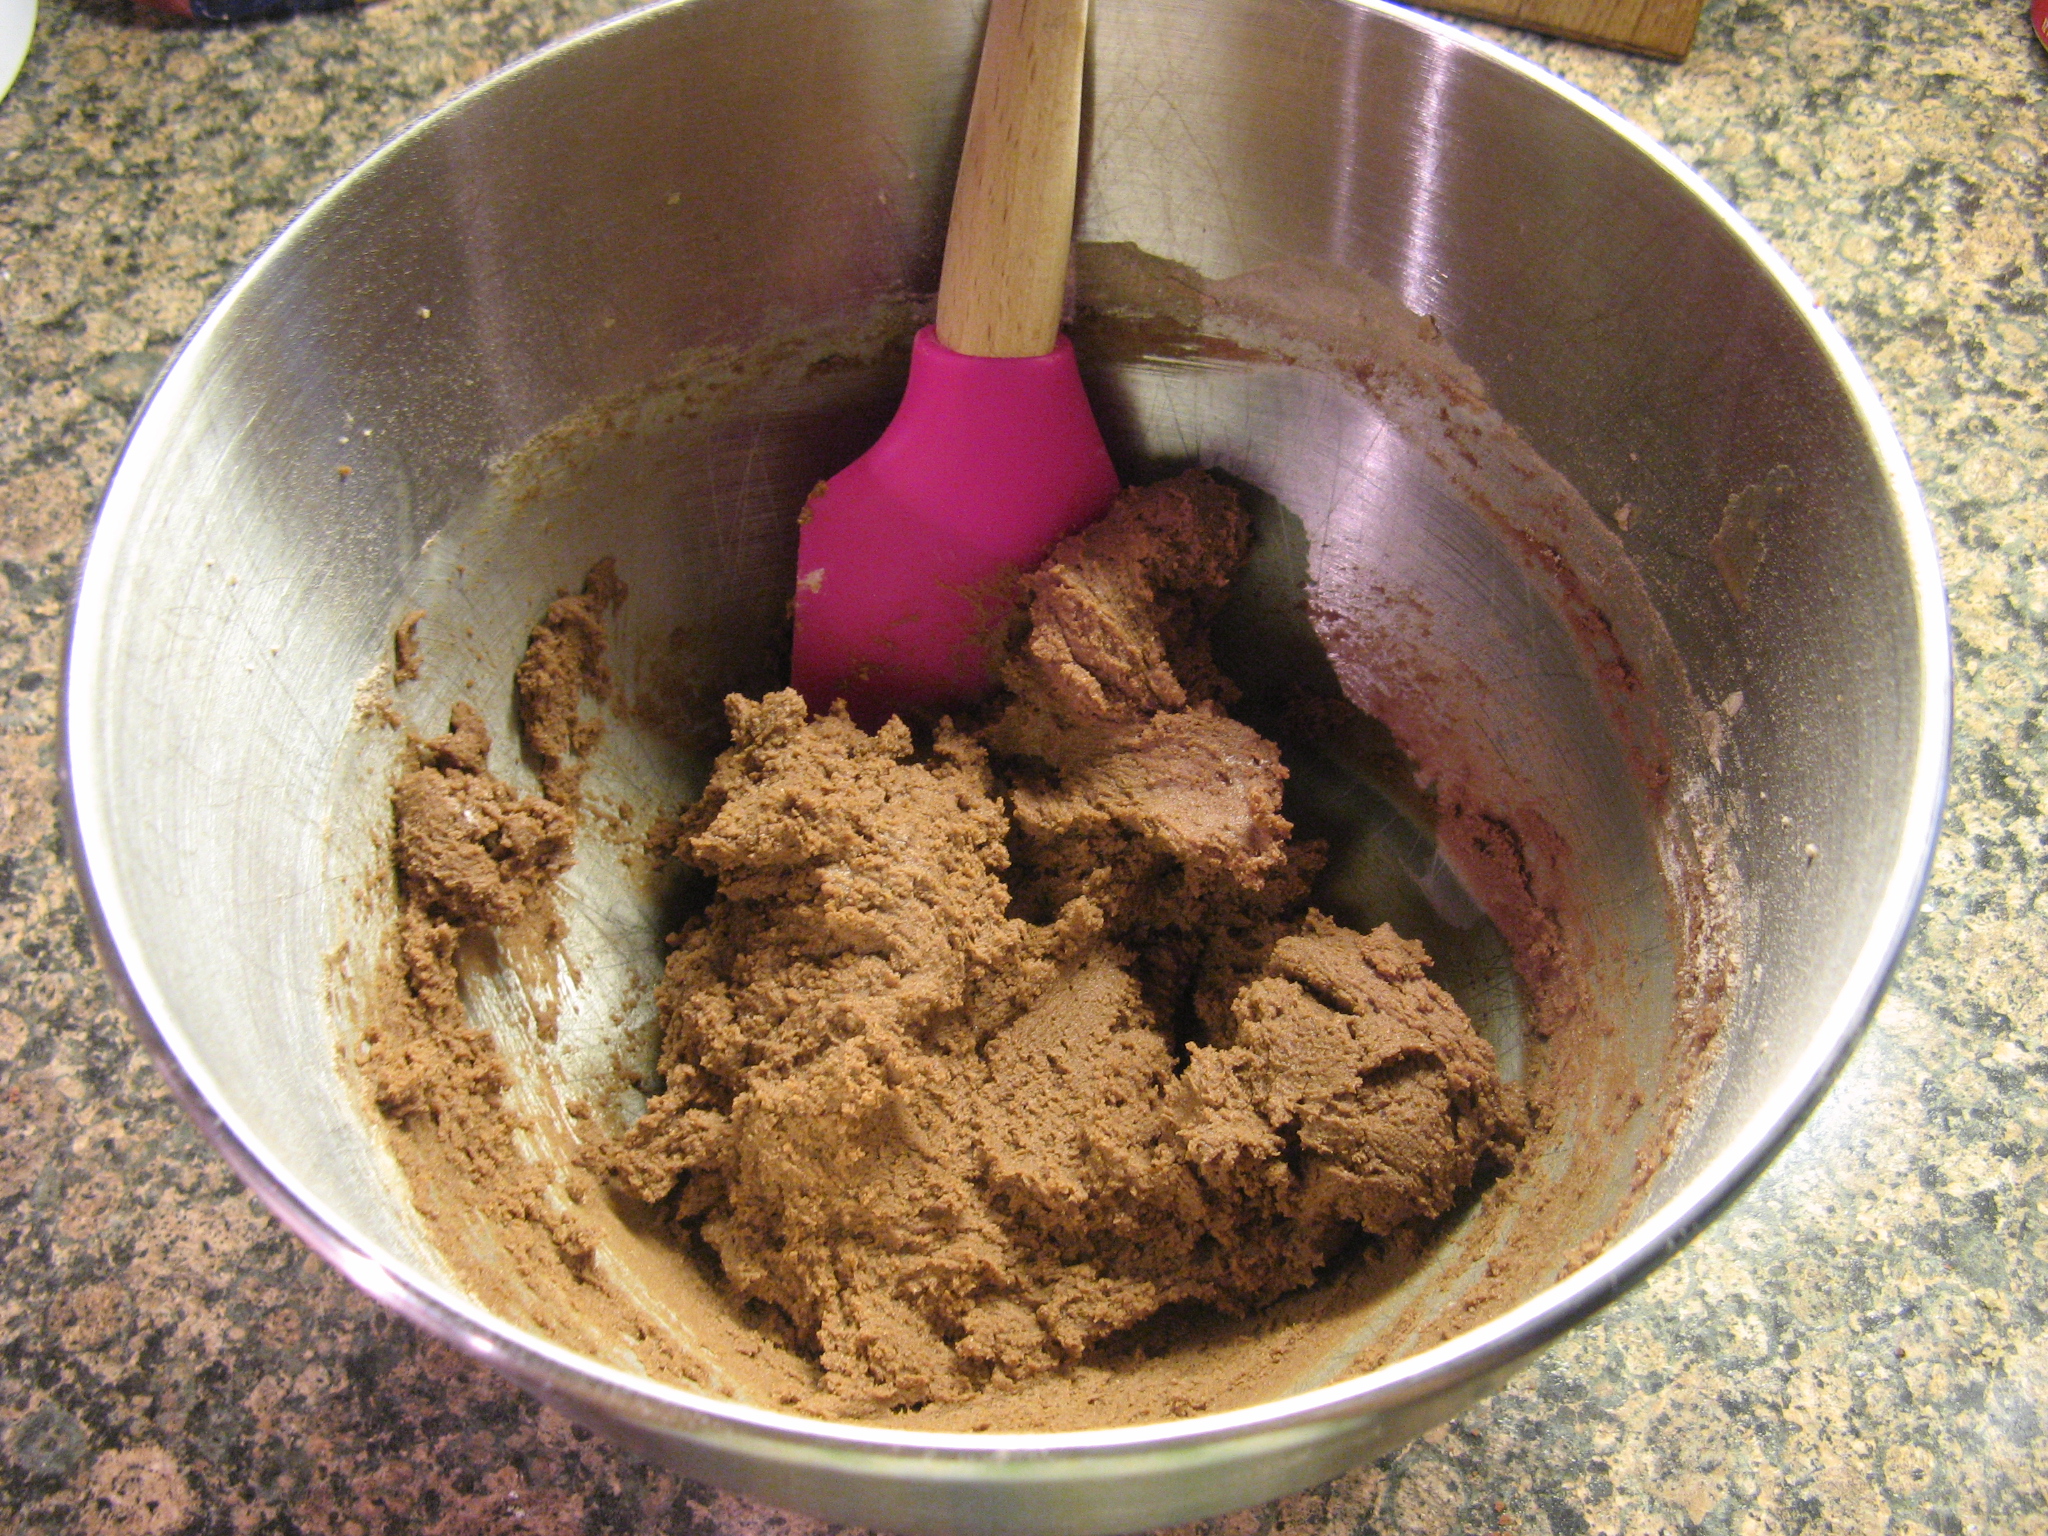
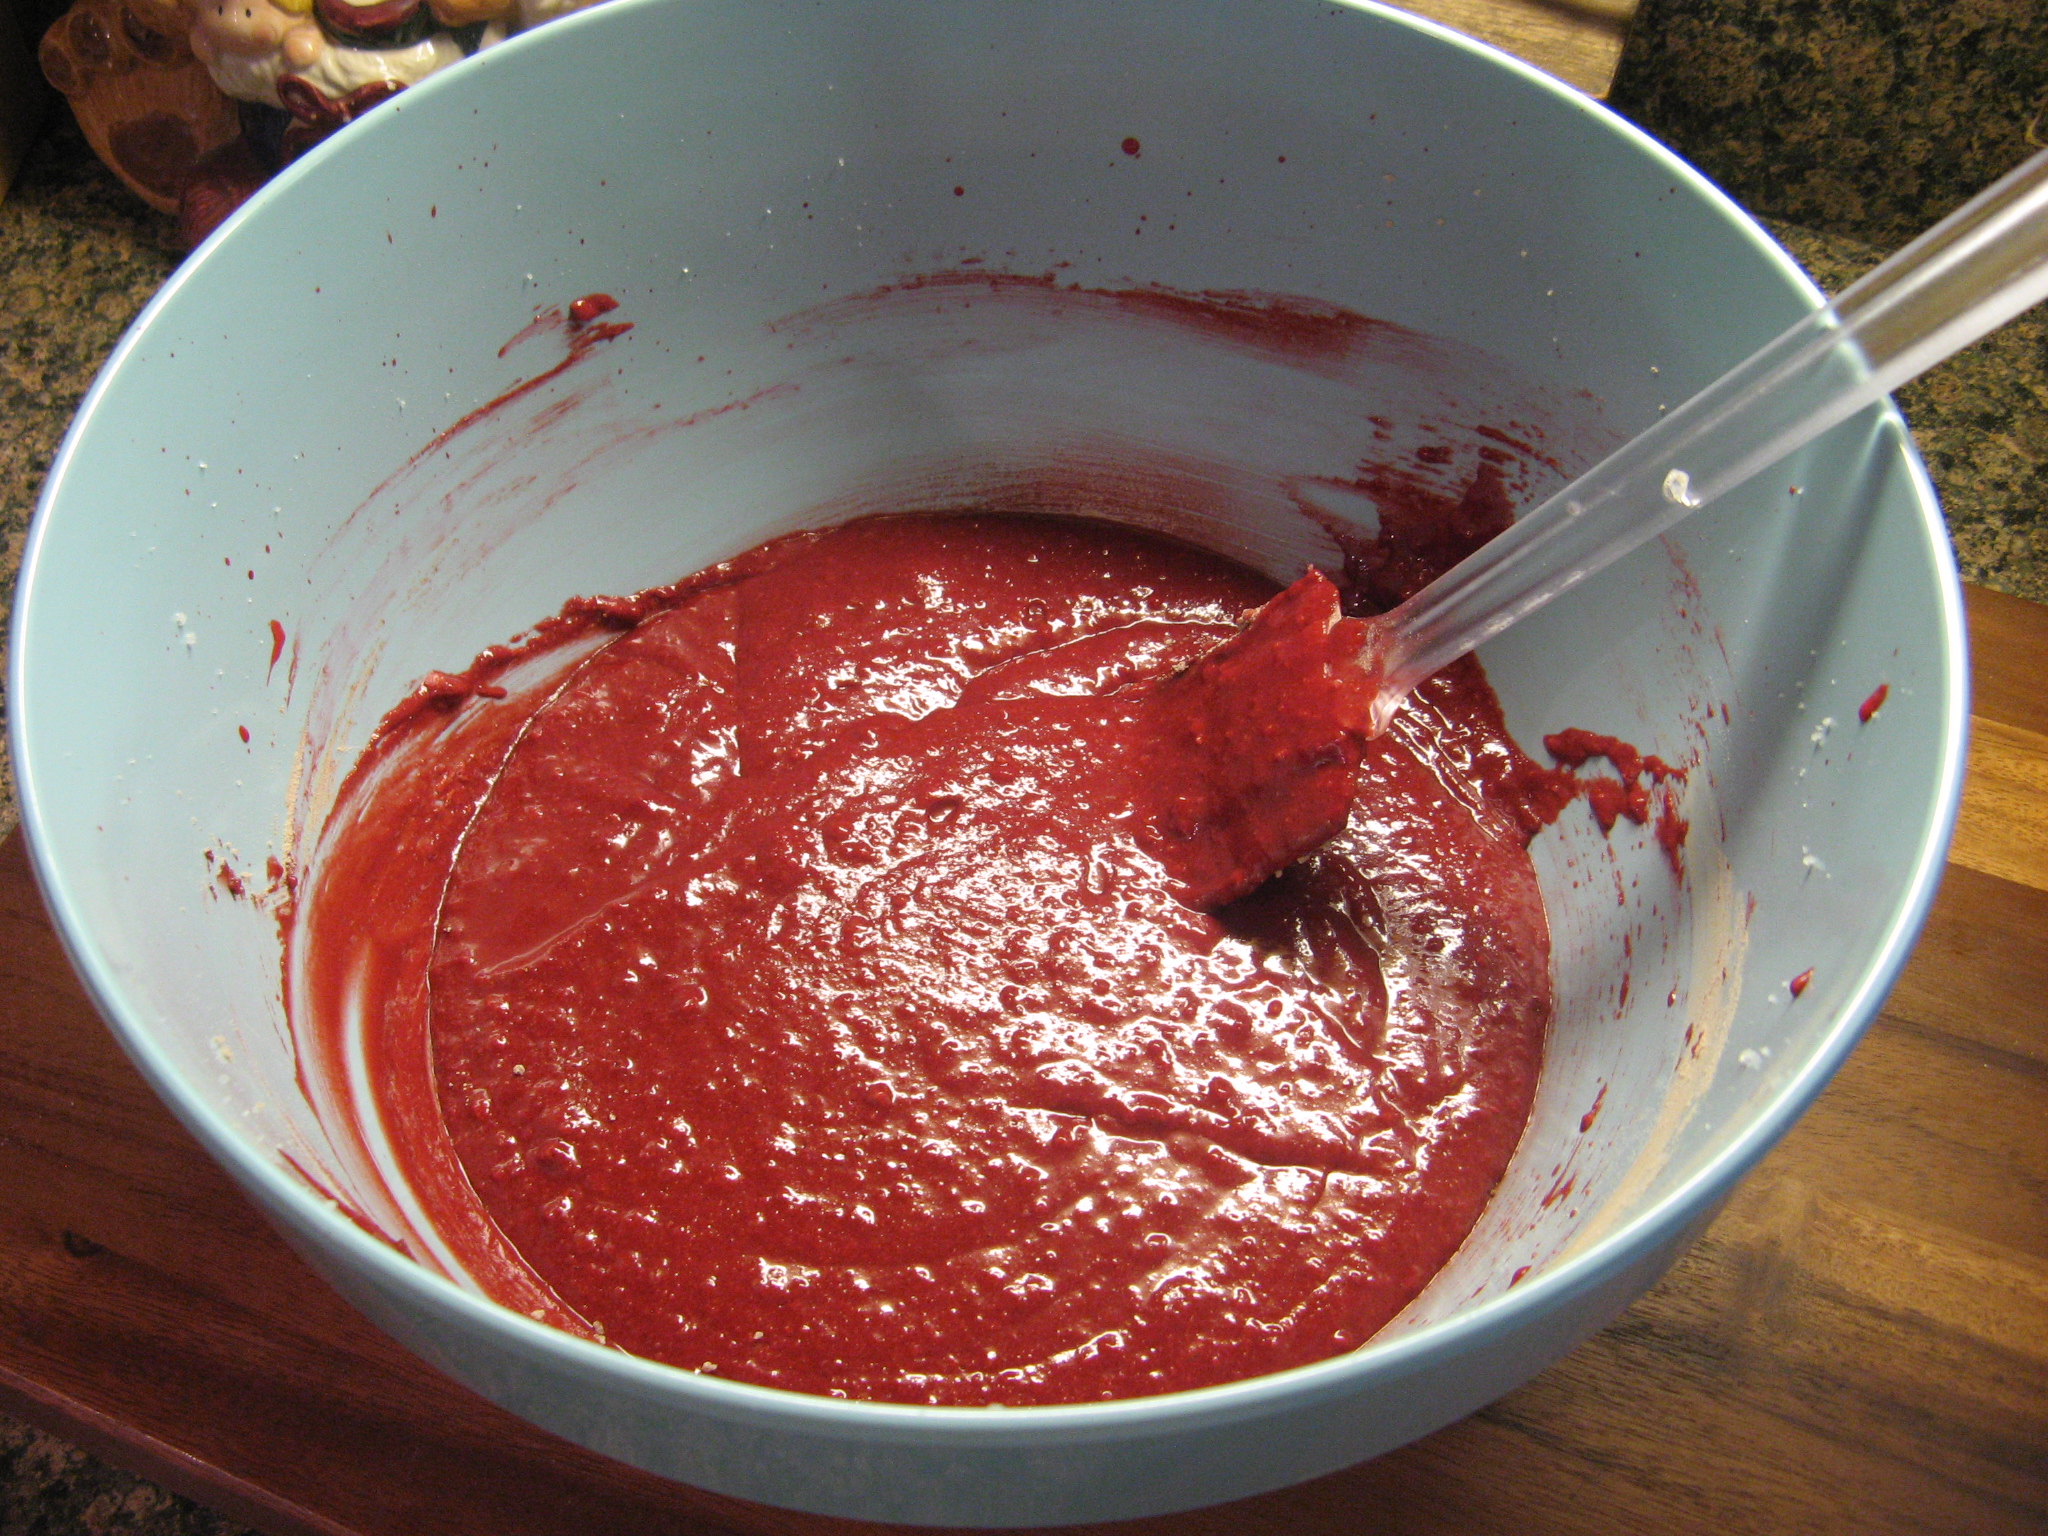
Divide the batter in half and stir the peanut butter in one half and the cocoa powder in the other.

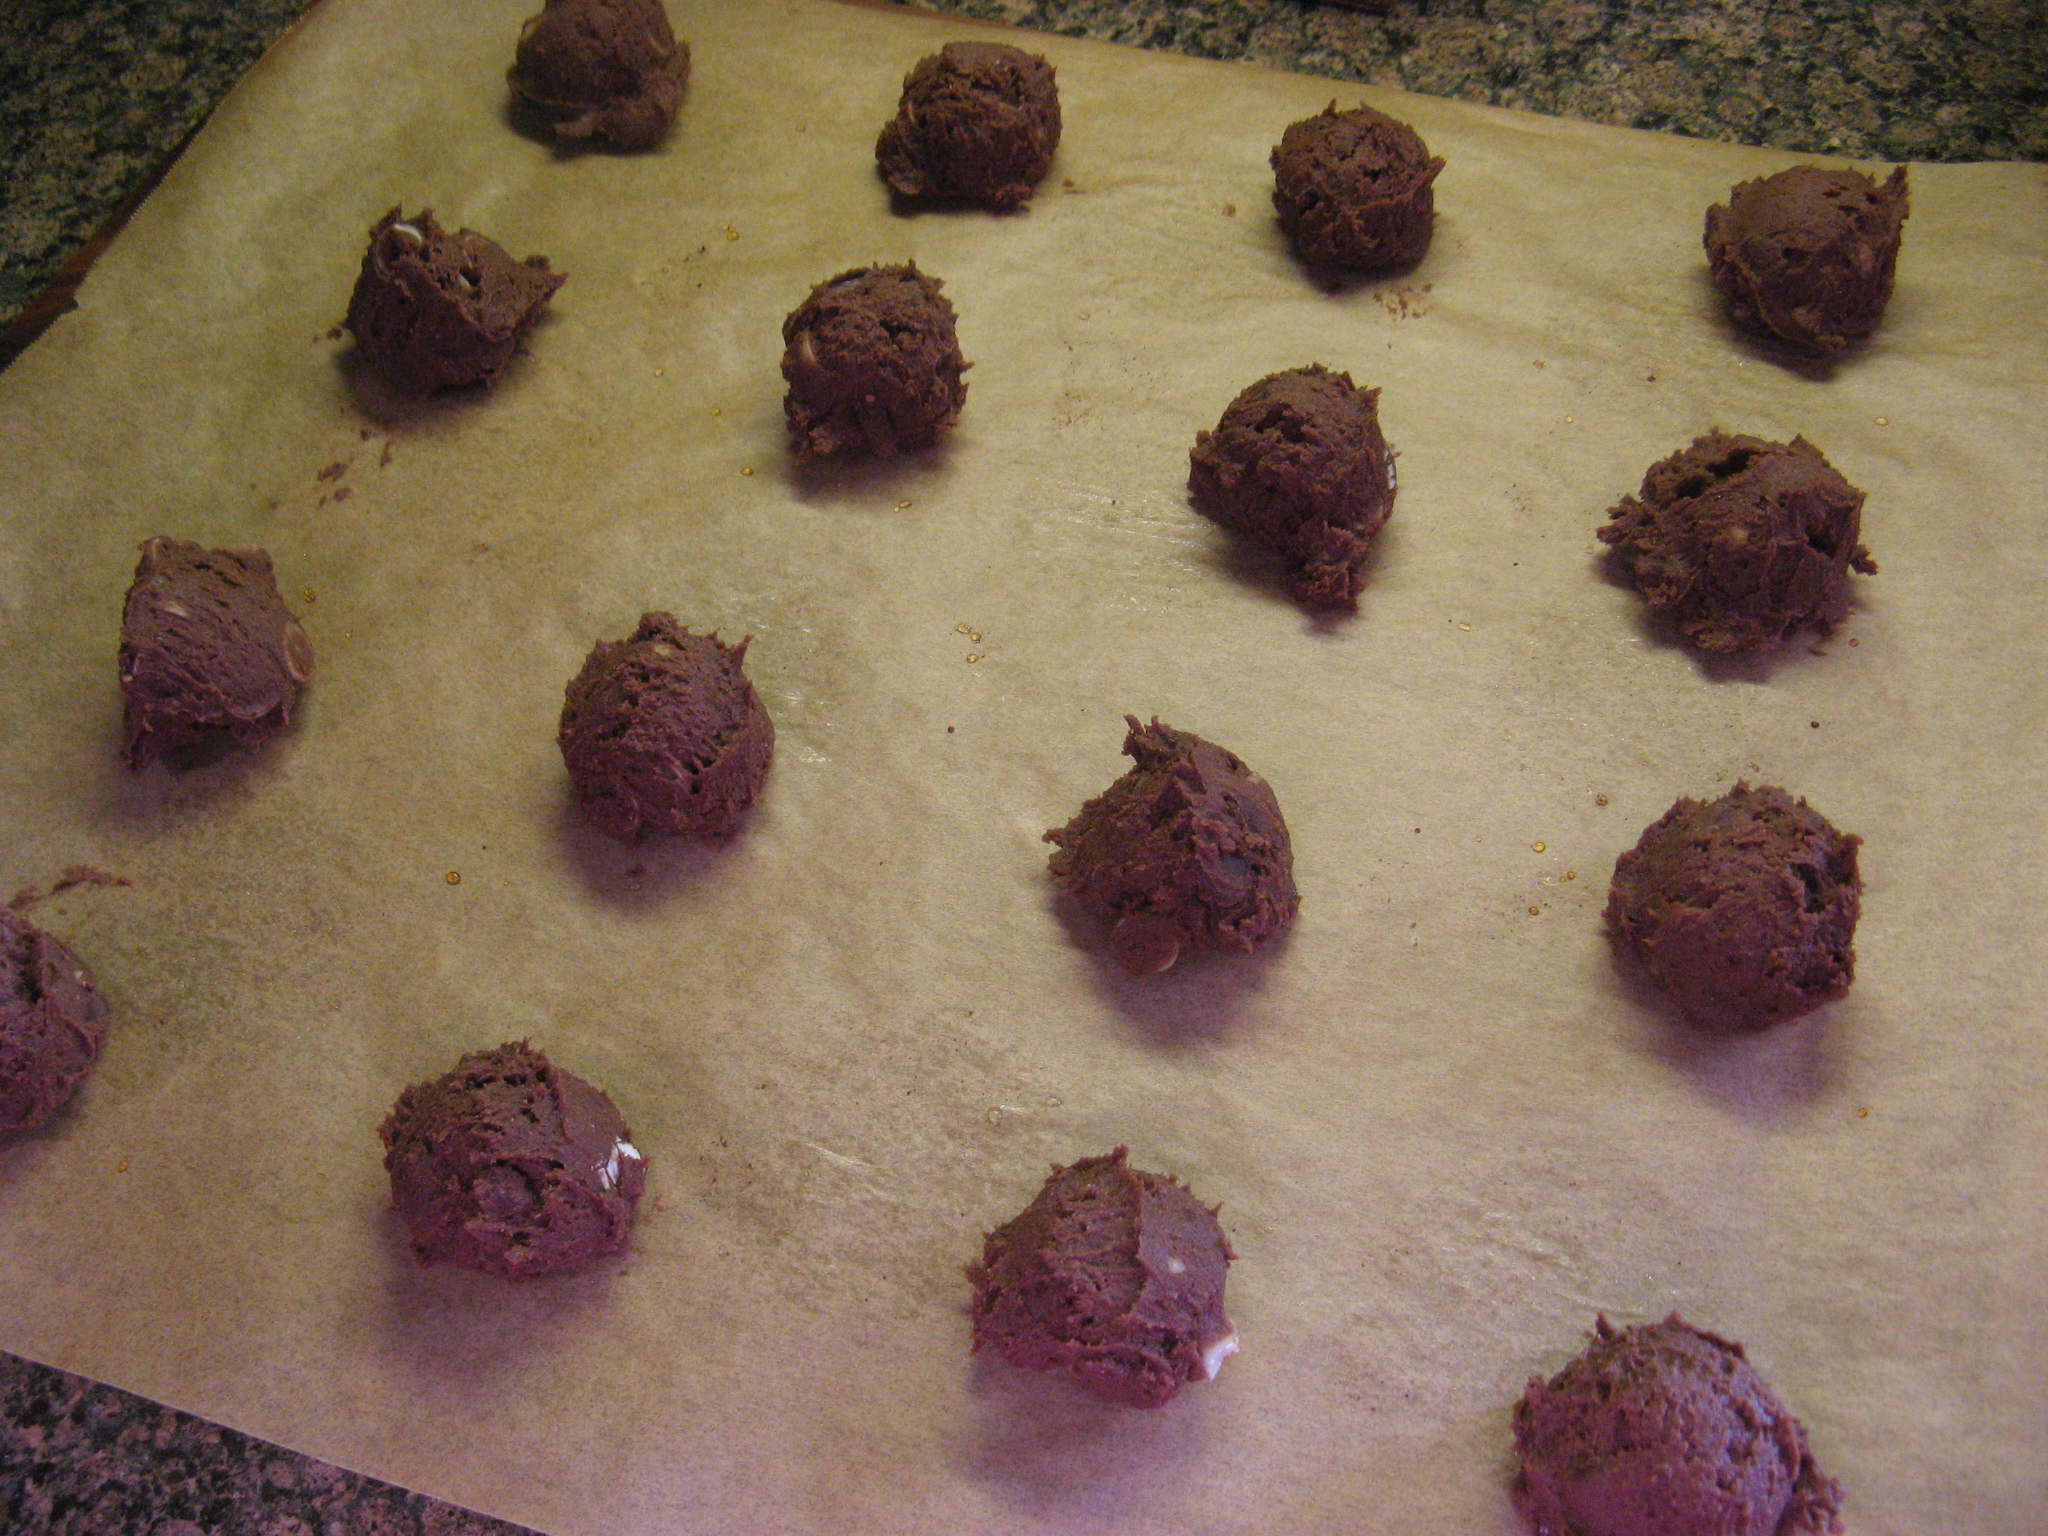
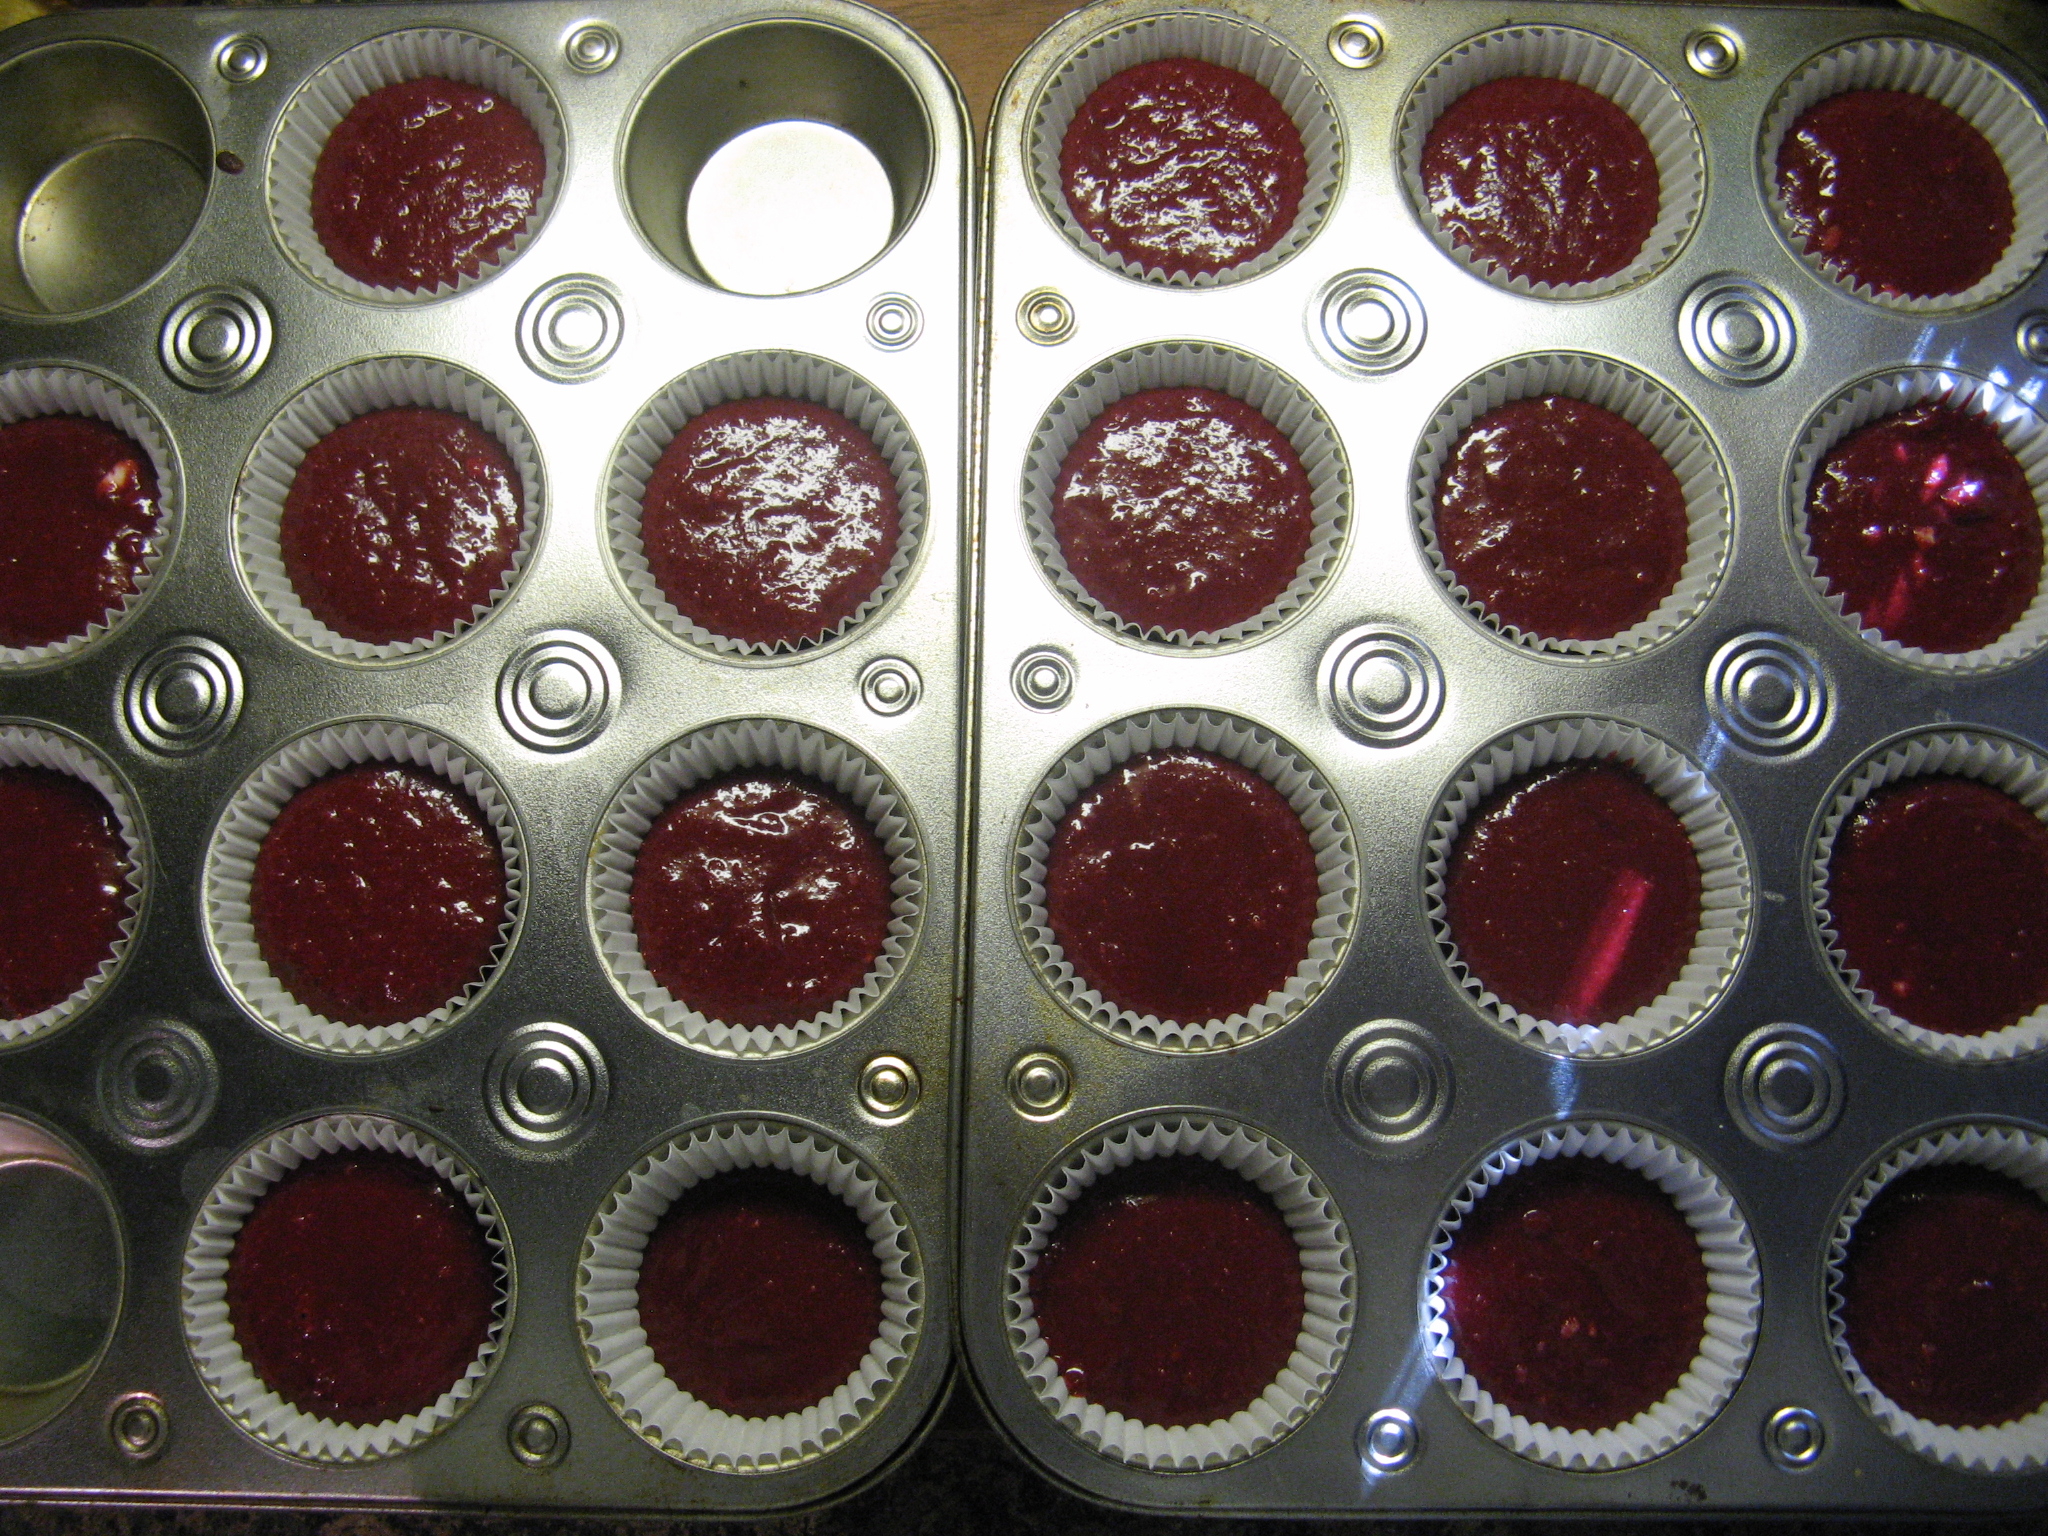
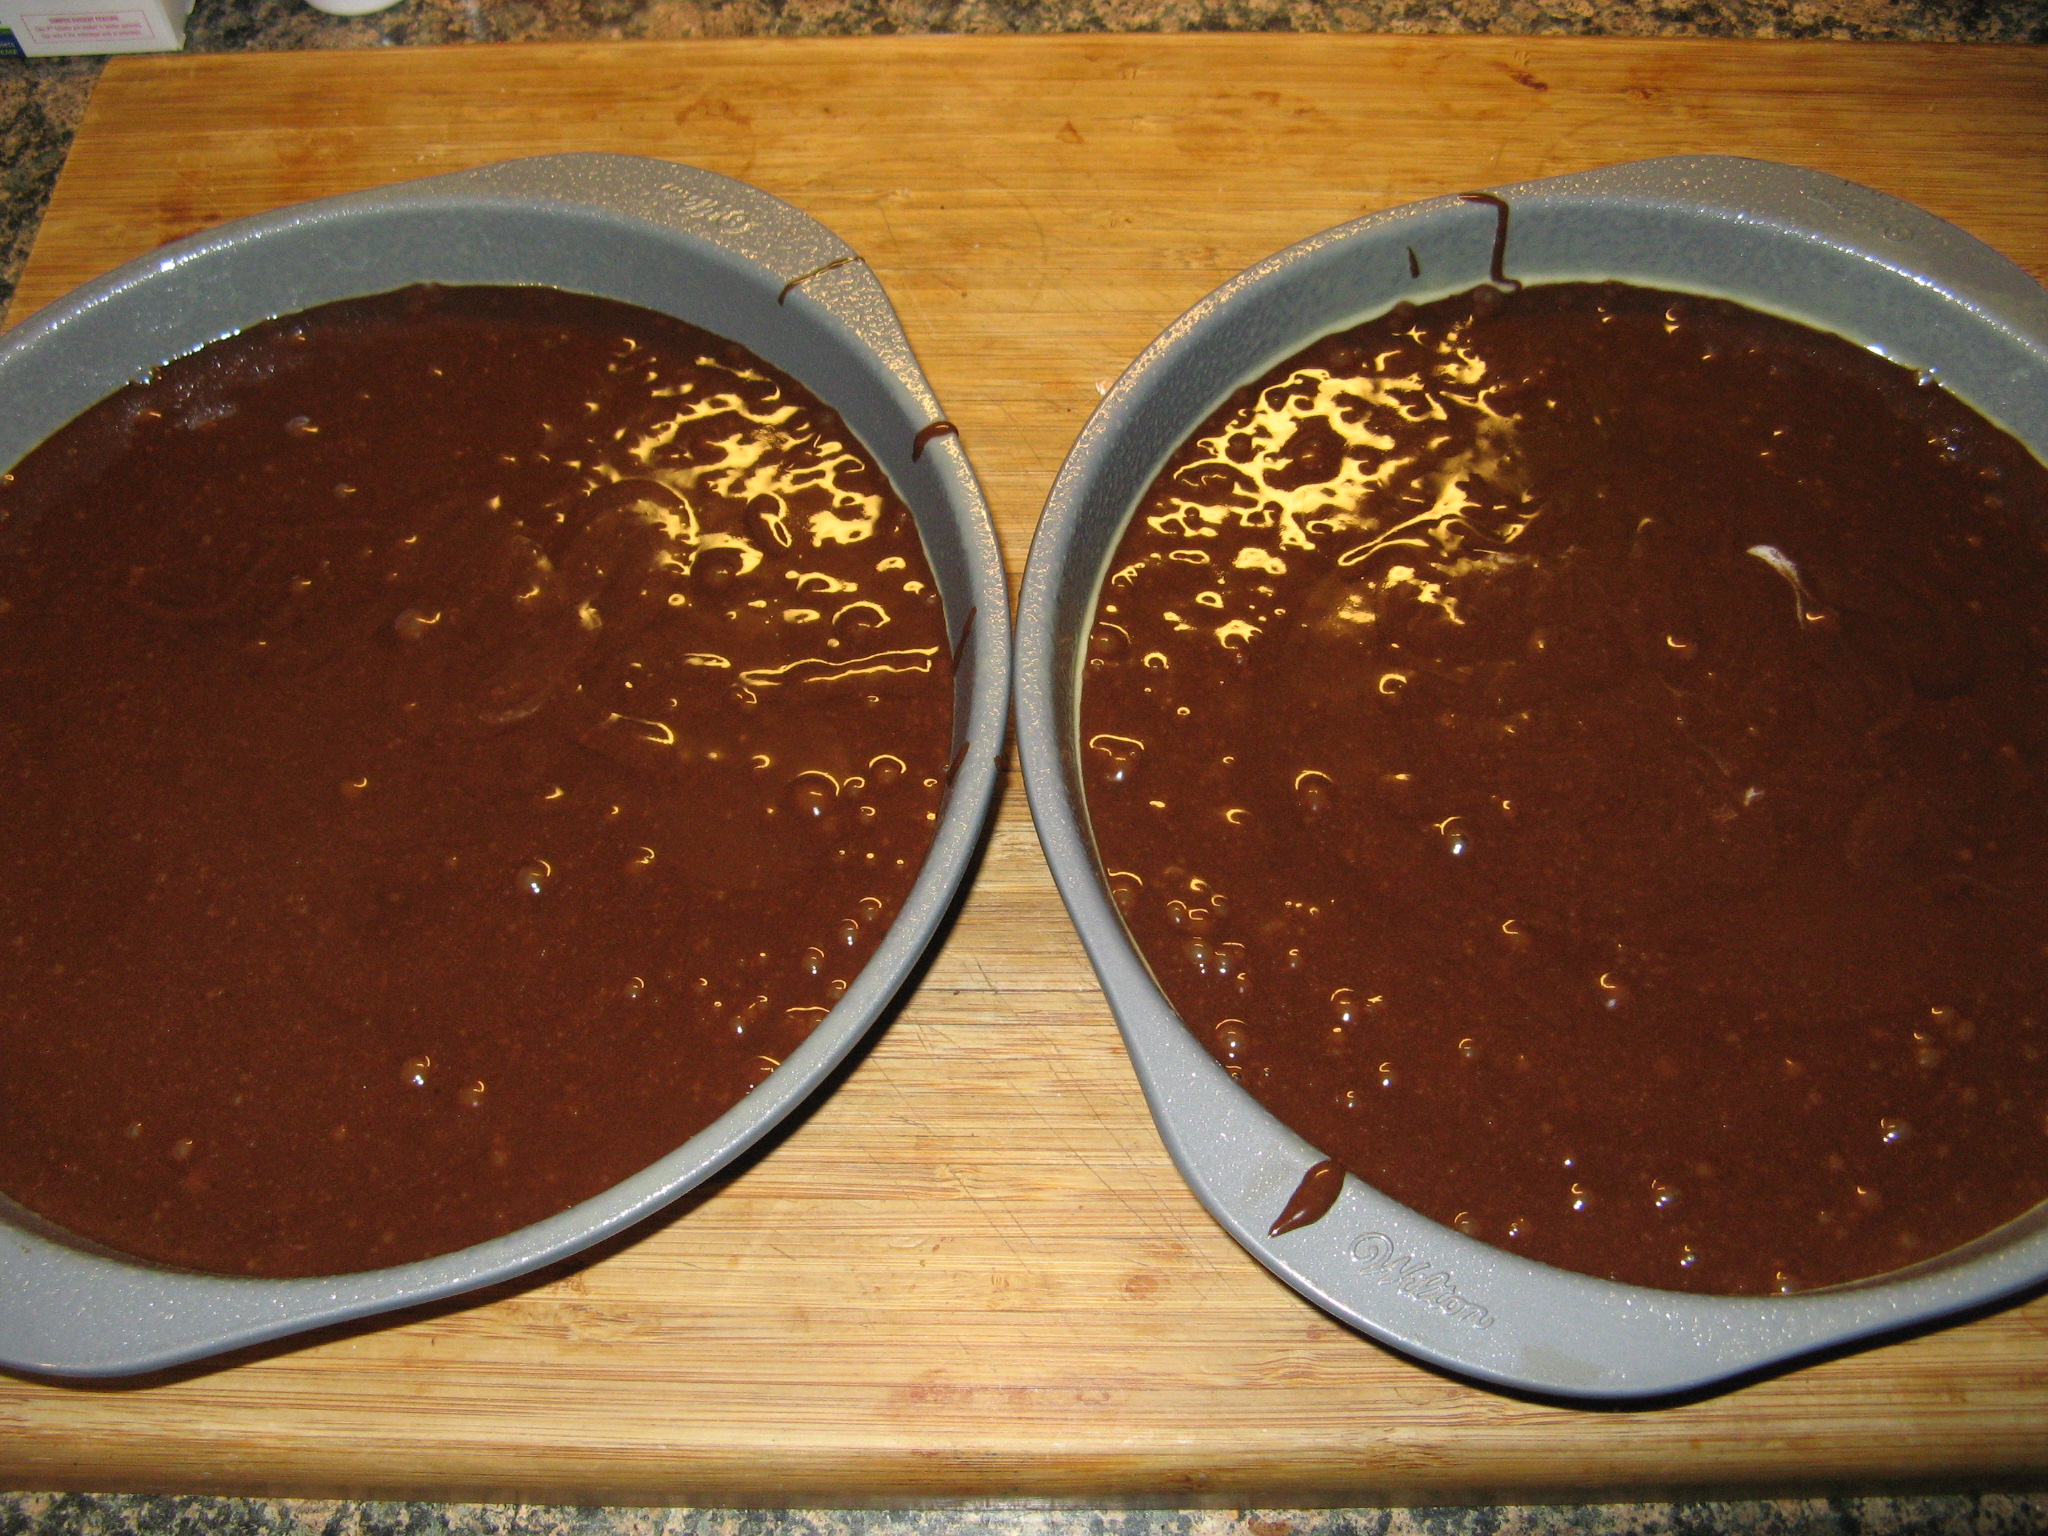
Spoon the batters into the prepared one, alternating between each one. Use a butter knife to swirl the two batters together and tap the pan on the counter a few times to remove any air bubbles.

Bake 45-50 minutes in the preheated oven, or until a cake tester inserted in the center comes out clean.

Cool the cake in the pan for 15 minutes before removing and transferring to a wire rack to cool completely.

Store leftovers in an airtight container at room temperature.

Recipe first appeared on Bead Yarn & Spatula

Mexican Brownies

Happy Cinco De Mayo! Do your plans include guacamole or a margarita today? Or maybe a sweet dessert? These Mexican Brownies are the perfect sweet treat for today. Unlike traditional brownies, these flavor in these brownies are enhanced by the addition of cinnamon and chili powder in the batter. Don’t worry, they aren’t spicy or anything. It actually offers a nice balance to the chocolate and they are super moist and fudgy.


If you are looking for some other desserts for today check out some of my past Cinco De Mayo treats.

Sopapilla Cheesecake and Mexican Wedding Cookies

Tres Leches Cupcakes and Churros

Coconut & Lime Cupcakes

Tres Leches Cake

Horchata Treats


Mexican Brownies

Ingredients:

2 sticks unsalted butter

2 cups granulated sugar

4 large eggs

2 teaspoons vanilla extract

2/3 cup unsweetened cocoa powder

1 cup all-purpose flour

1 teaspoon ground cinnamon

1/4 teaspoon chili powder or cayenne pepper

1/2 teaspoon kosher salt

1/2 teaspoon baking powder

Directions:

Preheat oven to 350 F. Line a 9 x 13-inch baking pan with parchment paper, leaving an overhang on the long edges of the pan. Press the paper into the corners of the pan and spray with cooking spray or lightly grease with butter.

Melt the butter in a medium saucepan over medium heat, do not boil. Remove from the heat and let cool for a few minutes.  Add the sugar, eggs and vanilla extract and stir until well combined.

Add the remaining ingredients and continue mixing until smooth. Transfer the batter to the prepared pan and bake for 20 to 25 minutes, until a tester inserted in the middle comes out fudgy. Transfer the pan to a wire rack to cool. Once cooled, use the parchment paper to lift out the brownies and then slice.

Recipe from Food Network

Slow Cooker Sunday: Chocolate Peanut Butter Cake

For today’s Slow Cooker Sunday post instead of bringing you a meal I am bringing you dessert. I’ve made bread pudding and rice pudding in my slow cooker and I’ve finally made a cake, a Chocolate Peanut Butter Cake.

To begin, I made the cake batter by whisking together flour, baking soda, baking powder, sugar, cocoa and salt in a large bowl. I then stirred in 2 beaten eggs, whole milk, canola oil and vanilla extract. Once that was well combined I then stirred in peanut butter chips.

Next, I poured the batter into the insert of my slow cooker which I sprayed generously with cooking spray.

Per the recipe I set the slow cooker to low, but, my cake was ready way before the directed time of 4 hours. It was more like 3 hours, but, truthfully I probably should have turned off the slow cooker around 2.5 hours. While make cake came out of the insert without sticking to the sides or bottom…

It was a bit hard/burnt along the edges so I decided to cut it in a way that I ended up with pieces that were more like a snack cake as opposed to a cake cake. But overall it was delicious and incredibly moist and paired very well with vanilla ice cream, especially if you warm it up for a few seconds in the microwave.

Slow Cooker Chocolate Peanut Butter Cake

Ingredients:

2 cups all-purpose flour

1 teaspoon baking soda

1 teaspoon baking powder

1 1/4 cups sugar

1 tablespoons unsweetened Dutch process cocoa powder

1 teaspoon salt

2 large eggs, beaten

1 cup whole milk

1/3 cup canola oil

1 teaspoon vanilla extract

1 1/2 cups peanut butter chips

Directions:

Spray the insert of a slow cooker with cooking spray.

In a large bowl whisk together the dry ingredients. Stir in the eggs, milk, oil and vanilla extract; mixing until all of the ingredients are well combined. Stir in the peanut butter chips.

Pour the batter into the slow cooker, spreading the batter evenly. Cover and cook on low for 4 hours, until the top is set. Since all slow cookers are different begin checking the cake after about 2 hours to ensure it doesn’t burn, check it with a toothpick or cake tester for doneness. The cake may look a little undercooked in the center. Turn off the heat and let the cake cool uncovered for about 20 minutes. The cake will firm up as it cools.

Recipe from Slow Cooker Family Favorites

Tiramisu

Tiramisu is one of my favorite desserts and I have tried making it quite a few times in the past and have always been unsuccessful. I think it was partly because I hadn’t honed in on my baking skills and whenever I would go to buy ladyfingers I could never find them. In case you were wondering, ladyfingers are an egg-based biscuit roughly shaped like a large finger. Well, this time I had the ladyfingers on hand after coming across them at the supermarket on sale and buying them in anticipation of making this dessert. I was determined to master this favorite dessert of time and not to toot my horn, but, I think it’s one of the best desserts I have ever made.

Before assembling the tiramisu I had some prep work to do. I began by whisking egg yolks and sugar in a saucepan until they were well blended. I then added in whole milk and cooked the mixture over medium heat until it began to boil. After removing it from the heat I let the mixture cool slightly and then covered and refrigerated it for an hour. After removing it from the refrigerator I blended in mascarpone cheese until it was smooth. In another bowl I beat whipped cream and vanilla extract until stiff peaks formed. And in a third bowl I combined room temperature coffee with Kahlua.

IMG_9425

Using an 8 x 11 inch dish I made the first layer of the tiramisu and then topped it with another. After arranging ladyfingers that I soaked in the coffee and Kahlua mixture I topped it with the mascarpone mixture…

IMG_9426

Then the whipped cream mixture…

IMG_9427

And finally dusted the top with unsweetened cocoa powder. I then covered it and refrigerated it overnight.

IMG_9428

And then the next day it was time to enjoy it and enjoy it I did! It was incredibly light and the ladyfingers while crisp beforehand absorbed the coffee/Kahlua perfectly as well as the mascarpone mixture that was directly spread on top of them. I have finally mastered one of my favorite desserts and will definitely be making it again sooner rather than later.

IMG_9445


Tiramisu

Ingredients:

6 egg yolks

3/4 cup granulated sugar

2/3 cup whole milk

1 1/4 cups heavy cream

1/2 teaspoon vanilla extract

1 pound mascarpone cheese

1 cup strong brewed coffee, at room temperature

1/4 cup Kahlua

2 (3 ounce) packages ladyfinger cookies (24 cookies)

unsweetened cocoa powder, for dusting


Directions:

In a medium saucepan whisk together the egg yolks and sugar until well combined. Whisk in the milk and cook over medium heat, stirring constantly until the mixture begins to boil. Boil for one minute then remove from the heat and cool slightly. Cover tightly and chill in the refrigerator for one hour. For best results transfer to a Tupperware with a tight fitted lid.

In a medium bowl combine the heavy cream and vanilla extract and beat until stiff peaks form.

After one hour remove the egg mixture from the refrigerator and beat in the mascarpone until the mixture is smooth.

In a small bowl, one large enough to lay the ladyfingers in, combine the coffee and Kahlua. Dip the ladyfingers in the mixture for a few seconds and then arrange them in an 8 x 11 inch dish. Spread half of the mascarpone mixture over the ladyfingers and then half of the whipped cream over that. Repeat the layers with the remaining lady fingers, mascarpone mixture and whipped cream. Dust the top of the cocoa powder then cover with a sheet of parchment paper and then aluminum foil and refrigerate overnight.


Recipe slightly modified from Allrecipes

Mint Chocolate Delights

While pumpkin is the flavor of the Fall, peppermint / mint is the flavor of Winter; especially now during the Holiday season. Peppermint hot chocolate is available almost everywhere – I’m partial to getting mine from Starbucks, already made and topped with whipped cream -,  red & green mint M&M’s, mint filled Hershey Kisses and candy canes – just to name a few candies – can be found on store shelves. And I recently came across Nestle Toll House Dark Chocolate & Mint Morsels, which I couldn’t resist picking up. And as luck would have it, there was a cookie recipe right on the back of the package waiting to be made.

IMG_6110

To begin I combined the dry ingredients – flour, cocoa powder, baking soda and salt – in a medium bowl and set it aside.

IMG_6112

In a large bowl I creamed together butter, granulated sugar, brown sugar and vanilla extract and then added in two eggs, one at a time.

IMG_6114

Next I gradually added in the flour mixture.

IMG_6115

And finally I stirred in the dark chocolate and mint morsels (if you love the smell of mint you’ll be in heaven when you open this bag)…

IMG_6117

Which resulted in the casualty of one of my spatulas since the batter for these cookies is so thick and dense – thankfully the cookies turned out completely opposite of that.

IMG_6119

Next I drop rounded tablesoonfuls of the dough on parchment lined cookie sheets.

IMG_6121

After baking in a preheated 325 F oven for 11 minutes I let them cool on the sheets for a few minutes before transferring them to a wire rack to cool completely.

IMG_6124

These cookies are all kinds of delicious and thankfully the recipe yields enough so that you can definitely get your fill!

IMG_6155

Mint Chocolate Delights

Makes about 4 dozen

Ingredients:

2 cups all-purpose flour

2/3 cup baking cocoa

1 teaspoon baking soda

1/2 teaspoon salt

1 cup (2 sticks) unsalted butter, softened

2/3 cup granulated sugar

2/3 cup light brown sugar

1 teaspoon vanilla extract

2 large eggs

1 2/3 cups (10-oz. pkg.) Nestle Toll House Dark Chocolate& Mint Morsels

Directions:

1. Preheat oven to 325 F and line two baking sheets with parchment paper.

2. Combine flour, cocoa, baking soda and salt in a small bowl. Beat butter, granulated sugar, brown sugar and vanilla extract in a large bowl until creamy. Add eggs, one at a time, beating well after each addition. Gradually beat in the flour mixture. Stir in morsels. Drop by well-rounded tablespoon onto prepared baking sheets.

3. Bake for 11 to 13 minutes or until cookies are puffed and centers are set. Cool on baking sheets for 2 minutes; remove to wire racks to cool completely.

Cocoa Snickerdoodles

If you have seen this month’s issue of Food Network Magazine you know they are getting their readers ready for the Holidays with a slew of cookie recipes. While they all sound amazing one of them stood out from the rest for me… Cocoa Snickerdoodles. What is there not to love about a cookie made with cocoa and then rolled in cinnamon sugar?

IMG_6144

I began by whisking together the dry ingredients: flour, unsweetened cocoa powder, baking soda, salt and cream of tartar (which I just recently learned is the key ingredient that makes a Snickerdoodle and Sugar Cookie different. The addition of the cream of tartar prevents the cookie from having the crunch of a Sugar Cookie and instead a soft and cakey inside.)

IMG_6084

Next I beat room temperature butter along with granulated and light brown sugar until it was light and fluffy.

IMG_6085

I then added in an egg and vanilla extract.

IMG_6086

And finally I beat in the flour mixture until the two mixtures were just combined.

IMG_6087

Before placing the cookies on the baking sheet I rolled them in a mixture of sanding sugar and cinnamon.

IMG_6089

Since I knew these cookies would spread while baking I was sure to give them ample space on a parchment lined baking sheet prior to baking them in a 375 F oven for 9 minutes; rotating the pan after the first 5 minutes.

IMG_6093

My first batch right out of the oven… I let the cookies cool on the baking sheet for a few minutes before transferring them to a wire rack to cool completely.

IMG_6099

Once cooled I couldn’t wait to try one… Here’s a close-up of the soft cakey texture I mentioned.

IMG_6153

And while these cookies were delicious once cooled they were even better the next day once the cinnamon sugar mixture had more time to seep into them. The only bad thing about this recipe… It only yields 18 cookies!


Cocoa Snickerdoodles

Makes 18 cookies

Ingredients:

1 1/4 cups all-purpose flour

1/4 cup unsweetened cocoa powder

1 1/2 teaspoons cream of tartar

1/2 teaspoon baking soda

1/4 teaspoon salt

10 tablespoons unsalted butter, at room temperature

3/4 cup granulated sugar

1/4 cup packed light brown sugar

1 large egg

1 teaspoon pure vanilla extract

1/2 cup white sanding sugar

1 3/4 teaspoons ground cinnamon

Directions:

1. Preheat the oven to 375 F and line 2 baking sheets with parchment paper. Whisk the flour, cocoa powder, cream of tartar, baking soda and salt in a medium bowl. Beat the butter, granulated sugar and brown sugar in a large bowl with a mixer on medium speed until creamy, about 2 minutes. Increase the speed to medium high and beat until fluffy, about 2 more minutes. Beat in the egg and vanilla; reduce the mixer speed to low and beat in the flour mixture until just combined.

2. Combine the sanding sugar and cinnamon in a small shallow bowl. Form heaping tablespoonfuls of dough into balls with damp hands; toss in the cinnamon sugar to coat. Arrange about 3 inches apart on 2 baking sheets.

3. Bake, switching the pans halfway through, until the cookies are set around the edge, 9 to 11 minutes. Let cool 2 minutes on the baking sheets, then transfer to a rack to cool completely.

Peanut Butter & Chocolate Marbled Cookies

Another month has rolled in and it’s not just any month, it’s December – the month where everywhere you look there is something sweet to eat and it’s almost impossible to say no to all of the deliciousness. One thing synonymous with December is baking, especially baking Christmas cookies. Personally I don’t think Christmas cookies are limited to those decorated with red and green sprinkles, for me it’s any cookie baked  this month – hey, it’s Christmas season, not just the day. So to kick off the baking festivities I would like to share with you a cookie that is right up my alley. I may have mentioned once or twice before that my favorite candy is Reese’s Peanut Butter Cups, so imagine my delight when I came across a cookie recipe that was a swirl of chocolate and peanut butter flavors. (I should also note that I am a big fan of peanut butter cookies as well!) The recipe is officially called Best of Both Cookies and I came across it in a special edition of Taste of Home magazine highlighting Christmas cookies and candies, but, for the purpose of this post I am going to call them Peanut Butter & Chocolate Marbled Cookies.

IMG_6029

I’ll be honest I was a bit apprehensive about making these cookies for two reasons; they are slice and bake cookies (I prefer making drop and bake cookies) and it involved making two separate doughs and then mixing them together (I thought the doughs would be difficult to meld.) Luckily I was wrong on both fronts. Incorporating the two doughs and forming them into logs to be sliced was super simple.  First up was the peanut butter dough. I creamed together peanut butter, softened butter, granulated sugar and light brown sugar until it was light and fluffy and then added in an egg. In a separate bowl I combined flour, baking powder, baking soda and salt which I then mixed into the peanut butter mixture.

IMG_5977

To make the chocolate dough I creamed together butter, granulated sugar and light brown sugar once again until it was light and fluffy. I then added in an egg and vanilla extract. And finally I added in a mixture a of flour, cocoa, baking powder, baking soda and salt.

IMG_5978

I divided each of the doughs in half and kneaded one peanut butter half and one chocolate half a few times until it began to swirl and then formed the combined doughs into a 10-inch log.

IMG_5979

I then wrapped each of the logs in plastic wrap and refrigerated them until they were firm – at least 3 hours.

IMG_5981

Once firm it was easy to slice the dough for the cookies.

IMG_6002

I then placed them on a parchment lined baking sheet and baked them for 7 minutes in a 350 F preheated oven.

IMG_6003

I let them cool on the sheet for a few minutes before transferring them to a wire rack to cool completely. Overall these cookies were amazing… Not one thing negative to say about them. Depending on how the doughs swirl together you may get a cookie that is more peanut butter than chocolate or vice versa, but, either way it’ll be delicious. Neither of the doughs is overpowering with flavor so it’s the perfect marrying of peanut butter and chocolate!

IMG_6030


Peanut Butter & Chocolate Marbled Cookies (Best of Both Cookies)

Ingredients:

Peanut Butter Dough:

3/4 cup creamy peanut butter

1/2 cup butter, softened

1/2 cup sugar

1/2 cup packed brown sugar

1 egg

1 1/4 cups all-purpose flour

1/2 teaspoon baking powder

1/2 teaspoon baking soda

1/4 teaspoon salt

Chocolate Dough:

1/2 cup butter, softened

1/2 cup sugar

1/2 cup packed brown sugar

1 egg

1 teaspoon vanilla extract

1 1/4 cups all-purpose flour

1/4 cup baking cocoa

1/2 teaspoon baking powder

1/2 teaspoon baking soda

1/4 teaspoon salt

Directions:

1. In a large bowl, cream the peanut butter, butter and sugars until light and fluffy, about 4 minutes. Beat in egg. Combine the flour, baking powder, baking soda and salt; gradually add to creamed mixture and mix well.

2. For the chocolate dough, in another large bowl, cream butter and sugars until light and fluffy. Beat in egg and vanilla. Combine the flour, cocoa, baking powder, baking soda and salt; gradually add to creamed mixture and mix well.

3. Divide each portion in half. Knead one peanut butter and one chocolate portion together 5-10 times or until it just begins to swirl. Shape into a 10-inch log. Wrap in plastic wrap. Repeat with remaining dough. Refrigerate for 3-4 hours or until firm.

4. Preheat oven to 350 F. Unwrap and cut into 1/4 inch slices. Place 2 inches apart on lightly greased baking sheets (or parchment lined baking sheets.) Bake 6-8 minutes or until bottoms are lightly browned. Cool 2 minutes before removing from pans to wire racks.


Red Velvet Cupcakes

While it is safe to say we all like a dessert that will create a moment of utter bliss when we take that first bite, there are those times that all we want are tried and true classics that evoke nostalgia for a certain time and/or place or simply cannot be beat – i.e. a chocolate chip cookie, a yellow cake (or cupcake) with chocolate frosting or a chocolate cake (or cupcake) with vanilla frosting and more recently red velvet!

IMG_5832

I cannot say for sure what makes Red Velvet so special. Is it the bold red color? The flavor that is somewhere along the lines of chocolate thanks to the addition of cocoa powder? Or maybe it’s the creamy cream cheese frosting? Who knows, all I know is that it’s delicious!

IMG_5844

I began making the cupcakes by beating together butter and sugar until it was light fluffy.

IMG_5798

In then mixed in eggs, buttermilk, vanilla extract and a fluid ounce of red food coloring, which essentially gives this cake its name. But, I should note that there are recipes out there – like this one and this one –  that use beets instead to obtain that vivid red color. One more thing, if you wanted to make a red velvet cake in other colors you could simply just swap out the red food coloring for whatever color you wanted; i.e. a purple velvet cake, pink velvet cake, green velvet cake, etc…

IMG_5799

By hand I then stirred in baking soda and vinegar and finally flour, cocoa powder and salt which I had combined in another bowl.  I chose to incorporate these ingredients into the mixture by hand so I wouldn’t accidentally overbeat the batter which would turn out dense and dry cupcakes as opposed to the light and fluffy ones these turned out to be.

IMG_5801

I then divided the batter among paper lined cupcake tins and baked them in a 350 F preheated oven for twenty minutes.

IMG_5806

After the cupcakes had cooled it was time to frost them. I opted to frost them with a Cream Cheese Frosting as I think it’s the best flavor to enhance the flavors of the red velvet cake. I have had them with buttercream frosting and it’s just not the same.

IMG_5814

I also sprinkled a few of the cupcakes’ with red velvet cake crumbs and they turned out tasting just as good as they looked!

IMG_5851

Red Velvet Cupcakes

Makes 20 Cupcakes

Ingredients:

1/2 cup butter

1 1/2 cups sugar

2 eggs

1 cup buttermilk

1 fluid ounce red food coloring

1 teaspoon vanilla extract

1 1/2 teaspoons baking soda

1 tablespoon distilled white vinegar

2 cups all-purpose flour

1/3 cup unsweetened cocoa powder

1 teaspoon salt

Directions:

1. Preheat oven to 350 degrees F. Line two muffin pans with 20 paper baking cups.

2. In a large bowl, beat the butter and sugar with an electric mixer until light and fluffy. Mix in the eggs, buttermilk, red food coloring and vanilla. Stir in the baking soda and vinegar. Combine the flour, cocoa powder and salt; stir into the batter just until blended. Spoon the batter into the prepared cups, dividing evenly.

3. Bake in the preheated oven until the tops spring back when lightly pressed, 20 to 25 minutes. Cool in the pan set over a wire rack. When completely cooled frost.

Cream Cheese Frosting

Ingredients:

2 – 8 ounce packages cream cheese, softened

1/2 cup butter, softened

2 cups sifted confectioners’ sugar

1 teaspoon vanilla extract

Directions:

In a medium bowl cream together the cream cheese and butter until creamy. Mix in the vanilla, and then gradually stir in the confectioners’ sugar.

Chocolate Malted Cupcakes with Fluffy Vanilla Frosting

I have baked numerous types of cookies in my baking adventures that I have loved, but, by far one of my favorites is a Malted Milk Chocolate Chip Cookie that is the perfect combination of chewiness and chocolate without being overly sweet thanks to the addition of malted milk powder. So, when I was flipping through some cookbooks for baking inspirations and I came across a recipe for a Chocolate Malted Cupcake I knew I had to try it!

To begin I whisked together my dry ingredients (flour, cocoa powder, sugar, light brown sugar, baking soda and salt) in one bowl and malted milk powder and milk in another bowl.

IMG_2867 IMG_2868

Once that was done I combined both of these mixtures along with vegetable oil in the bowl of my stand mixer and mixed it until it was combined.

IMG_2869

To finish the batter I beat in three eggs, sour cream and vanilla.

IMG_2870

I then divided the batter into my prepared muffin tins which I lined with these cupcake liners that I thought were a perfect for these cupcakes. The red and white is reminiscent of old school soda shops where malted beverages were a staple. I actually got these cupcake liners the day after Valentine’s Day at my local Michael’s for less than a $1. You have to love post-Holiday sales!

IMG_2872

After baking for about twenty minutes in a pre-heated 350 F oven my first batch of Chocolate Malted Cupcakes were done!

IMG_2873

The recipe was right on point and I ended up with twenty-eight delicious cupcakes!

After the cupcakes had cooled I whipped up a batch of Fluffy Vanilla Frosting using three simple ingredients: unsalted butter, confectioners’ sugar and vanilla extract. I think this may become my new go-to vanilla frosting!

IMG_2878

As opposed to piping my favorite 1M Swirl on these cupcakes, I frosted them using an offset spatula and then decorating them with chocolate sprinkles.

IMG_2903

Overall they were a hit and just the right amount of sweetness!

Chocolate Malted Cupcakes

From Martha Stewart’s Cupcakes

Makes 28 Cupcakes

2 1/4 cups all-purpose flour

3/4 cup unsweetened Dutch-process cocoa powder

1/4 cup granulated sugar

3/4 cup packed light-brown sugar

1 1/2 tsps. baking soda

1/2 tsp. salt

1 cup milk

1 1/4 cups malted milk powder

1 cup vegetable oil

3 large eggs, room temperature

1 cup sour cream, room temperature

1 tsp. pure vanilla extract

1. Preheat oven to 350F. Line standard muffin tins with paper liners. Whisk together flour, cocoa, both sugars, baking soda, and salt. In another bowl, whisk together milk and malted milk powder until powder is dissolved.

2. With an electric mixer on medium-high speed, beat flour mixture, milk mixture, and oil until combined. Add eggs, one at a time, beating until each is incorporated, scraping down sides of bowl as needed. Add sour cream and vanilla, and beat until just combined.

3. Divide batter evenly among lined cups, filling each halfway. Bake, rotating halfway through, until a cake tester inserted in centers comes out clean, about 20 minutes. Cupcakes can be stored up to 3 days at room temperature, or frozen up to 2 months, in airtight containers.

Fluffy Vanilla Frosting

From Martha Stewart’s Cupcakes

Makes About 4 Cups

1 1/2 cups (3 sticks) unsalted butter, room temperature

1 pound (4 cups) confectioners’ sugar, sifted

1/2 tsp. pure vanilla extract (I used 1 tsp.)

1. With an electric mixer, beat butter on medium-high speed until pale and creamy, about 2 minutes.

2. Reduce speed to medium. Add the confectioners’ sugar, 1/2 cup at a time, beating well after each addition and scraping down sides of bowl as needed; after every two additions, raise speed to high and beat 10 seconds to aerate frosting, then return to medium. This process should take about 5 minutes. Frosting will be very pale and fluffy.

3. Add vanilla, and beat until frosting is smooth. If not using immediately, frosting can be refrigerated up to 10 days in an airtight container. Before using, bring to room temperature, and beat on low speed until smooth again, about 5 minutes.

Chocolate & Raspberries… Always A Good Combination

There’s nothing like a homemade birthday cake and whenever I bake one I usually let the honoree pick whatever they want – as was the case when I recently baked one for a friend’s mom. She had loved the Raspberry Cream Cheese frosting I used when I made the Lemon Cupcakes so I wanted to make a cake that would complement it and at the right moment I received an email from Real Simple with a Classic Chocolate Layer Cake recipe that sounded like the perfect match.

I started off by combining all of my dry ingredients (flour, sugar, cocoa powder, brown sugar, baking soda & salt) in a large bowl and whisking them together.

IMG_0739 IMG_0741

I then combined two sticks of unsalted butter and a cup of water in a small saucepan and brought it to a boil.

IMG_0743

Once it boiled and the butter was completed melted I added it to the dry ingredients.

IMG_0745

Once it was combined I added in two eggs one at a time.

IMG_0747

Then sour cream.

IMG_0748

And finally vanilla extract.

IMG_0749

I then divided the batter between two 9-inch round pans and baked it in a 350 degrees preheated oven for 35 minutes.

IMG_0751

I let the cakes cool completely before frosting them.

IMG_0756

I whipped up a batch of Raspberry Cream Cheese Frosting and folded in about a cup of fresh raspberries into half of the frosting and used it as the filling between the two cakes. I used the other half of the frosting to crumb coat the cake and then refrigerated it for about fifteen minutes so the filling and frosting could set. Meanwhile I made another batch of the frosting to cover and decorate the cake. I also used some fresh raspberries to decorate the cake and this was the final outcome…

IMG_0762

It looked and more importantly tasted delicious. Definitely something I’ll make again!

Classic Chocolate Layer Cake

Serves 8

Hands-On Time: 45m

Total Time: 2hr 00m

Ingredients

1  cup  unsalted butter (2 sticks), cut into pieces, plus more for the pans

2  cups  all-purpose flour, spooned and leveled

1 1/2  cups  granulated sugar

3/4  cup  unsweetened cocoa powder

1/2  cup  dark brown sugar

1  teaspoon  baking soda

1  teaspoon  kosher salt

2  large eggs

1/2  cup  sour cream

1  teaspoon  pure vanilla extract

Directions

1. Heat oven to 350º F. Butter two 8- or 9-inch round cake pans and line the bottom of each with a round of parchment paper.

2. In a large bowl, whisk together the flour, granulated sugar, cocoa powder, brown sugar, baking soda, and salt.

3. In a small saucepan, combine the butter and 1 cup water and bring to a boil. Add to the flour mixture and, using an electric mixer, mix until combined. Beat in the eggs, one at a time, then the sour cream and vanilla.

4. Divide the batter evenly between the prepared pans. Bake until a toothpick inserted in the center of each cake comes out clean, 35 to 45 minutes. Cool in the pans for 20 minutes, then turn out onto a rack to cool completely.

Raspberry Cream Cheese Frosting

Ingredients

1 8 oz. package cream cheese, softened

1 stick unsalted butter, softened

1 teaspoon vanilla extract

2 cups confectioners’ sugar

1/4 cup seedless raspberry jam

Directions

Begin by creaming the cream cheese and butter together and then add in the vanilla extract. Reduce the speed of the mixer to low and add in the confectioners’ sugar, once the sugar is incorporated add in the raspberry jam and continue mixing on medium speed.

%d bloggers like this: