Welcome to Day 2 of Cookie Palooza 2018! Today I am bringing you a traditional butter bakery cookie. Not the round ones covered in sprinkles, but the long sandwich ones that are filled with jam, dipped in chocolate and then rolled in sprinkles. YUM! It’s actually one of my favorite cookies, but it wasn’t always. I used to buy a package of butter cookies from my local Costco and I would always eat the round ones with the sprinkles from the package, leaving the sandwich ones for my parents to eat. Then one day I tried them and realized that they tasted much better than the other ones. Unfortunately Costco changed their supplier and the new ones they carry do not taste half as good. They taste more artificial. Thankfully this homemade version fills the void.

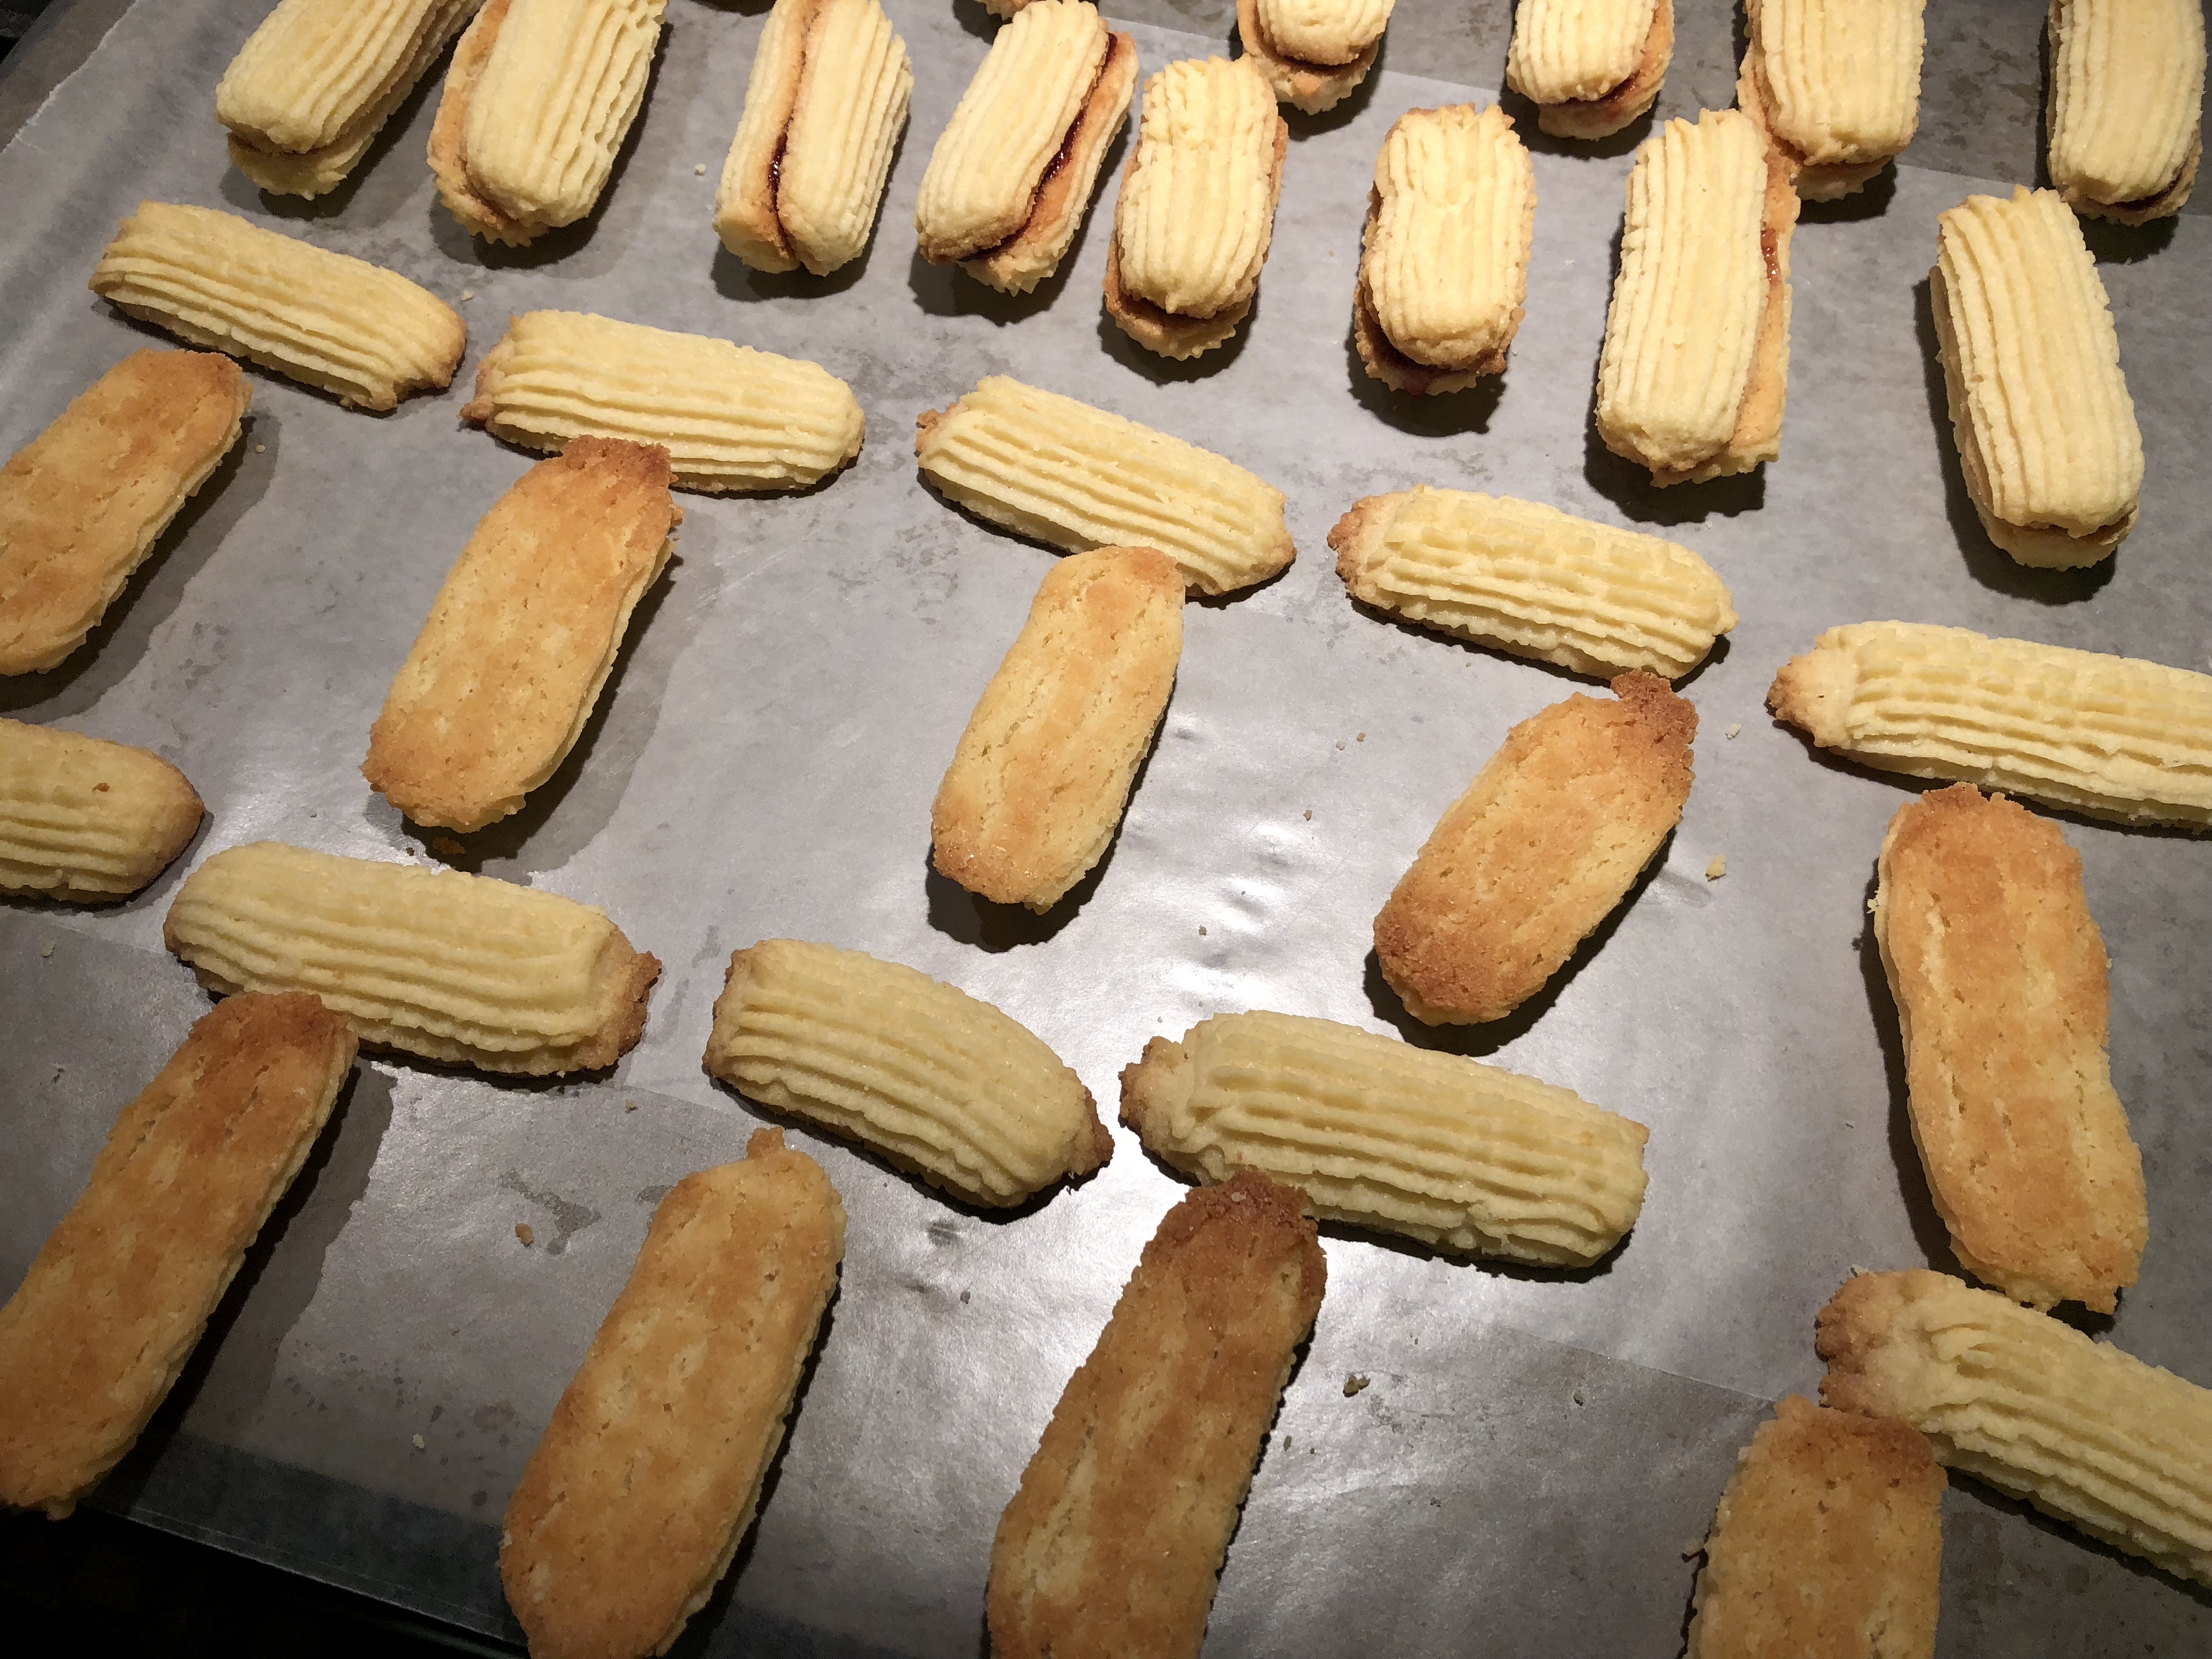
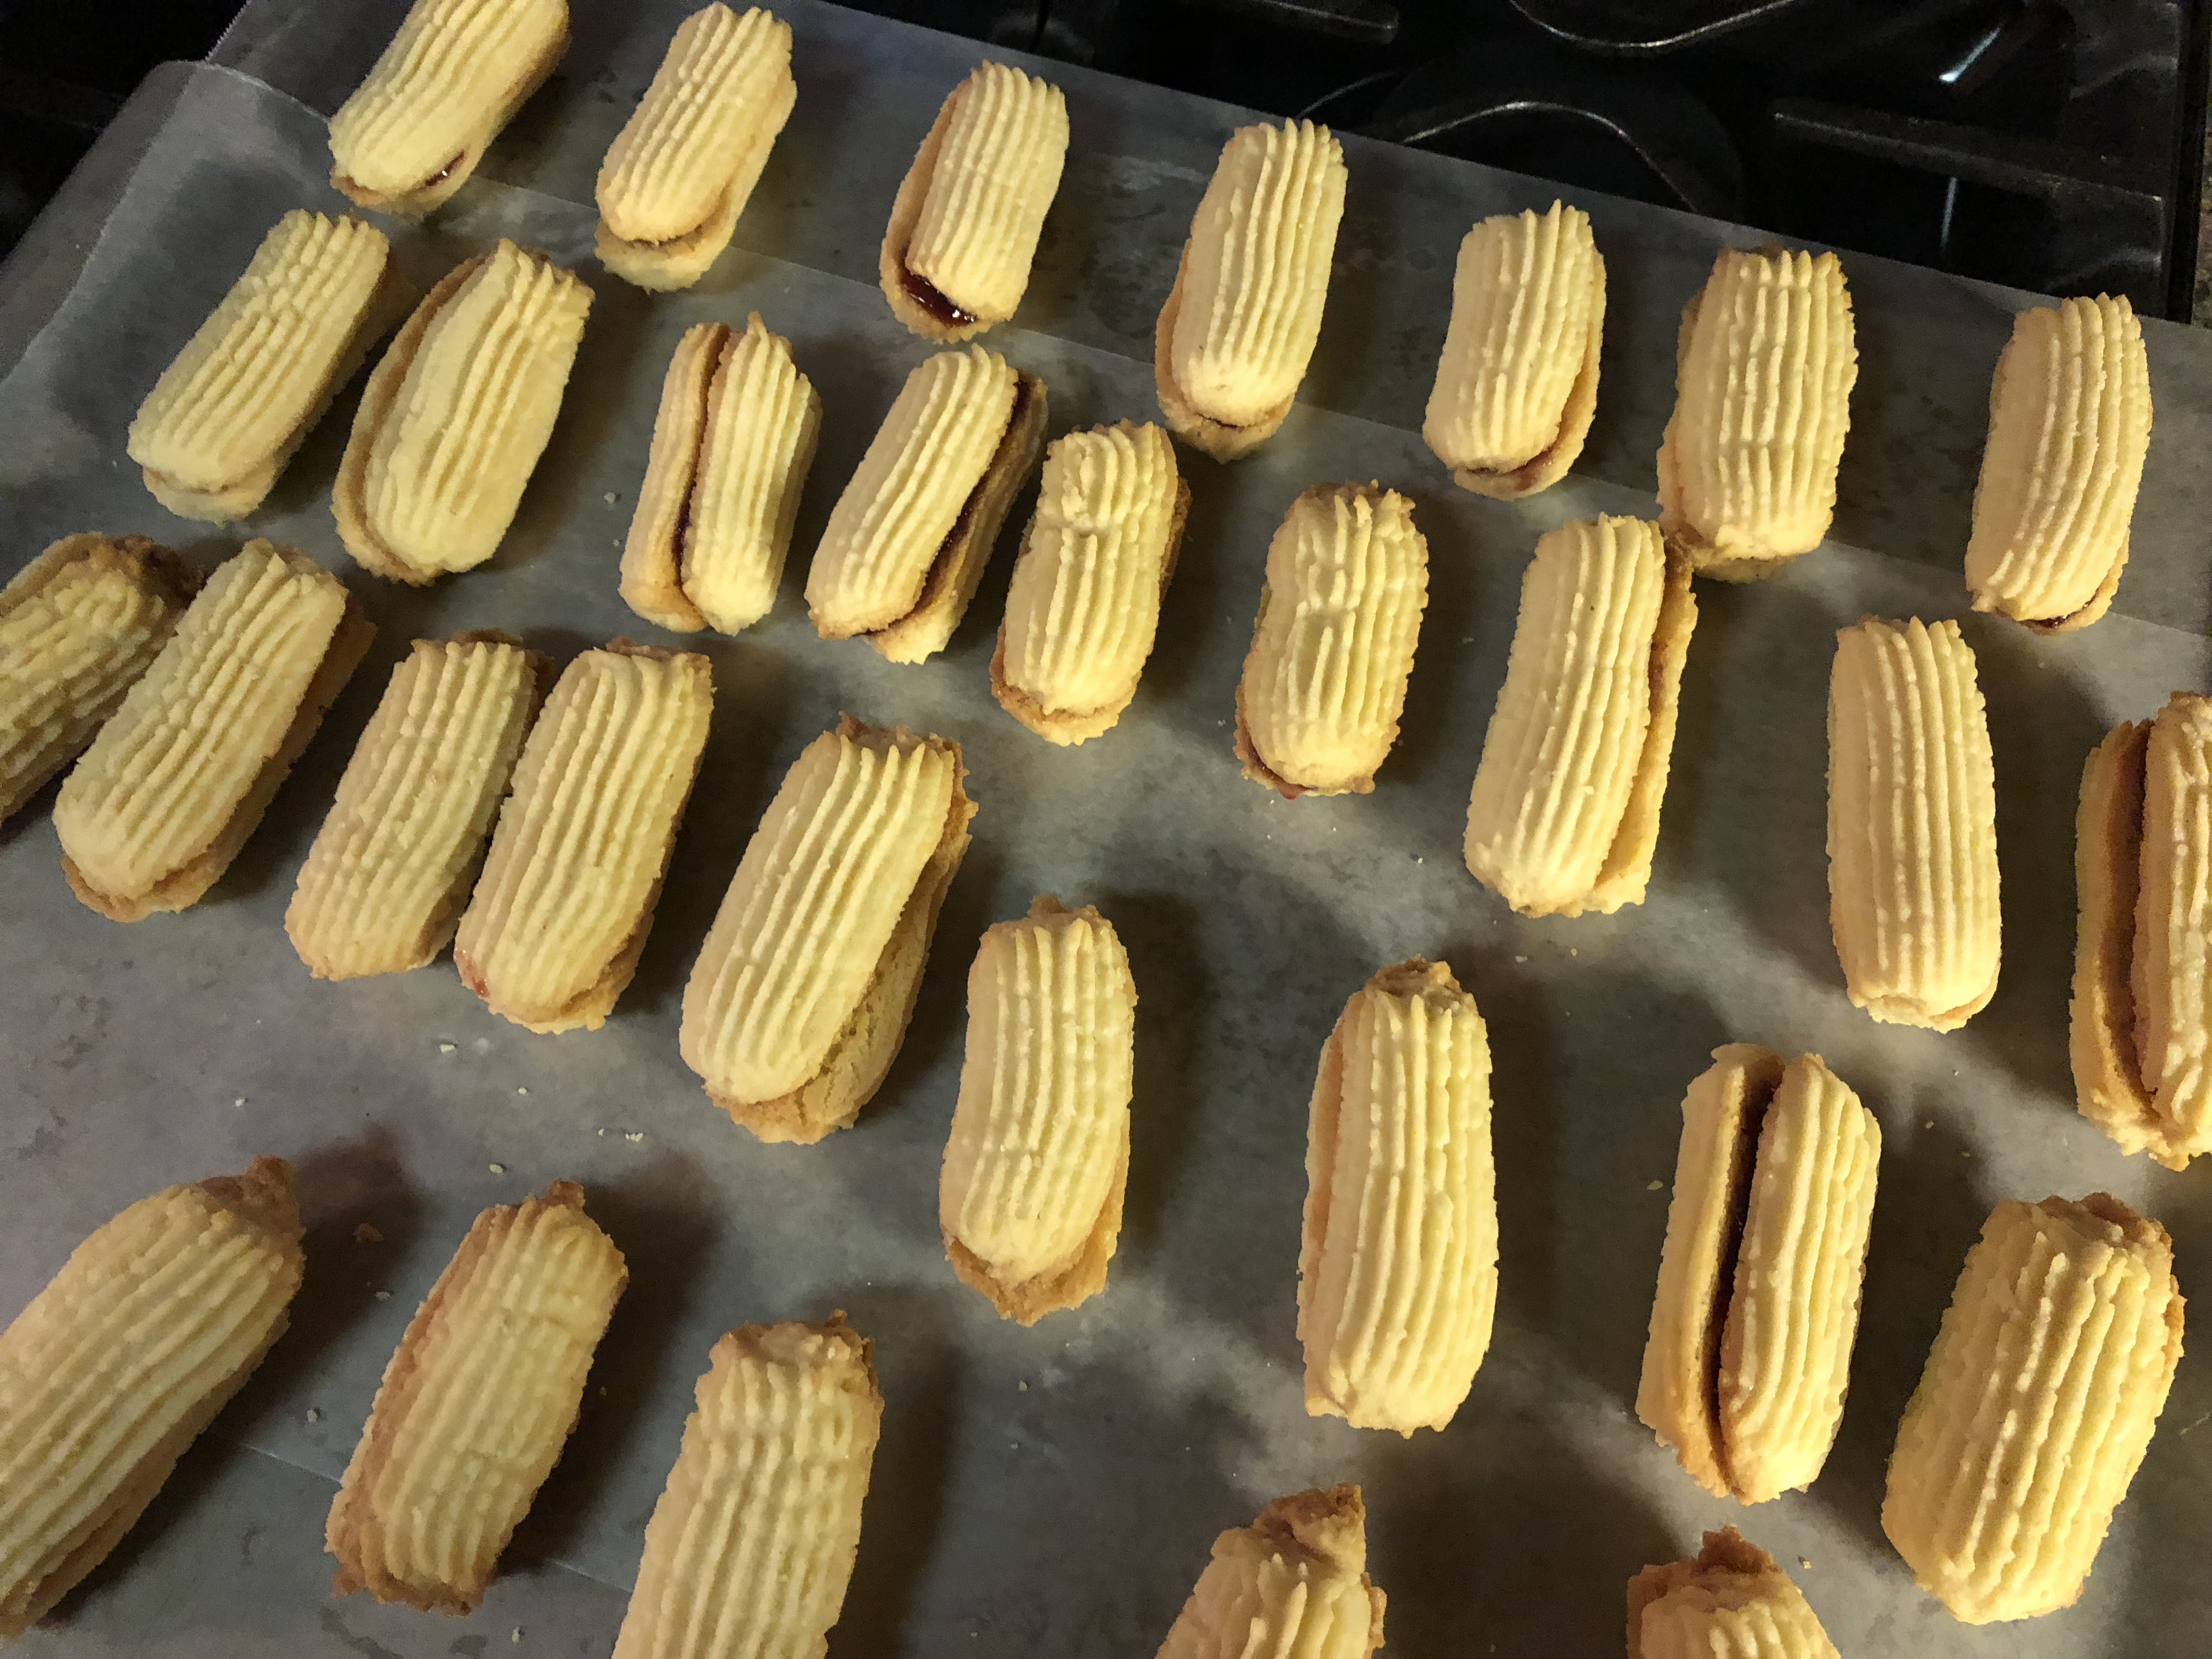
You may be slightly intimidated to make these cookies, but don’t be. They are super simple and don’t require any special ingredients. The hardest part is squeezing the dough out of the piping bag onto the prepared baking sheet. But after a few squeezes the dough softens up and it becomes easier and you soon get the hang of it. Using a Wilton 6B Tip I piped the dough into 2-inch pieces on a parchment lined cookie sheet. To end the dough for each cookie you can cut them with a knife or scissors. What I did is a little harder explain. I kind of nudged the tip into the cookie sheet to end it. I tried using a knife and it just wasn’t working for me. After you have piped all of your cookies bake them in a 350 F preheated oven for about 12 minutes. Let them cool completely and then the fun begins, the assembling.
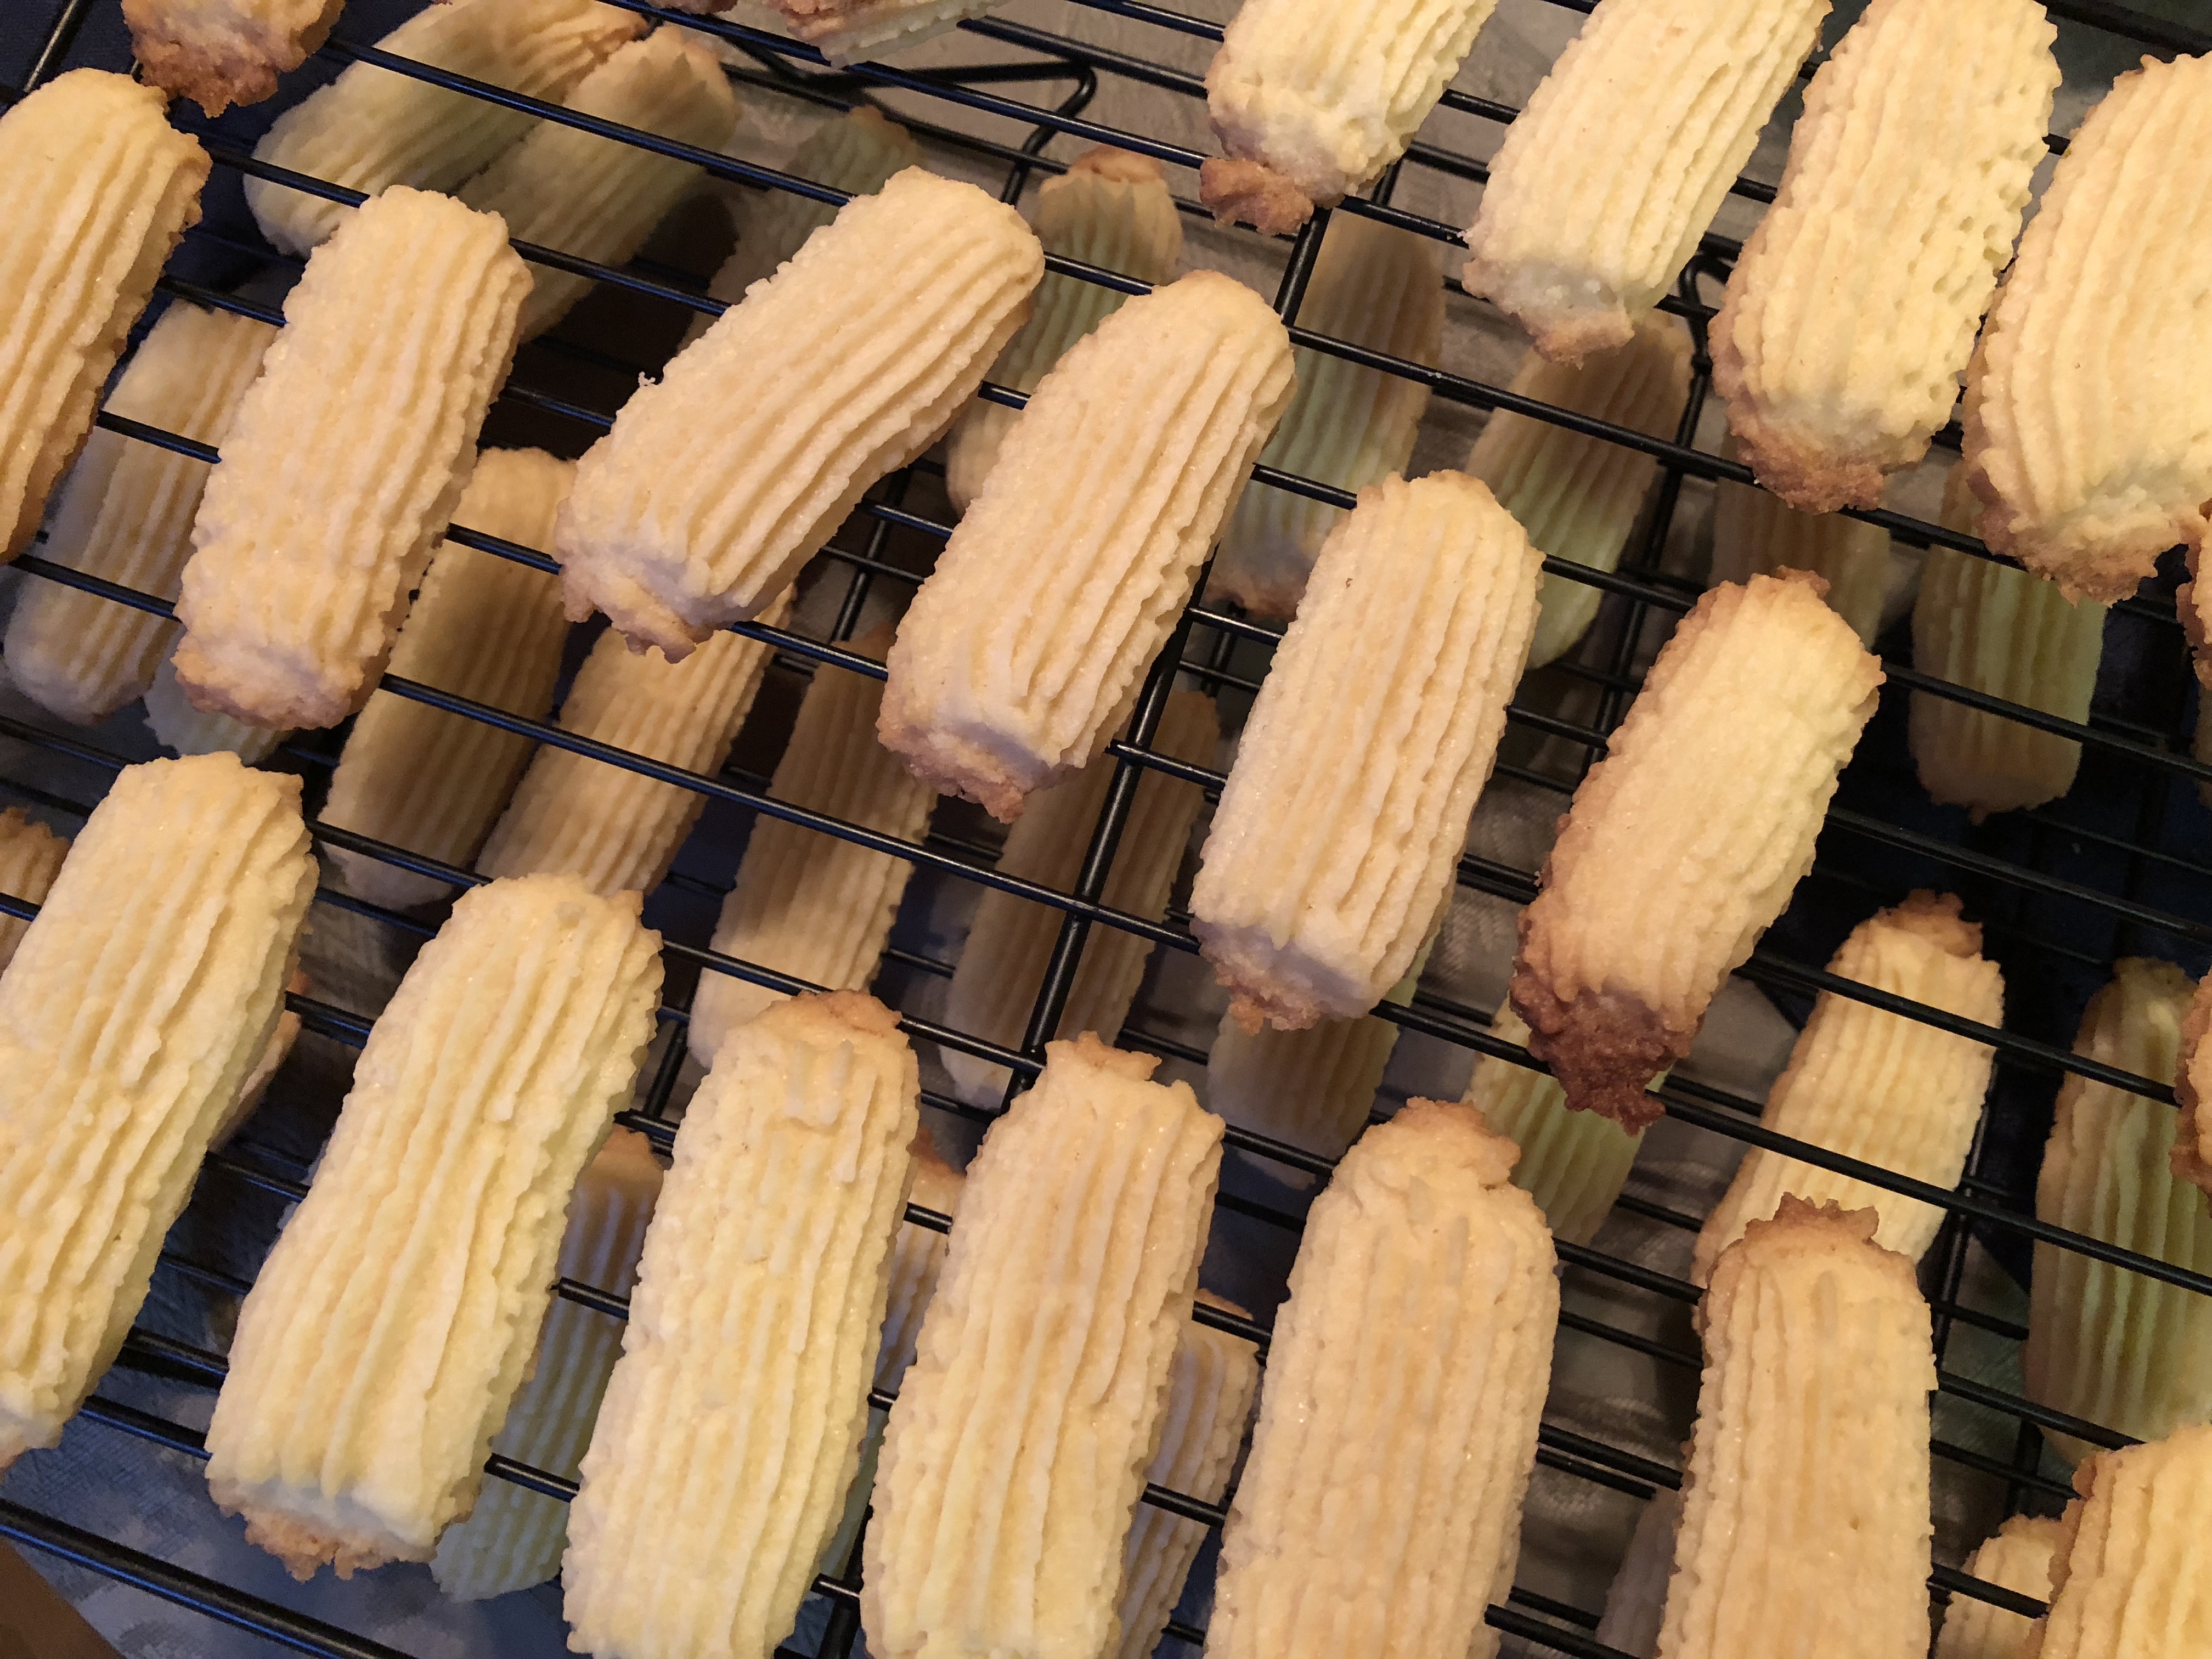
Before assembling I did my best to par up similar sized cookies. If they were off a little in length I dipped the mismatched end in the melted chocolate so no one would be the wiser. Next, I filled a piping bag with about half a cup of seedless raspberry jam to a piping bag (you could also use a small sandwich bag) and snipped off a small piece of the end. I piped a single line of jam down the center of one half of each cookie. I didn’t want to add too much jam as I didn’t want the jam to ooze out of the sides once the cookie was pressed together.

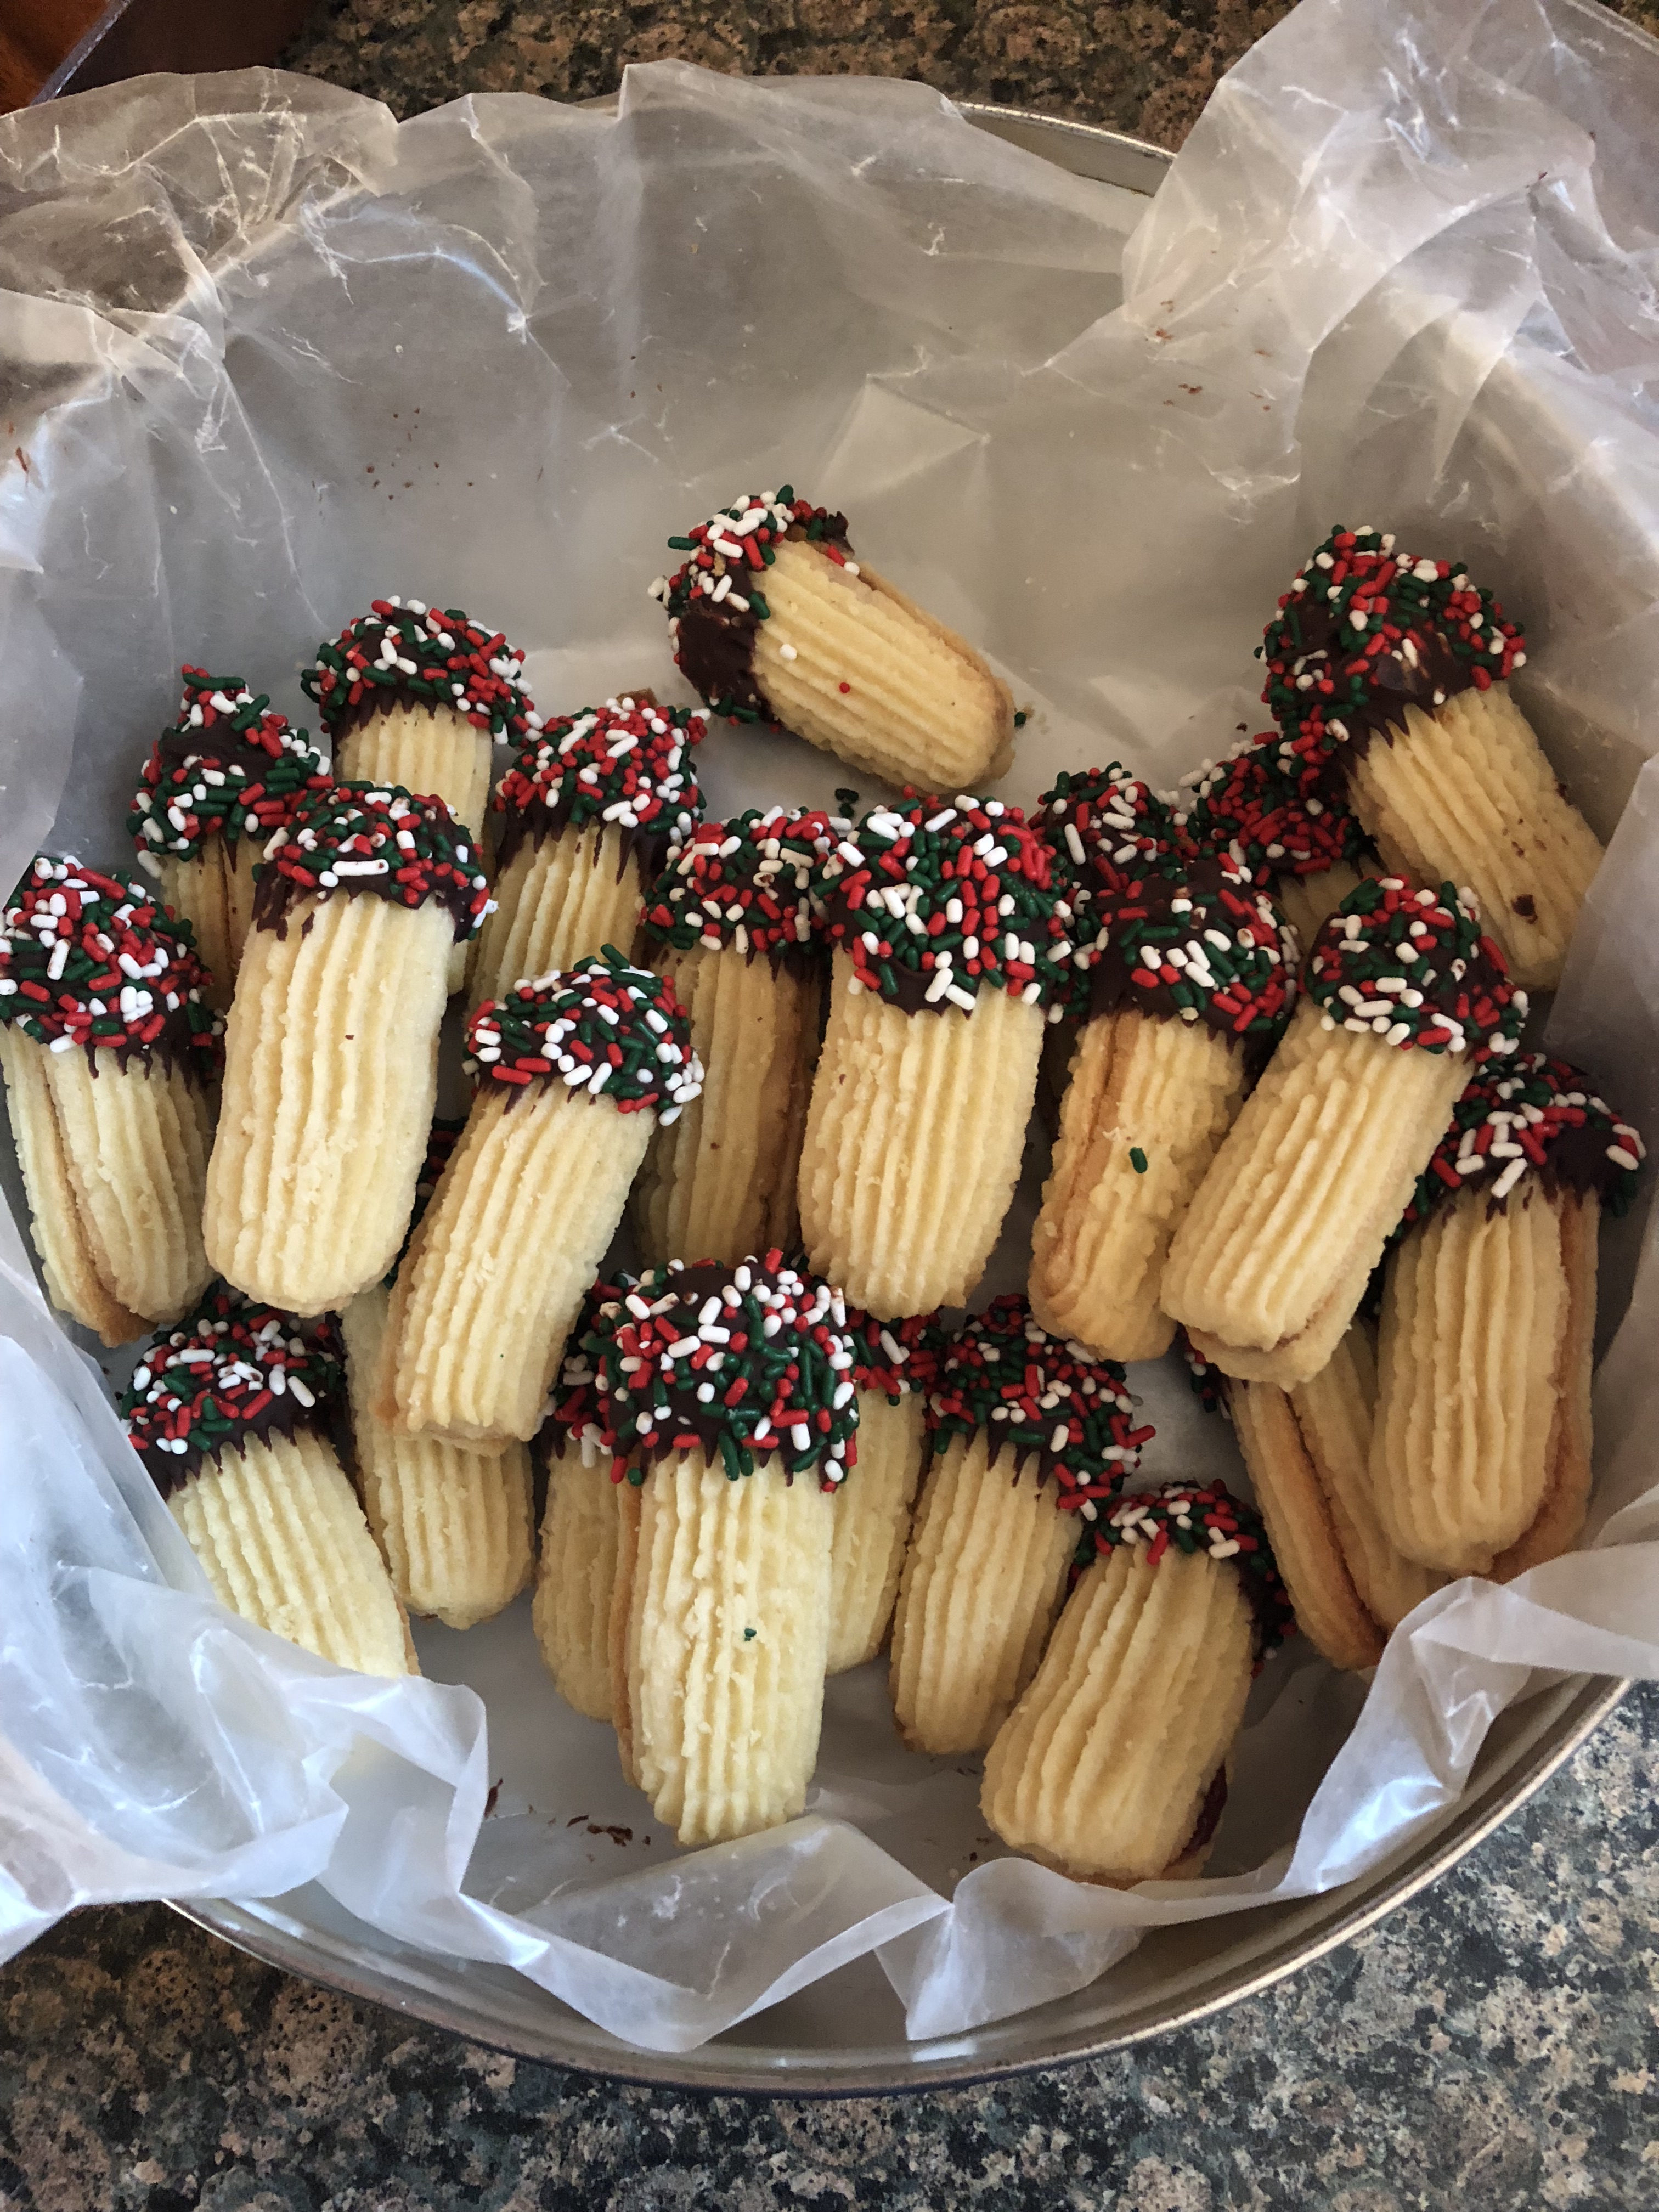
Once I had all of my cookies sandwiches together I melted a bag of semi-sweet chocolate chips in the microwave in a deep enough bowl that would allow me to dip the cookies at least a third of the way in. To ensure that I didn’t scorch the chocolate, I melted it at 30 second intervals and stirred between each. Once the chocolate was about 3/4 quarters of the way melted I continued stirring it to melt the rest of it. You could also melt the chocolate in a small saucepan on your stovetop if you choose. Just keep an eye on it so it doesn’t burn. In a shallow bowl I poured out some sprinkles- you will need a decent amount. I also lined two baking sheets with wax paper to place the cookies once they were decorated. I began by dipping a cookie in the chocolate, allowing the excess to drip off. I actually used a knife to wipe off some of the excess. If you leave too much chocolate on the sprinkles will just slide off. Next I rolled the cookie in the sprinkles and placed it on the prepared baking sheet. Once I was done I placed the baking sheets in the refrigerator for a few minutes so the chocolate could set.
And there you have it…. Easy to make fancy bakery cookies that will impress everyone you share them with!
Butter Sandwich Cookies
Ingredients:
2 sticks unsalted butter, at room temperature
2/3 cup sugar
2 large egg yolks
1 teaspoon vanilla extract
1/2 teaspoon salt
2 cups flour
Filling & Decorating:
1/2 cup jam (flavor of your choice)
1 cup sprinkles
12 ounce bag of semi-sweet chocolate chips
Directions:
Preheat oven to 350 F and line two baking sheets with parchment paper.
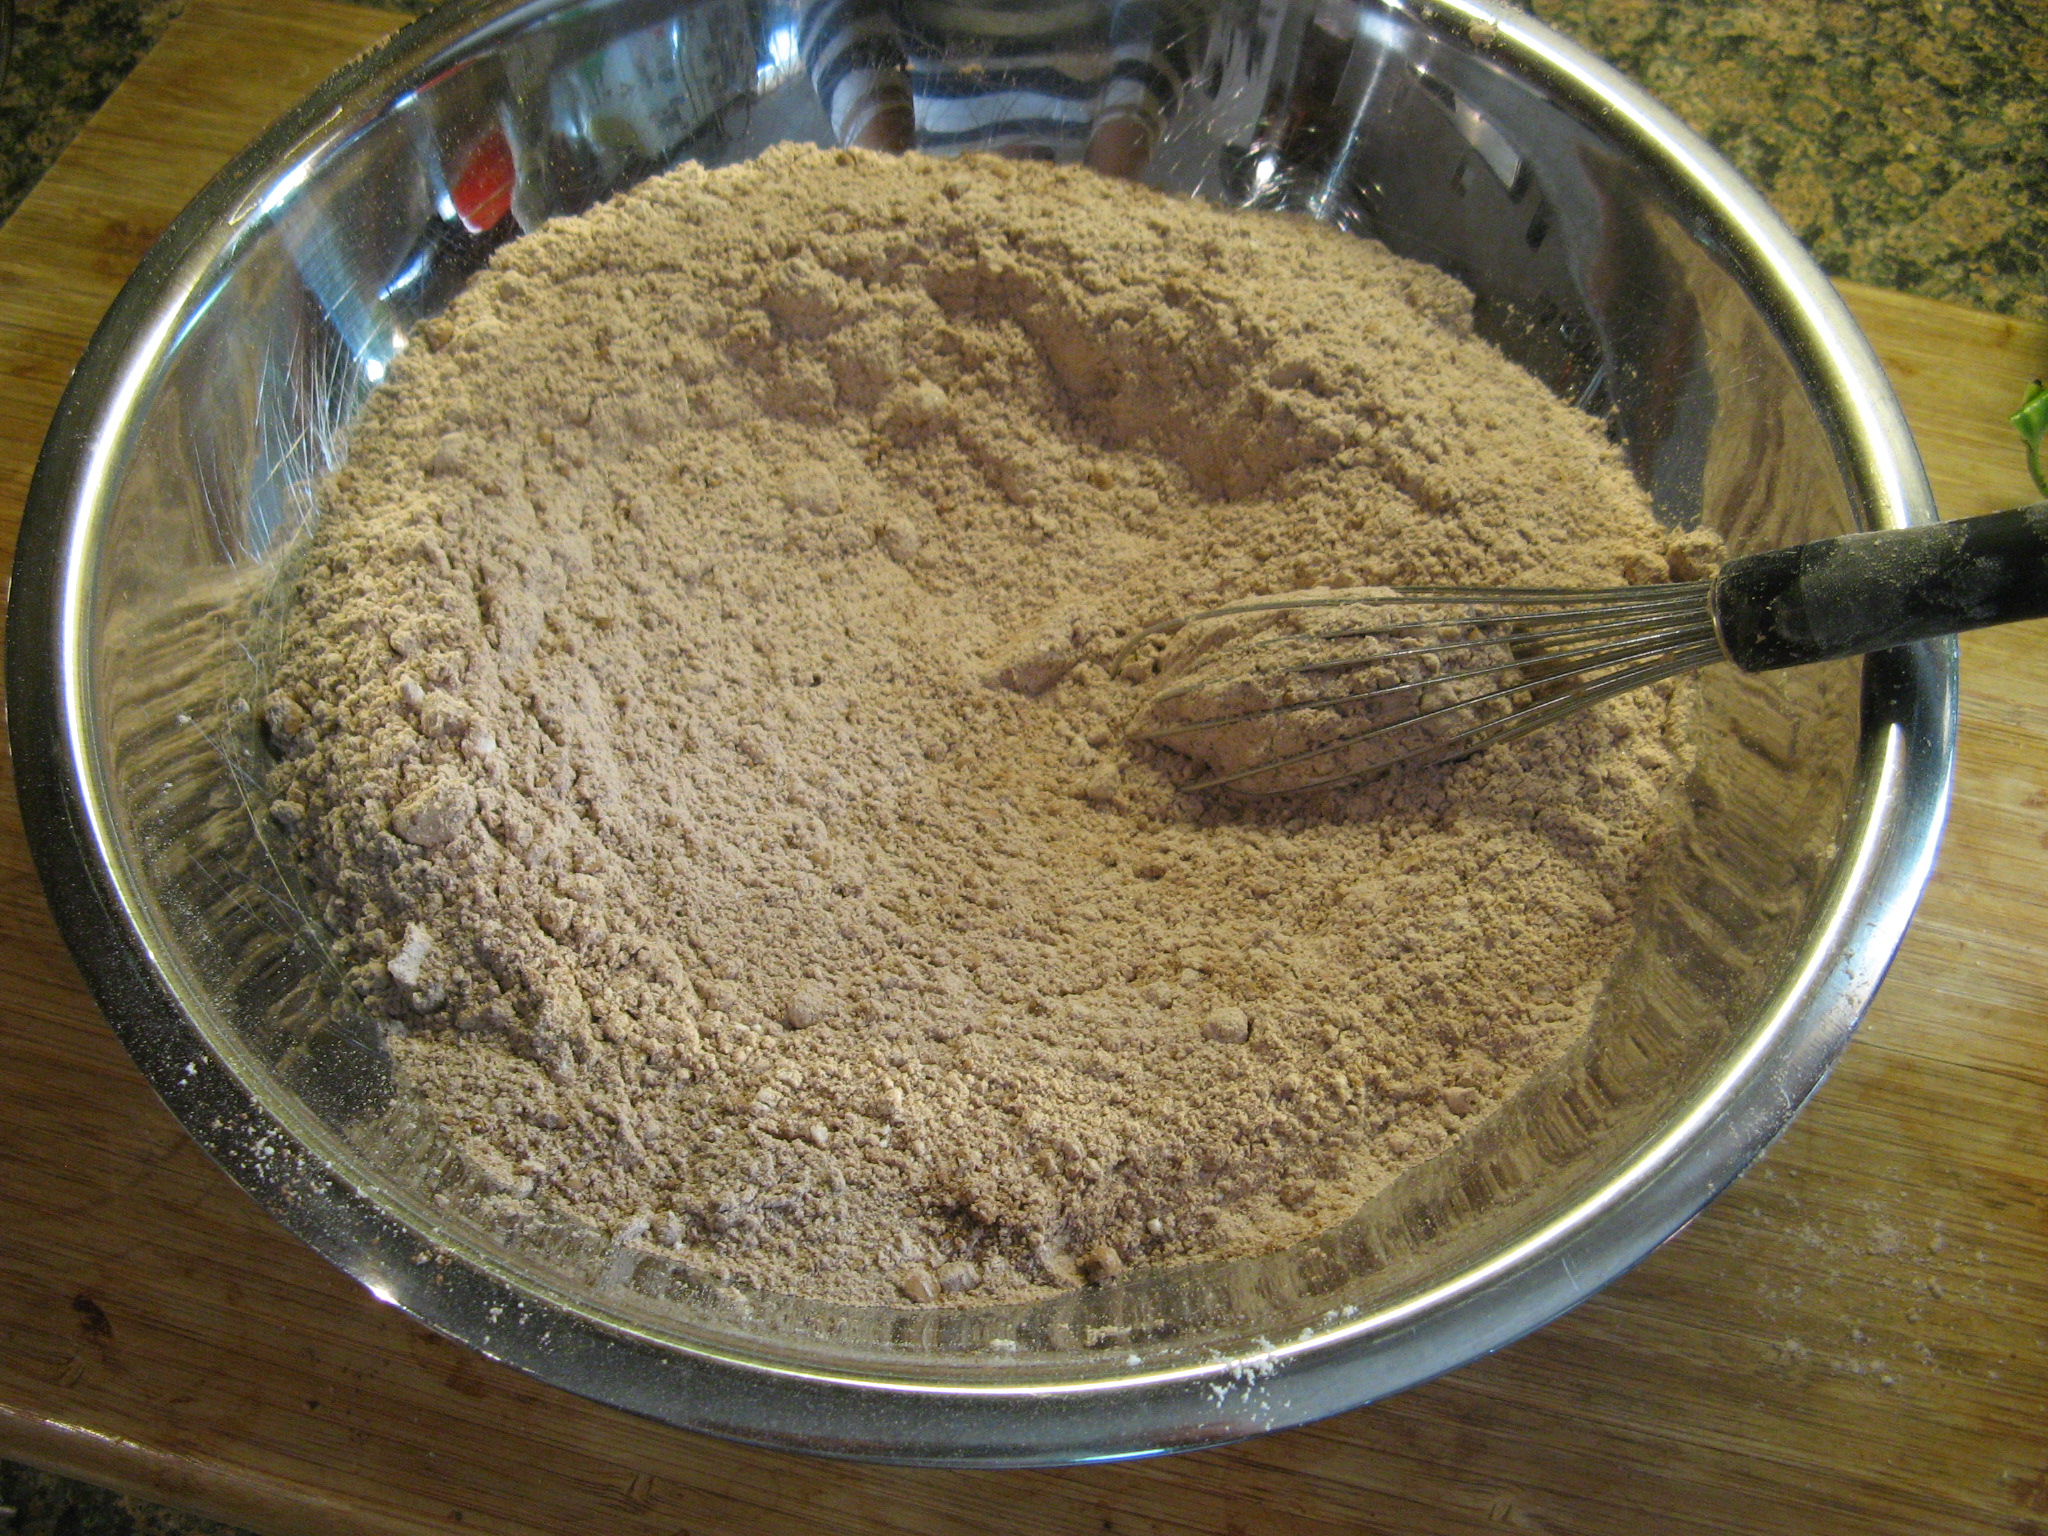
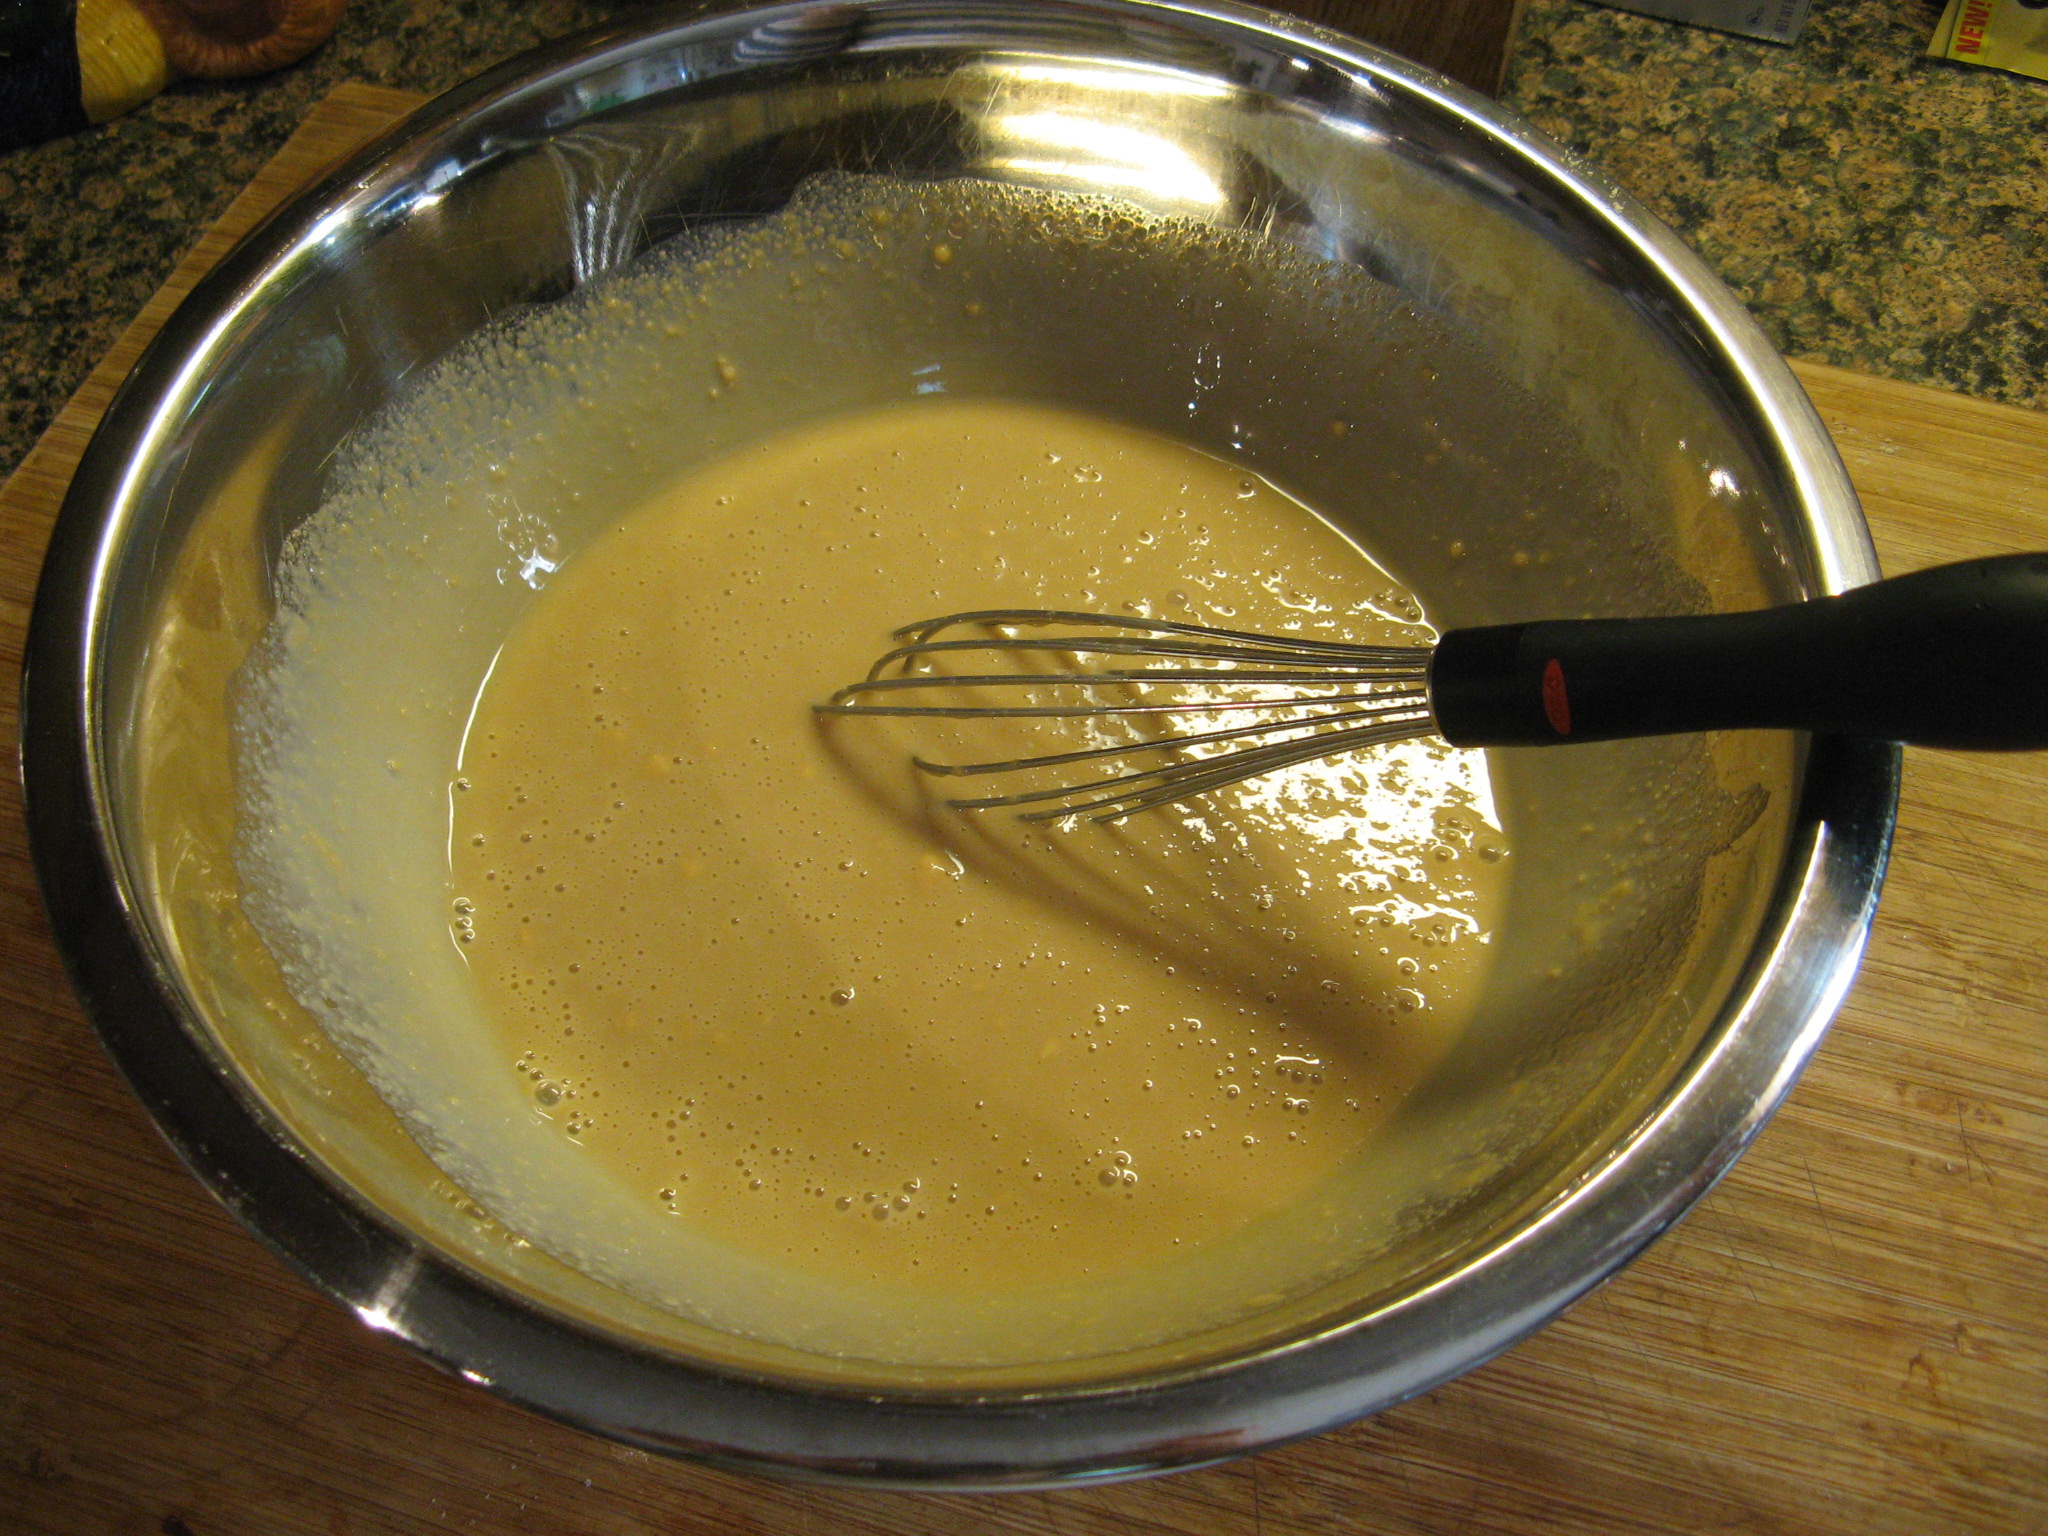
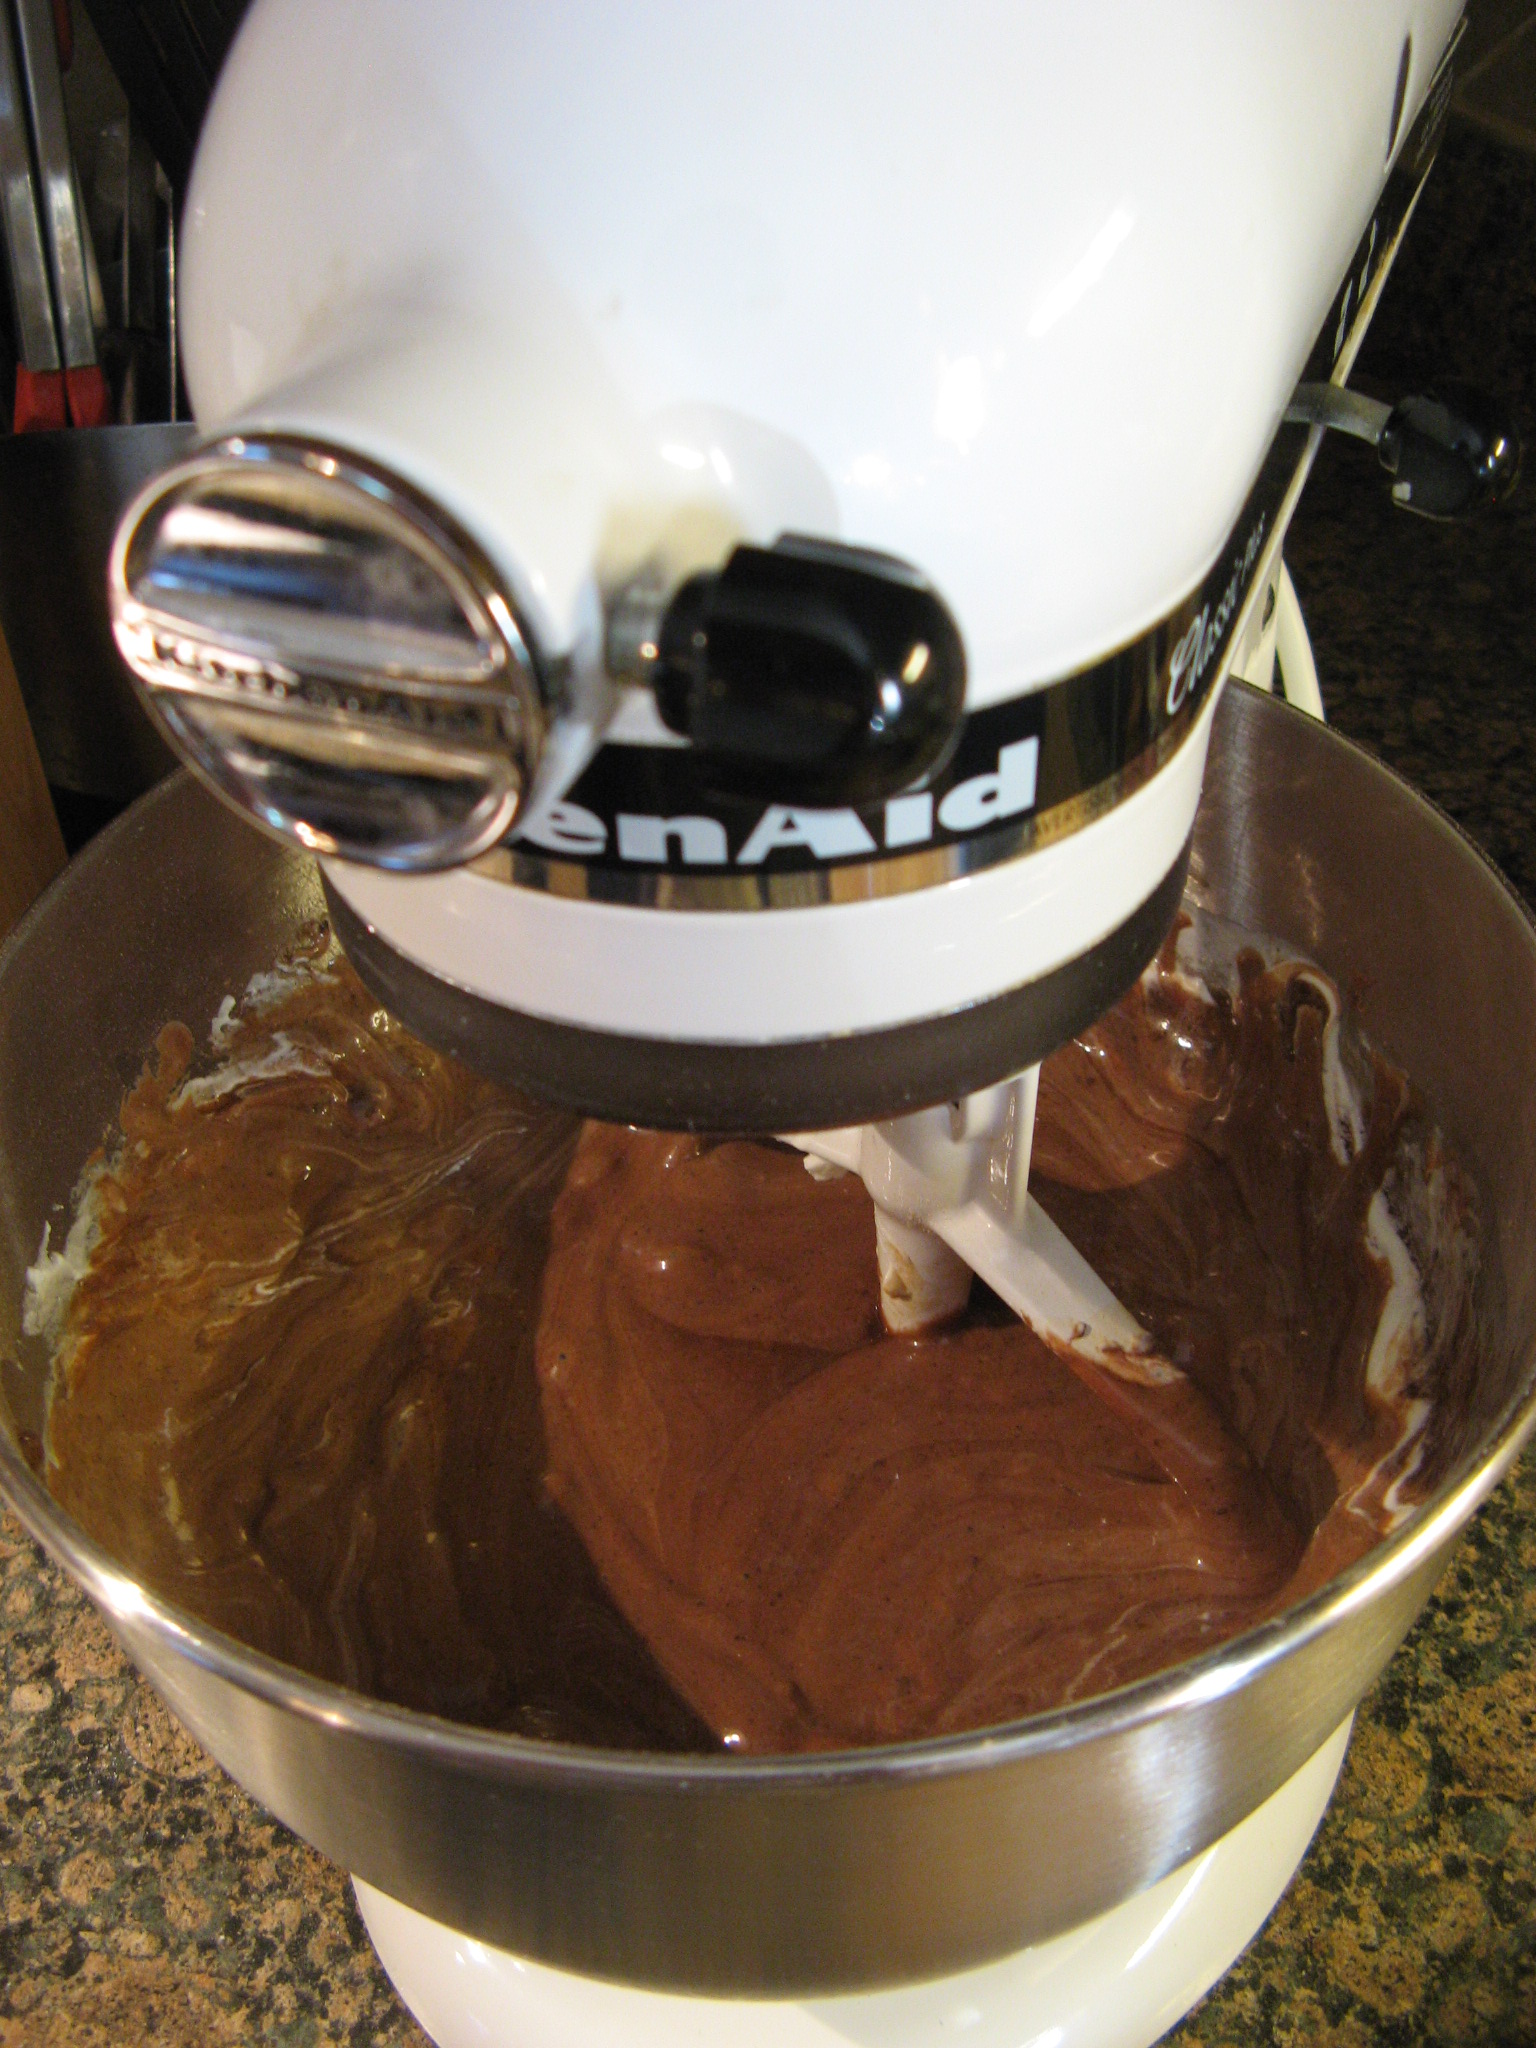
Combine the butter and sugar in a large bowl and beat on medium speed with a hand mixer until well combined. Add the egg yolks, vanilla extract and salt and beat until combined, scraping the bowl as necessary. Add the flour and mix until just combined. Fit a star tip with a 1/2-inch opening on a piping bag and snip off the end. Transfer the batter to the bag.
Pipe the dough into 2 inch long segments about 1 inch apart on the prepared baking sheet. You can use a knife or scissor to cut the pieces. Bake the cookies for 11 to 13 minutes, until they are golden at the edges.
Let them cool for a few minutes on the baking sheet and then transfer to a wire rack to cool completely. Set aside the parchment lined baking sheets.
Place the jam in a sandwich bag (or another piping bag) and place the sprinkles in a shallow dish.
Once the cookies are cool, flip half of them over and snip a small corner of the jam filled bag. Squeeze a little jam down the center of each flipped cookie. Don’t squeeze too much jam on the cookies as you don’t want it to ooze out when sandwiched. Top with the other half of the cookie.
Melt the chocolate chips in the microwave or a small saucepan until they are three-quarters of the way melted and then stir to melt it completely. Place the chocolate in a bowl deep enough for dipping the cookies about a third of the way in. Dip the sandwiched cookies into the melted chocolate, letting the excess drip off, and then roll in the sprinkles. Place on the baking sheet. Once all cookies have been decorated place the cookie sheets in the refrigerator so the chocolate can set.
Recipe from Smitten Kitchen