I hope you have enjoyed this year’s Cookie Palooza. I’m closing it out with a cookie that is inspired by my favorite holiday beverage. While I’m not a coffee drinker, around this time of the year I make frequent visits to Starbucks to get a Peppermint Hot Chocolate. And while you can order one any time of the year, there’s just something extra special about it during the holidays. I love having one while I am running holiday errands or doing some Christmas shopping.
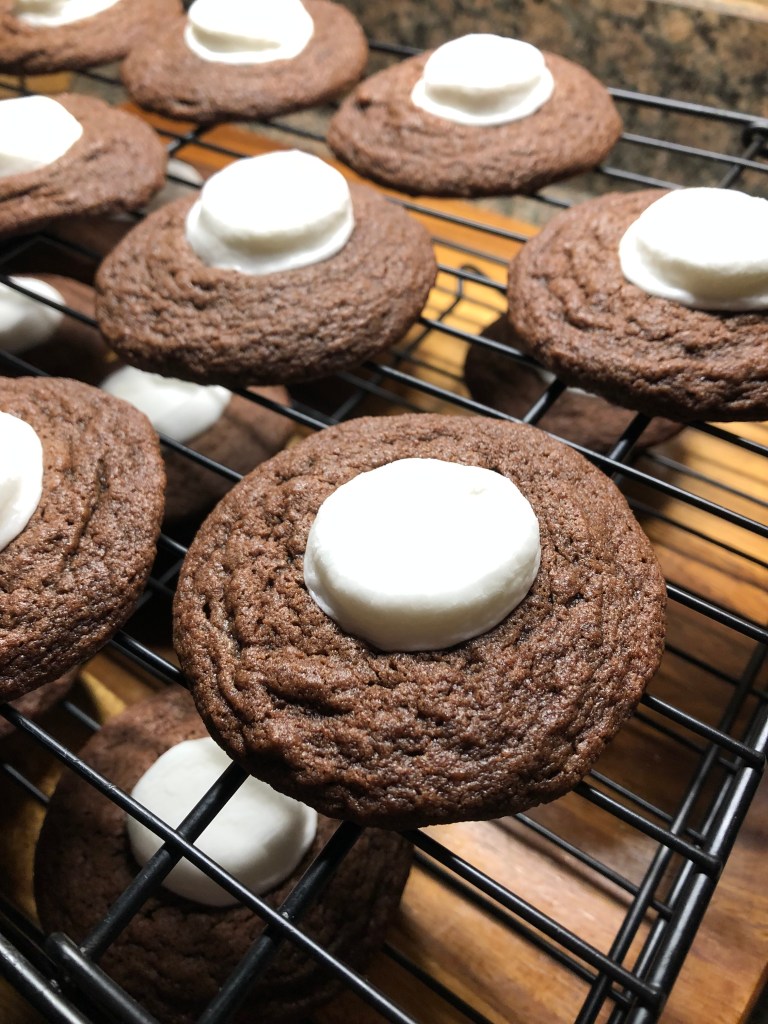
To get the flavors of a peppermint hot chocolate, I added peppermint extract to chocolate cookie dough. I baked the cookies for 10 minutes and then removed them from the oven and pressed a large marshmallow cut in half in the center. I then returned the cookies to the oven to bake for an additional 2 minutes. I opted to use one large marshmallow as opposed to the traditional mini ones used in hot chocolate so that I could press them in and get the cookies back in the oven quickly. When you remove them from the oven after the 2 minutes the marshmallows will be soft, but they will still be puffy, they will flatten a bit as the cookies cool though so don’t be tempted to press them down. I let them cool on the pan for about a minute before transferring them to a wire rack to cool completely.
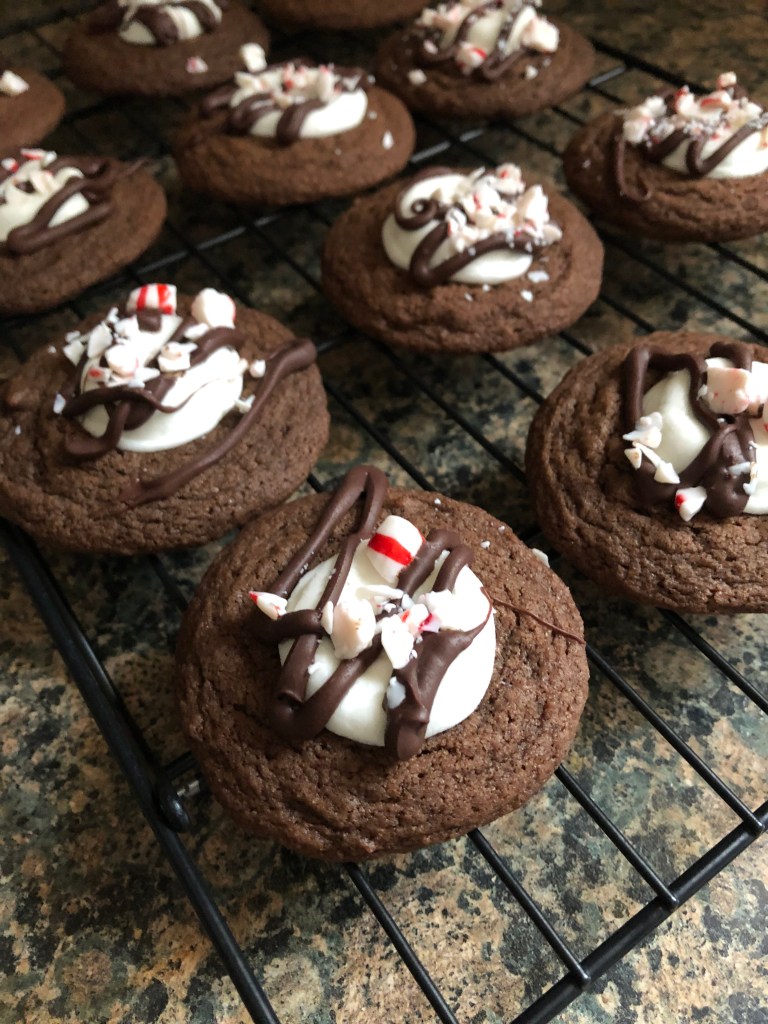
Once the cookies were cool it was time to decorate them and amp up the peppermint hot chocolate flavor. I crushed peppermint candy (I used starlight mints, only because I couldn’t find candy canes) and melted semi-sweet chocolate chips in the microwave. I transferred the melted chocolate to a piping bag and snipped a small piece off the end. I drizzled each cookie with the melted chocolate and then sprinkled them with the crushed peppermint candy. I let the chocolate set for a few minutes and then popped the cookies in the refrigerator for about 10 minutes so it could set completely.

And I must say, these tasted spot on to my favorite holiday beverage!
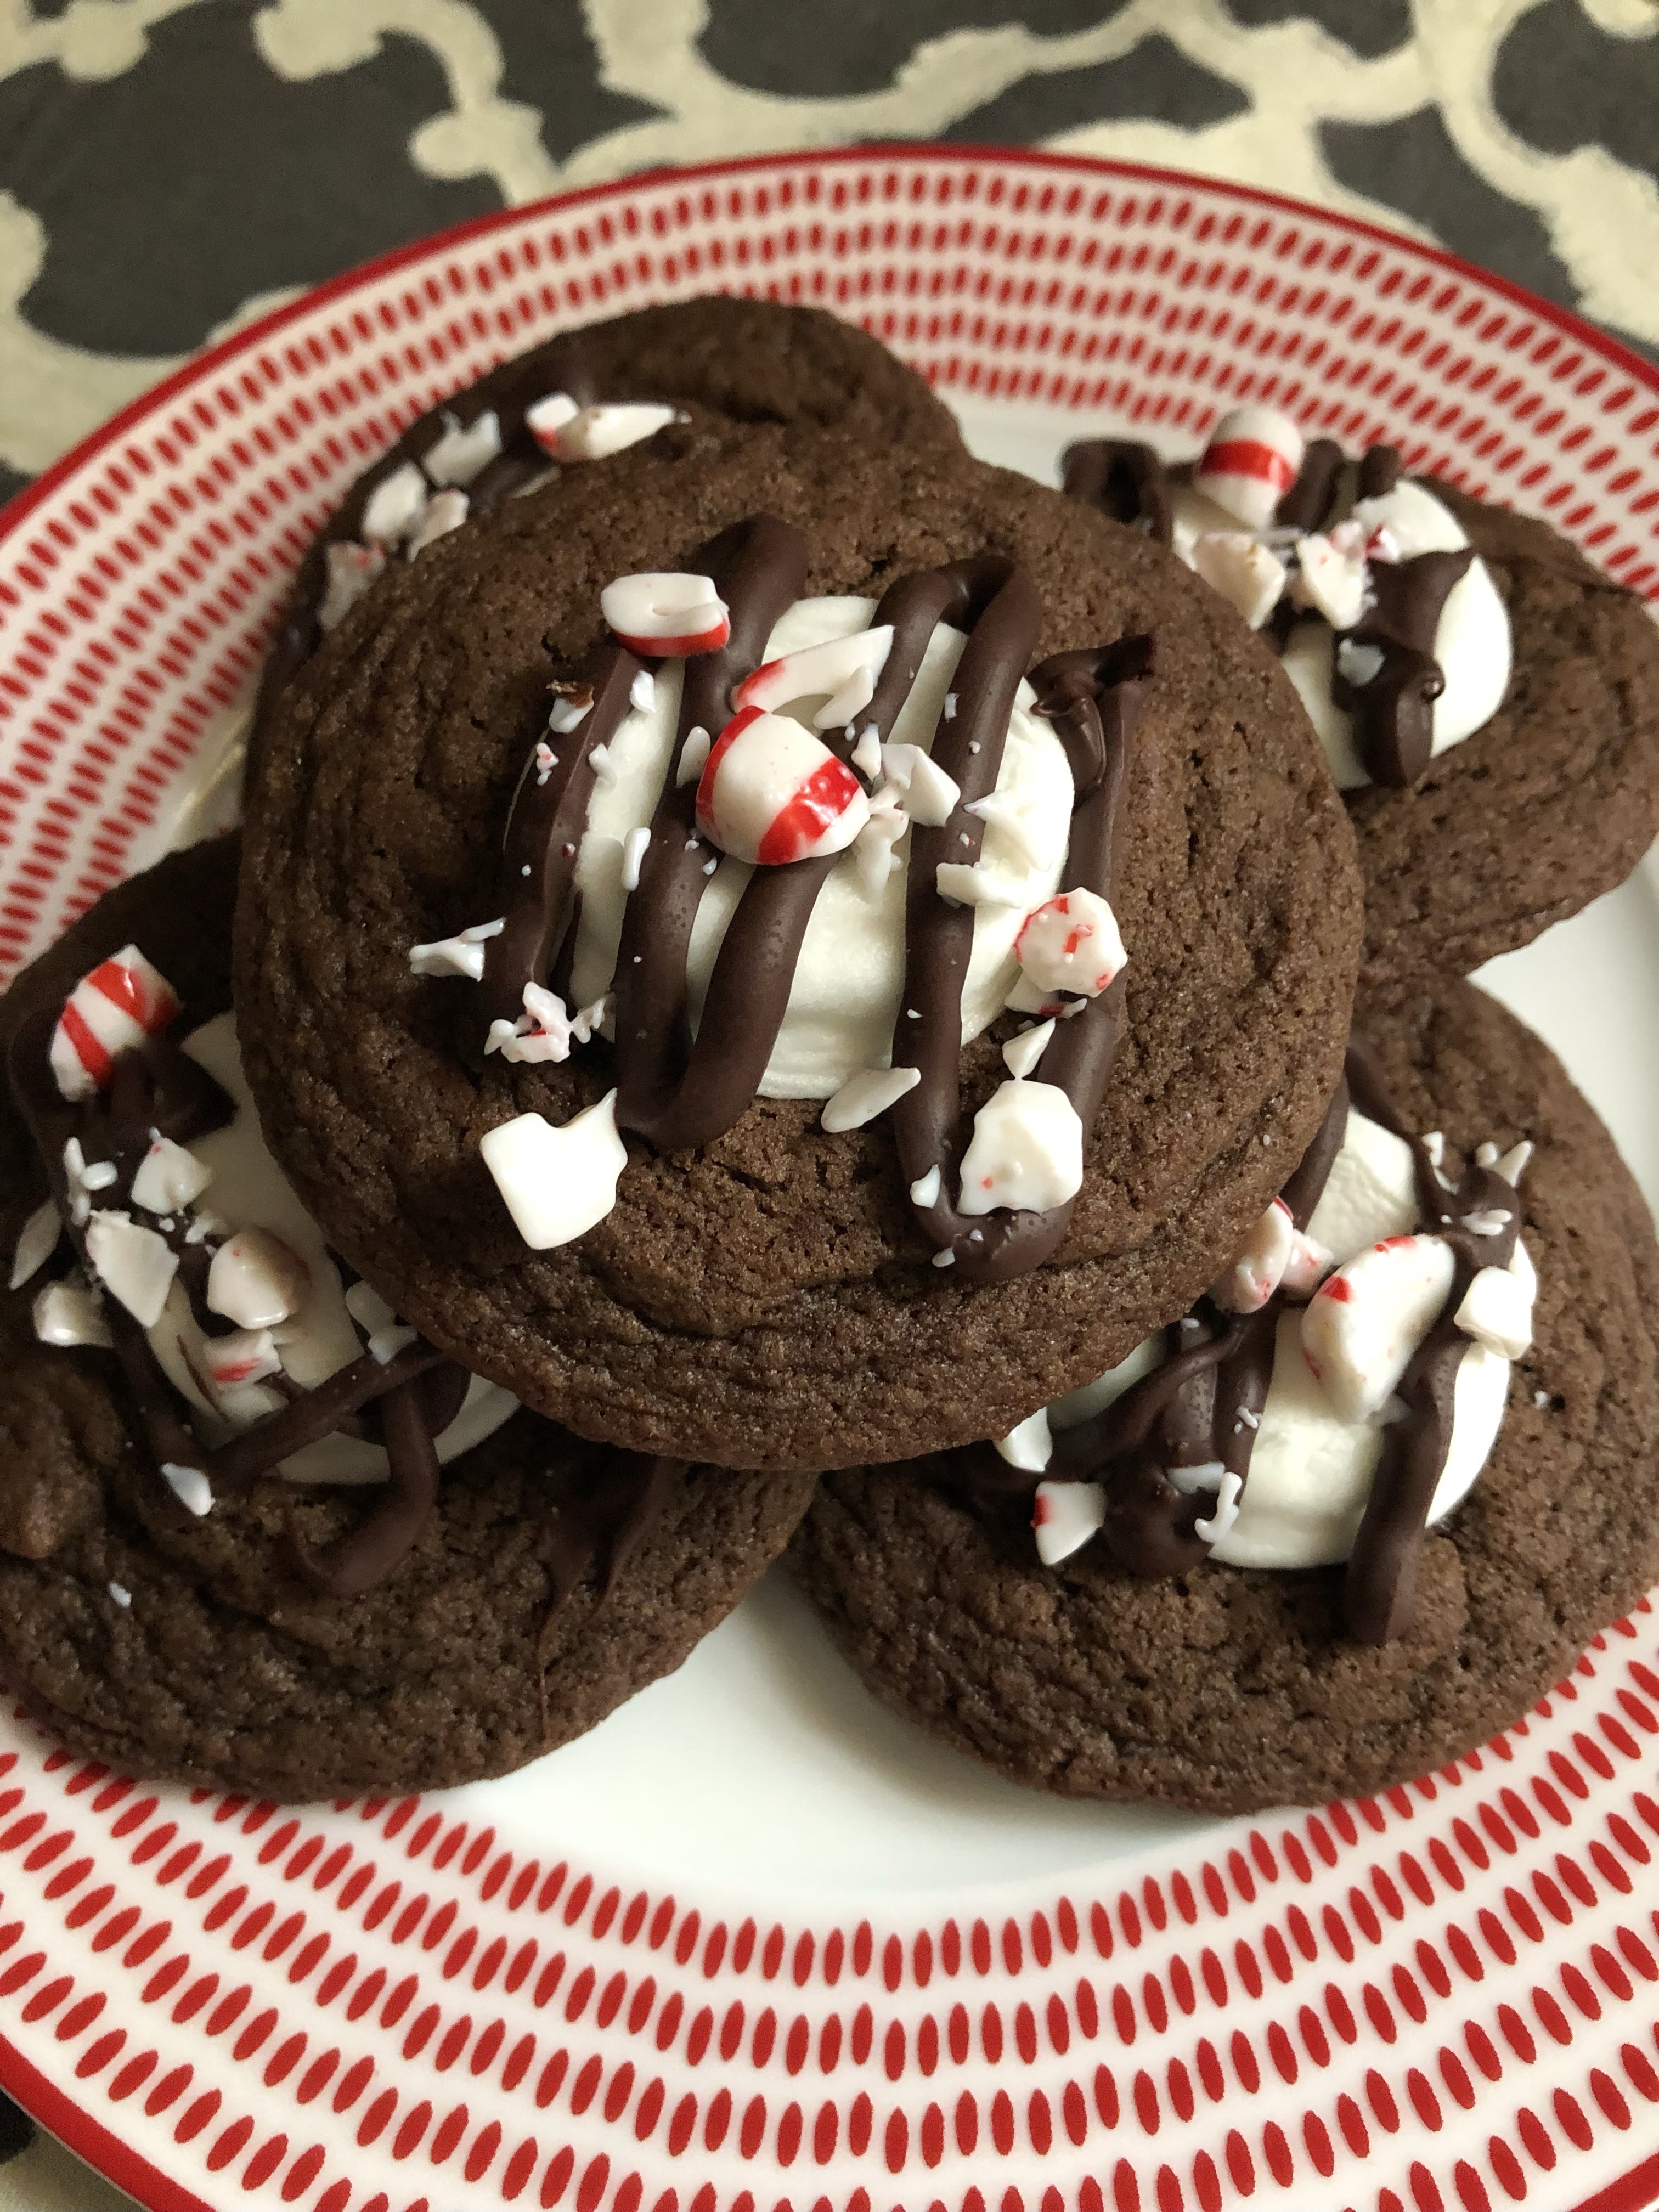
Peppermint Hot Chocolate Cookies
Ingredients:
2 cups flour
1/2 cup unsweetened cocoa powder
1 teaspoon baking soda
1/2 teaspoon salt
3/4 cup sugar
3/4 cup light brown sugar
2 sticks unsalted butter, at room temperature
2 large eggs
1 teaspoon vanilla extract
1 teaspoon peppermint extract
15 large marshmallows, cut in half
1 cup semi-sweet chocolate chips
1/2 cup crushed peppermint candy (either candy canes or starlight mints)
Directions:
Preheat the oven to 350 F. Line two baking sheets with parchment paper and set aside.
In a medium bowl whisk together the flour, unsweetened cocoa powder, baking soda and salt.
In the bowl of a stand mixer or in a large bowl if using a hand mixer, beat both sugars and butter on medium speed until creamy. Add the eggs one at time, beating well after each addition. Then beat in both extracts.
With the mixer on low, add in the flour mixture and beat until combined.
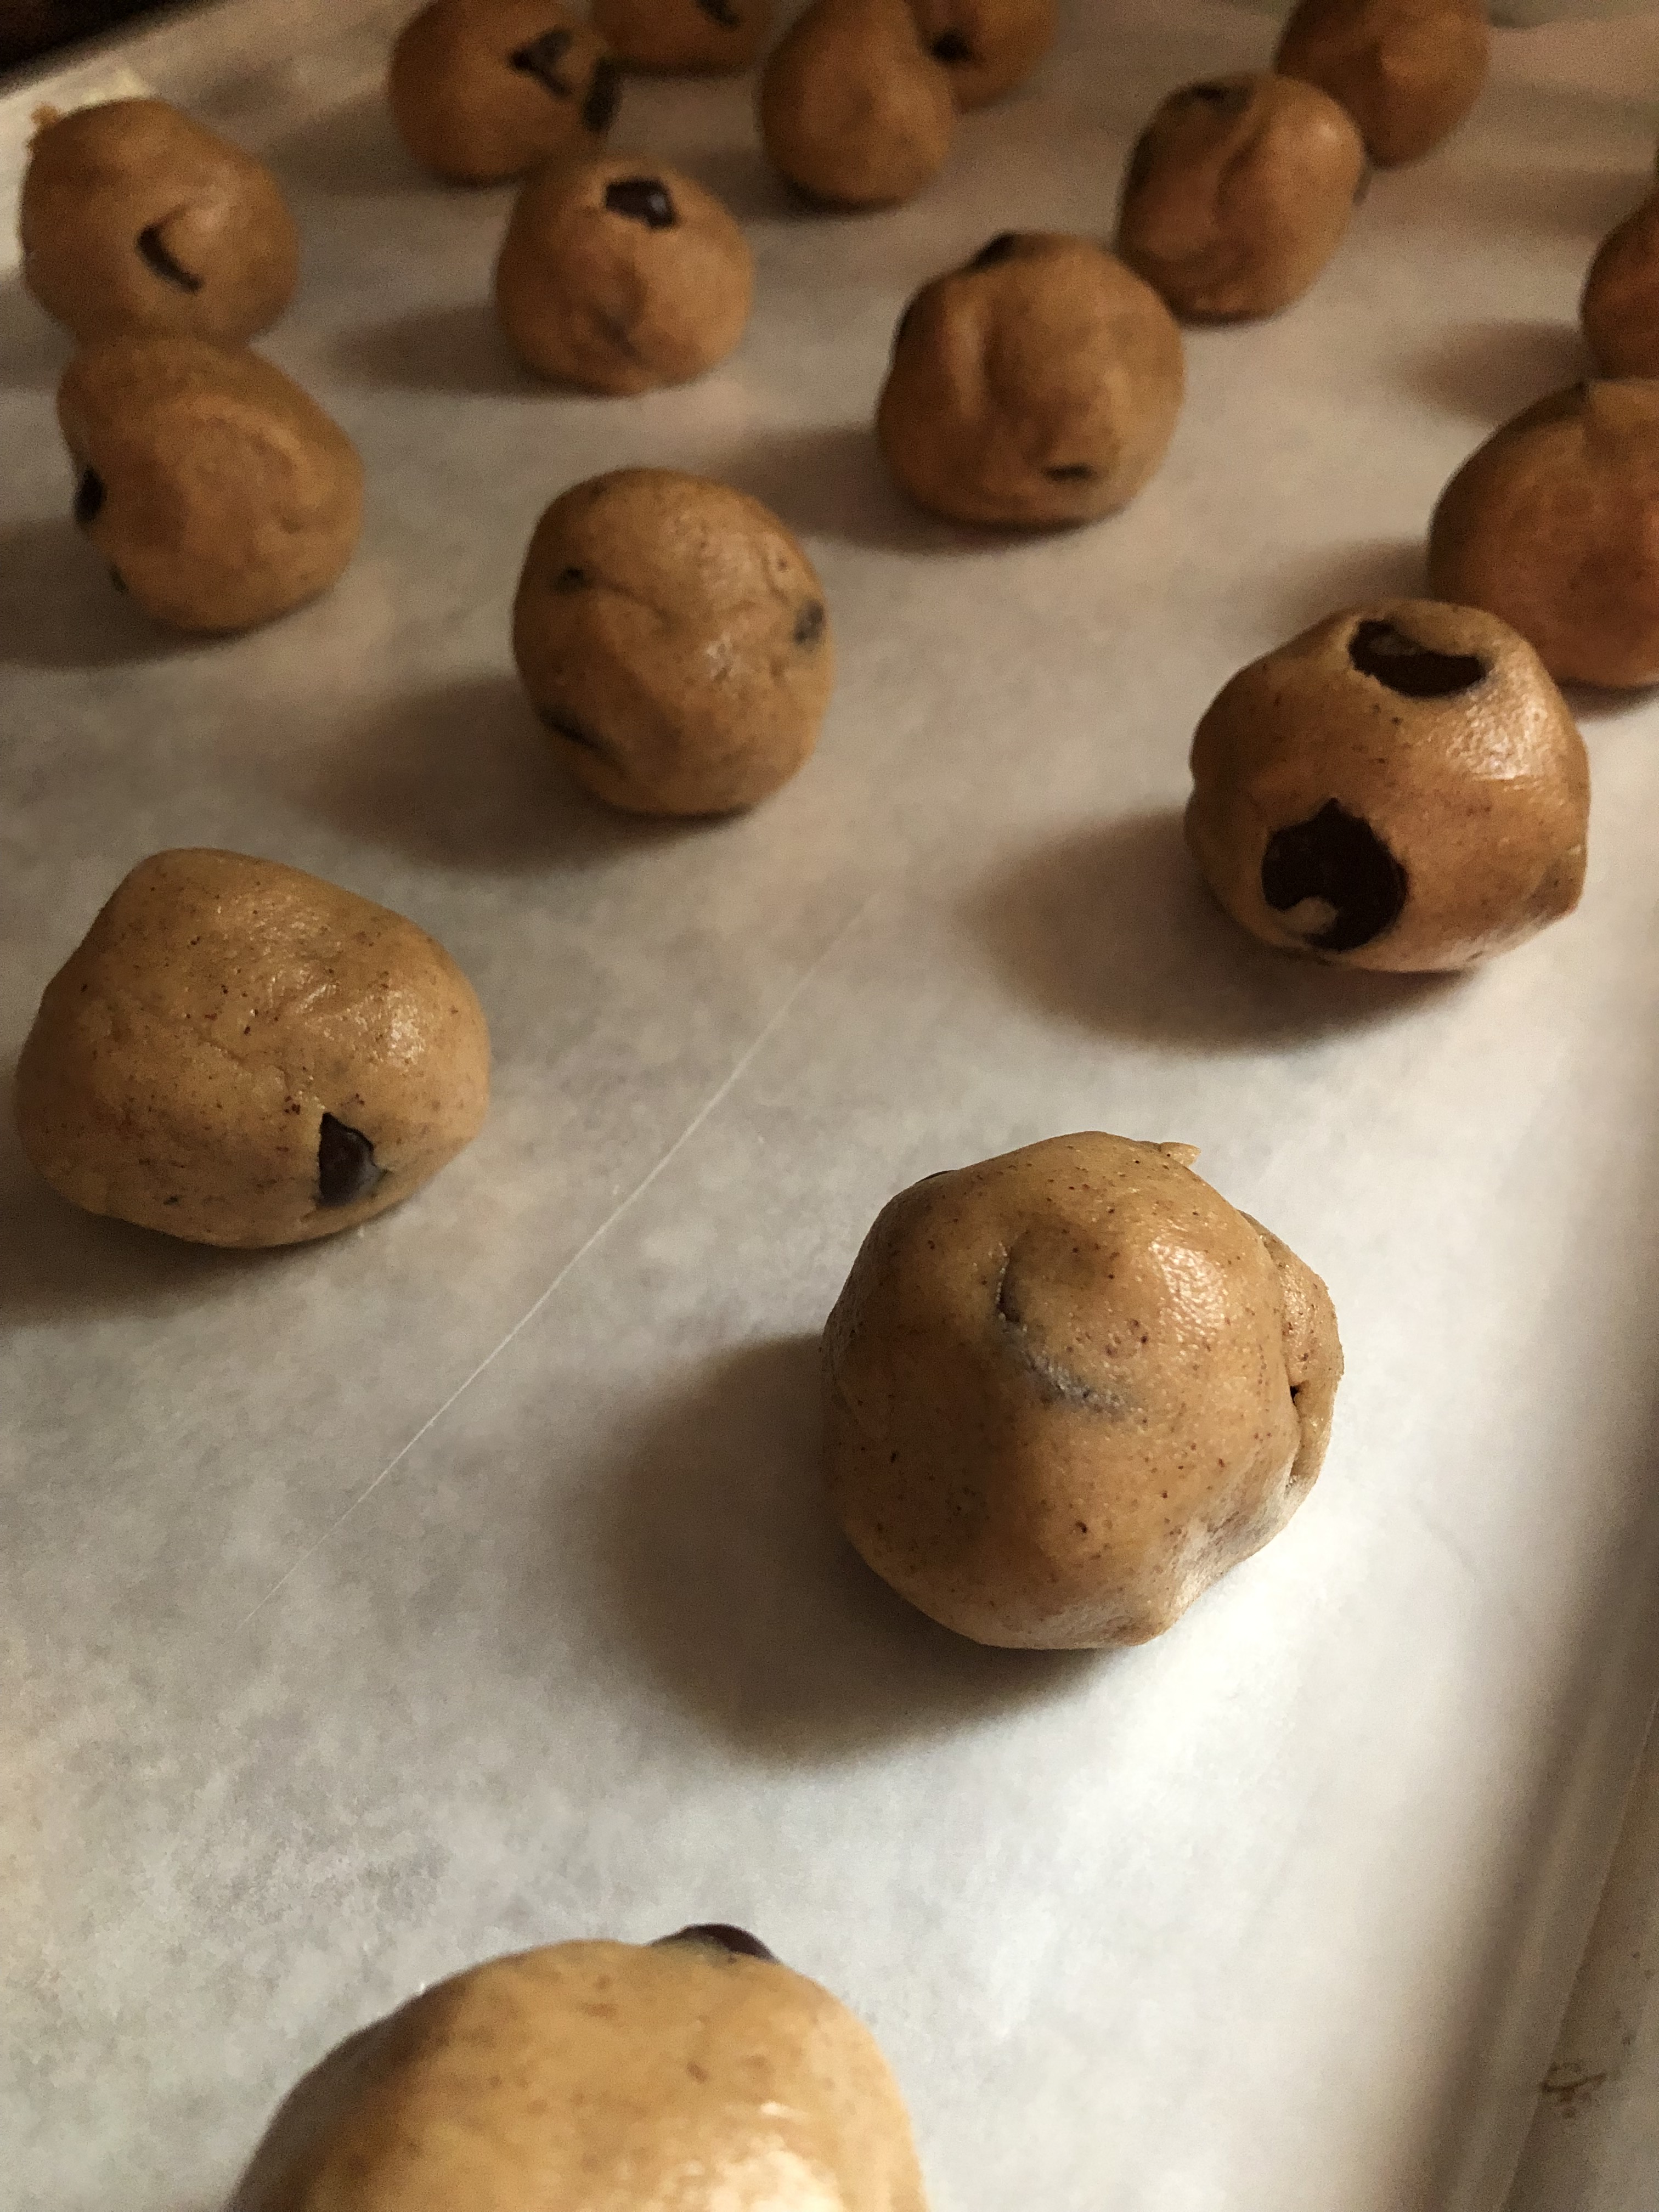
Using a cookie scoop, drop the dough onto the prepared baking sheets 2 inches apart. Bake in the preheated oven for 10 minutes. Remove from the oven and press half of a marshmallow in the center of each cookie. Return to the oven for an additional 2 minutes.
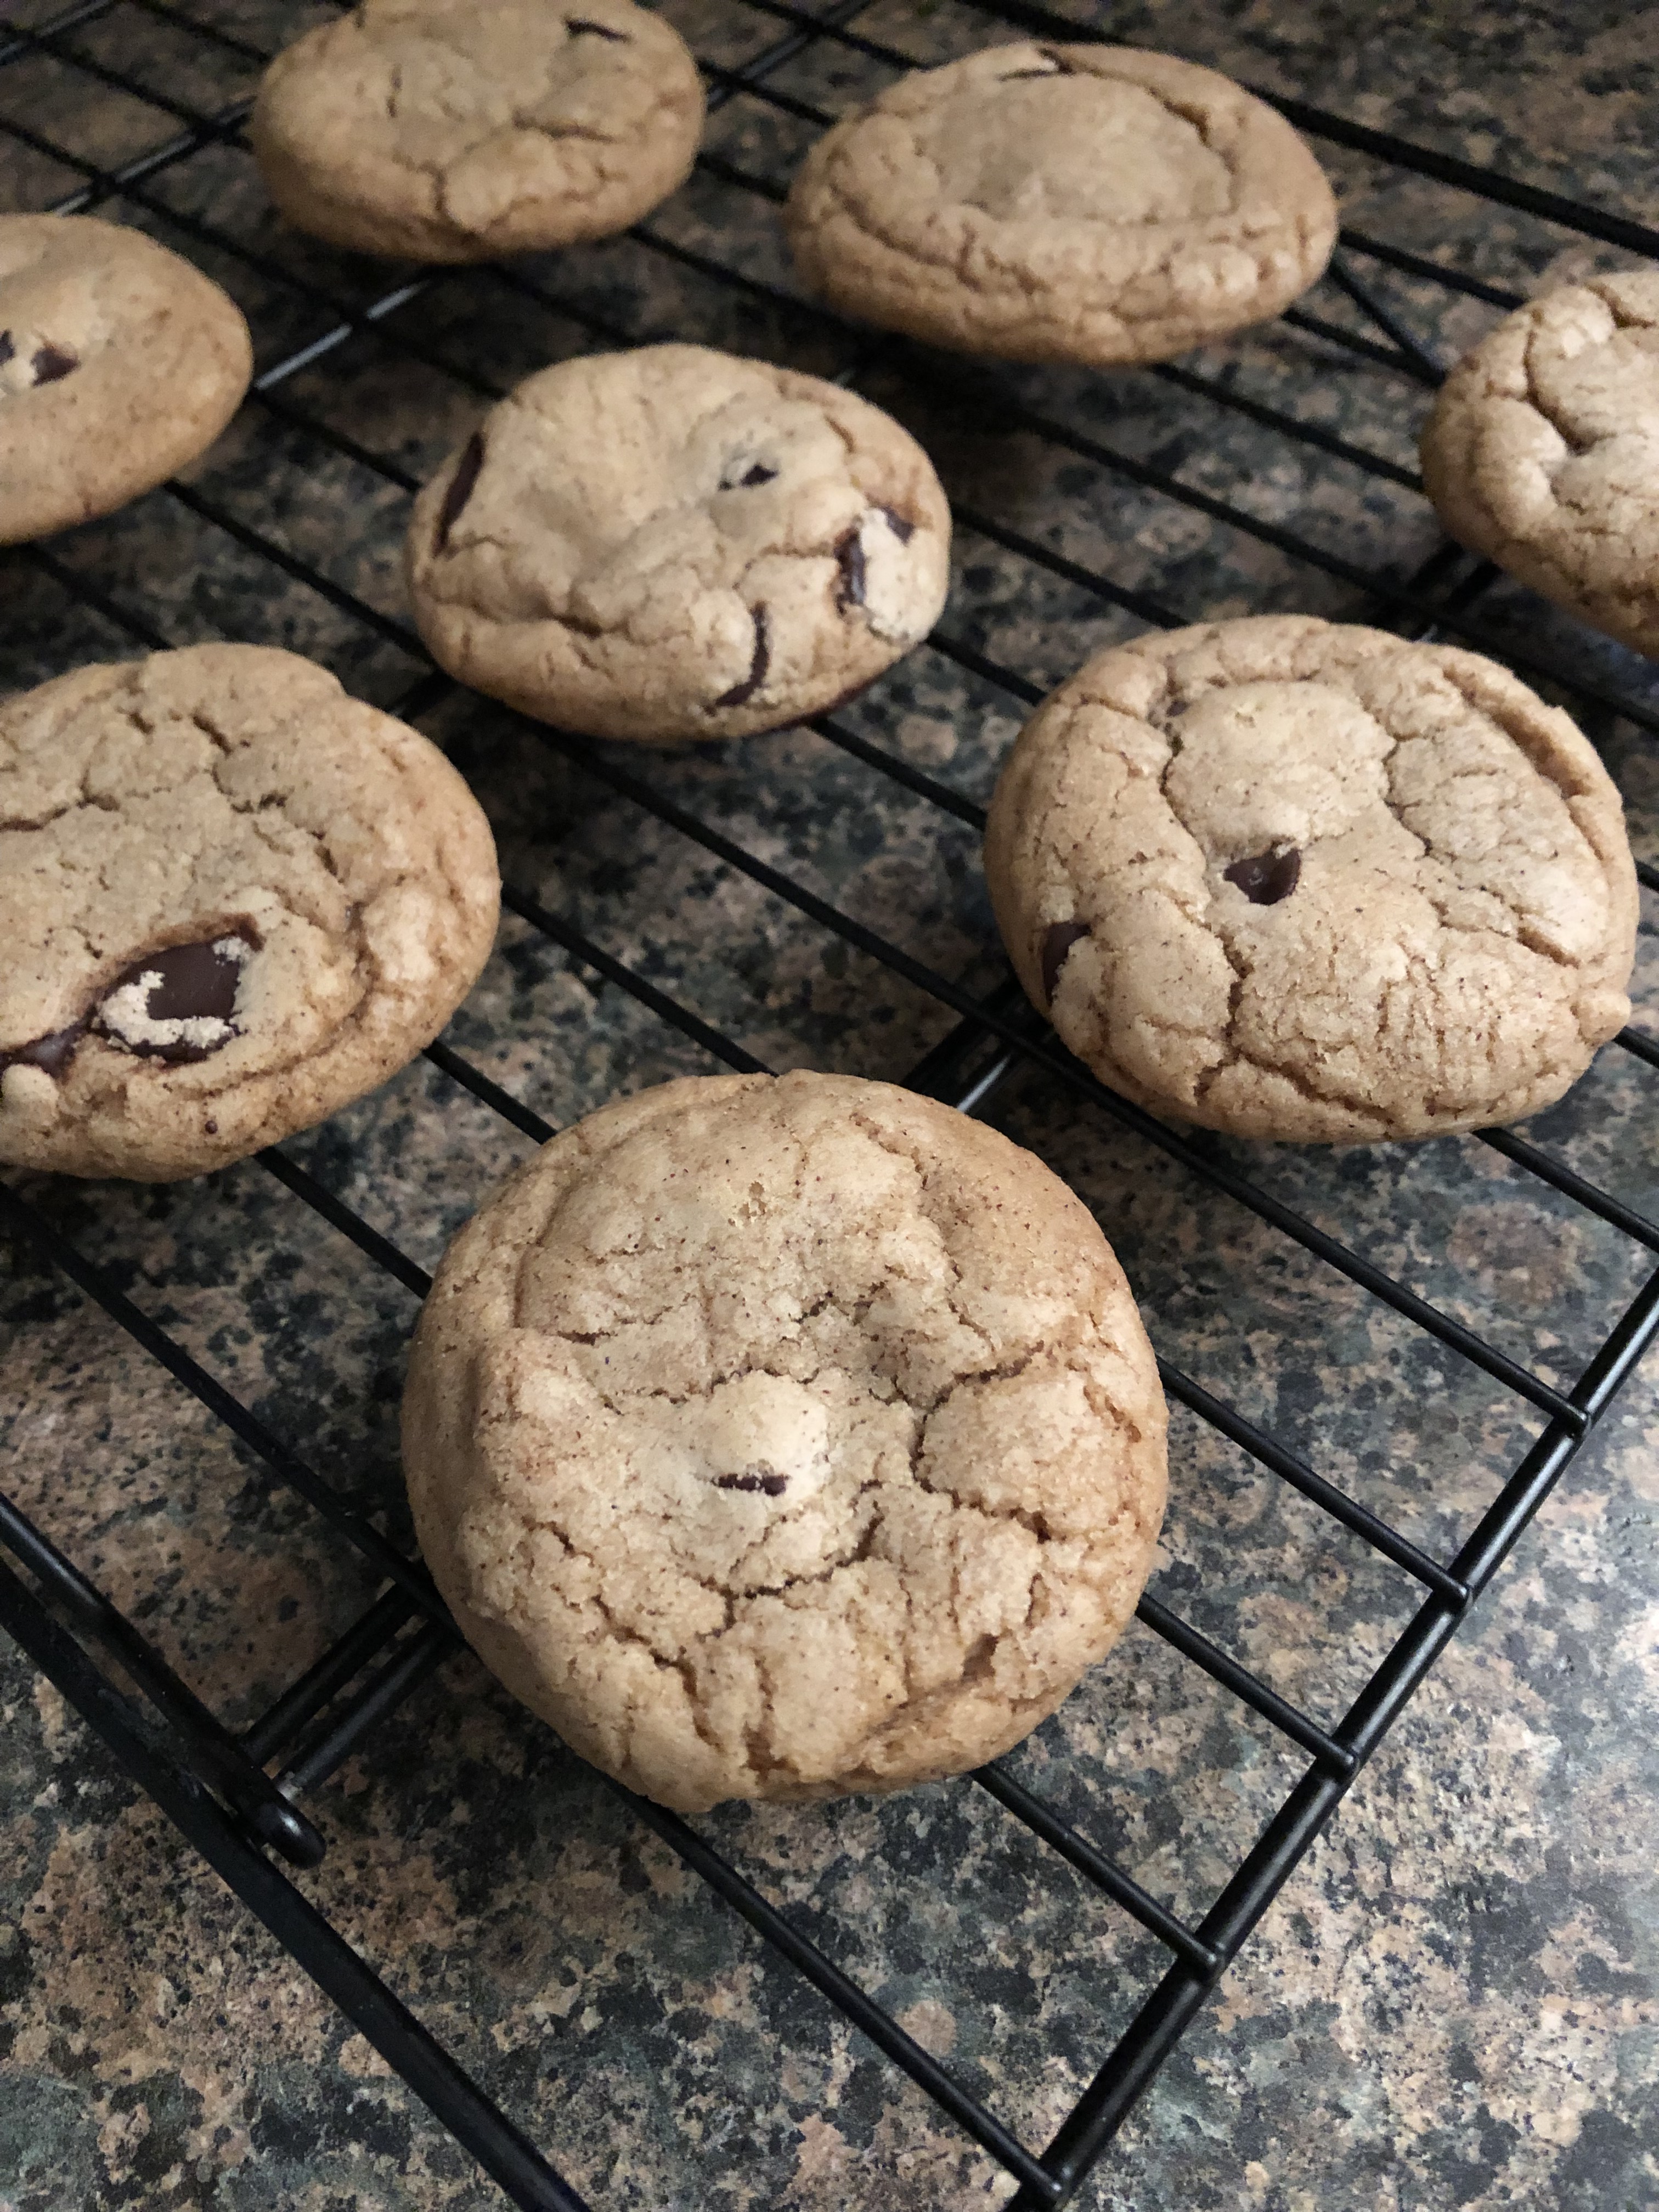
Let the cookies cool on the pan for 1-2 minutes before transferring to a wire rack to cool completely.
Once the cookies are cooled, melt the chocolate chips in the microwave. Microwave for :30 second intervals, stirring between each, until the chocolate is smooth.
Transfer the melted chocolate to a piping bag or a resealable bag and snip off the end and drizzle the chocolate over the cookies and then sprinkle with the crushed peppermint candy. Let the chocolate set before enjoying or storing. You can place them in the refrigerator for 5-10 minutes to speed up the process.
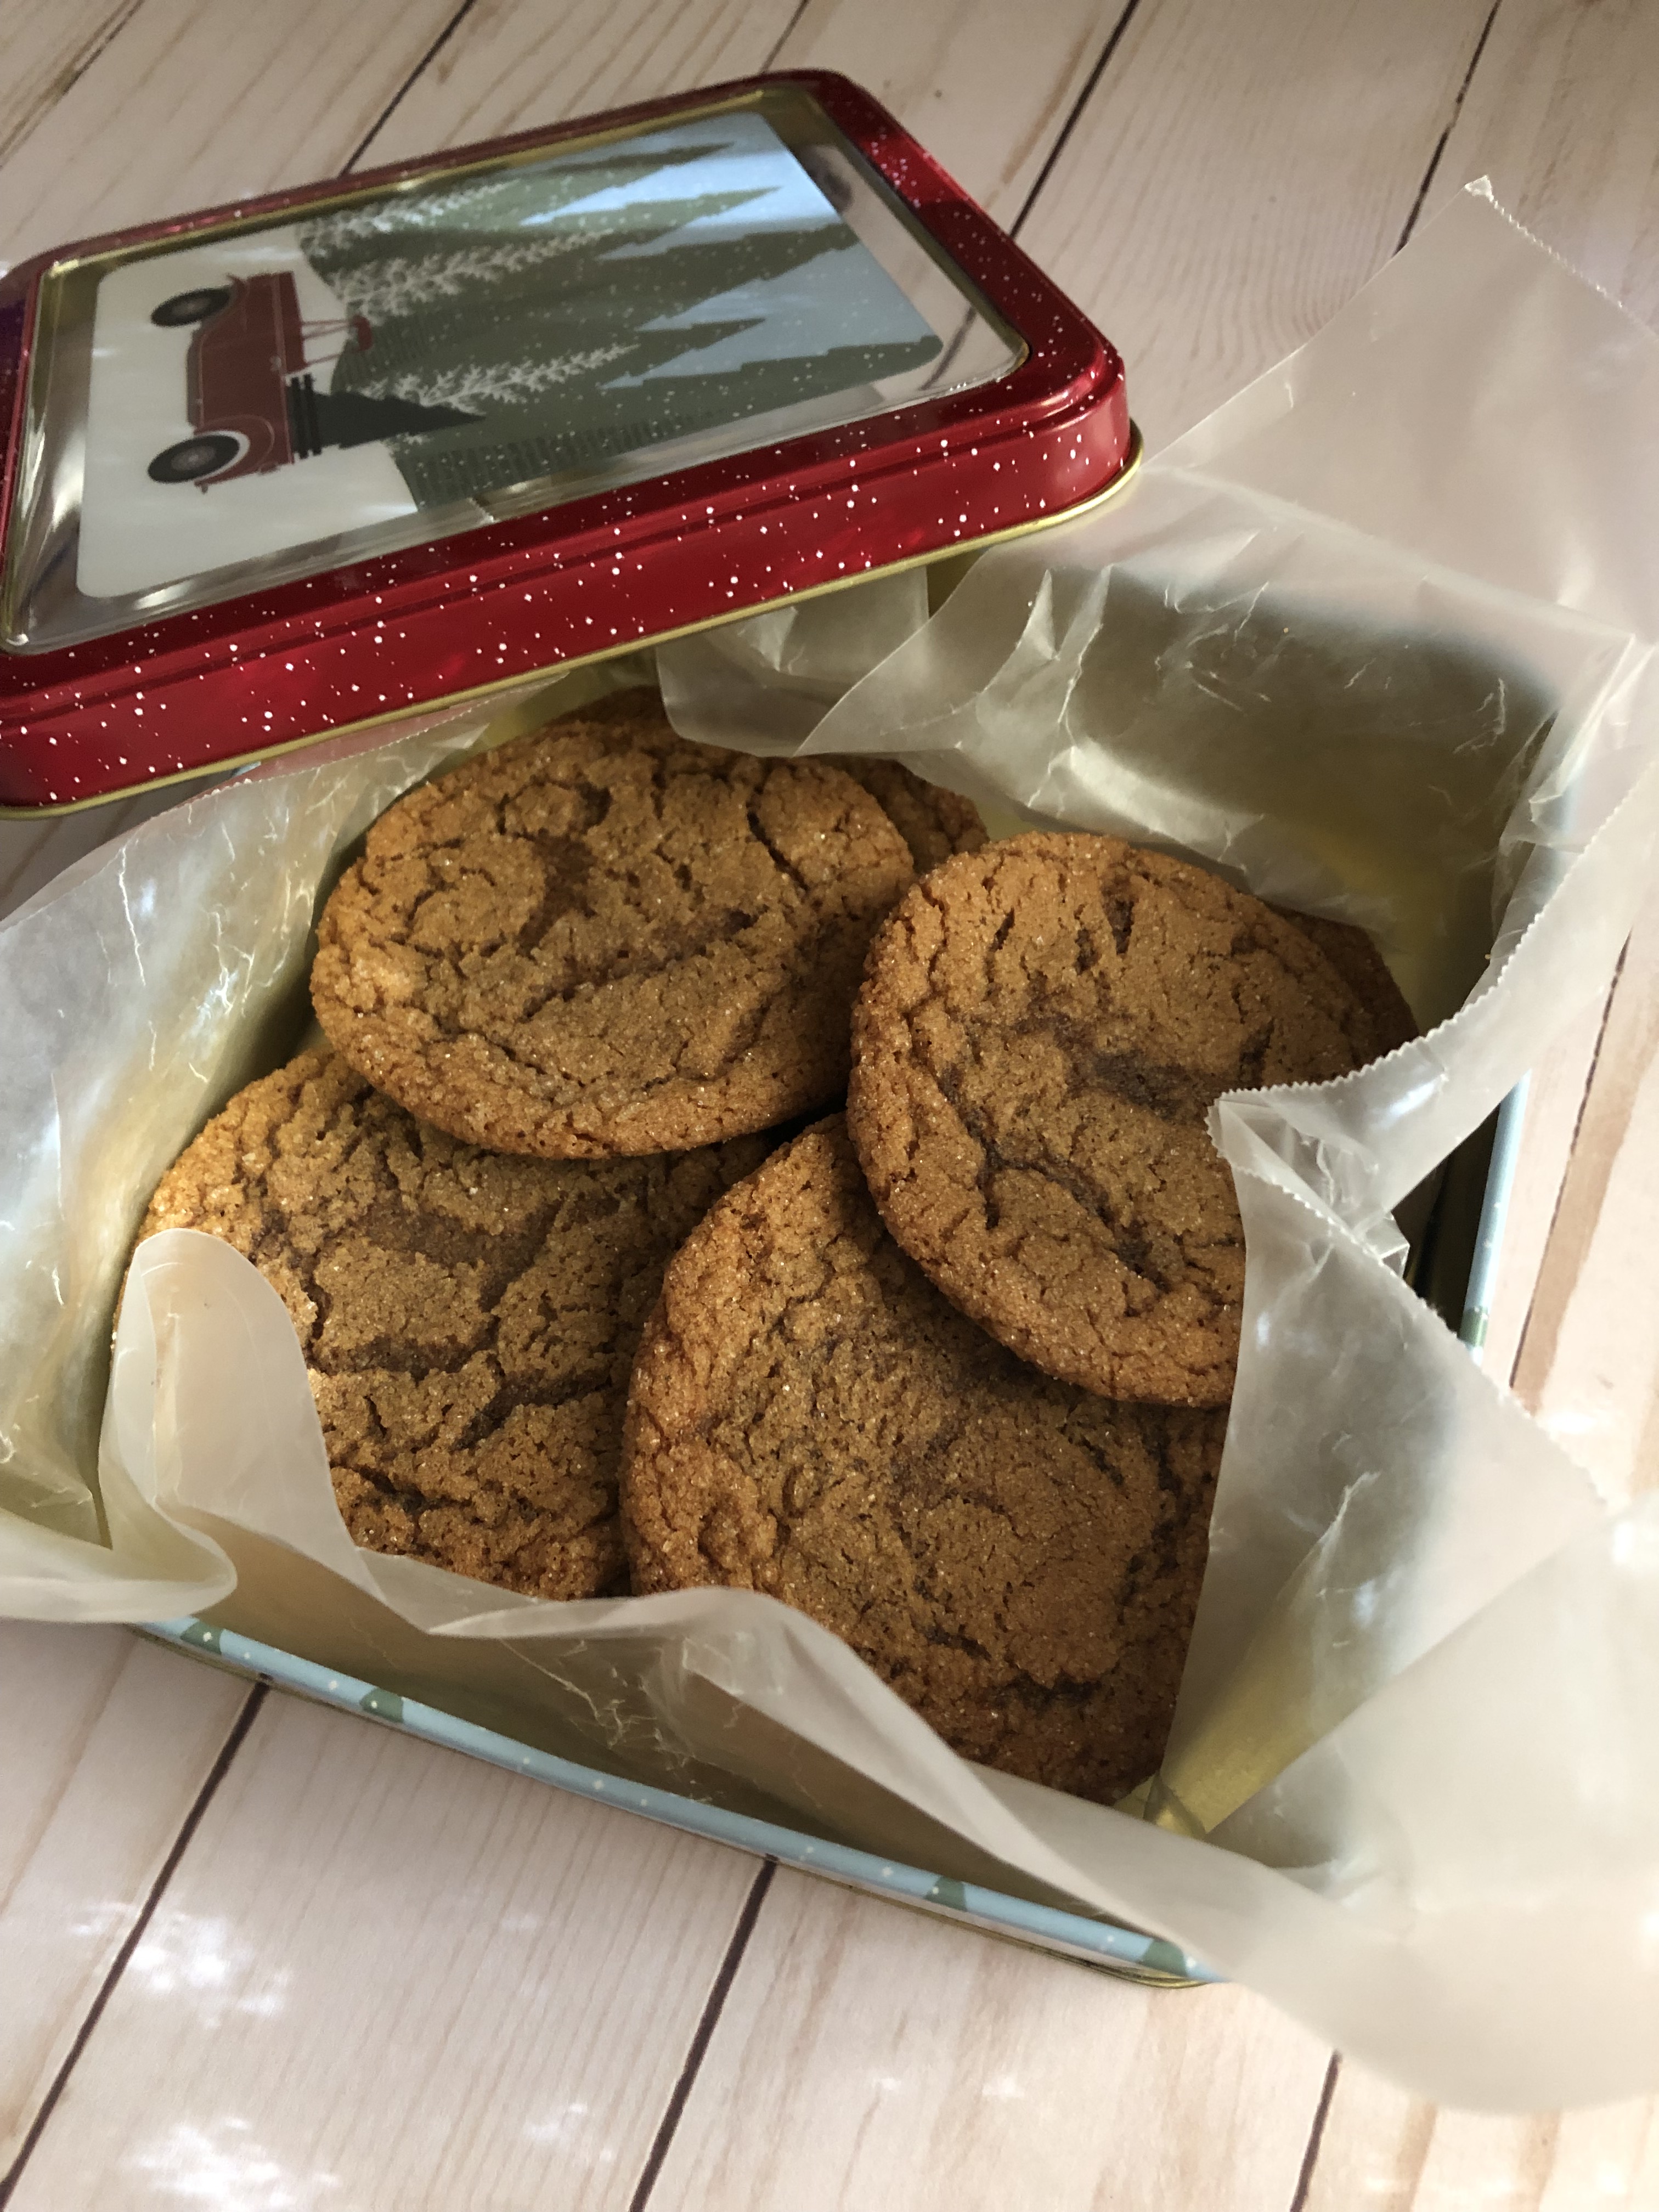
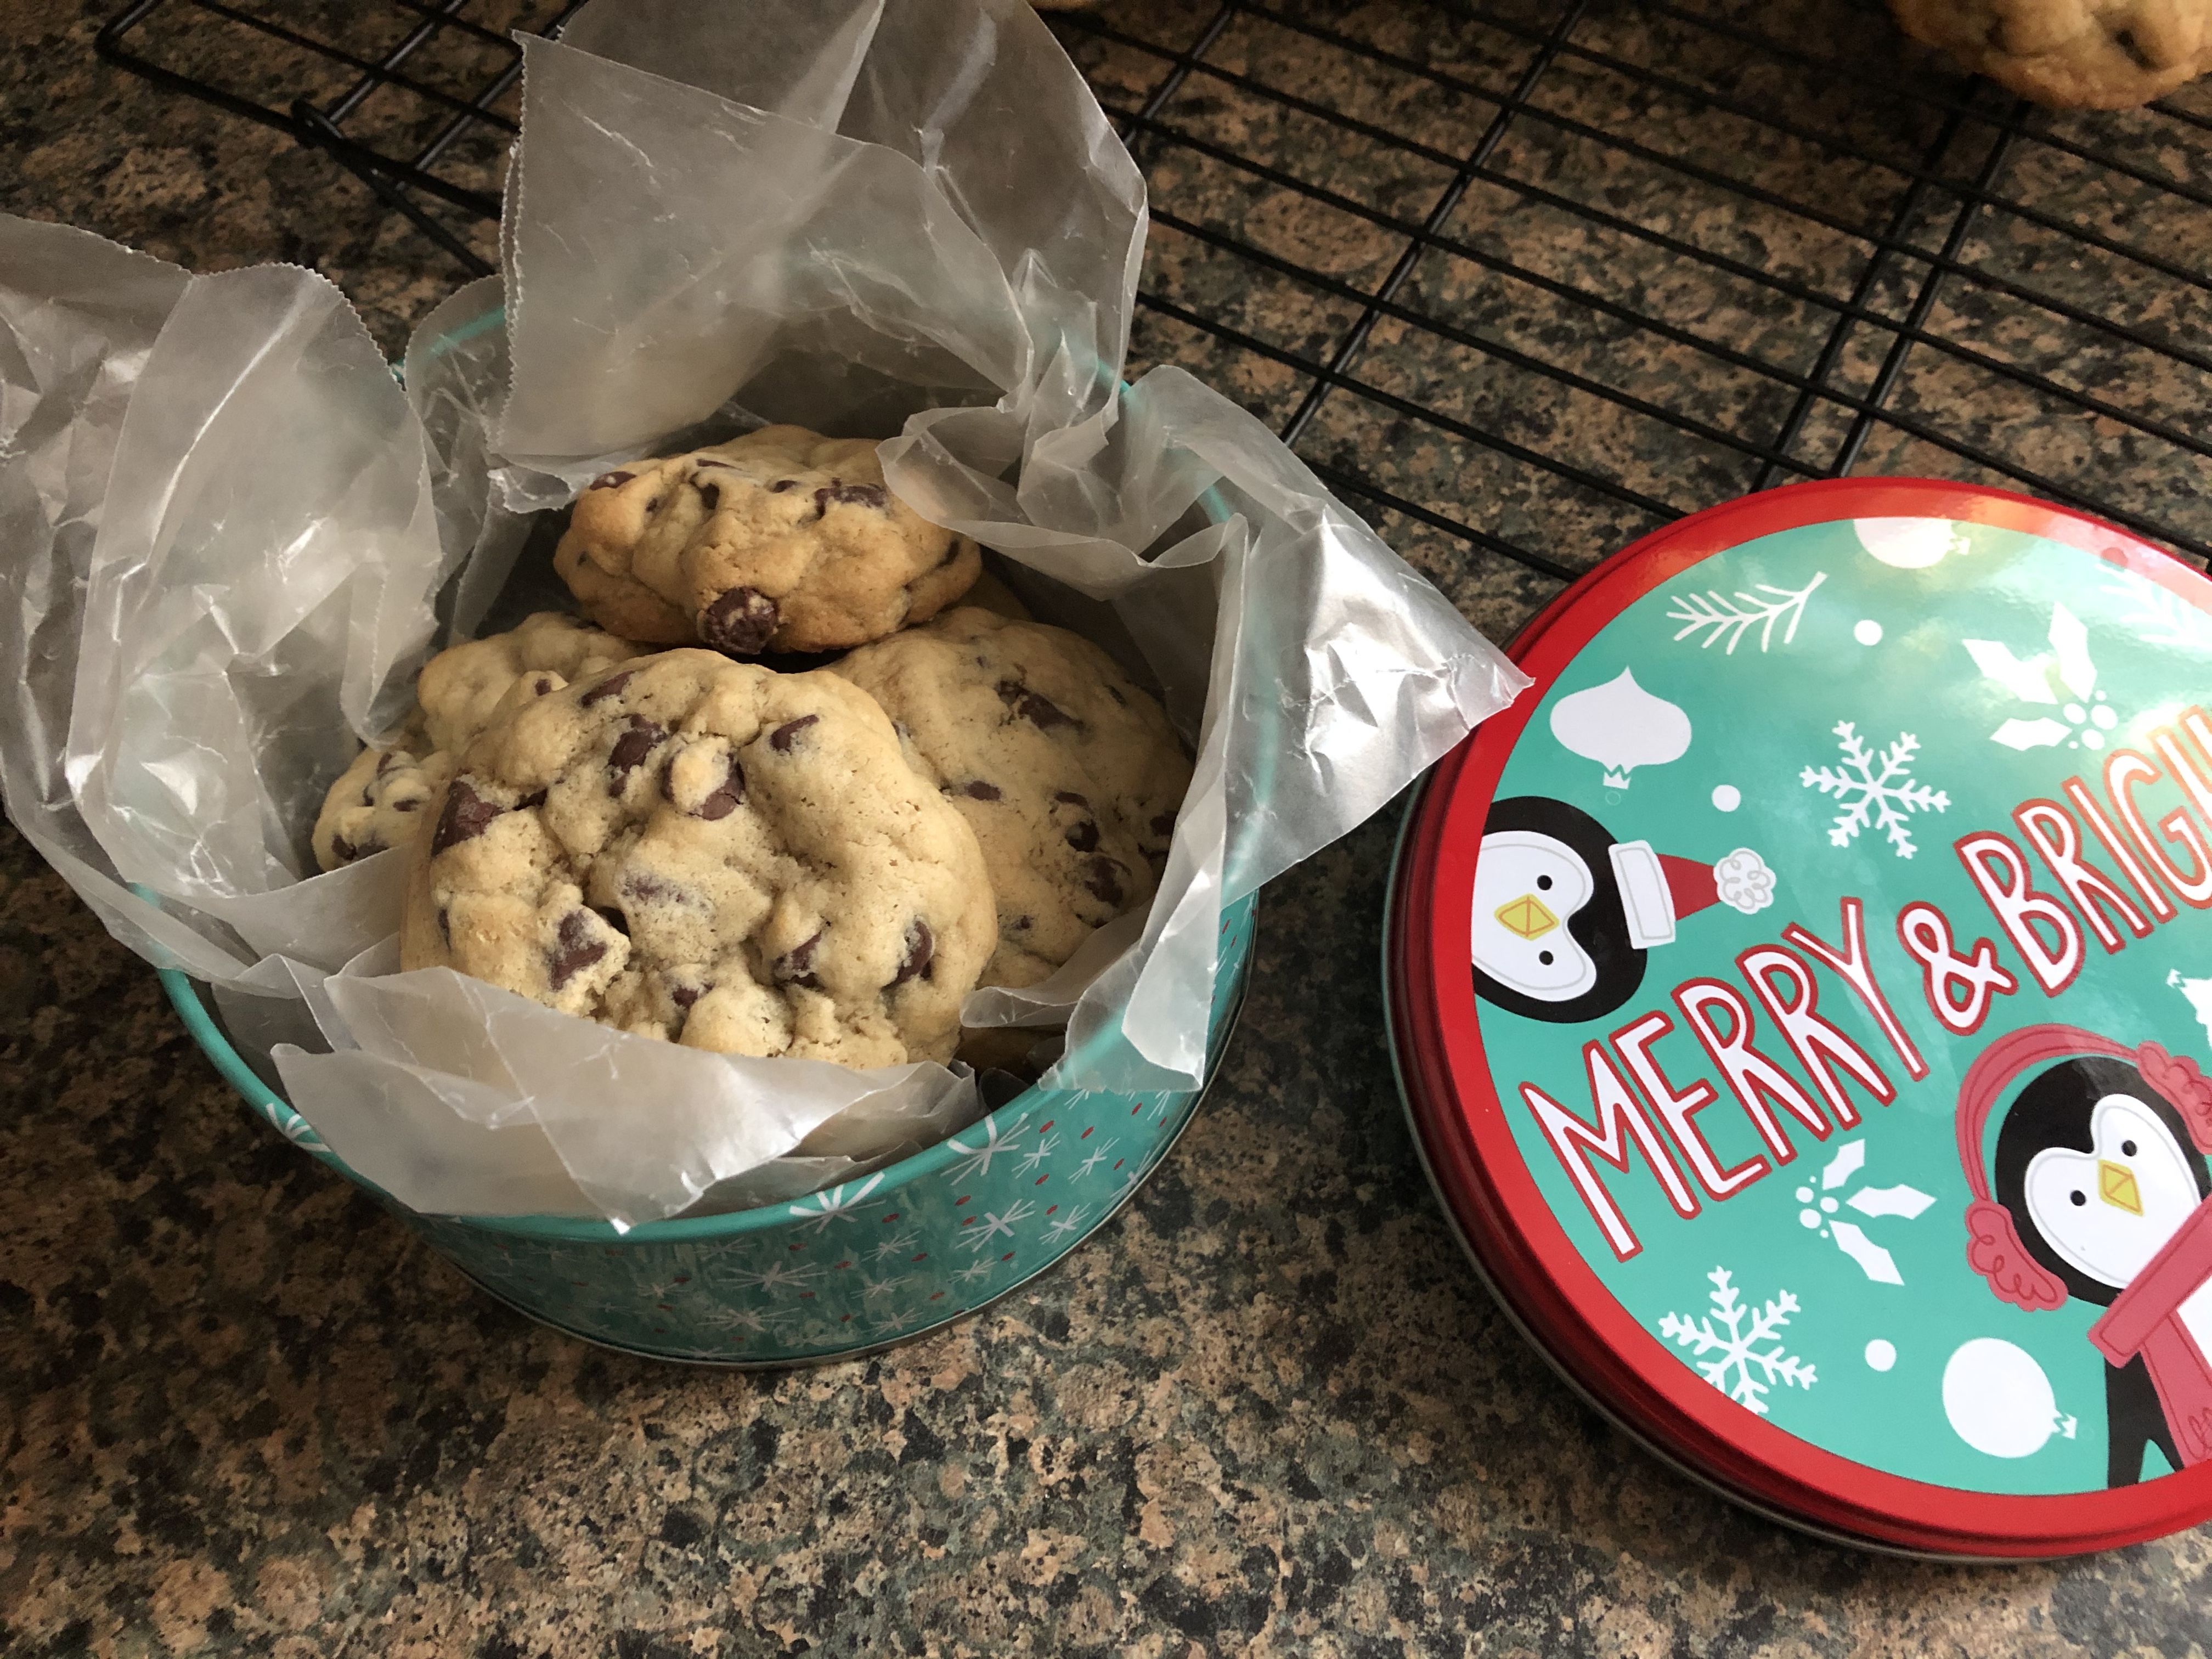
Store in an airtight container.
Recipe first appeared on Bead Yarn & Spatula