Cookie Palooza: Apricot Walnut Triangles

Welcome to day two of Cookie Palooza 2020. Today I am bringing you a cookie bar that I would say is like shortbread cookie topped with the filling of a rugelach cookie. If you like either one of those cookies or even better both, you will love these cookie bars. Best of all, they are super easy to make and lot quicker than rugelach.

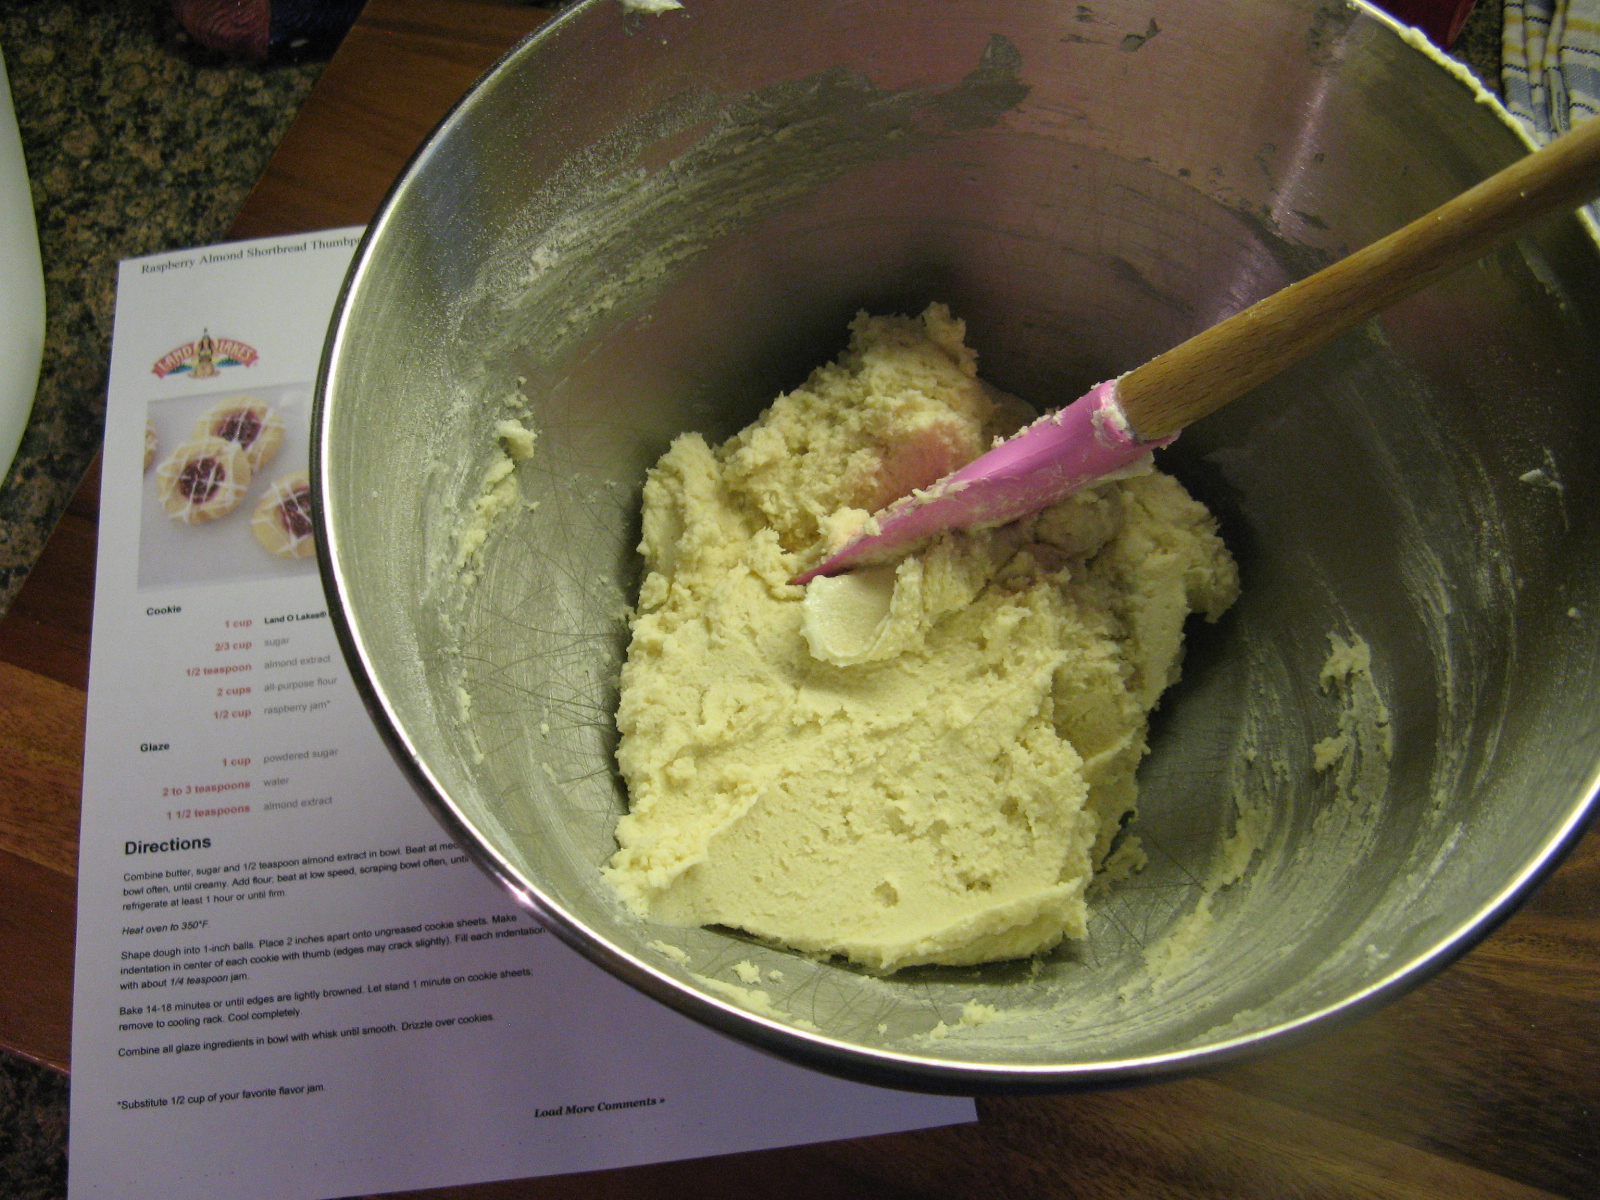
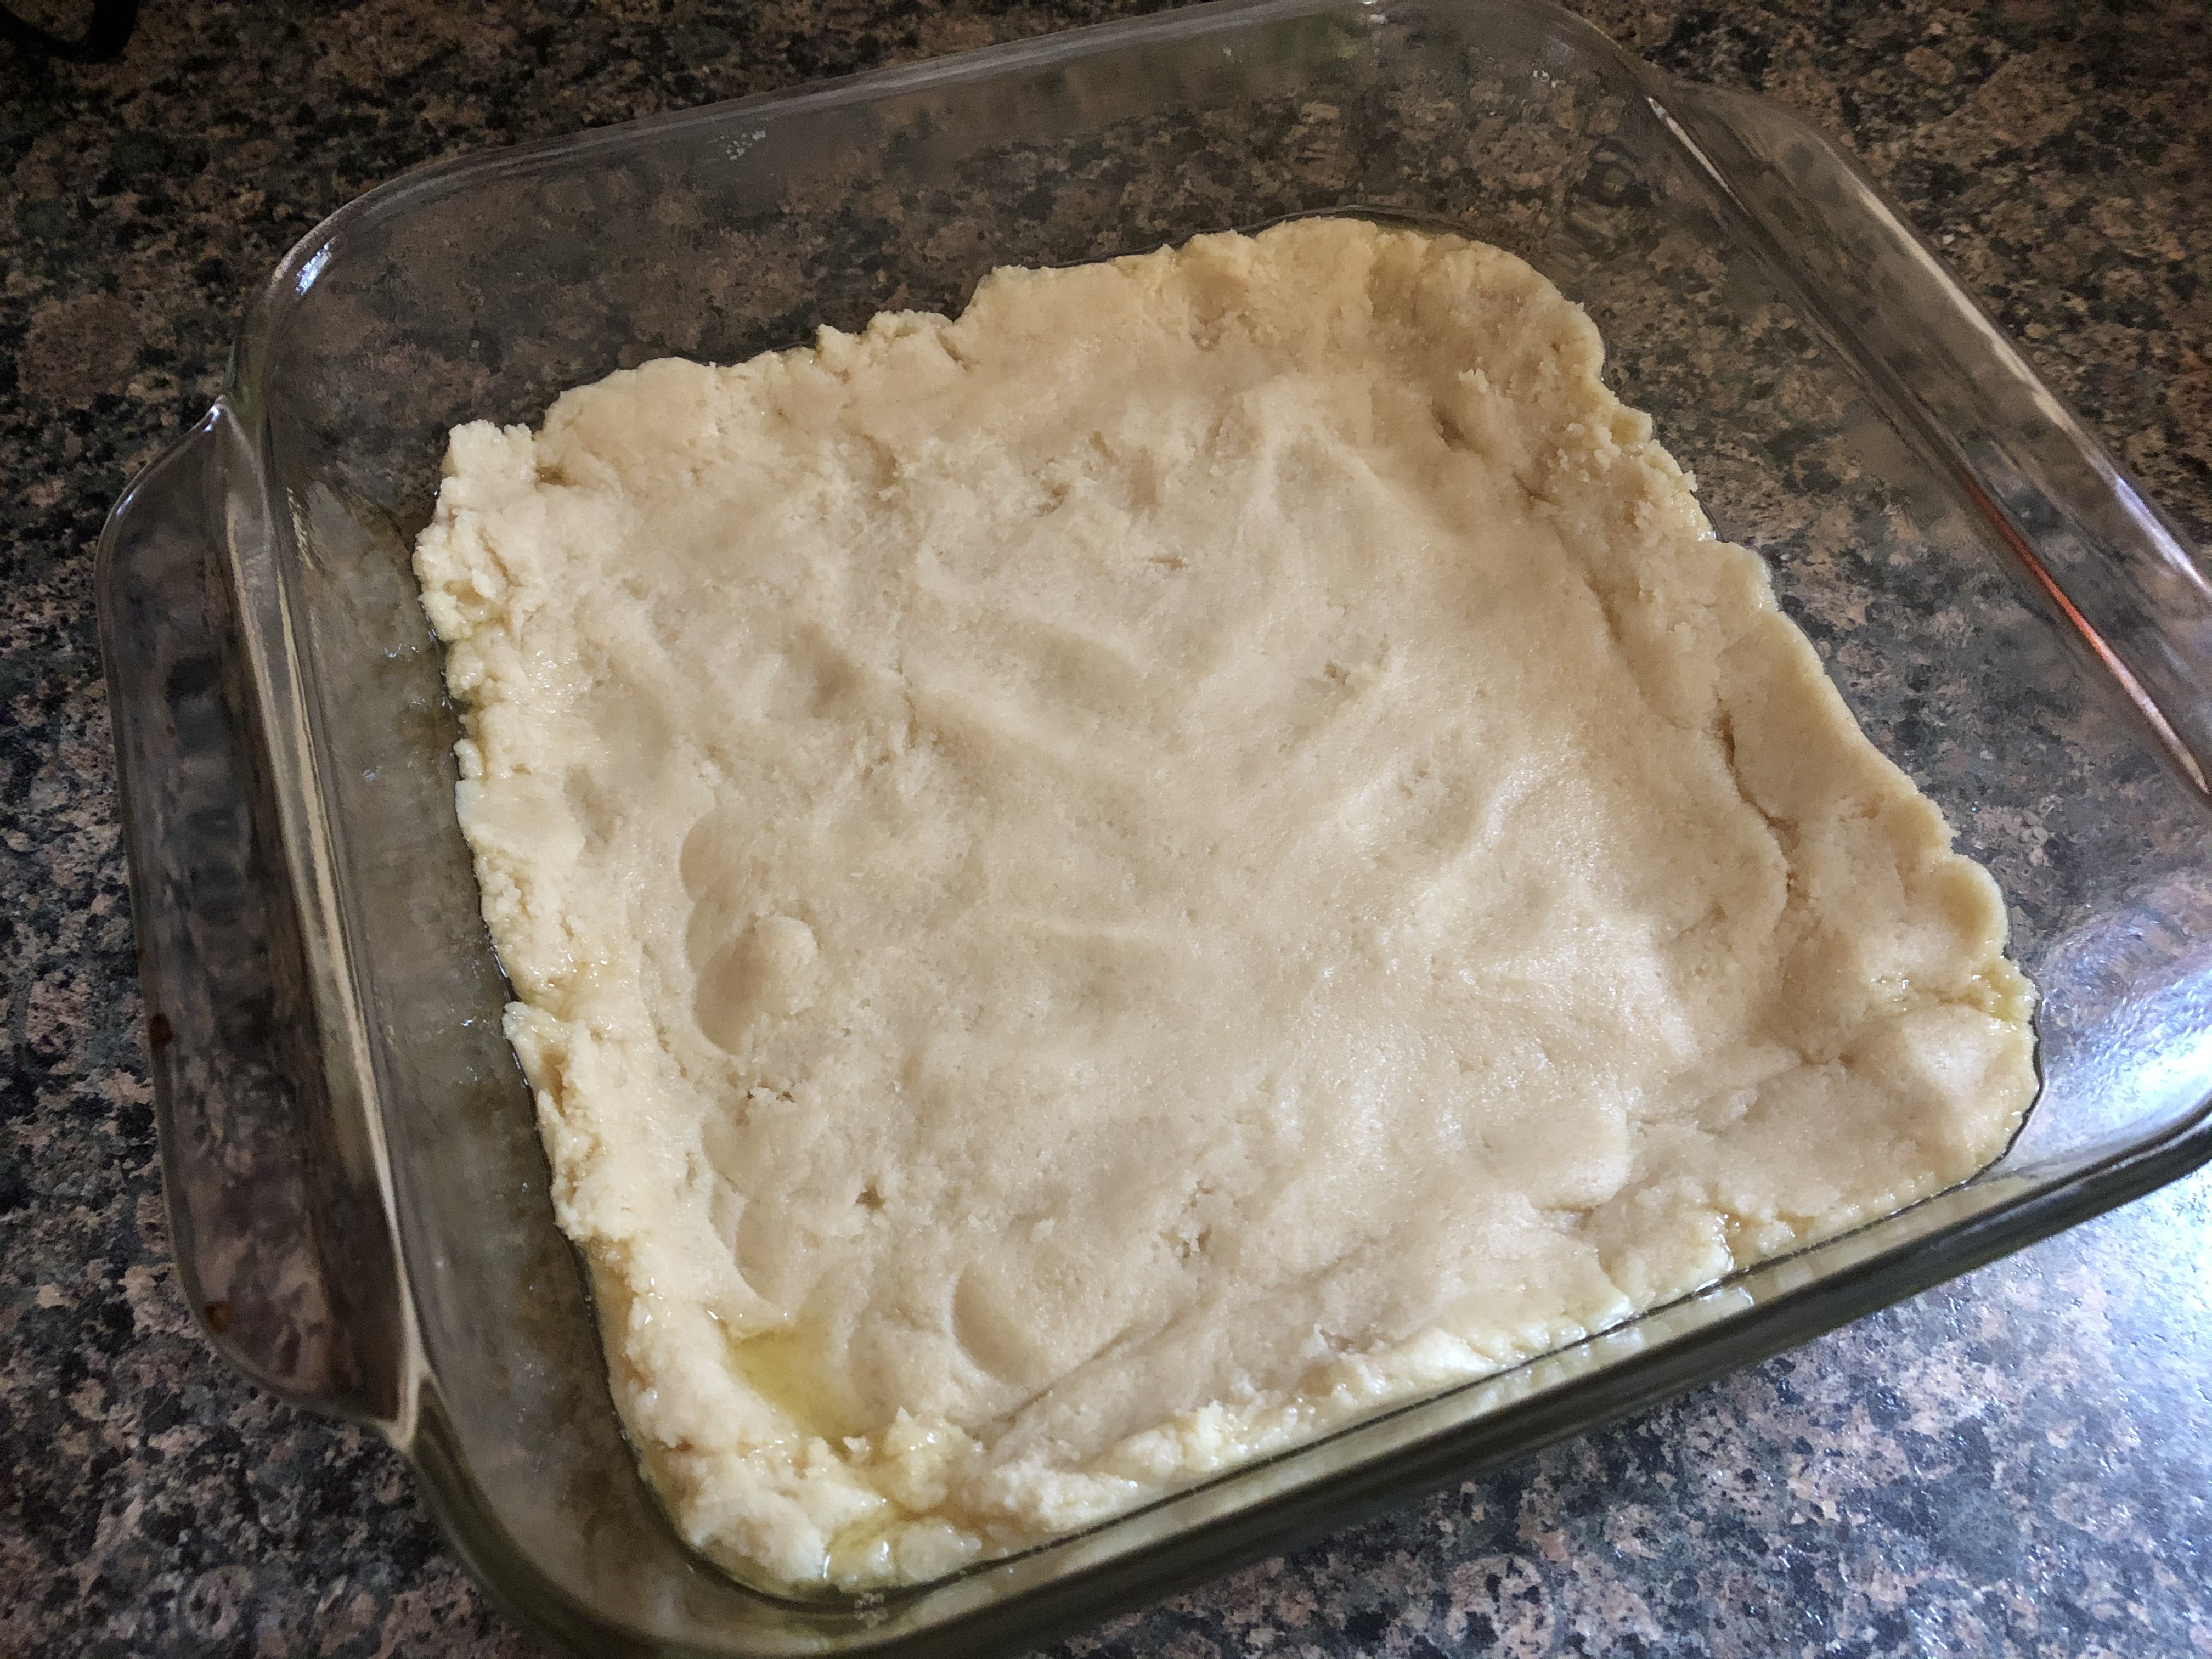
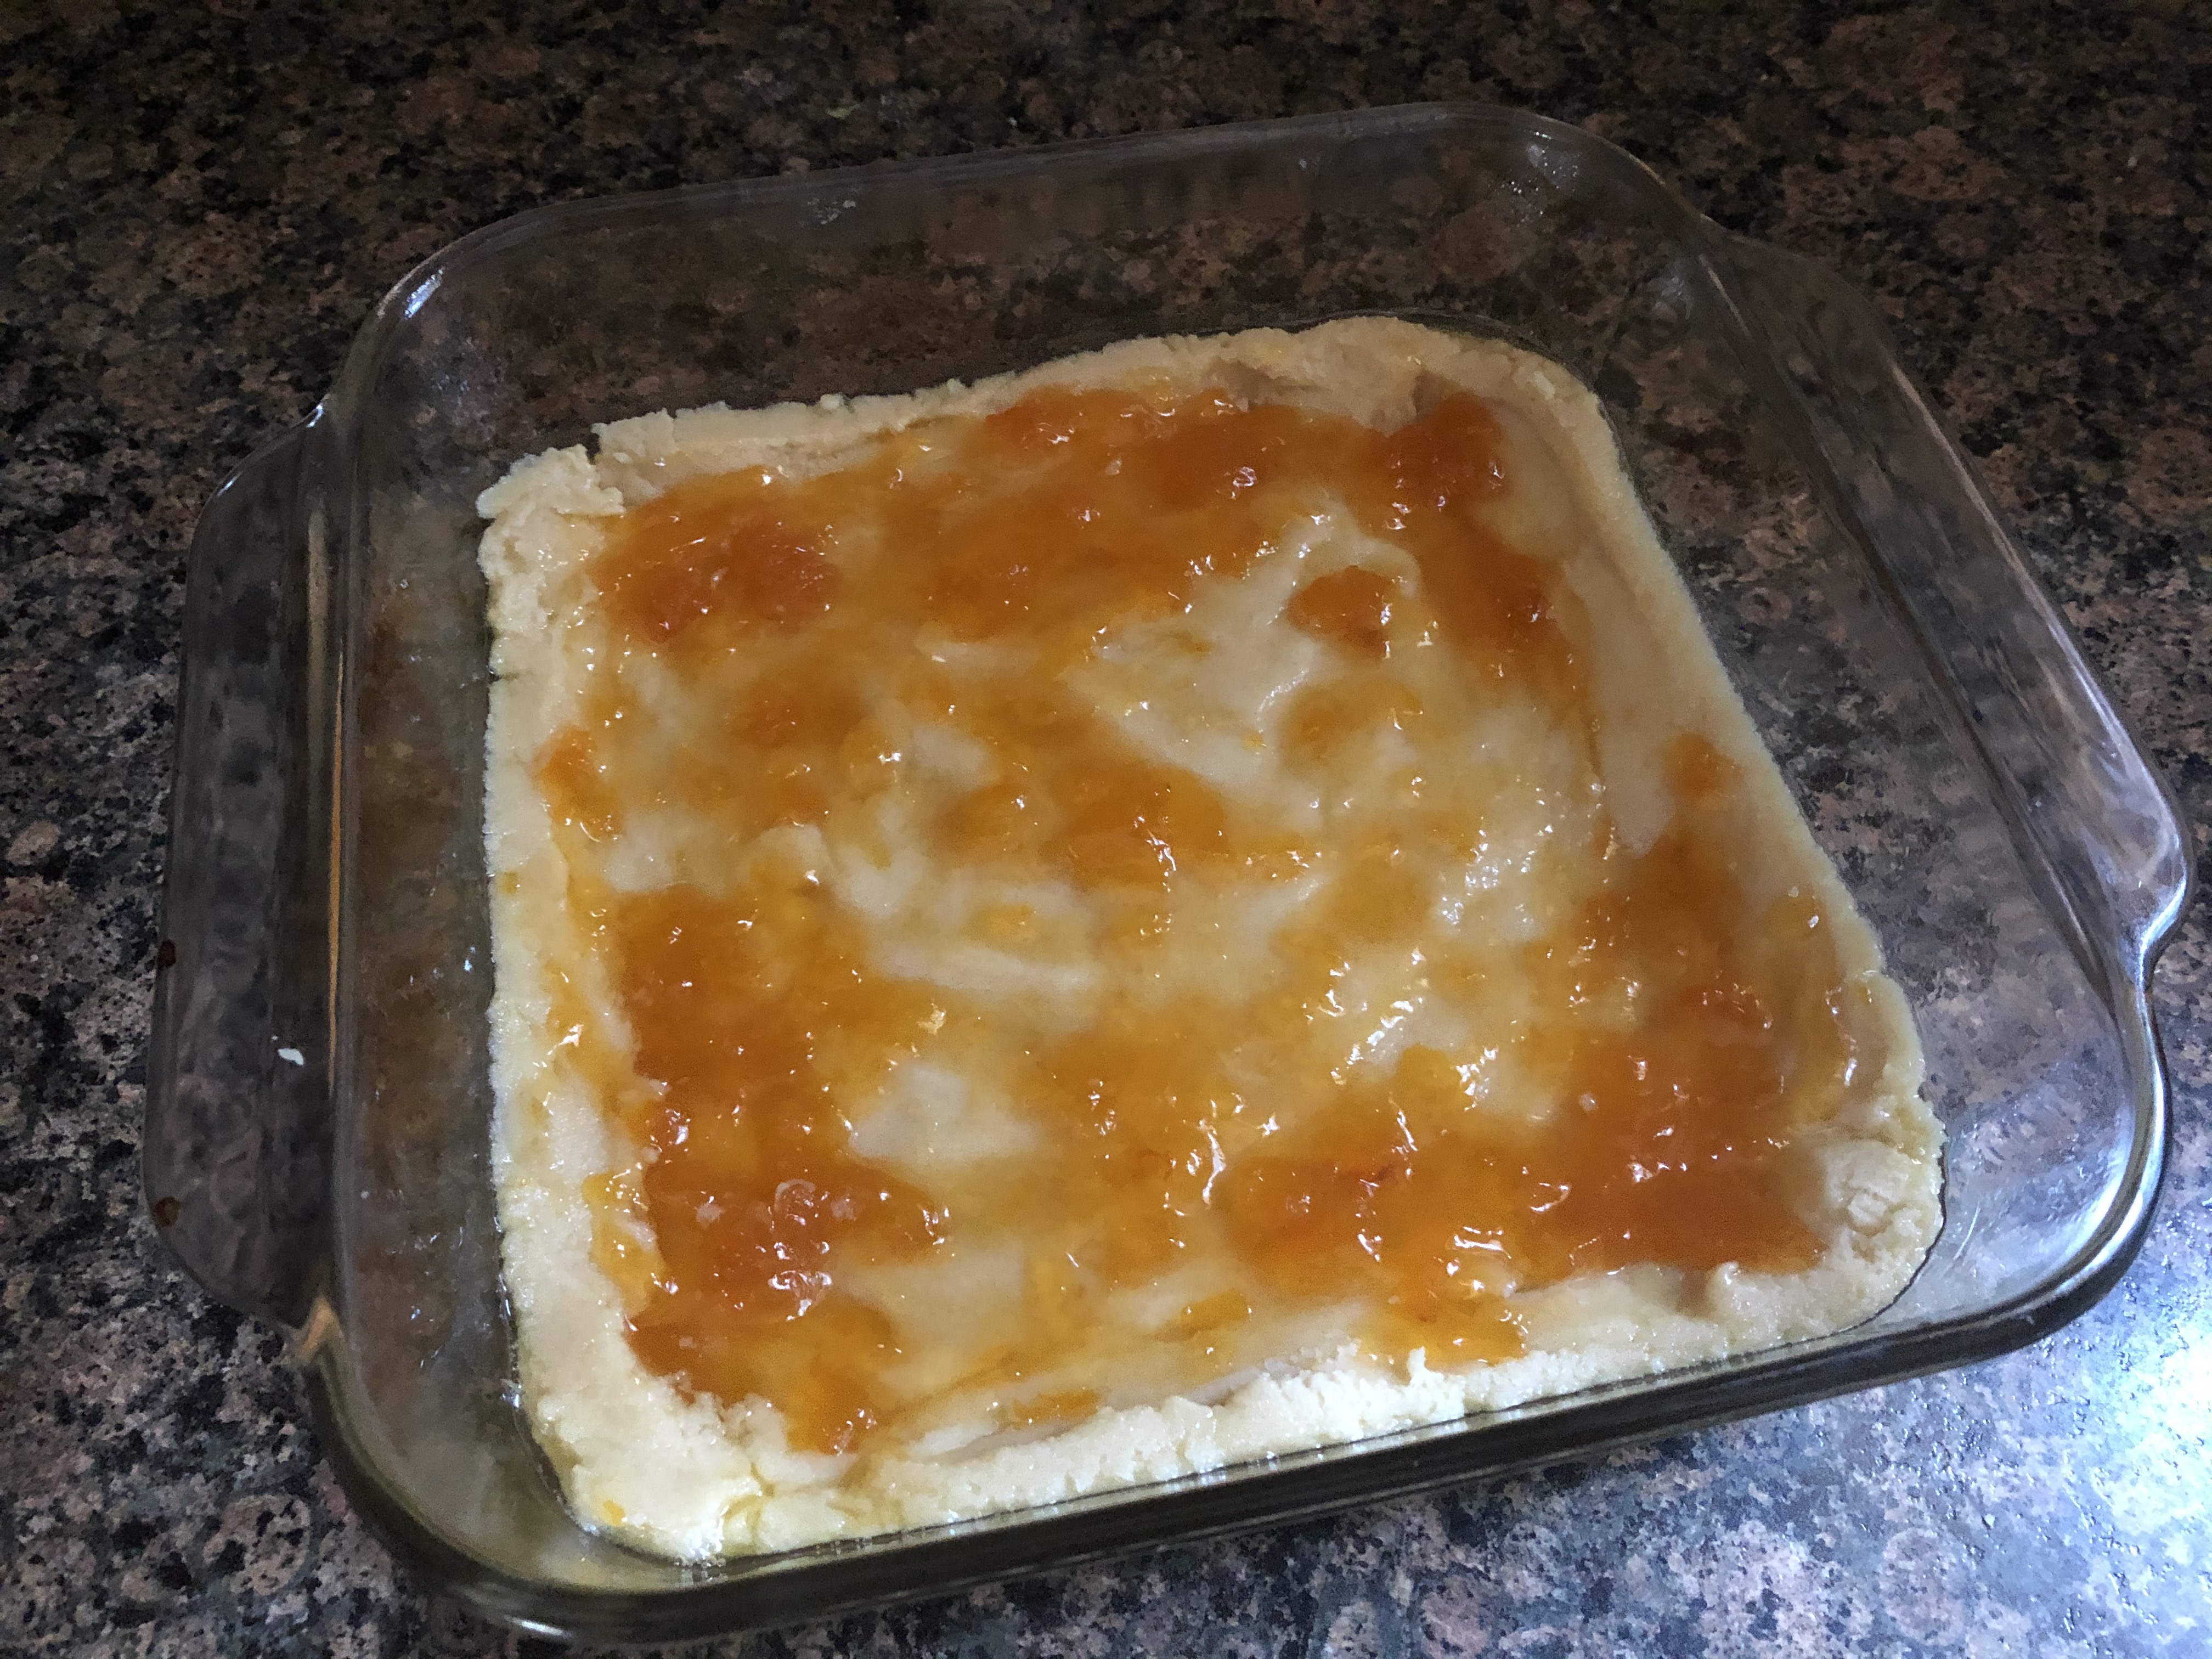
To begin I made the dough for the crust. After making it I pressed it into an 8×8 baking dish I greased with butter.

Next, I spread a few tablespoons of apricot preserves over the dough.

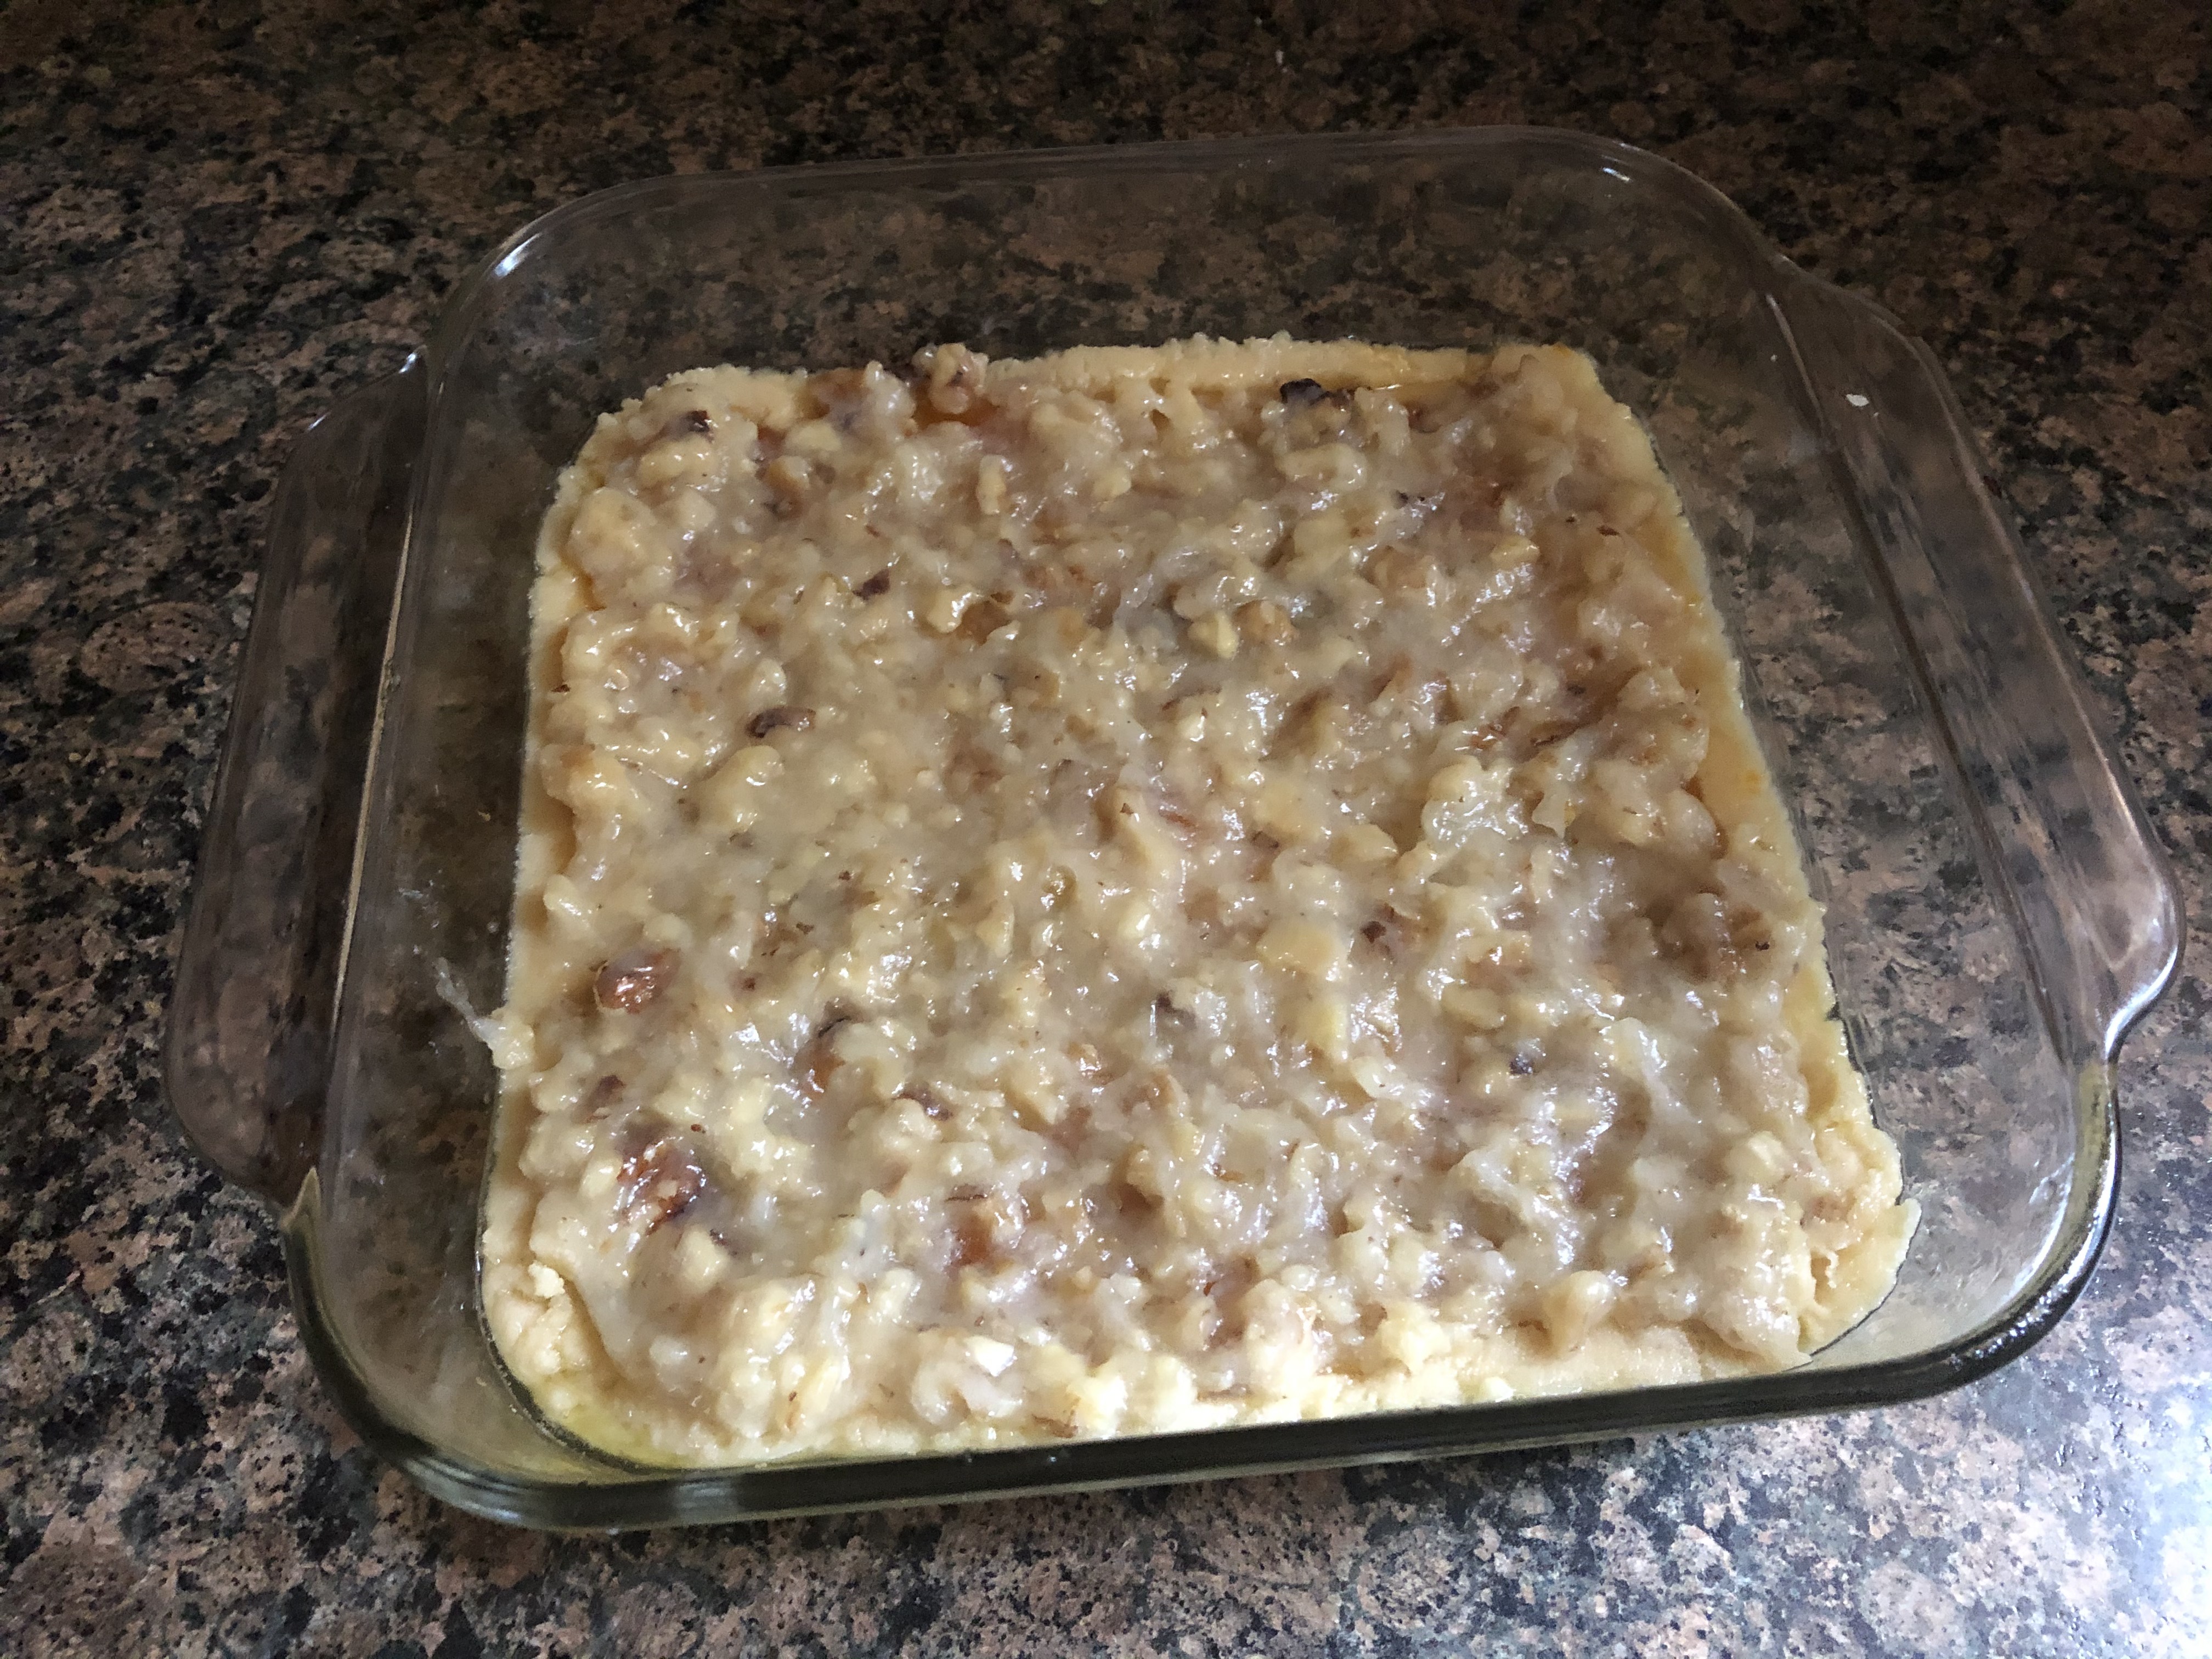
And finally, I combined melted butter, sugar, water and chopped walnuts in a small bowl and then spread it over the apricot preserves.

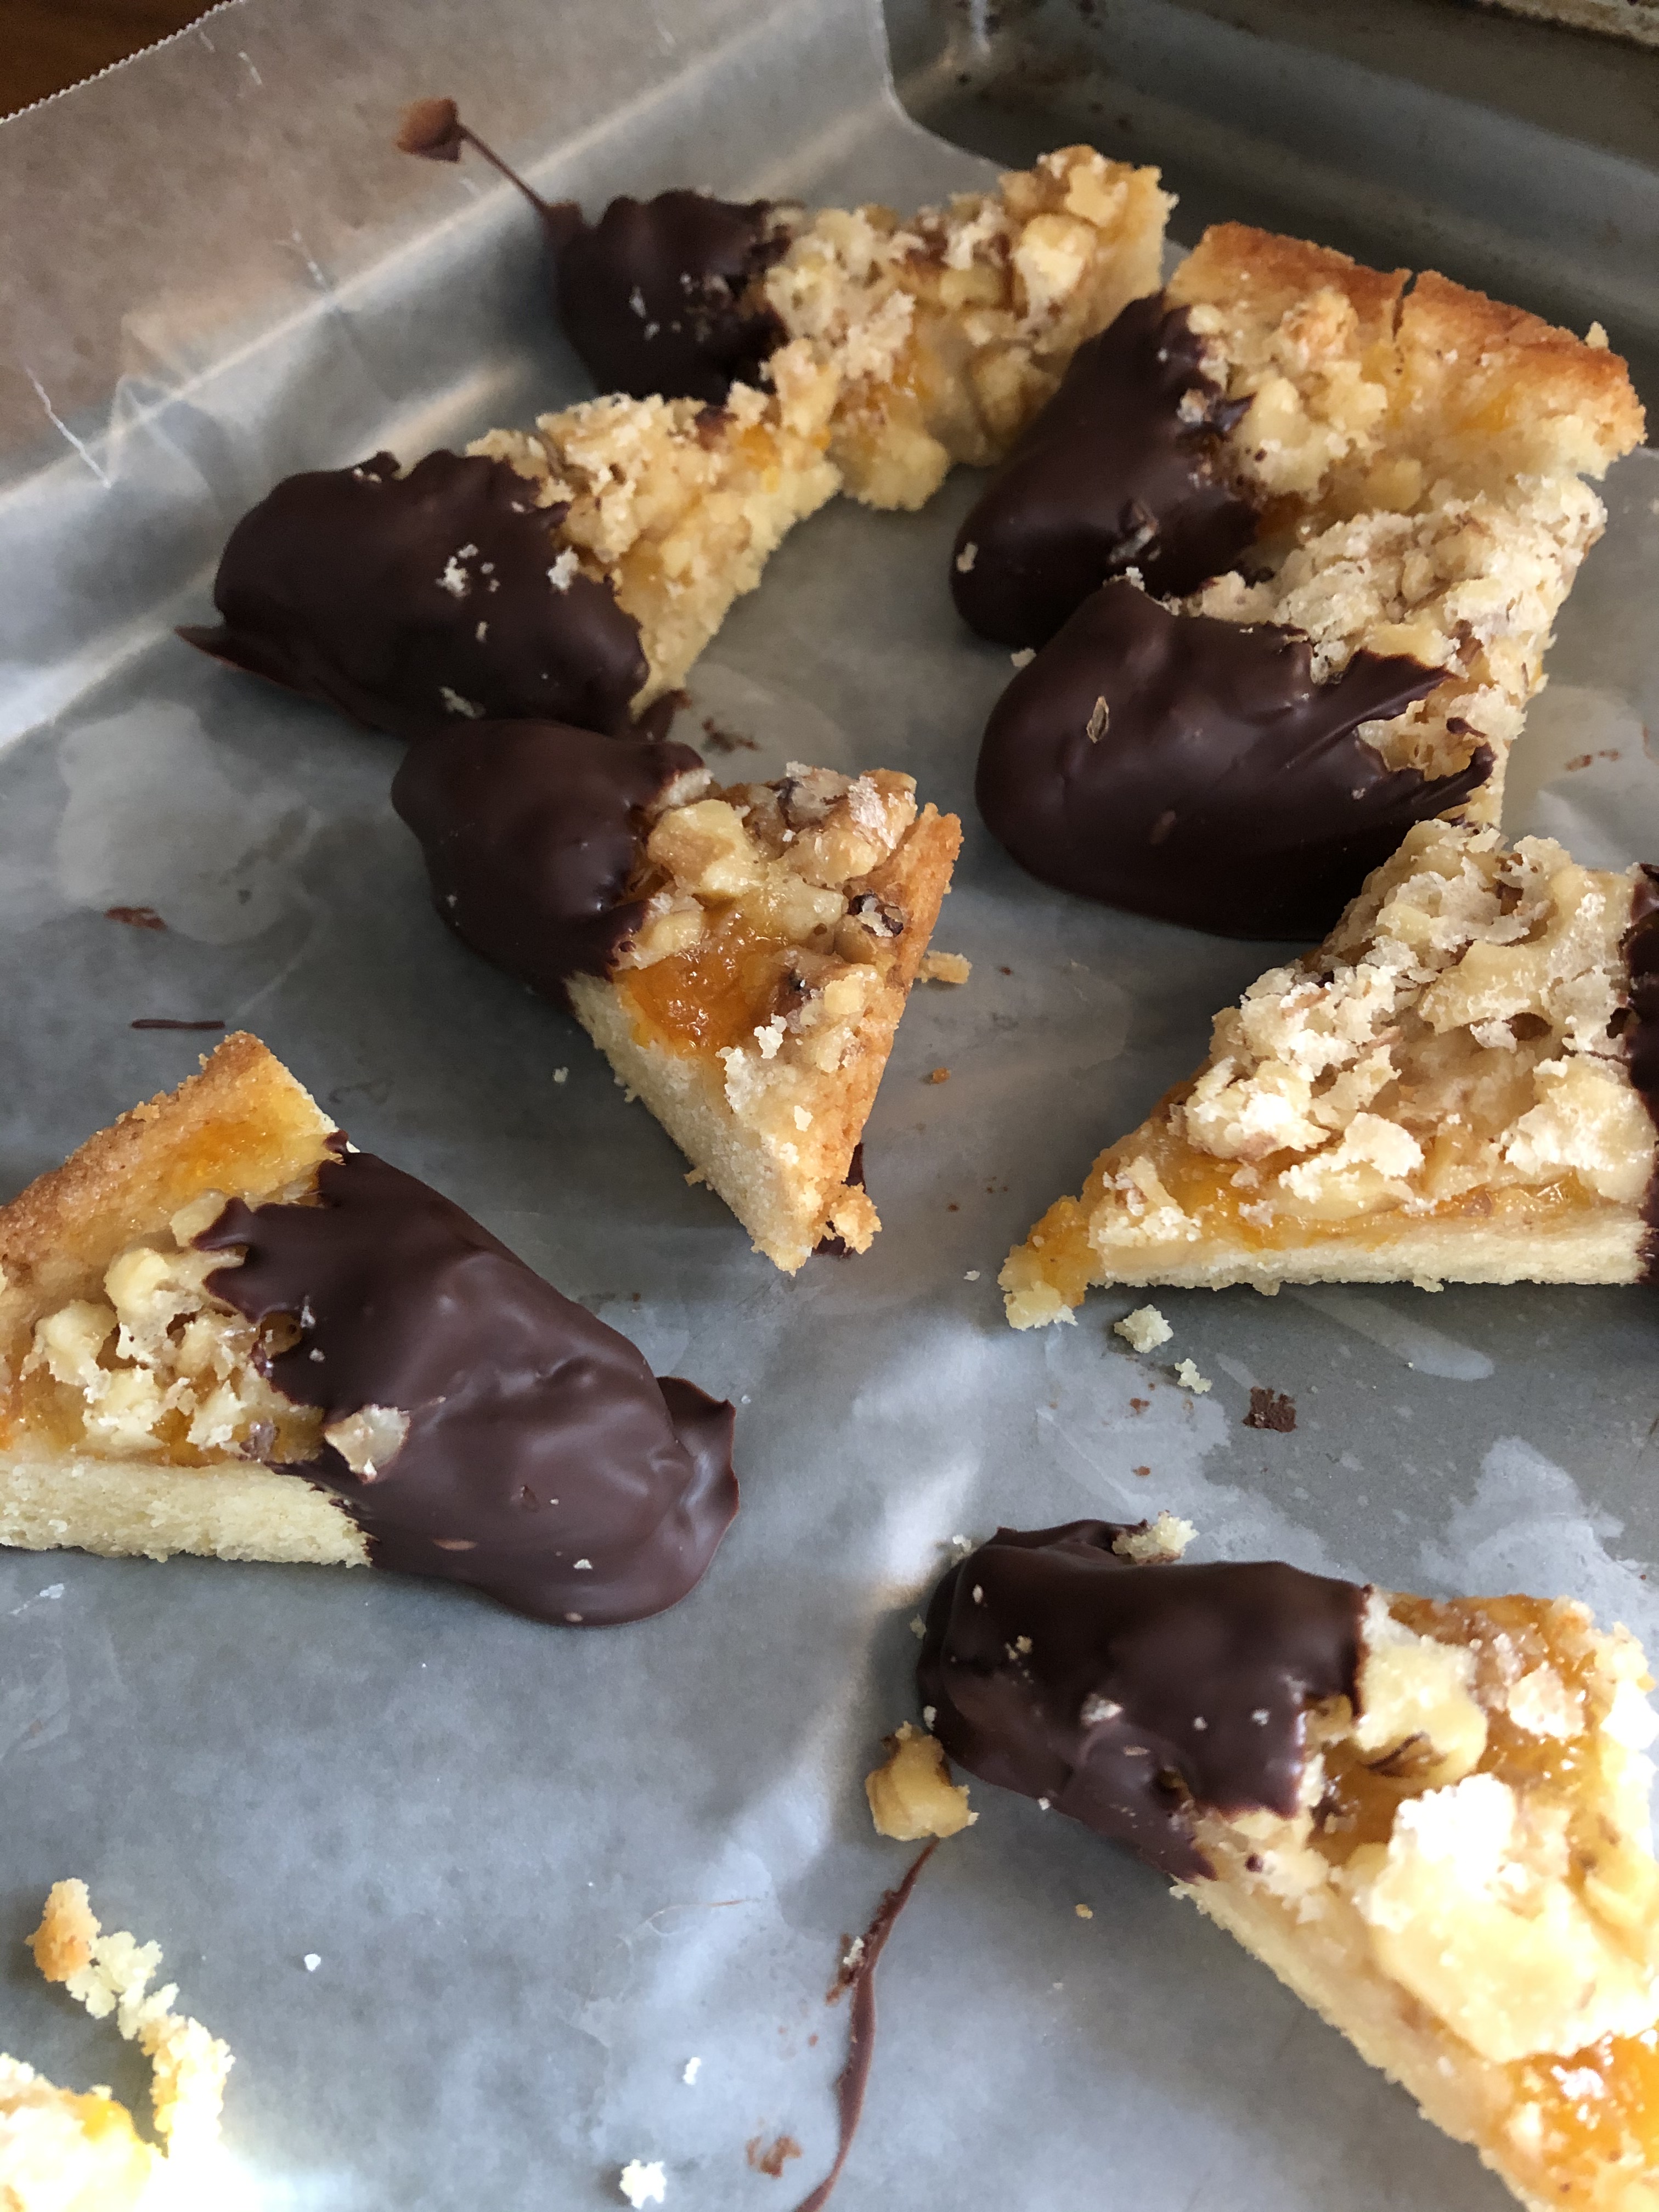
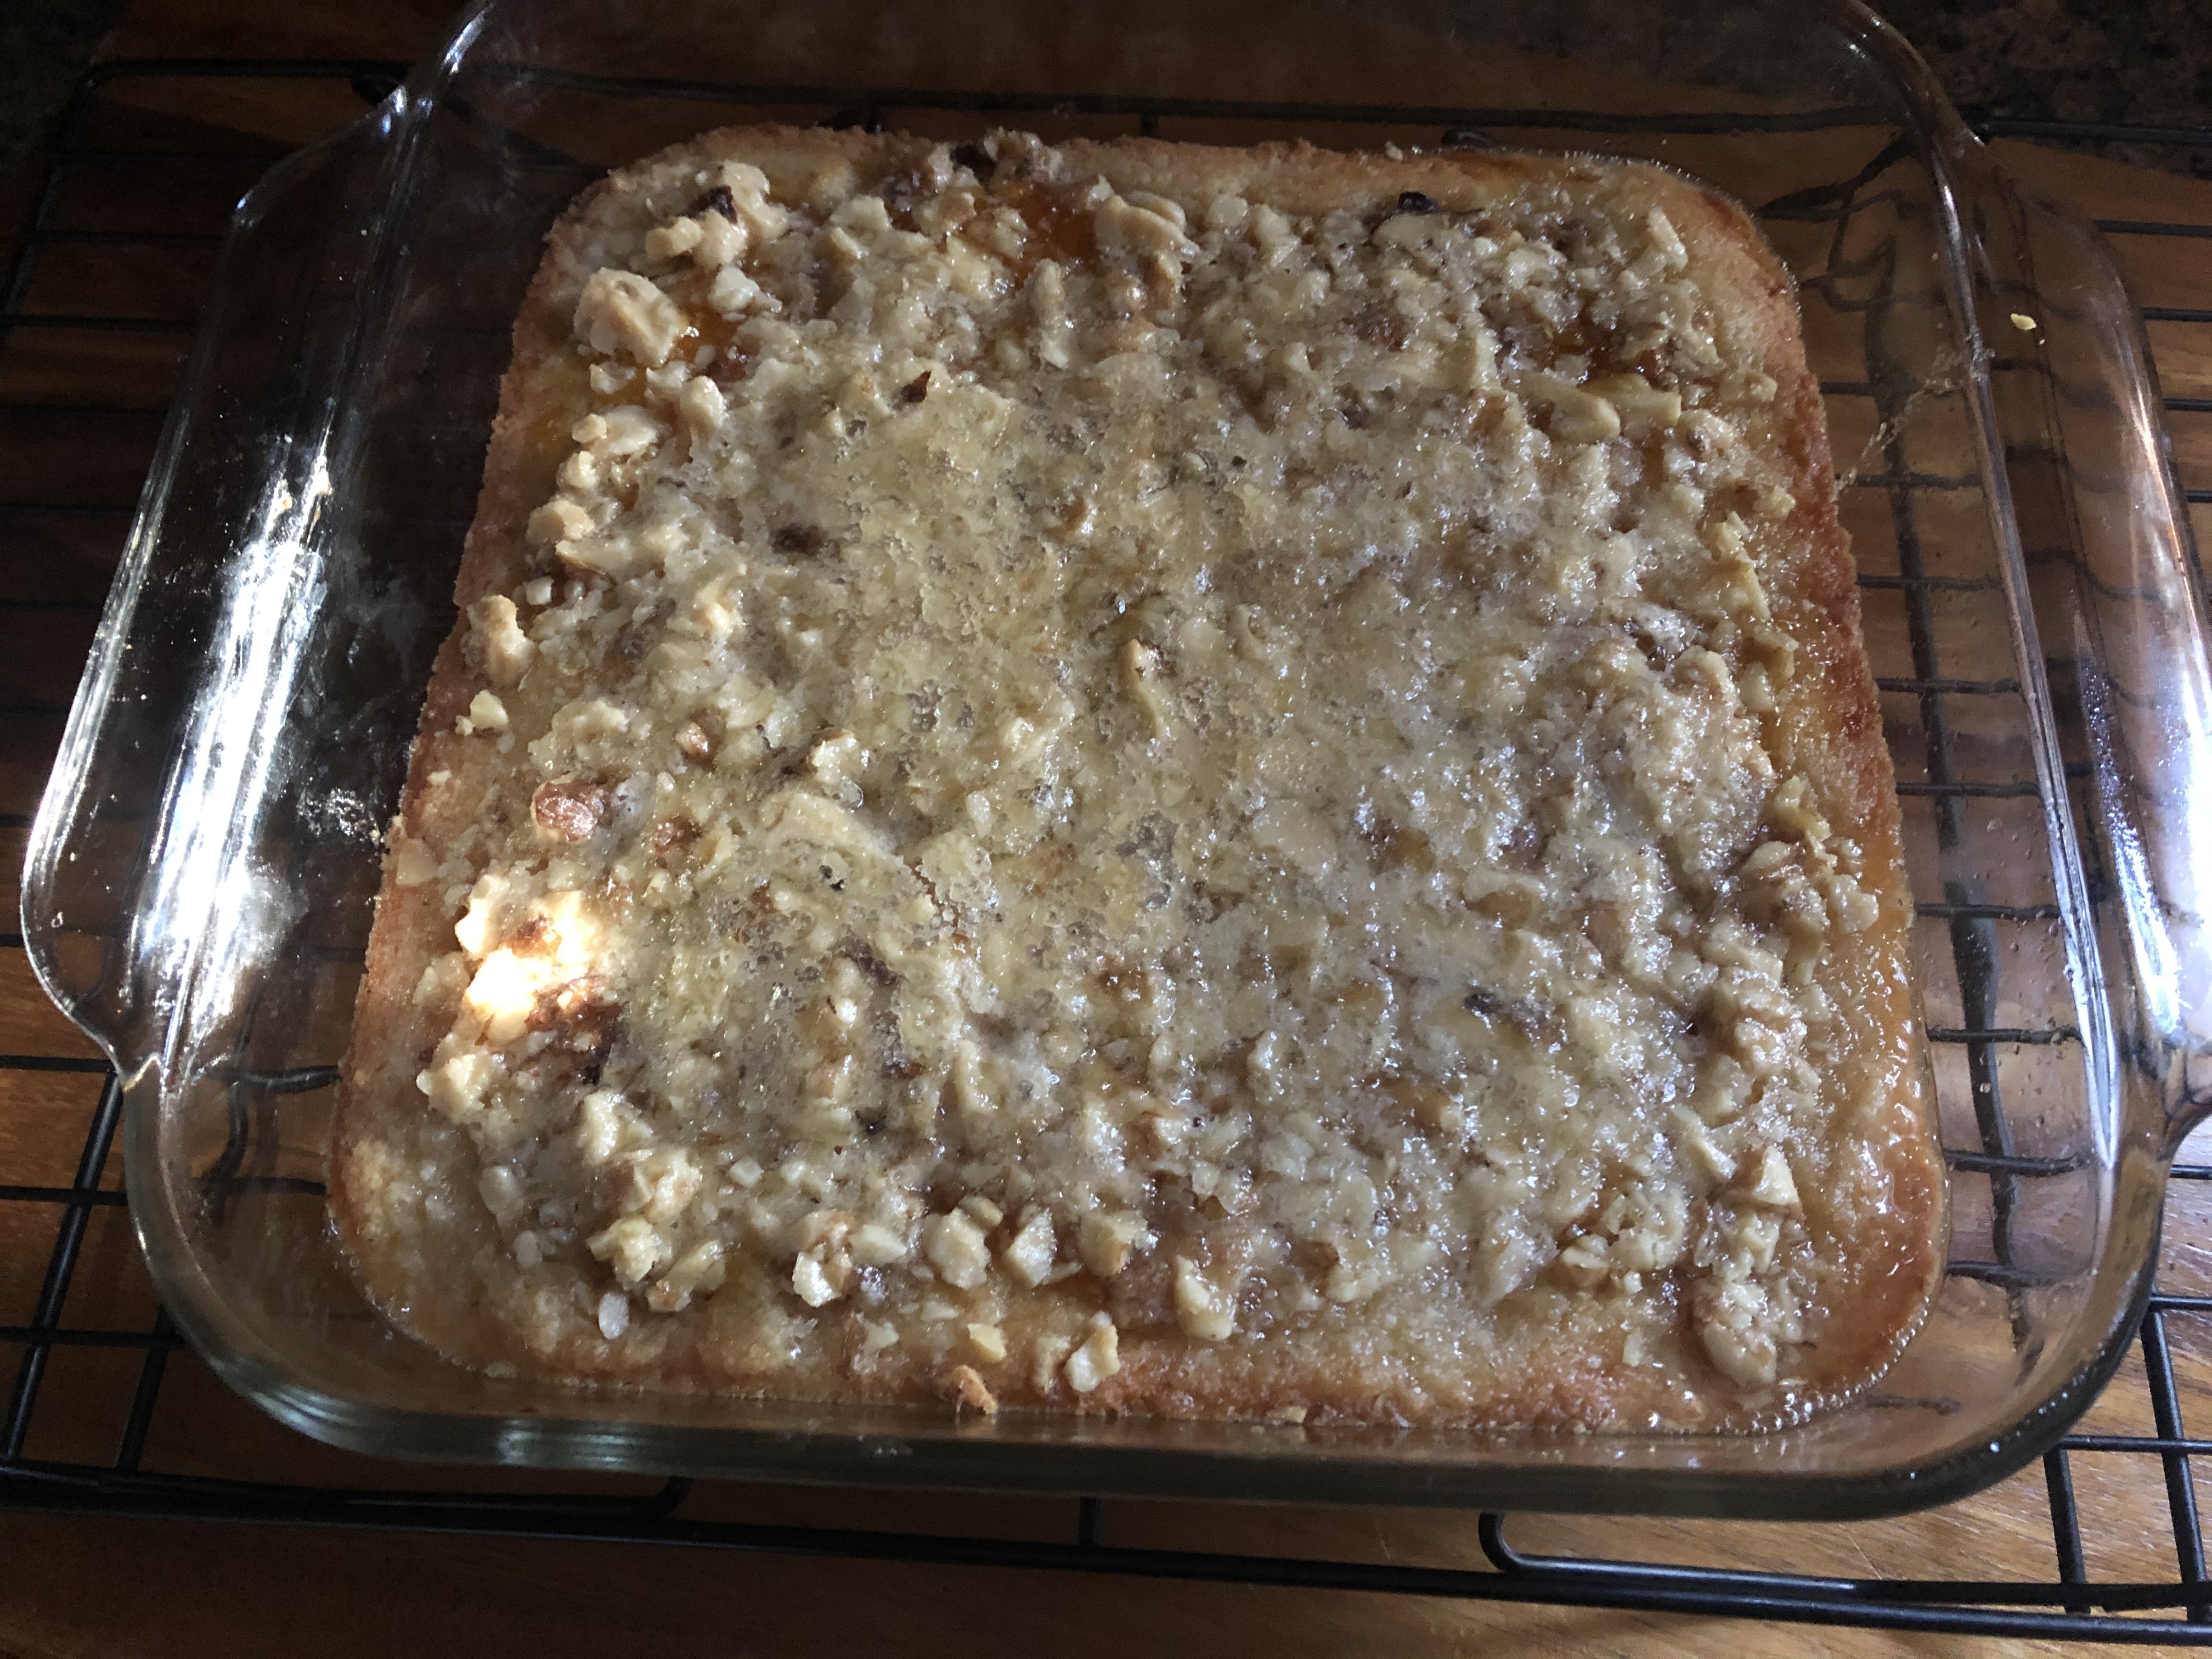
I baked it in a 350 F preheated oven until the edges began to brown and the center was set, about 35 minutes. After letting it cool in the dish for about a half hour on a wire rack, I cut the cookies into 4 equal parts and then removed it from the dish and cut each square into 4 2-inch squares and then cut those squares into triangles. I then placed them back on the wire rack to cool completely.

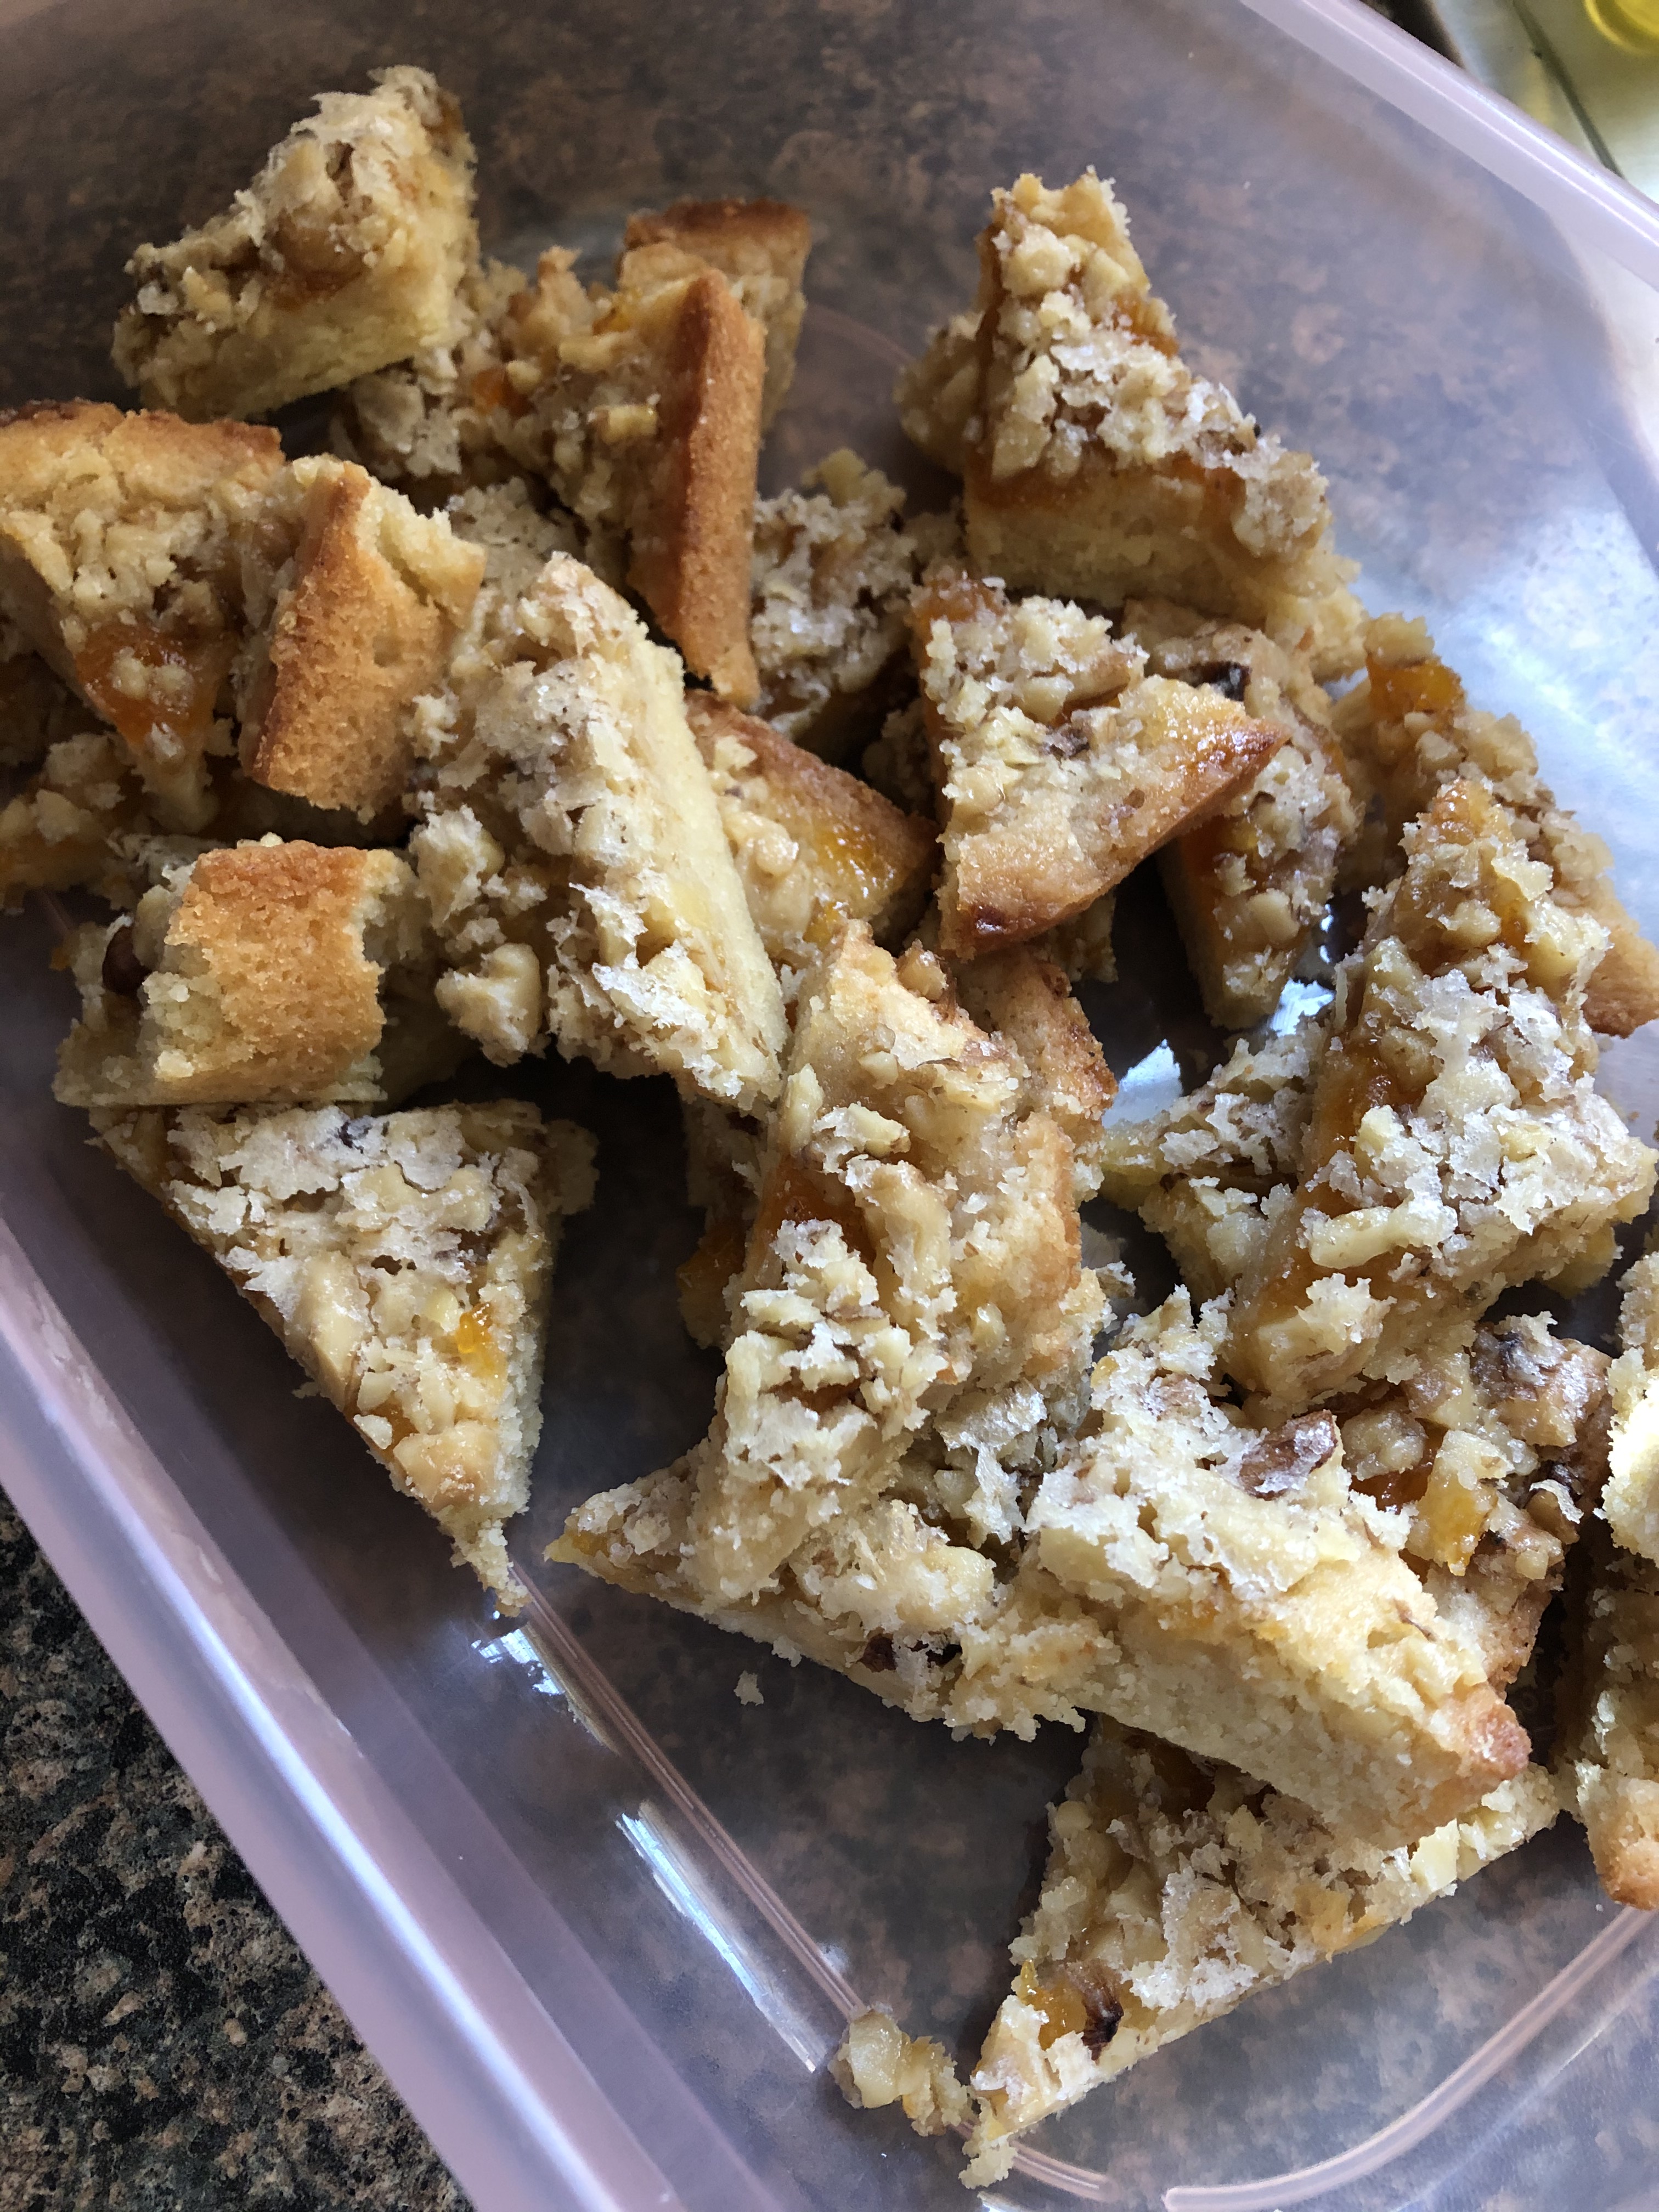
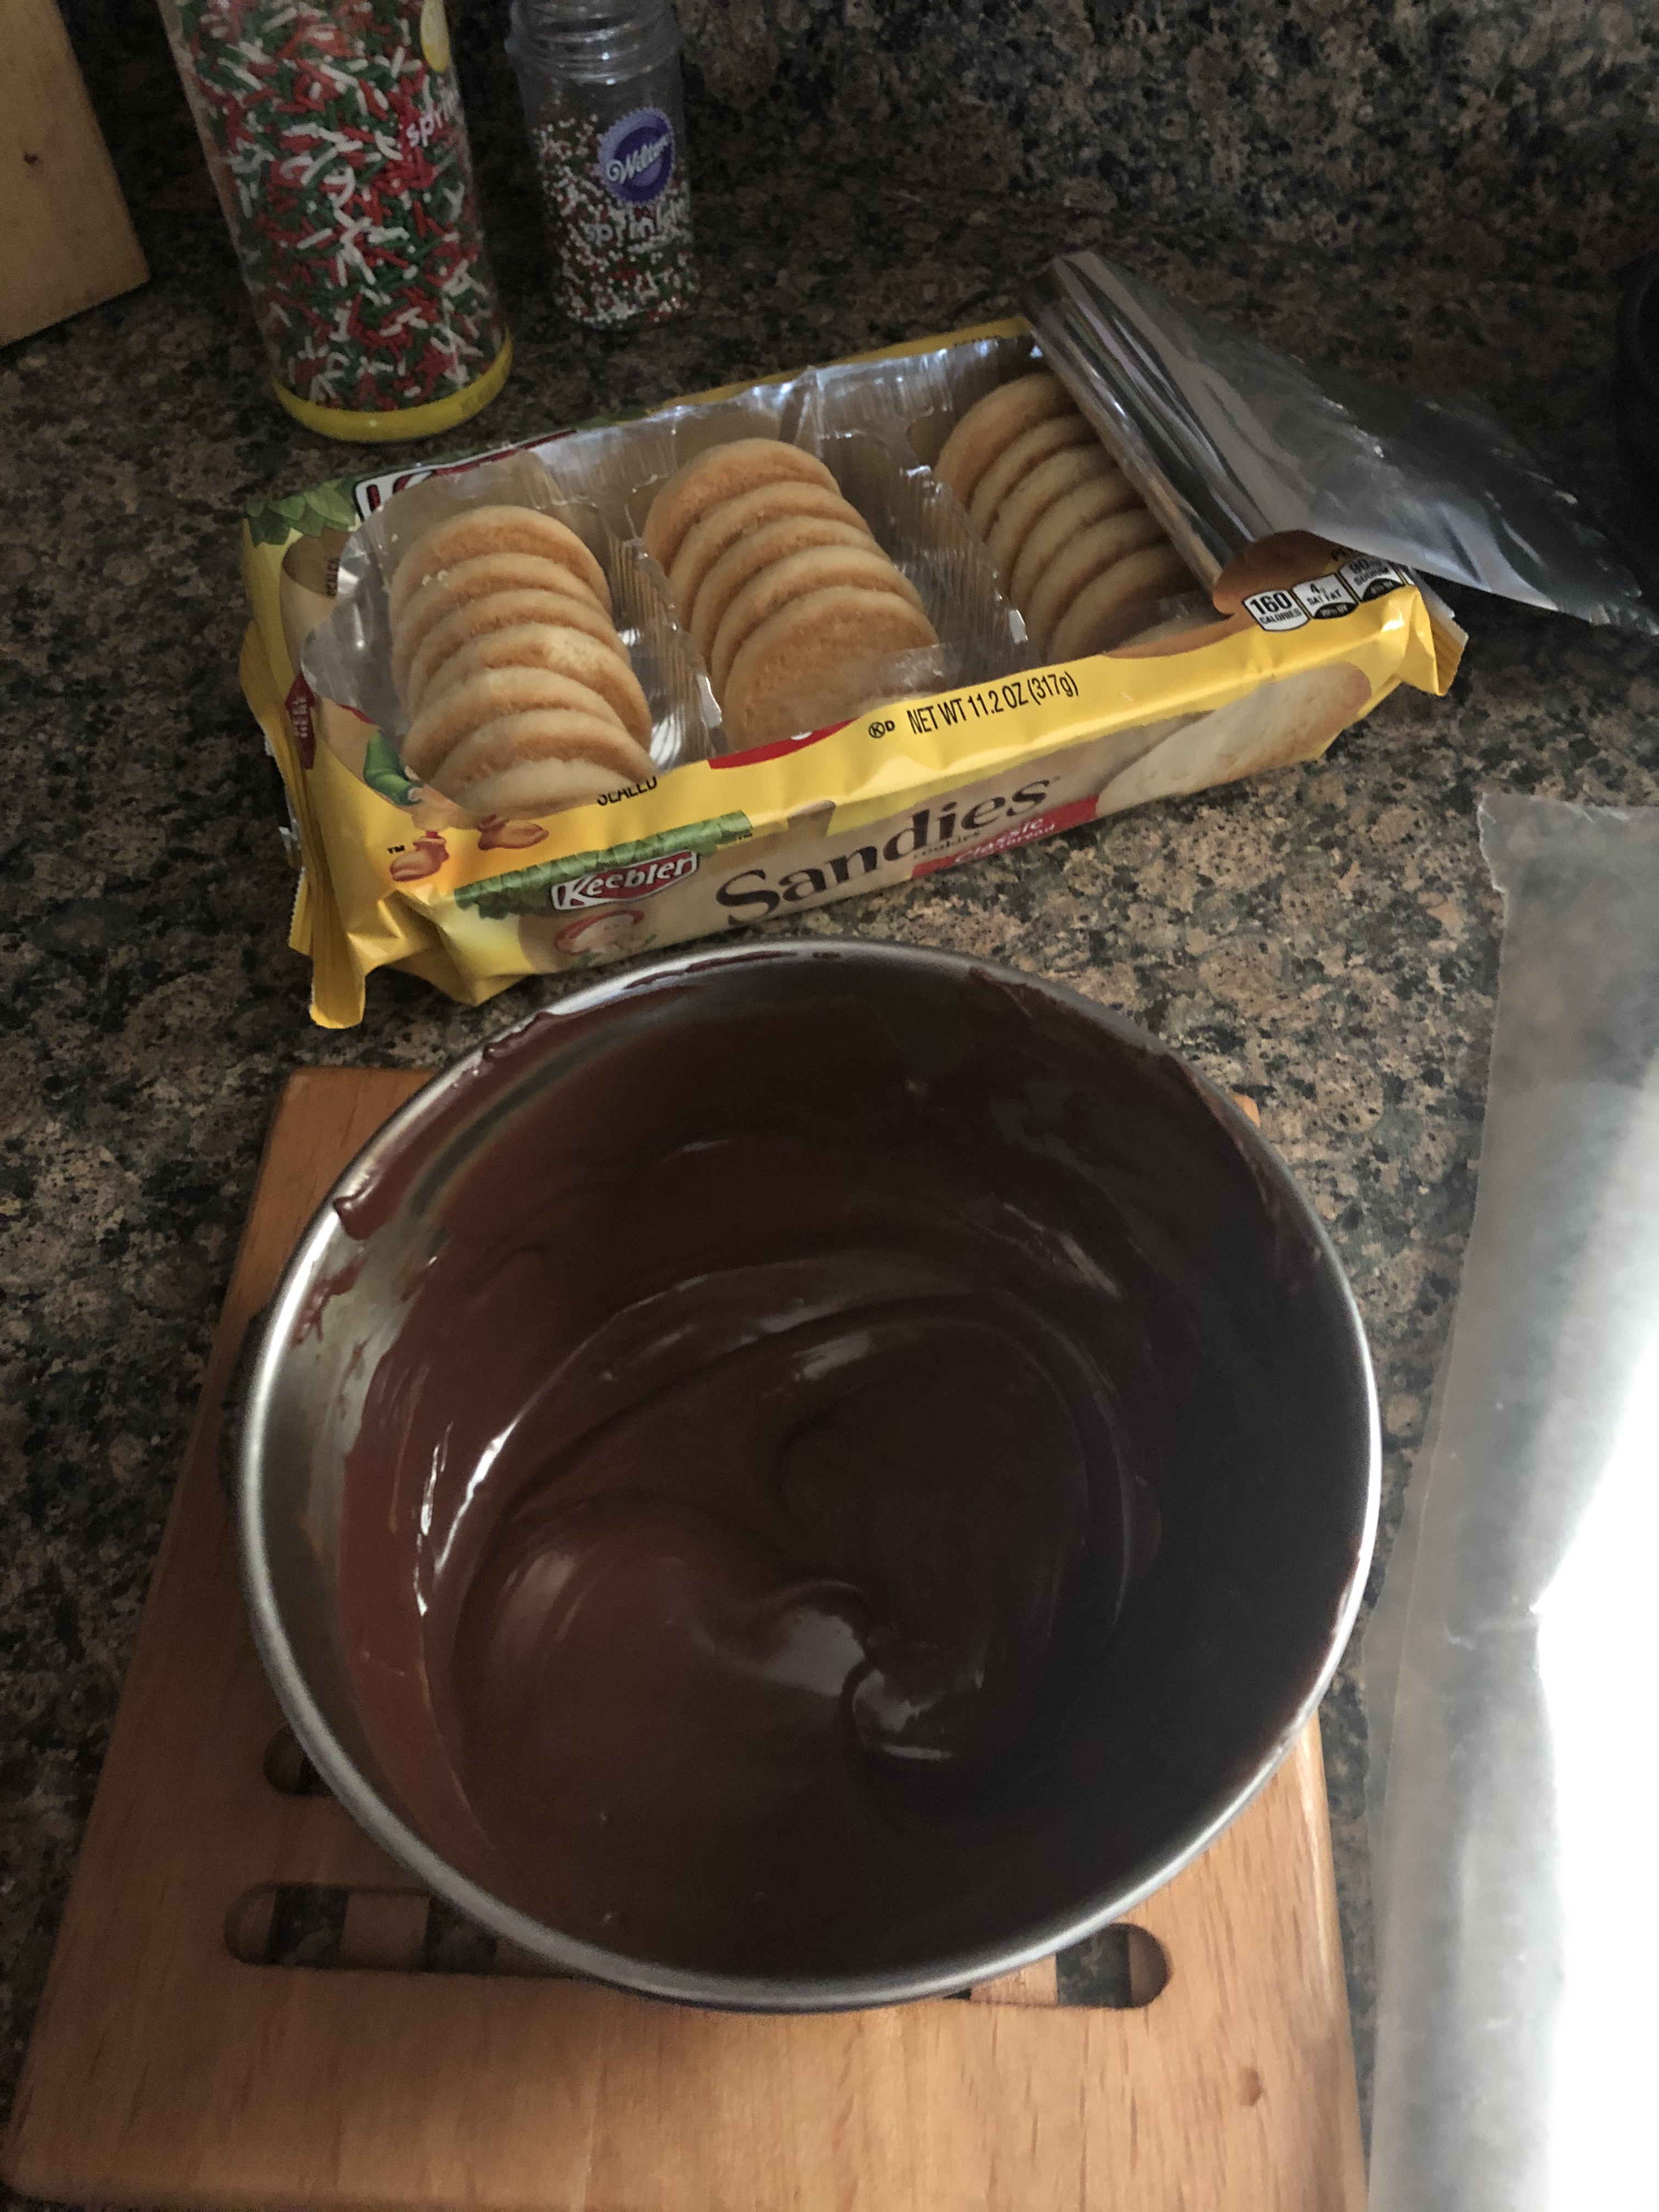
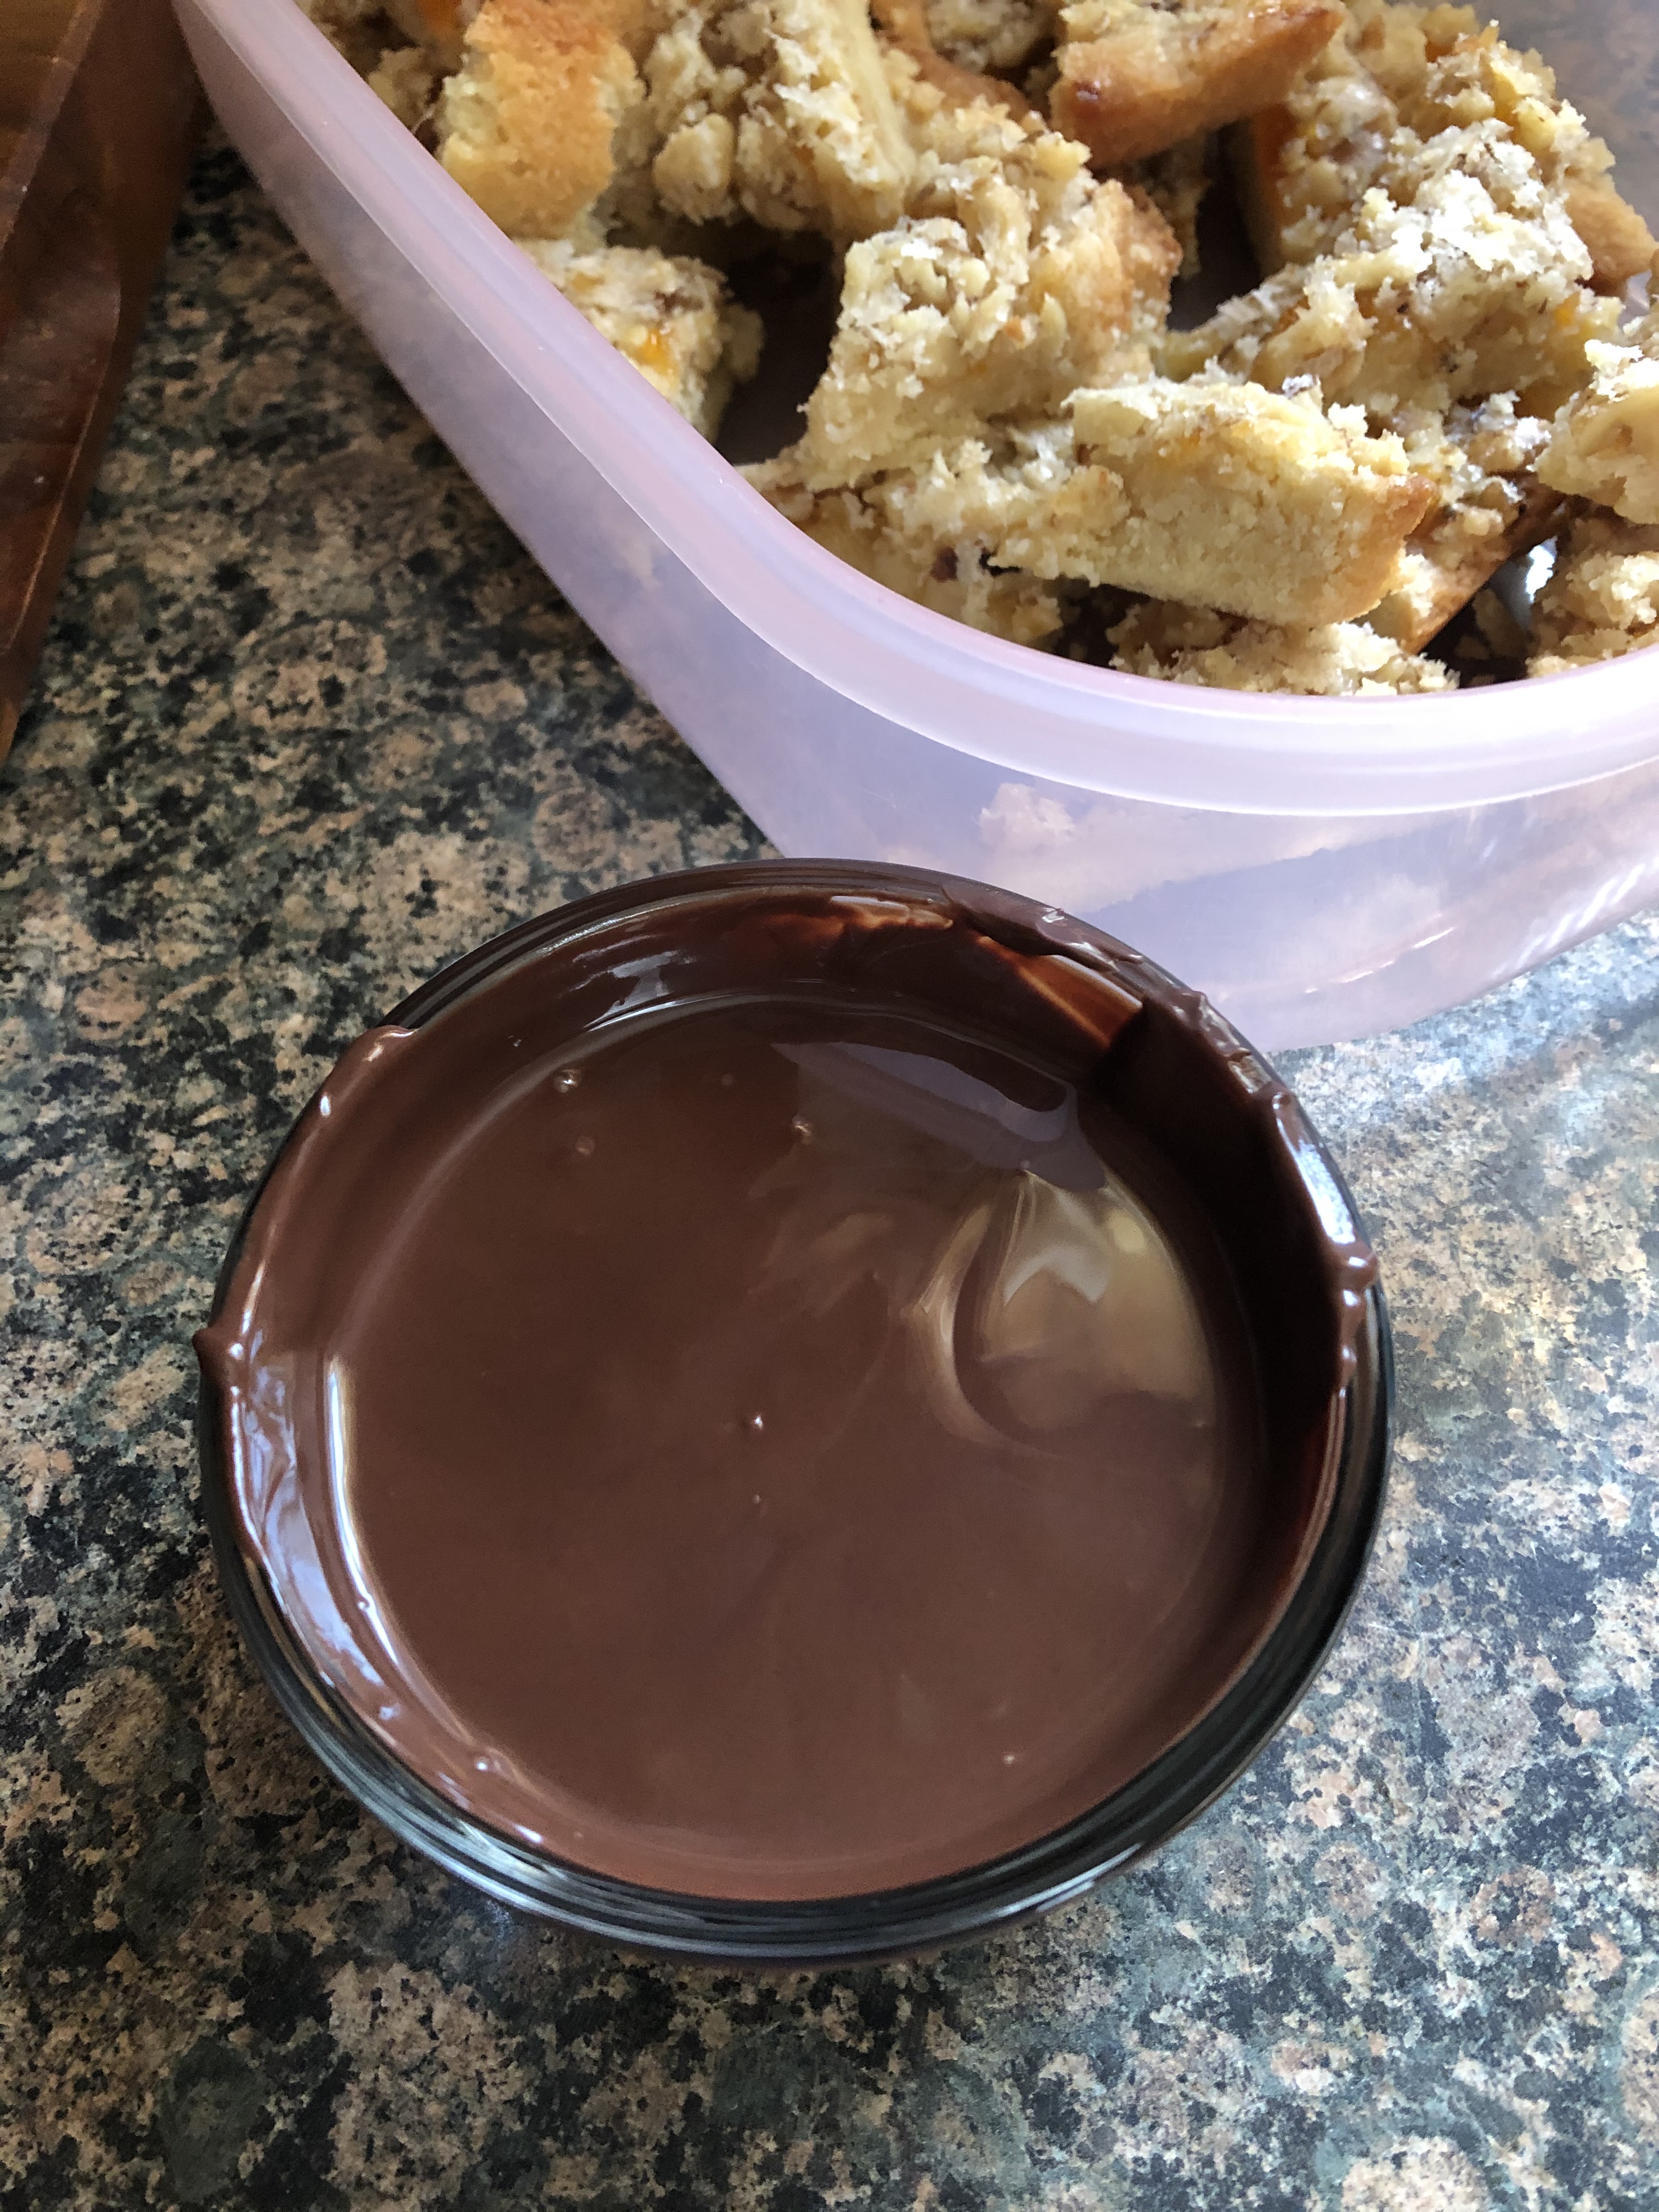
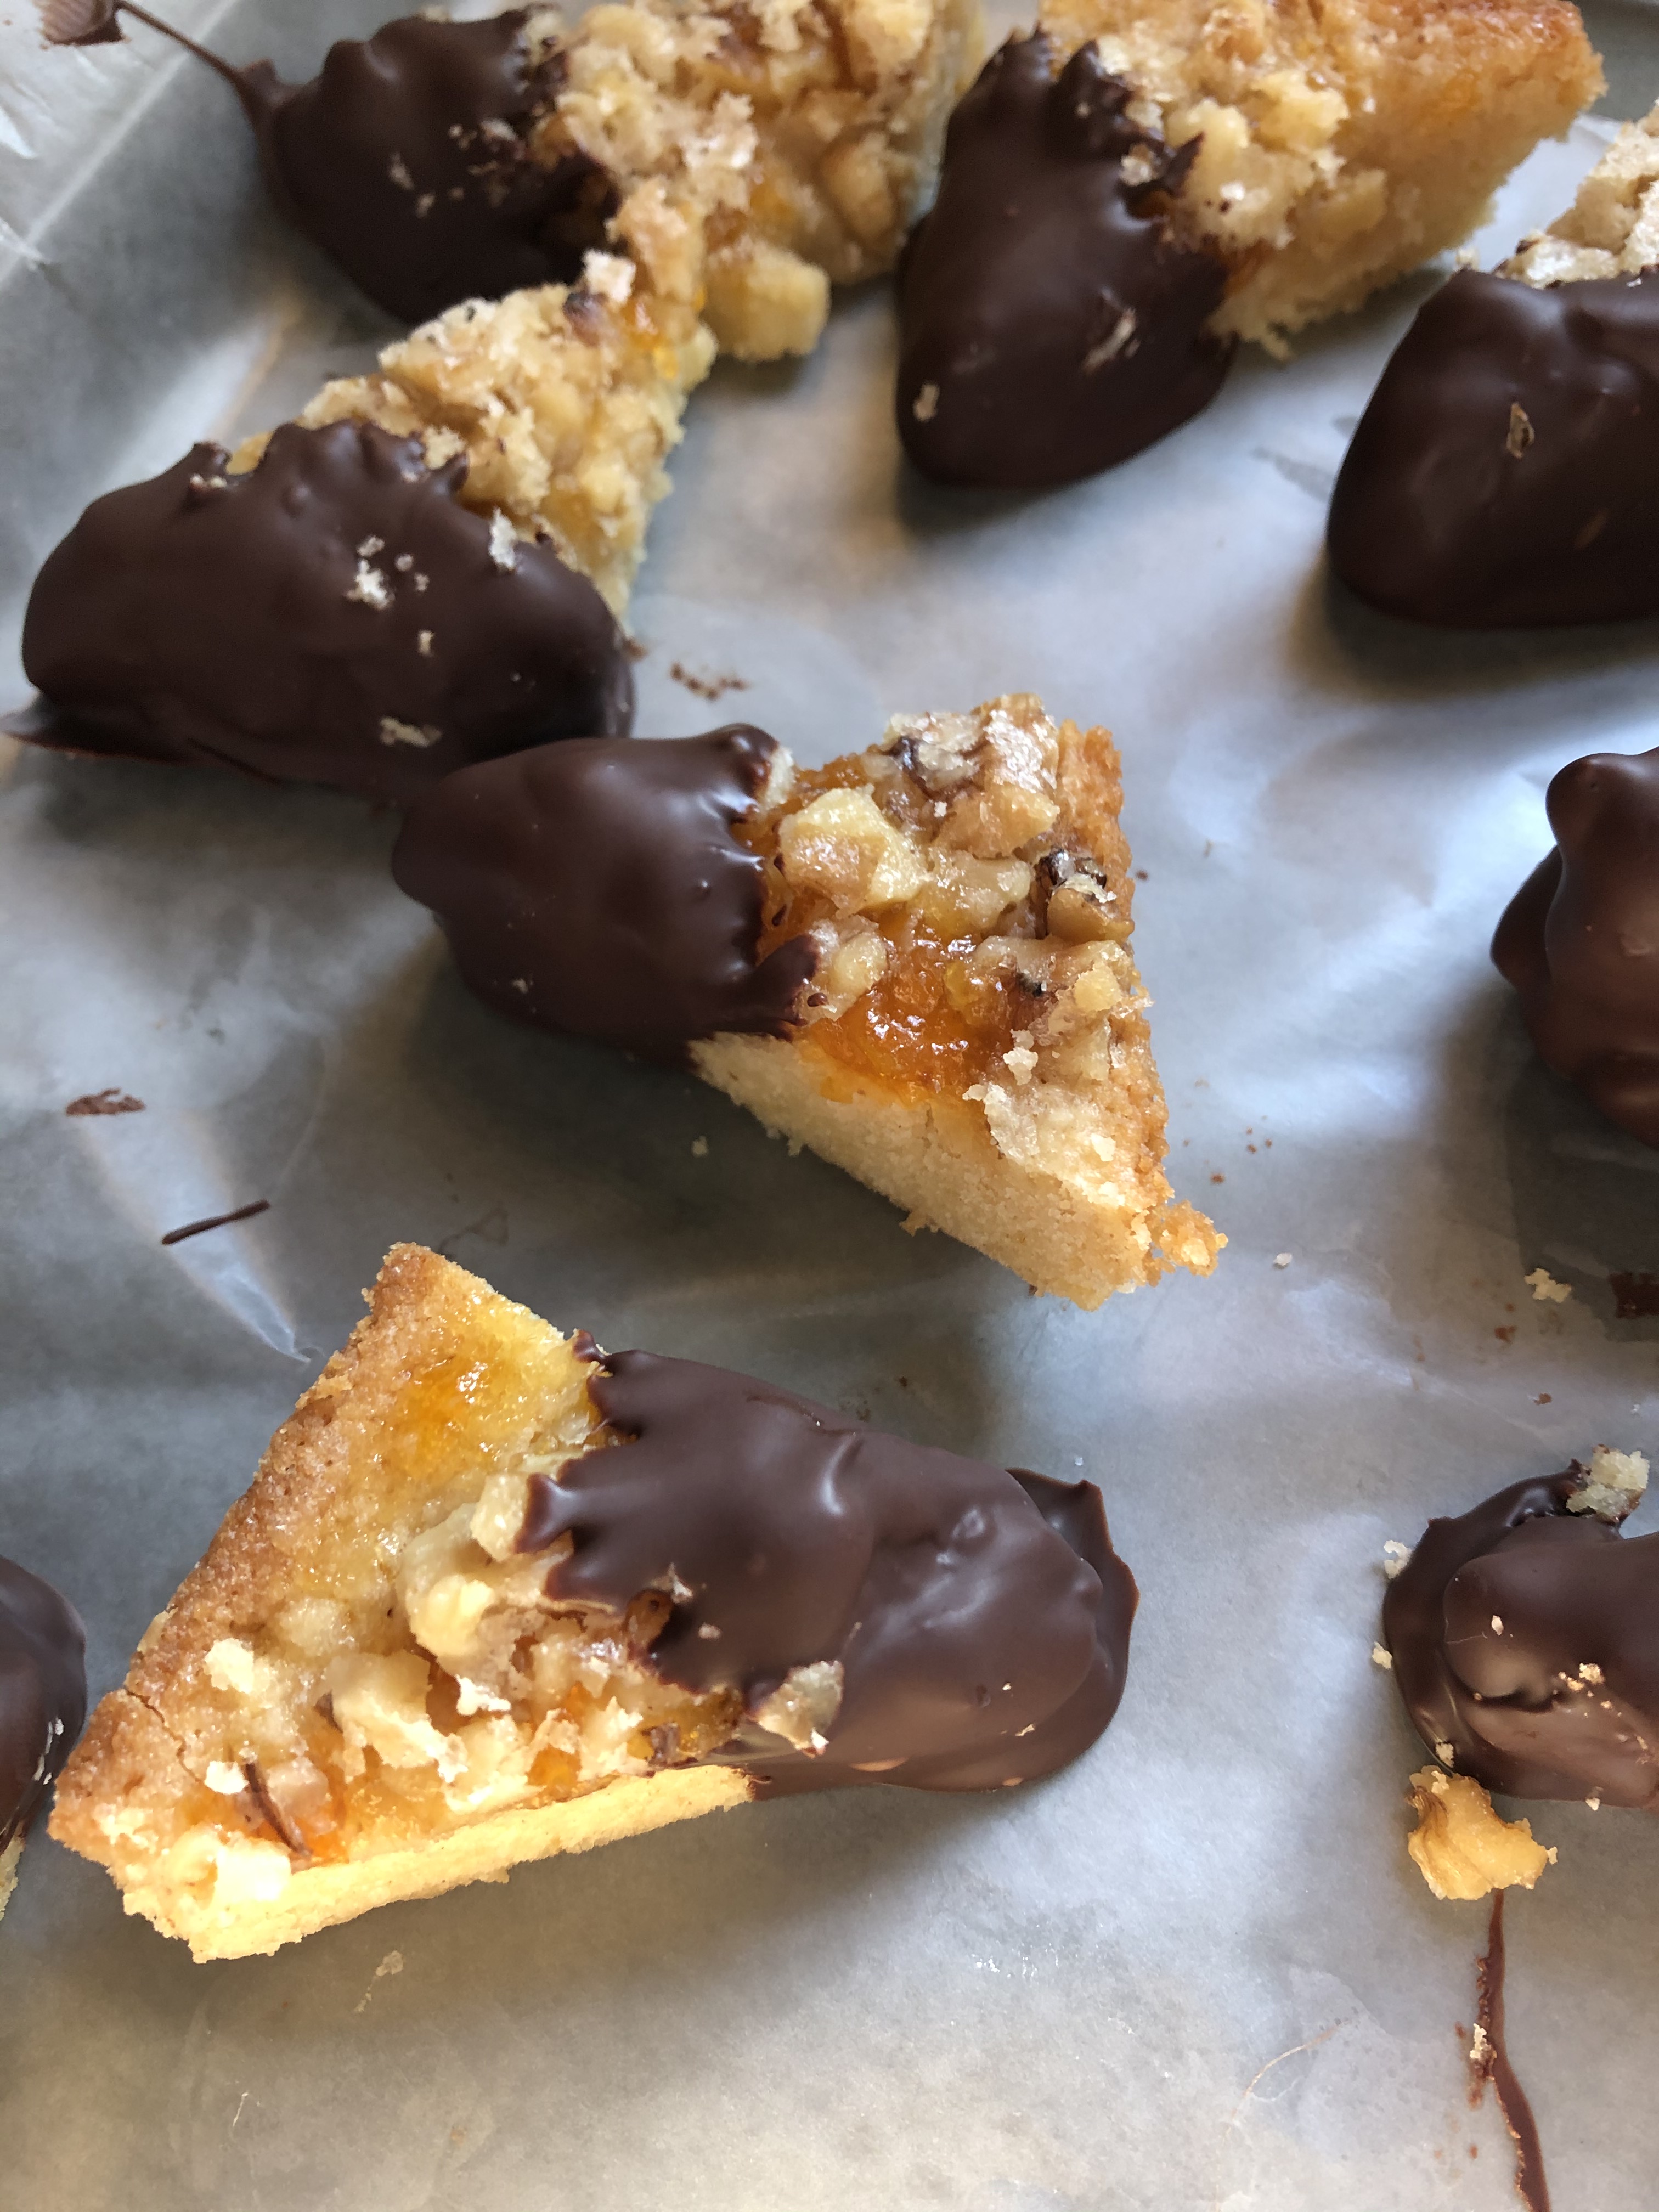
And to finish the cookie bars, once they were completely cooled, I melted a cup of dark chocolate chips in the microwave and dipped the corner of each cookie in the chocolate.

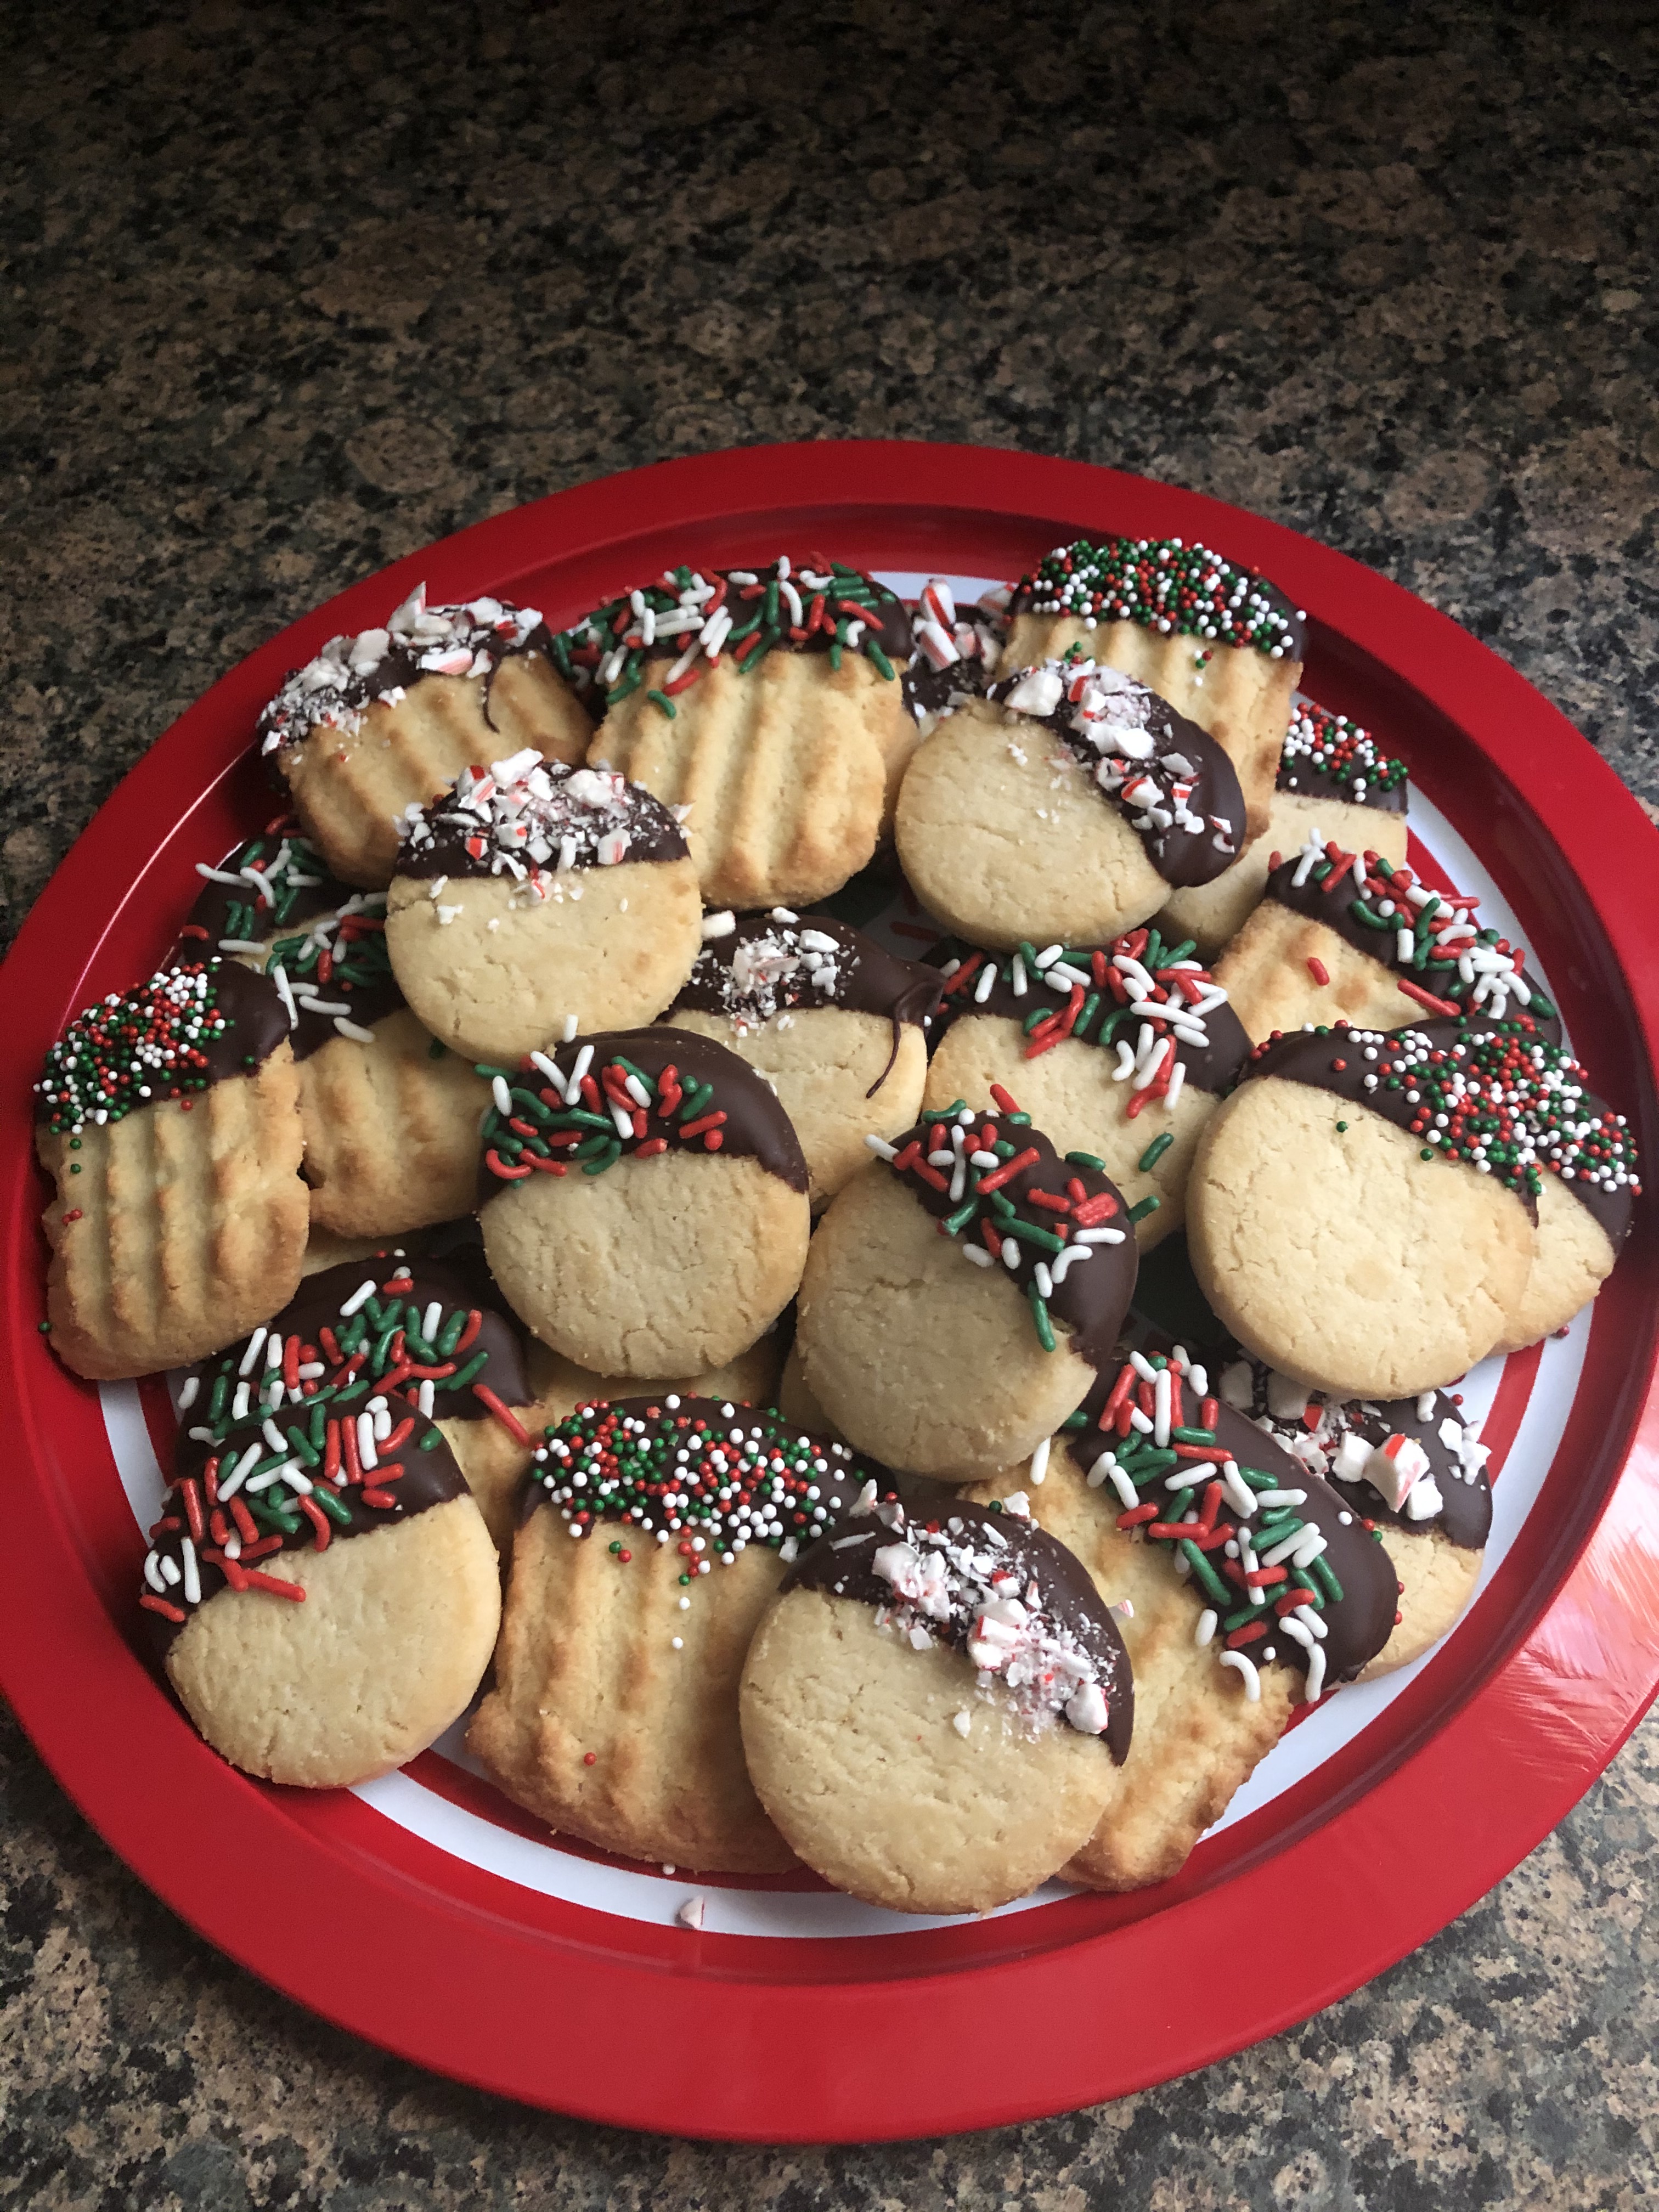
I placed them in the fridge for a few minutes so the chocolate could set and then it was time to enjoy. As I mentioned, the crust is reminiscent of a shortbread cookie and the topping that of the filling for rugelach. With a combination like that you can’t go wrong! What’s also nice about these cookie bars is that the flavors can be switched around just by using a different jams/preserves and/or nut. To make these extra festive for the holidays you could swap out the apricot preserves with raspberry jam and use white chocolate in lieu of the dark chocolate.

Apricot Walnut Triangles

  • Servings: 32 Triangles
  • Print

Ingredients:

1/3 cup unsalted butter, at room temperature

1 cup sugar, divided

1 large egg

1 teaspoon vanilla extract

1 1/4 cups flour

1/2 teaspoon baking powder

3 tablespoons apricot preserves

1/3 cup butter, melted

2 tablespoons water

3/4 cup finely chopped walnuts

1/2 cup dark chocolate chips


Directions:

Preheat the oven to 350 F. Spray an 8-inch square pan with baking spray, or, grease with butter. Set aside.

In a bowl, using a handheld mixer, cream together the room temperature butter and 1/2 cup of the sugar until light and fluffy. Beat in the egg and vanilla extract. In another bowl whisk together the flour and baking powder and gradually beat it into the butter mixture. Once the dough has formed, press it into the prepared 8-inch square pan.

Spread the preserves over the dough. In a small bowl mix the melted butter with the water and remaining sugar. Stir in the walnuts and then spread the mixture over the preserves.

Bake in the preheated oven for 30 – 35 minutes or until the edges are golden brown and the center is set.

Cool for 30 minutes on a wire rack and then cut into sixteen 2-inch square and then cut each square in half to create triangles. Remove from the pan to a wire rack to cool completely.

Place a piece of wax paper on a baking sheet. Melt the chocolate chips in a microwave safe bowl in 30 second intervals, stirring between each. Once melted dip the corner of each triangle into the chocolate and then place on the prepared baking to set. If you find that the chocolate is not setting place in the refrigerator for 10-15 minutes.

Store in an airtight container.

Recipe from Taste of Home

Passion Fruit Pie

Happy Pi Day! That wonderful day on the calendar, 3/14, were we celebrate the irrational number Pi. Irrational because it cannot be expressed exactly as a simple fraction and therefore is an infinite decimal. What it is exactly though is the ratio of a circle’s circumference to its diameter, and regardless of the size of the circle, it will always be the same number. So, due to this fun math themed day I bring you a new recipe for pie. I am always stumped to come up with a new pie recipe for today. When I start searching for a recipe most of the ones I come across are some sort of variation of an apple or pumpkin pie. Both of which I prefer baking during the Fall months. And of course there are the berry pies, but, I think those are better in the summer months when berries are in season. So I run out of options quickly. This year I started to think about pies I’ve made and flavors that I haven’t come across and I thought to myself what about a Passion Fruit Pie.

I decided to follow the recipe for my go-to Key Lime Pie but switch out the key lime juice for passion fruit pulp. I purchased frozen passion fruit pulp and let it defrost in my refrigerator overnight. I also switched up the crust I use. Normally I make Key Lime Pie with a store bought graham cracker crust, but for this pie I decided to make a shortbread cookie crust. And that was my first step in making this pie.

Using my food processor I pulsed shortbread cookies, I used Keebler Sandies Classic Shortbread Cookies, into fine crumbs and then combined the crumbs with melted unsalted butter. Next, I pressed the crumbs into the bottom and along the sides of a 9-inch pie plate. After baking it in a preheated 350 F oven for 10 minutes I let it cool while I made the filling. While baking the crust beforehand isn’t completely necessary I decided to do so so that the crust would be firmer once the pie was done. This would minimize the chances of it crumbling when cutting a piece of the pie.

In a large bowl, using a handheld mixer, I beat egg yolks until they were light and fluffy. I continued beating the eggs while gradually adding in sweetened condensed milk. And finally, I added in the defrosted passion fruit pulp. Once the mixture was combined I poured it into the shortbread cookie crust and returned the dish to the oven for an additional 20 minutes. When done, the pie filling will be set.

I let the pie cool completely on a wire rack before transferring it to the refrigerator to chill before serving.

Before serving I whipped up a small batch of homemade whipped cream and decorated the top of the pie. To create the swirls I used a Wilton 6B piping tip.

This pie was delicious… It was the perfect texture and a wonderful combination of sweet and tart! And yes, pre-baking the crust did help in preventing it from falling apart when slicing into the pie.

Passion Fruit Pie

Ingredients:

For the crust:

1 3/4 cups shortbread cookie crumbs*

6 tablespoons unsalted butter, melted

For the filling:

4 egg yolks

14oz. can condensed milk

1/2 cup passion fruit pulp**

Whipped cream for decorating and/or serving


* I used about 15 Keebler Sandies Classic Shortbread Cookies. You could also purchase a 9-inch shortbread pie crust. If using a store bought pie crust there is no need to pre-bake it. Just fill it with the pie filling and bake as directed below.

** I purchased a frozen 14oz. package from Goya and left it in the refrigerator overnight to defrost.


Directions:

Preheat the oven to 350 F.

Combine the shortbread cookie crumbs and the butter in a medium bowl and mix them together. Once mixed, transfer to a 9-inch pie plate and press the crumbs in an even layer along the bottom and sides of the dish. Bake in the preheated oven for 10 minutes. Remove from the oven and set aside.

While the crust is cooling make the filling. In a large bowl, using a handheld mixer on medium, beat the egg yolks until they are light and fluffy. Gradually add in the condensed milk and continue beating until combined. Finally, add in the passion fruit pulp and continue beating until combined.

Pour the filling into the pie crust and bake for 20 minutes. The filling will be set.

Transfer to a wire rack to cool completely and then refrigerate for a few hours before serving and/or decorating with whipped cream.


Whipped Cream

  • Servings: About 2 cups
  • Print

Ingredients:

1 cup heavy cream

2 tablespoons confectioners’ sugar

1 teaspoon vanilla extract


Directions:

In a medium bowl combine the heavy cream and confectioners’ sugar and beat with a handheld mixer until soft peaks form. Add in the vanilla extract and continue beating until stiff peaks form. Refrigerate until ready to use.


Cookie Palooza: Chocolate Dipped Shortbread Cookies

I hope you have enjoyed this year’s Cookie Palooza cookies. Today I am bringing you a no bake option for those of you who are not fond of baking, just don’t have the time, just don’t want to but have somehow got roped into “baking” something and everyone else in between. It’s a shortbread cookie dipped in chocolate and then sprinkled with either jimmies, nonpareils or crushed candy canes.

I opted to use two different types of shortbread cookies… Pepperidge Farm’s Shortbread cookies (which I had some trouble finding, I am wondering if they are only available around the holidays) and Keebler’s Sandies Classic Shortbread Cookies (I found these in the cookie aisle at my local supermarket.

I melted 8 ounces of semi-sweet chocolate using the double boiler method (fill a pot with a few inches of water and then place it on the stove over medium heat, place a bowl over the water making sure the bottom of the bowl doesn’t touch the bottom of the pot, and then fill the bowl with the chocolate) I normally melt my chocolate in the microwave, but, have decided to switch back to doing it on the stove since there is less of a risk of burning the chocolate and truthfully it works just as quick. Once the chocolate had melted I stirred in a tablespoon of shortening to keep it smooth.

To prep my workspace I placed the melted chocolate on a trivet, poured the sprinkles and crushed candy canes into small bowls and lined two large cookie sheet with wax paper. And then I was ready to start dipping.

I dipped half of each cookie into the melted chocolate then placed it on the prepared cookie sheet and then topped it with either the sprinkles or the candy. Once the sheet was full I placed it in the refrigerator for a few minutes so the chocolate could harden.

Once the chocolate was set I arranged the cookies on a platter. These would be the perfect addition to any dessert table, as a gift wrapped in cellophane, or just to snack on while you are getting your last minute decorations or wrapping done.

And while I went with sprinkles and crushed candy canes to decorate the cookies, you could also do chopped nuts, crushed pretzels, or drizzle the chocolate part with more chocolate in another color.

If you’re looking for more no-bake options click on the links for the cookies below…

Peppermint Chocolate Cookies

Cannoli Wafer Sandwich Cookie 

Hope you have enjoyed this year’s Cookie Palooza. Happy Baking!

Chocolate Dipped Shortbread Cookies

  • Servings: 30 cookies
  • Print

Ingredients:

8 oz. semi-sweet chocolate*

1 tbsp. shortening

Shortbread Cookies**

Assorted toppings: sprinkles, crushed candy canes, chopped nuts, crushed pretzels


*You can use baking bars or chocolate chips, I used a combination of both

**I used 1 package of of Keebler’s Sandies Shortbread Cookies (about 20 cookies) & 1 package of Pepperidge Farm Shortbread Cookies (12 cookies)


Directions:

Line two large baking sheets with wax paper and set aside.

Pour your toppings into individual small bowls to make them easily accessible.

Melt the chocolate using your preferred method. If using a double boiler stir the chocolate as it melts from the bottom. If using the microwave, microwave the chocolate in 15 second intervals until melted, stirring between each. Once melted add in the shortening and stir to incorporate.

Dip half of each cookie in the melted chocolate then place on the prepared baking sheet and sprinkle with your desired topping. Place the cookies in the refrigerator for 15-20 minutes until the chocolate is firm. Enjoy!

Cookie Palooza: Dulce De Leche Thumbprint Cookies

Cookie Palooza continues today with these Dulce De Leche Thumbprint Cookies. Thumbprint cookies offer a delicious double-punch… The cookie itself is great and the filling adds additional flavor to it. Not a fan of dulce de leche, try these with your favorite jam or a chocolate filling.

Dulce De Leche Thumbprint Cookies

  • Servings: 36 cookies
  • Print

Ingredients:

1 cup (2 sticks) unsalted butter, at room temperature

2/3 cup granulated sugar

1 large egg yolk

1 teaspoon vanilla extract

2 1/4 cups all-purpose flour

1/2 teaspoon kosher salt

6 oz. dulce de leche


Directions:

Preheat the oven to 375 F. Line two baking sheets with parchment paper.

Beat together the butter and sugar until light and fluffy, on medium-high speed. Beat in the egg yolk and vanilla extract. Add in the flour and salt and mix until well-blended and dough comes together in a ball.

Form the dough into 1-inch balls and arrange on the prepared baking sheet. Flatten the balls with the palm of your hand and then using a 1/2 teaspoon or your thumb make an indentation in the center of each cookie. Bake for 8 to 10 minutes.

Remove the pan from the oven and gently press the indentation once again to redefine it. Fill each indentation with about 1/2 teaspoon of dulce de leche and return to the oven for 3 minutes. Transfer the cookies to a wire rack to cool completely.

Recipe from Love and Olive Oil


Raspberry Almond Shortbread Thumbprints

There are some recipes you see that you know that you must instantly try… As was the case when I got a recipe in my inbox last week from Land O’ Lakes for a Raspberry Almond Shortbread Thumbprint cookie. I pretty much love any pastry / baked item that involves almonds and then when you throw raspberry into the mix you are definitely in for something pretty delicious. Best of all, not only are these cookies amazing, but, they are simple to make and add a festive to look to your holiday cookie platters.

I began by making the dough (obviously… LOL!)… I combined butter, sugar and almond extract in the bowl of my stand mixer and beat it at medium speed until it was well combined, scraping the bowl as necessary. On low speed I added in flour and continued beat the mixture until it was well combined. Once the dough had come together I covered and refrigerated it for an hour or until the dough was firm.

IMG_0070

Once it was firm, I rolled dough into 1-inch sized balls – I used approximately 1/2 tablespoon of dough for each ball.

IMG_0075

Then using the back of a 1/4 teaspoon (you could simply use your thumb as well, hence the name of the cookie) I made a small indentation into the center of each cookie and then filled them with raspberry jam.

IMG_0076

After refrigerating the cookies for about 10 minutes I baked them in a 350 F preheated oven for about 12-14 minutes, until the edges just began to brown. You don’t have to refrigerate the cookies prior to baking, but, I did so so that the dough could firm up again a bit so the cookies wouldn’t spread as much while baking. My cookies did spread some so I probably could have left them in the refrigerator a bit longer. After removing them from the oven I let them sit on the cookie sheet for a minute or two and then transferred them to a wire rack to cool completely.

IMG_0083

Once the cookies cooled I drizzled a glaze of water, confectioners’ sugar and almond extract over them.

IMG_0096

One word for these cookies… YUM!


Raspberry Almond Shortbread Thumbprints

  • Servings: 36-42 cookies
  • Print

Ingredients:

1 cup (2 sticks) unsalted butter, softened

2/3 cup sugar

1/2 teaspoon almond extract

1/2 cup raspberry jam


For the Glaze:

1 cup powdered sugar

2 to 3 teaspoons water

1 1/2 teaspoons almond extract


Directions:

Combine the butter, sugar and almond extract in a bowl and beat at medium speed until creamy, scraping the sides of the bowl as necessary. Switch to low speed and add in the flour, beating well until all the ingredients have been combined. Cover and refrigerate for at least 1 hour.

Preheat oven to 350 F and cover cookie sheet with parchment paper.

Shape the dough into 1-inch balls; approximately 1/2 tablespoon of dough. Place 2 inches apart on prepared cookie sheets. Make a small indentation in the center of each of the cookies and fill with a 1/4 teaspoon of the raspberry jam.

You could place the cookies back in the refrigerator for a few minutes for the dough to firm up again, or place them directly in the oven for about 12-14 minutes, or until the edges are slightly browned. Let stand on the cookie sheets for 1 minute and then transfer to a cooling rack to cool completely.

Combine all the ingredients for the glaze in a bowl and whisk together until smooth and then drizzle over the cooled cookies.

Recipe from Land O’ Lakes

%d bloggers like this: