Homemade No Churn Coffee-Caramel Ice Cream

It’s the first day of summer and while the day started off rainy the sun has finally made an appearance. Are you ready and excited for the summer? I’ve been doing a good amount of yard work to get my yard ready. It seems like wherever I look there is a weed to pull or a tree/bush to trim back, it just never ends. Summer is synonymous with one of my favorite treats… Ice Cream. Granted, I can eat ice cream in the winter, but, the warmer days are definitely prime time for an ice cream treat. I was racking my brain to think of an ice cream flavor to make but I was coming up empty. I think I have too many things running around in my mind and a slew of mental to-do lists to focus on one thing. And then, just in time, the current issue of Food Network magazine showed up in my mailbox and wouldn’t ya’ know they had 3 recipes for no-churn ice cream. Granted, I do have an ice cream maker, but, the simpler the better sometimes (usually all the time to be honest.) I settled on trying the No Churn Coffee-Caramel Ice Cream. A little disclaimer, the original recipe included toffee chips with I decided to omit.

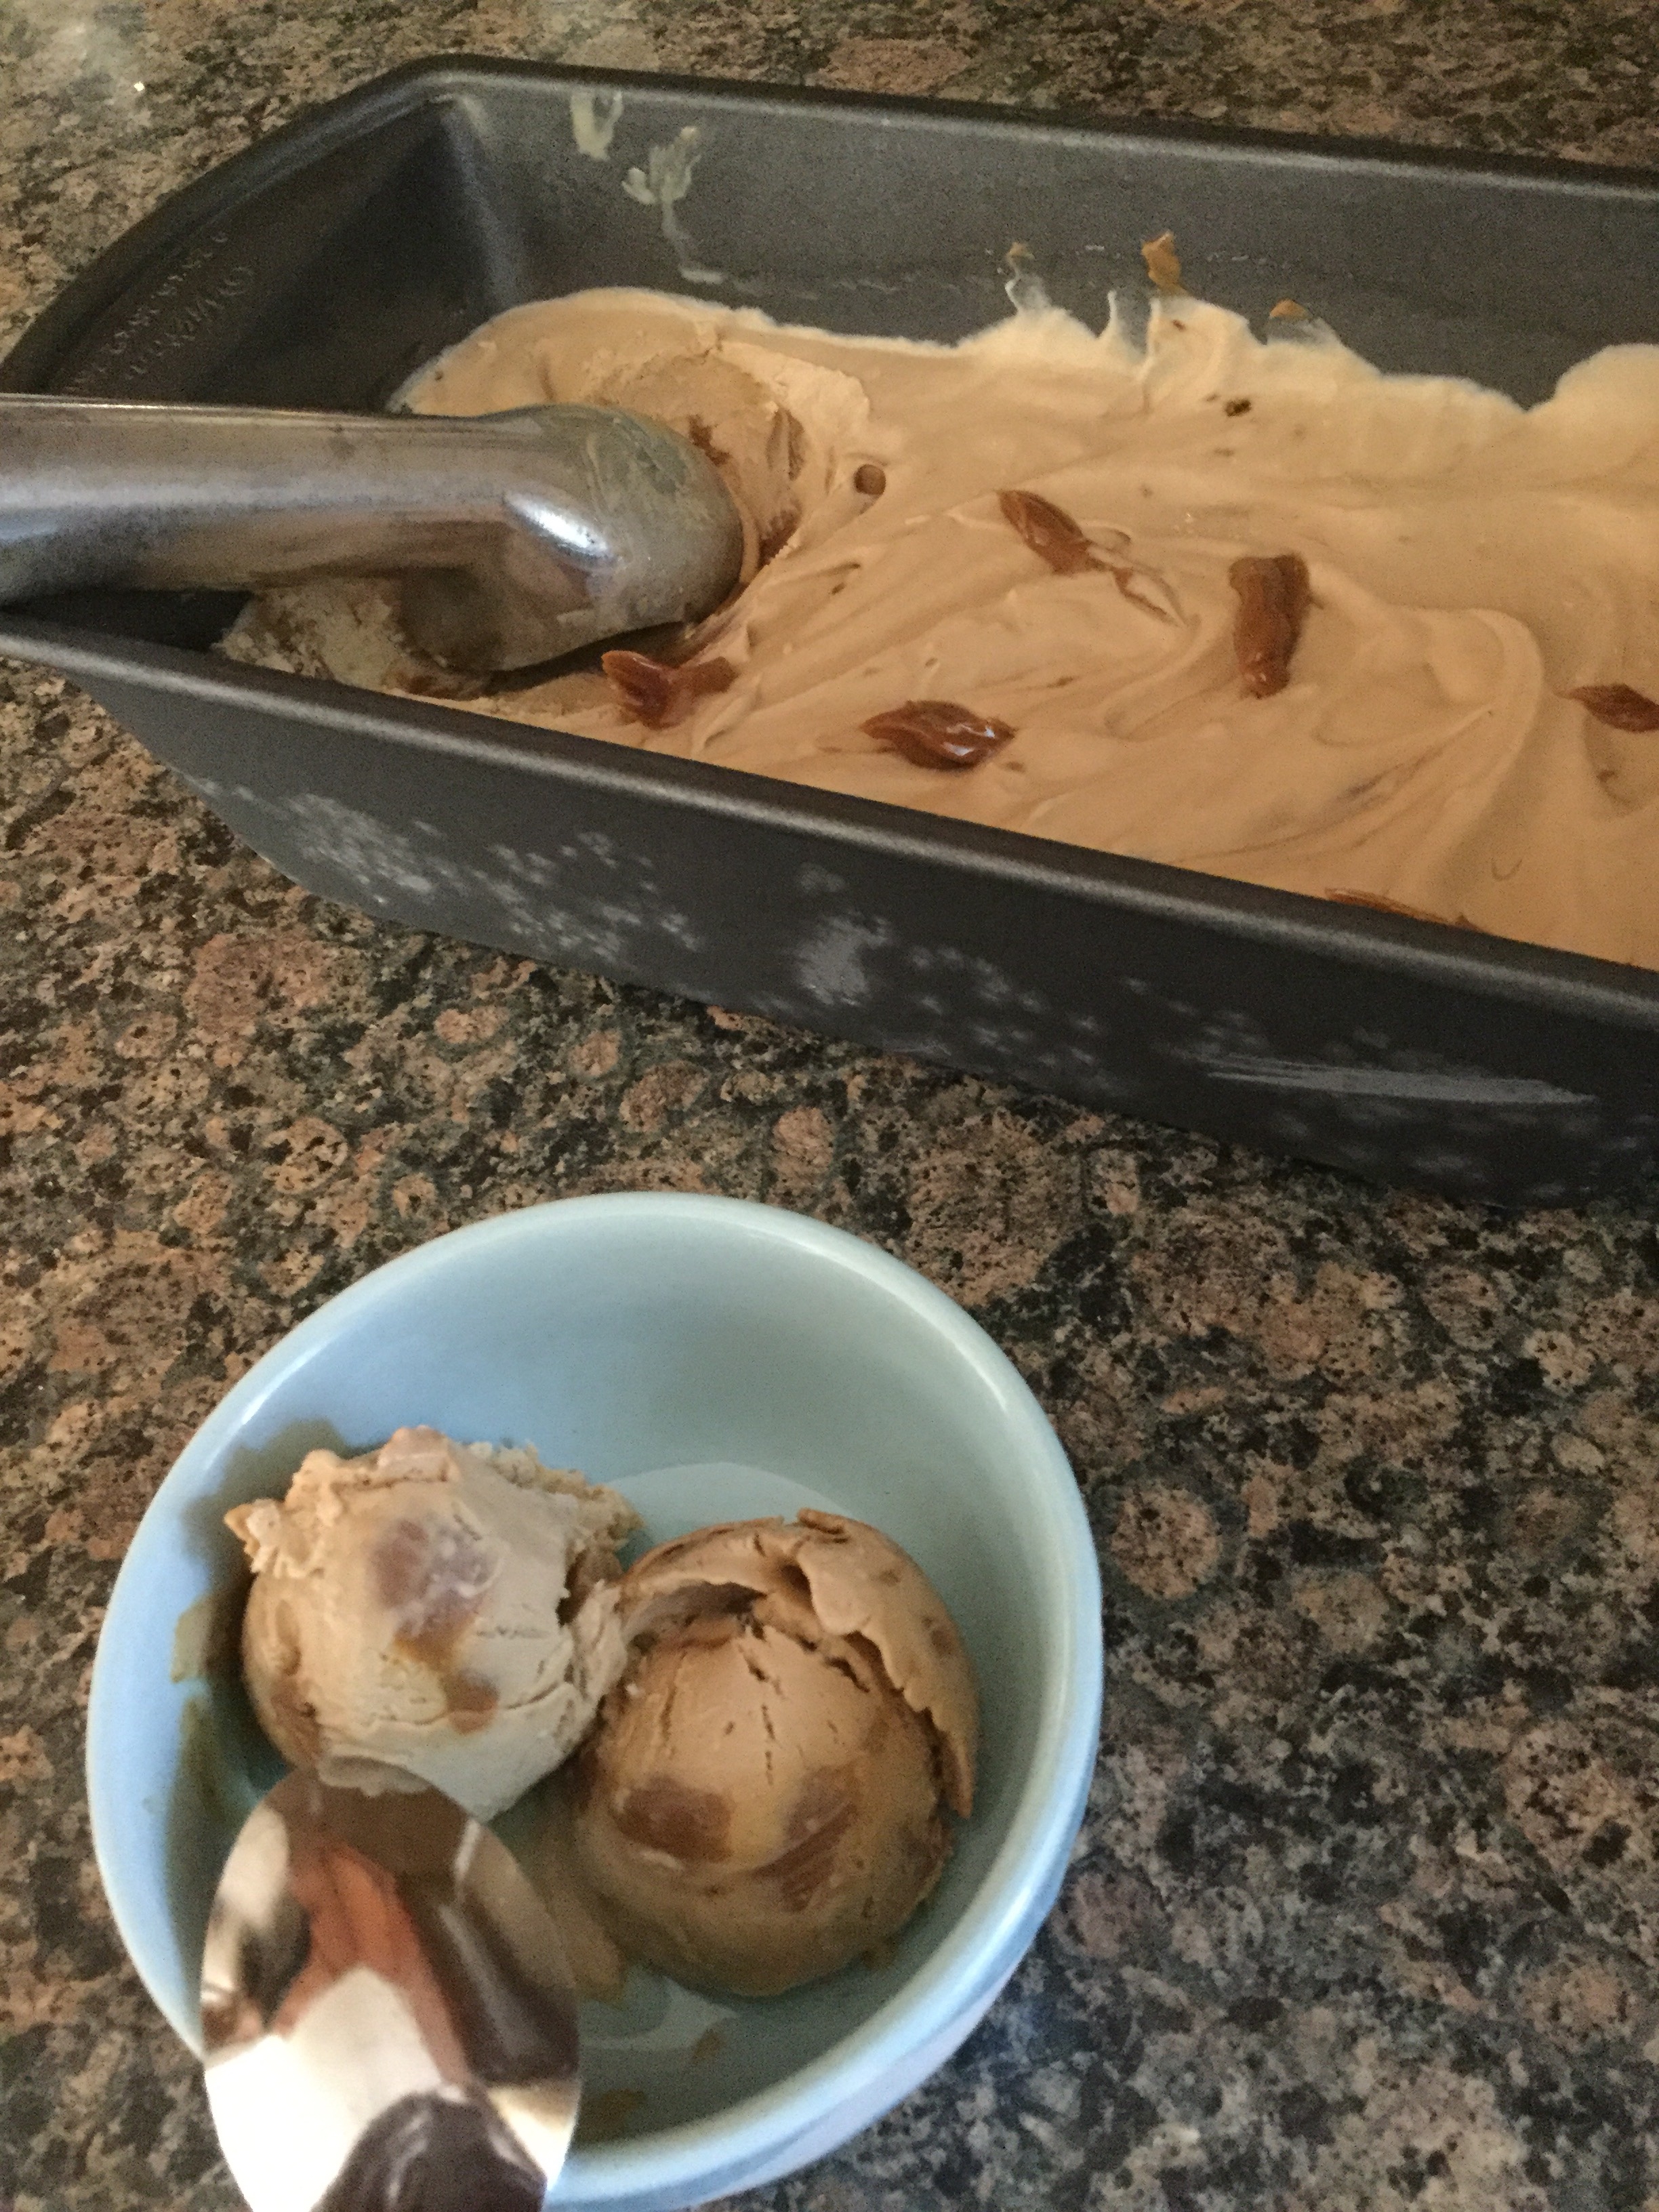
The prep time for making this ice cream took me less than 10 minutes. In a large bowl I whisked together condensed milk, espresso powder (I used Café Bustelo Espresso Instant Coffee), heavy cream and salt until it was smooth. You will have speckles from the espresso powder, don’t worry, once you incorporate the whipped heavy cream the speckles will go away. Speaking of the whipped heavy cream, in another large bowl beat heavy cream on medium-high speed until stiff peaks form. Fold half of the whipped cream into the condensed milk mixture until fully combined and then fold in the remaining whipped cream until completely incorporated. I tasted the mixture at this point and it tasted like my favorite coffee flavored ice cream…. YUM! I would have been happy to just put this in the freezer, but, I decided to follow the recipe and added in dulce de leche (a milk-based caramel) and then swirled it in the mixture. I transferred the mixture to a 9×5 metal loaf and dotted the top of the mixture with more dulce de leche. I covered the pan with plastic wrap and then placed it in the freezer.

The next day I enjoyed a scoop or two and it was delish! The coffee and dulce de leche flavor go together so well. I’ll definitely be making this again a few more times during the summer (and winter.)

Looking for more ice cream flavors to try… Check out some of my previous ice cream posts:

Malted S’mores Ice Cream

Blueberry Vanilla Ice Cream

Pumpkin Ice Cream

Lavender Vanilla Ice Cream


No Churn Coffee-Caramel Ice Cream

Ingredients:

3 / 4 cup sweetened condensed milk

2 tablespoons instant espresso powder

1 1 / 2 cups plus 1 tablespoon heavy cream

Pinch of salt

1 / 3 cup dulce de leche


Directions:

In a large bowl whisk together the condensed milk, espresso powder, 1 tablespoon heavy cream and salt.

In a separate large bowl beat the remaining heavy cream with a mixer on medium-high speed until stiff peaks form. Using a rubber spatula fold half of the mixture into the condensed milk mixture until combined and then fold in the remaining heavy cream until completely incorporated and no white streaks remain. The color will look like coffee with milk added in.

Dot the mixture with the dulce de leche and using the rubber spatula swirl the dulce de leche into the mixture. Transfer to a 9×5 metal loaf pan and then top with more dulce de leche. Cover with plastic wrap and freeze for at least 6 hours or overnight.

Recipe from Food Network

Chocolate Whoopie Pies with a Dulce De Leche Filling

Remember a few years ago when whoopie pies were all the rage? I remember ripping out quite a few recipes from different magazines. Now, they didn’t go away, people just moved on to another rage. In fact, whoopie pies have been around for quite some time. Traditionally found in the New England area – they are considered the official state treat (who knew that was a thing!?!) of Maine and a Pennsylvania Amish tradition – you can find them in all parts of the country. I am sure depending on the region and season the flavors can vary greatly. Imagine a blueberry version from Maine made with fresh blueberries… YUM!

All this talk about them, let’s get to the bottom of what they are. They can be considered a cake, a cookie or a pie. How awesome is that!?! Traditionally they are made with 2 small round mounds of chocolate cake that are then filled with frosting or a filling made with marshmallow creme or fluff. These I’m sharing with you today are filled with a dulce de leche filling… Double YUM!

The cake part is made with a Devil’s food box cake mix (I used Pillsbury) and the filling is made with canned dulce de leche. I normally find it in the Hispanic food aisle in my supermarket. If you can’t find it by you, or just want to make it yourself, you can simmer a can of sweetened condensed milk. Here’s a great recipe for doing just that. It’s then mixed with cream cheese, butter and some other ingredients to make it the perfect consistency to pipe onto the chocolate cakes.

Chocolate Whoopie Pies with a Dulce De Leche Filling

  • Servings: Makes About 20
  • Print

Ingredients:

Whoopie Pies

1 box of Devil’s food cake mix

1/2 cup unsalted butter, melted

1/2 cup water

3 large eggs

Filling:

1/2 cup dulce de leche

4 ounces cream cheese, at room temperature

4 tablespoons unsalted butter, at room temperature

1 teaspoon vanilla extract

1/2 teaspoon salt

3 1/2 cups confectioners’ sugar

Directions:

Combine the cake mix, butter, water and eggs in a large bowl and beat at medium speed until smooth. Let the batter rest for 30 minutes.

Preheat the oven to 400 F and line a baking sheet with parchment paper.

Using a cookie scoop, drop the batter onto the parchment line baking sheet and bake for 5 to 7 minutes. Until a cake tester inserted in the middle comes out clean.  Cool completely on a wire rack.

In another large bowl beat the cream cheese and unsalted butter on medium speed until creamy. Reduce the speed to low and gradually add in the confectioners’ sugar and beat until well combined. Add the dulce de leche, vanilla extract and salt and beat until well combined.

Pipe or spread the filling onto half of the cookies, place the second cookie on top.

Recipe adapted from Land O Lakes

Cookie Palooza: Dulce De Leche Thumbprint Cookies

Cookie Palooza continues today with these Dulce De Leche Thumbprint Cookies. Thumbprint cookies offer a delicious double-punch… The cookie itself is great and the filling adds additional flavor to it. Not a fan of dulce de leche, try these with your favorite jam or a chocolate filling.

Dulce De Leche Thumbprint Cookies

  • Servings: 36 cookies
  • Print

Ingredients:

1 cup (2 sticks) unsalted butter, at room temperature

2/3 cup granulated sugar

1 large egg yolk

1 teaspoon vanilla extract

2 1/4 cups all-purpose flour

1/2 teaspoon kosher salt

6 oz. dulce de leche


Directions:

Preheat the oven to 375 F. Line two baking sheets with parchment paper.

Beat together the butter and sugar until light and fluffy, on medium-high speed. Beat in the egg yolk and vanilla extract. Add in the flour and salt and mix until well-blended and dough comes together in a ball.

Form the dough into 1-inch balls and arrange on the prepared baking sheet. Flatten the balls with the palm of your hand and then using a 1/2 teaspoon or your thumb make an indentation in the center of each cookie. Bake for 8 to 10 minutes.

Remove the pan from the oven and gently press the indentation once again to redefine it. Fill each indentation with about 1/2 teaspoon of dulce de leche and return to the oven for 3 minutes. Transfer the cookies to a wire rack to cool completely.

Recipe from Love and Olive Oil


%d bloggers like this: