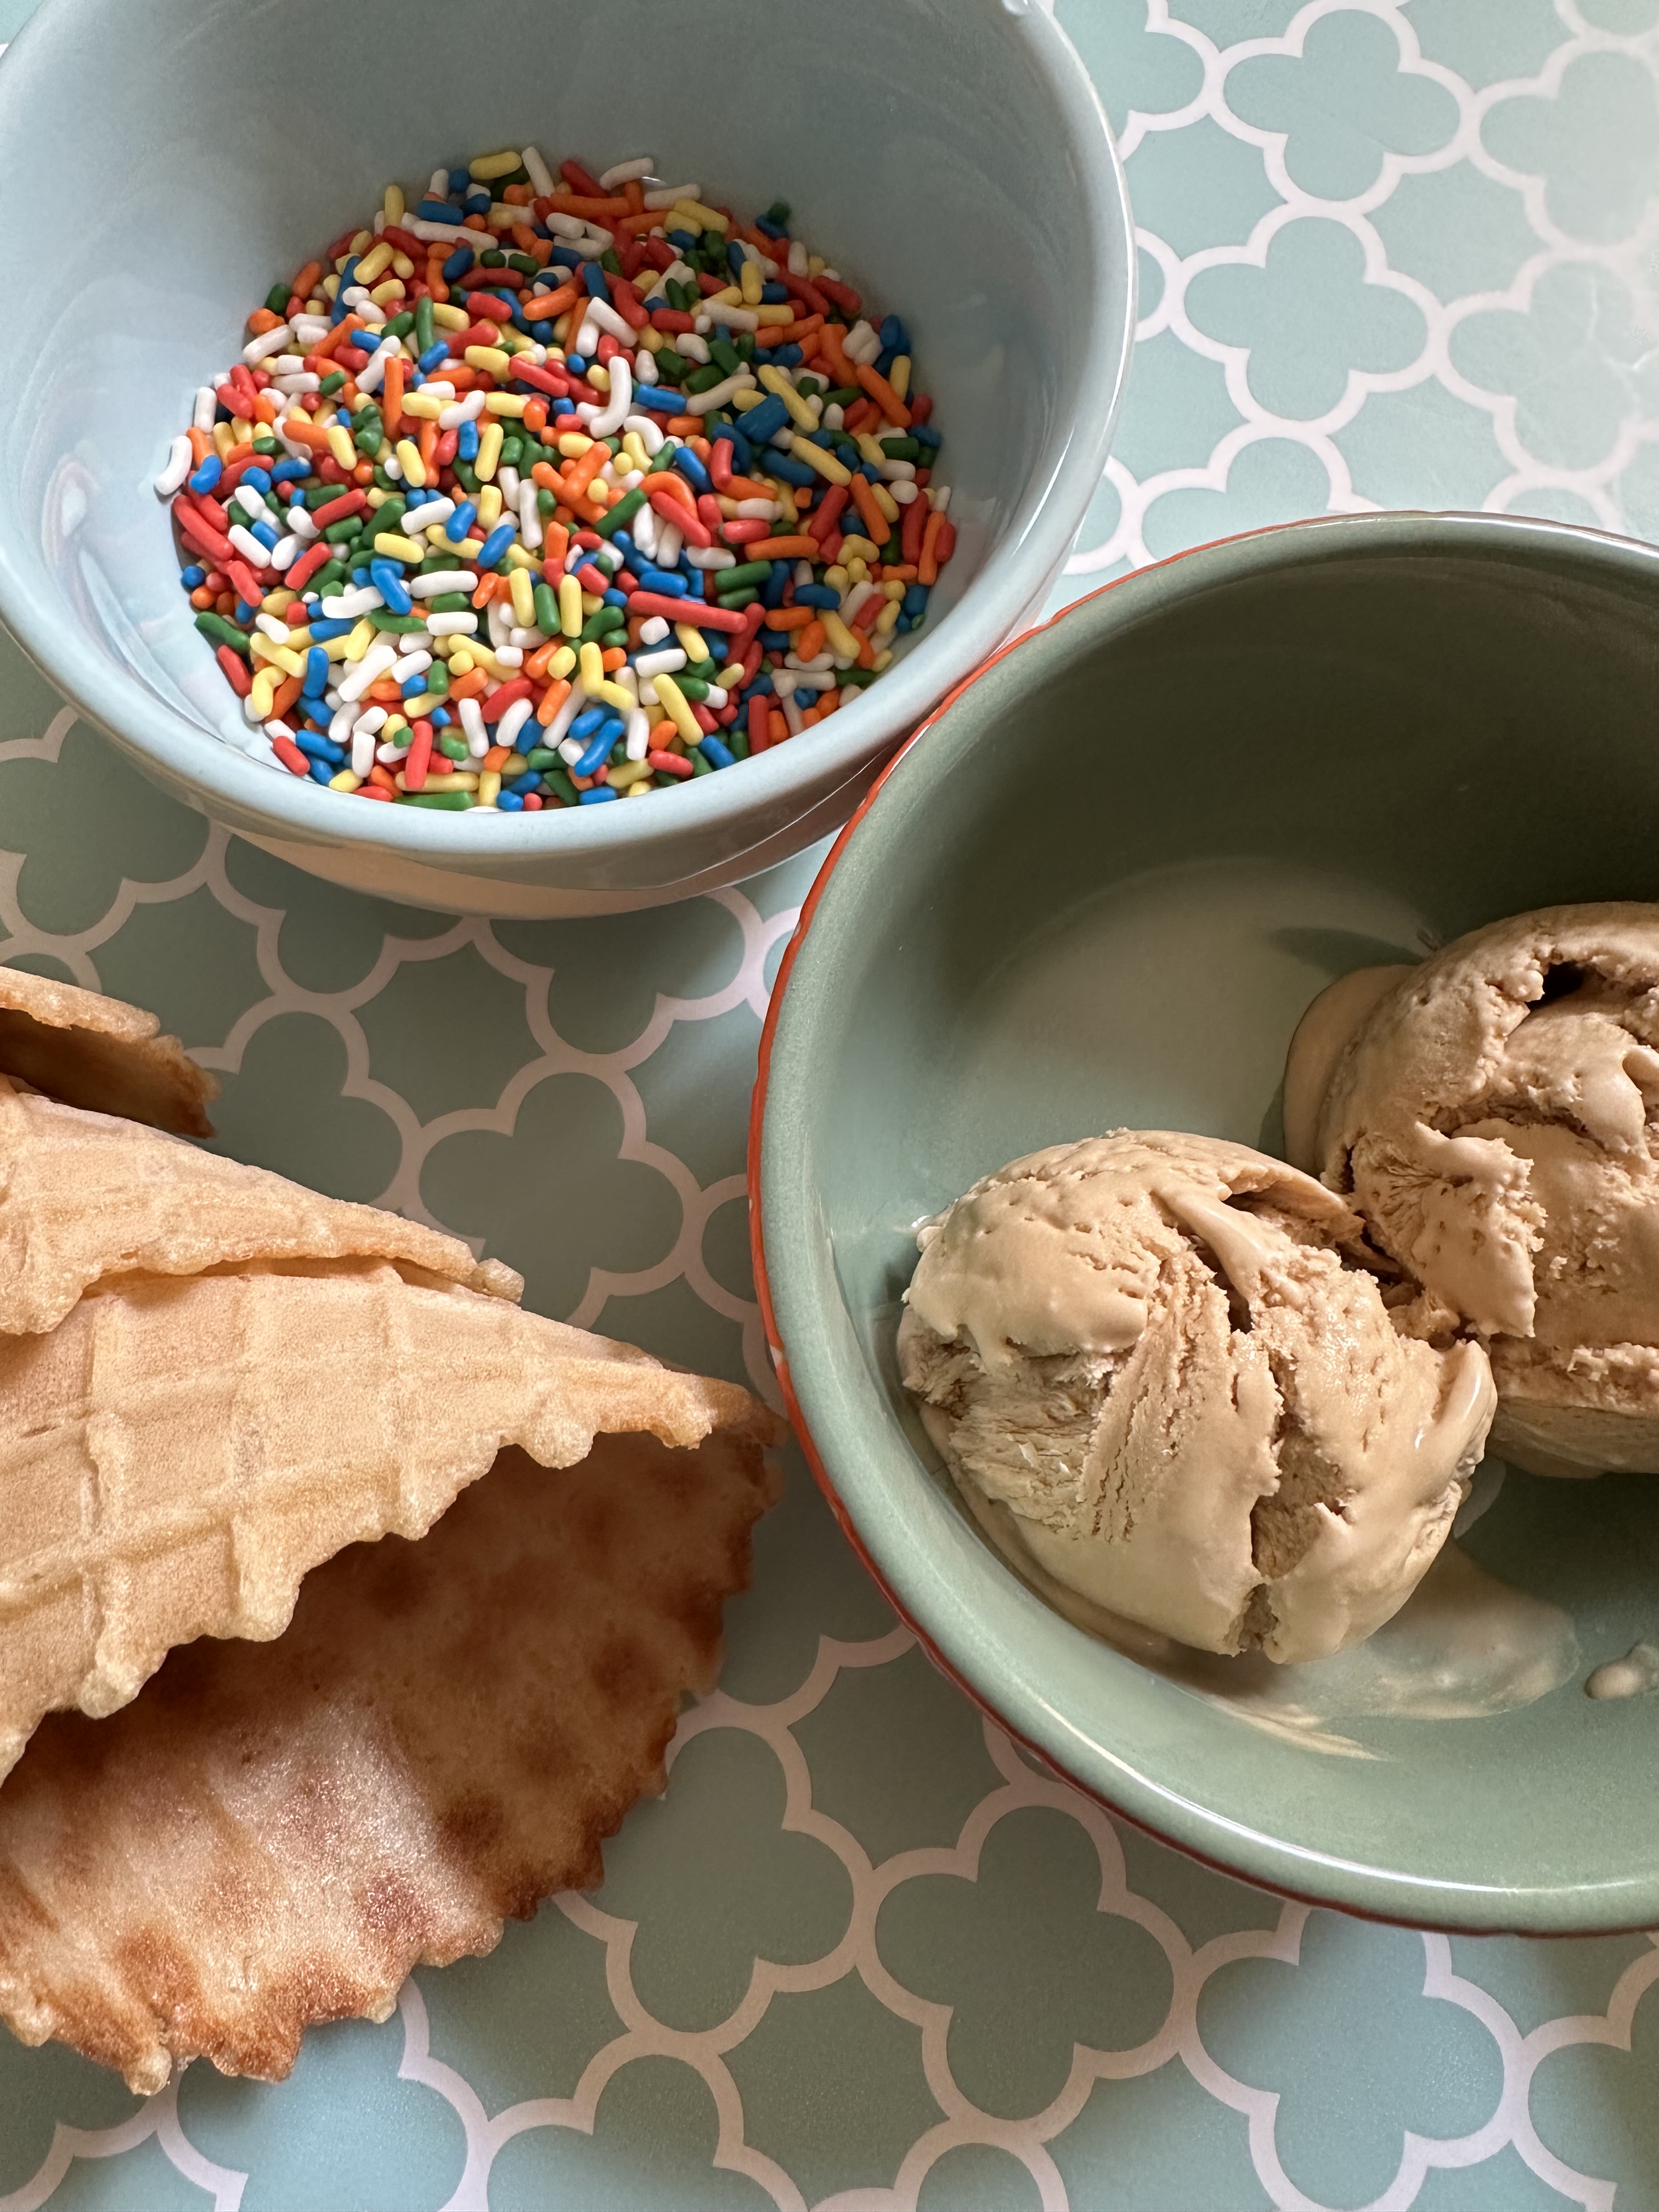
I’m not a coffee drinker. I’ve tried it once or twice, but the flavor is just not appealing to me. I will enjoy a Caramel Frappucino once in a while from Starbucks, but the caramel and whipped cream really mask any coffee flavor. And in the Fall, I may get a Pumpkin Spice Latte, but the flavor of coffee is still there which makes it a bit hard to swallow so half a cup and I’m good. One coffee item that I do enjoy without any reservations is coffee ice cream. Yes, the coffee flavor is there, but it’s not that strong and thanks to the sweetness of ice cream it’s tolerable. So, to kick off Summer 2023 I am sharing a recipe for a No-Churn Coffee Ice Cream.
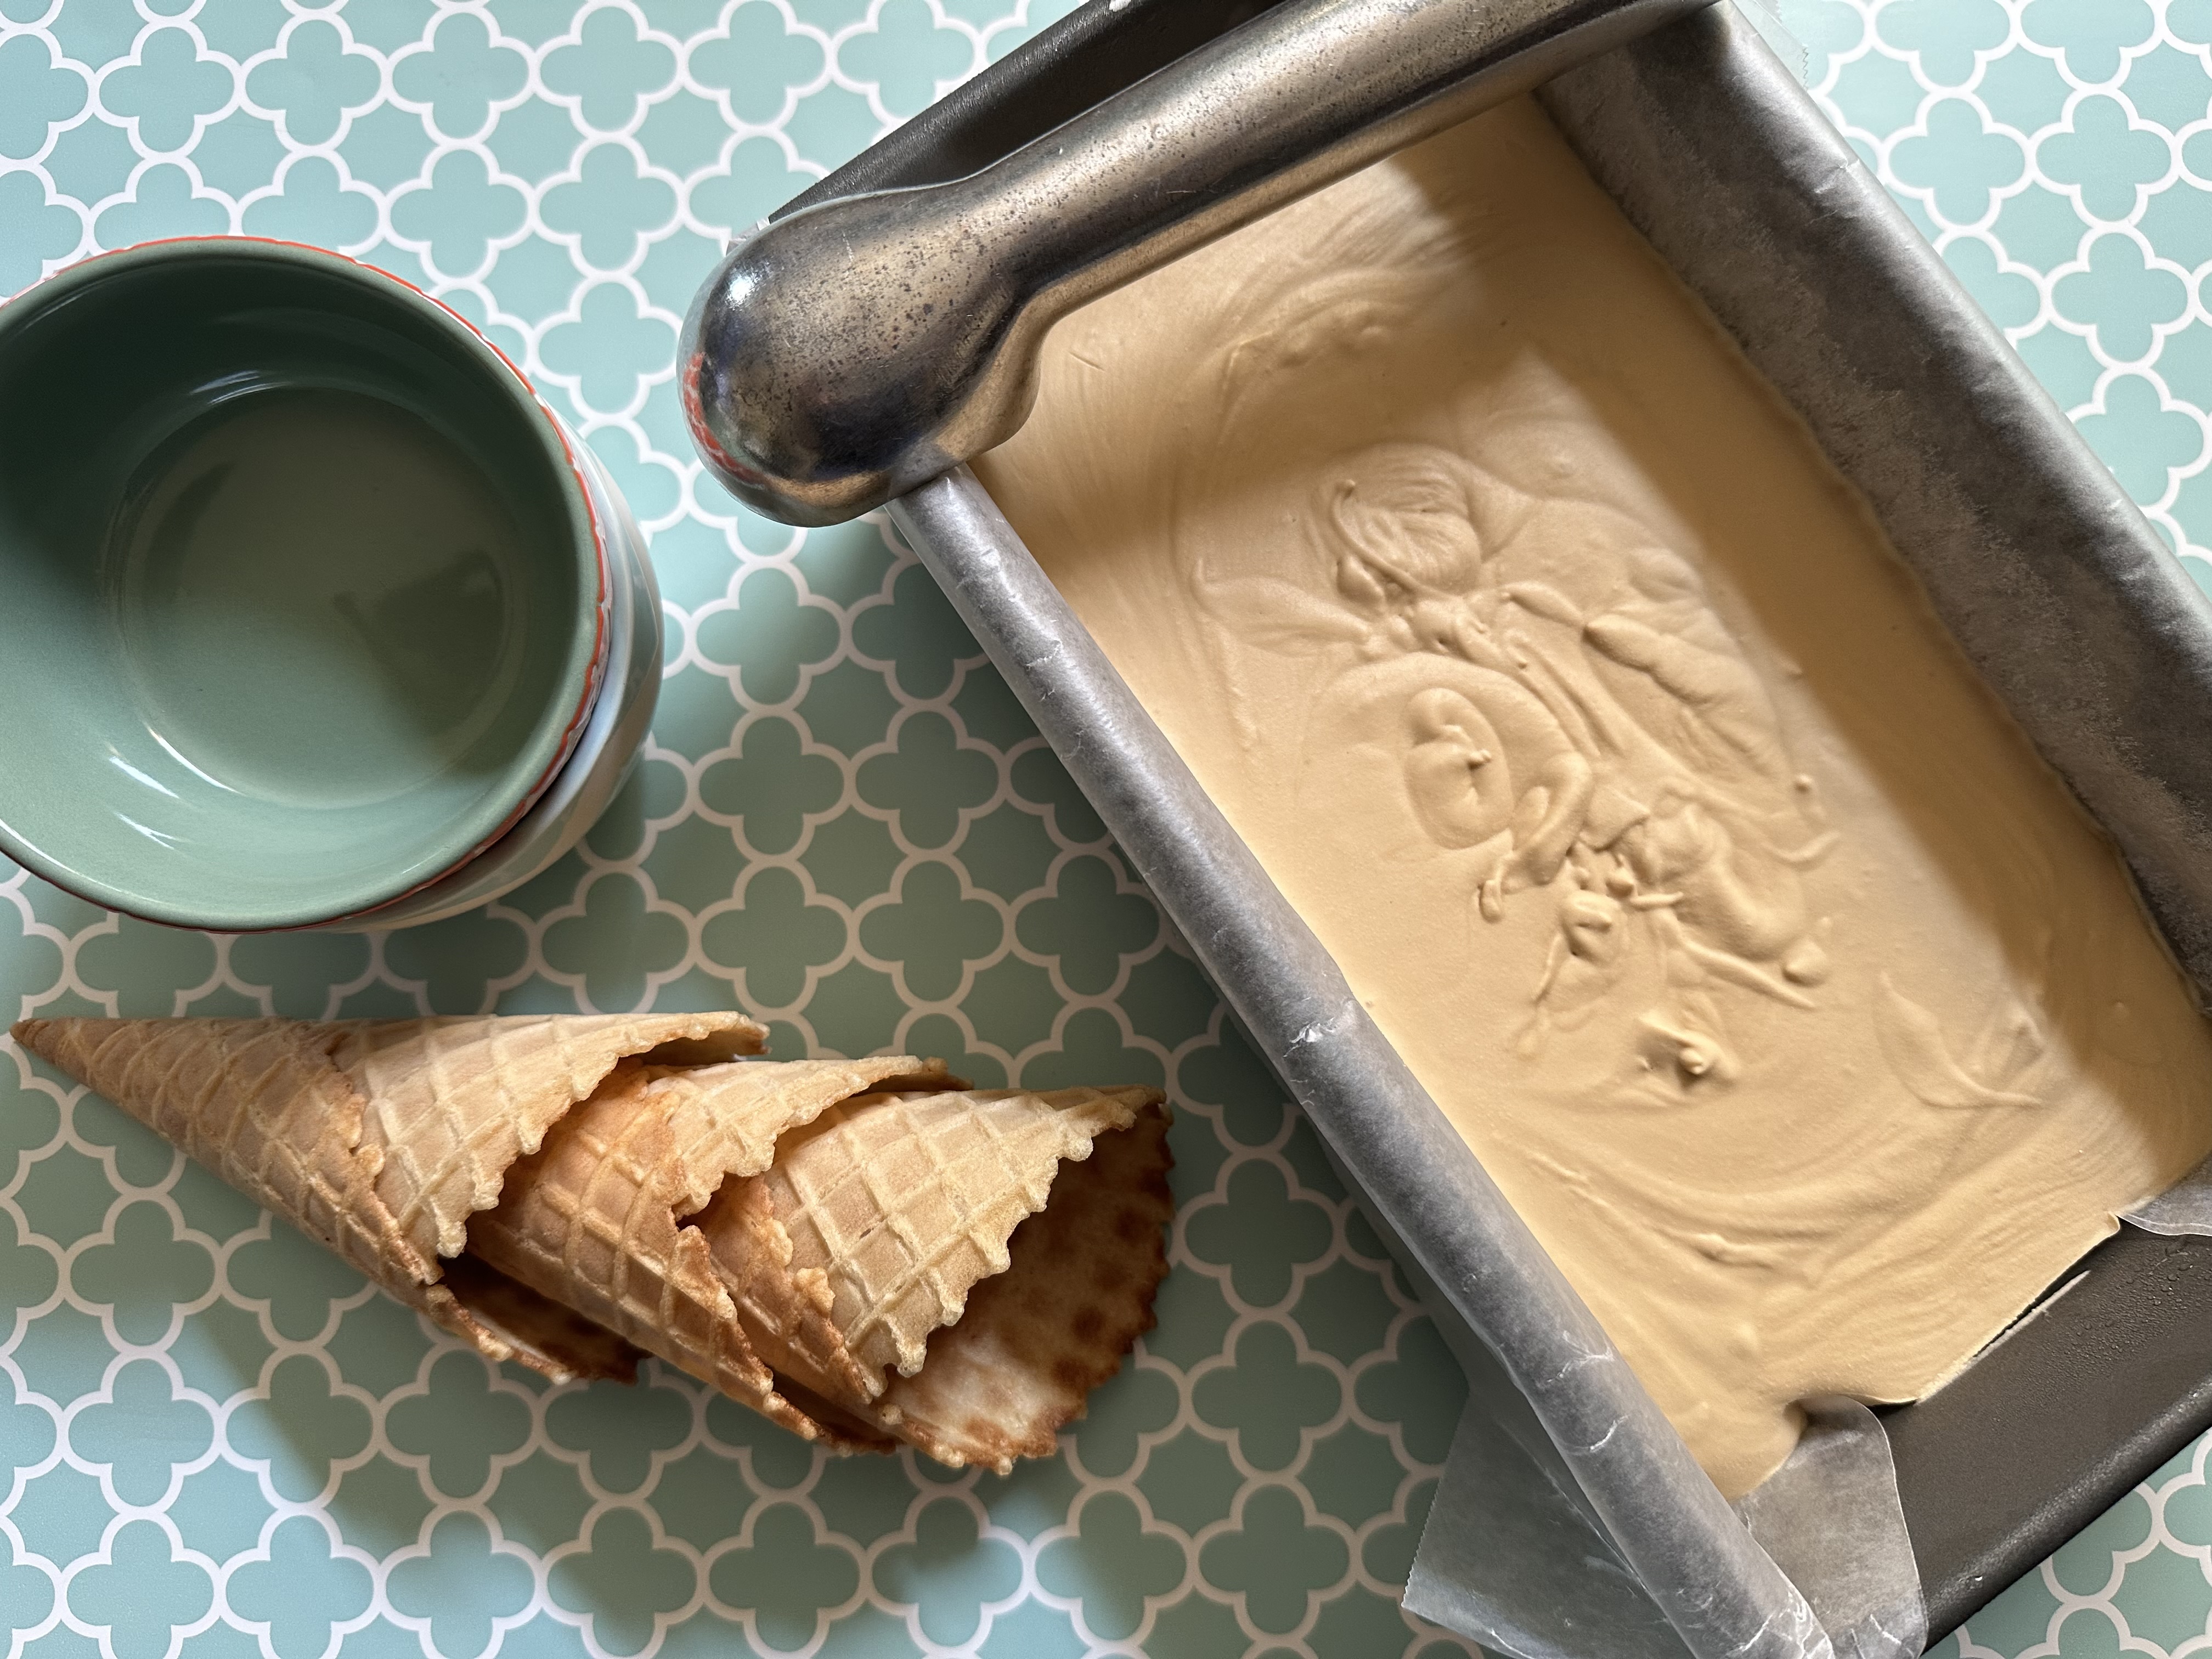
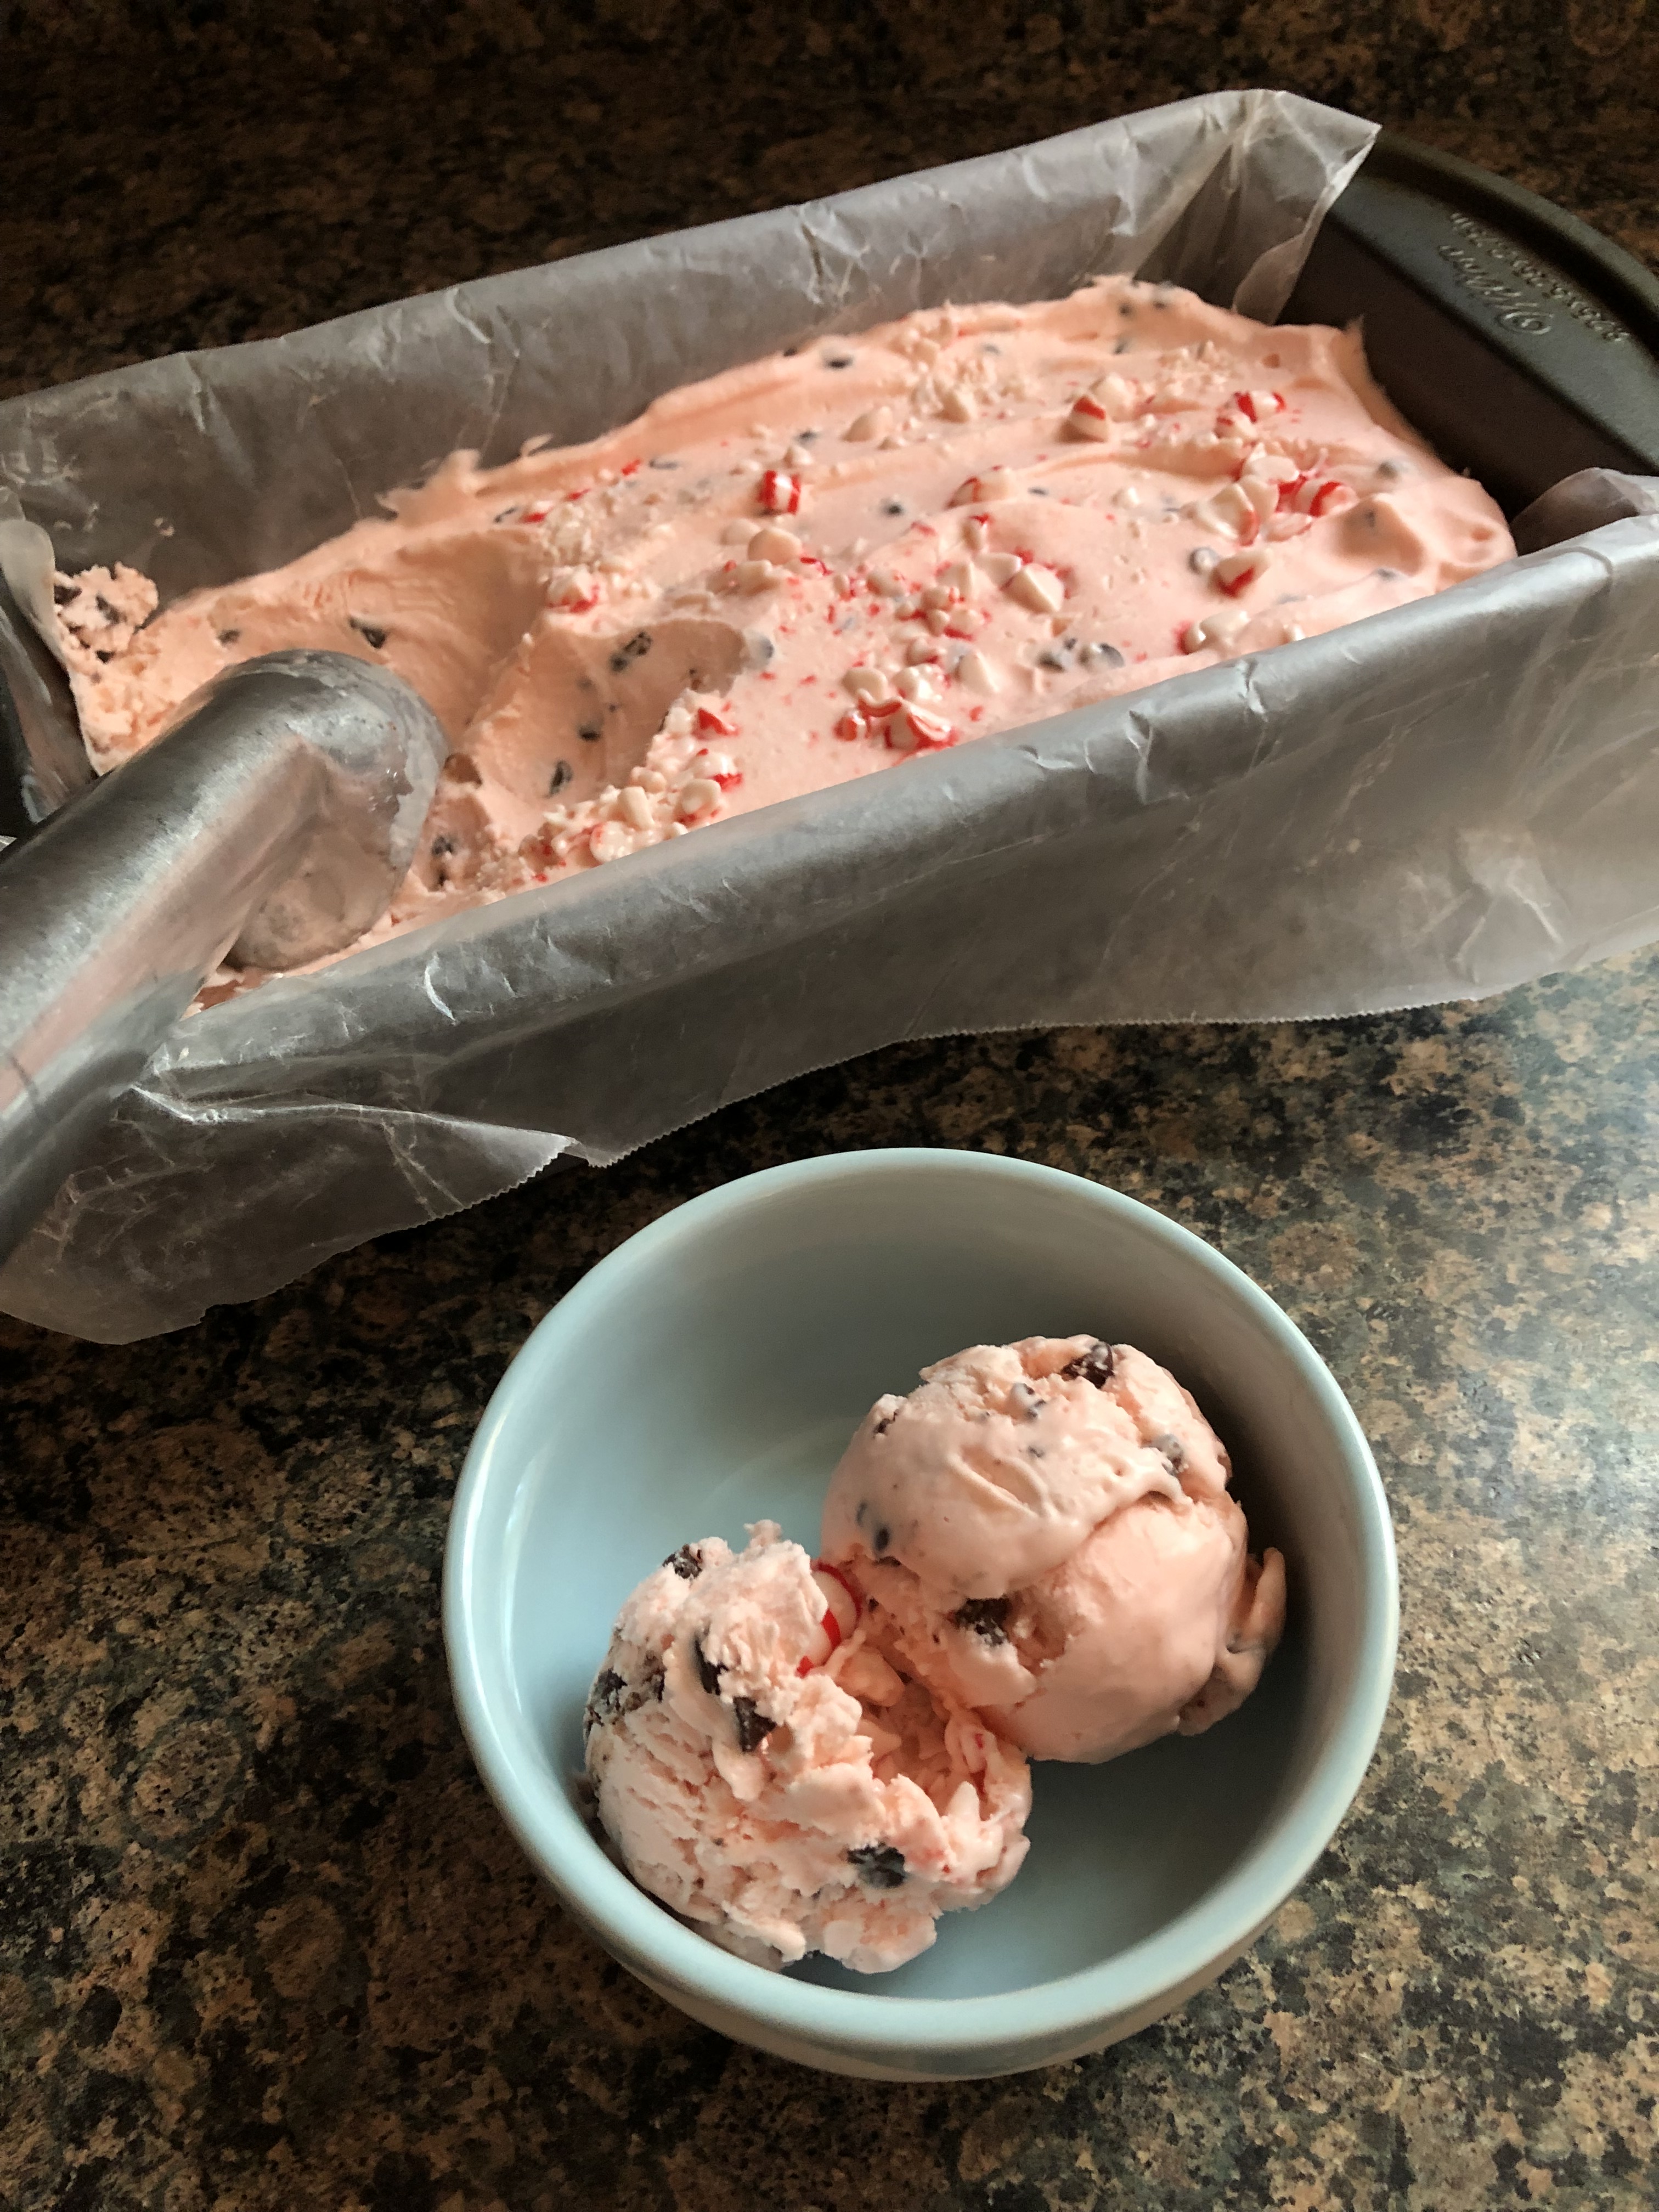
If you’ve never made ice cream at home, you are missing out. It’s super simple, you can control how sweet it is, what the ingredients are and you can get quite creative with the flavors. Initially I was using an ice cream maker to make ice cream, but, once I discovered no-churn ice cream I haven’t broken out that machine since. I just beat all of the ingredients together, transfer it to a loaf pan and then freeze it overnight.

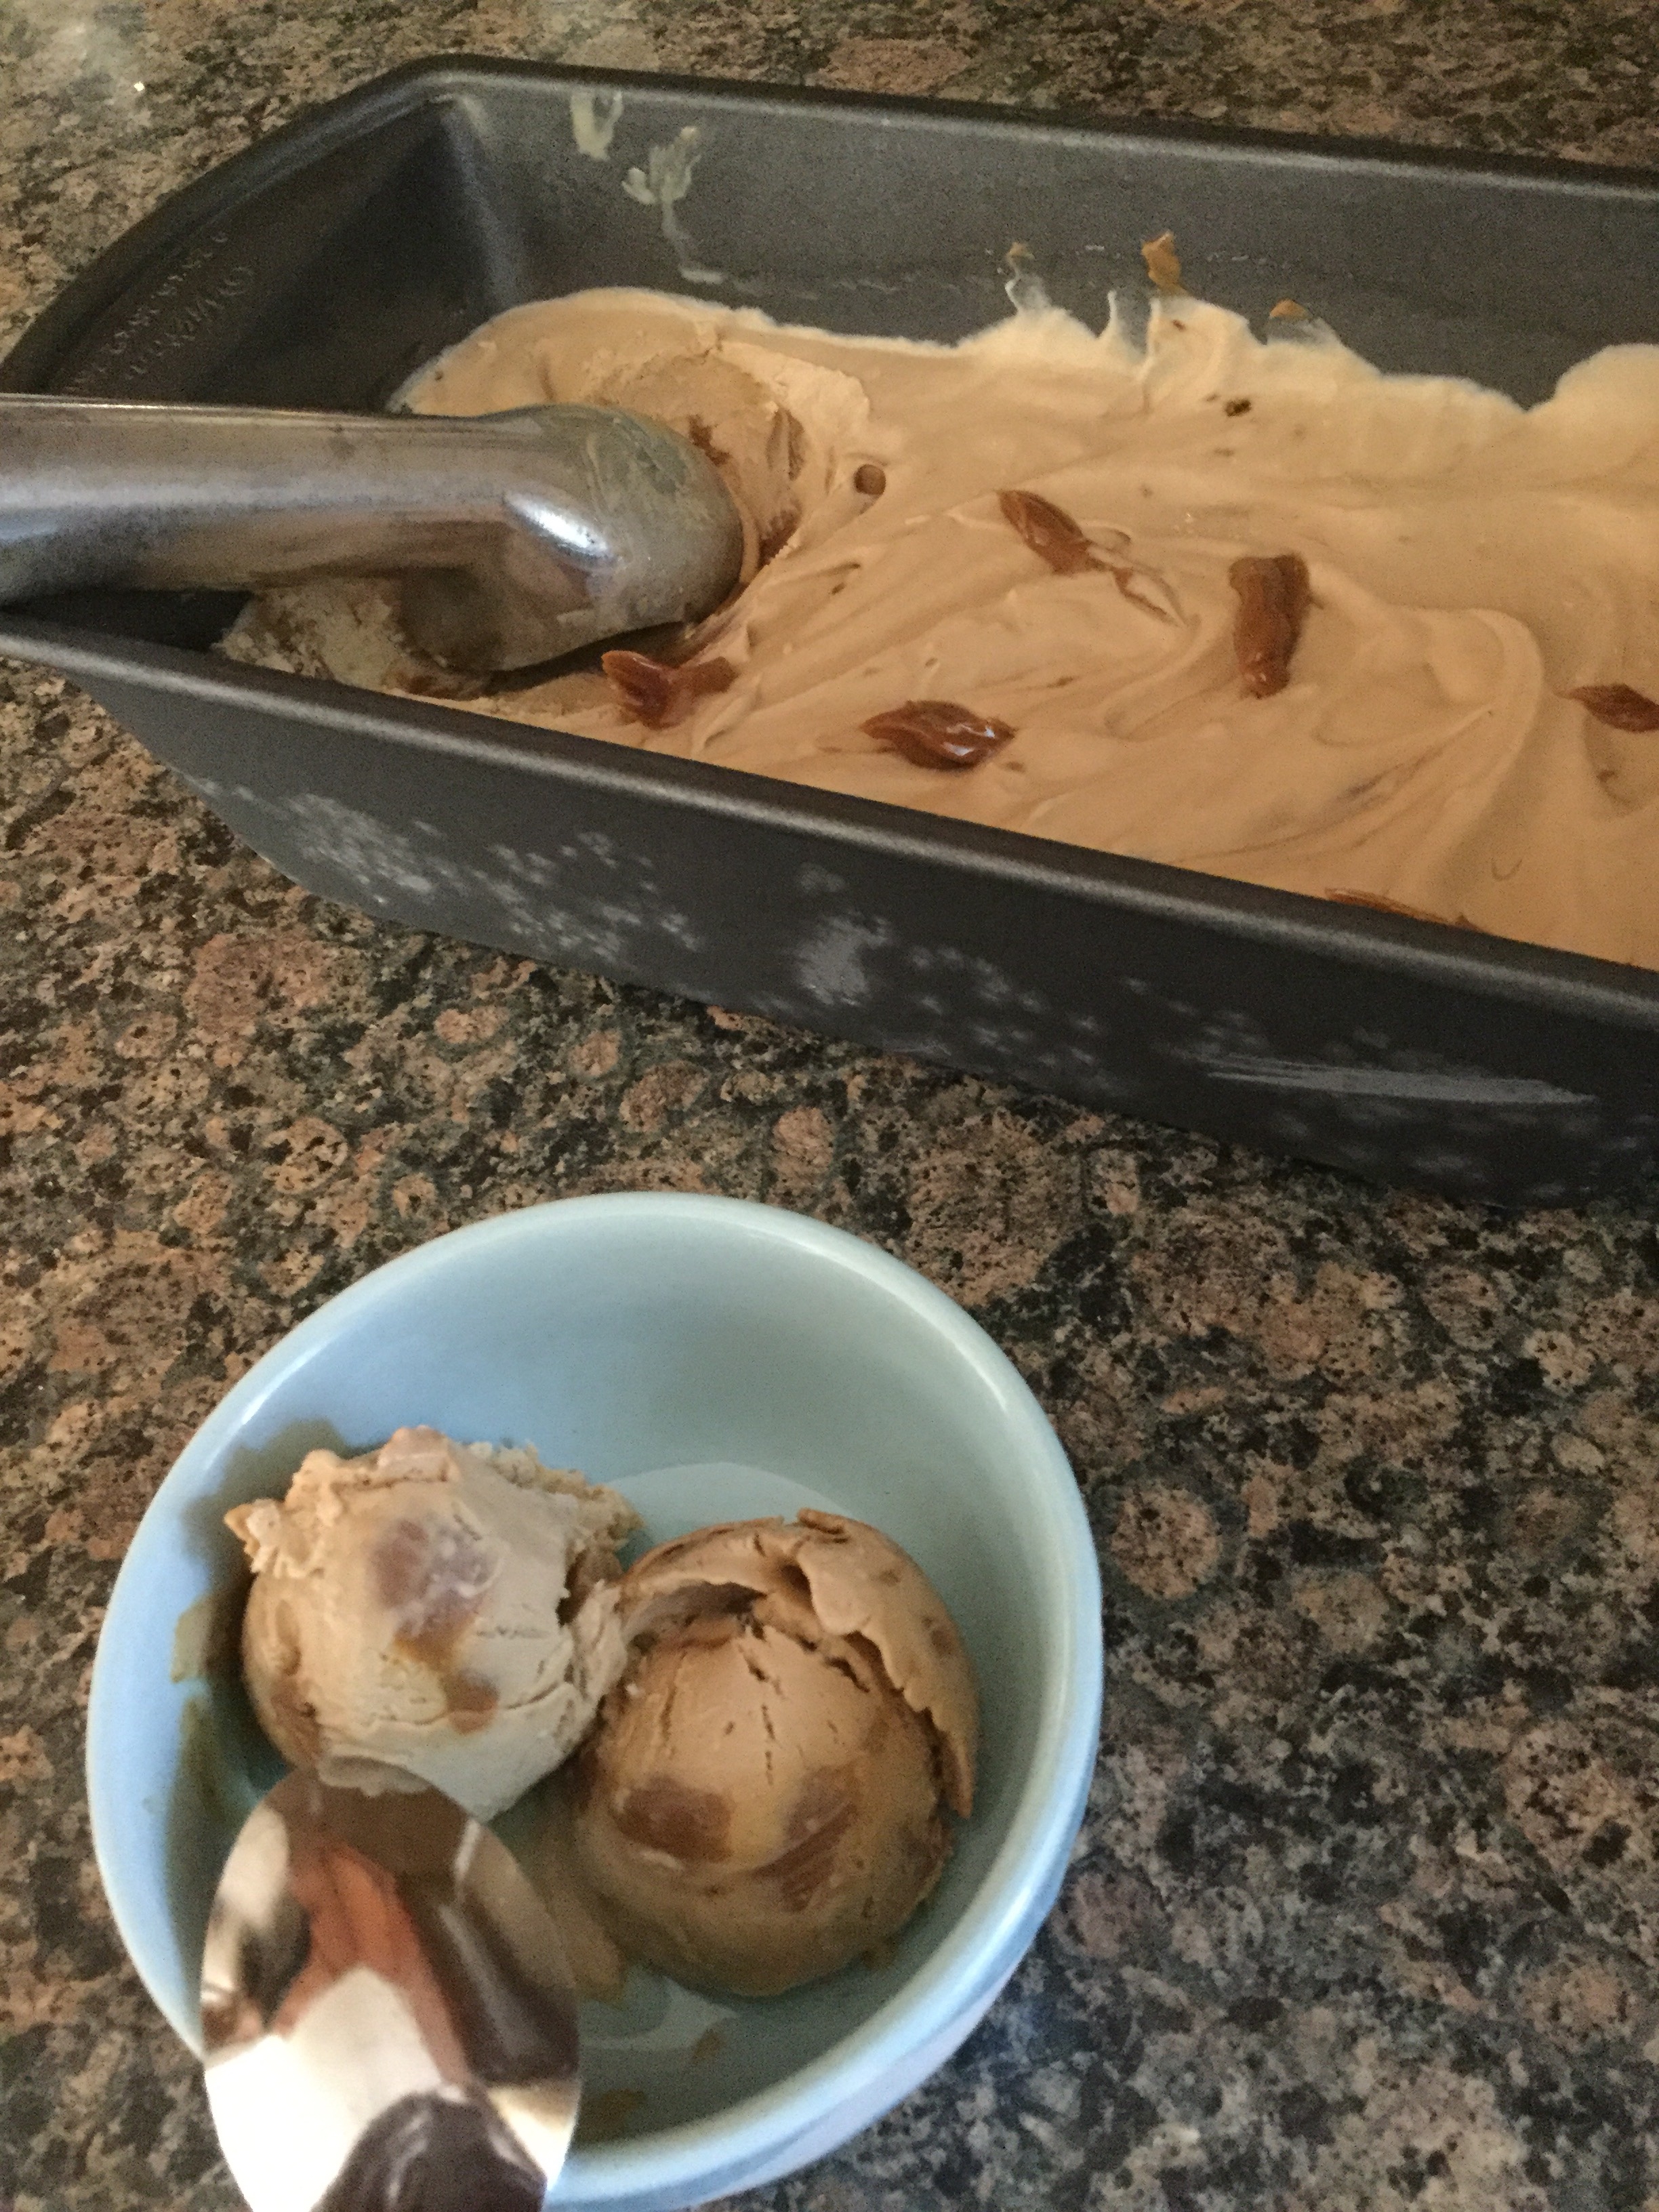
This coffee ice cream tasted just as good as my favorite store-bought one. If you like your coffee on the stronger side, you could use an extra half or full tablespoon of the coffee granules.
No Churn Coffee Ice Cream
Ingredients:
2 tablespoons instant coffee granules
1/4 cup boiling hot water
2 cups heavy cream
1 14oz. can sweetened condensed milk
1 teaspoon vanilla extract
Directions:
Line a 9×5-inch loaf pan with wax paper leaving an overhang and set aside.
In a measuring cup stir together the coffee and water and let cool for a few minutes.
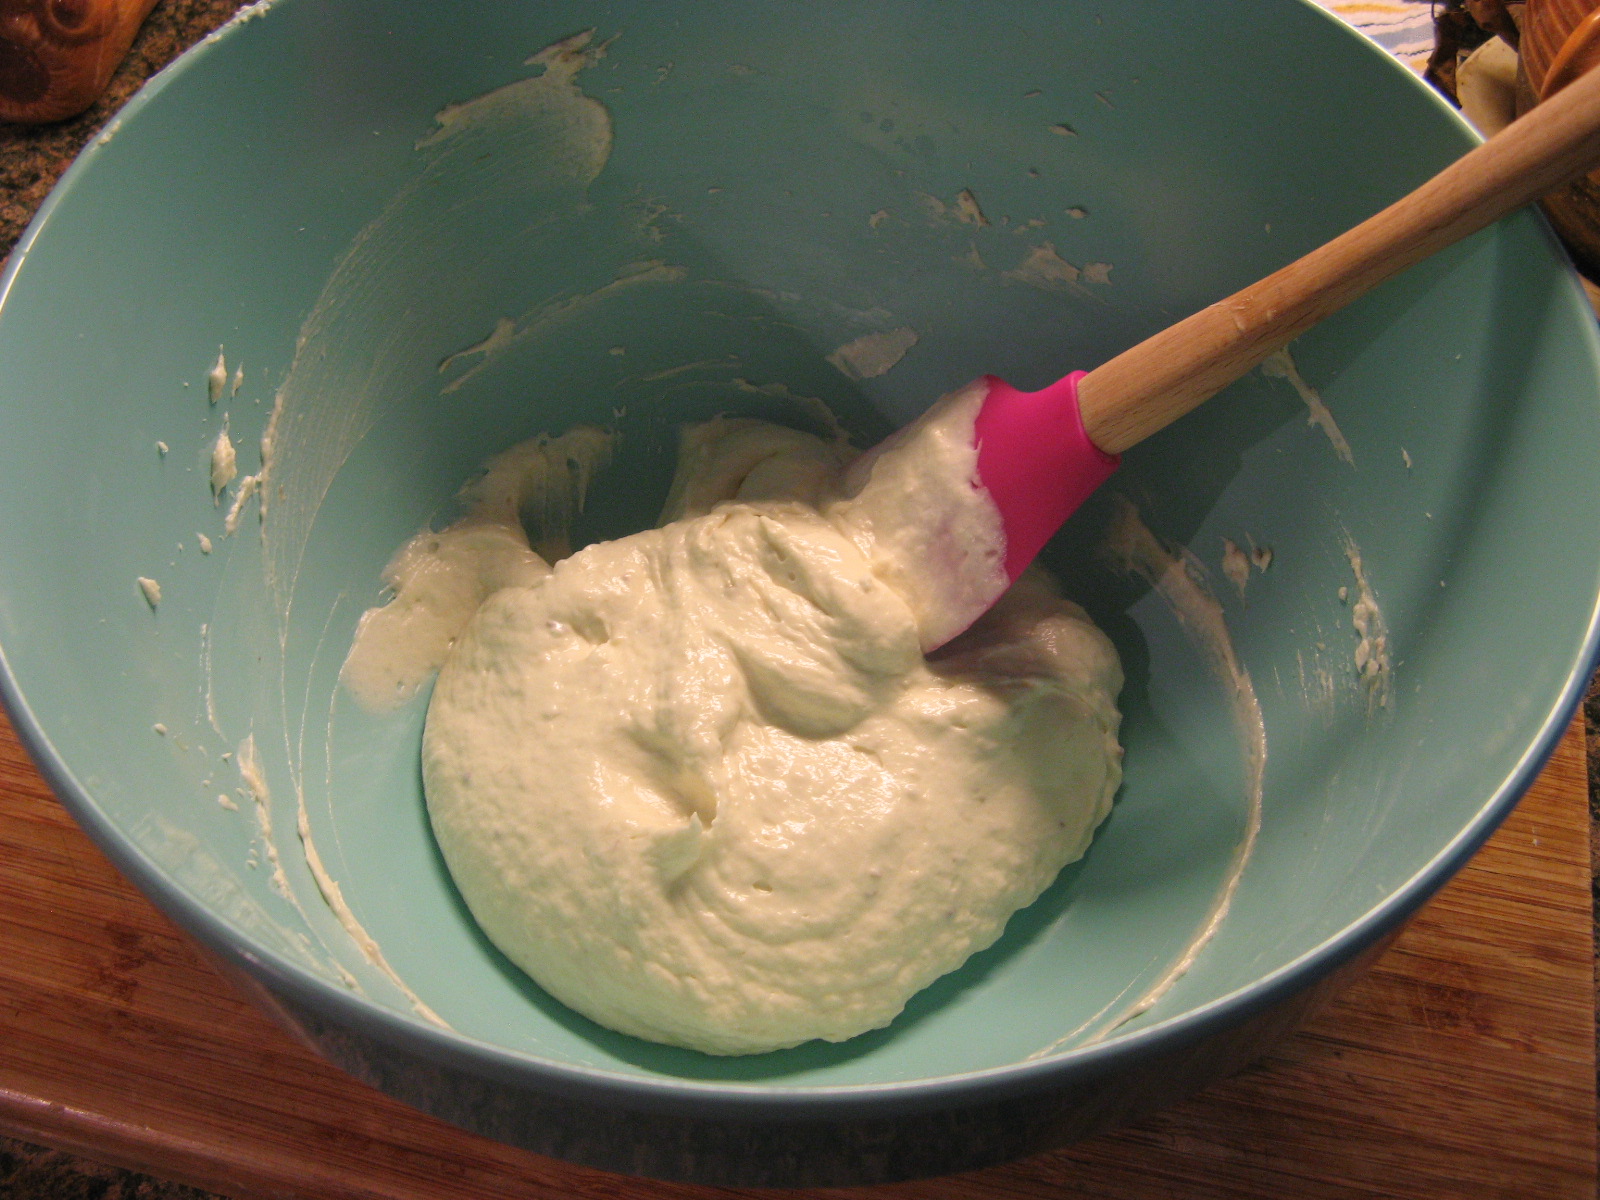
In a medium bowl beat the heavy cream with a hand mixer on medium speed until stiff peaks form. Add in the cooled coffee, condensed milk and vanilla extract and beat together on low speed until well combined.
Pour into the prepared loaf pan and cover tightly with a piece of wax paper and aluminum foil and freeze at least 8 hours or overnight.
Recipe first appeared on Bead Yarn & Spatula