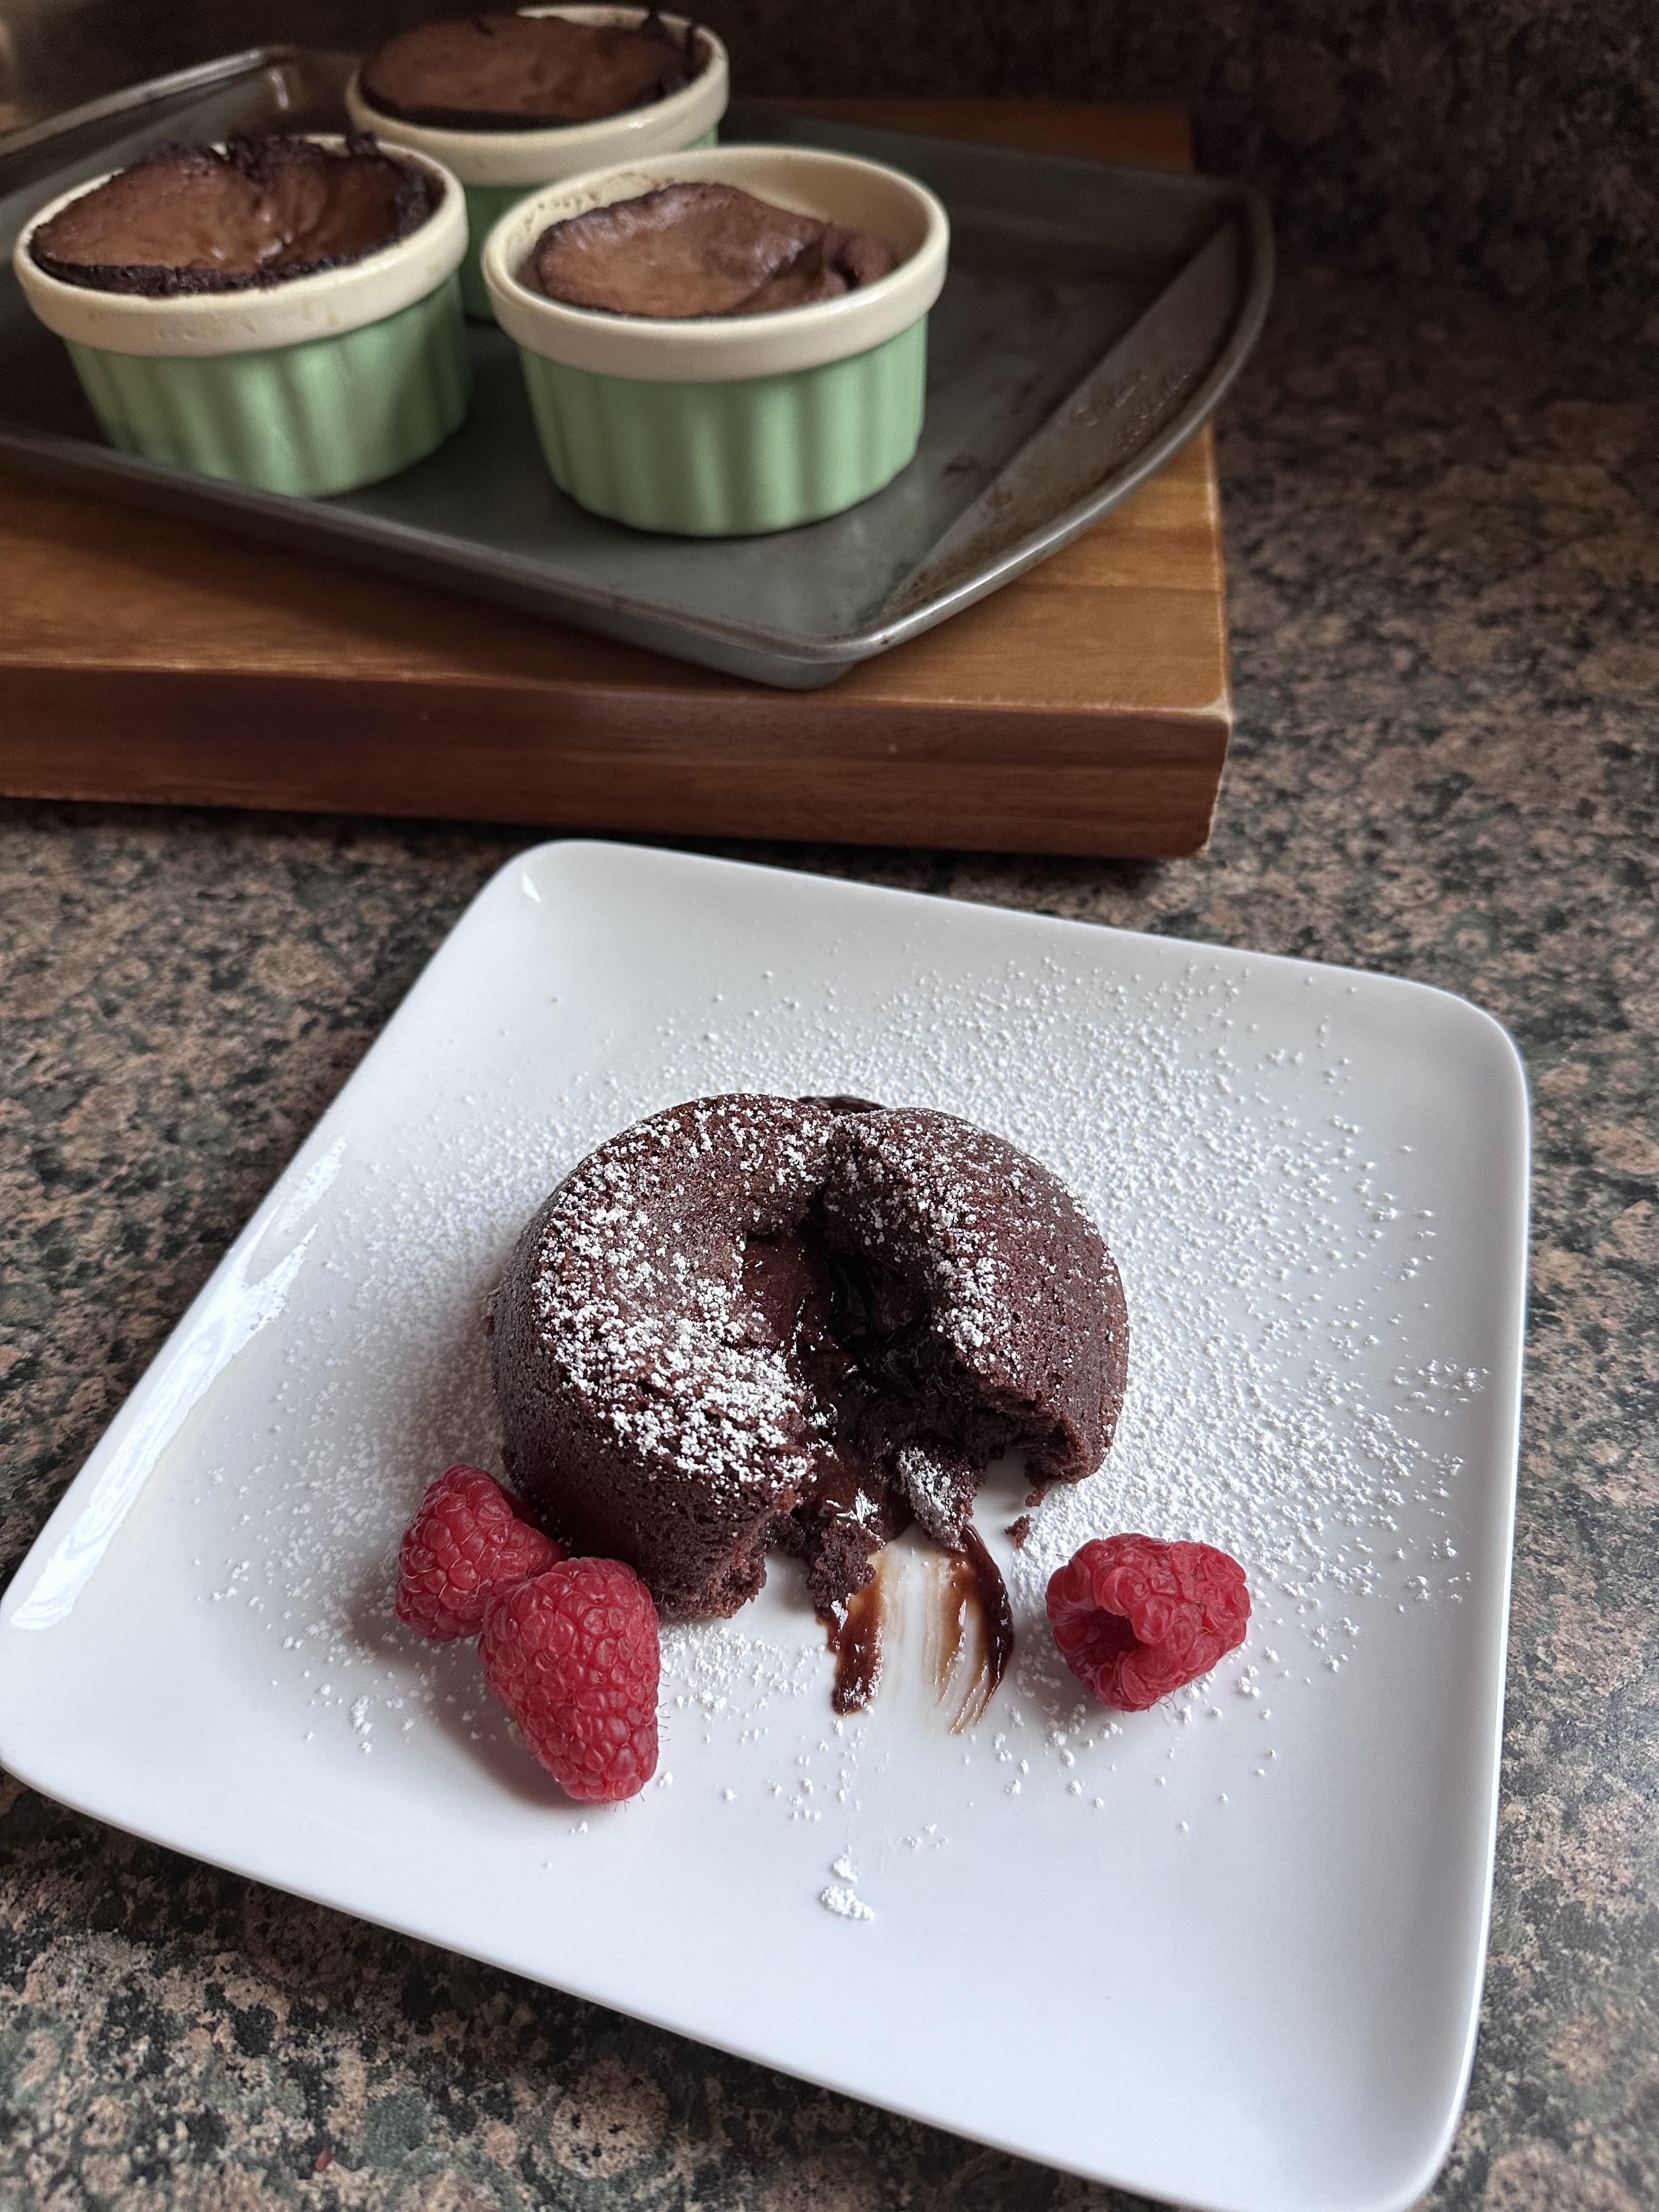
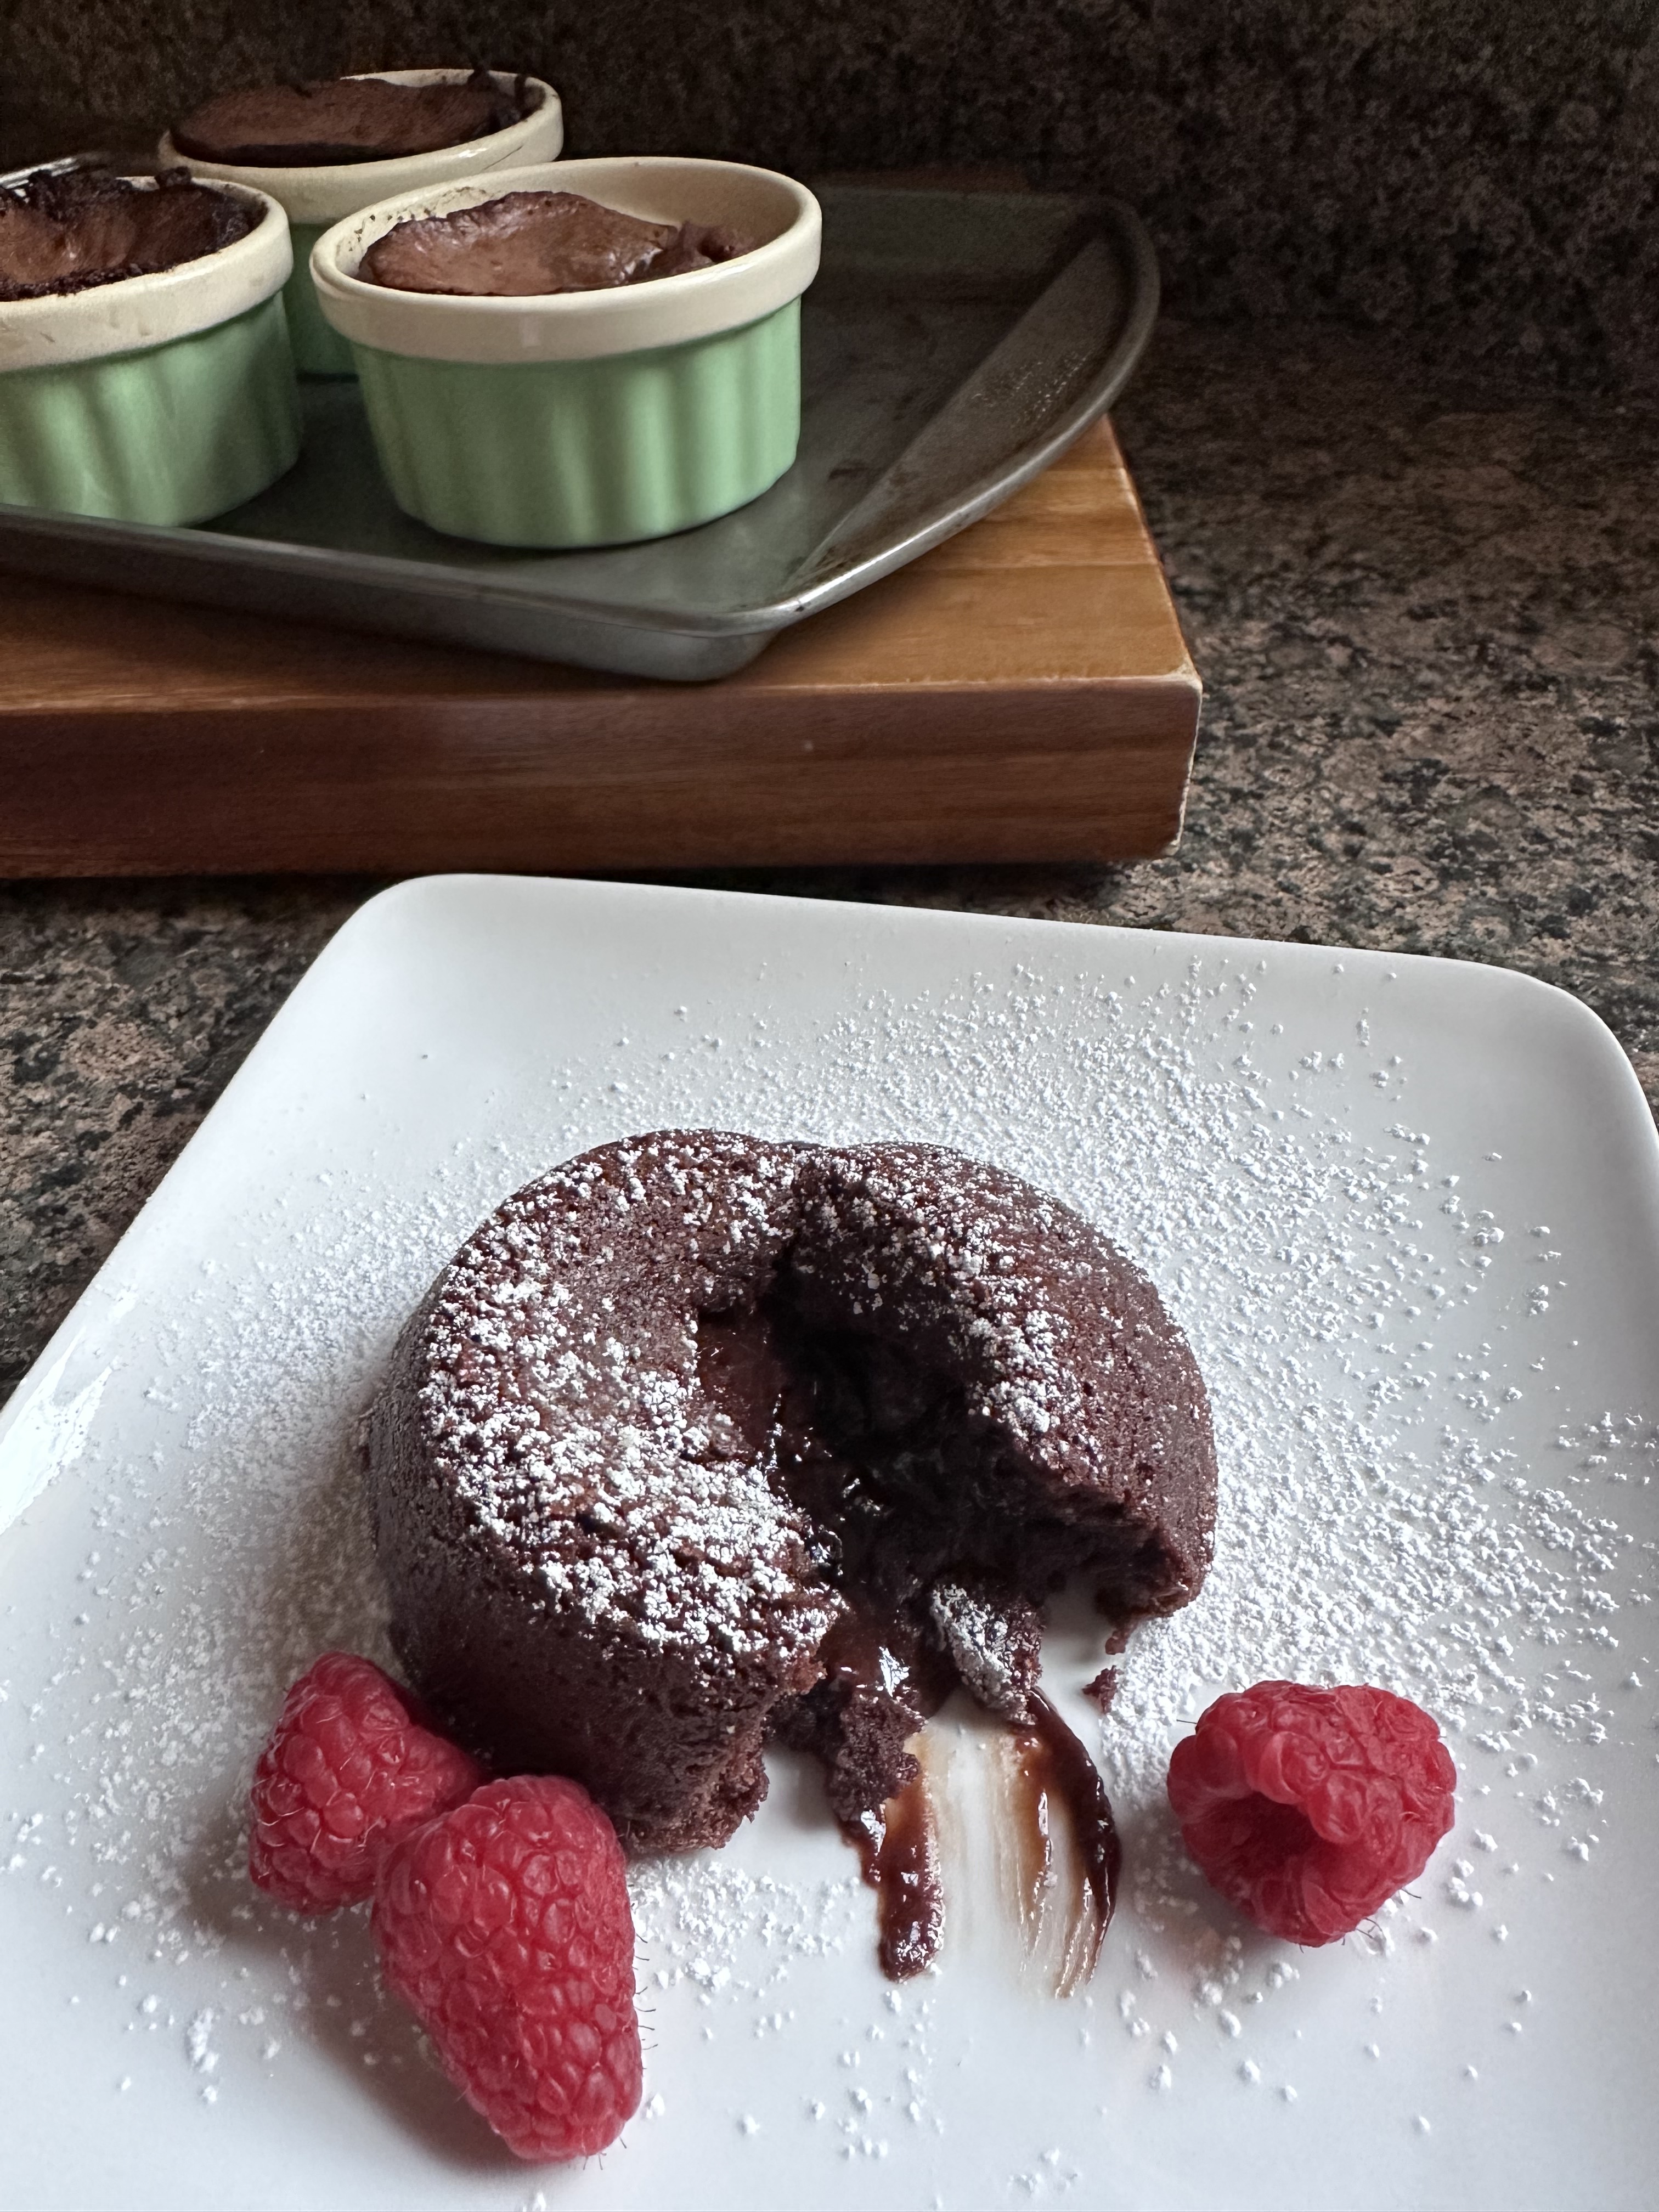
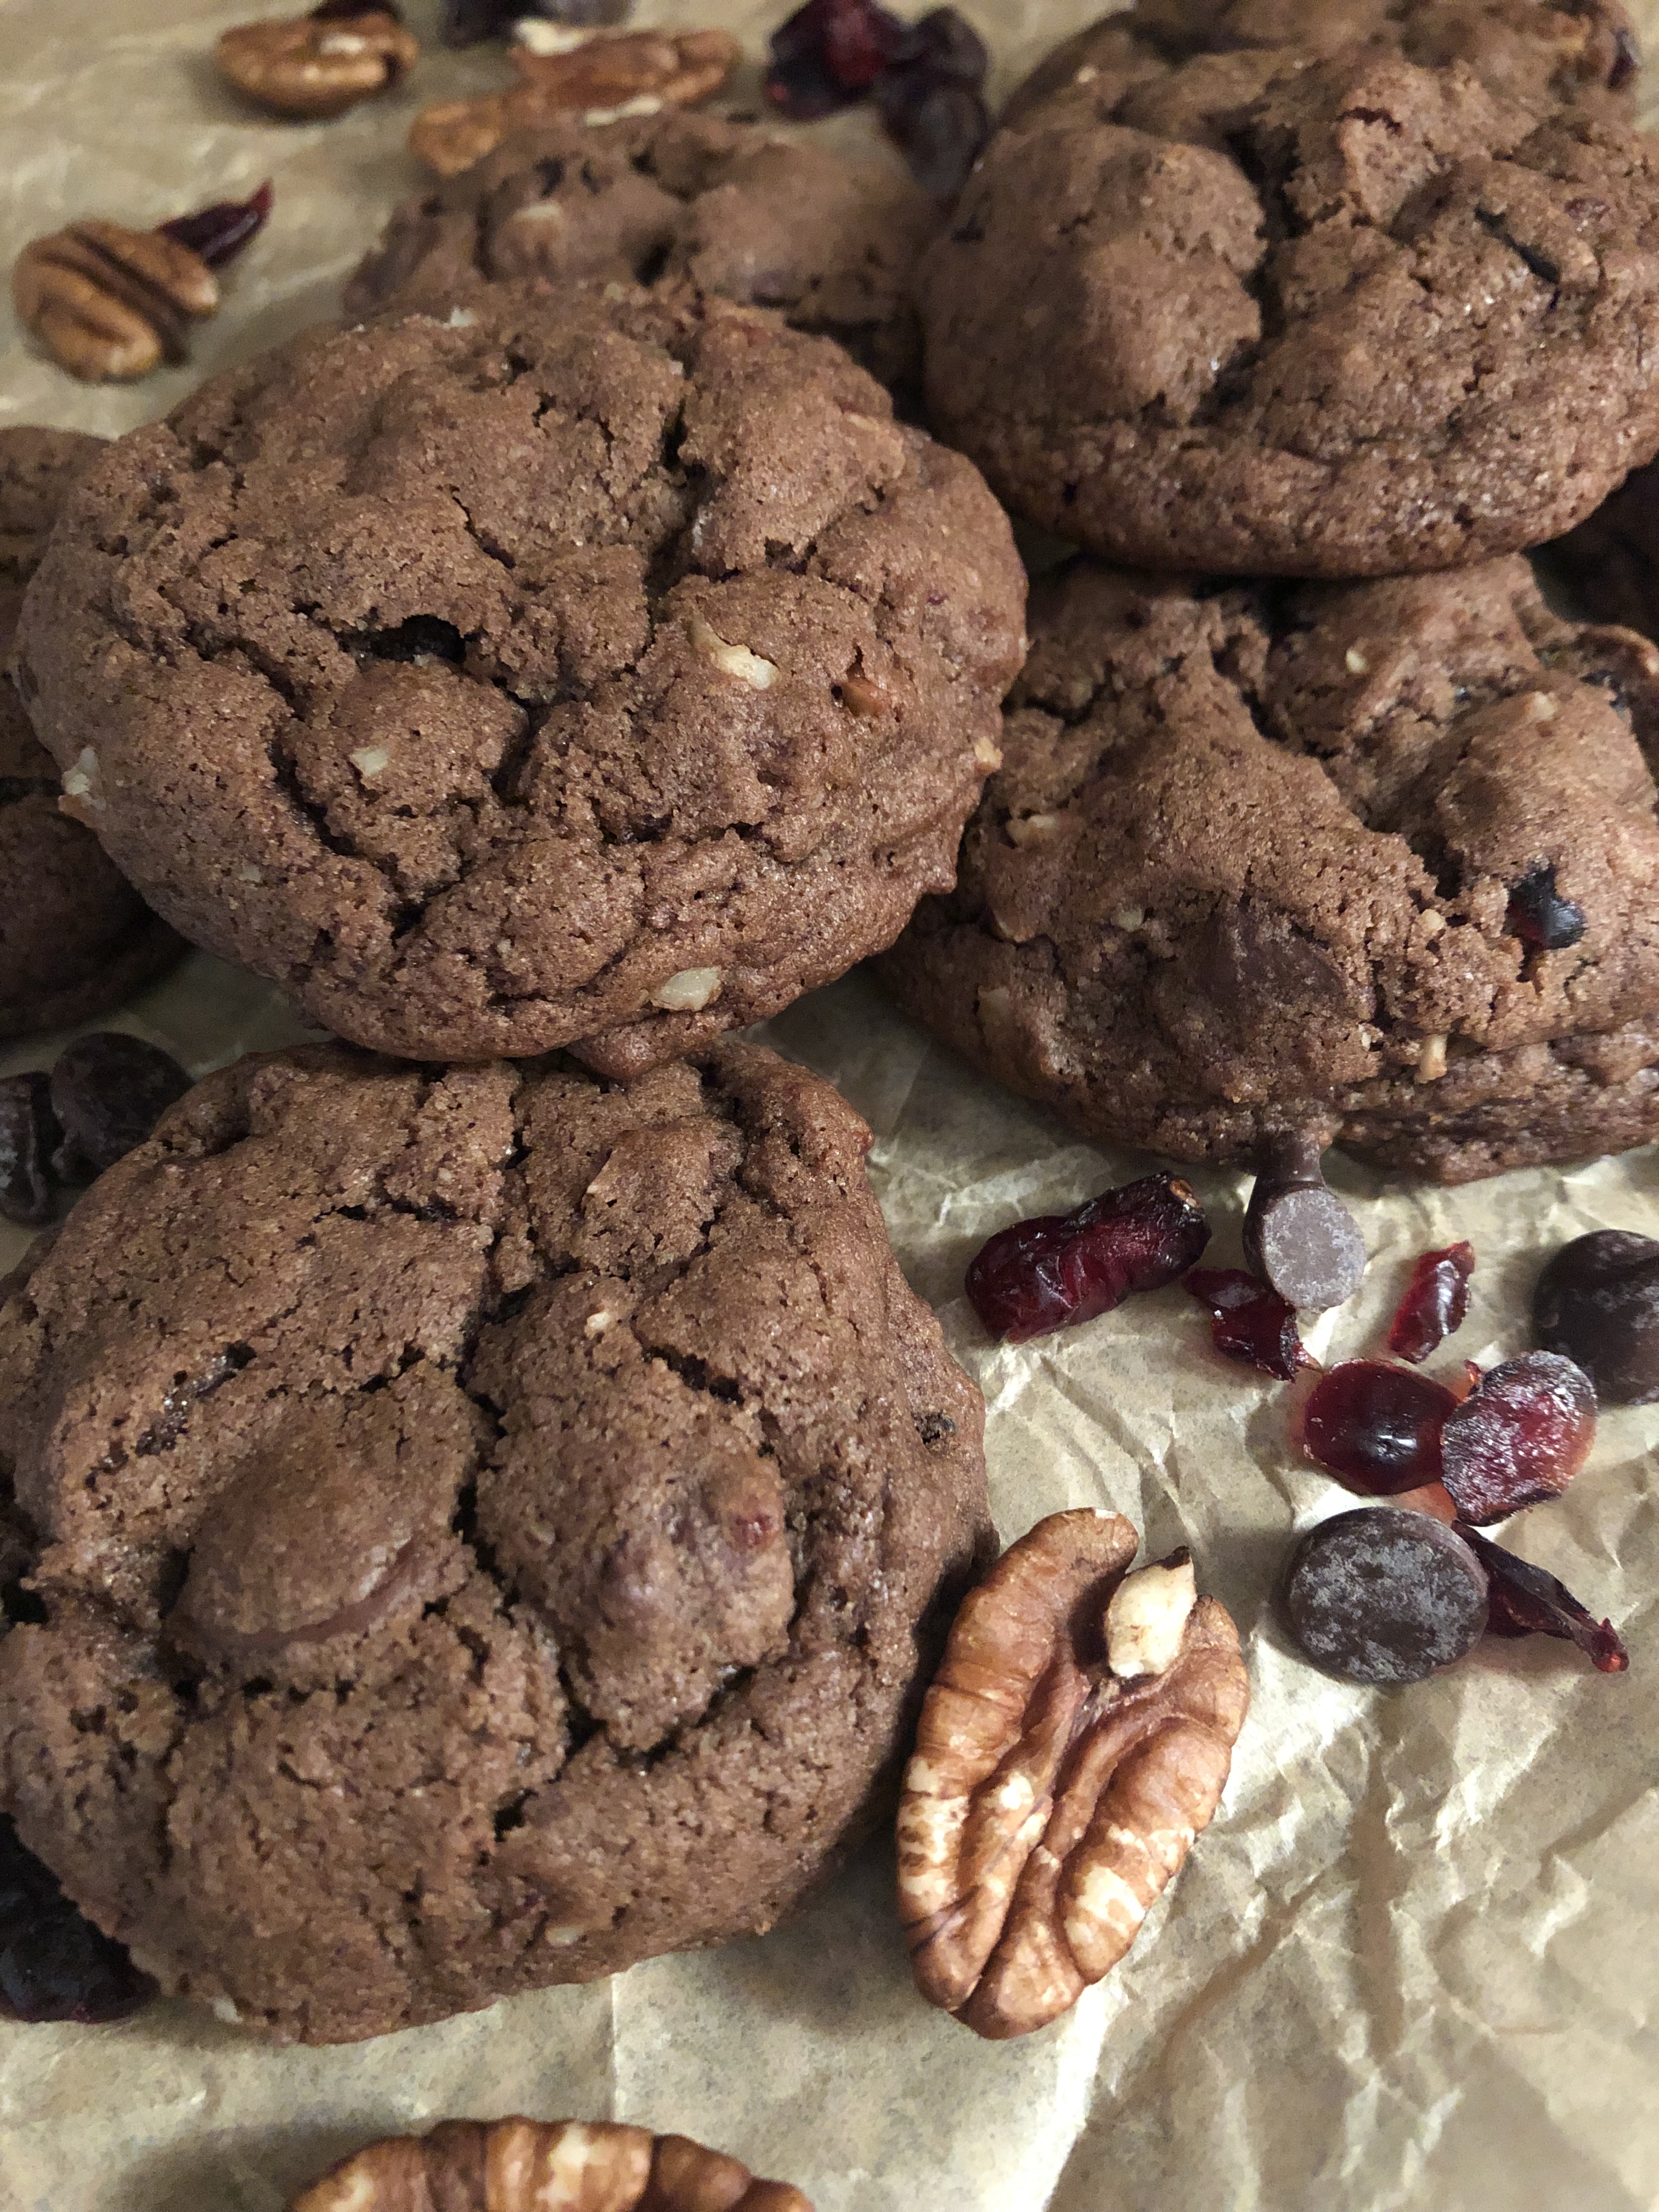
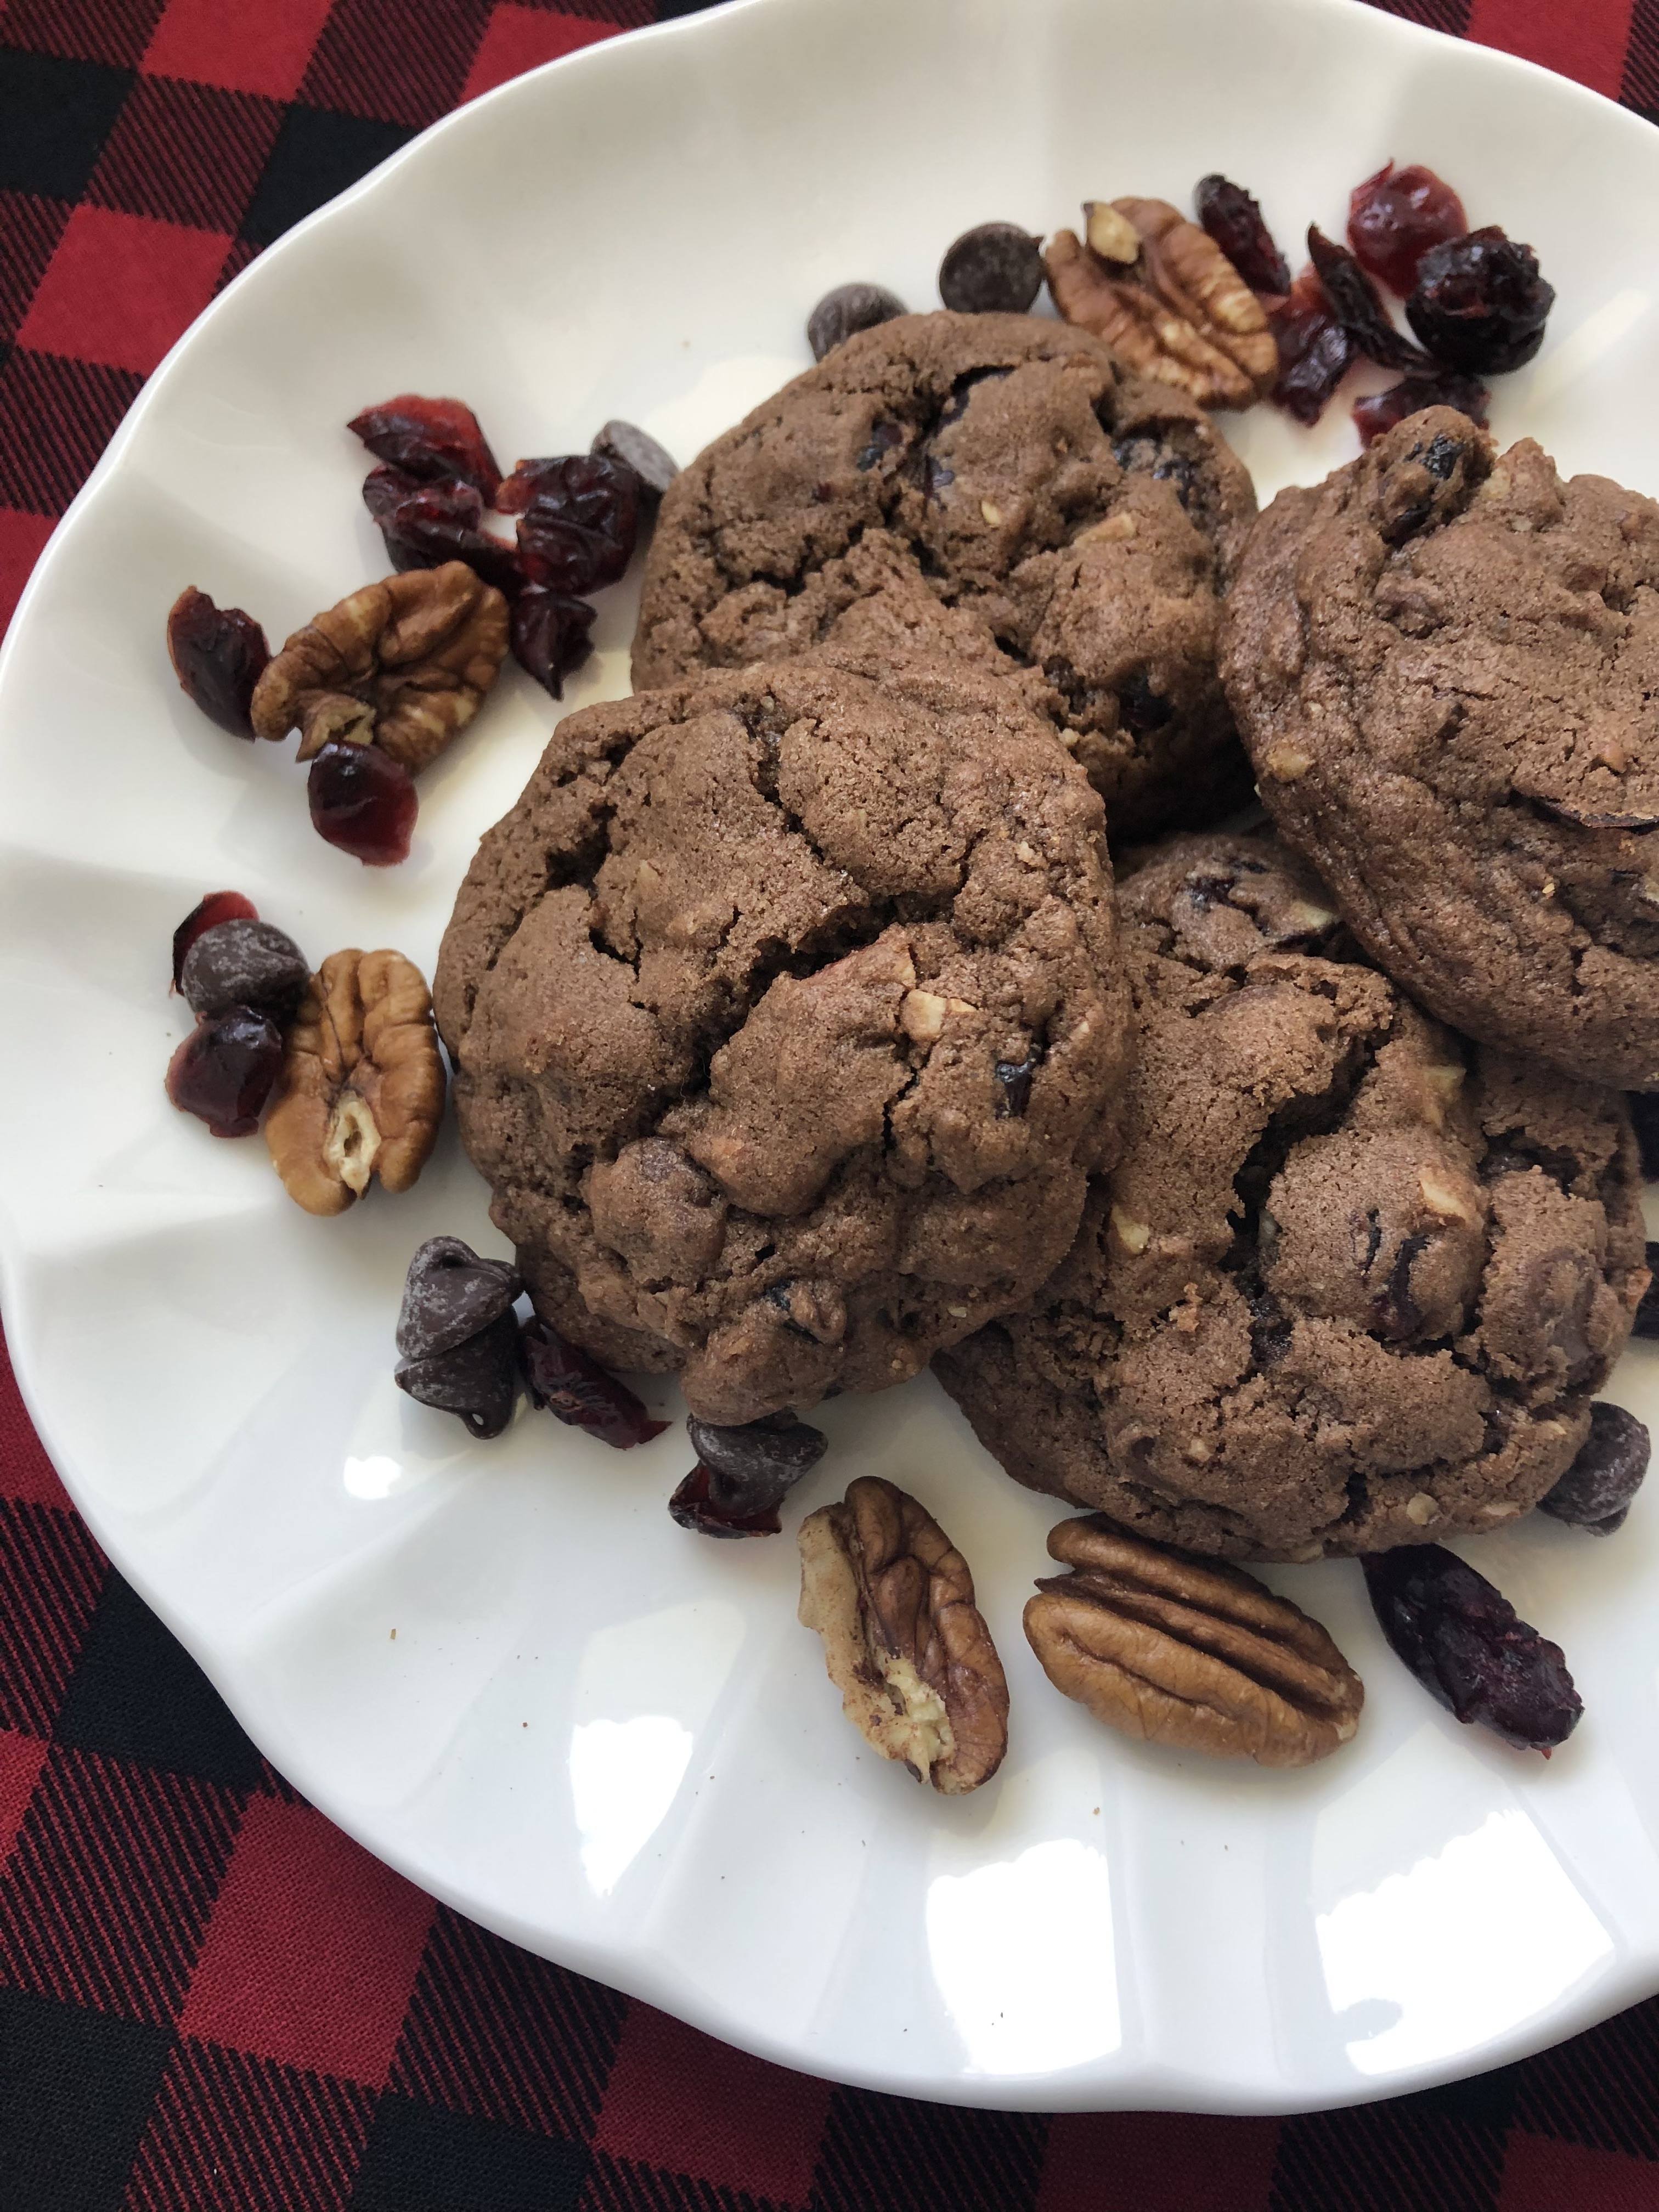
Raspberry Molten Lava Cakes

I may be a few years late sharing a recipe for molten lava cakes. They were all the rage years ago. I swear any restaurant I went to had their own version of these chocolate cakes. Truth be told though; I still enjoy them. What’s not to love about a chocolate cake that is semi-baked and oozes chocolate when you cut into it? Add a scoop of vanilla ice cream and you have the perfect dessert. I had an idea though to add a little something extra to them. One of my favorite combinations is raspberry and chocolate. Before Godiva closed all their stores, I would make full use of their loyalty program that included a free piece of chocolate every month and would always get their Raspberry Truffle. So, I thought what about a Raspberry Molten Lava Cake.

Now, while I love the combination of raspberry and chocolate, there is one thing I don’t like… raspberry seeds. I wanted to be able to enjoy this molten without the seeds getting in the way. I never noticed how many seeds are in raspberries until I baked with them. Somehow, they just aren’t as annoying when you eat fresh raspberries. So, to avoid those pesky seeds I opted to use seedless raspberry jam. I prepped my batter, which took less than 10 minutes, and then filled my ramekins about 2/3 full and then placed 2 teaspoons of the jam in the center of each.

I then topped the raspberry jam with the remaining batter.

And finally baked them on a baking sheet in my preheated oven. And while they did rise significantly, they didn’t overflow while baking.

After letting them cool for a few minutes I carefully inverted one onto a plate.

And I must say, the first word that came to mind when I enjoyed my first bite was perfection. The cake itself wasn’t overly sweet, it was baked just right and there was just the right amount of “lava” that flowed out. And let’s not forget about the raspberry flavor… the two teaspoons was just the right amount.

Raspberry Molten Lava Cakes

Ingredients:

6oz. semi-sweet chocolate*

1 stick unsalted butter

1/2 cup sugar

3 large eggs

1/4 cup flour

8 teaspoons seedless raspberry jam

Confectioners’ sugar, for dusting

*I used a combination of a 4oz. Ghirardelli baking bar and 1/2 cup semi-sweet chocolate chips. If using a baking bar, chop the chocolate before melting with butter.

Directions:

Preheat the oven to 425 F. Spray 4 6-oz ramekins with baking spray and place on a baking sheet.

In a microwave safe bowl combine the butter and chocolate and microwave for 30-second intervals until the butter melts. Stir the butter and chocolate together until the chocolate has melted and the mixture is smooth.

In a medium bowl beat the sugar and eggs together on medium speed until pale and fluffy.

Fold the egg mixture into the chocolate until just combined. Then fold in the flour until the mixture is well combined and smooth.

Spoon 1/3 cup of batter into each of the prepared ramekins. Top each with 2 teaspoons of raspberry jam and then top with the remaining batter – 1/4 cup in each.

Bake on the baking sheet in the oven for 15-16 minutes. Allow to cool on the pan 5-10 minutes before carefully inverting the cake onto a plate. Dust with confectioners’ sugar and enjoy.

For any leftovers, cover with plastic wrap and refrigerate. To heat, microwave for 30-seconds. Let sit for a minute and then invert on a plate and enjoy.

Recipe first appeared on Bead Yarn & Spatula.

Peanut Butter & Banana Chocolate Chip Bread

Some pairings just taste good together – like peanut butter and chocolate, peanut butter and banana and banana and chocolate – so I figured that three would taste just as good (or better) together. And that’s how I came up with this Peanut Butter & Banana Chocolate Chip Loaf.

Although, I was a little discouraged when I tasted the first loaf I made. It was a bit dense, and the banana flavor was overpowering. With my second loaf, I reduced the amount of flour in the batter and increased the amount of peanut butter. The loaf then ended up being super moist with an equal balance of peanut butter and banana flavor. Now some people who tried it tasted the banana more or the peanut butter more. I think that might be due to preference of one over the other. I was able to taste both.

Now, I would like to think this loaf is somewhat healthy since the bananas are a good source of potassium and the peanut butter protein, but I am sure some would beg to differ since there is sugar and chocolate chips in the loaf as well. But a little sweetness isn’t a bad thing sometimes. If you’re really trying to stick to any health-related New Year’s Resolutions though, you could omit the chocolate chips and use maple syrup in lieu of the sugar. In doing so though you will have to add a little extra flour to the batter to account for the extra liquid.

Peanut Butter & Banana Chocolate Chip Bread

Ingredients:

1 1/2 cups flour

1 teaspoon baking soda

1/2 teaspoon salt

1 stick unsalted butter, at room temperature

3/4 cup light brown sugar

2 large eggs, at room temperature

1 teaspoon vanilla extract

3 large ripe bananas, mashed

1 cup creamy peanut butter

3/4 cup semi-sweet chocolate chips

Directions:

Preheat oven to 325 F. Spray 9 x 5 loaf pan with baking spray and set aside.

In a medium bowl whisk together the flour, baking soda and salt. Set aside.

In a large bowl cream together the butter and sugar with a hand mixer on medium speed until light and fluffy. Add the eggs 1 at a time, beating until just combined. Add the vanilla extract. Stir in the mashed bananas and peanut butter until just combined.

With the mixer on low add the flour mixture to the butter mixture and beat until combined.

Fold in the chocolate chips.

Transfer the batter to the prepared loaf ban and bake for 60-70 minutes, or until a cake tester inserted in the center comes out clean.

Cool in the pan for 15 minutes and then transfer to a wire rack to cool completely.

Store leftovers in an airtight container at room temperature.

Recipe first appeared on Bead Yarn & Spatula.

Cookie Palooza: Blueberry Crumb Cookies

I’ve saved my favorite cookie for last… A Blueberry Crumb Cookie. I got the idea for this cookie while baking one of my favorite summer desserts, a Blueberry Crumb Cake. Granted you can make it anytime of the year, but it tastes best when the blueberries are at their sweetest. Initially I was thinking of using fresh blueberries in the cookie, but for a few reasons I didn’t think it was the right move. I was concerned that some of the blueberries would be sour (not a good thing for a cookie), inevitably different sizes (you kind of want uniformity in a cookie) and that they might turn the cookies blue during baking. Since cookie dough is a lot thicker than cake batter, I thought that there was good chance of the blueberries being slightly decimated while folding them in. Thankfully I was able to find dried wild blueberries that eliminated all those concerns I had from using fresh ones.

For these cookies I made two mixtures… The cookie dough and the crumb topping.

Once both were ready, I rolled scoops of the dough in the crumb topping and then placed it on my baking sheets. And in case you are wondering, no, the crumb topping won’t burn and yes it will stick to the cookie even after baking.

And yes, the cookies will spread a bit while baking, but I don’t suggest refrigerating the cookie dough prior to scooping and rolling them in the crumb topping. You want the cookie dough to be slightly sticky so the crumb topping will adhere to it. And there’s no harm in a larger cookie. They don’t flatten and are slightly thick so it’s all good!

And I must say that while these cookies are delish the day they come out of the oven, the blueberry flavor gets stronger each day after so you may want to make these a day or two ahead of time and keep them stored in an airtight container prior to serving, sharing or giving. Because of this these cookies are the perfect cookie to mail to someone. They stay moist and the flavor only gets better.

I hope you have enjoyed this year’s Cookie Palooza and hopefully one, two or maybe all of these cookies will earn a spot on your cookie trays this holiday season!

Happy Holidays (and Happy Baking!)

Blueberry Crumb Cookies

  • Servings: 30 Cookies
  • Print

Ingredients:

For the Cookies:

1 stick unsalted butter, at room temperature

1/2 cup light brown sugar

2/3 cup sugar

2 large eggs

1 teaspoon lemon juice

1/4 cup sour cream

2 cups flour

1 teaspoon baking soda

1/4 teaspoon salt

1 cup dried blueberries*

For the Crumb Topping:

2 tablespoons sugar

2 tablespoons light brown sugar

1/2 teaspoon cinnamon

1/8 teaspoon nutmeg

1/2 stick unsalted butter, melted

1/2 cup + 2 tablespoons flour

*I used dried wild blueberries from Trader Joe’s

Directions:

Preheat oven to 350 F. Line 2 baking sheets with parchment paper and set aside.

For the cookies: In a medium bowl whisk together the flour, baking soda and salt. Set aside.

In a large bowl beat together the butter and both sugars with a hand mixer on medium speed until light and fluffy. Add in the eggs one at a time and beat until just combined. Add in the lemon juice and sour cream and continue beating until well combined.

With the mixer on low add in the flour mixture. And then fold in the blueberries.

For the Crumb Topping: In a medium bowl whisk together both sugars, the cinnamon and nutmeg. Stir in the melted butter and then the flour. You may need to use your hands to really get the mixture combined well and to form the crumbs.

To make rolling the dough in the crumb topping easier (and less messy), first scoop the dough onto the prepared baking sheets, then roll in the crumb topping and then return to the baking sheets. Place the dough 2 inches apart.

Bake for 12-14 minutes, until the cookies are set and beginning to brown around the edges. Cool on the pan for 5 minutes before transferring to a wire rack to cool completely.

Store cookies in an airtight container.

Recipe first appeared on Bead Yarn Spatula.

Cookie Palooza: Brown Sugar Vanilla Cookies

Cookies are my least favorite dessert to photograph. Sometimes they just don’t look as appealing in a picture as they do in “real life.” As is the case with today’s Cookie Palooza cookie… Brown Sugar Vanilla Cookies. They taste great, but that’s just not coming across in the pictures since there are no add-ins to give the cookies dimension.

They are essentially a chocolate chip cookie without the chocolate chips. They get their flavor from, you guessed it, brown sugar and vanilla. While most chocolate chip cookie recipes call for using a combination of white and brown sugar which produces a cookie that is crispier, only using brown sugar in these cookies leaves you with a cookie that is chewier and denser. Something a little more comforting during these cold winter months. They are also the perfect cookie to make for anyone on your list who likes a simple cookie without much fuss.  

Brown Sugar Vanilla Cookies

  • Servings: 30 Cookies
  • Print

Ingredients:

2 cups flour

1 teaspoon baking soda

1 teaspoon salt

2 sticks unsalted butter, at room temperature

1 1/2 cups light brown sugar

2 large eggs

2 tablespoons vanilla extract

Directions:

Preheat oven to 375 F. Line 2 baking sheets with parchment paper.

In a medium bowl whisk together the flour, baking soda and salt. Set aside.

In a large bowl, using a handheld mixer on medium speed, cream together the butter and sugar until light & fluffy. Beat in the eggs 1 at a time and then add in the vanilla extract.

With the mixer on low, add the flour mixture until combined. The dough will be very soft. Refrigerate for 30 minutes to firm up so the cookies won’t spread as much while baking.

Use a cookie a cookie scoop to drop the dough 2 inches apart on the prepared baking sheets. Bake for 9-11 minutes, until the edges of the cookies begin to brown. Cool 2 minutes on the baking sheets before transferring to a wire rack to cool completely.

Store in an airtight container.

Recipe first appeared on Bead Yarn & Spatula.

Cookie Palooza: Cranberry Pecan Cookies

While peppermint gets all the glory during this time of the year there are other flavors and ingredients that are reminiscent of the season. Cranberries for one. While the sweetened dried ones and the canned jellied version can be found in your supermarket year-round, it’s this time of the year when those fresh tart berries pop up in your grocery section. And while most nuts are popular around this time due to gift baskets, those roasted chestnuts and so forth it’s pecans that really make the rounds thanks to Pecan Pie.  So, I decided to combine the two – cranberries and pecans – for today’s Cookie Palooza cookie with a Cranberry Pecan Cookie that also has some chocolate in it.

These cookies are pretty straightforward to make. Start off by creaming together the butter and sugars, add the eggs and then the vanilla extract. Whisk the dry ingredients separately and then add it to the butter mixture and finally stir in the add-ins; the dried cranberries, chopped pecans and chocolate chips. If you like your cookies to be a little nuttier feel free to add in more pecans. And one thing I have started doing is refrigerating my cookie dough before scooping and baking. I didn’t want to struggle to scoop my dough, so I refrigerated it for only 30 minutes. Enough to get it chilled, but still soft enough to easily scoop with a cookie scoop.

These cookies are perfectly chocolaty, just the right amount of crunch thanks to the pecans and have a little tangy sweetness to them thanks to the cranberries. The perfection addition to any cookie platter this holiday season!

Cranberry Pecan Cookies

  • Servings: 36 Cookies
  • Print

Ingredients:

2 sticks unsalted butter, at room temperature

3/4 cup sugar

3/4 cup light brown sugar

2 large eggs

2 teaspoons vanilla extract

2 cups flour

1/2 cup unsweetened cocoa powder

1 teaspoon baking soda

1/2 teaspoon salt

1 cup semi-sweet chocolate chips

1 cup chopped pecans, toasted

1 cup dried cranberries

Directions:

Preheat oven to 350 F. Line 2 baking sheets with parchment paper.

In a medium bowl whisk together the flour, cocoa powder, baking soda and salt. Set aside.

In a large bowl cream together the butter and both sugars with a hand mixer on medium speed until light and fluffy. Add the eggs 1 at a time and then the vanilla extract.

With the mixer on low add in the flour mixture and beat until just combined.

Add the chocolate chips, pecans and cranberries and beat until combined.

Refrigerate the dough for 30 minutes.

Use a cookie scoop to scoop the dough 2 inches apart on the prepared baking sheets.

Bake in the preheated oven for 13-15 minutes, until the cookies are set.

Transfer to a wire rack to cool completely.

Store in an airtight container.

Recipe first appeared on Bead Yarn Spatula

Cookie Palooza: Pumpkin Spice Chocolate Chip Cookies

Welcome to Cookie Palooza 2022 on Bead Yarn Spatula. I am quite excited this year because all the recipes I will be bringing you this week are original ones. To kick it off I am sharing a recipe that is perfect for all your pumpkin spice loving family and friends and for those that enjoy pumpkin even after the Fall season is long gone… A Pumpkin Spice Chocolate Chip Cookie.

I’ve been searching for a good pumpkin cookie recipe for a while now. Some I made tasted good, but the texture just wasn’t appealing to me. When pumpkin puree is added to any recipe it adds a lot of moisture to it. And if you add too much pumpkin puree to a dessert recipe that isn’t well balanced with other wet ingredients you end up with a very odd texture. As was the case with my first few tries of my Pumpkin Tiramisu Cake. So, how did I finally achieve a good pumpkin cookie recipe? To get these Pumpkin Spice Chocolate Chip cookies just right I started by using a cake mix as the base.

If you are wondering, cake mix cookies are an actual thing. It’s an easy way to make a red velvet, strawberry, lemon and /or carrot flavored cookie since those flavors are readily available in box cake mixes. While I am sure around this time of the year there are pumpkin cake mixes, I opted to use a yellow cake mix as my base and added some spices that are reminiscent to pumpkin pie spice (this is the recipe I used for the cake portion of my Bourbon Caramel Apple Upside Down Spice Cake) and to get real pumpkin flavor I added in a can of pumpkin puree. And that was it for my wet ingredients… no butter, eggs or anything else.

The result, a pumpkin cookie with just the right amount of spice and sweetness. And the perfect texture… Not too moist and nowhere near dry.

Pumpkin Spice Chocolate Chip Cookies

  • Servings: 30 Cookies
  • Print

Ingredients:

1 15.25oz. box of yellow cake mix

1 15oz. can pumpkin puree

2 teaspoons cinnamon

1 teaspoon nutmeg

1/2 teaspoon ginger

1/2 teaspoon allspice

1/2 teaspoon ground cloves

1 teaspoon vanilla extract

1 1/4 cups semi-sweet chocolate chips

Directions:

Preheat oven to 350 F. Line 2 baking sheets with parchment paper.

In a large bowl whisk together the yellow cake mix with the spices. Add in the pumpkin puree and vanilla extract and stir to combine. Finally, stir in the chocolate chips.

Using a cookie scoop, scoop the dough onto the prepared baking sheets and bake in the preheated oven for 13-15 minutes. Cool the cookies 5 minutes on the baking sheets before transferring them to a wire rack to cool completely.

Store cookies in an airtight container.

Some notes:

-The dough will be soft, but there is no need to refrigerate it prior to baking. The cookies won’t spread much while baking.

-If you want a flatter cookie, after scooping the dough onto the baking sheets press them down slightly with a glass bottom sprayed with cooking spray.

Recipe first appeared on Bead Yarn Spatula.

Bourbon Caramel Apple Upside Down Spice Cake

I’ve been willing Fall to get here for the past few weeks. I am sure I have mentioned it before, it’s my favorite season. Cooler weather, the leaves changing, baking without overheating my house, the list goes on and on. There are a few flavors synonymous with this time of year, mainly pumpkin and apples. And while I normally like to welcome Fall with a new pumpkin recipe, I decided to go with the apples this year for a Caramel Apple Bourbon Upside Down Spice Cake. A bit of a mouthful!

A little backstory on this cake. I got the idea from watching a Fall themed movie on Hallmark Channel back in the Spring. I wrote the idea on a post-it and finally revisited it a few weeks ago. And of course, there were a few fails before I finally ended up with a cake that looked and tasted delicious. My first cake collapsed in the middle. My cake tester led me astray! The cake was slightly undercooked in the middle and there was no saving it. The fail though led me to change the flavor of the cake so it was kind of a good thing. Initially I doctored a French vanilla cake mix and decided the flavor just wasn’t right, so I switched to a spice cake instead. That definitely screams Fall more so than French Vanilla. So, I bought a spice cake Mix and made a few tweaks to it. I also decided to bake the cake in a tube pan to ensure it would bake completely without drying out. Well, it still wasn’t quite right. I used heavy cream when I made my bourbon caramel sauce and I just didn’t like the way it looked after flipping the cake. And while the cake tasted good, I just wasn’t getting enough spice from it.

Thankfully my third attempt was a success! First, I decided to omit the heavy cream from my caramel sauce. Second, I went with a yellow cake mix and added in cinnamon, nutmeg, ginger, allspice and cloves (those yummy warm spices of the season) to really get a strong spice flavor. And third, after I poured the caramel and arranged the apples in the pan, I placed the pan in the refrigerator while I made the batter for the cake. This allowed the apples to set in the caramel so that they wouldn’t move when I poured the batter into the pan. This actually happened with my second attempt at this cake. I had arranged my apples in a nice design and they moved all around once I poured the batter in. I didn’t take any chances with my third attempt though. I spooned the batter into the pan just to be safe.

Just look at how the apples looked before I added the batter. I definitely wanted that look on top of my cake once it was done.

And thankfully since I made those tweaks my cake looked amazing once I flipped it out of the pan. YAY!!!

And even better, the taste and texture of the cake was spot on.

Happy Fall Y’all!

Bourbon Caramel Apple Upside Down Spice Cake

Ingredients:

For the Bourbon Caramel Apple:

1/2 cup light brown sugar

4 tablespoons unsalted butter

1/4 cup bourbon

2 Granny Smith Apples, peeled, cored and thinly sliced (about 1/4 inch)

For the Spice Cake:

1 15.25 box of yellow cake mix (I used Duncan Hines)

2 teaspoons cinnamon

1 teaspoon nutmeg

1/2 teaspoon ginger

1/2 teaspoon allspice

1/2 teaspoon ground cloves

3 large eggs

1/2 cup vegetable oil

3/4 cup buttermilk*, at room temperature

1/3 cup sour cream, at room temperature

1 teaspoon vanilla extract

*Make your own buttermilk by adding 4 teaspoons of vinegar to a measuring cup and then adding enough whole milk to make 3/4 cup. Let stand for 15 minutes at room temperature, or until the milk becomes thick and appears curdled.

Directions:

Preheat the oven to 350 F. Spray a tube pan with baking spray and set aside. You could also use a Bundt pan.

For the Bourbon Caramel Sauce:

In a small saucepan combine the brown sugar and butter and melt over medium heat, stirring occasionally. Once the mixture is melted and combined remove from the heat and add the bourbon. Return to the heat for about a minute and stir to combine. Let cool slightly.

Pour the caramel sauce into the prepared pan and arrange the apple slices in the sauce making sure to overlap them.

While you make the cake batter refrigerate the pan with the apples and caramel sauce so the sauce can set. This will help the apples stay in place when you add the batter.

For the Spice Cake:

In a medium bowl whisk together the yellow cake mix with the cinnamon, nutmeg, ginger, allspice and cloves. Set aside.

In a large bowl, using a handheld mixer on low speed, beat the eggs, vegetable oil, buttermilk, sour cream and vanilla extract until combined. Using a fine mesh sieve (or a sifter) sift the cake mix with the spices over the buttermilk mixture and then beat with the hand mixer on medium speed until just combined.

Remove the pan from the refrigerator and spoon the batter over the apples. Give the pan a few gentle taps on the counter to remove any air bubbles and then bake in the preheated oven for 30-35 minutes, or until a cake tester inserted in the cake comes out clean.

Cool on a wire rack for 20 minutes and then invert onto a cake platter or other rimmed dish. Let the cake to cool to room temperature before slicing and enjoying. It’s important to let the cake cool before slicing so the apples can set on the cake. If you slice it too soon the apples will slide off.

Recipe first appeared on Bead Yarn & Spatula

S’mores Cheesecake

Cheesecake is a versatile dessert. It tastes delicious with its simplest ingredients but can be easily transformed into something more with different variations. Have you seen the cheesecake menu at The Cheesecake Factory? To celebrate National S’mores Day today I am sharing with you a S’mores Cheesecake. A cheesecake with all the flavors and components of your favorite campfire treat. A graham cracker crust, a filling made with mini chocolate chips and marshmallows and finally a topping of toasted marshmallows with a drizzle of melted chocolate… Yum!

Up first, I made the crust. In my food processor I processed 2 sleeves of graham crackers into fine crumbs and then added in sugar and melted butter. Once everything was well combined, I transferred the mixture to a 9-inch springform pan and pressed it along the bottom and up the sides of the pan. I used a 1 cup measuring cup to press the crumbs into the bottom in an even layer. While some recipes call for you to pre-bake your crust, I opted not to do that. I sometimes find that the crust gets a little too hard to slice then.

Next, I made the filling. After beating together cream cheese, sour cream, sugar, eggs and vanilla extract with a hand mixer I folded in mini marshmallows and mini semi-sweet chocolate chips with a rubber spatula. I then poured the filling into the prepared crust. I find that springform pans always seem to leak a little when baking so I placed it on a baking sheet before baking the cheesecake in a 325 F preheated oven for about 50 minutes.

I removed the cheesecake from the oven and sprinkled mini marshmallows on top and placed it back in the oven for an additional 5 minutes. At this point my marshmallows had puffed, but I wanted them to be toasted on top, so I switched my oven to broil for about 30 seconds. Even that was pushing it, marshmallows can go from toasted to burnt very quickly so it’s important to keep an eye on them if you opt to broil them.

Finally, I melted some semi-sweet chocolate chips and drizzled it on top of the marshmallows. I don’t know if it was because of the humidity in the air, or the chocolate chips themselves, but the melted chocolate was on the thicker side. In other words, it was going to be hard to drizzle it. So, I stirred in a little vegetable oil to thin it out. If you do this, you may notice that it will take longer for your chocolate to harden when left at room temperature. No need to fear, once you place the cheesecake in the refrigerator to cool the chocolate will harden.  

I let the cheesecake cool on a wire rack for about 10 minutes and then I carefully removed the ring (only to put it back on again.) I basically didn’t want the melted marshmallows to get too stuck to the pan. So, before removing the ring I ran a small knife under hot water and carefully ran it along the sides of the pan to separate the crust and marshmallows from it. I wiped the knife and ran it under the hot water as necessary to repeat. Once I was able to easily remove the ring, I put it back on and allowed the cheesecake to cool for another hour before covering and refrigerating it overnight.

And to serve, since I removed the ring the day before it was a cinch to remove it prior to serving. Also, since I didn’t prebake my crust, it wasn’t a struggle to cut thru it. The cheesecake came out delicious and all the flavors of a S’more were there. And you might think that the cheesecake would be rich or overly sweet due to all the components, but it will satisfy your sweet tooth just perfectly! And you don’t have to worry about burning your fingers or mouth on a hot S’more!

Looking for some other ideas for Cheesecake or S’mores. Check out one of the recipes below.

Cherry Amaretto Cheesecake

Tiramisu Cheesecake

Mini Pumpkin Spice Latter Cheesecakes

S’mores Cupcakes

S’mores Icebox Cake

Malted S’mores Ice Cream

S’mores Cheesecake

Ingredients:

Graham Cracker Crust:

2 1/2 cups graham cracker crumbs (2 sleeves of graham crackers)

1/3 cup sugar

1 stick unsalted butter, melted

Cheesecake:

3 8oz. packages cream cheese, at room temperature

3/4 cup sugar

1/2 cup sour cream, at room temperature

2 teaspoons vanilla extract

3 large eggs, at room temperature

1 cup miniature semi-sweet chocolate chips

1 cup mini marshmallows

Topping:

1 1/4 cup mini marshmallows

1/2 cup semi-sweet chocolate chips, melted*

*If you find the chocolate is too thick to drizzle add in a teaspoon or two of vegetable oil until you reach your desired consistency

Directions:

Preheat the oven to 325 F.

In a medium bowl stir together the graham cracker crumbs, sugar and butter. Transfer to a 9-inch springform pan and press into the bottom and up the sides of the pan. Place on a baking sheet and set aside.

In a large bowl, beat the cream cheese and sugar with a hand mixer on medium speed until combined. Add in the sour cream and vanilla extract and beat until smooth. Add the eggs 1 at a time and beat on low until combined. Fold in the chocolate chips and marshmallows. Pour the filling into the prepared pie crust and bake in the preheated oven for 45-50 minutes. Until the center is almost set.

Remove from the oven and top with the mini marshmallows. Return to the oven and bake an additional 4-6 minutes, or until the marshmallows are puffed. To get the marshmallows toasted on top switch your oven to broil for about a minute. Drizzle with the melted chocolate and allow to cool on a wire rack. Refrigerate for at least 4 hours before serving.

Recipe first appeared on Bead Yarn & Spatula

%d bloggers like this: