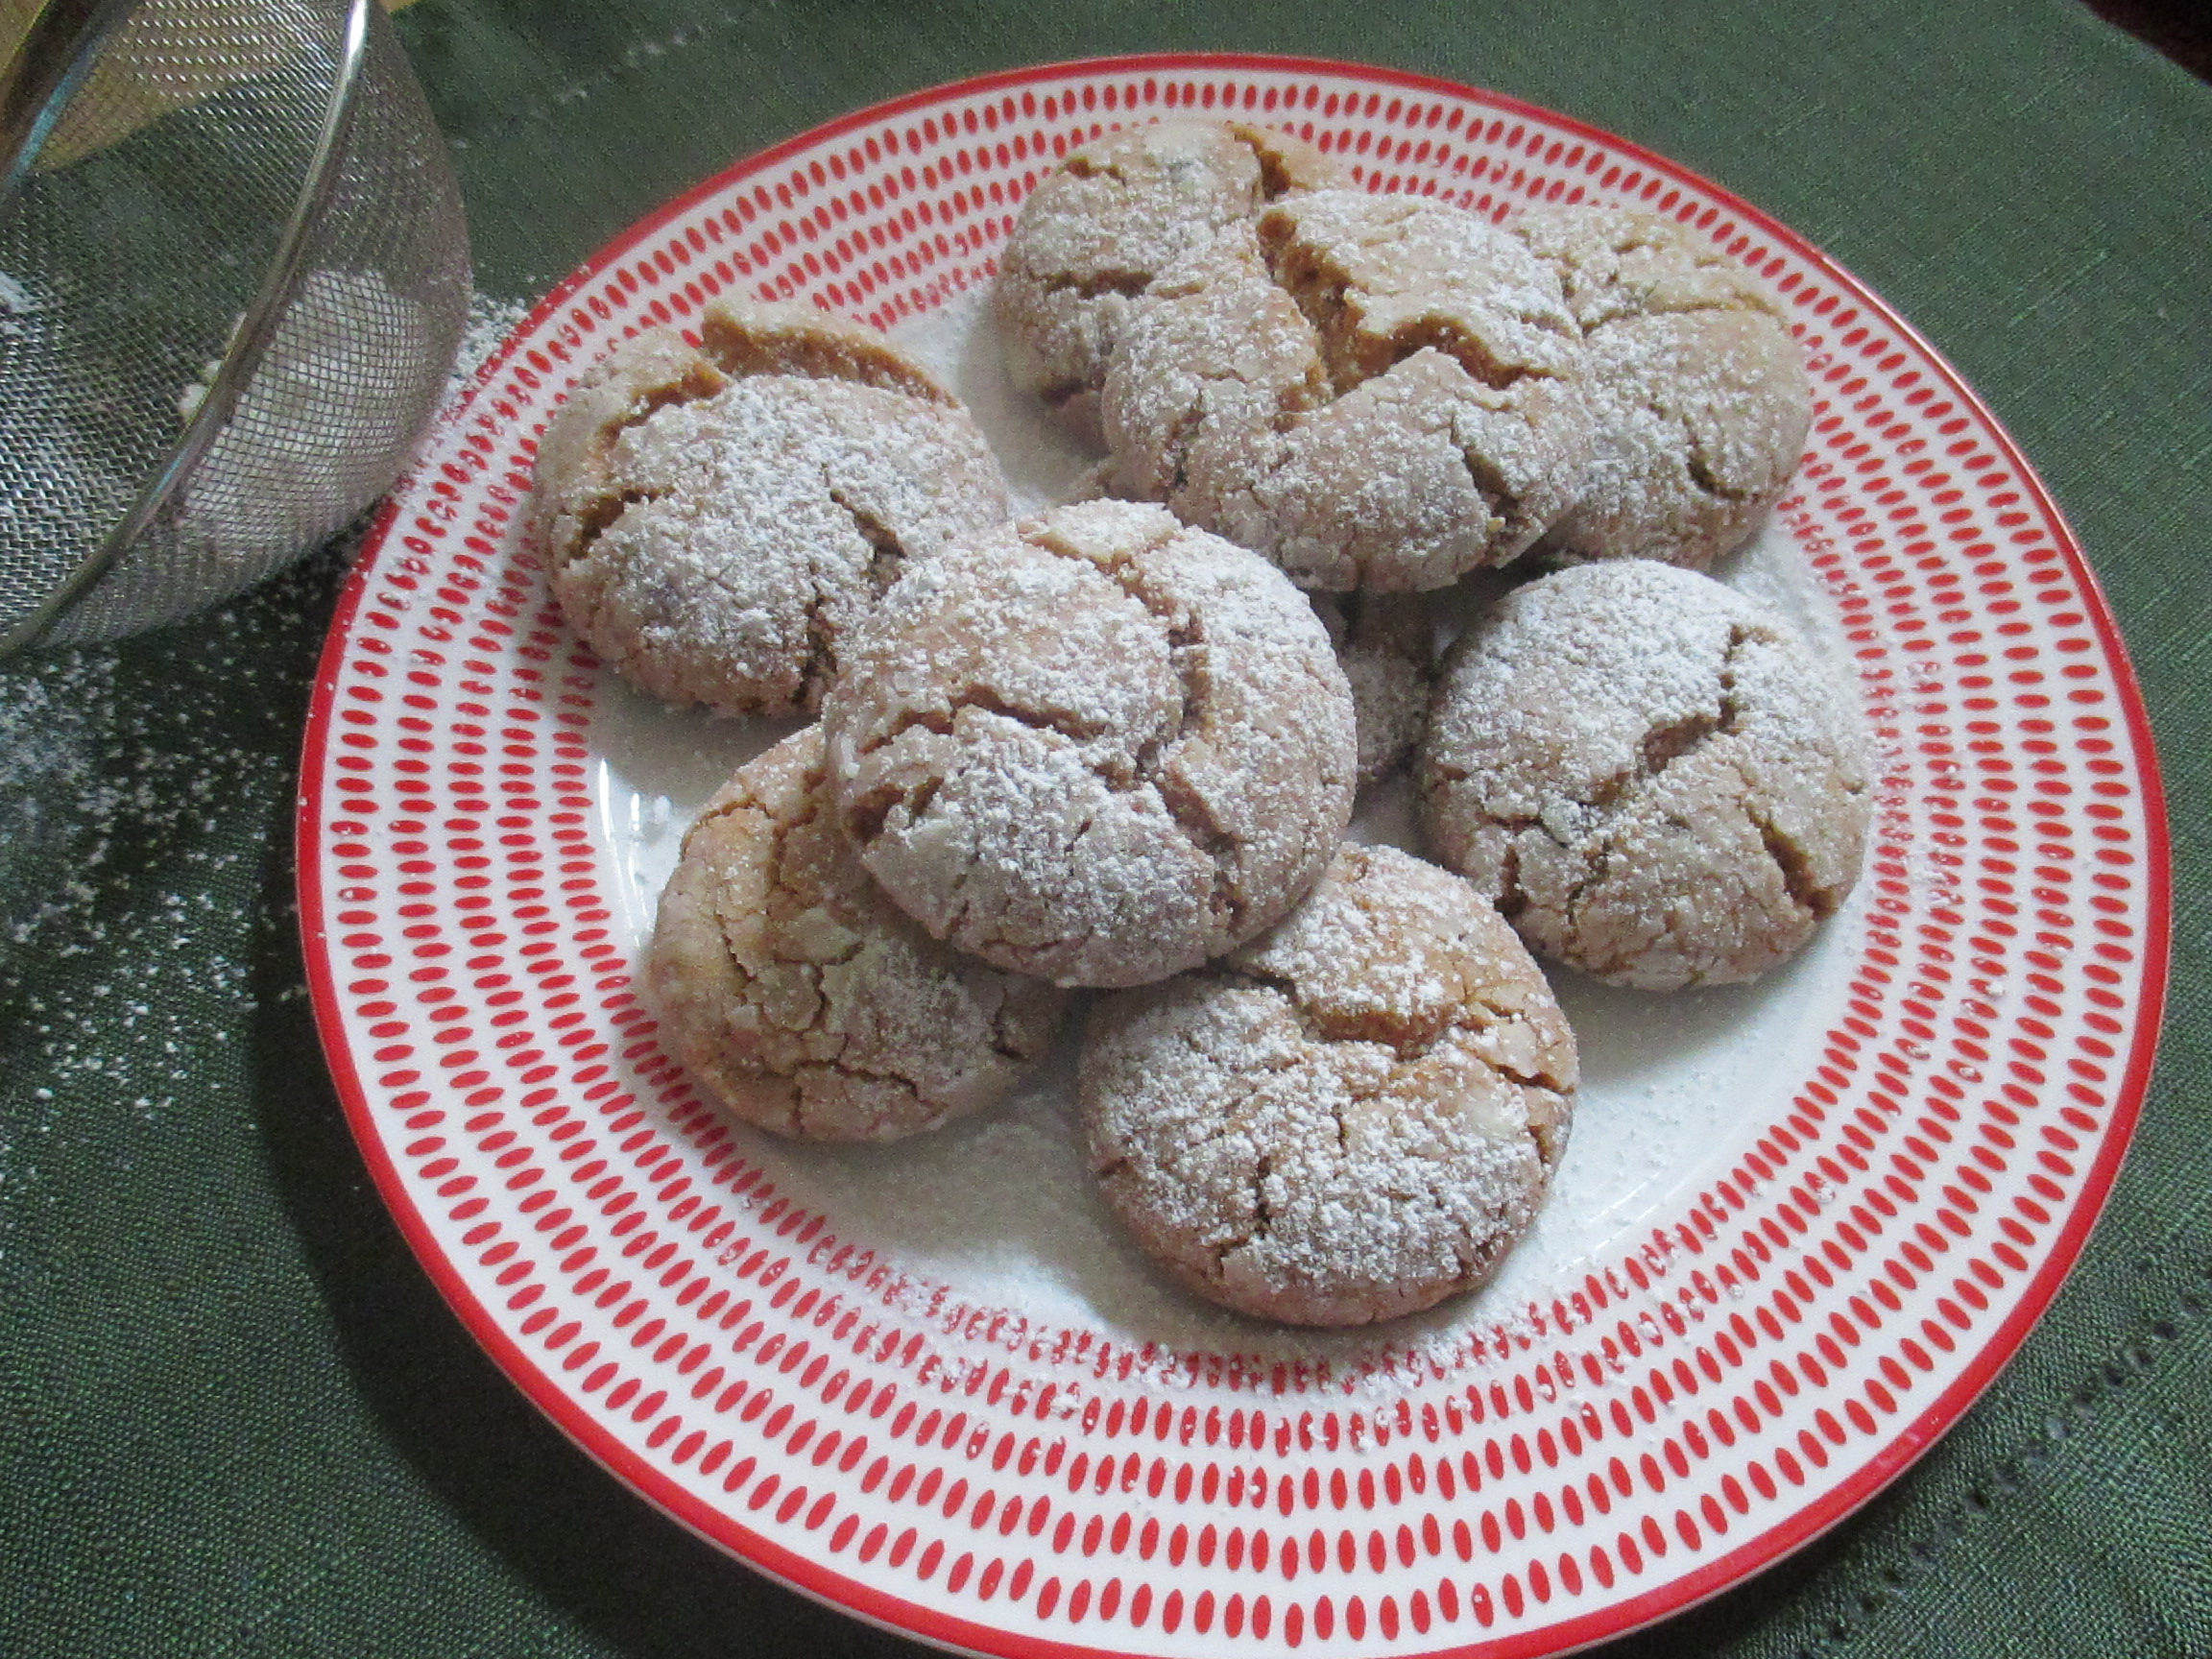
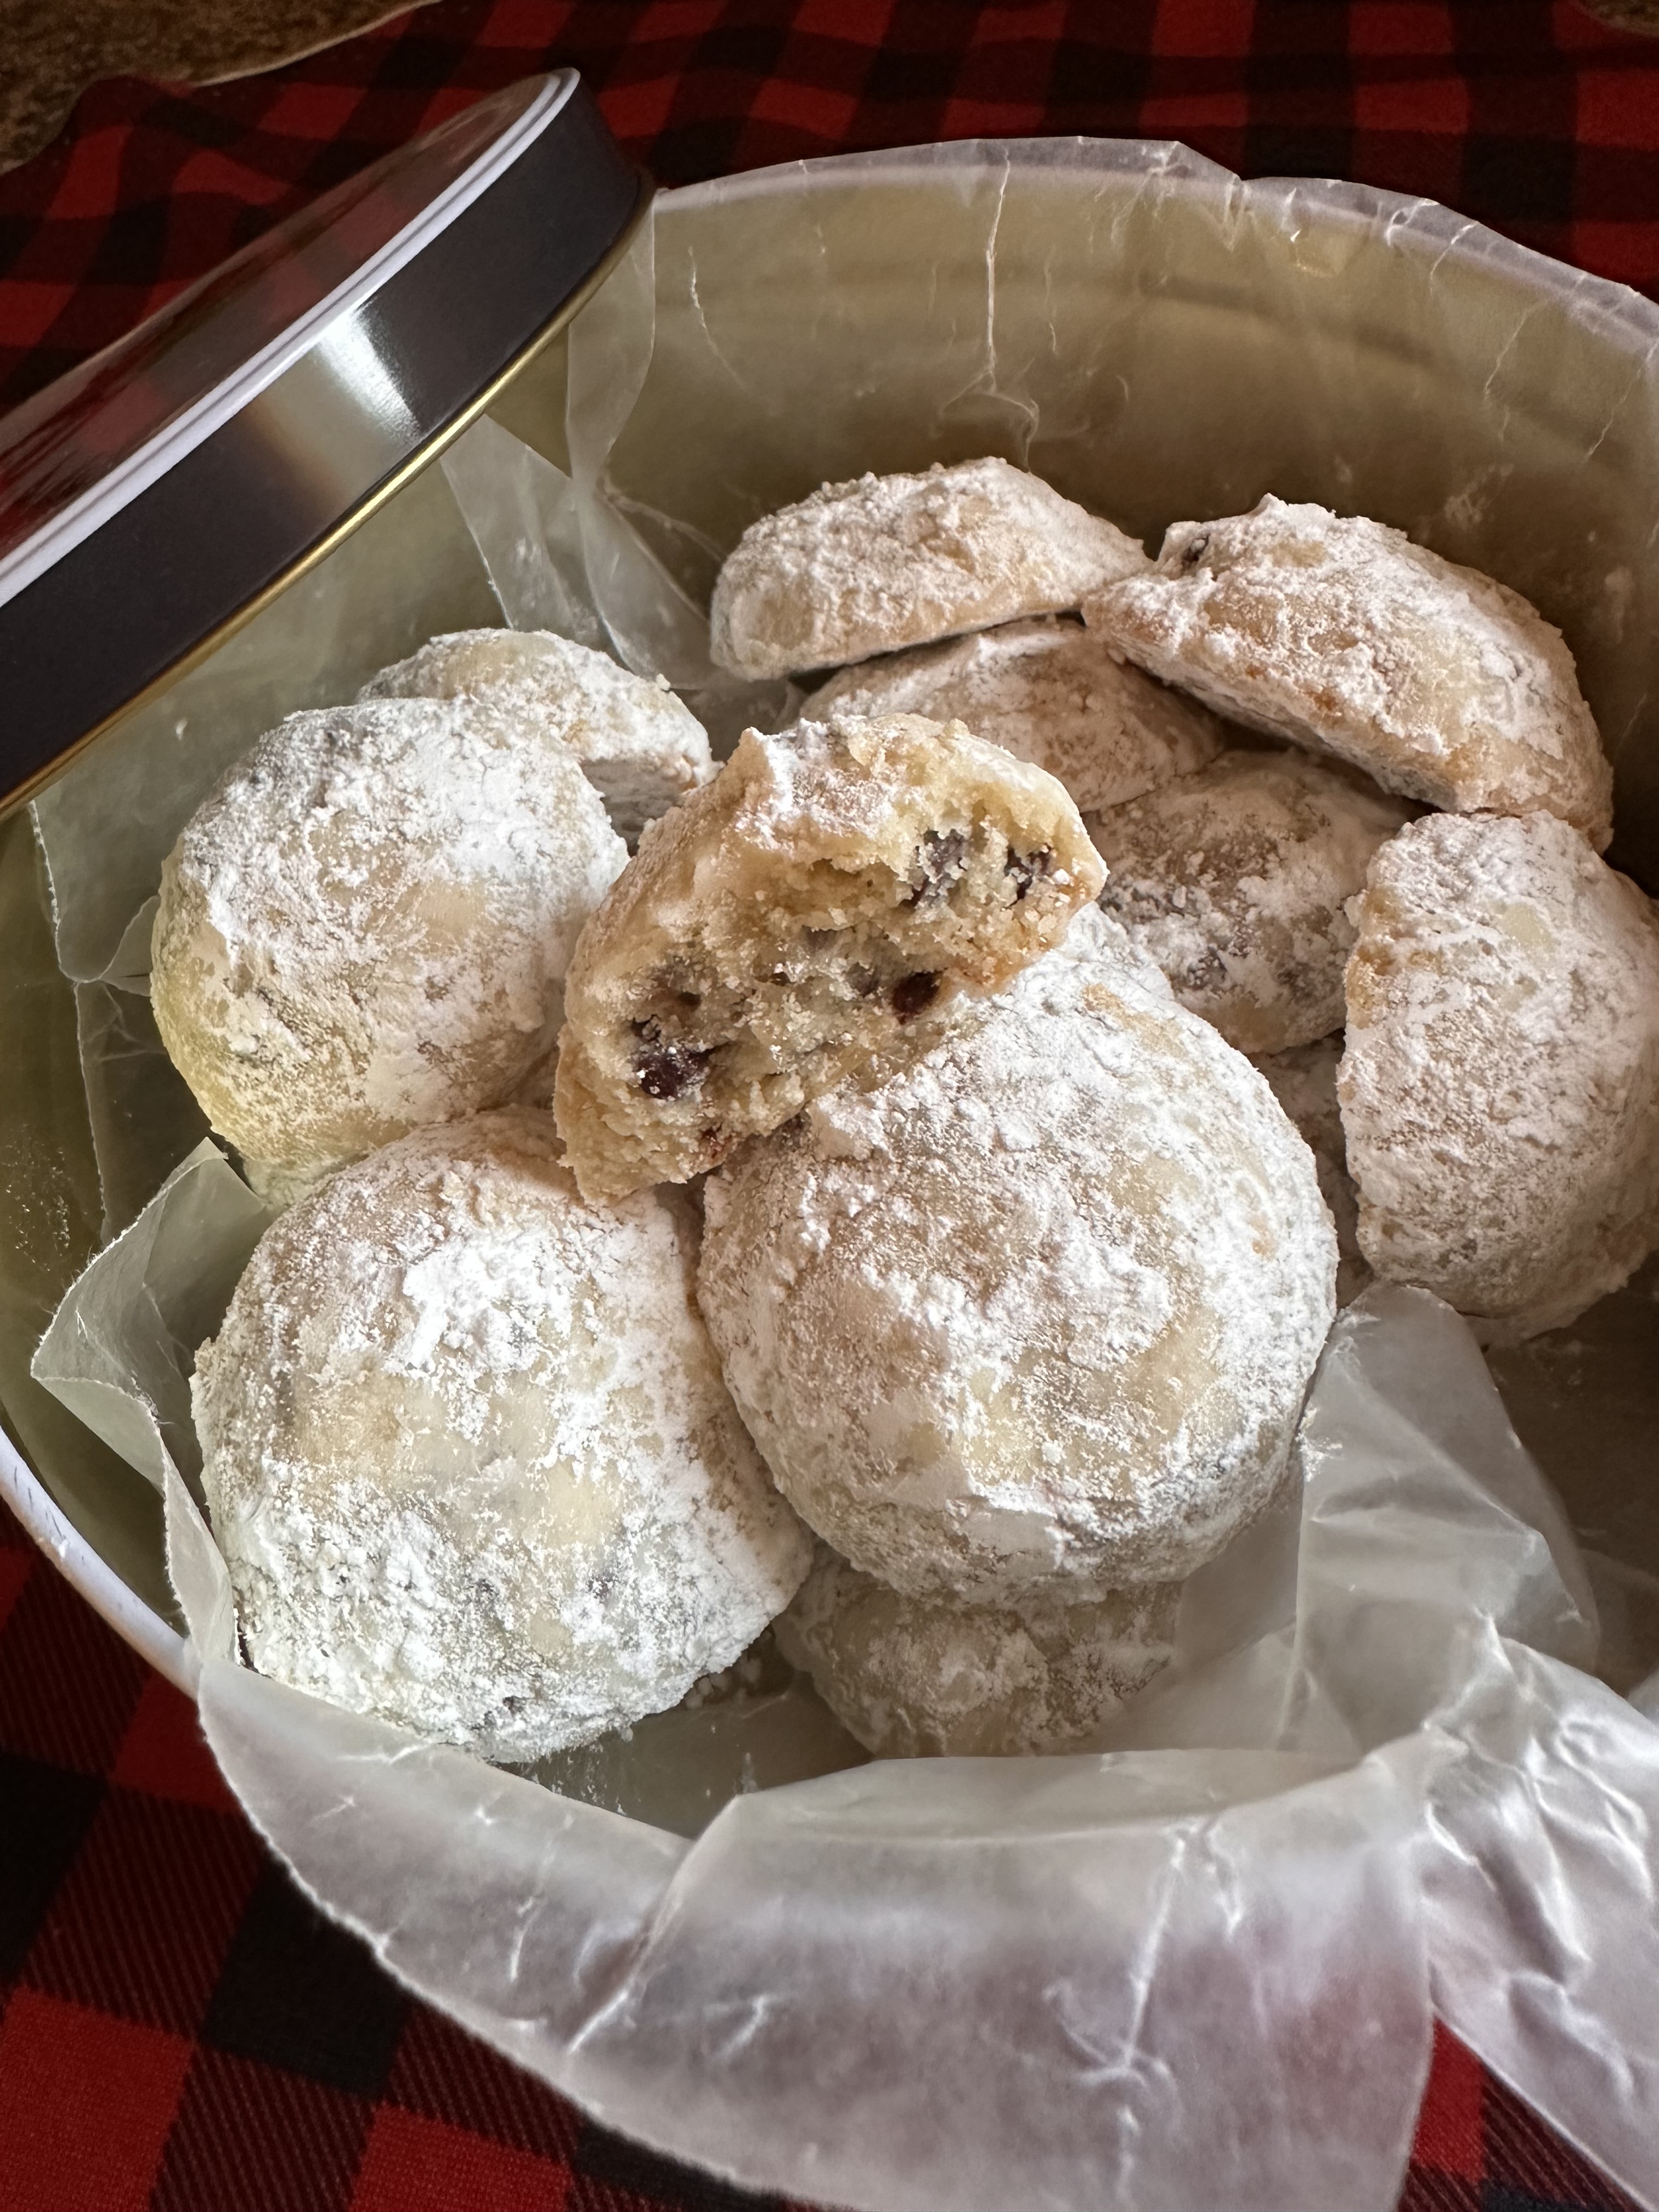
This time of the year peppermint is the star flavor in many beverages, candies and baked goods. And if you are a fan of the flavor, you are going to love today’s Snowball cookies. Snowballs, also known as Mexican Wedding Cookies and/or Russian Tea Cakes, are typically flavored with vanilla extract and have finely chopped pecans, but today’s version takes a festive approach with peppermint extract and chocolate chips for a Peppermint Chocolate Chip Snowball.
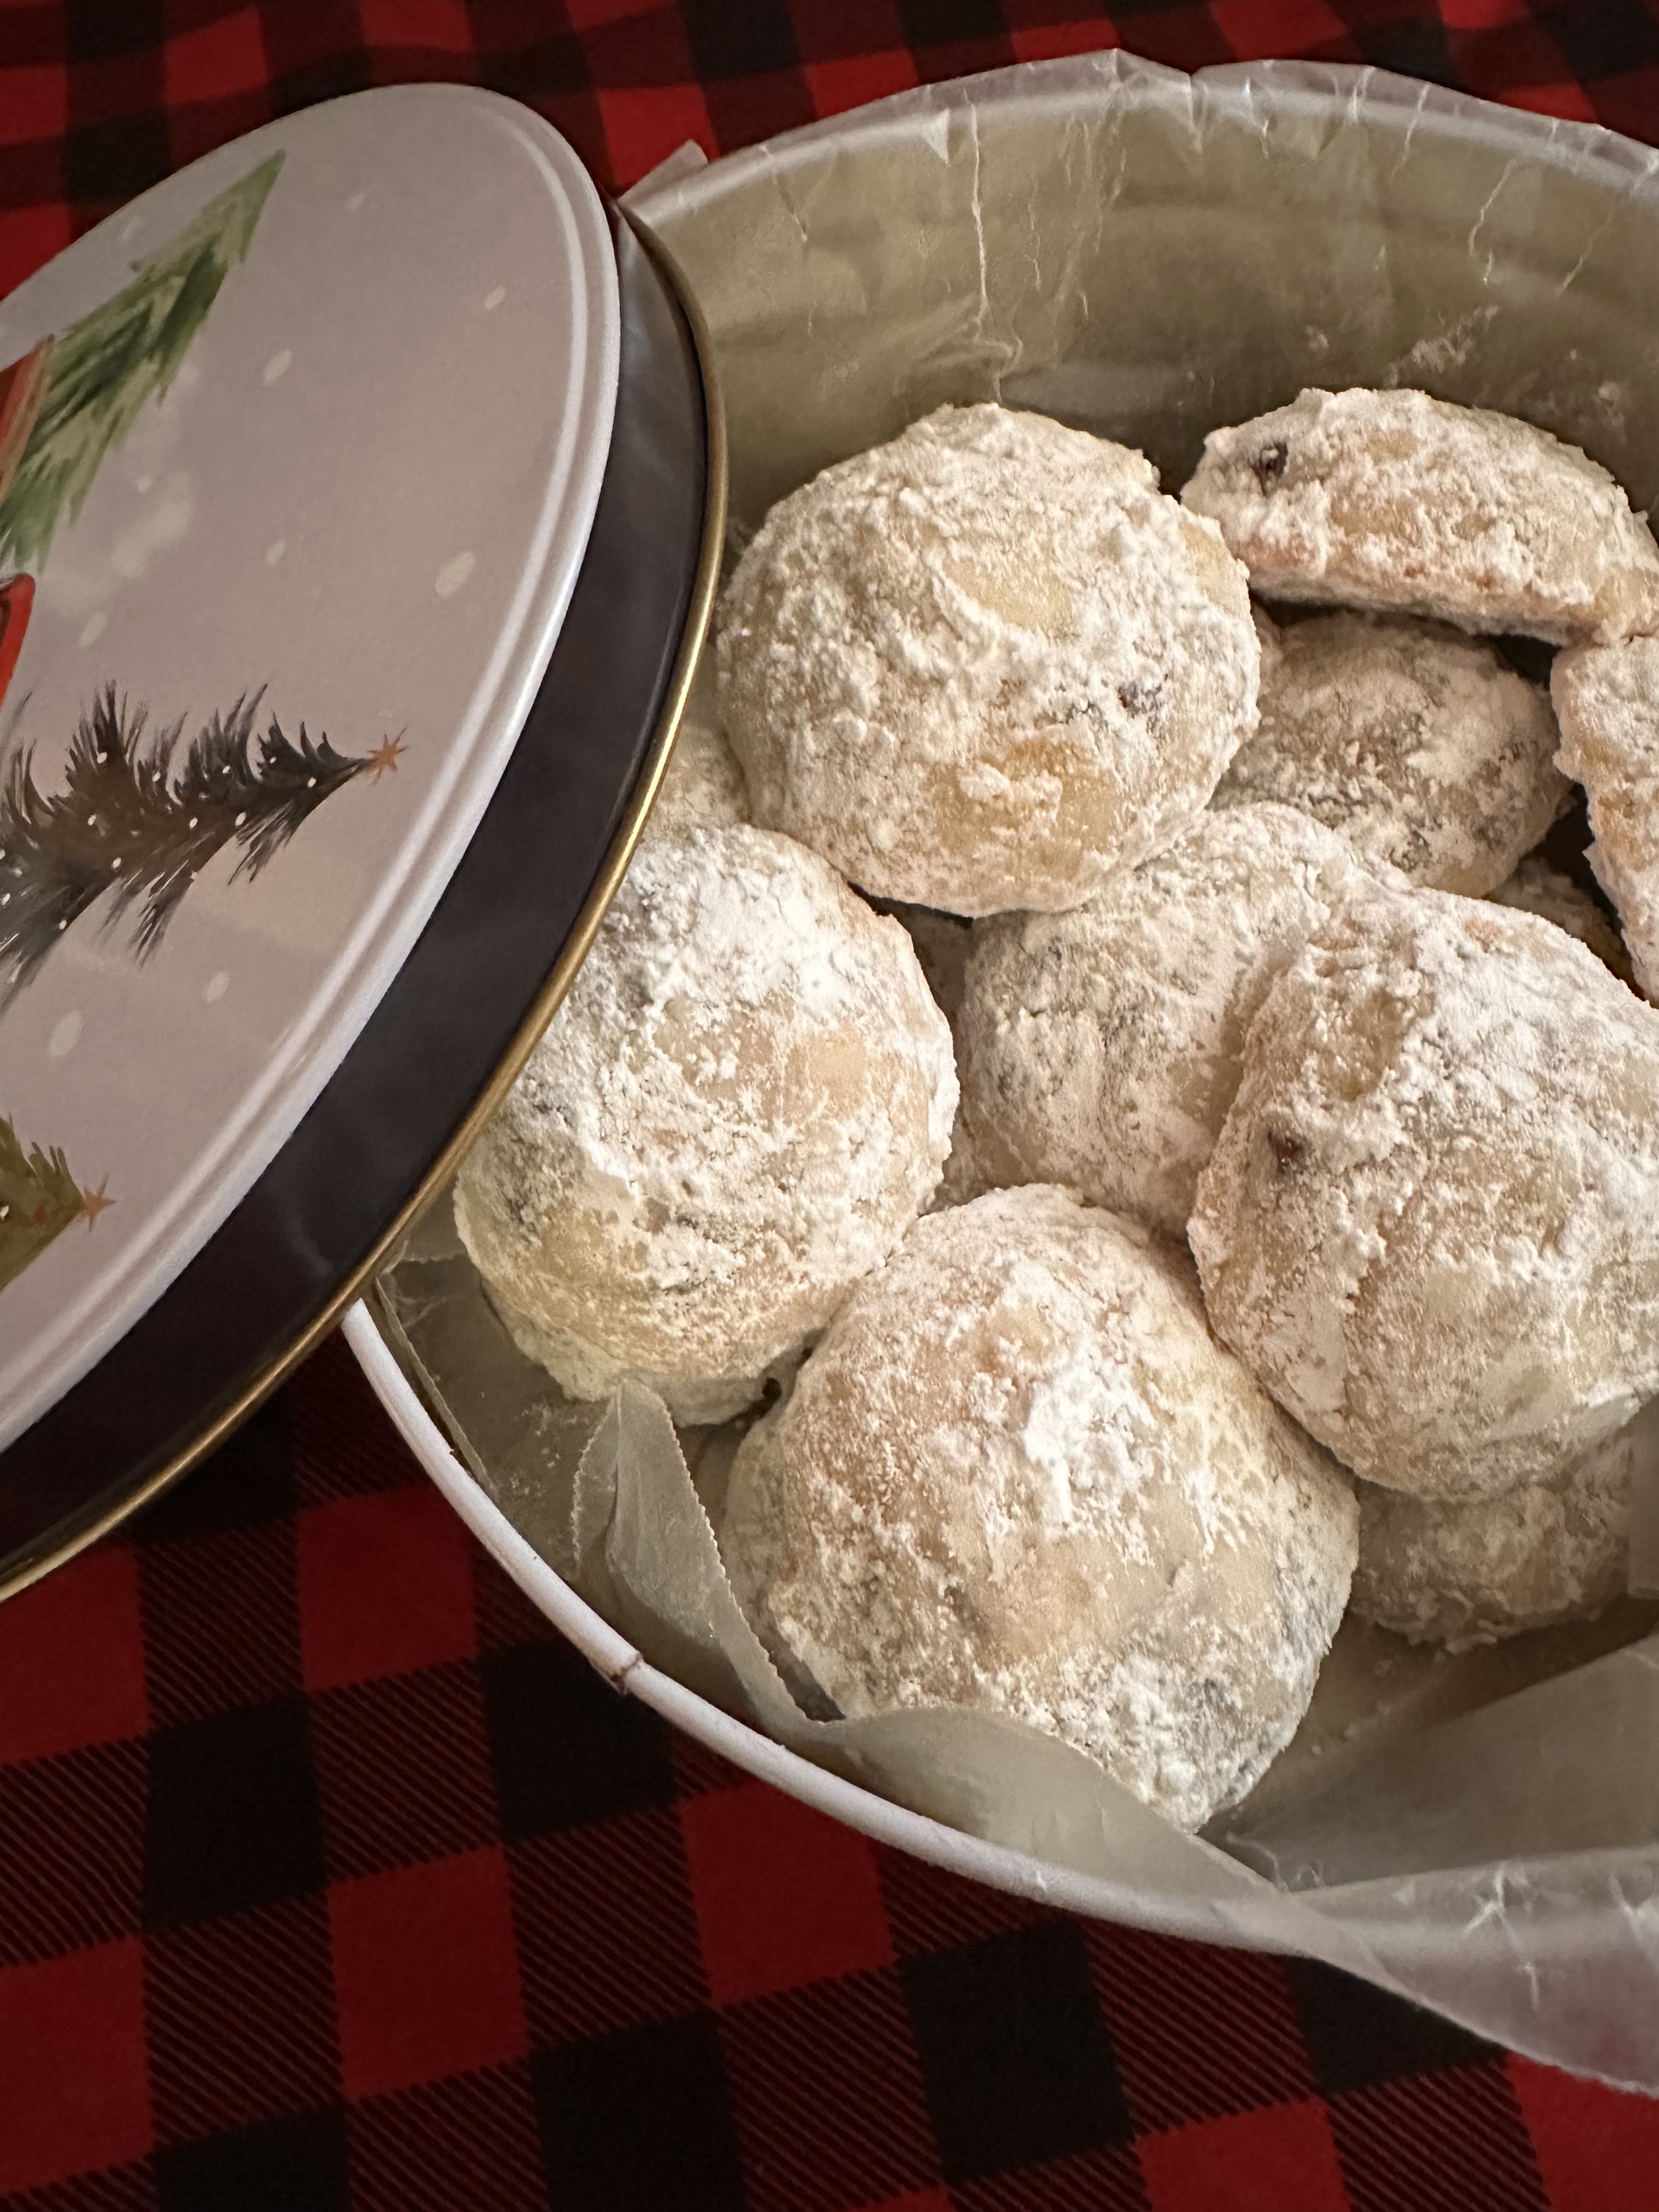
These buttery cookies will melt in your mouth and have you begging for a cup of hot cocoa. A few things to note, while I added 2 teaspoons of peppermint extract you could reduce it to 1 teaspoon. You will still get the peppermint flavor, but it won’t be as pronounced. Also, if you want to make the appearance of these cookies festive for the season you could add a few drops of red food coloring to give them a nice pink hue.
Peppermint Chocolate Chip Snowballs
Ingredients:
2 sticks unsalted butter, at room temperature
1 1/2 cups confectioners’ sugar, divided
2 teaspoons peppermint extract
2 cups flour
1 cup semi-sweet chocolate chips
Directions:
Preheat oven to 350 F. Lines 2 baking sheets with parchment paper.
In a large bowl beat together the butter and 1/2 cup of the confectioners’ sugar with hand mixer on medium speed until smooth. Beat in the peppermint extract. Reduce the speed to low and gradually add in the flour and then the chocolate chips.
Scoop tablespoons of dough and roll into a ball and then place on the prepared baking sheets about 2 inches apart.
Bake in the preheated oven for 10-12 minutes, until the cookies are a light golden brown.
Place the remaining cup of confectioners’ sugar in a medium bowl.
Let the cookies cool on the sheets for 2 minutes before transferring to a wire rack to cool for 5 minutes. After 5 minutes roll the cookies in the confectioners’ sugar to coat them. Return them to the wire rack to cool completely.
Once the cookies have completely cooled roll them in the confectioners’ sugar once again.
Store in an airtight container.
Recipe first appeared on Bead Yarn & Spatula