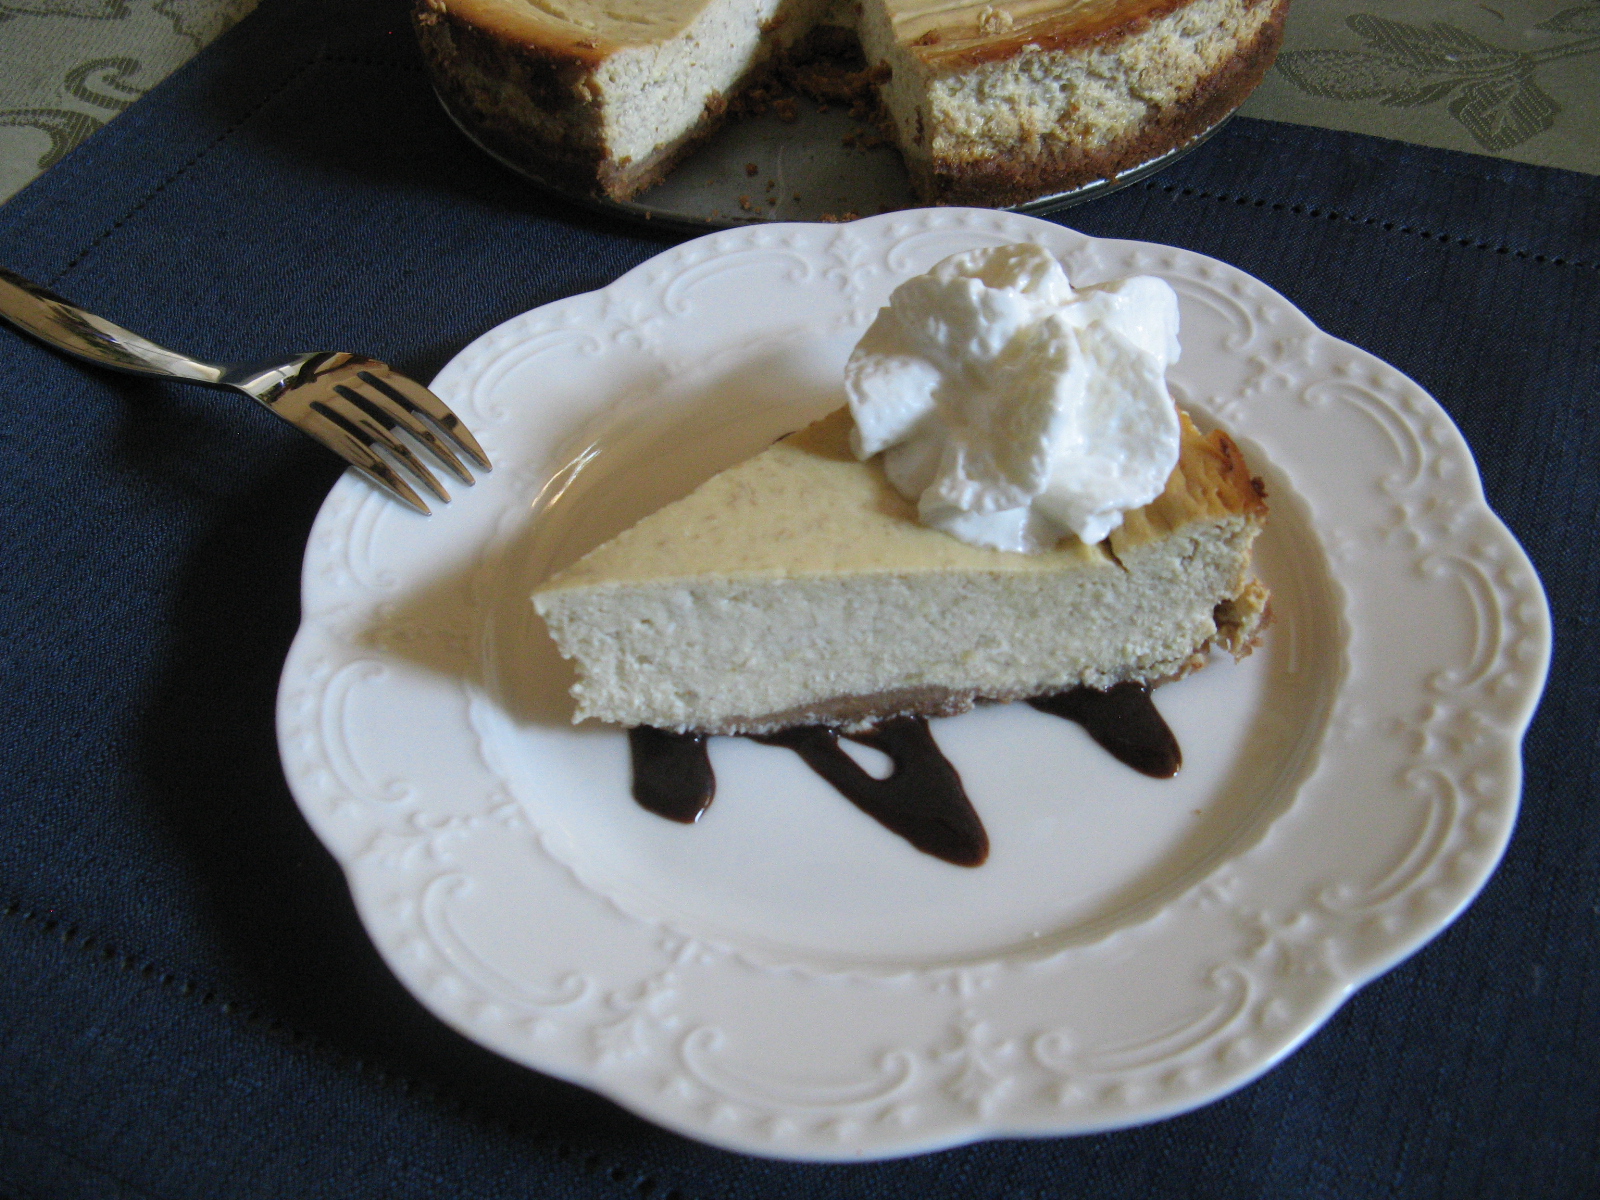
Happy Holidays! Are you in the throes of holiday baking and eating your way through more sweets than you would like to admit? Well, today I am bringing you a cake that you would be a nice addition to your holiday dessert table and to be honest is my favorite cake flavor… A Cannoli Cake! And it doesn’t skimp on the flavors and ingredients of the delicious handheld dessert… Ricotta and chocolate chips.
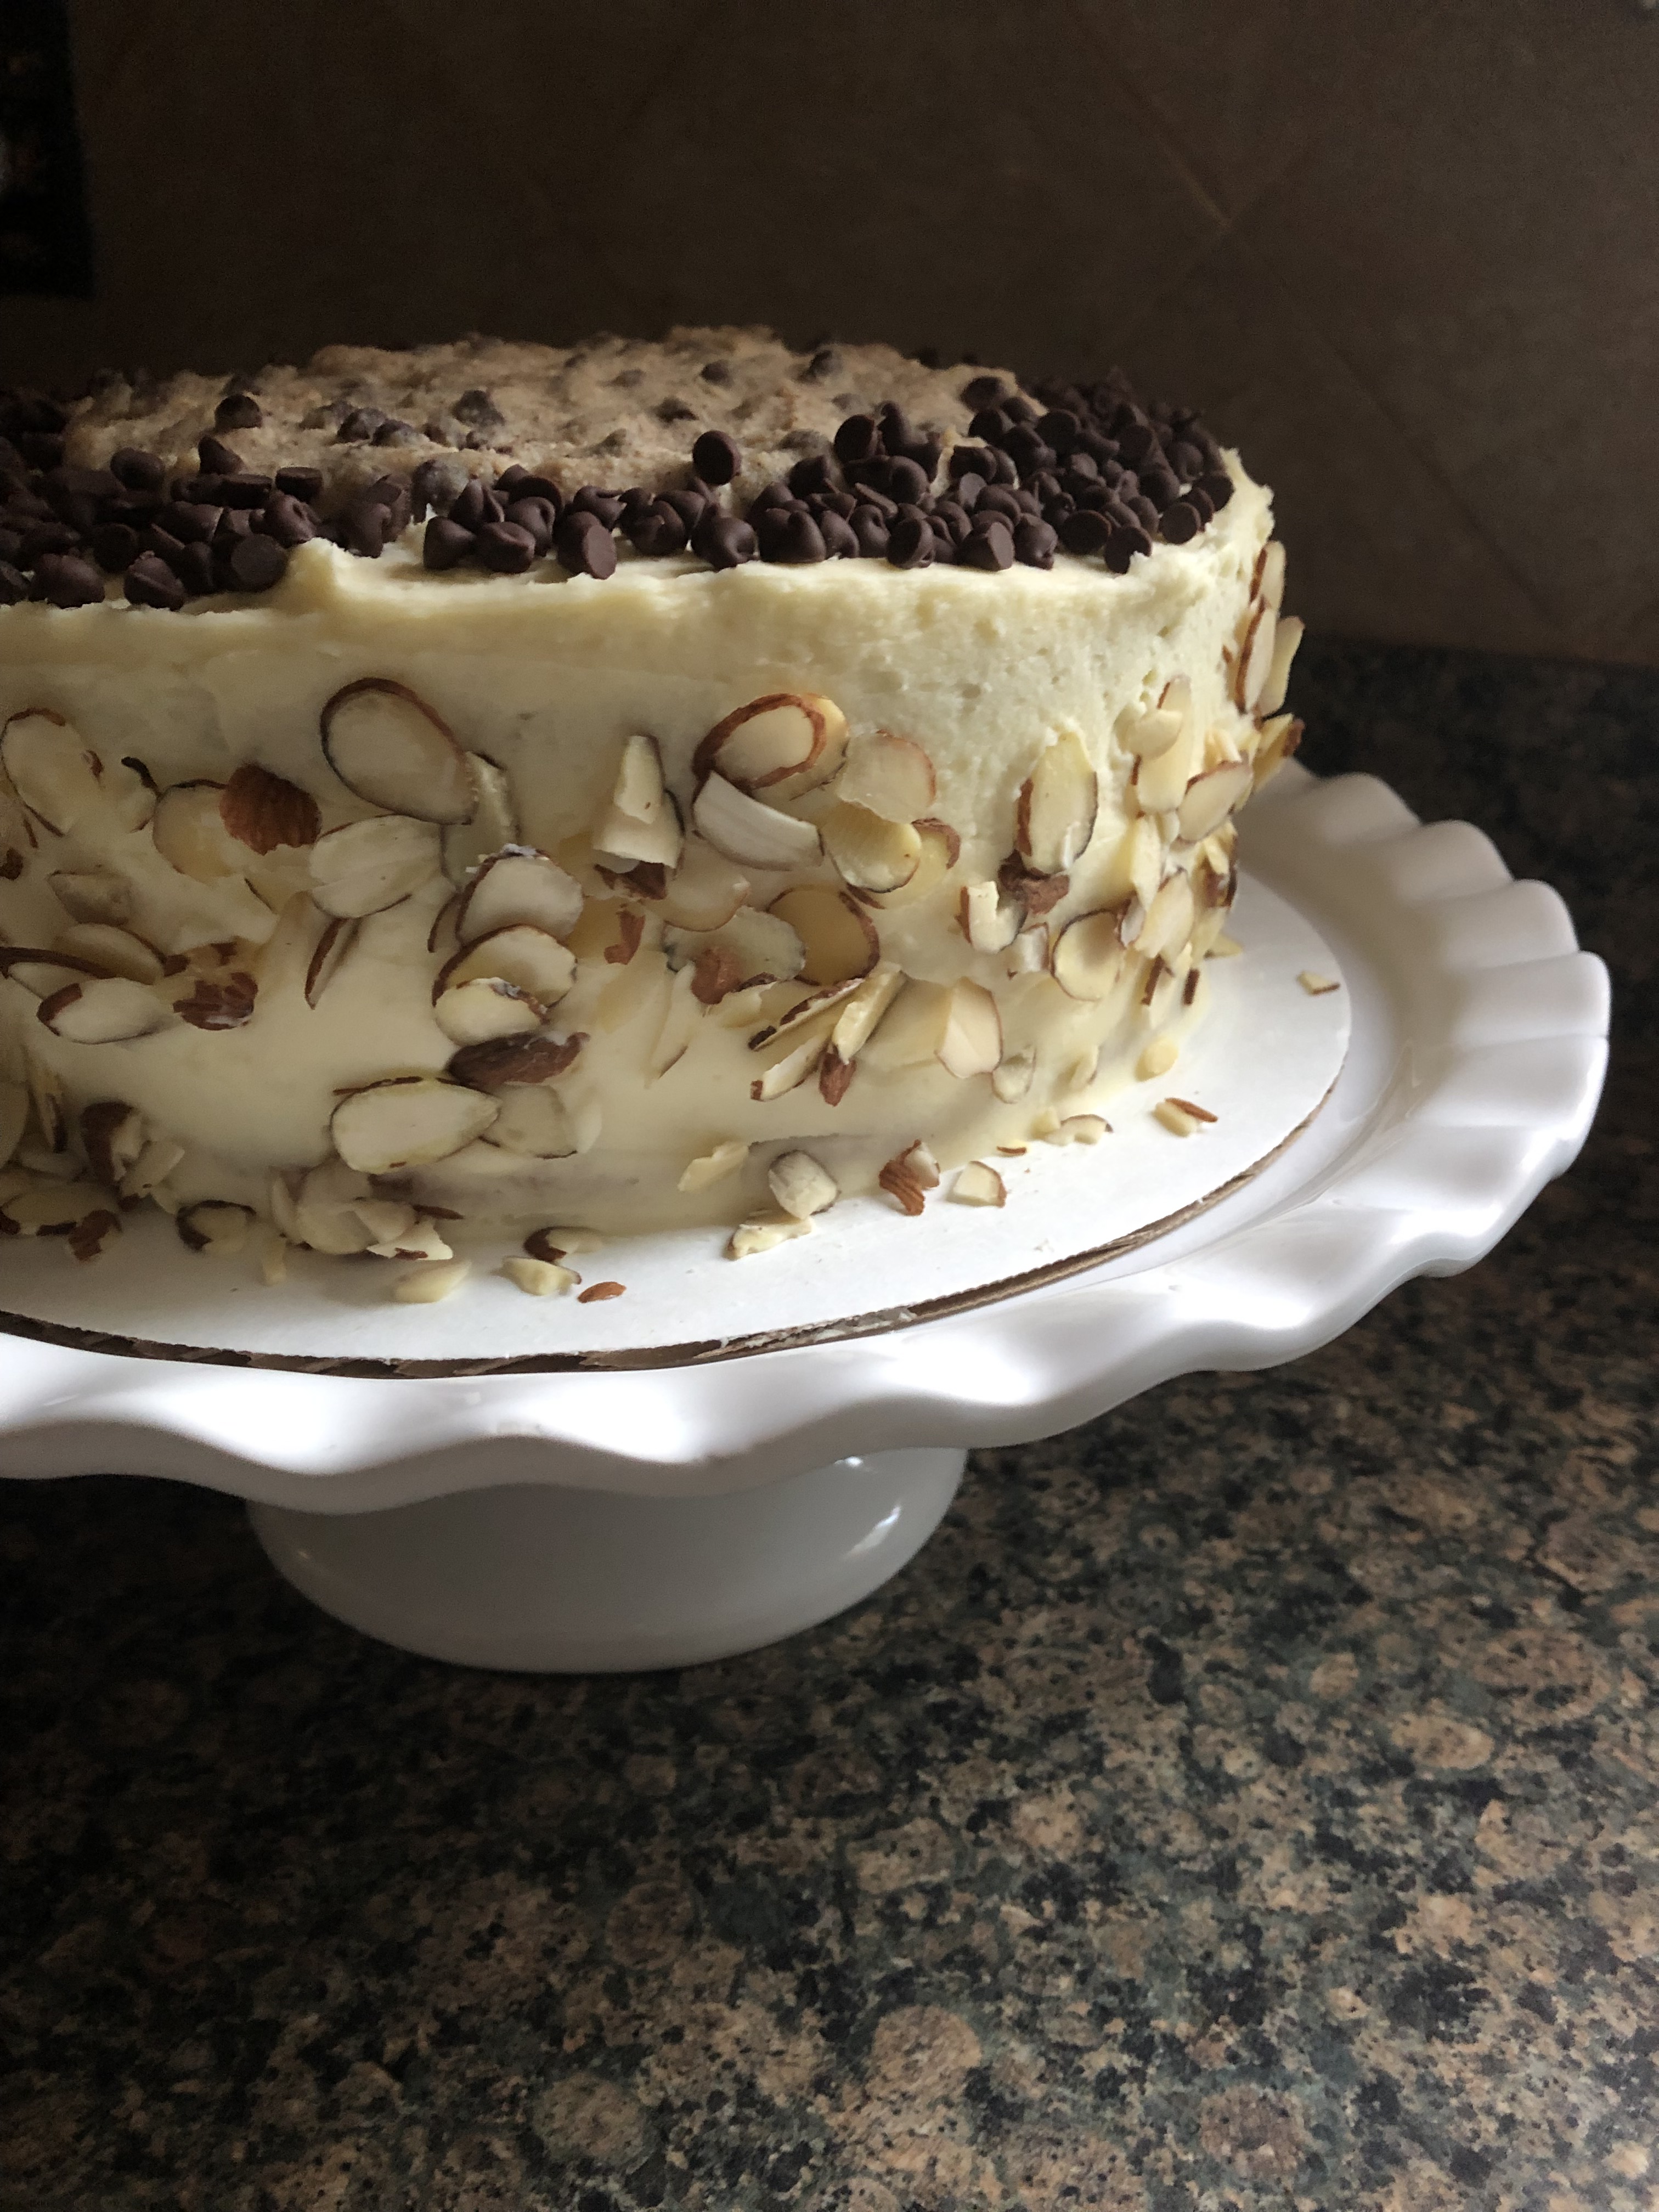
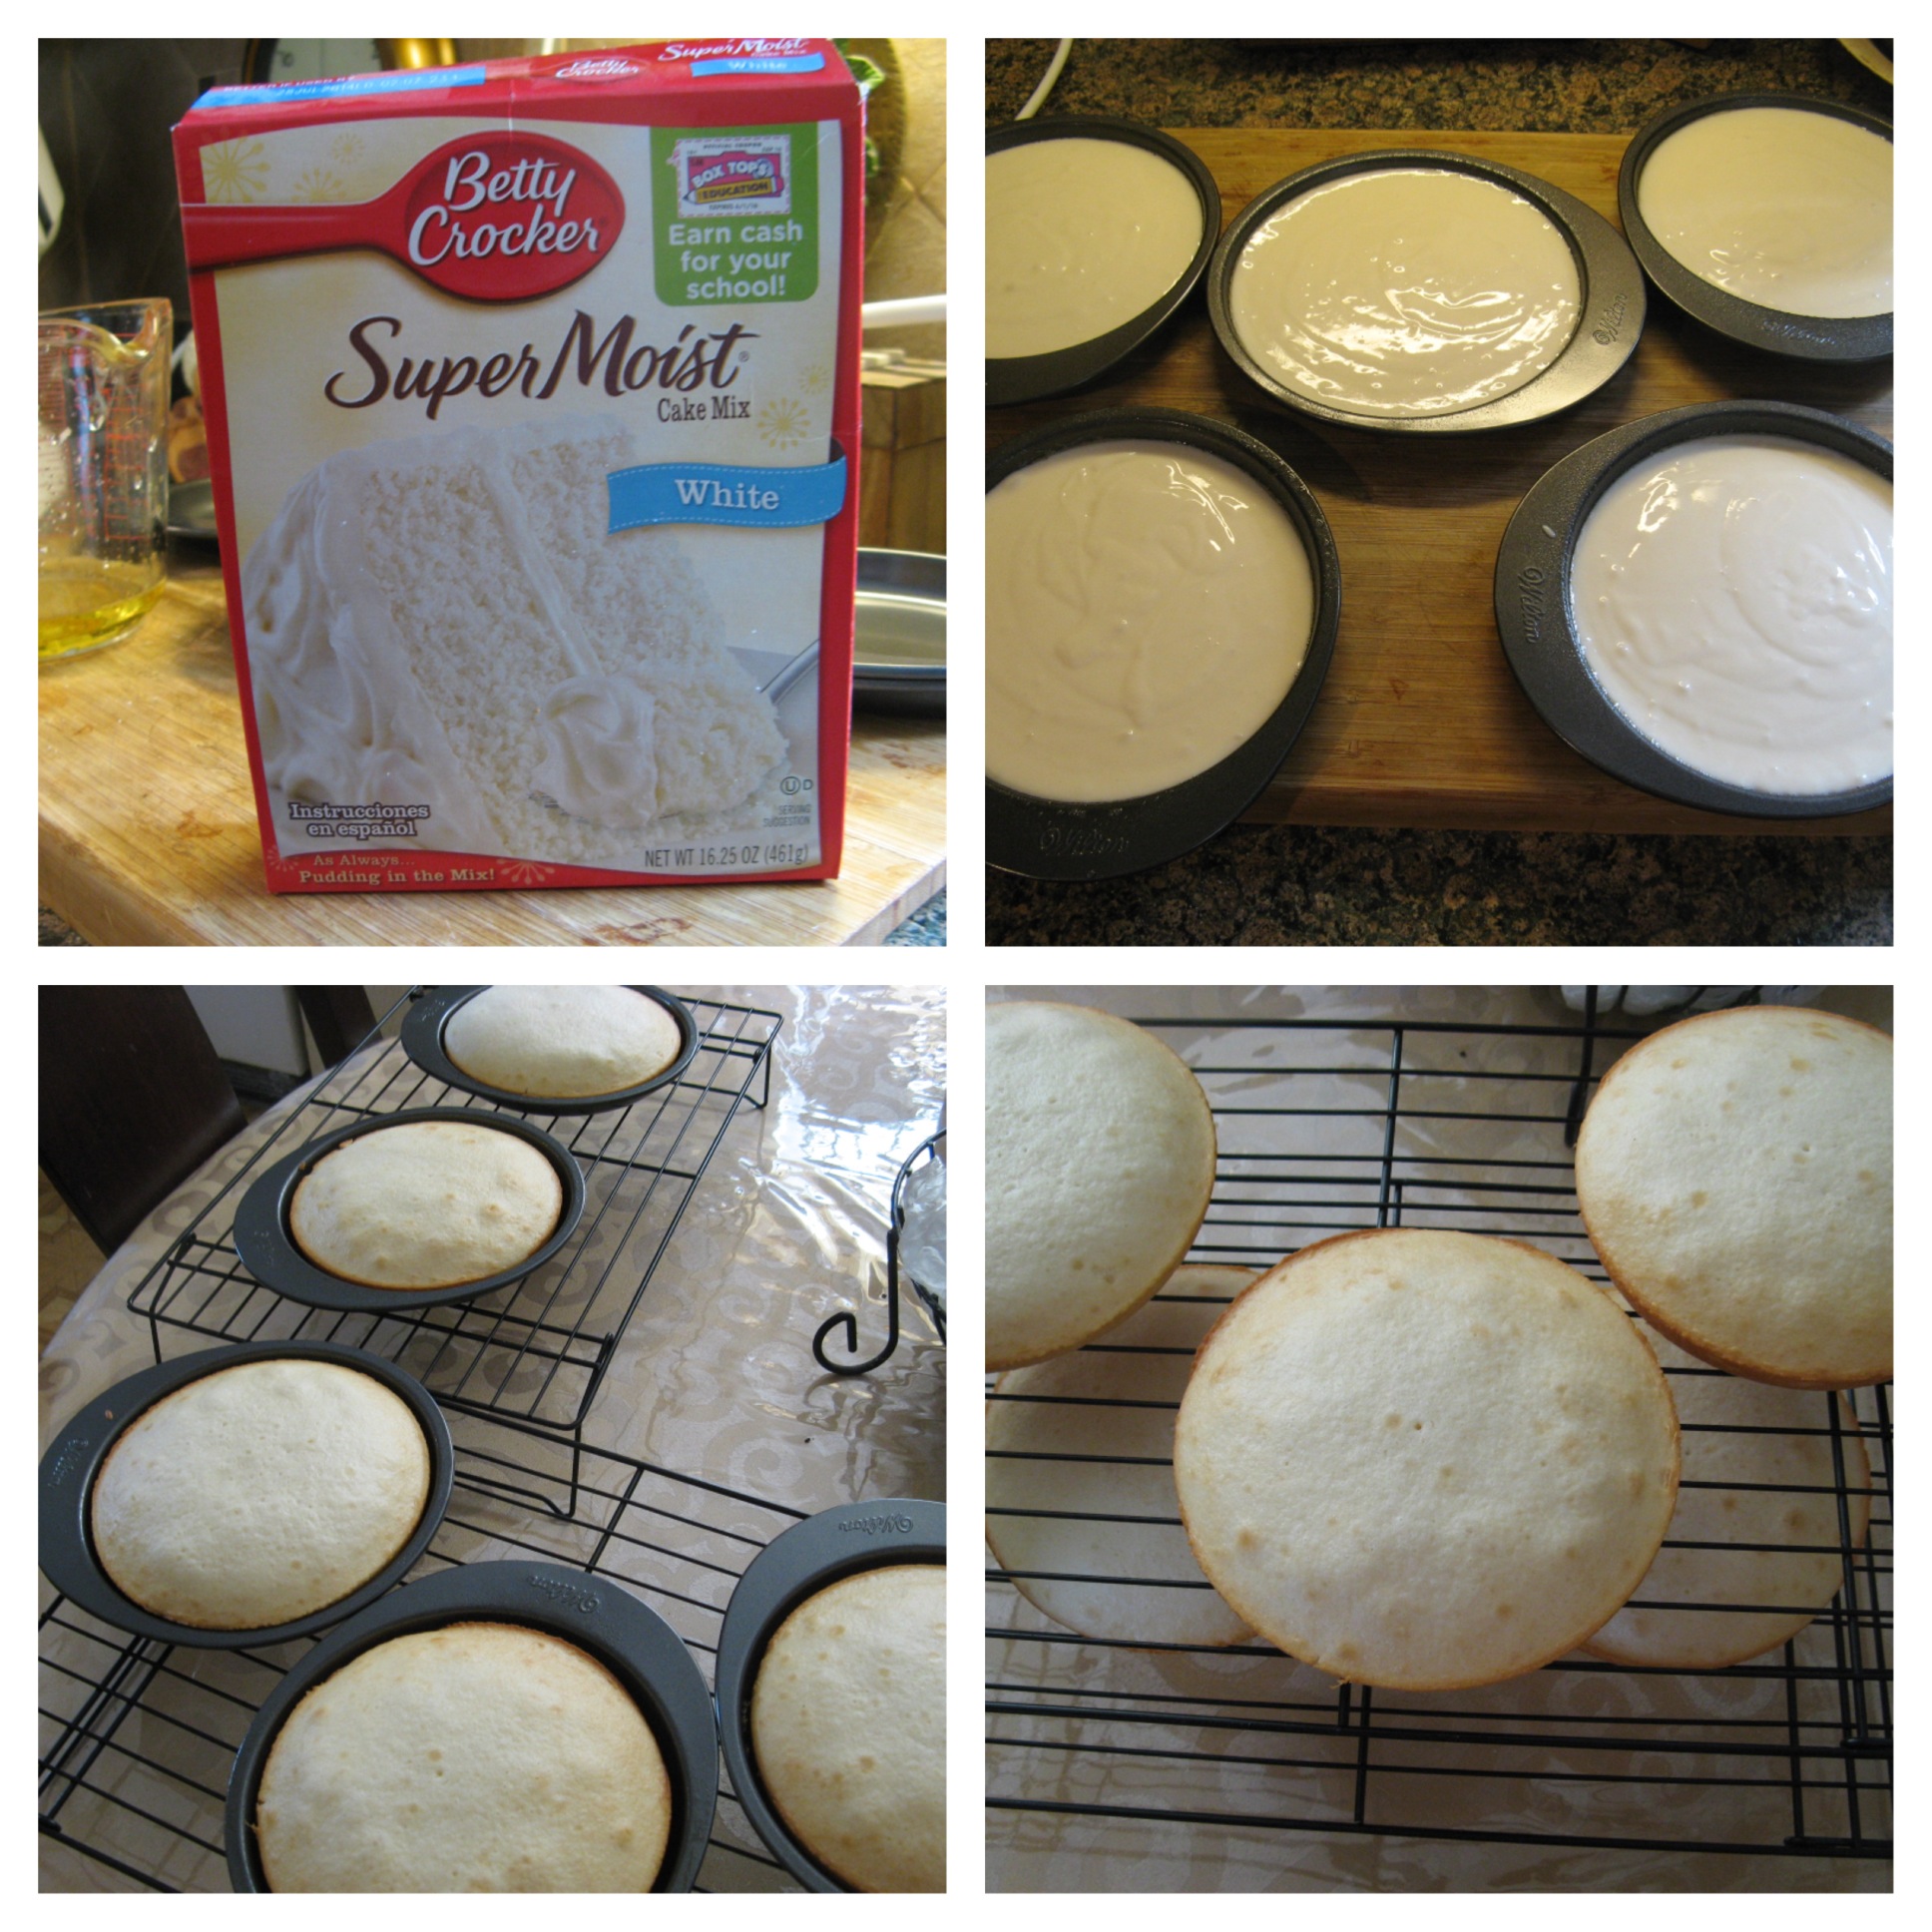
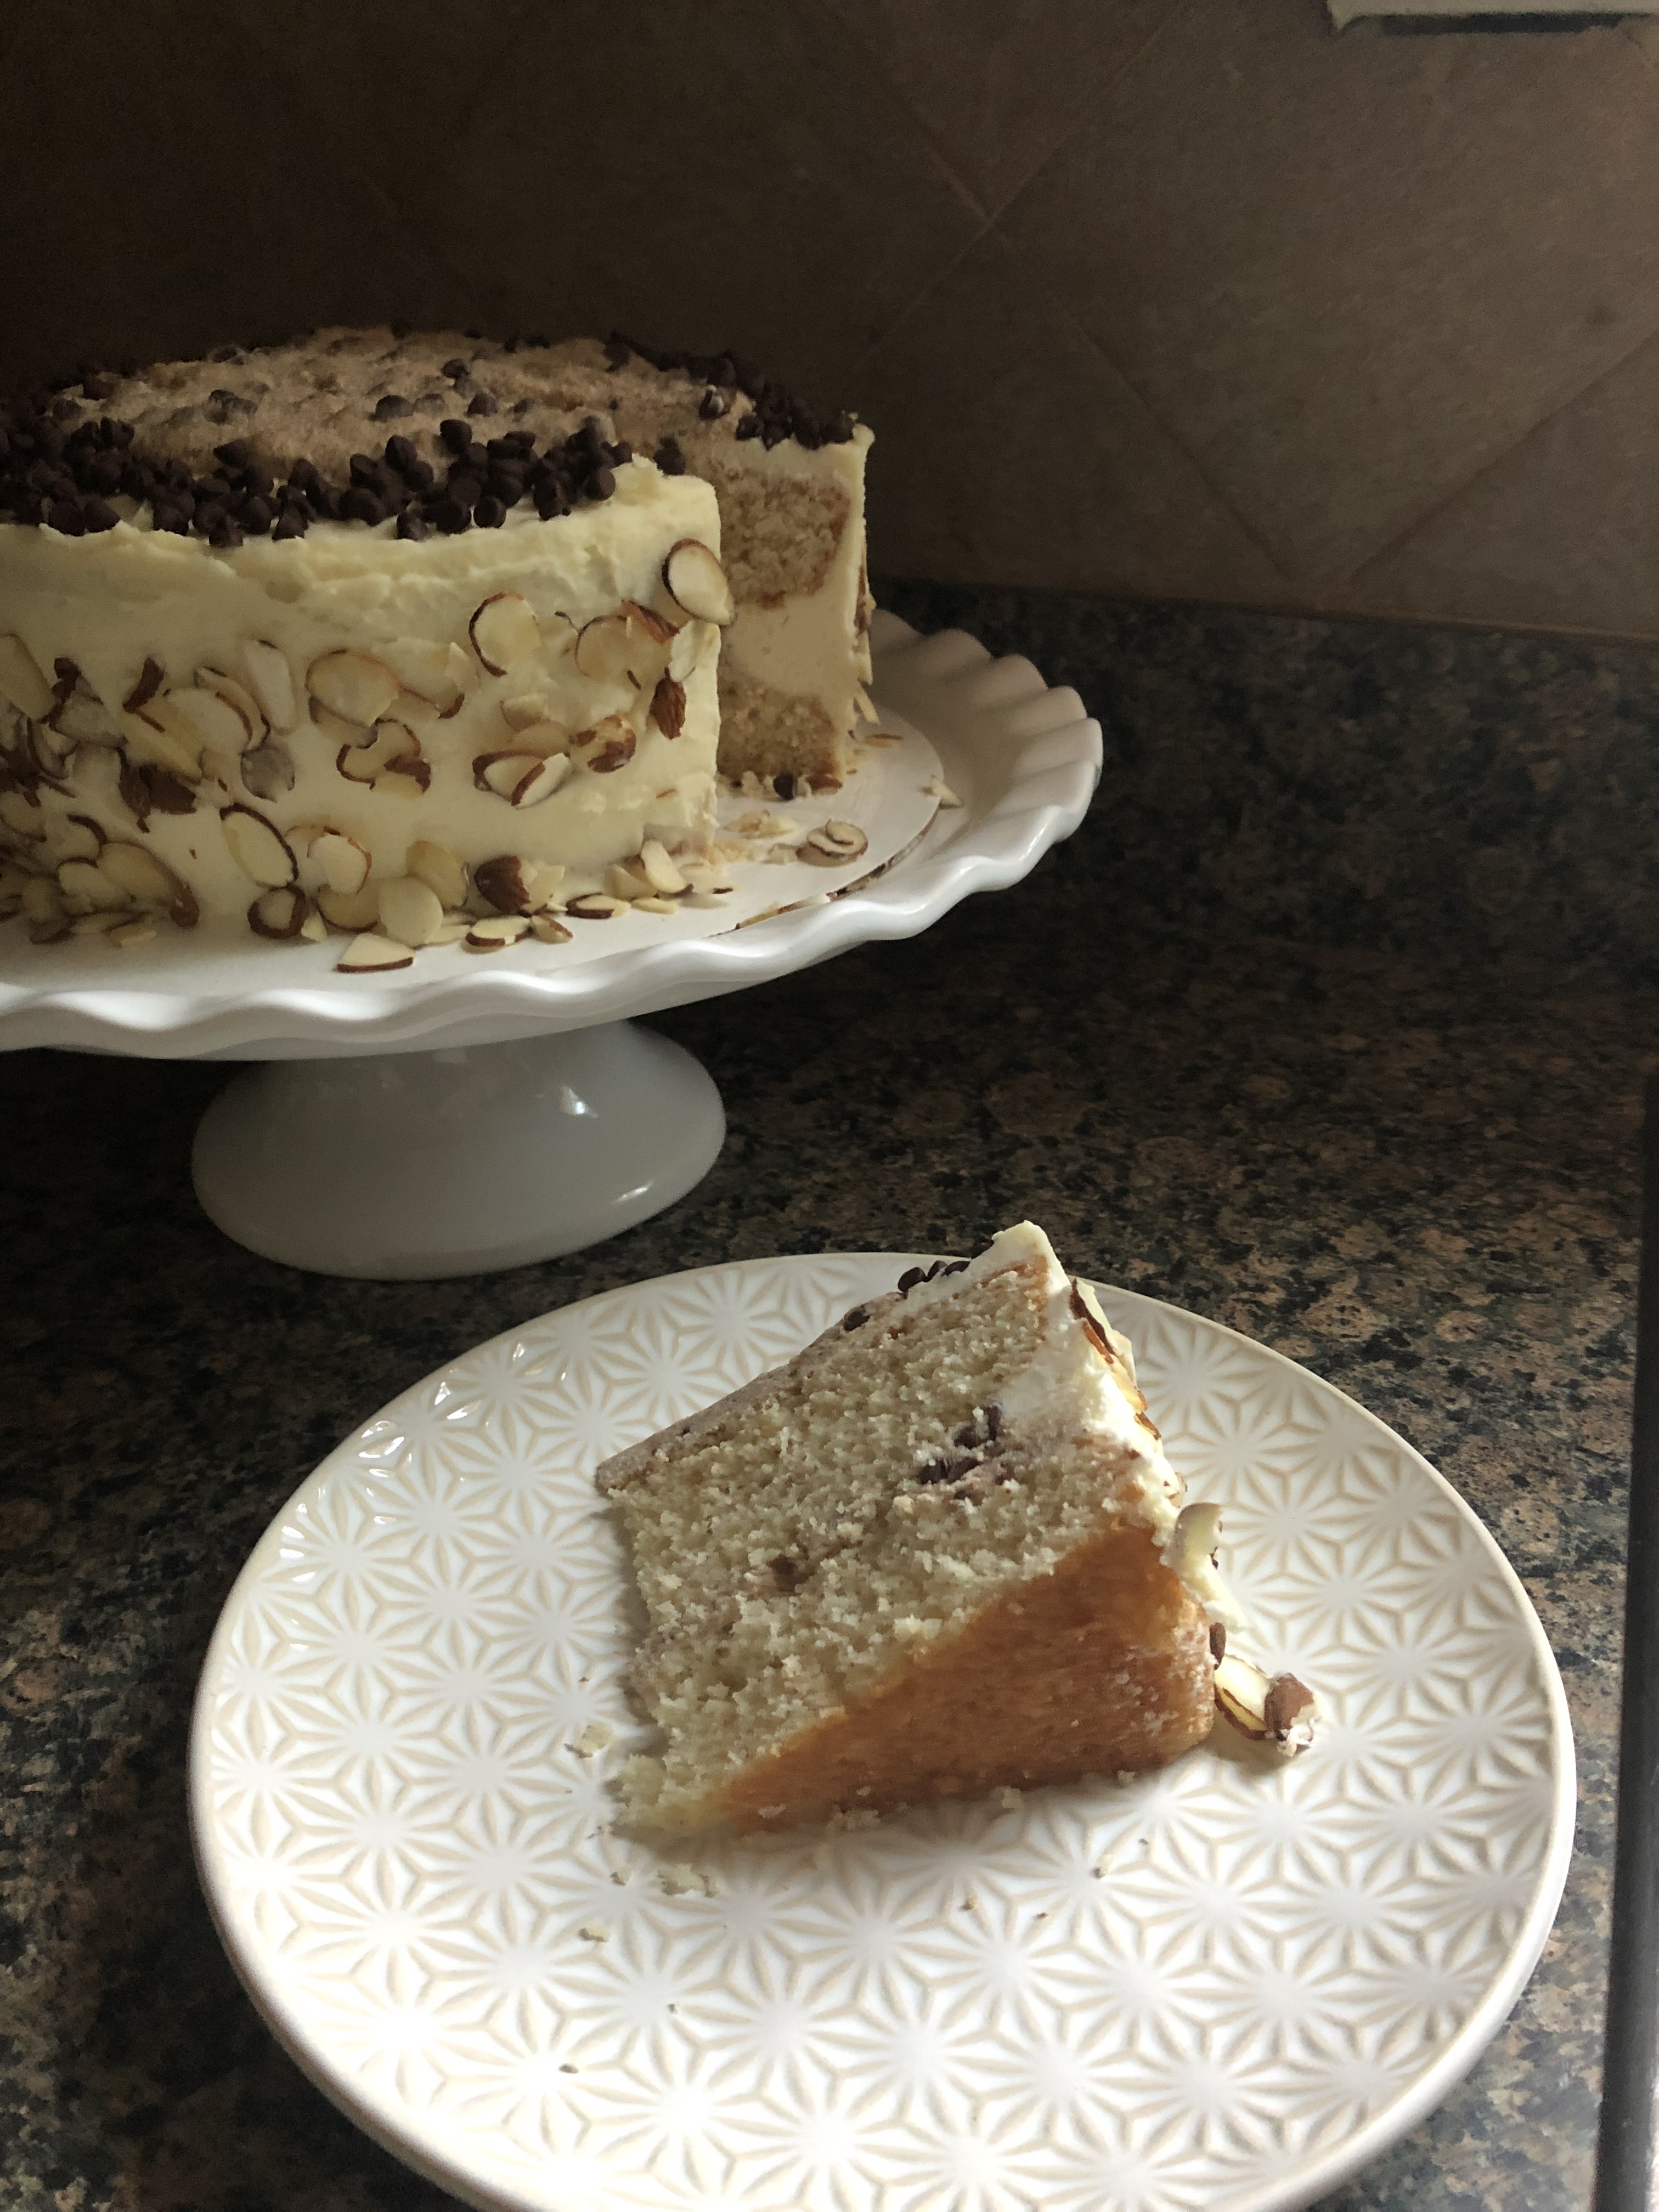
The cake itself is made with a French Vanilla box mix (I used a Duncan Hines mix) and the cannoli flavors comes from the filling made with ricotta cheese, cinnamon, three different extracts, confectioners’ sugar and of course chocolate chips. It’s all topped off with a mascarpone cheese frosting and sliced almonds and mini chocolate chips are used to decorate it. It sounds like a lot, but, trust me it’s not. All of the flavors/ingredients work well together and you won’t feel guilty for enjoying a slice because it’s just so good!
Cannoli Cake
Ingredients:
1 package French Vanilla Cake Mix, plus additional ingredients to prepare per packaging
Filling:
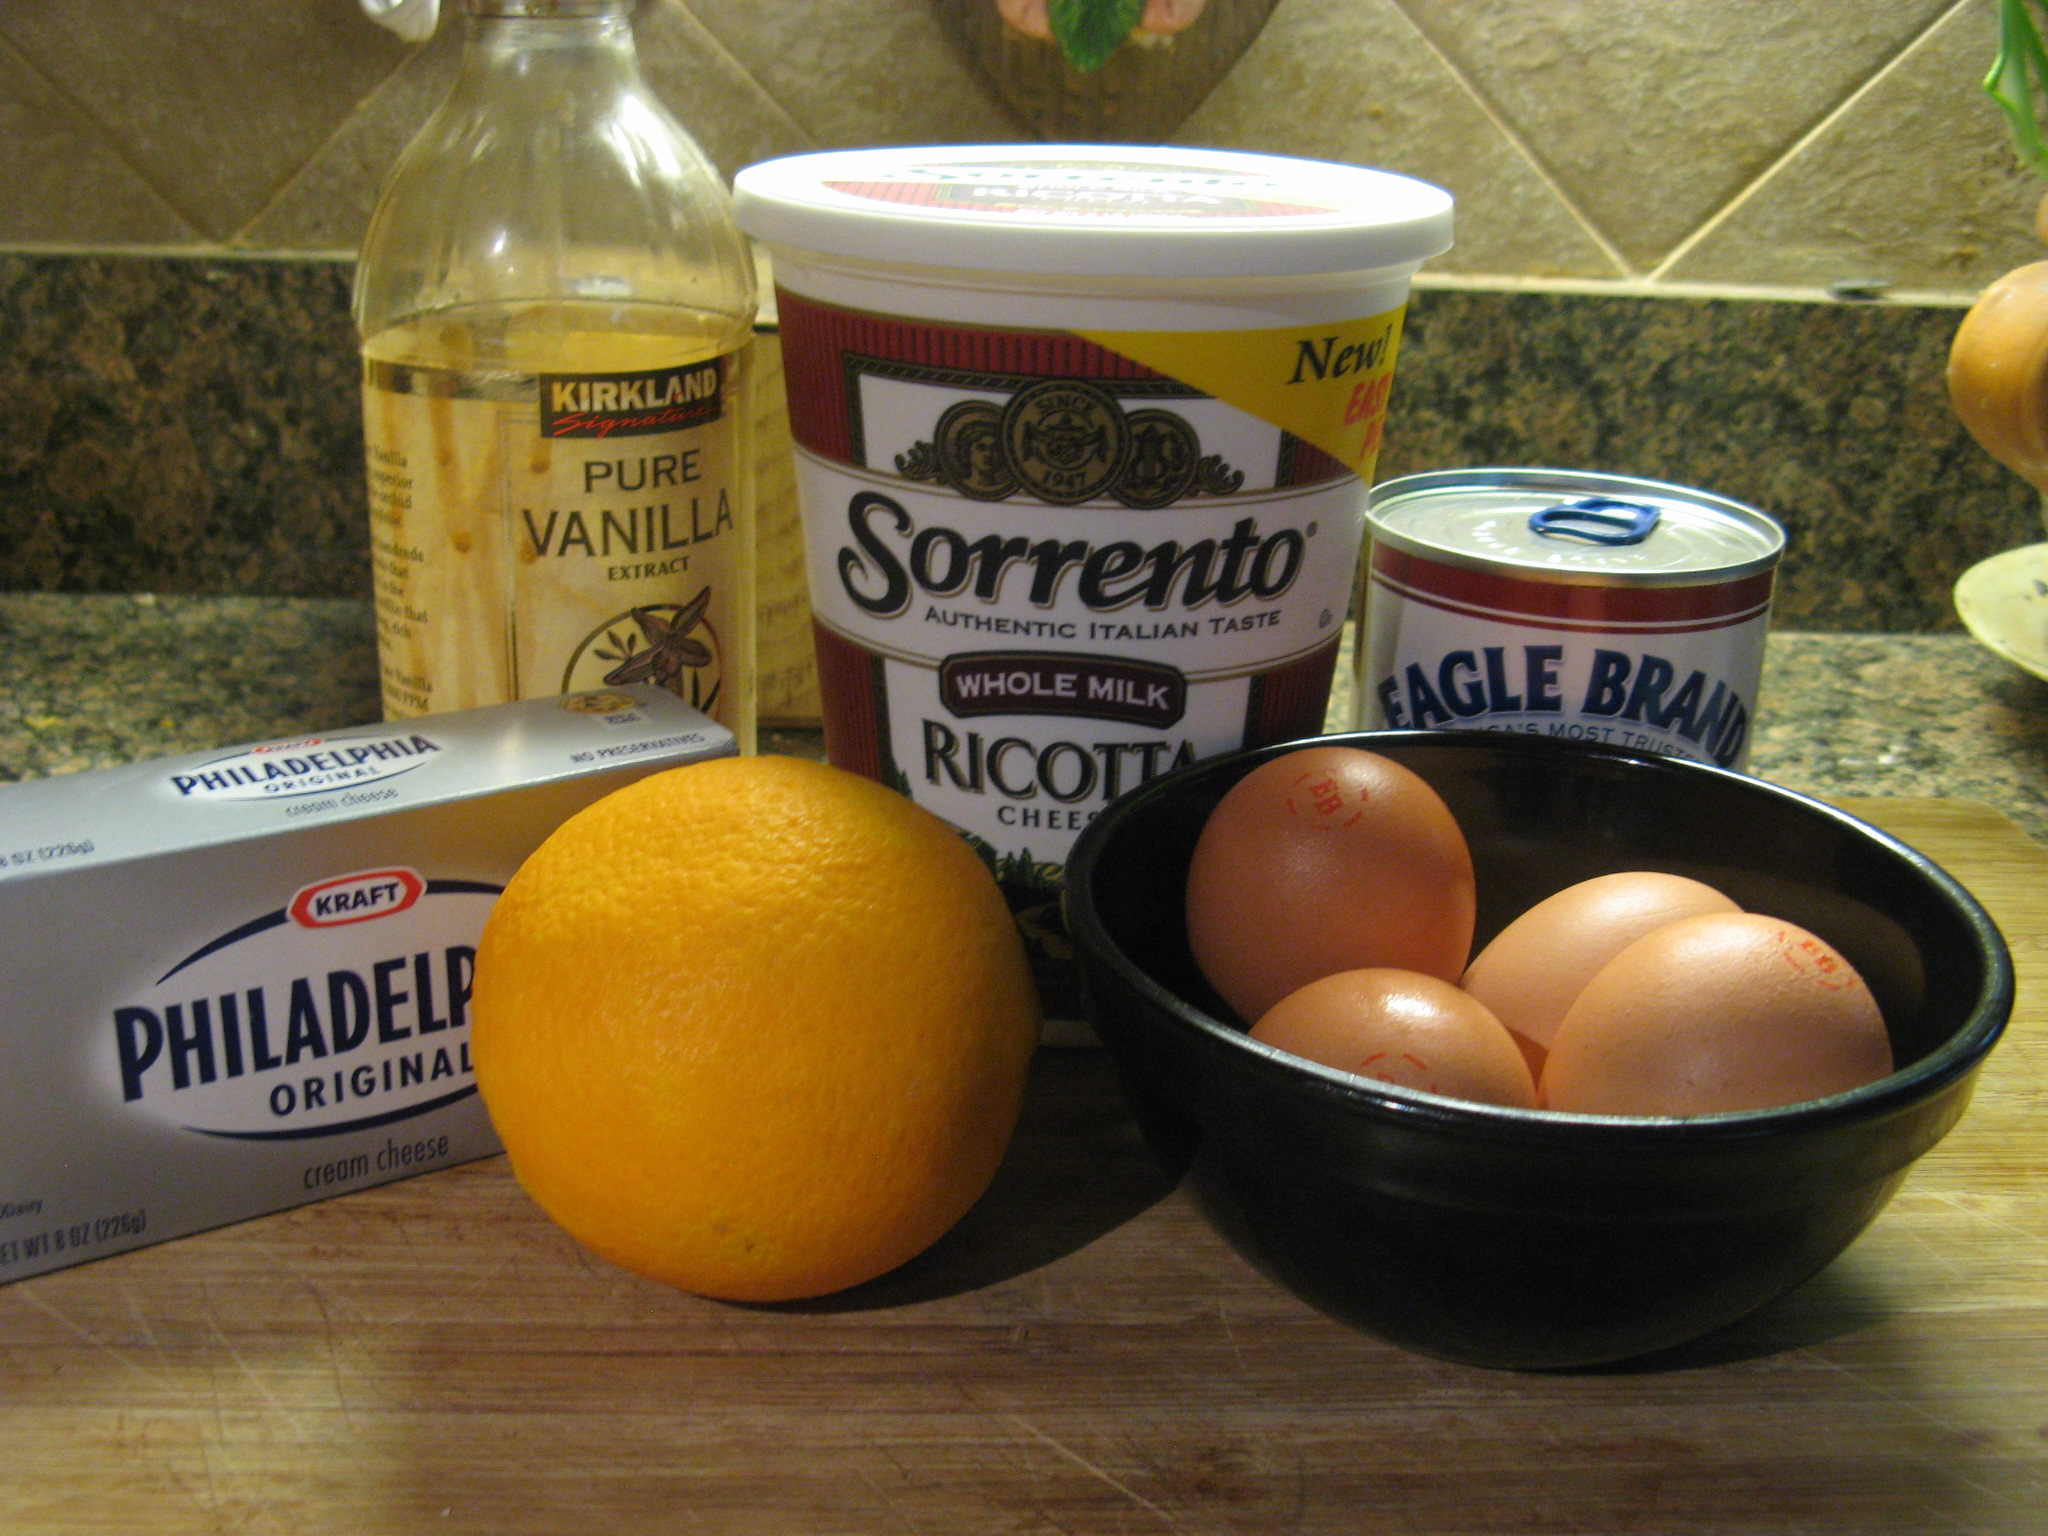
2 cups ricotta cheese
1/2 cup confectioners’ sugar
2 teaspoons cinnamon
1 teaspoon almond extract
1 teaspoon rum extract
1 teaspoon vanilla extract
1/3 cup mini chocolate chips
Frosting:
2 8oz. packages mascarpone cheese, at room temperature
3/4 cup confectioners’ sugar
2 teaspoons almond extract
1 teaspoon vanilla extract
2 tablespoons whole milk
1 cup sliced almonds
mini chocolate chips, for top of cake
Directions:
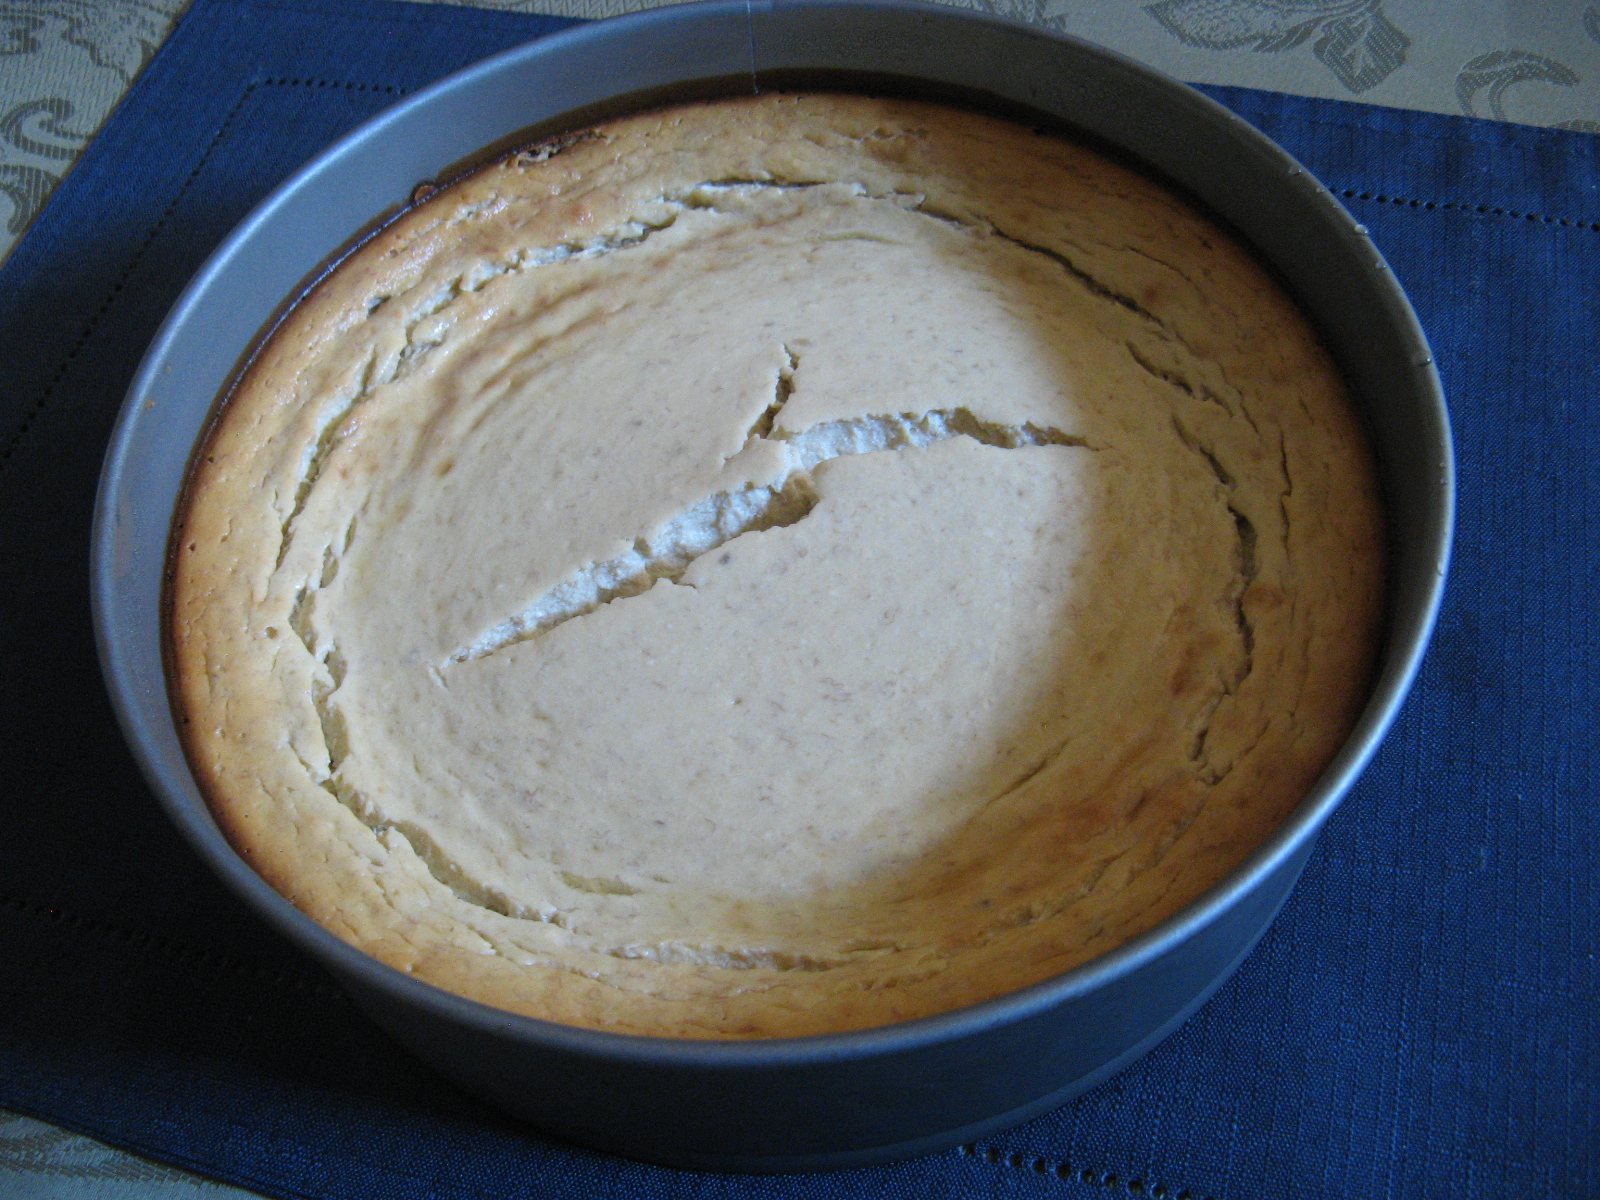
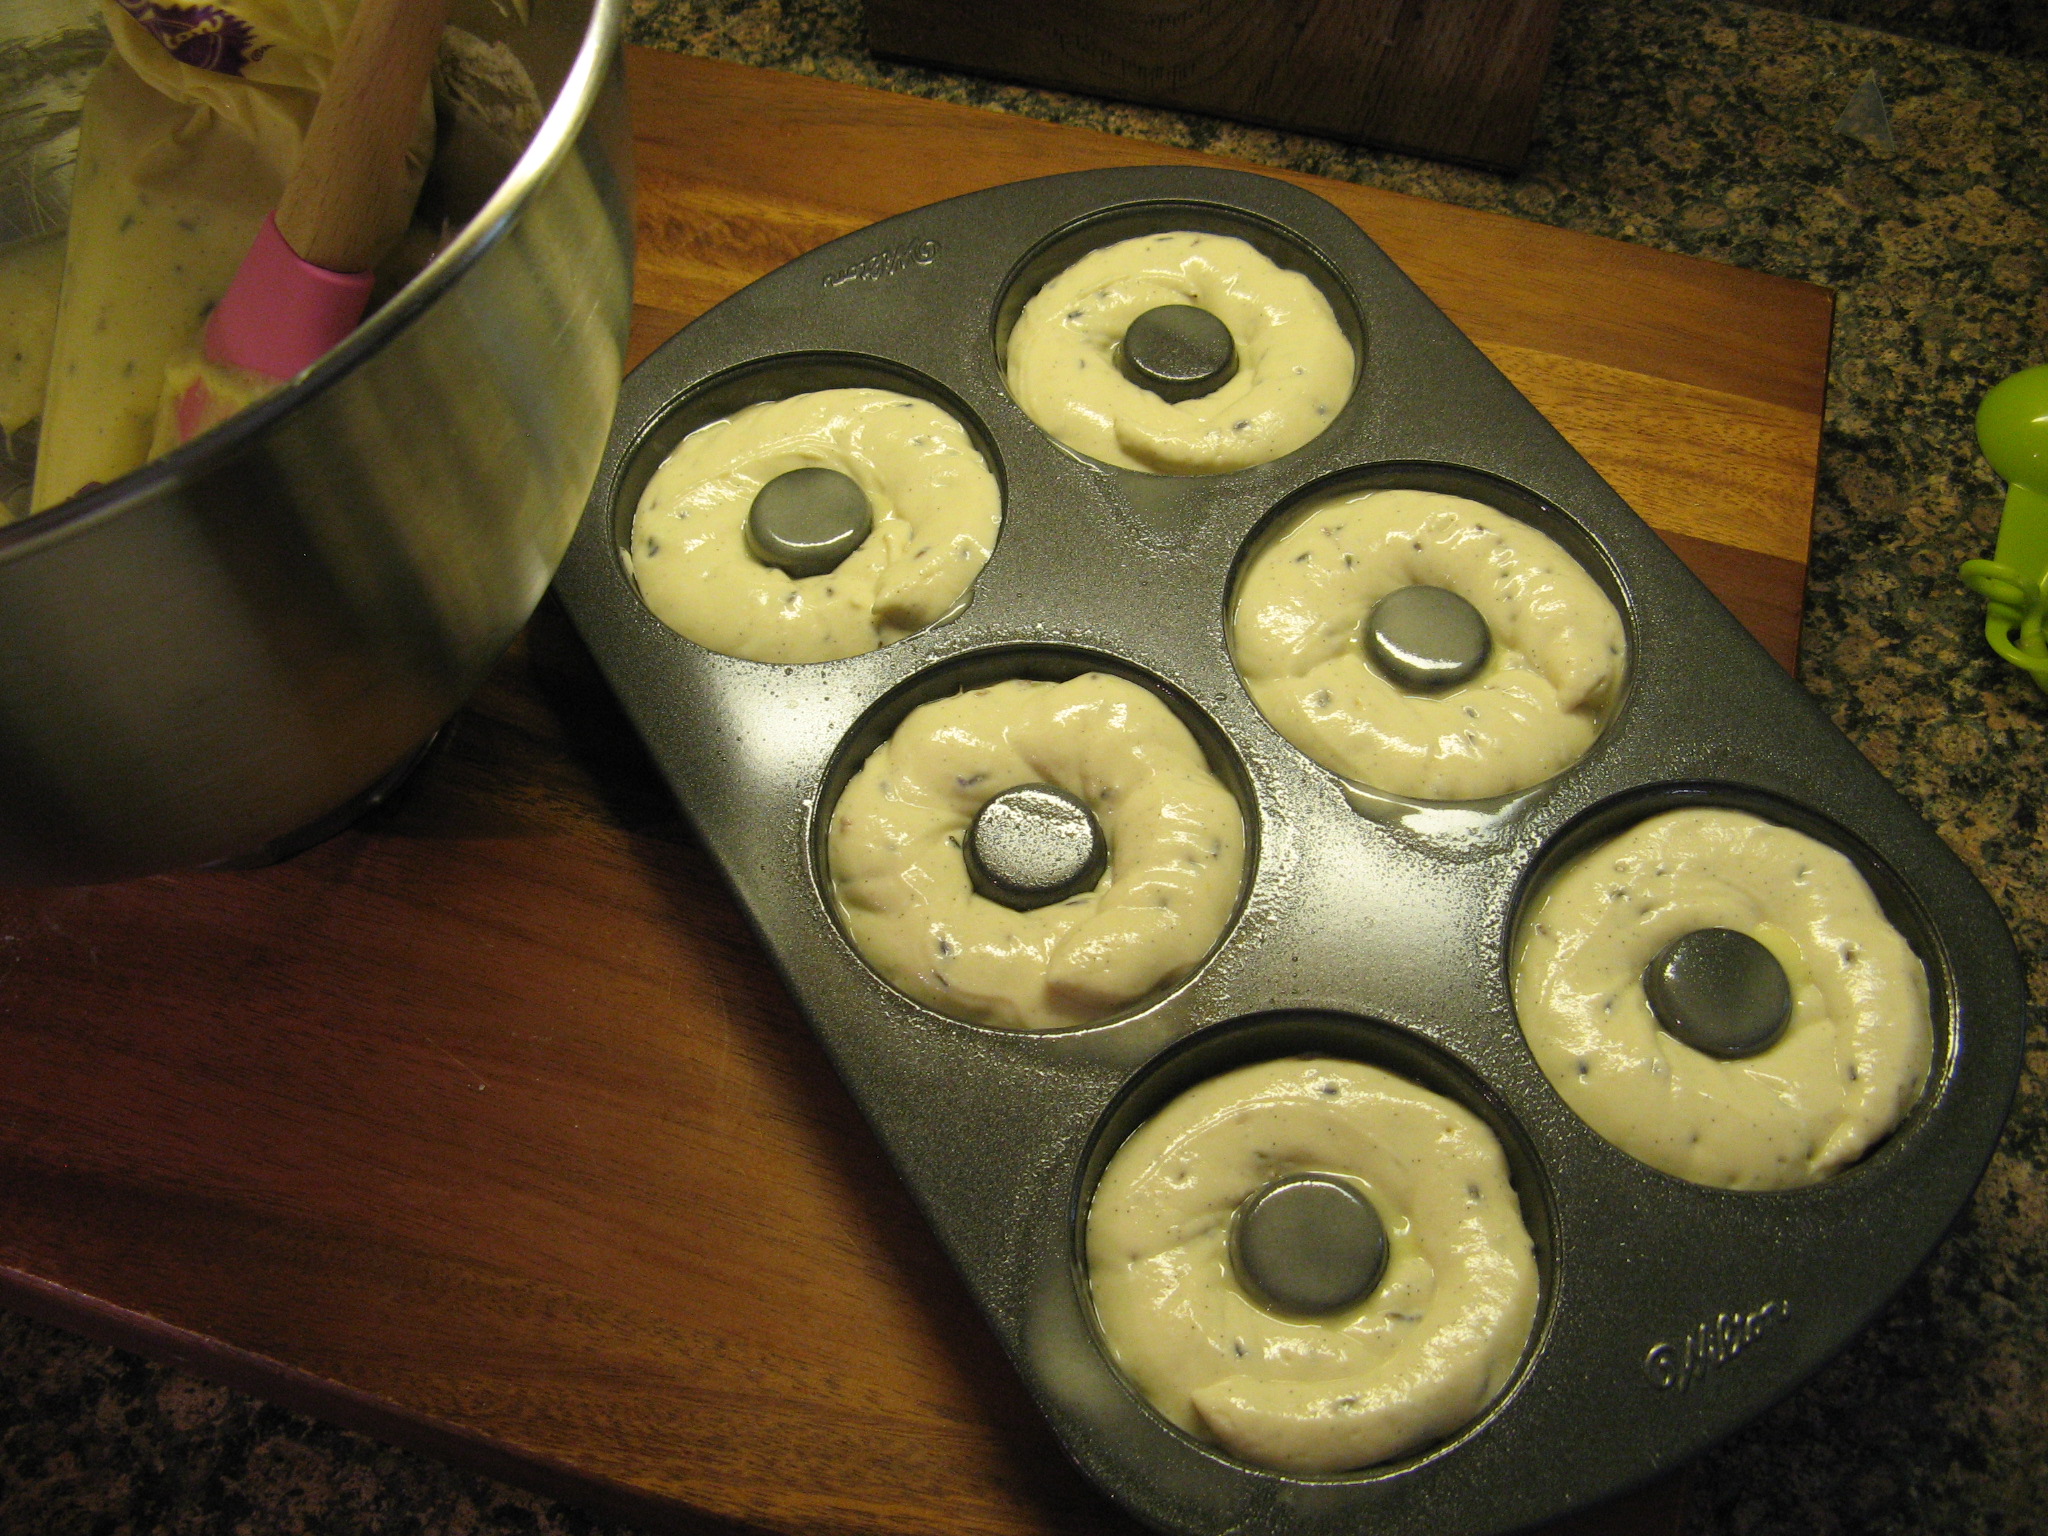
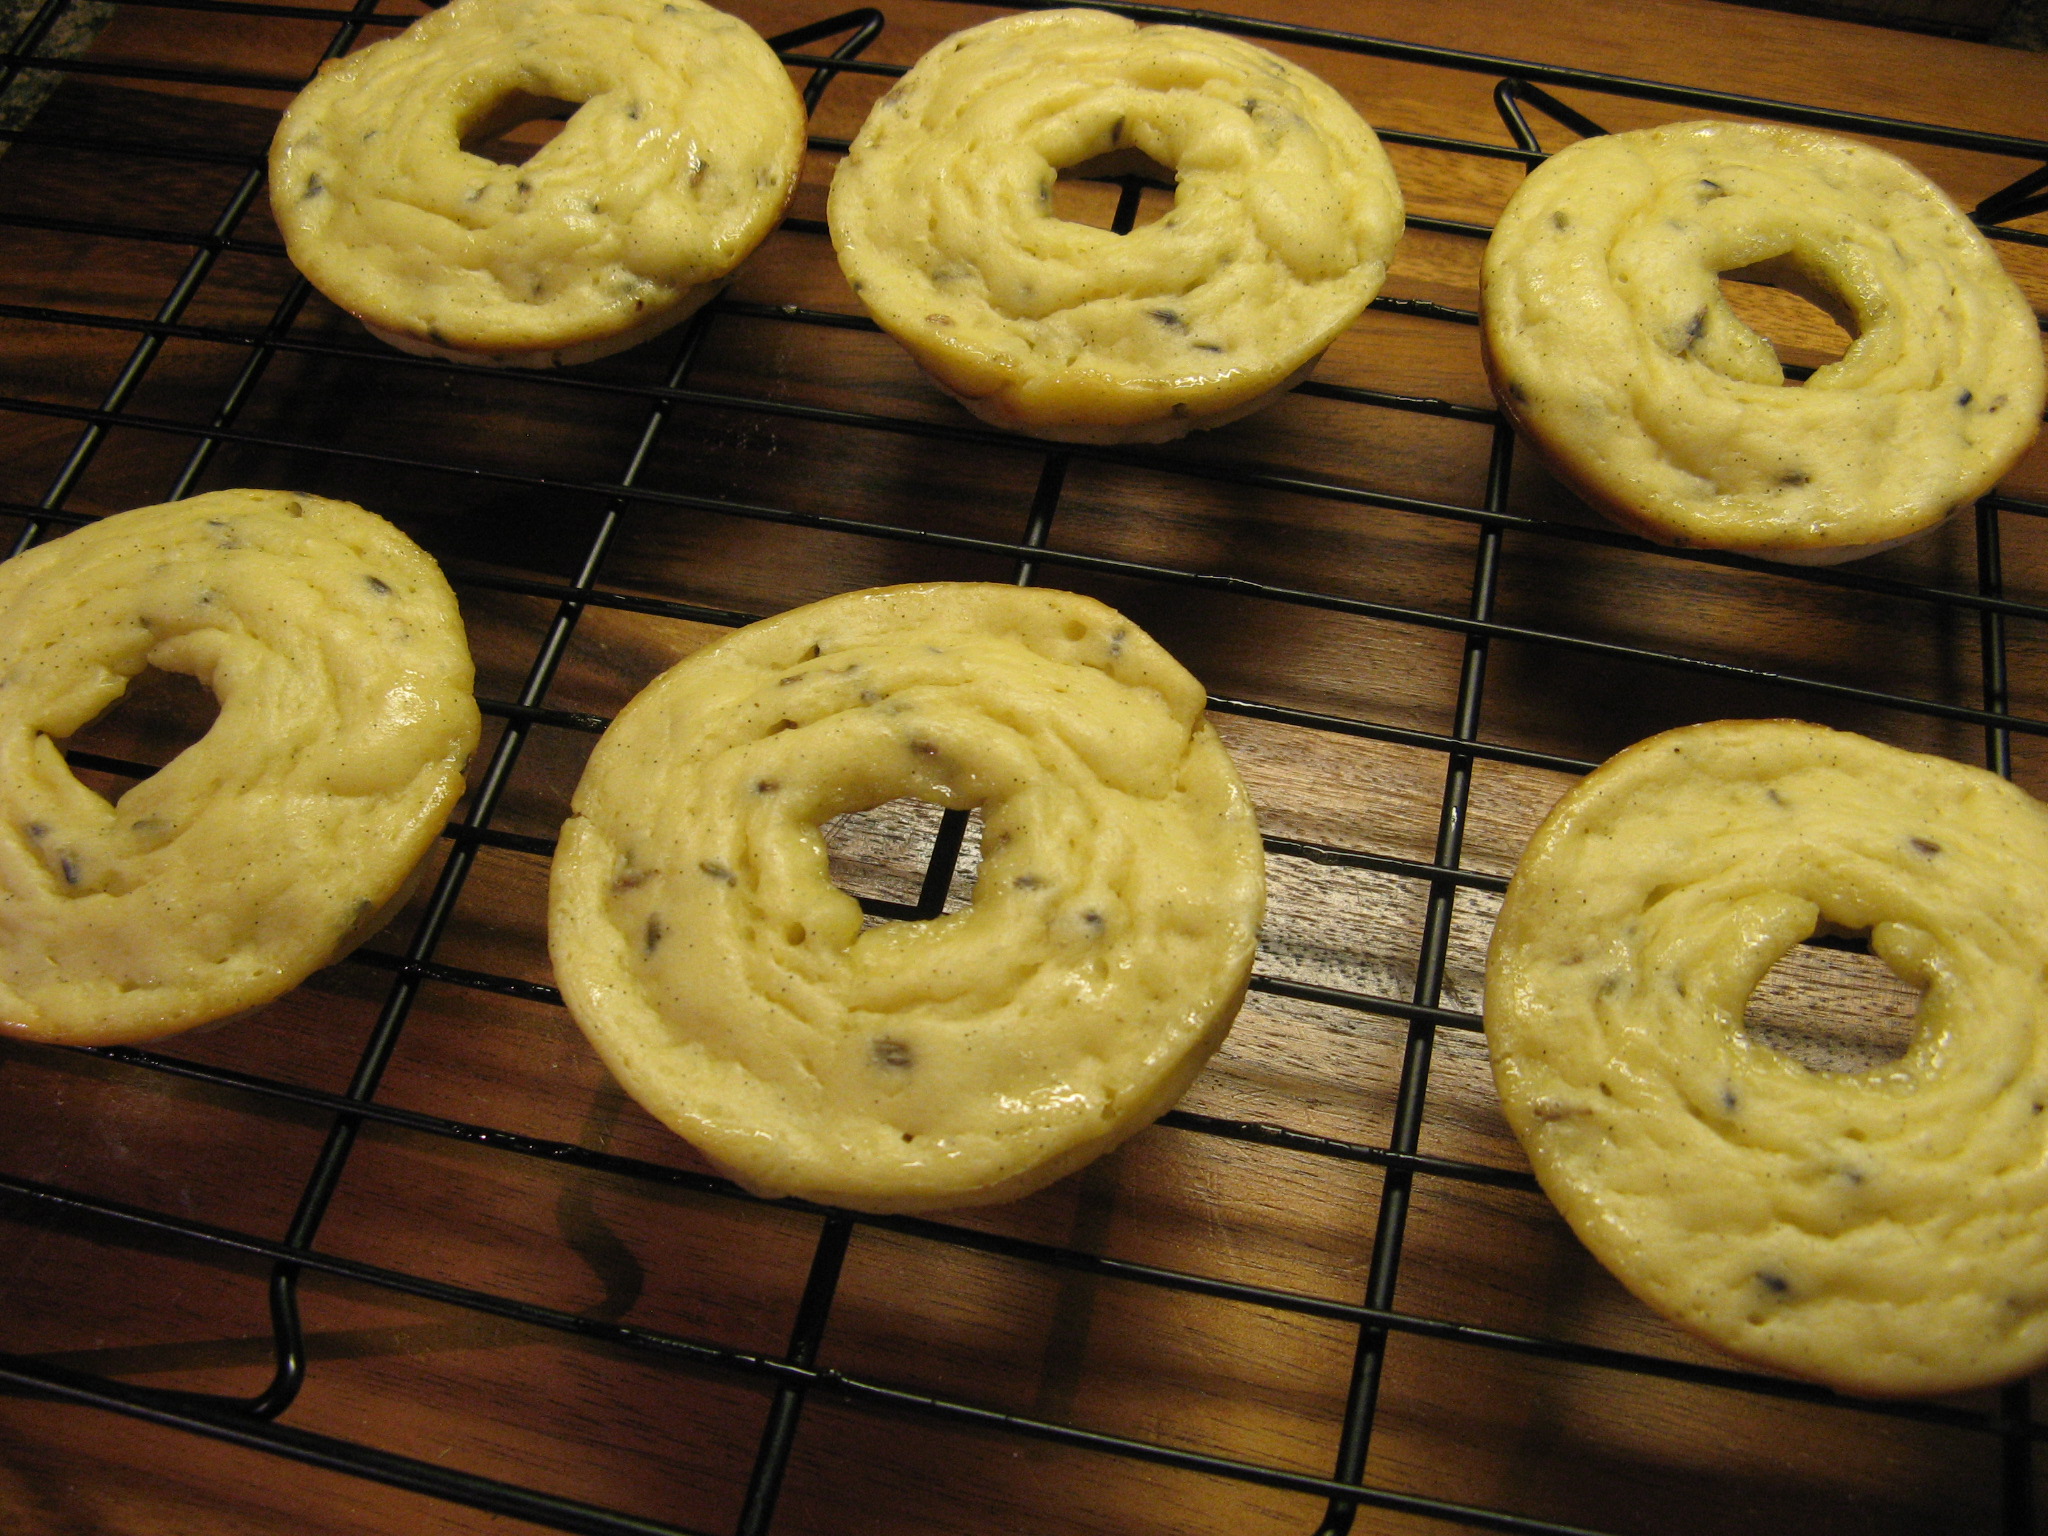
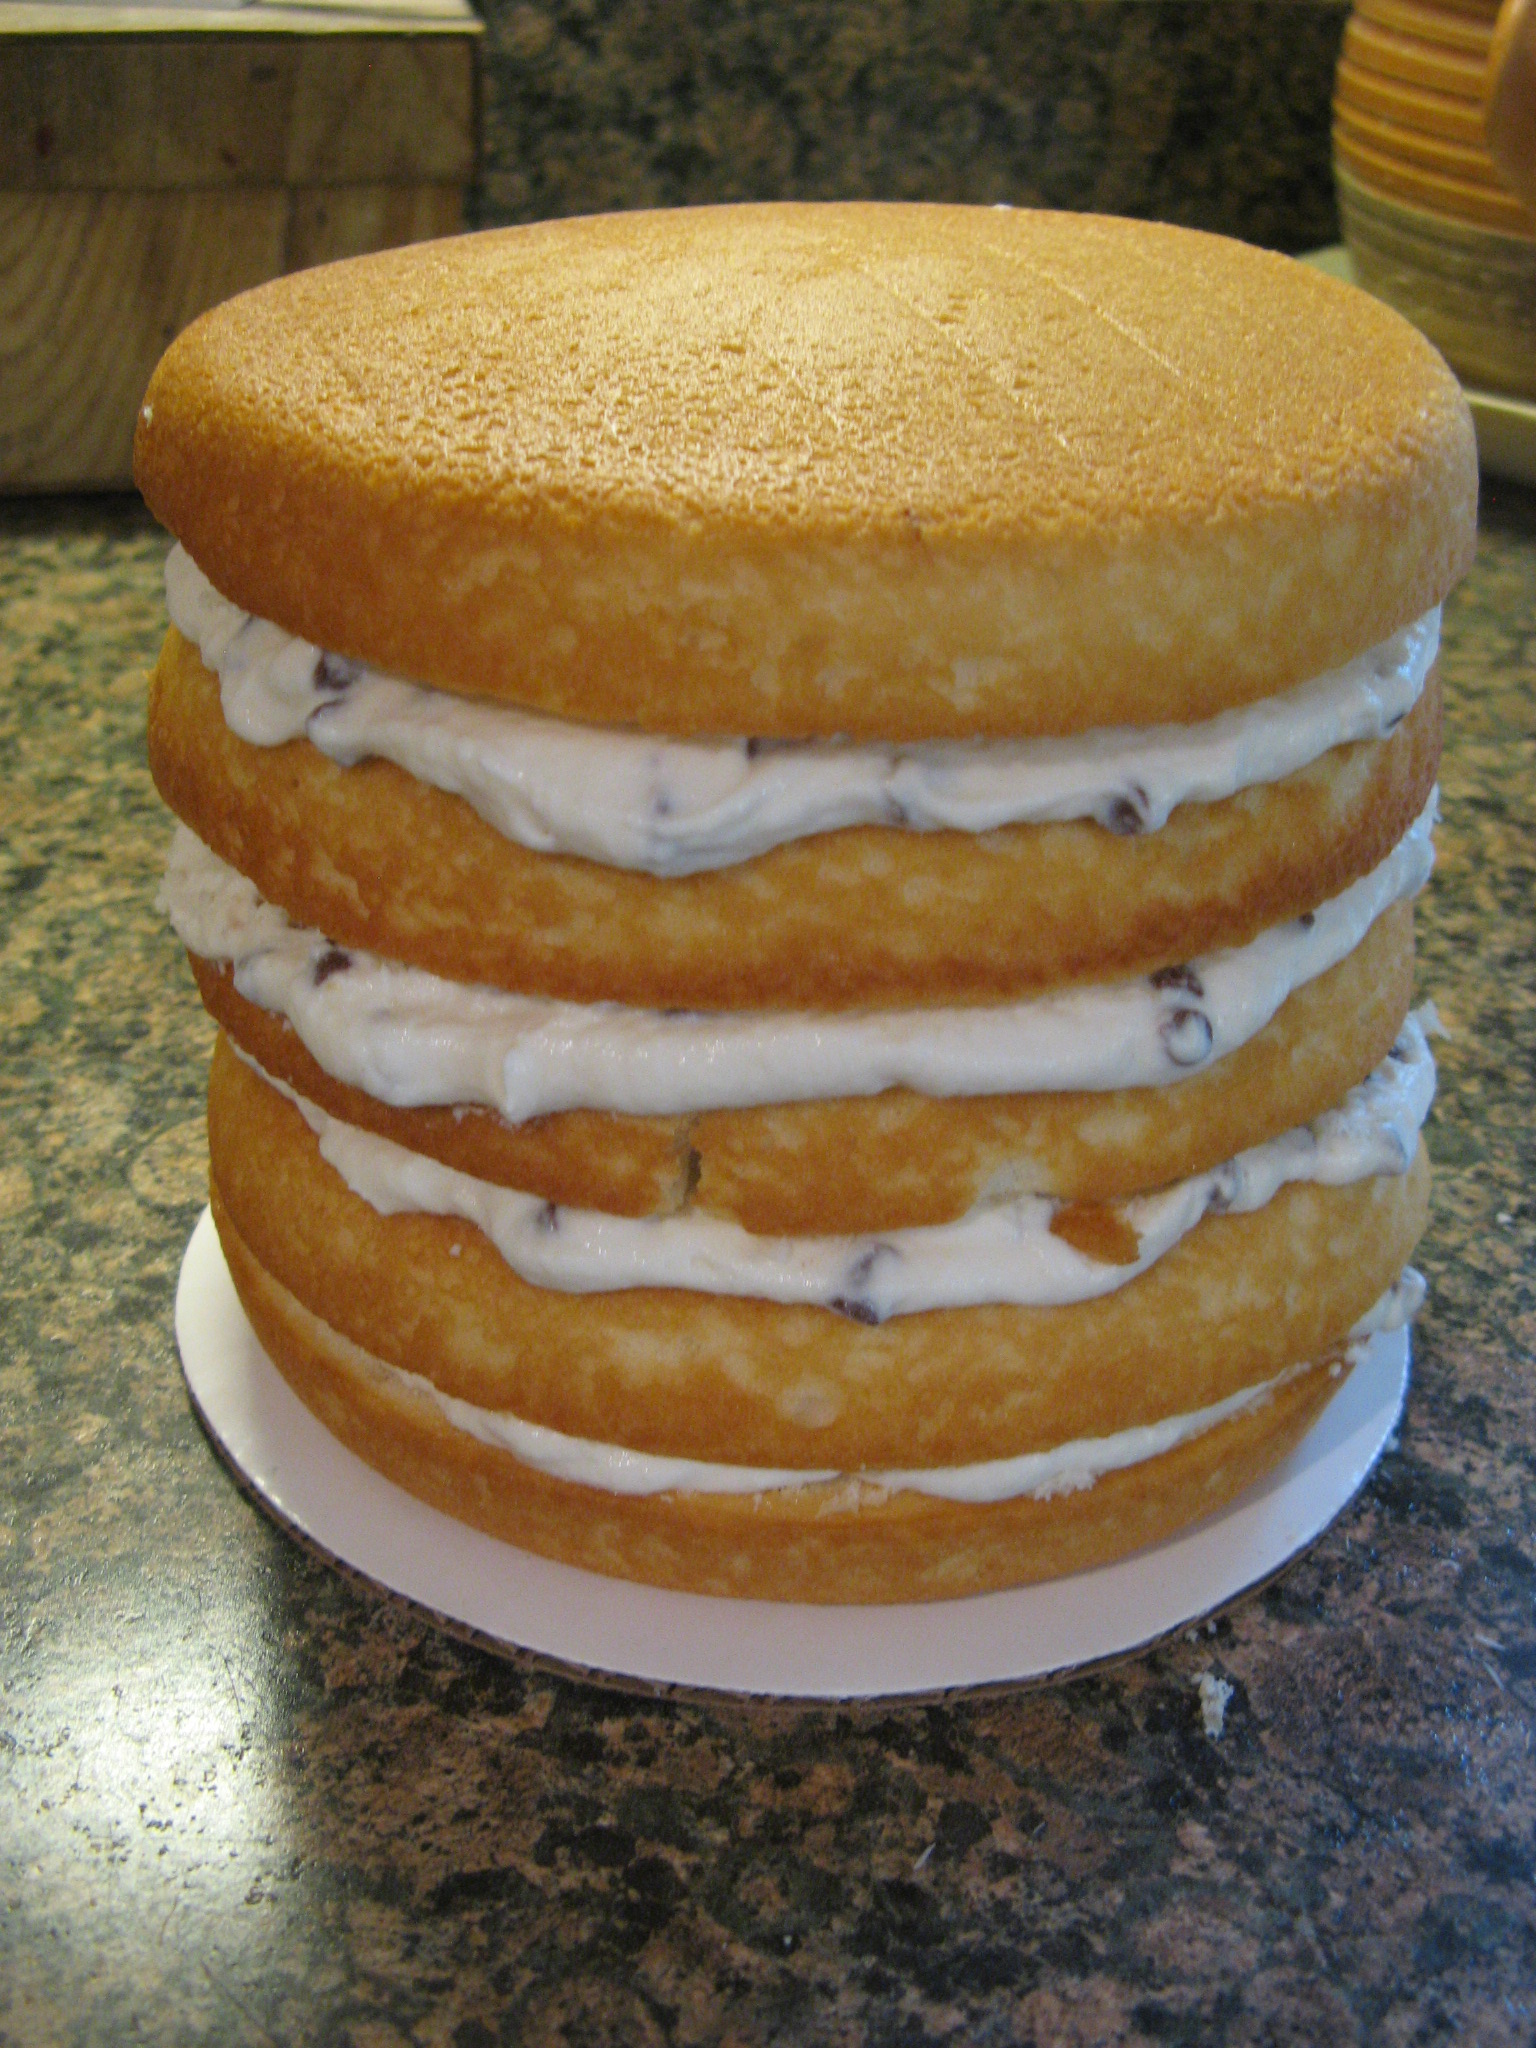
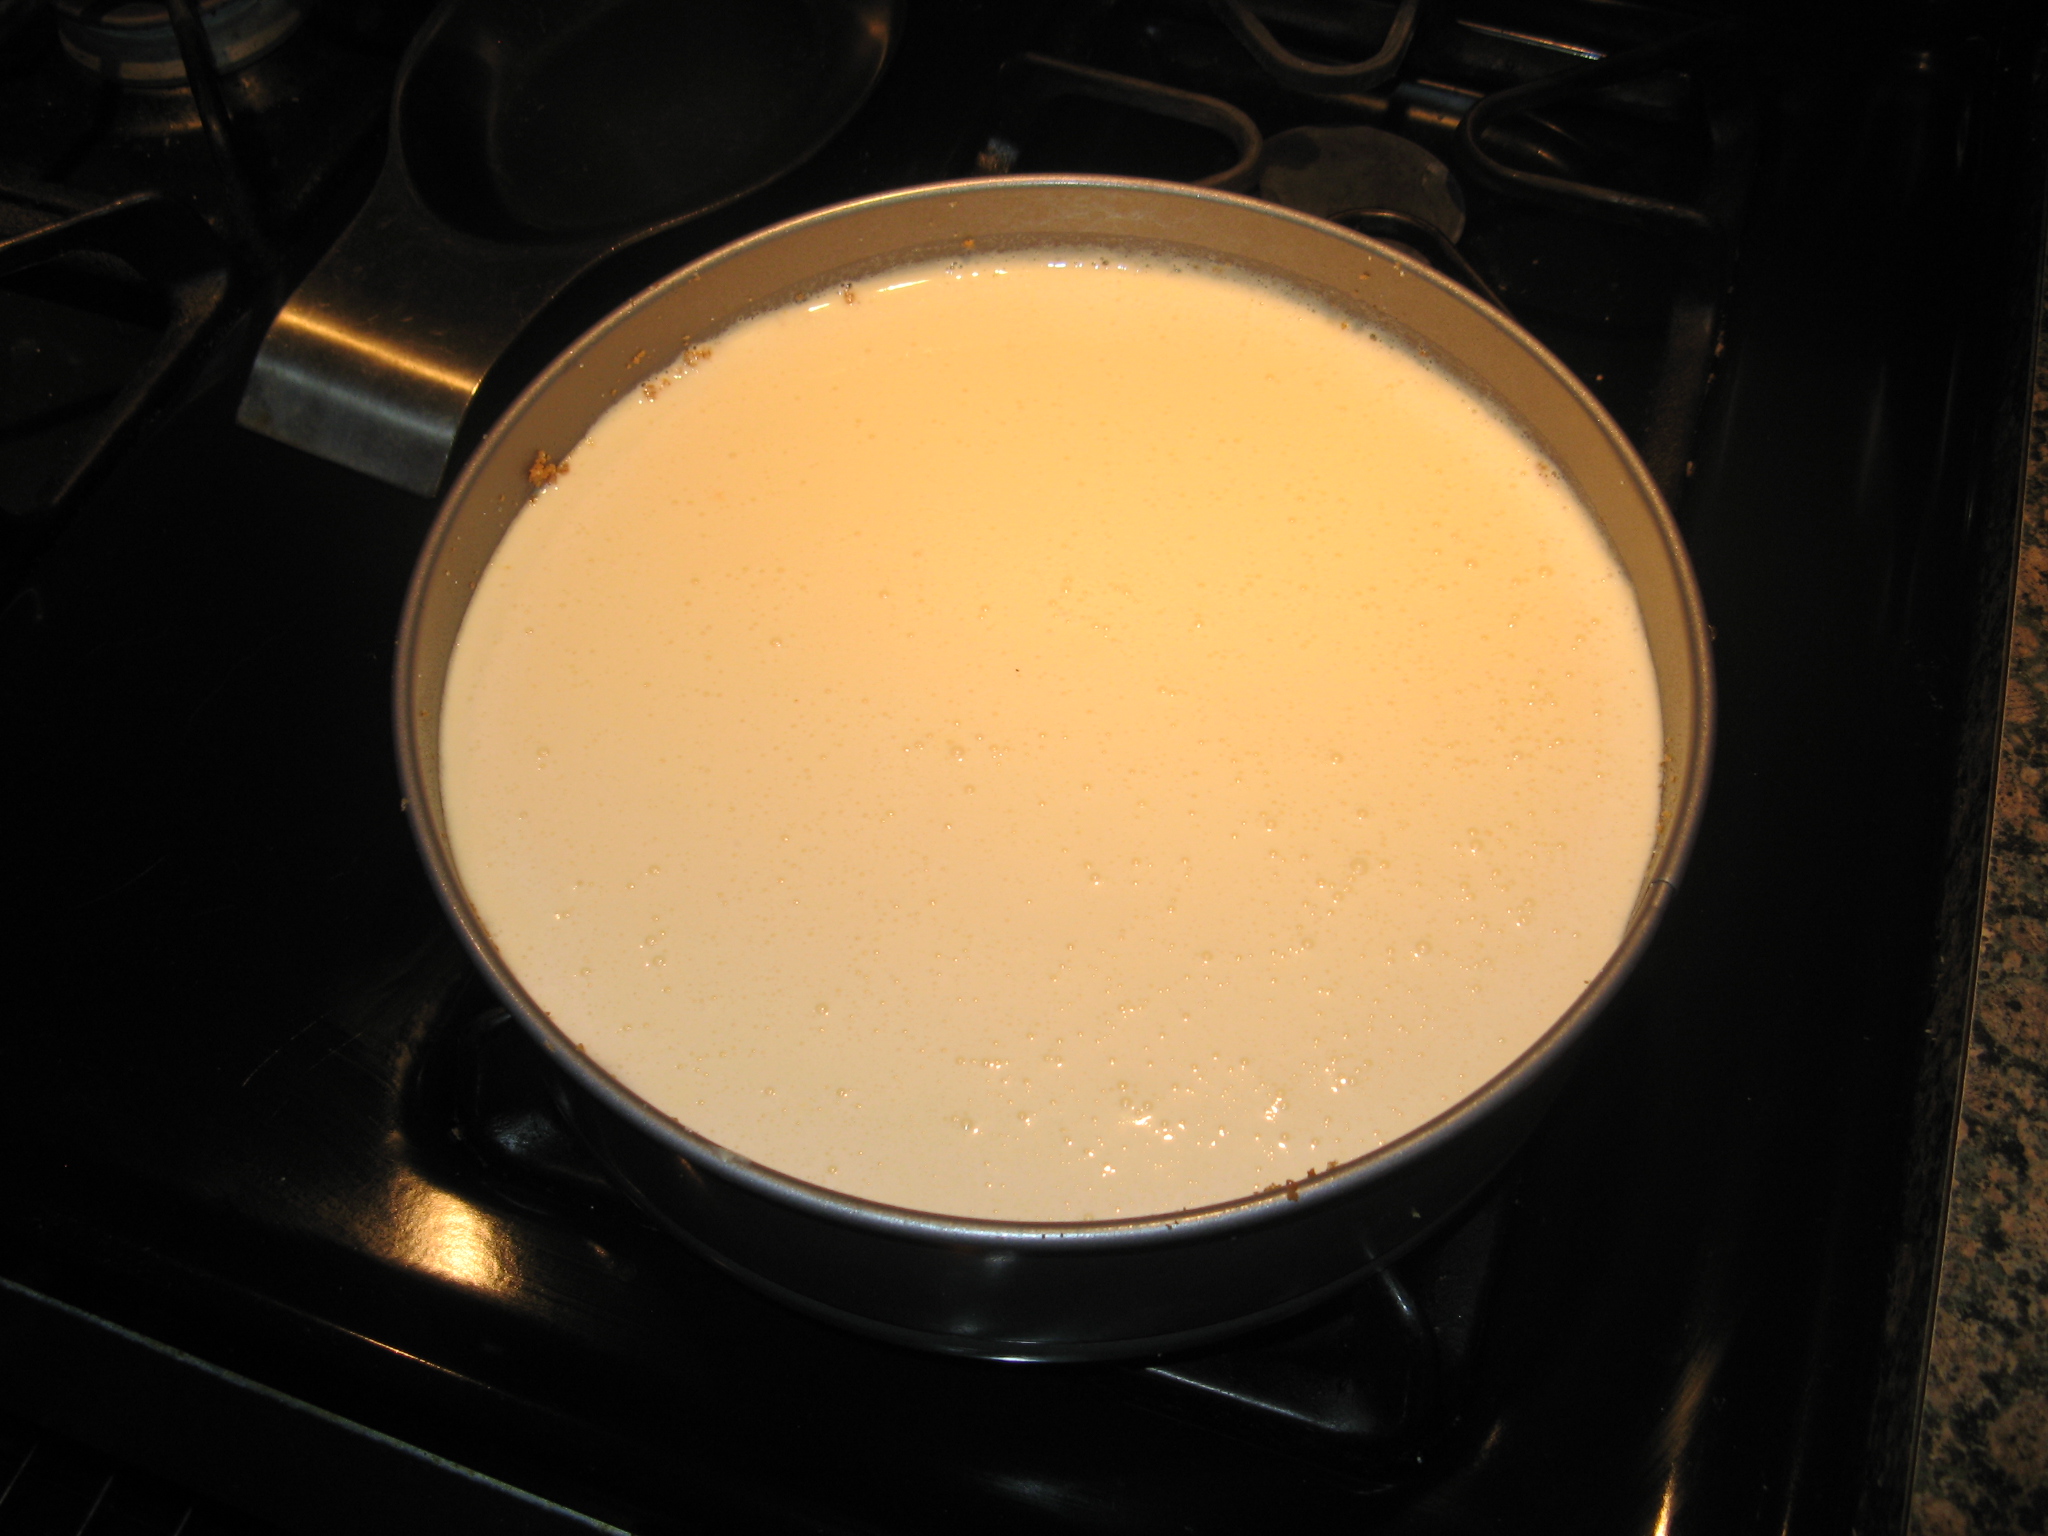
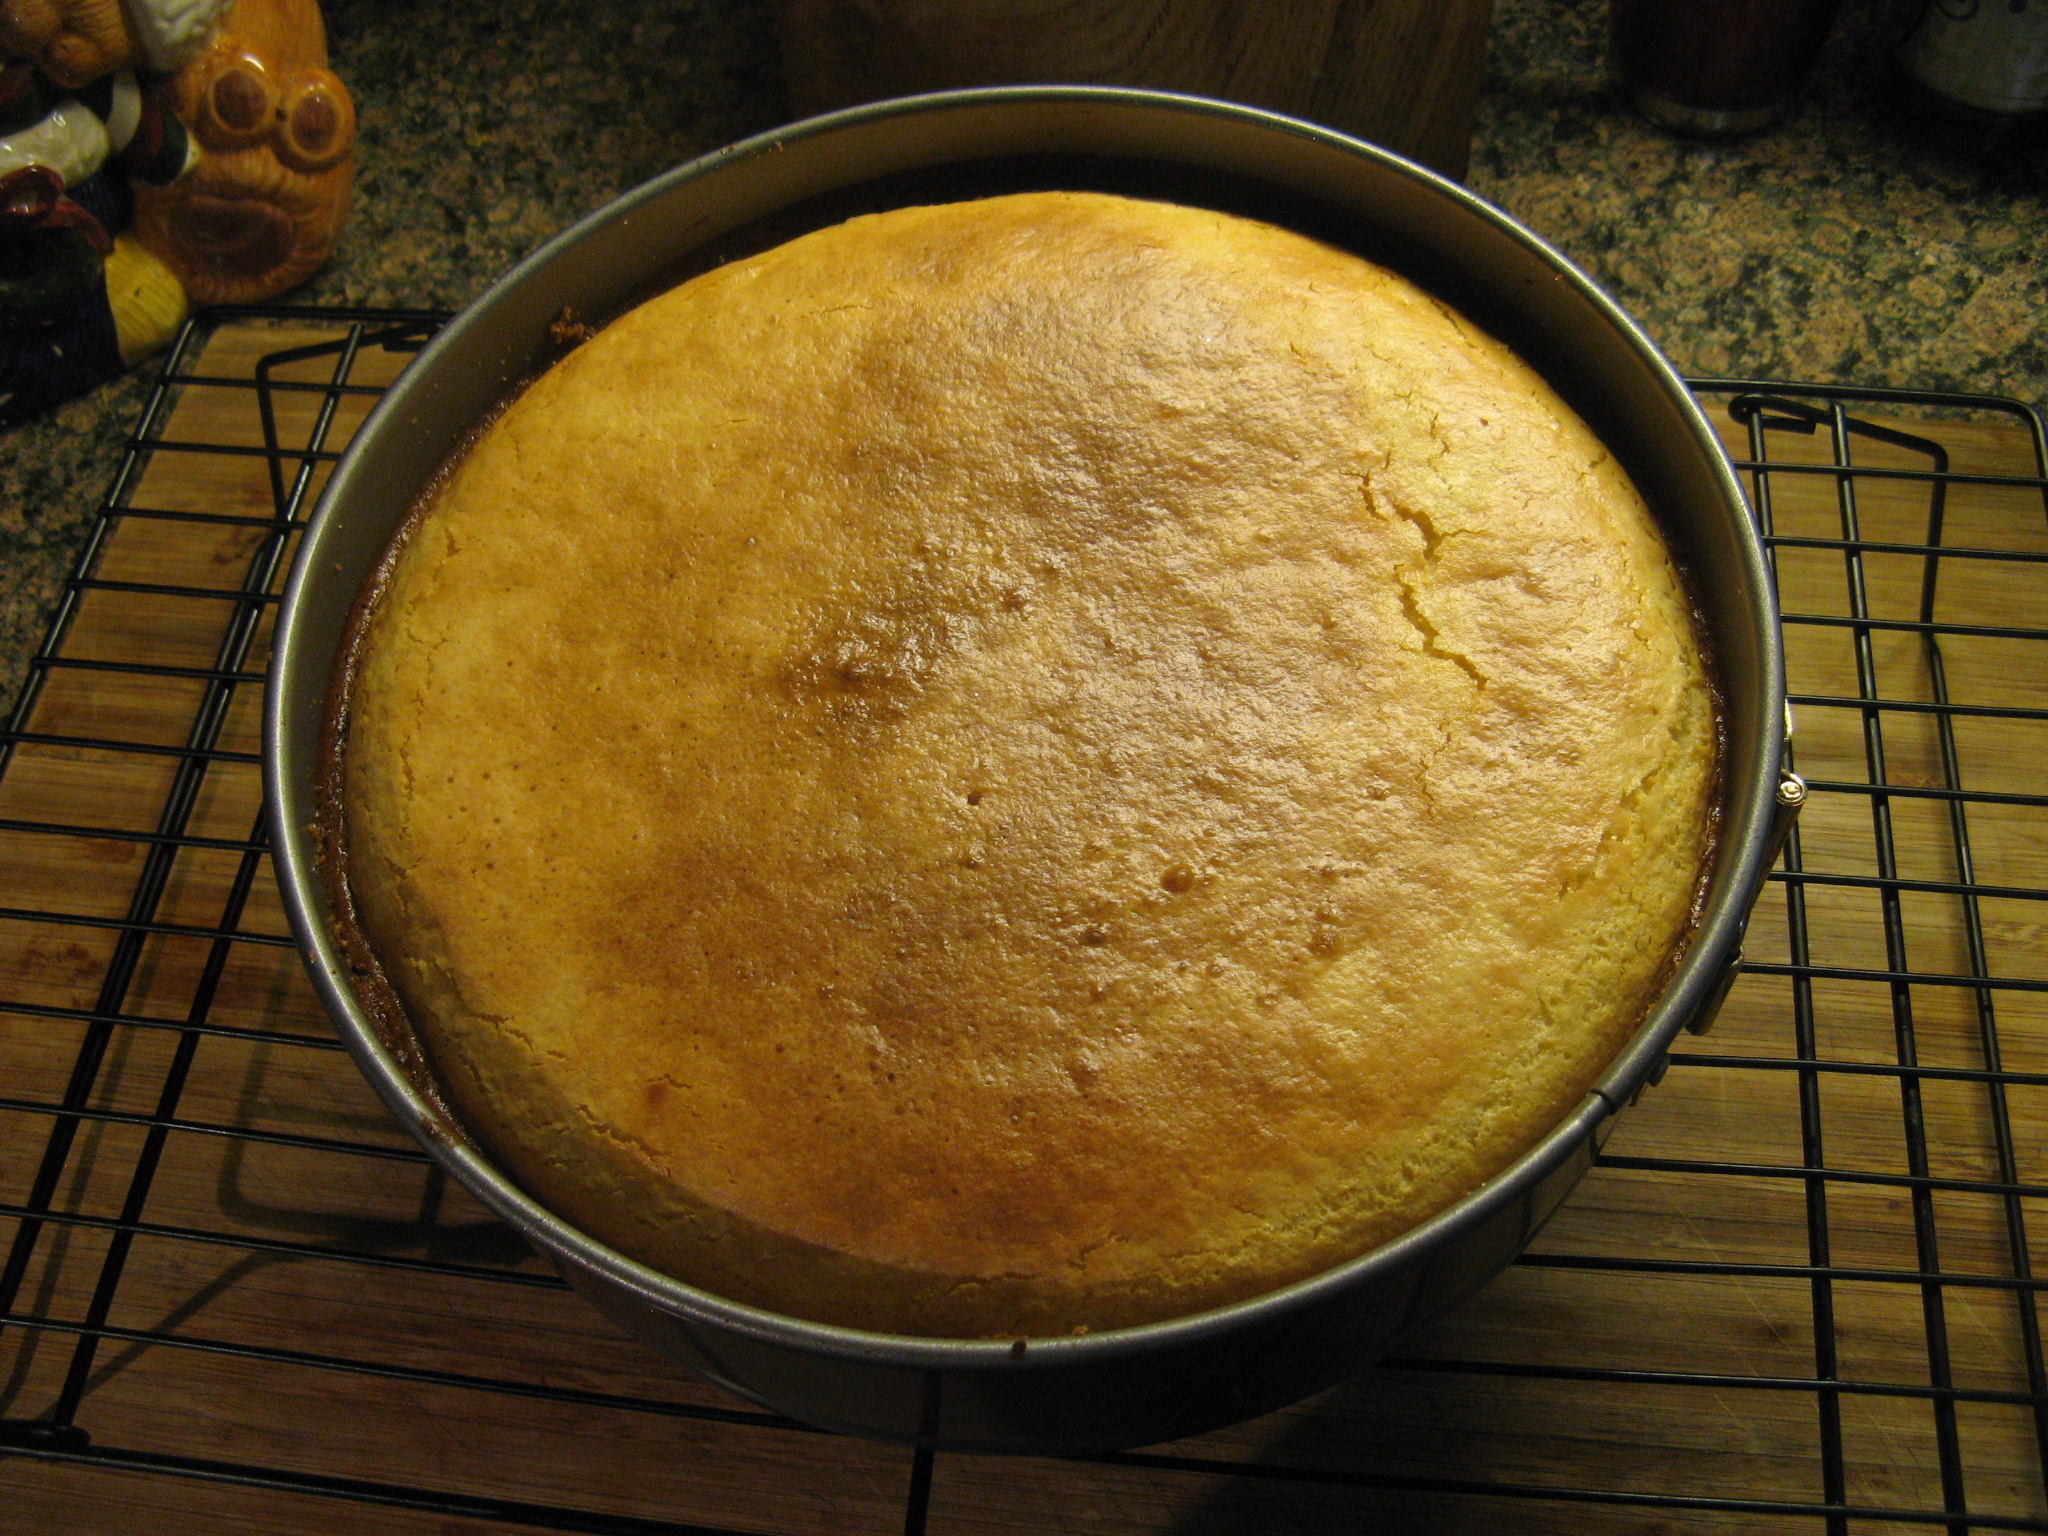
Prepare and bake cake mix per package directions using two 8-inch round baking pans sprayed with baking spray. Cool in pans for 10 minutes and then transfer to wire racks to cool completely.
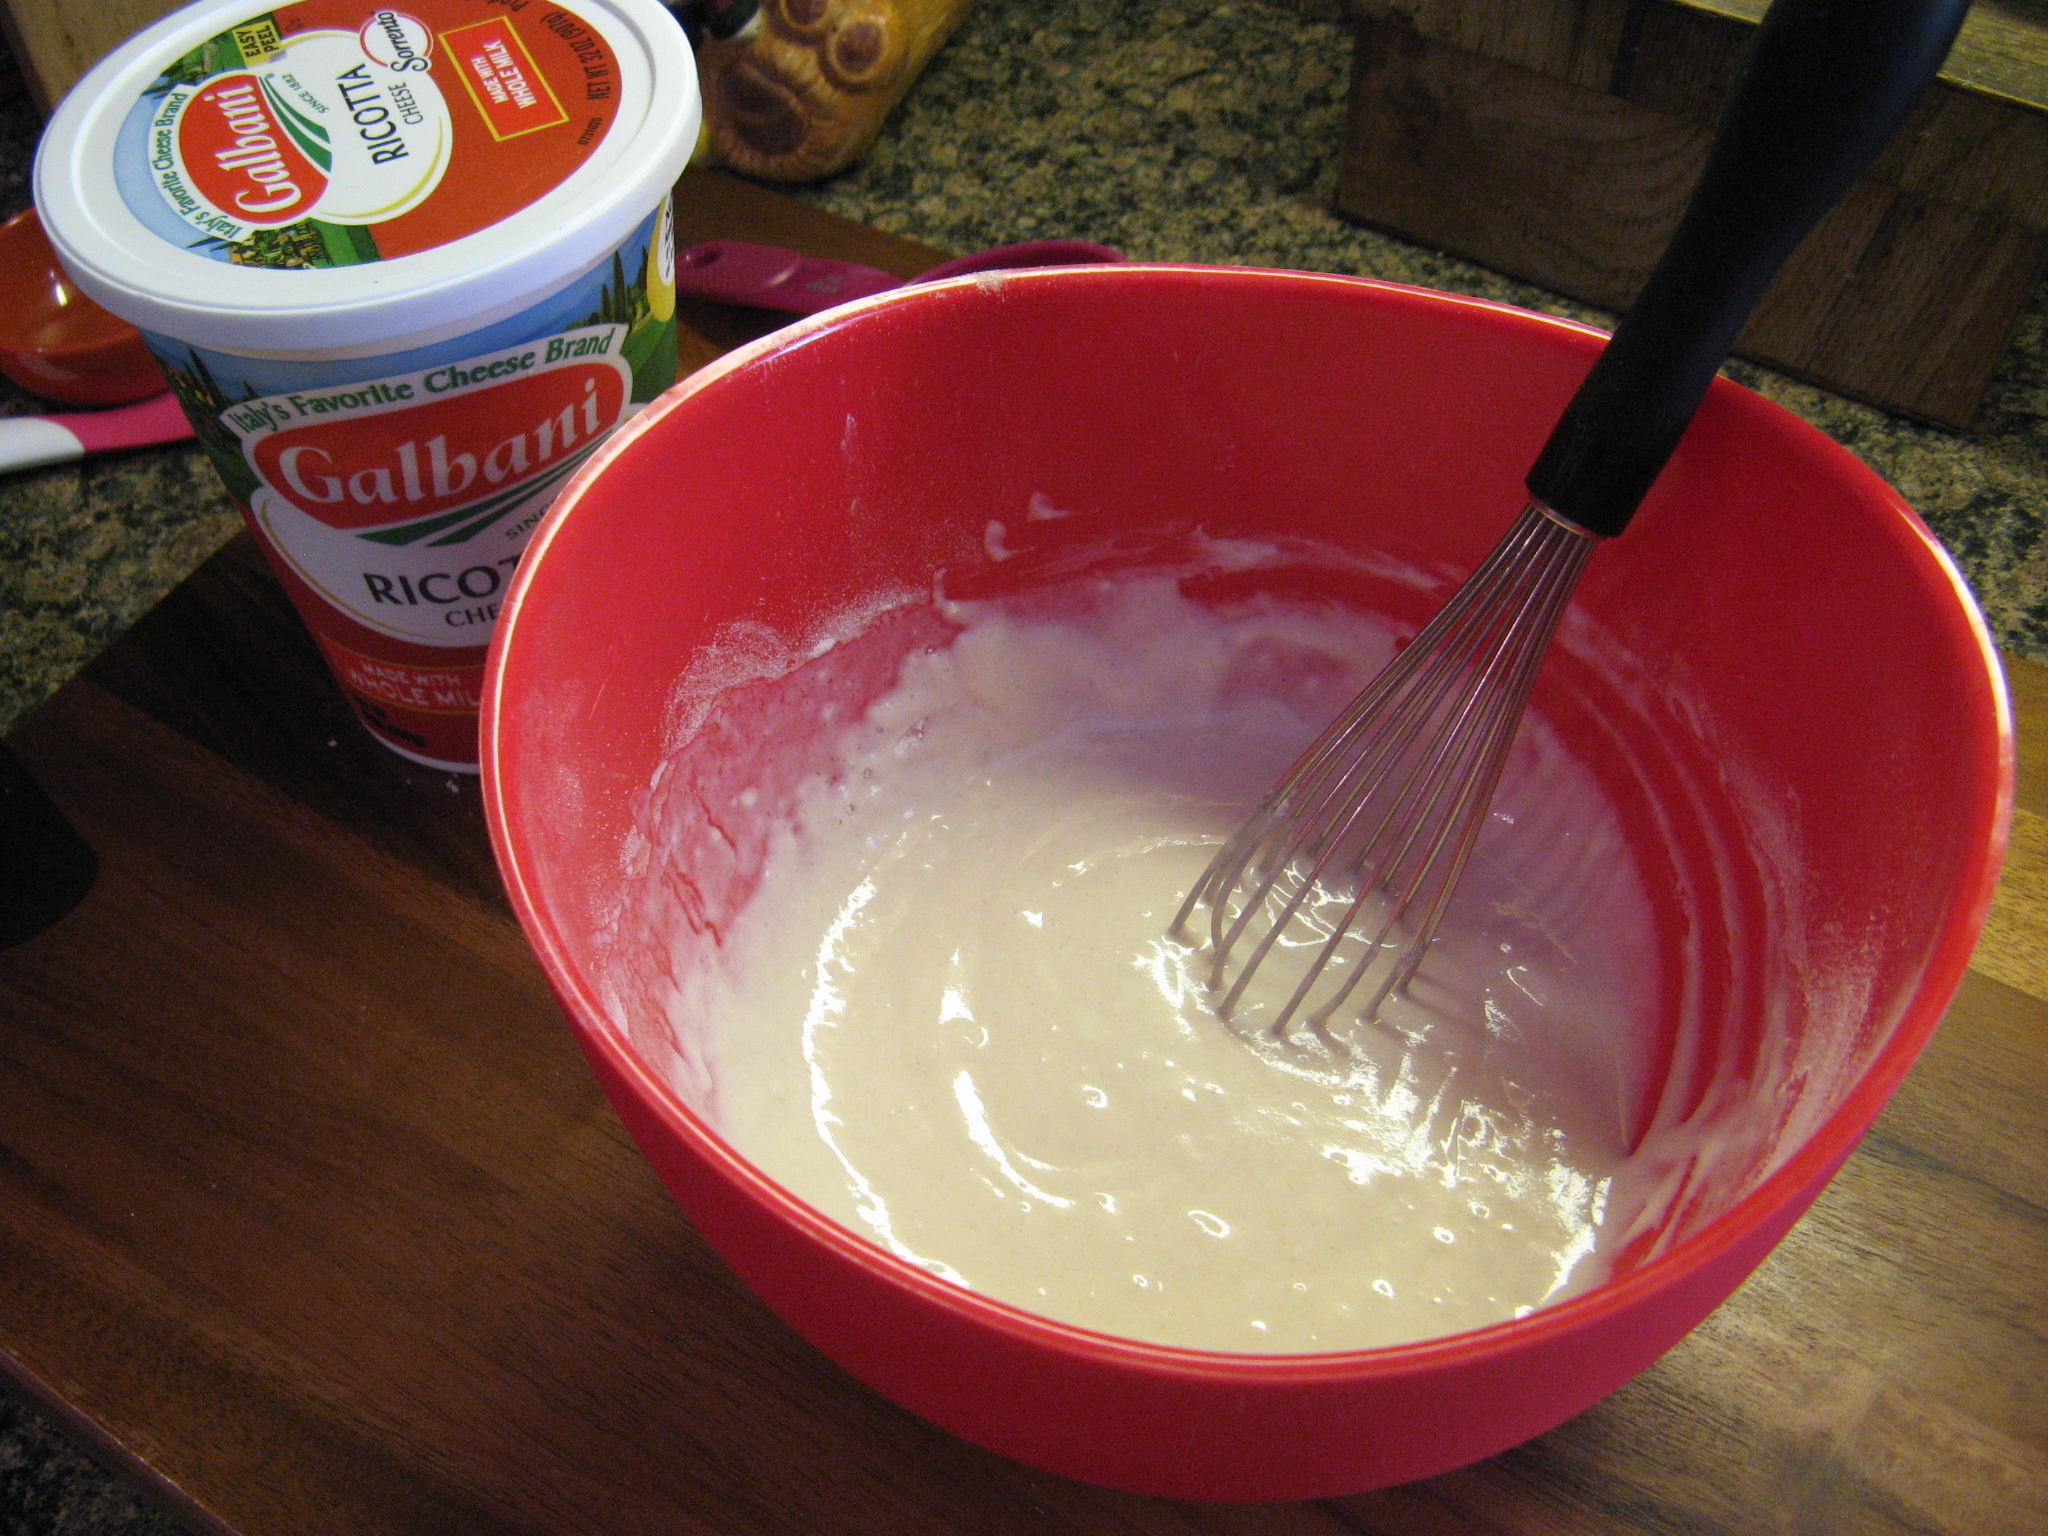
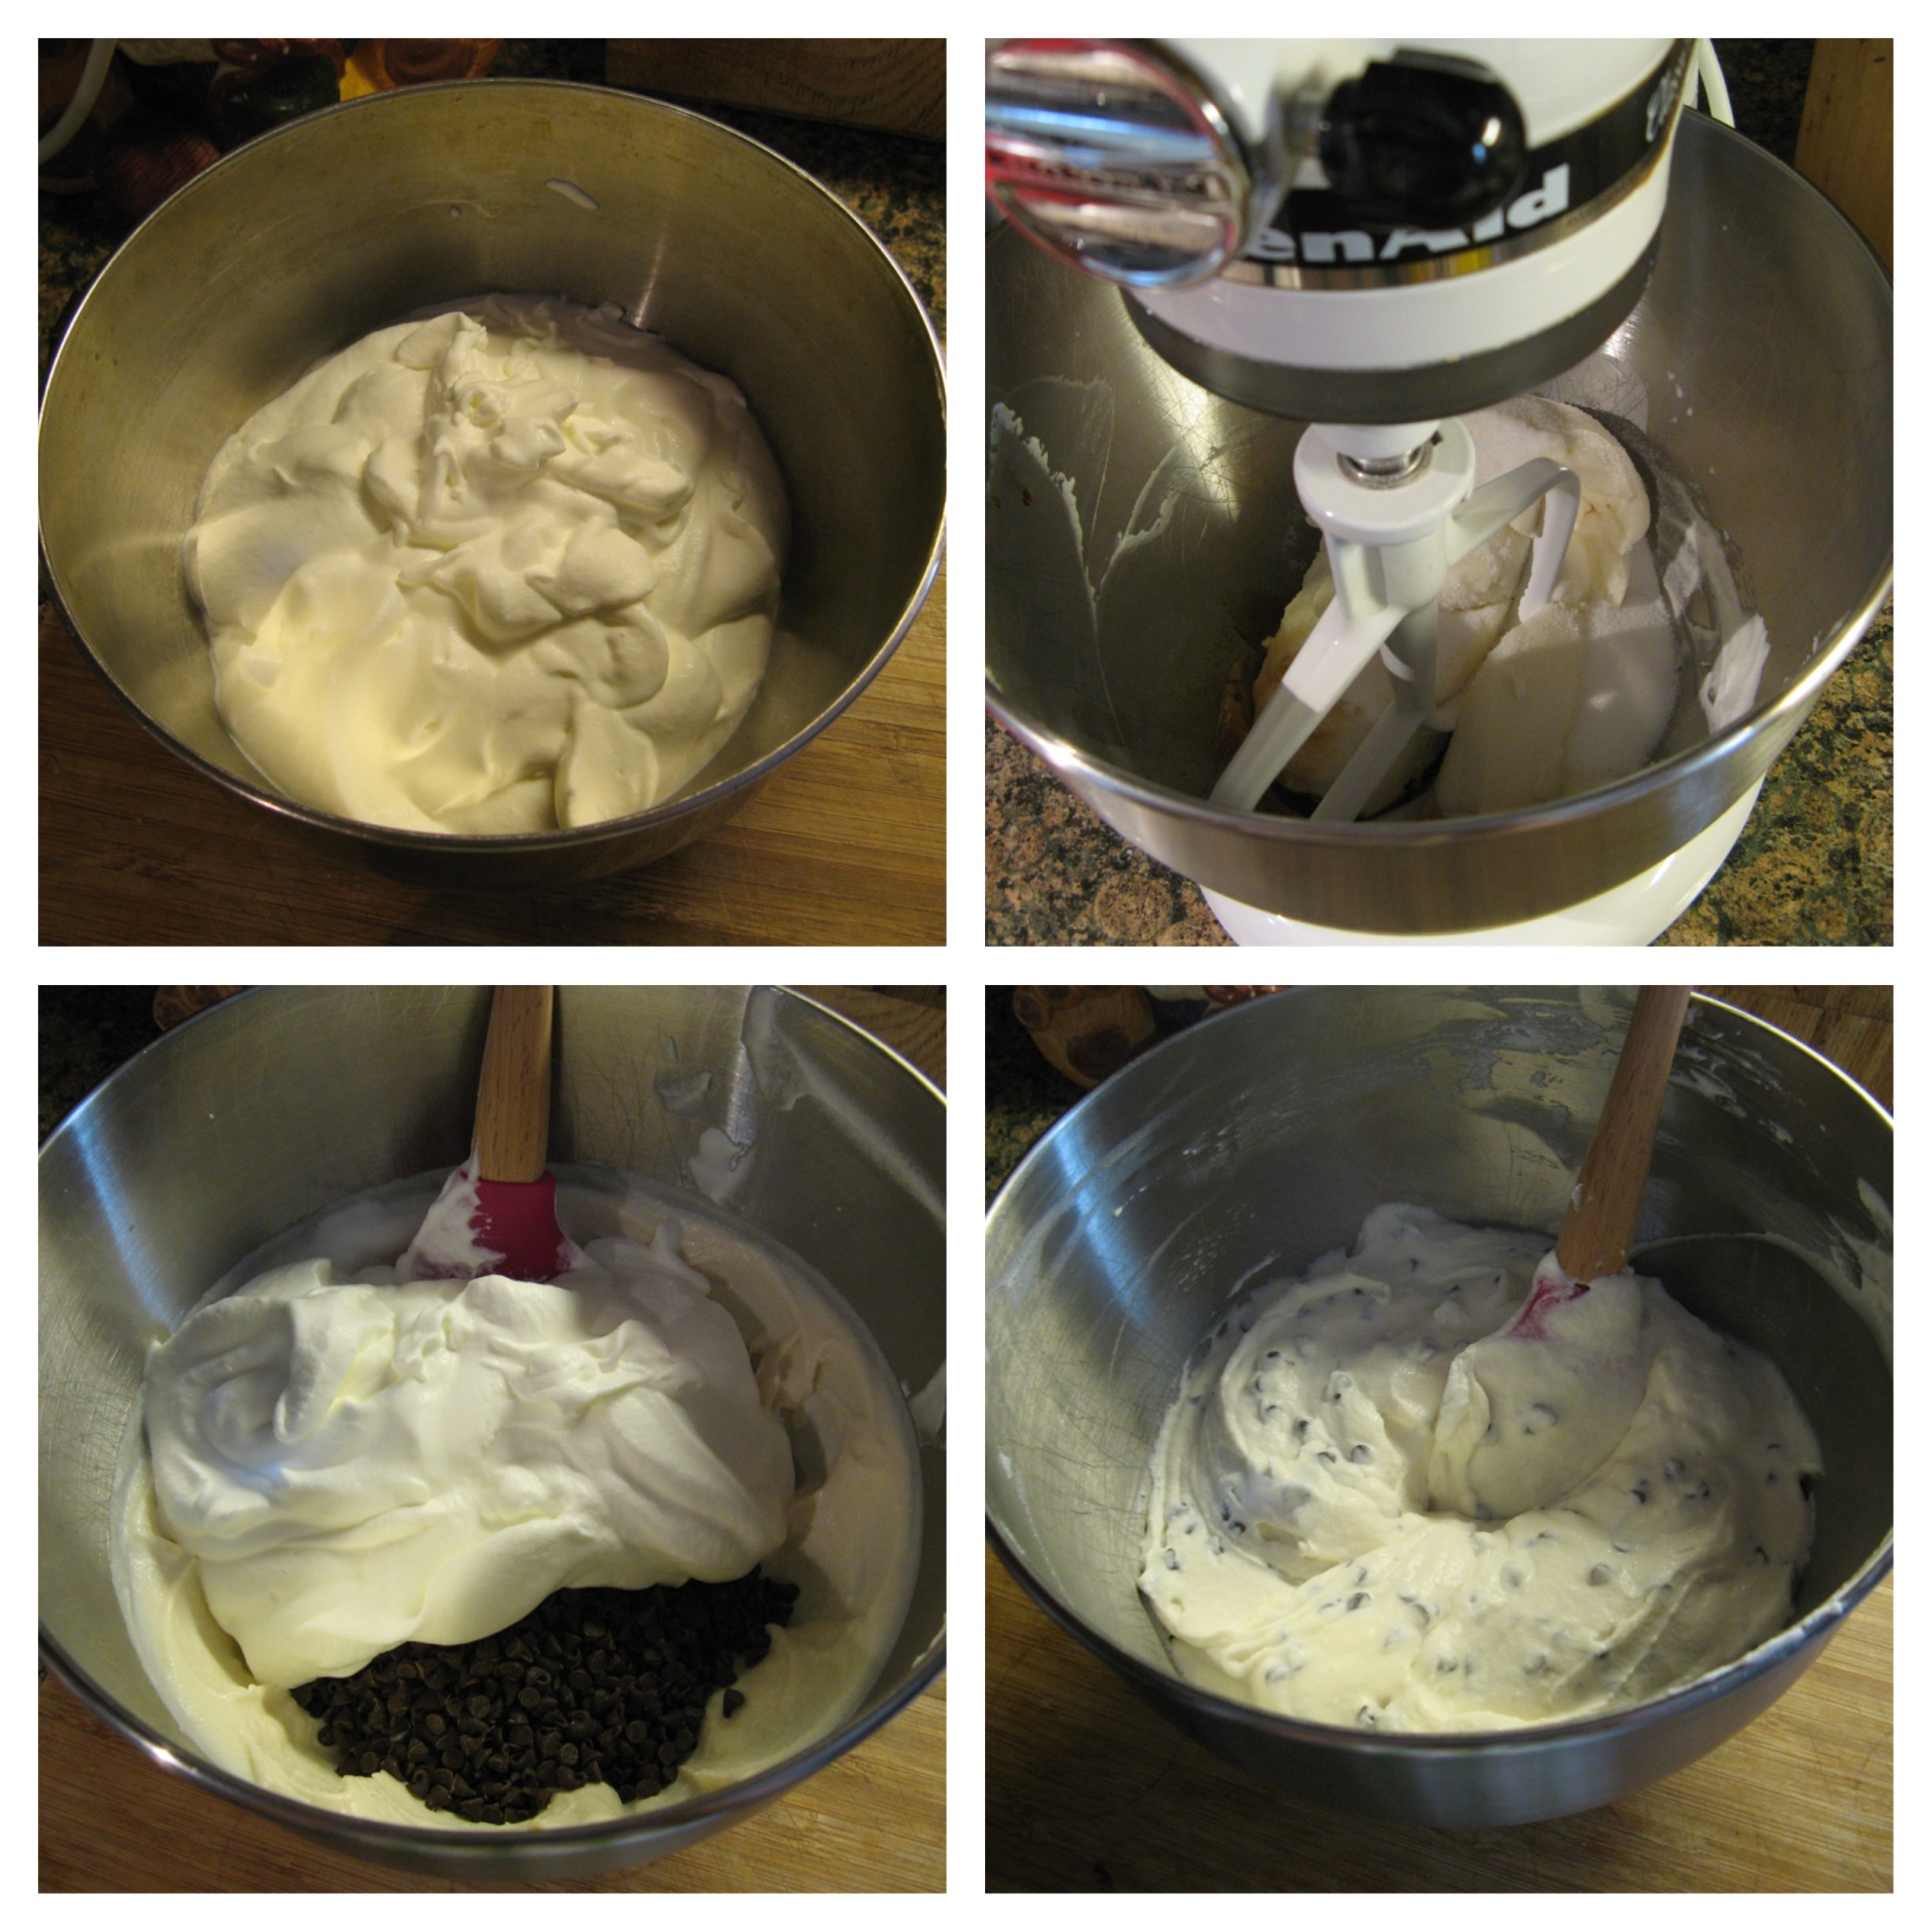
Make the filling: In a large bowl fold together the ricotta cheese, confectioners’ sugar, cinnamon, and all extracts until well incorporated. Stir in the chocolate chips. Set aside.
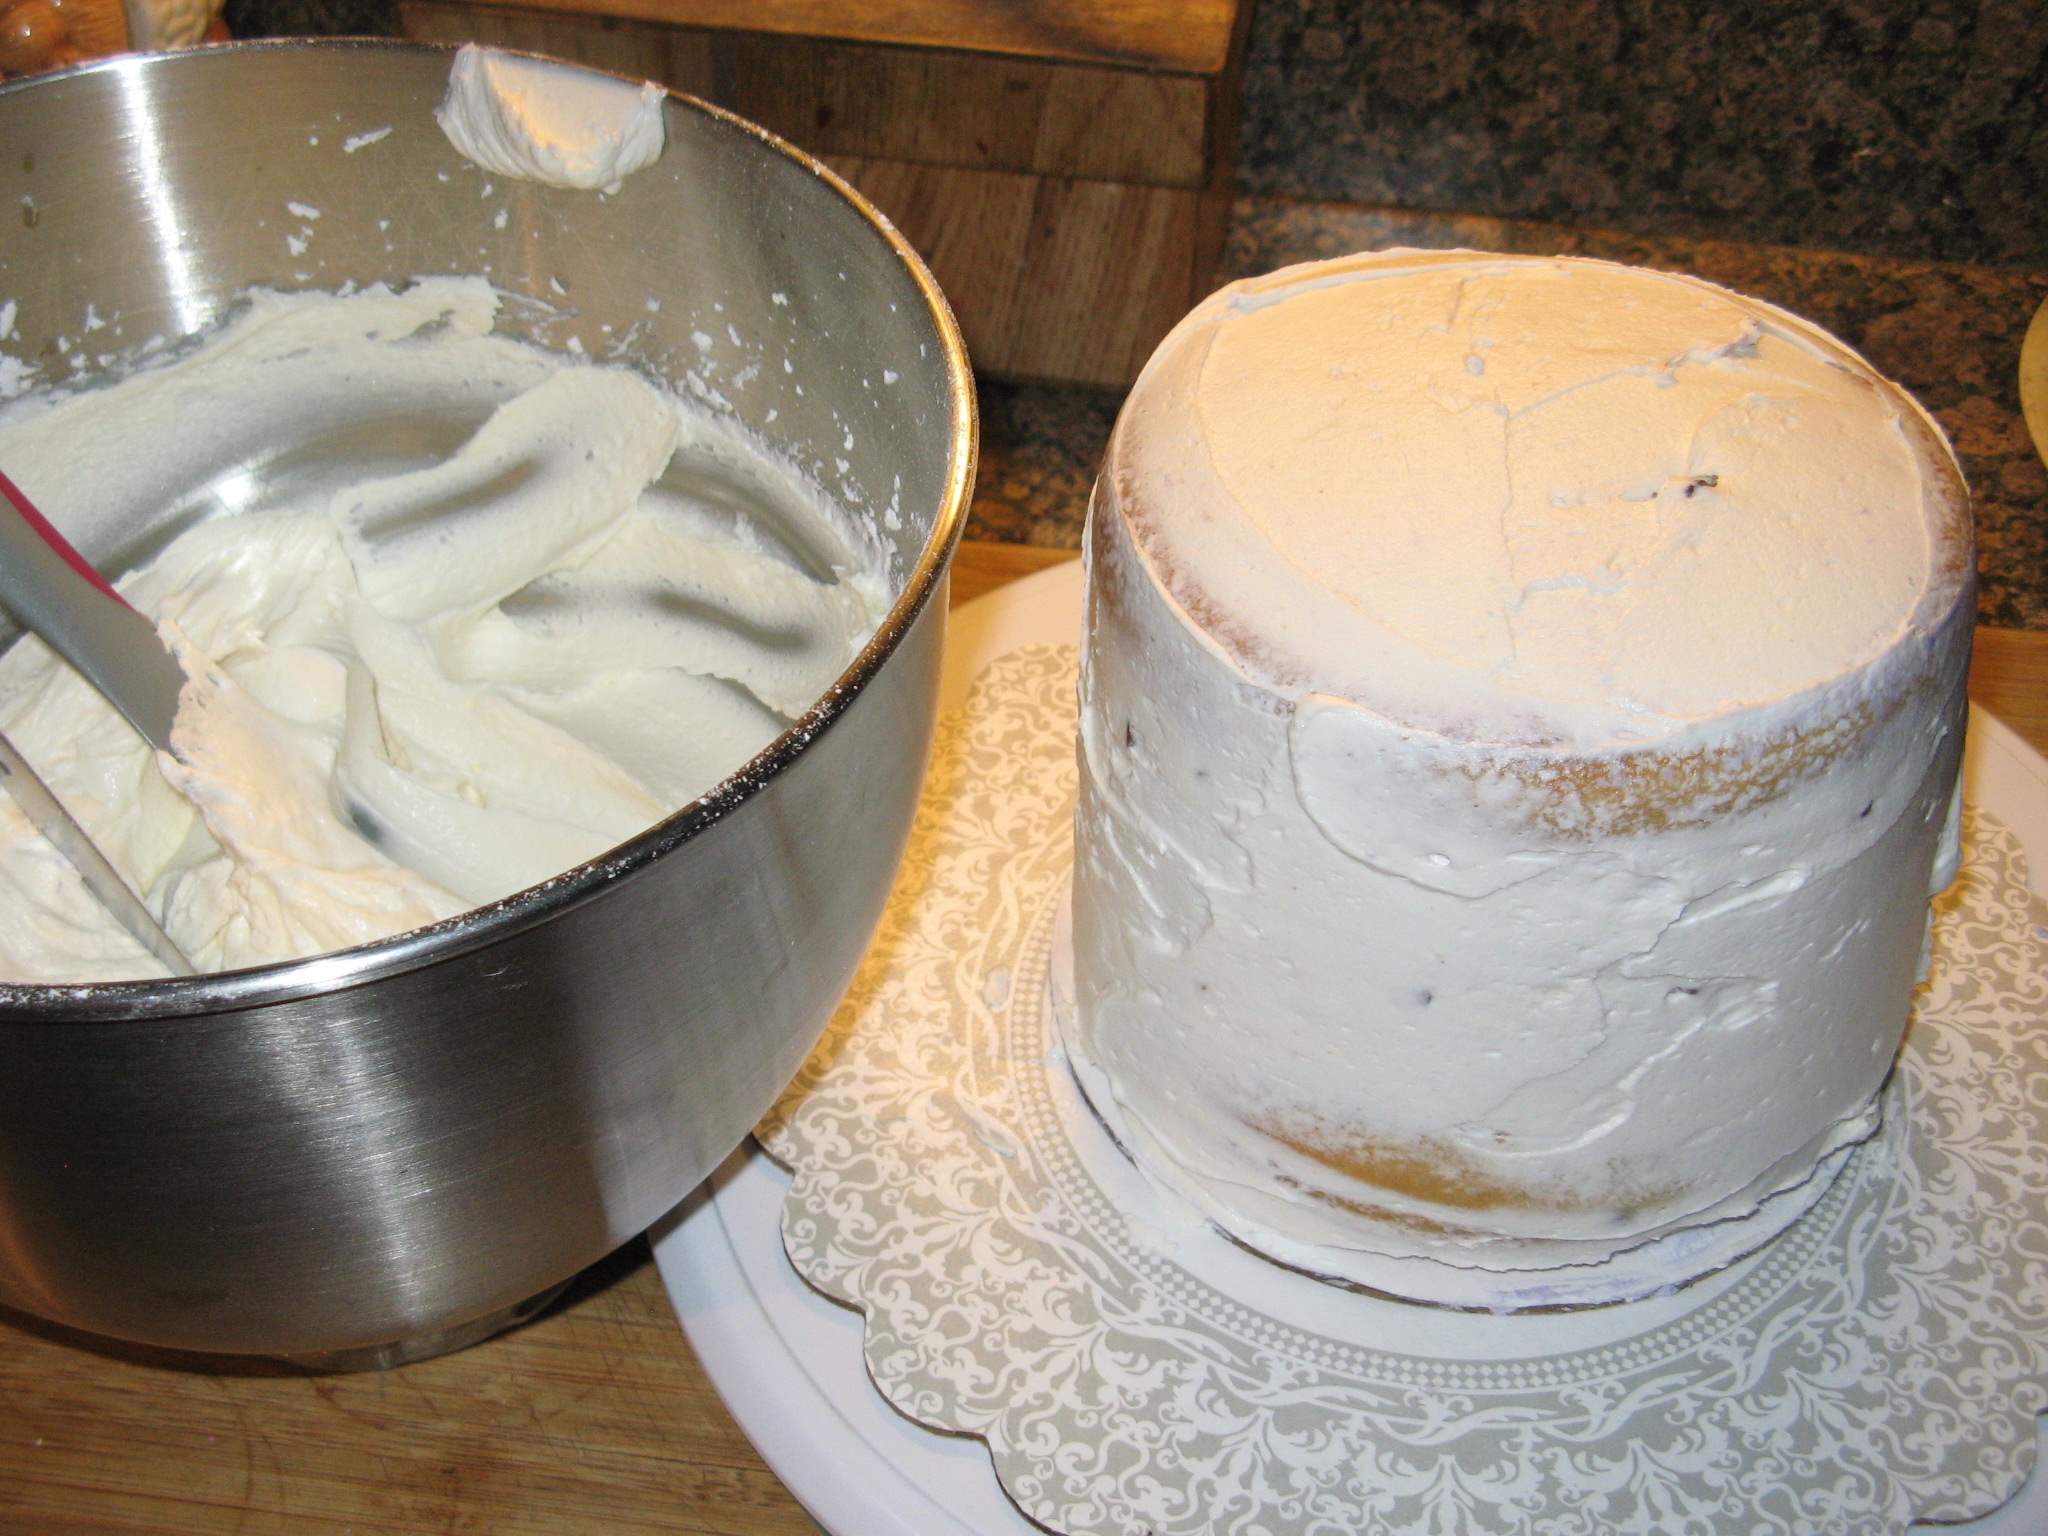
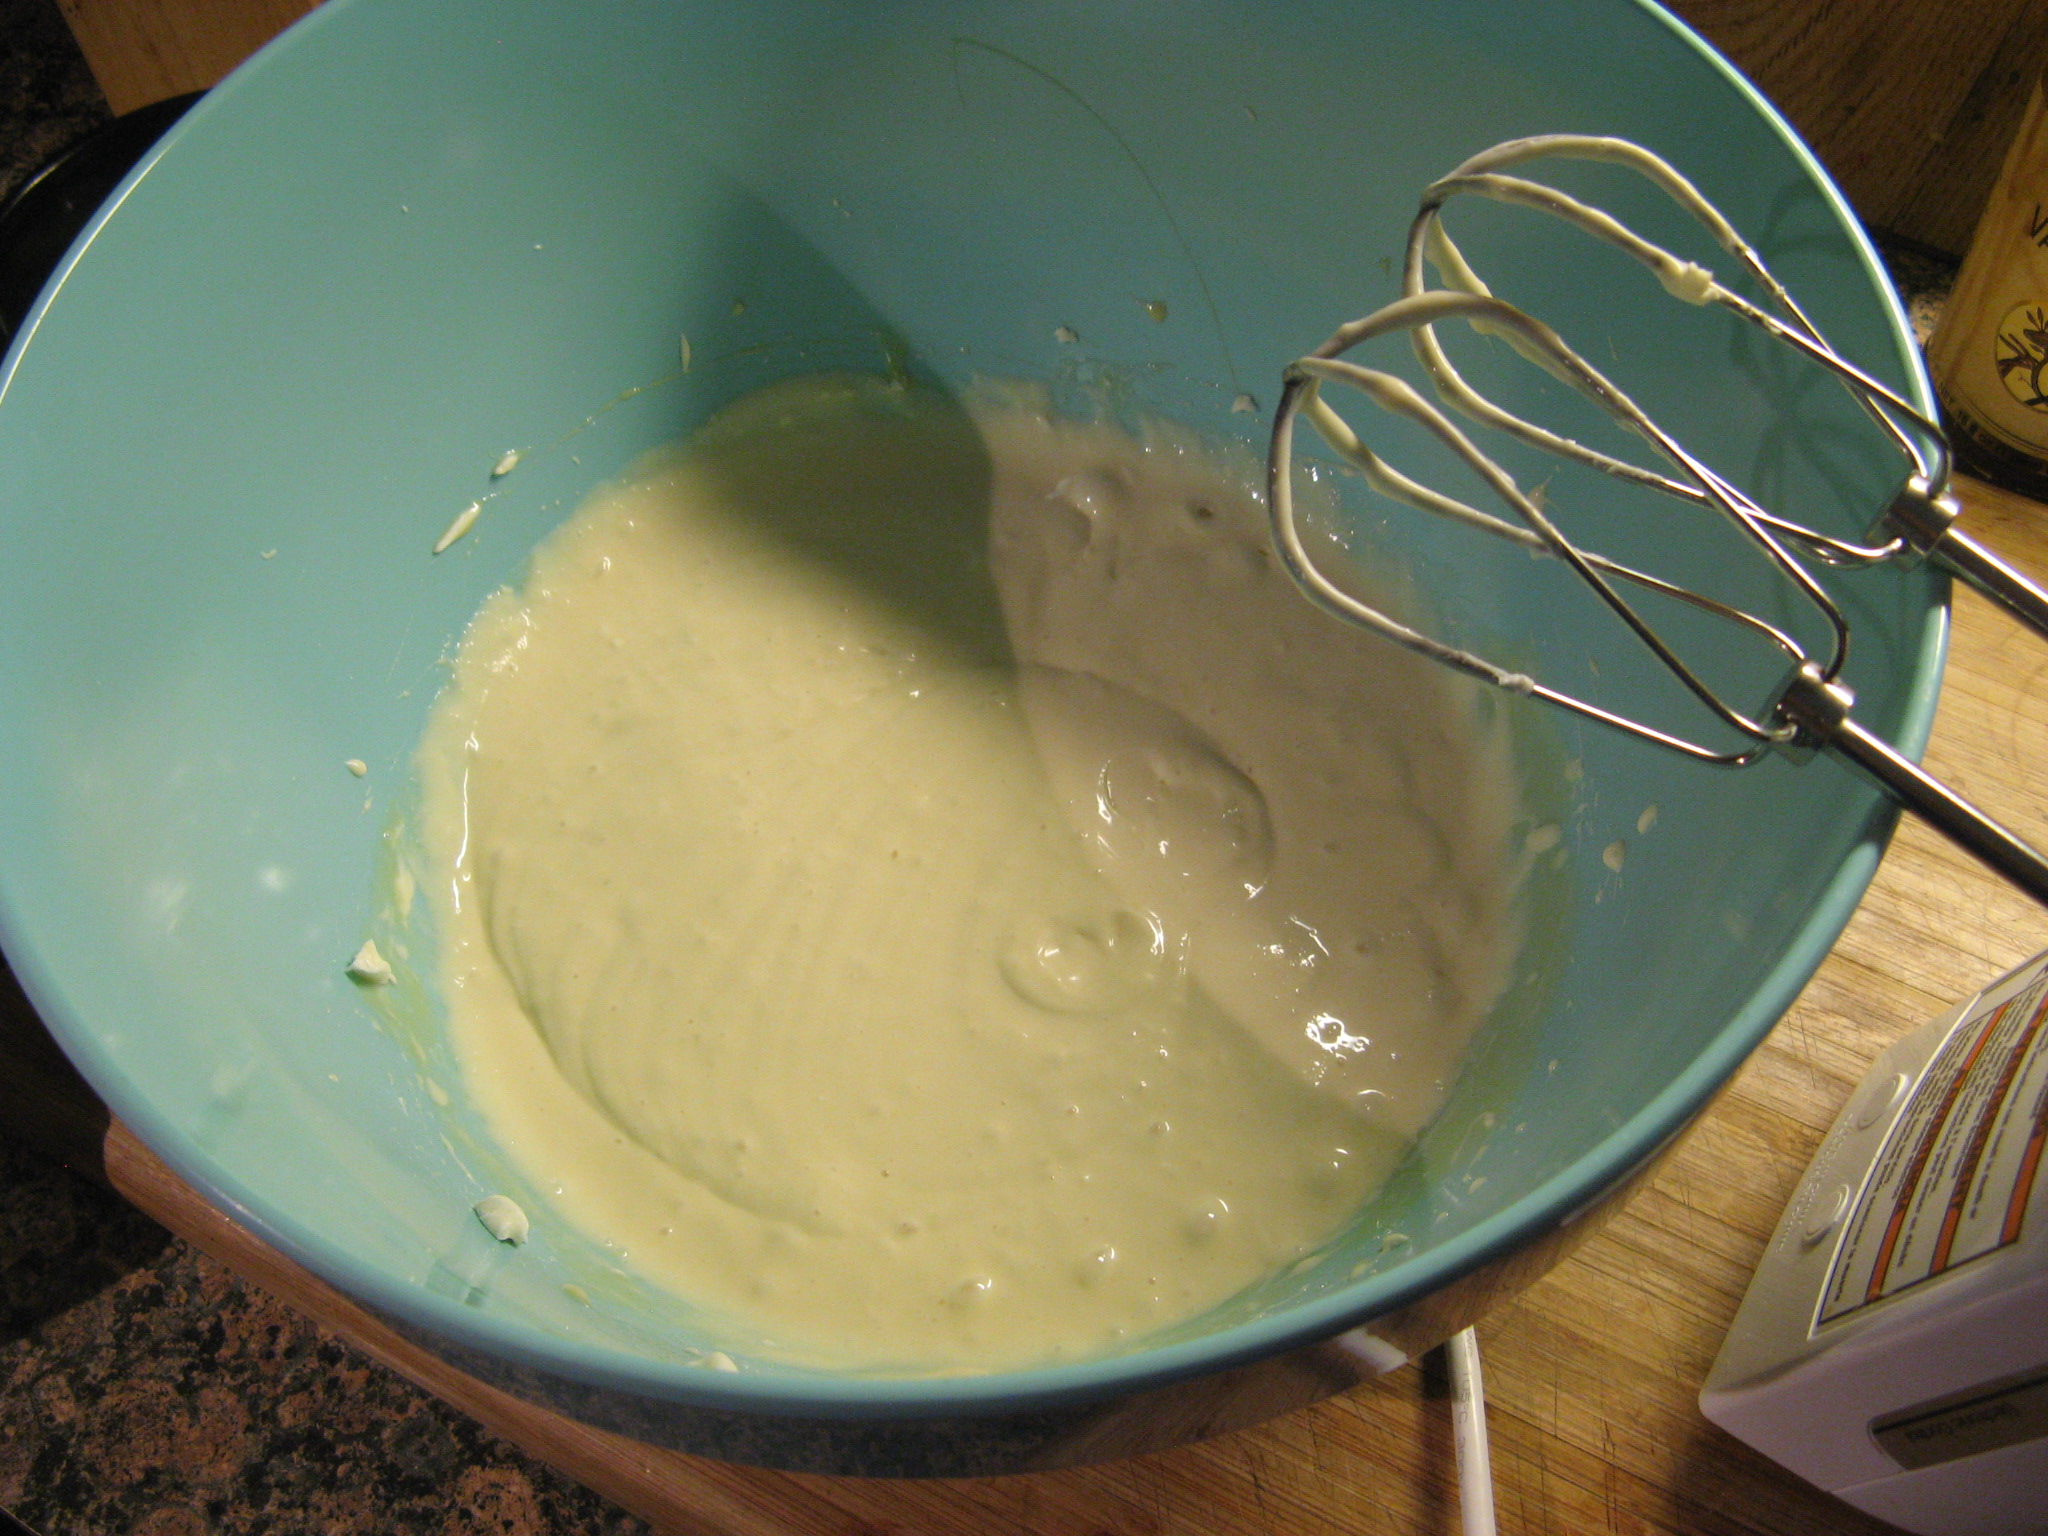
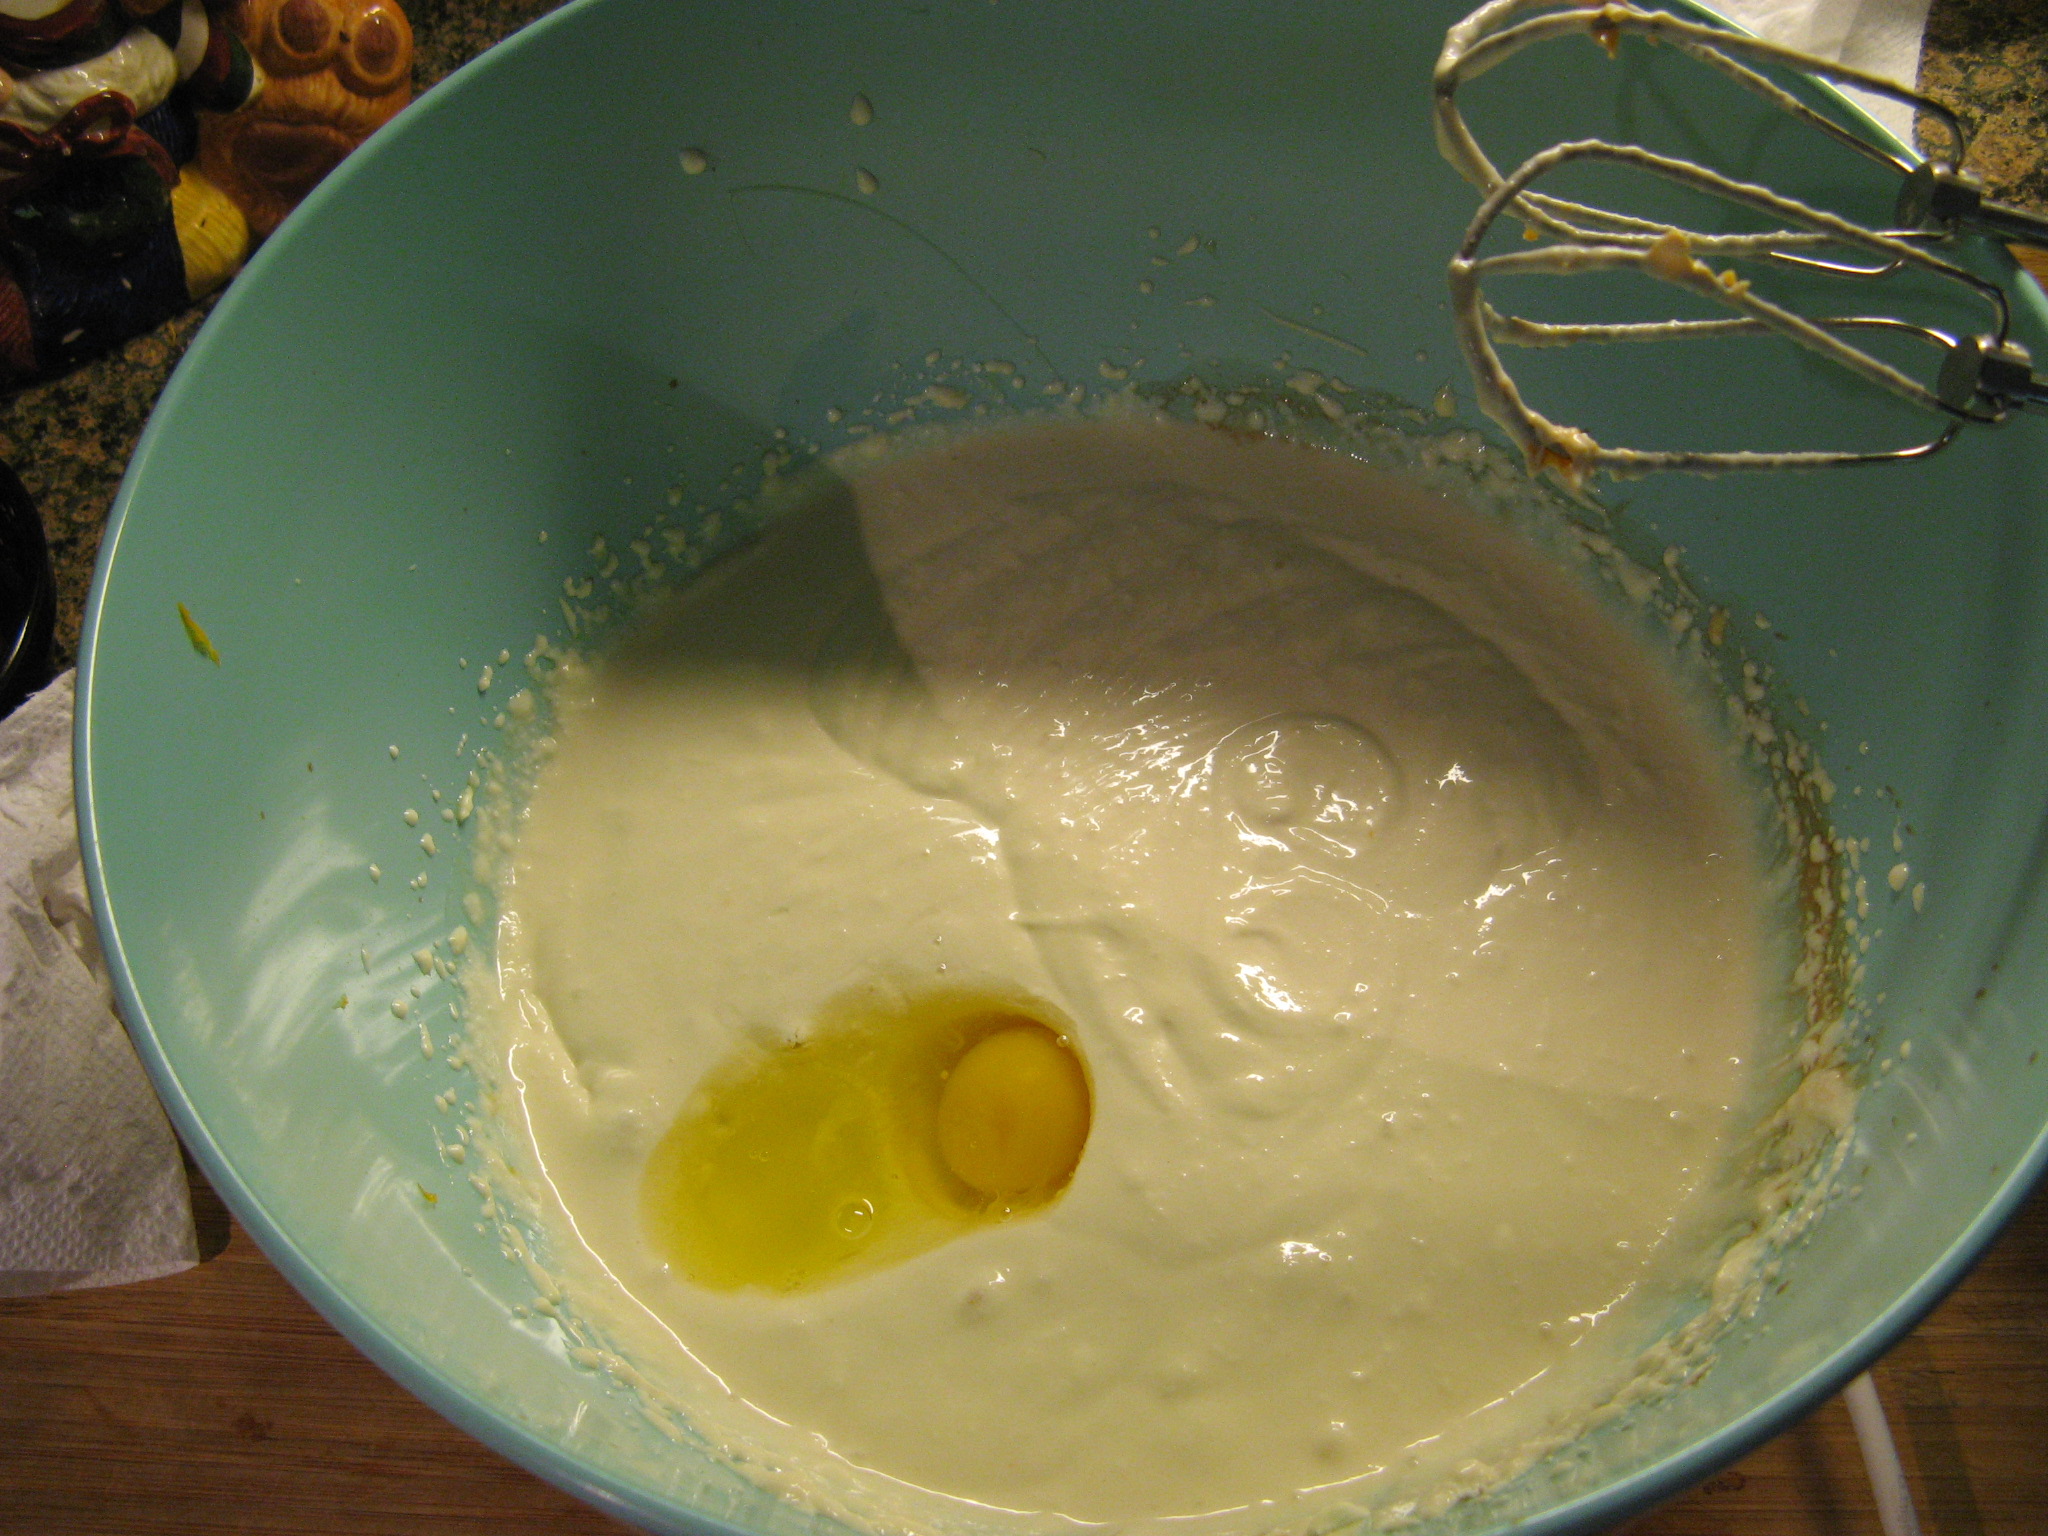
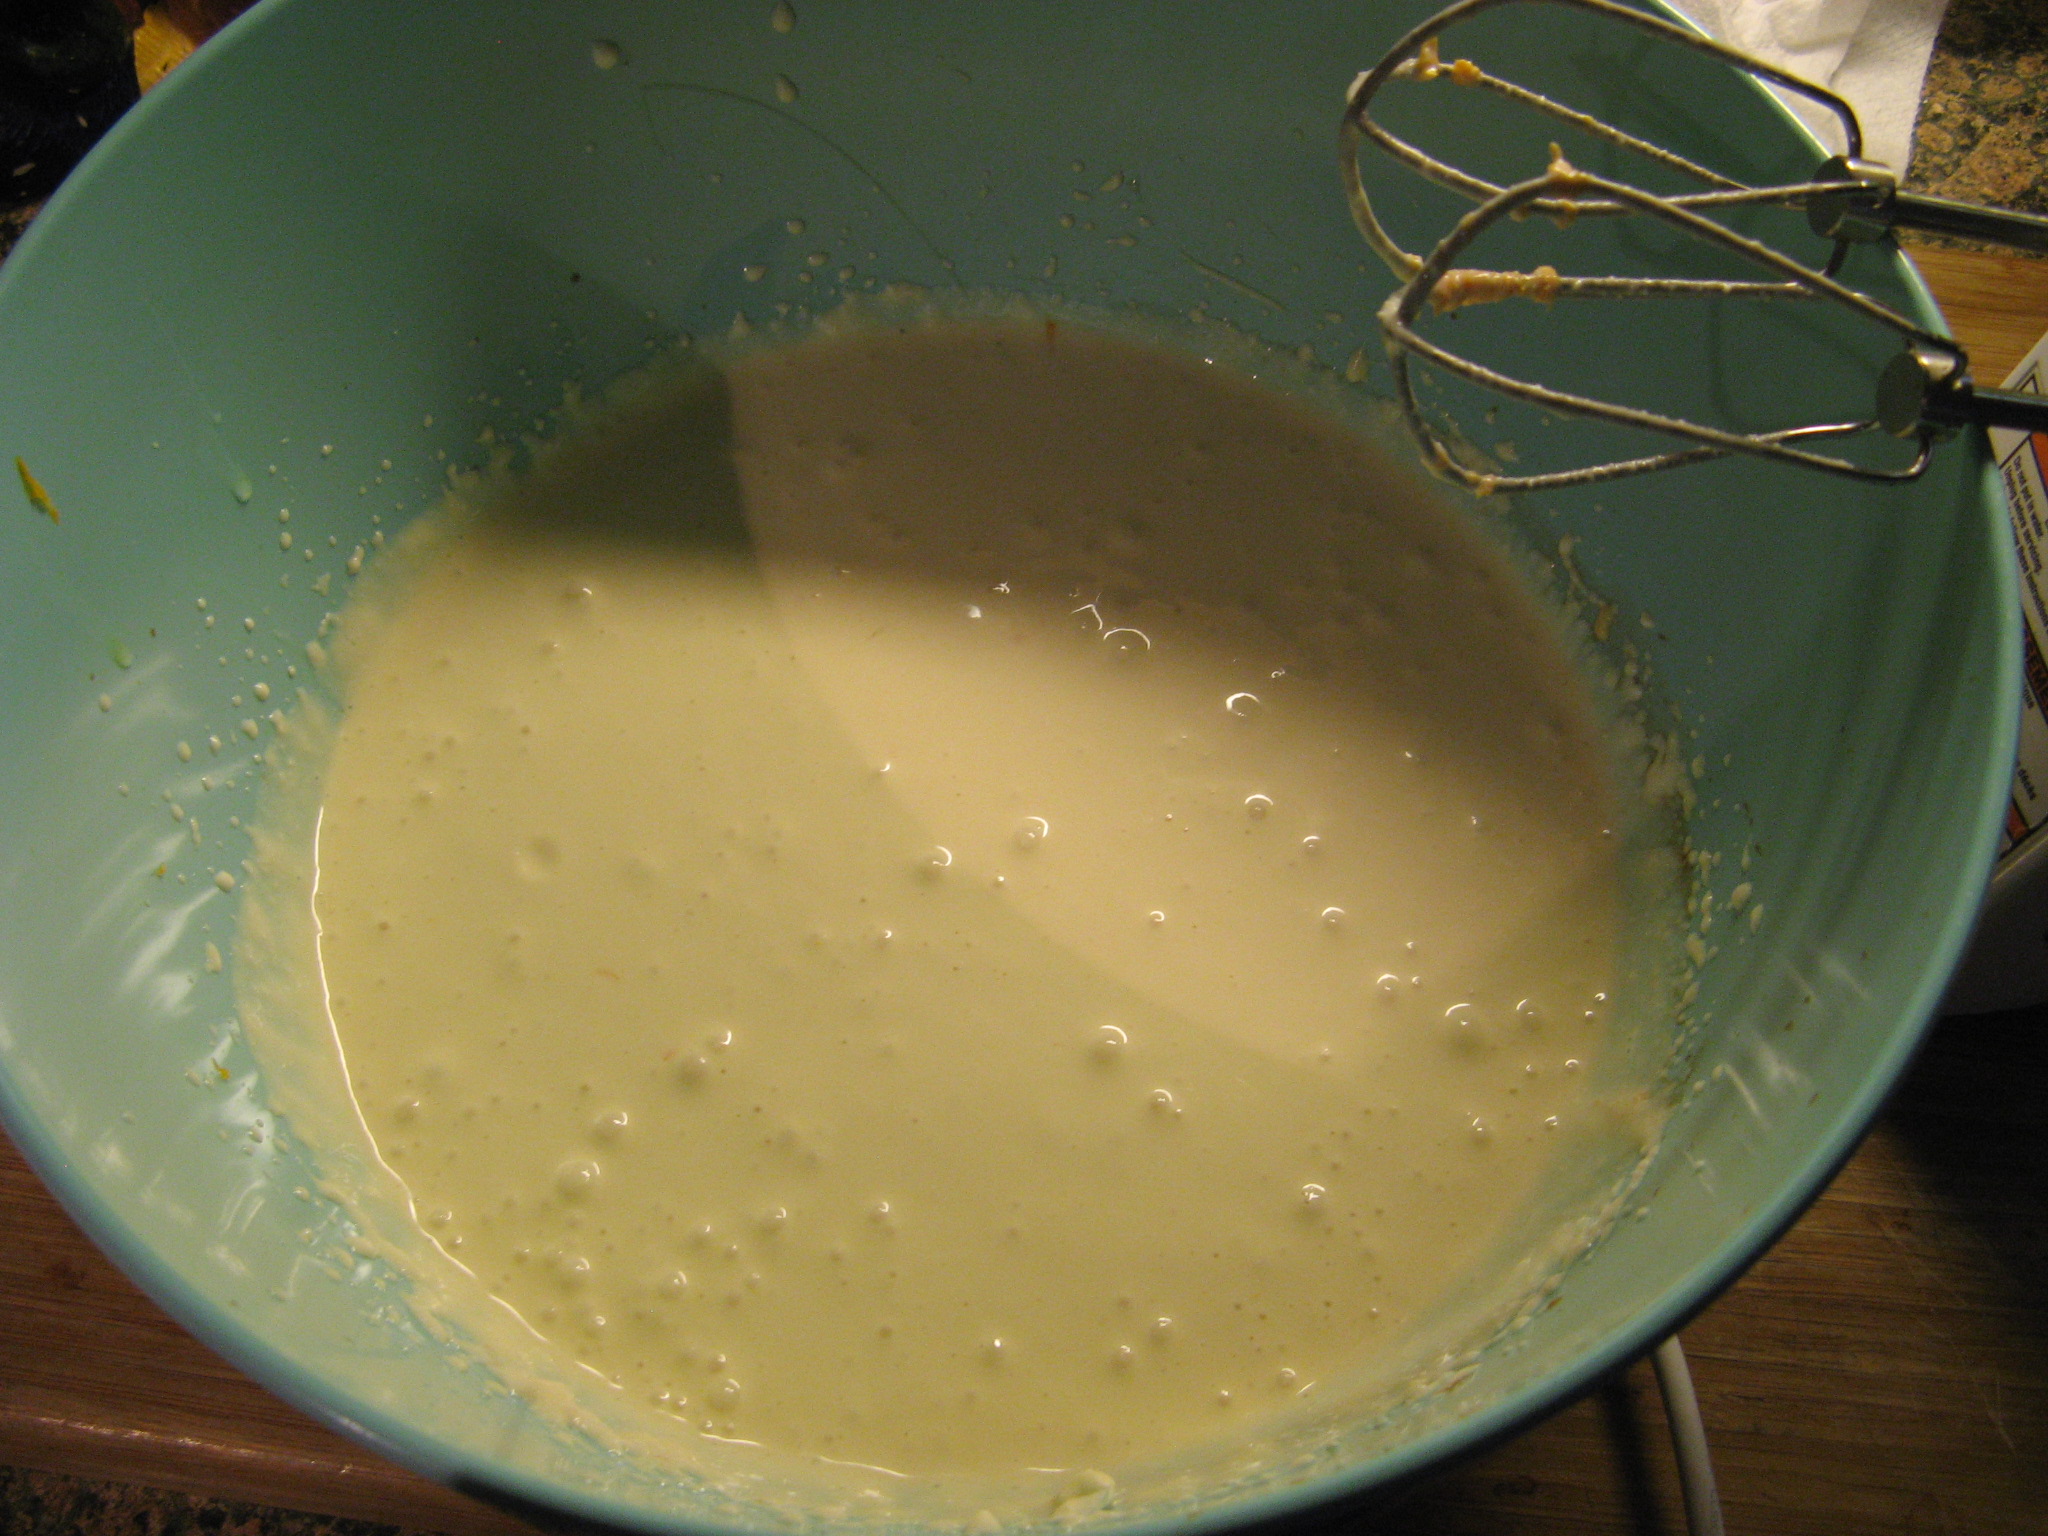
Make the frosting: In another large bowl, using a hand mixer on medium speed, beat the mascarpone cheese, confectioners’ sugar, almond & vanilla extracts and milk until creamy.
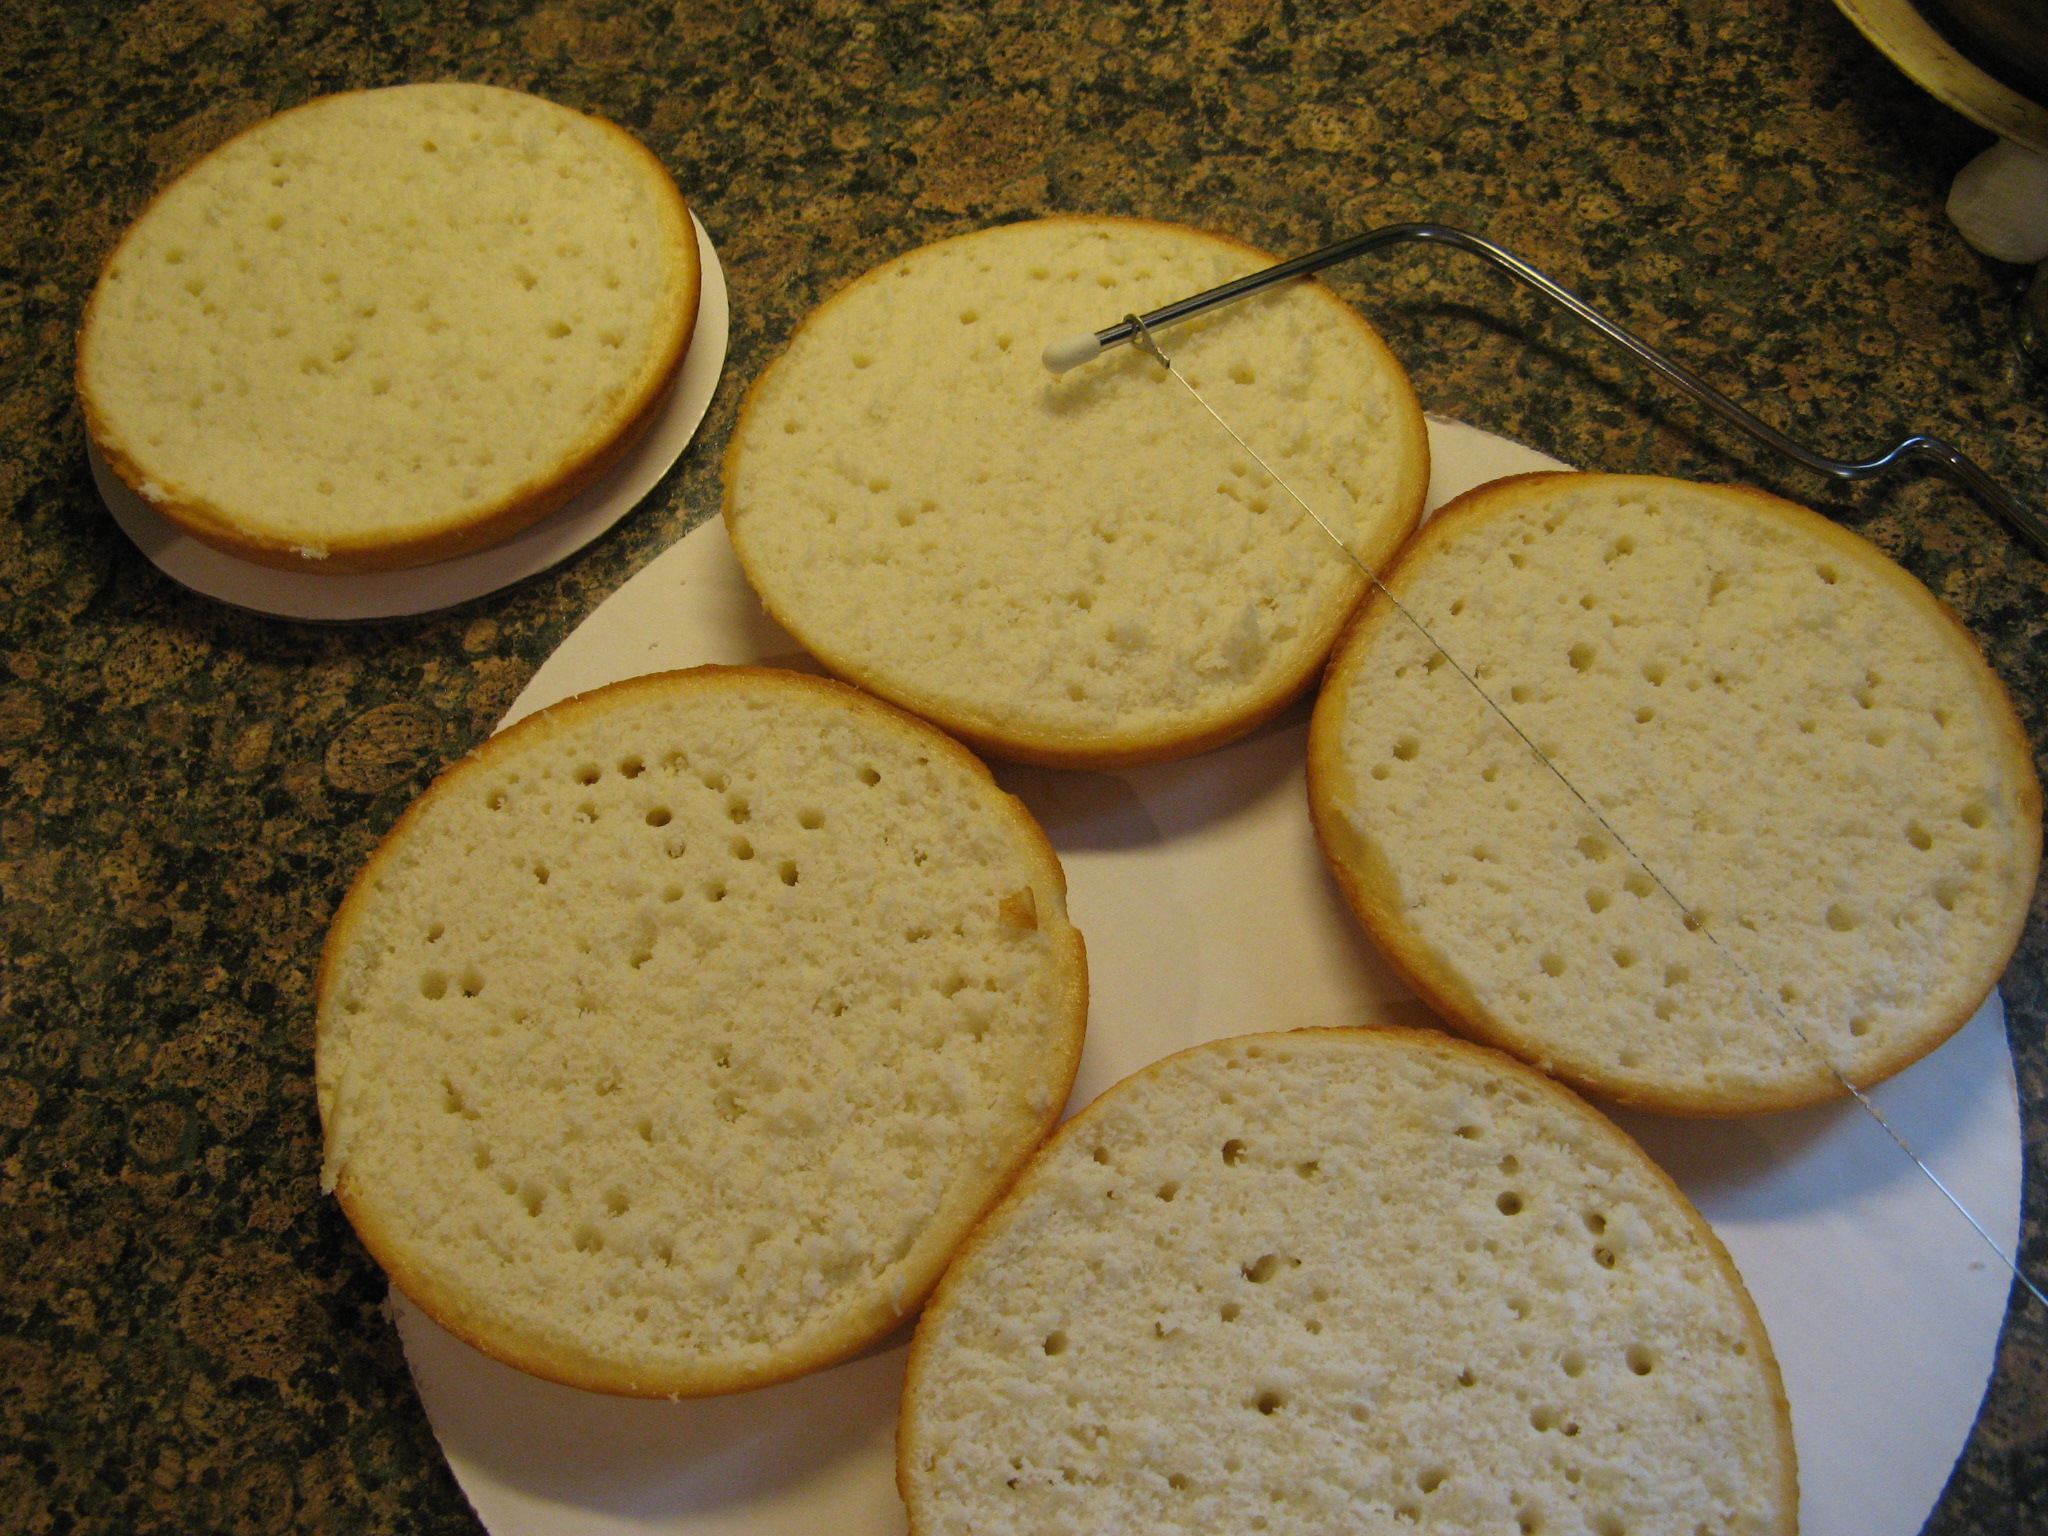
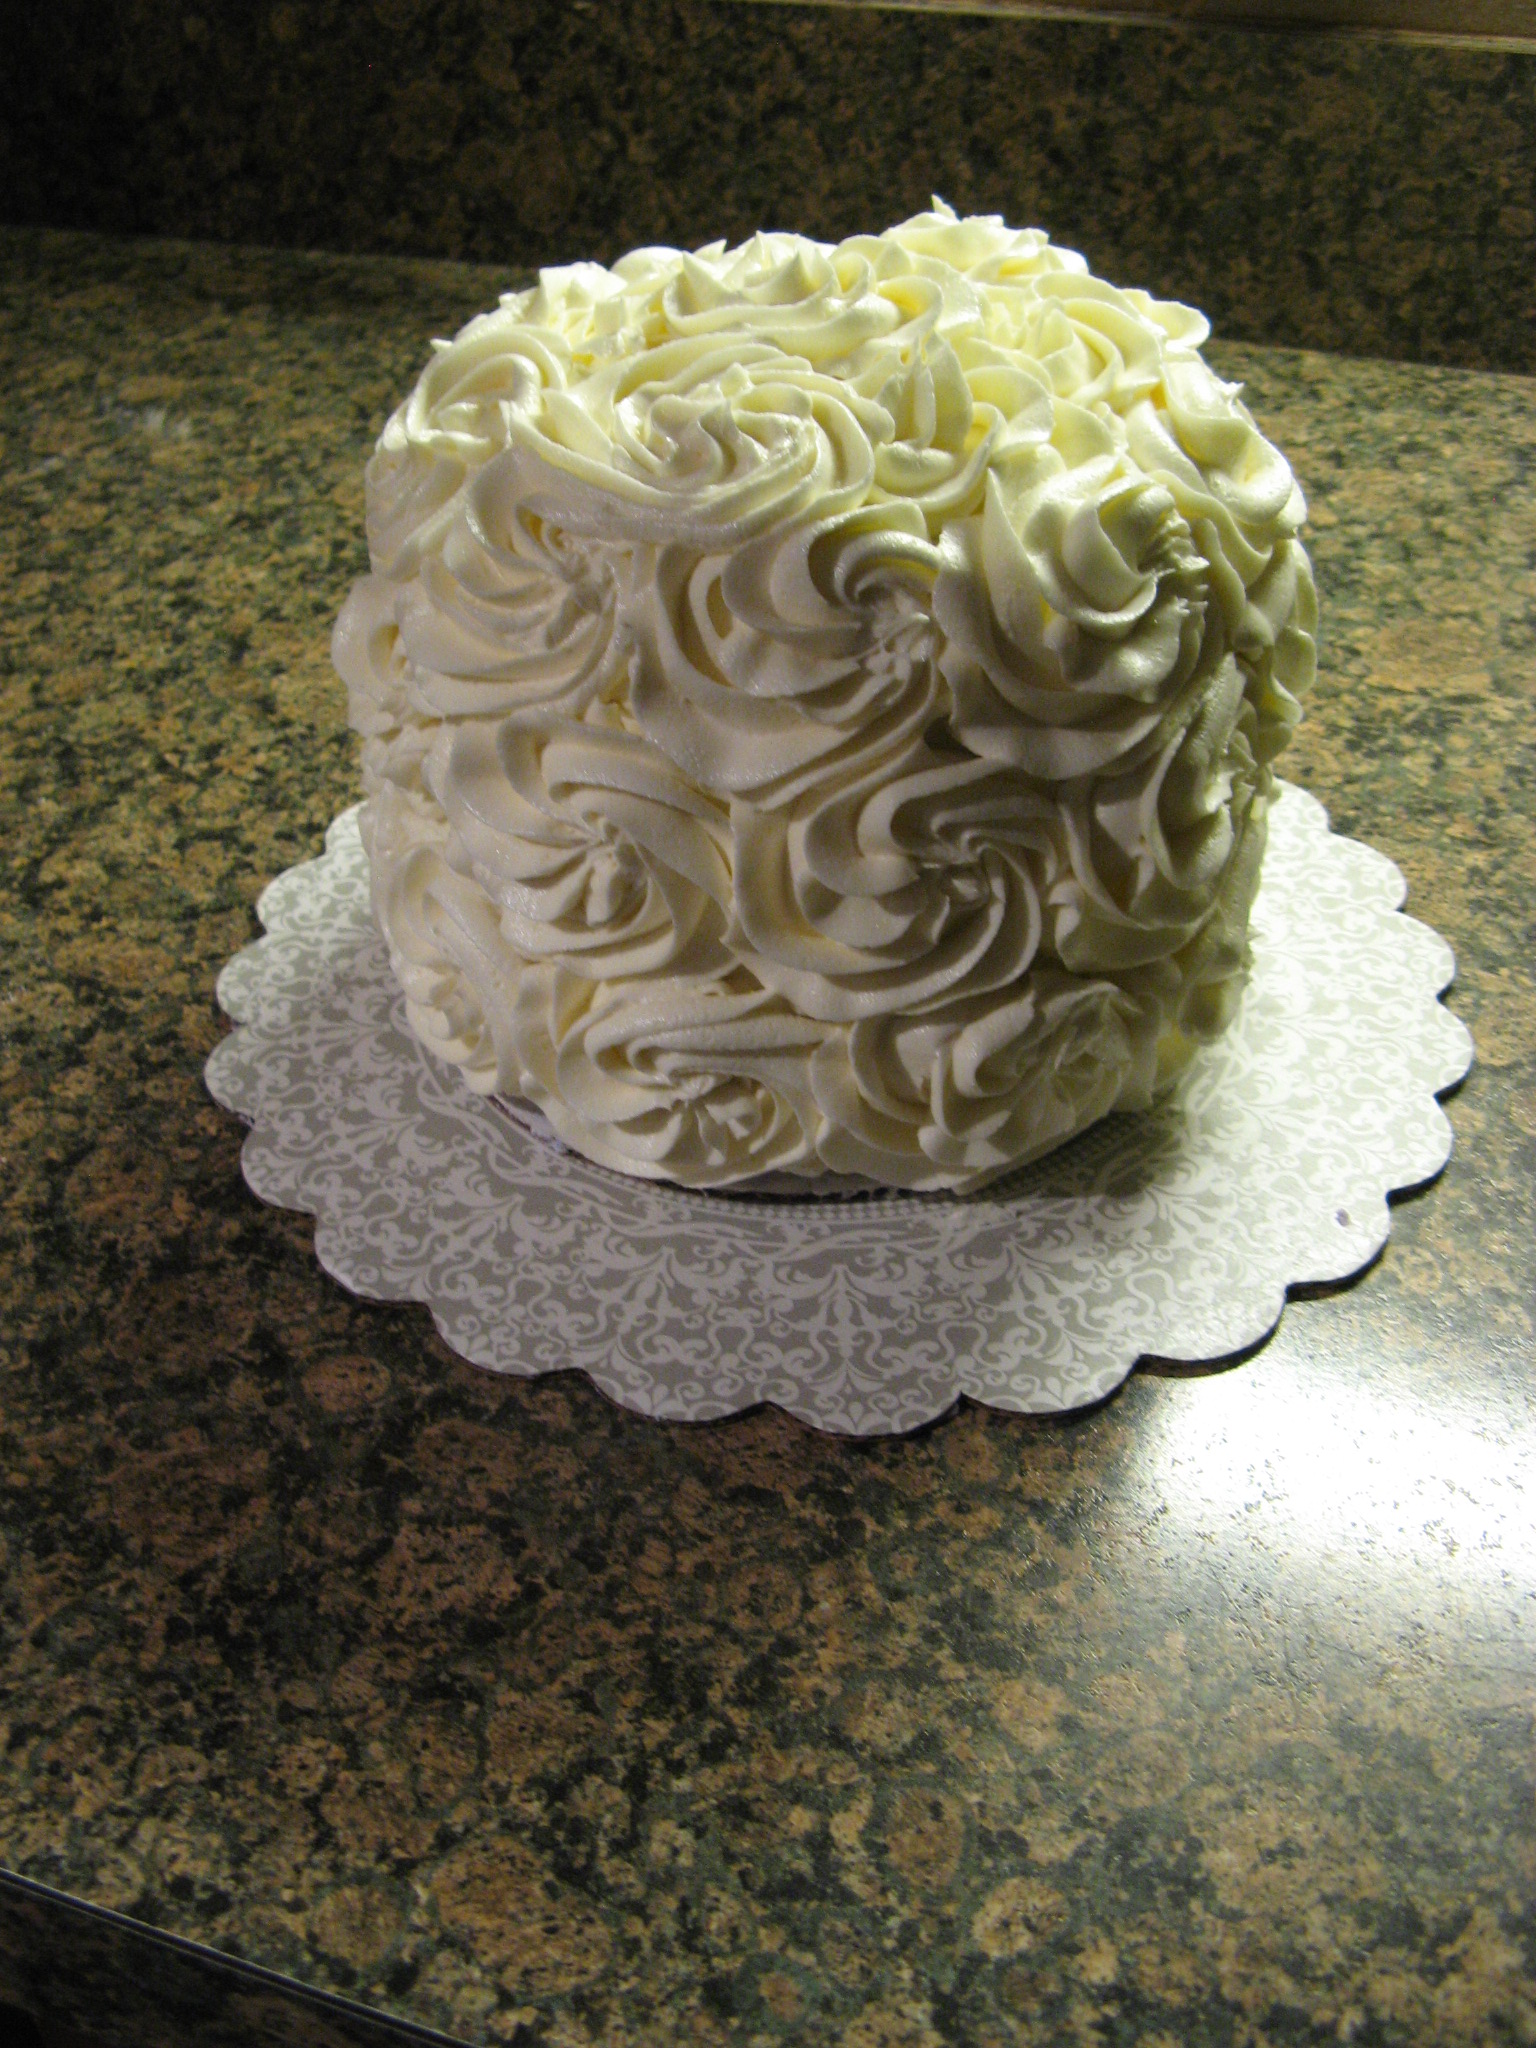
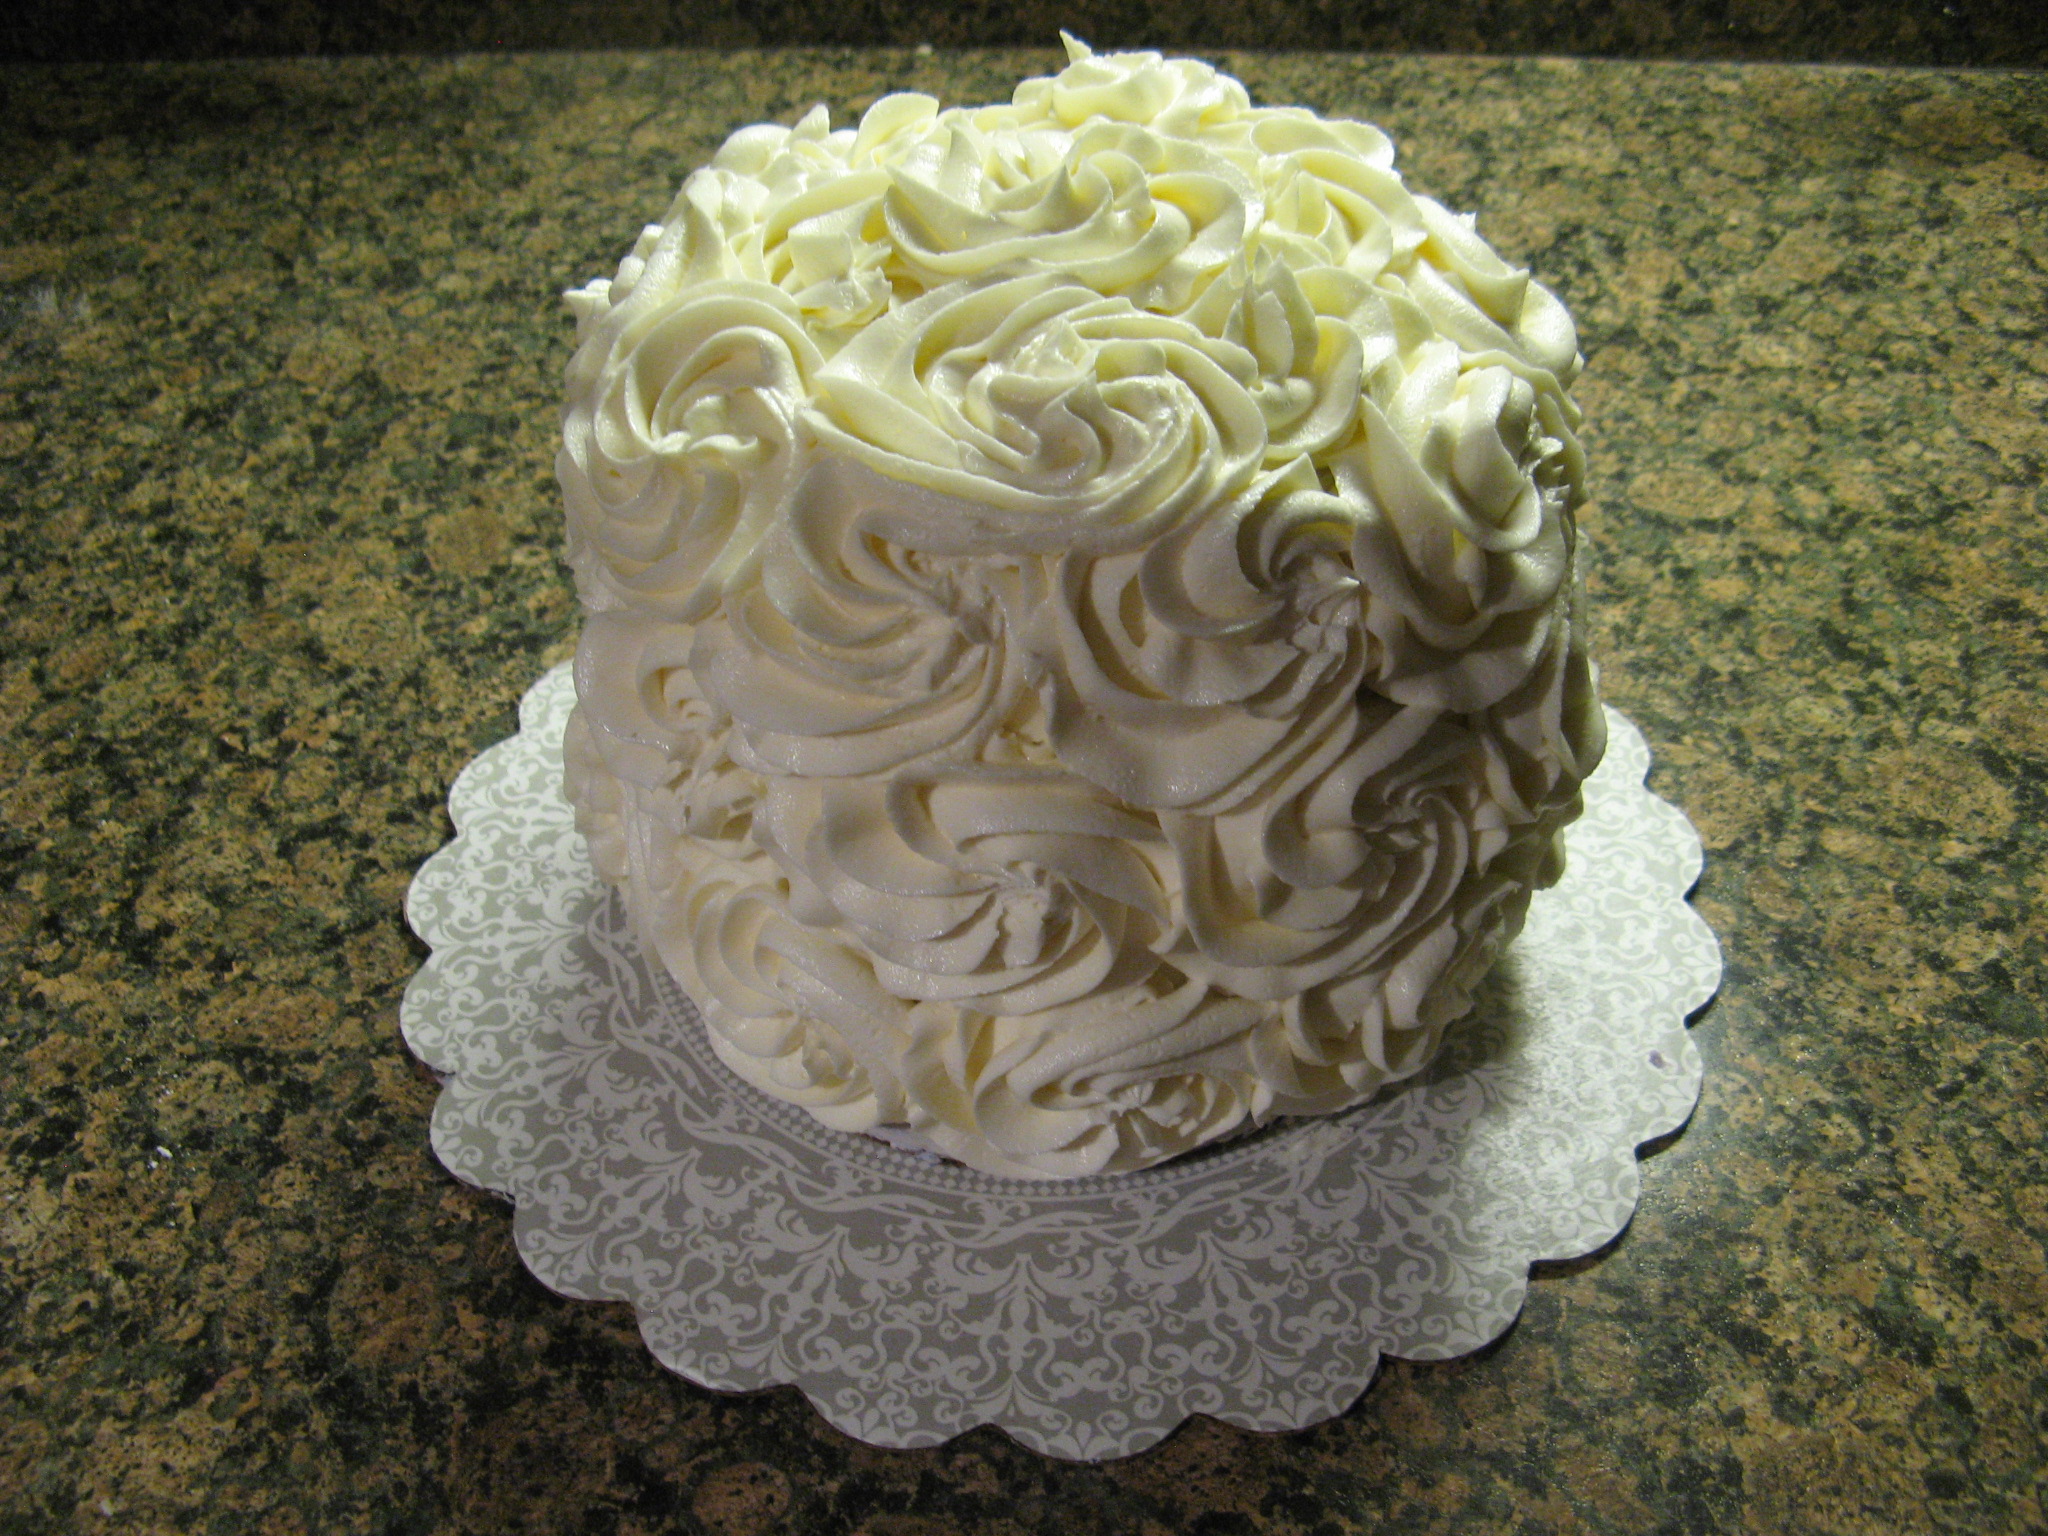
Place one of the cake layers on a cake board or serving plate and spread 1 cup of the filling over it. Top with the other cake layer and spread the remaining frosting over the top of the cake within 1inch of the edge. Frost the sides and top edge of the cake with the frosting.
Press the almonds on the sides of the cake and the chocolate chips around the edge of the top of the cake.
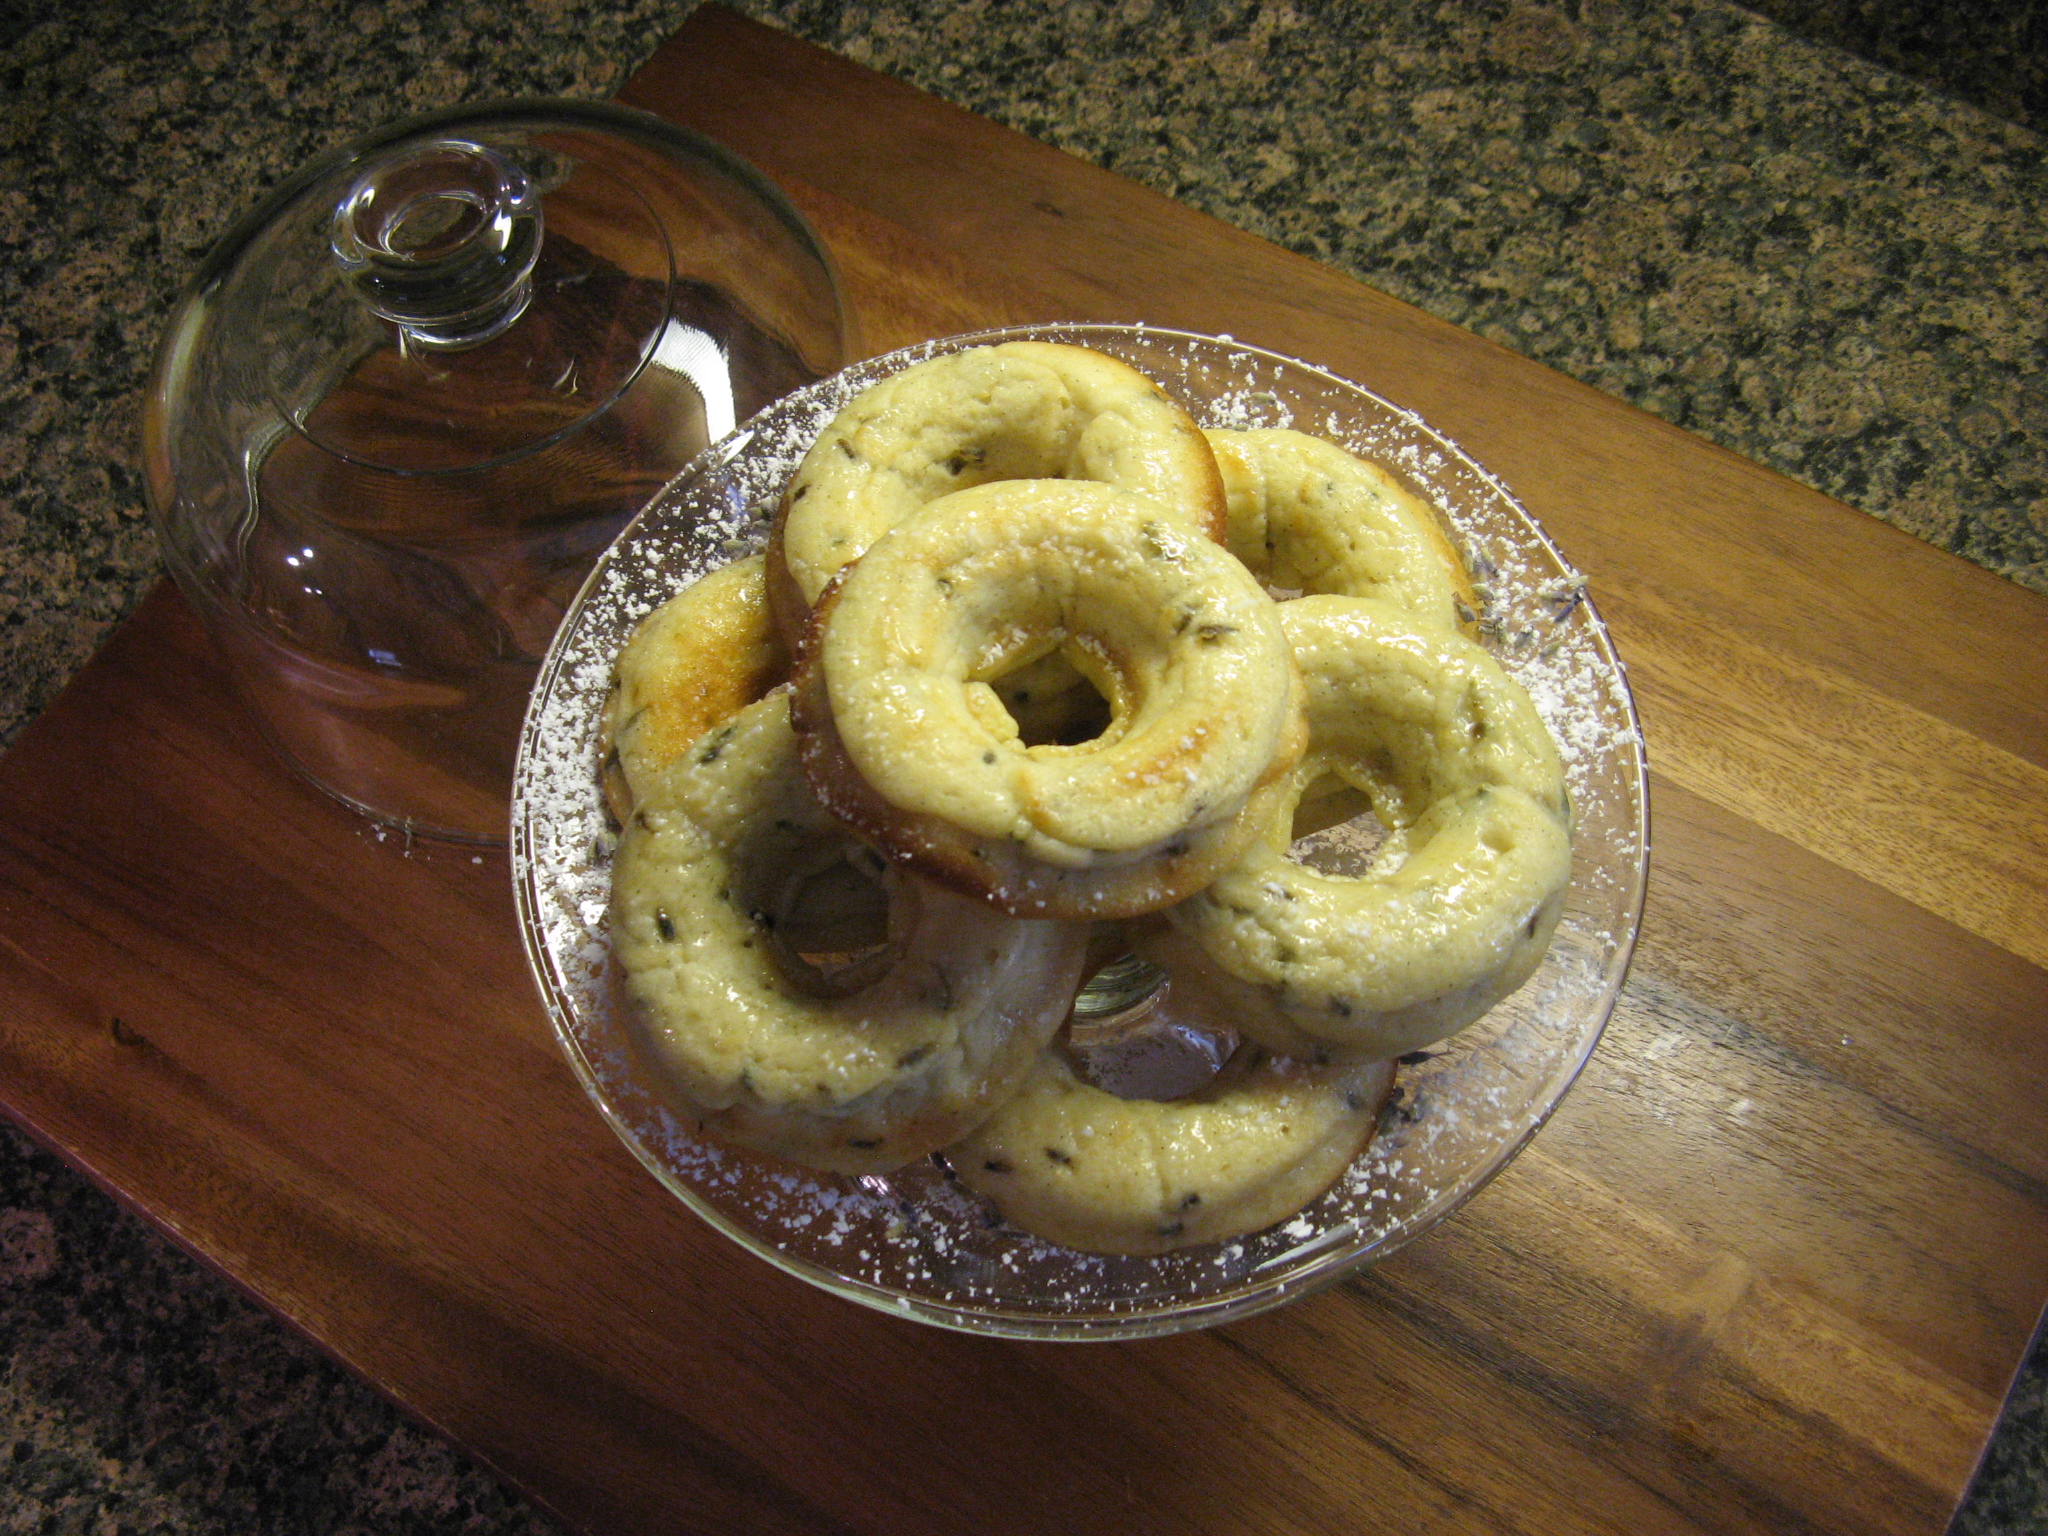
Refrigerate until ready to serve.
Recipe from Taste of Home