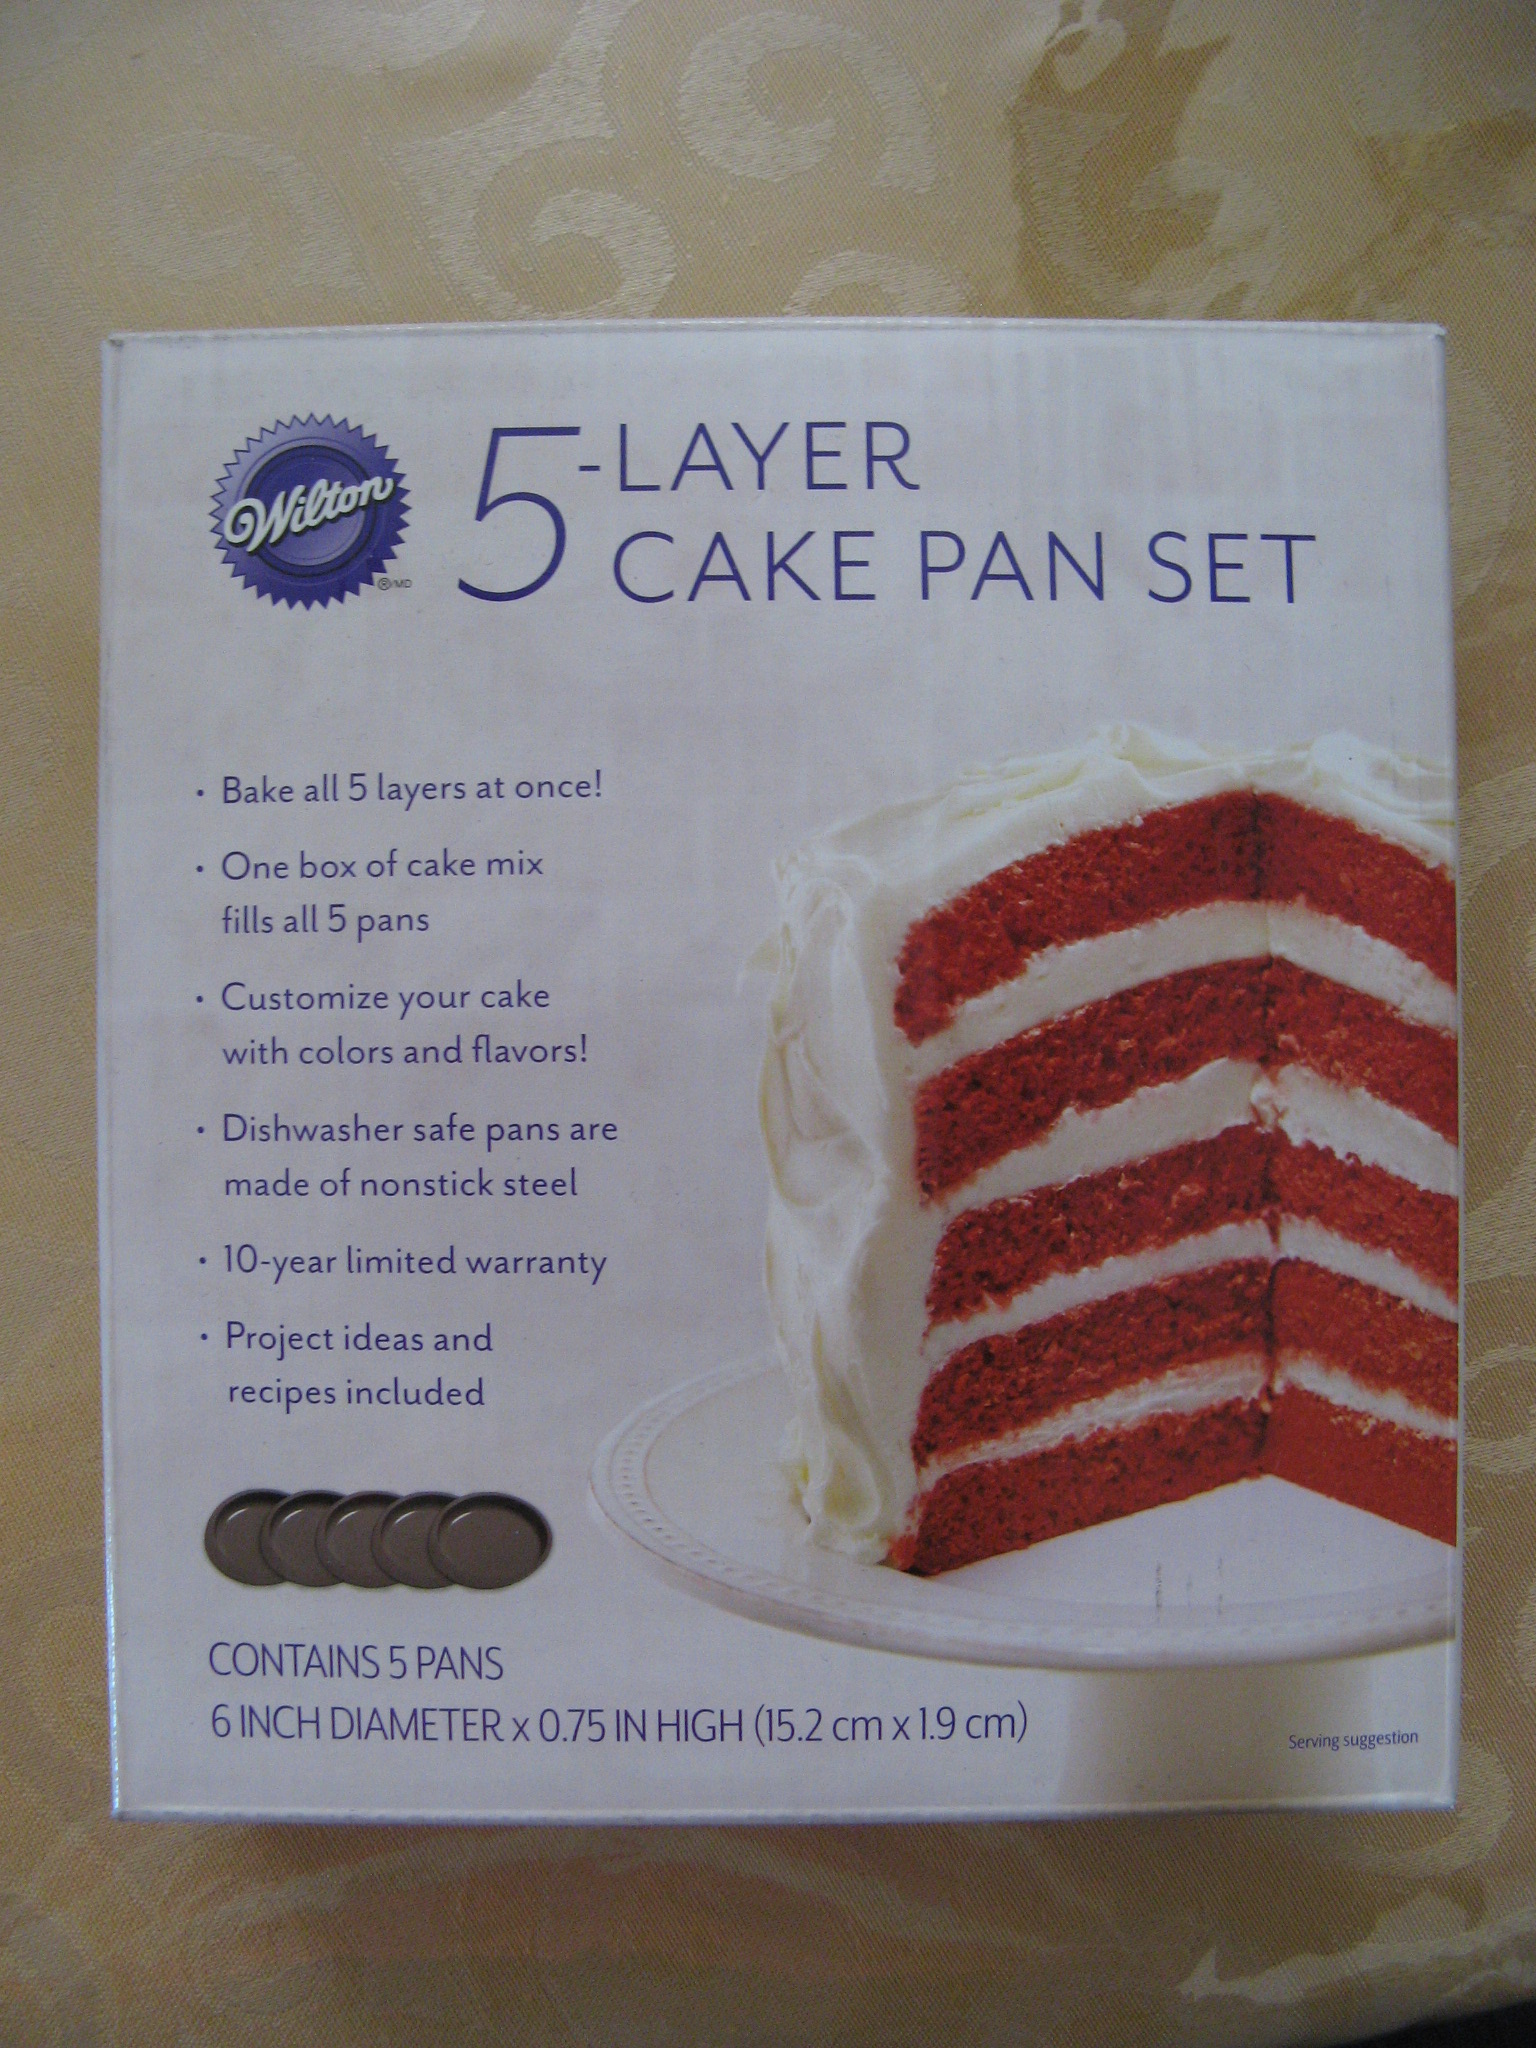
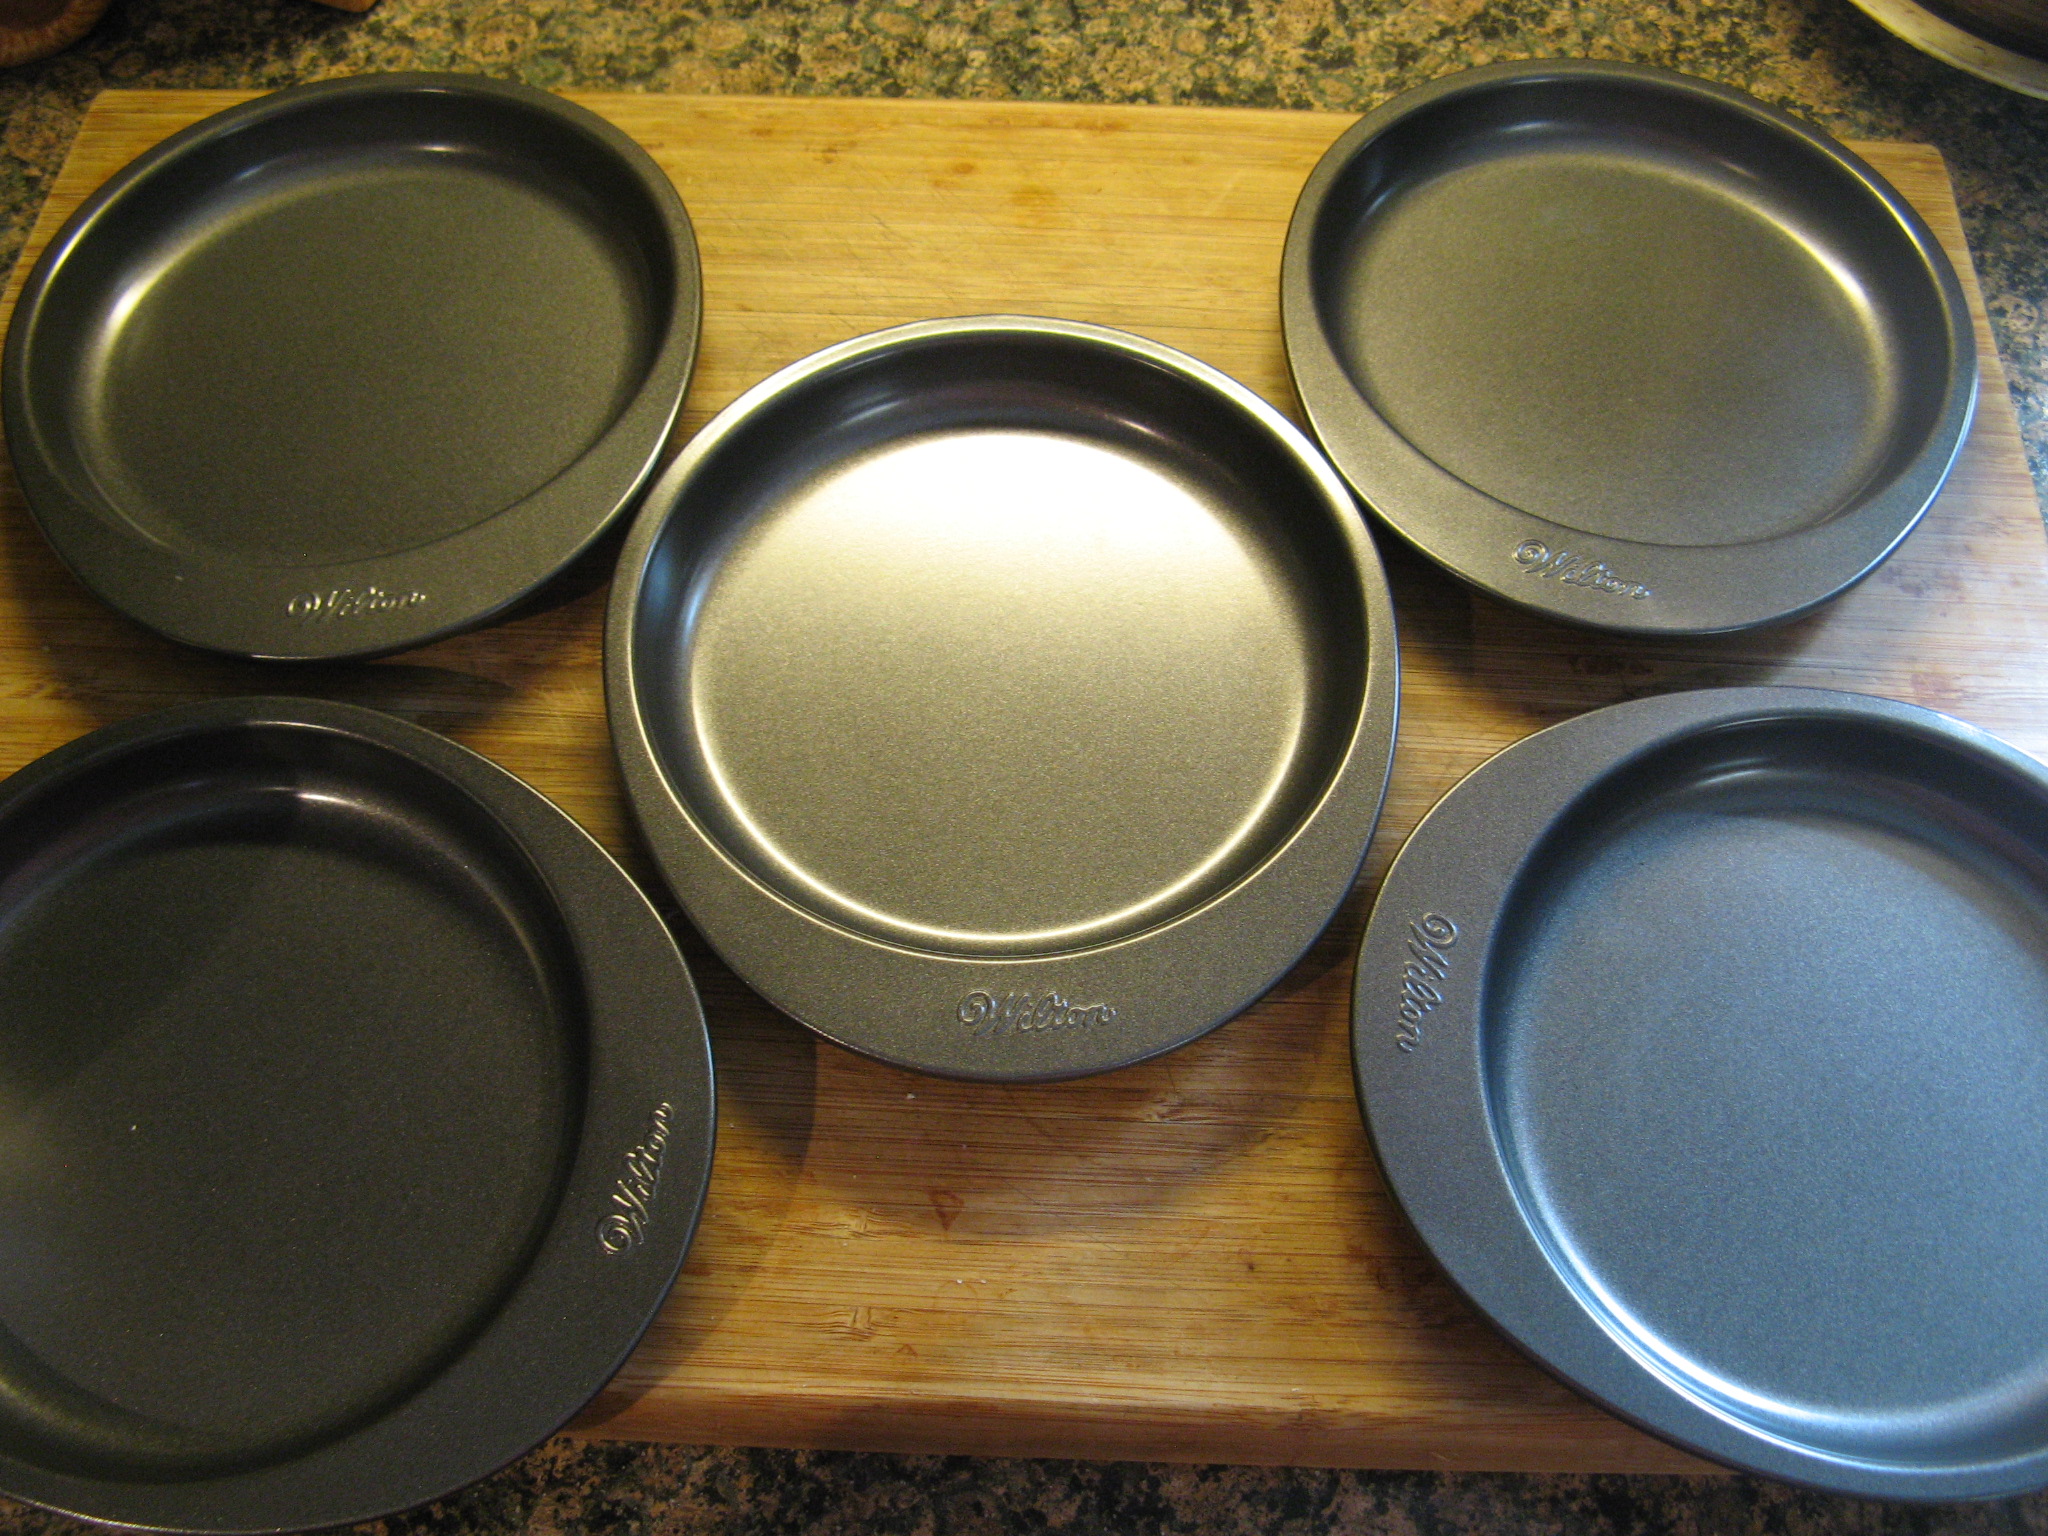
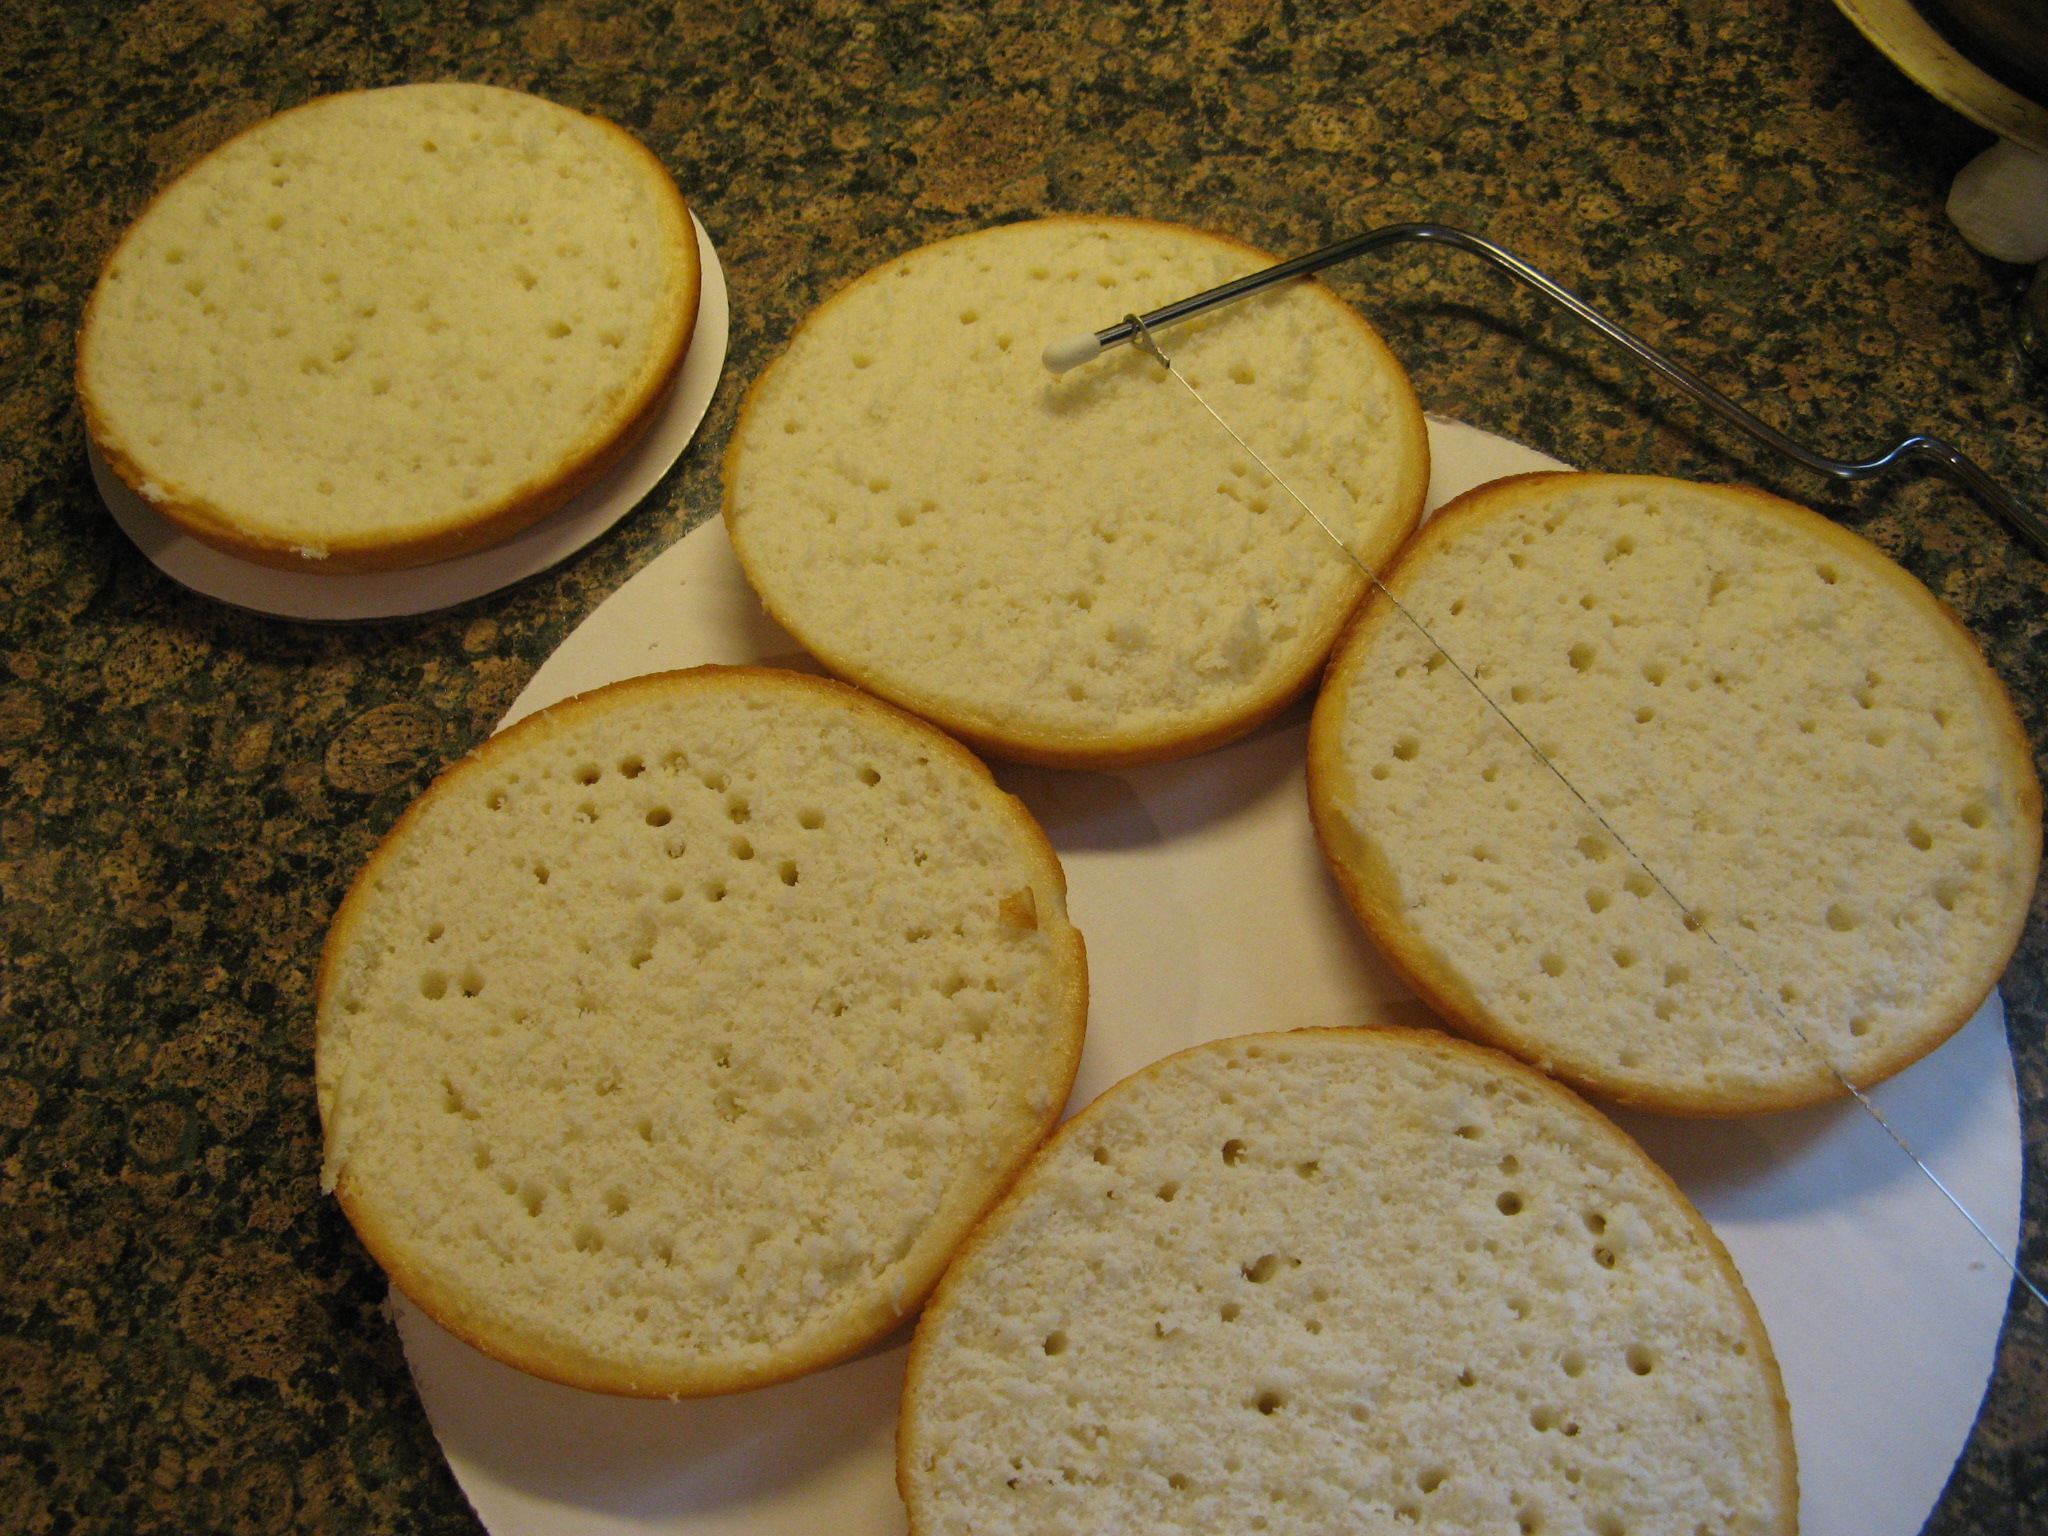
A while back I picked up a
five-layer cake pan set at
Sur La Table– I saw it one of their catalogs which also included a coupon so it was destined to be. I wasn’t sure what kind of cake I wanted to make to test it out but then all of a sudden I had the idea that I wanted to make one with a cannoli cream filling – something I had never made before. Another thing I hadn’t done before… Decorate a cake entirely with
rosettes. I did take the Wilton decorating classes some time ago and while I did learn how to make rosettes I normally just decorate a spot or two with them but lately I have been seeing these beautifully cakes decorated with large rosettes and wanted to try it myself.


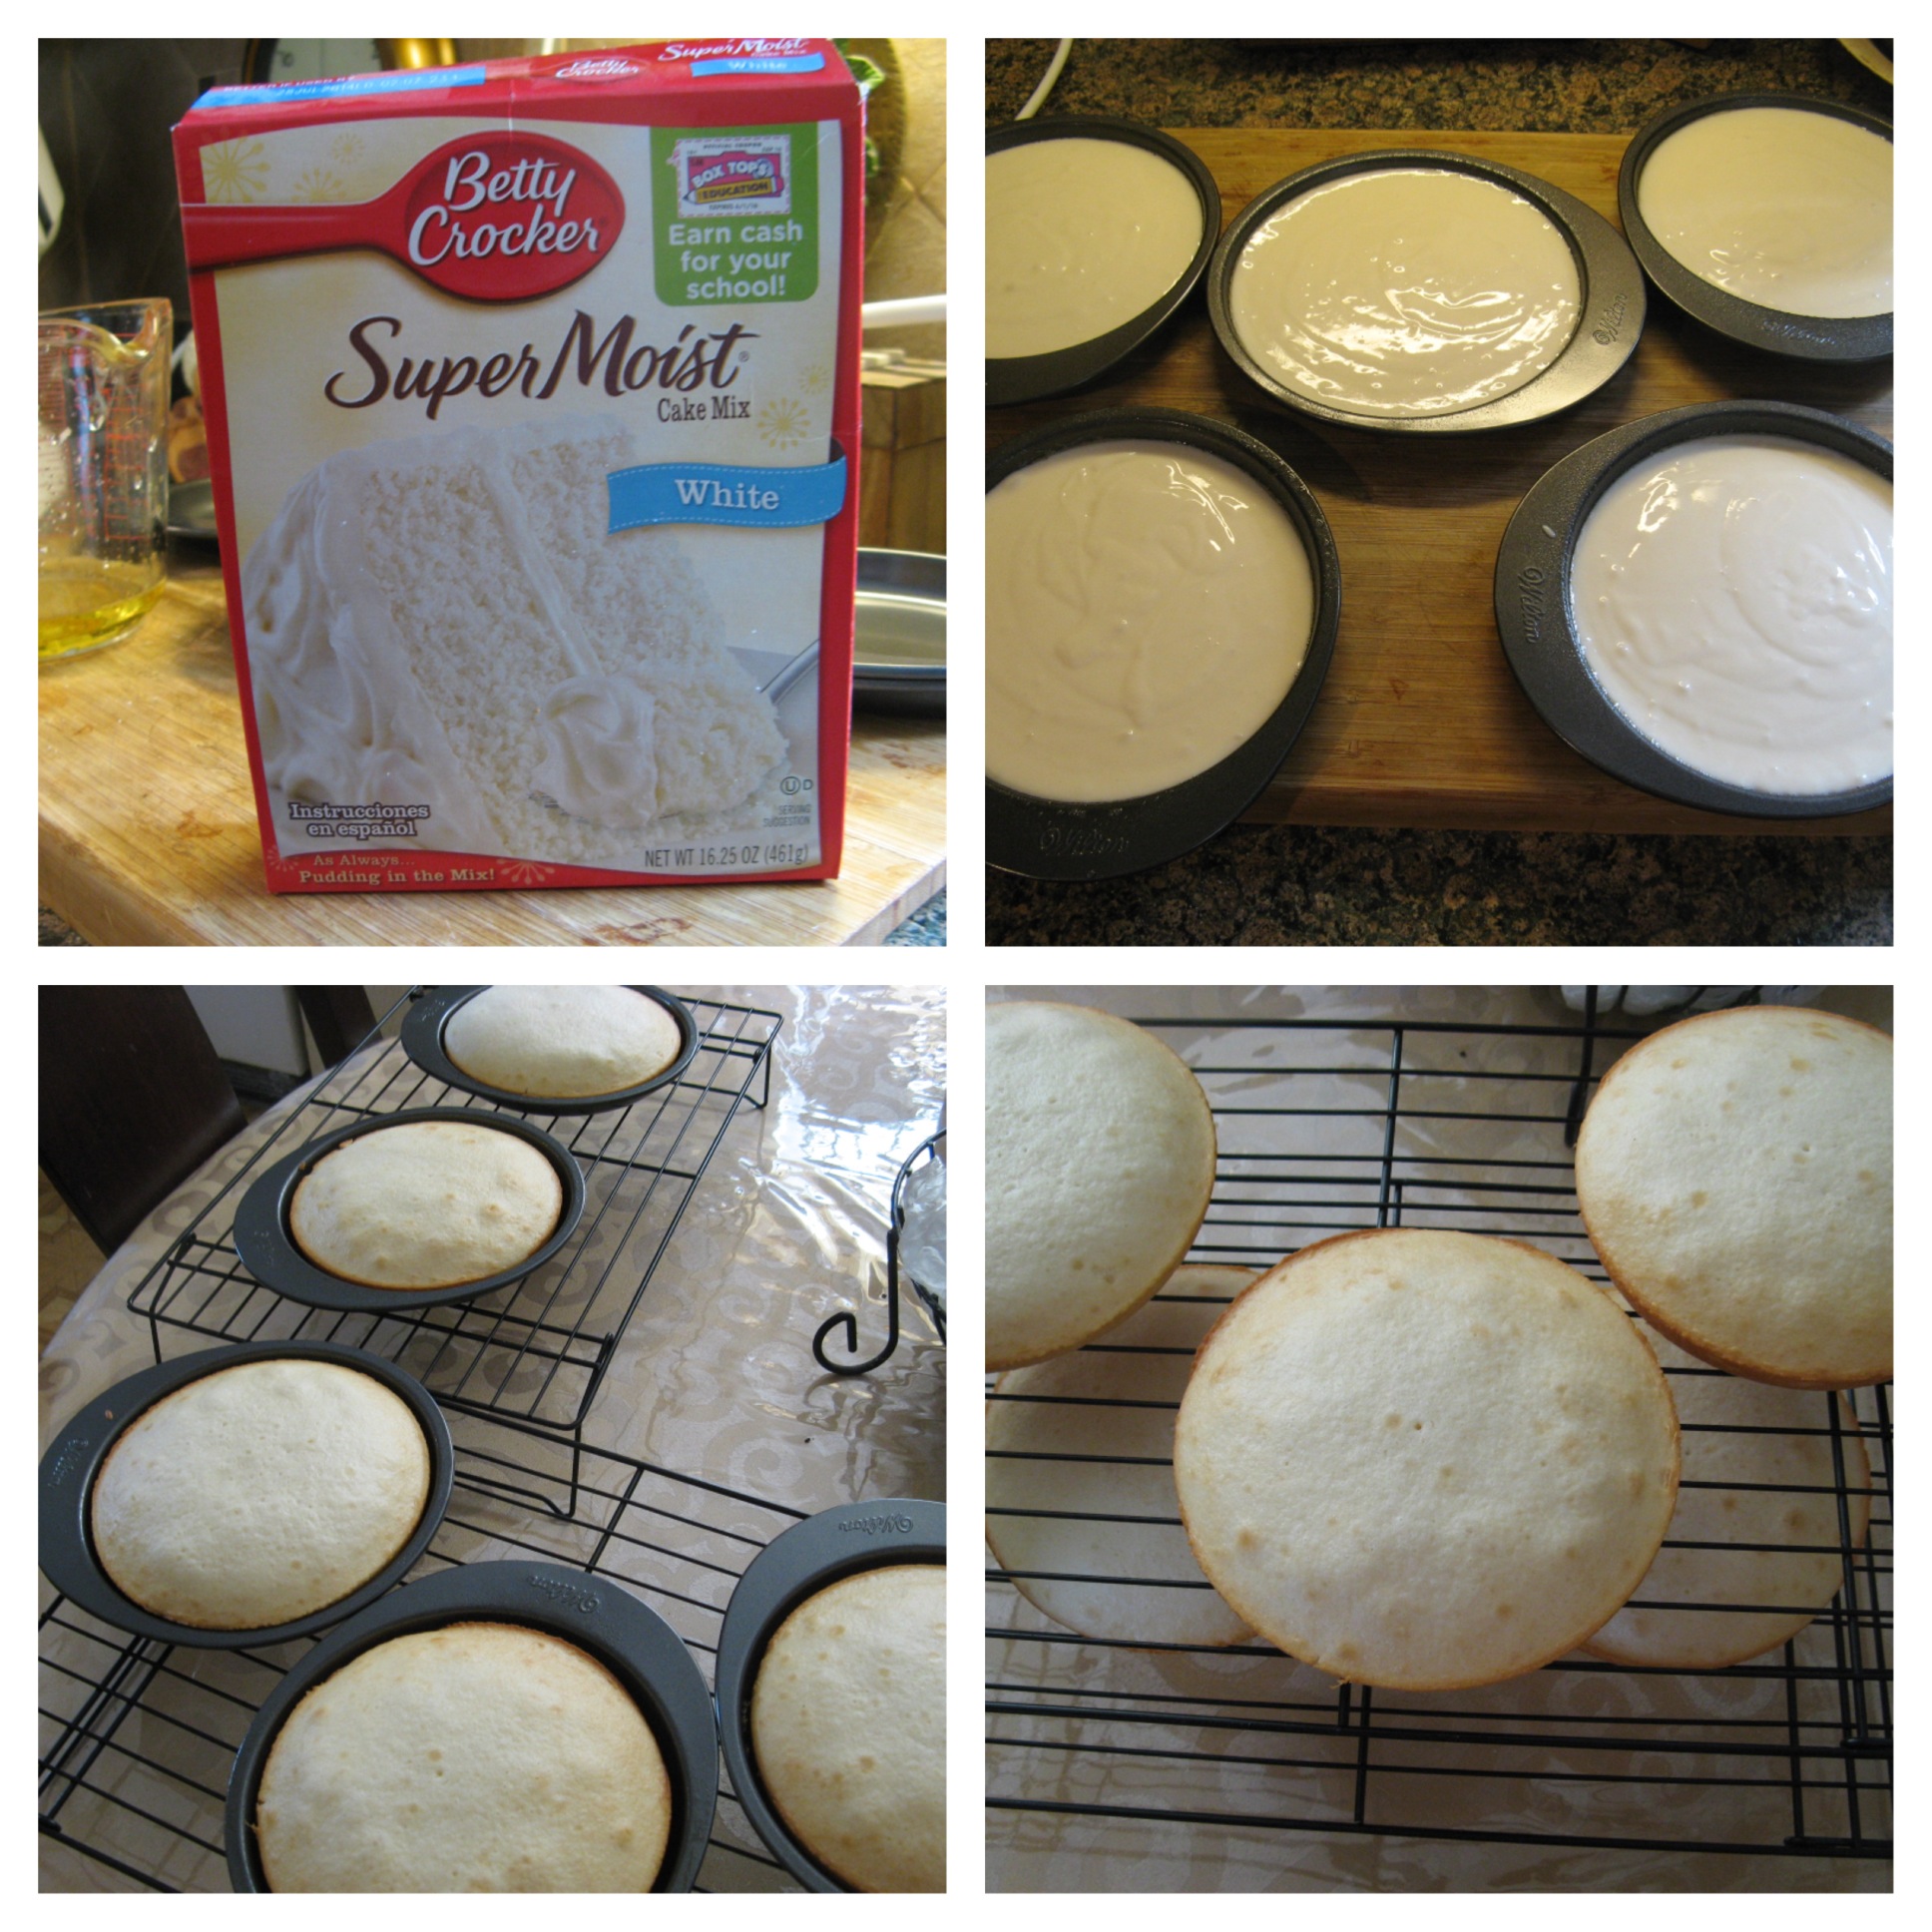
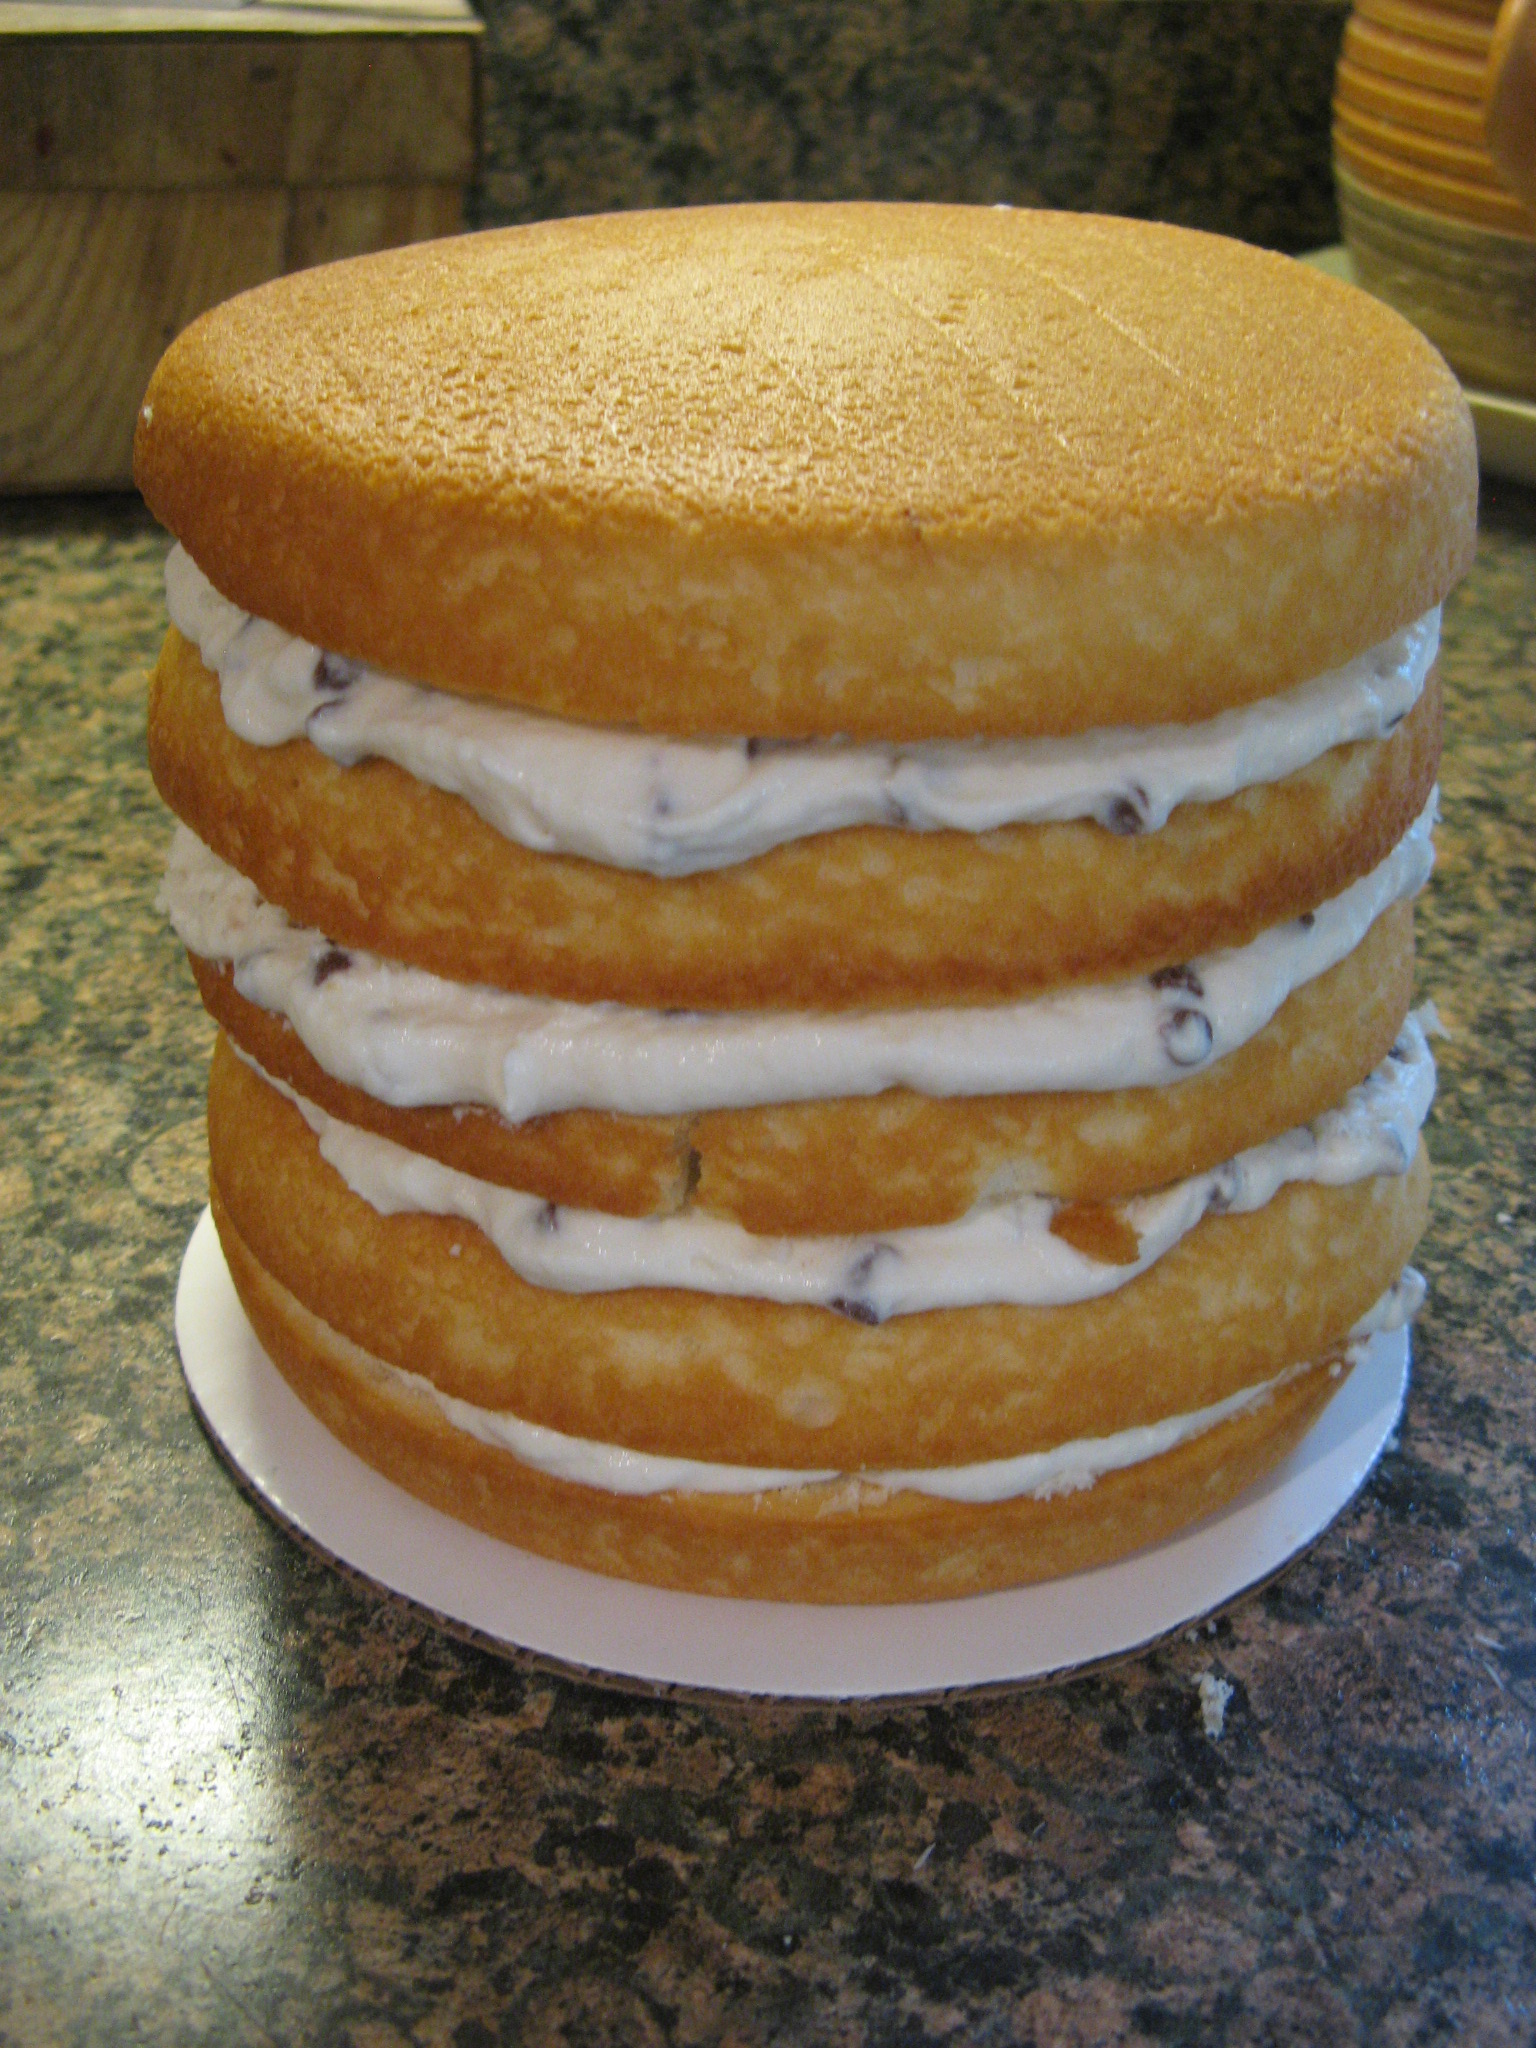
I opted to use a white cake box mix for this cake since I wanted to be sure that I would have enough batter for the five pans and right on the box it said that one box cake would suffice. After mixing the batter according to the directions on the box, I filled the pans evenly with batter (I used an ice cream scoop to be precise,) baked them and then let them cool.
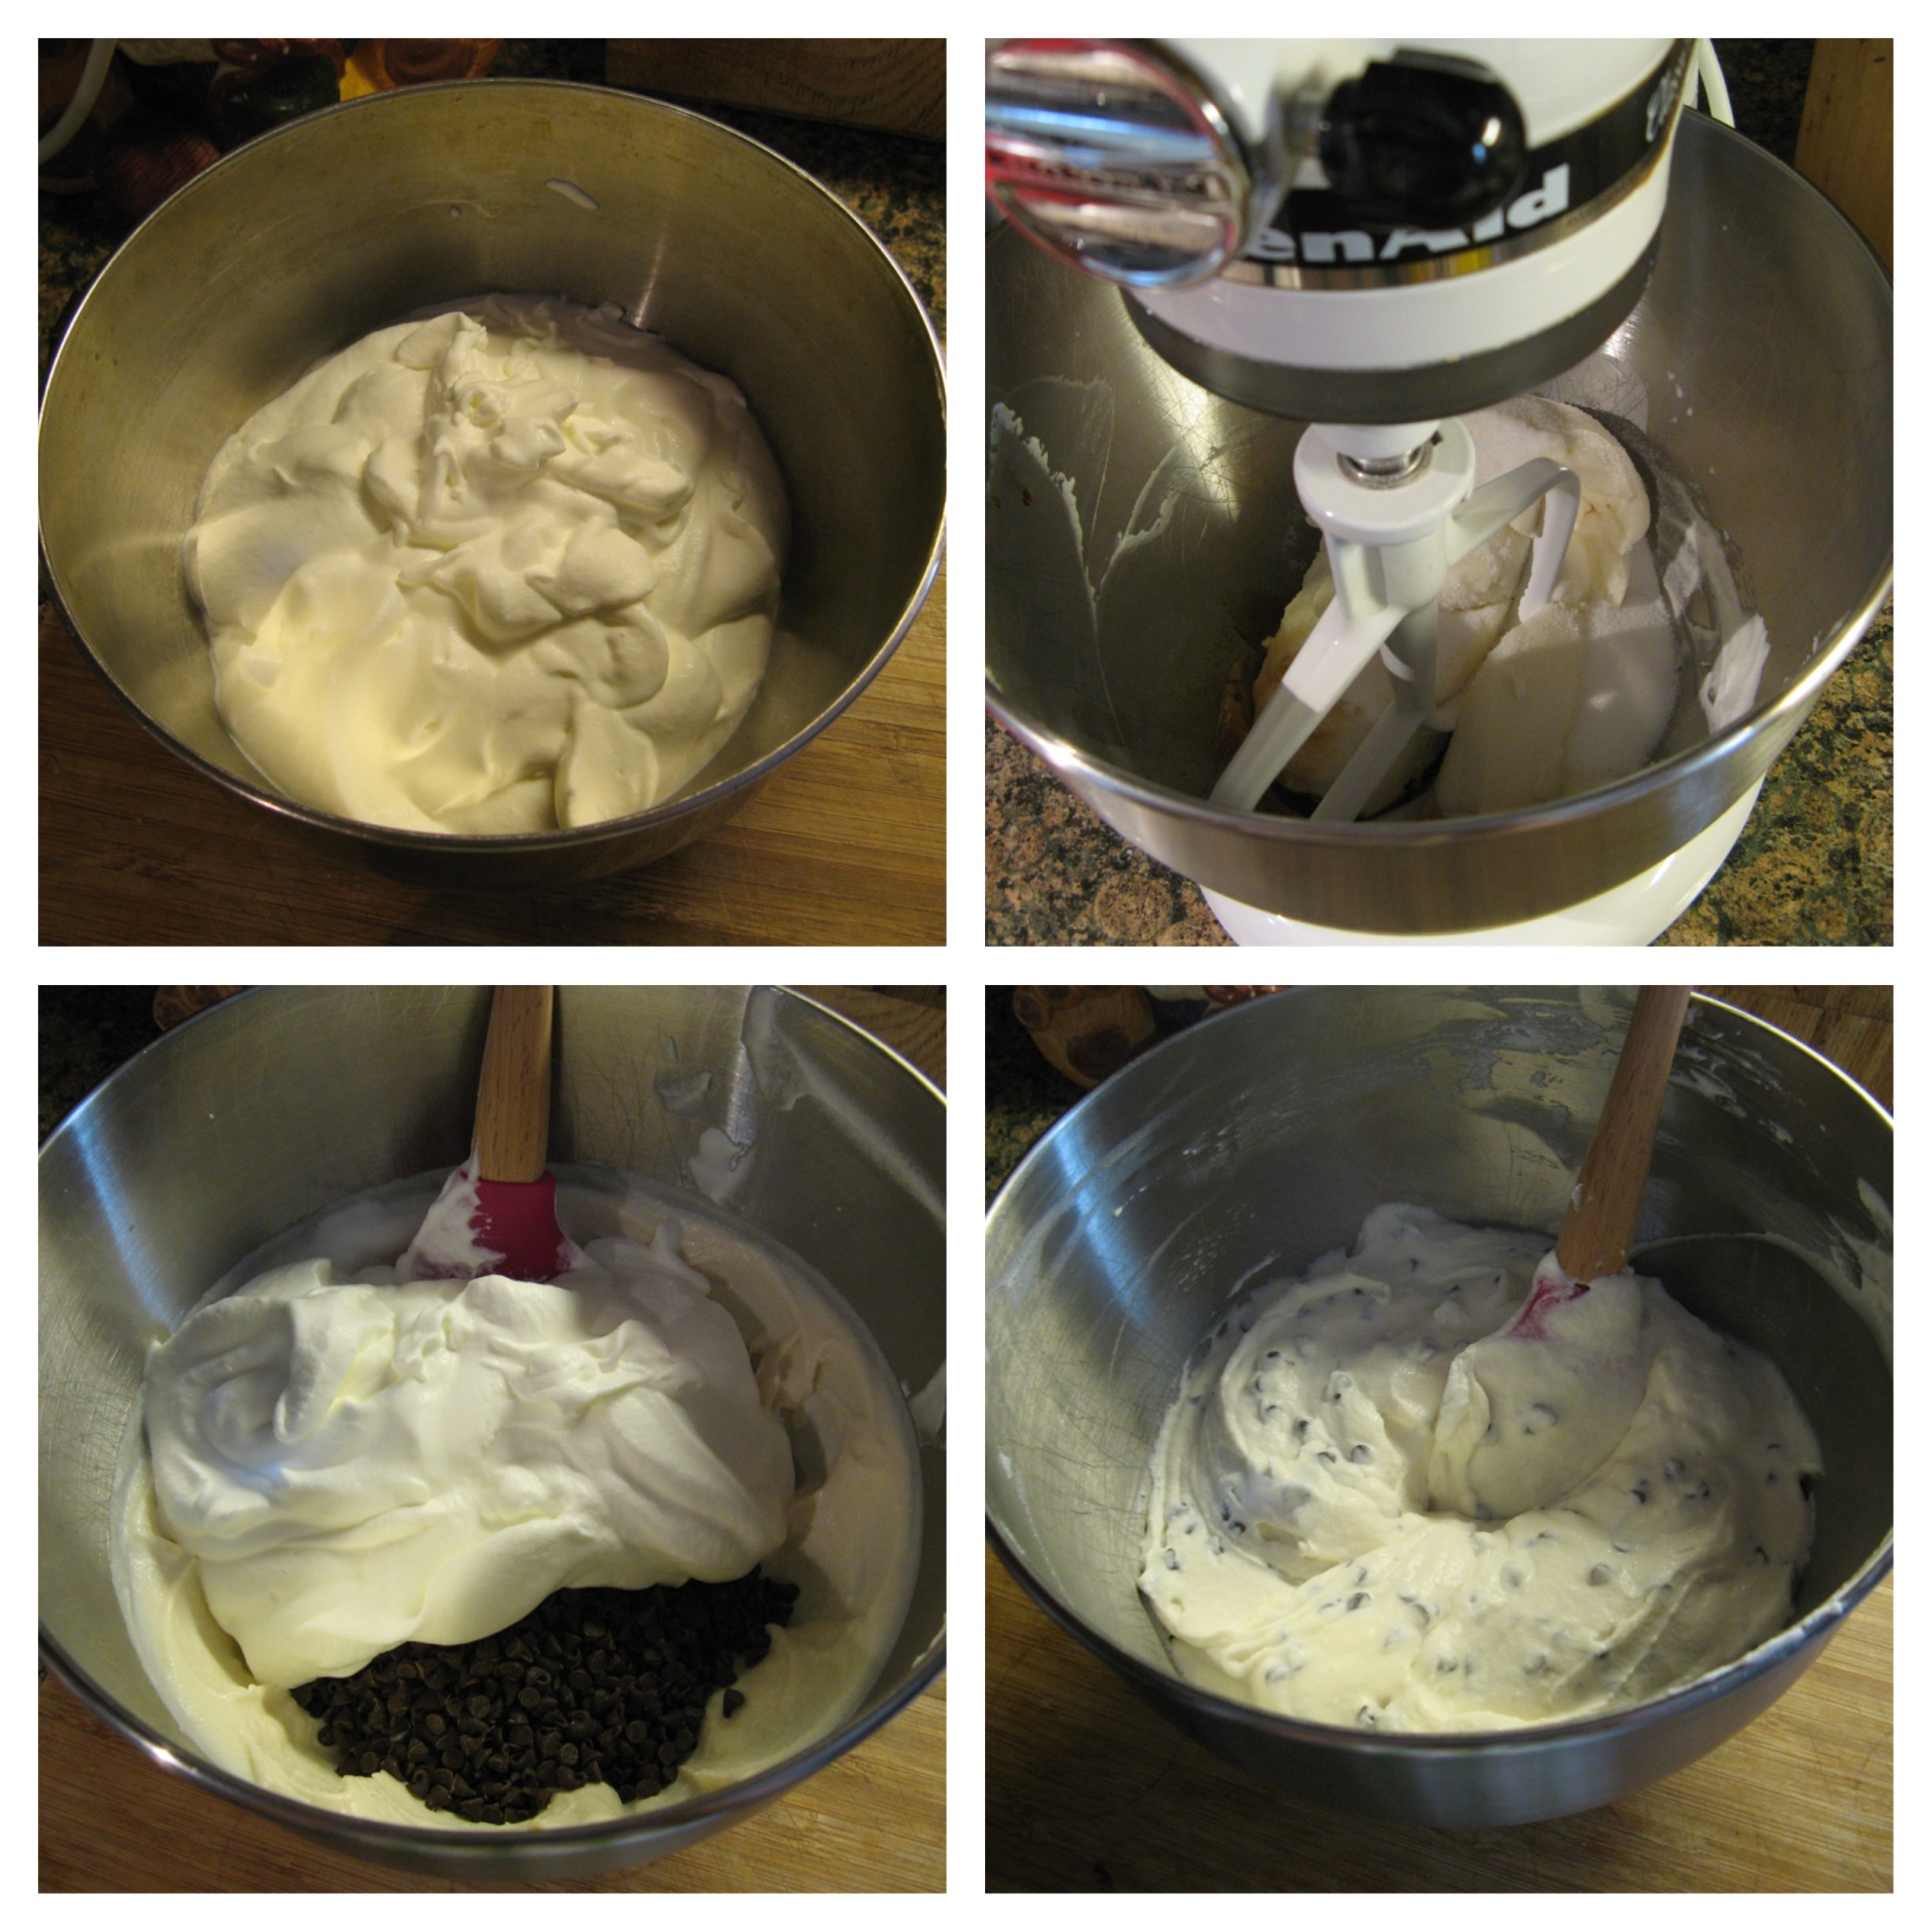
While the cakes cooled I worked on the cannoli filling. I settled on a
recipe from
Sargento. I figured this recipe would be a good one to follow since Sargento is a producer of cheese products. To begin I whipped heavy cream until soft peaks formed. I then beat together ricotta cheese, sugar and vanilla extract. Following that I folded the whipped cream along with mini chocolate chips into the ricotta mixture.
Now it was time to prep my mini cakes for assembly. I used a
cake leveler to remove the crowns of the cakes to make them all level.
To assemble the cake, I filled each layer with about a cup and a half of cannoli filling.
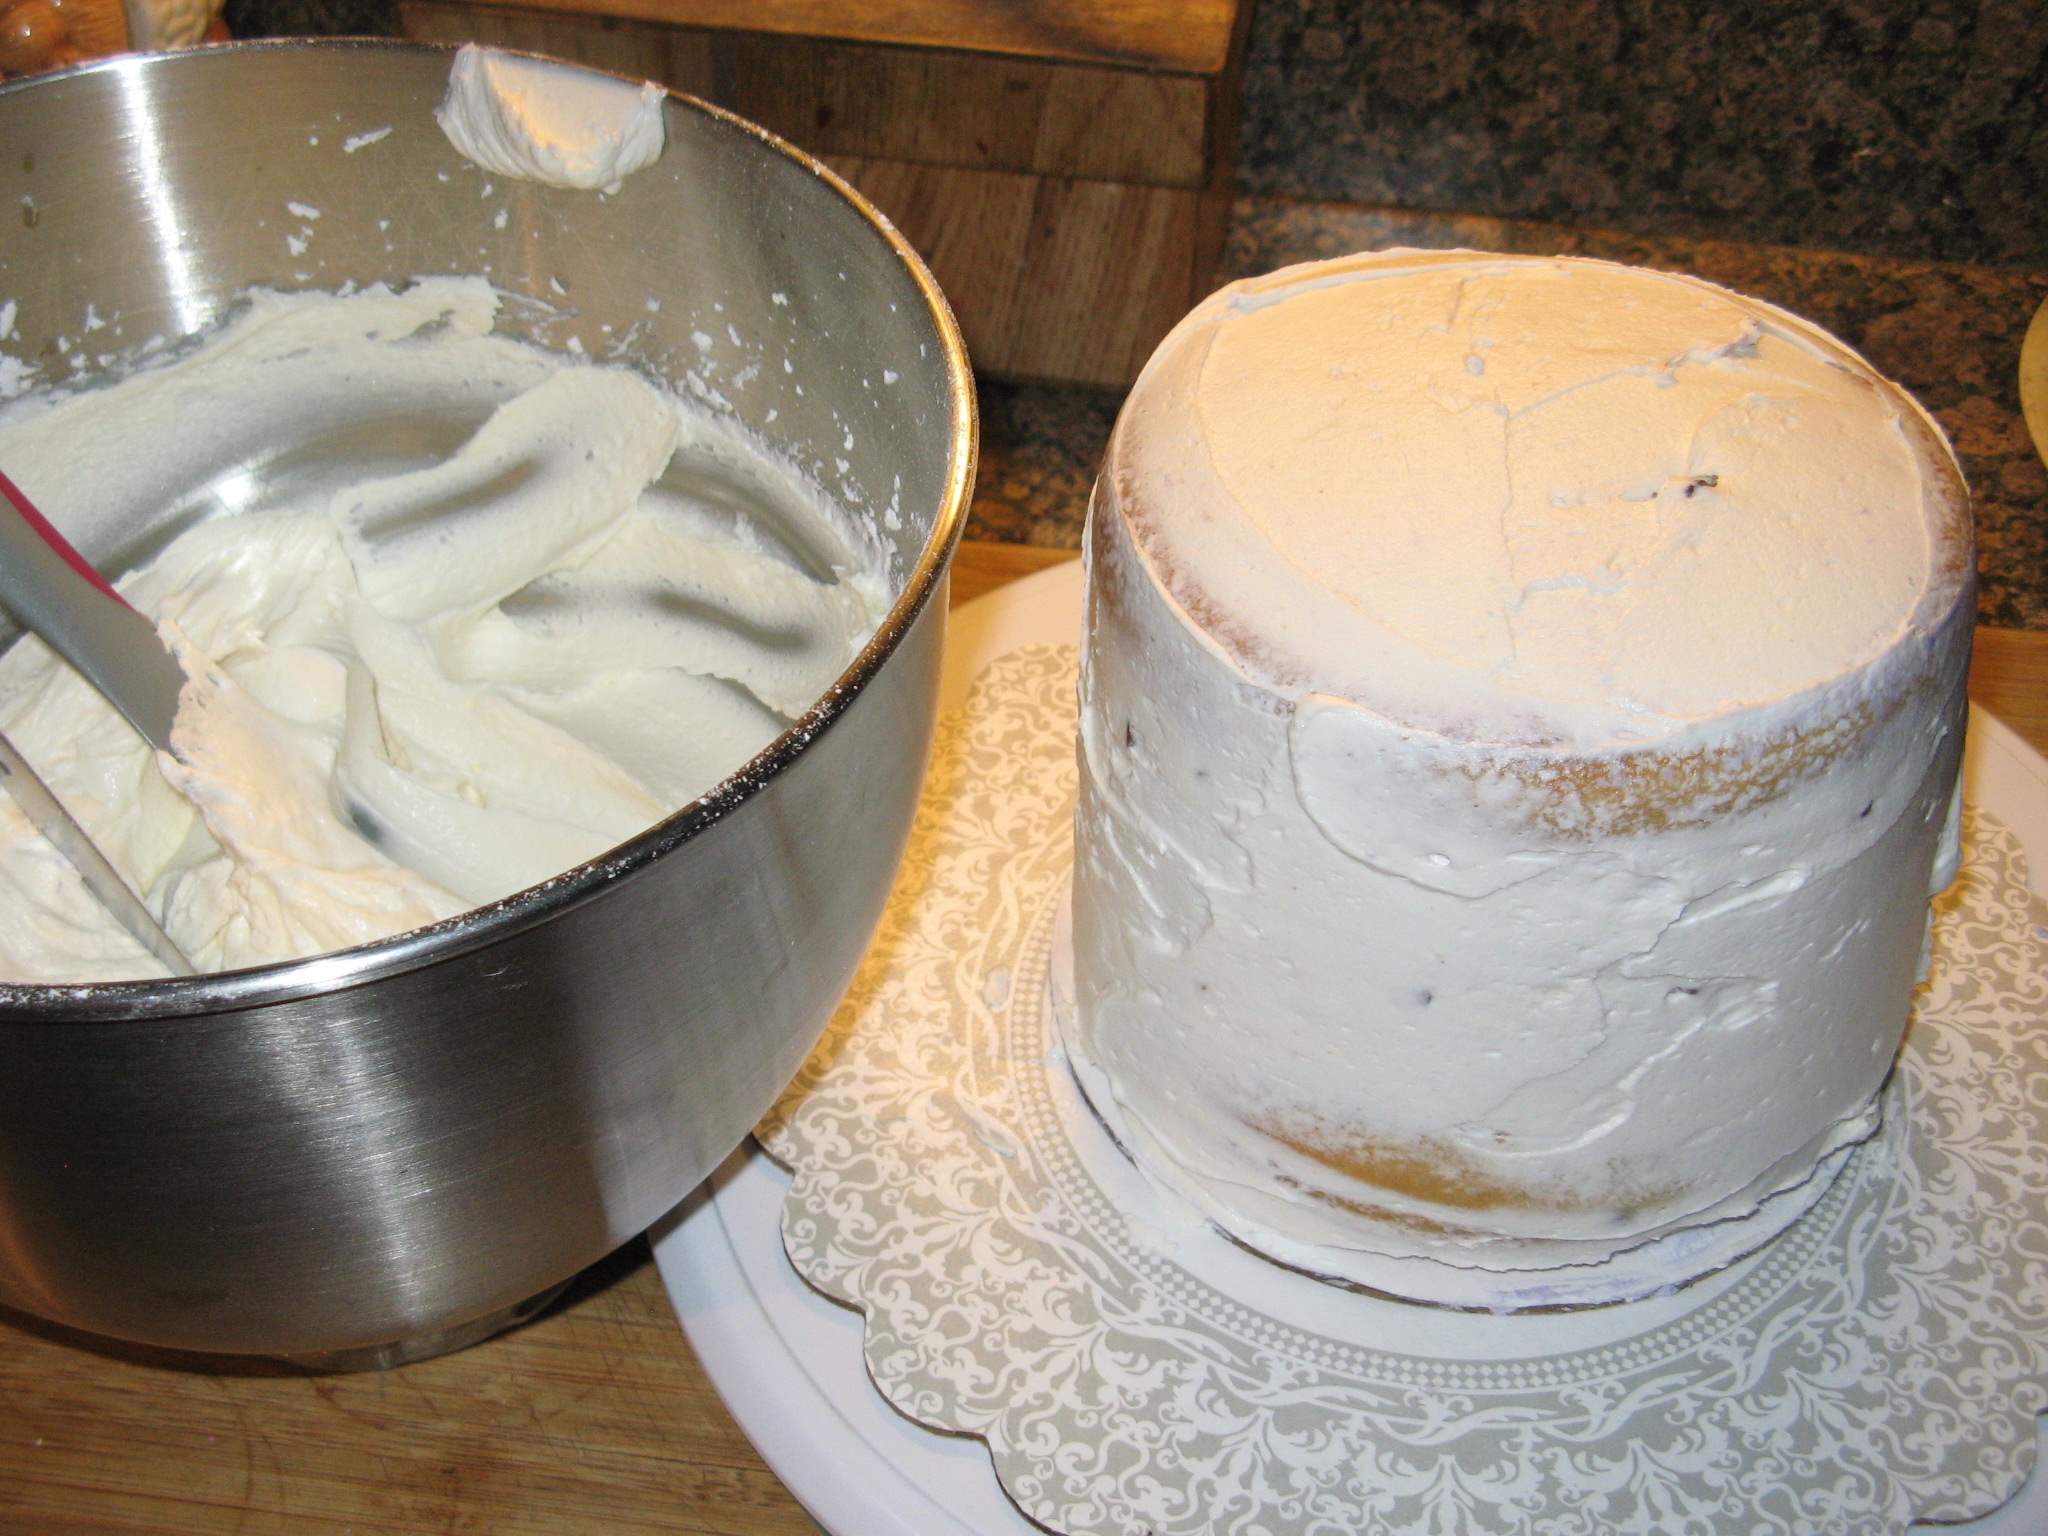
Then it was time to frost it. Initially I wanted to frost it with a whipped cream frosting, but, since I wanted to cover the entire cake with rosettes the whipped cream wasn’t going hold up well on the sides of the cake… On top of the cake it would have looked great though. So I opted to whip up some
Fluffy Vanilla Frosting – which I first made when I made
Chocolate Malted Cupcakes. I started by
crumb coating the cake.
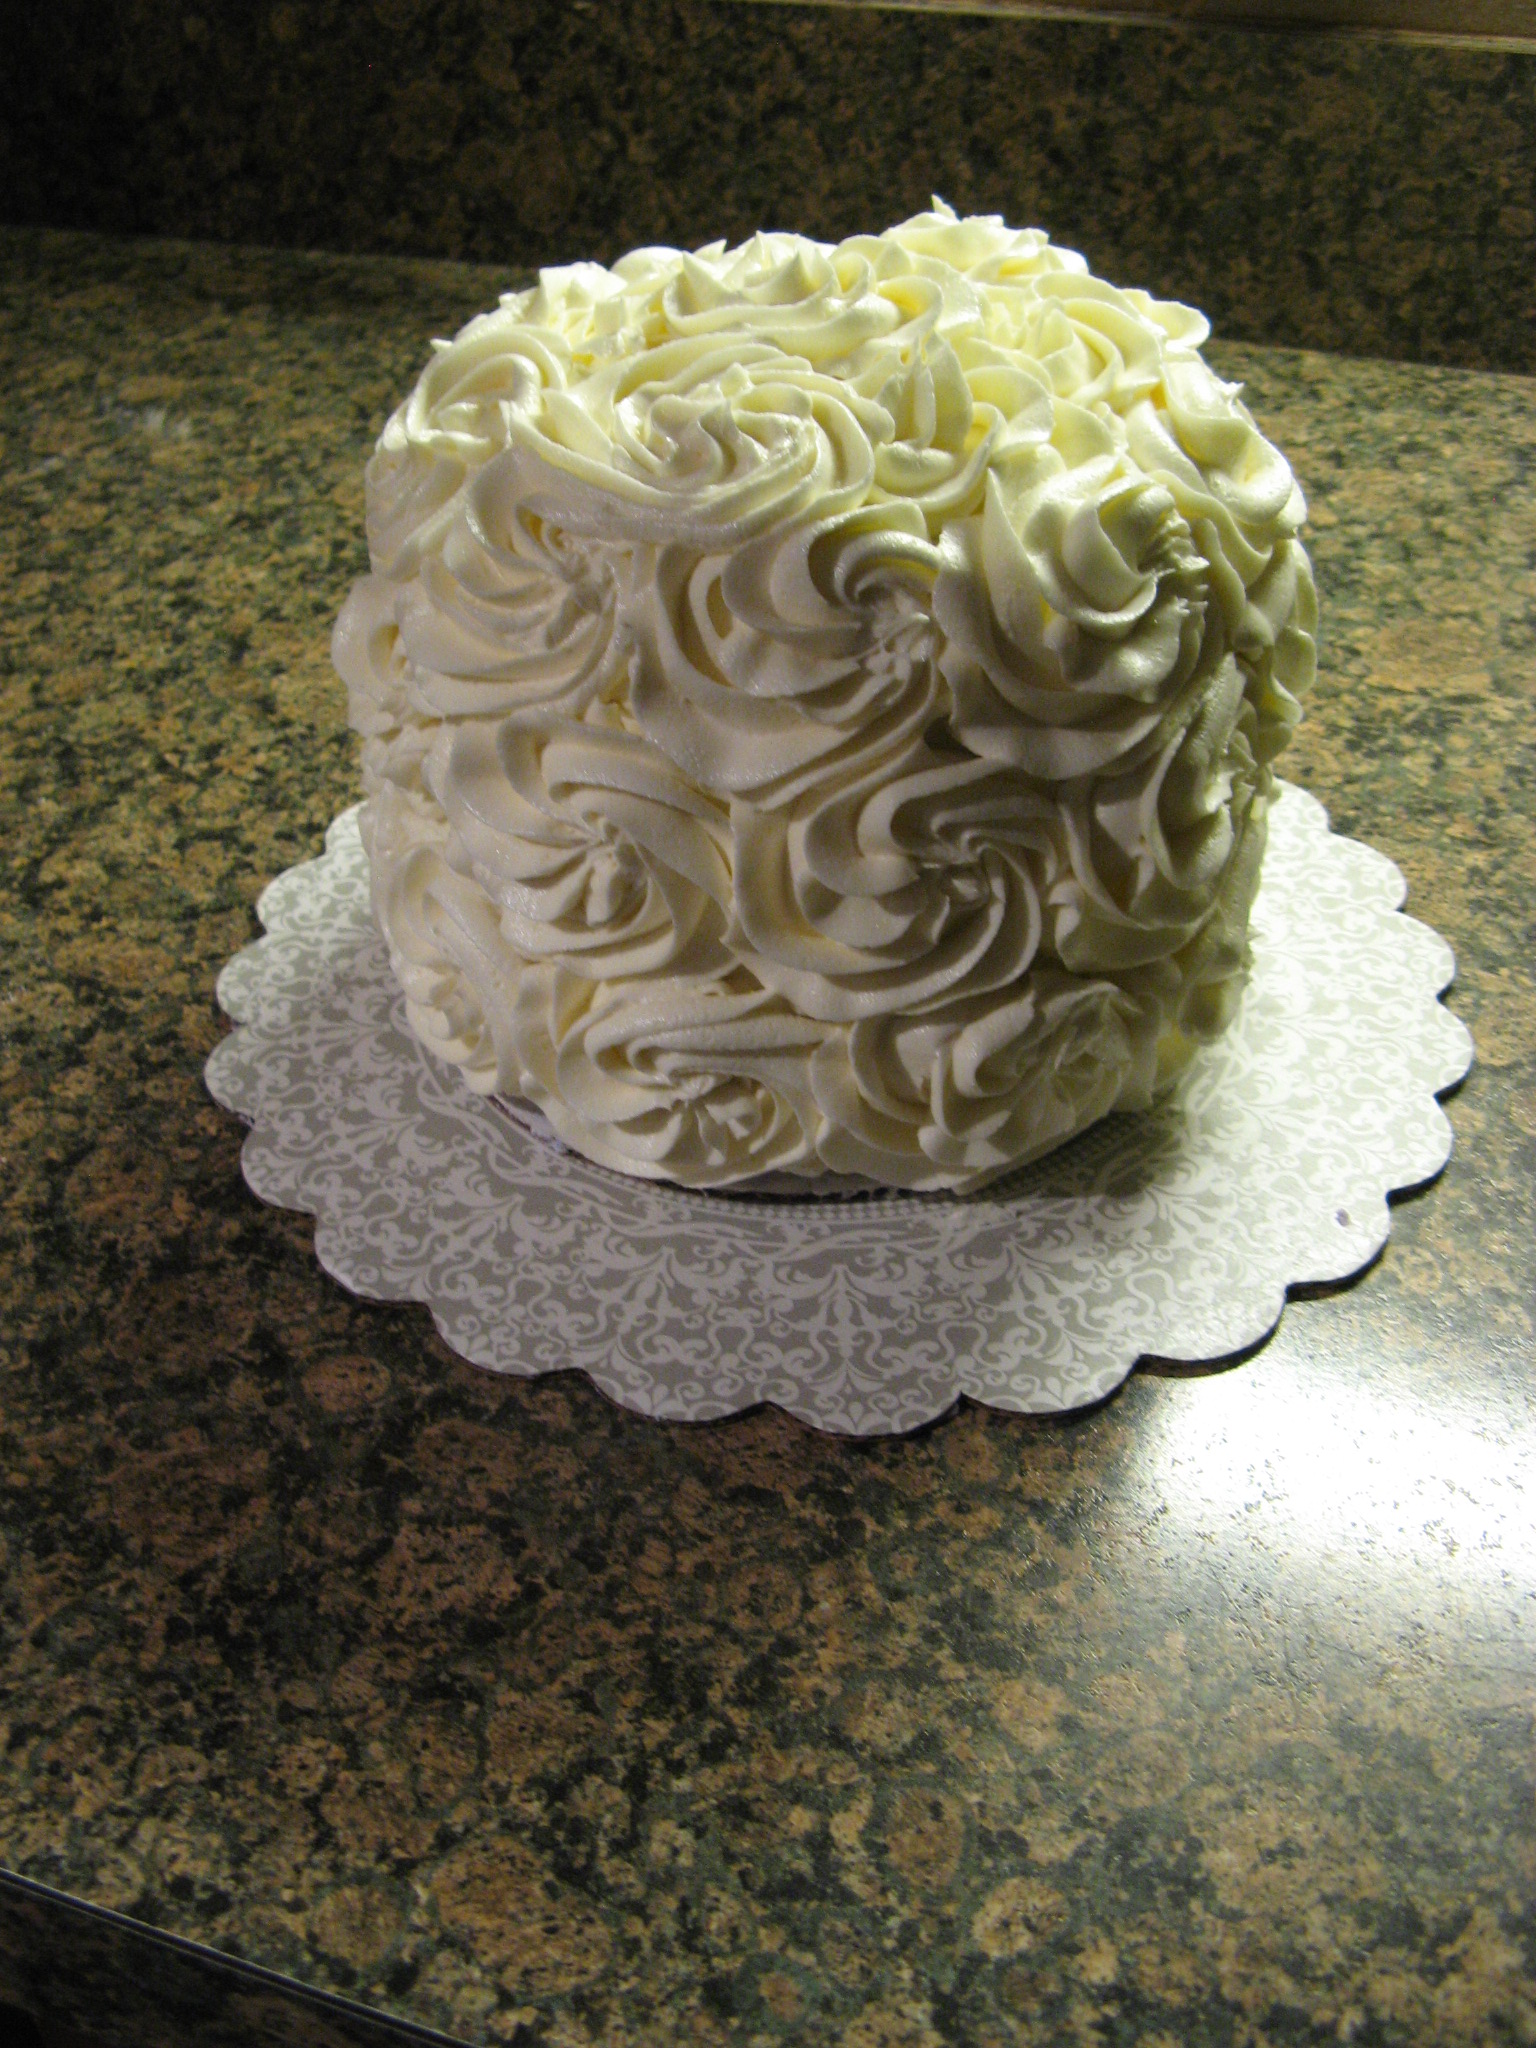
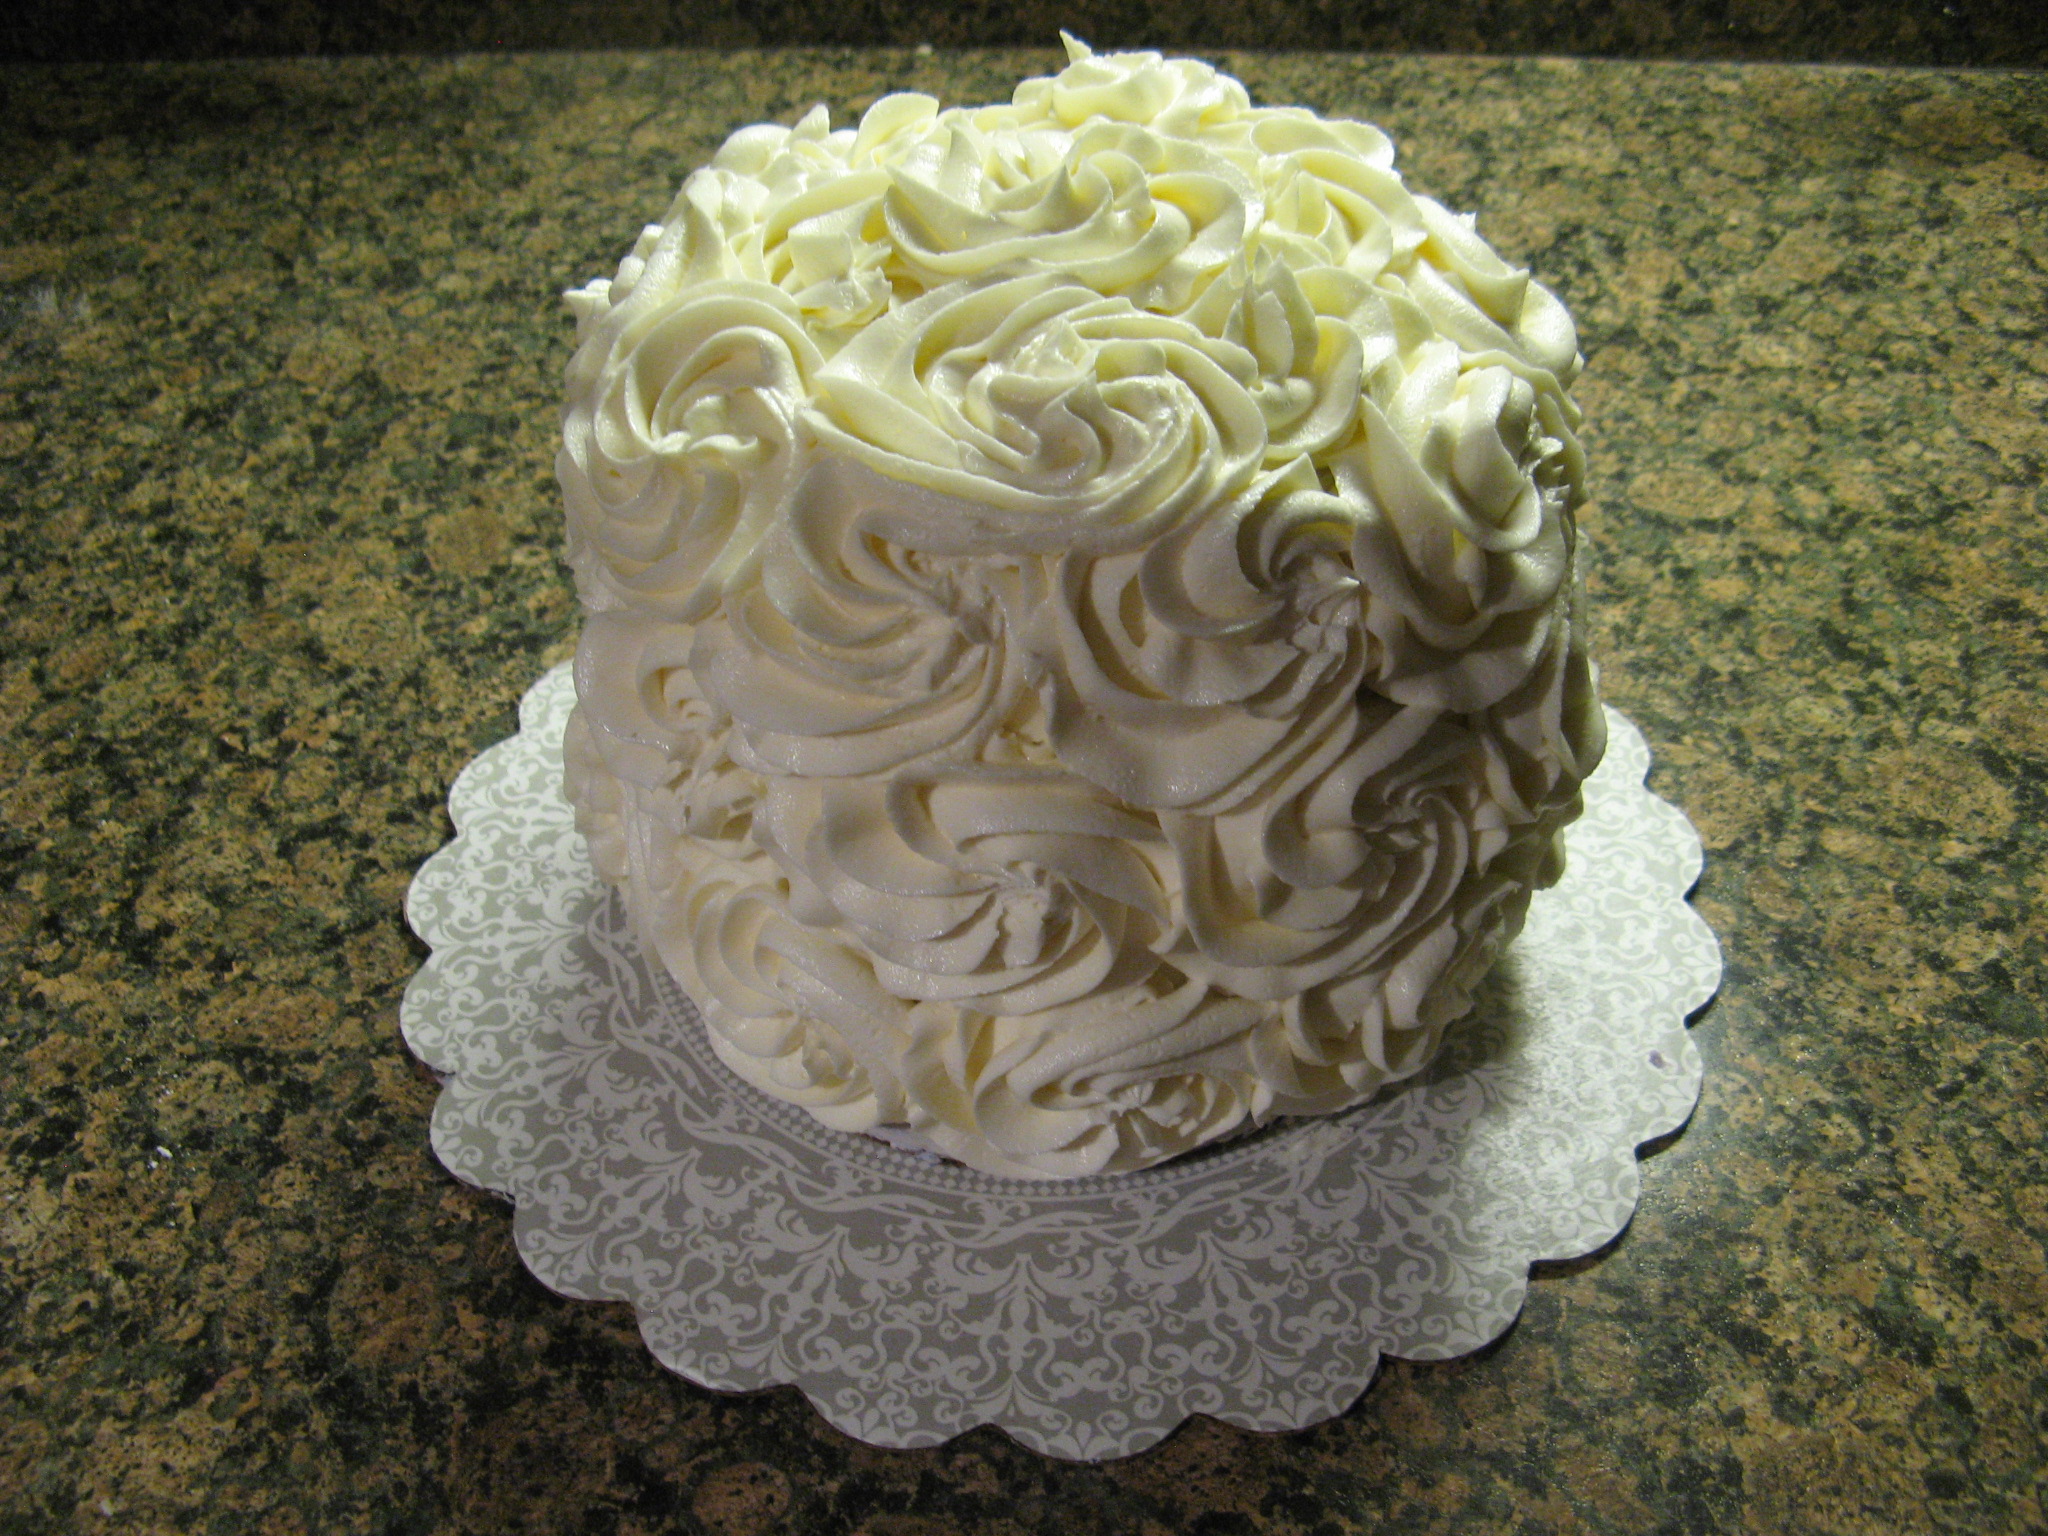
And then using a
2D Wilton Tip I covered the cake with large rosettes and I think I may have found my new way of decorating cakes….


Cannoli Filling
2 cups Part-Skim Ricotta Cheese
3 tablespoons sugar
1 1/2 teaspoon vanilla
1 cup whipping cream, whipped
1 cup semi-sweet mini chocolate chips
1. Beat ricotta cheese, sugar and vanilla on medium speed in bowl with electric mixer for 3 minutes.
2. Fold in whipped cream and chocolate chips.
Fluffy Vanilla Frosting
Makes About 4 Cups
1 1/2 cups (3 sticks) unsalted butter, room temperature
1 pound (4 cups) confectioners’ sugar, sifted
1/2 tsp. pure vanilla extract
1. With an electric mixer, beat butter on medium-high speed until pale and creamy, about 2 minutes.
2. Reduce speed to medium. Add the confectioners’ sugar, 1/2 cup at a time, beating well after each addition and scraping down sides of bowl as needed; after every two additions, raise speed to high and beat 10 seconds to aerate frosting, then return to medium. This process should take about 5 minutes. Frosting will be very pale and fluffy.
3. Add vanilla, and beat until frosting is smooth. If not using immediately, frosting can be refrigerated up to 10 days in an airtight container. Before using, bring to room temperature, and beat on low speed until smooth again, about 5 minutes.