Cheesecake… Is it a Pie or a Cake?

Well, for today the answer to that question is going to be pie in honor of Pi Day! Yes, it’s the day that Math lovers around the world celebrate in honor of Pi, the irrational number (meaning it cannot be written as the ratio of two integers) that begins with 3.14 and goes on infinitely. This year’s Pi Day is extra special though because it only comes around once every 100 years… The first five numbers of Pi Day is the date (3/14/15) and to go even further at the time 9:26:53 you will have the first ten numbers of Pi in sequence, i.e. 3.141592653. Okay, I’ll stop being a Math geek now and go back to the pie. The idea of cheesecake falling under the pie category isn’t too much a stretch, especially for this cheesecake. Pies tend to have a crust and this one has a graham cracker crust and they also have a filling, the cheesecake part. Okay, maybe it is a tad bit of a stretch, but, I really couldn’t think of a pie I wanted to make but I have wanted to make a cheesecake.

IMG_7027

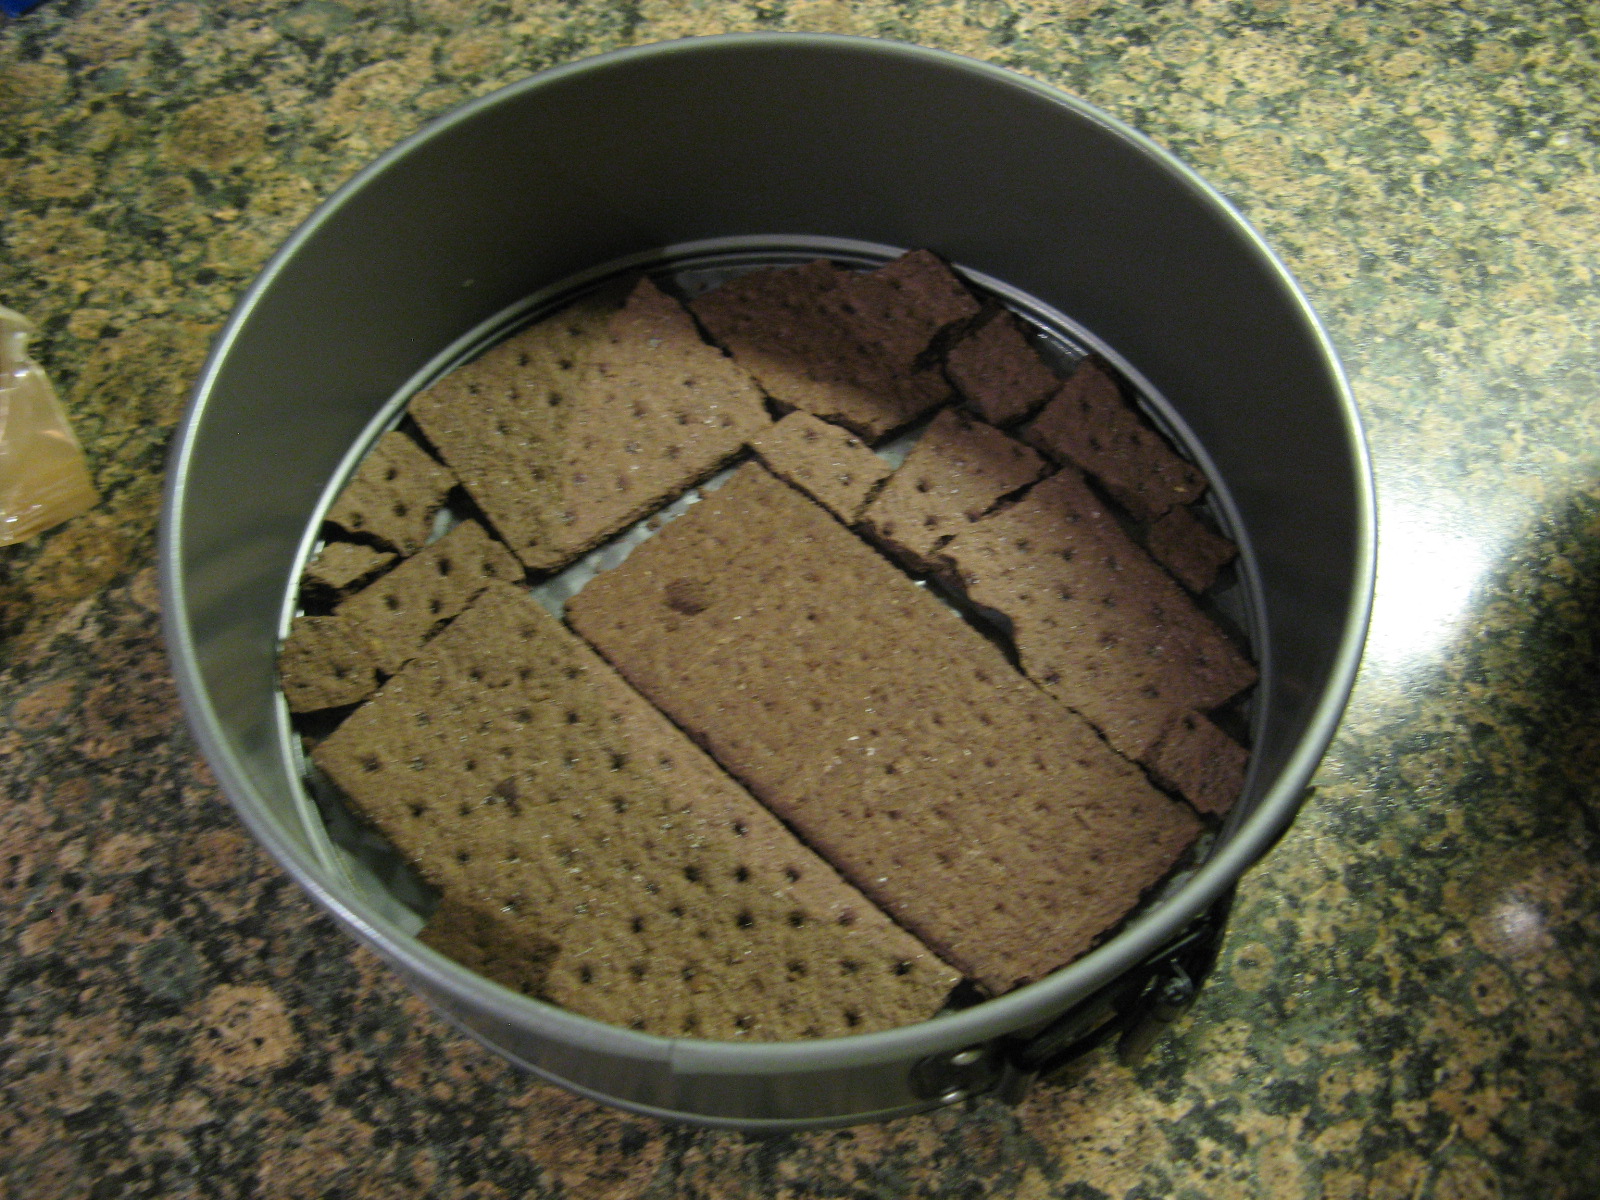
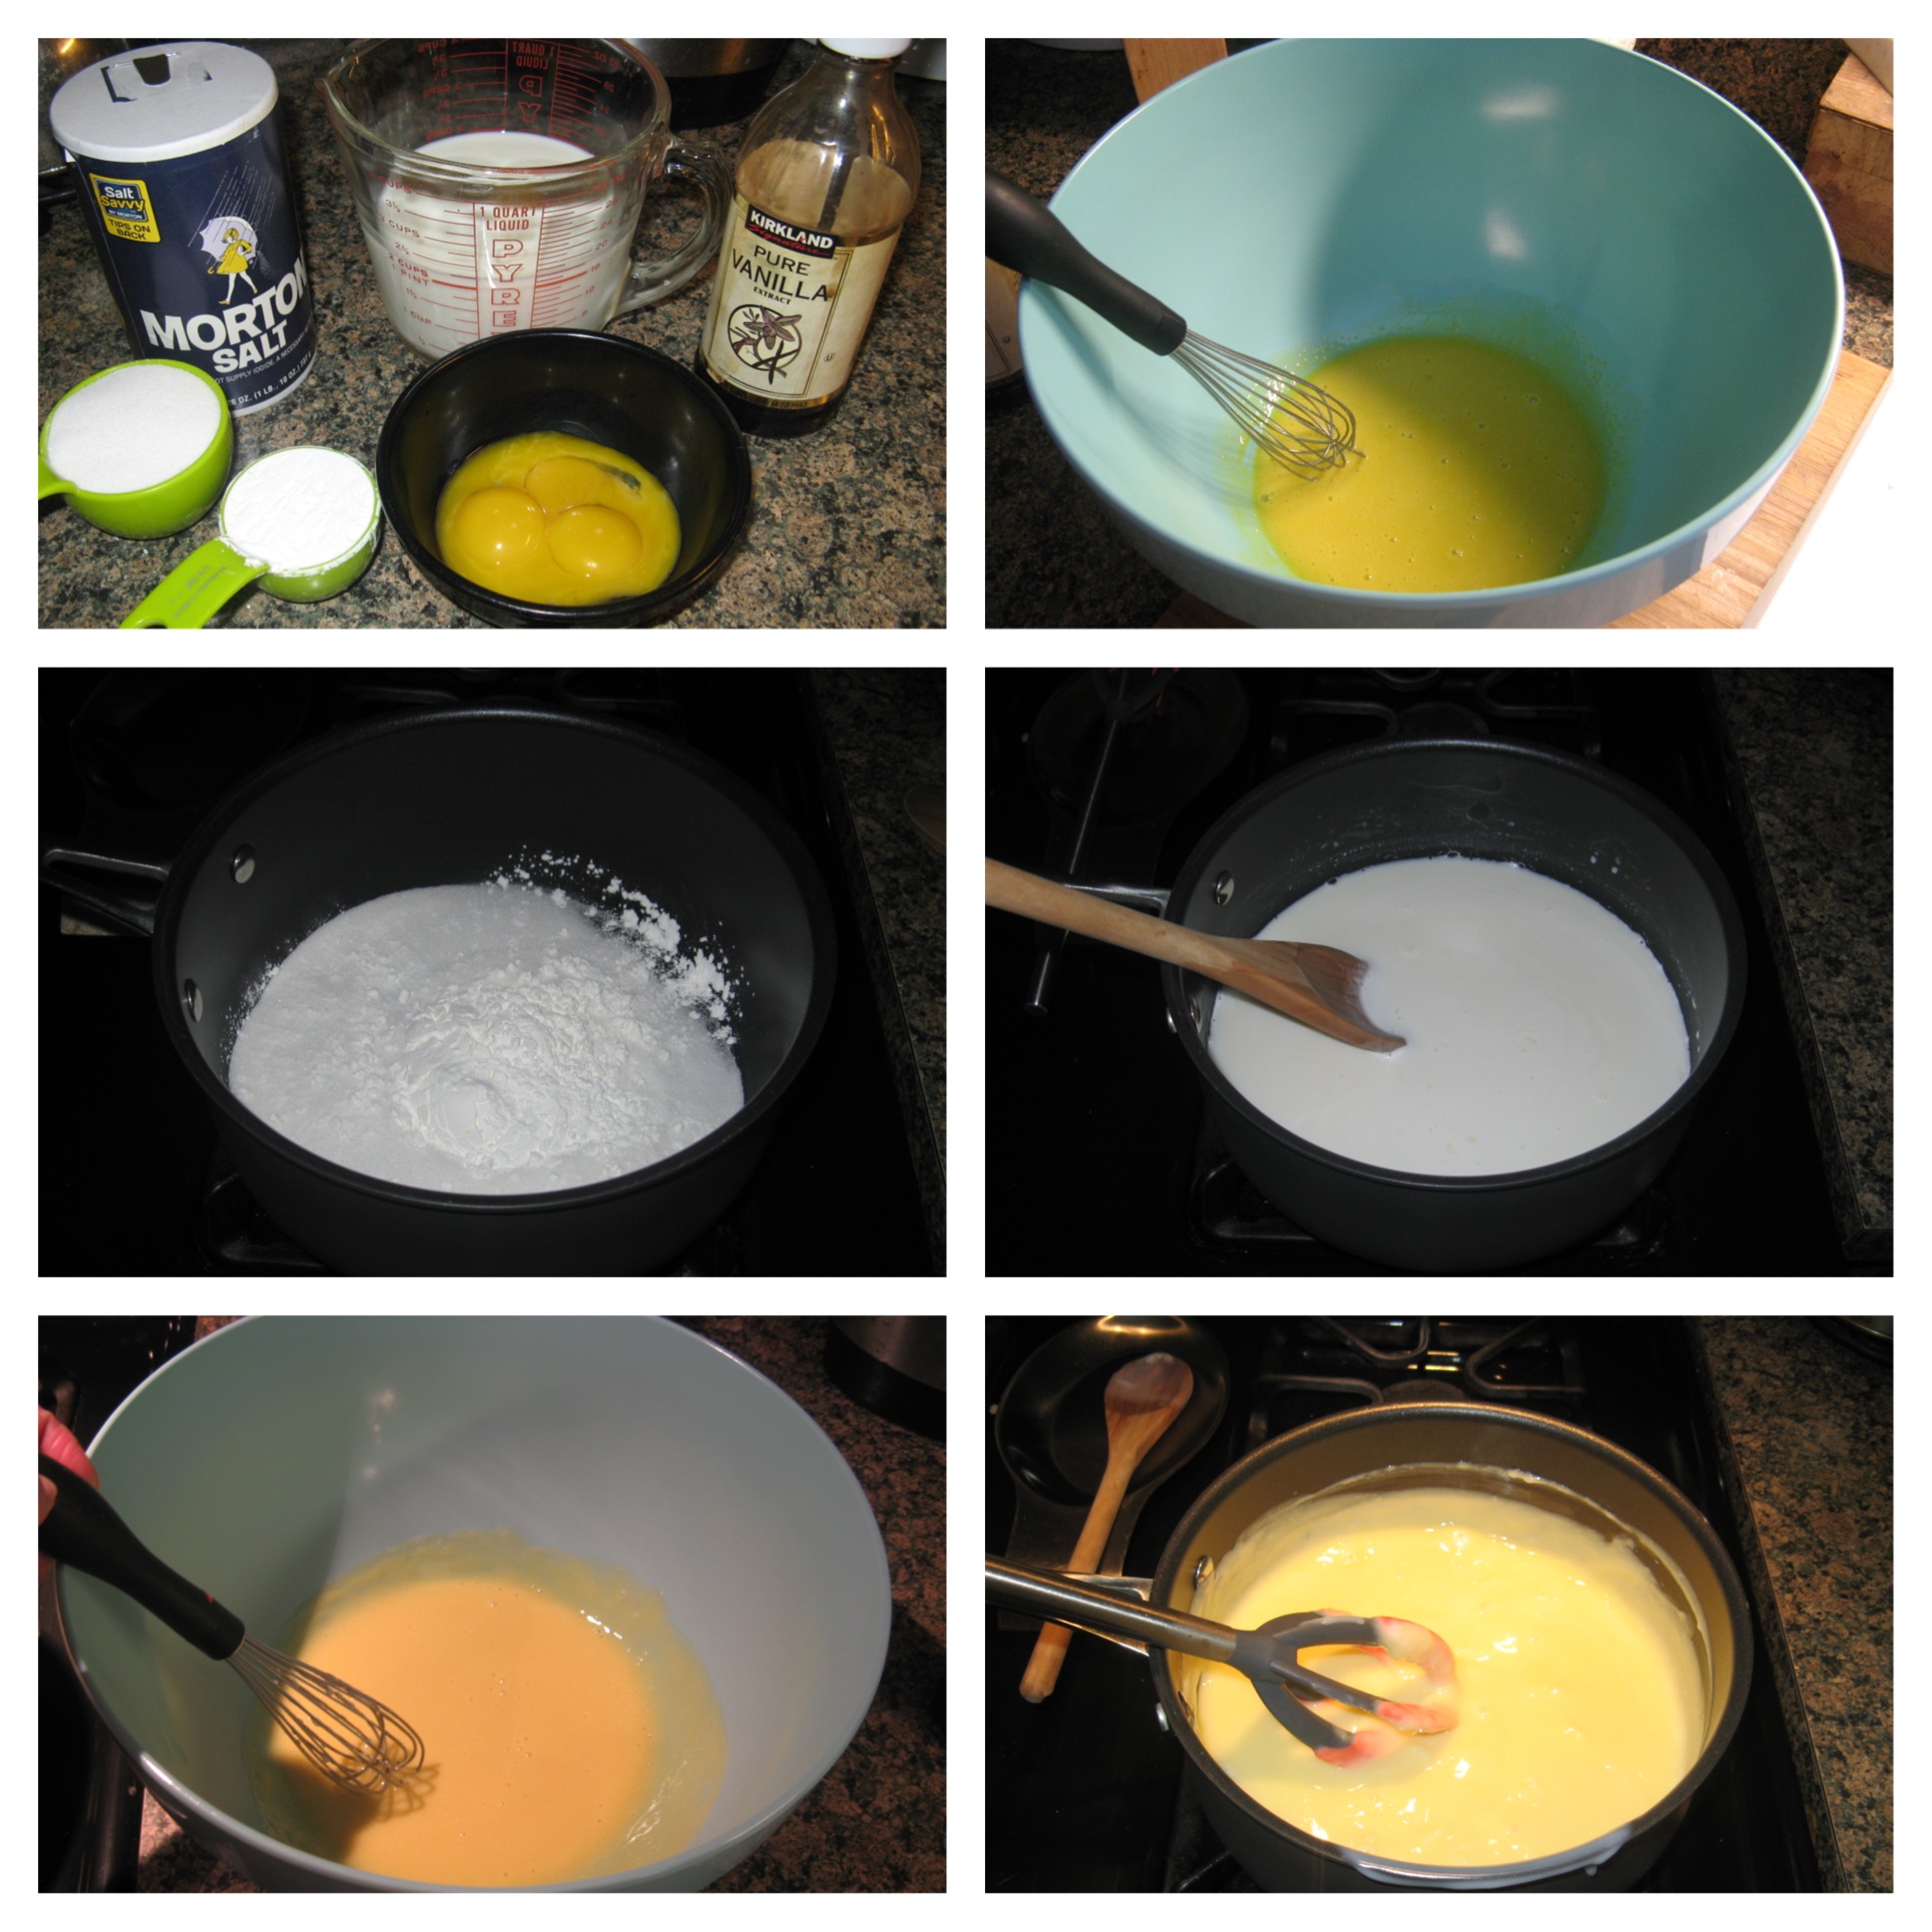
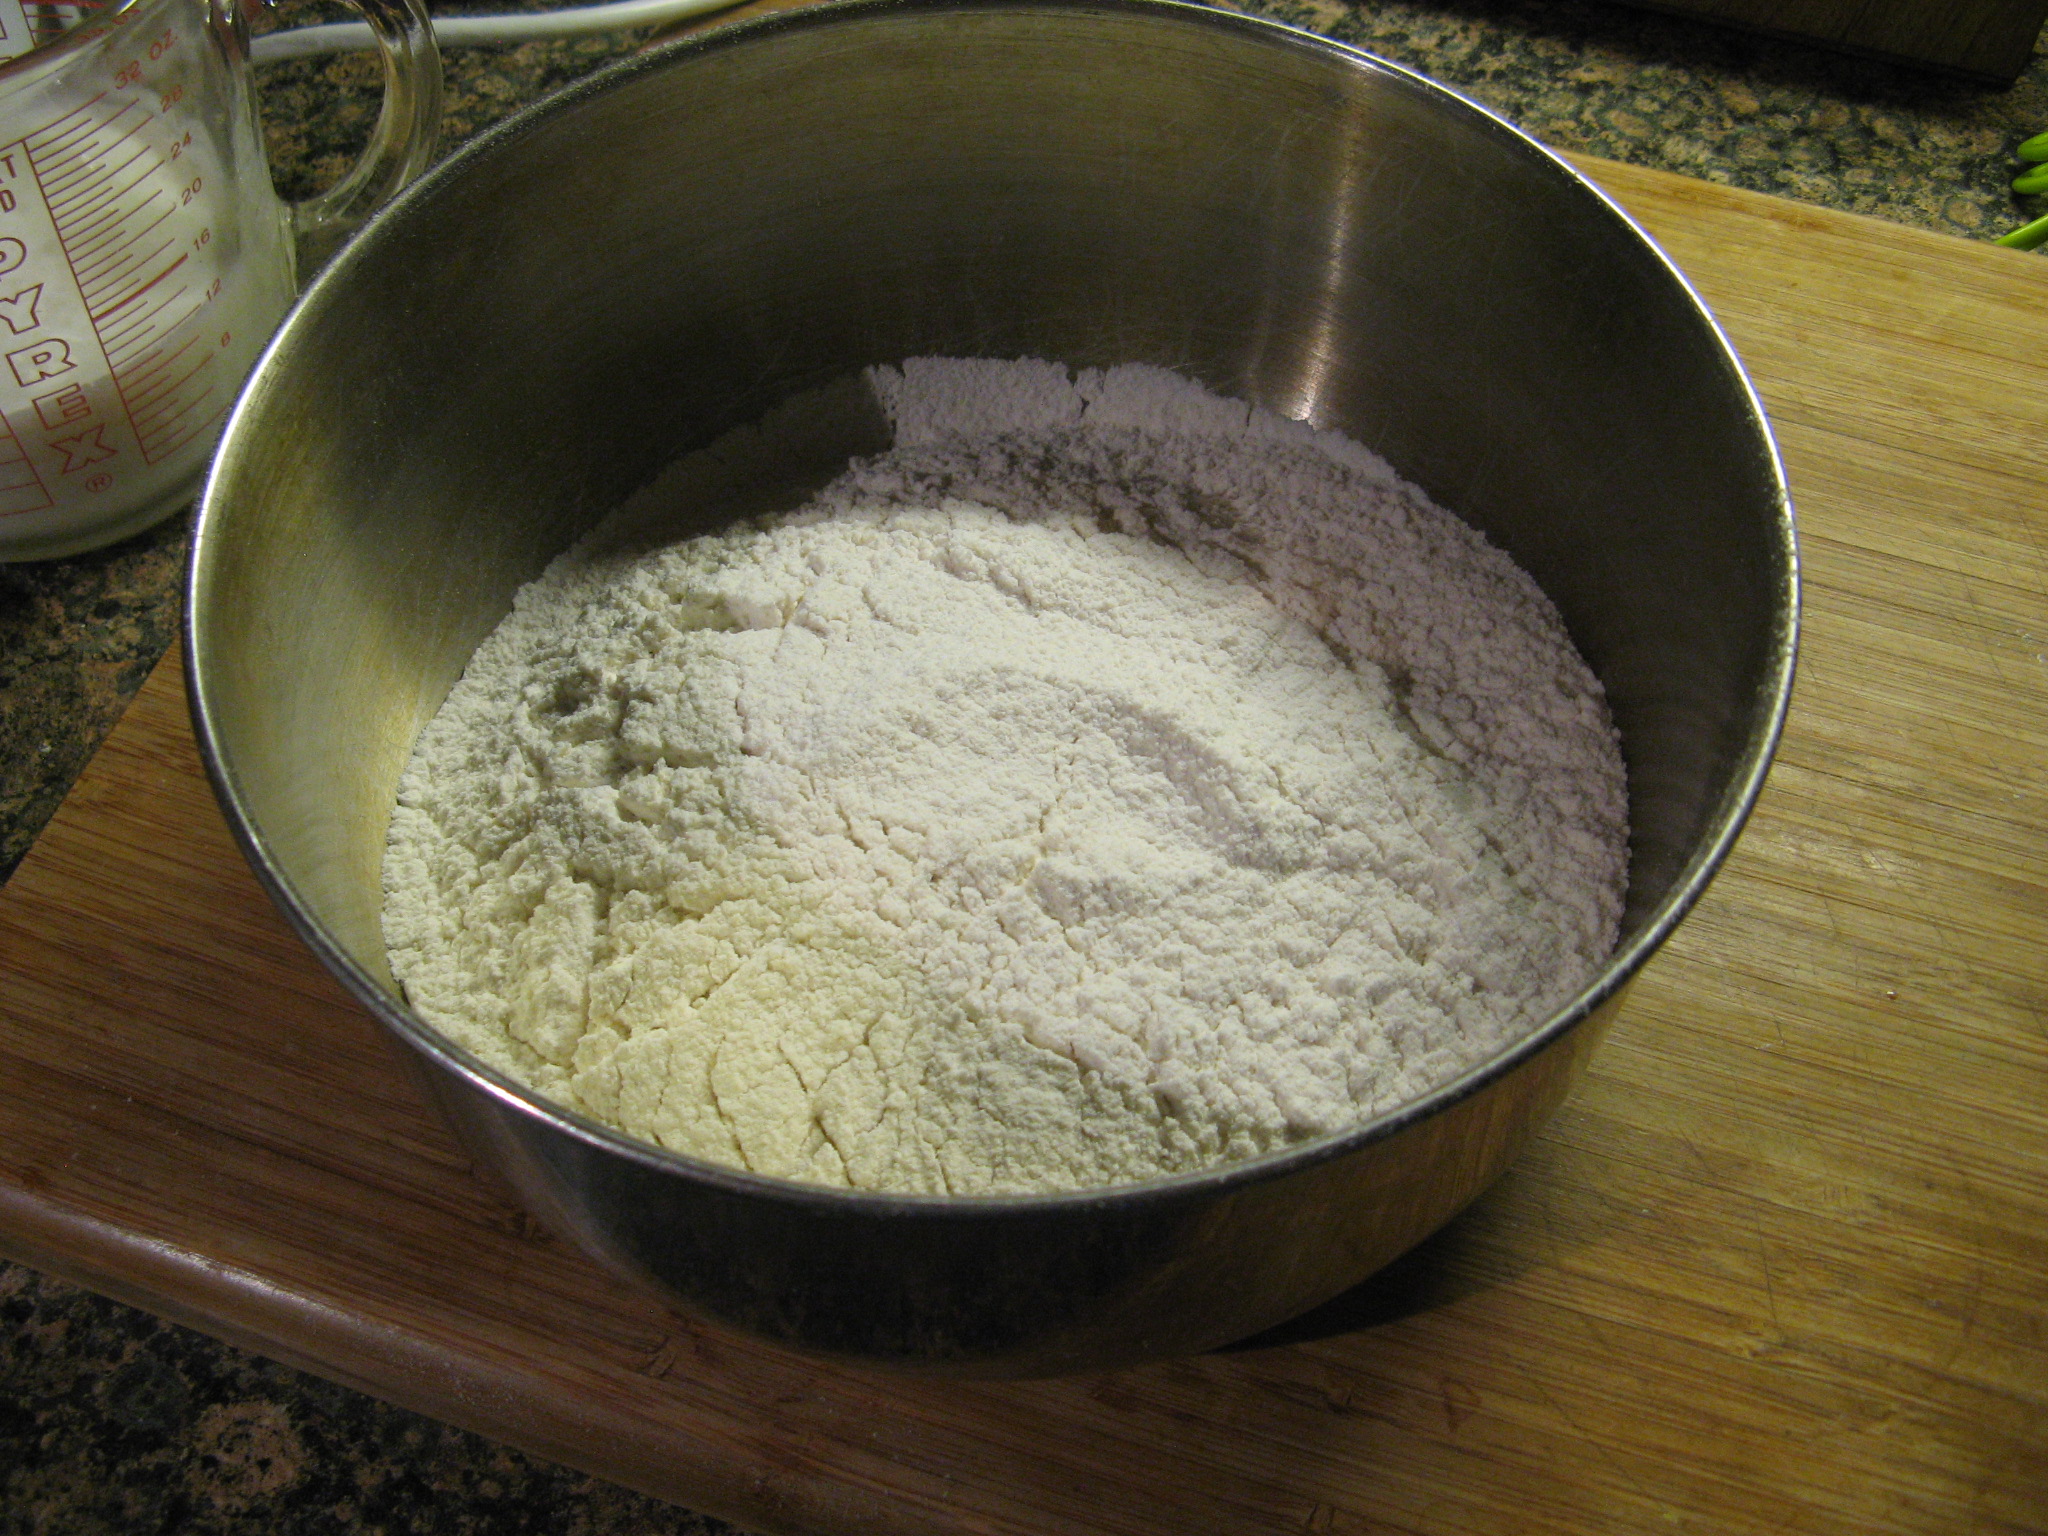
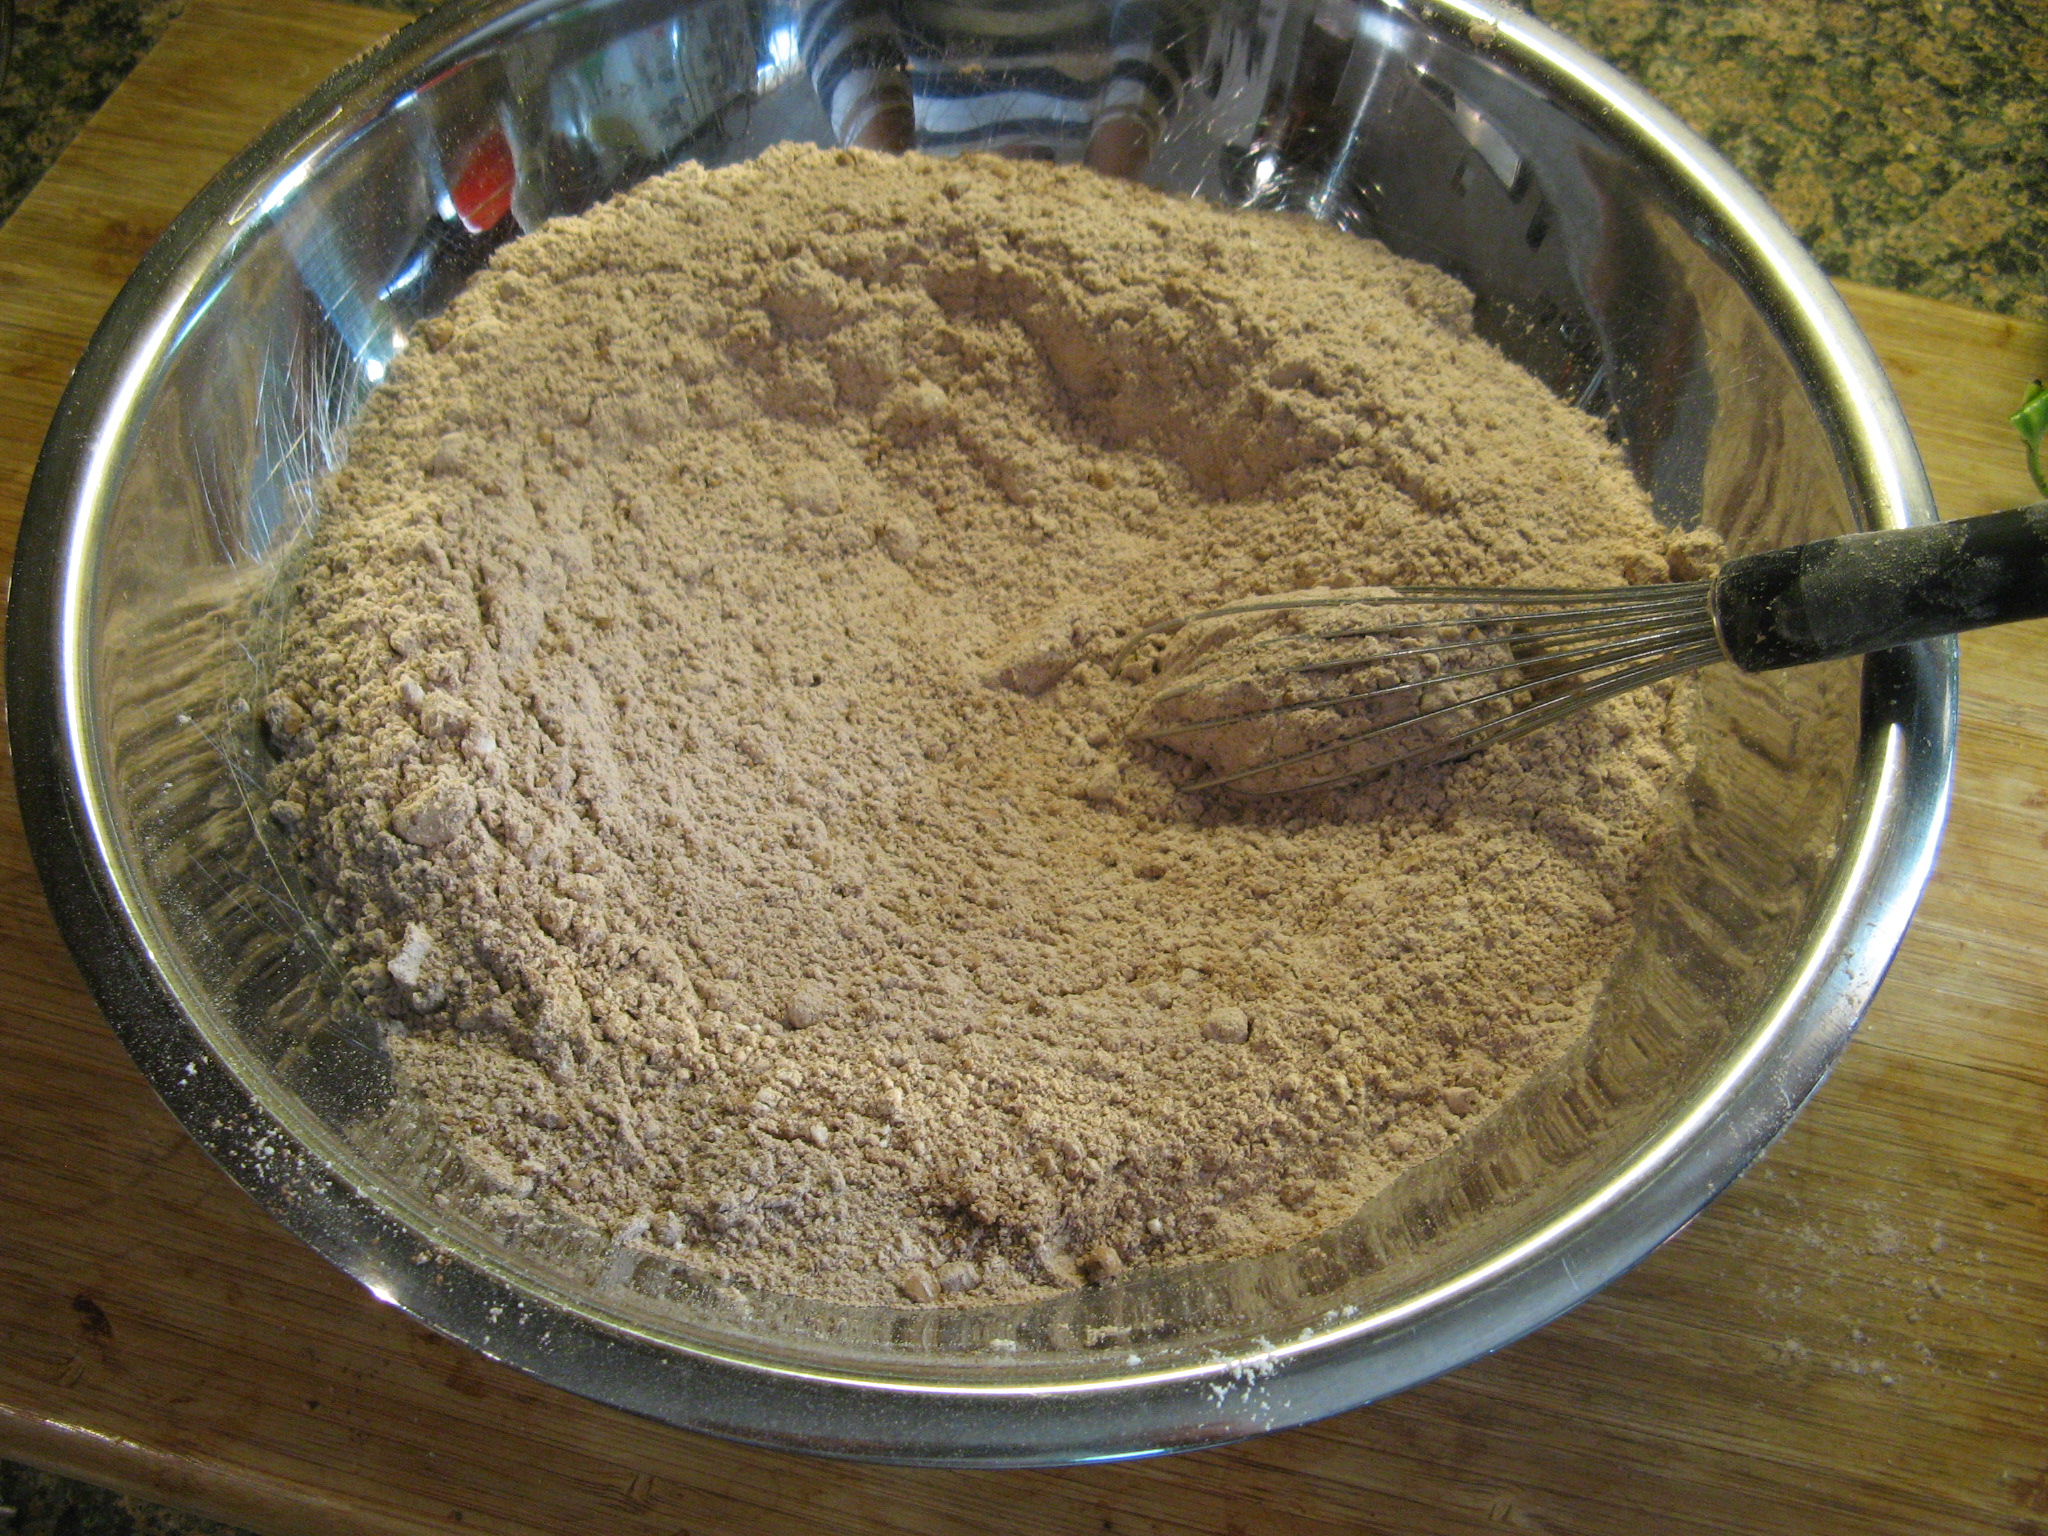
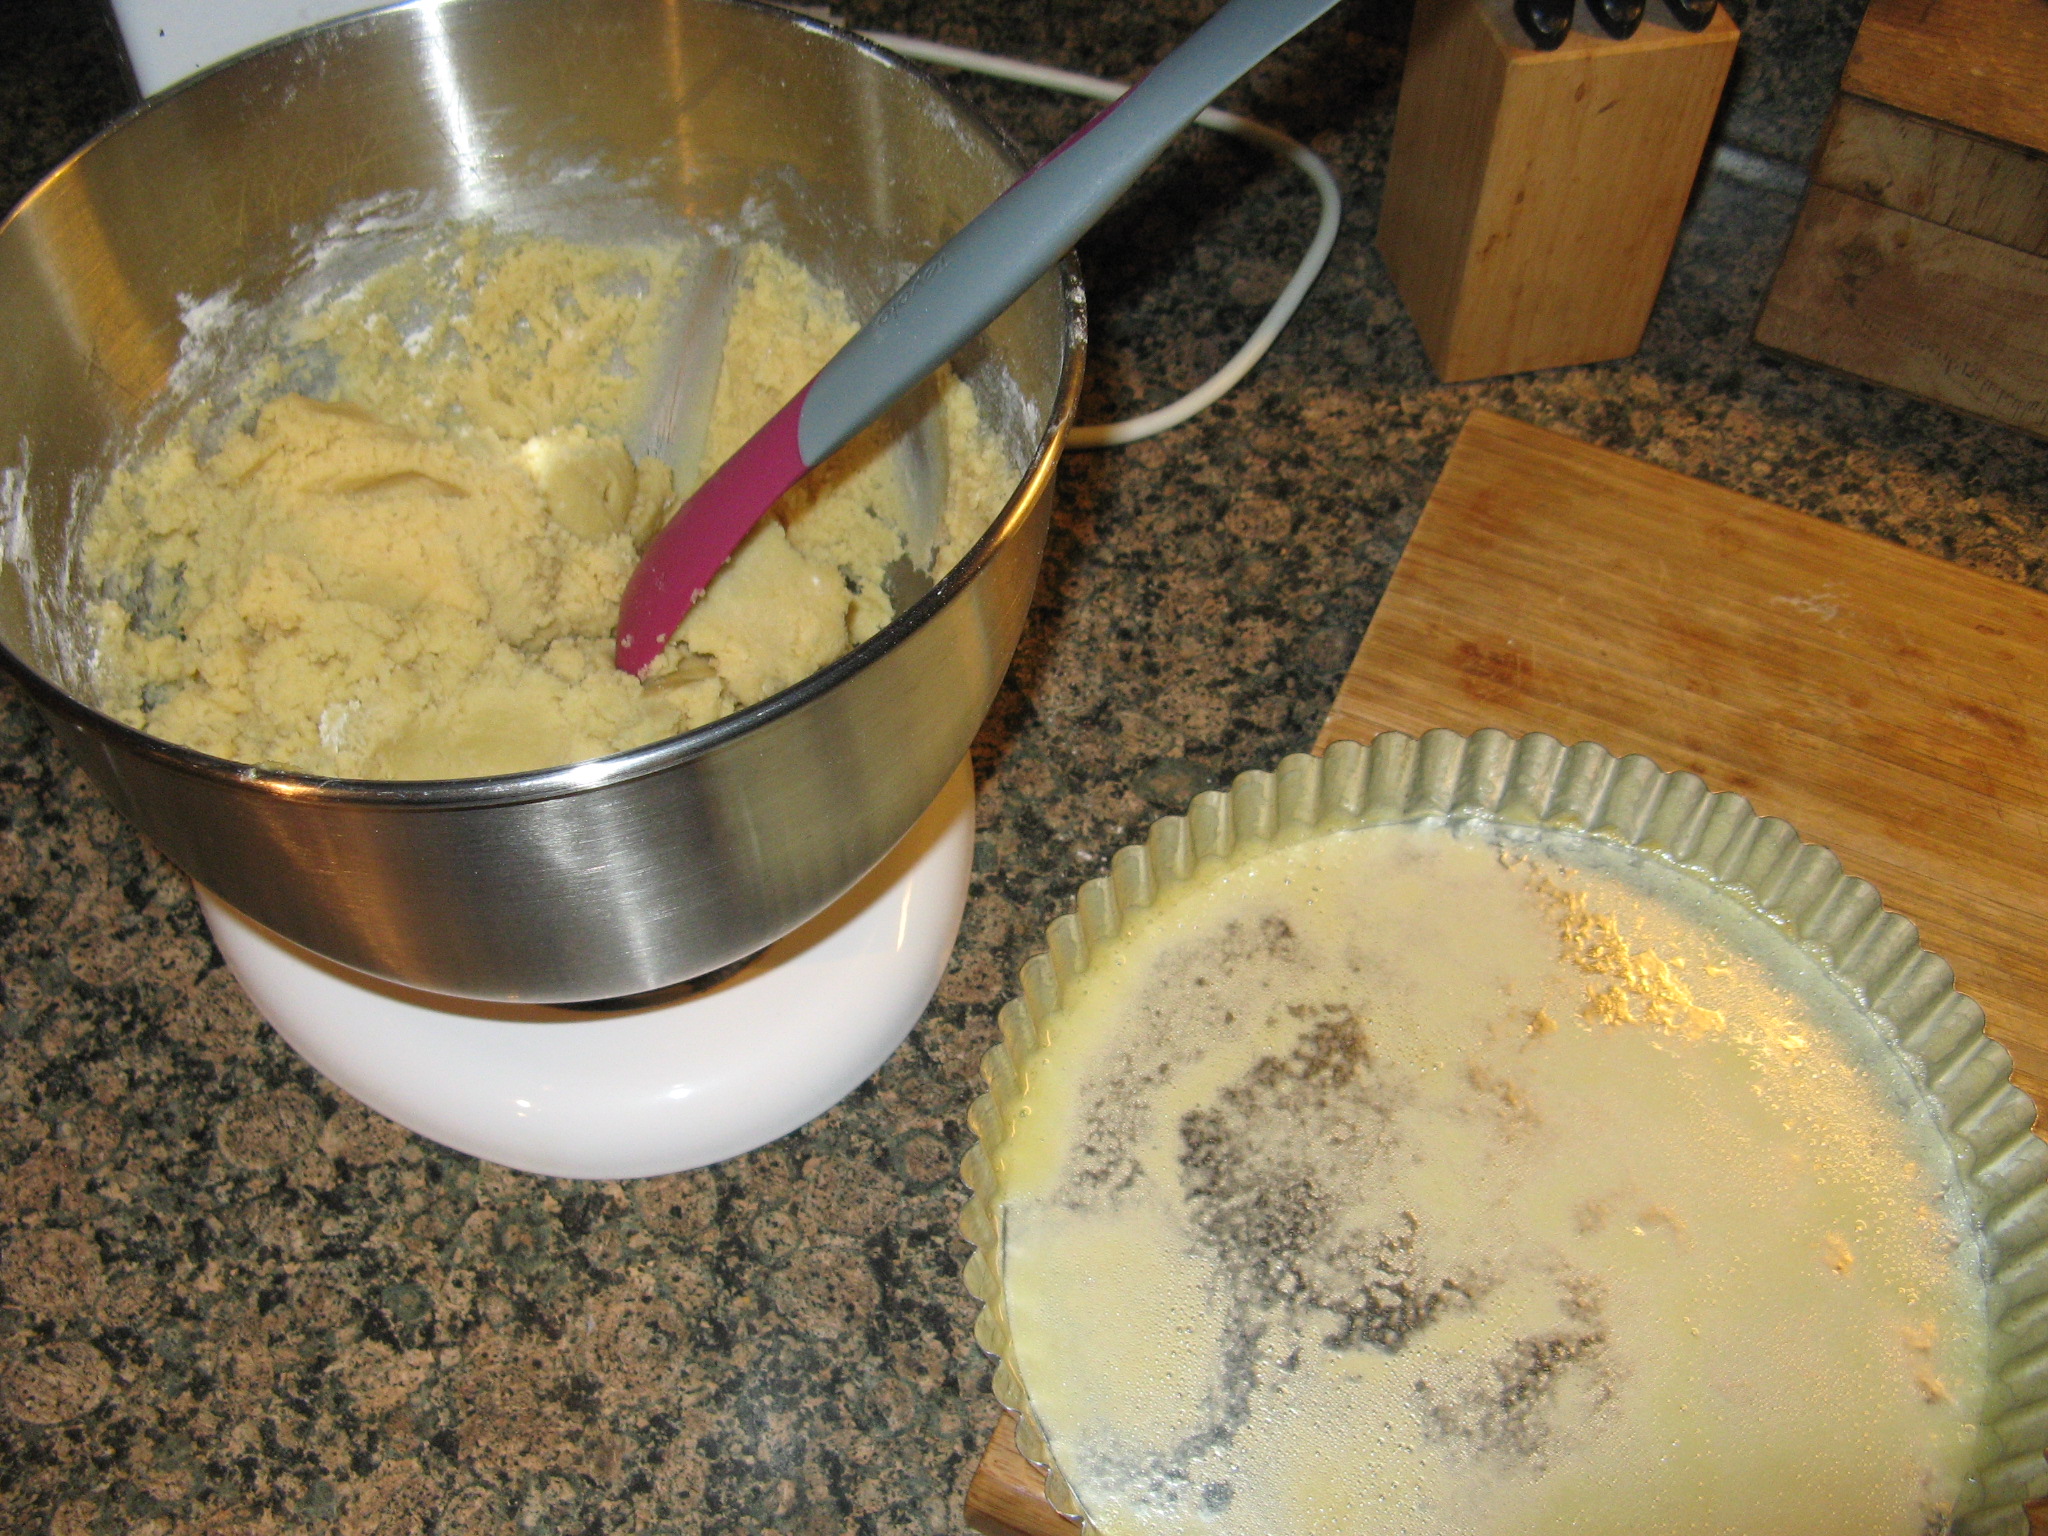
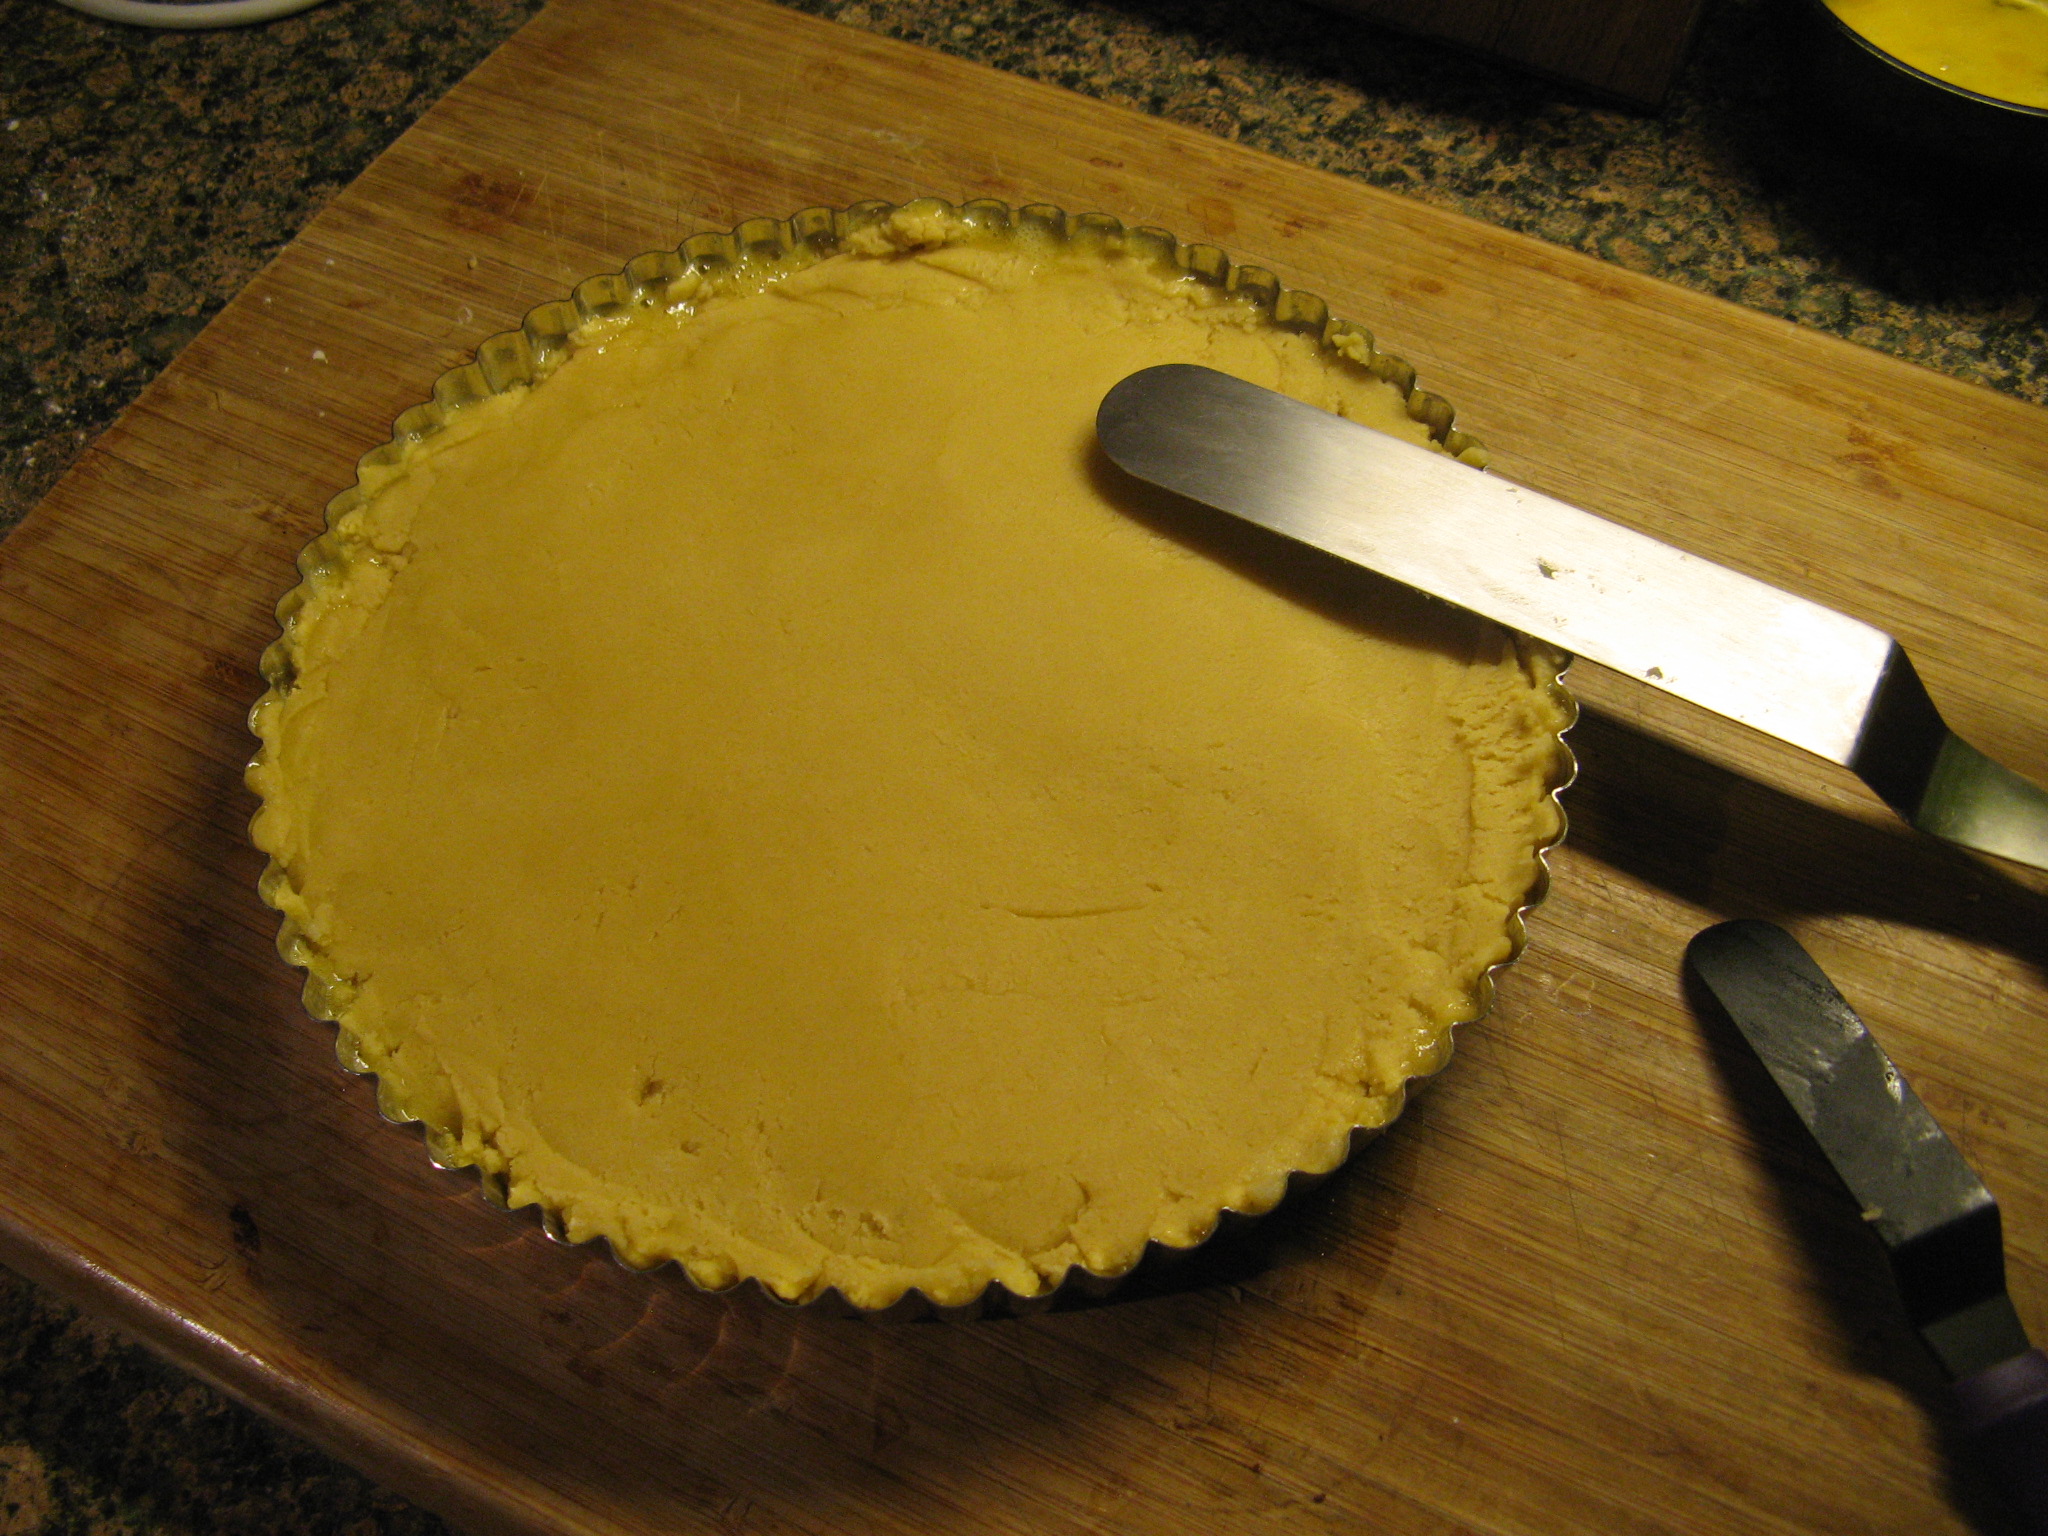
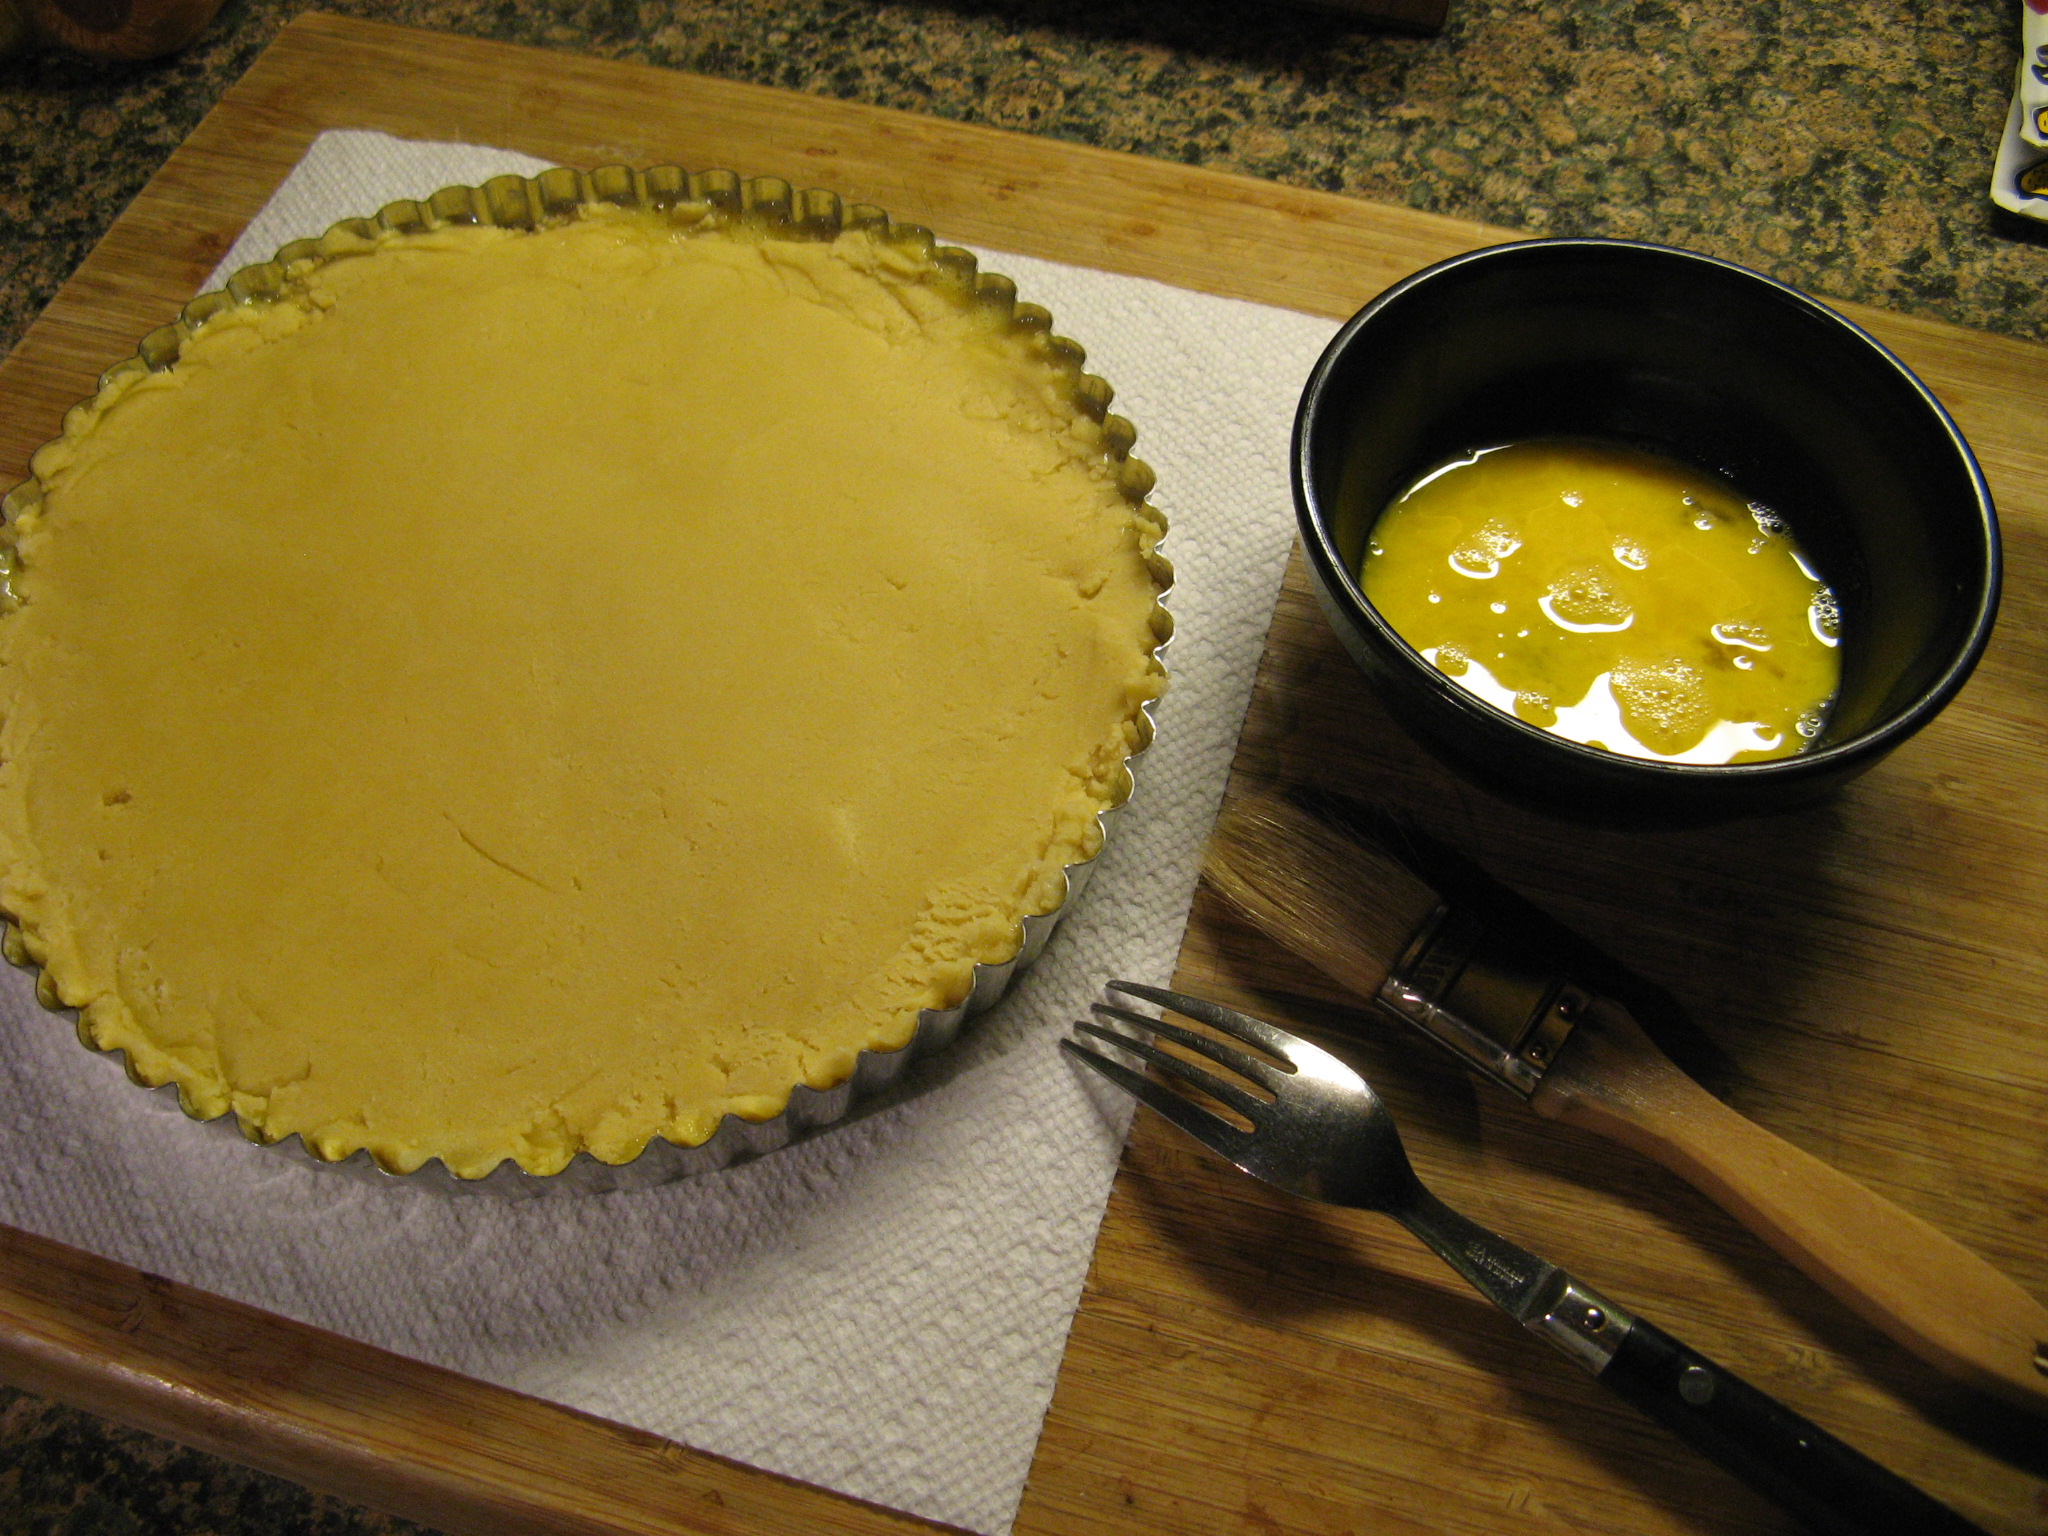
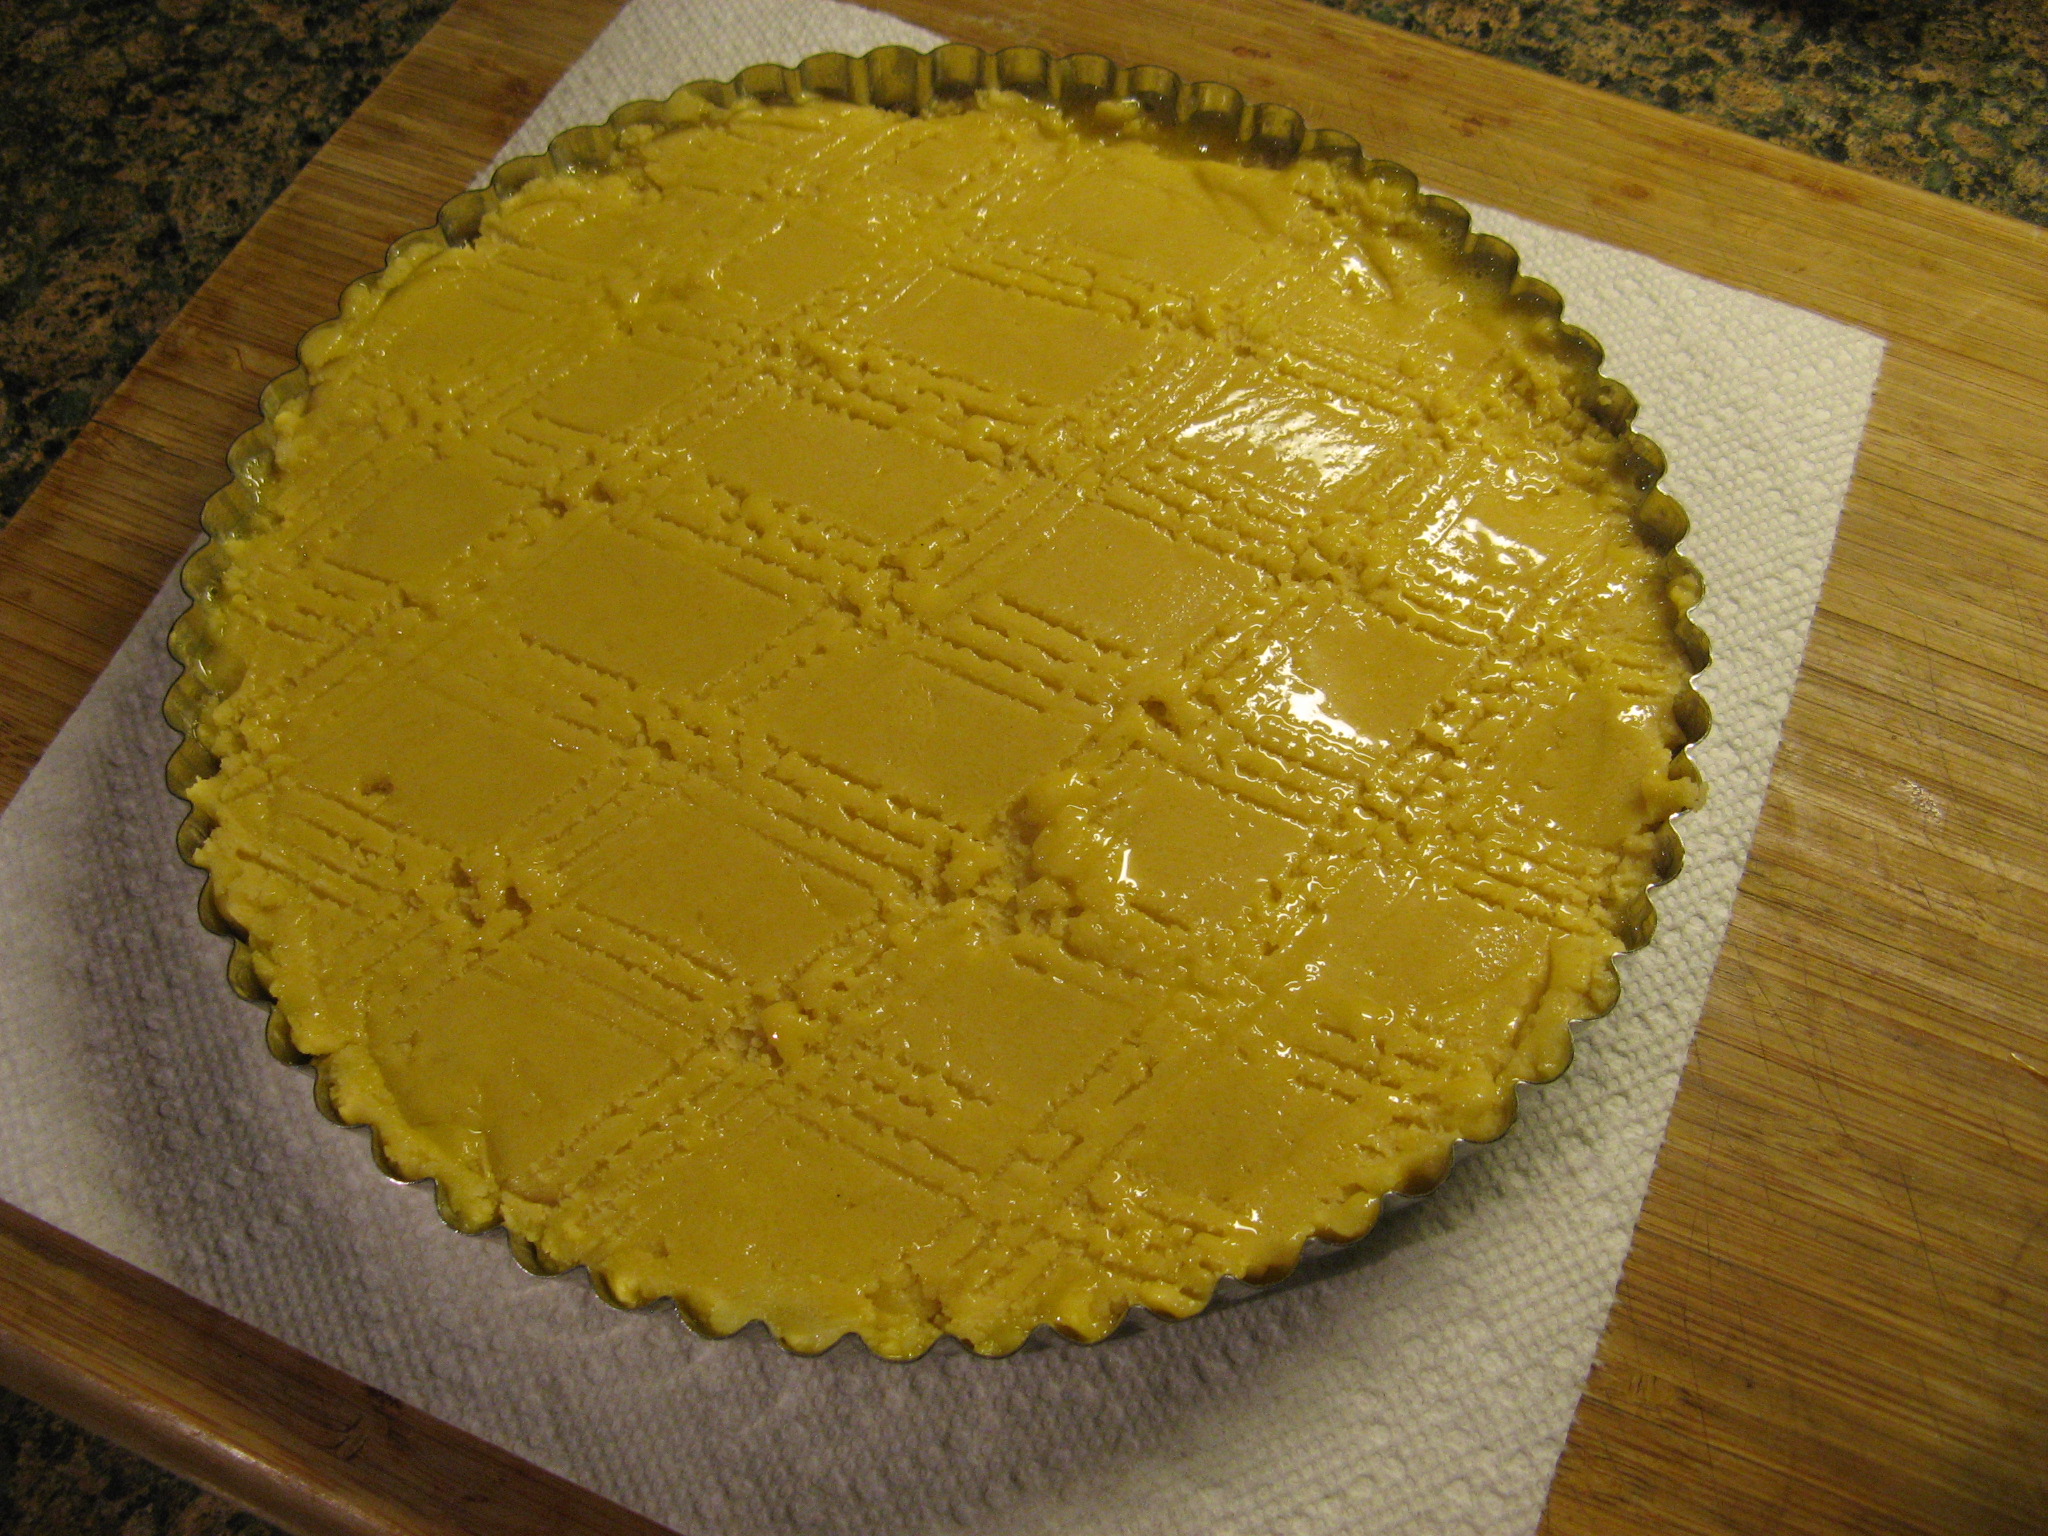
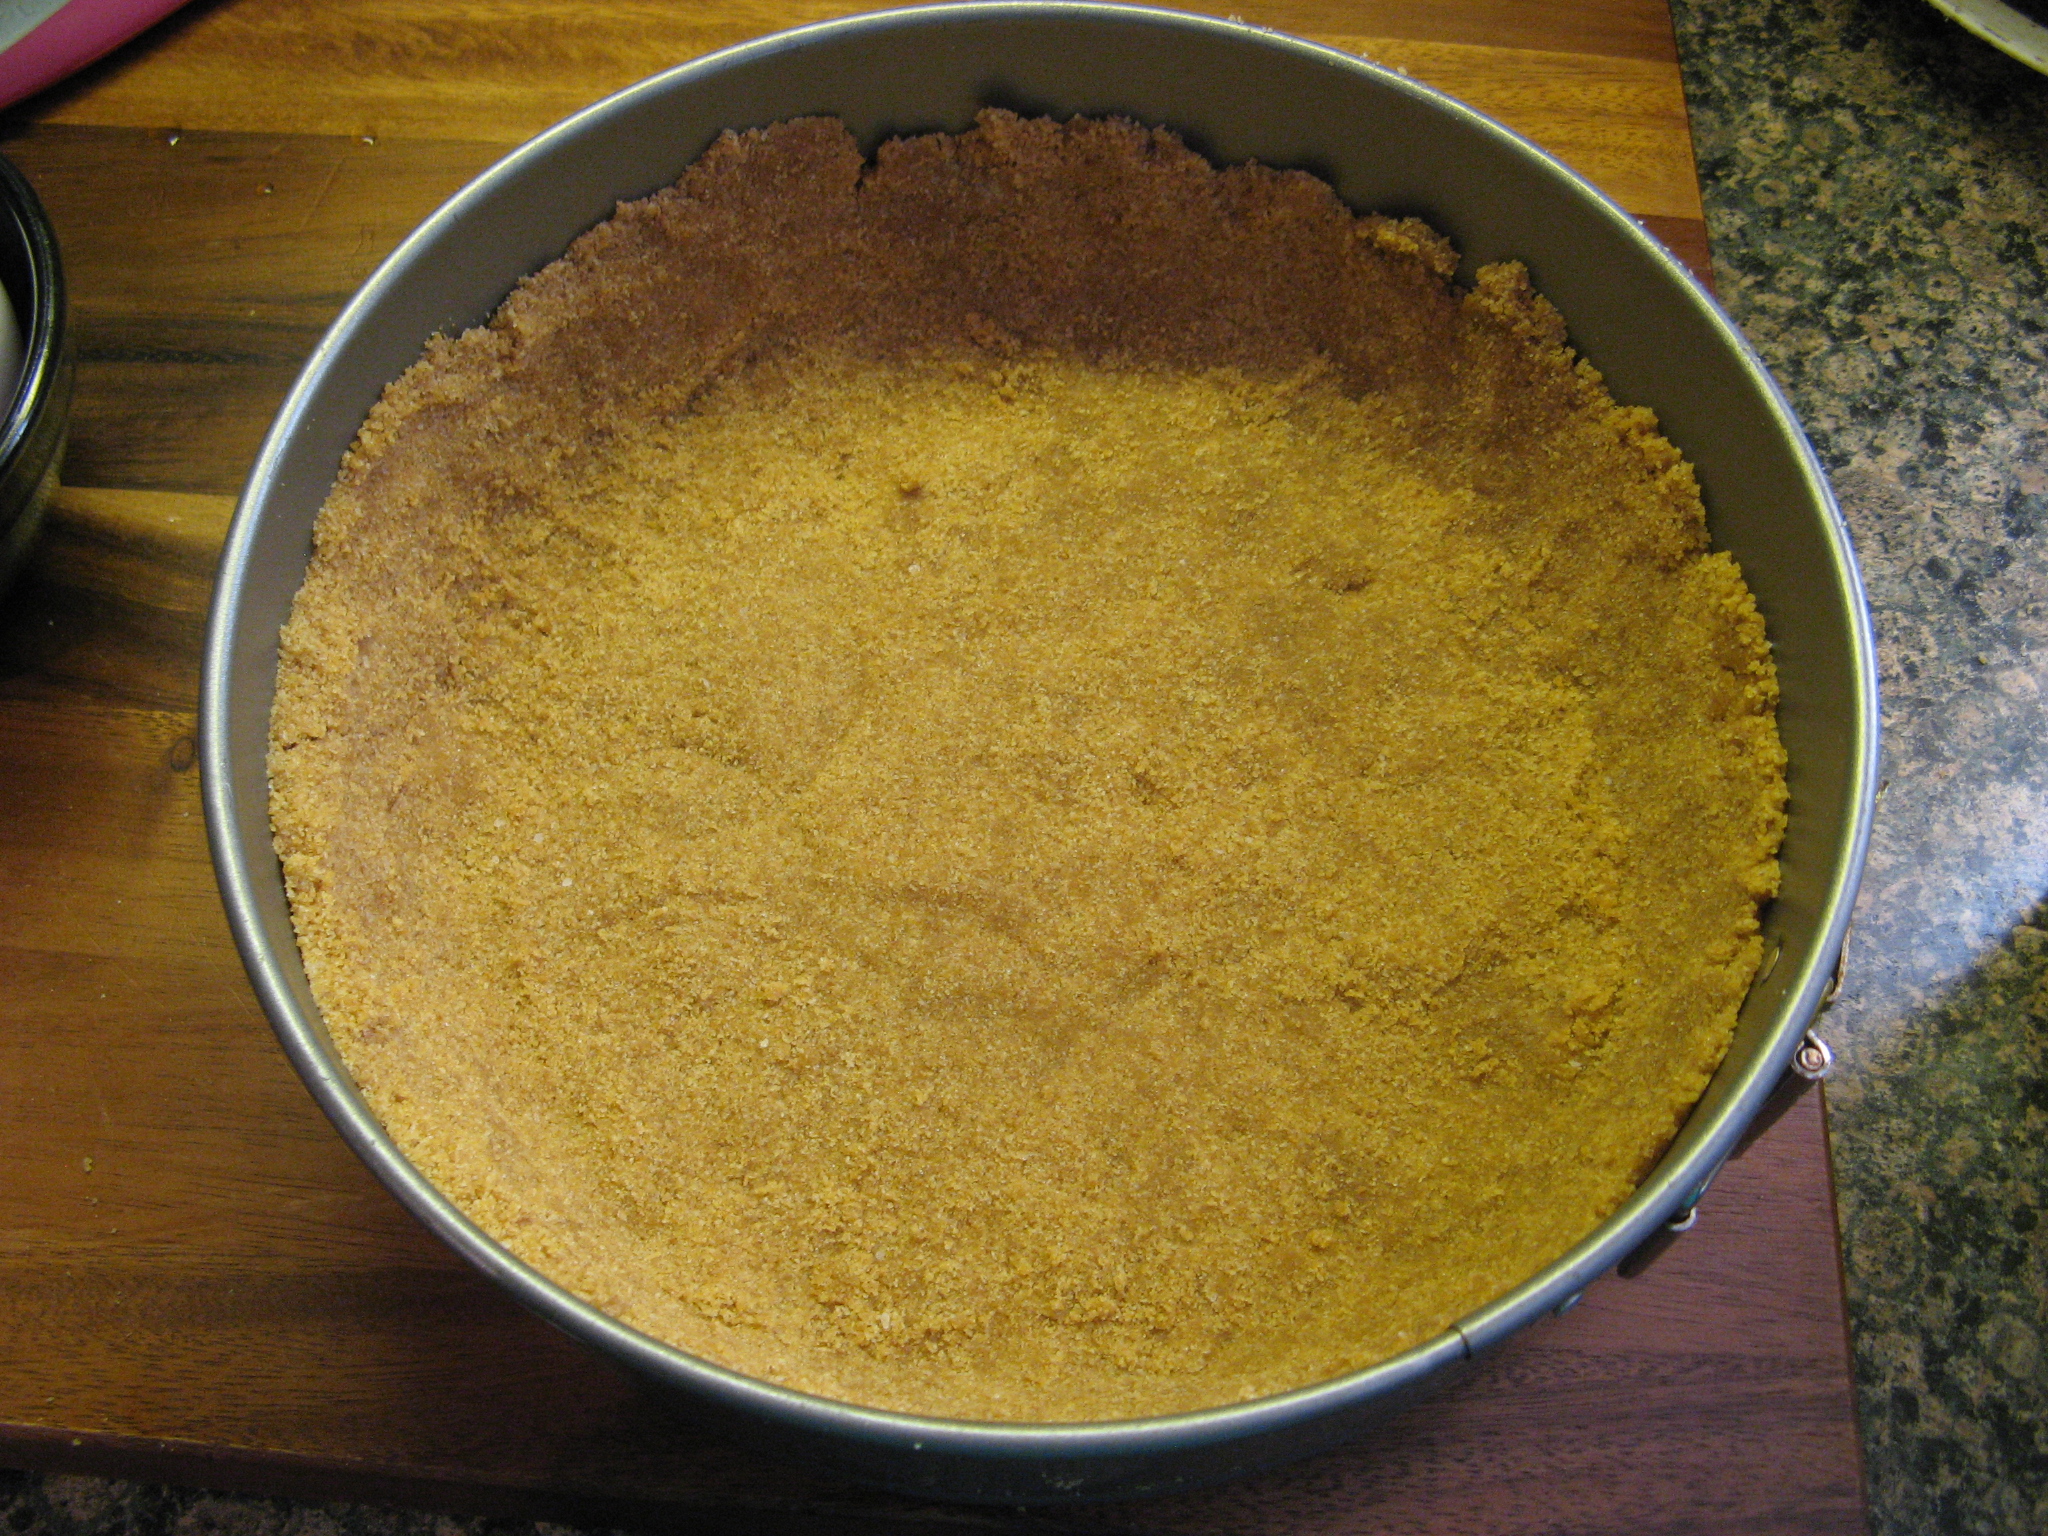
I began by making the crust… Using a food processor I ground up 18 graham crackers until they were fine crumbs. I then added in a stick of melted butter, sugar and salt and pulse to combine them. Following that I pressed the crumbs into the bottom and approximately 2-inches up the side of a 9-inch springform pan.

IMG_7006

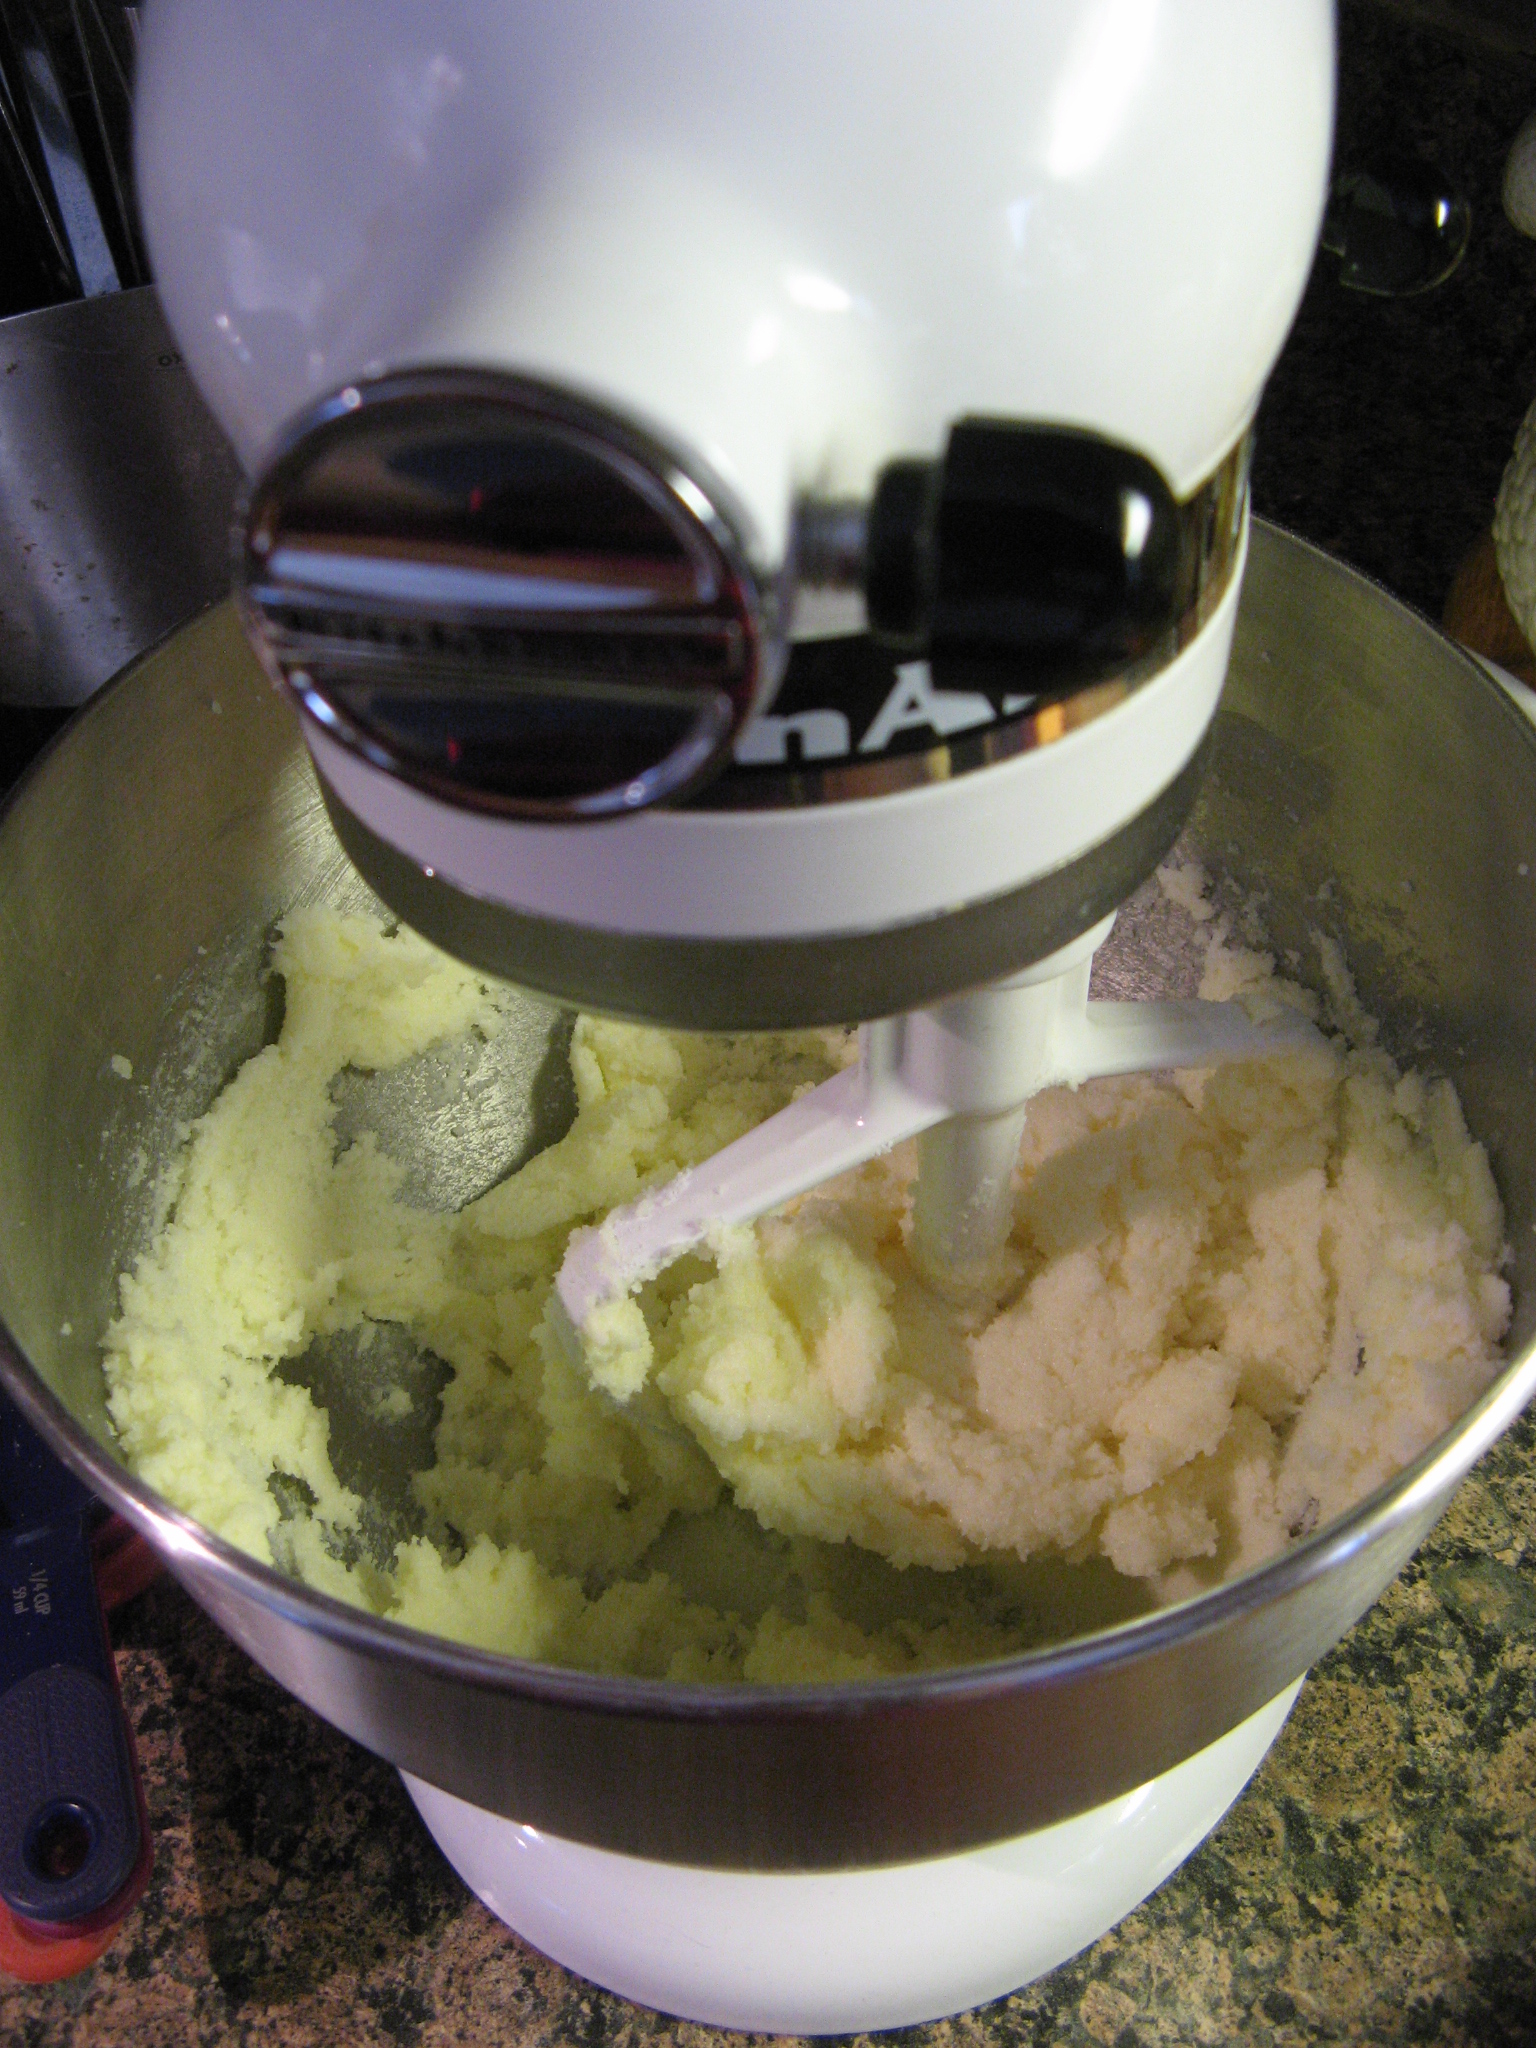
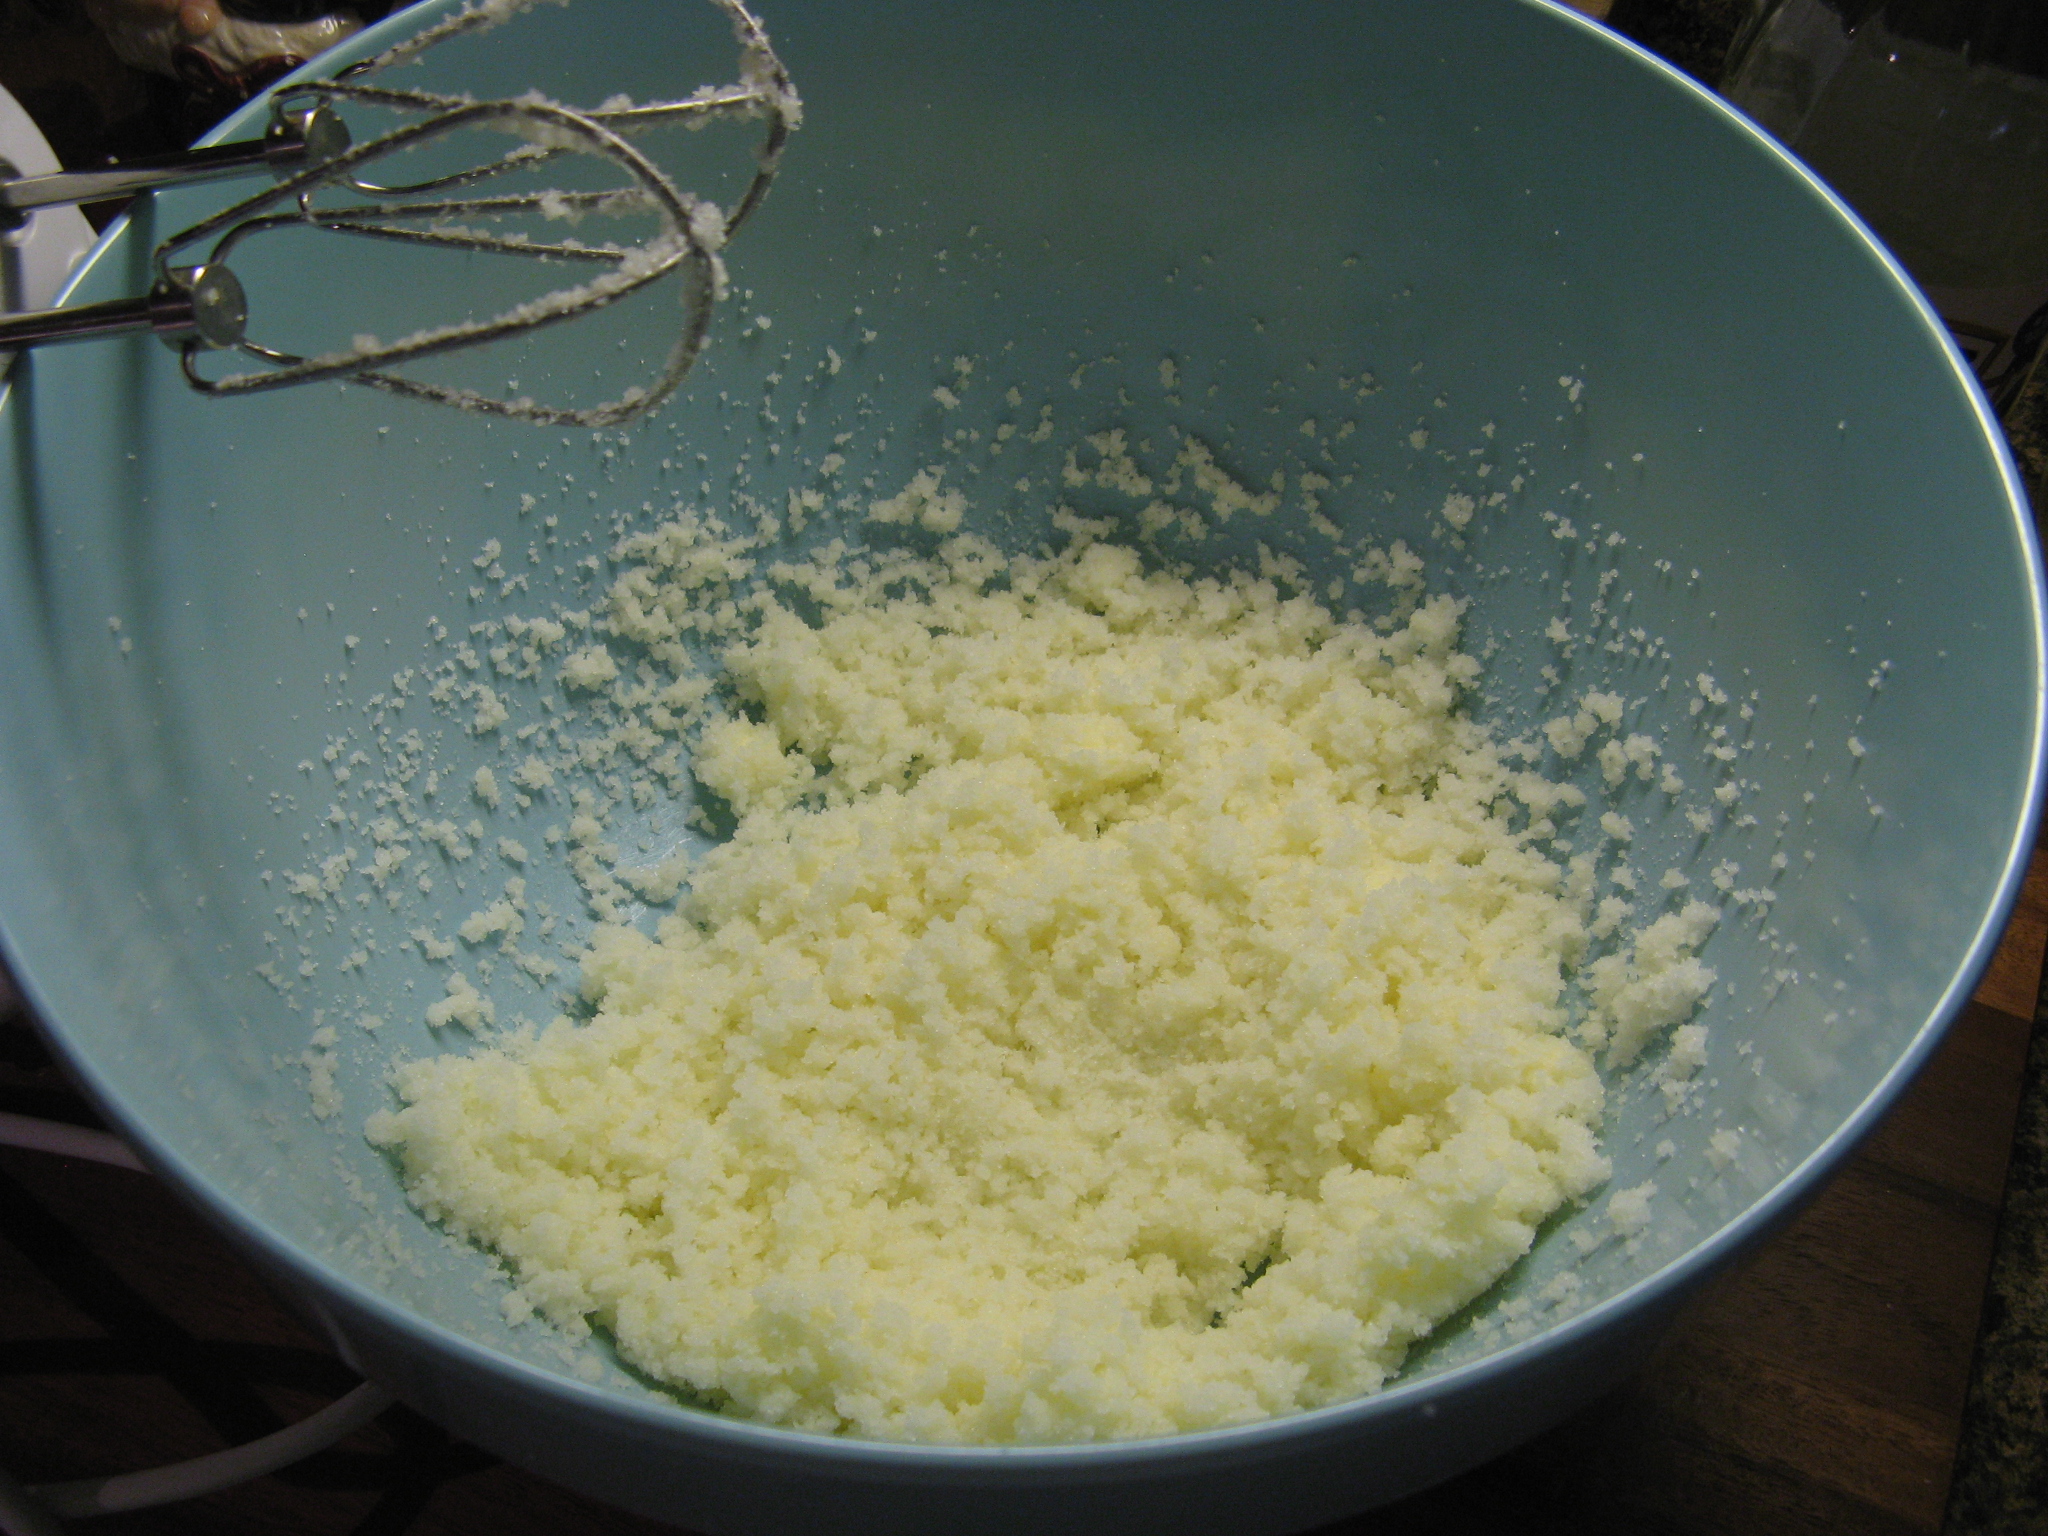
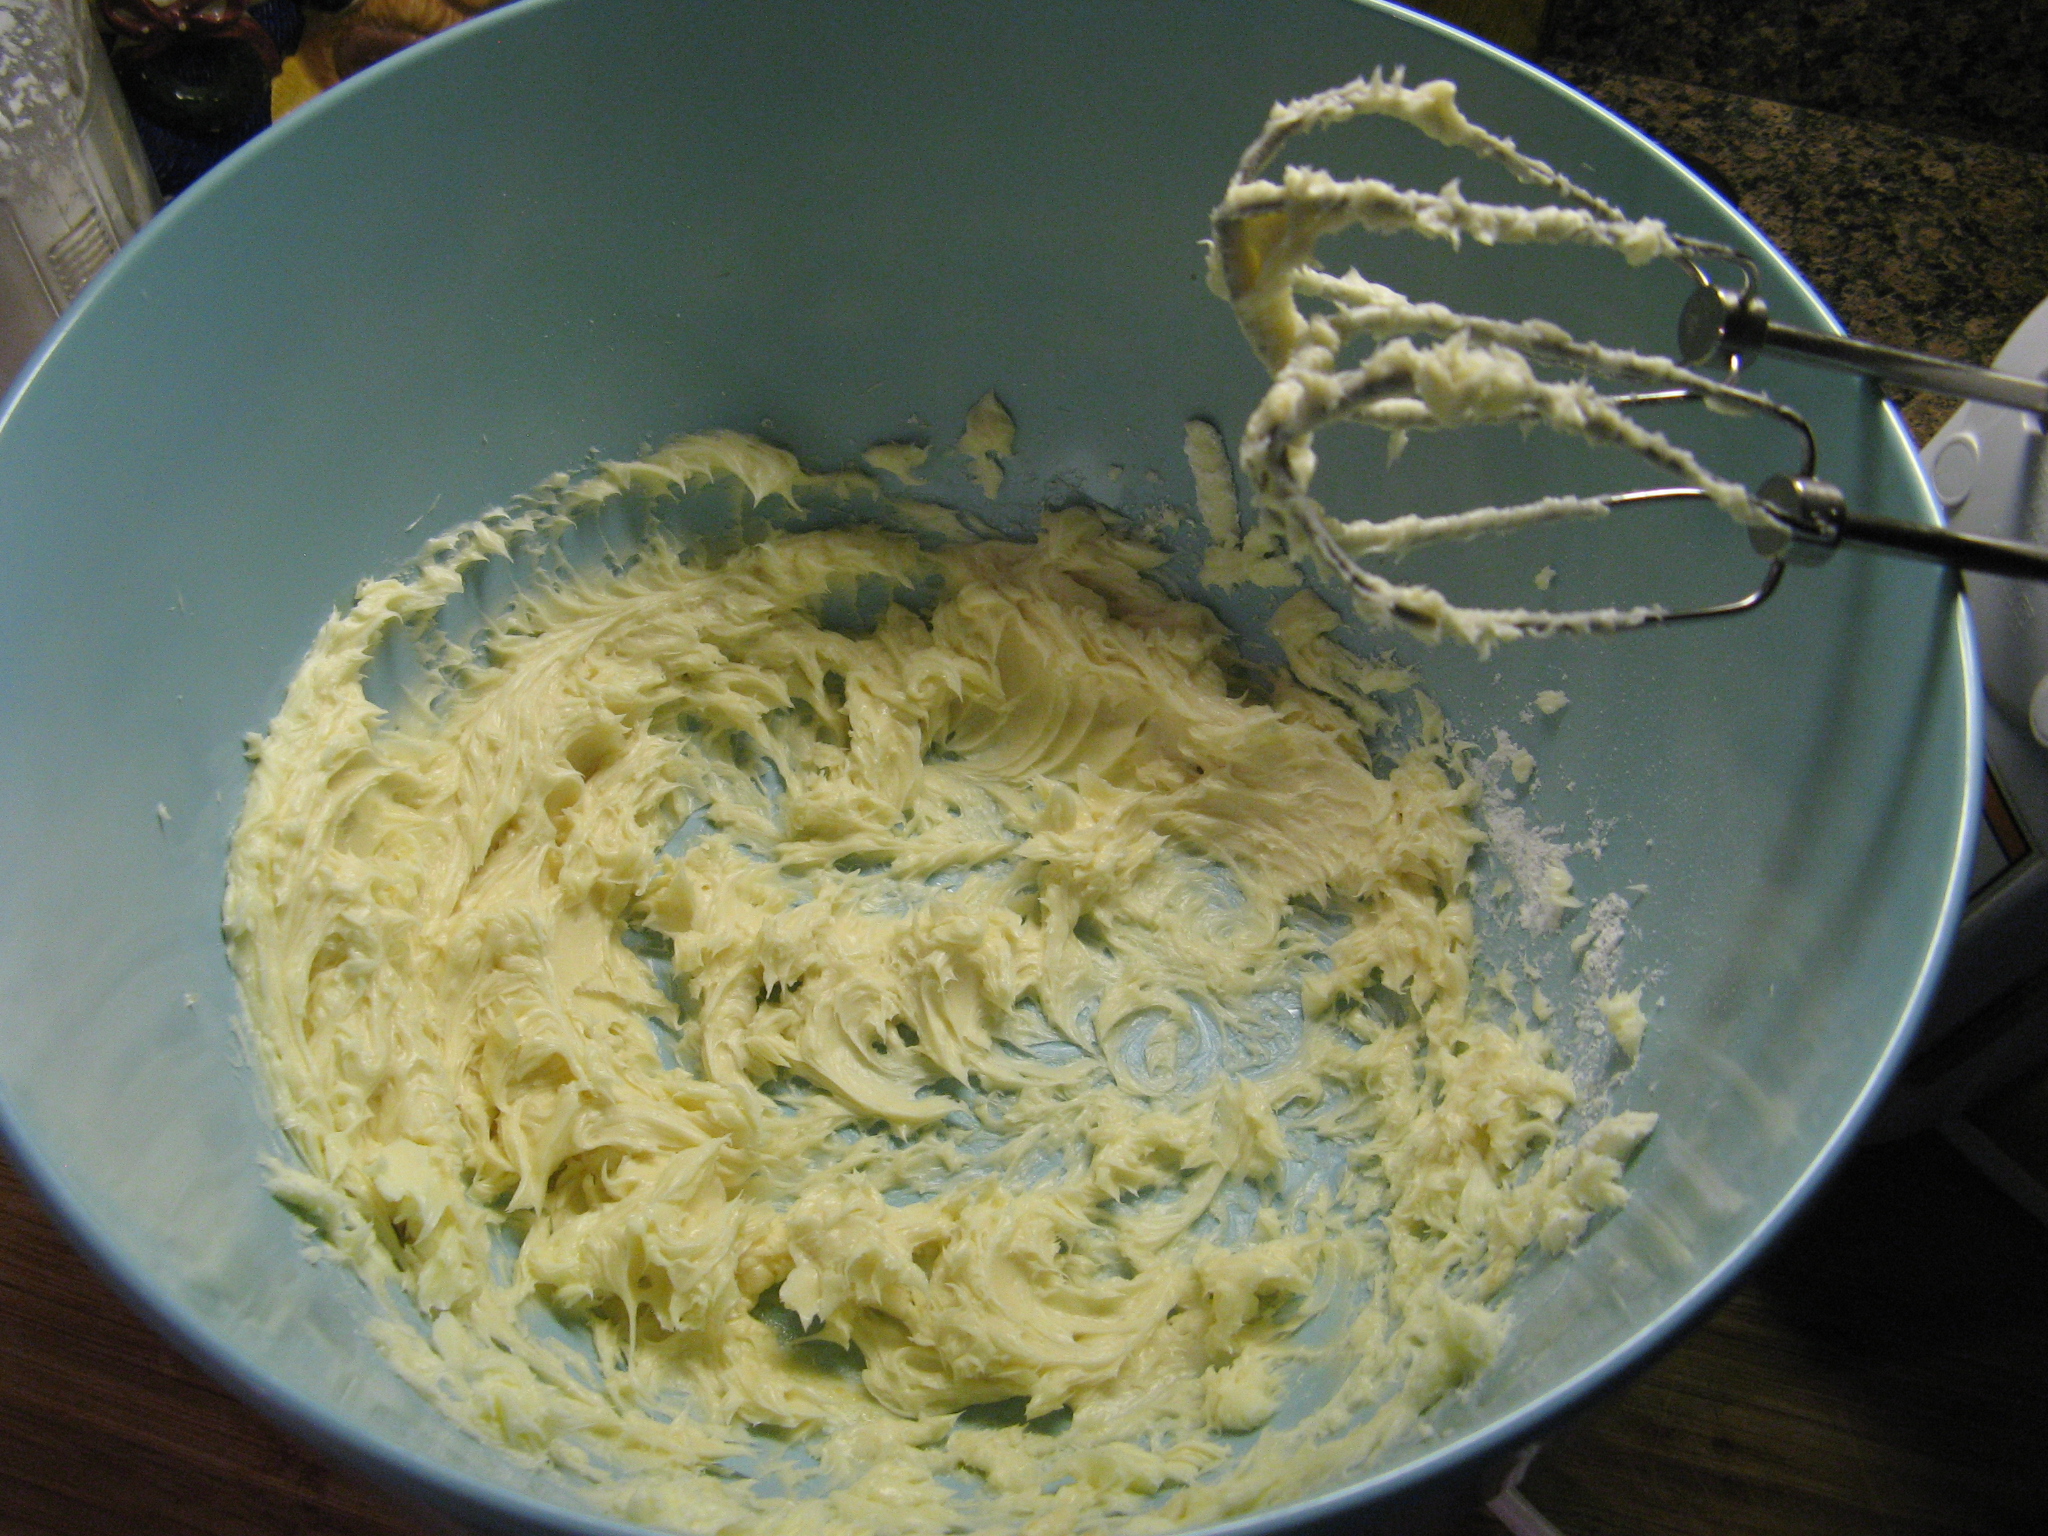
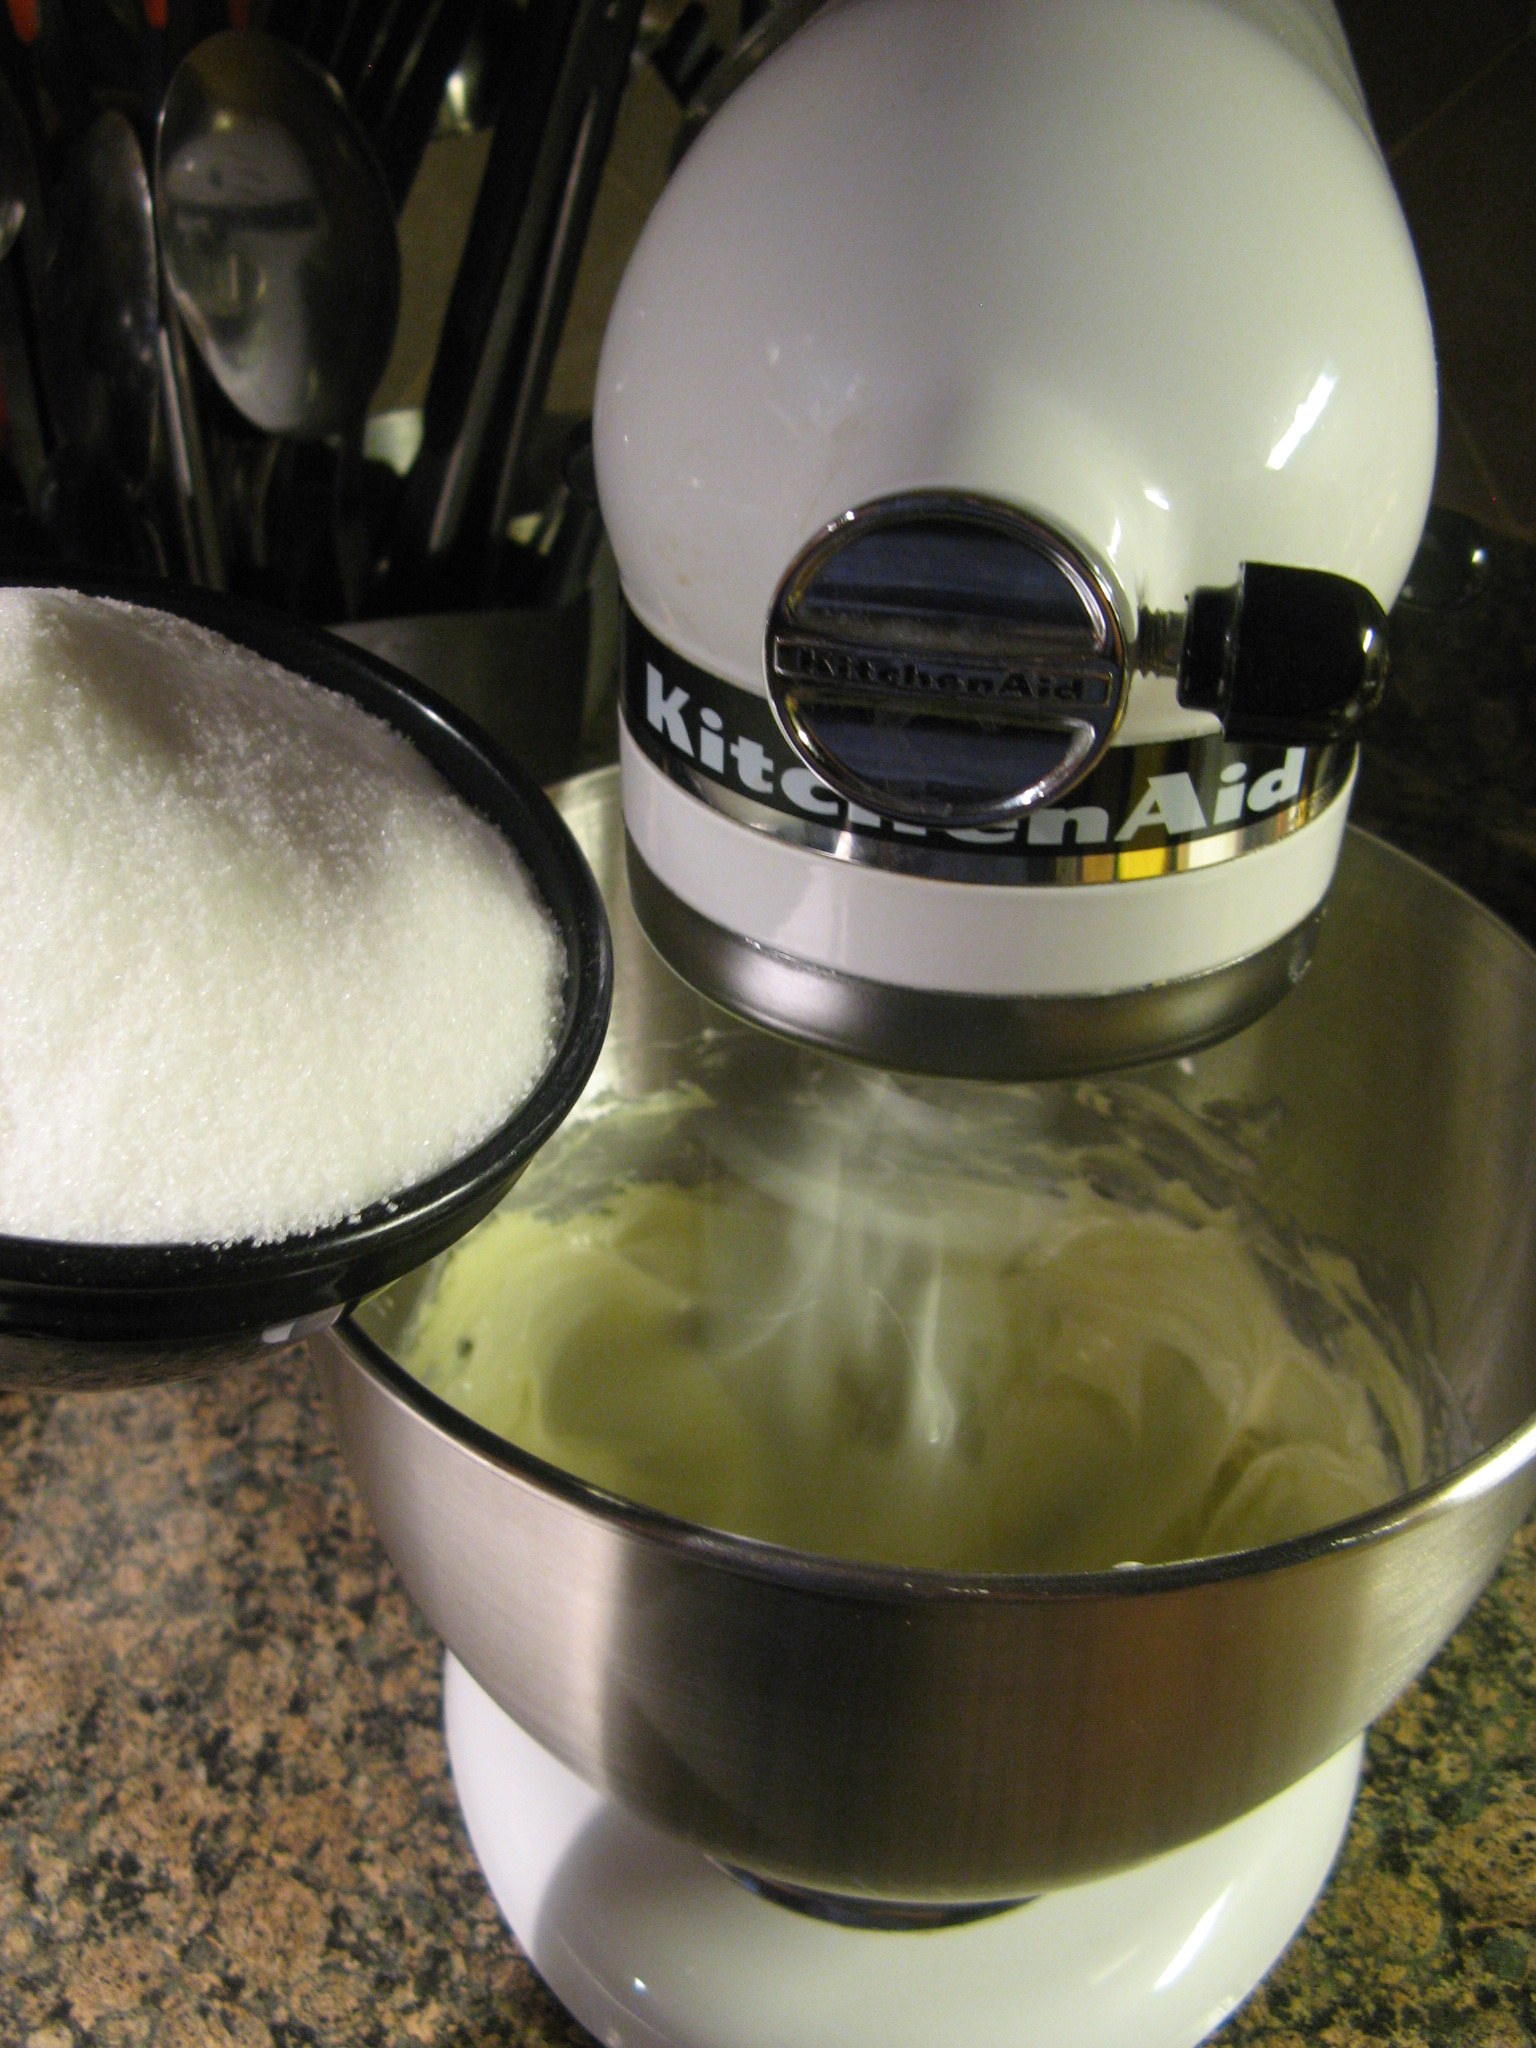
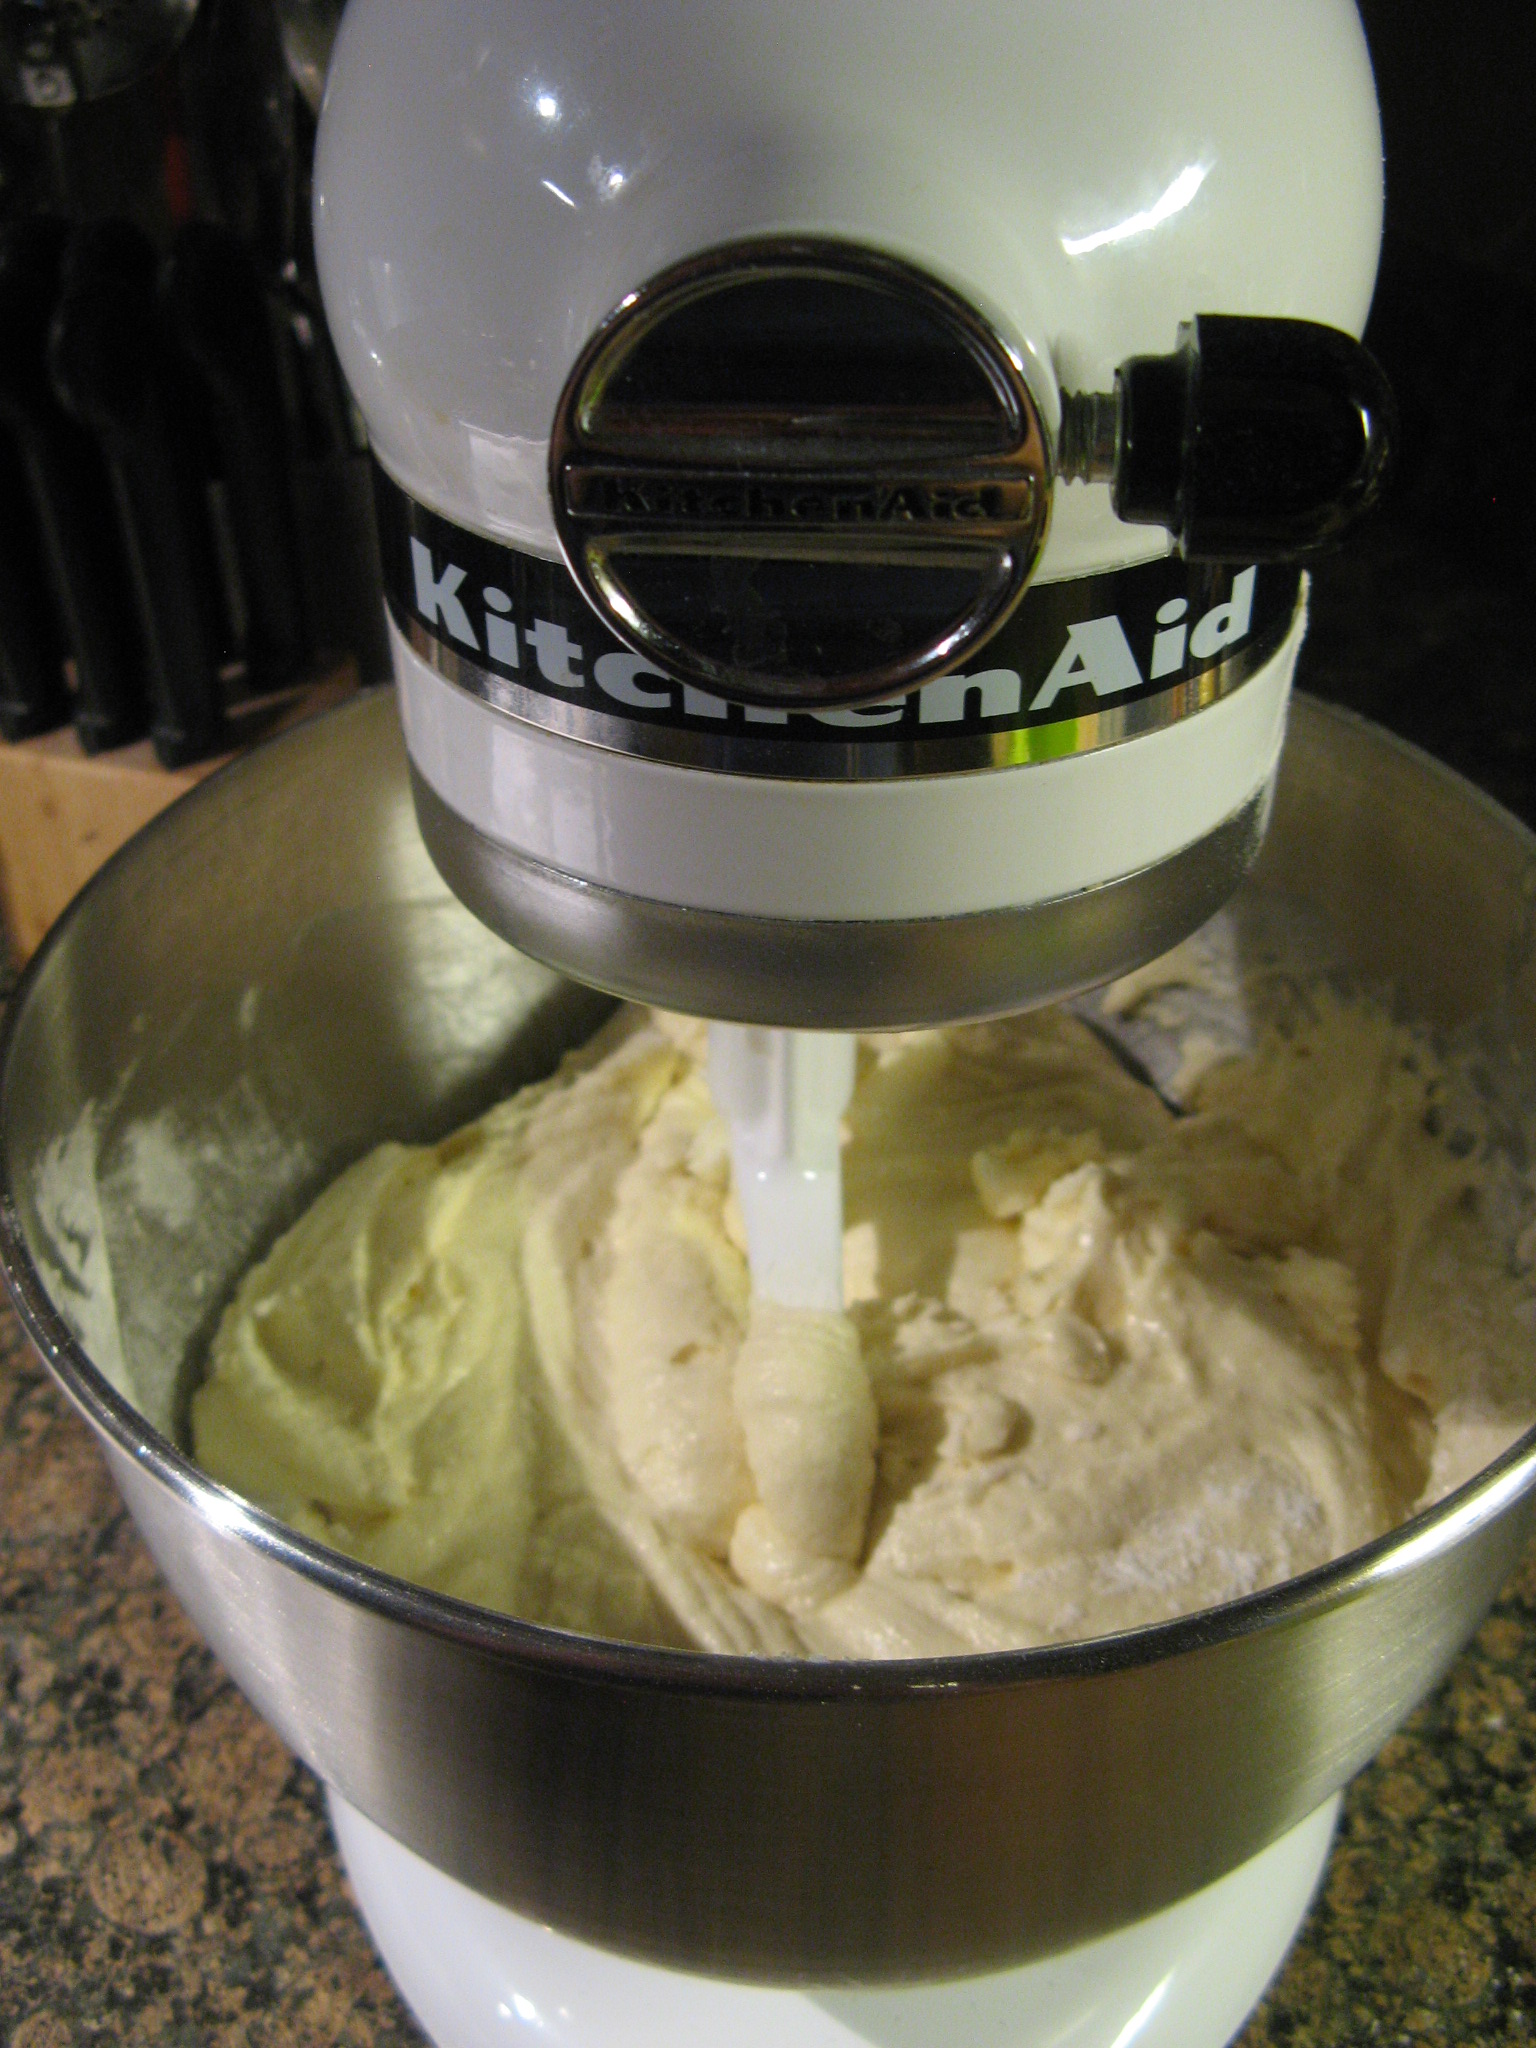
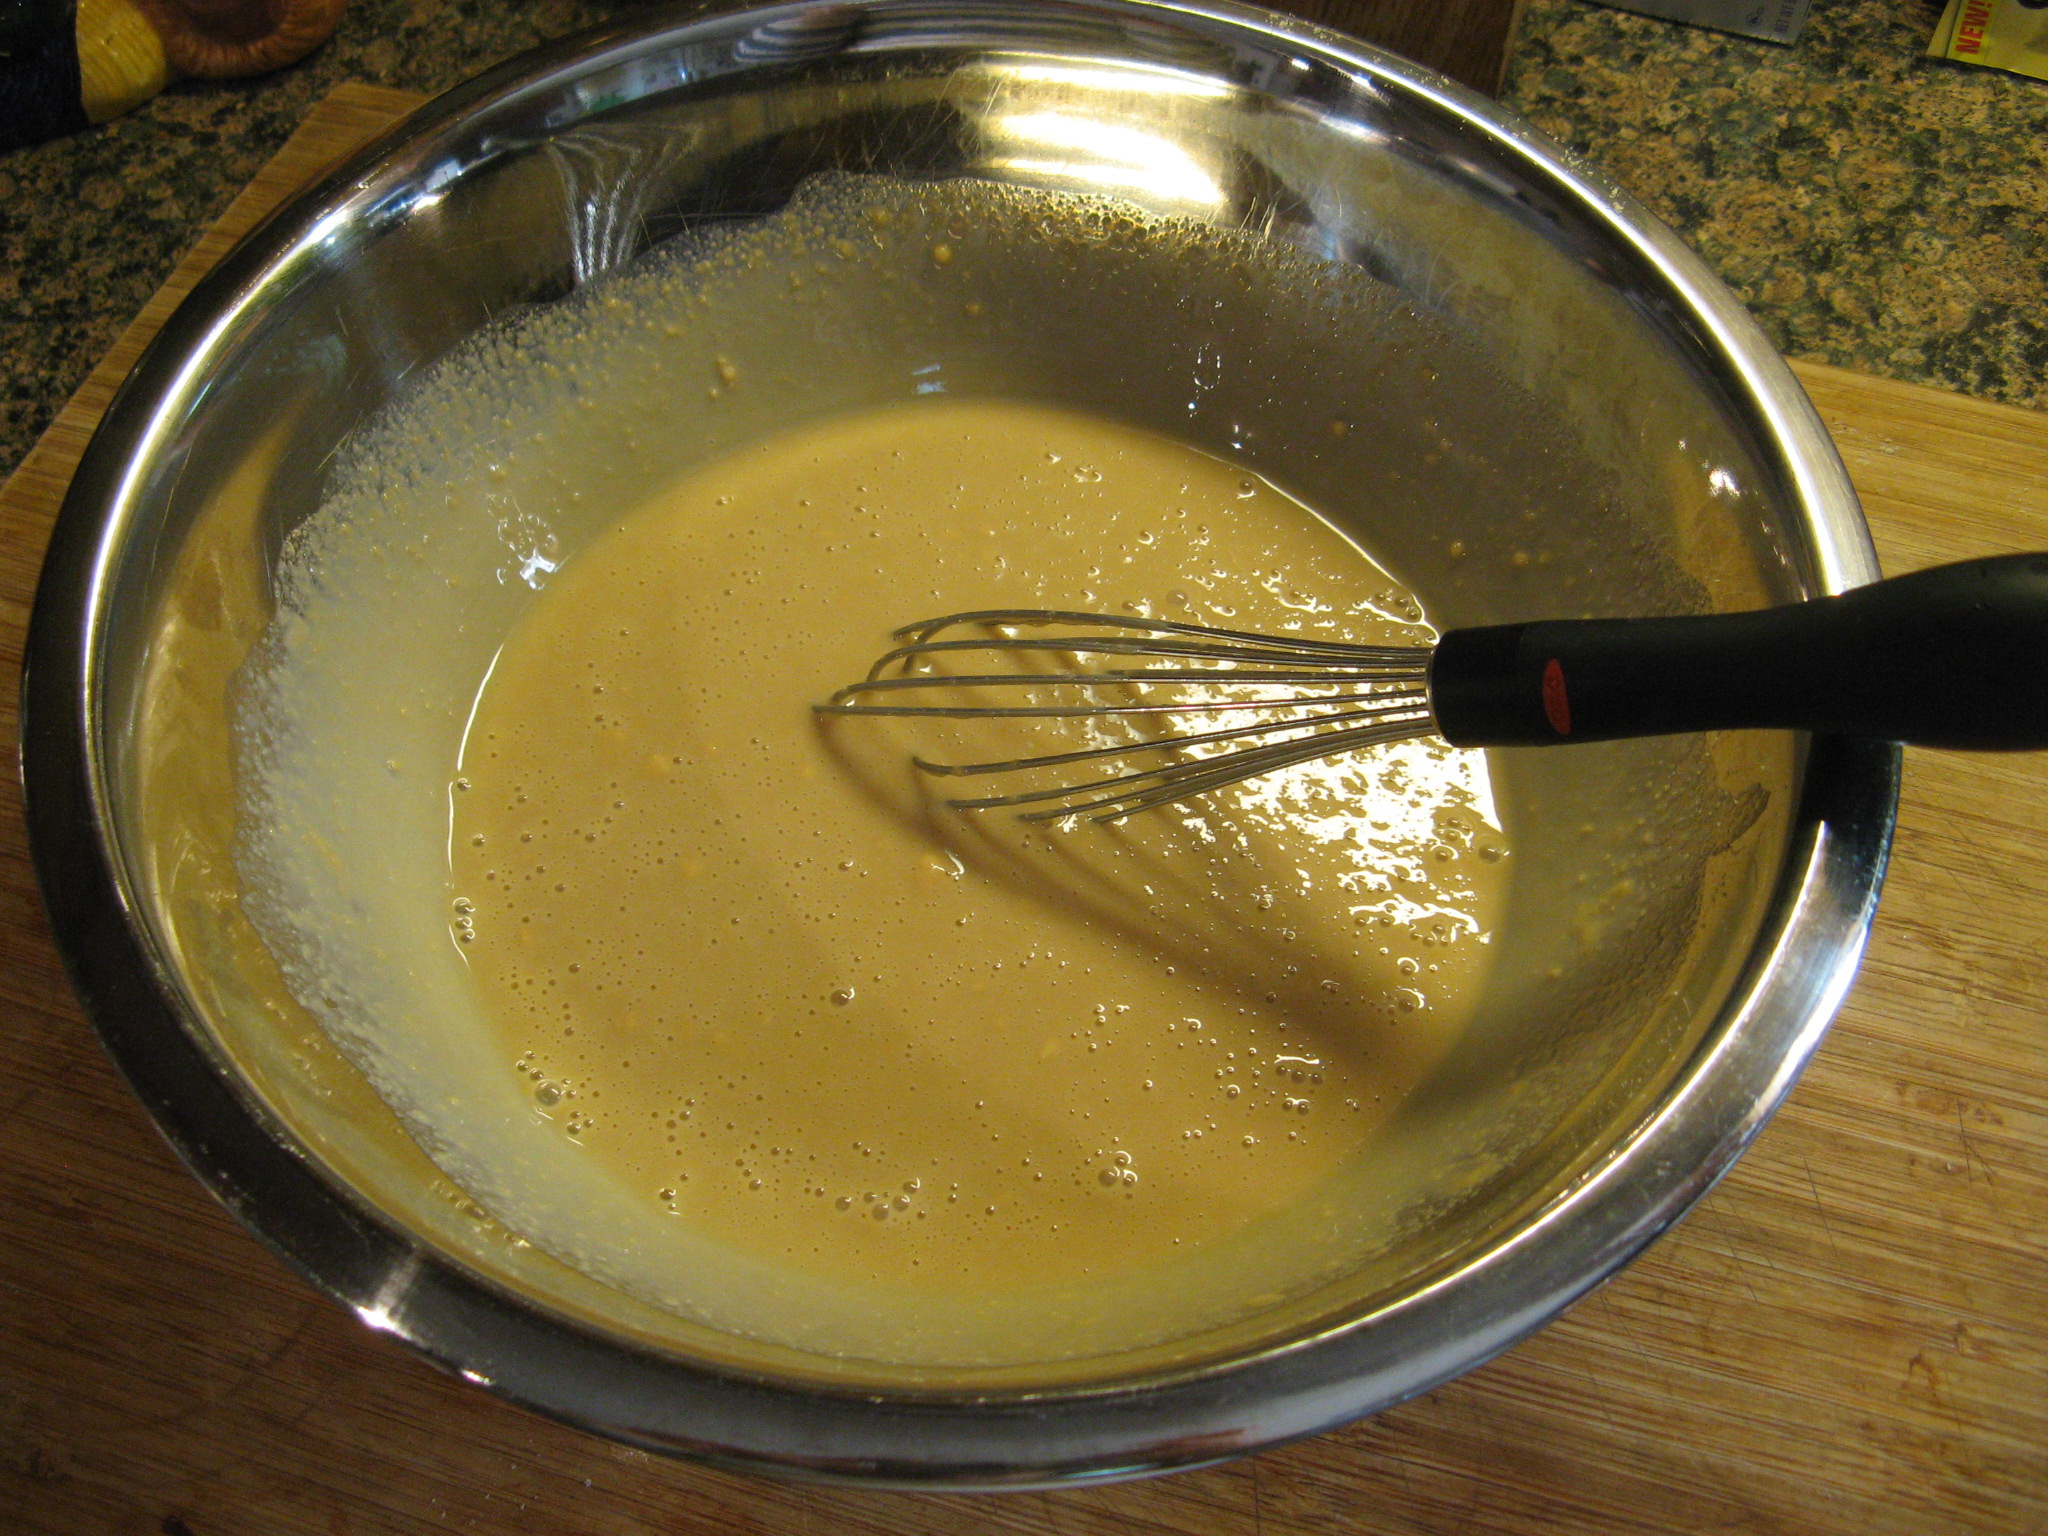
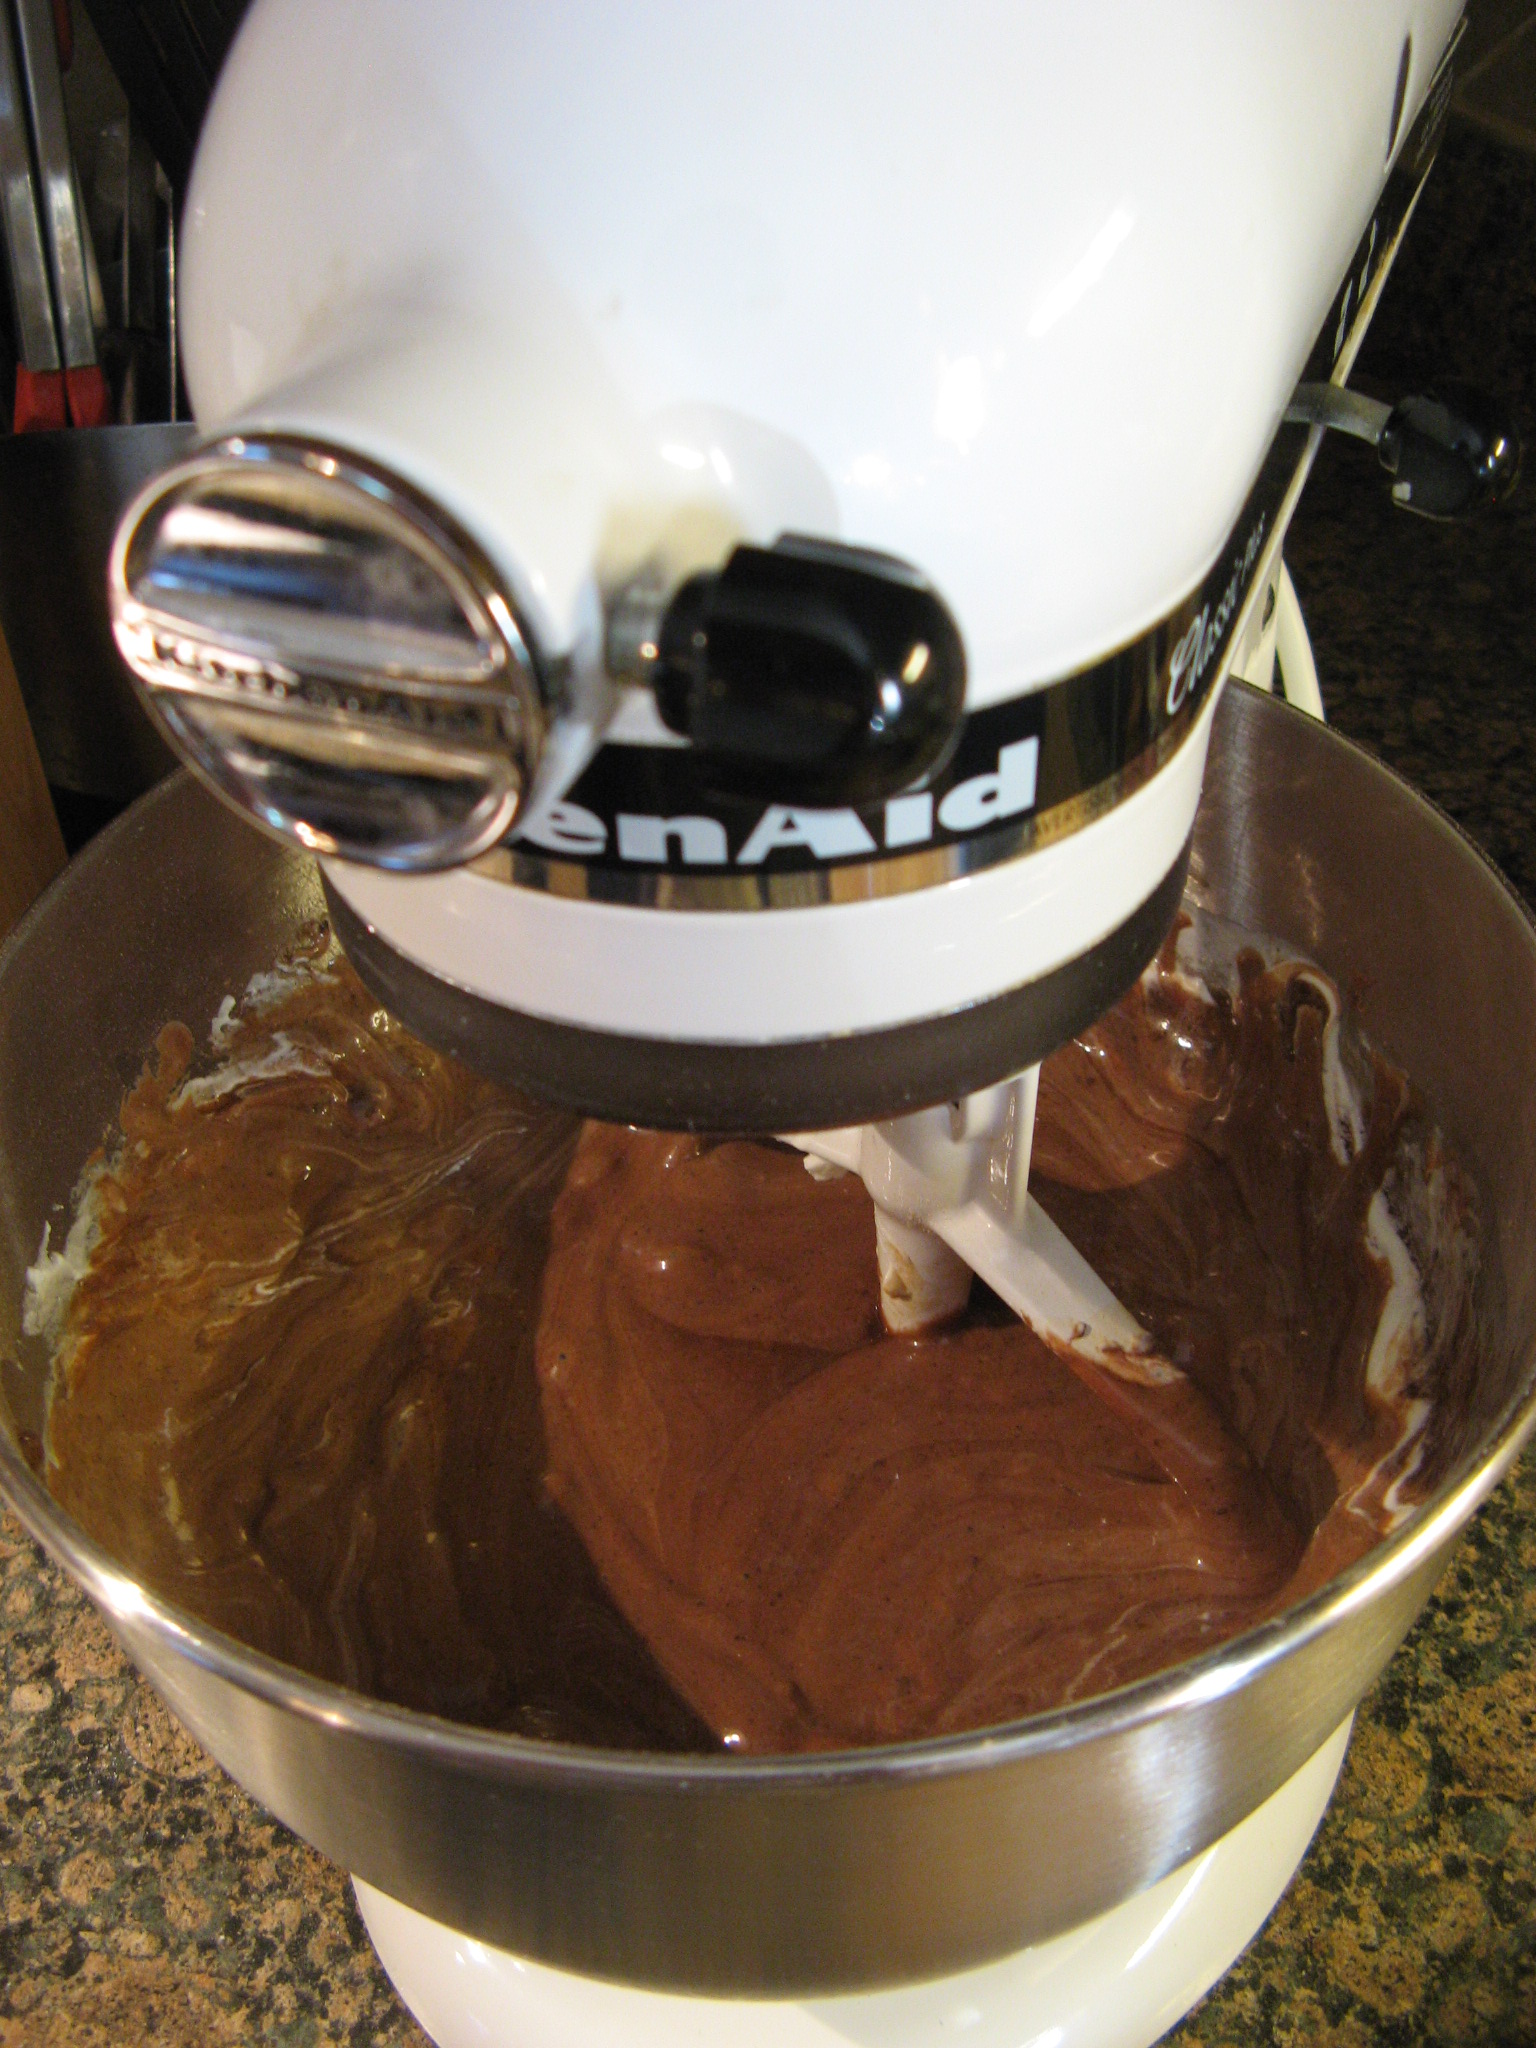
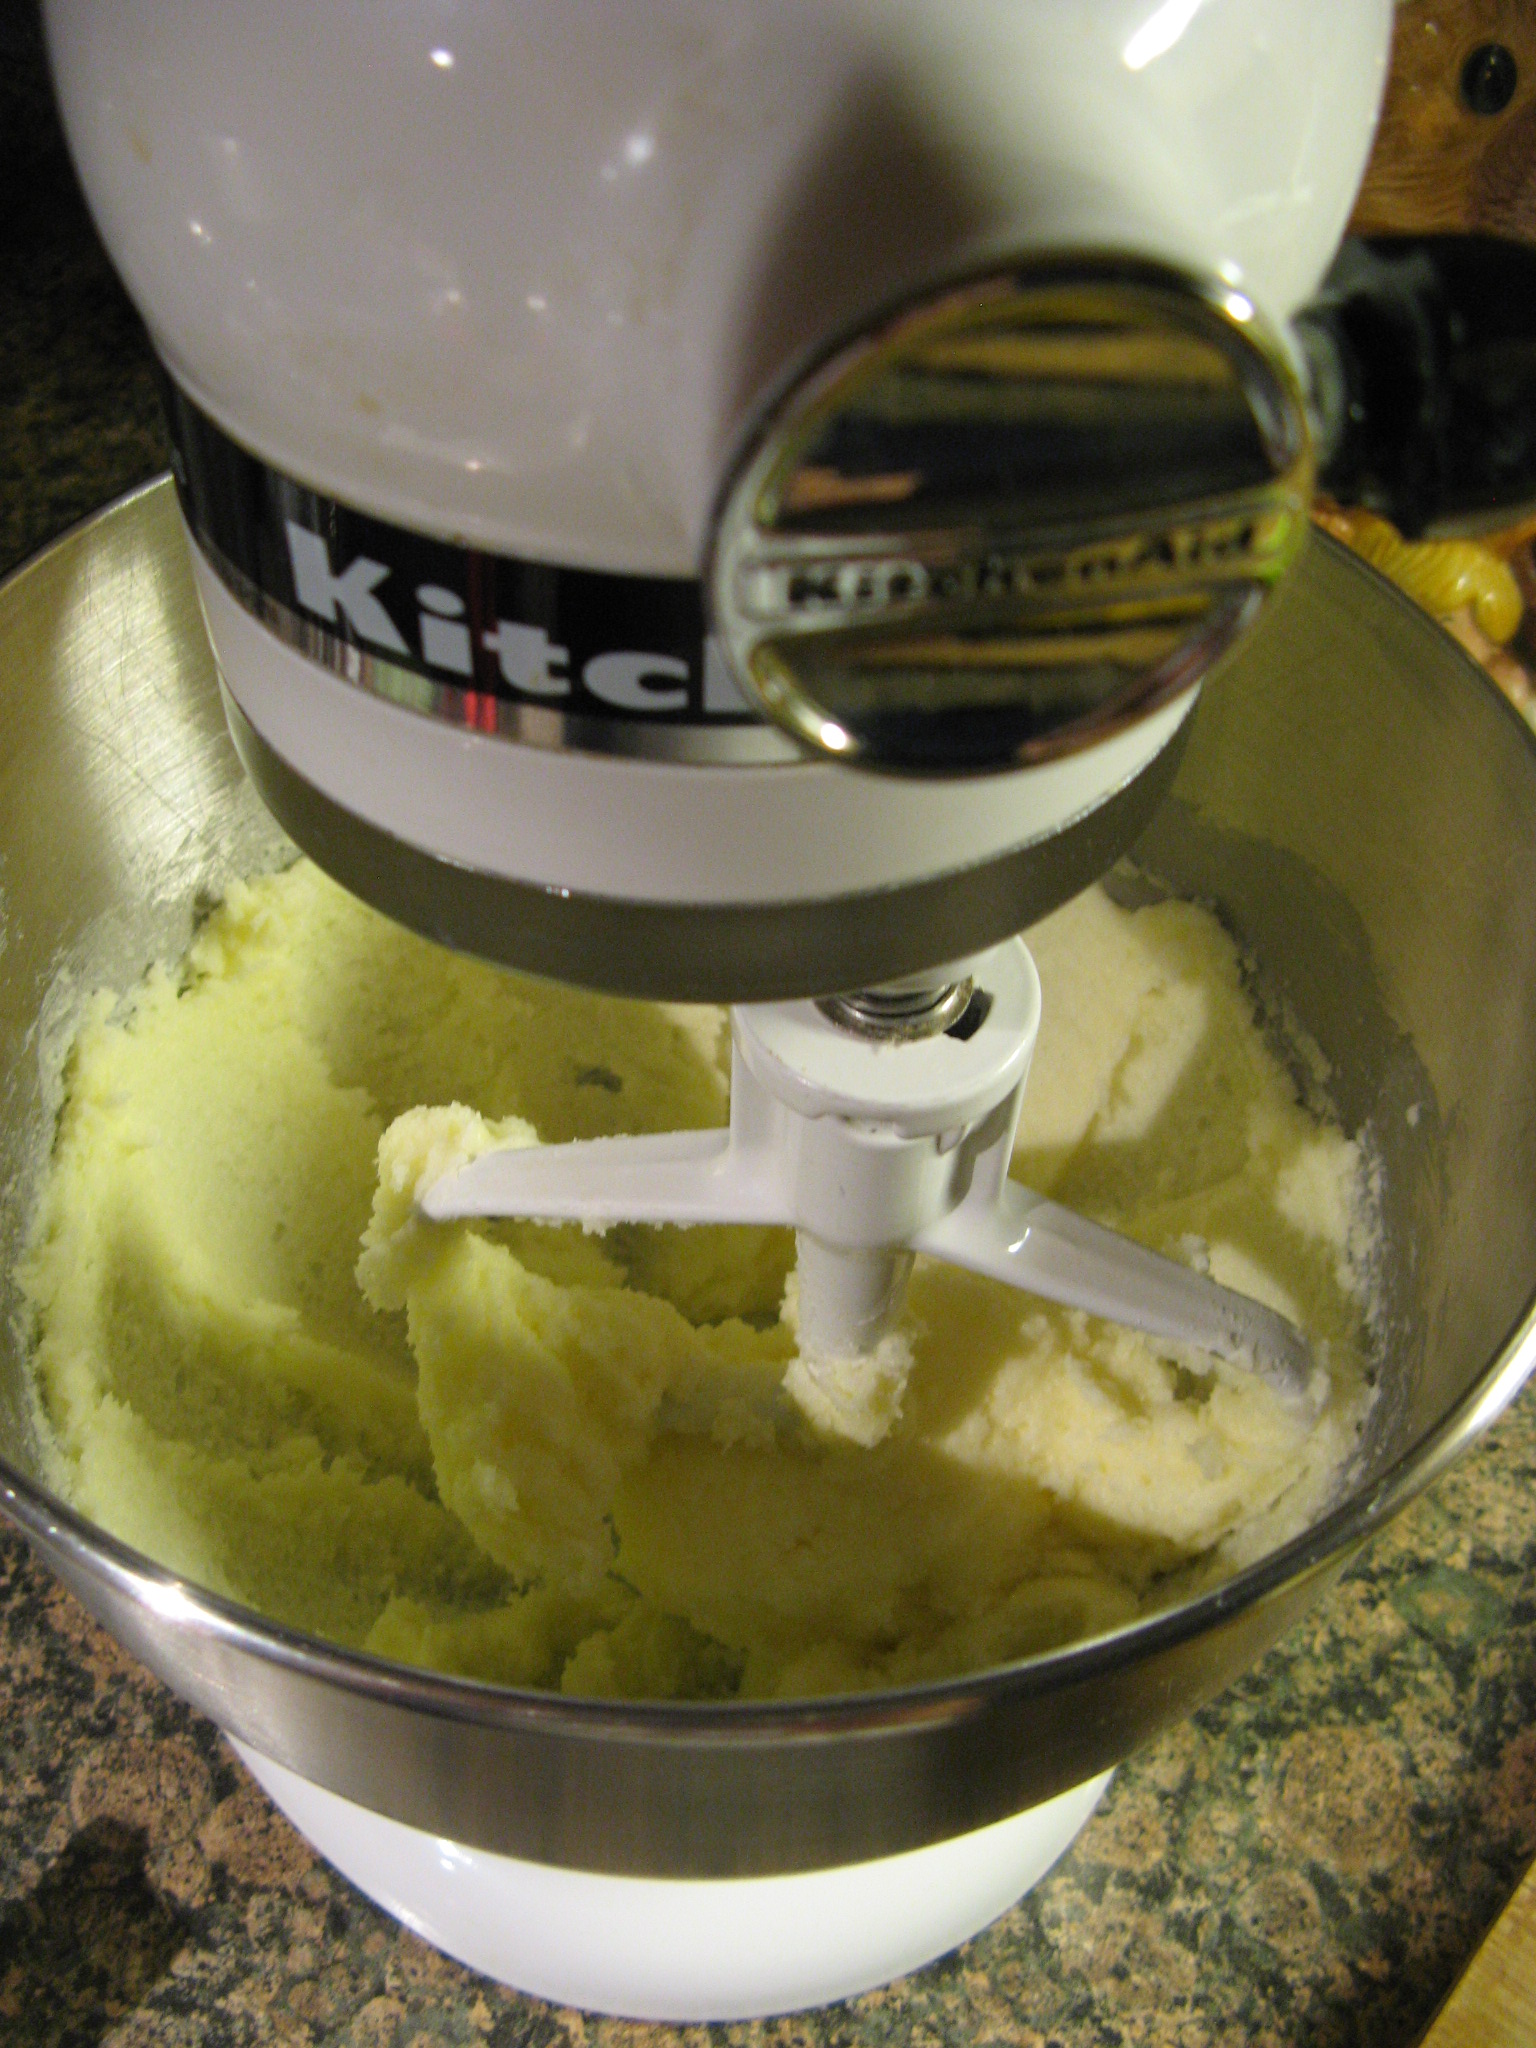
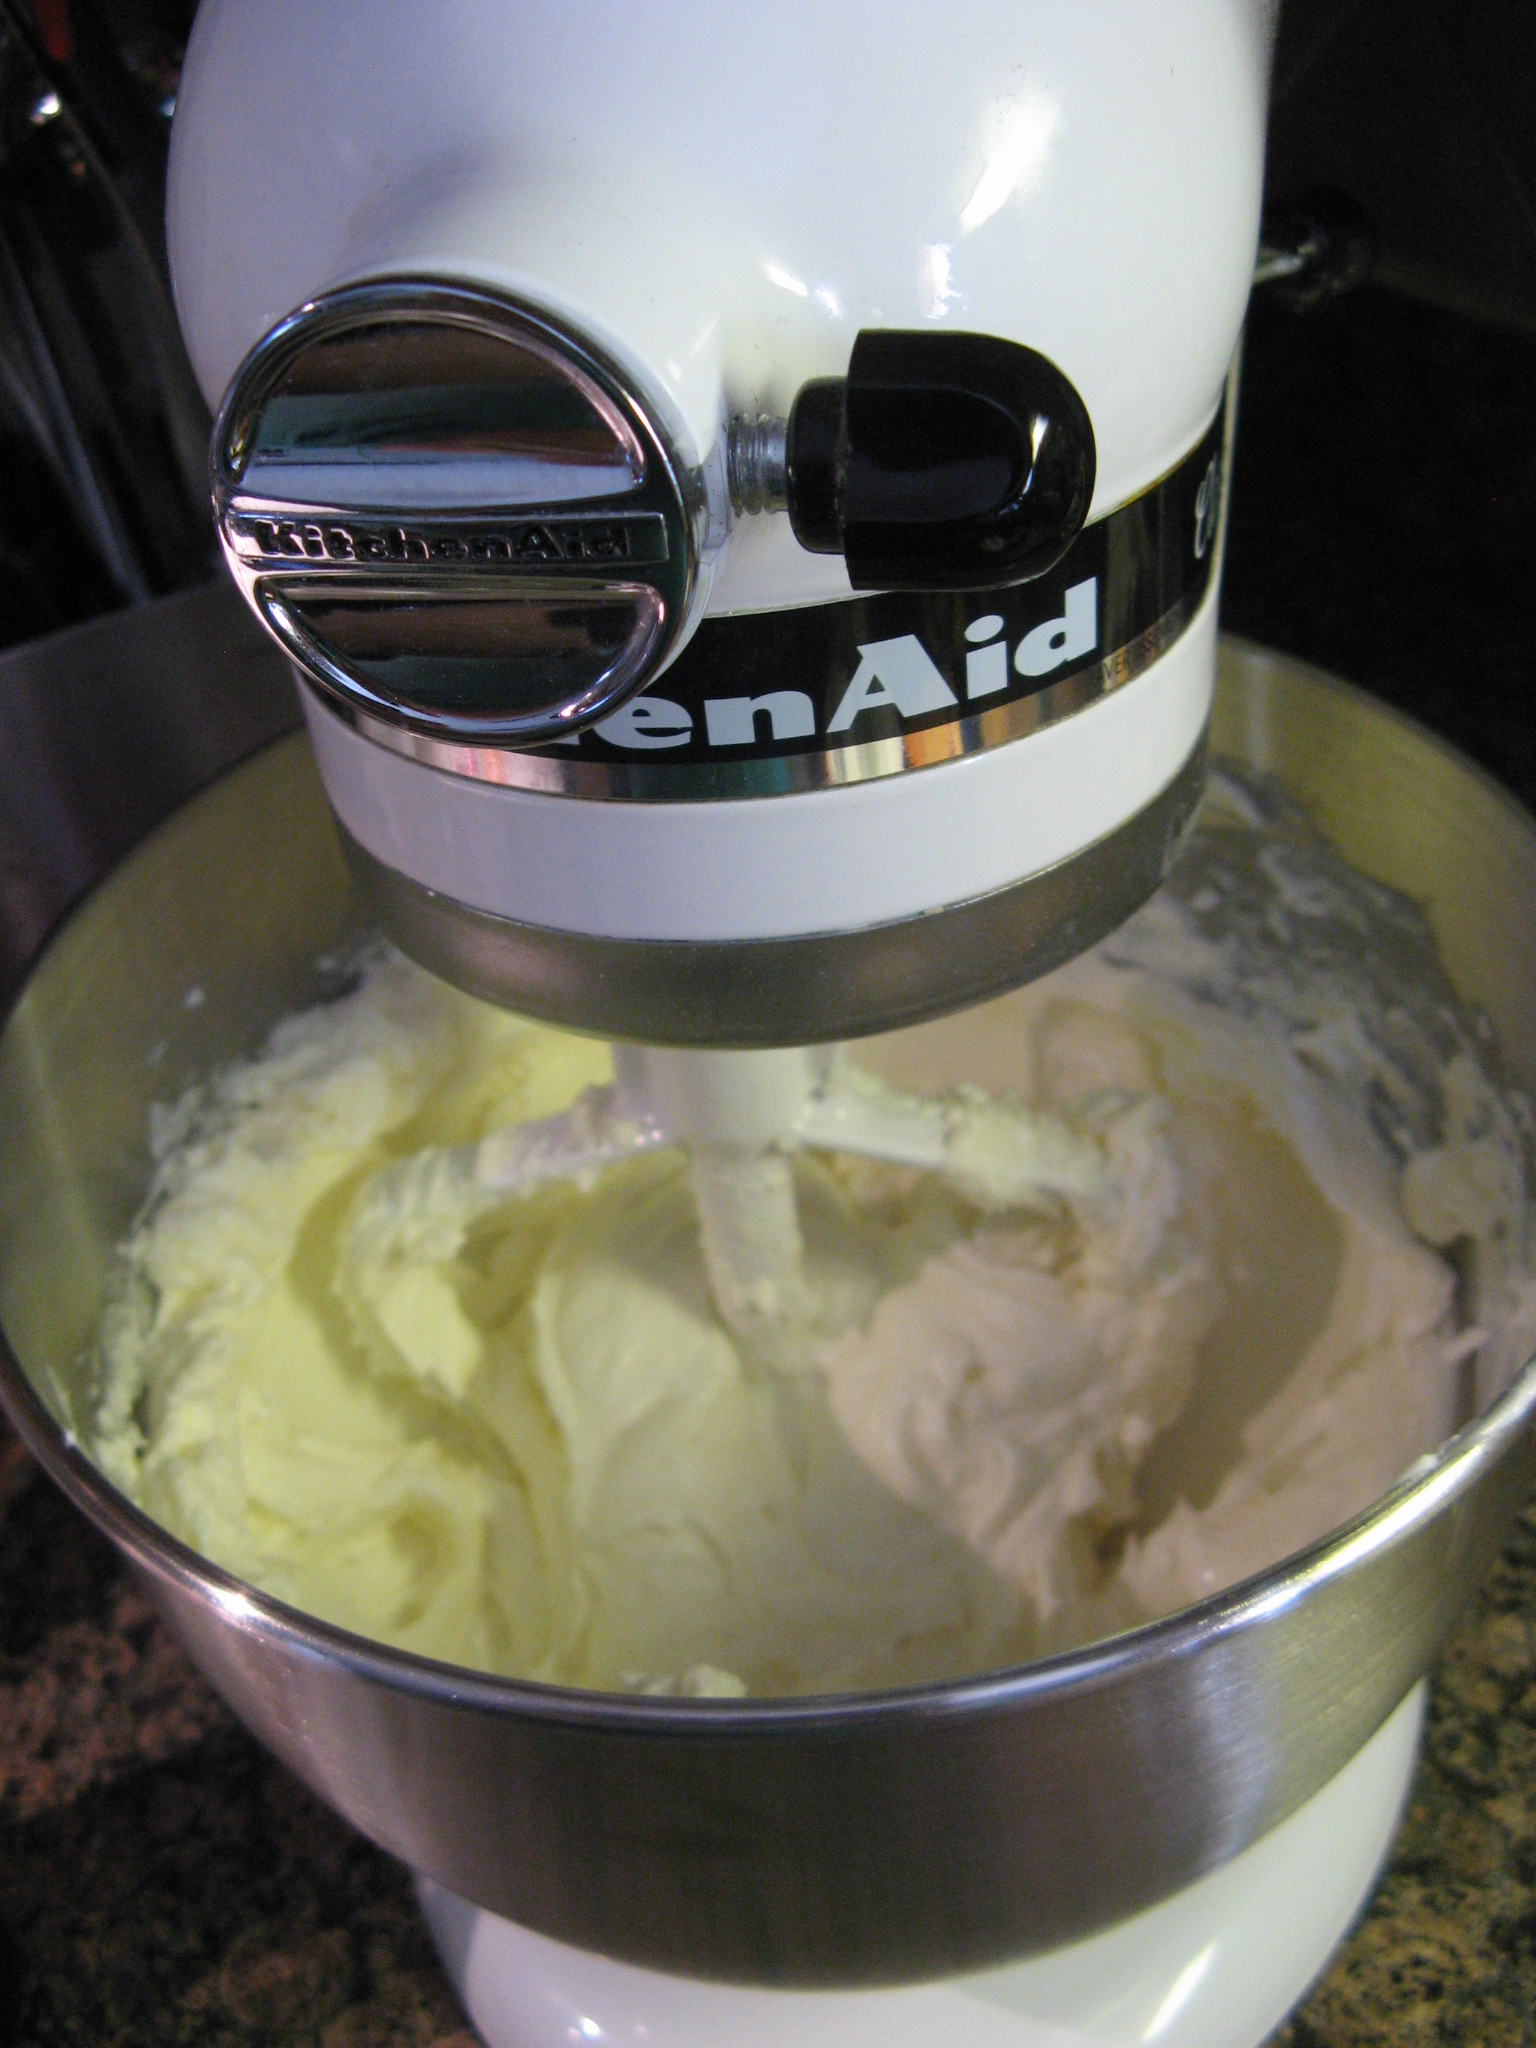
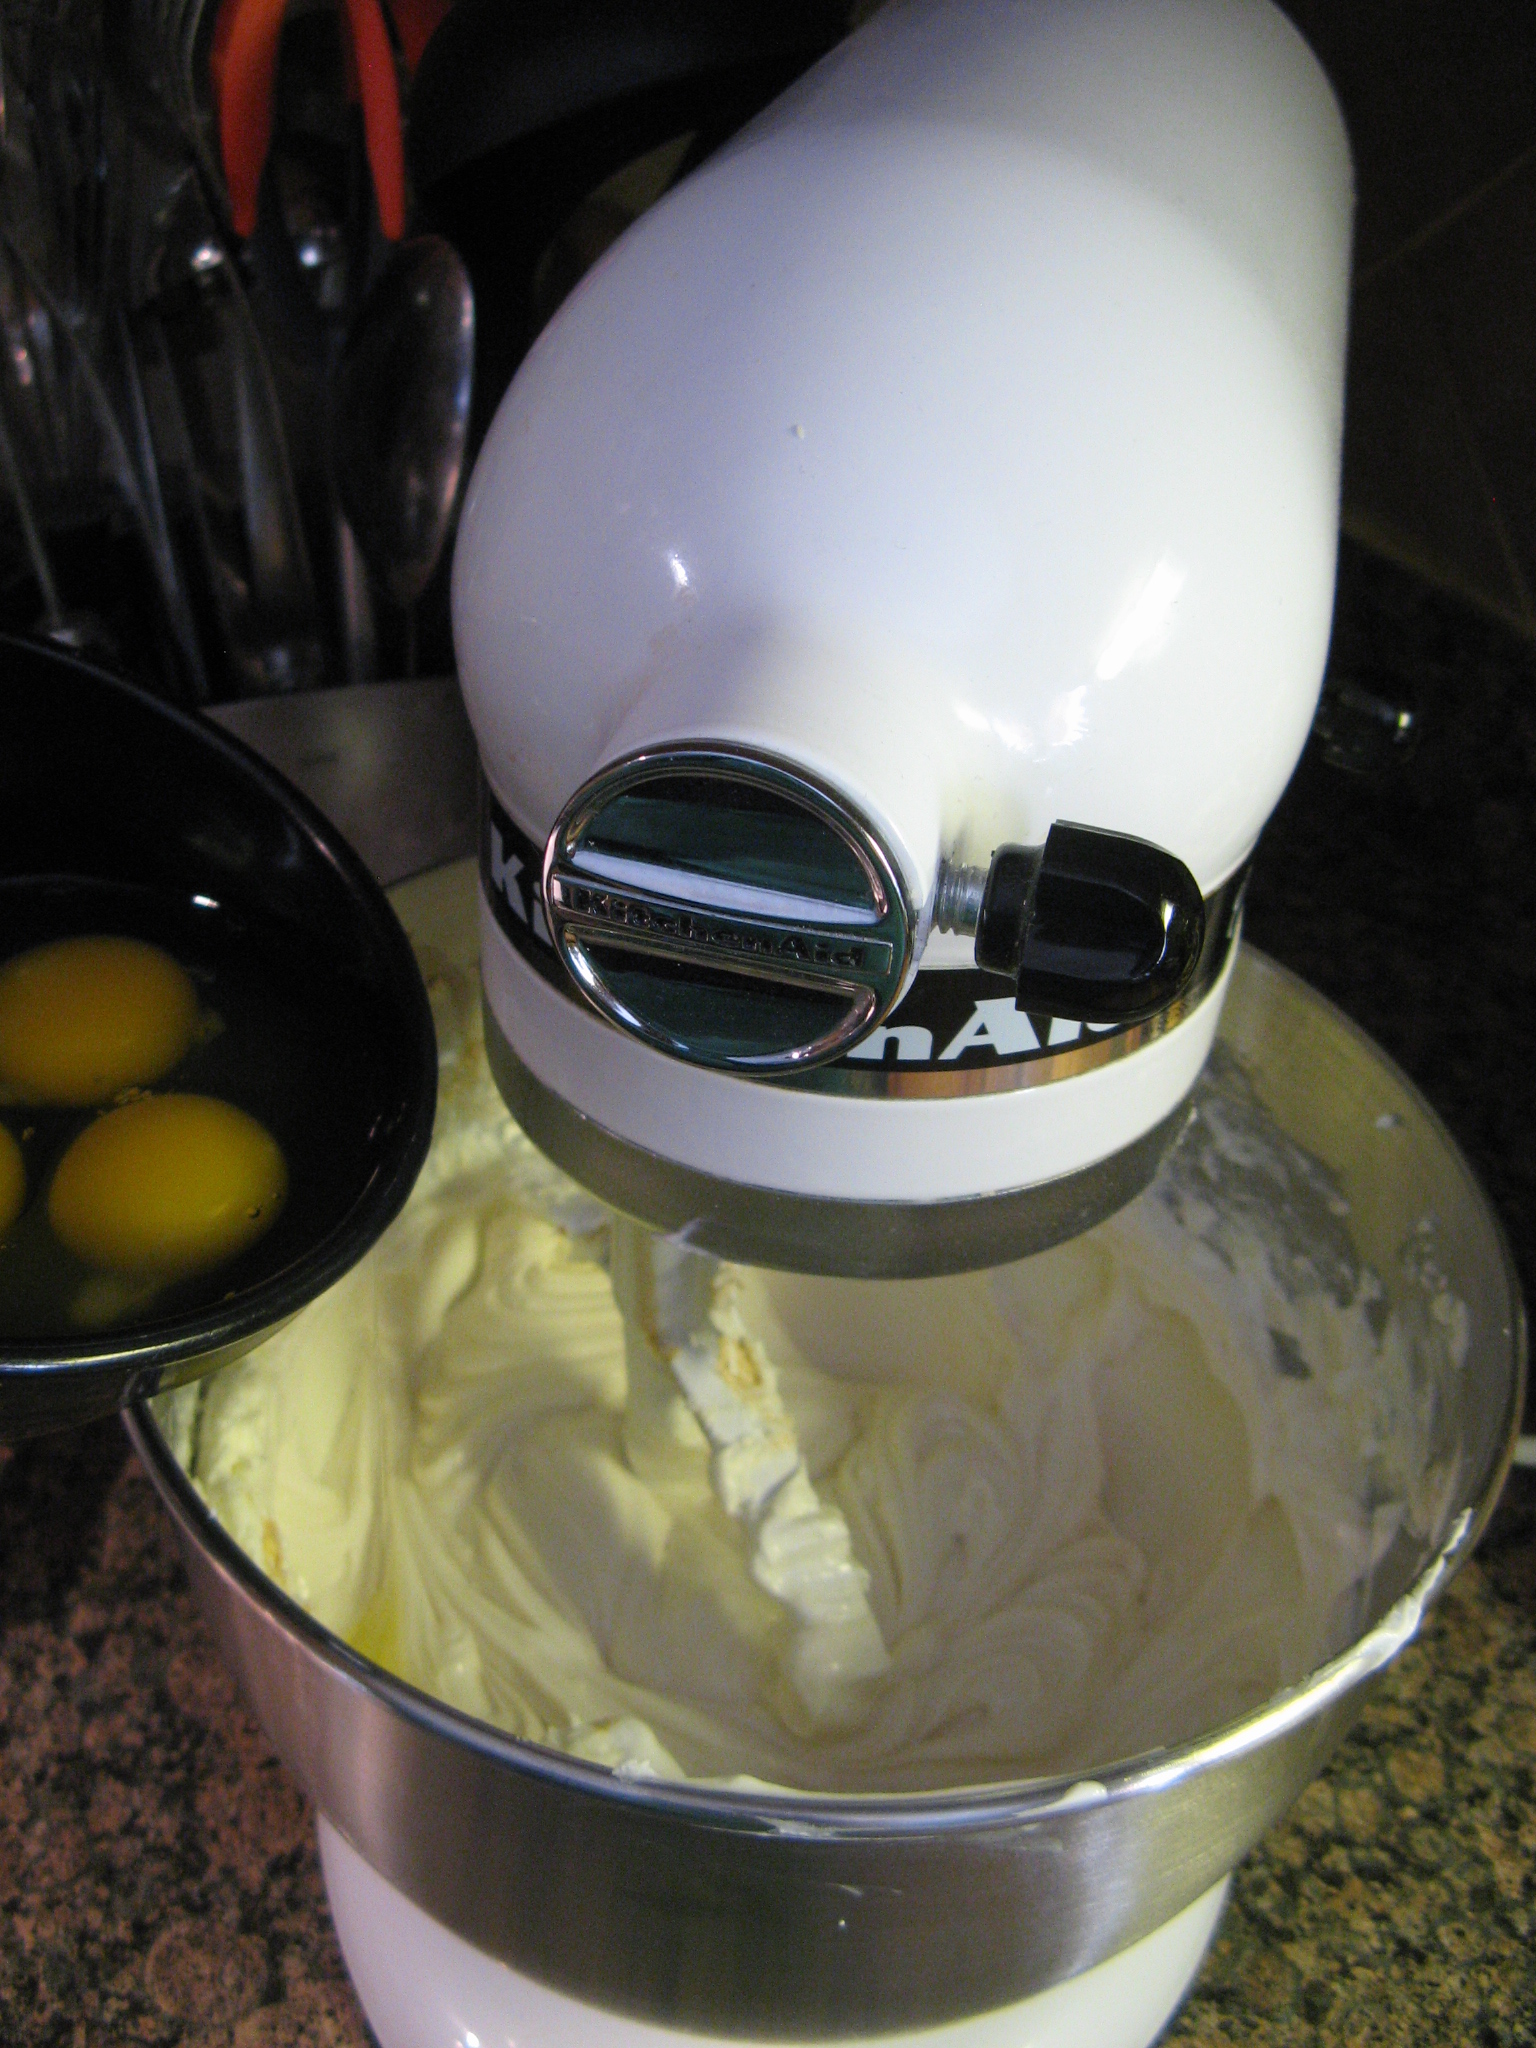
Next I moved on to make the actual cheesecake. Using a stand mixer I beat three 8-oz. bars of cream cheese with a cup of sugar until it was smooth. It’s important to use room temperature cream cheese to ensure you won’t have any lumps in the mixture.

IMG_7007

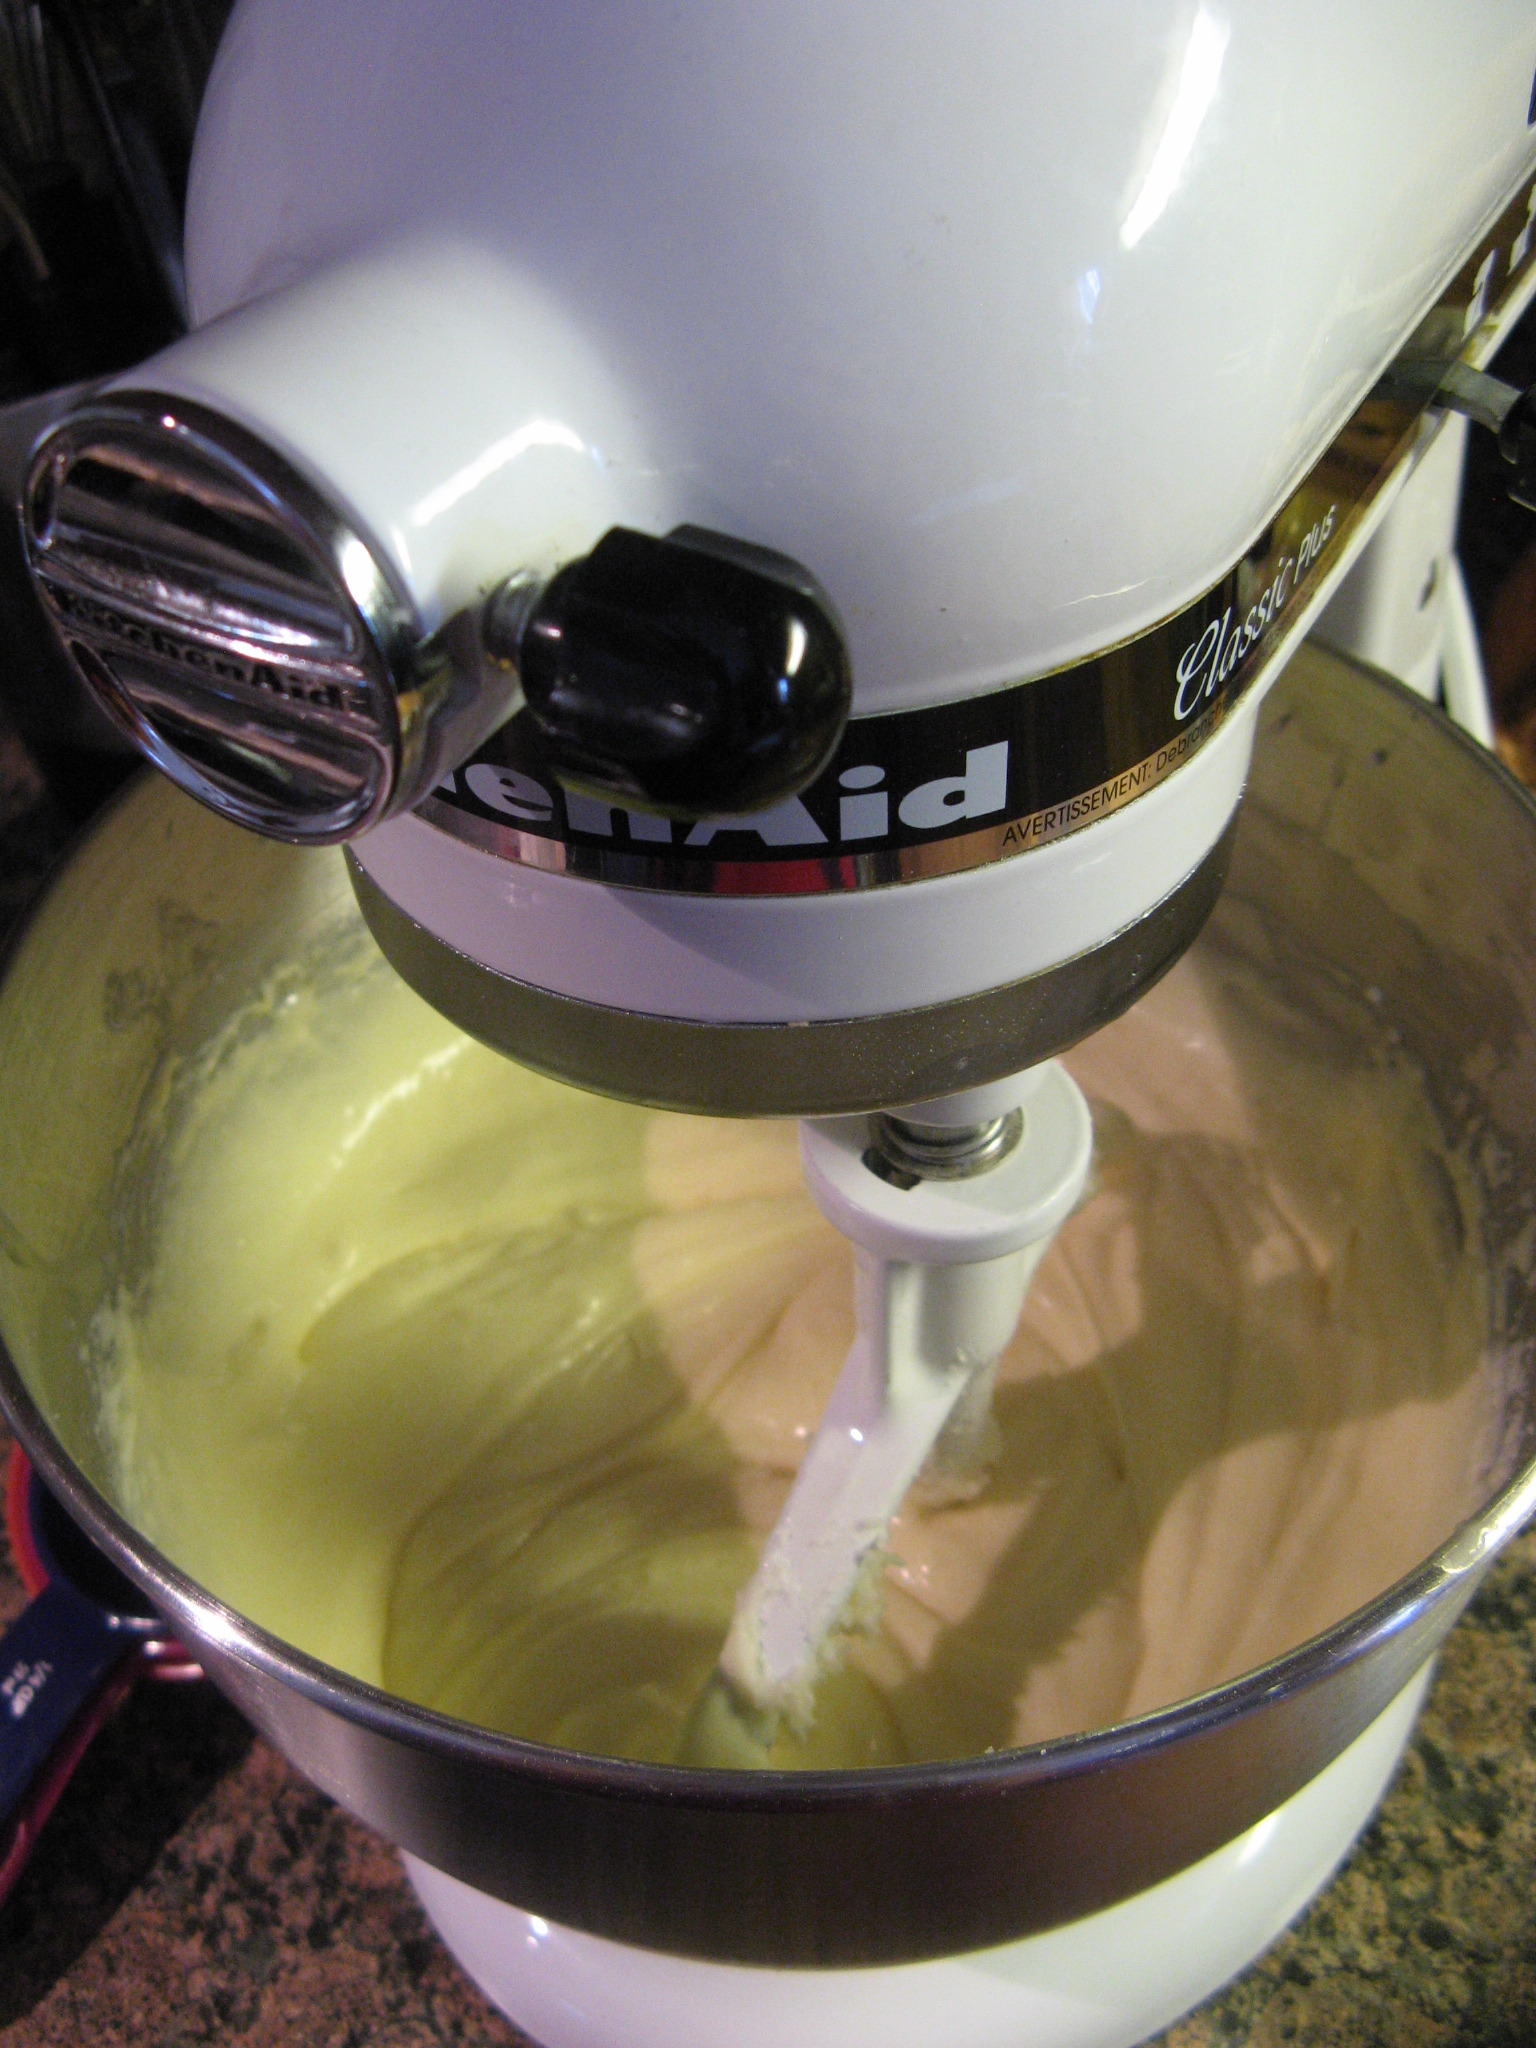
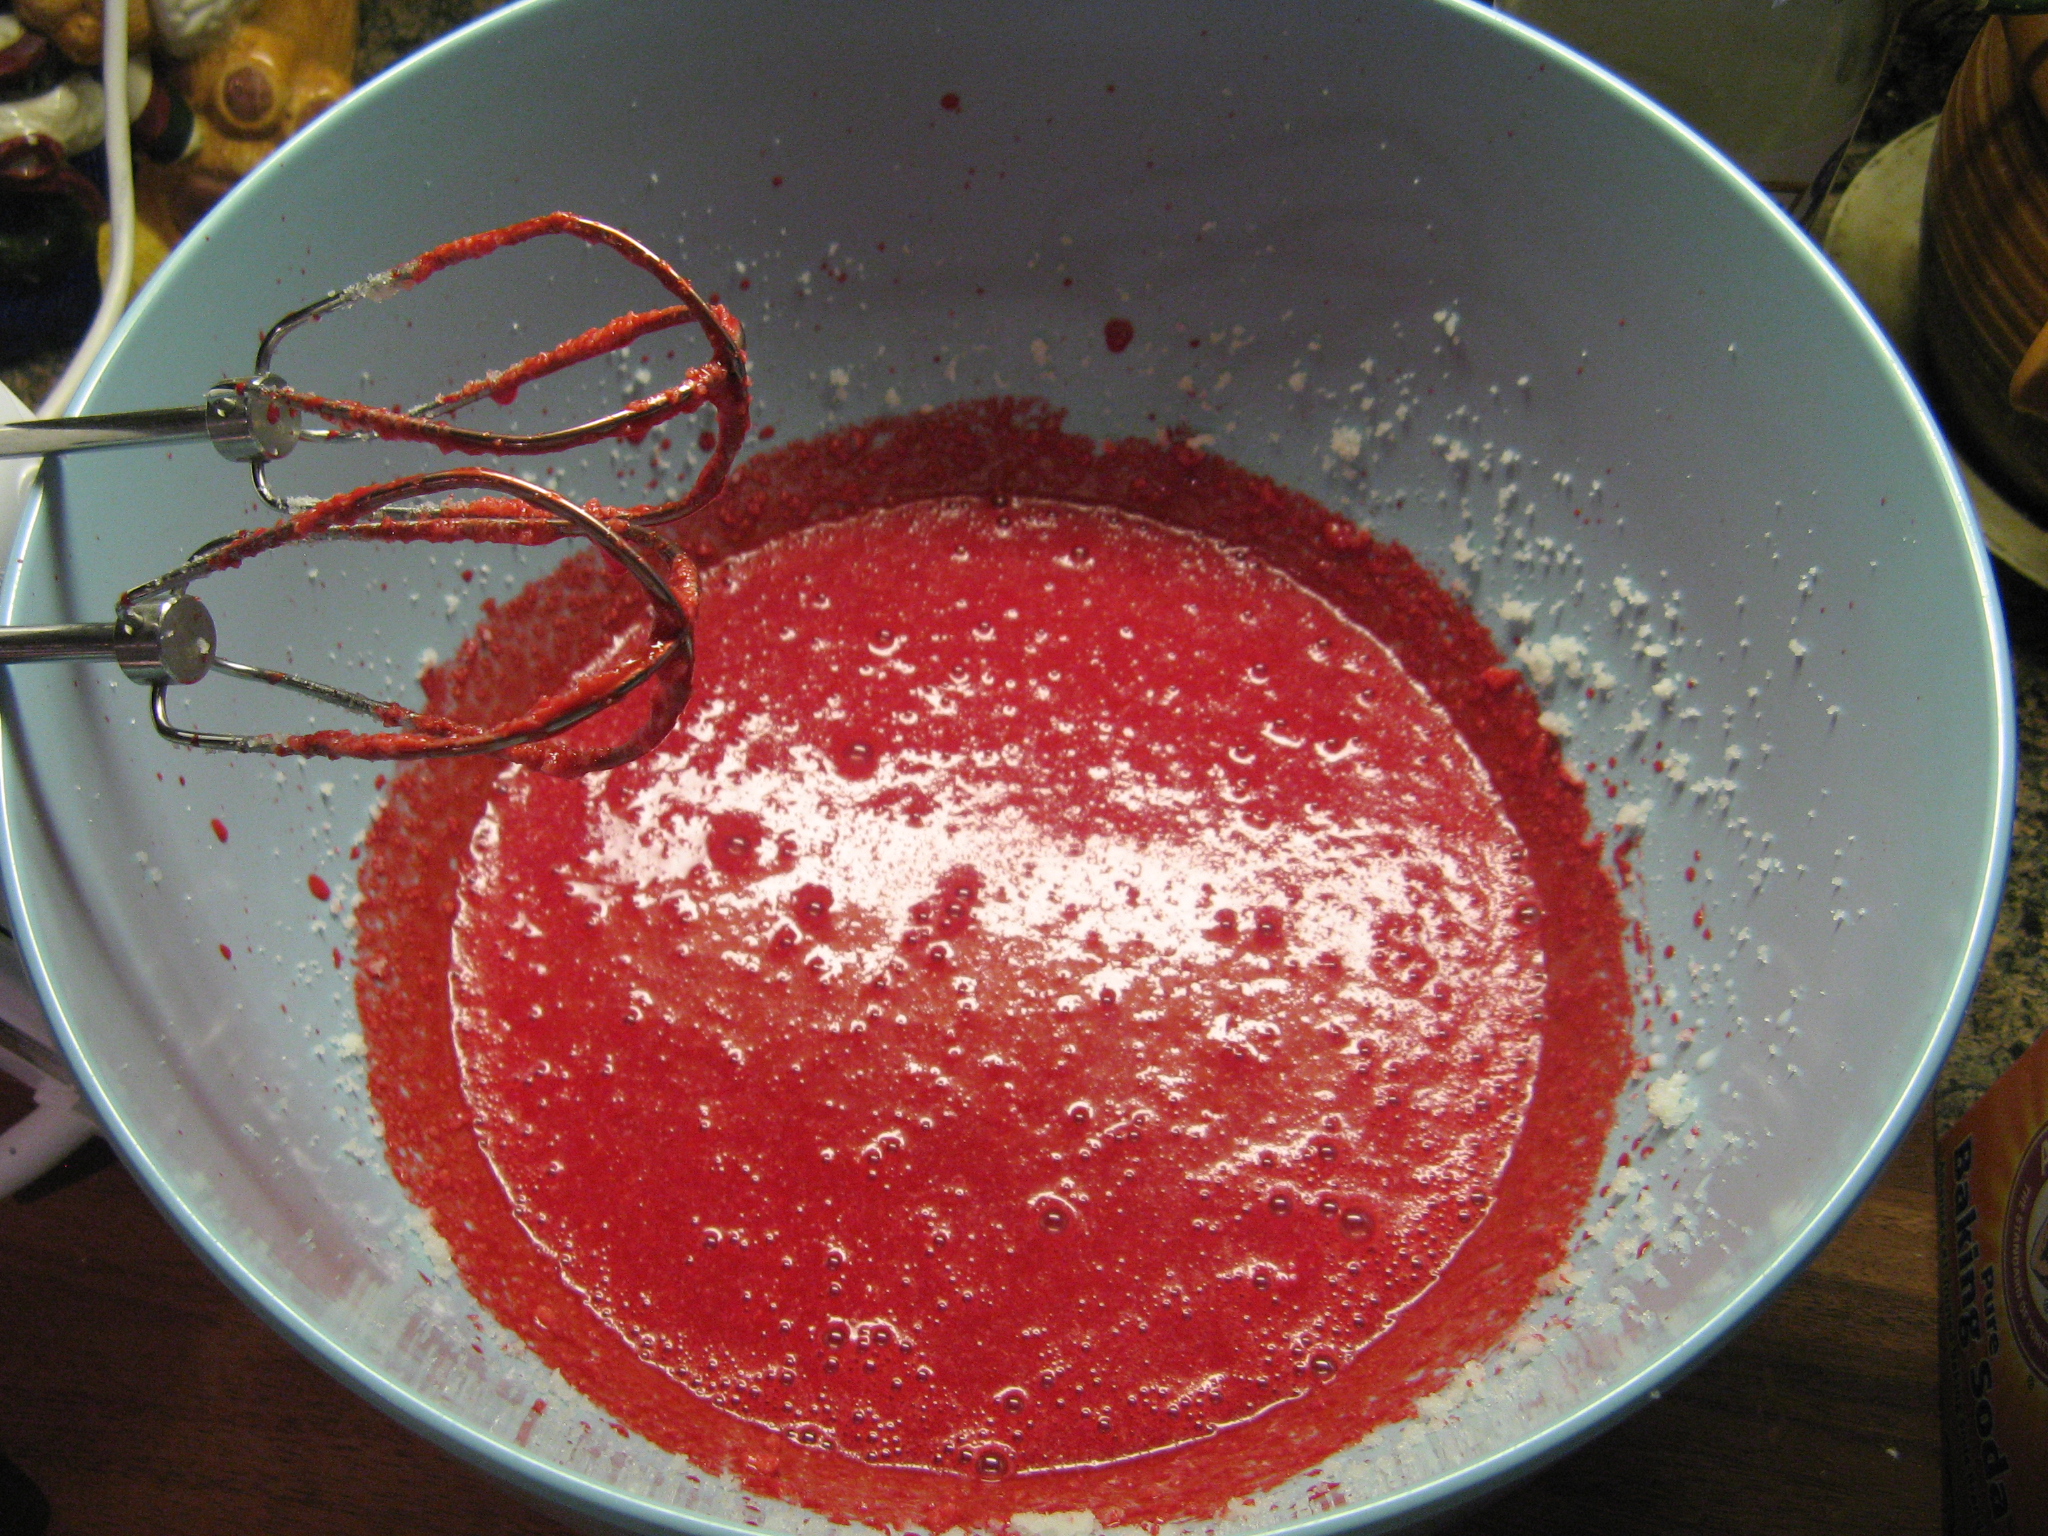
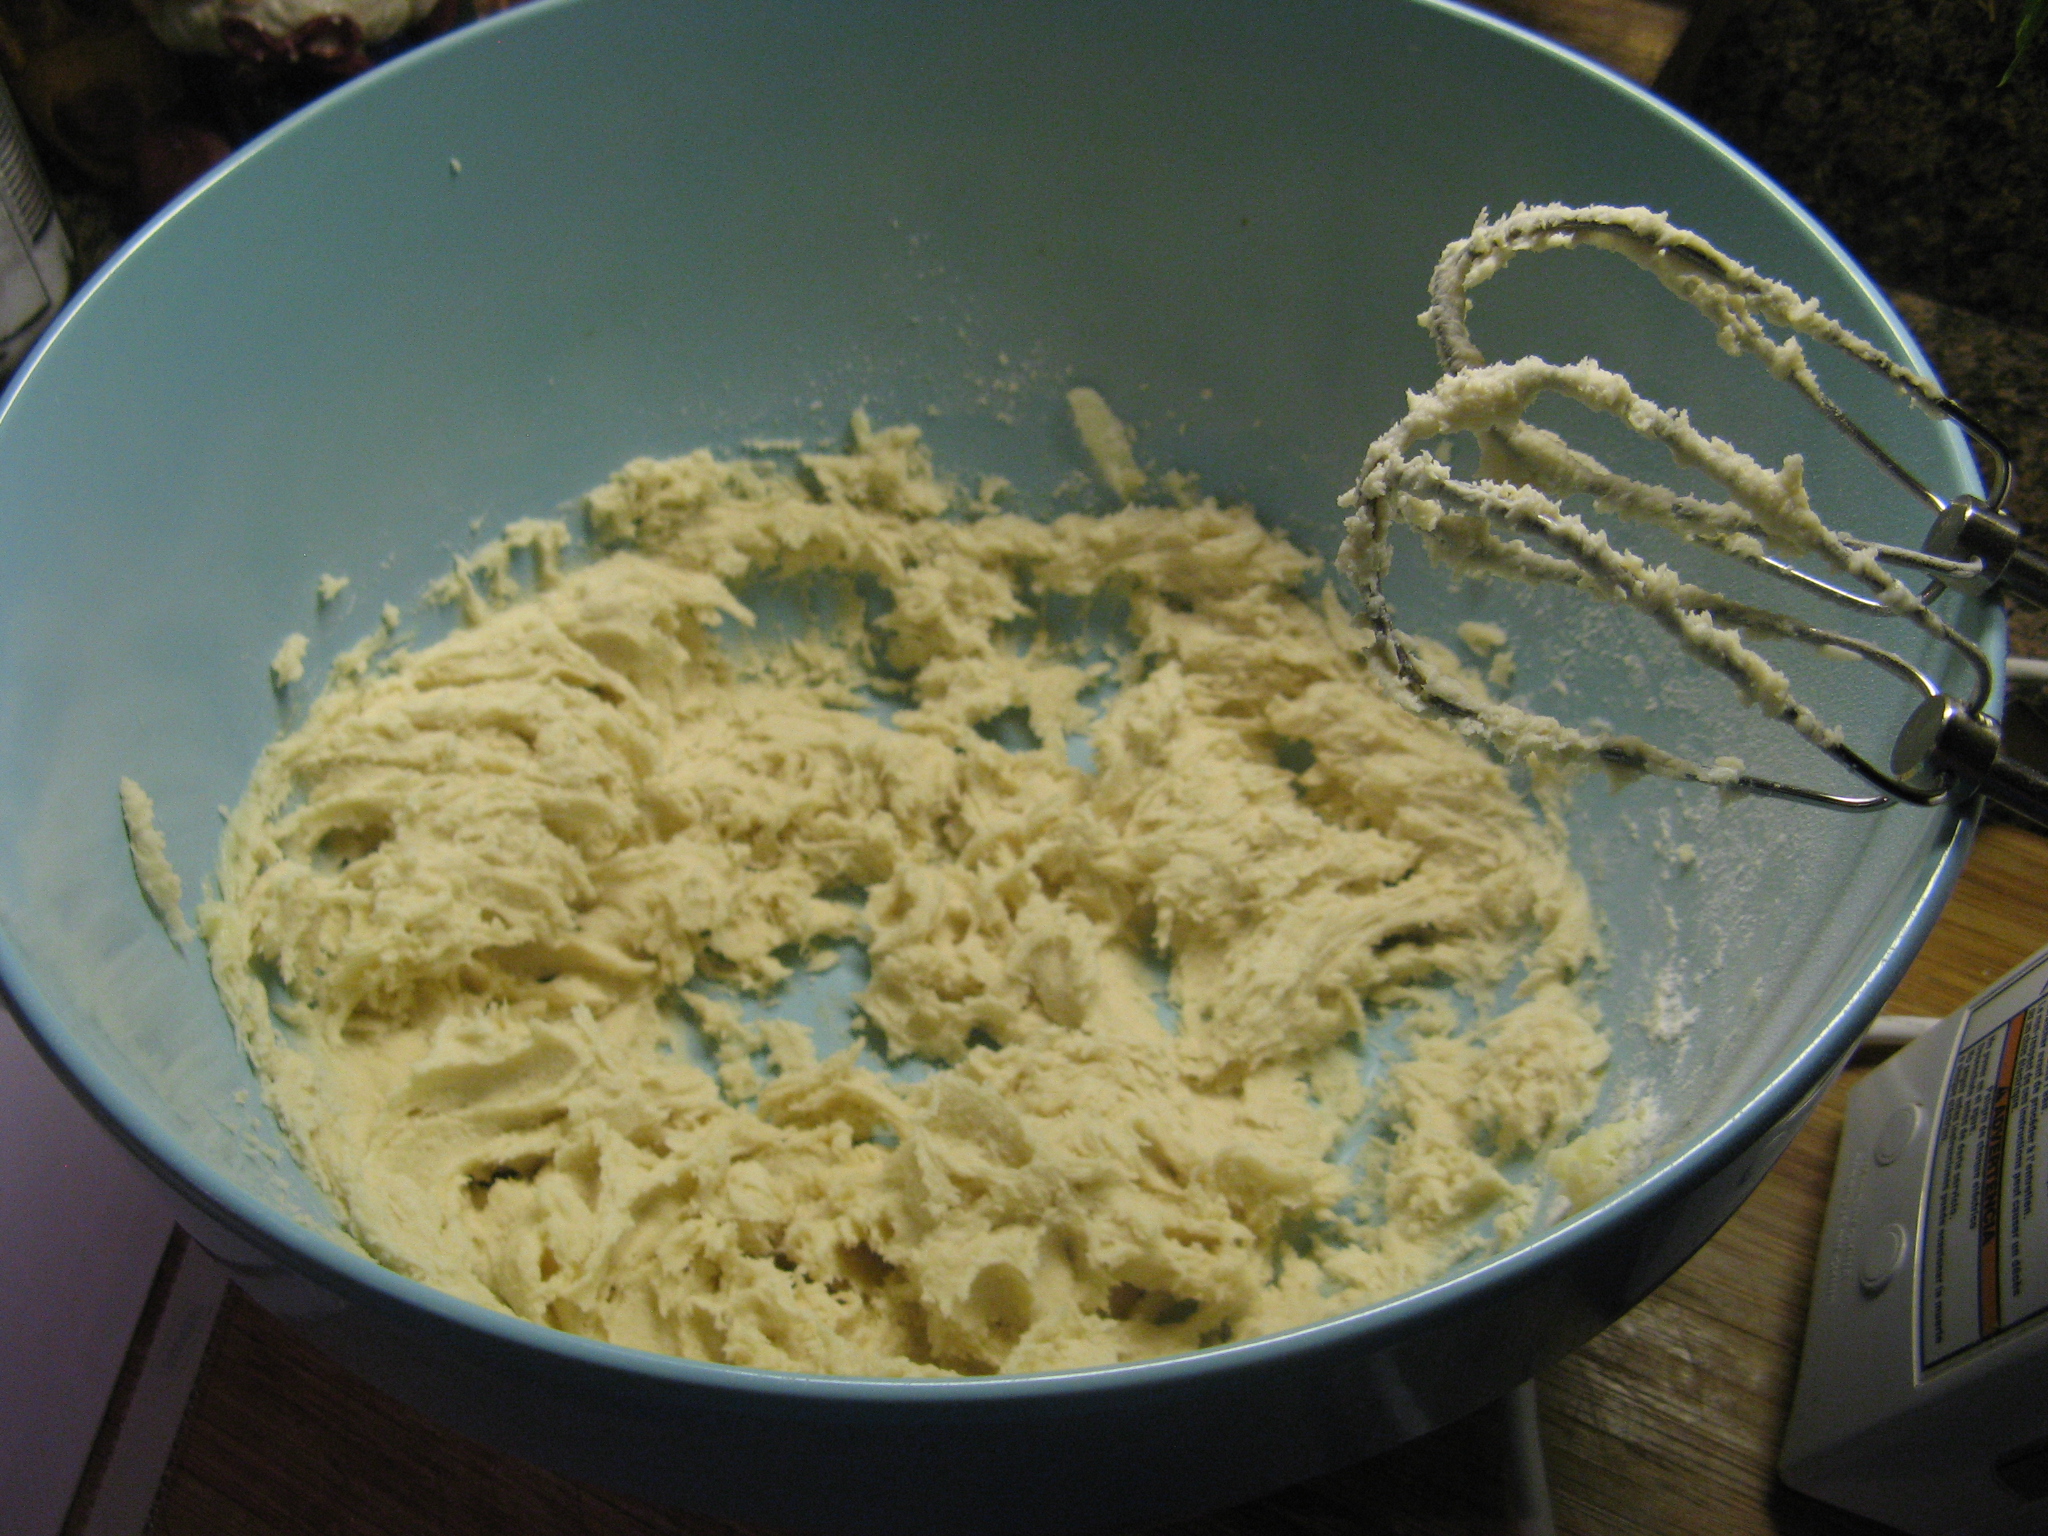
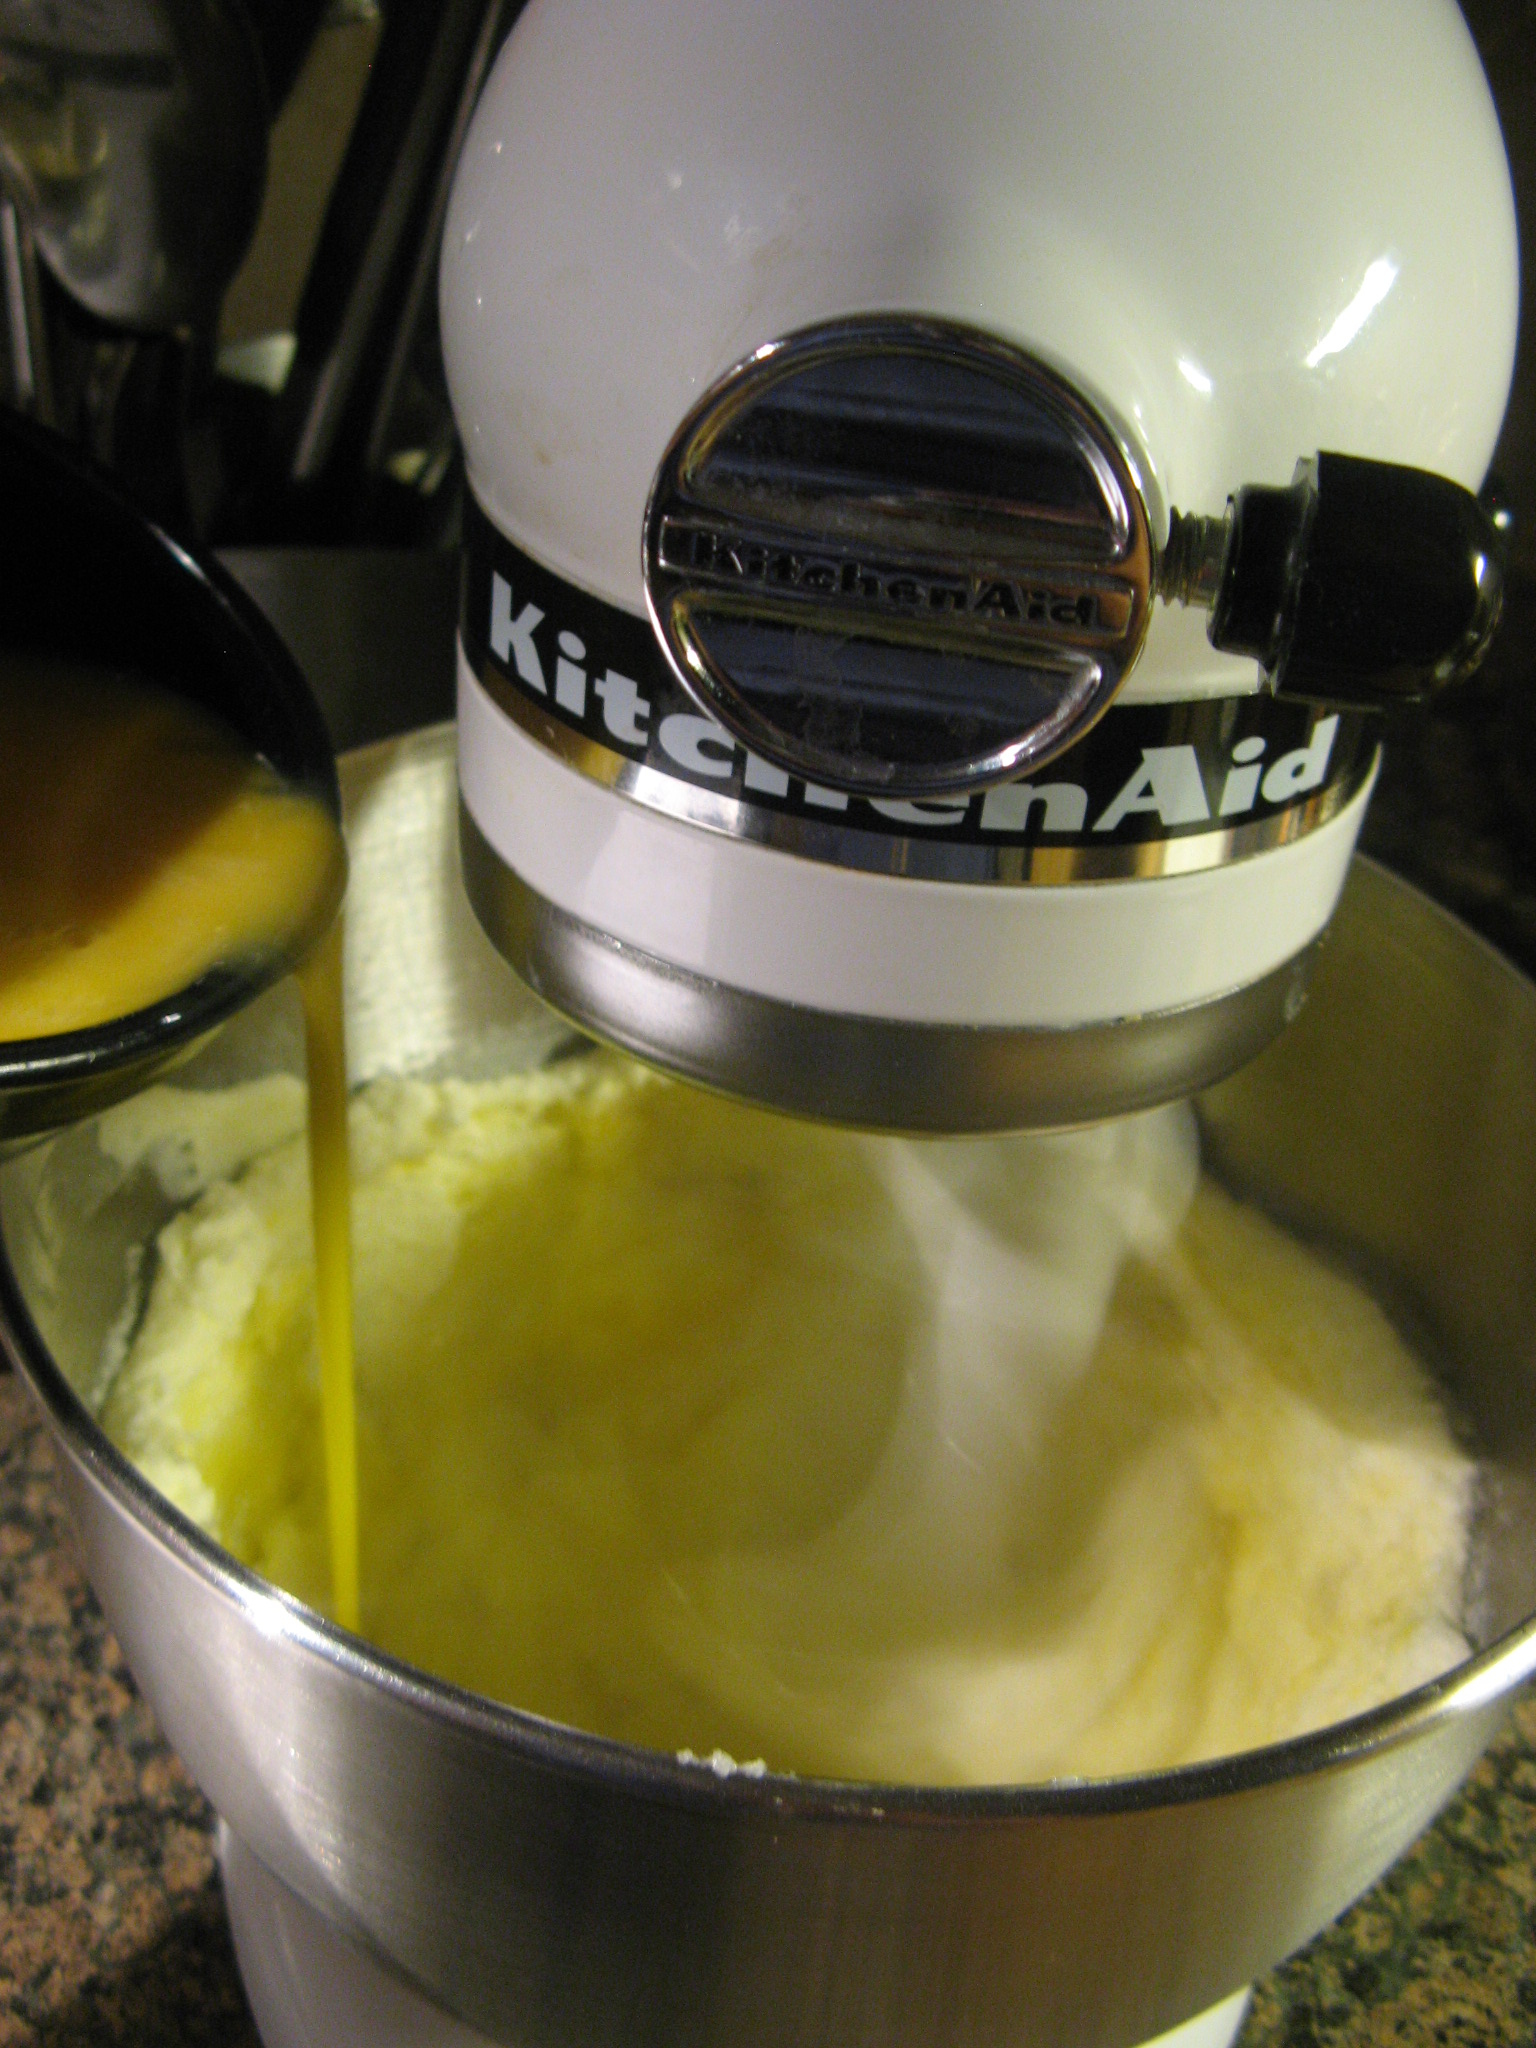
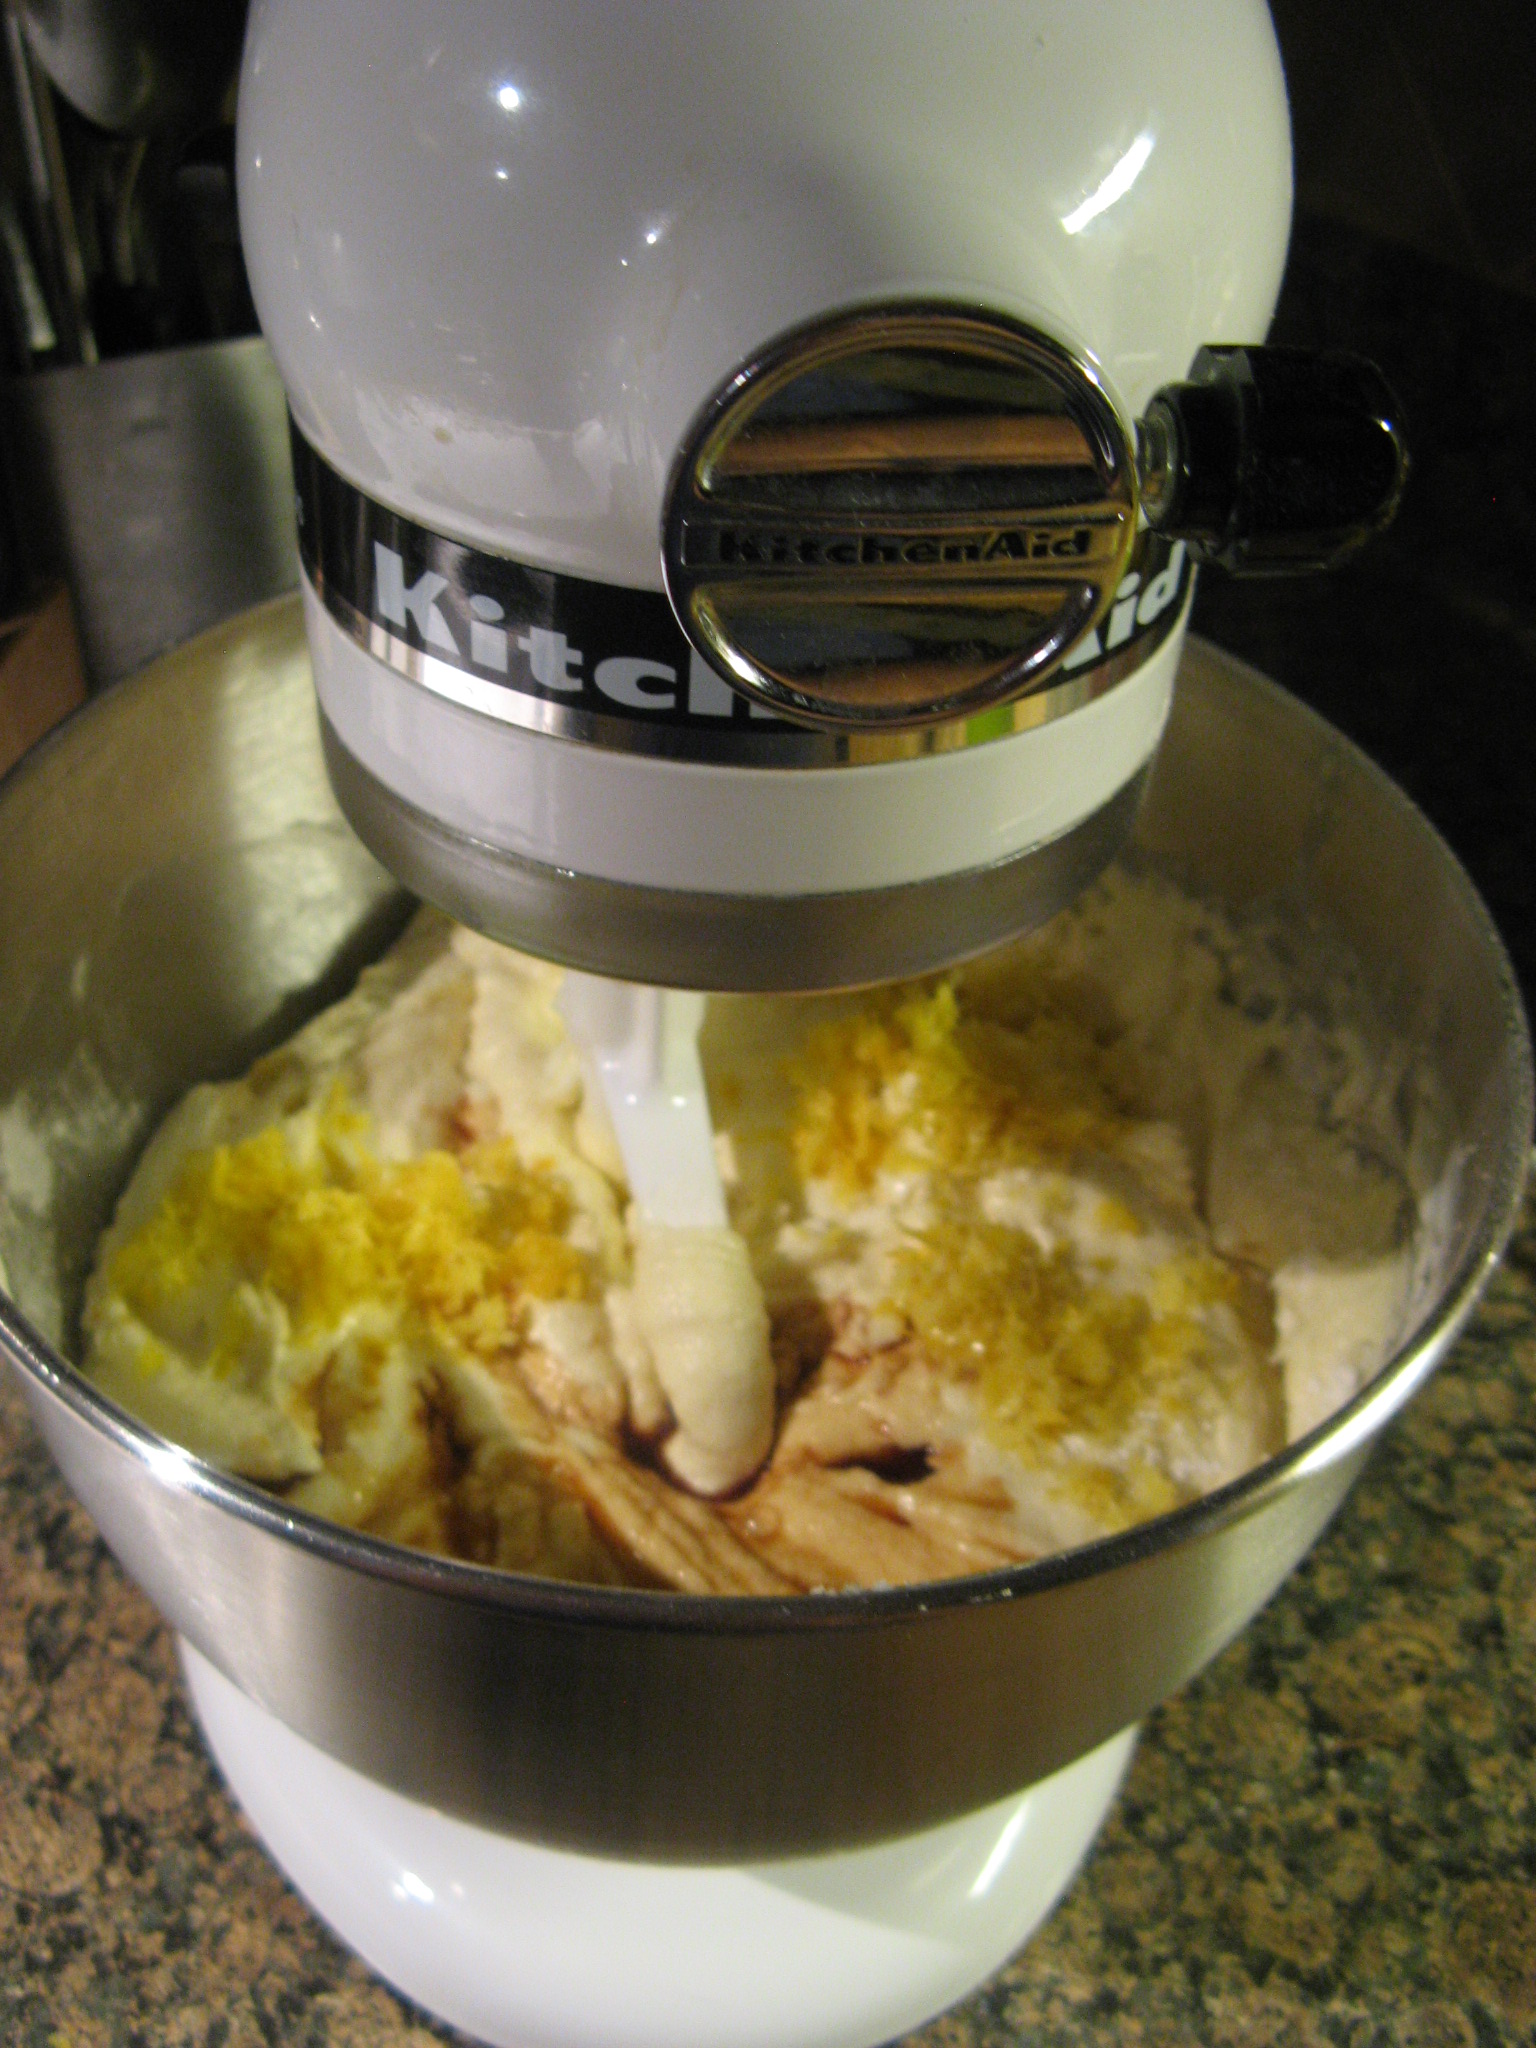
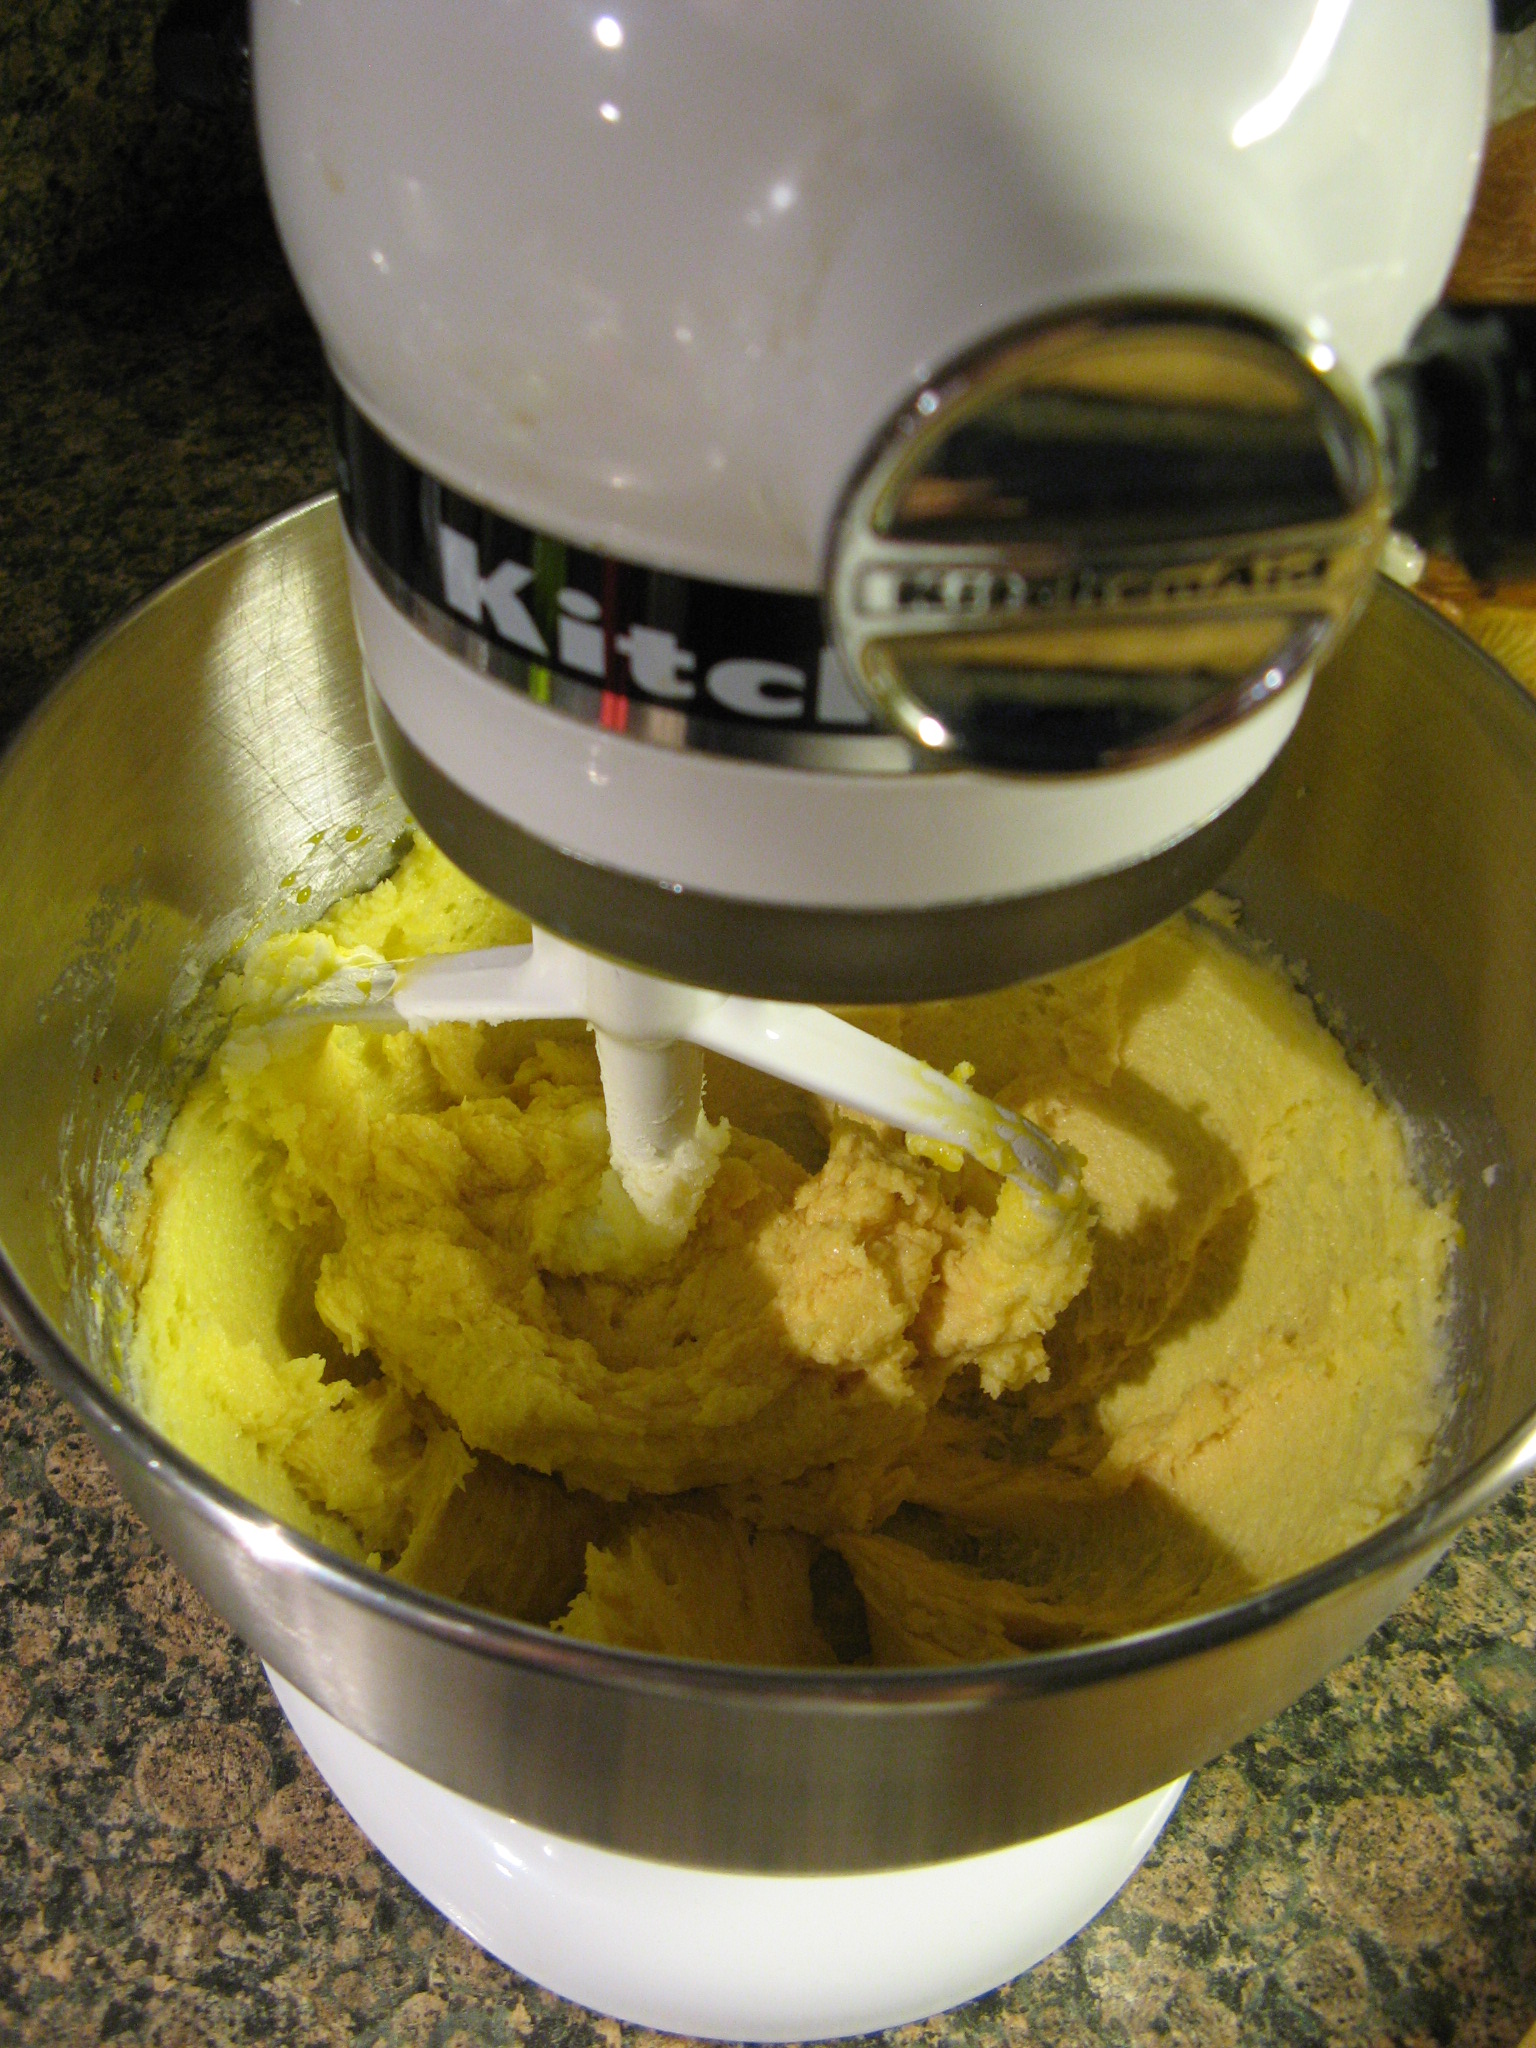
I then added in a cup of room temperature sour cream and a teaspoon of vanilla extract; beating until these two ingredients were well incorporated.

IMG_7008

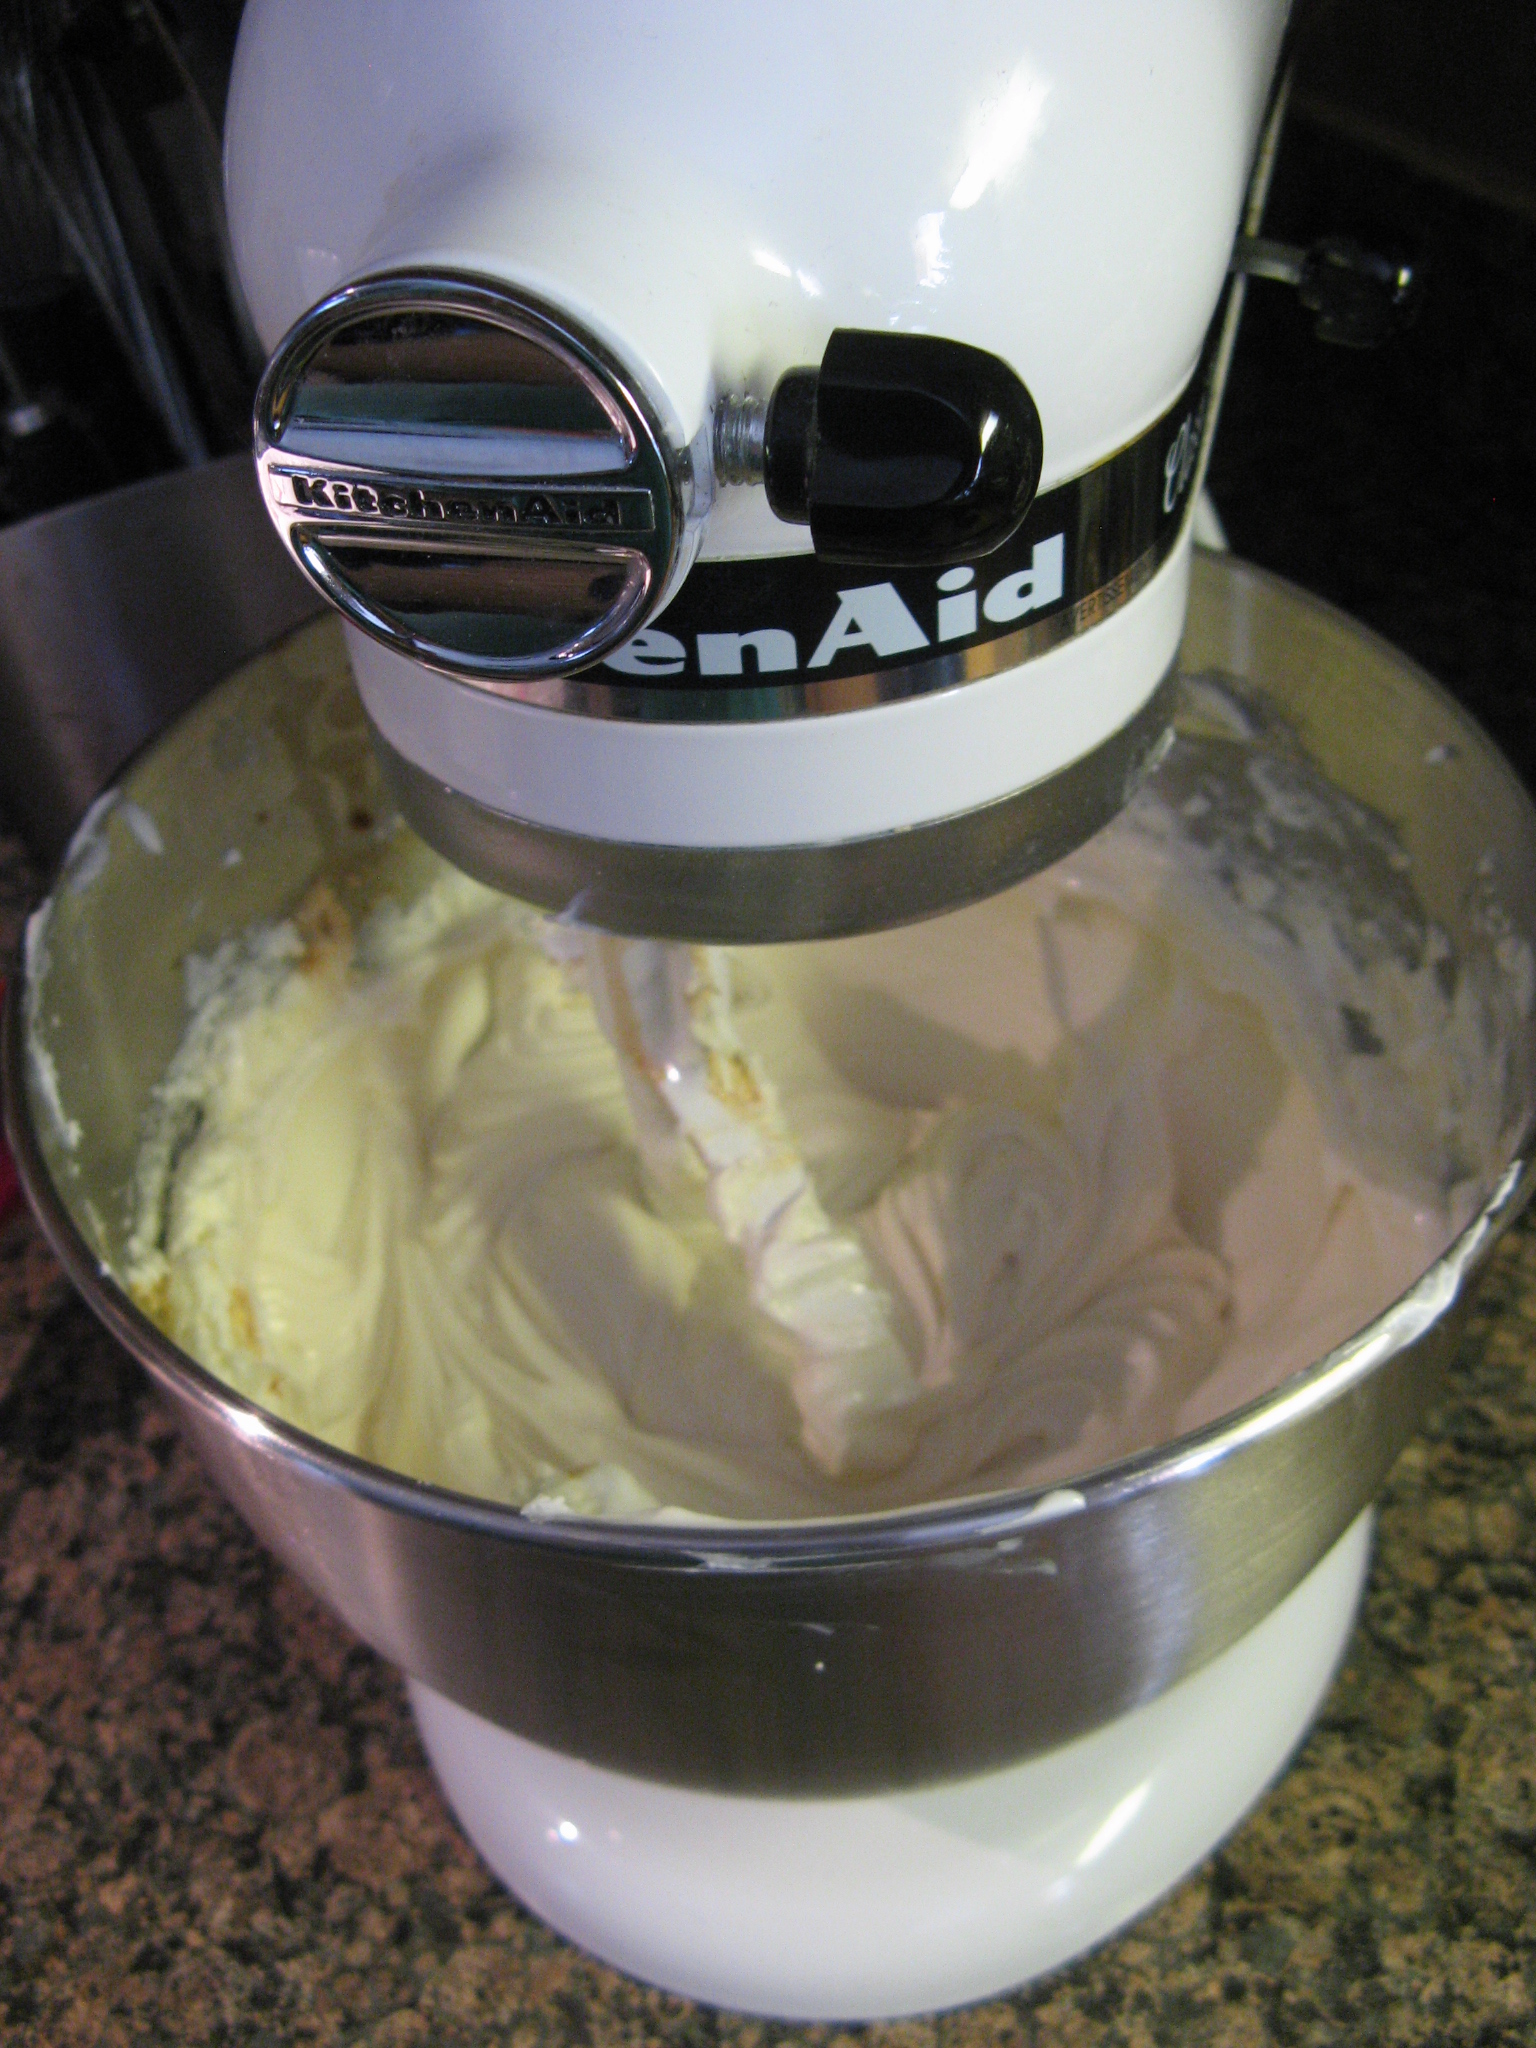
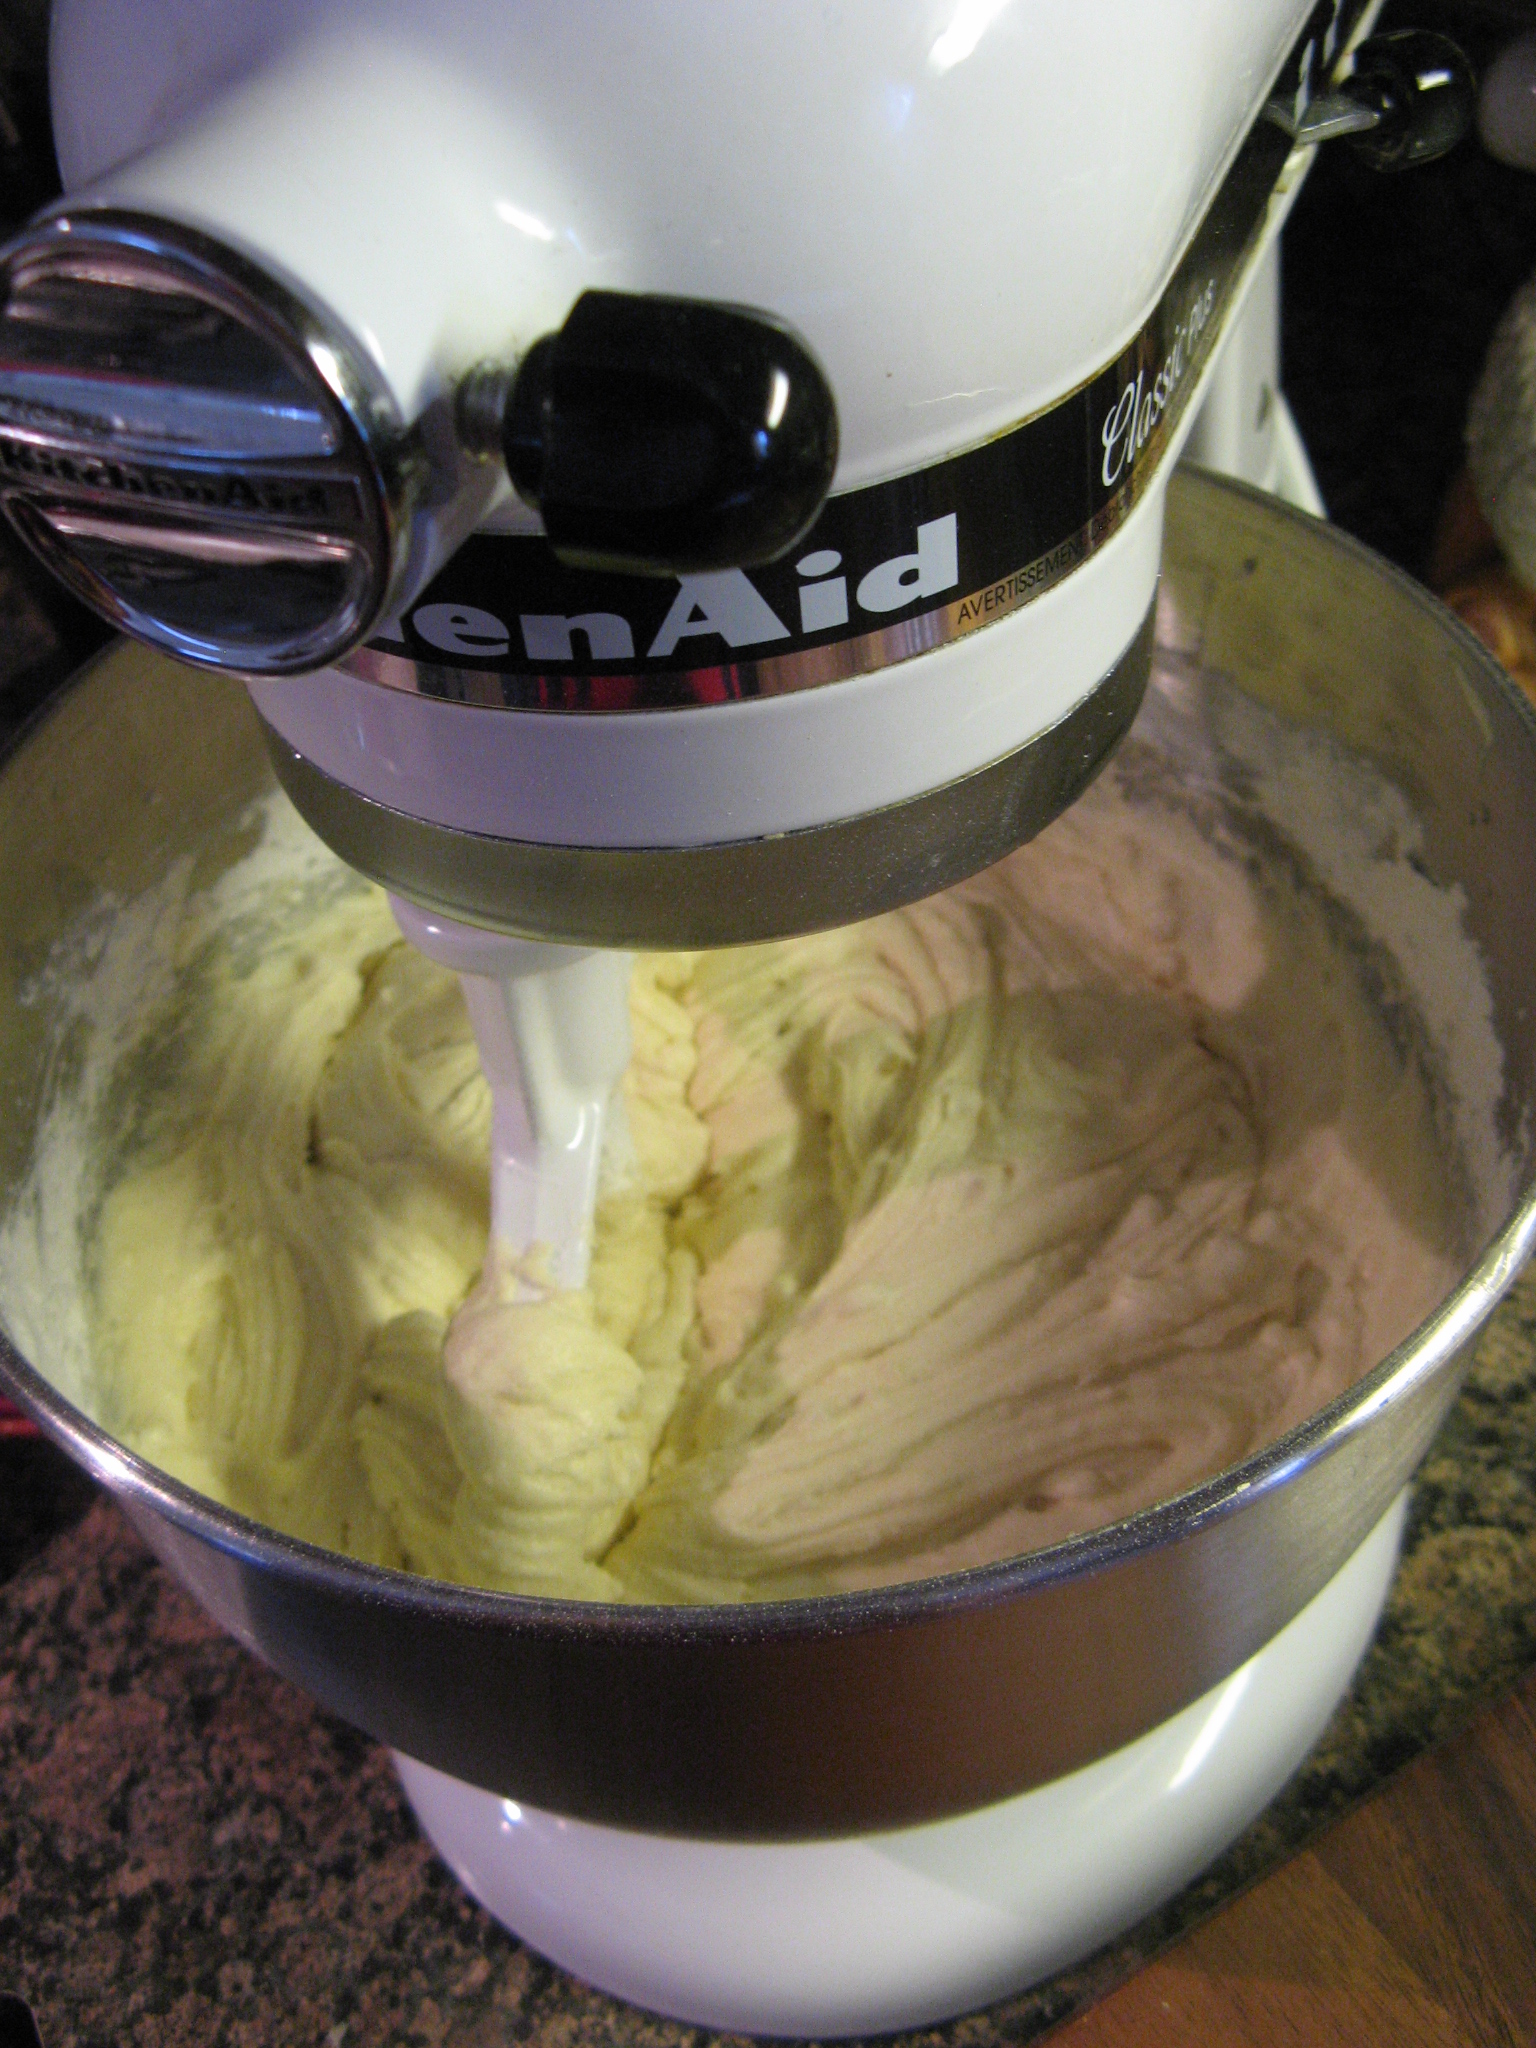
And finally I added in three eggs, one at a time.

IMG_7009

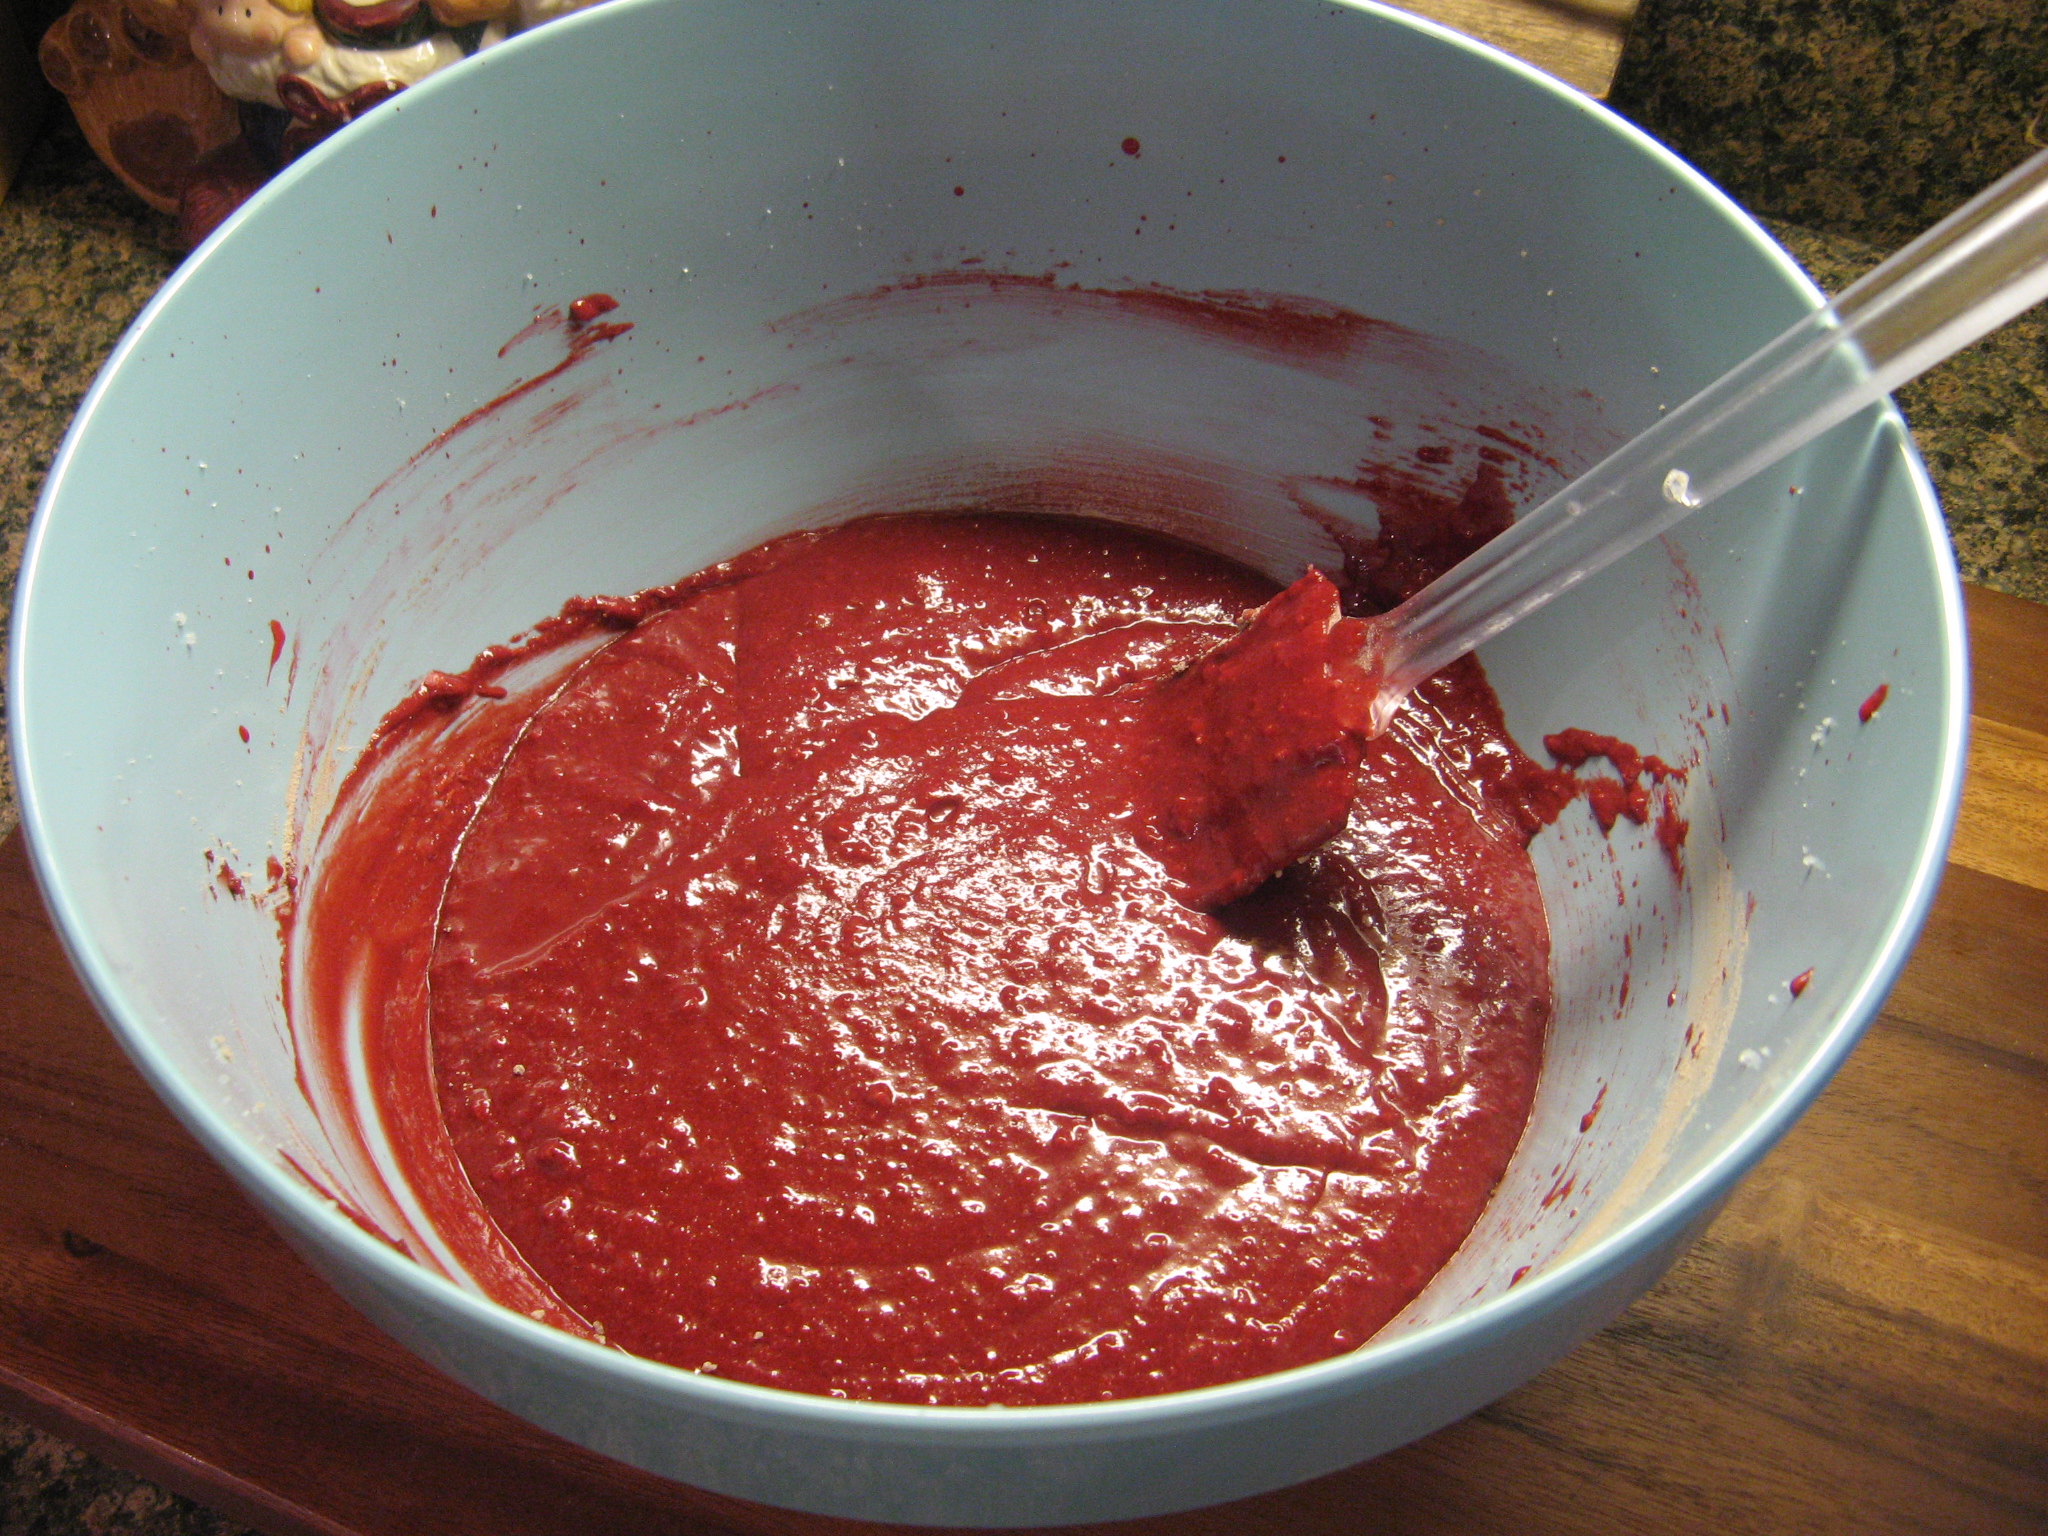
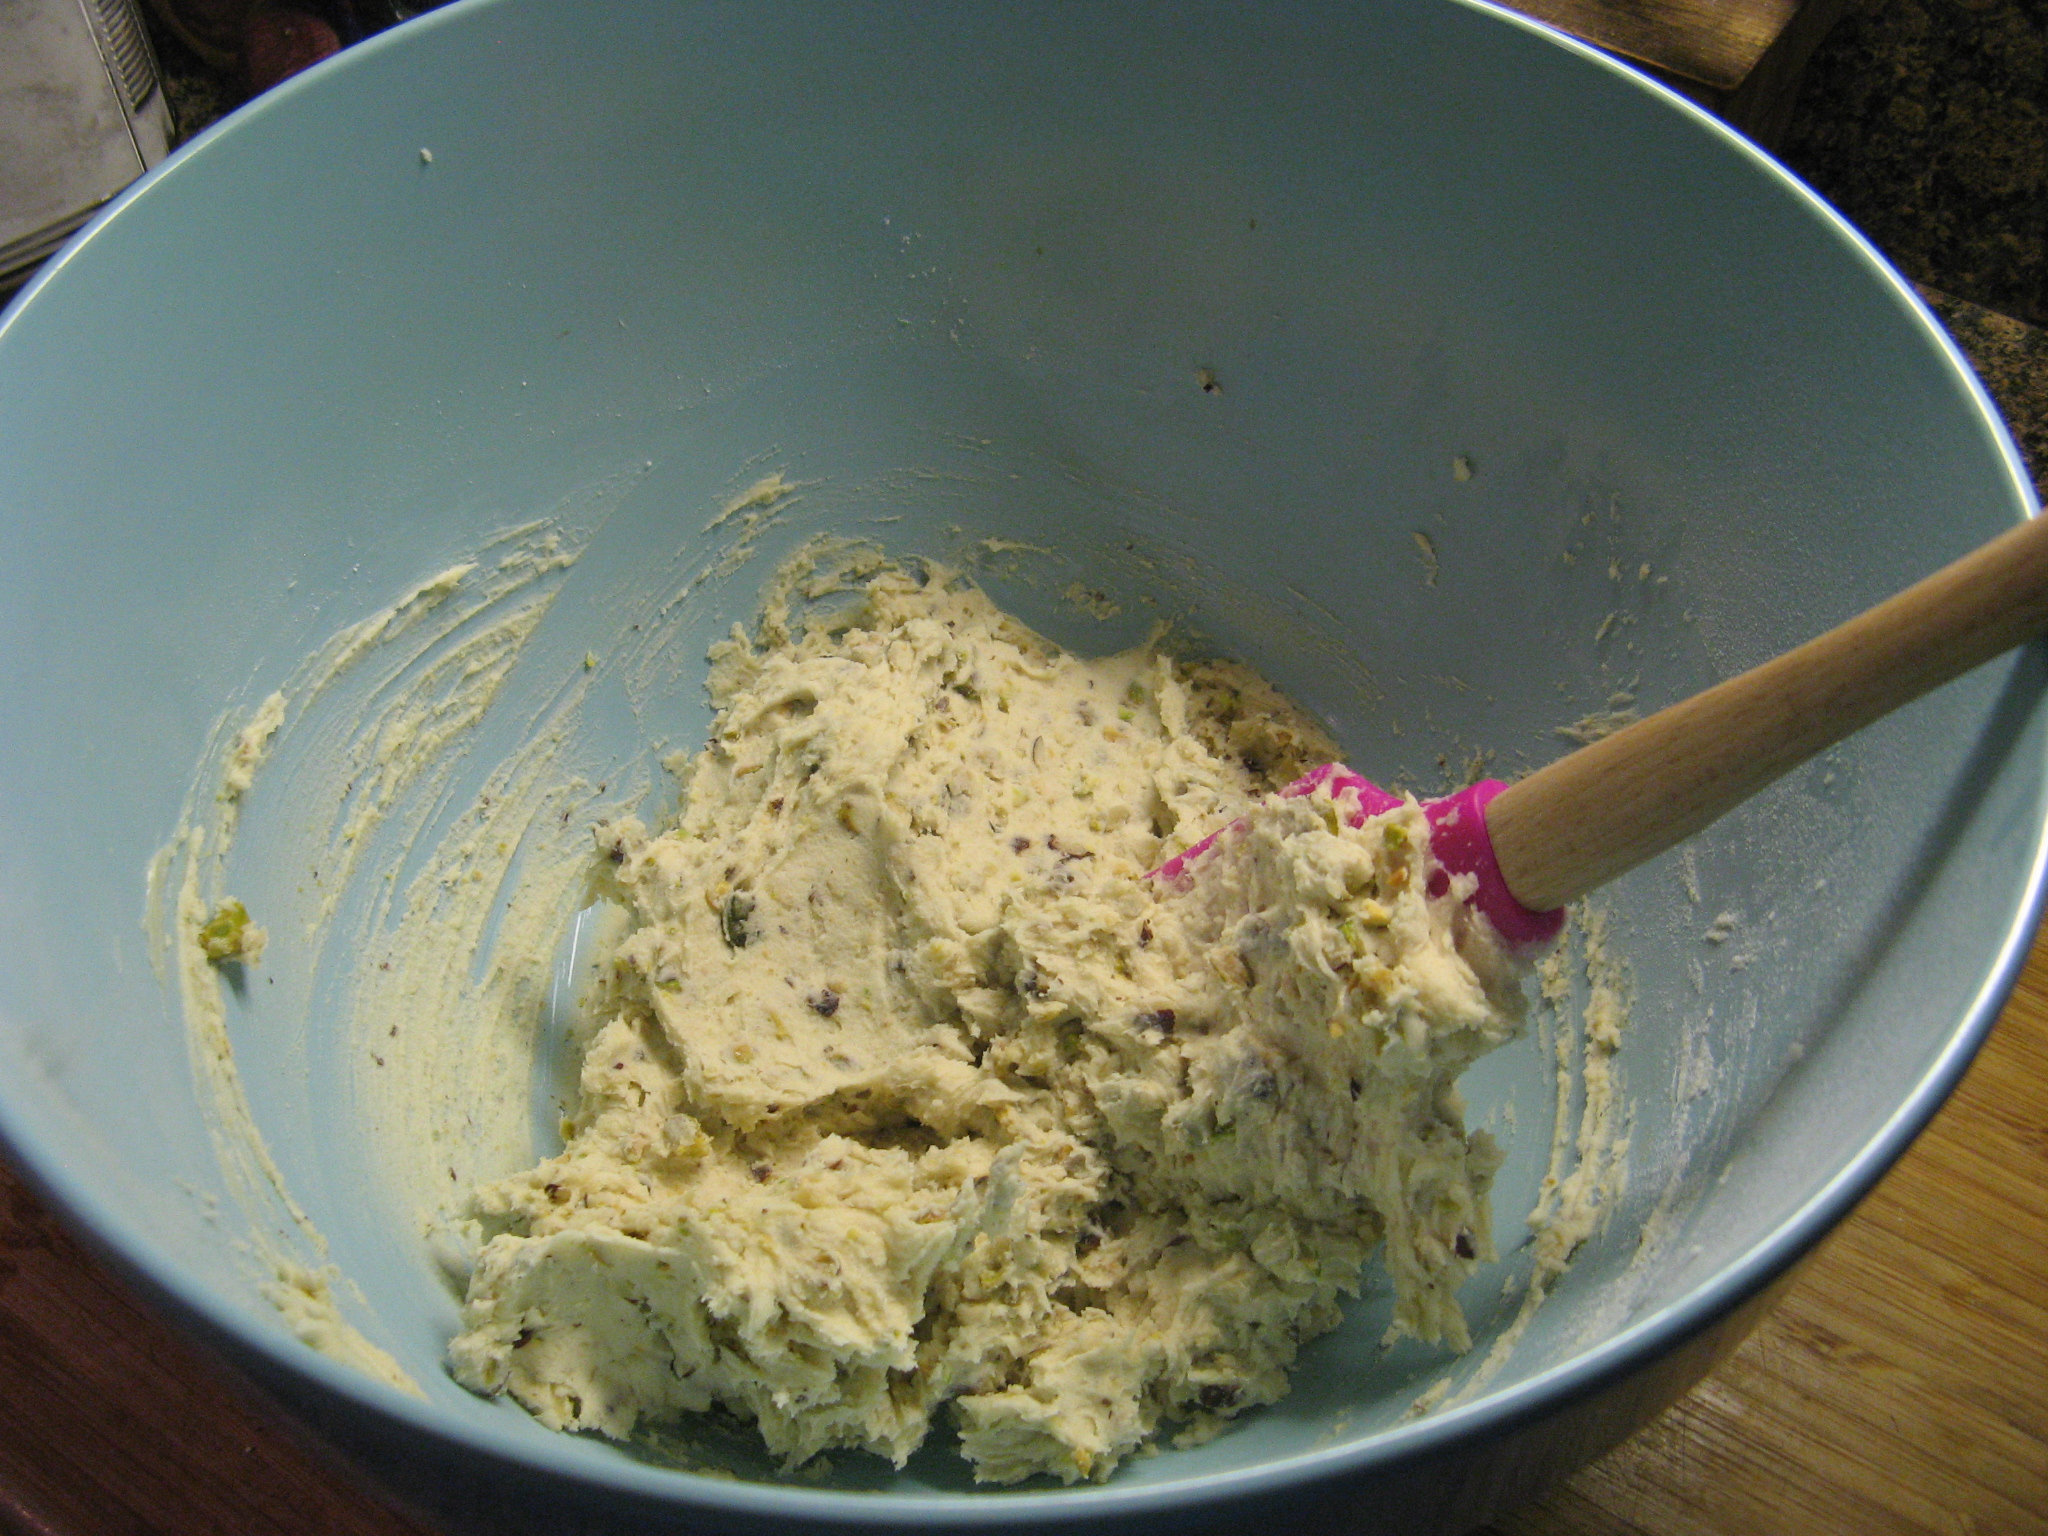
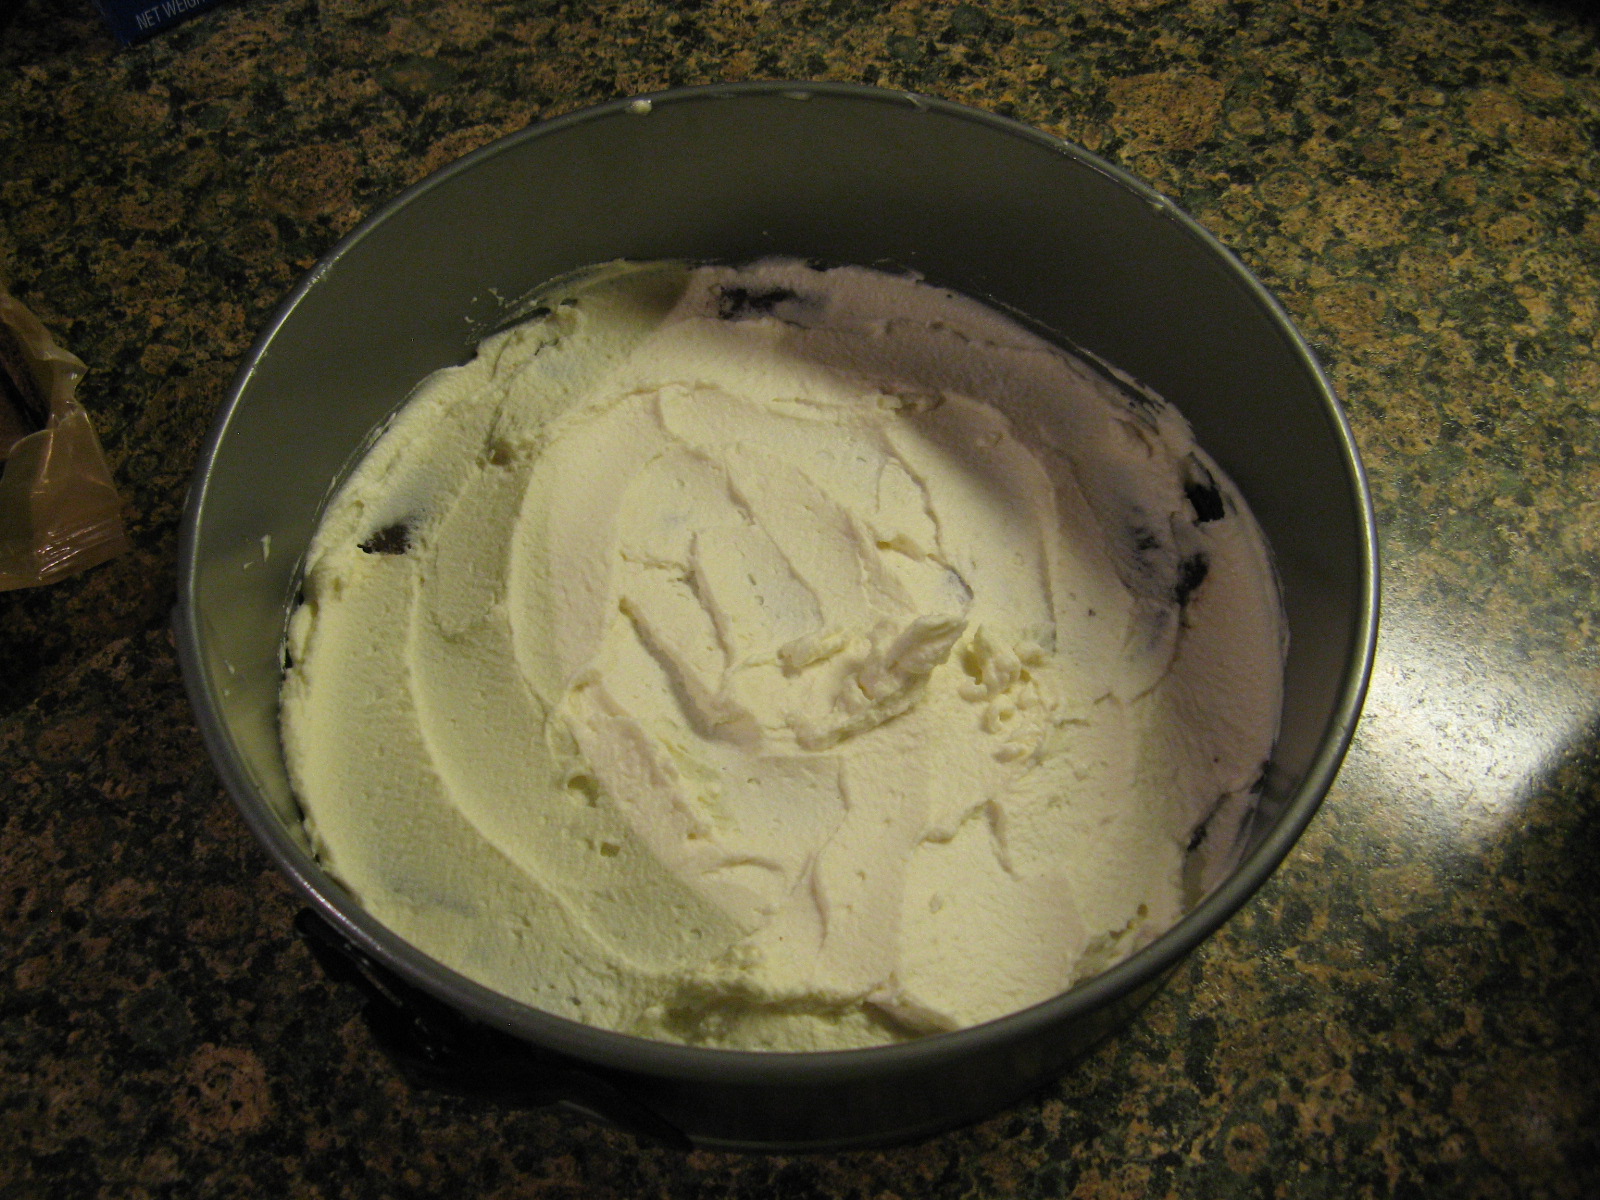
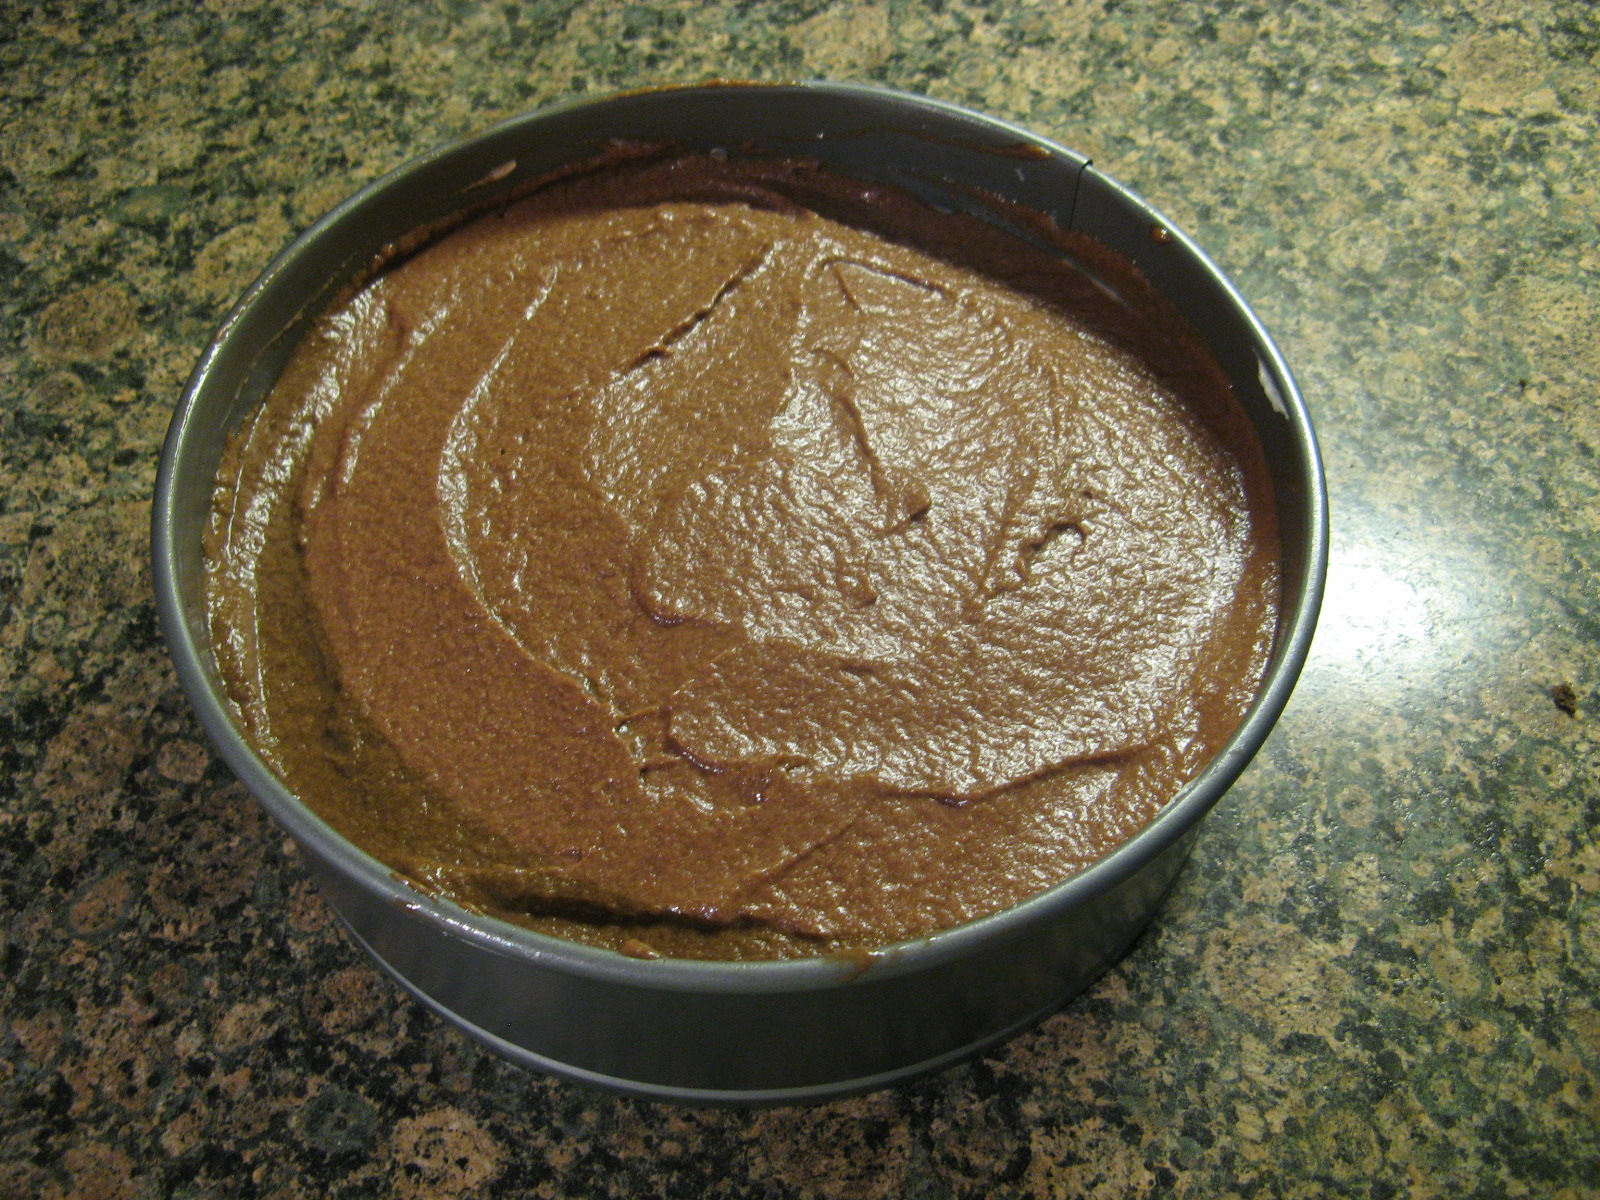
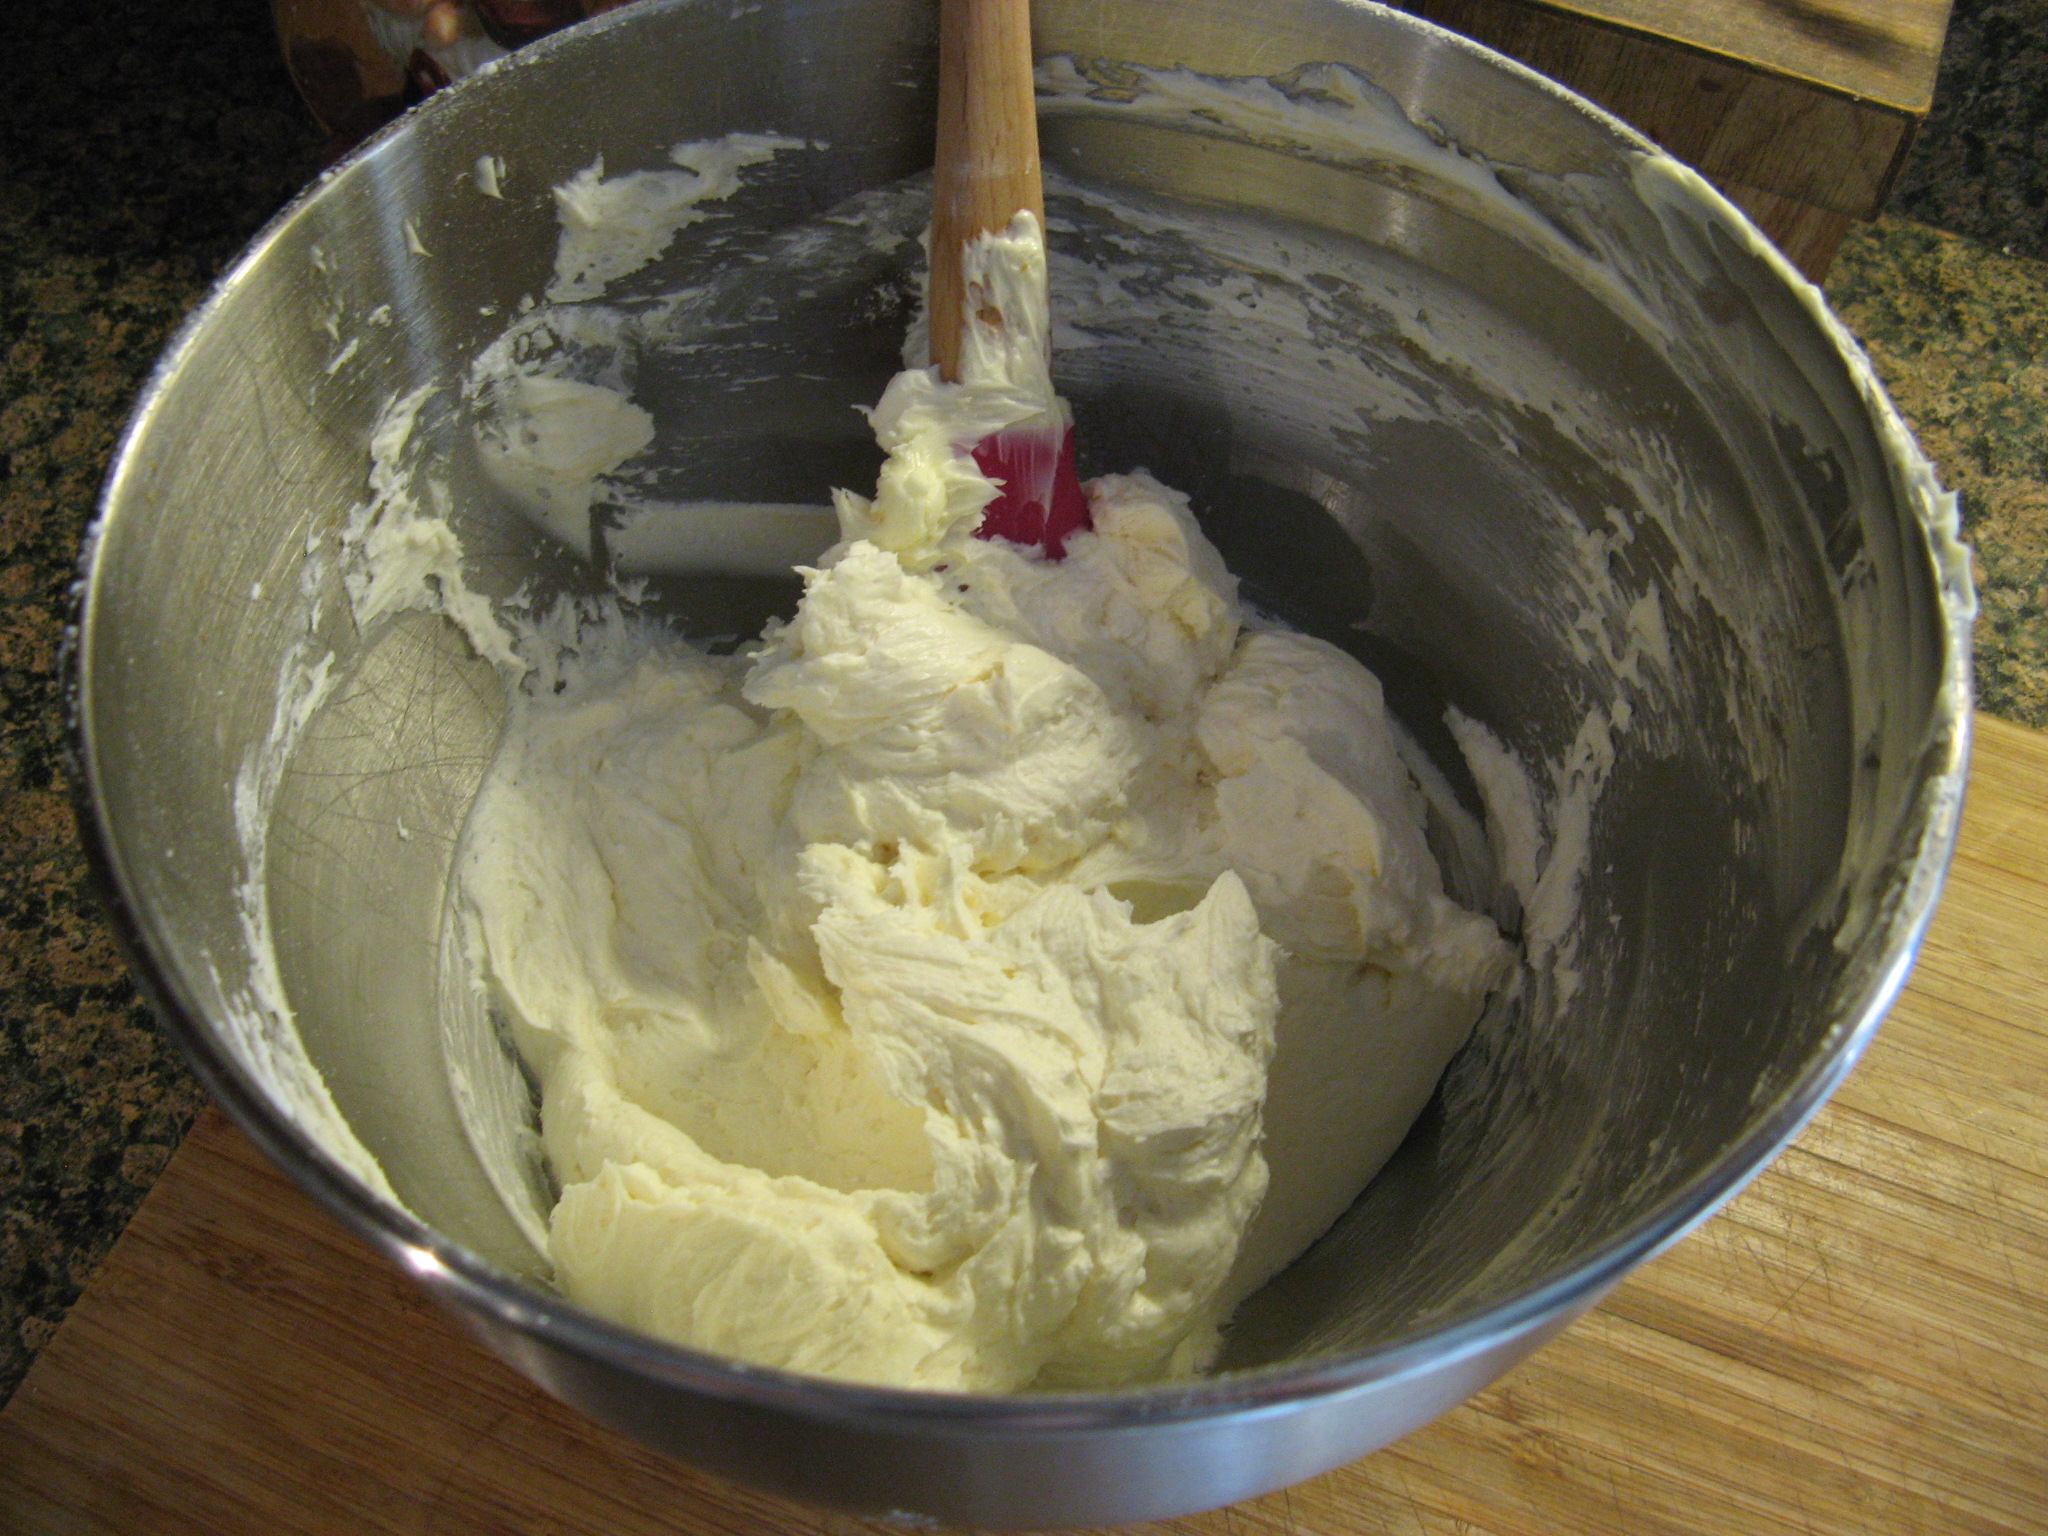
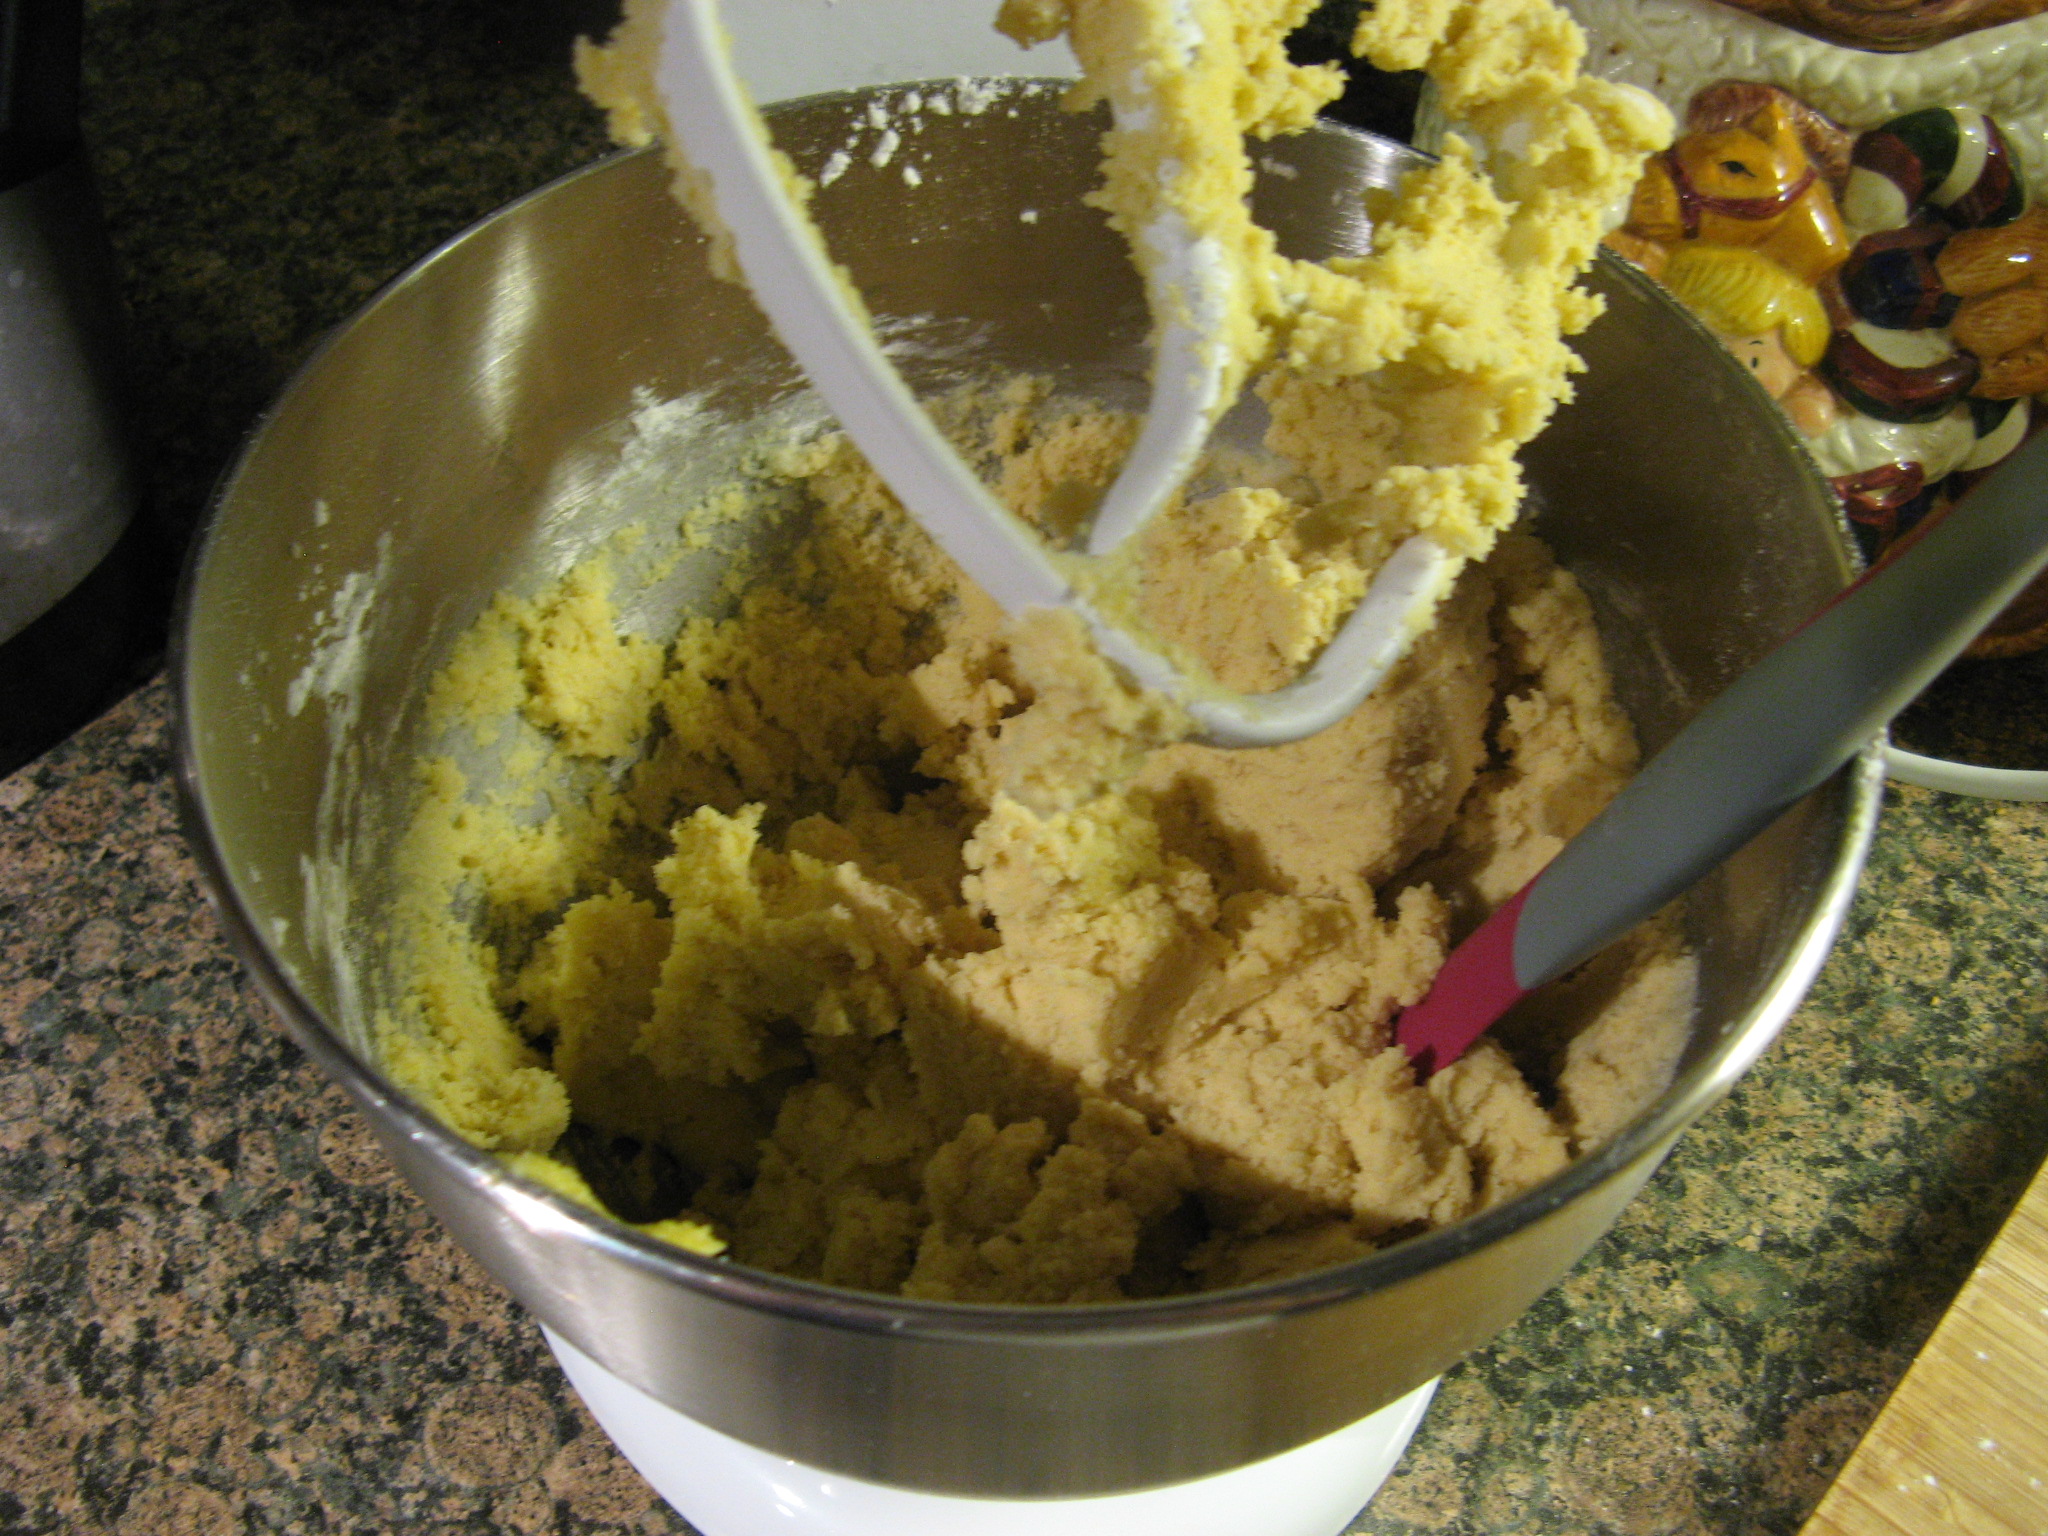
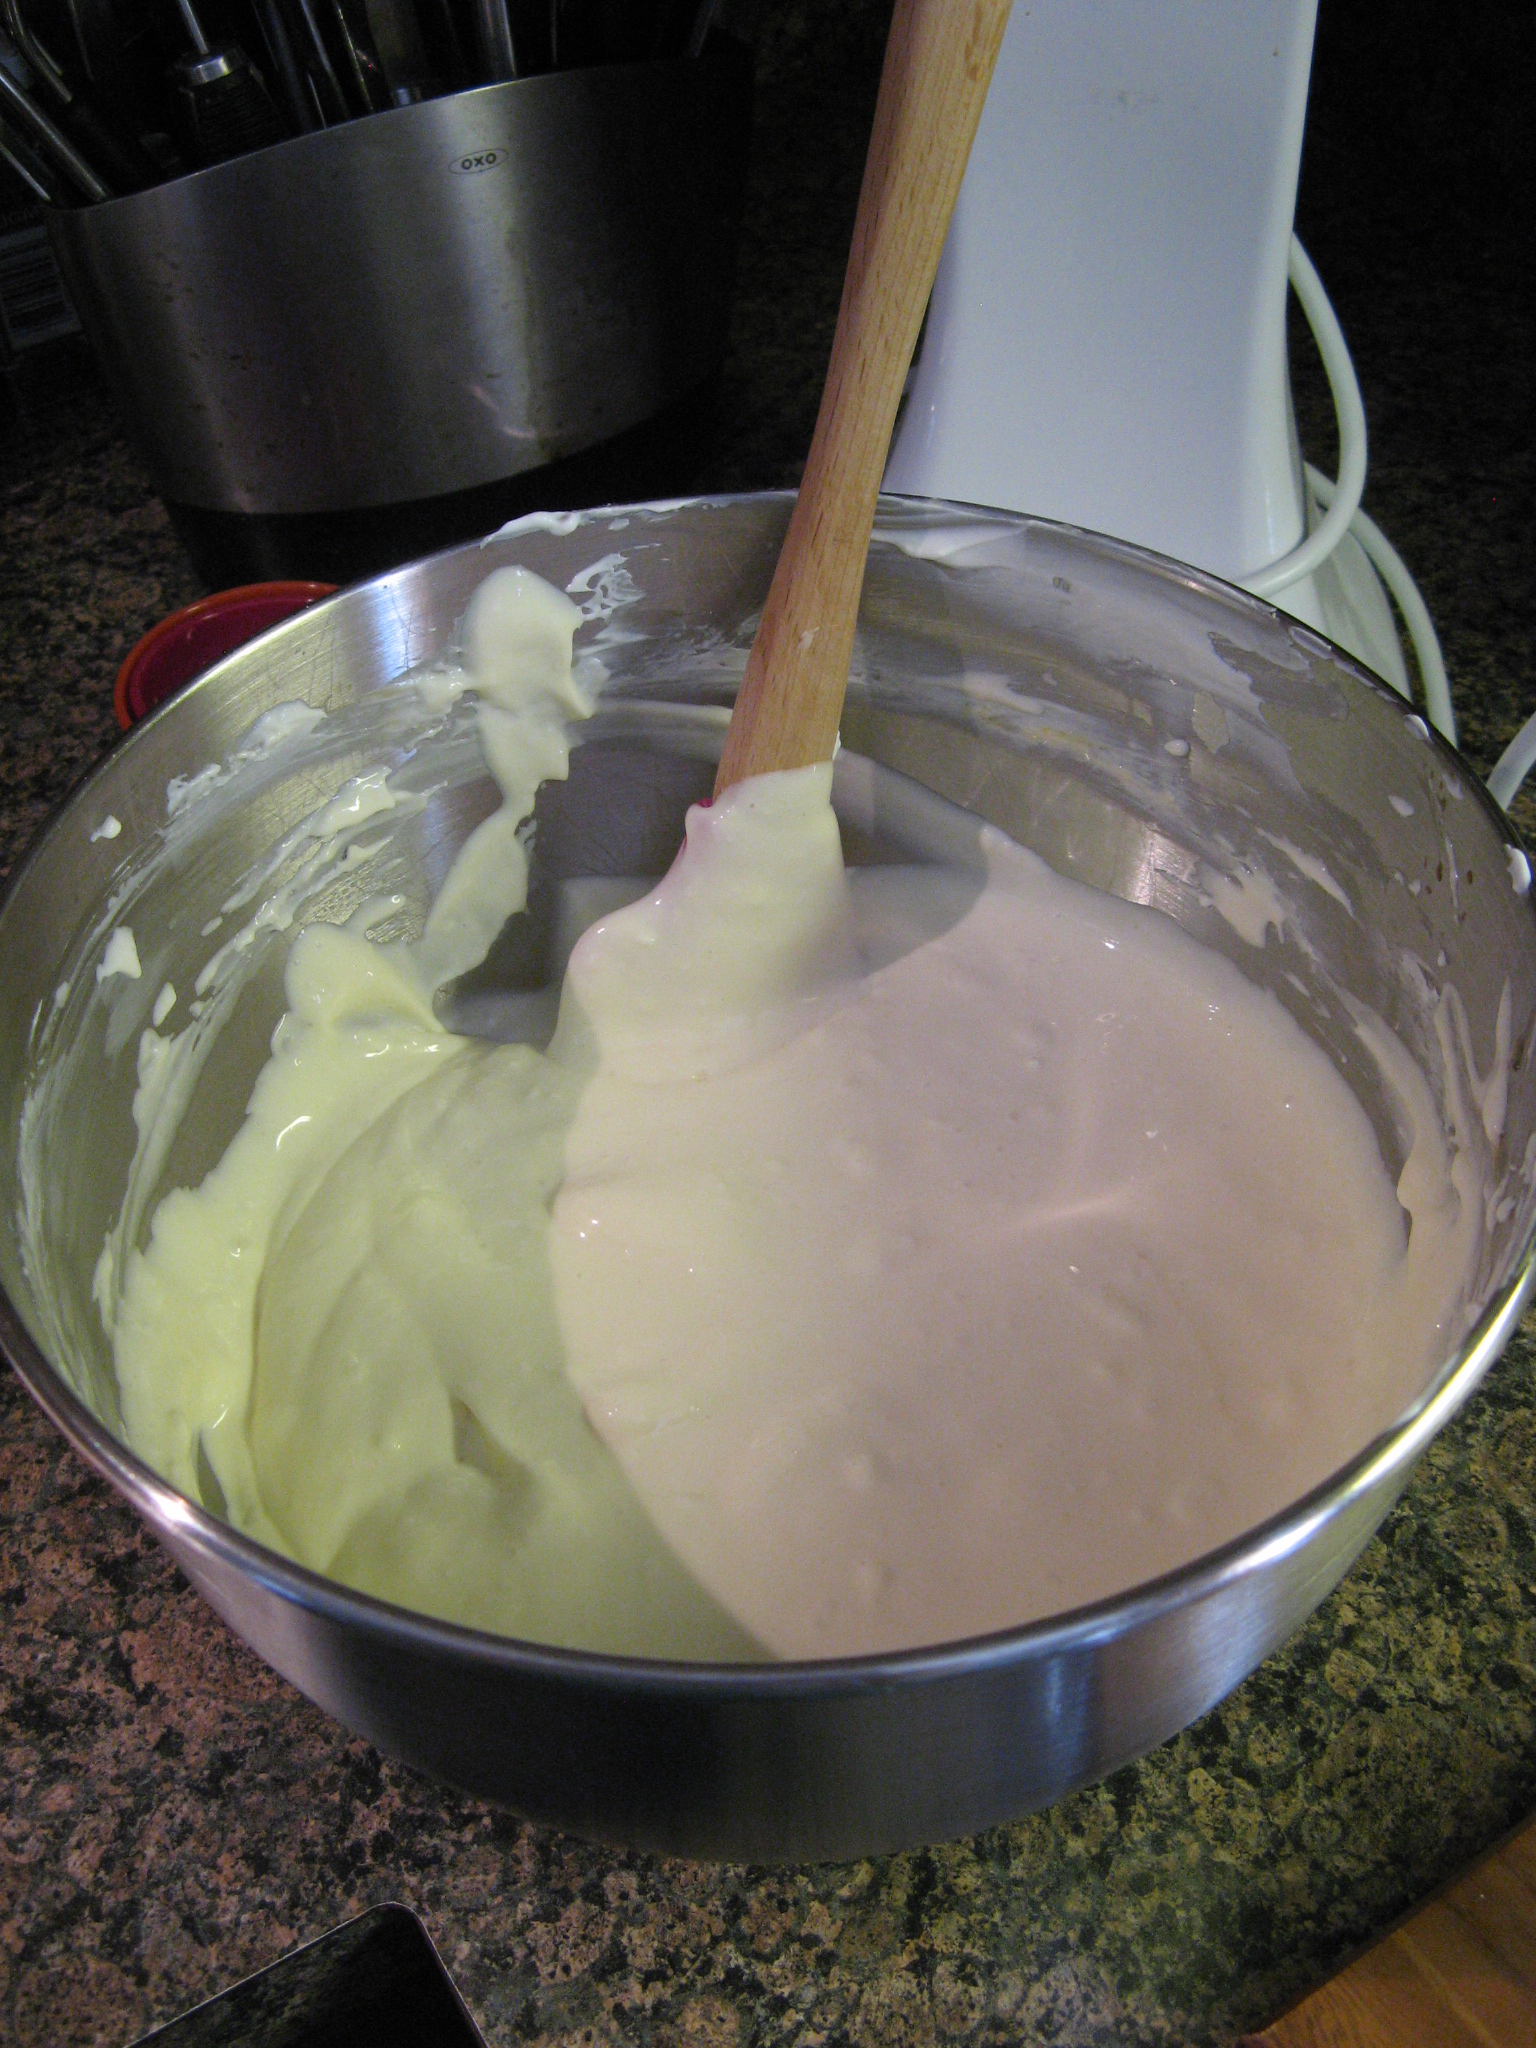
Before pouring it into the crust, I gave the cream cheese mixture a few stirs with a rubber spatula to make sure all of the ingredients were blended together well. I tend to find that sometimes ingredients are left on the bottom of the bowl of the stand mixer untouched since the paddle attachment doesn’t fully hit the bottom of the bowl.

IMG_7010

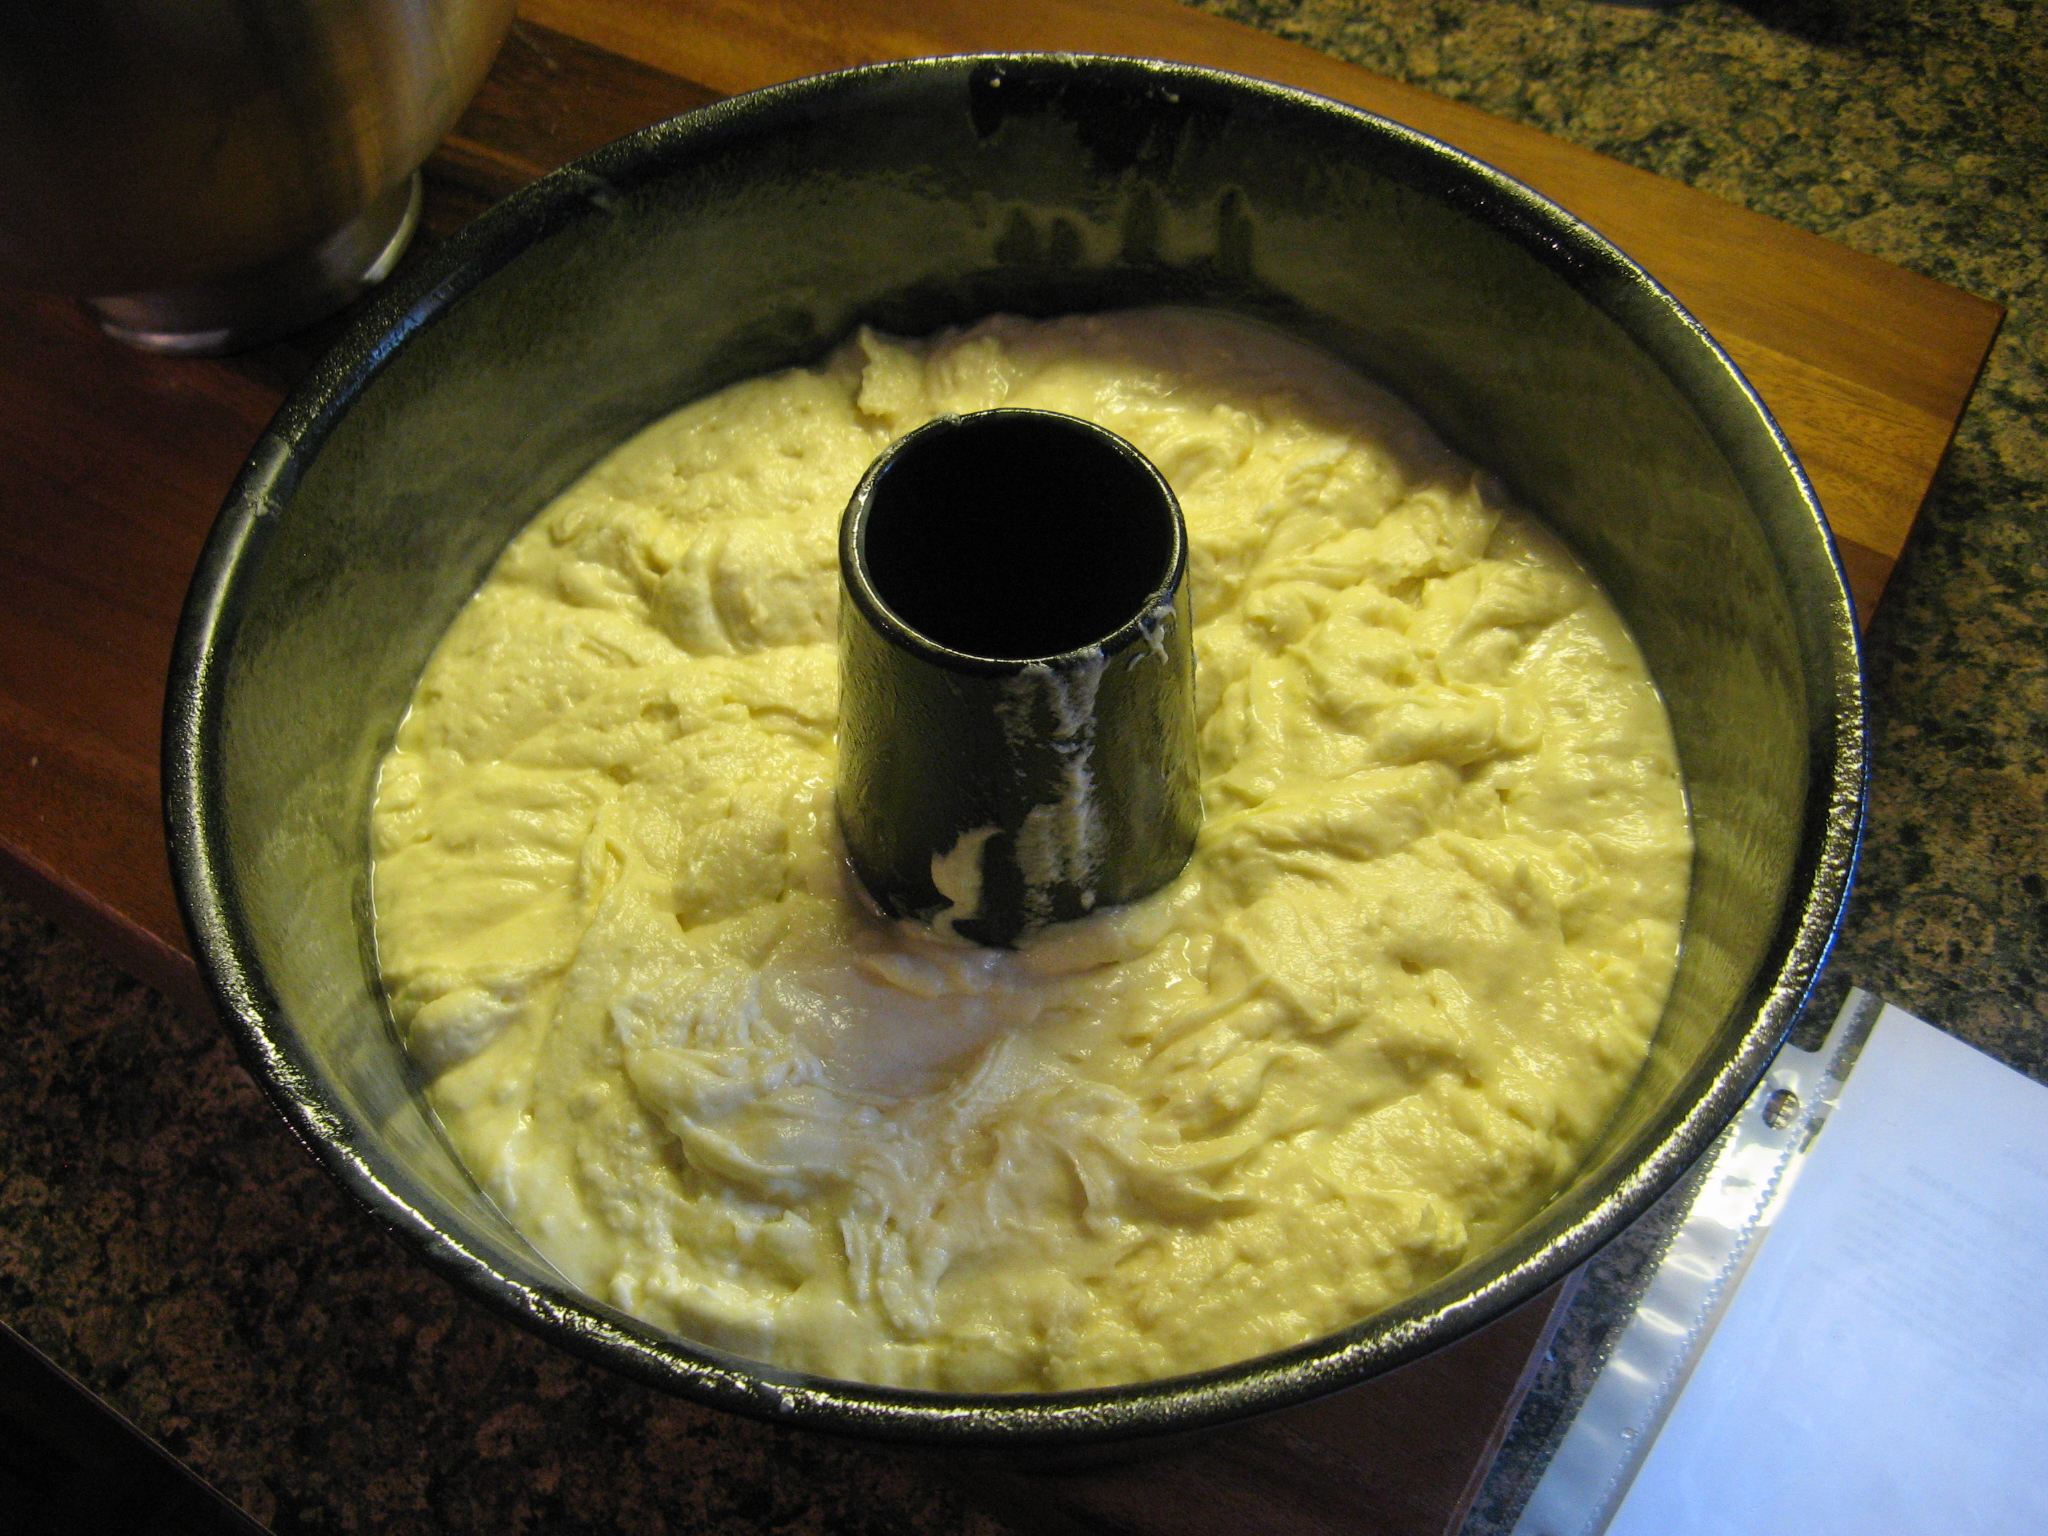
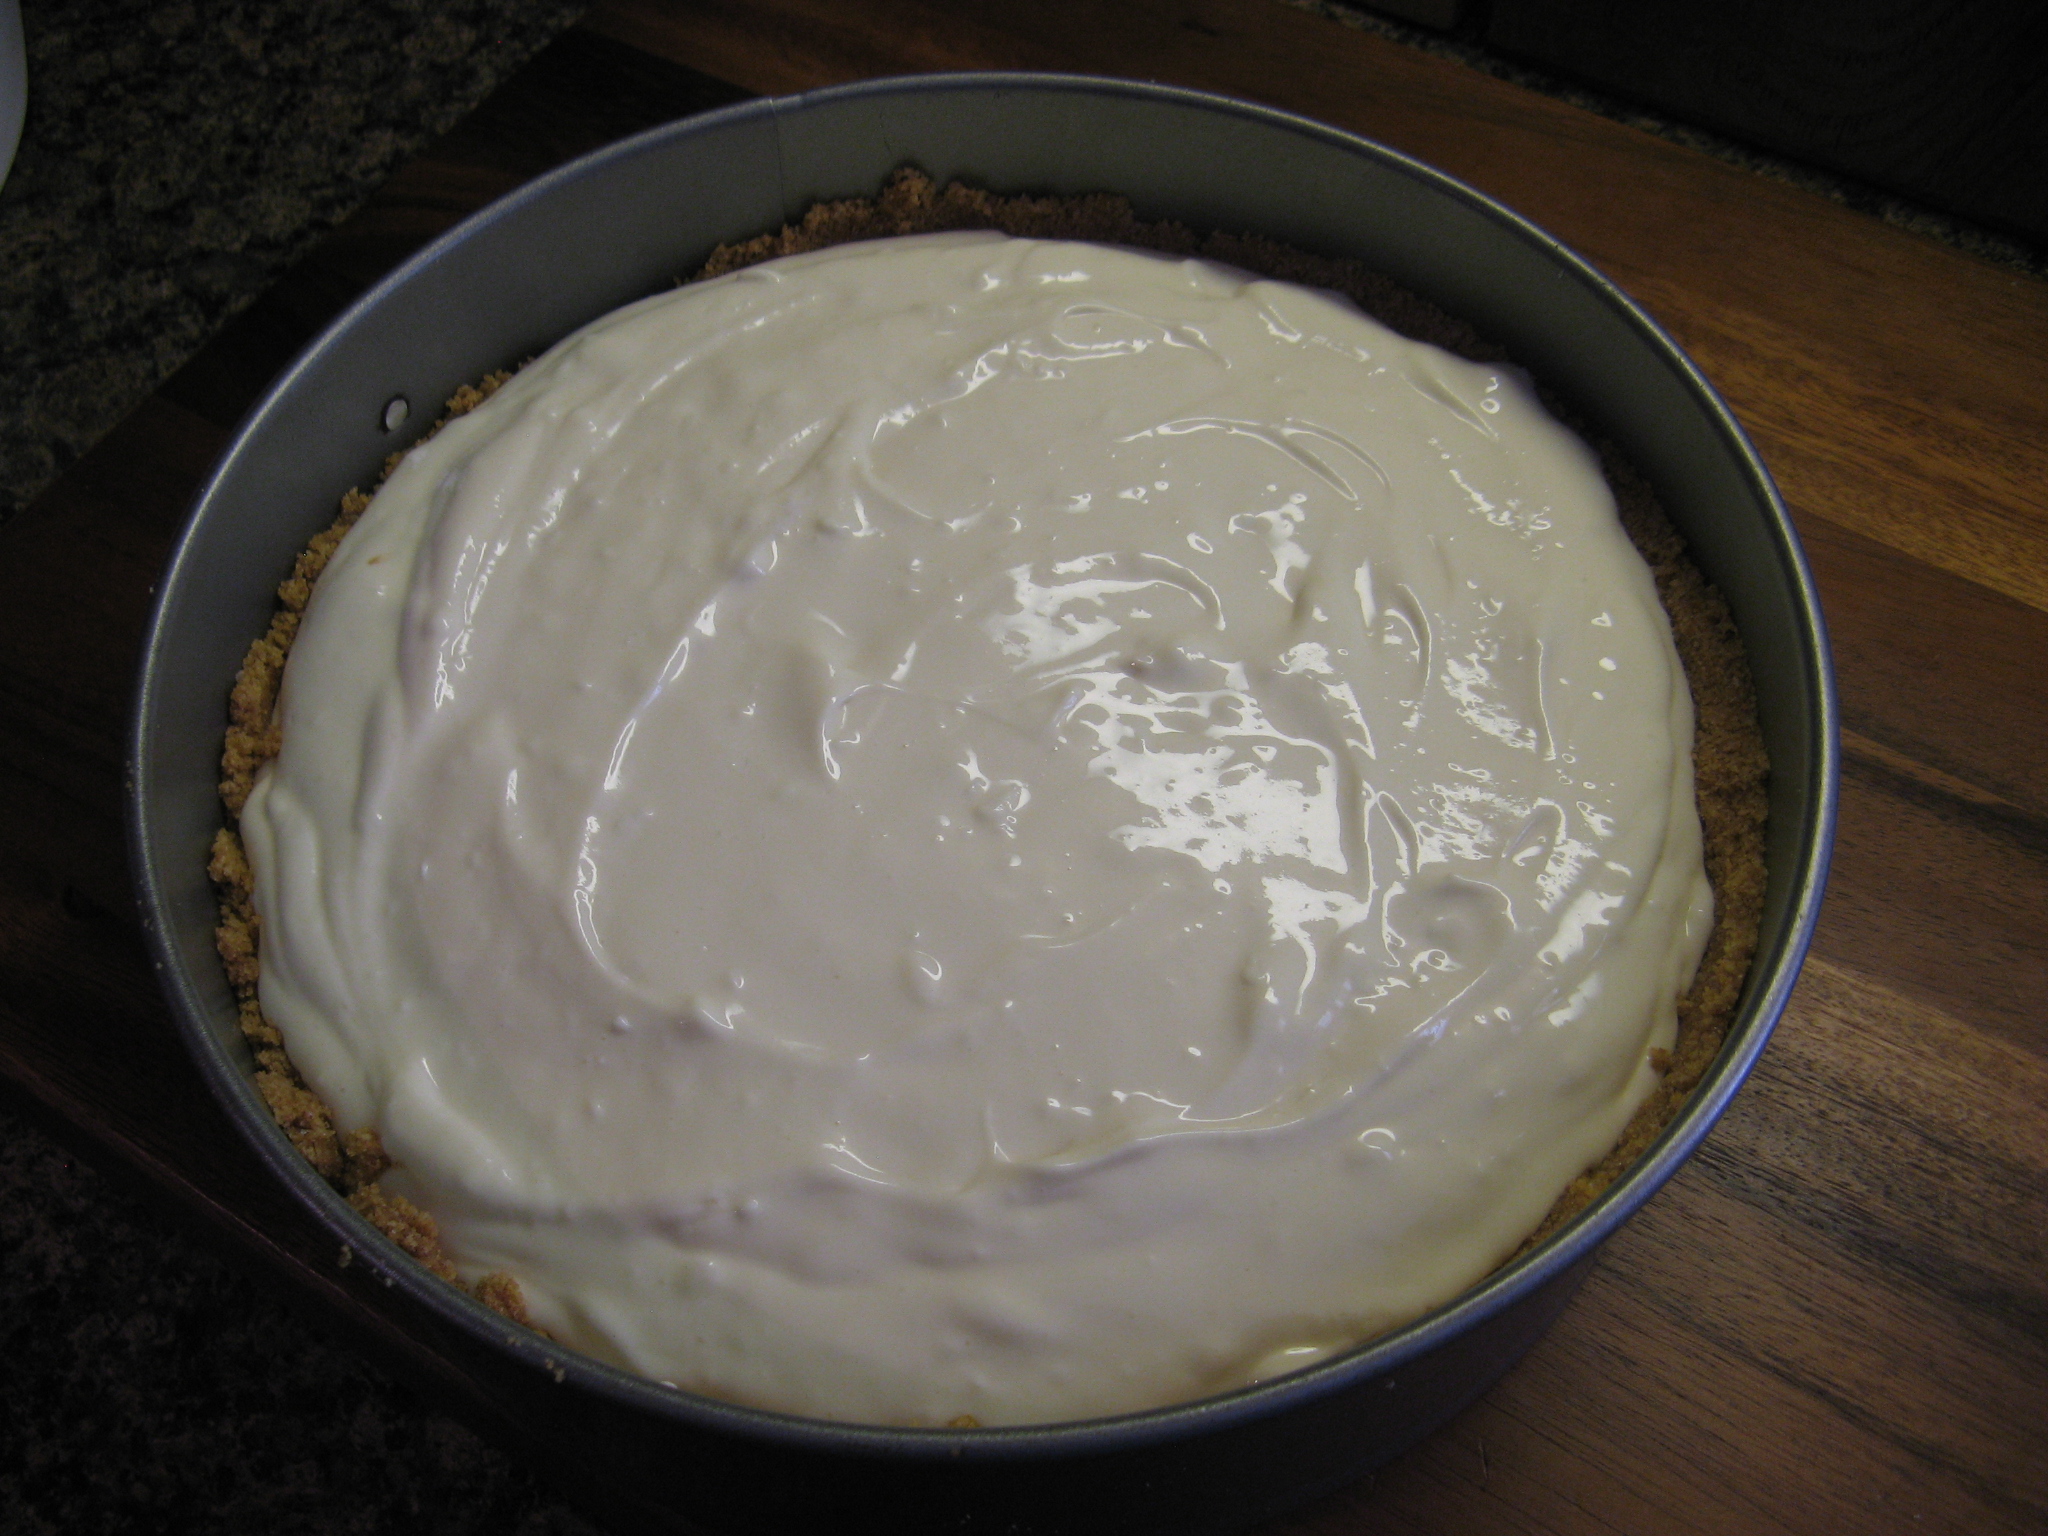
After pouring the cream cheese mixture into the prepared crust I baked it in a preheated 325 F oven for about an hour; until it was set but still wobbly in the center.

IMG_7011

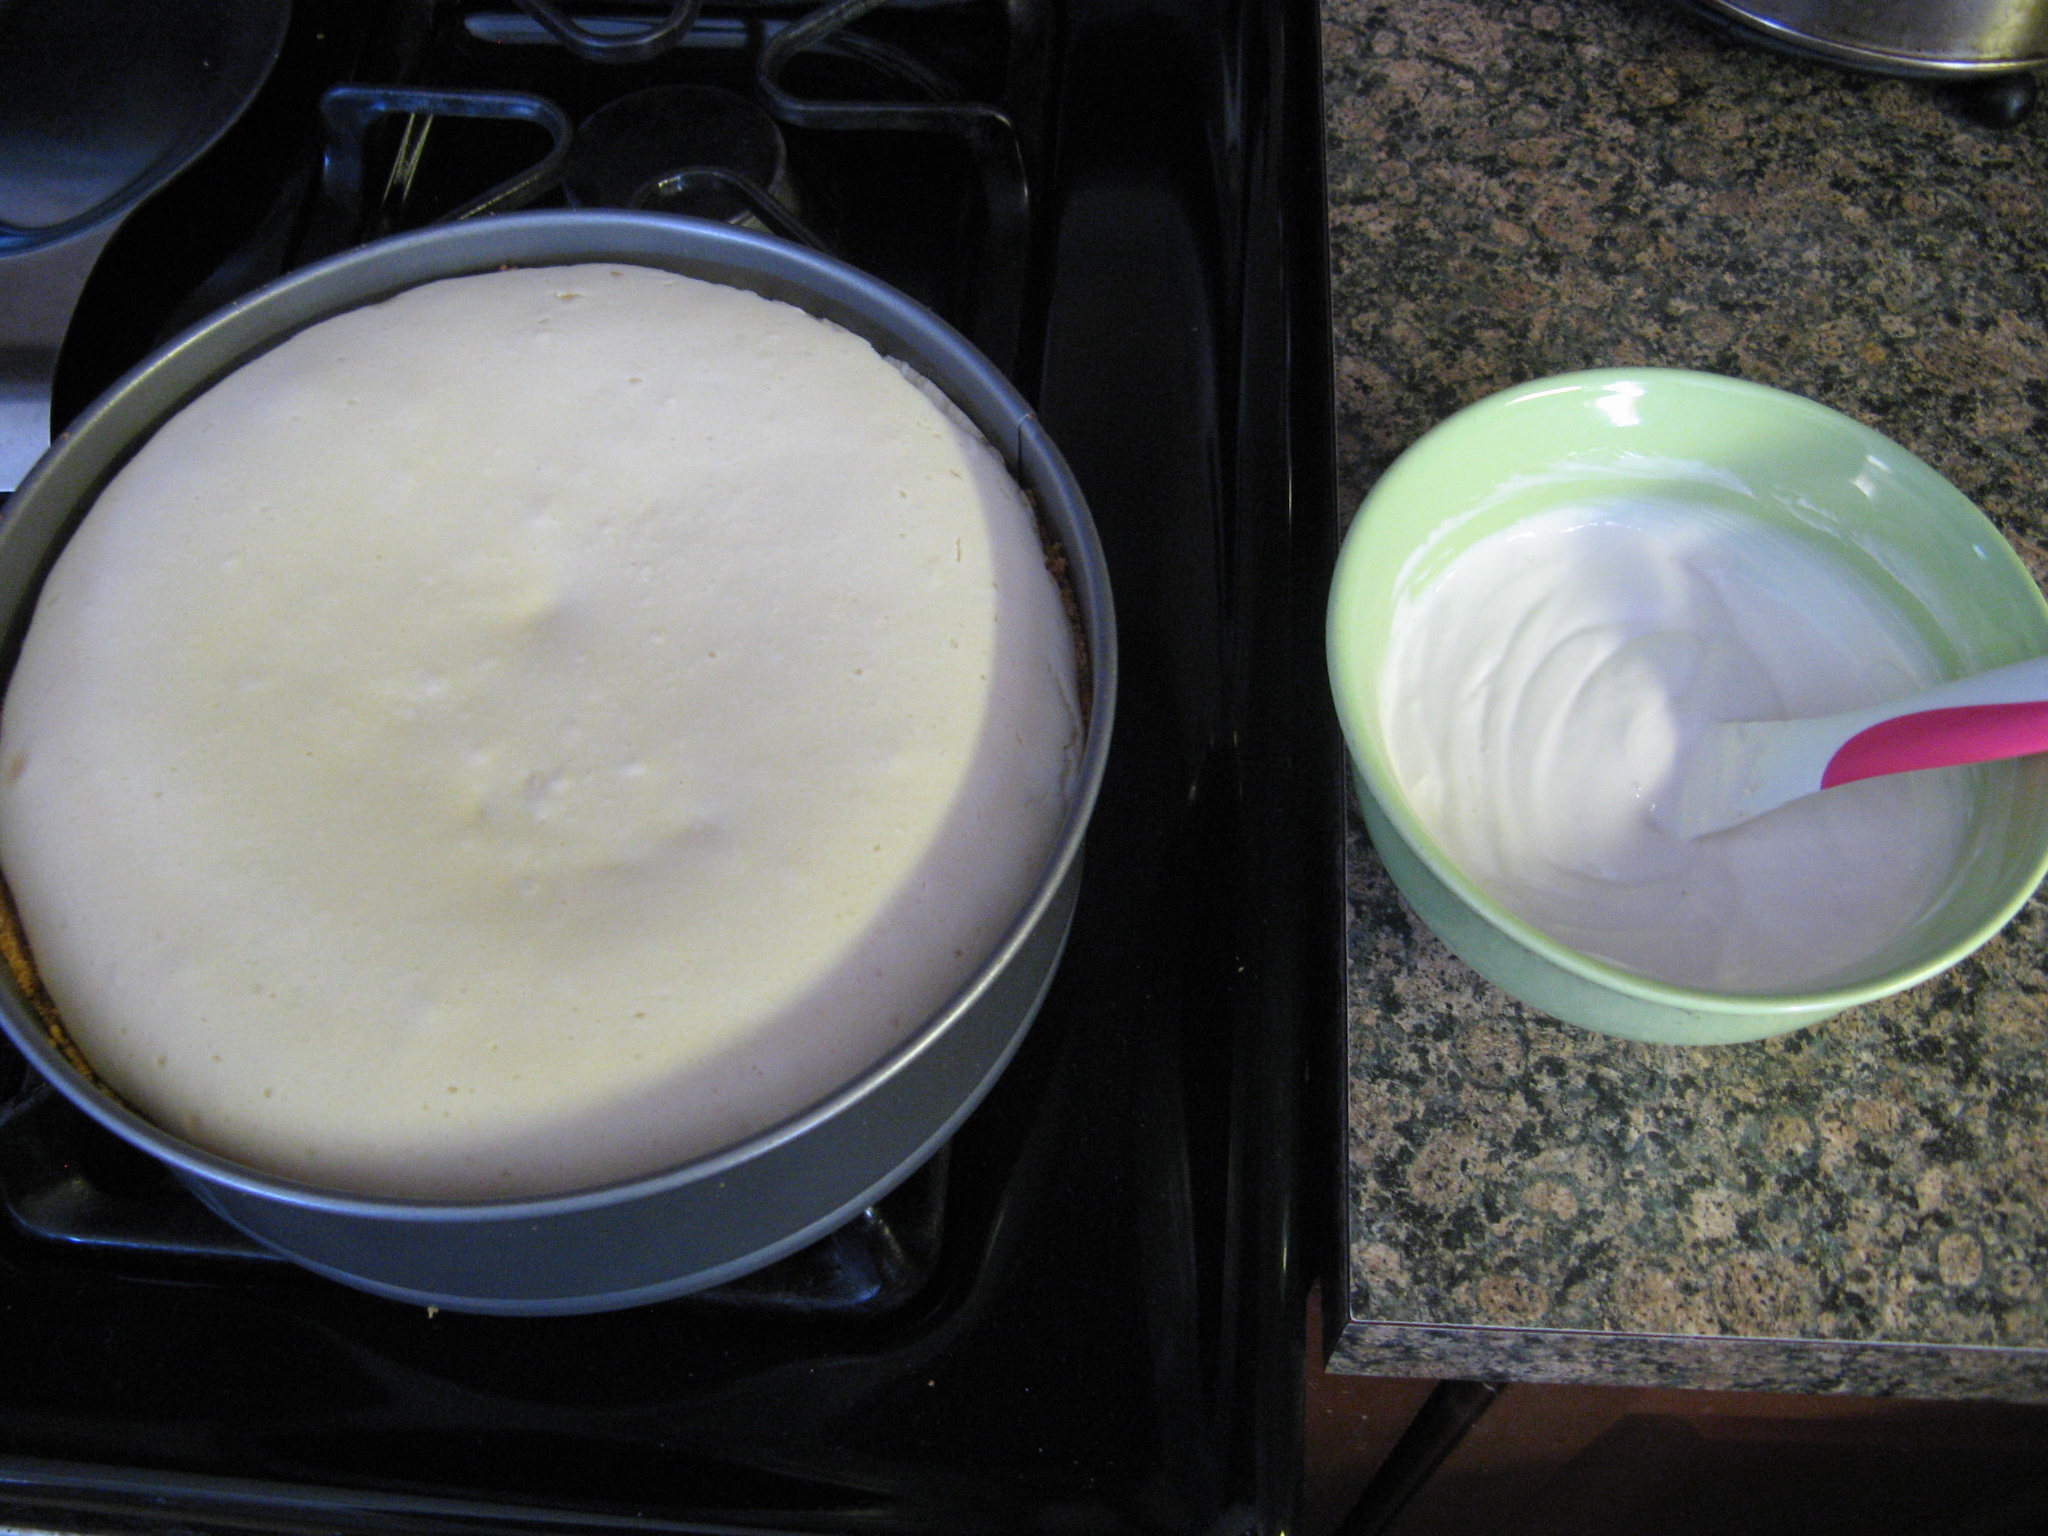
A few minutes before removing the cheesecake from the oven I combined a cup of sour cream, a few tablespoons of sugar and vanilla extract in a bowl. I was happy that the cheesecake didn’t have any cracks in it – that normally happens when I bake cheesecakes.

IMG_7012

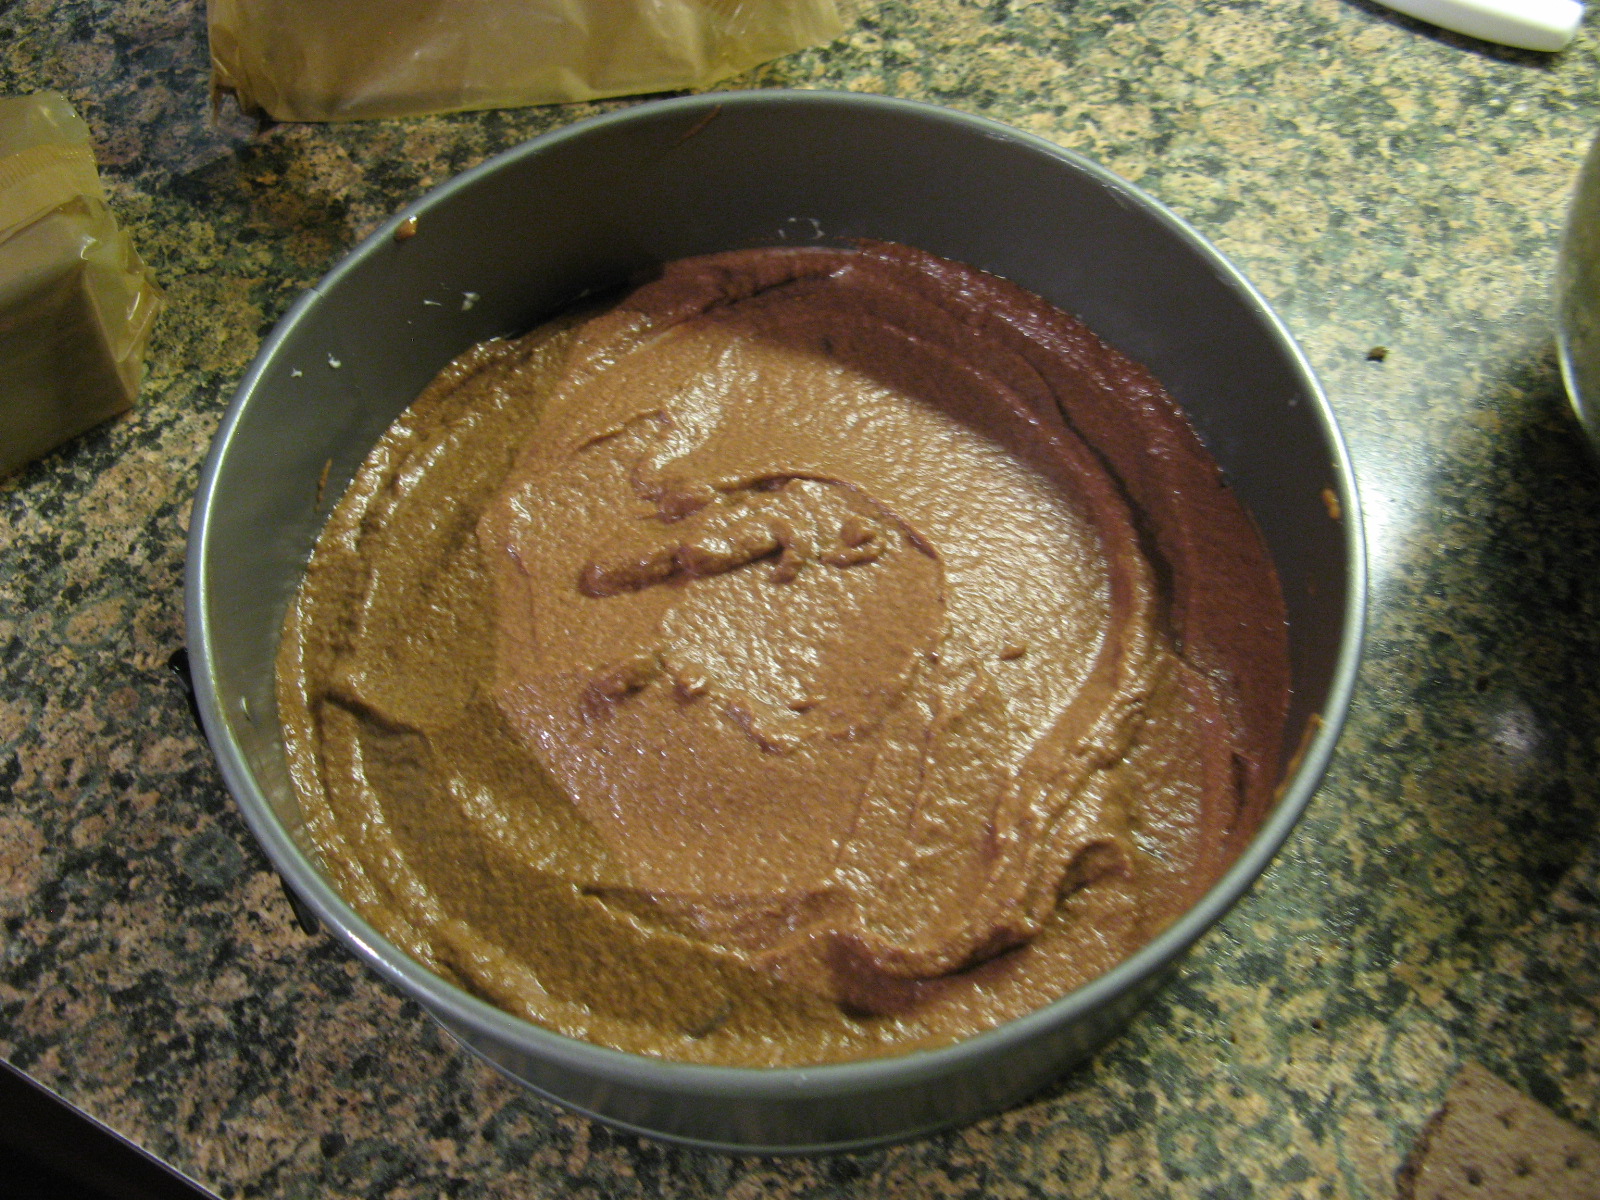
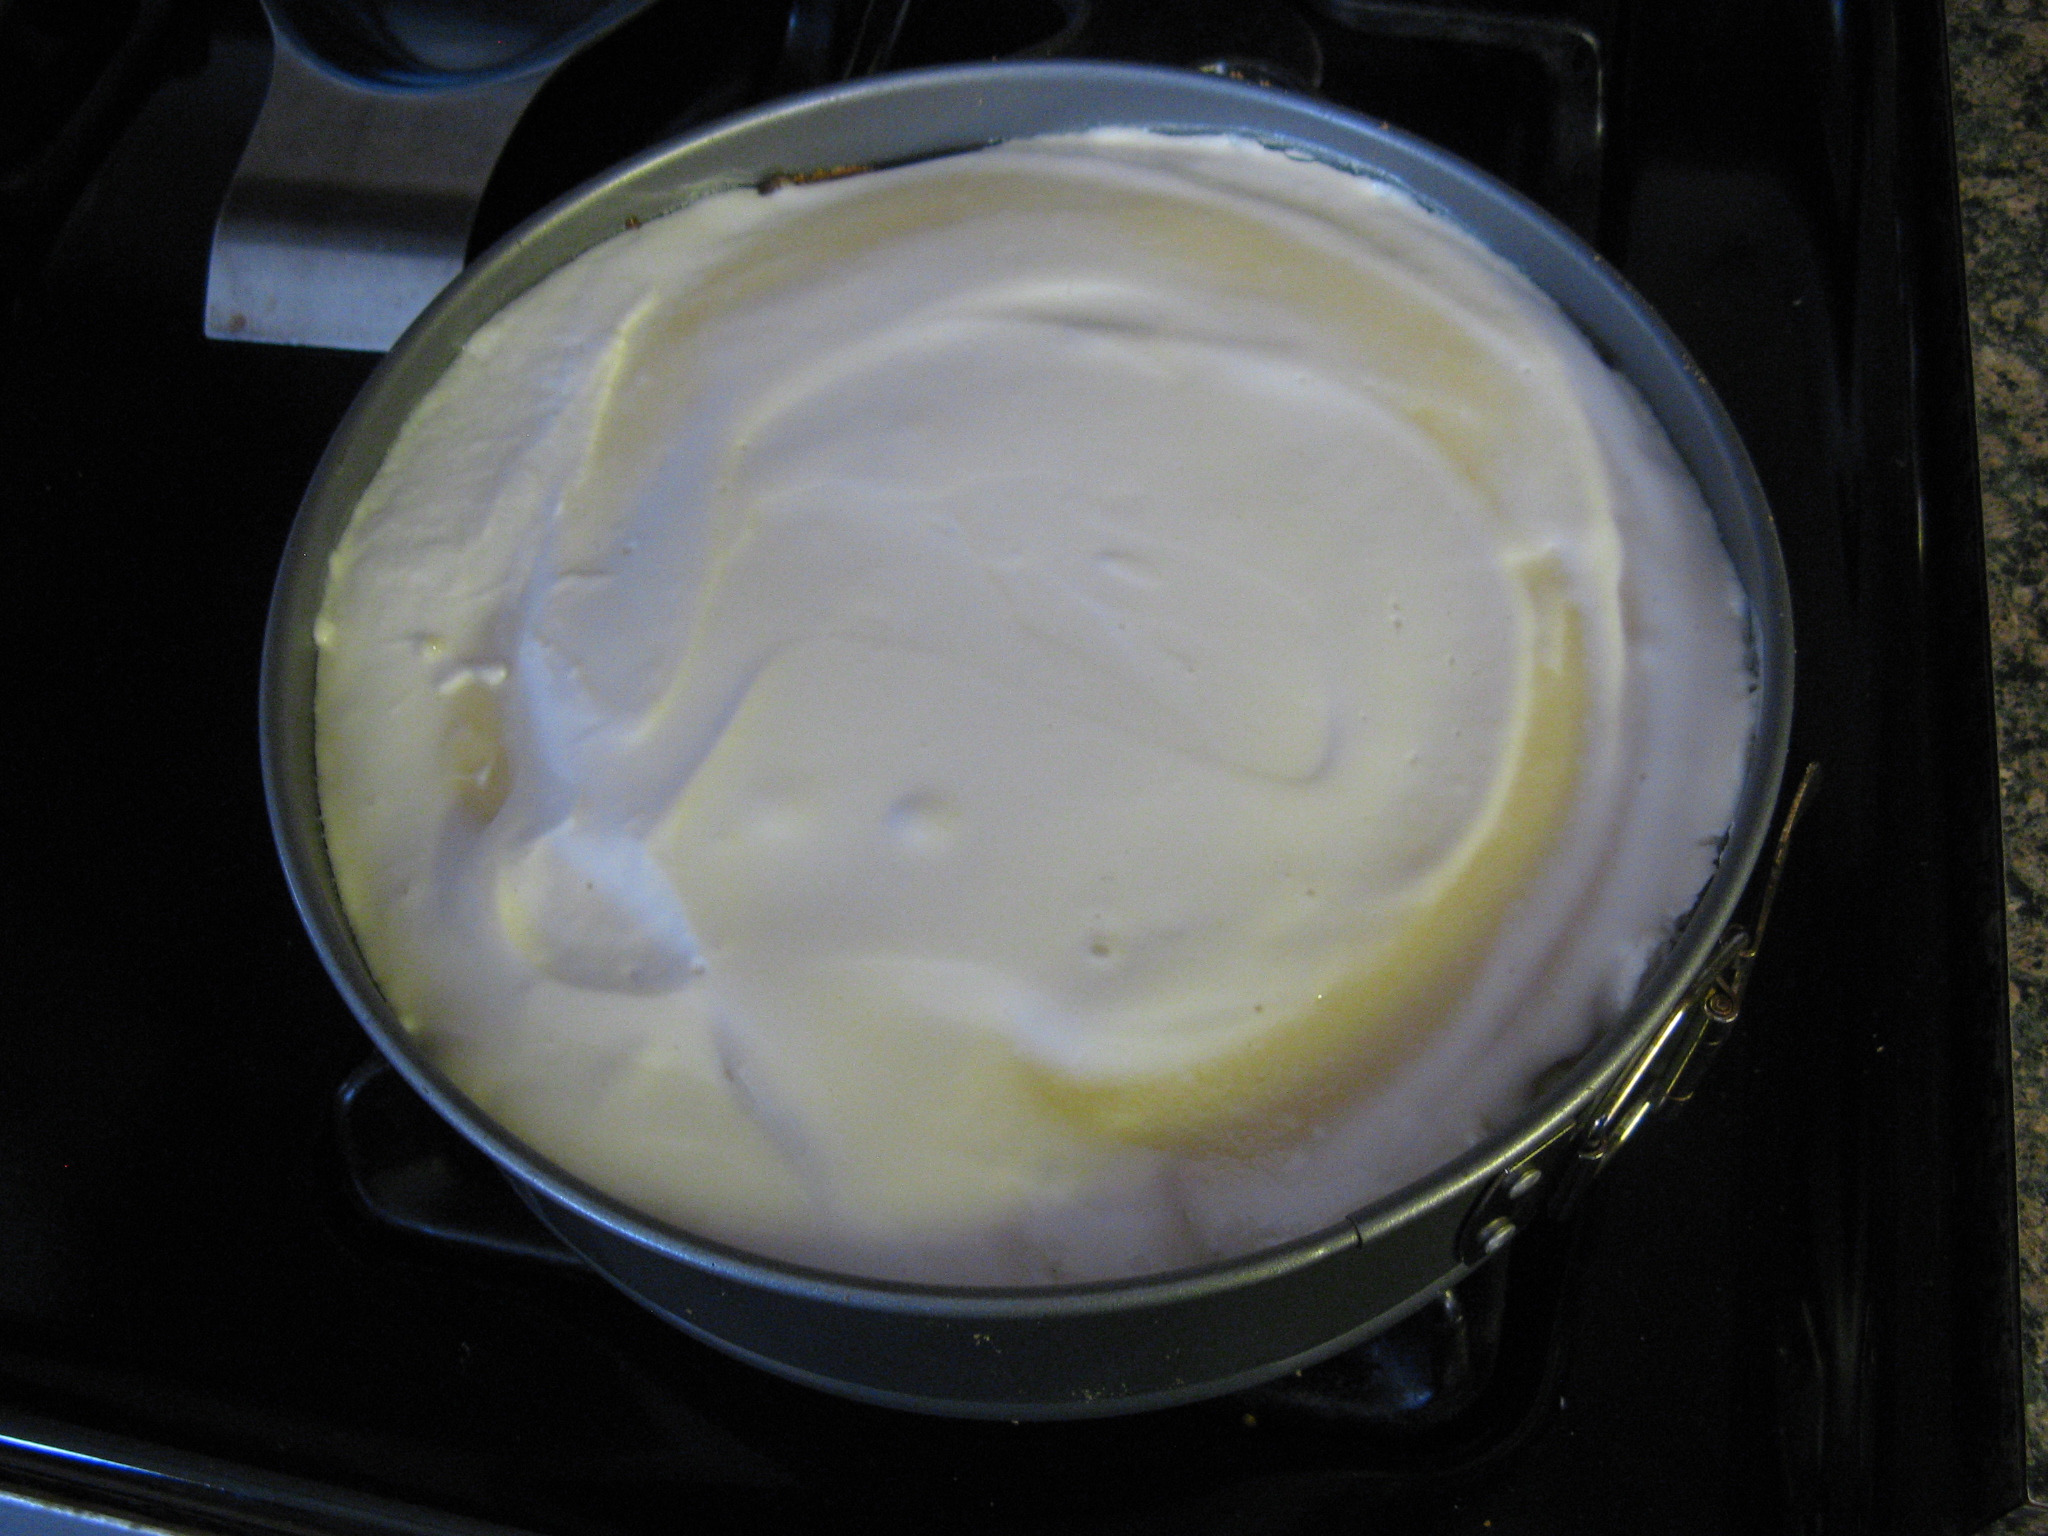
I then spread this sour cream mixture over the cheesecake and then placed the cheesecake back in the oven for about five minutes.

IMG_7014

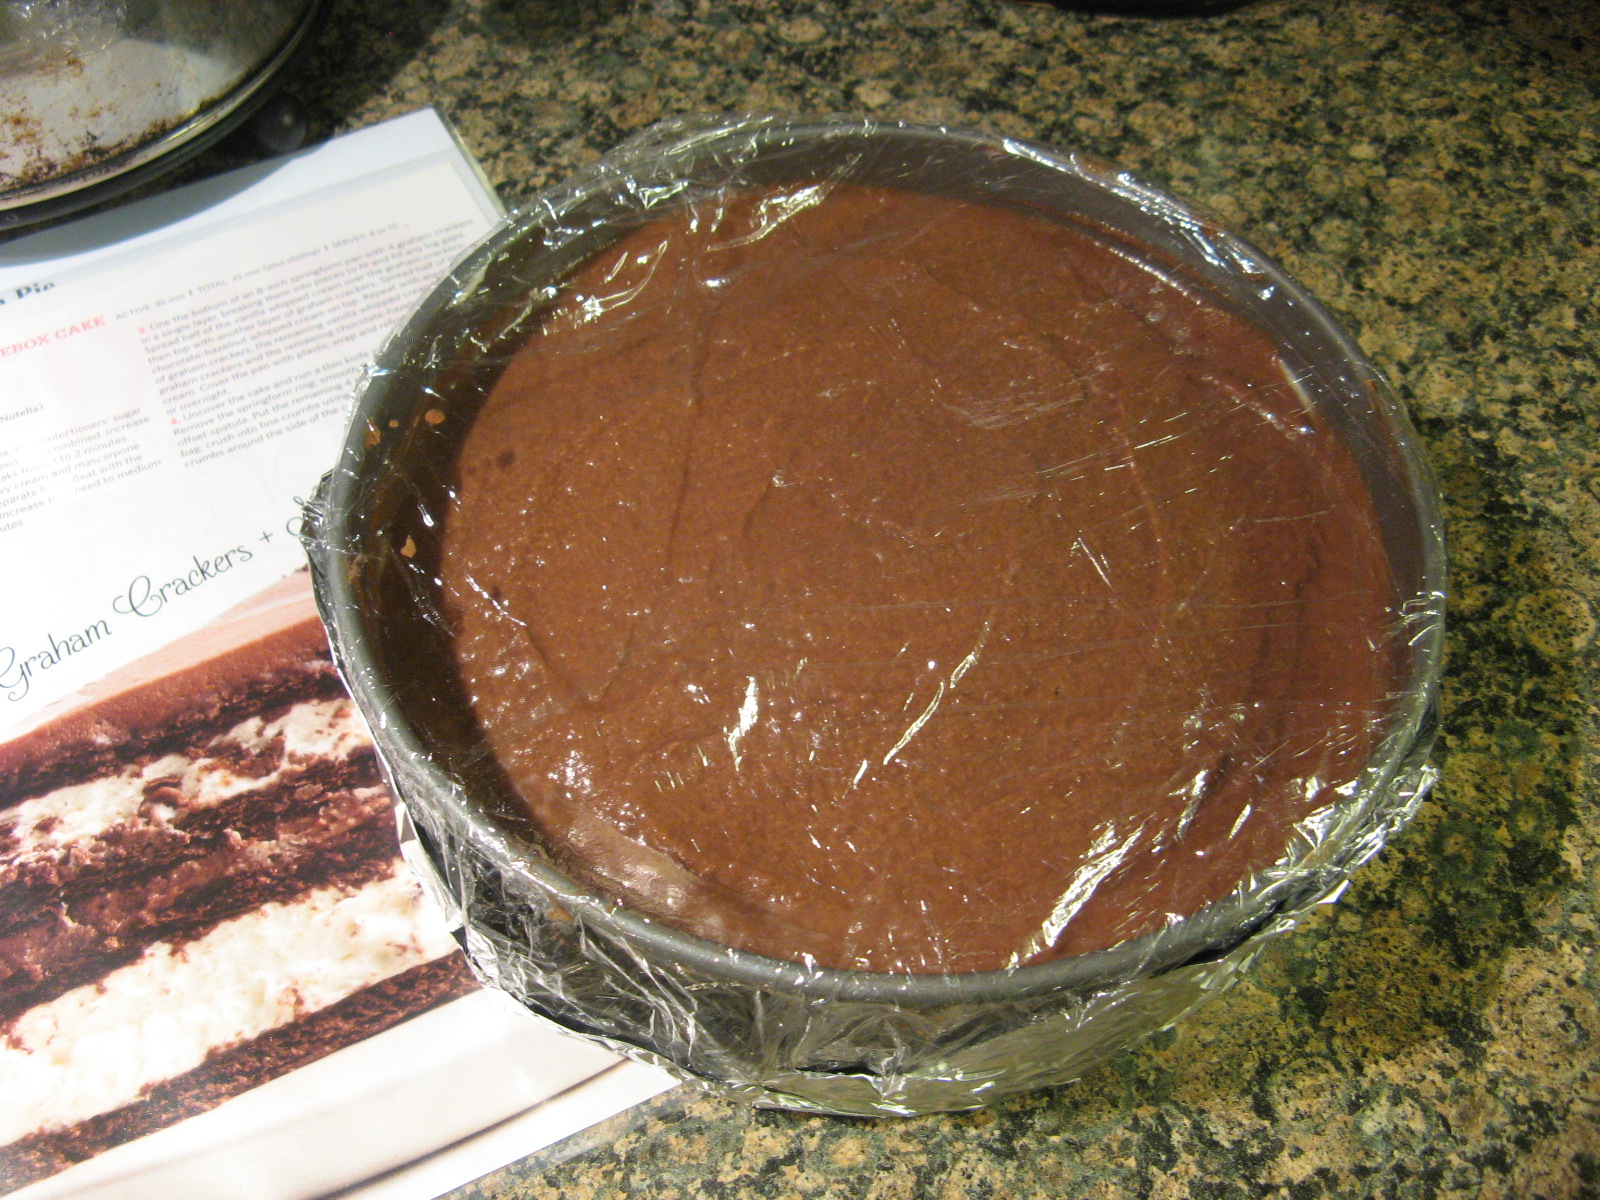
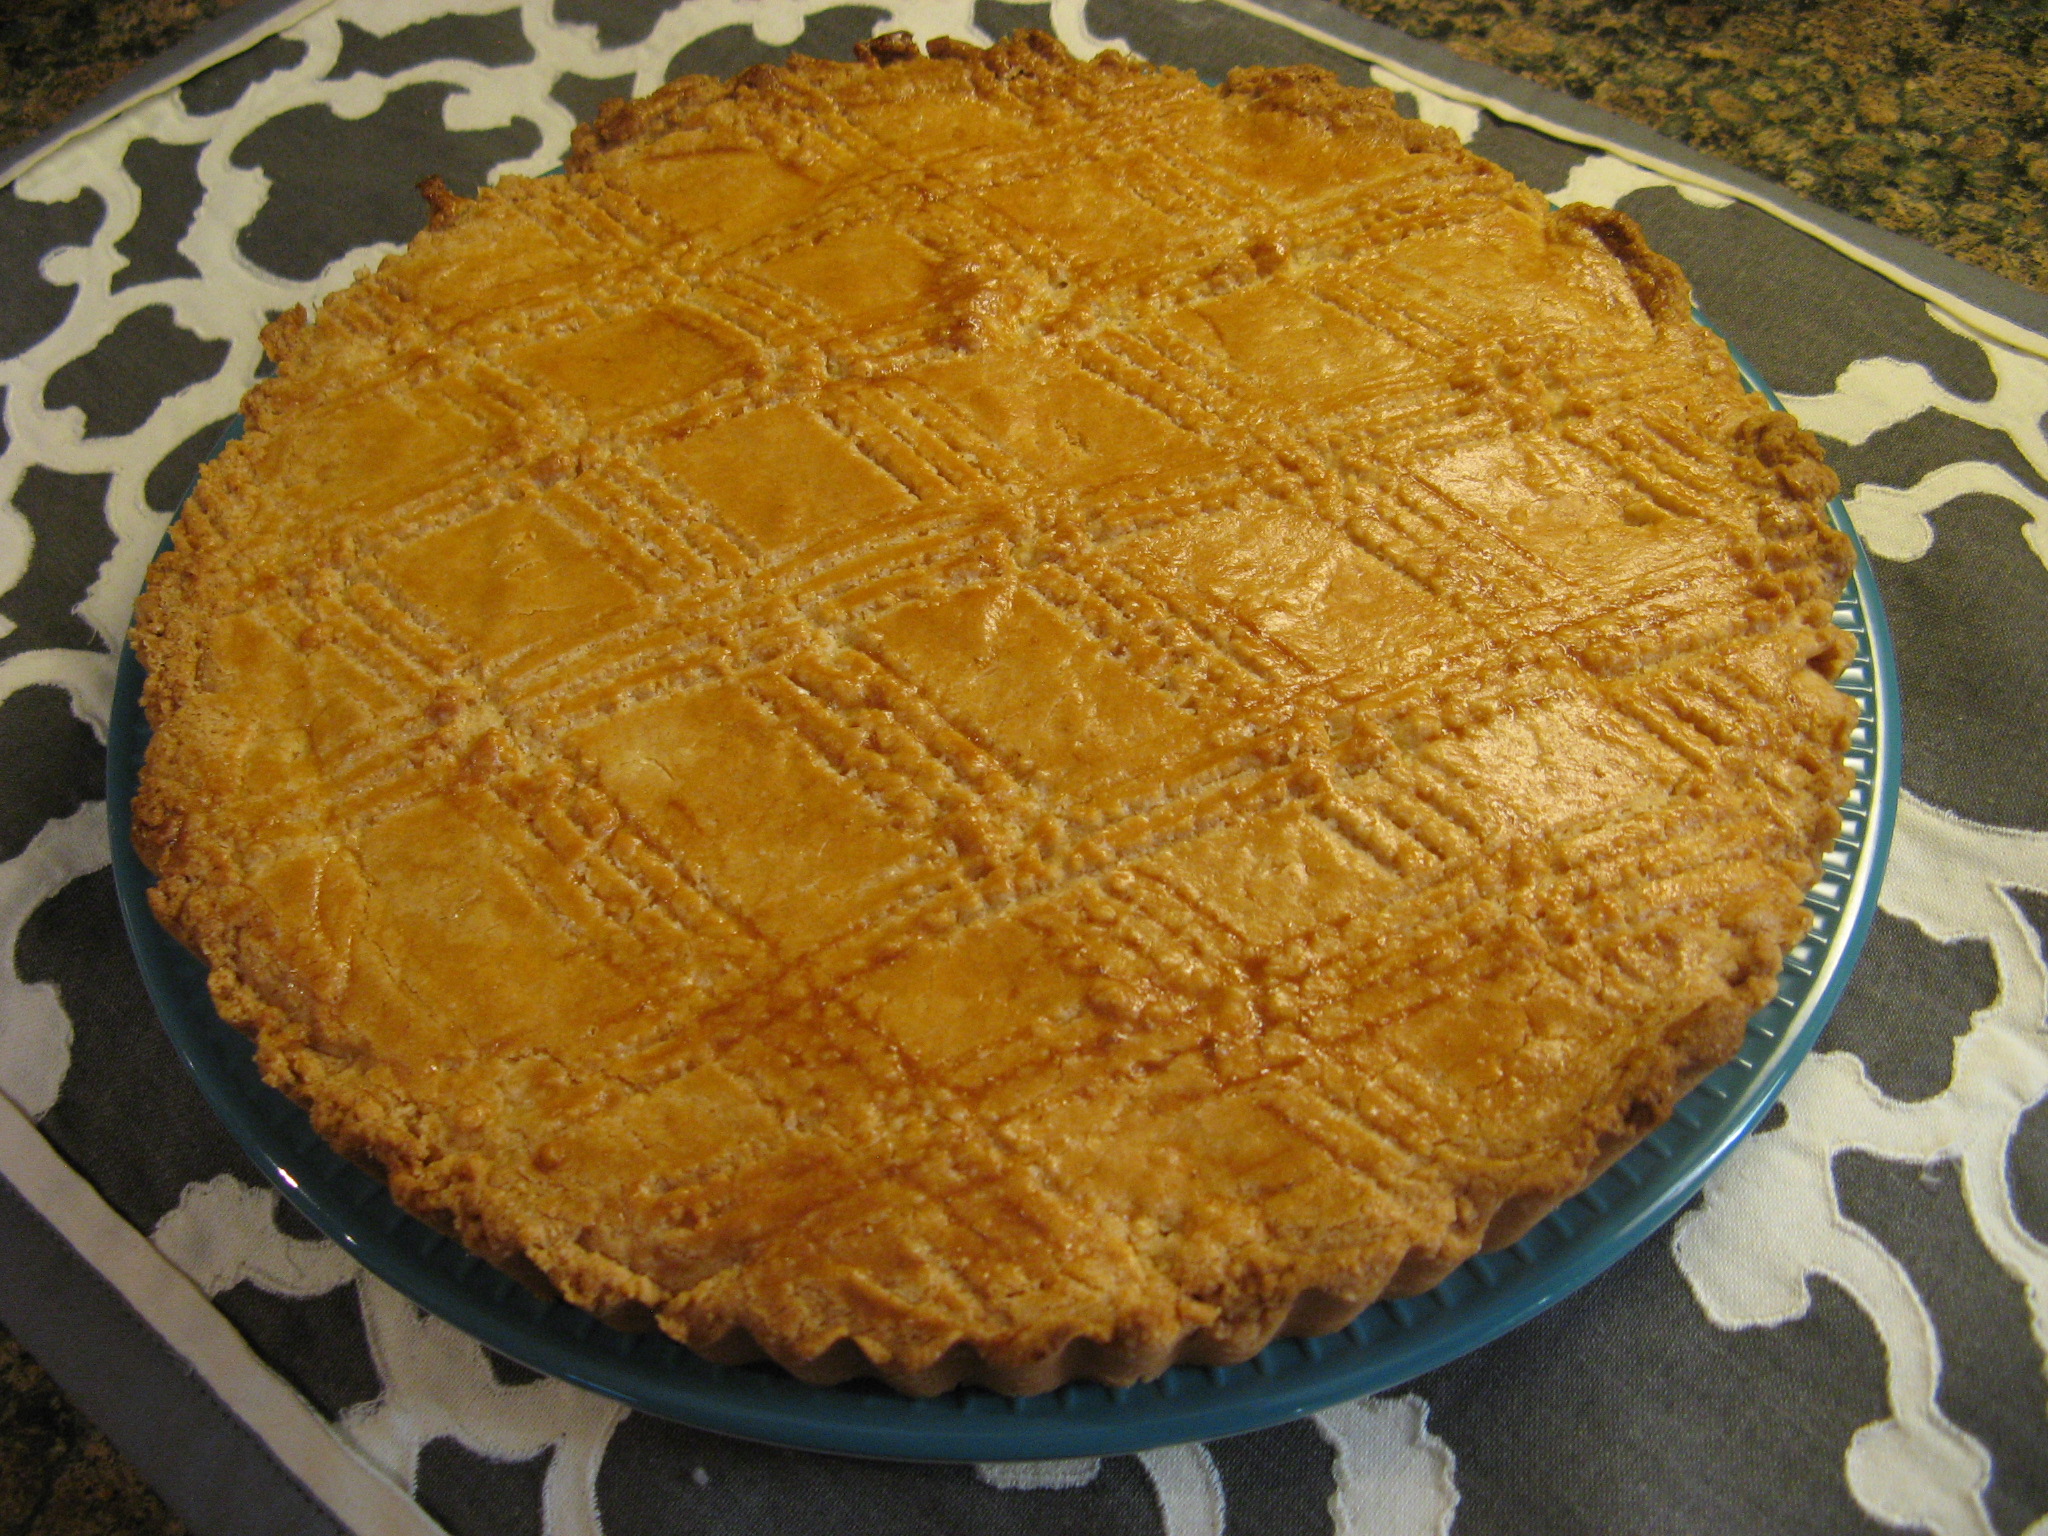
The cheesecake right out of the oven… I let it cool for a few hours before covering it and placing it in the refrigerator.

IMG_7015

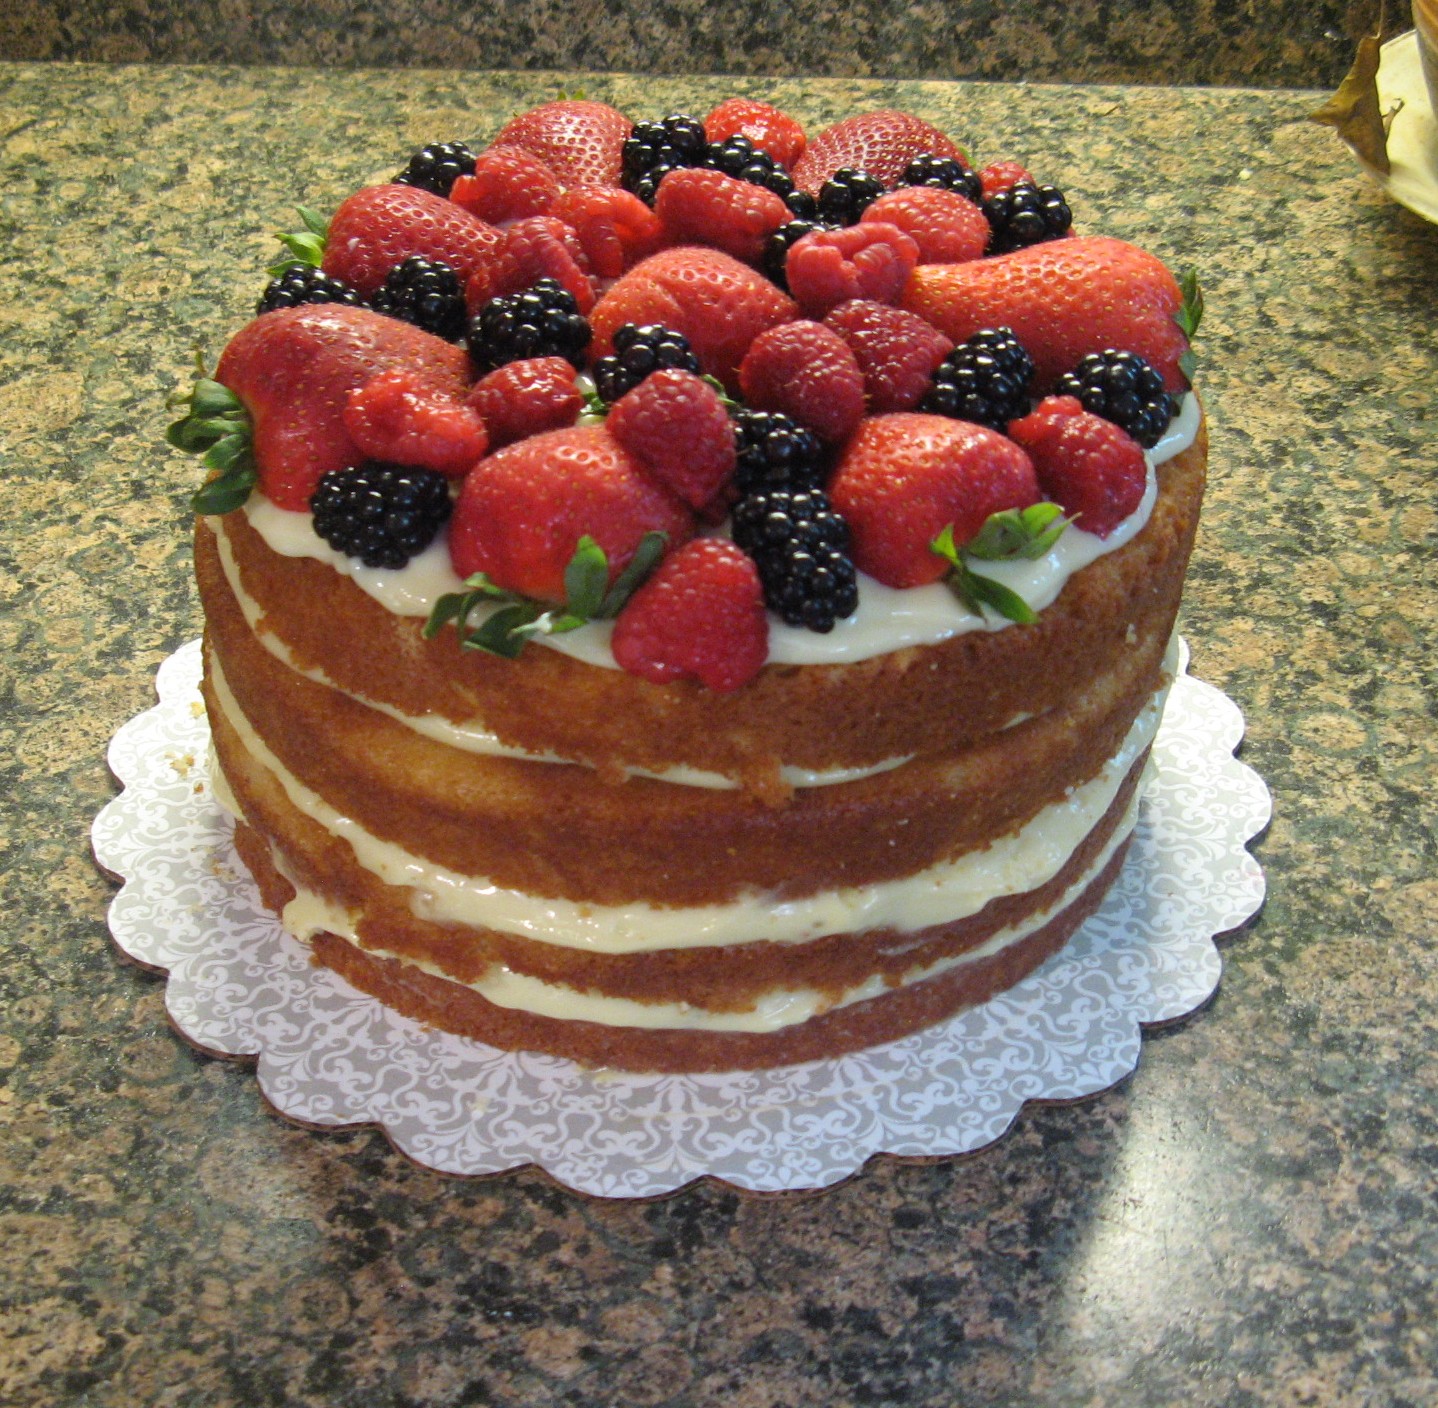
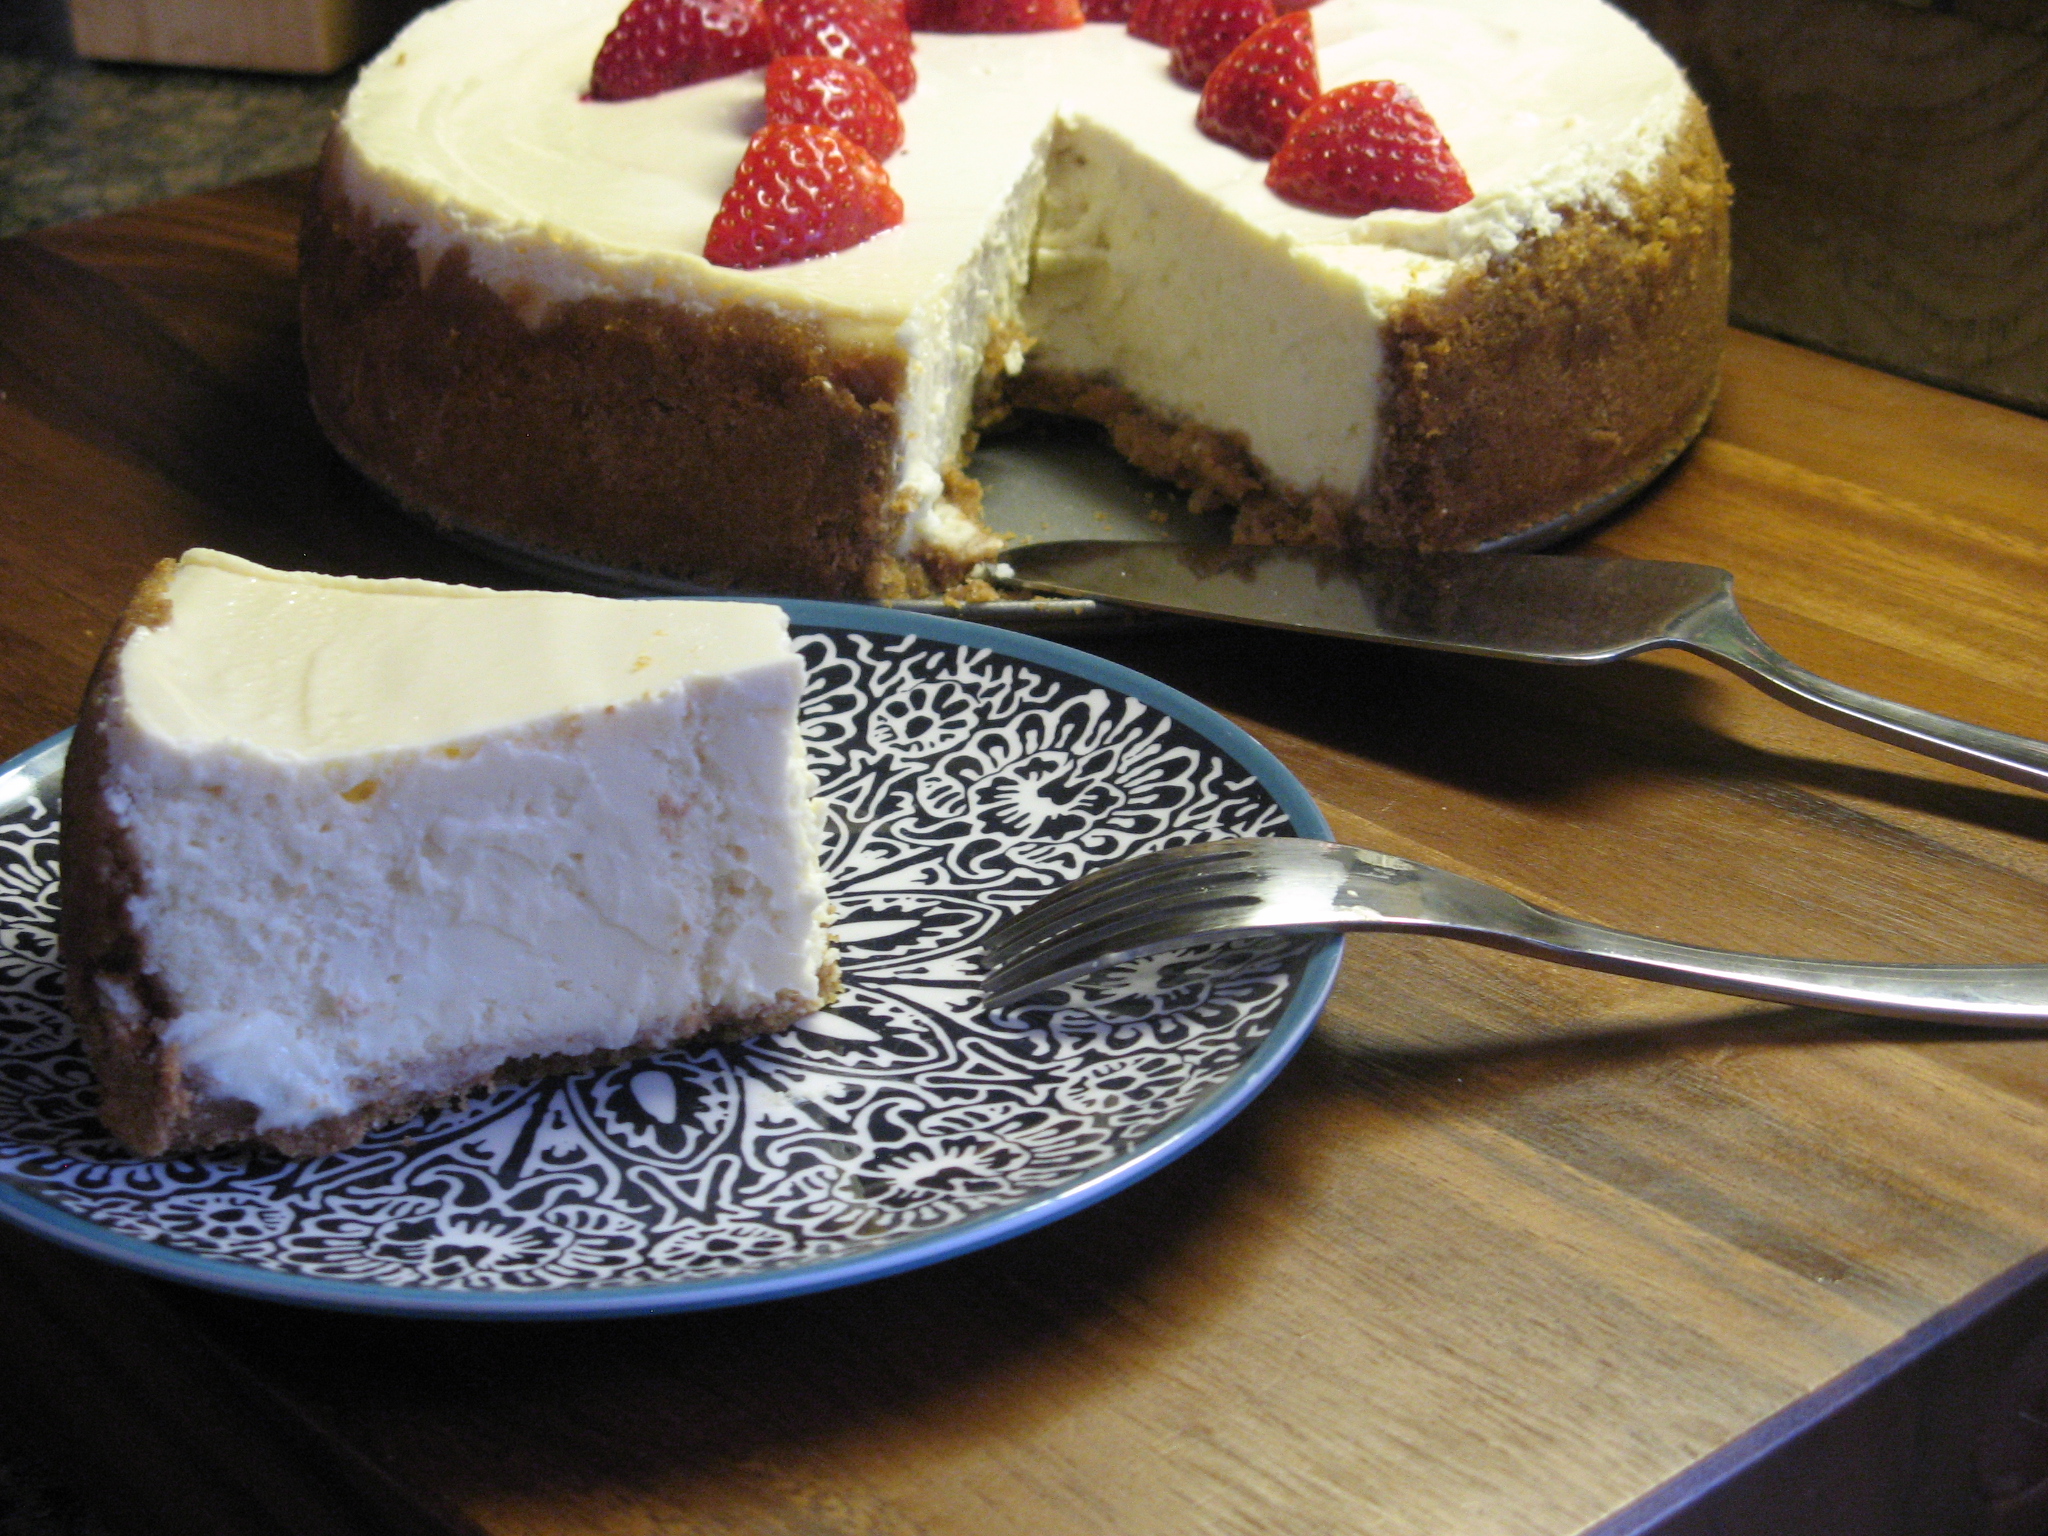
I ended up leaving it in the refrigerator overnight and then added some sliced strawberries on top of it the following morning in the shape of the Greek letter used to represent “Pi.” I had to validate this being a Pi Day pie somehow!

IMG_7022

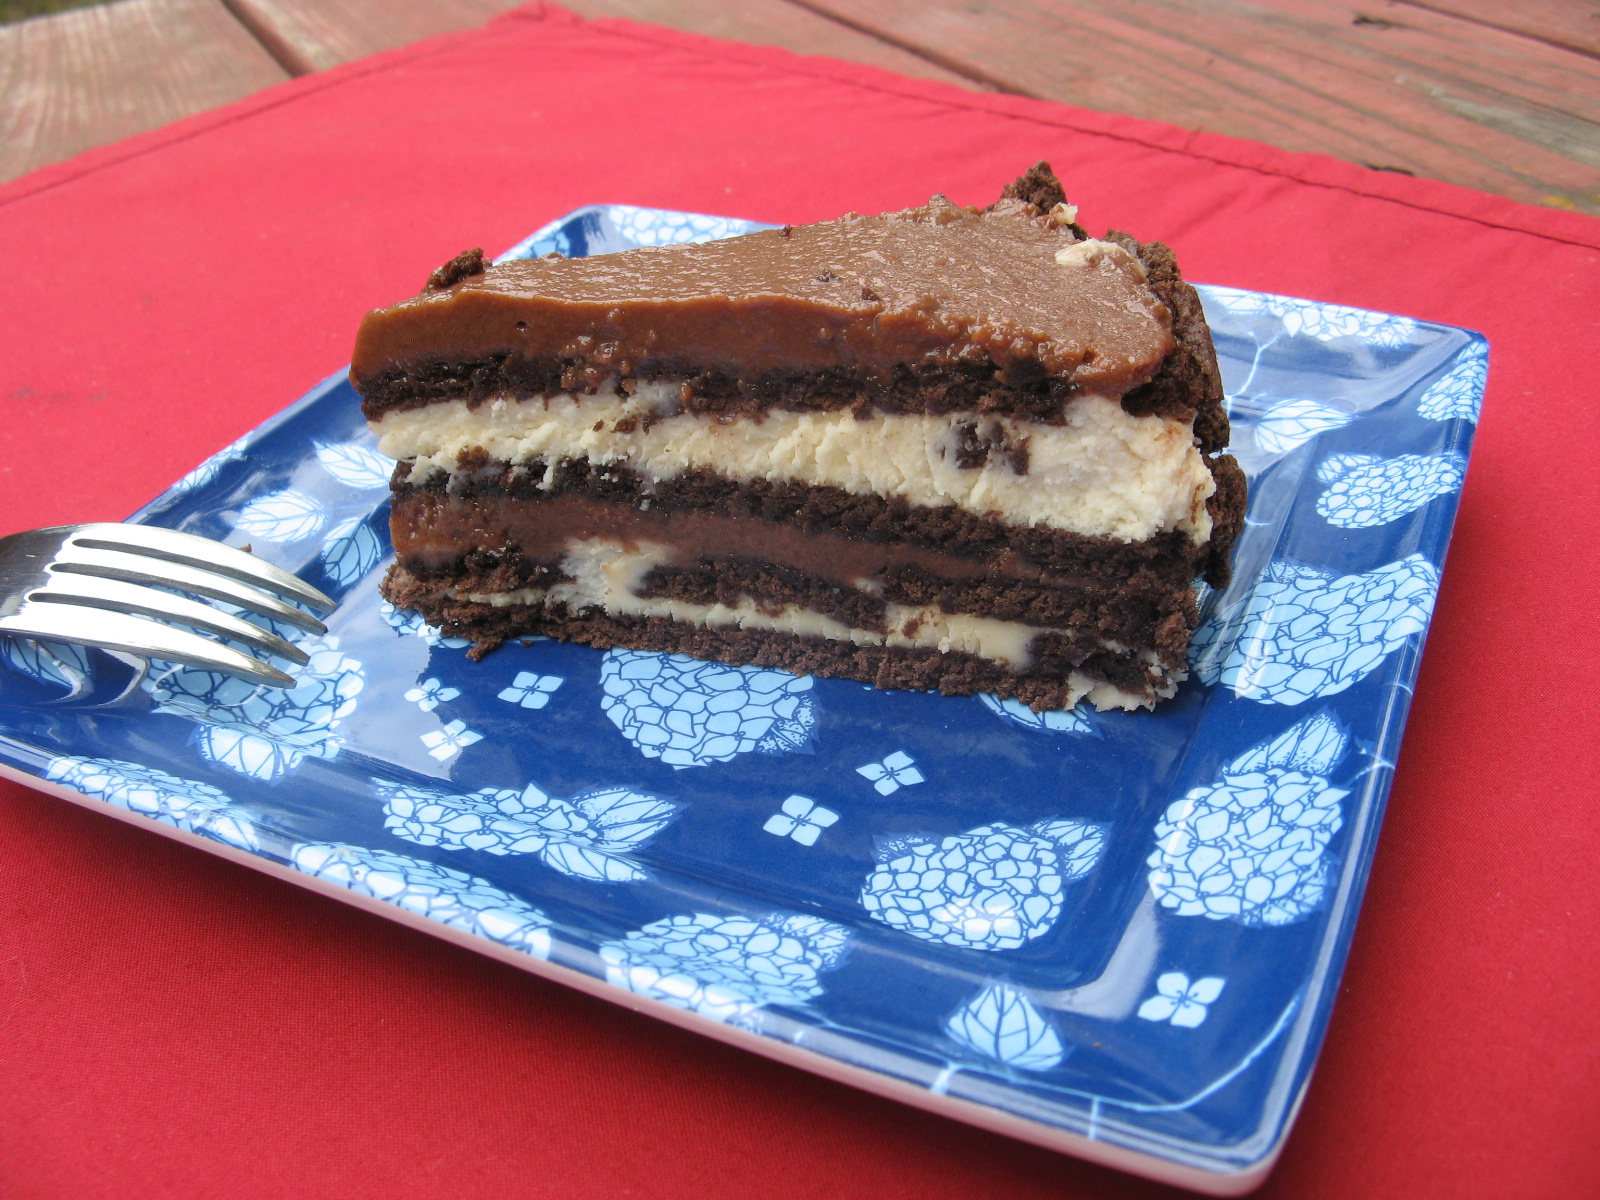
And how did it taste… It was perfectly creamy and not overly sweet! A winning combination for the perfect cheesecake!

IMG_7044


Classic Cheesecake

Ingredients:

18 graham crackers (2 sleeves)

1/2 cup (1 stick) unsalted butter, melted

1/4 teaspoon kosher salt

1 cup plus 4 tablespoons sugar

3 8-oz. packages cream cheese, at room temperature

2 cups sour cream, at room temperature

1 1/2 teaspoons vanilla extract

3 large eggs, at room temperature

Directions:

1. Preheat oven to 325 F. In a food processor pulse the graham crackers until fine crumbs form. Add the butter, salt and 2 tablespoons of the sugar and pulse to combine. Press the mixture on the bottom and 2-inches up the side of a 9-inch springform pan.

2. Use an electric mixer to beat the cream cheese and 1 cup of sugar until smooth. Add 1 cup of the sour cream and 1 teaspoon of the vanilla extract and continue beating until combined. Beat in the eggs, one at a time. Pour the mixture into the prepared crust and bake until just set (the center will be slightly wobbly), 50 to 60 minutes.

3. In a small bowl combine the remaining 1 cup of sour cream, 2 tablespoons of sugar and 1/2 teaspoon of vanilla extract. Spread over the hot cheesecake, then bake until set, 3 to 5 minutes more. Let cool to room temperature in pan, then refrigerate for at least 2 hours. Run a knife around the edge of cheesecake before unmolding.


Almond Pound Cake

I pretty much love anything made with almonds…Danishes, croissants, cookies, cakes, milk, etc. And of course almond themselves are wonderful to snack on. Their health benefits are pretty vast. To name a few… they are a great source of Vitamin E, they are packed with protein, they are gluten free and snacking on them can help curb other cravings. So, when I had half a pack of Odense Almond Paste left over from a previous recipe I knew I had to put it to good use and what better use than an Almond Pound Cake… something simple but yet so satisfying.

IMG_6789

To begin I beat 2 sticks of butter until they were creamy, then gradually added in 2 cups of sugar and continued beating the mixture until it was light and fluffy. I then added in an 8 oz. package of cream cheese, vanilla extract and the almond paste, which I crumbled.

IMG_6791

Following that I added in 6 eggs one at a time, beating well after each addition.

IMG_6792

And finally I added in 2 cups of flour that I whisked together with baking powder and salt. I beat the batter until it was well blended and then stirred the mixture a few times with a rubber spatula to ensure all of the ingredients were well combined.

IMG_6794

I then poured it into a prepared tube pan. To prepare the pan I sprayed it with a baking spray that contains flour.

IMG_6796

After baking the cake in a 325 F preheated oven for 55 minutes it came out perfect and smelled amazing.

IMG_6797

I let the cake cool in the pan for 10 minutes and then removed it and let it cool completely on a wire rack.

IMG_6800

I couldn’t wait to slice it into it and I wasn’t disappointed. This was the perfect comfort dessert for the cold weather this winter has brought. It had the dense familiarity of a pound cake while still being moist and a hint of almond flavoring thanks to the almond paste.

IMG_6813

Almond Pound Cake – Adapted from here

Ingredients:

1 cup (2 sticks) unsalted butter, at room temperature

2 cups sugar

1 8oz. package cream cheese, at room temperature

4 oz. almond paste, crumbled

1 tsp, vanilla extract*

6 eggs, at room temperature

2 cups flour

1 tbsp. baking powder

1 tsp, salt

*For an extra dose of almond flavor use almond extract

Directions:

1. Preheat the oven to 325 F. Grease and flour (or spray with a baking spray that includes flour) a fluted tube or tube pan.

2. Combine flour, baking powder and salt in a medium bowl and set aside.

3. Beat butter in a large bowl with an electric mixer on medium speed until creamy. Gradually add sugar, beating well after each addition. Continue beating until the mixture becomes light and fluffy. Add the cream cheese, almond paste and vanilla extract and beat for another minute. Add the eggs, one at a time, beating well after each addition. Add the flour mixture to the butter mixture and beat until well blended.

4. Pour the batter into the prepared pan and bake for about an hour or until golden brown and a cake tester comes out clean. Cool 10 minutes in the pan and then remove and let it cool completely on a wire rack.

Red Velvet Cupcakes

While it is safe to say we all like a dessert that will create a moment of utter bliss when we take that first bite, there are those times that all we want are tried and true classics that evoke nostalgia for a certain time and/or place or simply cannot be beat – i.e. a chocolate chip cookie, a yellow cake (or cupcake) with chocolate frosting or a chocolate cake (or cupcake) with vanilla frosting and more recently red velvet!

IMG_5832

I cannot say for sure what makes Red Velvet so special. Is it the bold red color? The flavor that is somewhere along the lines of chocolate thanks to the addition of cocoa powder? Or maybe it’s the creamy cream cheese frosting? Who knows, all I know is that it’s delicious!

IMG_5844

I began making the cupcakes by beating together butter and sugar until it was light fluffy.

IMG_5798

In then mixed in eggs, buttermilk, vanilla extract and a fluid ounce of red food coloring, which essentially gives this cake its name. But, I should note that there are recipes out there – like this one and this one –  that use beets instead to obtain that vivid red color. One more thing, if you wanted to make a red velvet cake in other colors you could simply just swap out the red food coloring for whatever color you wanted; i.e. a purple velvet cake, pink velvet cake, green velvet cake, etc…

IMG_5799

By hand I then stirred in baking soda and vinegar and finally flour, cocoa powder and salt which I had combined in another bowl.  I chose to incorporate these ingredients into the mixture by hand so I wouldn’t accidentally overbeat the batter which would turn out dense and dry cupcakes as opposed to the light and fluffy ones these turned out to be.

IMG_5801

I then divided the batter among paper lined cupcake tins and baked them in a 350 F preheated oven for twenty minutes.

IMG_5806

After the cupcakes had cooled it was time to frost them. I opted to frost them with a Cream Cheese Frosting as I think it’s the best flavor to enhance the flavors of the red velvet cake. I have had them with buttercream frosting and it’s just not the same.

IMG_5814

I also sprinkled a few of the cupcakes’ with red velvet cake crumbs and they turned out tasting just as good as they looked!

IMG_5851

Red Velvet Cupcakes

Makes 20 Cupcakes

Ingredients:

1/2 cup butter

1 1/2 cups sugar

2 eggs

1 cup buttermilk

1 fluid ounce red food coloring

1 teaspoon vanilla extract

1 1/2 teaspoons baking soda

1 tablespoon distilled white vinegar

2 cups all-purpose flour

1/3 cup unsweetened cocoa powder

1 teaspoon salt

Directions:

1. Preheat oven to 350 degrees F. Line two muffin pans with 20 paper baking cups.

2. In a large bowl, beat the butter and sugar with an electric mixer until light and fluffy. Mix in the eggs, buttermilk, red food coloring and vanilla. Stir in the baking soda and vinegar. Combine the flour, cocoa powder and salt; stir into the batter just until blended. Spoon the batter into the prepared cups, dividing evenly.

3. Bake in the preheated oven until the tops spring back when lightly pressed, 20 to 25 minutes. Cool in the pan set over a wire rack. When completely cooled frost.

Cream Cheese Frosting

Ingredients:

2 – 8 ounce packages cream cheese, softened

1/2 cup butter, softened

2 cups sifted confectioners’ sugar

1 teaspoon vanilla extract

Directions:

In a medium bowl cream together the cream cheese and butter until creamy. Mix in the vanilla, and then gradually stir in the confectioners’ sugar.

Hazelnut Pistachio Butter Cookies

These cookies have been on my baking-to-do-list for a few months now… Ever since a good friend brought be a box of them from her local supermarket down in Virginia. I had one of them and was in heaven. Hazelnuts, pistachios and confectioners’ sugar… How could it not be delicious!?! To create my own version I decided to tweak a recipe for Mexican Wedding Cookies that I had made for Cinco De Mayo last year. Those cookies are made with pecans so I decided to swap those out with an equal amount of hazelnuts and pistachios.

IMG_5246

I began by chopping up a 1/2 cup each of hazelnuts and pistachios.

IMG_5249

I set the nuts aside and began making the dough for the cookies by creaming together butter and confectioners’ sugar and then adding in vanilla extract.

IMG_5250

With the mixer on low speed I added in the flour.

IMG_5252

And finally I folded in the hazelnuts and pistachios.

IMG_5255

Using a cookie scoop I scooped the dough onto a parchment lined baking sheet and baked the cookies in a 275 F preheated oven for 35 minutes, until the bottoms were just beginning to brown.

IMG_5257

After letting them cool for a few minutes I sprinkled them with confectioners’ sugar.

IMG_5263

These cookies are super simple to make but big on taste!

IMG_5278


Hazelnut Pistachio Butter Cookies – Adapted from here

Makes 20 cookies

Ingredients:

1 cup unsalted butter, at room temperature

1/2 cup confectioners’ sugar, plus more for coating cookies

1 teaspoon vanilla extract

1 3/4 cups all-purpose flour

1/2 cup hazelnuts, chopped into small pieces

1/2 cup pistachios, chopped into small pieces

Directions:

1. Preheat the oven to 275 F. Line cookie sheets with parchment paper.

2. Using an electric mixer, cream the butter and sugar at low speed until smooth. Beat in the vanilla extract.

3. At low speed gradually add in the flour.

4. Using a spatula, fold in the hazelnut and pistachios.

5. Using a cookie scoop scoop the dough onto the parchment lined cookie sheet and bake for 35 minutes.

6. Transfer the cookies to a wire rack and let cool for a few minutes before using a sifter to dust them with confectioners’ sugar.

Hold The Chips Add A Kiss Chocolate Chip Cookies

Customarily this cookie is made with a peanut butter cookie base and then topped with a Hershey Kiss pressed into its center, what is commonly known as a Peanut Butter Blossom. But, I decided to switch it up a bit and use a chocolate chip cookie without the chips as the base and then top it with a Hershey Kiss.

IMG_5057

To begin I made the dough to one of my favorite chocolate chip cookies. I particularly like these because the ingredients are things I always have on hand and they are simple to make. Sometimes a basic recipe produces the best flavor. To make the dough I whisked the dry ingredients – flour, salt and baking soda – in one bowl and in another I combined butter, dark brown and granulated sugars, vanilla extract and an egg. I then incorporated all of the ingredients until they were combined.

IMG_5052

Following that I used a cookie scoop to scoop the dough onto a parchment paper lined baking sheet and baked them in a 375 F preheated oven for 12 minutes.

IMG_5055

While the cookies were in the oven, I unwrapped the Hershey Kisses and refrigerated them so they wouldn’t be too soft when I placed them on the fresh out of the oven cookies.

IMG_5059

Immediately after removing the cookies from the oven I placed a Hershey Kiss in the center of each of them.

IMG_5060

I then transferred the cookies to a wire rack so they could cool completely.

IMG_5071

These cookies were delicious. You will especially like them if you like the part of a chocolate chip cookie without the chips! It’s definitely the best of both worlds… A delicious cookie with an even better delicious chocolate center!

IMG_5070

Hold The Chips Add A Kiss Chocolate Chip Cookies (Adapted from here)

Makes 32 Cookies

Ingredients:

2 sticks unsalted butter, at room temperature

1 cup packed dark brown sugar

1/2 cup granulated sugar

1 teaspoon vanilla extract

1 large egg

2 3/4 cups all-purpose flour

1/2 teaspoon Kosher salt

1 1/2 teaspoons baking soda

32 unwrapped Hershey Kisses

Directions:

1. Preheat oven to 375 F. Line 2 baking sheets with parchment paper.

2. In a medium bowl whisk together the flour, salt and the baking soda and set aside.

3. In a large bowl beat the butter, sugars and vanilla extract with an electric mixer on medium-high speed for 3 minutes. Add the egg and beat until combined.

4. Reduce the mixer speed to low and slowly add the flour mixture to the egg mixture until combined.

5. Using a cookie scoop (about tablespoon-size mounds) scoop the dough and place on the prepared sheets, 1-2 inches apart. Bake until lightly browned at the edges, approximately 12 minutes.

6. While the cookies are still on the baking sheets press an unwrapped Hershey Kiss into the center of each of them, then transfer the cookies to a wire rack to cool completely.

Chocolate-Hazelnut Icebox Cake

Have you ever come across a recipe that you knew you just had to try only to discover that one ingredient in that recipe would be a mission to find? That’s exactly what happened to me. I came across a recipe for a Chocolate-Hazelnut Icebox Cake in a recent issue of Food Network Magazine and a key ingredient in for the cake was chocolate graham crackers. I was pretty sure that I had seen them before at a local supermarket or Target, but then after searching quite a few supermarkets and a few Targets I was still out of luck. I even searched the Nabisco website to make sure they were still available and found out that in fact Honey Maid Chocolate Graham Crackers were still in production. So, it was just a matter of finding them and lo and behold I did just that when I randomly strolled down the cookie aisle of a supermarket I normally don’t shop at.

With ingredients like confectioners’ sugar, Nutella, mascarpone cheese, heaving whipping cream and those hard-to-find chocolate graham crackers this was sure to be a delicious cake.

IMG_4603

To begin I whipped together heavy cream, mascarpone cheese, confectioners’ sugar and vanilla extract in one bowl until stiff peaks formed.

IMG_4605

In another bowl I whipped together the remaining heavy cream and mascarpone cheese the recipe called for along with the Nutella until once again stiff peaks formed.

IMG_4607

Then it was time to begin assembling the cake. (Of course before assembling I had to try both of the whipped mixtures and they were delicious.) I lined the bottom of an 8-inch springform pan with 4 graham crackers, breaking the crackers as need be so there wouldn’t be any big gaps.

IMG_4609

I then spread half of the mascarpone-vanilla mixture over the crackers…

IMG_4610

And then layered another four graham crackers over it…

IMG_4611

And then spread half of the mascarpone-Nutella mixture over the crackers…

IMG_4612

I continued the layering process ending with a top layer of the mascarpone-Nutella mixture.

IMG_4614

I wrapped the cake with plastic wrap – I also wrapped the bottom with aluminum foil to make sure the plastic wrap would stay on – and refrigerated it overnight.

IMG_4615

Prior to serving the cake I unmolded it from the springform pan and pressed the crumbs of 4 crushed graham crackers around the sides of the cake.

Final verdict… It was AMAZING! If you follow by blog regularly you know that in February I always make a character cake – first there was Elmo, then Minnie Mouse and this year it was an Enchanted Castle – for my friend’s daughters’ birthday, well, she happily ate a slice of this cake in record time and when I saw how much she enjoyed it I told her that next year this would be the cake I make for her birthday and she had no objections! We’ll see what happens when February rolls around though… I’ve already been thinking about some sort of Frozen theme. Regardless, I’m already looking forward to making this cake again. I should head back to that supermarket to pick up another box or two of the graham crackers just in case… Another search for them would not be fun, especially since I know how delicious this cake is now.

IMG_4670


Chocolate-Hazelnut Icebox Cake

1 3/4 cups cold heavy cream

1 1/2 cups mascarpone cheese

1/3 cup confectioners’ sugar

1 teaspoon vanilla extract

2/3 cup chocolate-hazelnut spread (such as Nutella)

20 whole chocolate graham crackers

1. Beat 1 cup heavy cream, 3/4 cup mascarpone, the confectioners’ sugar and vanilla in a bowl with a mixer on low speed until combined. Increase the speed to medium and beat until stiff peaks form, 1 to 2 minutes.

2. Combine the remaining 3/4 cup each heavy cream and mascarpone with the chocolate-hazelnut spread in a separate bowl. Beat with the mixer on low speed until combined, then increase the speed to medium and beat until stiff peaks form, 1 to 2 minutes.

3. Line the bottom of an 8-inch springform pan with 4 graham crackers in a single layer, breaking them into pieces to fit and fill and big gaps. Spread half of the vanilla whipped cream over the graham crackers, then top with another layer of graham crackers. Spread half of the chocolate-hazelnut whipped cream on top. Repeat with another layer of graham crackers, the remaining vanilla chipped cream, then more graham crackers and the remaining chocolate-hazelnut whipped cream. Cover the pan with plastic wrap and refrigerate at least 6 hours or overnight.

4. Uncover the cake and run a thin knife around the edge to loosen. Remove the springform ring; smooth the sides of the cake using an offset spatula. Put the remaining 4 graham crackers in a large resealable bag; crush into fine crumbs using the bottom of a skillet. Press the crumbs around the side of the cake.


Lemon, Berries & Cream… Oh My!

Back in the fall I made a cake that I coined the Quintessential Fall Birthday Cake– an Apple Walnut Cake with Cinnamon Cream Cheese Frosting (YUM!) – and recently I made a cake that could quite possibly be the Quintessential Summer Birthday Cake. A 4-tier lemon cake layered with pastry cream and topped with fresh berries (Delish!)
IMG_3825
Since the pastry cream needed to be refrigerated for at least 2 hours before using it I began this cake by cooking up 2 batches of it. I gathered up my ingredients (egg yolks, sugar, cornstarch, salt, milk and vanilla extract) and whisked together the eggs yolks in one bowl and in another cooked the sugar, cornstarch, salt and milk until the mixture thickened and was bubbling. I then poured about a third of the milk mixture in with the eggs to temper them. Once the eggs were tempered I pour them back into the remaining milk mixture on the stove and whisked the mixture constantly until the cream came together. I removed the cream from the heat and added in the vanilla extract.
photo_2
Following that I strained the cream through a sieve and then placed a piece of parchment paper right on top of it prior to refrigerating it. I had never made pastry cream before and was concerned this wouldn’t come out well, especially with tempering the eggs, but, it came out perfectly and I probably could have easily eaten the whole bowl it was so good.
photo_1
While the pastry cream was chilling I began to work on the Lemon Cake – a 1-2-3-4 Lemon Cake. A 1-2-3-4 Cake is an old-fashioned cake that gets its name from the list of ingredients – one cup butter, two cups sugar, three cups flour and four eggs. First up I sifted together flour, baking powder, baking soda and salt in a bowl. I actually sifted the flour twice as I first sifted it to get the 3 cups I needed and then sifted it again along with the other ingredients.
IMG_3792
In the bowl of my stand mixer I beat butter until it was softened and then gradually added in sugar until it was pale and fluffy.
IMG_3793
And then the eggs.
IMG_3795
Next up I added in the flour mixture in 3 batches alternating with 2 batches of buttermilk.
IMG_3797
And finally I beat in vanilla extract and lemon zest.
IMG_3798
I divided the batter evenly between two 8-inch pans – which I prepped with baking spray and parchment paper – and baked it for about 45 minutes in a 350 F preheated oven, rotating halfway through.
IMG_3803
After letting the cakes cool 15 minutes in the pans I then removed them and let them cool completely on wire racks.
IMG_3807
In preparation to assemble the cake I split the two cooled cakes into four with a cake leveler and then whisked together the chilled pastry cream.
IMG_3808
After assembling the cake – I spread about a cup of pastry cream between each layer – I chilled it in the refrigerator for about an hour so the pastry cream could set and so I wouldn’t end up with a cake that had layers sliding all over the place.
IMG_3814
While it chilled I rinsed and dried the berries I would be using – strawberries, raspberries and blackberries.
IMG_3816
To make sure the berries would stay put on top of the cake I spread a layer of pastry cream on the top tier and then placed the berries on top of it.
 IMG_3830
This cake was delicious… The three flavors worked so well together and I can definitely see myself making it again before the cold weather begins to creep in in a few months.
 
Makes about 3 cups
Ingredients:
4 large egg yolks
1/2 cup sugar
1/4 cup cornstarch
Pinch of salt
2 cups milk
1 1/4 teaspoon pure vanilla extract
Directions:
1. Whisk egg yolks until smooth in a large bowl. Combine sugar, cornstarch, and salt in a medium saucepan, and heat over medium. Stirring constantly, gradually ass milk in a slow, steady stream, and cook until mixture thickens and begins to bubble, about 5 minutes.
2. Whisking constantly, slowly pour one third of the milk mixture into egg yolks. Pour mixture into remaining milk mixture in saucepan. Cook over medium heat, whisking constantly, until mixture comes to a full boil and is thick enough to hold its shape when lifted with a spoon, 2 to 4 minutes. Remove from heat; stir in vanilla.
3. Strain mixture through a fine sieve into a heatproof bowl. Cover with parchment paper or plastic wrap, pressing it directly on surface to prevent a skin from forming. Refrigerate until chilled and firm, at least 2 hours (or up to 2 days.)
 
Ingredients:
1 cup (2 sticks) unsalted butter, room temperature
3 cups sifted all-purpose flour
1 tablespoon baking powder
1 teaspoon baking soda
1/2 teaspoon salt
2 cups granulated sugar
4 large egg yolks, lightly beaten
1 1/4 cups buttermilk
1 1/2 teaspoon vanilla extract
Zest of 2 lemons (I used one lemon so the cake wouldn’t be too “lemony”)
Directions:
1. Preheat oven to 350 F. Butter two 8-by-2 inch round cake pans; line with parchment rounds, and butter parchment. Dust with flour, tapping out excess. (I used two 8-by-3 inch pans and used baking spray instead of butter and flour.) Sift together flour, baking powder, baking soda, and salt into a medium bowl.
2. With an electric mixer on medium speed, beat butter until softened, 1 to 2 minutes. Gradually add granulated sugar, and beat until pale and fluffy, 3 to 4 minutes, scraping down the sides of bowl once or twice. Gradually add eggs; beat until incorporated after each addition, scraping down sides of bowl once or twice.
3. Slowly add the flour mixture in 3 batches, alternating with 2 batches of buttermilk; beat until just combined. Beat in vanilla and lemon zest.
4. Divide batter evenly between prepared pans. Bake, rotating halfway though, until a cake tester comes out clean, 35 to 45 minutes. Transfer pans to wire racks to cool 15 minutes. Turn out cakes onto racks to cool completely.

Rosette Covered Cannoli Cake

A while back I picked up a five-layer cake pan set at Sur La Table– I saw it one of their catalogs which also included a coupon so it was destined to be. I wasn’t sure what kind of cake I wanted to make to test it out but then all of a sudden I had the idea that I wanted to make one with a cannoli cream filling – something I had never made before. Another thing I hadn’t done before… Decorate a cake entirely with rosettes. I did take the Wilton decorating classes some time ago and while I did learn how to make rosettes I normally just decorate a spot or two with them but lately I have been seeing these beautifully cakes decorated with large rosettes and wanted to try it myself.
IMG_3071 IMG_3075
I opted to use a white cake box mix for this cake since I wanted to be sure that I would have enough batter for the five pans and right on the box it said that one box cake would suffice. After mixing the batter according to the directions on the box, I filled the pans evenly with batter (I used an ice cream scoop to be precise,) baked them and then let them cool.
Cannoli Cake 1
While the cakes cooled I worked on the cannoli filling. I settled on a recipe from Sargento. I figured this recipe would be a good one to follow since Sargento is a producer of cheese products. To begin I whipped heavy cream until soft peaks formed. I then beat together ricotta cheese, sugar and vanilla extract. Following that I folded the whipped cream along with mini chocolate chips into the ricotta mixture.
Cannoli Cake 2
Now it was time to prep my mini cakes for assembly. I used a cake leveler to remove the crowns of the cakes to make them all level.
IMG_3114
To assemble the cake, I filled each layer with about a cup and a half of cannoli filling.
IMG_3117
Then it was time to frost it. Initially I wanted to frost it with a whipped cream frosting, but, since I wanted to cover the entire cake with rosettes the whipped cream wasn’t going hold up well on the sides of the cake… On top of the cake it would have looked great though. So I opted to whip up some Fluffy Vanilla Frosting – which I first made when I made Chocolate Malted Cupcakes. I started by crumb coating the cake.
IMG_3127
And then using a 2D Wilton Tip I covered the cake with large rosettes and I think I may have found my new way of decorating cakes….
IMG_3132 IMG_3133

Cannoli Filling

2 cups Part-Skim Ricotta Cheese

3 tablespoons sugar

1 1/2 teaspoon vanilla

1 cup whipping cream, whipped

1 cup semi-sweet mini chocolate chips

1. Beat ricotta cheese, sugar and vanilla on medium speed in bowl with electric mixer for 3 minutes.

2. Fold in whipped cream and chocolate chips.


Fluffy Vanilla Frosting

Makes About 4 Cups

1 1/2 cups (3 sticks) unsalted butter, room temperature

1 pound (4 cups) confectioners’ sugar, sifted

1/2 tsp. pure vanilla extract

1. With an electric mixer, beat butter on medium-high speed until pale and creamy, about 2 minutes.

2. Reduce speed to medium. Add the confectioners’ sugar, 1/2 cup at a time, beating well after each addition and scraping down sides of bowl as needed; after every two additions, raise speed to high and beat 10 seconds to aerate frosting, then return to medium. This process should take about 5 minutes. Frosting will be very pale and fluffy.

3. Add vanilla, and beat until frosting is smooth. If not using immediately, frosting can be refrigerated up to 10 days in an airtight container. Before using, bring to room temperature, and beat on low speed until smooth again, about 5 minutes.


Chocolate Malted Cupcakes with Fluffy Vanilla Frosting

I have baked numerous types of cookies in my baking adventures that I have loved, but, by far one of my favorites is a Malted Milk Chocolate Chip Cookie that is the perfect combination of chewiness and chocolate without being overly sweet thanks to the addition of malted milk powder. So, when I was flipping through some cookbooks for baking inspirations and I came across a recipe for a Chocolate Malted Cupcake I knew I had to try it!

To begin I whisked together my dry ingredients (flour, cocoa powder, sugar, light brown sugar, baking soda and salt) in one bowl and malted milk powder and milk in another bowl.

IMG_2867 IMG_2868

Once that was done I combined both of these mixtures along with vegetable oil in the bowl of my stand mixer and mixed it until it was combined.

IMG_2869

To finish the batter I beat in three eggs, sour cream and vanilla.

IMG_2870

I then divided the batter into my prepared muffin tins which I lined with these cupcake liners that I thought were a perfect for these cupcakes. The red and white is reminiscent of old school soda shops where malted beverages were a staple. I actually got these cupcake liners the day after Valentine’s Day at my local Michael’s for less than a $1. You have to love post-Holiday sales!

IMG_2872

After baking for about twenty minutes in a pre-heated 350 F oven my first batch of Chocolate Malted Cupcakes were done!

IMG_2873

The recipe was right on point and I ended up with twenty-eight delicious cupcakes!

After the cupcakes had cooled I whipped up a batch of Fluffy Vanilla Frosting using three simple ingredients: unsalted butter, confectioners’ sugar and vanilla extract. I think this may become my new go-to vanilla frosting!

IMG_2878

As opposed to piping my favorite 1M Swirl on these cupcakes, I frosted them using an offset spatula and then decorating them with chocolate sprinkles.

IMG_2903

Overall they were a hit and just the right amount of sweetness!

Chocolate Malted Cupcakes

From Martha Stewart’s Cupcakes

Makes 28 Cupcakes

2 1/4 cups all-purpose flour

3/4 cup unsweetened Dutch-process cocoa powder

1/4 cup granulated sugar

3/4 cup packed light-brown sugar

1 1/2 tsps. baking soda

1/2 tsp. salt

1 cup milk

1 1/4 cups malted milk powder

1 cup vegetable oil

3 large eggs, room temperature

1 cup sour cream, room temperature

1 tsp. pure vanilla extract

1. Preheat oven to 350F. Line standard muffin tins with paper liners. Whisk together flour, cocoa, both sugars, baking soda, and salt. In another bowl, whisk together milk and malted milk powder until powder is dissolved.

2. With an electric mixer on medium-high speed, beat flour mixture, milk mixture, and oil until combined. Add eggs, one at a time, beating until each is incorporated, scraping down sides of bowl as needed. Add sour cream and vanilla, and beat until just combined.

3. Divide batter evenly among lined cups, filling each halfway. Bake, rotating halfway through, until a cake tester inserted in centers comes out clean, about 20 minutes. Cupcakes can be stored up to 3 days at room temperature, or frozen up to 2 months, in airtight containers.

Fluffy Vanilla Frosting

From Martha Stewart’s Cupcakes

Makes About 4 Cups

1 1/2 cups (3 sticks) unsalted butter, room temperature

1 pound (4 cups) confectioners’ sugar, sifted

1/2 tsp. pure vanilla extract (I used 1 tsp.)

1. With an electric mixer, beat butter on medium-high speed until pale and creamy, about 2 minutes.

2. Reduce speed to medium. Add the confectioners’ sugar, 1/2 cup at a time, beating well after each addition and scraping down sides of bowl as needed; after every two additions, raise speed to high and beat 10 seconds to aerate frosting, then return to medium. This process should take about 5 minutes. Frosting will be very pale and fluffy.

3. Add vanilla, and beat until frosting is smooth. If not using immediately, frosting can be refrigerated up to 10 days in an airtight container. Before using, bring to room temperature, and beat on low speed until smooth again, about 5 minutes.

Breton Butter Cake

I came across this recipe in Martha Stewart’s Cakes book and as soon as I saw it I knew I wanted to make it. It sounded simple and more importantly with a few key baking ingredients (butter, eggs, sugar & flour) I knew it would be delicious. If you like shortbread, you’ll love this cake! Just as an FYI, this cake is also known as a Brittany Butter Cake (as in Brittany, France a region located in the northwest part of the country) or a Gateau Breton.

To begin I combined a cup each of sugar and butter in my stand mixer and mixed it together until it was light and fluffy.

IMG_2833

Following that, I added in vanilla extract and six egg yolks one at a time.

IMG_2834

And finally I added in flour and salt and mixed all the ingredients together until they were just combined.

IMG_2835

Now it was time to transfer the batter to my tart pan – most tart pans have a removable bottom (as this one does) which makes removing the tart a cinch. You just push the tart up from the bottom when it’s done cooling and the decorative rim slides right off. I also prepped the pan with baking spray.

IMG_2838

After I had transferred the batter I smoothed the top with an offset spatula and then refrigerated it for fifteen minutes.

IMG_2841

Following refrigeration it was time to prep the top of the tart for baking by brushing it with an egg wash and making a criss-cross pattern.

IMG_2844 IMG_2846

I then baked it in a 350 degrees oven for about forty minutes and voila…

IMG_2854

After it fully cooled I easily removed the decorative ring. It was simple to make and turned out delicious. And the golden color due to the egg wash and the simple criss-cross pattern made it visually appealing which is always a plus when it comes to baked items.

IMG_2859

Breton Butter Cake

Makes one 9-inch cake

Ingredients

1 cup (2 sticks) unsalted butter, room temperature, plus more for pan

1 cup sugar

1 tablespoon pure vanilla extract

6 large egg yolks

2 3/4 cups all-purpose flour

1/4 teaspoon salt

1 large whole egg, lightly beaten

Directions

Preheat oven to 350 degrees. Cream butter and sugar in bowl of electric mixer fitted with paddle attachment until light and fluffy. Beat in vanilla and yolks one at a time, beating well after each addition. Add flour and salt; beat just until combined. Do not overmix.

Transfer batter to 9-inch tart pan with removable bottom; with small offset spatula, spread batter and smooth top. (If necessary, chill batter 10 minutes before smoothing.) Place pan in refrigerator 15 minutes.

Remove from refrigerator. Brush top with beaten egg, and mark a criss-cross pattern with a fork. Brush again with egg. Bake until cake is deep golden brown and edges pull away from sides of pan, about 50 minutes.

Transfer to a wire rack to cool slightly. Remove cake from pan, and slice while still warm.

%d bloggers like this: