Hold The Chips Add A Kiss Chocolate Chip Cookies

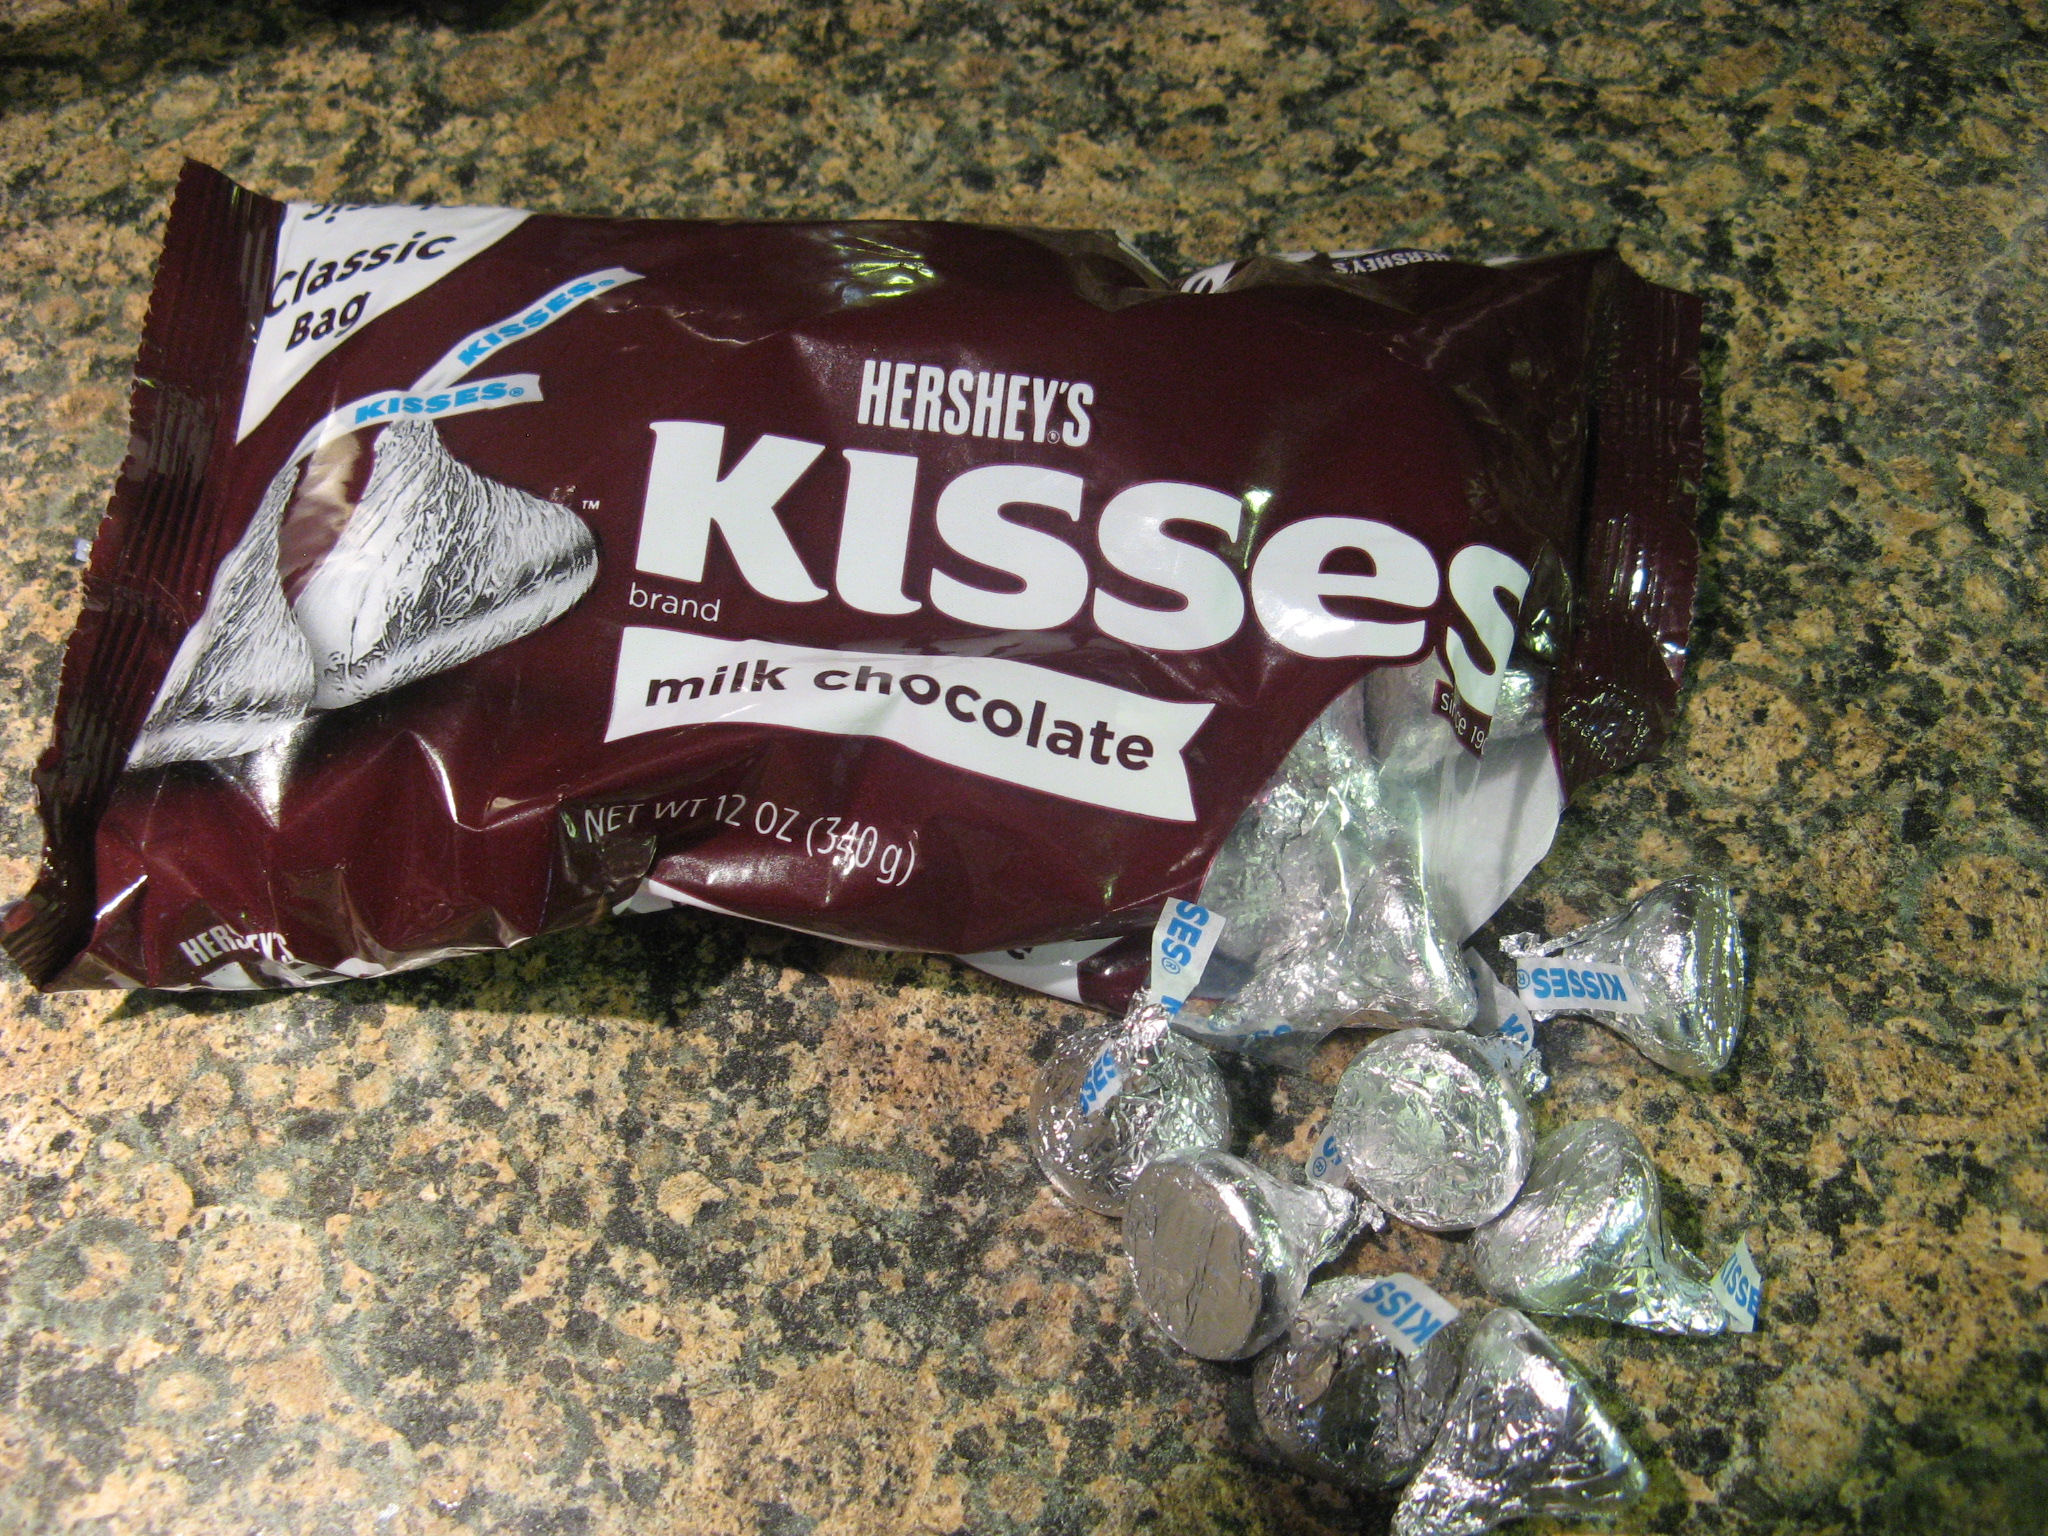
Customarily this cookie is made with a peanut butter cookie base and then topped with a Hershey Kiss pressed into its center, what is commonly known as a Peanut Butter Blossom. But, I decided to switch it up a bit and use a chocolate chip cookie without the chips as the base and then top it with a Hershey Kiss.

IMG_5057

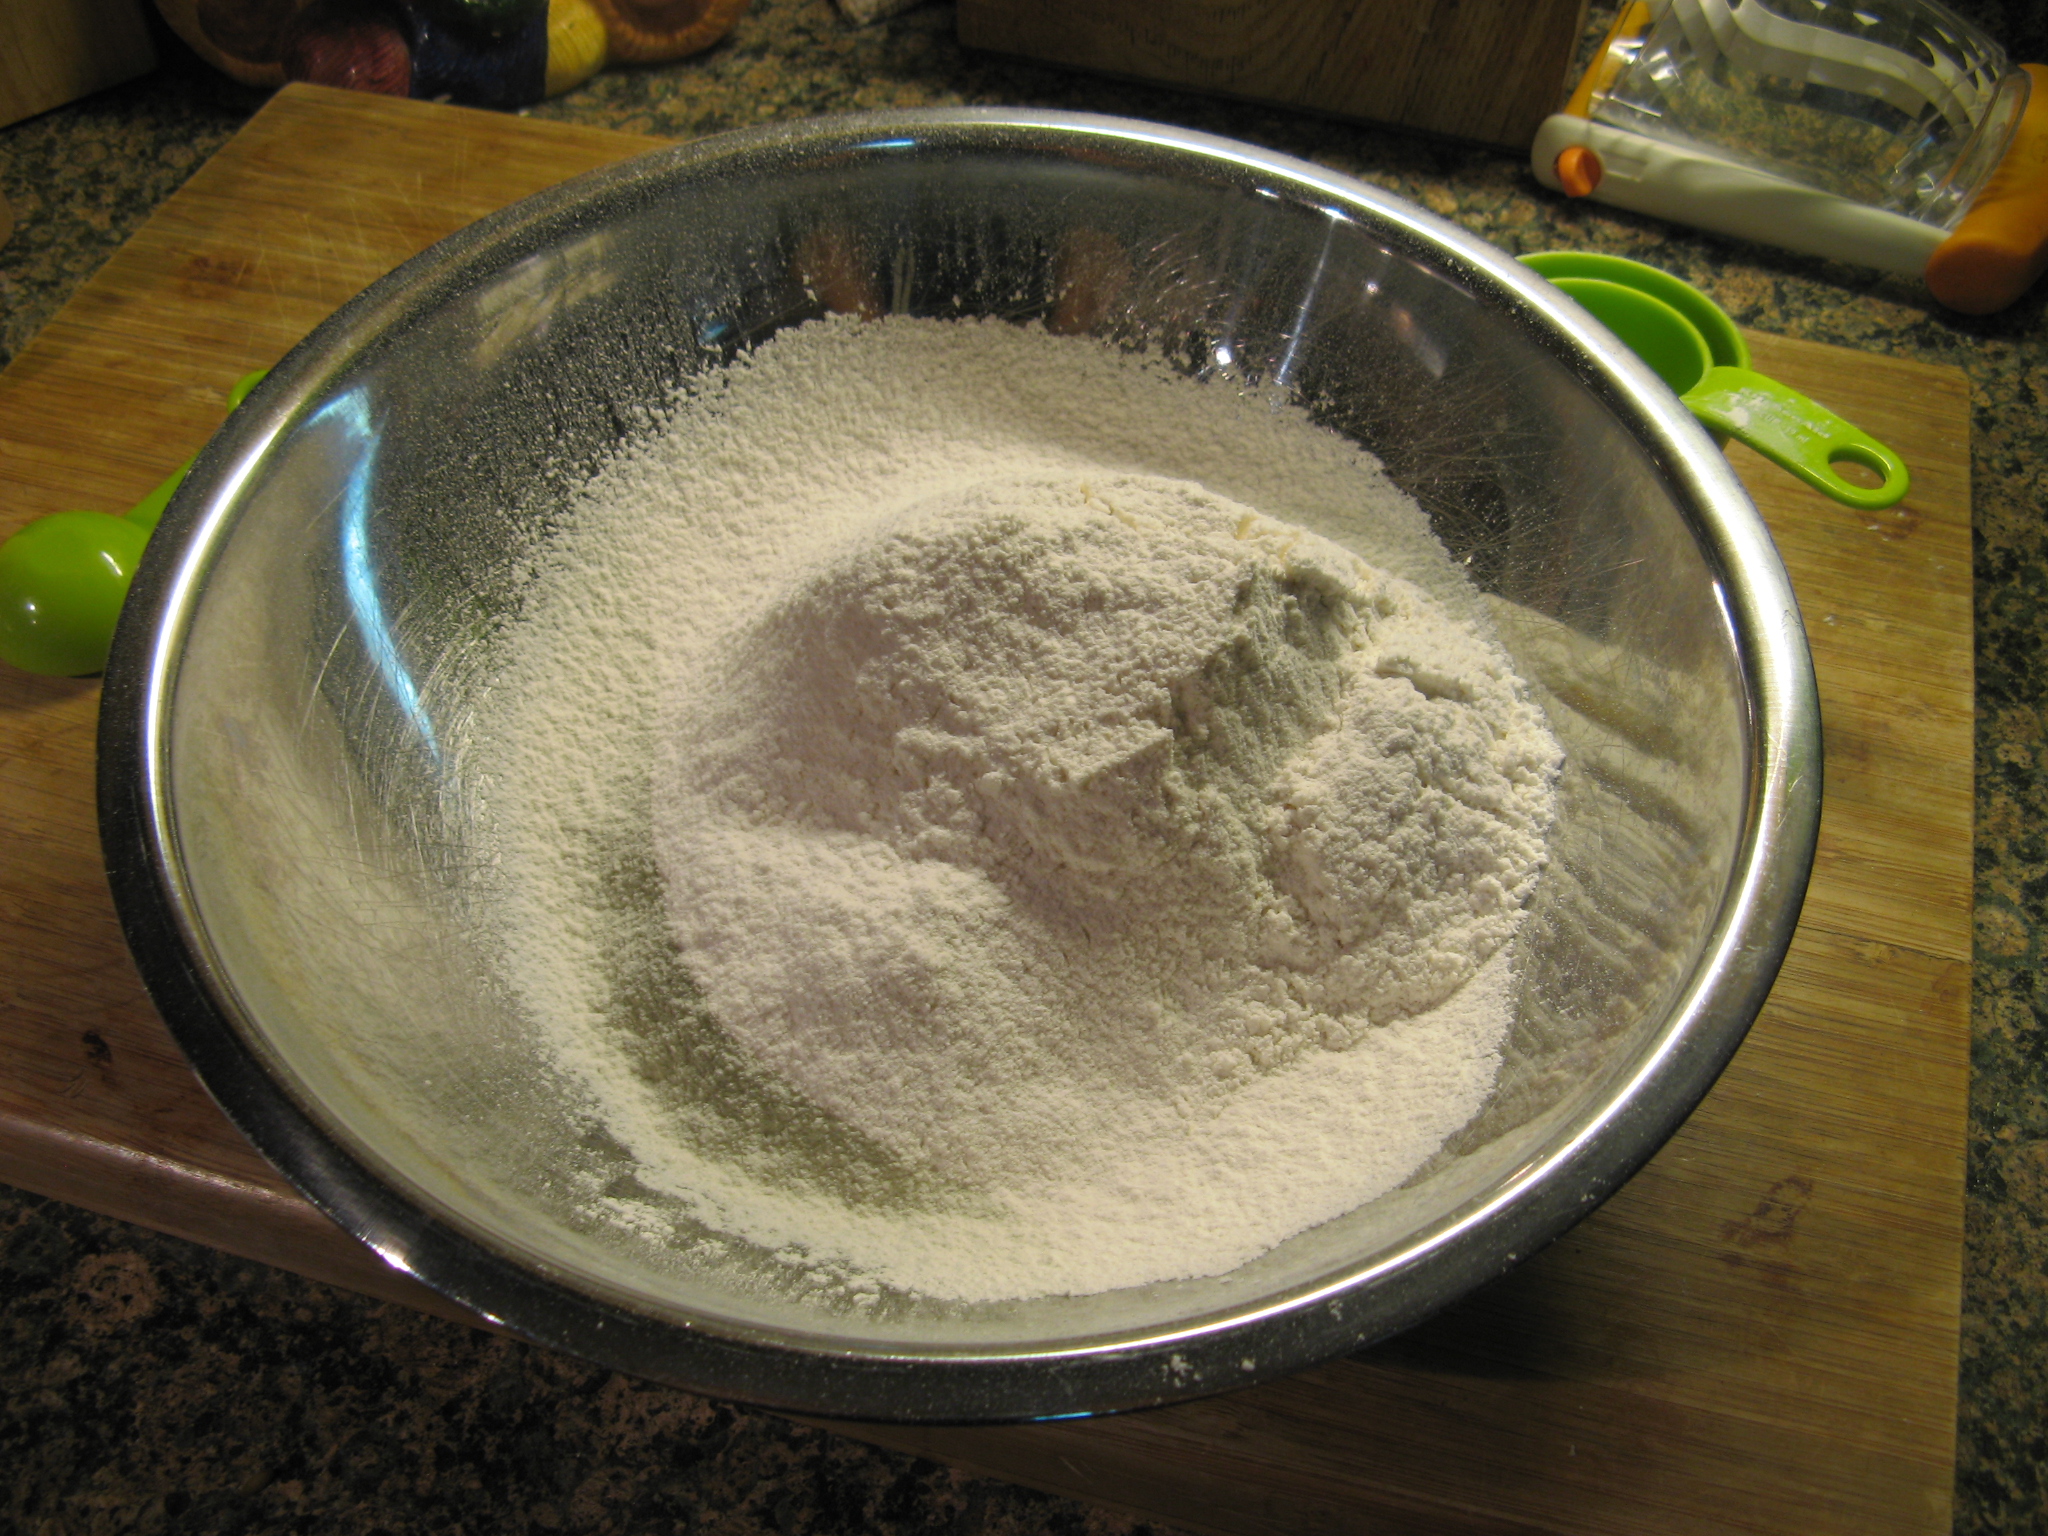
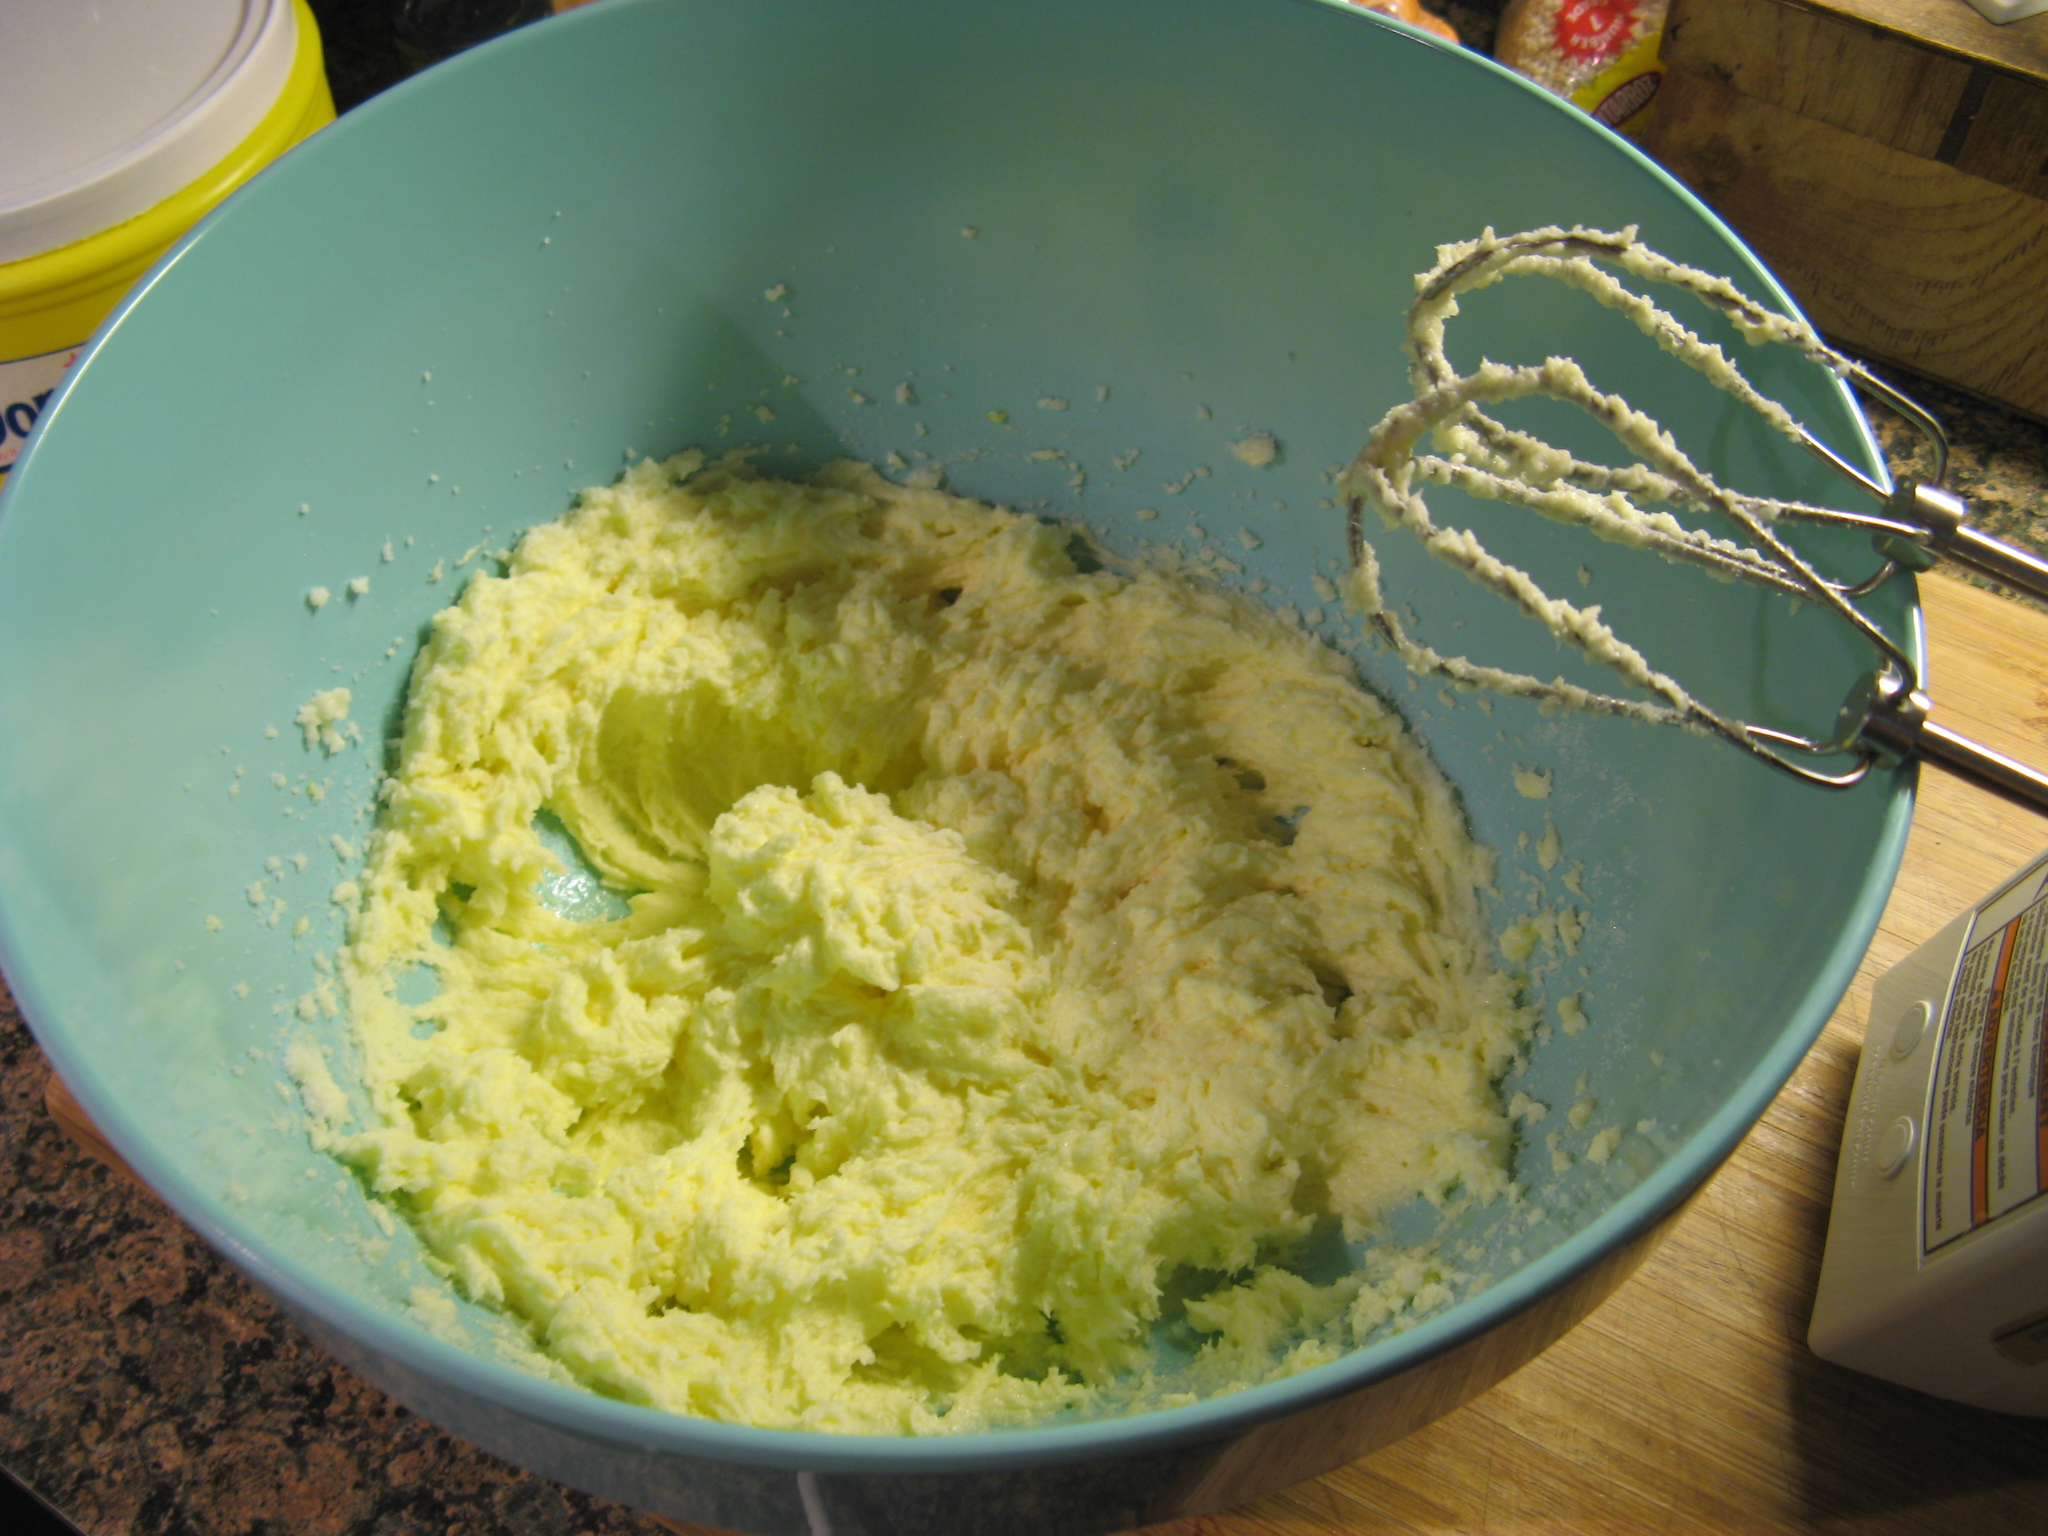
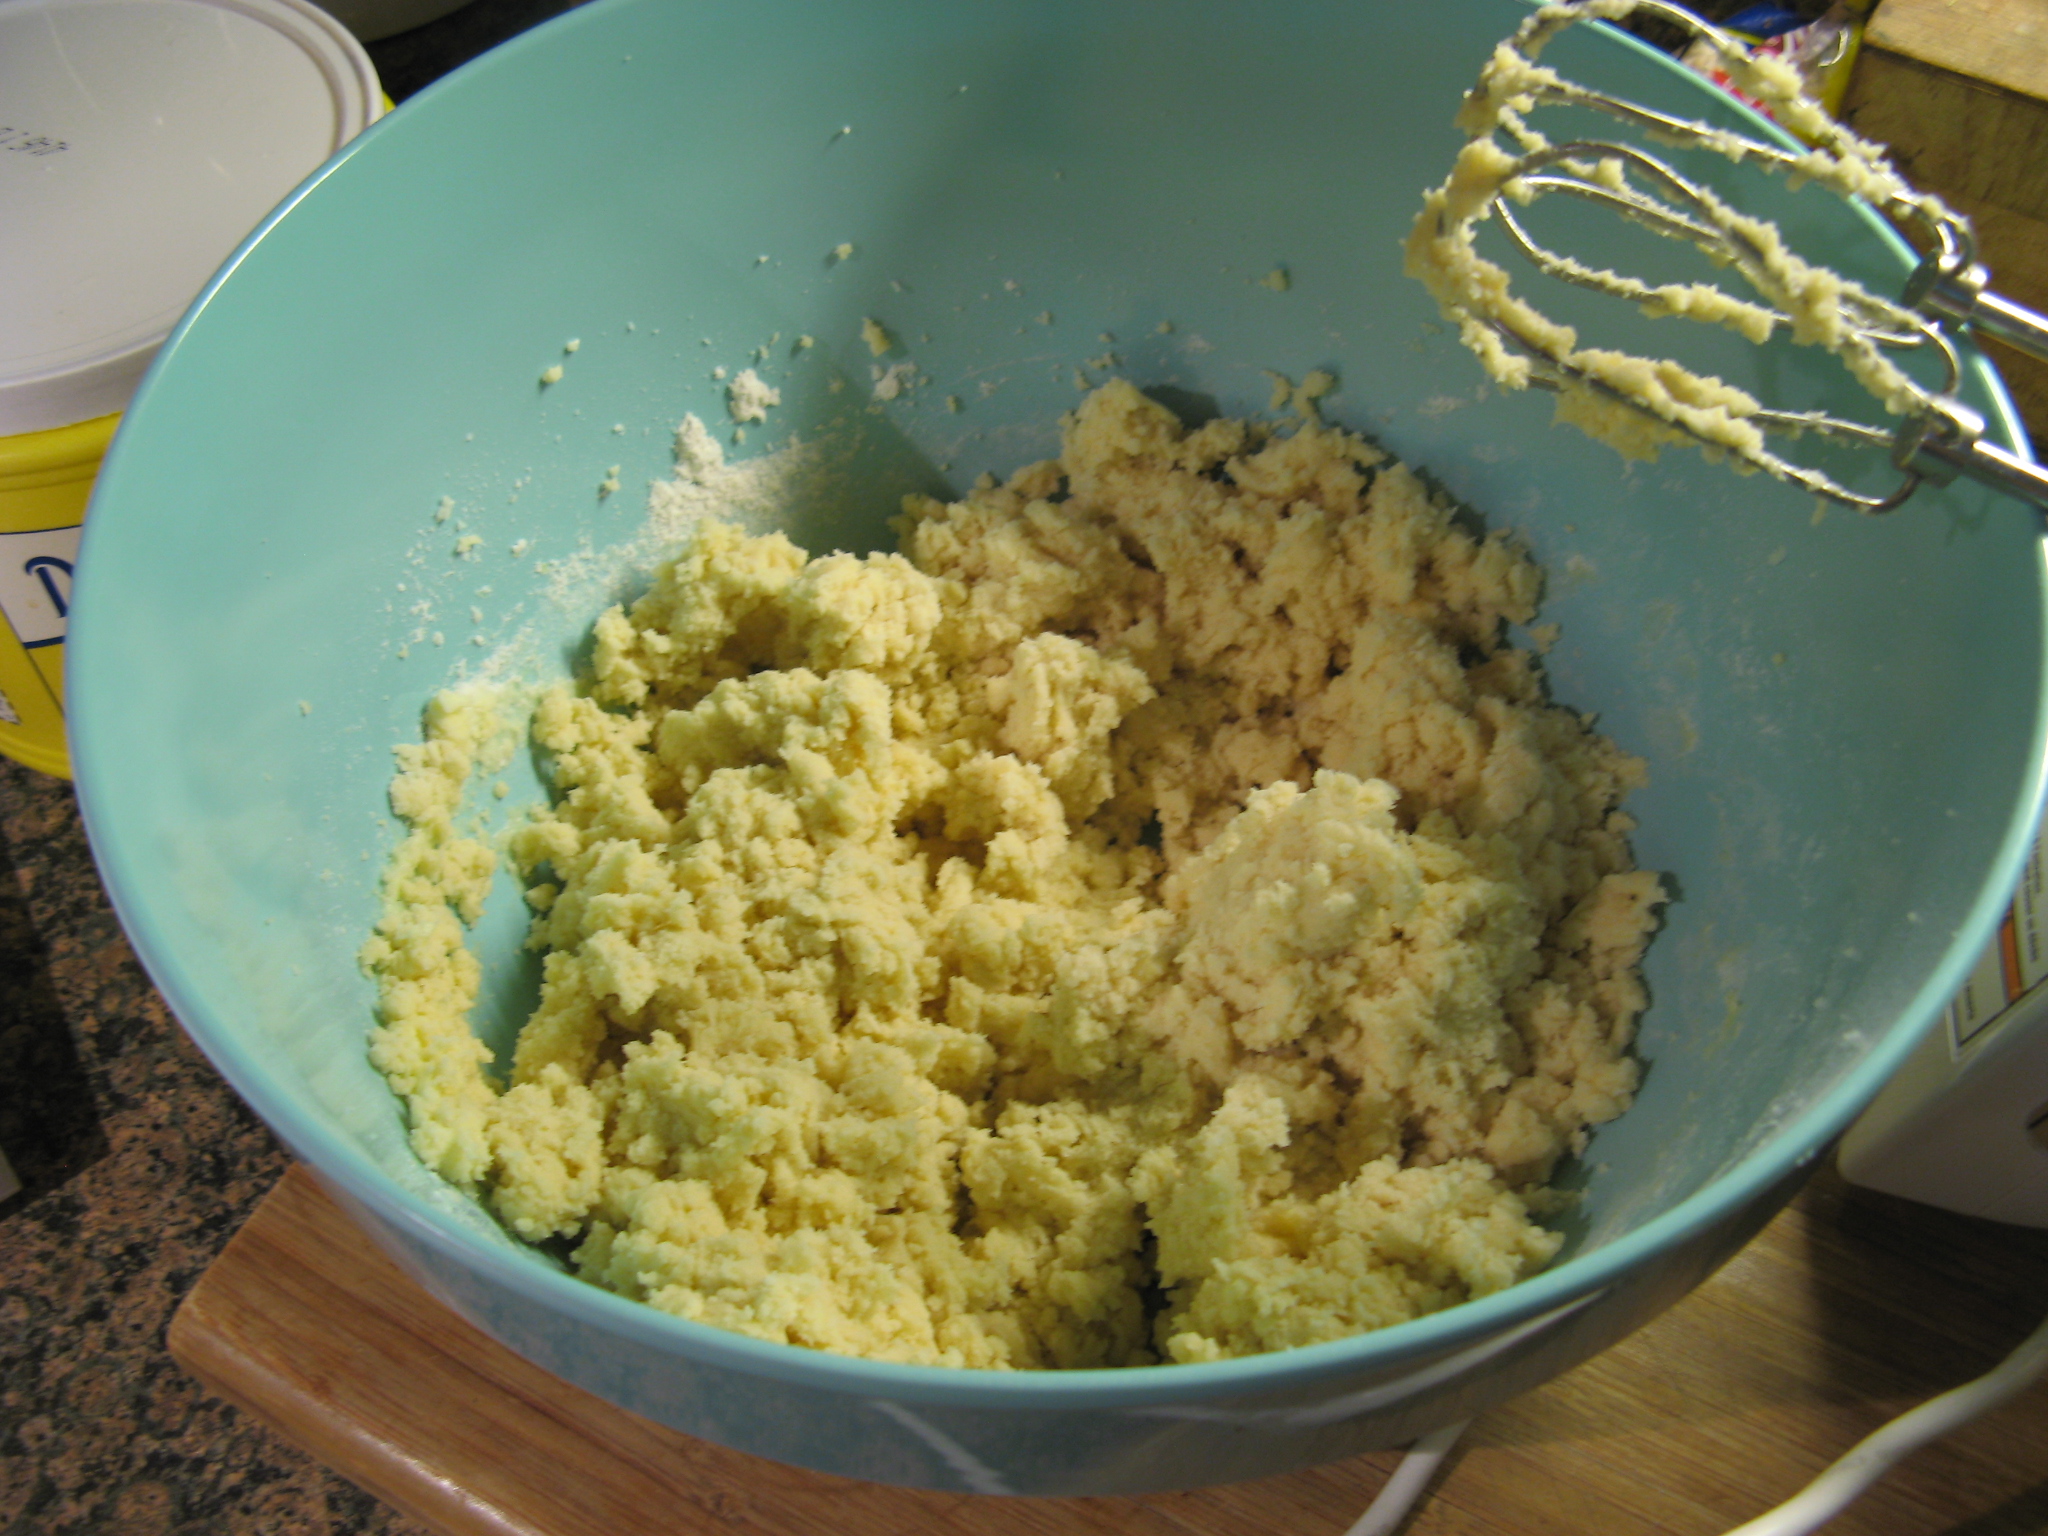
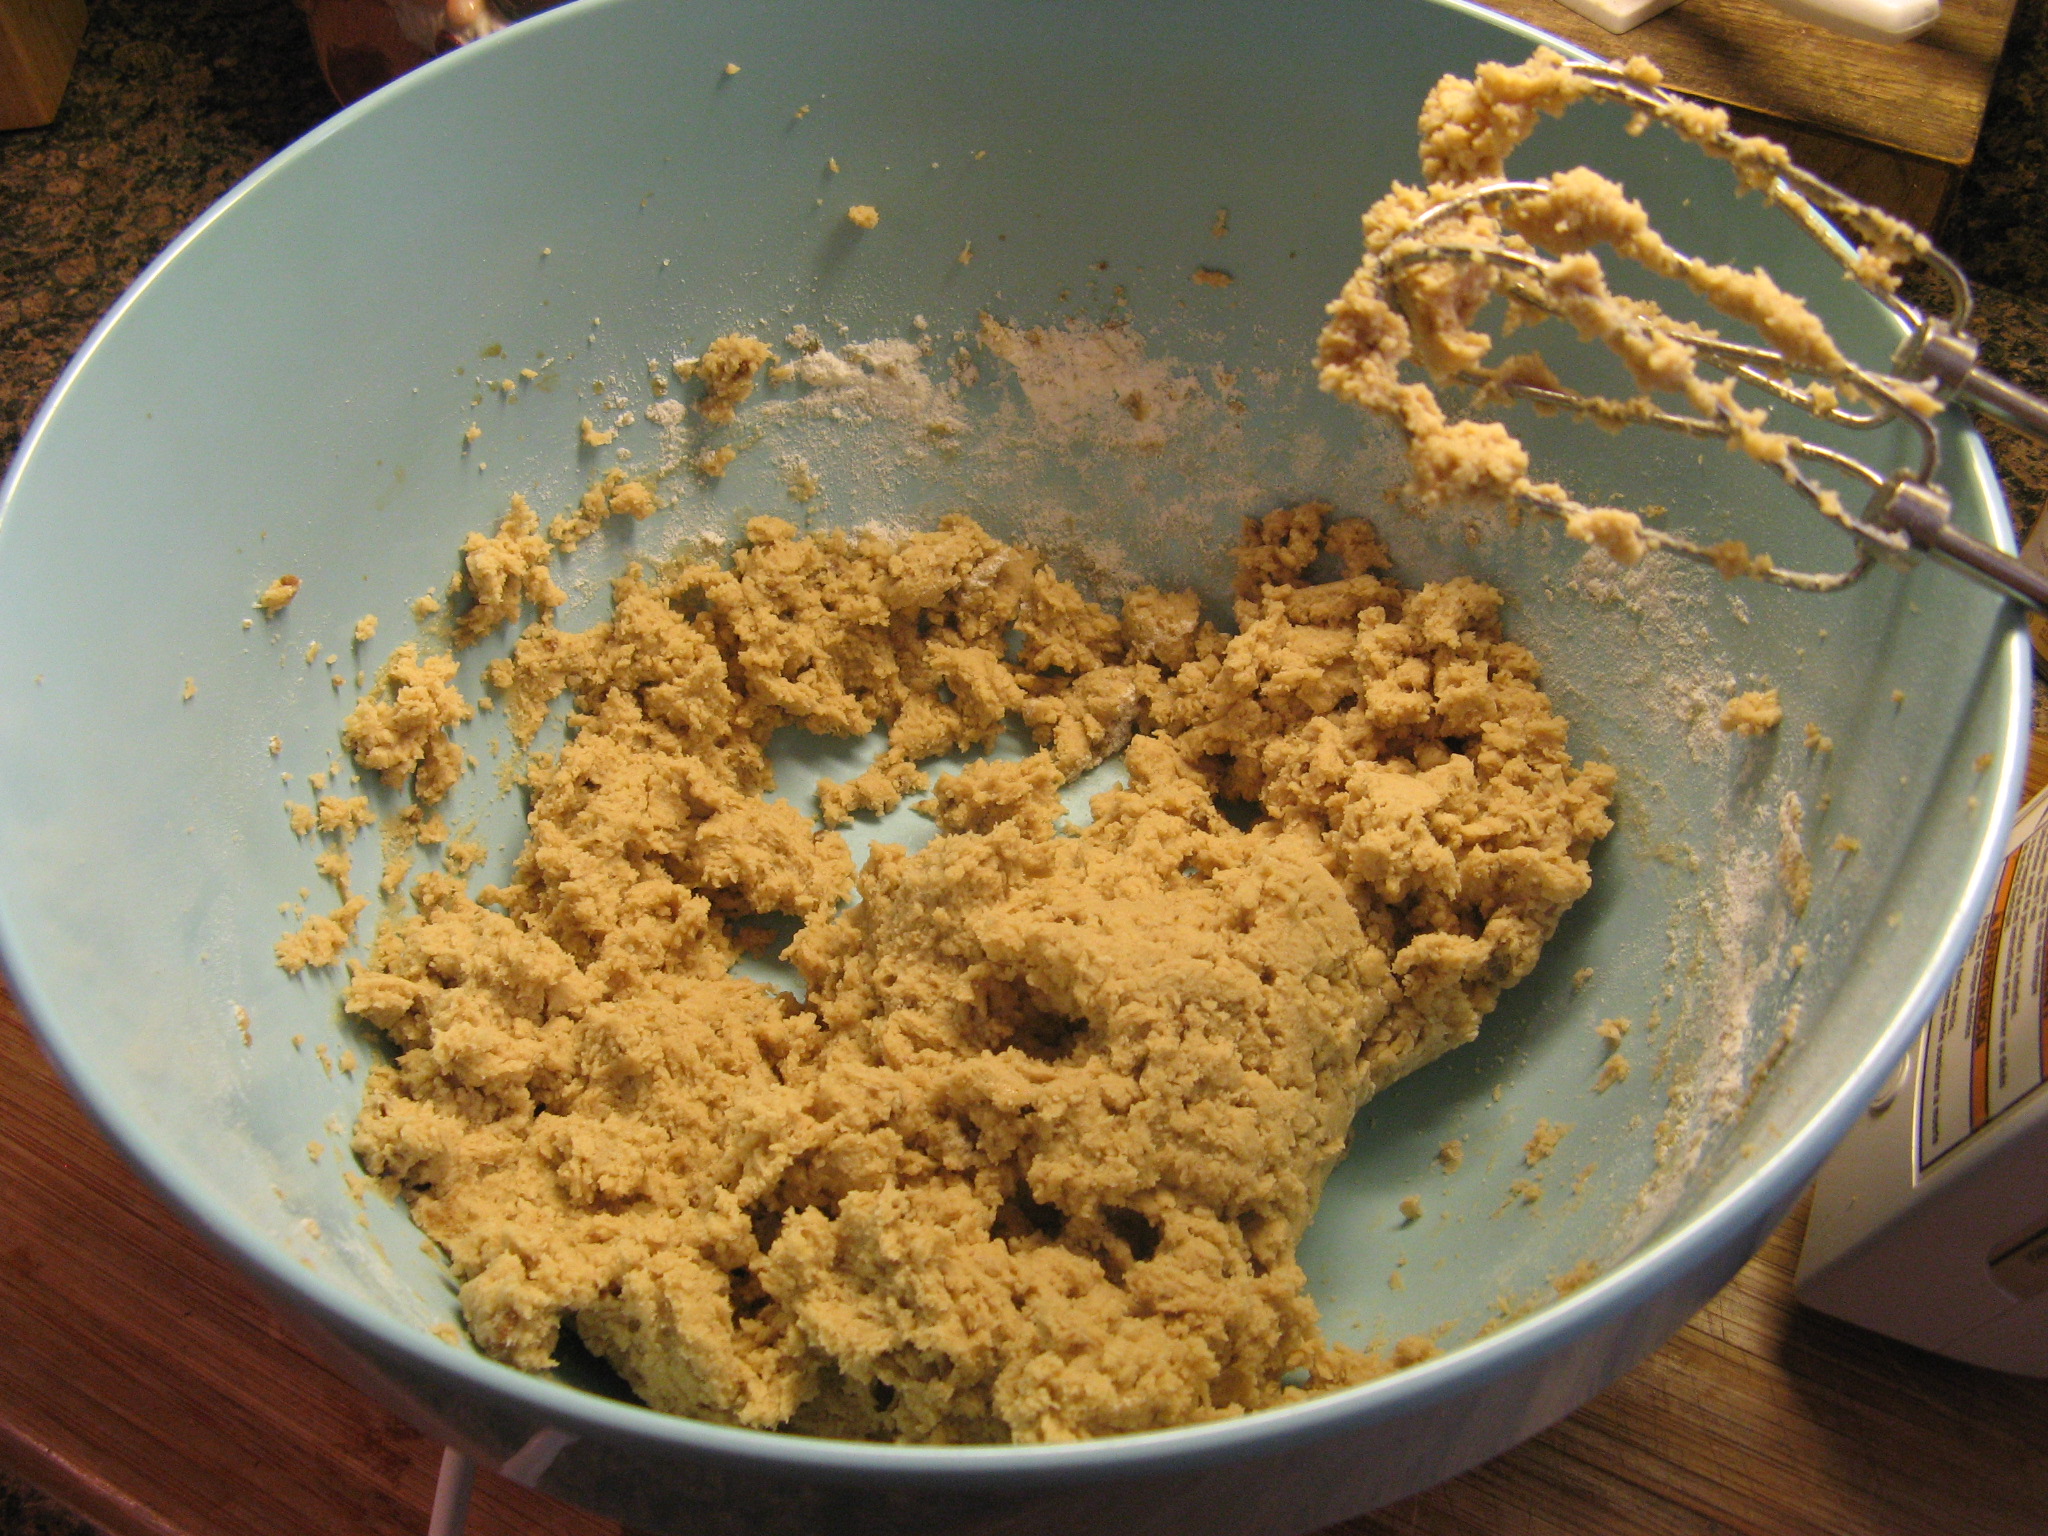
To begin I made the dough to one of my favorite chocolate chip cookies. I particularly like these because the ingredients are things I always have on hand and they are simple to make. Sometimes a basic recipe produces the best flavor. To make the dough I whisked the dry ingredients – flour, salt and baking soda – in one bowl and in another I combined butter, dark brown and granulated sugars, vanilla extract and an egg. I then incorporated all of the ingredients until they were combined.

IMG_5052

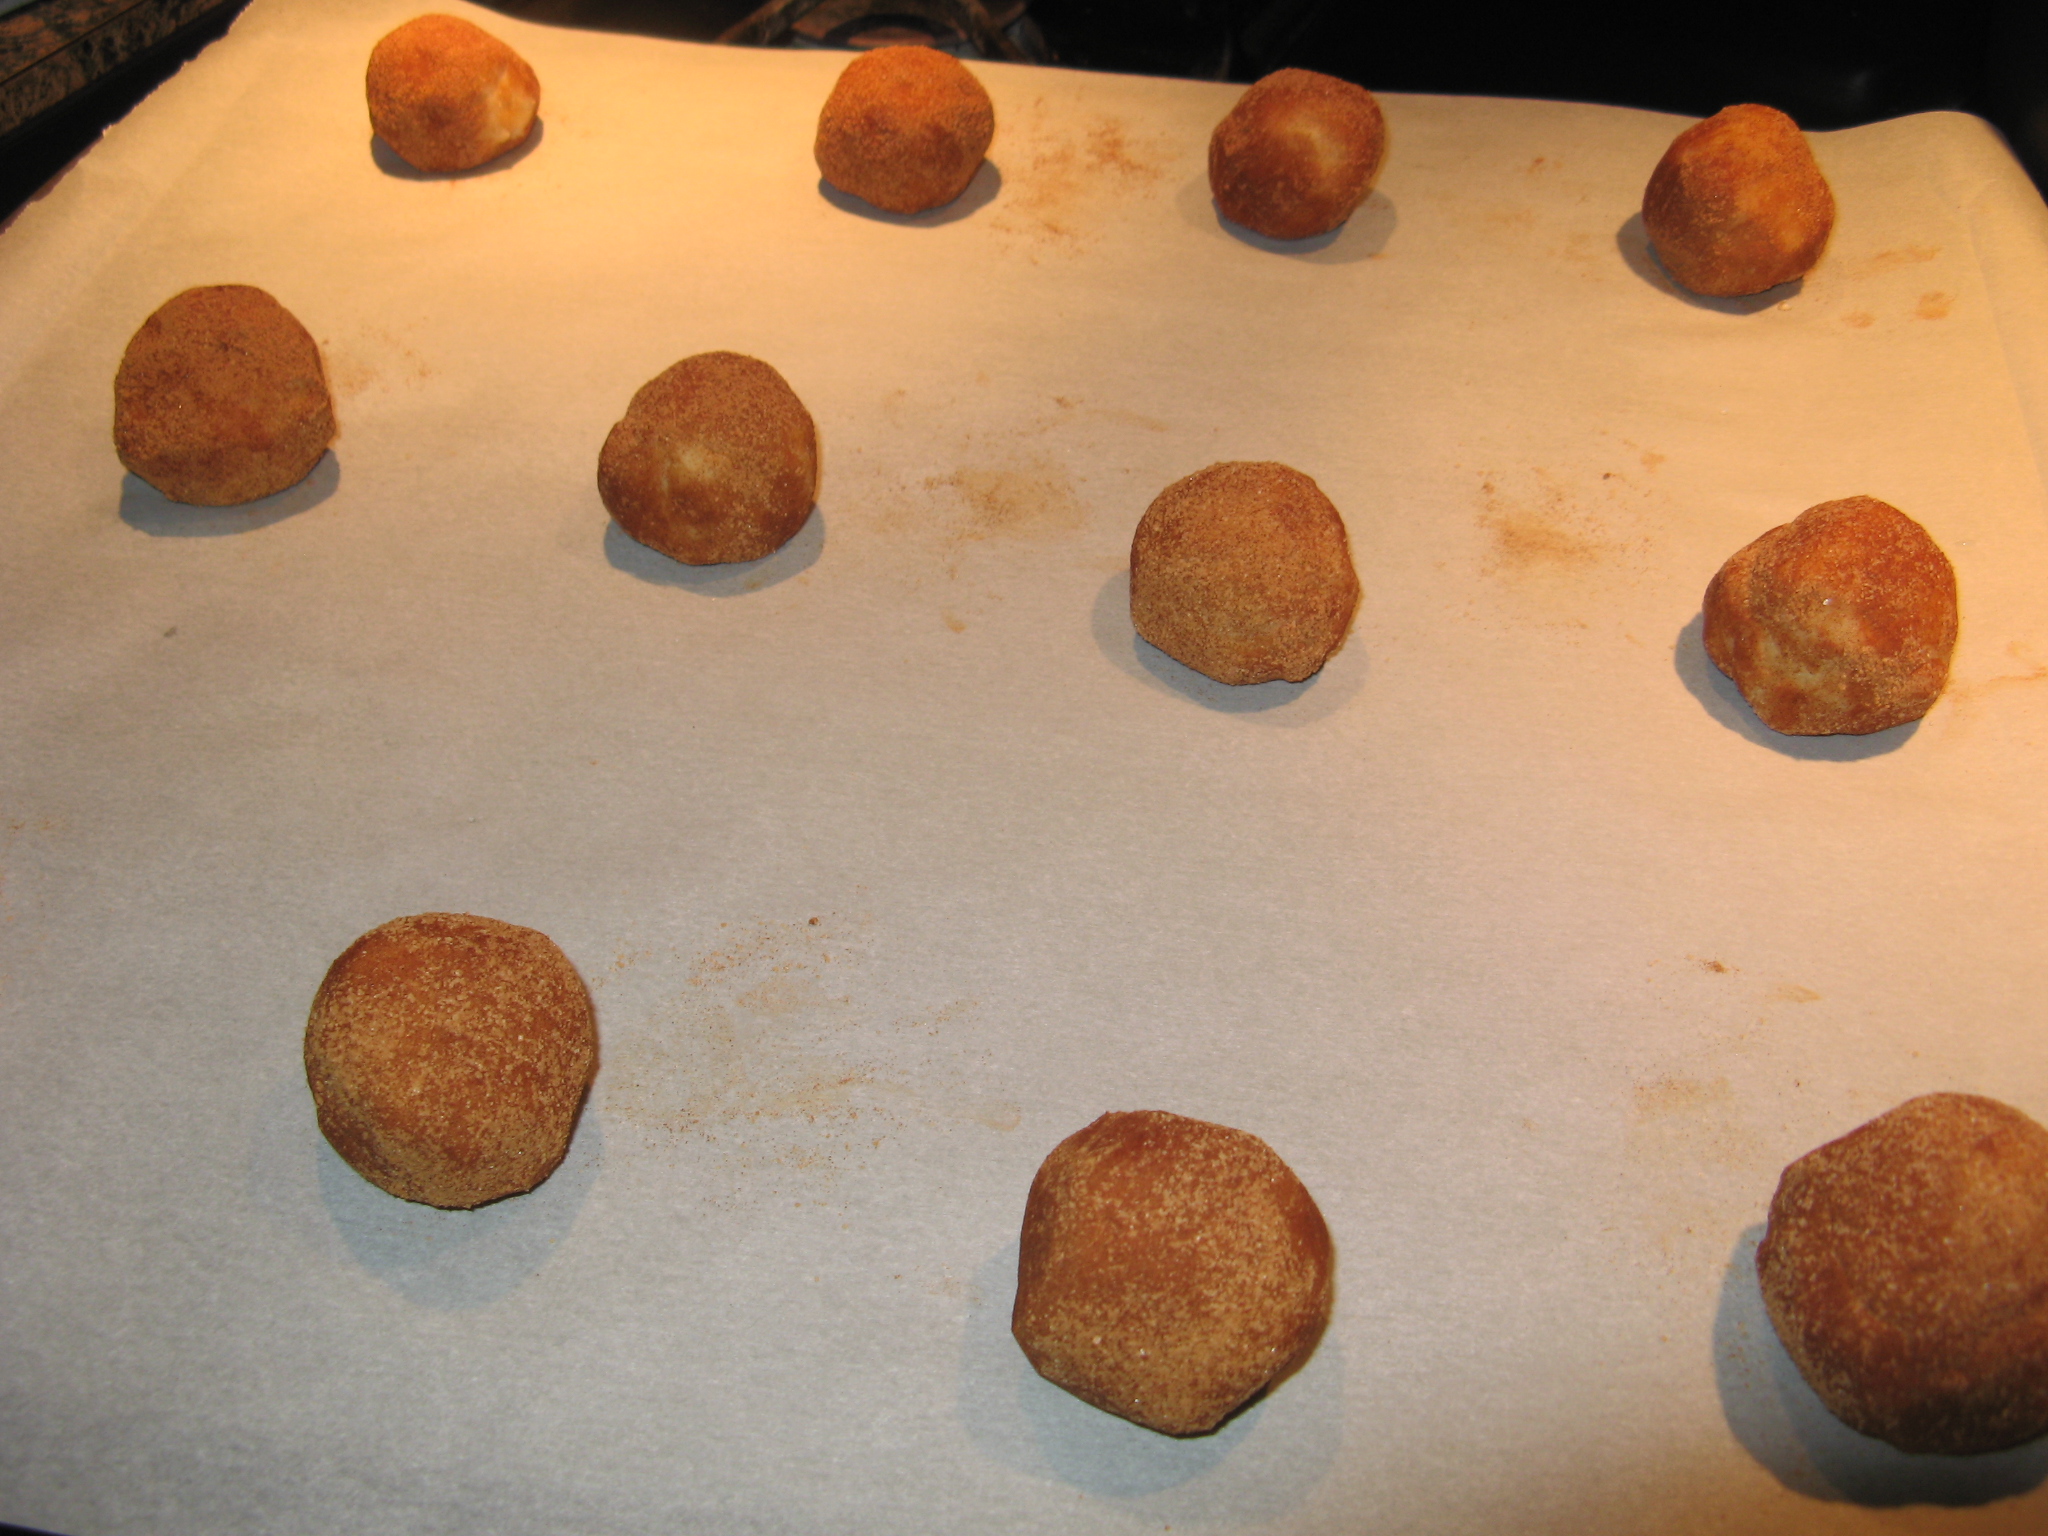
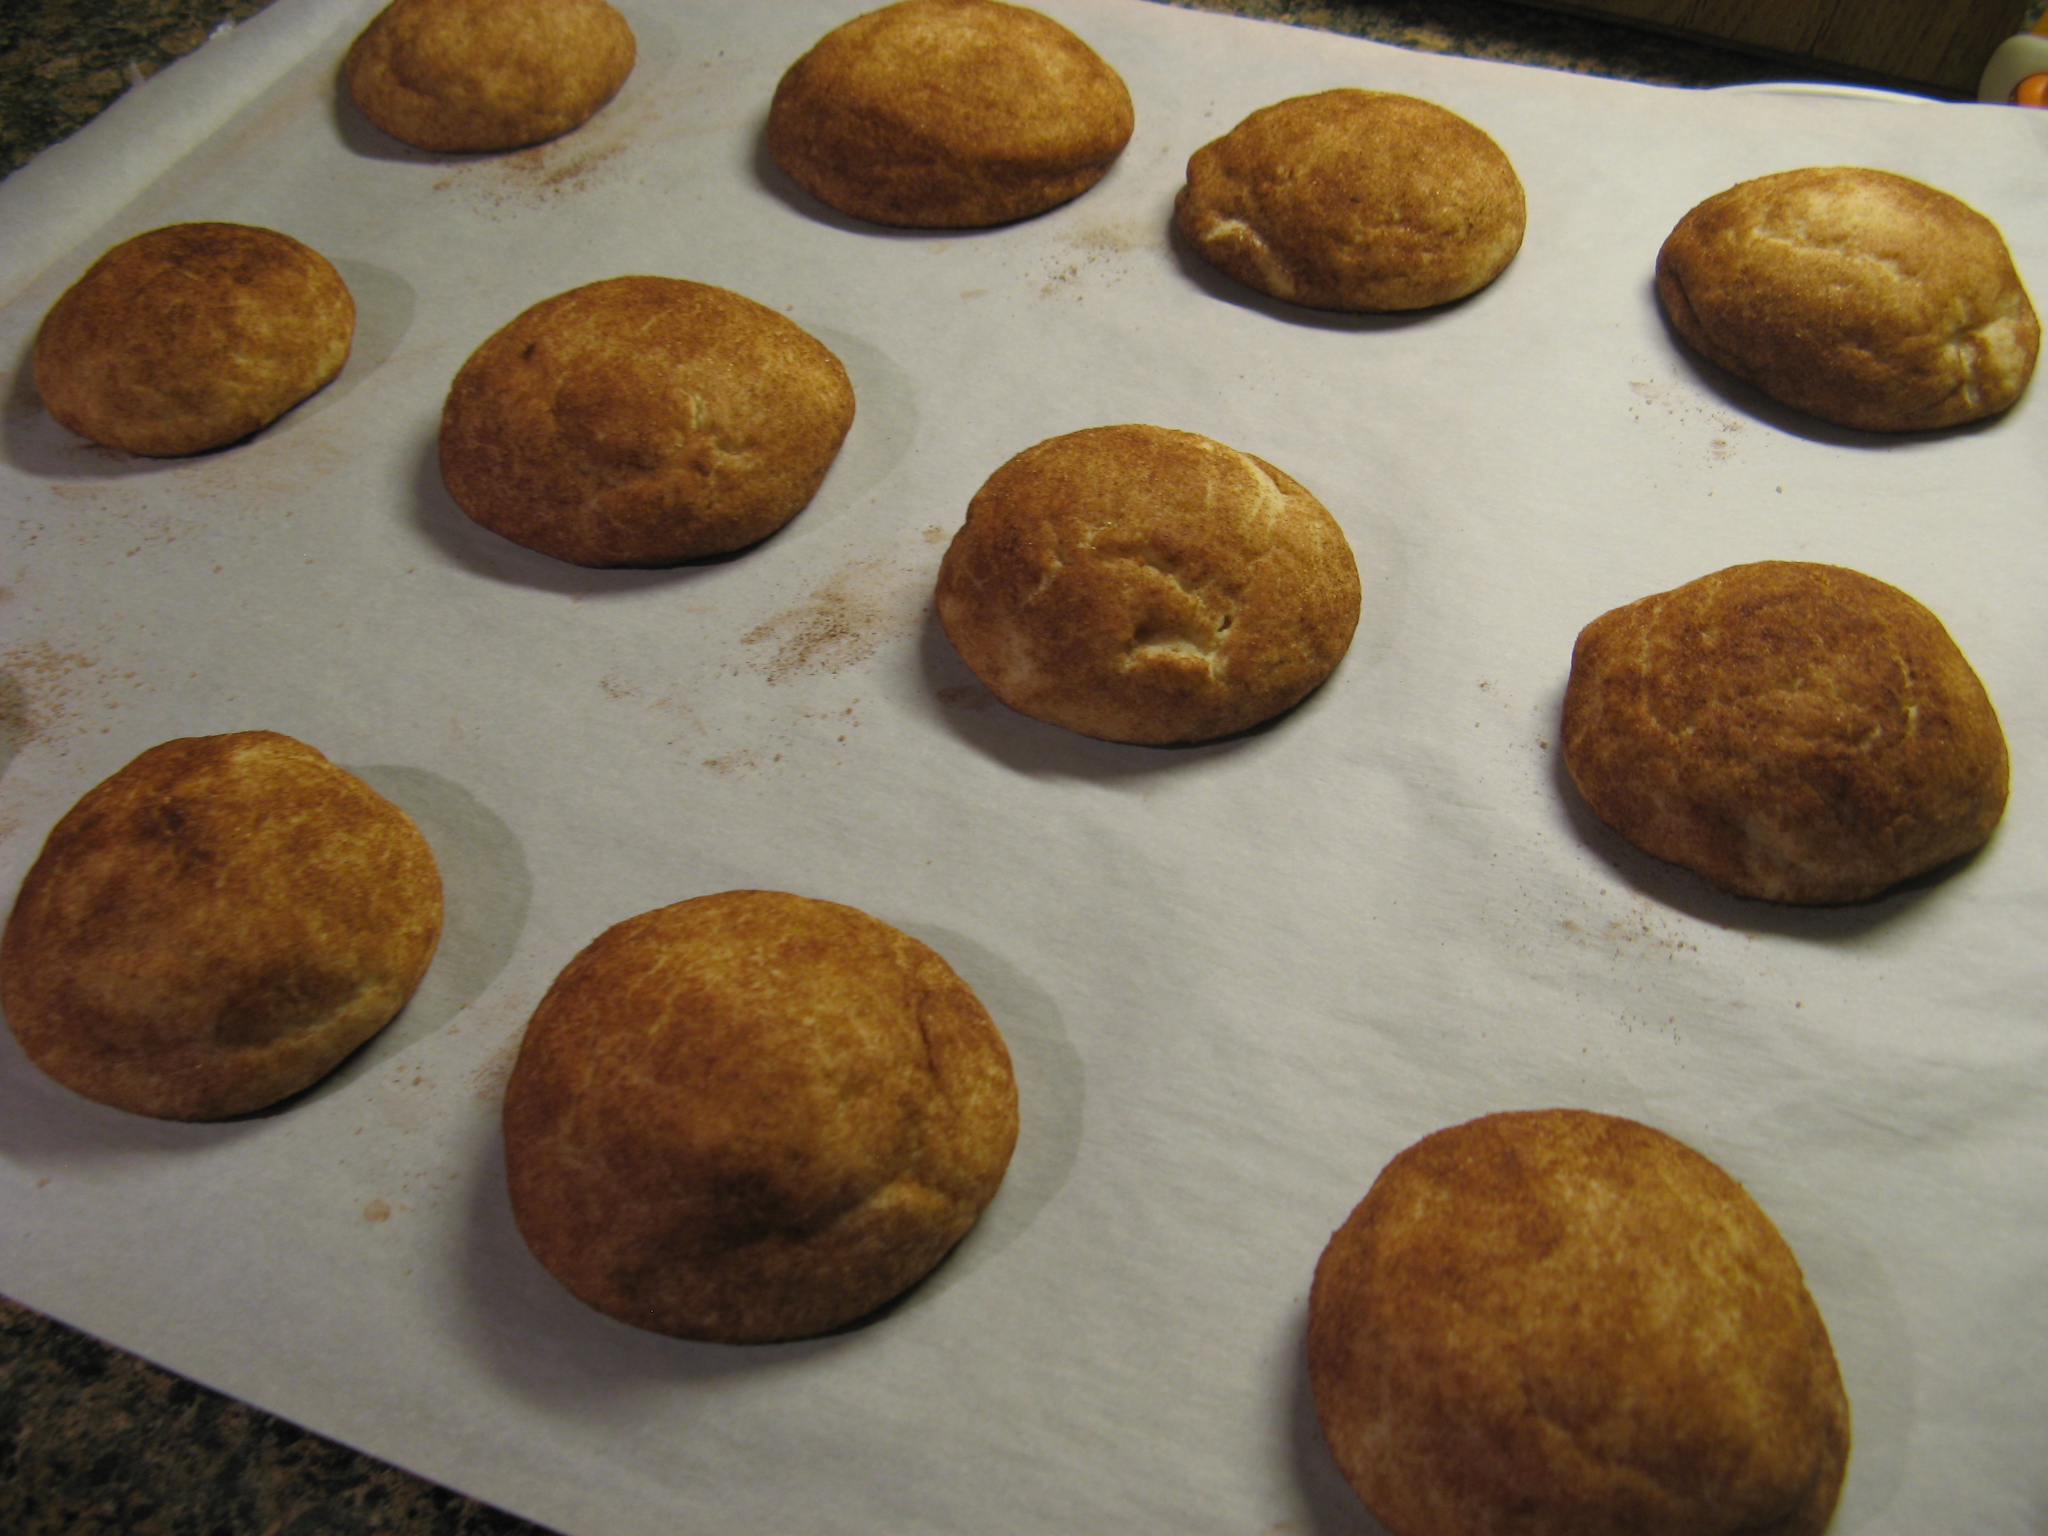
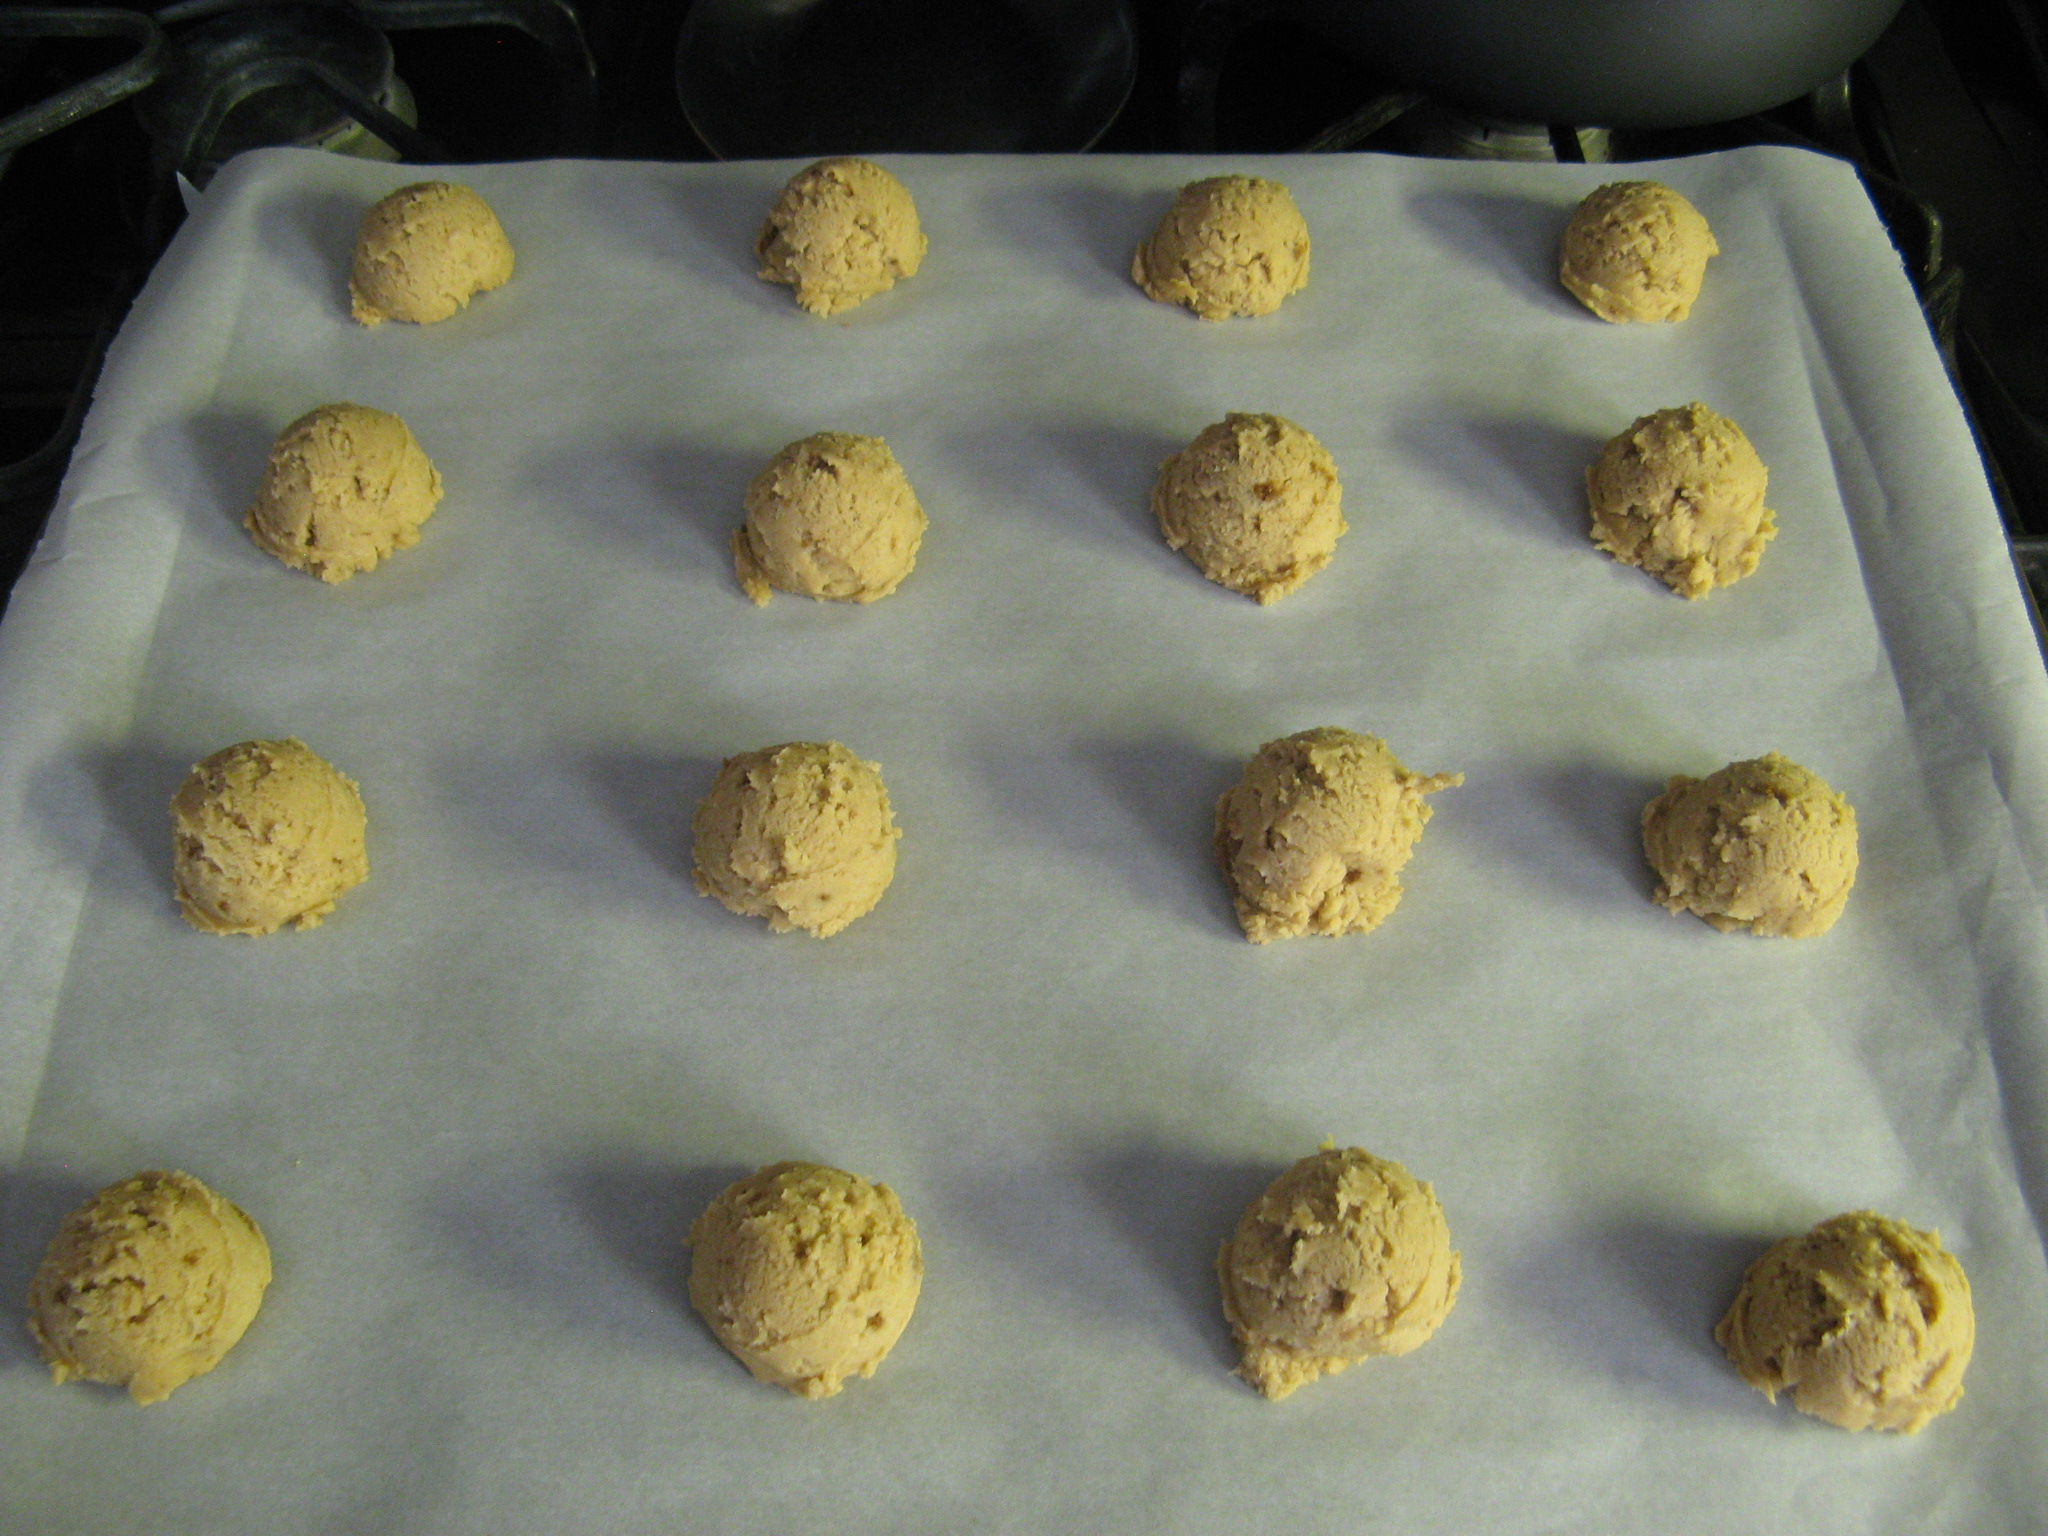
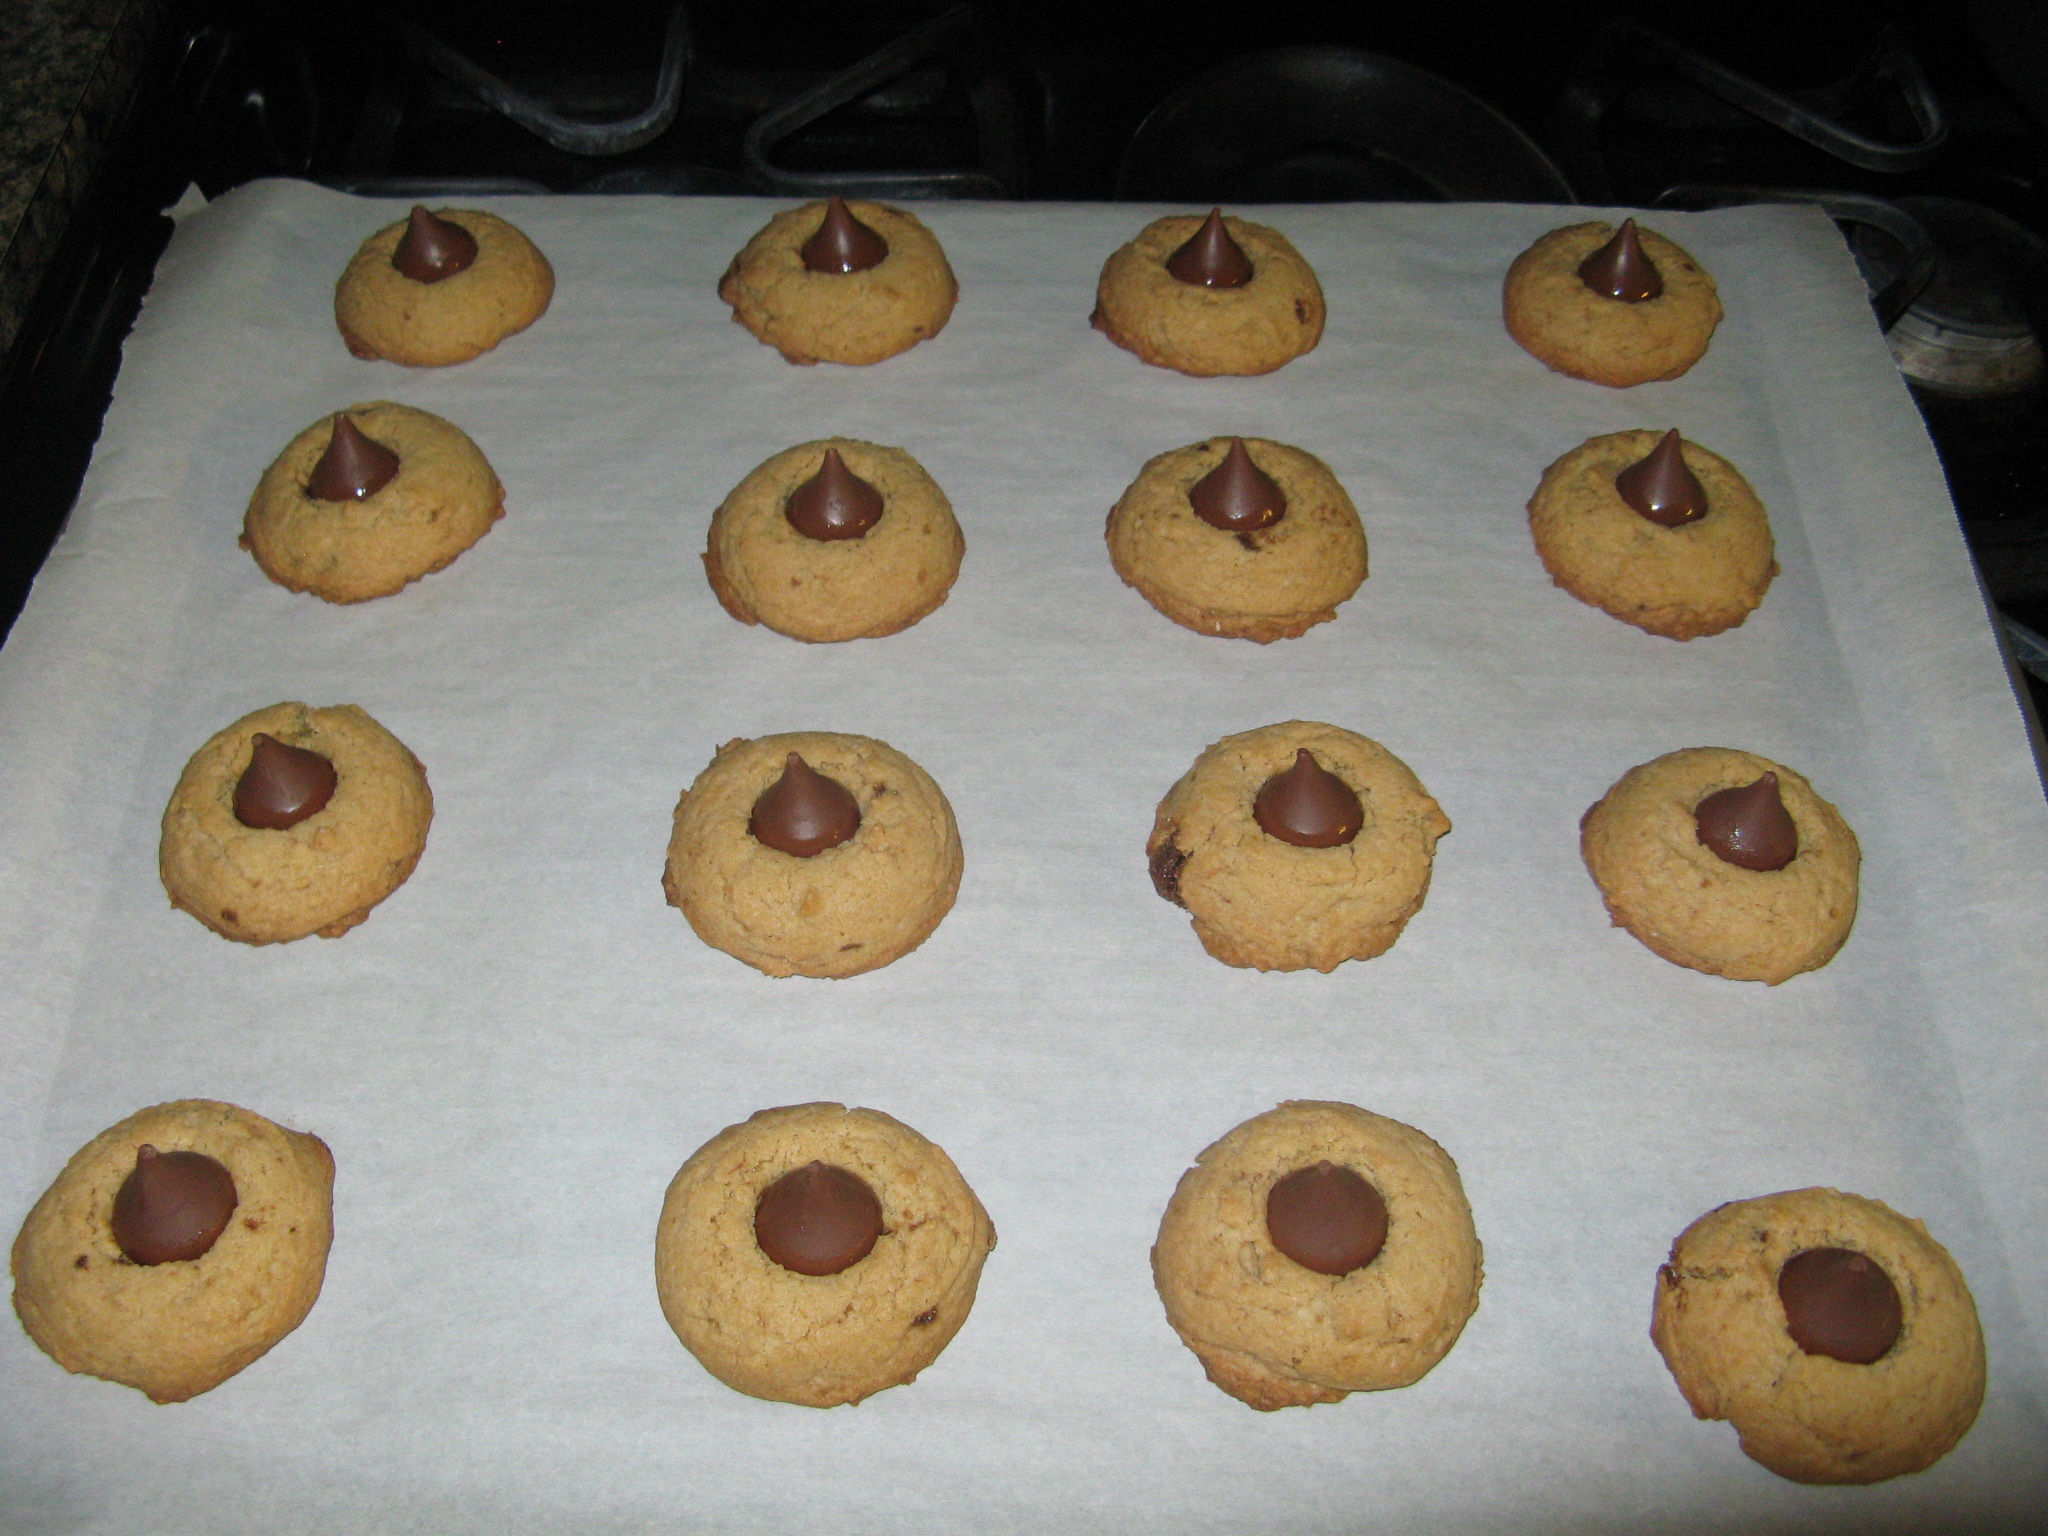
Following that I used a cookie scoop to scoop the dough onto a parchment paper lined baking sheet and baked them in a 375 F preheated oven for 12 minutes.

IMG_5055

While the cookies were in the oven, I unwrapped the Hershey Kisses and refrigerated them so they wouldn’t be too soft when I placed them on the fresh out of the oven cookies.

IMG_5059

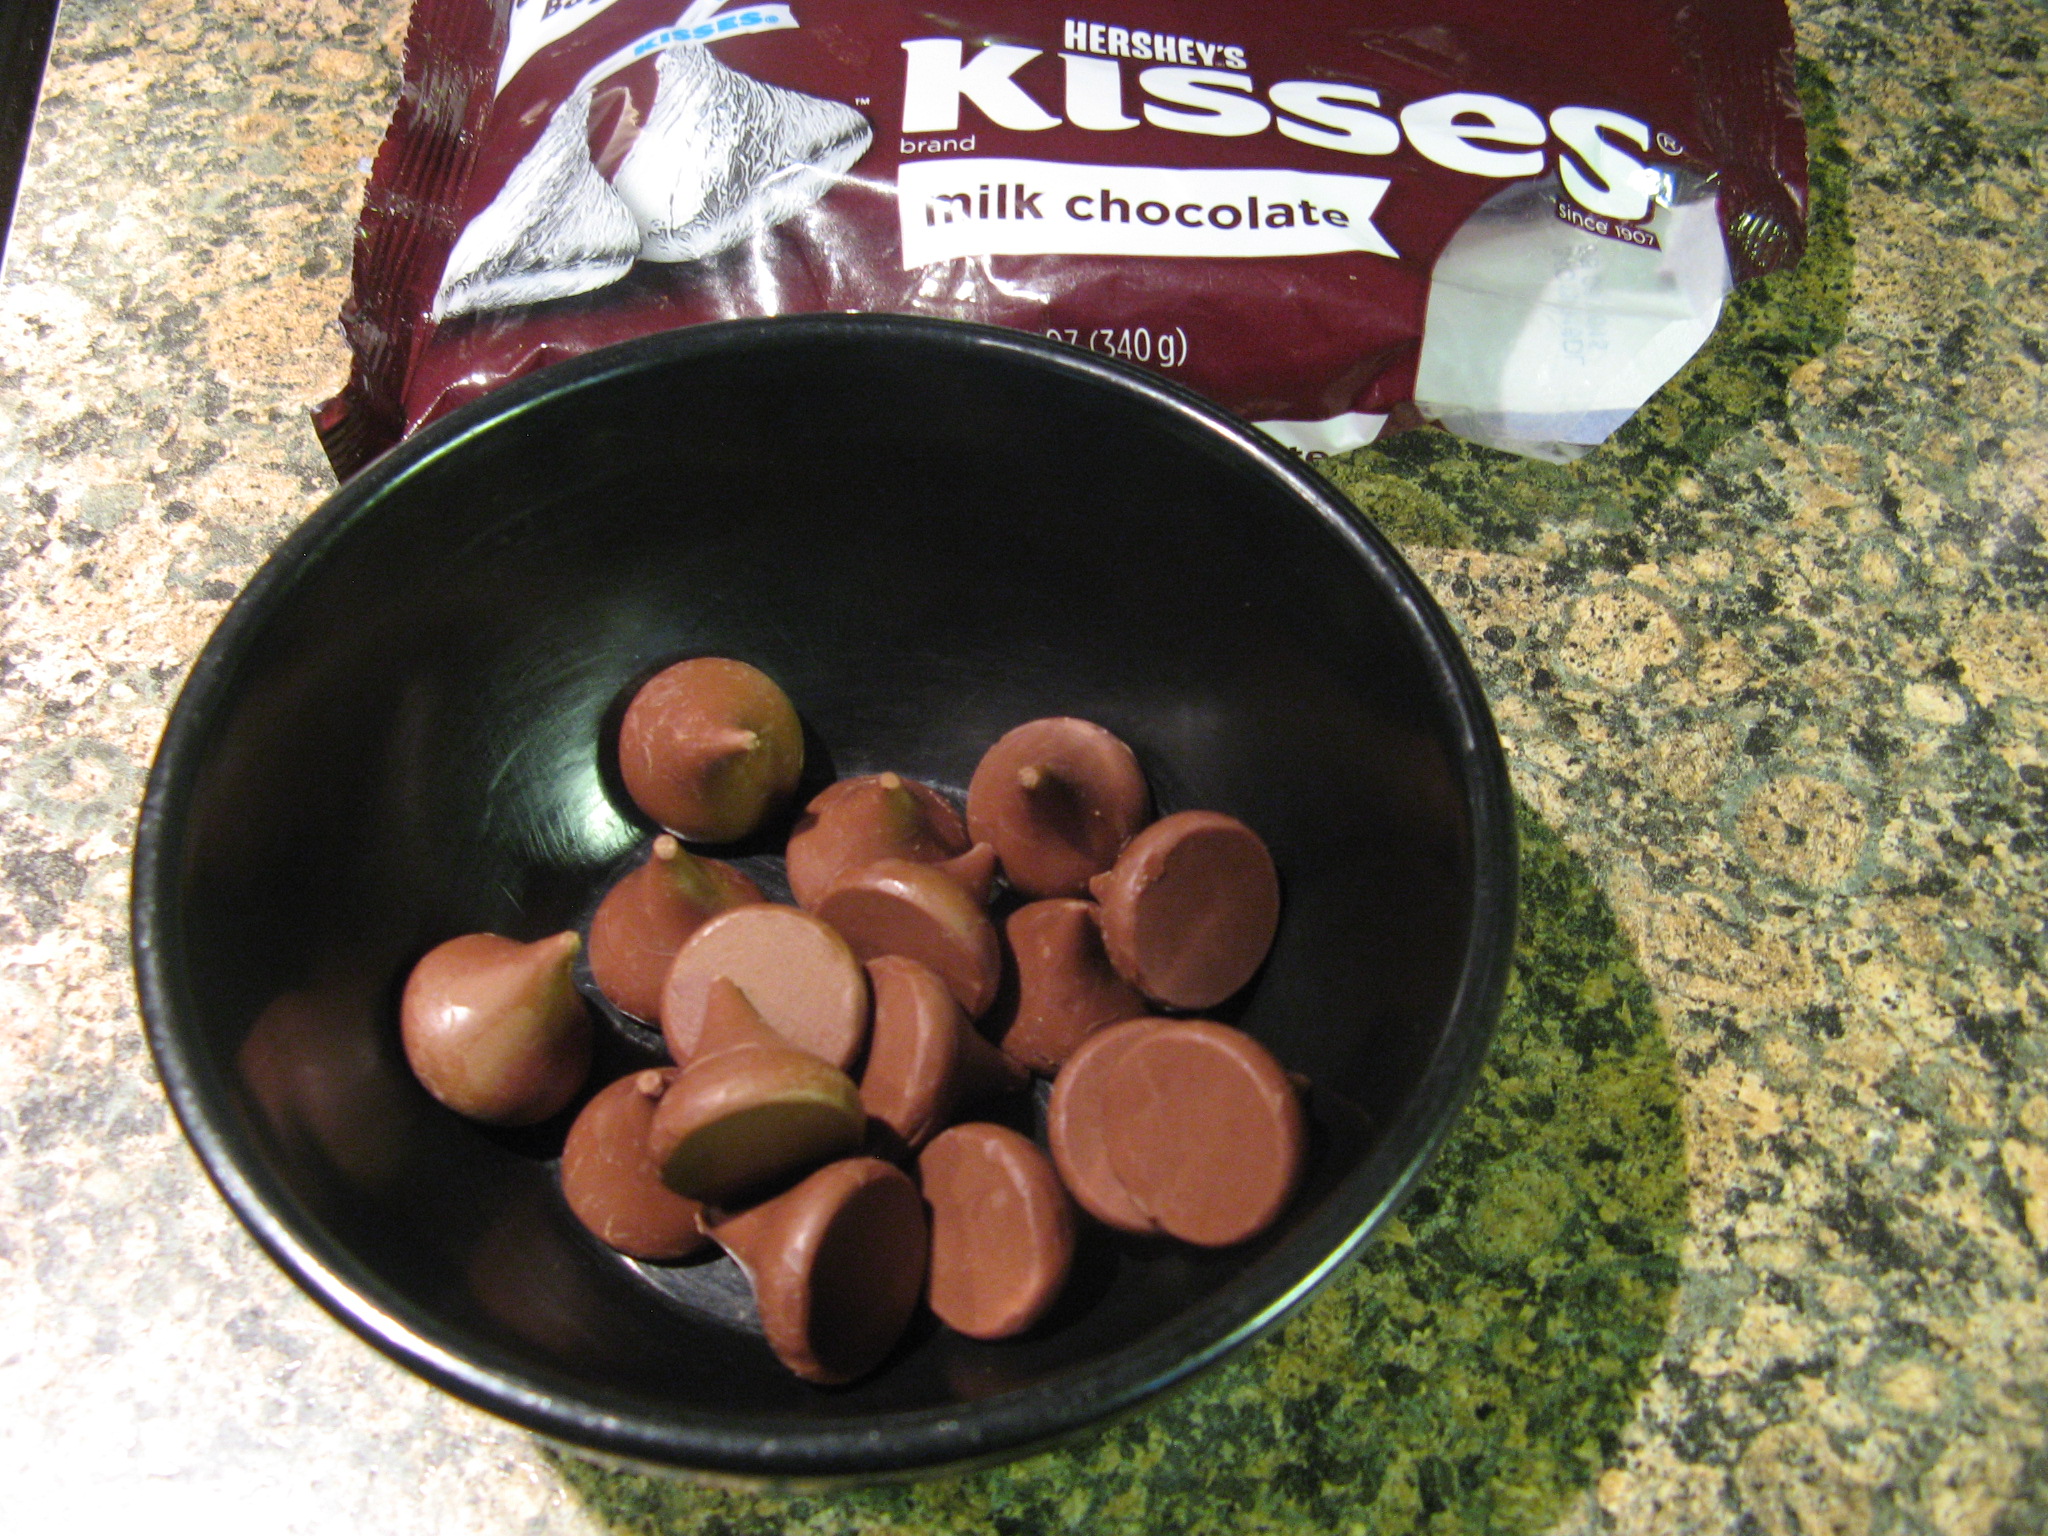
Immediately after removing the cookies from the oven I placed a Hershey Kiss in the center of each of them.

IMG_5060

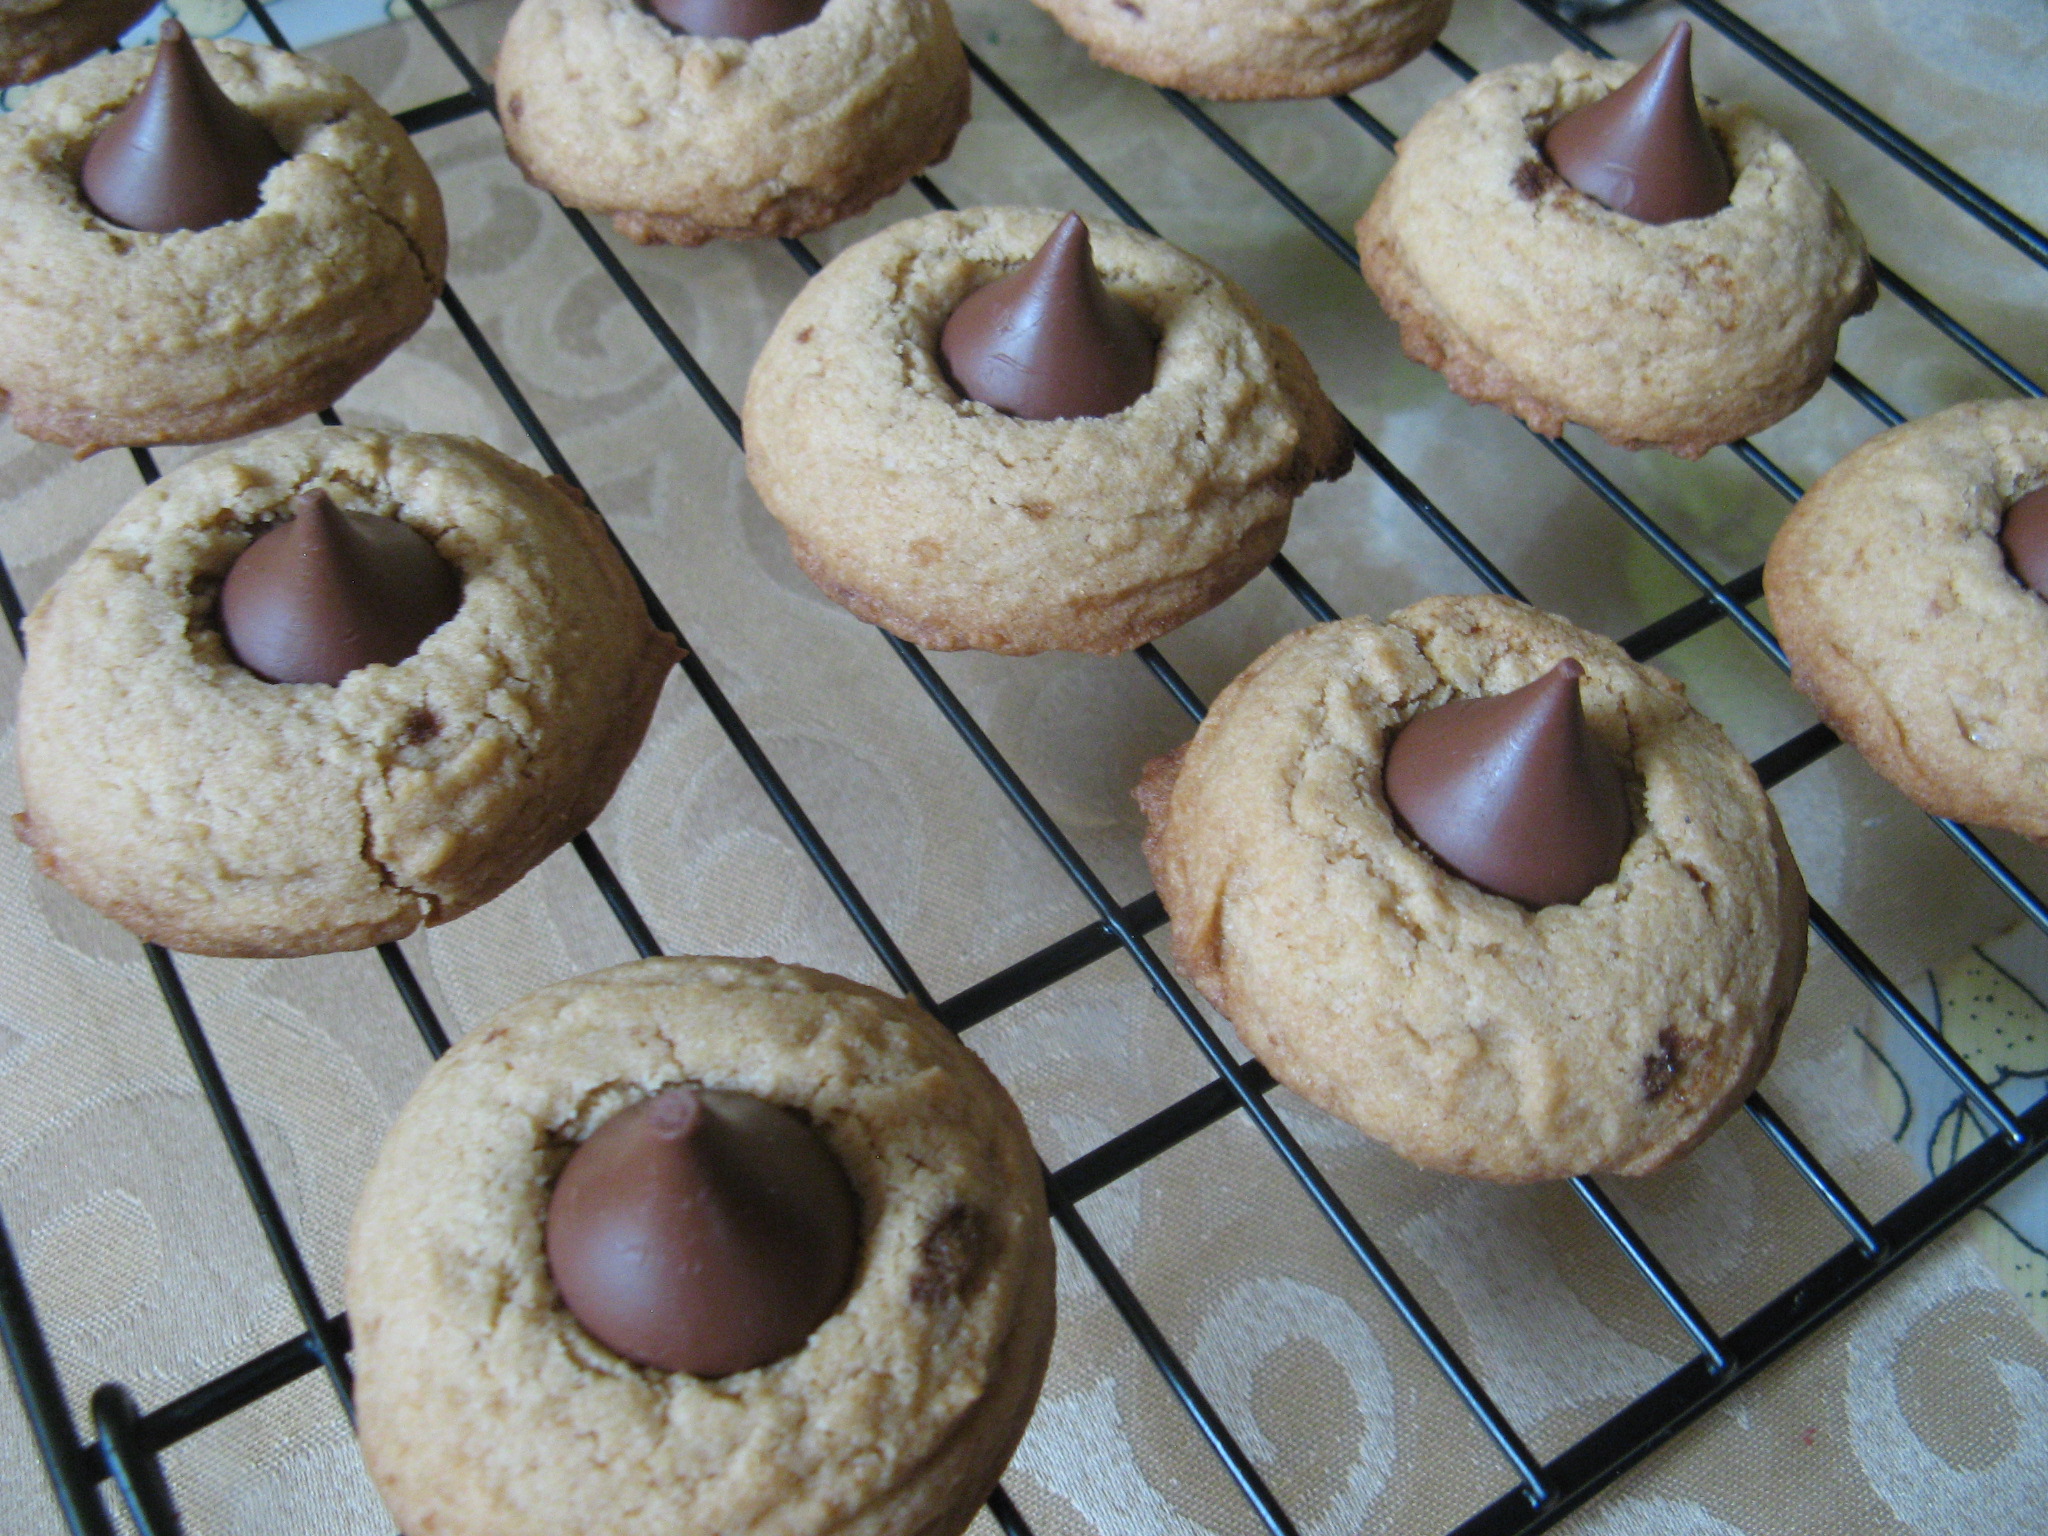
I then transferred the cookies to a wire rack so they could cool completely.

IMG_5071

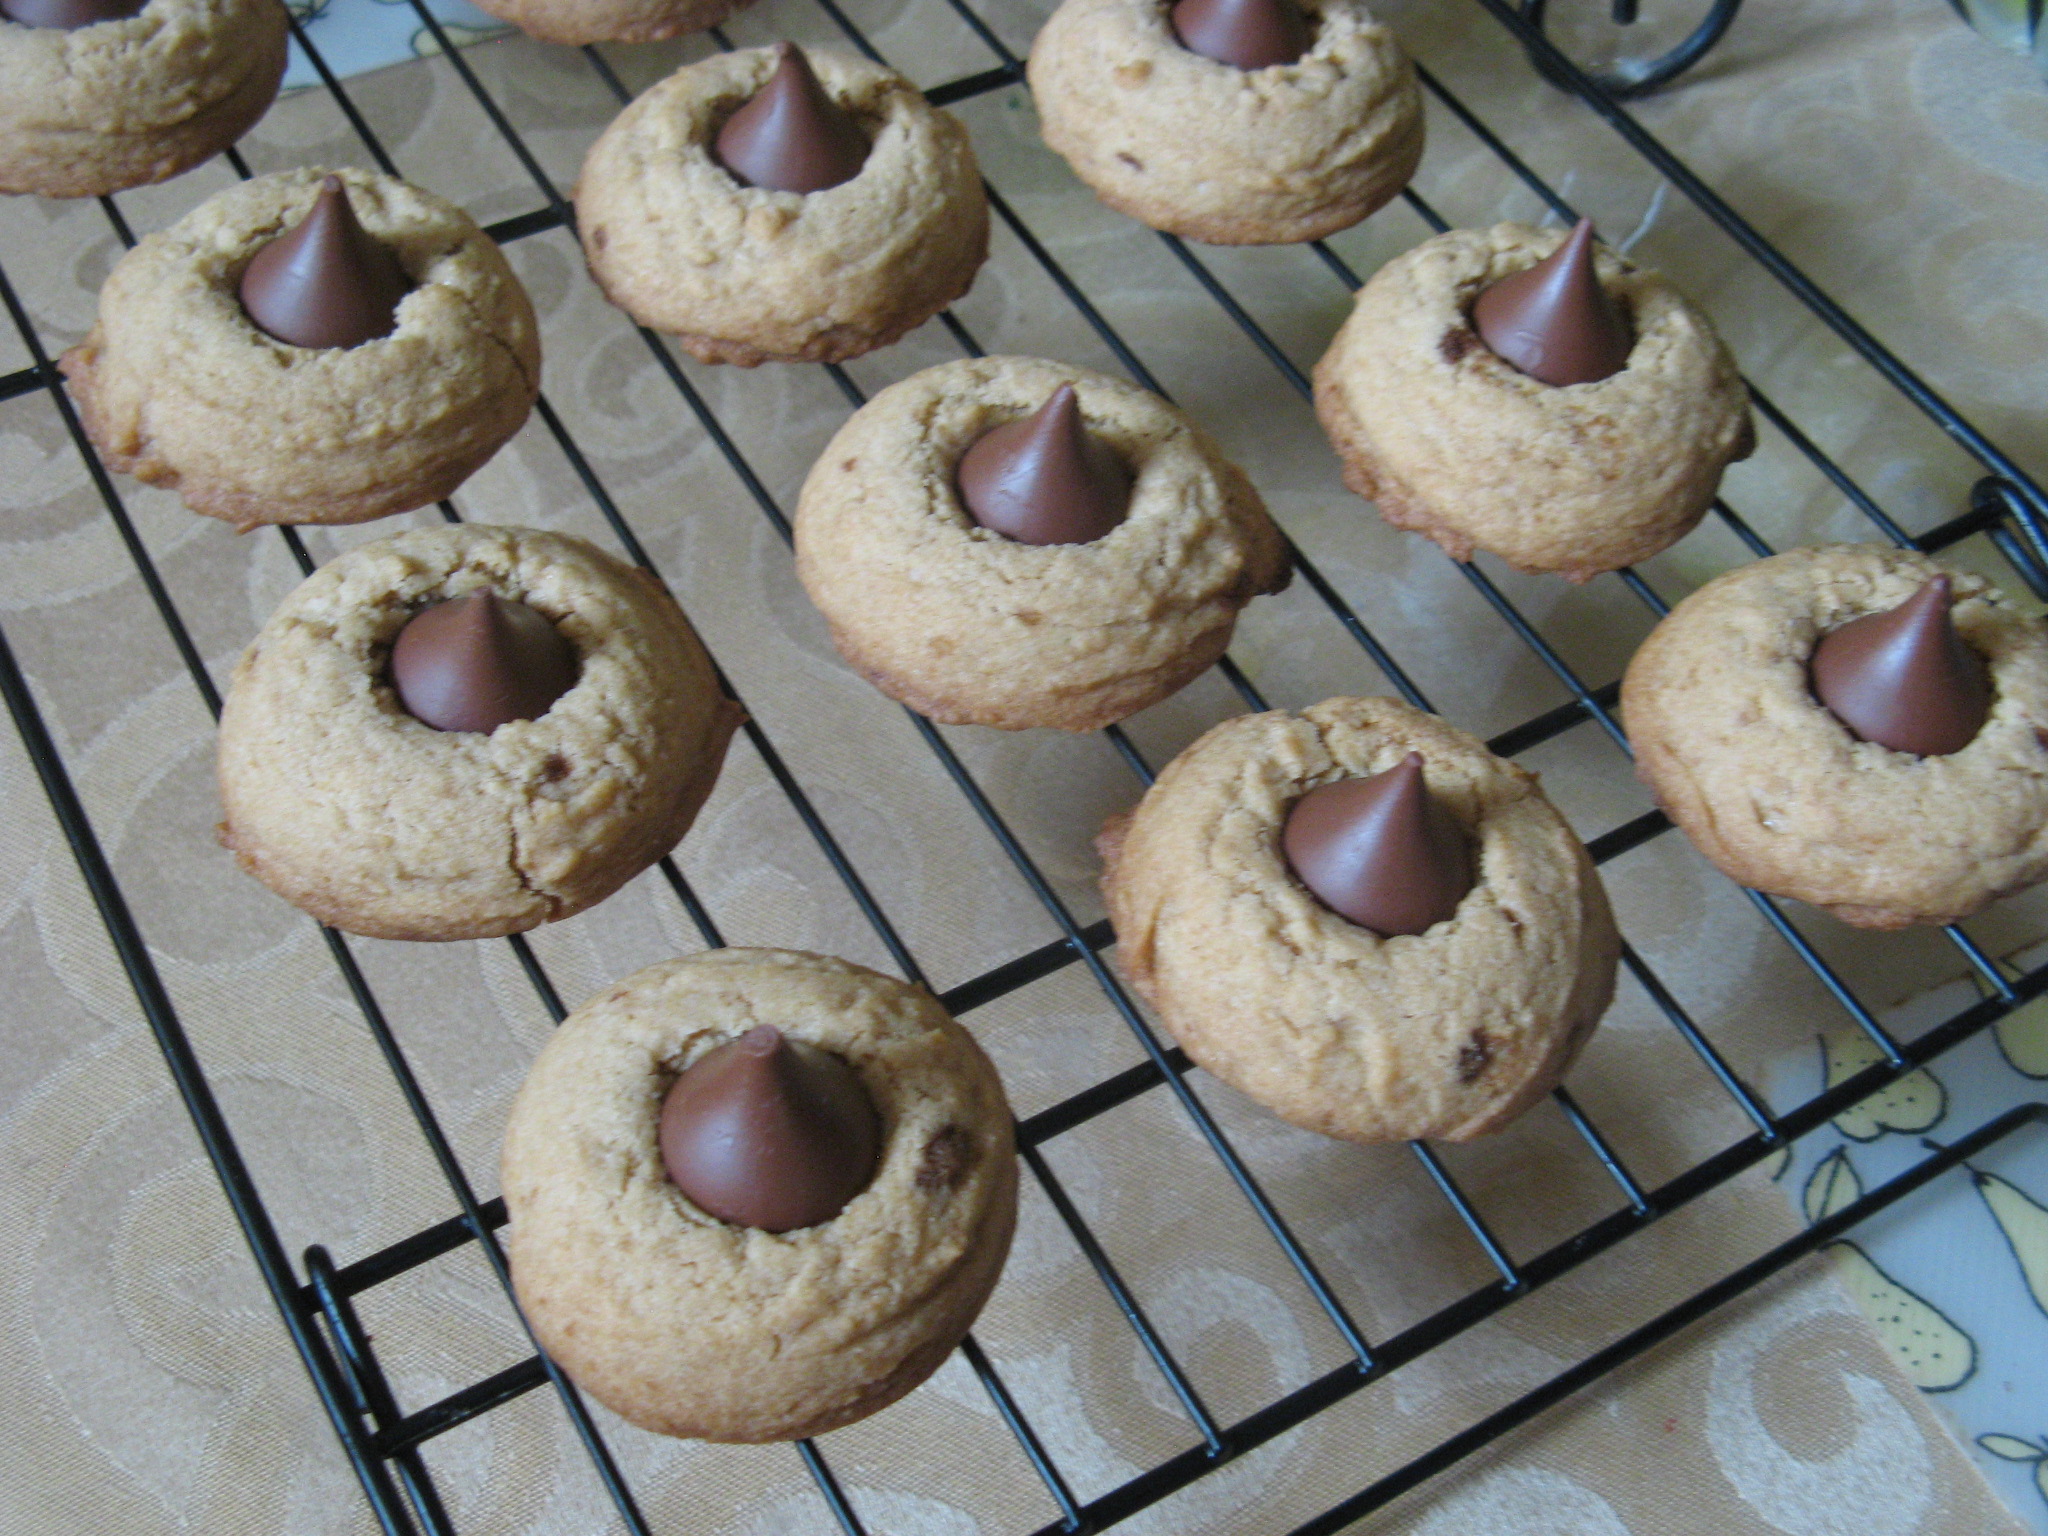
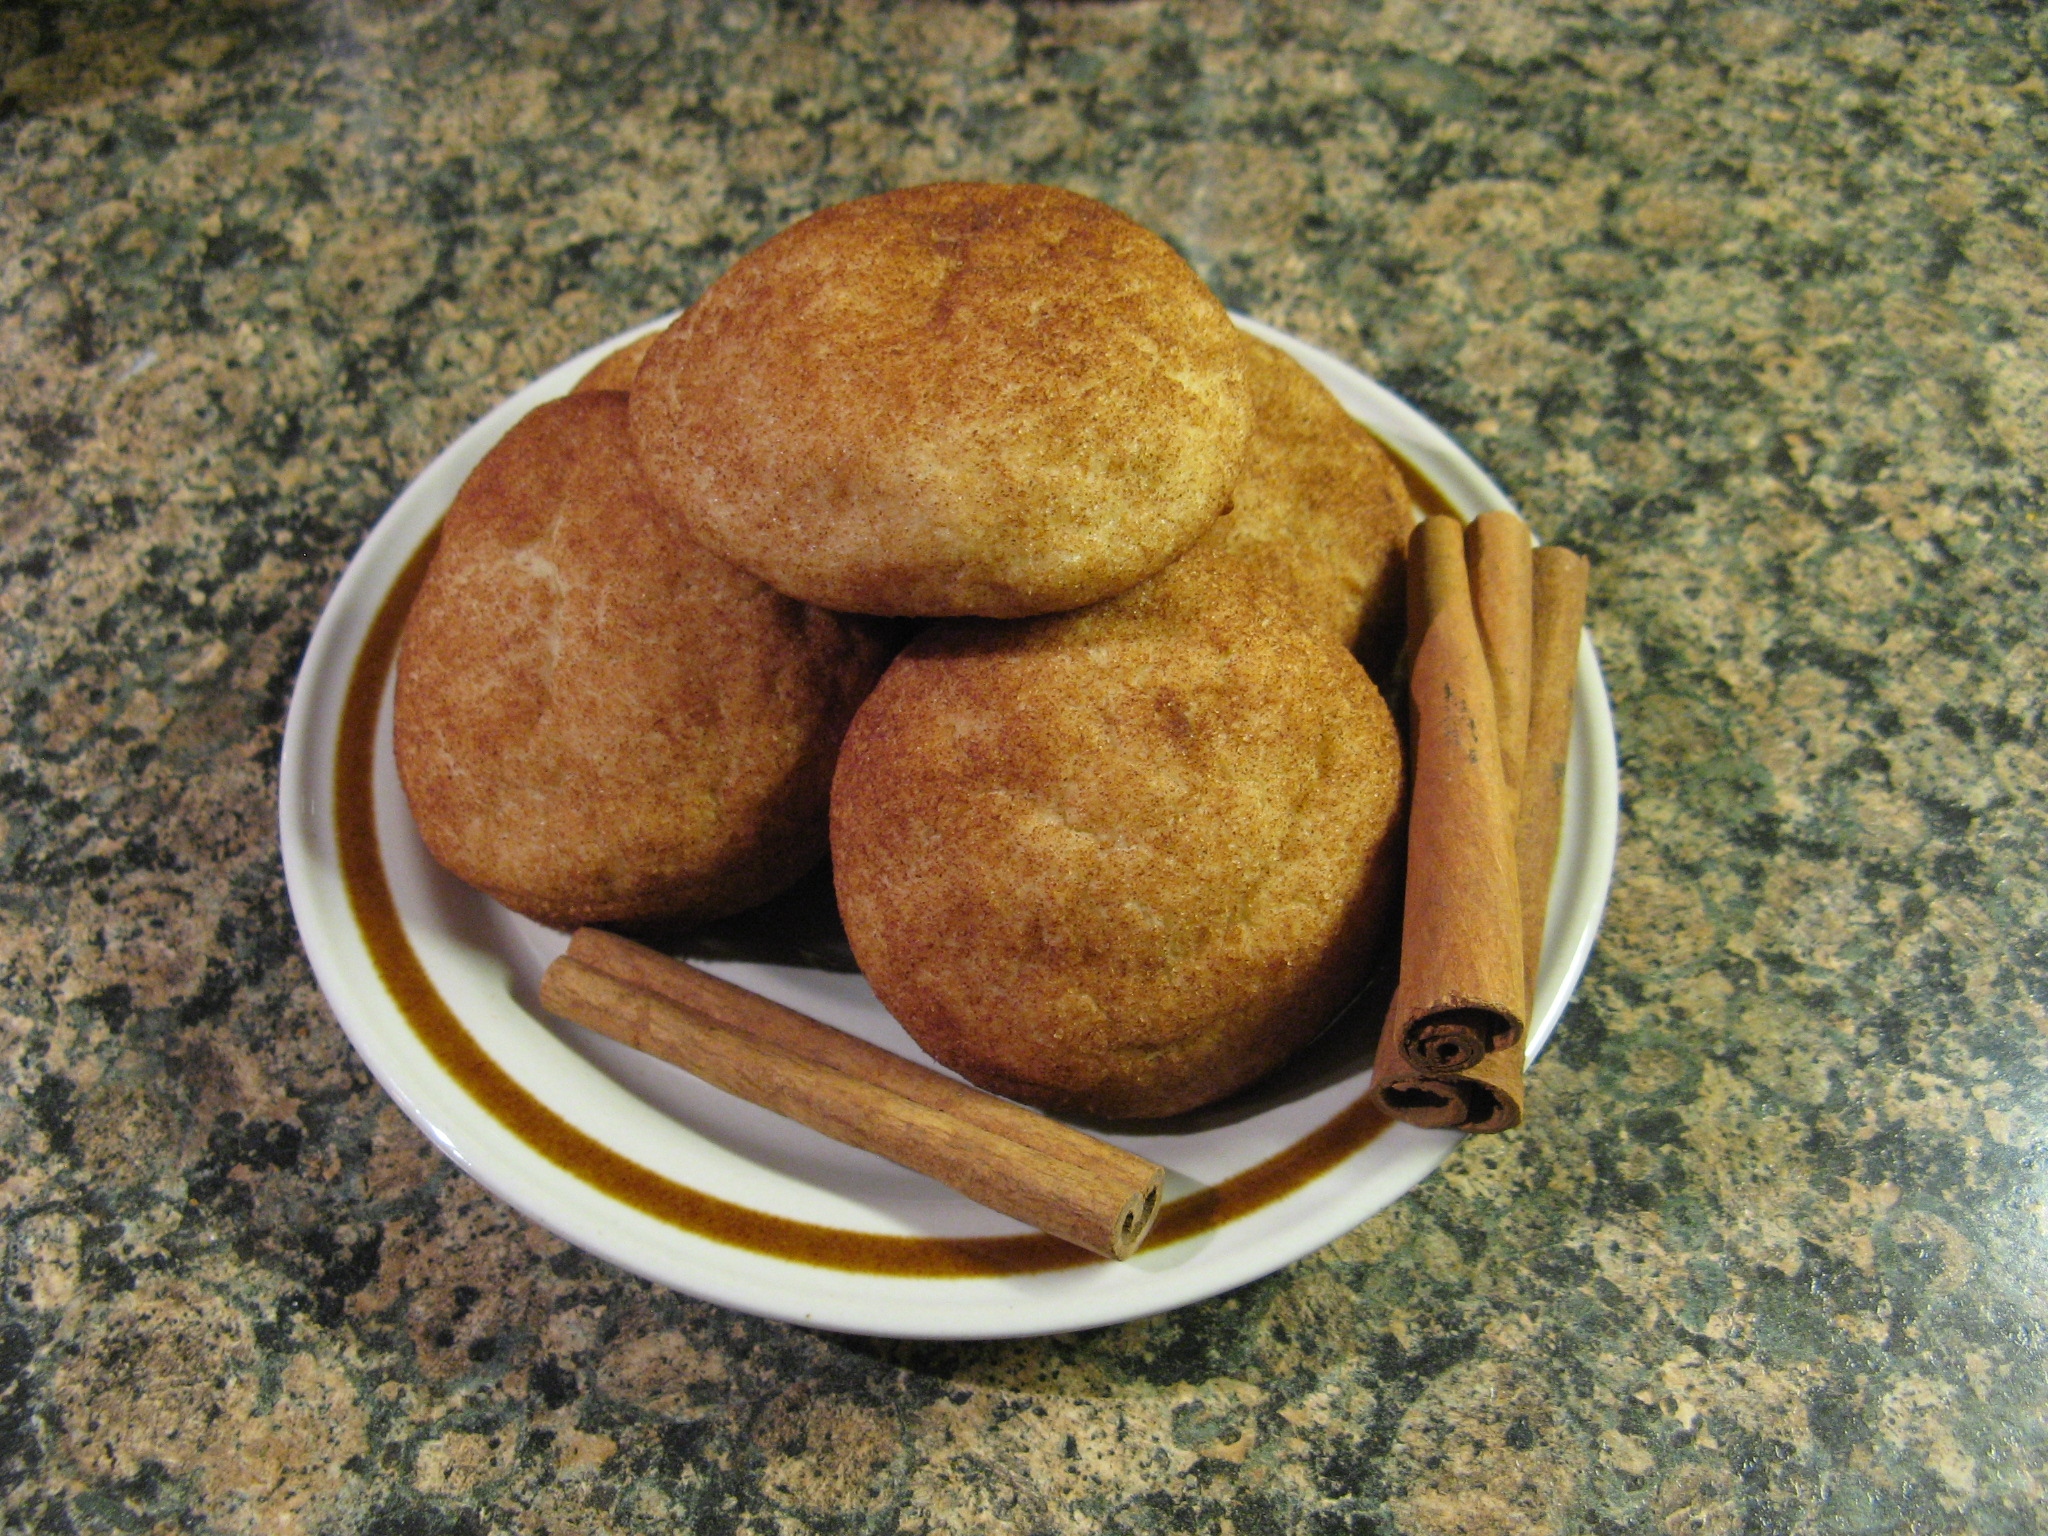
These cookies were delicious. You will especially like them if you like the part of a chocolate chip cookie without the chips! It’s definitely the best of both worlds… A delicious cookie with an even better delicious chocolate center!

IMG_5070

Hold The Chips Add A Kiss Chocolate Chip Cookies (Adapted from here)

Makes 32 Cookies

Ingredients:

2 sticks unsalted butter, at room temperature

1 cup packed dark brown sugar

1/2 cup granulated sugar

1 teaspoon vanilla extract

1 large egg

2 3/4 cups all-purpose flour

1/2 teaspoon Kosher salt

1 1/2 teaspoons baking soda

32 unwrapped Hershey Kisses

Directions:

1. Preheat oven to 375 F. Line 2 baking sheets with parchment paper.

2. In a medium bowl whisk together the flour, salt and the baking soda and set aside.

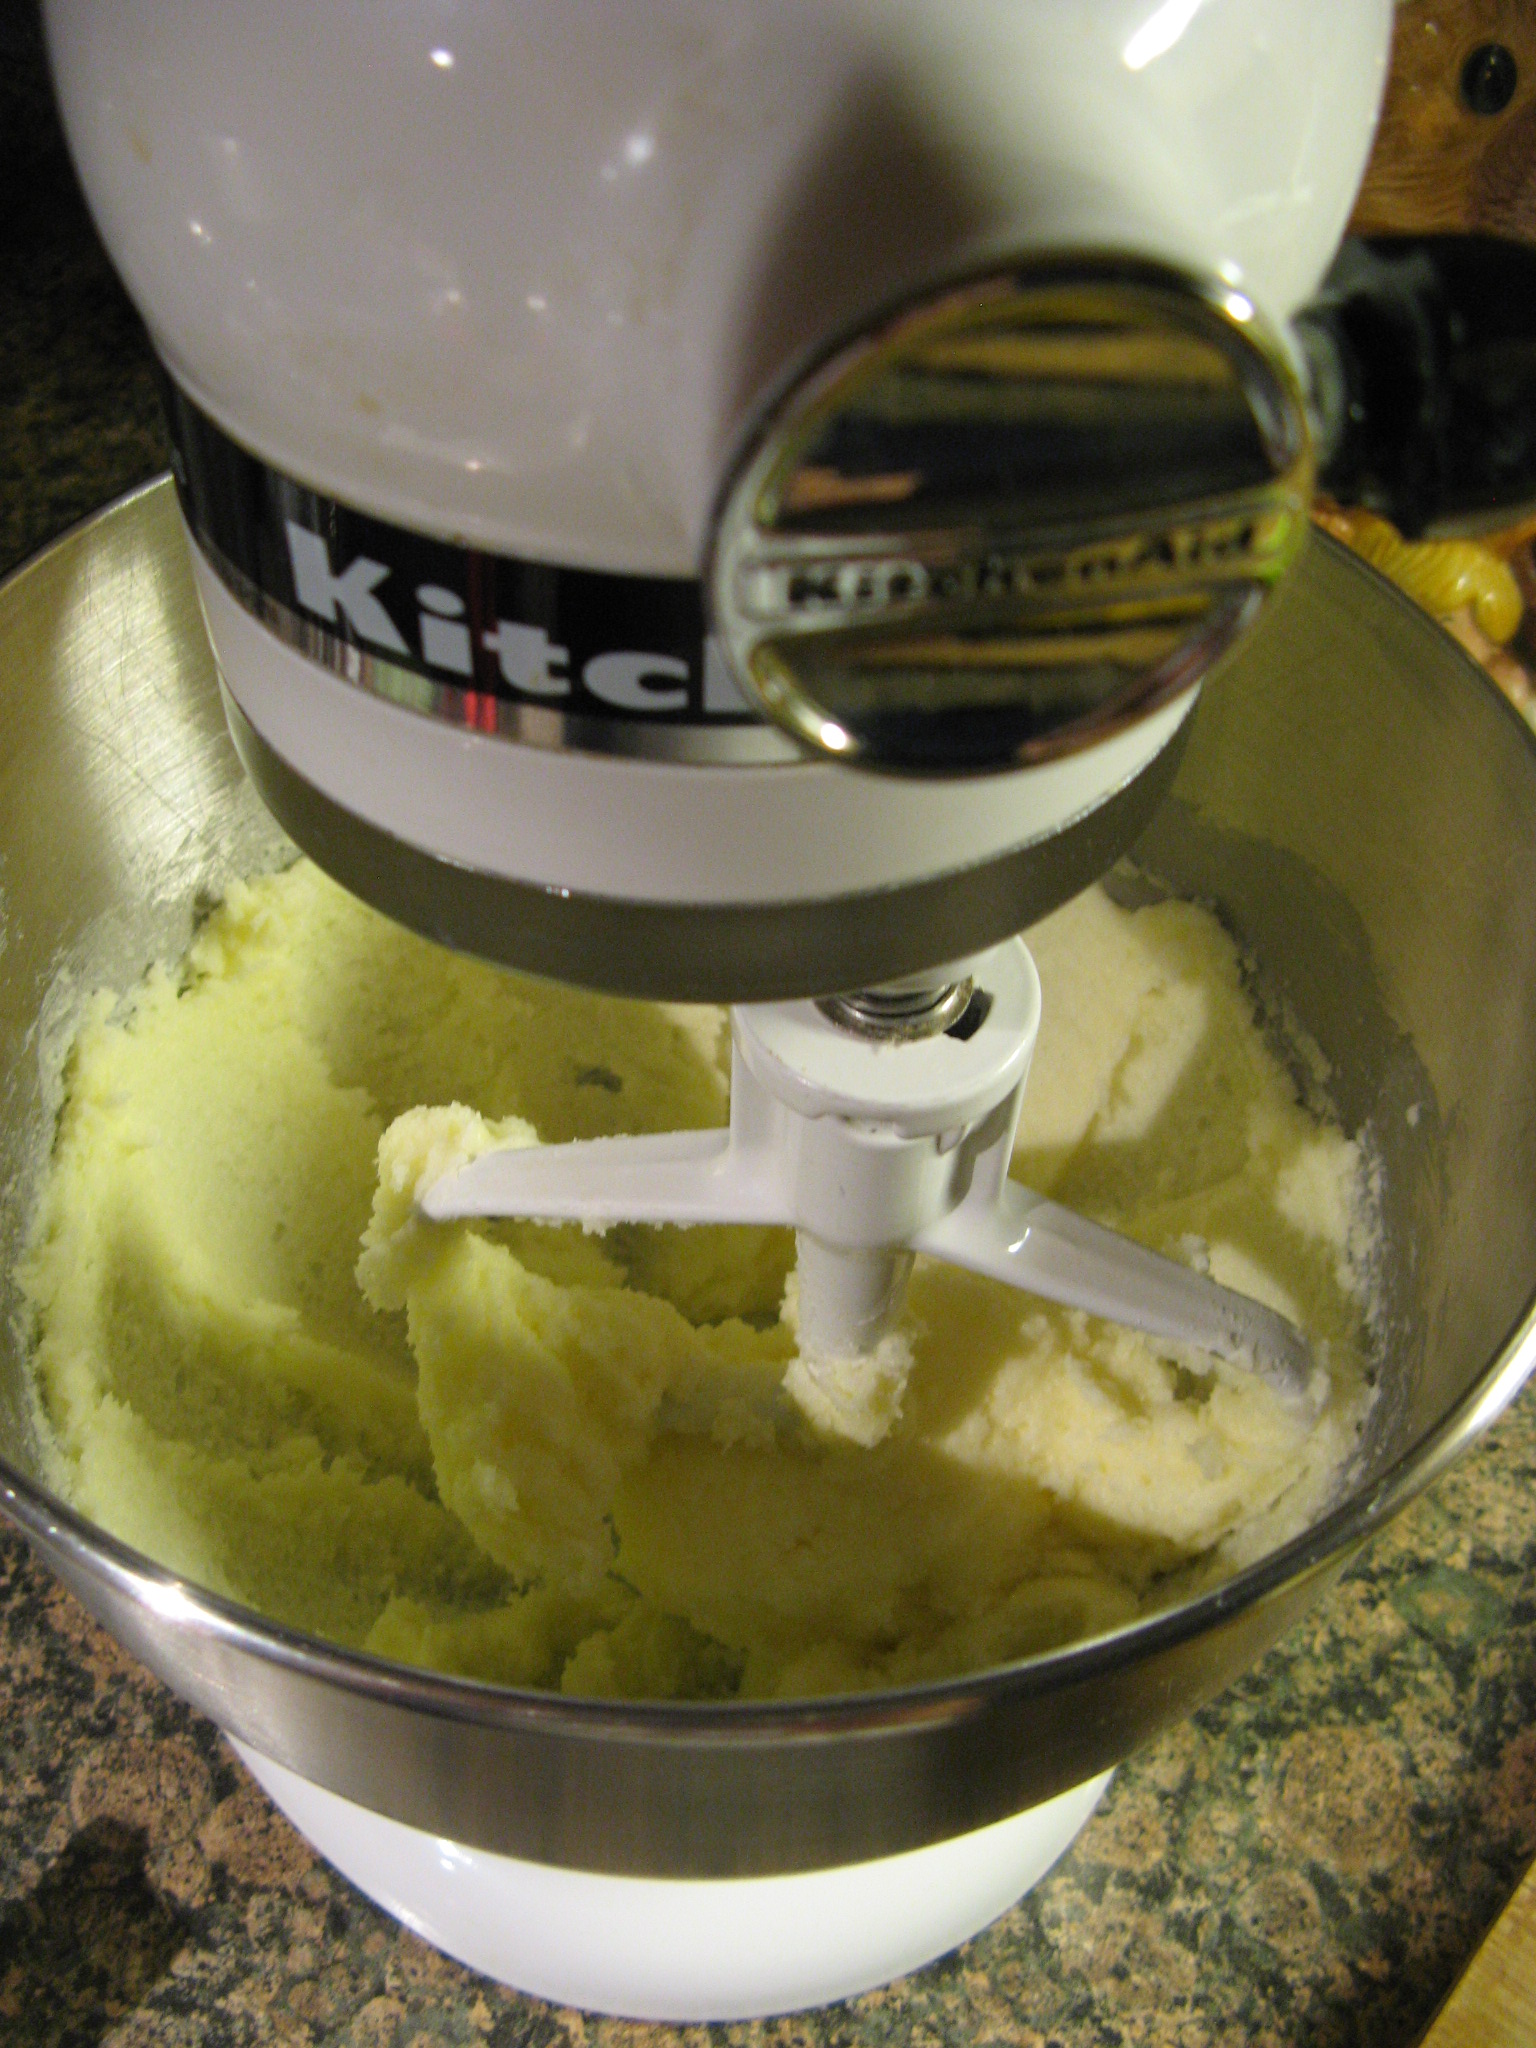
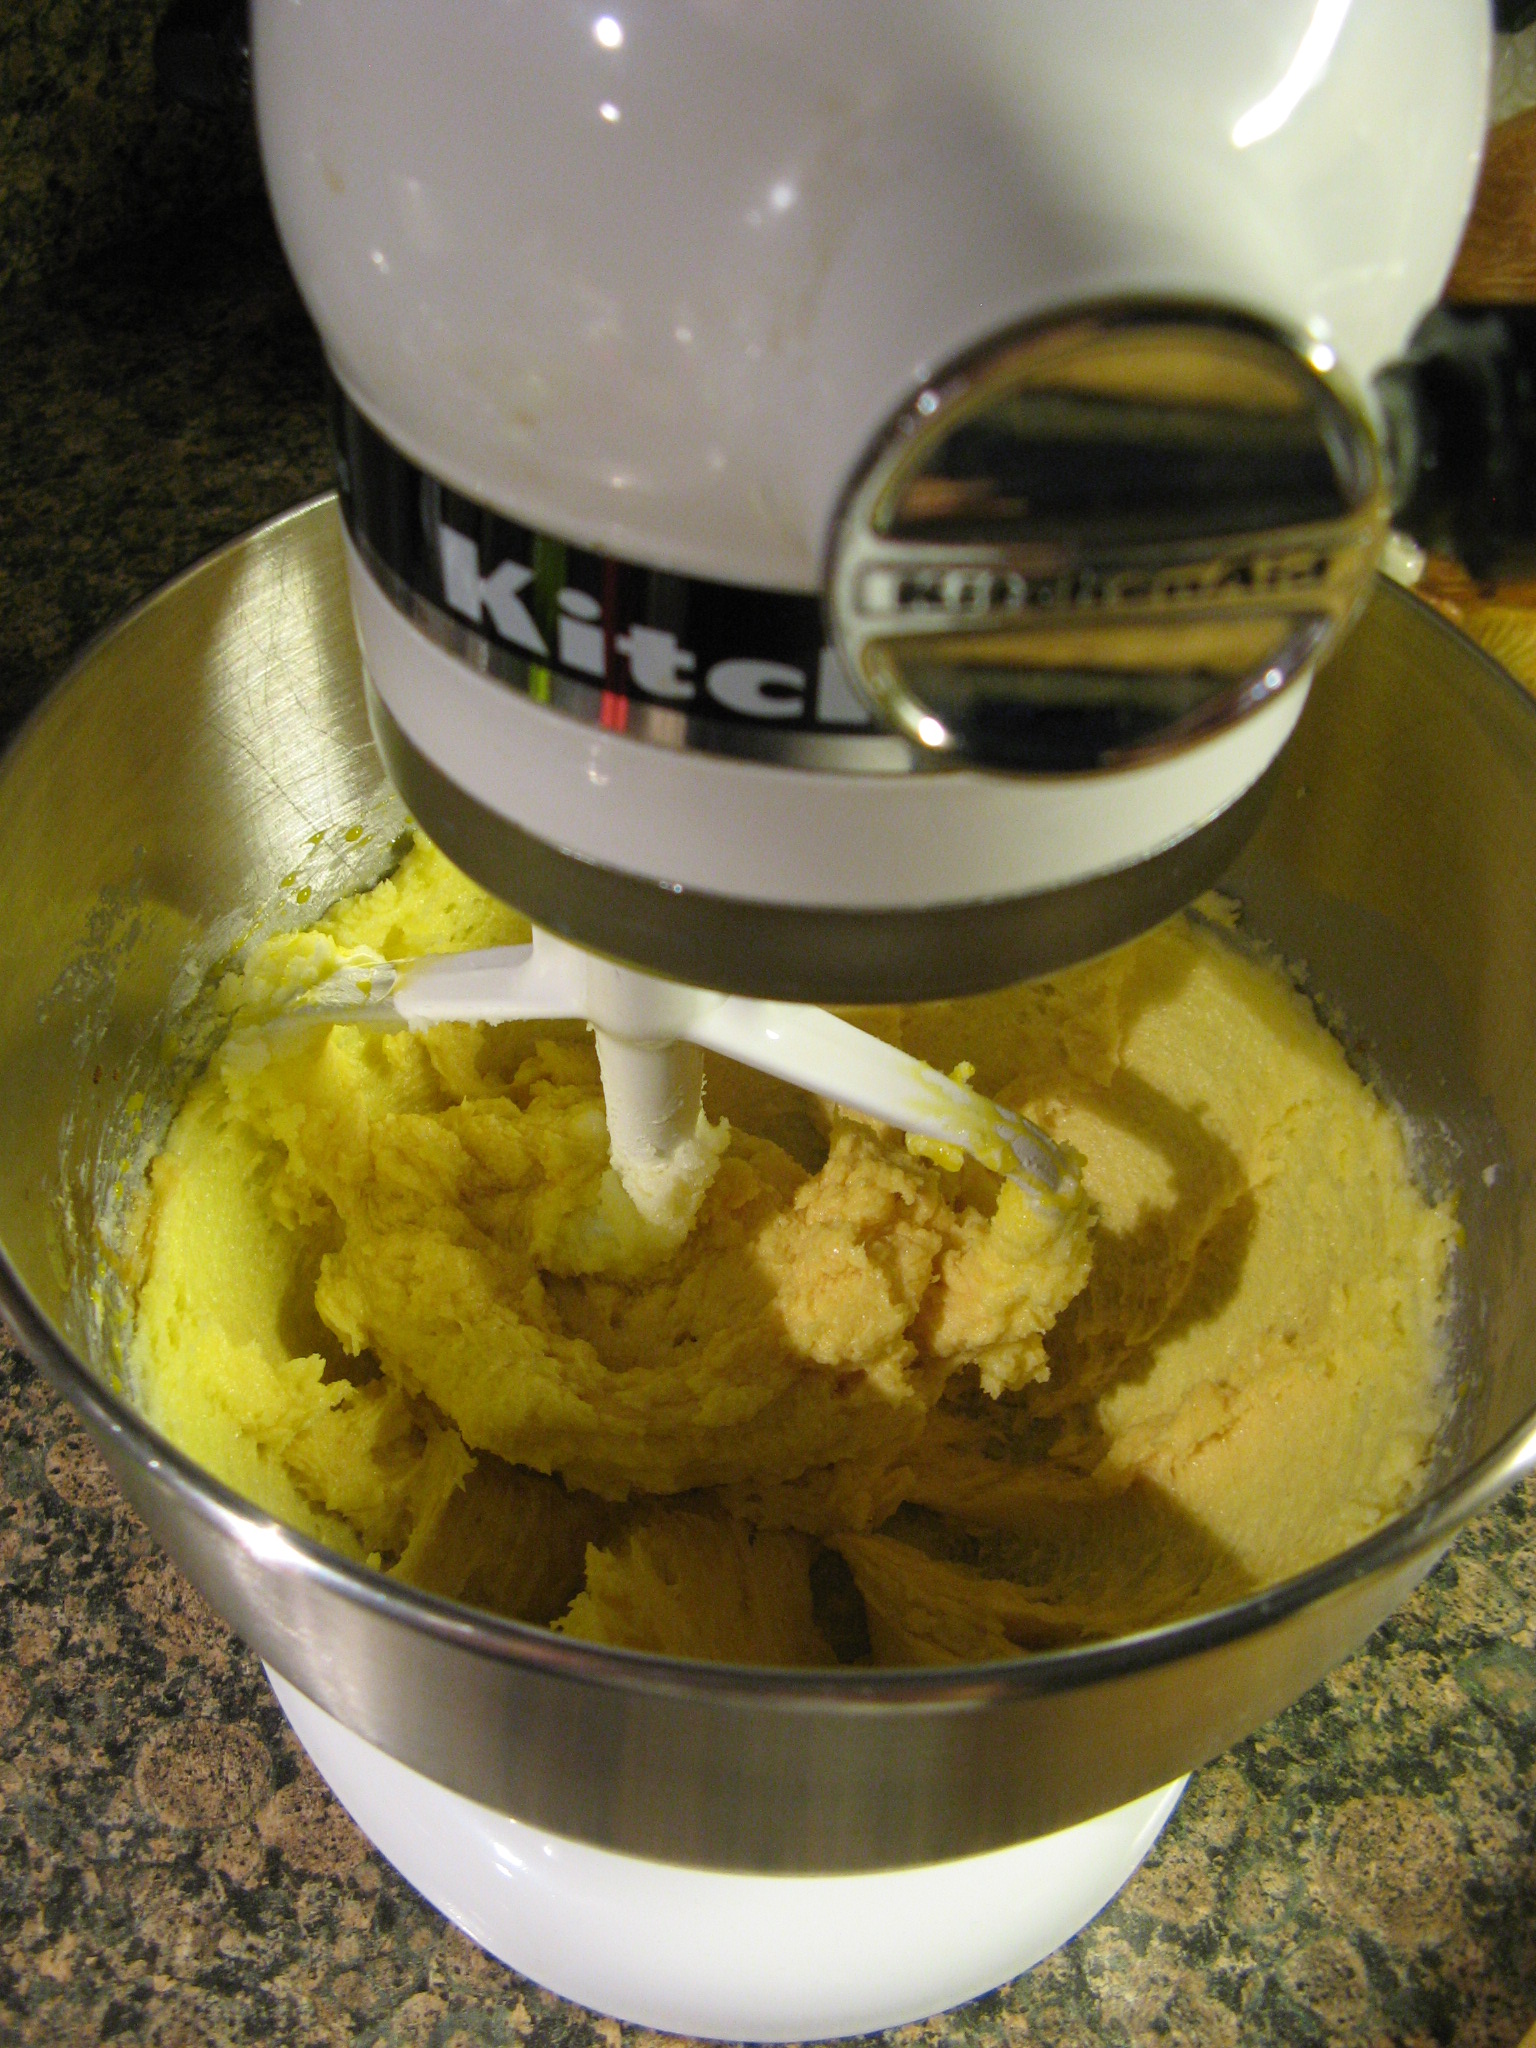
3. In a large bowl beat the butter, sugars and vanilla extract with an electric mixer on medium-high speed for 3 minutes. Add the egg and beat until combined.

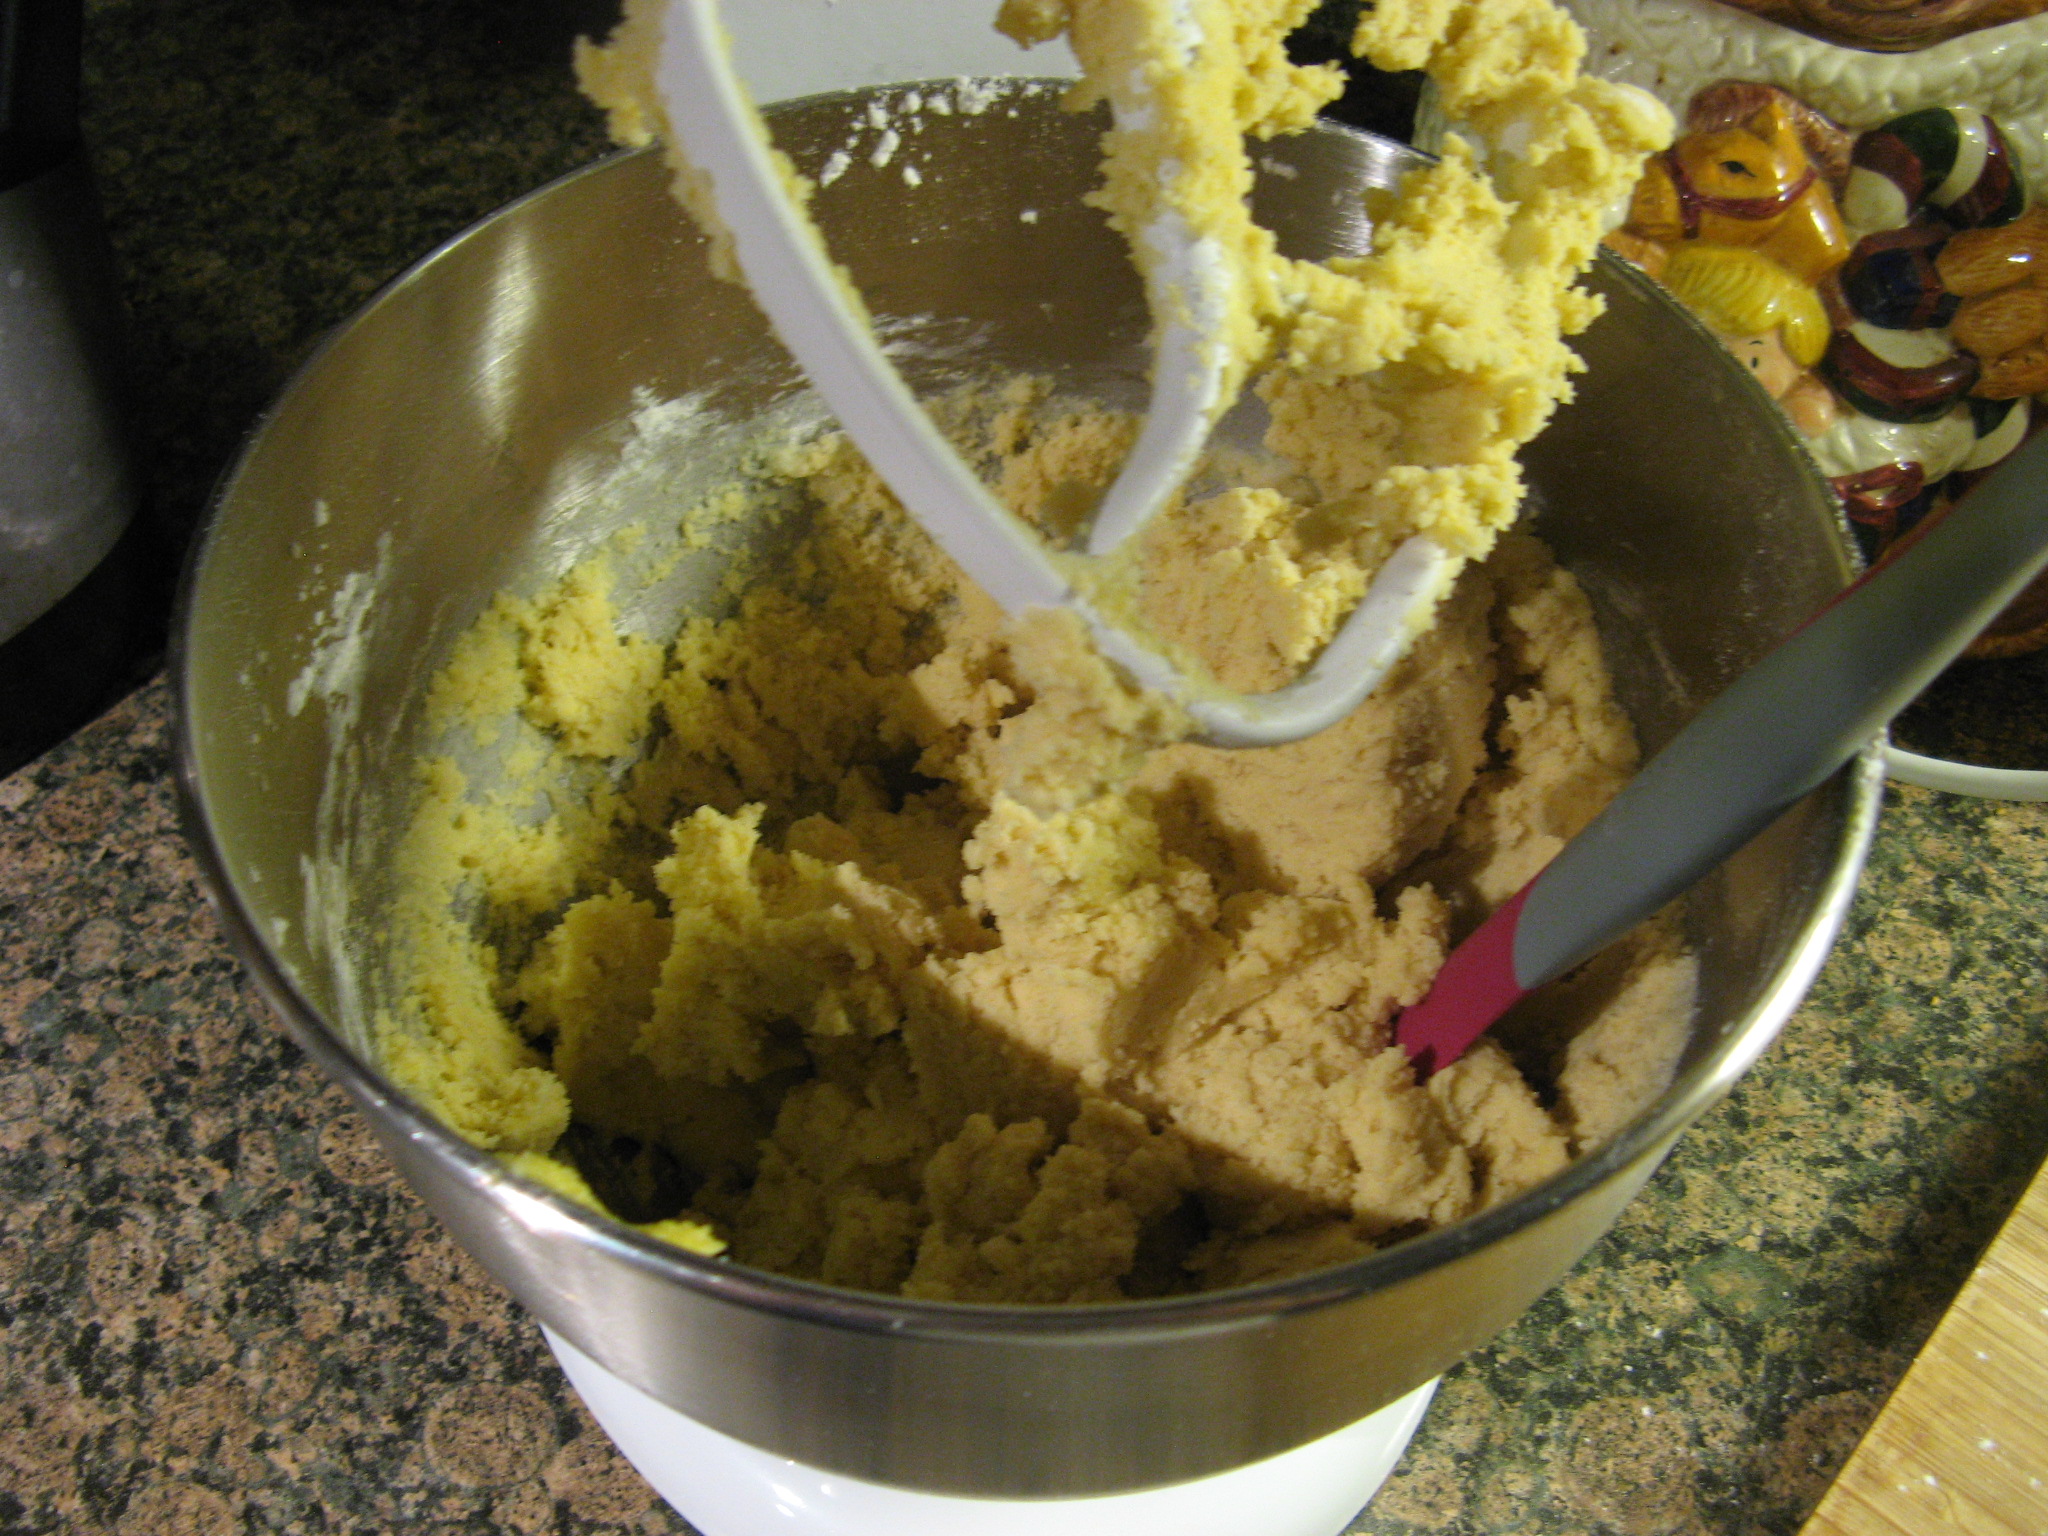
4. Reduce the mixer speed to low and slowly add the flour mixture to the egg mixture until combined.

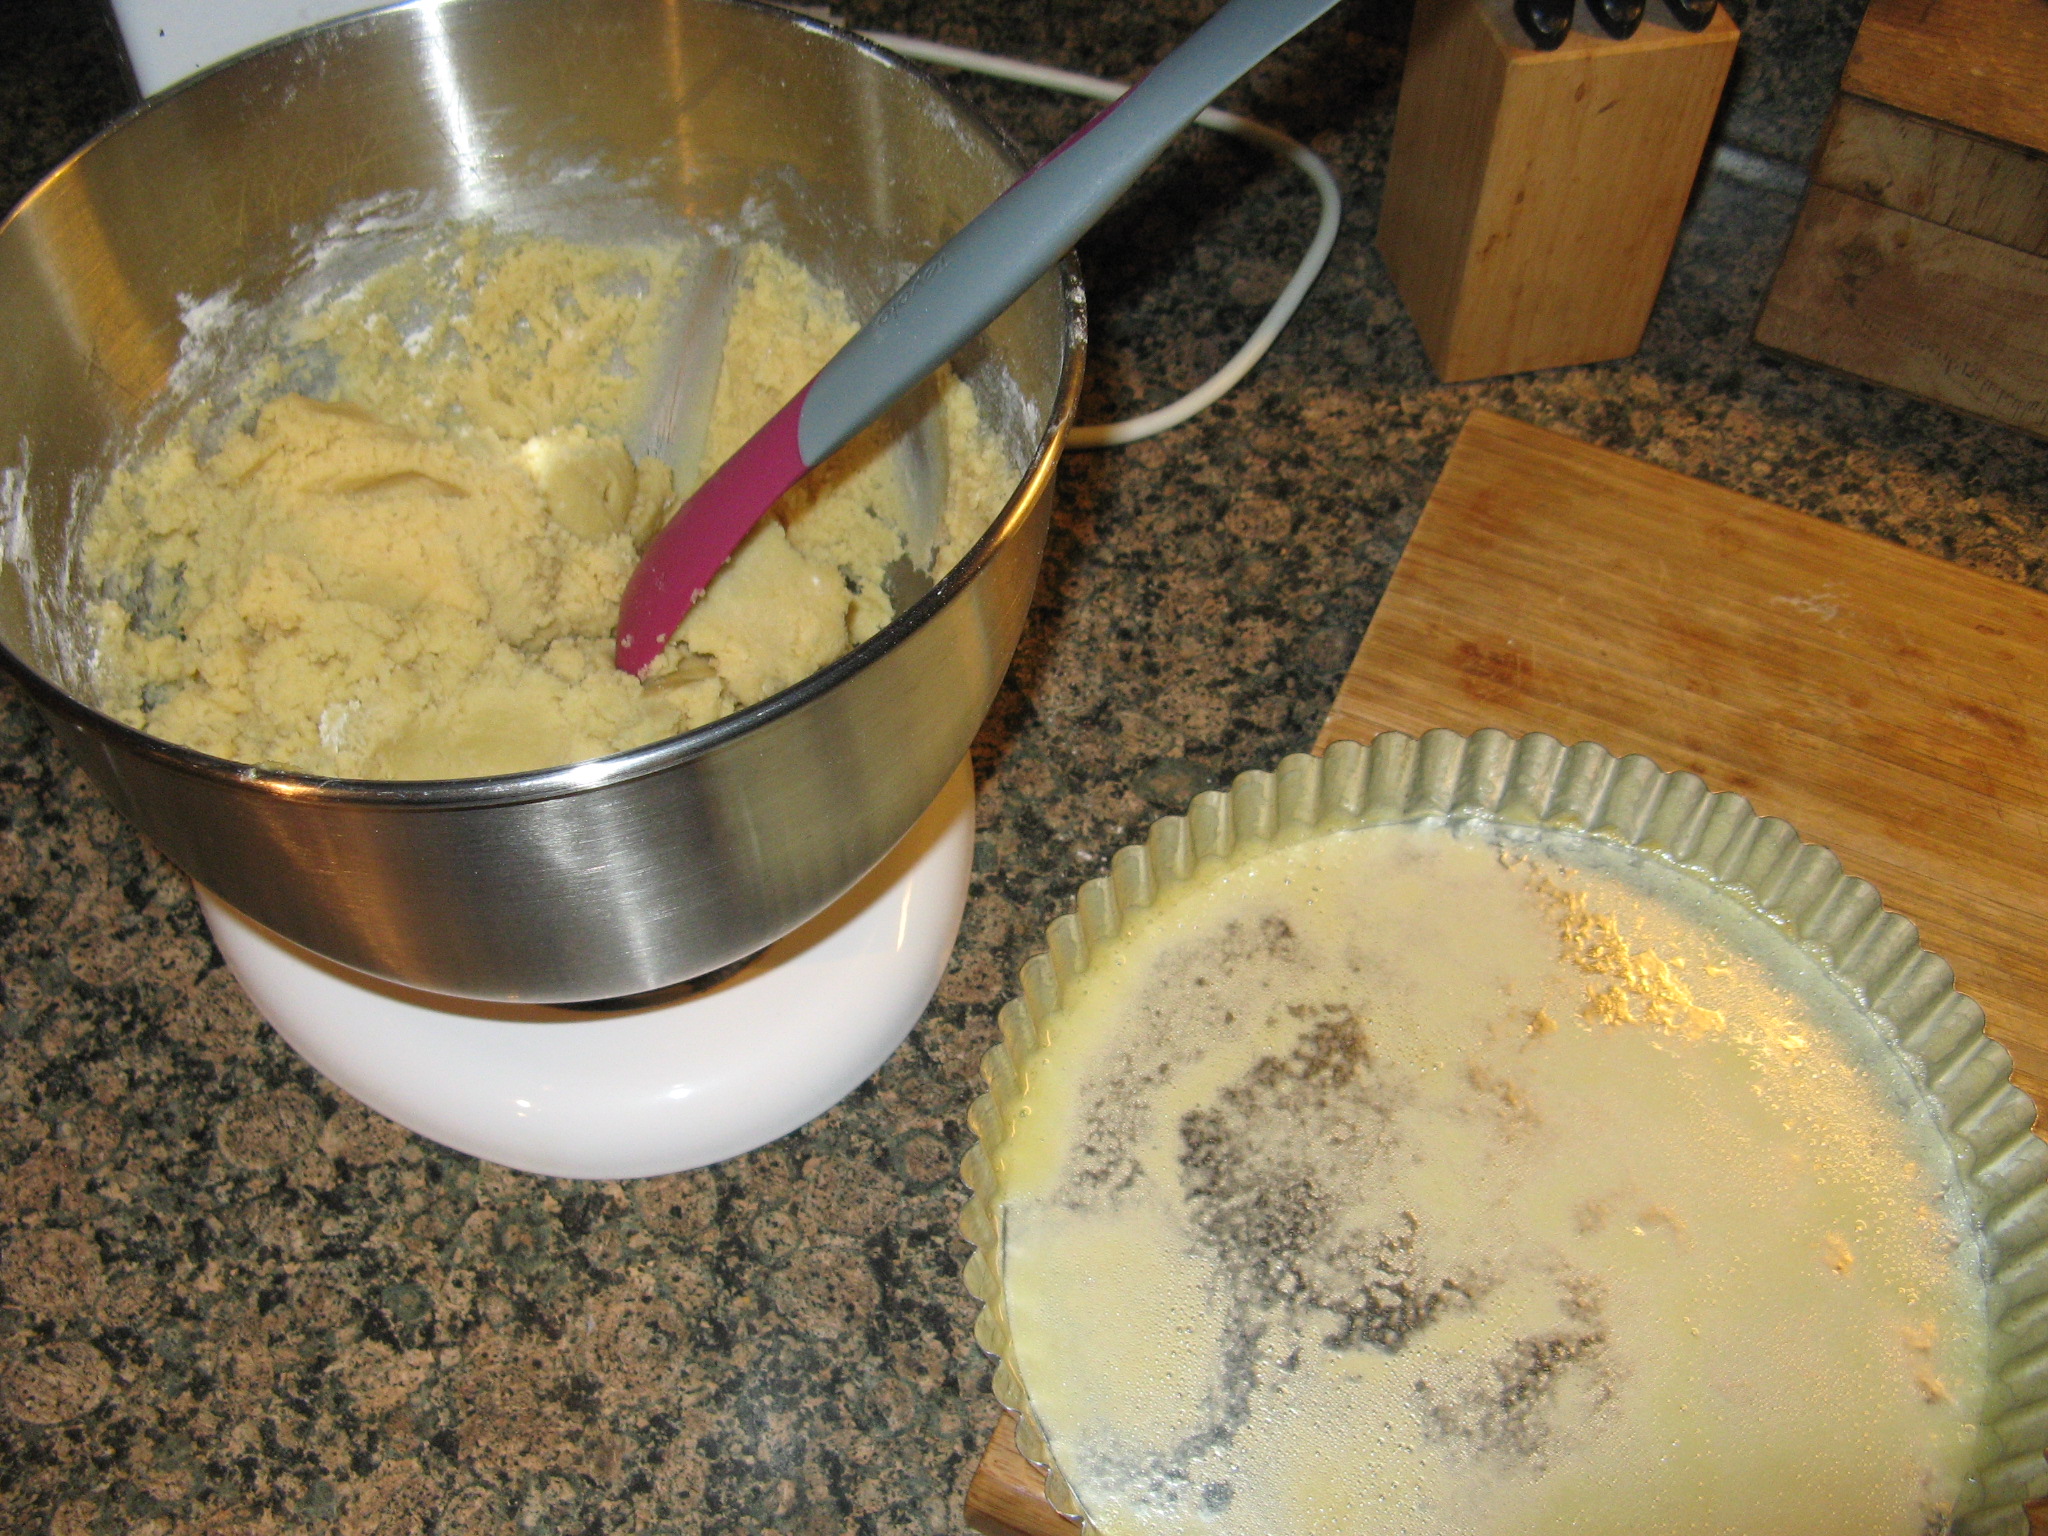
5. Using a cookie scoop (about tablespoon-size mounds) scoop the dough and place on the prepared sheets, 1-2 inches apart. Bake until lightly browned at the edges, approximately 12 minutes.

6. While the cookies are still on the baking sheets press an unwrapped Hershey Kiss into the center of each of them, then transfer the cookies to a wire rack to cool completely.

Breton Butter Cake

I came across this recipe in Martha Stewart’s Cakes book and as soon as I saw it I knew I wanted to make it. It sounded simple and more importantly with a few key baking ingredients (butter, eggs, sugar & flour) I knew it would be delicious. If you like shortbread, you’ll love this cake! Just as an FYI, this cake is also known as a Brittany Butter Cake (as in Brittany, France a region located in the northwest part of the country) or a Gateau Breton.

To begin I combined a cup each of sugar and butter in my stand mixer and mixed it together until it was light and fluffy.

IMG_2833

Following that, I added in vanilla extract and six egg yolks one at a time.

IMG_2834

And finally I added in flour and salt and mixed all the ingredients together until they were just combined.

IMG_2835

Now it was time to transfer the batter to my tart pan – most tart pans have a removable bottom (as this one does) which makes removing the tart a cinch. You just push the tart up from the bottom when it’s done cooling and the decorative rim slides right off. I also prepped the pan with baking spray.

IMG_2838

After I had transferred the batter I smoothed the top with an offset spatula and then refrigerated it for fifteen minutes.

IMG_2841

Following refrigeration it was time to prep the top of the tart for baking by brushing it with an egg wash and making a criss-cross pattern.

IMG_2844 IMG_2846

I then baked it in a 350 degrees oven for about forty minutes and voila…

IMG_2854

After it fully cooled I easily removed the decorative ring. It was simple to make and turned out delicious. And the golden color due to the egg wash and the simple criss-cross pattern made it visually appealing which is always a plus when it comes to baked items.

IMG_2859

Breton Butter Cake

Makes one 9-inch cake

Ingredients

1 cup (2 sticks) unsalted butter, room temperature, plus more for pan

1 cup sugar

1 tablespoon pure vanilla extract

6 large egg yolks

2 3/4 cups all-purpose flour

1/4 teaspoon salt

1 large whole egg, lightly beaten

Directions

Preheat oven to 350 degrees. Cream butter and sugar in bowl of electric mixer fitted with paddle attachment until light and fluffy. Beat in vanilla and yolks one at a time, beating well after each addition. Add flour and salt; beat just until combined. Do not overmix.

Transfer batter to 9-inch tart pan with removable bottom; with small offset spatula, spread batter and smooth top. (If necessary, chill batter 10 minutes before smoothing.) Place pan in refrigerator 15 minutes.

Remove from refrigerator. Brush top with beaten egg, and mark a criss-cross pattern with a fork. Brush again with egg. Bake until cake is deep golden brown and edges pull away from sides of pan, about 50 minutes.

Transfer to a wire rack to cool slightly. Remove cake from pan, and slice while still warm.

Snickerdoodles

I always thought that Snickerdoodles were a cookie with toffee or something of the sort. I remember having a cookie like that back when I was in college and for some reason I thought that was it. But, not too long ago I had the real thing and was instantly hooked. For those of who are in the dark like I was, Snickerdoodles are essentially sugar cookies that are rolled in cinnamon sugar prior to baking. Recently I picked up Martha Stewart’s Cookies cookbook and one of the first recipes I came across was for Snickerdoodles so of course I had to try it out.

IMG_2077 IMG_2080

To begin I sifted the dry ingredients (flour, baking powder and salt) into one bowl and mixed together my wet ingredients (sugar, butter and eggs) in another bowl.

IMG_2070 IMG_2072

I then gradually mixed the flour mixture into the sugar mixture and as simple as that the dough came together.

IMG_2073

Using a small cookie scoop I shaped the dough into balls and then rolled them in cinnamon sugar and placed them on parchment paper lined cookie sheets.

IMG_2074

After baking for 13 minutes (I rotated the sheet at 6 minutes) in a 350 degrees preheated oven my Snickerdoodles were done.

IMG_2082

I let them cool on the cookie sheets on wire racks and once they were cool enough I tried one and they were great! A favorite to be baked over and over again!

IMG_2121

Snickerdoodles

Makes about 1 1/2 dozen

2 1/2 cups all-purpose flour

2 tsp. baking powder

1/2 tsp. coarse salt

1 cup (2 sticks) unsalted butter, room temperature

1 1/2 cups plus 2 tbsp. sugar

2 large eggs

3 tsp. ground cinnamon

1. Preheat oven to 350F. Sift together flour, baking powder, and salt into a bowl. Put butter and 1 1/2 cups sugar in the bowl of an electric mixer fitted with a paddle attachment. Mix on medium speed until pale and fluffy, about 3 minutes. Mix in eggs. Reduce speed to low; gradually mix in the flour mixture.

2. Stir together cinnamon and remaining 2 tablespoons sugar in a small bowl. Shape dough into twenty 1 3/4- inch balls; roll in cinnamon sugar. Space 3 inches apart on baking sheets lined with parchment paper.

3. Bake cookies, rotating sheets halfway through, until edges are golden, 12 to 15 minutes. Let cool on sheets on wire racks. Cookies can be stored between layers of parchment paper in airtight containers at room temperature up to 3 days.

%d bloggers like this: