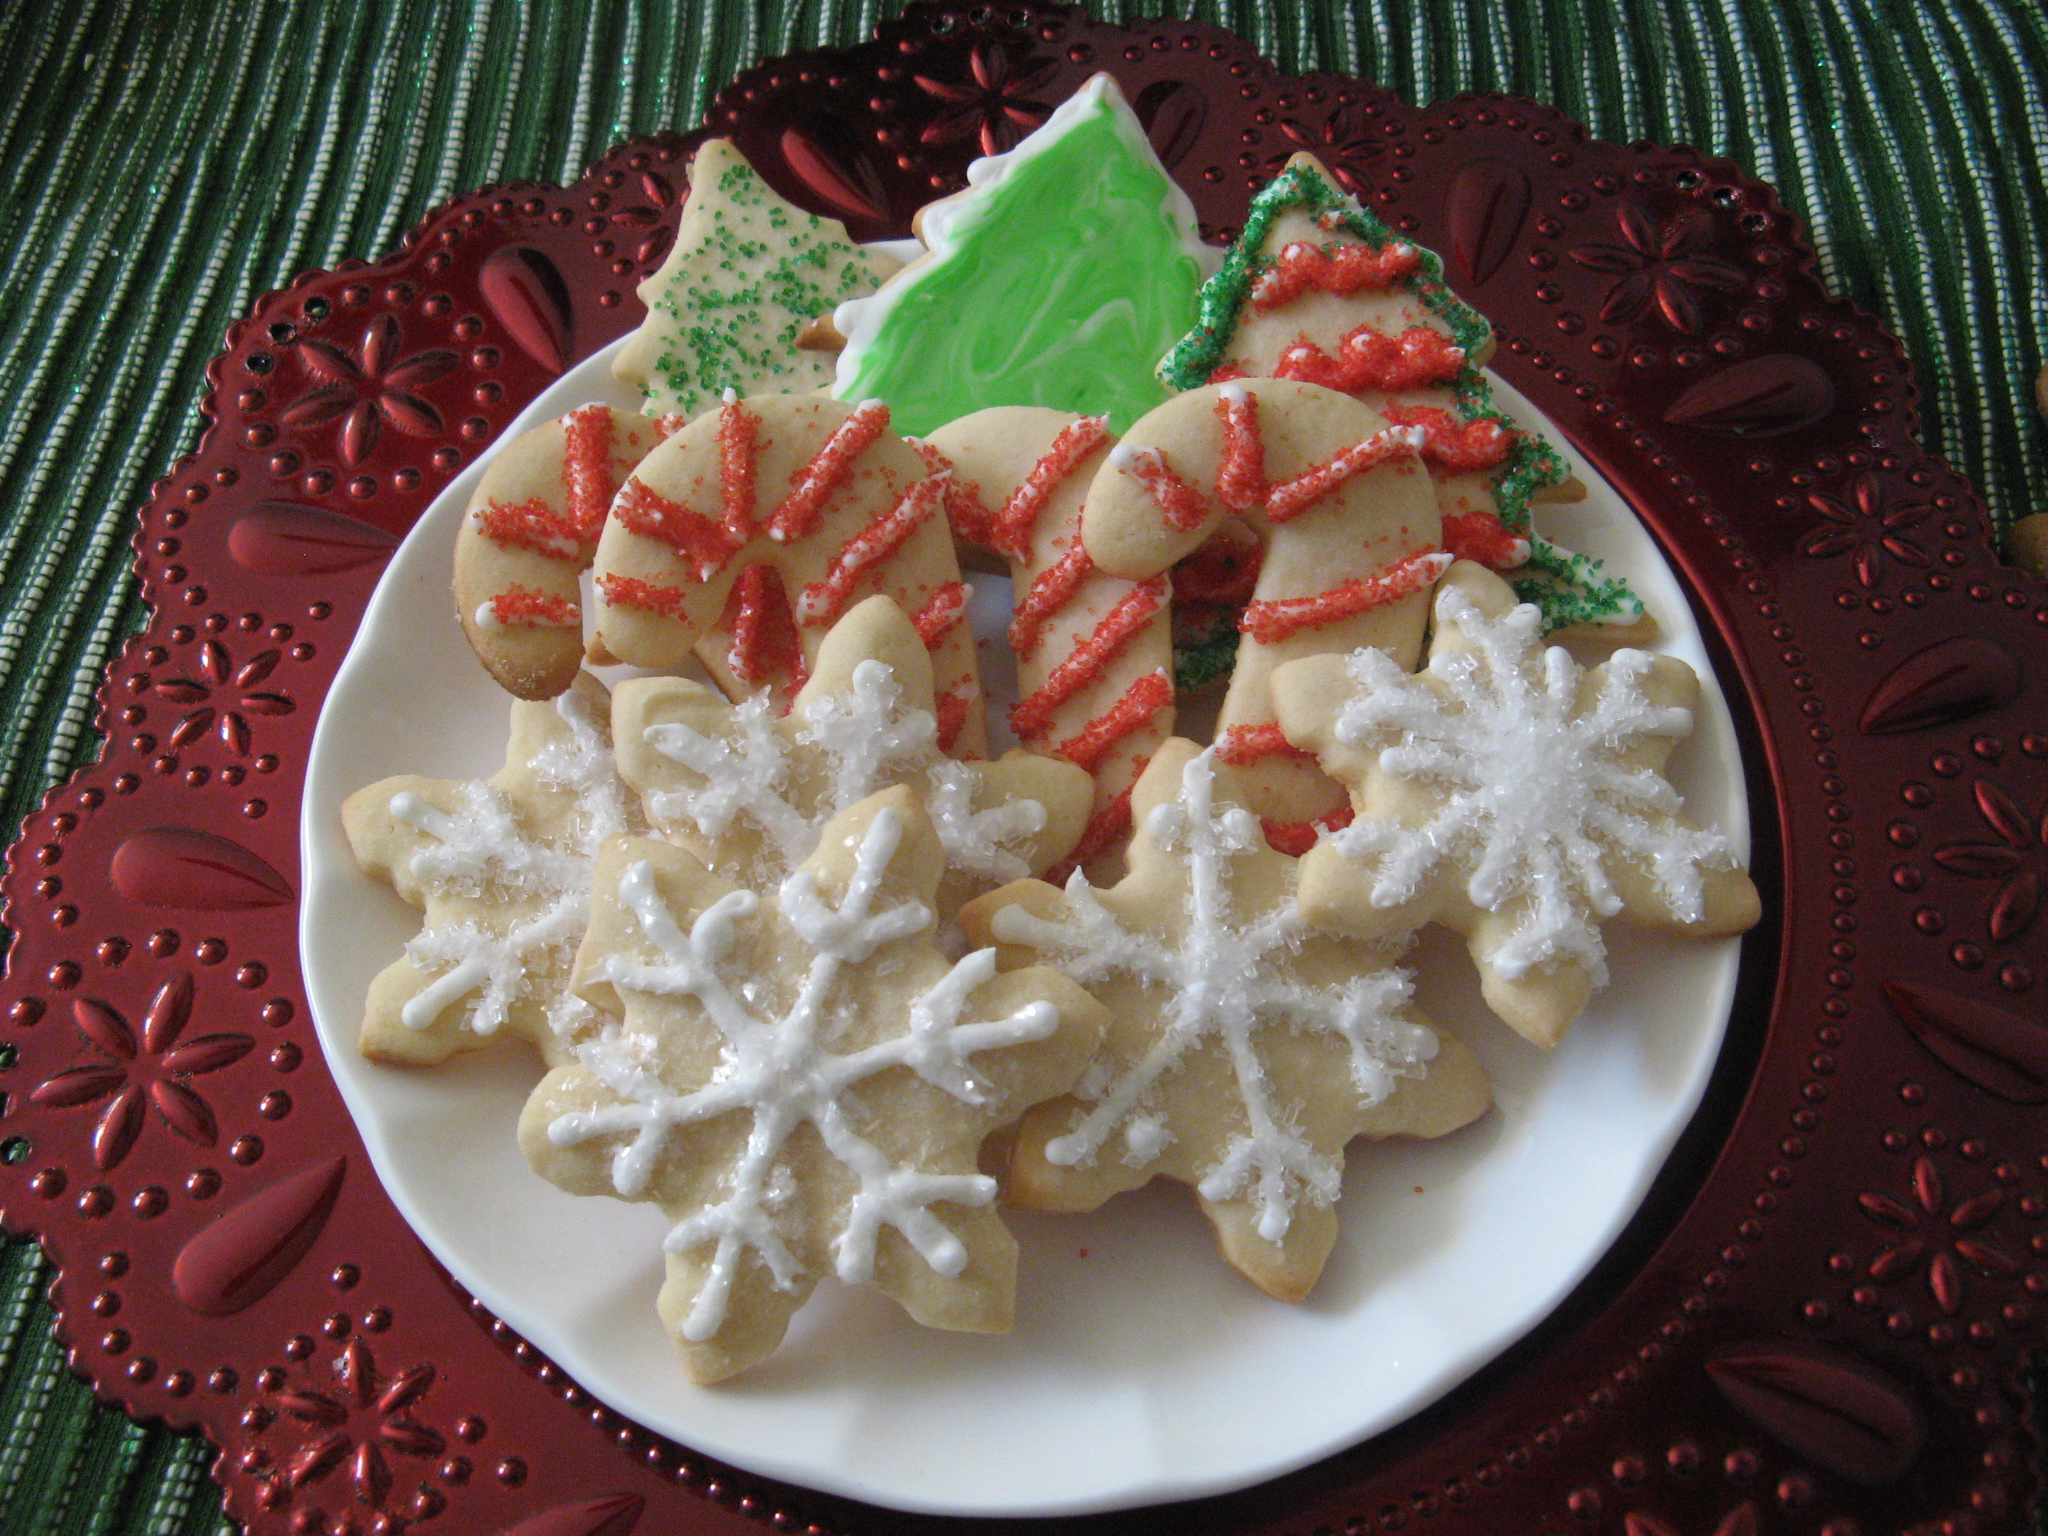
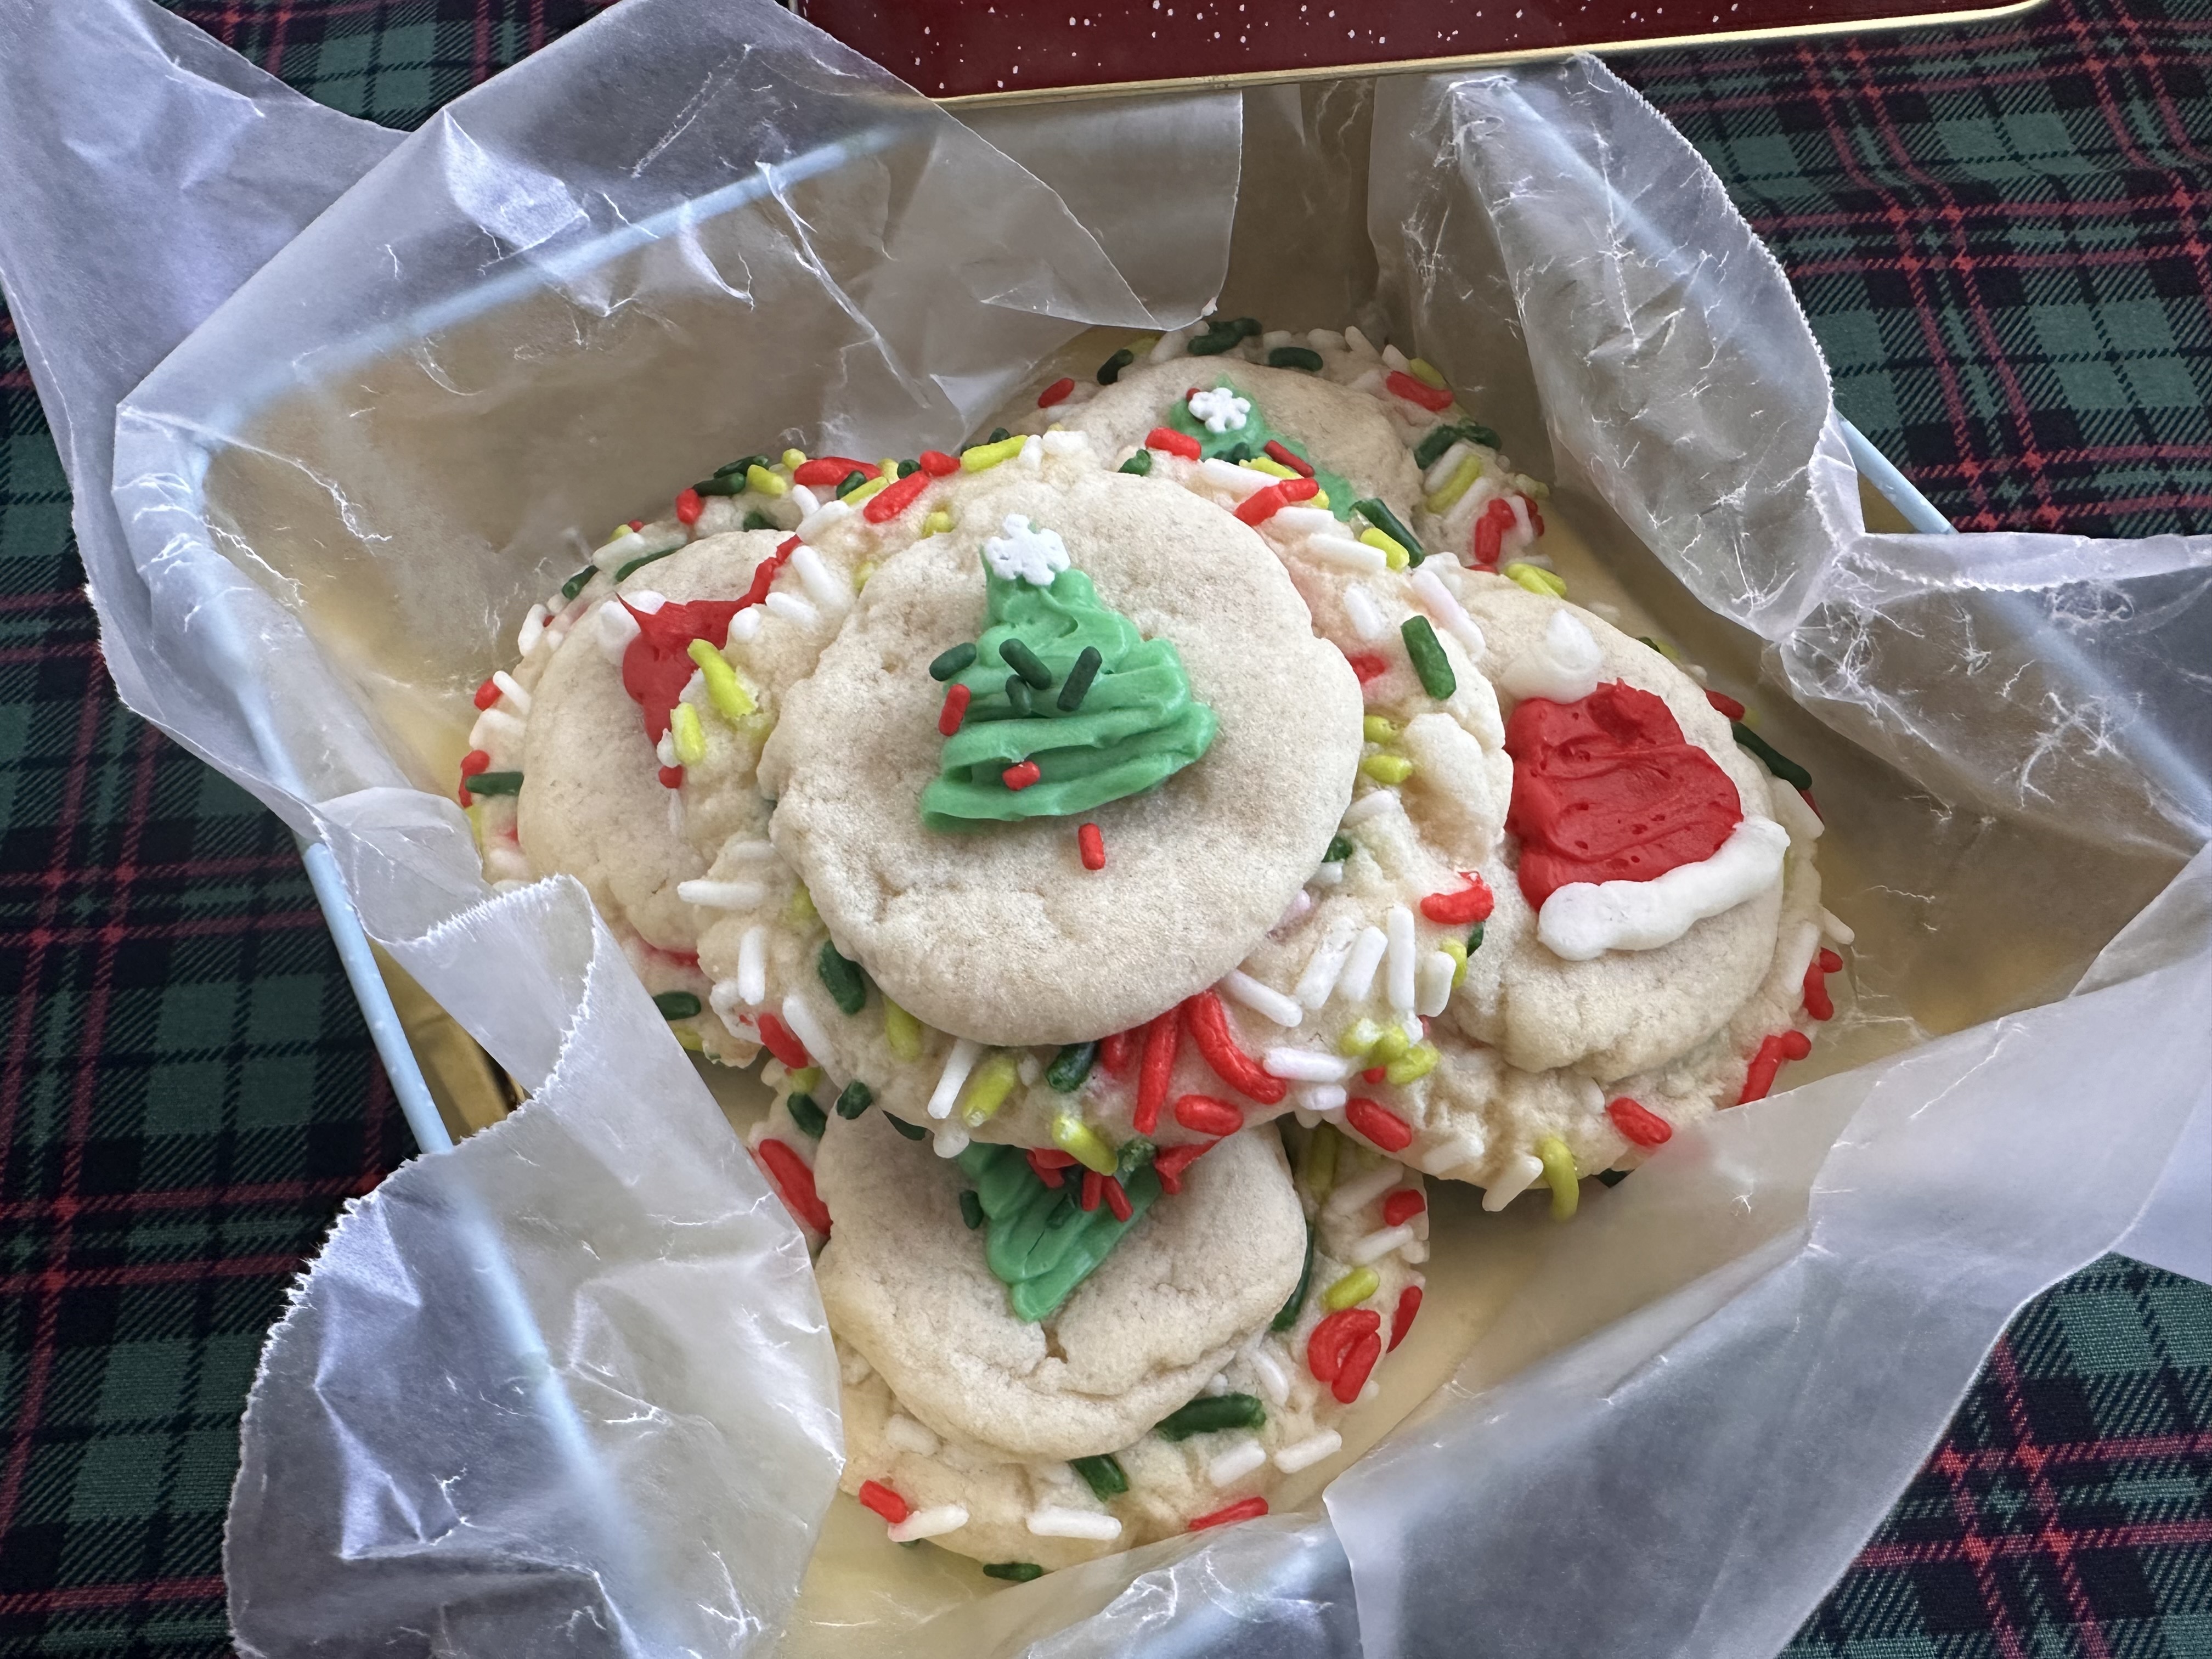
Truth be told I wasn’t sure if I was going to share five cookie recipes this year! Last year I only shared one and this year was looking a little bleak. I had written up recipes for two cookies that I tested and ended up being disappointed with both. So, I was thinking of scraping this year as well. But then, the ideas started flowing again and some random scrolling on Instagram helped to give way to two of the cookies. Today’s cooking being one of them, a Stacked Christmas Confetti Cookie. It’s a mouthful but not as difficult as it may sound.
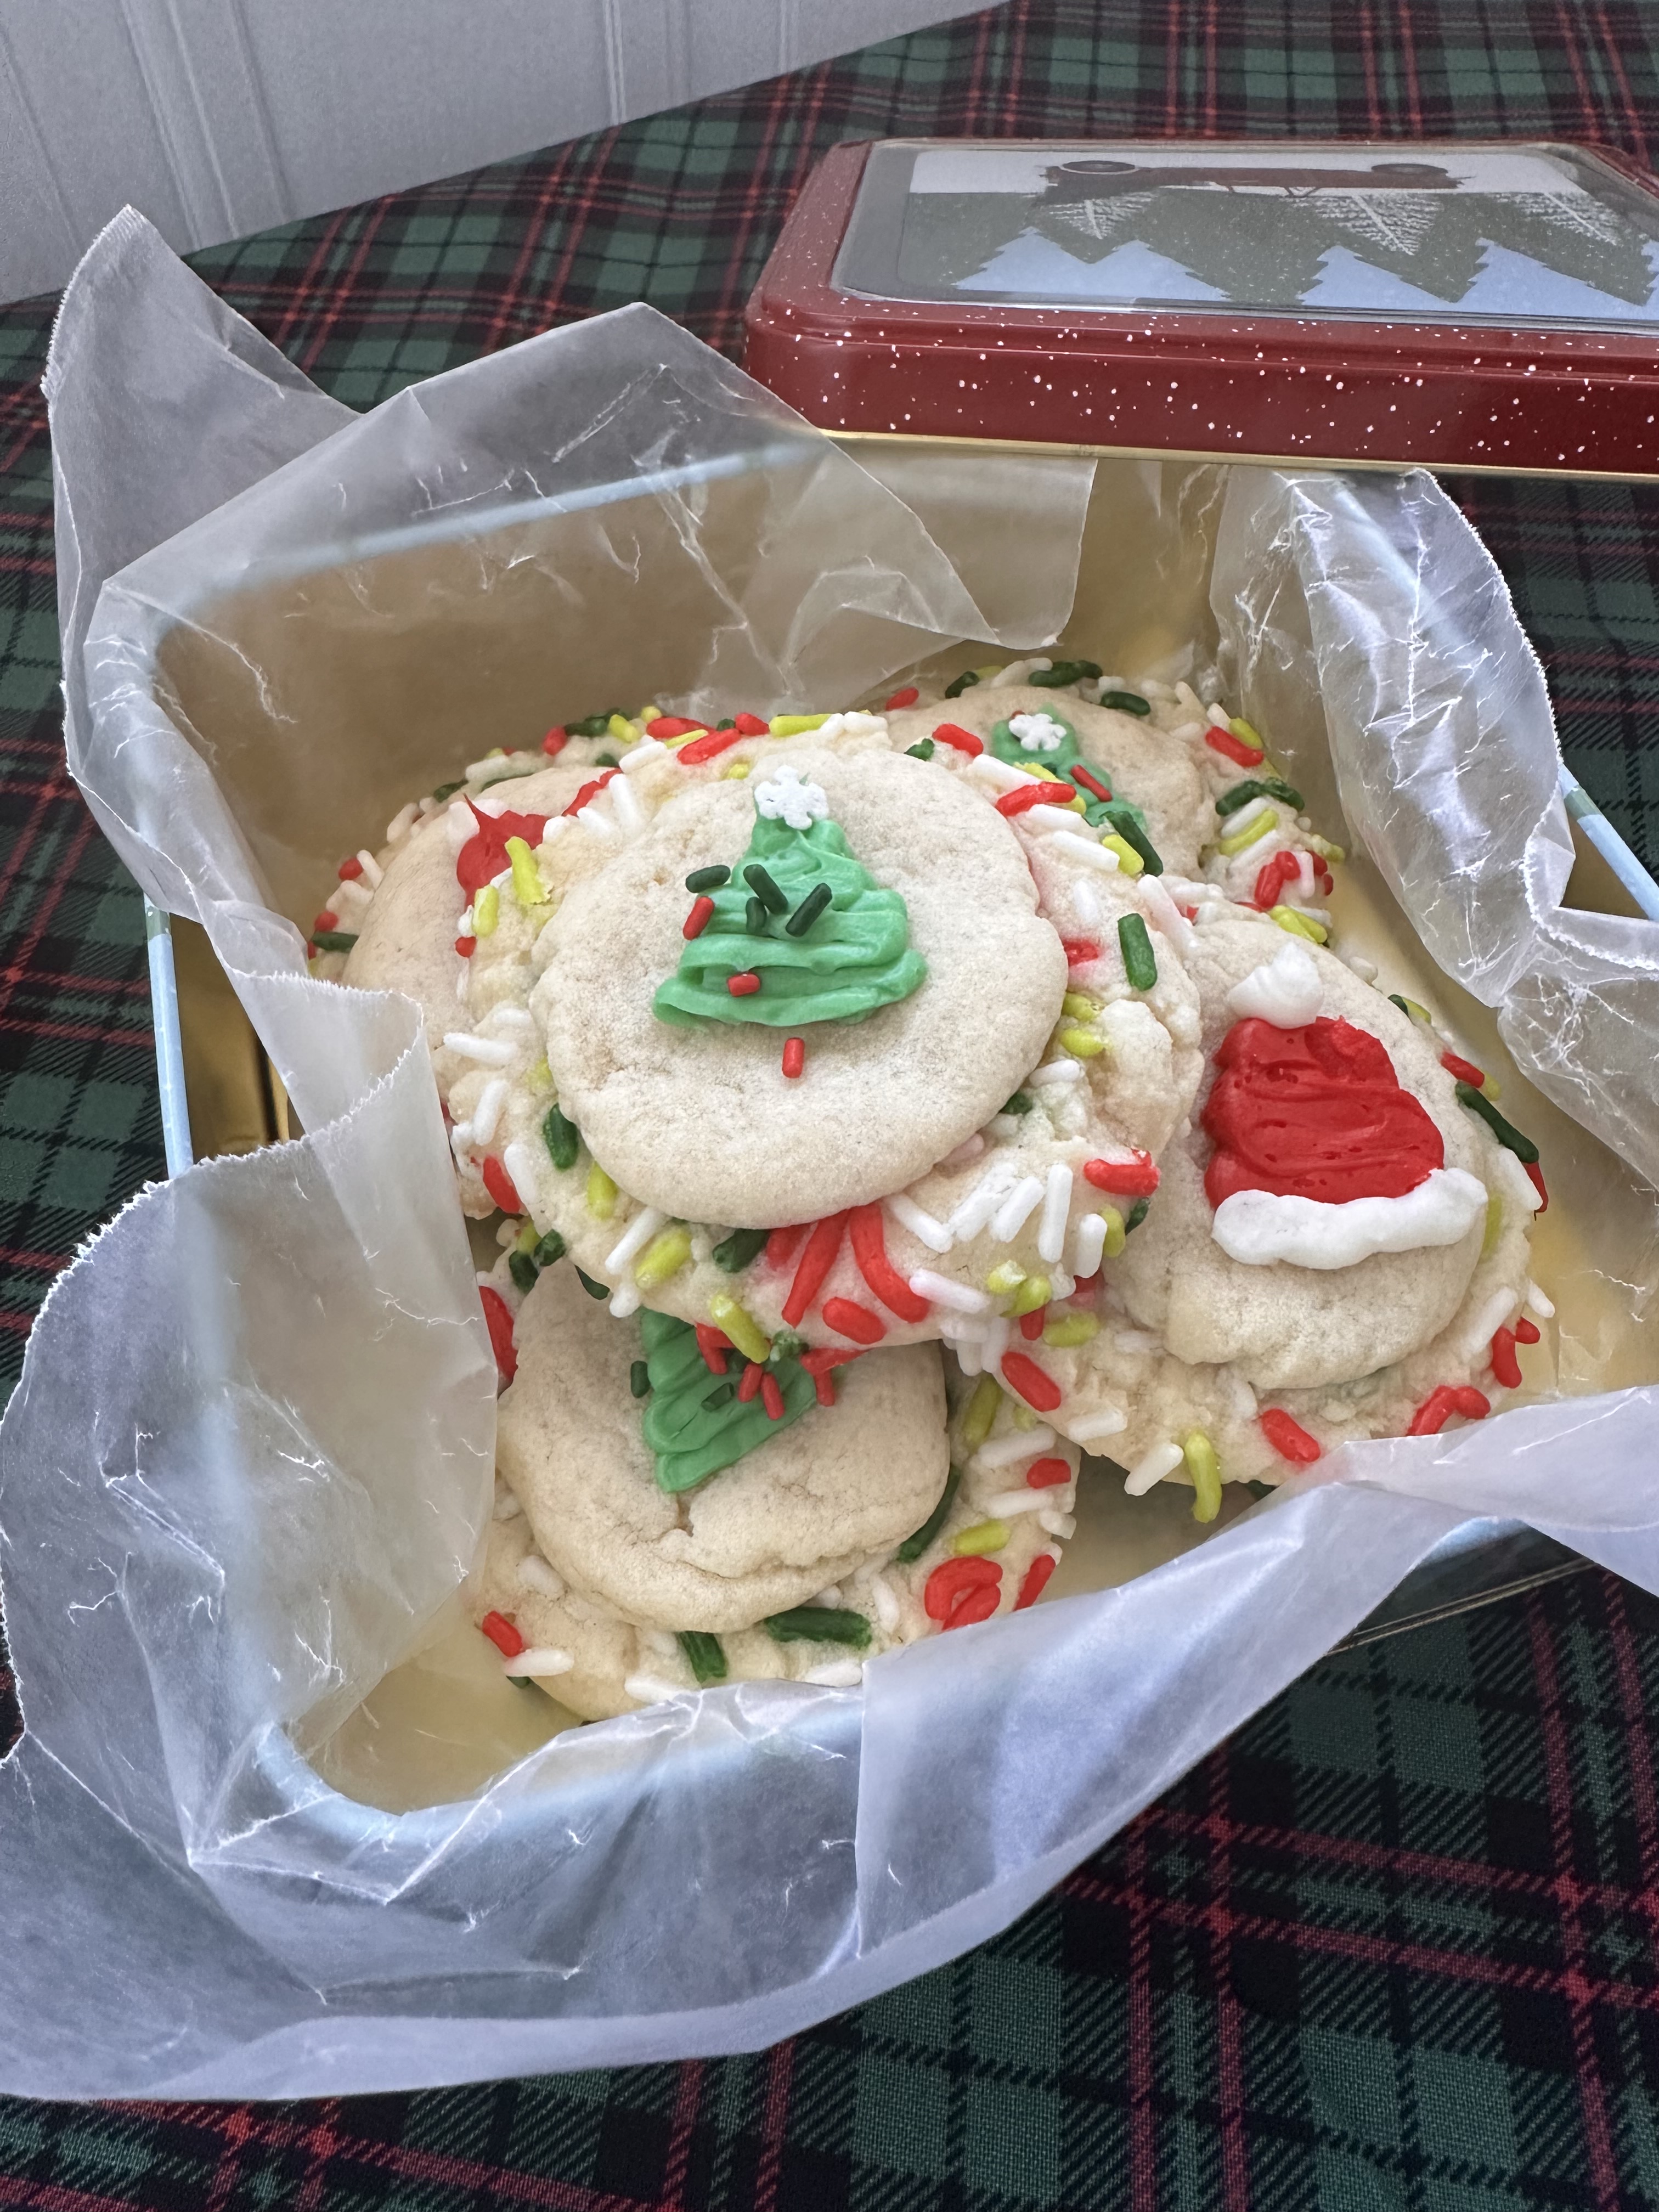
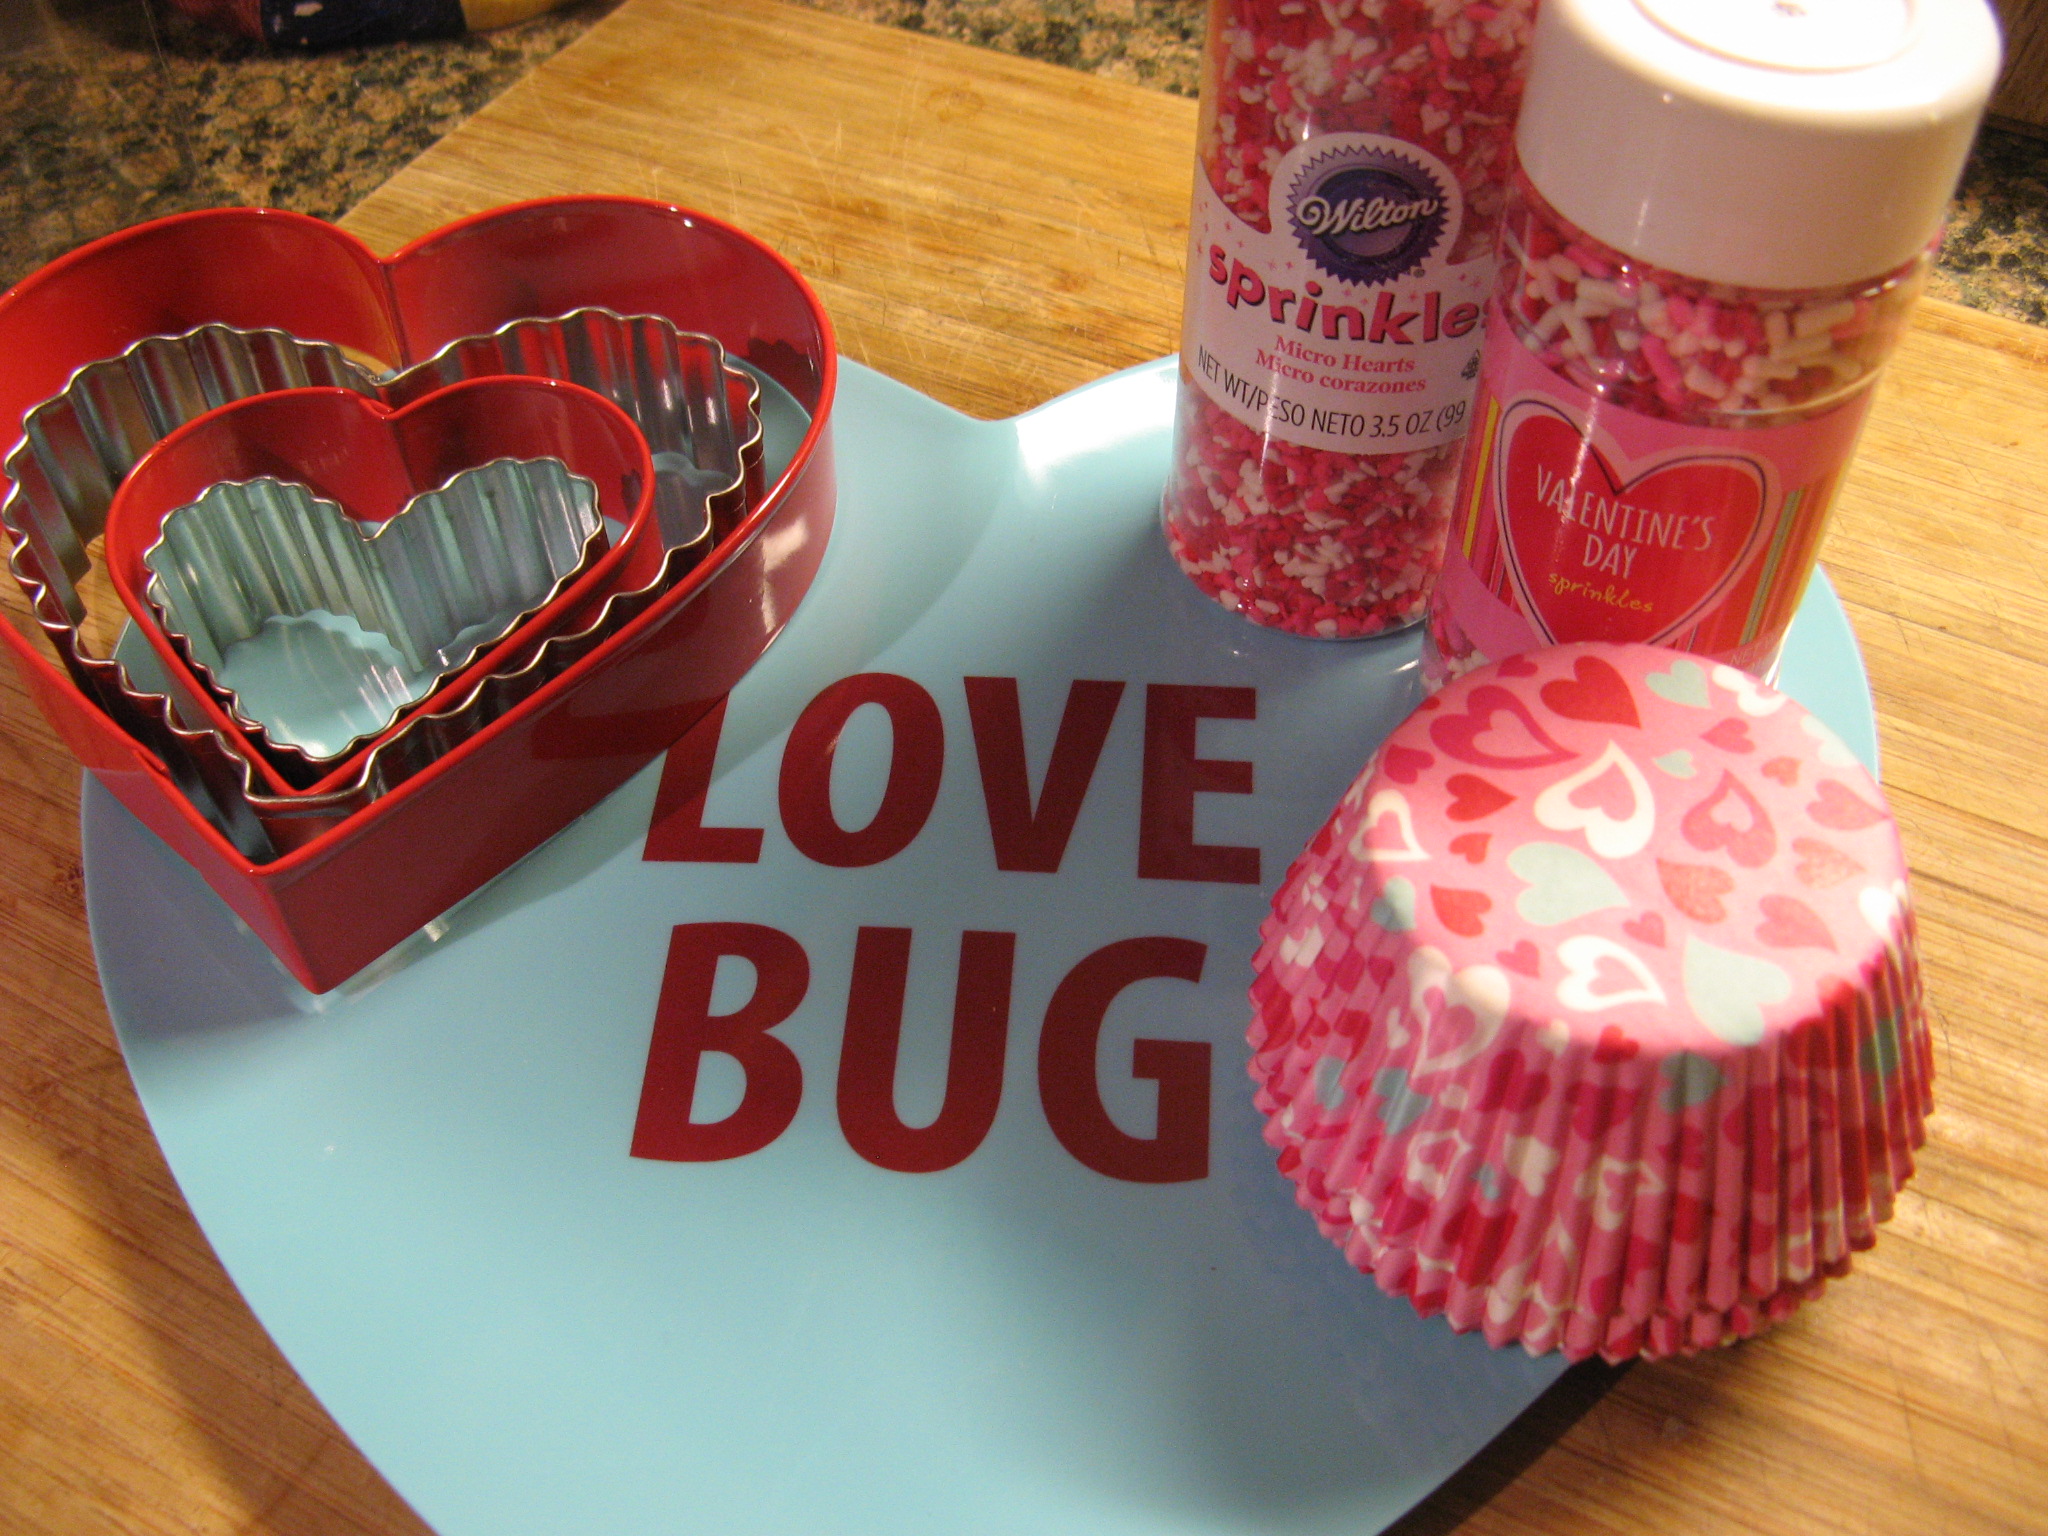
Apparently, the idea of this cookie came from a viral sensation from last year where people were using the Pillsbury Halloween Shape Sugar Cookie Dough and topping it on top of another cookie, usually a chocolate chip cookie. If you are not familiar with the Pillsbury seasonal cookies I am talking about, click on this link and then scroll to the bottom. The cookie I saw on Instagram didn’t use the Pillsbury dough though; it used sugar cookie dough for both the base of the cookie and the decorated stack. I decided to use my go-to sugar cookie recipe and switch up the steps to create them myself. And I was very happy with the results. One thing I did do as a short-cut for my version though was use store-bought frosting to decorate the cookies. Thankfully this time of the year it’s easy to find red & green frosting. Also, I opted to roll my cookies in sprinkles, but you could also use nonpareils, it just comes down to preference.
Stacked Christmas Confetti Cookies
Ingredients:
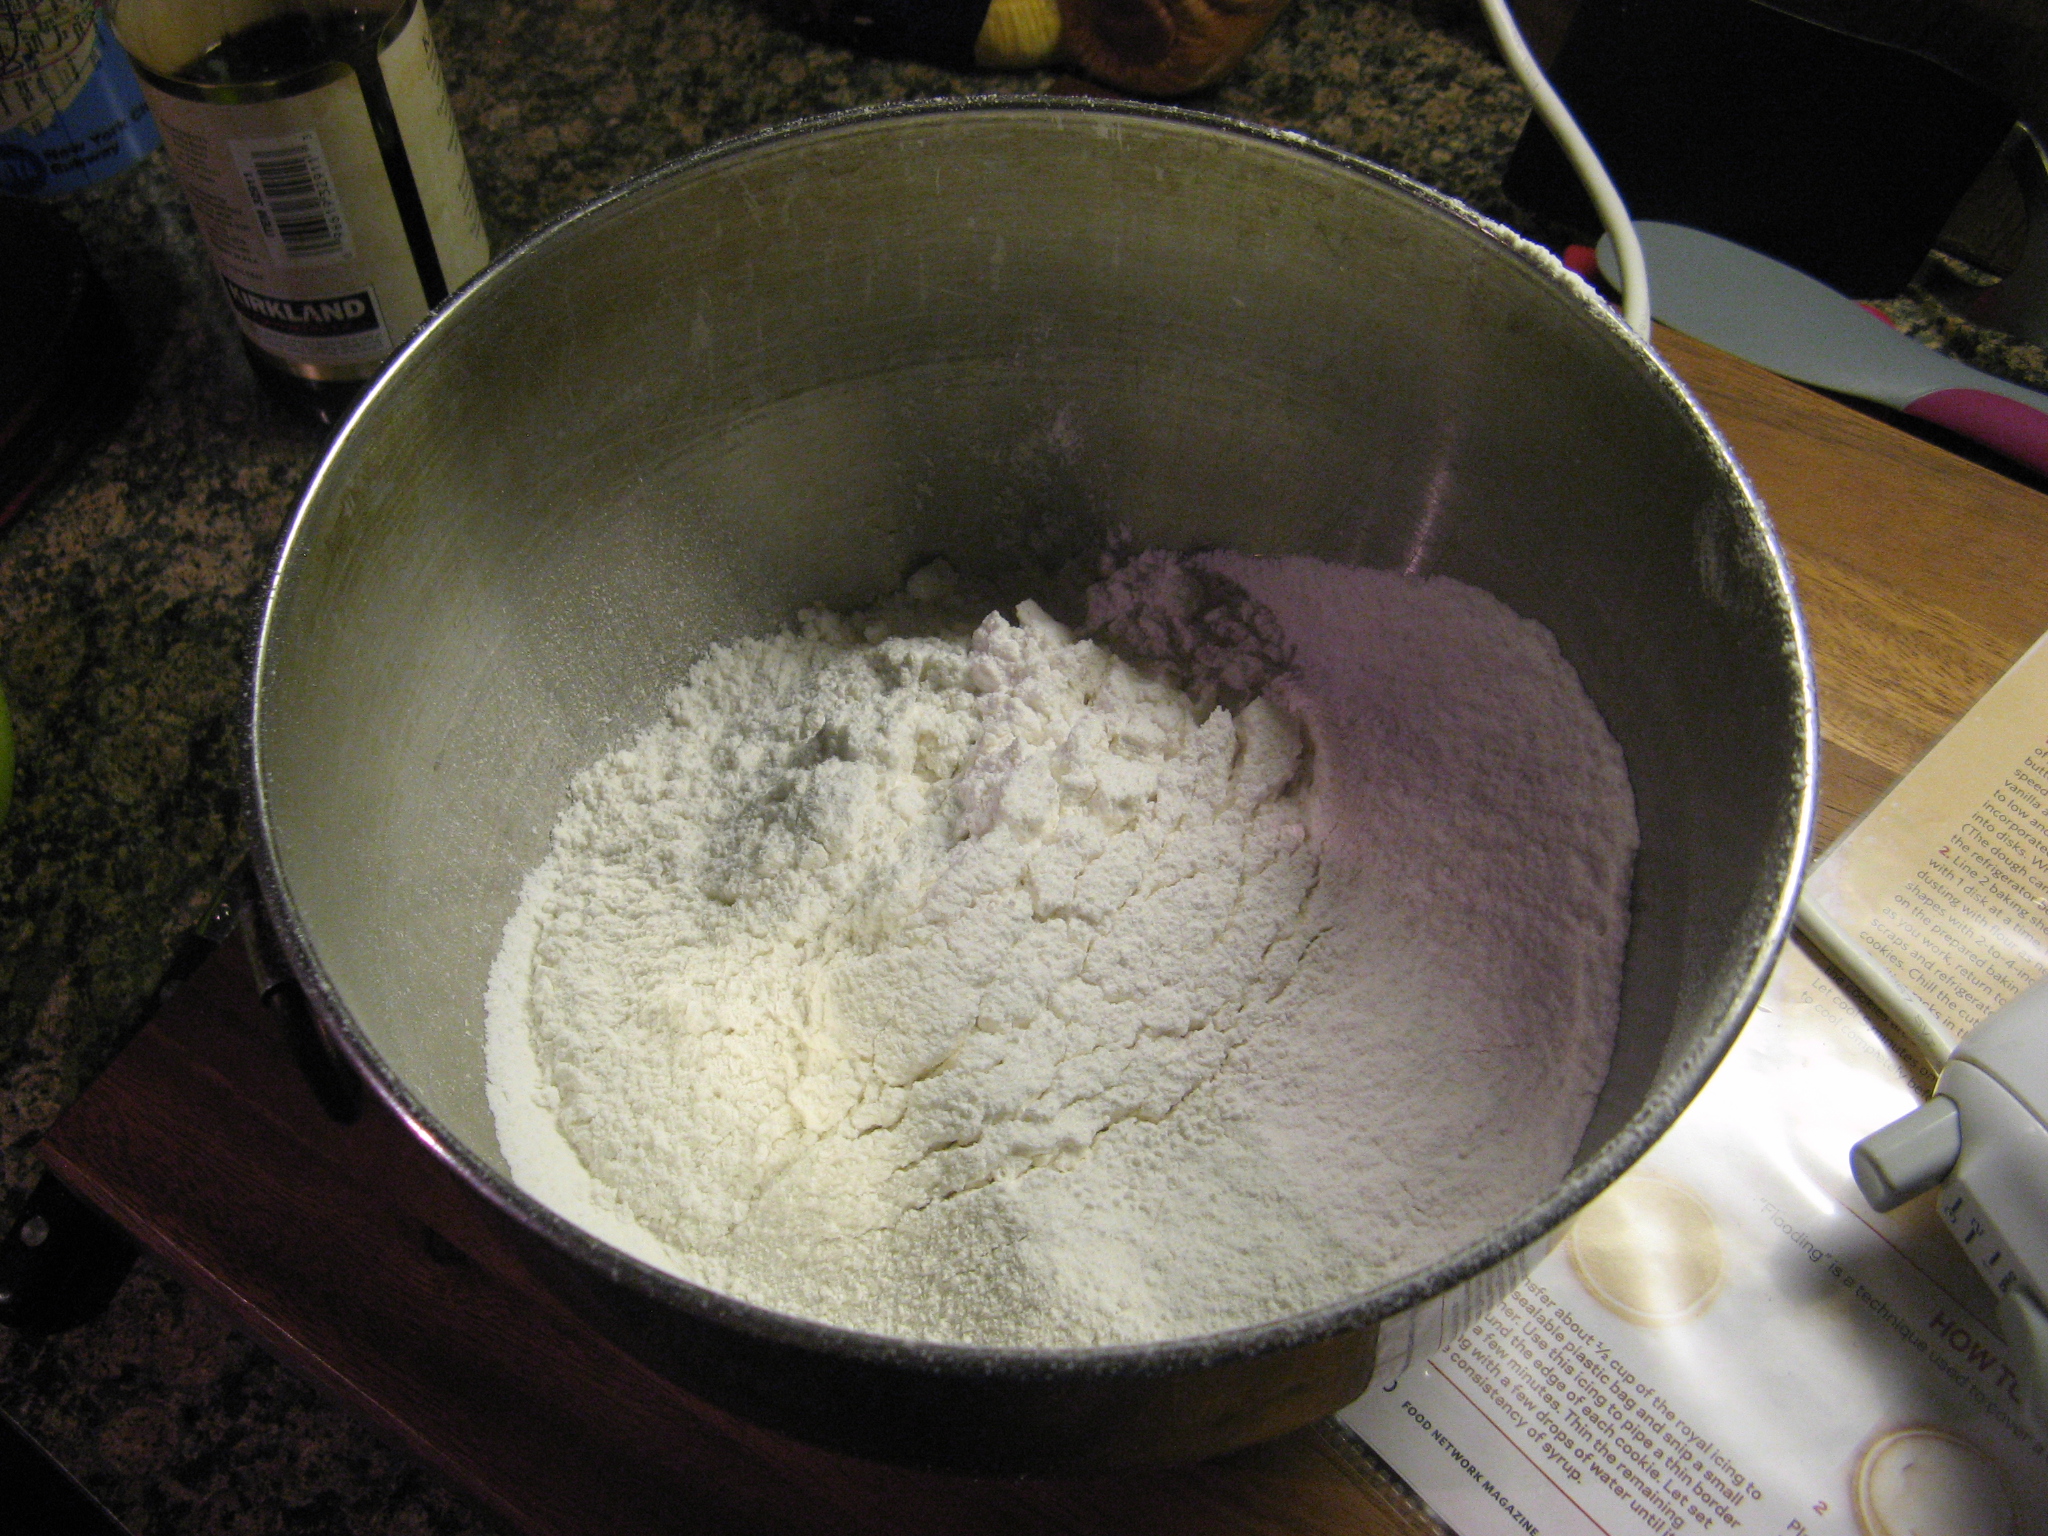
3 cups flour
1 teaspoon baking powder
1/4 teaspoon baking soda
3/4 teaspoon table salt
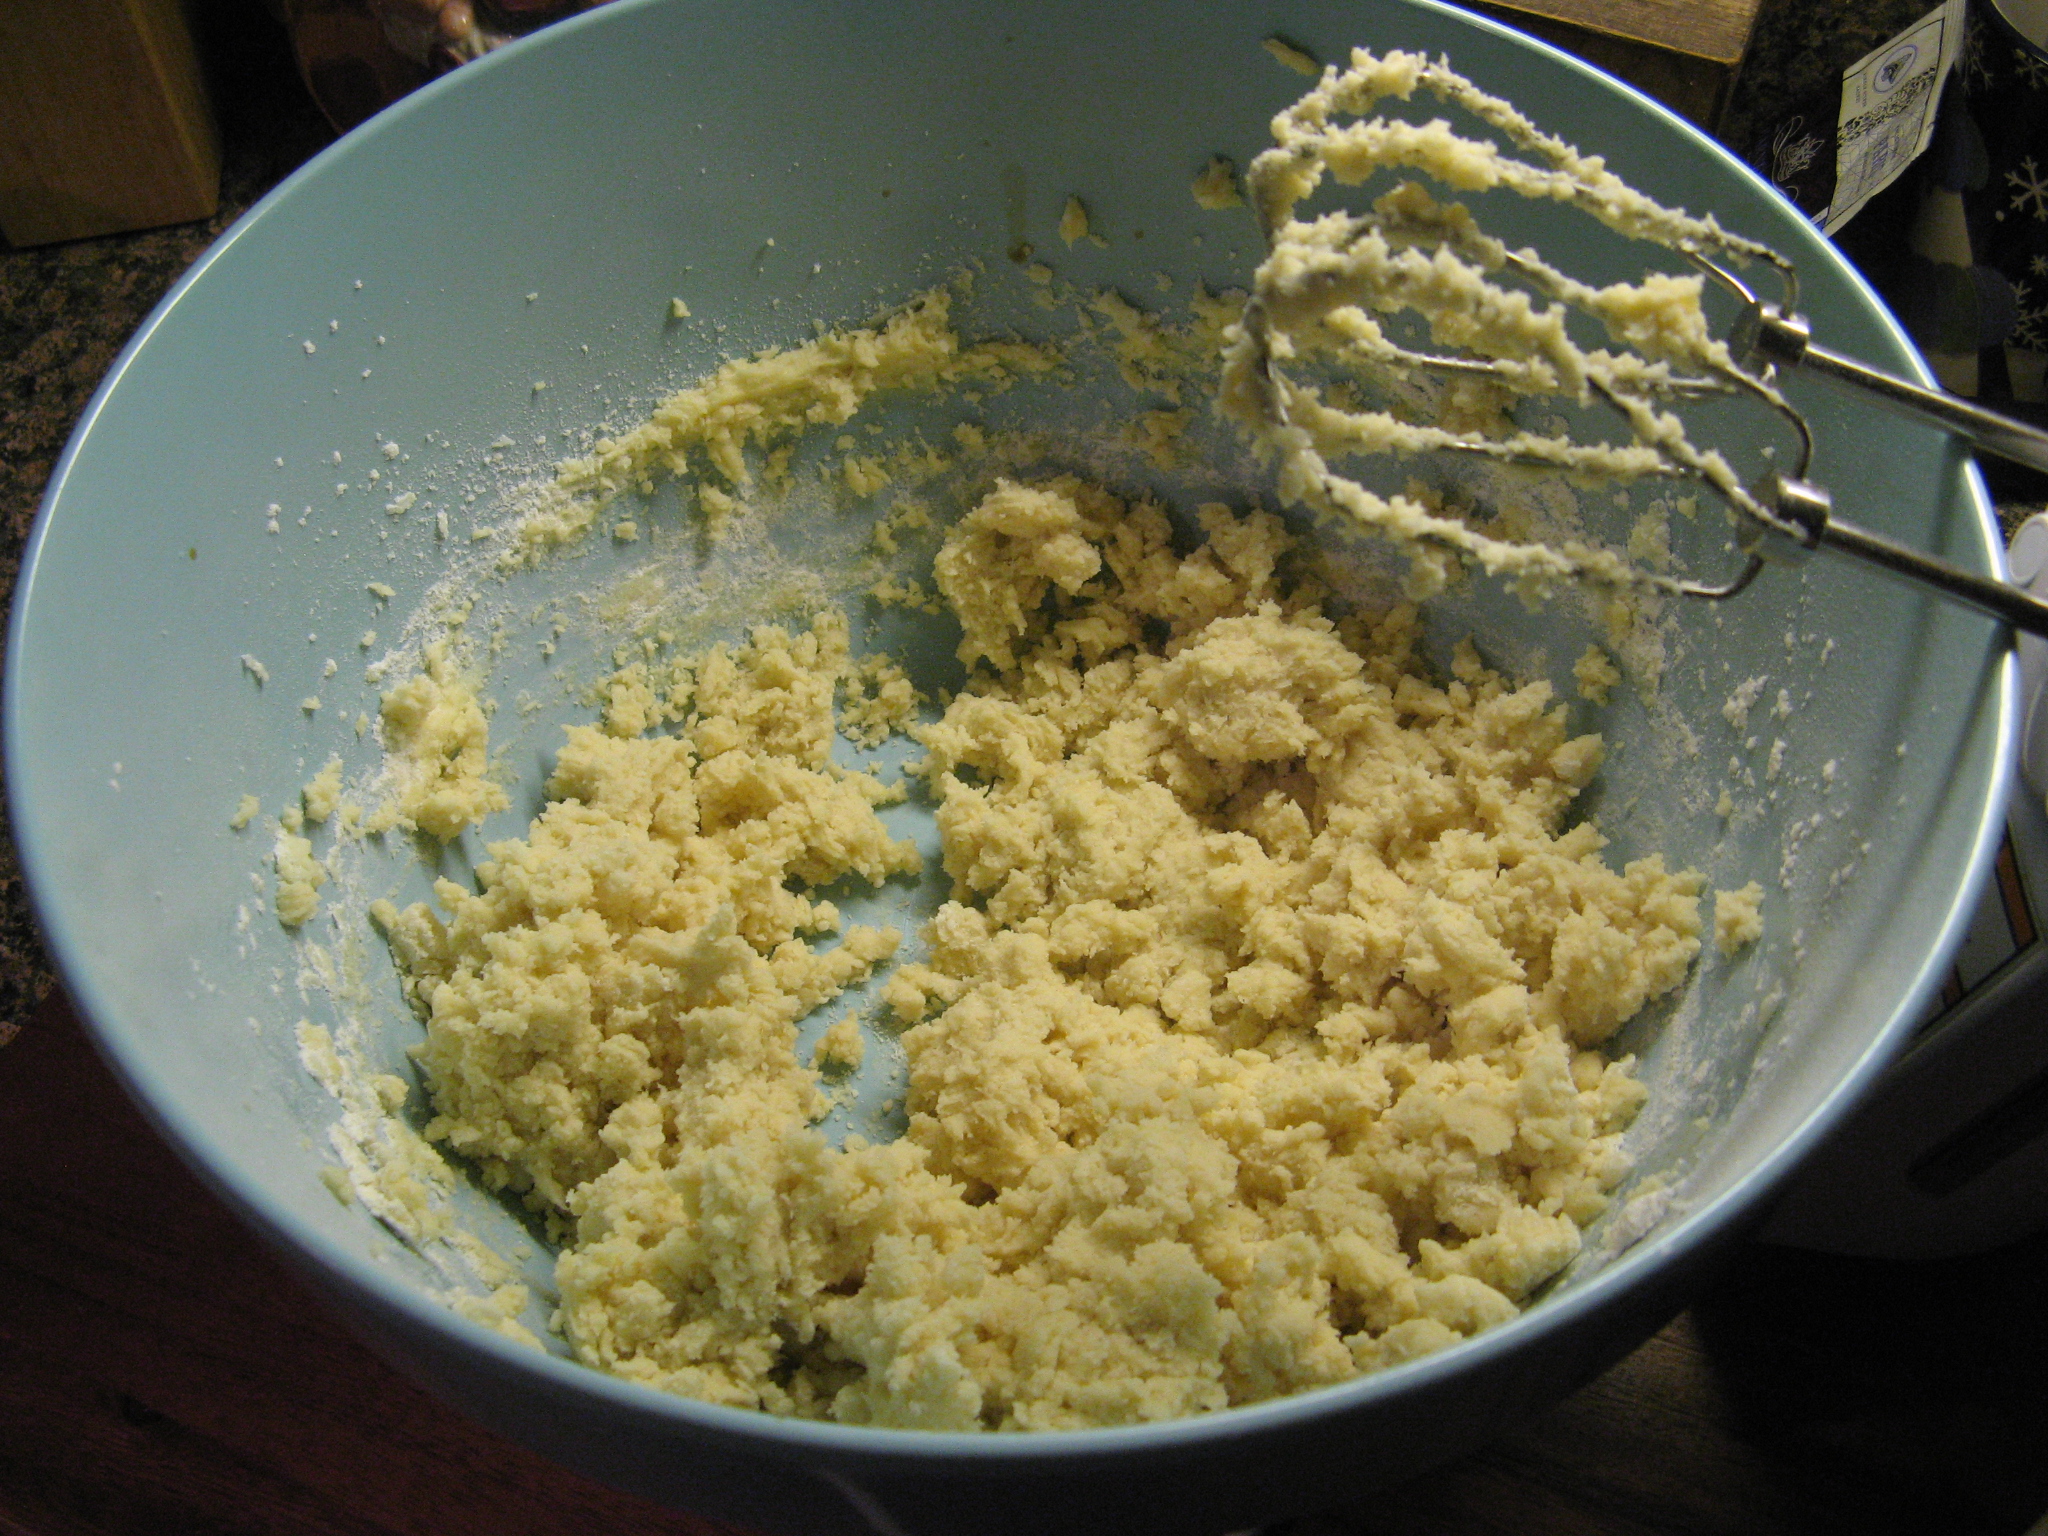
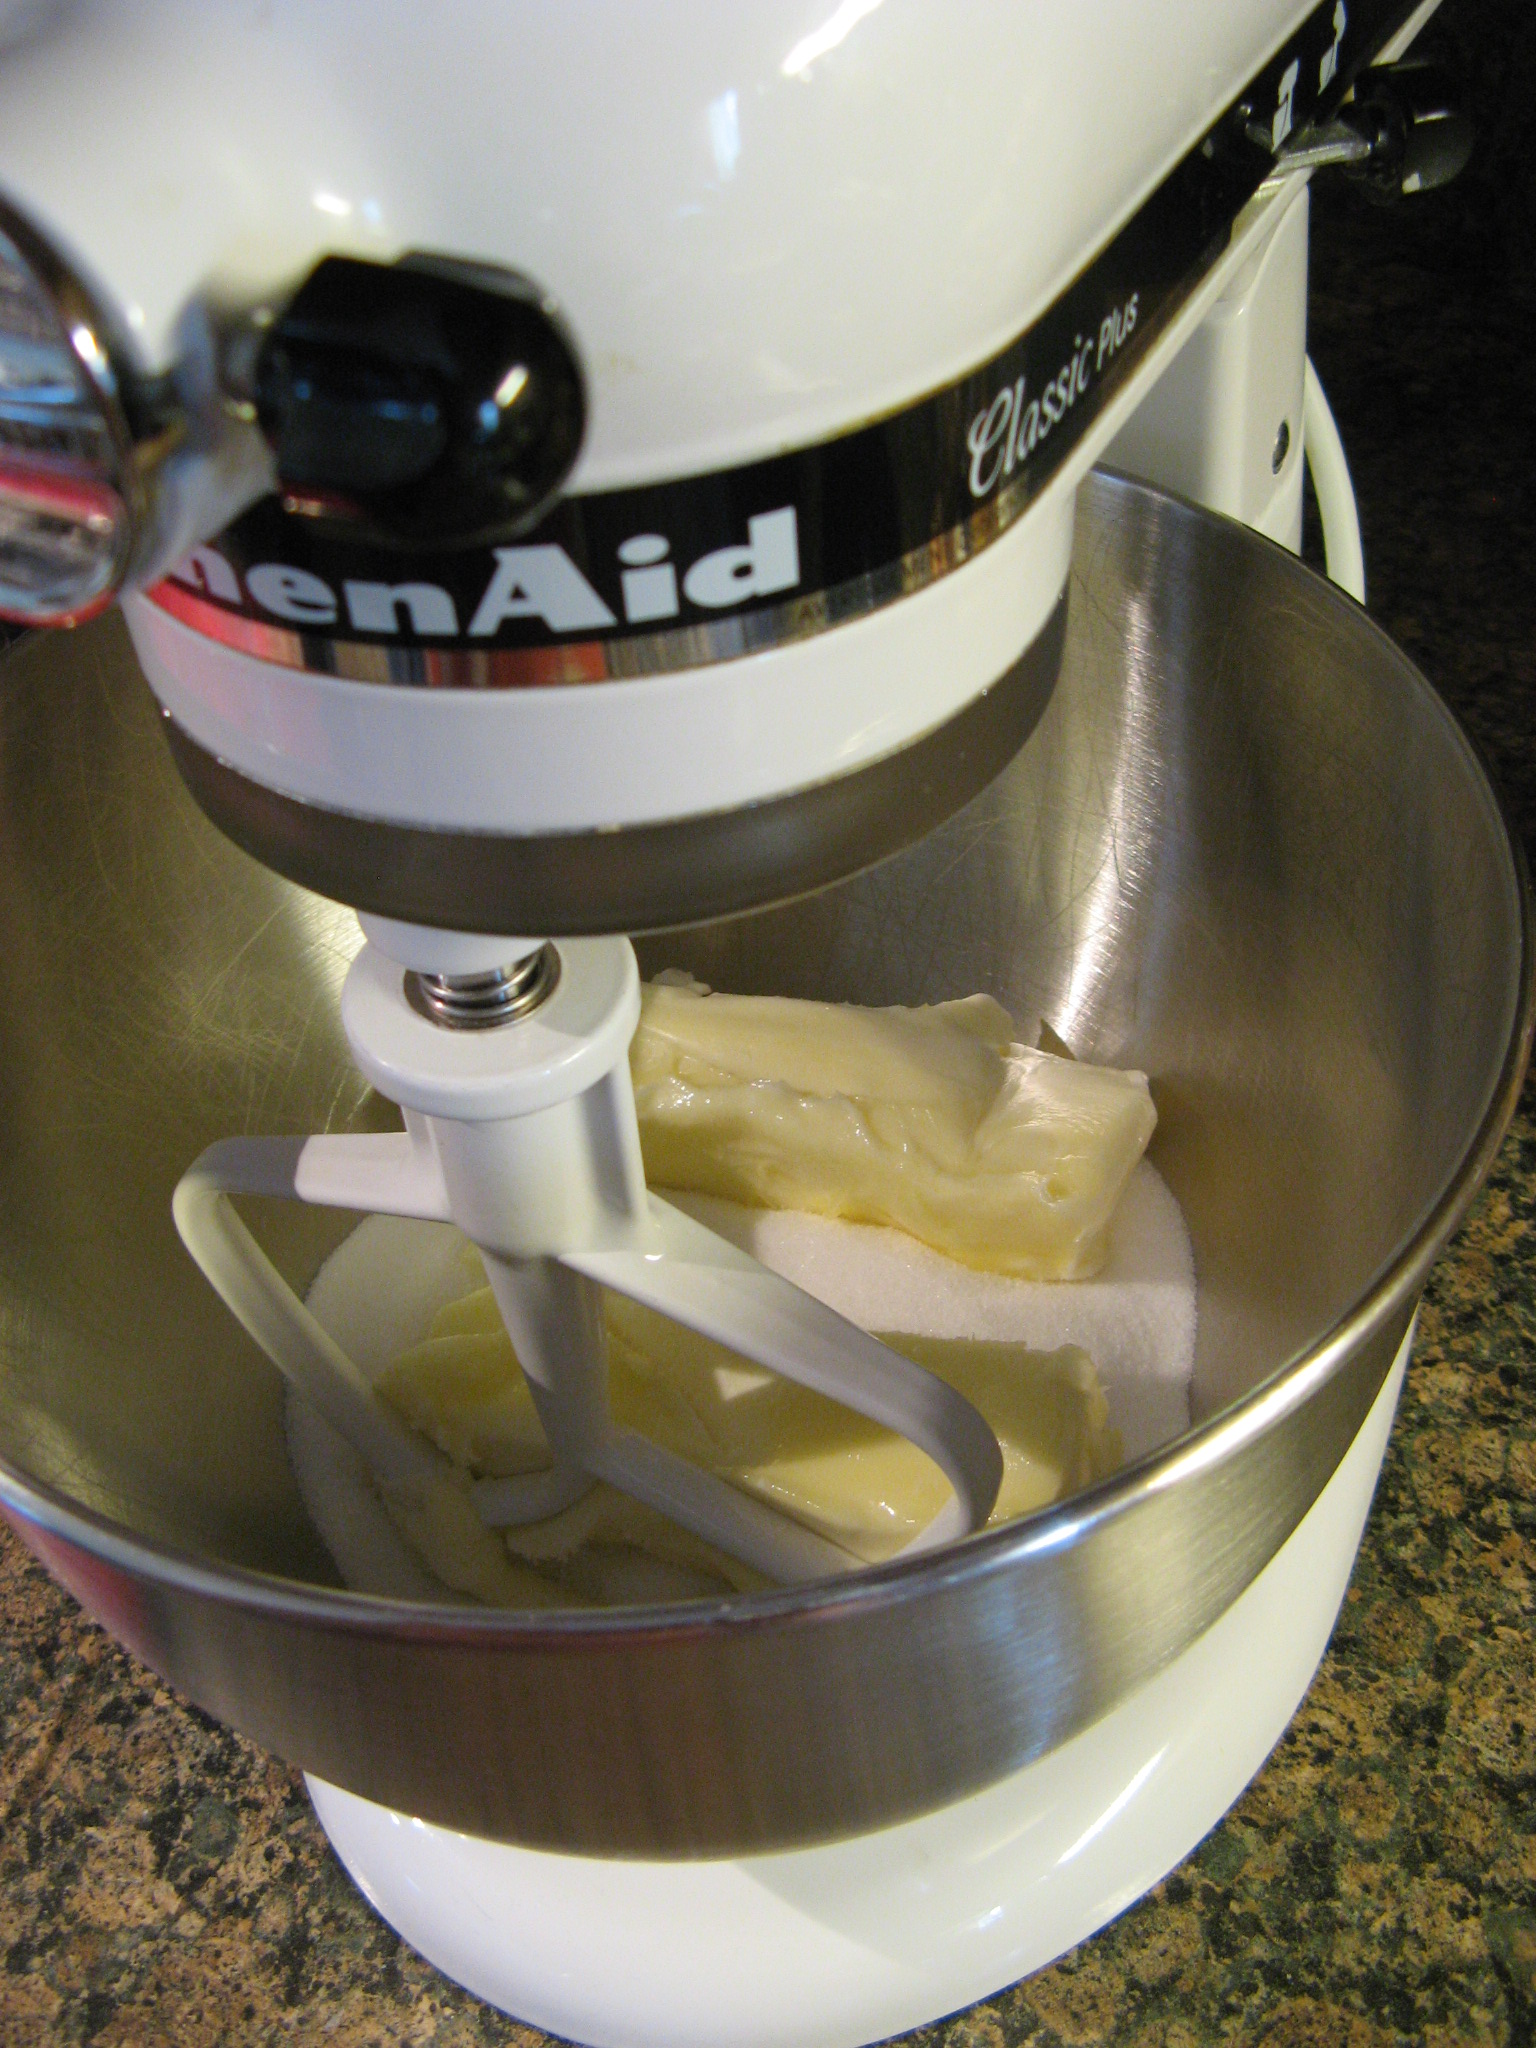
1 cup (2 sticks) unsalted butter, at room temperature
1/4 cup (2 ounces) cream cheese, at room temperature
1 1/4 cups sugar
1 large egg
2 teaspoons vanilla extract
1 cup red & green sprinkles
Red, Green & White Frosting for decorating
Directions:
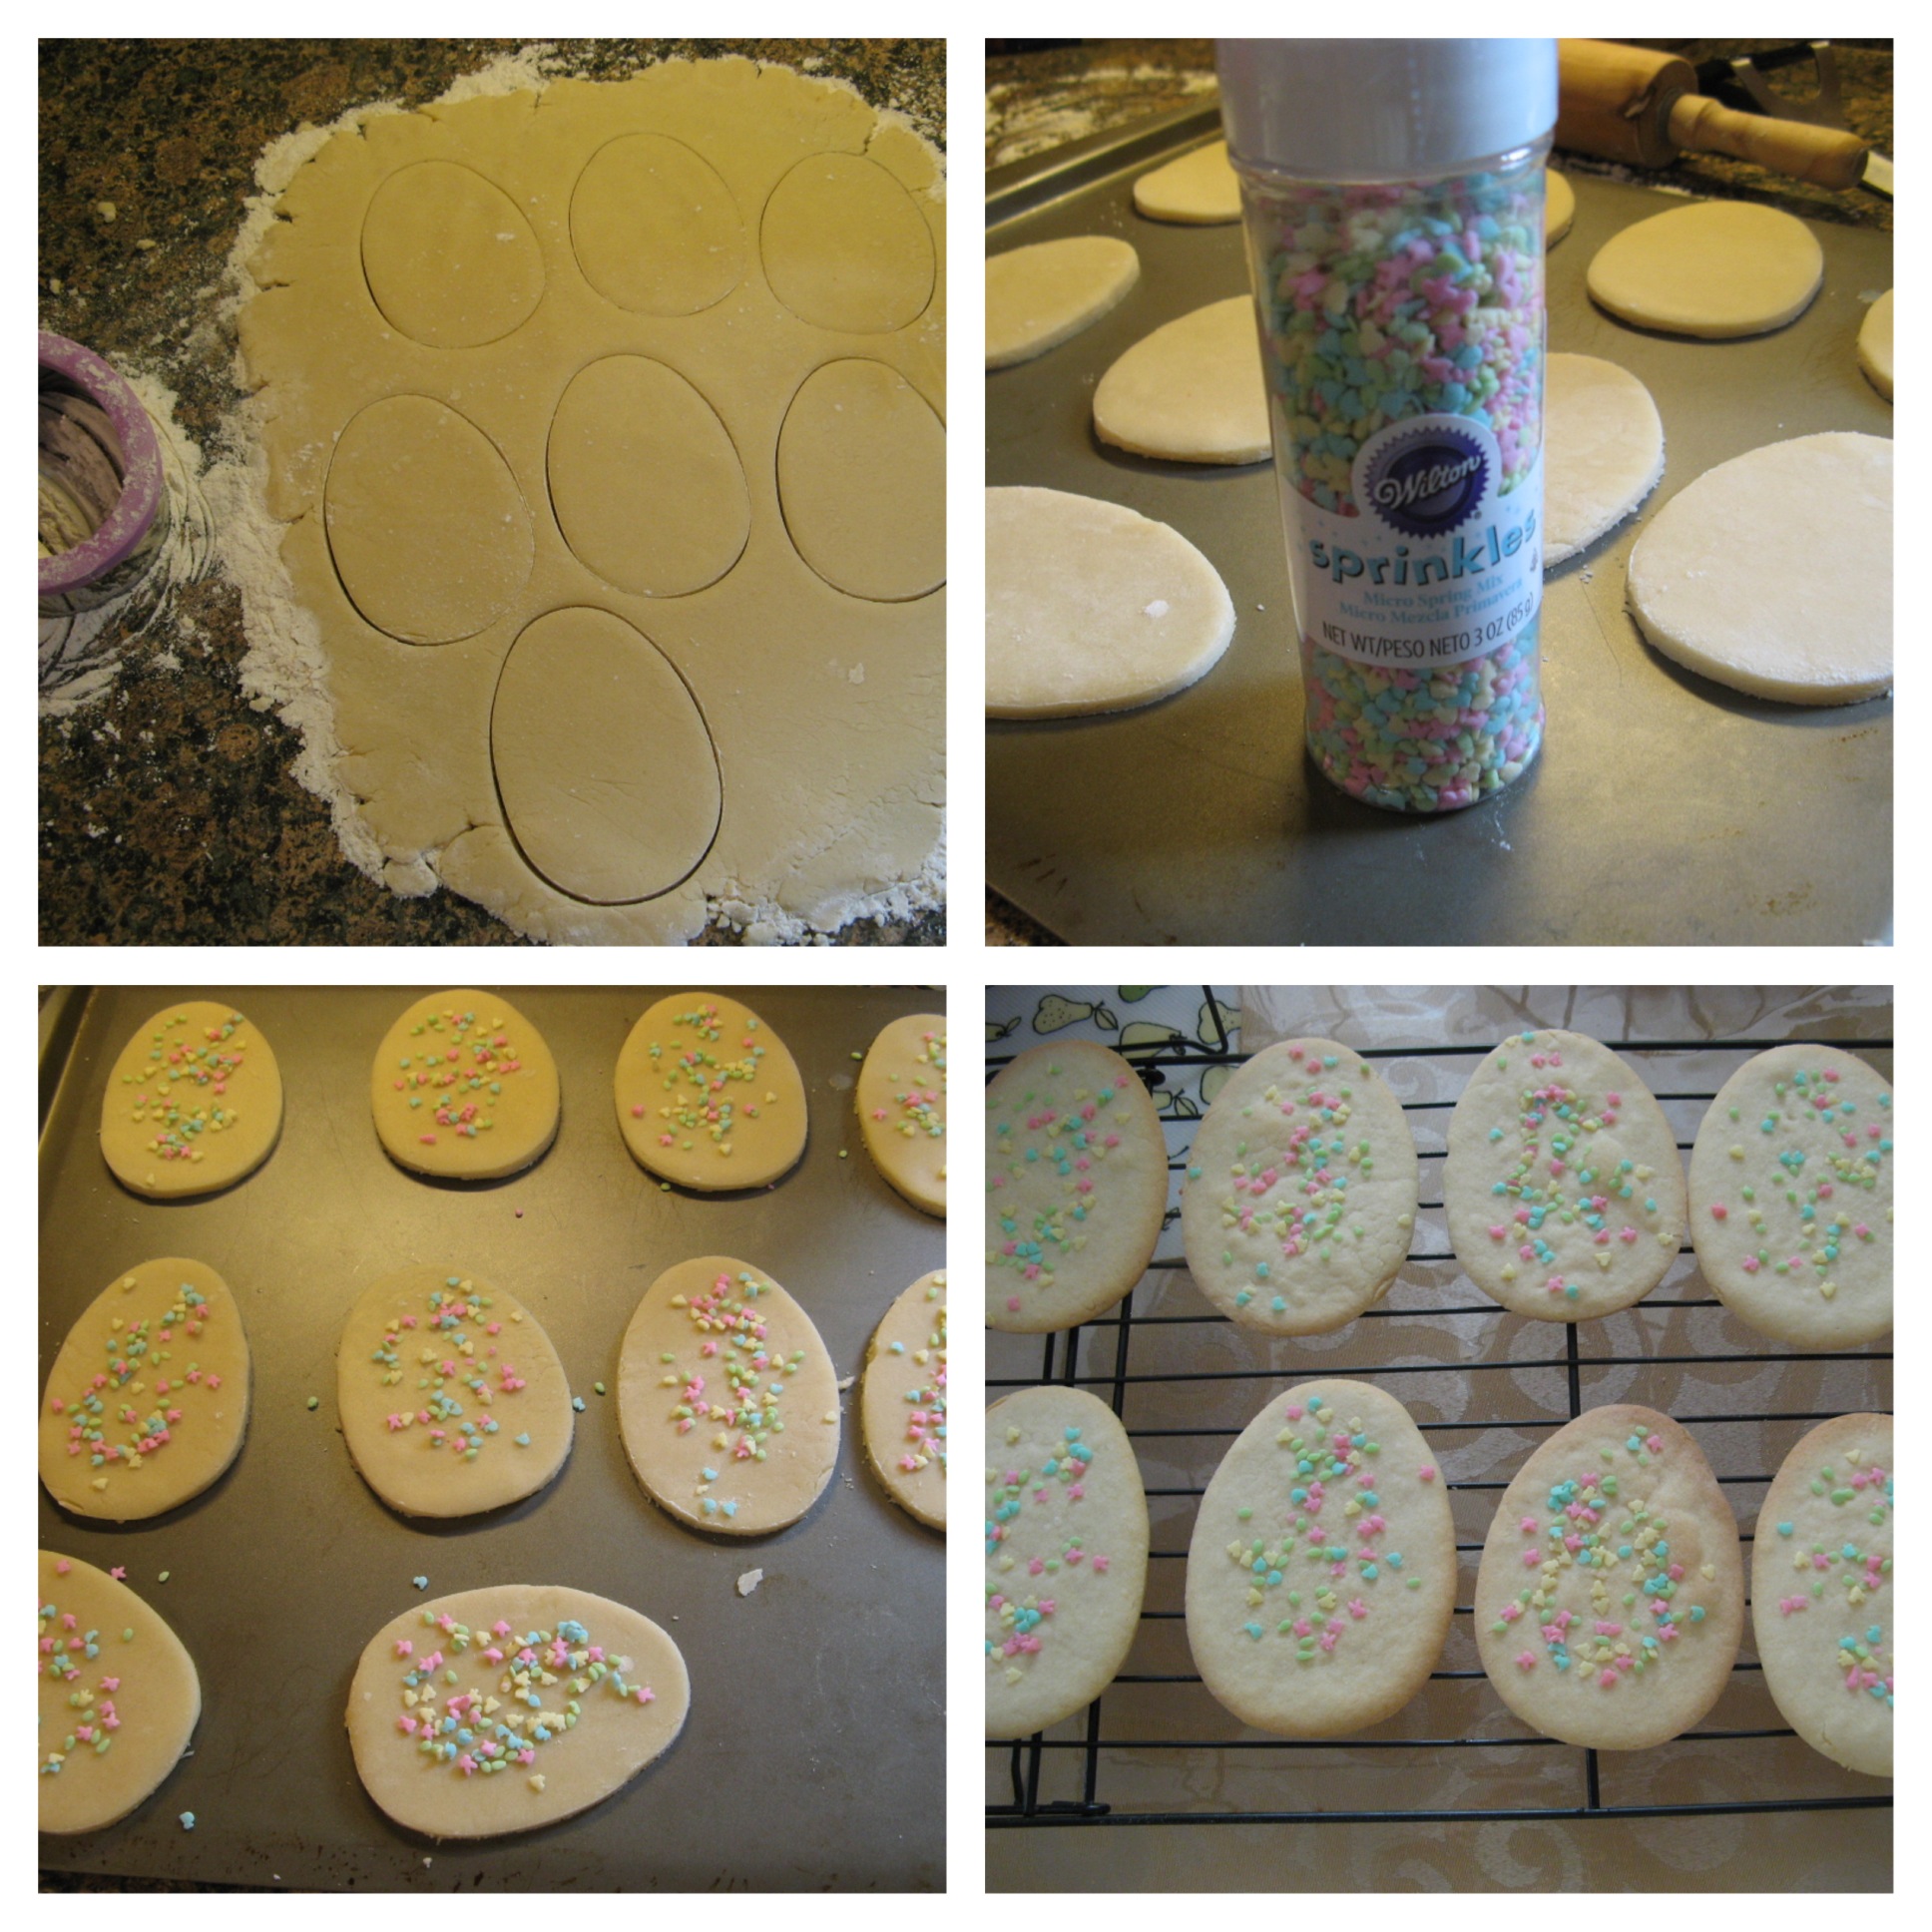
Preheat the oven to 375 F. Line two baking sheets with parchment paper and set aside.
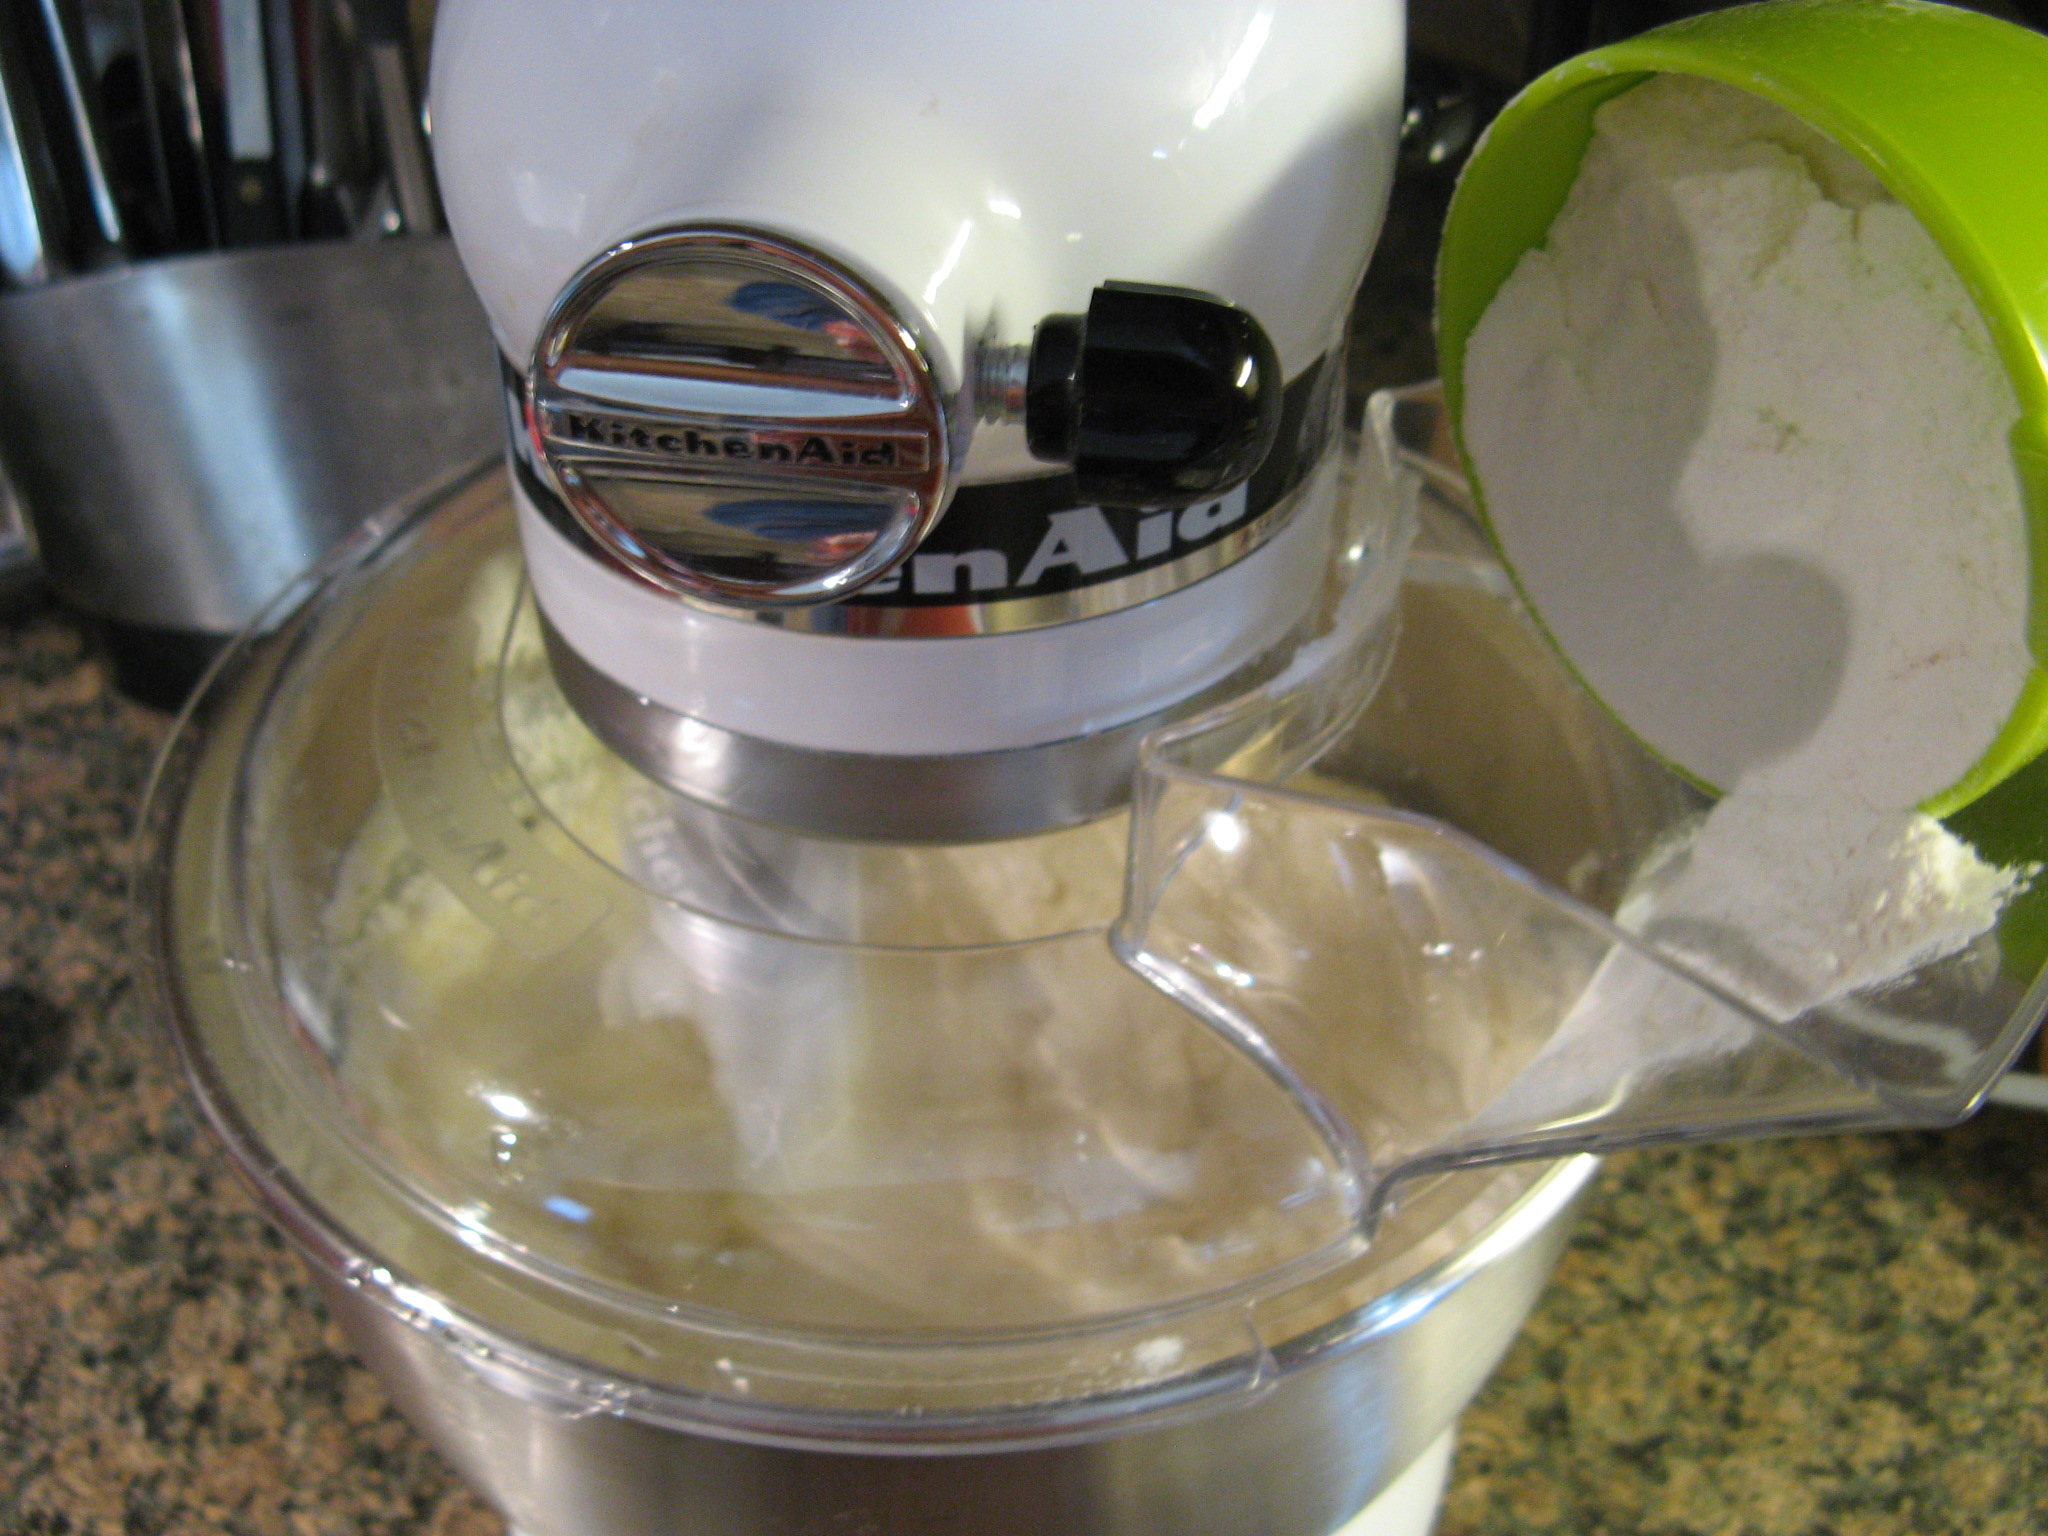
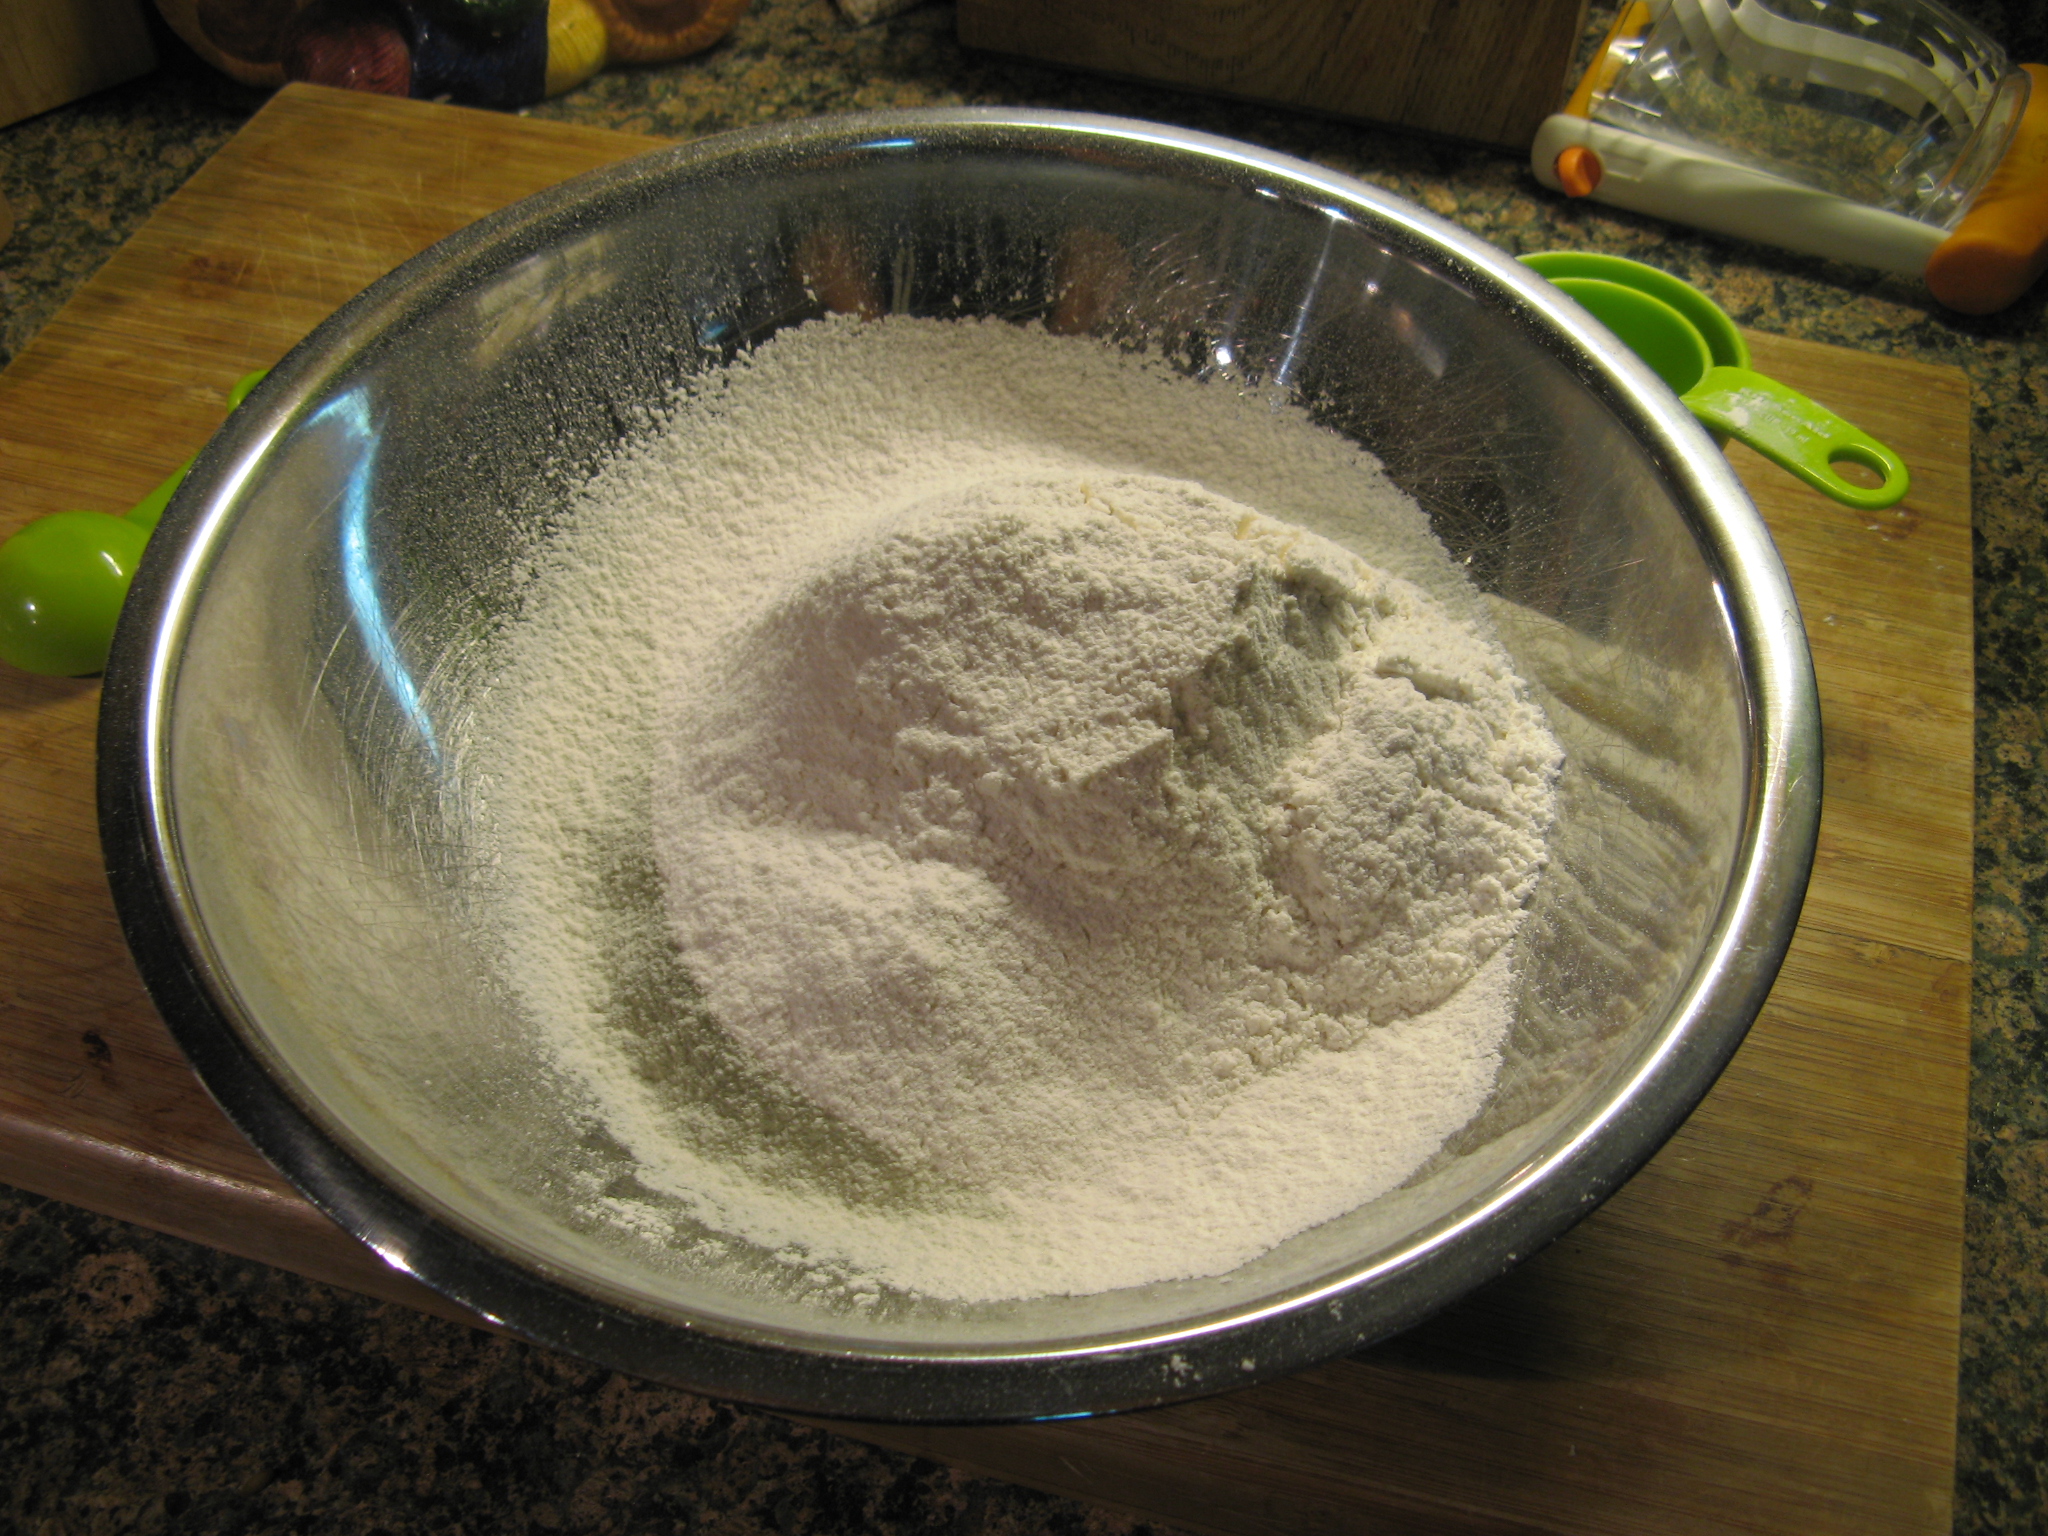
In a medium bowl whisk together the flour, baking powder, baking soda and salt. Set aside.
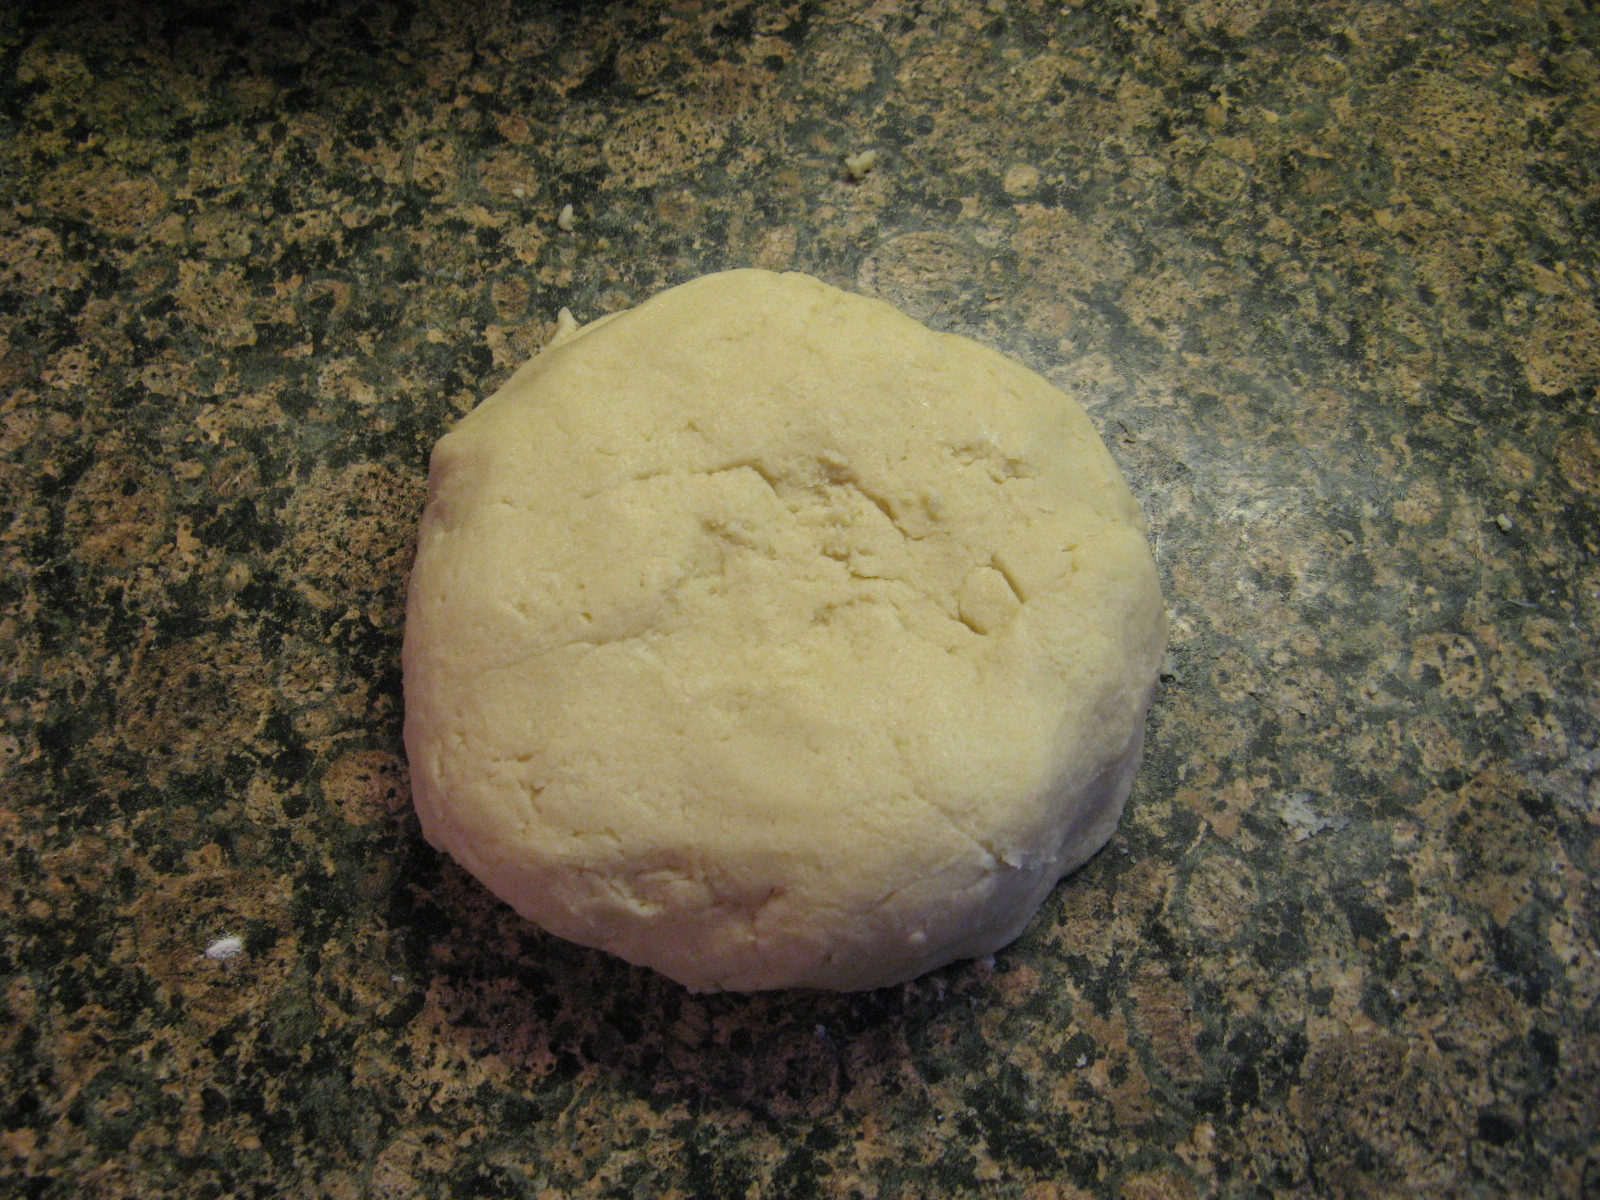
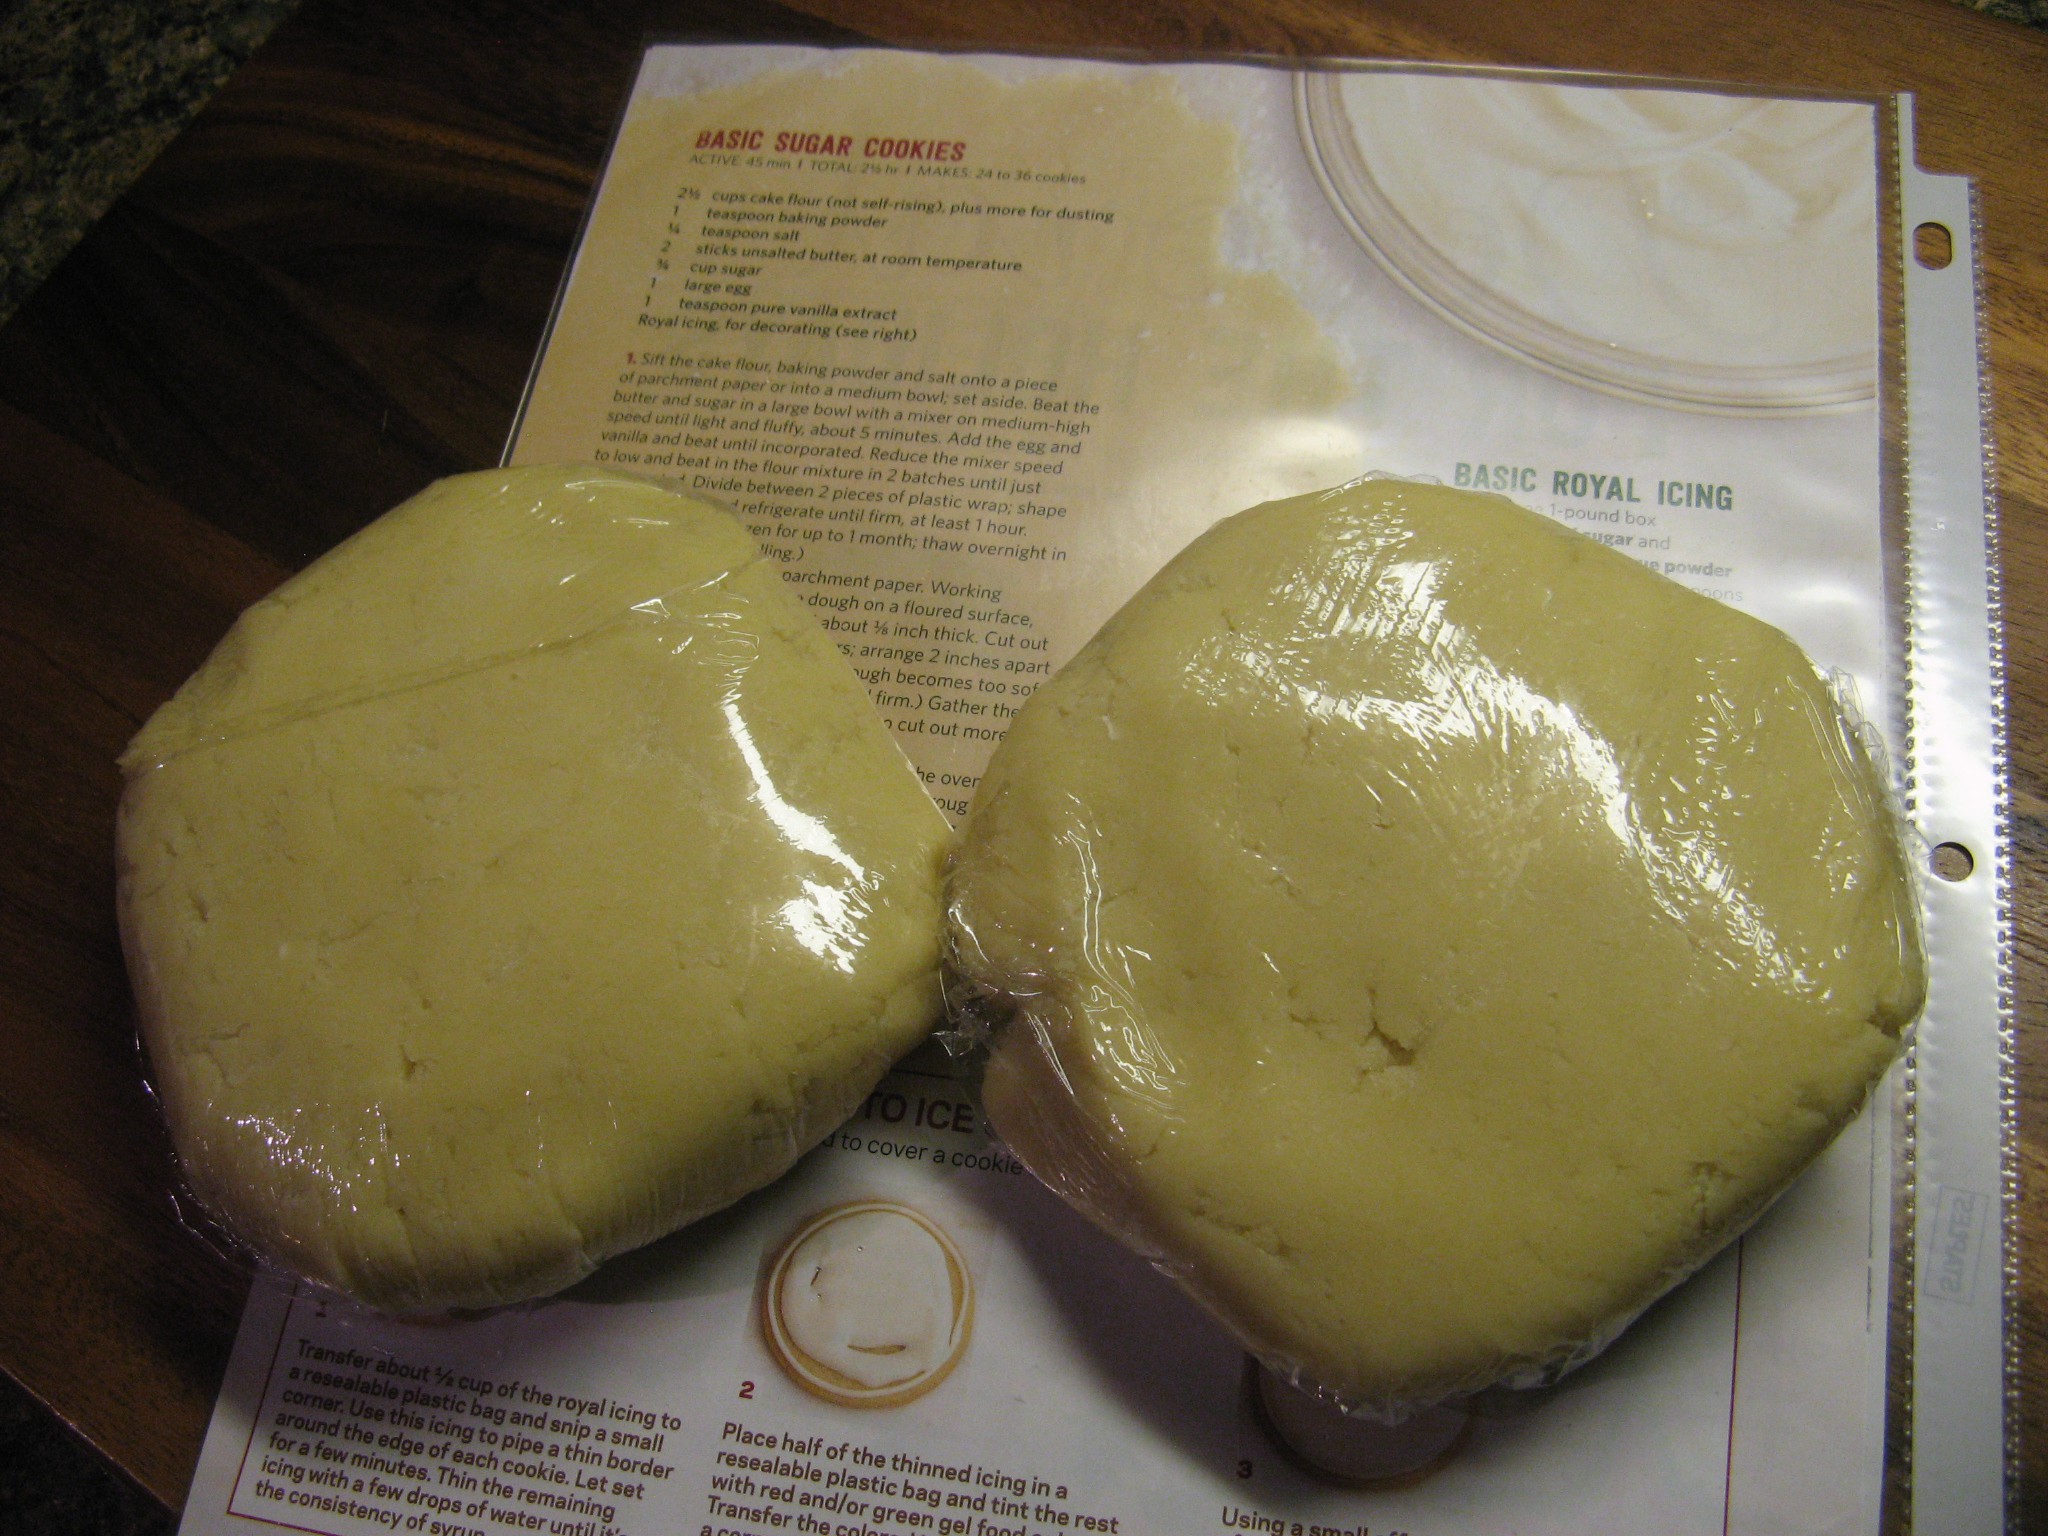
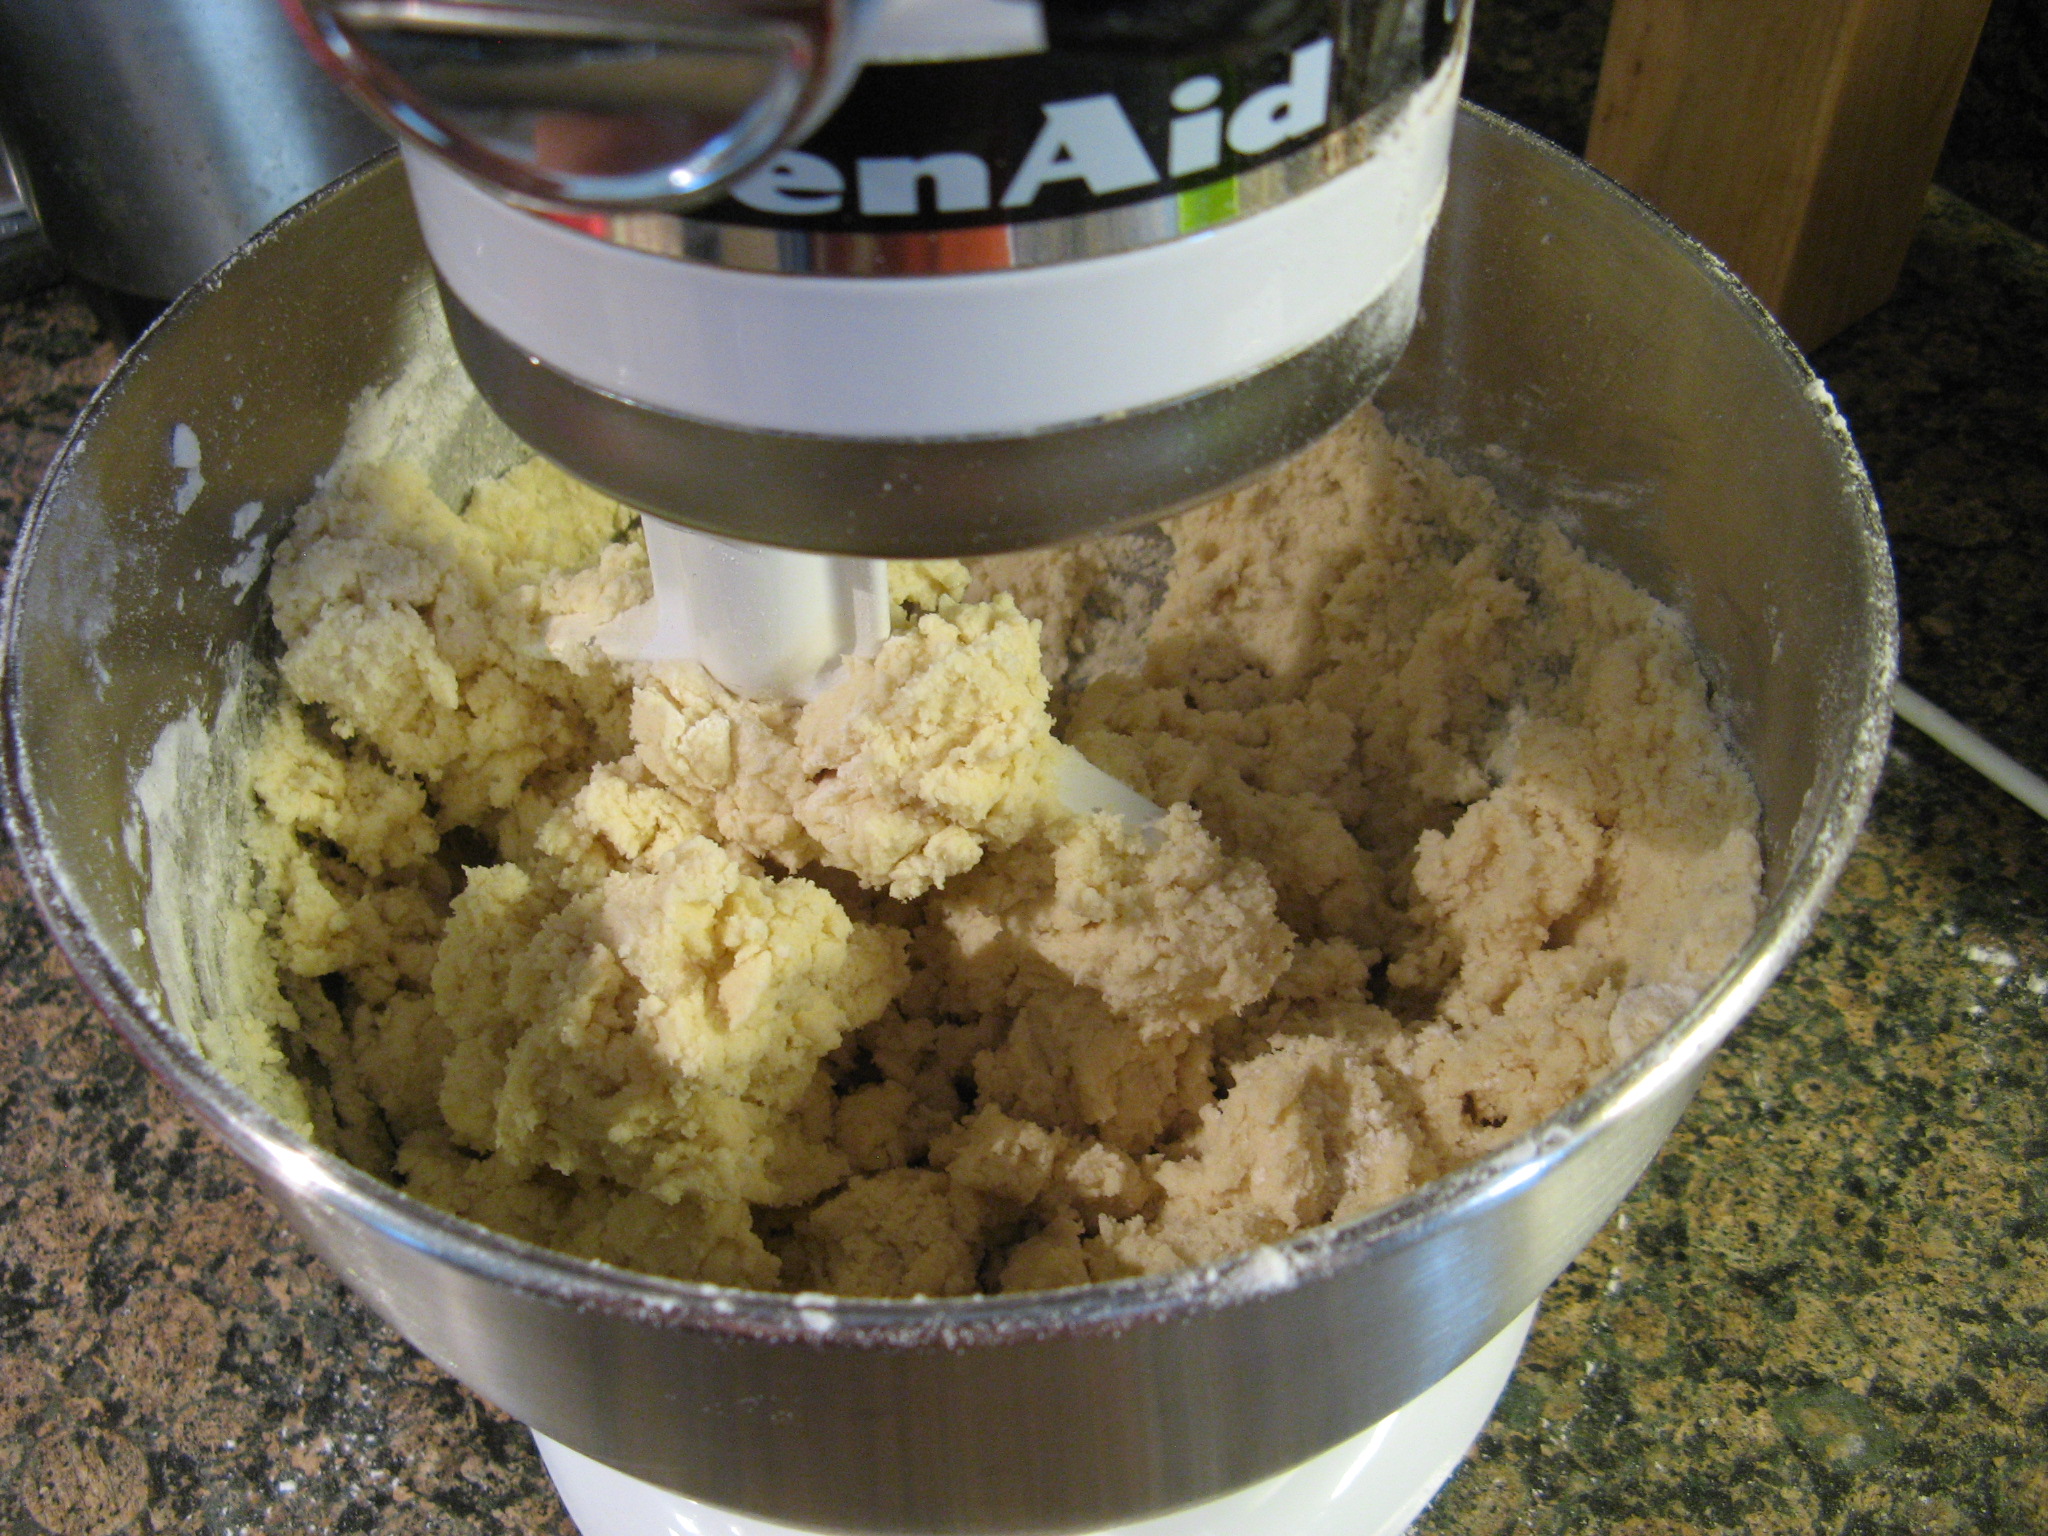
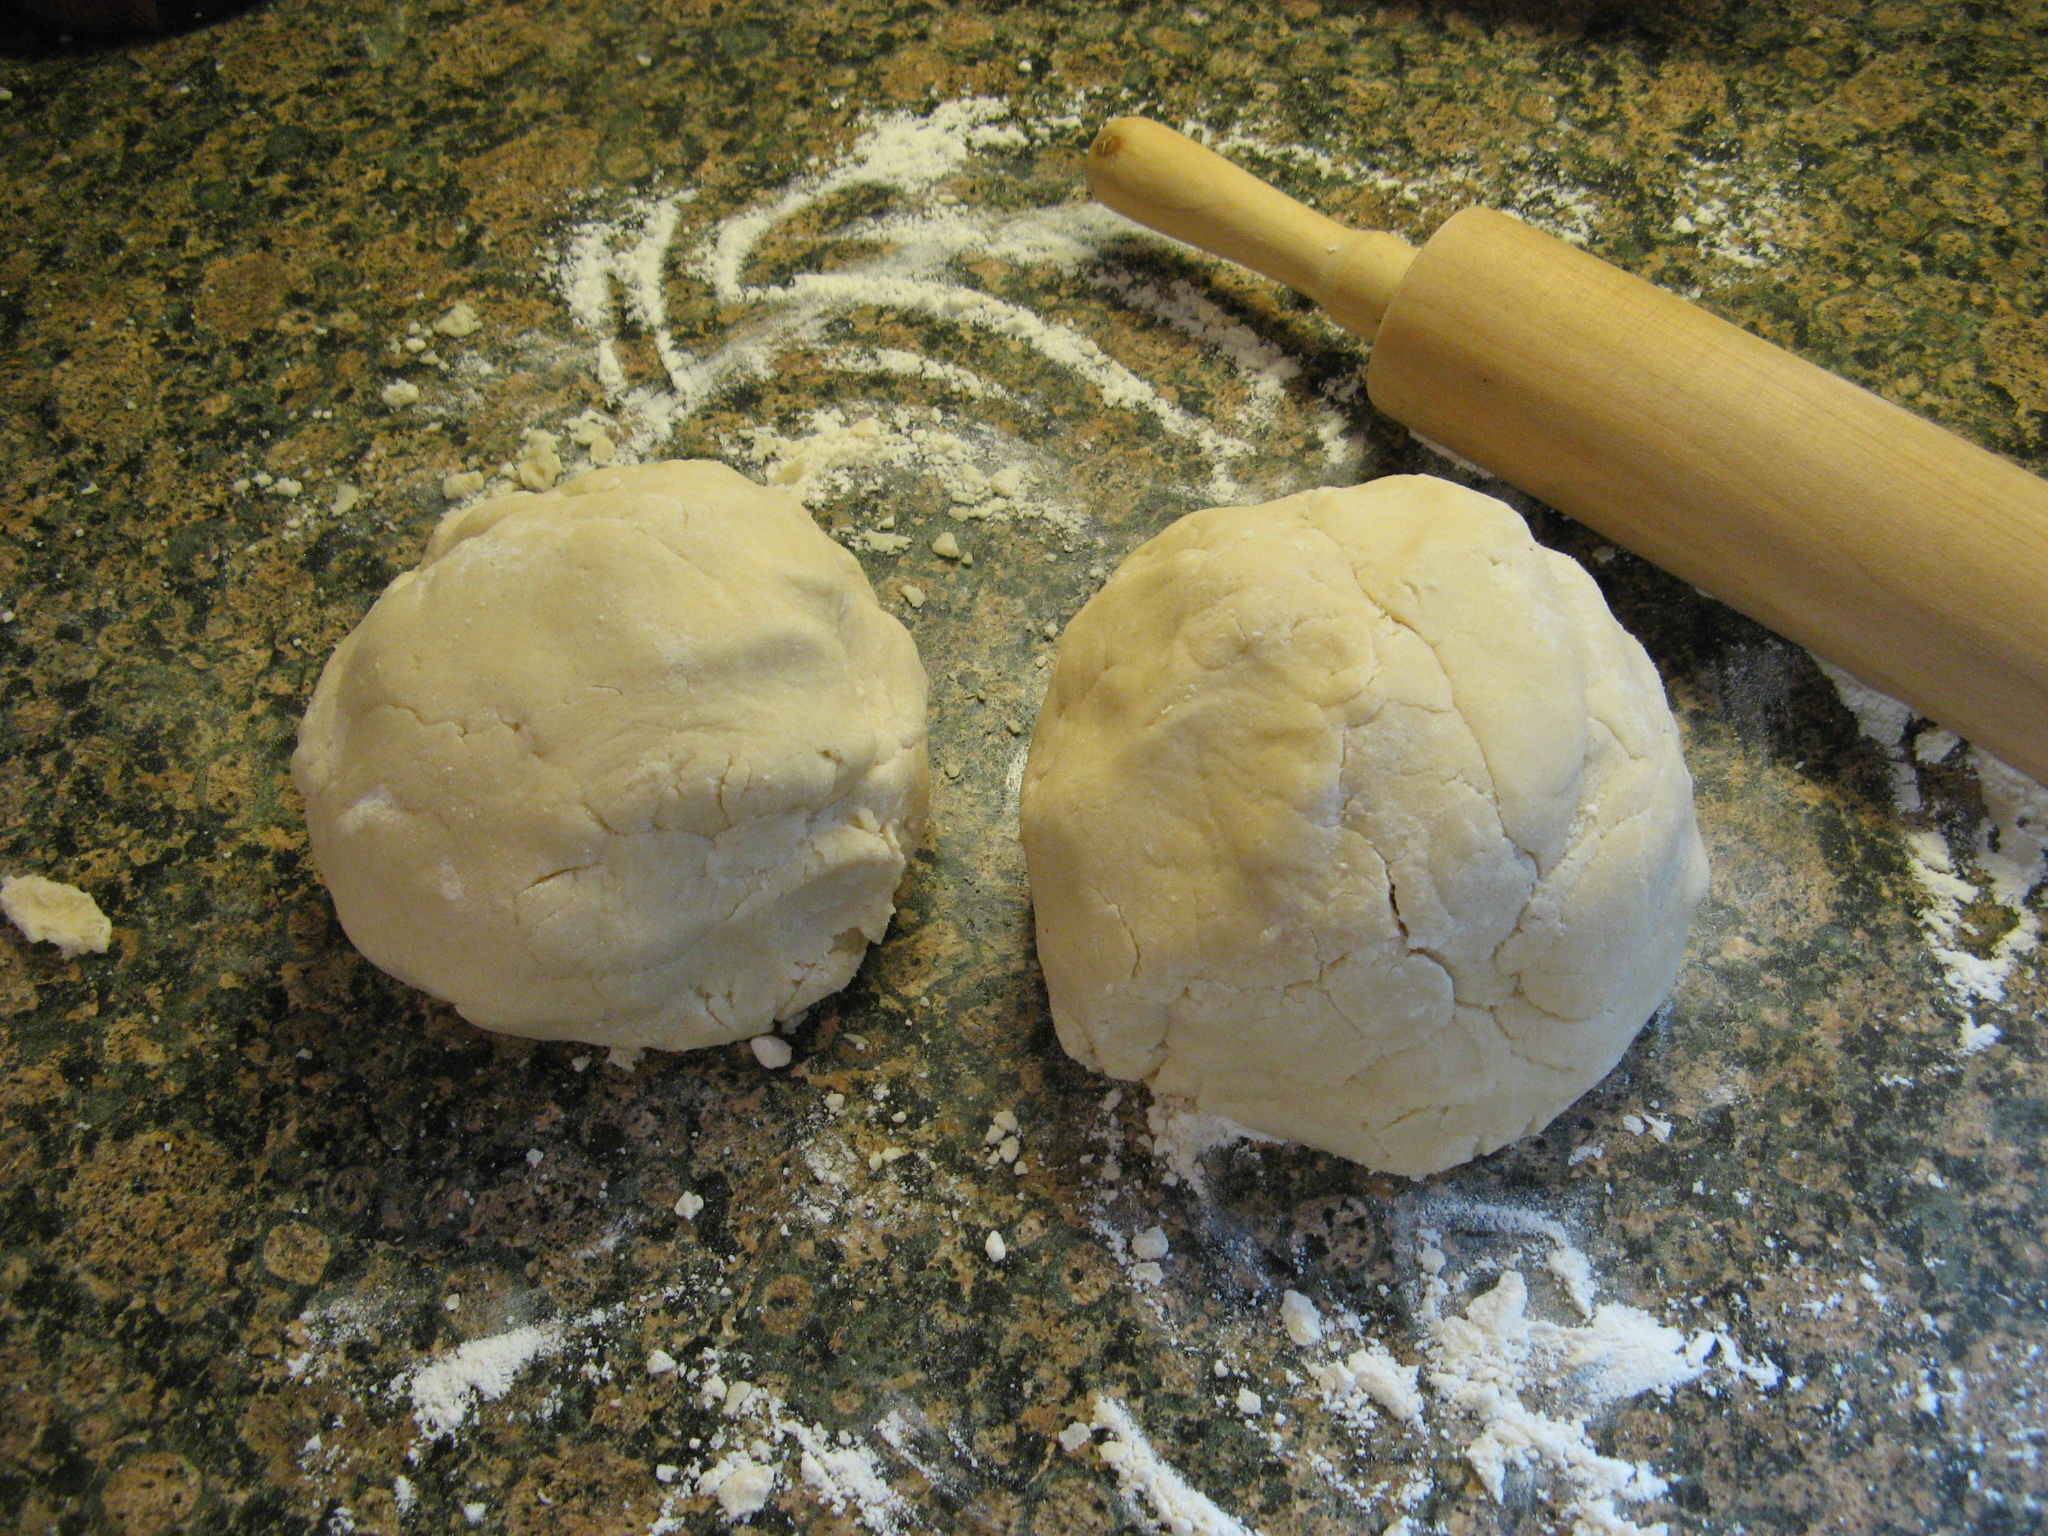
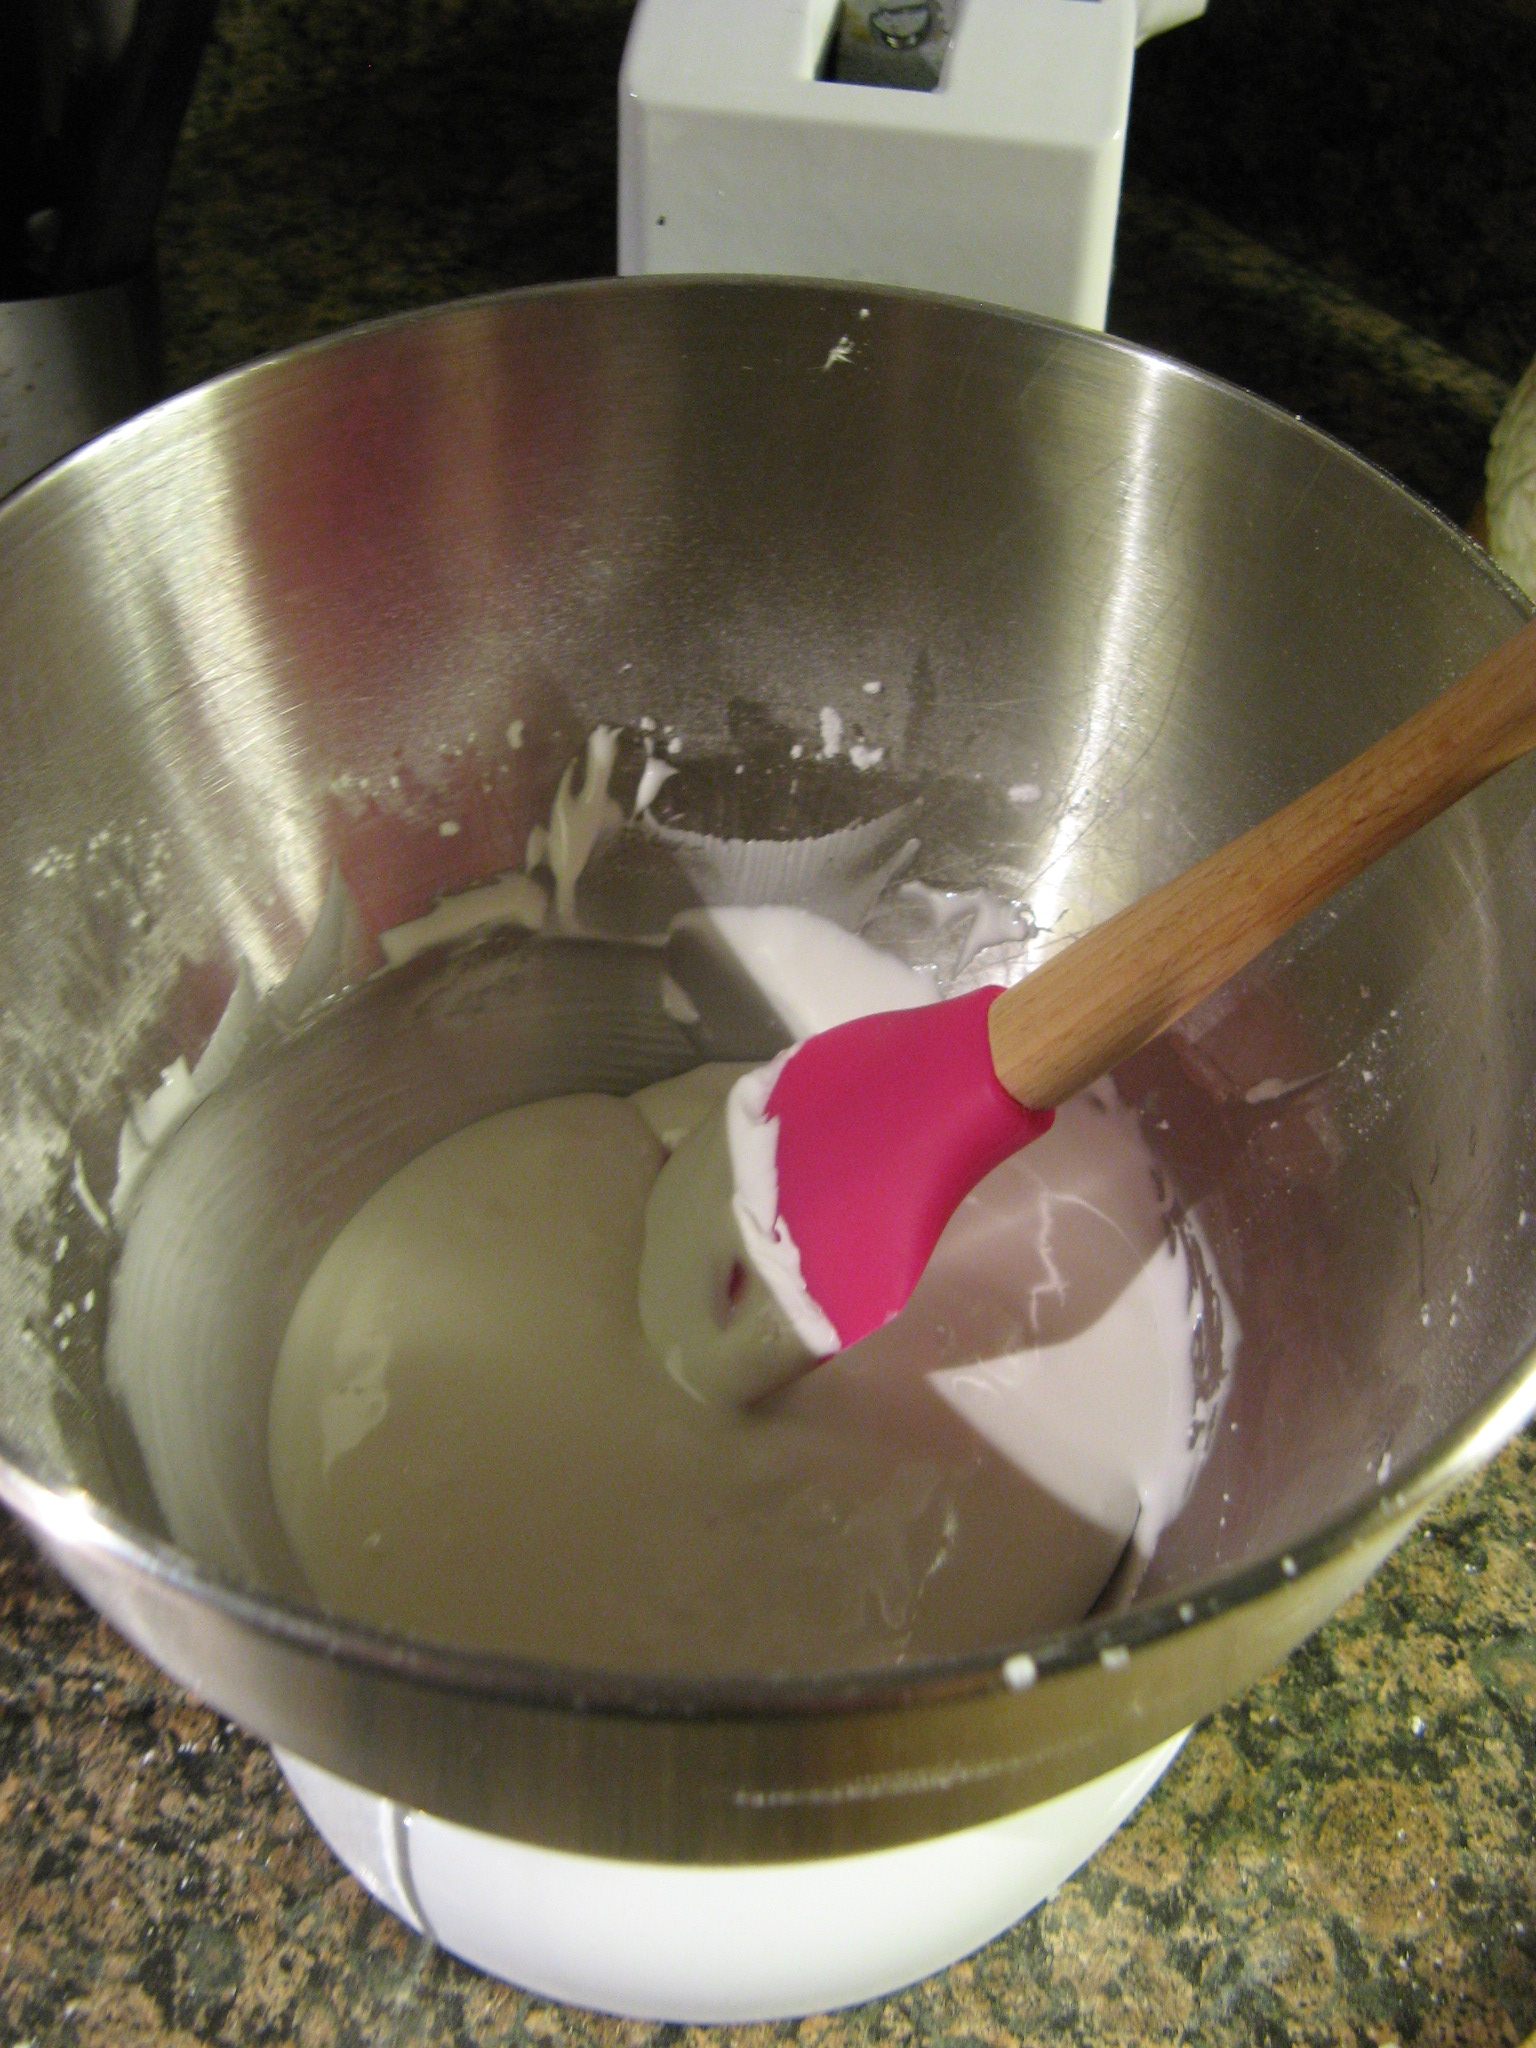
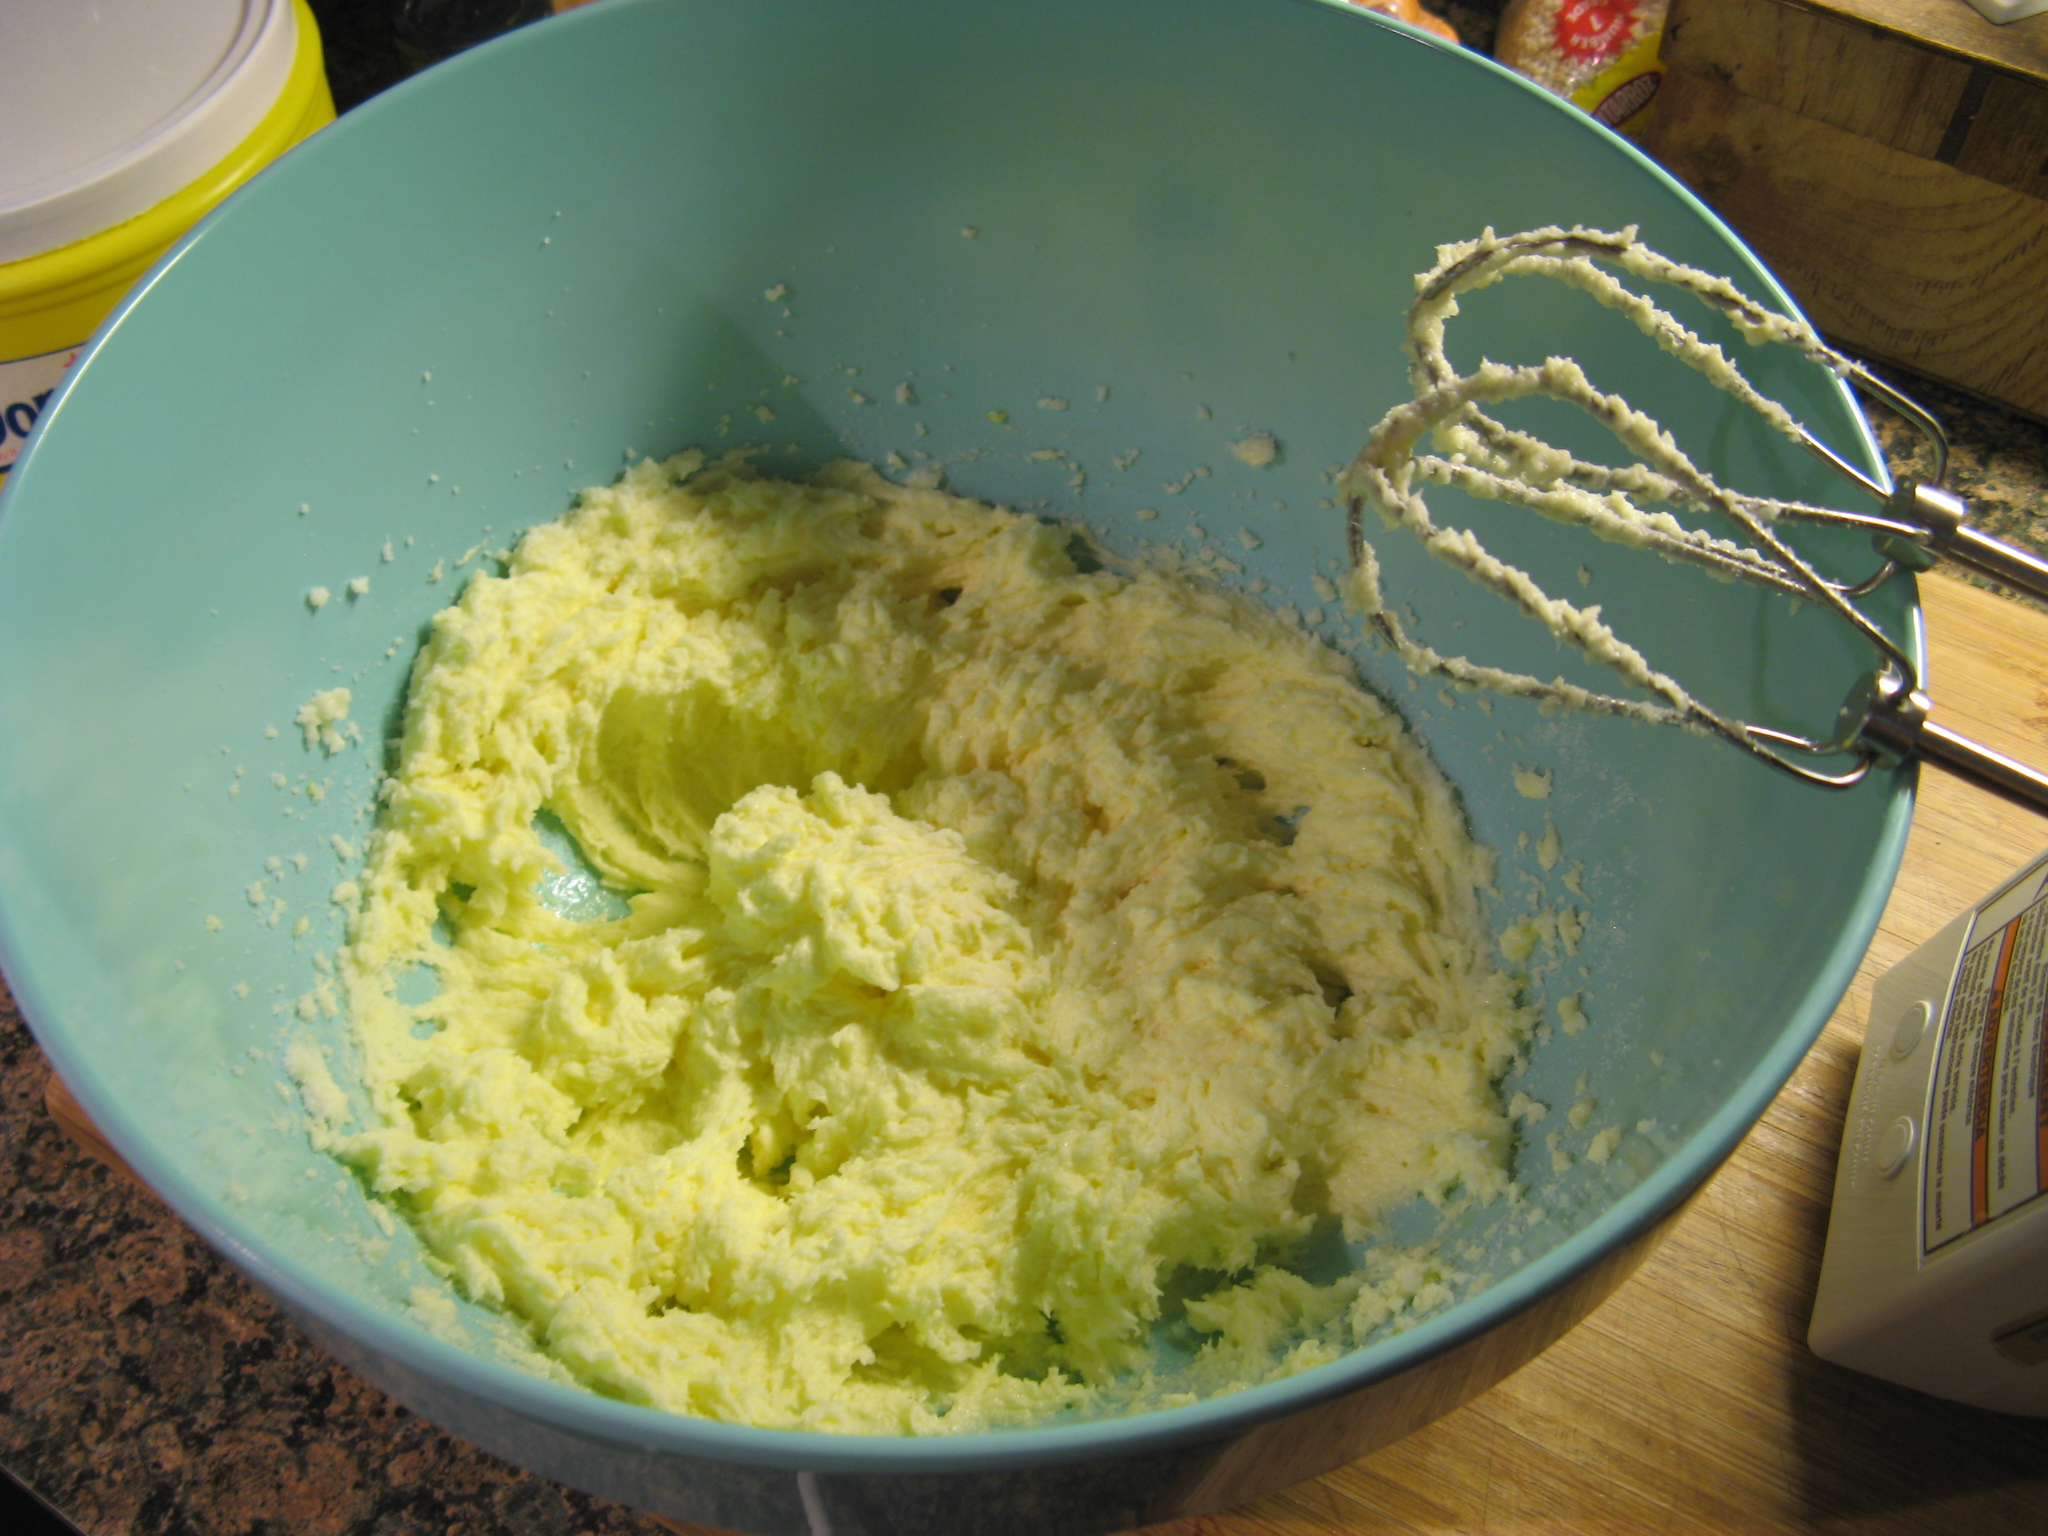
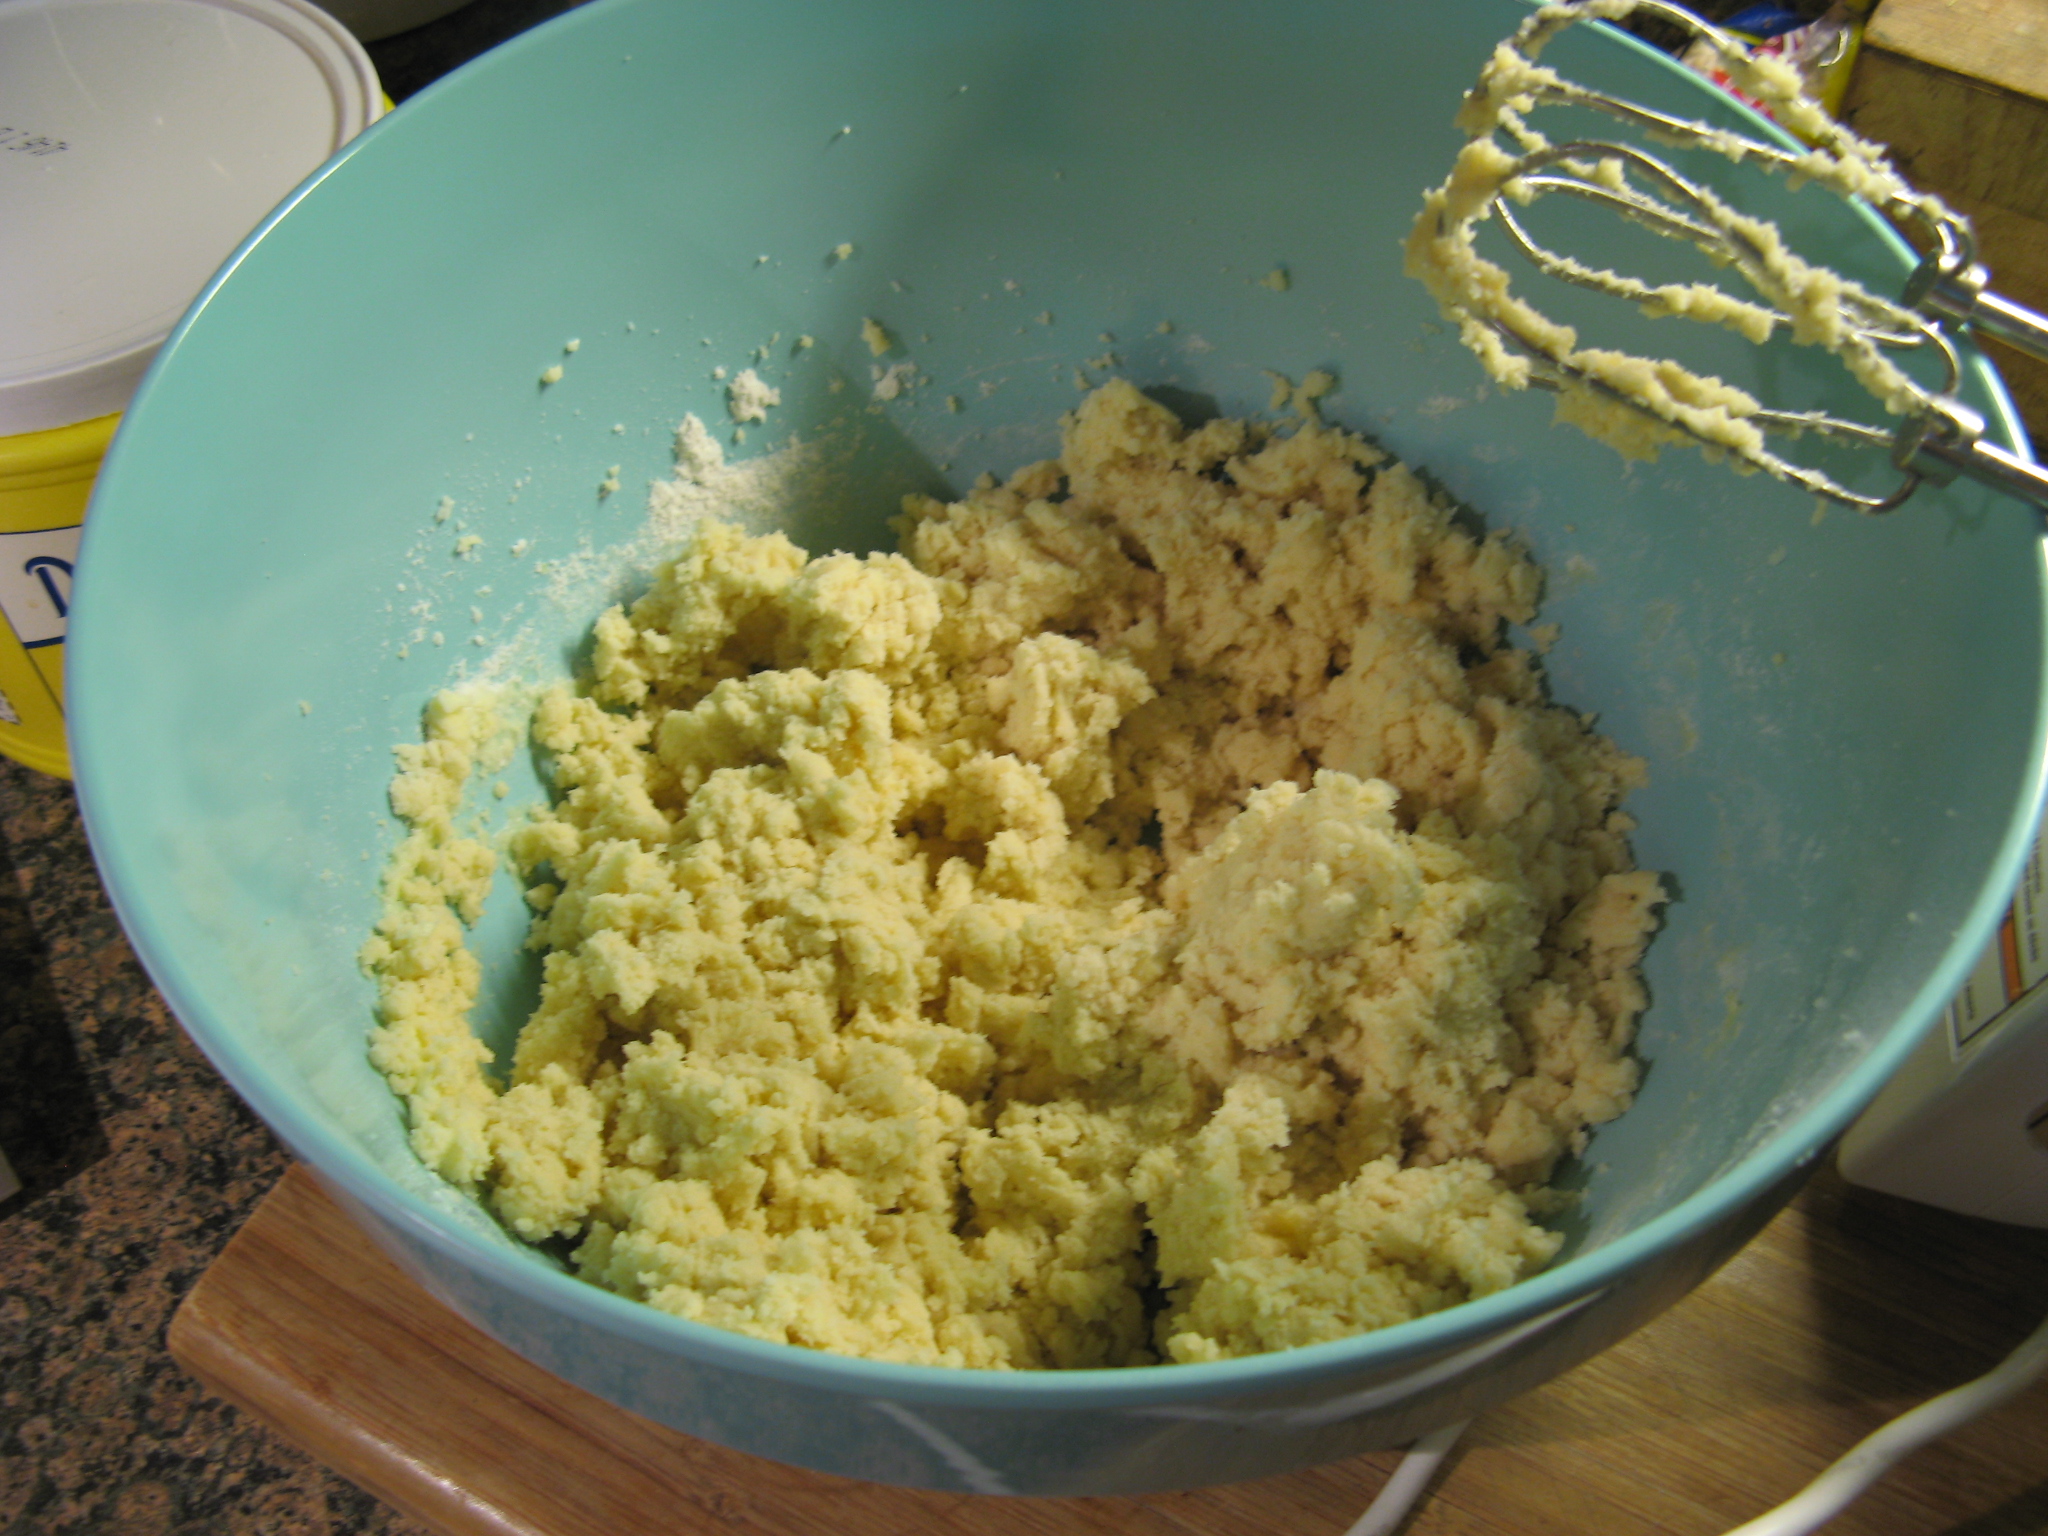
In a large bowl beat together the butter, cream cheese and sugar with a hand mixer on medium speed until light and fluffy. Add the egg and vanilla extract and continue beating until incorporated. Add in the flour mixture and continue beating until just incorporated. If the dough feels too soft, refrigerate 15-20 minutes to firm up.
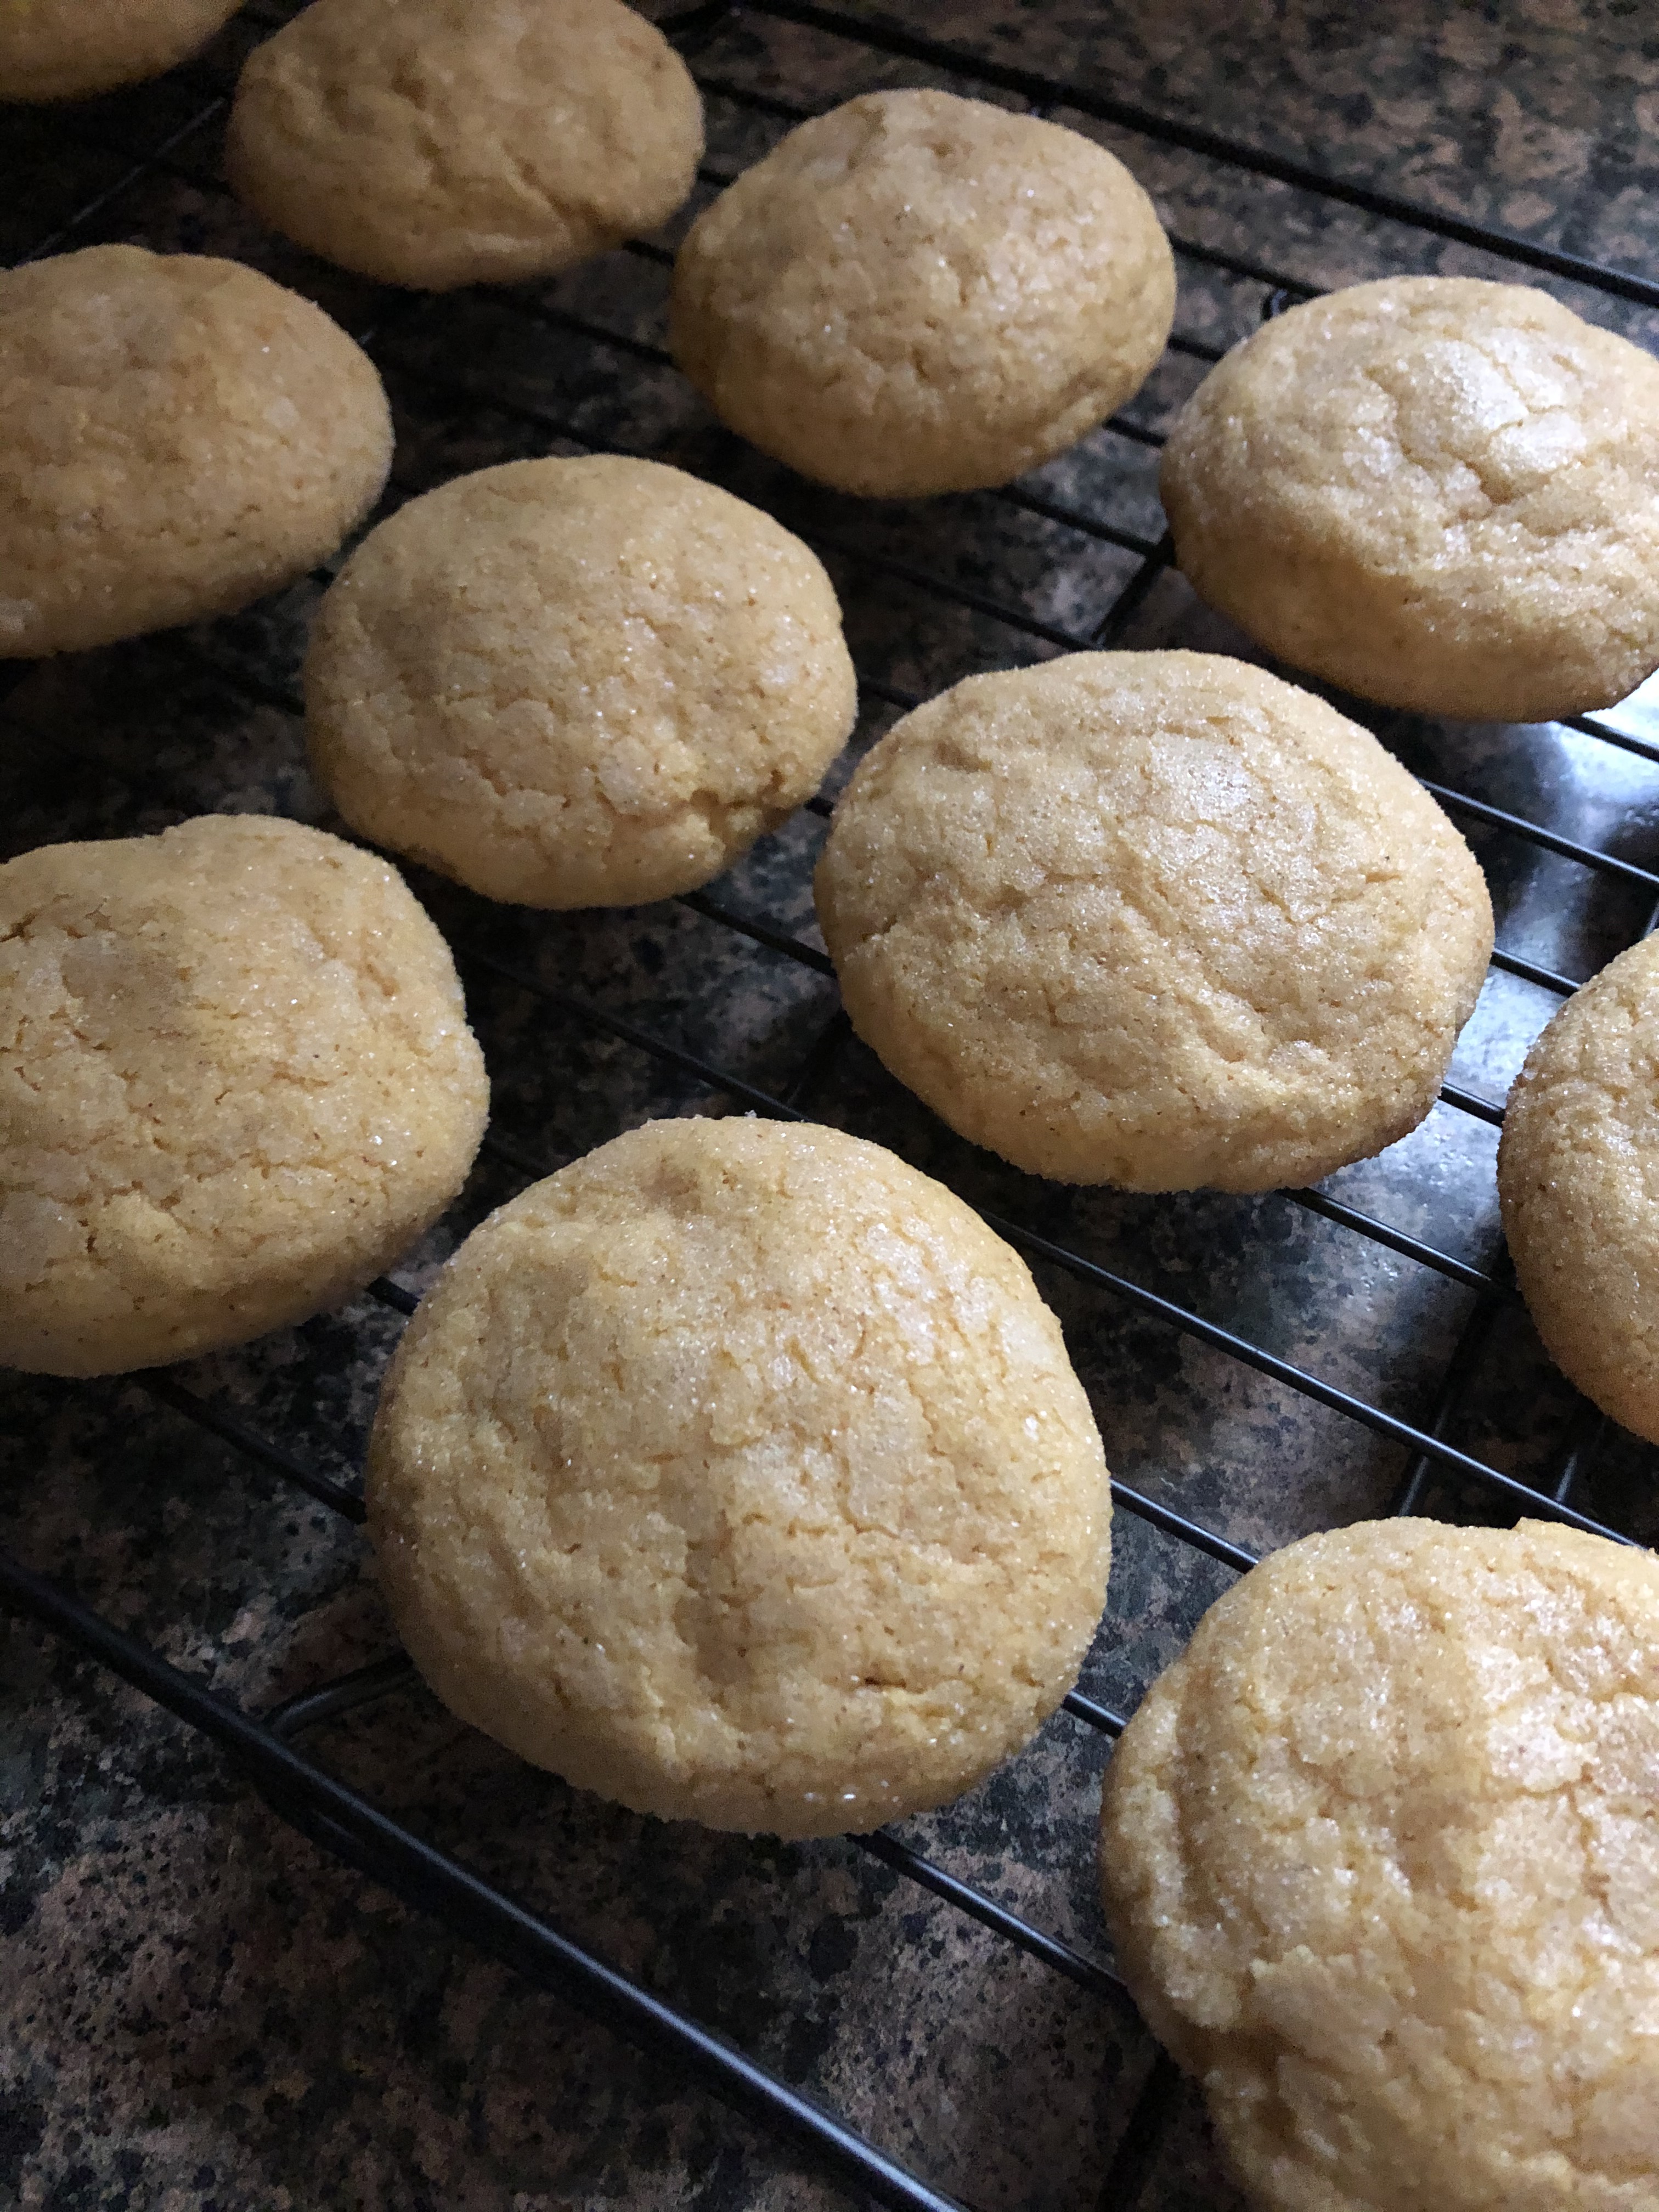
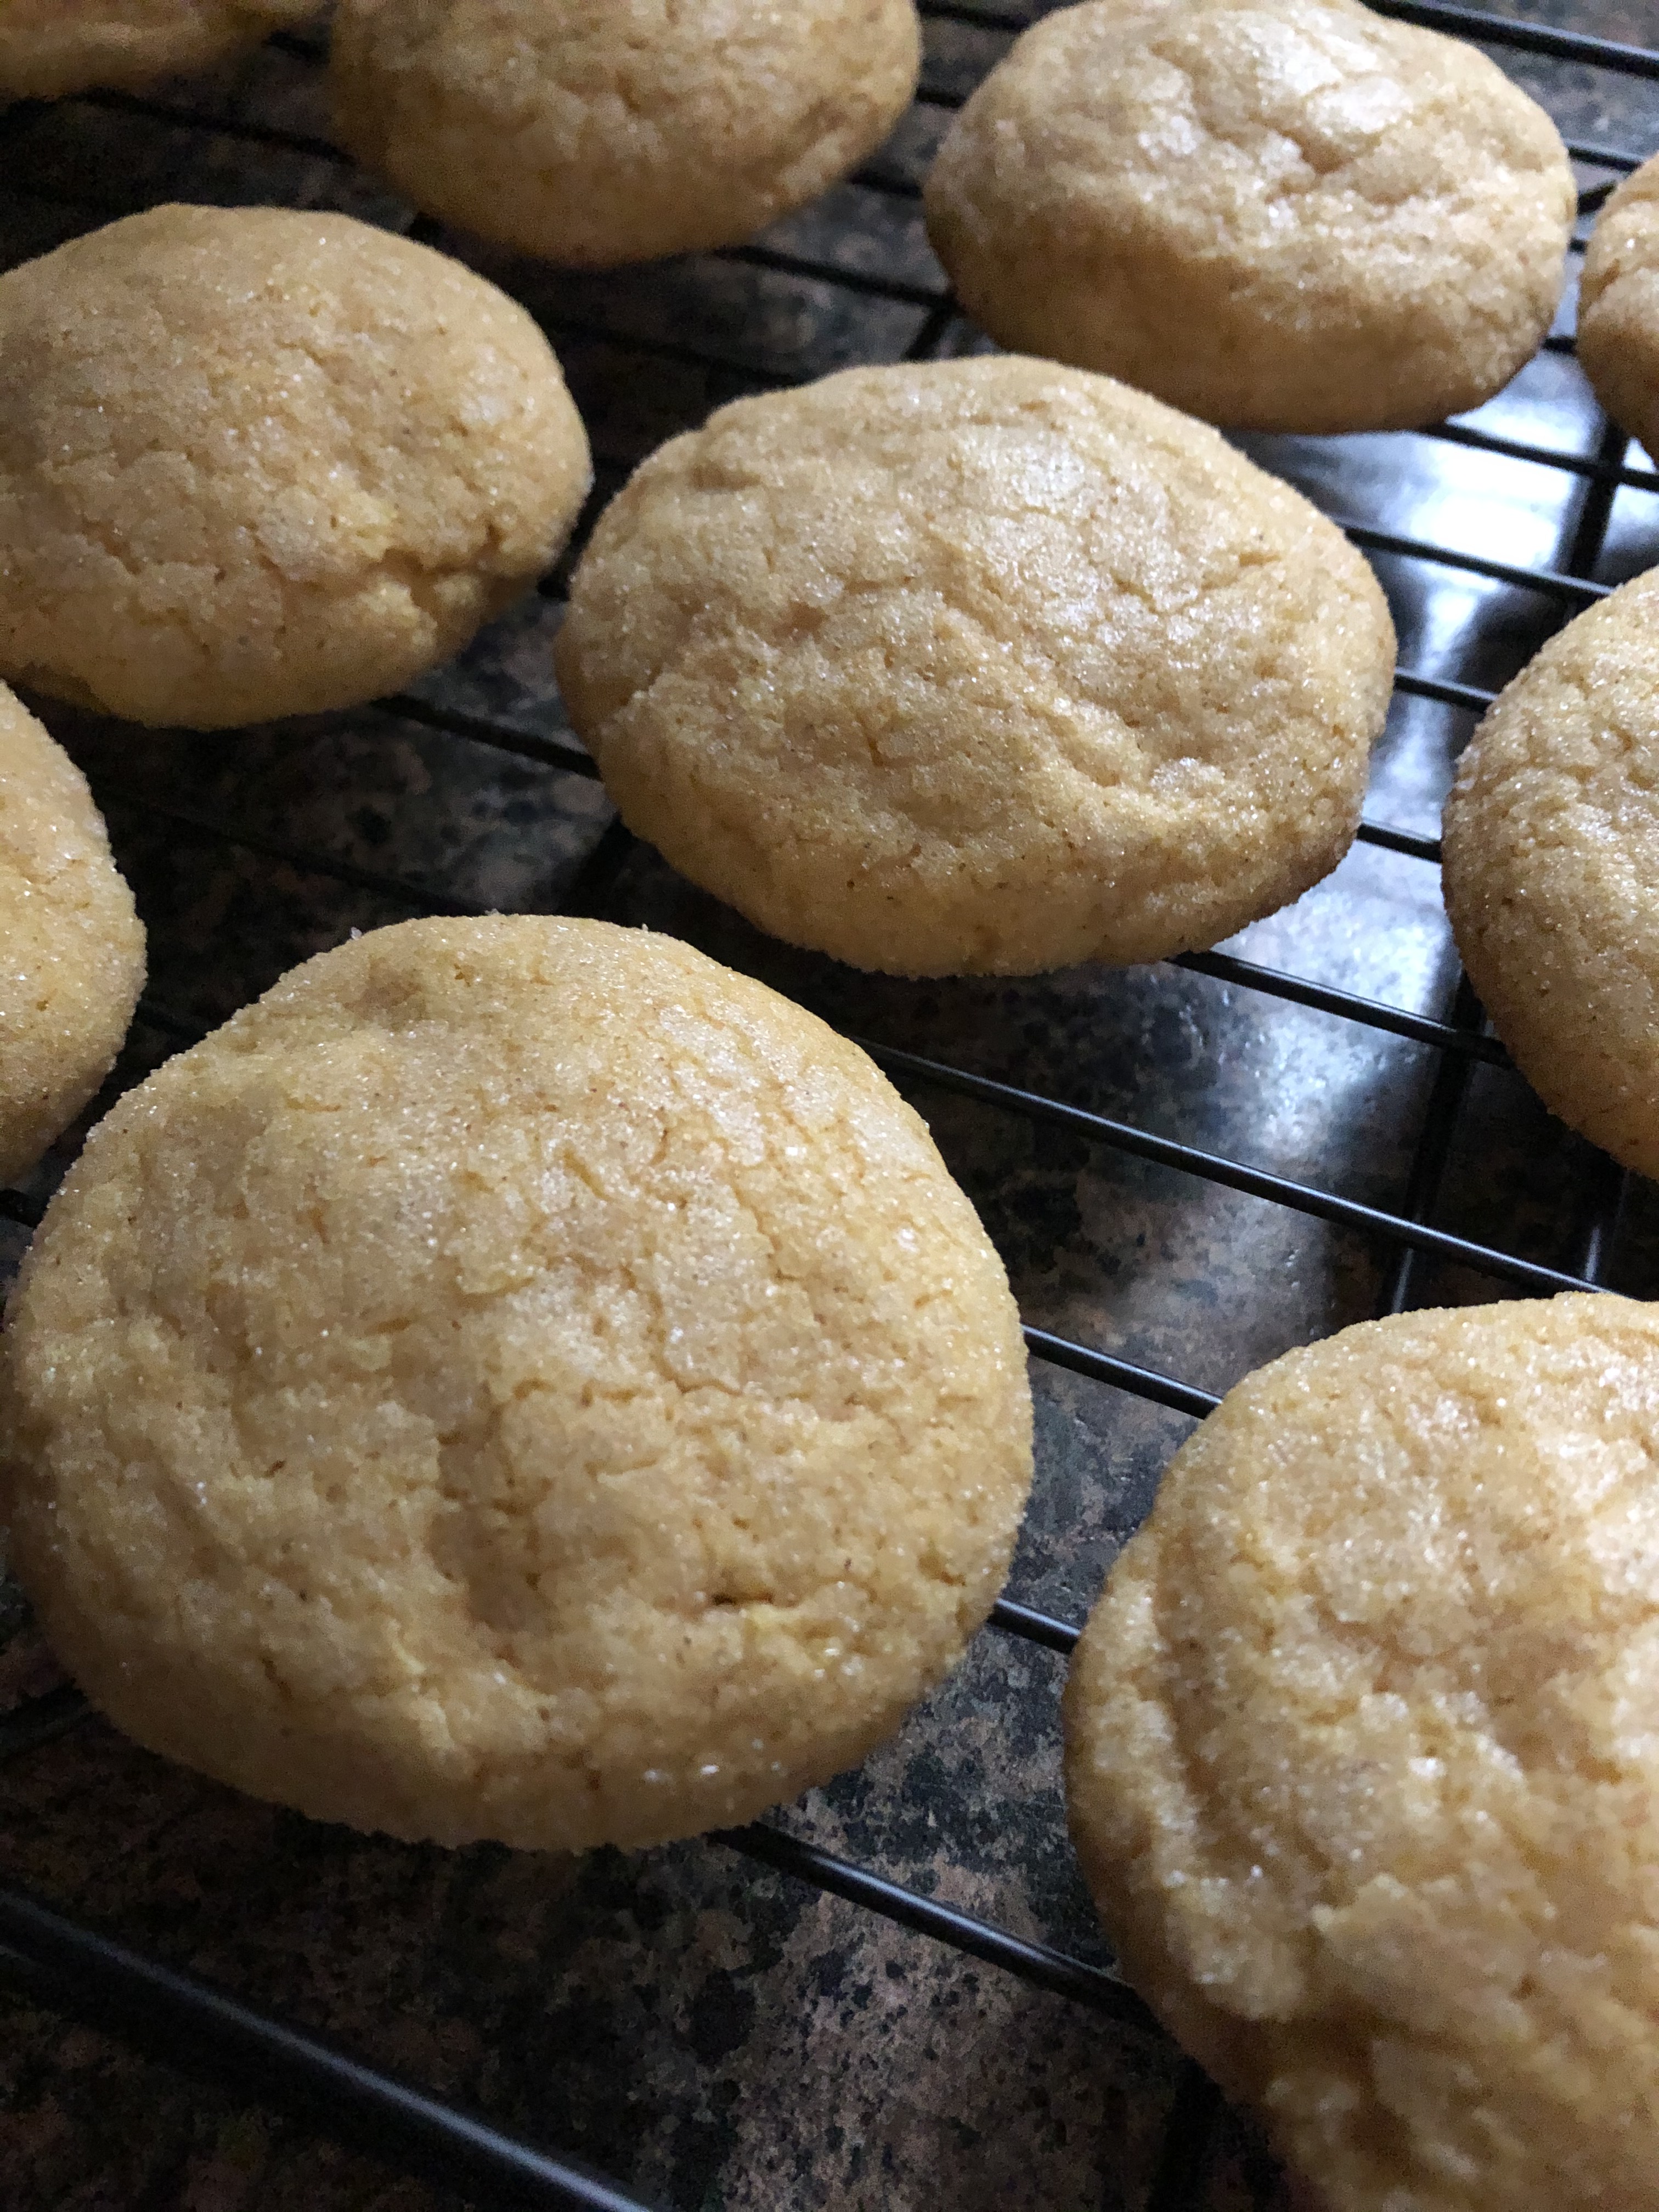
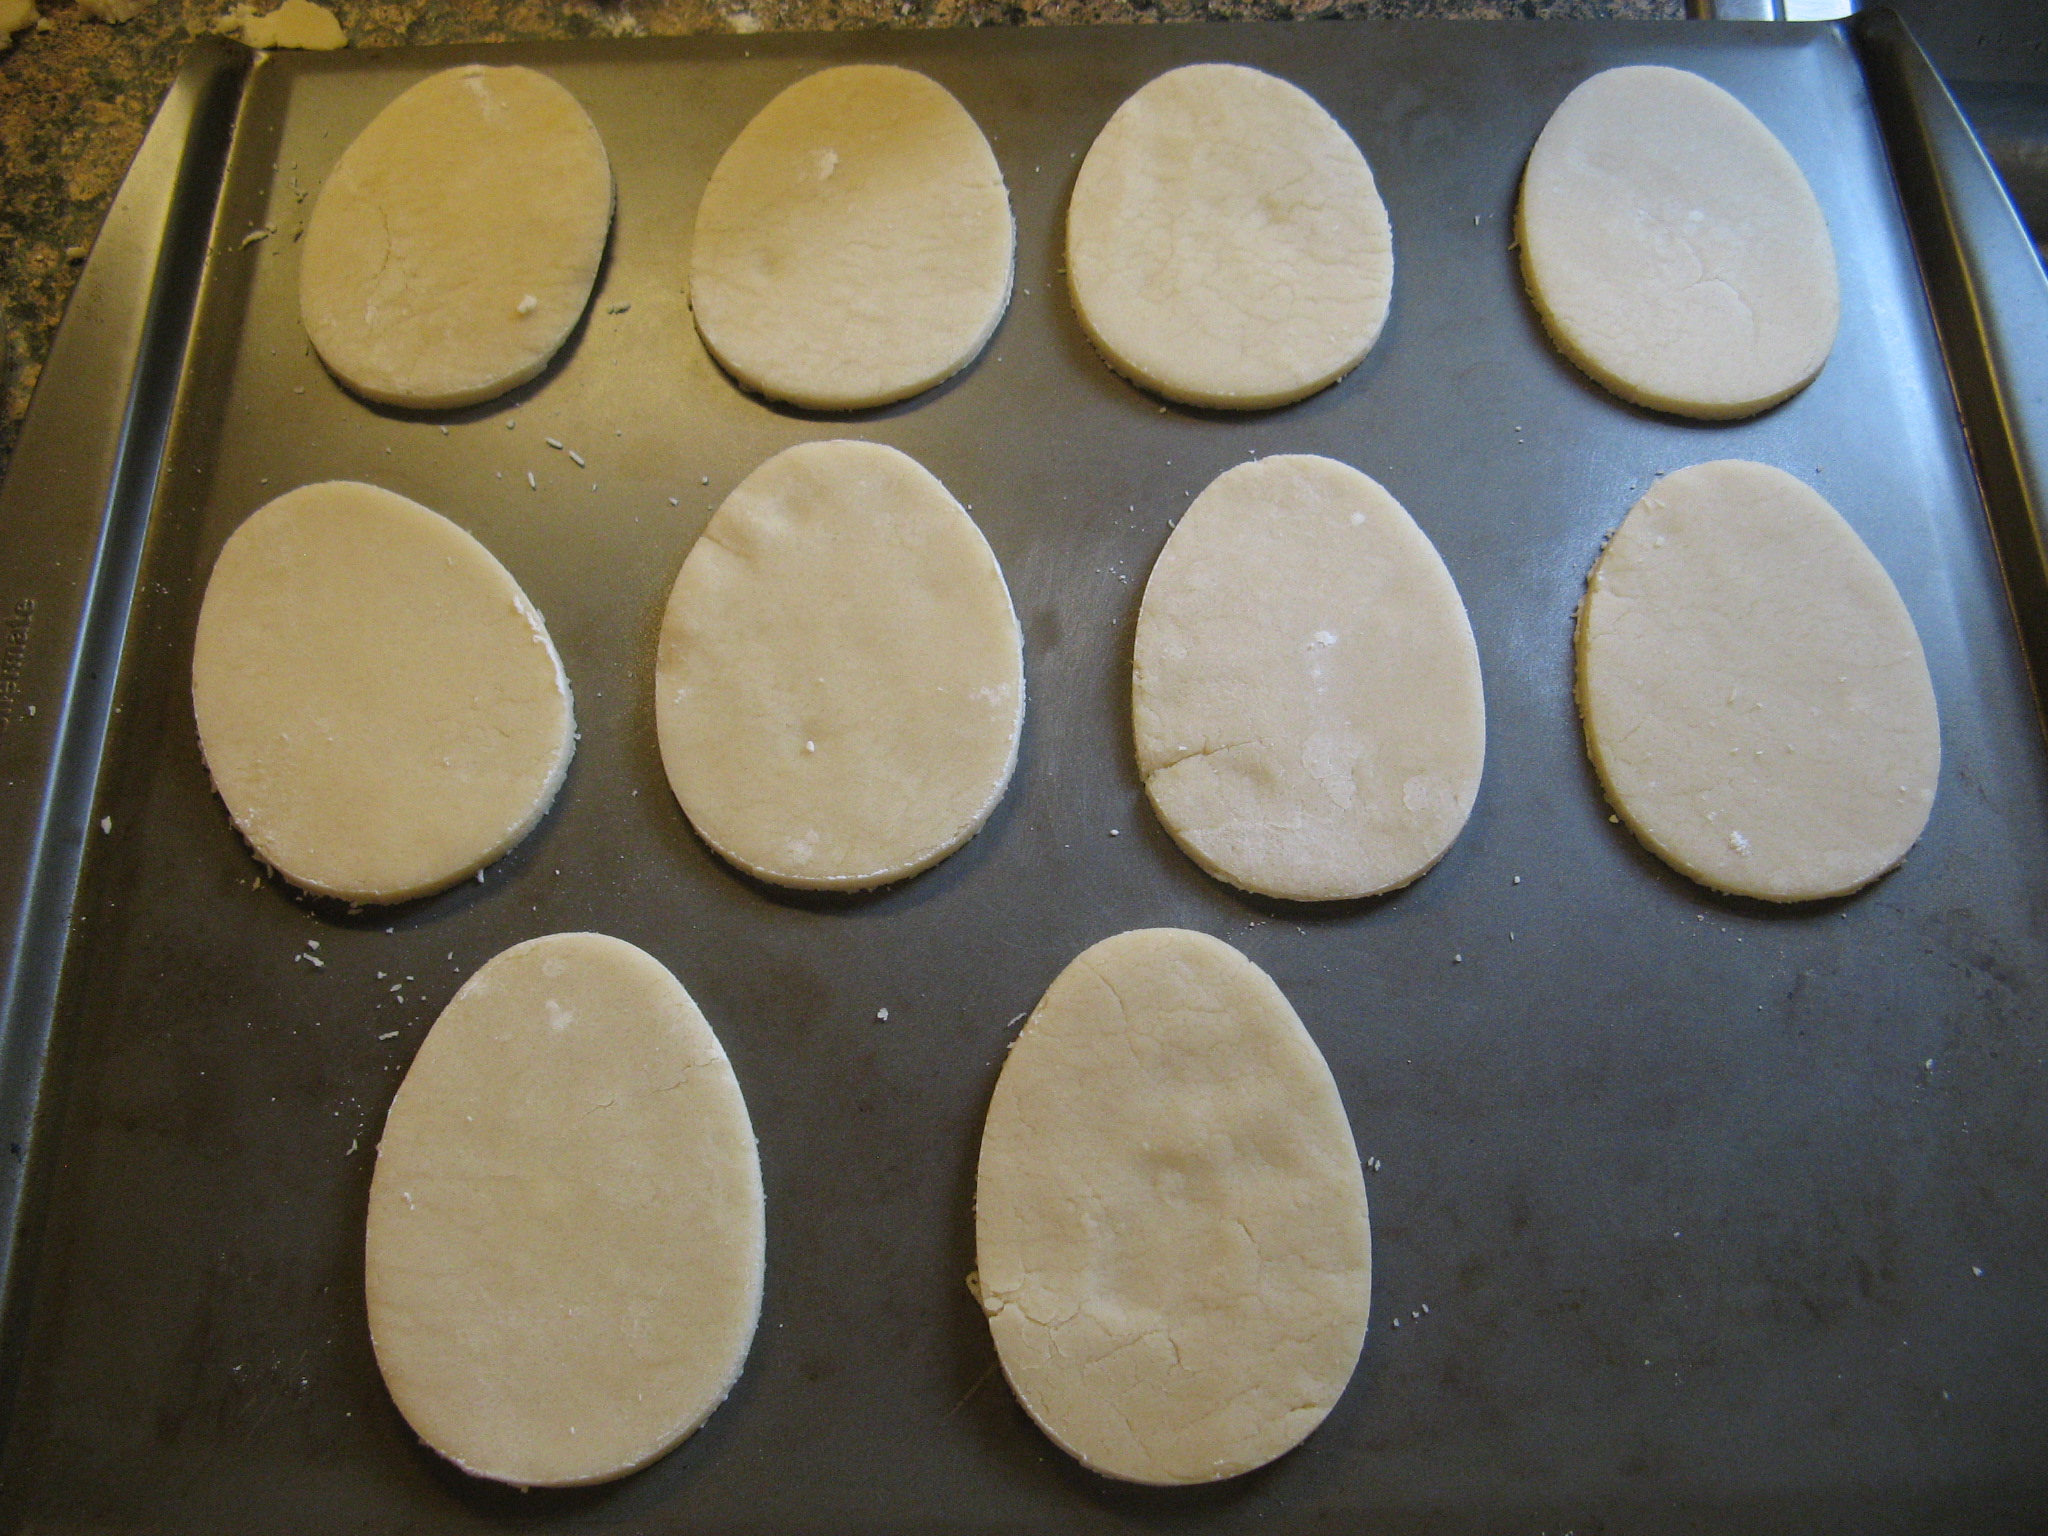
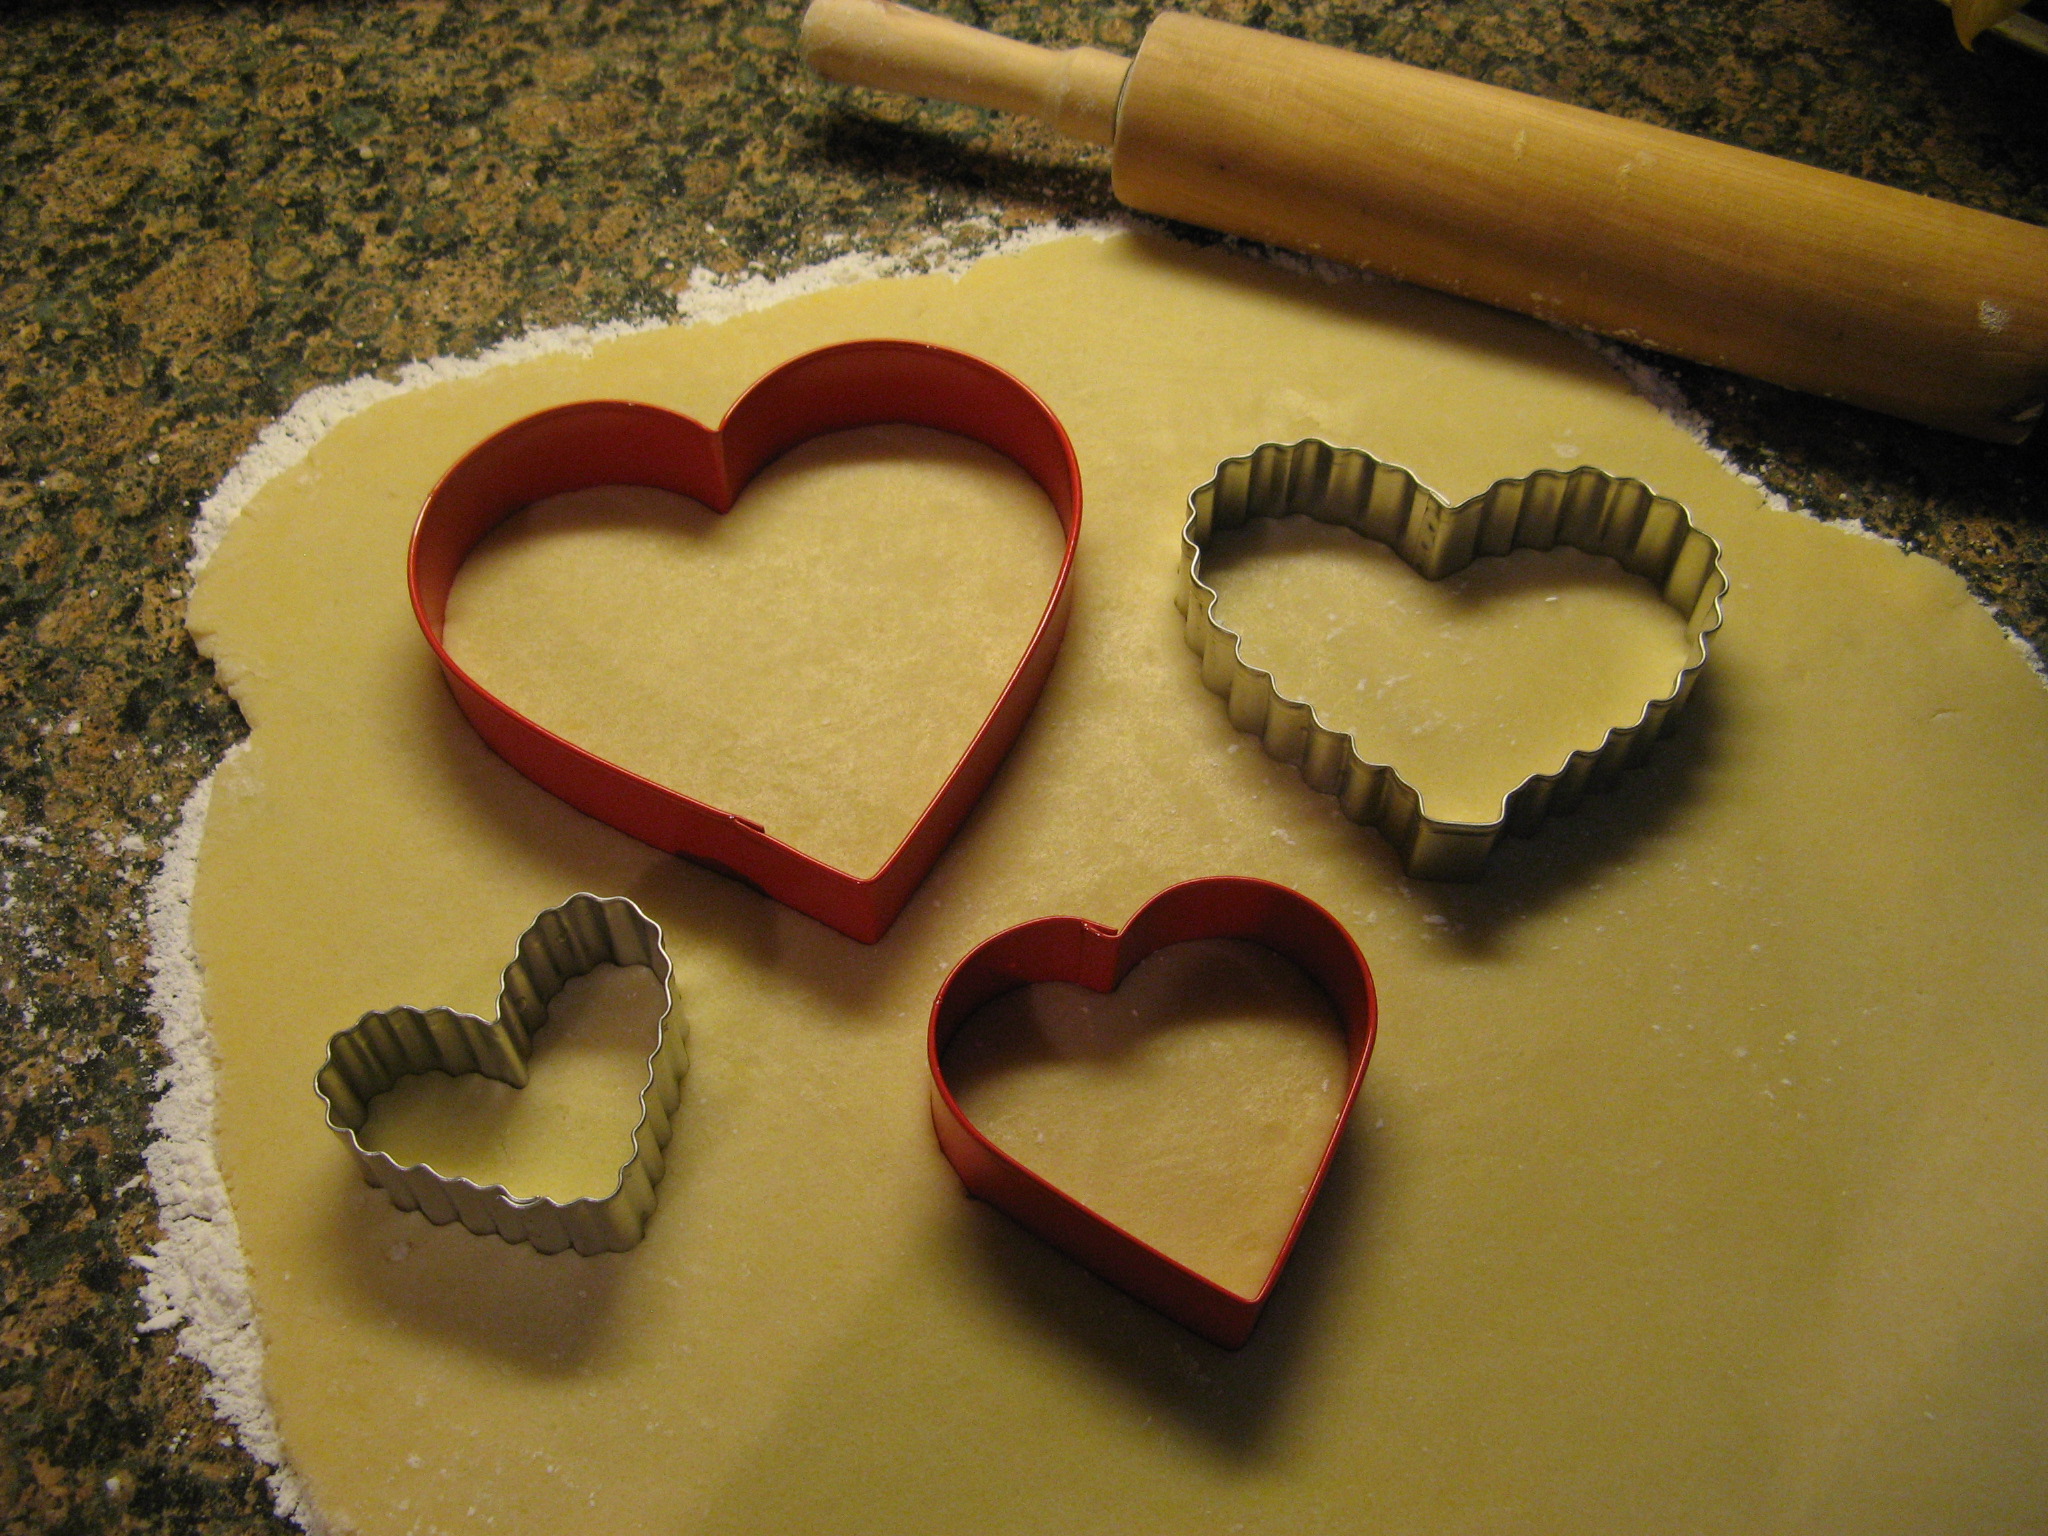
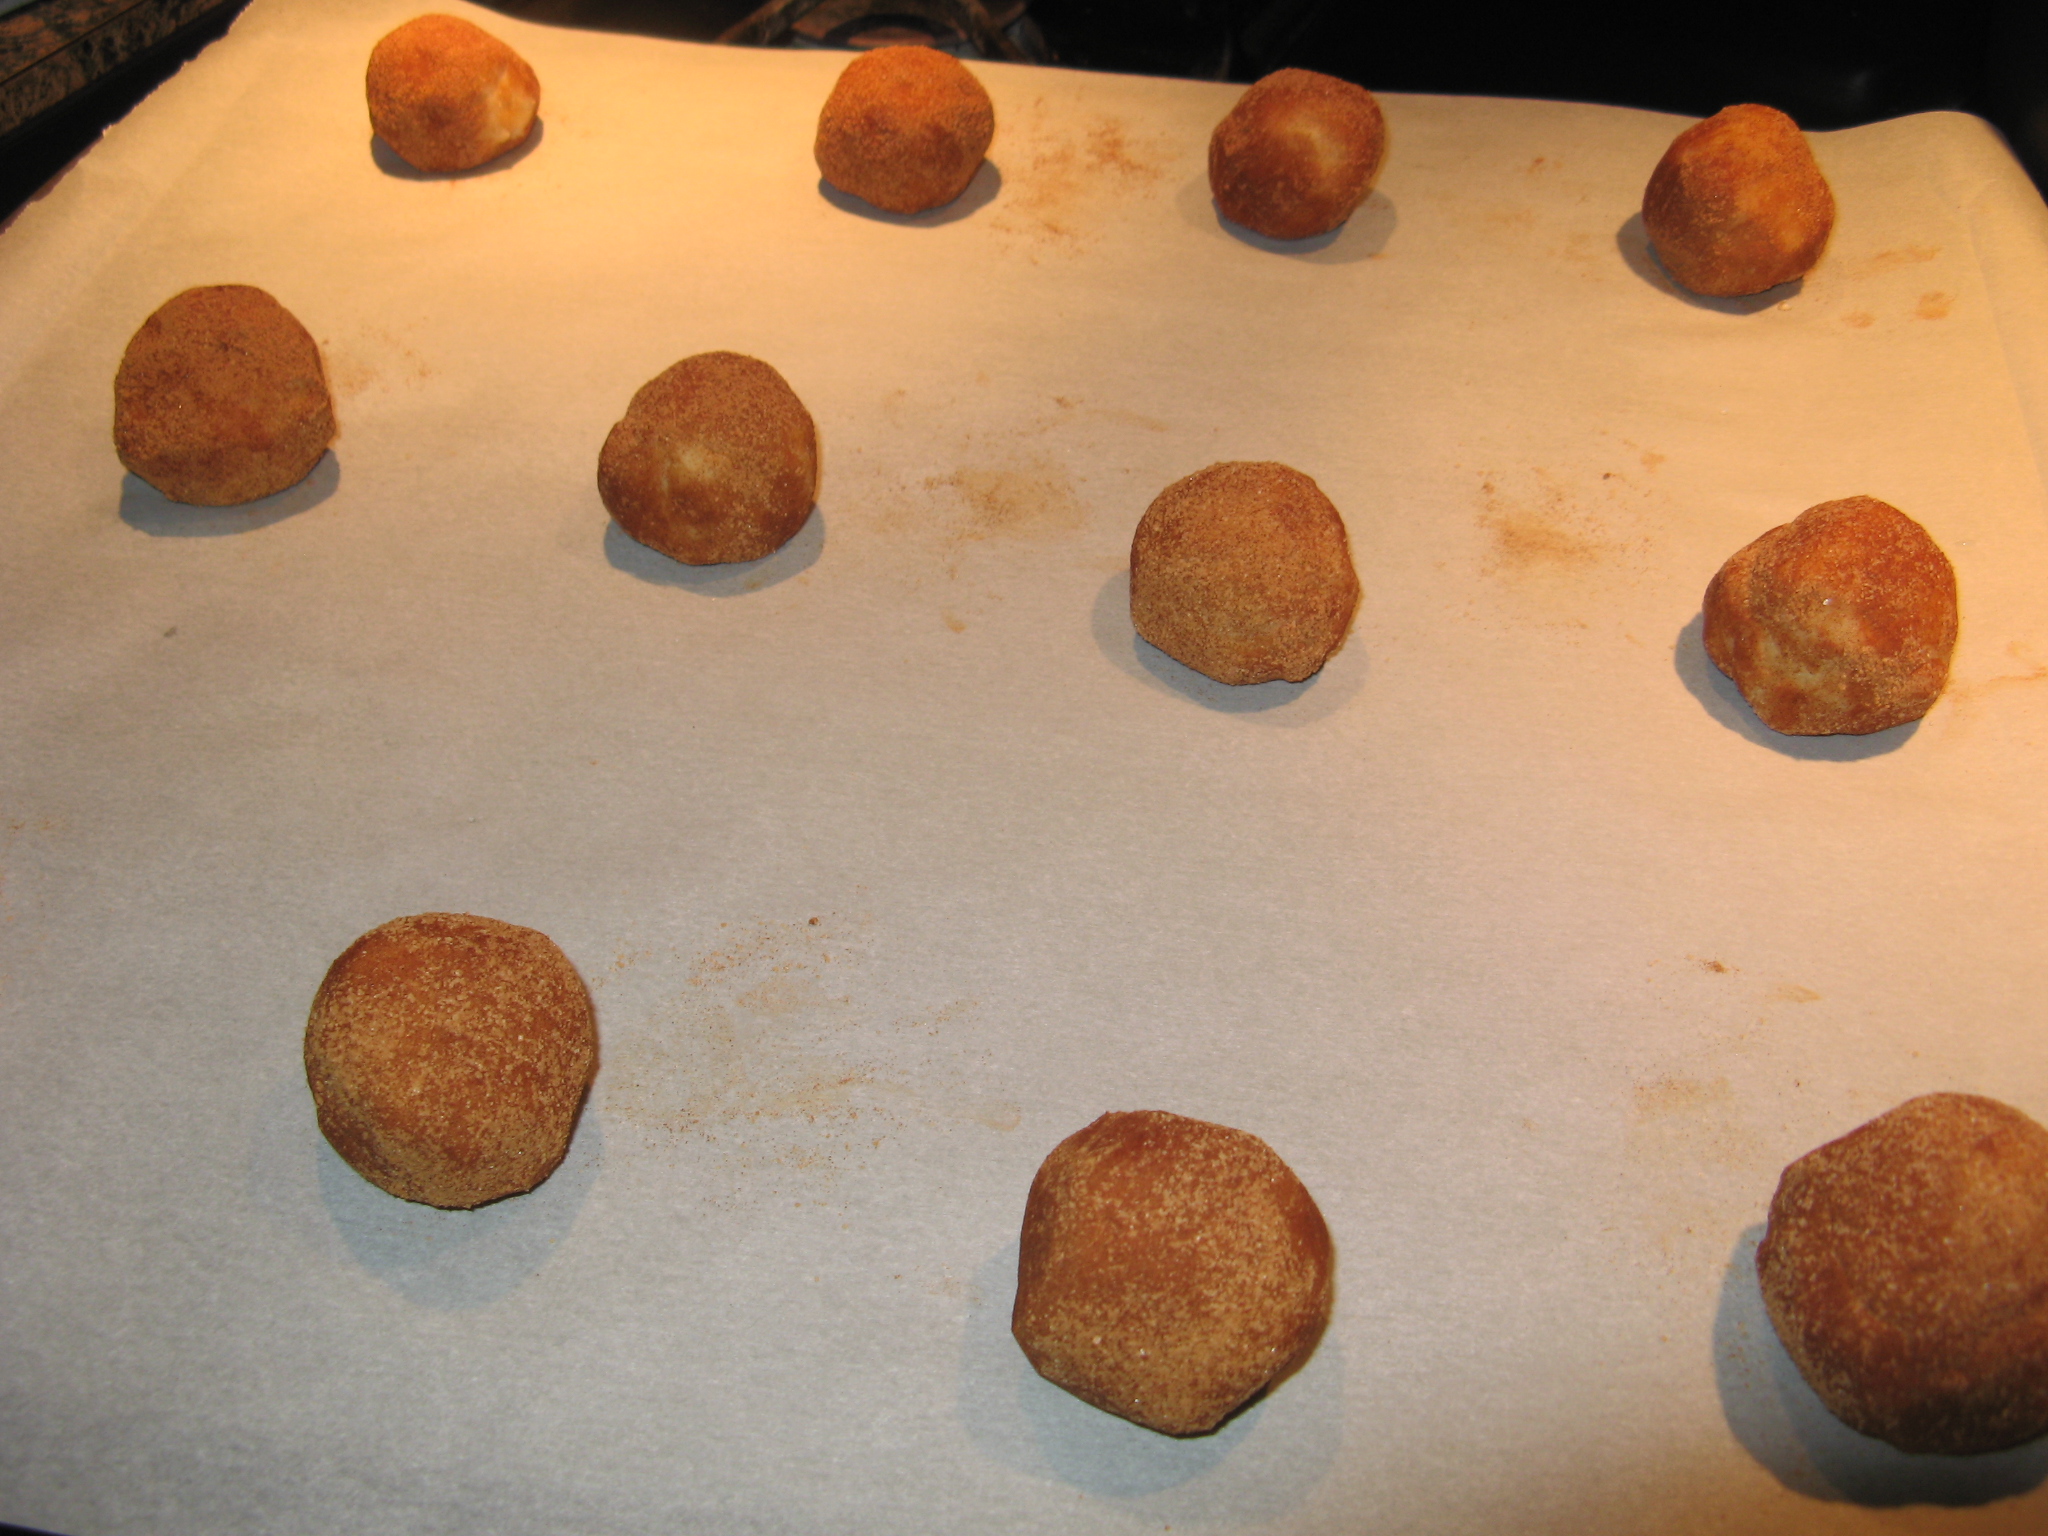
Add the sprinkles to a small bowl. Scoop the dough using a medium cookie scoop (1 1/2 tablespoons), roll into a ball and then roll in the sprinkles. Place on the prepared cookie sheet and then use the bottom of a glass cup to press the cookies down about 1/4 inch high.
Using a smaller cookie scoop (2 teaspoons), scoop the dough, roll into a ball and then use your palms to flatten and then place on top of the sprinkled cookie.
To make sure you don’t run out of dough for the stack, work with one batch at a time. In other words, don’t scoop all the dough for the base cookie at once. Scoop enough for one of the baking sheets and then scoop the stack part and then repeat for the other baking sheet.
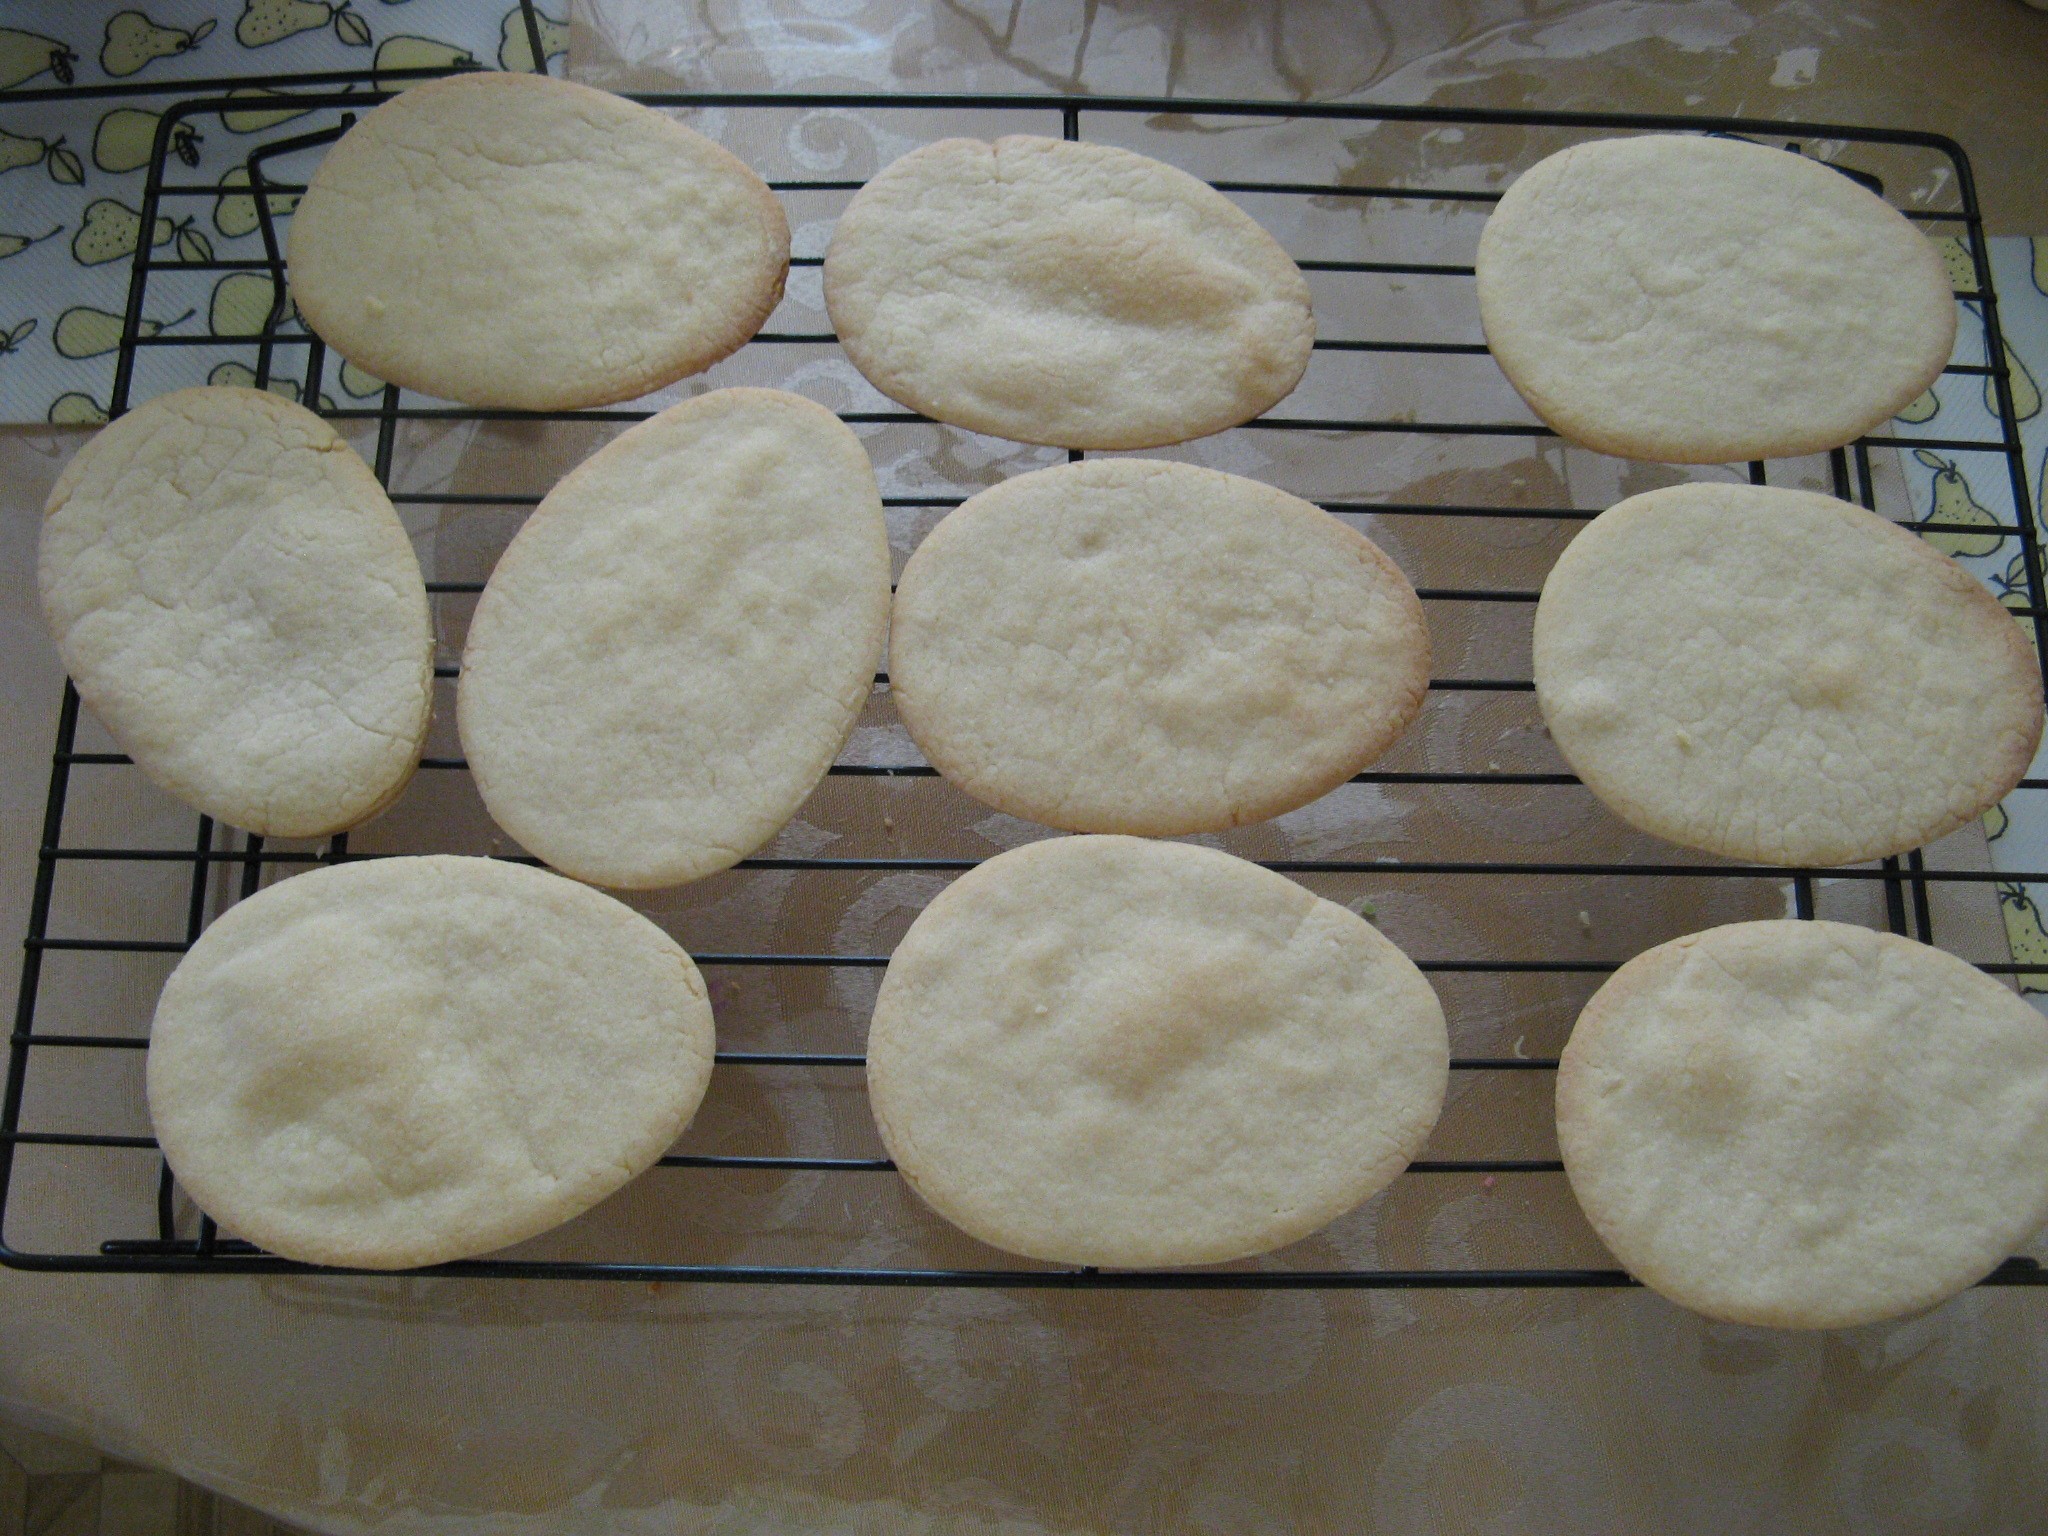
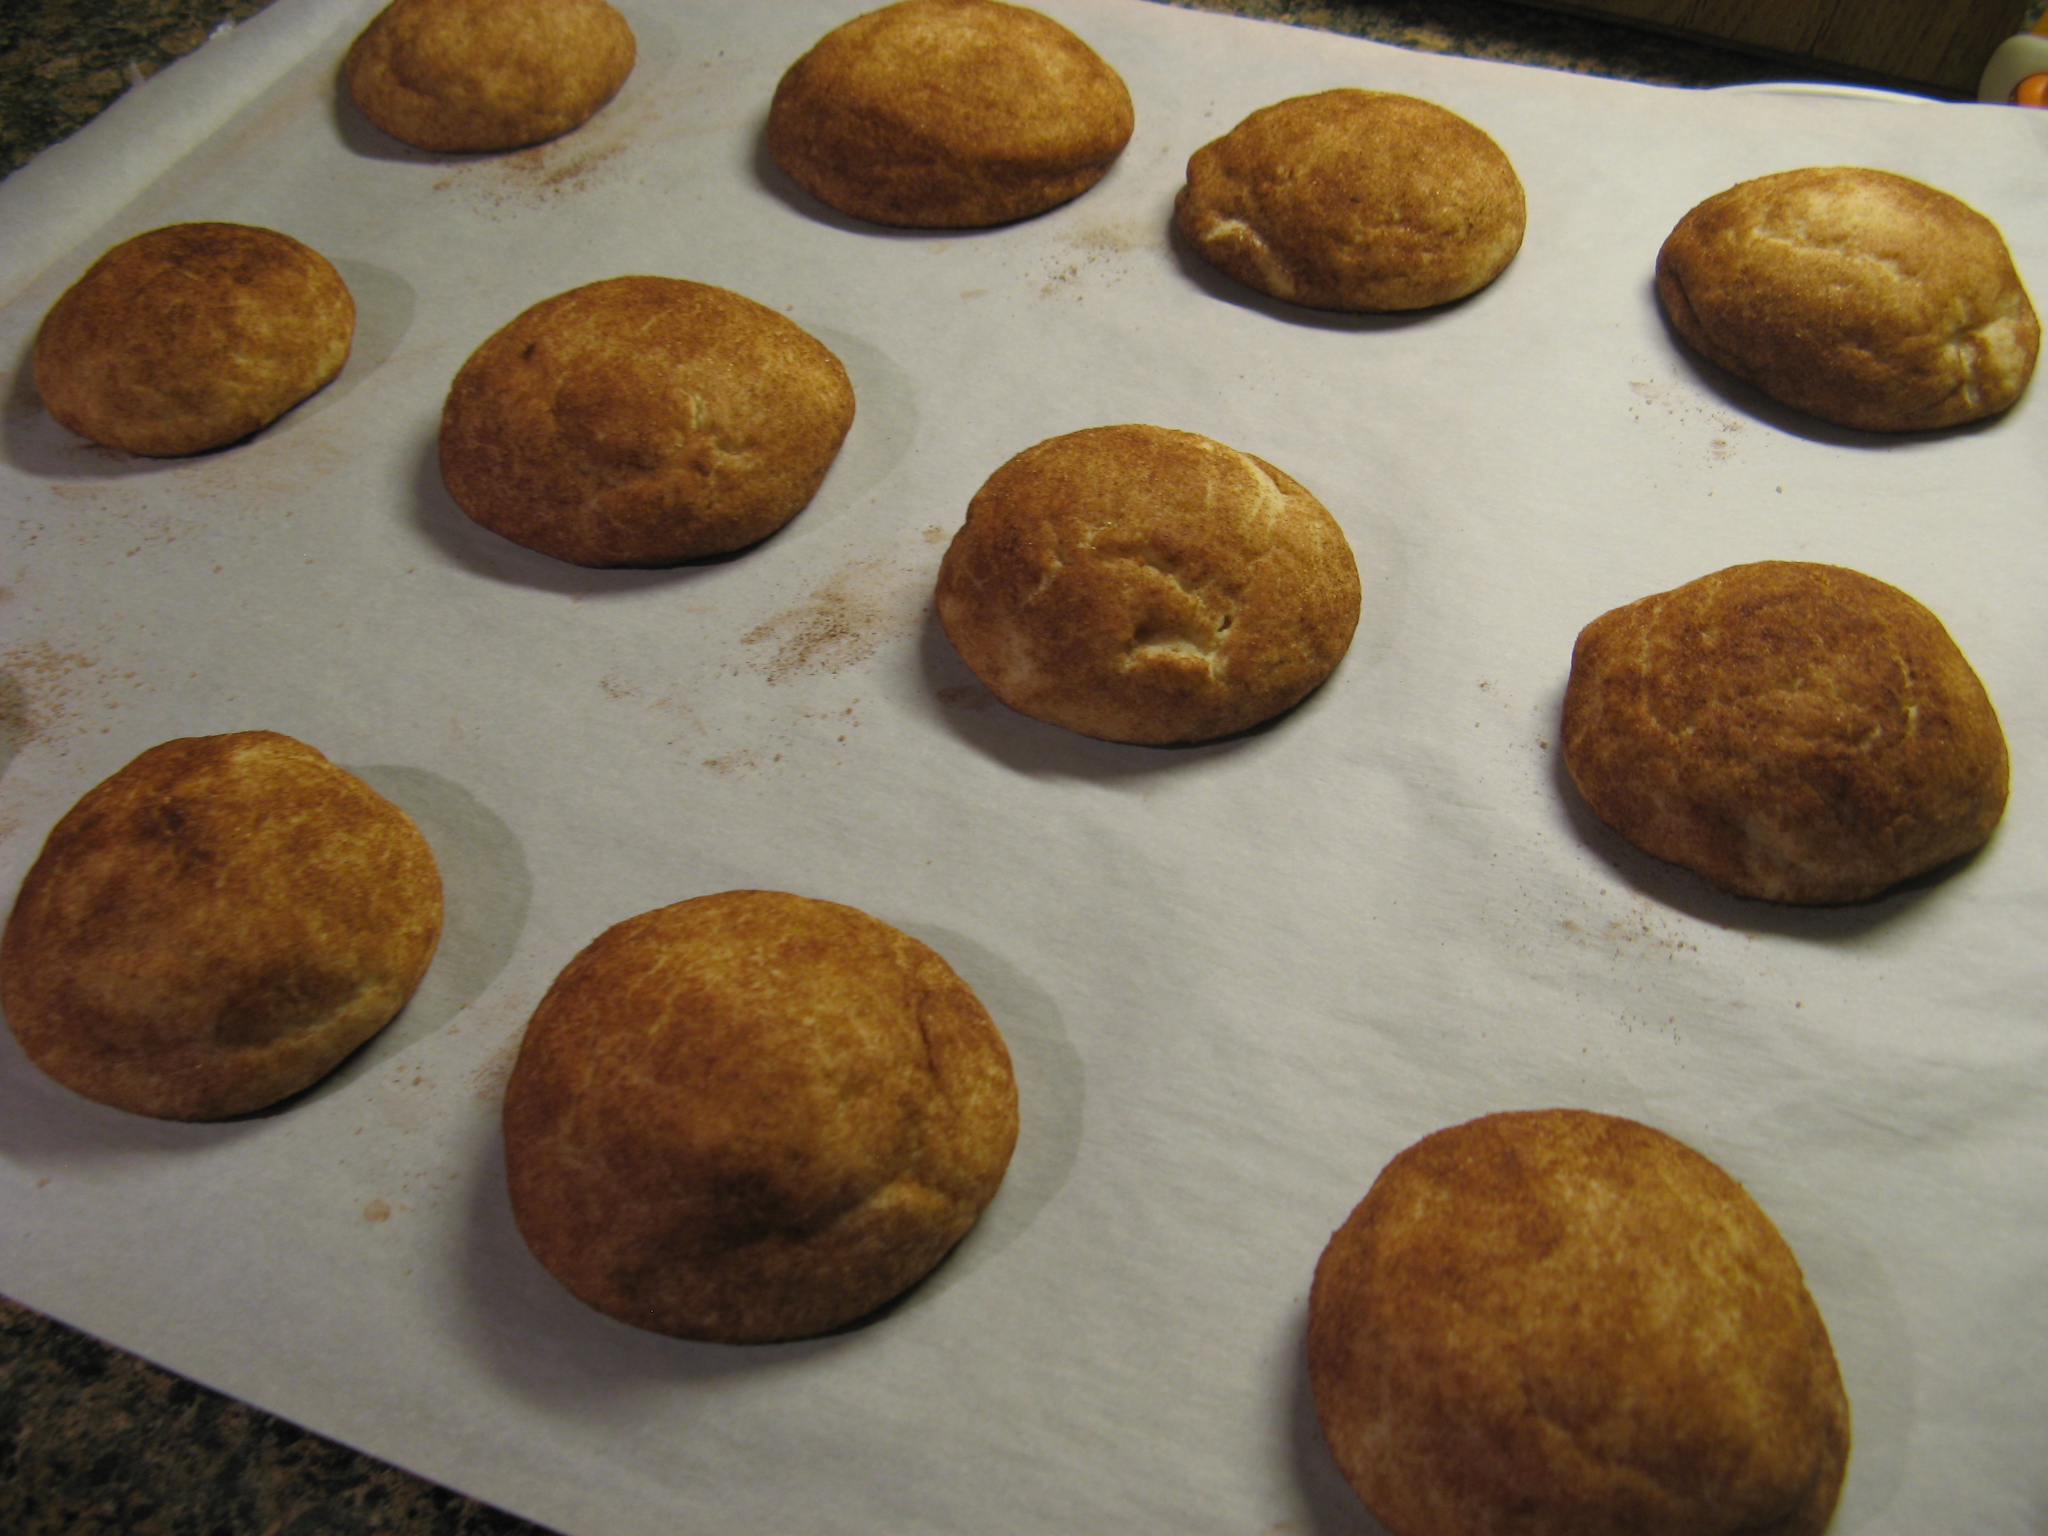
Bake in the preheated oven for 9 to 10 minutes. Let cool on the baking sheet for 2 minutes and then transfer to a wire rack to cool completely.
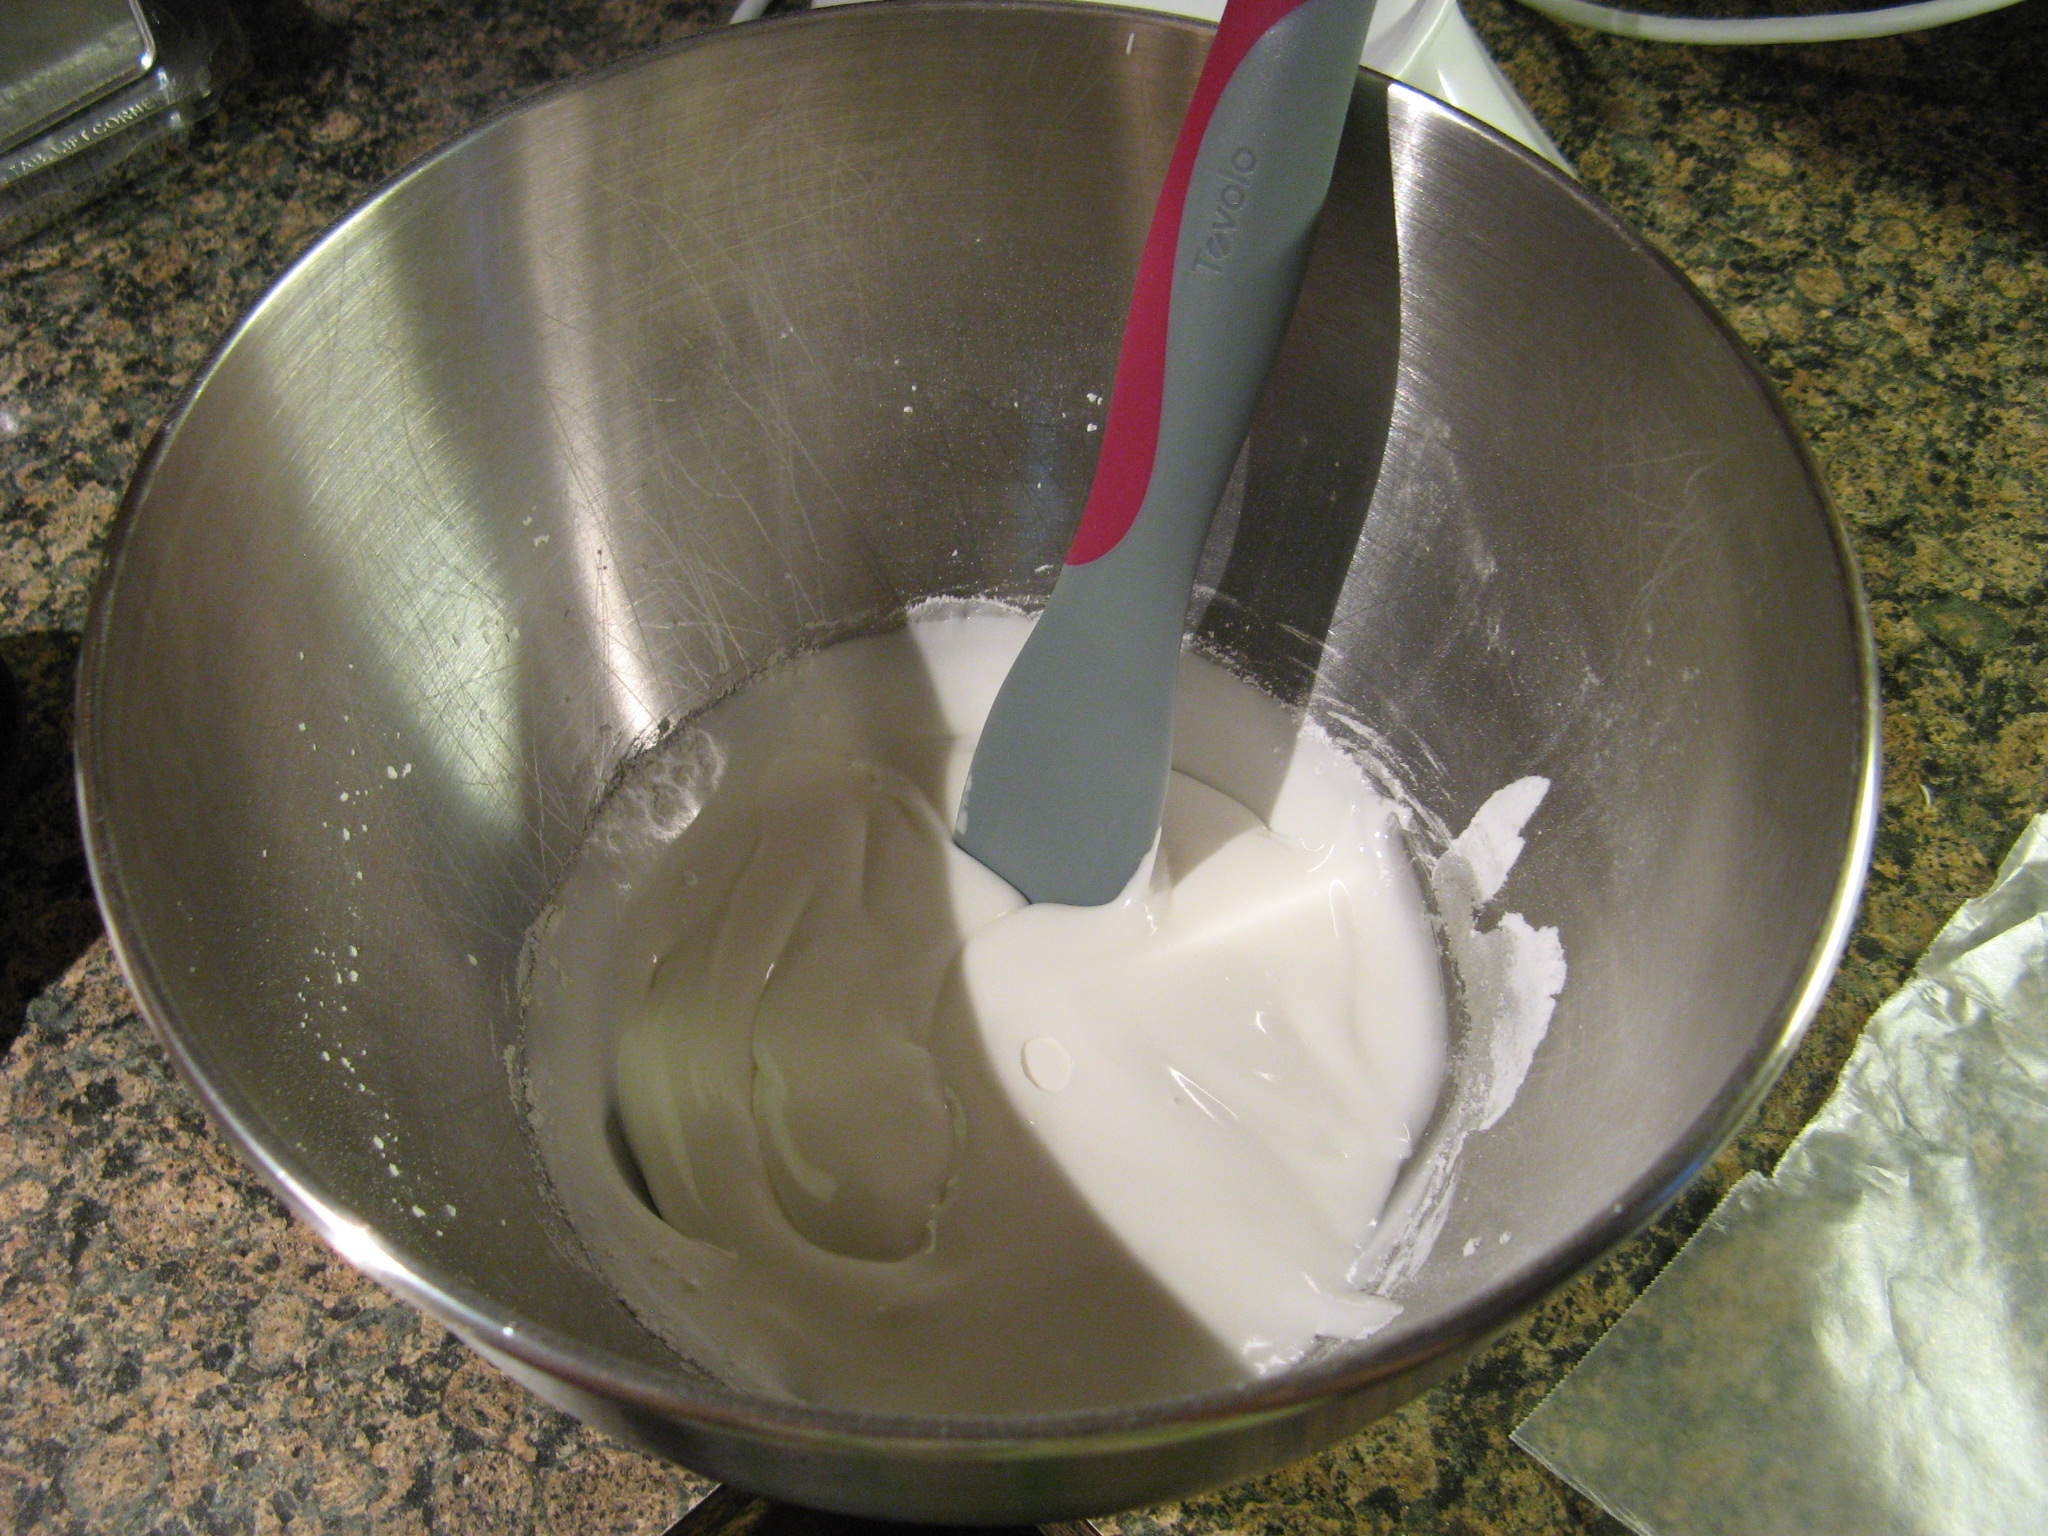
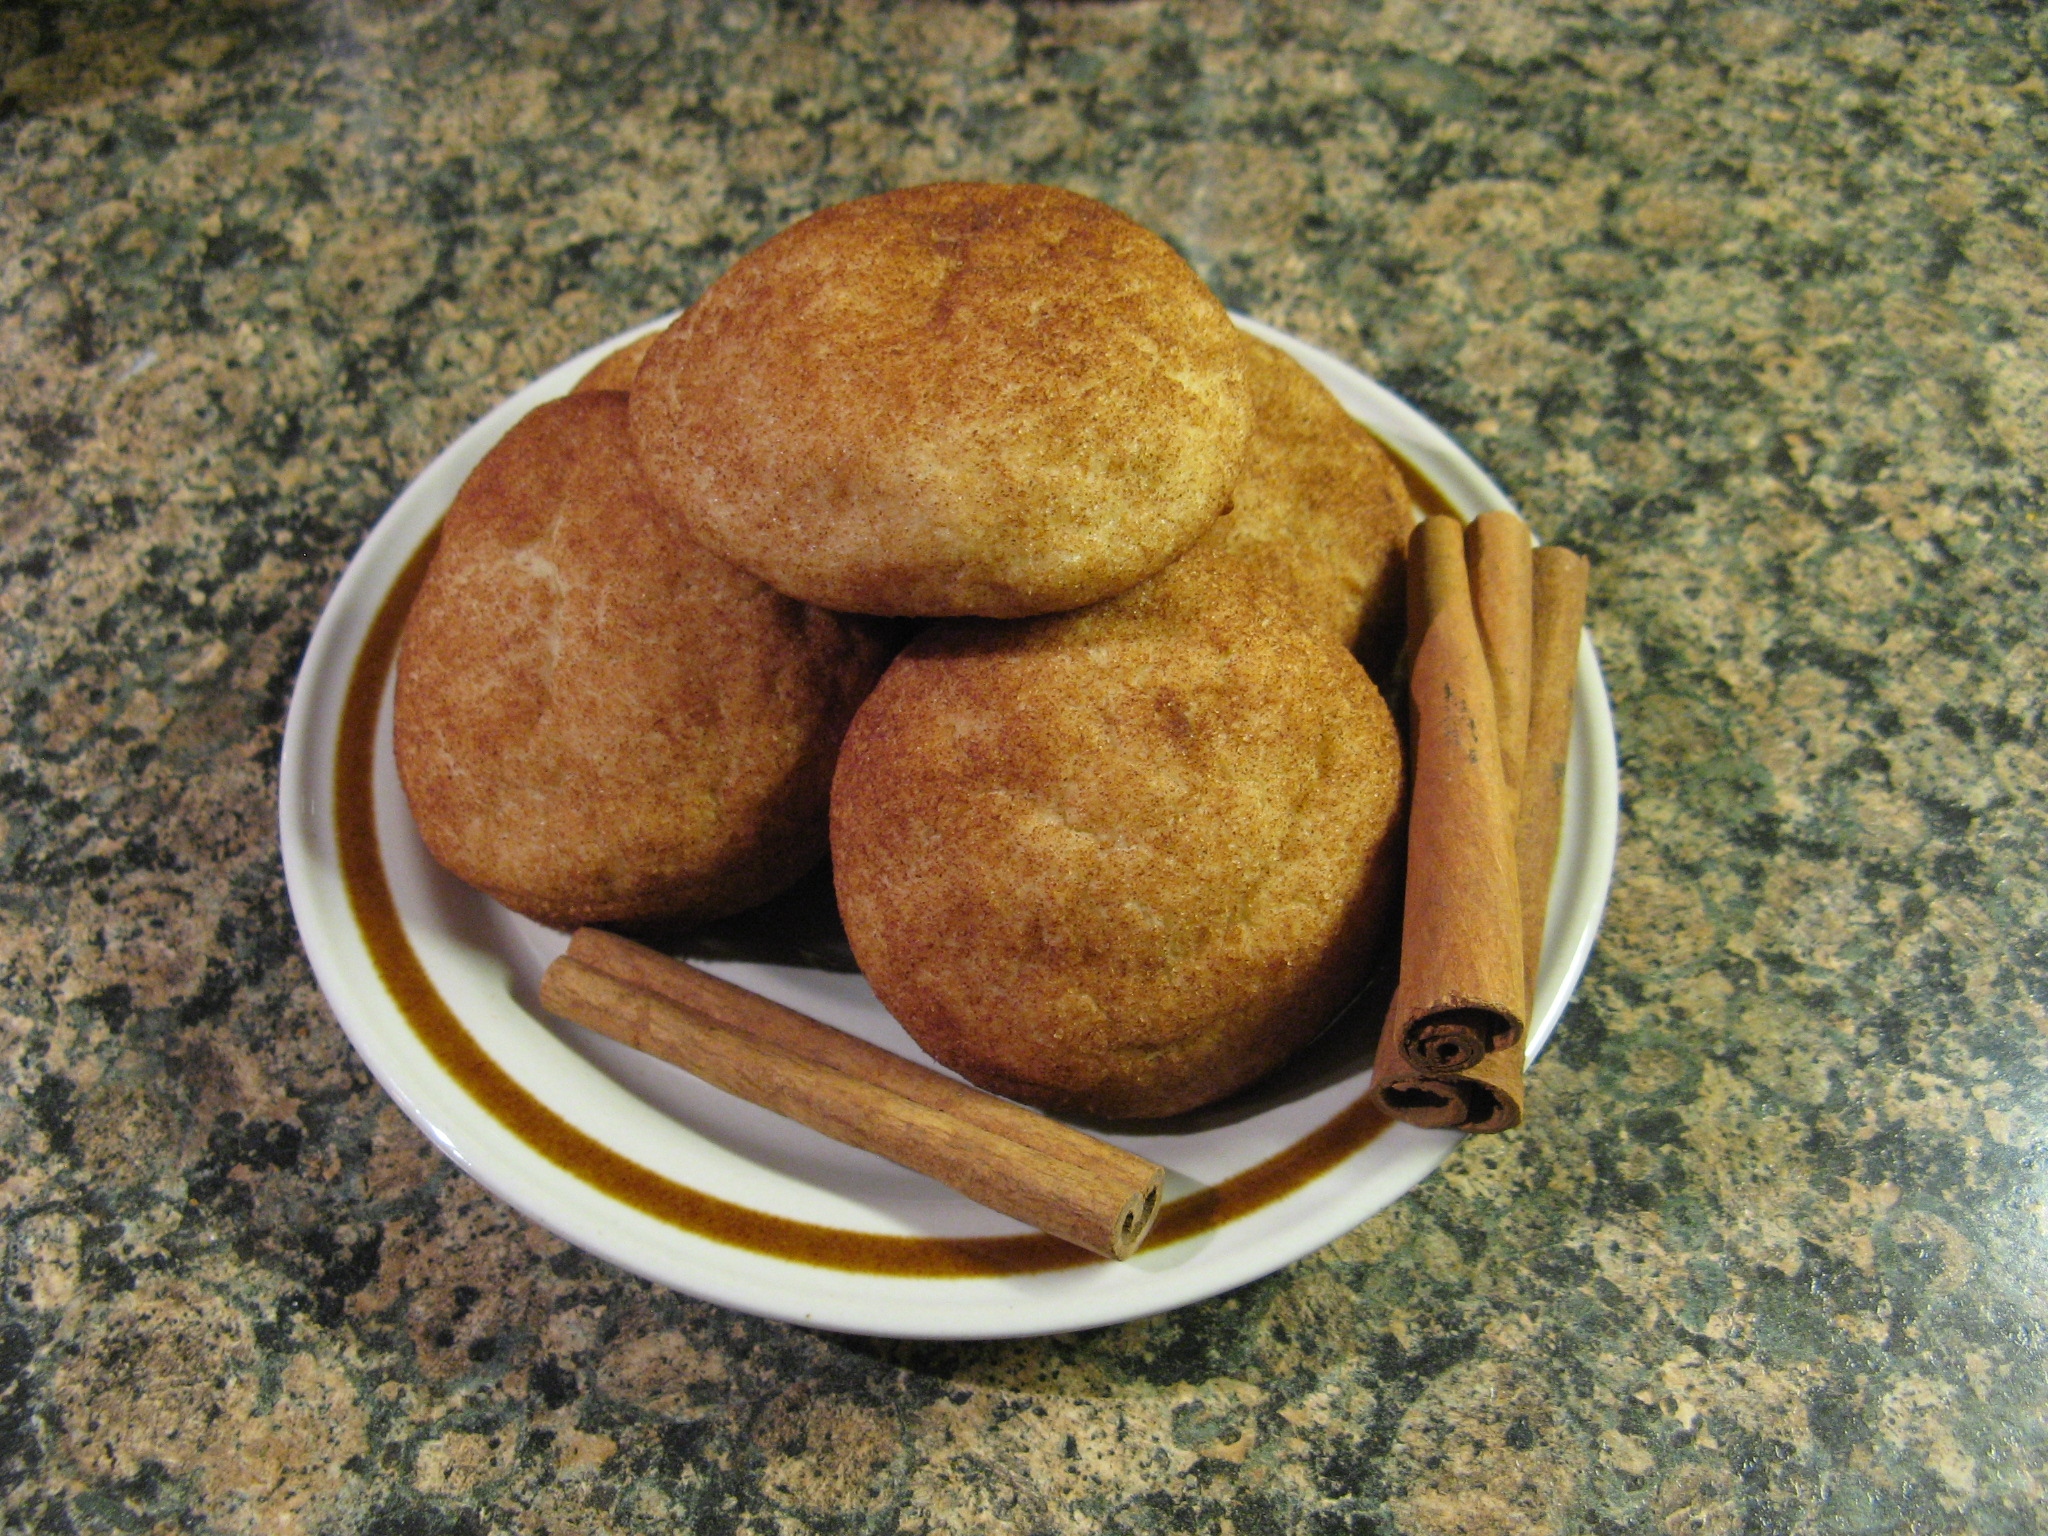
Once the cookies are cooled transfer the frosting to piping bags and pipe festive designs on the cookies. You can do Christmas Trees, Santa Hats, Snowmen, Snowflakes, etc.
Recipe slightly modified from Smitten Kitchen