Semi-Homemade Almond Croissants

One of my favorite pastries are Almond Croissants. I also love just a plain old croissant as well. I’ve looked at recipes to make both and while they don’t seem complicated, it’s just so much easier to buy them. Well, plain croissants that is. You can pretty much get them at any supermarket that has a bakery. Granted, some are better than others. Whereas I find that Almond Croissants can only be found at certain bakeries or cafés and unfortunately, they aren’t always that good. I have tried to make pseudo Almond Croissants with crescent rolls and almond paste and it was a total fail. Well, a fail in the taste department. They did look good. Recently though I came across a recipe for Almond Croissants that started off by using store-bought (or homemade if you are so inclined) croissants and were doctored with a delicious almond filling. I had high hopes for them. They were starting off with an actual croissant and filled with an almond filling that included almonds and almond paste – the more almond flavor the better. And I must say, they didn’t disappoint. These would be a great addition to your Easter brunch this weekend and could really impress your guests!

After getting a good batch of croissants…

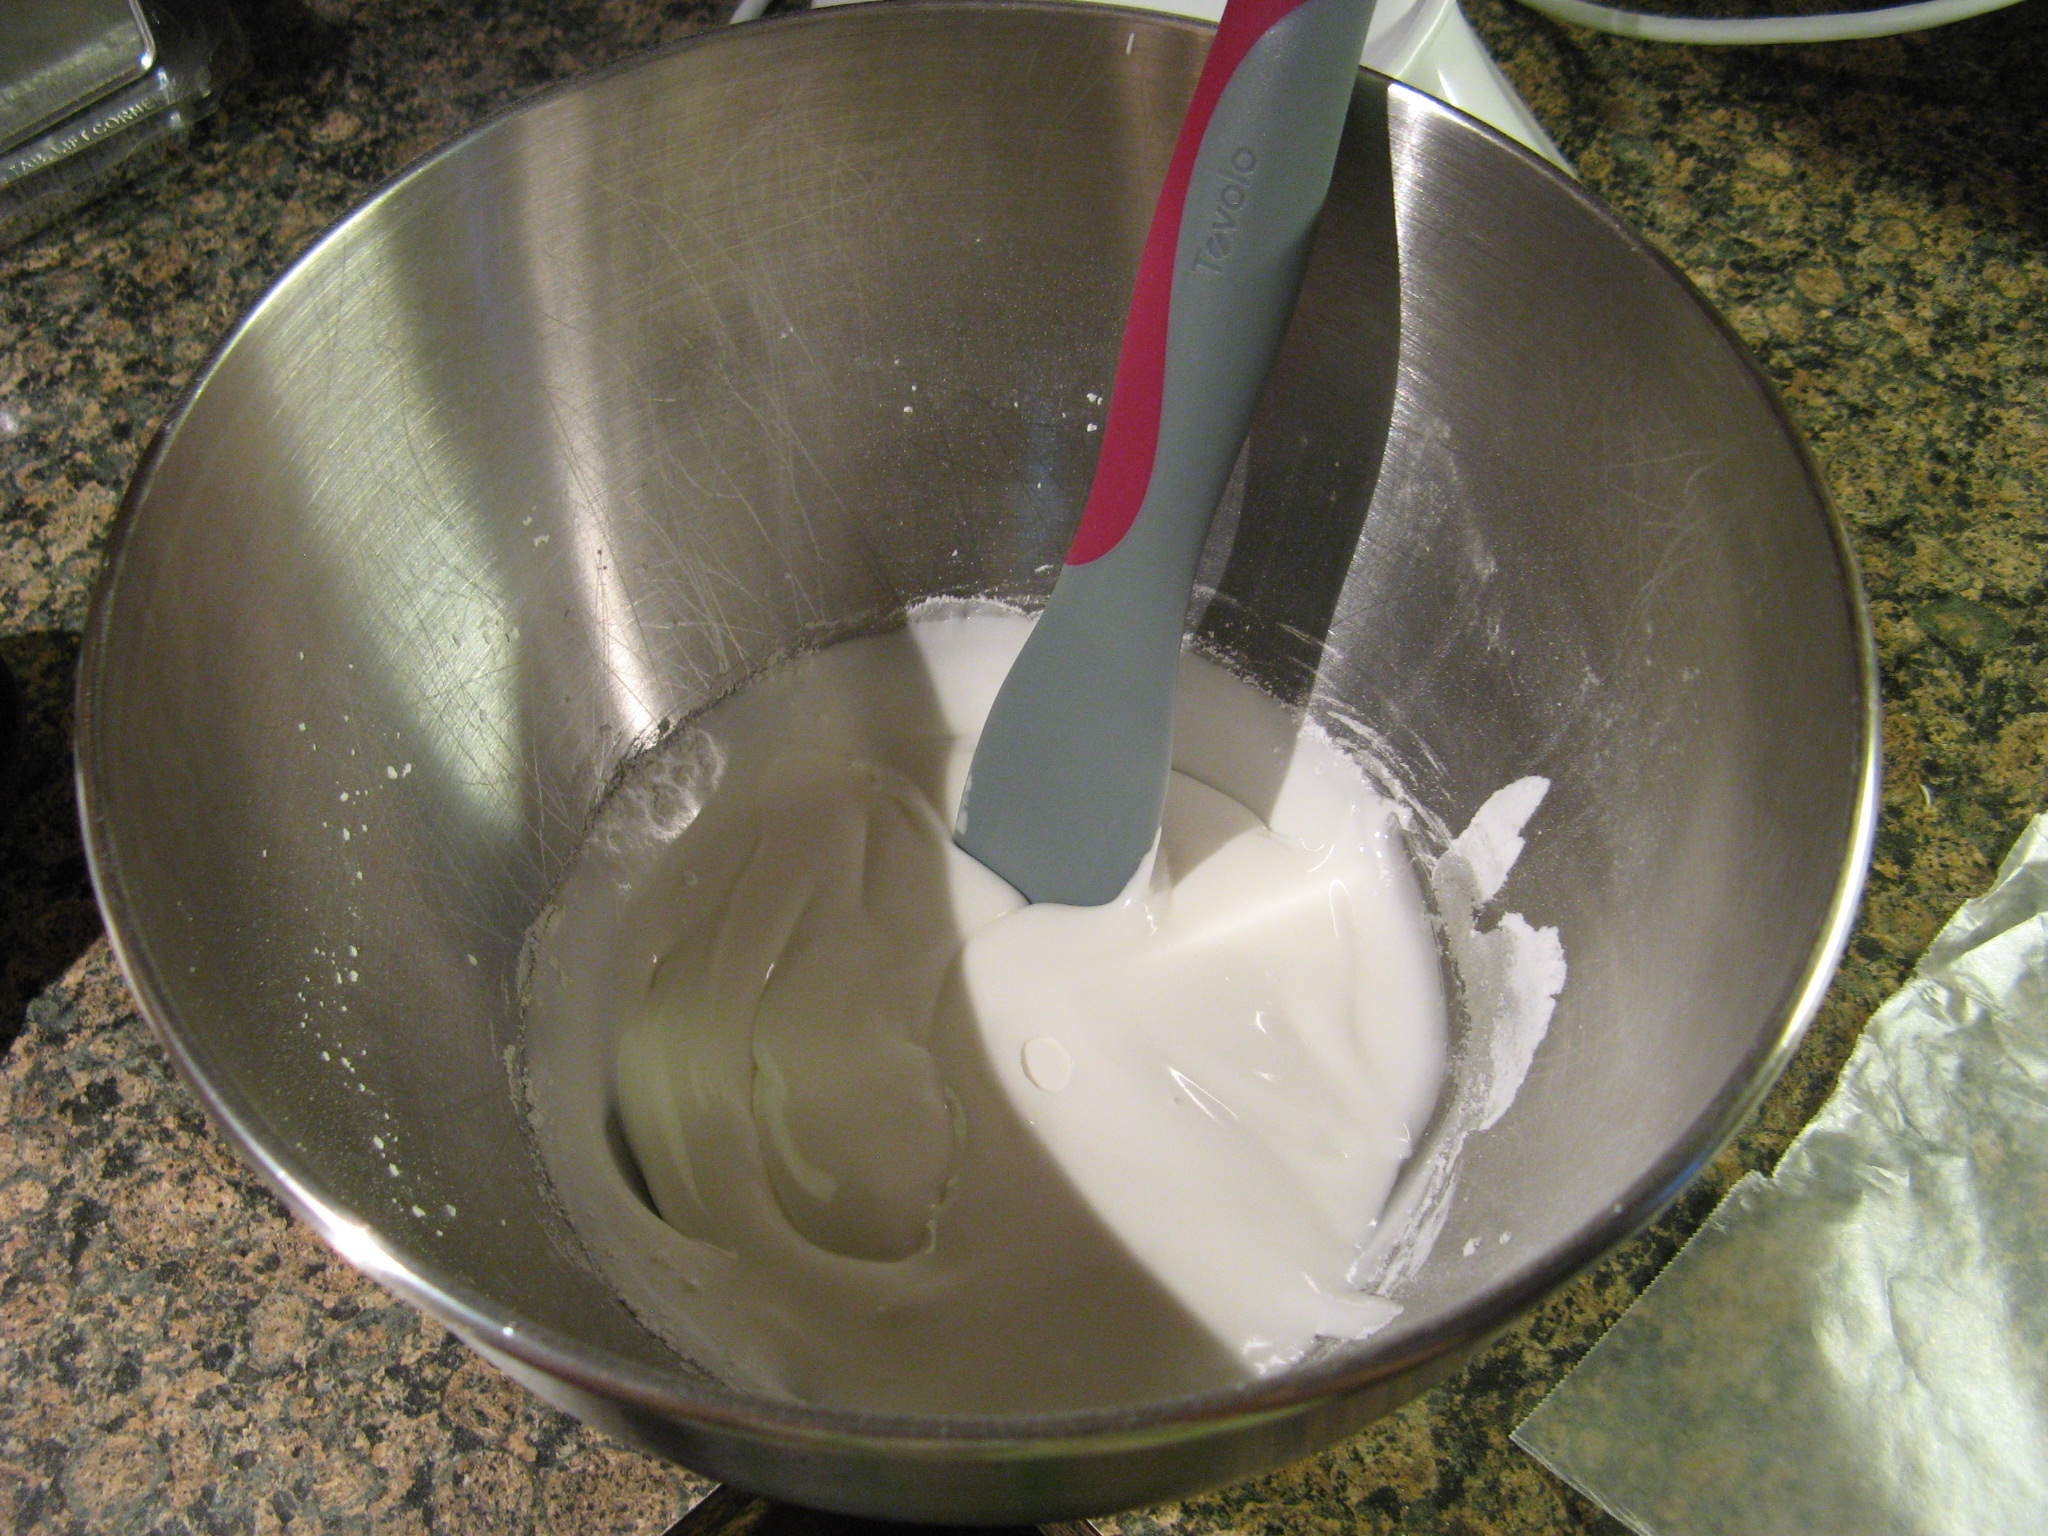
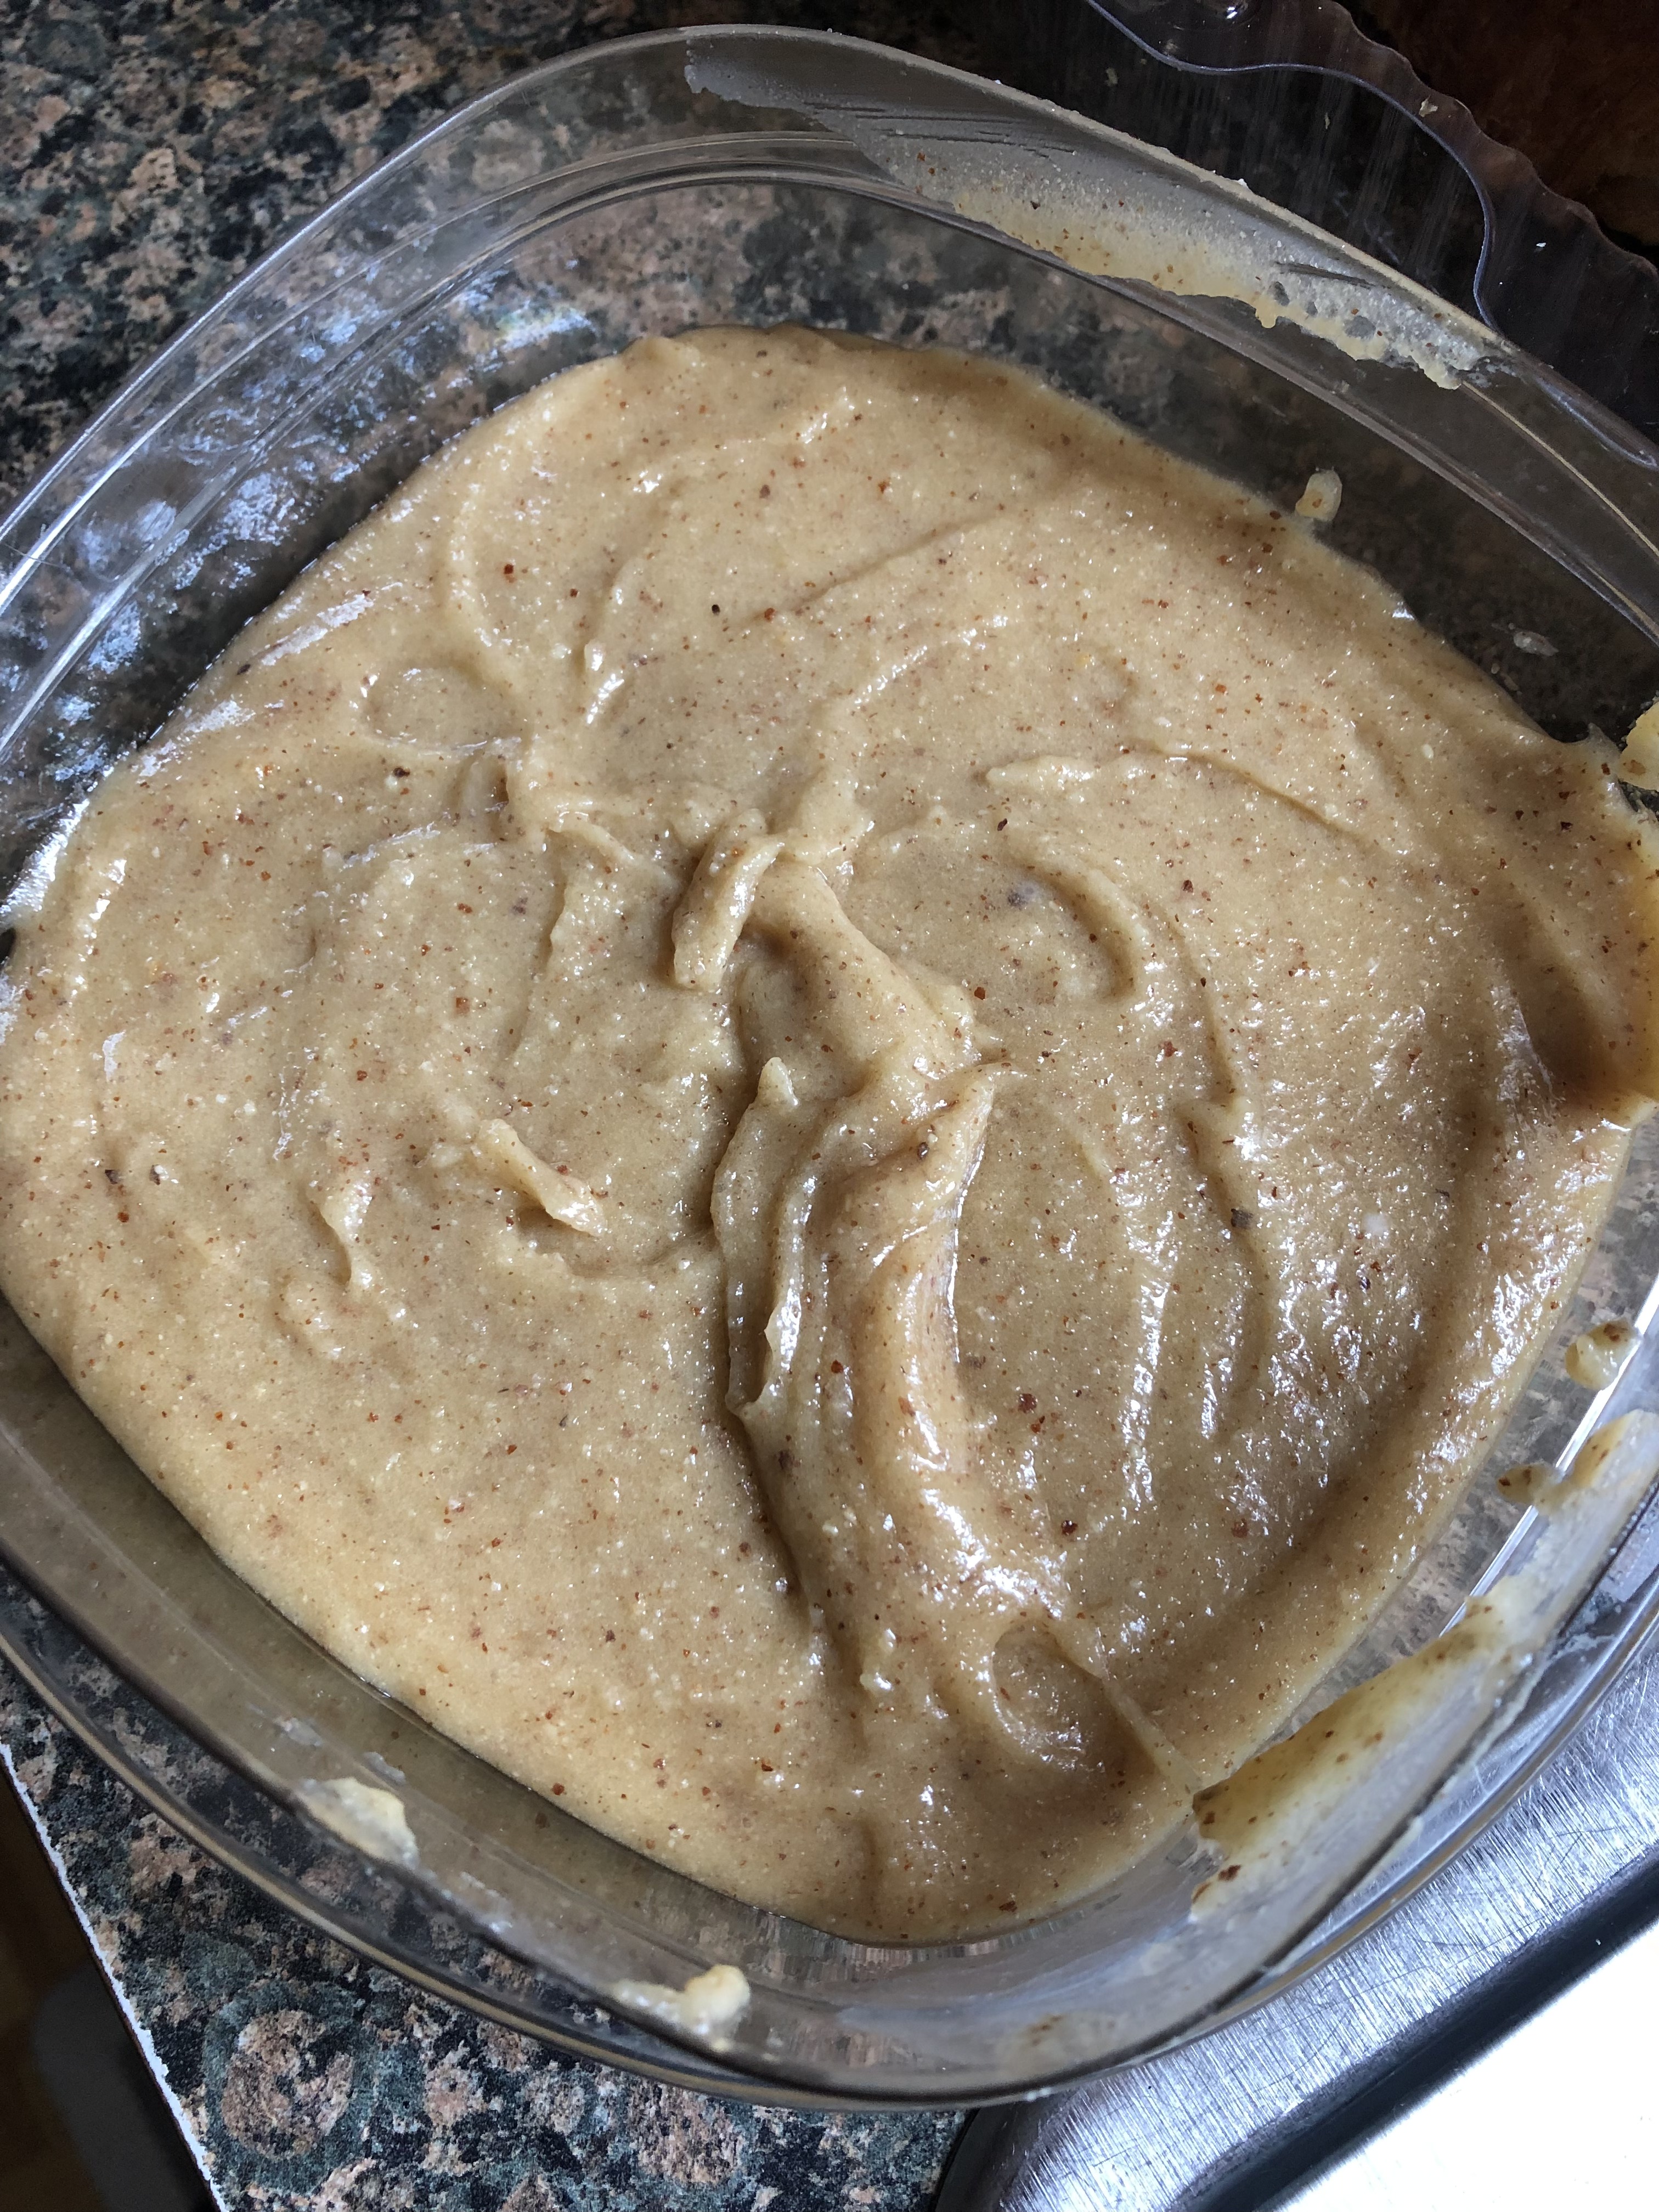
I started off by making the filling for them. In the bowl of my food processor I pulsed toasted sliced almonds until they were finely ground. I then added in almond paste and sugar and processed the mixture until it resembled fine meal. Finally, I added in an egg, Amaretto, vanilla extract and salt and processed everything until it was smooth and creamy. As it was the mixture is too loose to spread on the croissants, so, I transferred the mixture to an airtight container, covered and refrigerated it overnight. The following day I let it sit at room temperature uncovered so it could get to the right consistency.

Once the almond filling was ready it was time to prep the croissants. I sliced each of them horizontally and spread a few tablespoons of the almond filling on the bottom of each cut half and arranged them on a large baking sheet.

Next, I topped them with the top half of the croissants and spread about a tablespoon of the remaining almond filling on top of each. I then pressed about a tablespoon of sliced almonds on each.

I baked them in a 375F preheated oven for about 8 minutes. After letting them cool for about 15 minutes I sifted confectioners’ sugar on top of them.

These were delicious, just as good and possibly better than any decent Almond Croissant I have gotten at a bakery or café.

Semi-Homemade Almond Croissants

Ingredients:

8 large store-bought croissants

1 1/2 cups sliced almonds, divided

7 ounces almond paste*, broken into small pieces

1/3 cup sugar

1 large egg

3 tablespoons unsalted butter, softened

1 tablespoon Amaretto**

2 teaspoons vanilla extract

1/2 teaspoon salt

Confectioners’ sugar for dusting

*Depending on the brand you purchase, you could also use 8 ounces.

**The original recipe called for brandy

Directions:

Preheat oven to 350 F. Spread 1 cup of the sliced almonds in an even layer on a baking sheet. Bake in the preheated oven for 8 to 10 minutes, or until golden brown. Tossing the almonds at the halfway point. Let them cool to room temperature.

In the bowl of a food processor add the toasted almonds and pulse until finely ground, about 12 pulses. Add the almond paste and sugar and process the mixture until it resembles fine meal, about 15 seconds. Add the egg, butter, brandy, vanilla extract and salt and process the mixture until it is smooth and creamy, about 2 to 3 minutes. Transfer the mixture to an airtight container. Cover and refrigerate until the mixture is firm, at least 30 minutes and up to 4 days. If you opt to refrigerate the mixture for more than 30 minutes, let it sit at room temperature uncovered for 15 to 30 minutes before using.

Preheat the oven to 375F. Slice each of the croissants in half horizontally. Spread 2 tablespoons of the almond paste mixture on the cut side of each bottom. Top with the top half of the croissant and place on a large baking sheet. Repeat with the remaining croissants. Spread about a tablespoon of the remaining almond paste mixture on each croissant top and then gently press the remaining sliced almonds onto it (about a tablespoon per croissant). Bake in the preheated oven for 5 to 8 minutes, or until the almonds turn a light golden brown. Let the croissants cool on the baking sheet for 15 minutes. Dust with confectioners’ sugar.

The croissants are best eaten the day they are made, but, can be stored in an airtight container for 1-2 days.

Recipe from Food & Wine

Hot Cross Buns

As Lent season comes to an end you may be seeing Hot Cross Buns available in the bakery section of your local supermarket or at your favorite bakery. They are synonymous with this time of the year due to their symbolism for the holiday.

I attempted to make them last year and while they smelled great while they were baking, the end result were buns that were hard and dry. And I instantly knew what the problem was, my yeast mixture was off. The recipe stated that when you added the yeast mixture to the flour mixture the dough should be shaggy. That never happened, but, I forged on hoping for a soft and tasty bun in the end. This time around though I got it all right. In my mind there’s an emoji of me jumping up and down with excitement.  See, I am not a fan of working with yeast. If you follow me on Instagram, you’ll know I recently made bread three weekends in a row – Irish Soda Bread, Cranberry Walnut Bread and Jalapeno Cheddar Bread. Irish Soda Bread doesn’t require yeast so I am very comfortable baking it and the latter two while they do require yeast, both are no-knead breads. You combine all of the ingredients, form it into a dough and then place in a bowl covered with plastic wrap and let it rest for about 18 hours so it can rise – 100% foolproof.  And while these buns aren’t all that difficult to make, sans the yeast part, they do require two things from you, time and patience. Give yourself at least 3 to 3.5 hours to prep and bake them.

I started by making the yeast mixture. In a medium saucepan I combined water and milk and heated it on low heat until it reached a temperature of 100 F, making sure it didn’t go above 110 F. I used my candy thermometer to keep track of the temperature. Once it reached the right temperature I removed the saucepan from the heat and sprinkled yeast and a pinch each of sugar and flour over the surface. I left it undisturbed for about 30 minutes. I was waiting for the mixture to become foamy and begin to rise up the sides of the pan.

Meanwhile, in a large bowl I whisked together flour, sugar, salt, nutmeg, cinnamon and ginger. Once the ingredients were well combined I made a well in the middle.

Once the yeast mixture was ready I whisked in an egg yolk, melted butter and vanilla extract into it. Once all of these ingredients were well combined I poured them into the well I created in the flour mixture. Using a wooden spoon I mixed all of the ingredients together and a thick, shaggy and sticky dough formed. I stirred in raisins and then turned the dough onto a floured surface and kneaded it until it was soft and elastic and formed it into a ball.

I quickly washed the large bowl I had used to make the dough and then rubbed the inside with softened butter. I returned the dough to the bowl and began turning it to coat it with the butter from the bowl. I covered the bowl with plastic wrap and let it rest for about 90 minutes until it was doubled in size.

Just before I began forming the buns, I greased a baking pan with softened butter and preheated my oven to 200F. Once the dough was ready I removed it from the bowl and formed it into a 16 x 8 rectangle. I then divided the dough in half lengthwise, then in half crosswise and then divided each of the sections into three equal parts. To make the buns round, I tucked the edges in and then placed them into the prepared pan leaving a little space in between each. Next time I make these I will form the dough into balls by rolling it between my hands to get a better round shape. The tucking method resulted in buns that looked a little more square / rectangle. I then covered the pan with a piece of plastic wrap that I coated with softened butter. At this point, I turned off my oven and placed the covered pan in the oven so the buns could rise. Here’s a tip, when yeast recipe calls for something to be placed in a warm spot to rise, preheat your oven to 200 F, turn it off and then place the item in the oven. It’s the perfect environment for it to rise. I left the buns in the oven for about 40 minutes, they more than doubled their size. Once I removed them I preheated the oven to 375F and brushed the tops with a beaten egg before returning them to the oven for 25 minutes, until they were golden brown on top and puffy.

I let the buns cool completely in the pan. Once cooled, I made the traditional cross pattern on each bun with a confectioners’ sugar glaze.

Hot Cross Buns

Ingredients:

For the Buns:

1/2 cup water

1/2 cup whole milk

1/2 cup sugar

2 1/4 oz. packages active dry yeast

1/3 cup unsalted butter, melted (plus more at room temperature as needed per directions)

1 large egg yolk

1 1/2 teaspoons vanilla extract

3 cups flour

3/4 teaspoon salt

1/2 teaspoon ground nutmeg

1/2 teaspoon ground cinnamon

1/4 teaspoon ground ginger

1/2 cup raisins

1 egg beaten, for brushing buns


For the Glaze:

2 cups confectioners’ sugar, sifted

2 tablespoons milk

1/4 teaspoon lemon zest

1 teaspoon vanilla extract


Directions:

In a medium saucepan combine the water and milk. Heat on low heat until it reaches a temperature or 100 F, not exceeding 110 F. Remove from the heat and sprinkle the yeast and a pinch of sugar and flour over the surface. Set aside without stirring until the mixture becomes foamy and begins to rise up the sides of the pan, about 30 minutes.

In a large bowl whisk together the flour, sugar, salt, nutmeg, cinnamon and ginger. Make a well in the middle of the mixture and set aside.

When the yeast mixture is ready, whisk in the melted butter, egg yolk and vanilla extract.

Pour the yeast mixture into flour mixture and using a wooden spoon mix it to form a thick, shaggy and sticky dough. Stir in the raisins. Turn the dough out onto a lightly floured surface and knead the dough until it is soft and elastic, about 8 minutes. Shape the dough into a ball.

Brush the inside of a large bowl with softened butter. Put the dough into the bowl and turn it to coat it with the butter. Cover the bowl with plastic wrap and let the dough rise at room temperature until it has doubled in size, about 90 minutes.

Butter a 9 x 14 inch baking pan. Turn the dough out of the bowl and pat into a 16 x 8 inch rectangle. Divide the dough in half lengthwise and then again crosswise. Divide of each of these pieces into thirds and form the dough into rounds. Place in the prepared pan, leaving a little space between each. Cover the pan with a buttered plastic wrap and set the rolls to rise, they will double in size, in a warm place. About 45 minutes.

Preheat the oven to 375 F.

Remove the plastic wrap from the pan and brush the top of the buns with a beaten egg. Bake until golden brown on top and puffy, about 25 minutes. The internal temperature of the buns should be 190 F. Let the buns cool in the pan.

In a medium bowl combine the ingredients for the glaze and stir until smooth. Transfer the glaze to a piping bag or zip bag and make a small cut on the end or corner. Ice each of the buns with a cross.

Recipe from Food Network

Bunny Ear Cupcakes

Earlier this week I showed you how quick and easy it is to create Sprouting Carrot Cupcakes and today I am showing you a fun companion cupcake to go with them, Bunny Ear Cupcakes.

For these cupcakes I decided to make coconut cupcakes, since it is a popular flavor for Easter, topped with cream cheese frosting (my favorite frosting flavor). I then sprinkled the top of the frosting with sweetened shredded coconut.  If you are not a fan of coconut, or, just want to make something a bit quicker and simpler you could opt to make a white or yellow box cake mix into cupcakes and then top it with store bought vanilla frosting and instead of topping the cupcakes with coconut opt for white sprinkles.

Using kitchen shears I cut large marshmallows in half on the diagonal. I then dipped the cut side in a small bowl I filled with pink sanding sugar. And voila, bunny ears.

Next, I placed the marshmallow bunny ears on to the cupcakes.

And there you have it, Bunny Ear Cupcakes. While I decided to stop with the ears, sometimes less is more, you could decorate these cupcakes further by using chocolate chips for the eyes and rolling a small ball of marshmallow in the pink sanding sugar for a nose.

Coconut Cupcakes

  • Servings: 12 Cupcakes
  • Print

Ingredients:

1 1/2 sticks unsalted butter, at room temperature

1 cup sugar

3 large eggs, at room temperature

3/4 teaspoon vanilla extract

3/4 teaspoon almond extract*

1 cup flour

1/2 teaspoon baking powder

1/4 teaspoon salt

1/2 cup buttermilk**

7 ounces sweetened shredded coconut***, plus more for topping cupcakes

*If you want a stronger coconut flavor, substitute the almond extract with coconut extrac

**I’ve gotten into the habit of making my own buttermilk. To do so, add 4 1/2 teaspoons of vinegar to a measuring cup, then fill it with enough milk (I’ve used 2% and whole milk) to reach 1 cup. Stir it a few times then let it sit for 10-15 minutes. The buttermilk is ready when it begins to curdle. For this recipe since I only needed 1/2 cup of buttermilk, I used 2 1/4 teaspoons of vinegar and added enough milk to my measuring cup to reach 1/2 cup.

***I used about a 1 1/2 cups of coconut

Directions:

Preheat the oven to 325 F. Line a 12-cup cupcake tin with cupcake liners and set aside.

Using a stand mixer or a handheld mixer beat the butter and sugar together on high spend until light and fluffy. Reduce the speed to low and add the eggs, 1 at a time. Scraping the bowl as needed between each addition. Add in the vanilla and almond extracts and continue mixing until everything is well incorporated.

In a separate medium bowl sift together the flour, baking powder, baking soda and salt.

Add the dry ingredients to the butter mixture in 3 additions, alternating with the buttermilk, beginning and ending with the dry ingredients. Mix until well combined and then fold in the shredded coconut.

Divide the batter among the prepared cupcake tin, filling the batter to the top.

Bake in the preheated oven for 25 – 30 minutes, or until a cake tester inserted in the middle comes out clean. Let the cupcakes cool in the pan for 15 minutes, and then transfer them to a wire rack to cool completely. Once completely cooled top with frosting.

Recipe modified from Food Network


Cream Cheese Frosting

Ingredients:

1 8oz. packages of cream cheese, at room temperature

1 stick unsalted butter, at room temperature

2 cups confectioners’ sugar, sifted

1 teaspoon vanilla extract


Directions:

In a stand mixer or using a handheld mixer, beat the cream cheese and butter at medium speed until creamy. Gradually add in the sugar until well combined. Add in the vanilla extract and continue beating until the mixture is smooth and creamy.


Sprouting Carrot Cupcakes – Tutorial

With Easter right around the corner I decided to make some fun themed cupcakes to get in the spirit of the holiday. Today I am sharing with you these Sprouting Carrot Cupcakes and later this week I will be sharing with you Bunny Ear Coconut Cupcakes.

I began by baking a batch of chocolate cupcakes. While they cooled, I made the frosting. I made a basic buttercream frosting and then removed a third of it. In this third I stirred in melted unsweetened chocolate until it was fully incorporated. I tinted the remaining frosting orange and then transferred it to a piping bag fitted with a large round tip.

After the cupcakes were cool I used a paring knife to cut a small cone-shaped piece out of the center of each one. I crumbled these small pieces of cake into a small bowl and set it aside.

Next, I spread the chocolate frosting over the cupcakes leaving the holes open. I then patted the crumbled pieces of chocolate cake onto the frosting to resemble dirt.

To make the carrots I piped the orange tinted frosting into the holes and then mounded it a bit above the hole. And finally, I cut small pieces of green sour apple straws and placed them in the piped carrots.

And there you have it… Sprouting Carrot Cupcakes.


While I opted to make my cupcakes and frosting from scratch, you could easily go the time-saving route and use a box chocolate cake mix and store bought chocolate and vanilla frosting. If you opt for store bought frosting I would advise refrigerating the vanilla frosting after tinting it orange for about 10-15 minutes prior to piping the carrots. Store bought frosting tends to be on the softer side so decorating with it can be frustrating since it won’t take shape, refrigerating it helps to stiffen it.


Supplies:

12 chocolate cupcakes

1 cup chocolate frosting

1 1/2 cups vanilla frosting

Orange food coloring

Green sour apple straws

Piping Bag fitted with a round tip


Marbleized Easter Eggs

Do you remember dyeing Easter eggs as a kid? I remember my eggs hardly ever came out the way the PAAS packaging illustrated it would. Maybe I just hadn’t honed in on my crafting skills yet or quite possibly there was more to the decorating that wasn’t explained in the instructions. You know those little tips and tricks you learn by trial and error. I would always wonder too if they were safe to eat. My parents strongly advised against it and I would soon agree once I peeled one or two that had cracked during boiling and the egg white was some funky color due to the dye.

Fast forward a few years and now decorating eggs is on a whole new level. Instead of using real eggs, I’m using this nifty plastic craft eggs I found at Michaels that I can use for years to come to decorate around my house. And forget about dyeing them, I go with using paint to get the exact color I want.

And that brings me to the topic of this blog post… Marbleized Easter Eggs. To create the marbleized affect I lined a plastic shoe box with wax paper. I then squirted some of the paint colors on to the wax paper. Next I placed one of the craft eggs in the shoe box and tilted the box back and forth to roll the egg around so I could get the marbled affect.


I let the eggs dry…


And soon had a dozen marbleized Easter eggs…

And since I wasn’t too happy with the chalky look of the eggs I sprayed them with a gloss clear spray to give them a little shine. Unfortunately this picture doesn’t show it all that well.

Along with marbleized eggs, I also made two sets of gold-foiled eggs. One that I made last year with more bold colors and one this year with more pastel Spring-like colors. These are quite easy to create as well, but, you will need a Gold Leaf Kit, which you can purchase at your local craft store. You start off by painting the eggs and letting the paint completely dry. Next, you apply the adhesive to the egg, not on the entire surface as you just want the gold foil in random places. You let the adhesive dry for about 10-15 minutes. It’s ready once it begins to feel tacky. Next, you place the gold foil around the egg and using a clean brush brush off the excess gold paper where it didn’t stick. And finally, apply the sealant to the eggs to ensure that the gold foil won’t tarnish and to give the egg a nice sheen.


Please note you could also use these techniques with blown out Easter eggs. I’ll be honest it’s something I have never tried. I feel that if I did I would more than likely break the egg trying to get the contents out and these plastic eggs are so much easier to store! You could very well use hard-boiled eggs, but, I feel like if you are going to decorate your eggs so lovely you should be able to keep them for years to come.

I hope you enjoy dyeing, painting, crafting, hunting or whatever you choose to do with your Easter eggs!

Chocolate Bunny Topped Easter Cake

Happy Easter! A few weeks ago when I posted about the Springtime Chocolate Chip Cookies  I made I mentioned that I picked up some other things at my local Target store to create an Easter cake and I am happy to say that the cake turned out just as I pictured it in my head. So, what did I pick up? Edible Easter Grass, Cadbury Mini Easter Eggs and Chocolate Bunny.


IMG_7246

To begin, I baked my favorite Carrot Cake and frosted it with Cream Cheese Frosting.

IMG_7194 

The Edible Easter Grass, if you’re wondering, is made of wafer paper candy. It has a slight green apple flavor and surprisingly doesn’t have an after-taste. And from what I read about it online, most of the companies that sell it here in the United States import it from Germany.

 IMG_7193

I cut the grass into 1 to 2 inch pieces and spread it onto a cookie sheet. I then misted the grass with a littel water and mixed the grass so that it could clump together. I was careful not to use too much water because the grass would then disintegrate.

 IMG_7196

I first placed the chocolate bunny in the center of the cake and then started spreading the grass around the bunny lightly pressing it into the frosting.

 IMG_7197

I decided to only cover the top of the cake with the grass.

 IMG_7198

And after placing some Cadbury milk eggs in the grass my cake was decorated and ready for Easter!

IMG_7202


Easter Eggs

I hope you all had a wonderful Easter weekend. Ideally I would have liked to get this post up yesterday, but time got away from me. Since it is Easter Monday  though, I’m not all that late.

I had decided a while back that I wanted to make decorated Easter cookies for the holiday (the decision was easily made after I got this egg cookie cutter from my local craft store.)

IMG_3083

As opposed to Valentine’s Day when I used a package mix to make my decorated cookies, this time I was determined to make them from scratch. (While I do enjoy making things from scratch, rolled out cookies are among my least favorite things to make since I inevitably roll them out too thin or too thick which can lead to the baking time to be off which can then lead to a cookie that is inedible. Maybe it’s time to invest in some rolling pin rings.)

I opted to use the Roll-Out Cookie recipe on the back of the cookie cutter packaging since it didn’t require the dough to be refrigerated prior to rolling (I’m all about saving time whenever possible.)

To begin I mixed the flour, baking powder and salt in one bowl.

IMG_3085

In the bowl of my stand mixer I beat together butter and sugar until it was light and fluffy and then added in vanilla and almond extracts and an egg.

IMG_3086

I then incorporated the flour mixture into the butter mixture one cup at a time, mixing well after each addition.

IMG_3090

It wasn’t long before the dough came together, which I then divided into two balls in preparation for rolling.

IMG_3091 IMG_3092

Once I rolled out my first ball and cut out the cookies I placed them on an ungreased cookie sheet and sprinkled them with Easter themed sprinkles. After baking for about ten minutes in a 350 F preheated oven they were done.

Easter Cookies 1

I baked my second batch without sprinkles since I was planning on decorating them with royal icing.

IMG_3103 IMG_3104

Once the cookies cooled completely I whipped up a small batch of royal icing.

IMG_3122

And after some dyeing, dotting and sprinkling my cookies were done.

IMG_3125

Along with Easter Egg Cookies I decided to make some actual Easter eggs. I haven’t dyed eggs in quite some time, but after seeing the directions for marbled eggs in a few different magazines this past month I decided I had to try it.

And this is what I ended up with. I really liked how the inside of the shell looked more than anything.

IMG_3155

And if you’re curious about Easter Eggs and some fun facts about them check out this article that was in the USA Weekend newspaper magazine this past weekend. Here are a few of my favorites…

-Before those little dissolvable capsules, egg dyes were made from a variety of materials, including onion peels, tree bark, flower petals, and vegetable and fruit juices.

-The PAAS Dye Co. launched its popular product in the 1880s in Newark, N.J. The first packets contained five colors for 5 cents. The company now claims to sell more than 10 million kits annually (no longer just dyes, but also paints, stickers, glitter and more) and says that consumers use them to decorate 180 million eggs.

-Many Easter eggs aren’t actually eggs but are formed from chocolate. In Scotland, a popular treat sold in fish-and-chips shops is deep-fried chocolate eggs.

-“Easter eggs” are found in numerous videogames and movies. That’s a term for an inside joke or hidden message planted by the creator. The term was coined at Atari after a programmer put his name in a hidden room in the game Adventure, released in 1979.

IMG_3160


Roll-Out Cookies

1 cup (2 sticks) unsalted butter, softened

1 1/2 cups granulated sugar

1 egg

1 1/2 teaspoons vanilla extract

1/2 teaspoons almond extract

2 3/4 cups all-purpose flour

1 teaspoon baking powder

1 teaspoon salt

Preheat oven to 350 F.

In mixing bowl, beat butter with sugar until light and fluffy. Beat in egg and extracts. Mix flour, baking powder and salt; add to butter mixture 1 cup at a time, mixing after each addition. Do not chill dough. Divide dough into 2 balls.

On a floured surface, roll each ball into a circle approximately 12 in. wide and 1/8 in. thick. Dip cookie cutter in flour before each use. Bake cookies on an ungreased cookie sheet 8-11 minutes or until cookies are lightly browned.

%d bloggers like this: