Chocolate Kahlua Cake with Strawberry Buttercream Frosting

My first attempt at making this cake was a fail. I settled on using a box cake mix as my starting point and doctoring it with additional ingredients besides the ones called for on the box. I must have added in a few too many ingredients because the cake had a weird texture – kind of rubbery – and the bottom of it had a dense appearance. And the flavor just wasn’t there. Thankfully on my second attempt the flavor and texture were spot on.

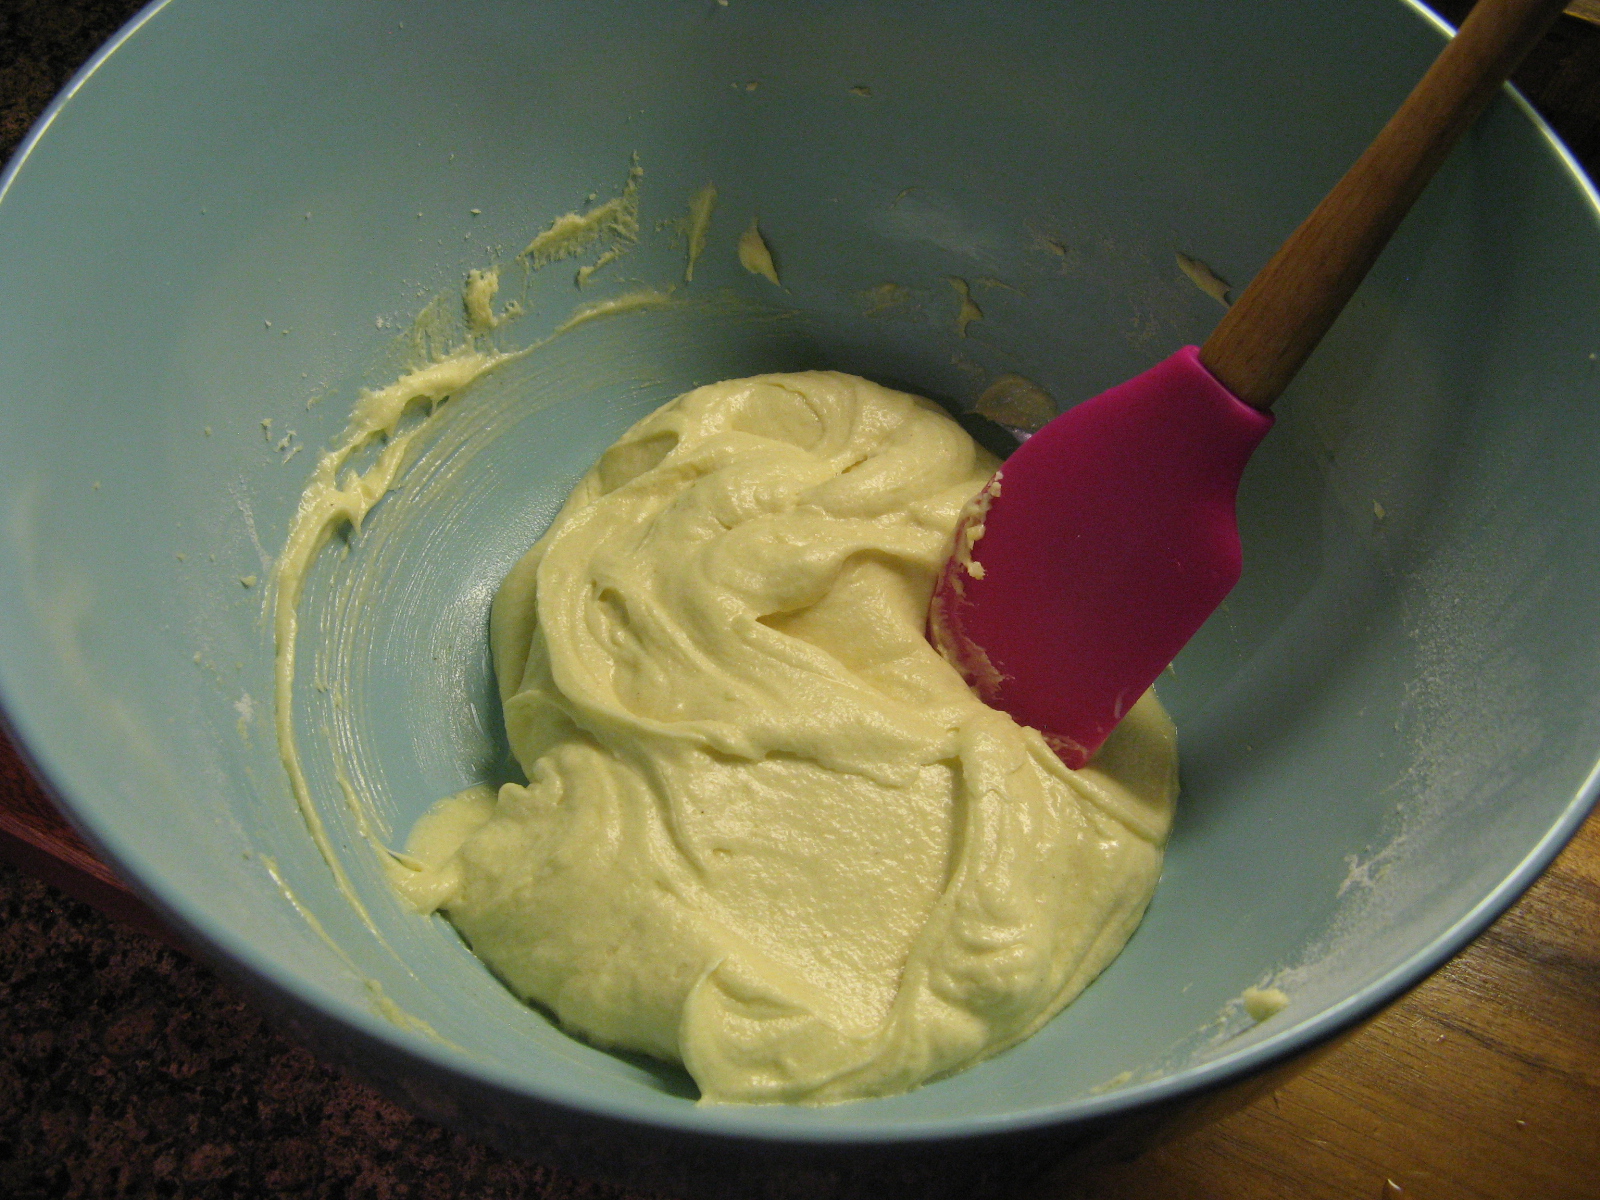
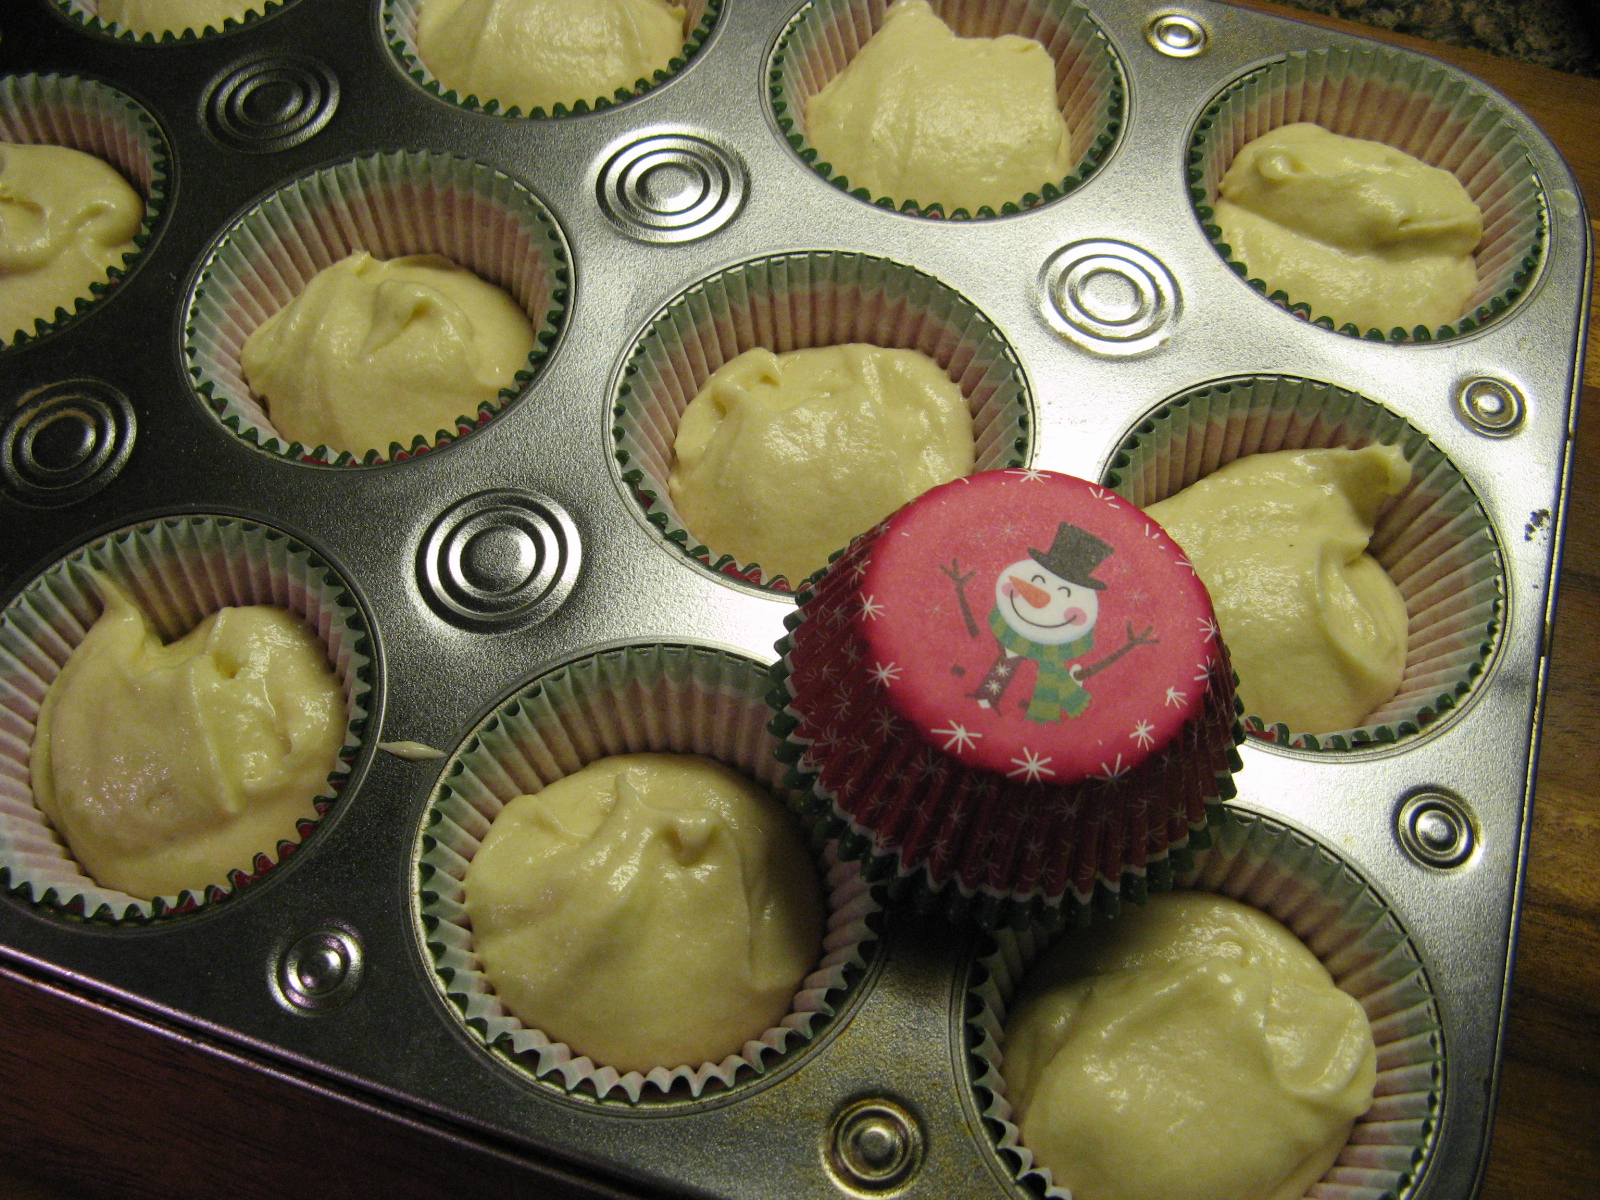
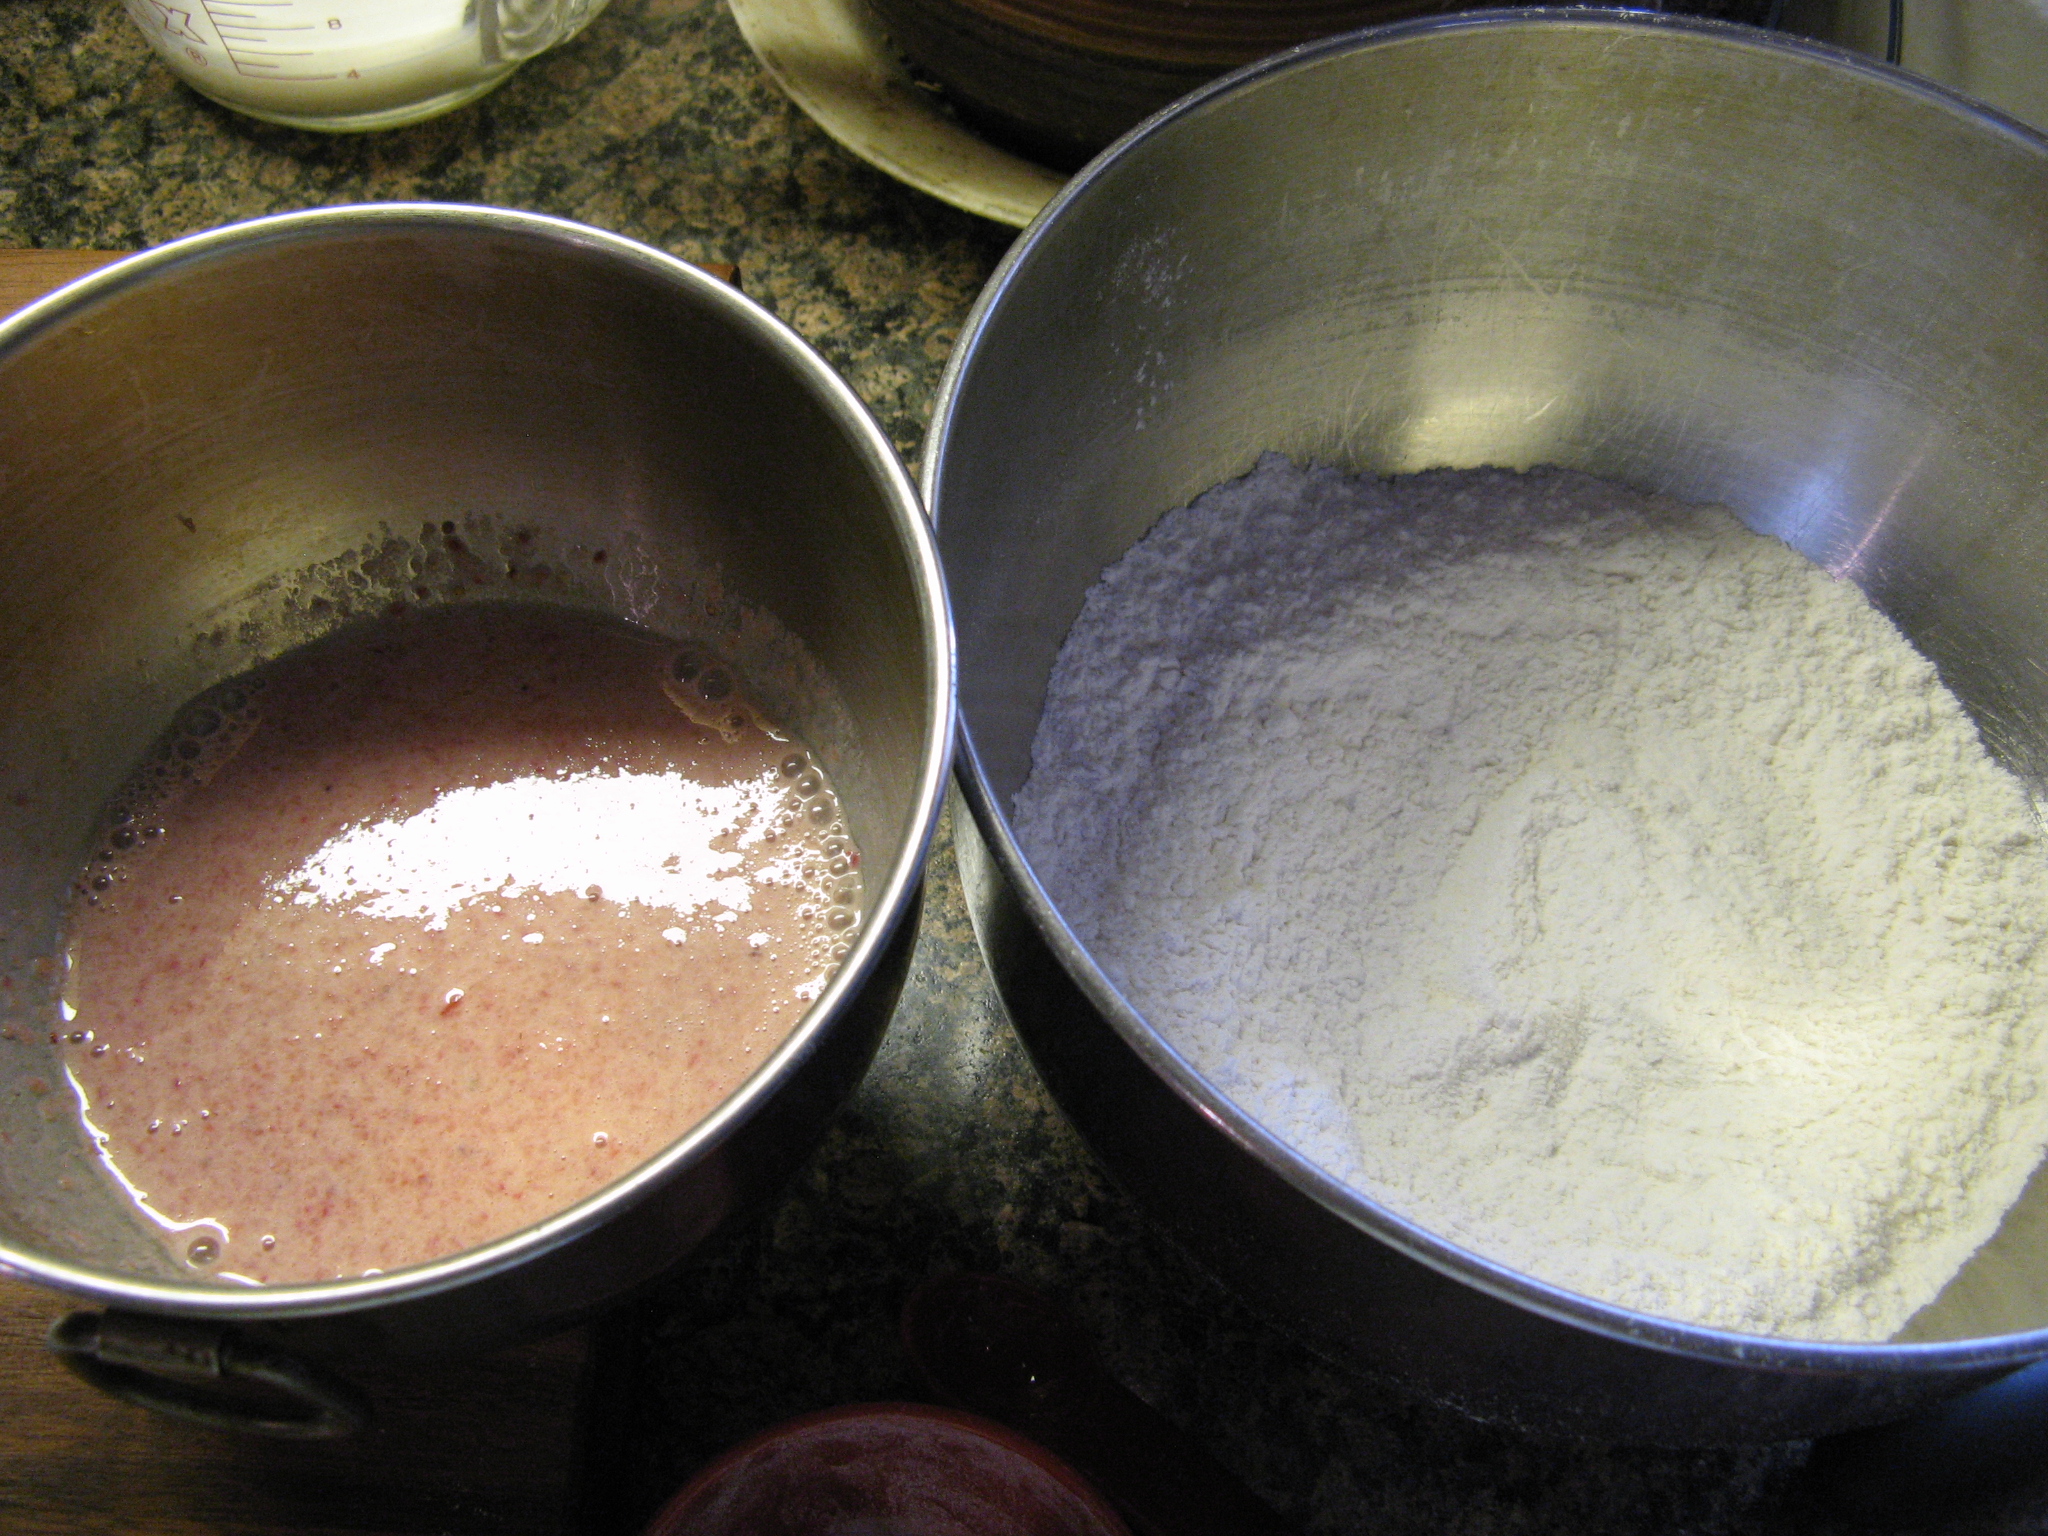
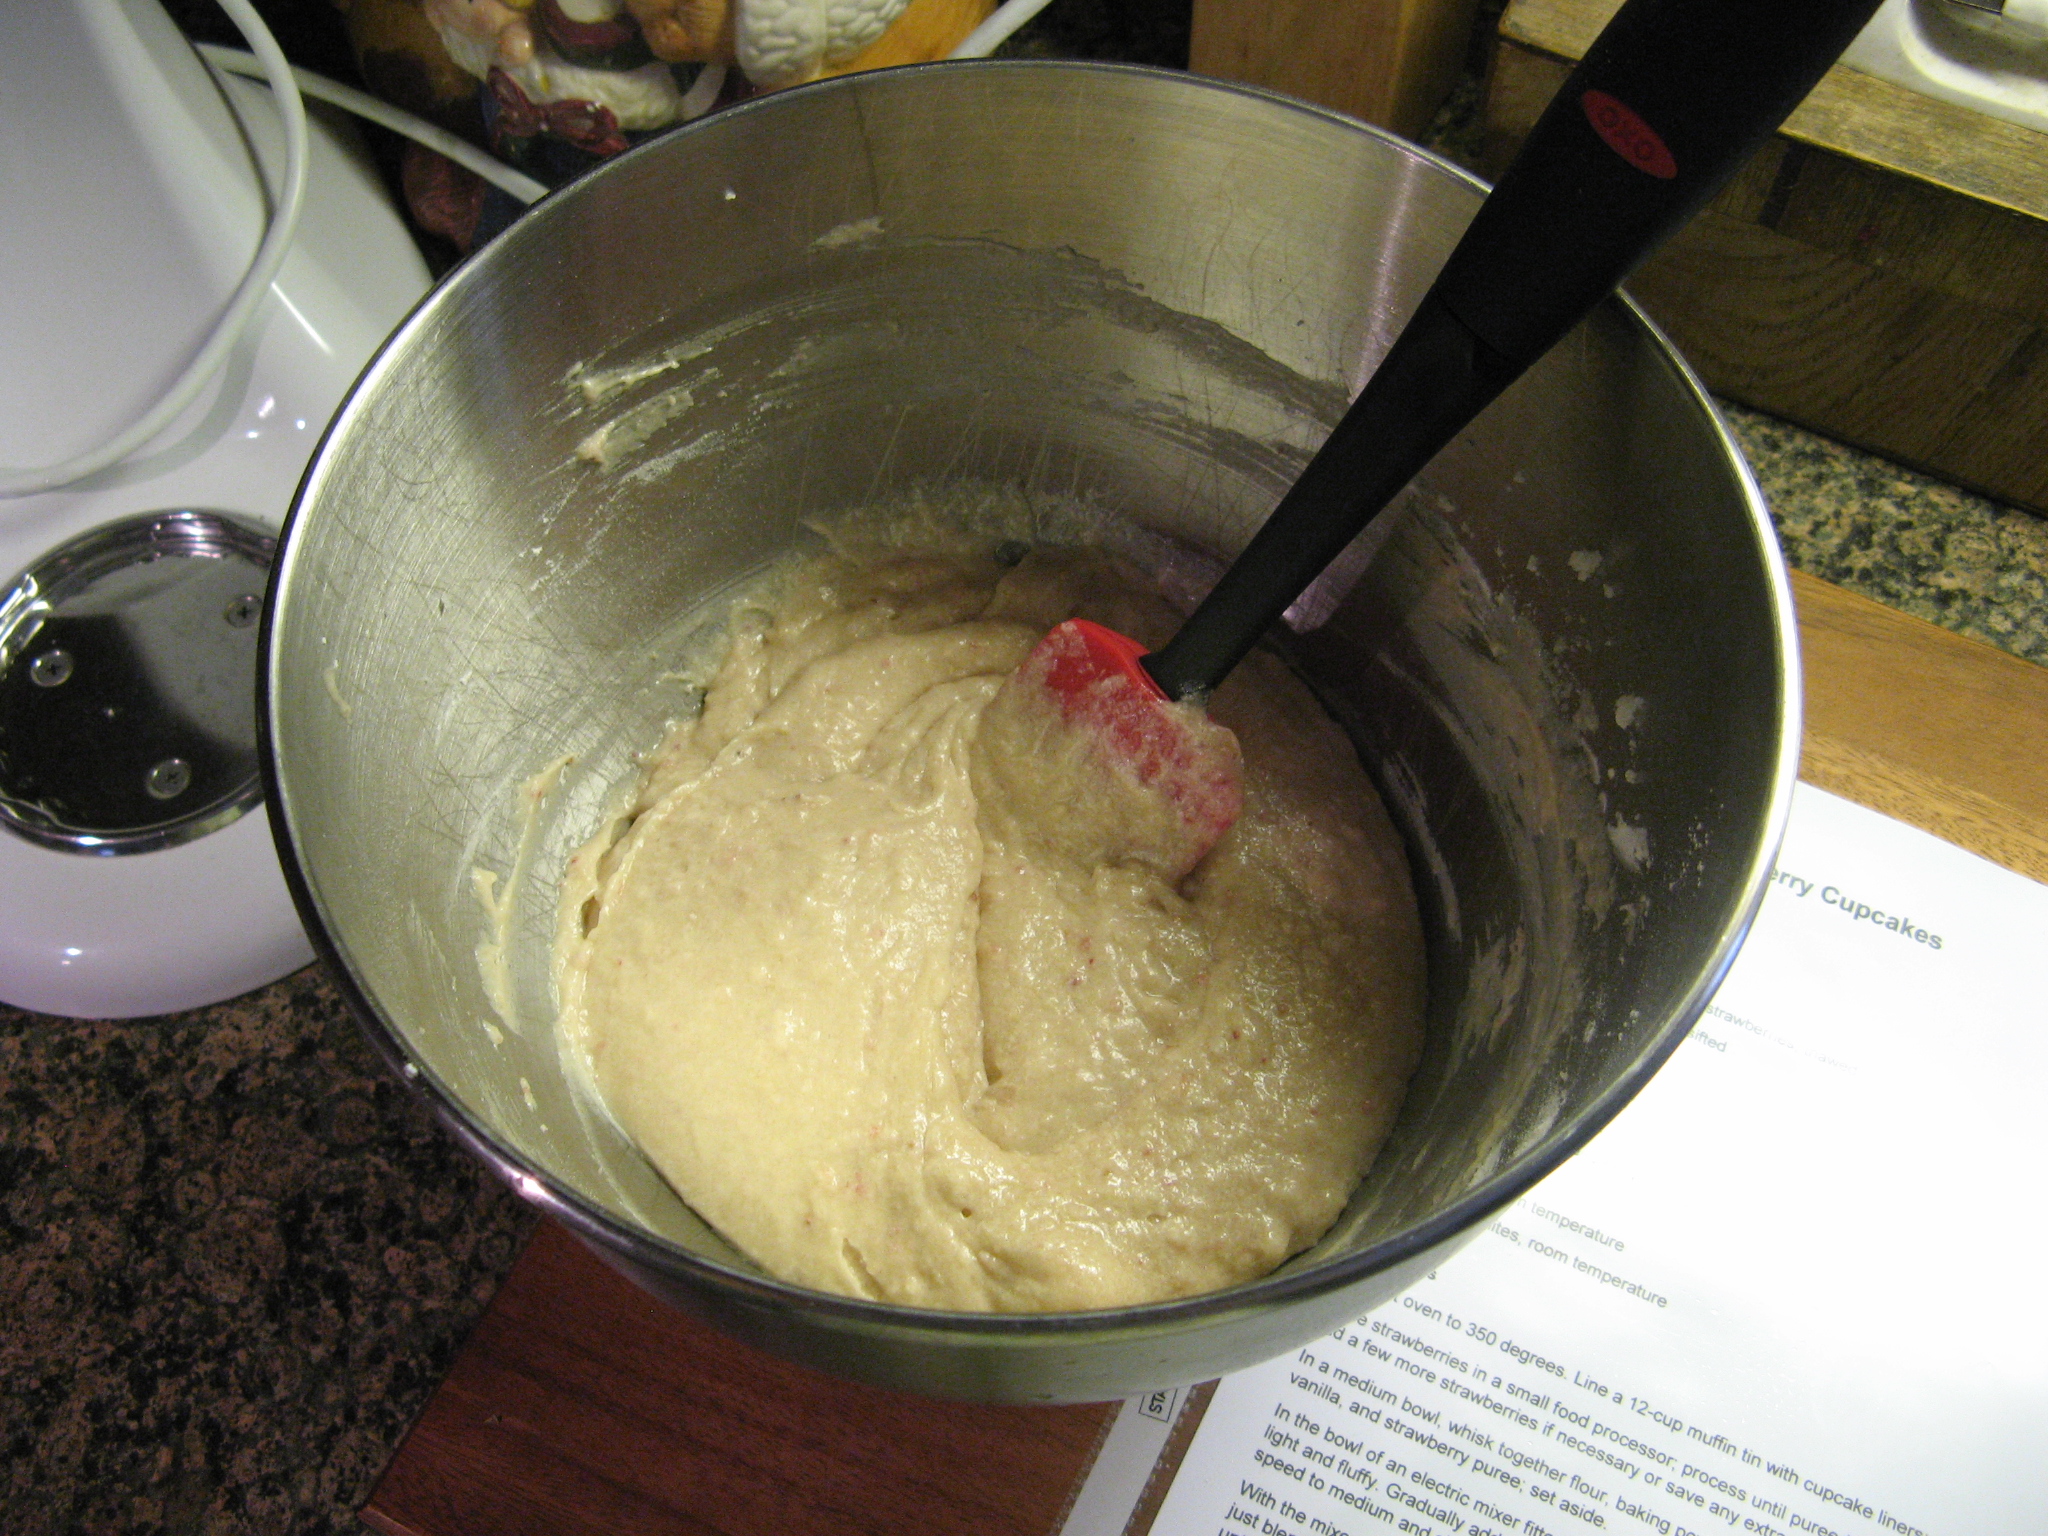
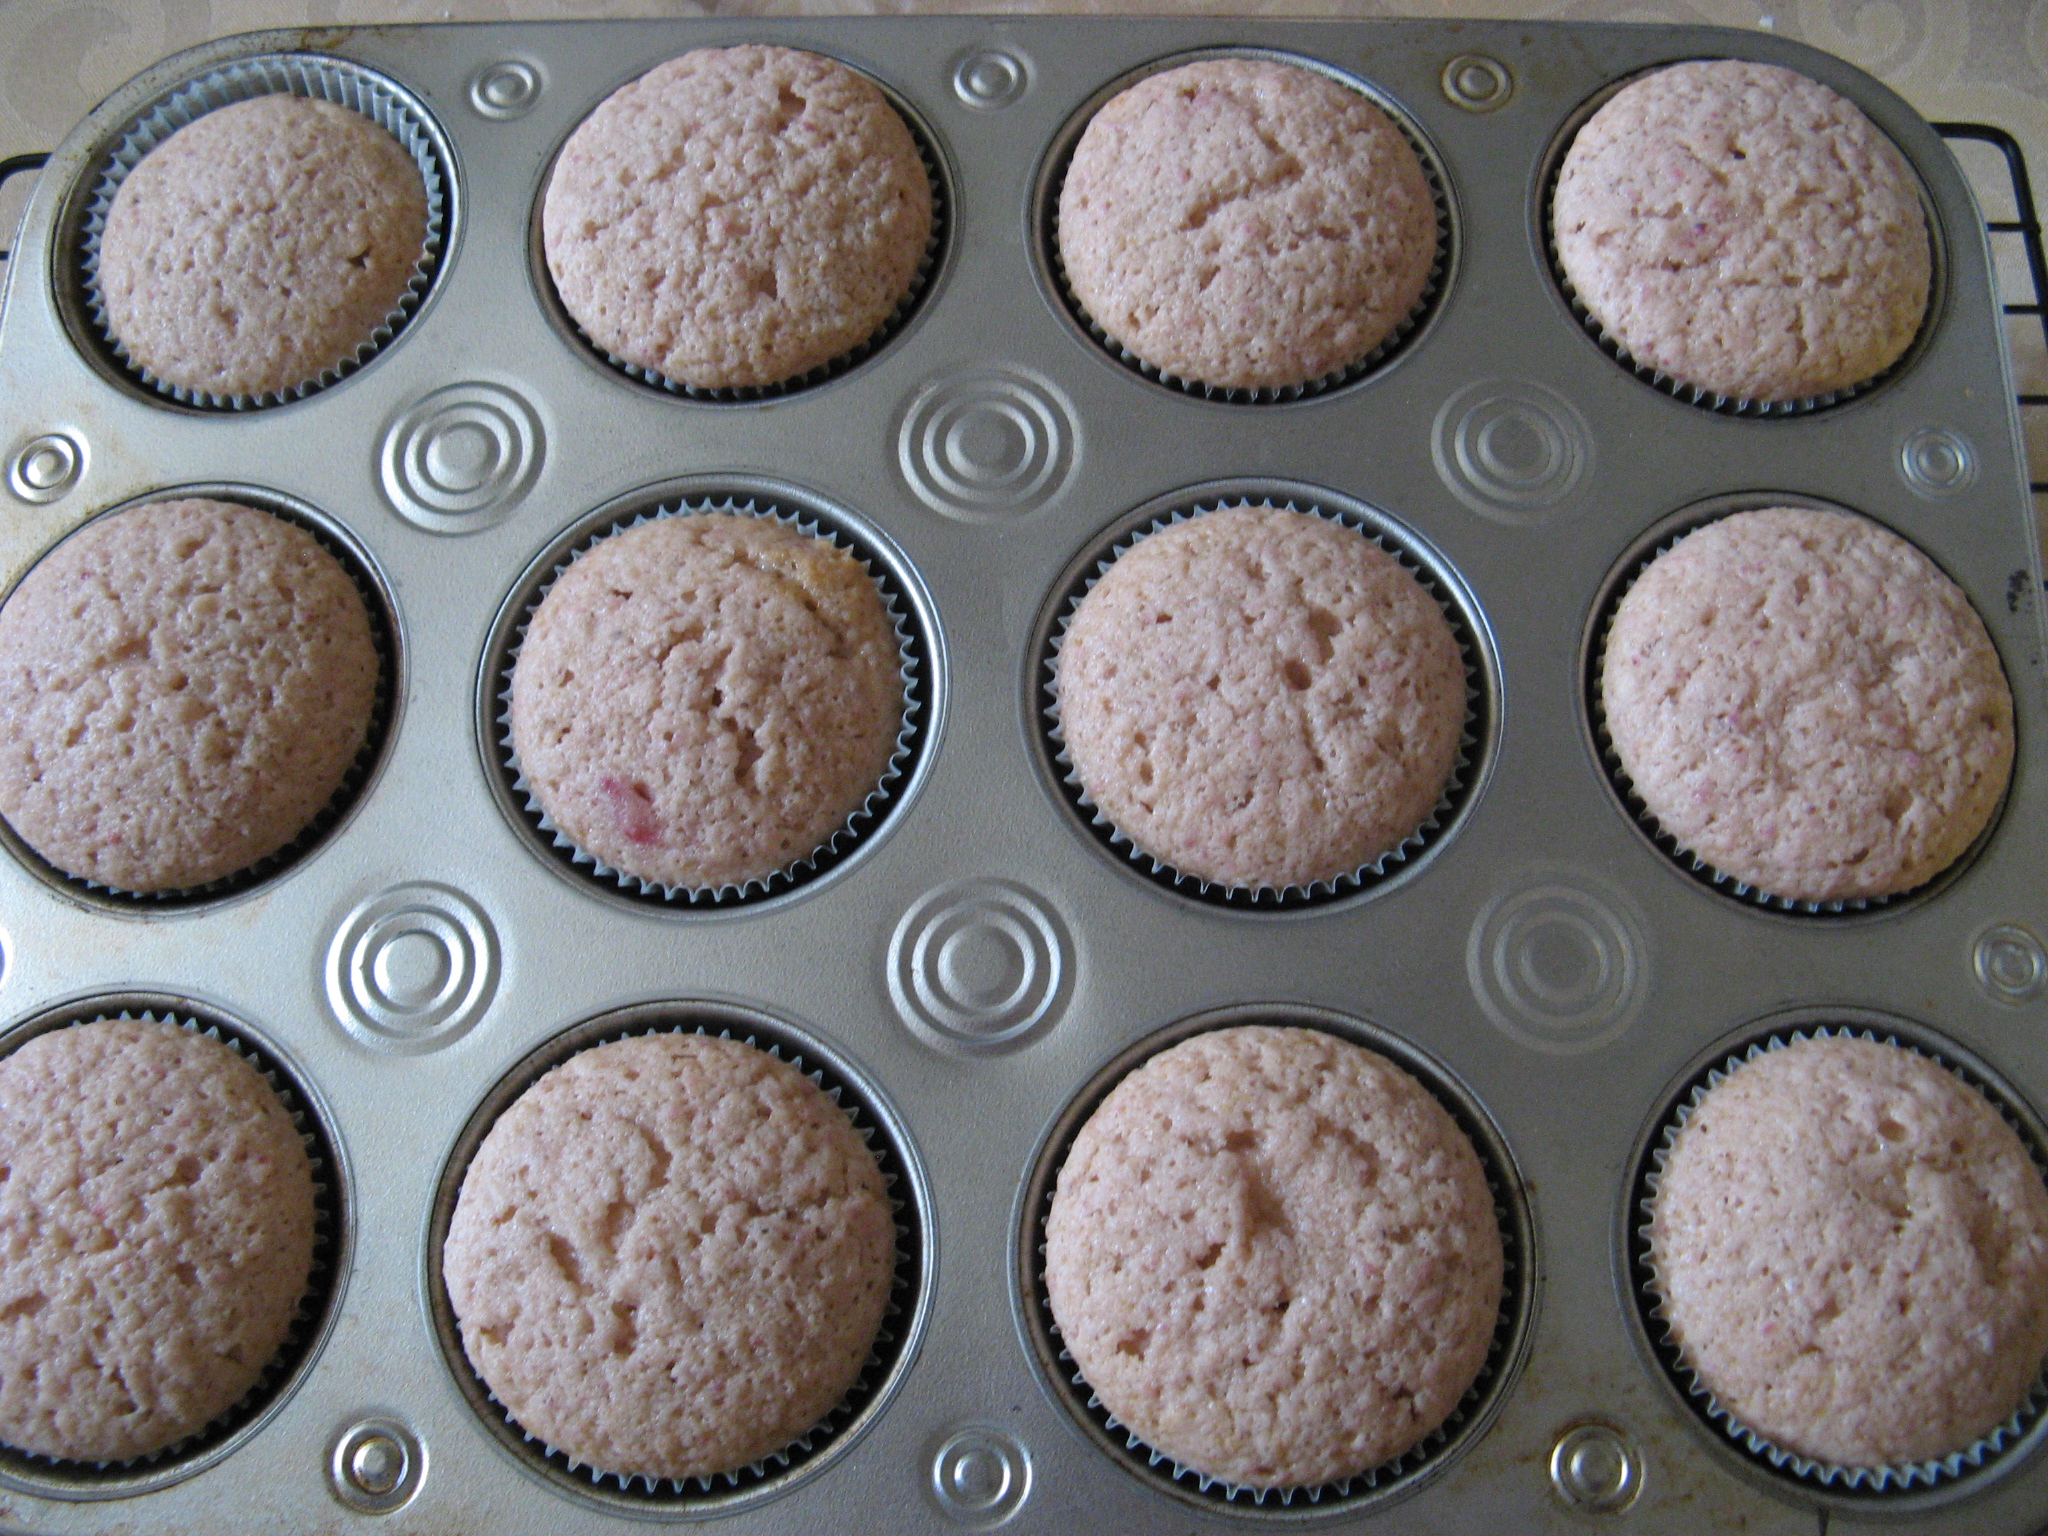
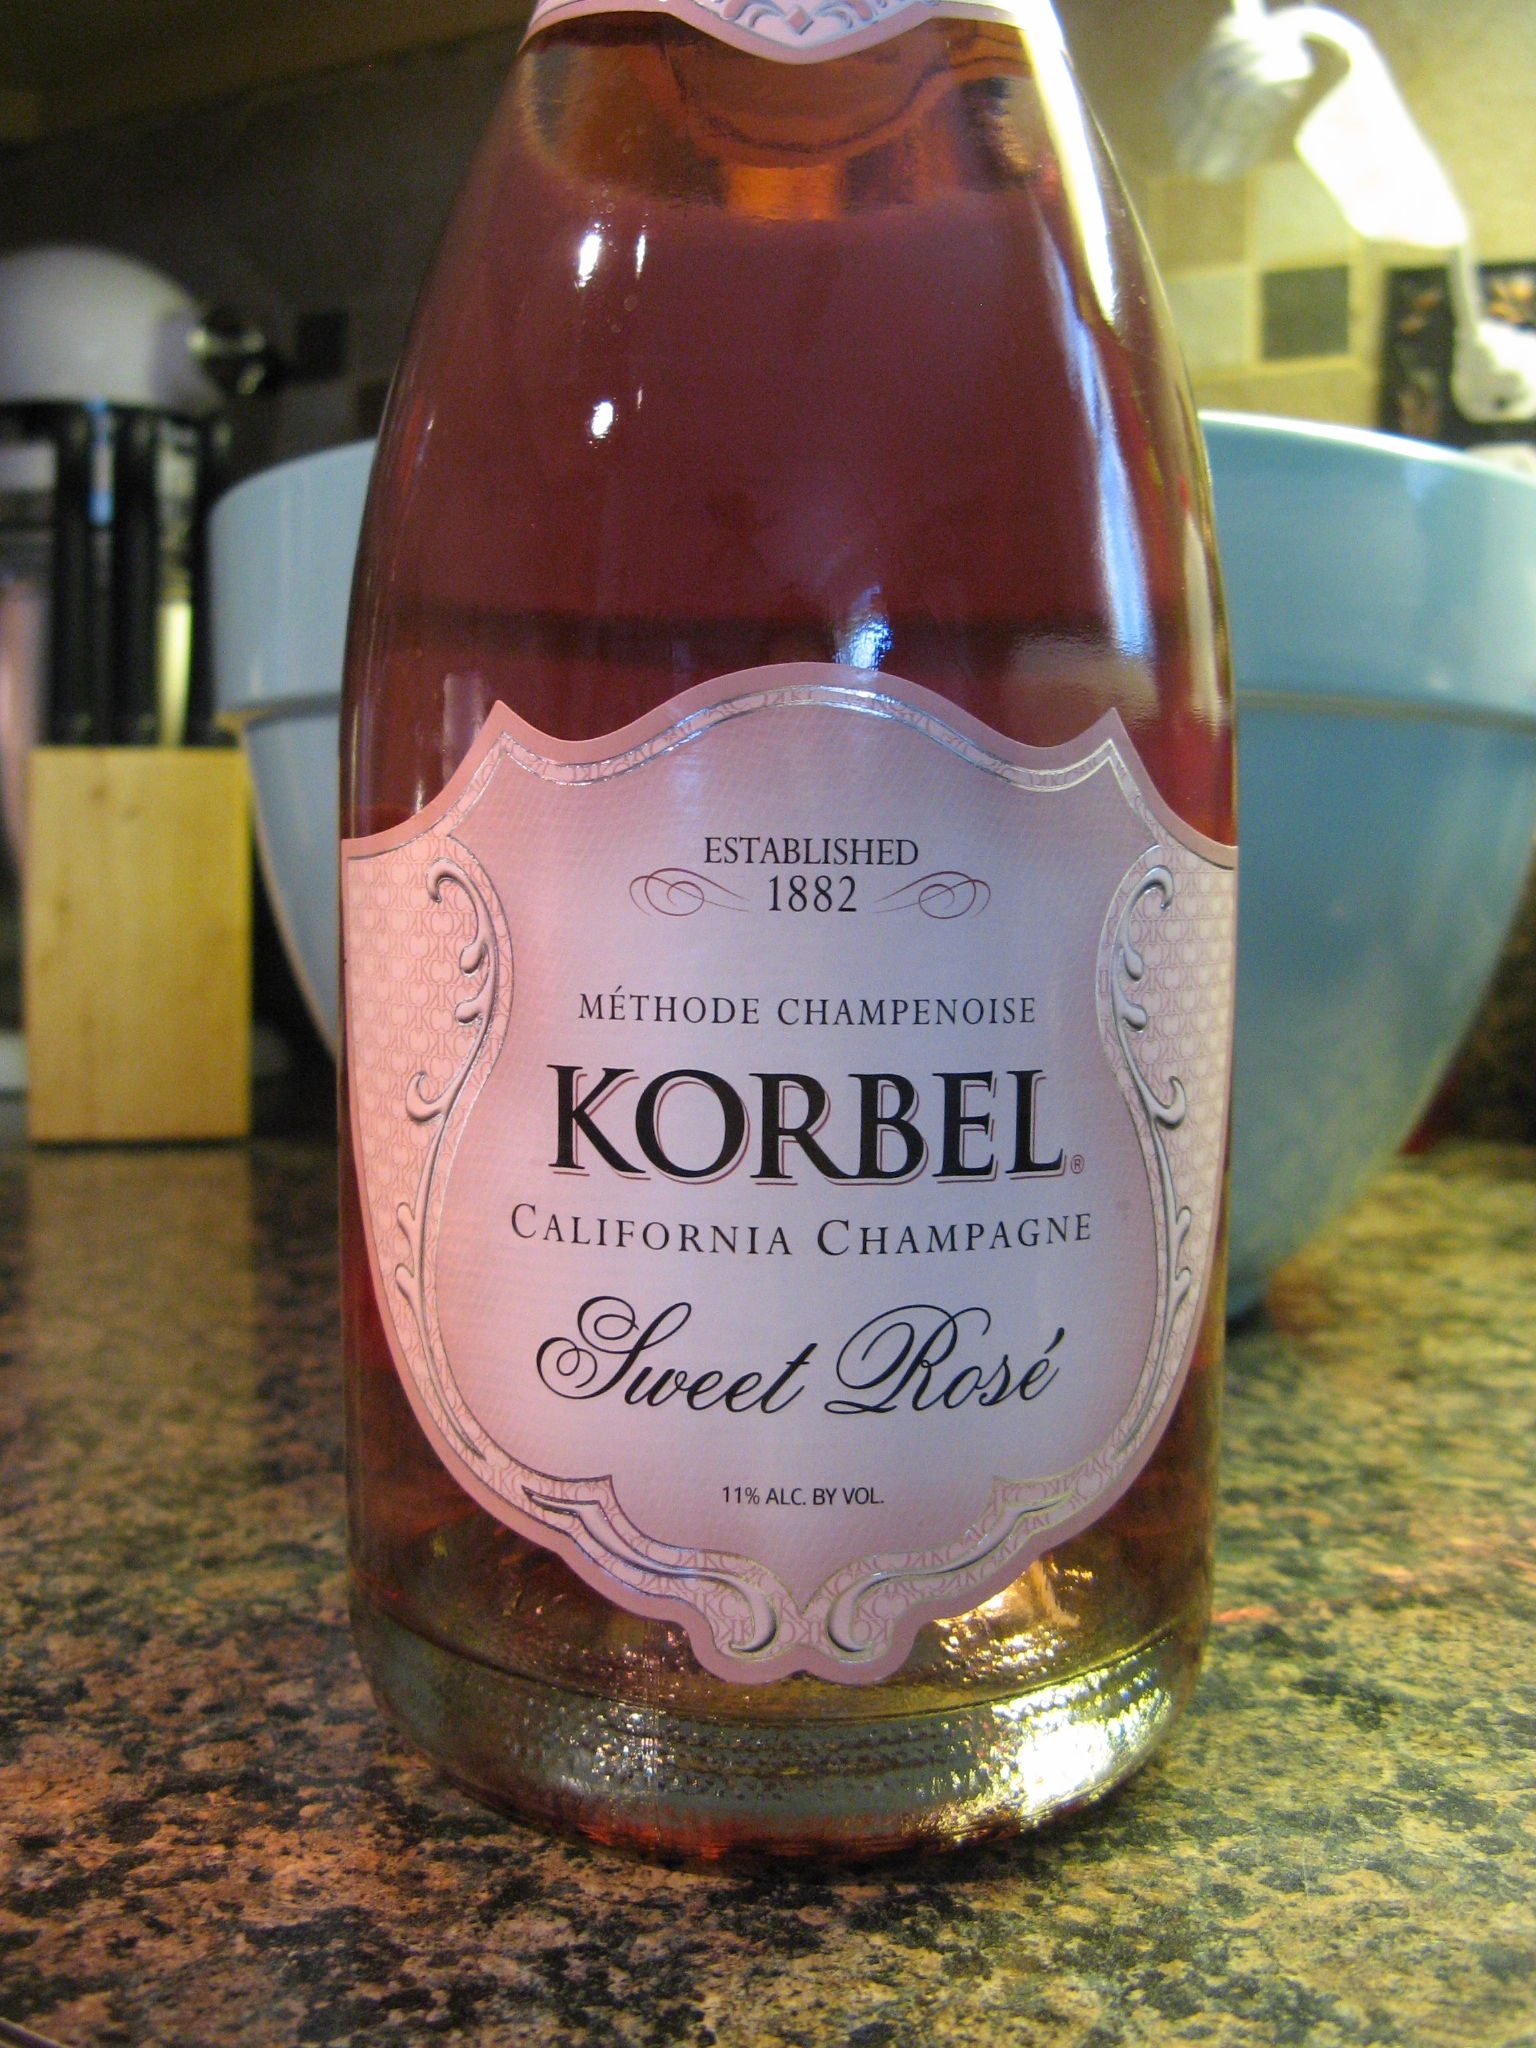
On my second attempt I kept things a bit simpler. Along with the eggs and oil measurements suggested on the box, I swapped the water for coffee and added in sour cream, Kahlua and vanilla extract. Adding the coffee helped to really enhance the chocolate flavor, as did the Kahlua. While box cake directions say to mix everything together at once, I opted to beat together all my ingredients except for the cake mix until they were well incorporated and then sifted the cake mix over the mixture and beat it in on low speed until it was just combined. More or less following the method of most cakes that are made completely from scratch.  

Once my cake layers were baked and cooled, I wrapped them in plastic wrap and refrigerated them overnight. I find that it’s easier to level and frost cold cake layers. The cakes are less likely to break apart and there’s much less crumb.

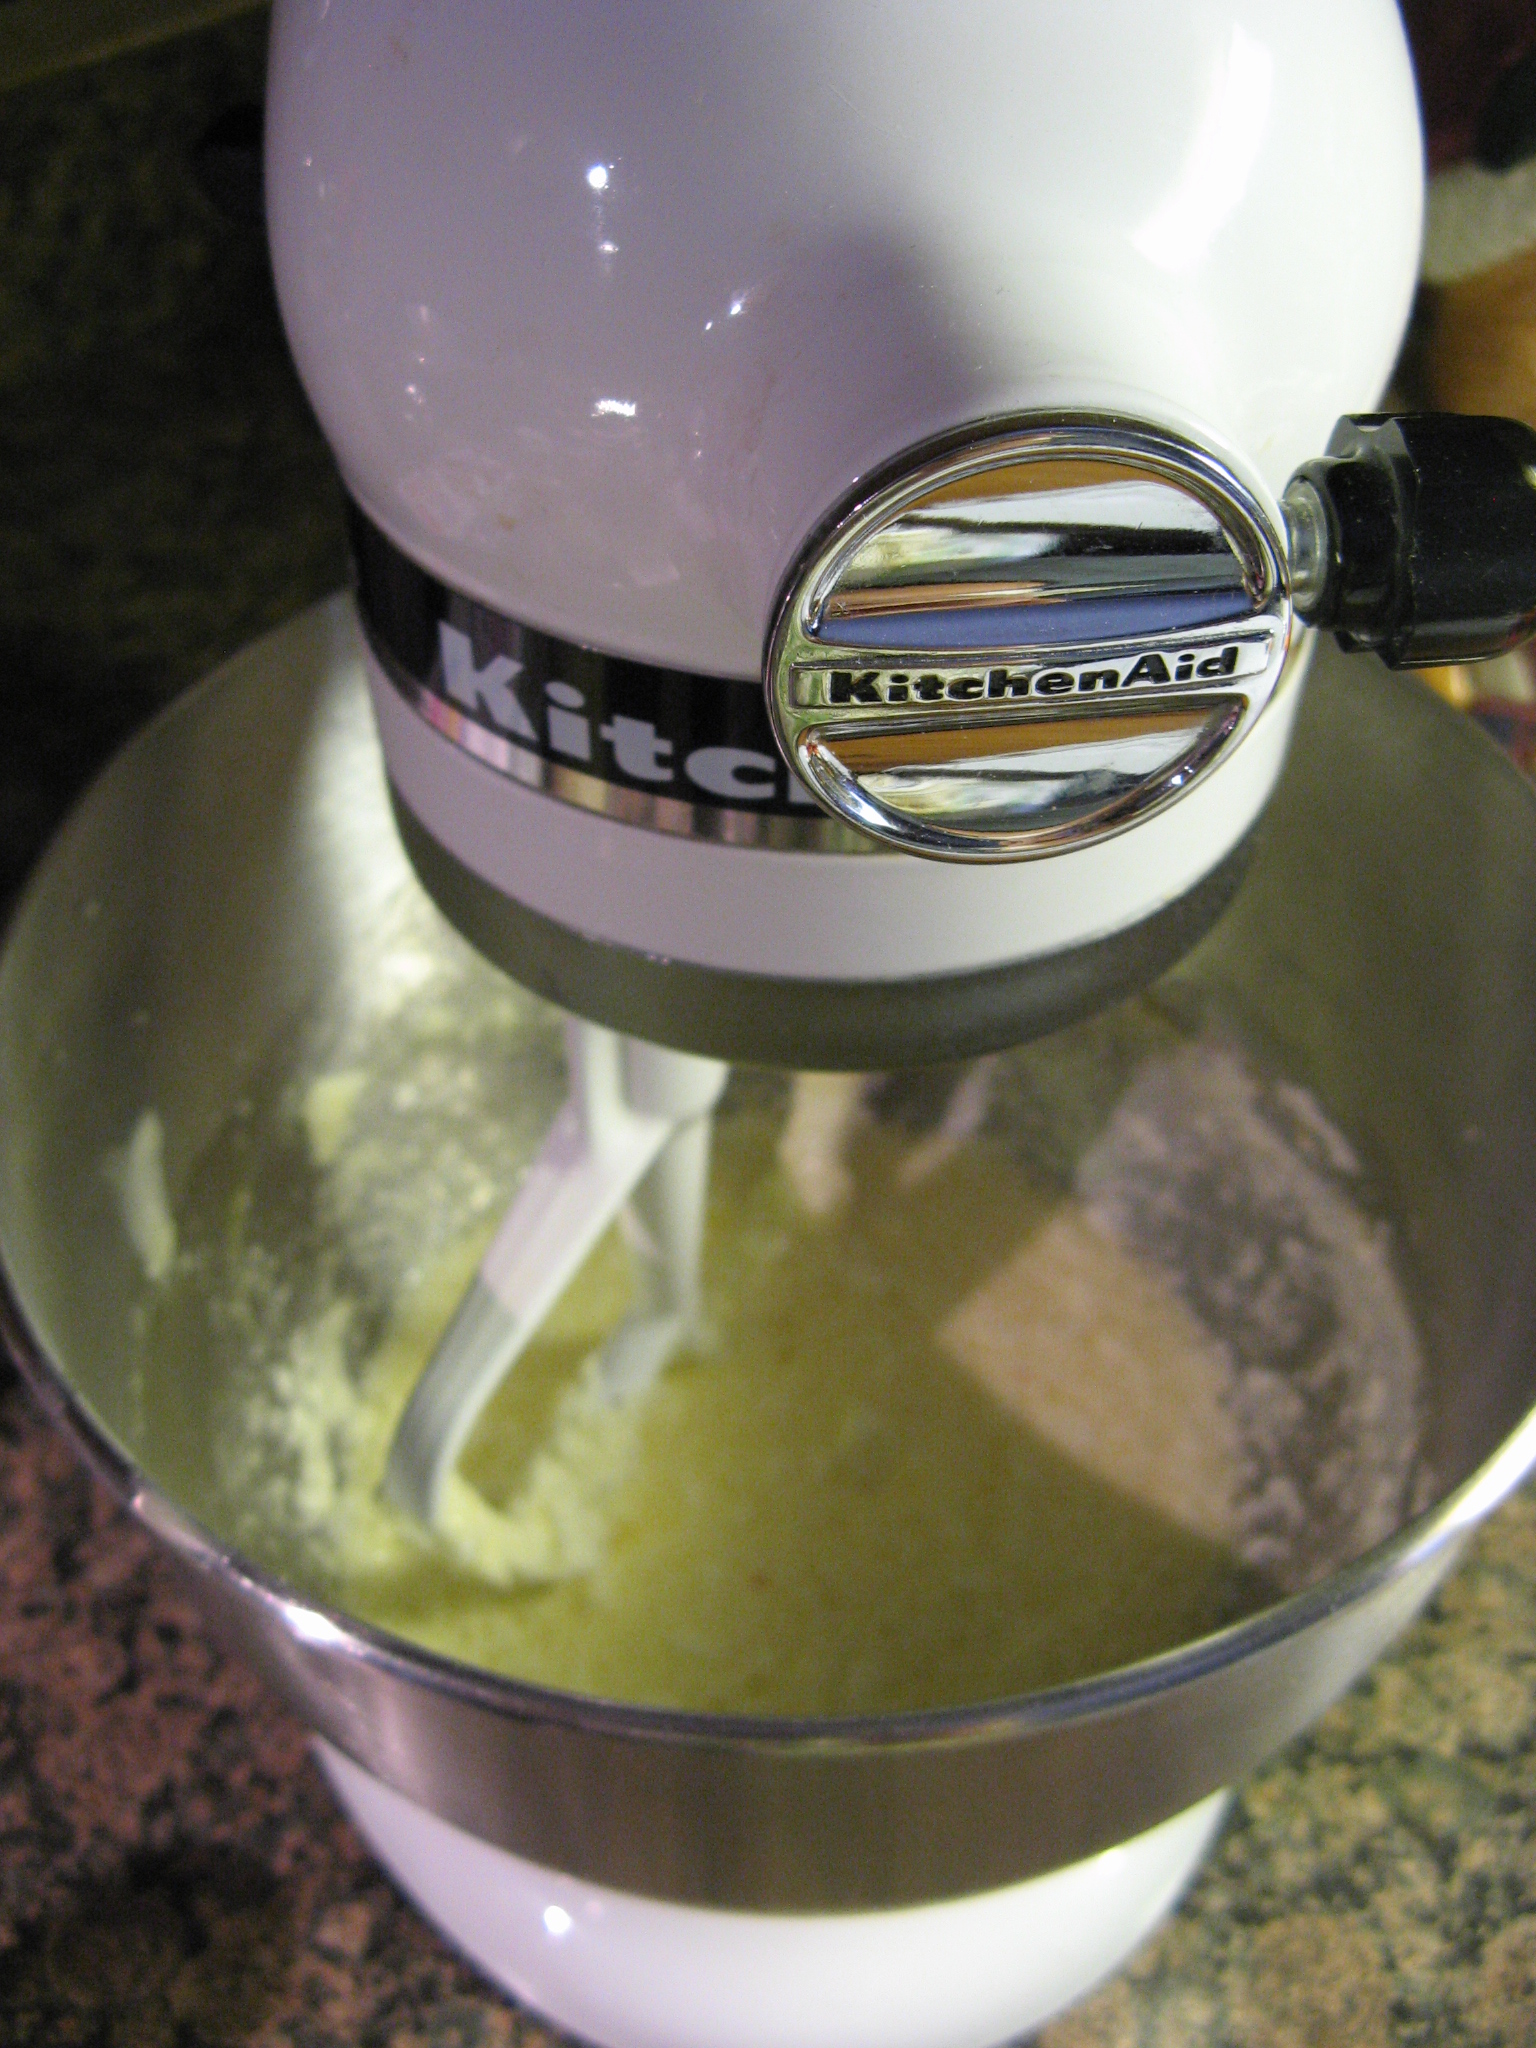
The next day I made the frosting. Contrary to my recipe directions below, I added all the ingredients for the frosting into my stand mixer at once. Either works. If you follow method, I suggest beating everything together on medium speed until the ingredients are incorporated and then raise the speed of your mixer to medium-high for at least 5 minutes to get the frosting light and fluffy. Don’t fret if the frosting appears to be curdled or separated. Just keep beating it, it will come together. I probably beat mine for just shy of 10 minutes. I made this frosting on a fairly warm day so it was a bit soft once it was done so I popped it in the refrigerator for about 30 minutes so it could firm up. I checked it every 10 minutes to make sure that it wasn’t getting too firm. I didn’t want to have to wait for my frosting to “defrost” after all that.

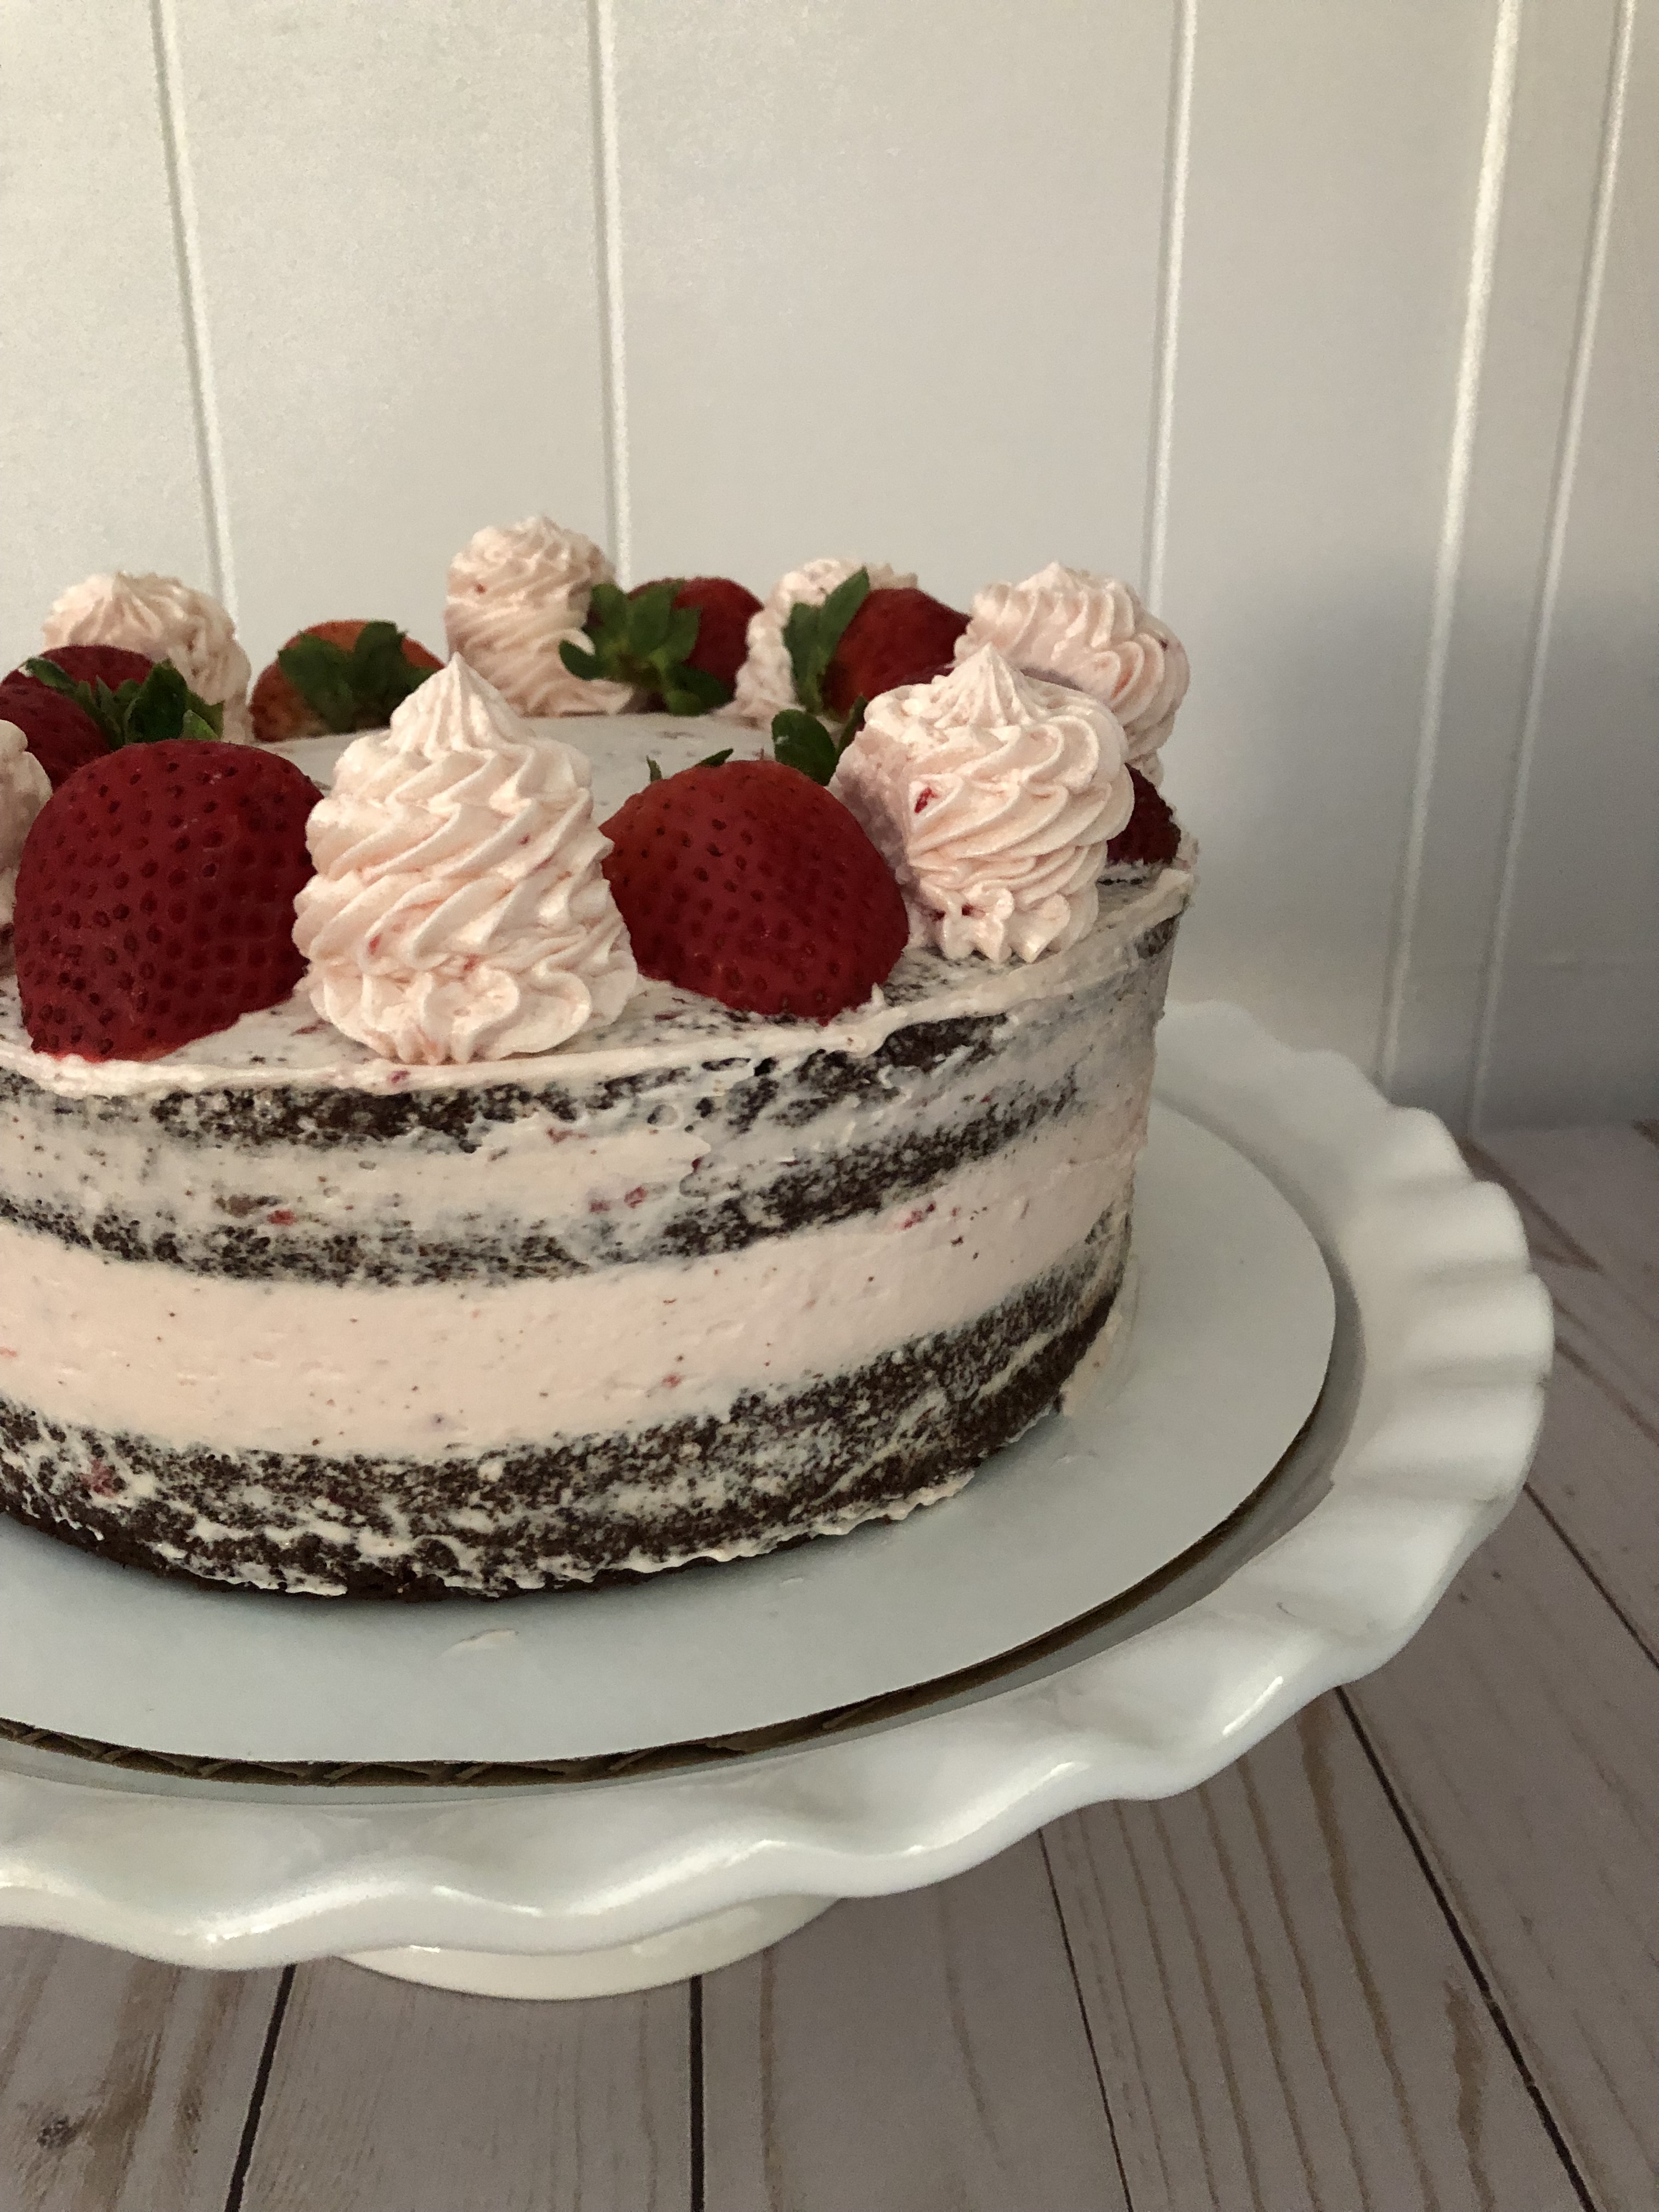
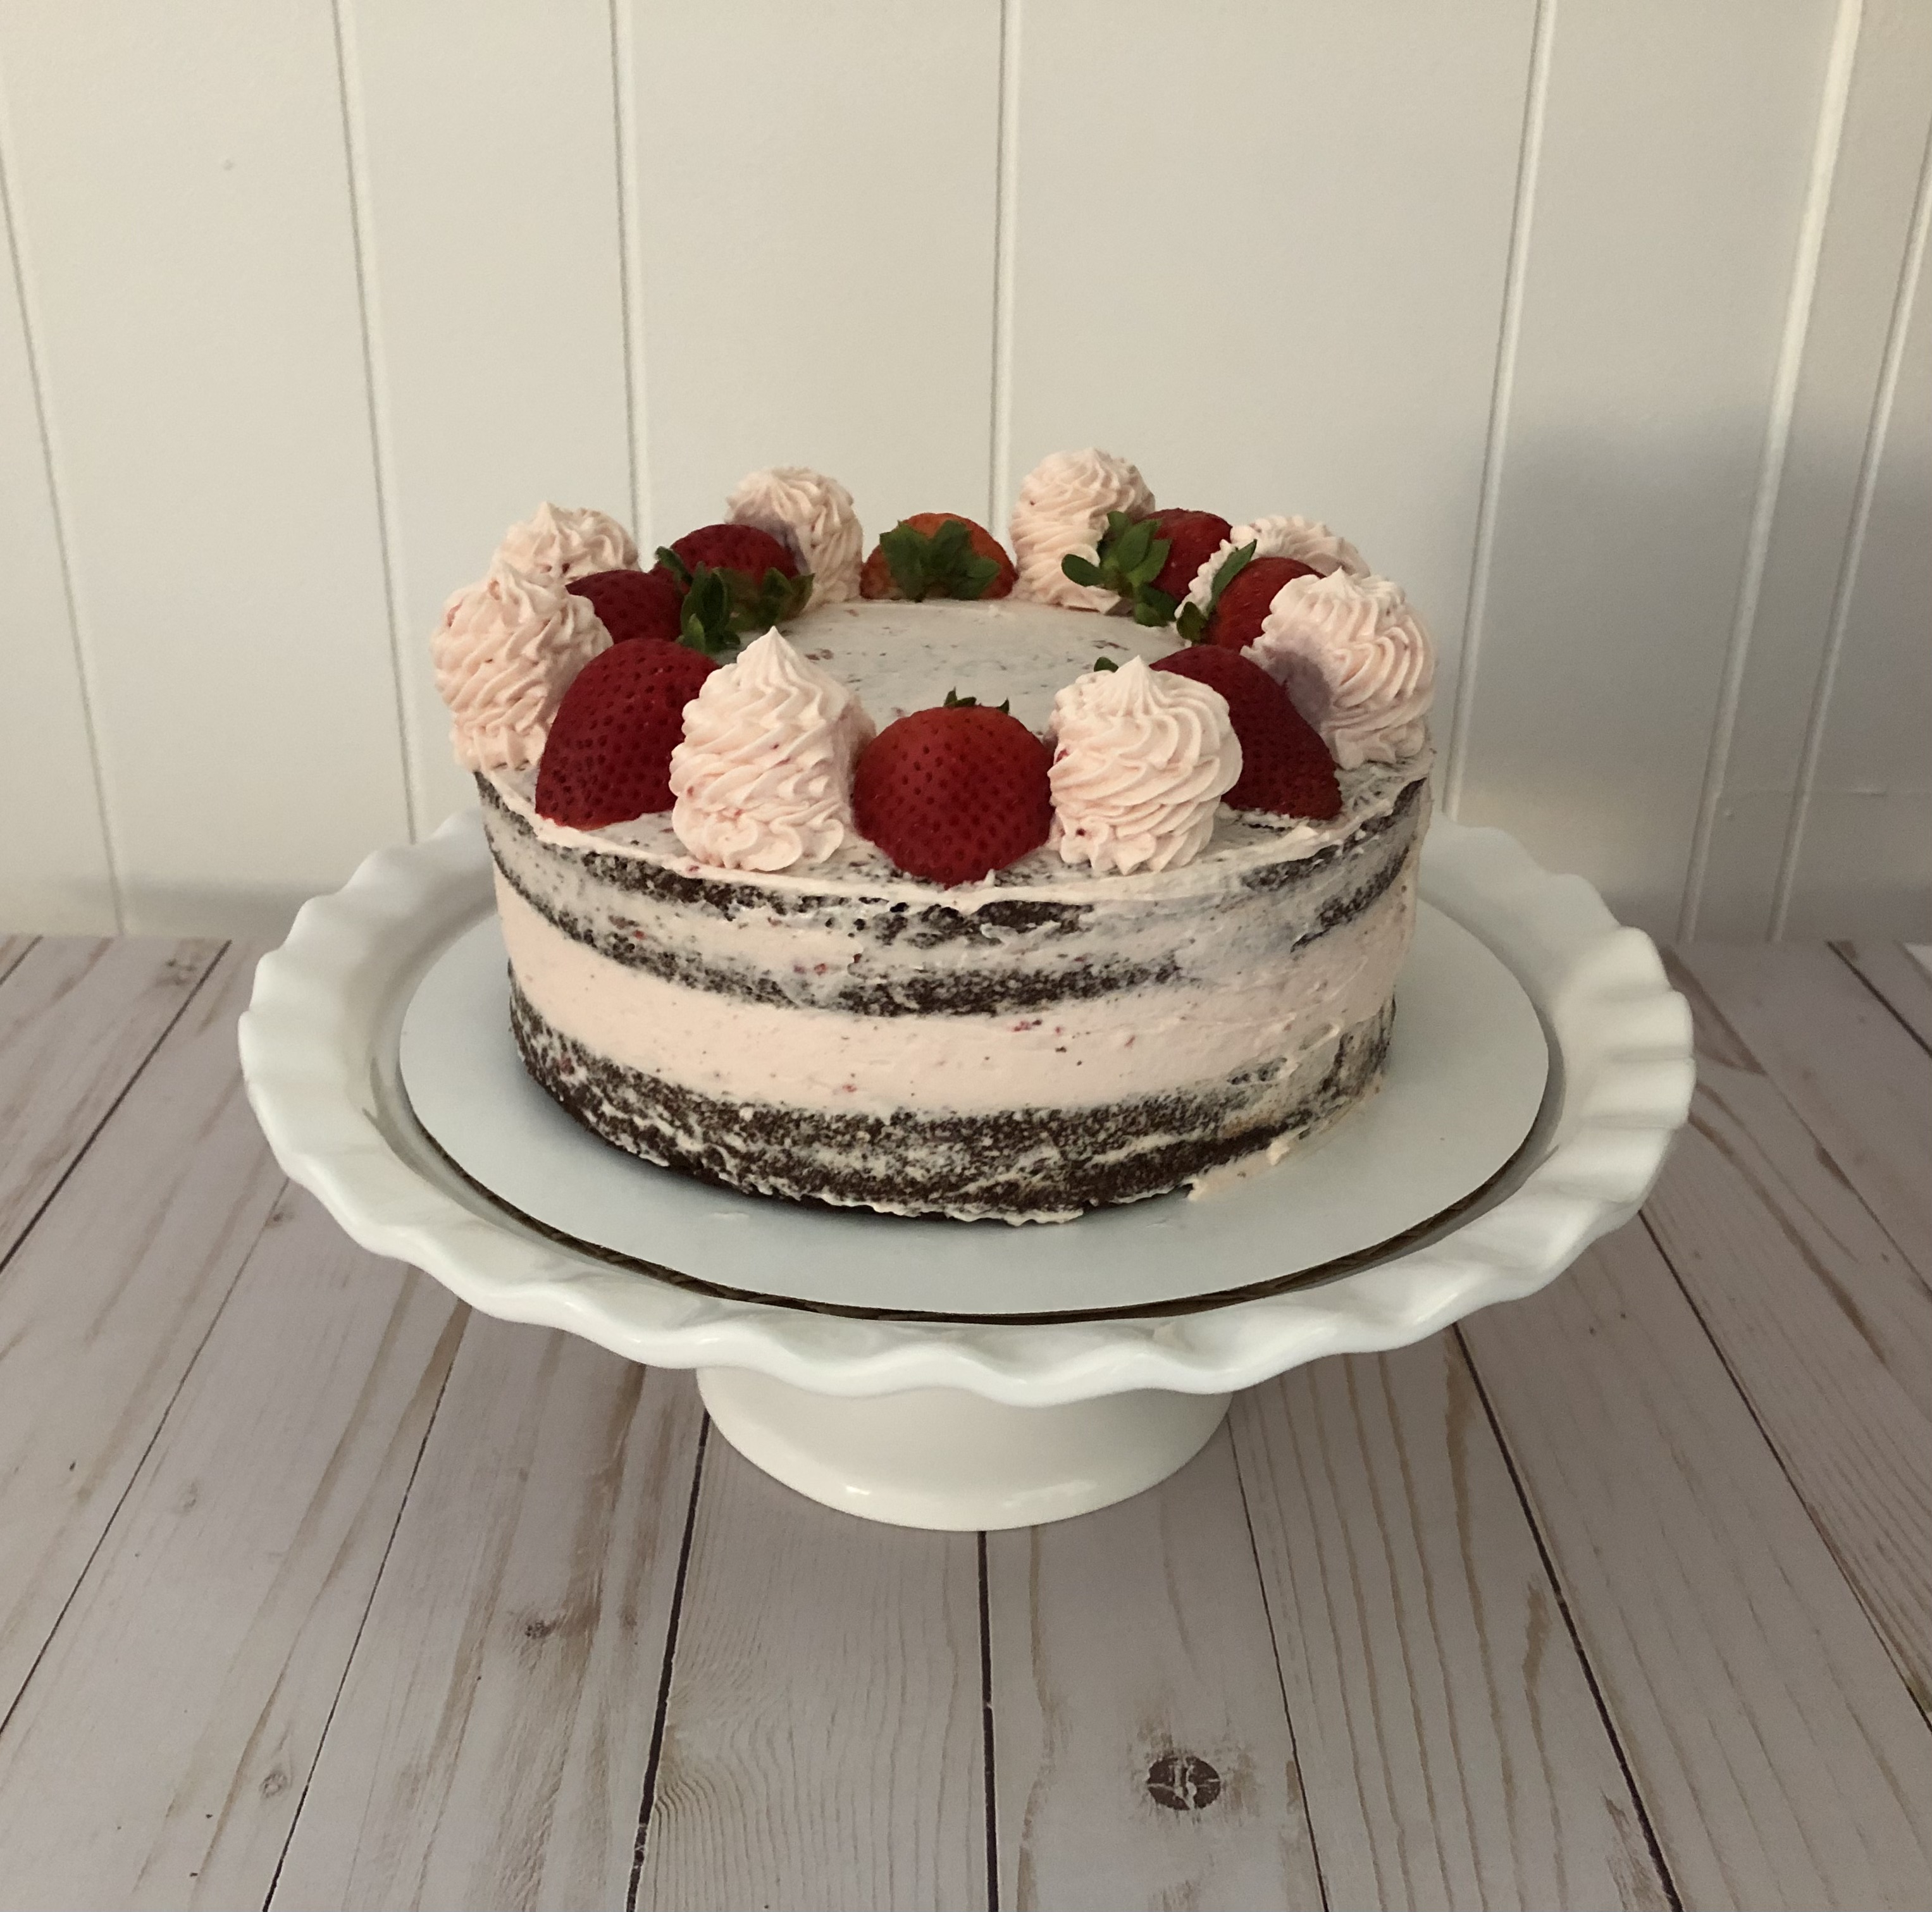
Once it was ready, I transferred about a cup of the frosting to a piping bag fitted with a large star tip and set it aside. After leveling the cakes, I spread about half of the remaining frosting on top of one of them and then placed the other one on top. And finally, I frosted the entire cake with the remaining frosting. My plan was to make this a naked cake so I was well aware that I wouldn’t have enough frosting to completely cover it.  

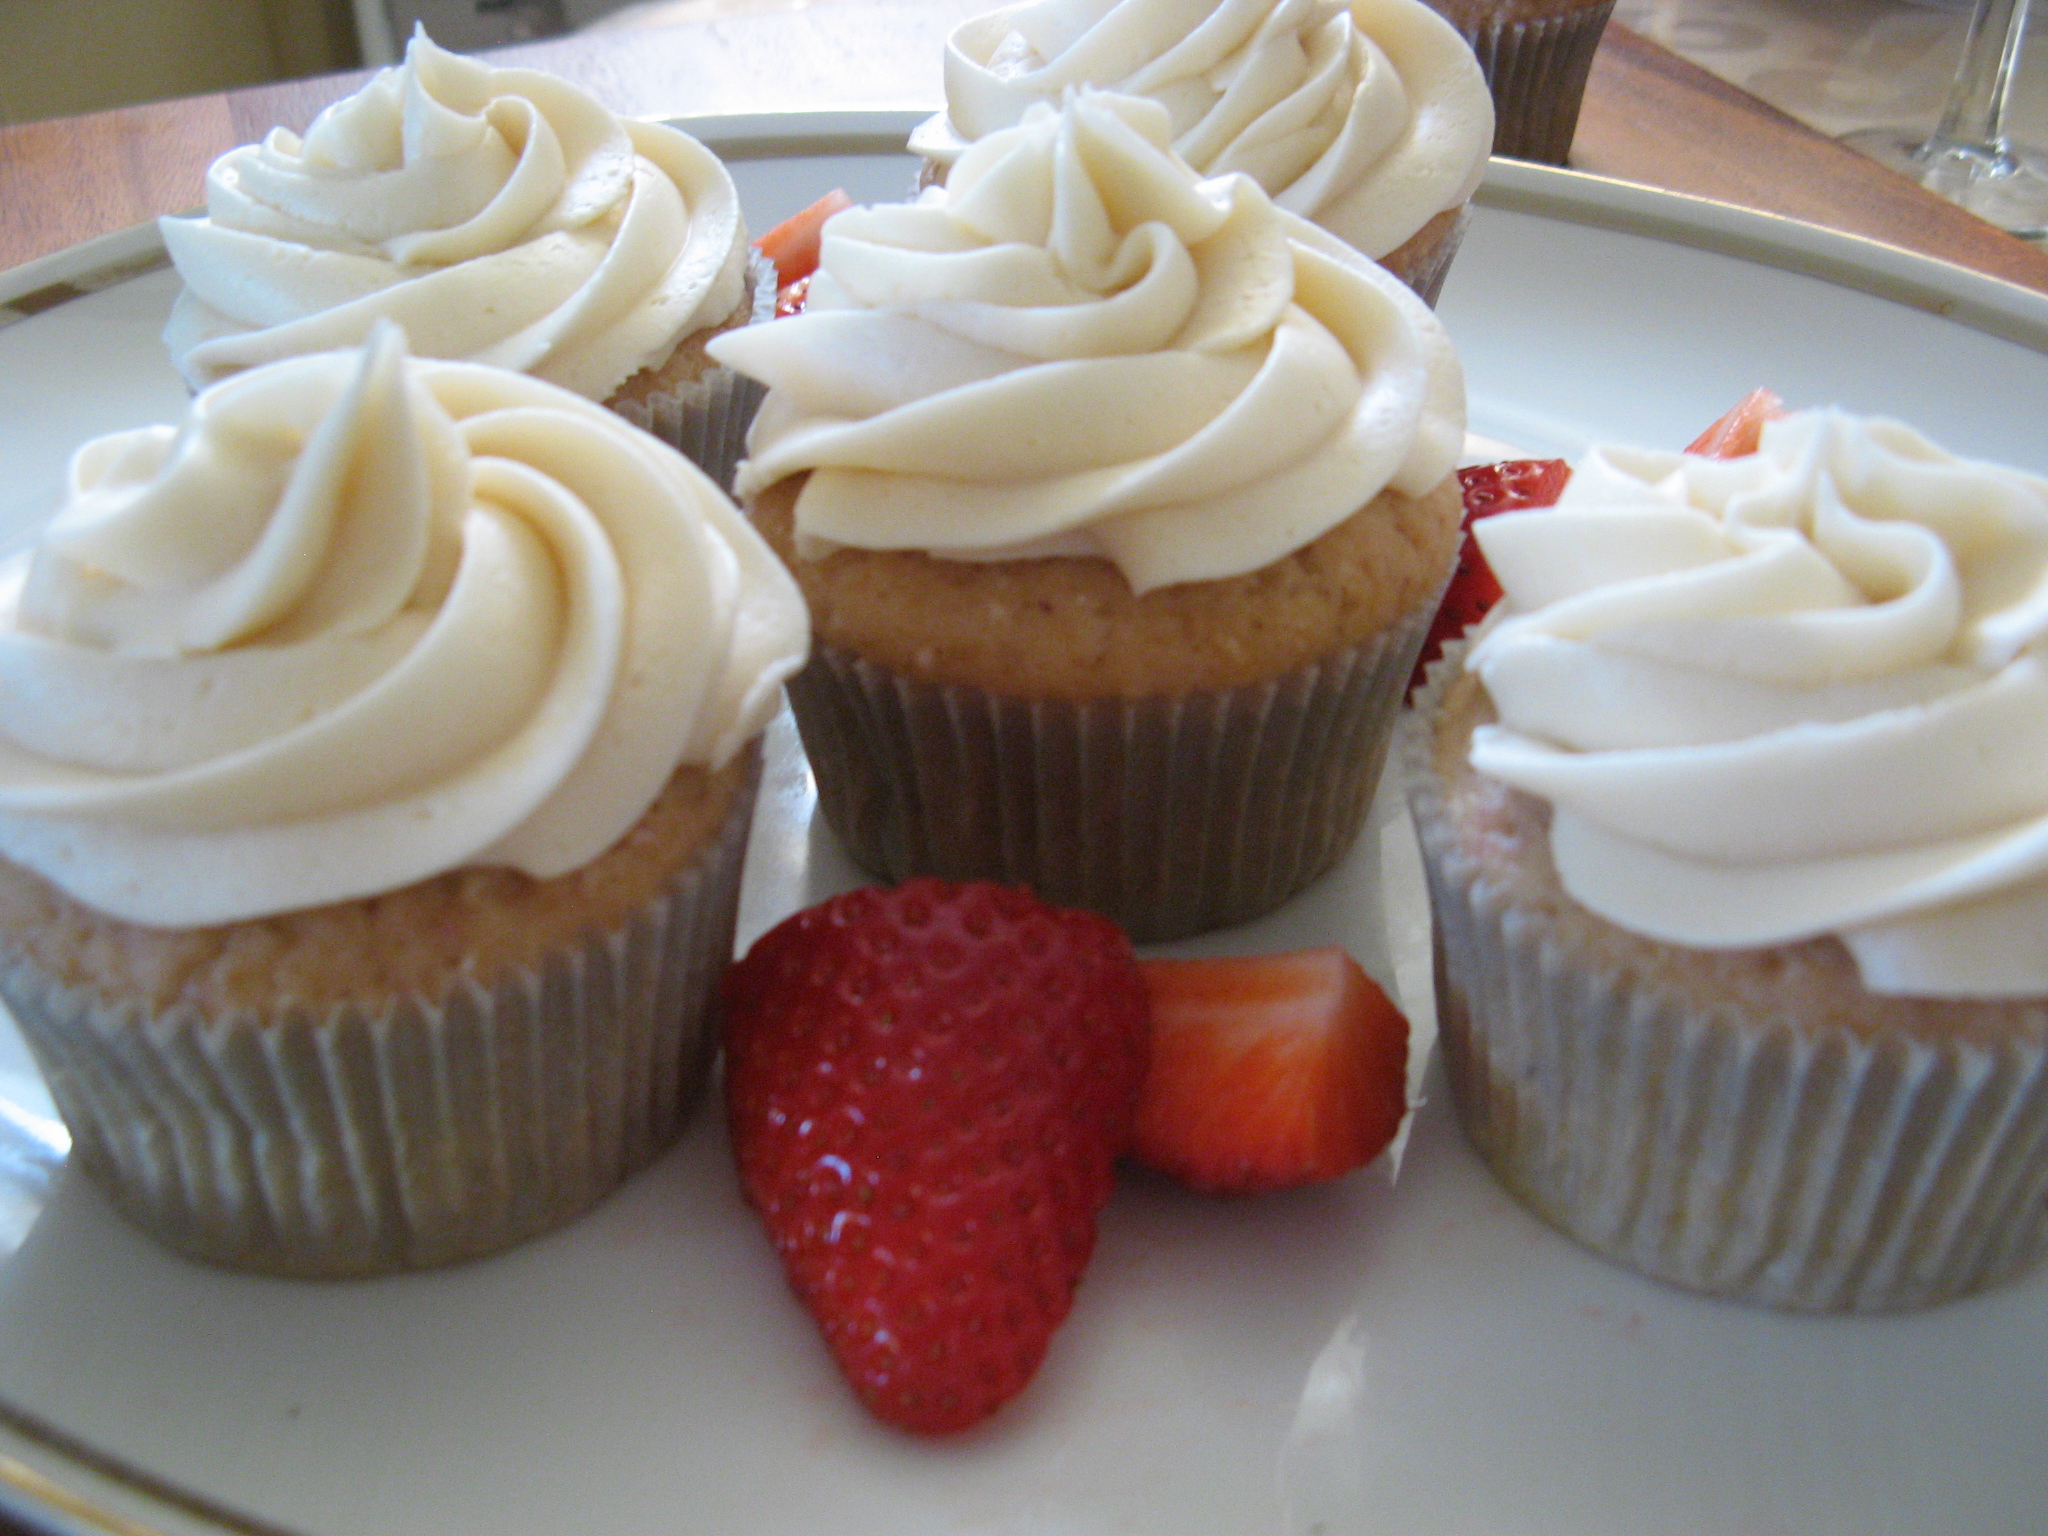
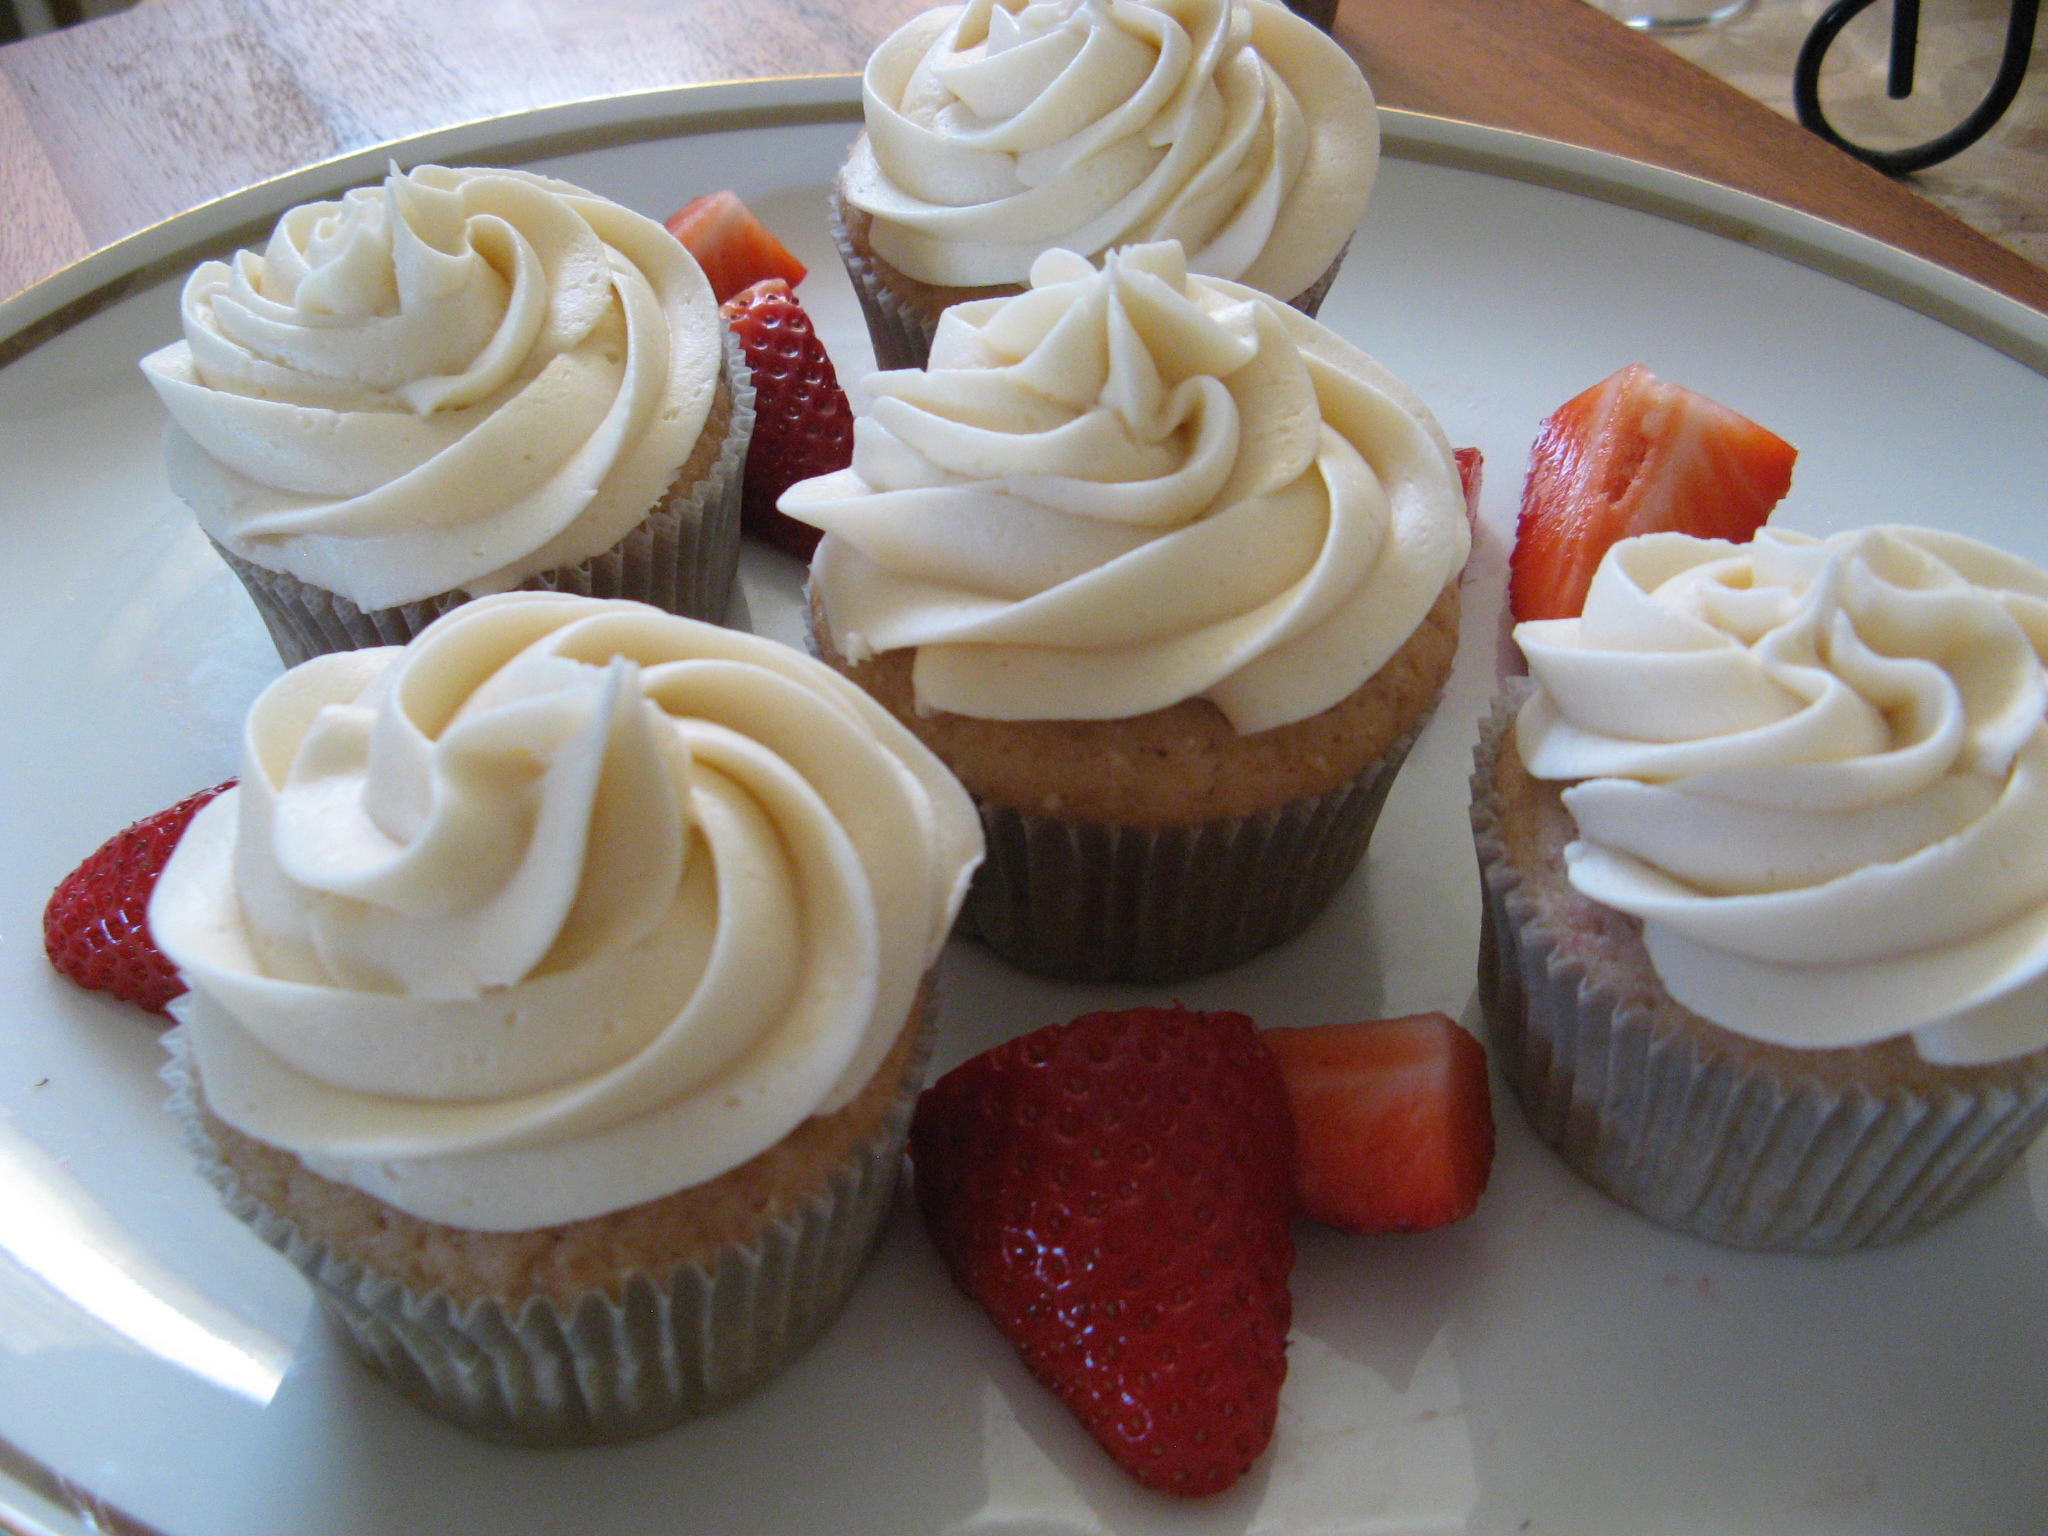
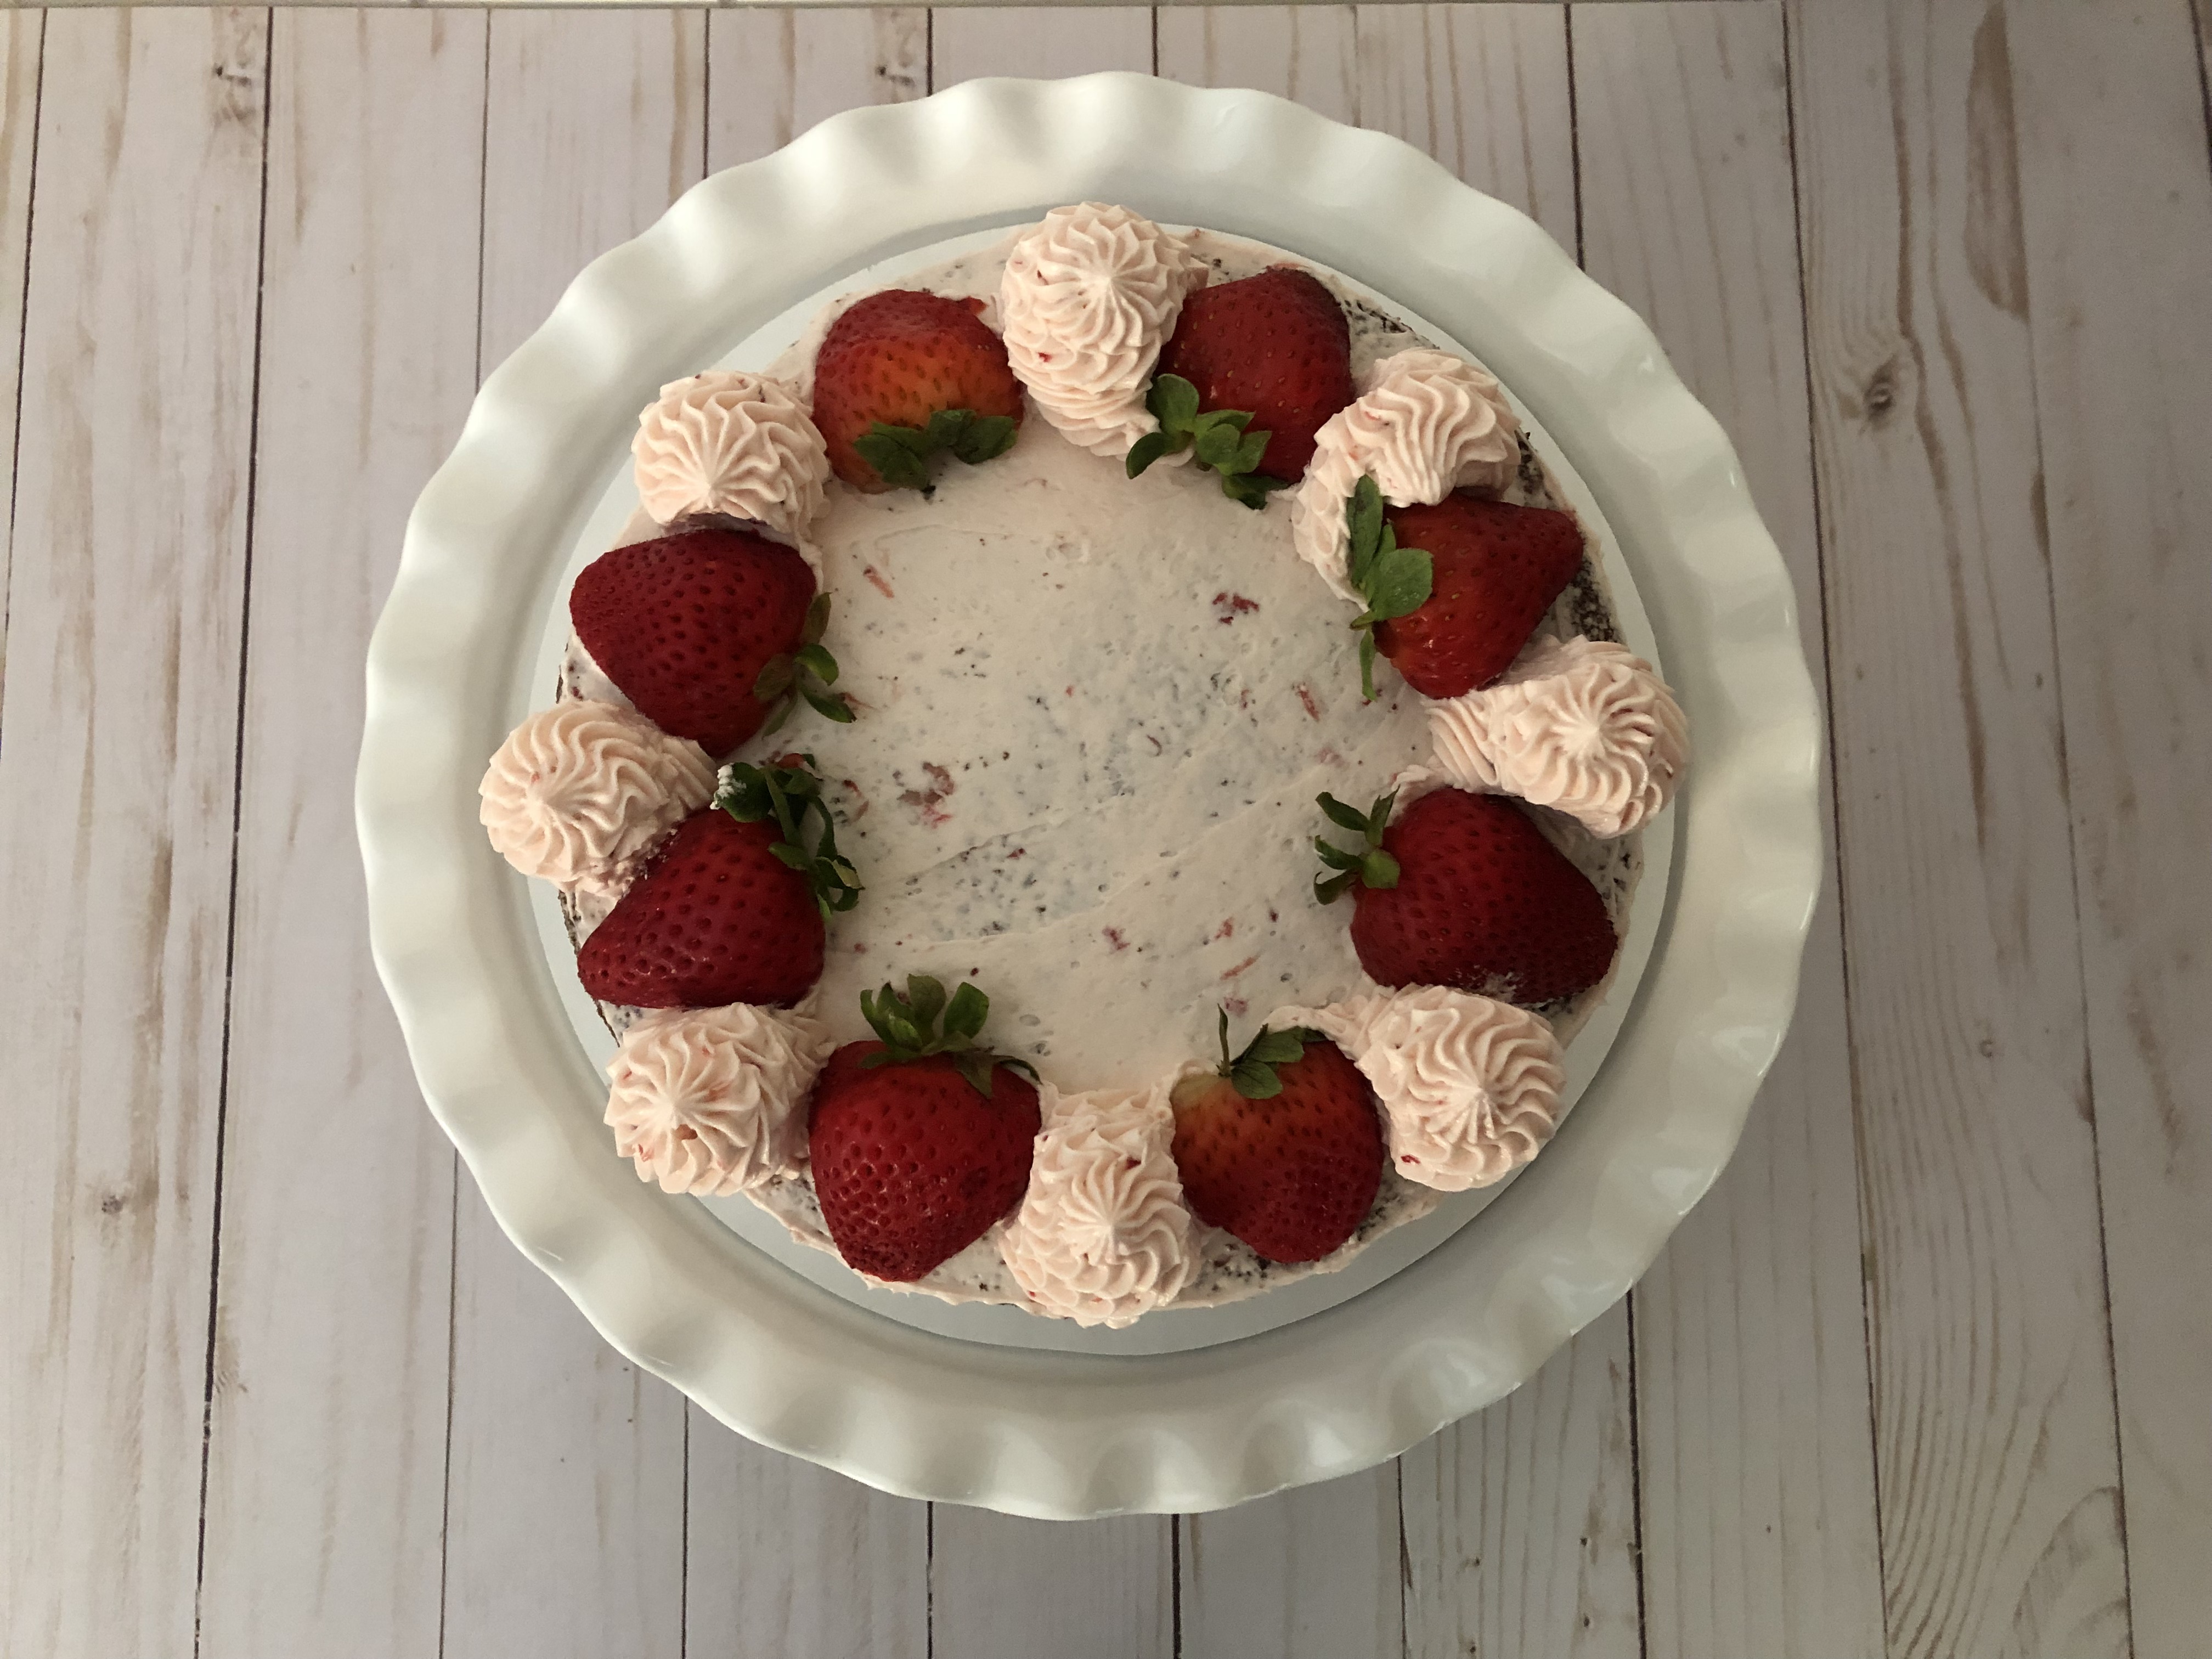
Once the cake was frosted, I piped dollops of frosting around the cake leaving space between each to fit a strawberry. I opted to slice my strawberries in half, but you could place whole strawberries between the dollops as well. Just make sure to leave enough room. You could also omit the strawberries altogether and just decorate the top of the cake with dollops of frosting.

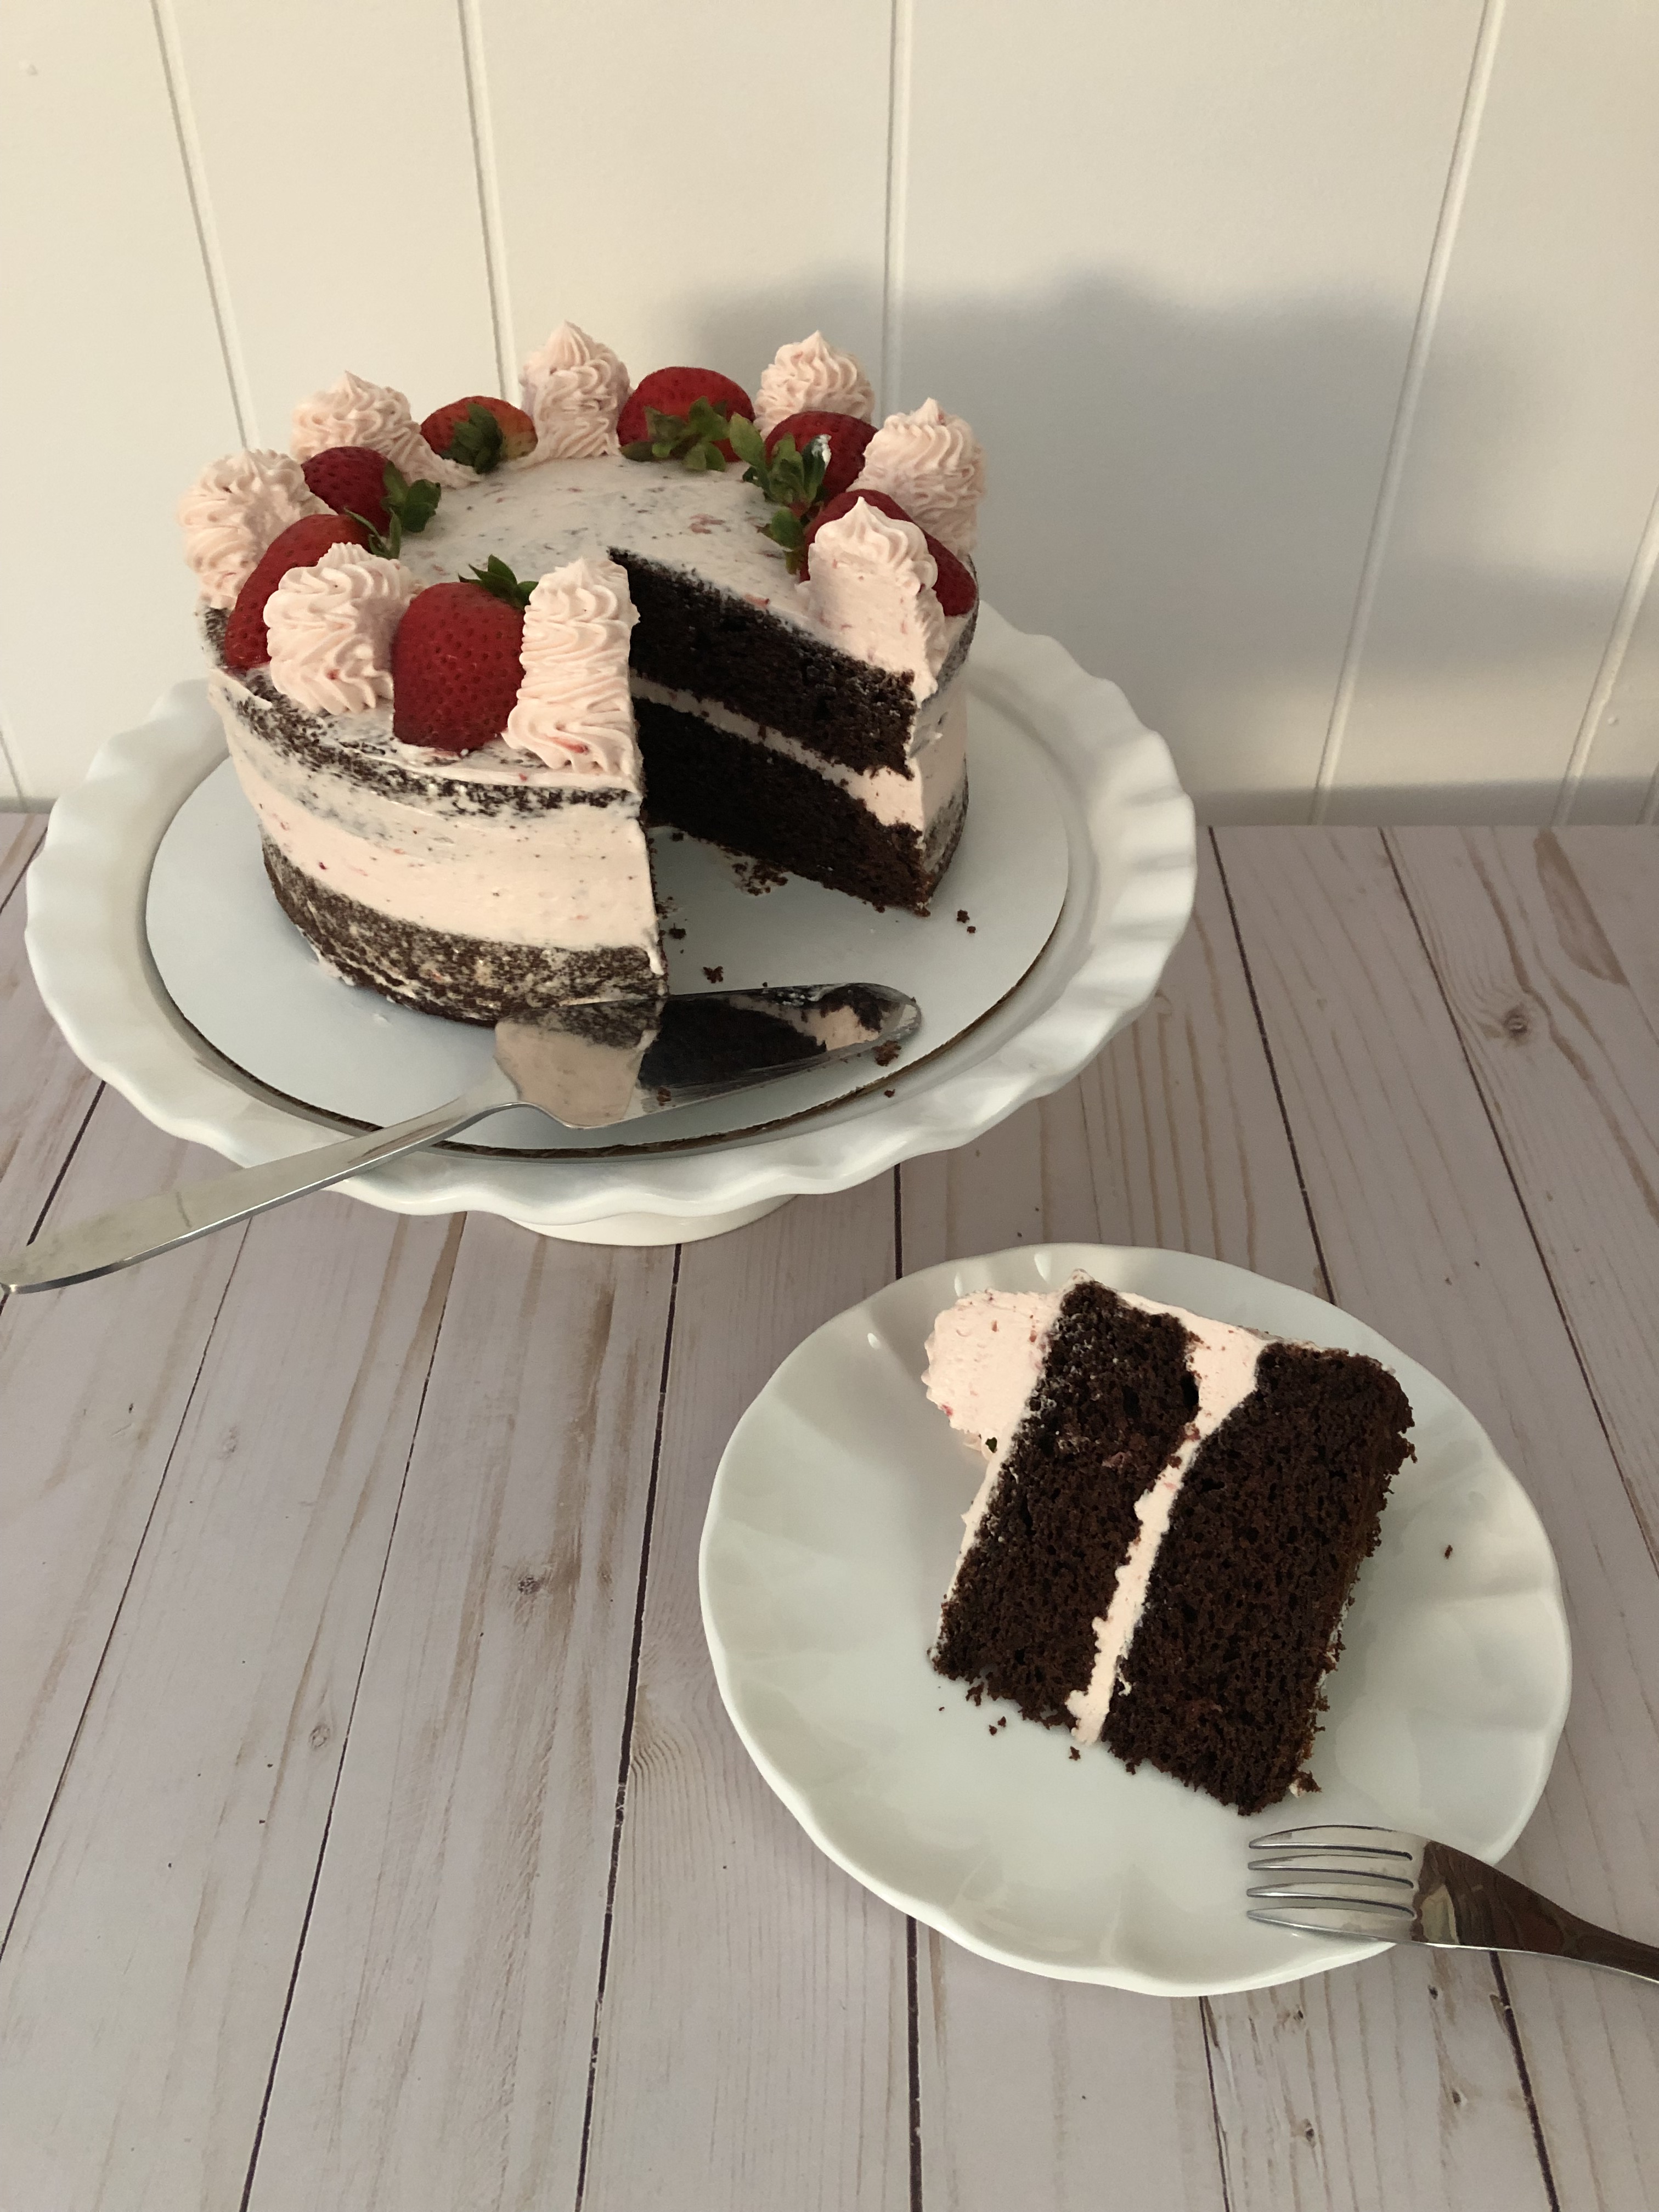
And then it was time to enjoy a slice. This cake was delicious! The frosting reminded me of strawberry ice cream. Not overly sweet with just the right amount of strawberry flavor thanks to the fresh strawberries added to the frosting. And it was the perfect accompaniment to the chocolate cake.  

Chocolate Kahlua Cake with Strawberry Buttercream Frosting

Ingredients:

For the Cake:

3 large eggs

1 cup coffee

1/2 cup vegetable oil

1/2 cup sour cream

1/4 cup Kahlua

1 teaspoon vanilla extract

1 15.25 package chocolate cake mix (I used Duncan Hines Devil’s Food)

For the Frosting:

1 cup unsalted butter, at room temperature

3 cups confectioners’ sugar

2 teaspoons vanilla extract

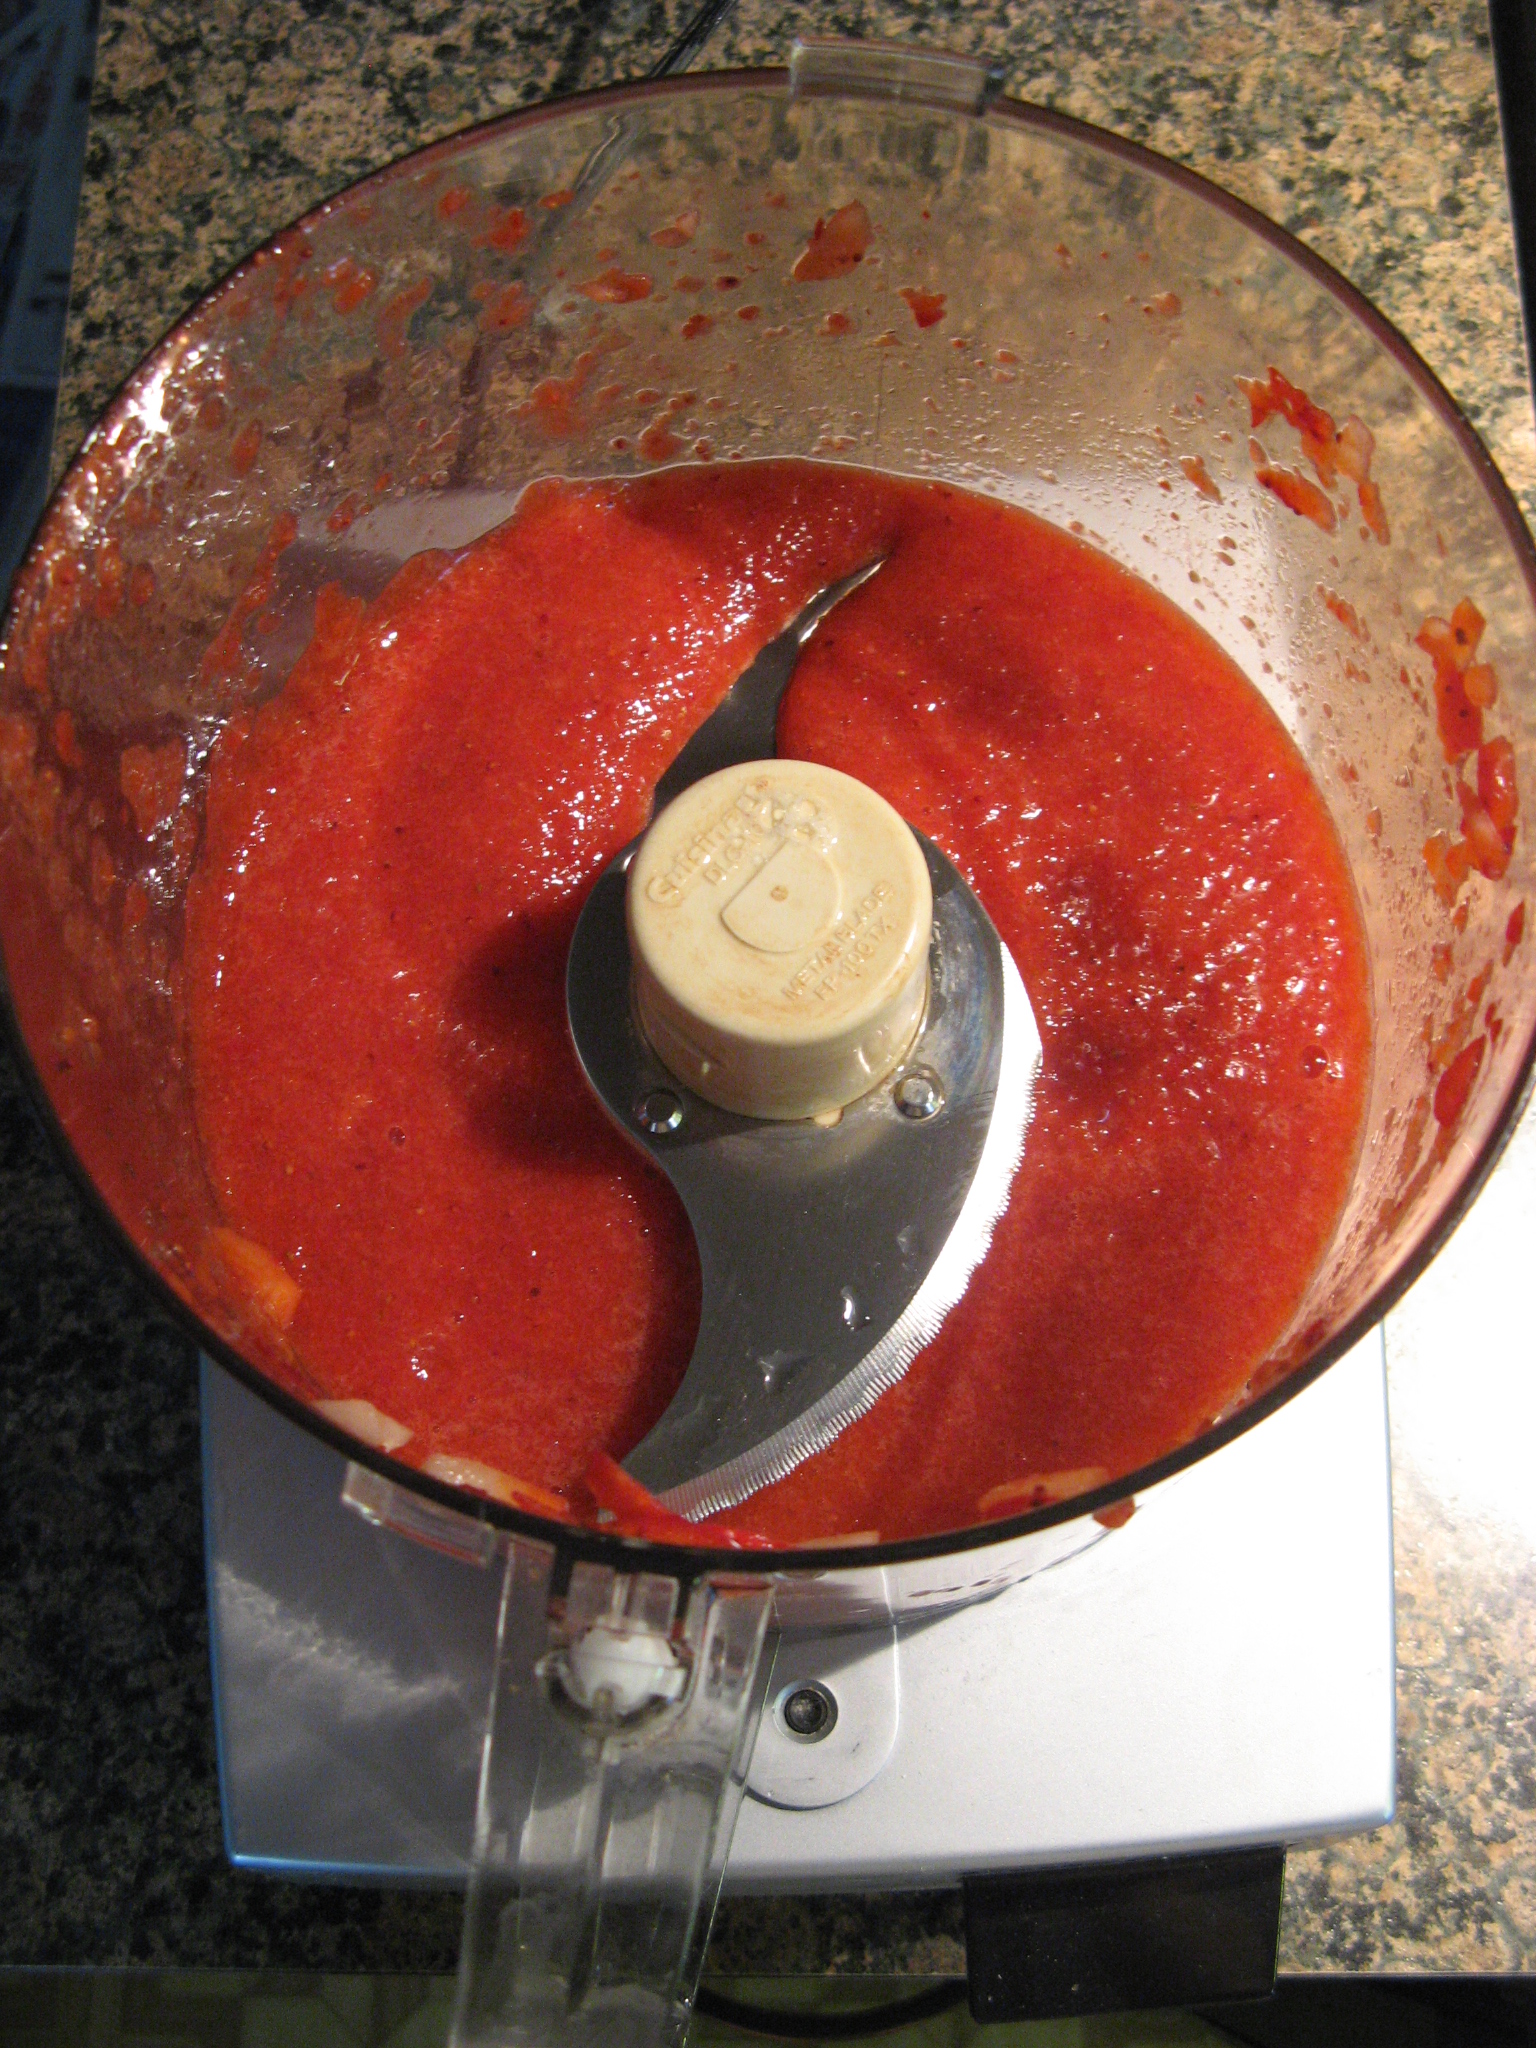
1/2 cup diced strawberries

3 tablespoons heavy whipping cream

Additional strawberries for topping

Directions:

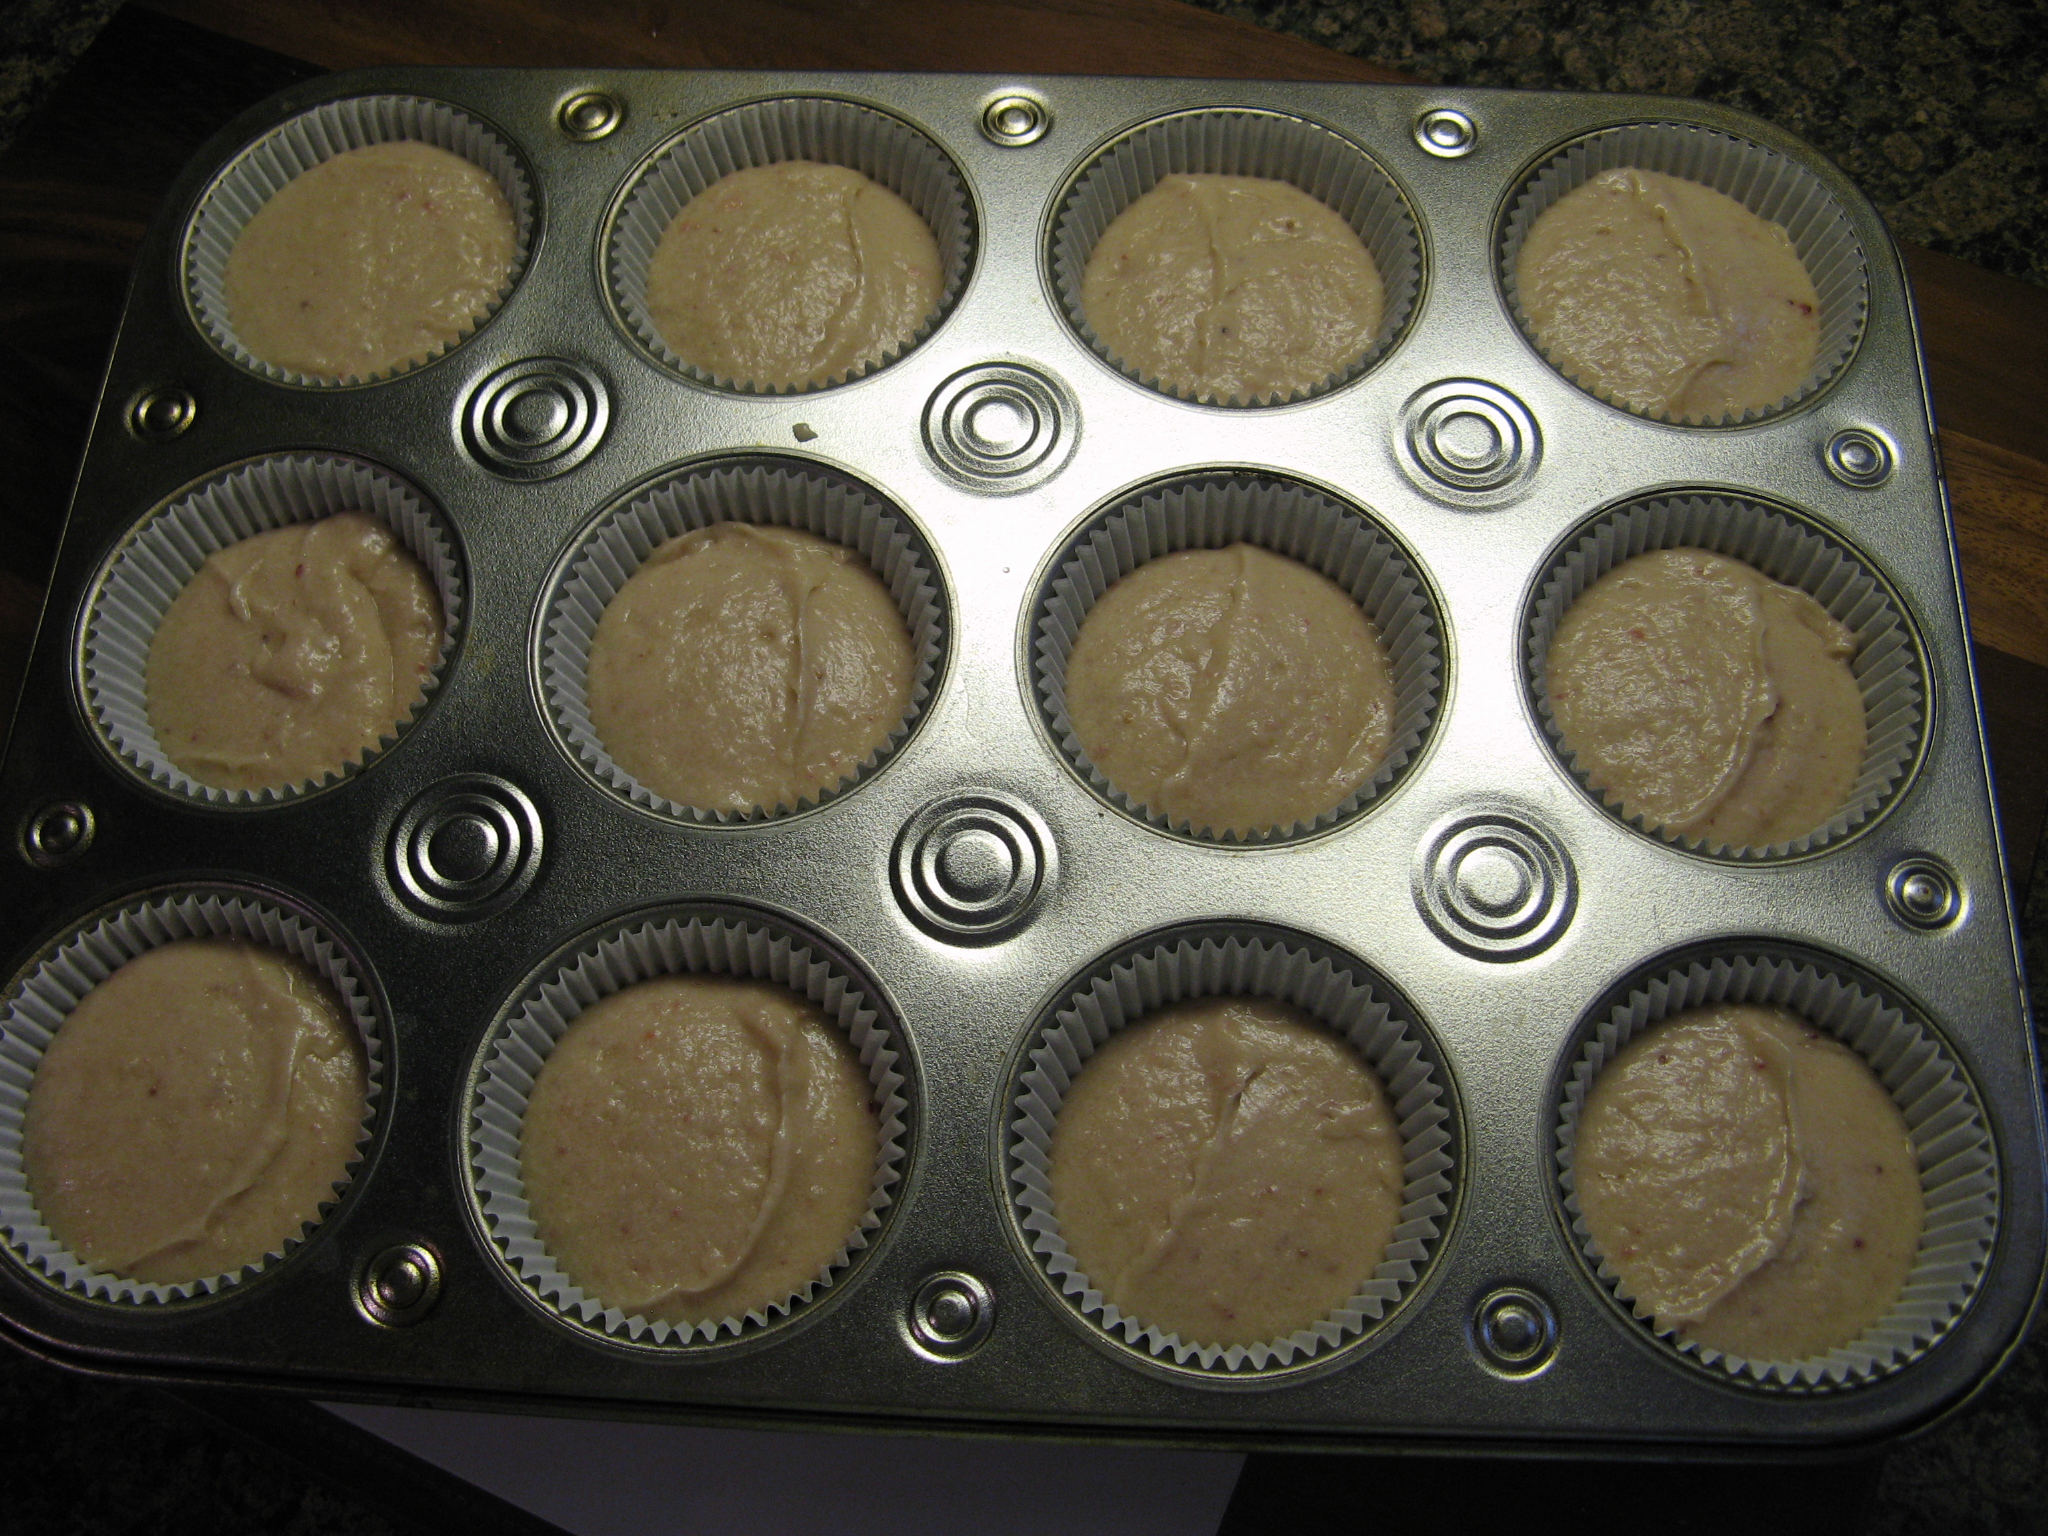
For the cake: Preheat oven to 350 F. Spray two 8-inch round pans with baking spray.

In a large bowl combine the eggs, coffee, vegetable oil, sour cream, Kahlua and vanilla extract. Beat with a hand mixer on medium speed until well blended.

Sift the cake mix over the mixture and then beat with the hand mixer on low speed until just combined. Divide the batter among the prepared pans and bake in the preheated oven for 30-35 minutes, or until a cake tester inserted in the center of the cakes comes out clean.

Cool the cakes in the pans on a wire rack for 10 minutes, then remove and allow to cool completely on the racks.

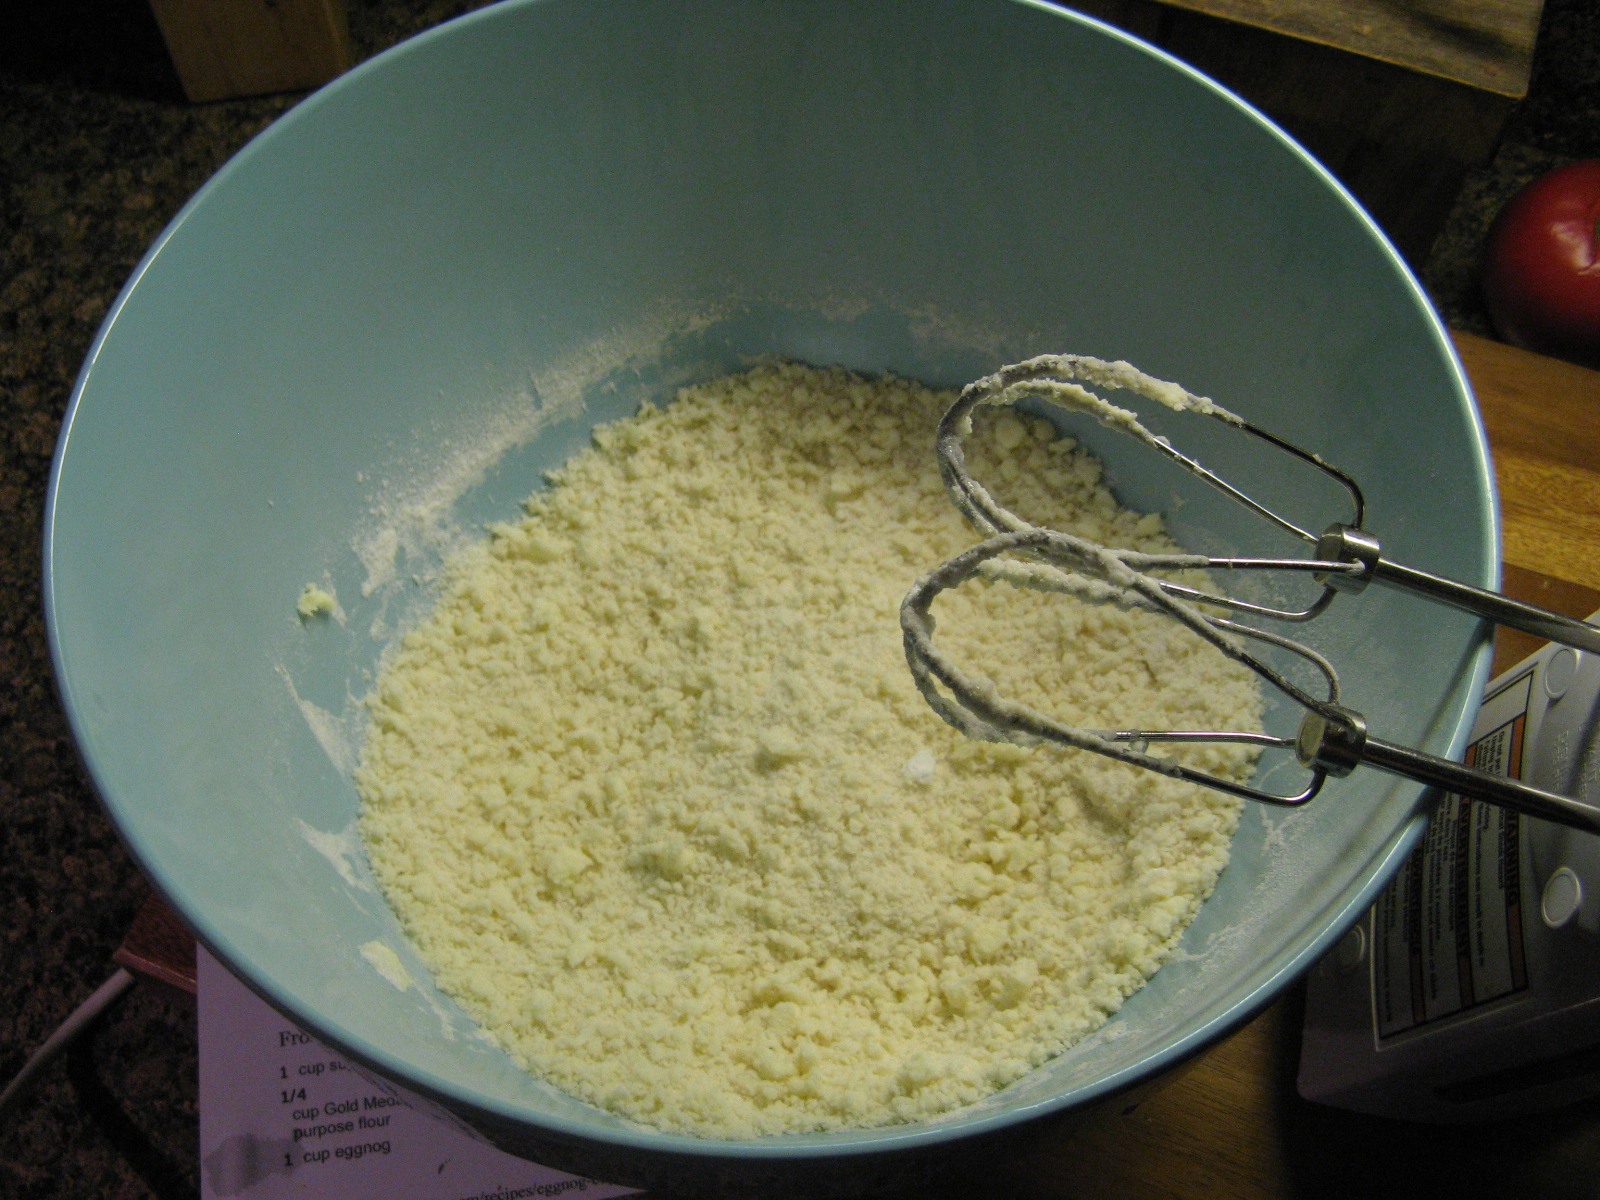
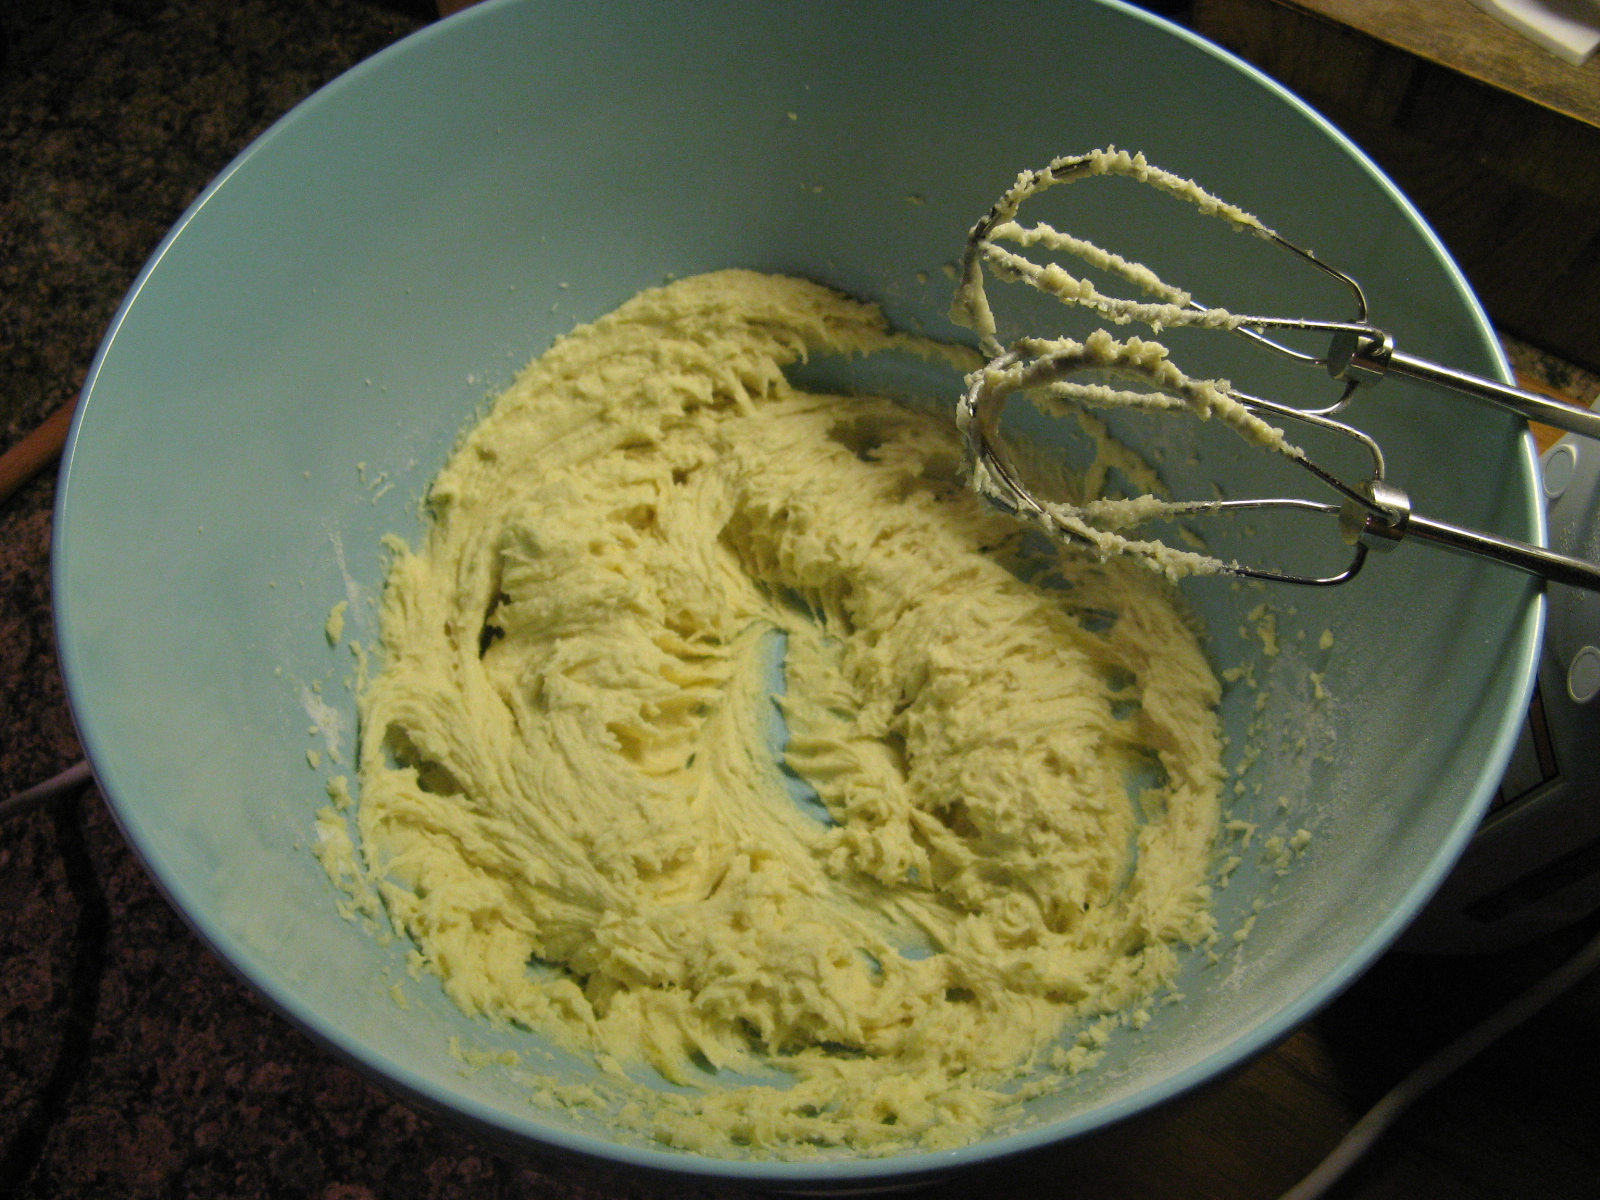
For the Frosting: In the bowl of a stand mixer cream together the butter and sugar on medium speed until light and fluffy. Add in the vanilla extract, diced strawberries and heavy whipping cream and beat on medium-high speed until the ingredients are incorporated and the frosting is light and fluffy. If the frosting is too soft to spread refrigerate for about 30 minutes to firm up.

To assemble the cake: If decorating the top of the cake, fit a piping bag with a large star tip and fill with about a cup of frosting and set aside. Level the cake layers if necessary. Spread about half of the remaining frosting on top of one of the cakes and top with the other. Then frost the top and sides of the cake with the remaining frosting. Finally, pipe dollops of the reserved frosting on top of the cake leaving space between each to place either a whole or halved strawberry. Refrigerate until ready to serve.

Recipe first appeared on Bead Yarn & Spatula

Sprouting Carrot Cupcakes – Tutorial

With Easter right around the corner I decided to make some fun themed cupcakes to get in the spirit of the holiday. Today I am sharing with you these Sprouting Carrot Cupcakes and later this week I will be sharing with you Bunny Ear Coconut Cupcakes.

I began by baking a batch of chocolate cupcakes. While they cooled, I made the frosting. I made a basic buttercream frosting and then removed a third of it. In this third I stirred in melted unsweetened chocolate until it was fully incorporated. I tinted the remaining frosting orange and then transferred it to a piping bag fitted with a large round tip.

After the cupcakes were cool I used a paring knife to cut a small cone-shaped piece out of the center of each one. I crumbled these small pieces of cake into a small bowl and set it aside.

Next, I spread the chocolate frosting over the cupcakes leaving the holes open. I then patted the crumbled pieces of chocolate cake onto the frosting to resemble dirt.

To make the carrots I piped the orange tinted frosting into the holes and then mounded it a bit above the hole. And finally, I cut small pieces of green sour apple straws and placed them in the piped carrots.

And there you have it… Sprouting Carrot Cupcakes.


While I opted to make my cupcakes and frosting from scratch, you could easily go the time-saving route and use a box chocolate cake mix and store bought chocolate and vanilla frosting. If you opt for store bought frosting I would advise refrigerating the vanilla frosting after tinting it orange for about 10-15 minutes prior to piping the carrots. Store bought frosting tends to be on the softer side so decorating with it can be frustrating since it won’t take shape, refrigerating it helps to stiffen it.


Supplies:

12 chocolate cupcakes

1 cup chocolate frosting

1 1/2 cups vanilla frosting

Orange food coloring

Green sour apple straws

Piping Bag fitted with a round tip


Spring Themed Palette Knife Painted Cake – Tutorial

Happy First Day of Spring! To celebrate I decided to try my hand at a Palette Knife Painted Cake. Using a spatula and buttercream frosting you basically paint a picture, design, flowers onto the sides of a cake. It’s definitely a lot more forgiving that piping a design on a cake and cake easily be fixed with a little more buttercream and some extra strokes of your spatula.

I used a yellow box cake mix to bake a two layer 6-inch cake. While the cake was cooling I whipped up a batch of my go-to Fluffy-Vanilla Frosting from Martha Stewart. I reserved about 3/4 cup of the frosting and then applied a thin crumb coat to the cake and then refrigerated the cake for about 30 minutes. While the cake was in the refrigerator I tinted the reserved 3/4 cup yellow and tinted the remaining frosting teal, for the background of the cake.

I then applied a generous amount of frosting to the cake and smoothed it as much as possible. I wanted a fairly thick layer of frosting around the cake for the next steps.

Next, using the tines of a fork I created a basket weave pattern around the cake. To begin, I placed the tines of a fork at the base of the cake and dragged them upwards about 1-inch. You don’t want to press so deeply that you are touching the cake though, hence, having a thick coat of frosting on the cake. Then, holding the tines horizontally above the first set of lines on the left I dragged the fork to the right stopping when I reached the last line from the bottom set of lines. I repeated this pattern up the side of the cake until I reached the top. I then started the next row with a set of horizontal lines, and then vertical and so forth. Continuing the alternating pattern until the entire cake was covered.

I then reserved about a tablespoon of the teal frosting and then tinted the remaining frosting green by adding in green gel food coloring. Using a tapered spatula and starting at the base of the cake I began dragging the tip of the spatula through the buttercream to create stems. Making sure not to press too deep as to touch the cake, but, going deep enough to create a channel. I passed the spatula through a few times to make sure it was deep enough making sure to wipe the spatula between each pass. I did this around the cake and even added in a few smaller channels between the larger stems.

To paint these channels, I picked up a small dollop of the green frosting and then using my fingers I round the frosting onto the tip of spatula so it was smooth. Next, I simply dragged the frosting through the channels. I repeated this step – making sure to wipe the spatula between each pass – until all of my stems were painted with frosting. At this point I placed the cake in the refrigerator for about an hour.

After the hour, I removed the cake from the refrigerator. Using the reserved yellow buttercream I painted flowers onto the cake. Using a rounded spatula I picked up a small dollop of yellow frosting and once again smoothed it with my fingers. I then pressed the dollop onto the cake and pulled the spatula away to create a petal. I continued doing this around the cake. I’ll admit, my petal didn’t come out exactly as I had hoped. This step actually reminded me of the pulled dot design on a cake. I actually wondered afterwards if it would have been easier to create the petals using that technique, although then the cake wouldn’t completely be a palette knife painted cake then.

I got the idea for this cake from The Cake Blog, for more detailed instructions click here .


Sugar Skull Cake

Feliz Dia De Los Muertos! Today is the final day of the three-day celebration to remember and honor loved ones who have died. If you want a little more info on the holiday check out my Dia De Los Muertos Cupcakes blog post. In celebration of the day I am sharing with you a Sugar Skull Cake. Sugar Skulls, or Calaveras, are often used to decorate the ofrendas (offerings) & gravestones during the three-day celebration. They got their name because they are traditionally made of clay molded sugar and then decorated with colorful adornments. The sugar skull I created definitely has sugar in it, but, not molded sugar. I opted to make a chocolate cake, frosted it with buttercream frosting and then decorated it with fondant and confetti sprinkles.

To begin, using the same skeleton pan I used to make my Mummy Cake, I baked a chocolate cake – I used a box cake mix. After letting the cake cool I covered it in plastic wrap and refrigerated it overnight.

The next day, I made a batch of Brenda’s Bakery Buttercream – also the same frosting I used for the Mummy Cake. After removing the cake from the refrigerator, I used a large circle cookie cutter to cut out larger eyes for the skull. I used the cookie cutter to make an indentation in the cake and then used a butterknife to carve out the eyes.

Next, I crumb coated the cake and placed it back in the refrigerator so the frosting could set, about a half hour.

After 30 minutes I finished frosting the cake. I added a little extra frosting in the cheek area so the skull would have a more defined look. I then placed it back in the refrigerator so the frosting could firm up.

Once the frosting was firm, I removed the cake from the refrigerator and attempted to smooth the spatula swipe marks by laying a piece of paper towel on sections of the cake and then gently rubbed the sections with my fingers. This worked for the most part, except I then had the imprint of the paper towel on my cake.

Then, the fun part began. I brought my skull to life using fondant & sprinkles. Luckily, I had left-over fondant from the Trolls Cake I made last year. Don’t worry, the fondant was un-opened and still good. Using black fondant and the same round cookie cutter I used to widen the eyes I cut out eye sockets. For the mouth, I actually had a band aid cookie cutter from a Doc McStuffins themed cake I made last year that was the perfect size. You could easily cut out a rectangle using black fondant though. For the nose socket, I cut out a pink heat and then placed it on the cake upside down. And for the rest of the cake I used daisy cutters to cut out different sizes to decorate around the cake along with confetti sprinkles. This was probably one of the simplest cakes I decorated (I feel like I say that about a lot of cakes these days!)

For a more detailed instruction on creating your own Sugar Skull cake check out The Cake Girls


Mummy Cake

Are you looking for an easy Halloween cake to make? Well, this Mummy Cake might be the one. It’s simple, doesn’t take a lot of time and you don’t need any fancy cake decorating skills to make it. I got the idea and directions from The Cake Girls. They have an online shop with a bunch of cool baking supplies, recipes and step-by-step tutorials with detailed pictures. I first came across their website on a blog I follow, The Cake Blog. A blog that has an array of wonderful recipes and cake decorating ideas and instructions from various bakers and cake designers.

I purchased a skull pan from The Cake Girls website to create the mummy. Now, if you are a good cake carver you could simply bake a box cake mix (or your favorite cake recipe) in a 9×13 inch pan and then carve out the shape of a skull. Or, if you already own one here’s a new idea to put it to good use. I own quite a few shaped pans that I’ve only used once, but I won’t part with them just in case.


To begin, I sprayed the cake pan with baking spray and then poured my cake batter (I used a box cake mix) into the pan. I placed the pan on a baking sheet and baked it in a 350 F preheated oven until a cake tester inserted in the middle came out clean. I let the cake cool in the pan for a few minutes and then inverted it onto a cake board to cool completely. Don’t worry if your cake has a small dome on it and doesn’t lay completely flat. You will be able to hide this minor imperfection with the frosting design. Once the cake was cool I lightly wrapped it in plastic wrap and placed it in the freezer overnight. Having the cake cold makes frosting it much easier. This was my first time freezing a cake and while I know bakeries and a lot of home bakers do it all the time I have always been apprehensive to do so because I fear the cake will end up having a weird taste/aftertaste once it defrosts. But, I am happy to say that this was not the case.

Before removing my cake from the freezer I made the frosting. I decided to make the frosting that was recommended on The Cake Girls website, Brenda’s Bakery Buttercream. It involves using butter and Crisco, which I am sure some people will frown at, but, when I took the Wilton Decorating Classes a few years ago there go-to frosting recipe included Crisco and I recall it tasting great and holding its shape well when it came to decorating. Something else new I tried… Using chocolate frosting (store bought) to make black frosting. I recently read that making black and red frosting is easier to create when starting with chocolate frosting. I can attest that that is the case for black frosting, but, will have to test the theory for red frosting. Perhaps with a Christmas themed cake. Oh, one other thing I tried, Wilton’s new Color Right Performance Food Coloring, for some reason I thought it was only for chocolate (don’t ask me why) but after doing a little research I learned it can be used on frosting. I believe I saw a video on Instagram of someone using it and that prompted me to find out more about it. I must say, I definitely liked the dropper bottles a lot more than their usual gel color containers. I always seem to get the gel on my hands and they get all clumpy and what not after being opened. I think the dropper bottles are the way to go. They are also supposed to be more concentrated so you can get the color you want a lot quicker and can easily mix the colors to get different hues.

Okay, so once my frostings were ready it was time to get to work. I started by applying a thin coat of white frosting on the skull leaving the eye socket area uniced. I iced the socket area and the sides of the cake in that area with the black frosting. At this point I placed the cake in the fridge for a few minutes because I found that the black frosting wasn’t smooth as I was getting a lot of crumbs mixed into it. While the cake was in the refrigerator I prepped two piping bags with two different tips, Ateco #128 (an XL rose decorating tip) and # 45 (a flat decorating tip), and filled each with the white frosting. Also, I prepped the eyeballs for the cake. I purchased Styrofoam eyeballs from my local craft store and using a sharp knife sliced them in half so they would sit flat on the cake.


Once the cake had chilled for a bit I added more black frosting to the cake and was able to smooth the icing.

Now it was time to decorate…Starting with the larger tip, I began piping stripes of icing across the cake. Not just merely on top of the cake, but on the sides as well. I covered up some of the black icing, but, left enough of a gap to place the eyeballs. I kept piping until the cake was covered. Don’t worry about minor imperfections or the frosting not laying completely flat, you can cover up anything and everything with the next step.

Once the cake had been covered in the large stripes, I used the smaller tip to fill in any gaps and to give the cake more definition. To give it a more ragged look, I started these smaller stripes from different points on the cake, not just edge to edge. I also added some pieces to the sides of the cake on the cake board as well. And finally, I placed the eyeballs on the cake. I covered the back of them with the black frosting before placing them on the cake so there wouldn’t be the chance of any small Styrofoam pieces getting stuck to the cake and accidentally eaten. What’s really nice about this cake is that there is no right way or wrong way to decorate it. You could go crazy with adding the stripes to give it a real ragged look, or keep it clean and simple with the stripes. Either way, your cake will look perfect.

Cookies and Cream Cake

If you love Oreos then this is the cake for you… A Cookies and Cream Cake that has crushed Oreos baked into the batter as well as folded into the buttercream.

I took the easy route and opted to use a box cake, a Duncan Hines Classic White Cake Mix to be exact. I made one minor adjustment to the batter, I added in an extra 1/4 cup of water so that the Oreo crumbs wouldn’t thicken the batter too much. Once the batter was ready, I then folded in a cup of Oreo crumbs. To create the crumbs I placed a bunch of Oreos in a Ziploc bag, sealed it and then rolled it with a rolling pin. I left some of the Oreos in fairly large crumbs so that the cake wouldn’t just be speckled with little pieces of Oreos, but have some noticeable pieces. I then divided the batter between two 8-inch round pans that I sprayed with baking spray and baked it in a350 F preheated oven until a cake tester inserted in the middle came out clean, about 25 to 30 minutes. I let the cakes cool for a few minutes and then inverted them on wire racks to cool completely.

Meanwhile, I made the frosting. My go-to frosting is a Fluffy Vanilla Frosting that I got from a Martha Stewart cookbook and have been using for quite some time now when it comes to decorating my cakes. It tastes good (not overly sweet) and holds up well to piping and tinting. If frosting is too soft when you tint it it will only get softer and when you try to pipe it it inevitably droops. While I love using the frosting, I am not a fan of making it. It involves adding the confectioners’ sugar 1/2 cup at a time and raising and lowering the speed of my stand mixer. What ultimately happens, even though I cover the mixer with a kitchen towel, is sugar dust gets everywhere on my counter. I was also concerned that the recipe wouldn’t yield enough frosting to fill, frost & decorate the cake. So, while doing a little research for this cake – I couldn’t decide in the beginning if I should make the cake from scratch or use a box mix – I came across a buttercream frosting that incorporated crushed Oreos that I decided to try. I began by beating the butter in my stand mixer until it was light and fluffy and then added in confectioners’ sugar and heavy cream and mixed it on low speed until the sugar was incorporated and then slowly raised it to medium until everything was well blended. Using a rubber spatula I folded in Oreo cookie crumbs. You may be tempted to make the frosting in advance and then store it in the refrigerator. I suggest not doing that. Doing so will allow the cookie crumbs to soften and when you go to use it your frosting may end up looking more gray than speckled with Oreos.

Once the cake cooled I torte both to remove the small dome that formed during baking and then spread some of the frosting on one the cakes and then topped it with the other. I then crumb coated the cake and refrigerated it for about 15 minutes so the frosting could set and then finished frosting it. I had some remaining Oreo crumbs so I pressed them along the bottom of the cake.

Next, I made the chocolate ganache that I poured on top of the cake and spread around. Using a squeeze bottle I tried to create a chocolate drip around the cake. Unfortunately it was a bit warm in my house so the chocolate didn’t set well (even after refrigerating it for a few minutes) so it was a bit runny, hence the chocolate drizzle running down the sides of the cake. Oh well! Finally, using a Wilton 1M tip I piped dollops with the remaining frosting on top of the cake and place a mini Oreo in each one. A little tip, if you plan on piping frosting that has crumbs in it make sure your tip is large enough for the crumbs to pass through. I actually had a few instances of the crumbs getting stuck.

And there you have it… A Cookies and Cream Cake.


Cookies and Cream Cake

Ingredients:

For the Cake:

1 15.25 oz. white cake mix

3 large egg whites

1 1/4 cups water

1/3 cup vegetable oil

1 cup Oreo crumbs


For the Frosting:

3 sticks unsalted butter, at room temperature

5 cups confectioners’ sugar

1 1/3 cups Oreo crumbs

1/4 cup heavy cream


For the Chocolate Ganache:

1 cup (8 ounces) semi-sweet chocolate (can use chocolate chips or a baking bar chopped)

1/2 cup heavy cream


*You will need 1 package of Oreos and 1 small container of mini Oreos


Directions:

Preheat the oven to 350 F. Spray two 8-inch round cake pans with baking spray or butter and flour.

In a large bowl combine the cake mix, egg whites, water and oil. Prepare according to box directions then fold in the Oreo crumbs. Divide the batter among the two pans and bake in the preheated oven for 25 to 30 minutes, until a cake tested inserted in the middle comes out clean. Let the cakes cool in the pans for 15 minutes and then invert them on a wire rack to cool completely.

While the cakes are cooling make the frosting. Beat the butter on medium speed until light and fluffy. Add in the confectioners’ sugar and heavy cream and beat on low speed until incorporated and then raise the speed to medium and continue beating until well blended. Using a rubber spatula fold in the Oreo crumbs.

Once the cake has cooled, torte, fill and apply a crumb coat. Refrigerate the cake for about 15 minutes.

While the cake is in the refrigerator make the chocolate ganache. Place the chocolate in a bowl. Warm the heavy cream in a small saucepan over low heat until steaming and then pour over the chocolate. Let sit for 5 minutes and then stir until smooth. Set aside until ready to use.

Remove the cake from the refrigerator and finish frosting. If you have Oreo crumbs remaining press them along the bottom of the cake. Once the ganache has thickened, transfer to a squeeze bottle and squeeze some of the ganache on the center of the cake. Using an off-set spatula gently spread the ganache towards the outside of the cake, careful not to let it spill over. Add more ganache is necessary. With the remaining ganache in the squeeze bottle drip the chocolate the chocolate along the sides of the cake. Place in the refrigerator so the chocolate can set.

Once chocolate has set use the remaining frosting to pipe dollops on top of the cake. Add mini Oreos to the dollops or cut larger Oreos in half and add those to the dollops.

Frosting Recipe from the Preppy Kitchen

Vanilla Squared Cupcakes

I recently got a request for a basic yellow cupcake with vanilla frosting. No sprinkles, no additional flavors or anything, just plain vanilla. I can understand… One of my favorite desserts is a yellow cupcake with chocolate frosting. It’s such a simple and satisfying combination and sometimes that simplicity is a better dessert than something intricate and complicated in flavor. It’s a comfort and familiarity. For the cupcake, I tried out a vanilla cupcake recipe I got from an issue of Food Network Magazine quite some time ago and for the frosting, I whipped up half a batch of my favorite vanilla frosting from Martha Stewart. Final result, the perfect Vanilla Square Cupcake.


Vanilla Cupcakes

  • Servings: 12 cupcakes
  • Print

Ingredients:

1 1/3 cups flour

1 teaspoon baking powder

1/2 teaspoon salt

1 stick unsalted butter, at room temperature

1 cup sugar

2 eggs

2 teaspoons vanilla extract

1/2 cup milk*

*I used whole milk


Directions:

Preheat oven to 350 F and line a 12-cup muffin pan with paper liners.

Whisk together the flour, baking powder and salt in a medium bowl.

In a large bowl, beat the butter on medium-high speed until smooth, about 1 minute. Add the sugar and continue beating until creamy. Beat in the eggs 1 at a time and then beat in the vanilla extract.

Beat the flour mixture into the butter mixture in three batches, alternating with the milk. Beat until just combine and then divide the batter among the muffin pan.

Bake for 20 to 25 minutes, until a cake tester comes out clean. Transfer the pan to a cool rack and allow to cool for 5 minutes. Remove the cupcakes and transfer them to the rack and allow to cool completely.

Recipe from Food Network Magazine


Fluffy Vanilla Frosting

Ingredients:

1 1/2 sticks unsalted butter, at room temperature

2 cups confectioners’ sugar

1/4 teaspoon vanilla extract


Directions:

In a large bowl, beat the butter with an electric mixer on medium-high speed until pale and creamy, about 2 minutes.

Reduce the speed of the mixer to medium and add the sugar 1/2 cup at a time, beating well after each addition. After adding the first cup and then second cup increase the speed of the mixer to high and beat for 10 seconds to aerate the frosting.

Add the vanilla extract and beat the frosting until its smooth.

Recipe from Martha Stewart

Cupcake Bouquet Tutorial

I came across Cupcake Bouquets while doing some research on Pinterest for something else. Once I saw it though I knew I wanted to try making one myself.

To begin, I gathered my supplies: a 6-inch pot, a 6-inch Styrofoam ball, 9oz. paper cups, toothpicks, and glass weights or rocks. You will also need a hot glue gun. A couple of things to point out… Make sure that the size of your pot and ball are the same size, or close to it, so that ball can fit snug inside of the pot.

Since I had a piece of circular Styrofoam I decided to cut it down to fit inside the bottom of the pot…

So, just in case any of my glass weights escaped from the newspaper I wrapped them in they wouldn’t fall through the hole in the bottom of the pot. The reason for the weights in the pot is to prevent it from tipping over if all the cupcakes are removed from one side.

Next, I lined the inside of the top of the pot with hot glue and placed the Styrofoam ball inside and let it dry for a few minutes before hot gluing paper cups – that I cut to an inch tall – to the ball. Make sure you place the cups just above the rim of your pot, you don’t want too much space. You could attempt to just stick the cupcakes on to the ball using toothpicks, but, using the cups will give the cupcakes more support and less chance of them falling off.


I continued gluing the cups around the ball, placing them fairly close together. I ended up with 9 cups in my first round.

For the second round, I placed the cups in between two cups from the first round, ending up with a total of 6 cups. And then, one final cup on top of the ball. Don’t worry about the spaces as they will be filled later with cupcake liners.


And finally I placed toothpicks inside of each of the cups. Three toothpicks forming a triangle in the first round, and two toothpicks in the cups on the second round and the one on top. Leave about half of the toothpick out. Be careful as you might stick yourself with a toothpick here and there and it can be quite painful.

A quick recap… A 6-inch Styrofoam ball in a 6-inch pot will yield a 16-Flower Cupcake Bouquet.

Next, bake your favorite cupcakes – I decided on Chocolate & Yellow cupcakes. Once they cooled I stuck one into each of the cups on the ball.


Now it’s time to fill the spaces between the cupcakes. Using green cupcake liners, I gathered them and began placing them in the empty spaces, using toothpicks to anchor them to the ball.


Next, the fun part – decorating the cupcakes. Since you will be piping flowers, make sure your frosting is firm enough to be piped. Your best bet is to make your own. My favorite frosting to use for piping and decorating is this Fluffy Vanilla Frosting. It’s the perfect consistency and tastes delicious. I used a Wilton 1M tip to creates the roses and a 2D tip to create the hydrangeas. Before you start piping the flowers on to the cupcakes just give them a little nudge to make sure they are all the way into the cups secured by the toothpicks.


And finally… You have your Cupcake Bouquet. This is a nice gift for a birthday, a cute idea for a baby shower, or a nice alternative to flowers, etc.

Eggnog Cupcakes with a Cinnamon Buttercream Frosting

So, what have you been baking this Holiday season? Cookies? Cupcakes? Cakes? All three? I haven’t baked a cake yet, but, I have baked my fair share of cookies. Did you catch any of my Cookie Palooza recipes last week? There were some good ones in there. Today though I am bringing you a cupcake that encompasses a few flavors of the season… Eggnog and Cinnamon in an Eggnog Cupcake with a Cinnamon Buttercream Frosting. I highly suggest you use an eggnog that you like as opposed to any old one you happen to come across at the supermarket and don’t worry if you don’t like eggnog these cupcakes are not overpowering with the flavor.

To make the cupcakes I began by stirring together all the dry ingredients in one bowl – flour, sugar, nutmeg, baking powder, baking soda and salt. In another, using my hand mixer I beat room temperature butter until it was creamy. I then added in all of the flour mixture and continues beat the mixture until it resembled crumble topping.

img_0238

Next I added in two eggs and continued beating…

img_0239

And finally I added in the eggnog and mixed it on low speed until the batter was silky and smooth (kind of a funny way to explain cupcake batter).

img_0240

Next I divided the batter evenly among my 12-cavity cupcake pan (about 1/4 cup in each cavity) and of course I used holiday inspired cupcake liners…

img_0242

I baked them in a 350 F pre-heated oven for about 25 minutes and then transferred them to a wire rack to cool completely. Once cooled, I topped them off with homemade Cinnamon Buttercream Frosting. This frosting is so good I could just eat it out of the bowl. I had to refrain from too many taste tests since I needed enough to frost the cupcakes!

img_0252


Eggnog Cupcakes

Ingredients:

1 1/4 cups all-purpose flour

1 cup sugar

1/2 teaspoon freshly grated nutmeg

1/2 teaspoon baking powder

1/4 teaspoon baking soda

1/4 teaspoon salt

1/2 cup butter, room temperature

2 eggs

1/2 cup eggnog

Directions:

Preheat oven to 350 F. Line a 12-cup cupcake pan with cupcake liners.

In a medium bowl stir together all of the ingredients except the butter, eggs and eggnog and set aside.

In a large bowl beat the butter with a hand mixer on medium speed until creamy. Add all of the flour mixture and continue beating until it mixture resembles a crumble topping. Add the eggs and beat for an additional minute; the batter should be light in color and a bit fluffy. Scrape the sides of the bowl as necessary. Finally, beat in the eggnog gently until just combined and the batter is silky and smooth. Divide the batter evenly among the cupcake pan (about 1/4 cup each cavity).

Bake for 25 to 28 minutes or until the tops of the cupcakes spring back when lightly touched in the center and a cake taster comes out clean. Transfer to a wire rack and cool completely before frosting.

Recipe from Betty Crocker


Cinnamon Buttercream Frosting

Enough for 24 Cupcakes*

Ingredients:

1 cup (2 sticks) butter, at room temperature

1 teaspoon pure vanilla extract

1 tablespoon ground cinnamon

4 cups (1 lb. box) confectioners’ sugar

3 tablespoons milk or heavy cream

*I opted to divide the recipe in half and had enough frosting to frost 10 cupcakes using a 1M Wilton Tip Swirl

Directions:

Using a handheld mixer or stand mixer, beat the butter and vanilla extract on medium speed until light and fluffy.

Stir the cinnamon into the confectioners’ sugar, gradually add this to the butter mixture. Beating well after each addition and scraping the sides of the bowl as necessary. Add milk (or heavy cream) and continue beating until the frosting is light and fluffy. If you find that the frosting is a bit thick and heavy to spread add more milk/heavy cream to thin it down.

Recipe from McCormick

Strawberry & Champagne Cupcakes

Happy New Year!!! I hope you all ringed in the New Year with much love and happiness surrounding you! I was where I usually am, surrounded by a wonderful group of friends eating delicious food and enjoying some sweet treats. This year those treats were Strawberry Cupcakes with Champagne Frosting; you really can’t get more festive than strawberries and champagne. And the two go together wonderfully!

IMG_6457

To create these cupcakes I began by pureeing strawberries…

IMG_6422

I then combined the pureed strawberries with whole milk and vanilla extract. In another bowl I whisked together flour, baking powder and salt.

IMG_6420

Next, in the bowl of my stand mixer I creamed room temperature butter until it was light and fluffy. Following that I gradually added in a cup of sugar. And finally I added in 1 egg and 2 egg whites.

IMG_6419

With the mixer on low I added in half of the flour mixture, then all of the strawberry mixture and then the other half of the flour mixture. I mixed it until it was just combined and then finished mixing it by hand using a rubber spatula so I wouldn’t accidentally overbeat the batter.

IMG_6424

After dividing the batter evenly among a paper lined muffin tin I placed it in a 350 F preheated oven.

IMG_6426

And after 20 minutes the cupcakes were ready to come out of the oven and be transferred to a wire rack to cool completely.

IMG_6423

Then it was on to the frosting… Using Sweet Rose Champagne I made a Champagne Buttercream Frosting,

IMG_6442

That I then piped onto the cupcakes.

IMG_6455


While these cupcakes were on the sweeter side they were delicious nonetheless. So, what are you all hoping to accomplish this New Year? As for me, I am not one to make resolutions, I just hope – as we all do – for a year that is just as good as or better than the previous one. And to continue to grow to be a better version of my younger myself.


Sprinkles’ Strawberry Cupcakes

Yields 12 cupcakes

Ingredients:

2/3 cup whole fresh or frozen strawberries, thawed

1 1/2 cups all-purpose flour, sifted

1 teaspoon baking powder

1/4 teaspoon coarse salt

1/4 cup whole milk, room temperature

1 teaspoon pure vanilla extract

1/2 cup (1 stick) unsalted butter, room temperature

1 cup sugar

1 large egg, room temperature

2 large egg white, room temperature

Directions:

1. Preheat oven to 350 F degrees. Line a 12-cup muffin tin with cupcake liners; set aside.

2. Place strawberries in a small food processor; process until pureed. You should have 1/3 cup of puree, add a few more strawberries if necessary.

3. In a medium bowl, whisk together flour, baking powder, and salt; set aside. In a small bowl, mix together milk, vanilla, and strawberry; set aside.

4. In the bowl of an electric mixer fitted with the paddle attachment, cream butter on medium-high speed, until light and fluffy. Gradually add sugar and continue to beat until well combined and fluffy. Reduce the mixer speed to medium and slowly add egg and egg whites until just blended.

5. With the mixer of low, slowly add half the flour mixture; mix until just blended. Add the milk mixture; mix until just blended. Slowly add remaining flour mixture, scraping down sides of the bowl with a spatula, as necessary, until just blended.

6. Divide batter evenly among prepared muffin tins. Transfer muffin tin to oven and bake until tops are just dry to the touch, 22 to 25 minutes. Transfer muffin tin to a wire rack and let cupcakes cool completely in tin before icing.


Champagne Buttercream Frosting 

Ingredients:

1/2 cup (1 stick) unsalted butter, room temperature

3 1/2 cups confectioners’ sugar

4 tablespoons champagne (I used a Sparkling Rose)

1 teaspoon vanilla extract

Directions:

In a large bowl beat the butter with a handheld mixer on medium until it’s creamy. Reduce the speed to low and add 1 cup of confectioners’ sugar and continue beating until combined. Then add in the champagne and vanilla and increase the speed to medium and continue beating until all the ingredients are incorporated. Once again reduce the speed to low and gradually add in the remaining sugar and beat until the frosting reaches a spreadable consistency.

%d bloggers like this: