L.O.L Surprise! Themed Cake

This year for my youngest niece’s birthday she requested an L.O.L Surprise! themed birthday cake. And just in case you don’t know, L.O.L Surprise! are mini dolls that come in a toy ball. You have to peel away the layers of the ball to get to the doll. The layers include stickers, the dolls clothes and accessories and finally the doll. The surprise is not knowing what doll is in the ball. Oh and a little FYI the L.O.L stands for Lil Outrageous Littles. Granted, they have evolved into more than just a mini doll in a ball. They now come in different sized balls, big surprise balls, pets, and so forth. These toy makers have to strike while the iron is hot on any toy. The first themed cake I ever saw for the toy was a round ball similar to the ball the dolls come in. I wasn’t going to attempt something that extreme. I opted to go for something a bit simpler, but, still echoing the whimsical and fun nature of the dolls.

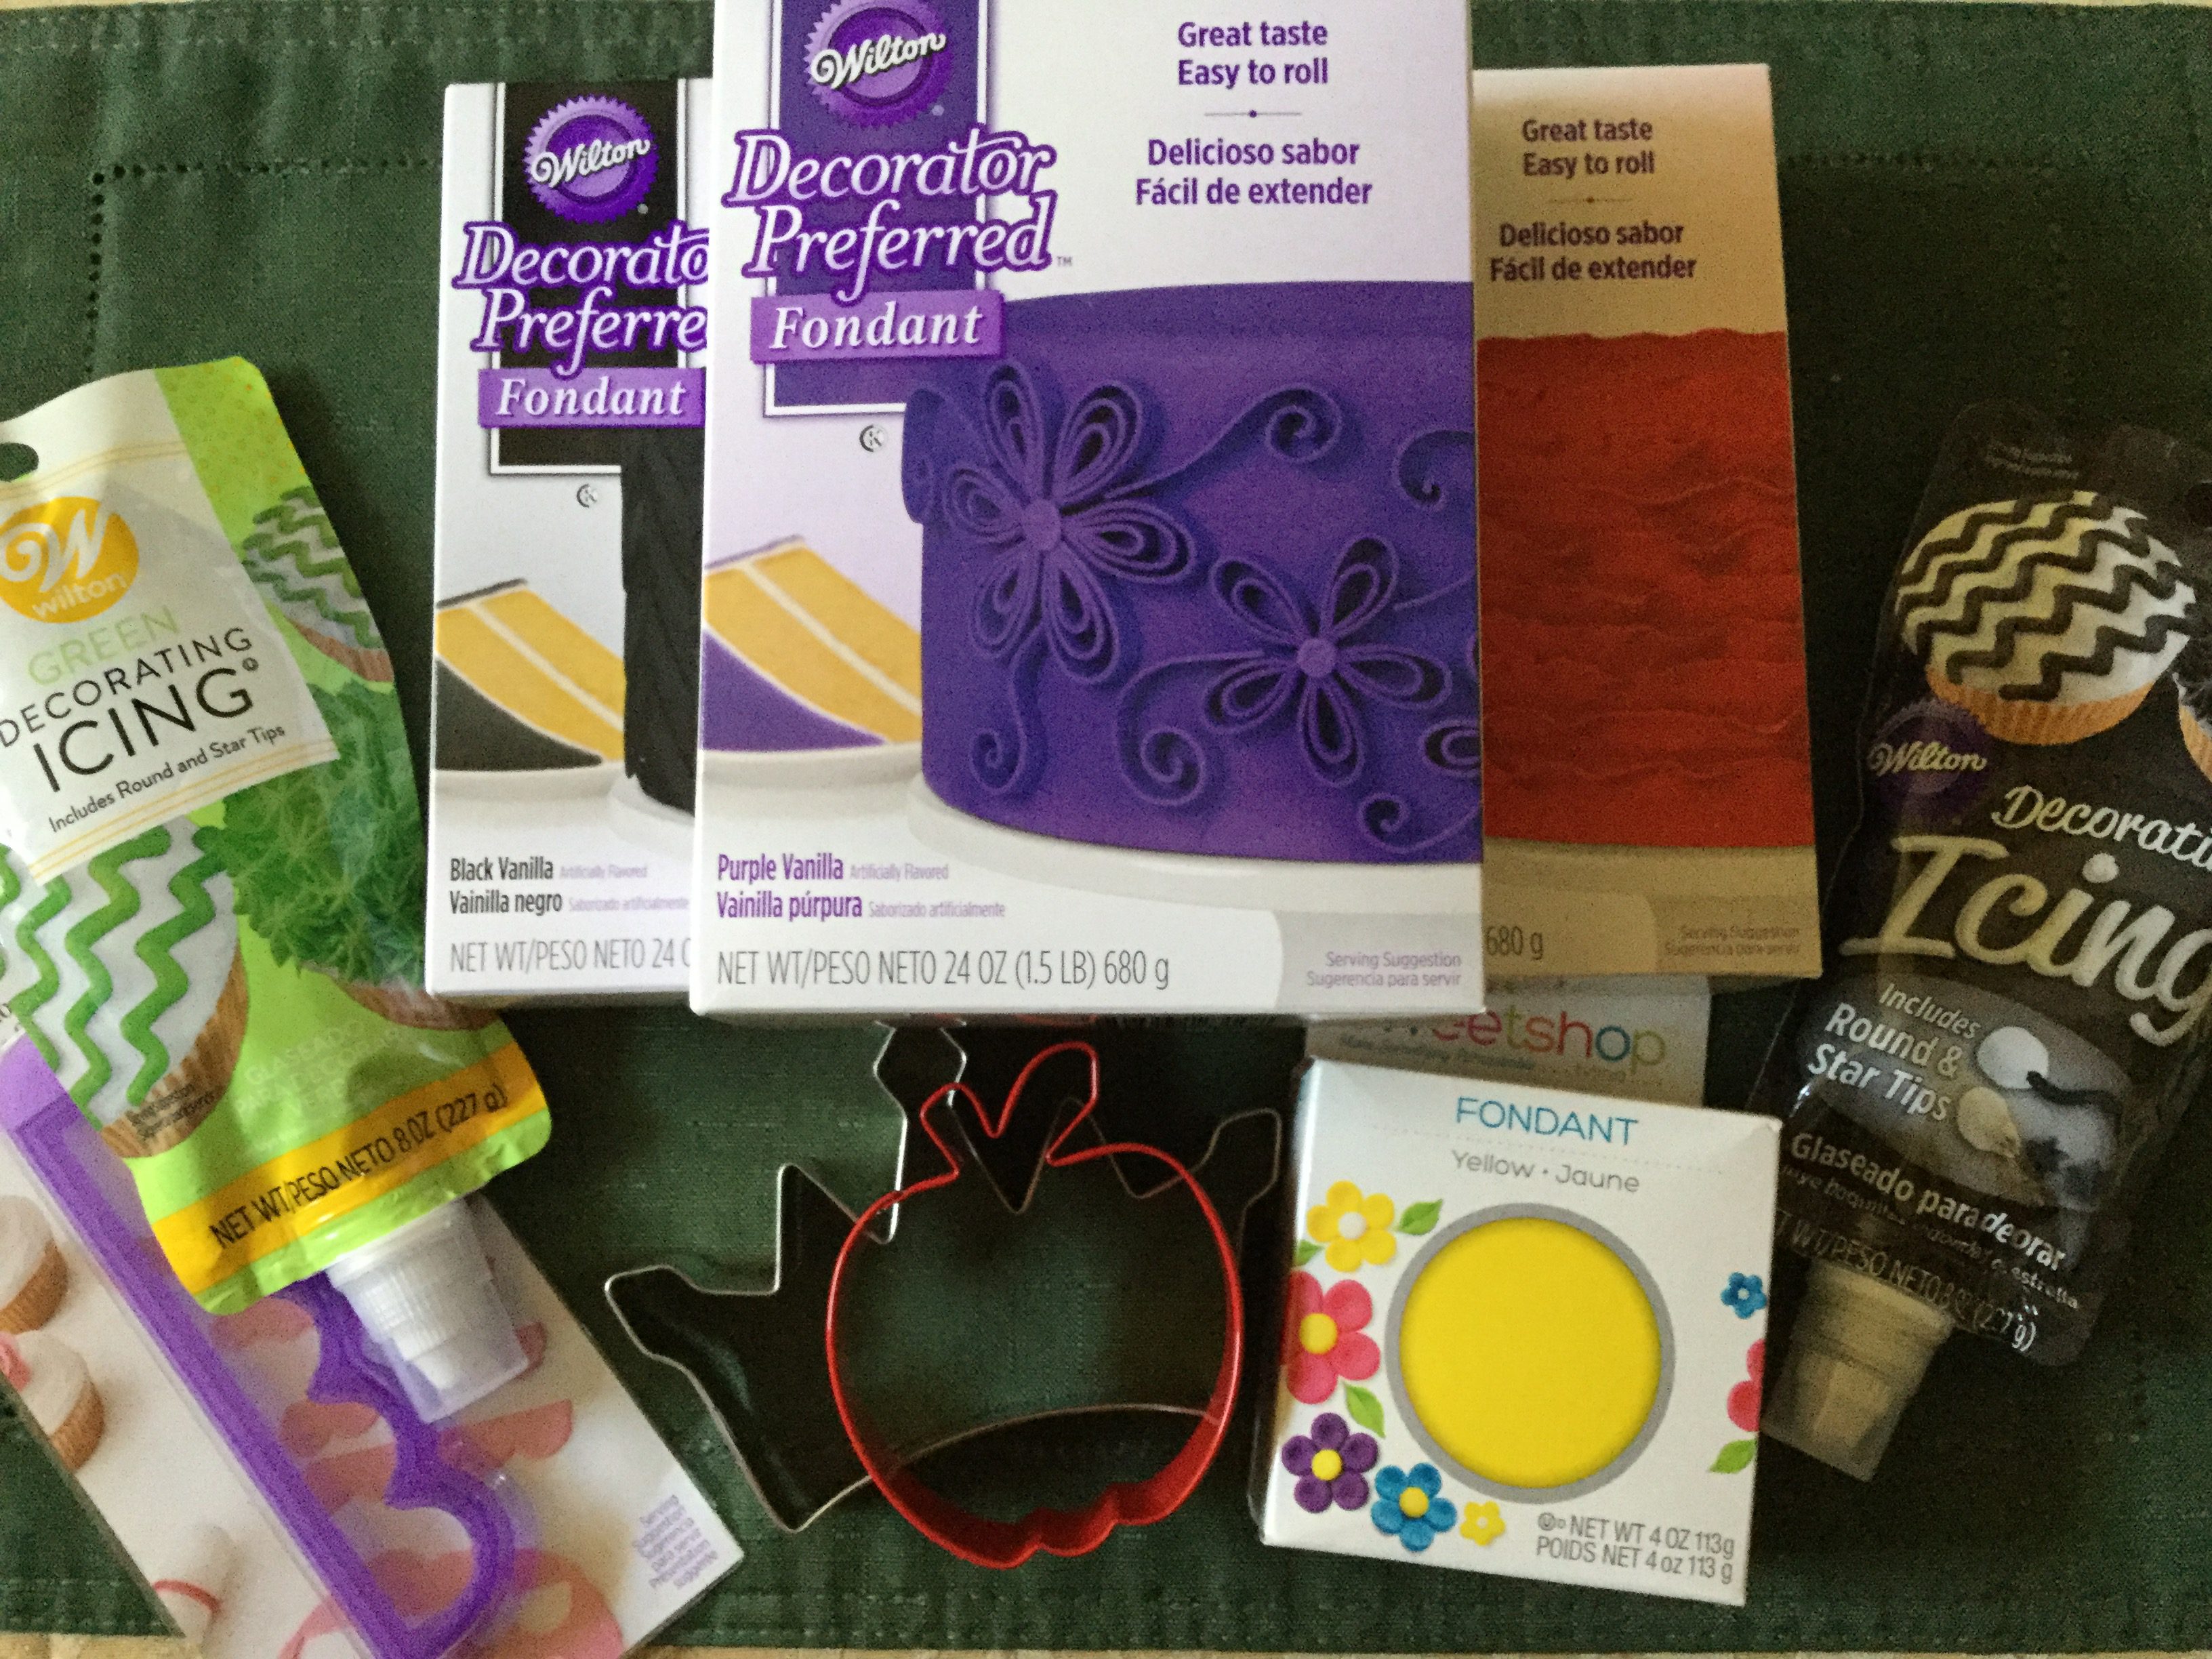
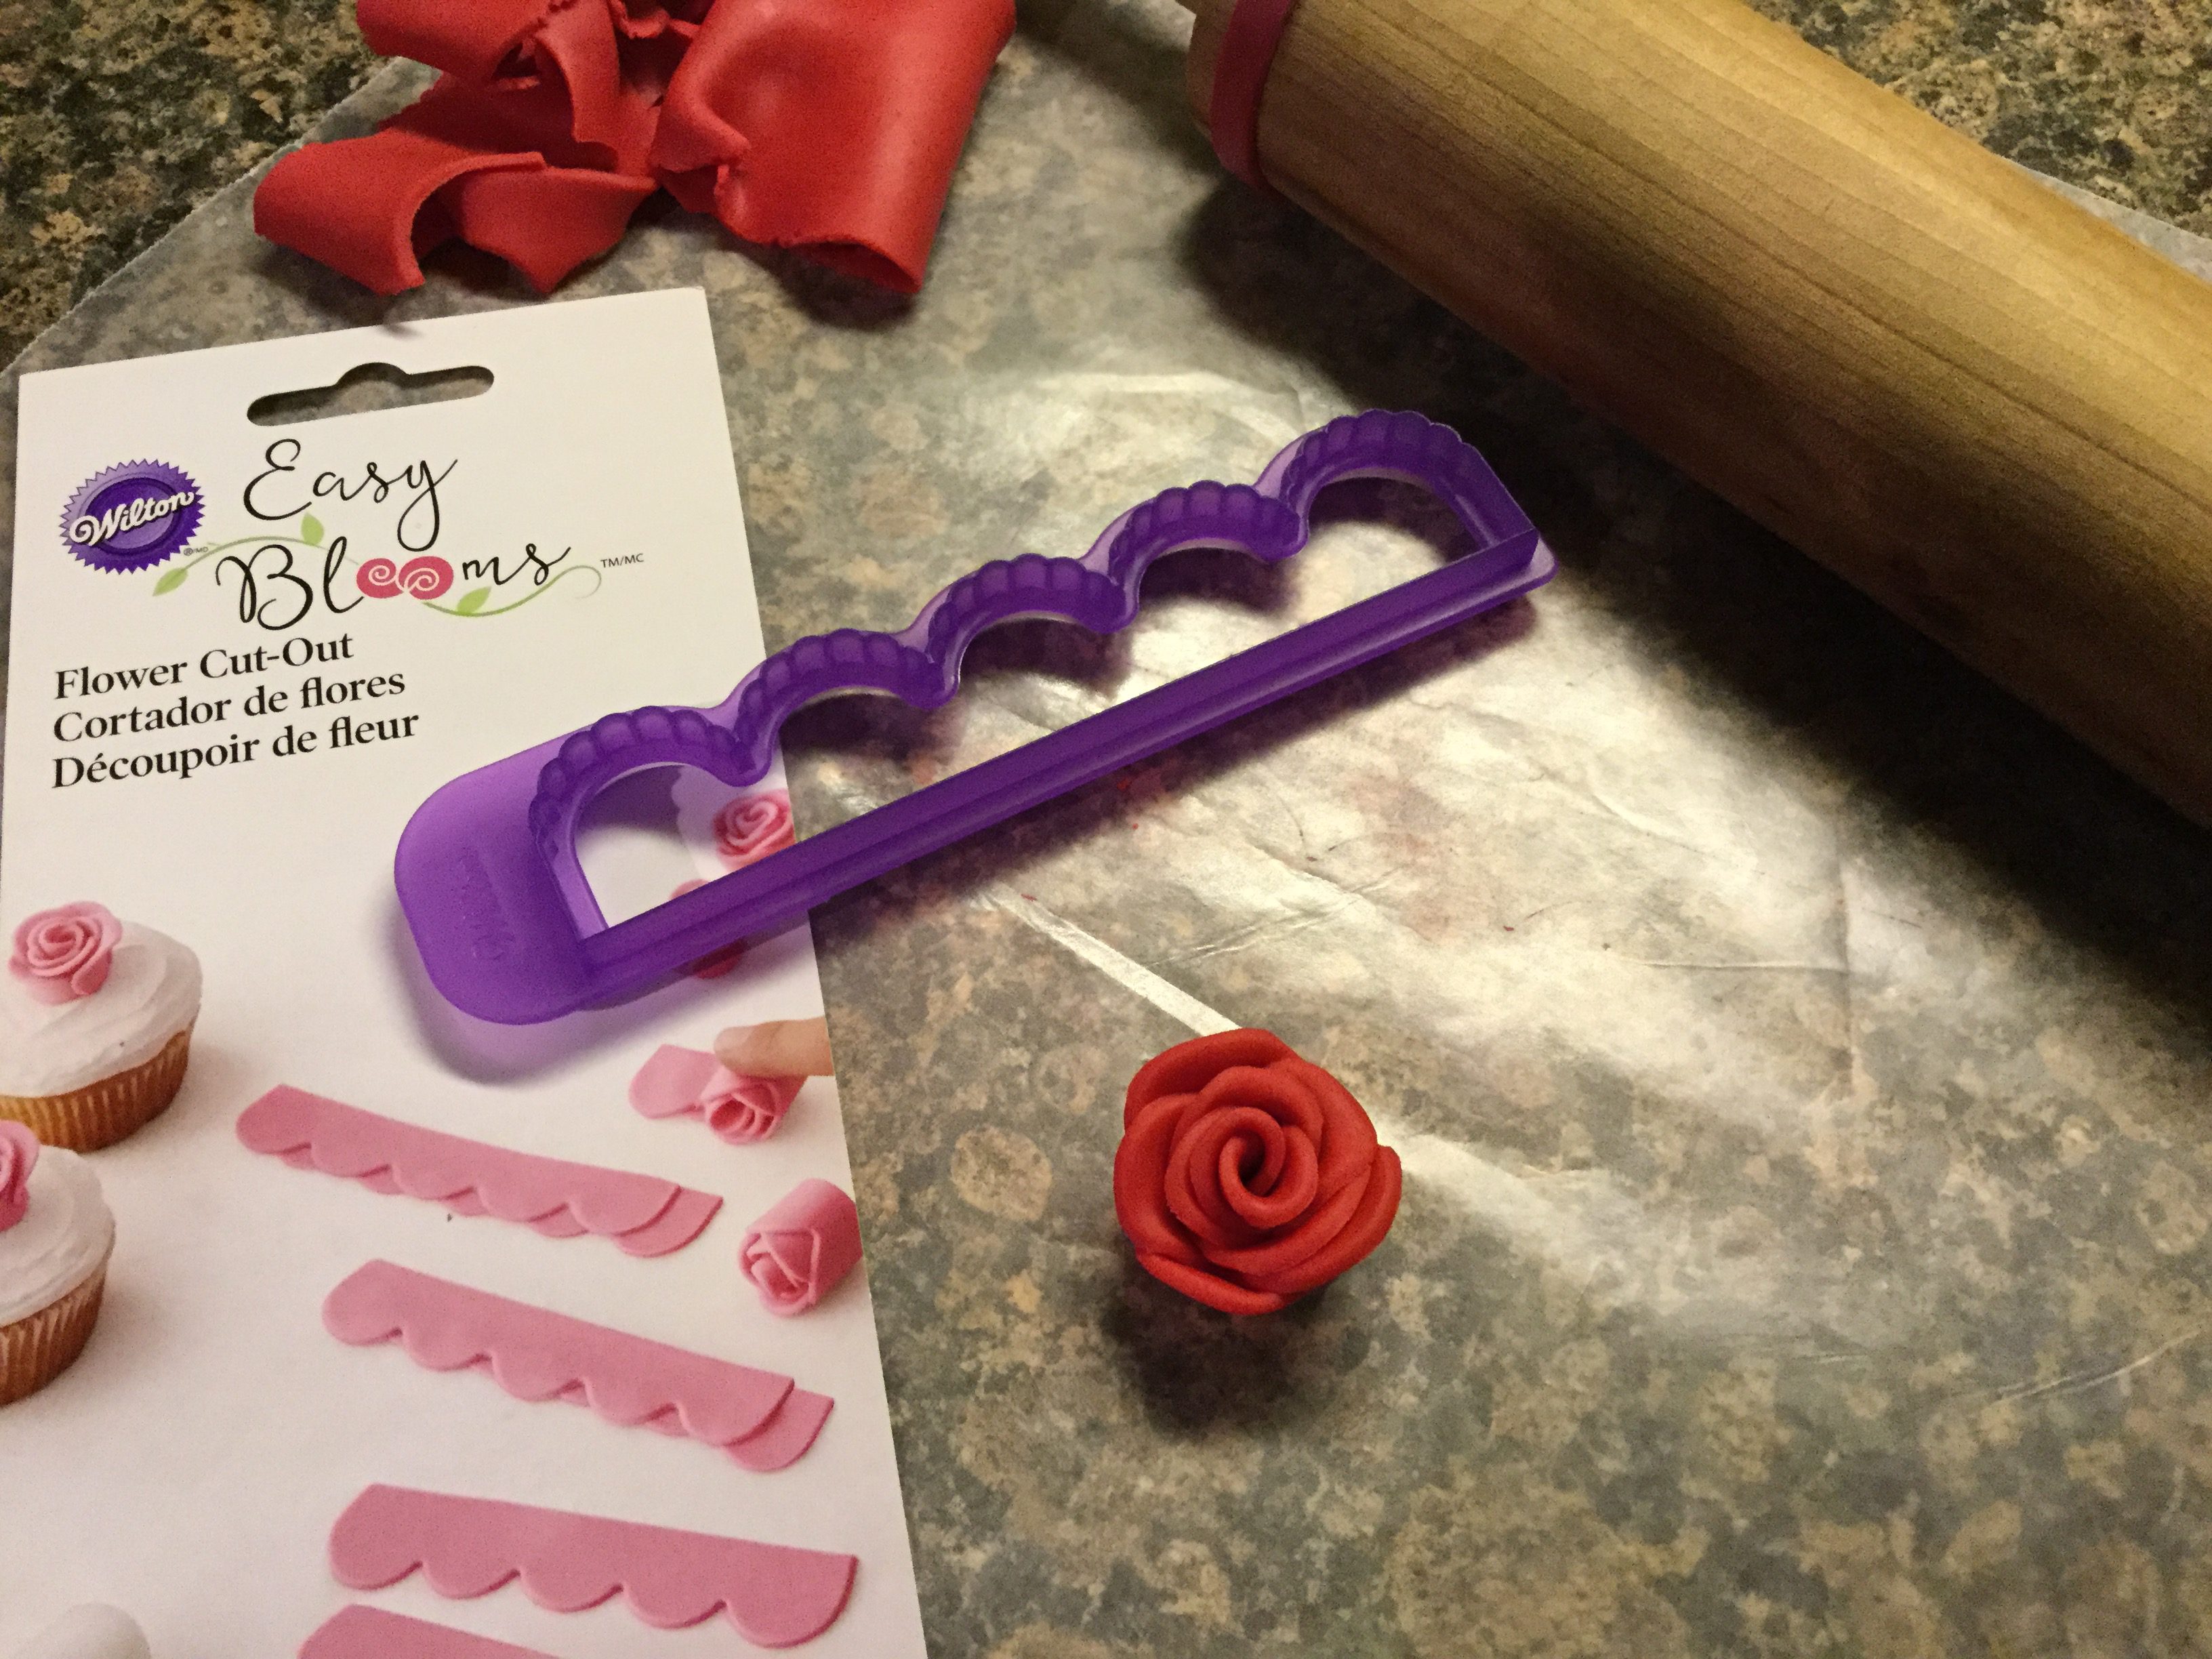
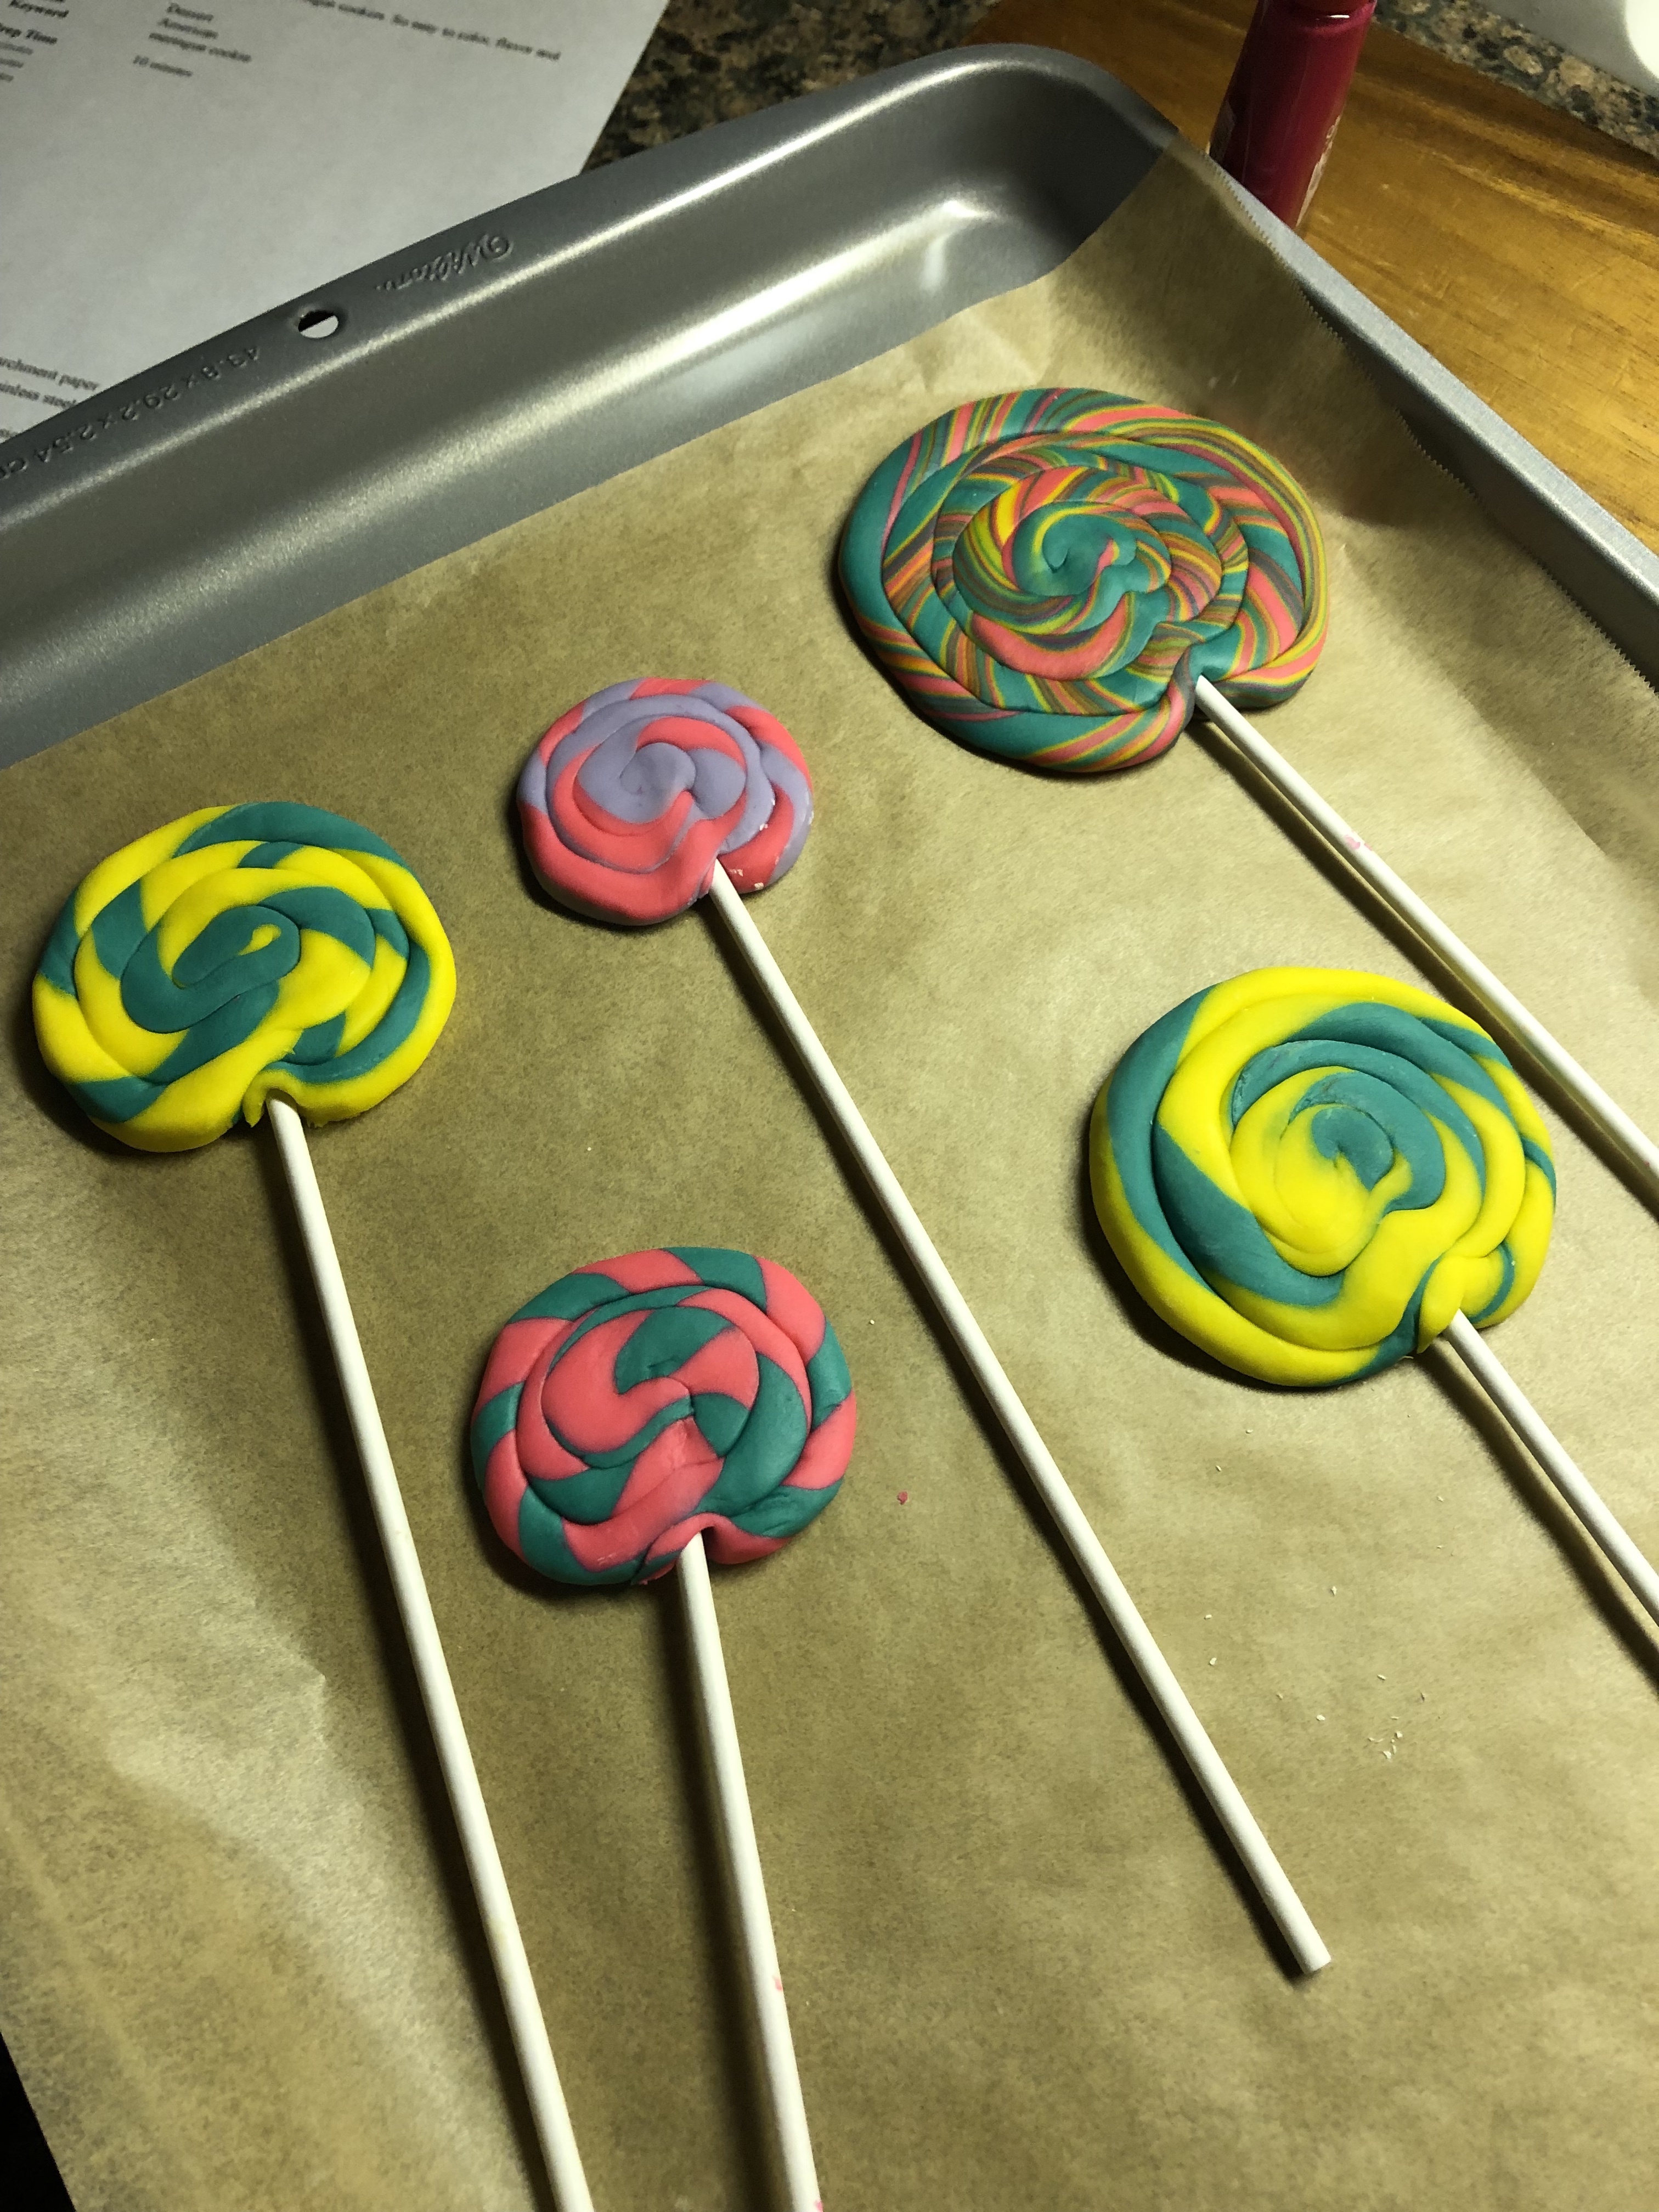
Initially I was planning on decorating the cake with fondant lollipops. I pretty much knew how to create them but I watched a few tutorials on YouTube just to be sure. I bought fondant in different colors, not my usual Wilton brand fondant, but one that I had used before, but, when I started making them it turned into a bit of a disaster (Insert the emoji of the girl with her hand to her head… LOL!). I am not sure if it was because it was warm that day or the fondant was just too soft, or a combination of both, but, my fondant kept thinning out when I tried to twist the fondant together as I created the lollipop. So much so that it would break before I was done winding the lollipop. I ended up with a few decent ones, but, I wasn’t happy enough with them to use them for the cake. Also, even after leaving them out for a few days the fondant never hardened.

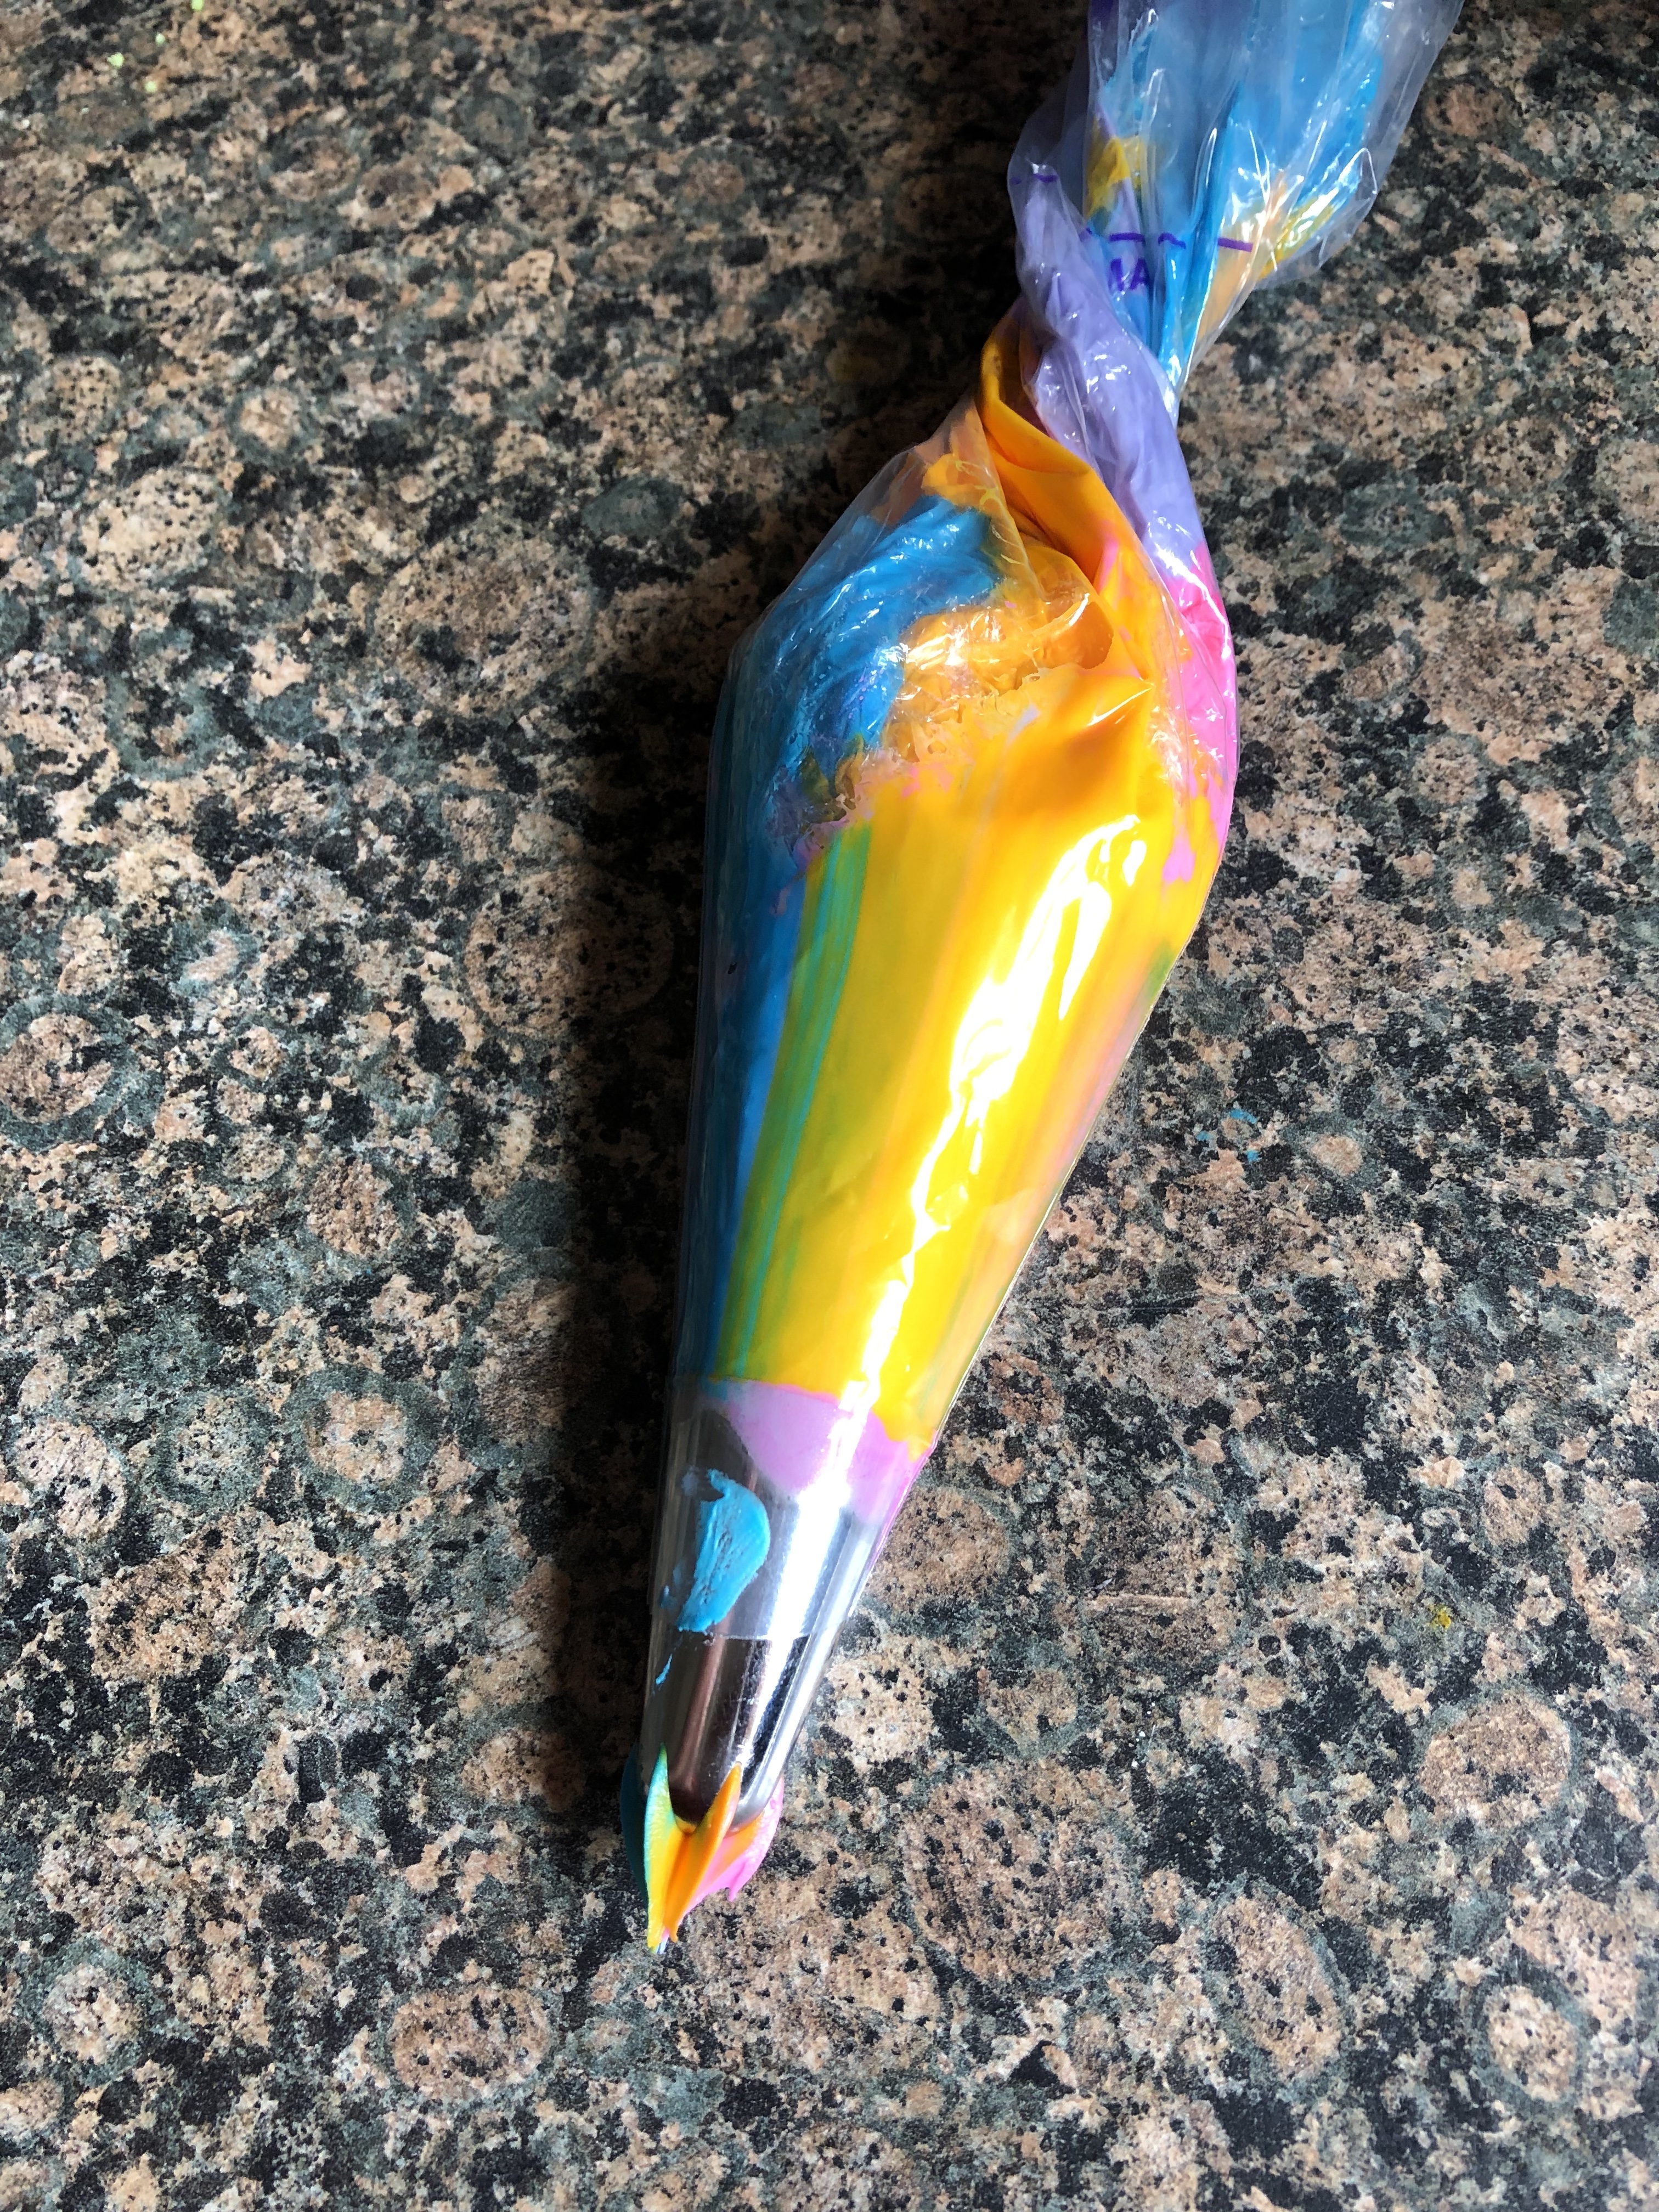
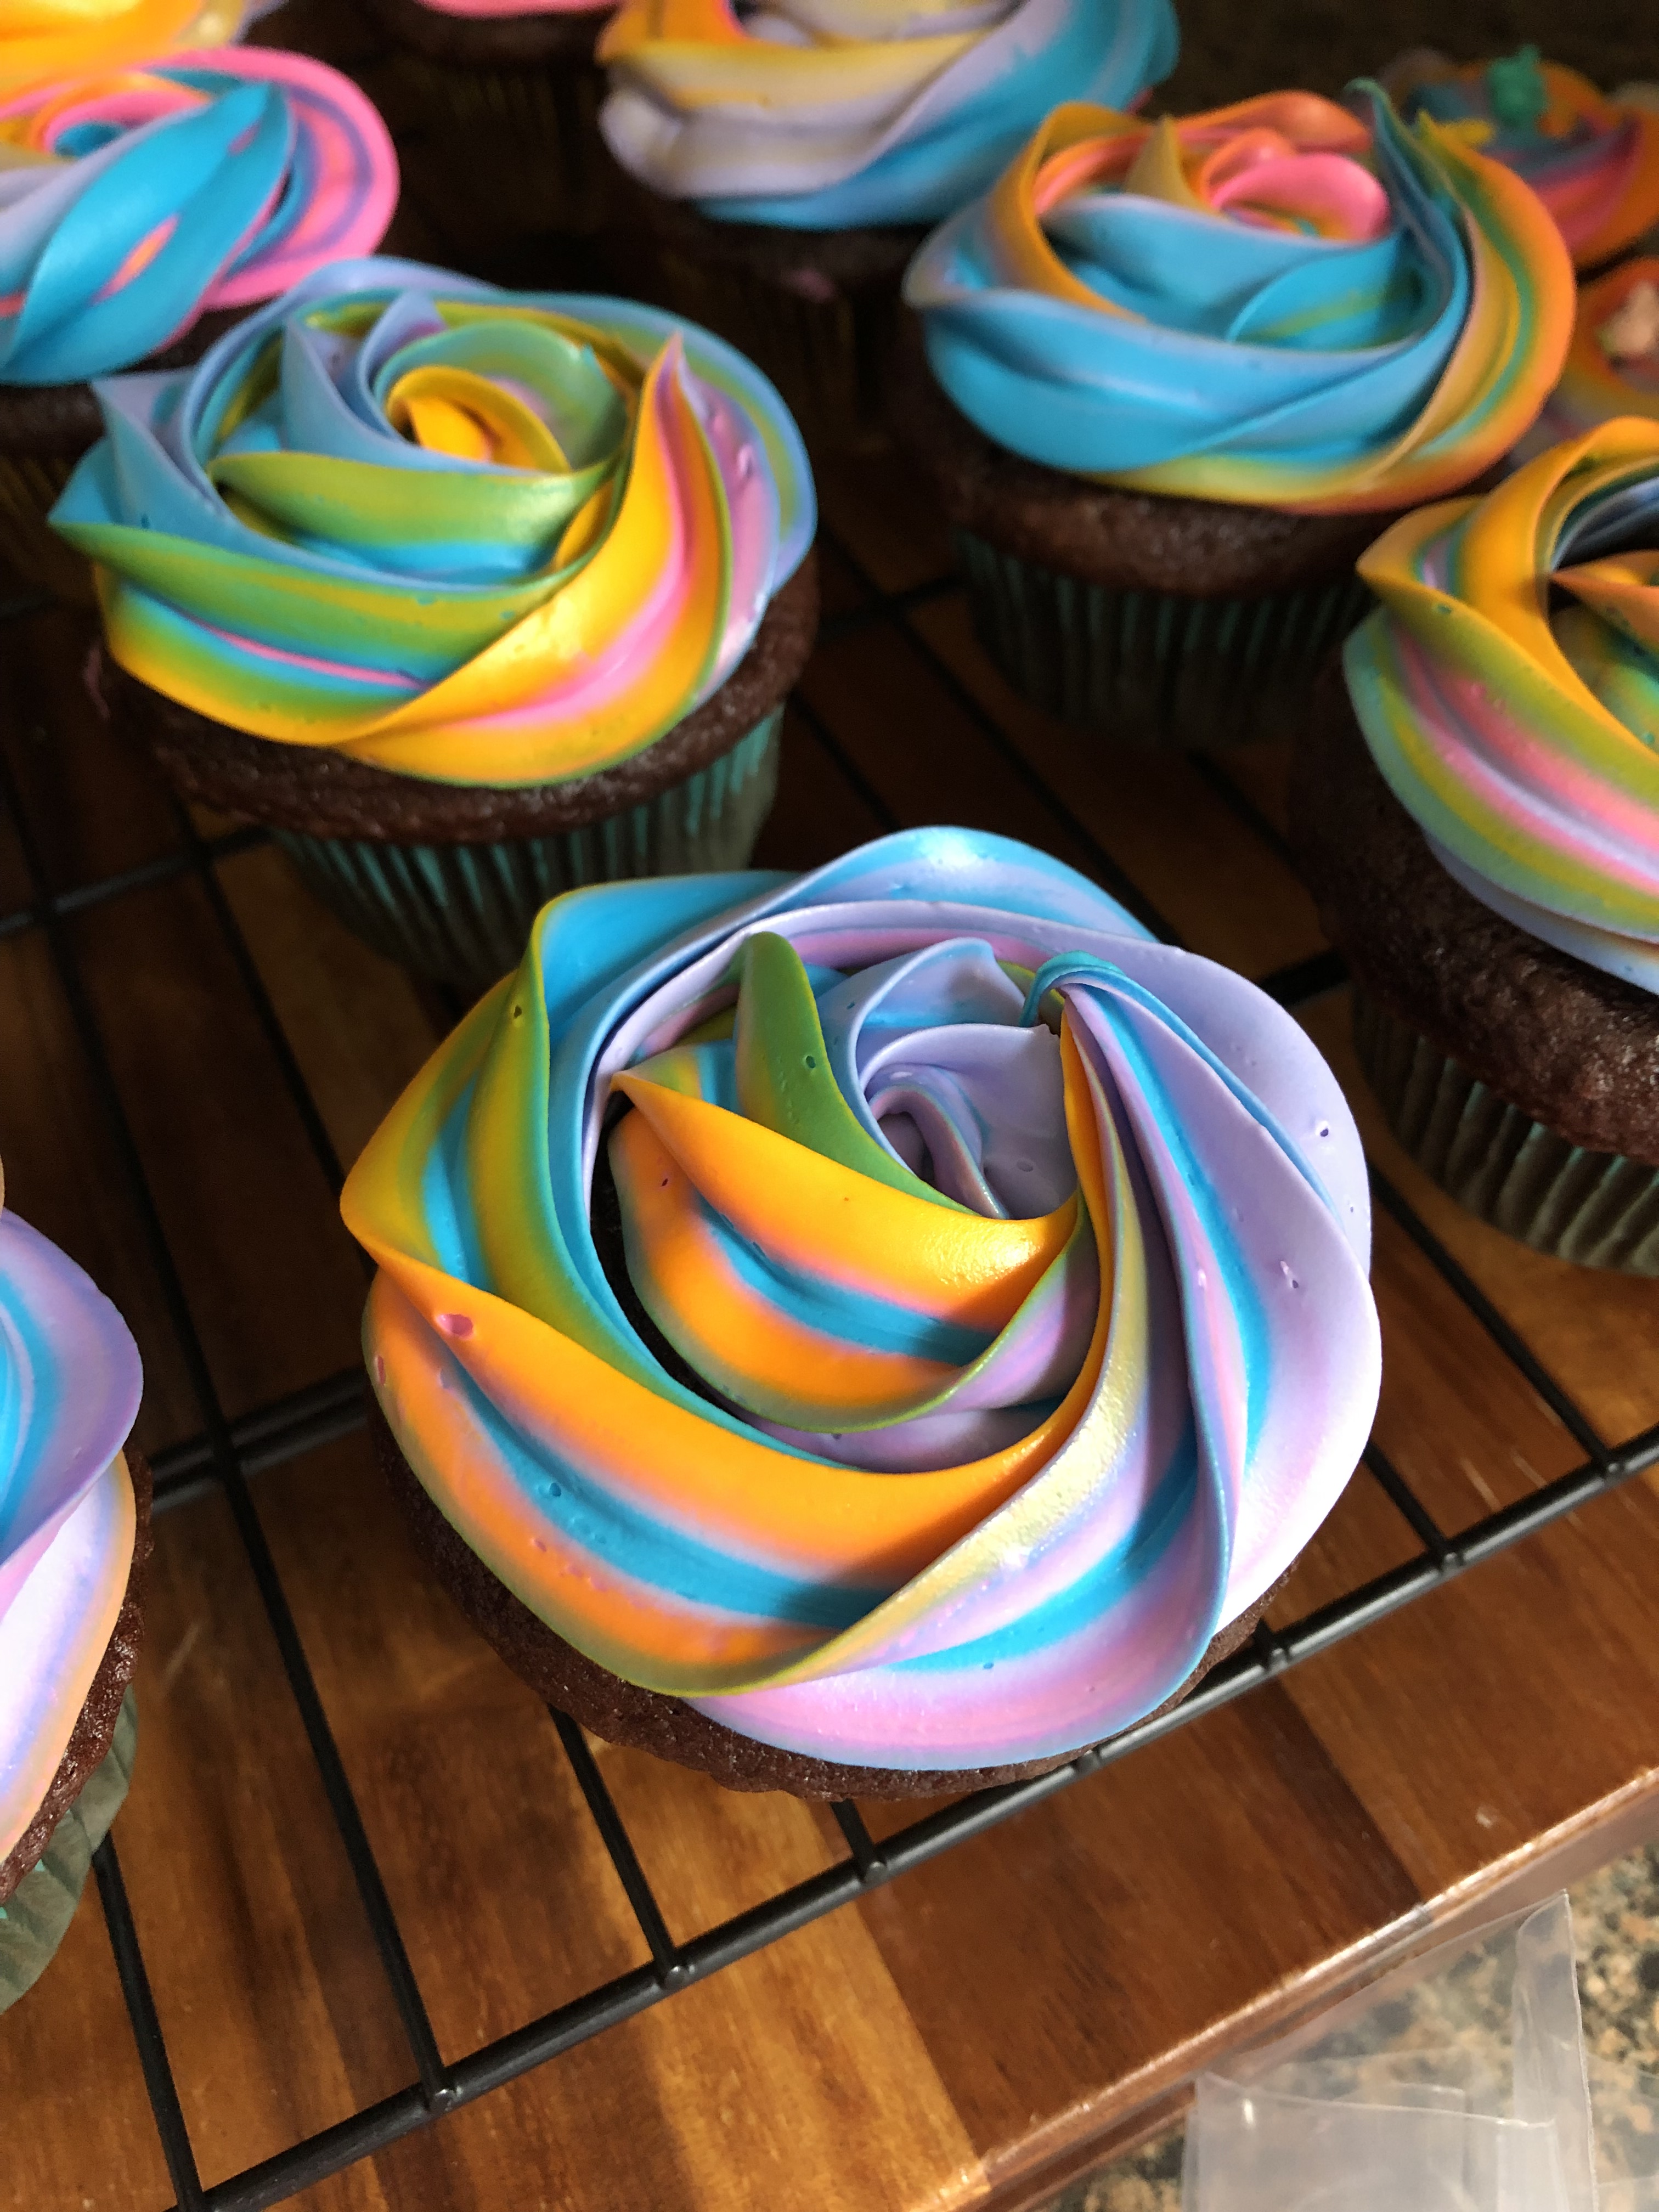
My back-up plan was to buy lollipops I saw at my local party store if all else failed, but, I decided to try one more thing… Meringue Lollipops. To make the meringue I whisked together room temperature egg whites and sugar in the bowl of my stand mixer over boiling water. Once the sugar had completely dissolved I placed the bowl on my mixer and added in vanilla extract and a pinch of salt. Using the whisk attachment and setting the mixer to high I whisked the mixture until stiff peaks formed. Next, I divided the meringue into three bowls and tinted each one using gel food colors, gently folding the colors into the meringue. I spooned the three colors side-by-side on a piece of plastic wrap, folded the plastic wrap in half and then rolled the entire thing to create a cylinder shape, making sure to tightly wound the ends of the plastic wrap. I snipped one of the ends off and then dropped it into a piping bag I had fitted with a Wilton 1M tip. I then piped 1M swirls on a parchment lined baking sheet to create the lollipops and then gently inserted a lollipop stick into each. I baked them in a 200 F preheated oven for about 2.5 hours. The meringue has to be baked at a low temperature for a long period of time so it can properly dry out. I let them cool inside of the oven with the door slightly open and ended up with perfect (and edible) lollipops to decorate the cake with. I kept these stored in an airtight container until I was ready to use them.

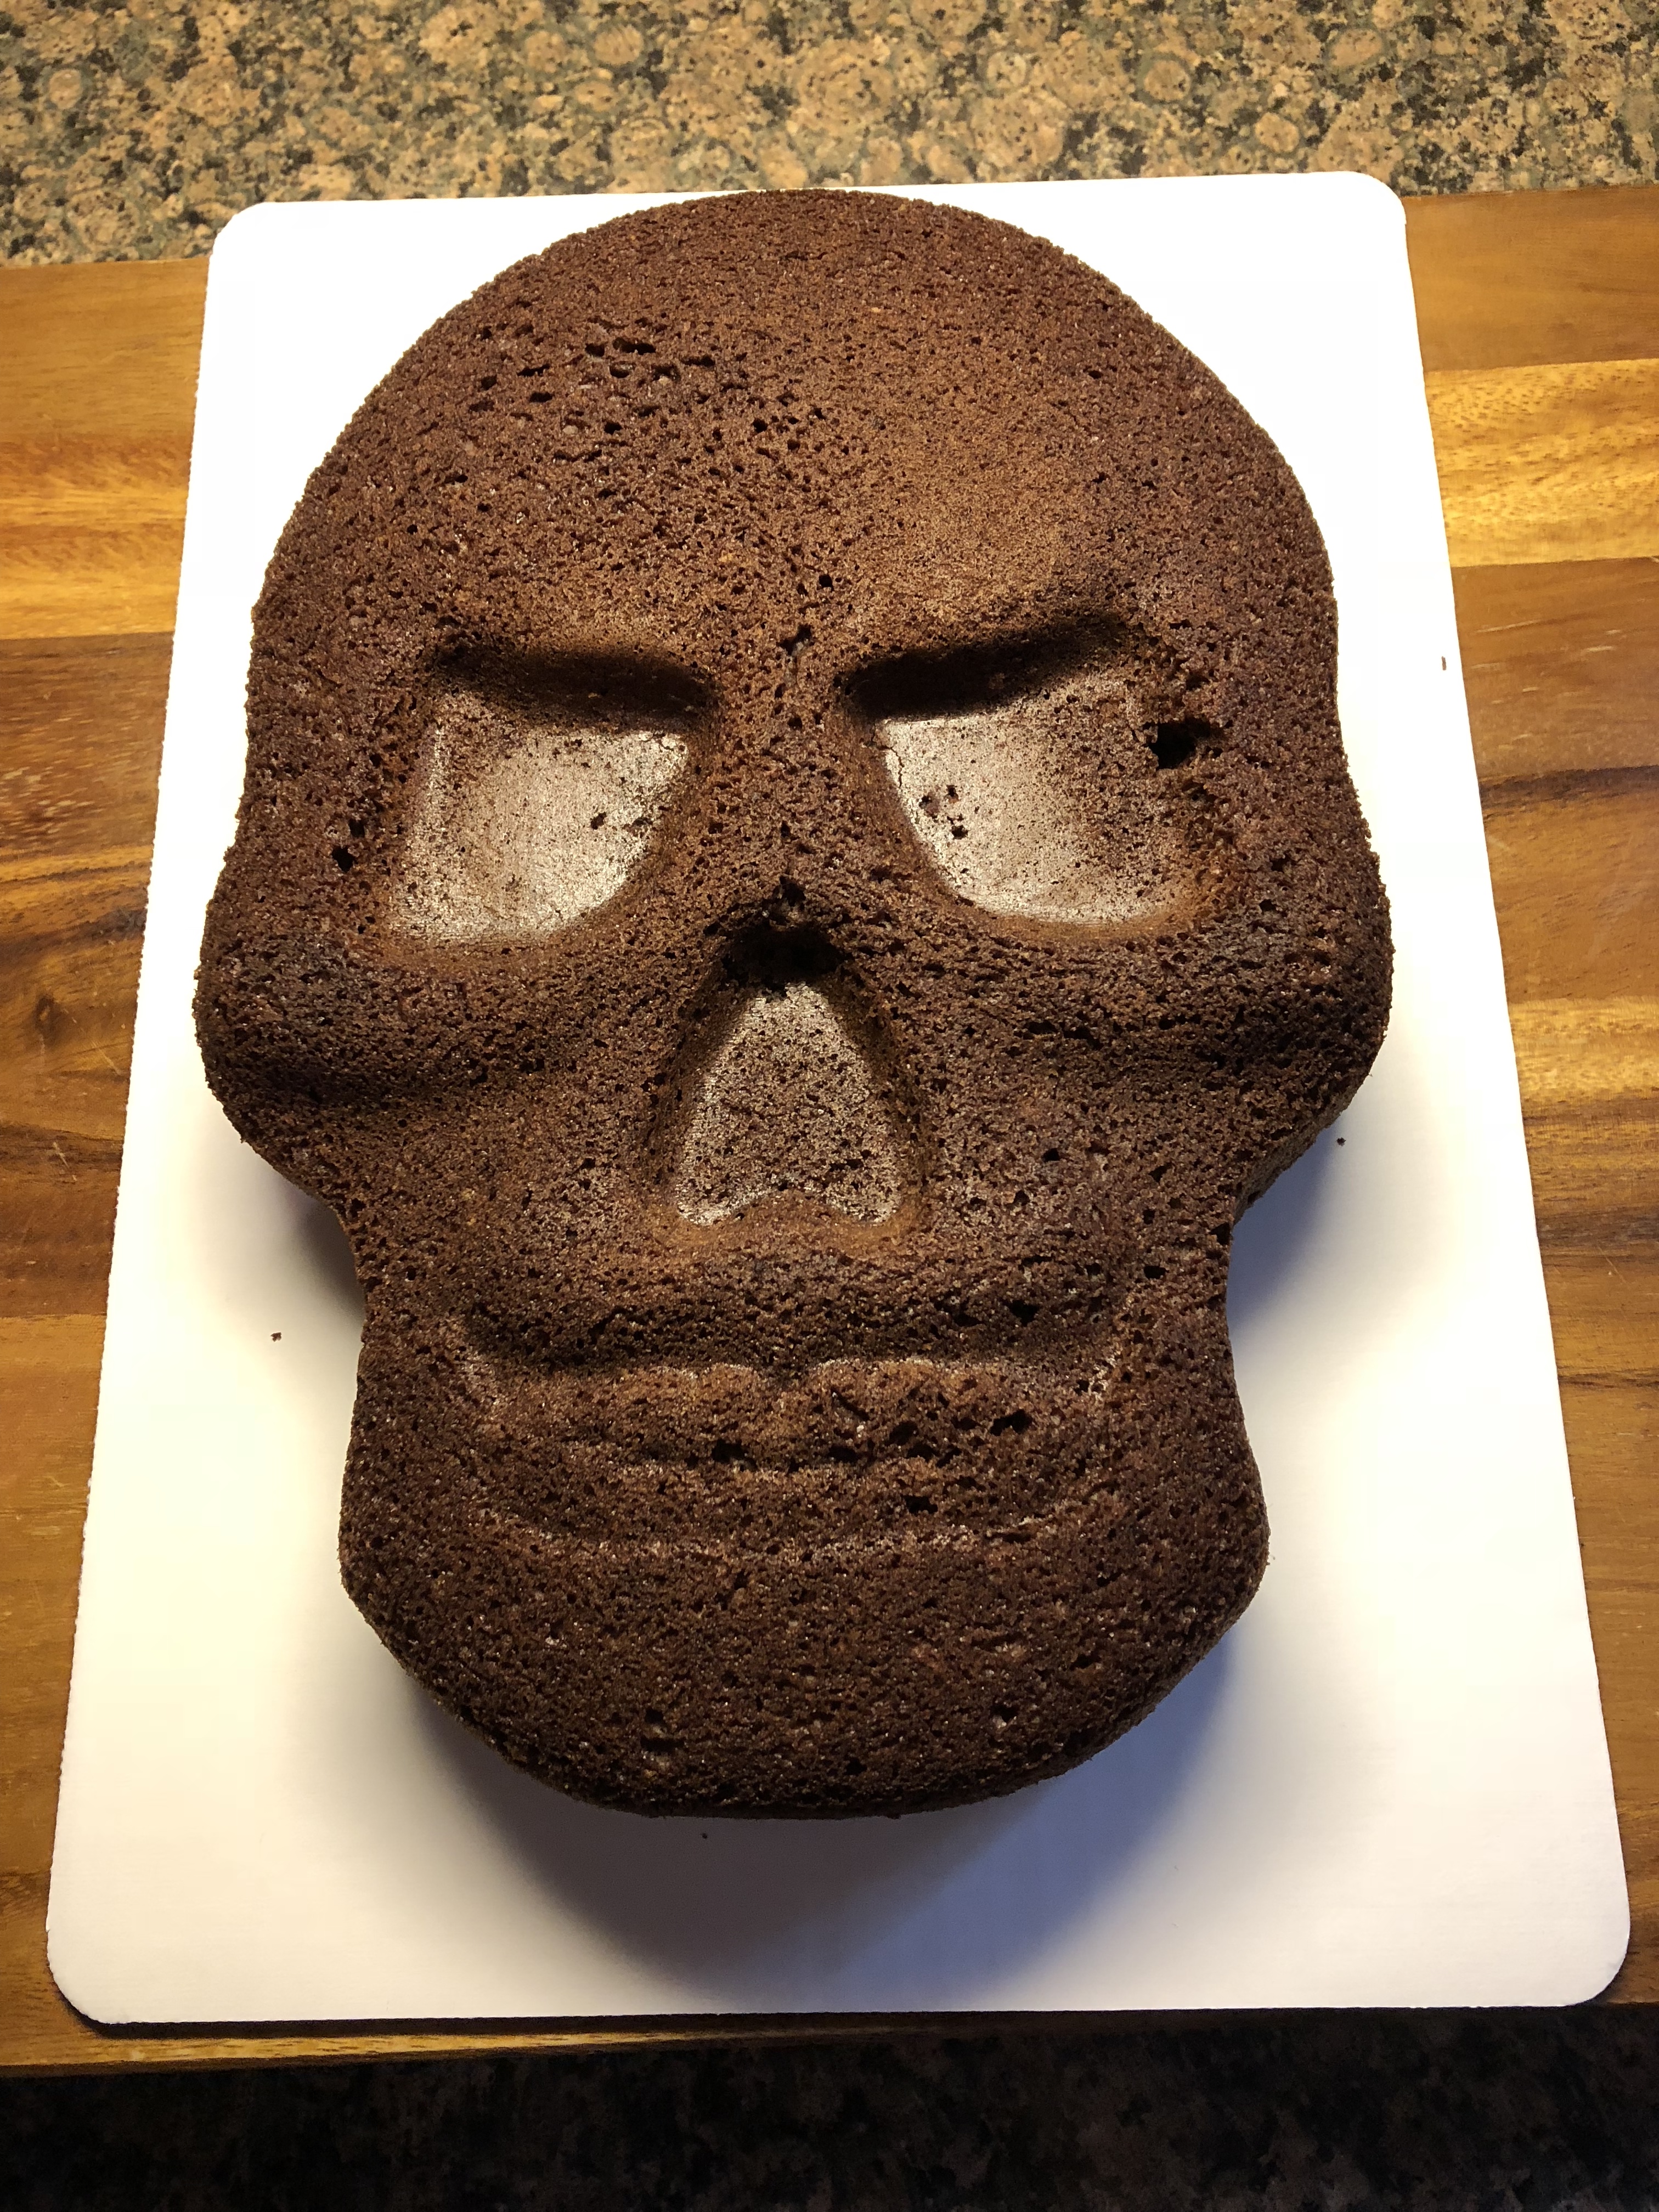
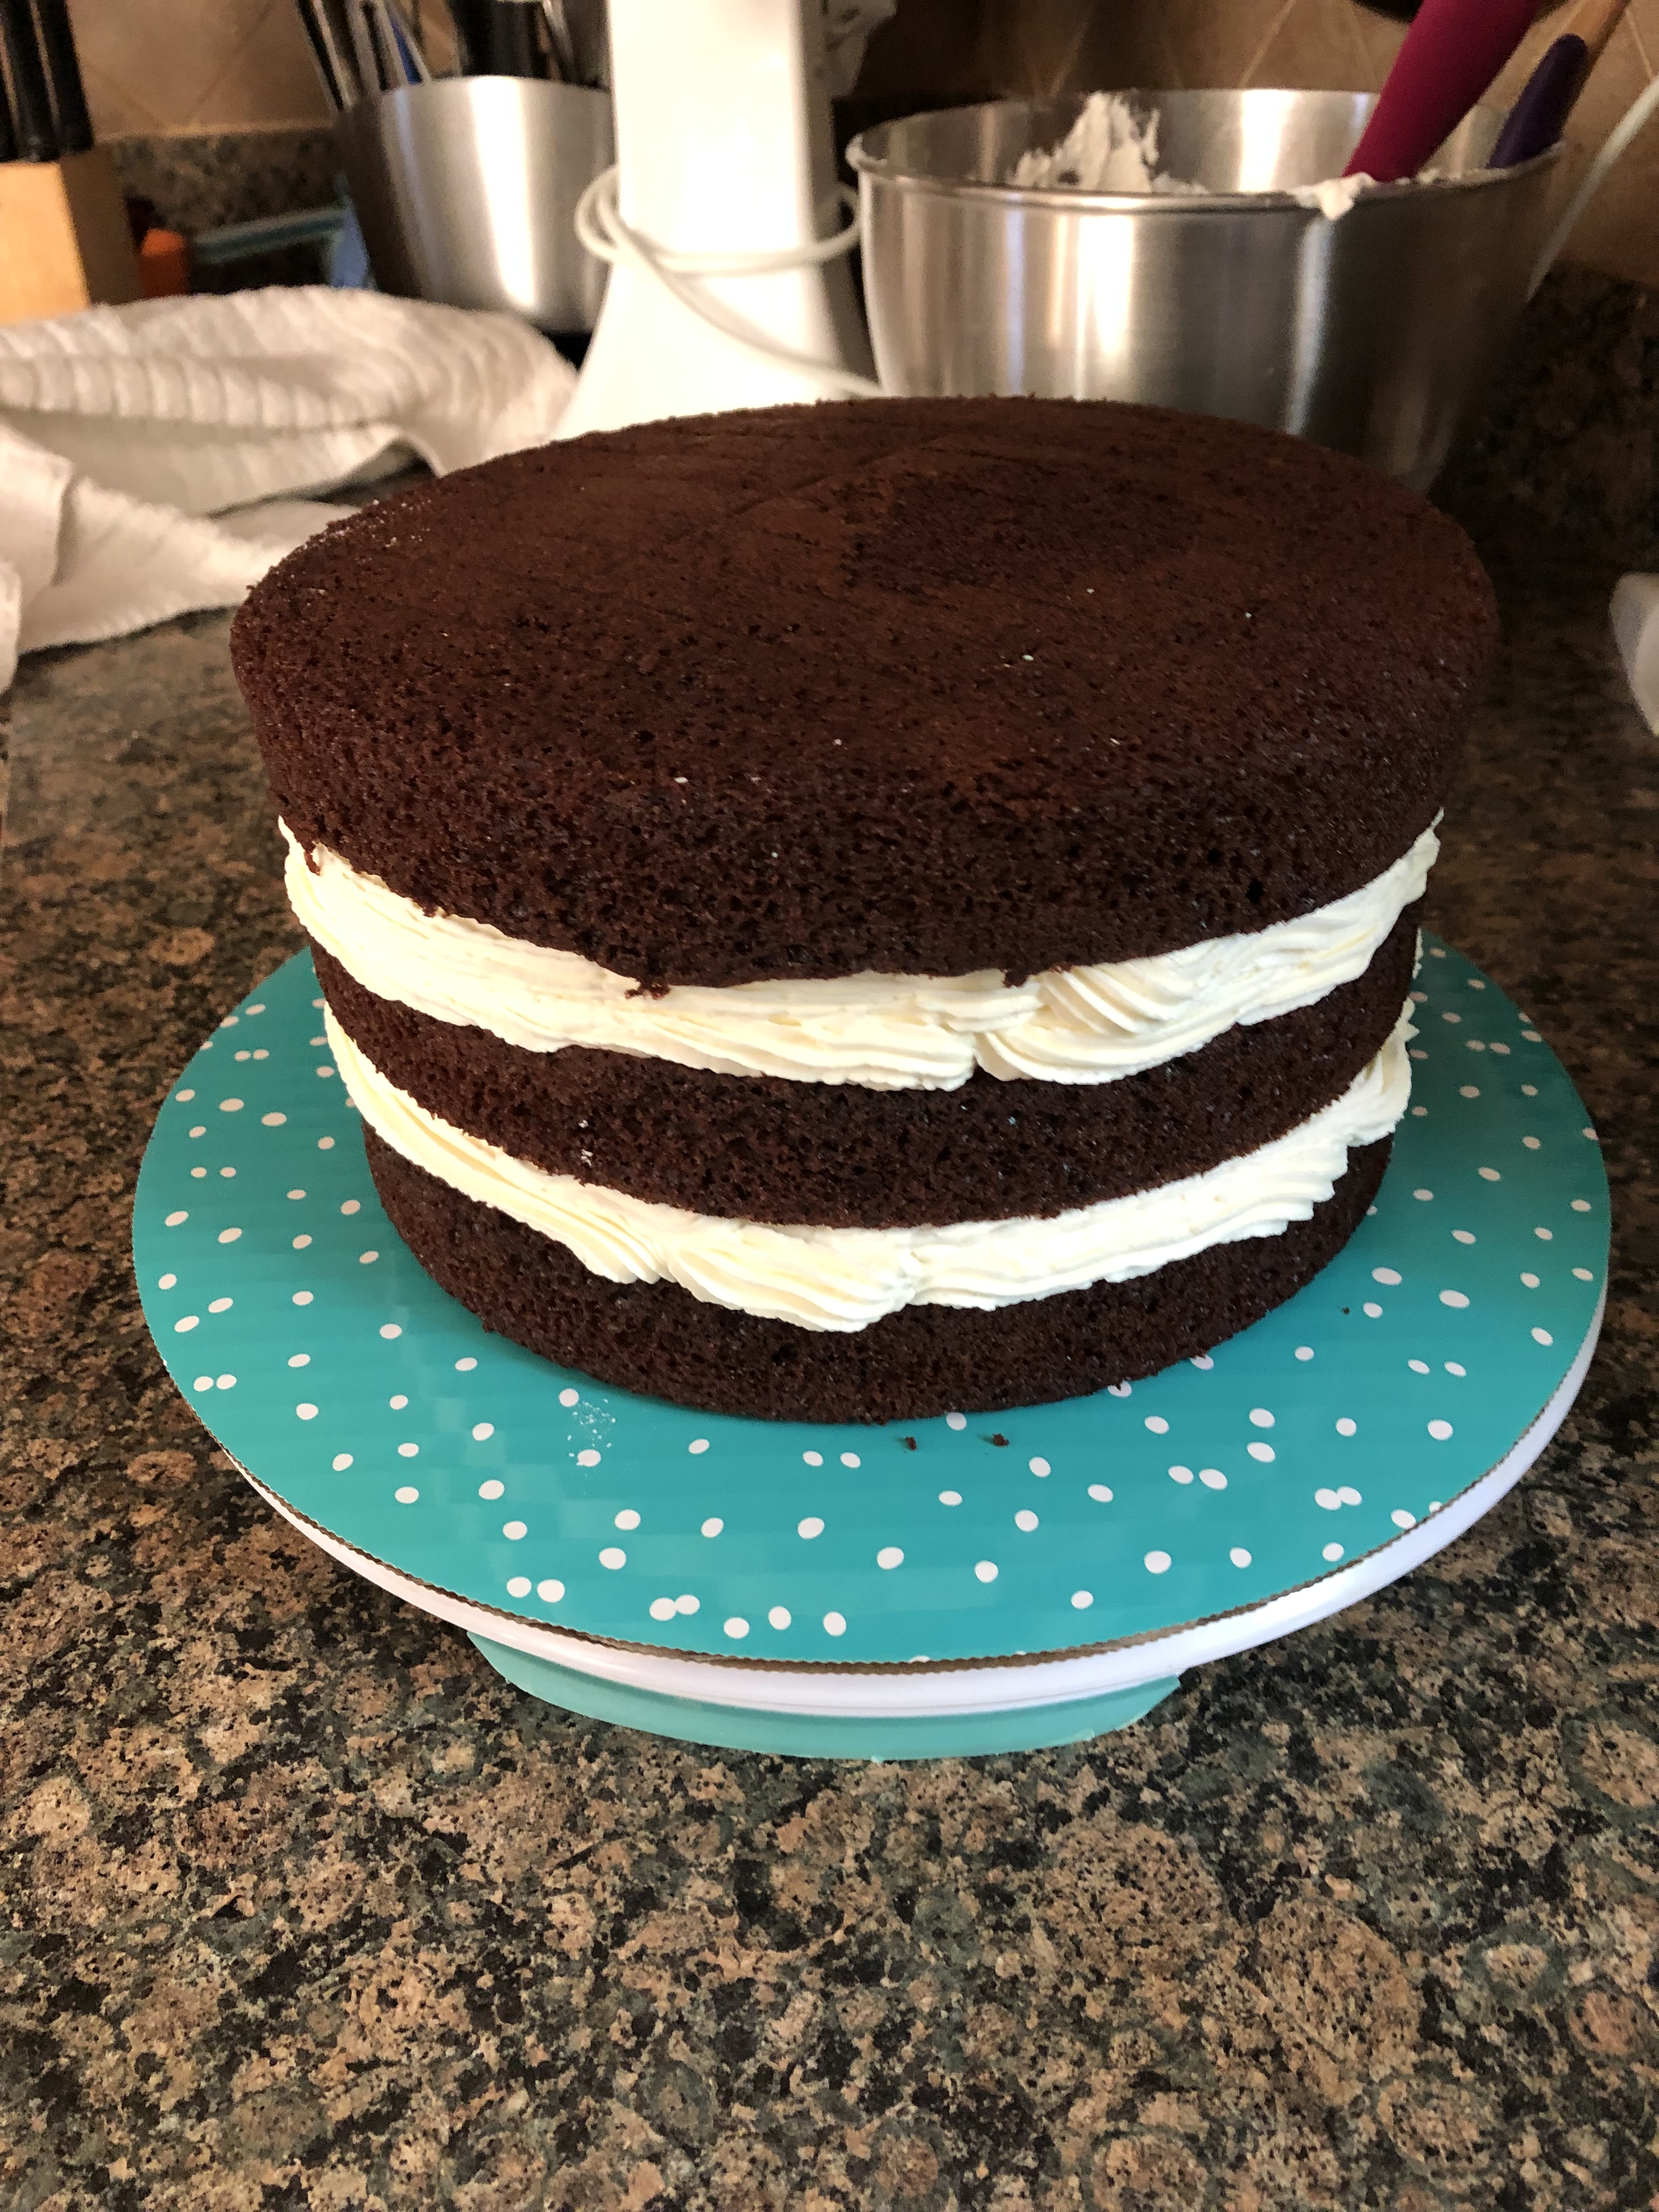
Now, for the cake. I had every intention of baking the cake from scratch, but, box cake was on sale the week before and when you are planning on decorating a cake the same weekend you have a long list of other things to get done around the house the easy road is the way to go. I wanted the cake to have some height so I baked four 9-inch cakes using two boxes of Devil’s Food cake mix. I opted to use three of them and kept the fourth one to snack on. I made the cakes the night before and then wrapped them in plastic wrap and stored them in the refrigerator.

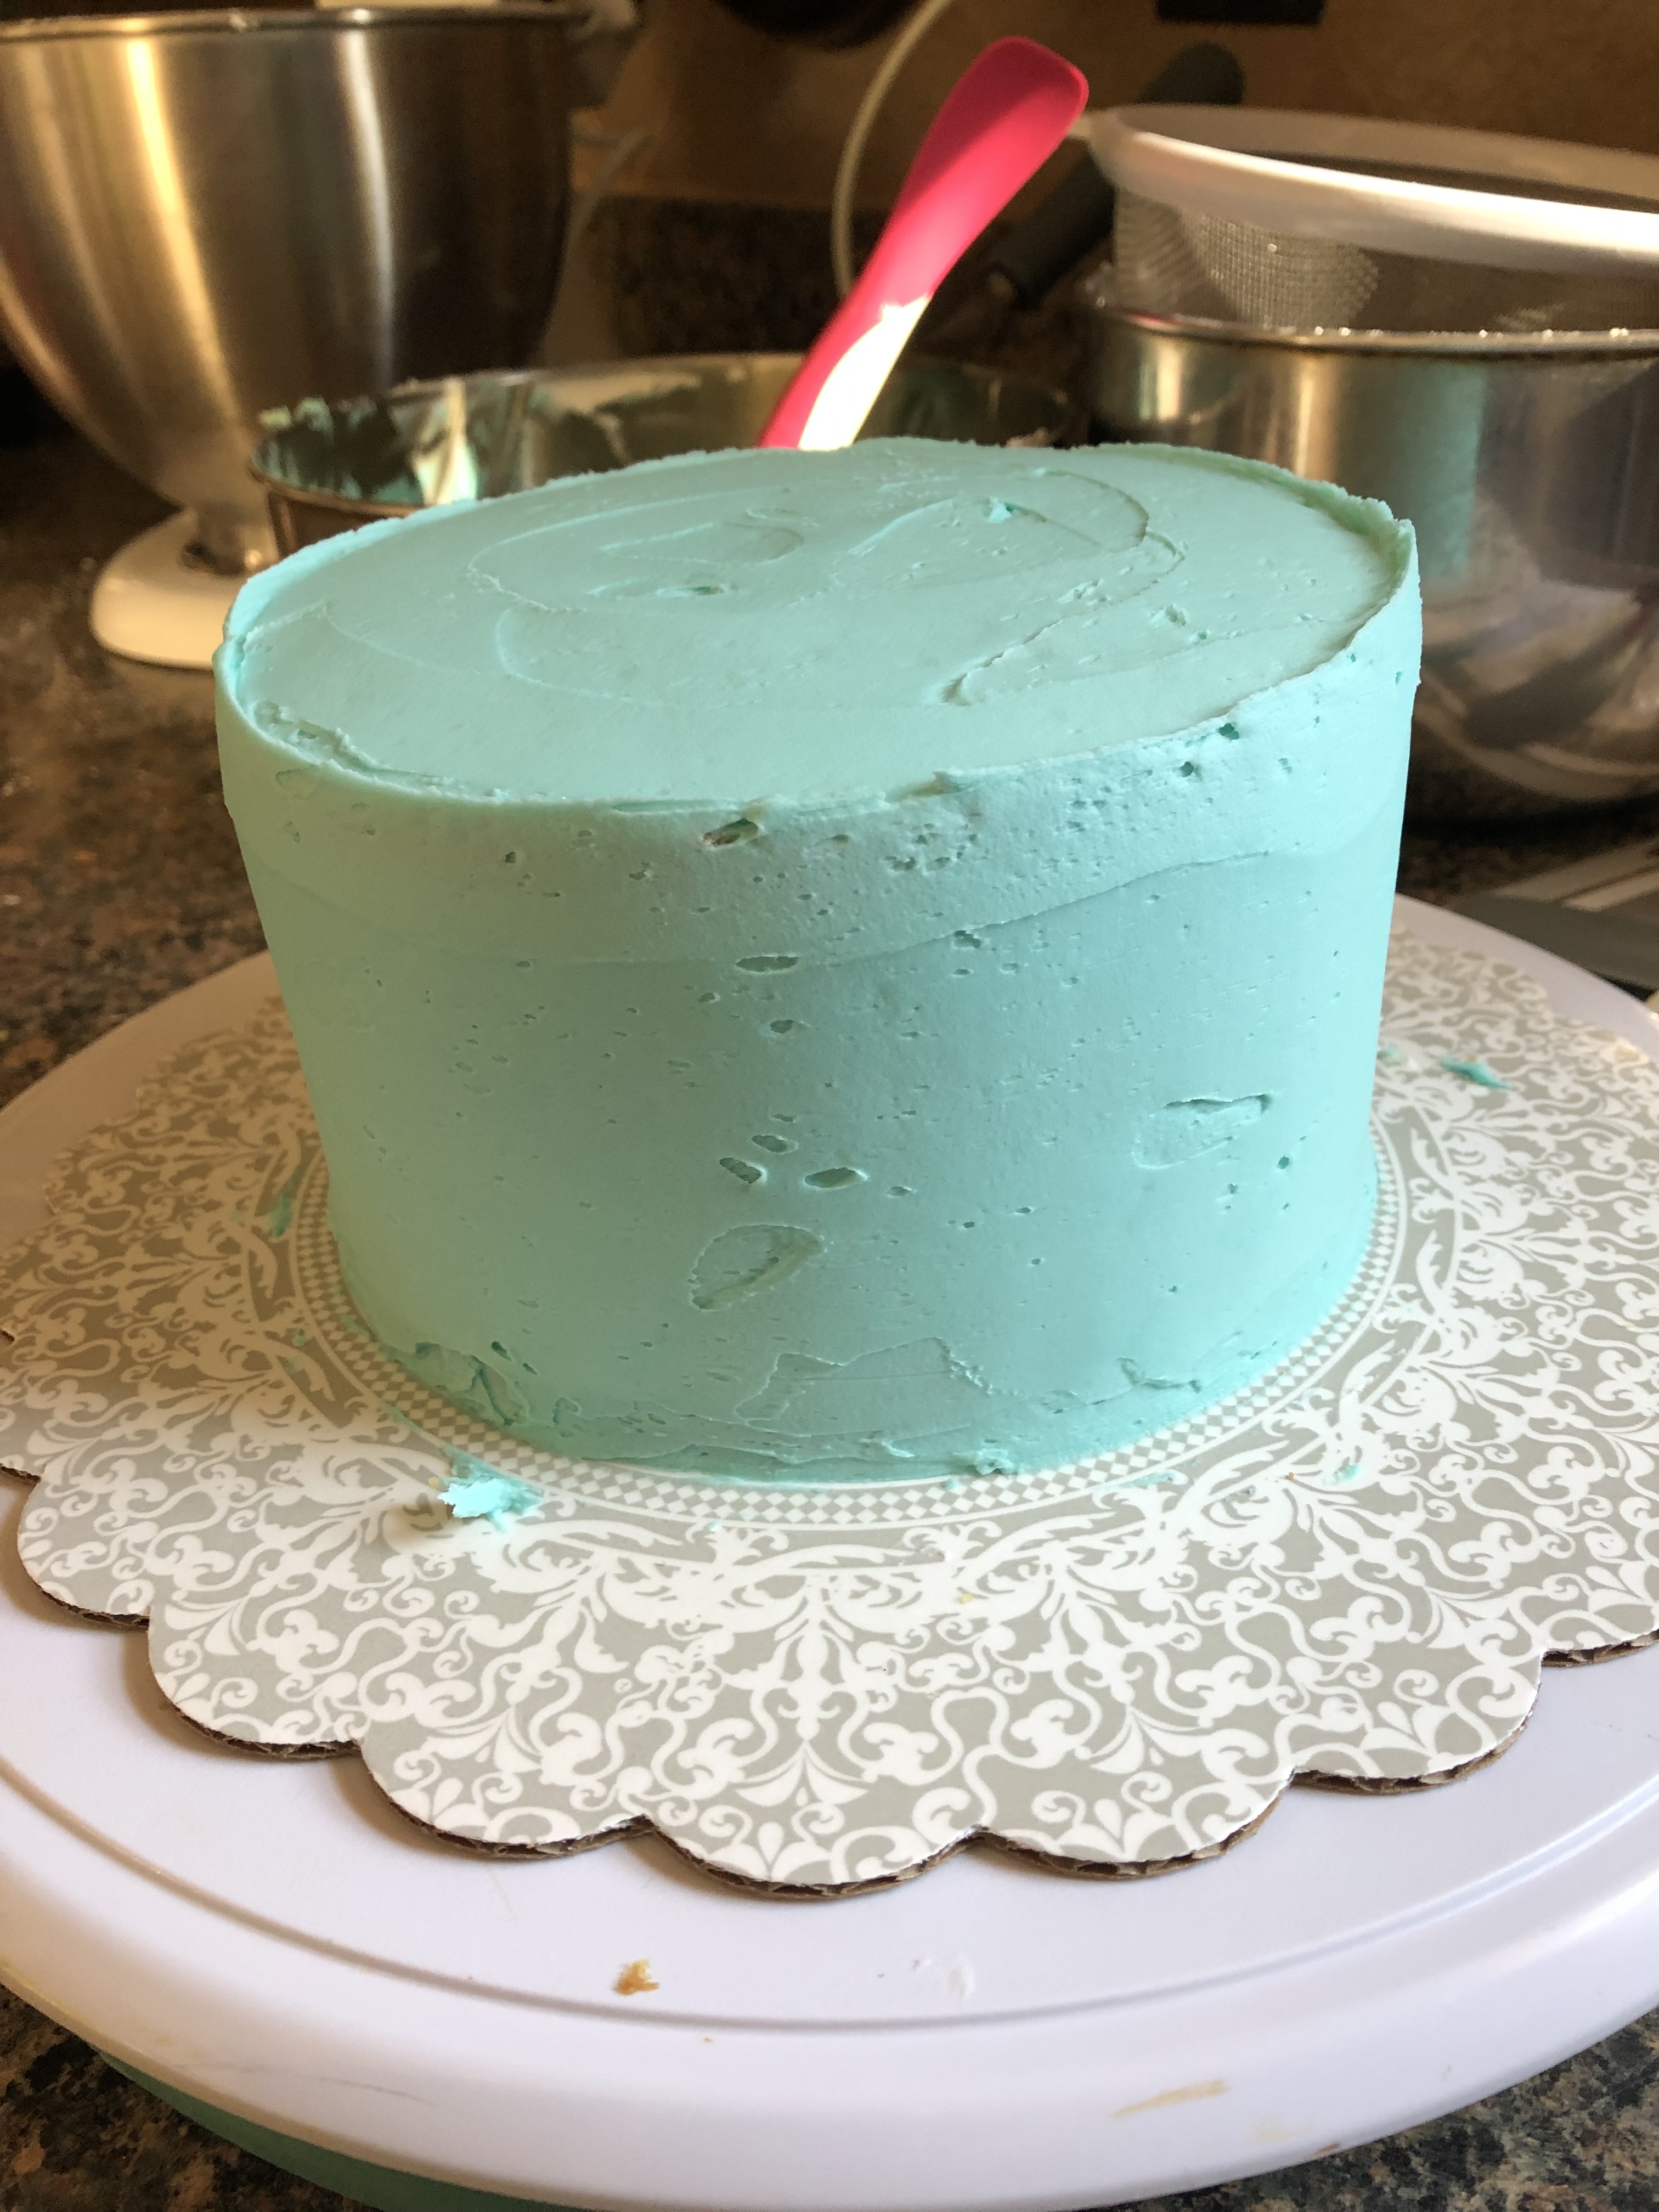
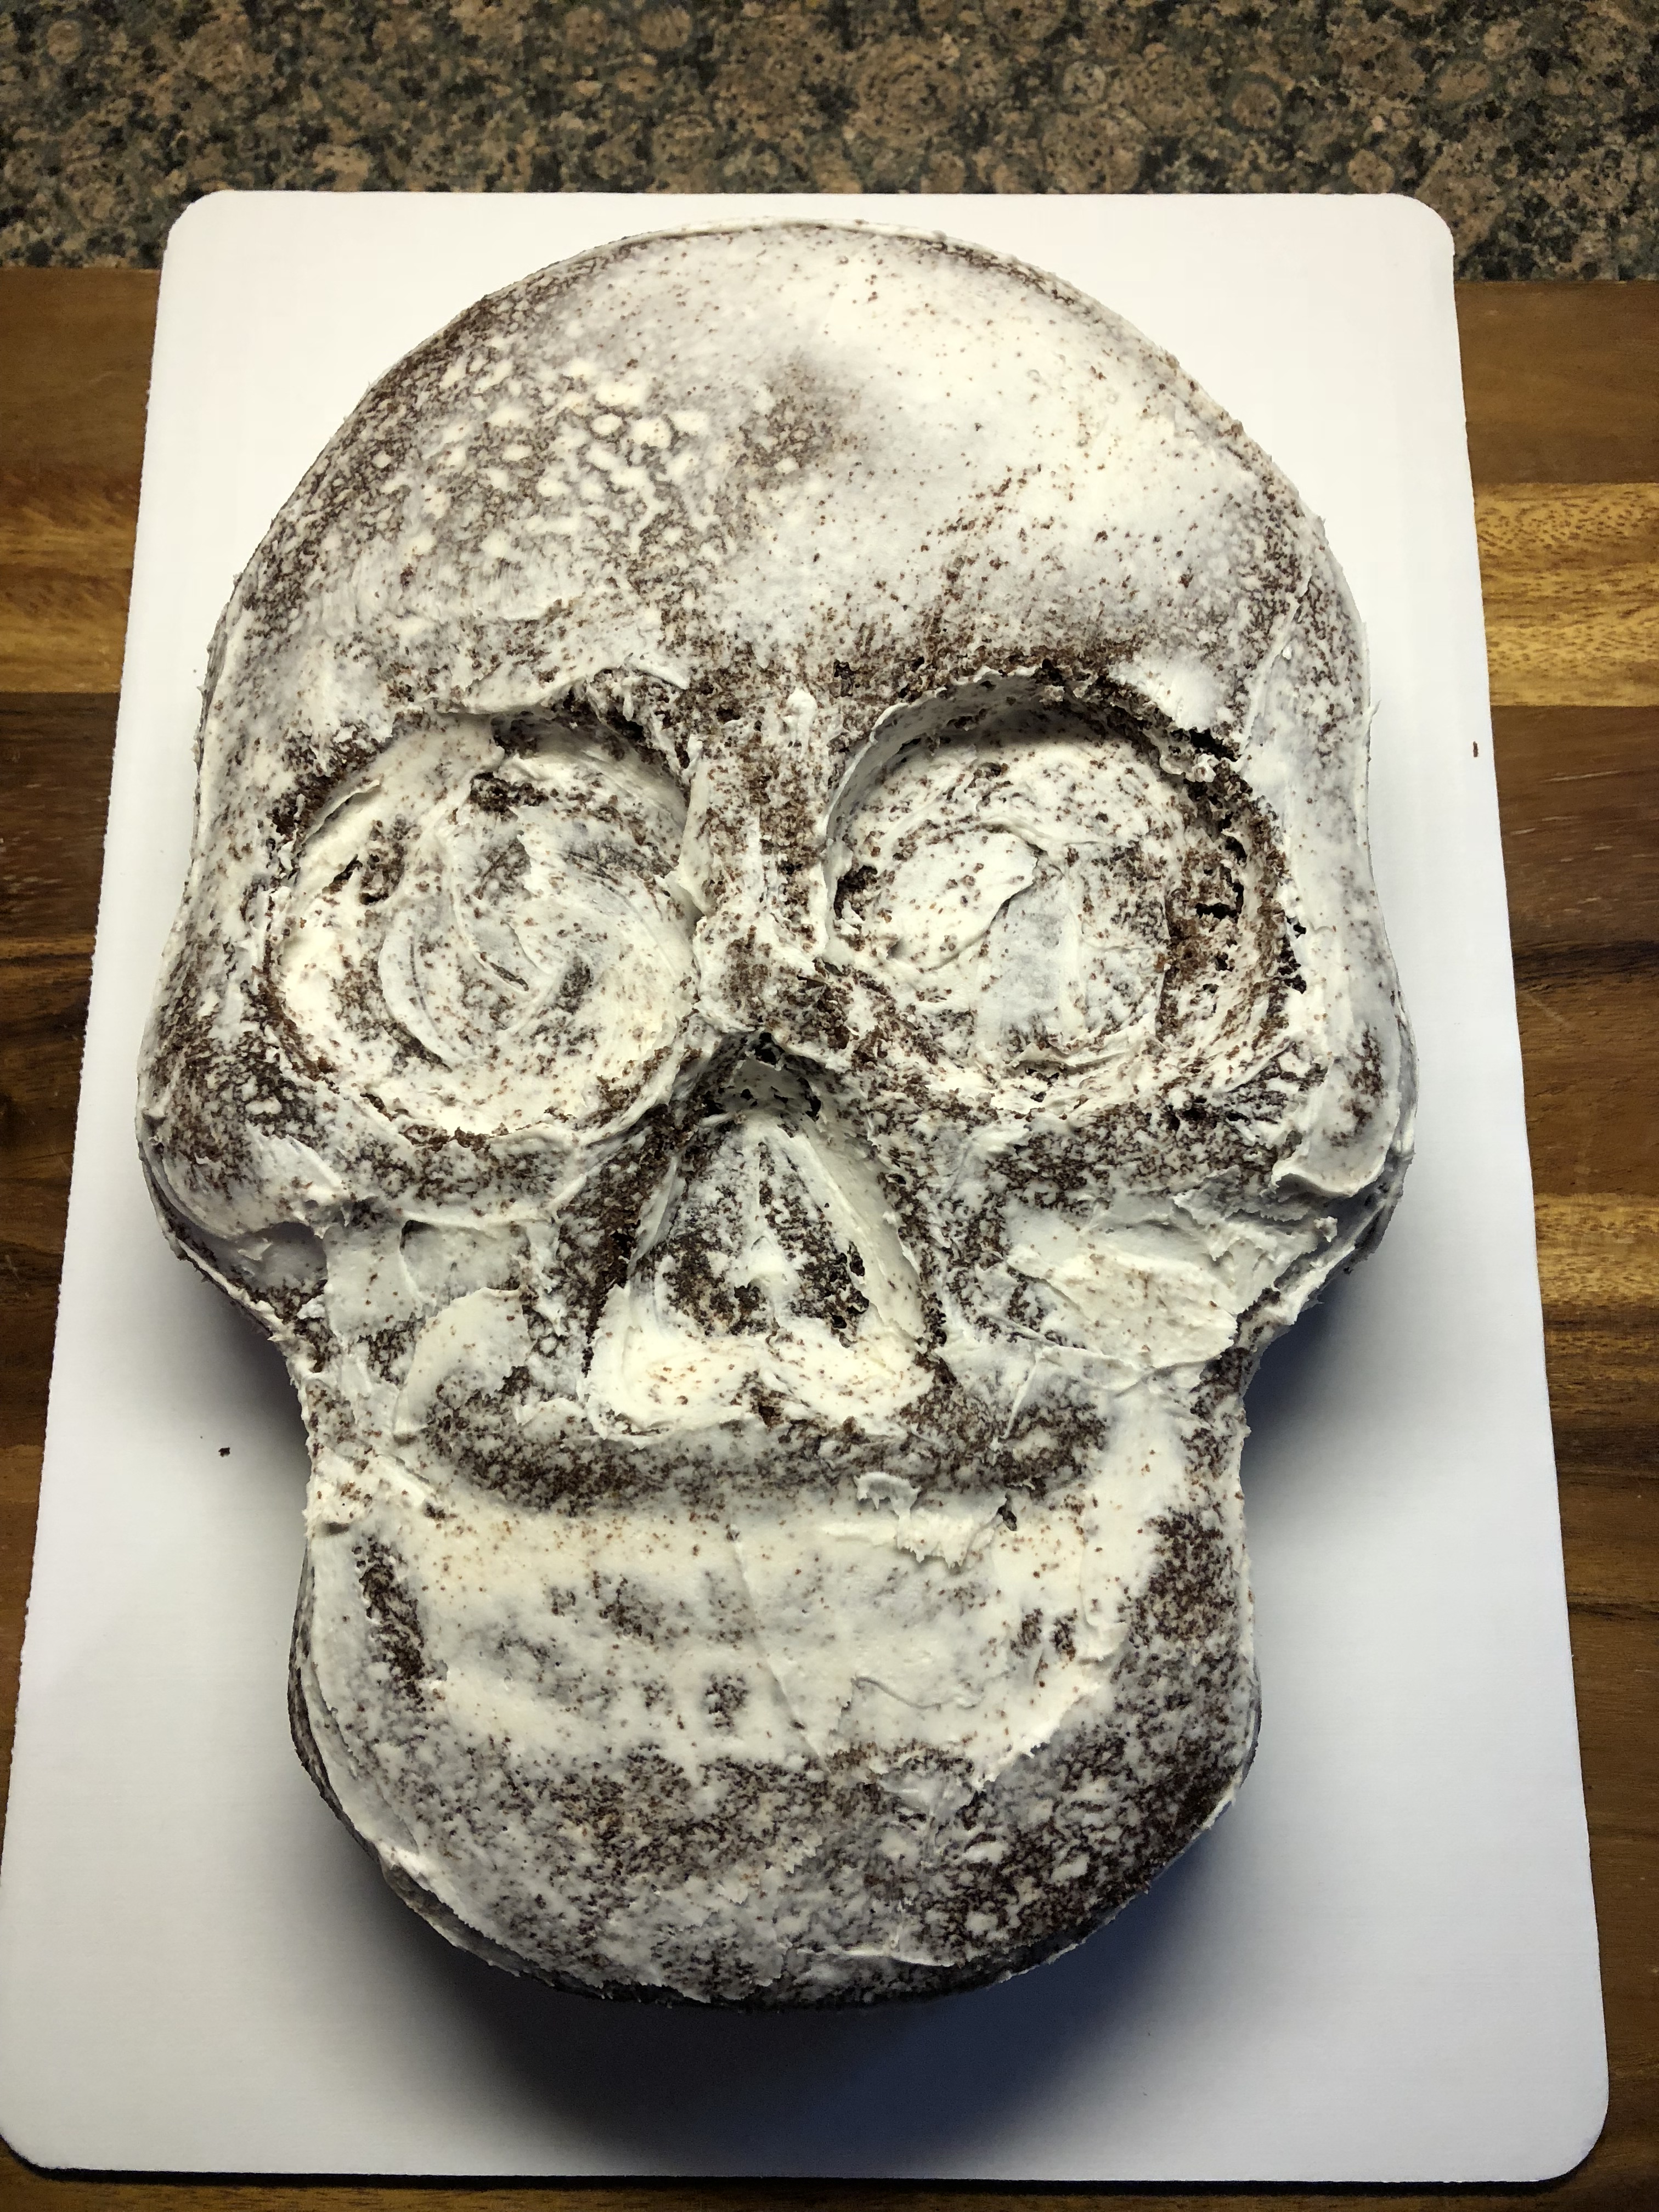
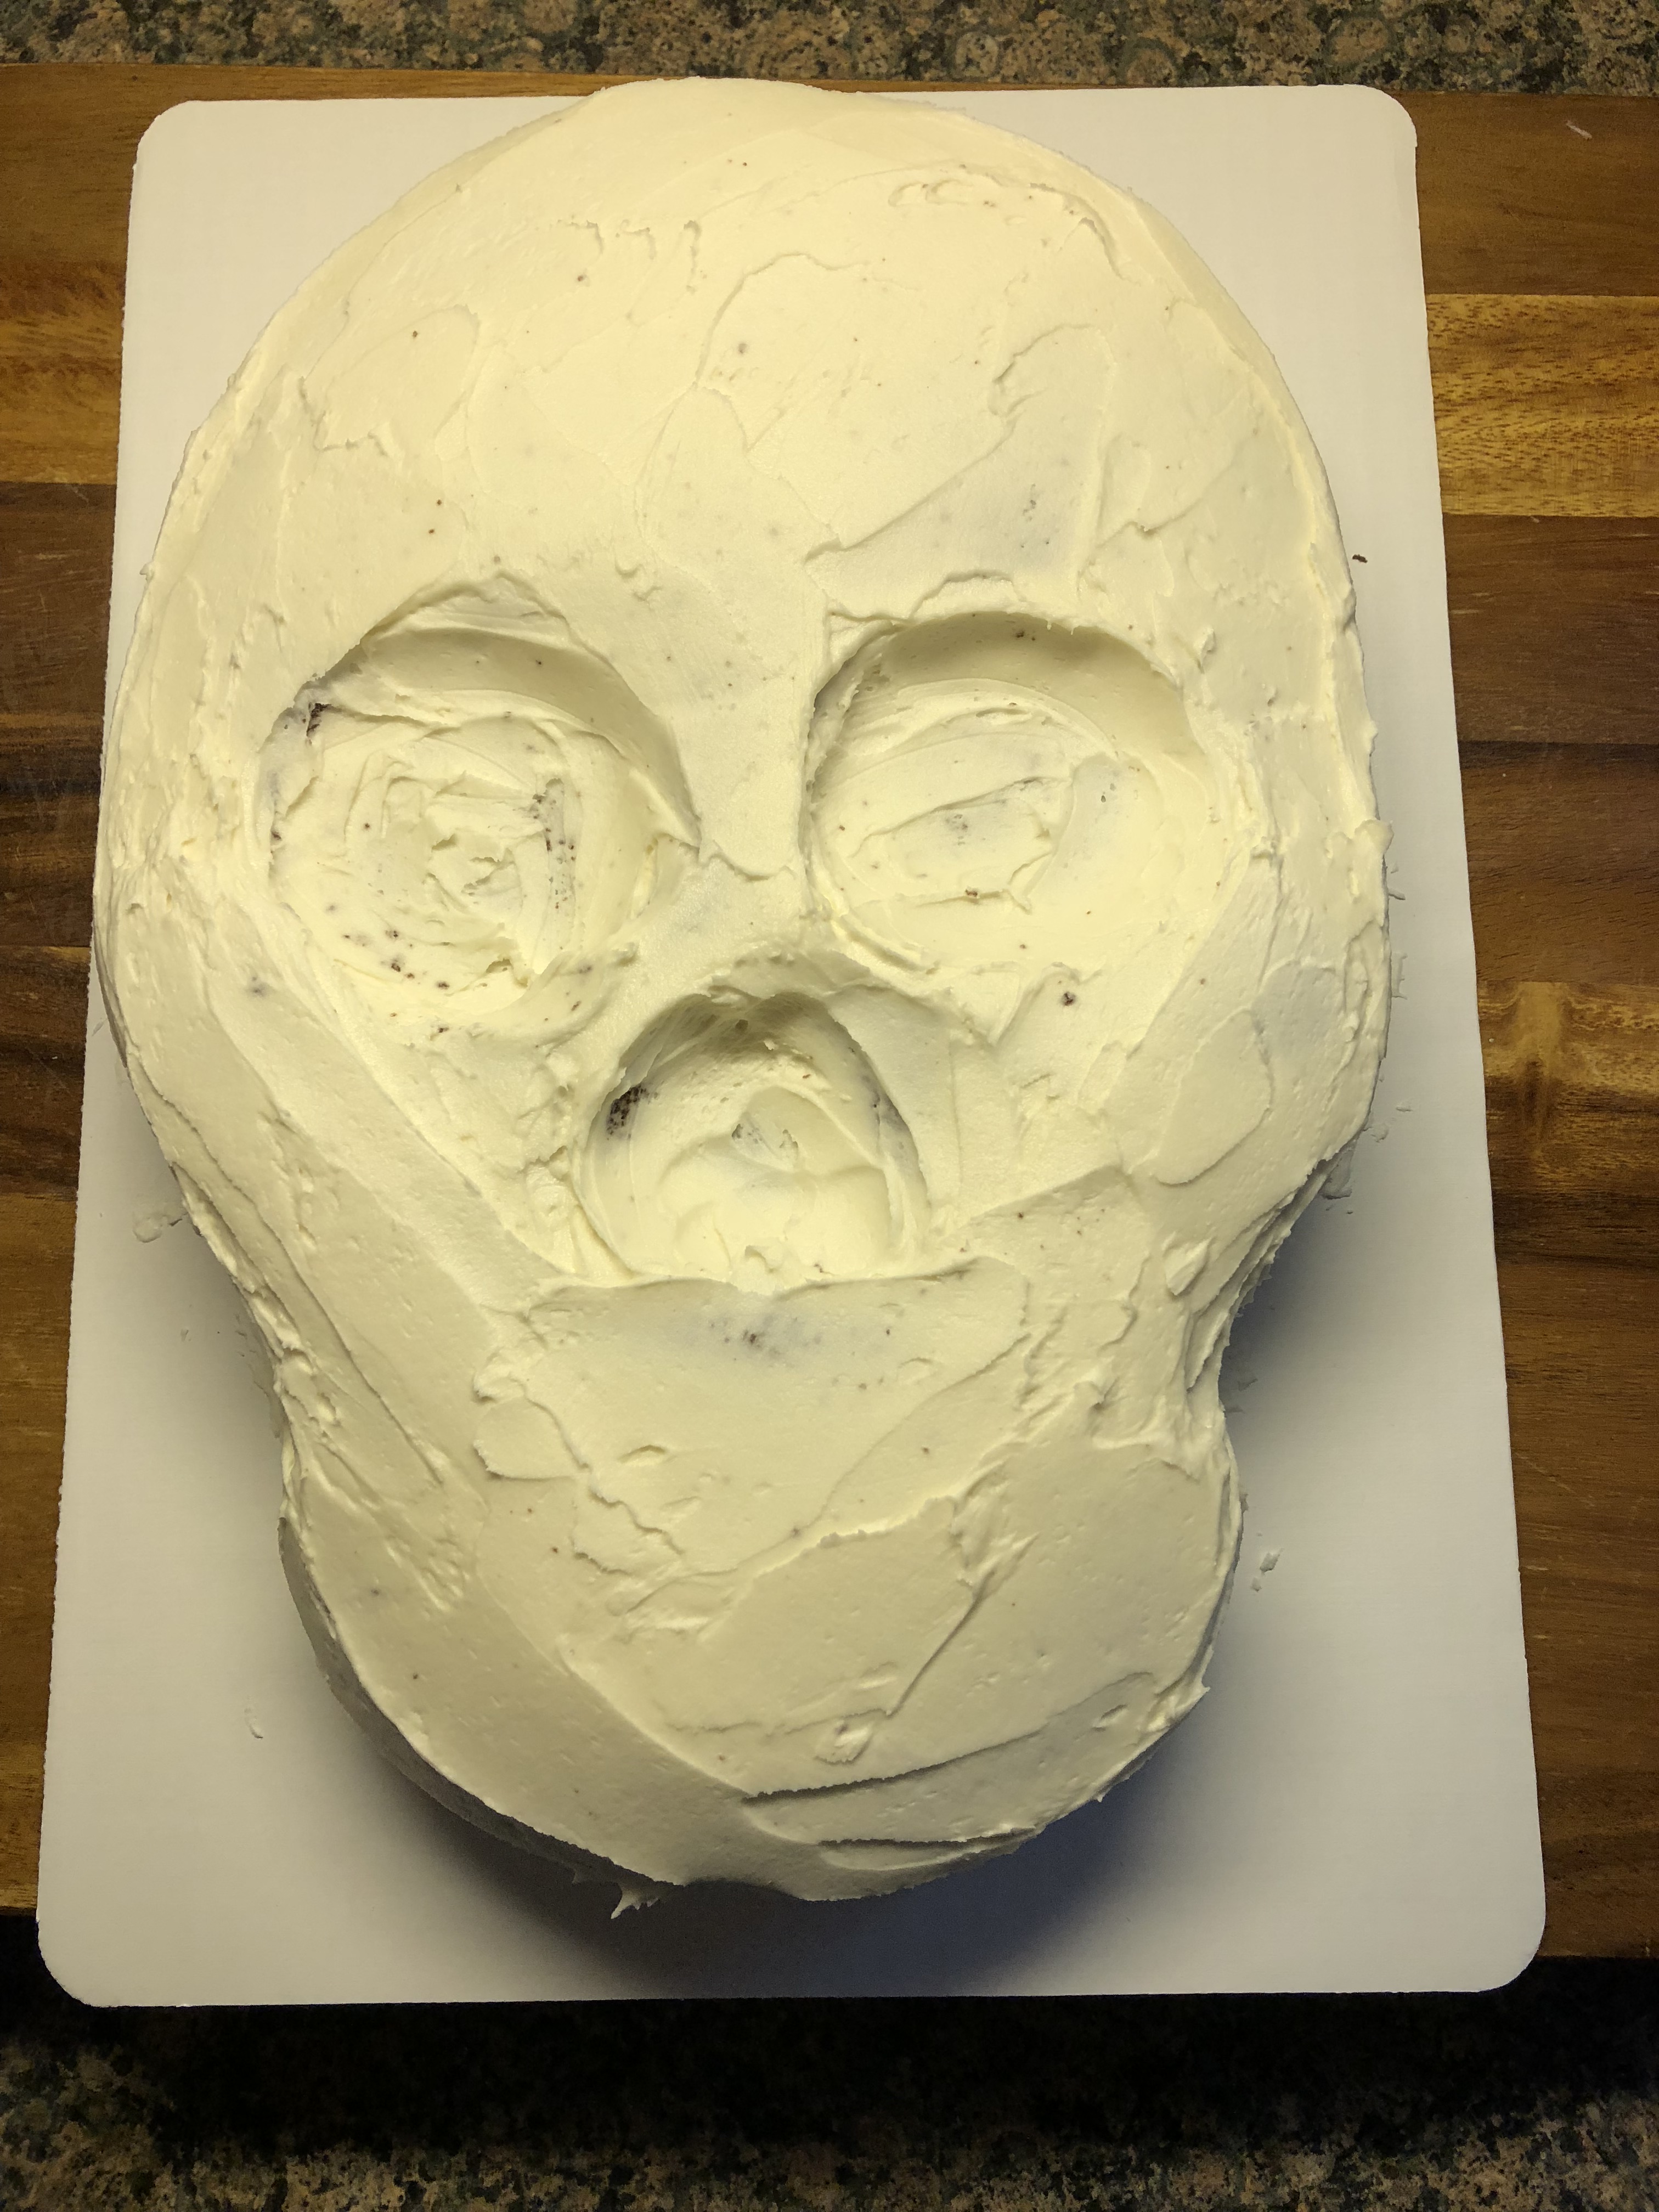
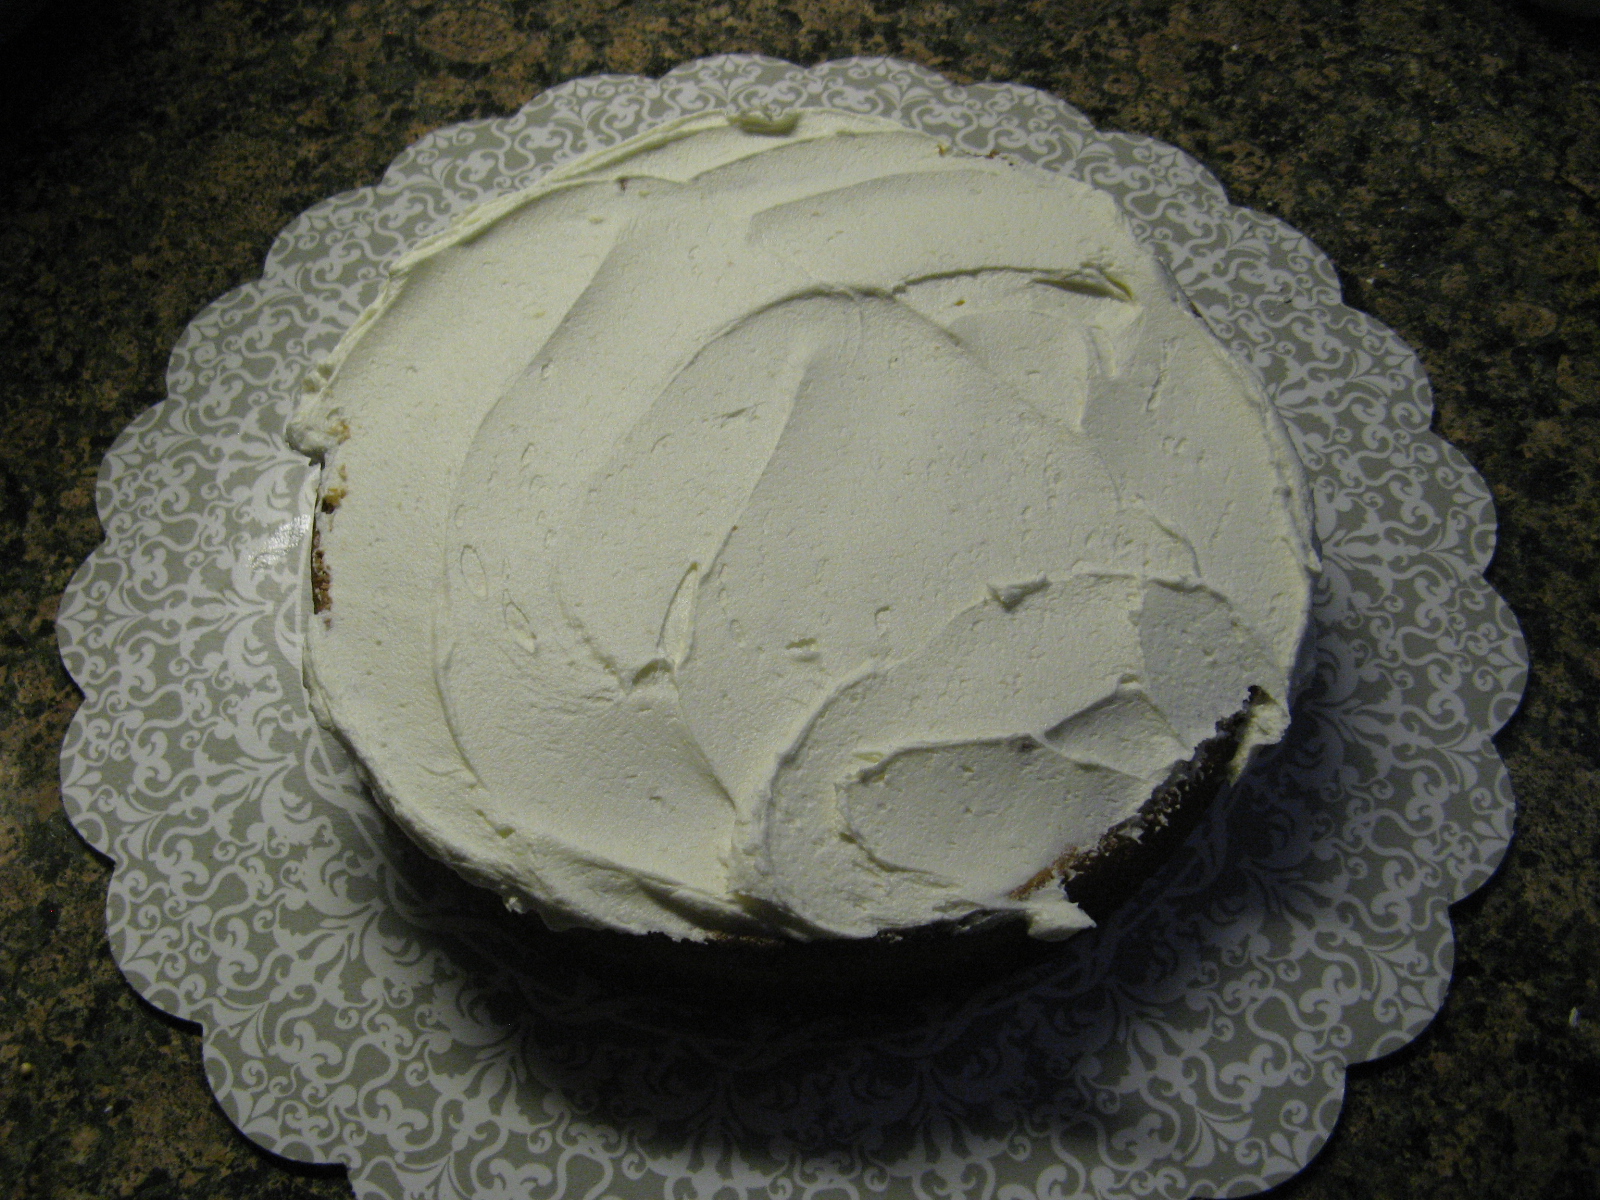
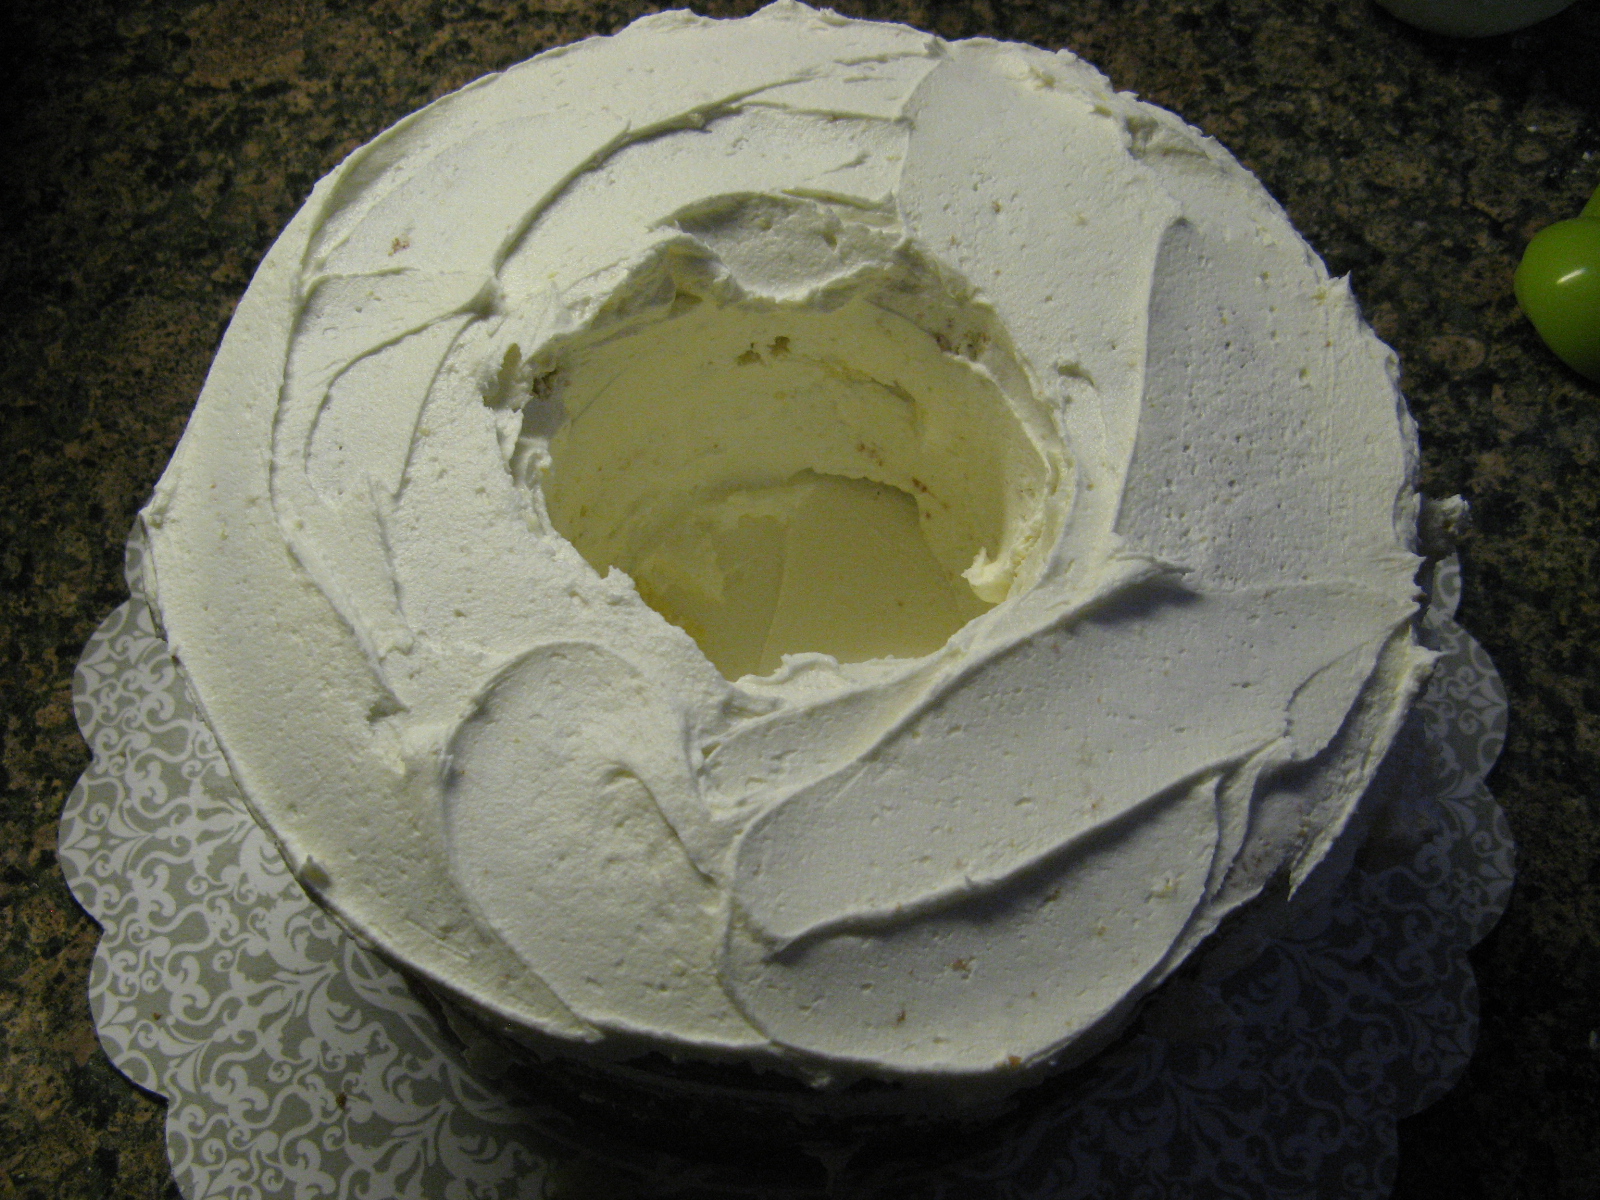
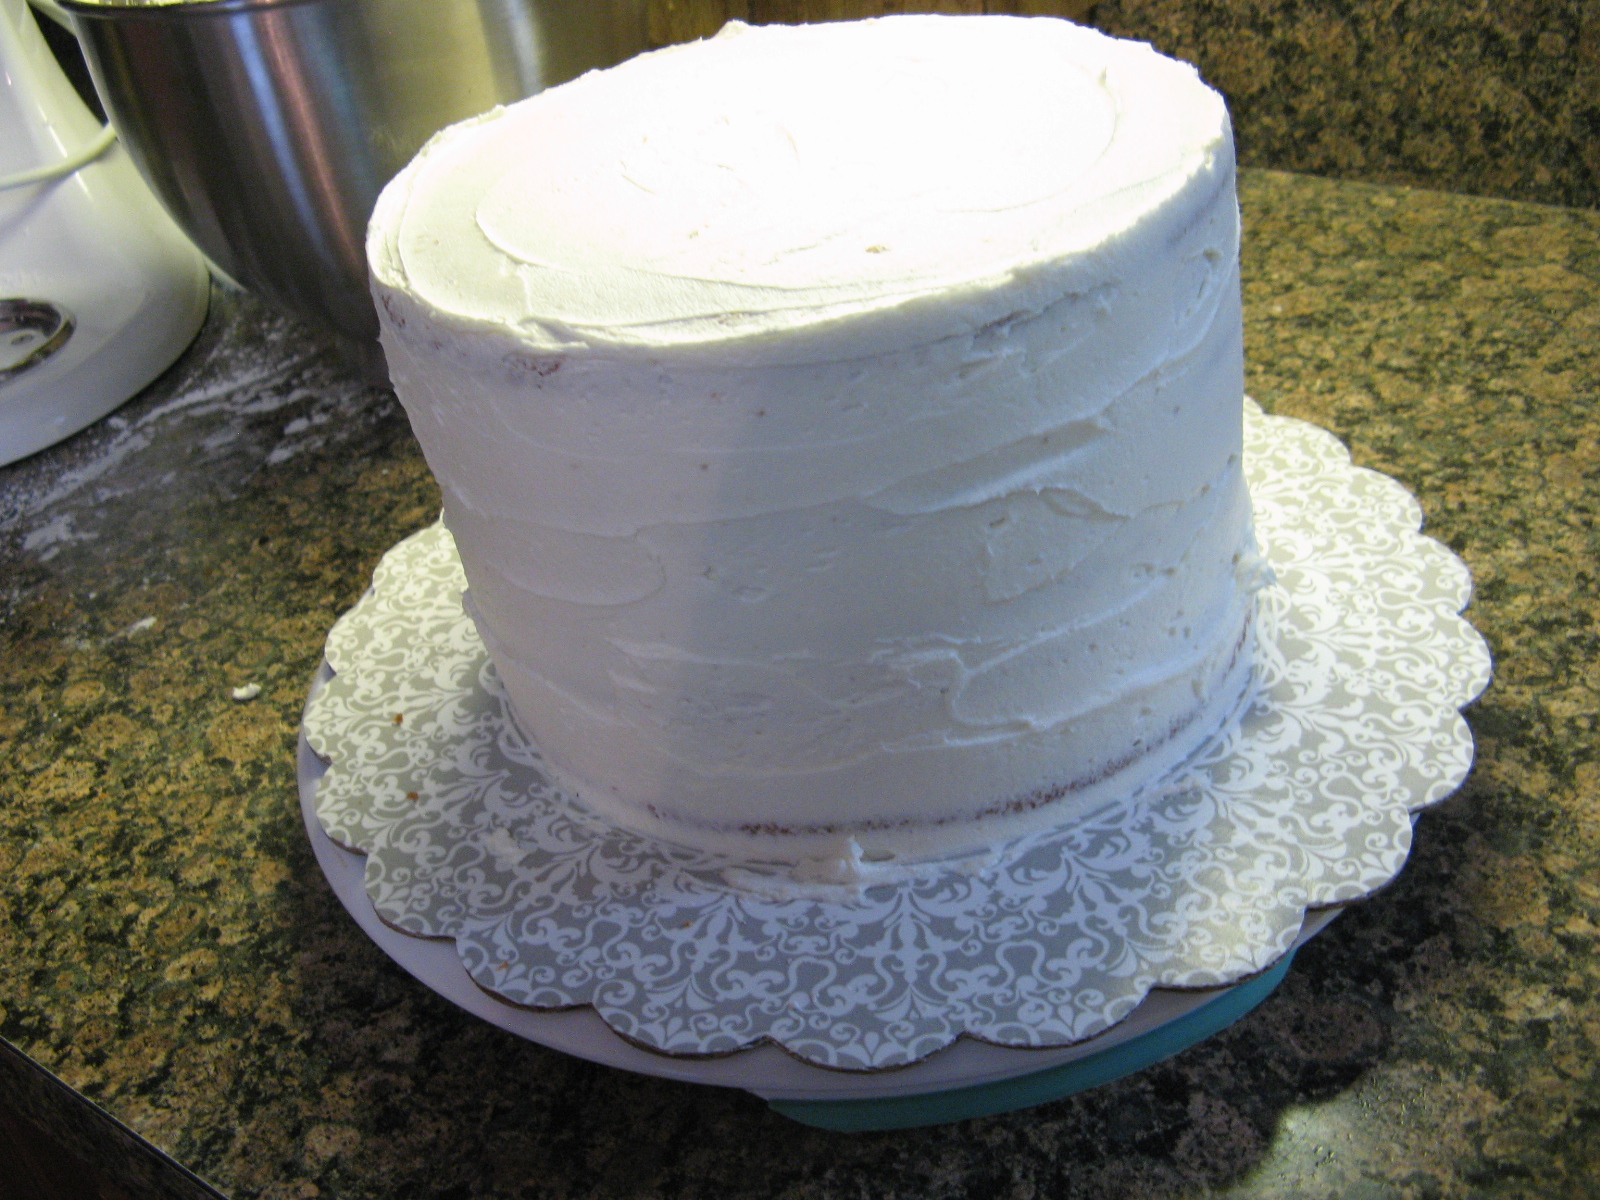
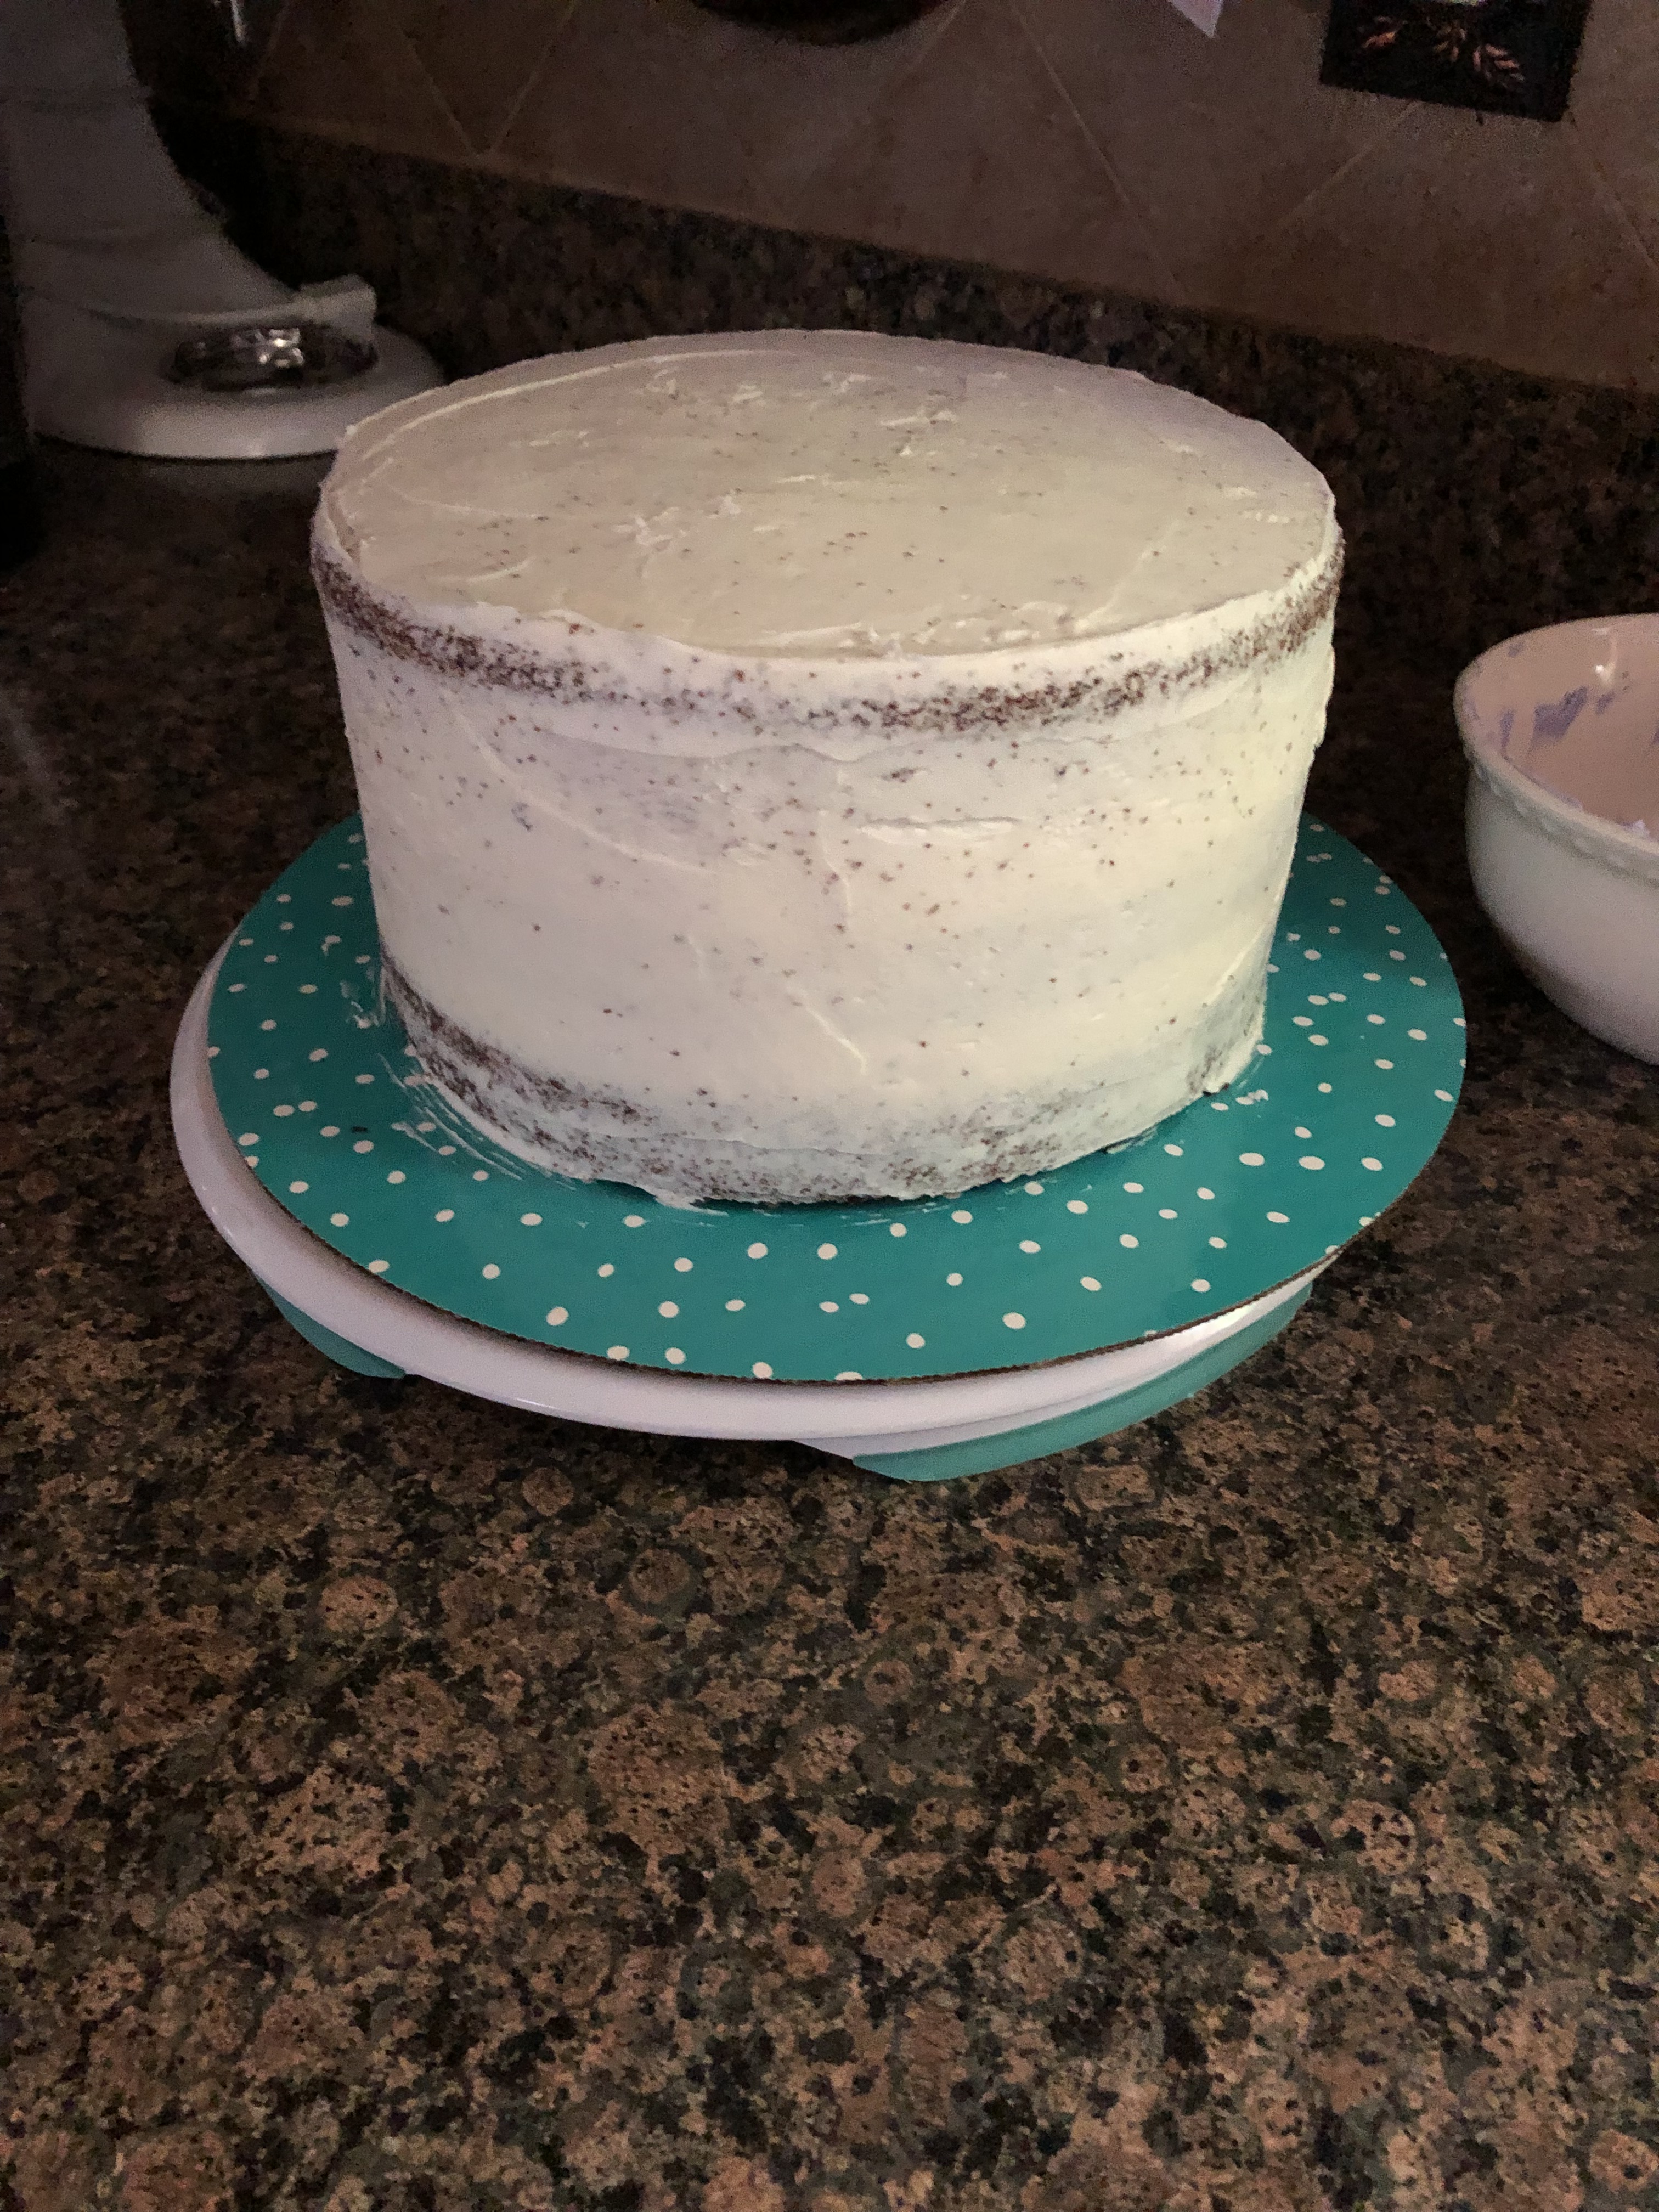
The next day I made two batches of my go to Fluffy Vanilla Frosting and an easy and quick chocolate mousse for the filling (I beat 1 cup each of whole milk and heavy cream along with a packet of Jell-O Instant pudding until creamy). I then torted the cake, filled it, and crumb coated it. I placed it in the refrigerator for a half hour while I tinted the remaining frosting.


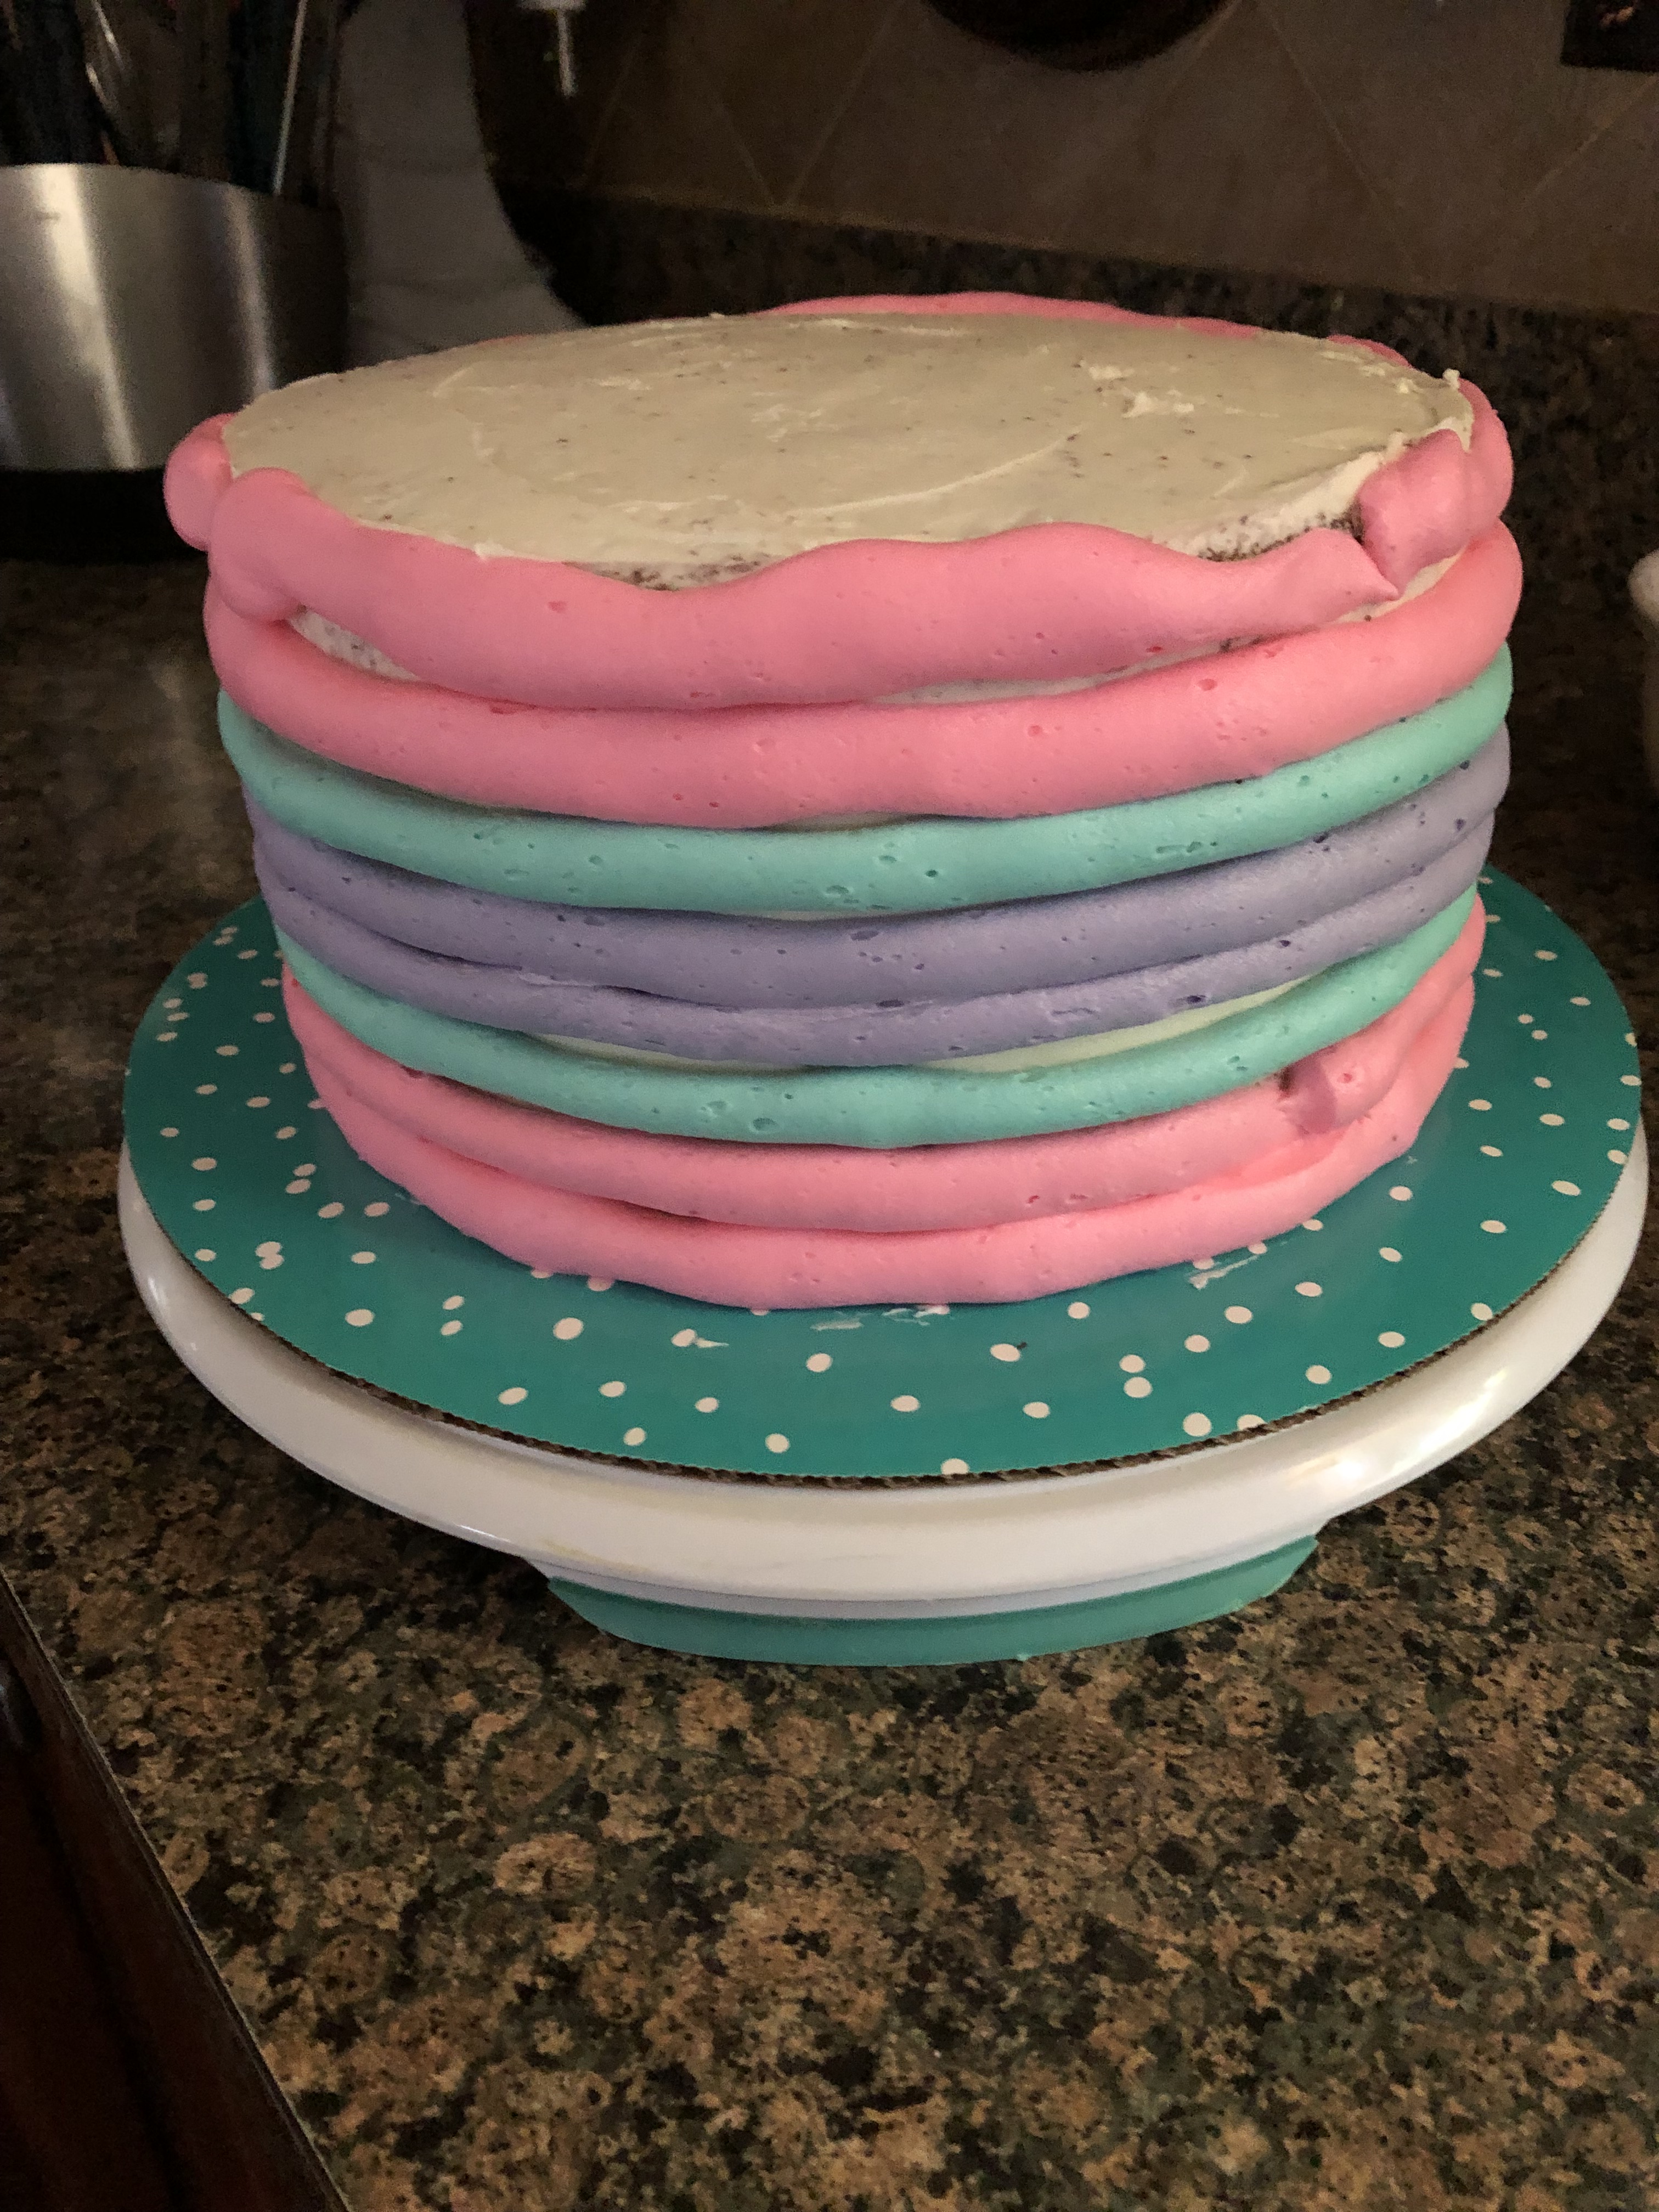
I fitted three piping bags with different sized round tips and filled each with the tinted frosting.

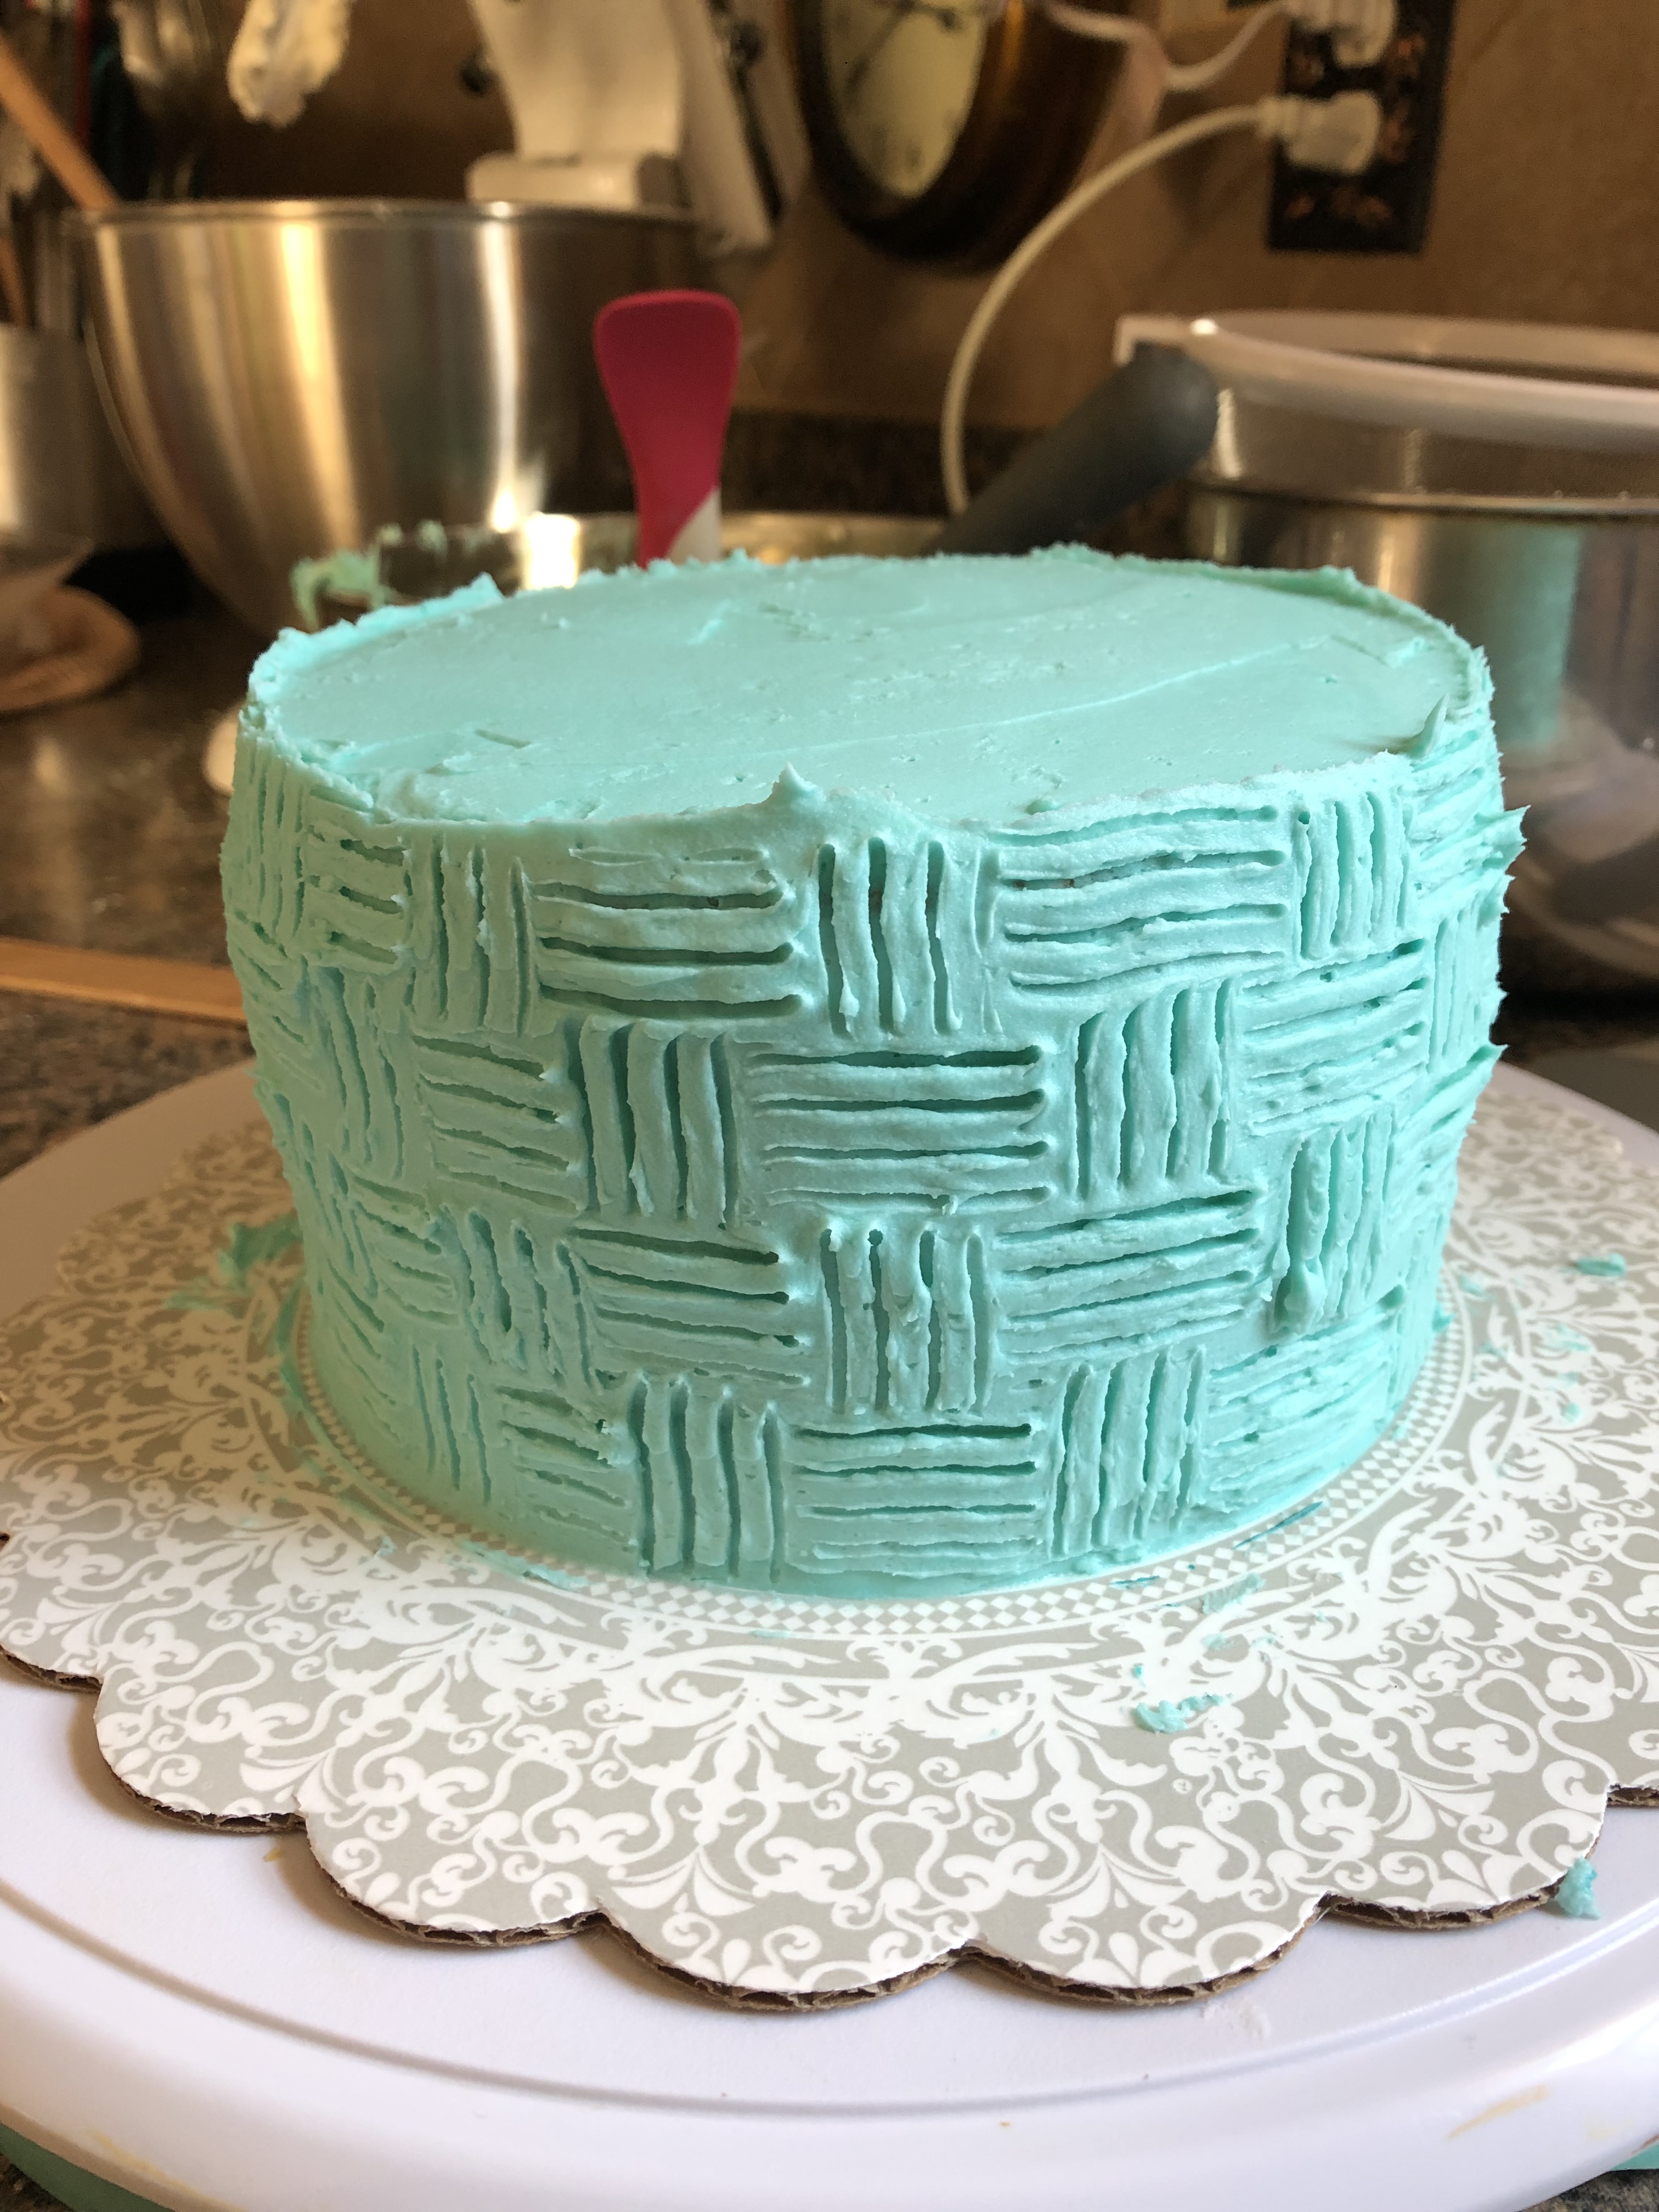
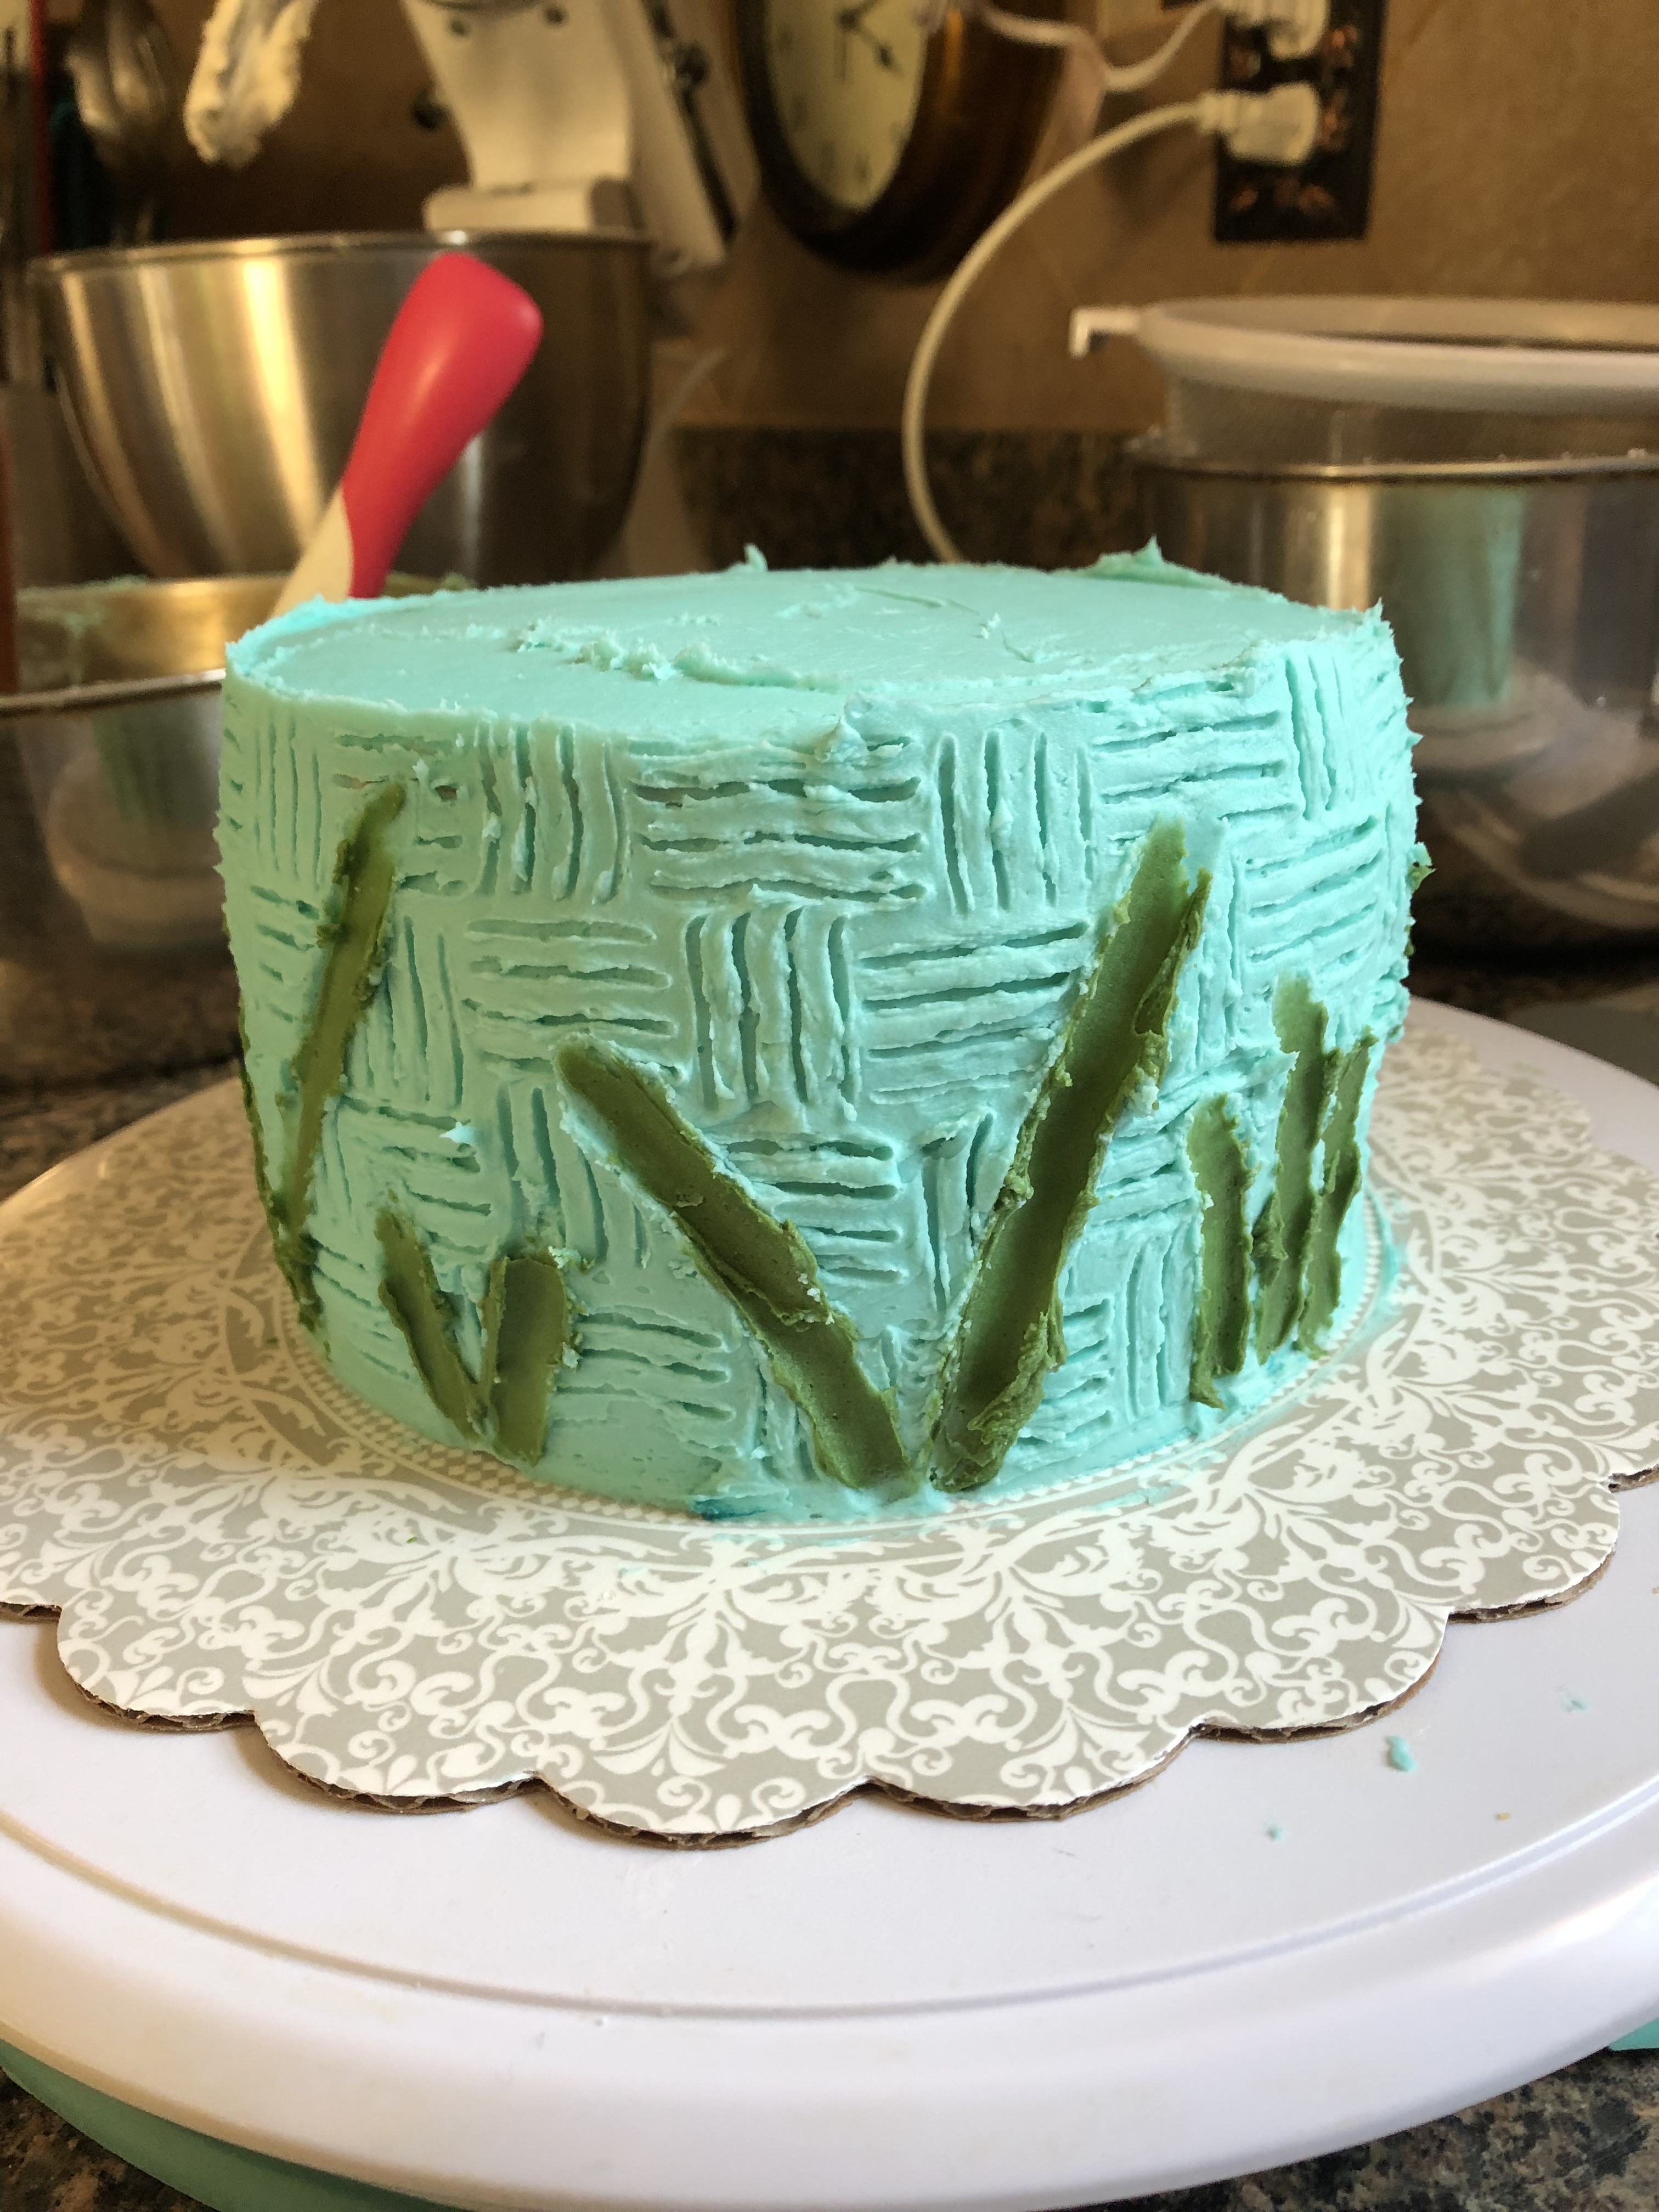
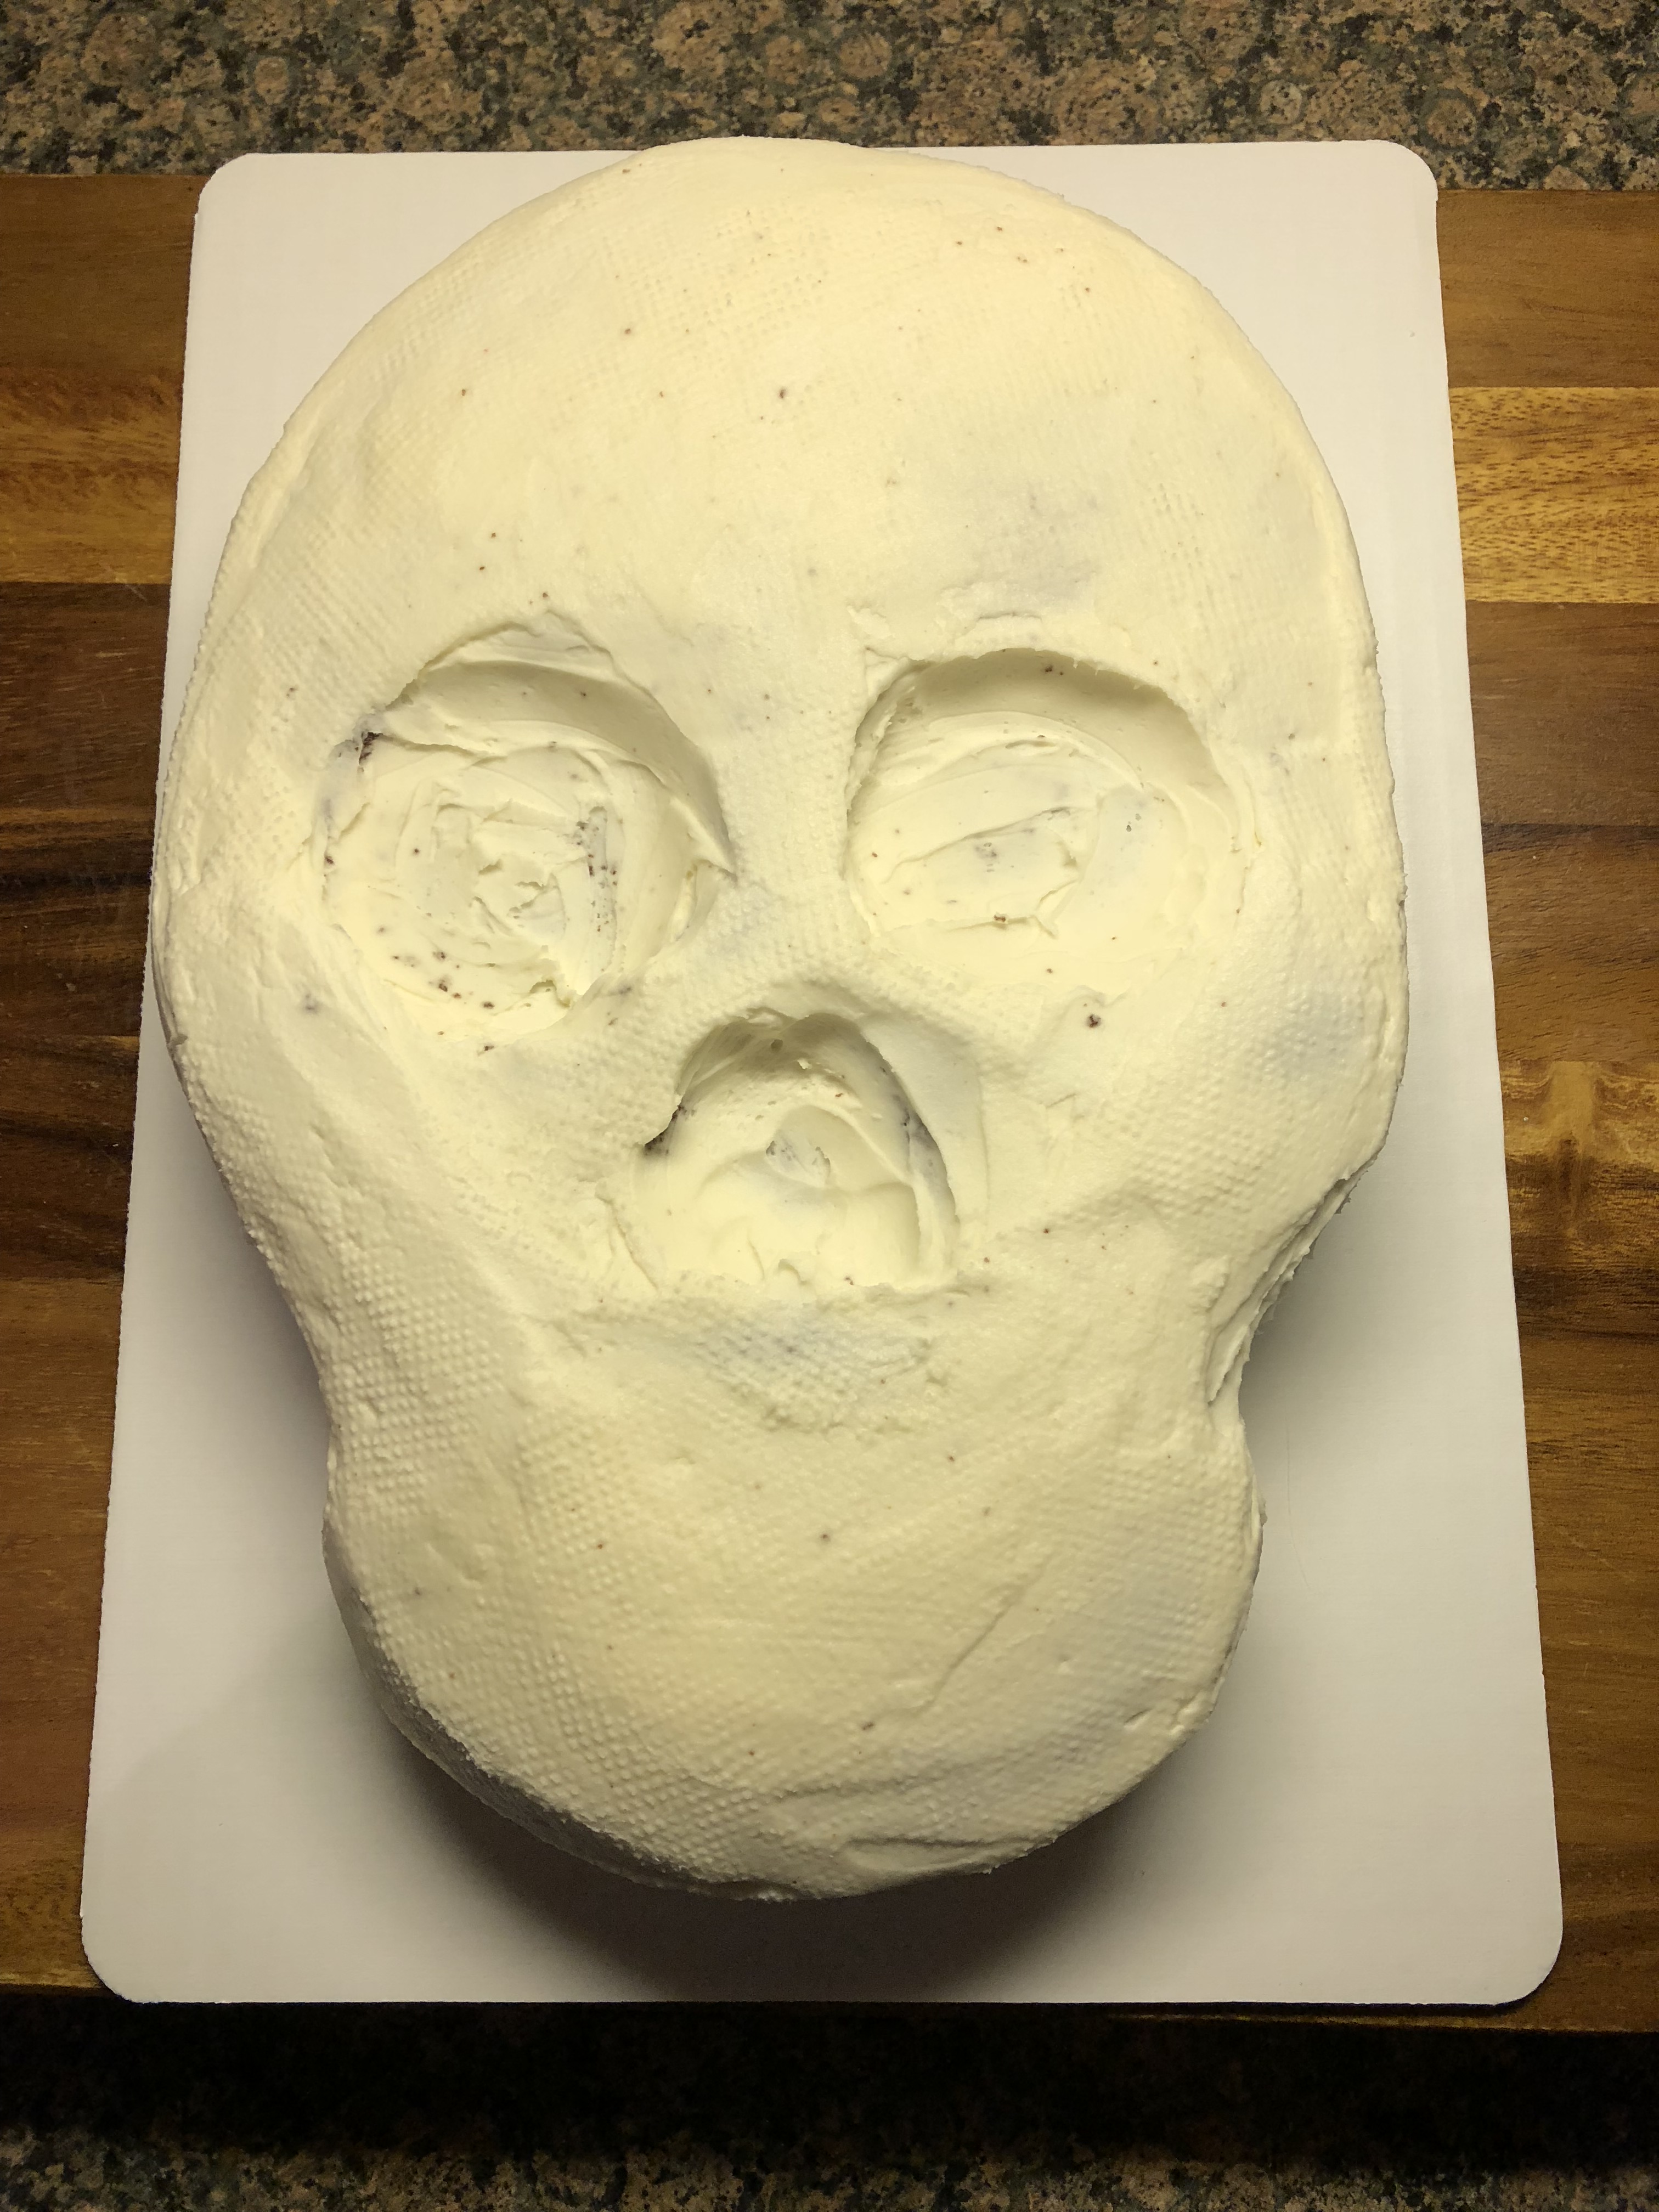
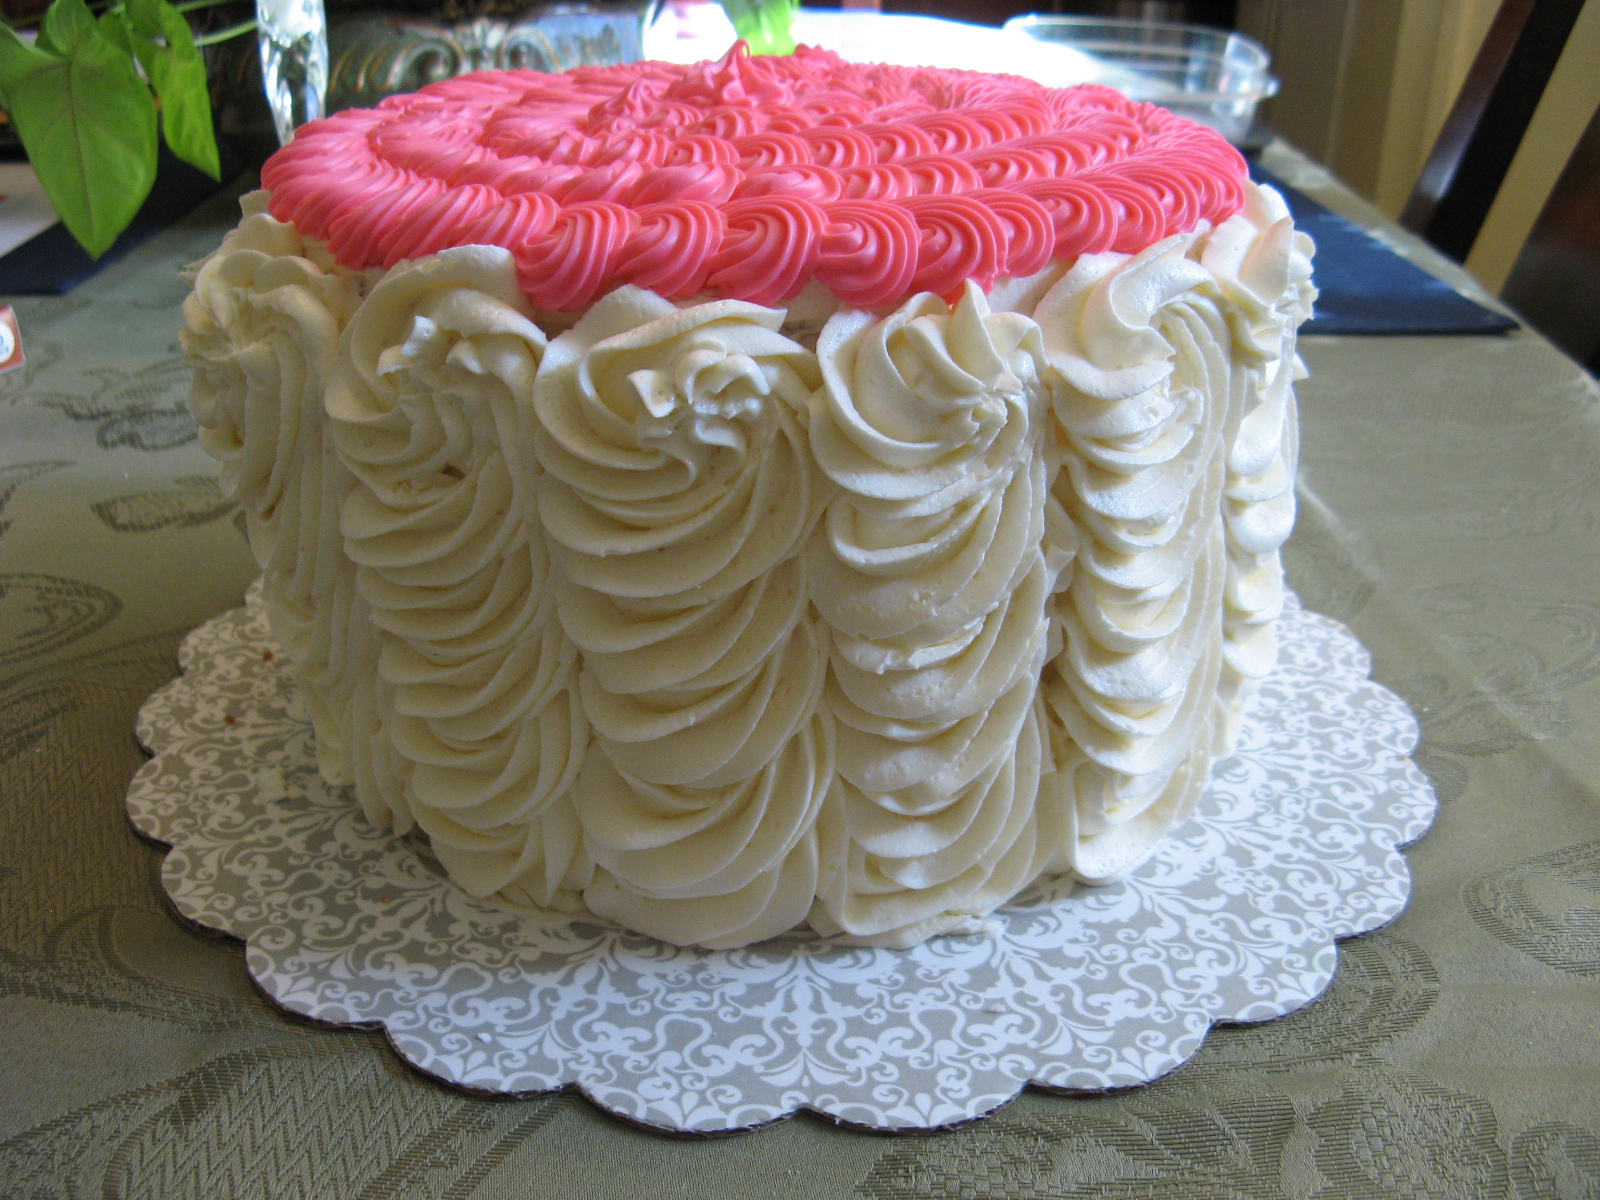
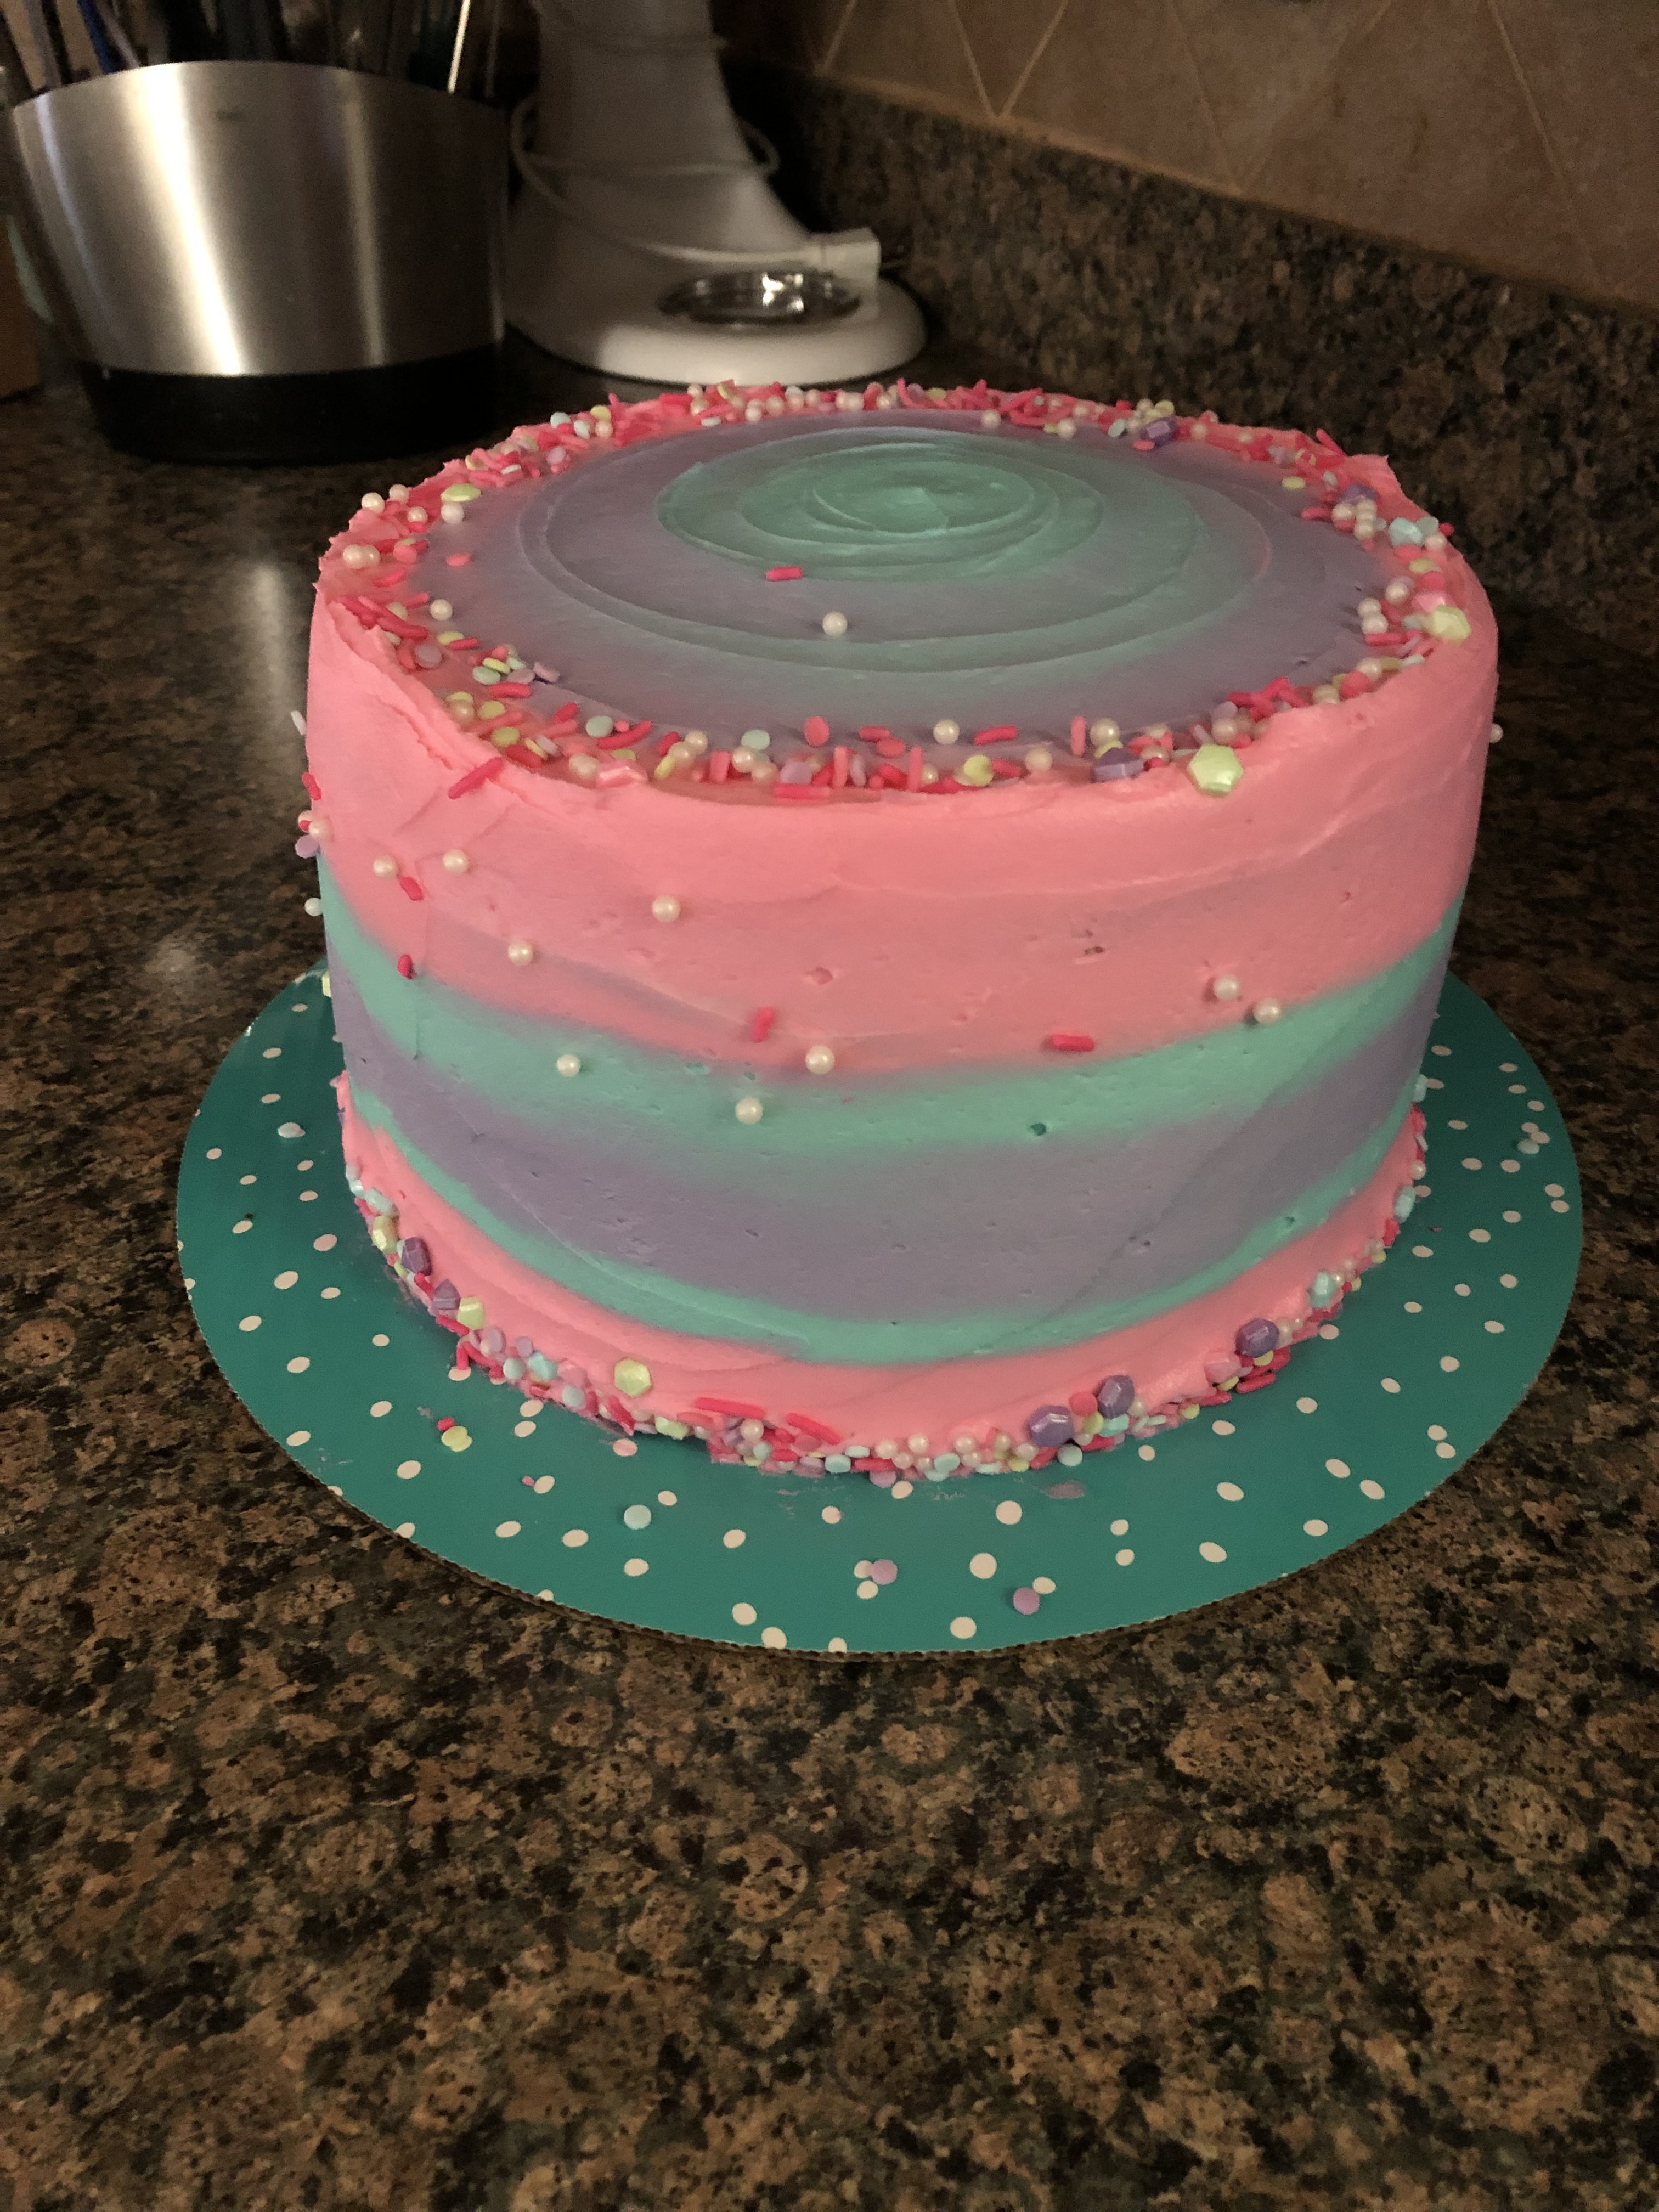
Once the cake was ready I piped the frosting around and on top of the cake, smoothed it and then sprinkled some sprinkles on it. At this point I placed it back in the refrigerator so I could finish decorating it the following day.


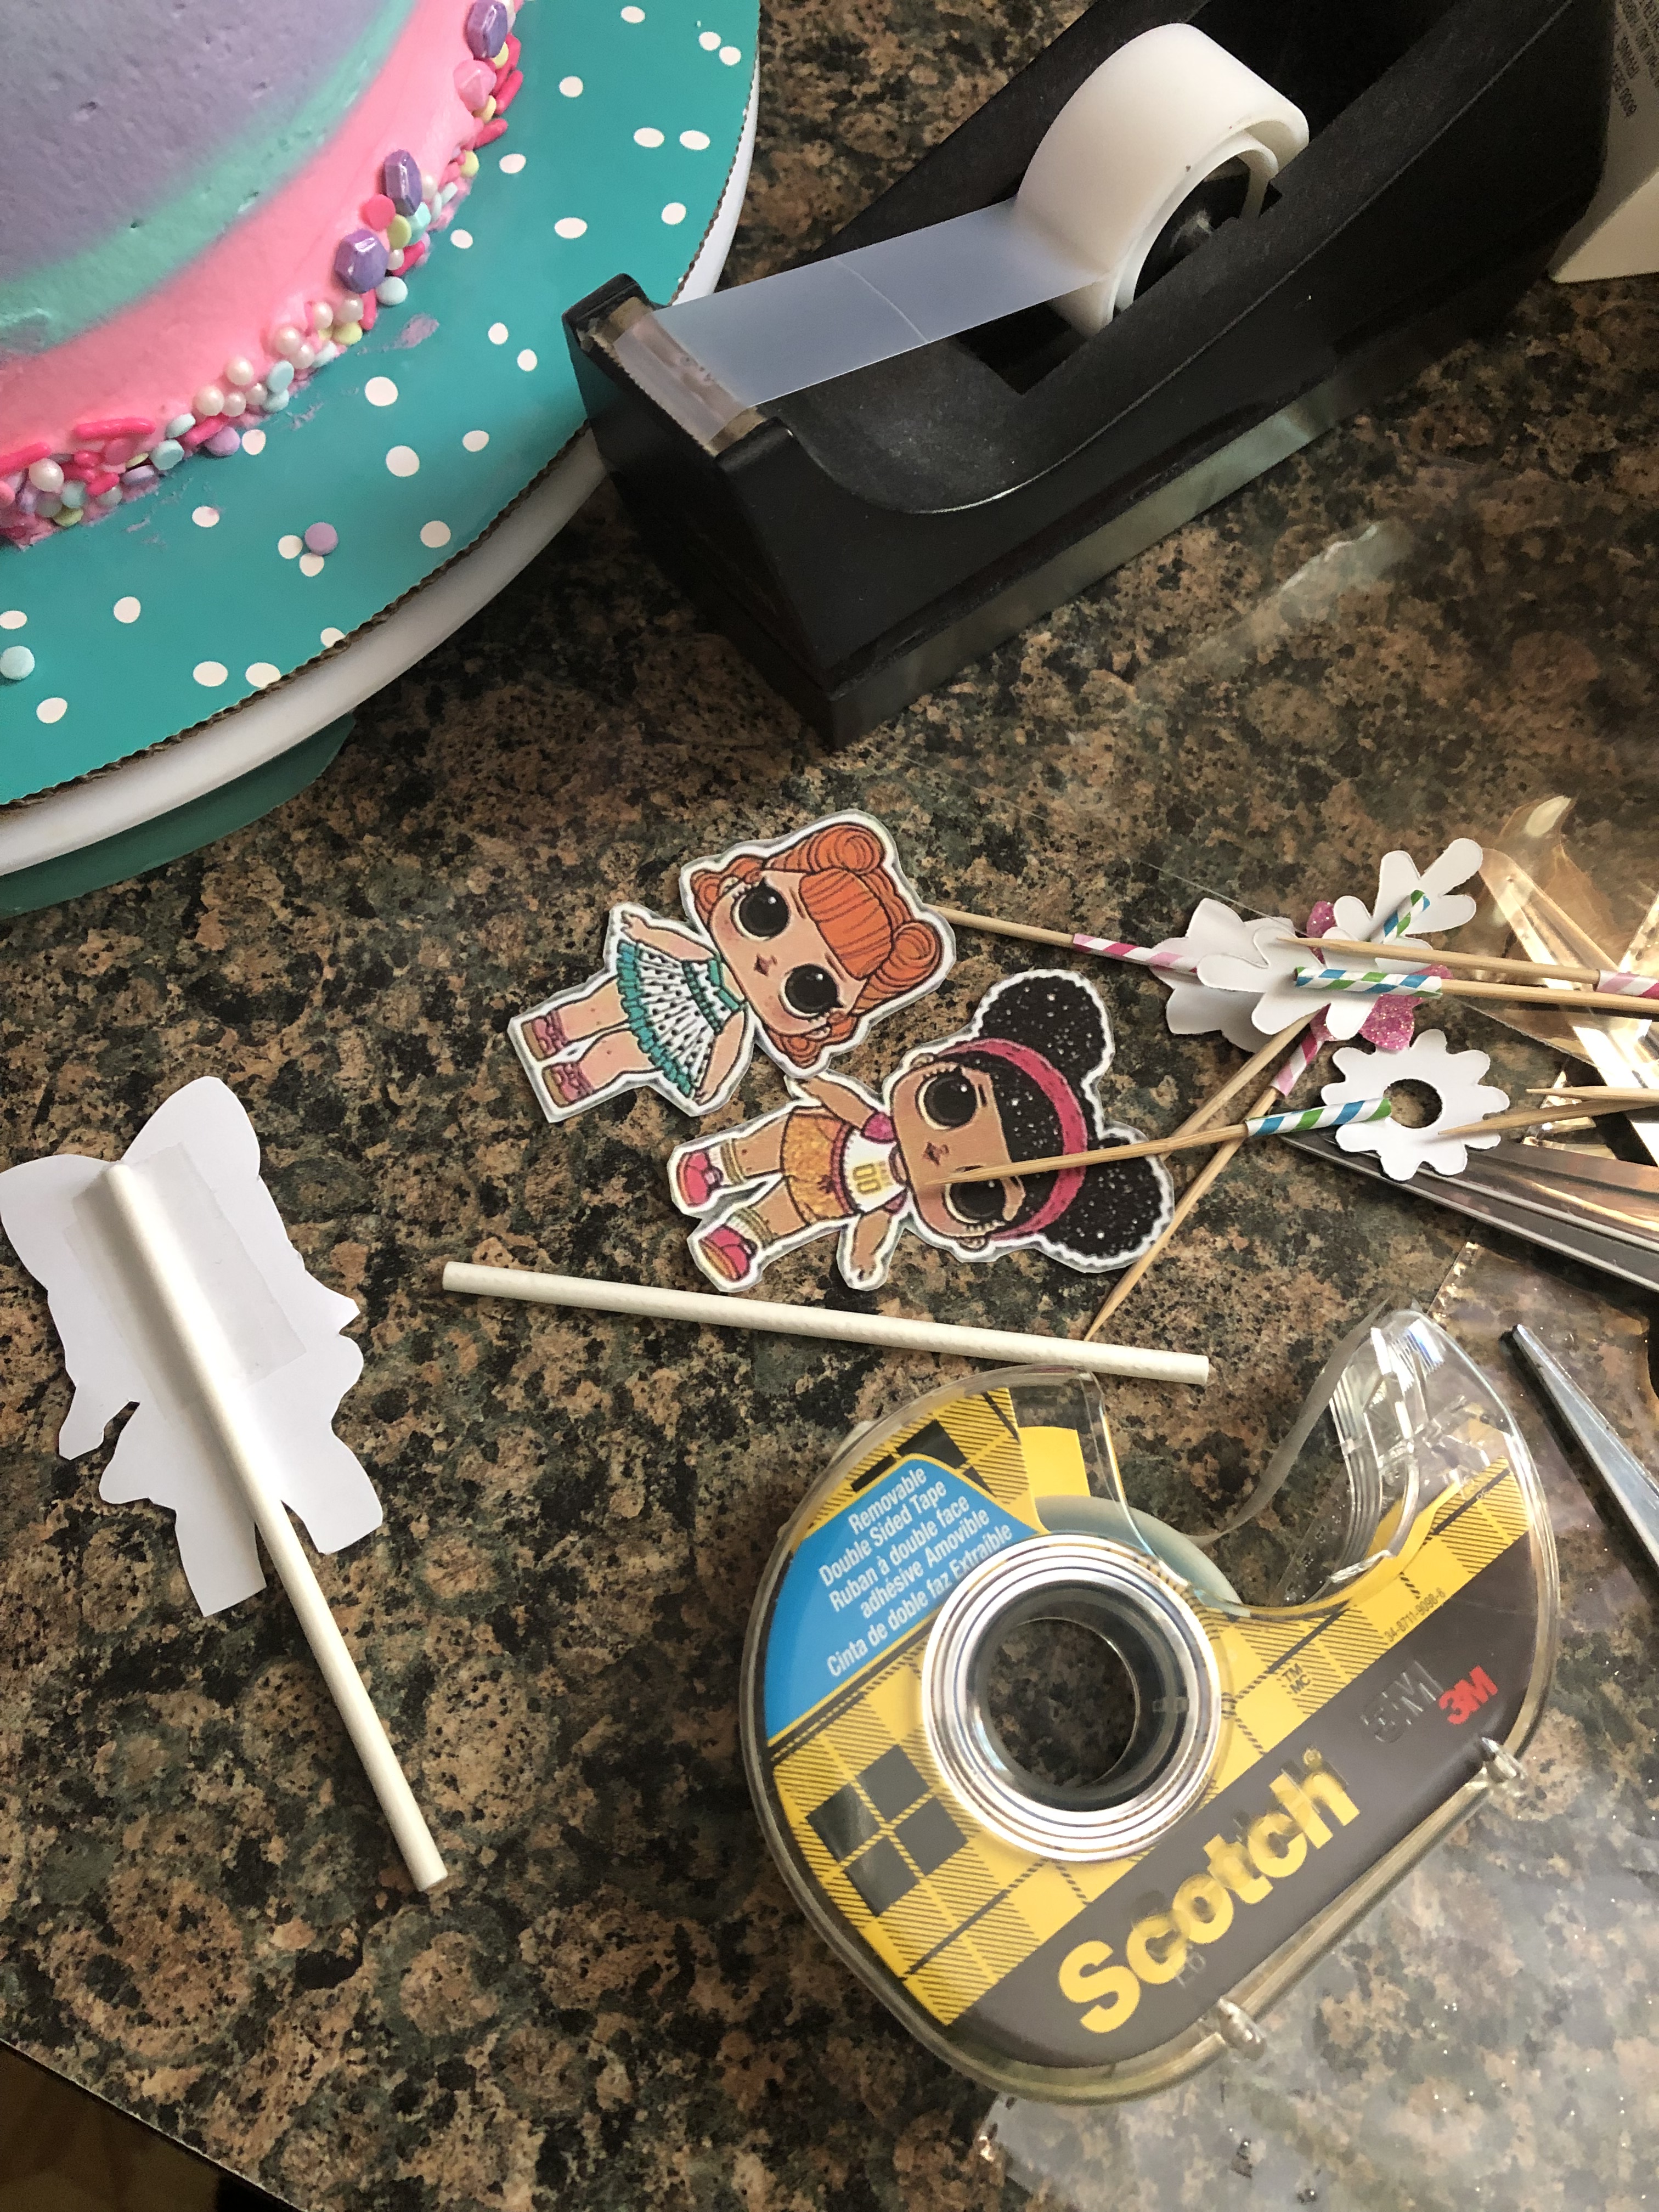
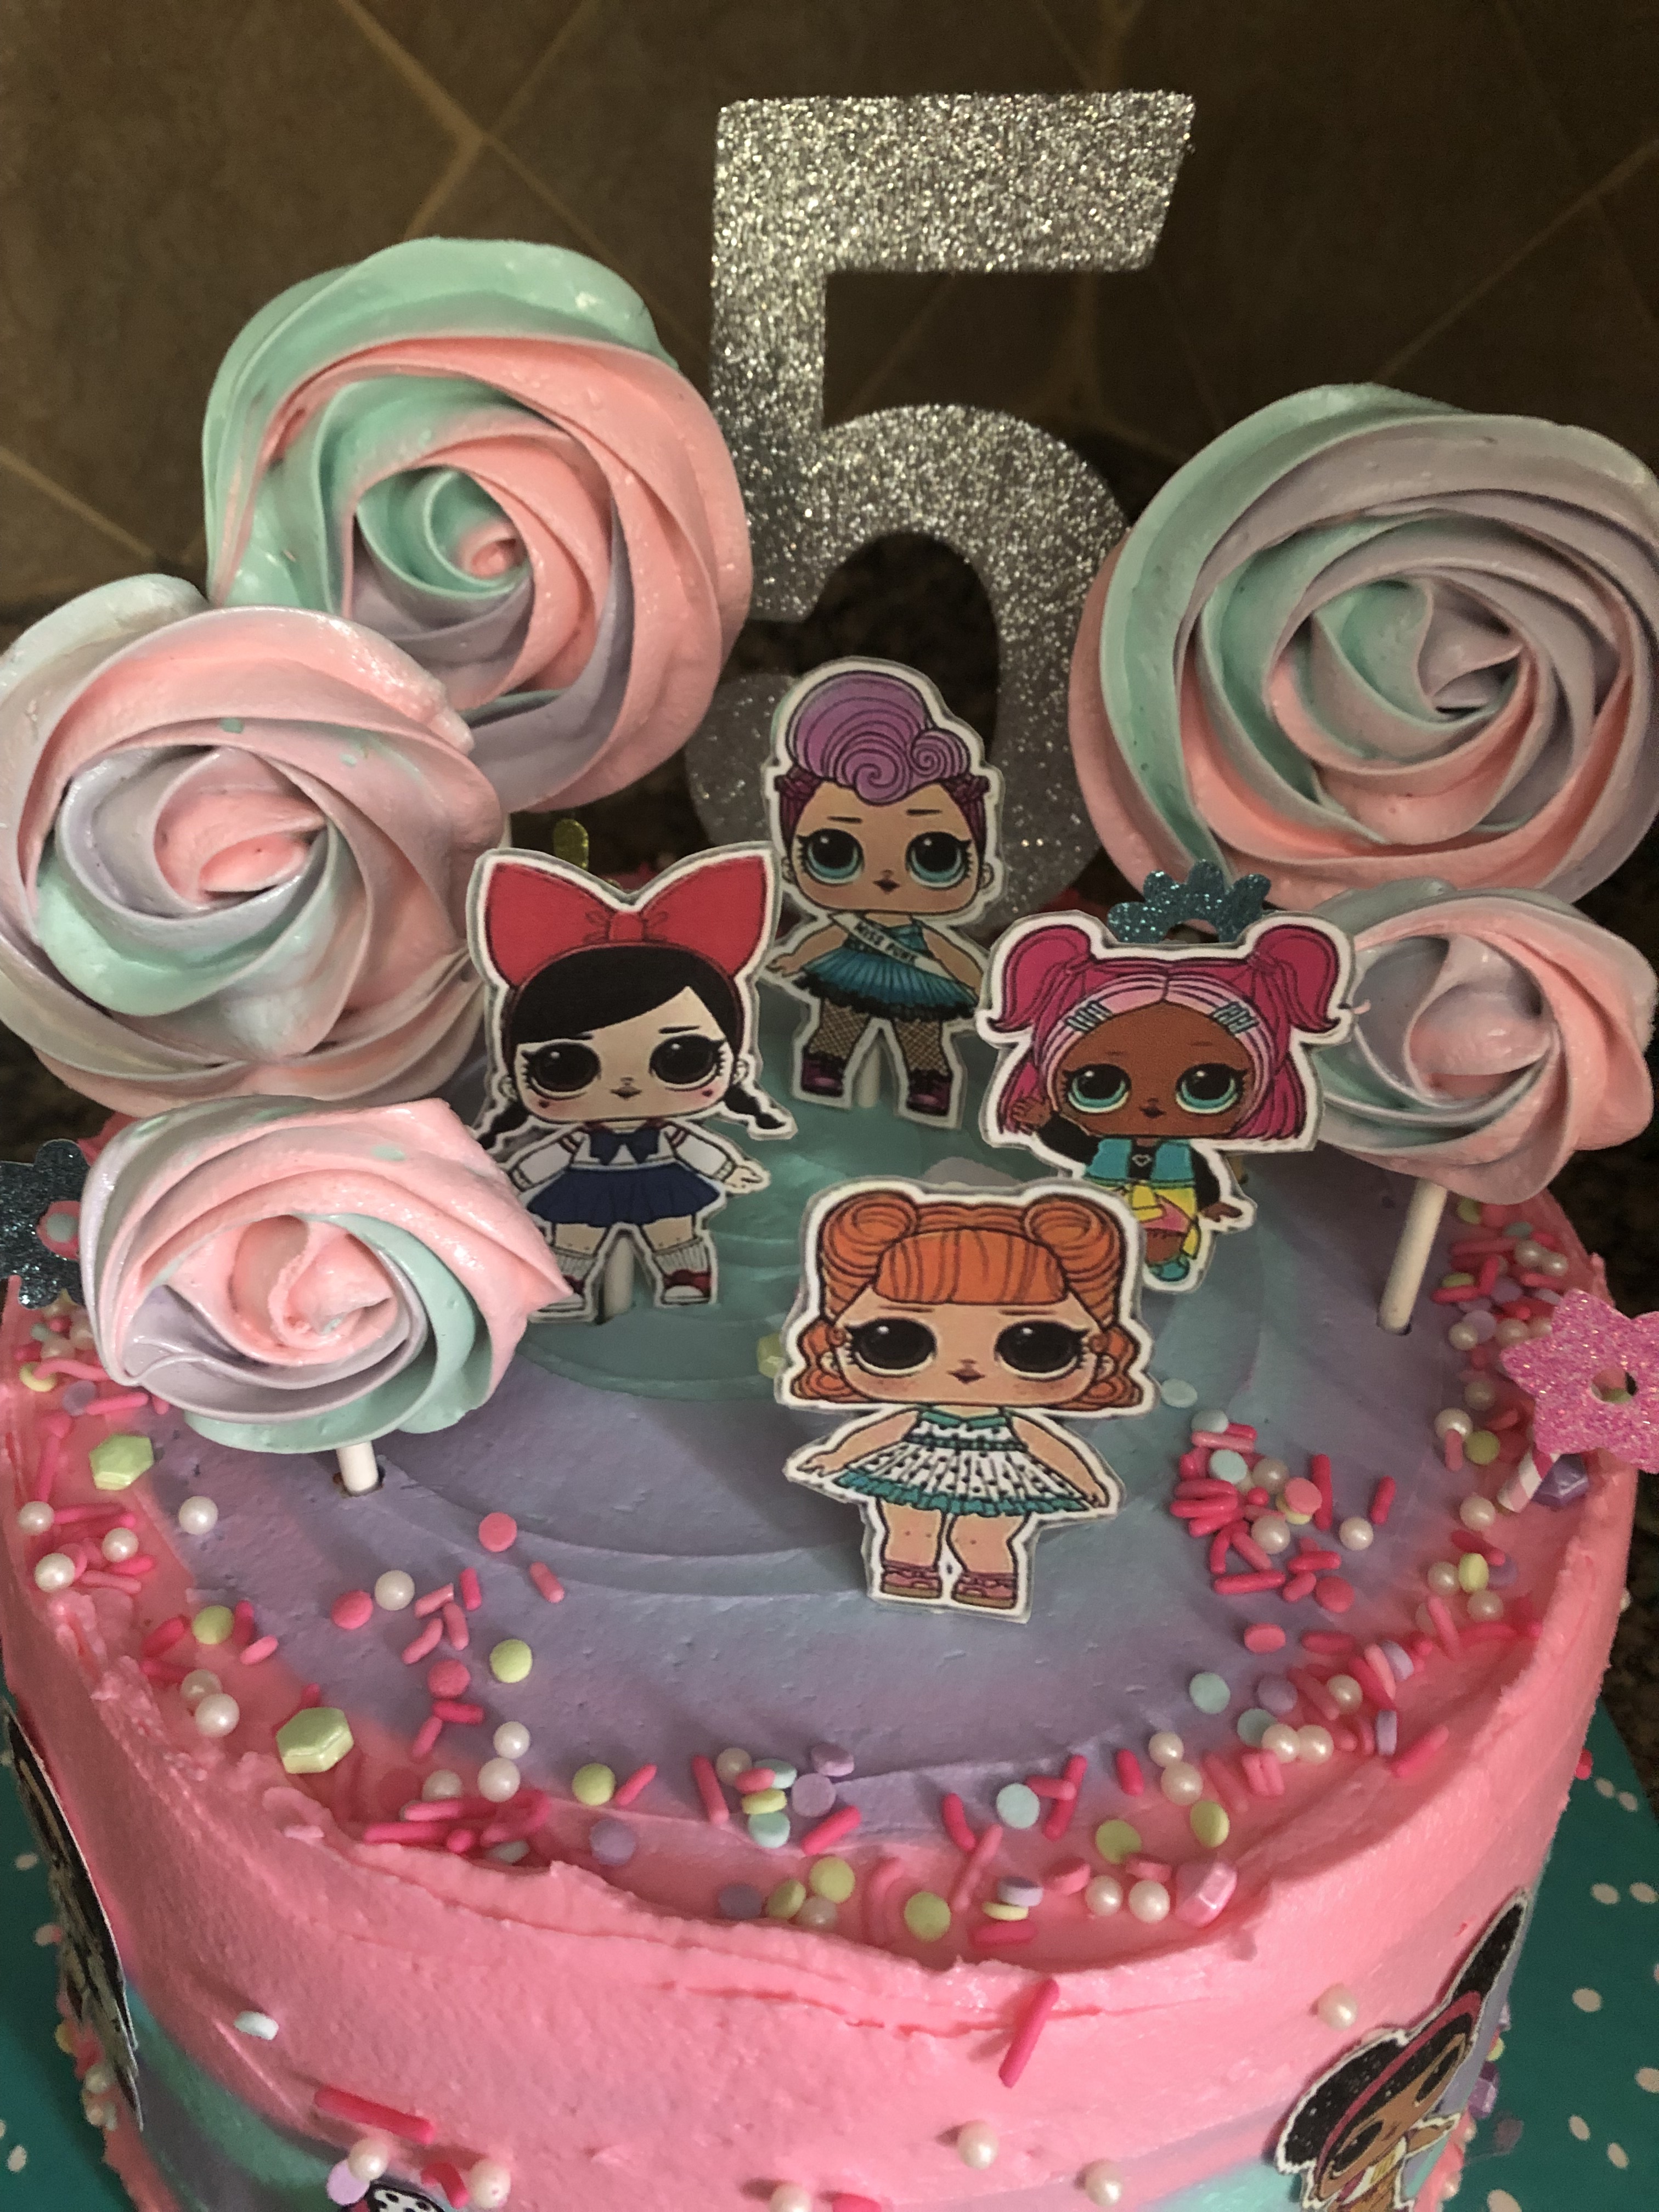
The next day it was time to decorate. I had searched online for L.O.L Surprise! cut-outs and while I did find some that cost about $10, I also found a website with free clip-art. So, I decided to save my $10 and printed the clip-art out on cardstock and then cut out the dolls myself. Here’s a pic of my very technical way of getting the L.O.L Surprise! paper dolls on the cake. I place a piece of double-sided tape on the back of them, placed a lollipop stick on it and then used regular tape to hold it all together… it worked! I also placed a few of the cut outs on the front of the cake. For those pieces I taped a piece of wax paper behind them before adhering them to the cake with left-over frosting.

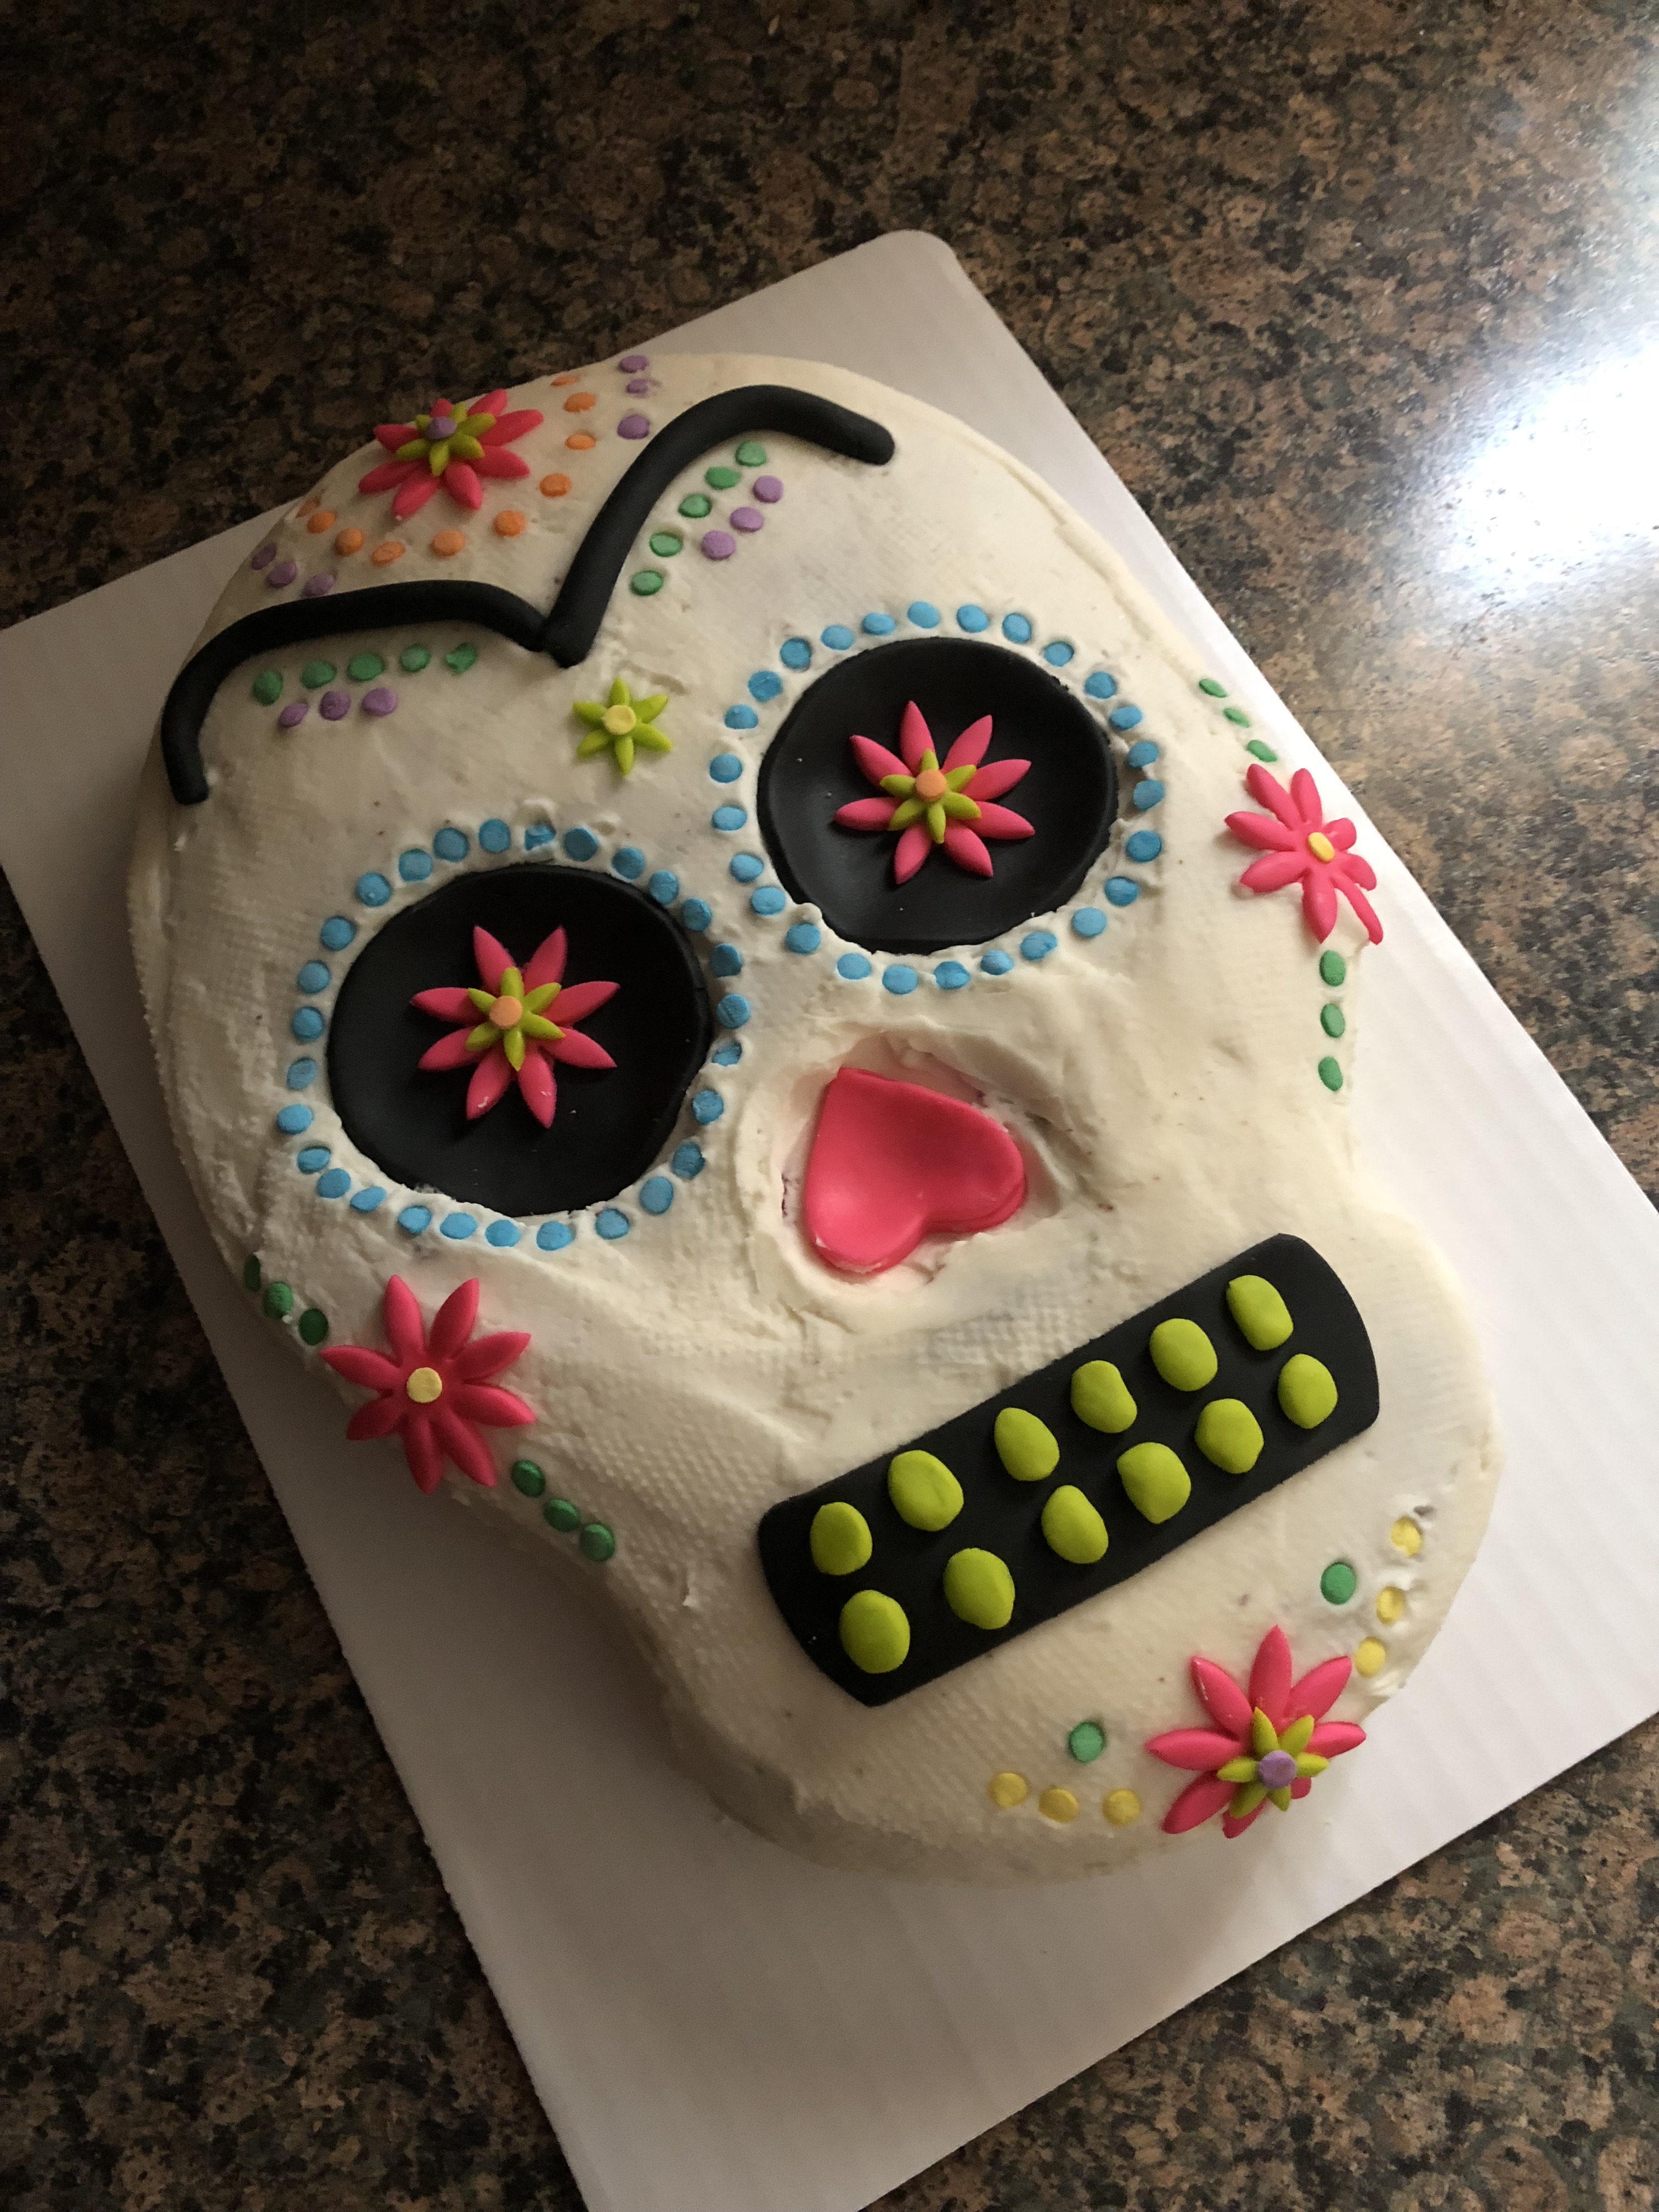
After a little positioning I got everything on the cake and was very happy with the final outcome.


For transporting purposes I had to remove all of the decorations…

But, I am happy to say that everything went back on just fine once it reached its destination. The Birthday Girl was very happy with it. What will the next themed cake be???

Mess Free Piping

I’ve been seeing people use plastic wrap inside of their piping bags for some time now- on other blogs, Pinterest, Instagram, etc.- especially when piping two or more colors together to create a fun swirl on a cupcake or to pipe flowers. I haven’t had a reason to try it until this past weekend when I decided to make chocolate cupcakes with vanilla frosting to go along with the carrot cake I made for Easter. Carrot cake is usually not a hit amongst kids so I decided I should bake something that was more kid friendly and you can you can’t get more kid friendly than a chocolate cupcake with colorful frosting.

After tinting the frosting I placed small amounts of it on a decent sized piece of plastic wrap as below.

Next I folded the plastic wrap in half and then simply rolled the entire thing to create a cylinder shape and tightly wound the ends of the plastic wrap so the frosting couldn’t “escape.” I quickly realized that I may have placed too much frosting on the plastic wrap since I didn’t have too much plastic wrap on the ends to wind together.

I then snipped one of the ends of the plastic wrap off and dropped it into a piping bag that I had already fitting with a Wilton 2D piping tip.

And I simply piped a large rosette on the cupcake to get this beautiful and colorful top.

I used the same technique to decorate the top of my Easter cake, using pastel colors to match the Mini Cadbury Eggs I placed on top of the cake. Instead of rosettes though, I simply decorated the cake with drop flowers, once again using the Wilton 2D piping tip.

In all honesty I think I will be using this plastic wrap method going forward with all of my cake decorating / piping. One of the things I dislike about using piping bag is no matter how tight I wind the top of the bag or use a rubber band to seal it, frosting always seems to seep out. And also, I just find it super messy having to refill the bag with more frosting while I am decorating. With this method I can simply remove the plastic wrap wrapped frosting and drop in another. Yes, I may be using extra plastic wrap doing this, but, it’s worth it.

Spring Themed Palette Knife Painted Cake – Tutorial

Happy First Day of Spring! To celebrate I decided to try my hand at a Palette Knife Painted Cake. Using a spatula and buttercream frosting you basically paint a picture, design, flowers onto the sides of a cake. It’s definitely a lot more forgiving that piping a design on a cake and cake easily be fixed with a little more buttercream and some extra strokes of your spatula.

I used a yellow box cake mix to bake a two layer 6-inch cake. While the cake was cooling I whipped up a batch of my go-to Fluffy-Vanilla Frosting from Martha Stewart. I reserved about 3/4 cup of the frosting and then applied a thin crumb coat to the cake and then refrigerated the cake for about 30 minutes. While the cake was in the refrigerator I tinted the reserved 3/4 cup yellow and tinted the remaining frosting teal, for the background of the cake.

I then applied a generous amount of frosting to the cake and smoothed it as much as possible. I wanted a fairly thick layer of frosting around the cake for the next steps.

Next, using the tines of a fork I created a basket weave pattern around the cake. To begin, I placed the tines of a fork at the base of the cake and dragged them upwards about 1-inch. You don’t want to press so deeply that you are touching the cake though, hence, having a thick coat of frosting on the cake. Then, holding the tines horizontally above the first set of lines on the left I dragged the fork to the right stopping when I reached the last line from the bottom set of lines. I repeated this pattern up the side of the cake until I reached the top. I then started the next row with a set of horizontal lines, and then vertical and so forth. Continuing the alternating pattern until the entire cake was covered.

I then reserved about a tablespoon of the teal frosting and then tinted the remaining frosting green by adding in green gel food coloring. Using a tapered spatula and starting at the base of the cake I began dragging the tip of the spatula through the buttercream to create stems. Making sure not to press too deep as to touch the cake, but, going deep enough to create a channel. I passed the spatula through a few times to make sure it was deep enough making sure to wipe the spatula between each pass. I did this around the cake and even added in a few smaller channels between the larger stems.

To paint these channels, I picked up a small dollop of the green frosting and then using my fingers I round the frosting onto the tip of spatula so it was smooth. Next, I simply dragged the frosting through the channels. I repeated this step – making sure to wipe the spatula between each pass – until all of my stems were painted with frosting. At this point I placed the cake in the refrigerator for about an hour.

After the hour, I removed the cake from the refrigerator. Using the reserved yellow buttercream I painted flowers onto the cake. Using a rounded spatula I picked up a small dollop of yellow frosting and once again smoothed it with my fingers. I then pressed the dollop onto the cake and pulled the spatula away to create a petal. I continued doing this around the cake. I’ll admit, my petal didn’t come out exactly as I had hoped. This step actually reminded me of the pulled dot design on a cake. I actually wondered afterwards if it would have been easier to create the petals using that technique, although then the cake wouldn’t completely be a palette knife painted cake then.

I got the idea for this cake from The Cake Blog, for more detailed instructions click here .


Sugar Skull Cake

Feliz Dia De Los Muertos! Today is the final day of the three-day celebration to remember and honor loved ones who have died. If you want a little more info on the holiday check out my Dia De Los Muertos Cupcakes blog post. In celebration of the day I am sharing with you a Sugar Skull Cake. Sugar Skulls, or Calaveras, are often used to decorate the ofrendas (offerings) & gravestones during the three-day celebration. They got their name because they are traditionally made of clay molded sugar and then decorated with colorful adornments. The sugar skull I created definitely has sugar in it, but, not molded sugar. I opted to make a chocolate cake, frosted it with buttercream frosting and then decorated it with fondant and confetti sprinkles.

To begin, using the same skeleton pan I used to make my Mummy Cake, I baked a chocolate cake – I used a box cake mix. After letting the cake cool I covered it in plastic wrap and refrigerated it overnight.

The next day, I made a batch of Brenda’s Bakery Buttercream – also the same frosting I used for the Mummy Cake. After removing the cake from the refrigerator, I used a large circle cookie cutter to cut out larger eyes for the skull. I used the cookie cutter to make an indentation in the cake and then used a butterknife to carve out the eyes.

Next, I crumb coated the cake and placed it back in the refrigerator so the frosting could set, about a half hour.

After 30 minutes I finished frosting the cake. I added a little extra frosting in the cheek area so the skull would have a more defined look. I then placed it back in the refrigerator so the frosting could firm up.

Once the frosting was firm, I removed the cake from the refrigerator and attempted to smooth the spatula swipe marks by laying a piece of paper towel on sections of the cake and then gently rubbed the sections with my fingers. This worked for the most part, except I then had the imprint of the paper towel on my cake.

Then, the fun part began. I brought my skull to life using fondant & sprinkles. Luckily, I had left-over fondant from the Trolls Cake I made last year. Don’t worry, the fondant was un-opened and still good. Using black fondant and the same round cookie cutter I used to widen the eyes I cut out eye sockets. For the mouth, I actually had a band aid cookie cutter from a Doc McStuffins themed cake I made last year that was the perfect size. You could easily cut out a rectangle using black fondant though. For the nose socket, I cut out a pink heat and then placed it on the cake upside down. And for the rest of the cake I used daisy cutters to cut out different sizes to decorate around the cake along with confetti sprinkles. This was probably one of the simplest cakes I decorated (I feel like I say that about a lot of cakes these days!)

For a more detailed instruction on creating your own Sugar Skull cake check out The Cake Girls


Mummy Cake

Are you looking for an easy Halloween cake to make? Well, this Mummy Cake might be the one. It’s simple, doesn’t take a lot of time and you don’t need any fancy cake decorating skills to make it. I got the idea and directions from The Cake Girls. They have an online shop with a bunch of cool baking supplies, recipes and step-by-step tutorials with detailed pictures. I first came across their website on a blog I follow, The Cake Blog. A blog that has an array of wonderful recipes and cake decorating ideas and instructions from various bakers and cake designers.

I purchased a skull pan from The Cake Girls website to create the mummy. Now, if you are a good cake carver you could simply bake a box cake mix (or your favorite cake recipe) in a 9×13 inch pan and then carve out the shape of a skull. Or, if you already own one here’s a new idea to put it to good use. I own quite a few shaped pans that I’ve only used once, but I won’t part with them just in case.


To begin, I sprayed the cake pan with baking spray and then poured my cake batter (I used a box cake mix) into the pan. I placed the pan on a baking sheet and baked it in a 350 F preheated oven until a cake tester inserted in the middle came out clean. I let the cake cool in the pan for a few minutes and then inverted it onto a cake board to cool completely. Don’t worry if your cake has a small dome on it and doesn’t lay completely flat. You will be able to hide this minor imperfection with the frosting design. Once the cake was cool I lightly wrapped it in plastic wrap and placed it in the freezer overnight. Having the cake cold makes frosting it much easier. This was my first time freezing a cake and while I know bakeries and a lot of home bakers do it all the time I have always been apprehensive to do so because I fear the cake will end up having a weird taste/aftertaste once it defrosts. But, I am happy to say that this was not the case.

Before removing my cake from the freezer I made the frosting. I decided to make the frosting that was recommended on The Cake Girls website, Brenda’s Bakery Buttercream. It involves using butter and Crisco, which I am sure some people will frown at, but, when I took the Wilton Decorating Classes a few years ago there go-to frosting recipe included Crisco and I recall it tasting great and holding its shape well when it came to decorating. Something else new I tried… Using chocolate frosting (store bought) to make black frosting. I recently read that making black and red frosting is easier to create when starting with chocolate frosting. I can attest that that is the case for black frosting, but, will have to test the theory for red frosting. Perhaps with a Christmas themed cake. Oh, one other thing I tried, Wilton’s new Color Right Performance Food Coloring, for some reason I thought it was only for chocolate (don’t ask me why) but after doing a little research I learned it can be used on frosting. I believe I saw a video on Instagram of someone using it and that prompted me to find out more about it. I must say, I definitely liked the dropper bottles a lot more than their usual gel color containers. I always seem to get the gel on my hands and they get all clumpy and what not after being opened. I think the dropper bottles are the way to go. They are also supposed to be more concentrated so you can get the color you want a lot quicker and can easily mix the colors to get different hues.

Okay, so once my frostings were ready it was time to get to work. I started by applying a thin coat of white frosting on the skull leaving the eye socket area uniced. I iced the socket area and the sides of the cake in that area with the black frosting. At this point I placed the cake in the fridge for a few minutes because I found that the black frosting wasn’t smooth as I was getting a lot of crumbs mixed into it. While the cake was in the refrigerator I prepped two piping bags with two different tips, Ateco #128 (an XL rose decorating tip) and # 45 (a flat decorating tip), and filled each with the white frosting. Also, I prepped the eyeballs for the cake. I purchased Styrofoam eyeballs from my local craft store and using a sharp knife sliced them in half so they would sit flat on the cake.


Once the cake had chilled for a bit I added more black frosting to the cake and was able to smooth the icing.

Now it was time to decorate…Starting with the larger tip, I began piping stripes of icing across the cake. Not just merely on top of the cake, but on the sides as well. I covered up some of the black icing, but, left enough of a gap to place the eyeballs. I kept piping until the cake was covered. Don’t worry about minor imperfections or the frosting not laying completely flat, you can cover up anything and everything with the next step.

Once the cake had been covered in the large stripes, I used the smaller tip to fill in any gaps and to give the cake more definition. To give it a more ragged look, I started these smaller stripes from different points on the cake, not just edge to edge. I also added some pieces to the sides of the cake on the cake board as well. And finally, I placed the eyeballs on the cake. I covered the back of them with the black frosting before placing them on the cake so there wouldn’t be the chance of any small Styrofoam pieces getting stuck to the cake and accidentally eaten. What’s really nice about this cake is that there is no right way or wrong way to decorate it. You could go crazy with adding the stripes to give it a real ragged look, or keep it clean and simple with the stripes. Either way, your cake will look perfect.

Cookies and Cream Cake

If you love Oreos then this is the cake for you… A Cookies and Cream Cake that has crushed Oreos baked into the batter as well as folded into the buttercream.

I took the easy route and opted to use a box cake, a Duncan Hines Classic White Cake Mix to be exact. I made one minor adjustment to the batter, I added in an extra 1/4 cup of water so that the Oreo crumbs wouldn’t thicken the batter too much. Once the batter was ready, I then folded in a cup of Oreo crumbs. To create the crumbs I placed a bunch of Oreos in a Ziploc bag, sealed it and then rolled it with a rolling pin. I left some of the Oreos in fairly large crumbs so that the cake wouldn’t just be speckled with little pieces of Oreos, but have some noticeable pieces. I then divided the batter between two 8-inch round pans that I sprayed with baking spray and baked it in a350 F preheated oven until a cake tester inserted in the middle came out clean, about 25 to 30 minutes. I let the cakes cool for a few minutes and then inverted them on wire racks to cool completely.

Meanwhile, I made the frosting. My go-to frosting is a Fluffy Vanilla Frosting that I got from a Martha Stewart cookbook and have been using for quite some time now when it comes to decorating my cakes. It tastes good (not overly sweet) and holds up well to piping and tinting. If frosting is too soft when you tint it it will only get softer and when you try to pipe it it inevitably droops. While I love using the frosting, I am not a fan of making it. It involves adding the confectioners’ sugar 1/2 cup at a time and raising and lowering the speed of my stand mixer. What ultimately happens, even though I cover the mixer with a kitchen towel, is sugar dust gets everywhere on my counter. I was also concerned that the recipe wouldn’t yield enough frosting to fill, frost & decorate the cake. So, while doing a little research for this cake – I couldn’t decide in the beginning if I should make the cake from scratch or use a box mix – I came across a buttercream frosting that incorporated crushed Oreos that I decided to try. I began by beating the butter in my stand mixer until it was light and fluffy and then added in confectioners’ sugar and heavy cream and mixed it on low speed until the sugar was incorporated and then slowly raised it to medium until everything was well blended. Using a rubber spatula I folded in Oreo cookie crumbs. You may be tempted to make the frosting in advance and then store it in the refrigerator. I suggest not doing that. Doing so will allow the cookie crumbs to soften and when you go to use it your frosting may end up looking more gray than speckled with Oreos.

Once the cake cooled I torte both to remove the small dome that formed during baking and then spread some of the frosting on one the cakes and then topped it with the other. I then crumb coated the cake and refrigerated it for about 15 minutes so the frosting could set and then finished frosting it. I had some remaining Oreo crumbs so I pressed them along the bottom of the cake.

Next, I made the chocolate ganache that I poured on top of the cake and spread around. Using a squeeze bottle I tried to create a chocolate drip around the cake. Unfortunately it was a bit warm in my house so the chocolate didn’t set well (even after refrigerating it for a few minutes) so it was a bit runny, hence the chocolate drizzle running down the sides of the cake. Oh well! Finally, using a Wilton 1M tip I piped dollops with the remaining frosting on top of the cake and place a mini Oreo in each one. A little tip, if you plan on piping frosting that has crumbs in it make sure your tip is large enough for the crumbs to pass through. I actually had a few instances of the crumbs getting stuck.

And there you have it… A Cookies and Cream Cake.


Cookies and Cream Cake

Ingredients:

For the Cake:

1 15.25 oz. white cake mix

3 large egg whites

1 1/4 cups water

1/3 cup vegetable oil

1 cup Oreo crumbs


For the Frosting:

3 sticks unsalted butter, at room temperature

5 cups confectioners’ sugar

1 1/3 cups Oreo crumbs

1/4 cup heavy cream


For the Chocolate Ganache:

1 cup (8 ounces) semi-sweet chocolate (can use chocolate chips or a baking bar chopped)

1/2 cup heavy cream


*You will need 1 package of Oreos and 1 small container of mini Oreos


Directions:

Preheat the oven to 350 F. Spray two 8-inch round cake pans with baking spray or butter and flour.

In a large bowl combine the cake mix, egg whites, water and oil. Prepare according to box directions then fold in the Oreo crumbs. Divide the batter among the two pans and bake in the preheated oven for 25 to 30 minutes, until a cake tested inserted in the middle comes out clean. Let the cakes cool in the pans for 15 minutes and then invert them on a wire rack to cool completely.

While the cakes are cooling make the frosting. Beat the butter on medium speed until light and fluffy. Add in the confectioners’ sugar and heavy cream and beat on low speed until incorporated and then raise the speed to medium and continue beating until well blended. Using a rubber spatula fold in the Oreo crumbs.

Once the cake has cooled, torte, fill and apply a crumb coat. Refrigerate the cake for about 15 minutes.

While the cake is in the refrigerator make the chocolate ganache. Place the chocolate in a bowl. Warm the heavy cream in a small saucepan over low heat until steaming and then pour over the chocolate. Let sit for 5 minutes and then stir until smooth. Set aside until ready to use.

Remove the cake from the refrigerator and finish frosting. If you have Oreo crumbs remaining press them along the bottom of the cake. Once the ganache has thickened, transfer to a squeeze bottle and squeeze some of the ganache on the center of the cake. Using an off-set spatula gently spread the ganache towards the outside of the cake, careful not to let it spill over. Add more ganache is necessary. With the remaining ganache in the squeeze bottle drip the chocolate the chocolate along the sides of the cake. Place in the refrigerator so the chocolate can set.

Once chocolate has set use the remaining frosting to pipe dollops on top of the cake. Add mini Oreos to the dollops or cut larger Oreos in half and add those to the dollops.

Frosting Recipe from the Preppy Kitchen

Russian Decorating Tips

If you’ve been perusing decorated cakes on Instagram or Pinterest lately you may have noticed an influx of cakes decorated with some fancy and elaborate looking flowers. You may have thought to yourself that they require some advanced skill in cake decorating to create, but, the truth is, they only require specific types of decorating tips, a little patience and the right frosting consistency to replicate.

When I first started seeing them I did a little research and discovered that the flowers were being created with decorating tips known as “Russian Decorating Tips.” After a little more research I discovered that these tips have nothing to do with Russia. So, how did they get their name? Per another blogger, I Am Baker, they got their name because they were being sold by a company called Ali Express and they named them “Russian Tips.” At the time I didn’t feel like ordering a set over the internet, but, not too long ago I discovered that my local AC Moore began selling a set of 8 (along with an extra-large coupler to use with them) for less than $10. Truth be told, you don’t need the coupler. You can just cut your decorator bag and drop the tip in. I would suggest using a 16-inch decorator bag with these tips as opposed to a 12-inch one.


Unlike traditional decorating tips from Wilton & Ateco, these tips do not have numbers on them. The tips have a laser cut design on the end that allows the frosting to be piped through and form the different flowers. I will say that some of the tips are easier to use than others. Some of the designs, especially those that have detailed centers meant to emulate the stamen & stigma part of the flower, take a little more practice to master. One other thing that is different is the way you pipe them. With your usual tips you sometimes have to add a little wrist twist to get the flower design, or, you have to hold the bag at a 45 degree angle. But, with these tips you hold the bag at a 90 degree angle about an inch or so from your cake (or cupcake) and squeeze for a few seconds to form the flower. Before piping the next flower I would suggest wiping the tip clean to get a nice flower for the next pipe.

Like I mentioned earlier I purchased a set of these tips from my local AC Moore store. I can’t remember how I knew they carried them; I probably saw something on their Instagram feed. I decided to hold off on using them until I made my Mother’s Day cake. I did test them out using store bought vanilla frosting and as I had suspected and had read a little bit about, the frosting was too thin to get a well-formed flower. All of my test flowers looked like little blobs of frosting as opposed to a flower.

So, using my go-to Fluffy Vanilla Frosting that I then tinted in 4 different colors I began decorating the top of my cake. I was soon a bit frustrated with some of the tips. The flowers weren’t piping well and even though the frosting was a stiffer consistency the centers of the flowers weren’t looking nice. So, I decided to switch the tips I had chosen to use. Soon enough I got the hang of it and ended up with a flower topped cake I was content with. It wasn’t until I added in leaves (using a Wilton 352 tip) that I piped around the cake and in between the flowers to fill in the gaps that I was truly happy with the outcome.


Descendants Themed Cake

It’s my Blogiversary! I started this blog 6 years ago and my very first post was an Elmo Cake I created for a friend’s daughter, aka my niece. Since then the cakes have gotten a bit more elaborate and 3 years ago they turned into fondant creations. I normally ask her a month or so in advance of her birthday what theme she’s thinking of. When she told me Descendants for this year I was stumped. I had only heard of Descendants, but had no clue what the deal was behind them. So, it was off to Pinterest to get some ideas. Once I had my idea down it was time to get my supplies and test out a few.

I needed to make sure that the icing was easily pipeable and also to test how thick the piping would be with the tip it came with. I opted to go with a smaller tip.

I also needed to make sure that the flower cut-out I purchased would make nice roses. Thankfully it did.

One more thing, I opted to purchase a dummy cake for the top tier of the cake. I normally do bake the cake, but, it usually doesn’t get eaten because it’s too much cake, so, to avoid waste and a little bit of stress on my part I purchased a dummy cake. In case you are wondering, it’s made out of Styrofoam. No one knew it was a dummy cake once it was covered and decorated.

To prep the dummy cake I covered it in frosting

I then covered it, as well as the actual cake, in fondant.

And after some piping, fondant rolling and cutting the cake came together. I have definitely learned with making these cakes that it’s important to walk away for a few minutes and then come back to truly appreciate the way it looks. So, I take a lot of mini-breaks, if not, I would probably drive myself crazy. One thing I did decide, I am going to avoid covering a cake with black fondant. I find that it tends to dry out fast and inevitably it always breaks. I had a few challenges trying to cover up the imperfections from it.

So, what will my next themed cake be…? Not sure yet. I’ll have to ask my other niece what’s she’s thinking of for her June birthday!


Piñata Cake

Today I’m bringing you a cake that I’ve wanted to make for quite some time… A Piñata Cake!

I took the easy route and opted to use two box yellow cake mixes. Yes, you read that right, two boxes. To get the full effect of this cake it really needs to be 4 layers. And while I could have just used one box divided into 4, lets be honest, that wouldn’t have been much of a cake and more than likely the layers would be so thin that the two layers I cut the hole into would have fallen apart. So two boxes it is (and was.)

So, after baking my 4 layers following the directions on the box (I used Duncan Hines cake mix) I let them cool and then began assembling.

Up first, the base layer which I covered in frosting.

IMG_0065

Next, one of the layers I cut a hole into using a 3-inch round cookie cutter. Truthfully you don’t want to go larger than that, if you do, you run the risk of the cake splitting in half since you won’t have much cake left in the ring left when making the hole. To ensure that my holes were evenly placed on both cakes I stacked the layers and then cut the hole. So, I placed one of these rings on top of the base layer and covered it with frosting, including the inside of the circle cut-out.

IMG_0066
I repeated this step with the second ring.

IMG_0067

Next, I filled the cake. I opted for M&M’s. It took an 11 oz bag of M&M’s to fill the hole. You can fill it with whatever you choose; M&M’s, sprinkles, gummy worms or bears, and so forth. Whatever you choose, make sure it’s nicely packed in and filled to the top so you get the full Piñata affect when you cut into it.

IMG_0068

Finally I placed the top layer on the cake and frosted it with a crumb coating. I did a crumb coating because…

IMG_0073

I decorated the cake with spiraling rosettes – which I created using a Wilton 2D tip.

IMG_0088

And after a few slices the M&M’s came pouring out. The M&M’s did start falling out after the first slice, but it took a few more to get them to really pour out.

IMG_0108

%d bloggers like this: