Recently I was elbow deep in flour, sugar and butter for the better part of a week creating some lovely cakes for some momentous occasions – a friend’s daughters’ first birthday and her older daughters’ pre-k graduation.
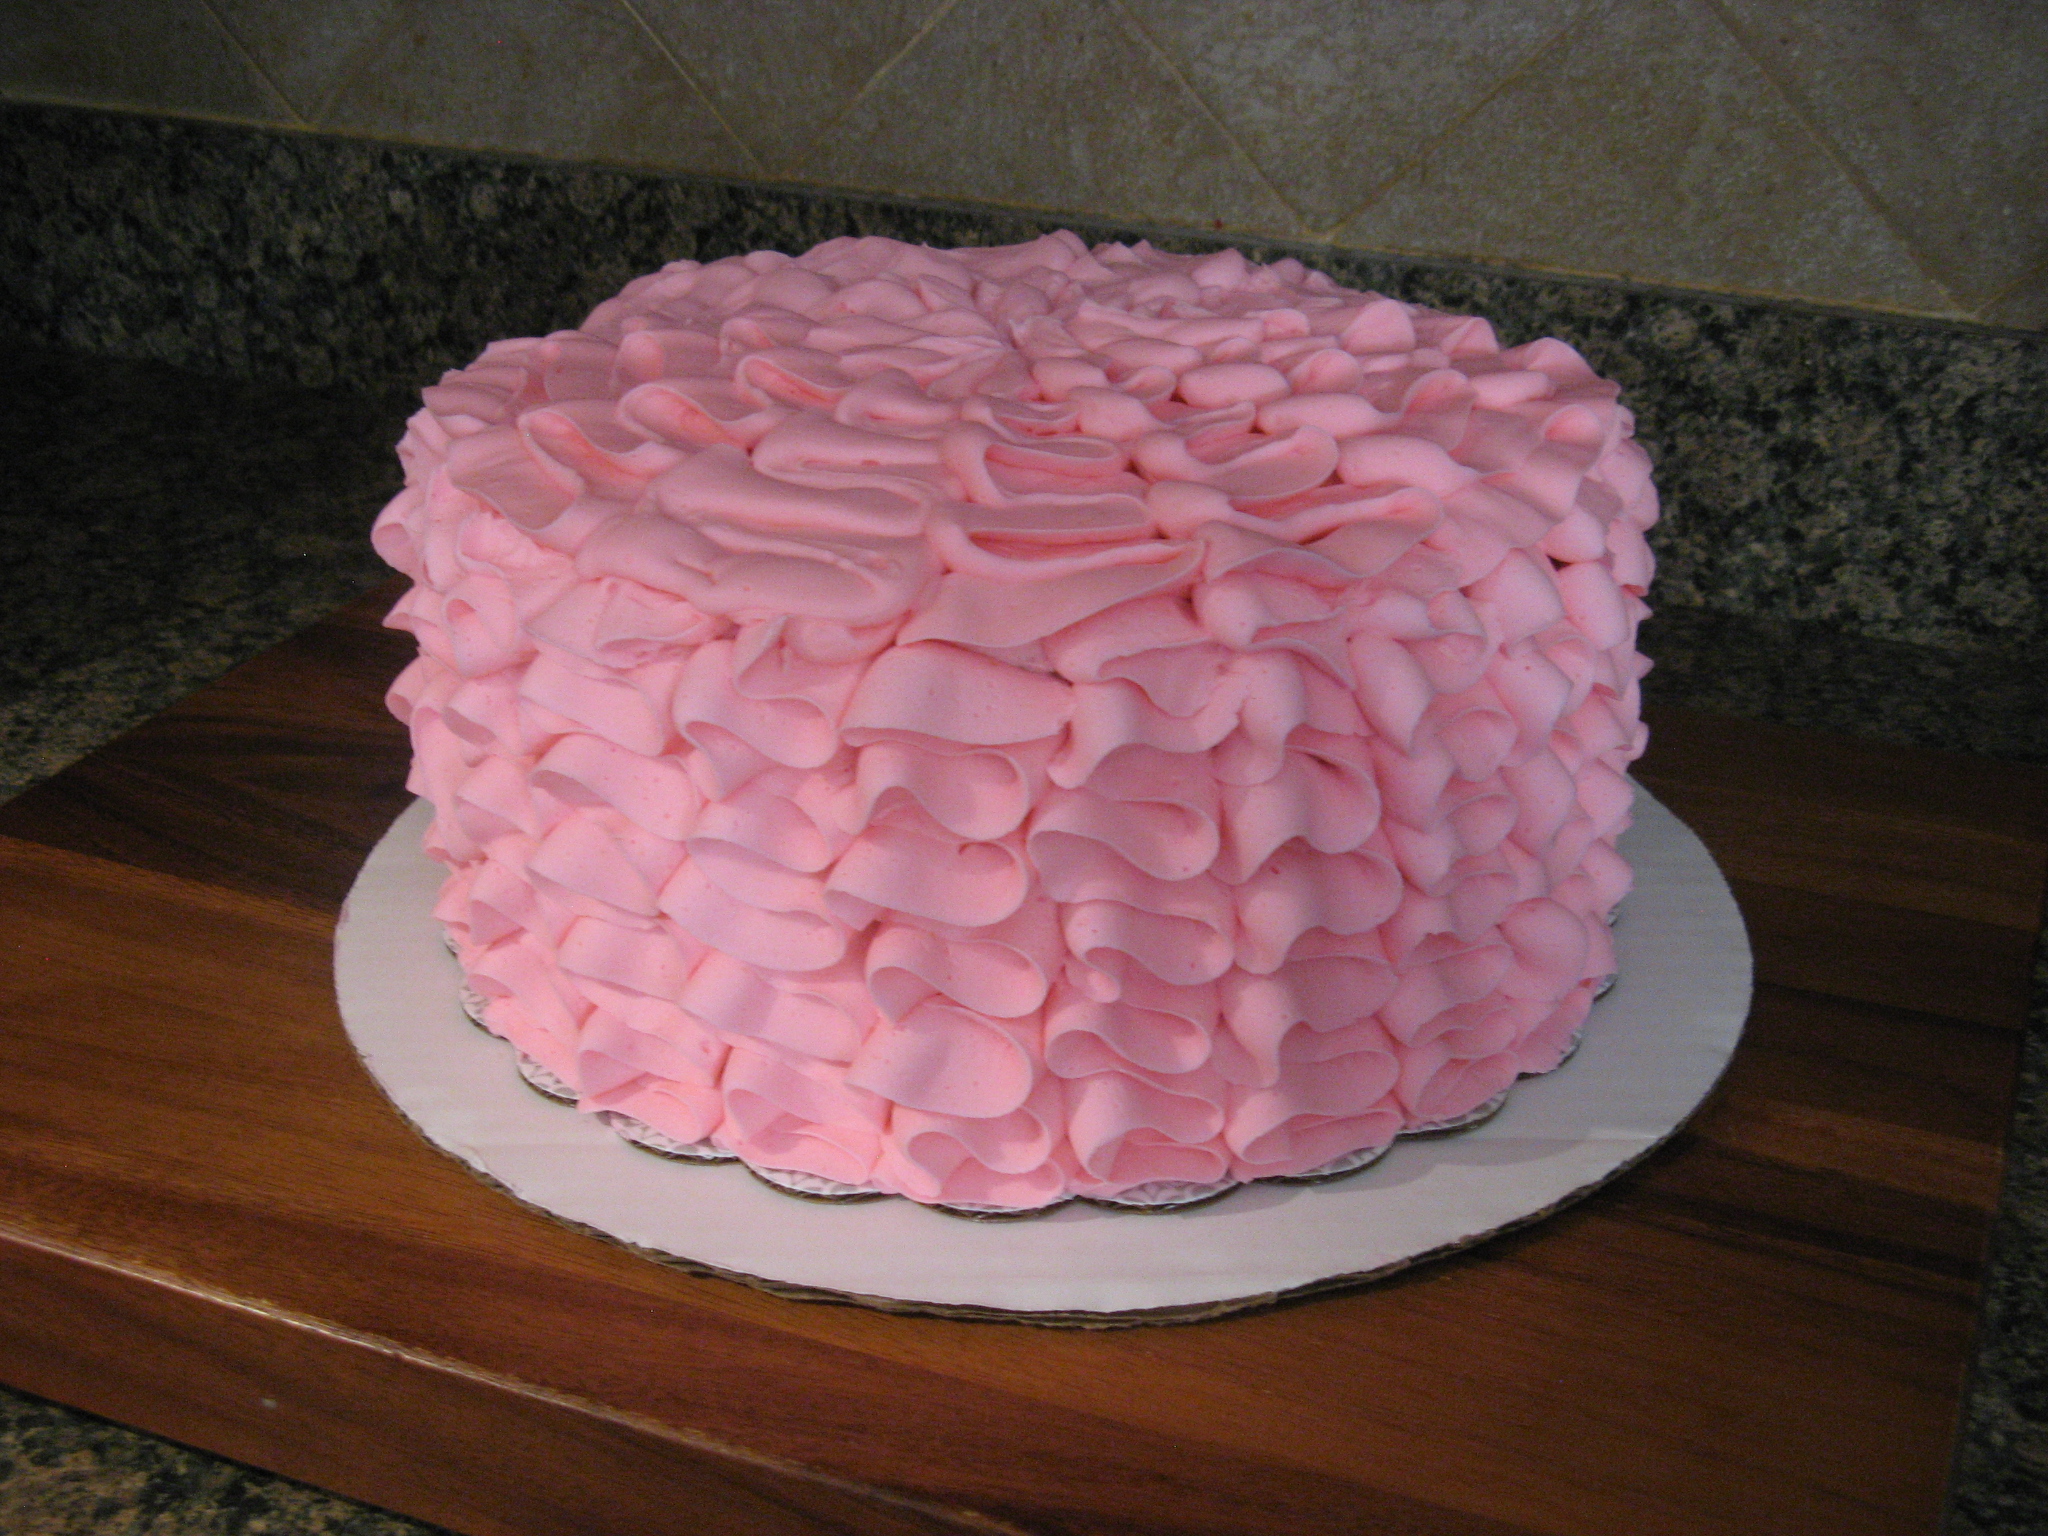
To kick off my week of cake baking & decorating I made a 3-tier 9-inch white cake layered with vanilla mousse and covered with pink tinted vanilla frosting. I didn’t just simply frost the cake though; I opted to decorate it with buttercream ruffles. To create the ruffles I used a No. 125 Wilton Tip, which is considered a petal tip. Unfortunately I didn’t take any pictures of the process, only the final product. I began by applying a thin layer of frosting to the cake so the ruffles would be able to stick to it. To ensure that the ruffles would be evenly spaced and the same width throughout I used a straight-edge to score the cake. Since I had placed the cake on a cake board that had half-circles around it I used that as my guide to create the lines. Once that was done I scored lines along the top of the cake towards the center. I made those lines double the width of those along the sides of the cake. I then filled my pastry bag that was fitted with the tip and began creating the ruffles. With the thicker side of the tip against the cake I began making the ruffles starting and ending the ruffle when I hit one of the score lines. This video shows the process I used.

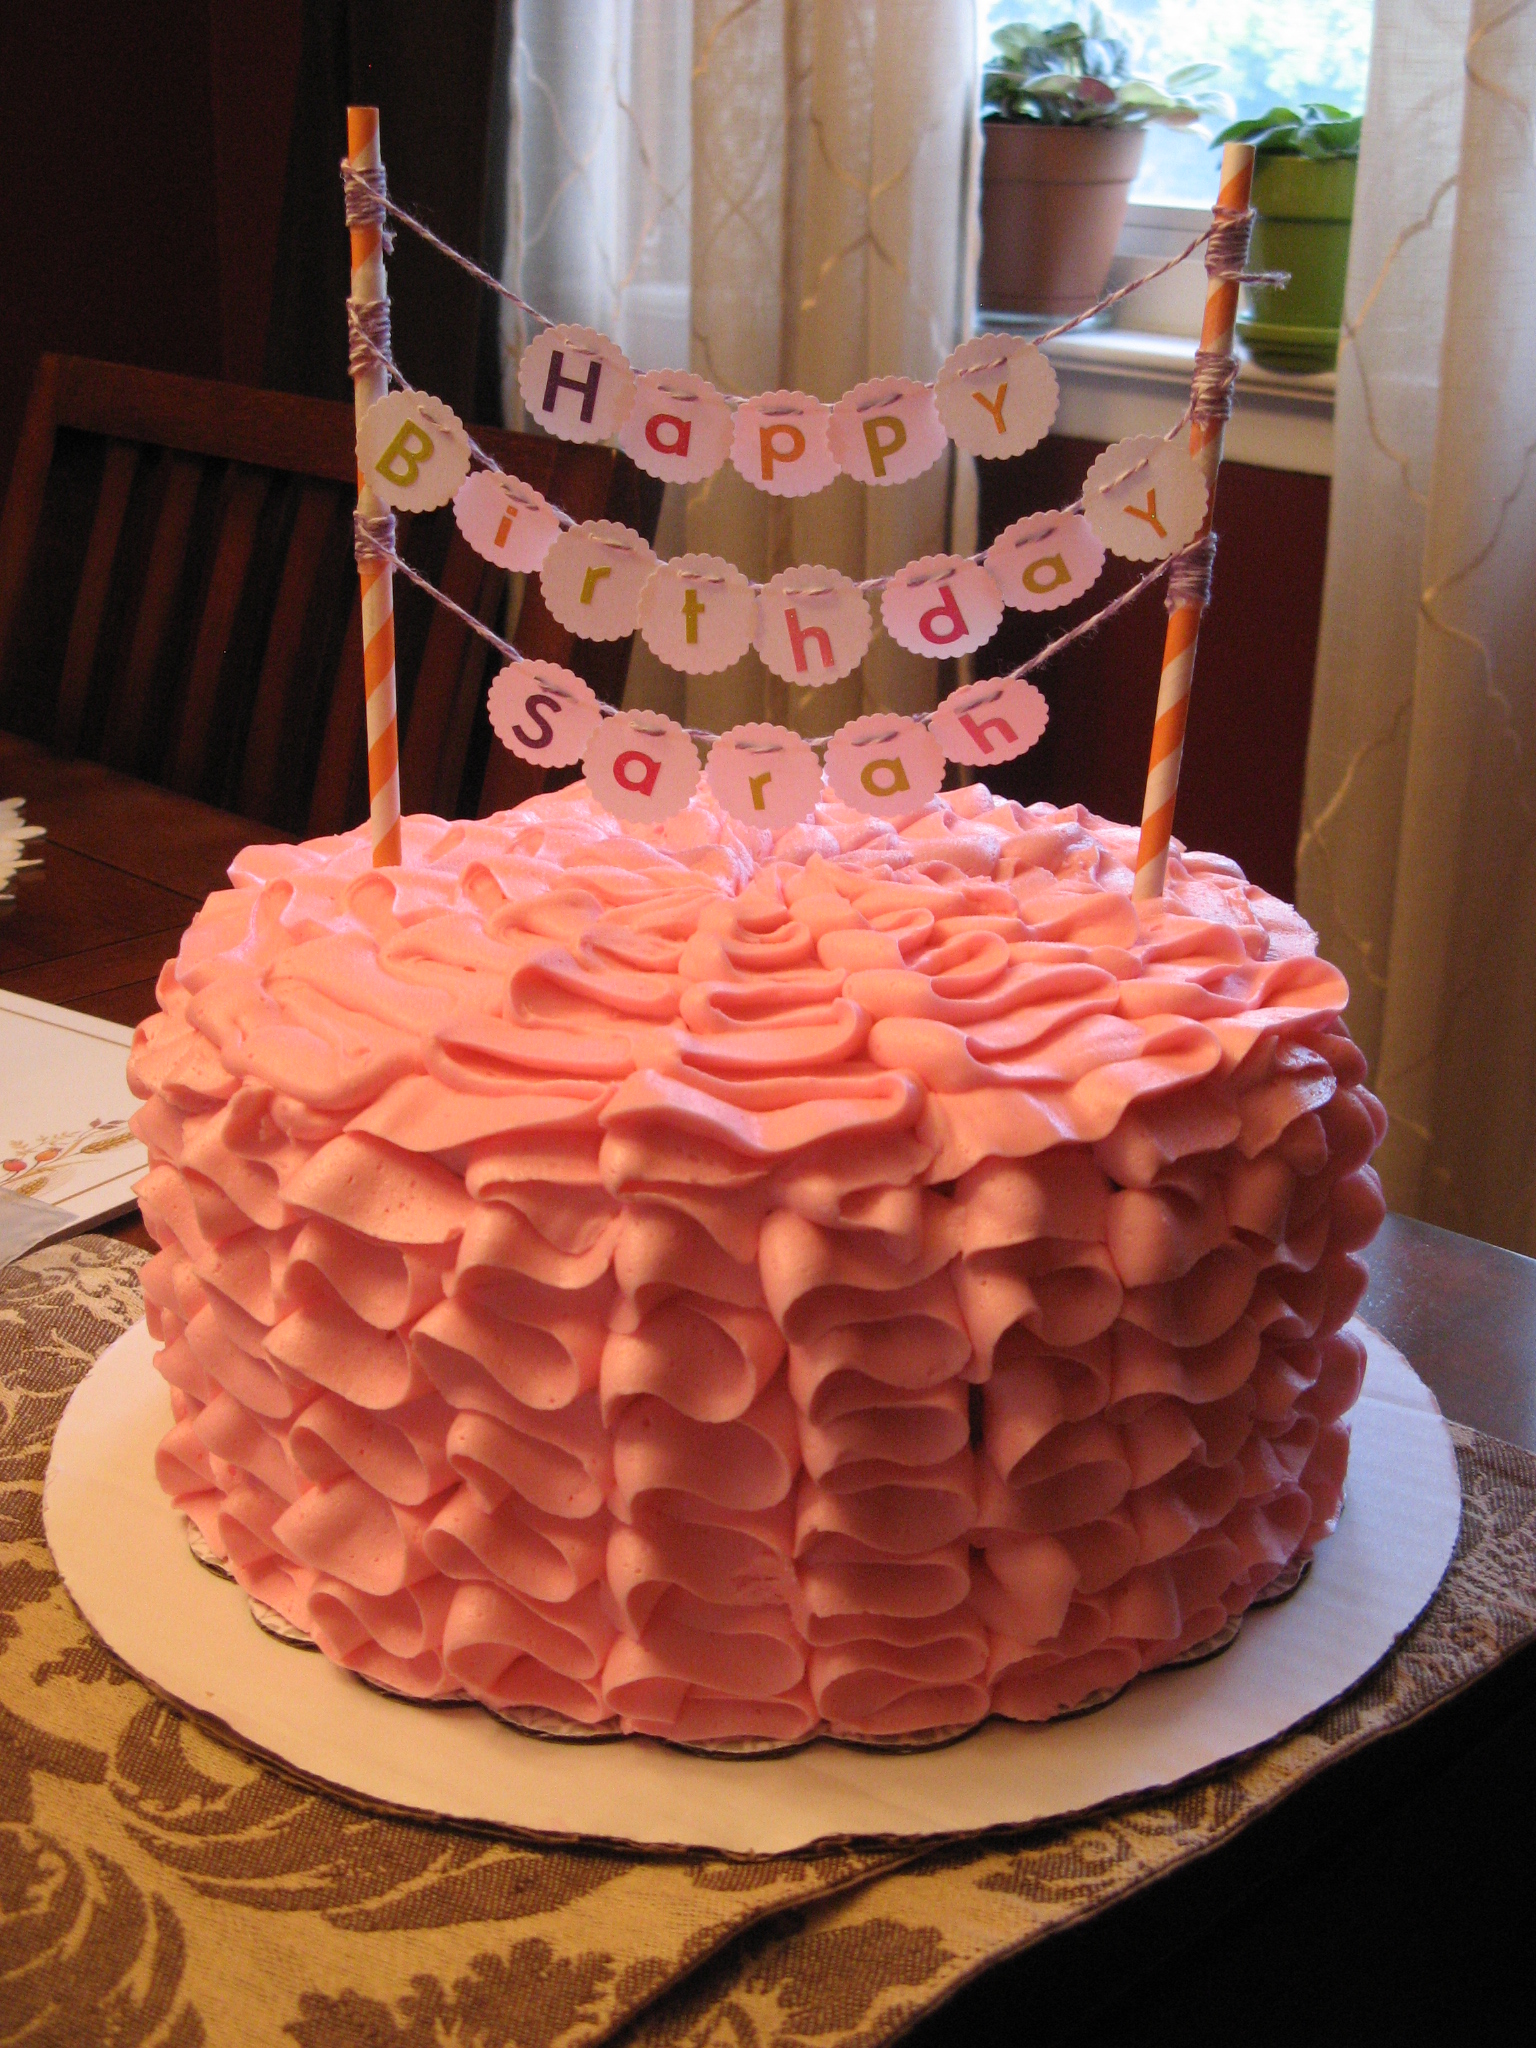
And once I got the cake to its intended destination I topped it with a cake banner topper I made. I did receive one complaint about this cake… It was too nice to cut. I was very happy with how it came out; it looked just like how I envisioned it. But, more importantly it was delicious. The Vanilla Mousse filling was perfect and the frosting wasn’t too sweet, and lastly the cake was incredibly moist and light.

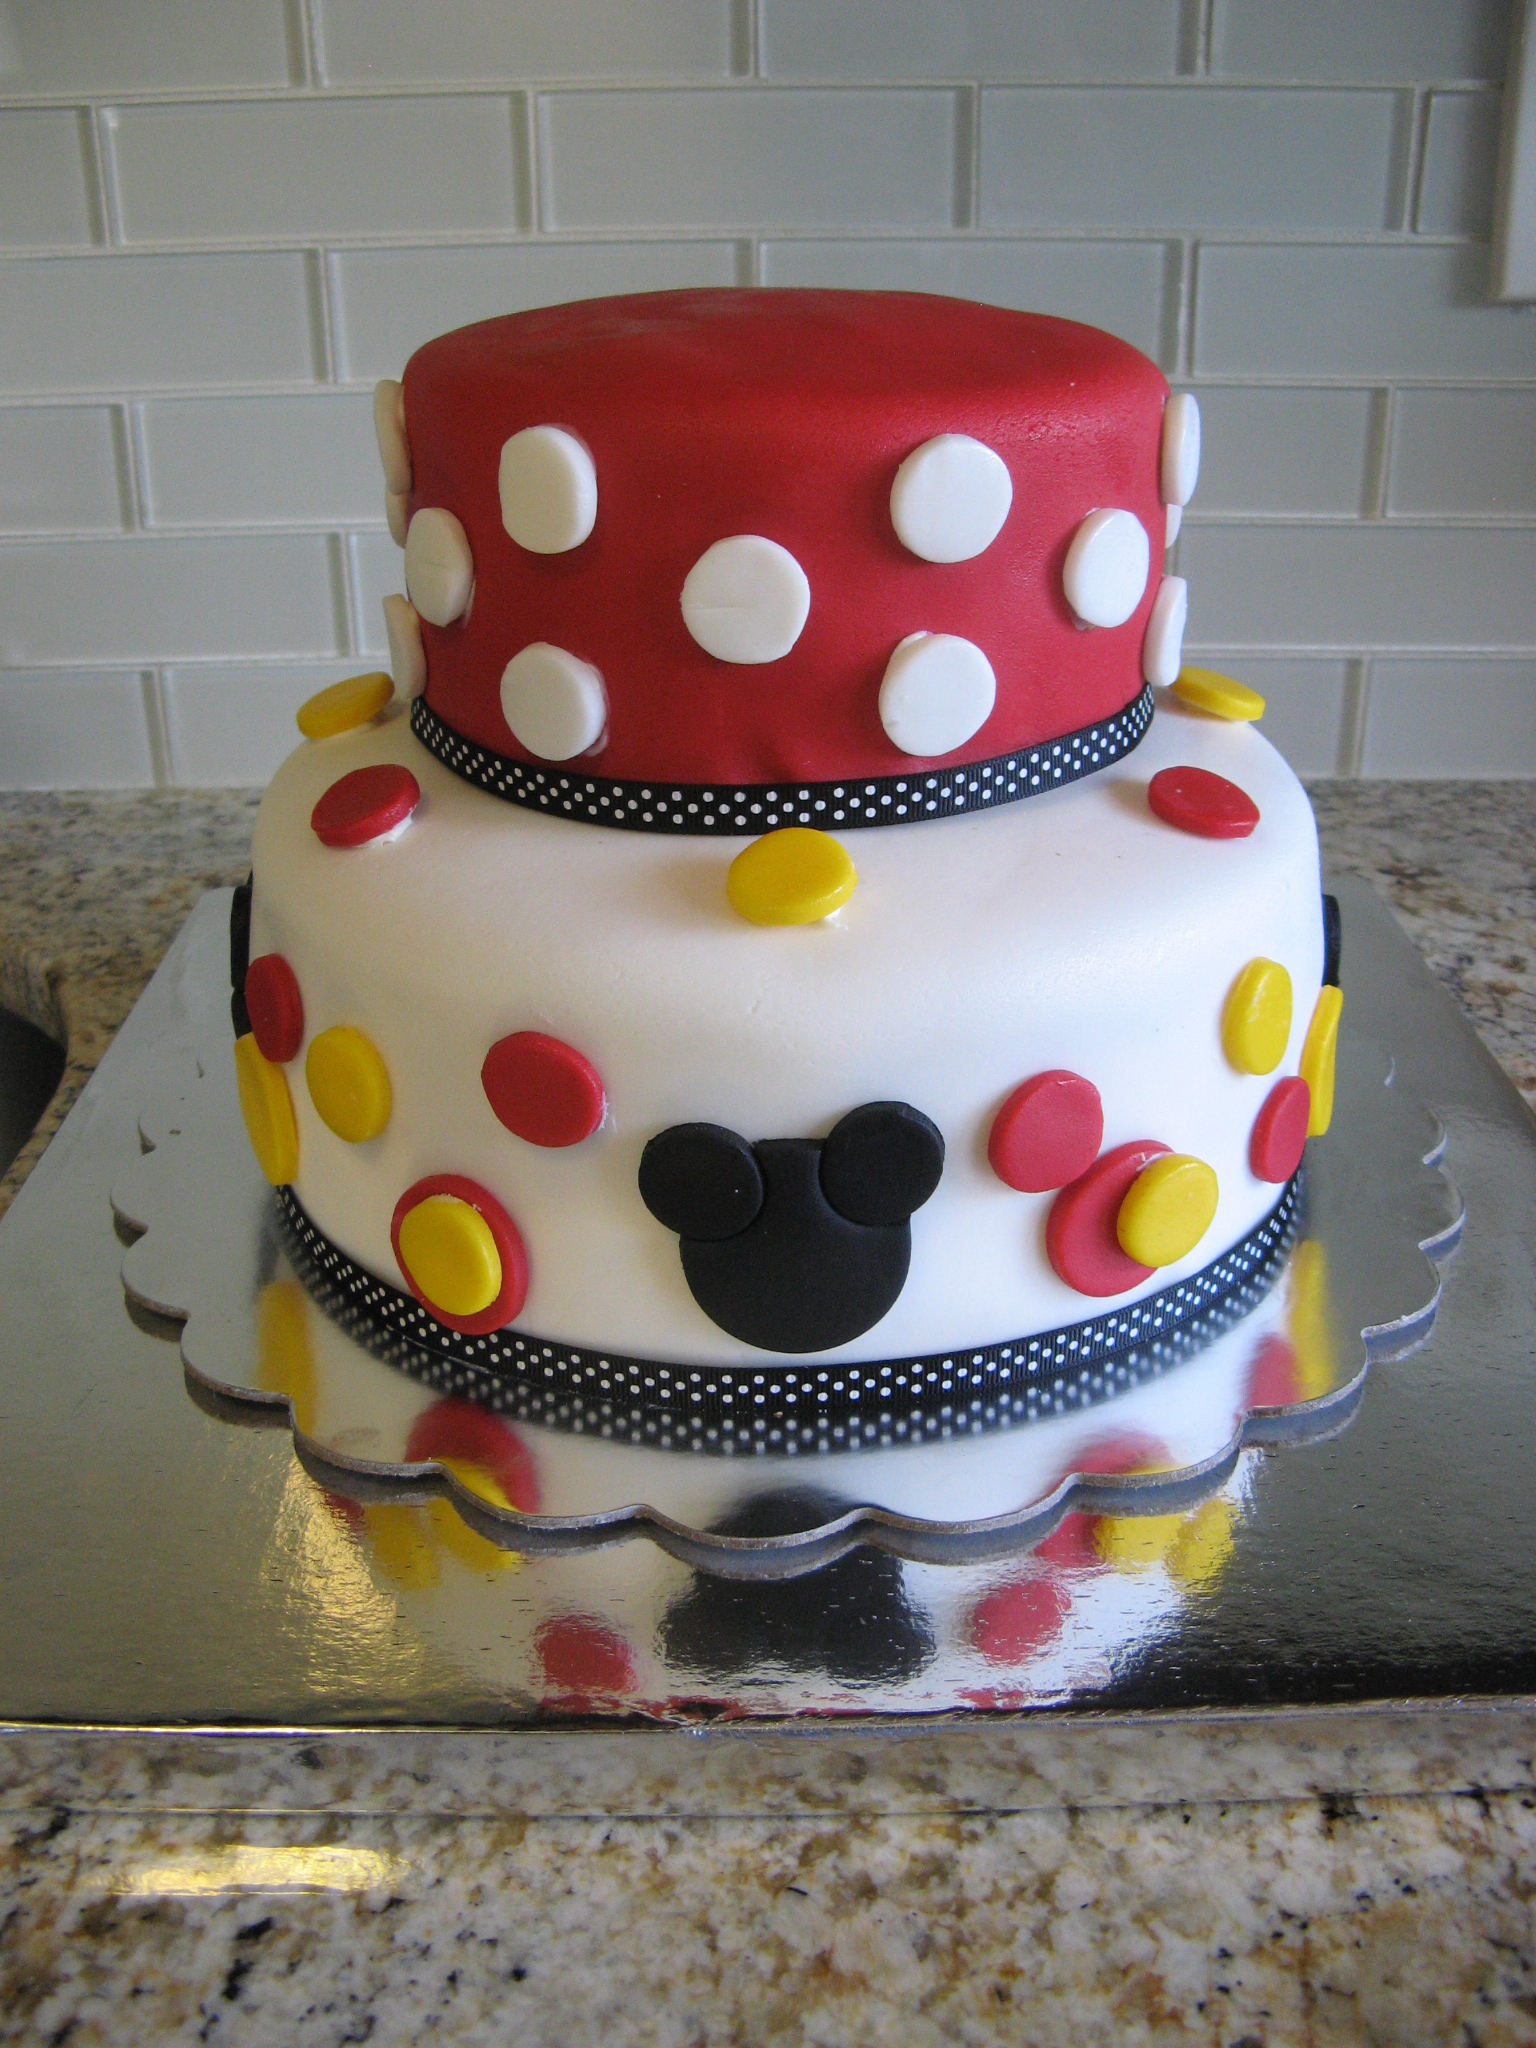
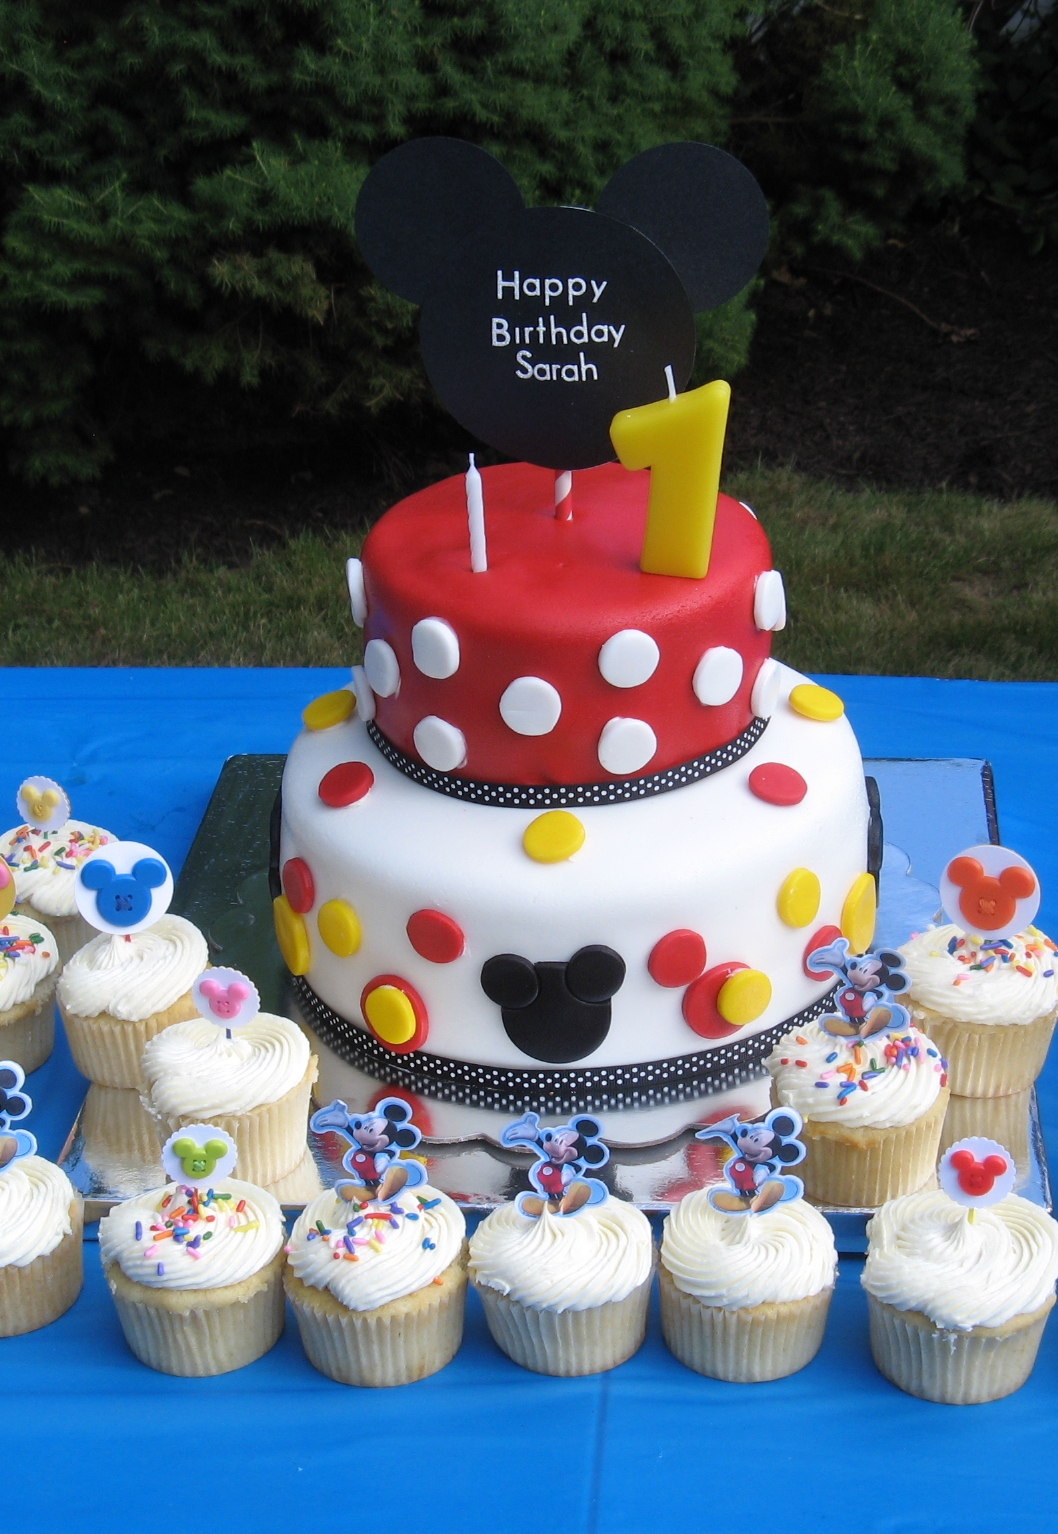
Next up was another cake to celebrate that first birthday. This time it was a two-tier fondant covered Mickey & Minnie Mouse themed cake. I actually had a bit of anxiety to make this cake. You never know what’s going to happen when you are working with fondant – mainly will it tear!?!? Thankfully there were no tears whatsoever, but, there was an air bubble here and there that was quickly remedied with a needle.

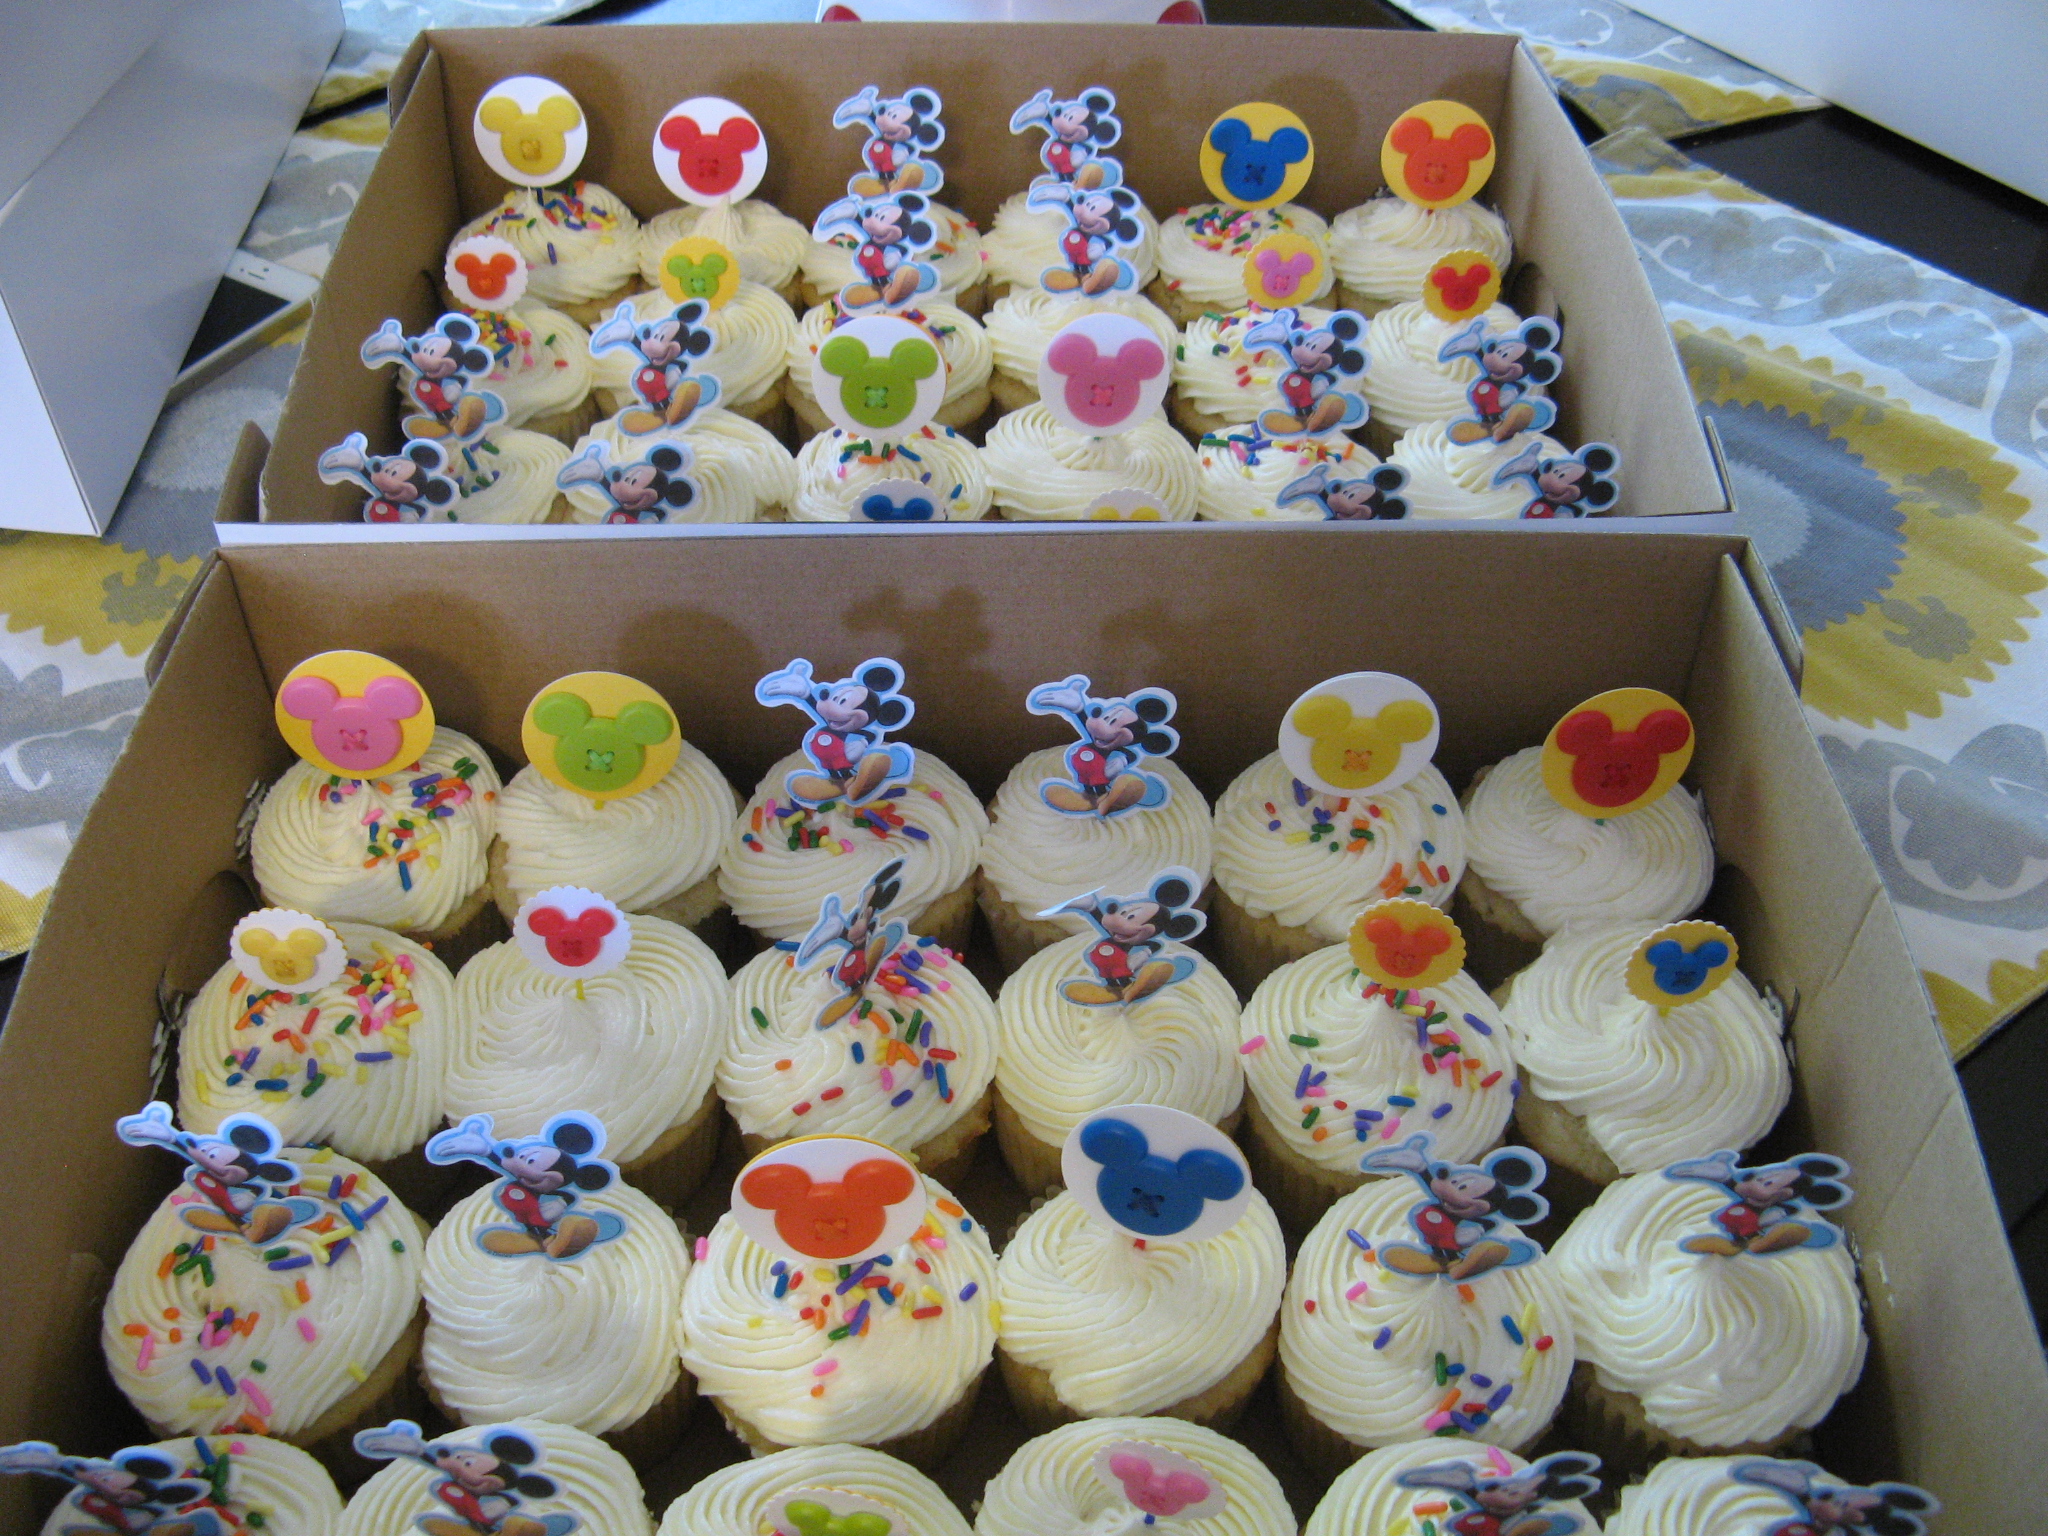
And to go along with the cake there were cupcakes that followed along with the Mickey & Minnie Mouse theme. These cupcakes actually did cause me some stress. Initially I was planning on using Mickey Mouse themed liners, actually I did use them to bake the first batch of 48 cupcakes but those liners were on the smaller side so my cupcakes all looked like they had been nibbled a little around the edges once I took them out of the cupcake pan. Definitely not something that was presentable and couldn’t be masked with frosting. So, I baked another 48 cupcakes (this blog title should really read 96 cupcakes!) using white cupcake liners that I picked up at a restaurant supply store quite some time ago. It’s a package of 500, so I’ll be using them for quite some time. But, thankfully they turned out perfect cupcakes that I then topped with vanilla buttercream frosting – the same frosting I used for the first cake. I then topped them with Mickey Mouse picks and Mickey Mouse sticker button picks (I made these) to ensure the theme traveled through to the cupcakes. Oh, and since not everyone is a sprinkle lover like myself, I only covered have of the cupcakes with sprinkles.

The cake and cupcakes together…

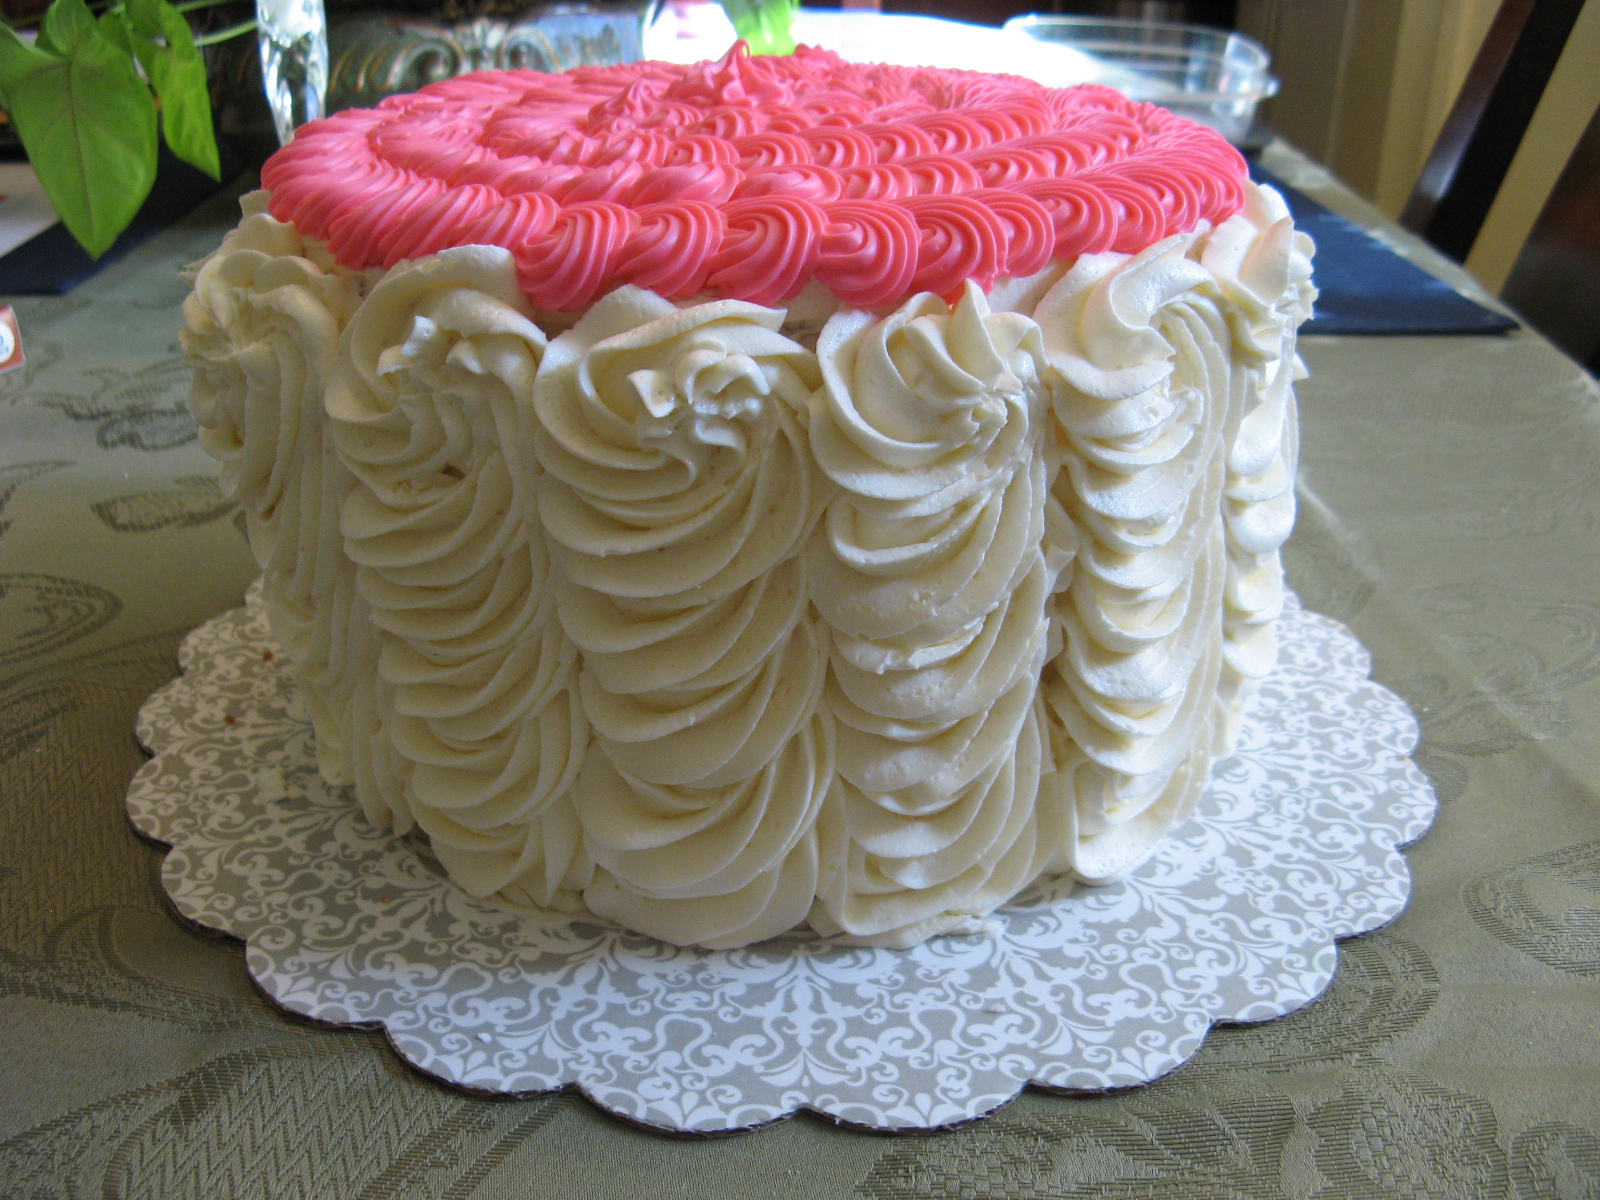
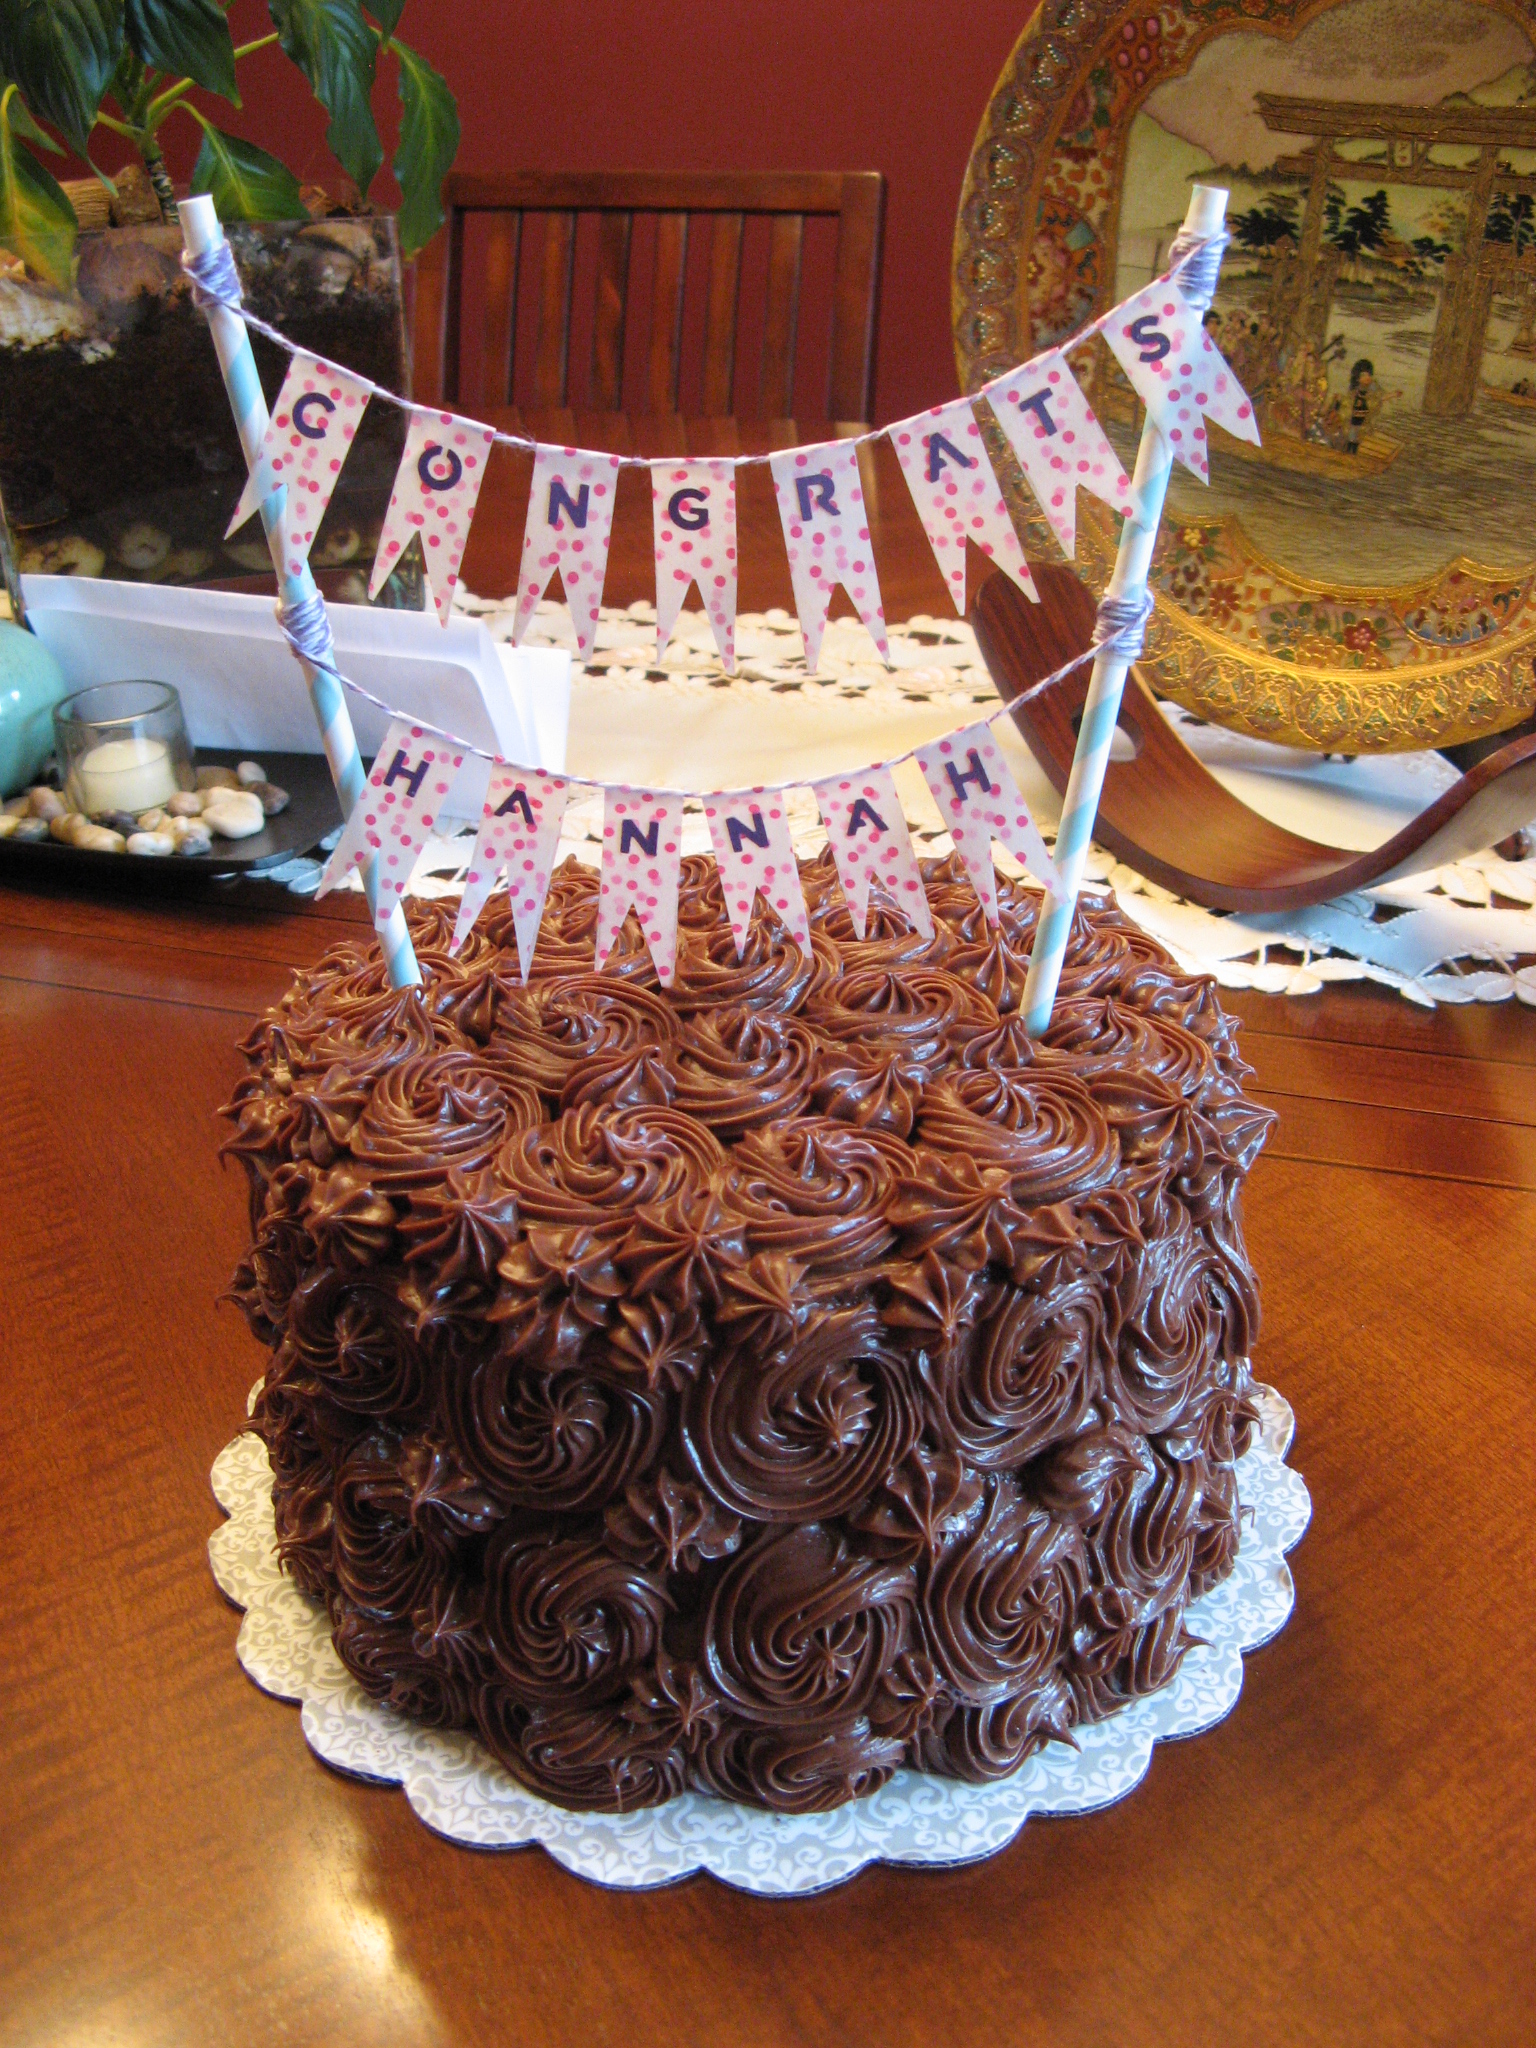
And finally, a cake to celebrate a Pre-K graduation. The young graduate requested chocolate, so I made a Triple Death by Chocolate Cake – Chocolate Cake, Chocolate Mousse and Chocolate Frosting. It was a lot of chocolate but delicious nonetheless. To decorate this cake I opted to cover it with rosettes using a No. 22 Wilton Tip. Initially I was going to use a 1M Tip, but my rosettes just looked too sloppy so big. And to finish it off I topped it with another cake banner topper that I made.

After a week like this I think I’ll take a break from cakes and cupcakes and stick to cookies for a bit!