Today I’m bringing you a cake that I’ve wanted to make for quite some time… A Piñata Cake!
I took the easy route and opted to use two box yellow cake mixes. Yes, you read that right, two boxes. To get the full effect of this cake it really needs to be 4 layers. And while I could have just used one box divided into 4, lets be honest, that wouldn’t have been much of a cake and more than likely the layers would be so thin that the two layers I cut the hole into would have fallen apart. So two boxes it is (and was.)
So, after baking my 4 layers following the directions on the box (I used Duncan Hines cake mix) I let them cool and then began assembling.
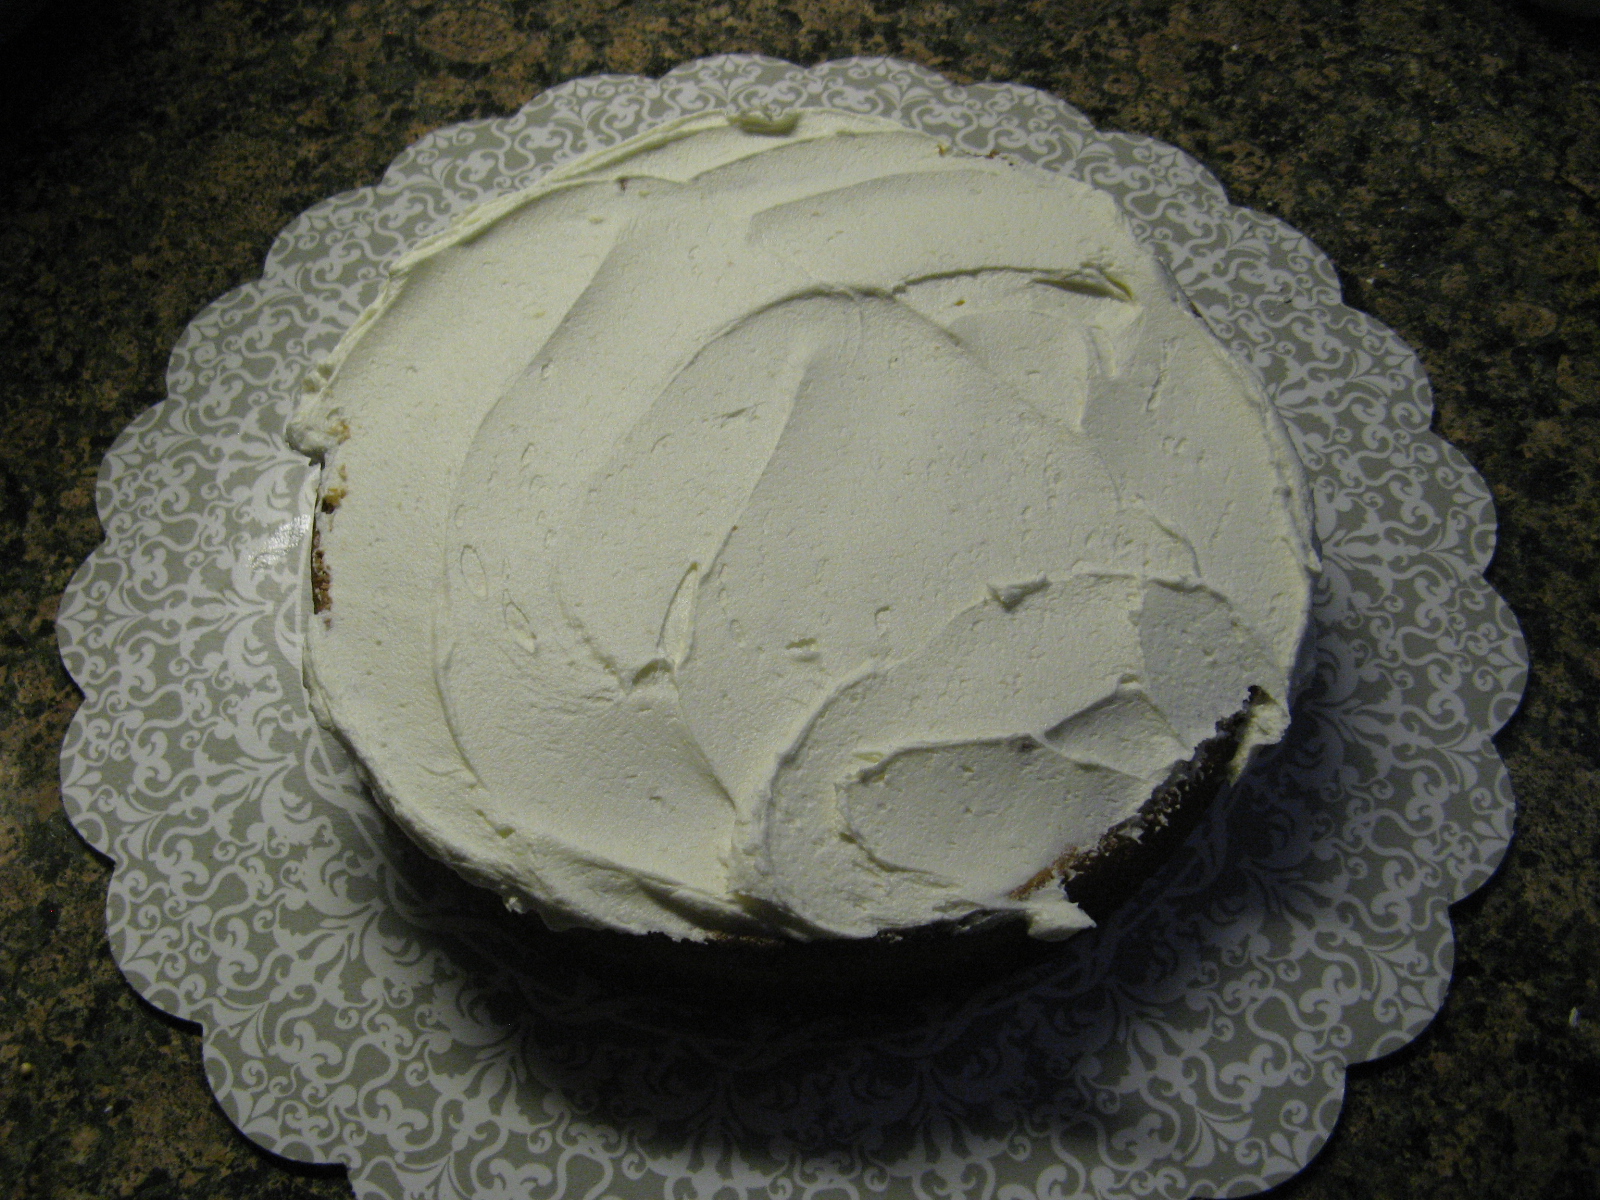
Up first, the base layer which I covered in frosting.
Next, one of the layers I cut a hole into using a 3-inch round cookie cutter. Truthfully you don’t want to go larger than that, if you do, you run the risk of the cake splitting in half since you won’t have much cake left in the ring left when making the hole. To ensure that my holes were evenly placed on both cakes I stacked the layers and then cut the hole. So, I placed one of these rings on top of the base layer and covered it with frosting, including the inside of the circle cut-out.

I repeated this step with the second ring.
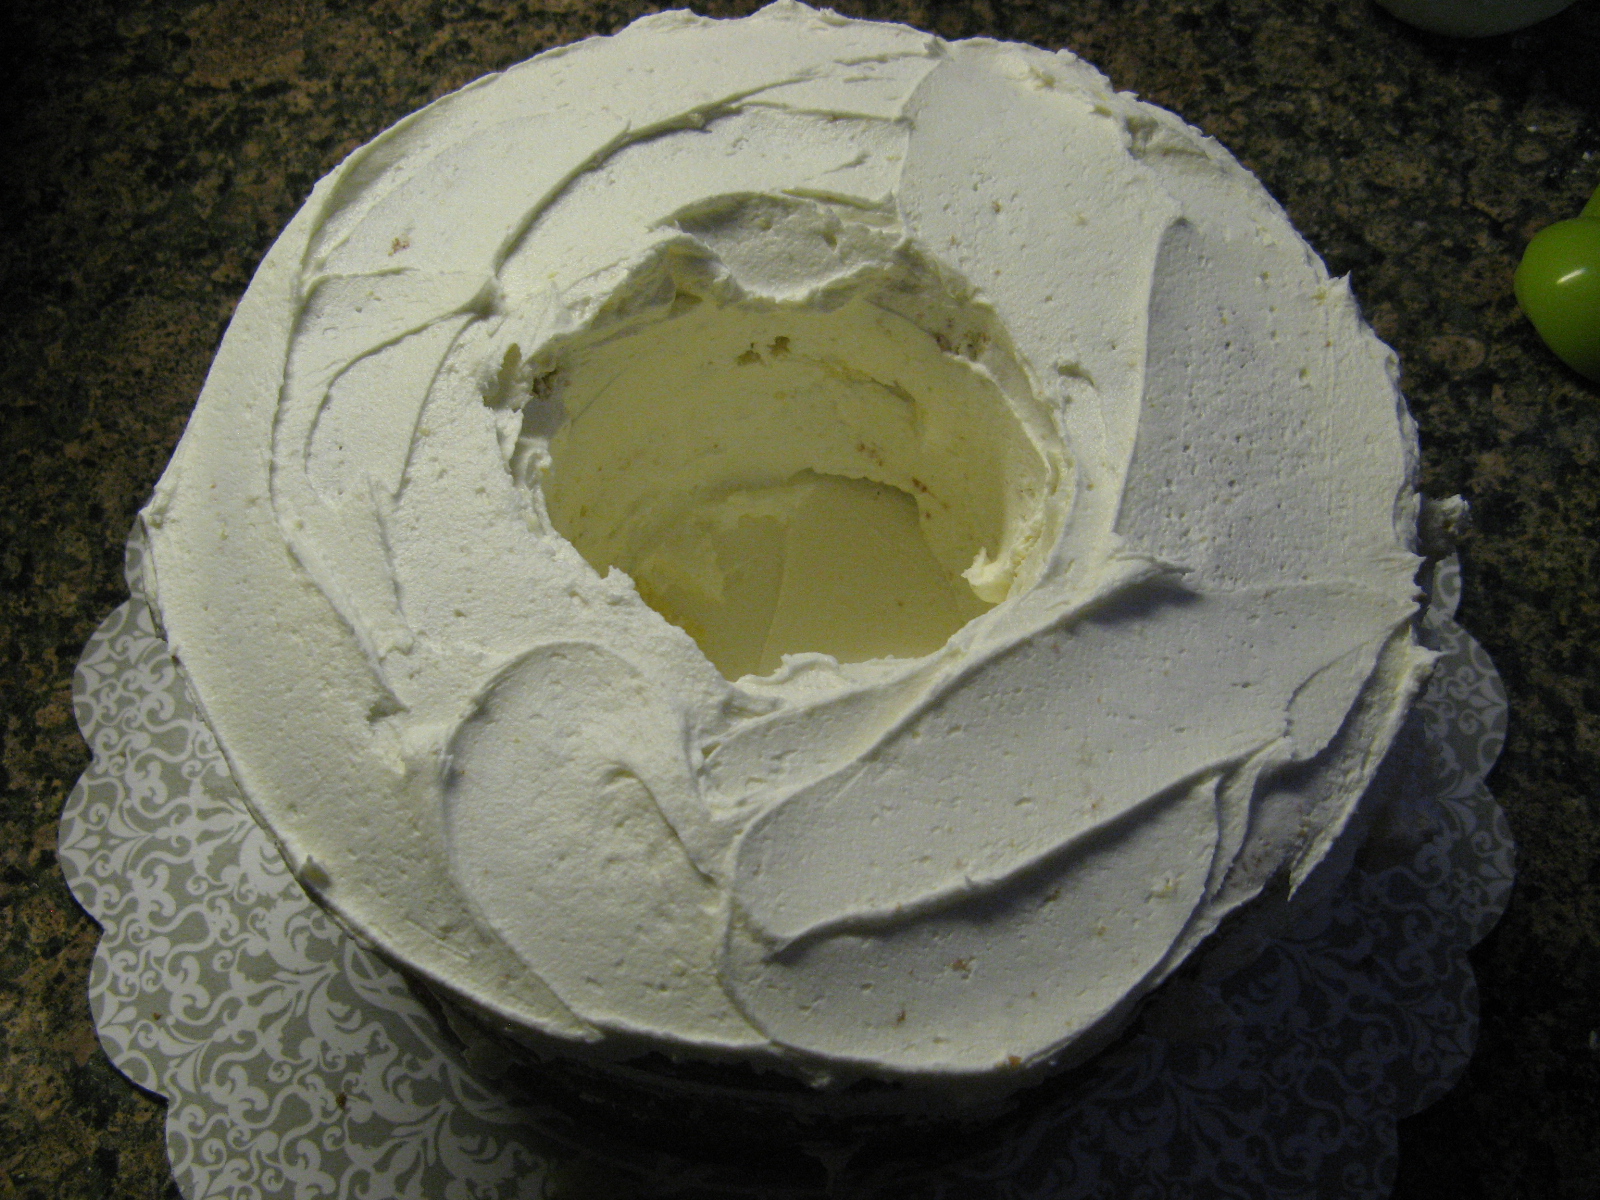
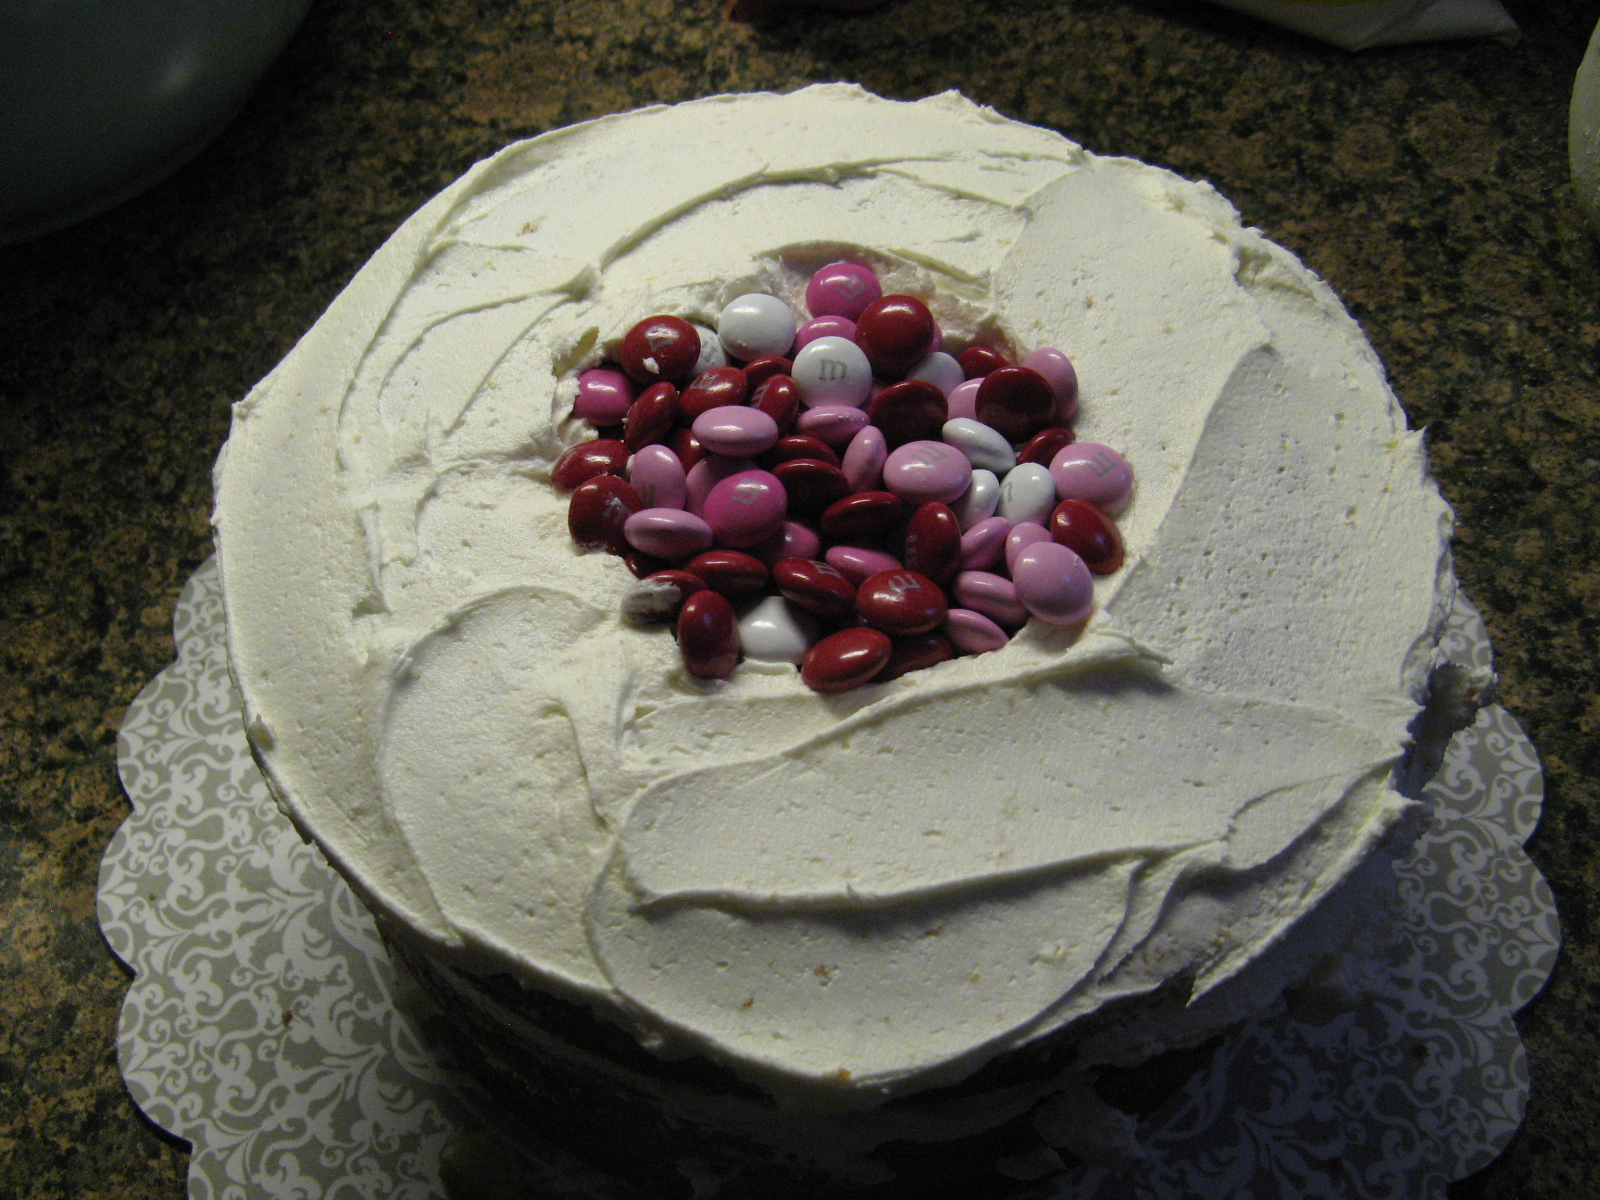
Next, I filled the cake. I opted for M&M’s. It took an 11 oz bag of M&M’s to fill the hole. You can fill it with whatever you choose; M&M’s, sprinkles, gummy worms or bears, and so forth. Whatever you choose, make sure it’s nicely packed in and filled to the top so you get the full Piñata affect when you cut into it.
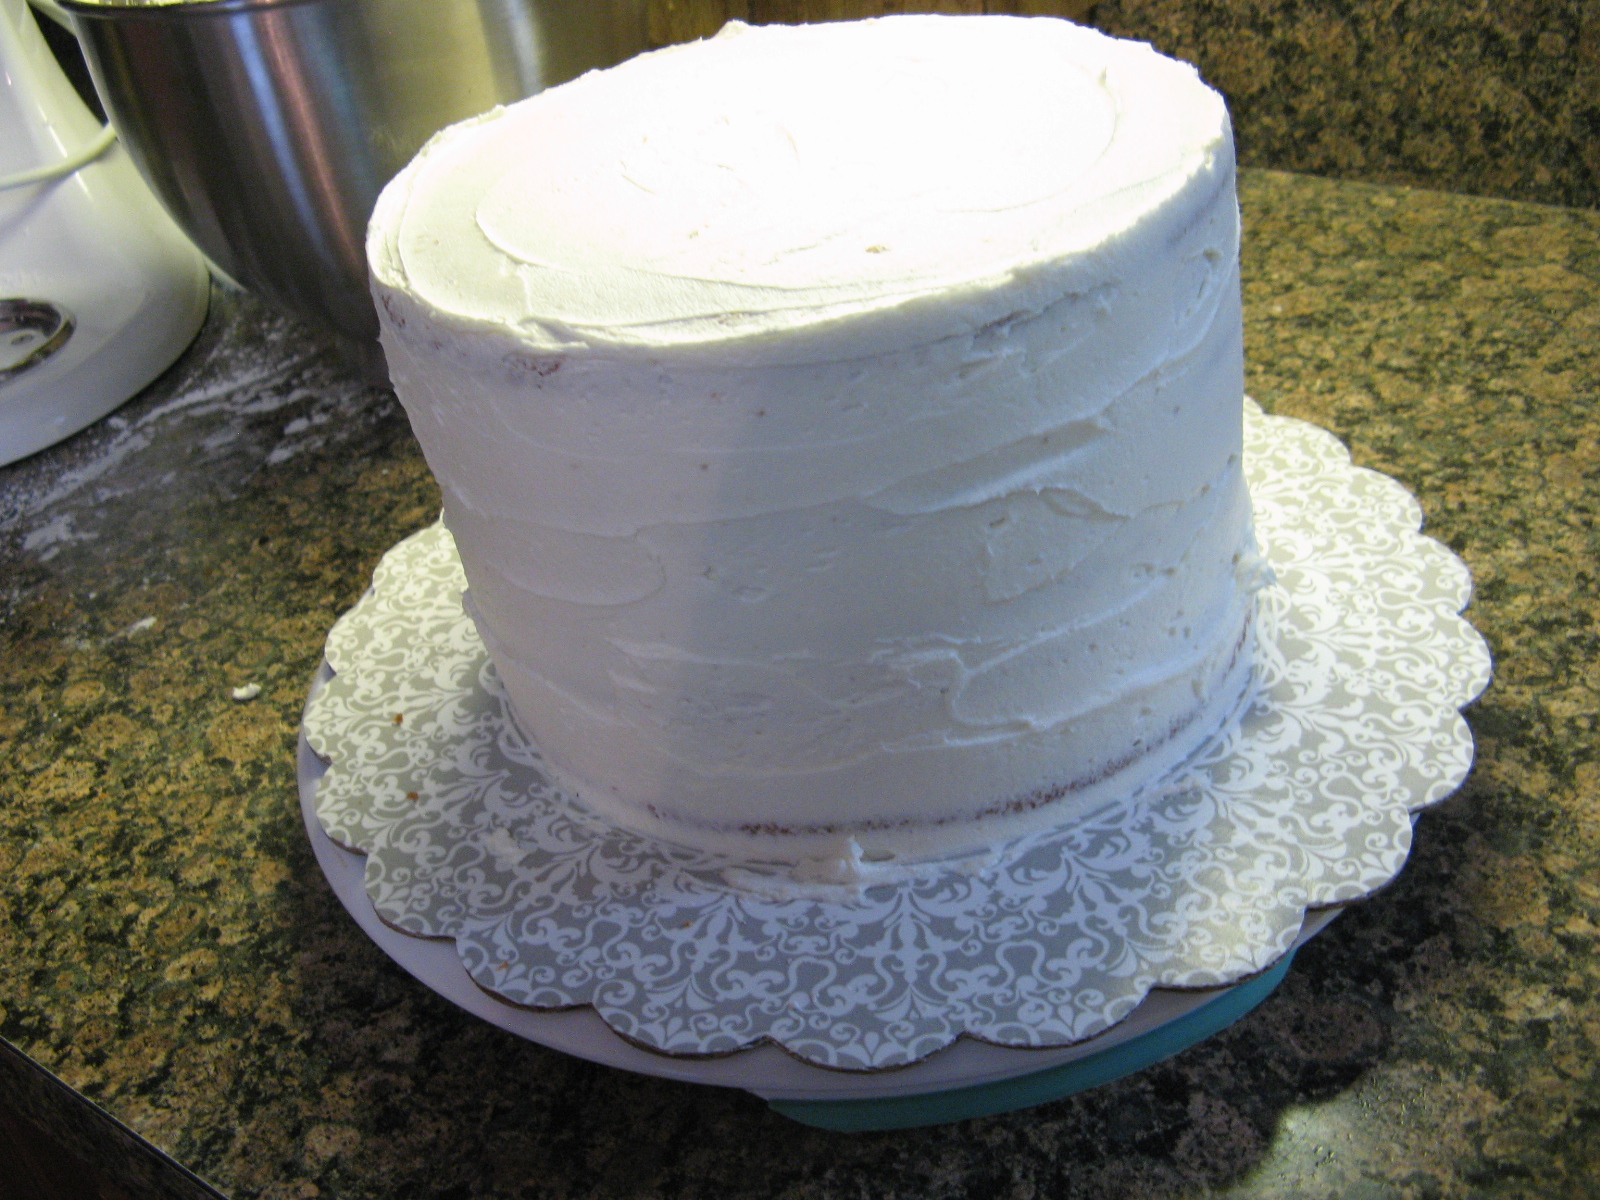
Finally I placed the top layer on the cake and frosted it with a crumb coating. I did a crumb coating because…
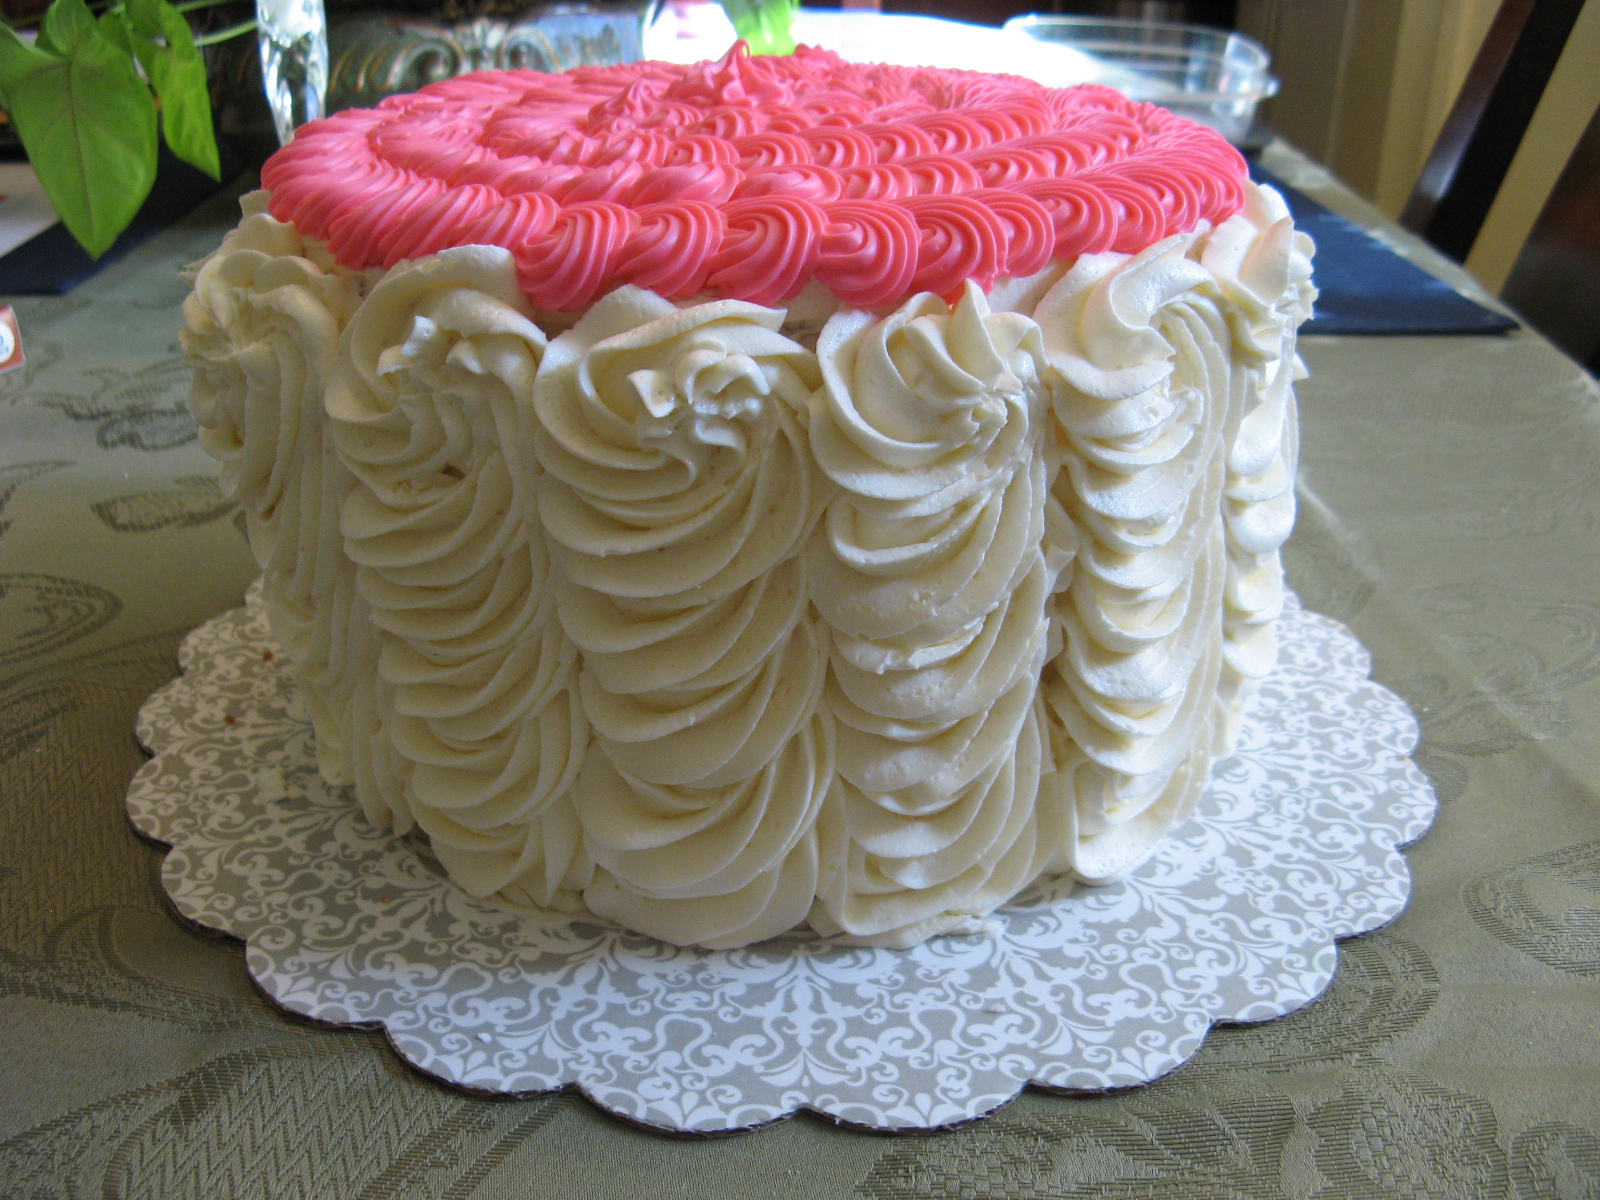
I decorated the cake with spiraling rosettes – which I created using a Wilton 2D tip.
And after a few slices the M&M’s came pouring out. The M&M’s did start falling out after the first slice, but it took a few more to get them to really pour out.


That would be so fun at a birthday party!