Peppermint Chocolate Squared Cupcakes

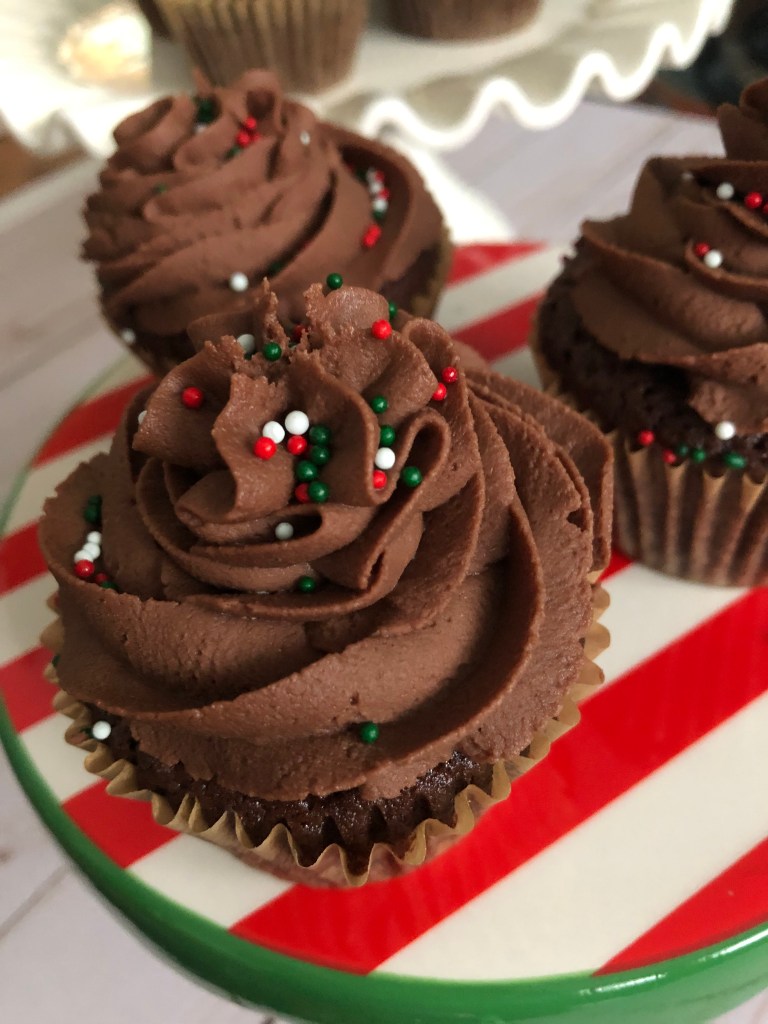
Merry Christmas in July! It’s probably hard to think about Christmas during this time of the year, especially with everything going on in the world. I am longing for those cooler days though. I totally get that summer is supposed to be warm and some days hot, but, I just feel that this summer has had more days of unbearable heat and humidity than in recent years. Even the days that haven’t been that hot have been too humid for my liking. If it’s 83 degrees, I want it to feel like 83 and not 93 because of other factors. In my post for last year’s Christmas in July recipe, Chocolate Peppermint Chunk Cookies, I discussed the origins of the “holiday.” This year I am sharing a tidbit of information I recently learned, people actually have Christmas in July parties! Sorry, if this comes across as a shocker to me. I have heard of Christmas in July for years, but, never knew that people actually had parties to celebrate. Sounds like a fun idea, but, I definitely wouldn’t put up my Christmas Tree this early in the year regardless of how much I love Christmas. Instead, to celebrate Christmas in July I am sharing with you a Peppermint Chocolate Squared Cupcake recipe.

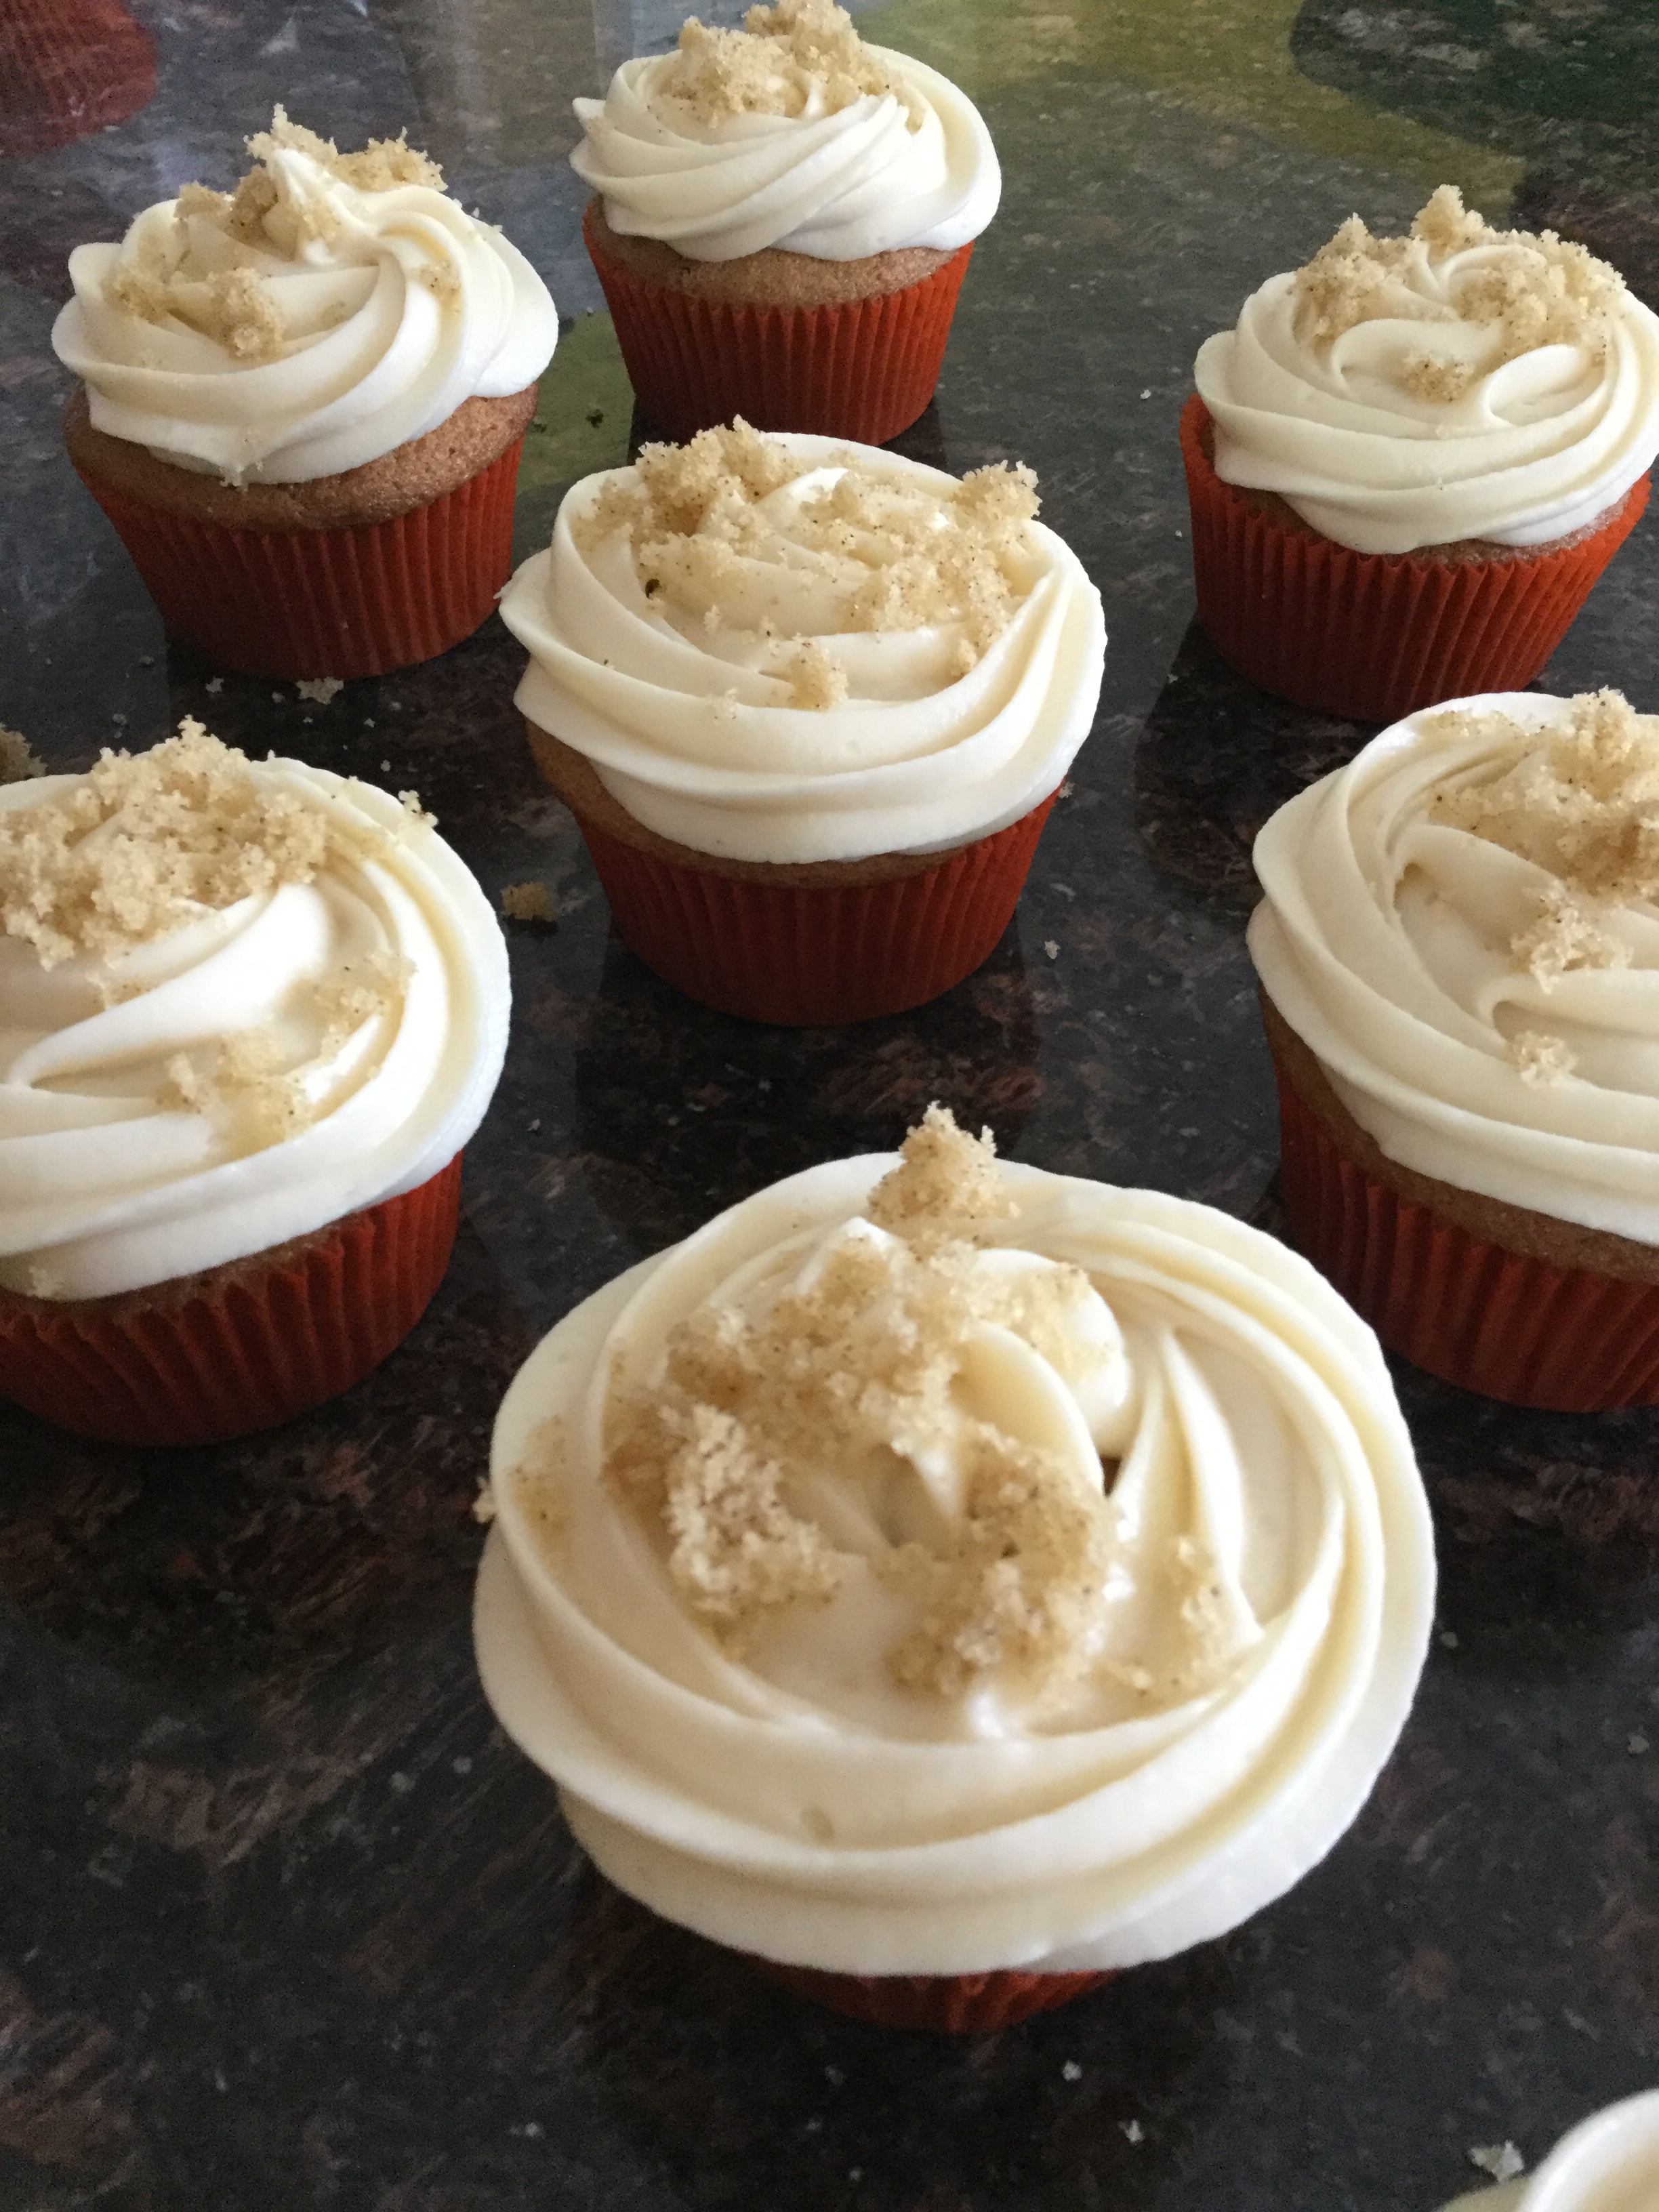
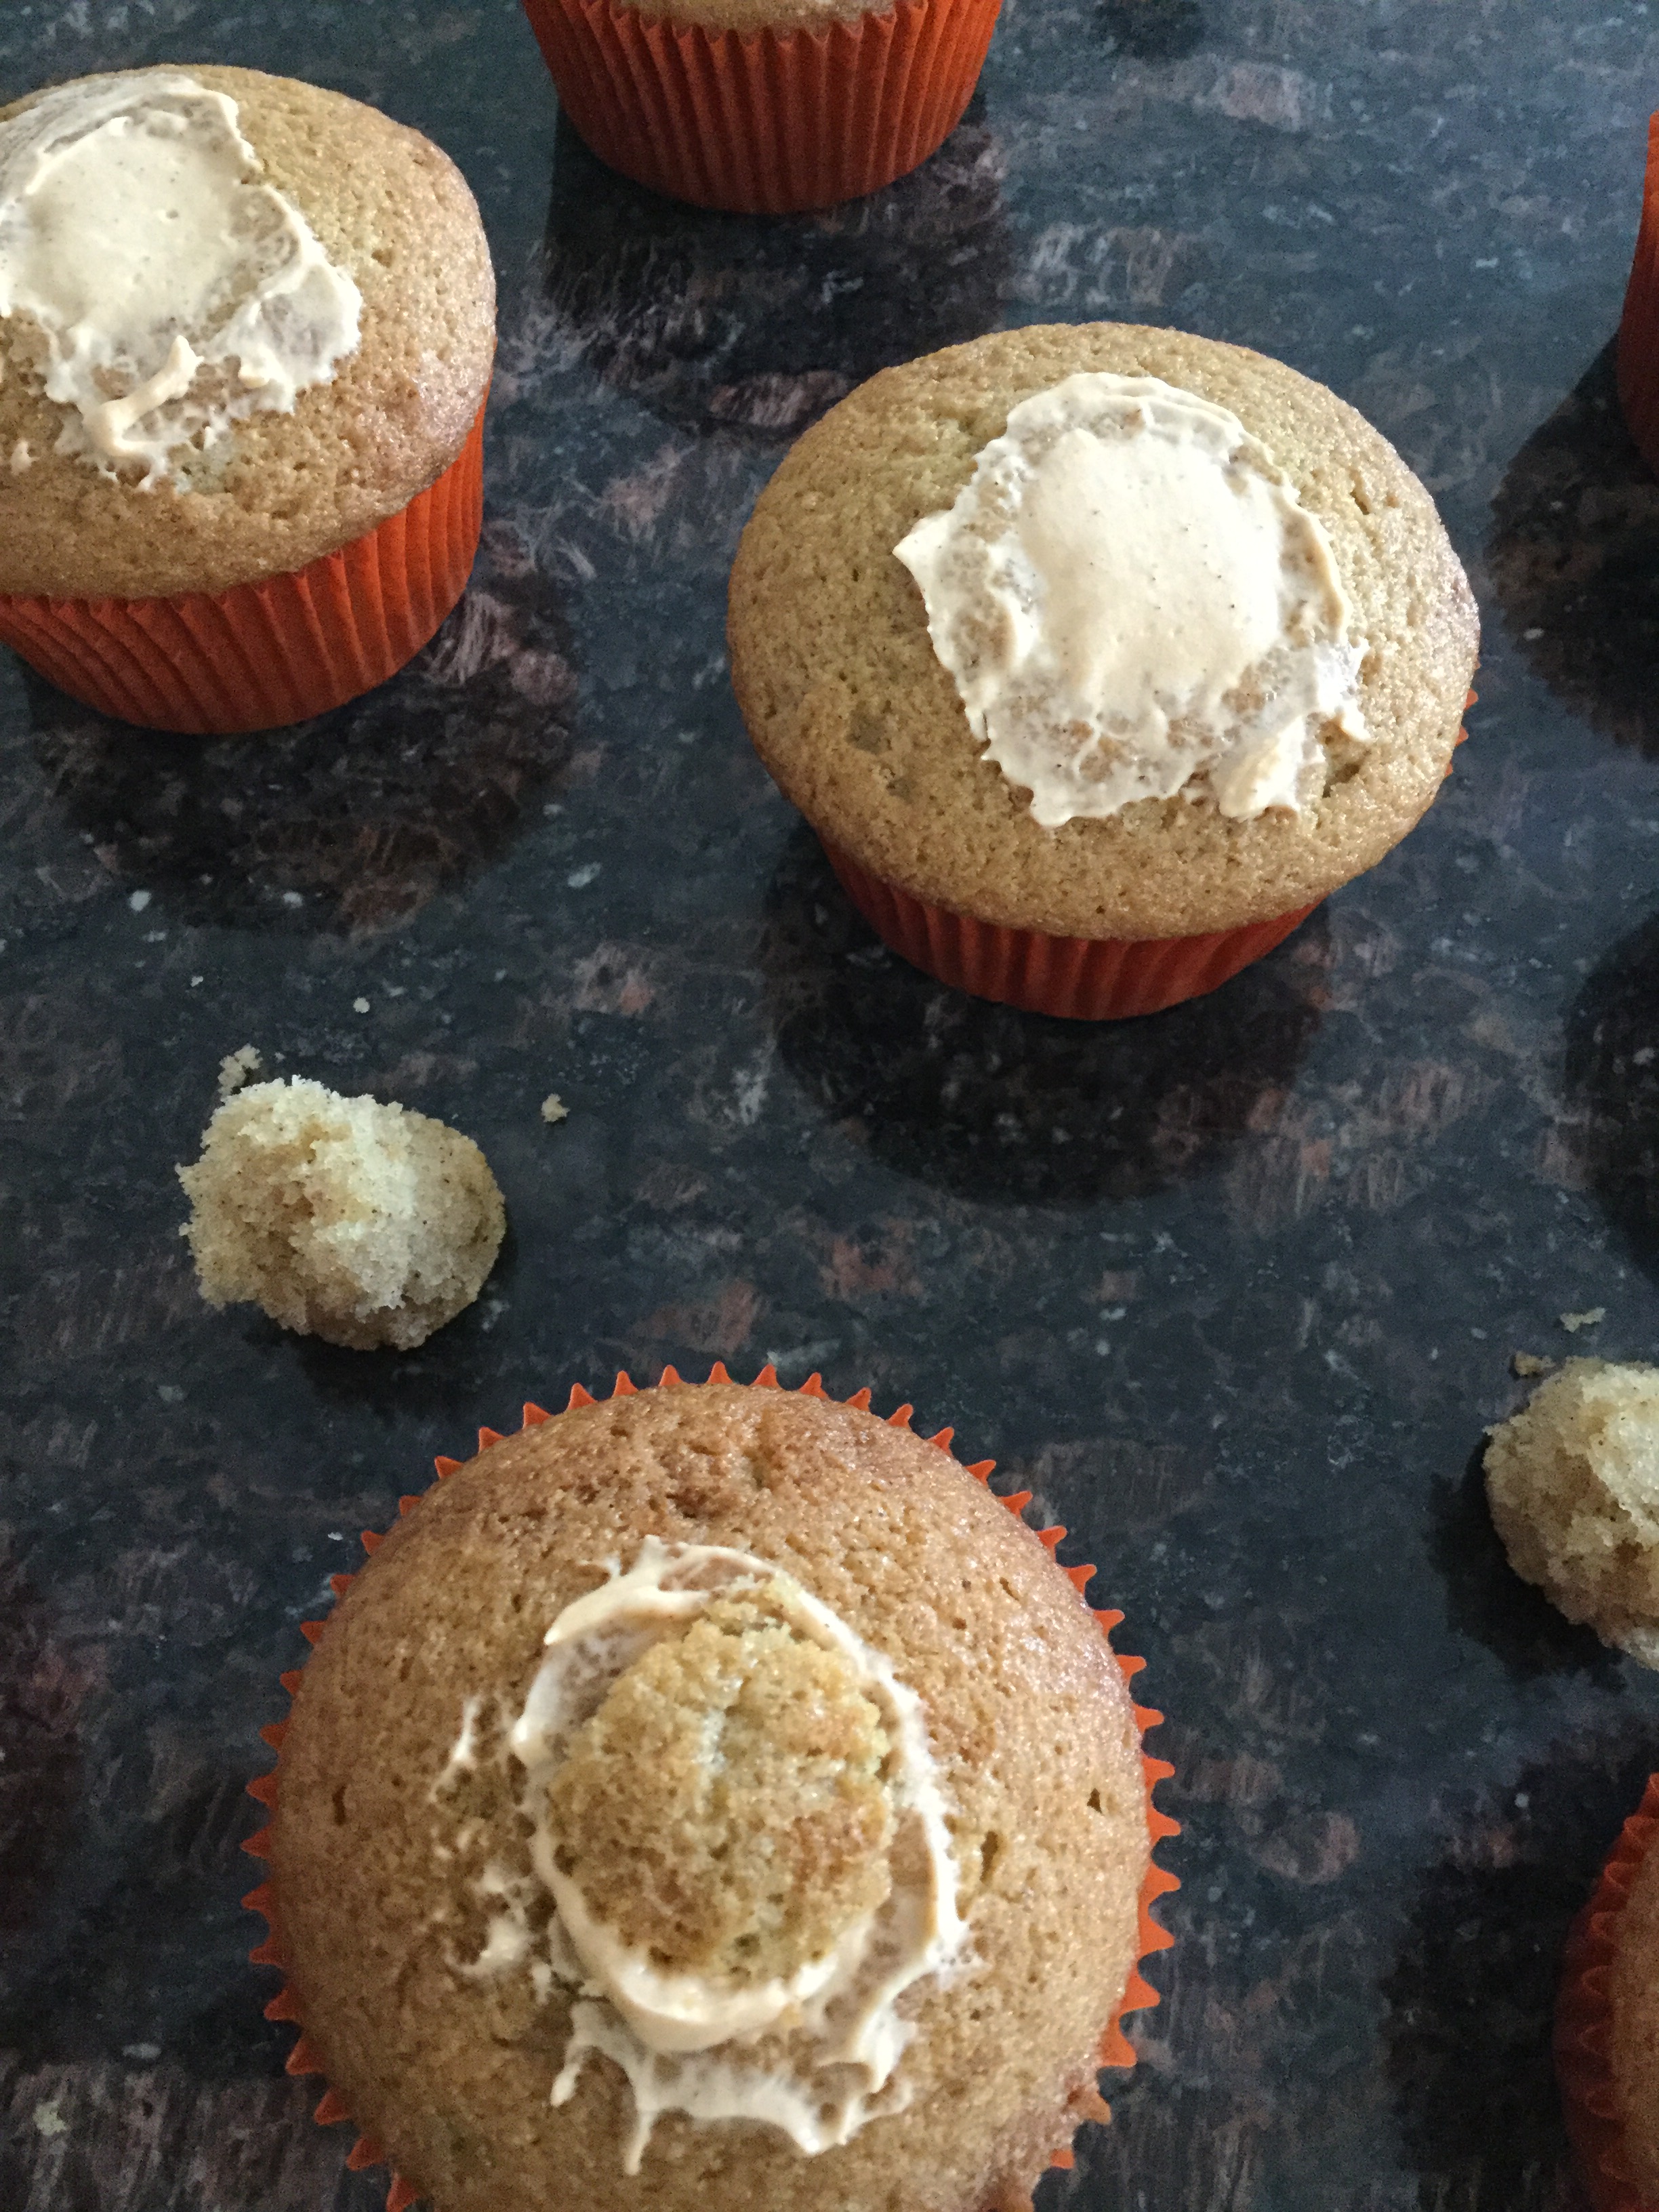
To amp the peppermint flavor in the cupcakes not only did I add peppermint extract to the batter, but, I infused peppermint into the milk by crushing peppermint candies and adding them to the milk while heating it so they could dissolve into it. And while the frosting also called for milk, I opted to just use peppermint extract to give it a peppermint flavor. The final product, a cupcake that’s making me long for all the sweet treats that are to come with the holidays!

Peppermint Chocolate Squared Cupcakes

  • Servings: 12 Cupcakes
  • Print

Ingredients:

For the Cupcakes:

1 cup flour

1/2 teaspoon baking soda

1/2 teaspoon salt

3/4 cup whole milk

4 starlight peppermint candies, crushed

1/2 cup unsweetened cocoa powder

1 cup sugar

3/4 cup vegetable oil

1 egg

1 teaspoon vanilla extract

1 teaspoon peppermint extract

For the Frosting:

1 stick unsalted butter, at room temperature

2 cups confectioners’ sugar

4 ounces melted semi-sweet chocolate (I used 3/4 cups semi-sweet chocolate chips)

2 tablespoons unsweetened cocoa powder

2 tablespoons whole milk

1 teaspoon vanilla extract

1 teaspoon peppermint extract

Sprinkles or additional crushed peppermint candies to decorate.

Directions:

Preheat the oven to 350 F and line a cupcake pan with paper liners.

For the Cupcakes: Start by making the peppermint milk. In a small saucepan over medium hear (or using a glass measuring cup in a microwave) heat the milk and crushed candies together until the milk is hot but not boiling. Stir to melt the candies in the heated milk. Pour the heated milk over the cocoa powder in a large bowl and stir until smooth. Let cool slightly. 

In a medium whisk together the flour, baking soda and salt. Set aside.

Once the cocoa mixture has cooled, whisk in the sugar, vegetable oil, egg, vanilla and peppermint extracts until the mixture is smooth. Then whisk in the flour mixture until just combined.

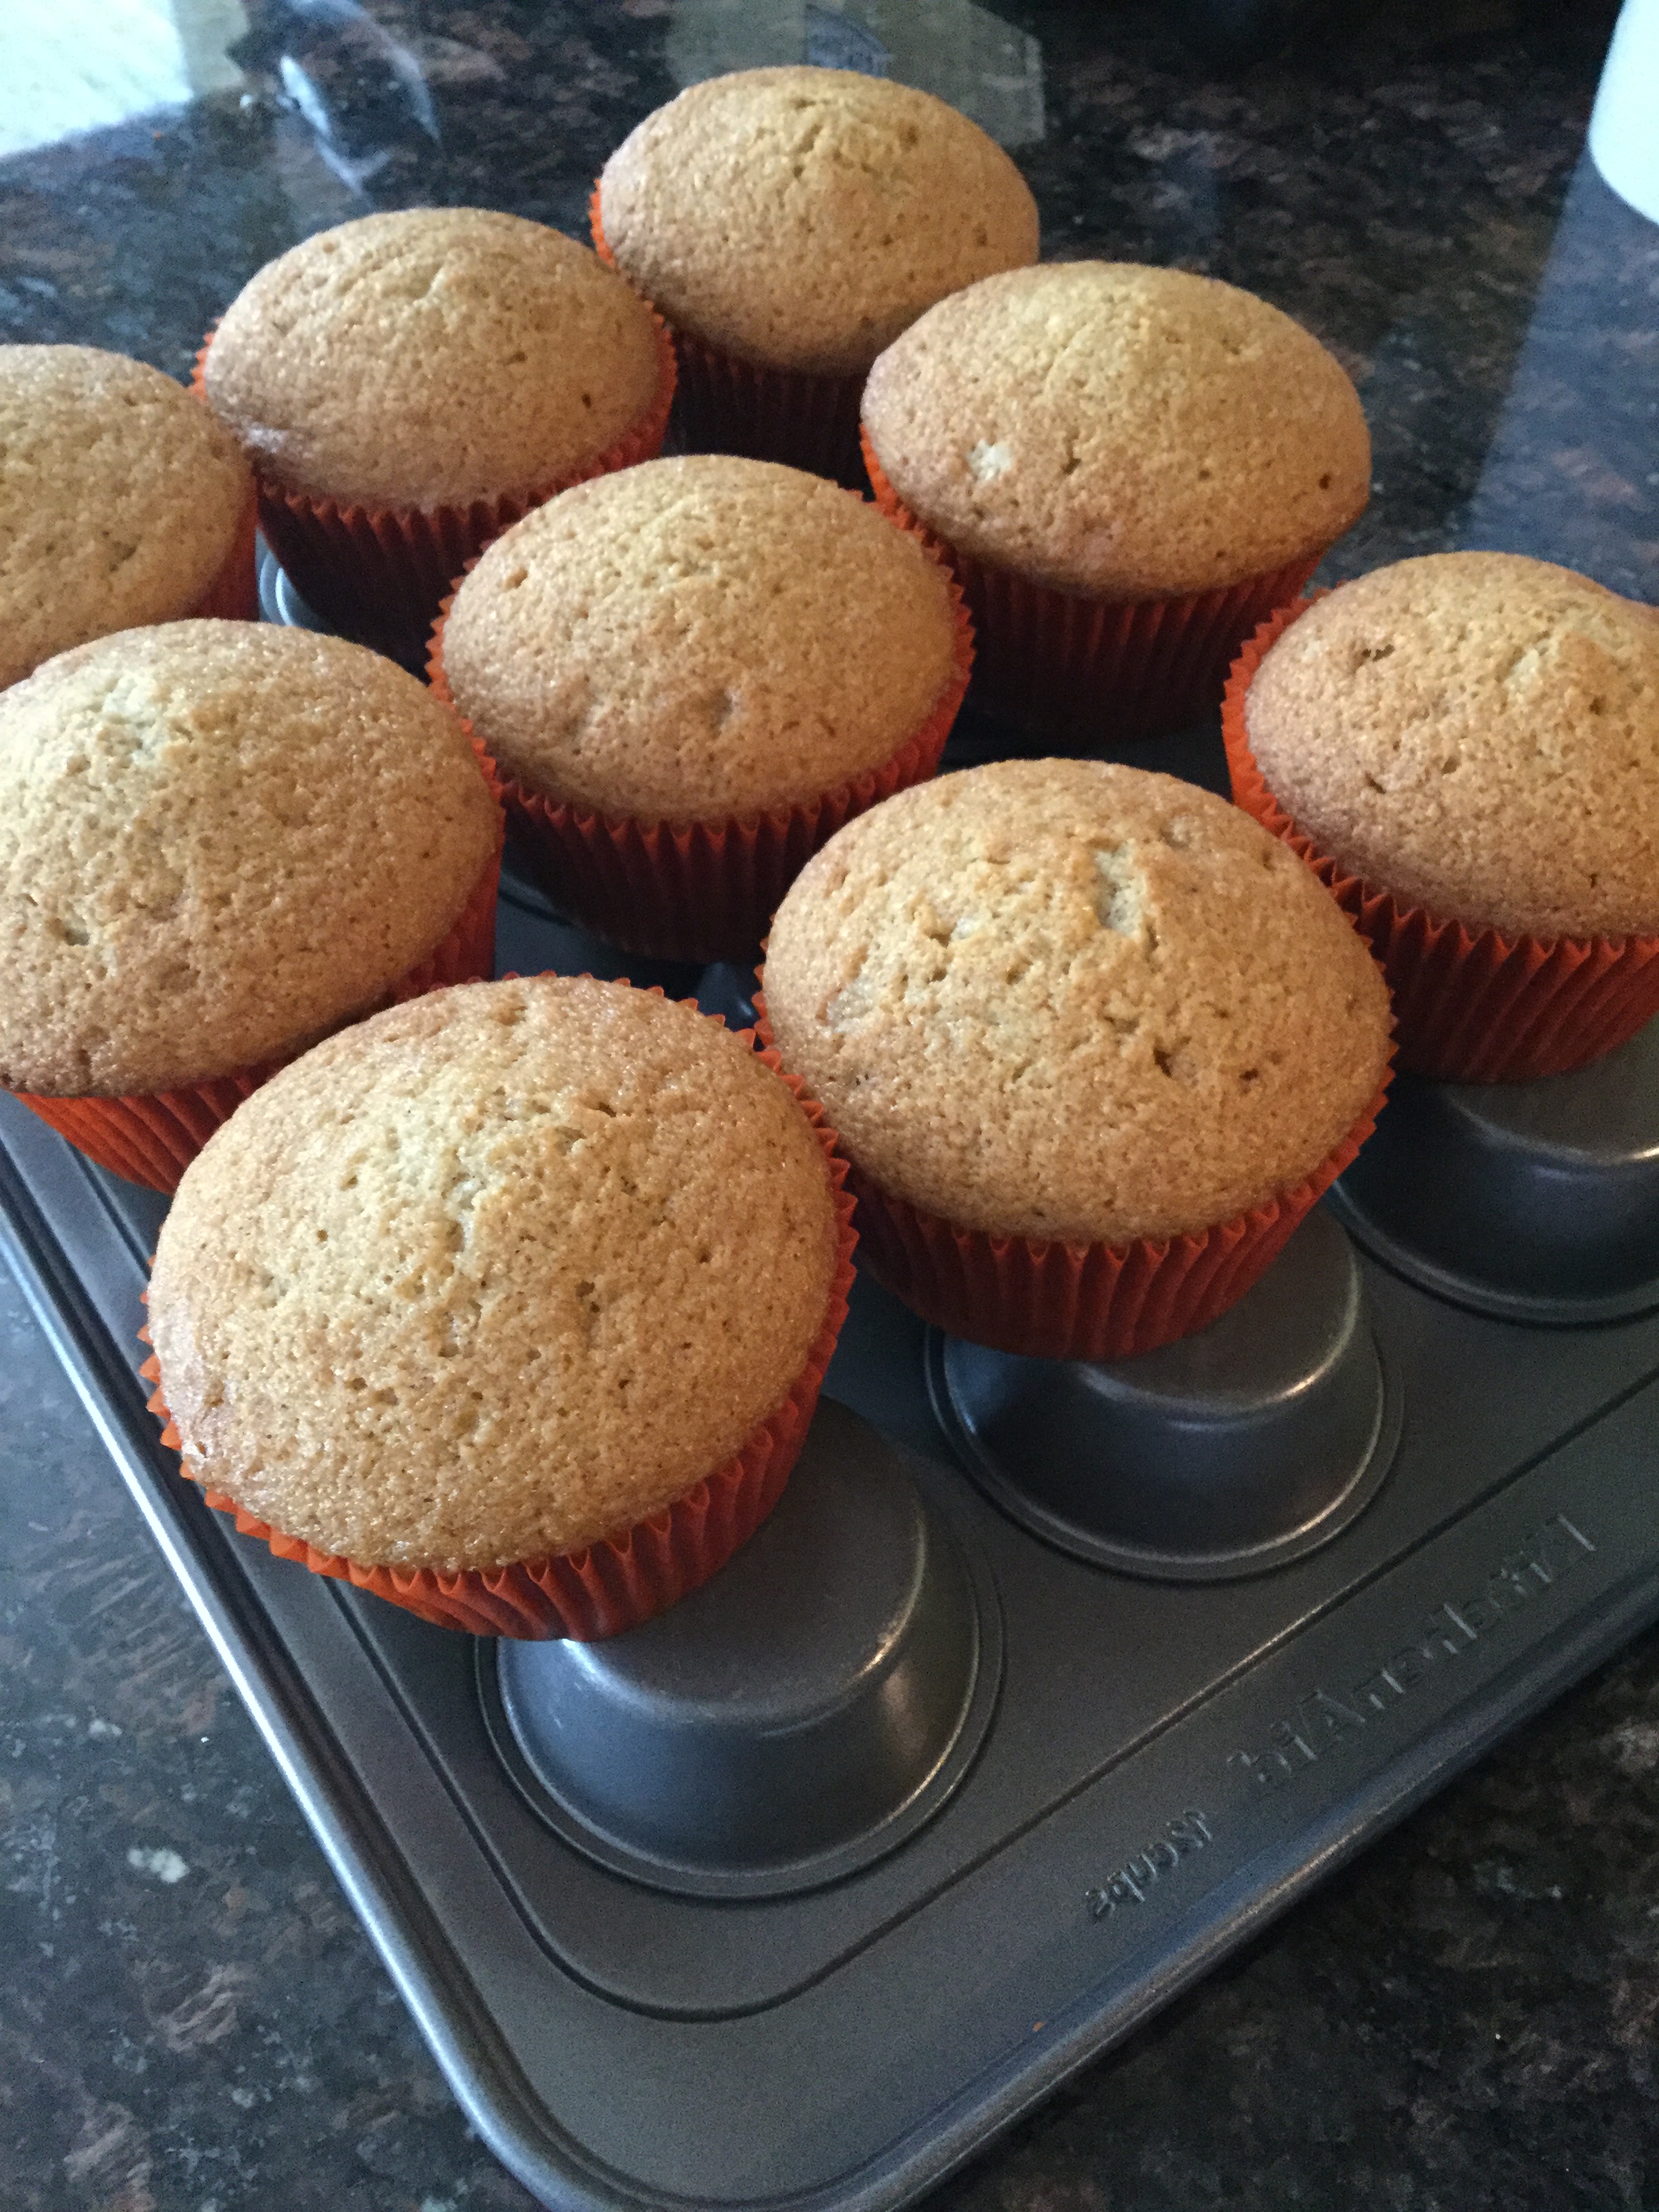
Divide the batter among the prepared cupcake pan and bake for 20 -25 minutes, or until a cake tester inserted in the center of one of the cupcakes comes out clean.

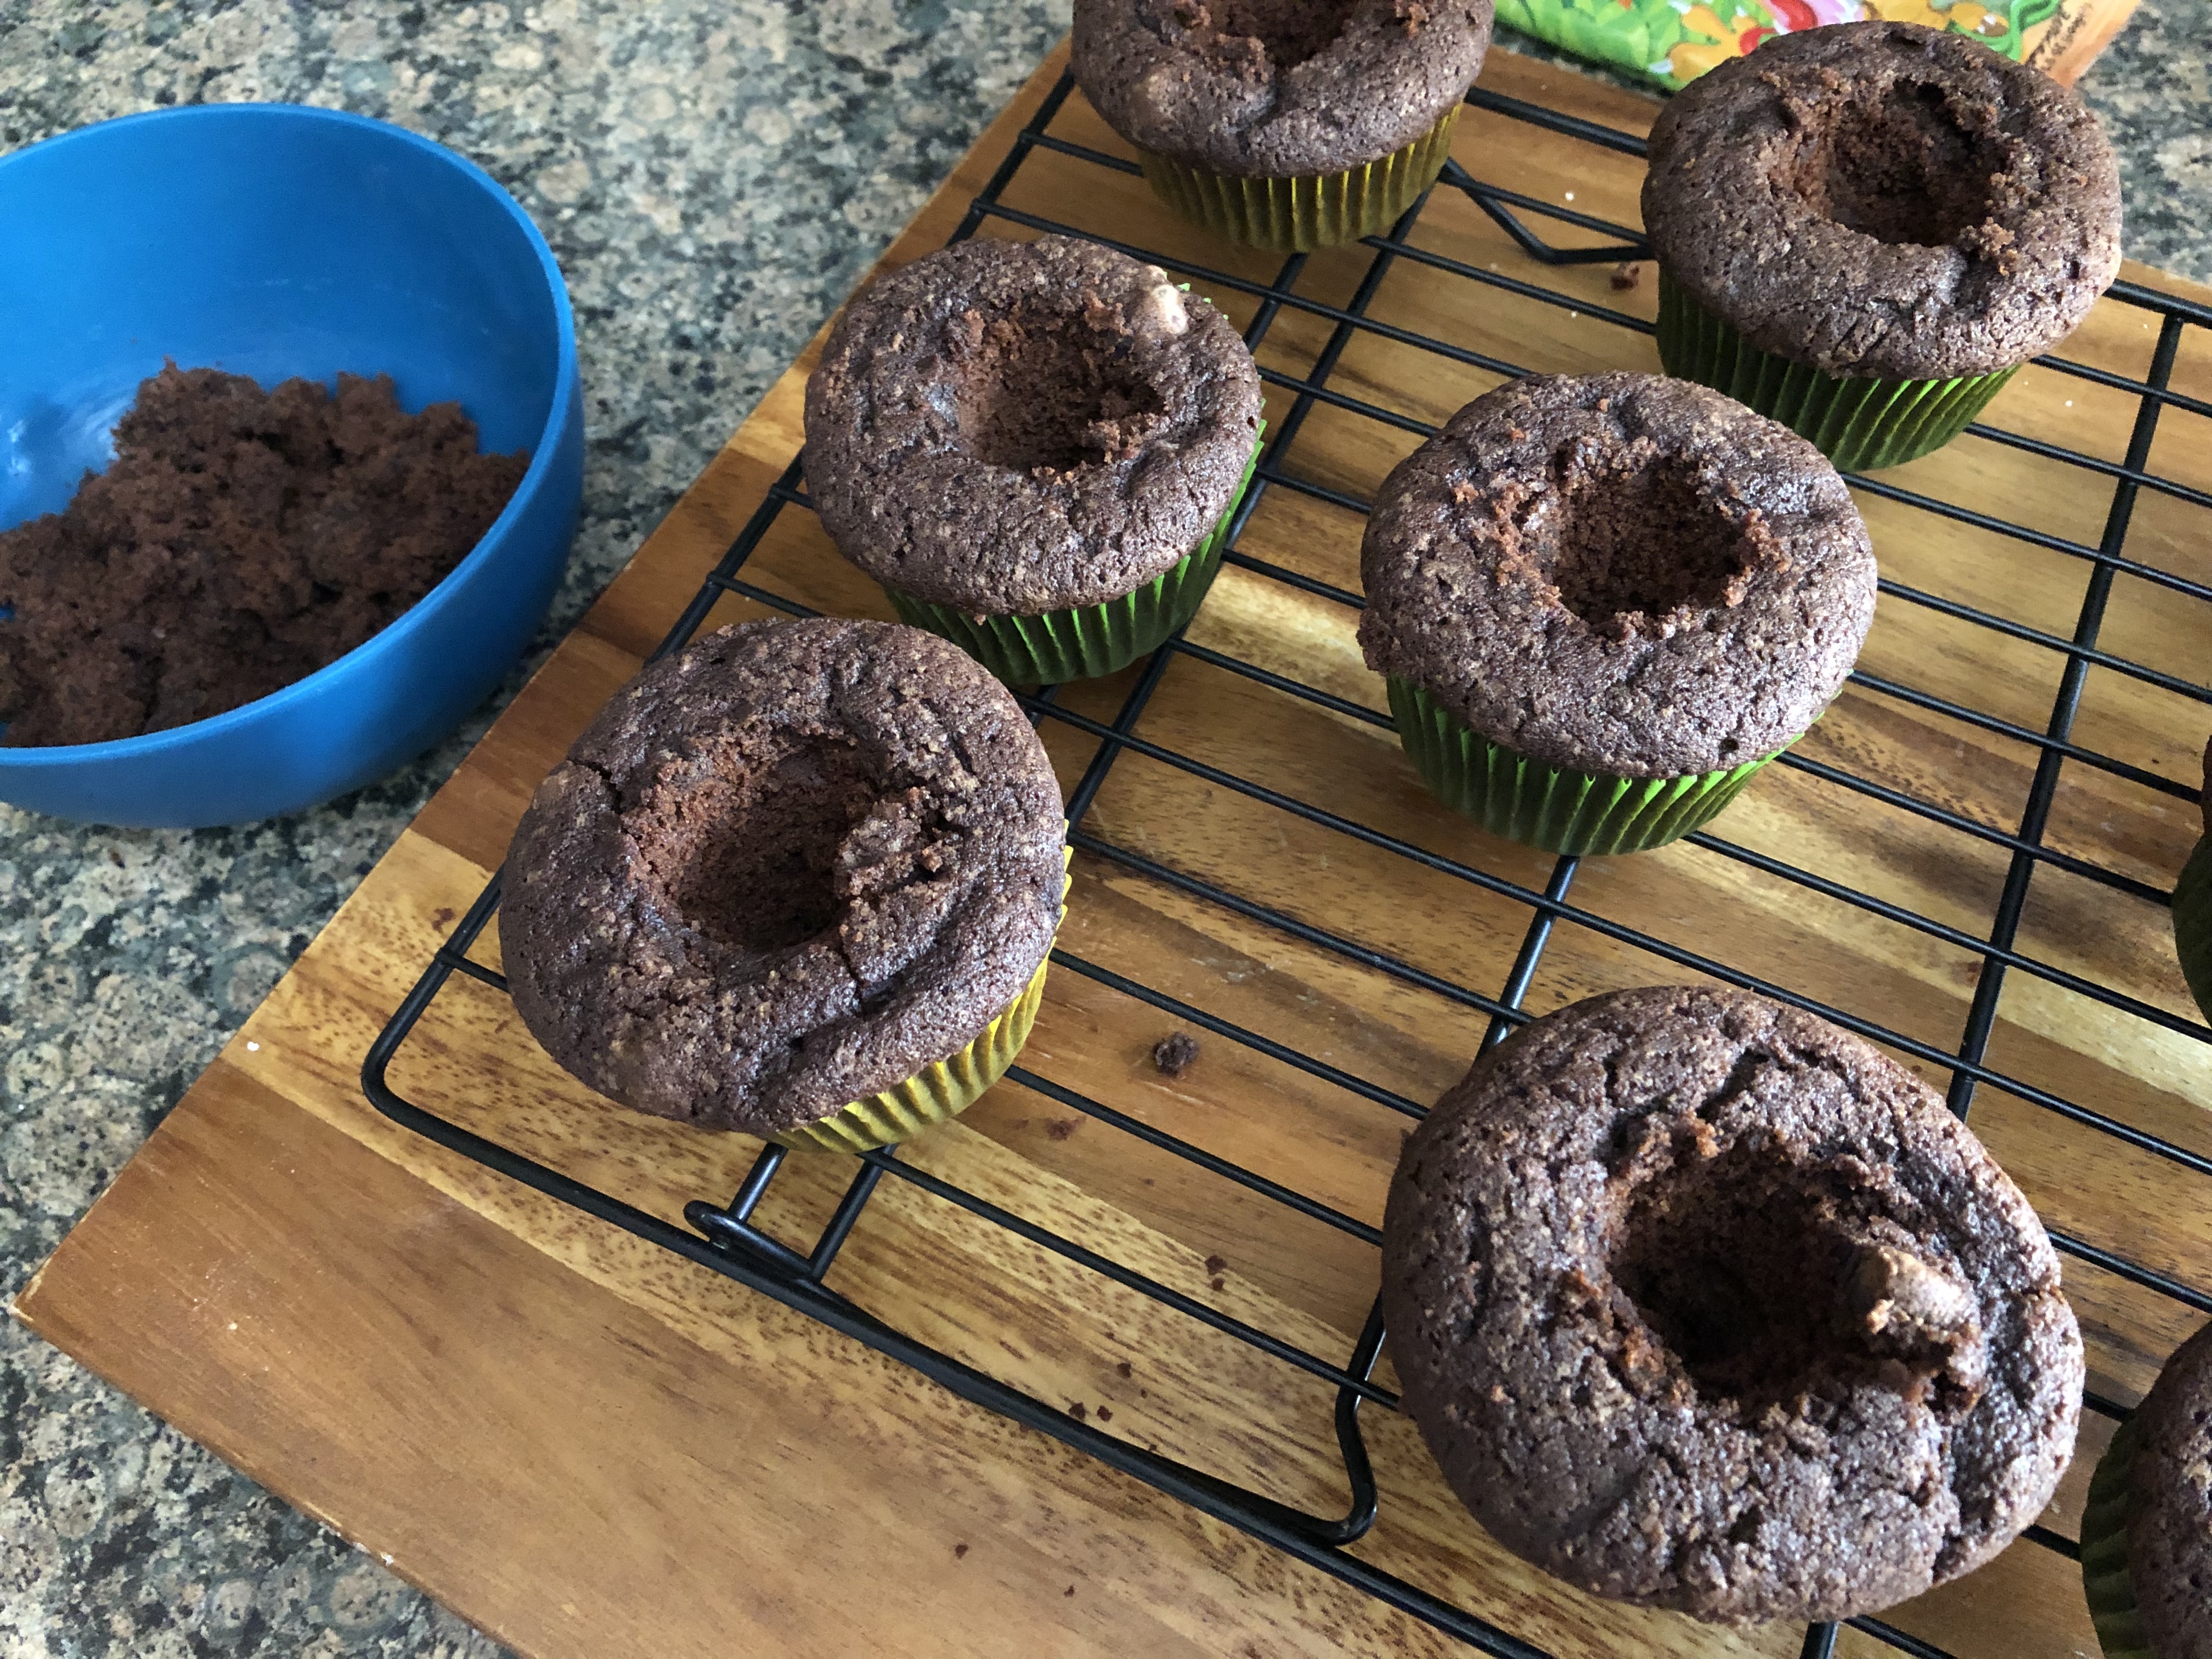
Let cool in the pan for 10 minutes before transferring to a wire rack to cool completely.

Once the cupcakes are cool make the frosting. In the bowl of a food processor combine the butter, confectioners’ sugar, melted chocolate, unsweetened cocoa powder, milk, vanilla and peppermint extracts and pulse the ingredients together until smooth.

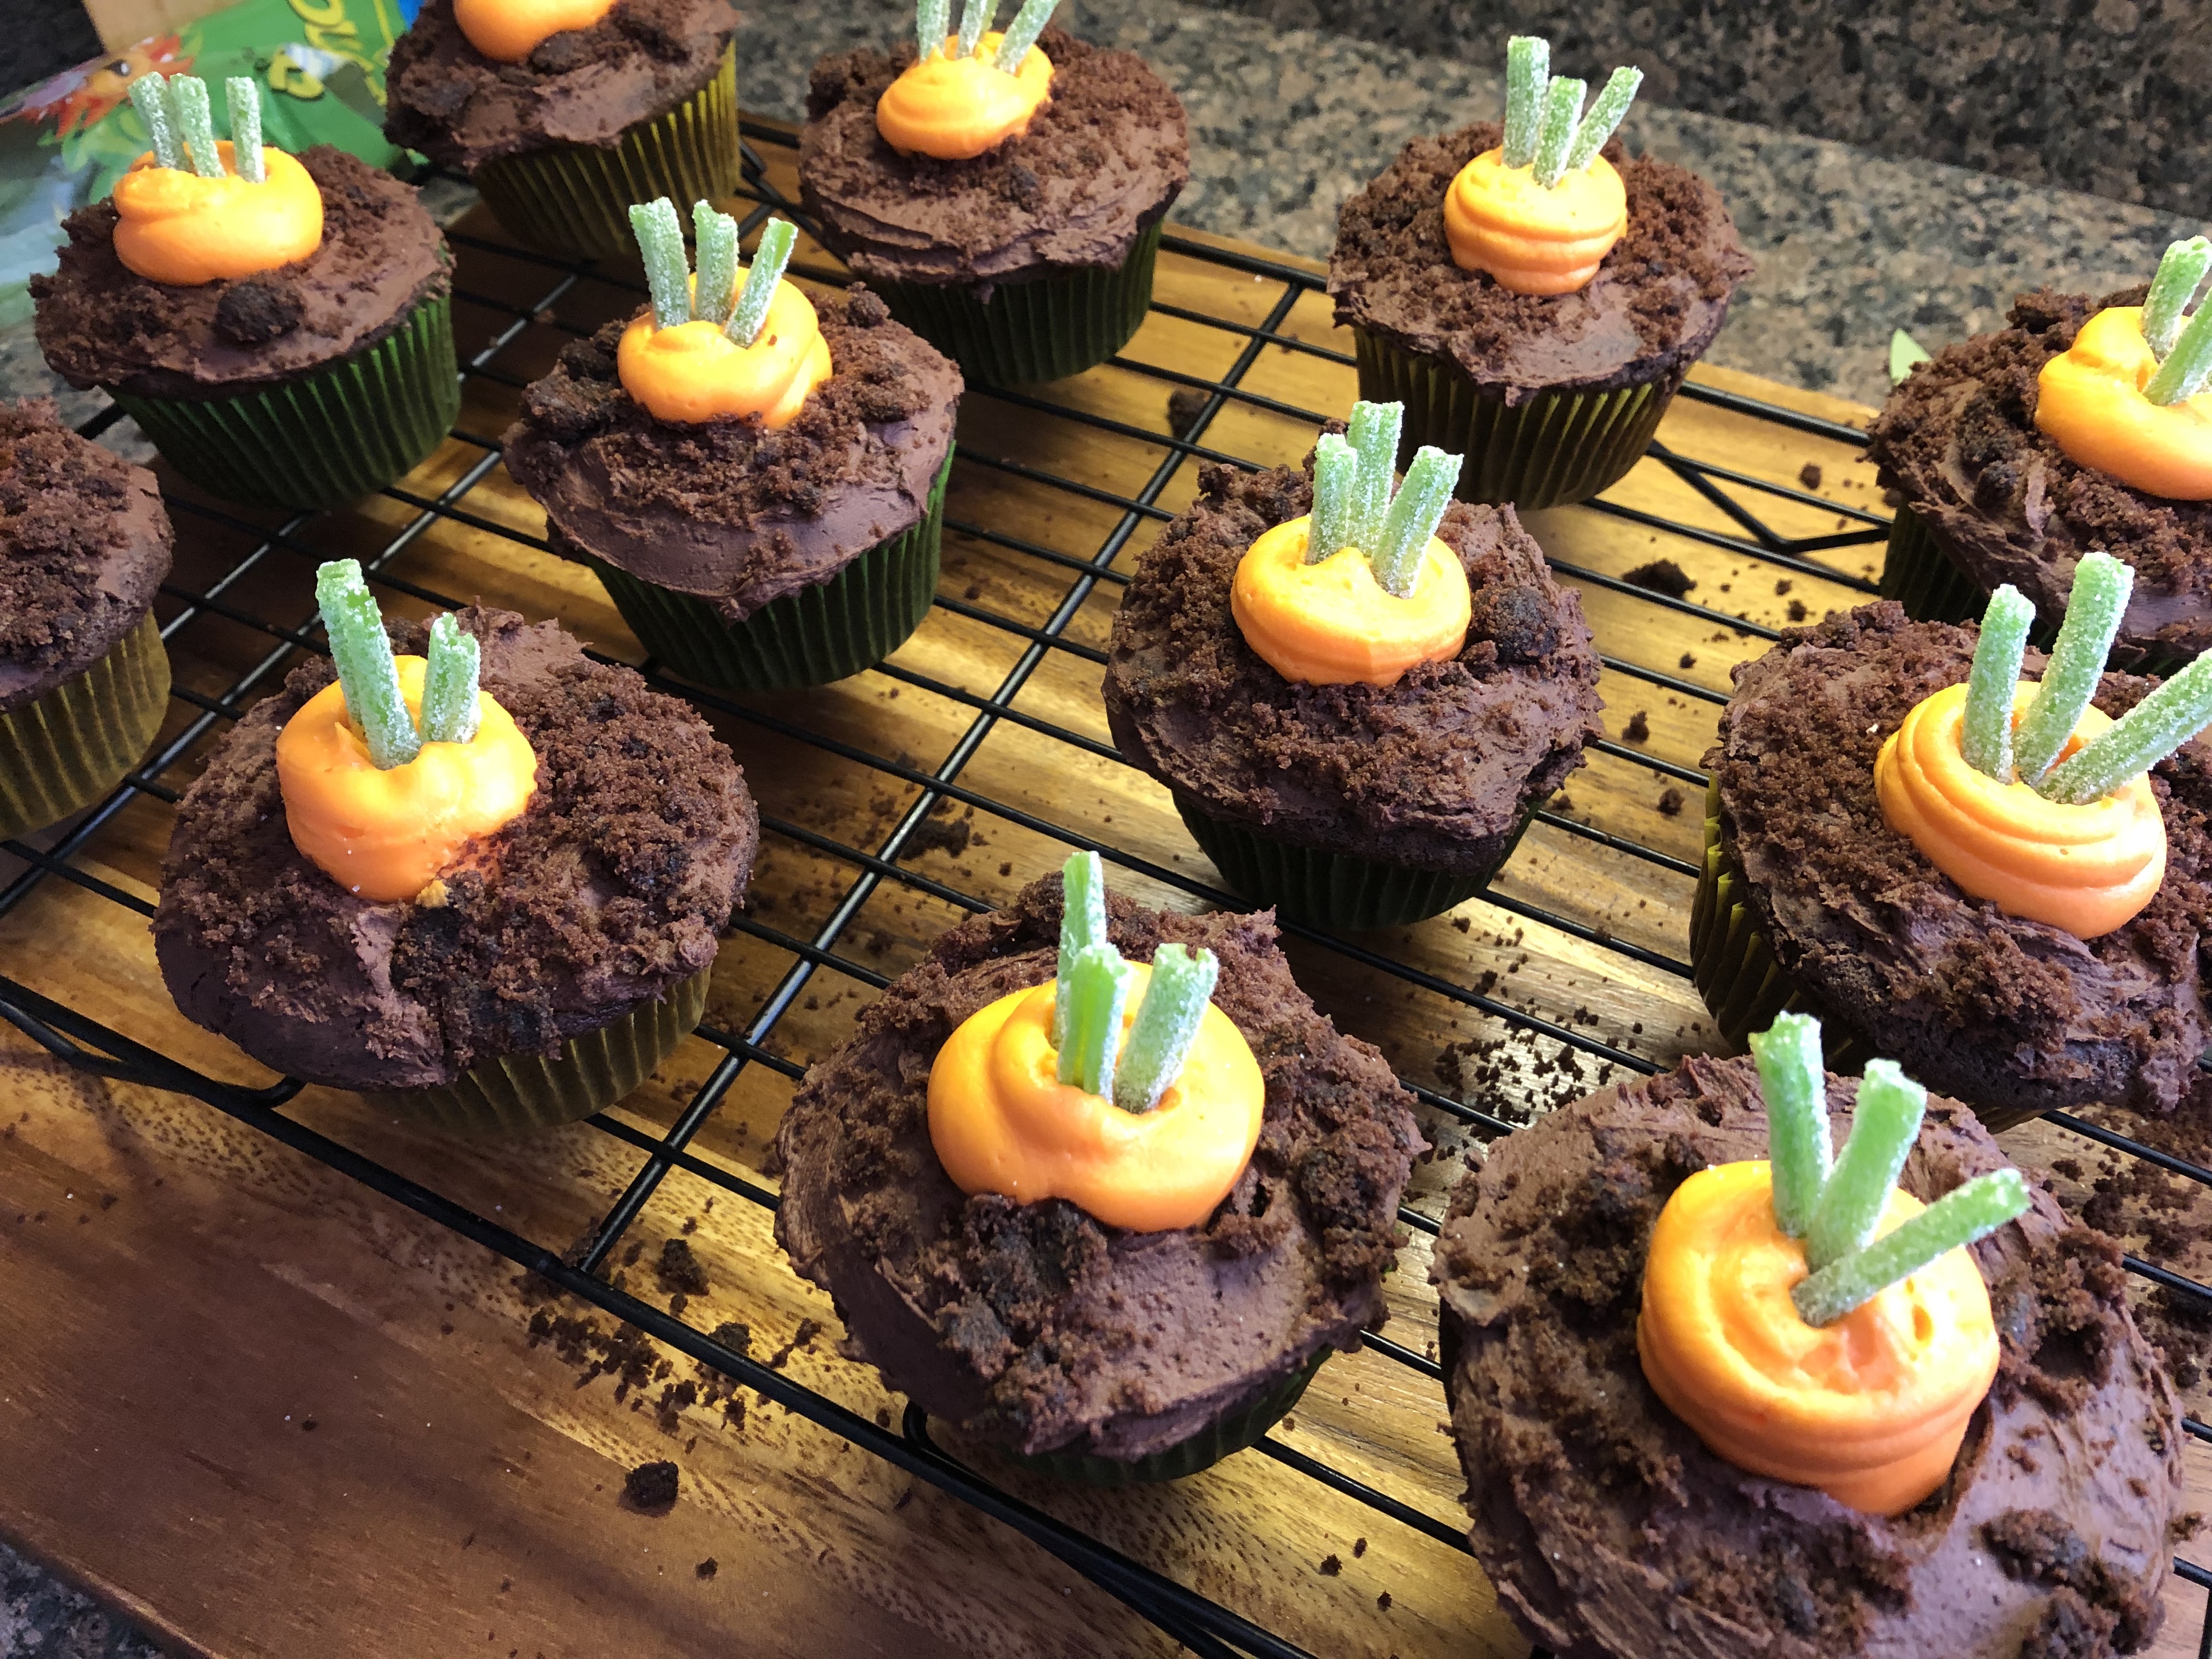
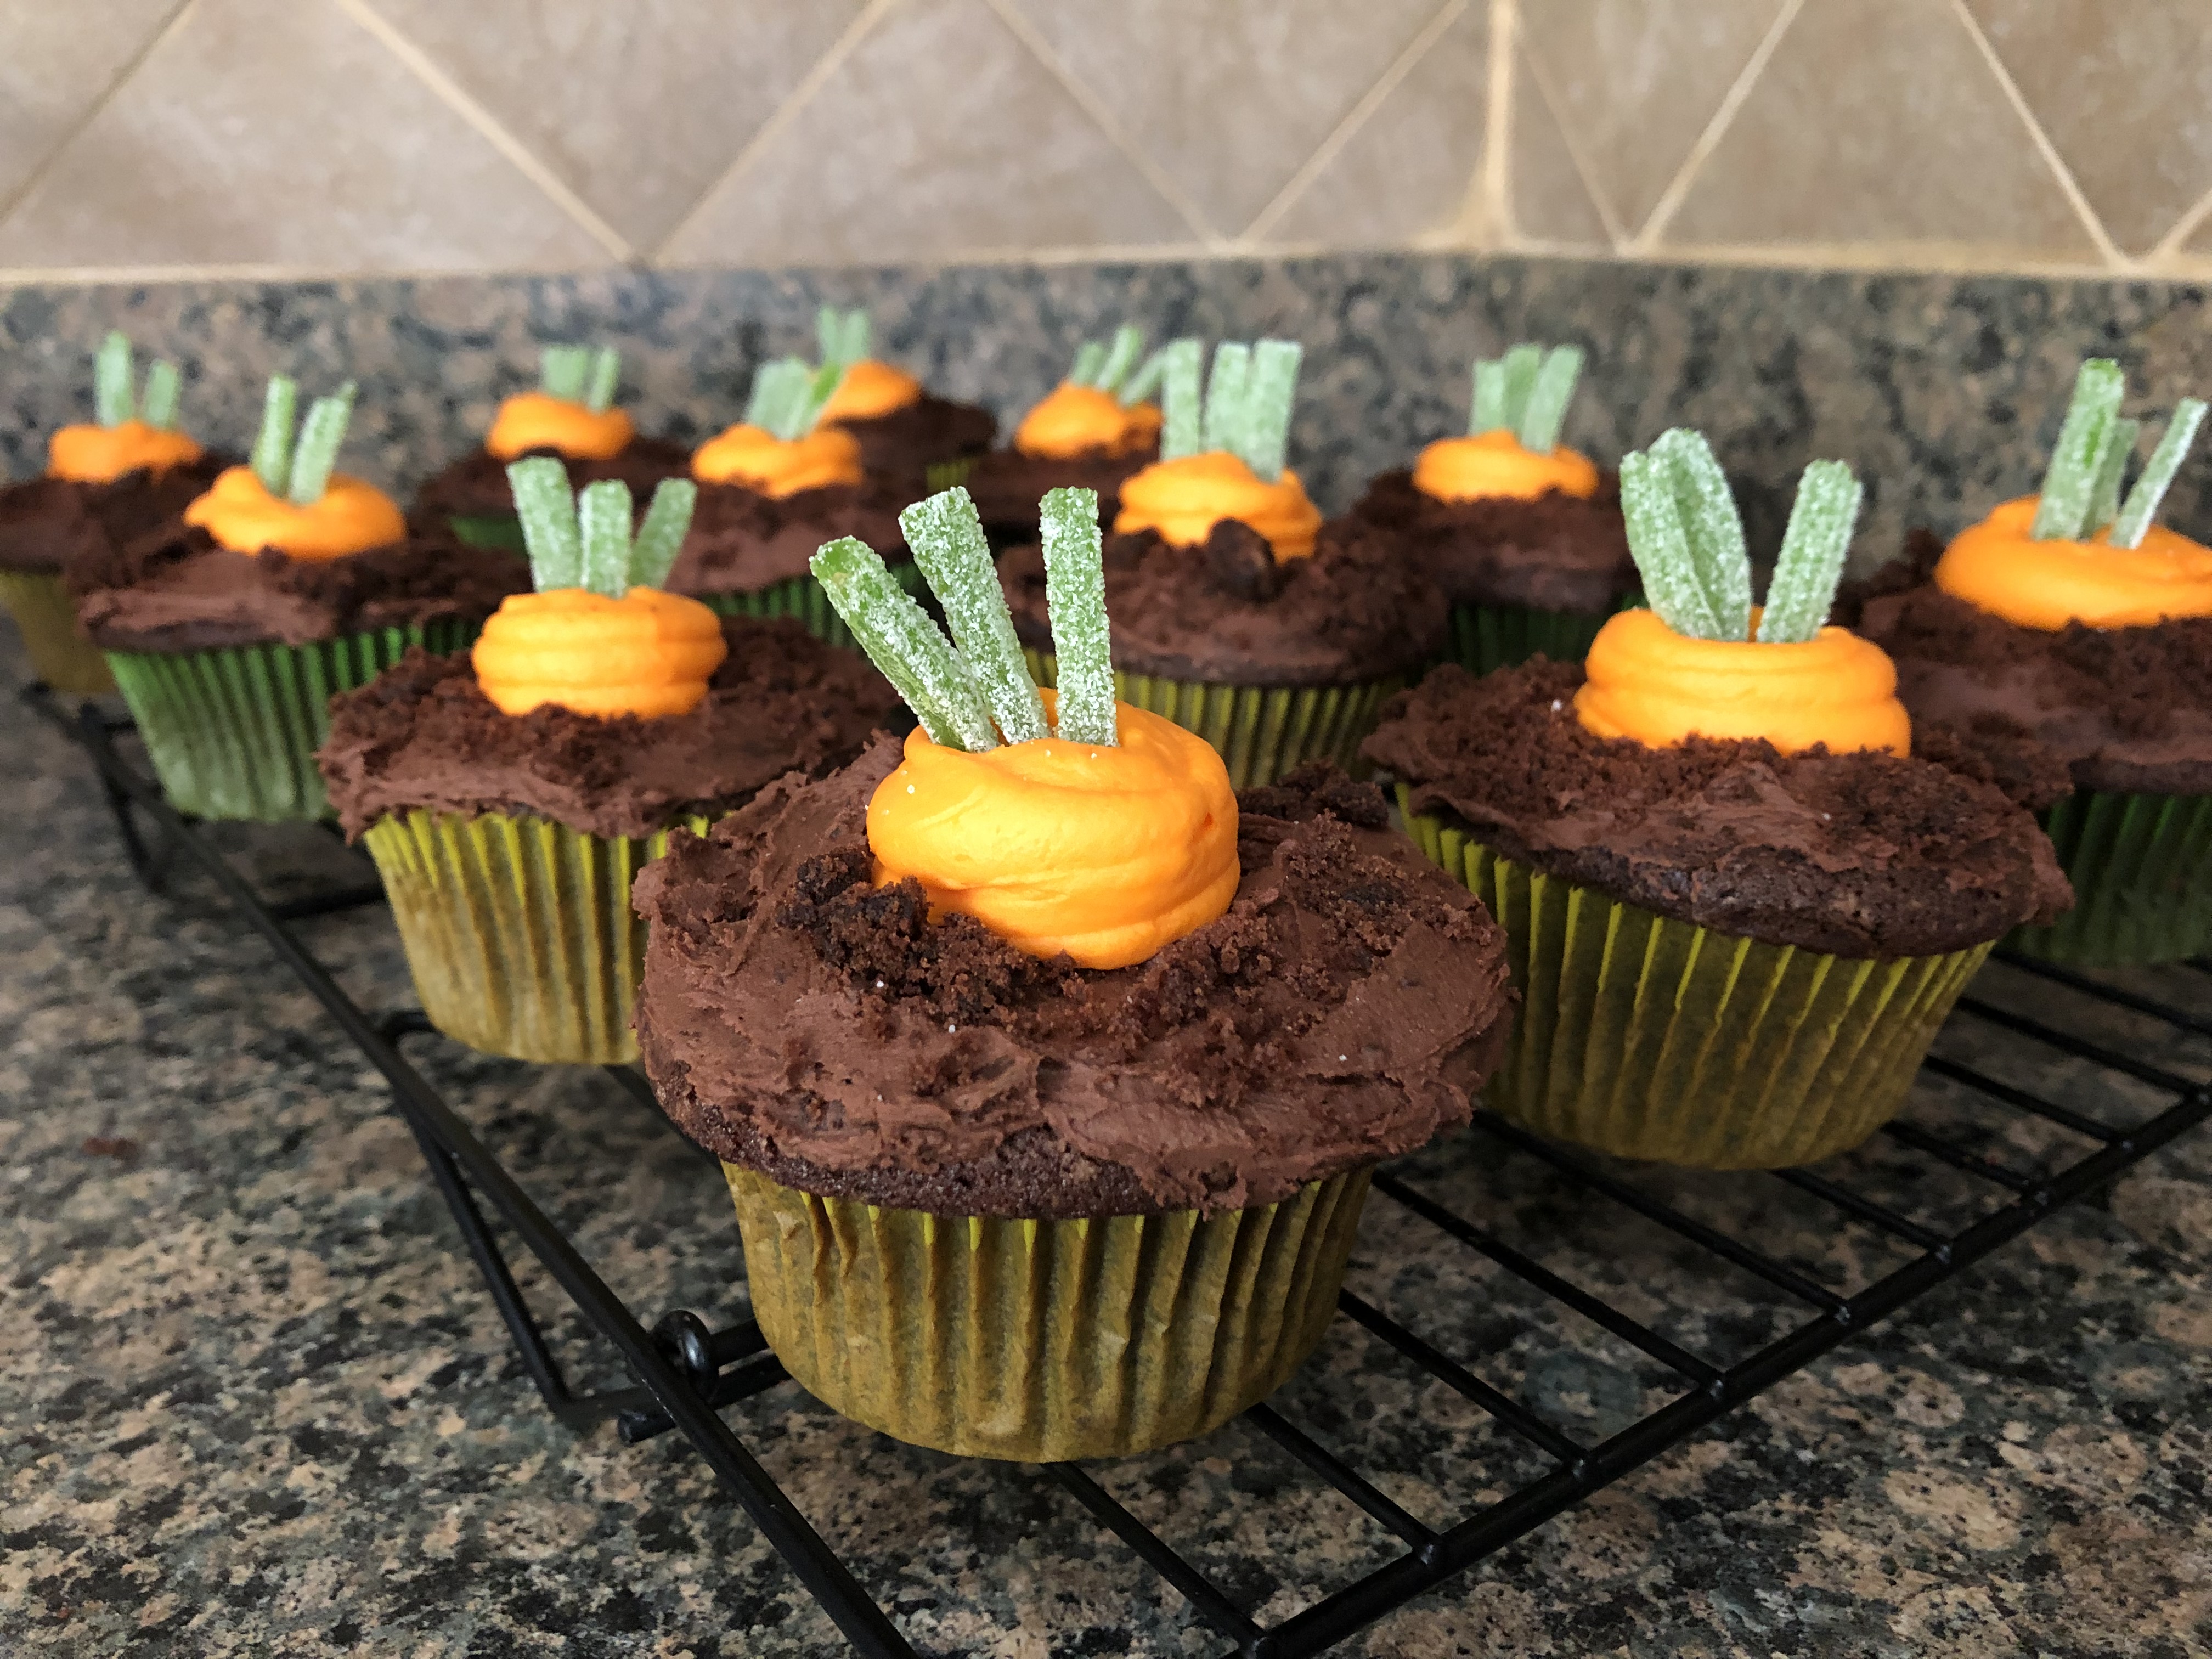
Frost the cupcakes using your desired method and then top with sprinkles and/or crushed candies.

Recipe adapted from Food Network.

White Chocolate Raspberry Cupcakes

One of my favorite cheesecake flavors is White Chocolate Raspberry. One day I got to thinking what about a cupcake that incorporated those flavors, just without the cheesecake part. I knew I wanted the frosting to be white chocolate, but I wasn’t quite sure how I wanted to incorporate raspberry into the cupcakes. I wasn’t sure if I wanted to fold fresh raspberries into the batter or make the cupcakes with a raspberry swirl. Ultimately, I decided to make a true raspberry cupcake by incorporating a fresh raspberry puree and raspberry powder – made from freeze-dried raspberries – into my batter. 

To make the raspberry puree and the raspberry powder I used my food processor to process the fresh raspberries and freeze-dried raspberries and then used a fine mesh sieve to sift the seeds out of the raspberry powder and pressed the raspberry puree through the sieve to separate it from the seeds. A quick tip, I processed the freeze-dried raspberries first and then the fresh raspberries afterwards so I wouldn’t have to clean my food processor in between. If you are wondering where you can get freeze dried raspberries from, I found mine at my local Target. And while you could make these cupcakes without the raspberry powder, adding it really enhances the raspberry flavor, especially if you end up with a batch of raspberries that aren’t incredibly sweet. The powder also intensifies the color of the cupcakes without having to use food coloring to get a nice pink color reminiscent of raspberries.

Once the raspberry powder and puree was ready, I incorporated the puree into my wet ingredients and the powder into my dry ingredients and then mixed the dry ingredients into the wet ingredients alternating with milk. When filling my cupcake liners, I erred on the side of caution when filling them since I wasn’t sure how much they would rise. As you can see, I filled them about 3/4 quarters of the way…

Once they were baked though I noticed that they didn’t rise that much and I could have filled them just about to the top. And I have to mention that the smell of these cupcakes is pure raspberries. There was no doubt what the flavor was going to be.

After letting them cool in the pan for 15 minutes I transferred them to a wire rack to cool completely. Once they were cooled it was time to make the frosting.   

Now, for the white chocolate frosting you may be tempted to and they are easier to come by, but don’t use white chips for it. With most brands, white chips do not contain cocoa butter and thus cannot be called chocolate. If you do use them, your frosting will not be smooth, but instead will have chunks of the chips in it even after melting and beating it into your frosting (I speak from experience). It’s best to buy white chocolate in bar form and check the ingredient list to make sure it does contain cocoa butter. For this recipe I used two Lindt White Chocolate bars that you can find in the candy aisle or you can use Ghirardelli White Chocolate Bars that are normally found in the baking aisle.

I started by melting and cooling the chocolate and then I gradually beat it into butter that I had already beaten. I opted to make the frosting in my stand mixer so I could keep it running constantly while adding in the ingredients. Once the chocolate was incorporated, I then gradually added in confectioners’ sugar and finally vanilla extract and heavy whipping cream. Adding the whipping cream helps to make the frosting light and fluffy. And in case you are wondering, even with the chocolate and confectioners’ sugar the frosting is not overly sweet. I transferred the frosting to a piping bag fitted with a large star tip and piped swirls on each of the cupcakes and topped some with a fresh raspberry for a final touch.

Raspberry Cupcakes

  • Servings: 12 Cupcakes
  • Print

Ingredients:

6oz. (1 1/4 cups) fresh raspberries

1/4 cup freeze dried raspberries,

1 1/2 cups cake flour

1 1/2 teaspoons baking powder

1/2 teaspoon salt

Directions:

Preheat oven to 350 F. Line a cupcake pan with liners and set aside.

In the bowl of a food processor add the freeze-dried raspberries. Pulse a few times until they become a powder. Sift the powder through a fine mesh sieve to eliminate the seeds. Set aside.

Add the fresh raspberries to the bowl of the food processor and pulse until the raspberries until they have broken down. Press the mixture through a fine mesh sieve over a bowl to separate the seeds from the puree. Set aside.

In a medium bowl whisk together the flour, baking powder, salt and raspberry powder and set aside.

In a large bowl cream together the butter on medium speed until cream. Add the sugar and continue beating until light & fluffy.

Add the eggs 1 at a time, then the vanilla extract and finally the raspberry puree until just incorporated.

Add the flour mixture in three parts, alternating with the milk on low speed. Raise the speed to medium until just combined.

Divide the batter among the prepared pan and bake 20 to 25 minutes, or until a cake tester inserted in one of the cupcakes comes out clean.

Let cool in the pan for 15 minutes and then transfer to a wire rack to cool completely before frosting.

White Chocolate Frosting

  • Servings: About 2 cups
  • Print

Ingredients:

8oz. white chocolate

1 cup (2 sticks) unsalted butter, at room temperature

1 1/2 cups confectioners’ sugar

1 teaspoon vanilla extract

1/4 teaspoon salt

2 tablespoons heavy whipping cream

Directions:

Chop the white chocolate and microwave in 30 second intervals, stirring between each, until completely smooth. Let cool for 15 minutes.

In the bowl of a stand mixer (or using a hand mixer) beat the butter on medium speed until creamy. Reduce the speed to love and gradually add in the cooled melted chocolate.

Still on low speed, gradually add in the confectioners’ sugar.

Add in the vanilla extract and salt increase the speed to medium and then finally add in the heavy cream and beat for another minute or so.

S’mores Cupcakes

Happy National S’mores Day! The day to celebrate the summer and campfire sweet treat. This year to honor the day I decided to make a S’mores Cupcake. It starts off with a graham cracker crust, followed by a chocolate cupcake and topped with a marshmallow whipped cream… YUM!

After lining a 12-cup muffin tin with cupcake liners I made the graham cracker crust. I crushed a few graham crackers into crumbs by placing them in a resealable bag and rolled them with a rolling pin. I then combined the crumbs with melted butter and sugar. I placed a tablespoon of the crumbs into the bottom of each cupcake liner and then pressed them down with the bottom of a cup. I then baked them in a 350 F preheated oven for 6 minutes. Once they were done, I set the pan aside so the graham cracker crust could cool.

Next, I made the batter for the cupcakes. Now, you could make your cupcakes from scratch, but I decided to go the easy route and use a box mix of chocolate cake. I prepped the batter per the box directions and then filled each cupcake liner with a quarter cup of the batter. With the leftover batter I made a 6-inch chocolate cake so it wouldn’t go to waste. If you would like to make 24 cupcakes, you can easily double the ingredients for the graham cracker crust and use the leftover frosting to frost additional cupcakes. I baked the cupcakes for about 18 minutes and let them cool in the pan for a few minutes before transferring them to a wire rack to cool completely.

Once the cupcakes were cooled, I made the marshmallow whipped cream frosting. Using a handheld mixer, I whipped heavy cream and vanilla extract together until soft peaks formed and then added in a 7oz. jar of marshmallow fluff (also known as marshmallow cream). I continued mixing until everything was well incorporated and the whipped cream was smooth. It was a bit lumpy at first, but, as I continued to mix it the lumps smoothed out.

I transferred the whipped cream to a piping bag fitted with a round tip and piped the frosting onto the cooled cupcakes and then topped them with graham cracker crumbs and shaved chocolate. The consistency of the frosting was a bit thin and I was concerned that it would be runny on the cupcakes, but it held up quite well. Definitely keep these in the refrigerator if making them on warm days.

And here is a pic of each layer of this delicious cupcake…

Looking for some more S’more inspired treats…

S’mores Stuffed Chocolate Chip Cookies

S’mores Brownies

Malted S’mores Ice Cream

S’mores Icebox Cake

S’mores Chocolate Chip Cookies


S’mores Cupcakes

  • Servings: 12 Cupcakes
  • Print

Ingredients:

Graham Cracker Crust

3/4 cup graham cracker crumbs

3 tablespoons unsalted butter, melted

2 tablespoons sugar


Chocolate Cupcakes:

1 box chocolate cake mix along with the ingredients necessary to make the batter


Marshmallow Whipped Cream

1 cup heavy whipped cream

1 teaspoon vanilla extract

7 oz. jar marshmallow cream


Graham cracker crumbs and shaved chocolate for topping


Directions:

Preheat the oven to 350 F. Line a 12-cup muffin tin with cupcake liners.

Make the graham cracker crust: Combine the graham cracker crumbs, butter and sugar in a medium bowl until well combined. Place a tablespoon of the mixture in the bottom of each cupcake liner and press down with the bottom of a cup. Bake in the preheated oven for 5 – 7 minutes, until set, and then let cool while making the cupcake batter.

Cupcakes: Prepare the cake mix per the instructions and pour 1/4 cup of batter over the graham cracker crust. Use the remaining batter to make a small cake. Bake the cupcakes for 15-18 minutes, or until a cake tester inserted in the middle comes out clean. Let the cupcakes cool in the pan for a few minutes before transferring them to a wire rack to cool completely.

Frosting: Using a handheld mixer, beat the heavy cream and vanilla extract in a medium bowl until soft peaks form. Add in the marshmallow cream and continue beating the mixture until it’s smooth. Transfer to a piping bag fitted with a round tip and pipe dollops of the frosting onto each cupcake.

Top each cupcake with graham cracker crumbs and shaved chocolate and enjoy!

Mummy Cupcakes

Halloween is just around the corner. Although, if you go to some stores it may look as though Halloween & Thanksgiving have already passed as they are stocking their shelves with Christmas items already. It’s only a matter of time before “Jingle Bells” and other familiar Christmas tunes begin to fill our ears during our shopping trips. But for today, let’s just stick with Halloween. You may recall that when I posted about the NY Knicks cake I made I mentioned making some cupcakes along with the cake to decorate with a Halloween theme. Well, that theme was Mummy Cupcakes. I got the idea for these cupcakes from the Mummy Cake I made last year for Halloween. Now, I mentioned last year that making the cake was super easy, so, you can only imagine how much easier it is to make the cupcake version. I

These cupcakes are very versatile. Meaning you can use any flavor for the base. I opted with yellow cake since I was going to have extra batter from the cake I was making. And, if baking from scratch is not your thing you can totally use a box cake mix (as I did) and store bought frosting to make them. The two specialty items you may need is an Ateco #45 decorating tip and piping bags. Although, you could skip the decorating tip and cut a small hole at the end of a piping bag on an angle. I haven’t tried this so I am not 100% sure how it will work out though.

So, once my cupcakes were cool I fitted a 12-inch piping bag with the Ateco tip and then filled it with vanilla frosting. And then I simply piped flat stripes of frosting across the top of each of the cupcakes. Once the tops were covered with those stripes I added a few extra one’s going on an angle.

Next I tinted a small amount of frosting black and red to make the eyes of the mummy. First, I piped two red dots on each of the cupcakes and then I piped two black dots in the center of those red ones.


And just like that I had Mummy cupcakes.

Mess Free Piping

I’ve been seeing people use plastic wrap inside of their piping bags for some time now- on other blogs, Pinterest, Instagram, etc.- especially when piping two or more colors together to create a fun swirl on a cupcake or to pipe flowers. I haven’t had a reason to try it until this past weekend when I decided to make chocolate cupcakes with vanilla frosting to go along with the carrot cake I made for Easter. Carrot cake is usually not a hit amongst kids so I decided I should bake something that was more kid friendly and you can you can’t get more kid friendly than a chocolate cupcake with colorful frosting.

After tinting the frosting I placed small amounts of it on a decent sized piece of plastic wrap as below.

Next I folded the plastic wrap in half and then simply rolled the entire thing to create a cylinder shape and tightly wound the ends of the plastic wrap so the frosting couldn’t “escape.” I quickly realized that I may have placed too much frosting on the plastic wrap since I didn’t have too much plastic wrap on the ends to wind together.

I then snipped one of the ends of the plastic wrap off and dropped it into a piping bag that I had already fitting with a Wilton 2D piping tip.

And I simply piped a large rosette on the cupcake to get this beautiful and colorful top.

I used the same technique to decorate the top of my Easter cake, using pastel colors to match the Mini Cadbury Eggs I placed on top of the cake. Instead of rosettes though, I simply decorated the cake with drop flowers, once again using the Wilton 2D piping tip.

In all honesty I think I will be using this plastic wrap method going forward with all of my cake decorating / piping. One of the things I dislike about using piping bag is no matter how tight I wind the top of the bag or use a rubber band to seal it, frosting always seems to seep out. And also, I just find it super messy having to refill the bag with more frosting while I am decorating. With this method I can simply remove the plastic wrap wrapped frosting and drop in another. Yes, I may be using extra plastic wrap doing this, but, it’s worth it.

Bunny Ear Cupcakes

Earlier this week I showed you how quick and easy it is to create Sprouting Carrot Cupcakes and today I am showing you a fun companion cupcake to go with them, Bunny Ear Cupcakes.

For these cupcakes I decided to make coconut cupcakes, since it is a popular flavor for Easter, topped with cream cheese frosting (my favorite frosting flavor). I then sprinkled the top of the frosting with sweetened shredded coconut.  If you are not a fan of coconut, or, just want to make something a bit quicker and simpler you could opt to make a white or yellow box cake mix into cupcakes and then top it with store bought vanilla frosting and instead of topping the cupcakes with coconut opt for white sprinkles.

Using kitchen shears I cut large marshmallows in half on the diagonal. I then dipped the cut side in a small bowl I filled with pink sanding sugar. And voila, bunny ears.

Next, I placed the marshmallow bunny ears on to the cupcakes.

And there you have it, Bunny Ear Cupcakes. While I decided to stop with the ears, sometimes less is more, you could decorate these cupcakes further by using chocolate chips for the eyes and rolling a small ball of marshmallow in the pink sanding sugar for a nose.

Coconut Cupcakes

  • Servings: 12 Cupcakes
  • Print

Ingredients:

1 1/2 sticks unsalted butter, at room temperature

1 cup sugar

3 large eggs, at room temperature

3/4 teaspoon vanilla extract

3/4 teaspoon almond extract*

1 cup flour

1/2 teaspoon baking powder

1/4 teaspoon salt

1/2 cup buttermilk**

7 ounces sweetened shredded coconut***, plus more for topping cupcakes

*If you want a stronger coconut flavor, substitute the almond extract with coconut extrac

**I’ve gotten into the habit of making my own buttermilk. To do so, add 4 1/2 teaspoons of vinegar to a measuring cup, then fill it with enough milk (I’ve used 2% and whole milk) to reach 1 cup. Stir it a few times then let it sit for 10-15 minutes. The buttermilk is ready when it begins to curdle. For this recipe since I only needed 1/2 cup of buttermilk, I used 2 1/4 teaspoons of vinegar and added enough milk to my measuring cup to reach 1/2 cup.

***I used about a 1 1/2 cups of coconut

Directions:

Preheat the oven to 325 F. Line a 12-cup cupcake tin with cupcake liners and set aside.

Using a stand mixer or a handheld mixer beat the butter and sugar together on high spend until light and fluffy. Reduce the speed to low and add the eggs, 1 at a time. Scraping the bowl as needed between each addition. Add in the vanilla and almond extracts and continue mixing until everything is well incorporated.

In a separate medium bowl sift together the flour, baking powder, baking soda and salt.

Add the dry ingredients to the butter mixture in 3 additions, alternating with the buttermilk, beginning and ending with the dry ingredients. Mix until well combined and then fold in the shredded coconut.

Divide the batter among the prepared cupcake tin, filling the batter to the top.

Bake in the preheated oven for 25 – 30 minutes, or until a cake tester inserted in the middle comes out clean. Let the cupcakes cool in the pan for 15 minutes, and then transfer them to a wire rack to cool completely. Once completely cooled top with frosting.

Recipe modified from Food Network


Cream Cheese Frosting

Ingredients:

1 8oz. packages of cream cheese, at room temperature

1 stick unsalted butter, at room temperature

2 cups confectioners’ sugar, sifted

1 teaspoon vanilla extract


Directions:

In a stand mixer or using a handheld mixer, beat the cream cheese and butter at medium speed until creamy. Gradually add in the sugar until well combined. Add in the vanilla extract and continue beating until the mixture is smooth and creamy.


Sprouting Carrot Cupcakes – Tutorial

With Easter right around the corner I decided to make some fun themed cupcakes to get in the spirit of the holiday. Today I am sharing with you these Sprouting Carrot Cupcakes and later this week I will be sharing with you Bunny Ear Coconut Cupcakes.

I began by baking a batch of chocolate cupcakes. While they cooled, I made the frosting. I made a basic buttercream frosting and then removed a third of it. In this third I stirred in melted unsweetened chocolate until it was fully incorporated. I tinted the remaining frosting orange and then transferred it to a piping bag fitted with a large round tip.

After the cupcakes were cool I used a paring knife to cut a small cone-shaped piece out of the center of each one. I crumbled these small pieces of cake into a small bowl and set it aside.

Next, I spread the chocolate frosting over the cupcakes leaving the holes open. I then patted the crumbled pieces of chocolate cake onto the frosting to resemble dirt.

To make the carrots I piped the orange tinted frosting into the holes and then mounded it a bit above the hole. And finally, I cut small pieces of green sour apple straws and placed them in the piped carrots.

And there you have it… Sprouting Carrot Cupcakes.


While I opted to make my cupcakes and frosting from scratch, you could easily go the time-saving route and use a box chocolate cake mix and store bought chocolate and vanilla frosting. If you opt for store bought frosting I would advise refrigerating the vanilla frosting after tinting it orange for about 10-15 minutes prior to piping the carrots. Store bought frosting tends to be on the softer side so decorating with it can be frustrating since it won’t take shape, refrigerating it helps to stiffen it.


Supplies:

12 chocolate cupcakes

1 cup chocolate frosting

1 1/2 cups vanilla frosting

Orange food coloring

Green sour apple straws

Piping Bag fitted with a round tip


Pull-Apart Cupcake Christmas Wreath

If you want to make something extra special for your Holiday dessert but still want it to be simple this final Holiday Cake Week treat may be the one for you… It’s a Pull Apart Cupcake Christmas Wreath.

You will need 19 cupcakes to replicate the size wreath I created. I opted to use a chocolate box cake mix, but, feel free to use your favorite cupcake recipe. I went with a box cake mix to make this as easy and as quick as possible. Once the cupcakes cooled I arranged them on a 14-inch round cake board.

Next, I made my go to Fluffy Vanilla Frosting I always use for decorating. After tinting it green I used a Wilton 1M tip to pipe swirls on each of the cupcakes. Quick tip… Prior to frosting make sure the cupcakes are close together, practically touching, this way when you frost them you won’t have too many gaps between them.

Now it was time to decorate. I started off by creating a fondant bow. To do so, I rolled red fondant to 1/16-inch thickness. I cut four 6 x 1 1/2-inch rectangles. In two of the rectangles I cut out a triangle on one of the shorter sides. I also cut a 3 x 1 1/2 rectangle that I used for the bow center. To create the bow, I folded the two longer rectangles without the cut-out in half and stuffed the loops with tissue paper so they could keep their shape, I used a little water to adhere the ends of the rectangles together. Next, I wrapped the shorter rectangle around the two joined ends of the folded rectangle and used a little water to join the ends of the short rectangle. Finally, I placed the rectangles with the cut outs in the center of the bottom of the cupcakes and carefully placed the bow piece on top. You can use a little water to adhere the piece together if you are concerned about it falling off. To finish off the decorating I used snowflake candies, Sixlets and other candies to give the wreath a more festive look.

And that’s it! Feel free to switch up the colors. You could stick with white frosting and decorate with red and green for a festive look or with shades of blue and silver for a winter wonderland look. The possibilities are endless.

Snickerdoodle Cupcakes

For today’s Holiday Cake Week treat I am bringing you Snickerdoodle Cupcakes. Snickerdoodles are a simple cookie rolled in cinnamon sugar and are a traditional Christmas cookie. People sometimes confuse them with sugar cookies, but, there is a distinct difference between the two of them, besides the cinnamon sugar topping, Snickerdoodles are chewy while sugar cookies traditionally have a more crisp bite to them. These cupcakes have a cinnamon sugar topping similar to the cookie and are the perfect texture. The original recipe called for a Brown Sugar Buttercream frosting that I opted to omit, I truly feel the cupcake is enough on its own. If you’re interested in the frosting, follow the link after the recipe below. And, if you are looking for a yummy Snickerdoodle recipe, check out the one I post a few years ago. I still use it to this day.

Snickerdoodle Cupcakes

  • Servings: 18 cupcakes
  • Print

Ingredients:

Cupcakes:

1 2/3 cups all-purpose flour

1/2 teaspoon baking powder

1/4 teaspoon baking soda

1/2 teaspoon salt

1/2 cup unsalted butter, melted

3/4 cup sugar

1/4 cup light brown sugar

3/4 cup buttermilk

1/4 cup sour cream

1 tablespoon vanilla extract

2 egg whites

Cinnamon Sugar Topping:

1/4 cup granulated sugar

1 teaspoon ground cinnamon

Directions:

Preheat the oven to 350 F and line cupcake pans with cupcake liners.

In a medium bowl combine the dry ingredients: flour, baking powder, baking soda and salt.

In a microwave safe bowl, melt the butter. Then whisk in the sugar, buttermilk, sour cream and vanilla.

Add the liquid ingredients to the dry ingredients and mix until incorporated.

Using a stand mixer or a hand mixer, beat the egg whites until soft peaks form. Fold into the batter until combined.

Fill the cupcake liners 3/4 full – about 1/4 cup batter in each one.

Mix the sugar and cinnamon for the topping and sprinkle a generous 1/2 teaspoons on top of each cupcake.

Bake for 15 – 18 minutes, or until a cake tester comes out with a few crumbs.

Allow cupcakes to cool in pan for 5 minutes and then transfer to a wire tack to cool completed.

Recipe from The Cake Blog

Spice Cupcakes with a Pumpkin Mousse Filling & Cream Cheese Frosting

Happy Fall! My favorite time of the year is upon us. Although, while in my kitchen the other day looking in my backyard I noticed that my least favorite part of the season had already begun… the falling leaves. I am not a fan of raking leaves. And since I have quite a few trees in my backyard that are a welcome blessing in the hot summer they become the complete opposite when the cooler temps of the fall roll in. Oh well! In honor of the first full day of fall I am sharing with you cupcakes that tie together the flavors of fall deliciously, a spice cupcake with a pumpkin mousse filling and topped with a cream cheese frosting. I actually made these cupcakes while visiting a close friend in Virginia who happens to enjoy pumpkin spice items as much as I do. We actually text each other different food items we come across in pumpkin spice flavor, come to think of it, we text each other for a lot of out of the ordinary flavors we come across… Especially with Oreos.

I began by baking the cupcakes…

As they were cooling I prepped the pumpkin mousse. Now, I cheated a bit to make the mousse. For most of my cakes I use Jell-O Instant Pudding Mix combined with a cup each of whole milk and heavy cream and beat it until it’s smooth and thick. I’ve done it with vanilla and chocolate flavored Jell-O and I finally tried it with their Pumpkin Spice flavor. You should be seeing it on store shelves soon as fall is right around the corner. I purchased a few boxes last year that haven’t expired yet. Now, the nice thing, you can actually eat this mousse as dessert all by itself, so if you choose to make the entire box of pudding you will have some extra to enjoy. If you don’t want extra, use half the pack and only 1/2 cup each of whole milk and heavy cream. You can also omit filling the cupcakes and just top them with the cream cheese frosting… They will be just as delicious.

Once the cupcakes had cooled I cored the center of the cakes and filled them with the pumpkin mousse and then topped them with a small piece of the removed cupcake.

Next, I whipped up some cream cheese frosting and piped it on top of the cupcakes. Finally, I crumbled some of the cupcake crumbs left over from coring and sprinkled them on top of the cupcakes.

Finally verdict… DELISH! Just might be the perfect cupcake for the fall!

Spice Cupcakes with a Pumpkin Mousse Filling & Cream Cheese Frosting

Ingredients:

Cupcakes:

1 1/4 cups flour

1/2 teaspoon baking powder

1/2 teaspoon baking soda

1/2 teaspoon salt

1/2 teaspoon ground cinnamon

1/4 teaspoon ground ginger

1/4 teaspoon ground allspice

1 stick unsalted butter

1/2 cup sugar

1/2 cup light brown sugar

1/2 cup sour cream

2 eggs

1 teaspoon vanilla

Pumpkin Mousse:

1 3.4oz. package of Pumpkin Spice Jell-O Pudding Mix

1 cup whole milk

1 cup heavy whipping cream

Cream Cheese Frosting:

1 stick unsalted butter, at room temperature

12 ounces cream cheese, at room temperature

4 cups confectioners’ sugar

2 teaspoons vanilla extract

1/4 teaspoon salt

Directions:

Preheat oven to 350 F and line a 12-cup muffin with liners.

In a medium bowl whisk together the flour, baking powder, baking soda, salt, cinnamon, ginger and allspice and set aside. In a separate bowl whisk together the melted butter, both sugars, sour cream, eggs and vanilla. Whisk the flour mixture into the egg mixture until just combined.

Divide the batter among the muffin cups, about 1/4 cup in each. Bake for 18 to 20 minutes, until a cake tested inserted in the middle comes out clean. Let cool in the pan for 5 minutes and the transfer the cupcakes to a wire rack to cool completely.

While the cupcakes are baking and cooling make the mousse & frosting.

To make the mousse, combine all of the ingredients in a medium bowl and beat with a hand mixer on medium speed until thick and smooth. Refrigerate until ready to use.

For the frosting, beat the butter, cream cheese, vanilla extract and salt on medium speed until cream. Gradually beat in the confectioners’ sugar on medium-low speed until smooth and then beat on medium-high speed until thick and fluffy. Set aside until ready to use. If not using immediately refrigerate until ready to use. You may need to bring to room temperature before using it.

Core the cupcakes and spoon the mousse to just about level and then top with the removed piece and then frost with frosting.

Recipe from Food Network