Pull-Apart Cupcake Christmas Wreath

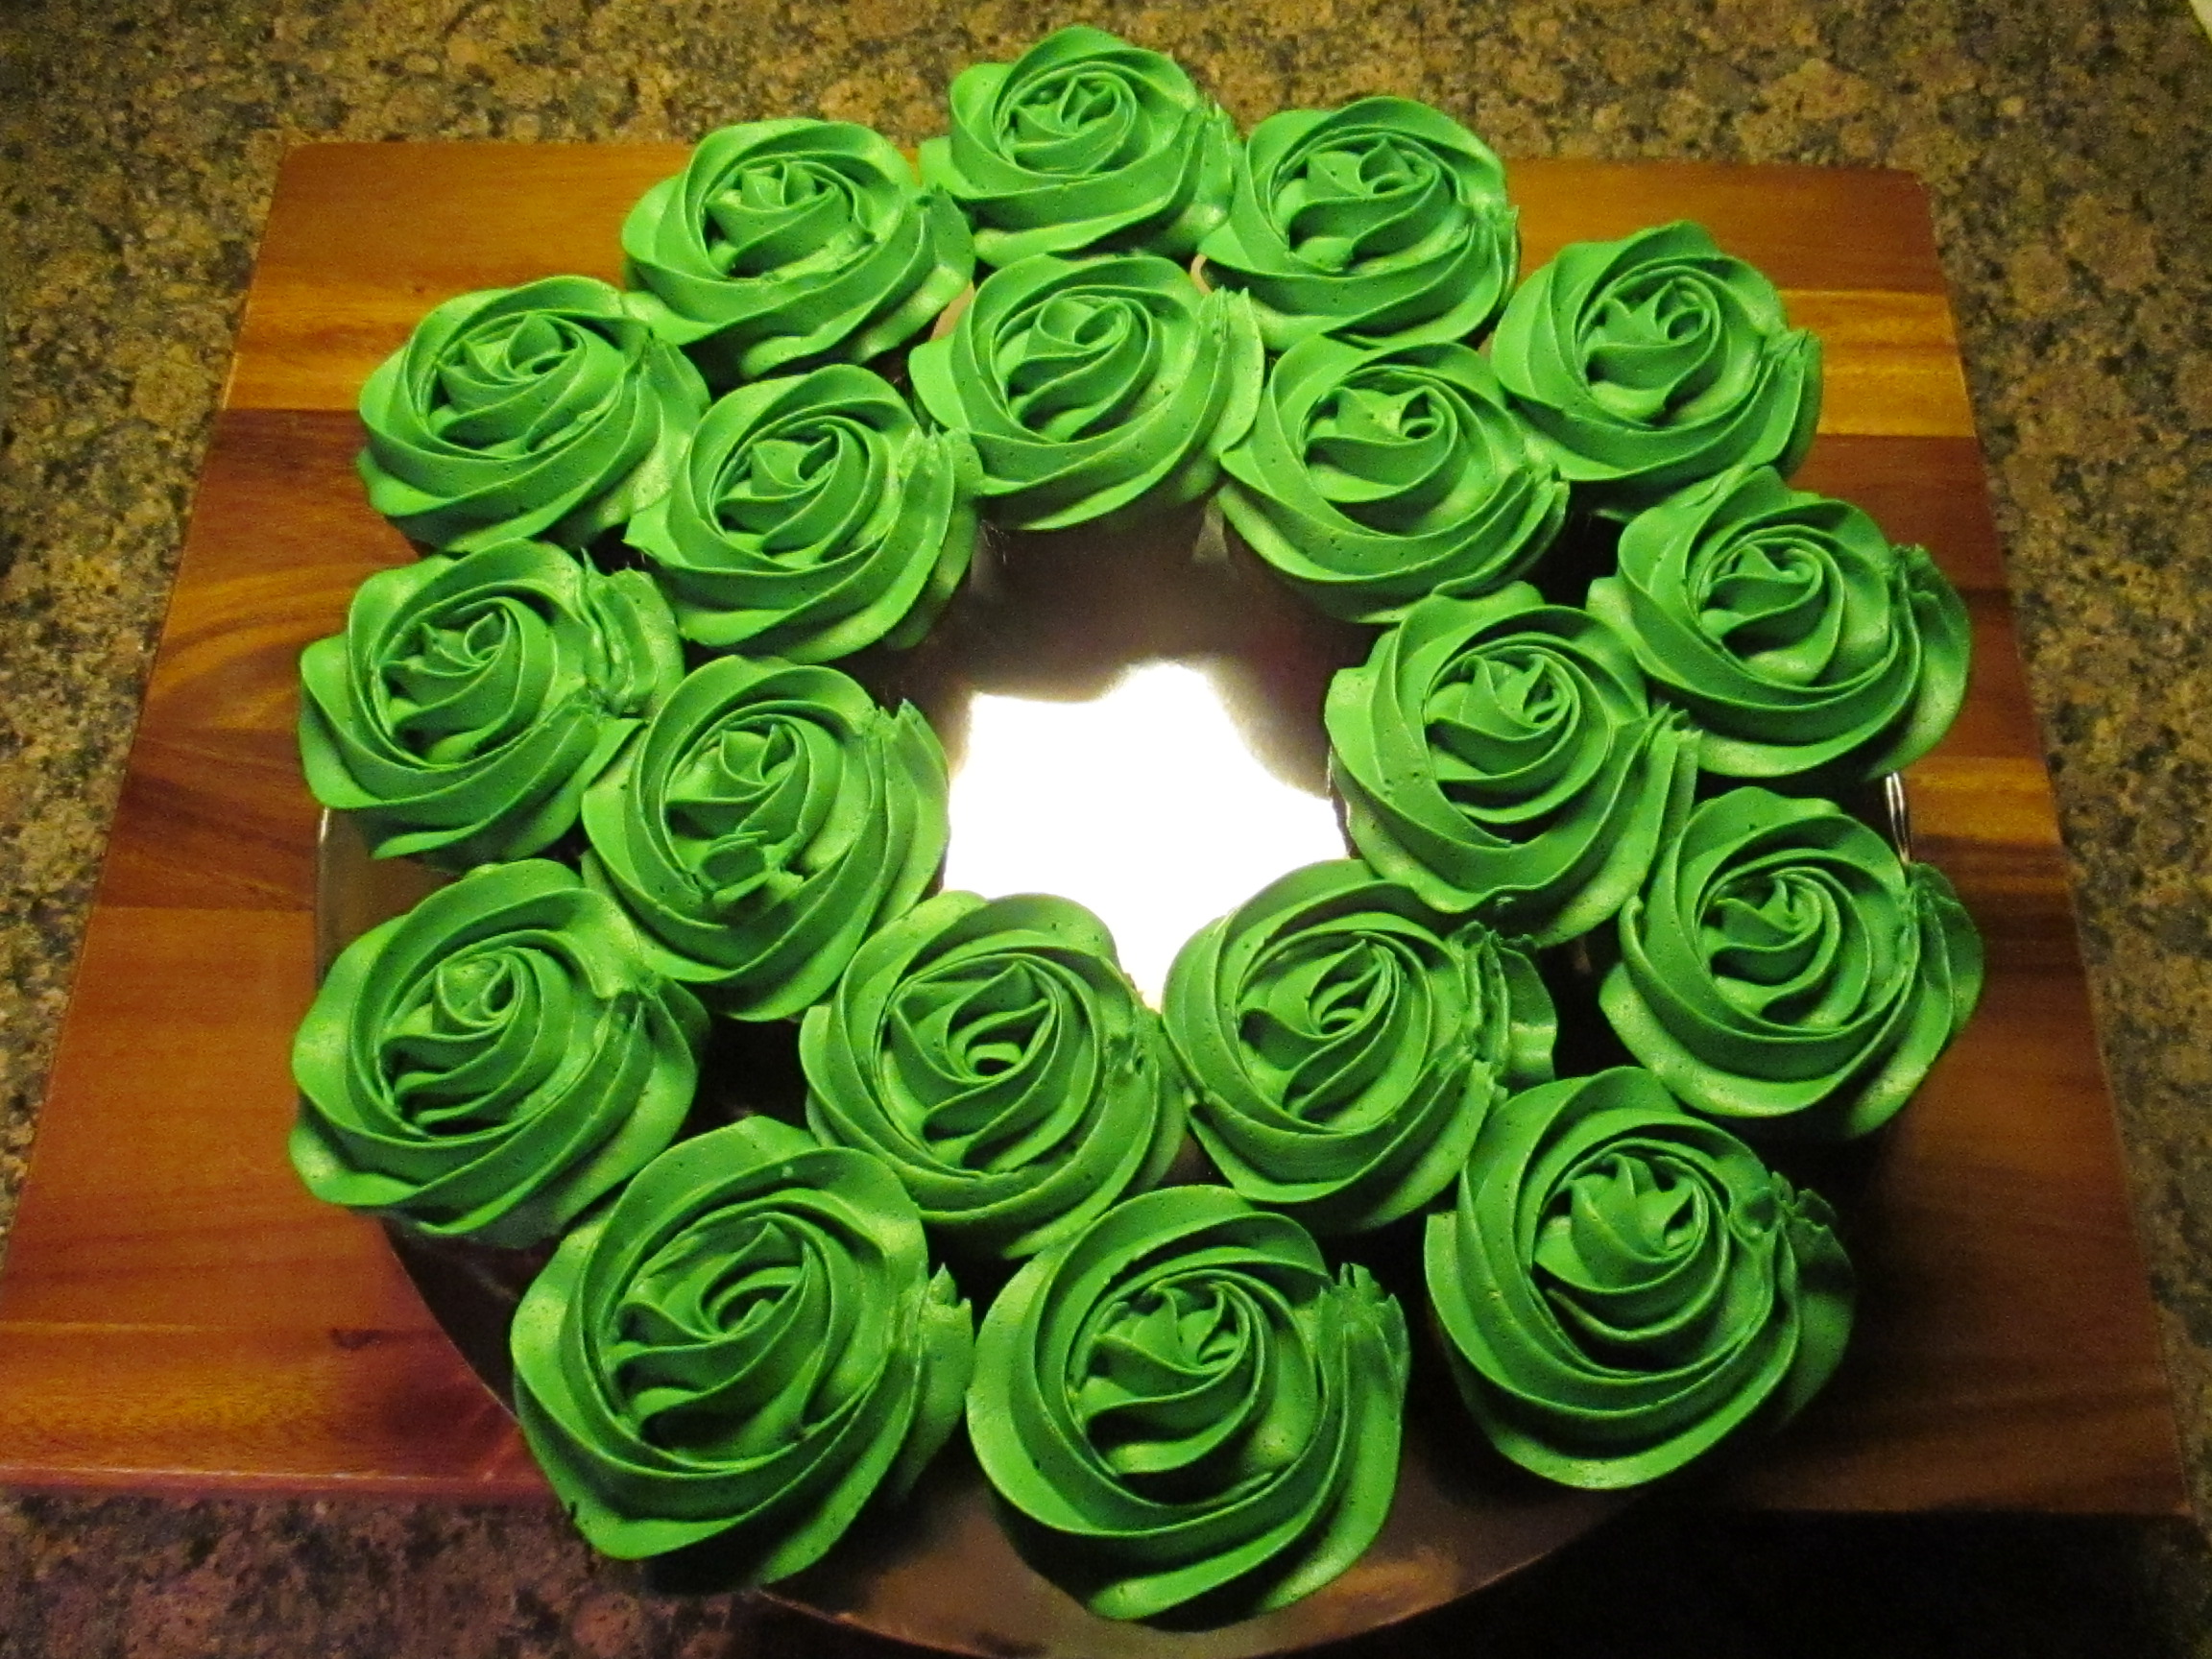
If you want to make something extra special for your Holiday dessert but still want it to be simple this final Holiday Cake Week treat may be the one for you… It’s a Pull Apart Cupcake Christmas Wreath.

You will need 19 cupcakes to replicate the size wreath I created. I opted to use a chocolate box cake mix, but, feel free to use your favorite cupcake recipe. I went with a box cake mix to make this as easy and as quick as possible. Once the cupcakes cooled I arranged them on a 14-inch round cake board.

Next, I made my go to Fluffy Vanilla Frosting I always use for decorating. After tinting it green I used a Wilton 1M tip to pipe swirls on each of the cupcakes. Quick tip… Prior to frosting make sure the cupcakes are close together, practically touching, this way when you frost them you won’t have too many gaps between them.

Now it was time to decorate. I started off by creating a fondant bow. To do so, I rolled red fondant to 1/16-inch thickness. I cut four 6 x 1 1/2-inch rectangles. In two of the rectangles I cut out a triangle on one of the shorter sides. I also cut a 3 x 1 1/2 rectangle that I used for the bow center. To create the bow, I folded the two longer rectangles without the cut-out in half and stuffed the loops with tissue paper so they could keep their shape, I used a little water to adhere the ends of the rectangles together. Next, I wrapped the shorter rectangle around the two joined ends of the folded rectangle and used a little water to join the ends of the short rectangle. Finally, I placed the rectangles with the cut outs in the center of the bottom of the cupcakes and carefully placed the bow piece on top. You can use a little water to adhere the piece together if you are concerned about it falling off. To finish off the decorating I used snowflake candies, Sixlets and other candies to give the wreath a more festive look.

And that’s it! Feel free to switch up the colors. You could stick with white frosting and decorate with red and green for a festive look or with shades of blue and silver for a winter wonderland look. The possibilities are endless.

Christmas Crafting

With Christmas just a few days away I finally got my cards in the mail the other day. I was so gung-ho about making them super early this year – I took out all of my supplies for them back in late October and put it on my crafting table all ready to go, but, got sidetracked with a few other Christmas crafts I wanted to get done first.

So, while I only have one main door to hang a wreath on – as most people – I ended up making three new wreaths this year. I only planned on making a new garland wreath to replace the one I made a few years back but while searching for ideas for that one I came across a yarn ball wreath that I had many of the supplies for – mainly yarn – and then I got an email that described how to make an ornament ball wreath in perfect detail. I tried making one of these a few years ago and didn’t have much success.

Up first… the Garland Wreath. While my local craft store did have those green wreaths I could have just bought and decorated I wasn’t too fond of the way they looked – that’s actually what my original wreath is made with and I never really liked it because of it – so I opted to wrap an 18″ grapevine wreath with garland. After that was done I then decorated it with various Christmas picks. I bought and returned quite a few of them before I was happy with the layout. This is actually the wreath that made it to my front door.

Garland Wreath 2 IMG_2027

Then there’s the Yarn Ball Wreath. I used different shades of green yarn I had leftover from different crocheting/knitting projects to wrap various sized Styrofoam balls. I then mapped out their placement on a wire wreath form and attached them using a hot glue gun. I then added in some red shatterproof ornaments for a pop of color and to make the wreath a bit more festive.

Yarn Wreath 2 IMG_2031

And finally, my favorite, the Ornament Ball Wreath. This was definitely the most time consuming, but, worth every minute. To begin I wrapped a Styrofoam ring with red ribbon tying a loop with the ribbon at one point so the wreath could be hung. I then lined the inside and outside of the ring with alternating sized shatterproof ornaments. I then filled in the flat part of the ring with various sized ornaments and finally – the part I couldn’t get too crazed with – I filled in the gaps with smaller sized ornaments. It’s very easy to go from beautiful to gaudy when adding the ornaments.

Ornament Wreath 2 IMG_2091

After the wreaths I moved on to making snowflake ornaments. I got the wire forms (6-inch) from Fusion Beads and then it was just a matter of decorating them with pearls, crystals and seed beads in colors that reflected the holiday season or the intended recipient’s favorite color. This was made all the more easier since I recently organized all of my jewelry supplies into storage containers.

IMG_1989

After a few wire mishaps (thankfully I bought extra wire forms) and a couple of wire gashes all of my snowflakes were done. After taking this picture I threaded all of them with coordinating ribbon so they could be hung from a Christmas tree, in a window, or wherever.

IMG_2107 IMG_2103

And finally… My handmade Christmas cards. While getting started is always a daunting task, by the third card I am full speed ahead. I even got a jump on next year’s cards by making a few extra this year. We’ll see if I still like them in a year’s time or I may just have other ideas of what I want to make by then.

IMG_2204

Happy Holidays!!!

IMG_1986

(And yes, I did make this as well.)

%d bloggers like this: