Whipped Cream Dyed Easter Eggs

While we may not be able to celebrate Easter as we normally do this year there is one activity that can still be fun and remain the same… Dyeing Easter Eggs.

There are plenty of creative ways to dye Easter eggs… The traditional way of using water, vinegar and food coloring, the all-natural method of using vegetables and spices or the fancy way of using silk ties.  And then there are bunch of different methods in between. One of those, the shaving cream method. With this method you swirl food coloring into a dish of shaving cream and then set the eggs in the cream so they can absorb the color swirl. The only problem with this method is that the shaving cream makes the eggs inedible since egg shells are porous. I definitely don’t think it’s safe to eat a hard-boiled egg that may have traces of shaving cream on it. So, instead of shaving cream you can use whipped topping to achieve the same results and also have eggs that are still safe to eat after decorating.

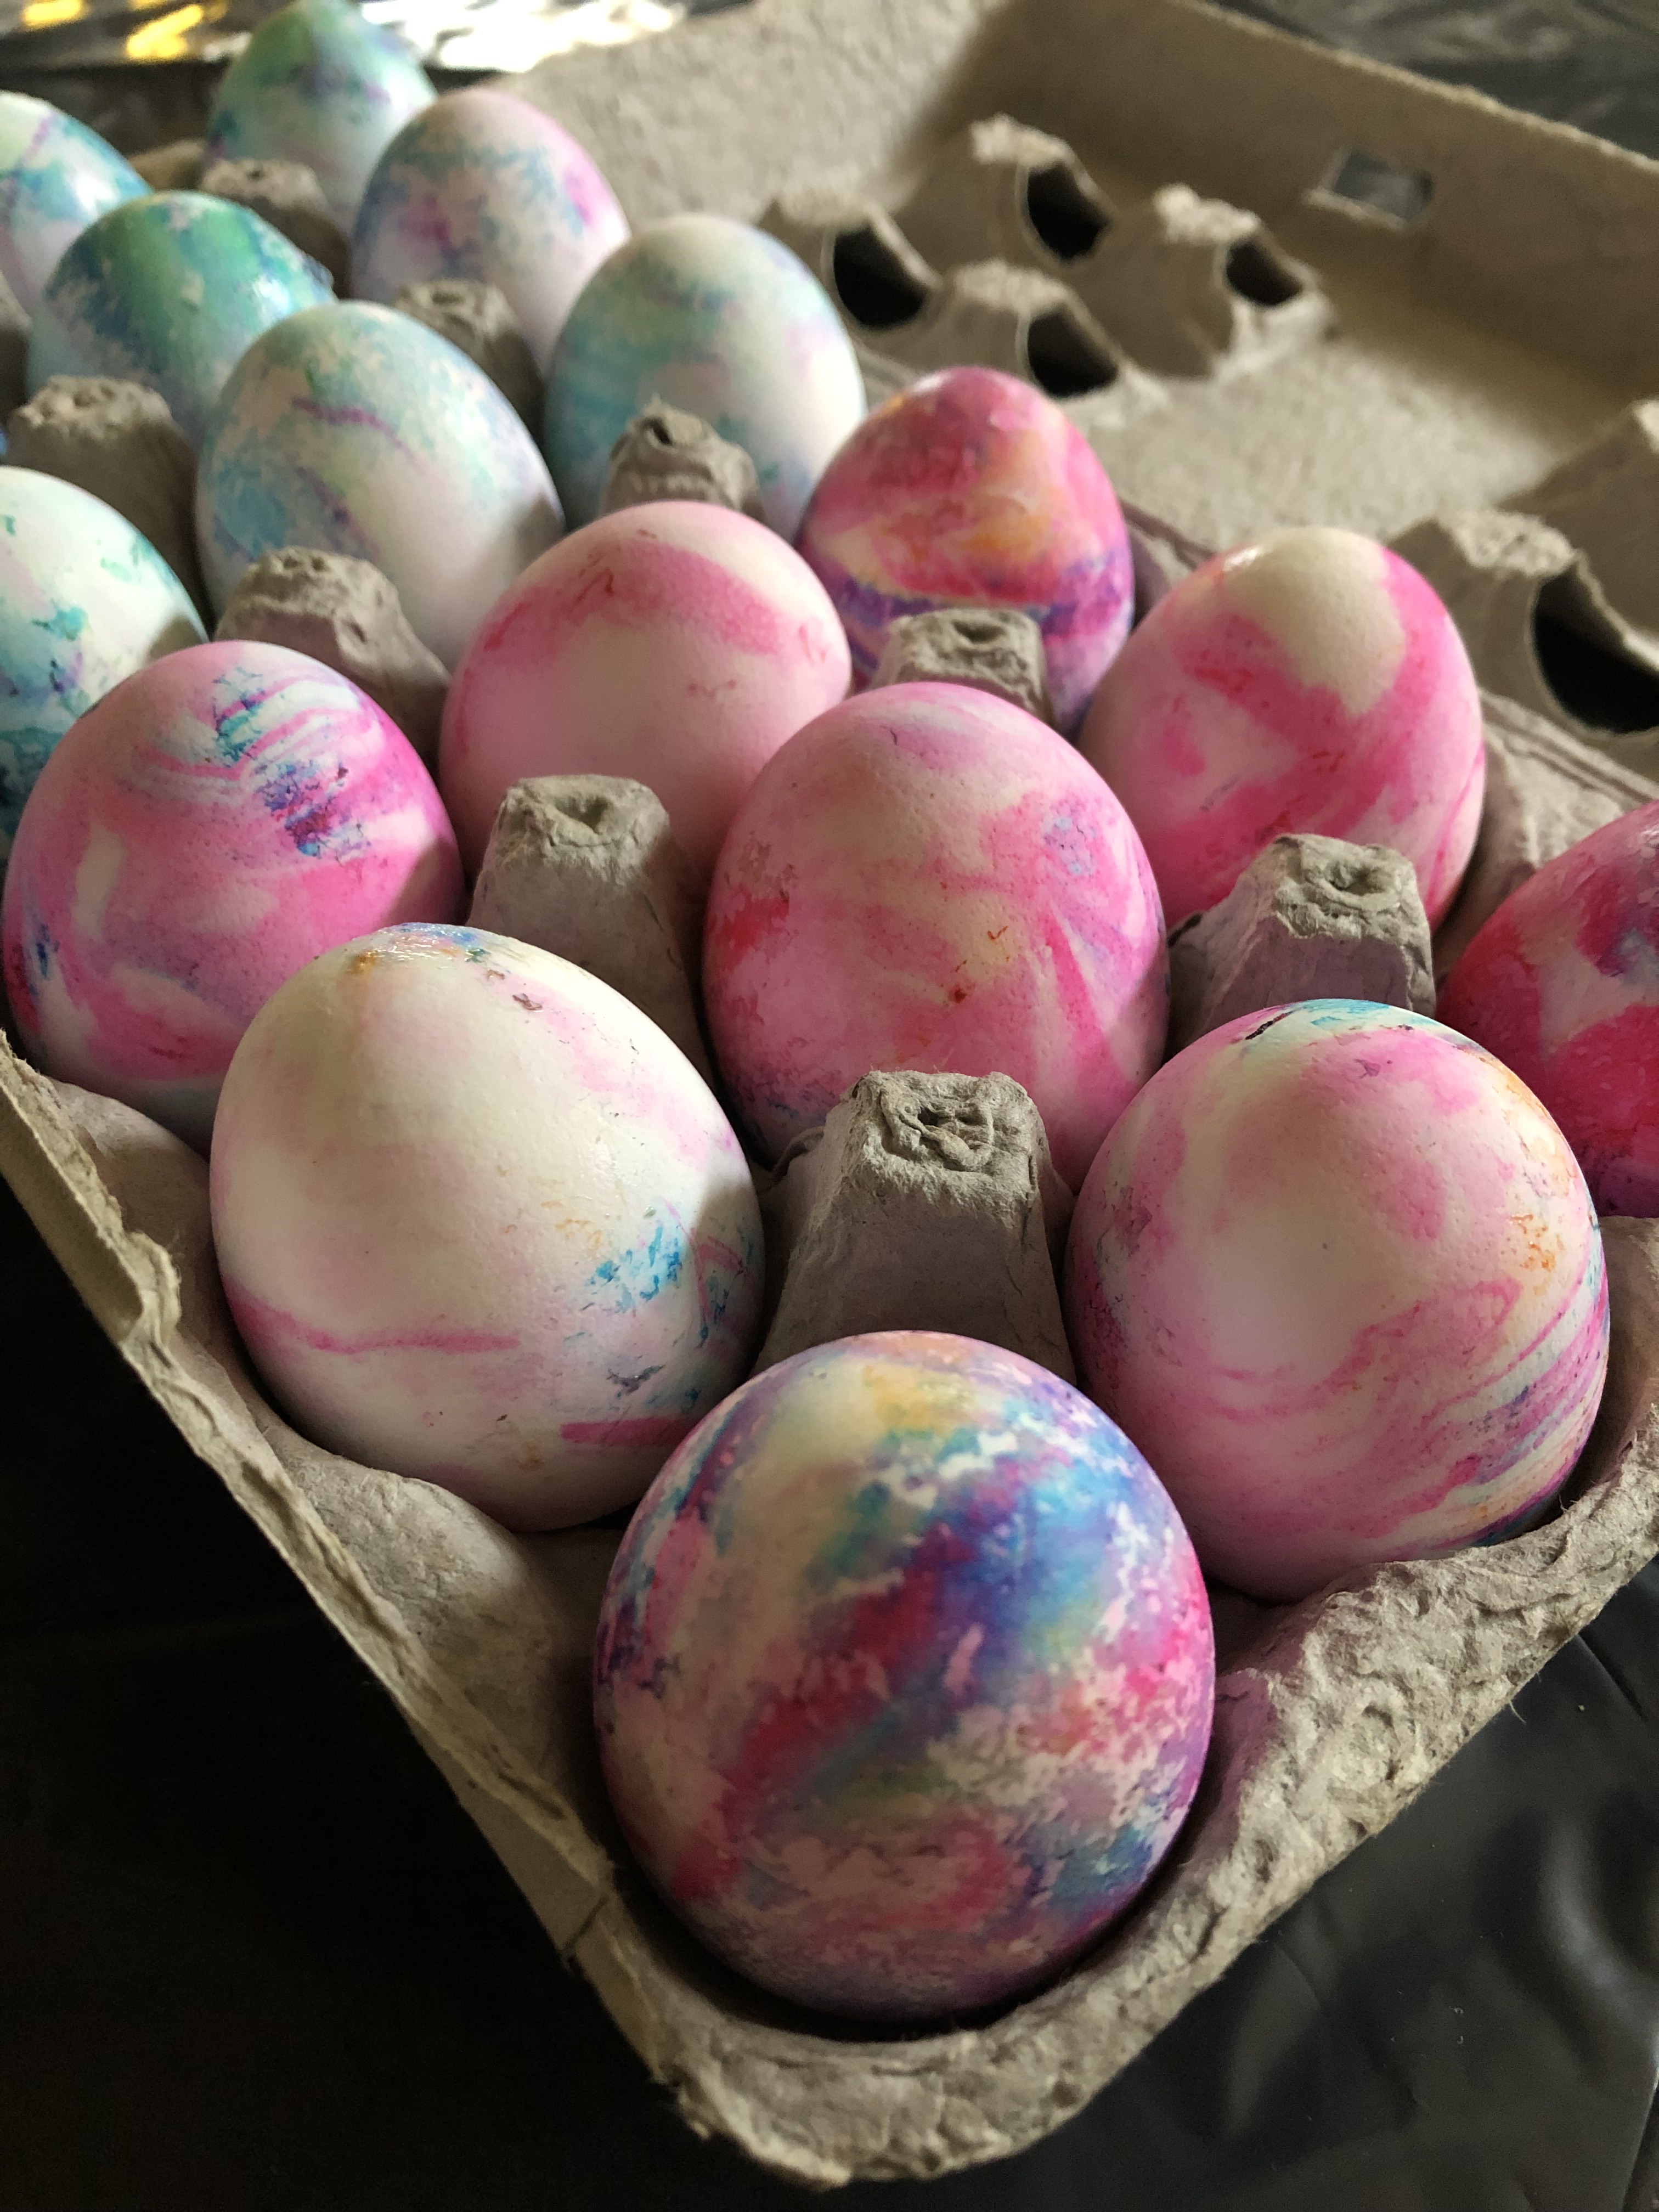
After boiling your eggs let them cool completely. I suggest saving the carton from your eggs so you can store them in there once they have been dyed. Pour vinegar into a medium bowl and submerge the eggs in the vinegar for about two minutes. Remove the eggs and pat them dry with a paper towel. Set aside.

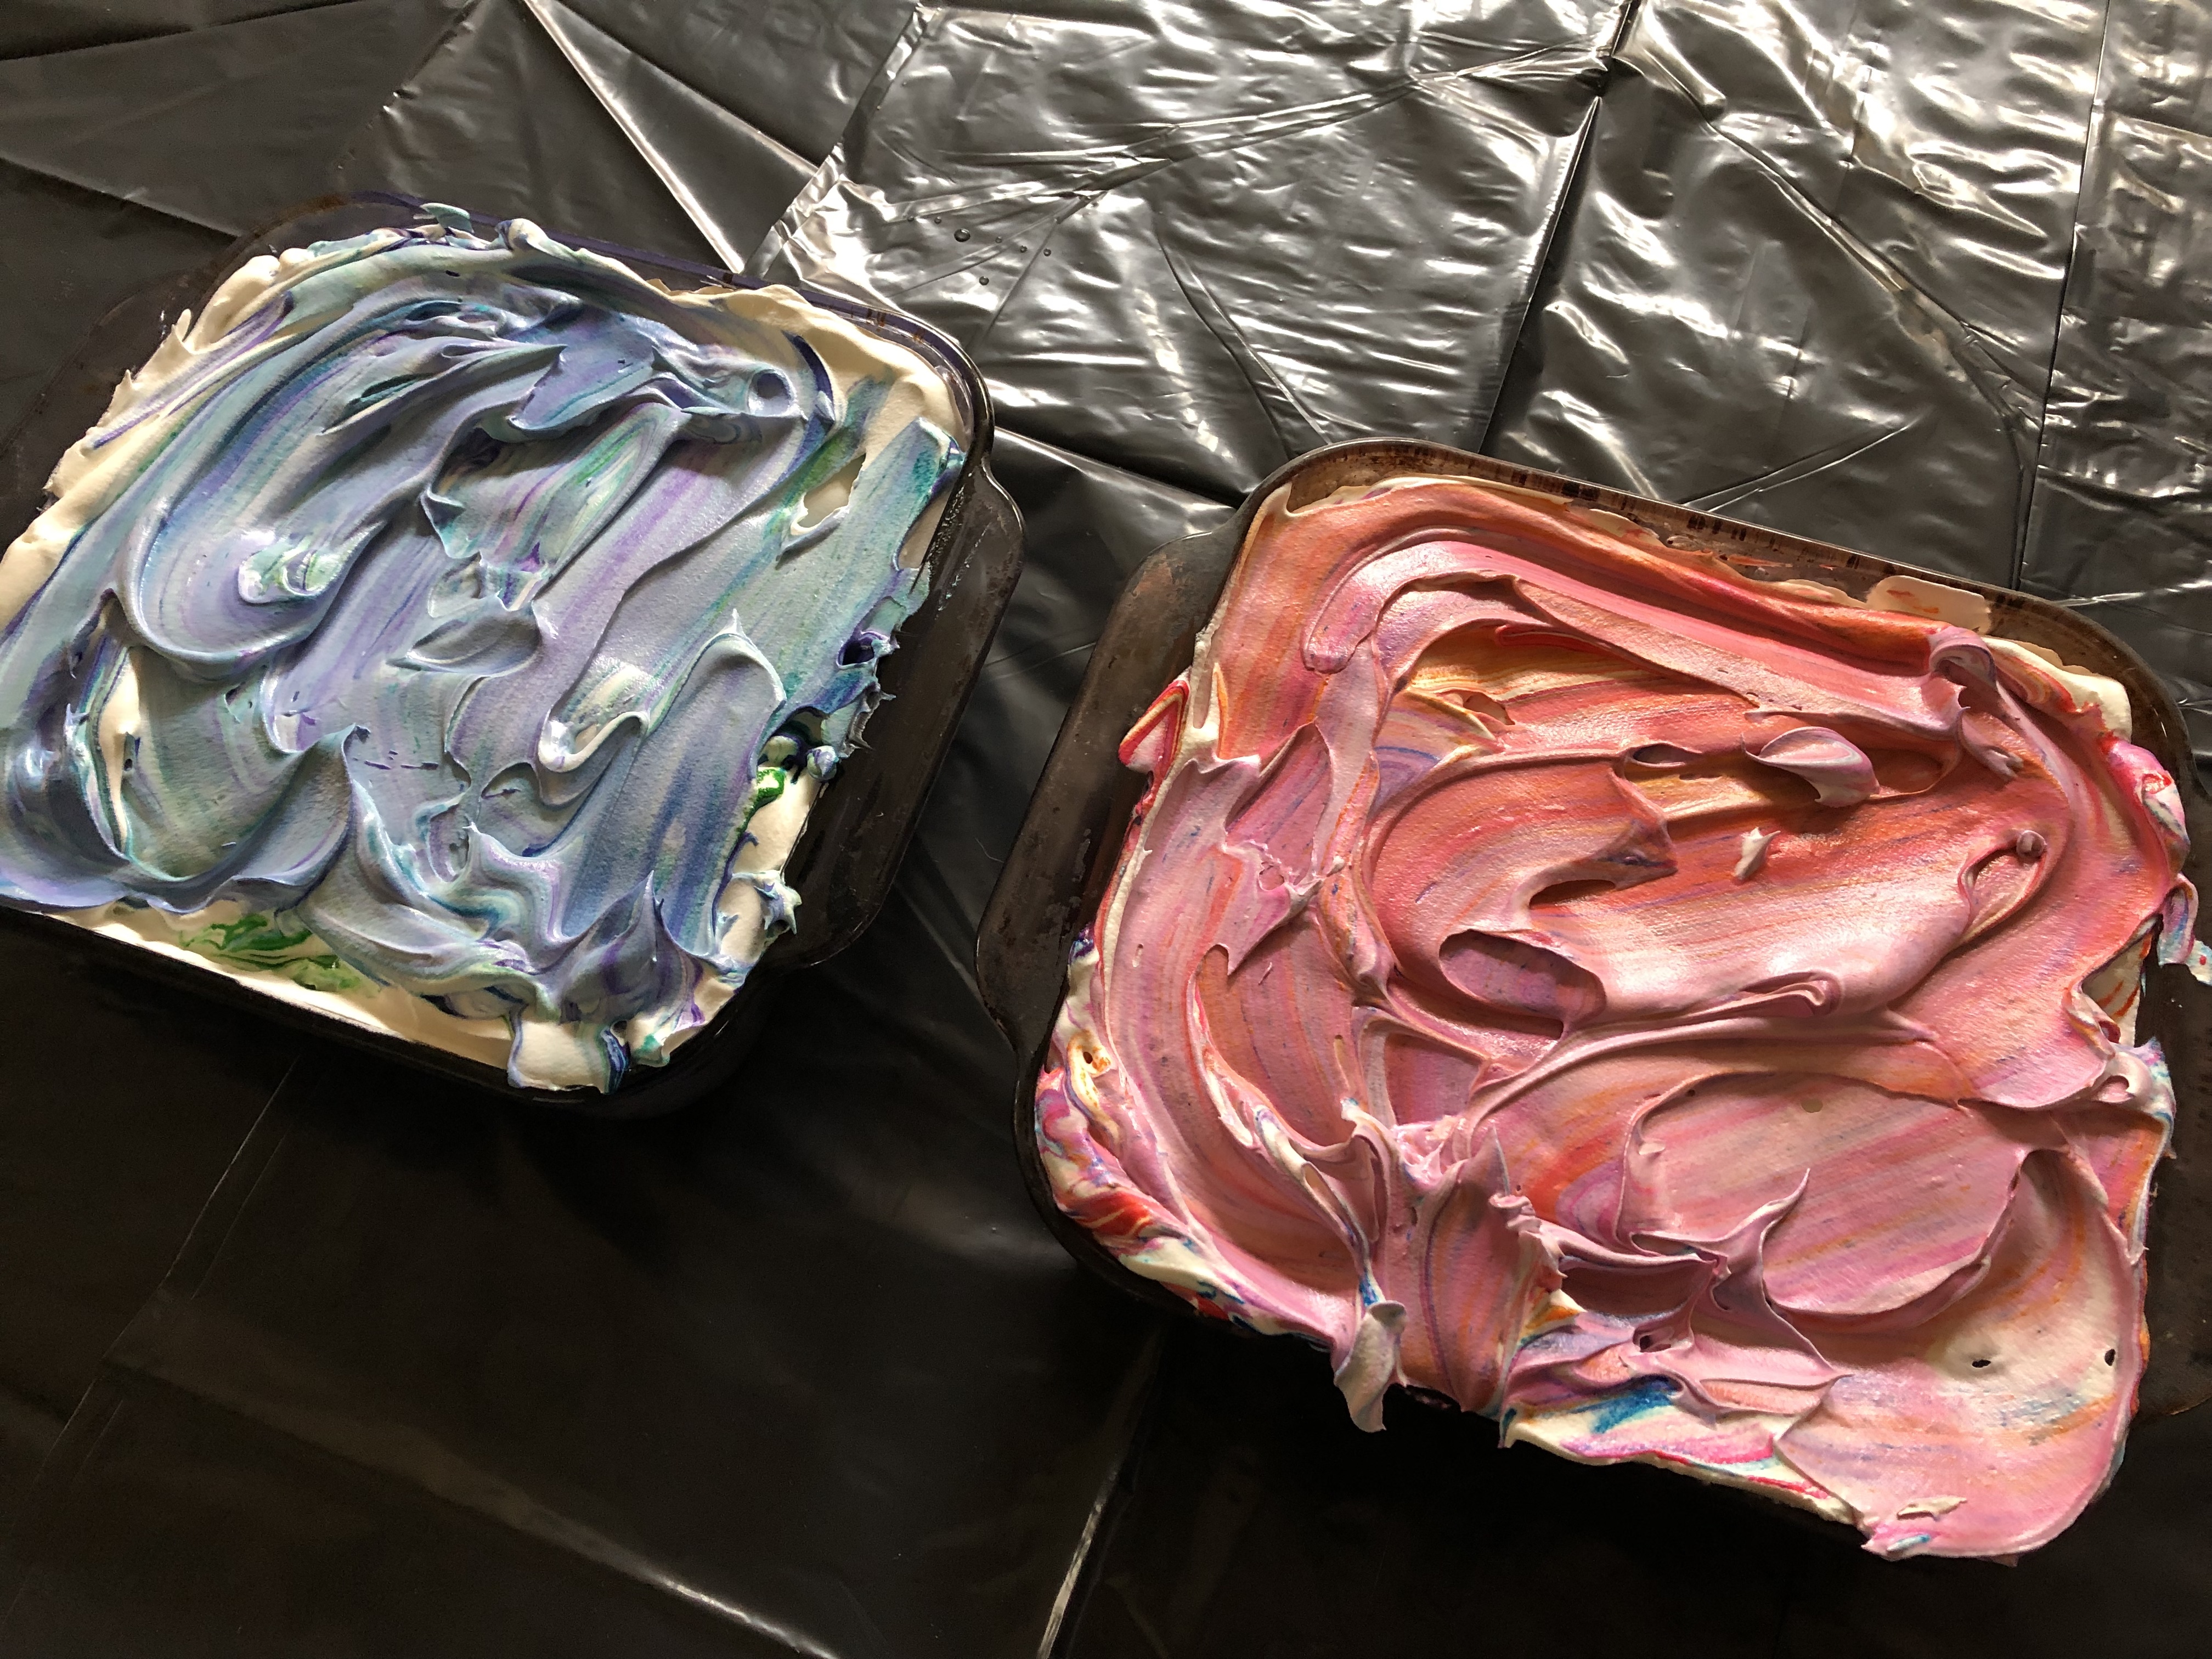
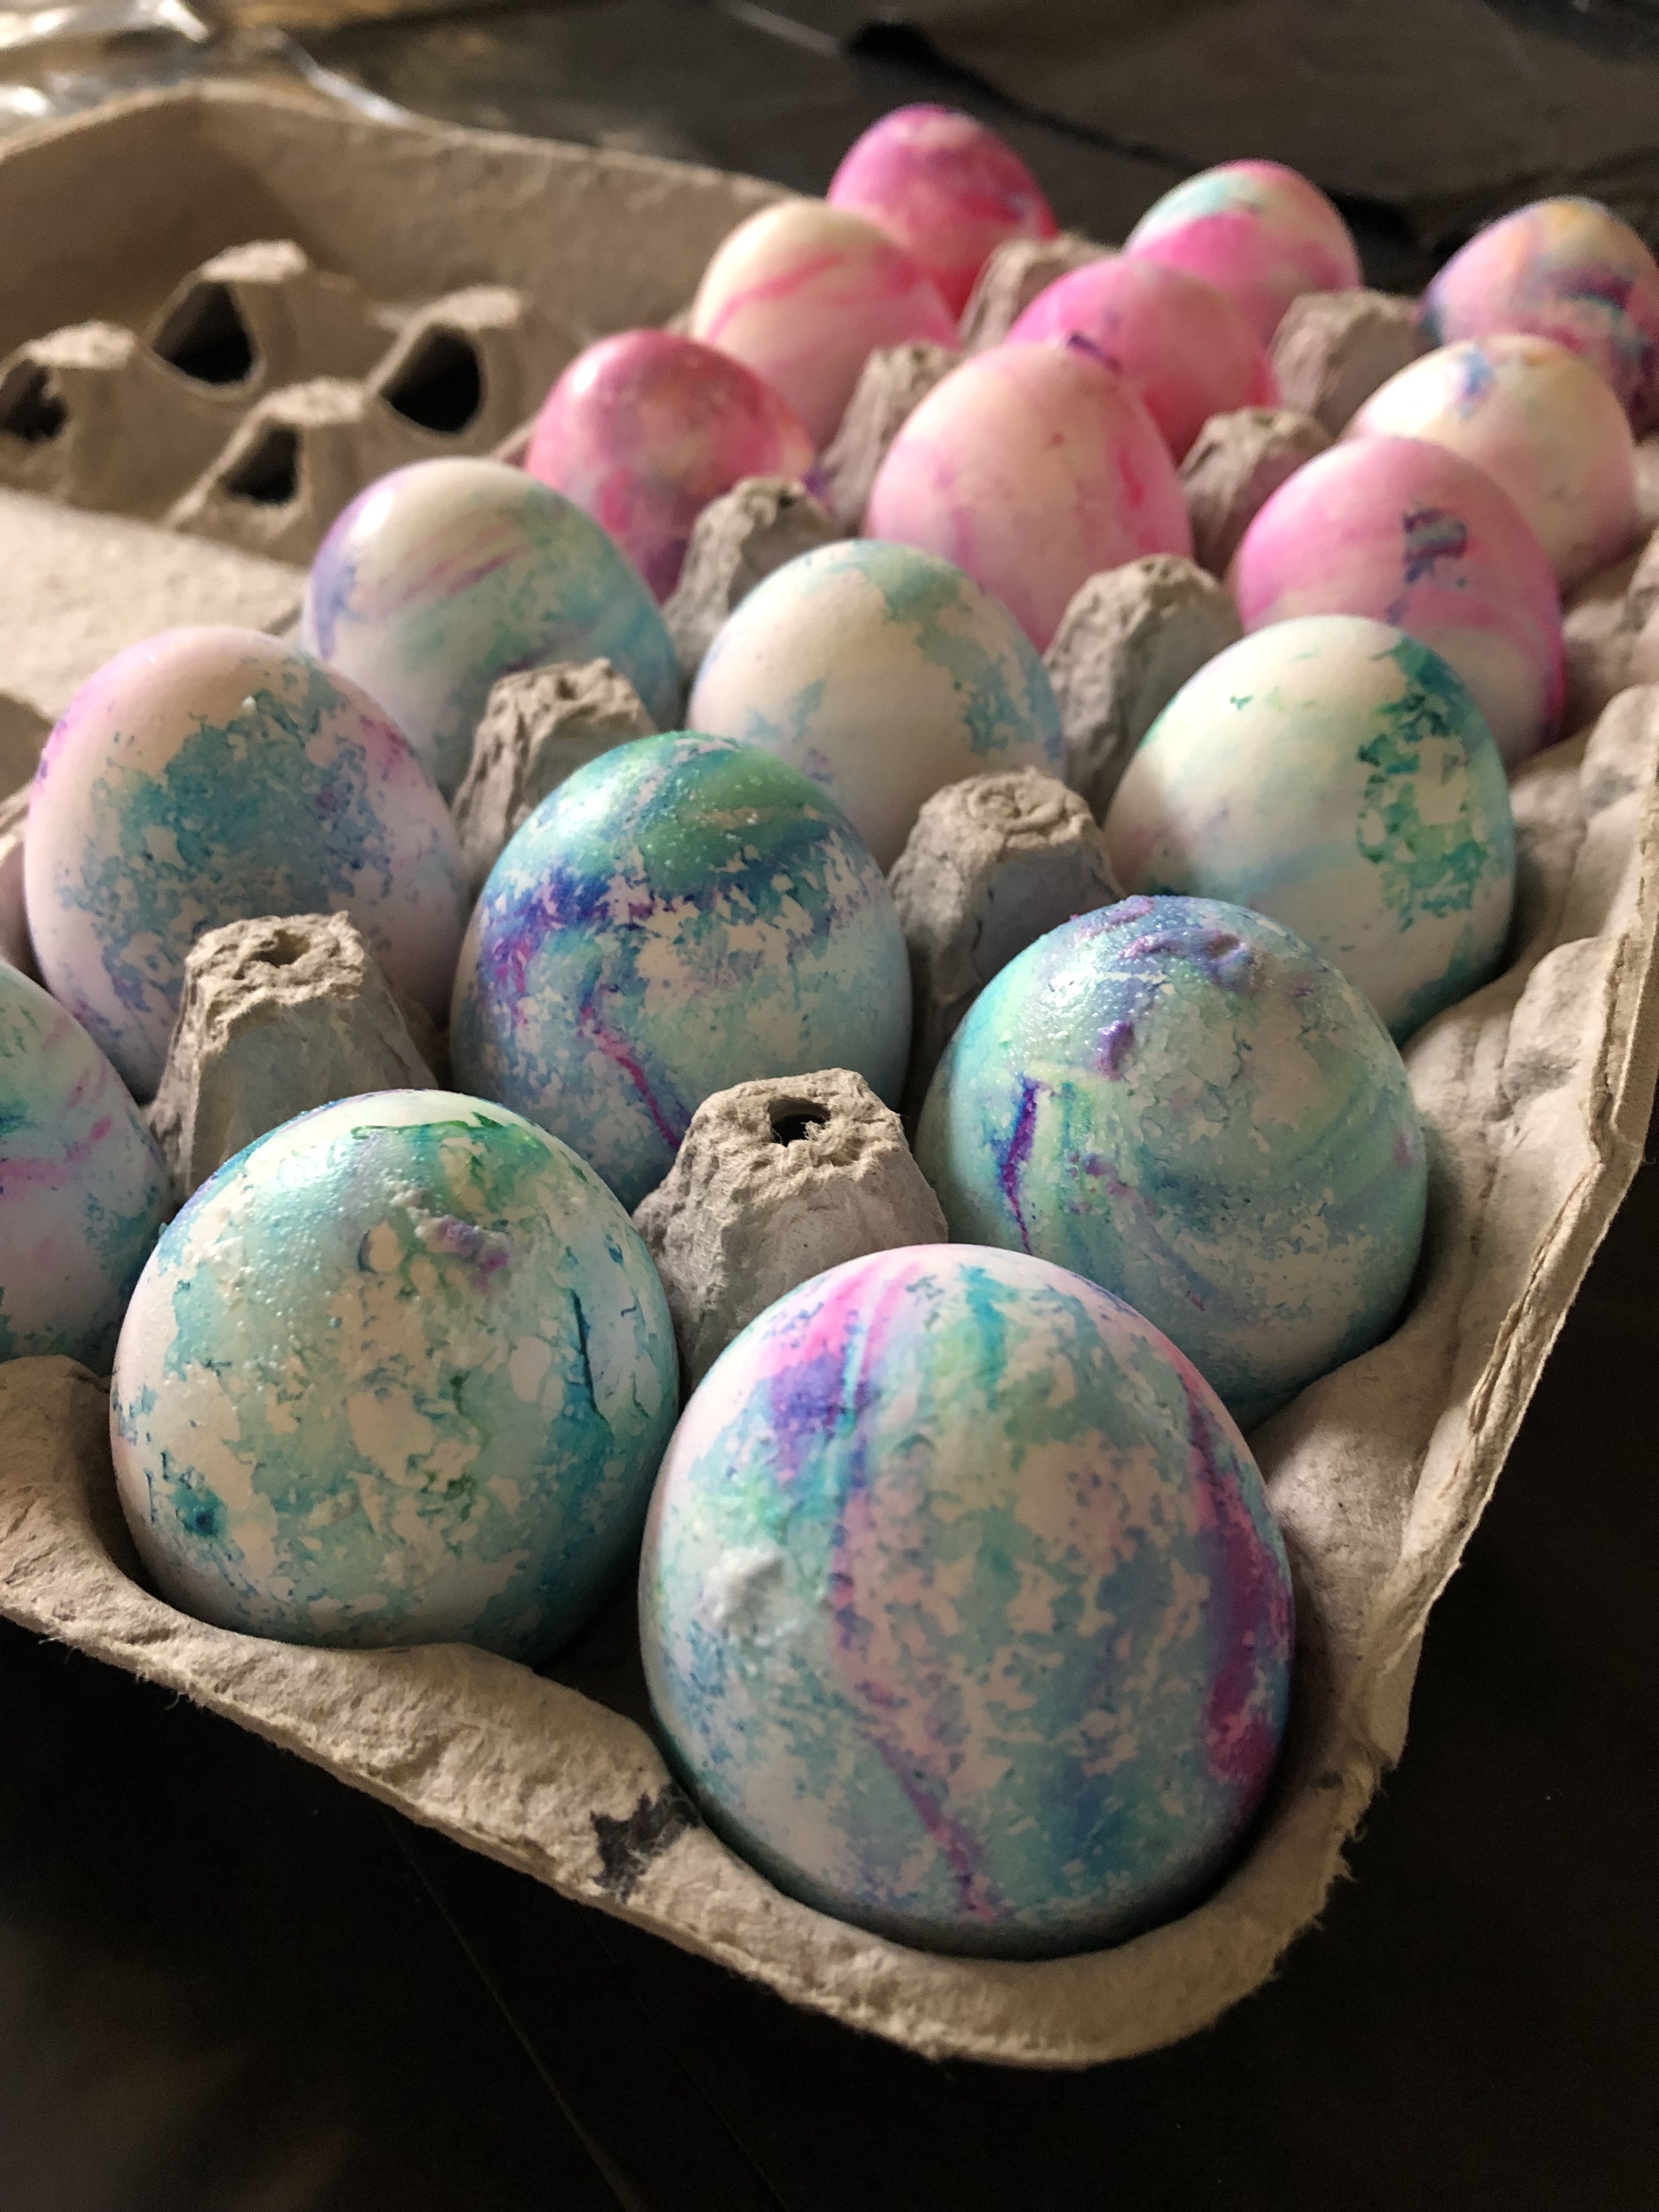
Now, you can make your own whipped cream if you choose, but, I opted to buy frozen whipped topping, aka Cool Whip. I placed it in the refrigerator overnight so that it could defrost. Once defrosted, I emptied the contents of 2 8oz. tubs of whipped topping into a 9×9-inch baking dish. Next, I dotted the top with gel food coloring. I opted to use three colors, I wouldn’t suggest using more colors than three as the colors can get really muddled together then. I would also try avoid using colors that when blended together make a new color, i.e. red and yellow (orange), blue and yellow (green), red and blue (purple), and so forth.  Using a toothpick I swirled the colors into the topping, making sure to get the color into the bottom of the dish as well so that when I submerged the eggs they would be completely covered with the dyed whipped topping. I then placed the eggs in the whipped topping. I fit about 9 eggs in the 9×9-inch dish. I covered the top of the eggs with the whipped topping and I let the eggs sit there for about 15-20 minutes. The longer the eggs sit, the more vibrant the colors will be.

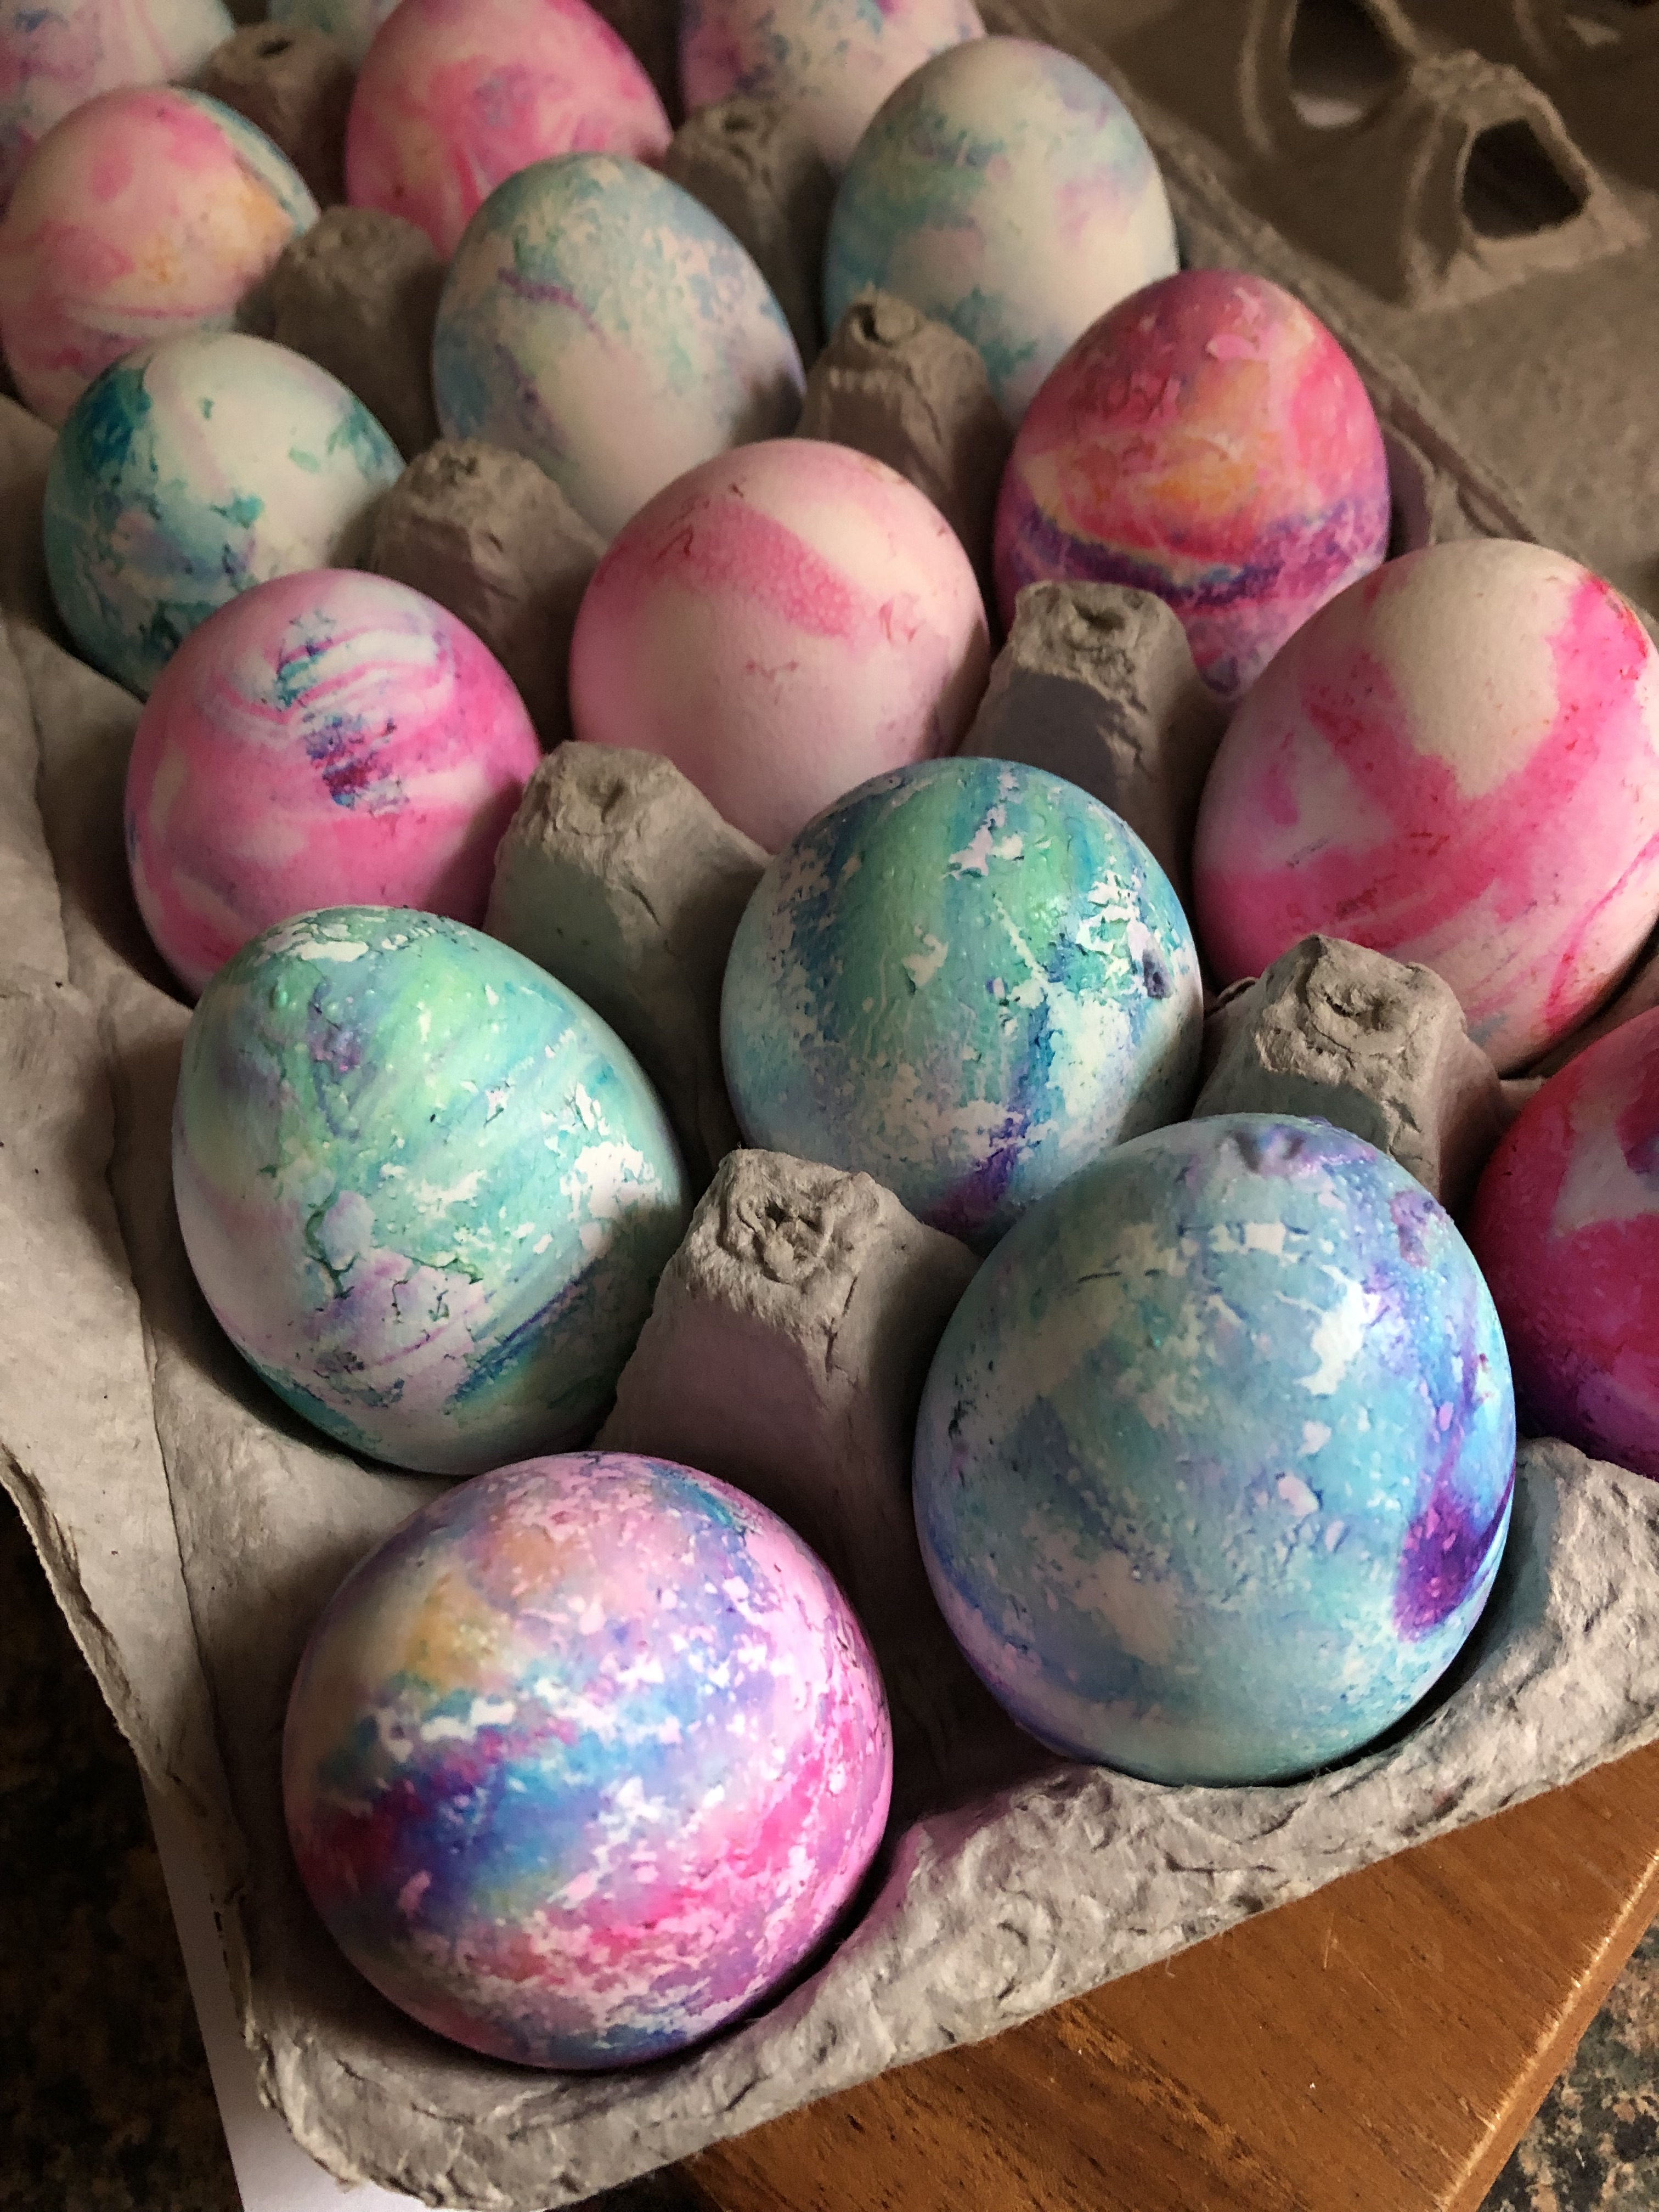
Next, I removed the eggs from the whipped topping and placed them in a bowl of water to clean them off. You don’t want to wipe the whipped topping off with a napkin as this could rub the colors off as well. After rinsing the eggs off I placed them on paper towels so they could dry off and then placed them back in the egg carton.

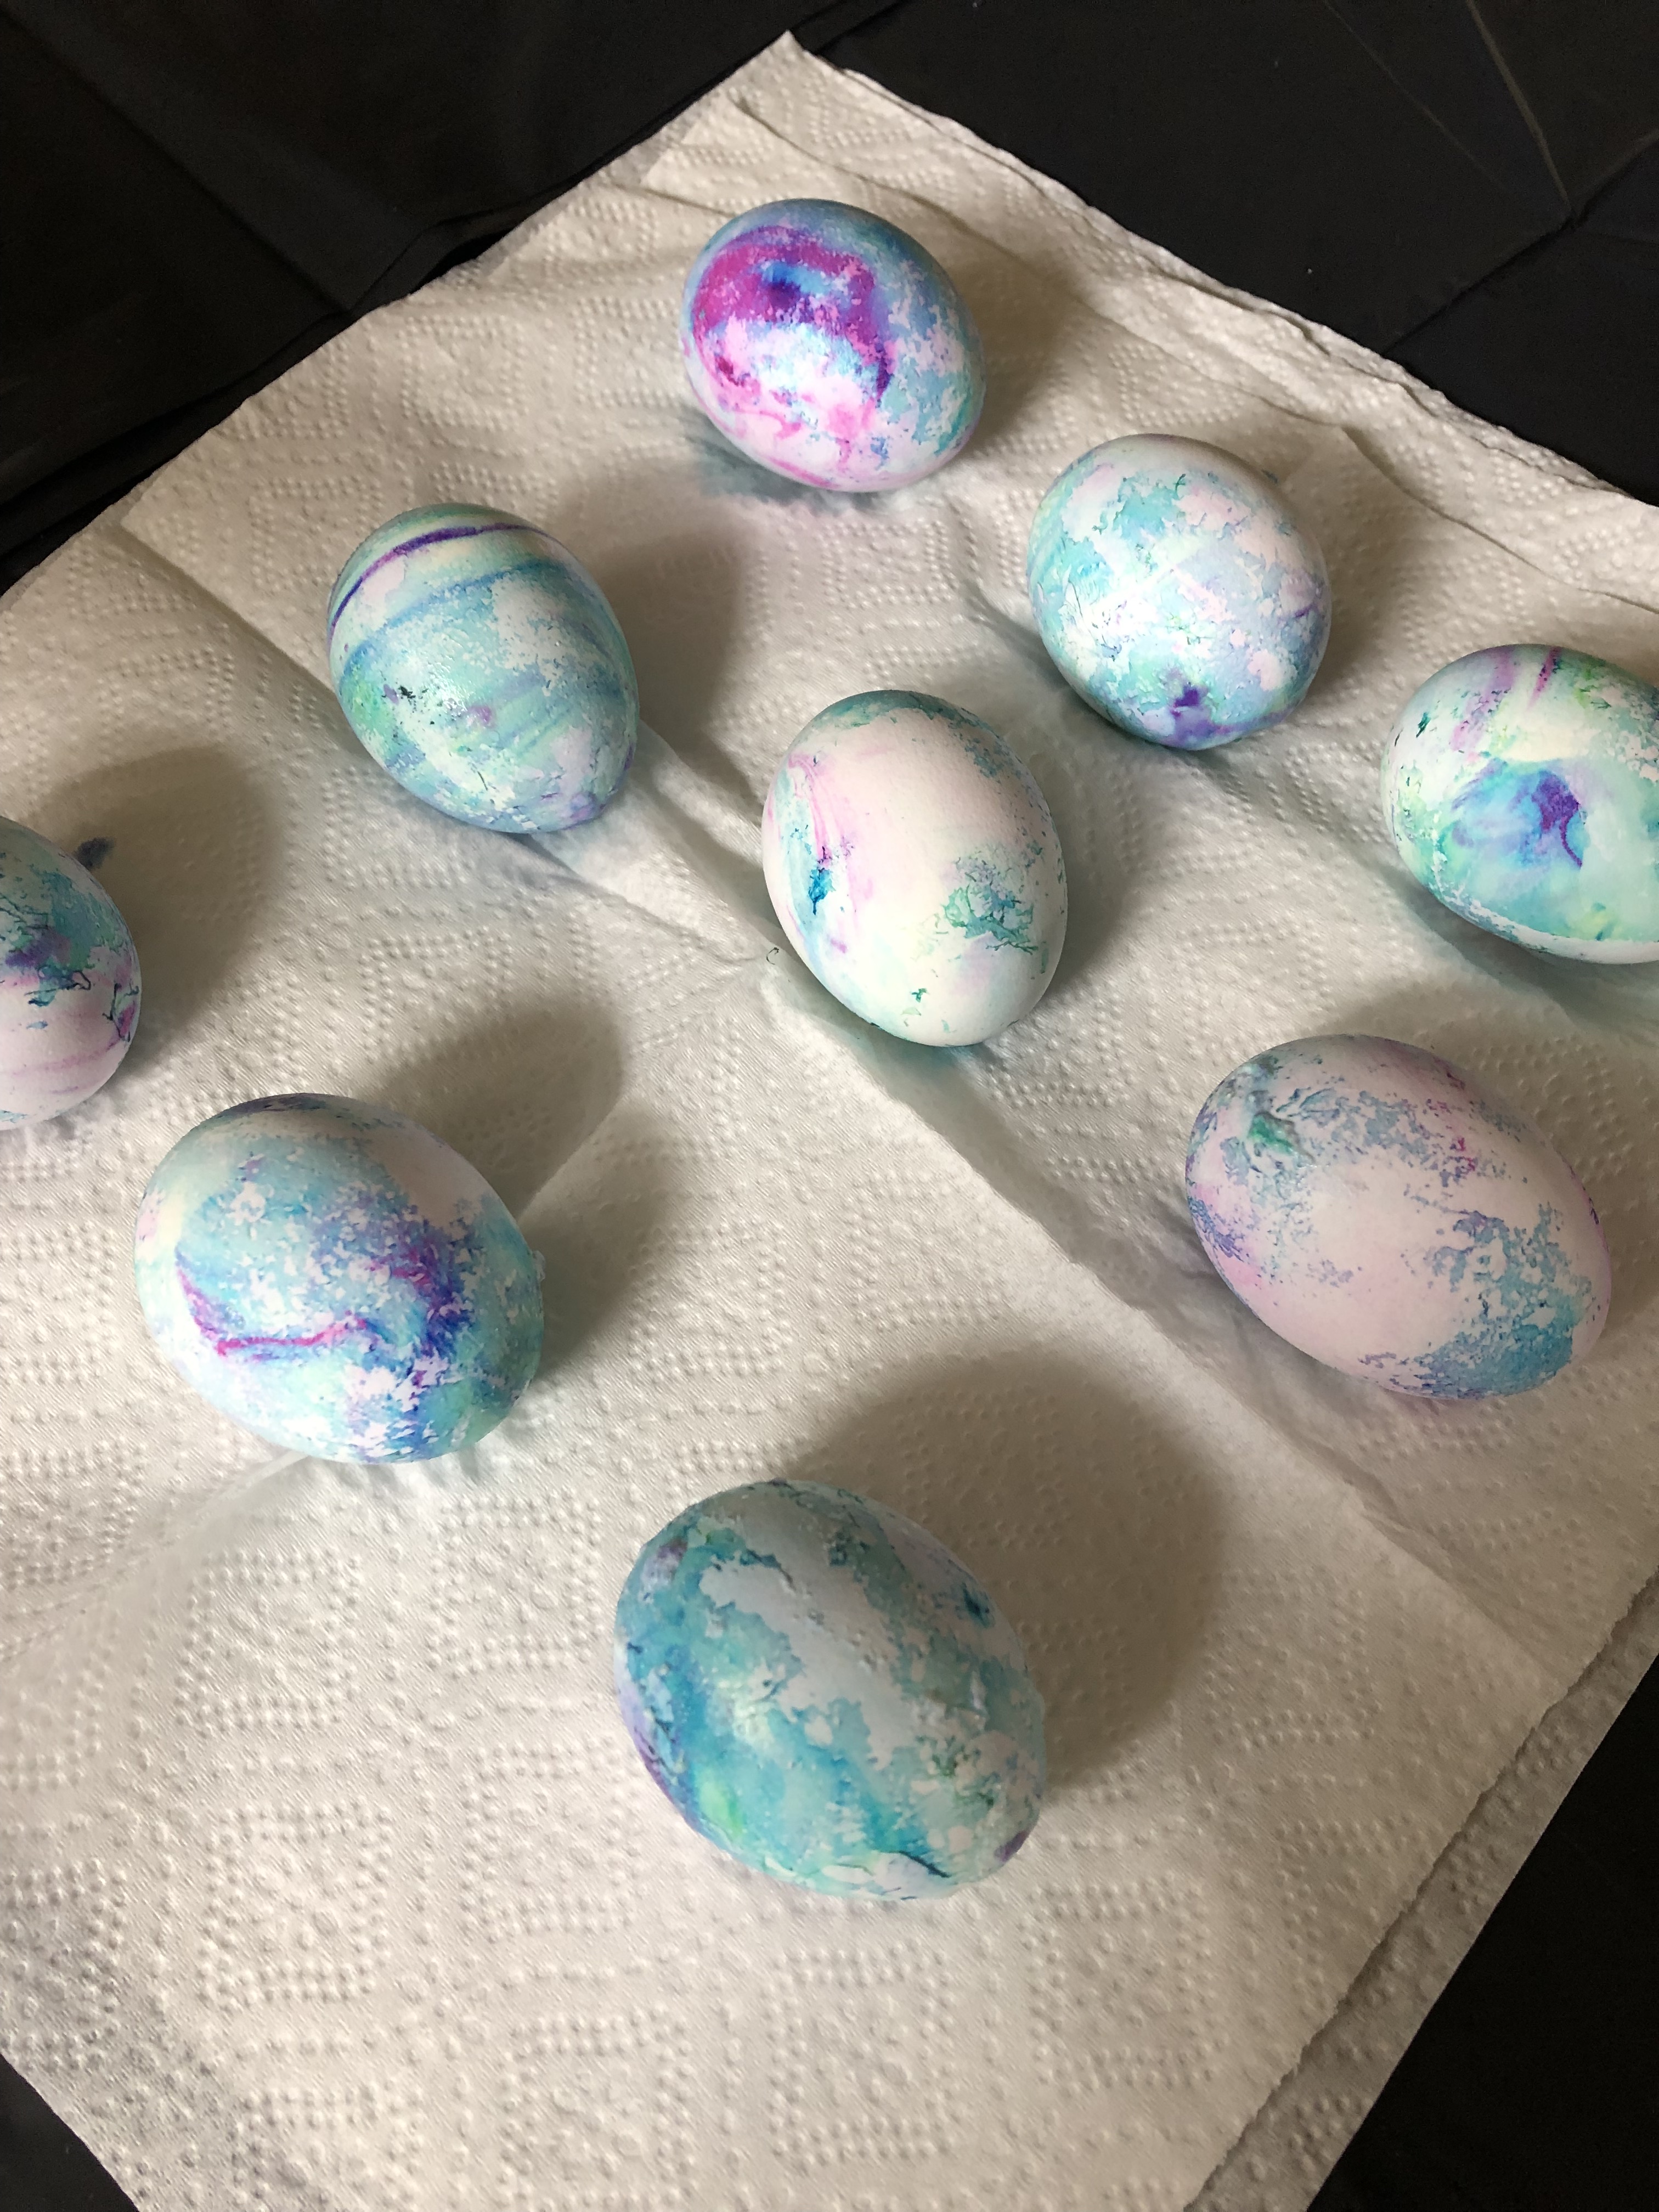
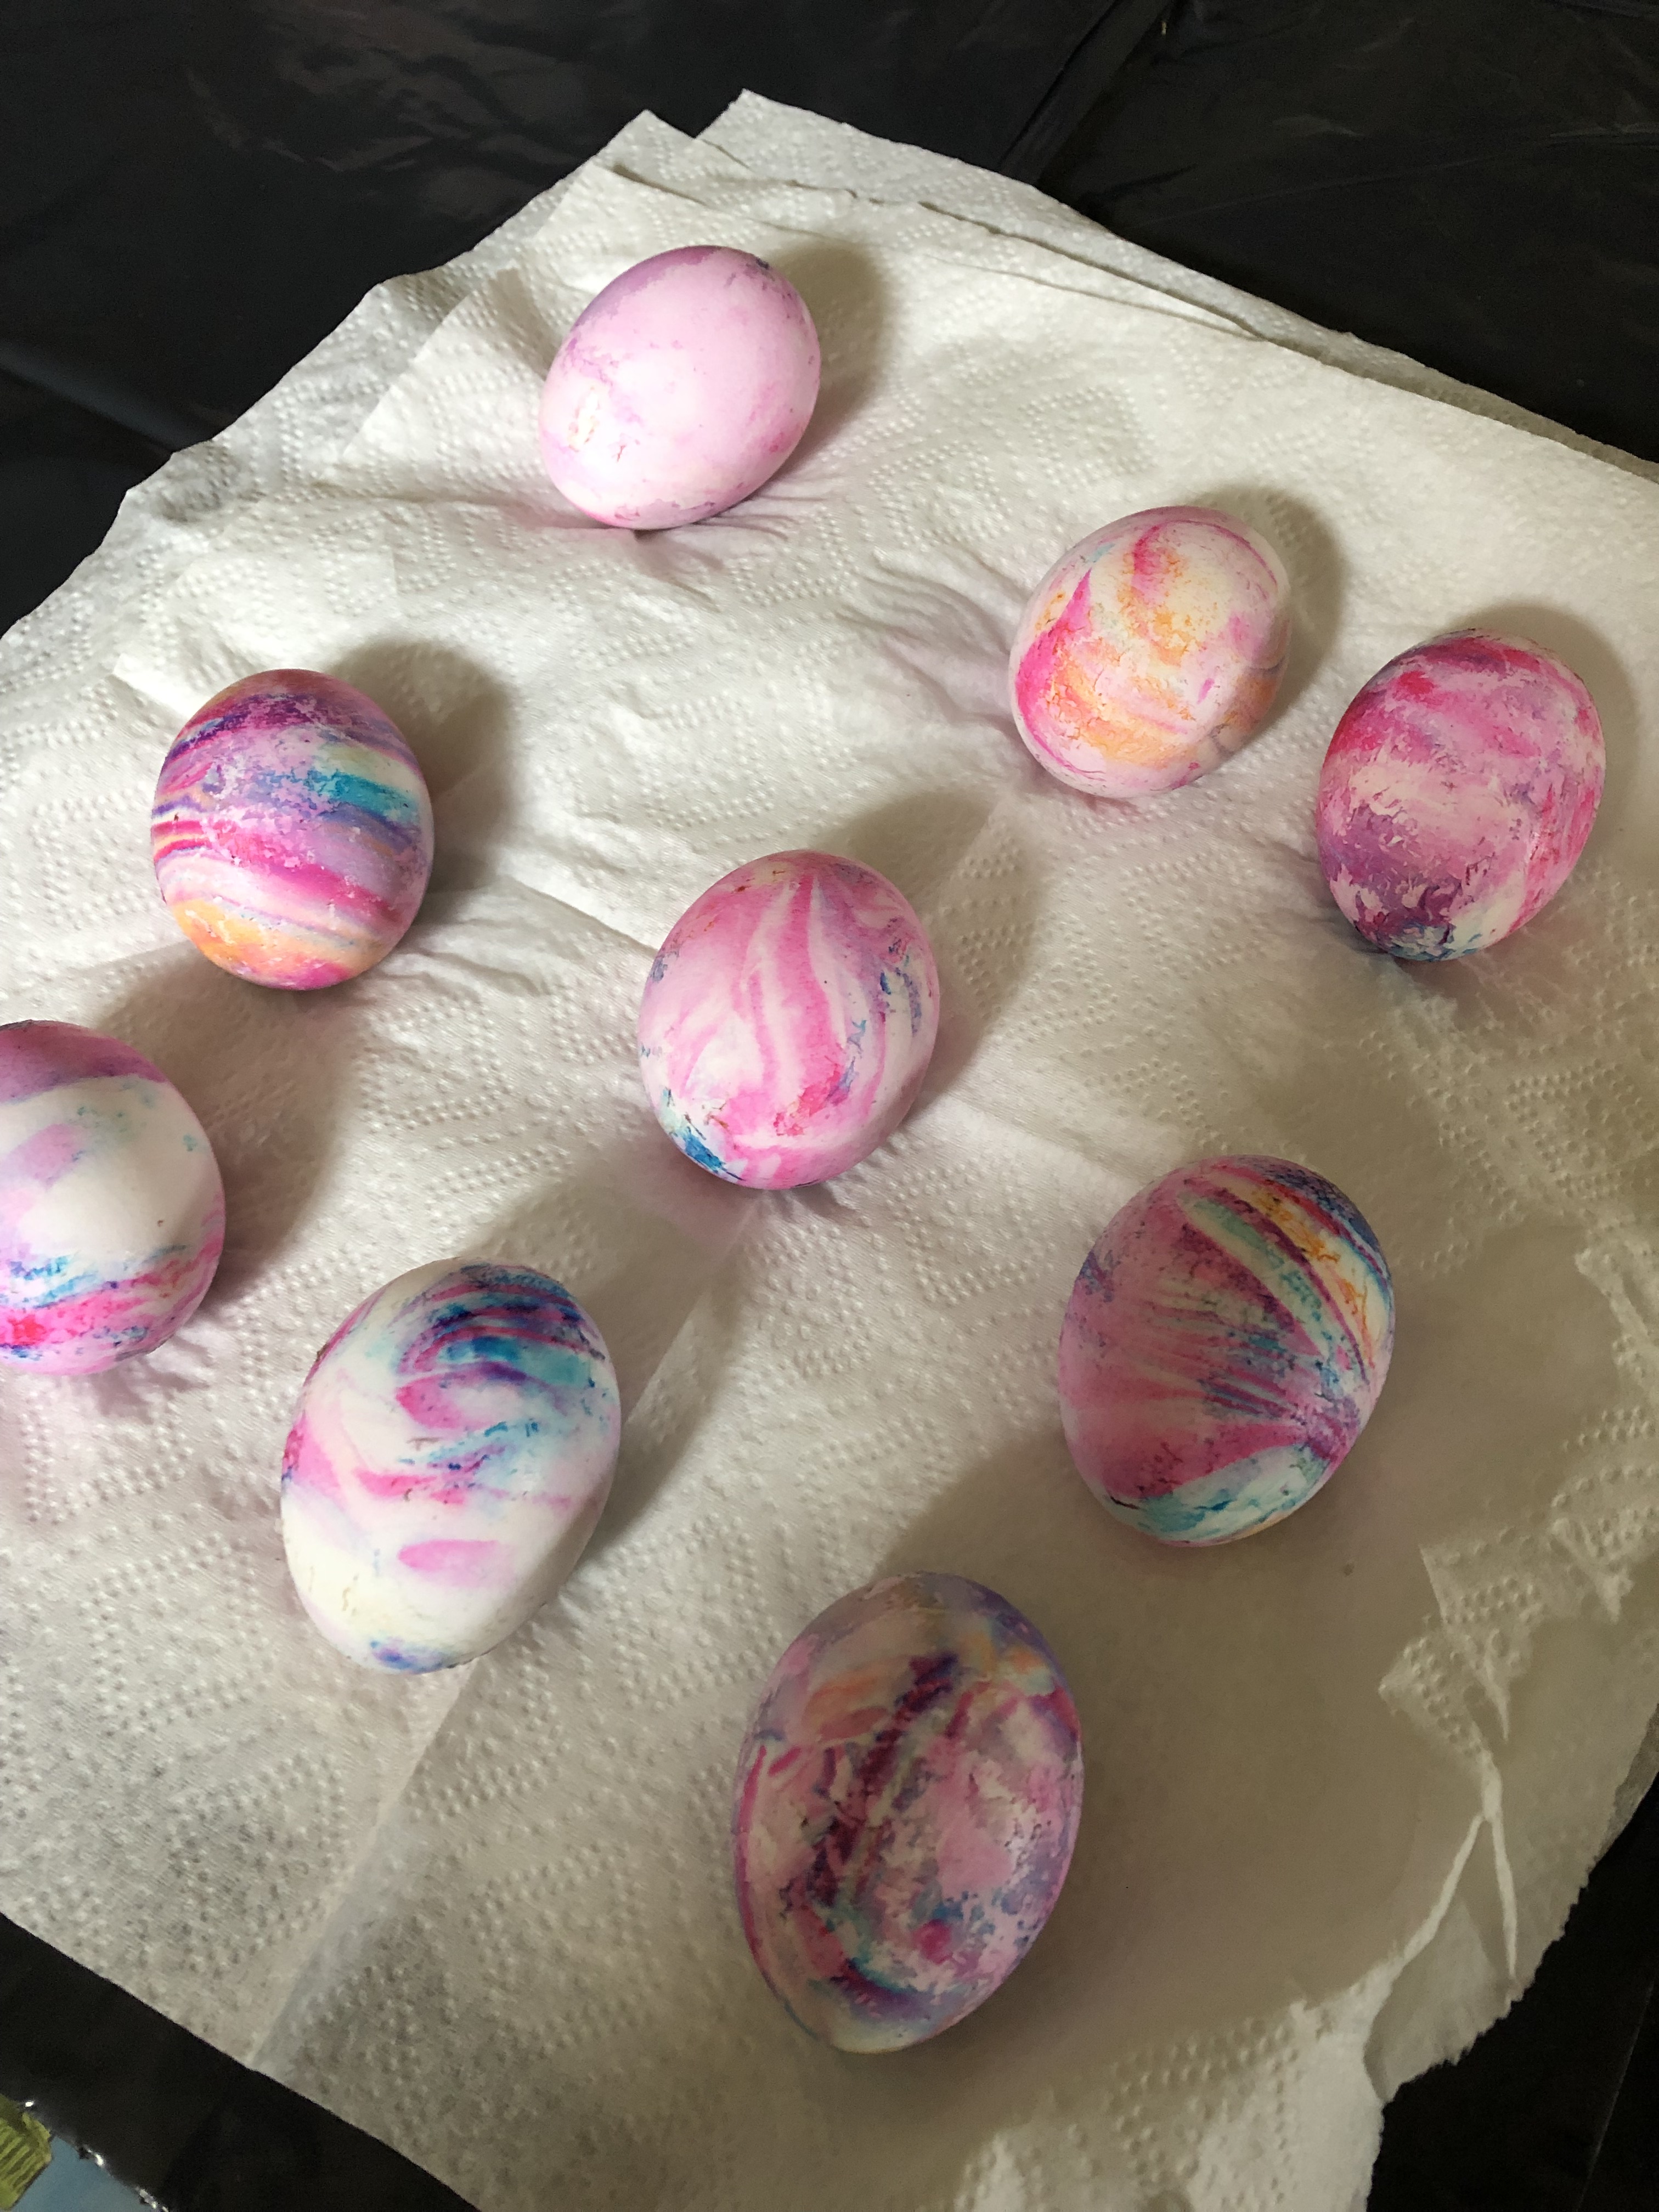
Overall I was happy with how these eggs came out. My nieces were especially happy. I think it was the first time that we dyed eggs and the eggs actually had a nice color to them.


Supplies:

18 hardboiled eggs

Vinegar

4 8oz. tubs of whipped topping

Food Coloring – preferably gel

2 9×9-inch (or 8×8-inch) baking dishes

2 Bowls

Toothpicks

Paper towels


The Elusive Magic Ring in Crochet

I have been crocheting for quite a few years now and I still get stumped when it comes to certain stitches and I’ll admit that I will avoid certain patterns if it includes an unfamiliar stitch. Like those FPDC that I see sometimes, which simply stands for Front Post Double Crochet. HUH? I just pass those over. Eventually I will break down and try it, but, for now, I will stick to simple stitches that still create beautiful pieces. I am more apt to try these different stitches when it comes to knitting. Which is kind of a little backwards since with knitting if you mess up it is a bit more complicated to remove all the loops from the needles to rip out the yarn from the “bad” part of the pattern and then reinserting the needles once again. With crocheting you simply remove the one loop from your hook, pull the yarn and then reinsert the one loop back on to your crochet hook. Maybe I just like to do things the hard way. Although, some will argue that knitting is the easier of the two because it involves only two stitches, knit and purl, whereas crochet has more. For example that FPDC I mentioned before, as well, SC (single crochet), dc (double crochet), hdc (half-double crochet) and so forth.

I recently came across a pattern that I wanted to make that I am a bit off season for now. Well, a season late you can say. It’s a Christmas Tree Skirt. I have been wanting to make one for a while, but, I just didn’t care for the patterns I saw. And then, right before the holidays I found one that I thought would be perfect. It was a bunch of hexagons stitched together to form the skirt. I figured hexagons I could handle, although the stitching them together not so much. It’s not that I can’t handle it, but, if you read my A New Year post you will know that I still have a shrug I made over three years ago that I haven’t stitched together. I’m a procraftinator who doesn’t like stitching things together. But, I figured if I start now I have a solid 9-10 months to get it done. And then I started and instantly ran into problems. I’ve crocheted shapes before so I was fine with that, but, the starting point was to create a Magic Ring and that’s where I hit a major hiccup. I watched tutorials online and finally thought I had gotten it, but, it just didn’t seem right. I felt like I had too much yarn in the ring and then that the ring wasn’t “thick” enough for me to stitch my other stitches around. The advantages of the magic ring is that you are able to pull the yarn so you end up with a closed circle in the center, as opposed to the open one you get if you crochet a short chain (about 6 chains) and then join it with a slip stitch. Which is perfect if you are crocheting in the round and/or making amigurumi – the Japanese art of making small yarn creatures. I thought, is a small hole in my hexagon worth this headache. No it’s not. So, I decided to ditch the magic ring and went the chain and slip stitch route instead and found a better pattern for the hexagons and am about a third of the way done crocheting them. I still have to get the yarn for the other two colors. I want a certain shade of red and green to go along with the silvery gray I got and of course since its right after the holidays the colors are out of stock at my local craft stores. Well, they did have some but, they all weren’t the same lot numbers and I already learned my lesson about lot numbers! Quick story, I knitted a blanket for a friend’s baby and one of the yarns wasn’t the same lot number as the other ones. So, when I finished the blanket that one section of the blanket stood out from the rest. That’s when I went and checked the labels and saw that one of the labels had a different number from the rest although was the same color, hence, me learning the hard way about lot numbers. Thankfully she loved the blanket and didn’t notice the difference until I pointed it out to her. That was my first big knitting project actually!

So, maybe I will master the Magic Ring one day, just like those FDPC’s, but, for now, I am happy with my simple method of a chain and a slip stitch to start my crocheting in the round. Besides, I don’t think my hexagons are looking all that bad with the small hole in the middle.

Christmas Crafting

With Christmas just a few days away I finally got my cards in the mail the other day. I was so gung-ho about making them super early this year – I took out all of my supplies for them back in late October and put it on my crafting table all ready to go, but, got sidetracked with a few other Christmas crafts I wanted to get done first.

So, while I only have one main door to hang a wreath on – as most people – I ended up making three new wreaths this year. I only planned on making a new garland wreath to replace the one I made a few years back but while searching for ideas for that one I came across a yarn ball wreath that I had many of the supplies for – mainly yarn – and then I got an email that described how to make an ornament ball wreath in perfect detail. I tried making one of these a few years ago and didn’t have much success.

Up first… the Garland Wreath. While my local craft store did have those green wreaths I could have just bought and decorated I wasn’t too fond of the way they looked – that’s actually what my original wreath is made with and I never really liked it because of it – so I opted to wrap an 18″ grapevine wreath with garland. After that was done I then decorated it with various Christmas picks. I bought and returned quite a few of them before I was happy with the layout. This is actually the wreath that made it to my front door.

Garland Wreath 2 IMG_2027

Then there’s the Yarn Ball Wreath. I used different shades of green yarn I had leftover from different crocheting/knitting projects to wrap various sized Styrofoam balls. I then mapped out their placement on a wire wreath form and attached them using a hot glue gun. I then added in some red shatterproof ornaments for a pop of color and to make the wreath a bit more festive.

Yarn Wreath 2 IMG_2031

And finally, my favorite, the Ornament Ball Wreath. This was definitely the most time consuming, but, worth every minute. To begin I wrapped a Styrofoam ring with red ribbon tying a loop with the ribbon at one point so the wreath could be hung. I then lined the inside and outside of the ring with alternating sized shatterproof ornaments. I then filled in the flat part of the ring with various sized ornaments and finally – the part I couldn’t get too crazed with – I filled in the gaps with smaller sized ornaments. It’s very easy to go from beautiful to gaudy when adding the ornaments.

Ornament Wreath 2 IMG_2091

After the wreaths I moved on to making snowflake ornaments. I got the wire forms (6-inch) from Fusion Beads and then it was just a matter of decorating them with pearls, crystals and seed beads in colors that reflected the holiday season or the intended recipient’s favorite color. This was made all the more easier since I recently organized all of my jewelry supplies into storage containers.

IMG_1989

After a few wire mishaps (thankfully I bought extra wire forms) and a couple of wire gashes all of my snowflakes were done. After taking this picture I threaded all of them with coordinating ribbon so they could be hung from a Christmas tree, in a window, or wherever.

IMG_2107 IMG_2103

And finally… My handmade Christmas cards. While getting started is always a daunting task, by the third card I am full speed ahead. I even got a jump on next year’s cards by making a few extra this year. We’ll see if I still like them in a year’s time or I may just have other ideas of what I want to make by then.

IMG_2204

Happy Holidays!!!

IMG_1986

(And yes, I did make this as well.)

%d bloggers like this: