Spring Striped Cake

Happy first day of Spring! I hope you are all safe and healthy. I am sure Coronavirus / Covid-19 has changed the way you do a lot of things these days. I started working from home this week and while the first day was a bit of a challenge using my desktop and laptop in tandem, the second day was much better since I had my desktop and two monitors from work set-up at my kitchen table. Which also means I can enjoy some sunlight during the day… There’s no sunlight to be seen at my job. I must say, and I am sure most (if not all) of you would agree, it’s so surreal how many things have closed, been cancelled, rescheduled and so forth. It’s the best choice though if we want to contain this virus.

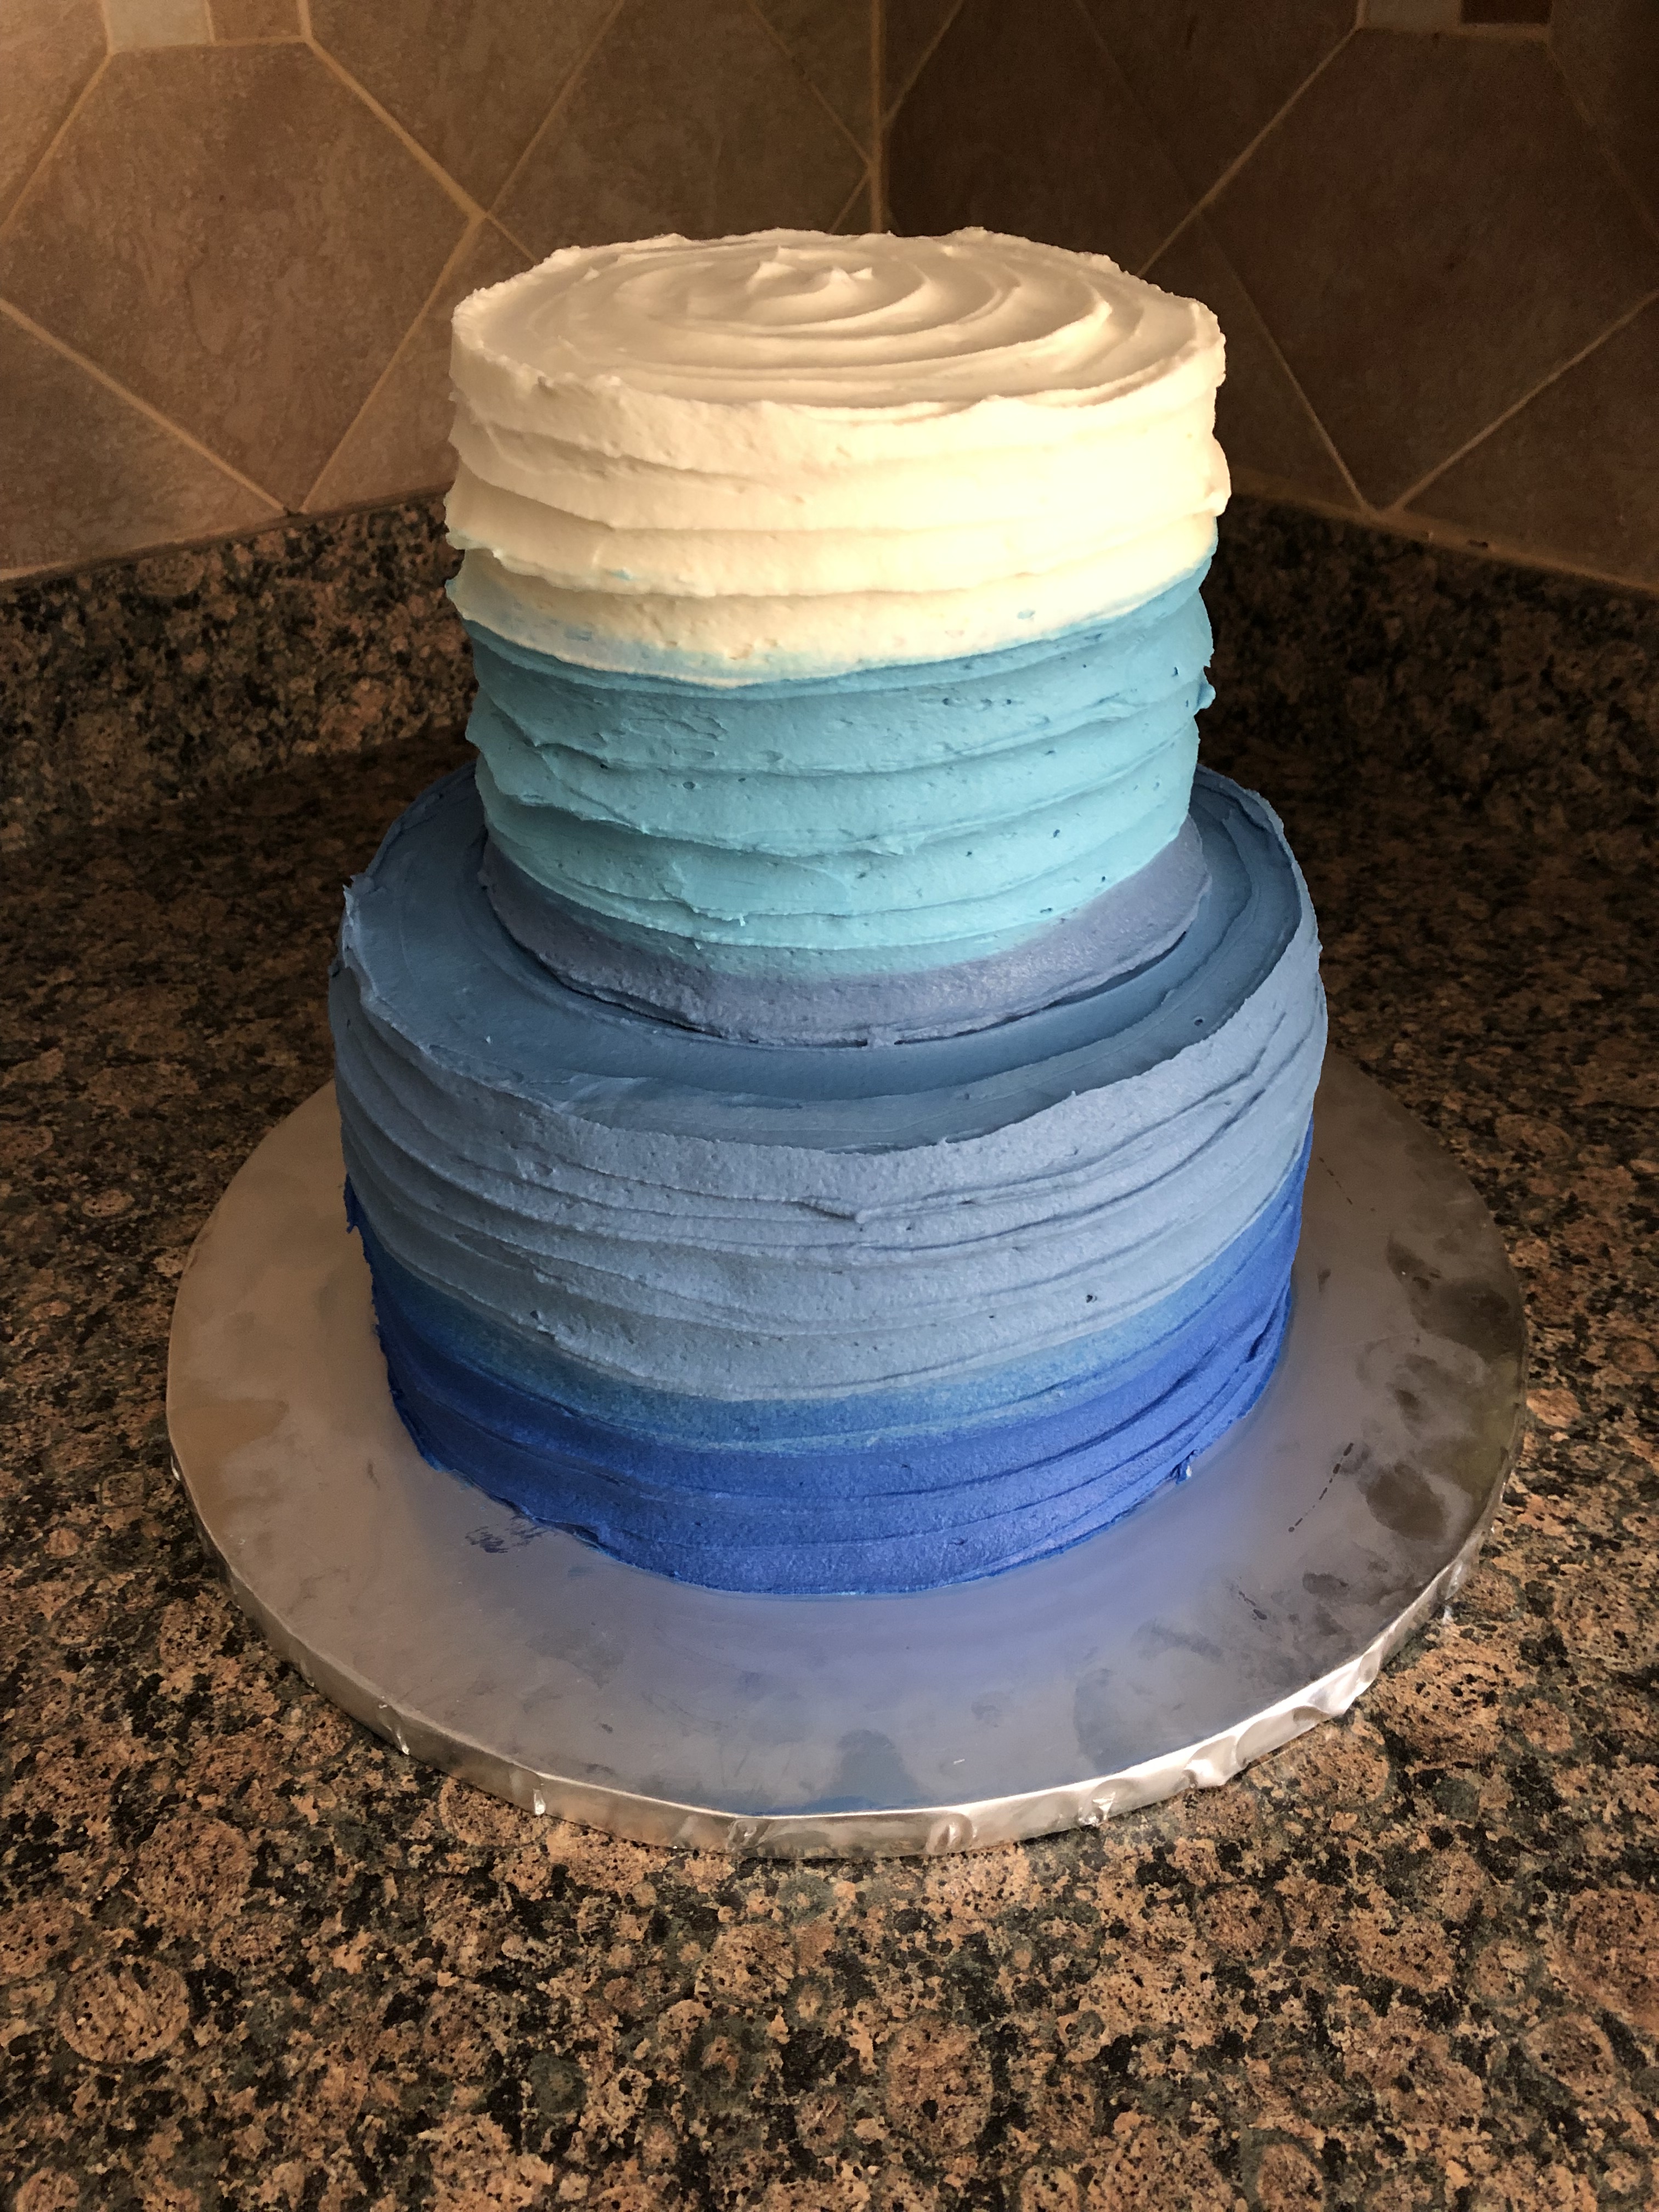
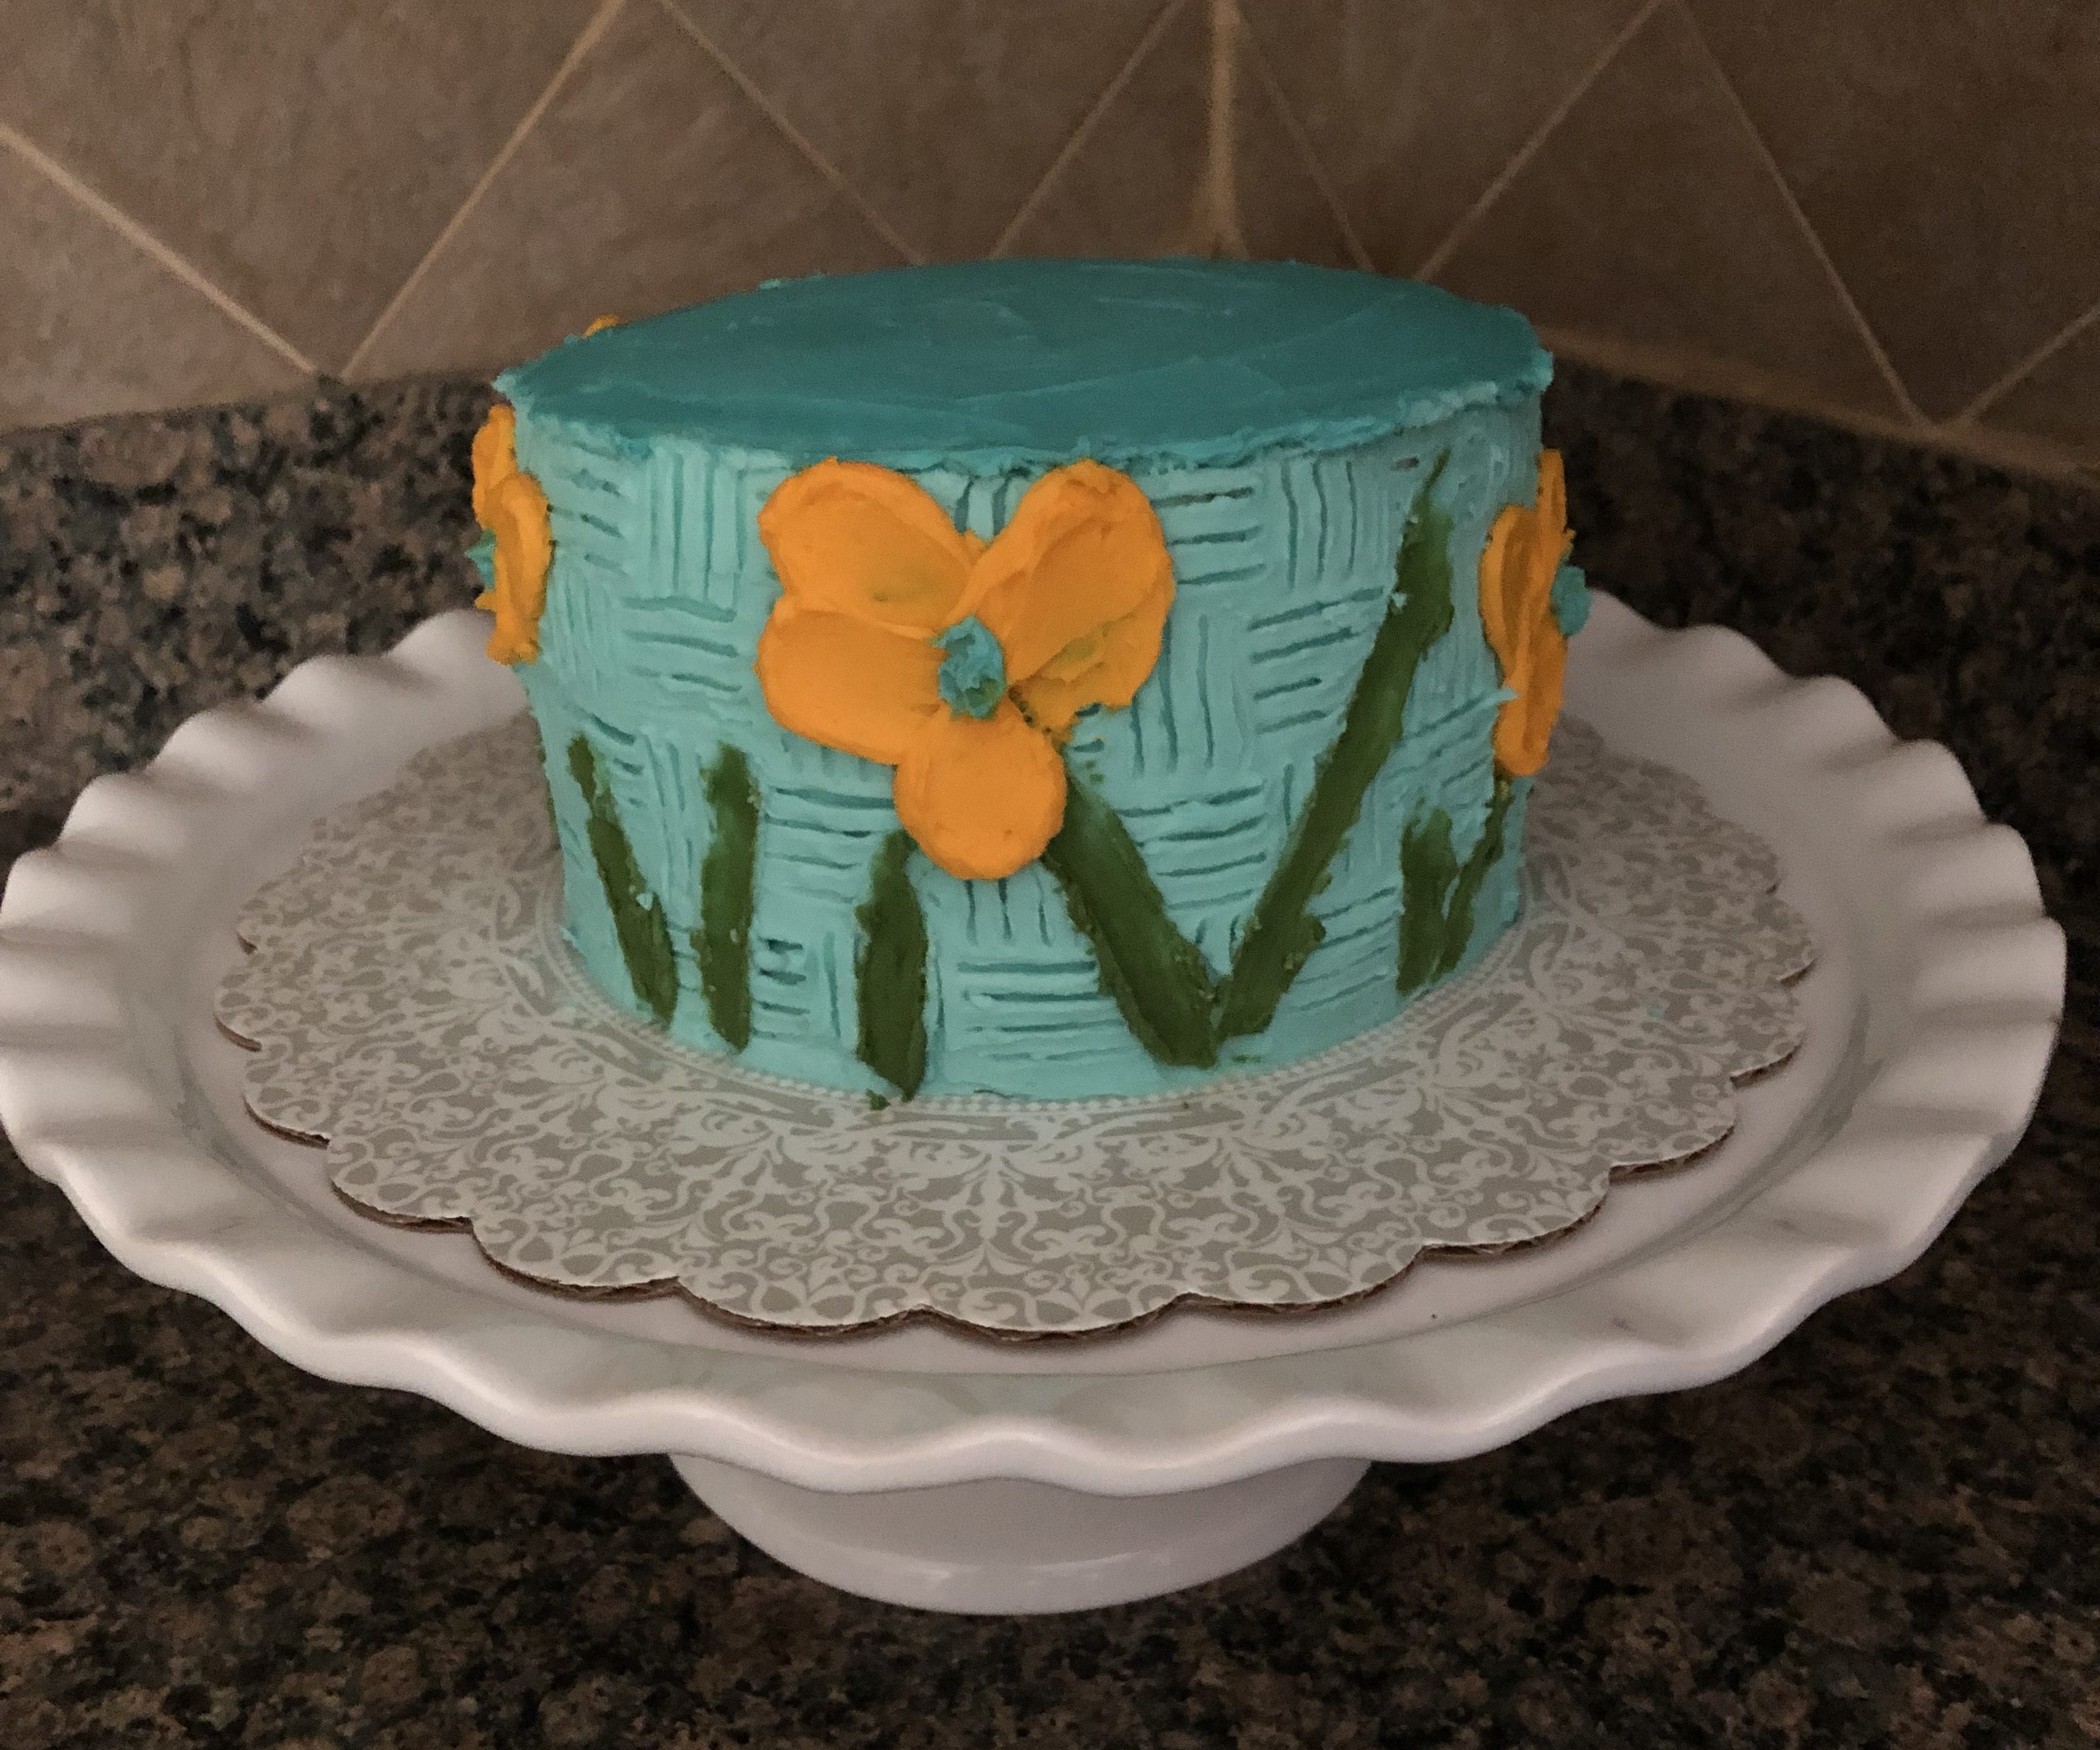
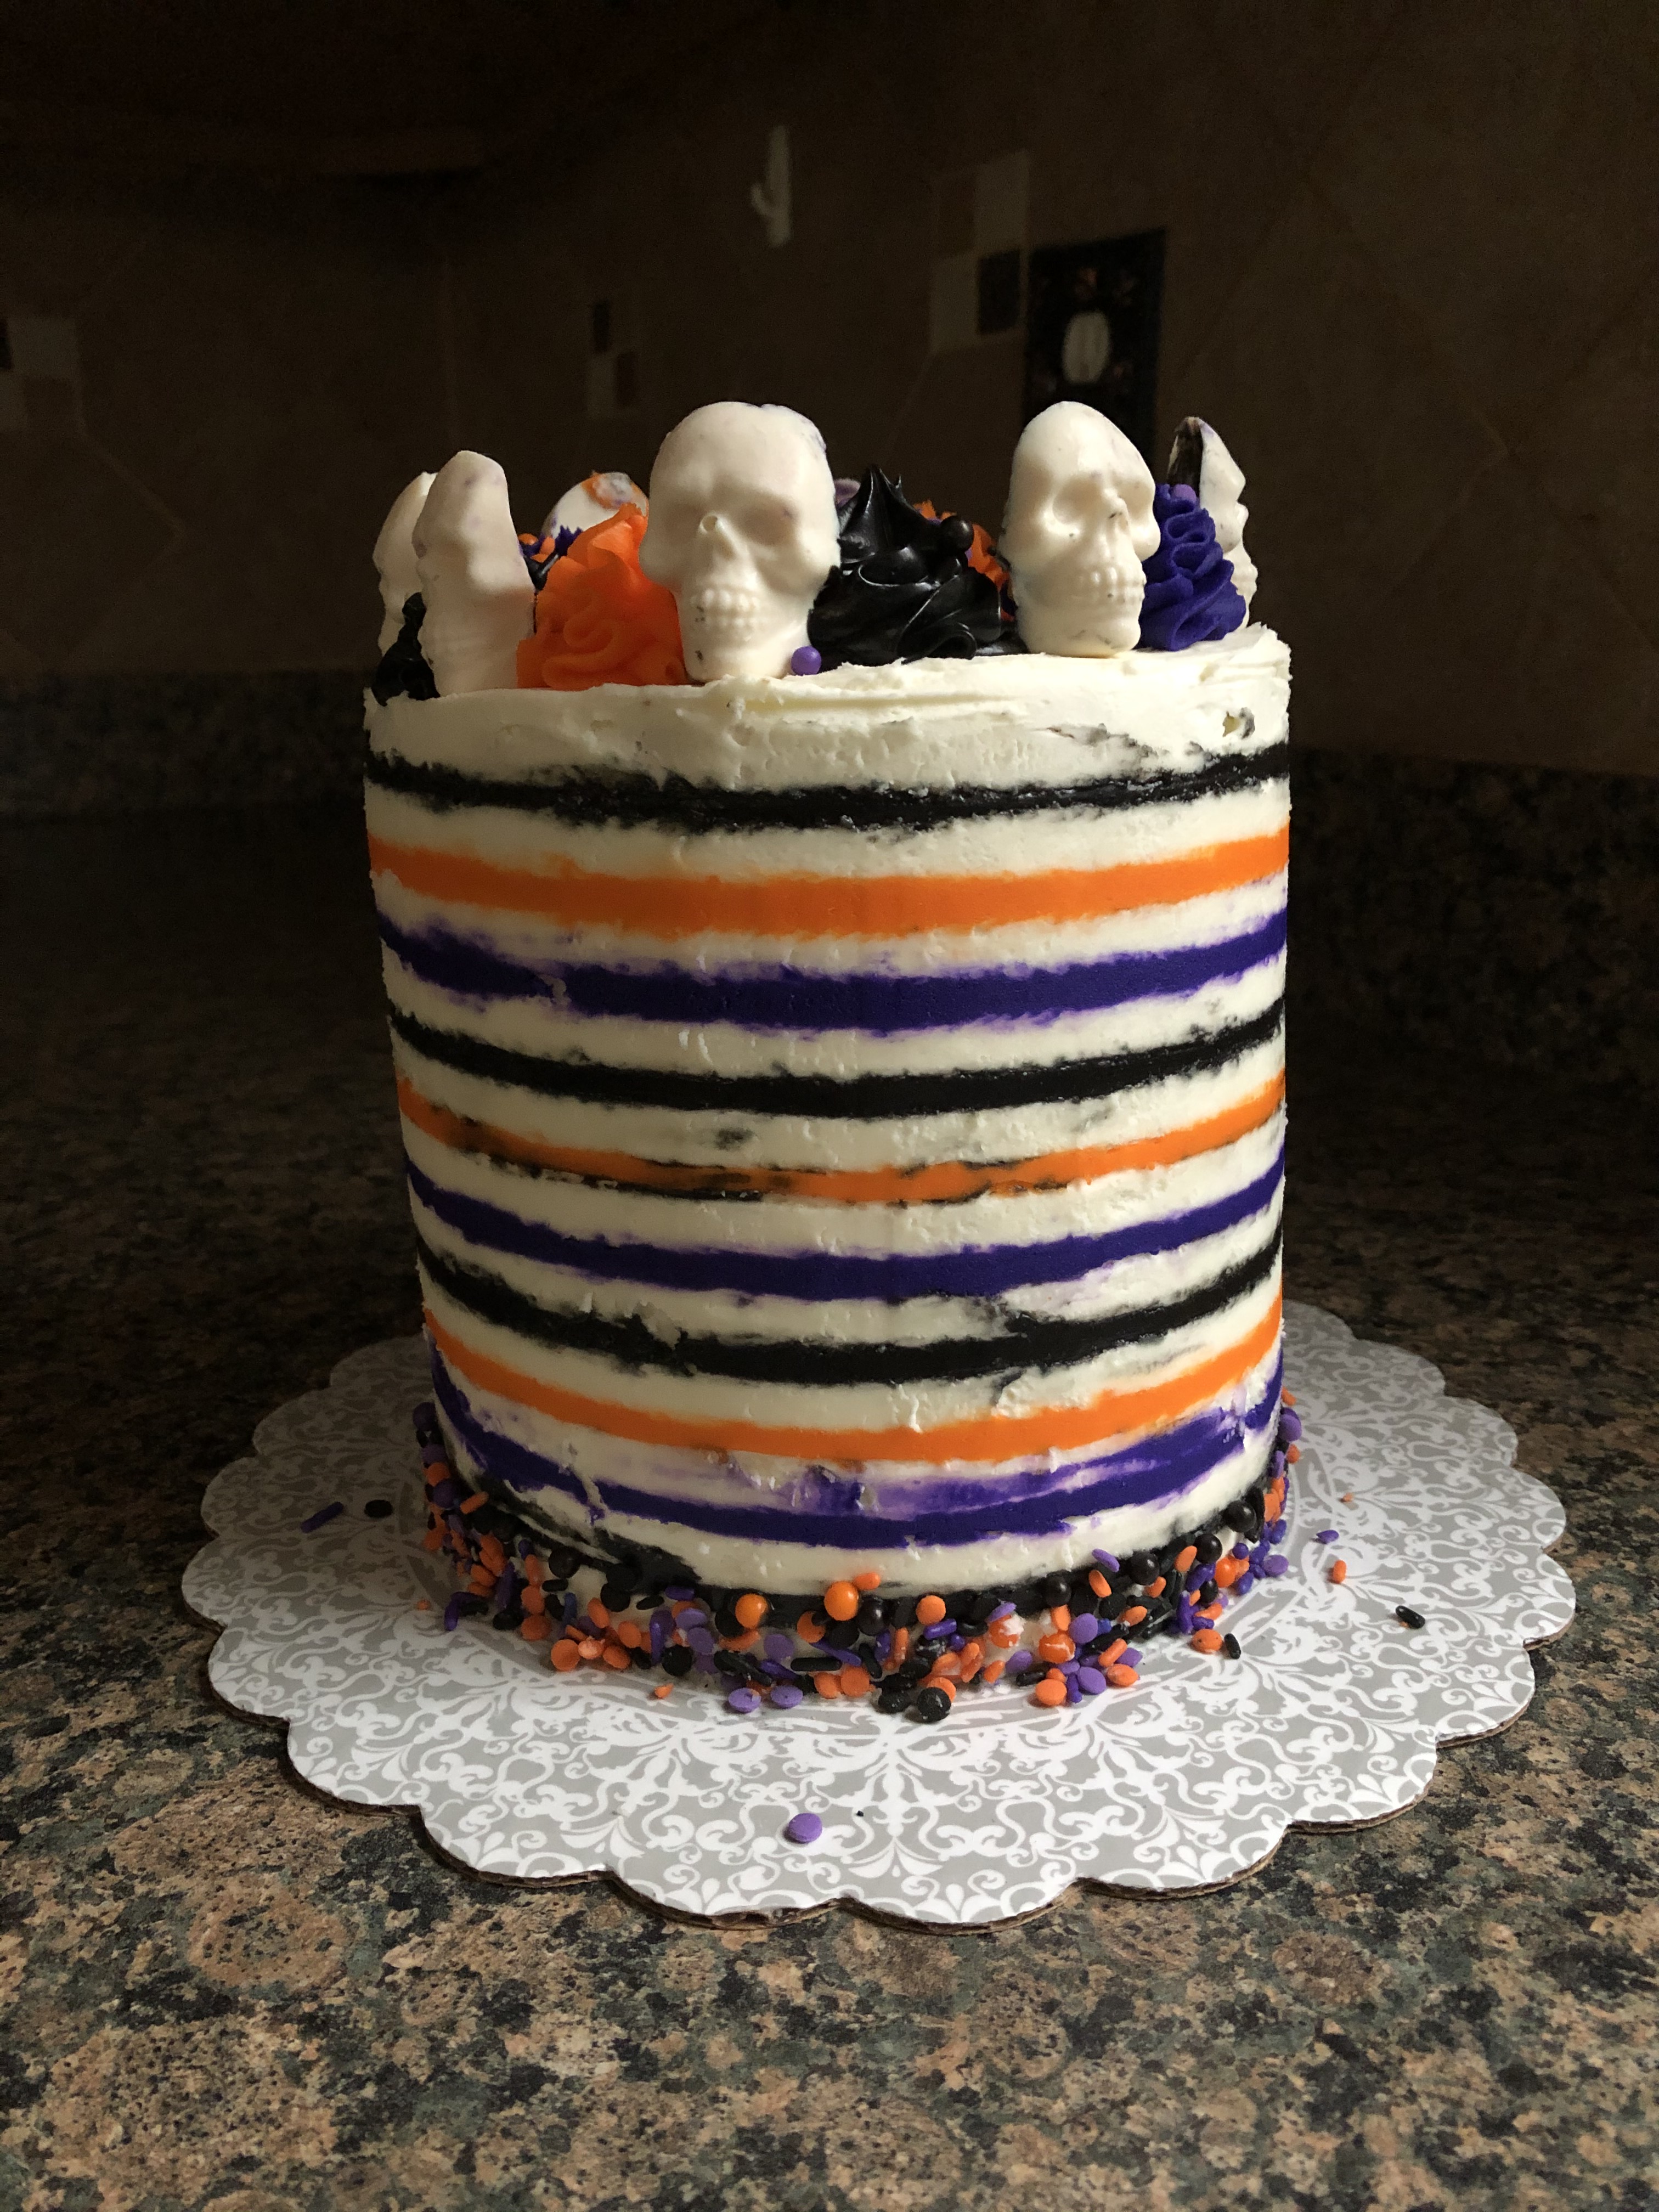
Back to Spring though, to welcome the season I decided to make a Spring themed cake. Spring themed because I used Spring colors. I decided to gives stripes another try. I tried them for the first time back in October for a Halloween themed cake. They were not pretty though! But, I figured since it was a Halloween cake the smudged stripes went with the holiday.

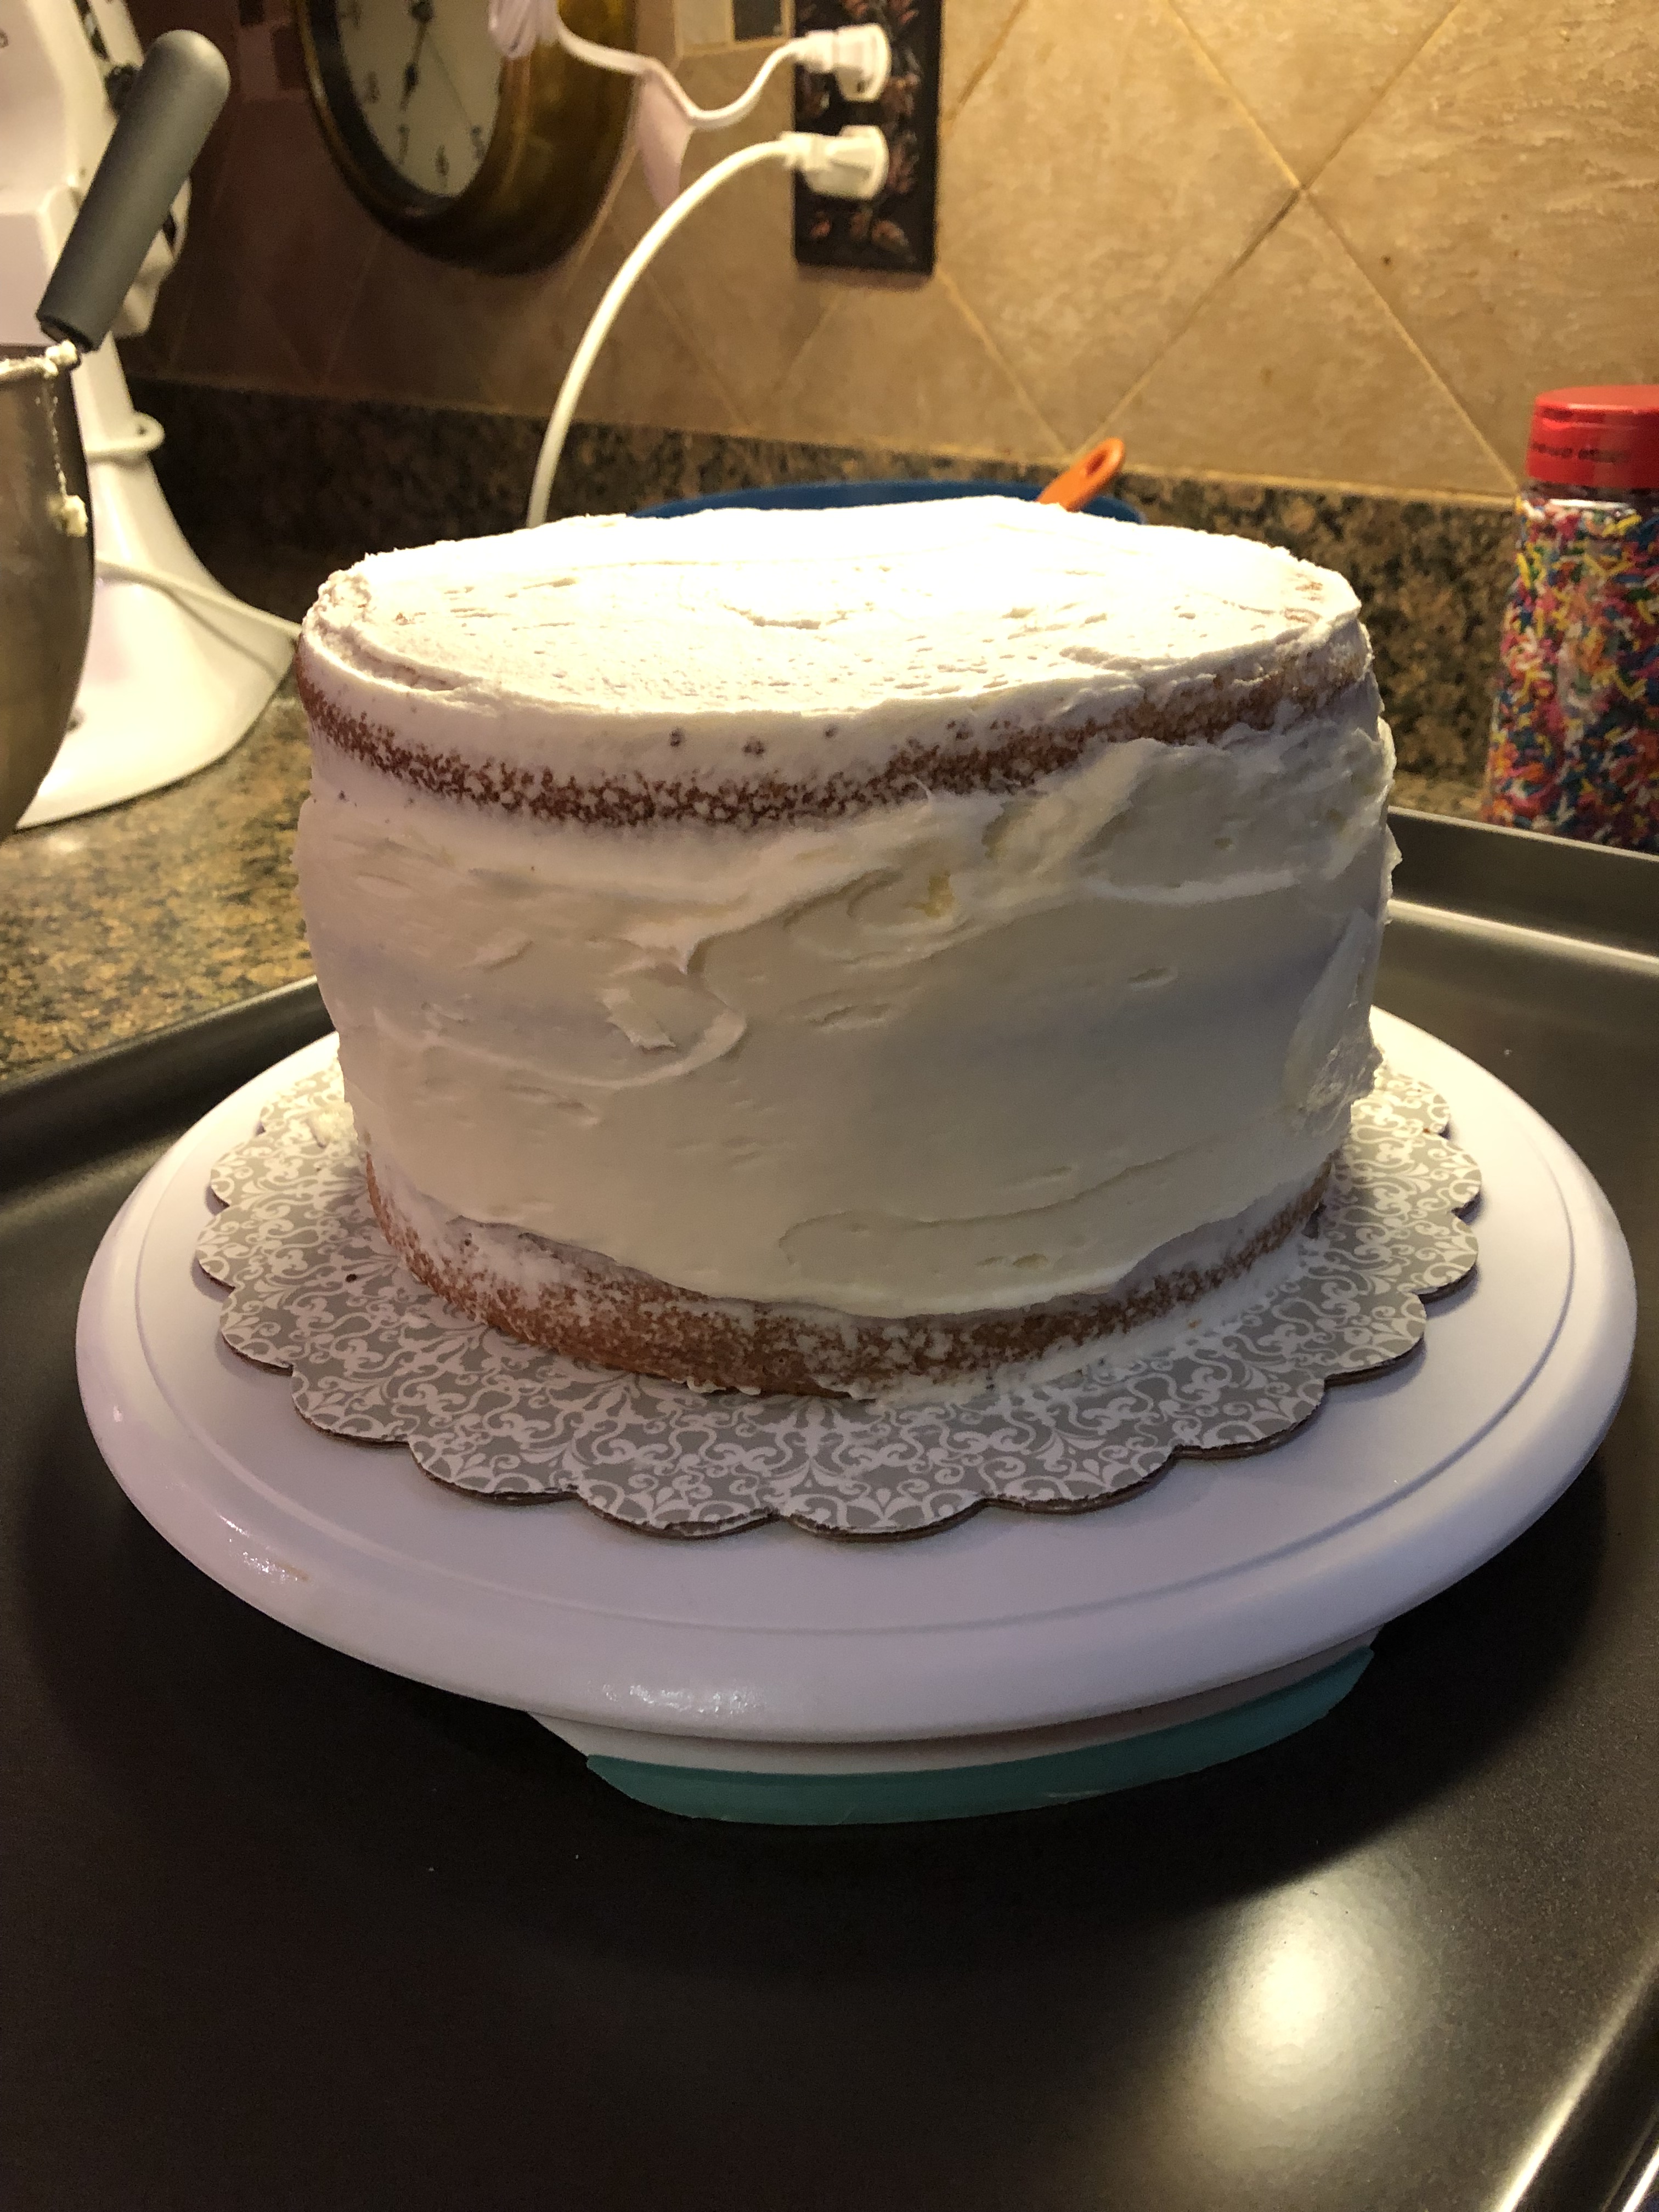
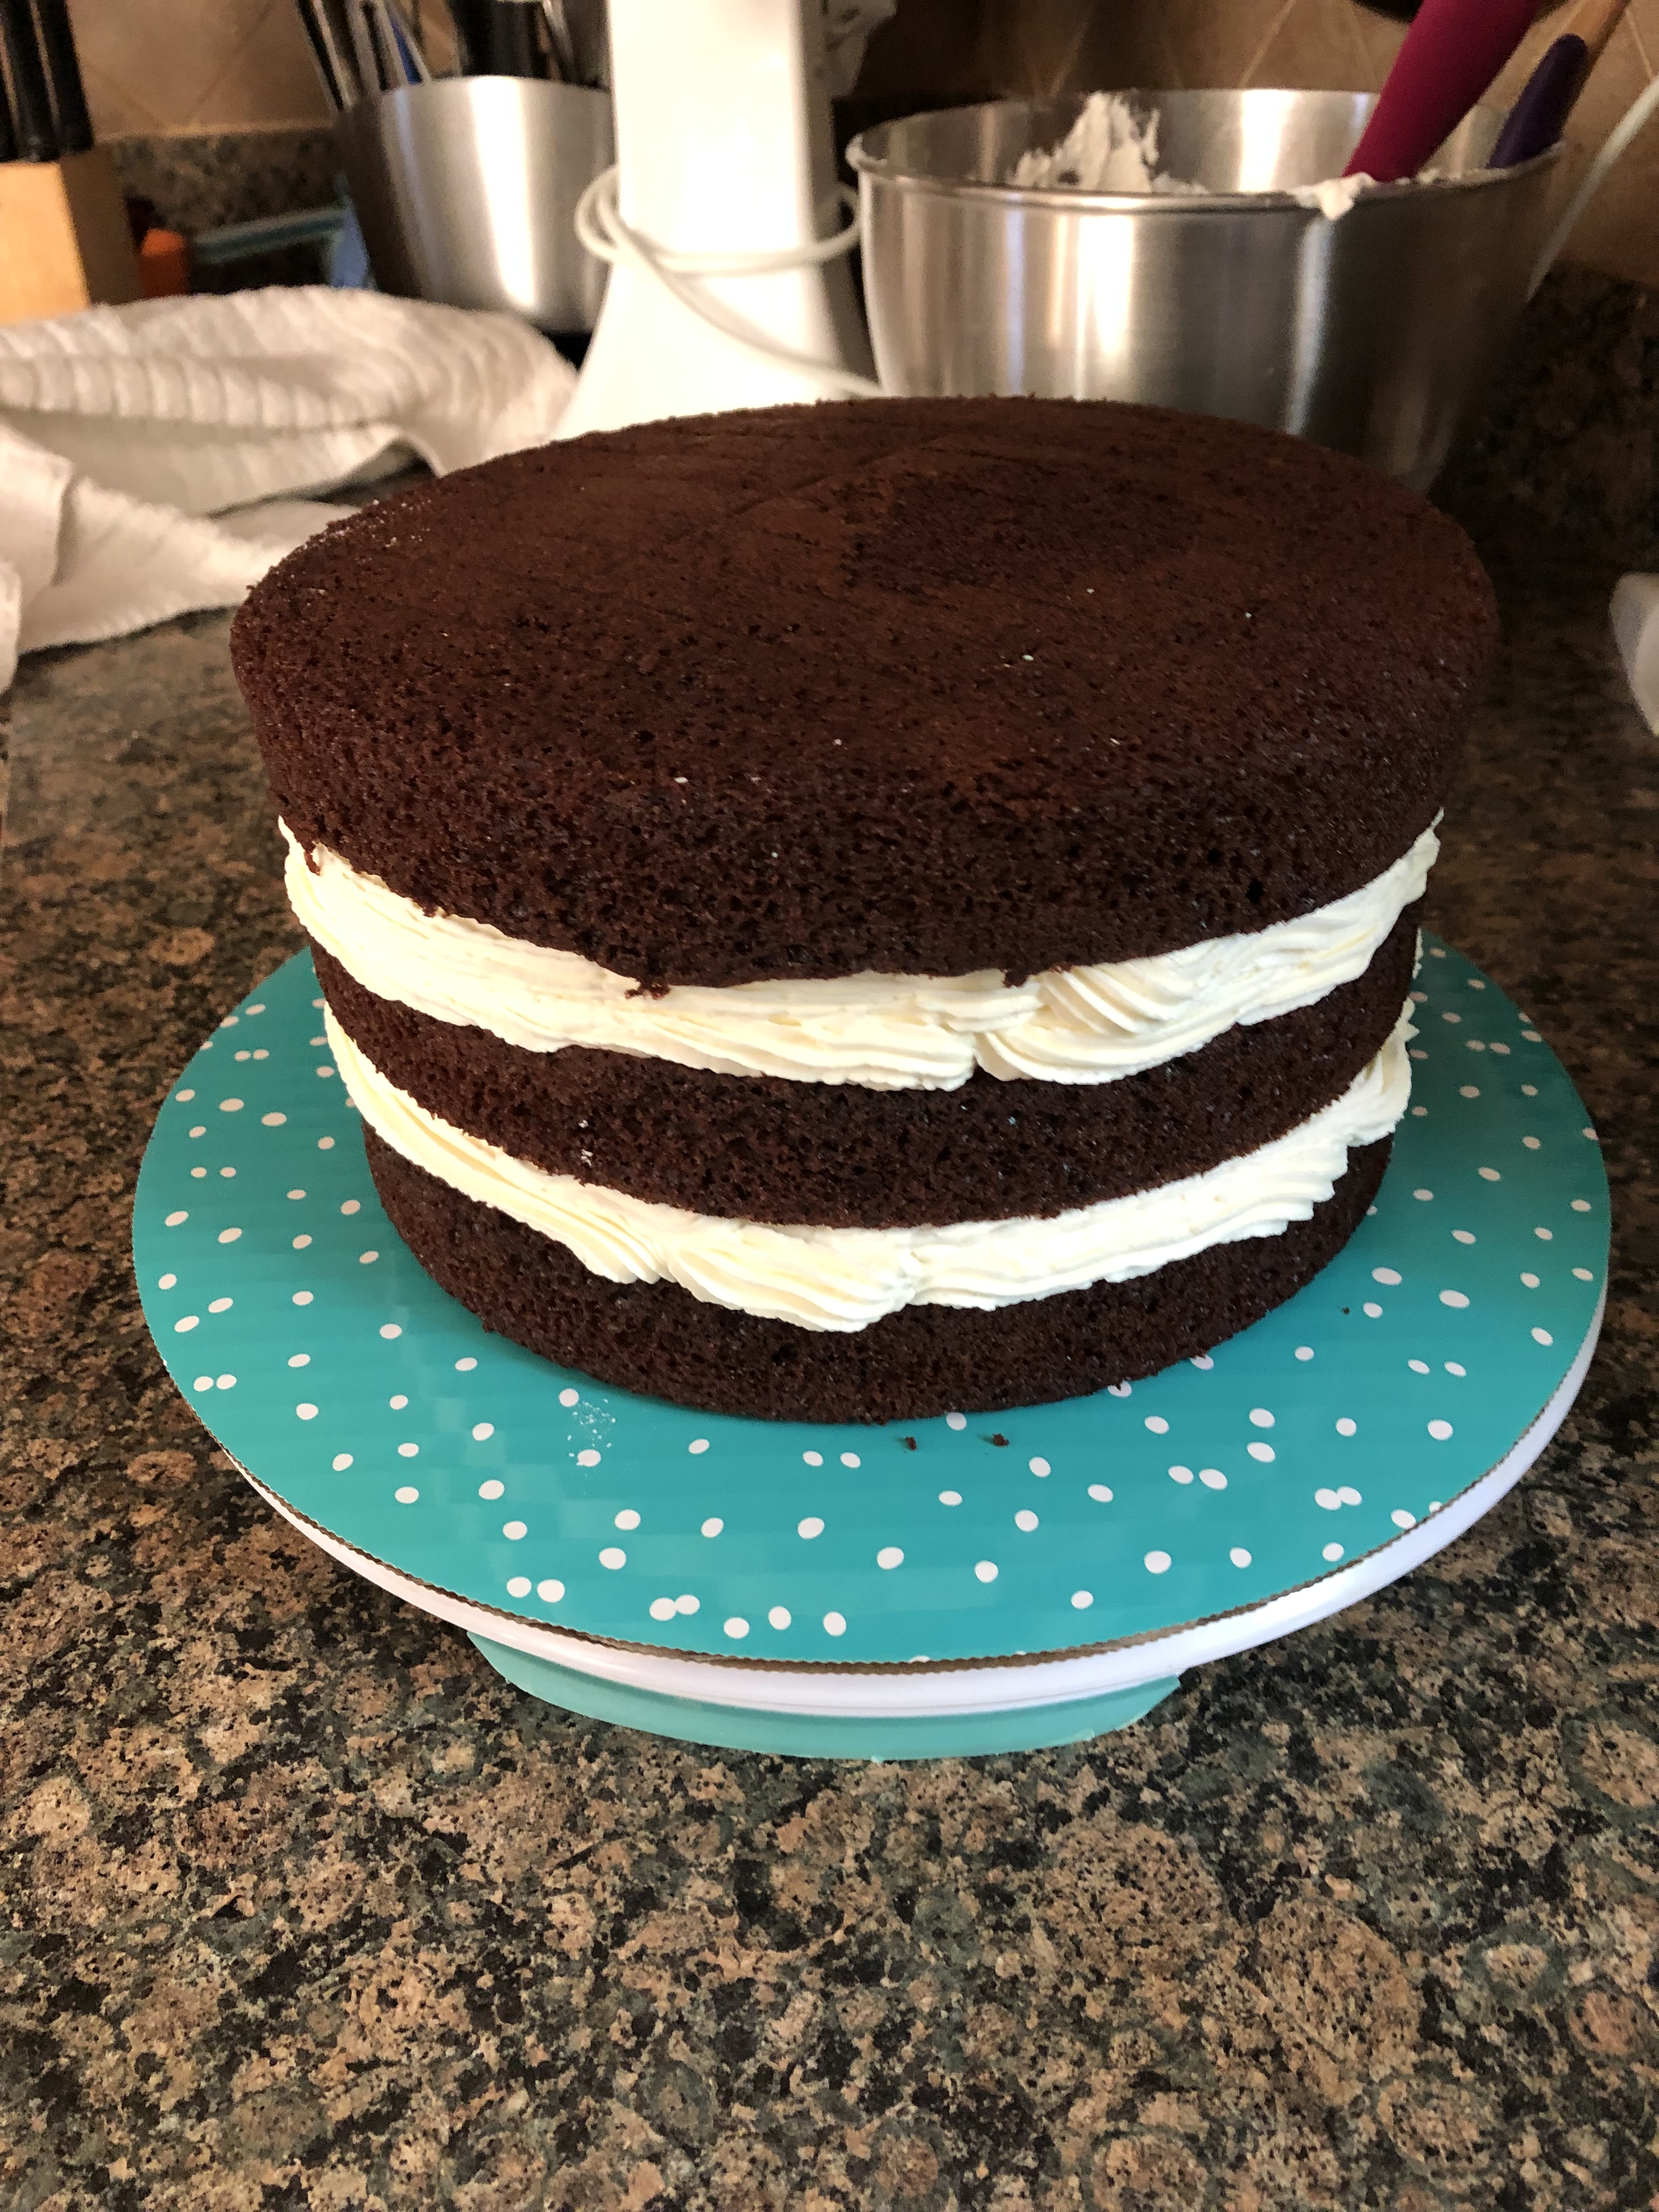
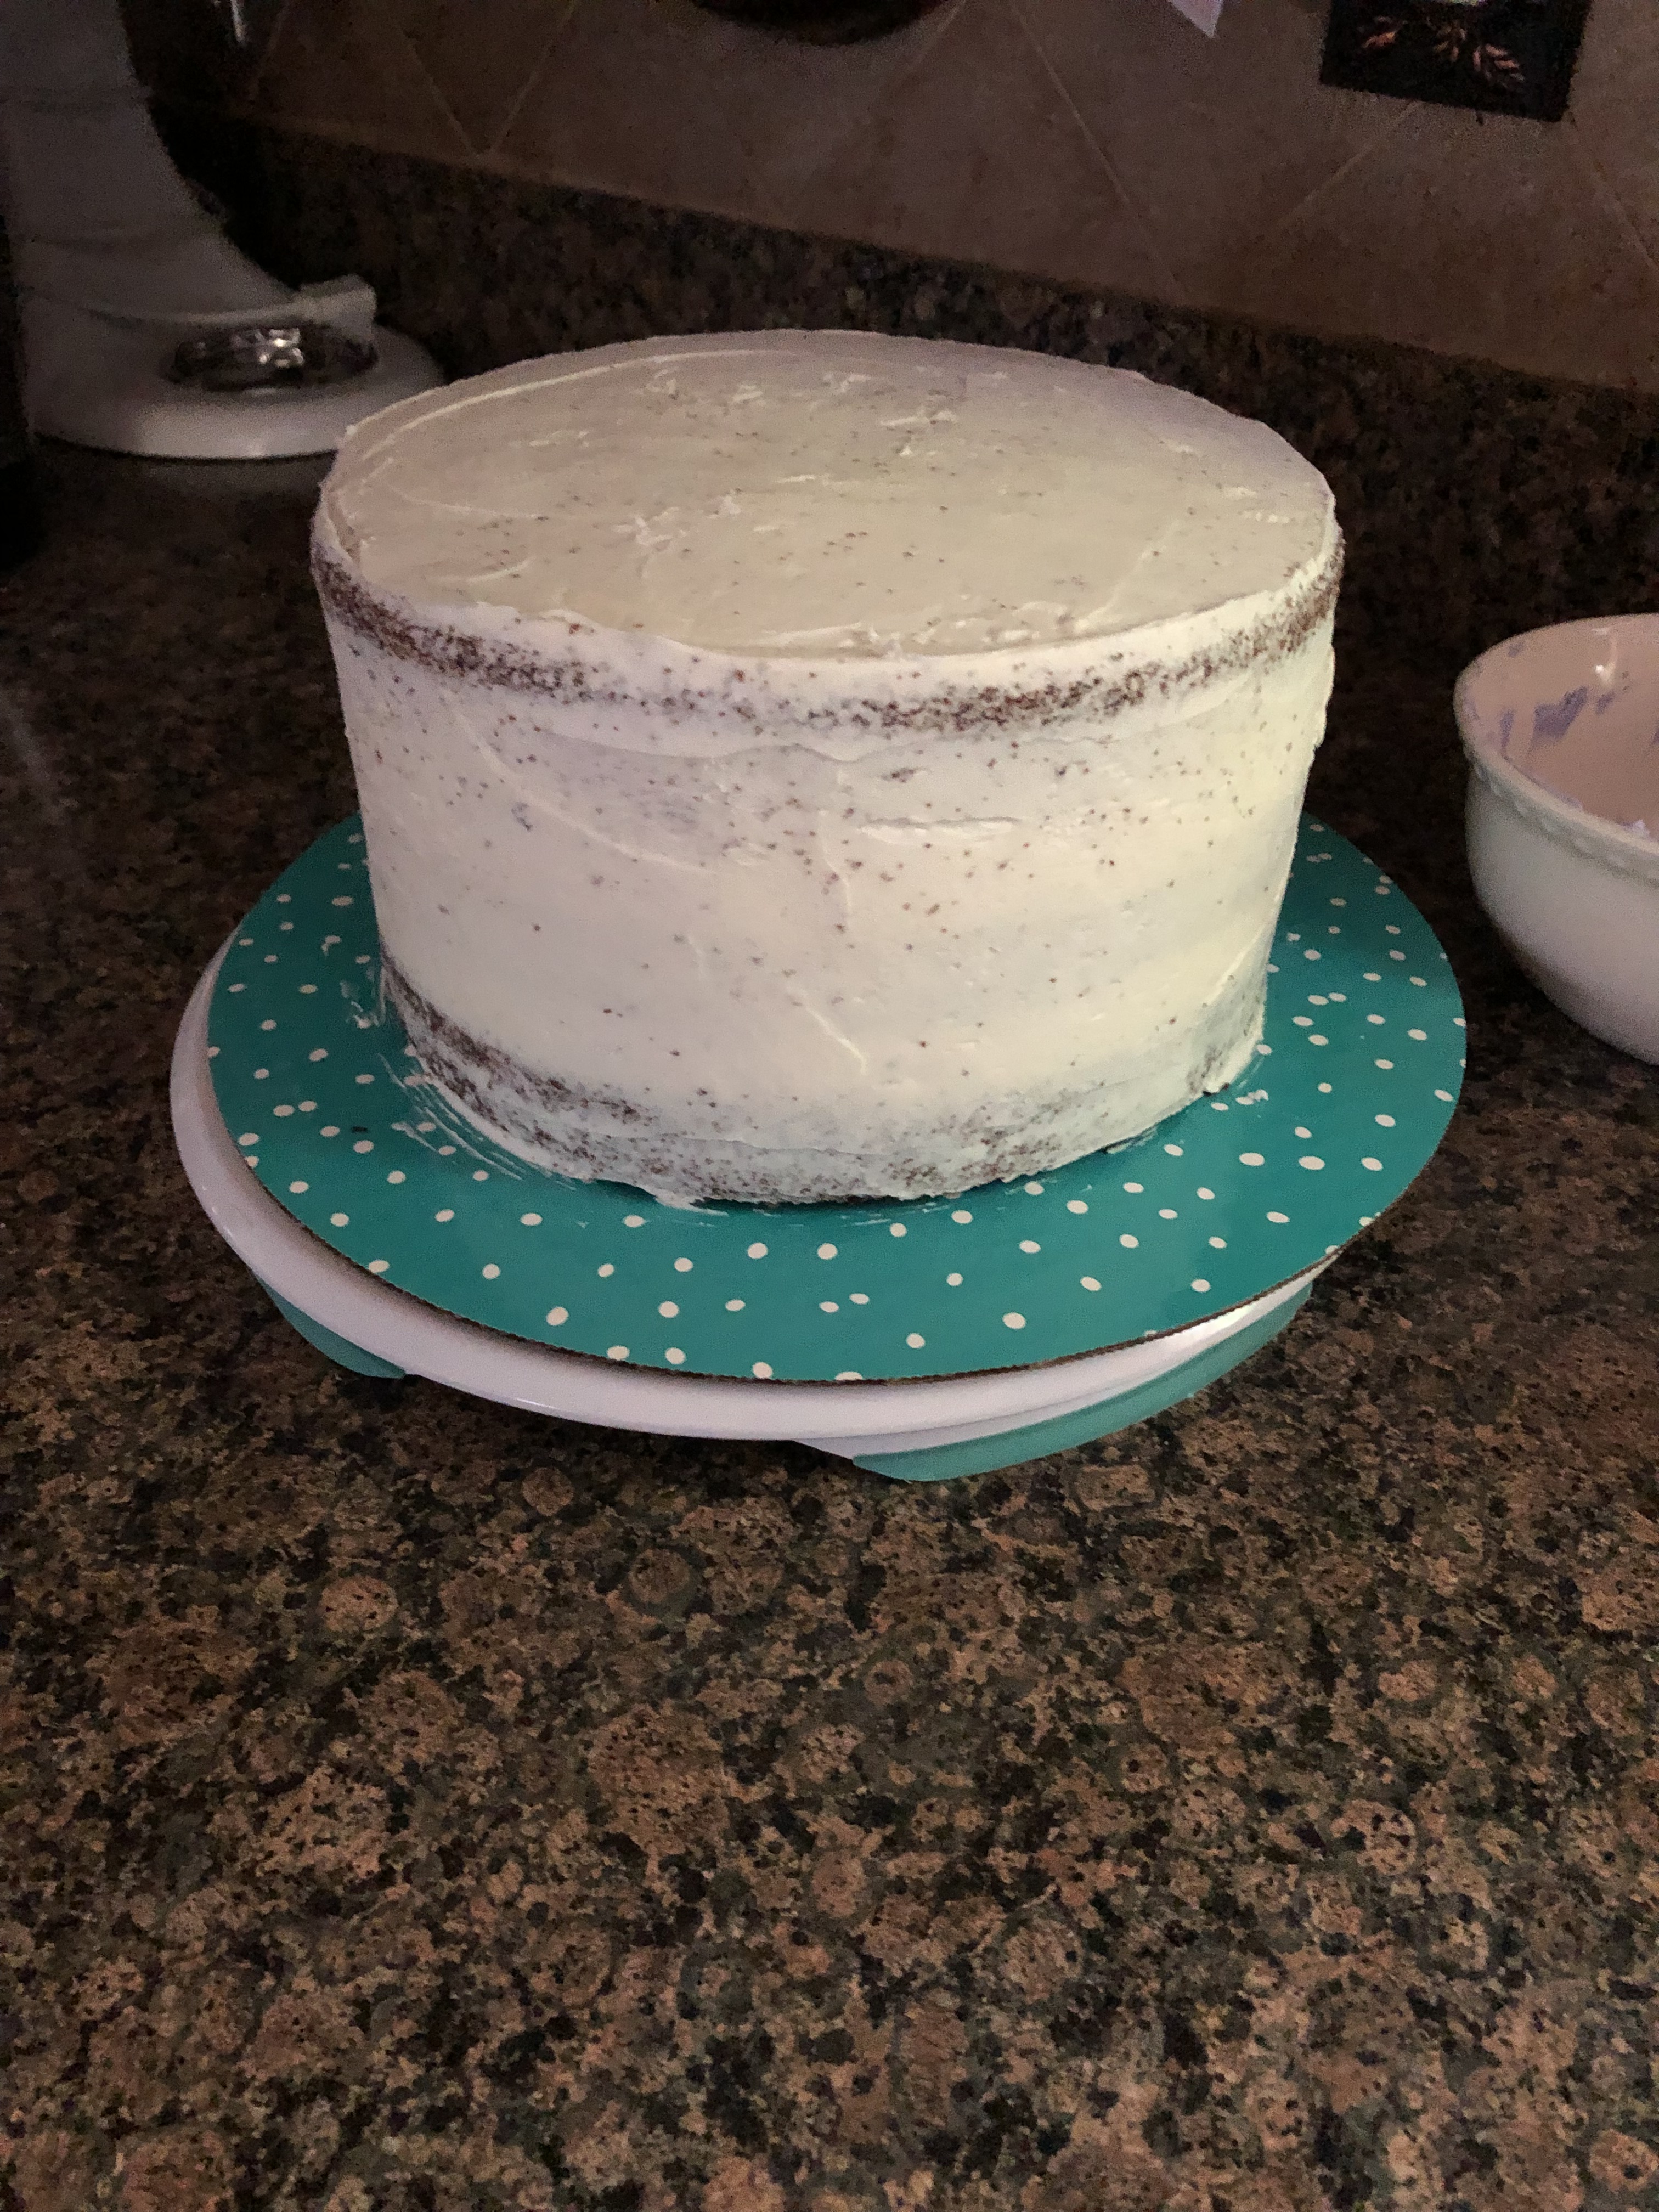
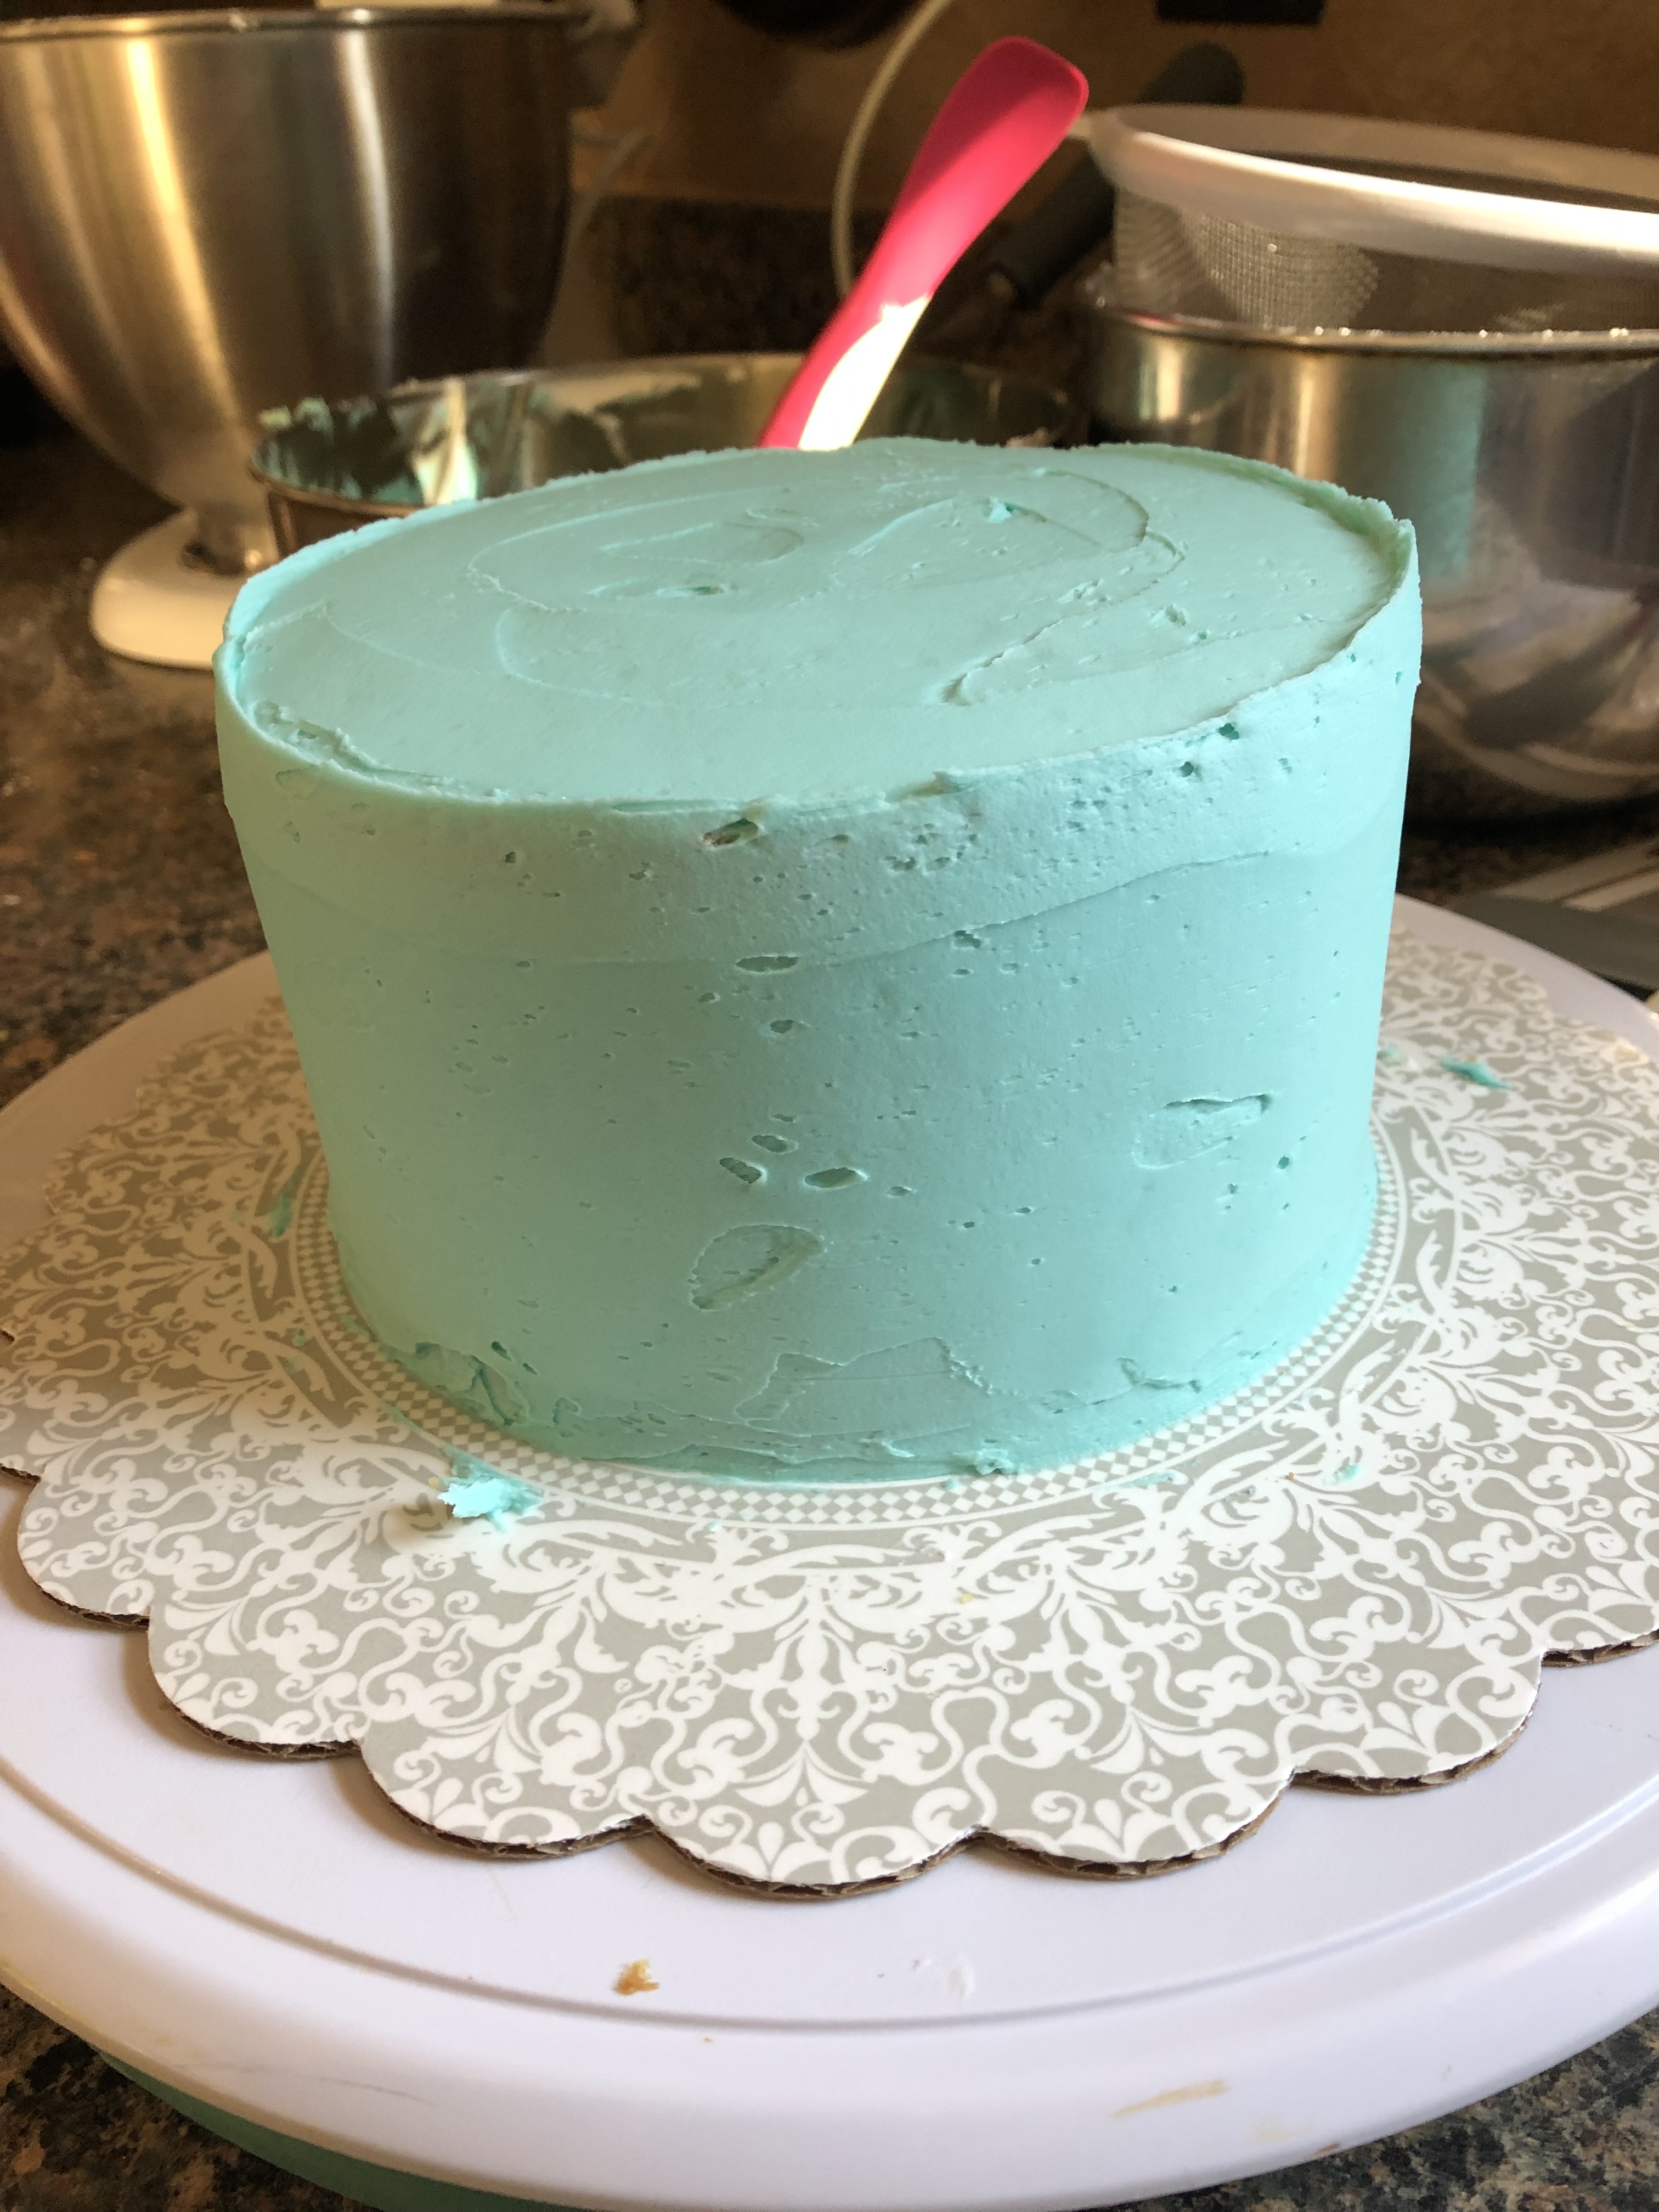
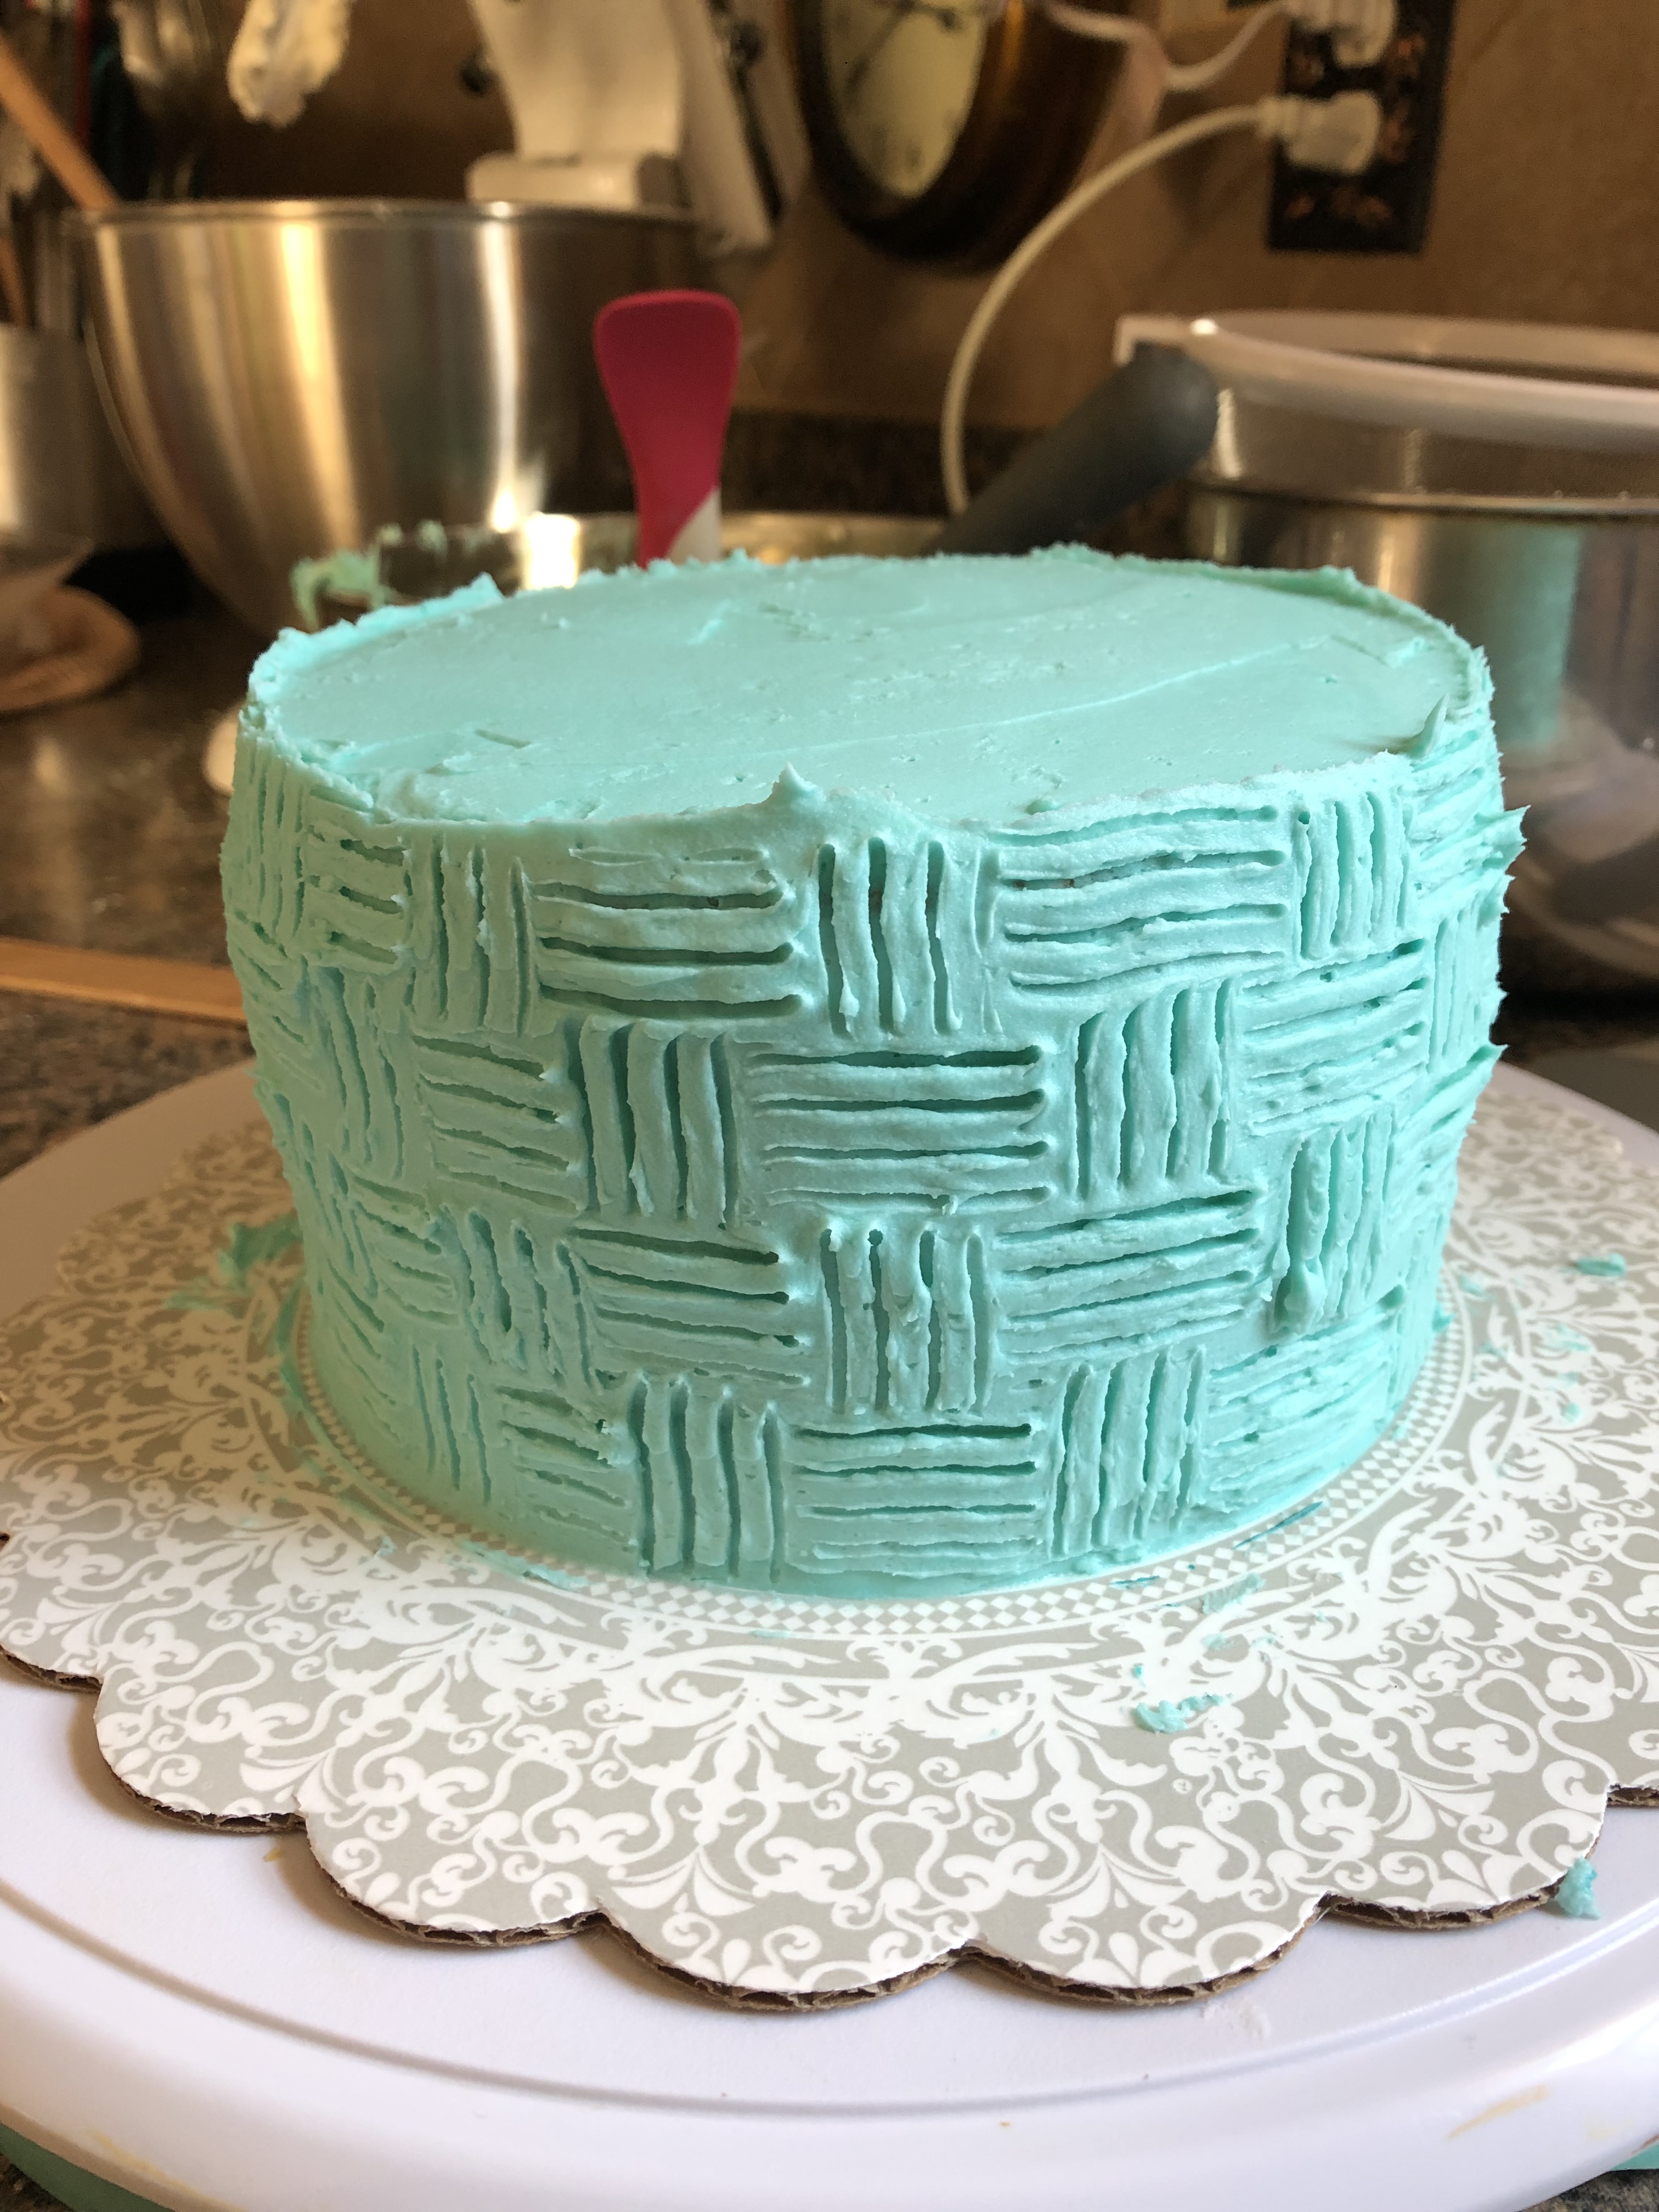
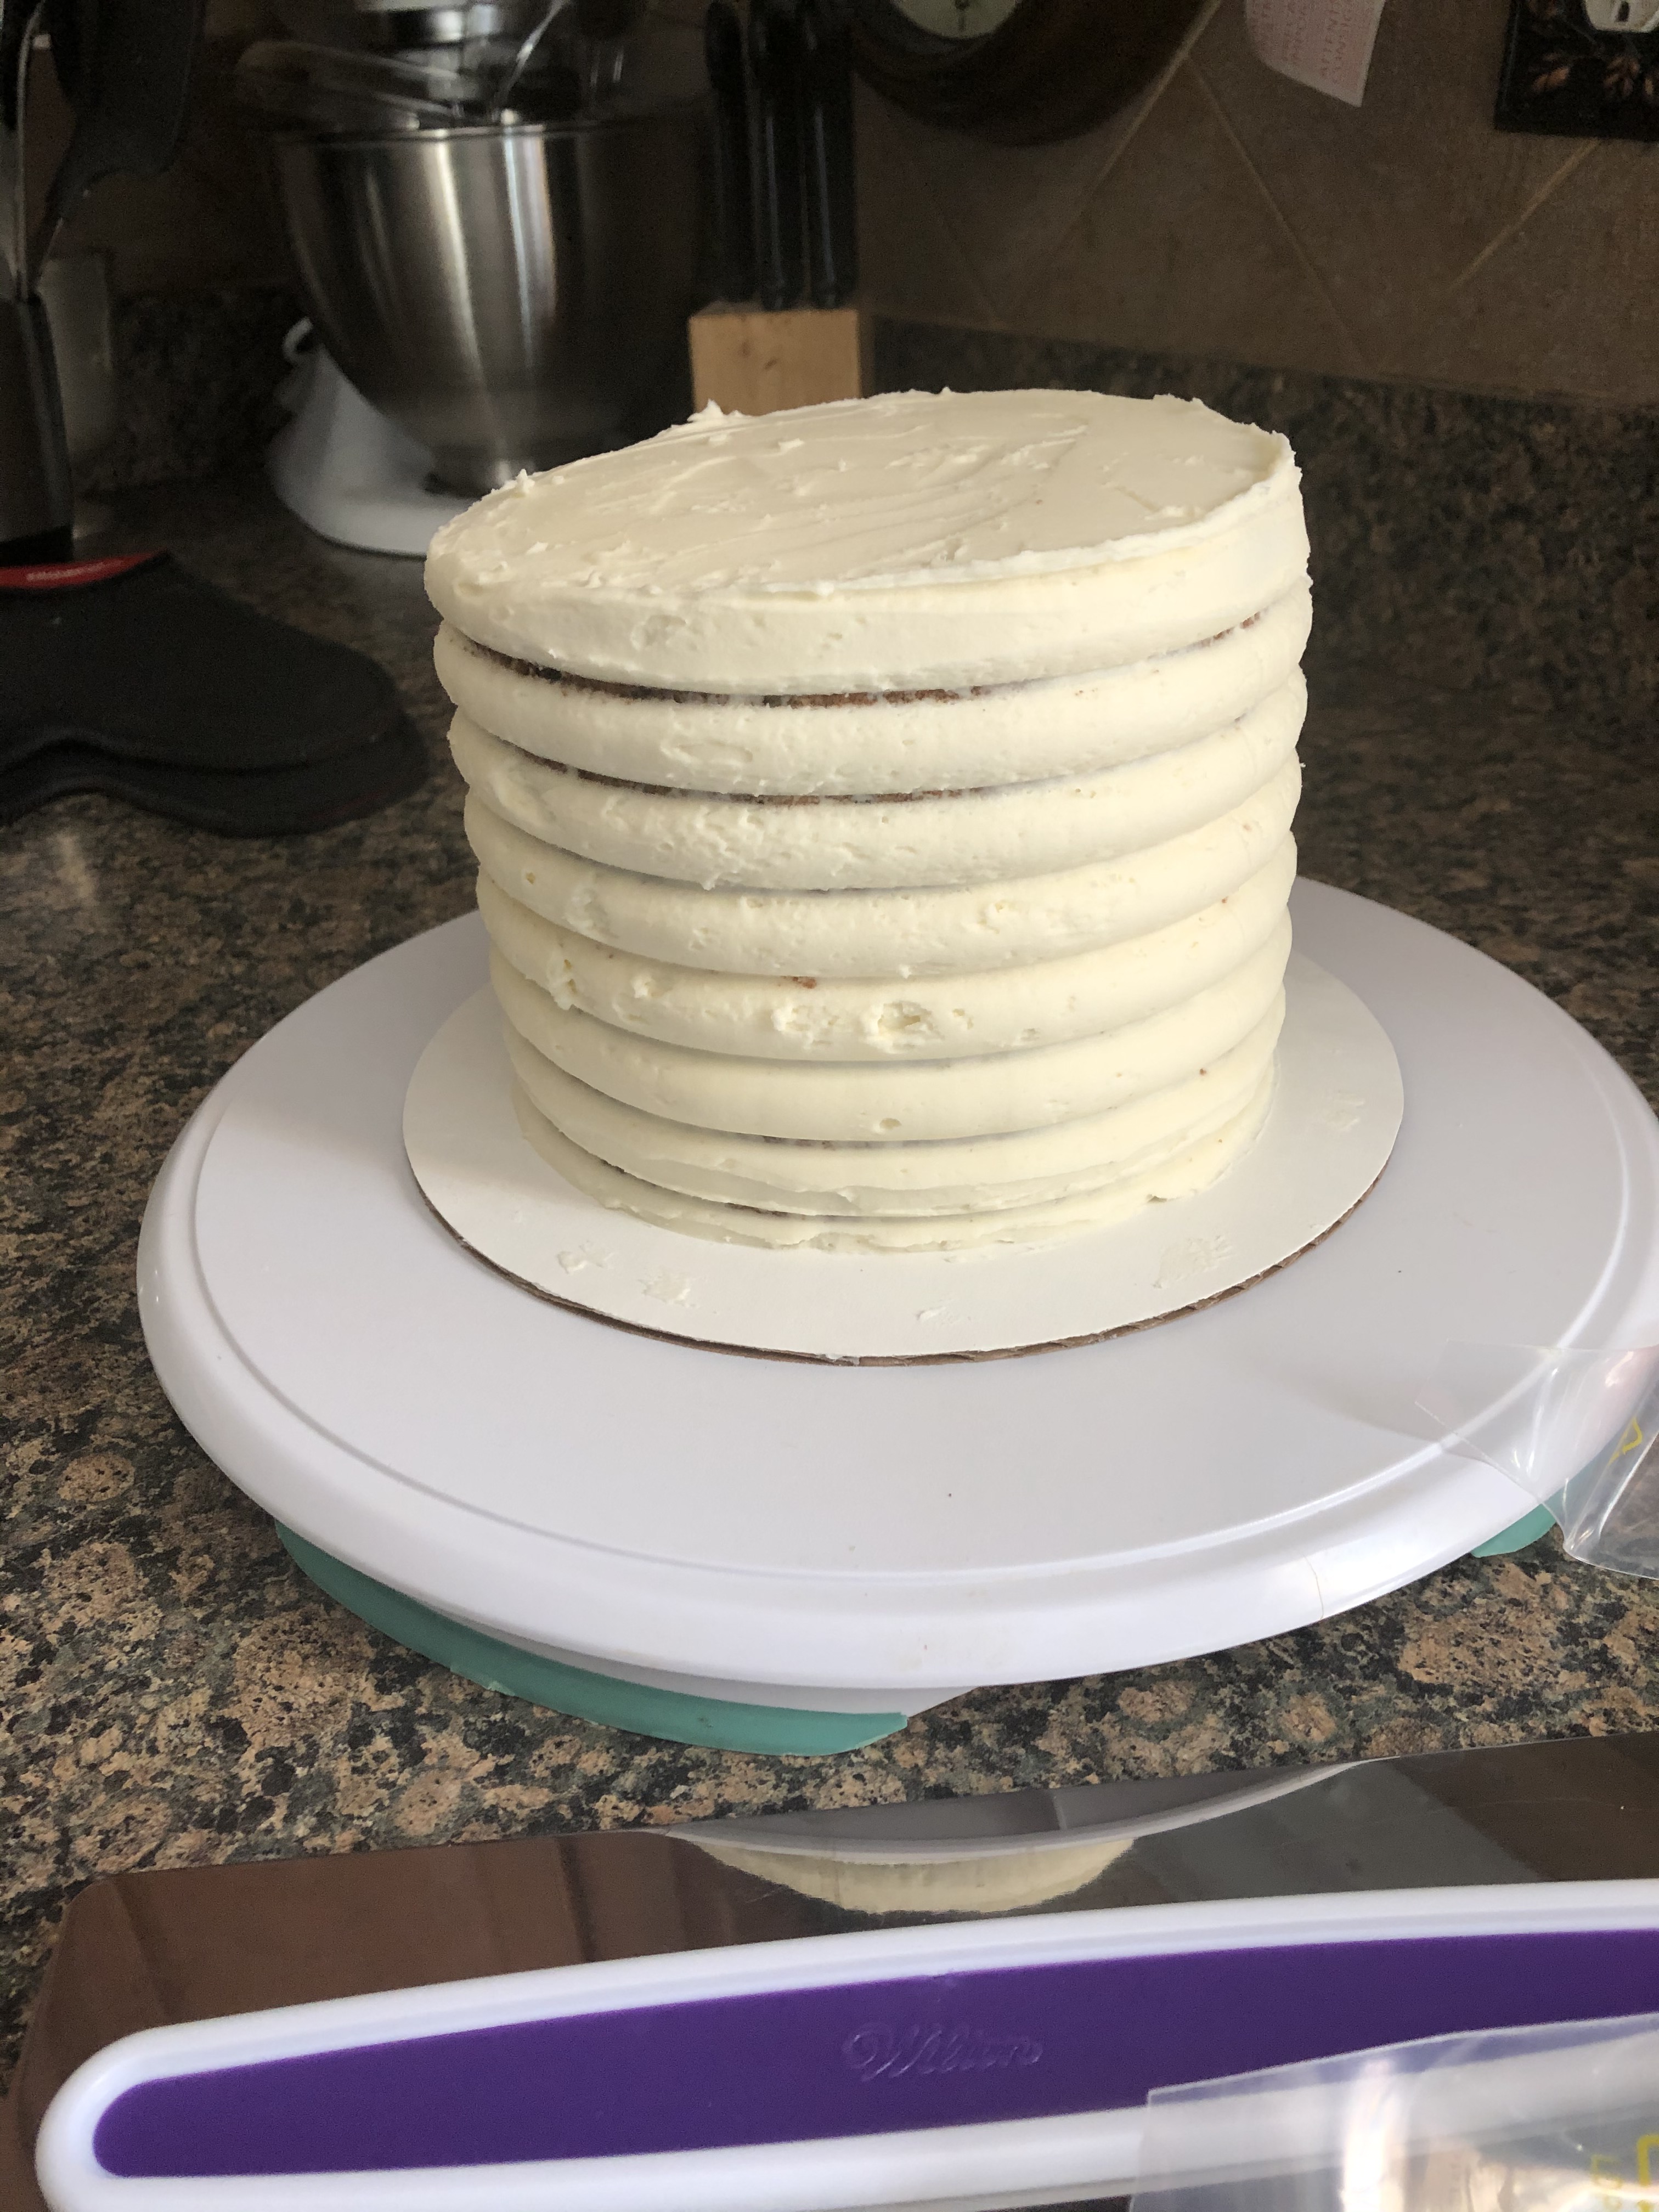
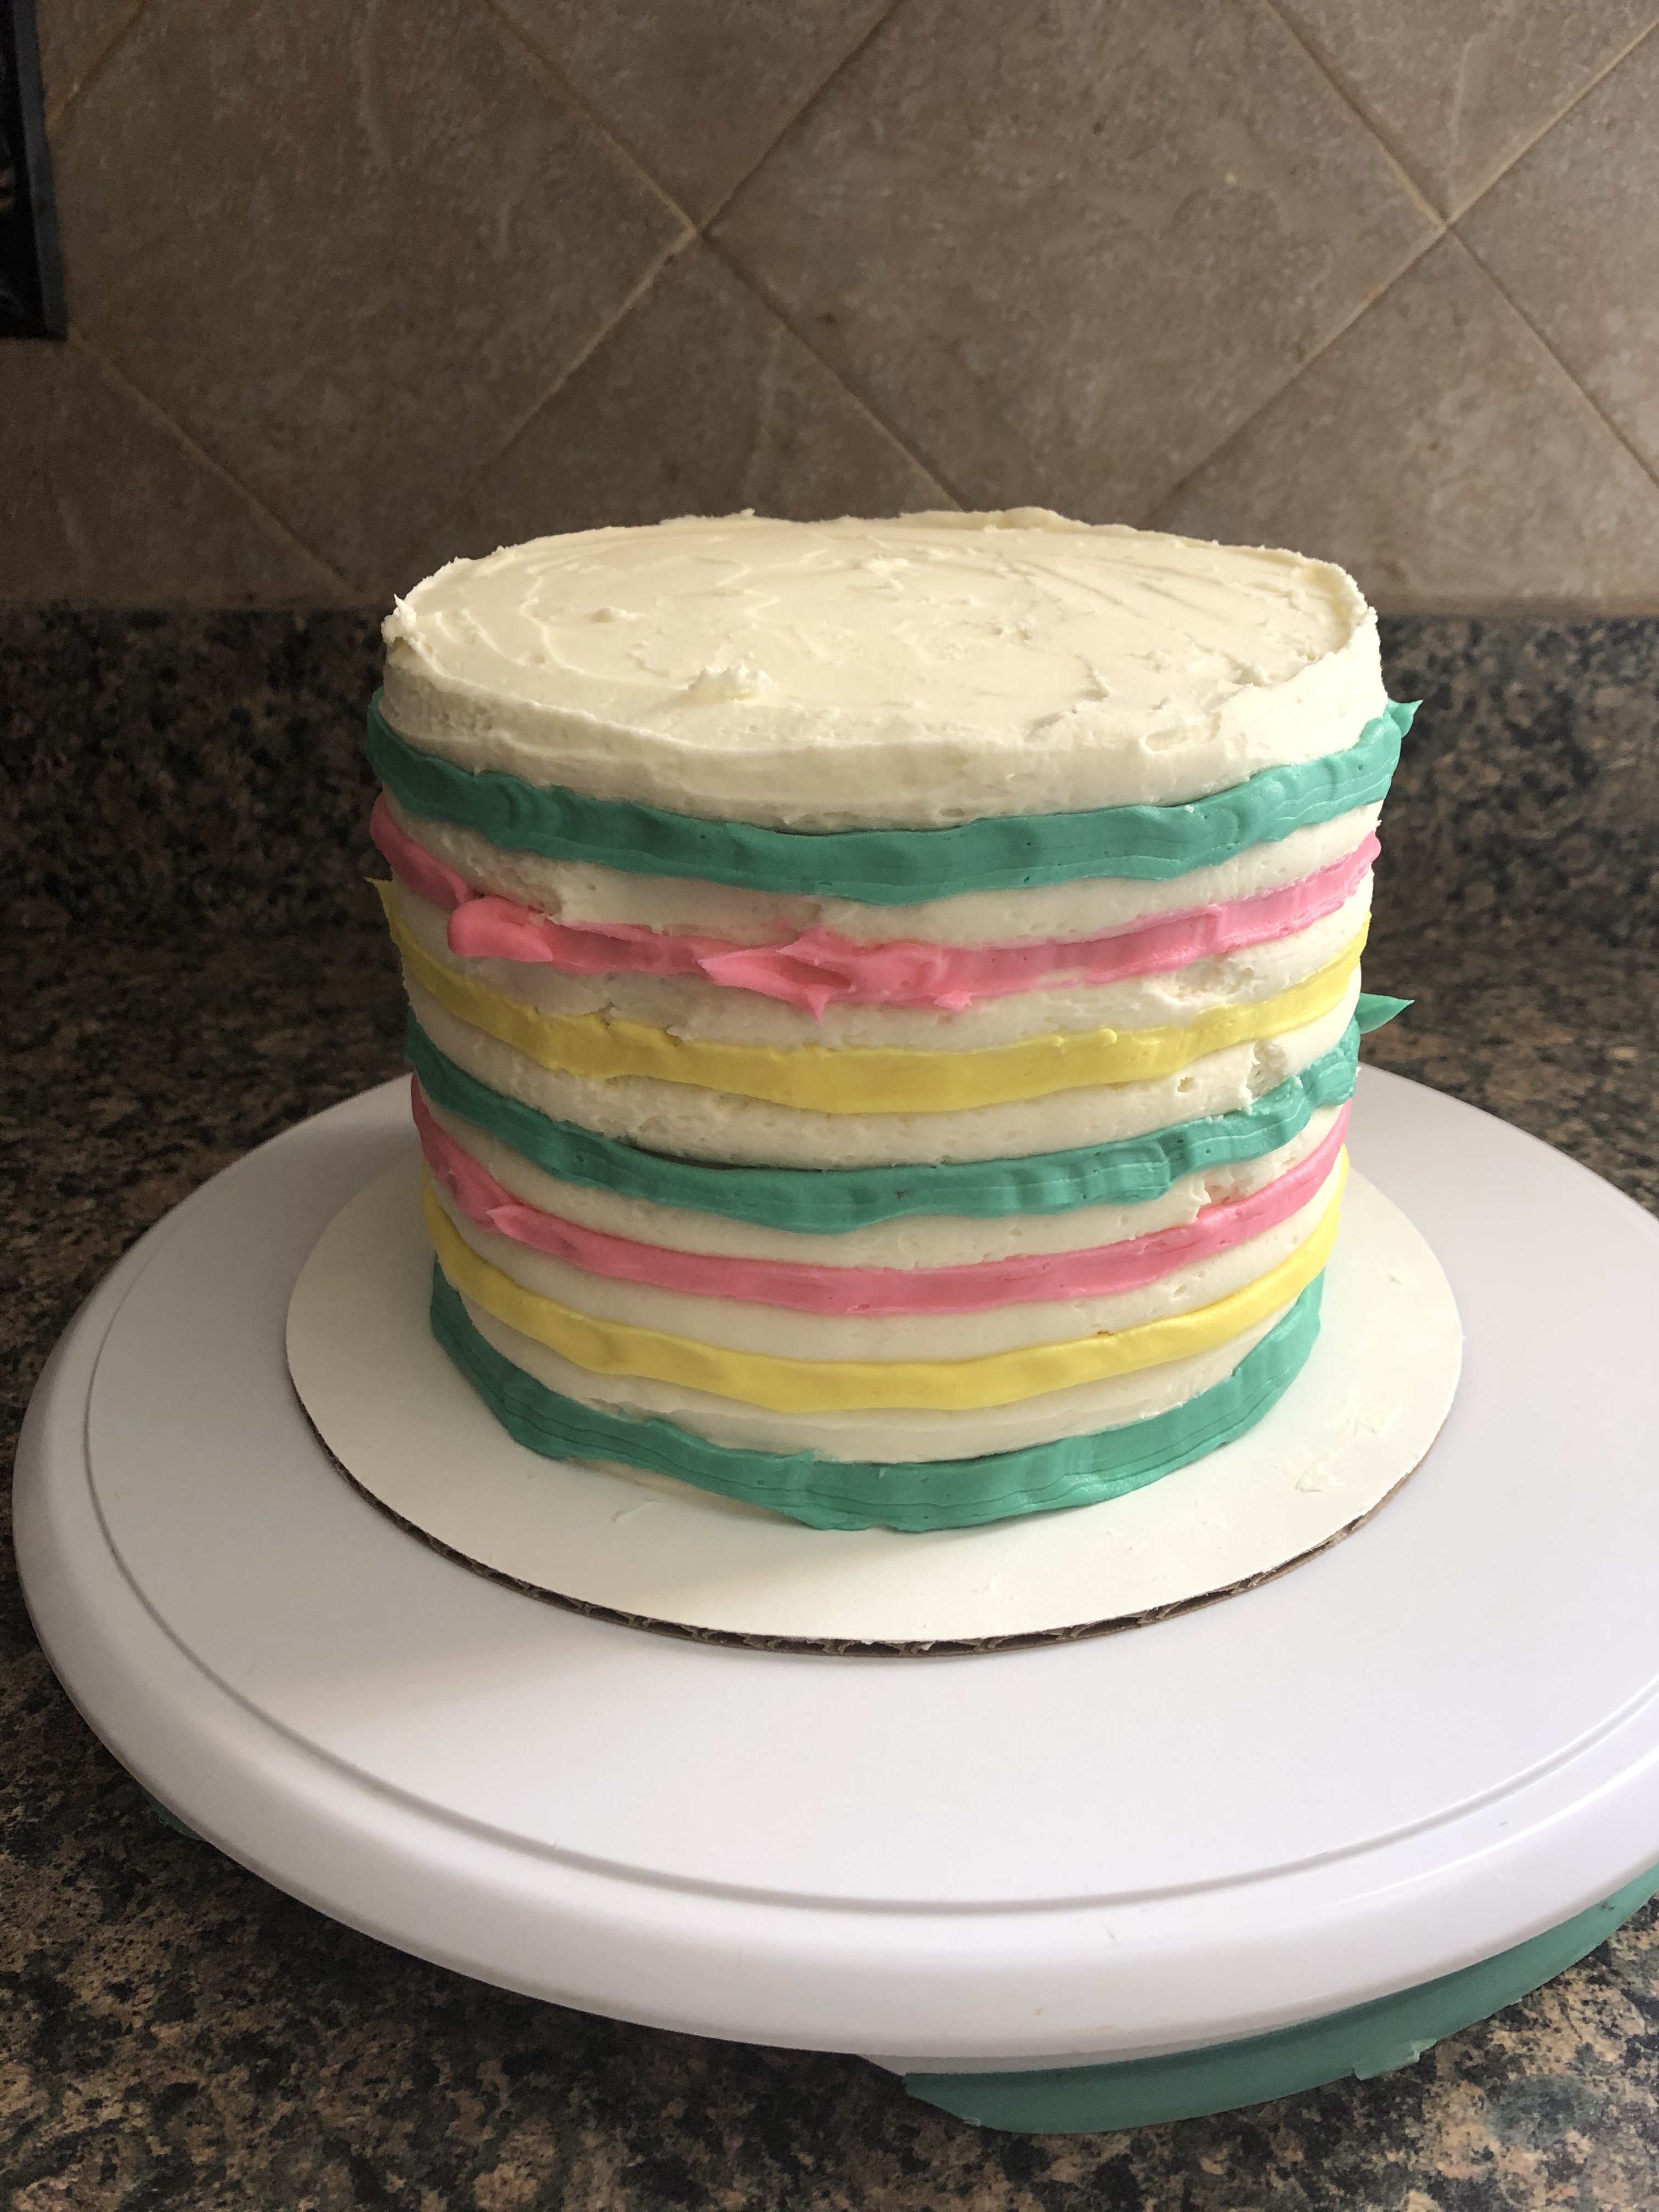
I decided to keep the cake small so I made a two-tier 6-inch cake. I made a cookies and cream cake by preparing a box of white cake mix – instead of using just egg whites though I used the whole egg – and then folded in a cup of Oreo cookie crumbs. To make the crumbs, I placed about 15 Oreos in a Ziploc bag and then used a rolling pin to crush the cookies. I actually have a whole post dedicated to making a Cookies and Cream Cake if you want the specific directions. After baking, cooling and filling (with additional Oreo crumbs) the cake I crumb coated it and then finished frosting it. Then using a cake comb I created stripes on the cake. I then placed it in the refrigerator overnight so the frosting could set (i.e. harden). You cannot create stripes on a cake that has just been frosted. You need the base frosting to be hard so you don’t scrape it completely off when smoothing the stripes.

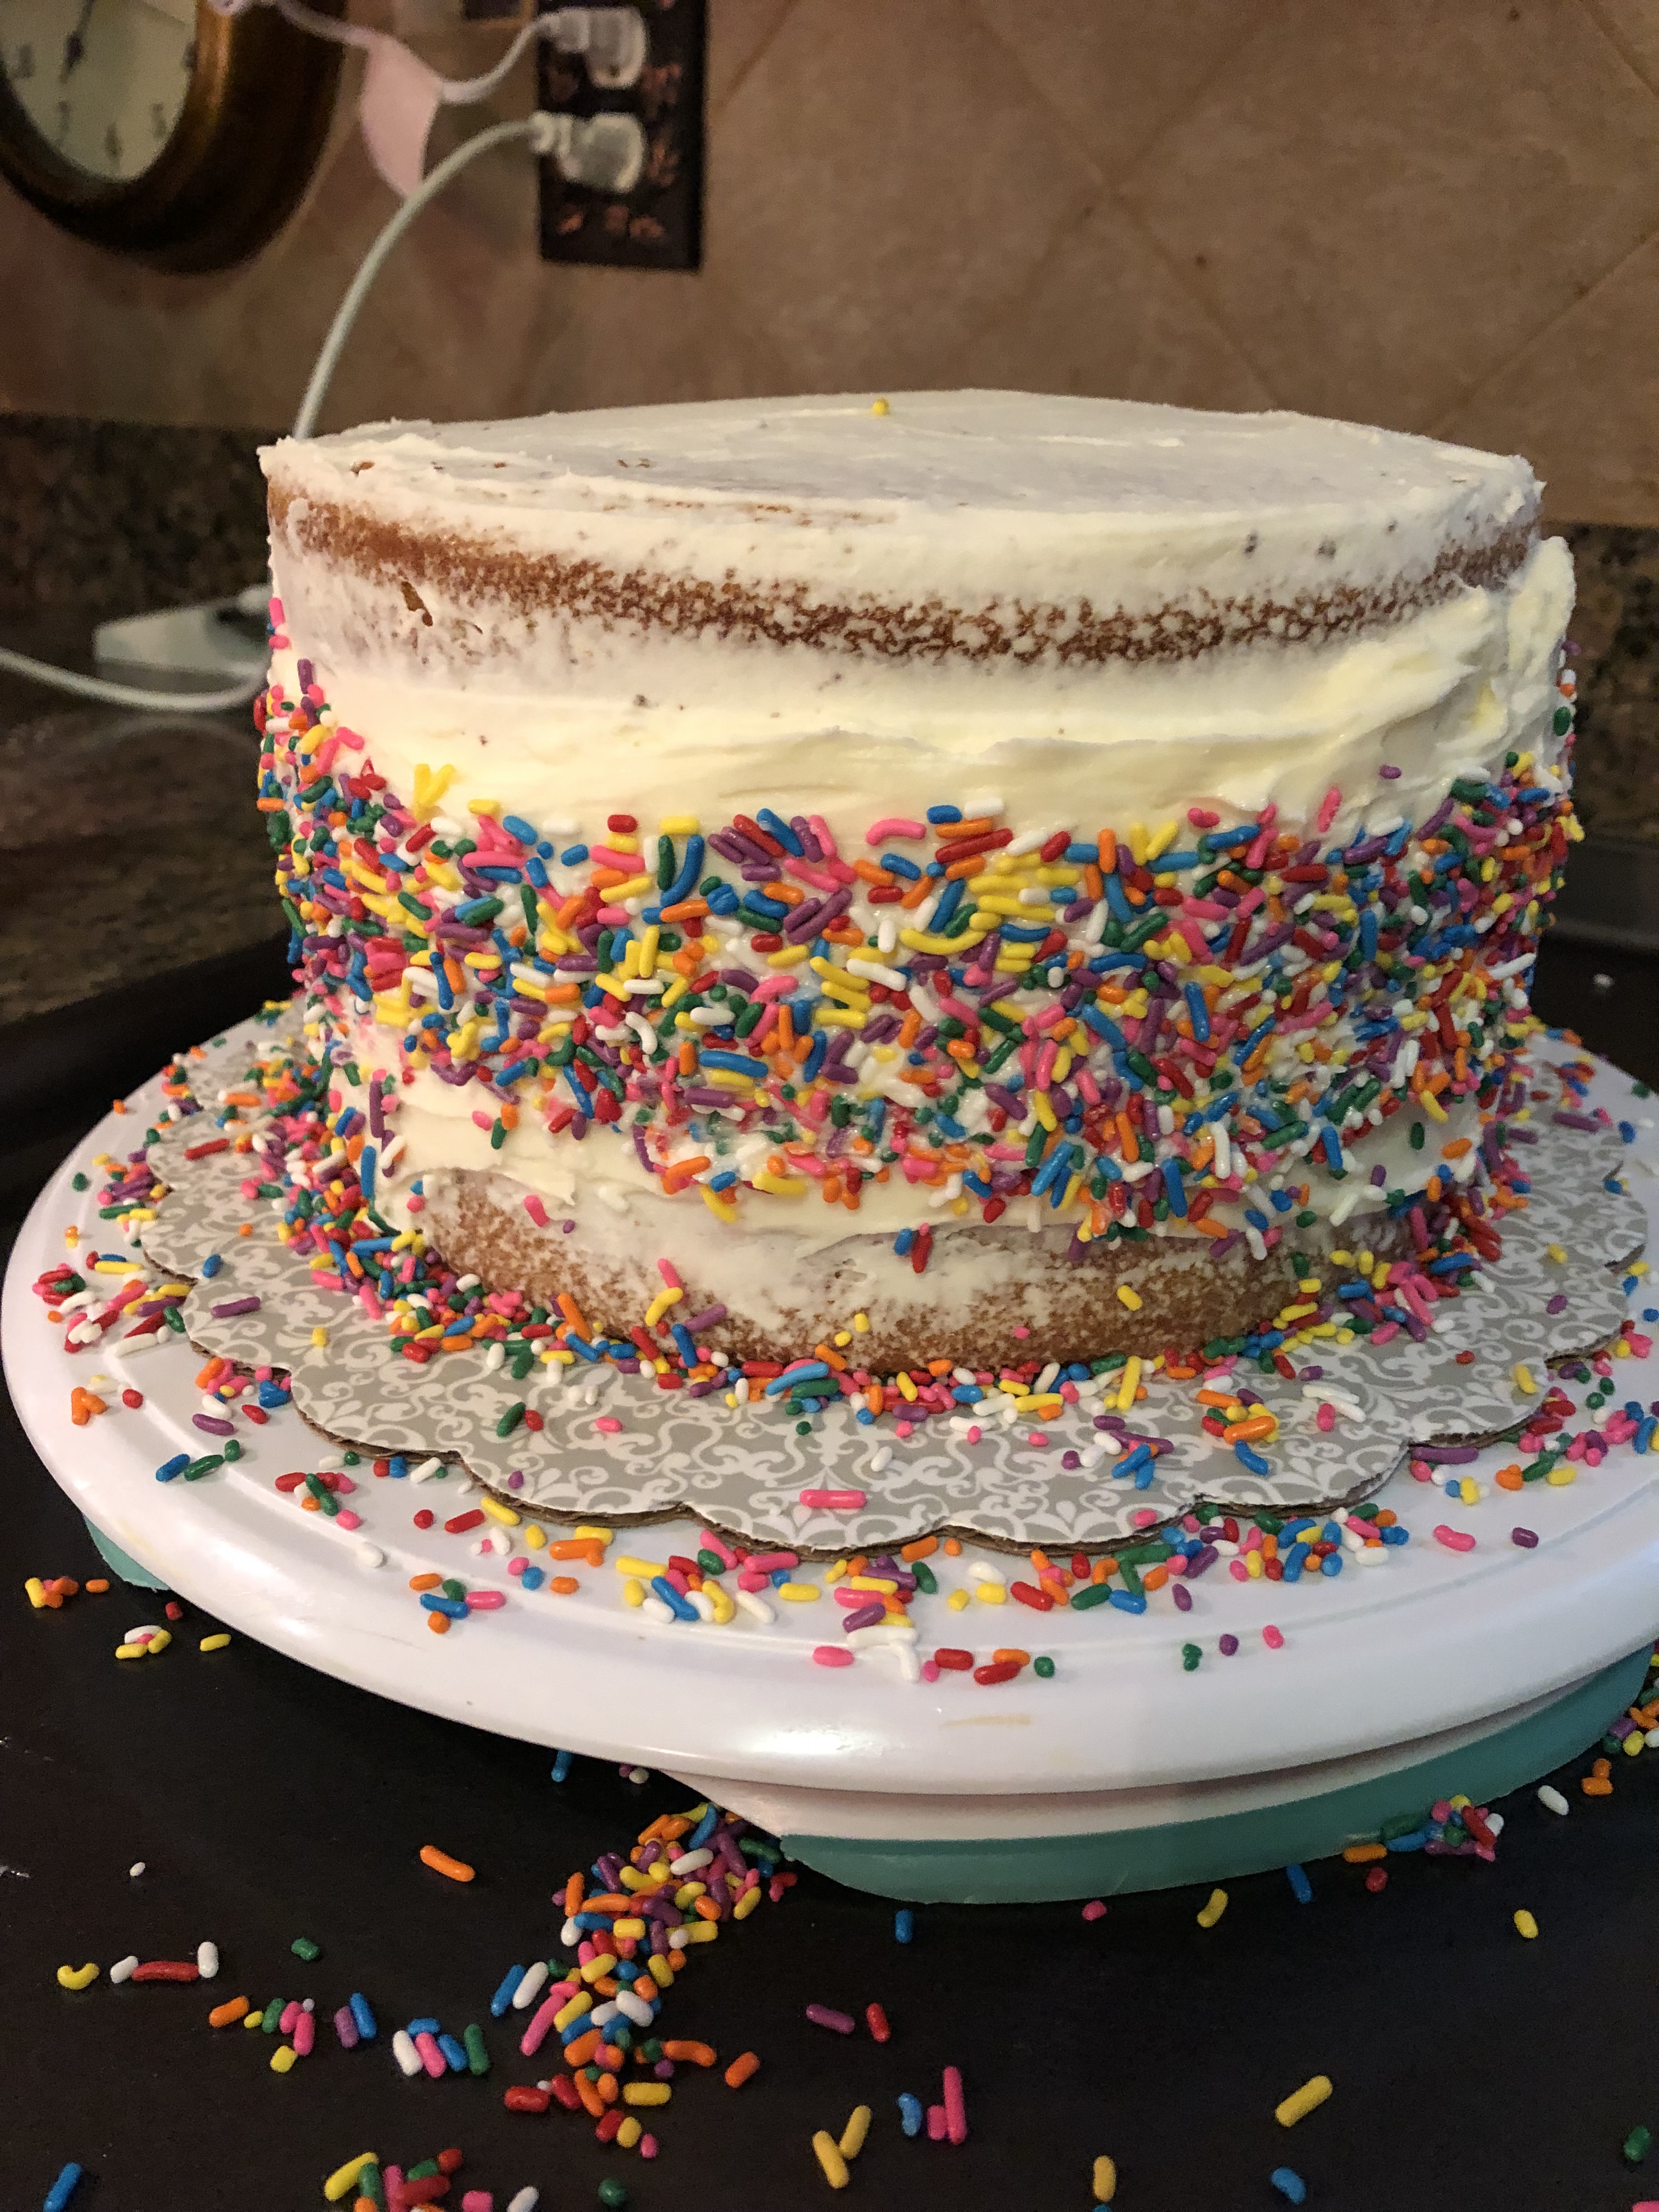
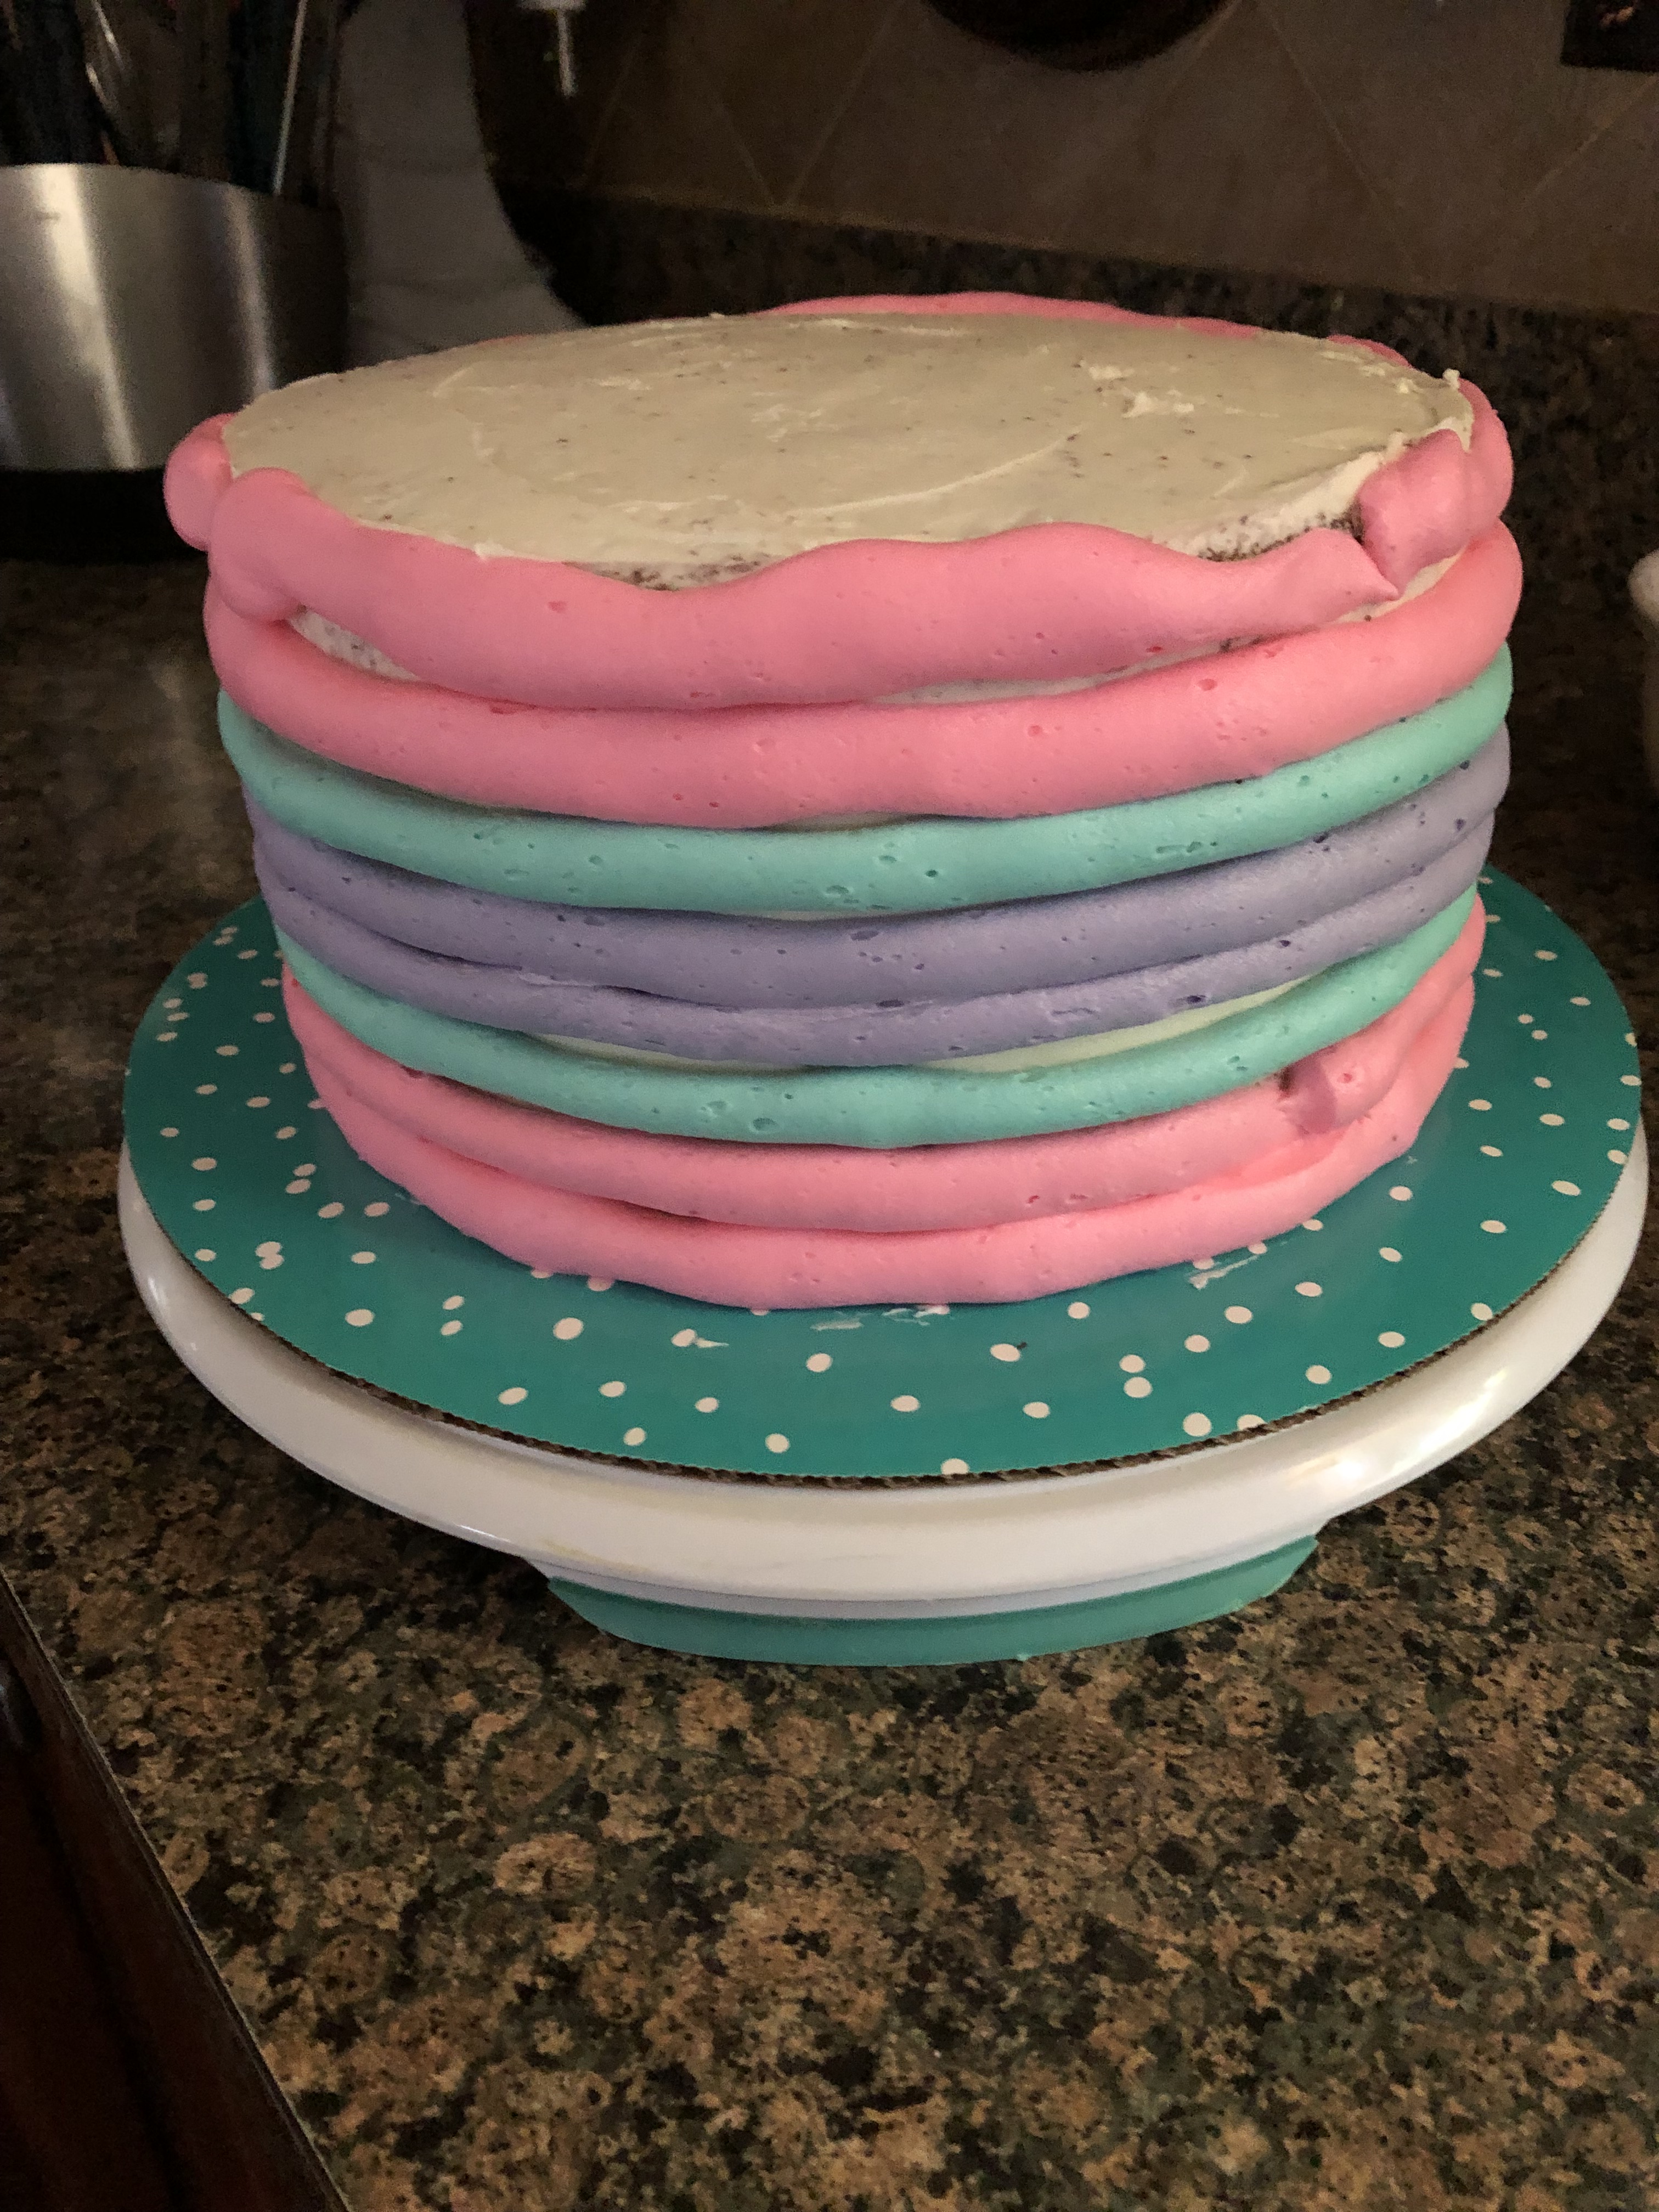
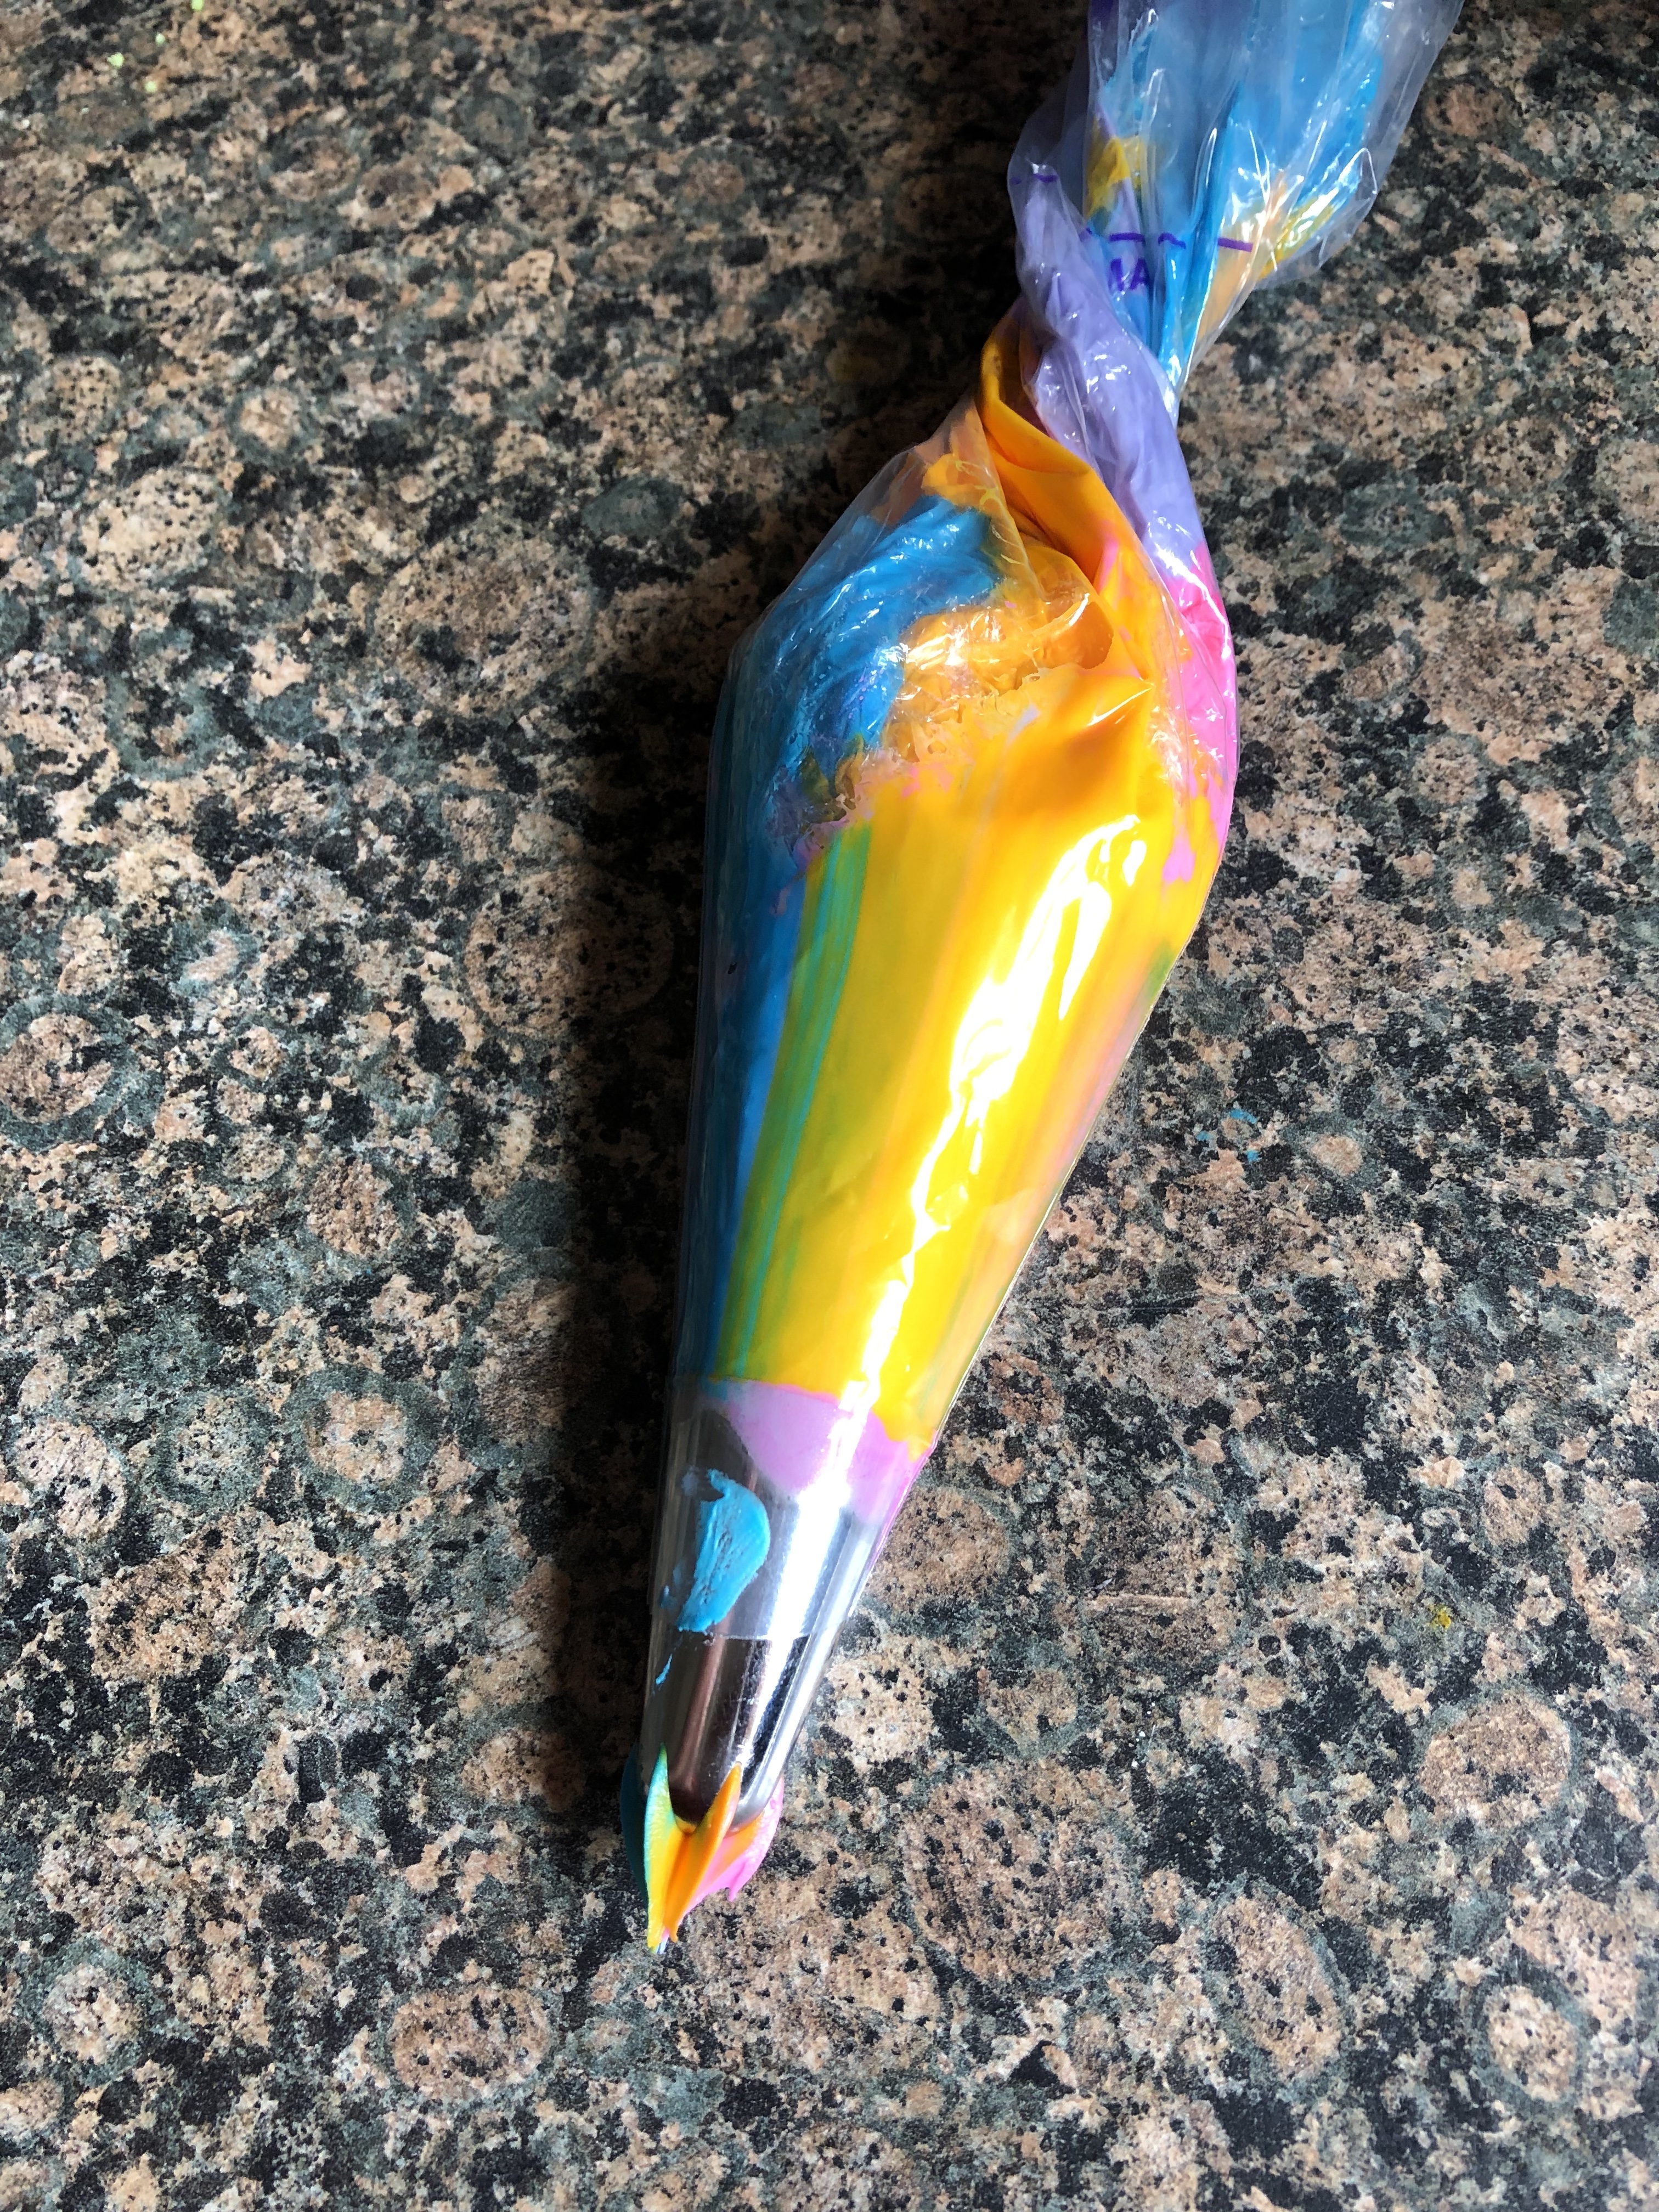
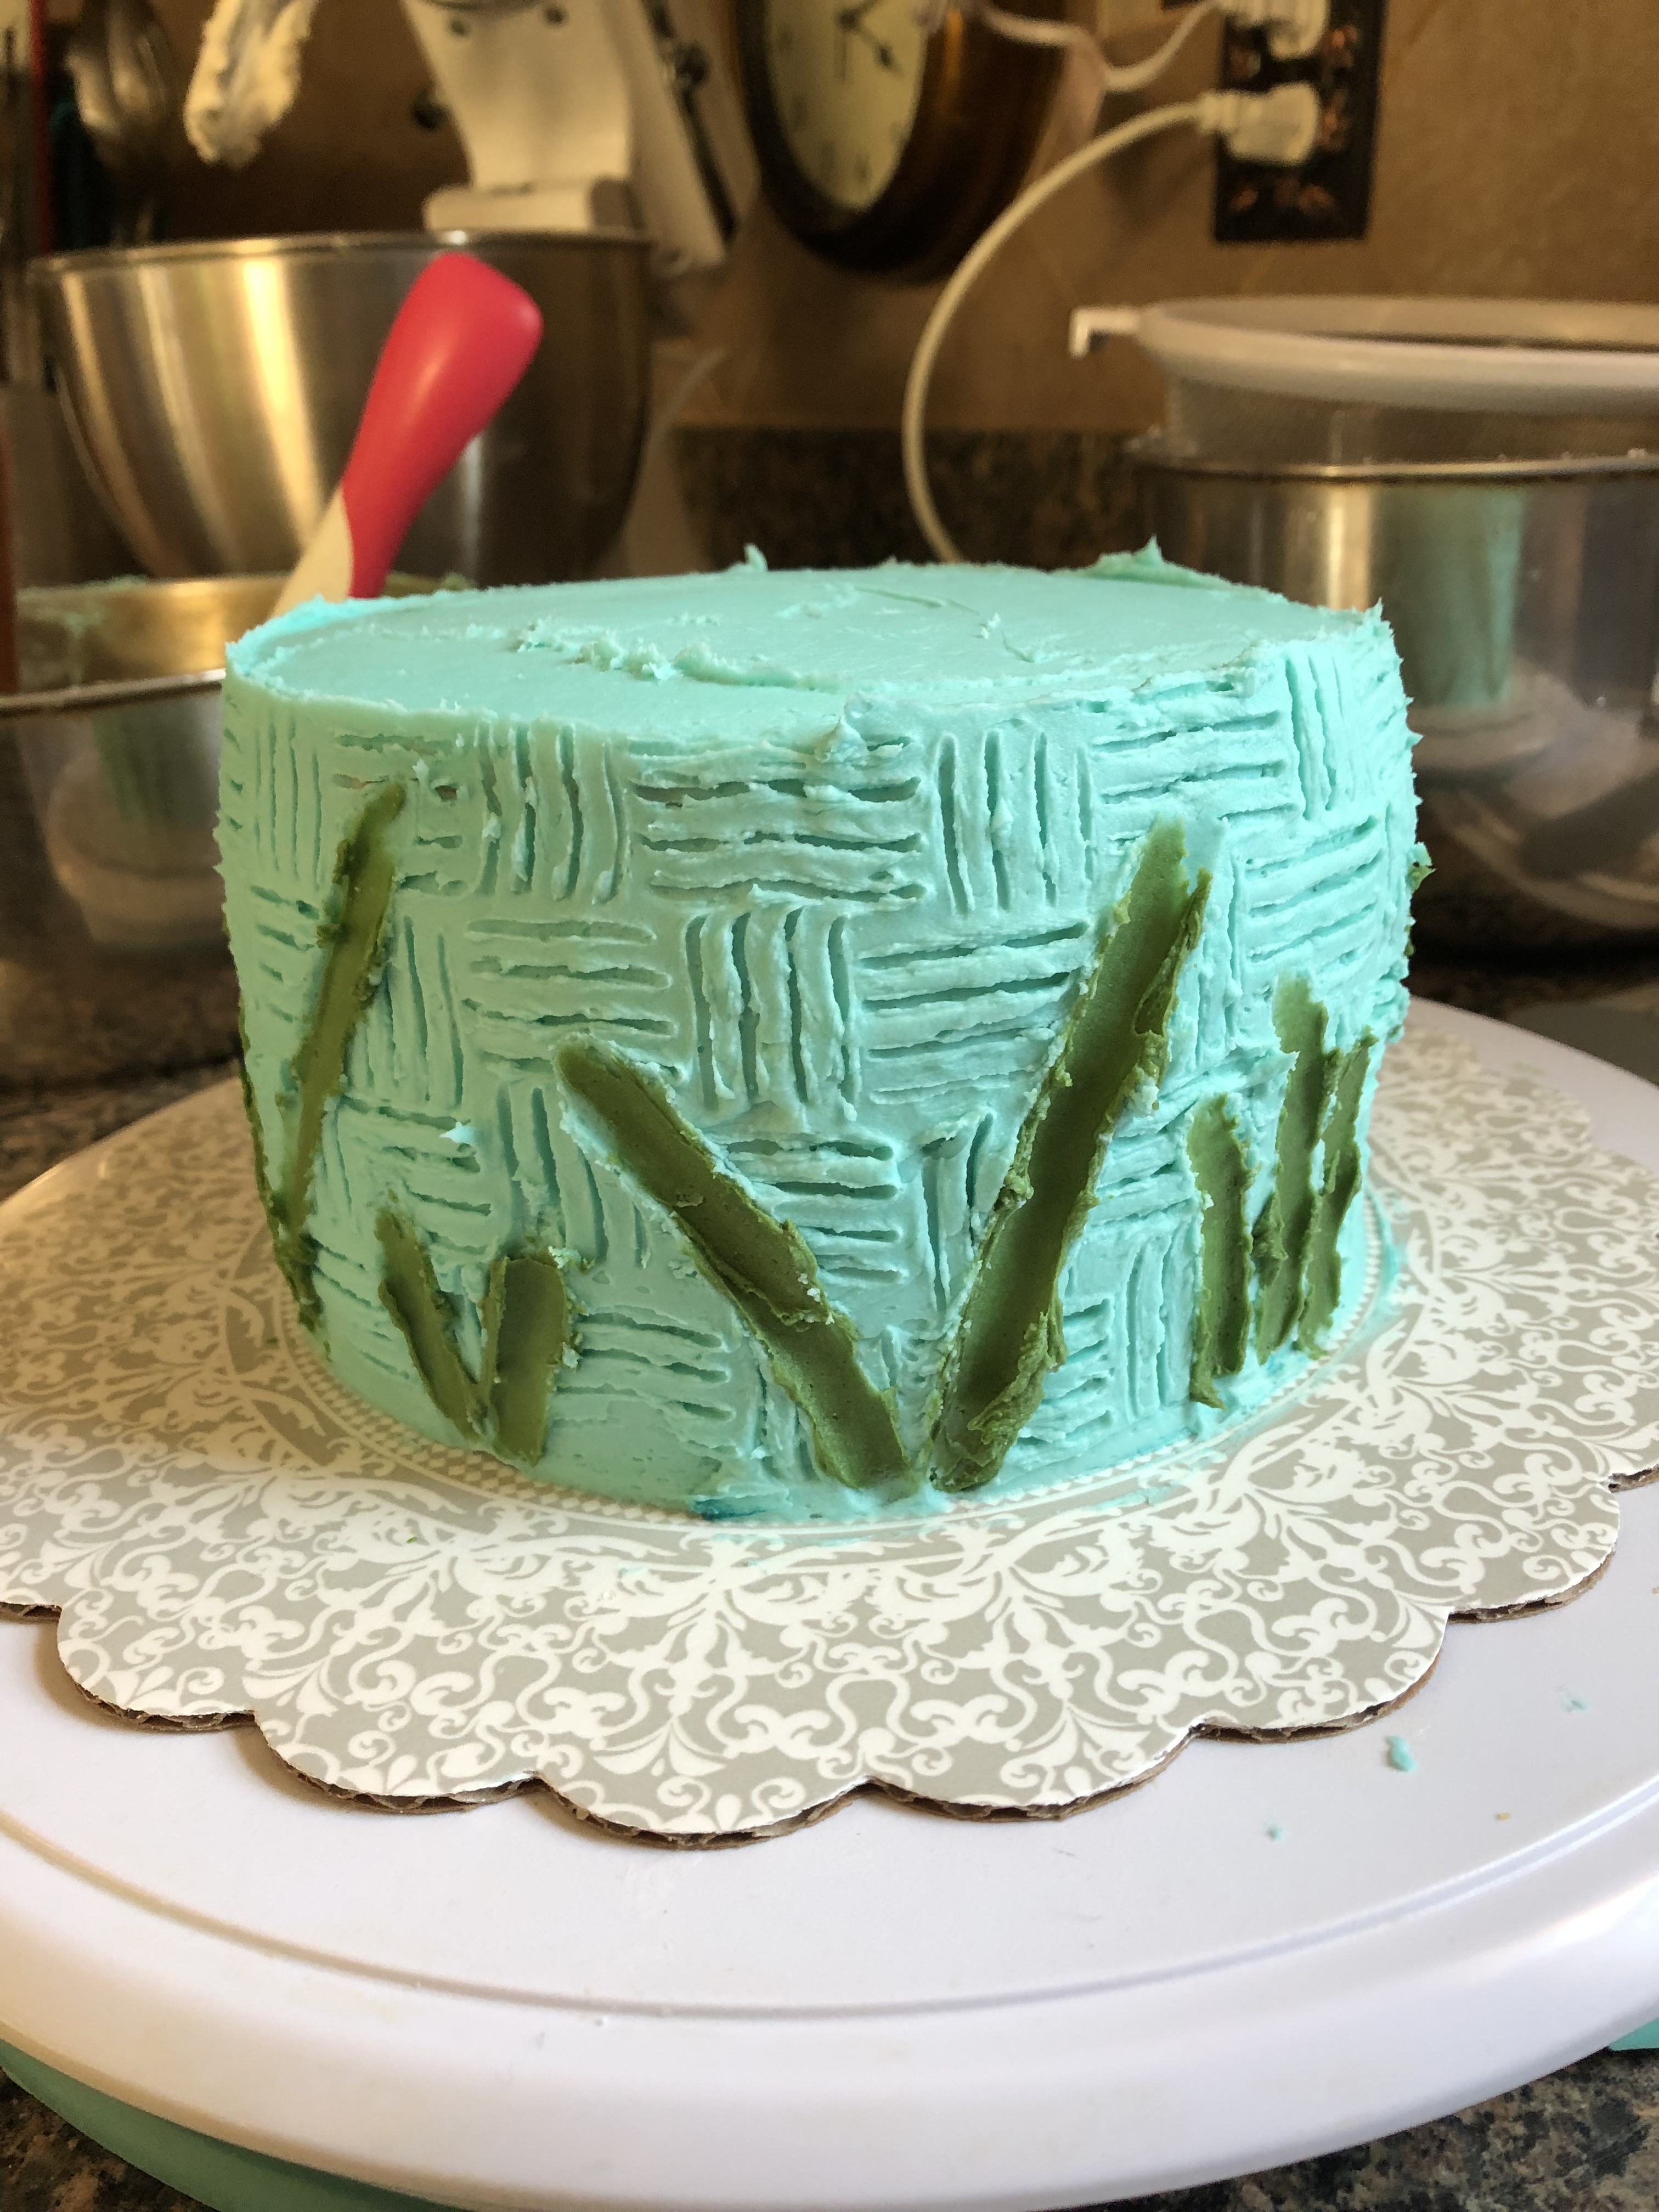
Once my cake was ready I divided my remaining frosting into three and tinted them – one pink, another yellow and the last one a teal color (I combined green and blue to make this color).

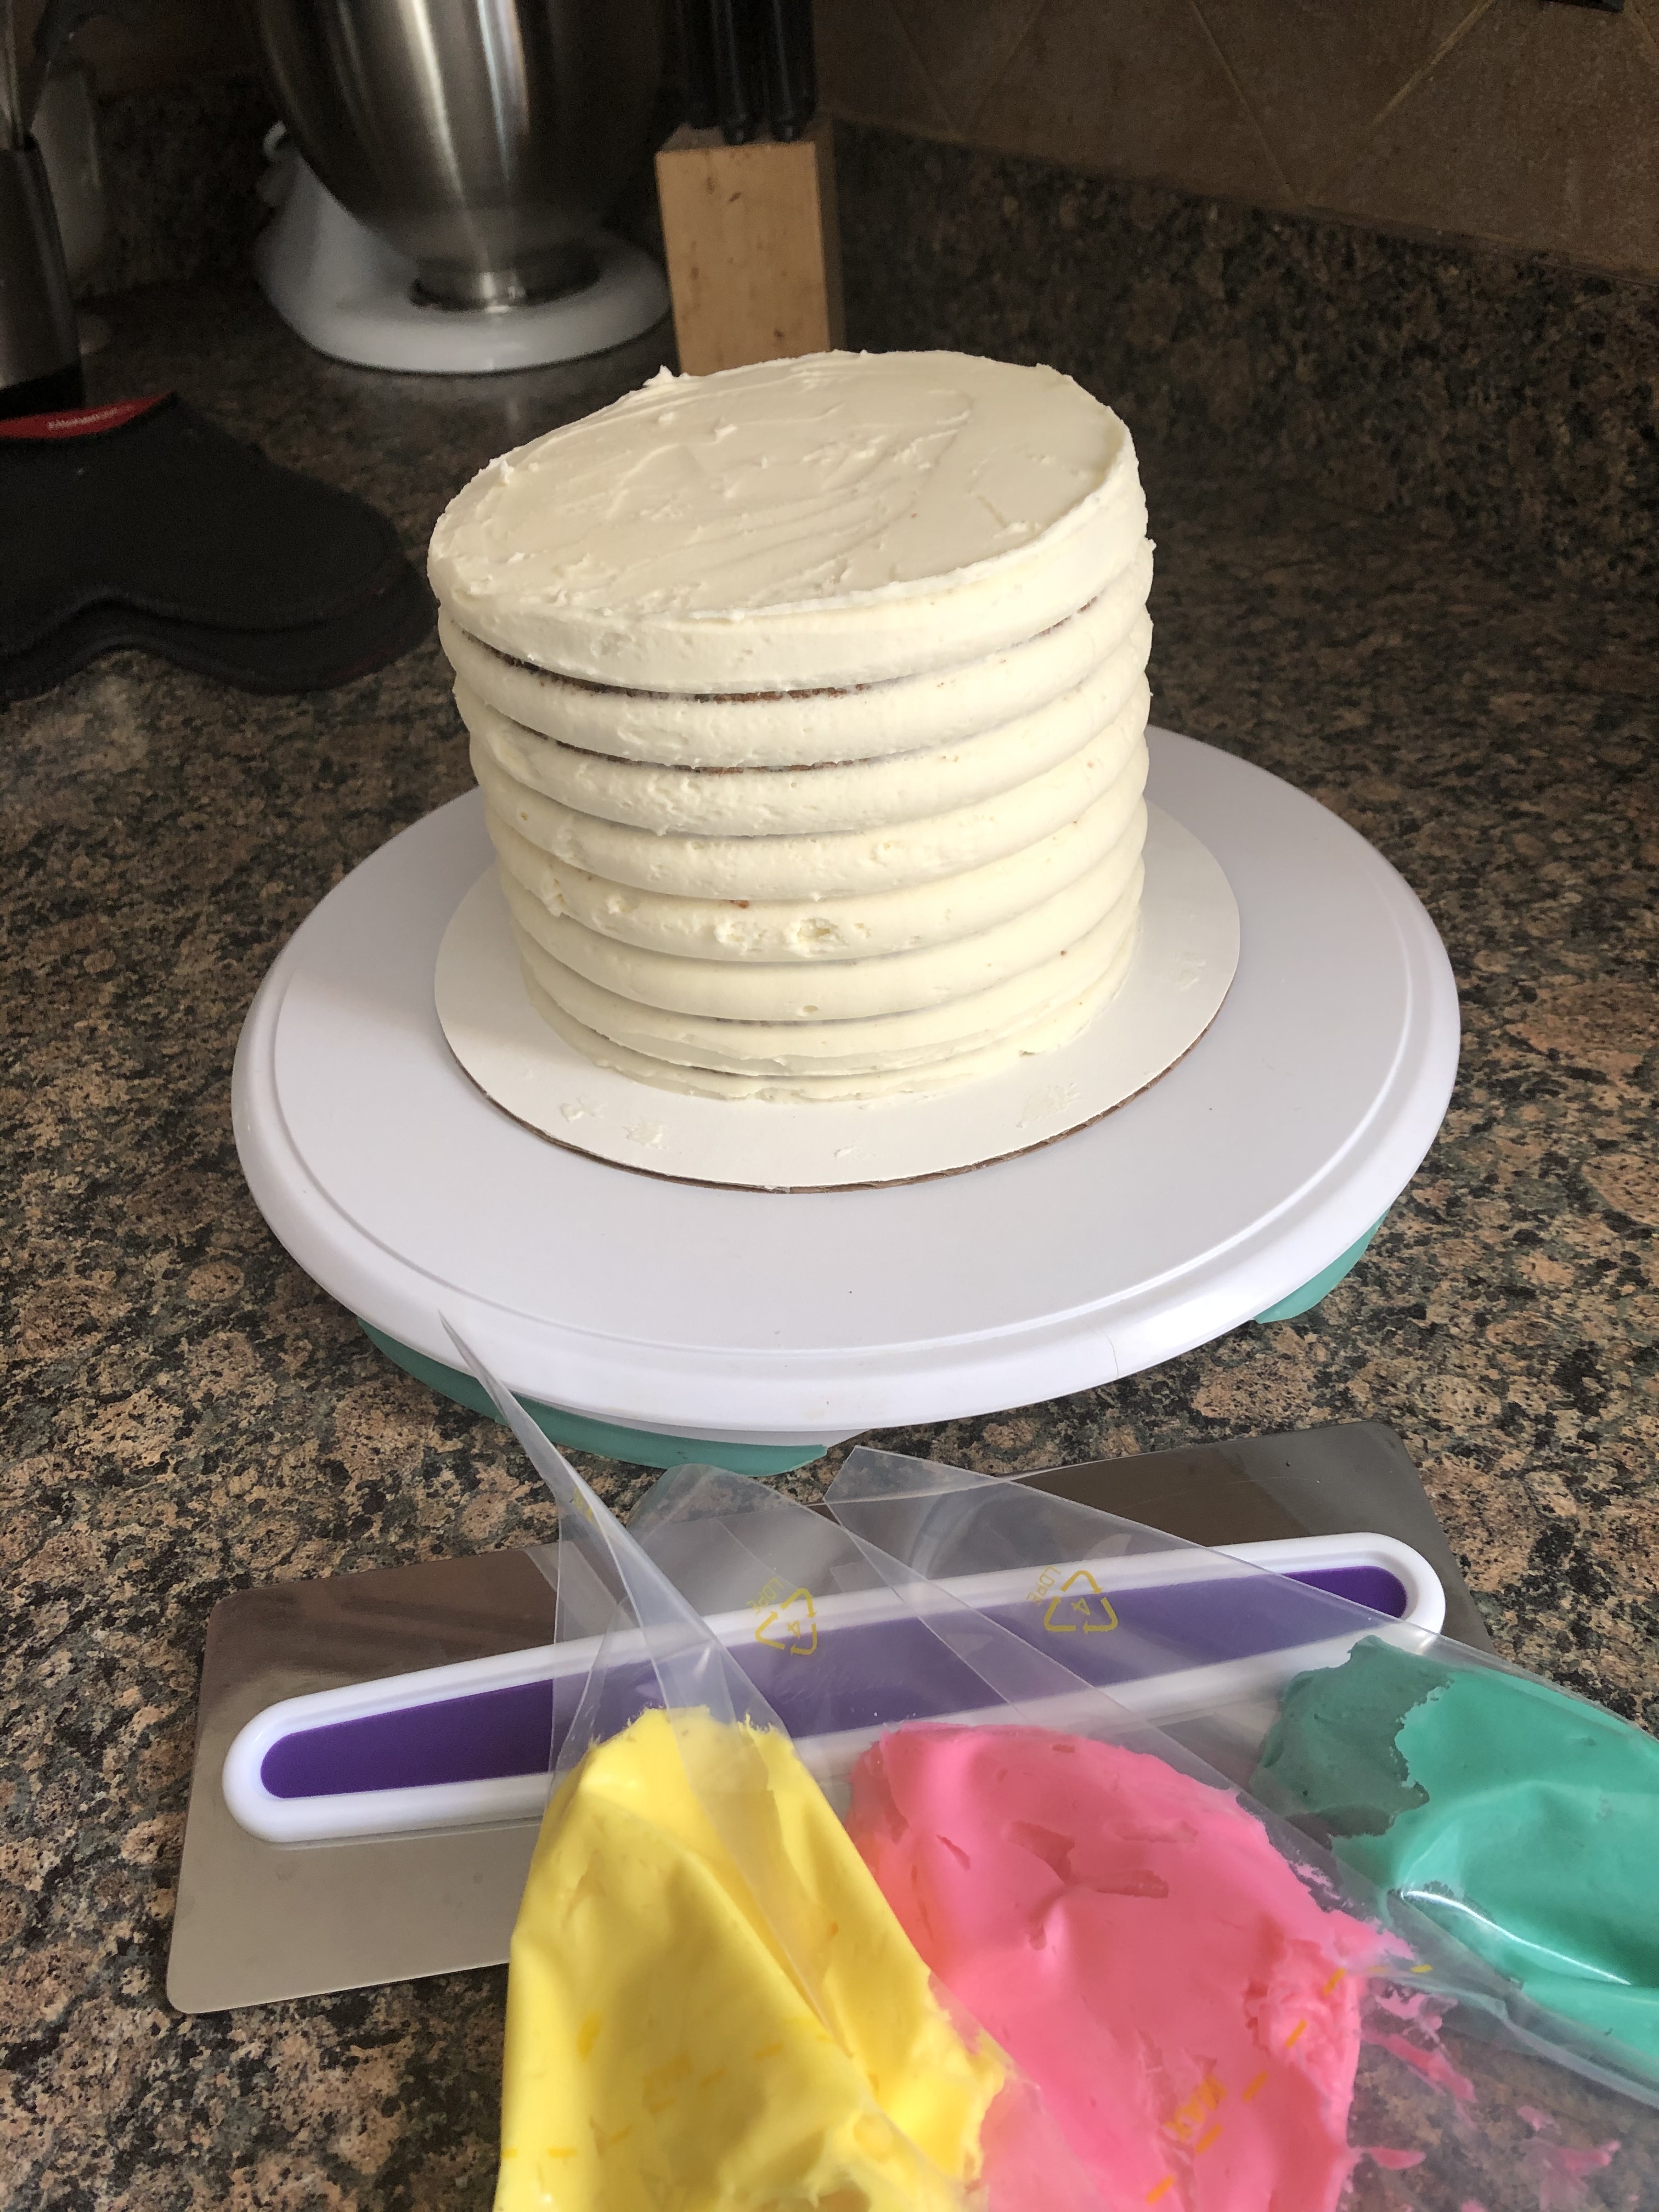
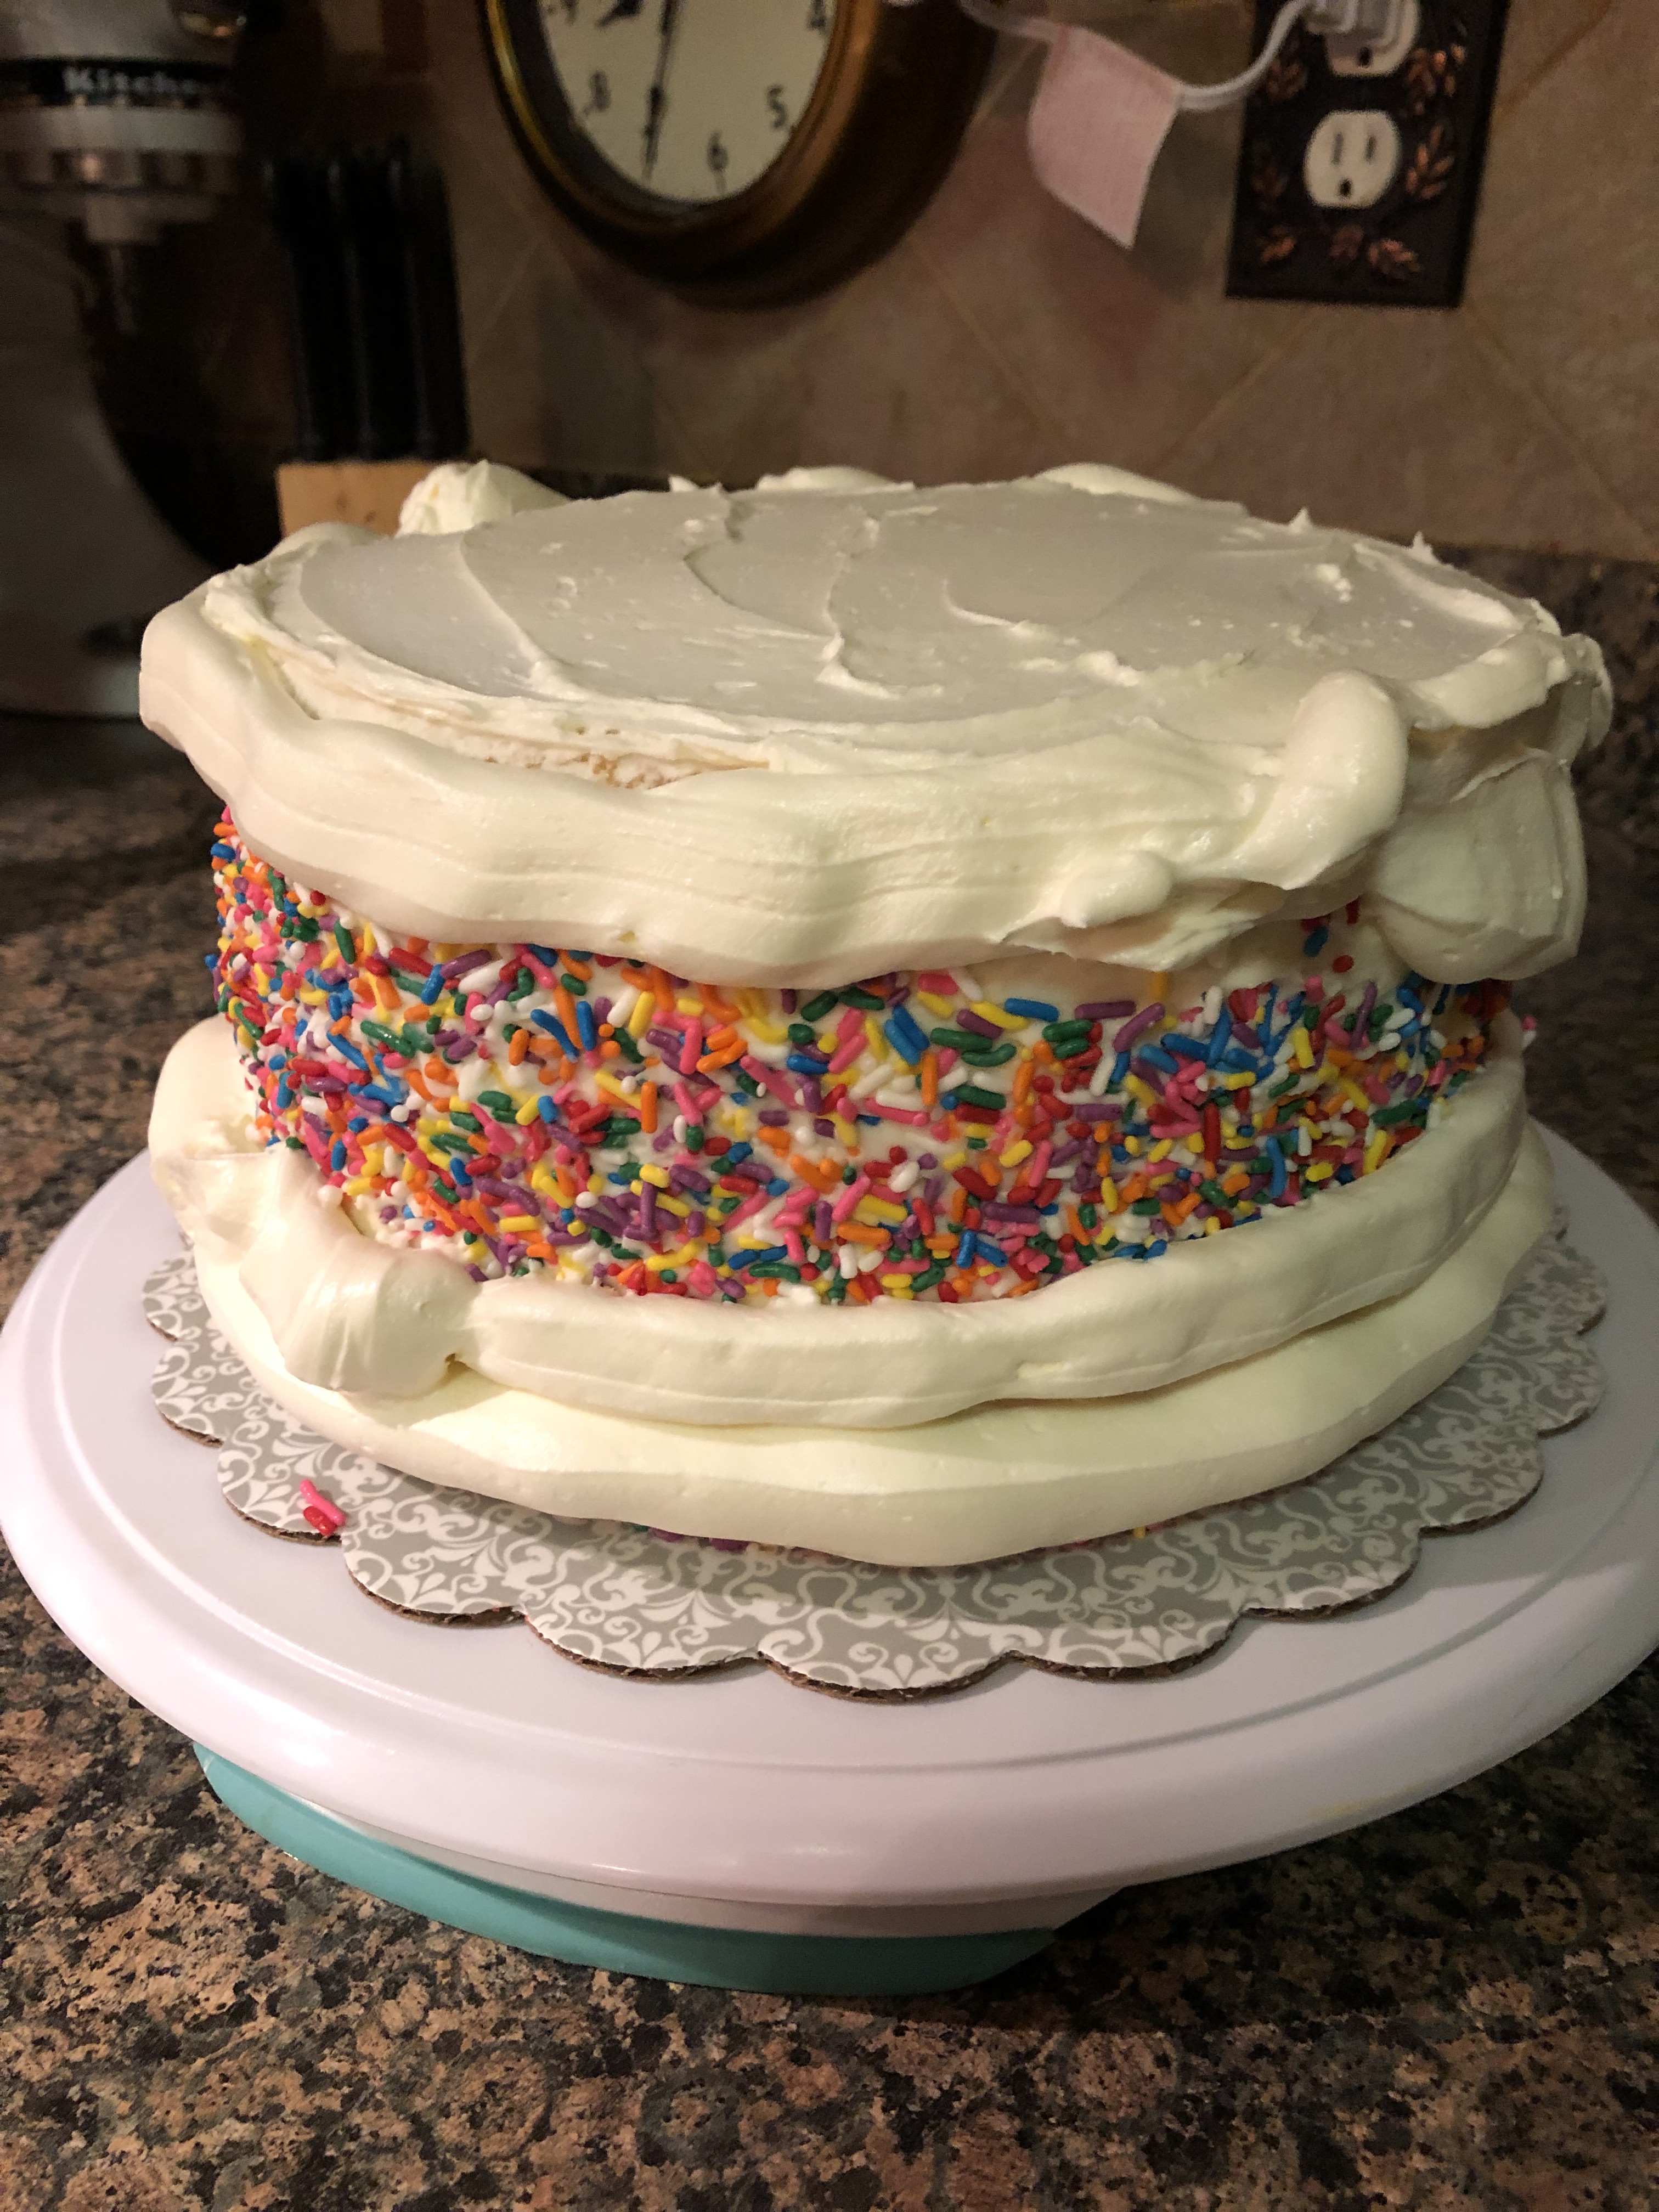
And then I started filling in the stripes. You need to fill them in generously to get a smooth look when smoothing the cake with a flat edge.

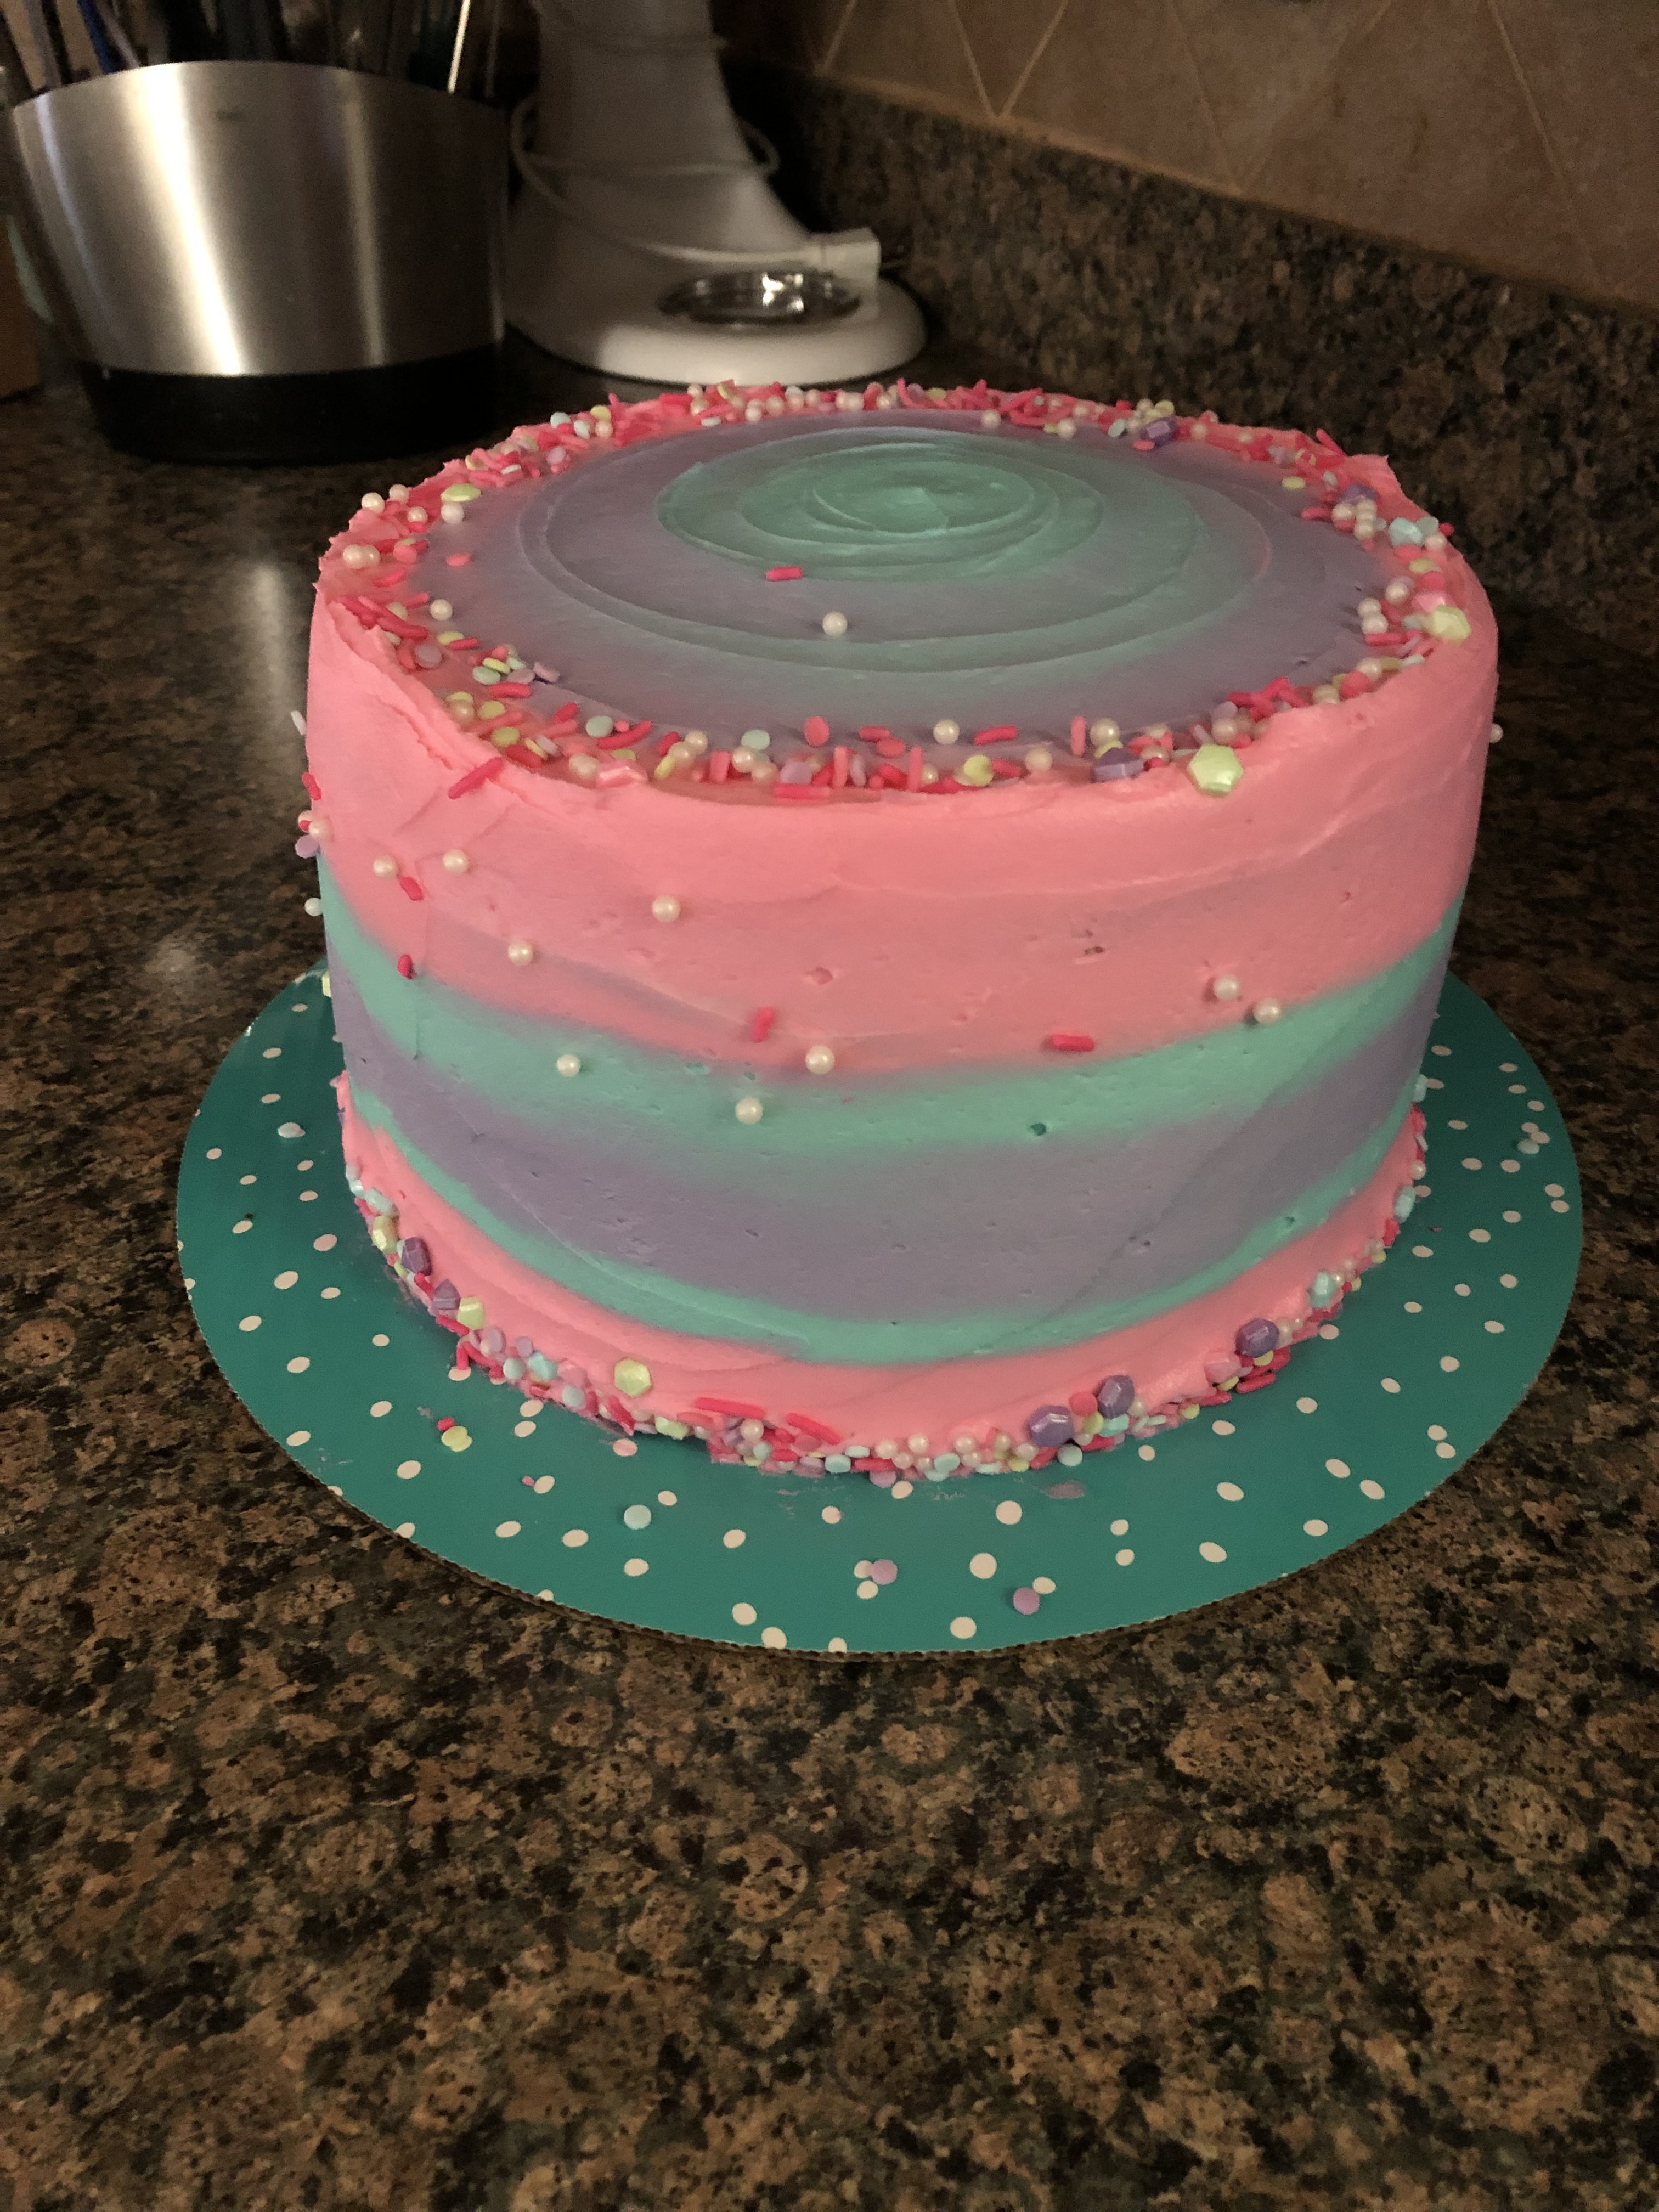
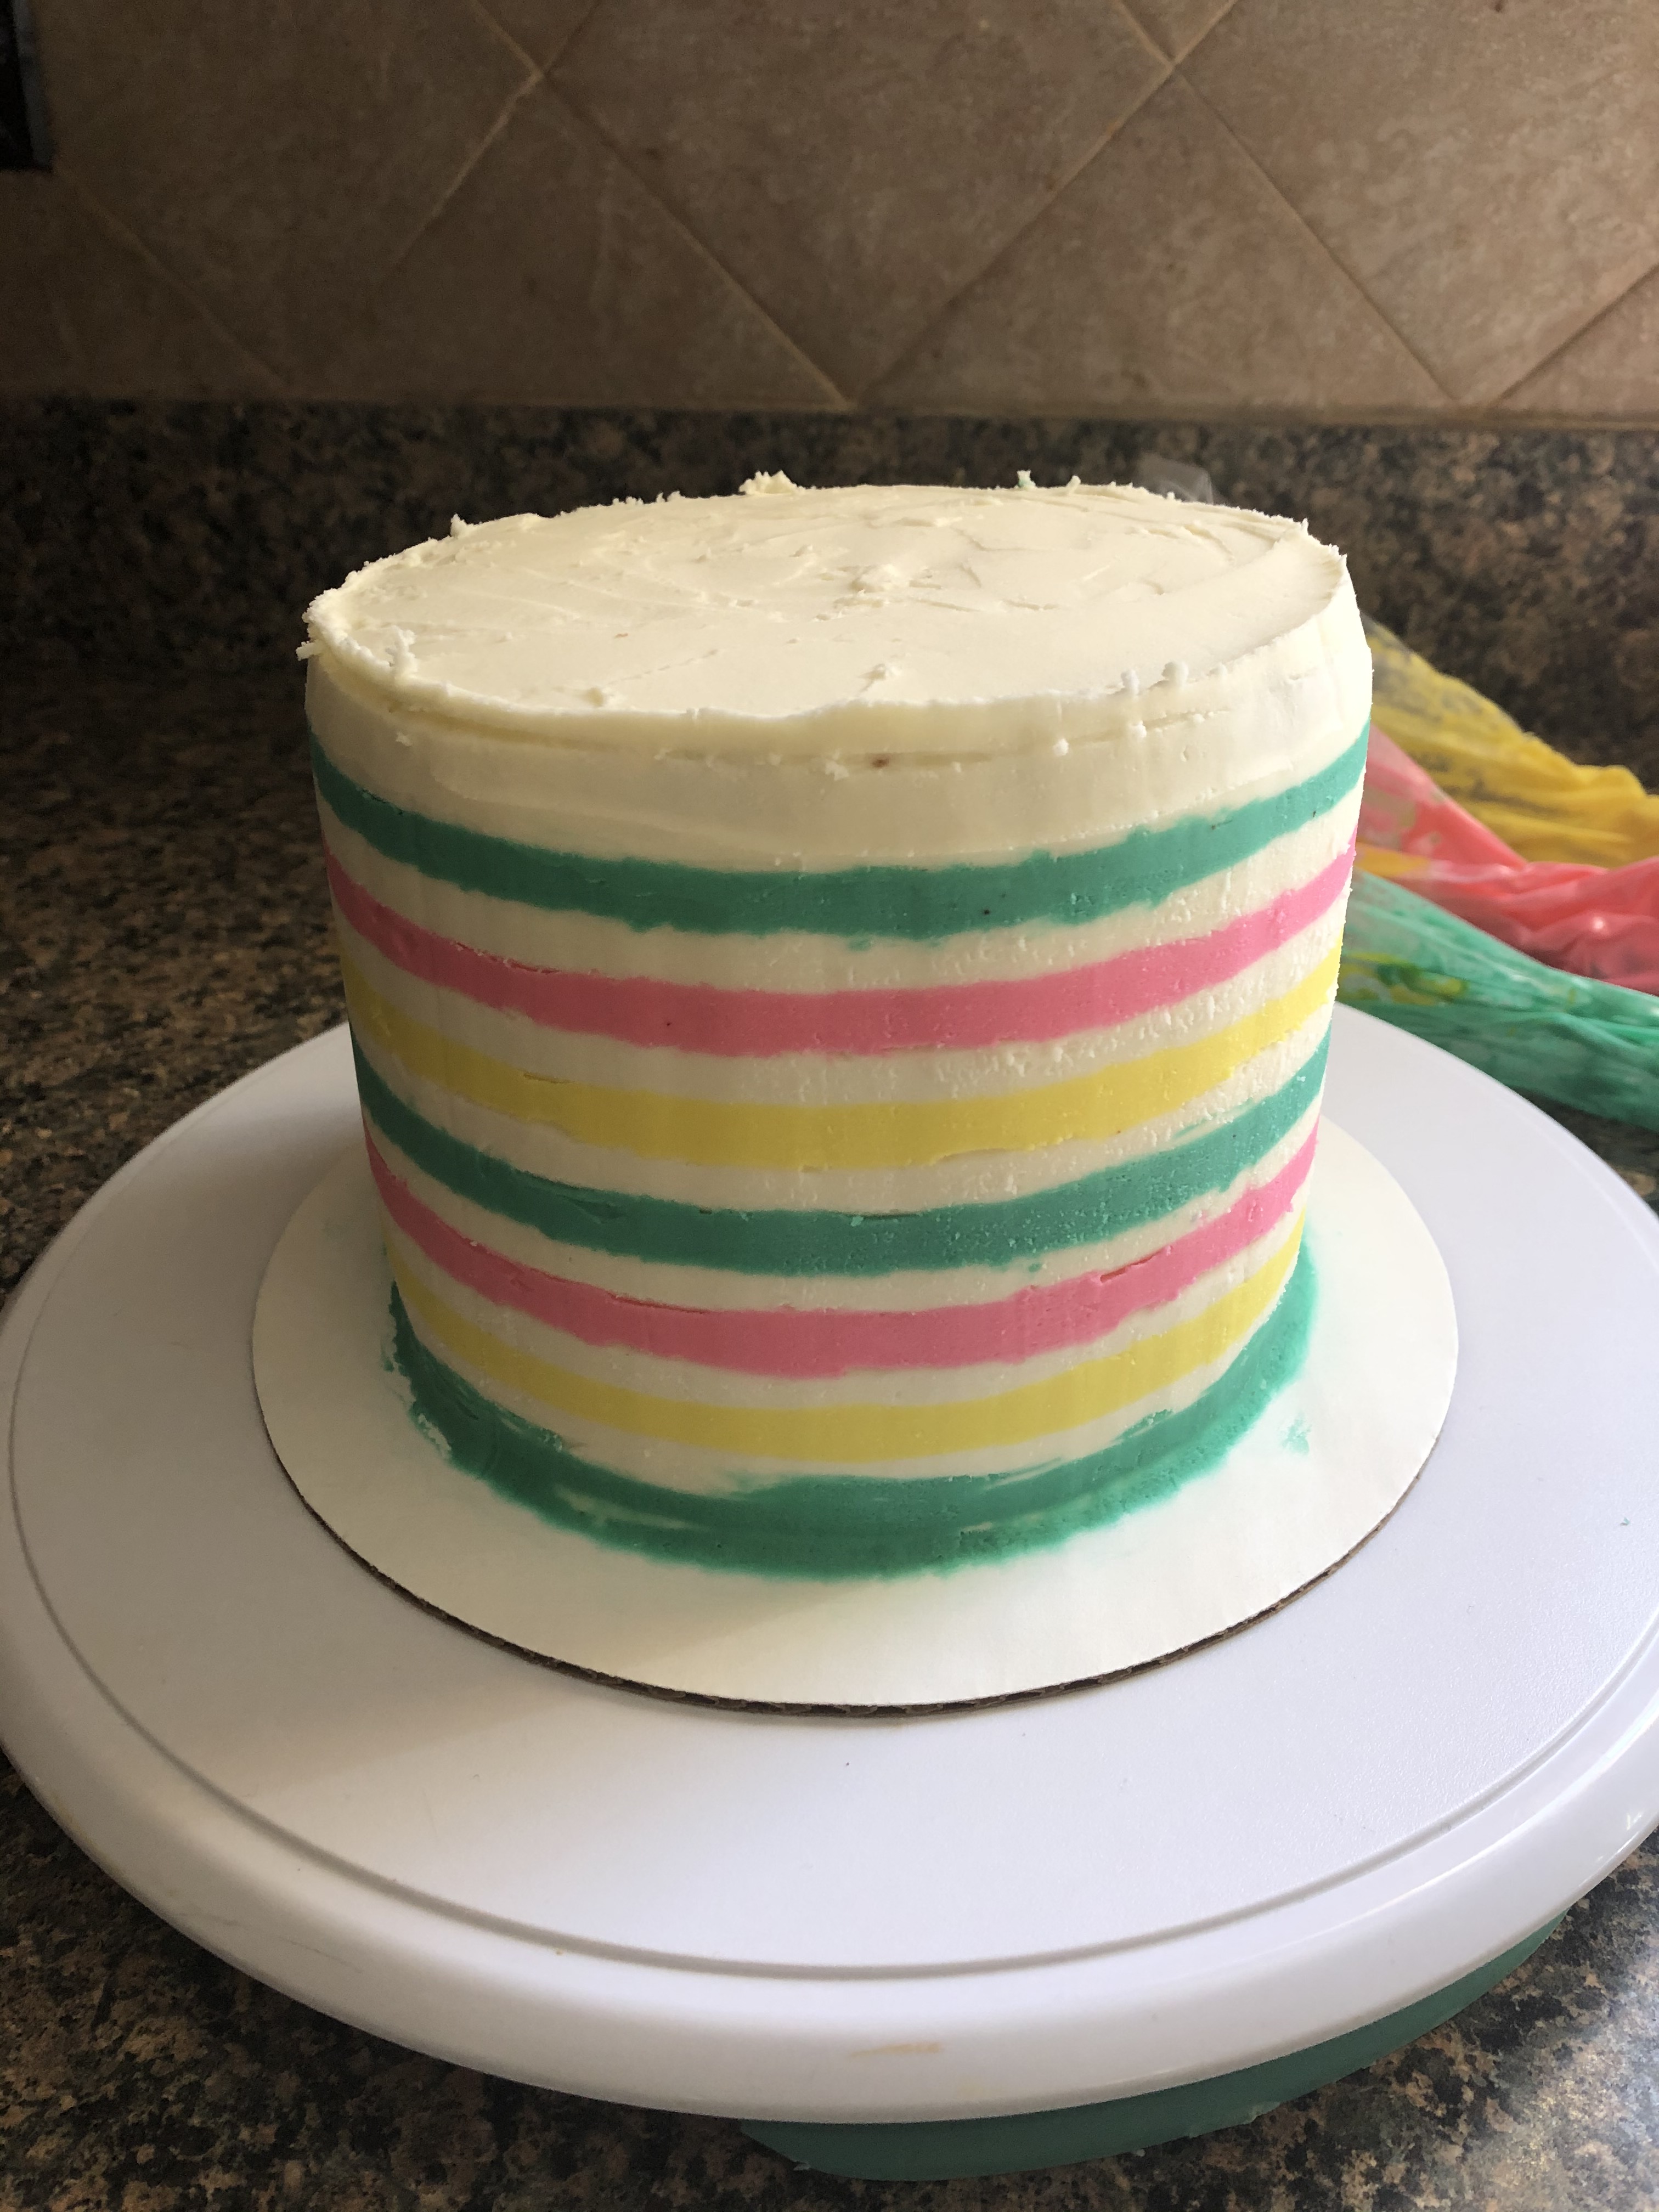
After smoothing the cake a few times and filling in any gaps in the frosting my stripes didn’t look that bad. I definitely need to practice them a few more times though.

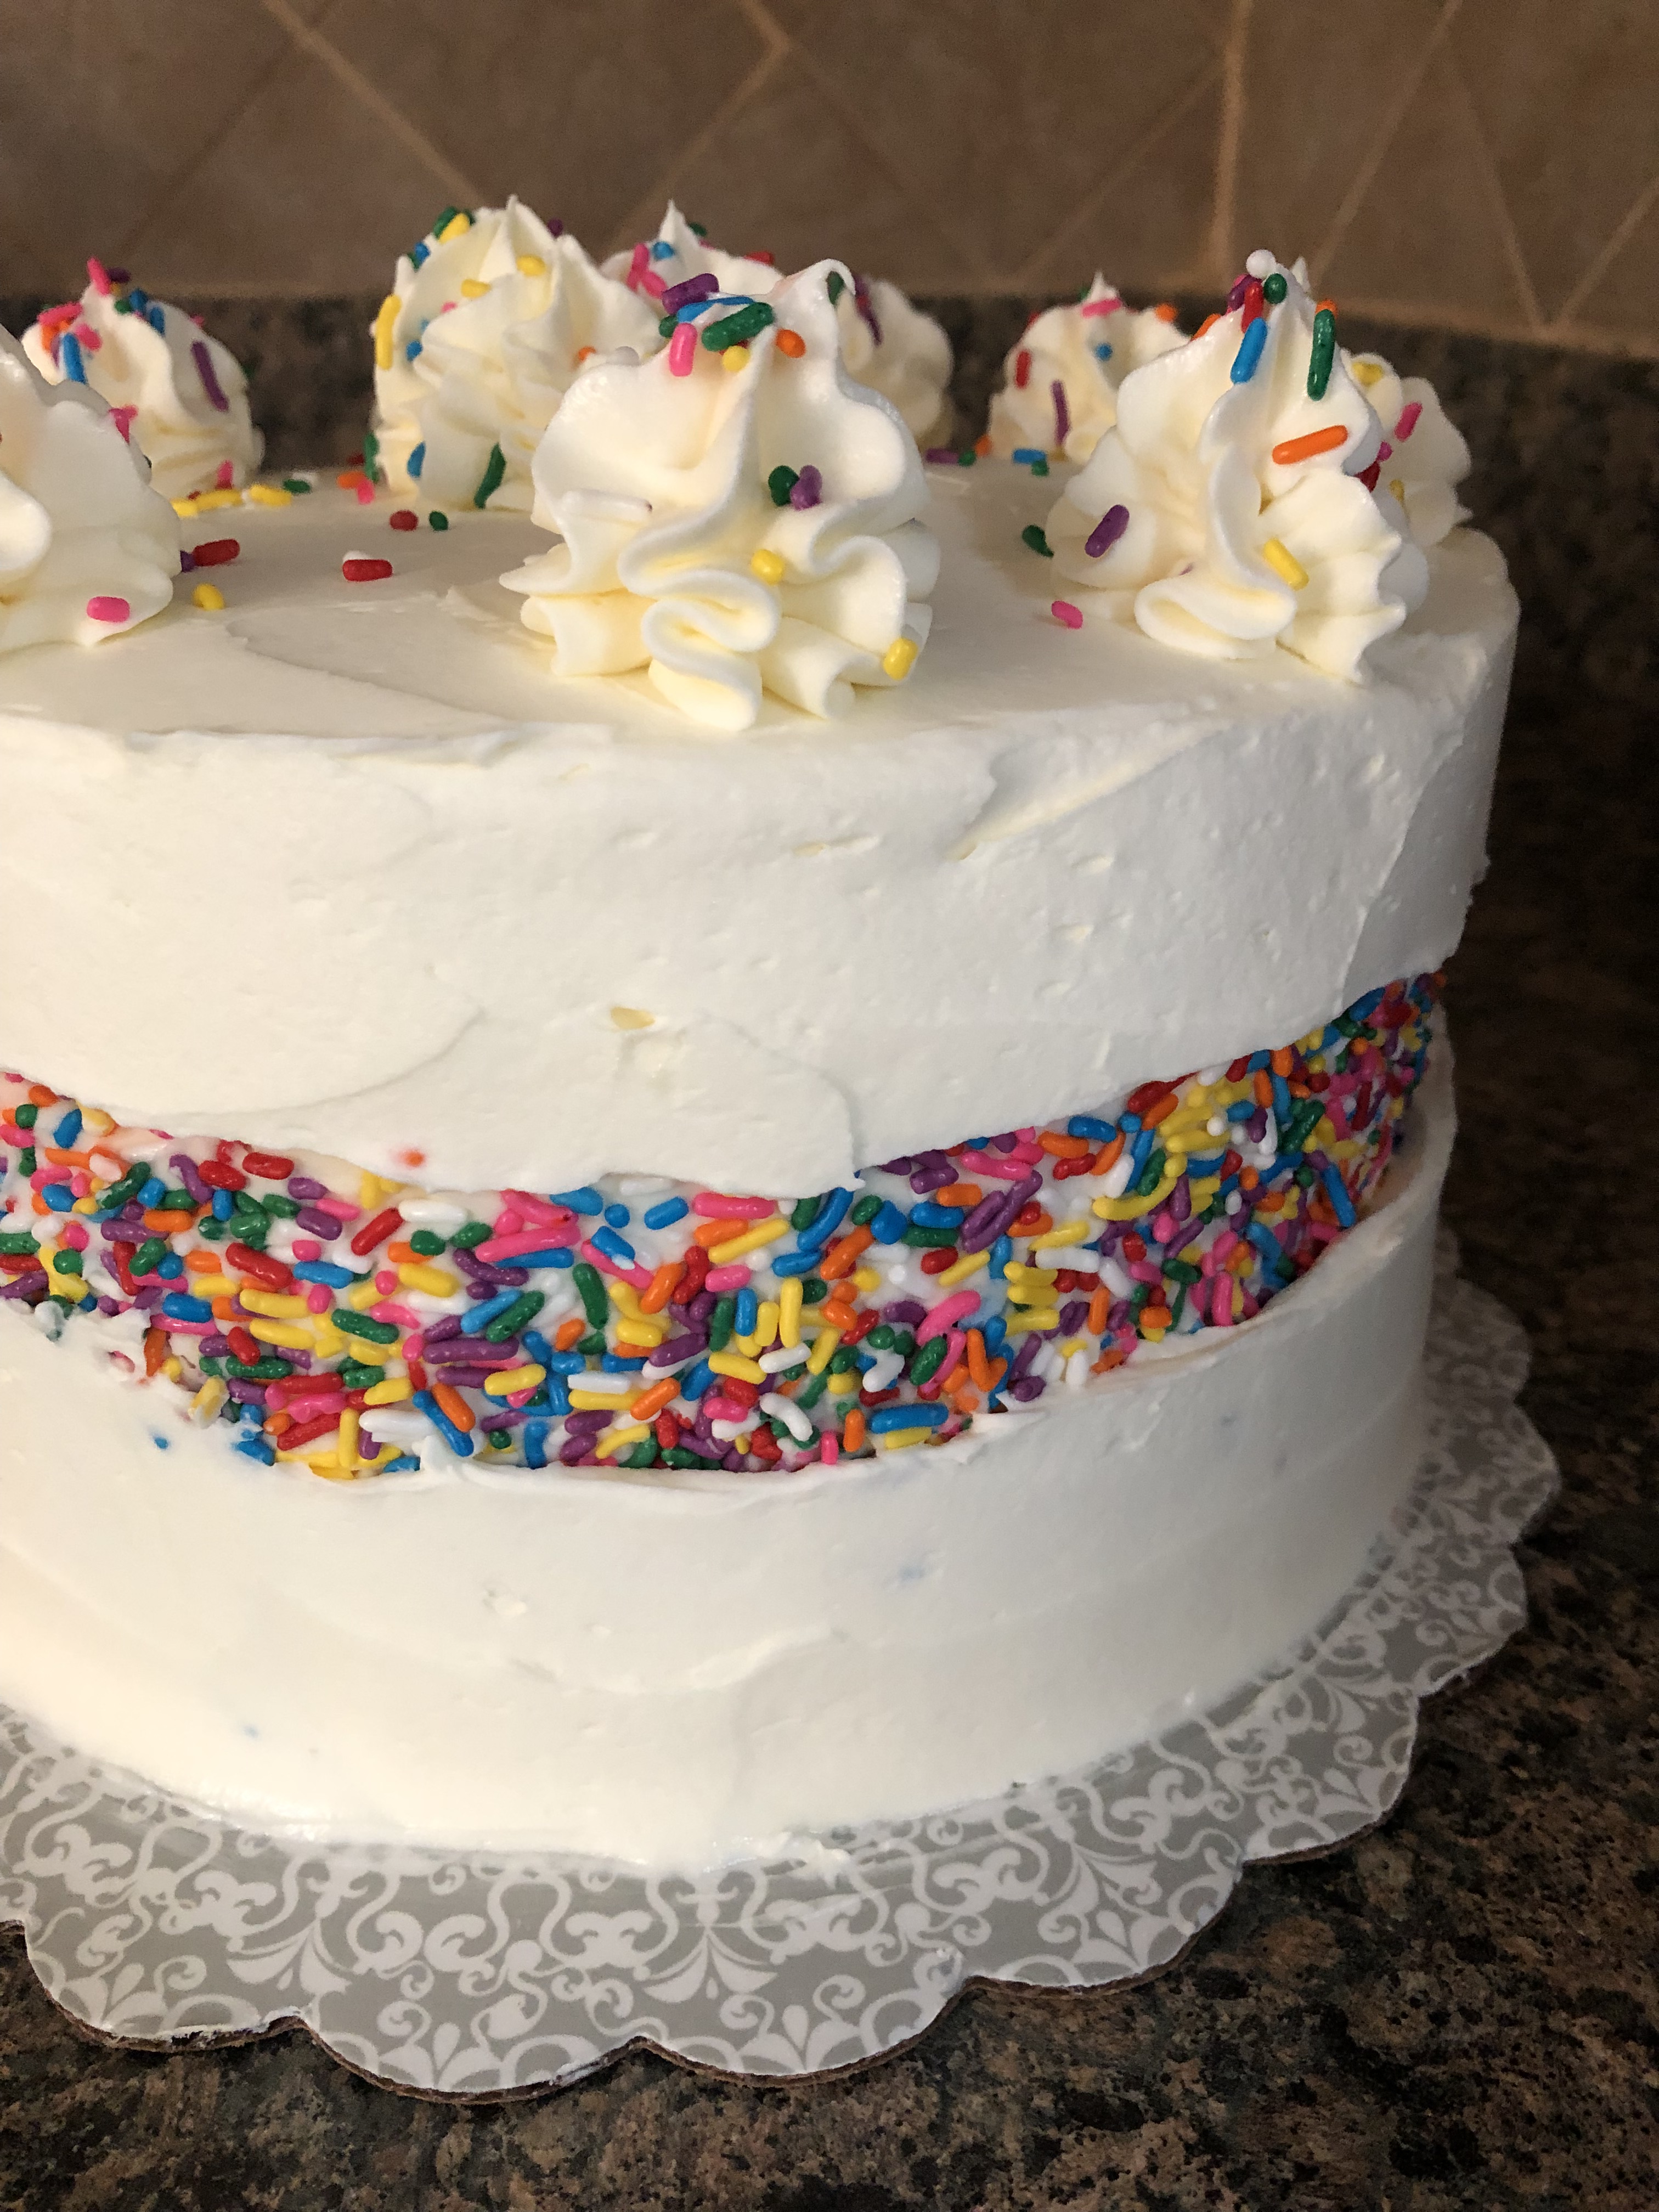
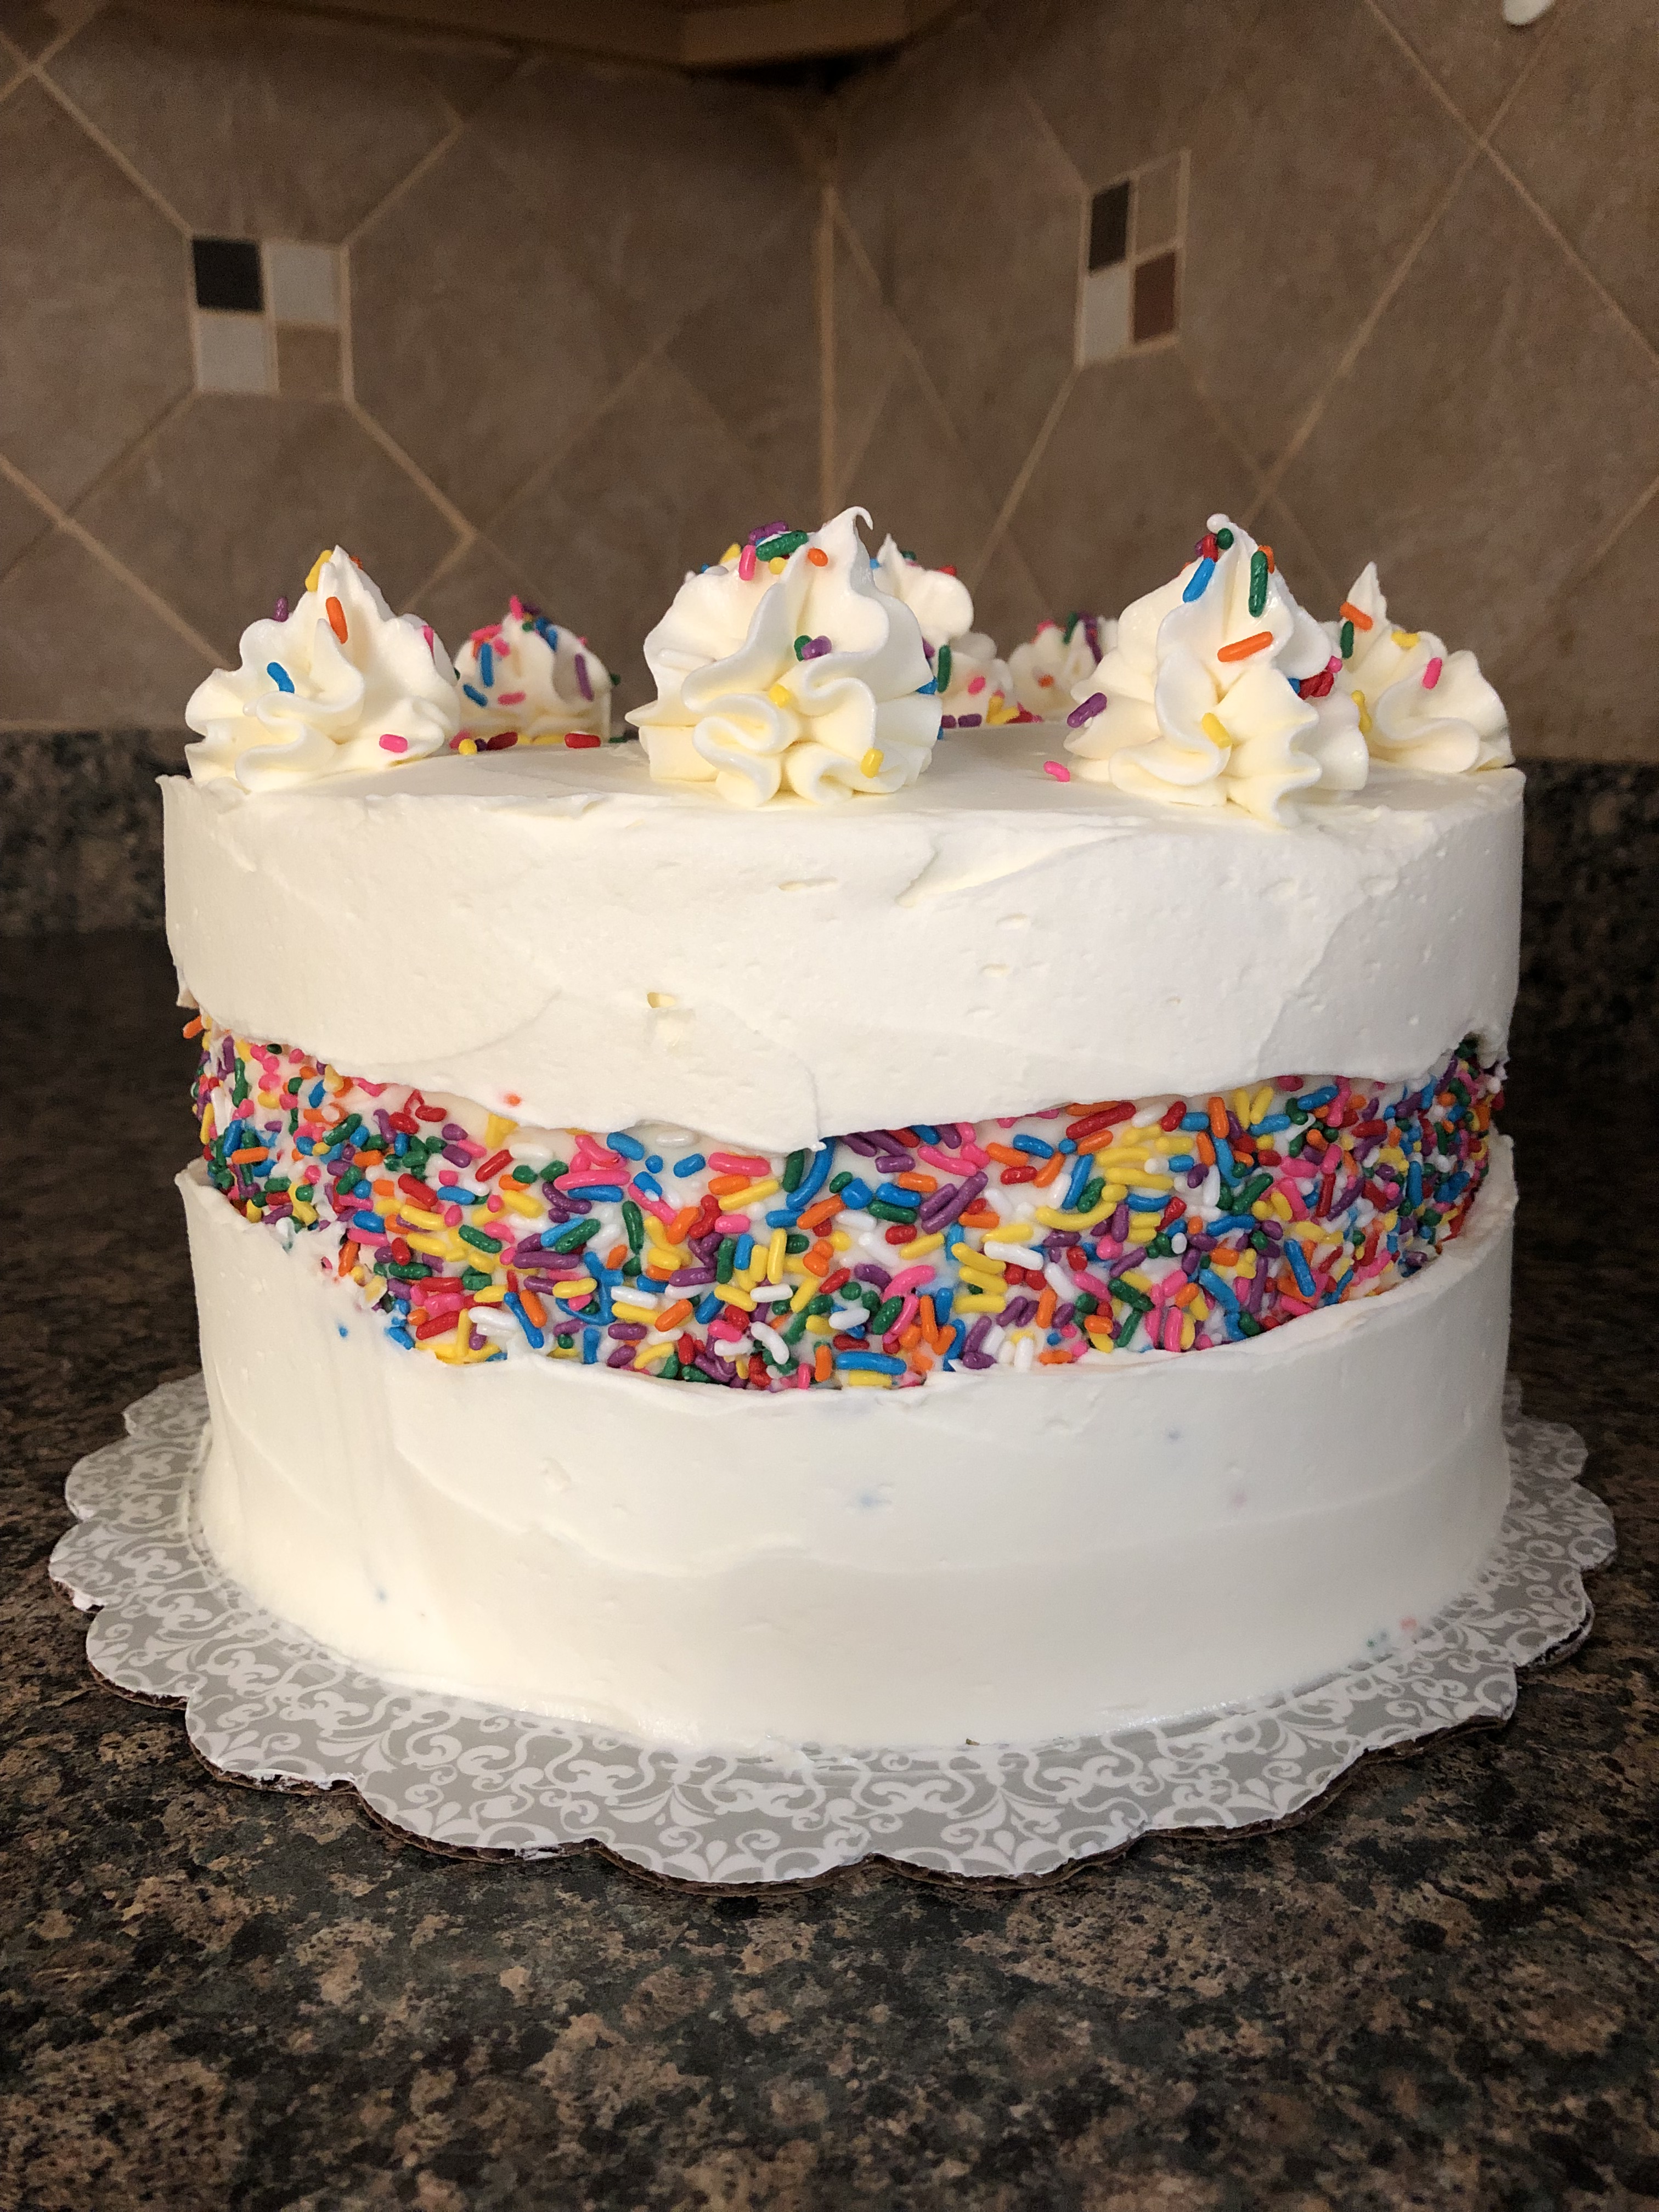
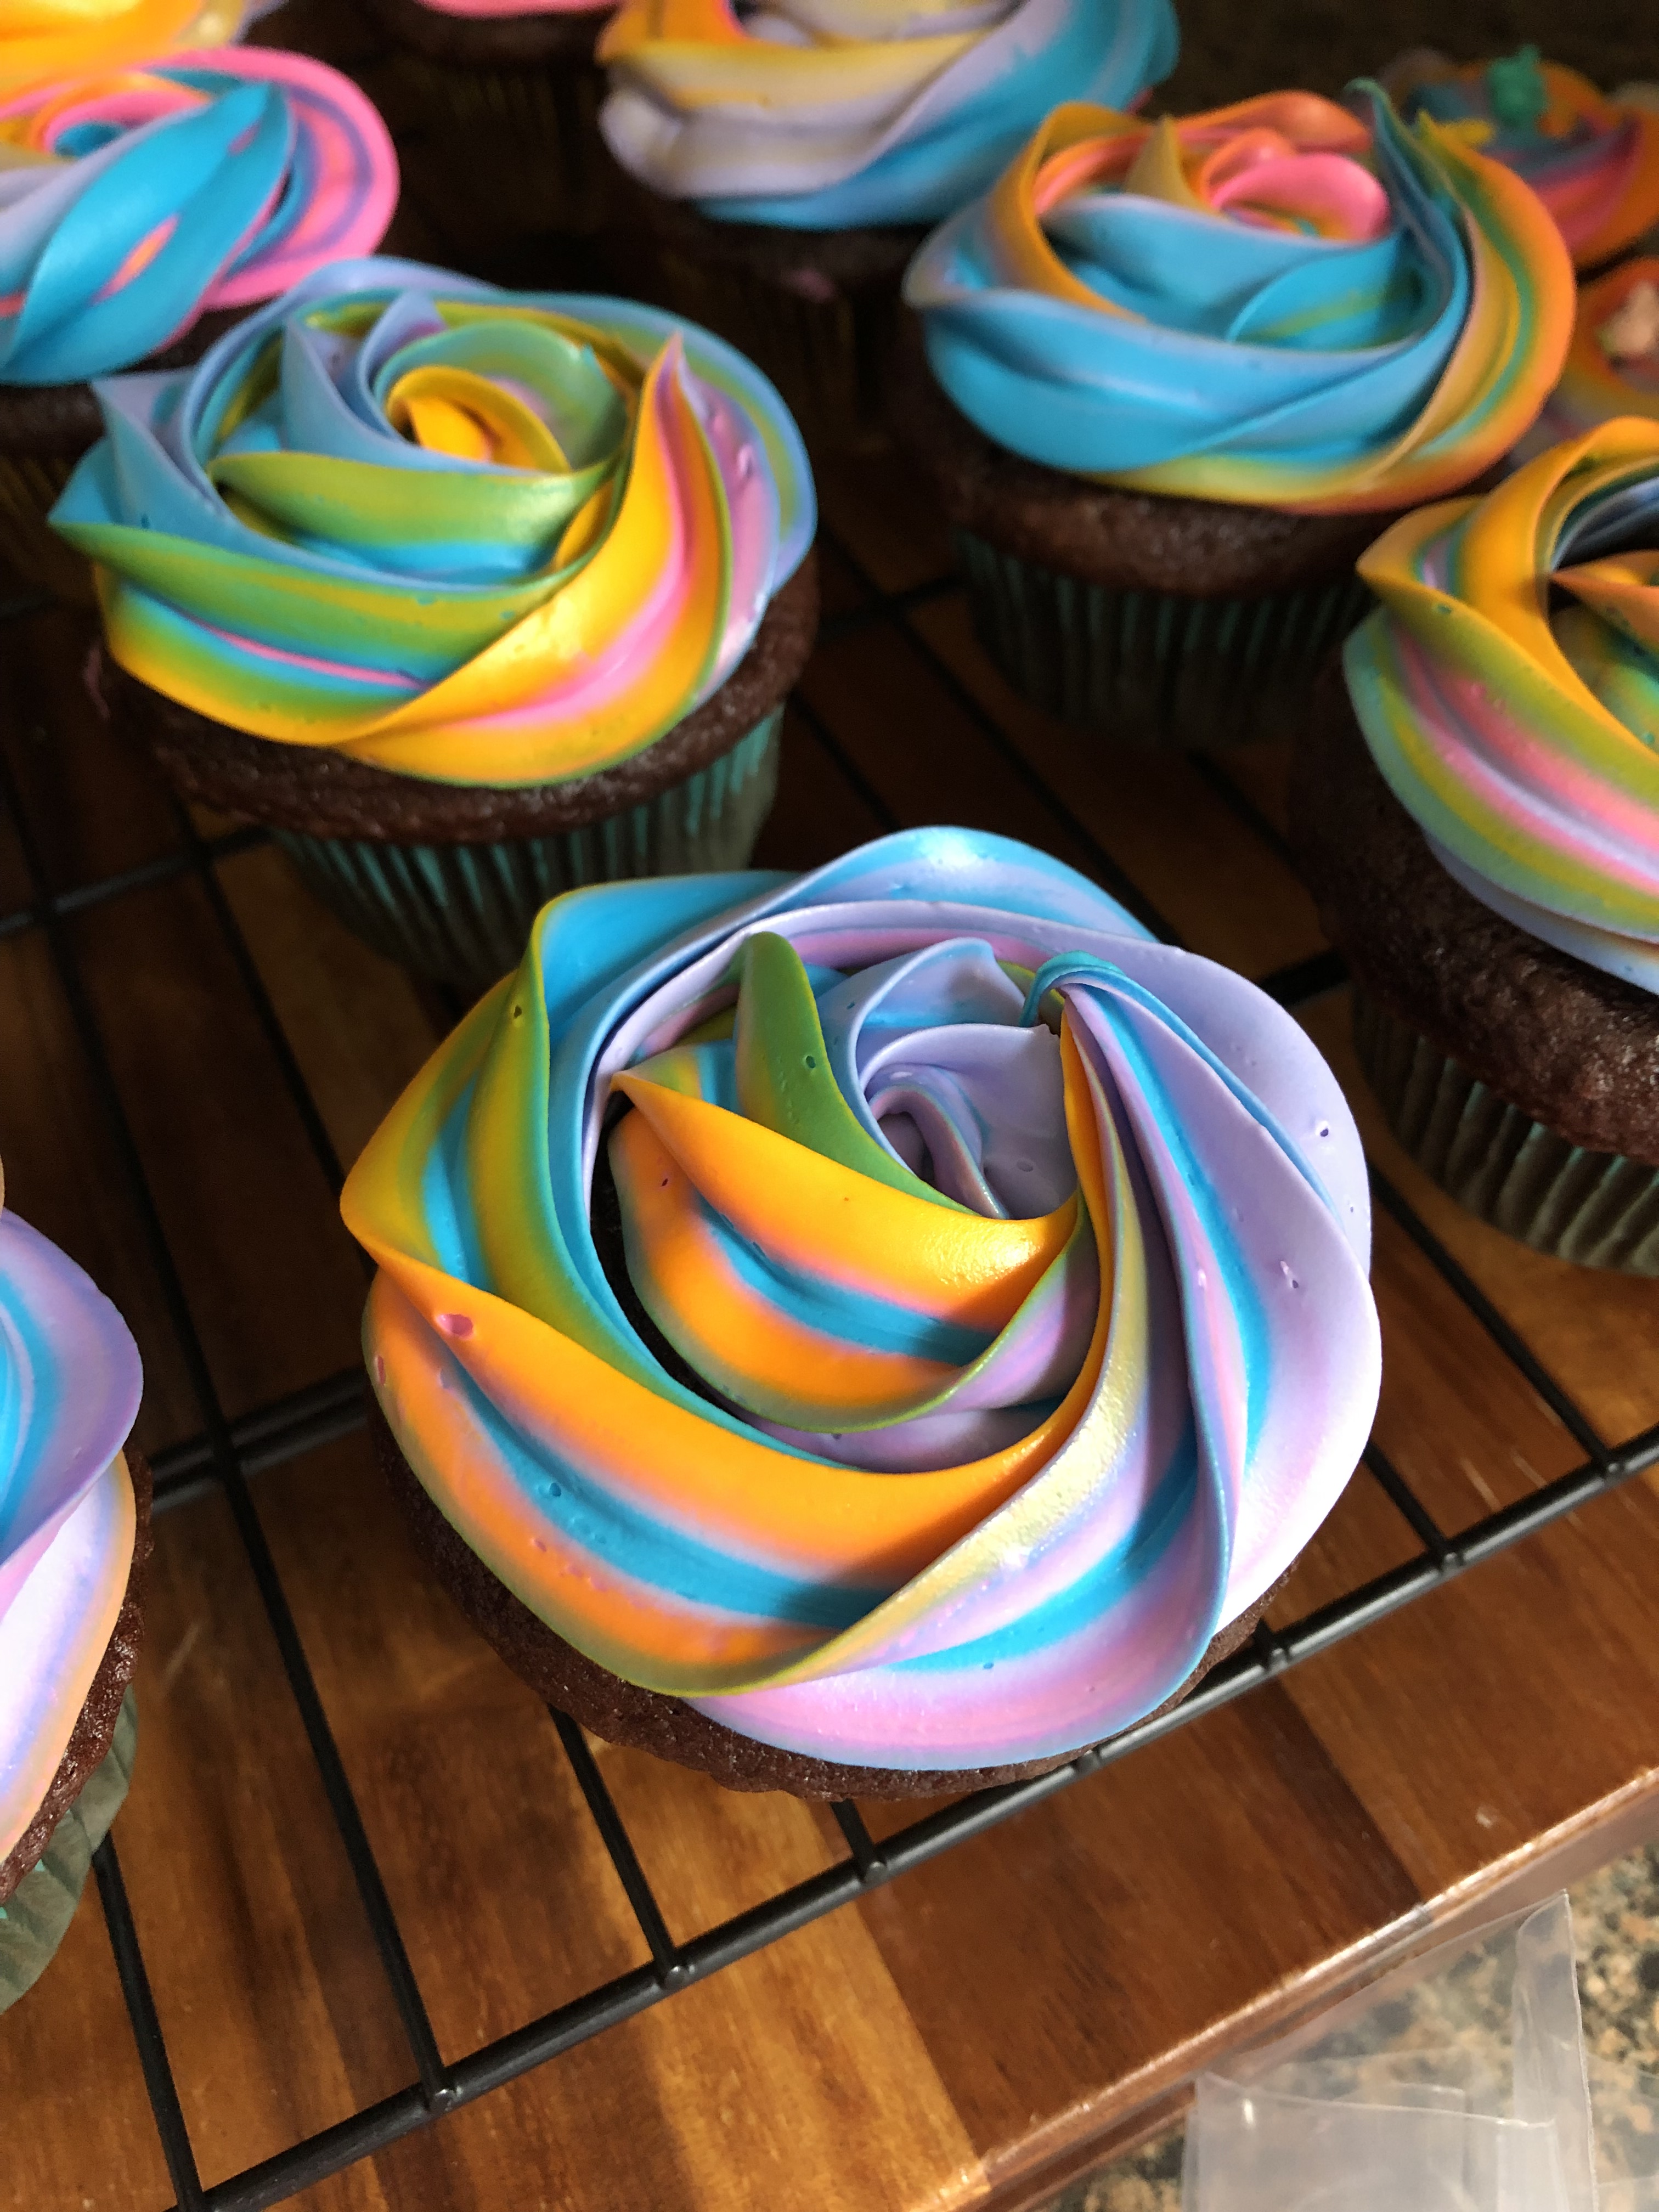
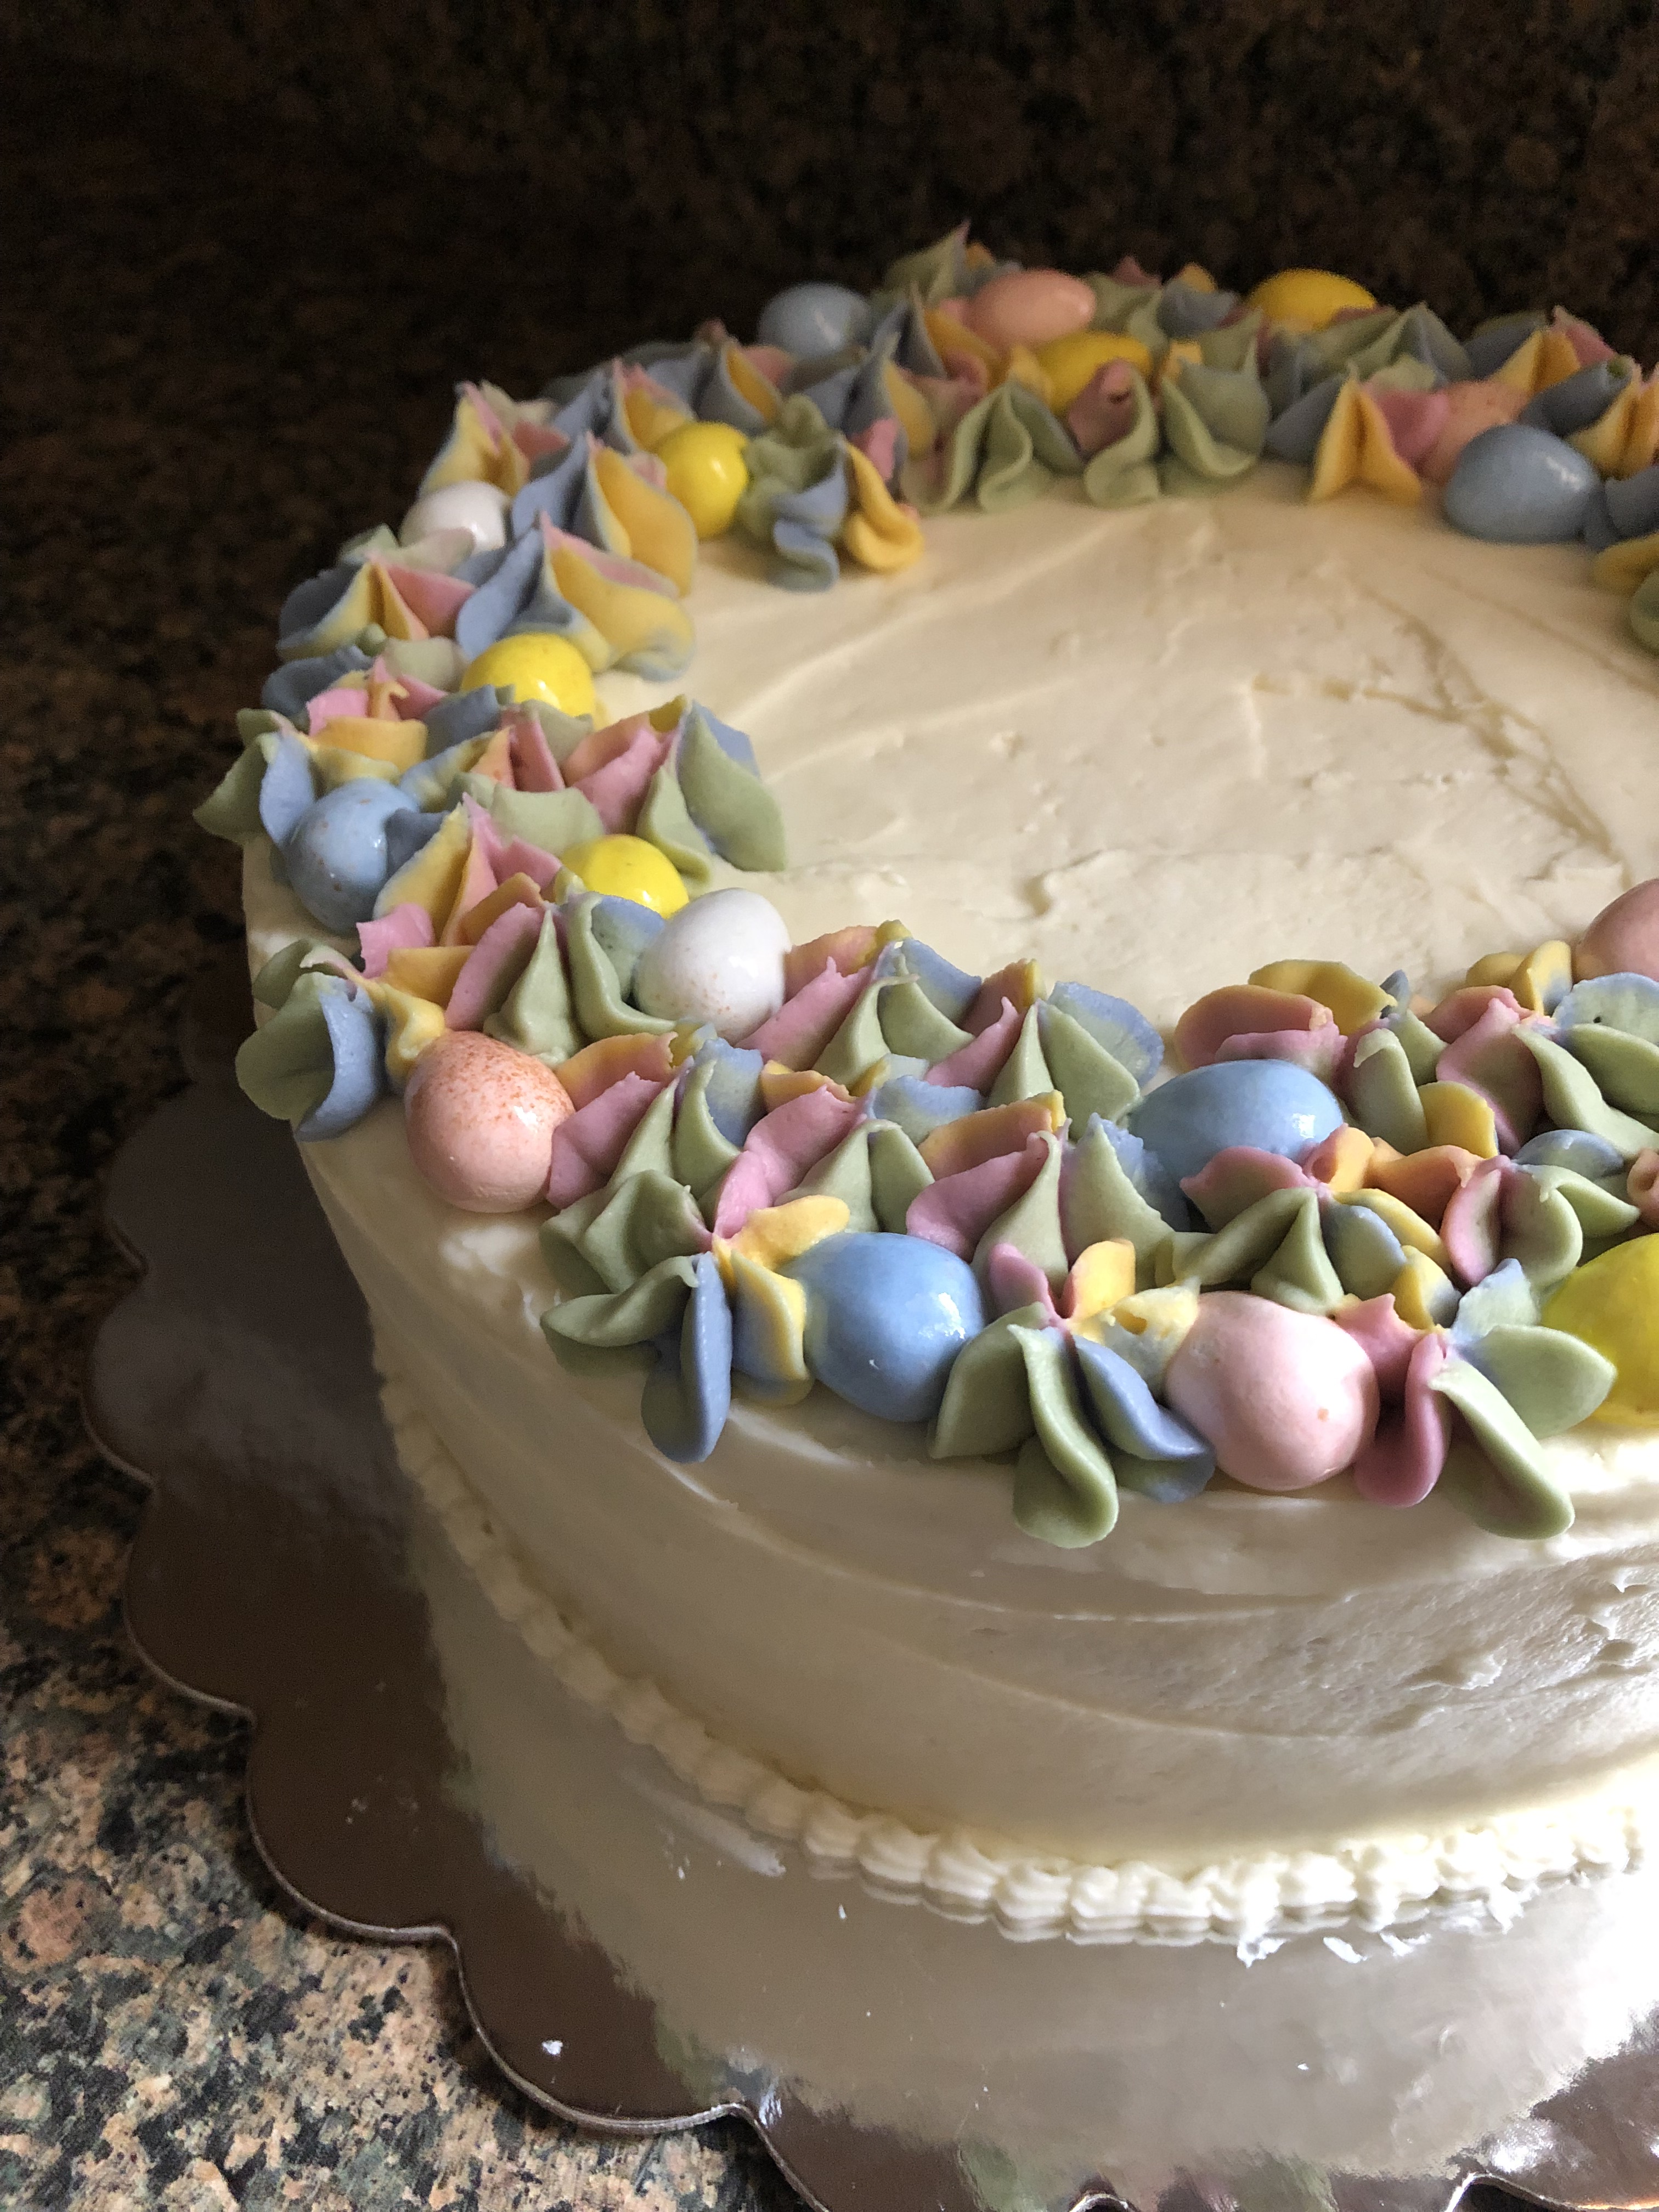
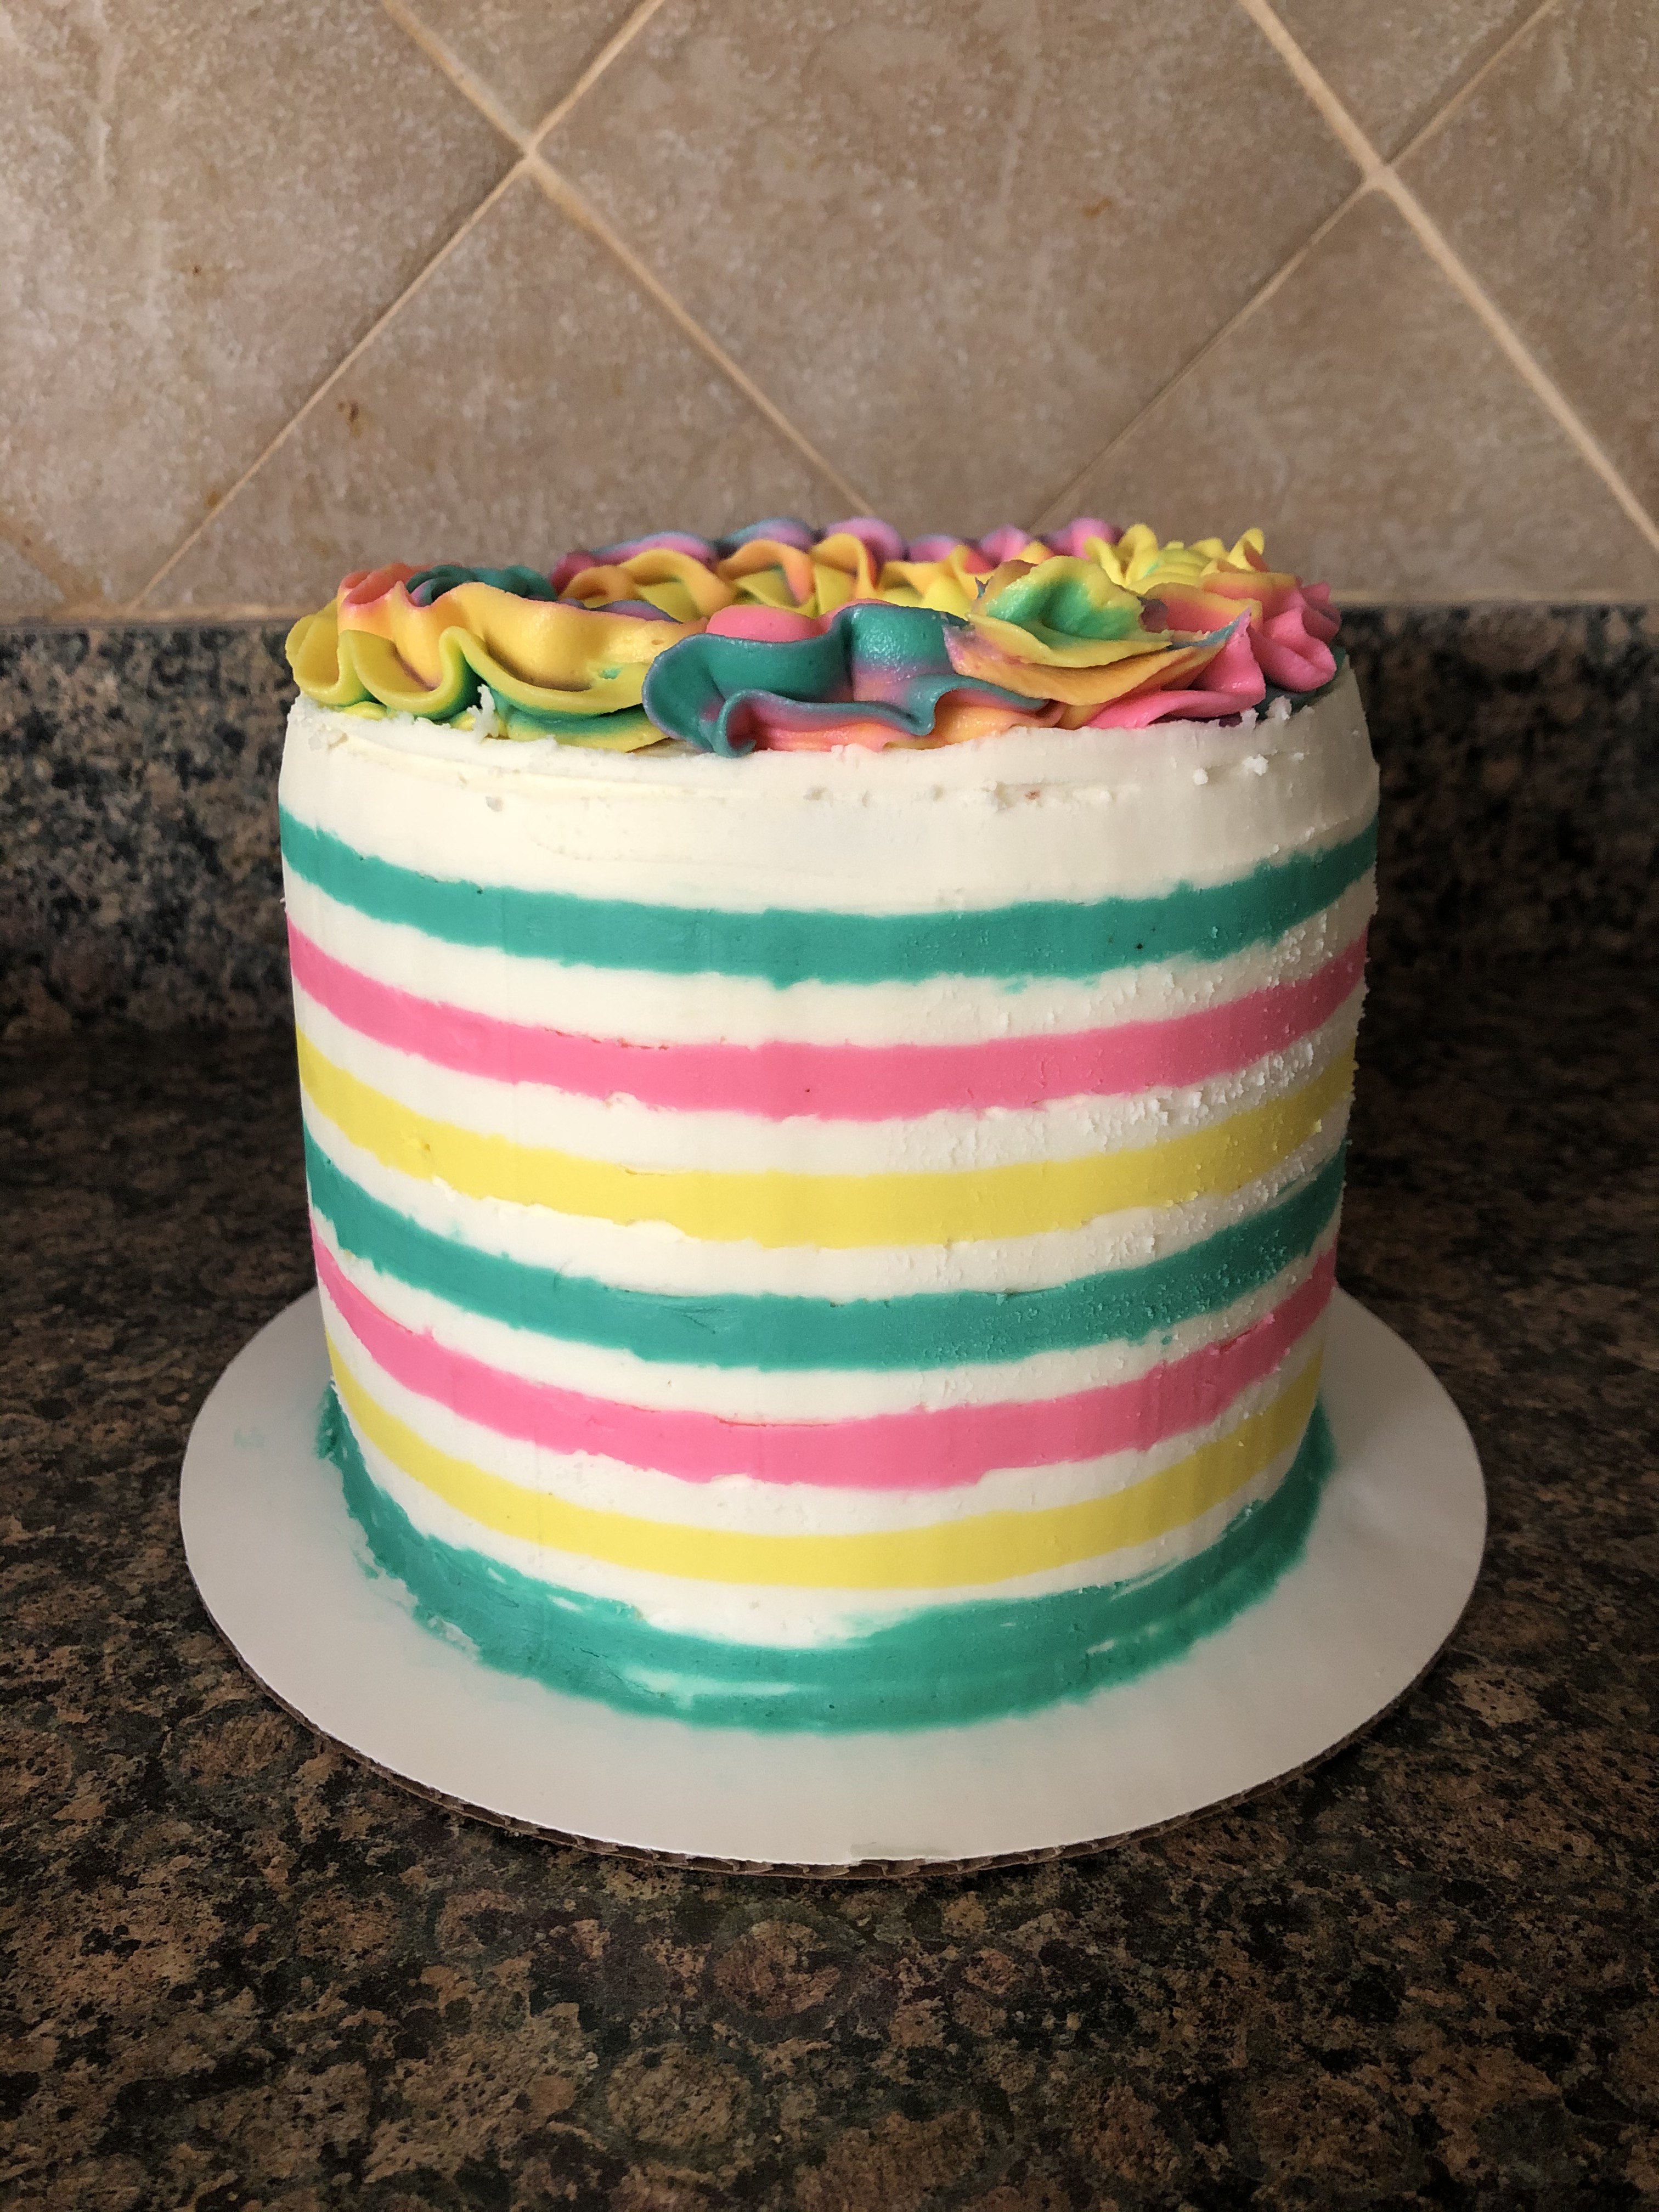
I used the remaining tinted frosting to create a swirl border on top of the cake. I wasn’t too happy with the way it came out though because I forgot colors 101, mixing certain colors together will create new ones. So I had hints of orange and purple in the border. Oh well!

Be safe, stay healthy, stay home and bake!

Mummy Cupcakes

Halloween is just around the corner. Although, if you go to some stores it may look as though Halloween & Thanksgiving have already passed as they are stocking their shelves with Christmas items already. It’s only a matter of time before “Jingle Bells” and other familiar Christmas tunes begin to fill our ears during our shopping trips. But for today, let’s just stick with Halloween. You may recall that when I posted about the NY Knicks cake I made I mentioned making some cupcakes along with the cake to decorate with a Halloween theme. Well, that theme was Mummy Cupcakes. I got the idea for these cupcakes from the Mummy Cake I made last year for Halloween. Now, I mentioned last year that making the cake was super easy, so, you can only imagine how much easier it is to make the cupcake version. I

These cupcakes are very versatile. Meaning you can use any flavor for the base. I opted with yellow cake since I was going to have extra batter from the cake I was making. And, if baking from scratch is not your thing you can totally use a box cake mix (as I did) and store bought frosting to make them. The two specialty items you may need is an Ateco #45 decorating tip and piping bags. Although, you could skip the decorating tip and cut a small hole at the end of a piping bag on an angle. I haven’t tried this so I am not 100% sure how it will work out though.

So, once my cupcakes were cool I fitted a 12-inch piping bag with the Ateco tip and then filled it with vanilla frosting. And then I simply piped flat stripes of frosting across the top of each of the cupcakes. Once the tops were covered with those stripes I added a few extra one’s going on an angle.

Next I tinted a small amount of frosting black and red to make the eyes of the mummy. First, I piped two red dots on each of the cupcakes and then I piped two black dots in the center of those red ones.


And just like that I had Mummy cupcakes.

New York Knicks Themed Cake

I recently got a request for a basketball themed birthday cake, specifically a New York Knicks themed one. The recipient sent me two pictures of what they wanted… One was simply a round cake with the Knicks logo on top and the other was a jersey themed cake. I opted to go with the latter.

At first I thought I would have to carve the cake on the sides and on the top to replicate the armholes and neck hole, but, after going through some pics on Pinterest and envisioning the cake in my head I realized I wouldn’t have to. Which was a good thing, I have never carved a cake before and I don’t think the first time I attempt it should be for someone’s birthday cake.

To make things simple I opted to use a box cake mix for the cake. While the directions on the box said one would suffice to make a 9×13-inch sheet cake I wanted to be sure the cake would have some height to it so I opted to use one and a half boxes of mix. I thought using two full boxes would be too much and the cake might overflow while baking and I also had a Halloween theme I wanted to try with the cupcakes – that’s coming in a later post. I prepped the cake mixes per the directions in two separate bowls and then with one I filled the cavities of a 12-cup muffin tin with a 1/4 cup of batter in each. I then poured the remaining batter into the bowl with the full amount and folded the two together before pouring it into a 9×13-inch pan I sprayed with baking spray. Once the cake was done I let it cool in the pan for 15 minutes before inverting it onto a wire rack to cool completely . Once it was cool I wrapped it in plastic wrap and refrigerated it overnight.

And while I used a box cake mix for the cake, I opted to make the frosting from scratch. I made a simple vanilla frosting that I planned to use for both the cake and cupcakes. After torting the cake, I placed the cut side down on a cake board and spread a thin layer of frosting over the top and sides. Then it was time to decorate. I opted to decorate the cake as the home jersey for the Knicks in white. Initially I was thinking of decorating it by using fondant paneling as I did with the YouTube themed cake I made earlier this year. And I even started doing so by cutting strips of white fondant and placing them on the sides of the cake. But, when it came to placing the top piece on I decided to cut it a little longer and wider than what I needed. And I am actually happy I did so. When you looked at the cake along the sides it almost looked like the jersey was draped and it gave the cake nice round edge.

After getting the white fondant done it was time to decorate with the blue and orange fondant to create the armholes and neck hole. At one point I was thinking of doing this part with frosting, but, I am happy I nixed that idea. The fondant gave it a much cleaner look and it was easier to correct any mistakes in measuring and placing. I rolled the fondant into strips and then cut them to form the curves. I let the pieces sit on the cake for a few minutes so they could take on curved shape while drying out a little to make it easier to adhere them to the cake with a dab of water. Next, I added the last name, which was a little tricky since I had limited space for all of the letters, but, I was able to make it work. At this point I took a break from decorating and placed the cake in the refrigerator to continue working on it the next day.

To create the numbers for the cake I purchased Wilton fondant molds. At first I had no clue how to use them. I knew I couldn’t use them as regular cookie cutters but I tried to anyway and it was a fail. I had a feeling that I would have to get the fondant into the crevice and then freeze it, but, just to be sure I did a quick Google search and my suspicions were correct. So, I pressed small amounts of fondant into the crevices and then placed the molds in the freezer for about a half hour. Once the fondant had frozen it was easy to remove it from the molds and I had a perfect 4 and 0.

Now, to create the basketball on the cake I got pretty creative. I could have just done it with a mound of frosting, or shaped one of the cupcakes I made, but, while at the craft store picking up supplies for the cake I though why not cut a Styrofoam ball in half to create the perfect round shape. I was pretty sure I had Styrofoam balls at home from other craft projects, but, I wandered over to the aisle anyway and found something even better, a half round ball Styrofoam that I wouldn’t have to cut.

I began decorating it by creating the lines on the basketball. I tinted chocolate frosting with black food coloring (it’s much quicker and easier than using vanilla frosting) and simply piped the lines onto the Styrofoam. Next, I tinted about a cup of vanilla frosting with copper gel food coloring and using a small star tip I filled in the Styrofoam ball between the black lines with small stars. I decorated it on wax paper and then placed it in the fridge for an hour or so so the frosting could firm up before transferring it onto the cake.

So, I had the numbers on the cake and the basketball, but, I felt like it needed something more..

To finish the cake I added the New York Knicks logo to the top. I could have been super creative and made it myself using fondant, but, I made it myself by printing it off the internet and then cutting it out. I definitely think that was the finishing piece the cake needed.

Everyone loved it and can I just say, there I something that is so delicious and comforting about a simple yellow cake.


An Ombre Cake, the Fall and A Few Other Things

With Labor Day weekend over summer has unofficially ended. The weather is also signaling the end of summer as well. Looking at the extended forecast there doesn’t seem to a day in the 80’s in sight. I am not complaining though. Fall is my favorite season and I very rarely complain about the cold temps the winter brings. While I am not a fan of hazy, hot & humid days of the summer I will rarely complain about them as well. Truthfully, I love being able to enjoy the 4 seasons in my neck of the wood. Although, it seems like Spring happens in the blink of an eye. It’ll start off super cold, then a few rainy days (possibly even snow) and then finally a few Spring-like days and then bam, there will be days of crazy heat before the Summer has truly began.

Labor Day was a rainy one by me. The weekend was beautiful, although, I spent half of it in the kitchen baking, decorating a cake and making floral centerpieces for a bridal shower. The alternative would have probably been yardwork so it’s all good.

I started the day by making Cheesecake Brownie Bites. I’ve been making these for years and while they are always a hit, I probably have tried them once of twice. Crazy I know. Well, I had extra brownie and cheesecake batter so I made a few extra that I ended up snacking on throughout the day and I will definitely be eating them the next time I make them.

After running a few errands I came back home and got to work on the cake. The plan was a two-tier blue ombre buttercream cake decorated with fresh sunflowers. To save myself time (and stress) I baked the cake layers a few days before, let them cool and then wrapped them in plastic wrap to store in the refrigerator. I started by making my short-cut chocolate mousse and then refrigerated it while I whipped up a batch of vanilla frosting. Once the frosting was done I then torte, filled and crumb coated the two tiers. Each tier was a three-layer cake – chocolate cake sandwiched between two yellow caked. Once 6-inch, the other a 9-inch.

I then placed the cakes in the refrigerator and whipped up two more batches of vanilla frosting. Yes, this cake took about 12 cups of frosting to complete. I’ve learned that it’s best to have left-over frosting as opposed to barely enough, especially when tinting the frosting. One time I was decorating a cake with a ruffle design in pink frosting. Well, by the time I got to the top of the cake I had run out of the pink frosting so I ended up having to frost the top of the cake with white frosting. It didn’t look bad, but, I was definitely kicking myself. Once I was done making the frosting it was time to tint it. I used three Wilton colors to create the ombre effect – Royal Blue, Cornflower Blue & Sky Blue. Once the frosting was ready I started by frosting the top of each of the cake. The smaller tier with while frosting and larger tier with the cornflower blue frosting. I filled piping bags with the remaining frosting and snipped the ends off the bag.

I began by piping the bottom of the larger tier with the royal blue frosting. I then switched to the cornflower blue frosting to finish piping the sides of the cake. Next I used a straight edge icing spatula to smooth the sides of the cake. And finally I used a small spoon to create stripes on the cake by dragging it along the frosting while spinning the turntable.

After placing the smaller tiered cake on the larger one and securing it with a wooden dowel I repeated the frosting and decorating process using the sky blue and white frosting. At this point I popped the cake in the refrigerator overnight so the frosting could set (and I could take a break).

After resting and taking a dinner break I got to work on the centerpieces.

The next morning it was back to the cake. Here’s a pic of the cake before adding the sunflowers…

And with the flowers added…

And finally on display at the bridal shower.

So, now that Fall is right around the corner it’s, dare I say, time to think about the holidays, especially if you are planning on doing any crafting for it. Earlier this year I started crocheting hexagons to make a Christmas tree skirt. I completed about 2/3 of the hexagons but I put the project on hold as I couldn’t find 4 skeins of the same dye lot of the green yarn I wanted to use. I finally got them so that project is back on. Fingers crossed I will get it done. I started working on the hexagons again and for some reason the size is not matching up to the ones I made earlier. I keep ending up with an extra side, so instead of hexagons I am making heptagons. Not sure what I am doing wrong. I made so many hexagons already that I thought making them would utilize muscle memory but something is off. Ugh! I also started looking at Christmas card designs on Pinterest during some downtime. I think I know what I am making this year. I always wait until the last minute to make my cards and I am doing by best this year to start early so I am not scrambling in mid-December. If all this talk about the holidays has you stressing out, I apologize. At least I haven’t started shopping. Back to Fall though, I started decorating with some pumpkins around the house, nothing outside though. I will wait until it’s actually Fall to do that. I was almost tempted to put up my scarecrows but I held off. And of course there is baking… I’ve got some ideas for Fall treats and I am already looking ahead to Christmas cookies. Sorry, I brought it up again. But, my fellow crafters and bakers know where I am coming from. You’ve got to be a season ahead with these things, especially when you are blogging about them. For now… Happy Fall Y’all (albeit a few weeks early!)

Sprinkle Fault Line Cake

Earlier this summer a new cake trend began flooding my Instagram feed… A Fault Line Cake. Initially I thought it would be extremely difficult to create. And I am sure some of the ones I have seen are – ones with macaroons, lemons, edible decorative paper and so forth – but, the one that caught my eye and seemed somewhat easy to practice on was a sprinkle one. Essentially, the center of the cake exposes a design between two thick layers of frosting. Sort of like a fault line separating after an earthquake and exposing the ground beneath.

I first attempted this trend a few weeks ago and it was a complete DISASTER! Since I was just trying out the technique I attempted to take some short-cuts… mainly use store bought frosting. Chocolate frosting at that and I really should have known better. Not that there is anything wrong with store bought frosting – I have used it quite often to decorate – but, it was hot outside (and inside my house) and I have learned that store bought frosting just doesn’t hold up as well in the heat as homemade. Also, I made a six inch cake using boxed cake mix thinking that would give me enough height for the cake and I was wrong on that account as well.

Here’s what happened… I baked a yellow cake mix into a two-layer 6-inch cake and it came out just fine. Then, I started to frost it and the issues began. Like I said it was hot on this day so I decided to refrigerate the frosting for about 20 minutes so it could firm up a little. Once it was firm, I started by crumb coating the cake and it just wasn’t going on smooth, but, I plowed ahead. Once I finished with the crumb coat I placed the cake in the refrigerator so it could set. After about a half hour I removed the cake from the refrigerator and attempted to add more frosting to the middle of the cake to adhere the sprinkles and it was a mess. The crumb coat never got a crust on it so when I added more frosting it was all just coming off. I continued and finally got a layer of frosting around the middle of the cake and then added the sprinkles. But, since I had to add such a thick layer of frosting to the cake to get it to adhere my sprinkles got swallowed up by the frosting. It was such a fail. At this point I just gave up. I realized that the frosting was just not going to cooperate and that the cake didn’t have enough height to look good.

Fast forward a few weeks later and with a free weekend ahead of me I decided to try once again. I made some tweaks this time though. I decided to make a three-layer 8-inch cake and for the frosting I whipped up two batches of Martha Stewart’s Fluffy Vanilla Frosting. It’s my go-to frosting whenever I have to decorate a cake. It has a great consistency that makes it perfect for frosting, piping and/or tinting.

I opted to go with a box cake mix again. I used a yellow cake mix to make two 8-inch layers and then a chocolate mix to make one 8-inch layer. I used the remaining chocolate batter to make 6-inch cake.

Once the cakes were done I let them cool in the pans for about 15 minutes and then transferred them to a wire rack to cool completely. I then wrapped them in plastic wrap and placed them in the refrigerator overnight. I used to just leave my cakes out at room temperature, but, I have found that refrigerating them makes it easier to torte, layer and frost.

The next day I made two batches of vanilla frosting and my short-cut chocolate mousse (beat a package of Jell-O chocolate pudding mix along with a cup each of heavy whipping cream and whole milk until thick). I then torted and layered the cake, filling the layers with the chocolate mousse. Next I crumb coated the cake and placed it in the refrigerator for about a half hour.

After the half hour I removed the cake from the refrigerator and added an extra layer of frosting in the middle of the cake…

And then added sprinkles to that layer of frosting.

I then placed the cake back in the refrigerator for another half hour so the frosting and sprinkles could set.

I transferred frosting to a piping bag and snipped the end off and piped the frosting around the cake, except for the part with the sprinkles.

I then smoothed the frosting and added some 1M swirls on top of the cake and sprinkled them with sprinkles and my cake was done. I finally created a successful Fault Line Cake. I wonder what new cake trend will be flooding my Instagram feed next.

L.O.L Surprise! Themed Cake

This year for my youngest niece’s birthday she requested an L.O.L Surprise! themed birthday cake. And just in case you don’t know, L.O.L Surprise! are mini dolls that come in a toy ball. You have to peel away the layers of the ball to get to the doll. The layers include stickers, the dolls clothes and accessories and finally the doll. The surprise is not knowing what doll is in the ball. Oh and a little FYI the L.O.L stands for Lil Outrageous Littles. Granted, they have evolved into more than just a mini doll in a ball. They now come in different sized balls, big surprise balls, pets, and so forth. These toy makers have to strike while the iron is hot on any toy. The first themed cake I ever saw for the toy was a round ball similar to the ball the dolls come in. I wasn’t going to attempt something that extreme. I opted to go for something a bit simpler, but, still echoing the whimsical and fun nature of the dolls.

Initially I was planning on decorating the cake with fondant lollipops. I pretty much knew how to create them but I watched a few tutorials on YouTube just to be sure. I bought fondant in different colors, not my usual Wilton brand fondant, but one that I had used before, but, when I started making them it turned into a bit of a disaster (Insert the emoji of the girl with her hand to her head… LOL!). I am not sure if it was because it was warm that day or the fondant was just too soft, or a combination of both, but, my fondant kept thinning out when I tried to twist the fondant together as I created the lollipop. So much so that it would break before I was done winding the lollipop. I ended up with a few decent ones, but, I wasn’t happy enough with them to use them for the cake. Also, even after leaving them out for a few days the fondant never hardened.

My back-up plan was to buy lollipops I saw at my local party store if all else failed, but, I decided to try one more thing… Meringue Lollipops. To make the meringue I whisked together room temperature egg whites and sugar in the bowl of my stand mixer over boiling water. Once the sugar had completely dissolved I placed the bowl on my mixer and added in vanilla extract and a pinch of salt. Using the whisk attachment and setting the mixer to high I whisked the mixture until stiff peaks formed. Next, I divided the meringue into three bowls and tinted each one using gel food colors, gently folding the colors into the meringue. I spooned the three colors side-by-side on a piece of plastic wrap, folded the plastic wrap in half and then rolled the entire thing to create a cylinder shape, making sure to tightly wound the ends of the plastic wrap. I snipped one of the ends off and then dropped it into a piping bag I had fitted with a Wilton 1M tip. I then piped 1M swirls on a parchment lined baking sheet to create the lollipops and then gently inserted a lollipop stick into each. I baked them in a 200 F preheated oven for about 2.5 hours. The meringue has to be baked at a low temperature for a long period of time so it can properly dry out. I let them cool inside of the oven with the door slightly open and ended up with perfect (and edible) lollipops to decorate the cake with. I kept these stored in an airtight container until I was ready to use them.

Now, for the cake. I had every intention of baking the cake from scratch, but, box cake was on sale the week before and when you are planning on decorating a cake the same weekend you have a long list of other things to get done around the house the easy road is the way to go. I wanted the cake to have some height so I baked four 9-inch cakes using two boxes of Devil’s Food cake mix. I opted to use three of them and kept the fourth one to snack on. I made the cakes the night before and then wrapped them in plastic wrap and stored them in the refrigerator.

The next day I made two batches of my go to Fluffy Vanilla Frosting and an easy and quick chocolate mousse for the filling (I beat 1 cup each of whole milk and heavy cream along with a packet of Jell-O Instant pudding until creamy). I then torted the cake, filled it, and crumb coated it. I placed it in the refrigerator for a half hour while I tinted the remaining frosting.


I fitted three piping bags with different sized round tips and filled each with the tinted frosting.

Once the cake was ready I piped the frosting around and on top of the cake, smoothed it and then sprinkled some sprinkles on it. At this point I placed it back in the refrigerator so I could finish decorating it the following day.


The next day it was time to decorate. I had searched online for L.O.L Surprise! cut-outs and while I did find some that cost about $10, I also found a website with free clip-art. So, I decided to save my $10 and printed the clip-art out on cardstock and then cut out the dolls myself. Here’s a pic of my very technical way of getting the L.O.L Surprise! paper dolls on the cake. I place a piece of double-sided tape on the back of them, placed a lollipop stick on it and then used regular tape to hold it all together… it worked! I also placed a few of the cut outs on the front of the cake. For those pieces I taped a piece of wax paper behind them before adhering them to the cake with left-over frosting.

After a little positioning I got everything on the cake and was very happy with the final outcome.


For transporting purposes I had to remove all of the decorations…

But, I am happy to say that everything went back on just fine once it reached its destination. The Birthday Girl was very happy with it. What will the next themed cake be???

Mess Free Piping

I’ve been seeing people use plastic wrap inside of their piping bags for some time now- on other blogs, Pinterest, Instagram, etc.- especially when piping two or more colors together to create a fun swirl on a cupcake or to pipe flowers. I haven’t had a reason to try it until this past weekend when I decided to make chocolate cupcakes with vanilla frosting to go along with the carrot cake I made for Easter. Carrot cake is usually not a hit amongst kids so I decided I should bake something that was more kid friendly and you can you can’t get more kid friendly than a chocolate cupcake with colorful frosting.

After tinting the frosting I placed small amounts of it on a decent sized piece of plastic wrap as below.

Next I folded the plastic wrap in half and then simply rolled the entire thing to create a cylinder shape and tightly wound the ends of the plastic wrap so the frosting couldn’t “escape.” I quickly realized that I may have placed too much frosting on the plastic wrap since I didn’t have too much plastic wrap on the ends to wind together.

I then snipped one of the ends of the plastic wrap off and dropped it into a piping bag that I had already fitting with a Wilton 2D piping tip.

And I simply piped a large rosette on the cupcake to get this beautiful and colorful top.

I used the same technique to decorate the top of my Easter cake, using pastel colors to match the Mini Cadbury Eggs I placed on top of the cake. Instead of rosettes though, I simply decorated the cake with drop flowers, once again using the Wilton 2D piping tip.

In all honesty I think I will be using this plastic wrap method going forward with all of my cake decorating / piping. One of the things I dislike about using piping bag is no matter how tight I wind the top of the bag or use a rubber band to seal it, frosting always seems to seep out. And also, I just find it super messy having to refill the bag with more frosting while I am decorating. With this method I can simply remove the plastic wrap wrapped frosting and drop in another. Yes, I may be using extra plastic wrap doing this, but, it’s worth it.

Sprouting Carrot Cupcakes – Tutorial

With Easter right around the corner I decided to make some fun themed cupcakes to get in the spirit of the holiday. Today I am sharing with you these Sprouting Carrot Cupcakes and later this week I will be sharing with you Bunny Ear Coconut Cupcakes.

I began by baking a batch of chocolate cupcakes. While they cooled, I made the frosting. I made a basic buttercream frosting and then removed a third of it. In this third I stirred in melted unsweetened chocolate until it was fully incorporated. I tinted the remaining frosting orange and then transferred it to a piping bag fitted with a large round tip.

After the cupcakes were cool I used a paring knife to cut a small cone-shaped piece out of the center of each one. I crumbled these small pieces of cake into a small bowl and set it aside.

Next, I spread the chocolate frosting over the cupcakes leaving the holes open. I then patted the crumbled pieces of chocolate cake onto the frosting to resemble dirt.

To make the carrots I piped the orange tinted frosting into the holes and then mounded it a bit above the hole. And finally, I cut small pieces of green sour apple straws and placed them in the piped carrots.

And there you have it… Sprouting Carrot Cupcakes.


While I opted to make my cupcakes and frosting from scratch, you could easily go the time-saving route and use a box chocolate cake mix and store bought chocolate and vanilla frosting. If you opt for store bought frosting I would advise refrigerating the vanilla frosting after tinting it orange for about 10-15 minutes prior to piping the carrots. Store bought frosting tends to be on the softer side so decorating with it can be frustrating since it won’t take shape, refrigerating it helps to stiffen it.


Supplies:

12 chocolate cupcakes

1 cup chocolate frosting

1 1/2 cups vanilla frosting

Orange food coloring

Green sour apple straws

Piping Bag fitted with a round tip


Spring Themed Palette Knife Painted Cake – Tutorial

Happy First Day of Spring! To celebrate I decided to try my hand at a Palette Knife Painted Cake. Using a spatula and buttercream frosting you basically paint a picture, design, flowers onto the sides of a cake. It’s definitely a lot more forgiving that piping a design on a cake and cake easily be fixed with a little more buttercream and some extra strokes of your spatula.

I used a yellow box cake mix to bake a two layer 6-inch cake. While the cake was cooling I whipped up a batch of my go-to Fluffy-Vanilla Frosting from Martha Stewart. I reserved about 3/4 cup of the frosting and then applied a thin crumb coat to the cake and then refrigerated the cake for about 30 minutes. While the cake was in the refrigerator I tinted the reserved 3/4 cup yellow and tinted the remaining frosting teal, for the background of the cake.

I then applied a generous amount of frosting to the cake and smoothed it as much as possible. I wanted a fairly thick layer of frosting around the cake for the next steps.

Next, using the tines of a fork I created a basket weave pattern around the cake. To begin, I placed the tines of a fork at the base of the cake and dragged them upwards about 1-inch. You don’t want to press so deeply that you are touching the cake though, hence, having a thick coat of frosting on the cake. Then, holding the tines horizontally above the first set of lines on the left I dragged the fork to the right stopping when I reached the last line from the bottom set of lines. I repeated this pattern up the side of the cake until I reached the top. I then started the next row with a set of horizontal lines, and then vertical and so forth. Continuing the alternating pattern until the entire cake was covered.

I then reserved about a tablespoon of the teal frosting and then tinted the remaining frosting green by adding in green gel food coloring. Using a tapered spatula and starting at the base of the cake I began dragging the tip of the spatula through the buttercream to create stems. Making sure not to press too deep as to touch the cake, but, going deep enough to create a channel. I passed the spatula through a few times to make sure it was deep enough making sure to wipe the spatula between each pass. I did this around the cake and even added in a few smaller channels between the larger stems.

To paint these channels, I picked up a small dollop of the green frosting and then using my fingers I round the frosting onto the tip of spatula so it was smooth. Next, I simply dragged the frosting through the channels. I repeated this step – making sure to wipe the spatula between each pass – until all of my stems were painted with frosting. At this point I placed the cake in the refrigerator for about an hour.

After the hour, I removed the cake from the refrigerator. Using the reserved yellow buttercream I painted flowers onto the cake. Using a rounded spatula I picked up a small dollop of yellow frosting and once again smoothed it with my fingers. I then pressed the dollop onto the cake and pulled the spatula away to create a petal. I continued doing this around the cake. I’ll admit, my petal didn’t come out exactly as I had hoped. This step actually reminded me of the pulled dot design on a cake. I actually wondered afterwards if it would have been easier to create the petals using that technique, although then the cake wouldn’t completely be a palette knife painted cake then.

I got the idea for this cake from The Cake Blog, for more detailed instructions click here .


Pull-Apart Cupcake Christmas Wreath

If you want to make something extra special for your Holiday dessert but still want it to be simple this final Holiday Cake Week treat may be the one for you… It’s a Pull Apart Cupcake Christmas Wreath.

You will need 19 cupcakes to replicate the size wreath I created. I opted to use a chocolate box cake mix, but, feel free to use your favorite cupcake recipe. I went with a box cake mix to make this as easy and as quick as possible. Once the cupcakes cooled I arranged them on a 14-inch round cake board.

Next, I made my go to Fluffy Vanilla Frosting I always use for decorating. After tinting it green I used a Wilton 1M tip to pipe swirls on each of the cupcakes. Quick tip… Prior to frosting make sure the cupcakes are close together, practically touching, this way when you frost them you won’t have too many gaps between them.

Now it was time to decorate. I started off by creating a fondant bow. To do so, I rolled red fondant to 1/16-inch thickness. I cut four 6 x 1 1/2-inch rectangles. In two of the rectangles I cut out a triangle on one of the shorter sides. I also cut a 3 x 1 1/2 rectangle that I used for the bow center. To create the bow, I folded the two longer rectangles without the cut-out in half and stuffed the loops with tissue paper so they could keep their shape, I used a little water to adhere the ends of the rectangles together. Next, I wrapped the shorter rectangle around the two joined ends of the folded rectangle and used a little water to join the ends of the short rectangle. Finally, I placed the rectangles with the cut outs in the center of the bottom of the cupcakes and carefully placed the bow piece on top. You can use a little water to adhere the piece together if you are concerned about it falling off. To finish off the decorating I used snowflake candies, Sixlets and other candies to give the wreath a more festive look.

And that’s it! Feel free to switch up the colors. You could stick with white frosting and decorate with red and green for a festive look or with shades of blue and silver for a winter wonderland look. The possibilities are endless.

%d bloggers like this: