My blog started with an Elmo Cake for my niece’s birthday, and throughout the years there have been other character themed cakes, Minnie Mouse, Frozen, Trolls and last year’s Descendants. As you can see the themes aged as she did and by whatever was popular at the time. Well, fast forward 7 years and for her 9th birthday she requested a YouTube Cake. Initially she said she wanted the Cookies and Cream Cake I made a few months back (her younger sister will only eat Oreos in mini form thanks to that cake) but I guess she wasn’t ready to let go of a themed birthday cake just yet. Who knows what next year will bring, or what I will be making for my younger niece come June. I am thinking she’ll still want some sort of character.

Now, a YouTube cake sounded easy enough. It didn’t require any special decorations, the colors were simple (white, black and red) and I pretty much had all of the tools I needed to make it. But, there was one thing. While looking at some cakes on Pinterest and Instagram, I noticed that people opted to make their YouTube themed cakes round, but, I felt it really should be a square cake. Not that that was an issue, but then I wondered, how would I cover it in fondant? I sometimes have mishaps when covering round cakes (they seem to always tear) so I could only imagine that covering a square cake would be even more difficult. Especially trying to get the edges sharp. So, I thought, isn’t there a way I could panel the fondant. And of course a quick Google search assured me that yes, fondant paneling was possible and from the looks of it easier – I am actually thinking of trying the technique on the next round cake I make that needs to be covered in fondant. I decided to watch a few videos just to pick up a few tips and tricks. And I quickly learned that one of the keys to fondant paneling is to freeze the fondant for a few minutes after rolling and cutting it so it’s firm and easier to trim and place on the place.
I began by baking two 9-inch square chocolate cakes. After letting the cakes cool, I wrapped them in plastic wrap and left them on my kitchen counter. The following day I made a chocolate mousse filling for the cake and I took a major short-cut and used store bought chocolate frosting. I haven’t quite mastered making chocolate frosting myself. Anyone have a good foolproof recipe they can share? I leveled, filled and frosted the cake and then placed it in the refrigerator overnight.
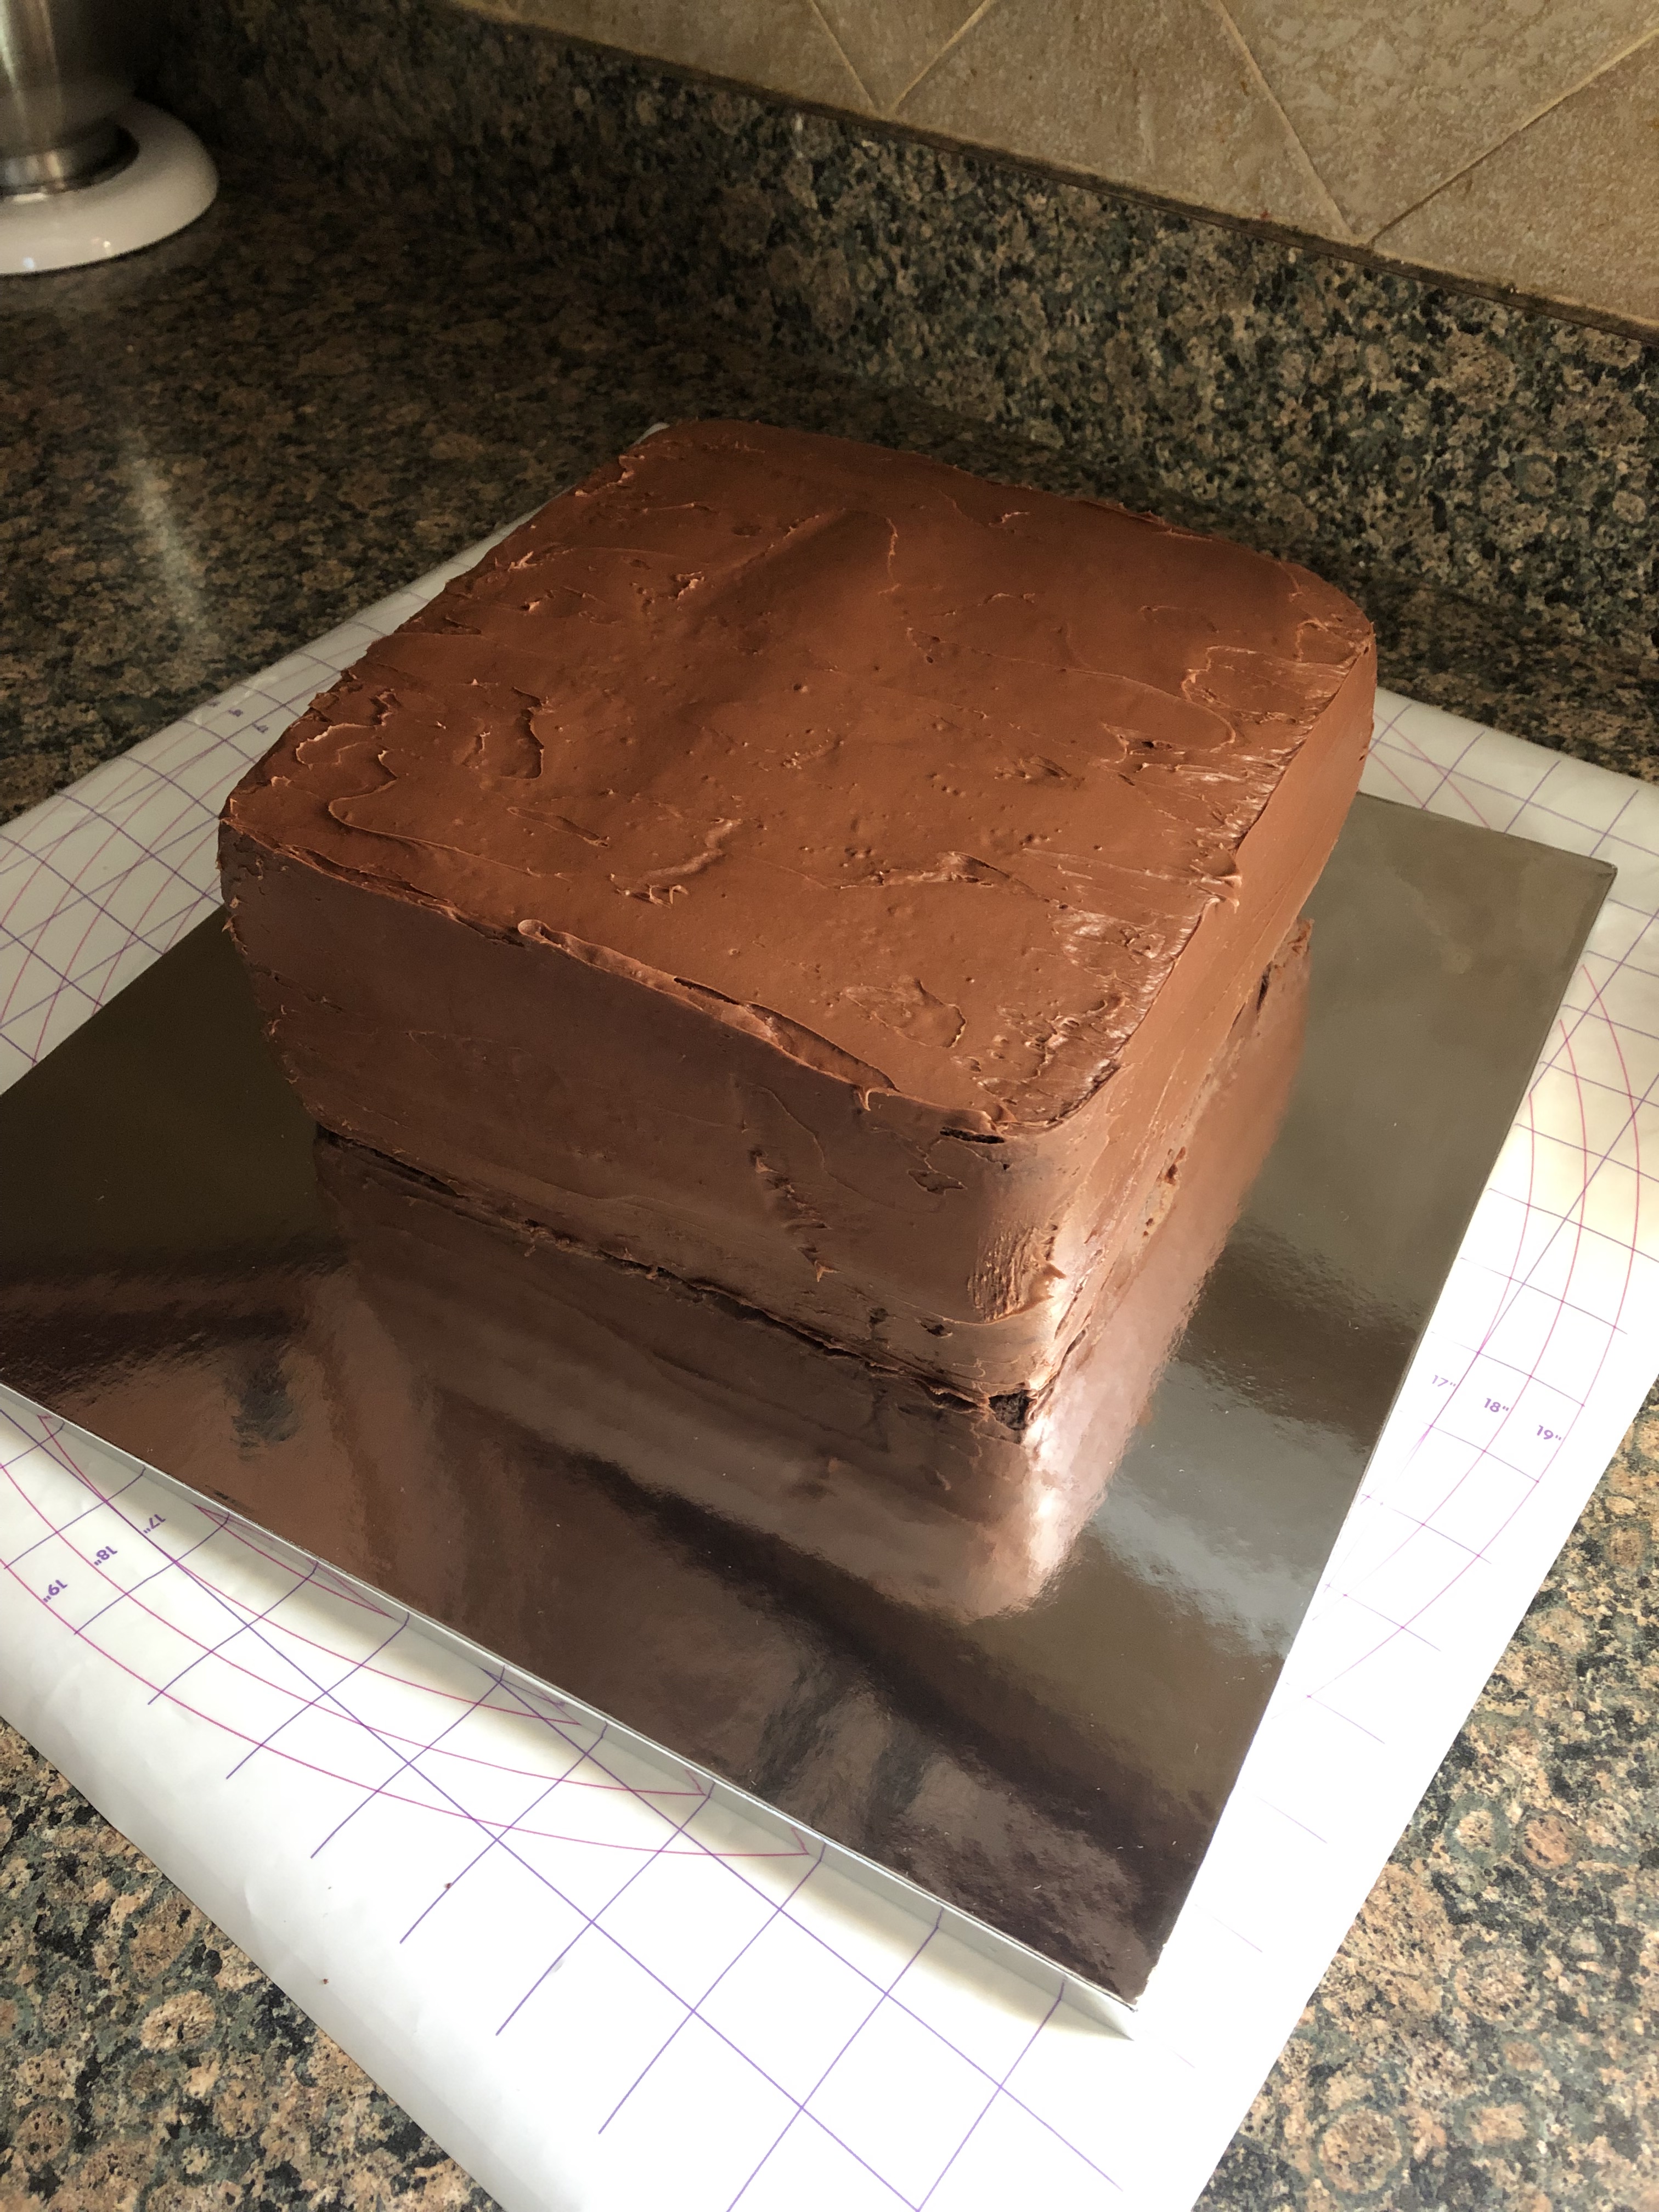
The next day it was time to cover the cake in fondant. Normally I use confectioners’ sugar to dust my rolling mat and pin, but, opted this time to use cornstarch and what I found was that the fondant didn’t get as soft. I began by cutting a square piece for the top of the cake. To leave room for error, I cut the fondant about a quarter of an inch larger than what I needed it to be. To place it on the cake, I matched it to one corner of the cake so all I would have to trim was two sides. Now, I didn’t place this piece in the freezer since I thought it would be easy to trim it since it was just lying flat on the cake, a mistake. While I was able to trim it, it would have been easier had it been frozen.
Next, I covered the sides of the cake. Before I started though, I decided which sides of the cake would be the front, back and sides. This is important as you cover the sides of the cake first before the front and back. Since the cake is a square, all of the sides were the same length and width. I rolled and cut two pieces for the sides and placed them in the freezer on a cookie sheet for 5 minutes. After the 5 minutes I removed them and before placing them on the cake, I lightly brushed the cake with water so the fondant would adhere better. As I did with the top piece, I lined the fondant piece with one bottom corner of the cake and then used my fondant smoother to smooth (and stick) the fondant onto the cake. I then trimmed the fondant. I used a small knife that I sharpened. I think next time I will purchase an X-Acto knife to get a cleaner and closer cut. I repeated this three more times and was pretty happy with my end result. It wasn’t perfect, but, I was happy that I didn’t have any mishaps and that my fondant actually stuck to the cake and that I had clean edges and no fondant tears! I would have benefitted from trimming my cake prior to frosting it so it would have sharper and cleaners sides. Each time is a learning experience so I am sure next will be better.

Then it was time to make this square into a YouTube cake. I cut out letters and a triangle (for the play button) using white and black fondant. For the red pieces, I actually used a band aid cookie cutter I purchased to make a Doc McStuffins themed cake a few years back.
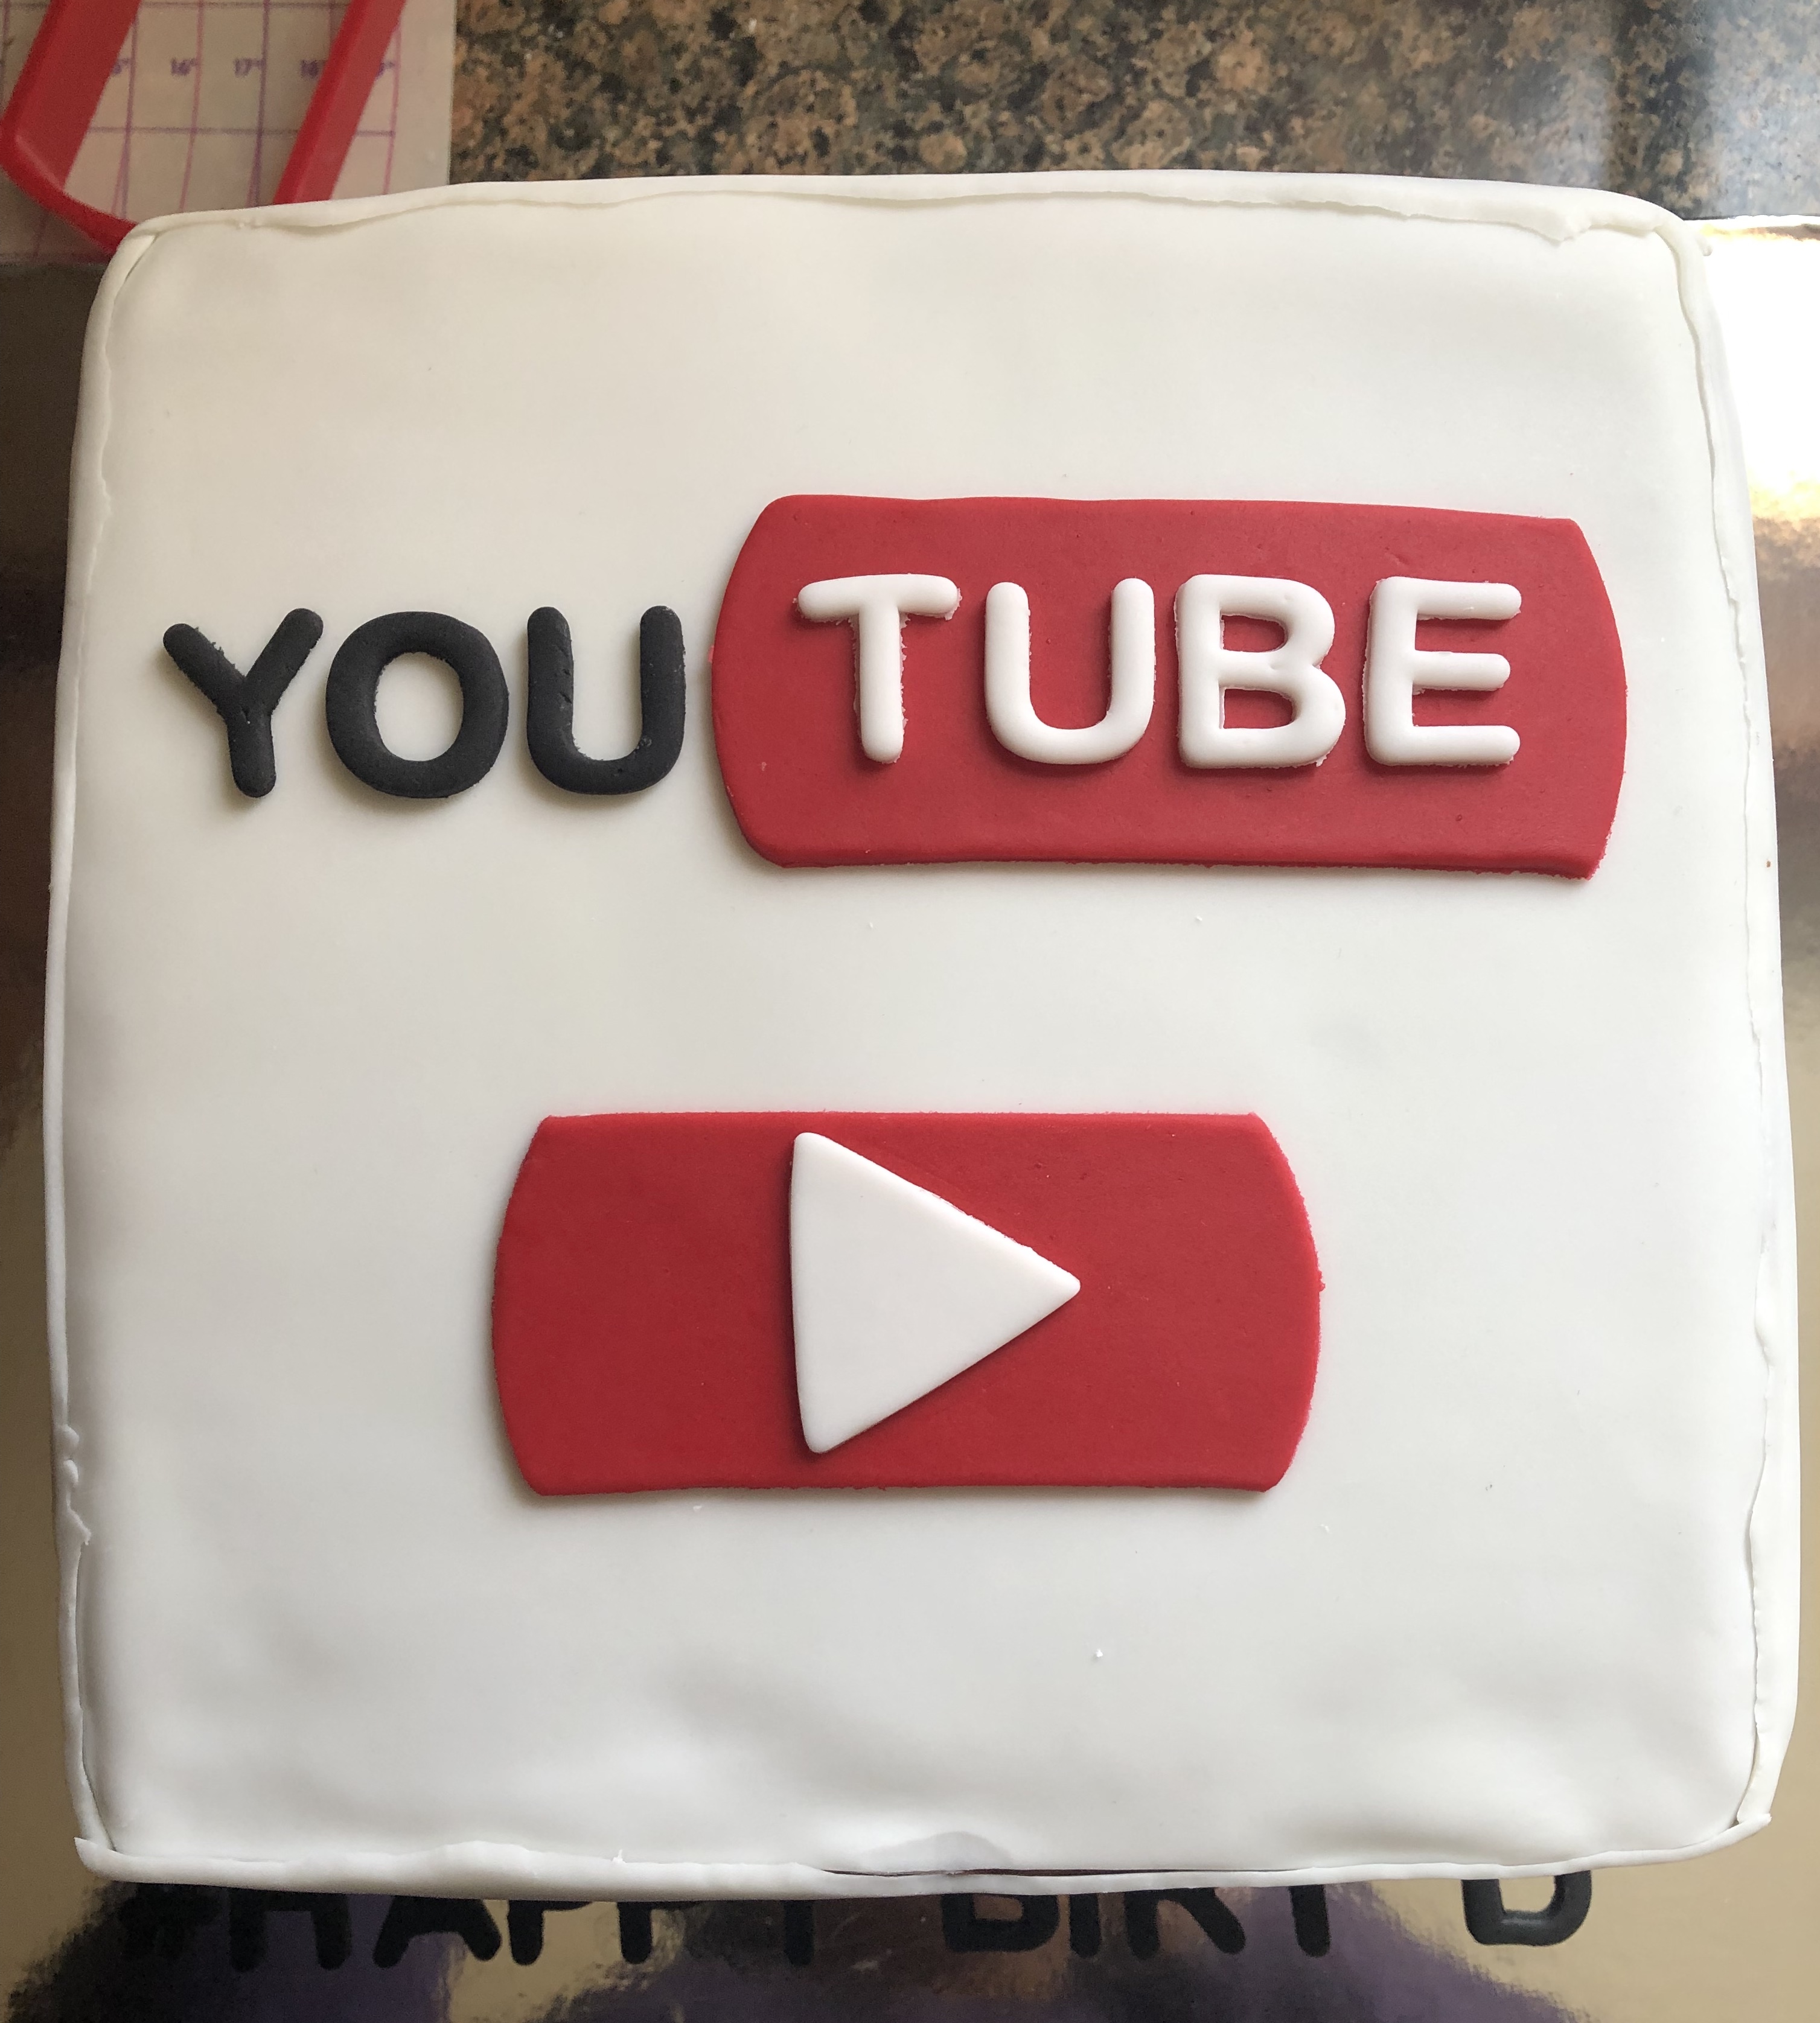
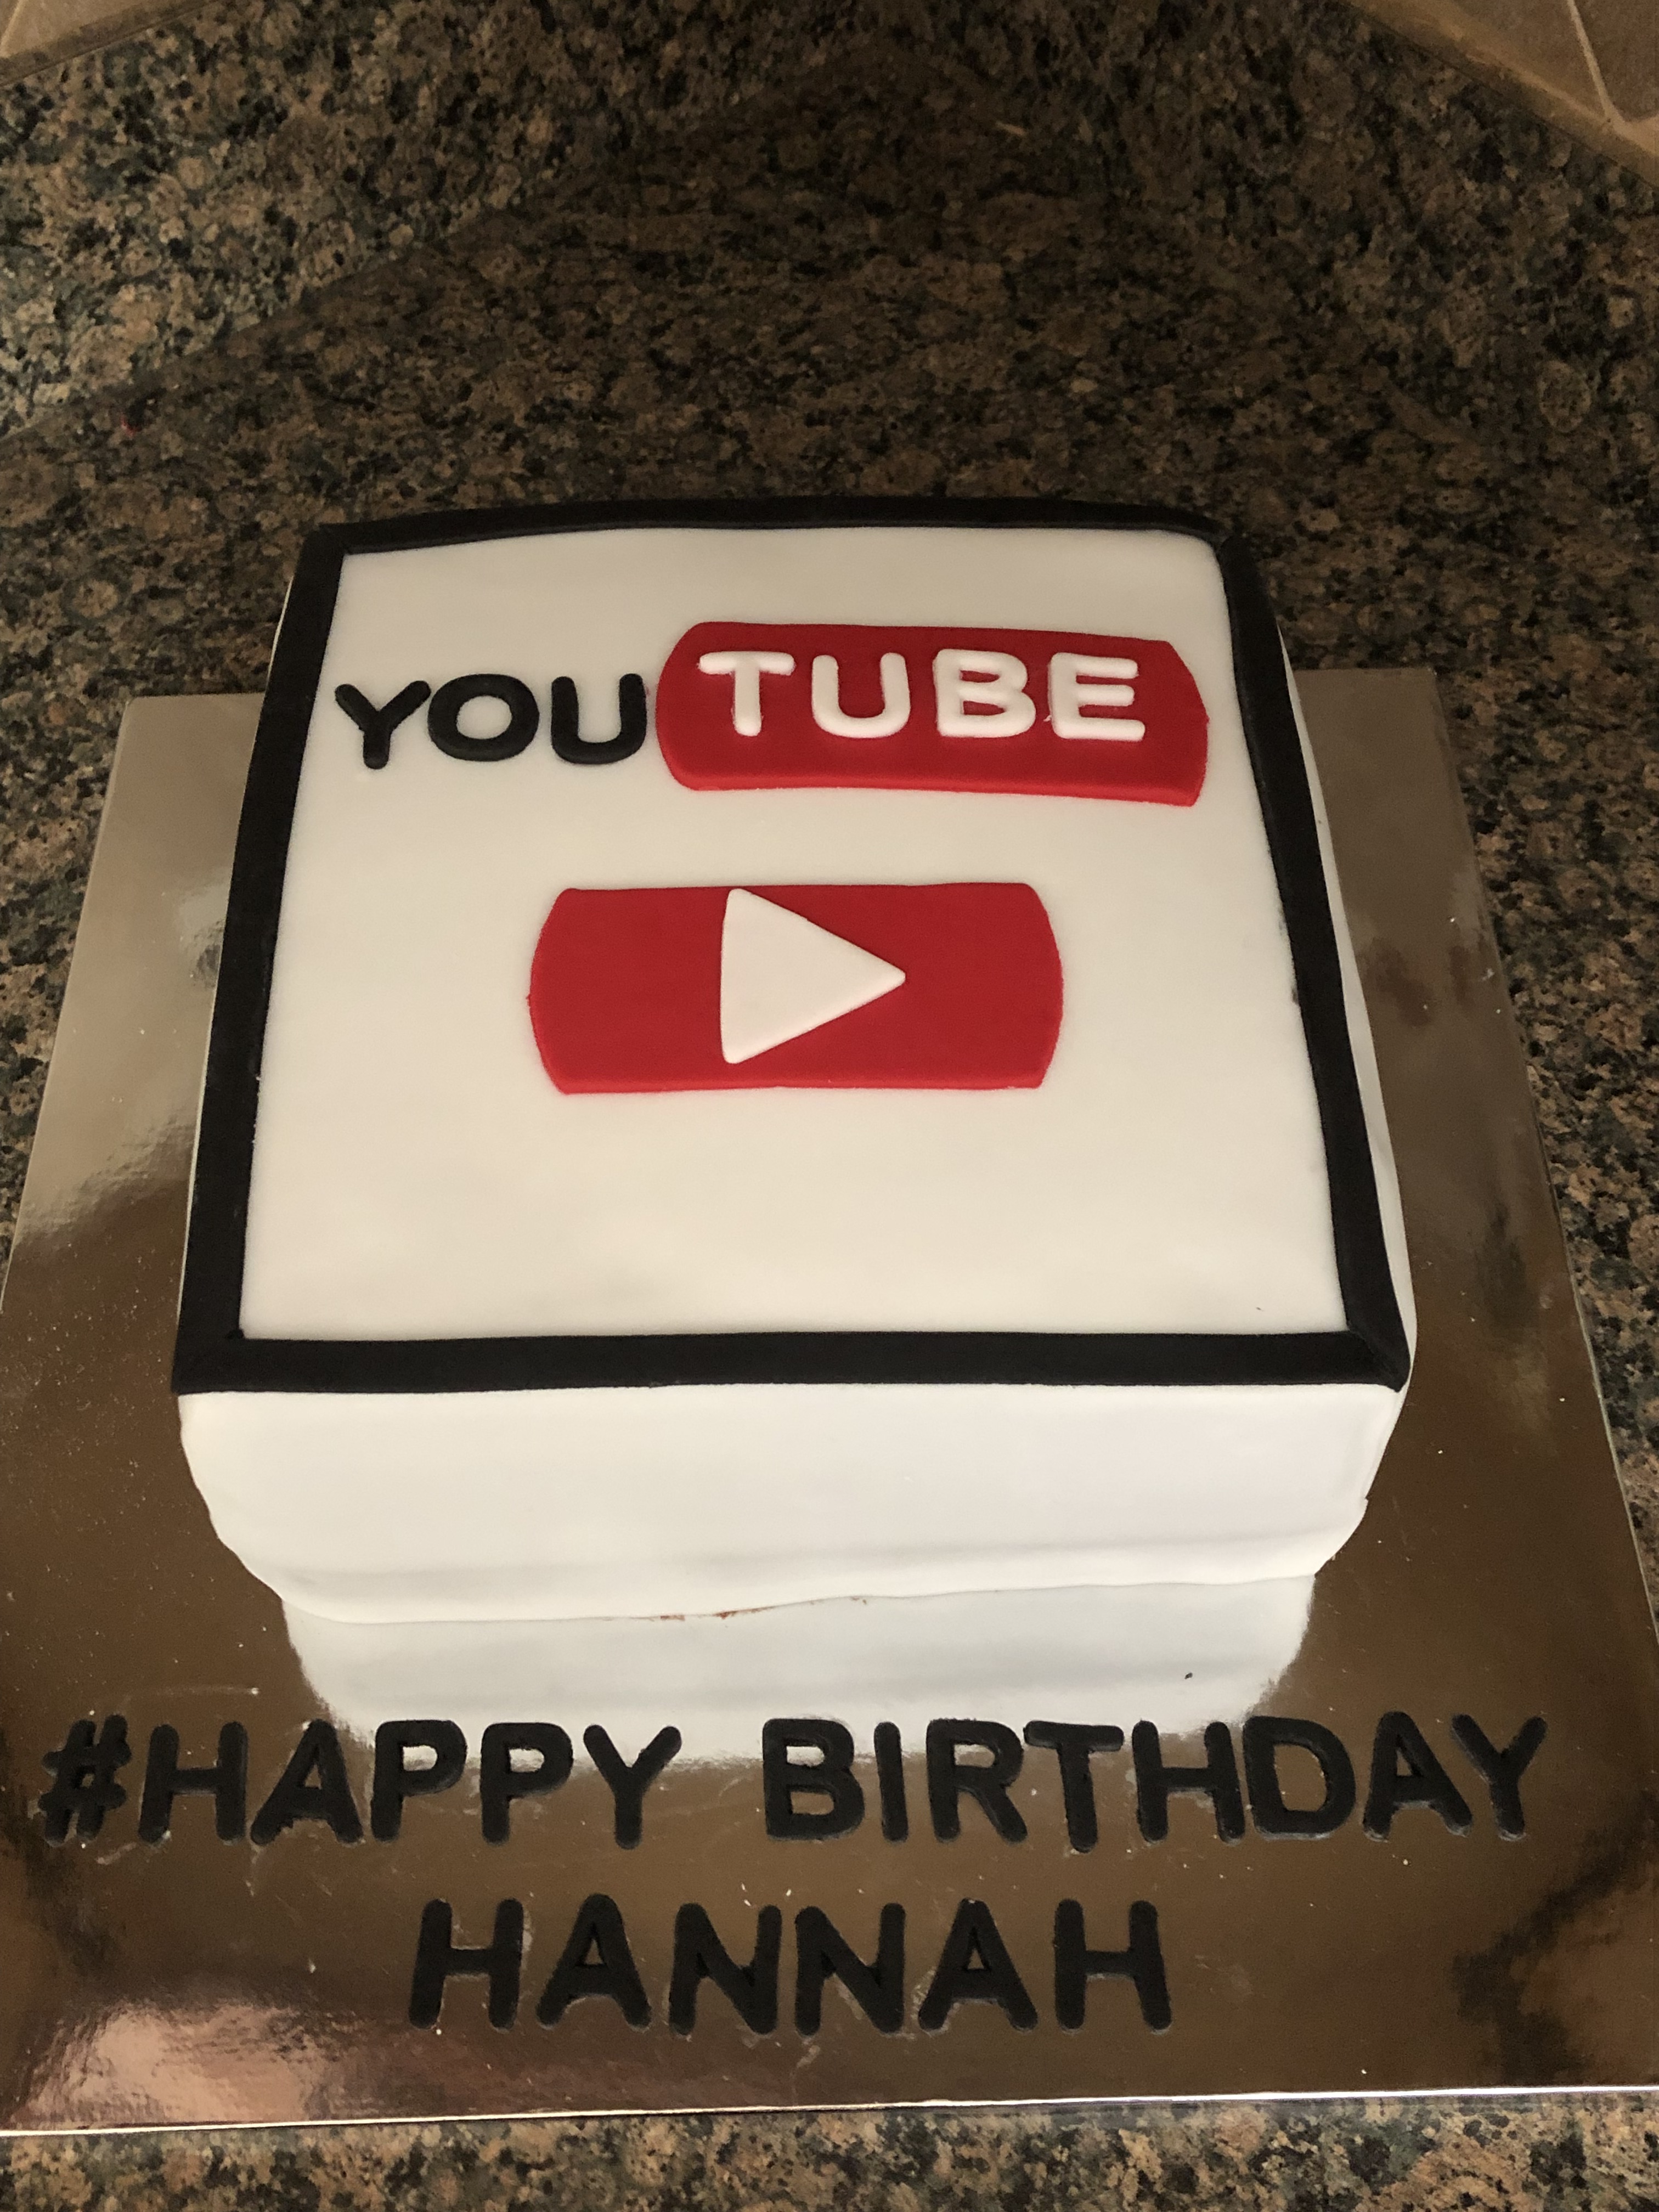
And to cover up the unfinished edges around the cake, I decided to put a black trim over it. To adhere all of these pieces I lightly brushed the back of them with a little water. And that was it. This cake was a hit with the Birthday girl and everyone who saw it!
This is the recipe I used for the chocolate cake. I have been using it for years now and haven’t had any issues or complaints. As for the chocolate mousse, I used the mousse recipe I made for the Spice Cupcakes and instead of using a box of pumpkin spice Jell-O mix I used chocolate.

2 thoughts on “YouTube Themed Cake”