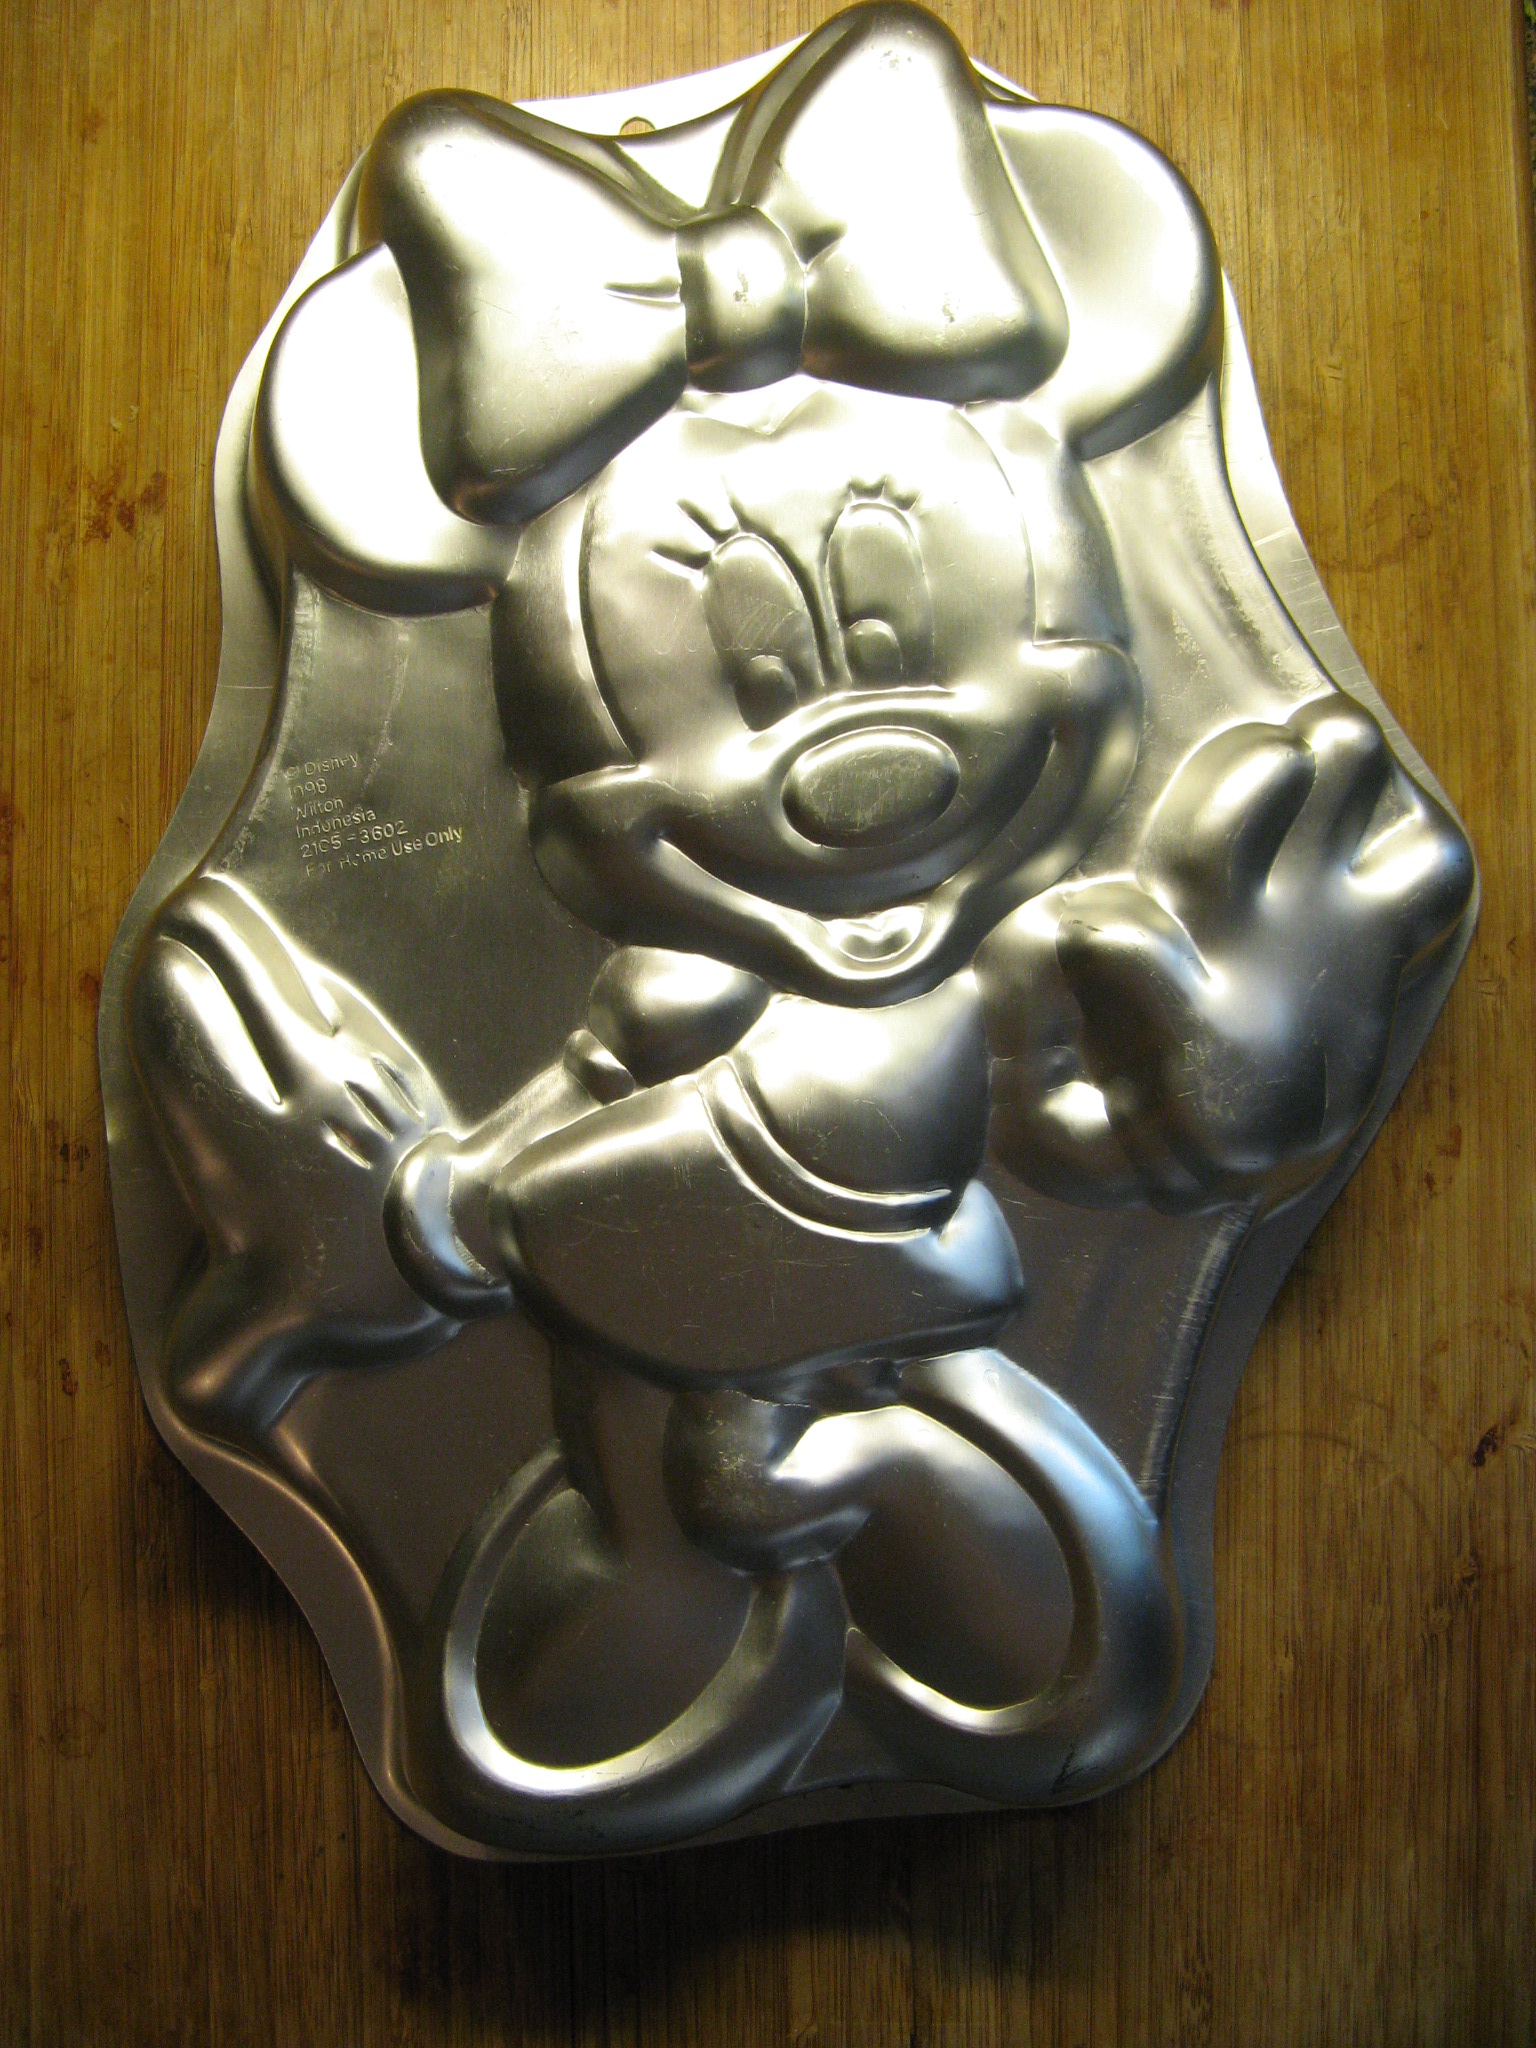
I started my blog about a year ago with an Elmo Cake for a friend’s daughter’s birthday, well, here we are a year later and it’s time for another character cake. After mentioning a castle cake, a Cinderella cake, a Minnie Mouse cake and then back to Cinderella the birthday girl finally settled on a Minnie Mouse cake. Luckily I was able to find a place near me that actually rents out the cake pans so I won’t be collecting them. Needless to say, Elmo has been a one-time use pan thus far.
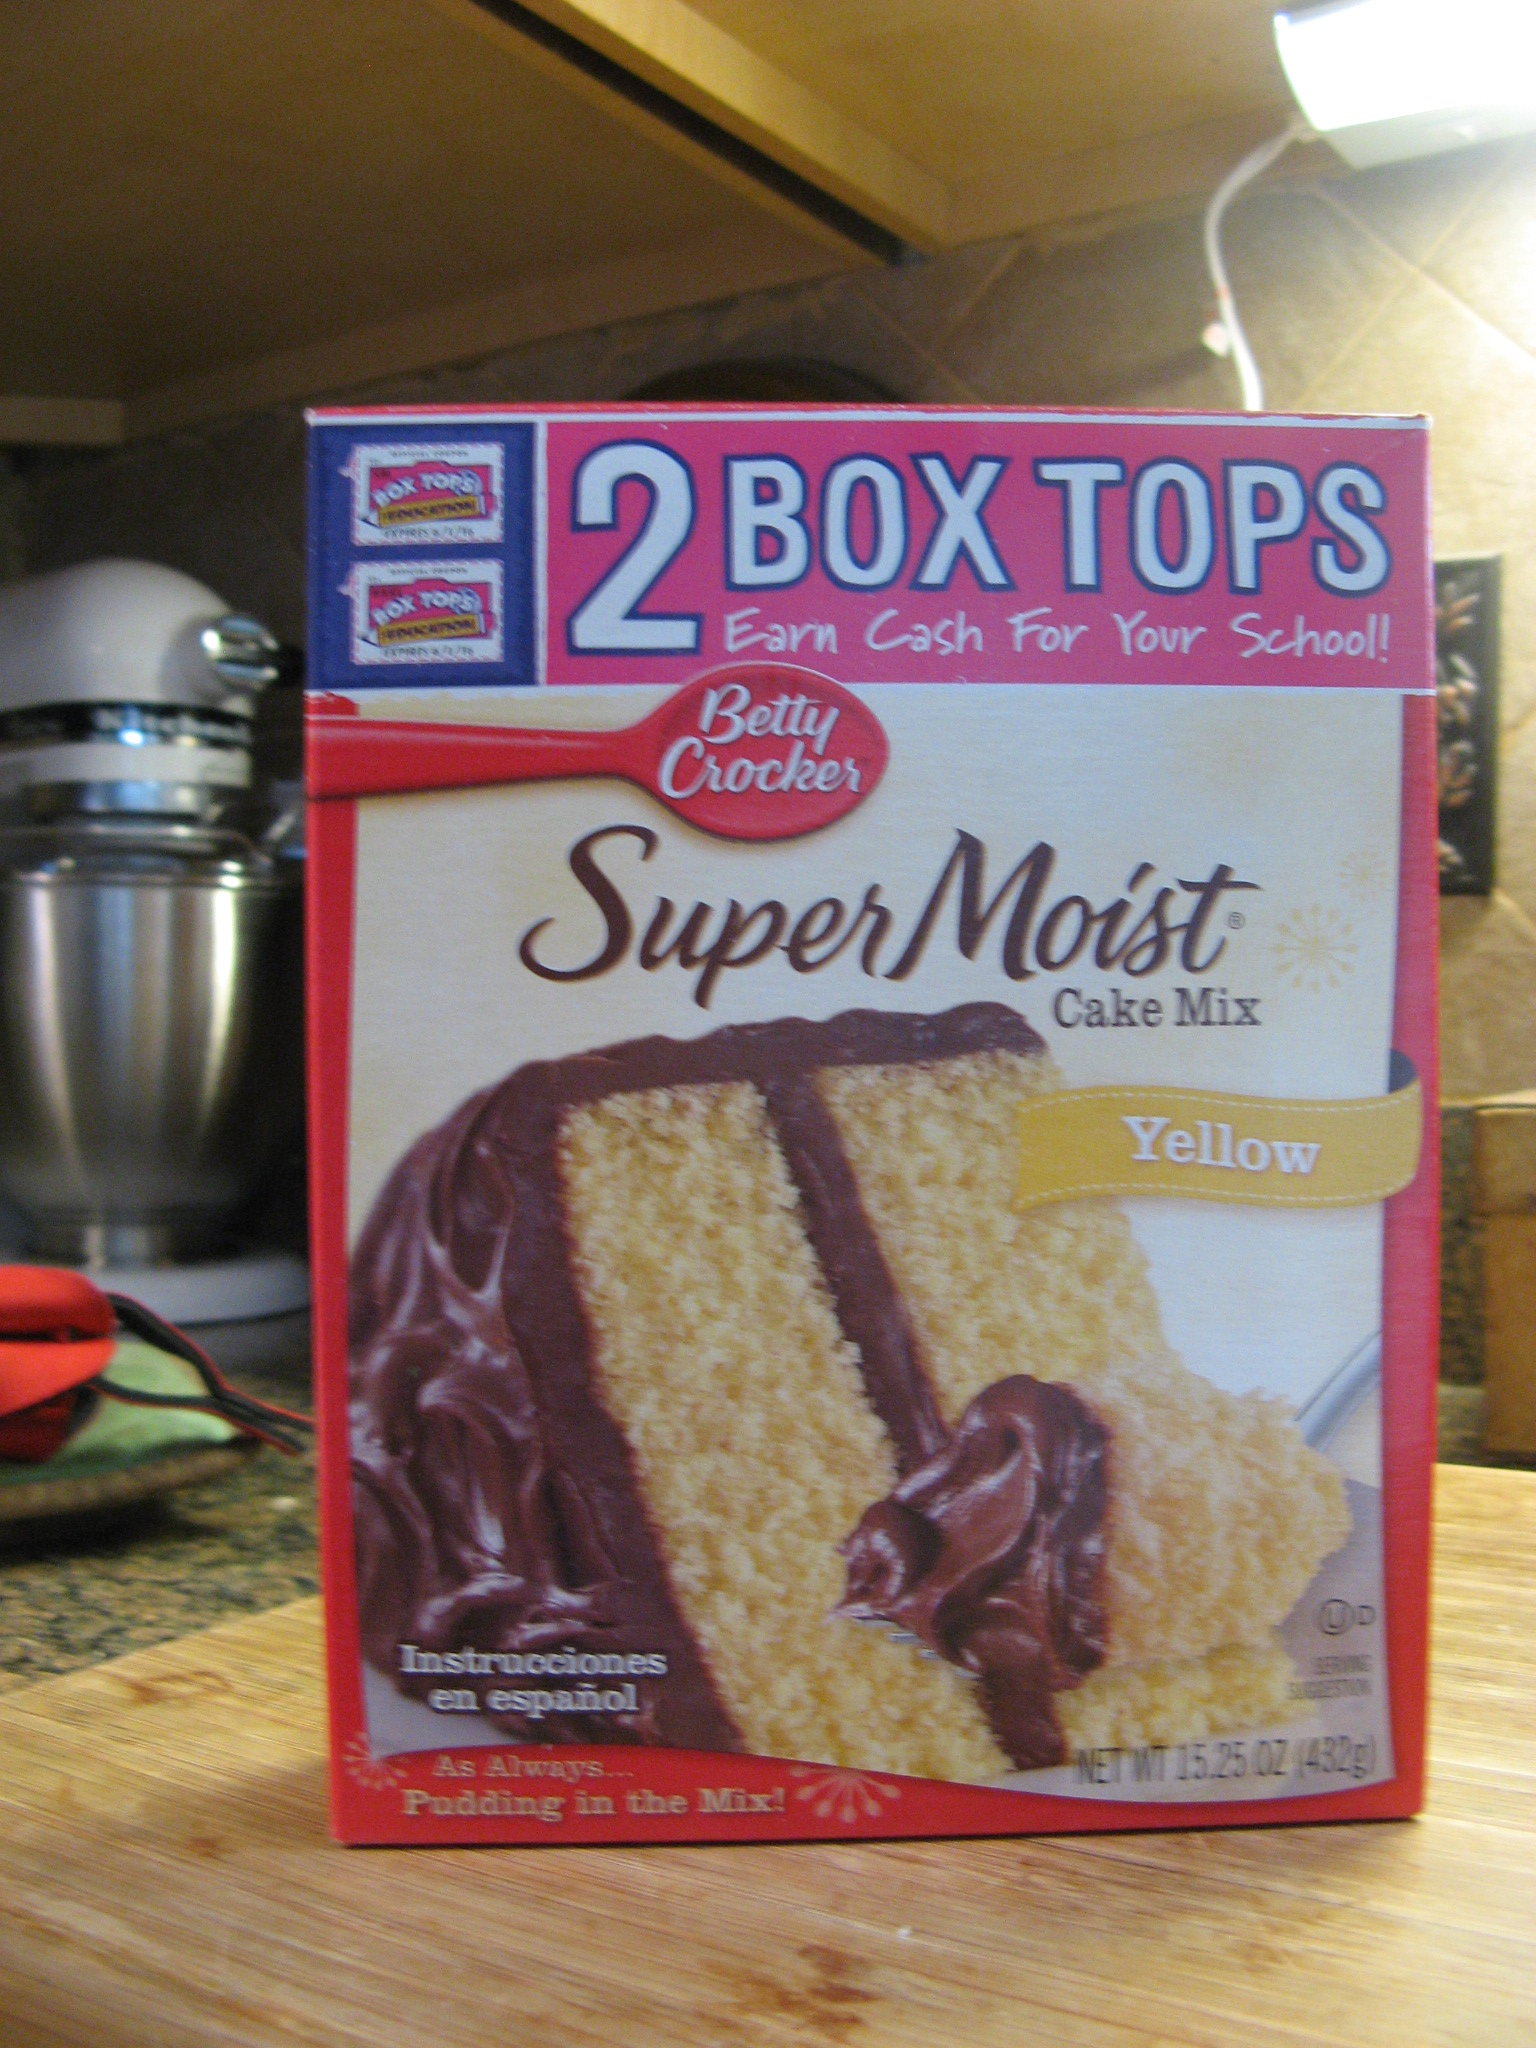
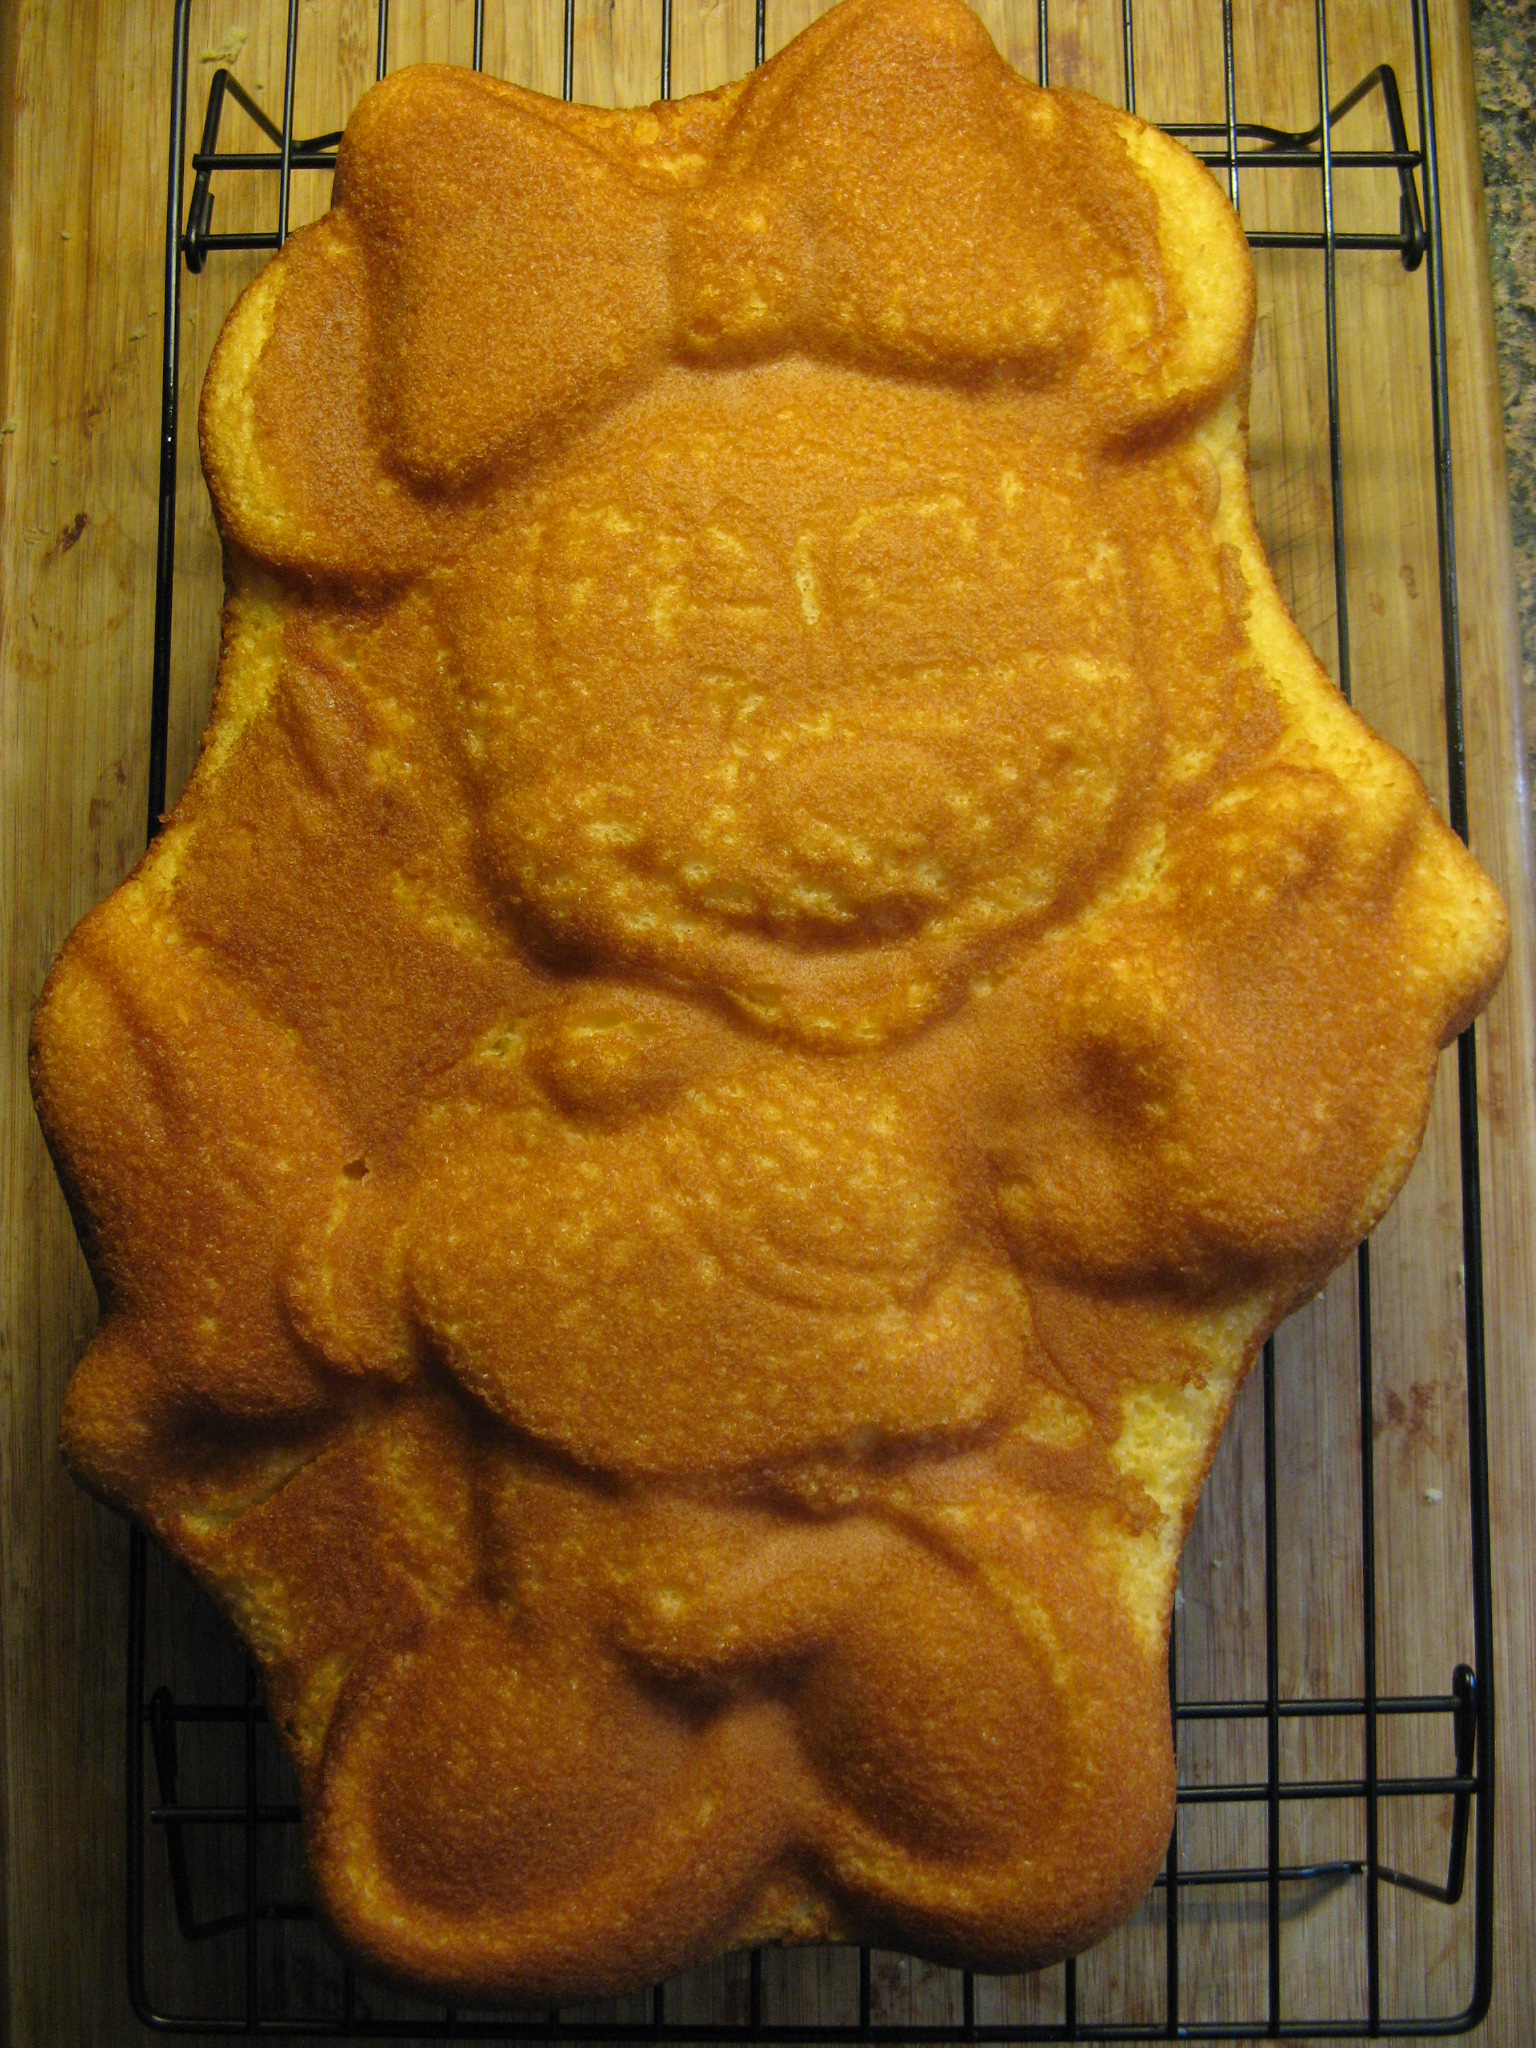
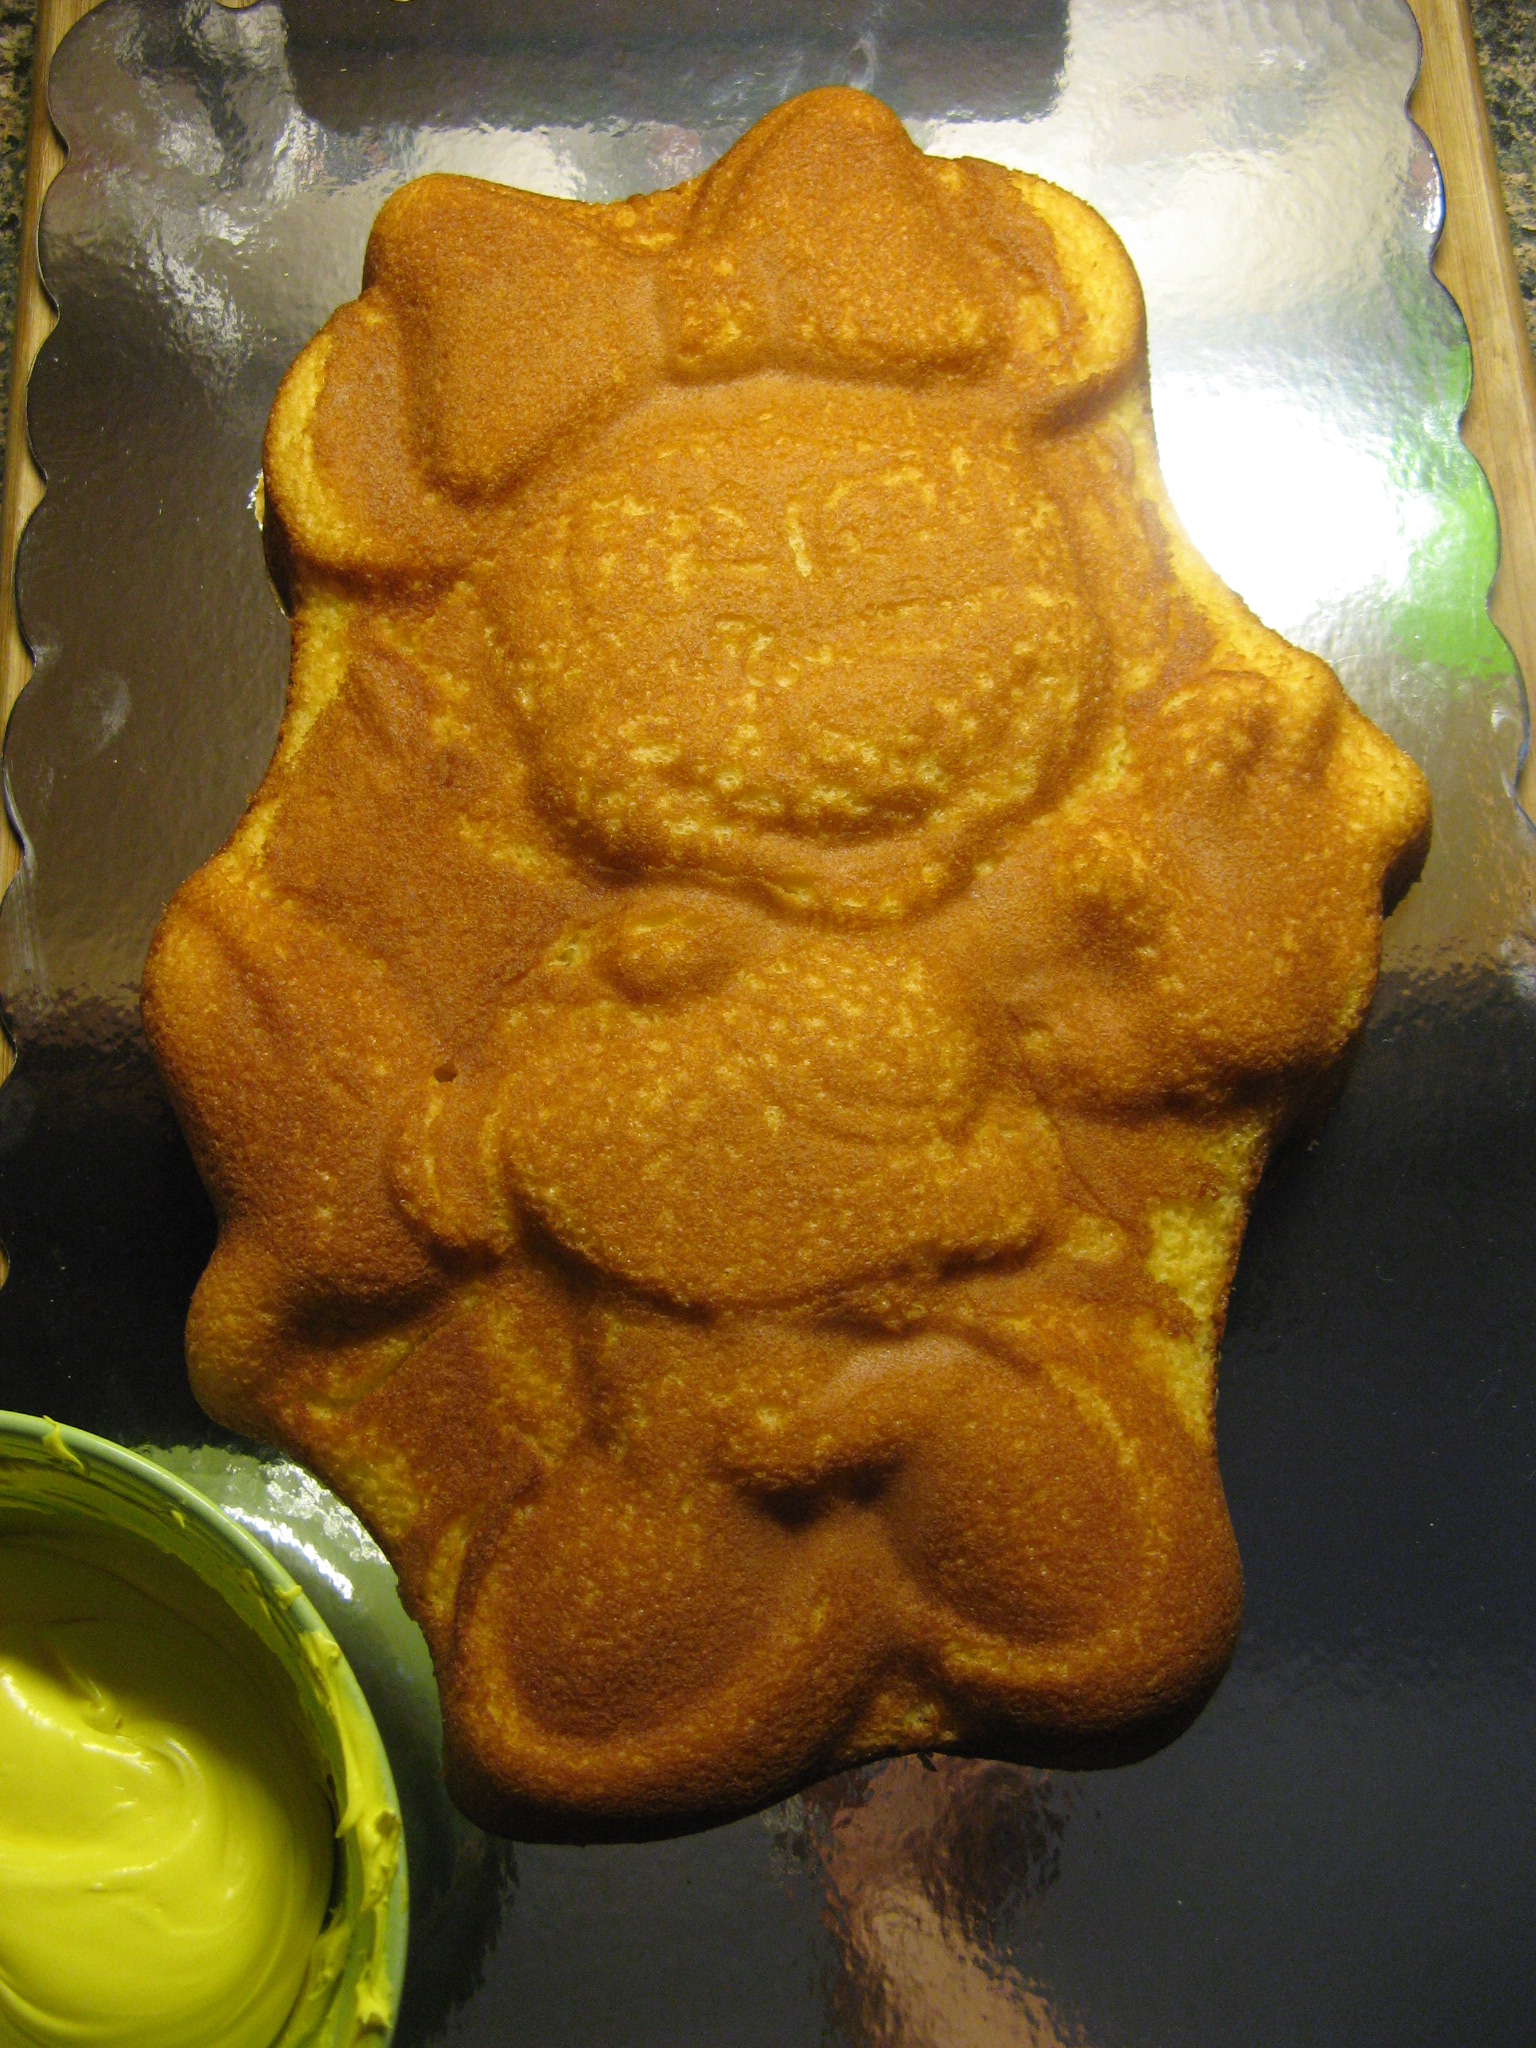
After testing out a vanilla cake recipe last week that didn’t come out that great I opted to just use a yellow cake box mix for the cake. I actually had to bake the cake two times. The first time I used one box of mix and the cake was on the flat side and it was really difficult to distinguish the mold pattern on it. The second time I used a box and a half of mix and the results were much better. The cake was much taller and while I wish the mold pattern was more distinguishable on Minnie Mouse’s face, it was 100% better than my first attempt.
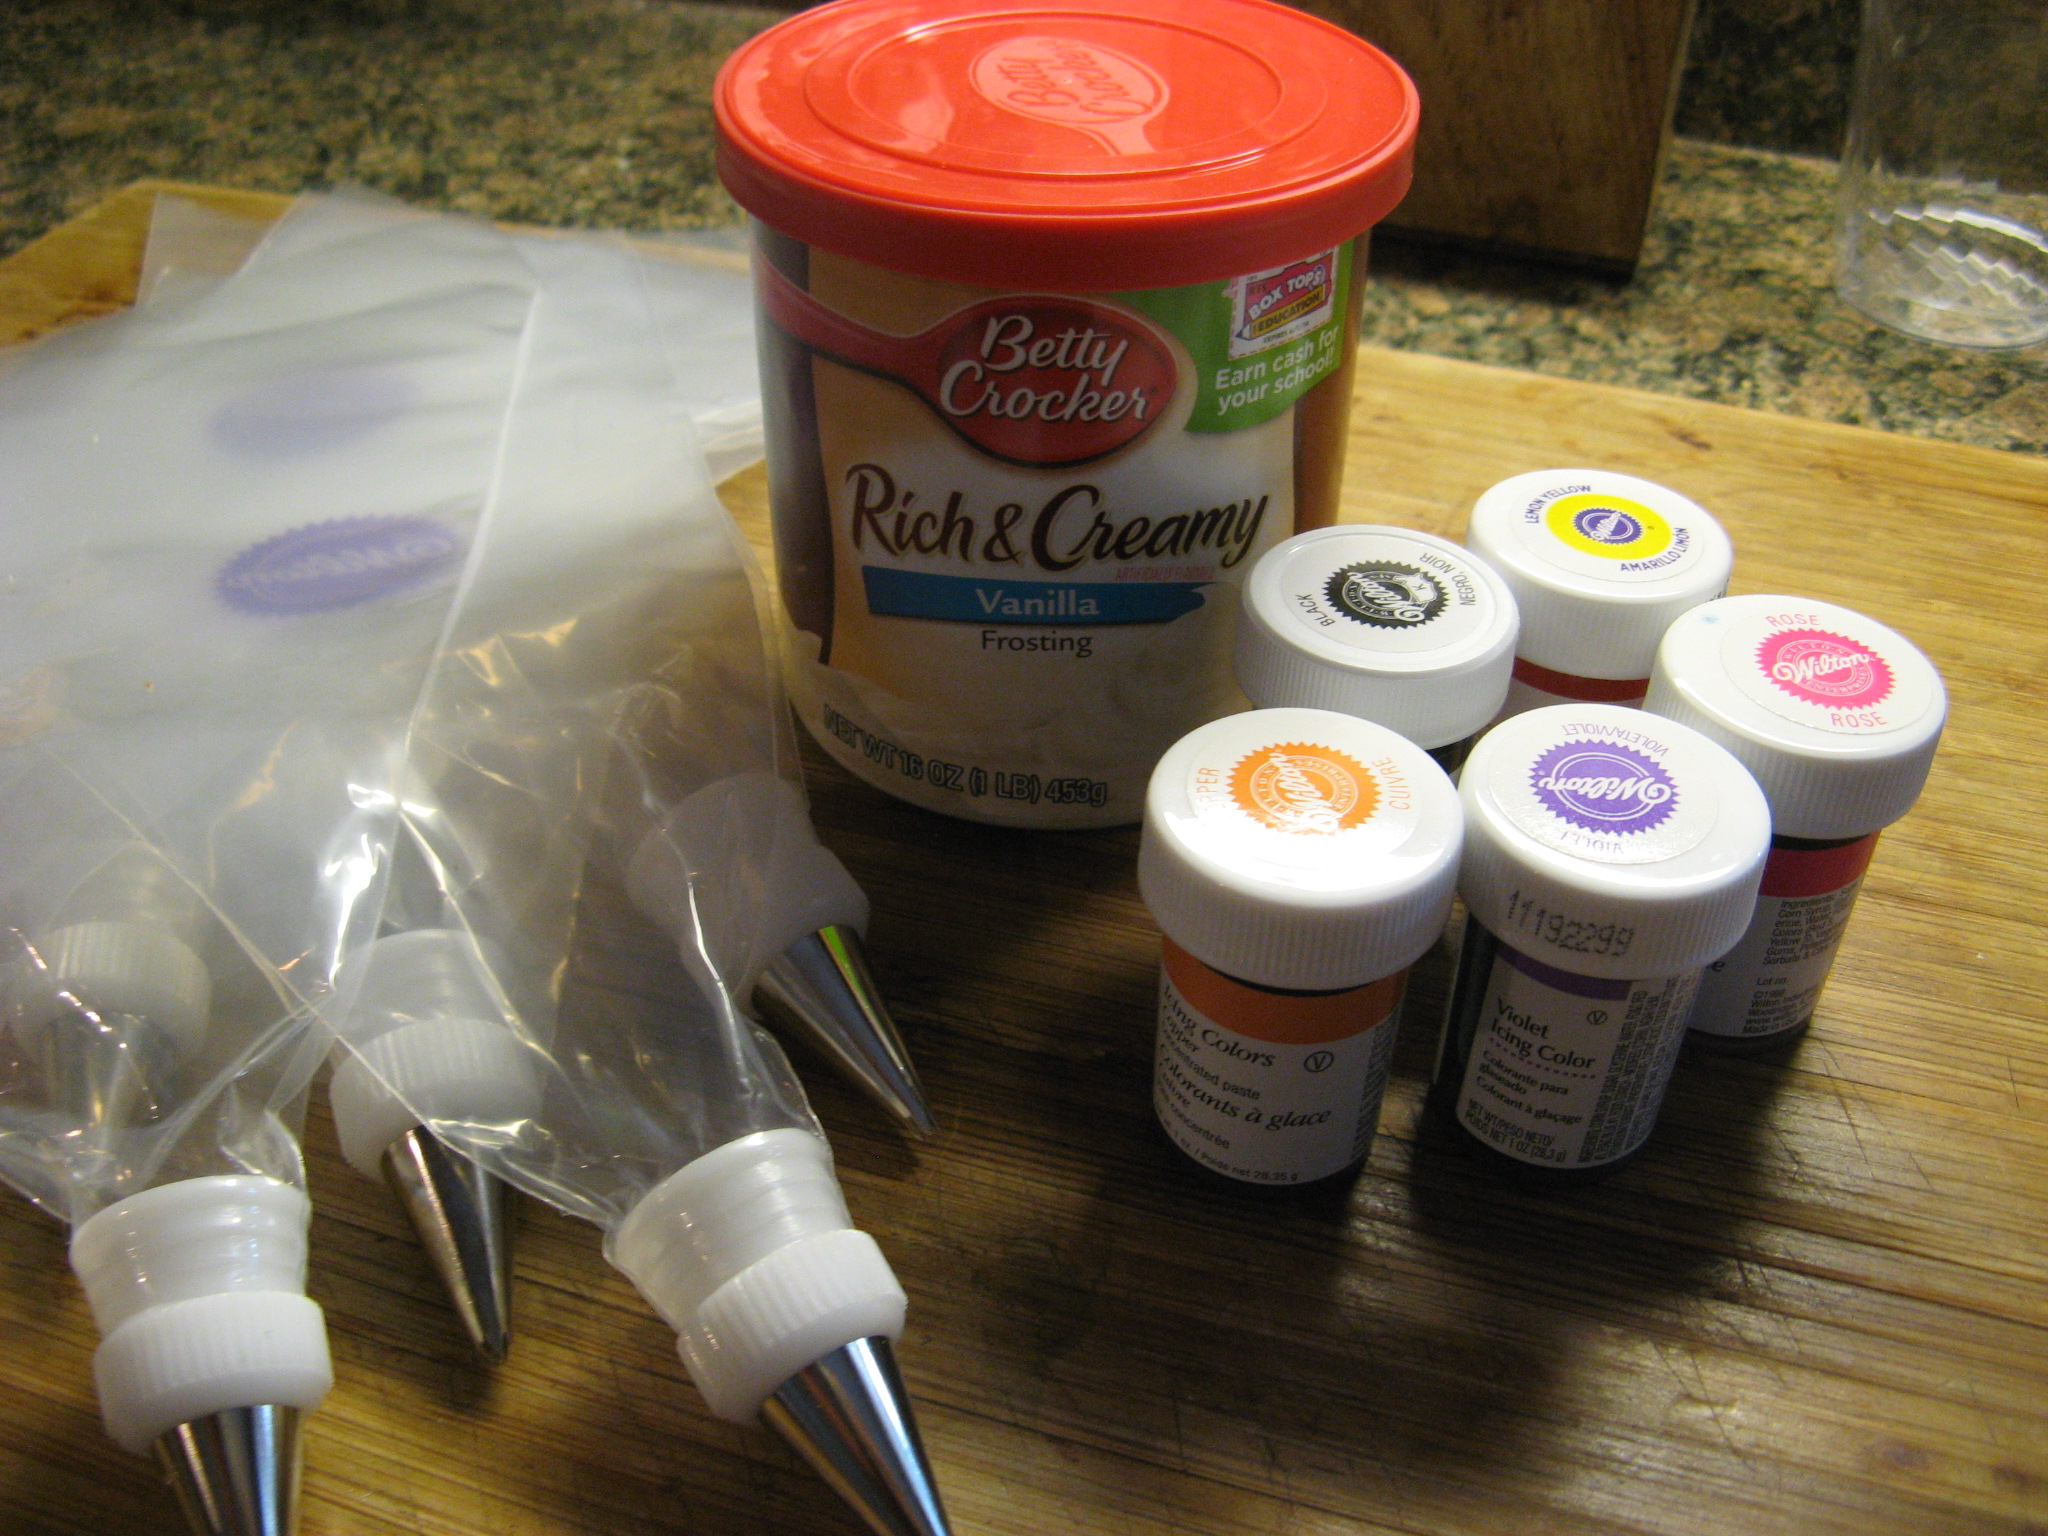
I also cheated when it came to making the frosting. I am usually one who loves making things from scratch, but, since I knew I was going to need quite a bit of frosting for this cake I opted to just go with store bought vanilla frosting to ensure that it would all be the same consistency and taste. I prepped all of my decorating bags with couplers and decorating tips the night before so I could save time while decorating. While the cake cooled I got to mixing all of the colors I would need. I kept the colors I wasn’t working with in the refrigerator so they wouldn’t soften up. Working with frosting that’s too soft can become a mess very quickly. It won’t hold shape or anything and it’s very frustrating… I speak from experience. While the frosting may seem to stiff when you take it out of the refrigerator once you give it a few stirs with a spatula and start working with it in the decorating bag it becomes the perfect consistency.
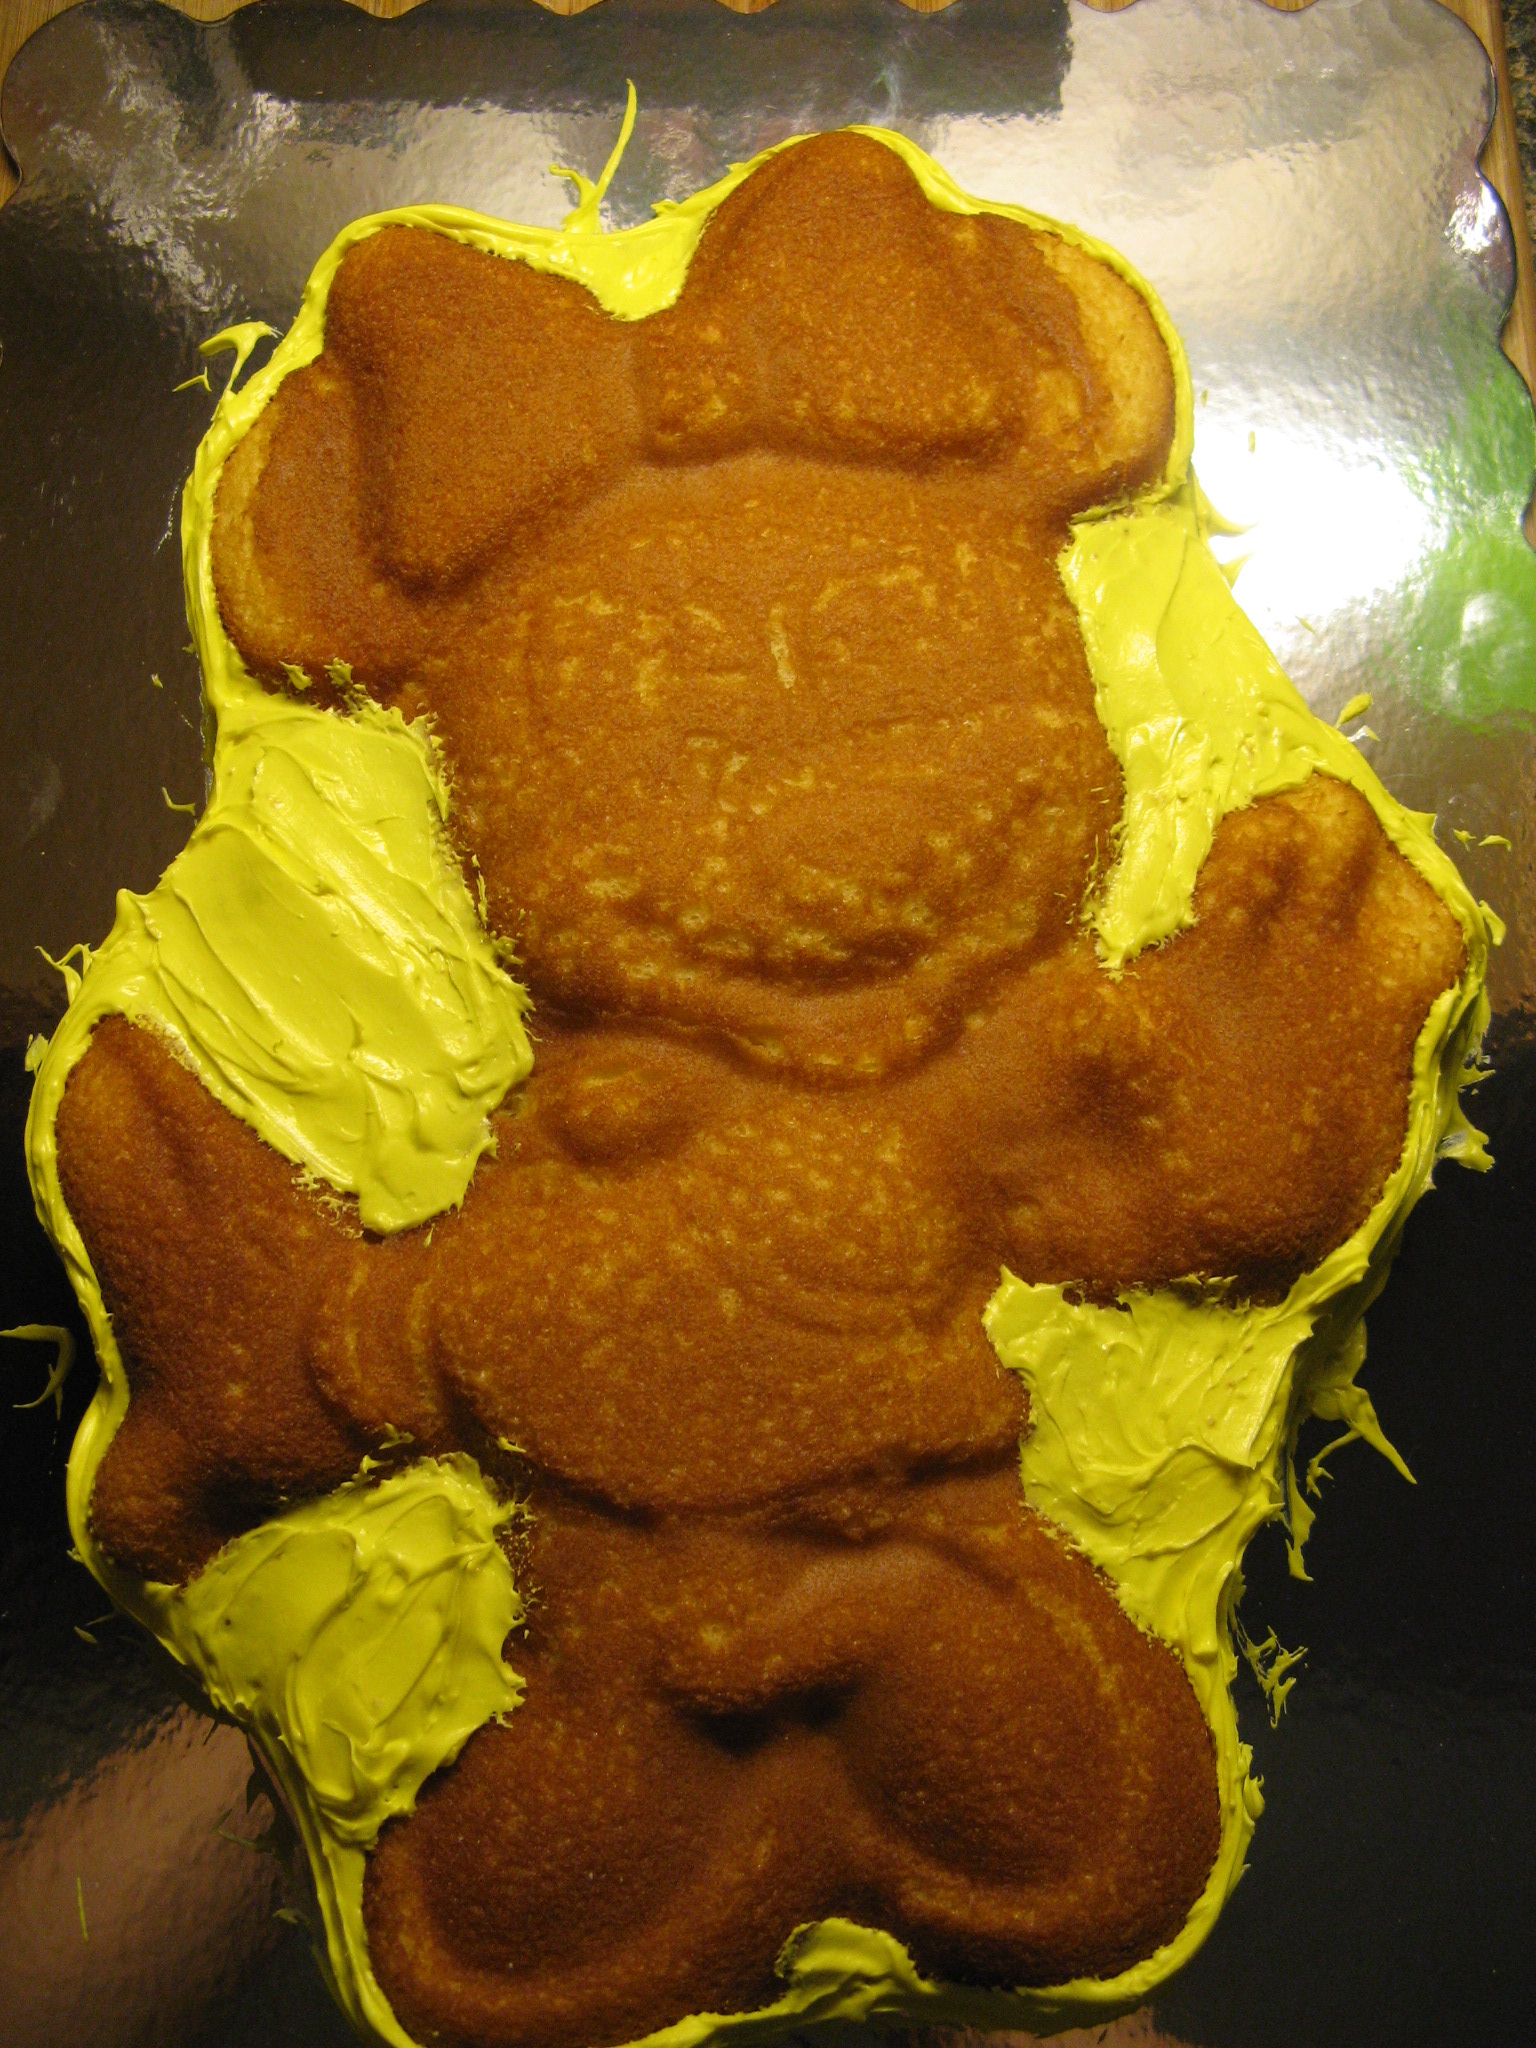
After transferring the cake to a decorative cake board it was time to get to work. I started by frosting the background and sides of the cake with yellow. Admittedly, I was concerned immediately that the cake wasn’t going to look good, but, I forged ahead.
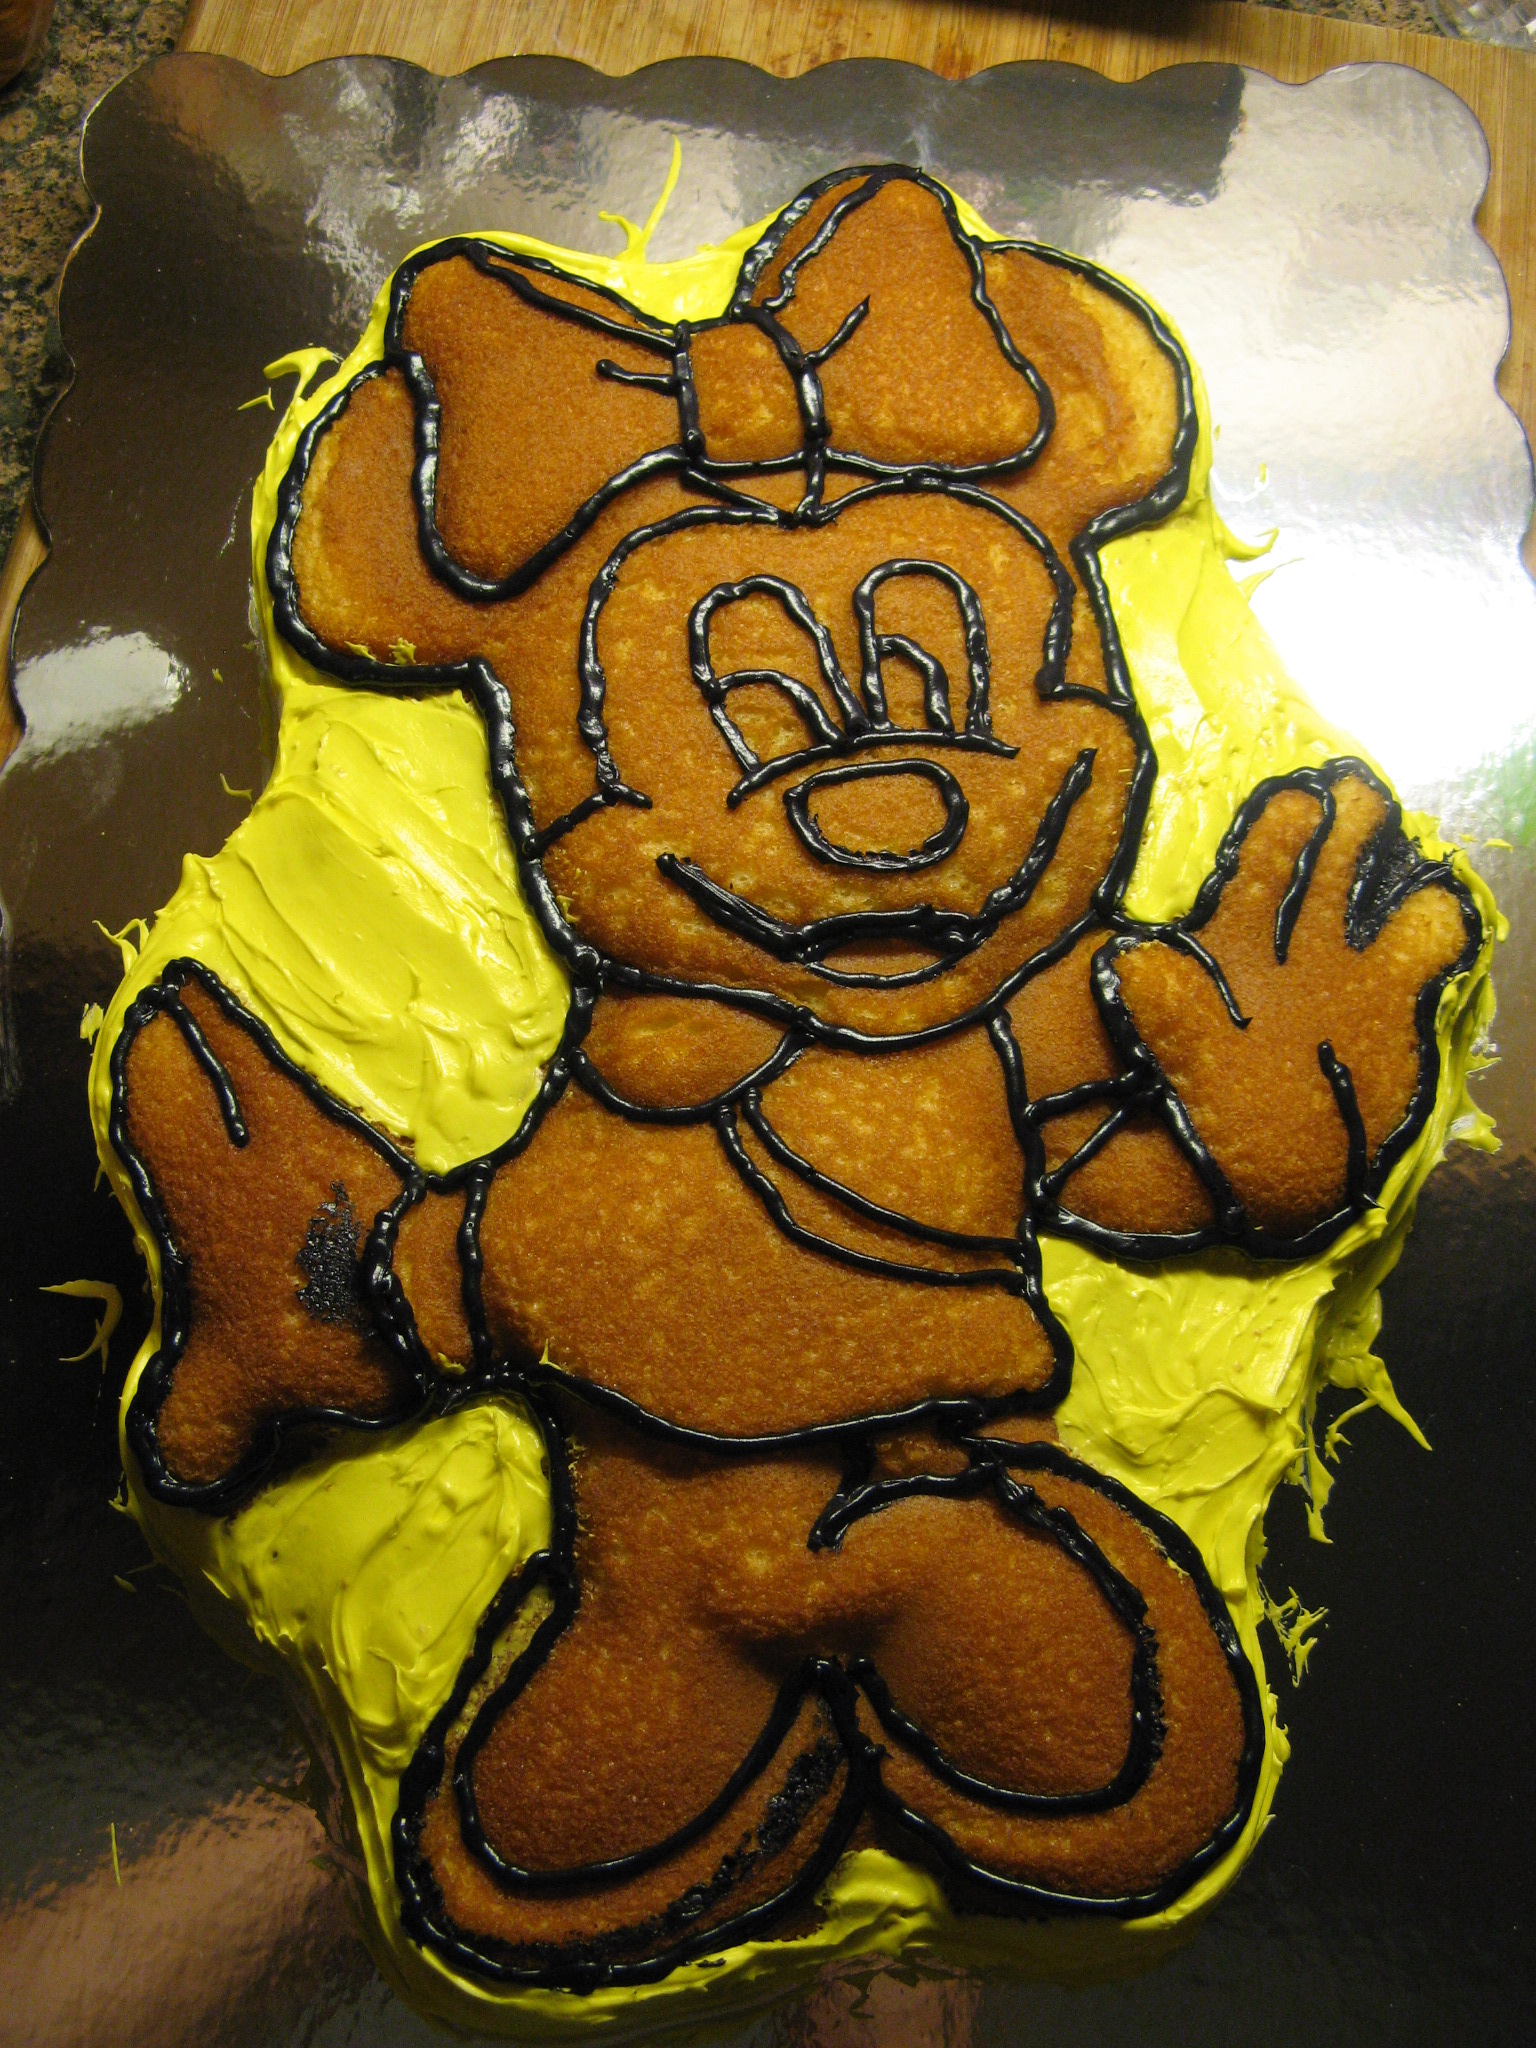
Next up, I outlined Minnie Mouse with black frosting using a size 3 decorating tip. Once she started to look like herself I felt more at ease. If you look closely at the picture you can see that I actually messed up once or twice with the outlining, but, since I was filling in the cake with individual stars as opposed to spreading the frosting all of those mishaps would be covered up and no one would be the wiser.
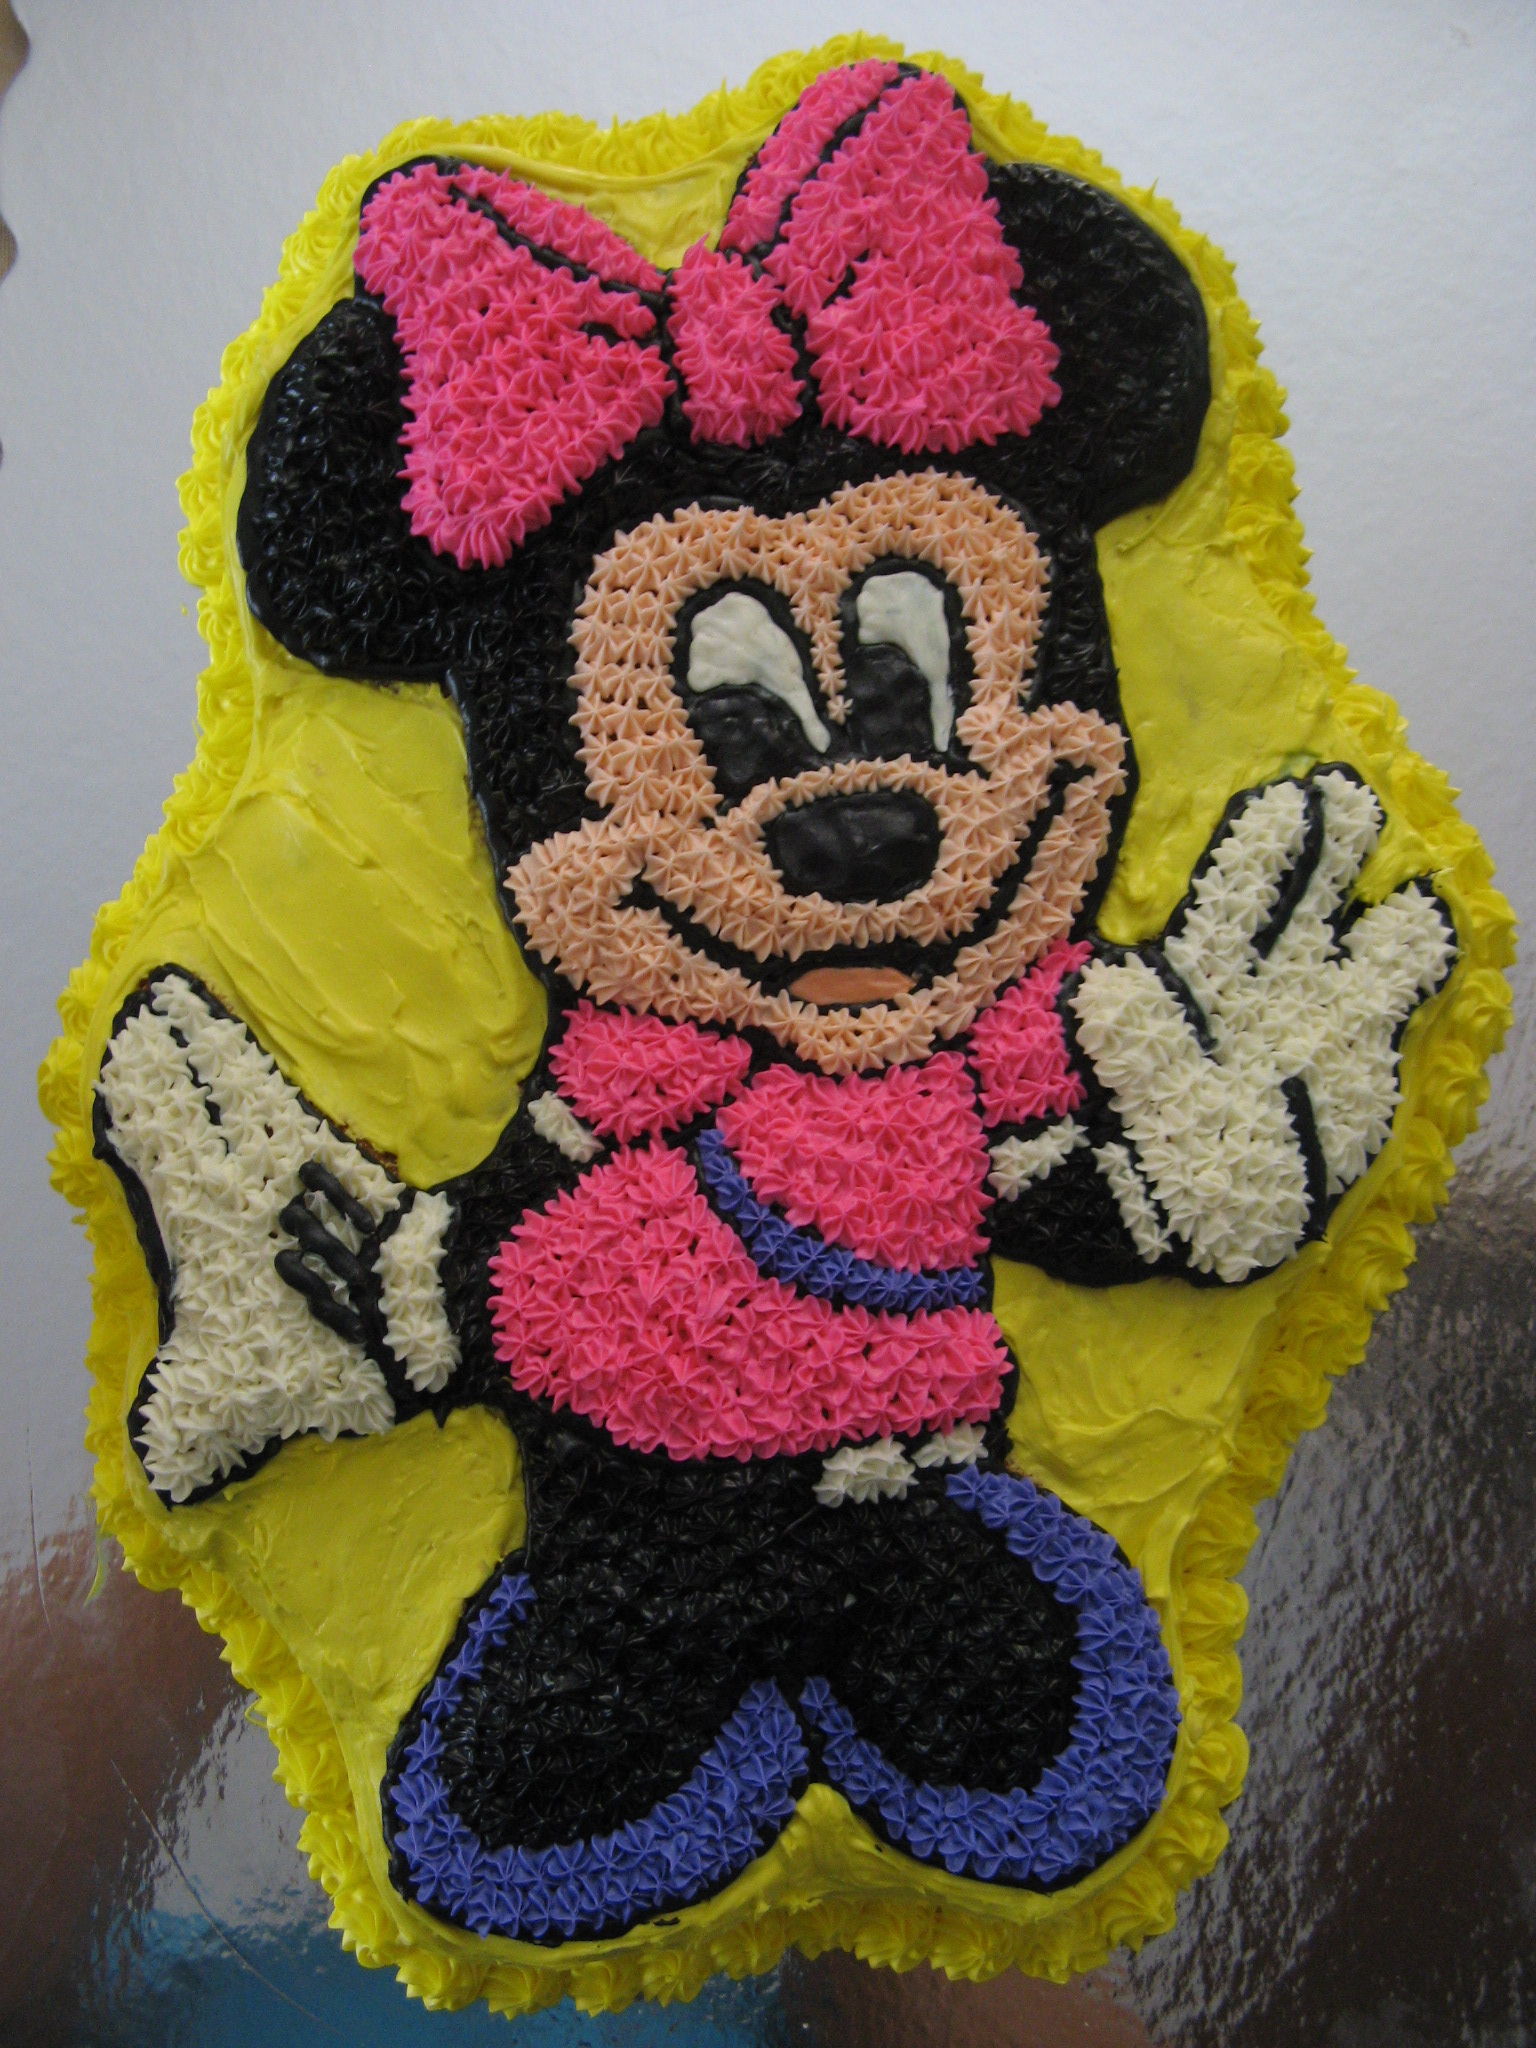
Now it was time for Minnie’s face to come to life. To create the stars I used a size 16 decorating tip and to smooth out the frosting in her eyes, nose and mouth I used a decorator brush dampened with water.

Bringing more of her face to life I next filled in her ears with black stars as well as her legs. At this point I was very happy with how it was coming together.

Some pink stars on Minnie’s bow and dress really added some much needed color.

I then added white stars on Minnie’s gloves and trim on her dress and violet stars on her dress sash and shoes.

And finally, I cleaned up the cake board and added yellow rosettes using a size 21 decorator tip along the border to complete the cake. I was really happy with the final outcome, so was the birthday girl, that’s what really matters.
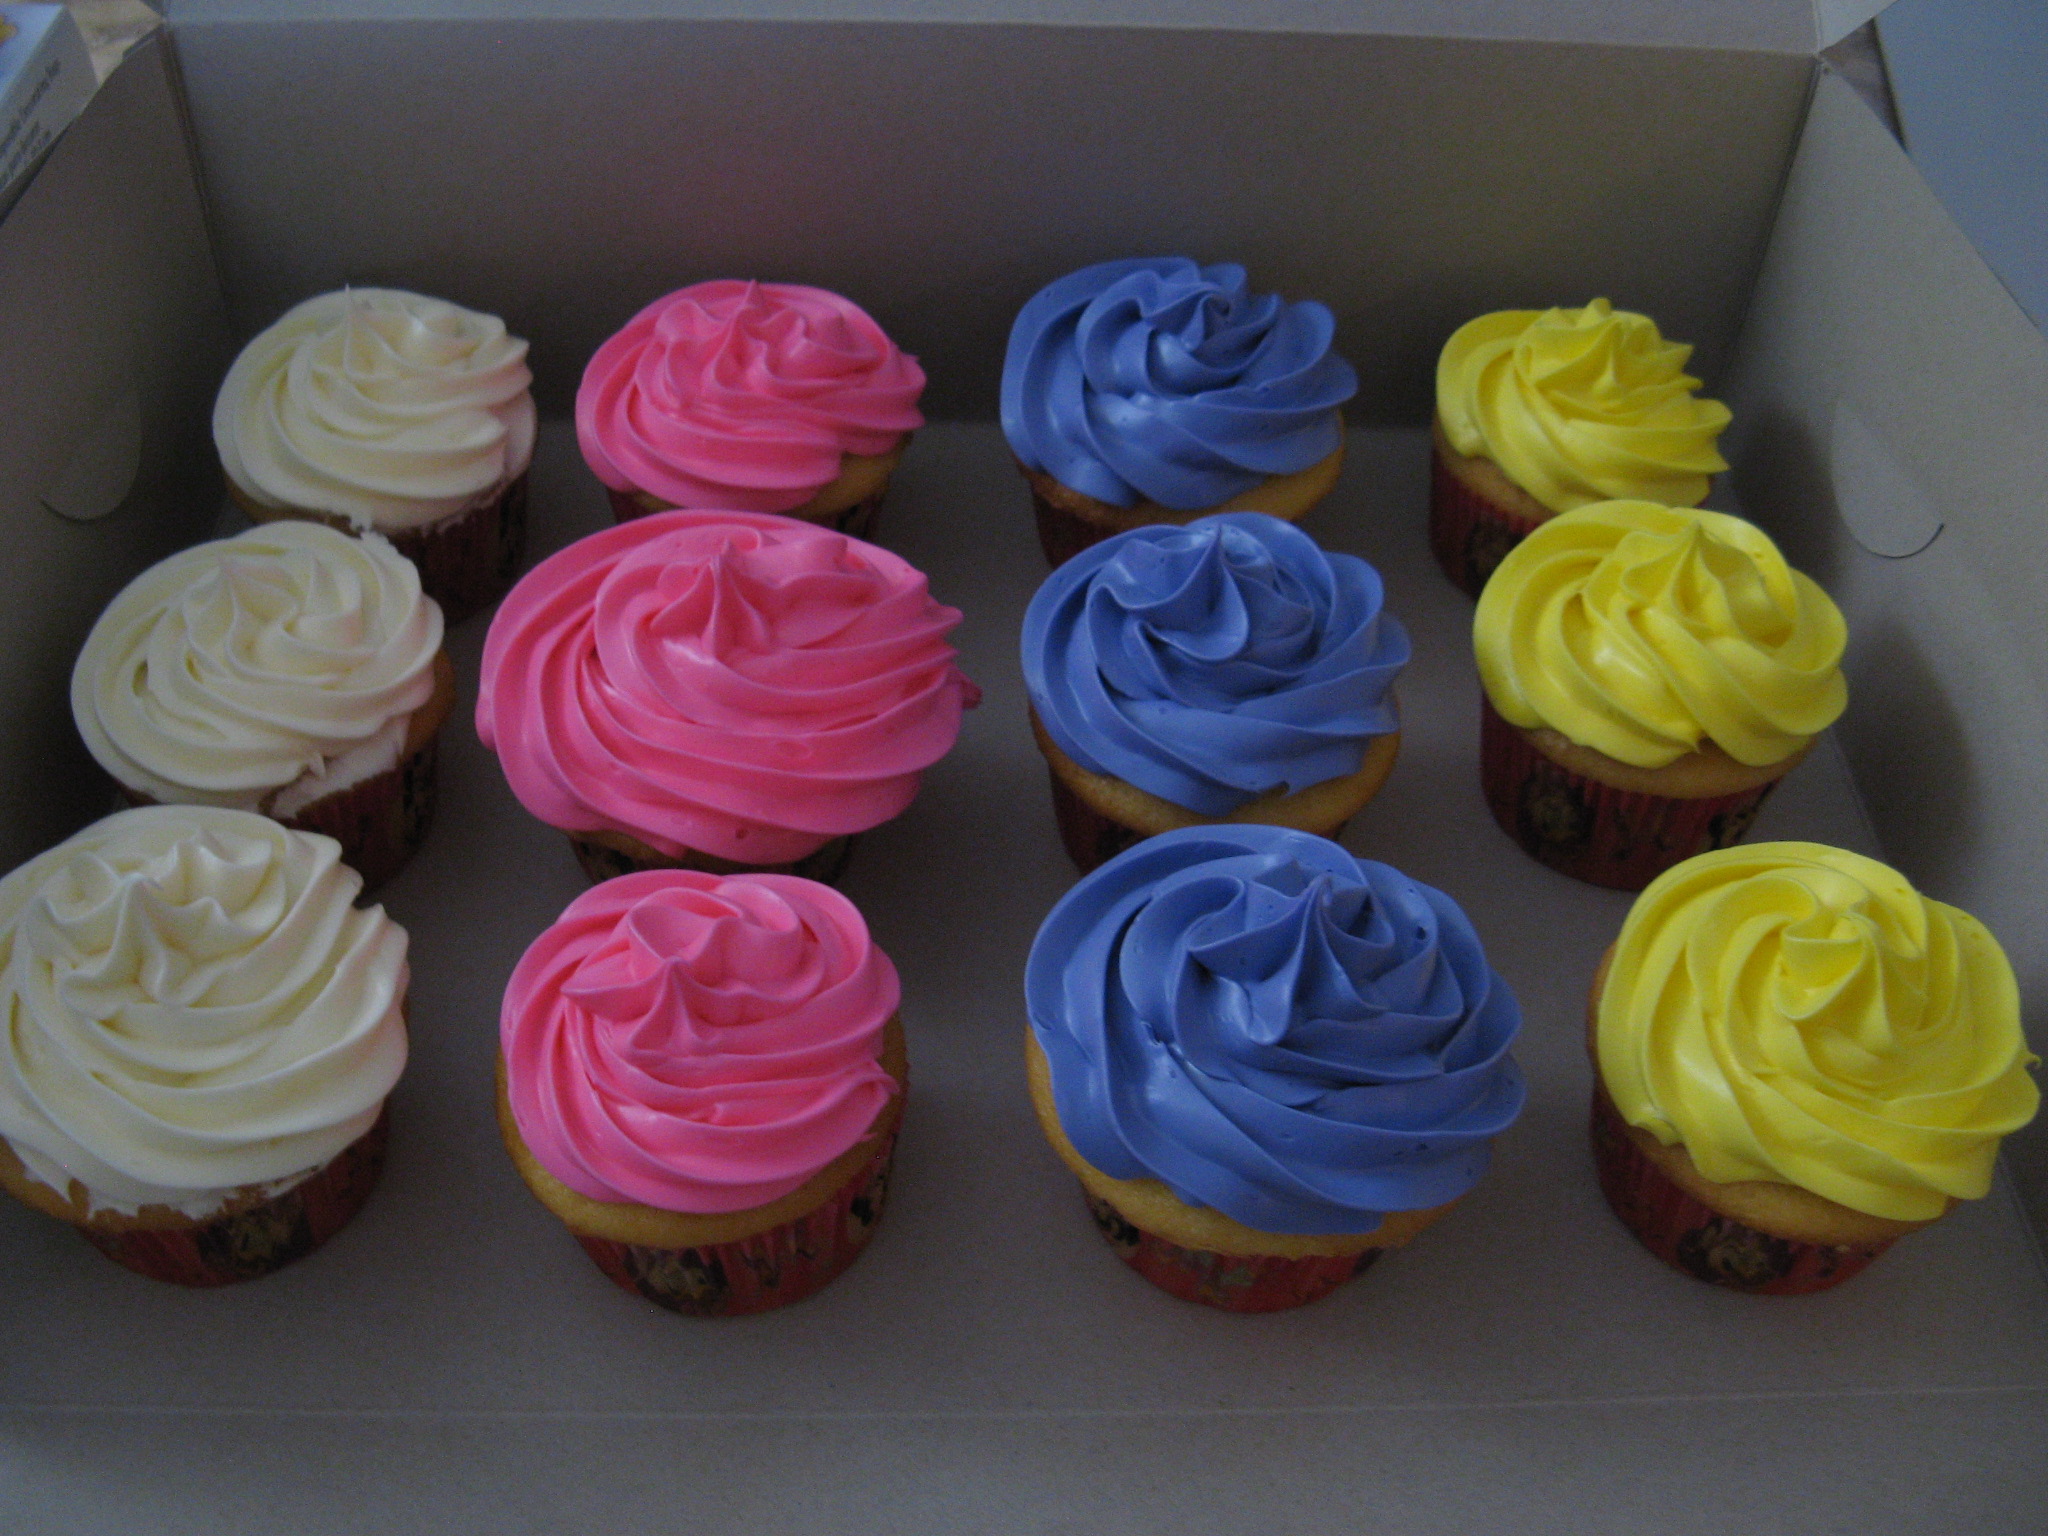
I also made some cupcakes to go along with the cake. Unfortunately you can’t see it in the picture, but, the cupcake liners were Minnie Mouse themed.
The cake was a hit at the party, which also happened to be a Superbowl party as well. So, we all got an extra fill of cake during that thirty-four minute delay!

3 thoughts on “Minnie Mouse Cake”