With Labor Day weekend over summer has unofficially ended. The weather is also signaling the end of summer as well. Looking at the extended forecast there doesn’t seem to a day in the 80’s in sight. I am not complaining though. Fall is my favorite season and I very rarely complain about the cold temps the winter brings. While I am not a fan of hazy, hot & humid days of the summer I will rarely complain about them as well. Truthfully, I love being able to enjoy the 4 seasons in my neck of the wood. Although, it seems like Spring happens in the blink of an eye. It’ll start off super cold, then a few rainy days (possibly even snow) and then finally a few Spring-like days and then bam, there will be days of crazy heat before the Summer has truly began.
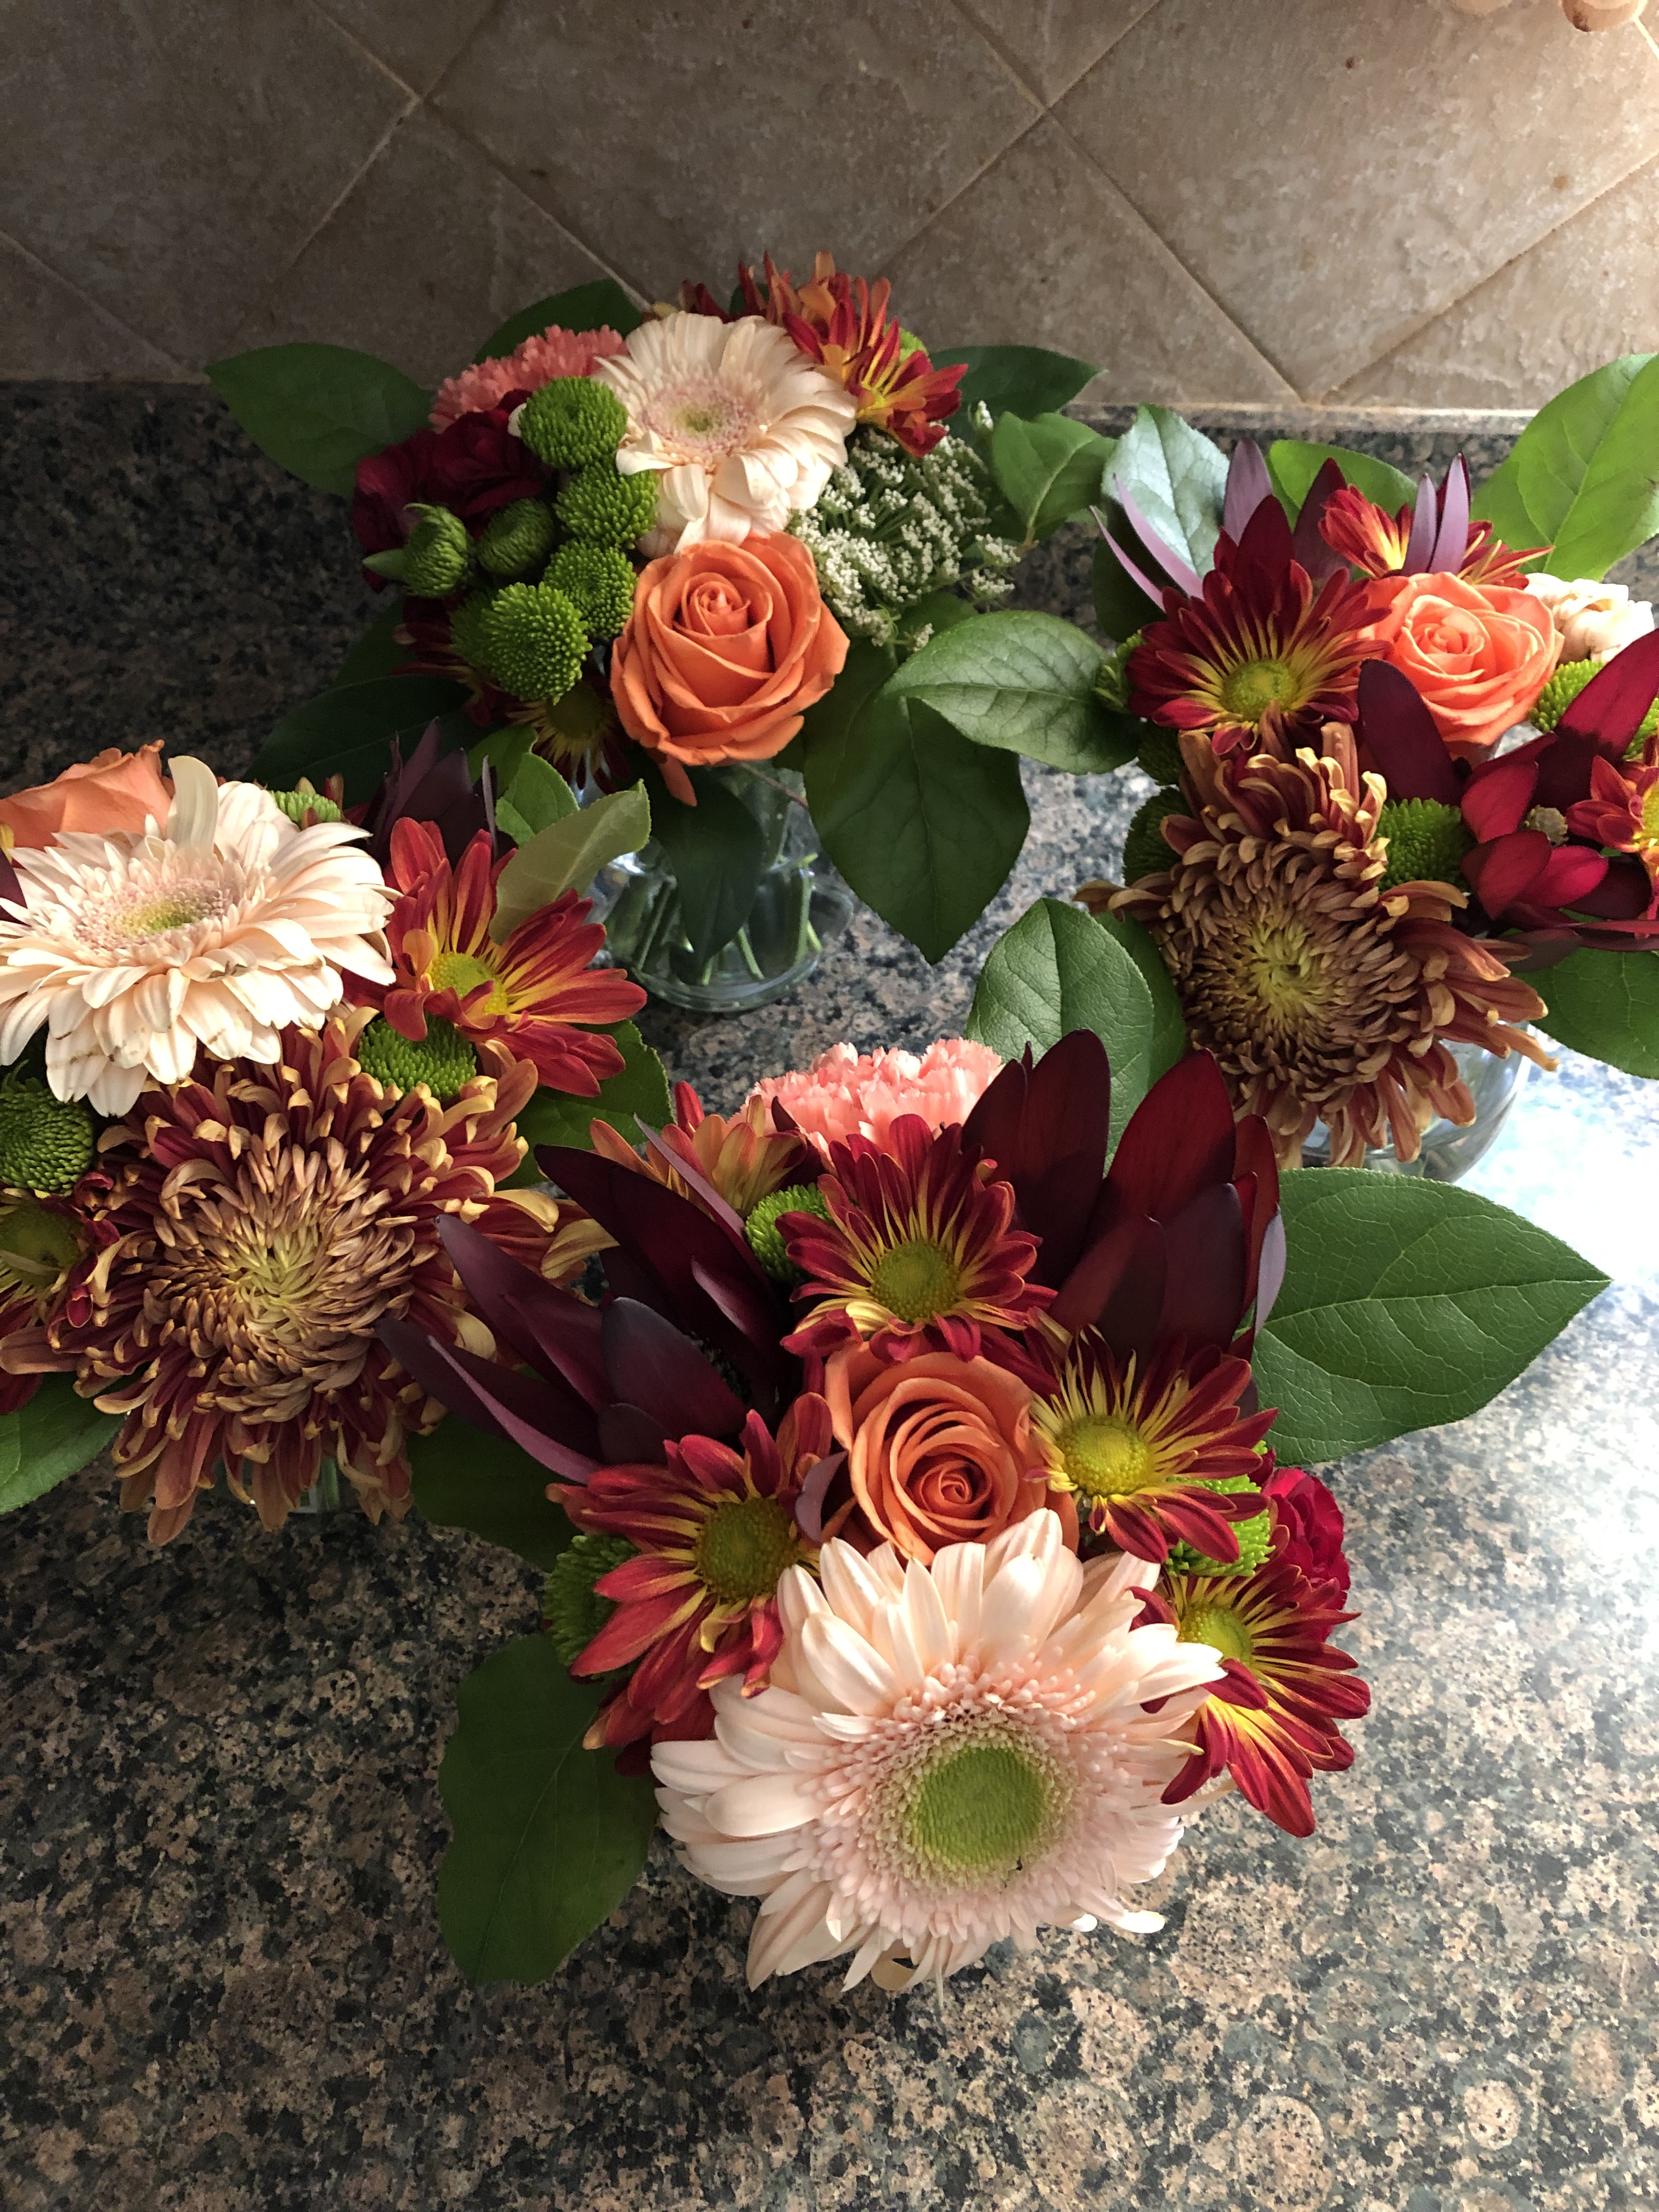
Labor Day was a rainy one by me. The weekend was beautiful, although, I spent half of it in the kitchen baking, decorating a cake and making floral centerpieces for a bridal shower. The alternative would have probably been yardwork so it’s all good.
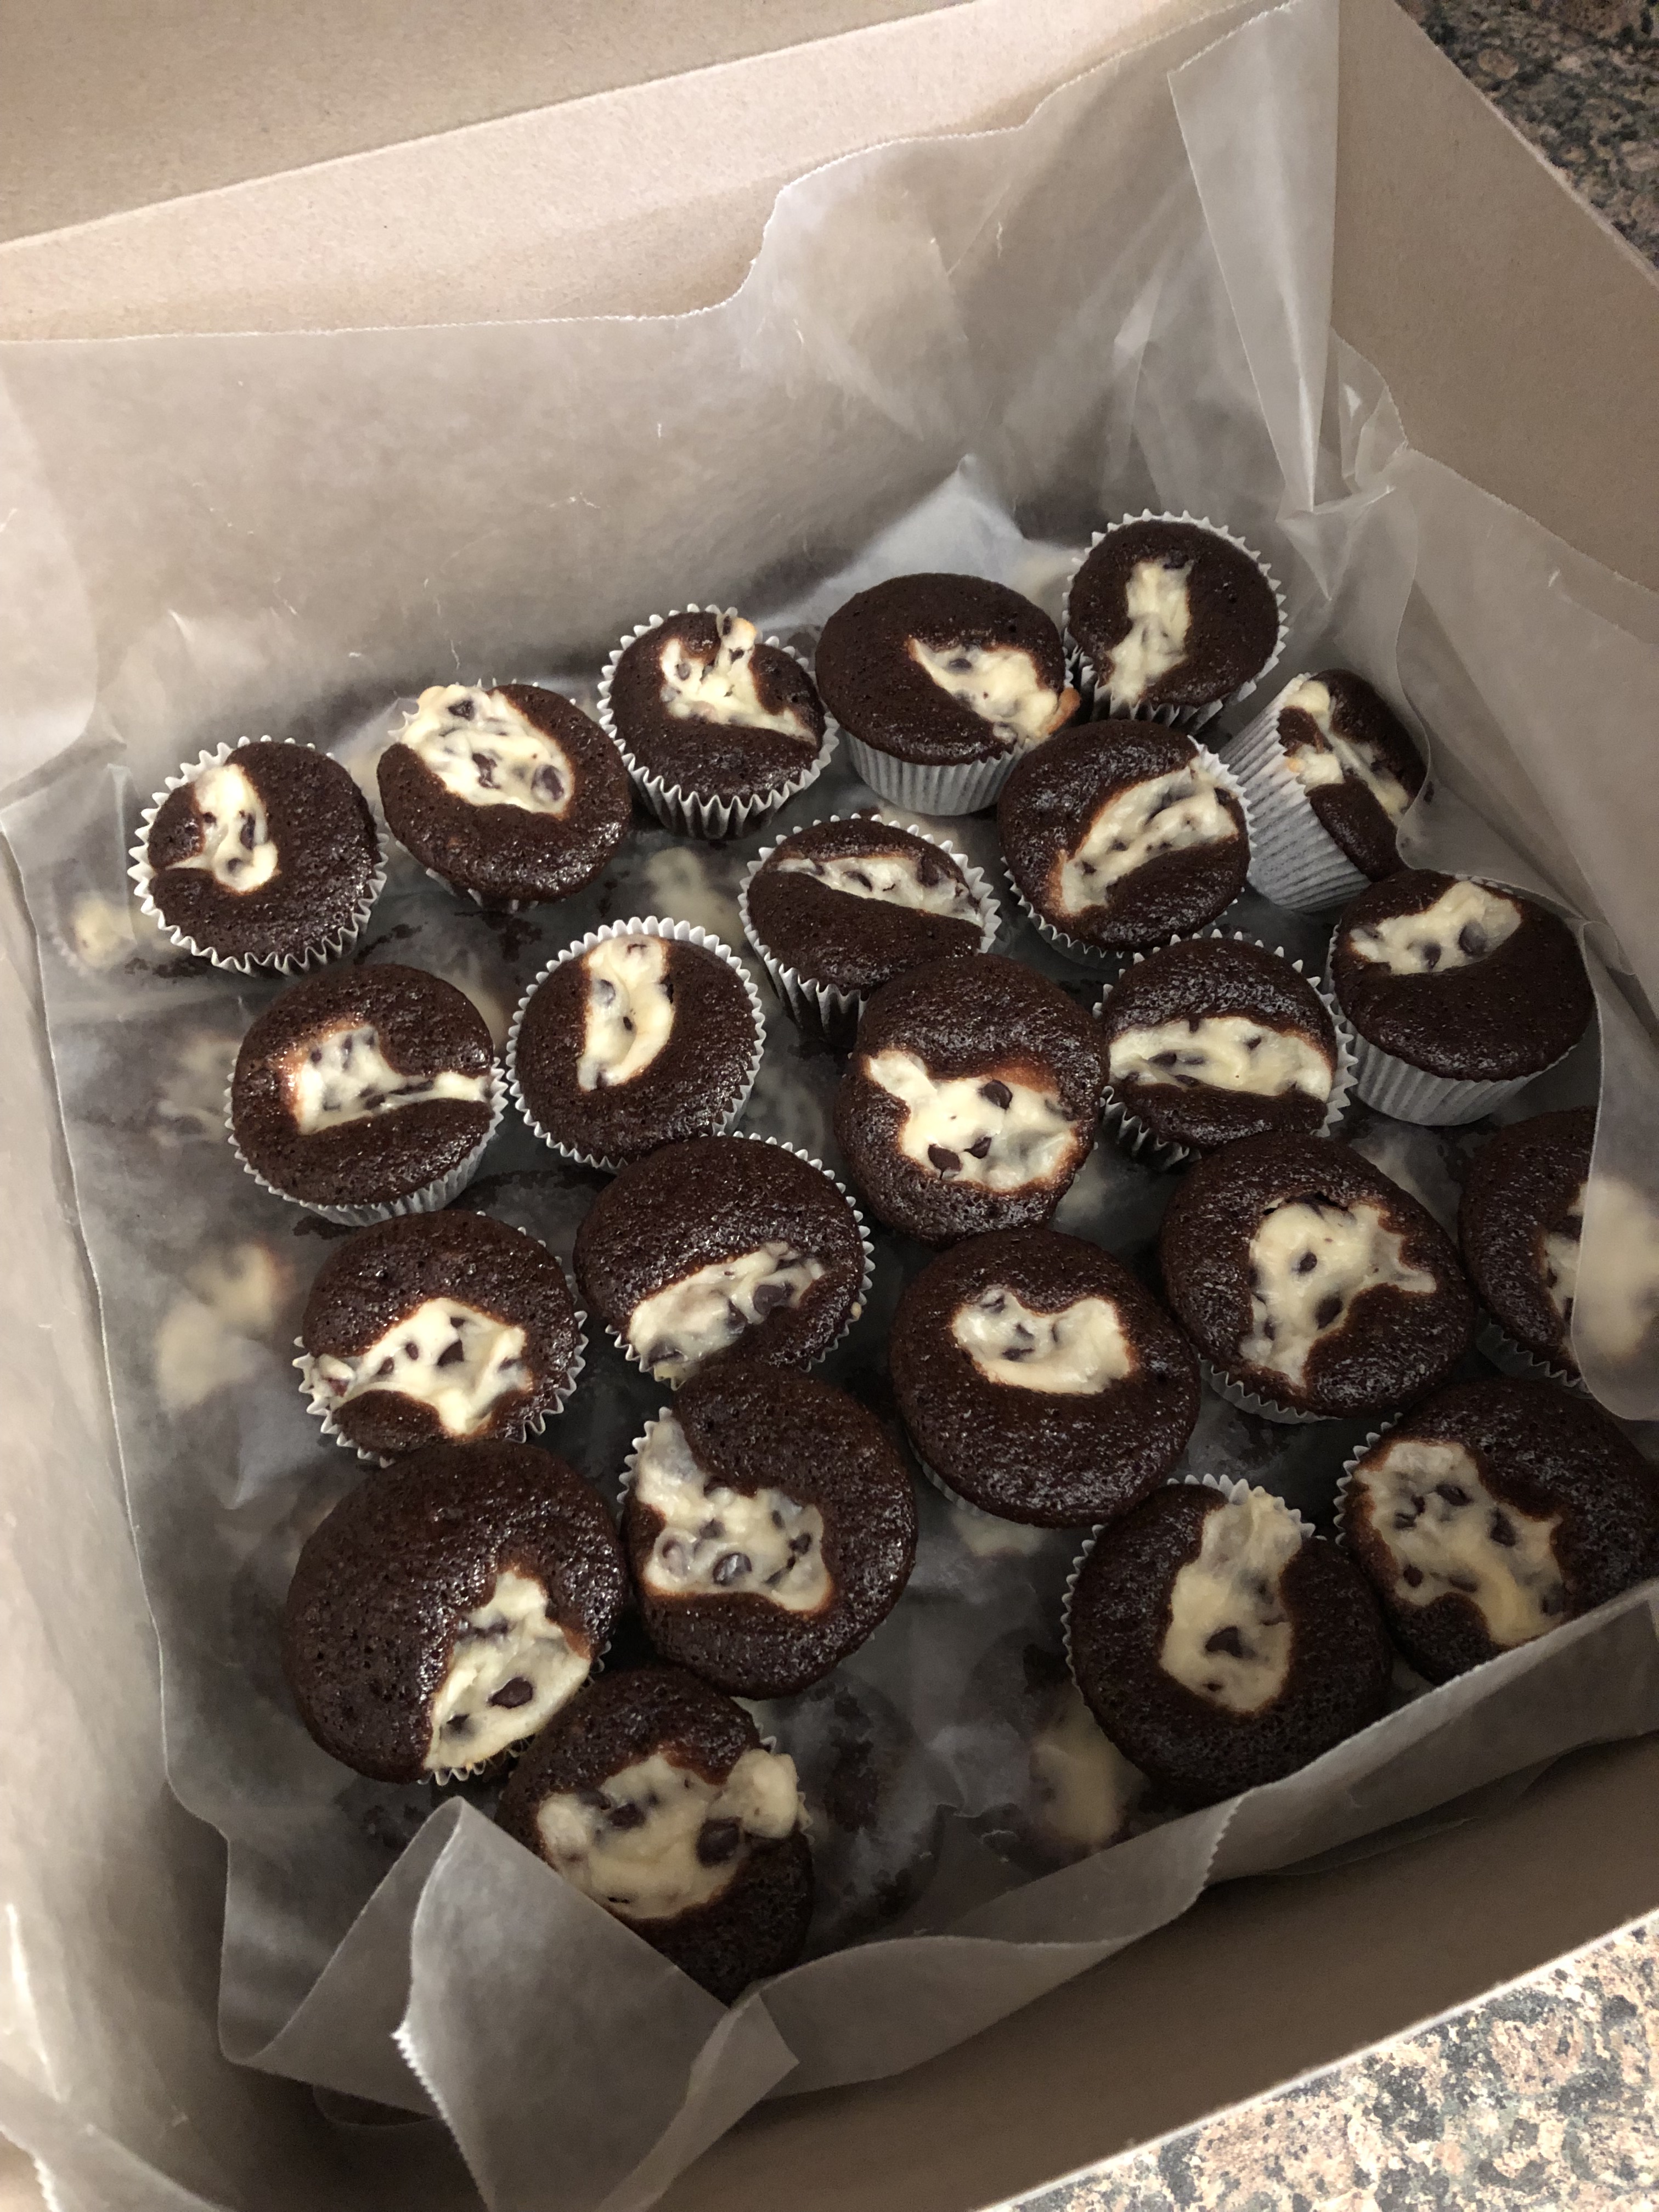
I started the day by making Cheesecake Brownie Bites. I’ve been making these for years and while they are always a hit, I probably have tried them once of twice. Crazy I know. Well, I had extra brownie and cheesecake batter so I made a few extra that I ended up snacking on throughout the day and I will definitely be eating them the next time I make them.
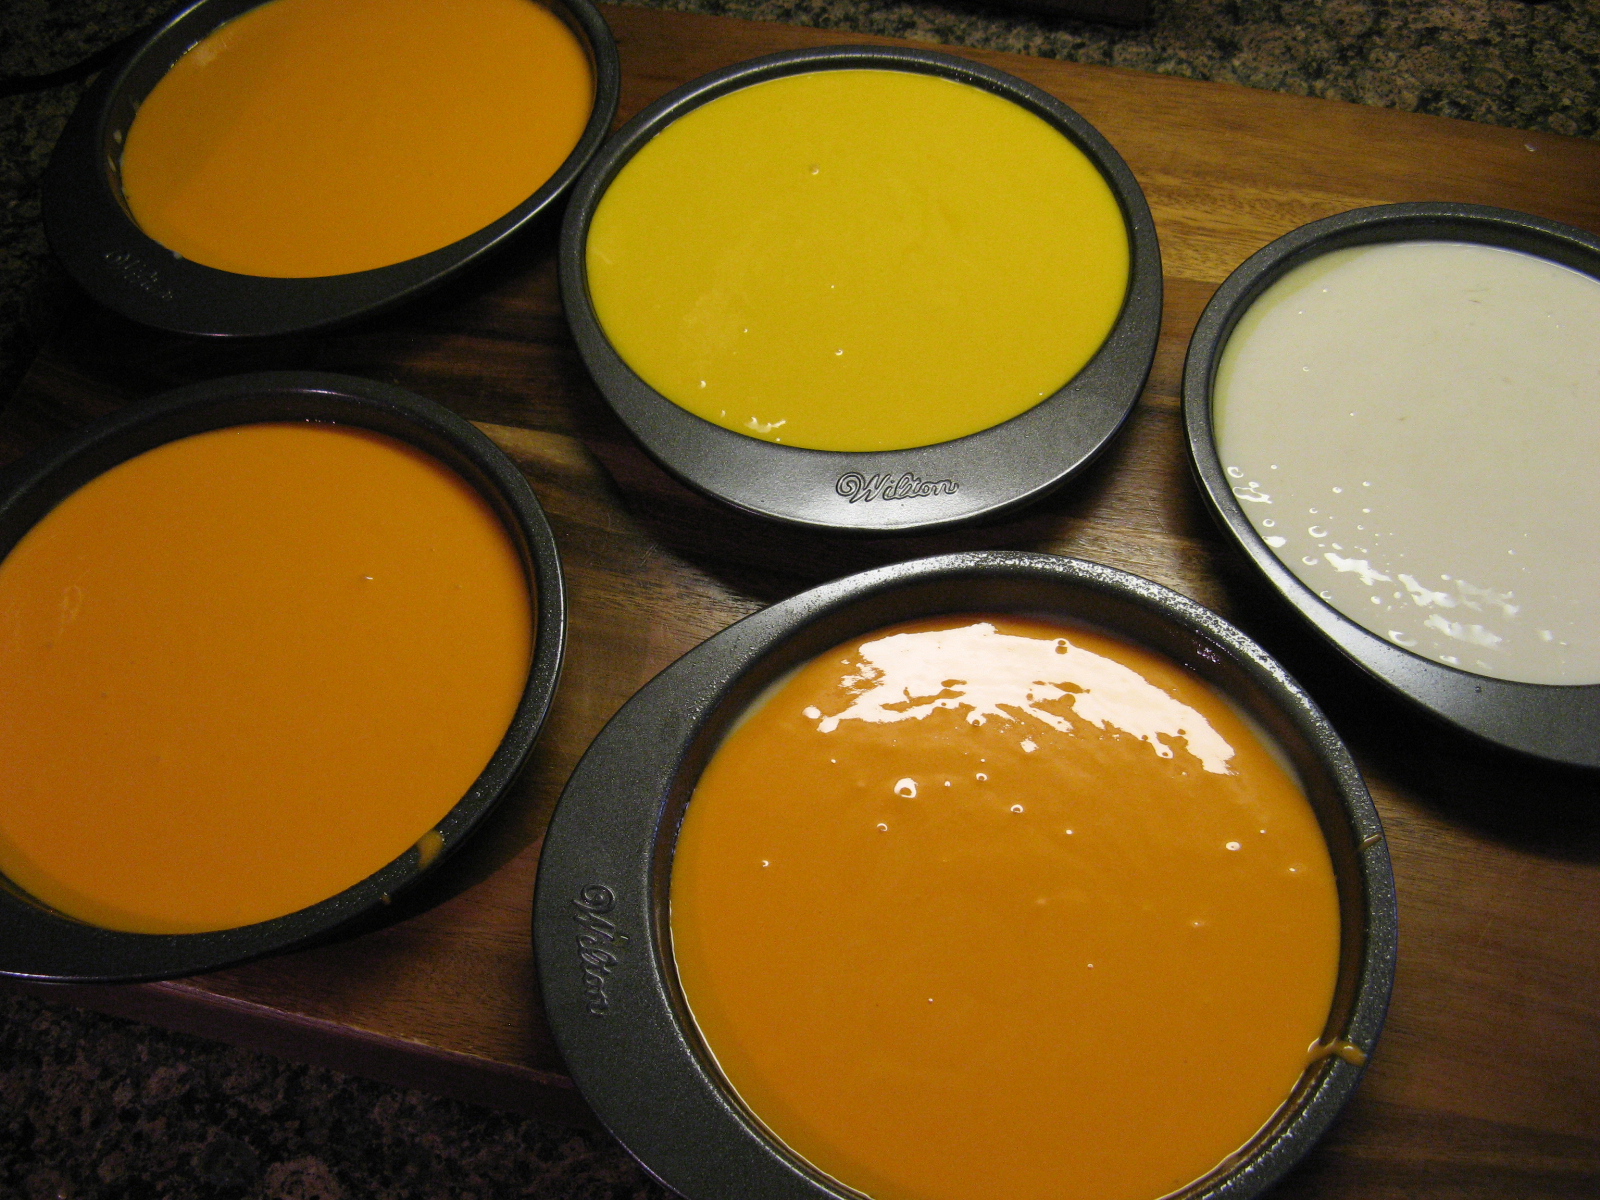
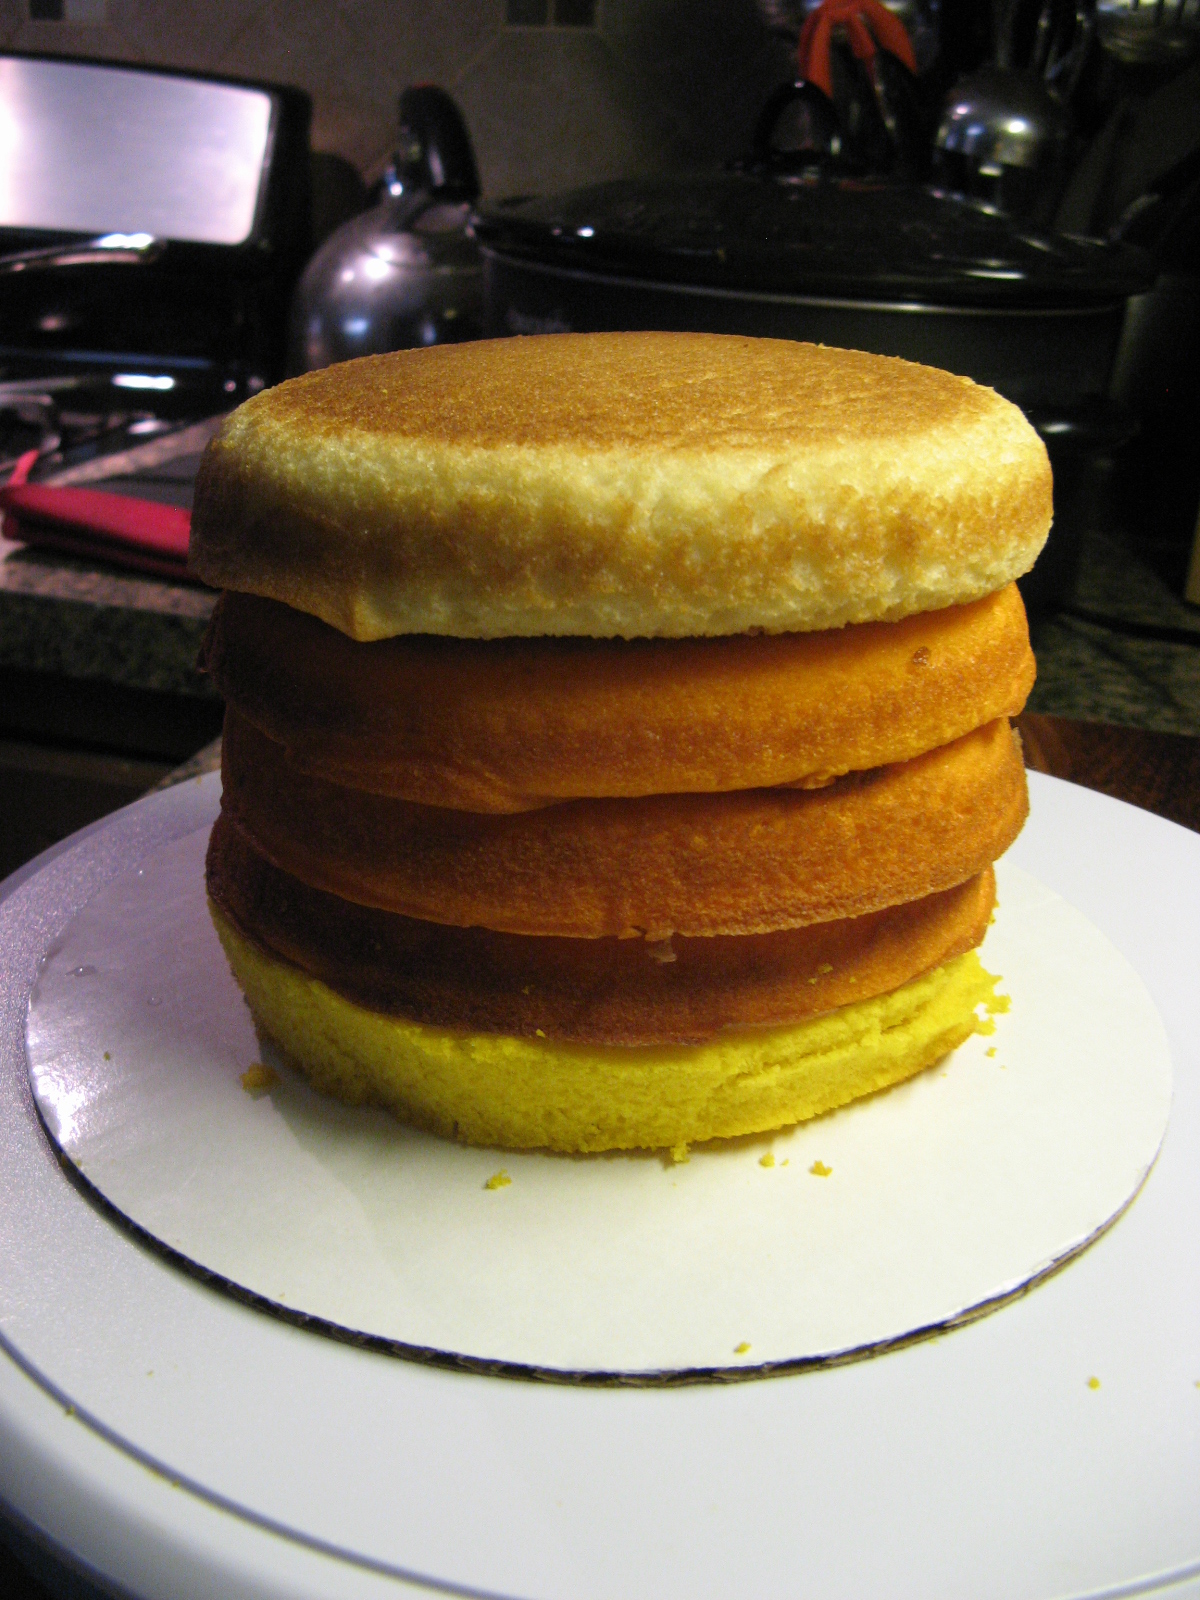
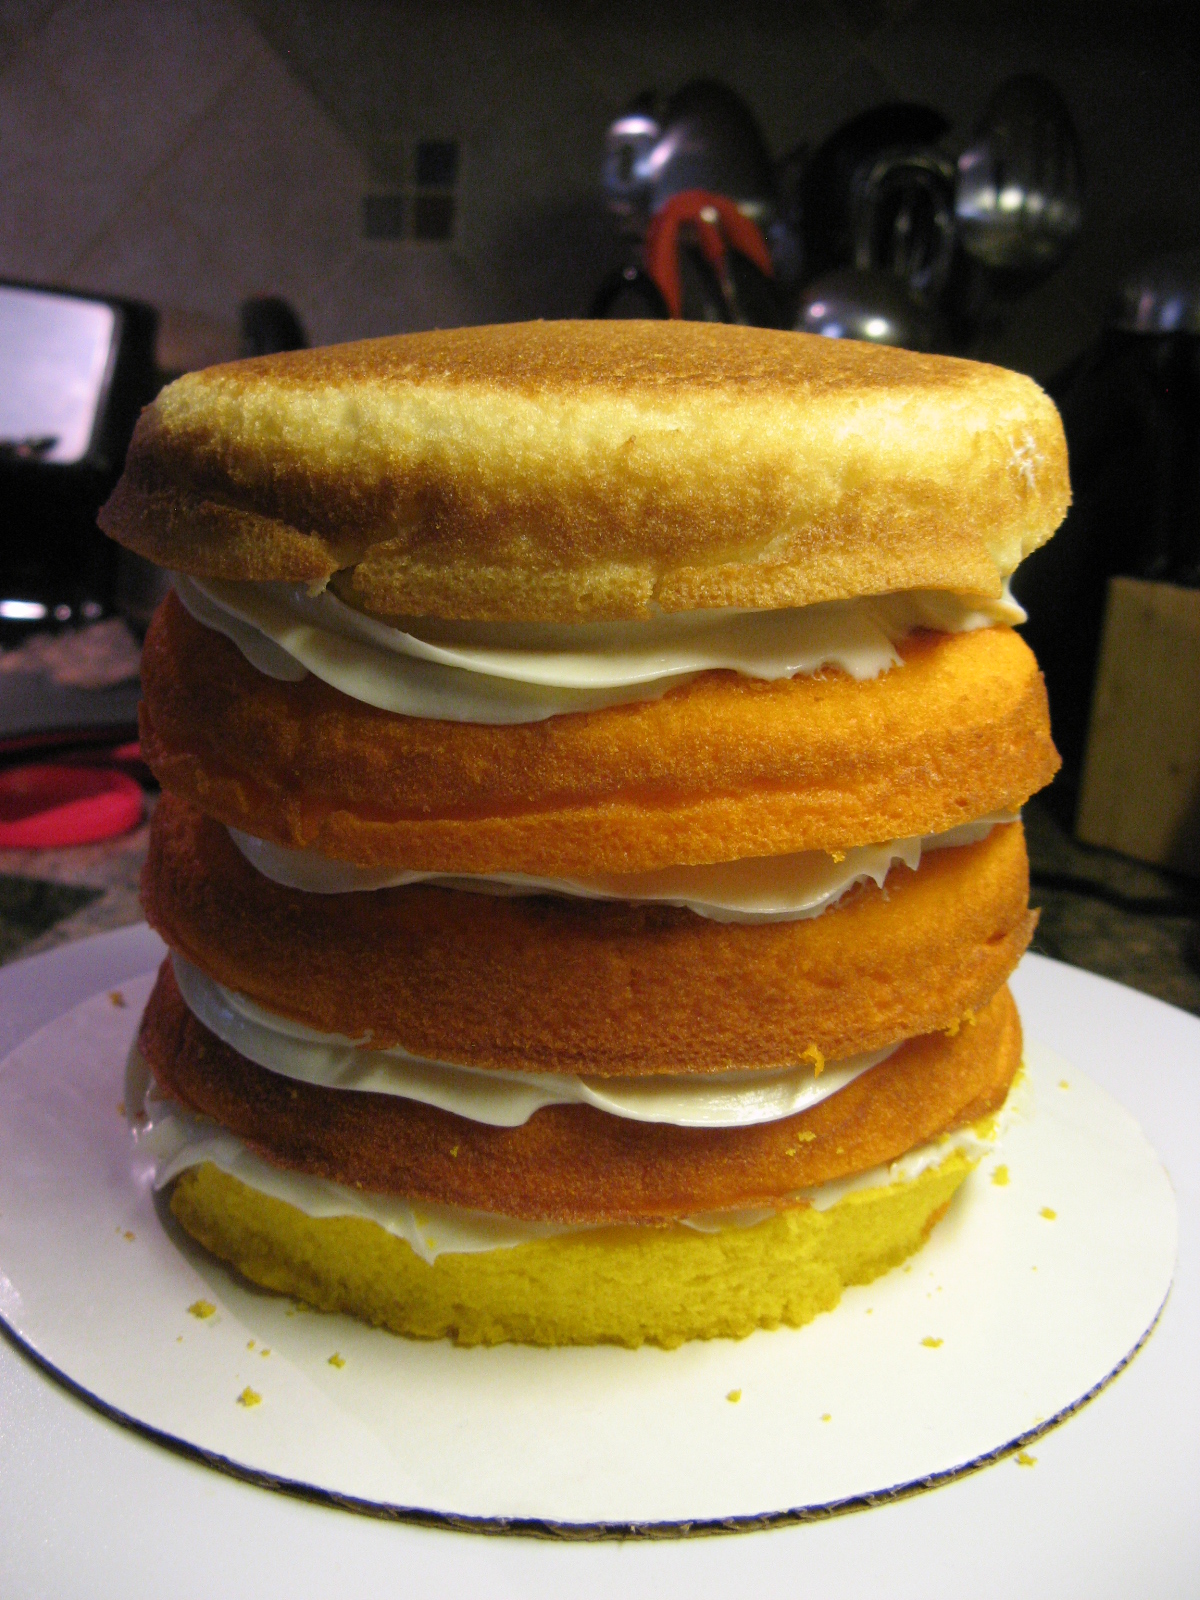
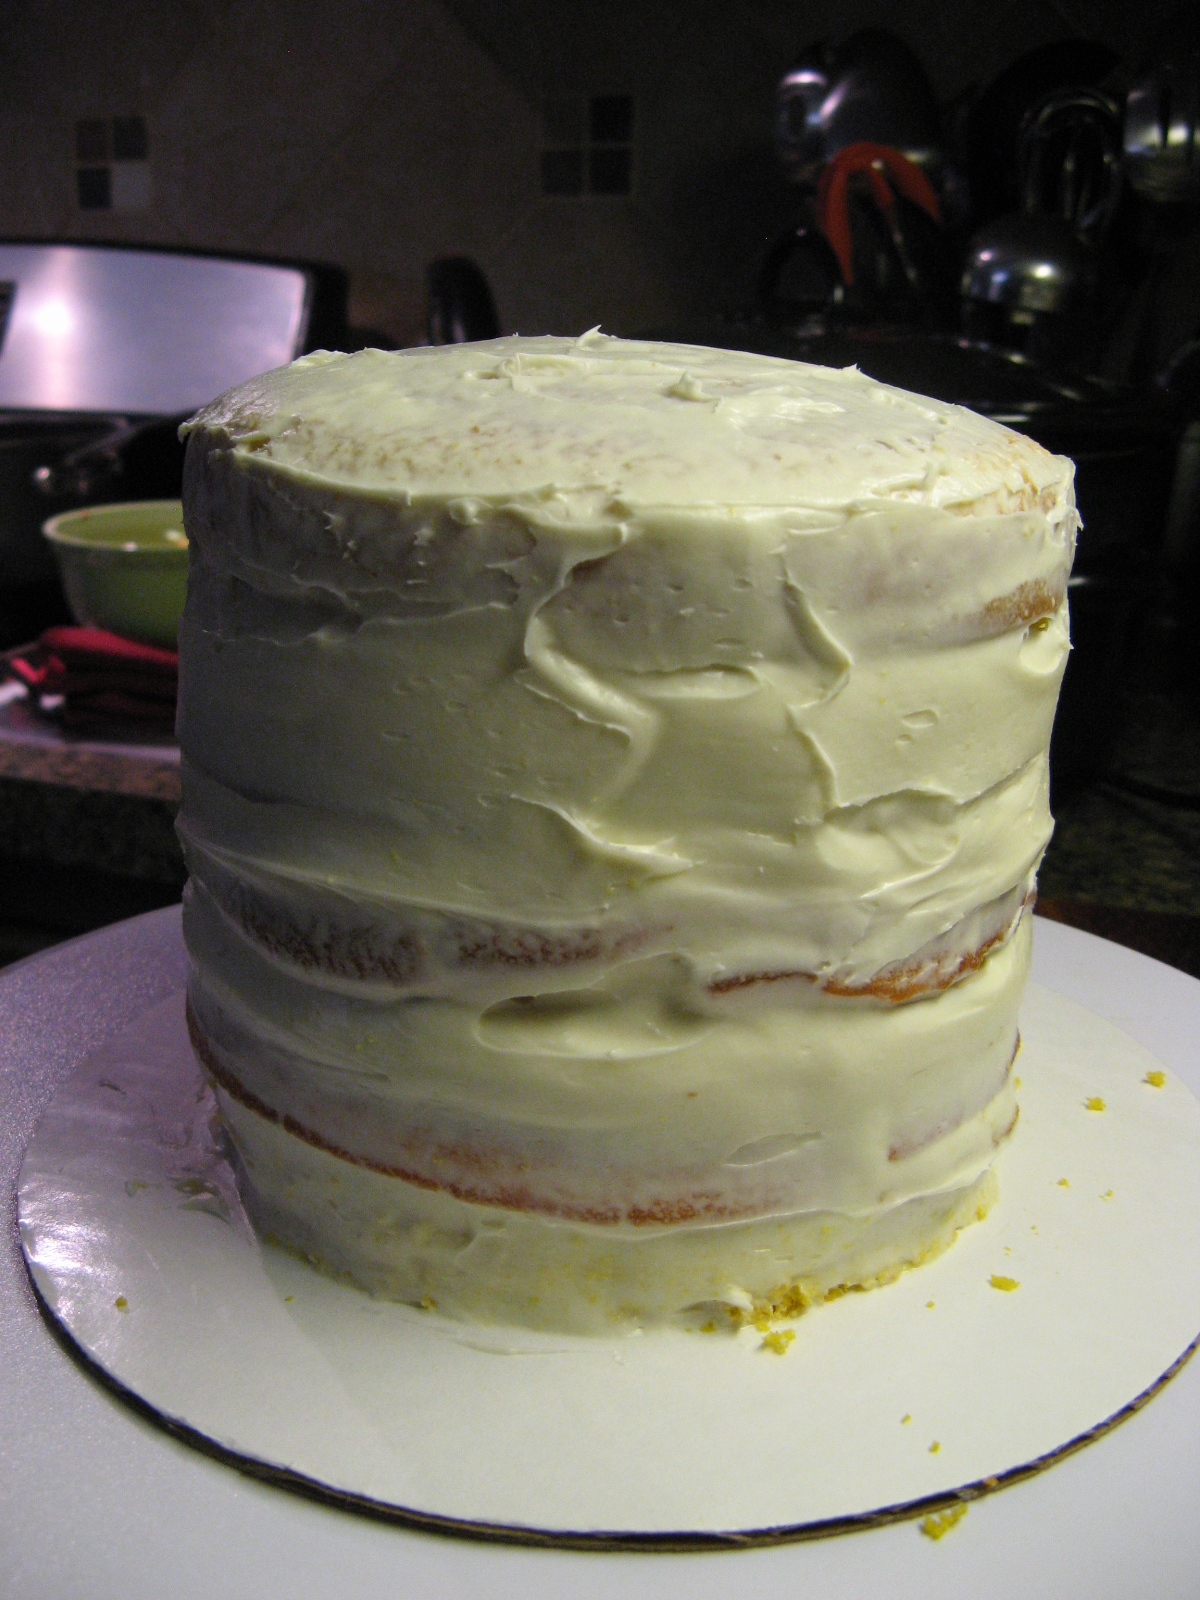
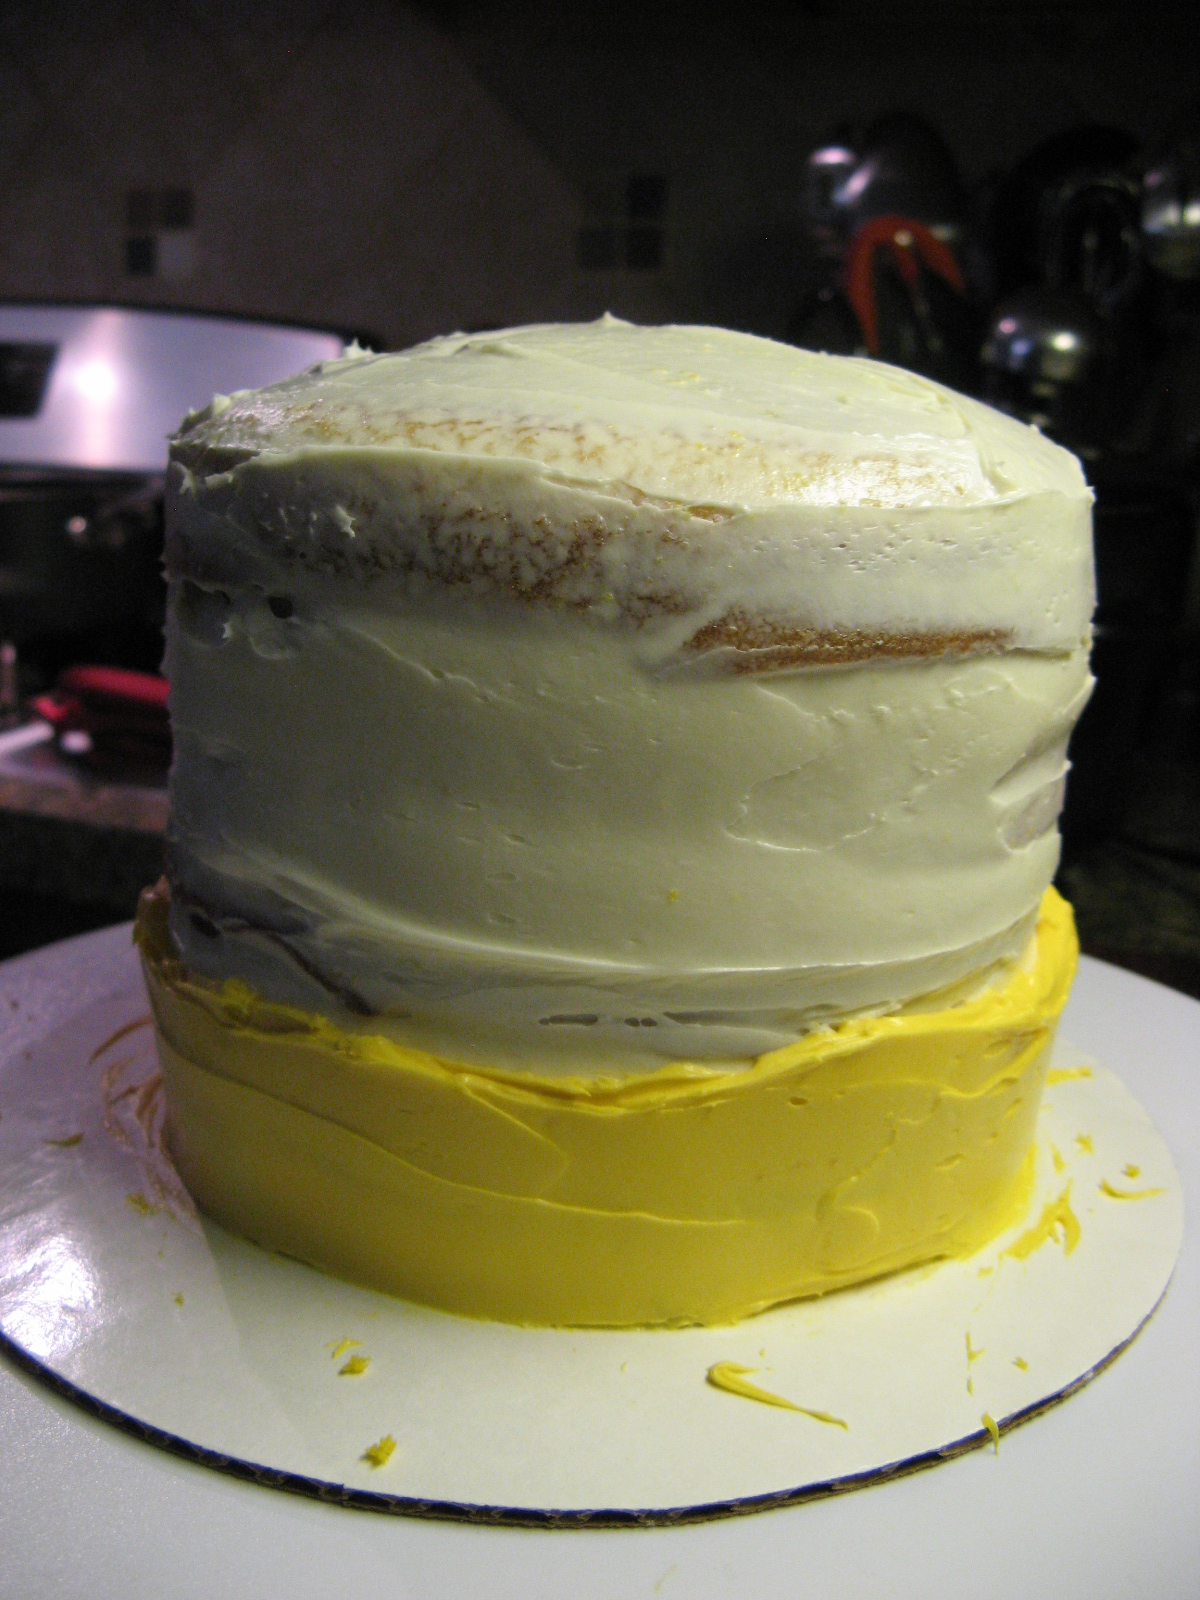
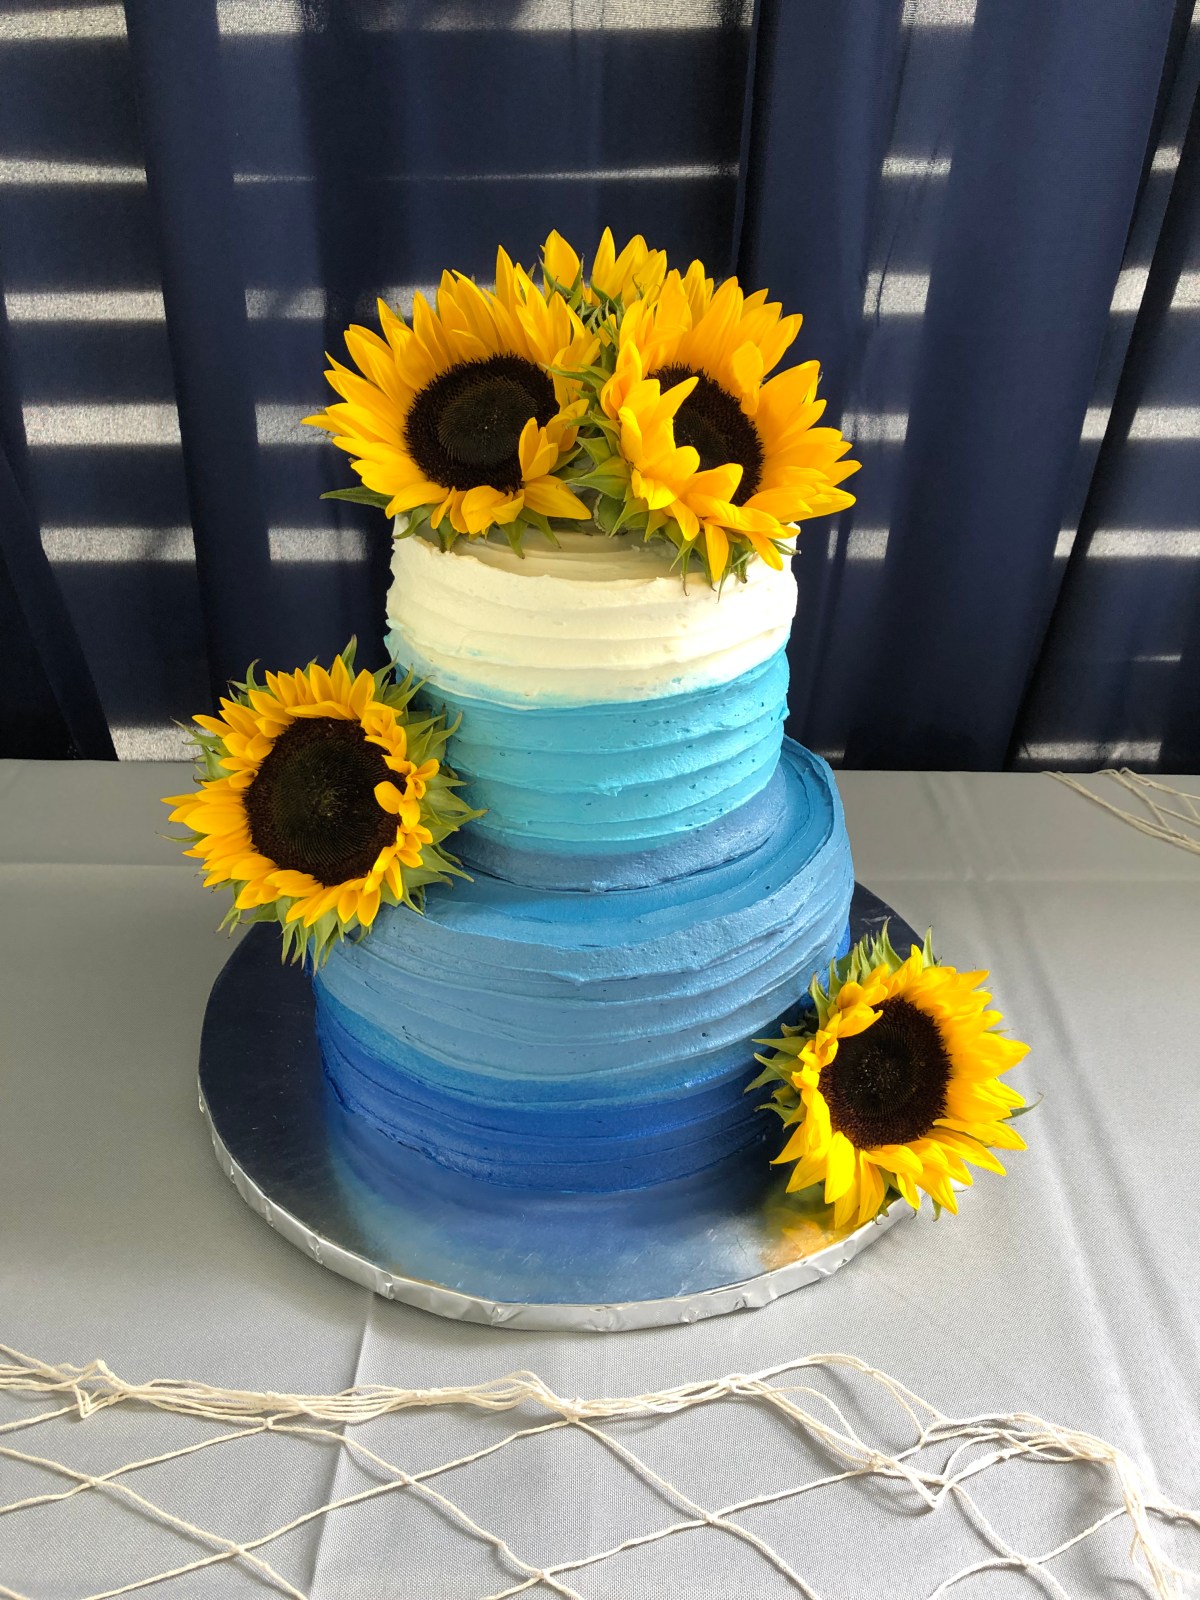
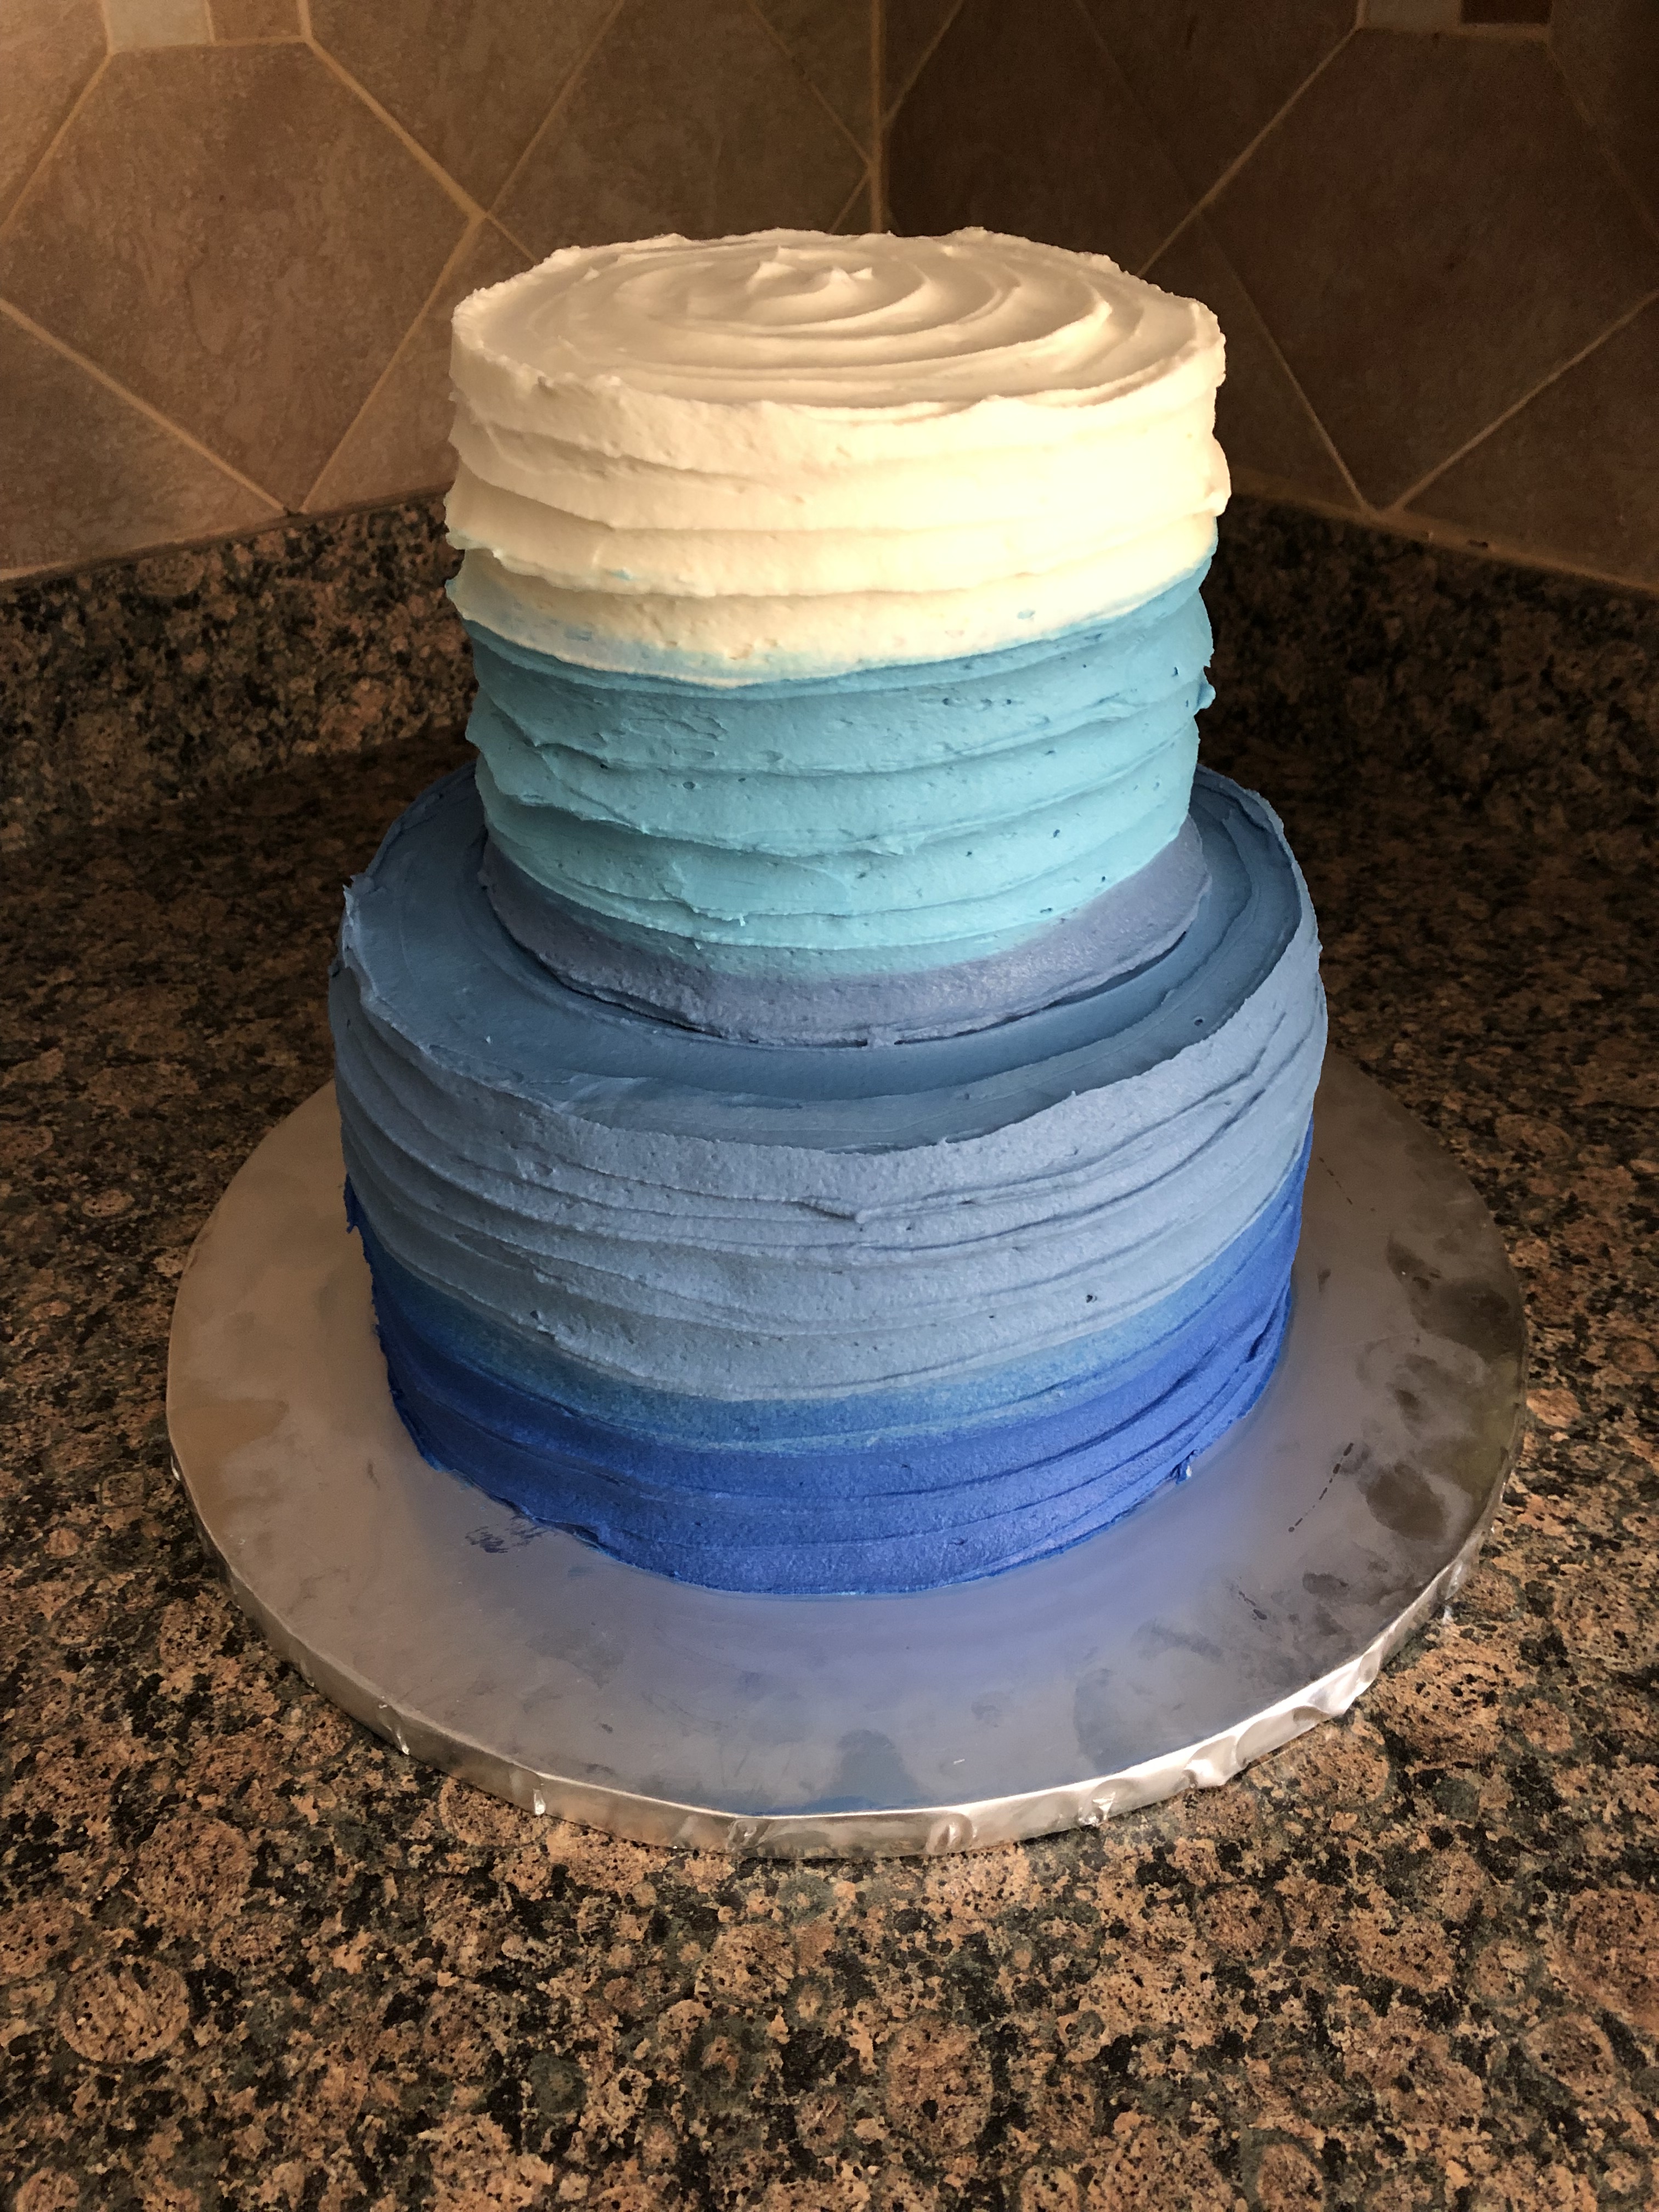
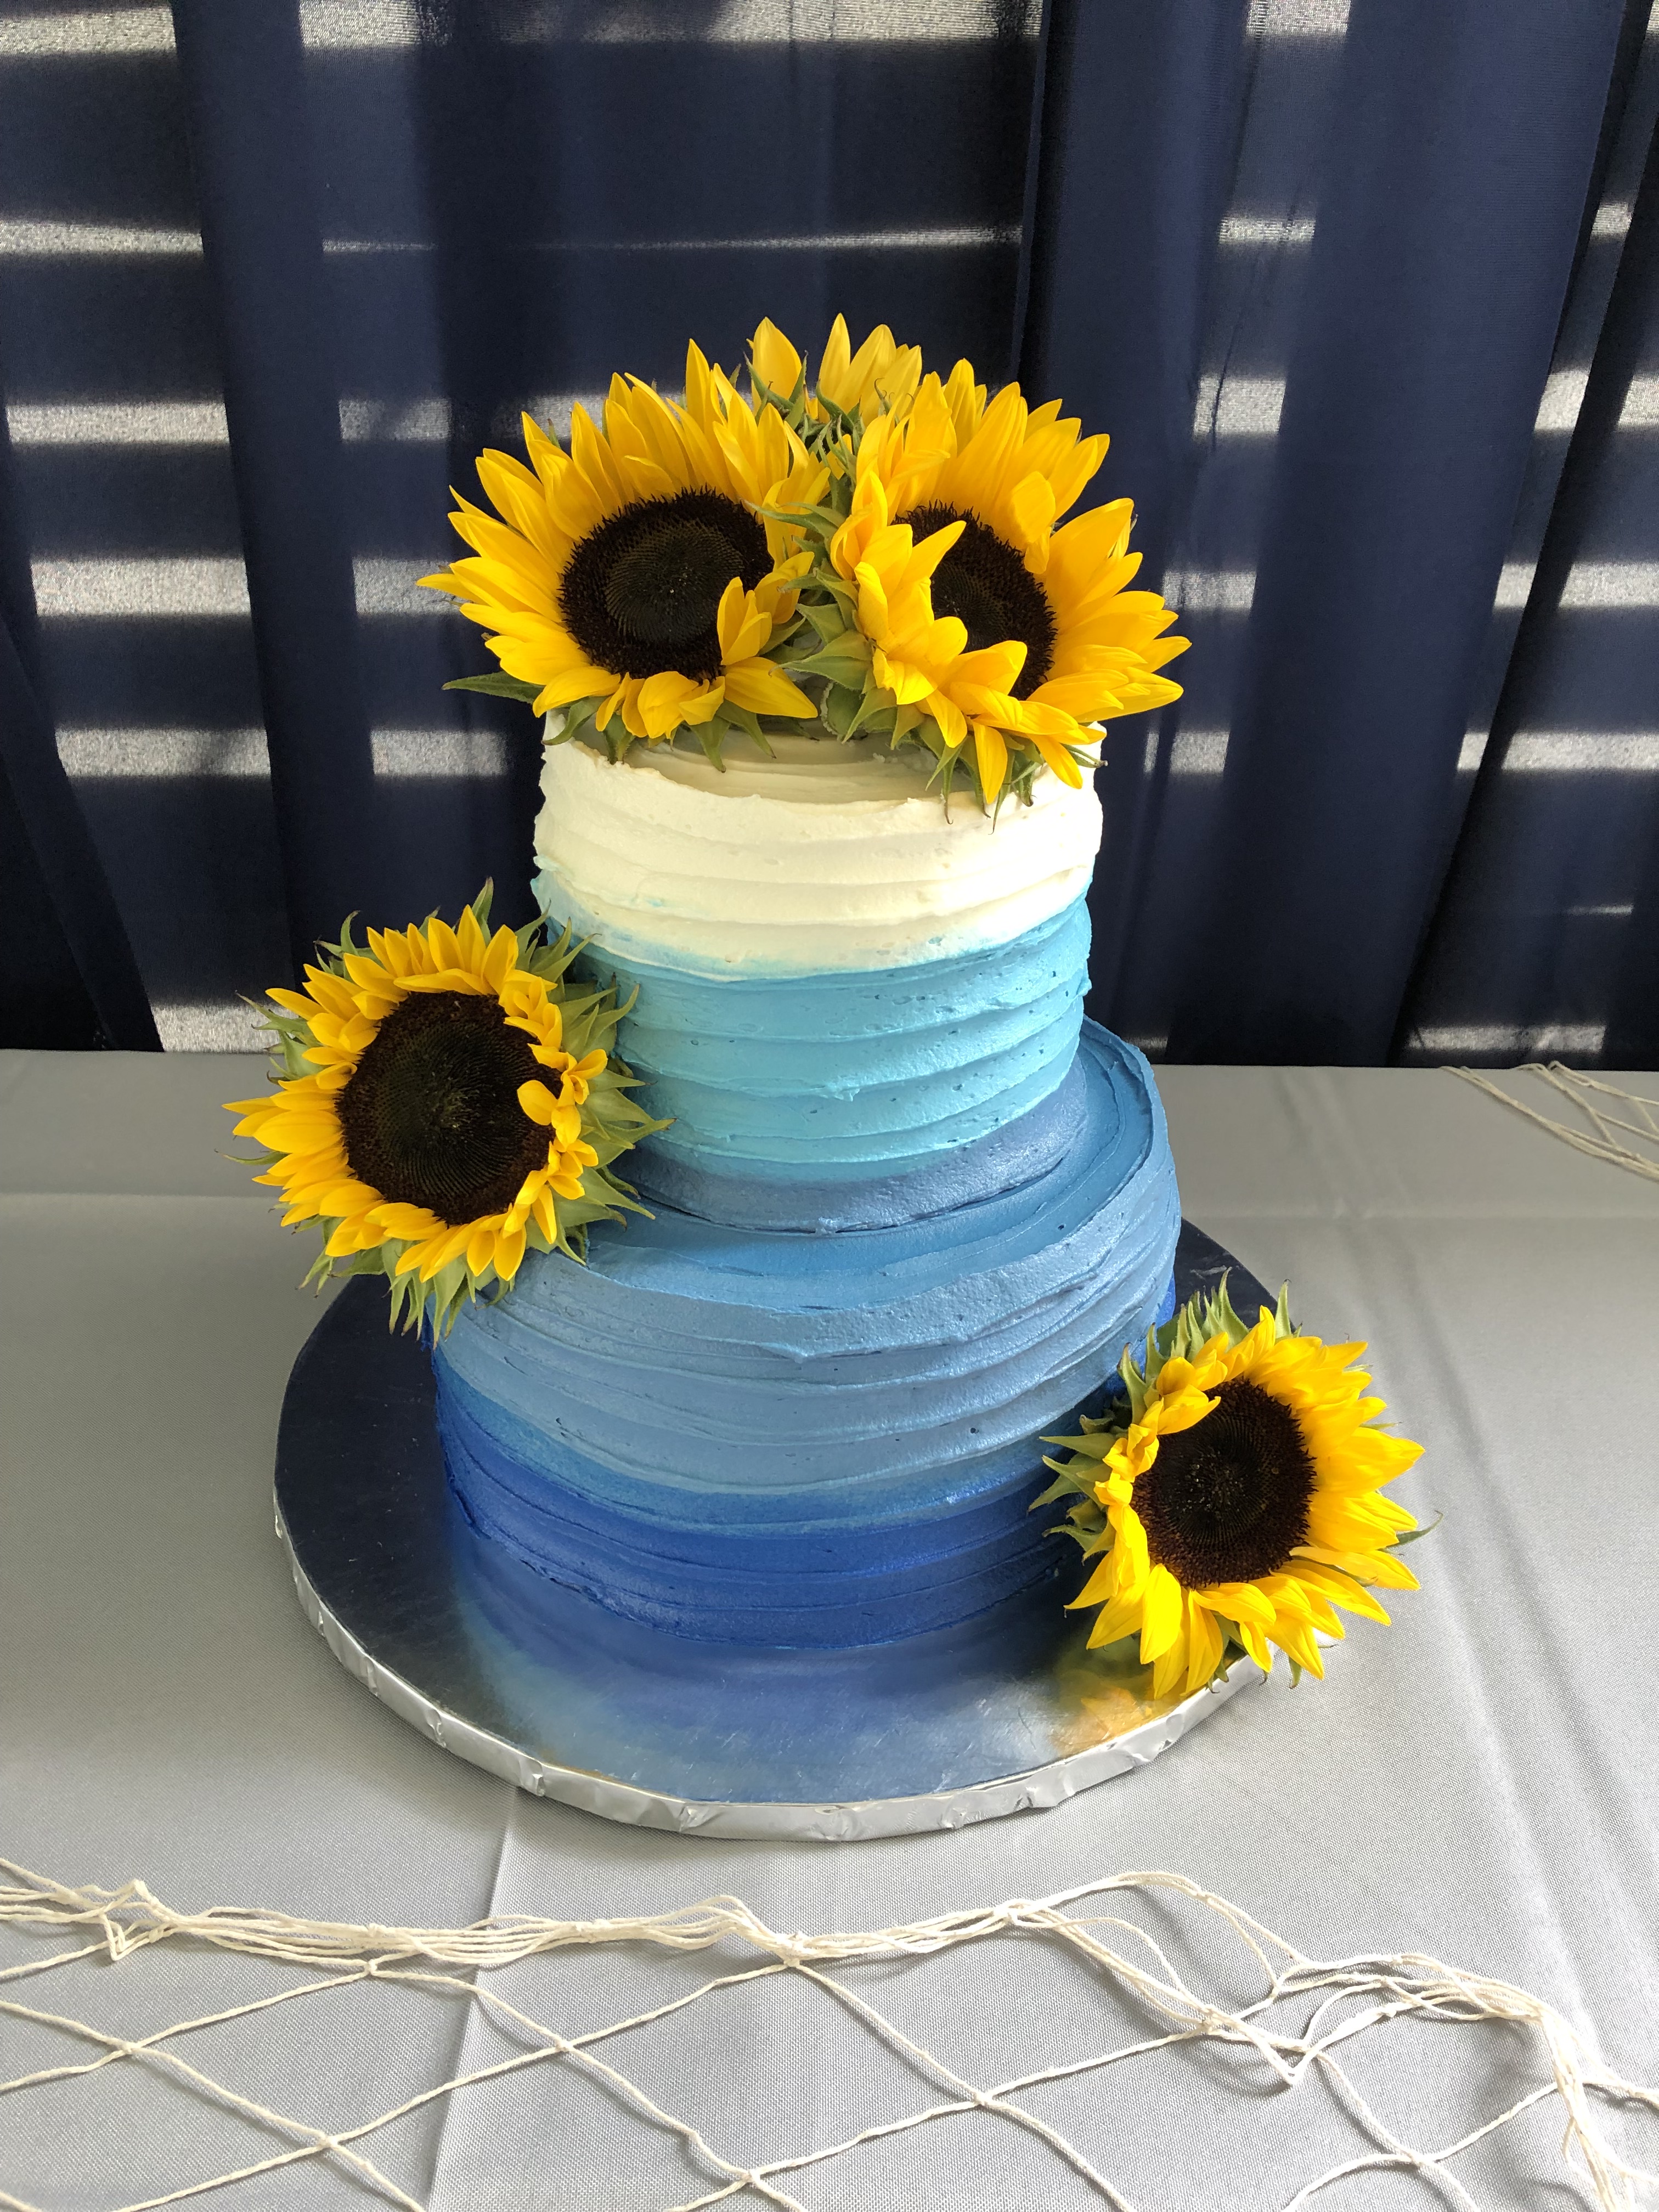
After running a few errands I came back home and got to work on the cake. The plan was a two-tier blue ombre buttercream cake decorated with fresh sunflowers. To save myself time (and stress) I baked the cake layers a few days before, let them cool and then wrapped them in plastic wrap to store in the refrigerator. I started by making my short-cut chocolate mousse and then refrigerated it while I whipped up a batch of vanilla frosting. Once the frosting was done I then torte, filled and crumb coated the two tiers. Each tier was a three-layer cake – chocolate cake sandwiched between two yellow caked. Once 6-inch, the other a 9-inch.
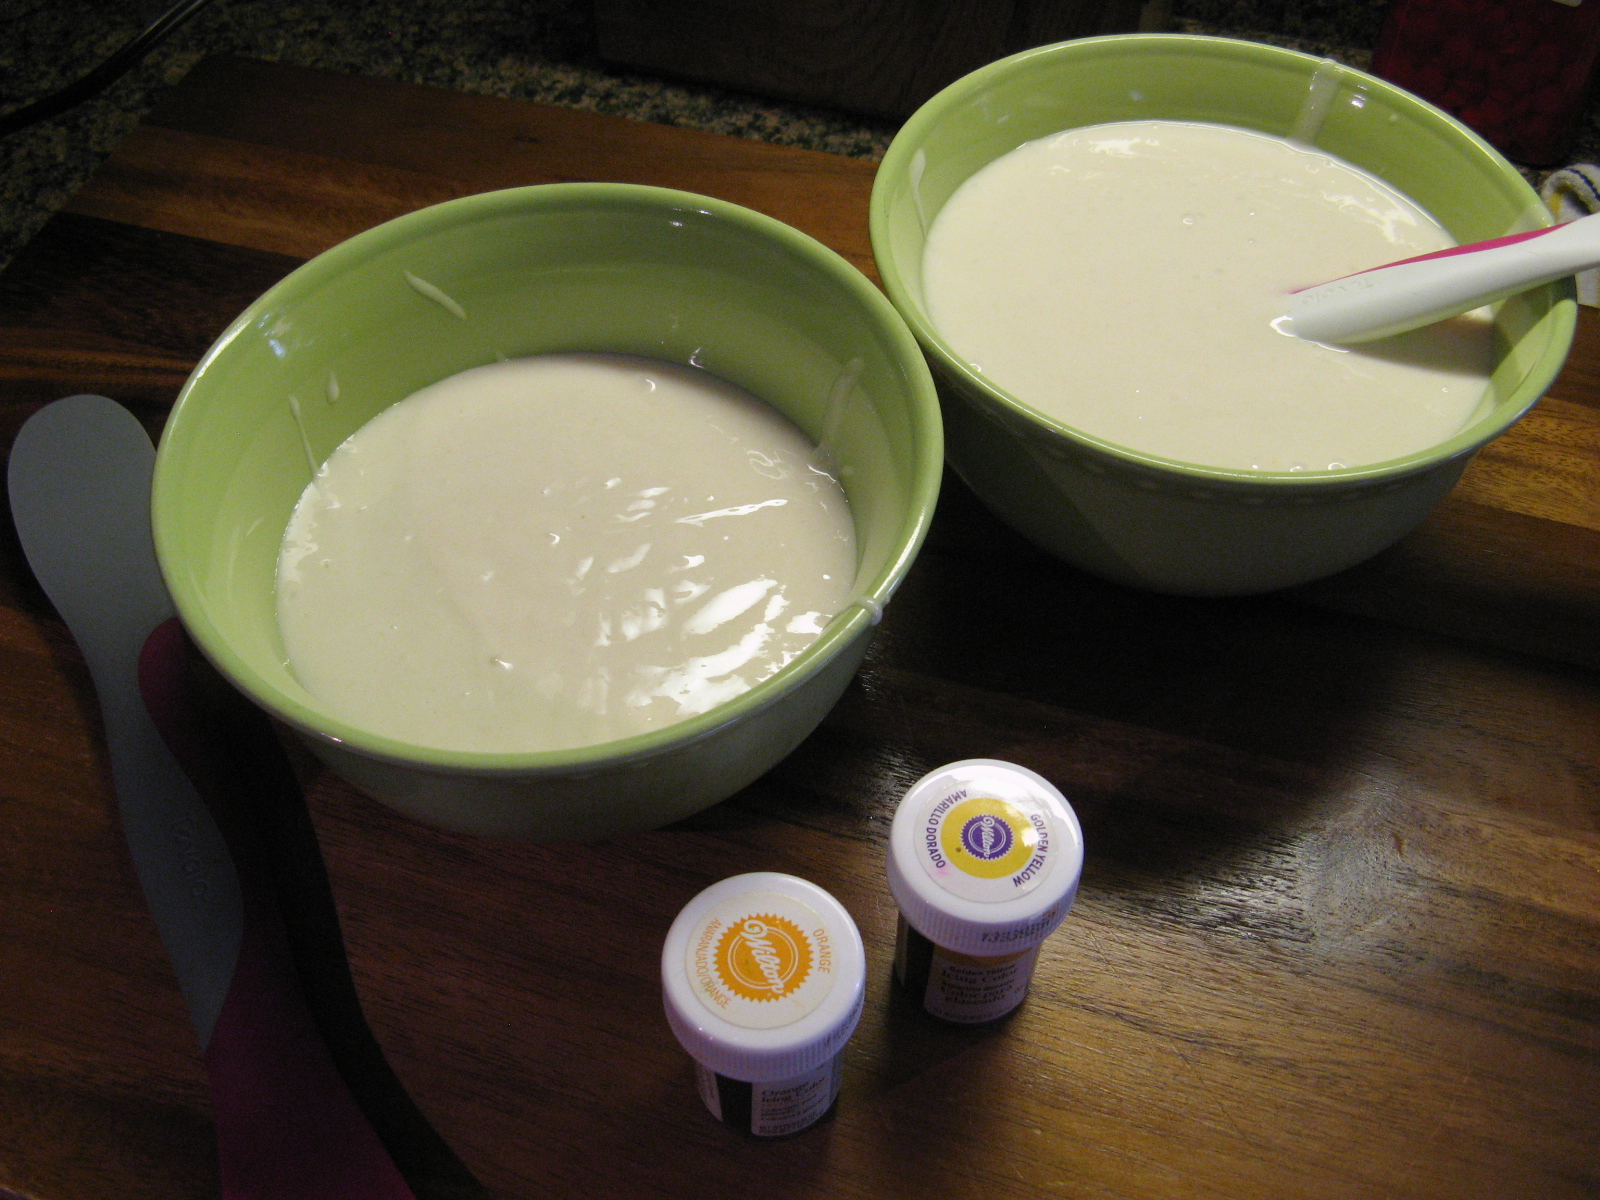
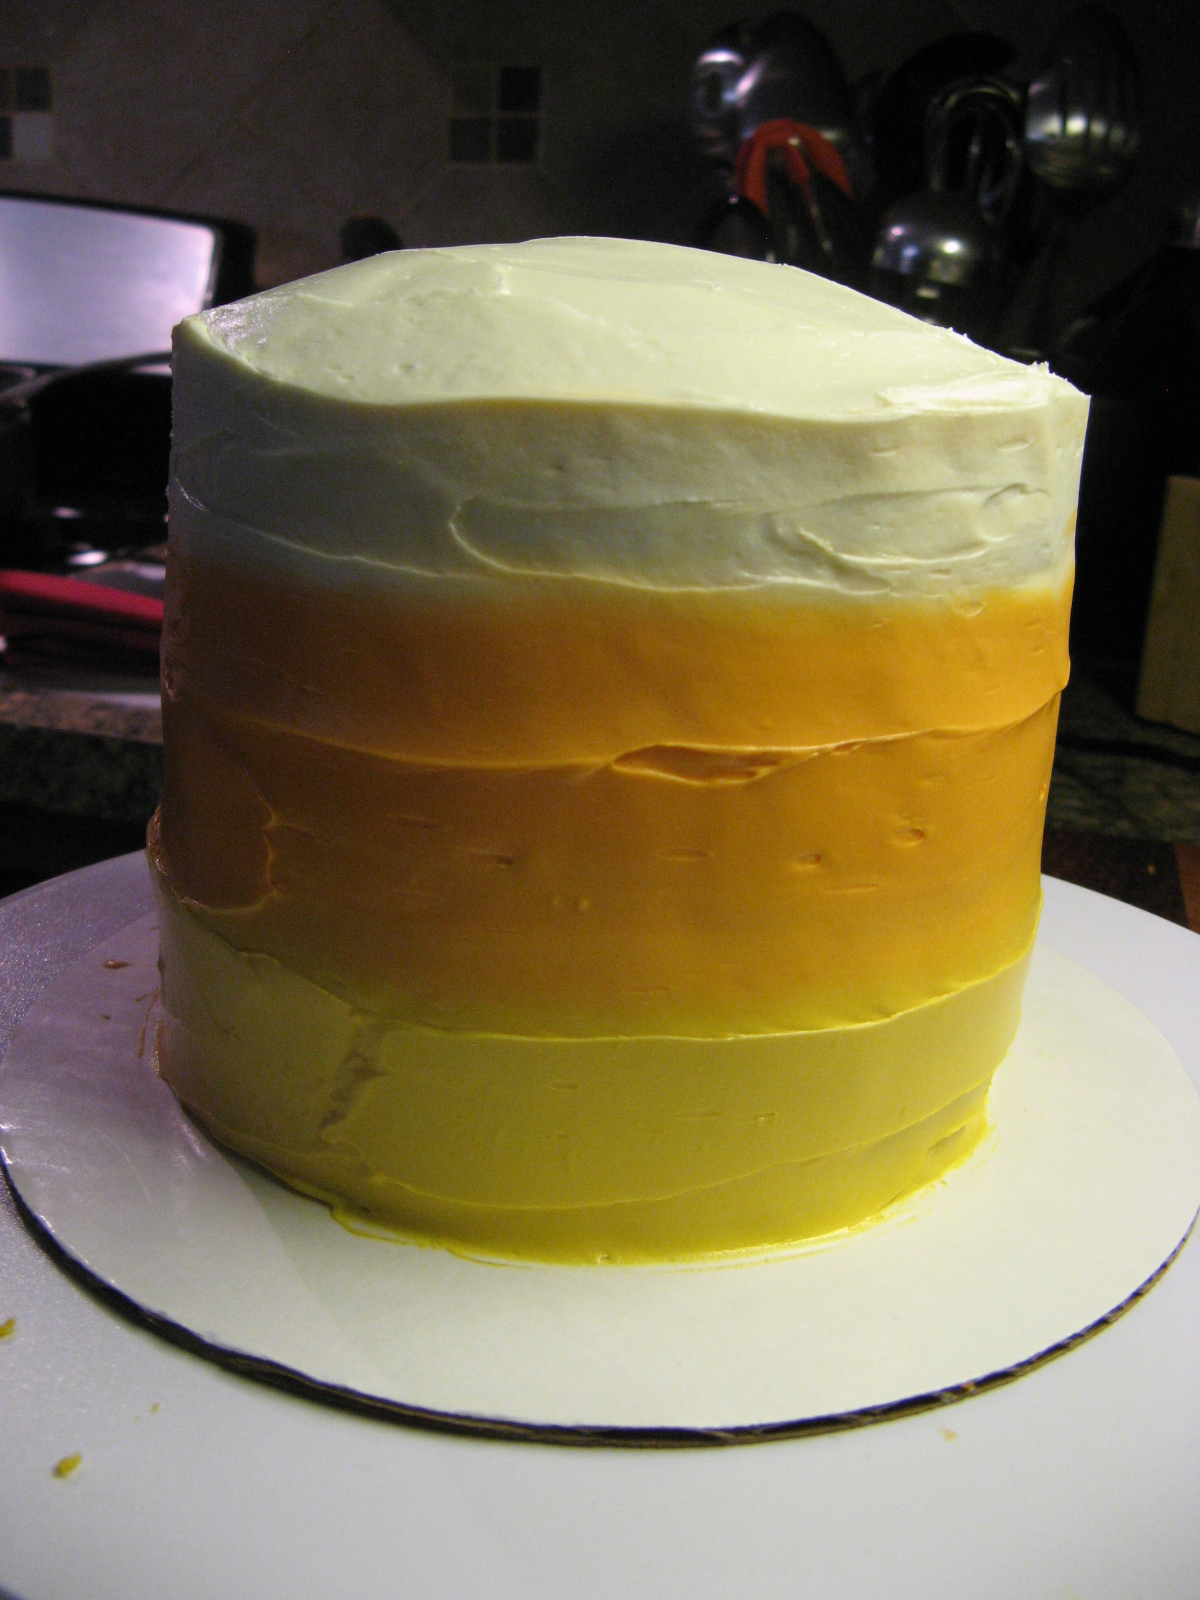
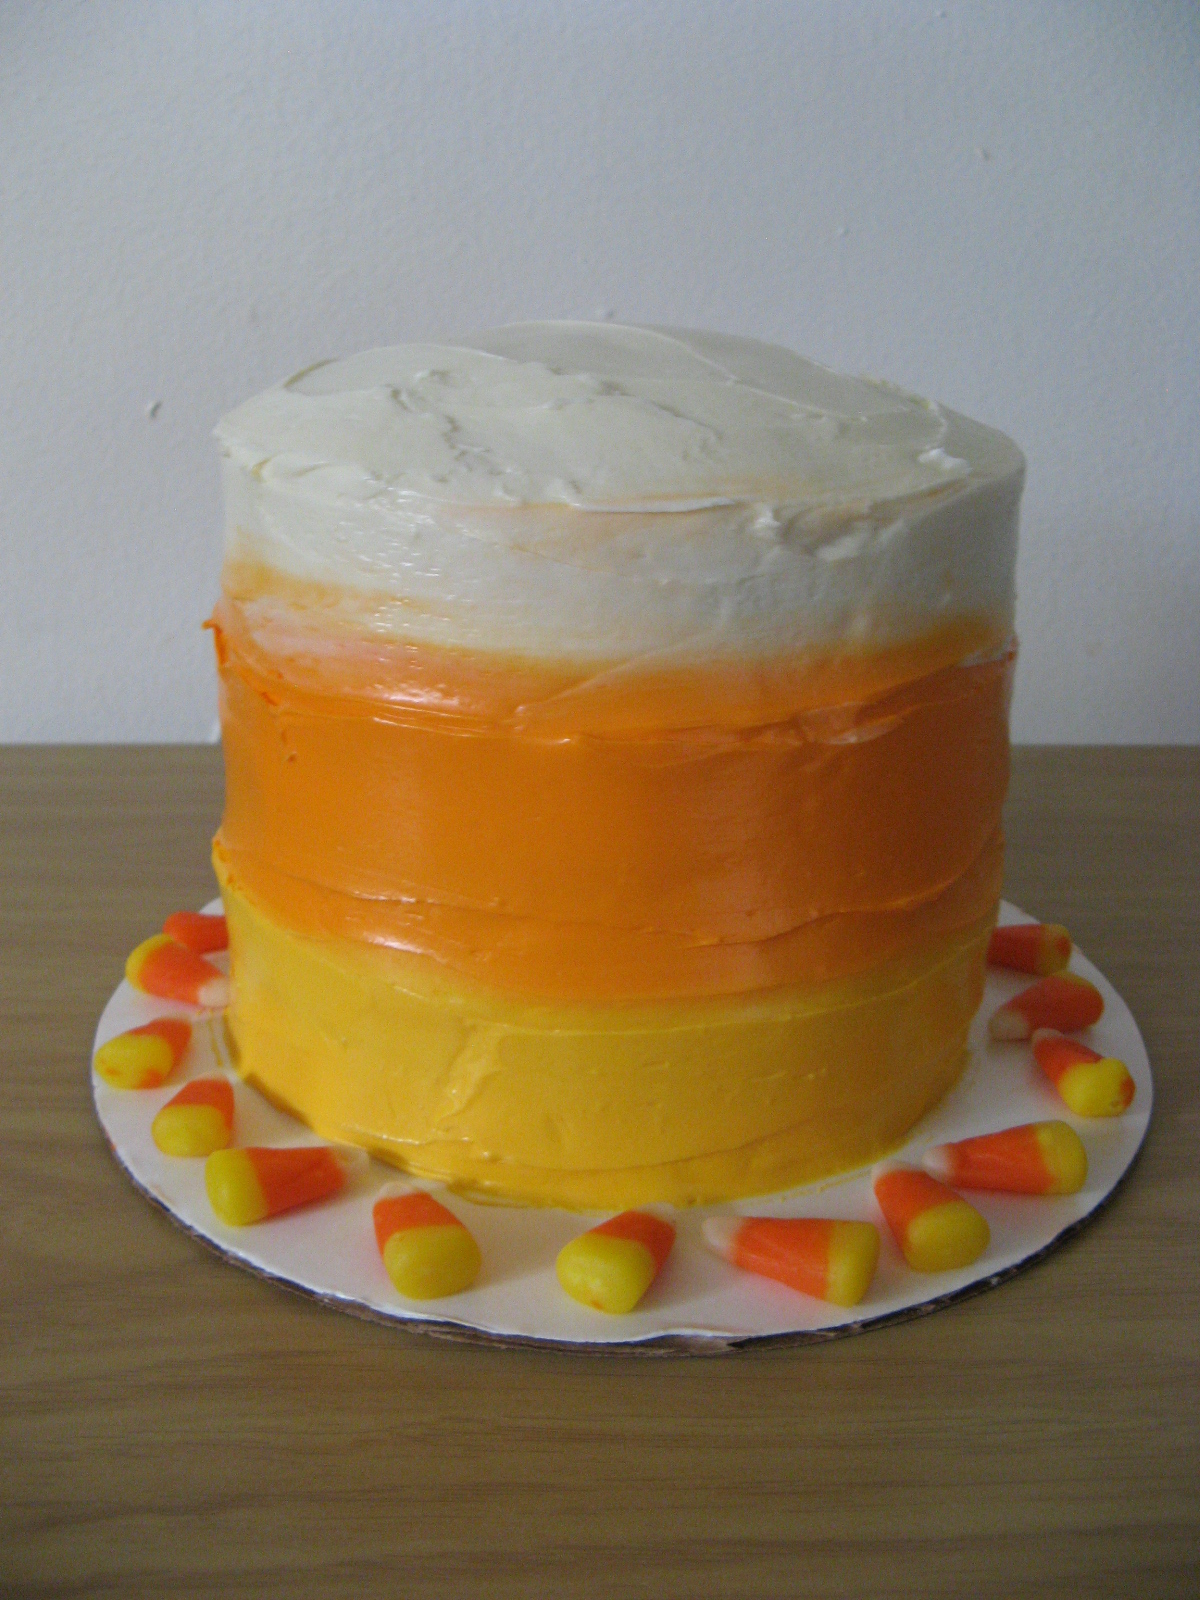
I then placed the cakes in the refrigerator and whipped up two more batches of vanilla frosting. Yes, this cake took about 12 cups of frosting to complete. I’ve learned that it’s best to have left-over frosting as opposed to barely enough, especially when tinting the frosting. One time I was decorating a cake with a ruffle design in pink frosting. Well, by the time I got to the top of the cake I had run out of the pink frosting so I ended up having to frost the top of the cake with white frosting. It didn’t look bad, but, I was definitely kicking myself. Once I was done making the frosting it was time to tint it. I used three Wilton colors to create the ombre effect – Royal Blue, Cornflower Blue & Sky Blue. Once the frosting was ready I started by frosting the top of each of the cake. The smaller tier with while frosting and larger tier with the cornflower blue frosting. I filled piping bags with the remaining frosting and snipped the ends off the bag.
I began by piping the bottom of the larger tier with the royal blue frosting. I then switched to the cornflower blue frosting to finish piping the sides of the cake. Next I used a straight edge icing spatula to smooth the sides of the cake. And finally I used a small spoon to create stripes on the cake by dragging it along the frosting while spinning the turntable.
After placing the smaller tiered cake on the larger one and securing it with a wooden dowel I repeated the frosting and decorating process using the sky blue and white frosting. At this point I popped the cake in the refrigerator overnight so the frosting could set (and I could take a break).
After resting and taking a dinner break I got to work on the centerpieces.
The next morning it was back to the cake. Here’s a pic of the cake before adding the sunflowers…
And with the flowers added…
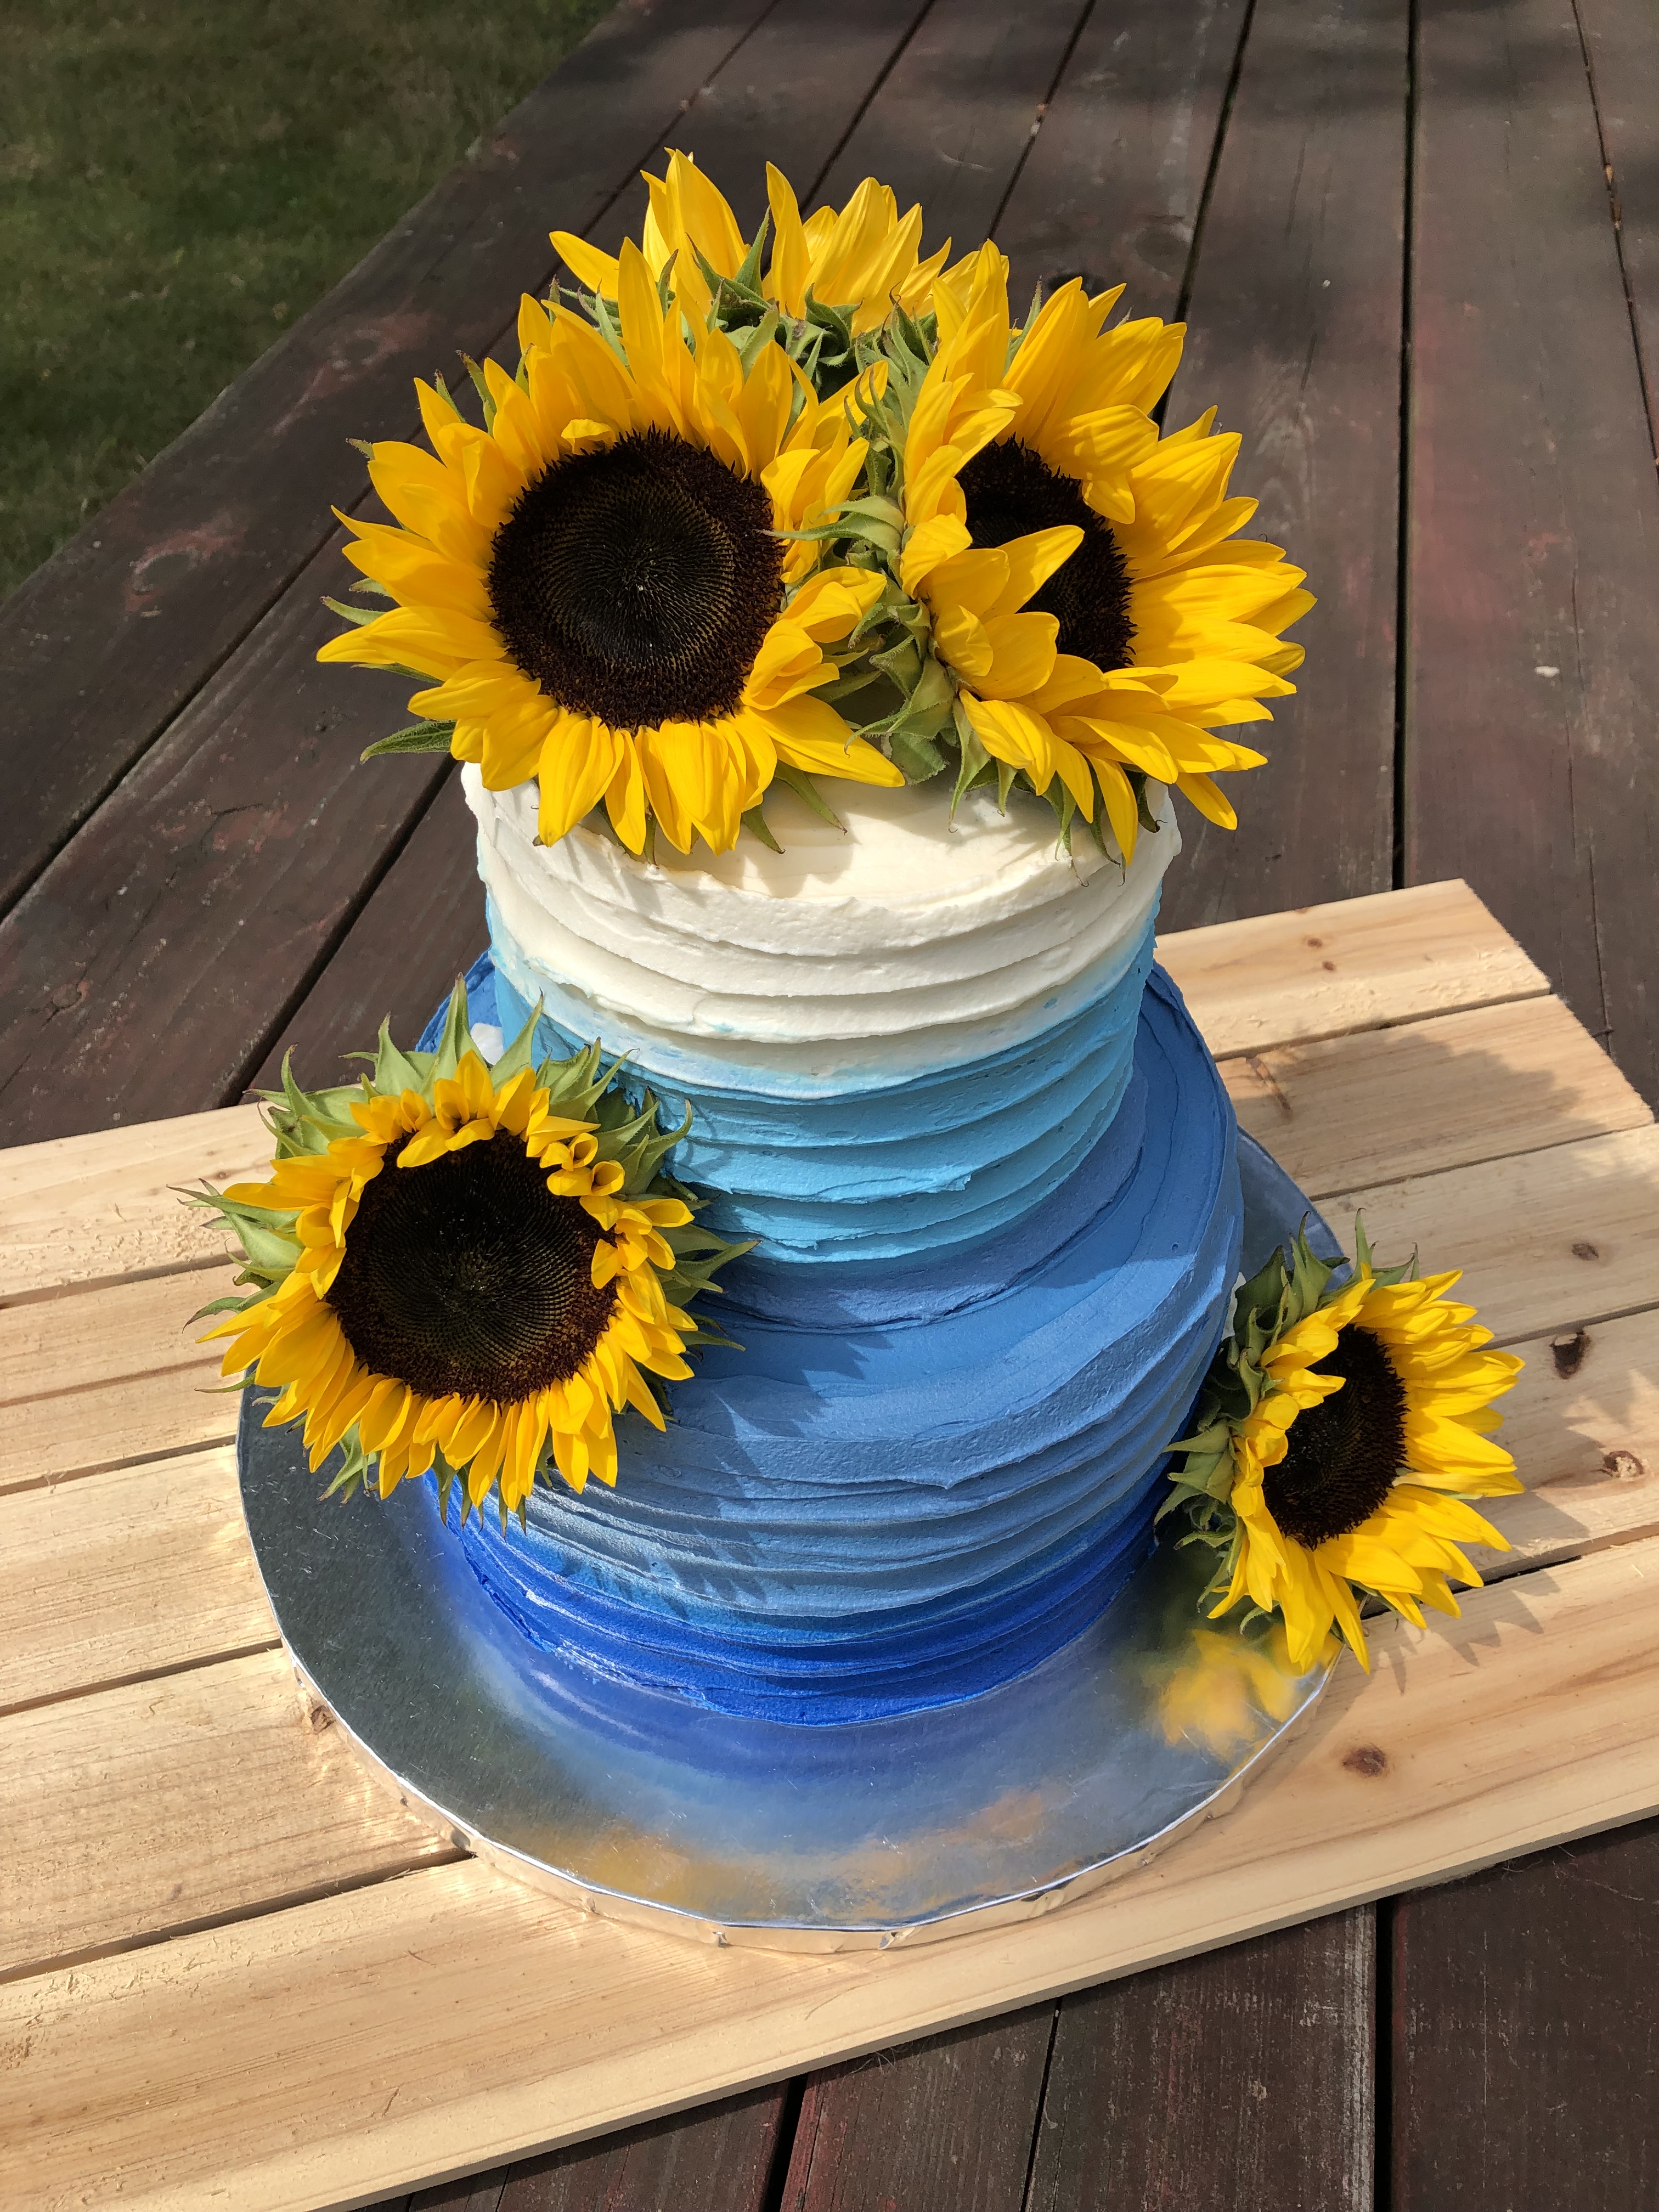
And finally on display at the bridal shower.
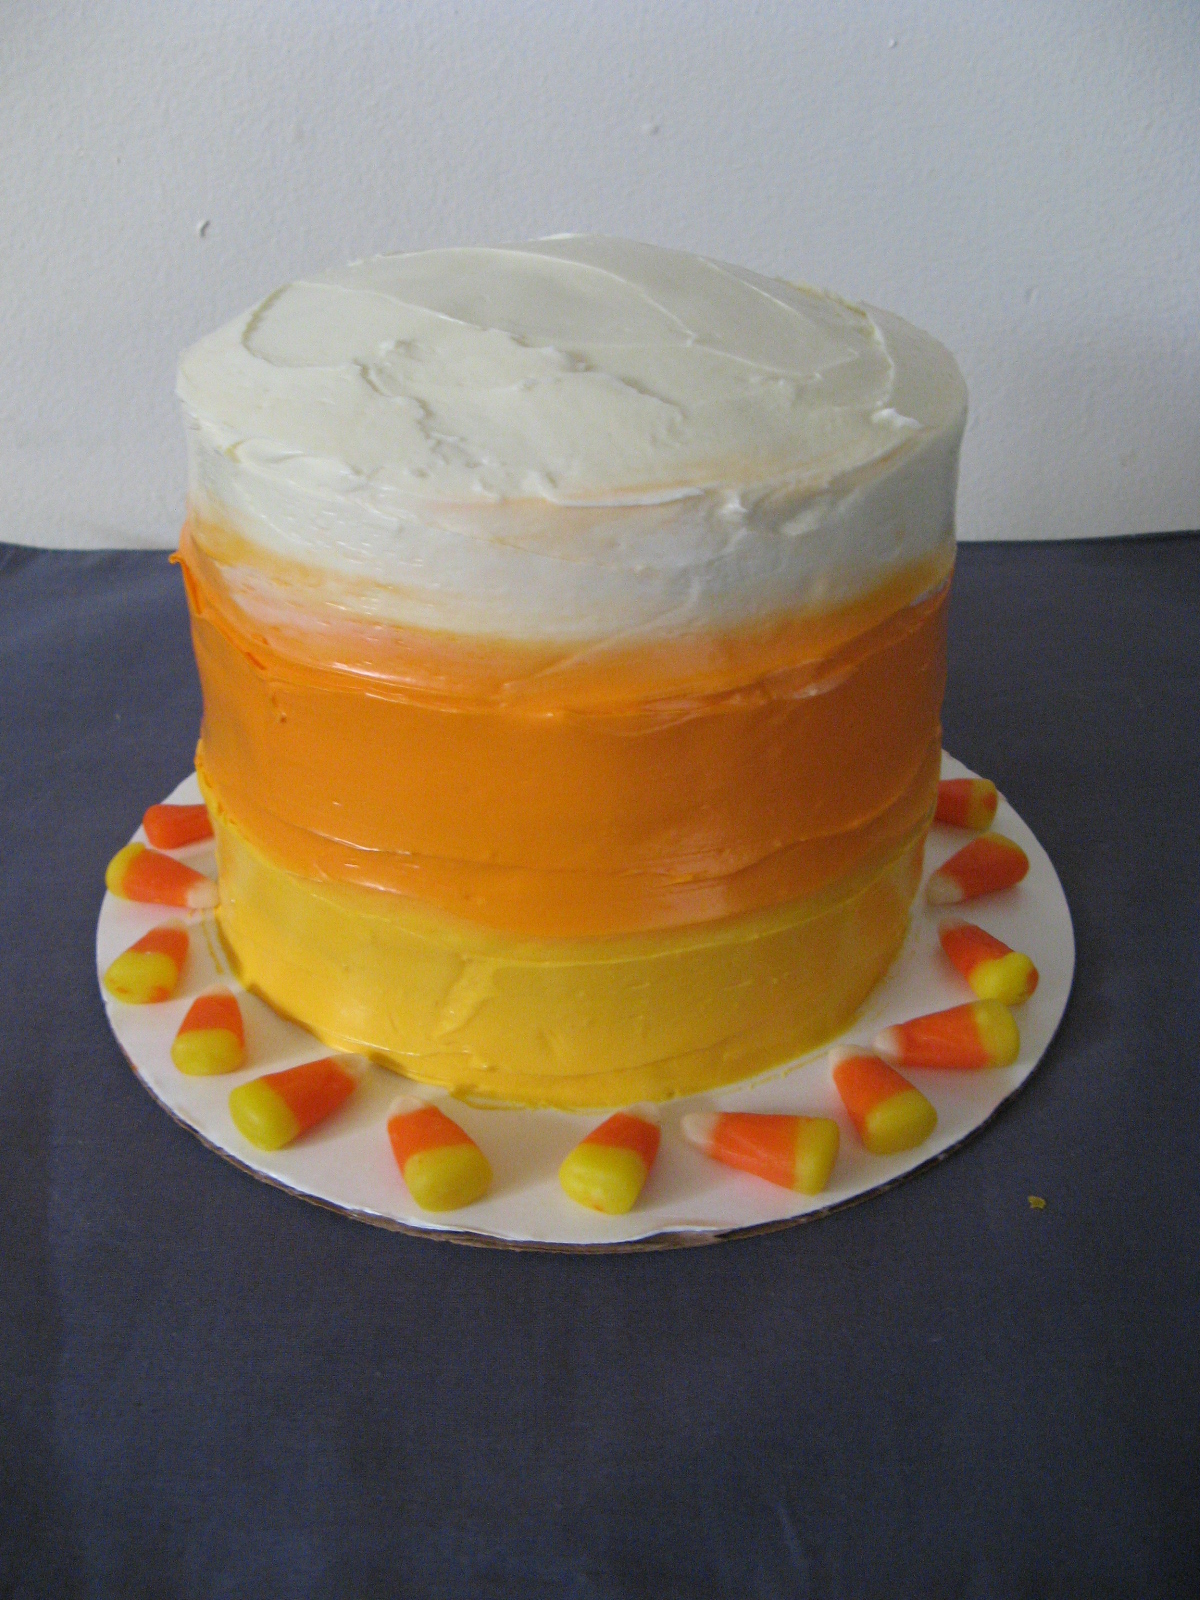
So, now that Fall is right around the corner it’s, dare I say, time to think about the holidays, especially if you are planning on doing any crafting for it. Earlier this year I started crocheting hexagons to make a Christmas tree skirt. I completed about 2/3 of the hexagons but I put the project on hold as I couldn’t find 4 skeins of the same dye lot of the green yarn I wanted to use. I finally got them so that project is back on. Fingers crossed I will get it done. I started working on the hexagons again and for some reason the size is not matching up to the ones I made earlier. I keep ending up with an extra side, so instead of hexagons I am making heptagons. Not sure what I am doing wrong. I made so many hexagons already that I thought making them would utilize muscle memory but something is off. Ugh! I also started looking at Christmas card designs on Pinterest during some downtime. I think I know what I am making this year. I always wait until the last minute to make my cards and I am doing by best this year to start early so I am not scrambling in mid-December. If all this talk about the holidays has you stressing out, I apologize. At least I haven’t started shopping. Back to Fall though, I started decorating with some pumpkins around the house, nothing outside though. I will wait until it’s actually Fall to do that. I was almost tempted to put up my scarecrows but I held off. And of course there is baking… I’ve got some ideas for Fall treats and I am already looking ahead to Christmas cookies. Sorry, I brought it up again. But, my fellow crafters and bakers know where I am coming from. You’ve got to be a season ahead with these things, especially when you are blogging about them. For now… Happy Fall Y’all (albeit a few weeks early!)