Rum Cake

I might be a little late to post this cake. Typically, Rum Cake is made around the holidays and I had every intention of making this around Christmas, but plans changed. Let’s be honest though, Rum Cake is good anytime of the year. Anything good is good anytime! I will let you know upfront that this is a semi-homemade Rum Cake and is truly simple and easy to make. I’ve seen recipes online that contain nuts, additional extracts and so forth, but, not with this one. Do not fear though, it does not skimp on flavor nor deliciousness.

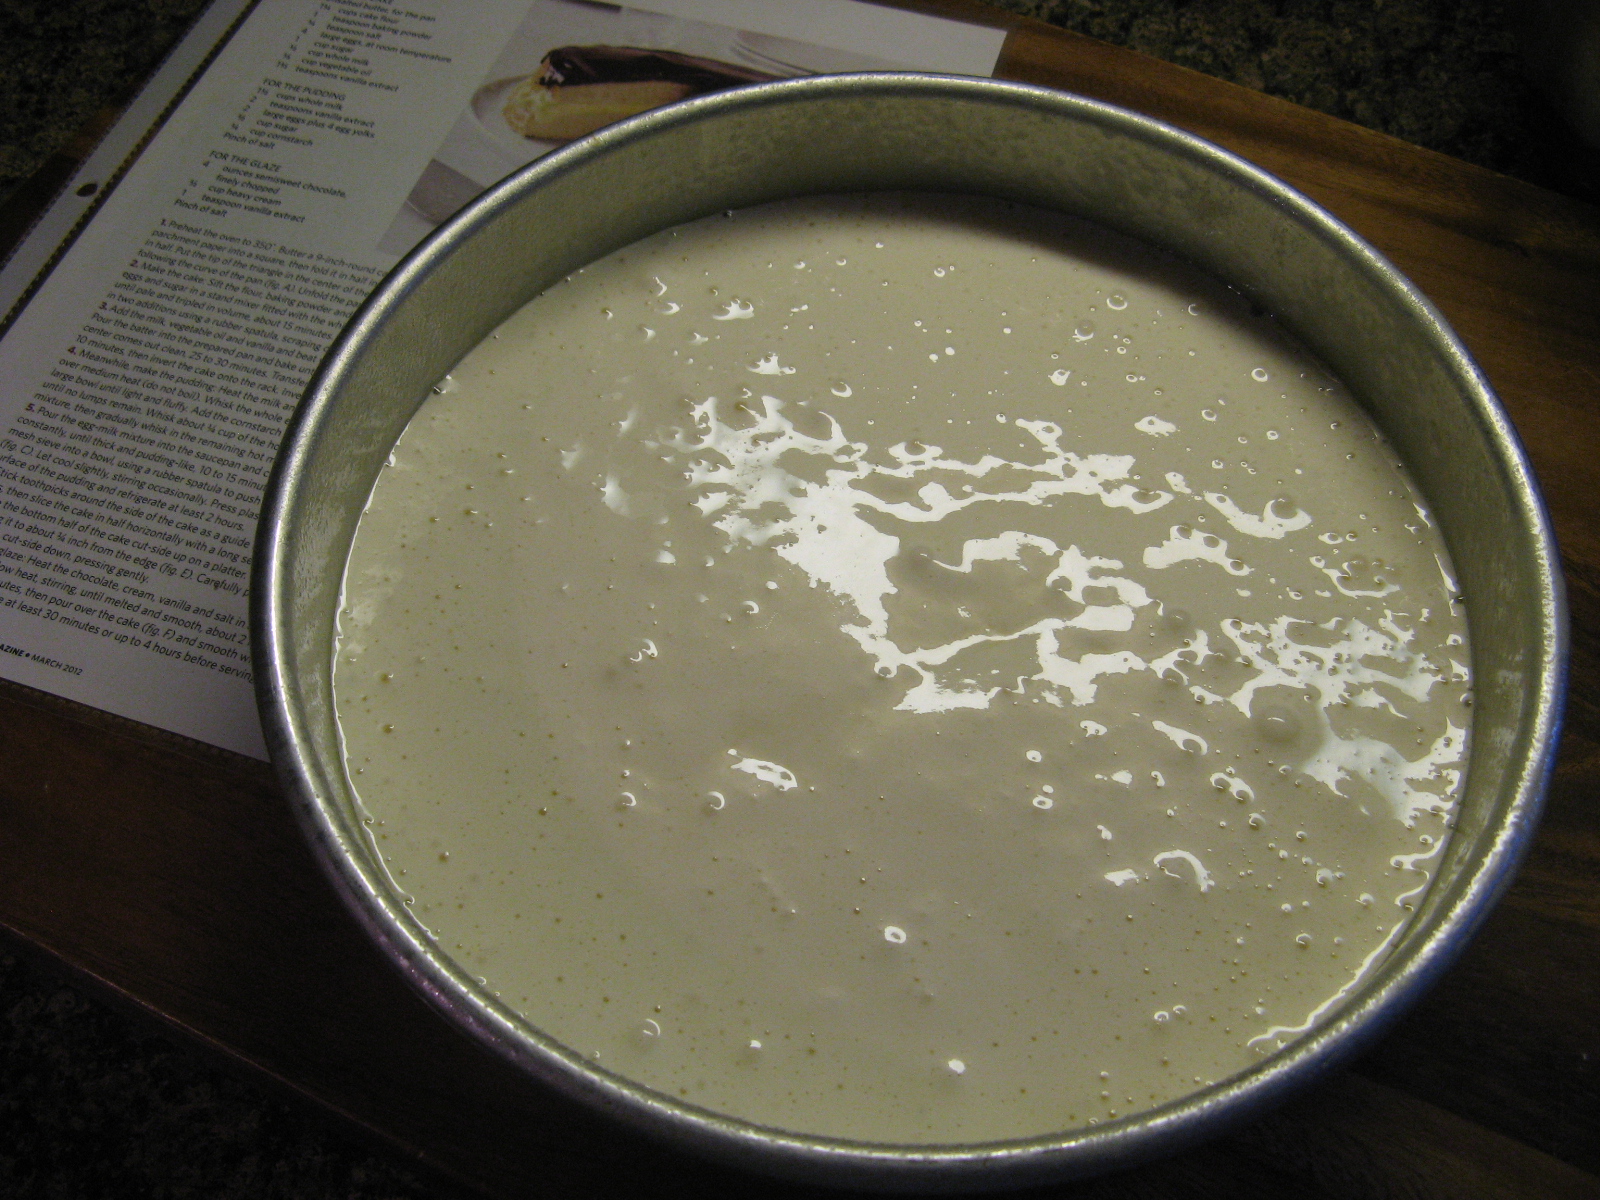
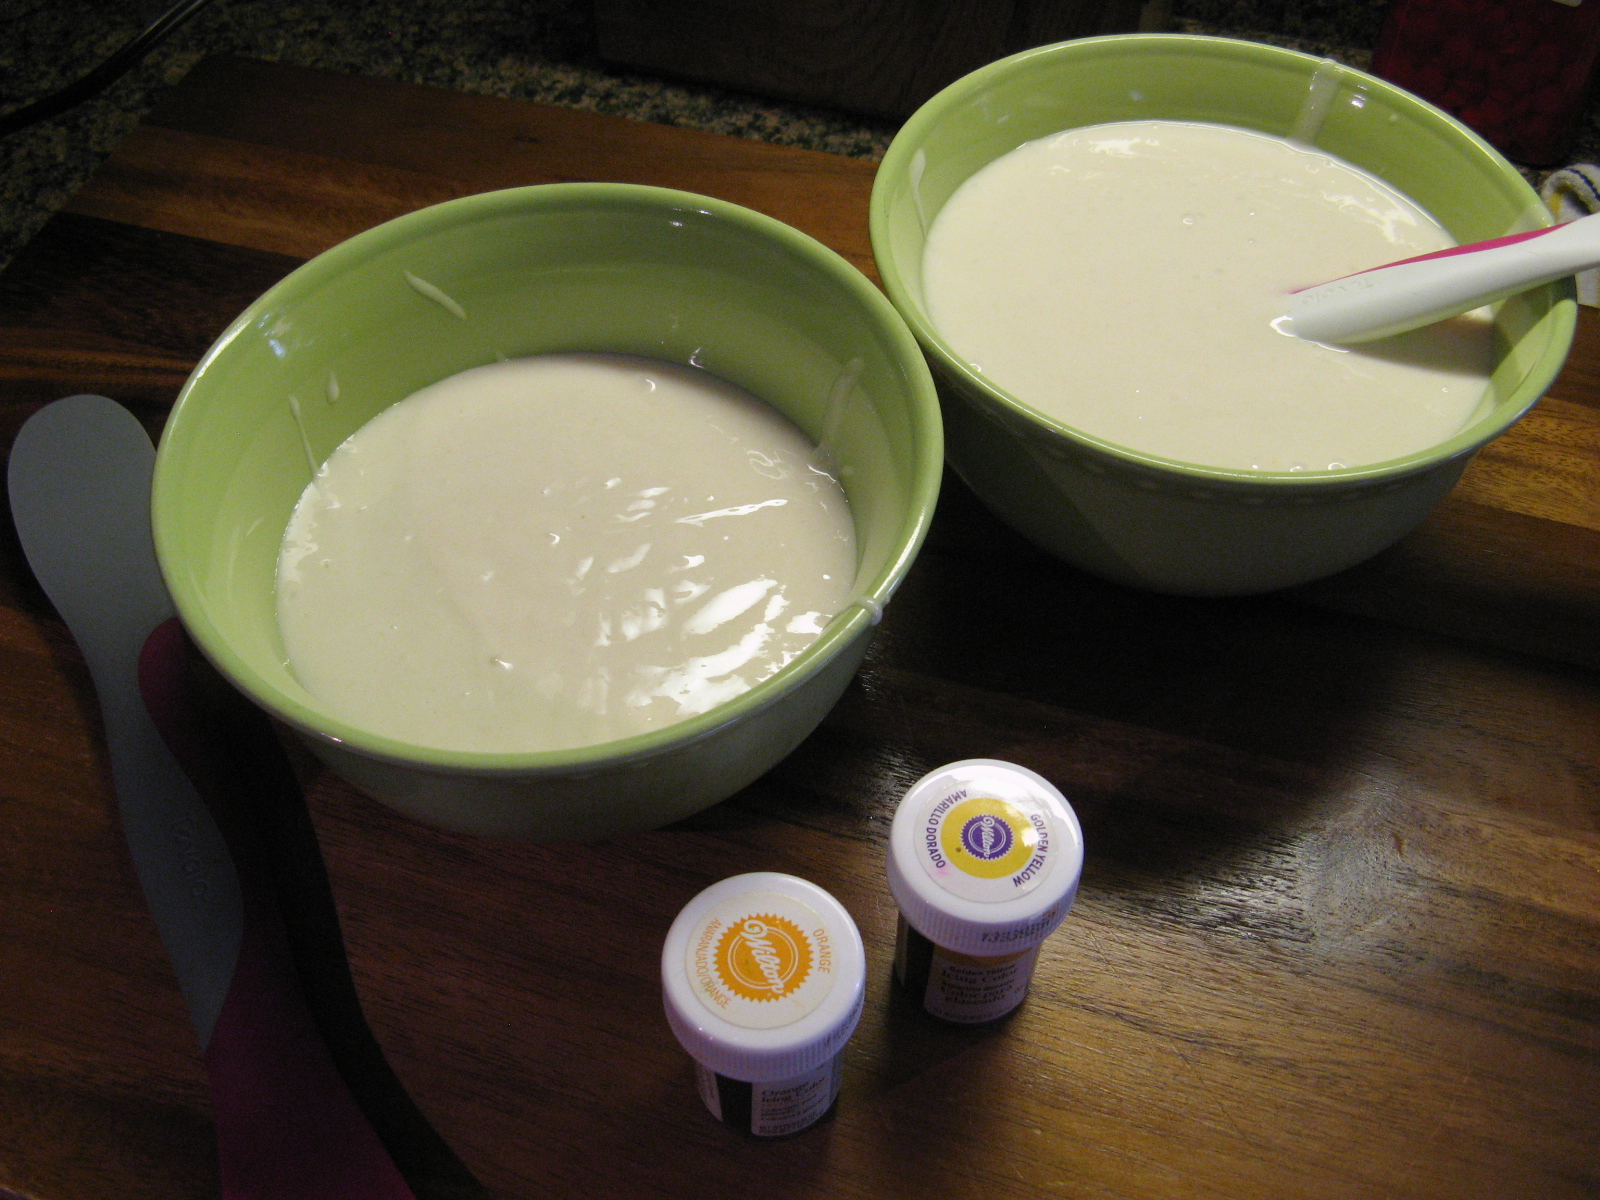
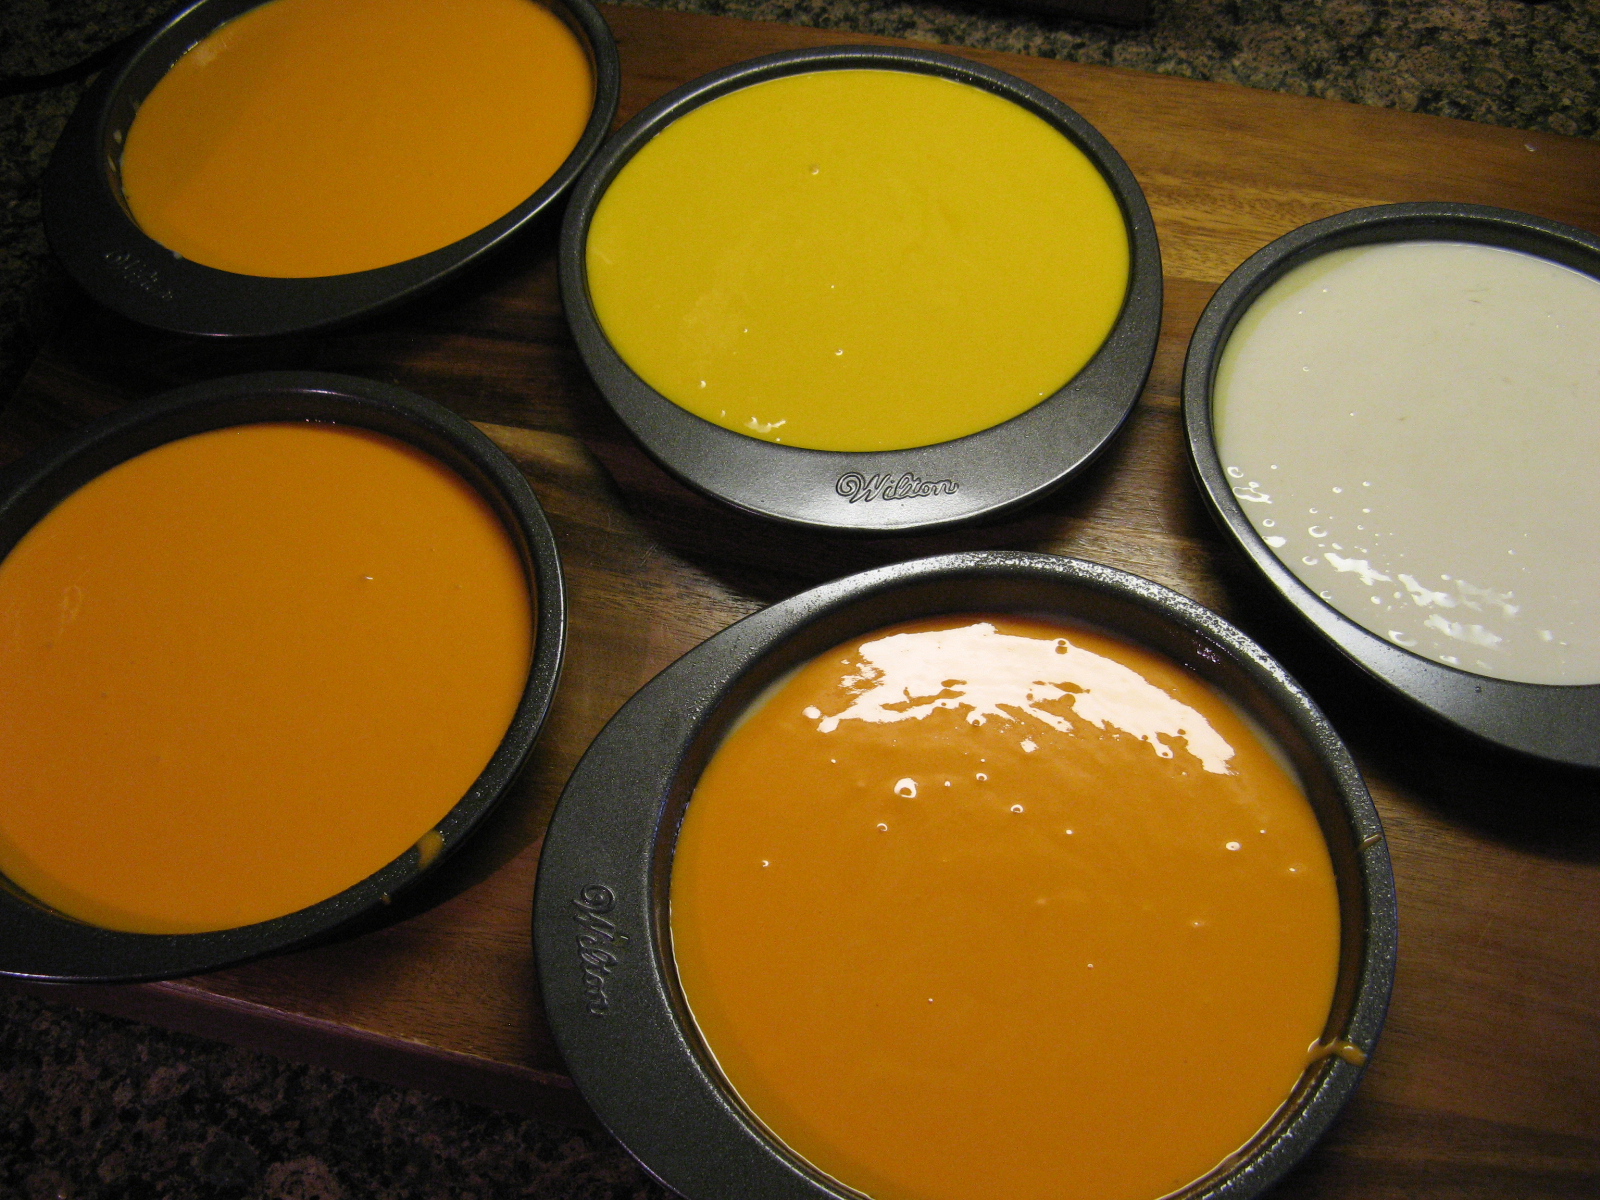
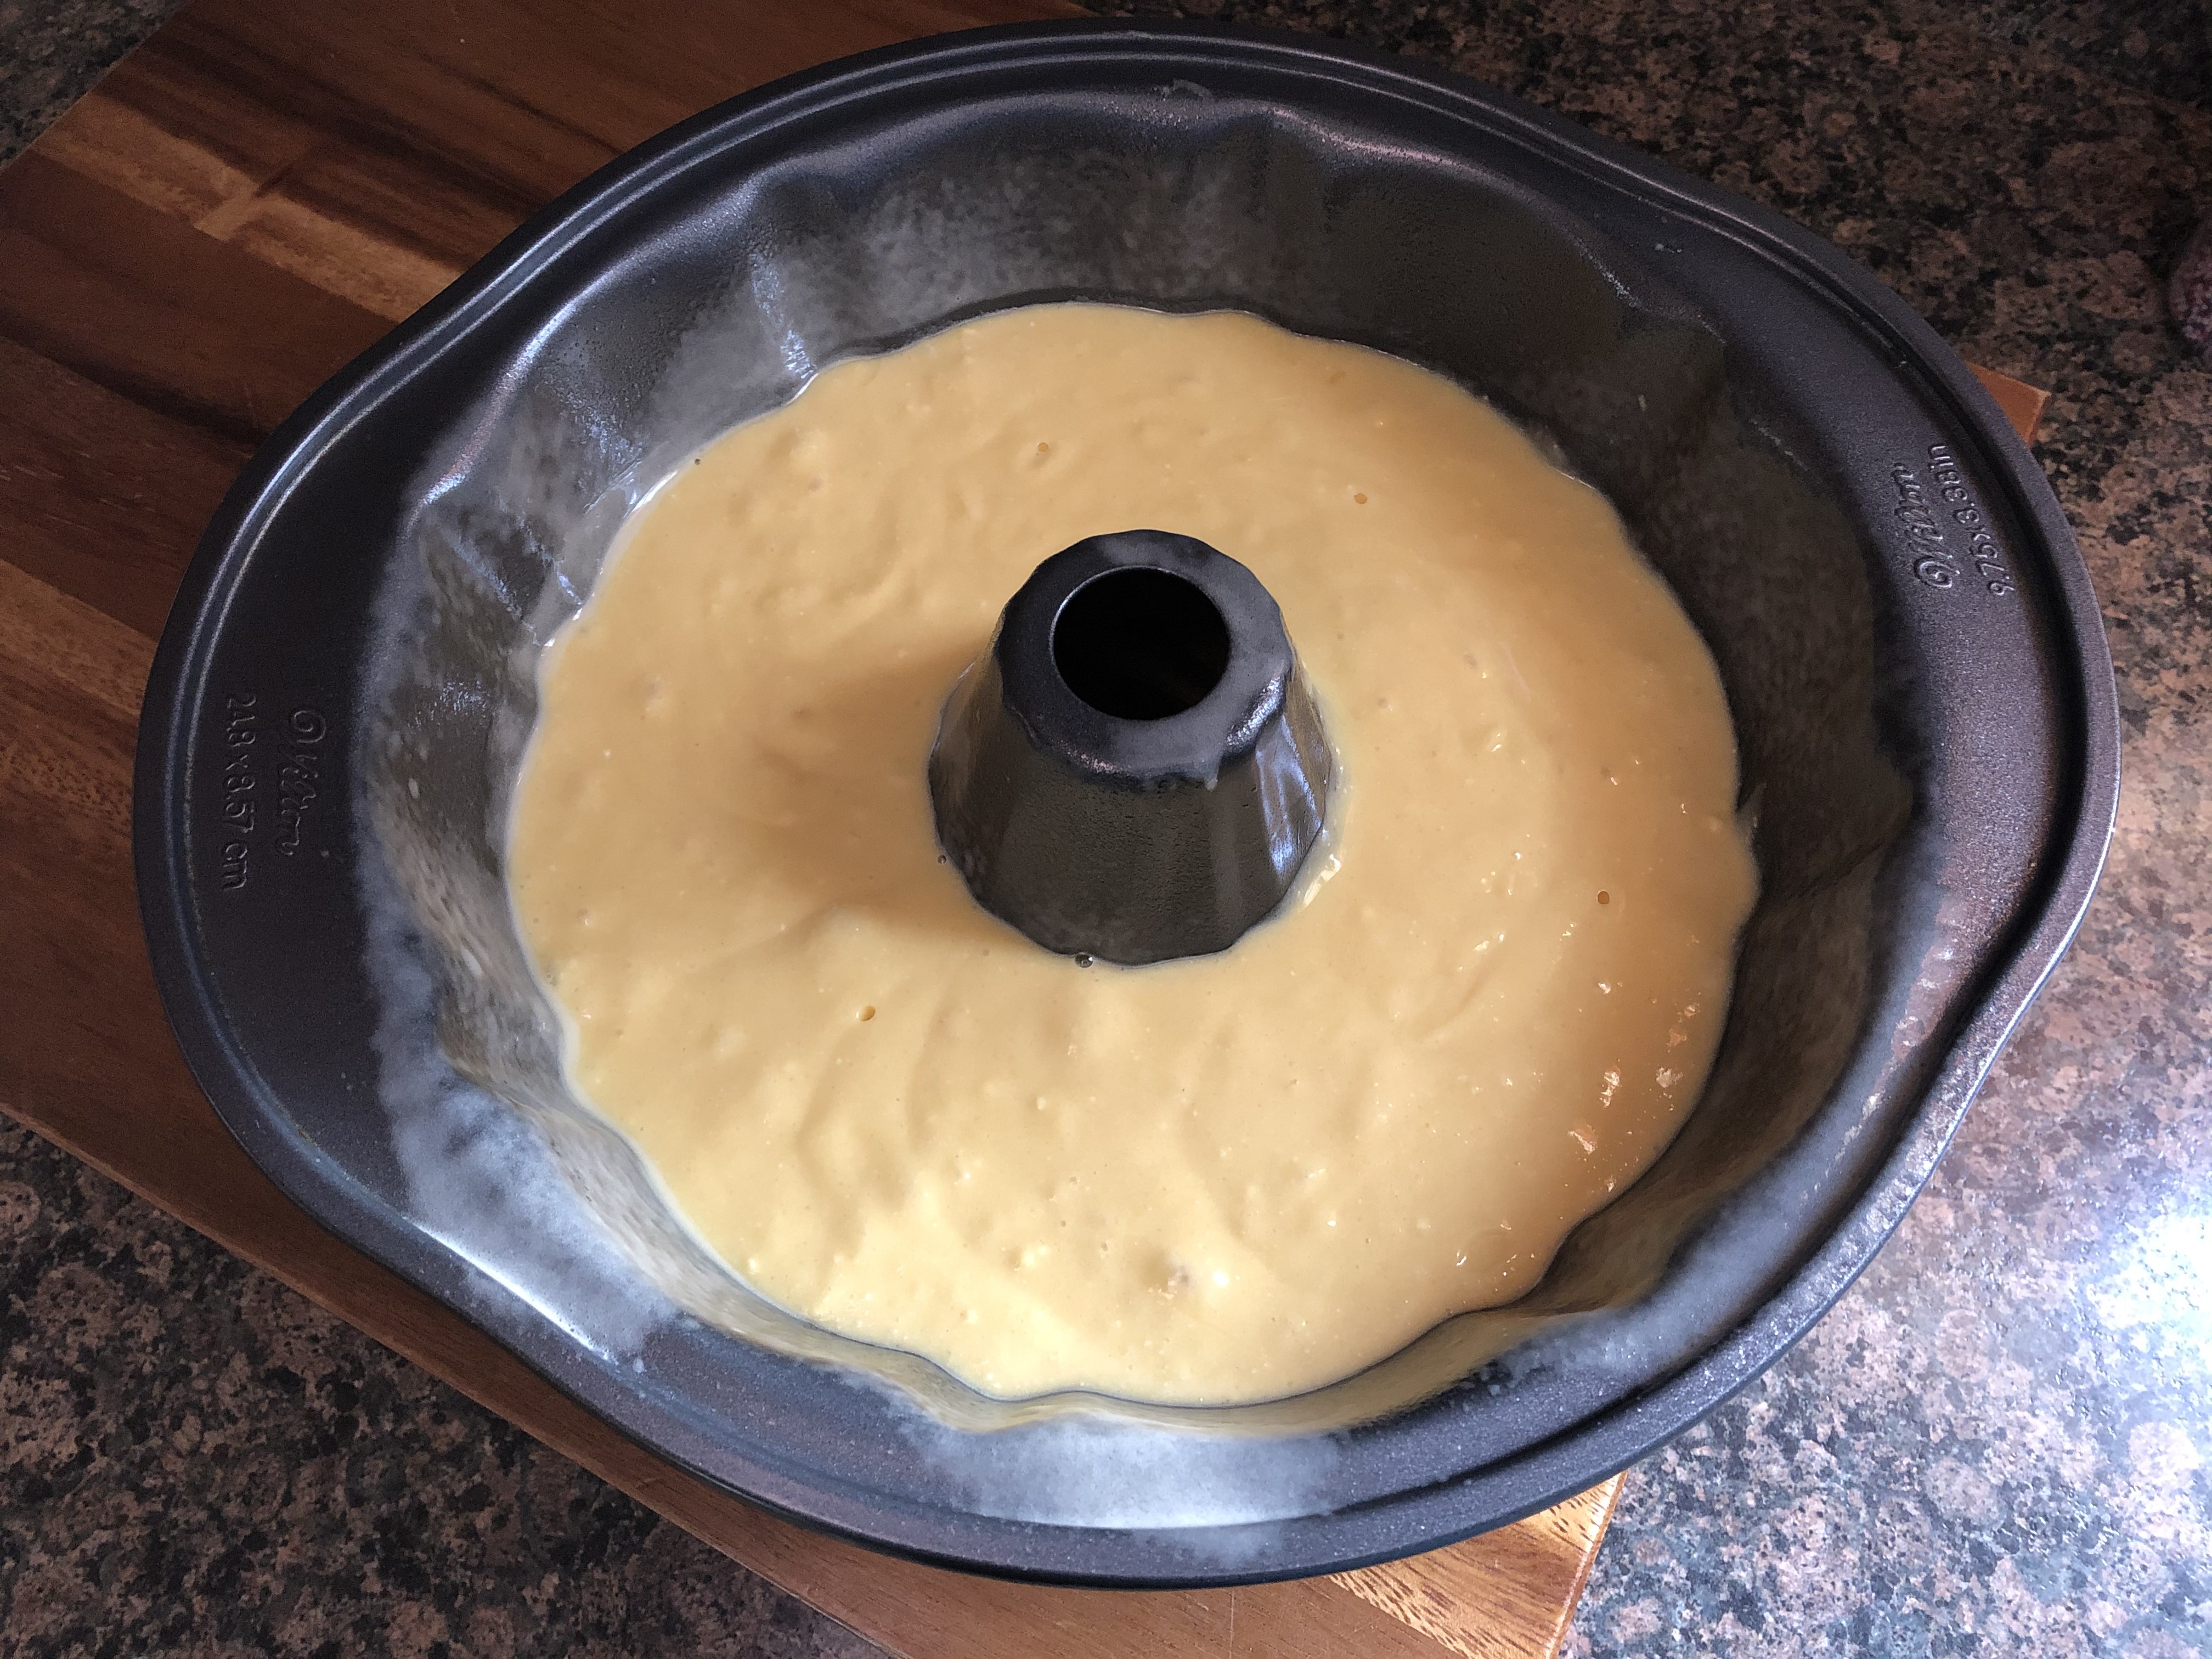
To make the batter for the cake I combined a box of yellow cake mix along with a small box of vanilla pudding mix, rum, water, vegetable oil and eggs. I then poured it into a Bundt pan that I sprayed with baking spray.

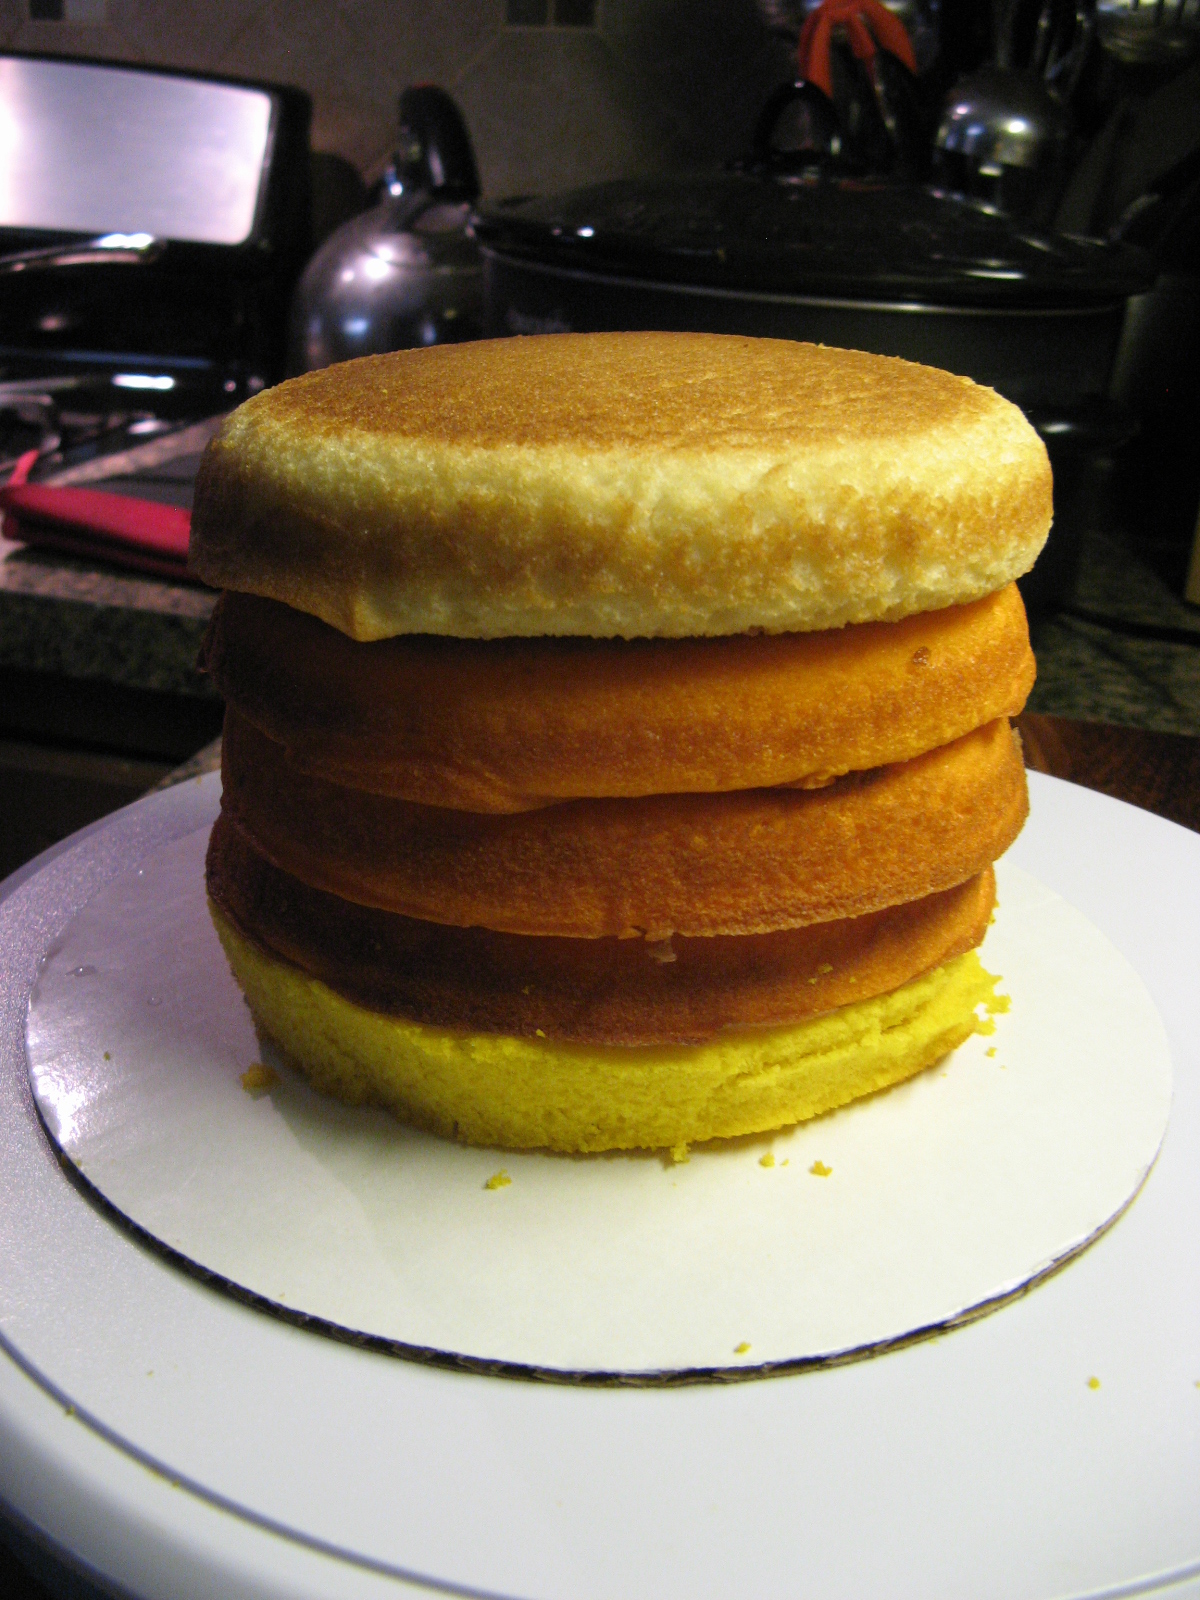
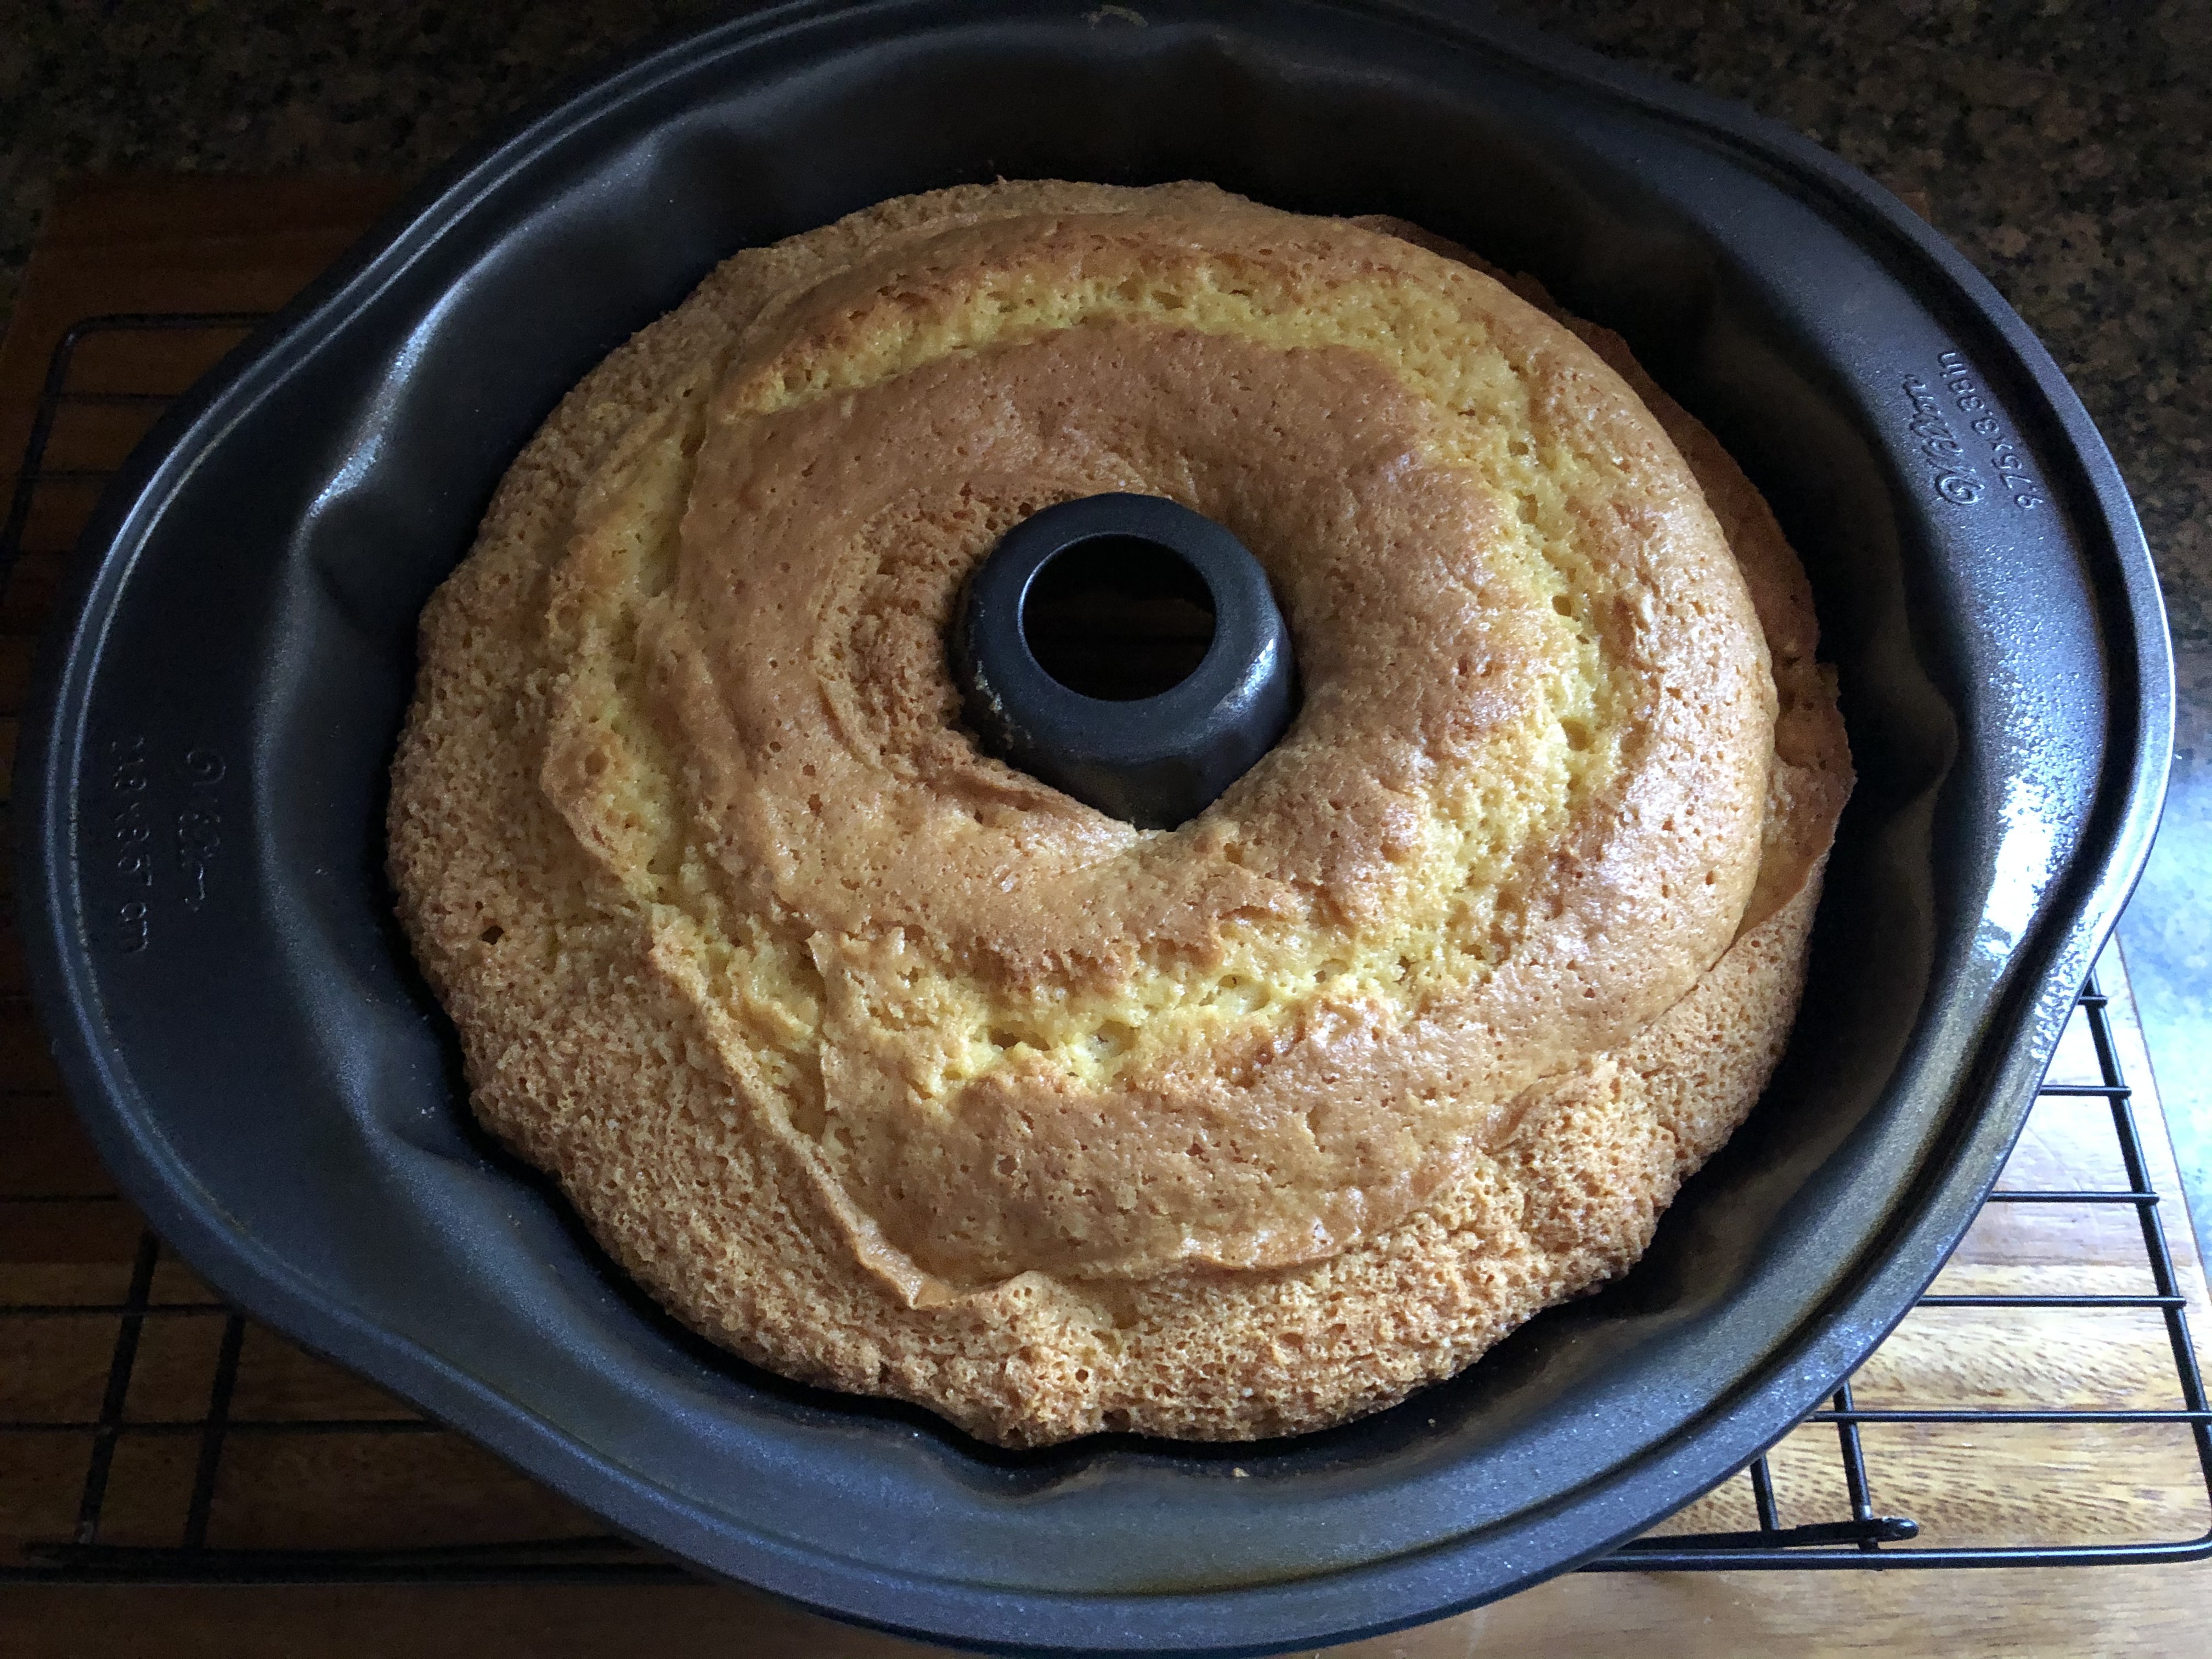
After baking for about an hour in a 325 F preheated oven the cake was done. I placed it on a wire rack and immediately made the rum sauce to pour over it.

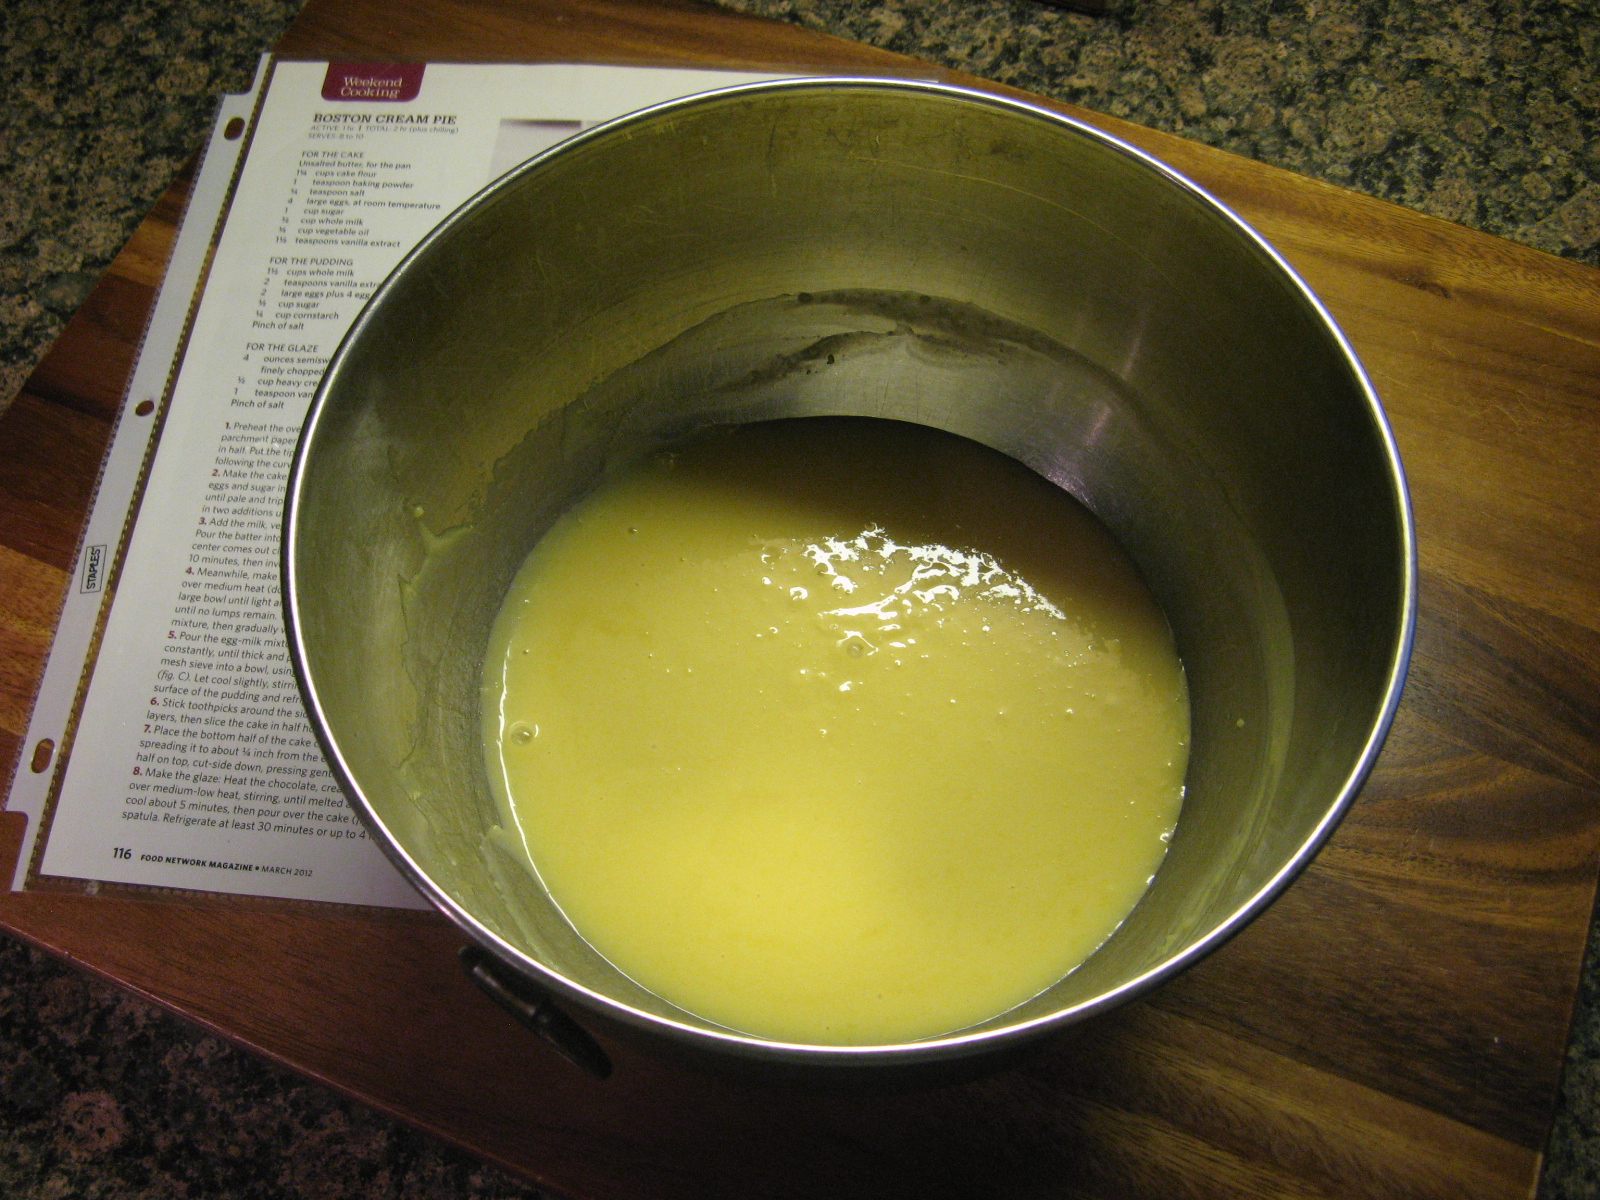
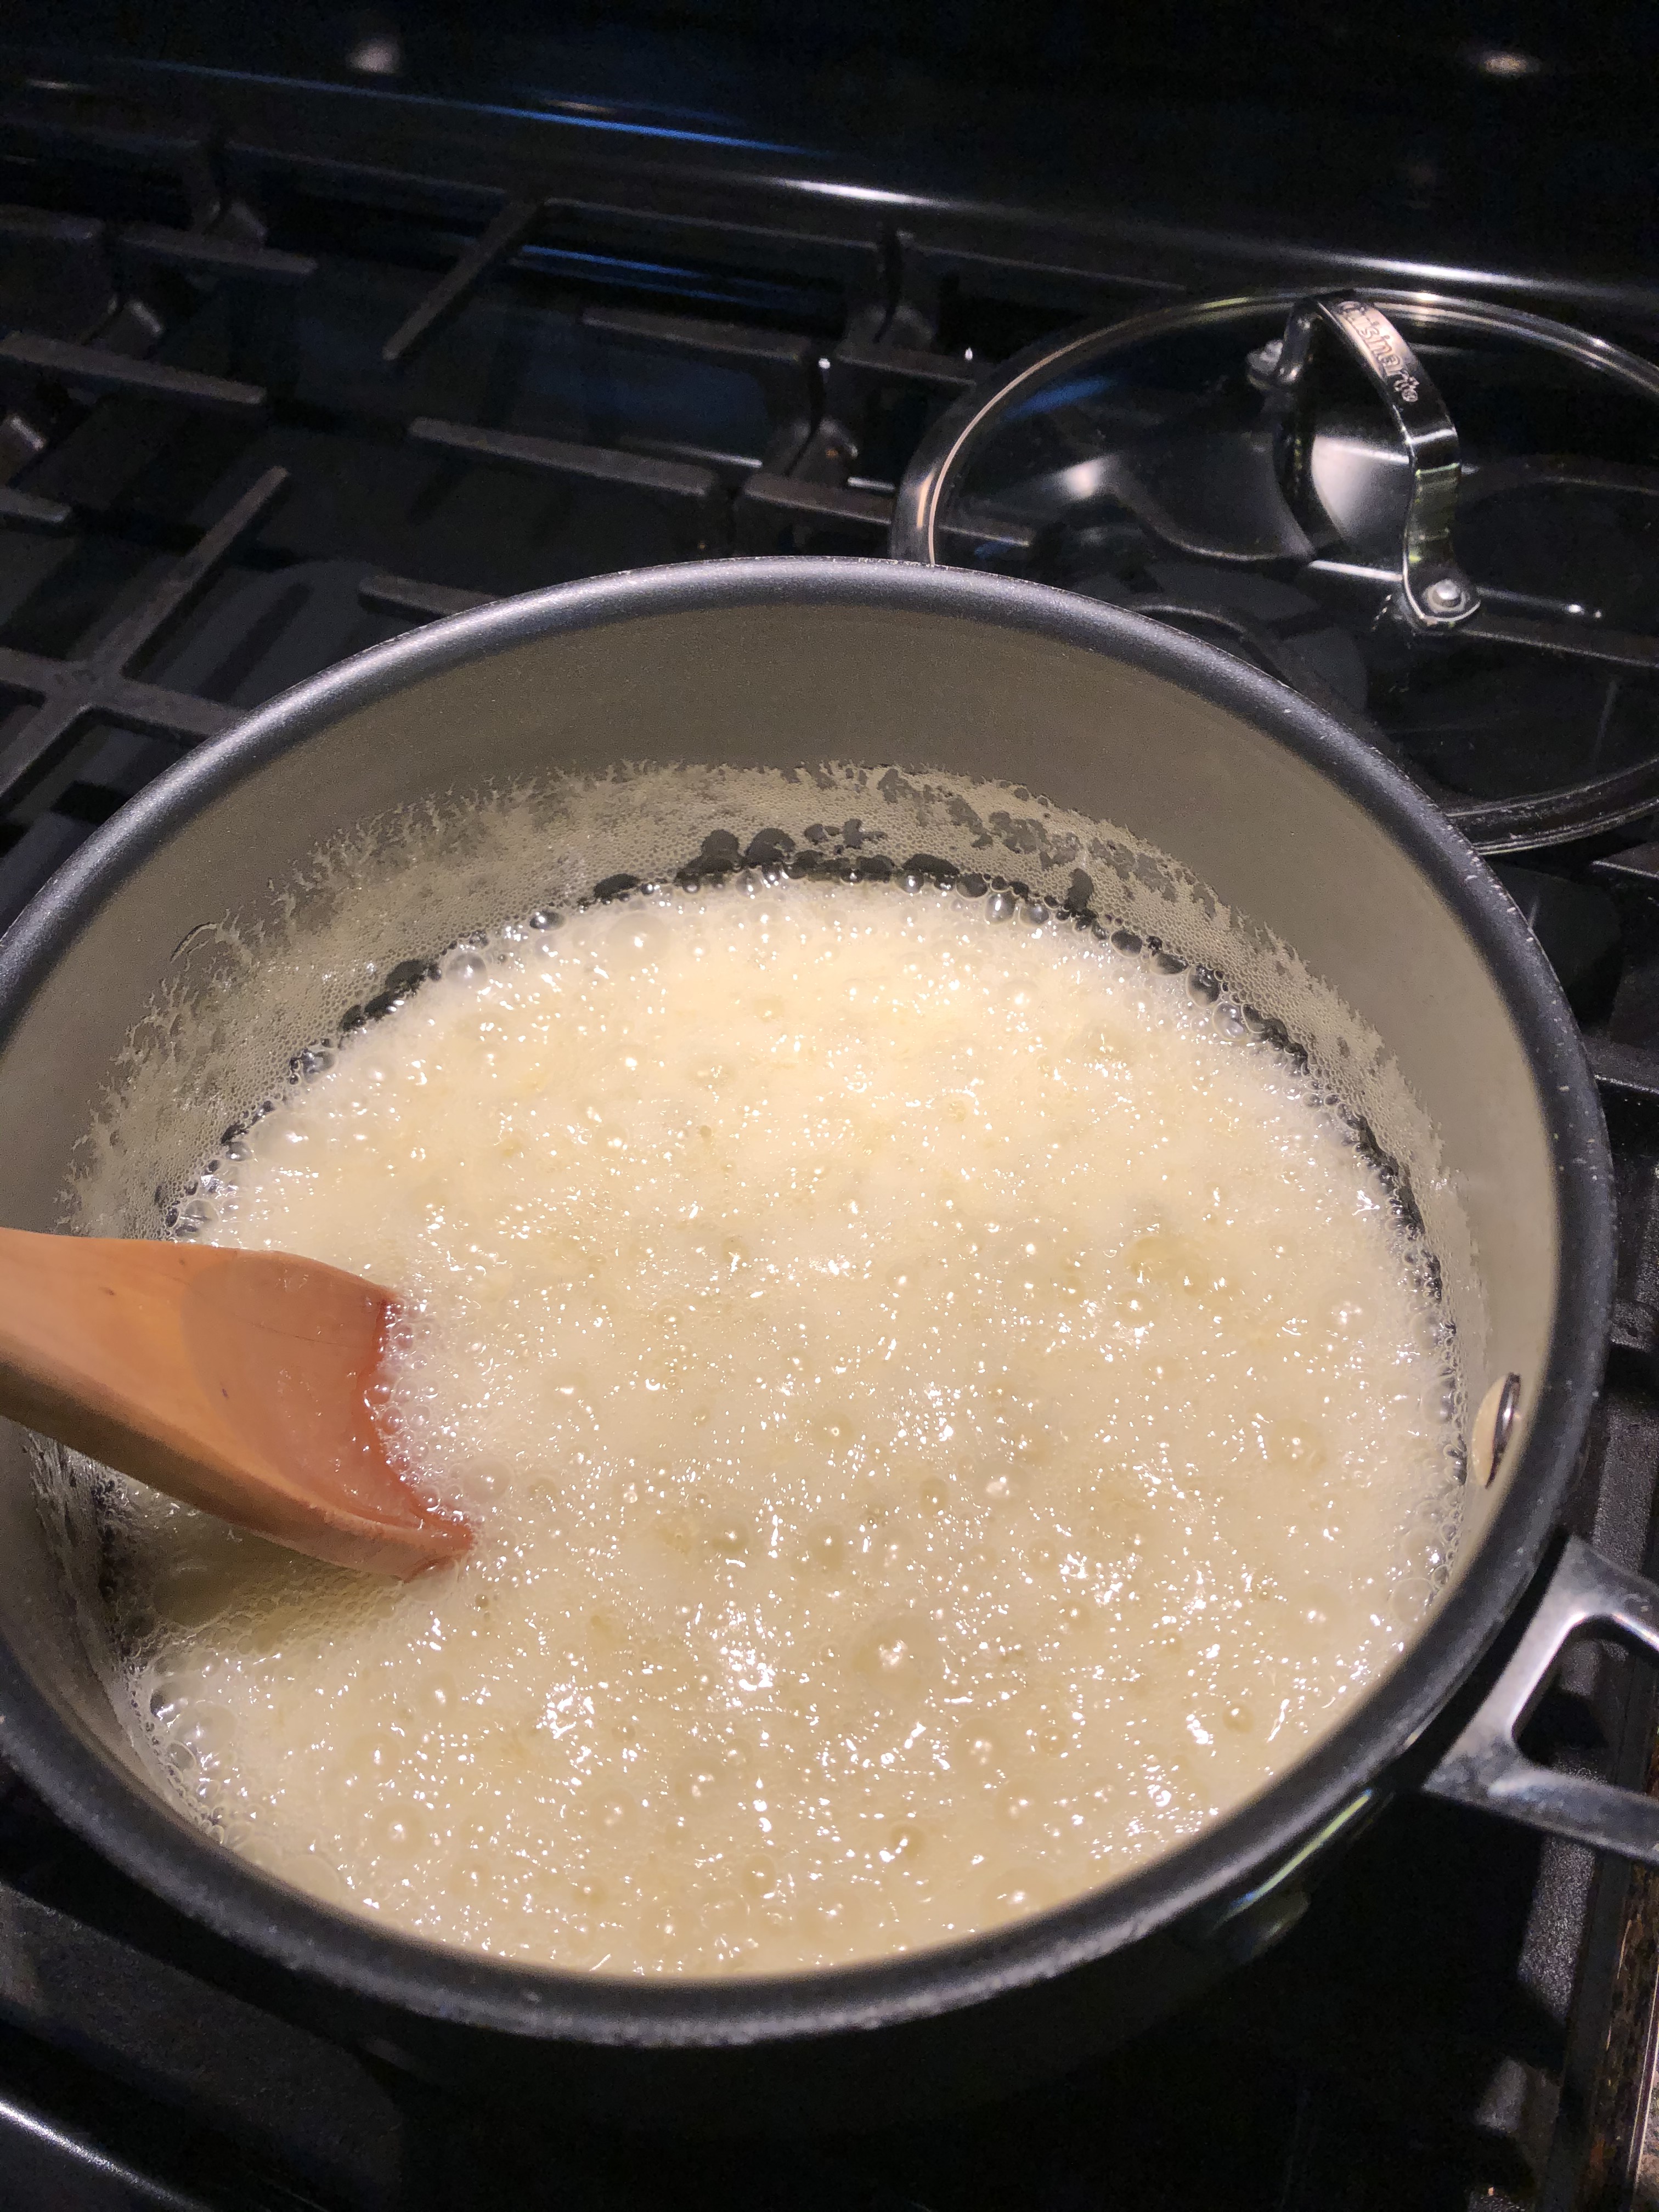
In a medium saucepan I combined a stick of unsalted butter along with sugar and rum and cooked it over medium heat until the butter had melted, the sugar dissolved, and it began to boil. The mixture was the consistency of a thin syrup.  Just a note, you don’t want to make the sauce before the cake is done. It may become too thick to pour onto the cake it and it won’t get absorbed as well.

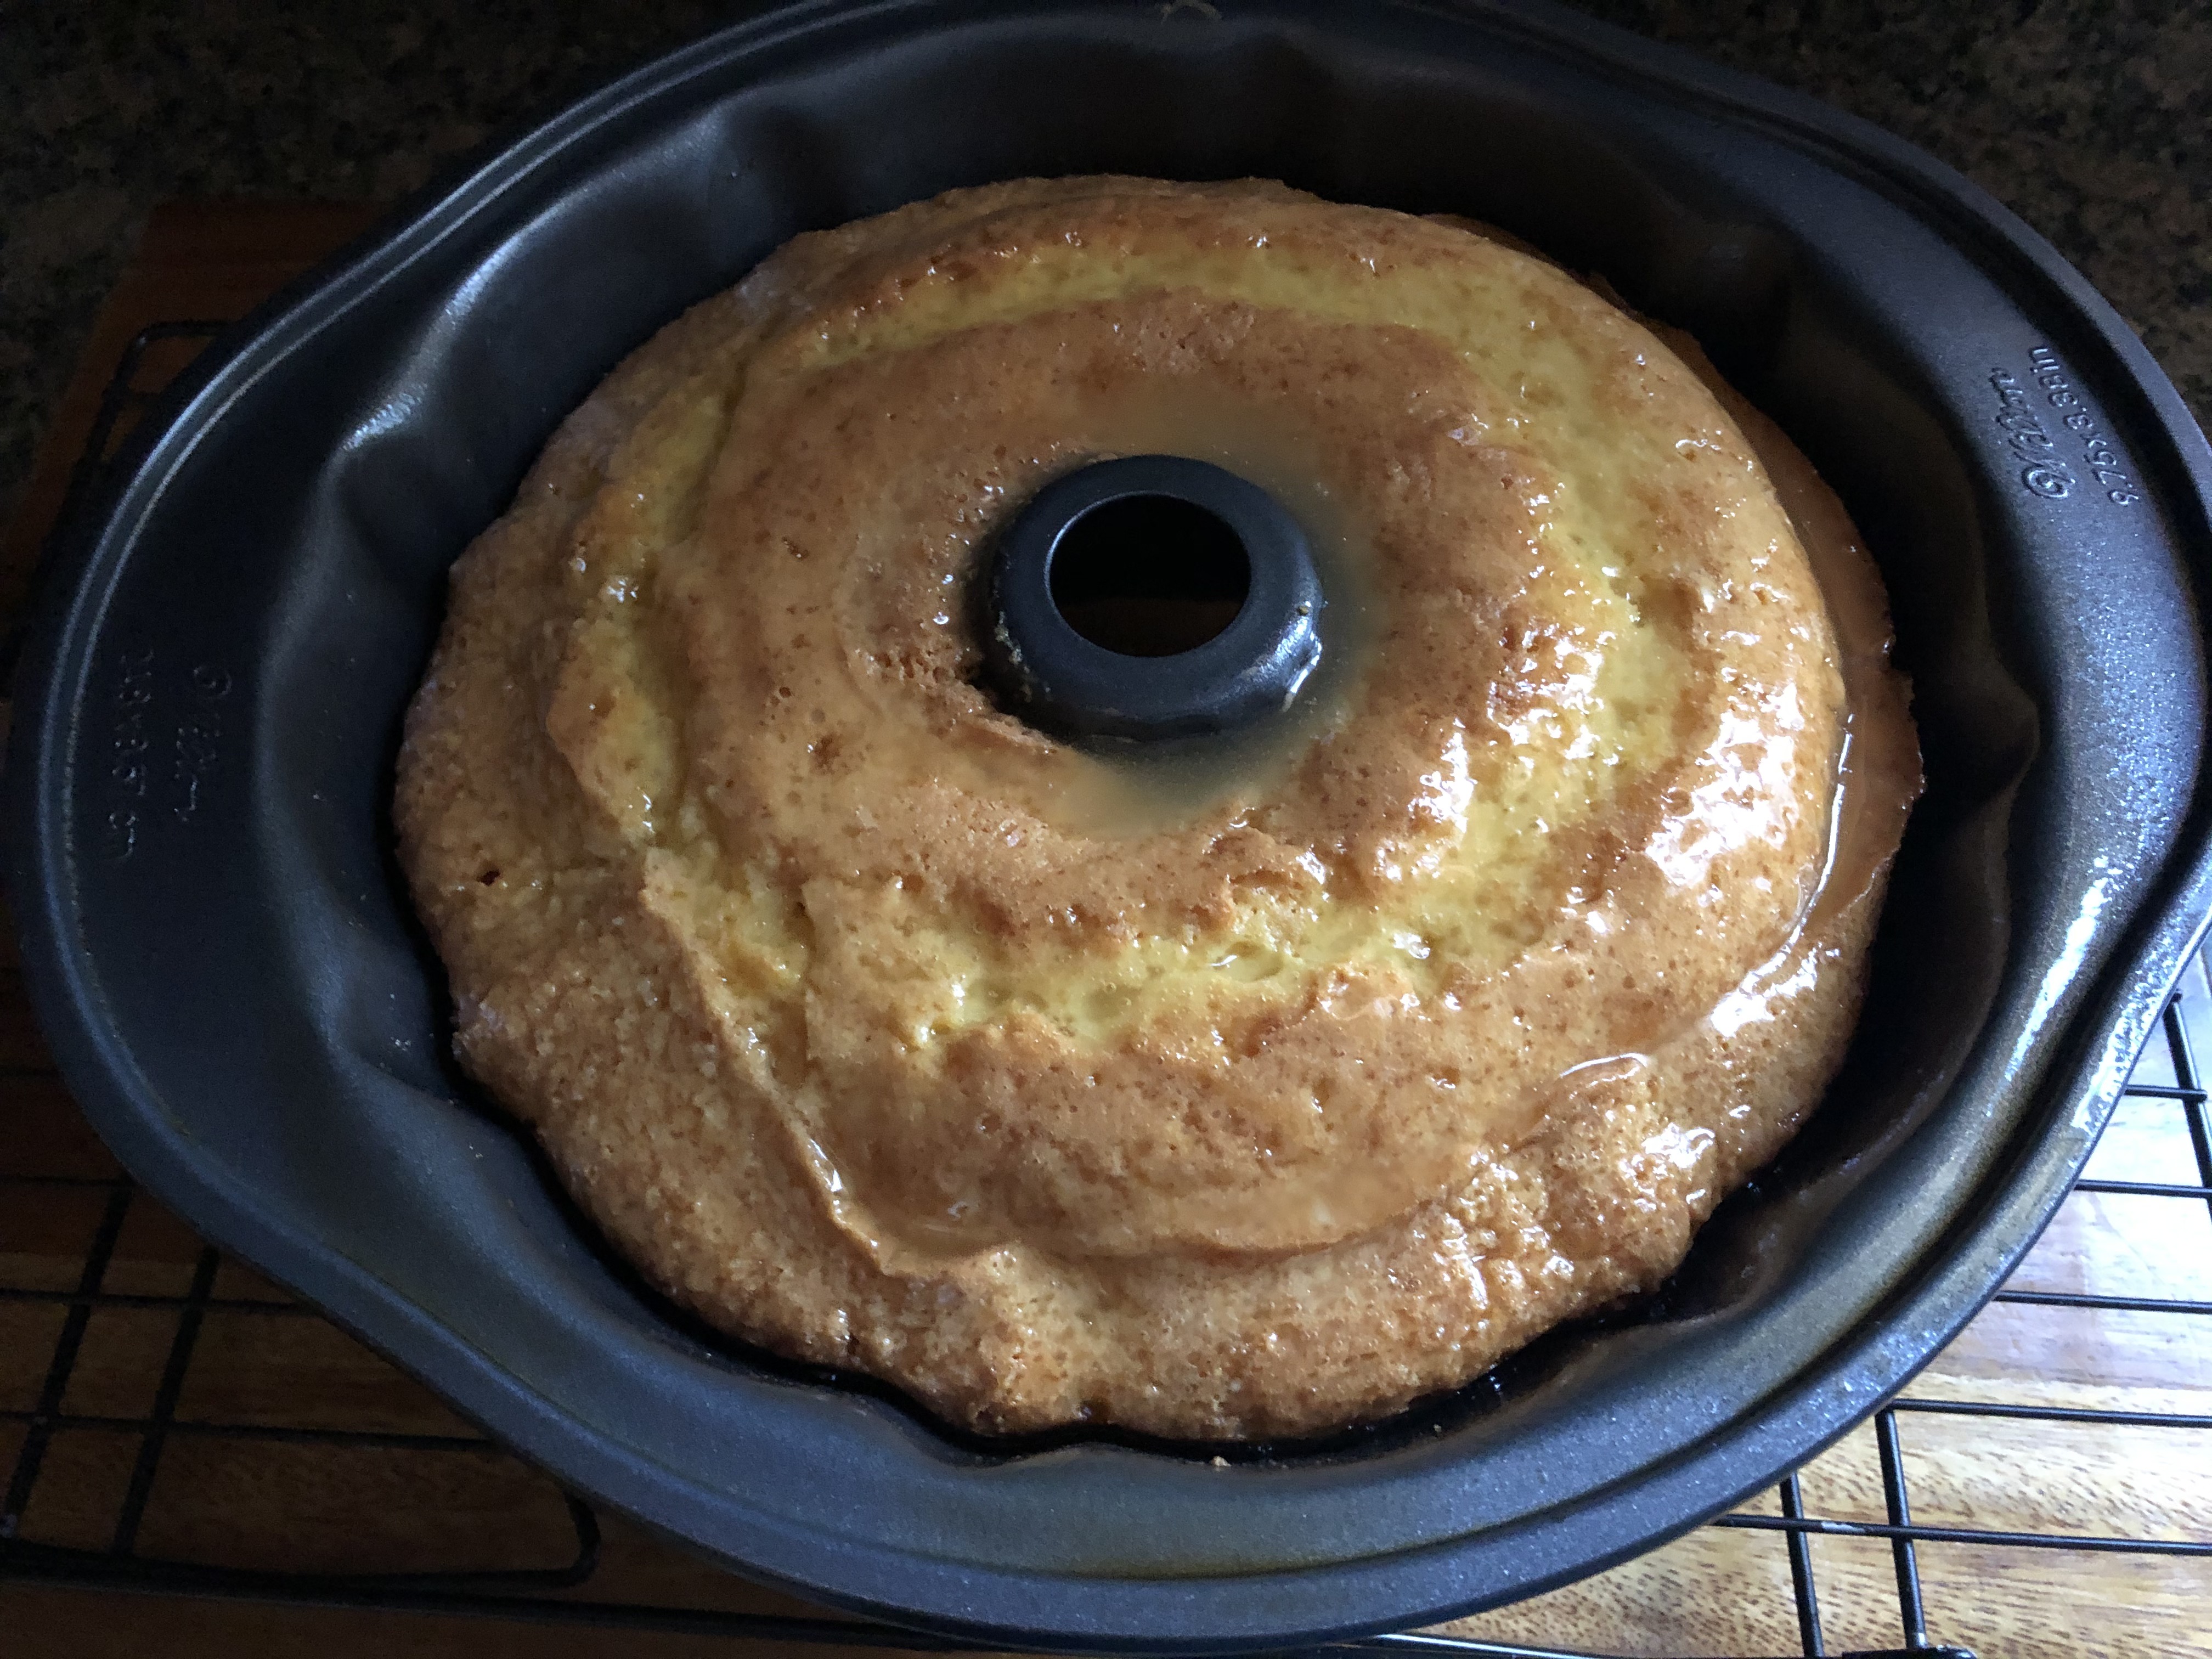
While the syrup and cake were still hot, I poured the syrup over the cake. I use a butter knife to loosen the sides of the cake from the pan so that the syrup could go down the sides of the cake as well.

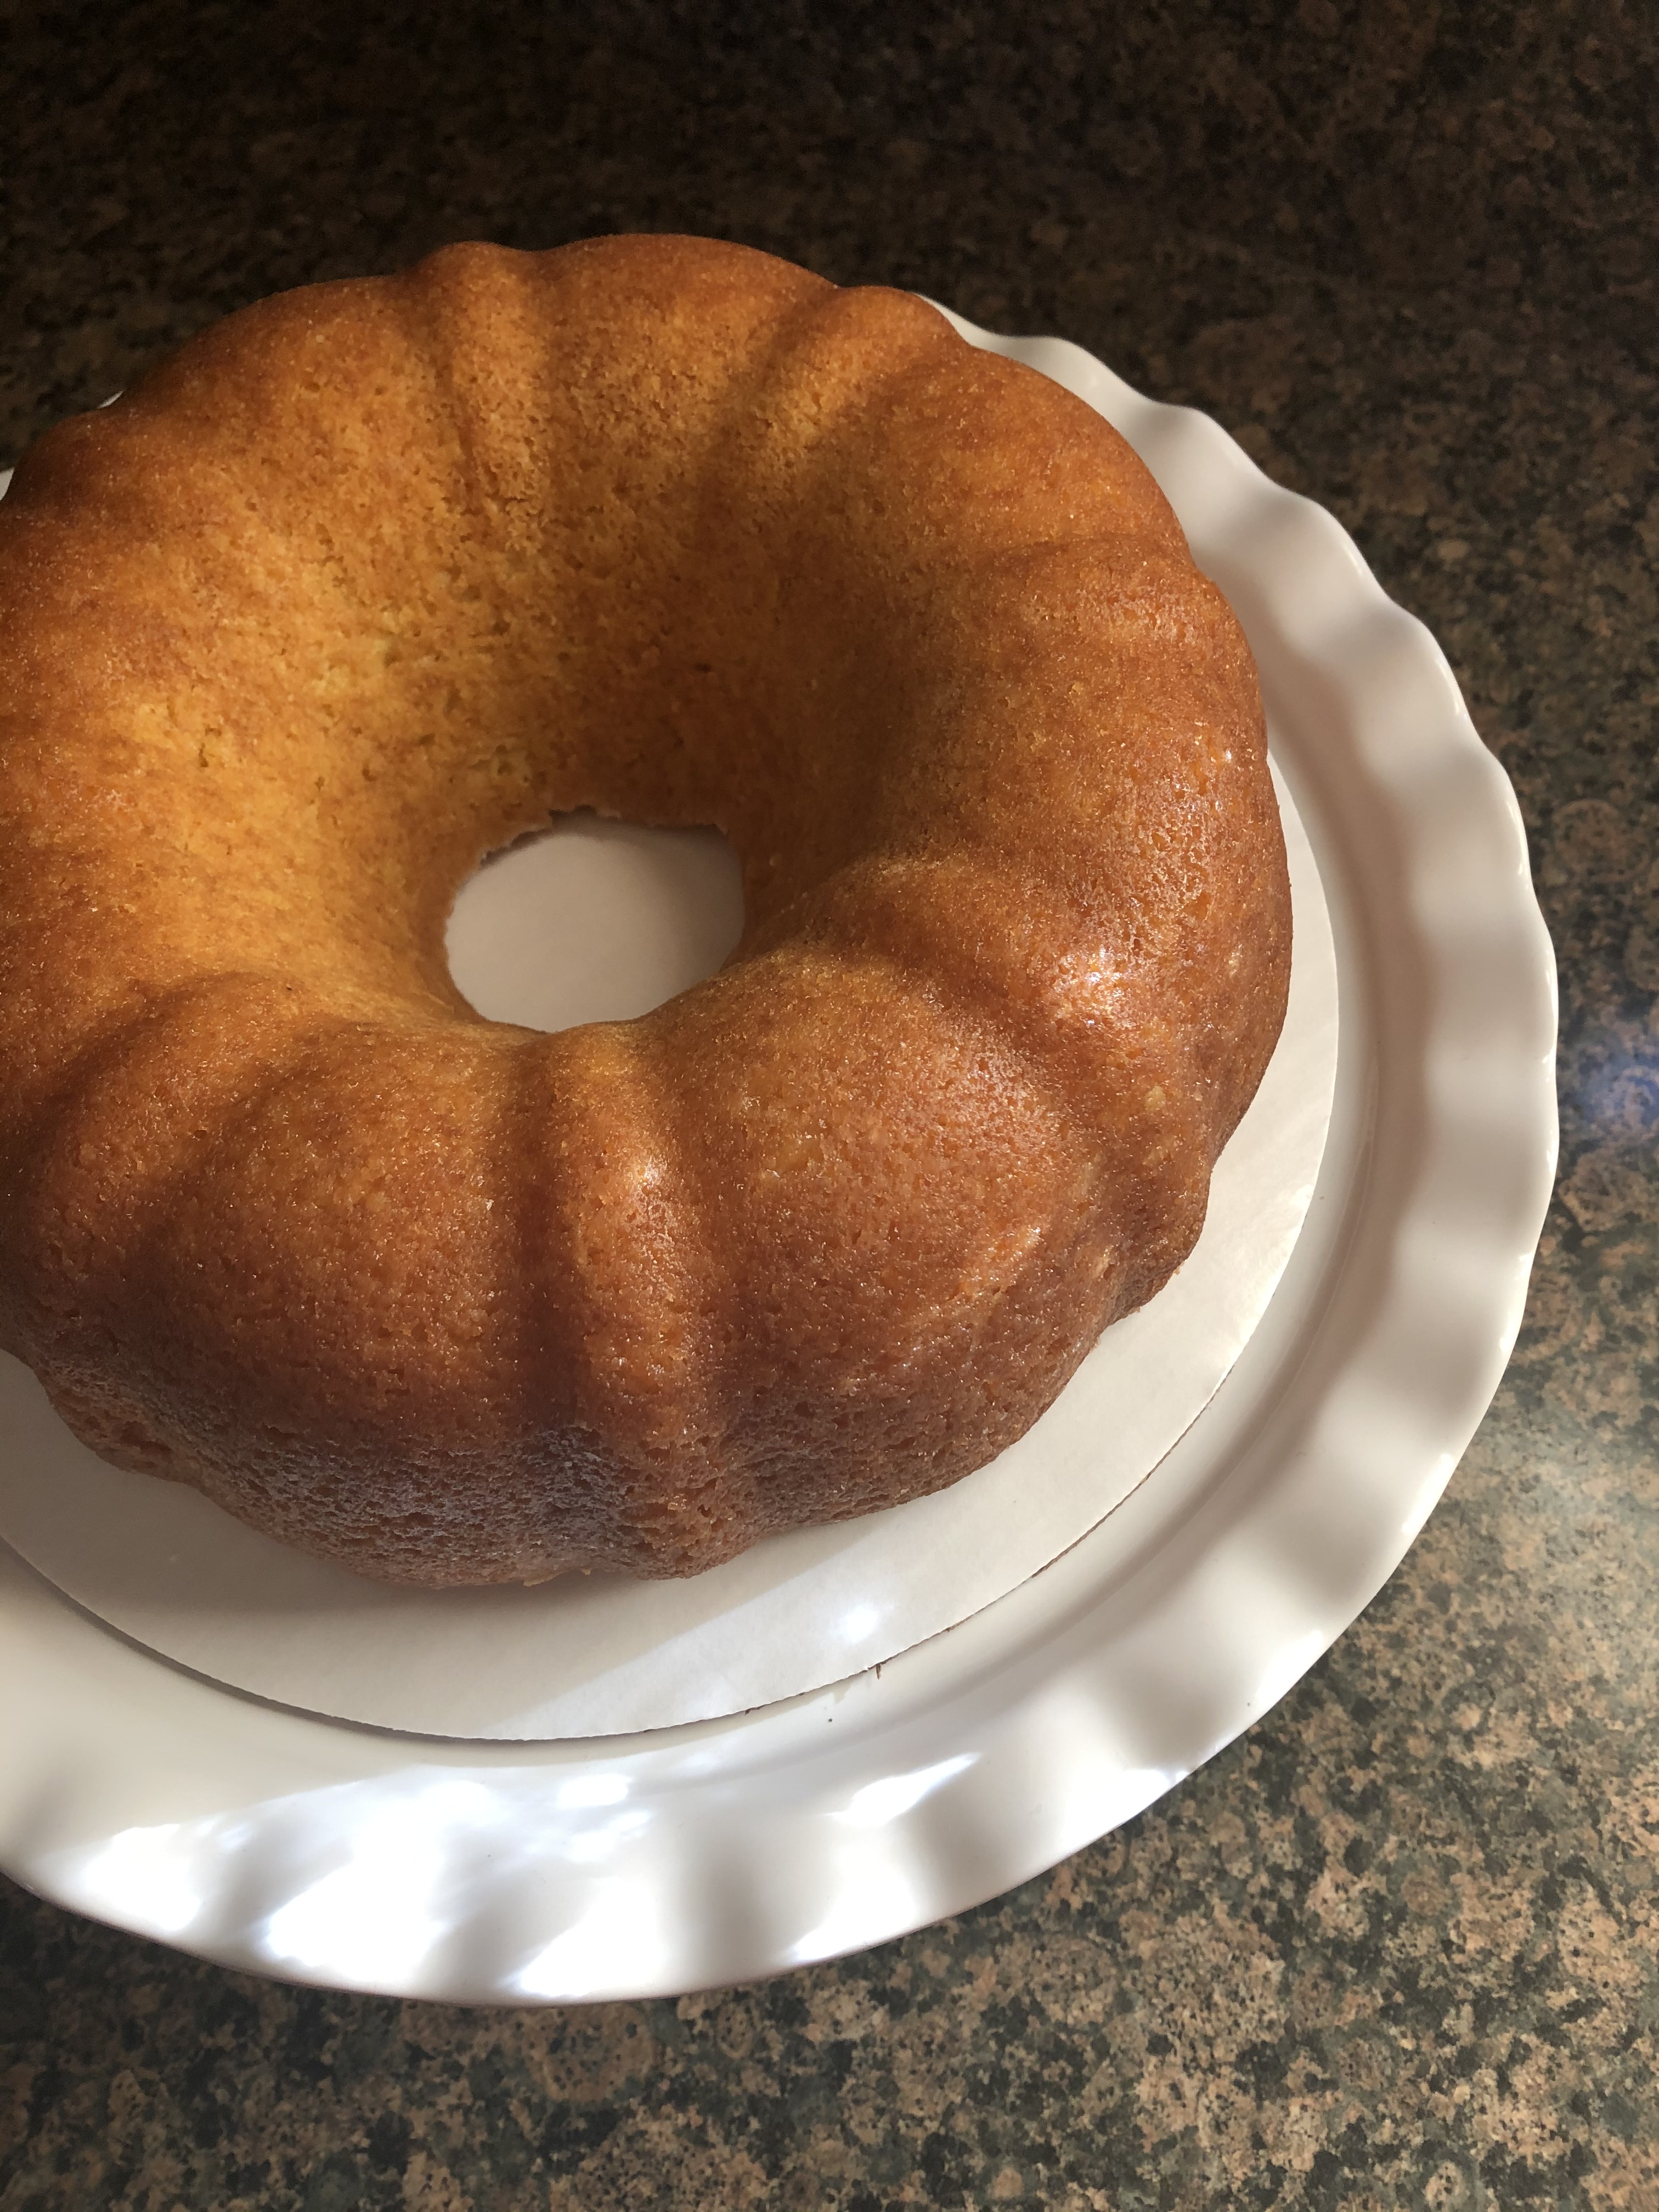
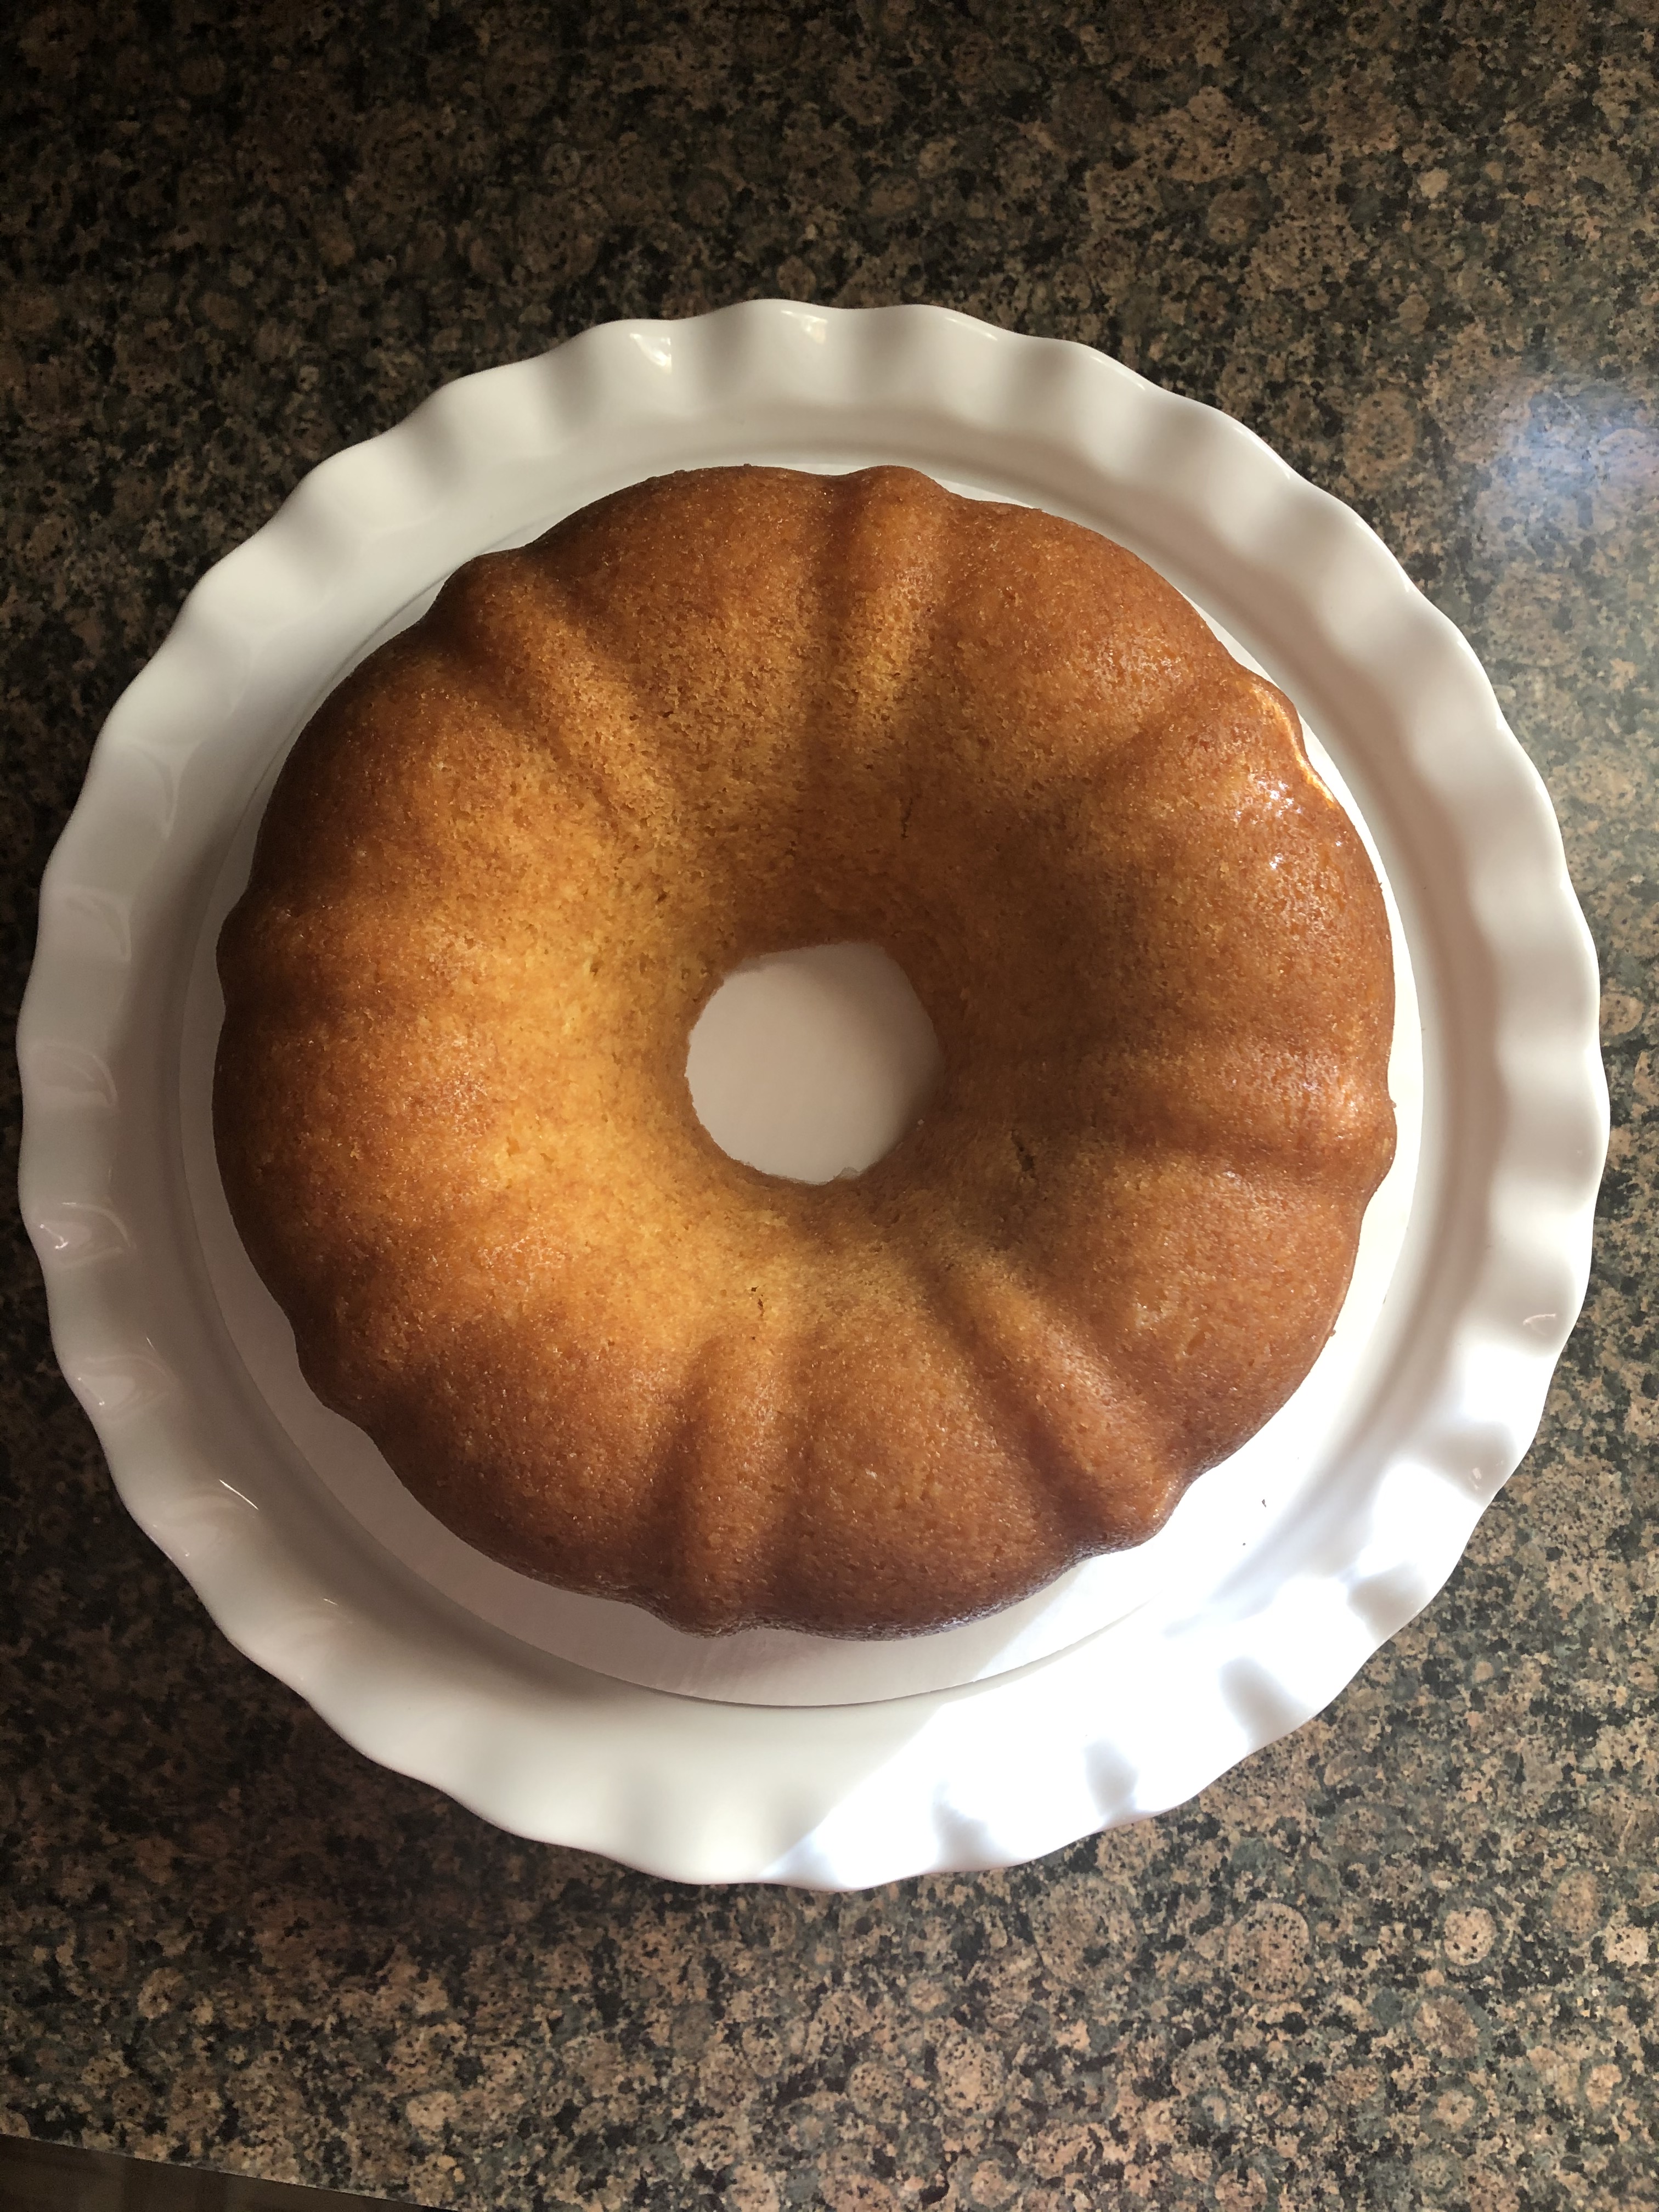
I let the cake cool in the pan for about 45 minutes and then inverted it onto a wire rack to cool for a few minutes more before transferring it to a cake board and then covering it with plastic wrap to refrigerate. In case you are wondering, yes, the cake did absorb all of the syrup. When I flipped it onto the wire rack there was none left in the pan and the cake did not feel sticky or anything.

After refrigerating overnight, it was ready to be served. And it was a hit with everyone who tried it!

Rum Cake

Ingredients:

For the Cake:

1 Box yellow cake mix

1 small package of vanilla pudding mix*

1/4 cup light rum**

3/4 cup water

1/2 cup vegetable oil

4 eggs, at room temperature


For the Rum Glaze:

1 stick unsalted butter

1 cup sugar

1/4 cup light rum


*I used Jell-O

**I used Bacardi Gold Rum


Directions:

Preheat the oven to 325 F. Spray a Bundt pan with baking spray (or lightly grease and then coat with flour) and set aside.

In a large bowl combine the ingredients for the cake and using a handheld mixer beat on medium speed until smooth. Transfer to the Bundt pan and bake the preheated oven for 50 – 60 minutes, or until a cake tester inserted in the center comes out clean.

Transfer to a wire rack while making the rum glaze.

Wait until the cake is done to make the glaze. In a medium saucepan combine the ingredients for the glaze – butter, sugar & rum – and cook over medium heat until the mixture begins to boil. Once the mixture begins to boil it’s ready. Use a butter knife to loosen the sides of the cake from the pan. Pour the hot mixture over the cake and along the sides of the cake.

Let the cake cool in the pan for 40 – 45 minutes and then invert onto the wire rack to cool completely.

The cake is best served cold so once it has completely cooled wrap in plastic wrap and refrigerate until ready to serve.

Recipe from Hallmark Channel

Boston Cream Pie

I remember when I was younger I was not a fan of filled donuts. Jelly, cream, chocolate, whatever the filling, it was not my thing. Fast forward a few years and I can eat them now, but, and I apologize if this sounds a little gross, I squeeze out the excess filling first and then eat the donut. I just don’t like the filling to overpower the donut and that seems to happen a lot with filled donuts. And that, in a very roundabout way brings me to today’s post… A Boston Cream Pie. A yellow cake filled with custard and glazed with chocolate. I’ve have it in a donut form, but, the pie version is a 100x better.

I began by making the cake. To do so I started off by sifting cake flour, baking powder and salt in medium bowl. In my stand mixer I whisked eggs and sugar on high speed for 15 minutes. This part is integral as it ensure that the cake will be light and airy. Once the egg and sugar mixture was ready – it will be pale and tripled in volume – I gently folded in the flour mixture in two addition with a rubber spatula. And finally, I added in whole milk, vegetable oil and vanilla and returned the bowl to my stand mixer and beat it until everything was combined. I poured the batter in a 9-inch round cake pan that I sprayed with baking spray and baked it in a 350 F oven for about a half hour.

While the cake was in the oven I made the pudding. In a large bowl I whisked whole eggs, egg yolks and sugar until it was light and fluffy, and then whisked in cornstarch and salt. In a medium saucepan I heated whole milk and vanilla extract until it was hot, but not yet boiling. I then whisked in a 1/4 cup of the milk mixture into the egg mixture in order to temper the eggs and then gradually whisked in the remaining milk mixture. I then returned the entire mixture to the medium saucepan and constantly whisked it on low heat until it was thick and pudding like. Once it was the right consistency, I strained the pudding through a fine mesh sieve by pushing the pudding through the sieve with a rubber spatula. After letting the pudding cool for a few minutes I pressed plastic wrap directly on the surface of the pudding and refrigerated it for at least 2 hours.

Once the cake was done and the pudding cooled it was time to assemble. I cut the cake in half and spread the pudding on the bottom half.

After topping the cake I made the chocolate glaze by melting semi-sweet chocolate with heavy cream, vanilla extract and a pinch of salt. I then spread the glaze on the cake…

And then refrigerated it until the glaze was set.

Final verdict… YUM!!!


Boston Cream Pie

Ingredients:

For The Cake:

1 1/4 cups cake flour

1 teaspoon baking powder

1/4 teaspoon salt

4 large eggs, at room temperature

1 cup sugar

1/2 cup whole milk

1/3 cup vegetable oil

1 1/2 teaspoons vanilla extract


For The Pudding:

1 1/2 cups whole milk

2 teaspoons vanilla extract

2 large eggs plus 4 egg yolks

1/2 cup sugar

1/4 cup cornstarch

Pinch of salt


For The Glaze:

4 ounces semi-sweet chocolate, finely chopped

1/2 cup heavy cream

1 teaspoon vanilla extract

Pinch of salt


Directions:

Preheat the oven to 350 F. Spray a 9-inch-round cake pan with baking spray or butter and flour.

Make the cake: Sift the flour, baking powder and salt into a medium bowl. Beat the eggs and sugar in a stand mixer fitted with the whisk attachment on high speed until pale and tripled in volume, about 15 minutes. Gently fold the flour mixture into the eggs mixture in two additions using a rubber spatula.

Add the milk, vegetable oil and vanilla and beat with the mixer until combined. Pour the batter into the prepared pan and bake for 25-30 minutes until a cake tested inserted in the center comes out clean. Transfer the pan to a rack to cool and then invert onto to the rack to cool and invert once again and let the cake cool completely.

Make the pudding: Heat the milk and vanilla extract in a medium saucepan over medium heat, but, do not boil. Whisk the whole eggs, egg yolks and sugar in a large bowl until light and fluffy. Add the cornstarch and salt and continue whisking until no lumps remain. Whisk 1/4 cup of the milk mixture into the egg mixture and then gradually whisk in the remaining milk mixture.

Pour the egg-milk mixture into the saucepan and cook over low heat, whisking constantly, until thick and pudding like, 10 to 15 minutes. It could take longer as well. Strain through a fine-mesh sieve by pushing the pudding through the sieve using a rubber spatula. Let the pudding cool for a few minutes and then place a piece of plastic wrap on the surface of the pudding and refrigerate for at least 2 hours.

Slice the cake in half and spread the pudding over the bottom half of the cake. Top the cake with the top half.

Make the glaze: Heat the chocolate, heavy cream, vanilla extract and salt in a saucepan over medium-low heat, stirring until the chocolate is melted and all of the ingredients are well combined and the mixture is smooth. Remove from heat and let cool for 5 minutes, you want it to be slightly thickened, then pour over the entire cake using an off-set spatula to smooth it. Refrigerate for at least 30 minutes so the glaze can set.

Recipe from Food Network

Candy Corn Inspired Ombre Cake

Not all Halloween treats have to be spooky ones. This ombre cake is simple to make with 2 tubs of vanilla frosting, a box of white cake mix, yellow and orange food colors, your favorite cake filling and is inspired by a candy that is synonymous with Fall… Candy Corn. There’s nothing spooky about that.

IMG_9529

I used my Wilton 5-layer pan set to make this cake since I wanted the inside of the cake to emulate a piece of candy corn as well. But, there’s no need to get that precise. You could simply bake a two-layer, three-layer or a one-layer cake and let the frosting on the outside speak for itself.

IMG_9493

Since I was planning on tinting the cake batter I opted to use a box of Betty Crocker White cake mix. Betty Crocker is my go-to cake mix when I am not in the mood or just don’t have the time to make a cake from scratch.

IMG_9494

After mixing the batter per the directions on the box I divided the batter to tint it. From making quite a few cakes in the past I knew that the batter yielded about 4 cups so each pan would have just shy of a cup of batter. Since the top layer of the cake was going to be white I immediately poured that batter into one of the prepared pans (I sprayed it with baking spray) and then divvied up the rest of the batter to tint – about 3 cups for the orange layers and 1 cup for the yellow layer.

IMG_9497

Following that I poured the yellow batter (the bottom layer) in the prepared pan and divided the orange batter (the middle layers) among the three remaining pans.

IMG_9501

I then placed all of the pans on a rack in my 350 F preheated oven for about 15 minutes and after letting the cakes cool in the pans for 10 minutes I transferred them to a wire rack to cool completely. Once they cooled, I did a little torting to make sure the layers would sit evenly on top of one another…

IMG_9506

It was then time to fill the layers – I opted to fill them with a quick vanilla mousse recipe that uses two ingredients: 2 cups of heavy cream and Jell-O vanilla pudding mix.

IMG_9509

And then I crumb coated the cake with vanilla frosting and placed it in the refrigerator for about 20 minutes.

IMG_9510

Then it was time to create the candy corn ombre effect on the outside of the cake. I tinted about a cup and a half of the vanilla frosting with the yellow food color and frosted that along the bottom of the cake…

IMG_9511

Next I tinted about two and a half cups of the vanilla frosting with the orange food color and spread that along the middle of the cake and finally I used the vanilla frosting untinted to frost the remaining portion of the side of the cake as well as the top of the cake. To create the ombre effect, I smoothed the sides of the cake with a long icing spatula.

IMG_9512

And for presentation some candy corns around the base of cake…

IMG_9532

And here’s a peek inside…

IMG_9558

And there you have it, a super cute and super simple unspooky Halloween treat!

%d bloggers like this: