Rosemary and honey… It may sound like a weird combination, but I’ve been thinking about making something with the two after having a Rosemary Honey Crème Brulee last year. I ended up not straying too far from that dessert and came up with a Rosemary Honey Custard. If you are thinking rosemary is better suited for savory dishes as opposed to sweet ones, you are partially correct, with the right ingredients and measurements rosemary can be used in desserts as well.
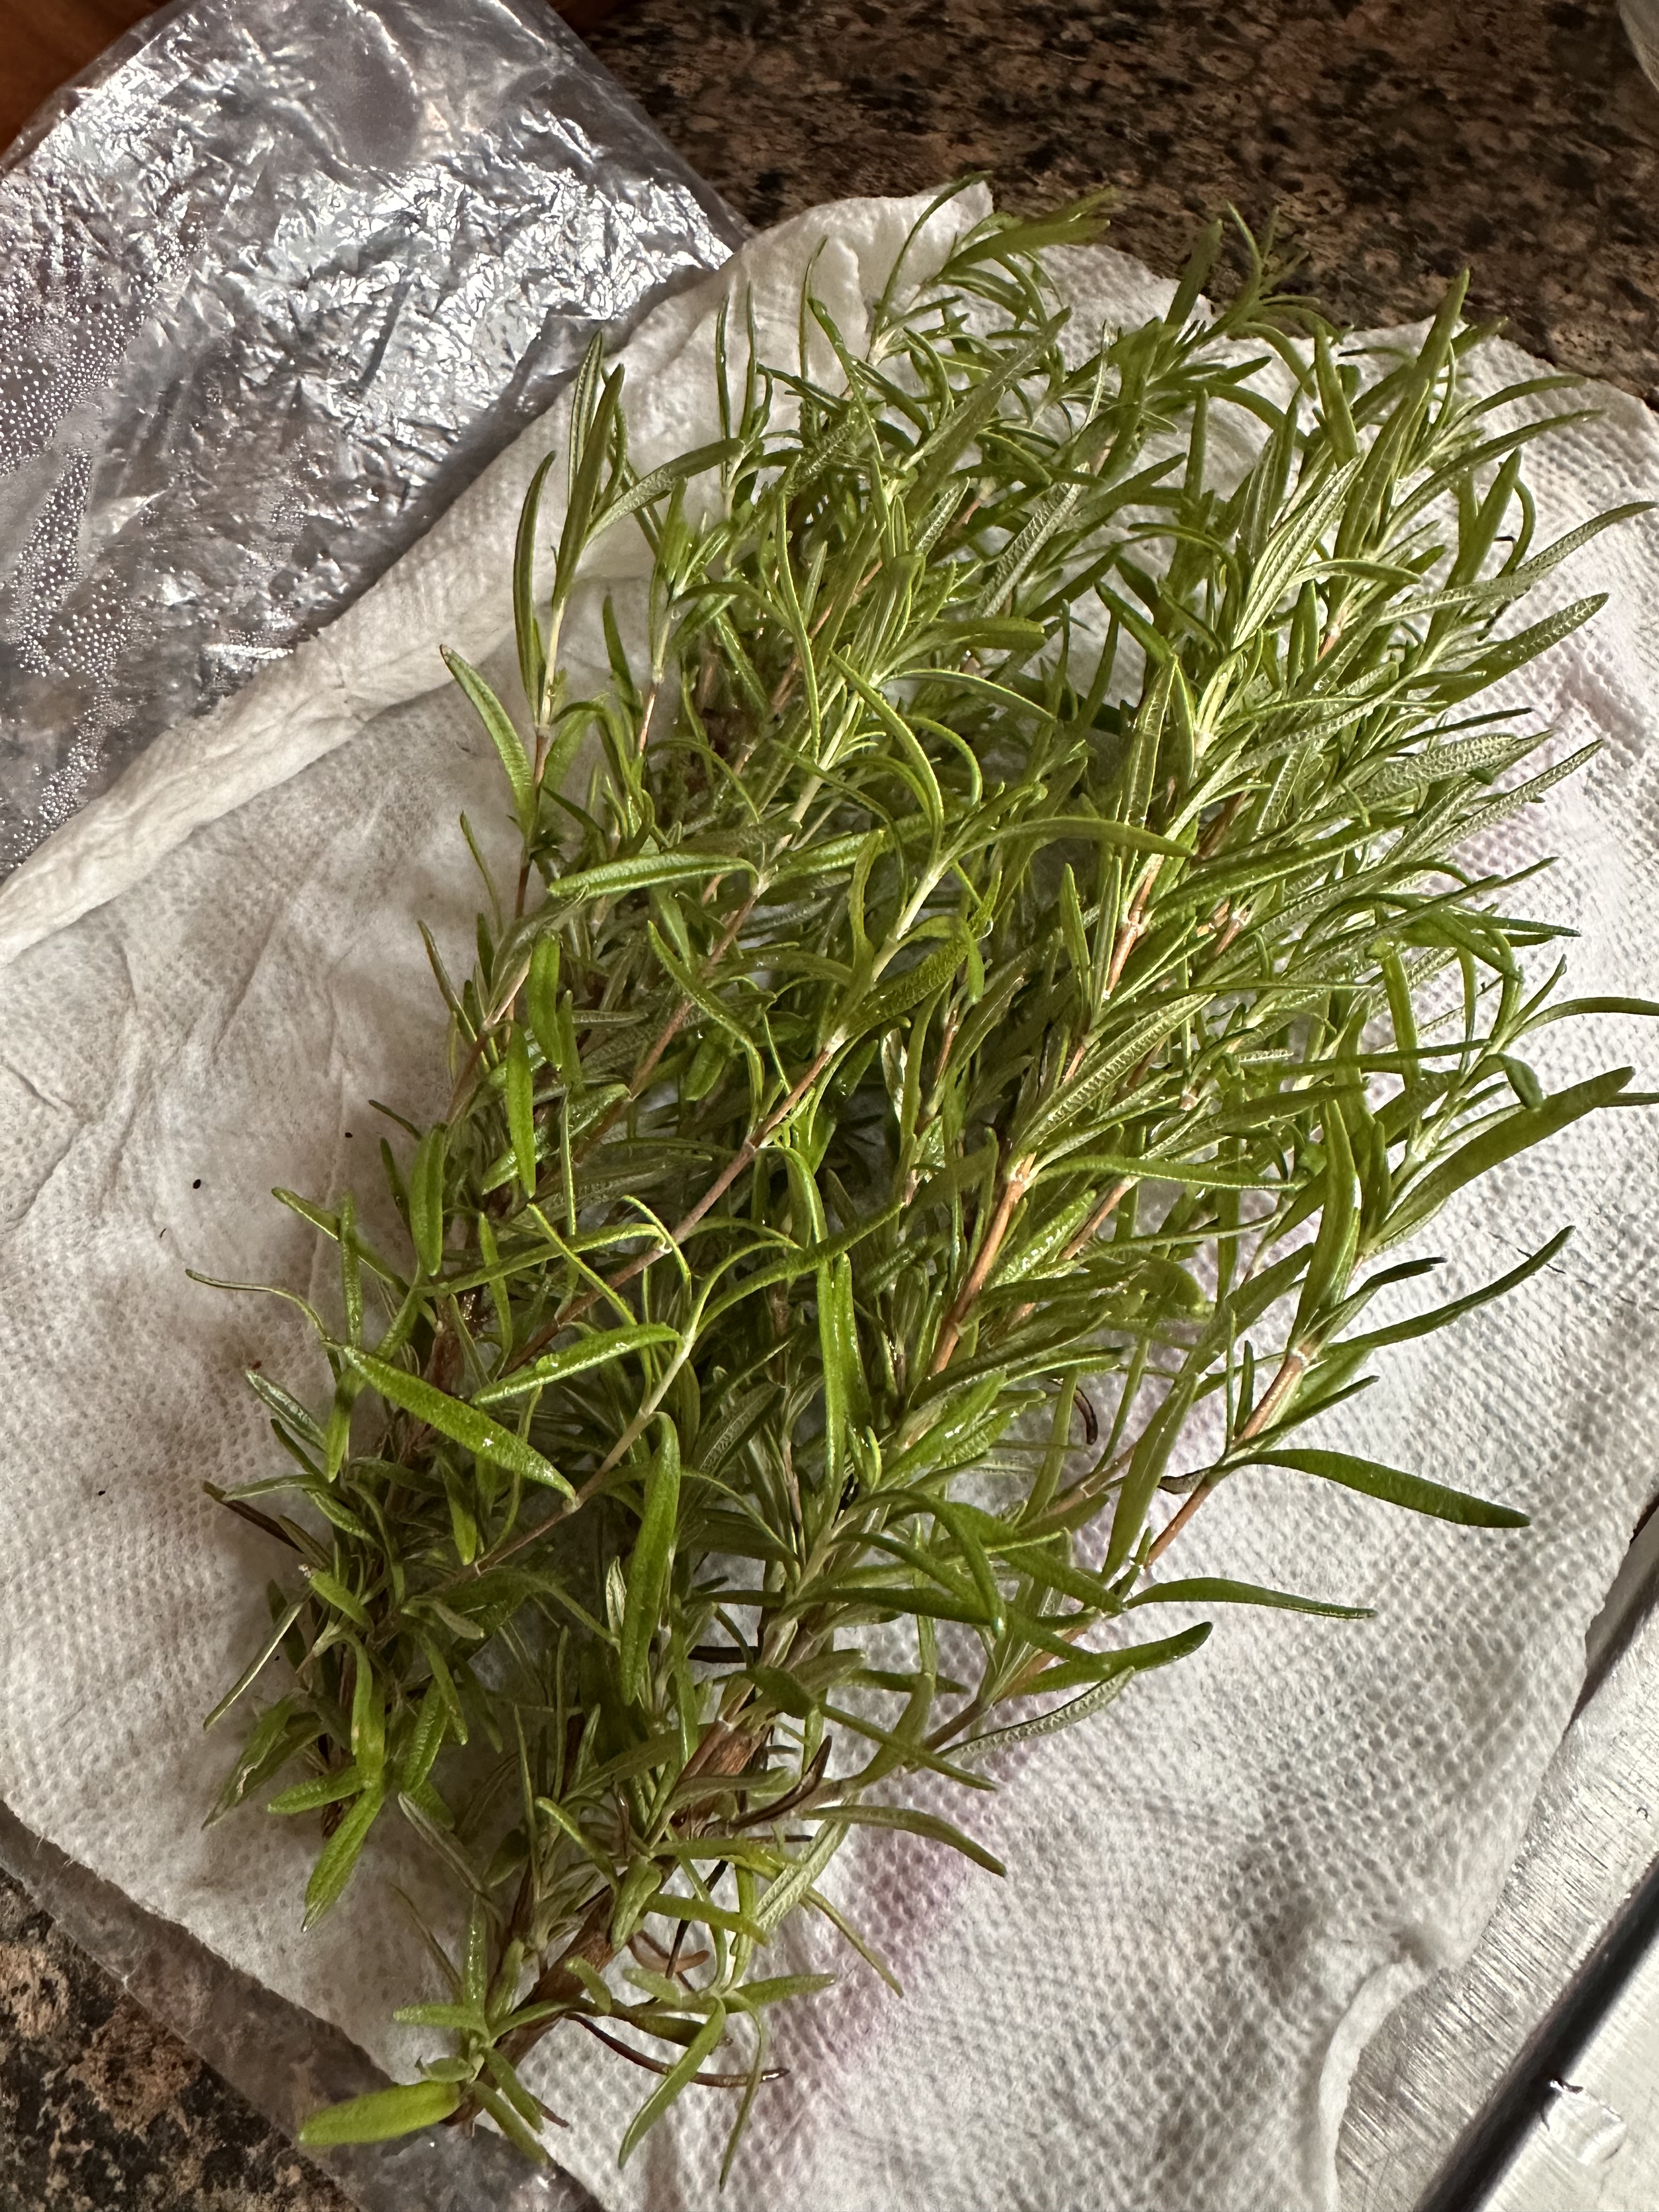
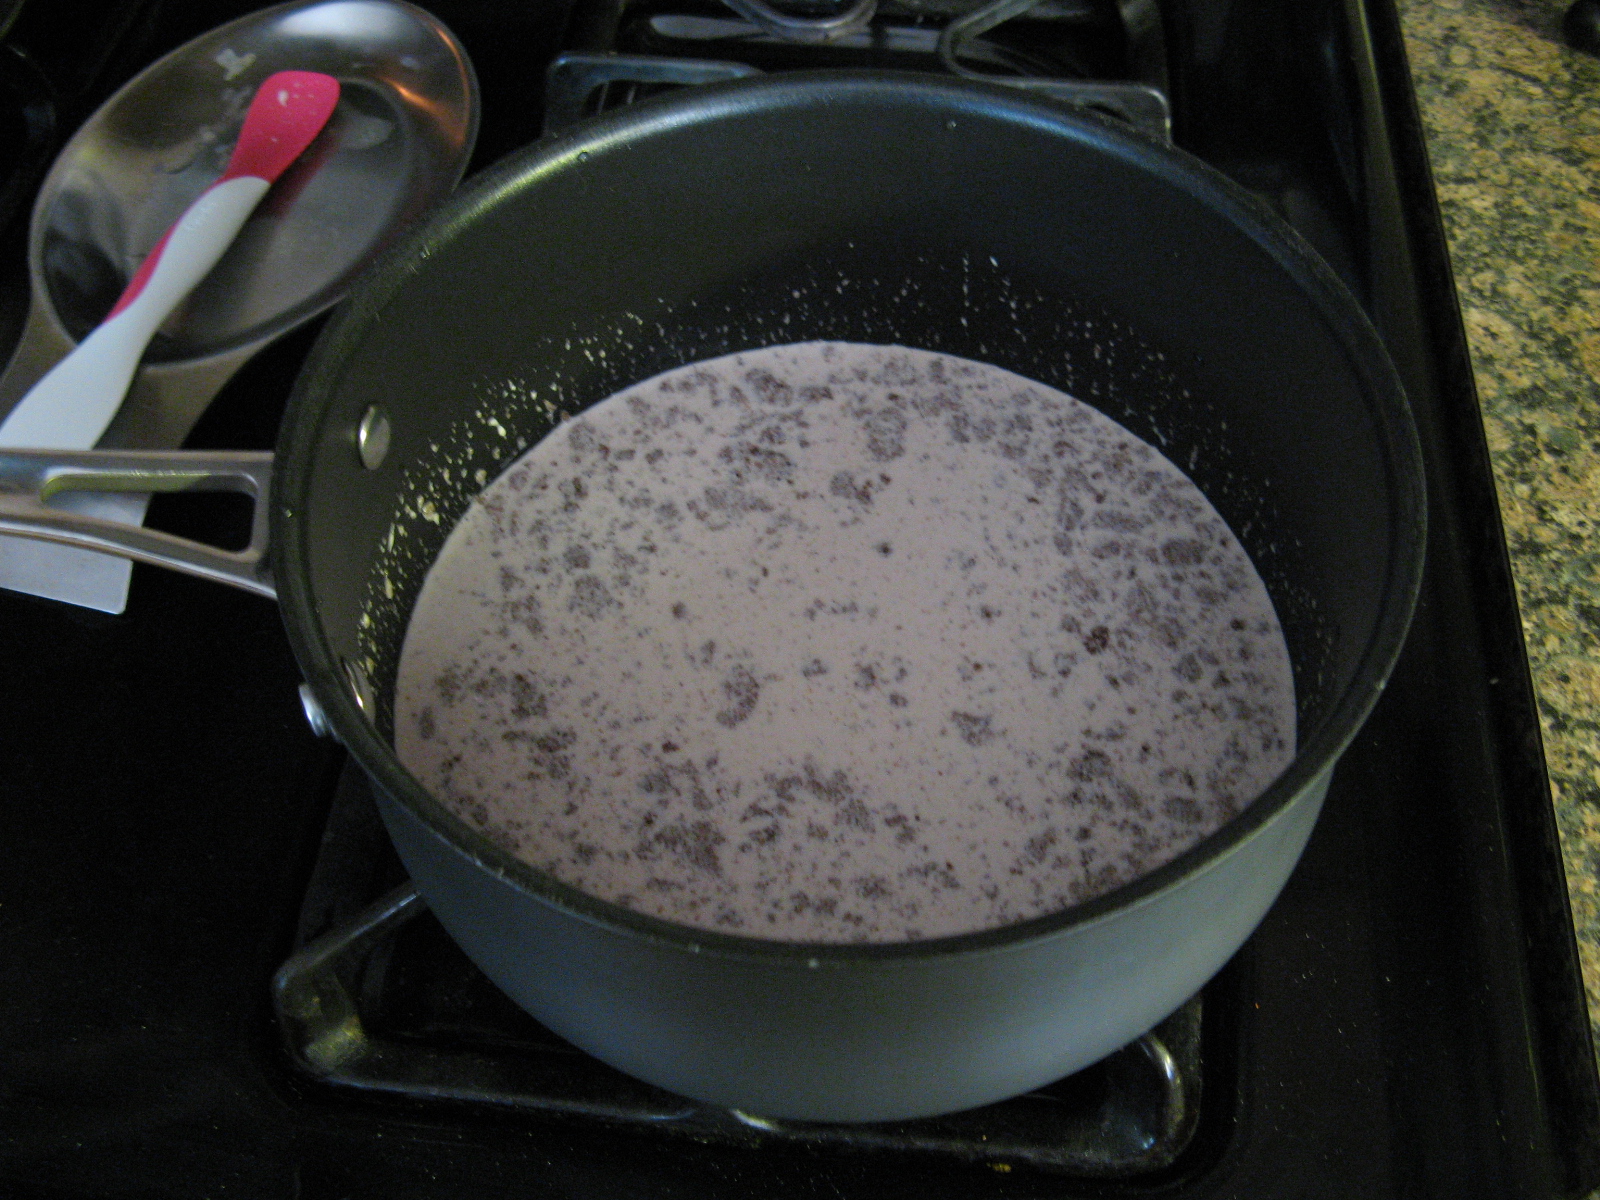
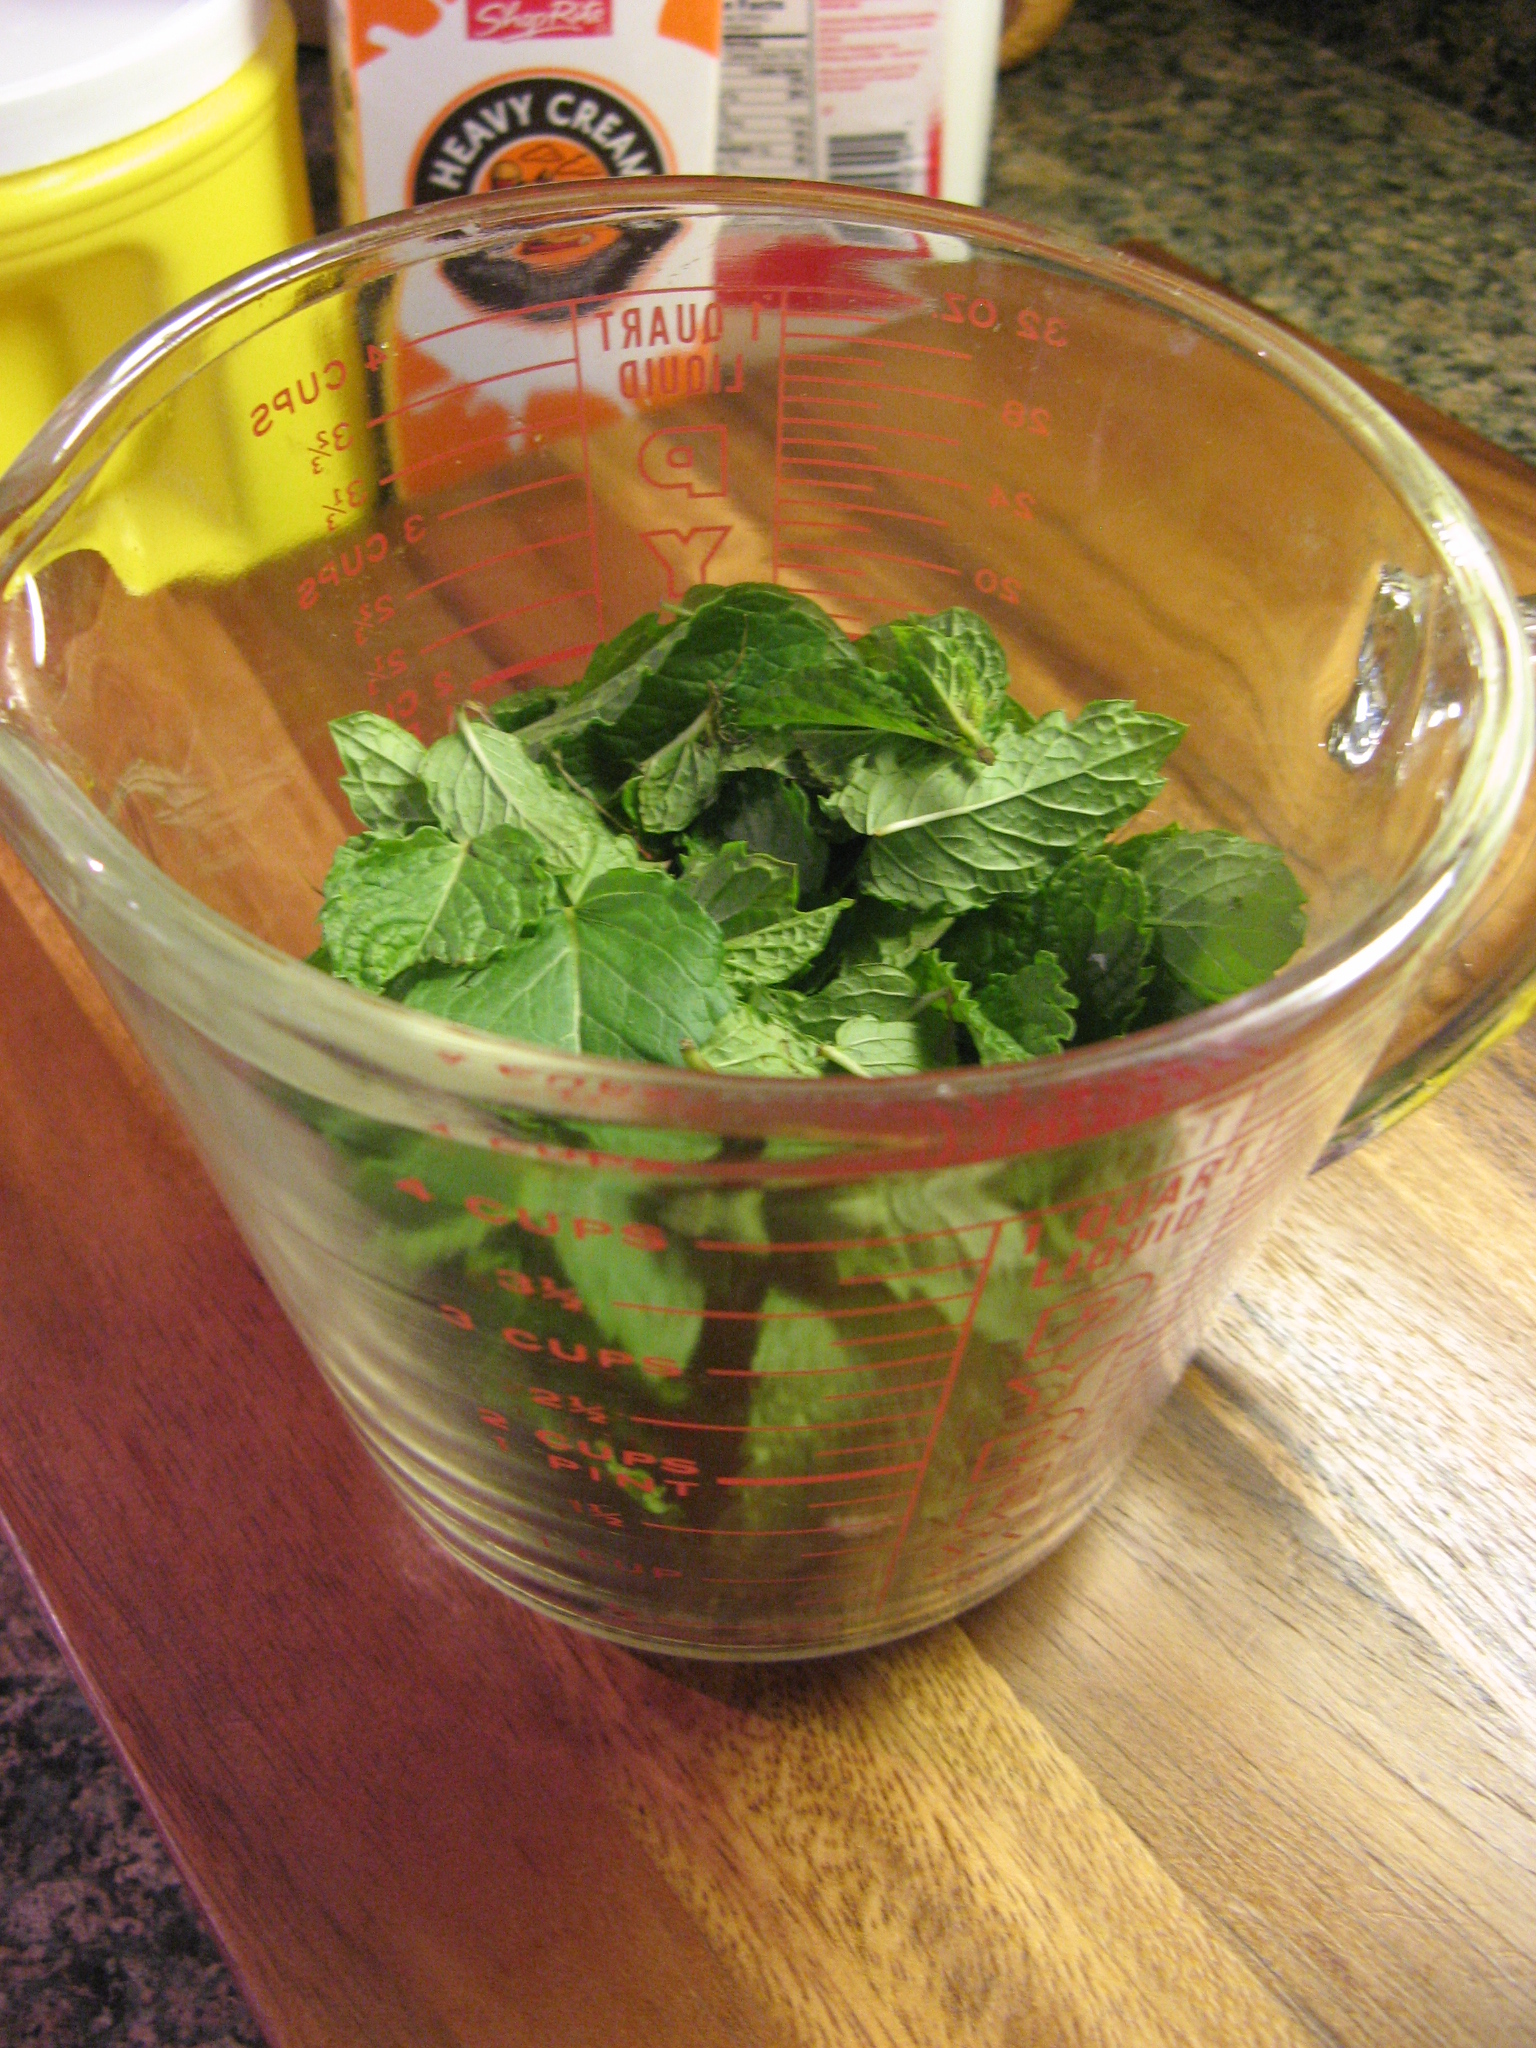
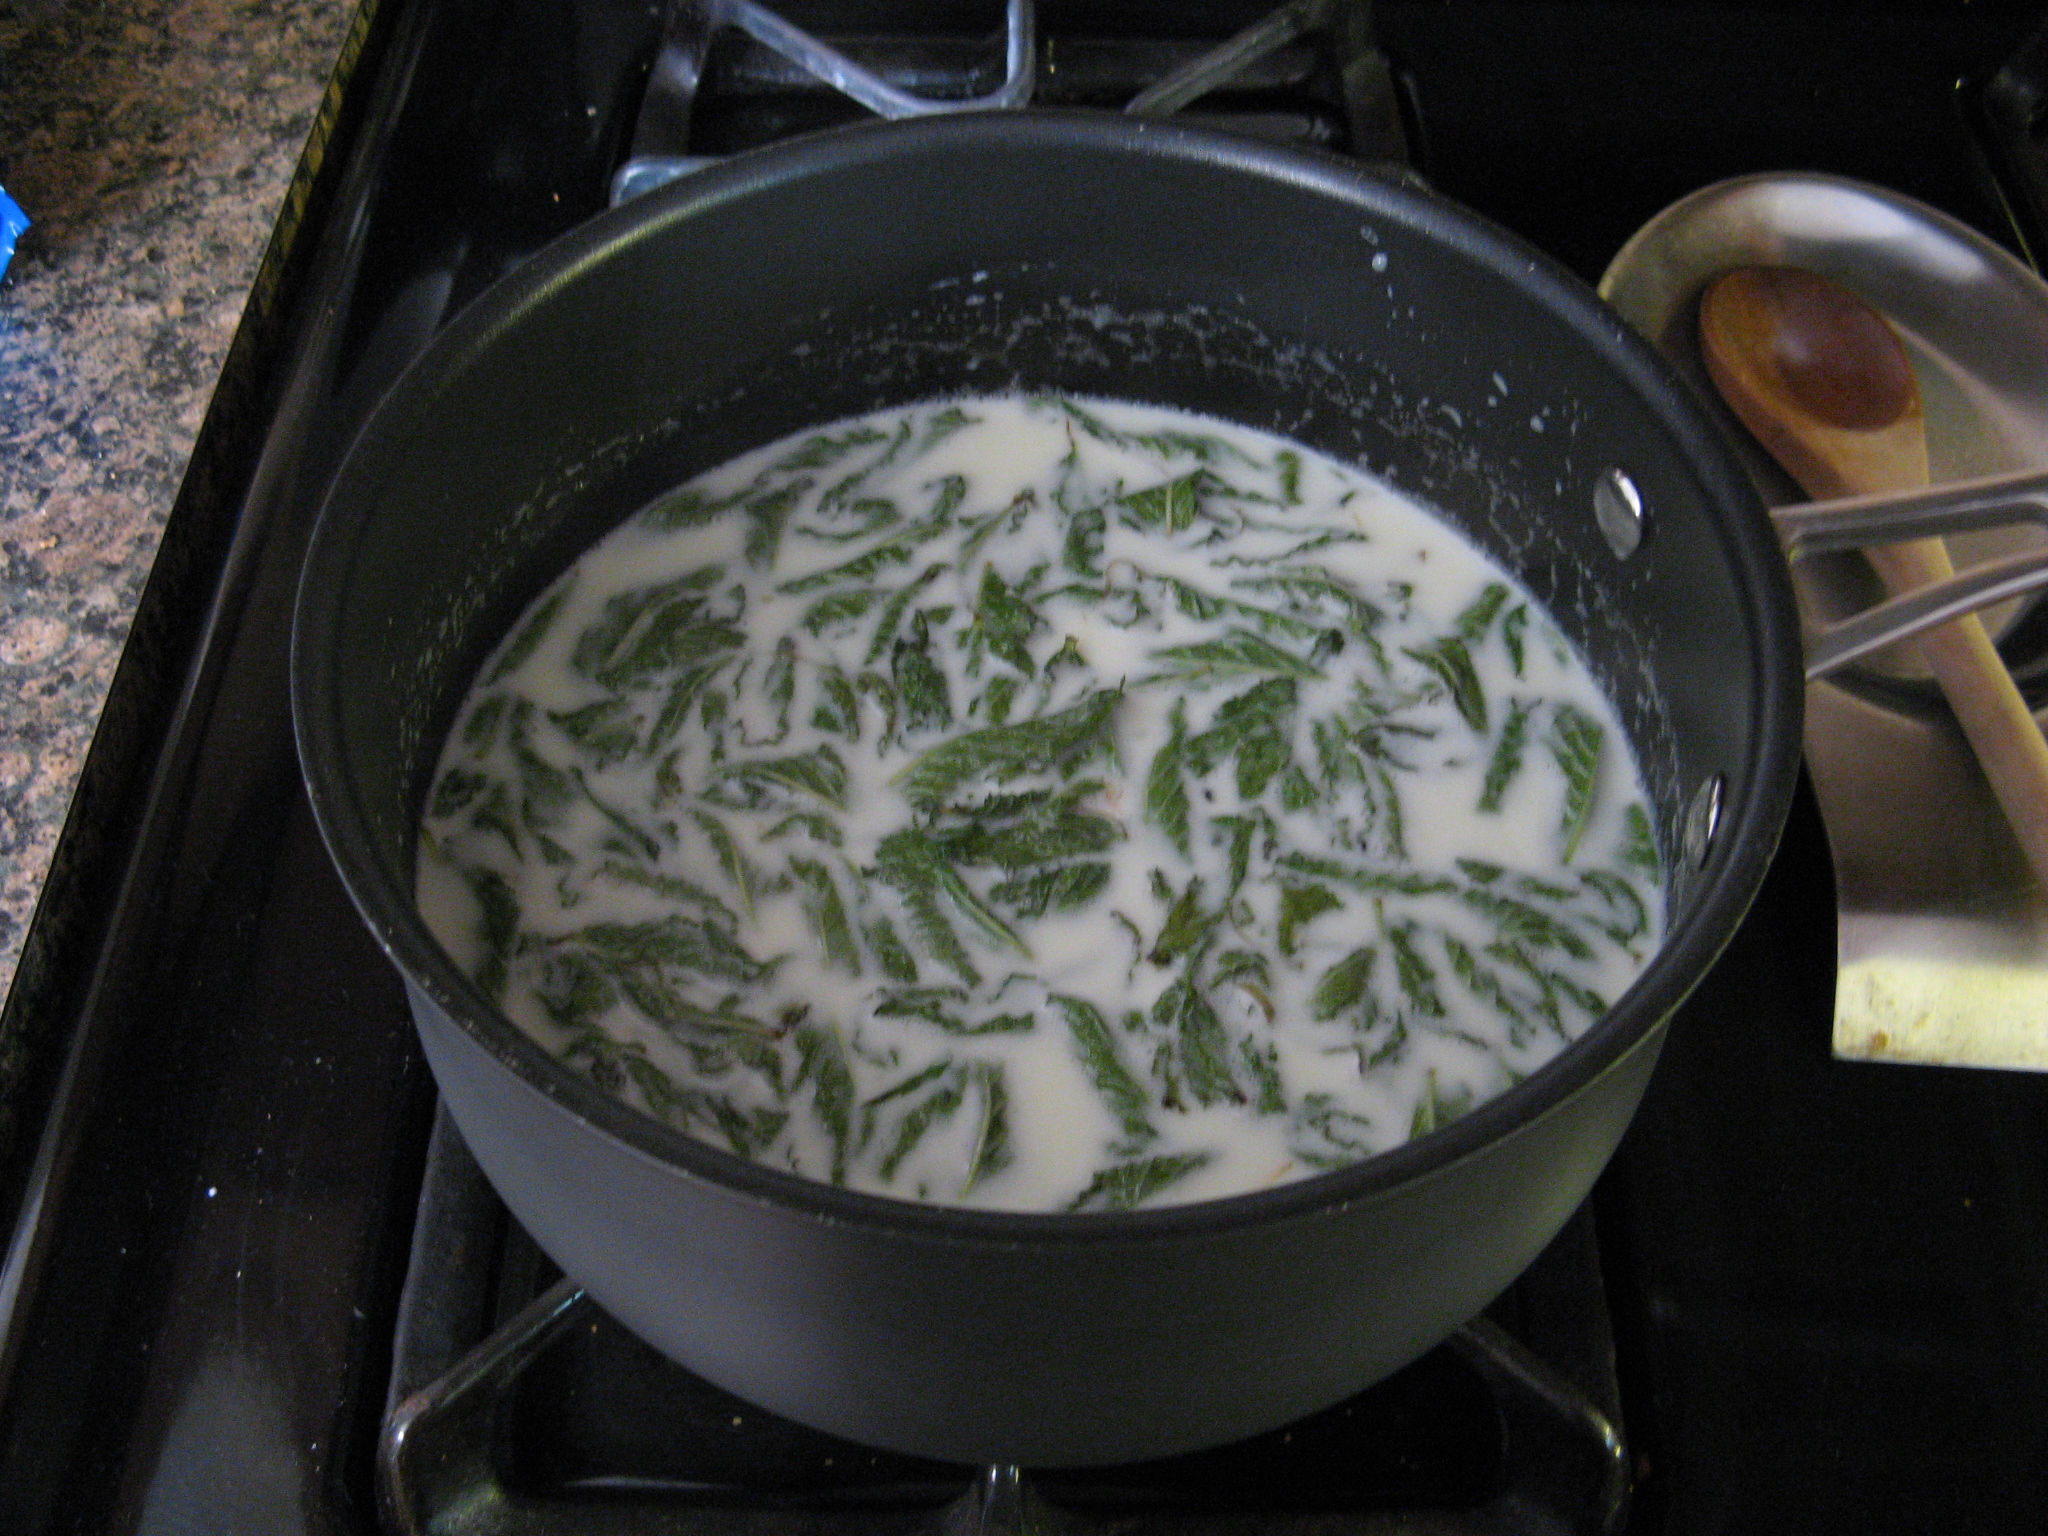
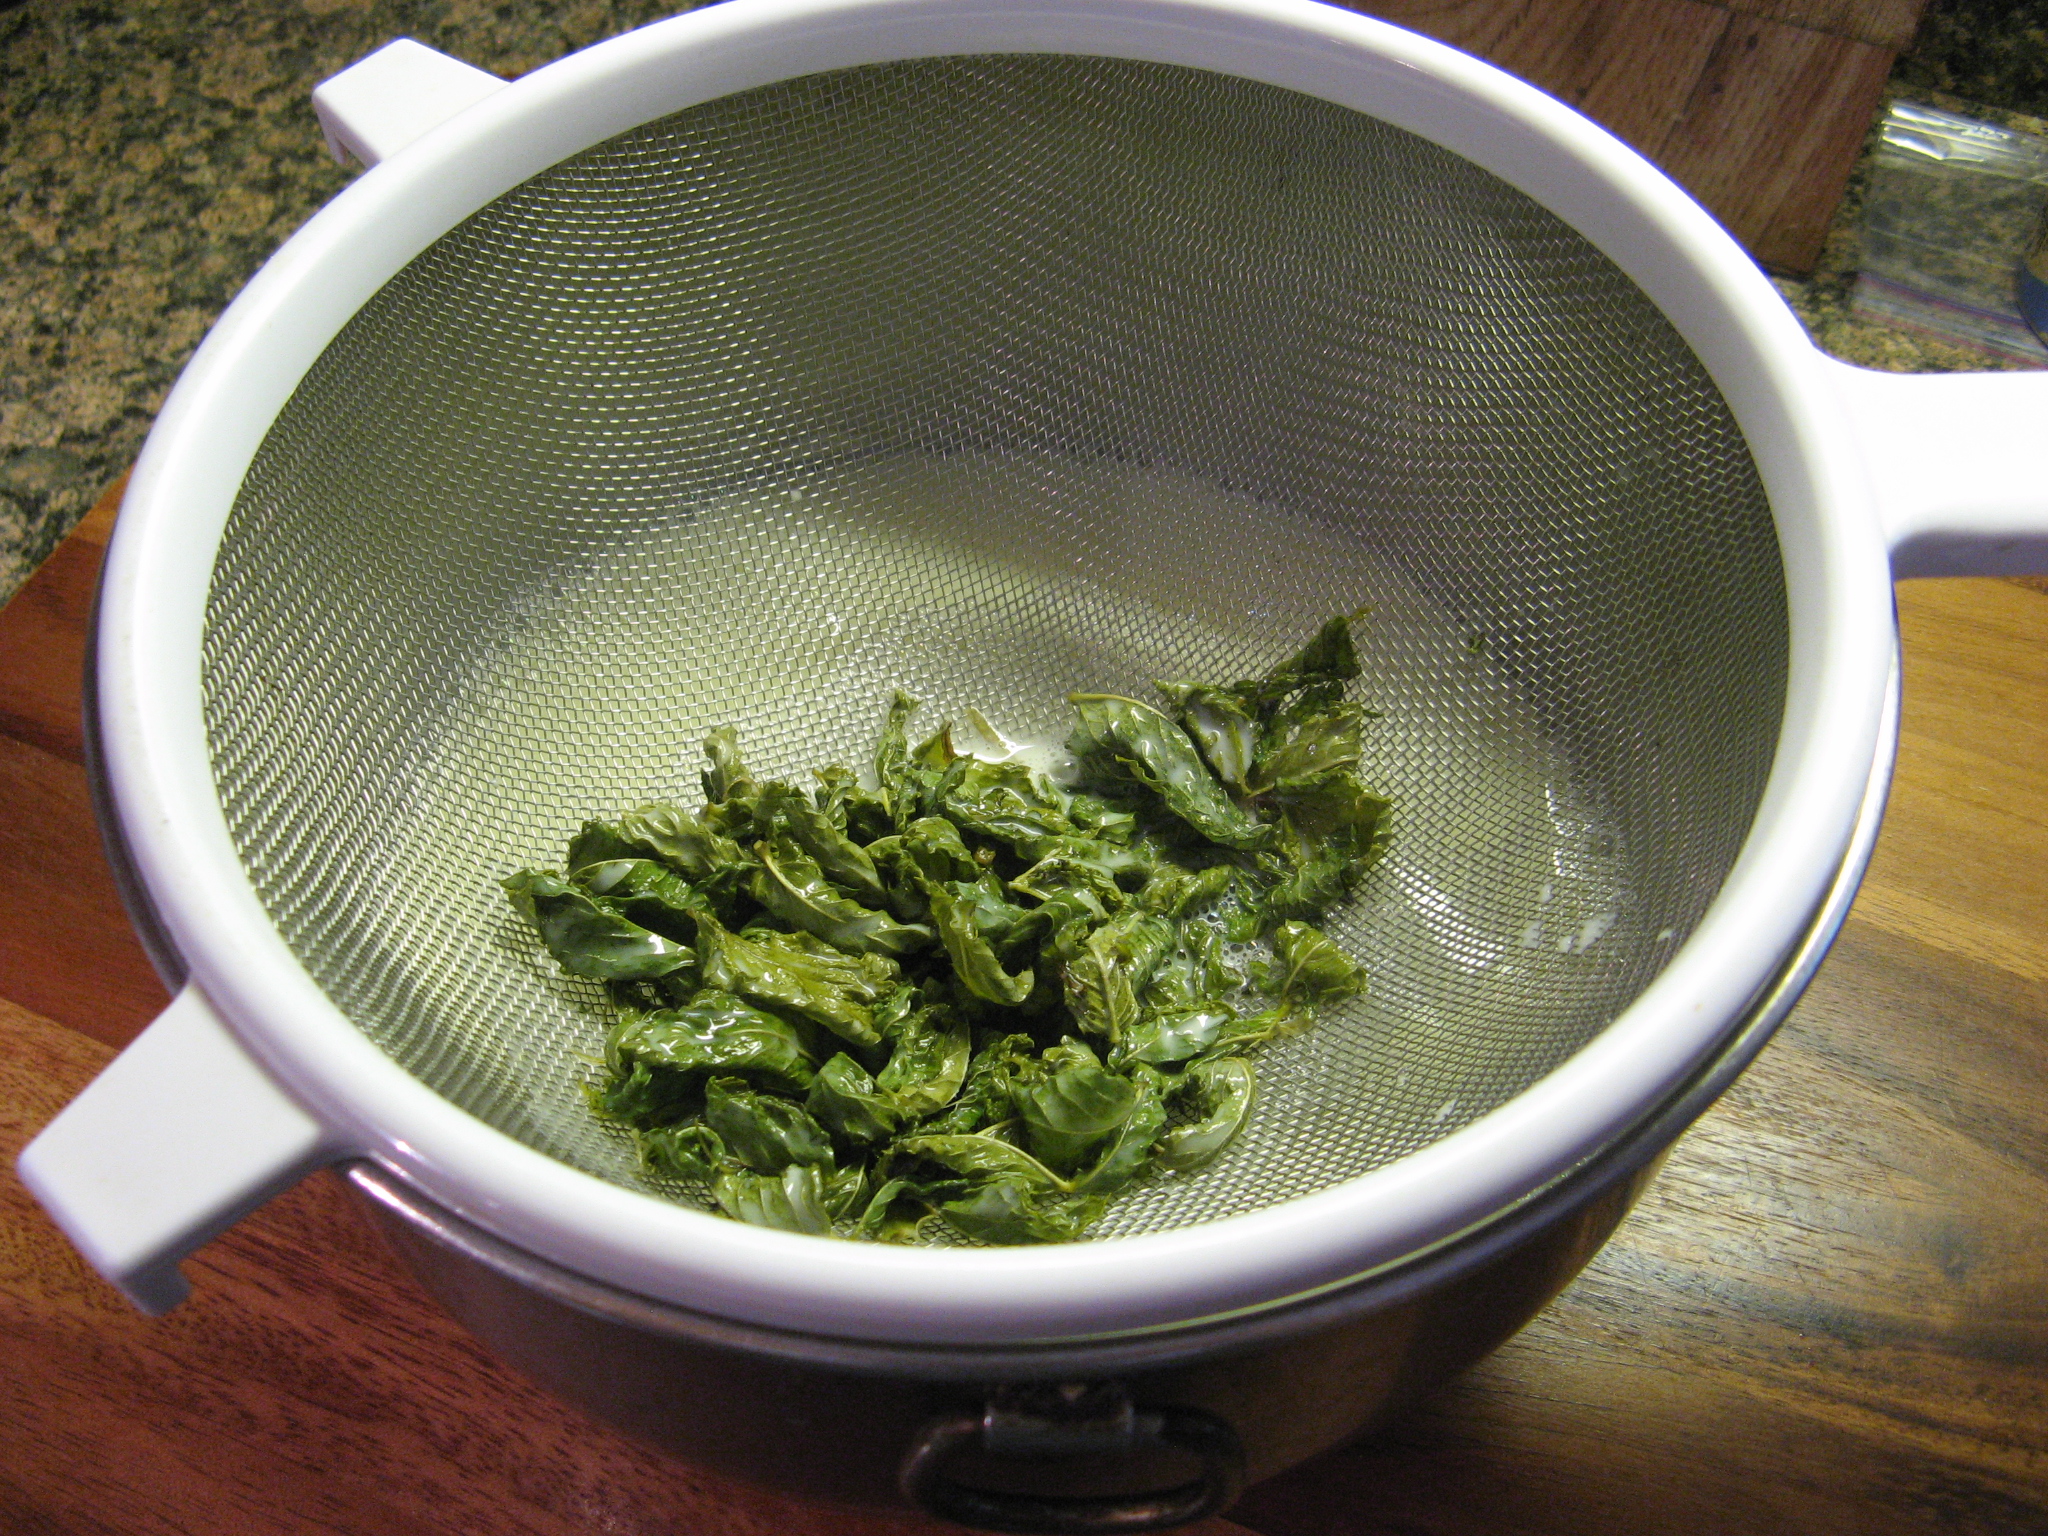
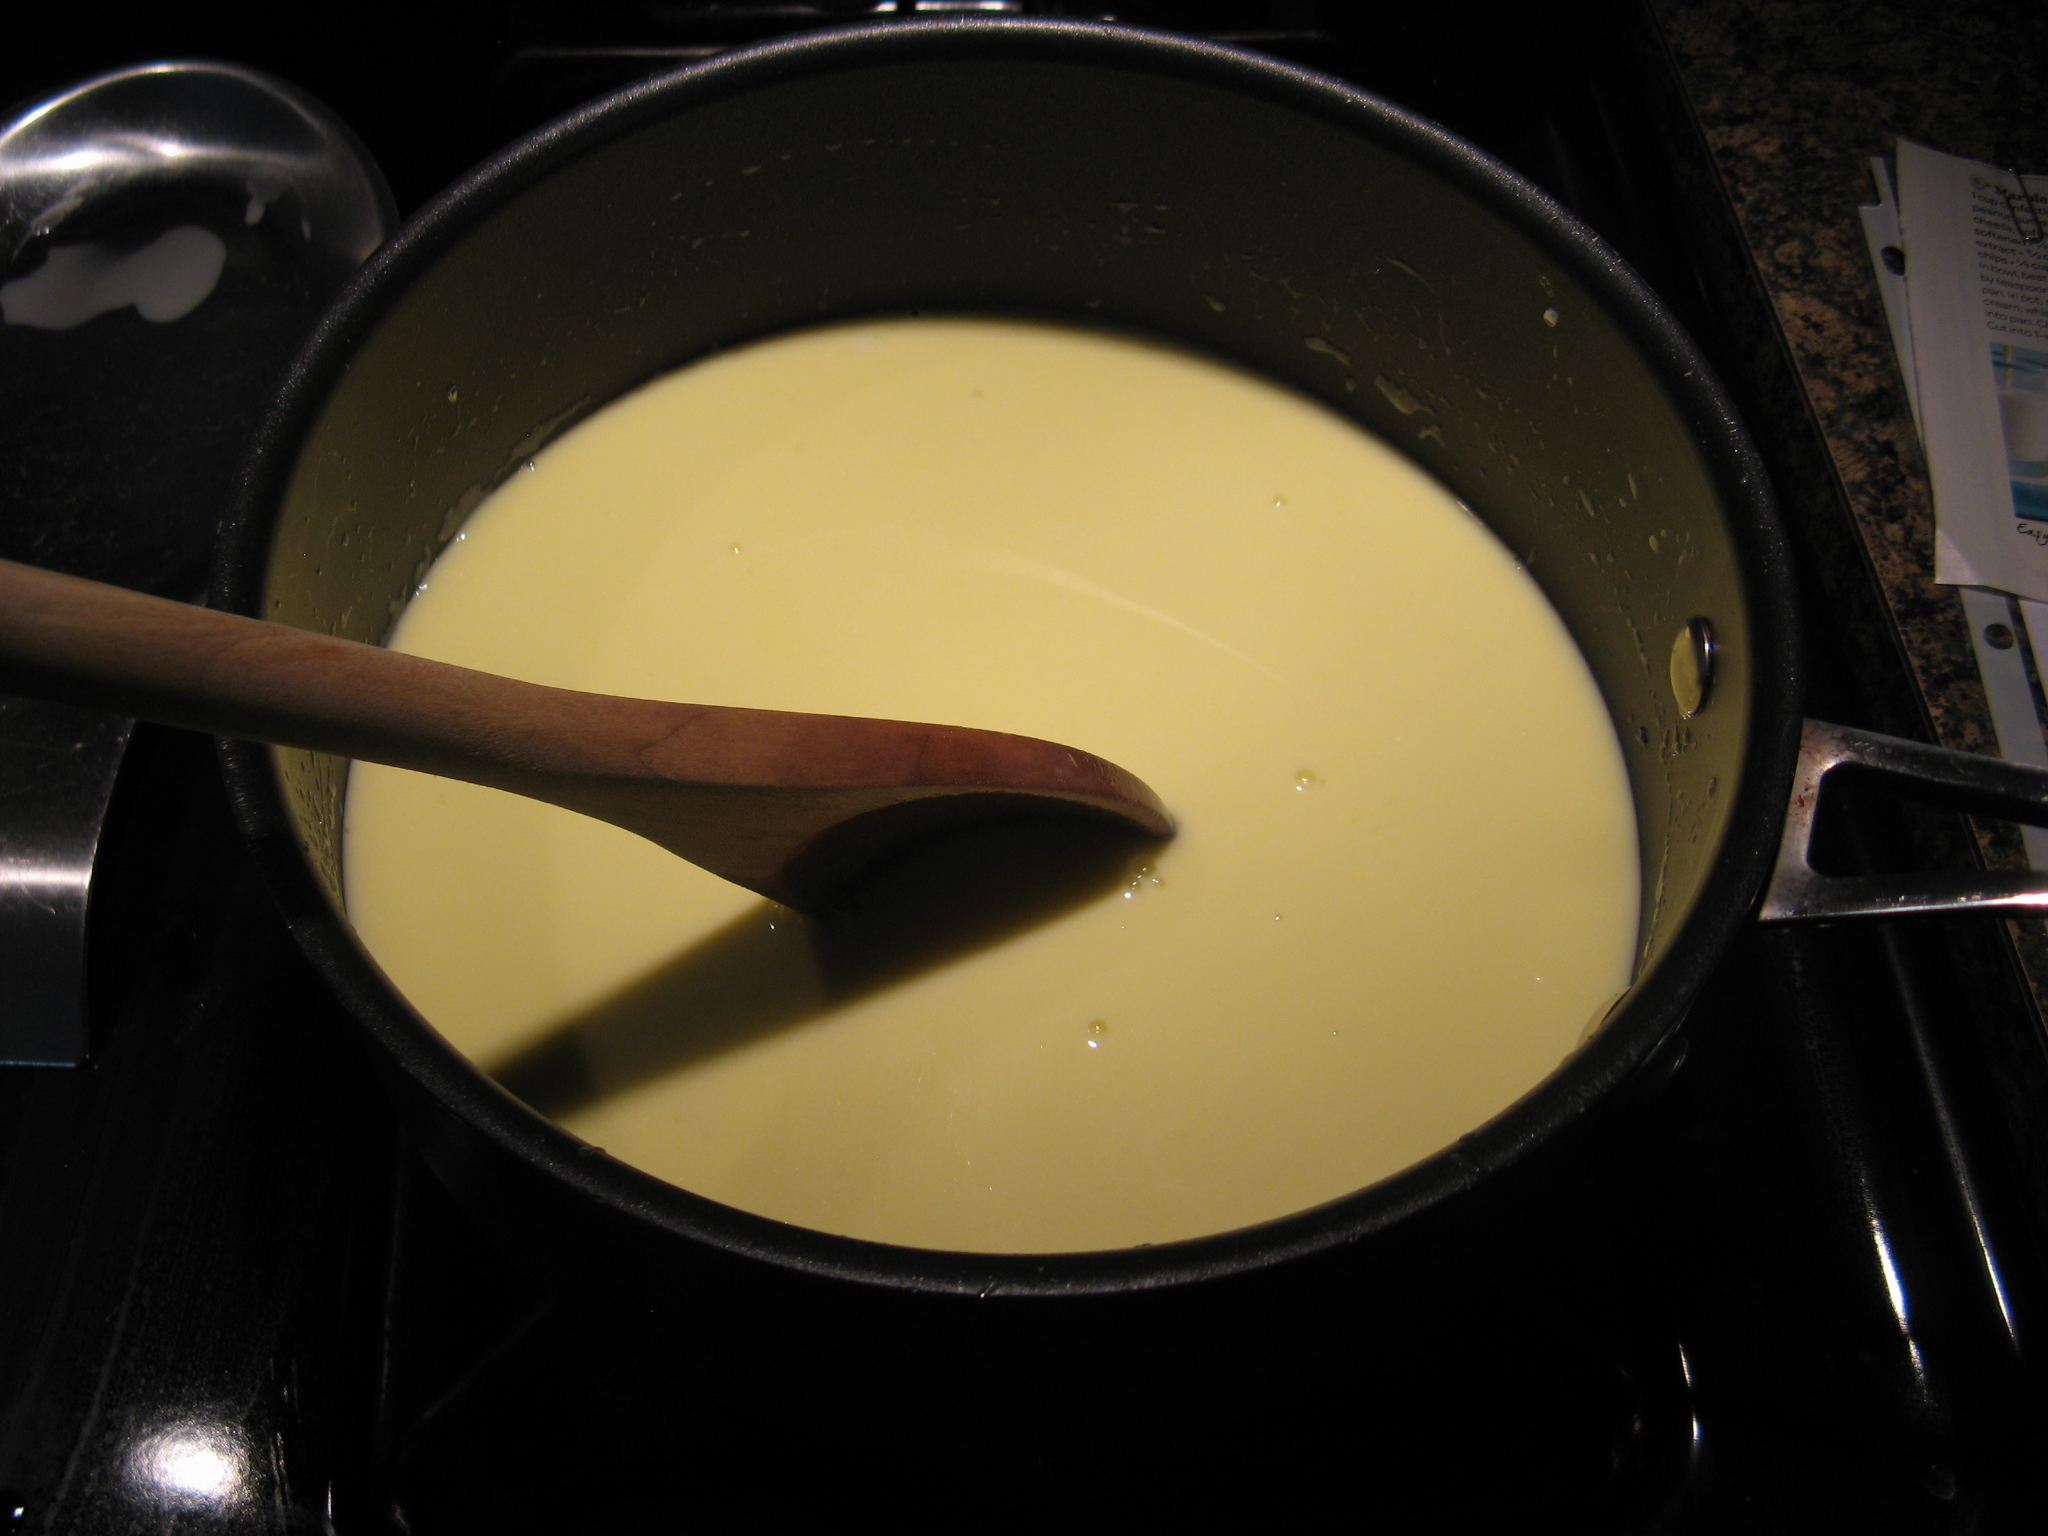
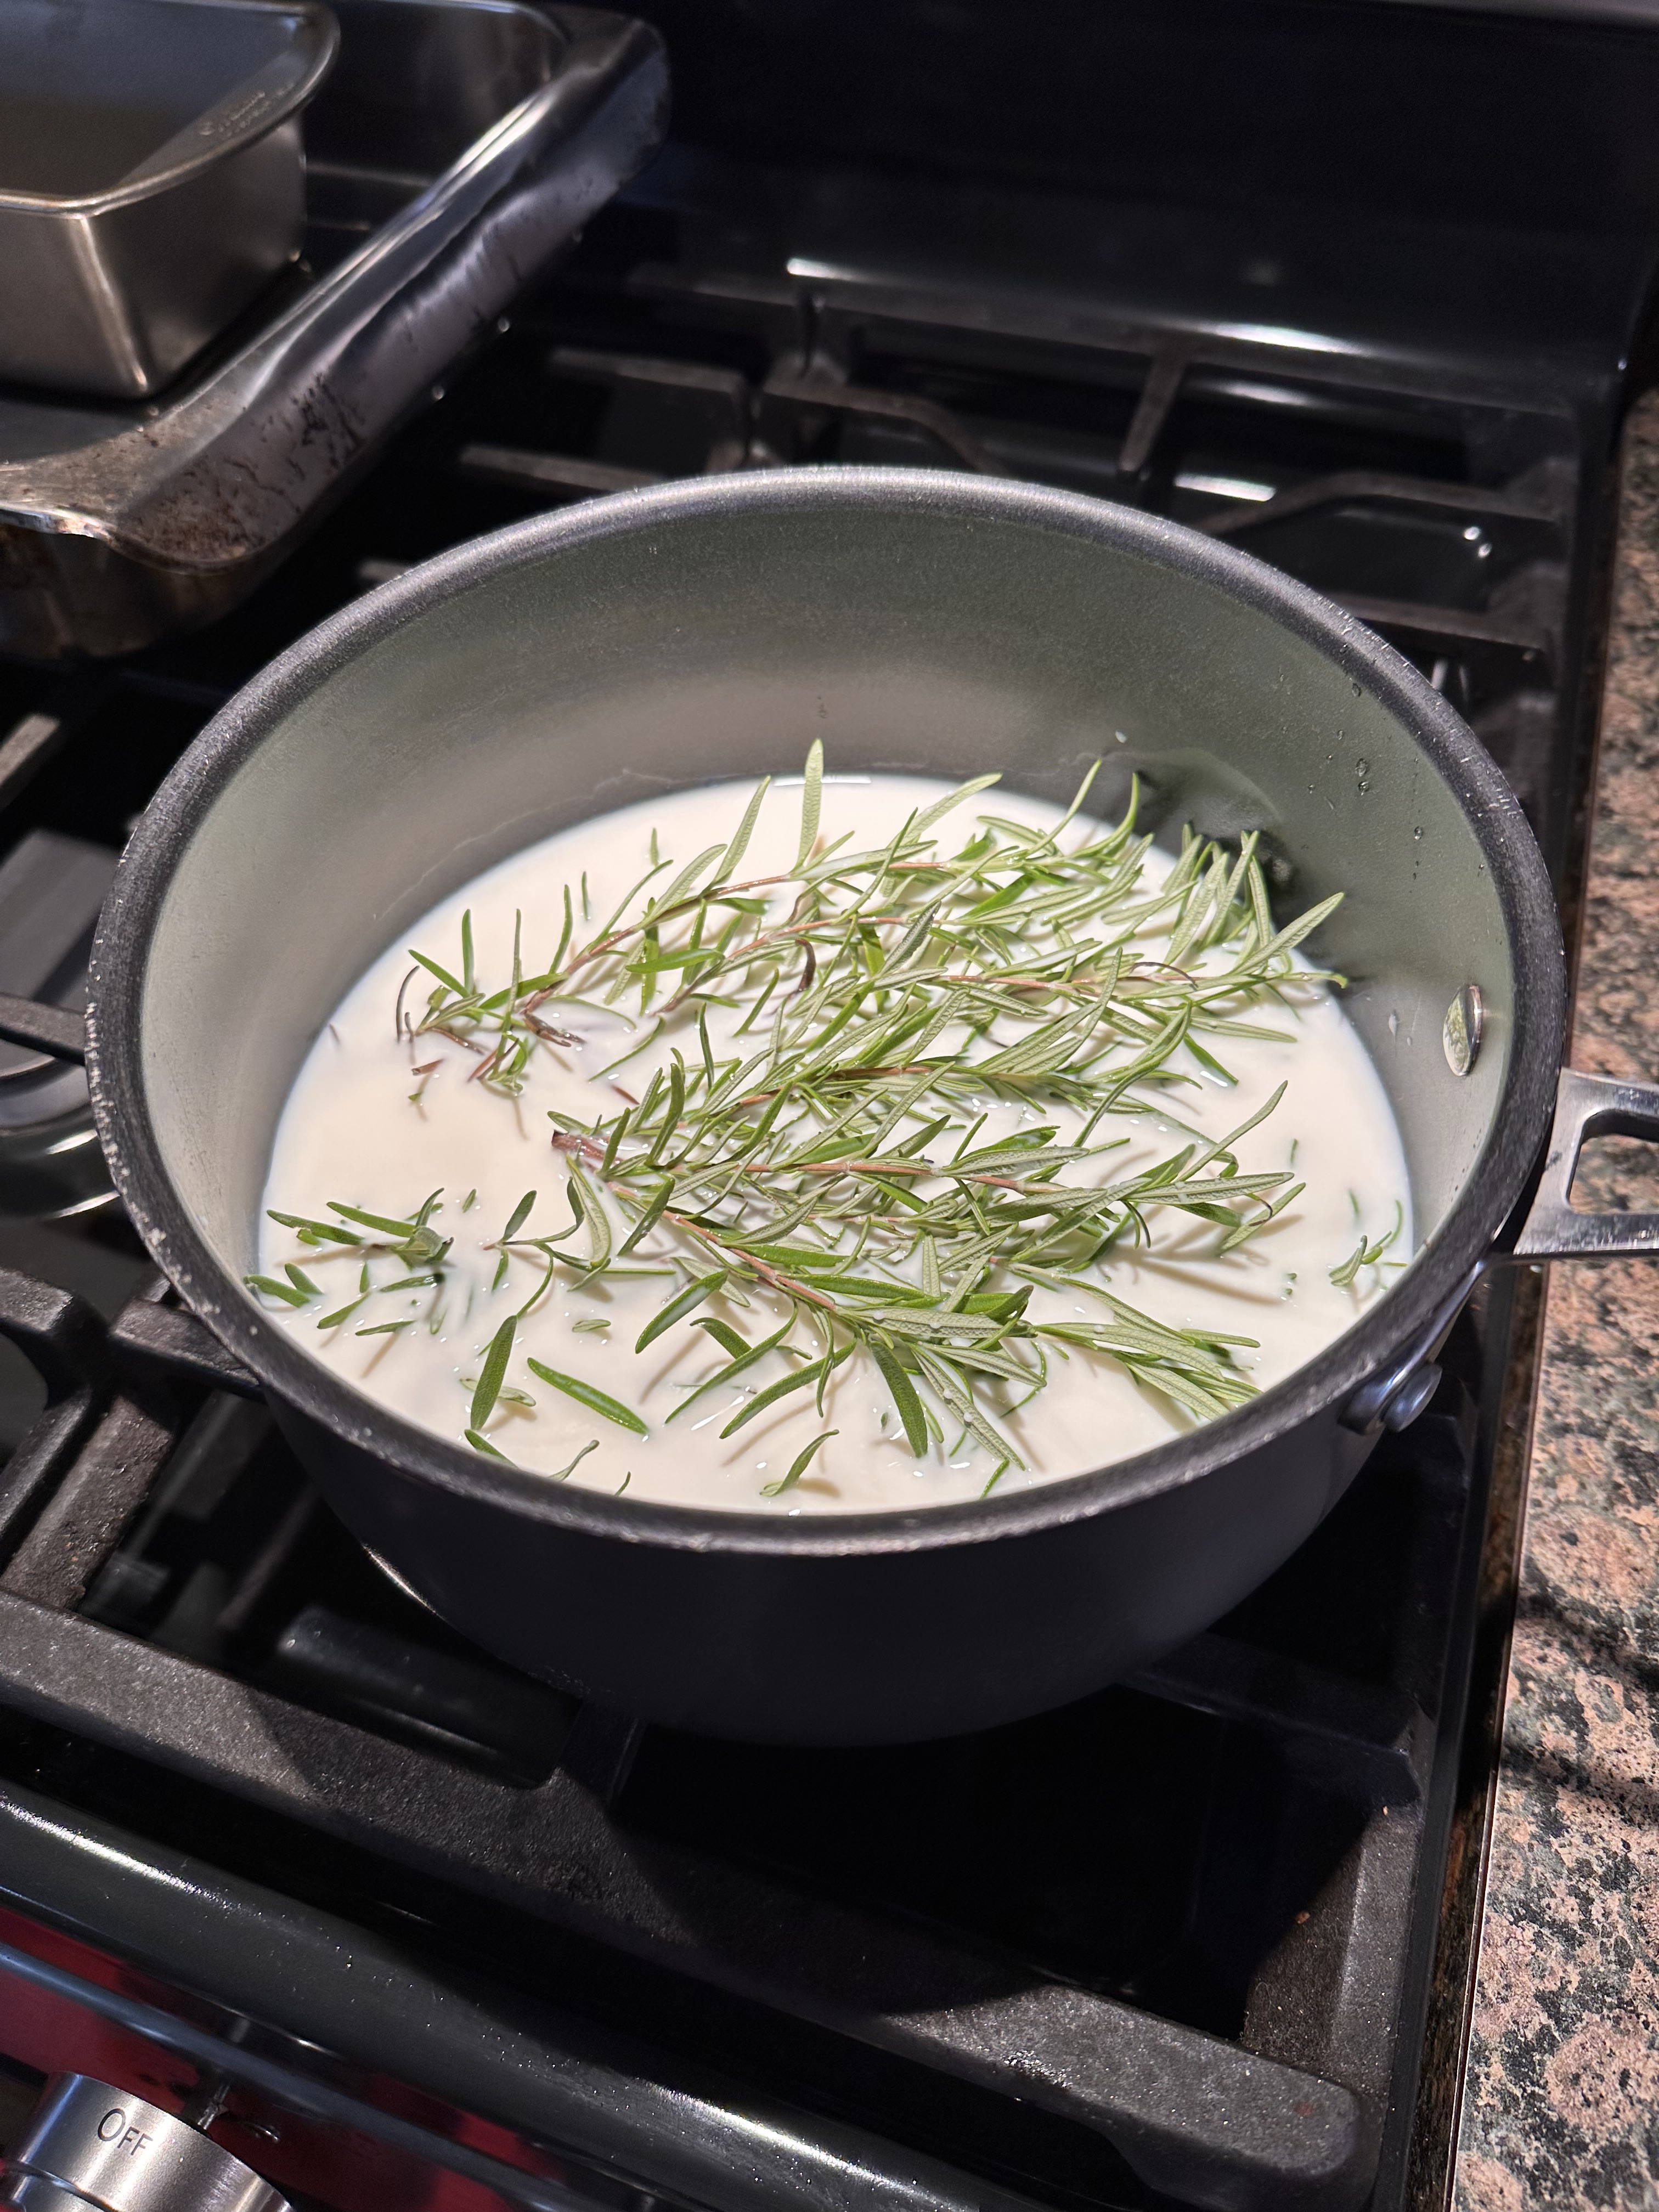
Since I didn’t want bits of rosemary in the custard, I started off by infusing the rosemary flavor into whole milk; which is one of the main ingredients in custard (eggs being the other). To do so, I boiled a few sprigs of fresh rosemary in milk and then let the milk steep for a few minutes with the rosemary still in it.
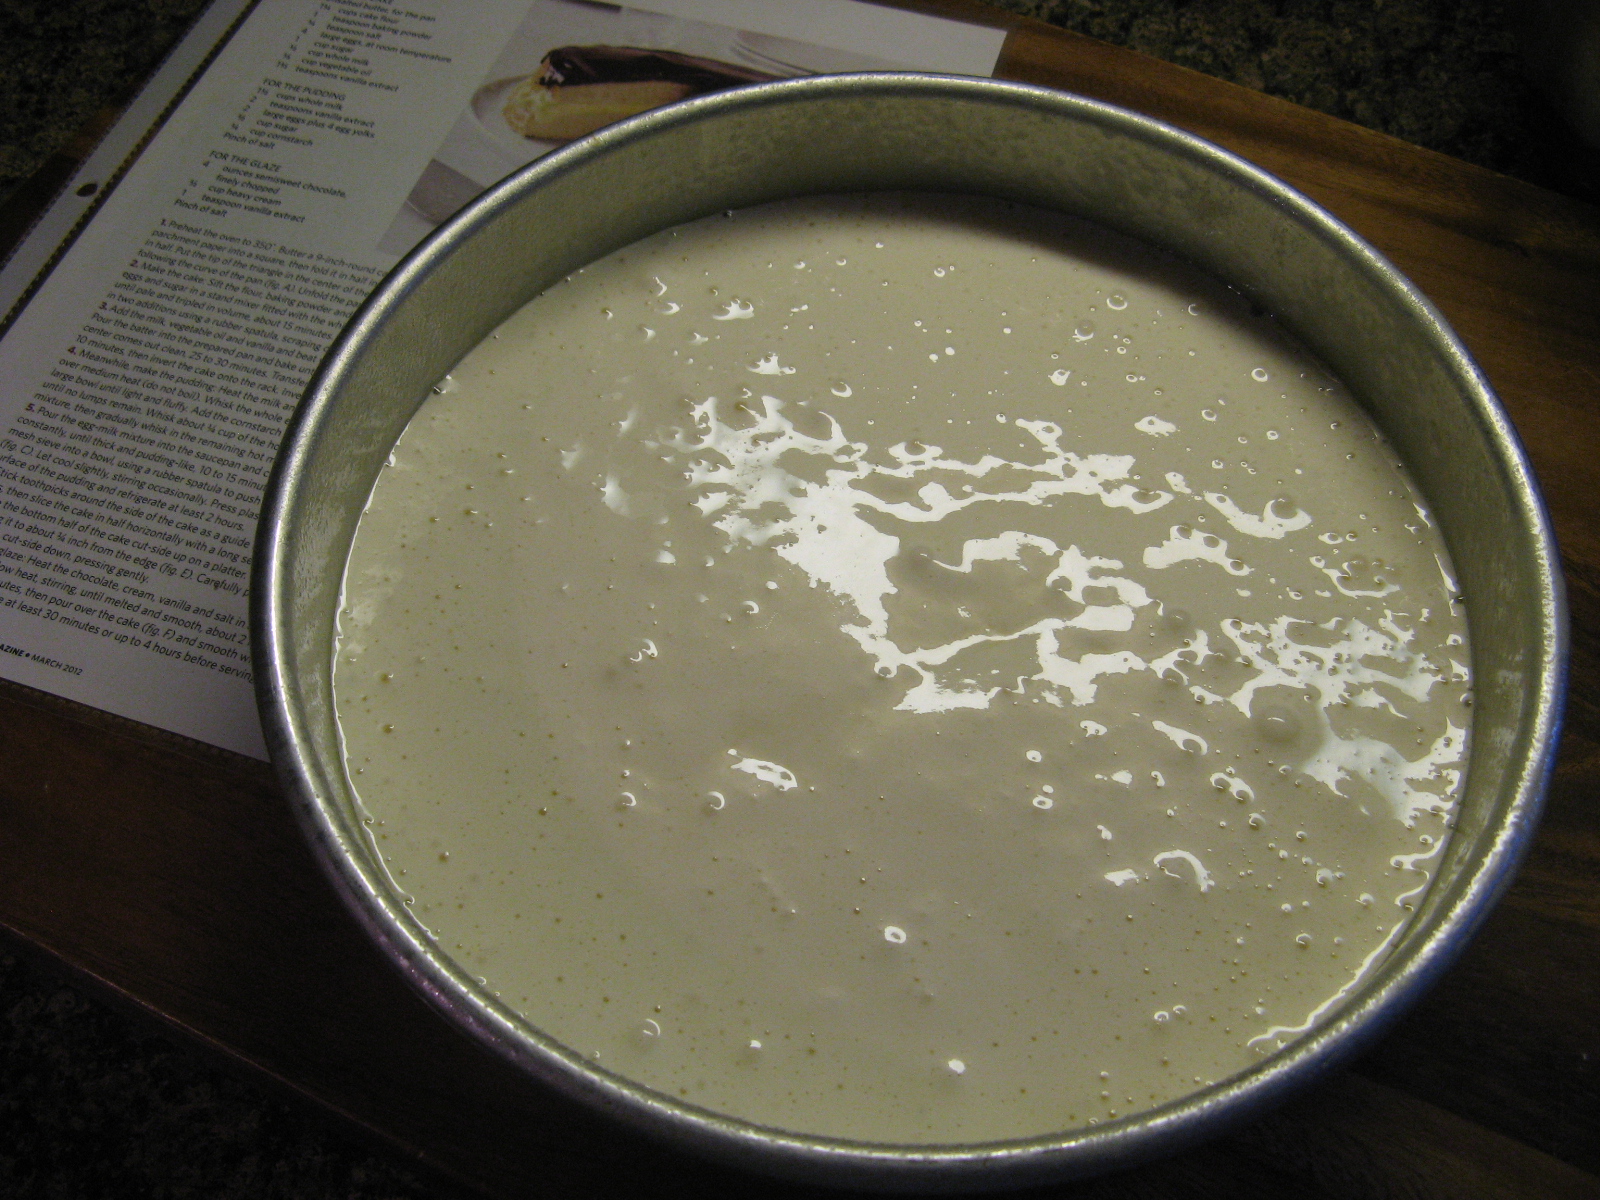
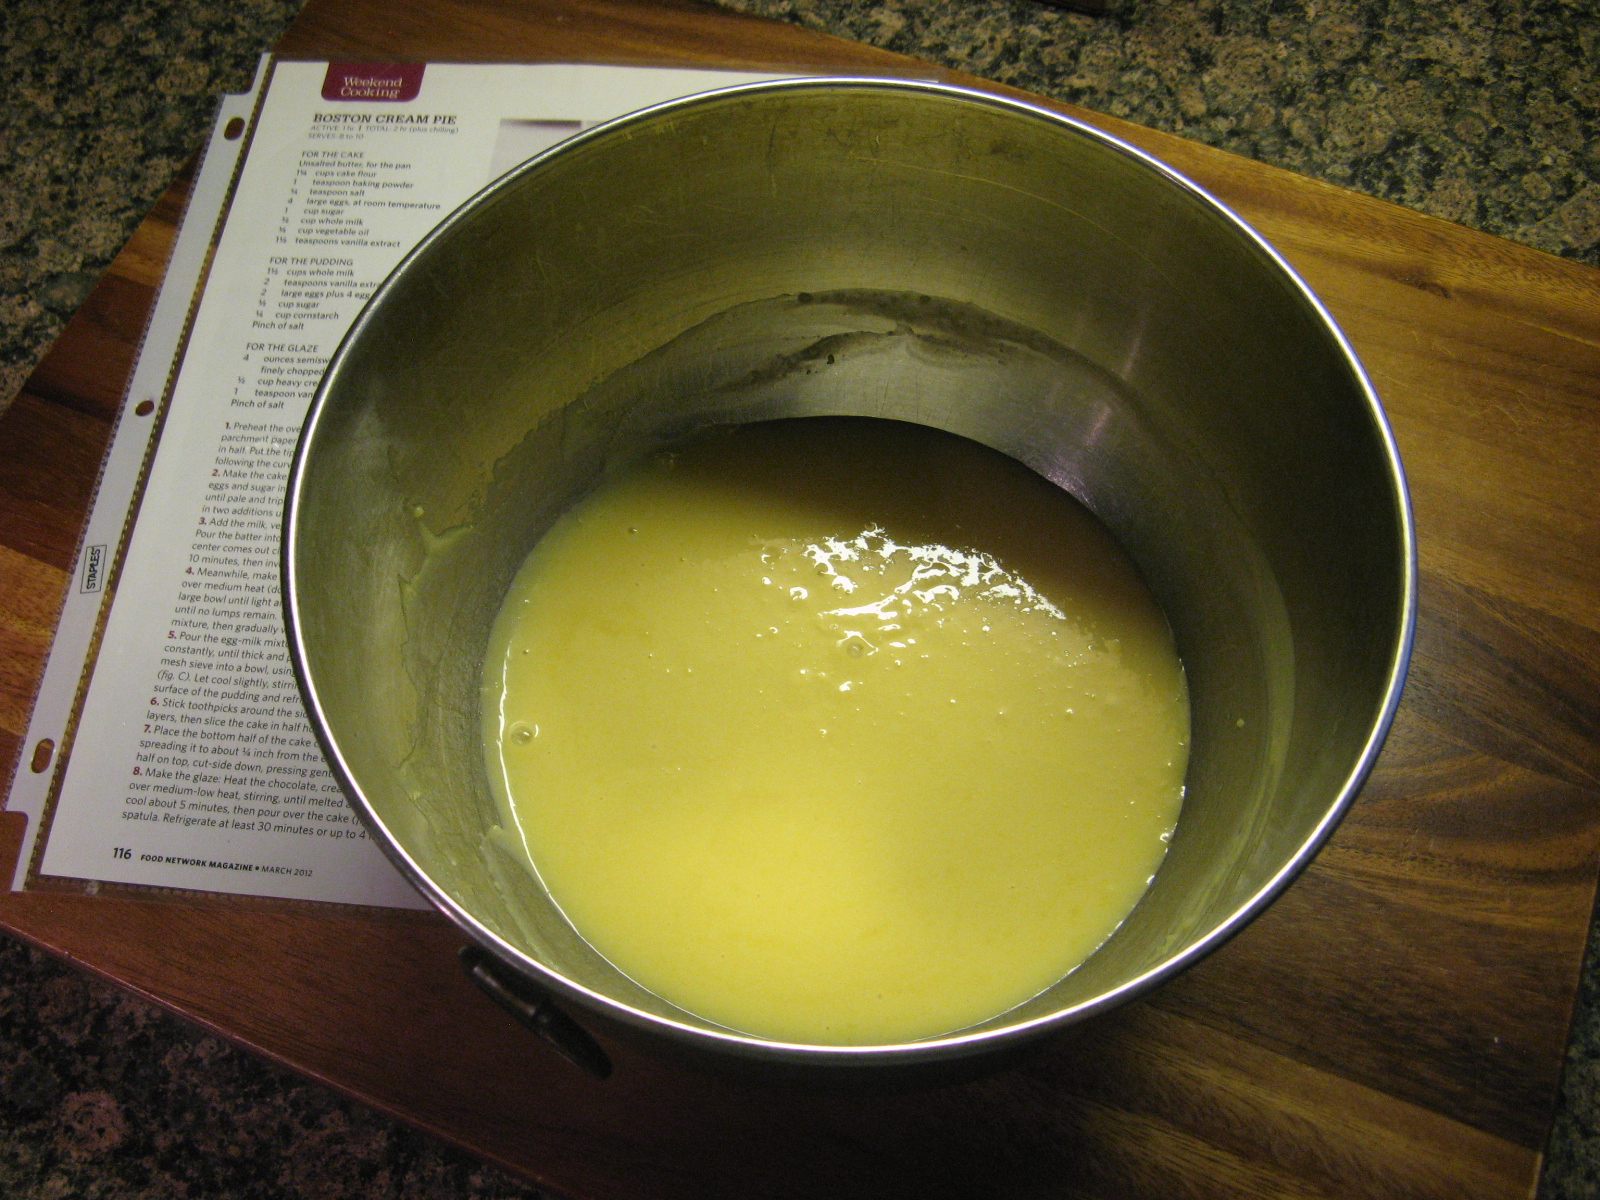
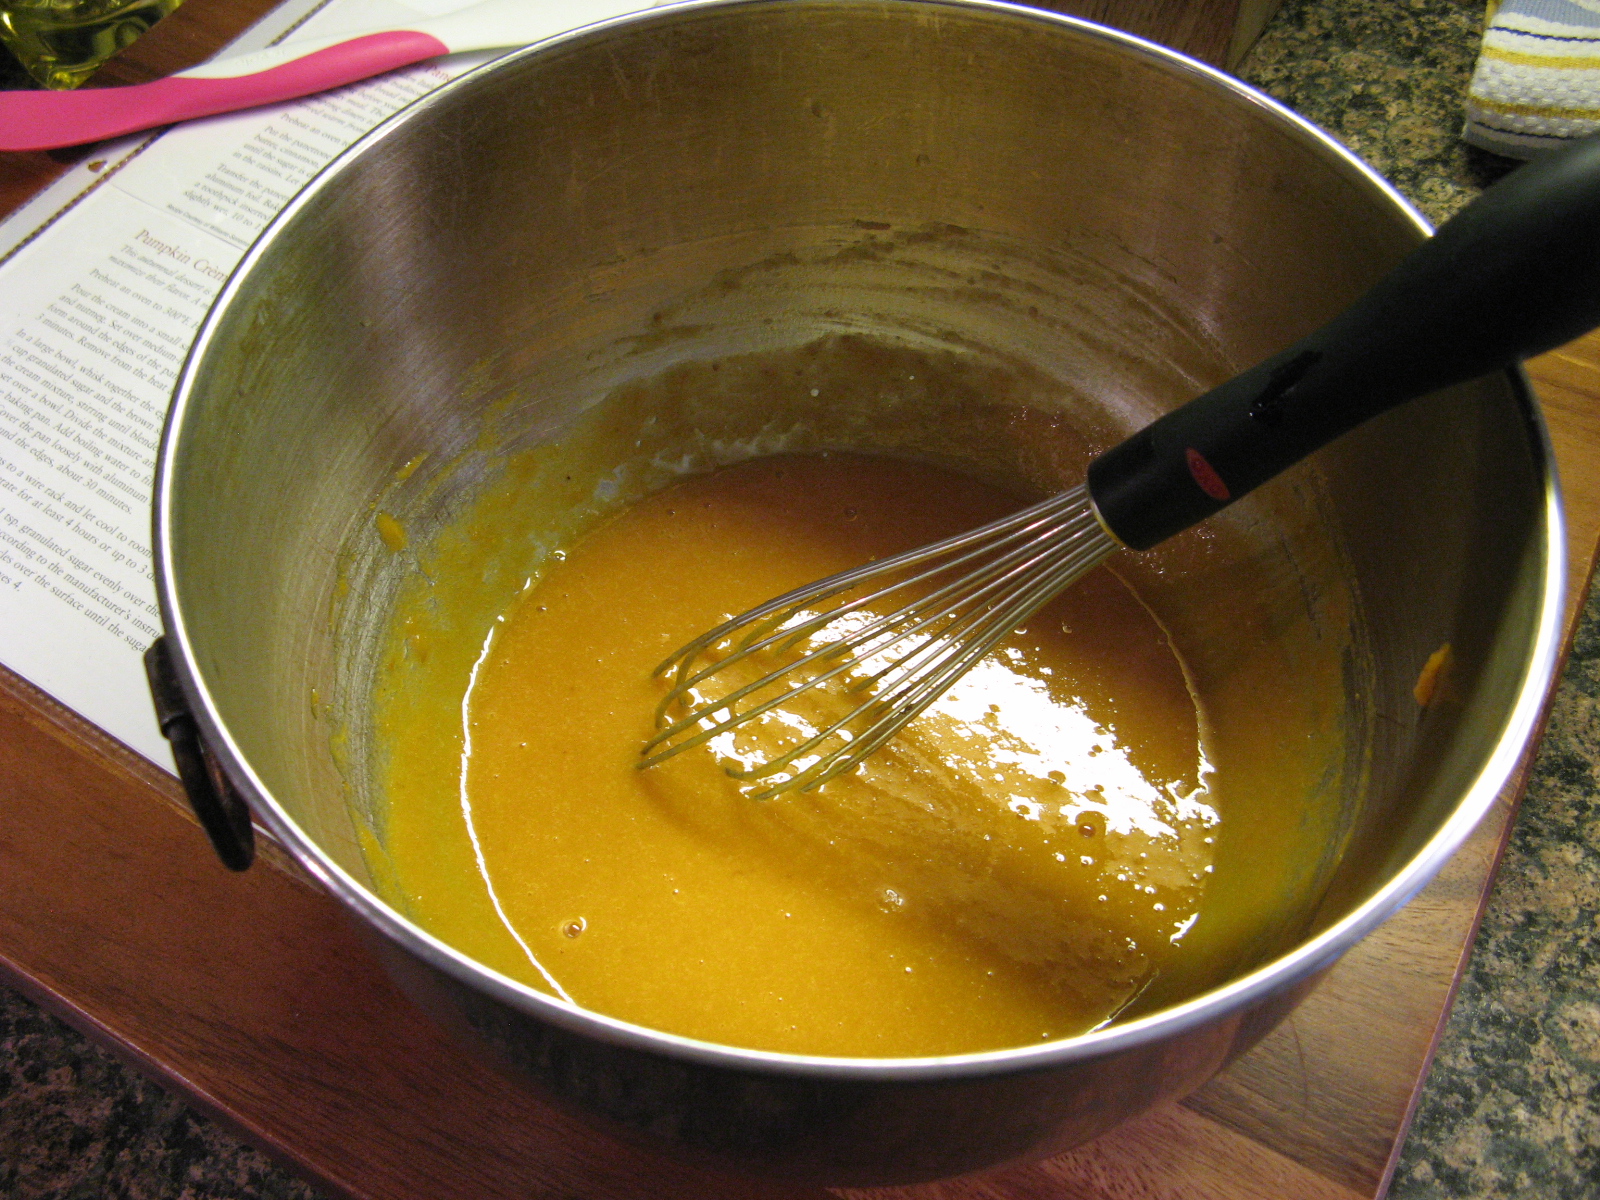
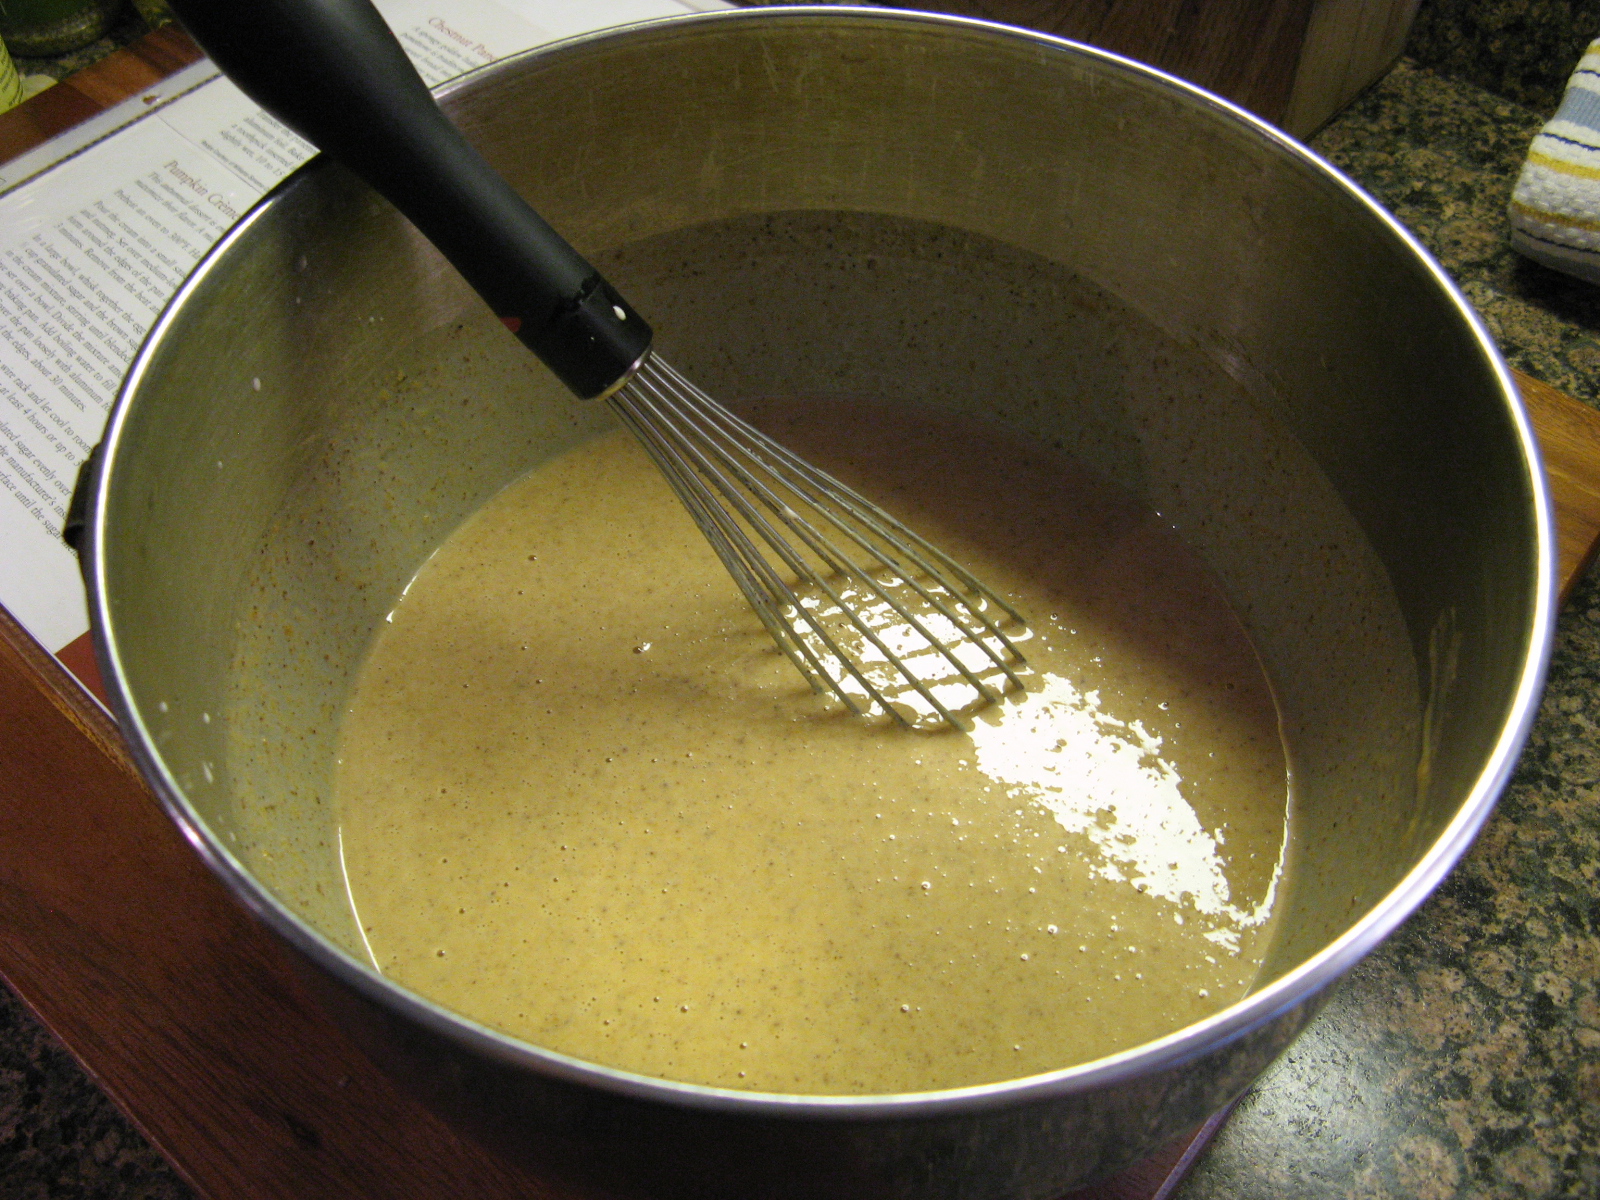
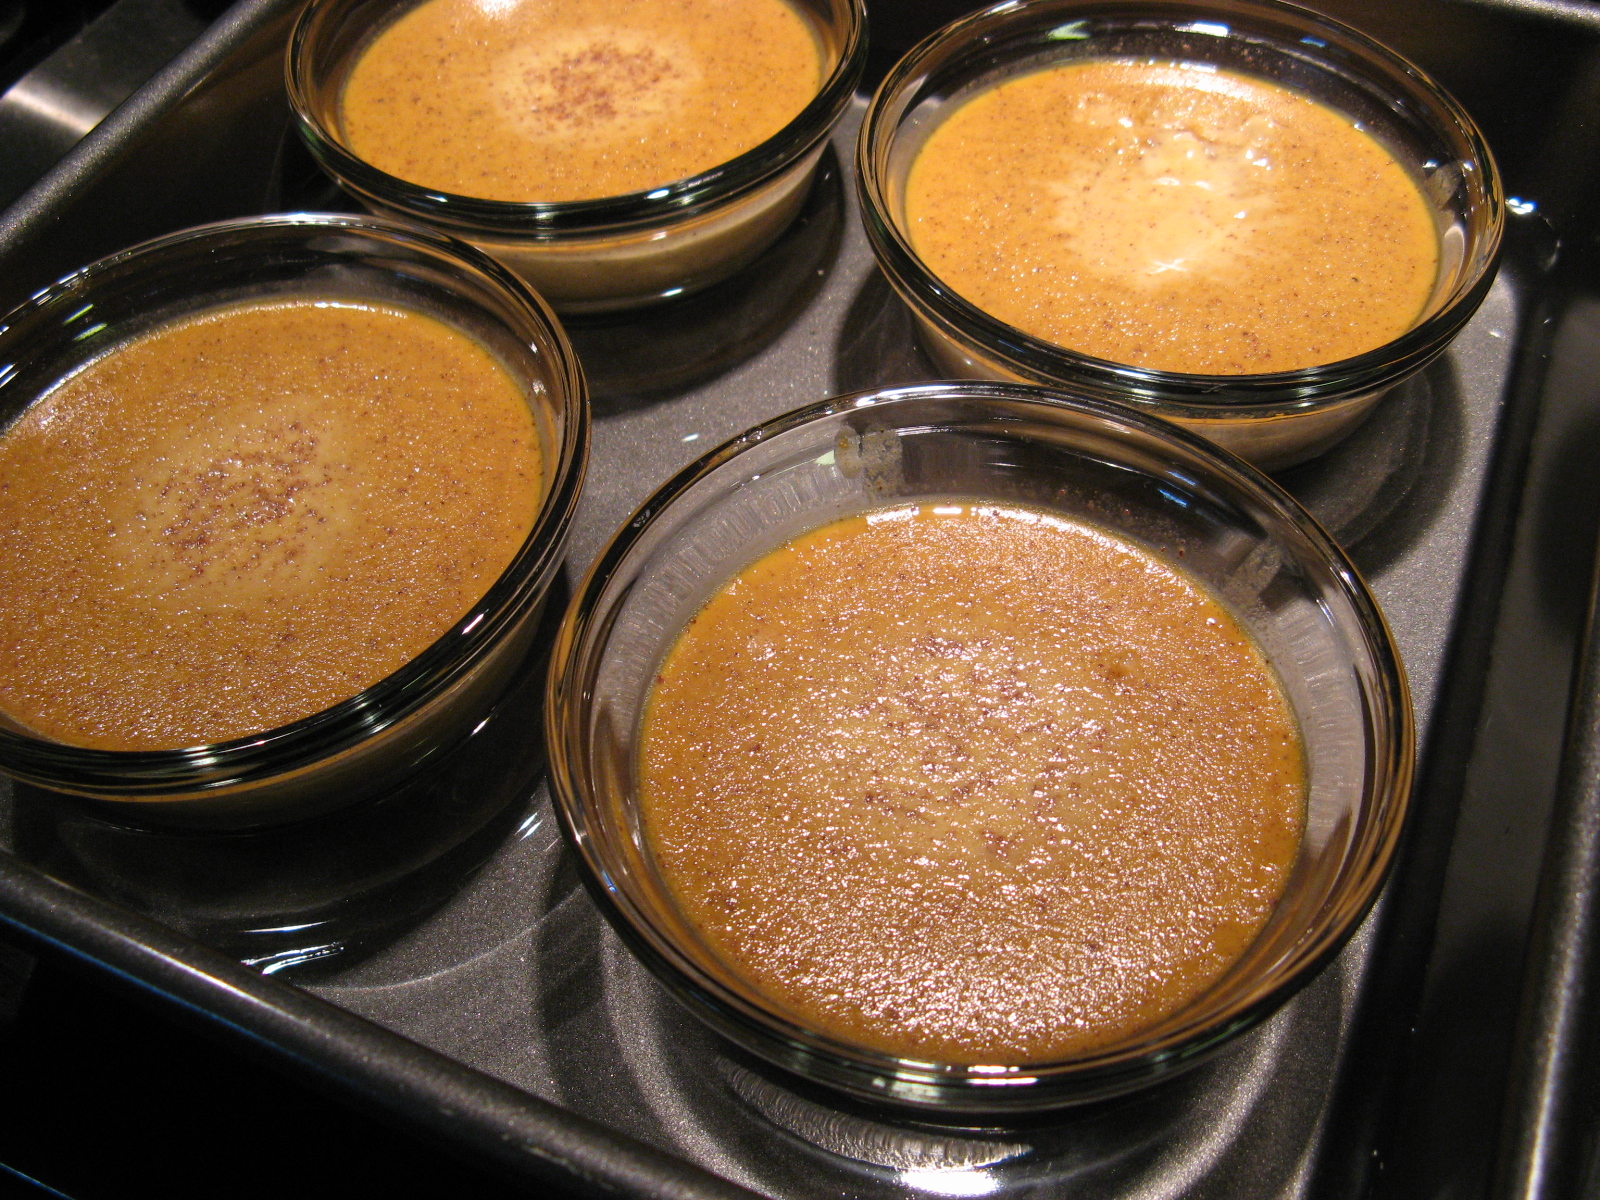
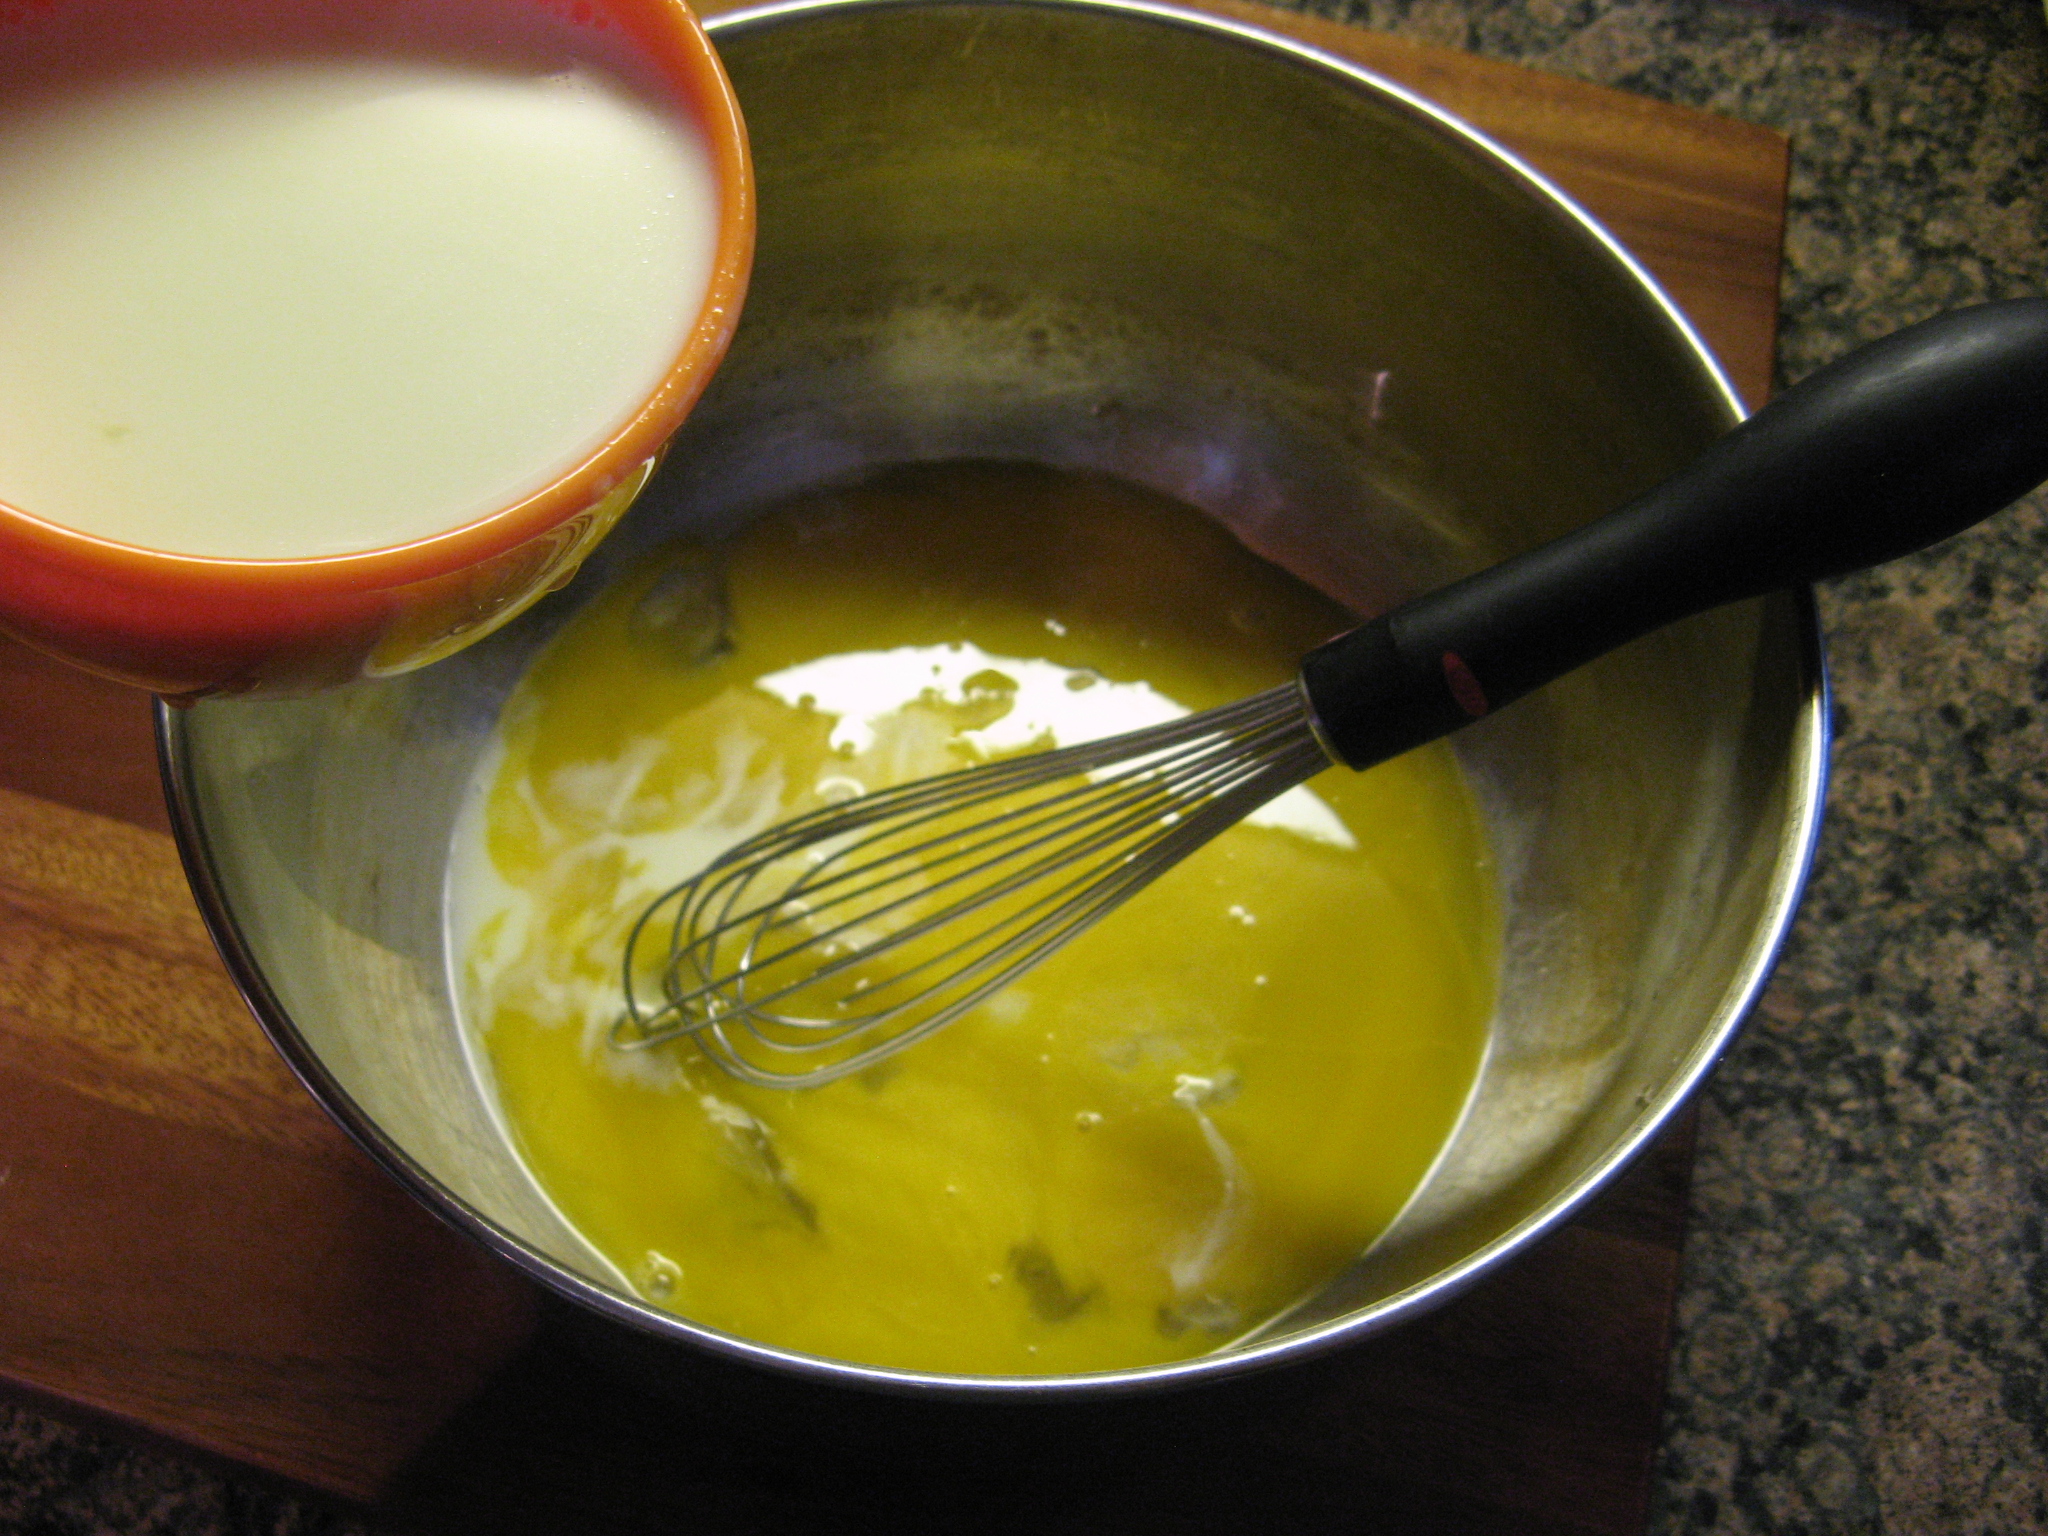
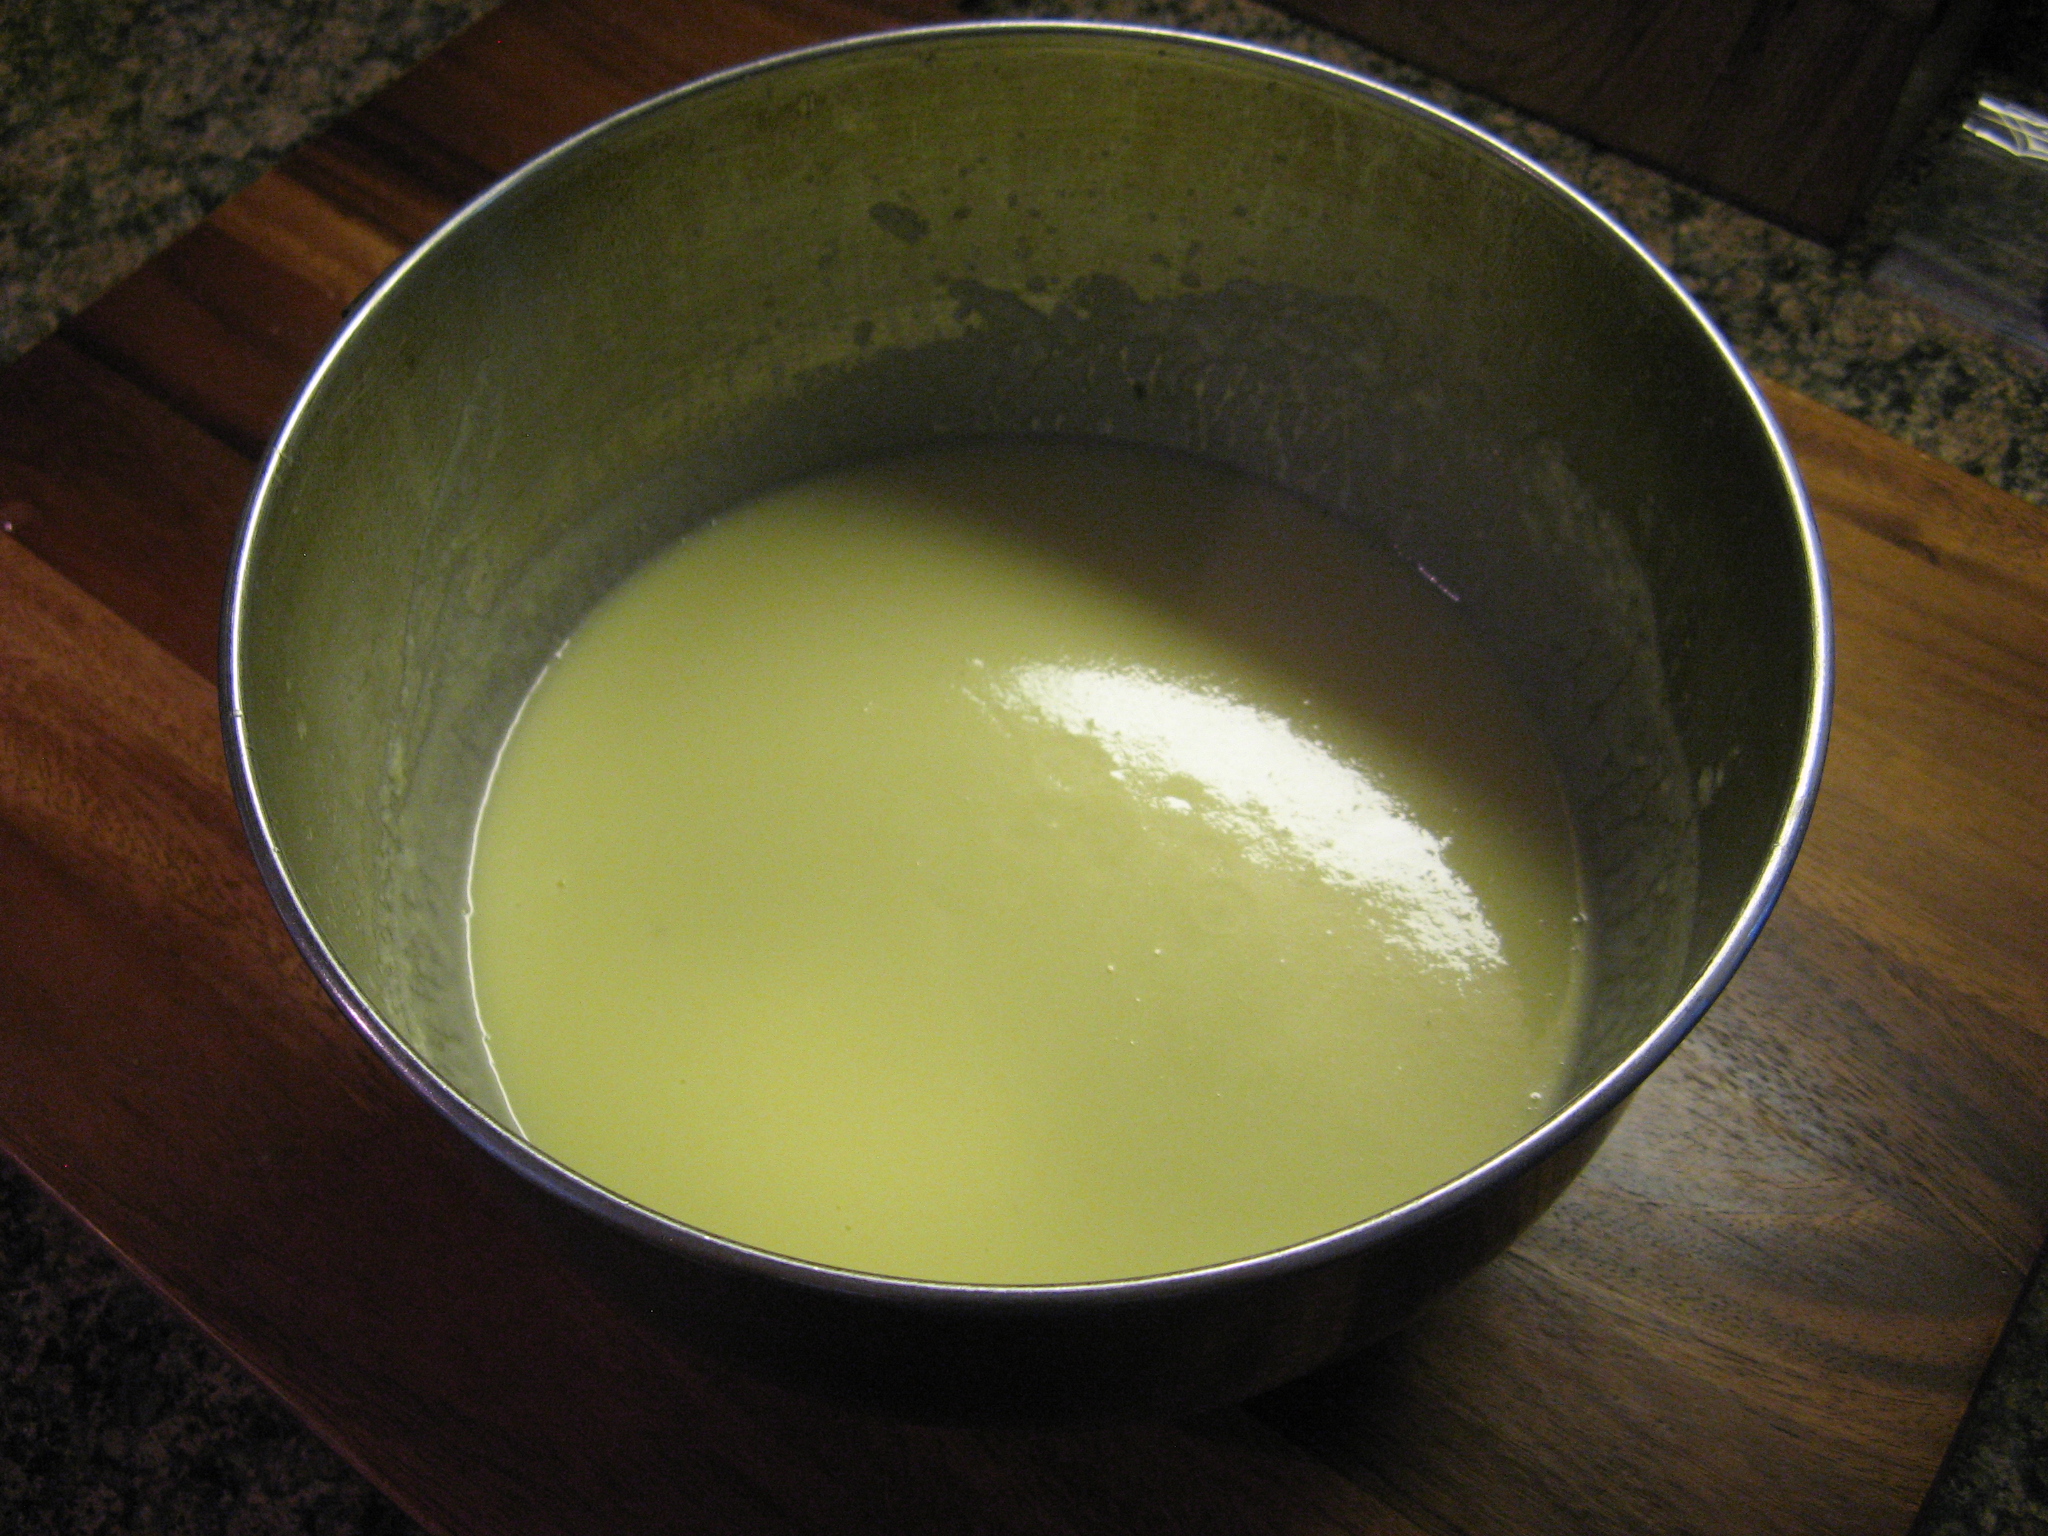
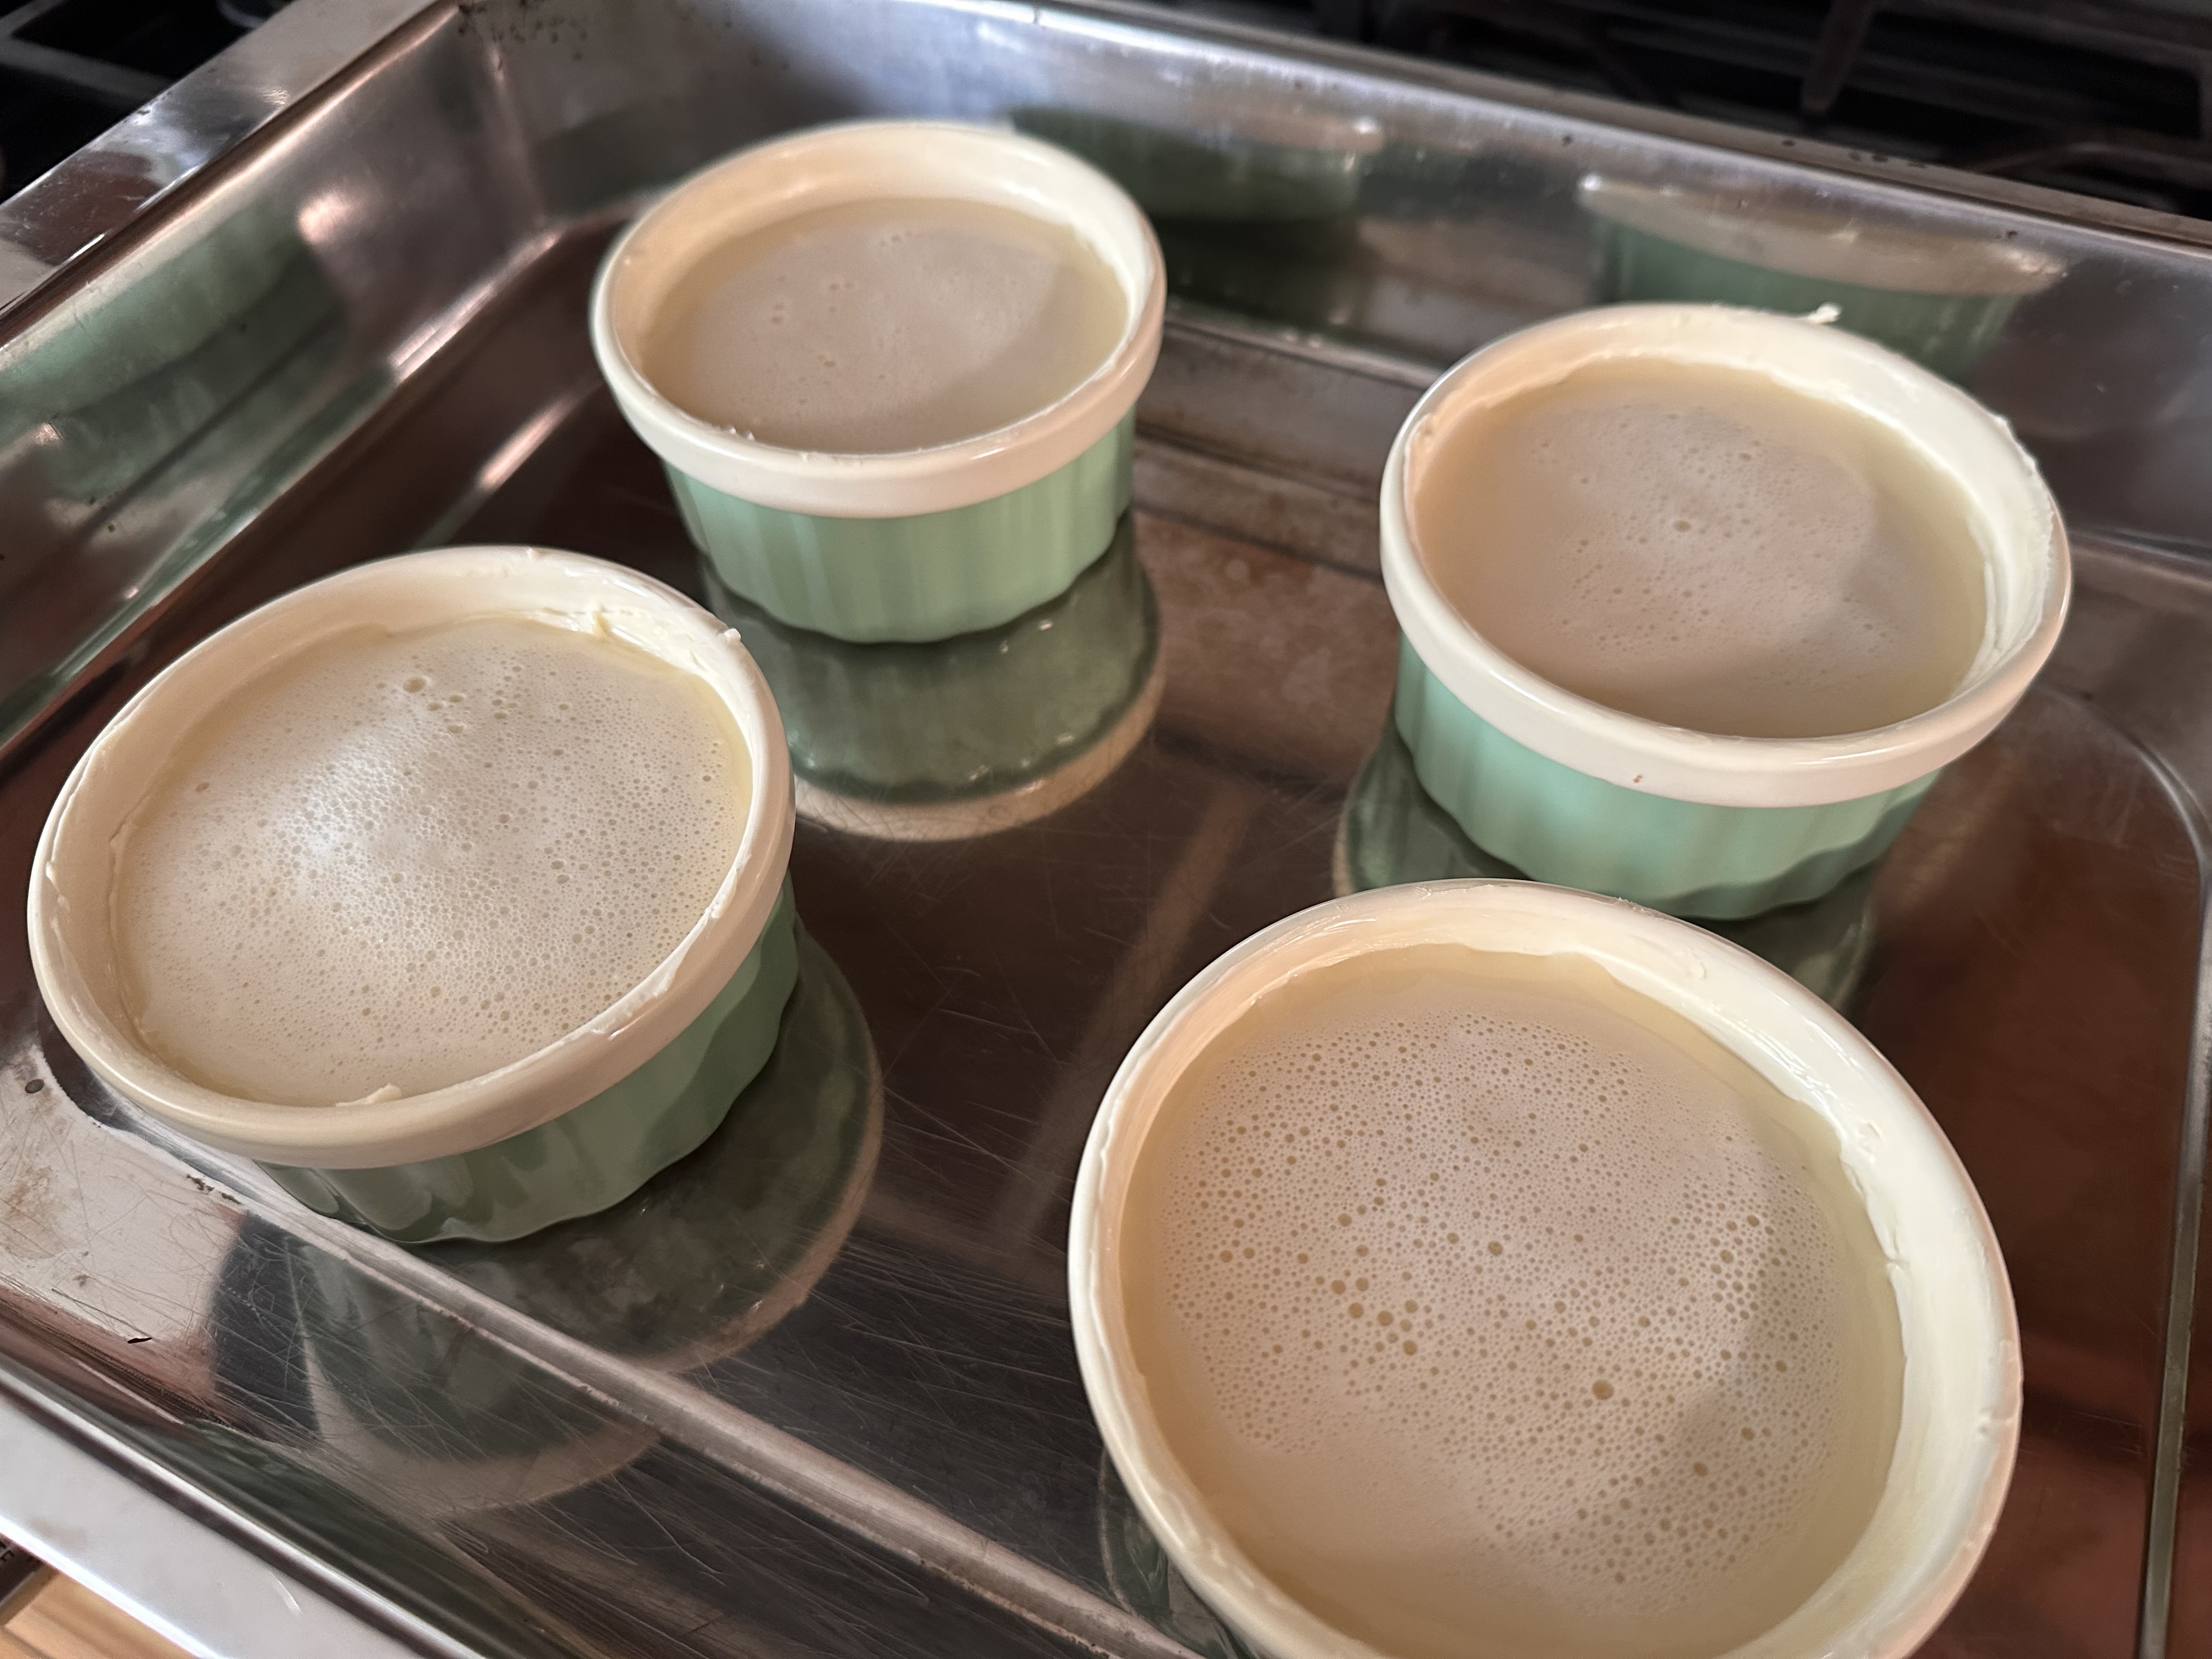
While the milk was steeping, I beat eggs along with sugar, honey and vanilla extract. I then whisked a few tablespoons of the milk into the egg mixture to temper them and then slowly whisked in the remaining milk – having removed the rosemary sprigs beforehand. It’s important to temper the eggs, if you add all the milk in at once you may end up with scrambled eggs. After straining the mixture through a fine mesh sieve, I divided it amongst greased ramekins that I had placed in a roasting pan. About 1 cup of the mixture in each ramekin. I would suggest straining the mixture into a large (4-cup or more) measuring cup to make pouring it into the ramekins easier (and less messy!)
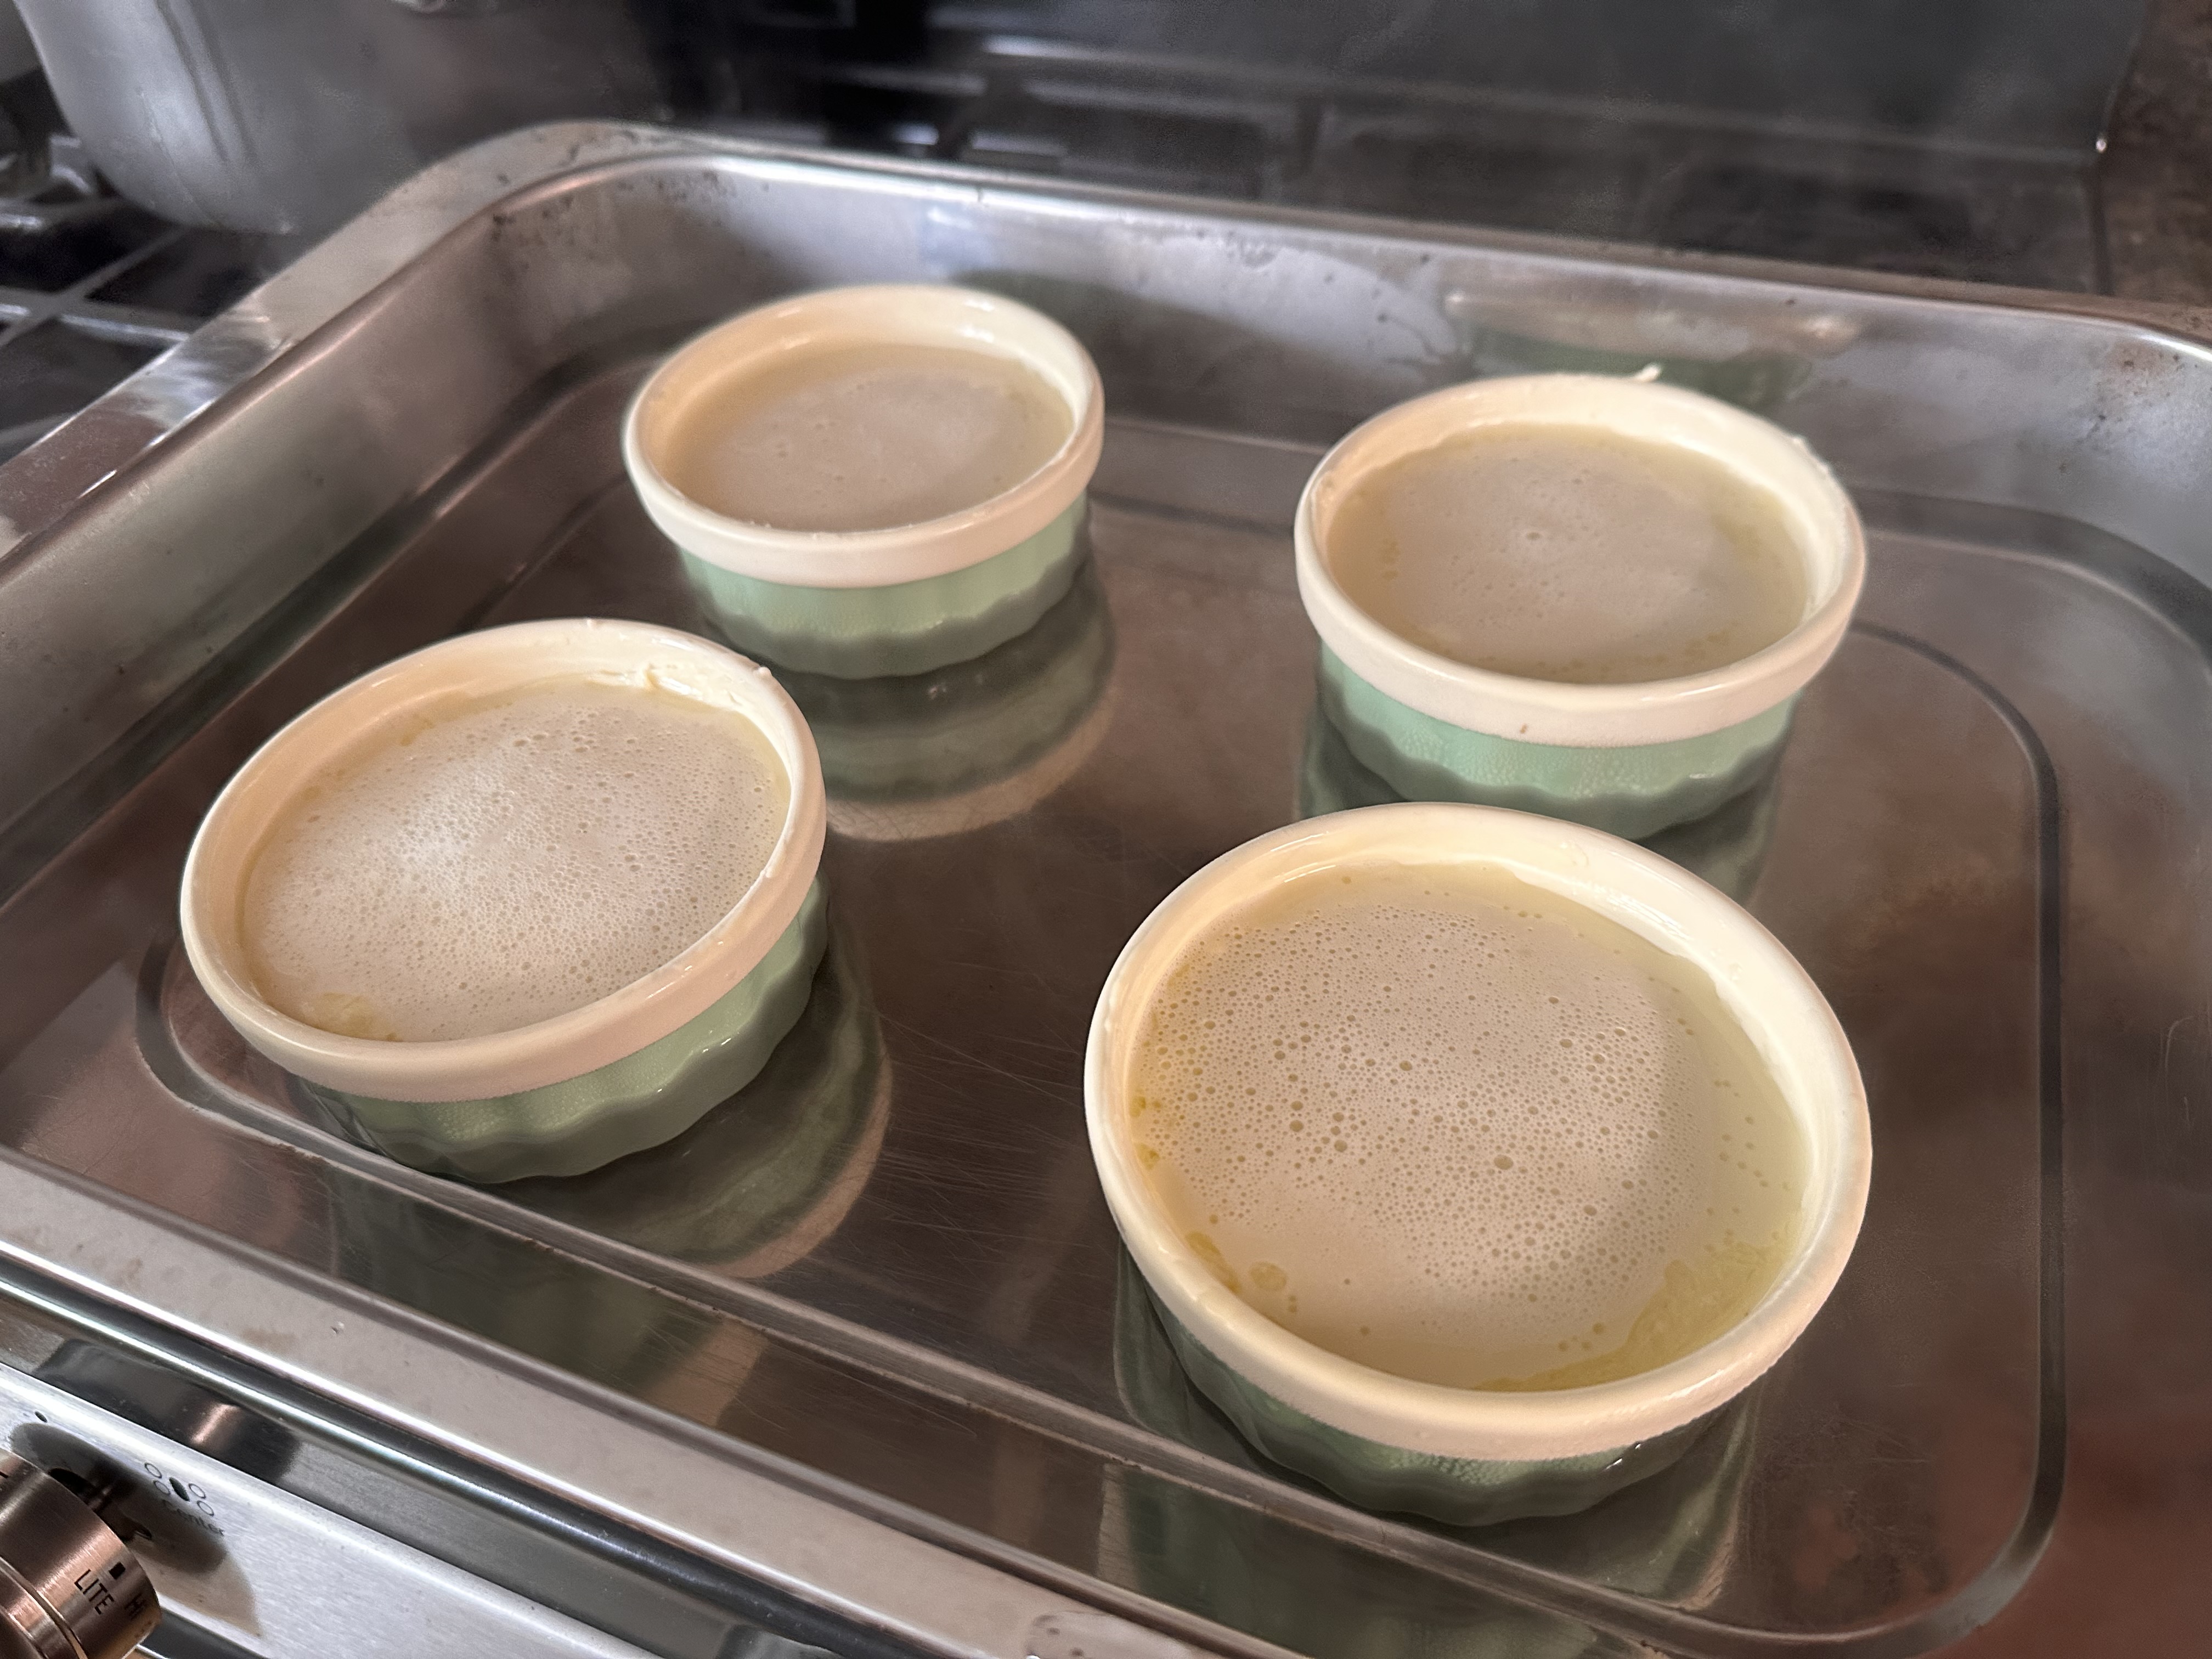
Next, I added enough boiling water to the pan to reach halfway up the sides of the ramekins.
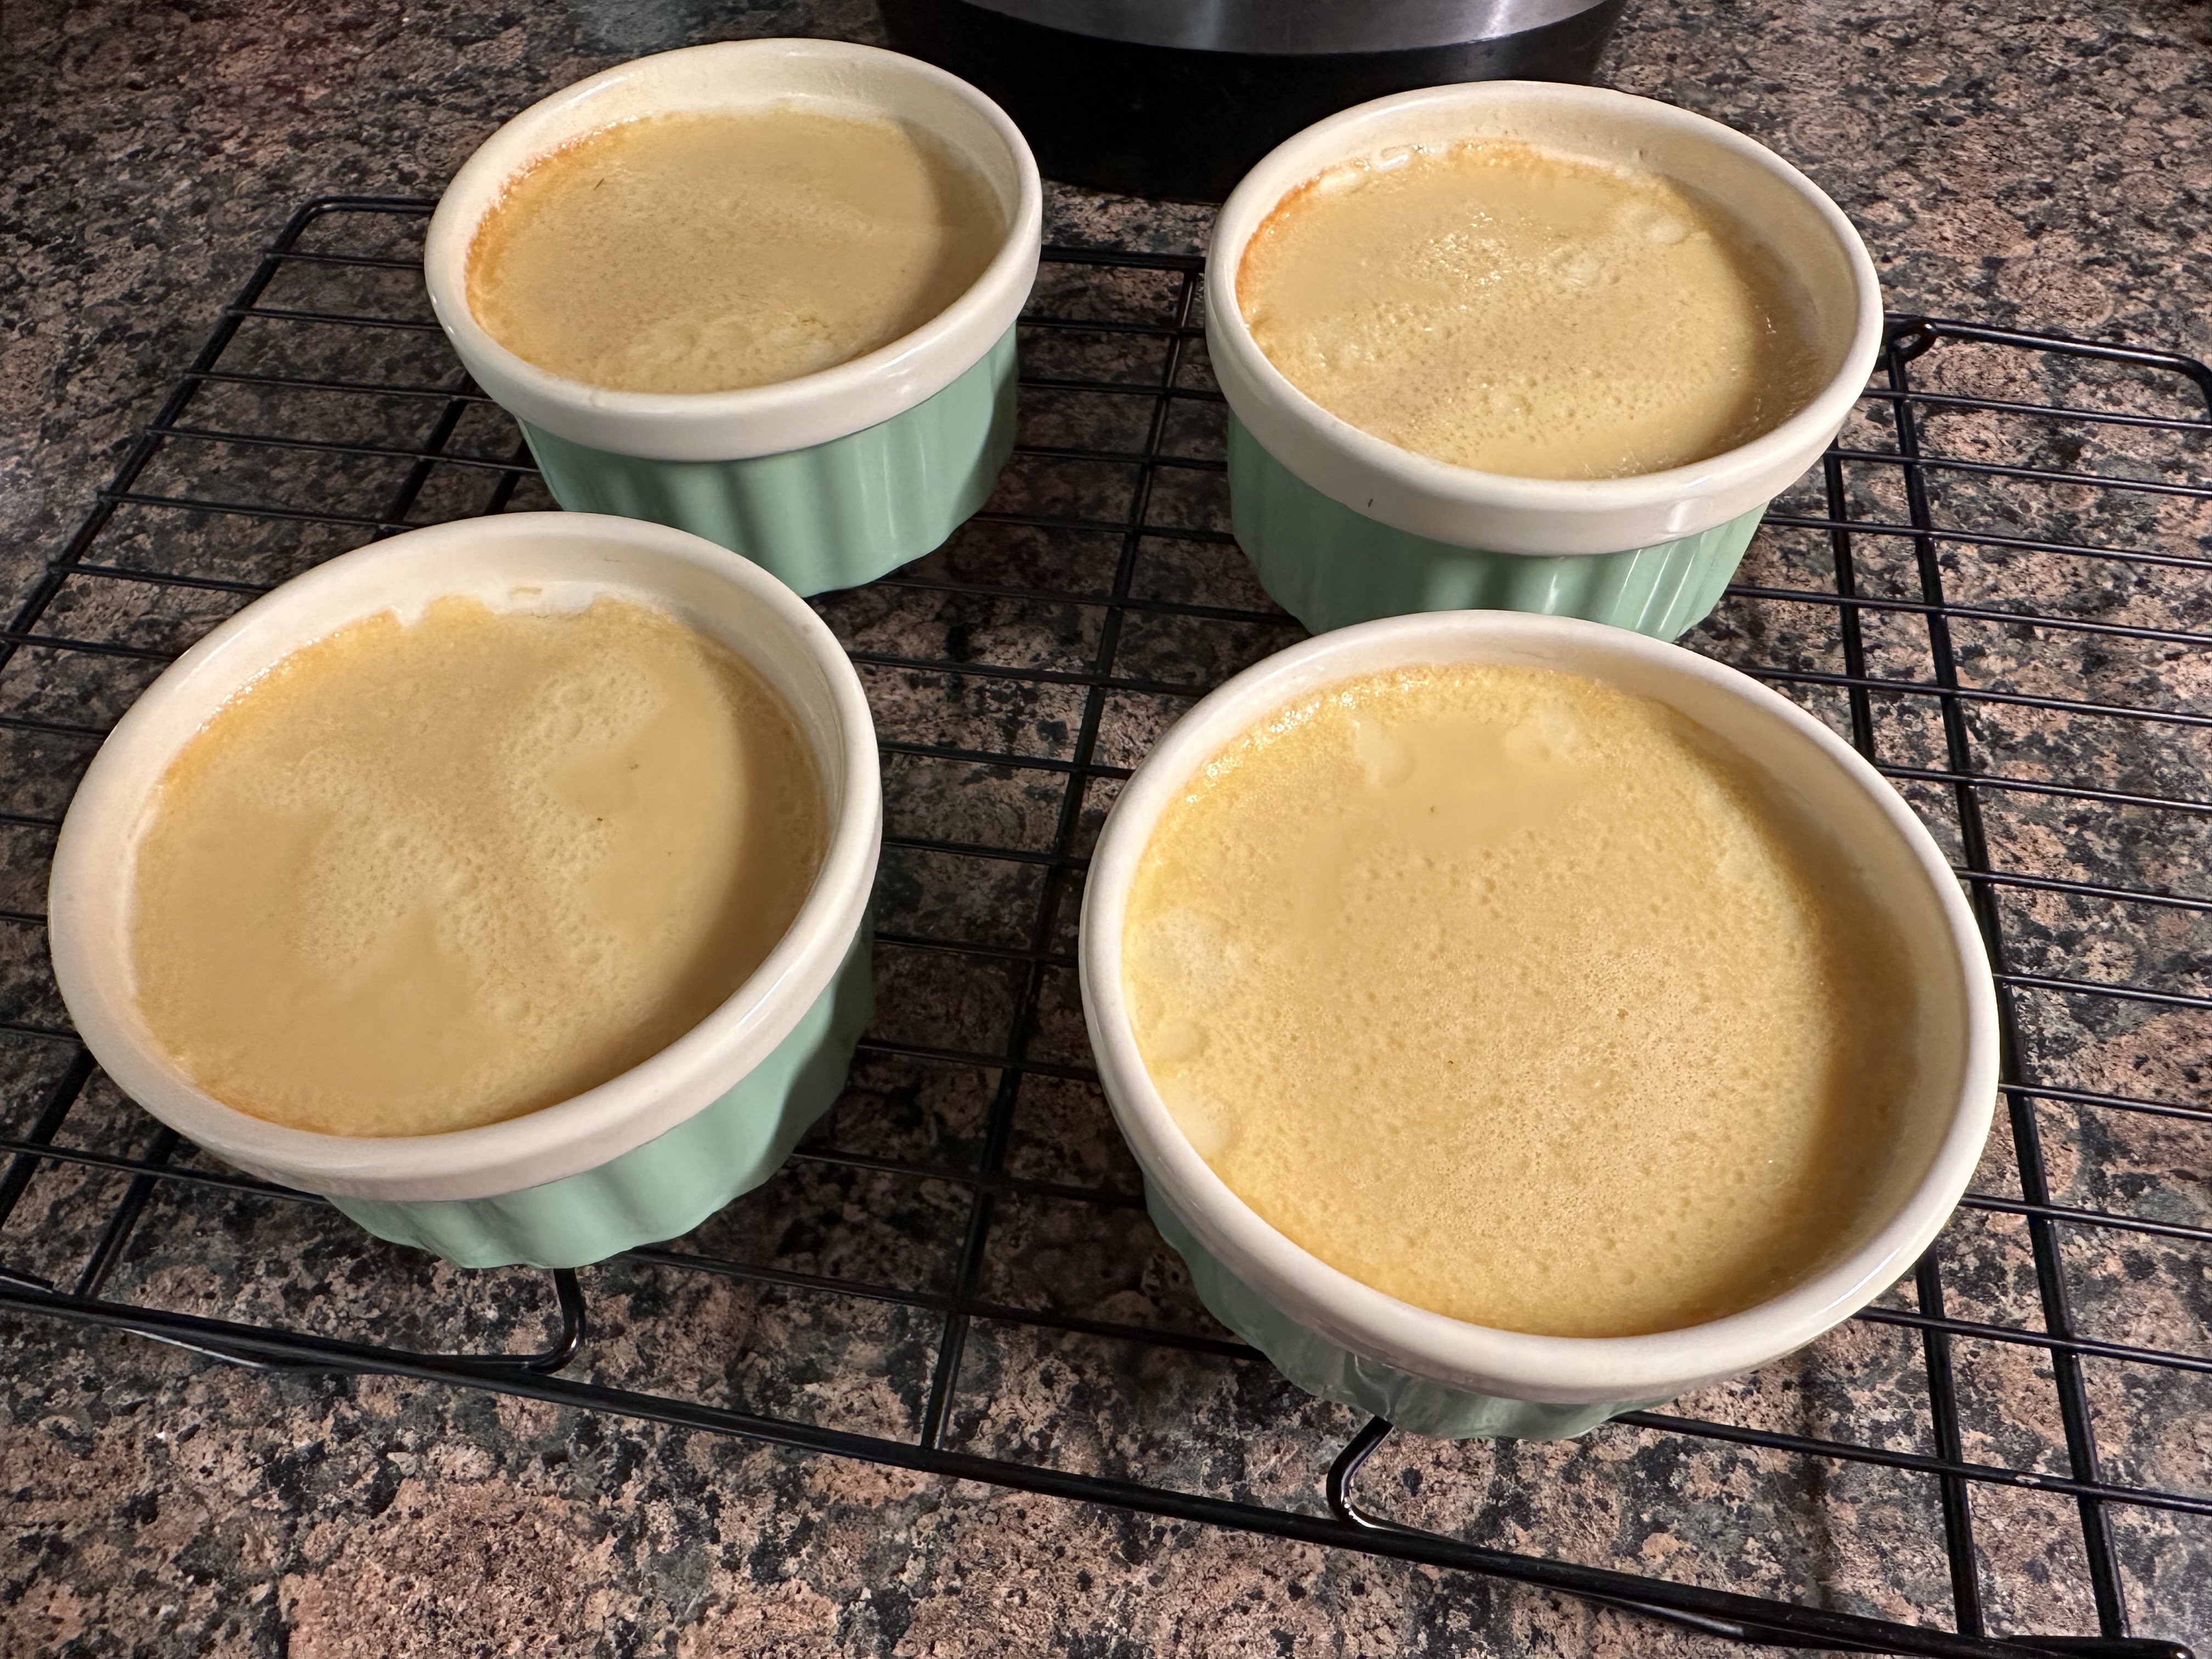
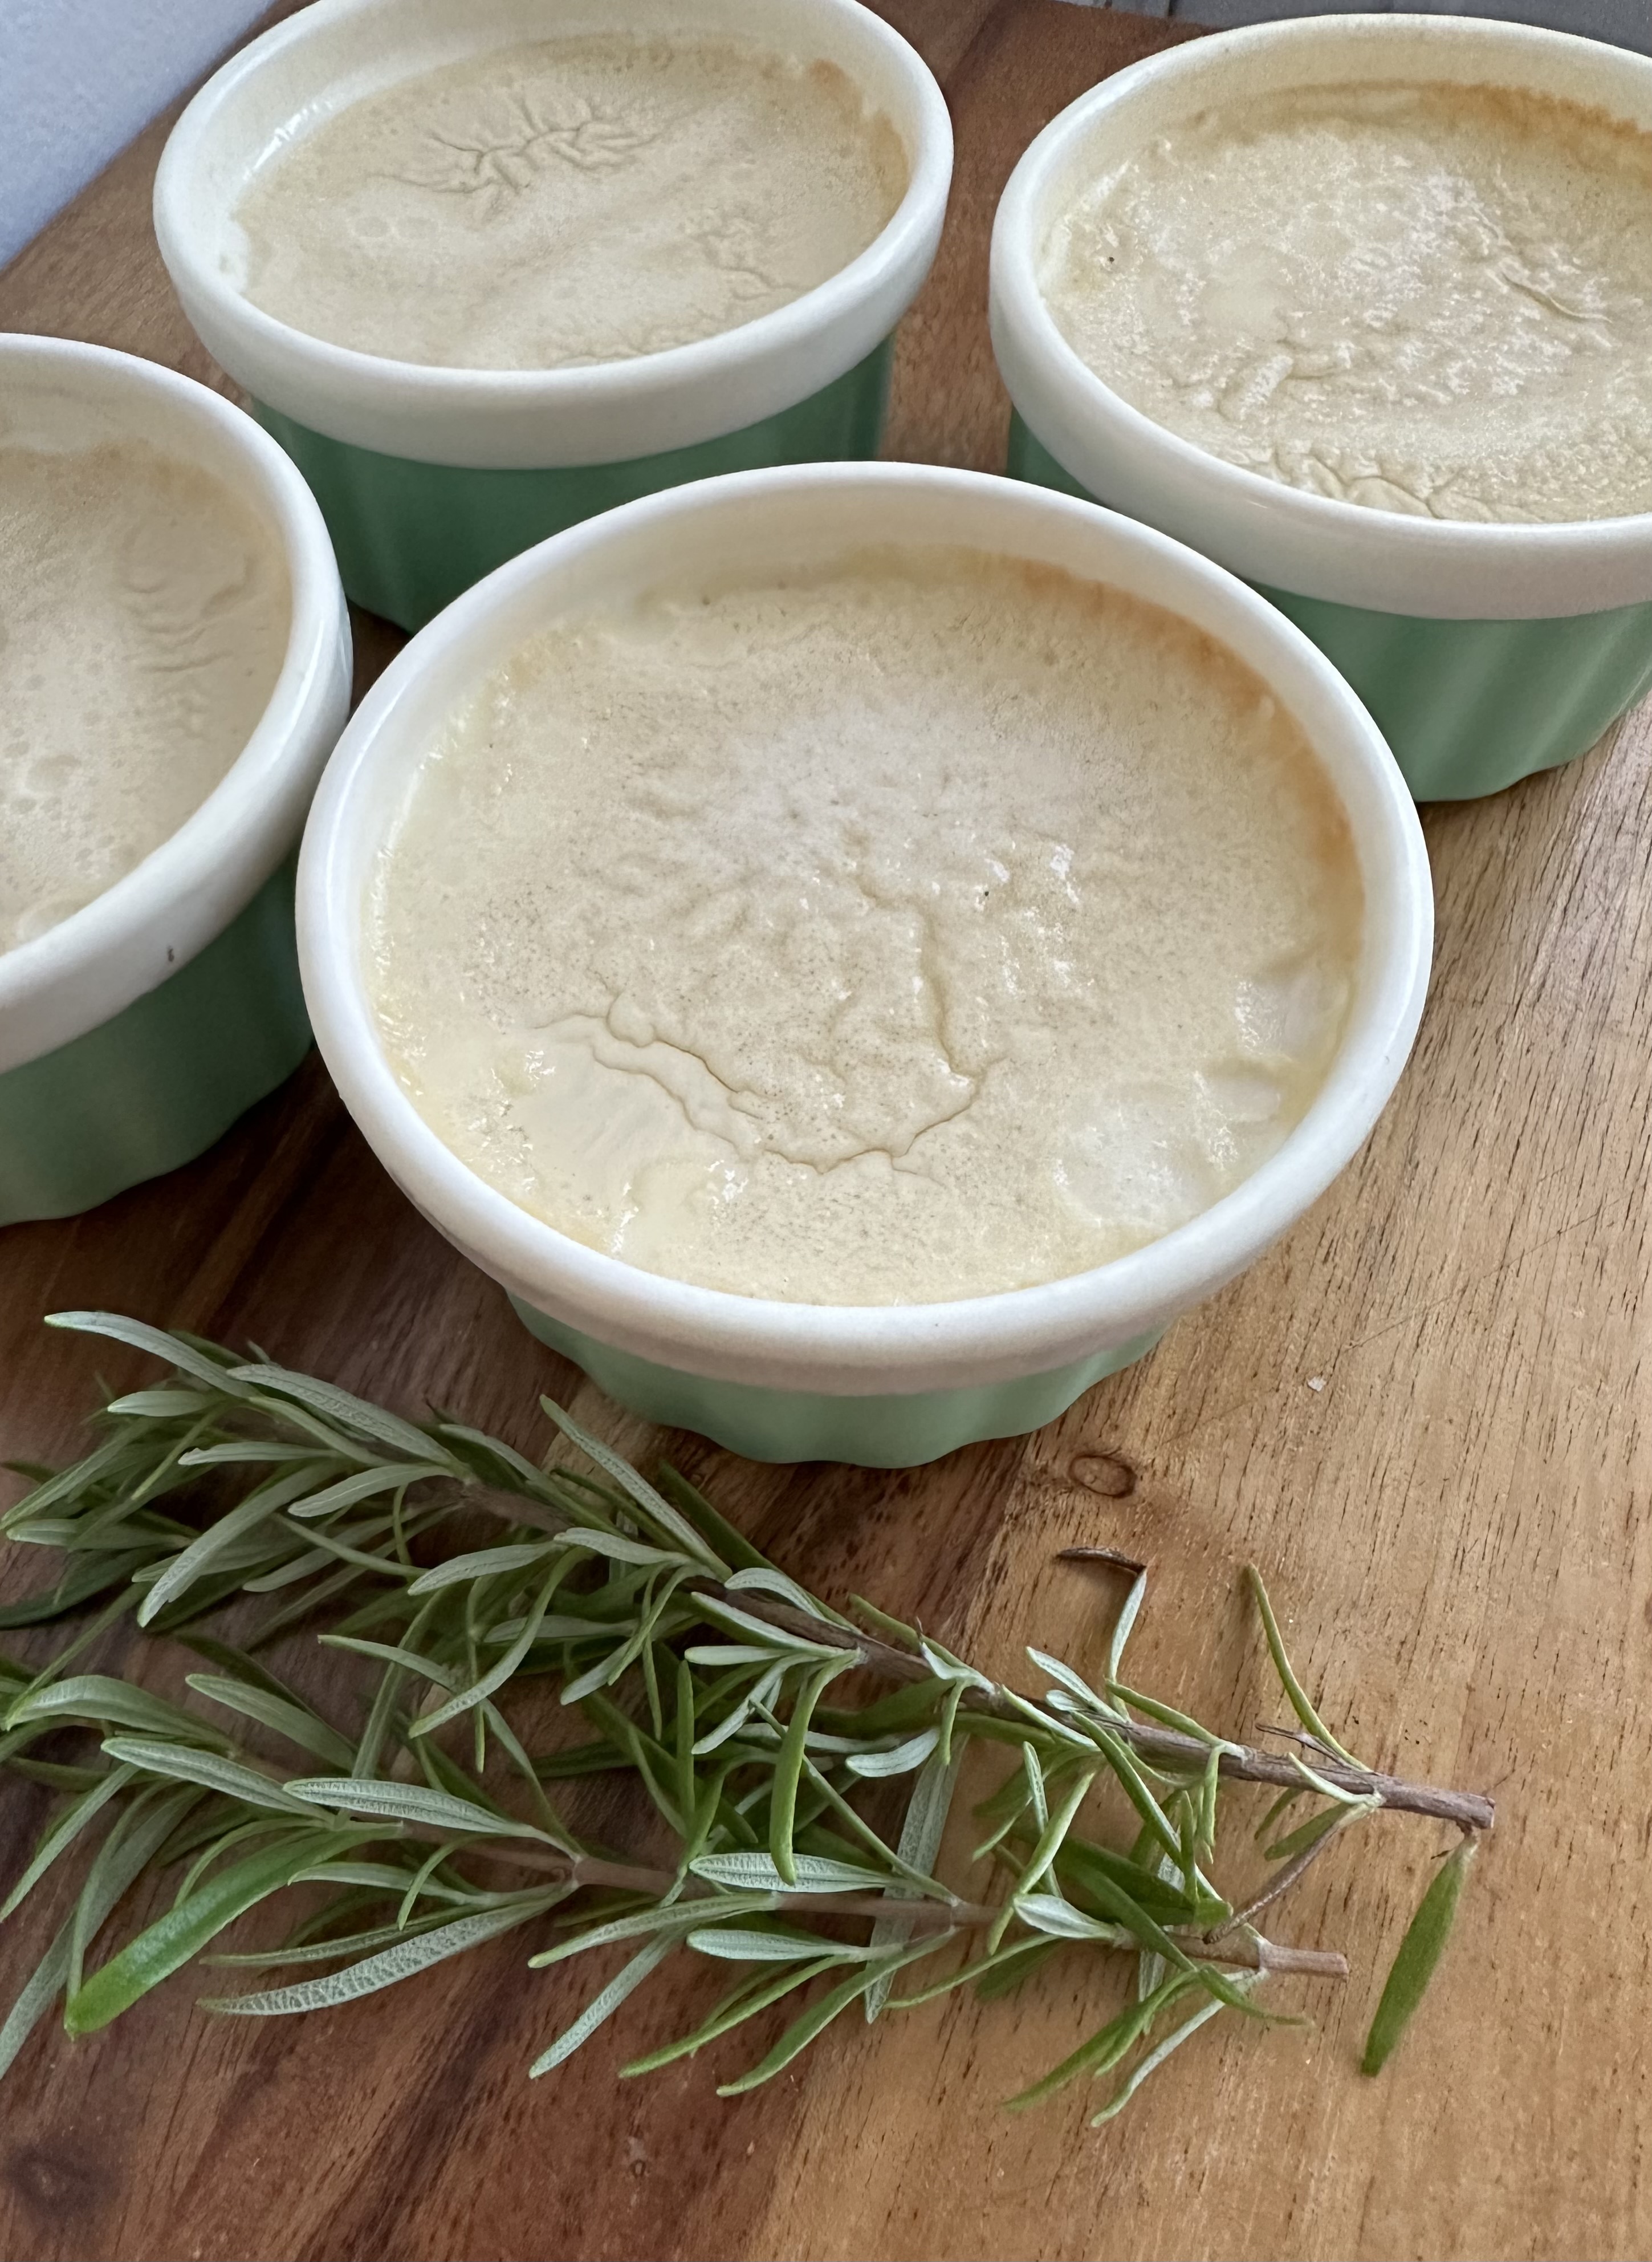
And finally, I placed the roasting pan in the oven and baked the custards for about 30 minutes. The custards were set, but still slightly jiggly in the center. I let them cool in the pan for about 10 minutes before transferring them to a wire rack to cool completely.
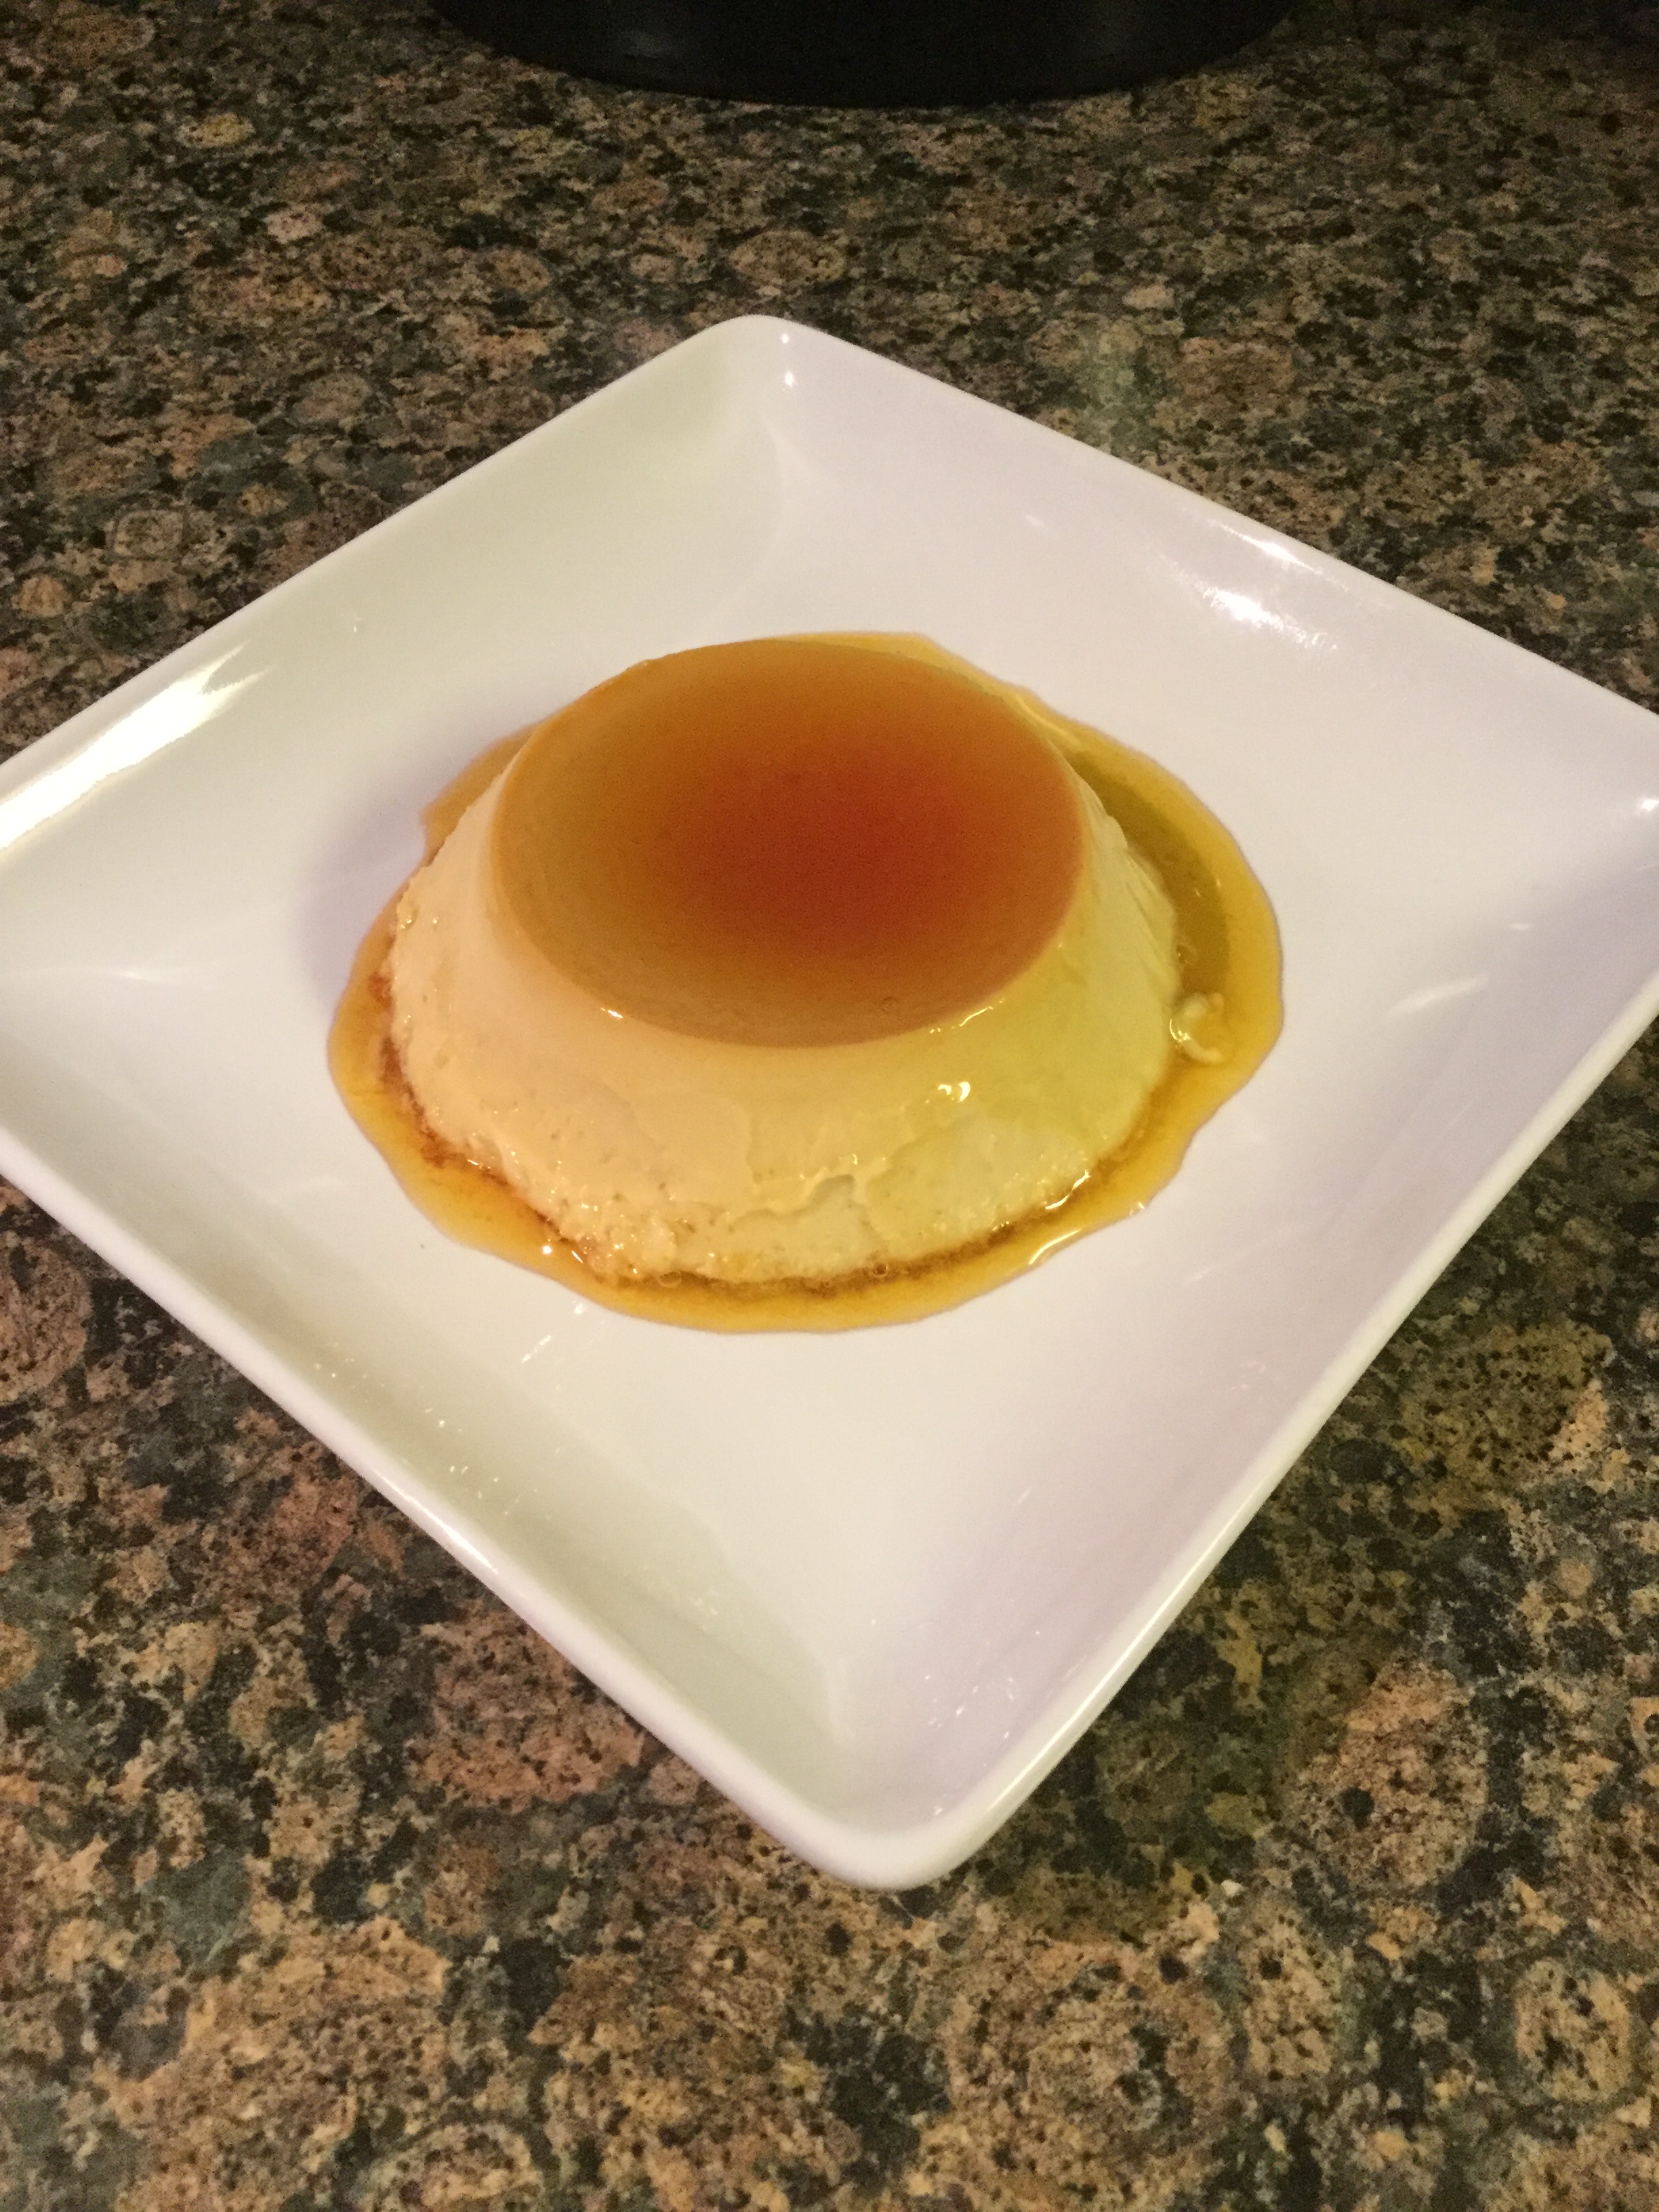
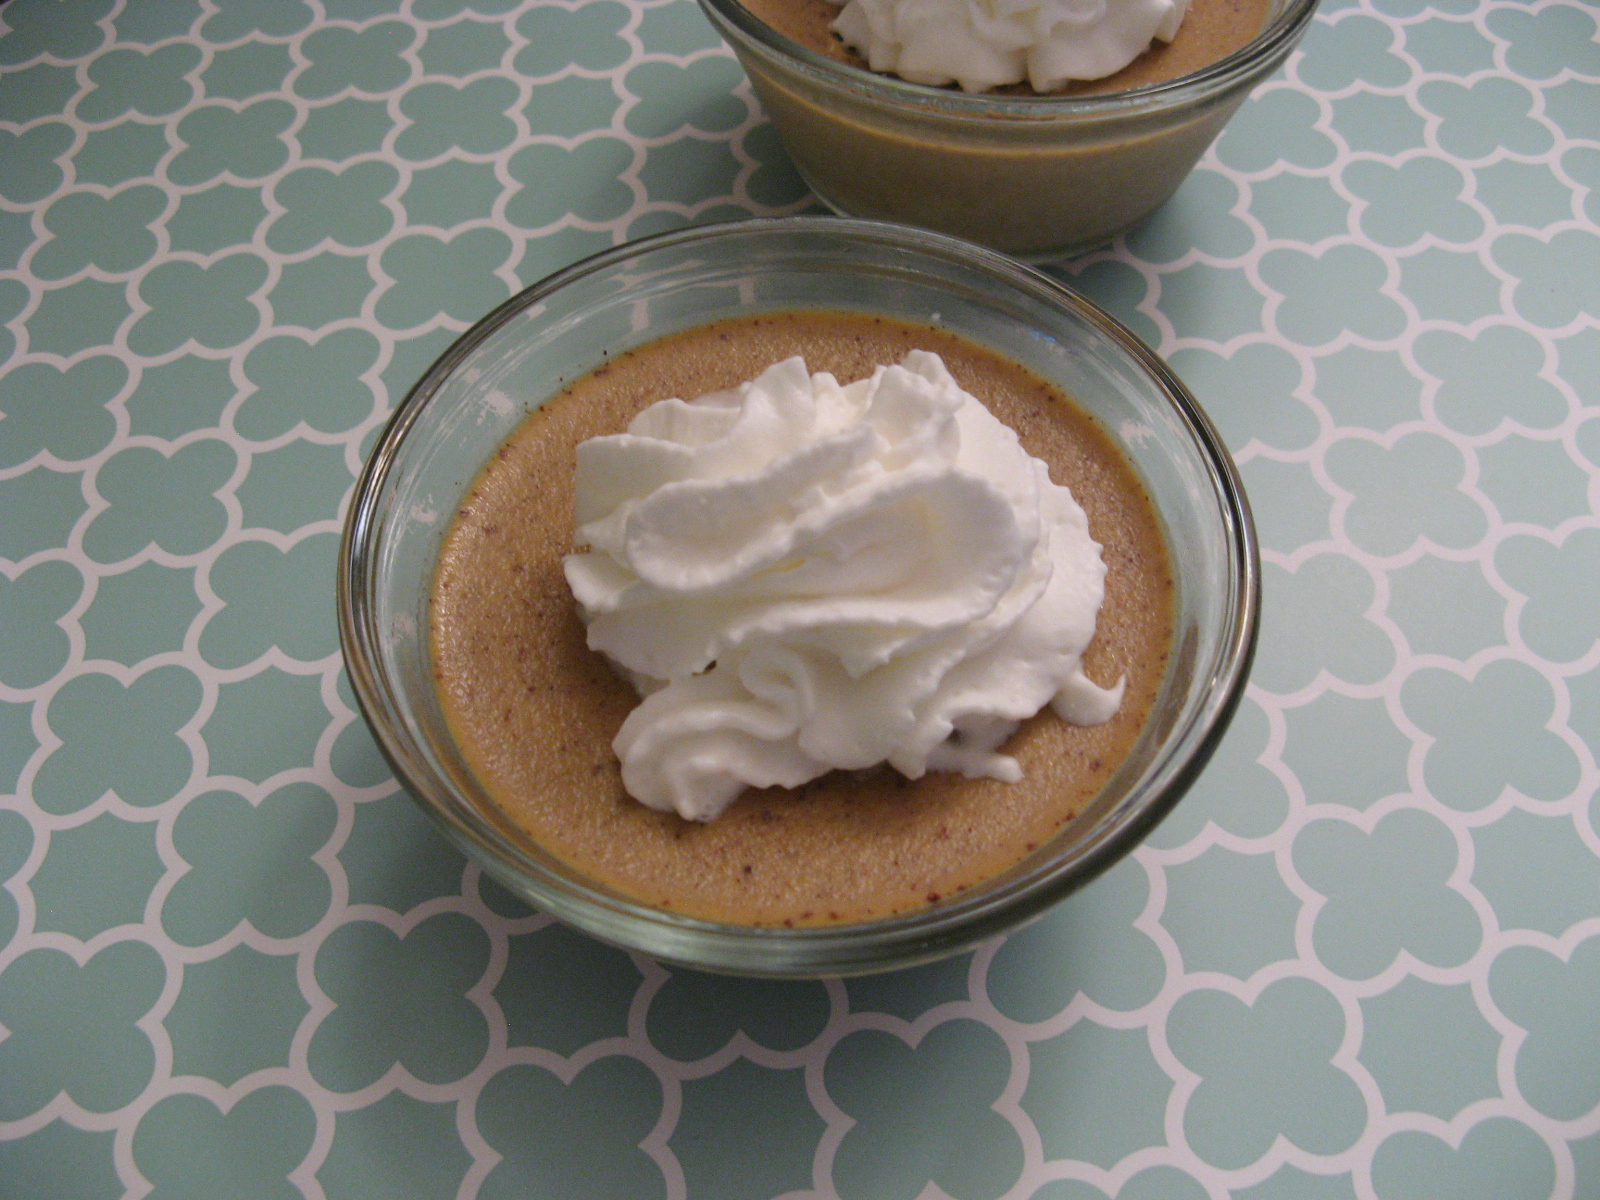
Once cooled I refrigerated them for a few hours before enjoying. The flavor of these custards reminded me of the crème brulee that inspired them. I could taste the rosemary, but it’s not as overpowering as it can be in some savory dishes it’s used in. The honey (and sugar) calms it down. If you have an abundance of rosemary from your summer gardens this recipe is one way to use it up. You won’t be disappointed!
Rosemary Honey Custard
Ingredients:
2 3/4 cup whole milk
3 sprigs fresh rosemary
3 large eggs
1/4 cup sugar
1/4 cup honey
1 teaspoon vanilla extract
Butter, for greasing the ramekins
Boiling water, for a water bath to bake the custards
Directions:
Preheat the oven to 350 F. Grease 4 8oz. ramekins with butter and place inside of a roasting pan. Set aside.
In a medium saucepan combine the milk and rosemary and heat over medium heat until the milk begins to boil, reduce the heat and let simmer for 30 seconds to 1 minute. Turn off the heat and allow to steep for 15 minutes.
Meanwhile, in a large bowl beat the eggs with the sugar, honey and vanilla extract with a hand mixer on medium speed until the eggs are pale.
Remove the rosemary from the milk and whisk in 2 tablespoons of the milk into the egg mixture to temper the eggs. Then slowly whisk in the remaining milk.
Strain the mixture through a fine mesh sieve and then divide amongst the prepared ramekins. About 1 cup per ramekin.
Add hot water to the roasting pan about halfway up the sides of the ramekins. Bake in the preheated oven for 30-35 minutes. The custards will be set but slightly jiggly in the center.
Let the custards cool in the pan for 10 minutes before removing to a wire rack to cool completely. Refrigerate for 2 to 3 hours so the custard can finish setting before serving.
Recipe first appeared on Bead Yarn & Spatula