Happy Holidays! It’s the week after Thanksgiving and normally this week I share a week’s worth of cookie recipes to inspire you to bake for the holidays. Unfortunately, this year that’s not happening. Time got the best of me, and I spent the bulk of my free time crocheting. I kept thinking that I would be able to test the recipes I had written up, but I opted not to rush the process just to publish some blog posts. I believe quality over quantity is more important. I recently tried a recipe for a Brown Butter and Maple Chewy Pumpkin Cookie that was absolutely delish, so I decided to share that recipe with you this week. It would be the perfect addition to your cookie platter this holiday season.
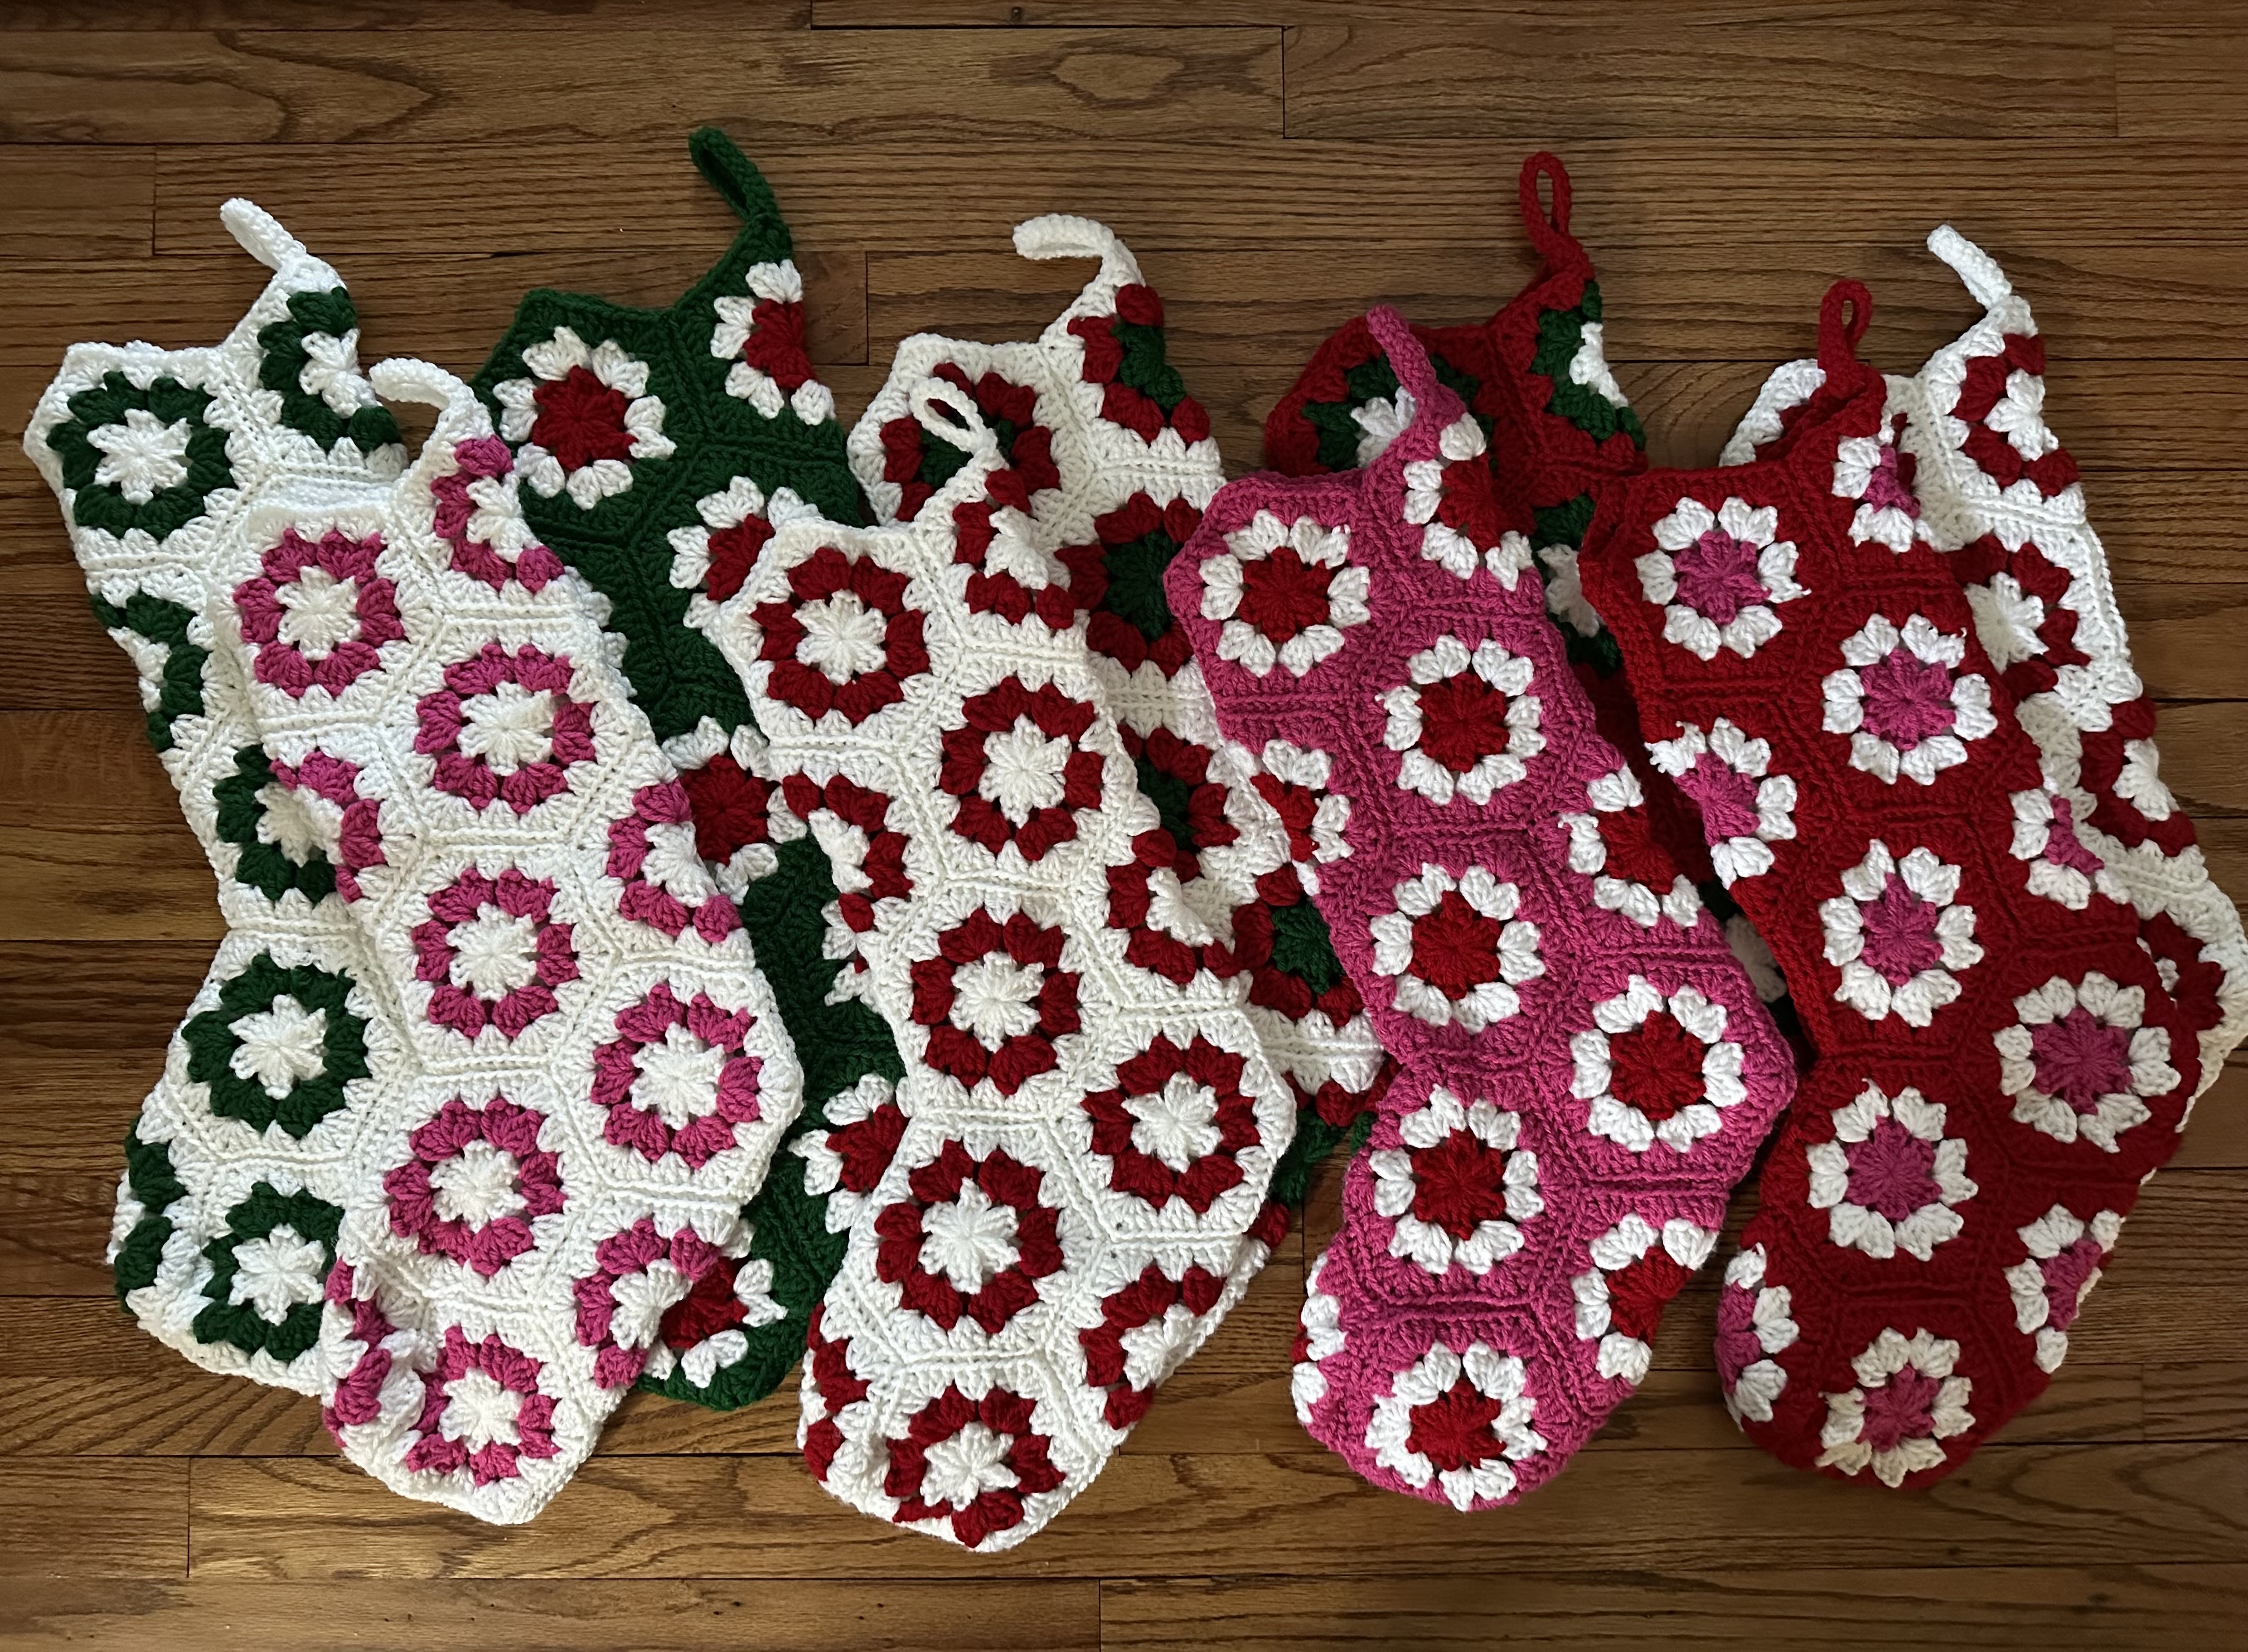
But first, in case you are wondering what I was crocheting… Granny Hexagon Christmas Stockings, 16 to be exact (not counting the 3 I also made to sell in my Etsy shop). It was an order that needed to be completed by the end of November. And while I finished them with a week or two to spare, I was then also fulfilling custom orders for ornament ball wreaths from my Etsy shop. So, I’ve been busy.

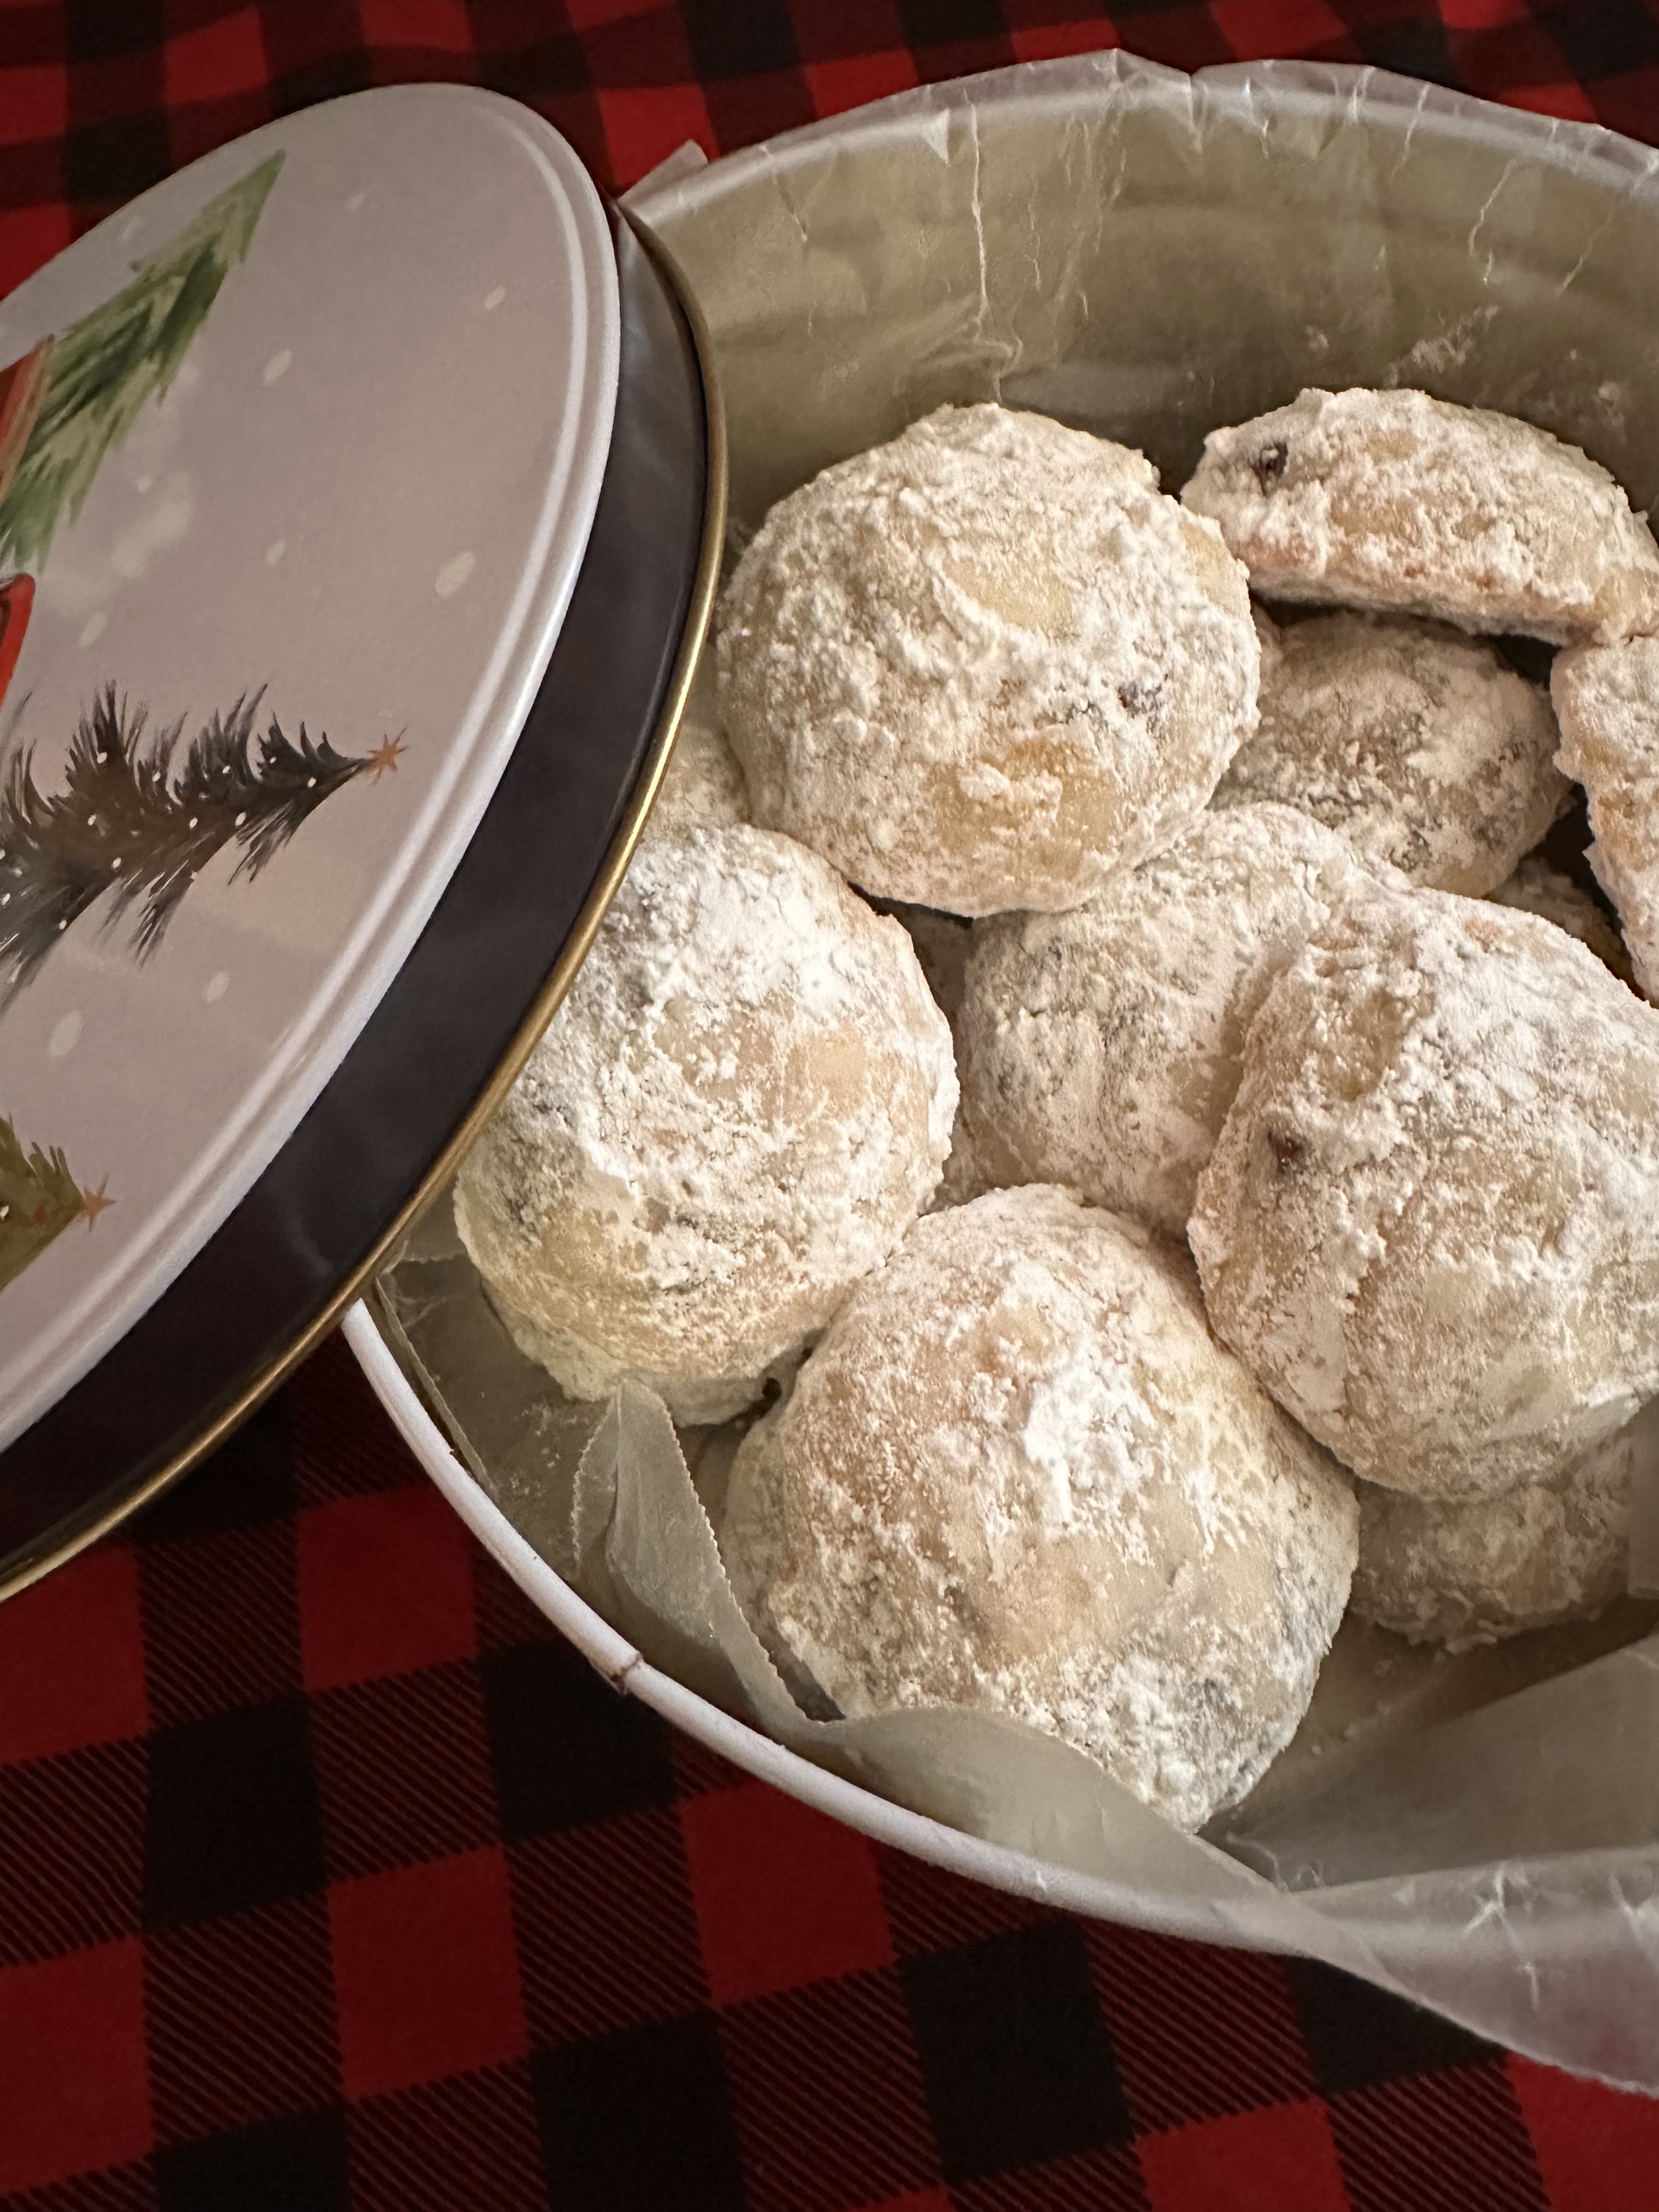
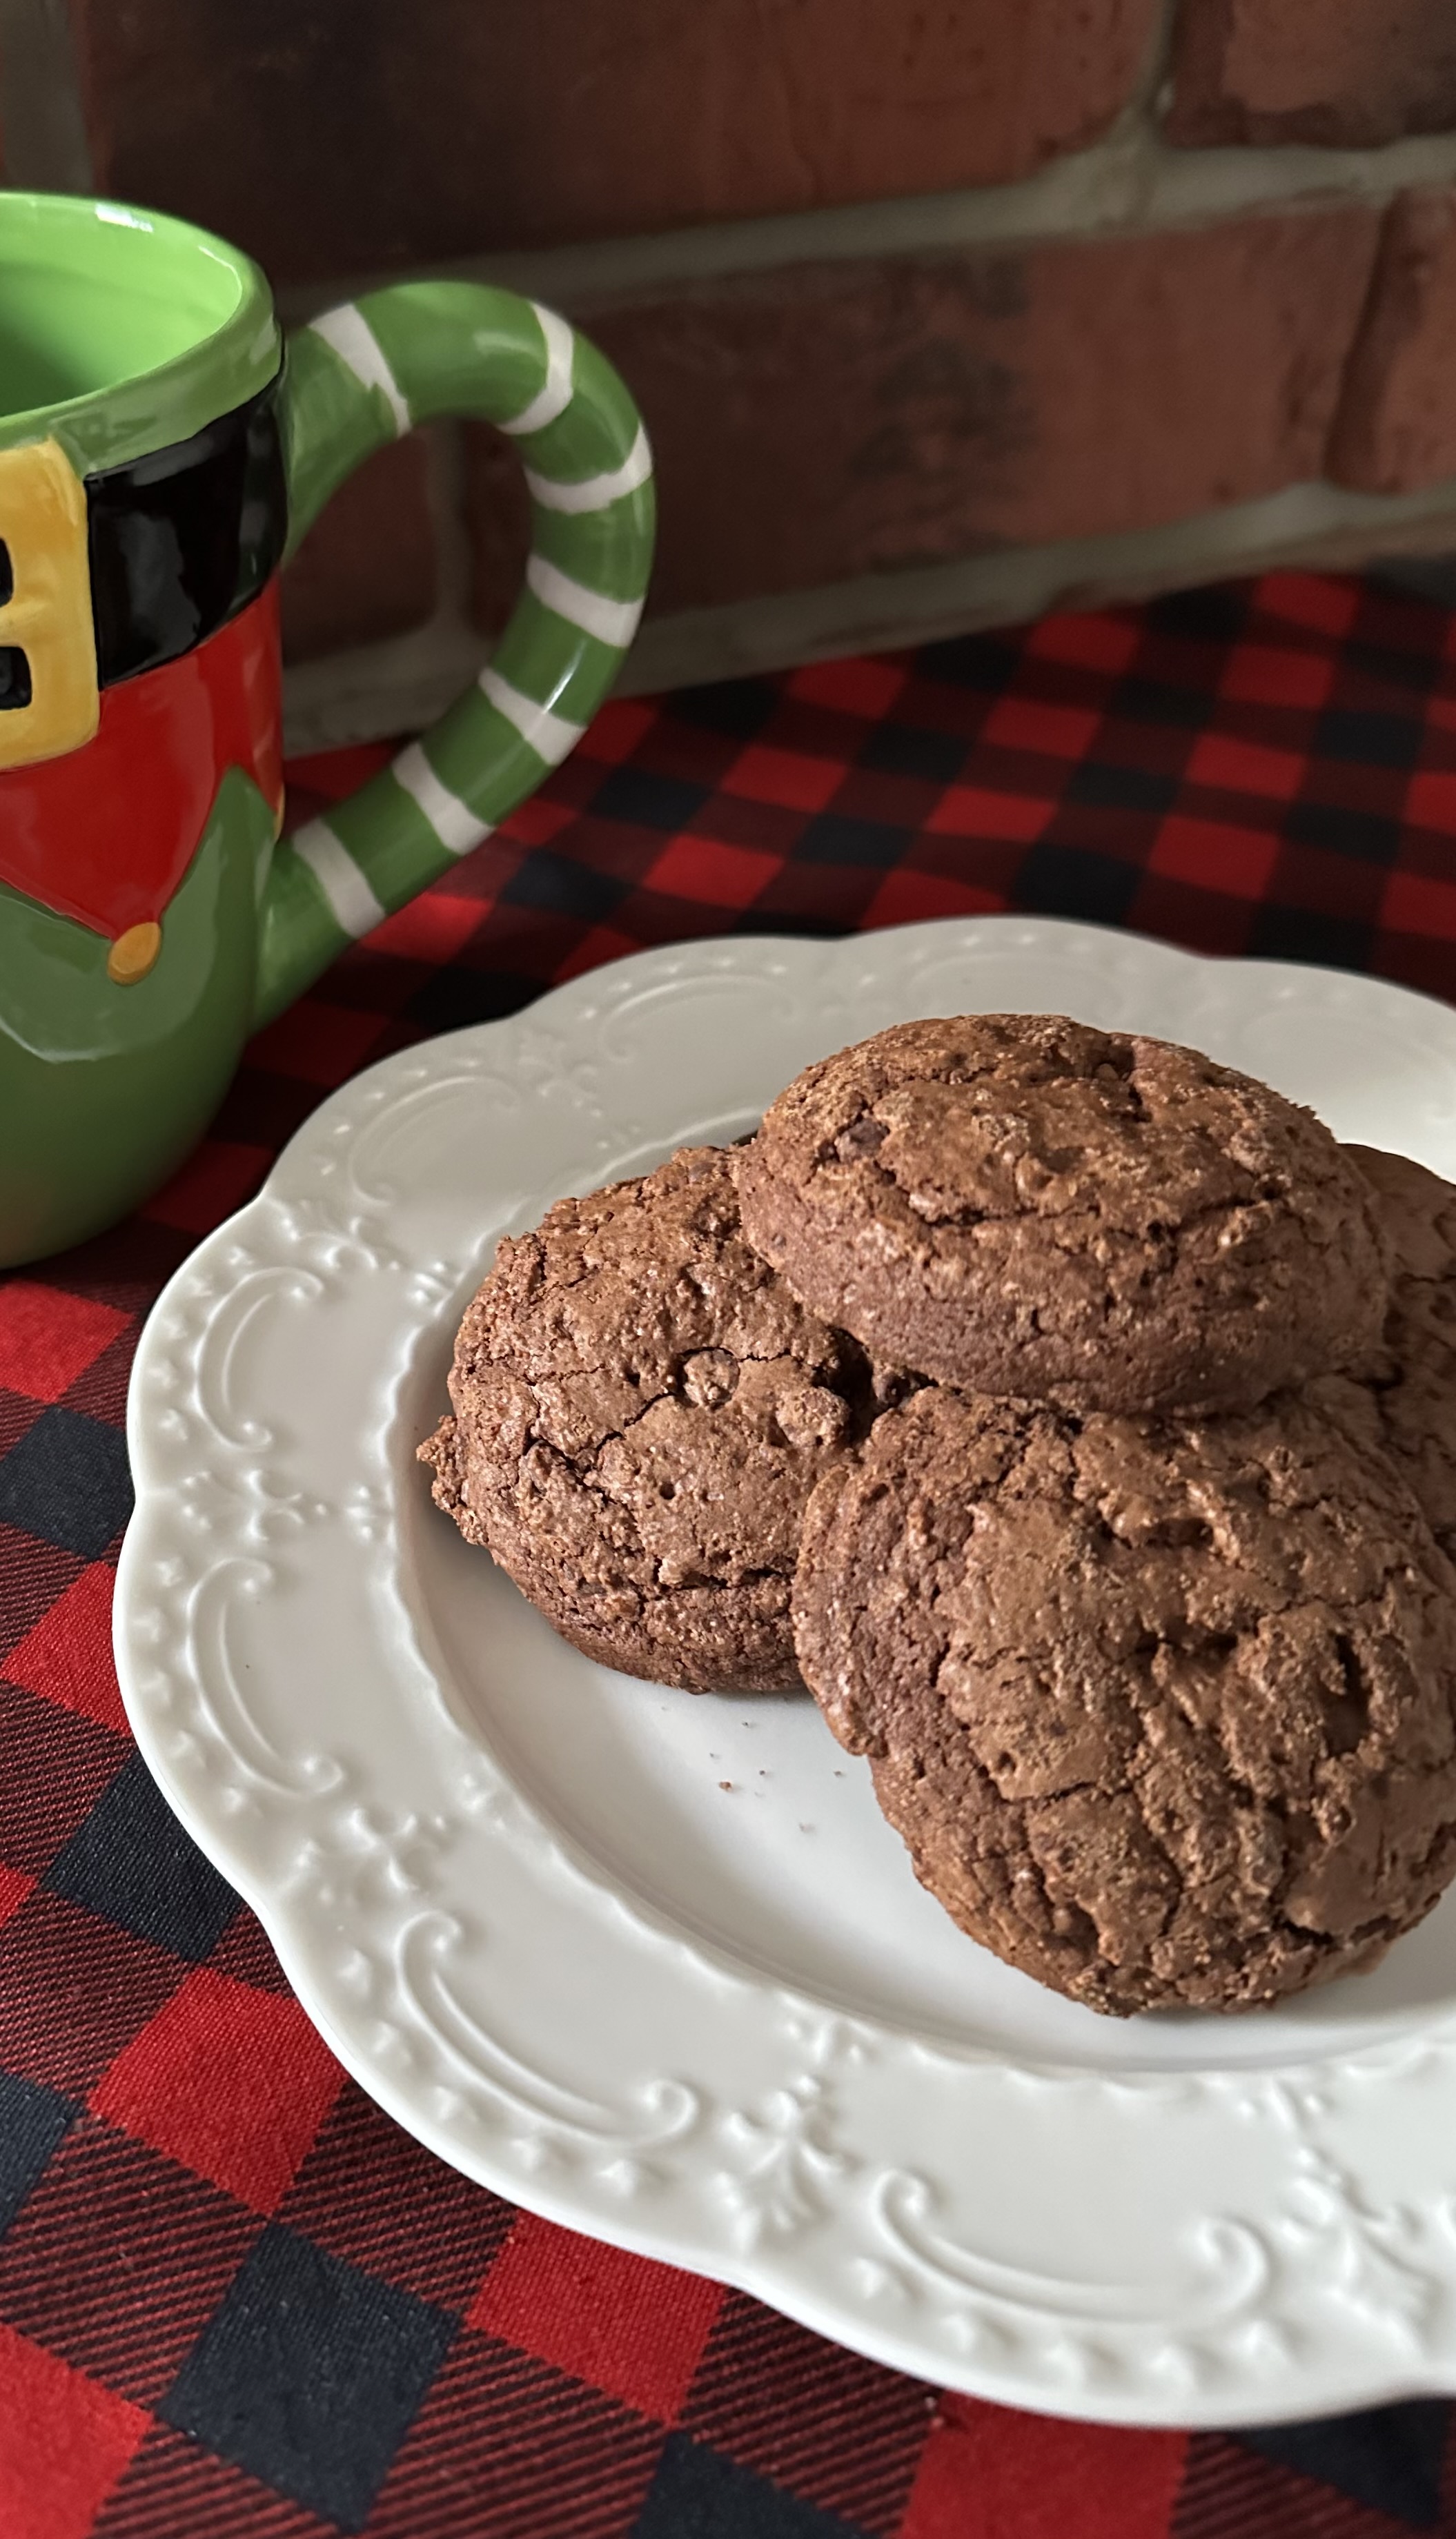
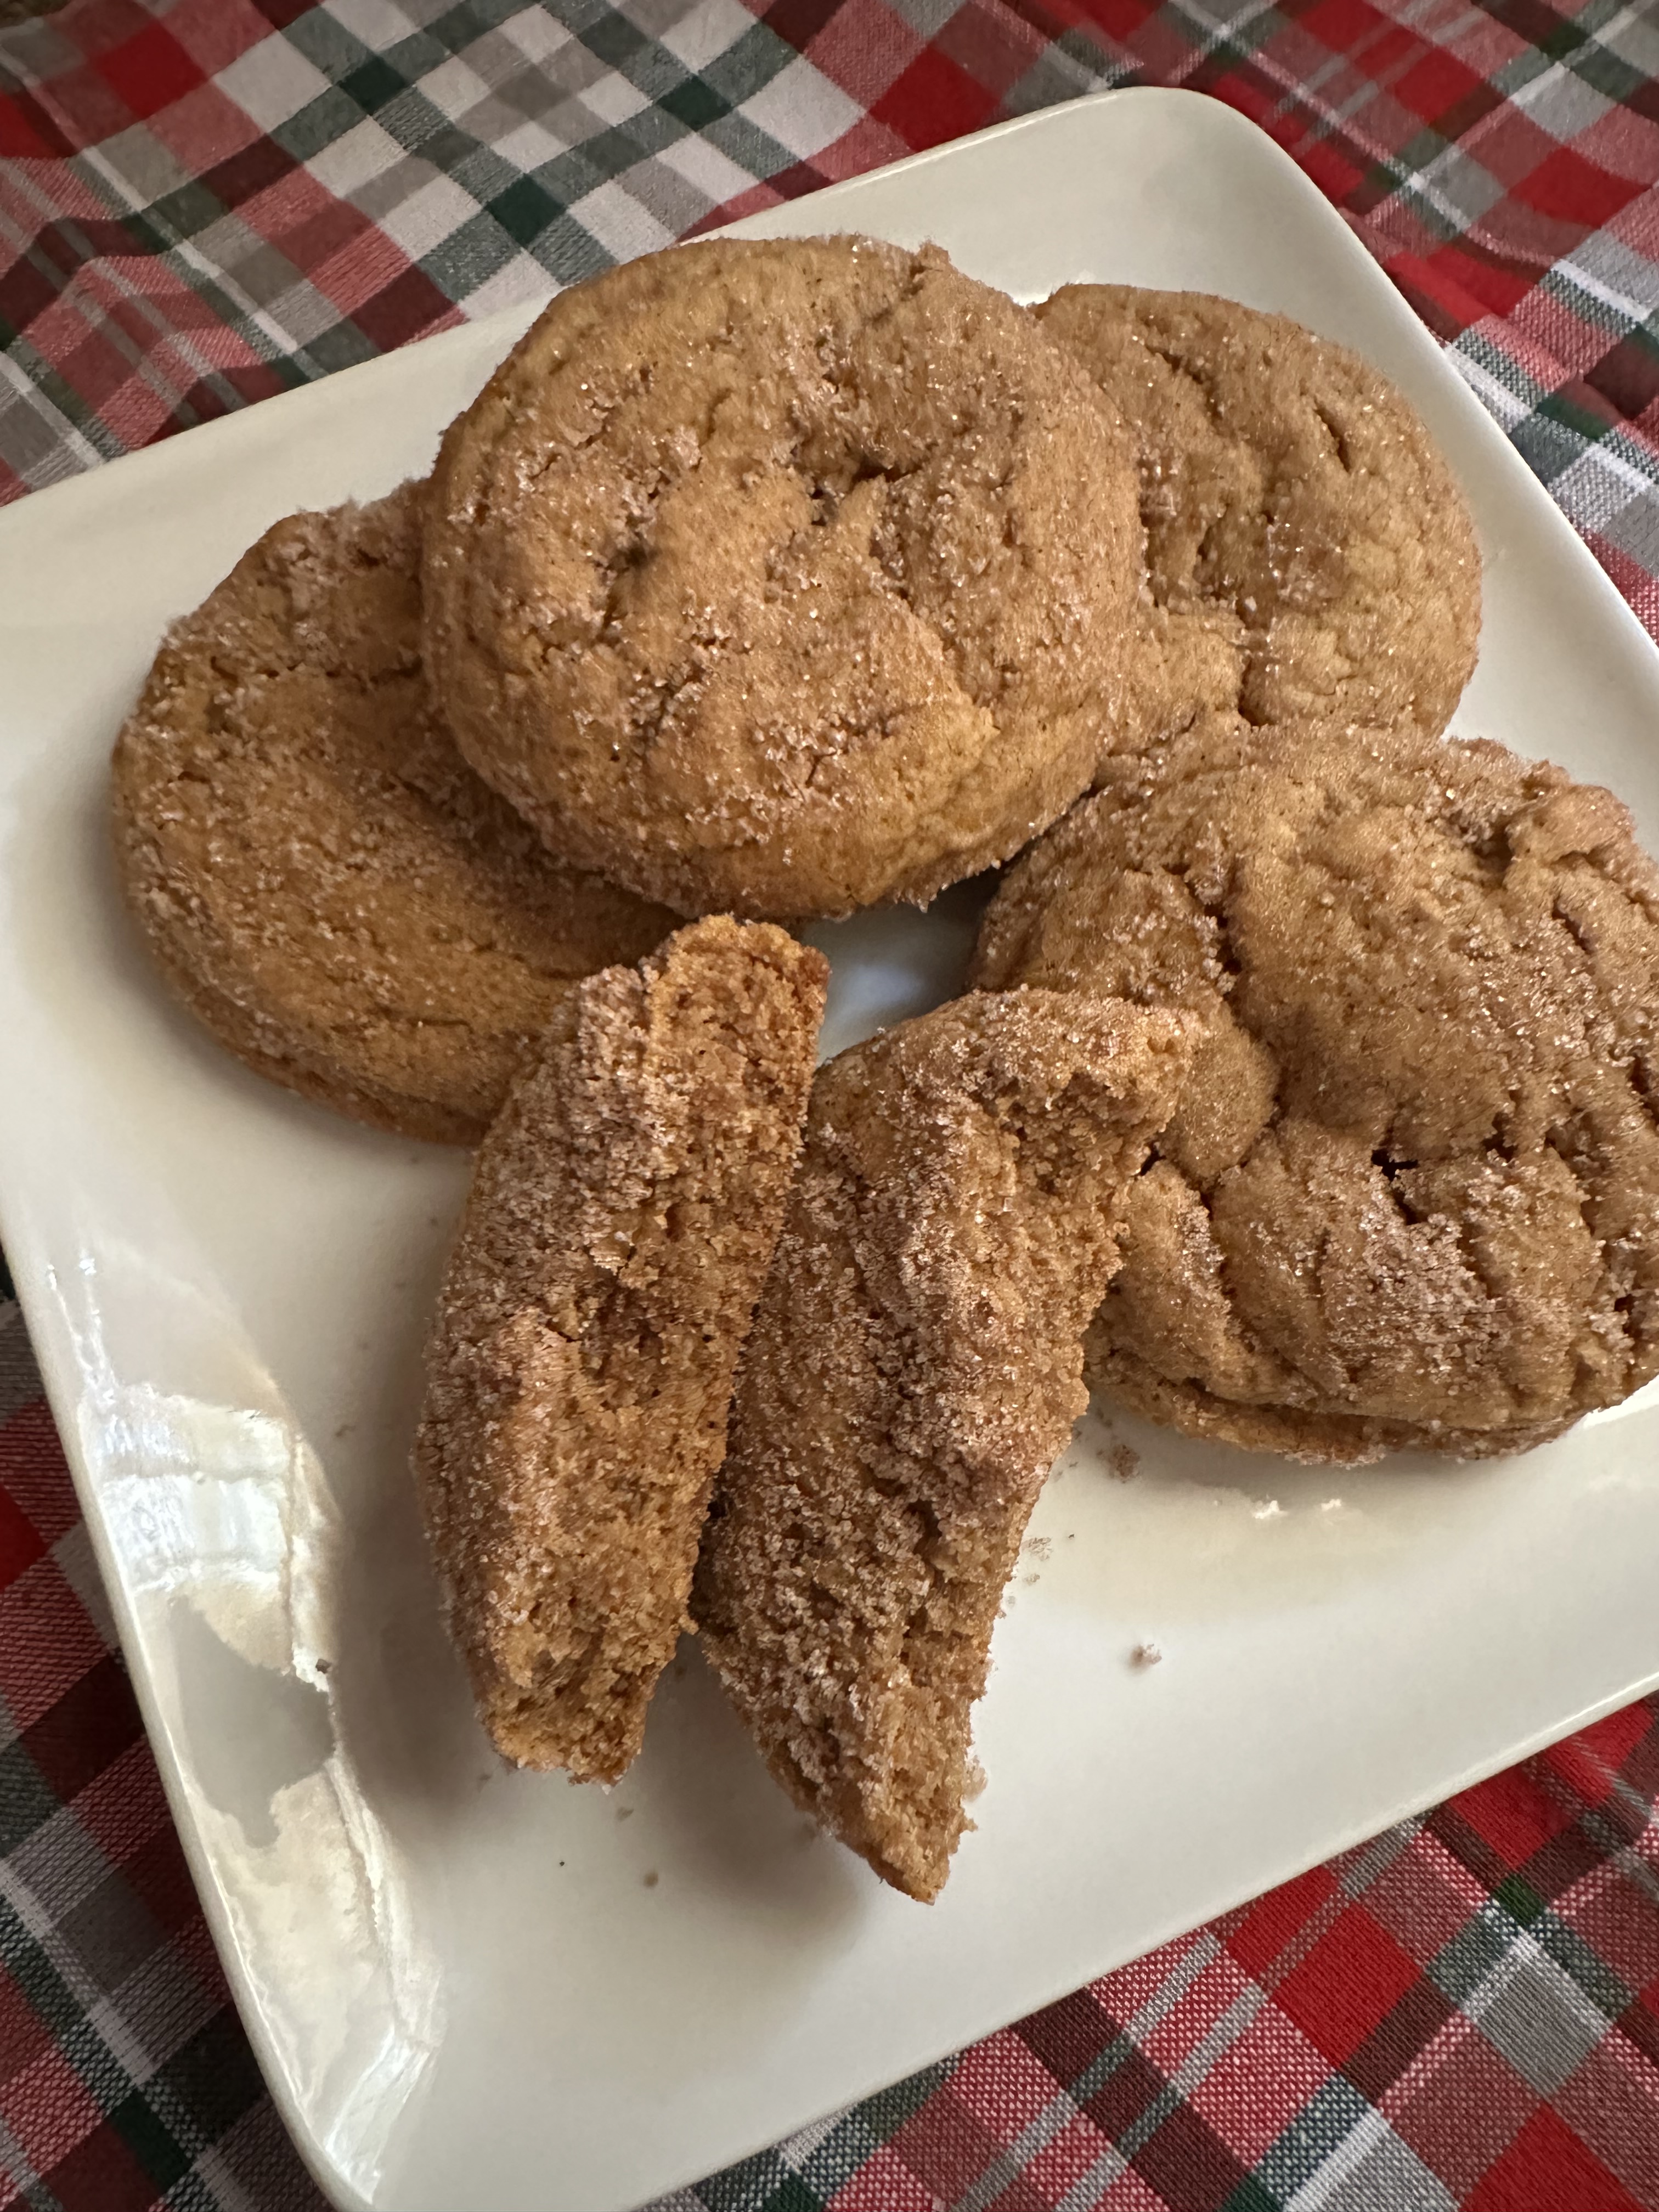
And now back to the cookies. While I normally don’t bake (or gravitate towards) oversized cookies I decided to try these since the flavors sounded so good. Brown butter, maple and pumpkin are the perfect combination for the season. Although with Christmas just around the corner peppermint is dominating a bit more nowadays.

If you are intimidated to make browned butter don’t be. It’s an easy process that requires a bit of patience, a watchful eye and a constant stir. Don’t be tempted to raise the heat as doing so will cause the butter to burn a lot quicker and instead of having a nutty flavor, the butter will have a burnt flavor. Once the butter has a rich amber color it’s done. Remove it from the heat and transfer it to a heat-proof container to stop the cooking process. Leaving it in the pan will continue to heat and ultimately burn the butter. While the original recipe called for placing the butter in the refrigerator to cool, I opted to cool it to room temperature on my counter for two reasons. A) I didn’t have to worry about it solidifying if I left it in the fridge for too long and B) I’m always apprehensive of putting hot items in the fridge immediately.
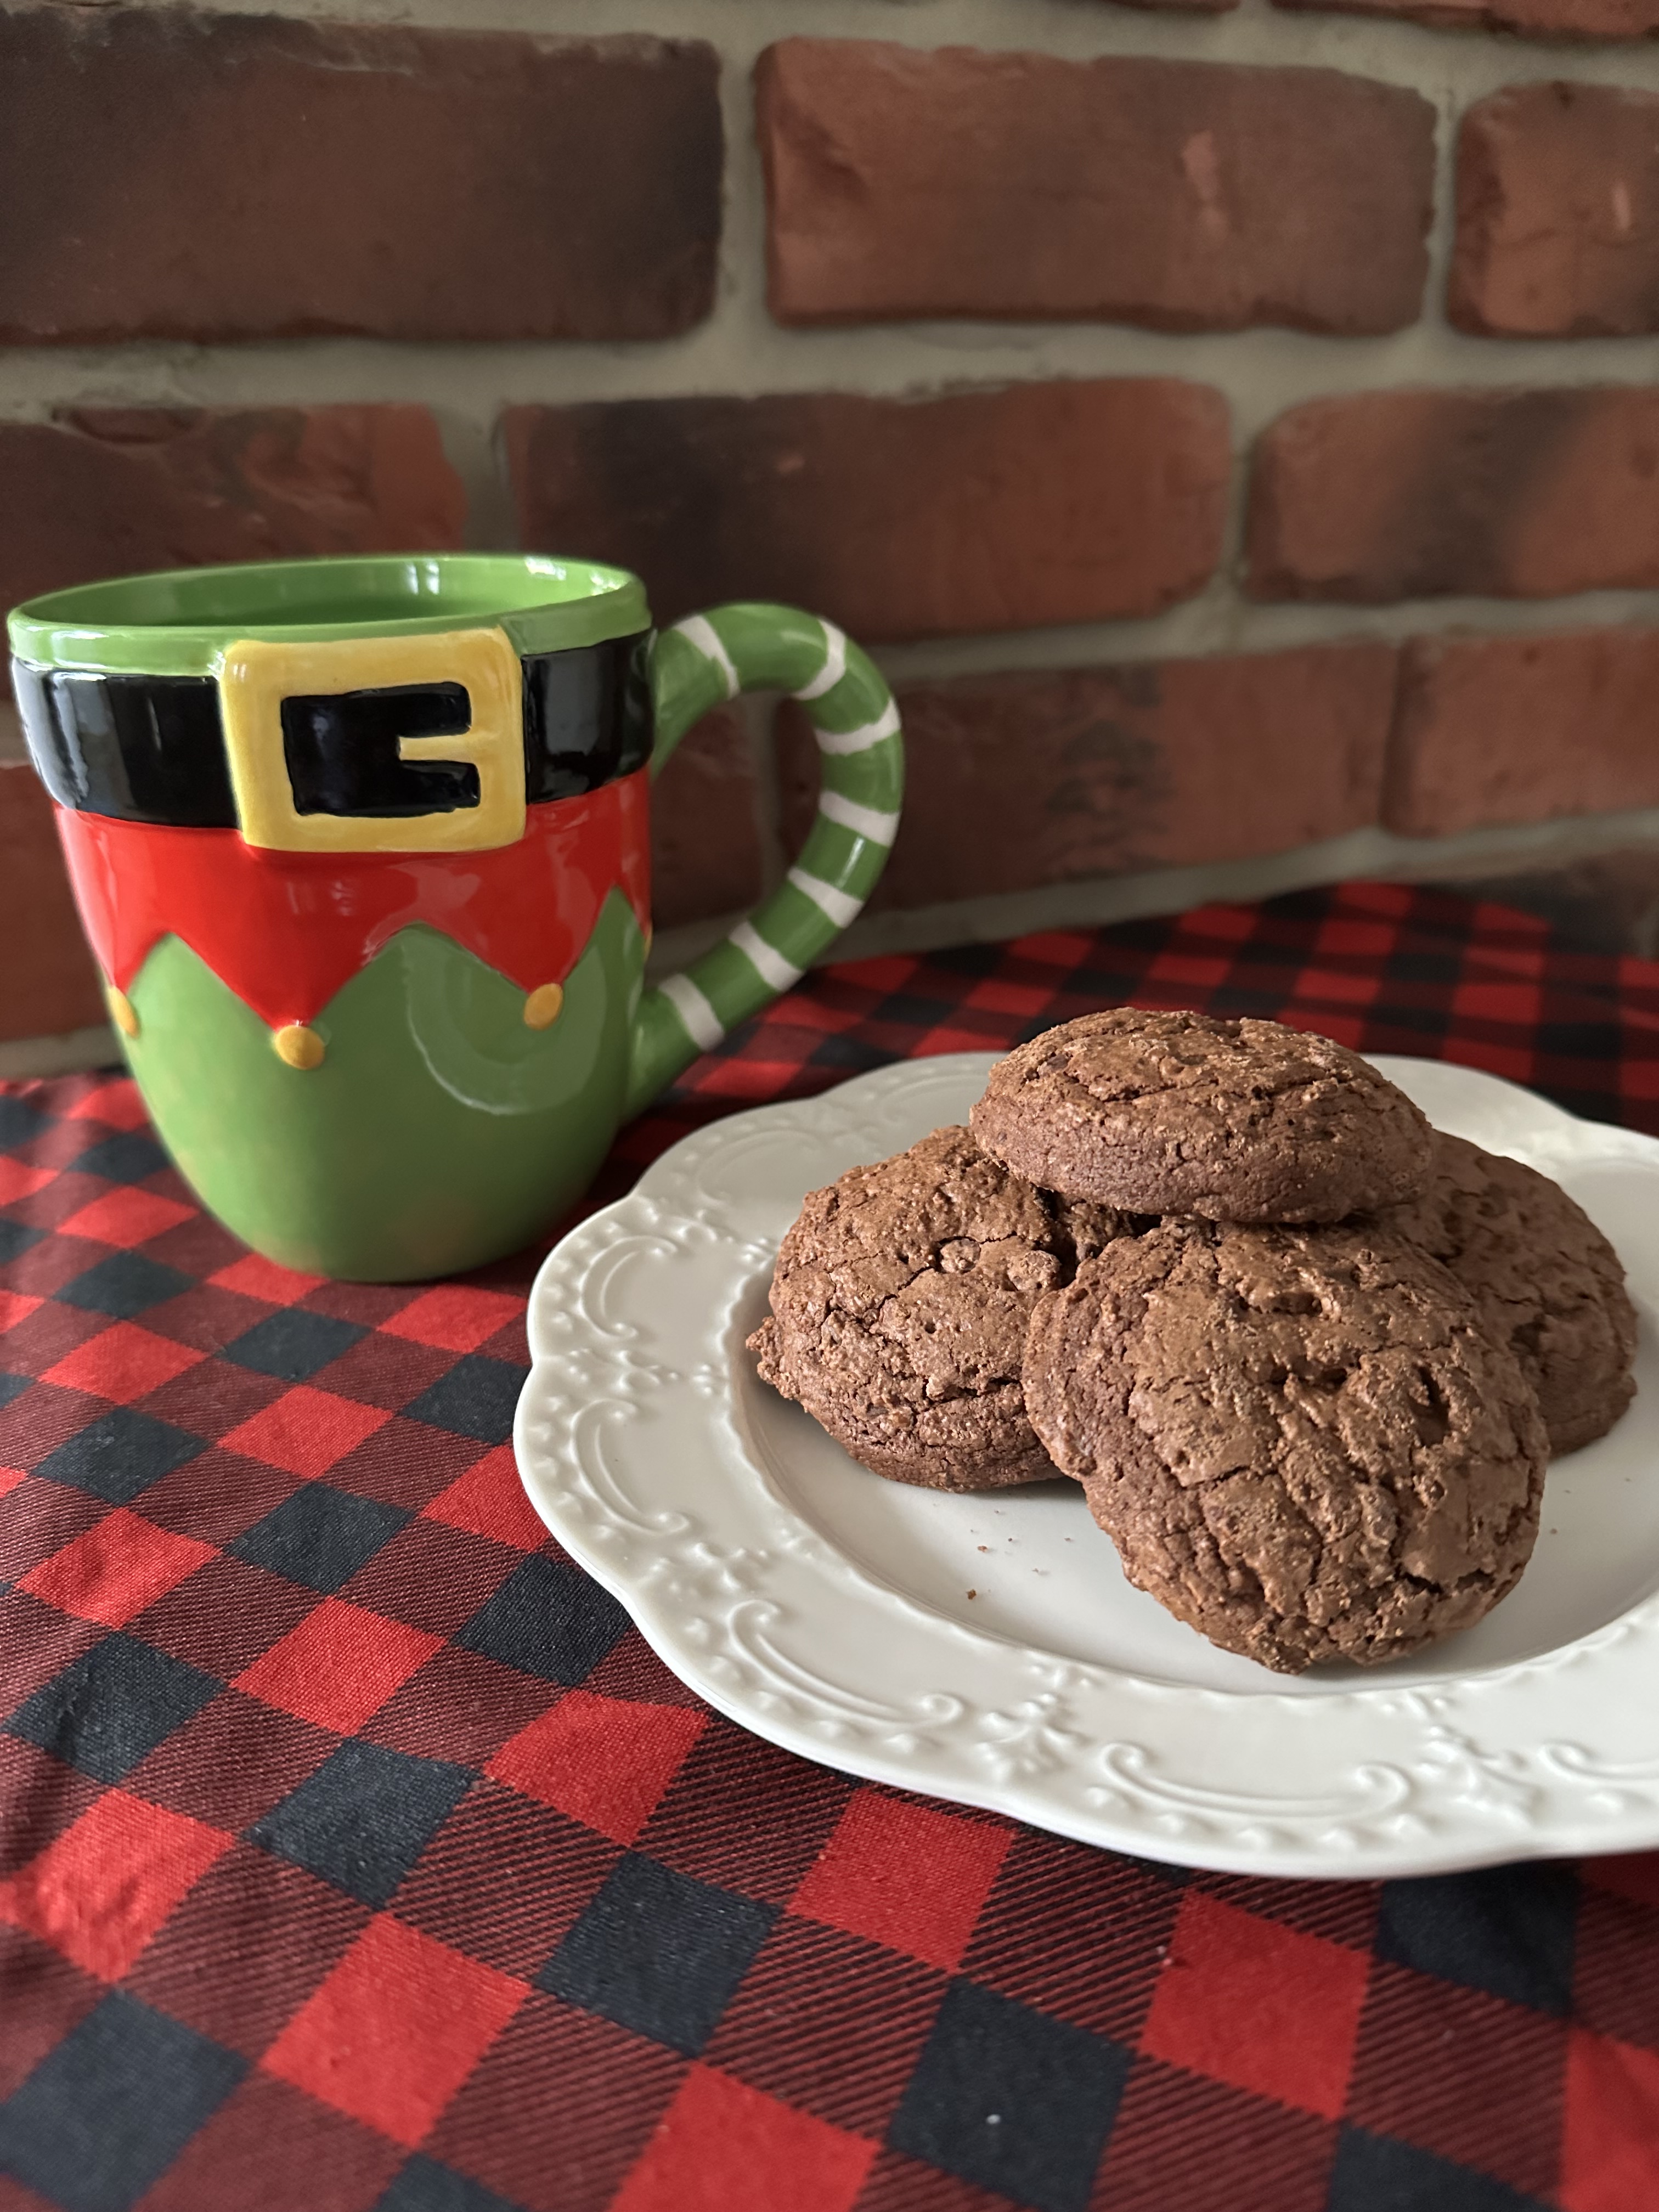
Once the brown butter is cool these cookies come together quickly and easily. Simply mix the dry ingredients together in one bowl, the wet ingredients in another and then fold together the two to form the dough. After refrigerating the dough for about 15 minutes – to prevent the cookies from spreading while baking – roll in a cinnamon sugar mixture and then bake. After cooling you will have the perfect cookie to enjoy with a hot cup of cocoa, tea or coffee for the cold days ahead!
Brown Butter and Maple Chewy Pumpkin Cookies
Ingredients:
For the Cookies:
1 cup (2 sticks) unsalted butter
1 1/2 cups dark brown sugar
1 large egg yolk
3 tablespoons maple syrup
1 teaspoon vanilla extract
1/3 cup pumpkin puree
2 1/4 cups flour
1 teaspoon baking soda
1 teaspoon baking powder
1/2 teaspoon salt
1 1/2 teaspoons pumpkin pie spice
1/2 teaspoon cinnamon
For the Cinnamon Sugar Coating:
2 tablespoons light brown sugar
2 tablespoons sugar
1 teaspoon cinnamon
Directions:
Begin by browning the butter. In a medium saucepan melt the butter over medium heat, stirring until it reaches a rich amber color. Pour the butter into glass measuring cup, you should have just shy of 1 cup. Allow to cool to room temperature.
Preheat the oven to 350 F and line 2 large baking sheets with parchment paper.
In a medium bowl whisk together the dry ingredients – flour, baking soda, baking powder, salt, pumpkin pie spice and cinnamon – and set aside.
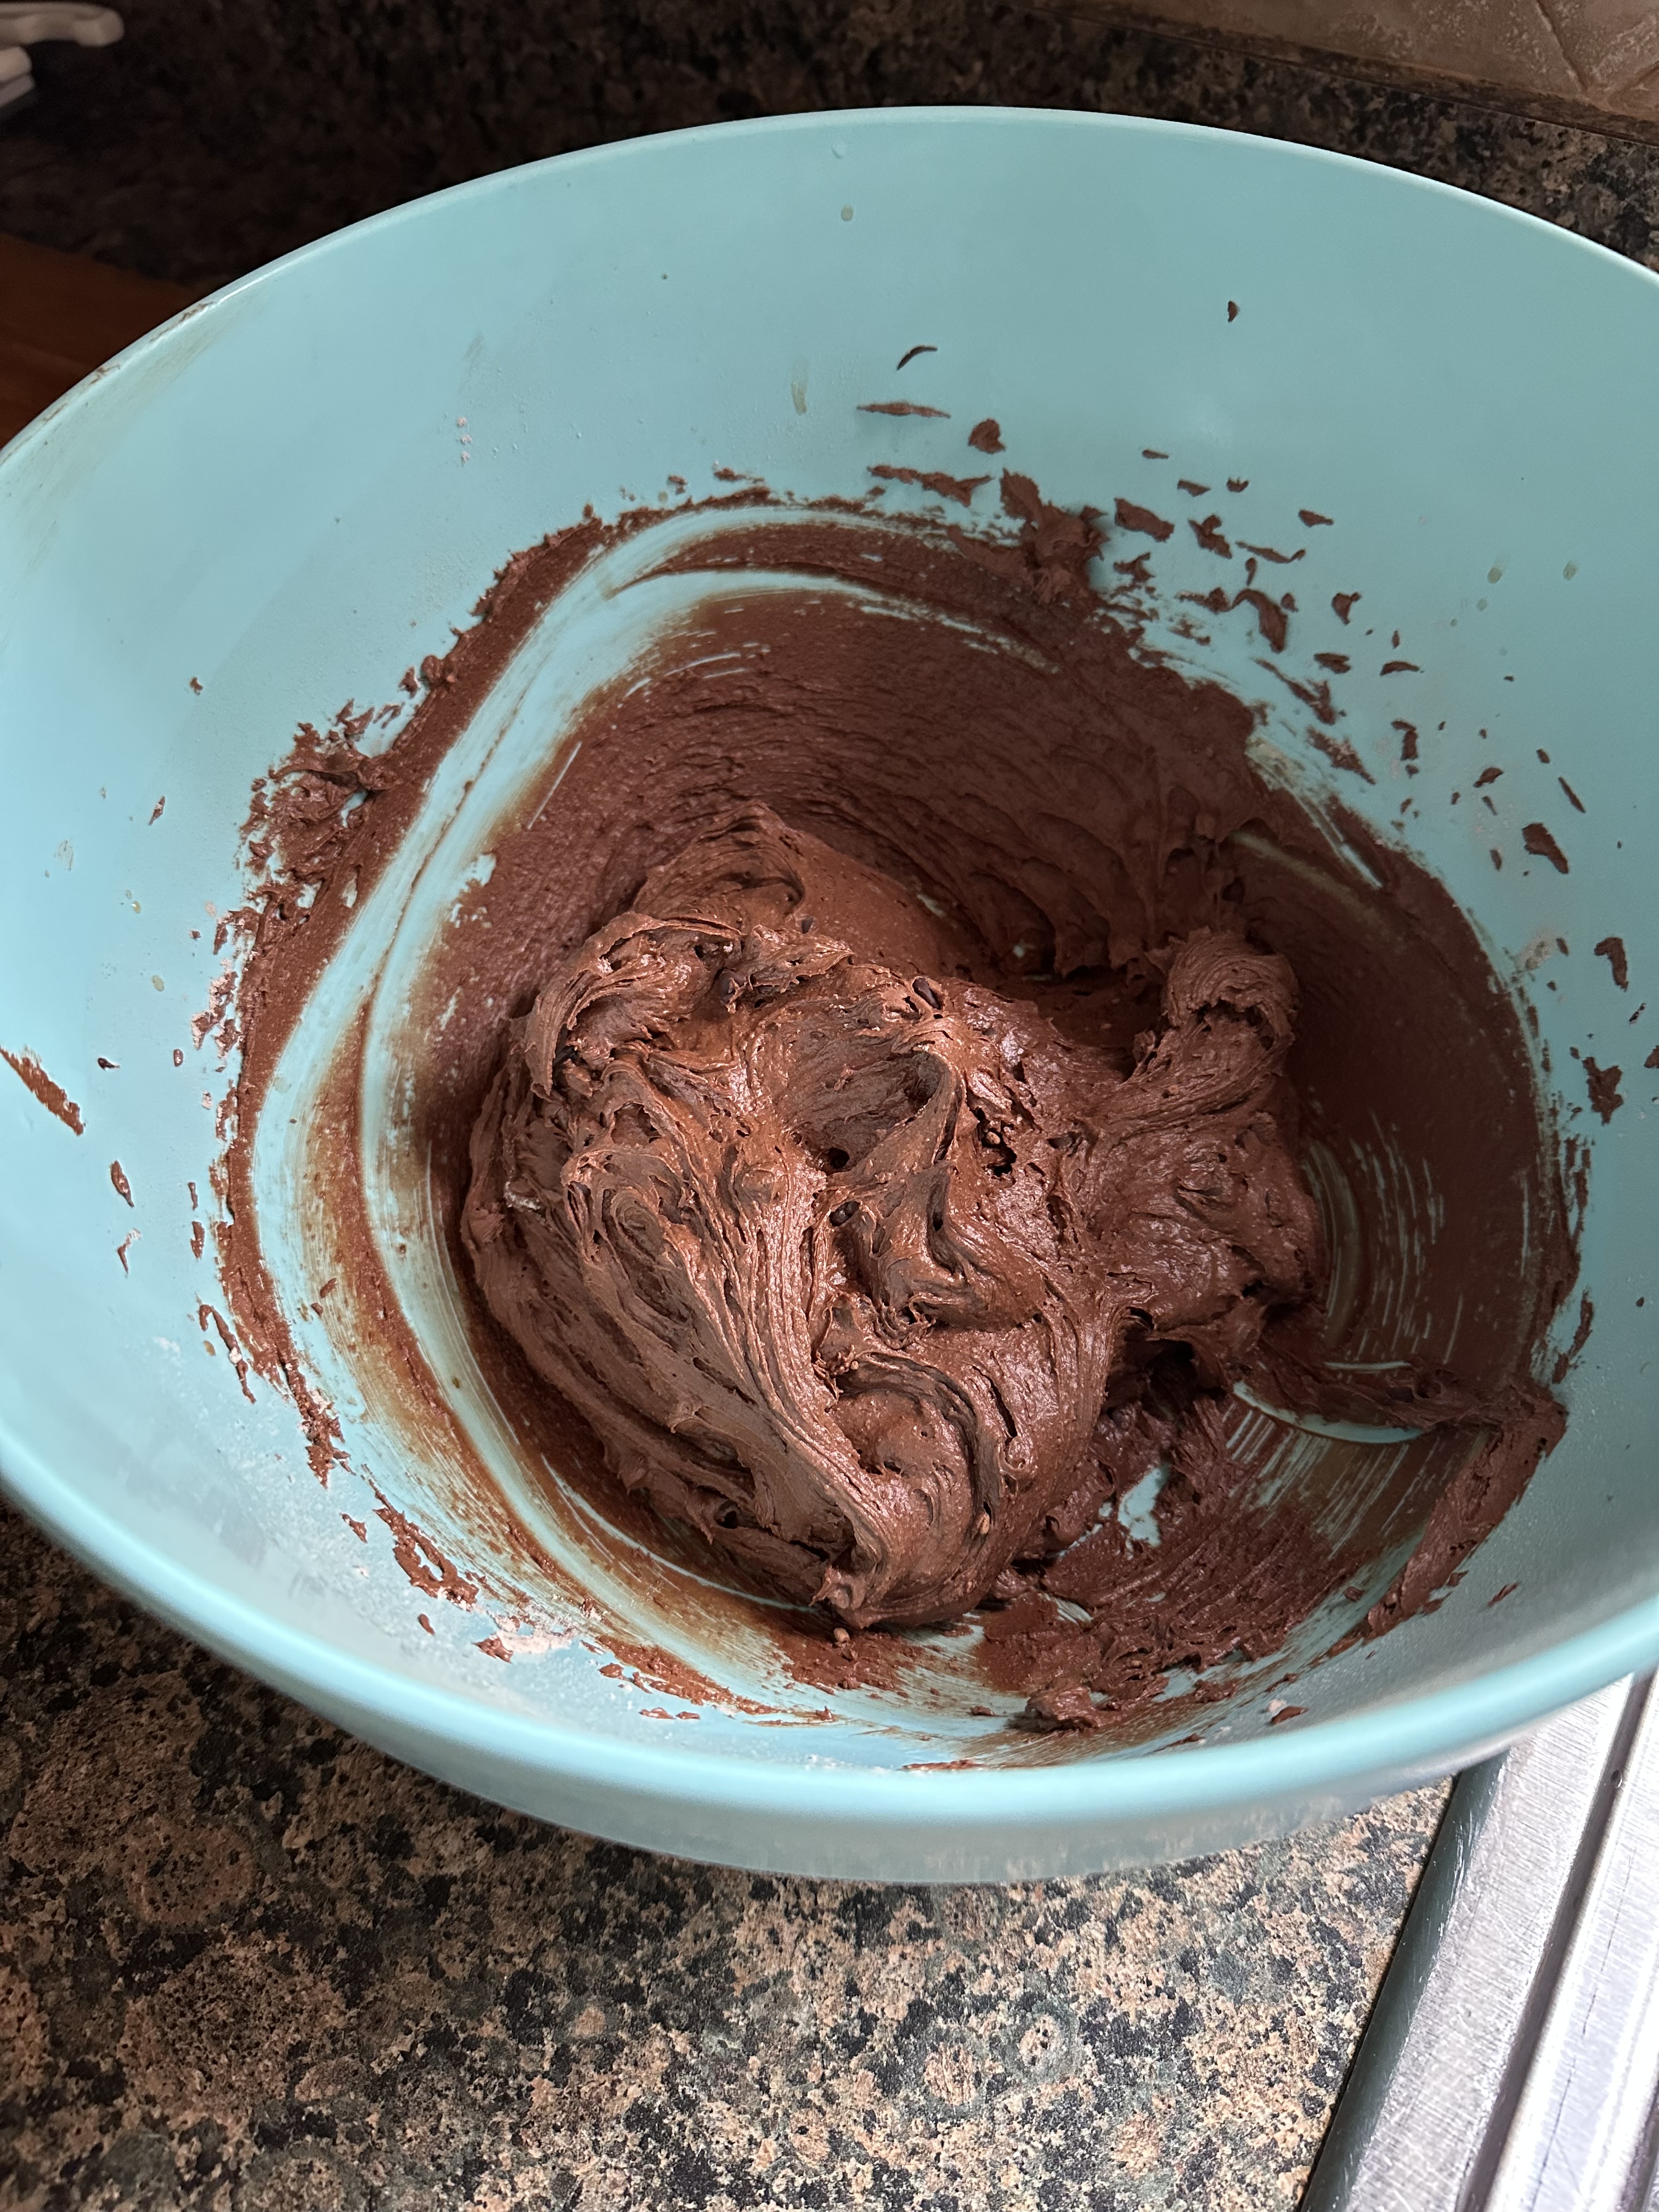
In a large bowl whisk together the brown sugar and cooled brown butter. It should resemble clumpy wet sand. Next whisk in the egg yolk, maple syrup, vanilla extract and pumpkin puree until smooth. Fold in the dry ingredients. Continue folding the two mixtures together until the dough forms.
Refrigerate the dough for 15-20 minutes so it can firm up and prevent spreading while baking.
In a small bowl whisk together the ingredients for the sugar coating.
Use a large cookie scoop (i.e. ice cream scoop) or 1/4 measuring cup to scoop out the dough and then roll in the sugar coating. Place on the prepared baking sheet about 3 inches apart.
Bake for 12-15 minutes, or until the cookies are darkened around the edges and the center are puffed and look slightly underdone.
Allow the cookies to cool on the baking sheet for 2-3 minutes before transferring to a wire rack to cool completely.
Store in an airtight container.
Recipe slightly modified from Butternut Bakery Blog