I’ve owned a tart pan with a removable bottom for years and have only used it a handful of times. I believe I bought it to make a frangipane tart over 10 years ago. If you search my blog, you can find the recipe. The pictures are so bad from that post that I will refrain from posting the link. In case you are wondering though, frangipane is basically as an almond tart. You can use almond flour, almond paste or ground almonds to make the custard filling and it usually has a fruit added in as well. I got to dust off my tart pan to make a Mango Citrus Tart I recently came across in an issue of Food Network Magazine. And don’t worry, you don’t have to peel or chop any mangoes to make this tart, you simply use frozen mango pulp thawed as the base for the filling.
Before I made the filling, I made the crust for the tart. In my food processor I processed graham crackers until they were finely ground before adding in melted butter. Once the mixture was combined, I pressed it into the bottom and up the sides of the tart pan. To make sure the crust was even and compact in the pan I used the bottom of a glass to press and smooth it down. After baking the crust, I let it cool on wire rack while I made the filling.

To make the filling I combined the mango puree with eggs, cornstarch, sugar, salt, lime and lemon juice in a medium saucepan. After whisking everything together until it was combined, I used a rubber spatula to stir it while heating it on medium-low heat until it was slightly thickened. Don’t make the same mistake I did, I stopped stirring for a few seconds and the mixture immediately started to bubble. Thankfully nothing bubbled over, and it didn’t scorch. I removed the filling from the heat and stirred in unsalted butter until it melted.
Once the filling was ready, I placed the crust on a baking sheet and strained it through a fine mesh sieve directly into the cooled crust.
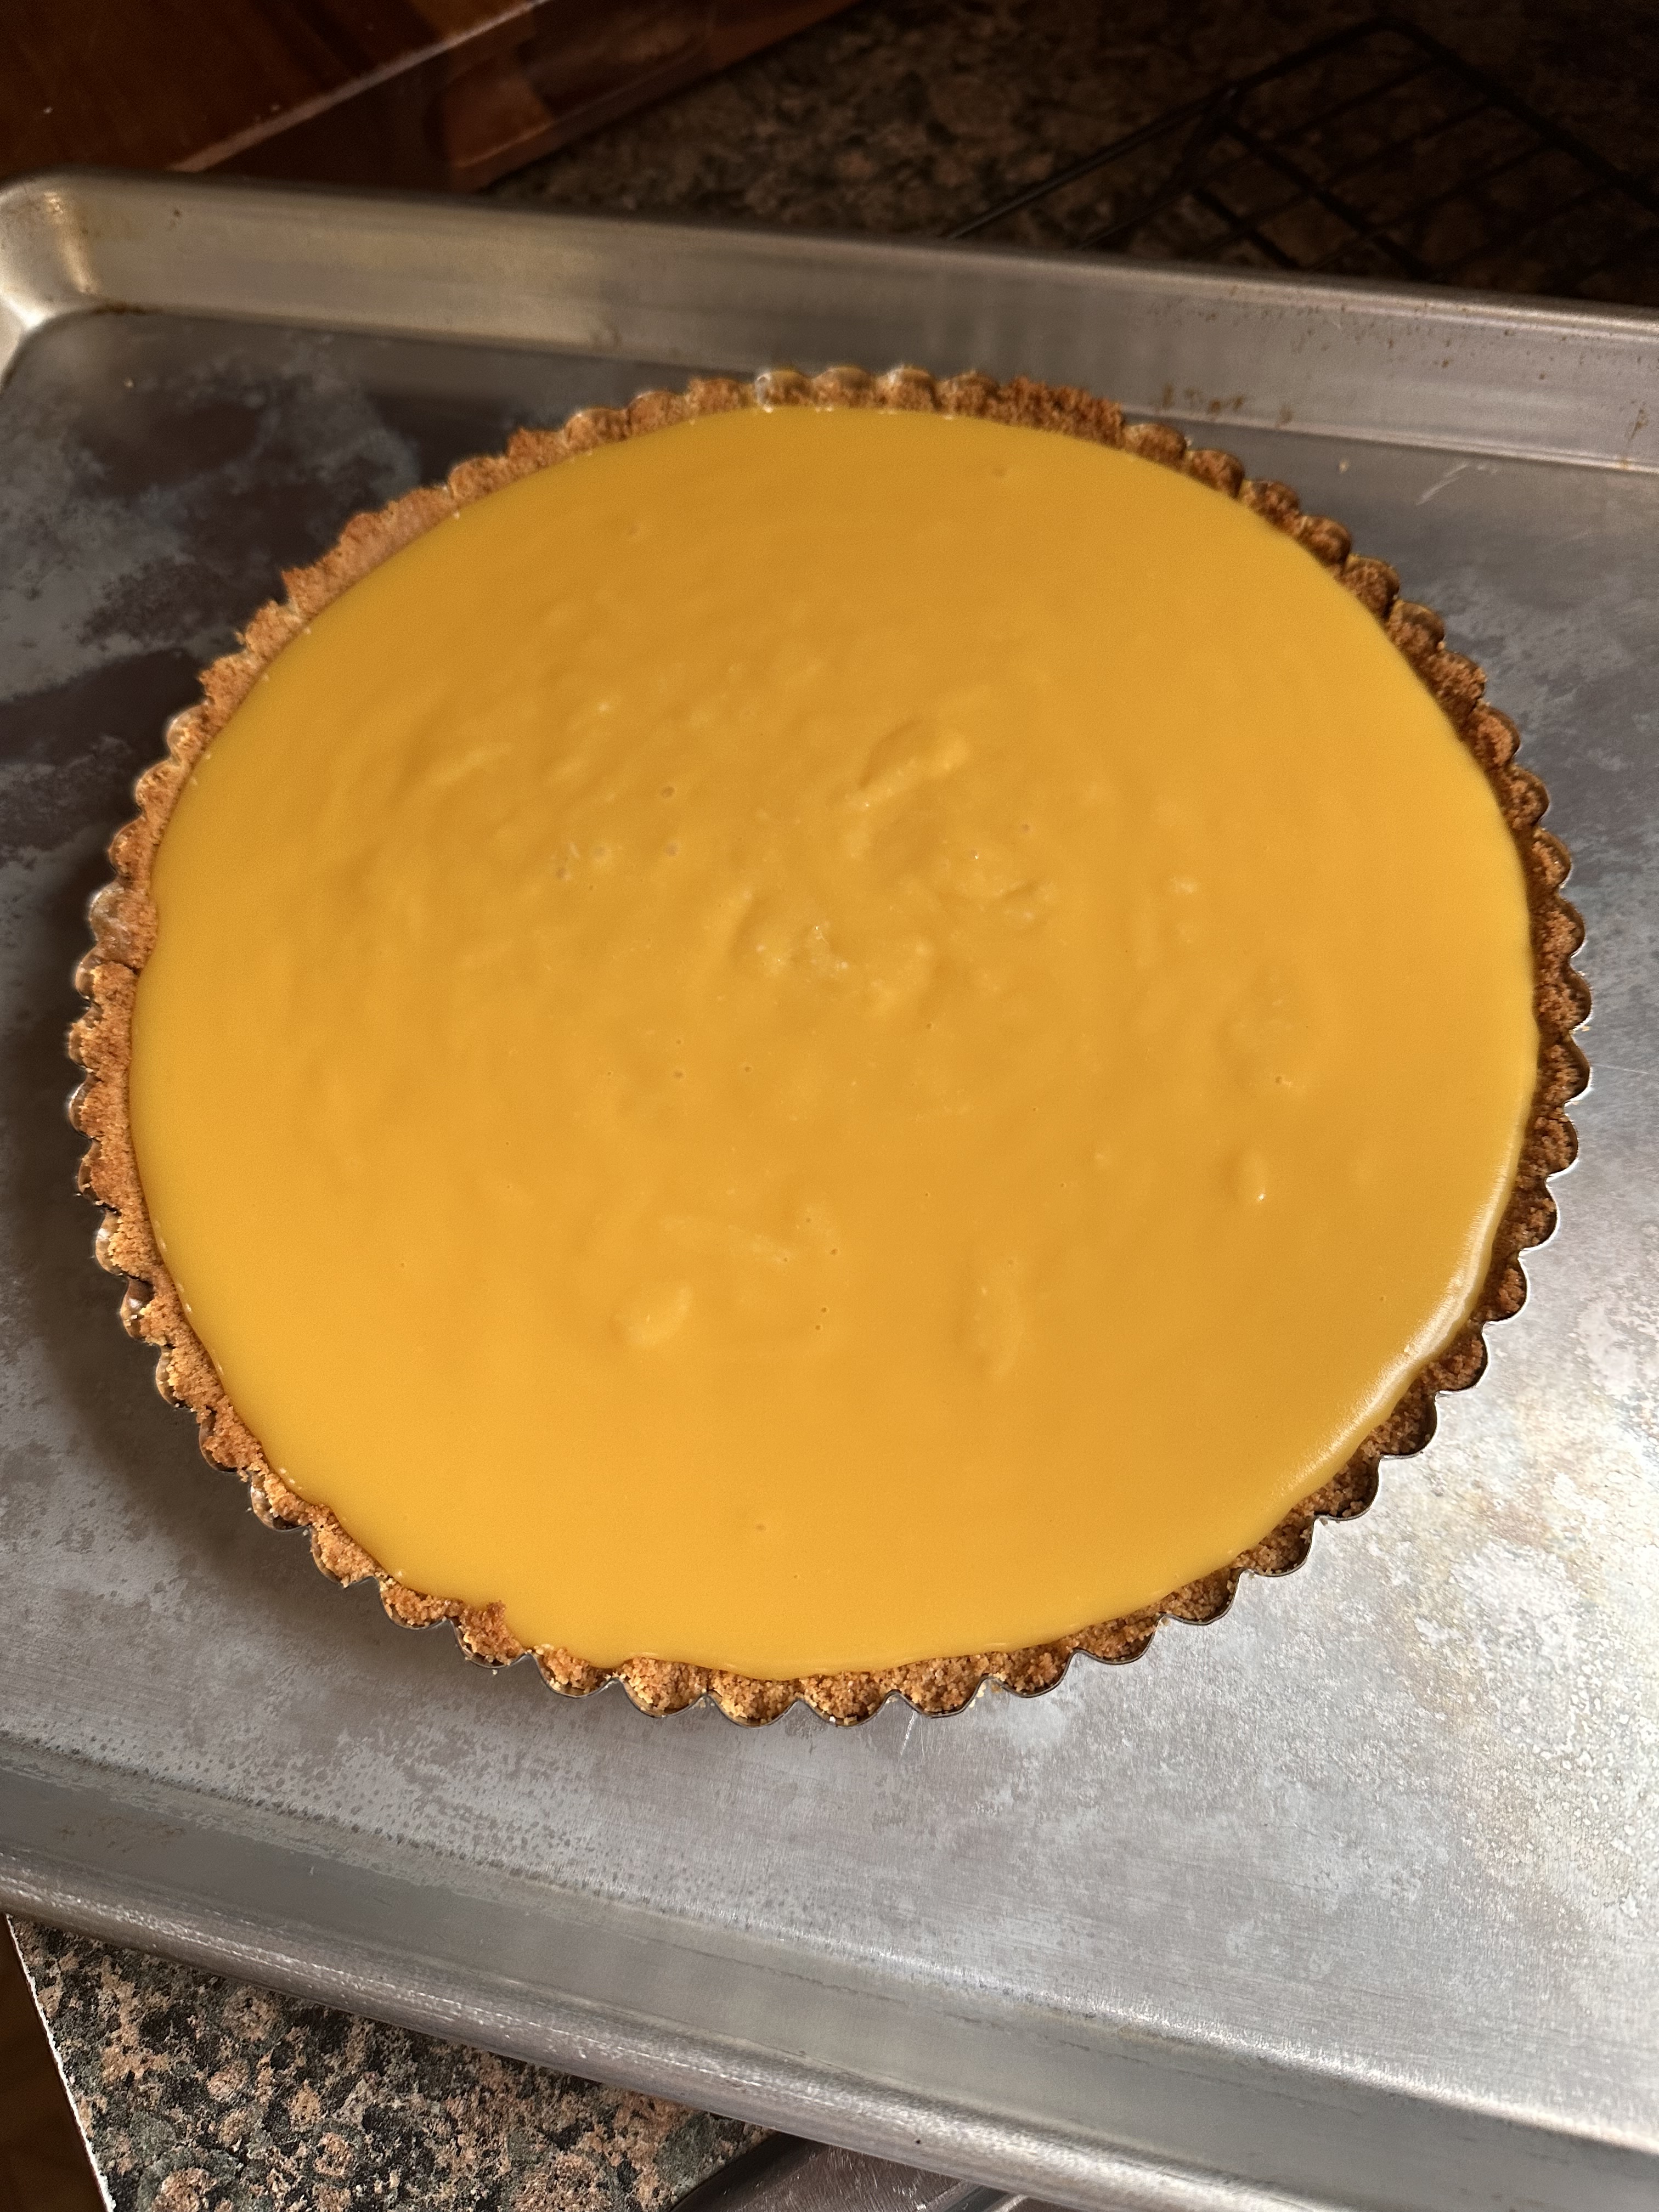
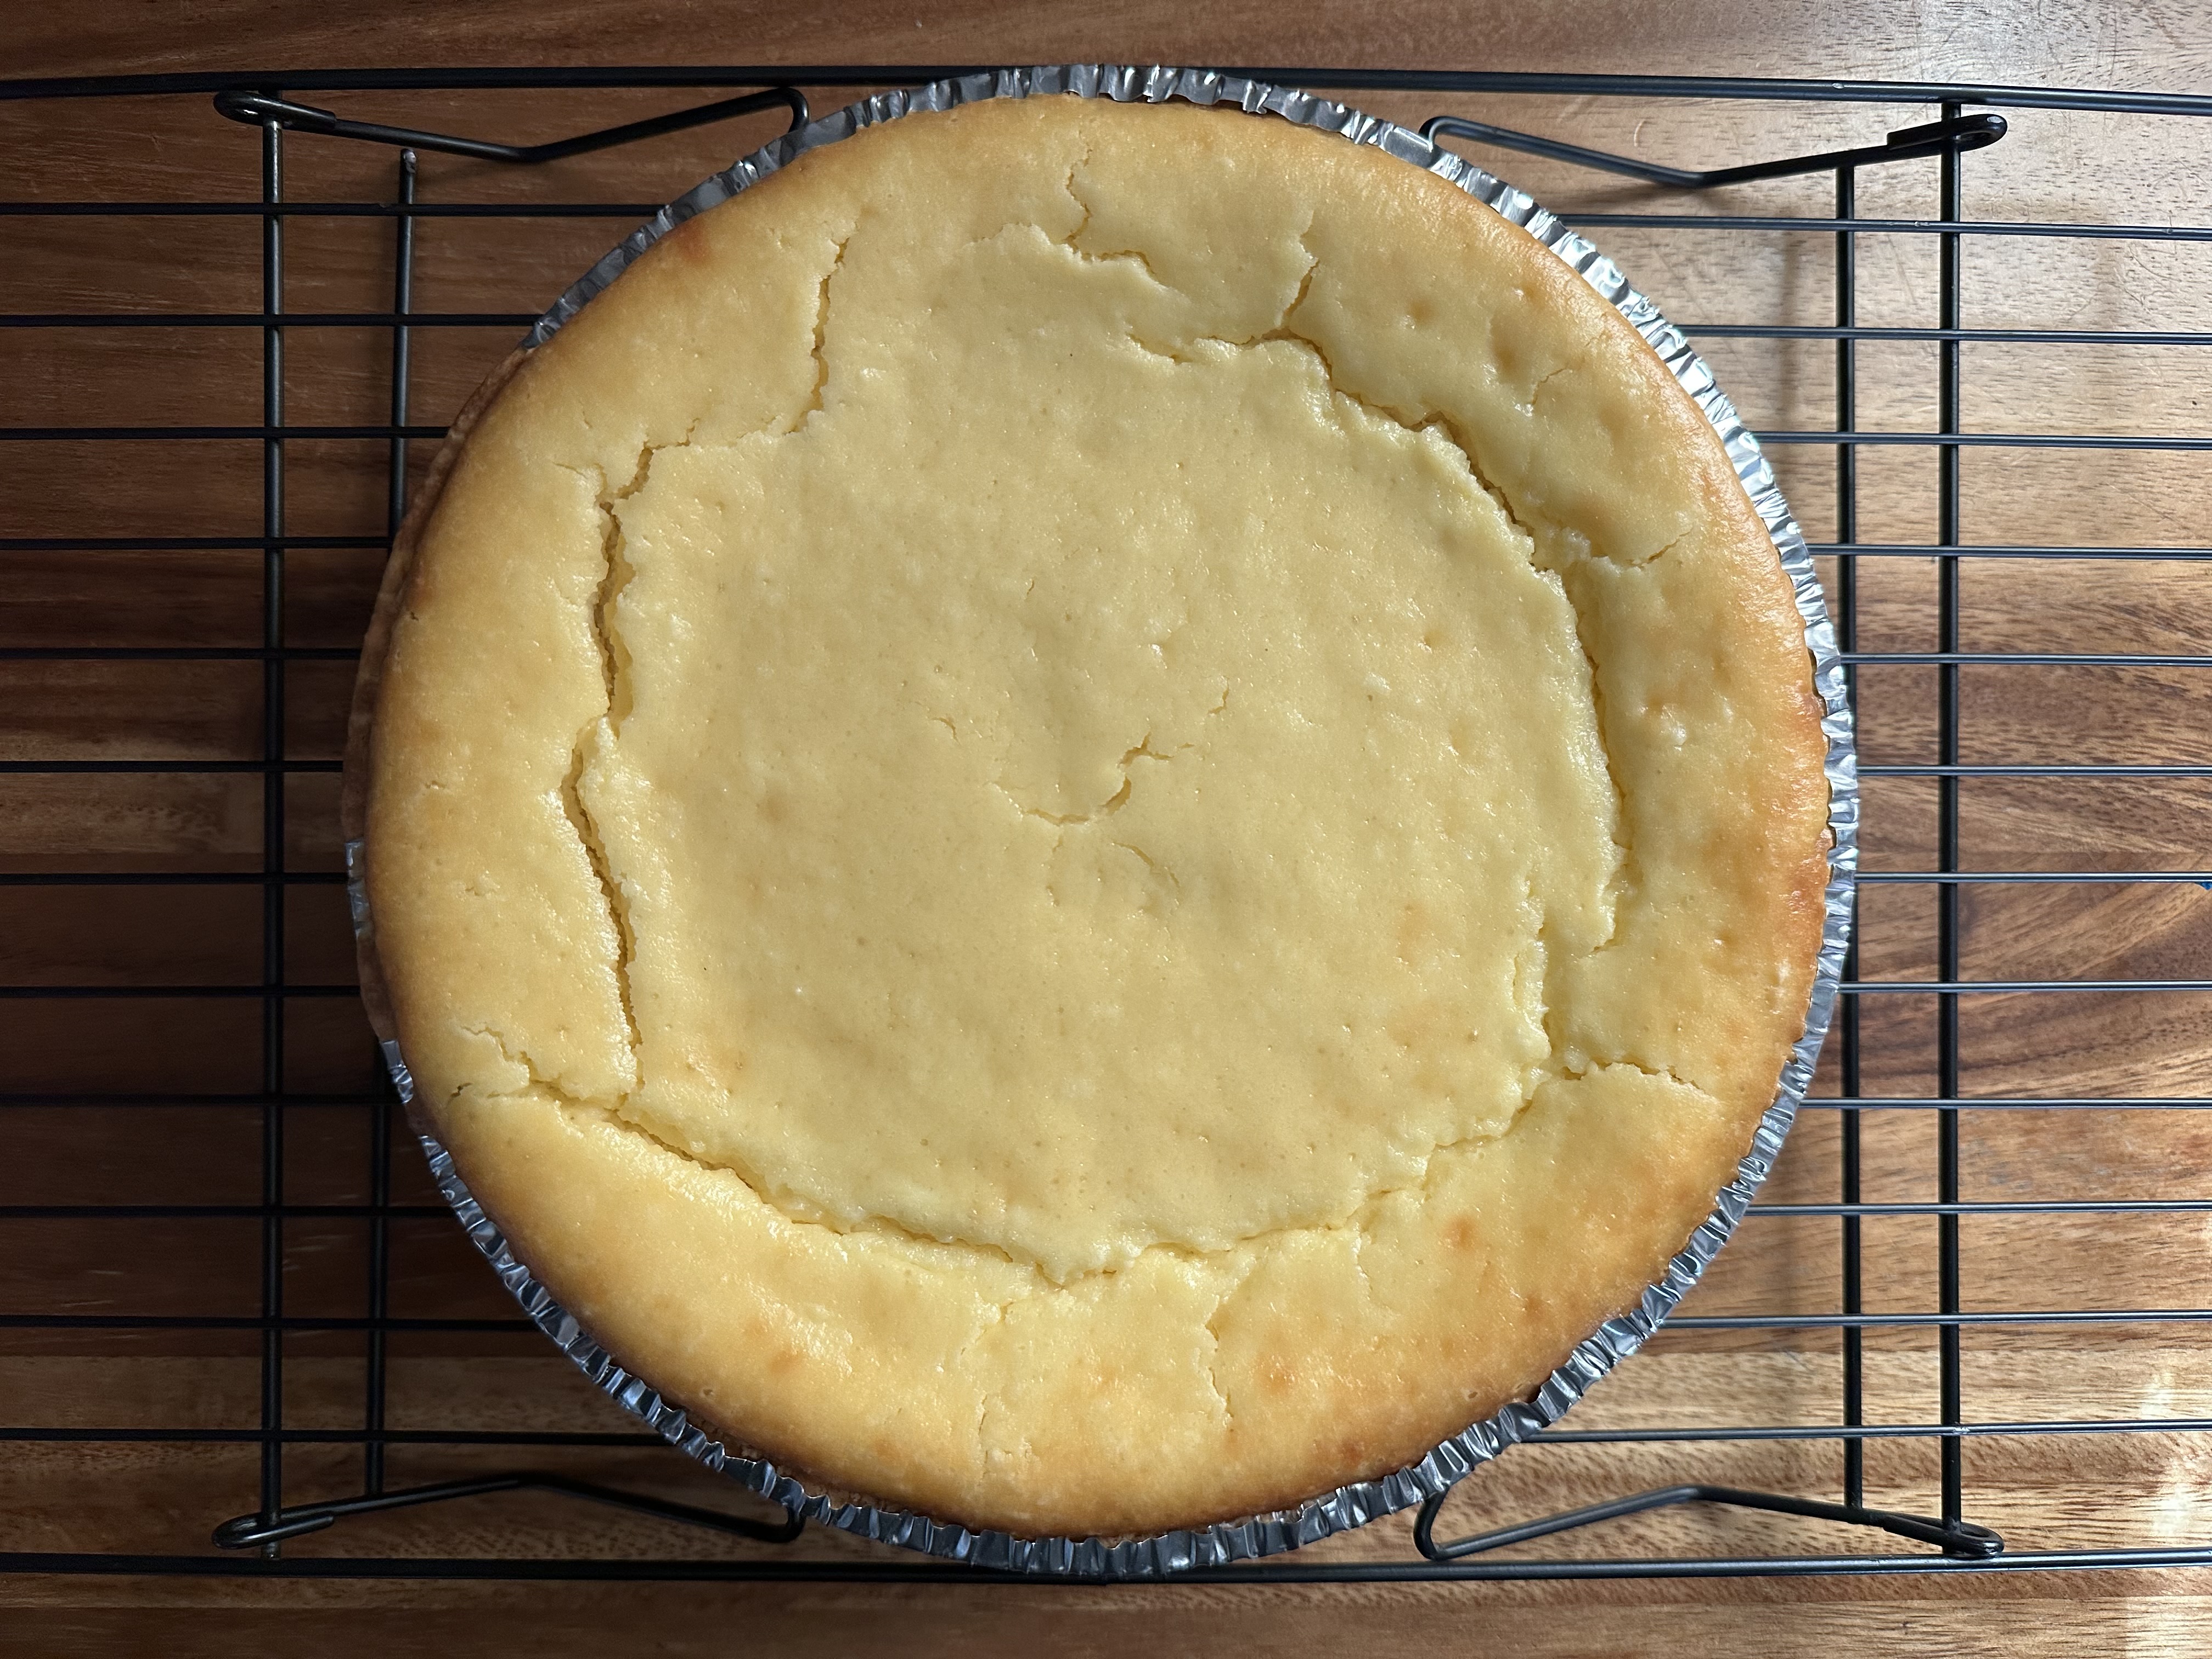
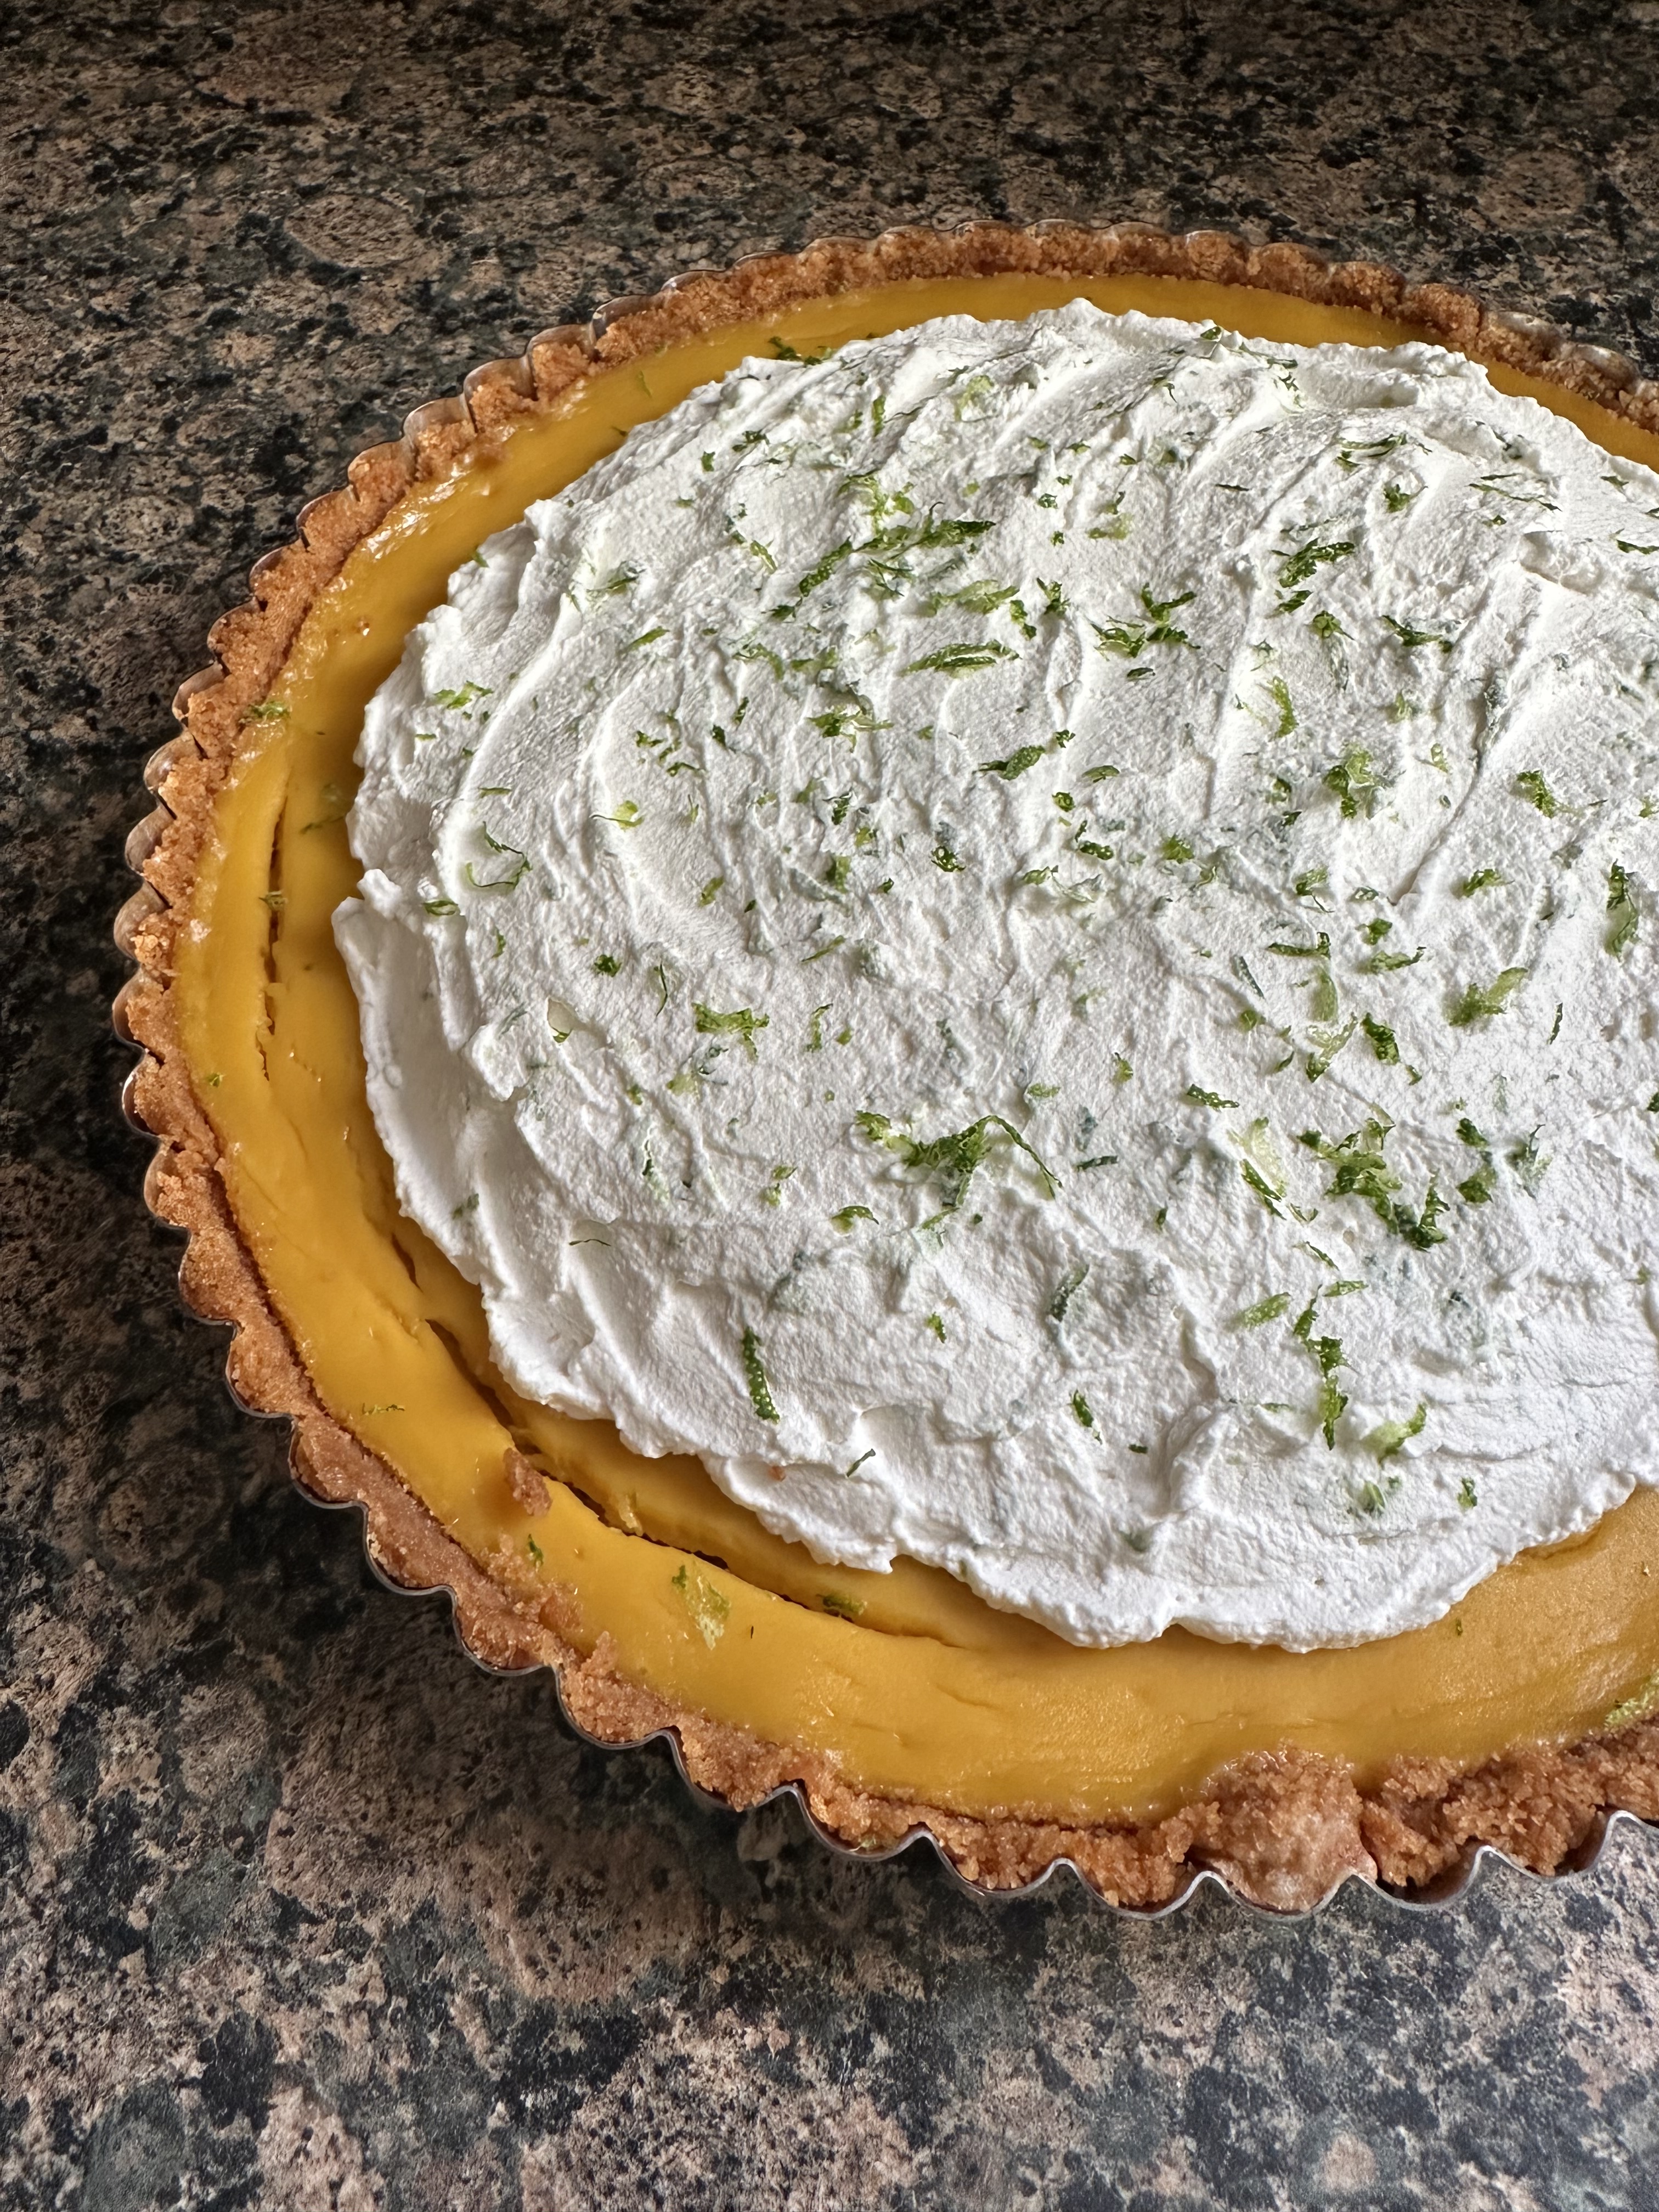
I then placed it in the oven for about 30 minutes. I ended up baking it a few minutes too long as the filling ended up cracking in a few places…
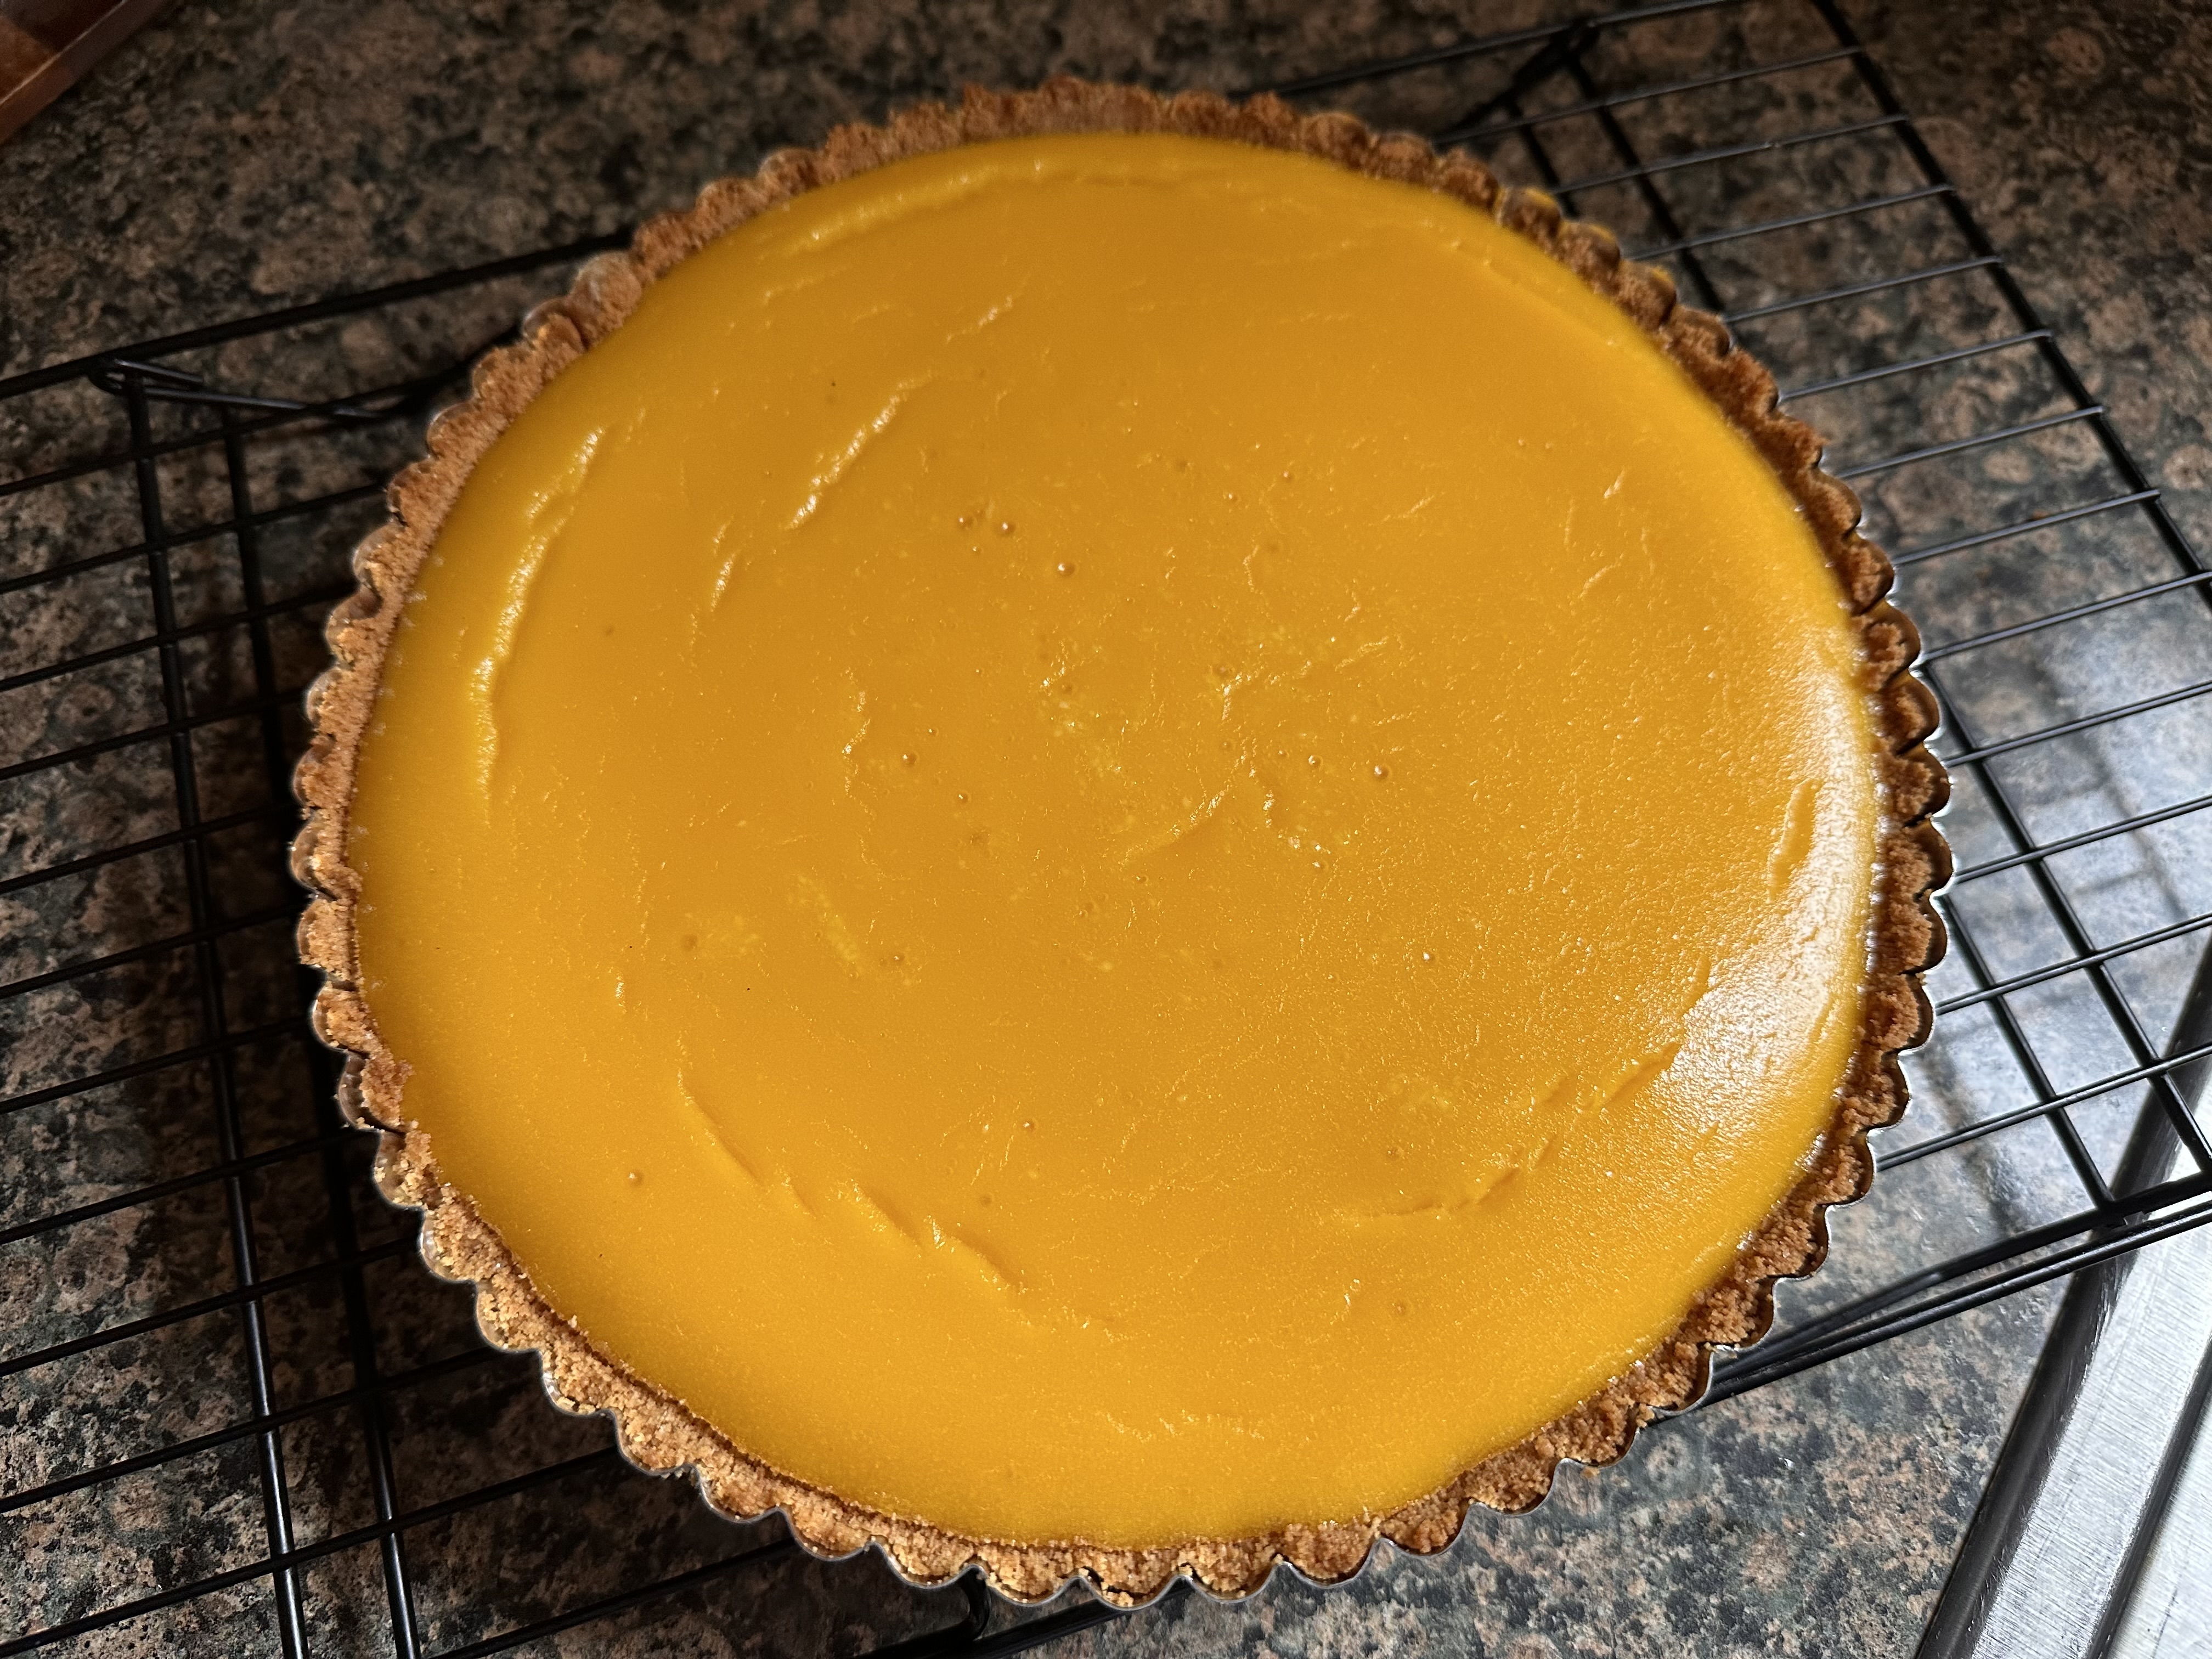
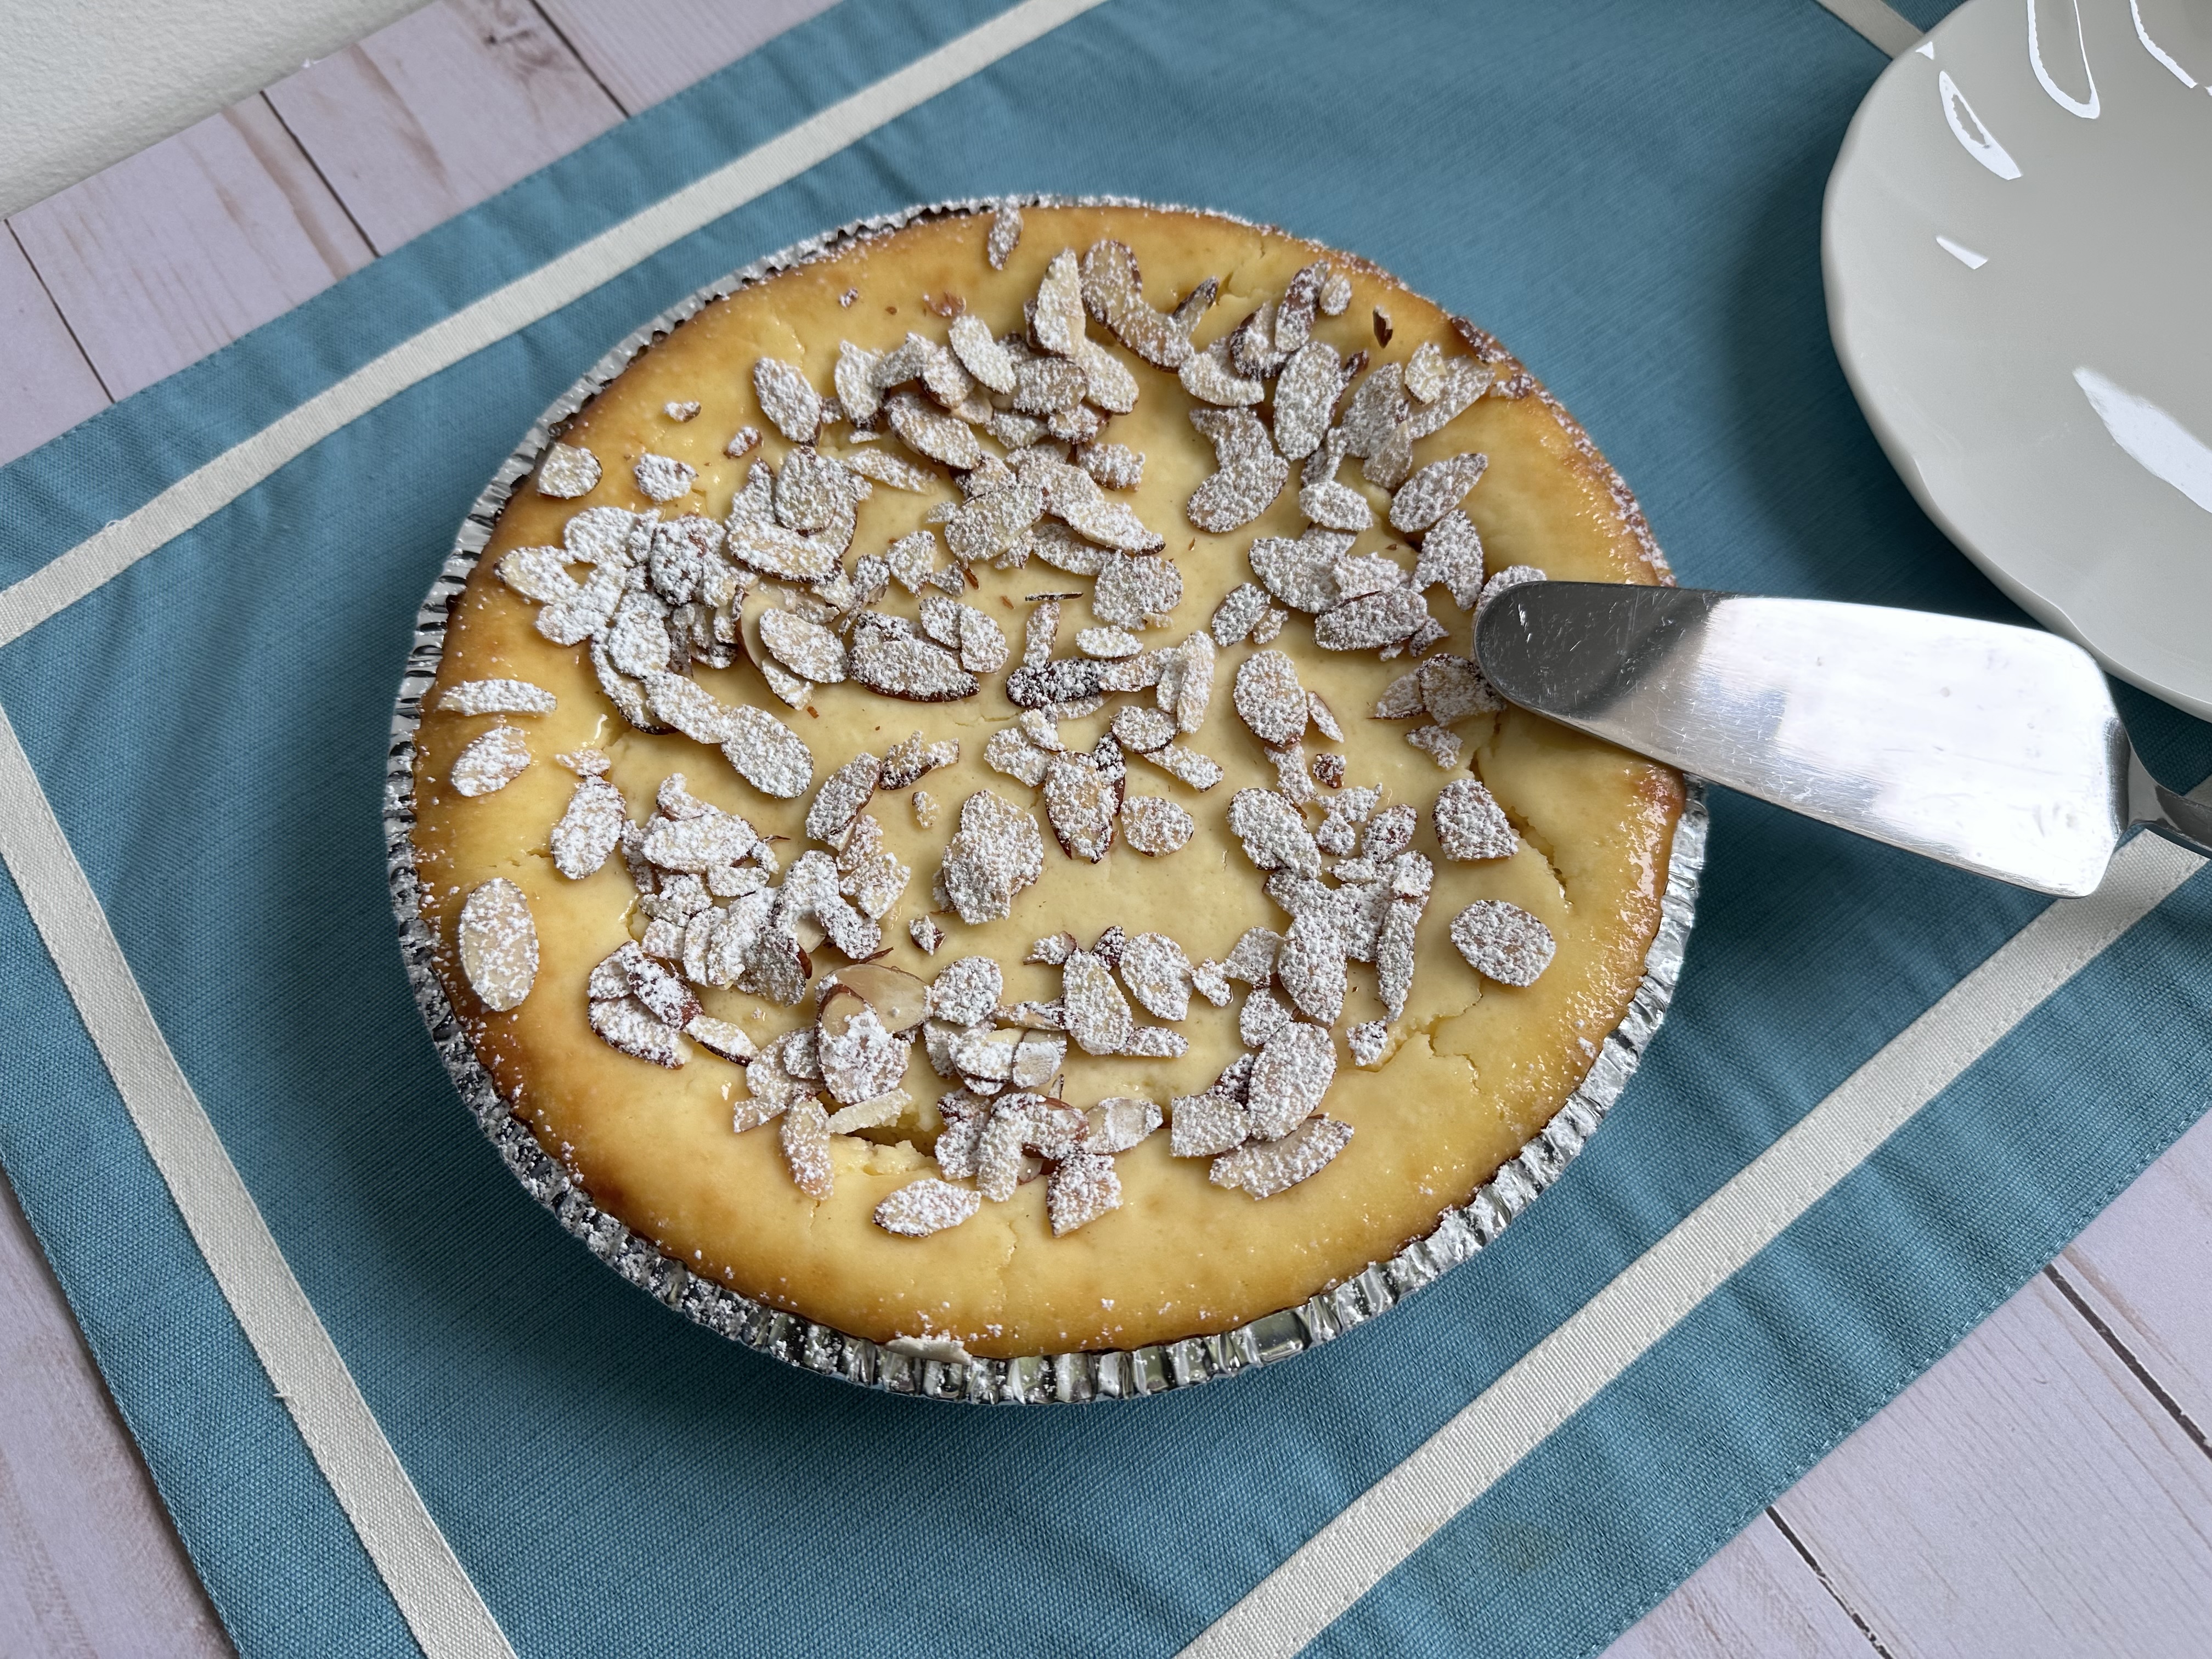
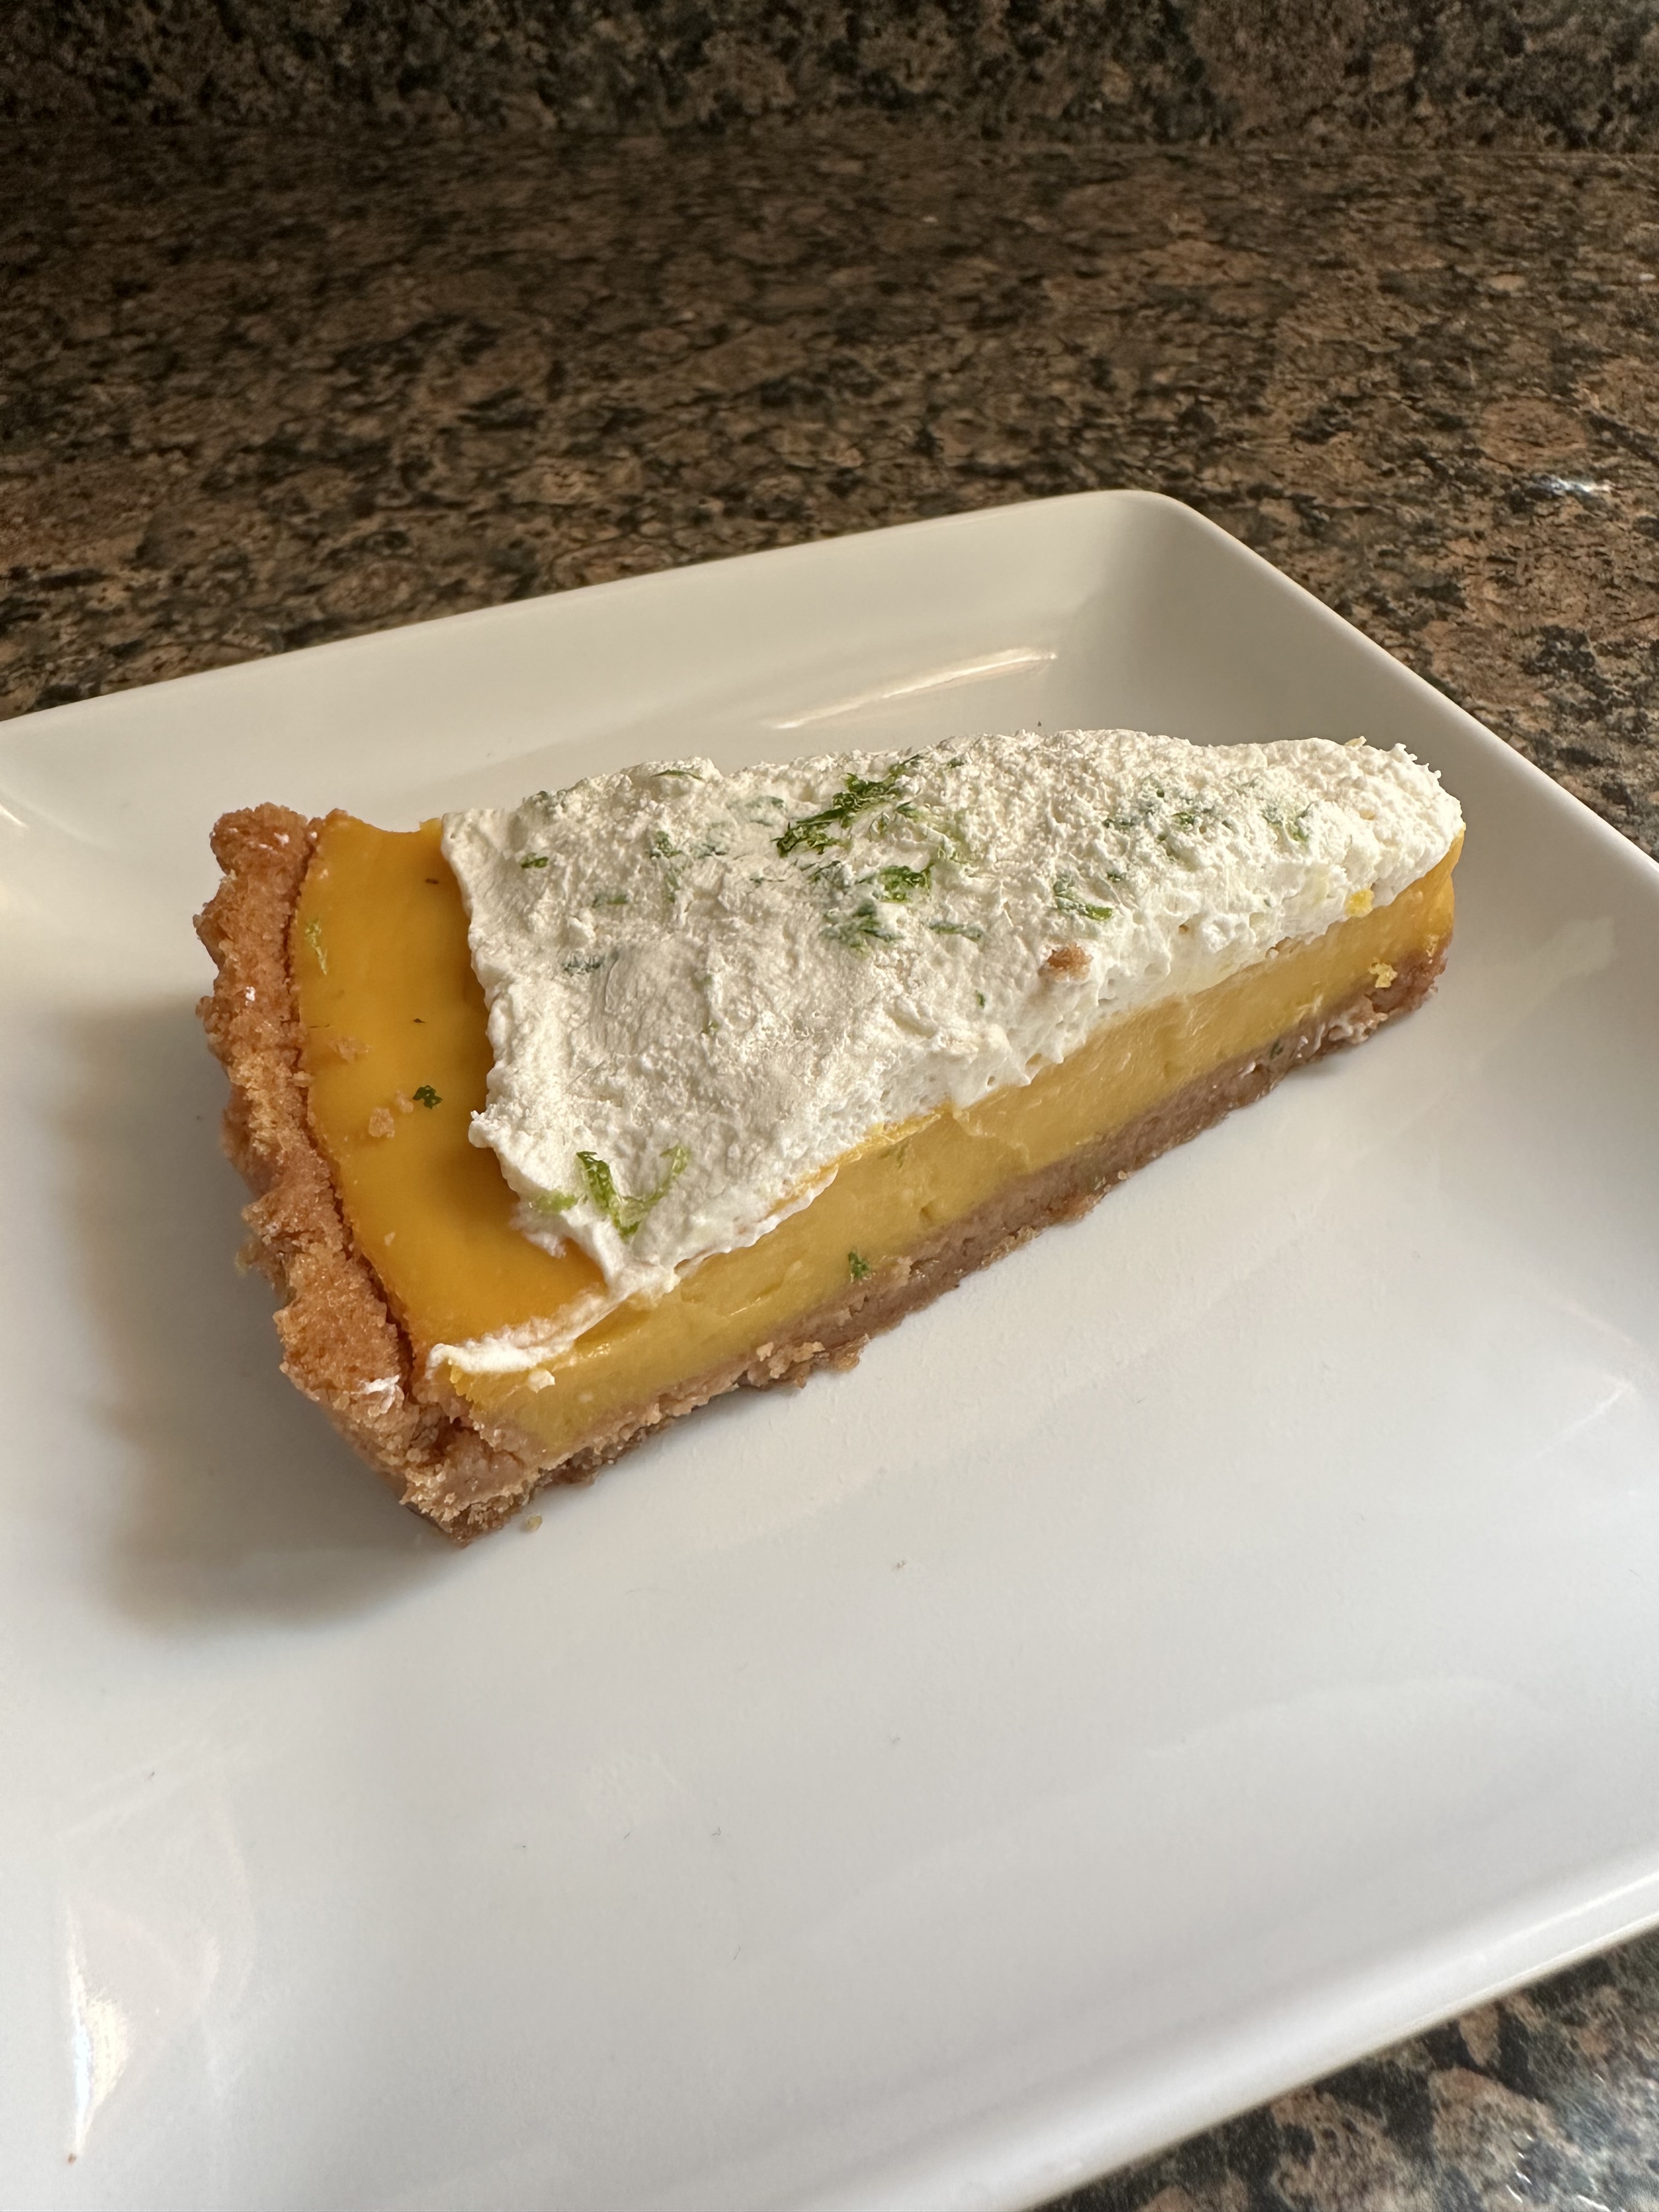
But it was nothing that a little whipped cream and lime zest couldn’t cover up and besides it didn’t alter the flavor of the tart one bit. It was delish! Not too sweet and the mango flavor was spot on!
Mango Citrus Tart
Ingredients:
For the crust:
14 whole graham crackers
2 tablespoons sugar
1/4 teaspoon kosher salt
6 tablespoon unsalted butter, melted
For the filling:
1 14oz package frozen mango puree, thawed*
6 large eggs plus 2 egg yolks
1 tablespoon cornstarch
1/2 cup sugar
1/4 cup lime juice
3 tablespoons lemon juice
Pinch of kosher salt
4 tablespoon unsalted butter, cubed
*To thaw the puree I placed it in the refrigerator overnight
For the topping:
1 cup heavy cream
2 tablespoons confectioners’ sugar
1 teaspoon vanilla extract
Zest of 1 lime
Directions:
Preheat the oven to 350 F.
For the crust: Break the graham crackers into pieces and place in the bowl of a food processor along with the sugar and salt. Process until the crackers are finely ground. Add in the butter and pulse to combine. Press the mixture evenly into the bottom and up the sides of a 9-inch tart pan. Bake for 12 minutes in the preheated oven until the crust is golden. Transfer to a wire rack to cool.
For the filling: In a medium saucepan whisk together the mango puree, whole eggs, egg yolks, cornstarch, sugar, lime juice, lemon juice and salt until smooth and combined. Cook over medium-low heat, stirring constantly with a rubber spatula, until the mixture begins to thicken, about 7 to 10 minutes. Remove from the heat and add in the butter and stir until the butter has completely melted.
Place the cooled crust on a baking sheet. Strain the mango filling through a fine mesh sieve directly into the crust. Bake until the filling is set but the center is still a bit jiggly, 25 to 30 minutes. Let cool to room temperature before refrigerating for 4 to 6 hours.
For the whipped cream: Combine the heavy cream, confectioners’ sugar and vanilla extract in a medium bowl and beat with a hand mixer on medium speed until stiff peaks form.
Prior to serving the tart top with the whipped cream and sprinkle zest on top.
Recipe from Food Network