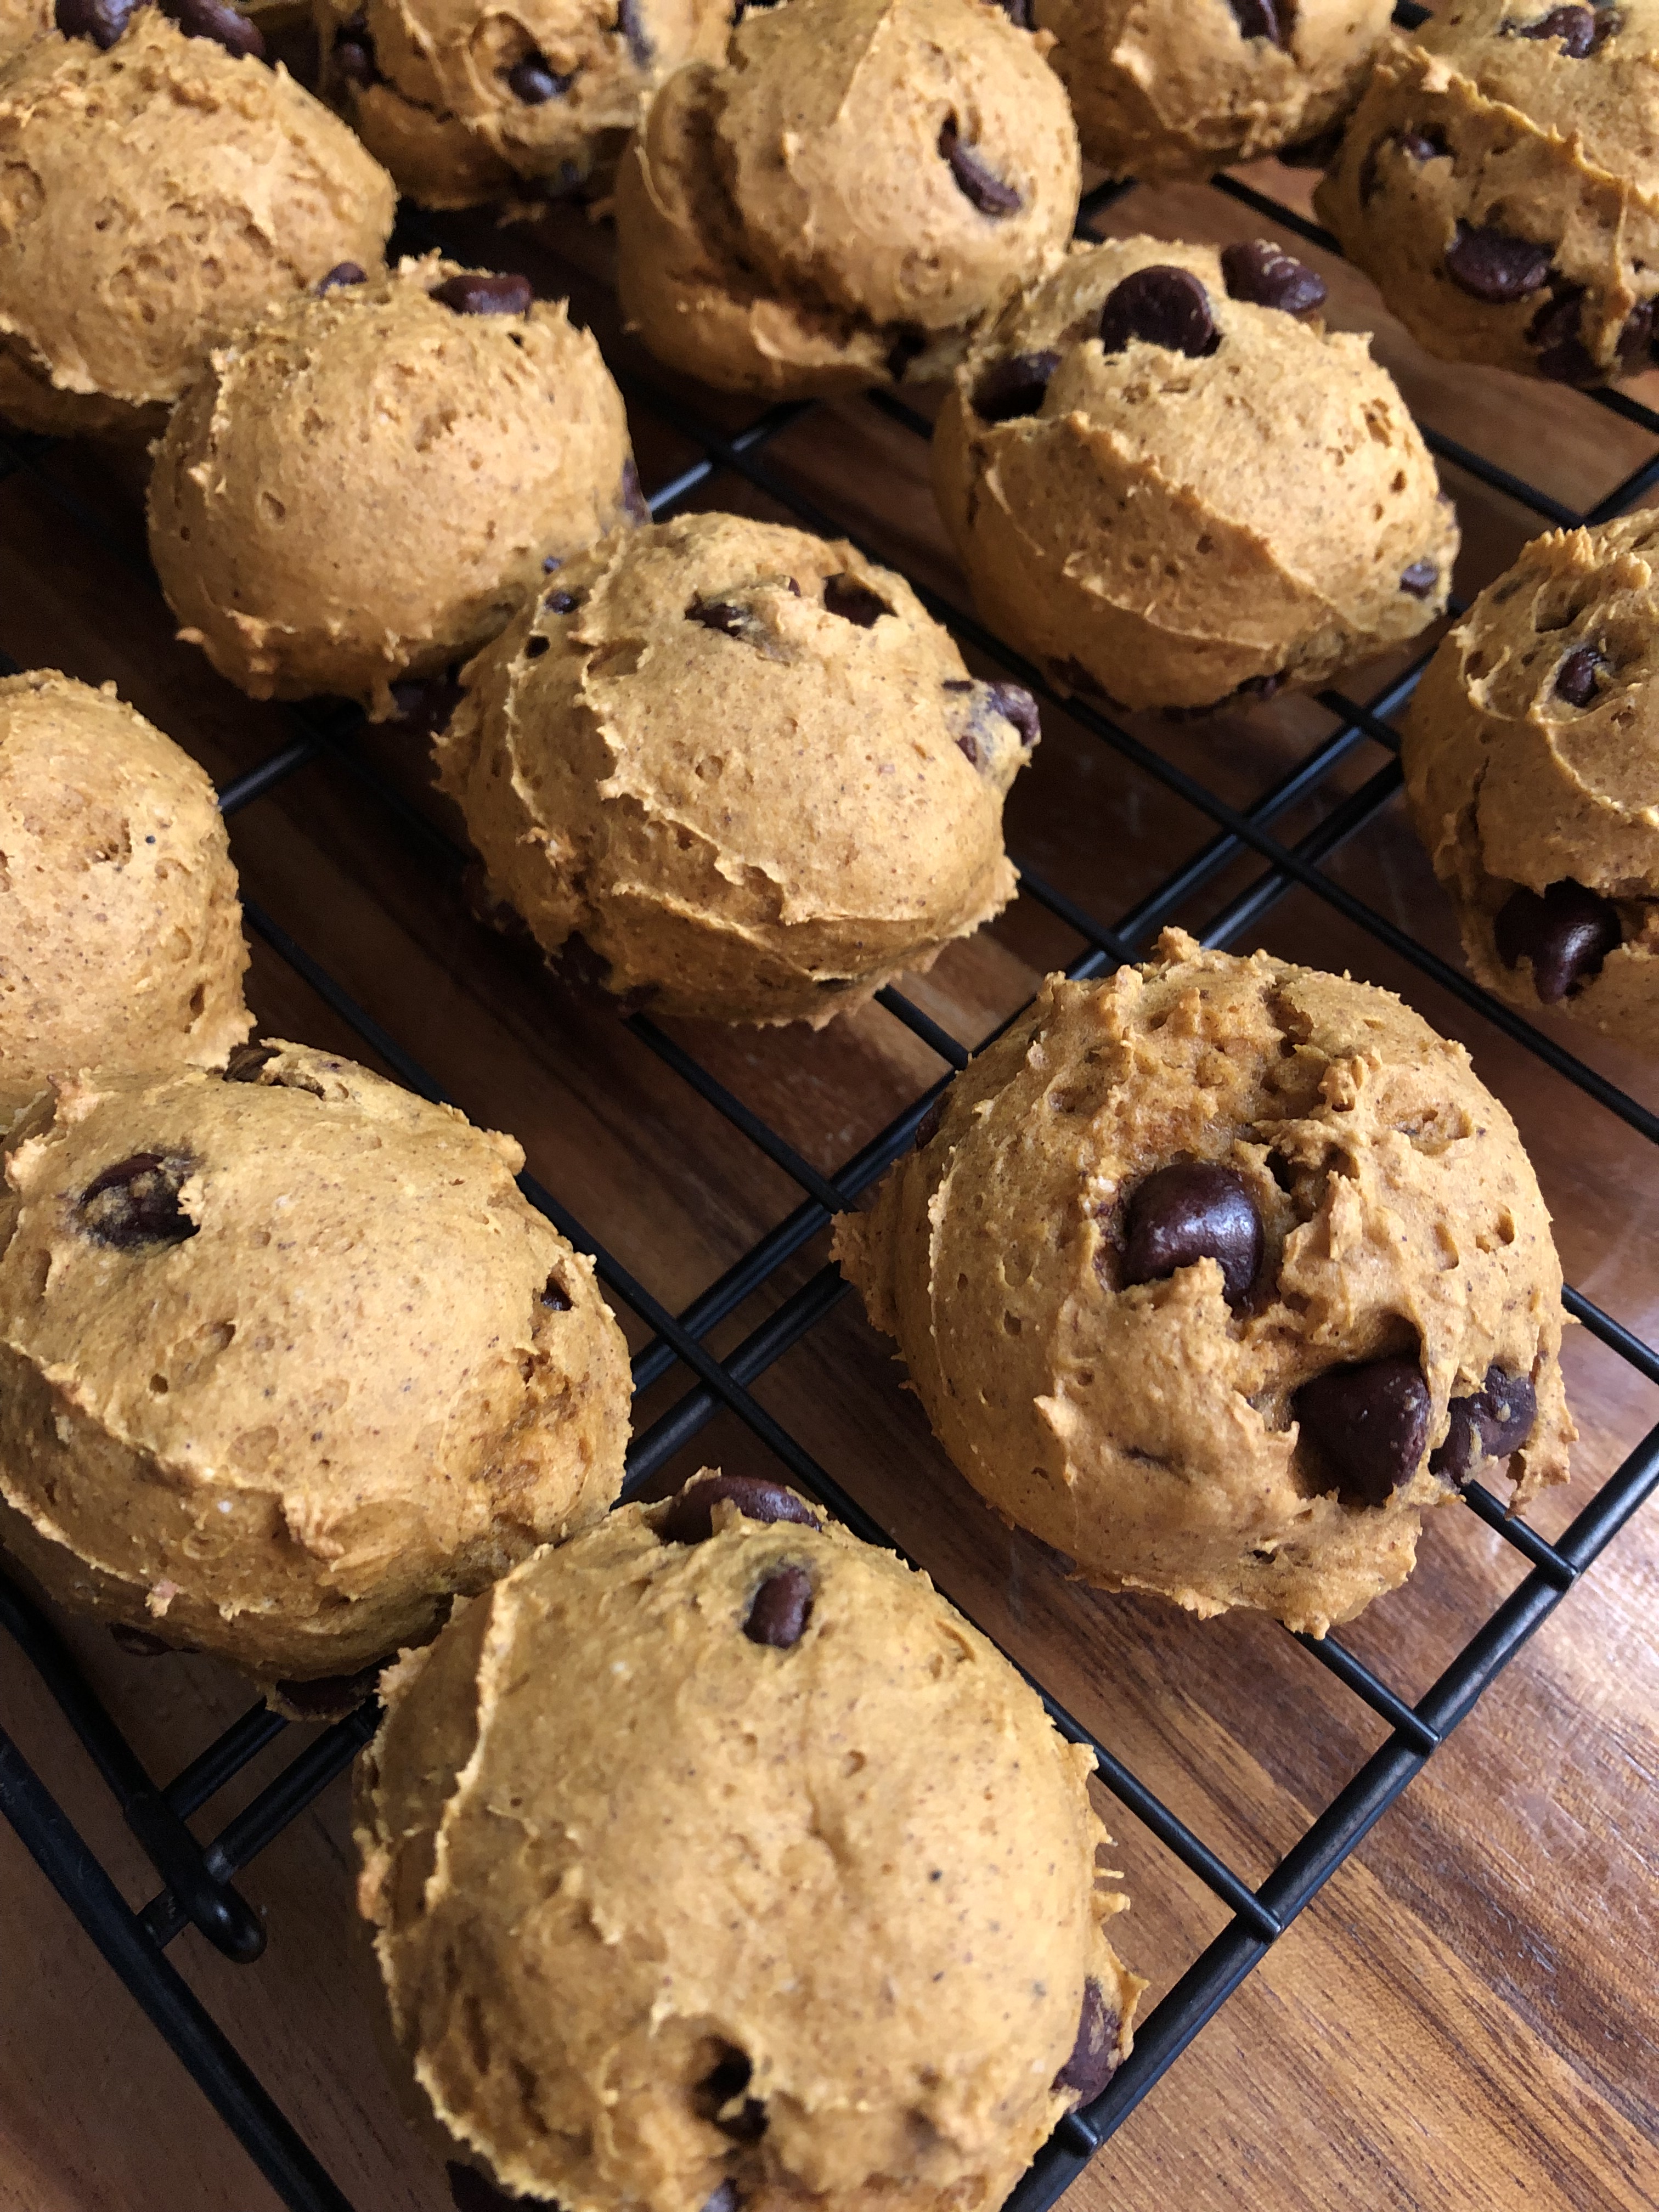
Some pairings just taste good together – like peanut butter and chocolate, peanut butter and banana and banana and chocolate – so I figured that three would taste just as good (or better) together. And that’s how I came up with this Peanut Butter & Banana Chocolate Chip Loaf.
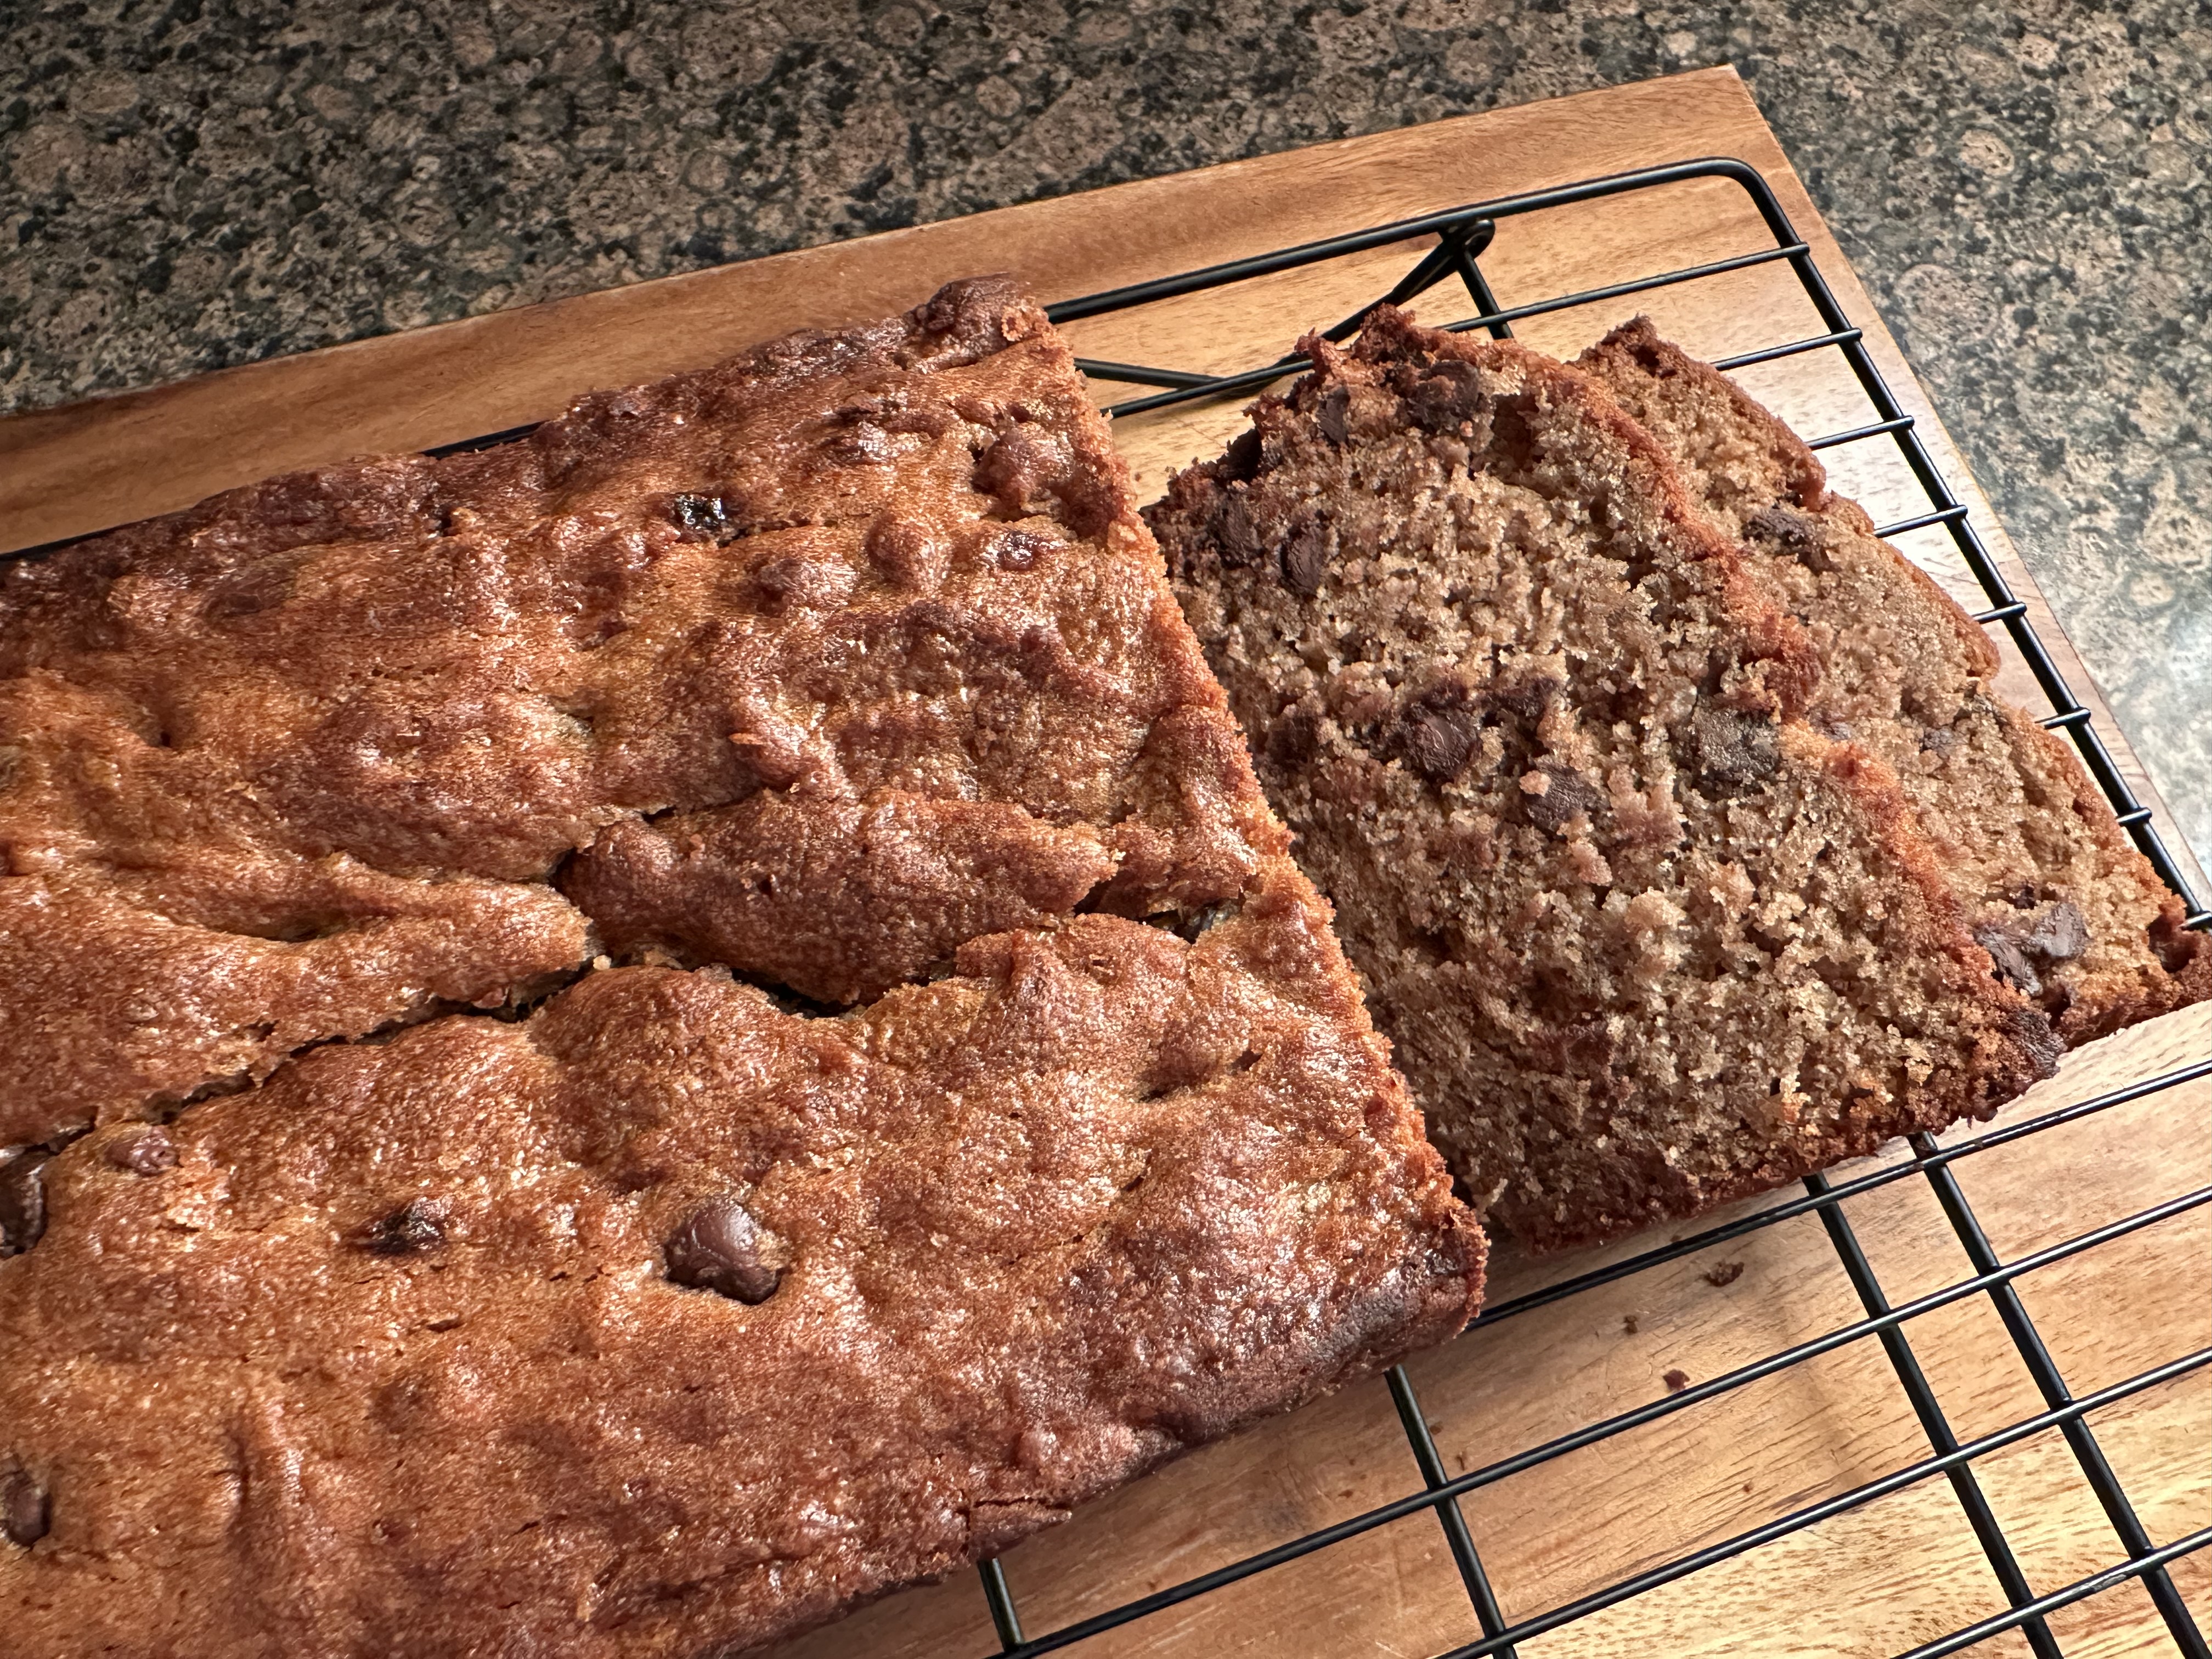
Although, I was a little discouraged when I tasted the first loaf I made. It was a bit dense, and the banana flavor was overpowering. With my second loaf, I reduced the amount of flour in the batter and increased the amount of peanut butter. The loaf then ended up being super moist with an equal balance of peanut butter and banana flavor. Now some people who tried it tasted the banana more or the peanut butter more. I think that might be due to preference of one over the other. I was able to taste both.

Now, I would like to think this loaf is somewhat healthy since the bananas are a good source of potassium and the peanut butter protein, but I am sure some would beg to differ since there is sugar and chocolate chips in the loaf as well. But a little sweetness isn’t a bad thing sometimes. If you’re really trying to stick to any health-related New Year’s Resolutions though, you could omit the chocolate chips and use maple syrup in lieu of the sugar. In doing so though you will have to add a little extra flour to the batter to account for the extra liquid.
Peanut Butter & Banana Chocolate Chip Bread
Ingredients:
1 1/2 cups flour
1 teaspoon baking soda
1/2 teaspoon salt
1 stick unsalted butter, at room temperature
3/4 cup light brown sugar
2 large eggs, at room temperature
1 teaspoon vanilla extract
3 large ripe bananas, mashed
1 cup creamy peanut butter
3/4 cup semi-sweet chocolate chips
Directions:
Preheat oven to 325 F. Spray 9 x 5 loaf pan with baking spray and set aside.
In a medium bowl whisk together the flour, baking soda and salt. Set aside.
In a large bowl cream together the butter and sugar with a hand mixer on medium speed until light and fluffy. Add the eggs 1 at a time, beating until just combined. Add the vanilla extract. Stir in the mashed bananas and peanut butter until just combined.
With the mixer on low add the flour mixture to the butter mixture and beat until combined.
Fold in the chocolate chips.
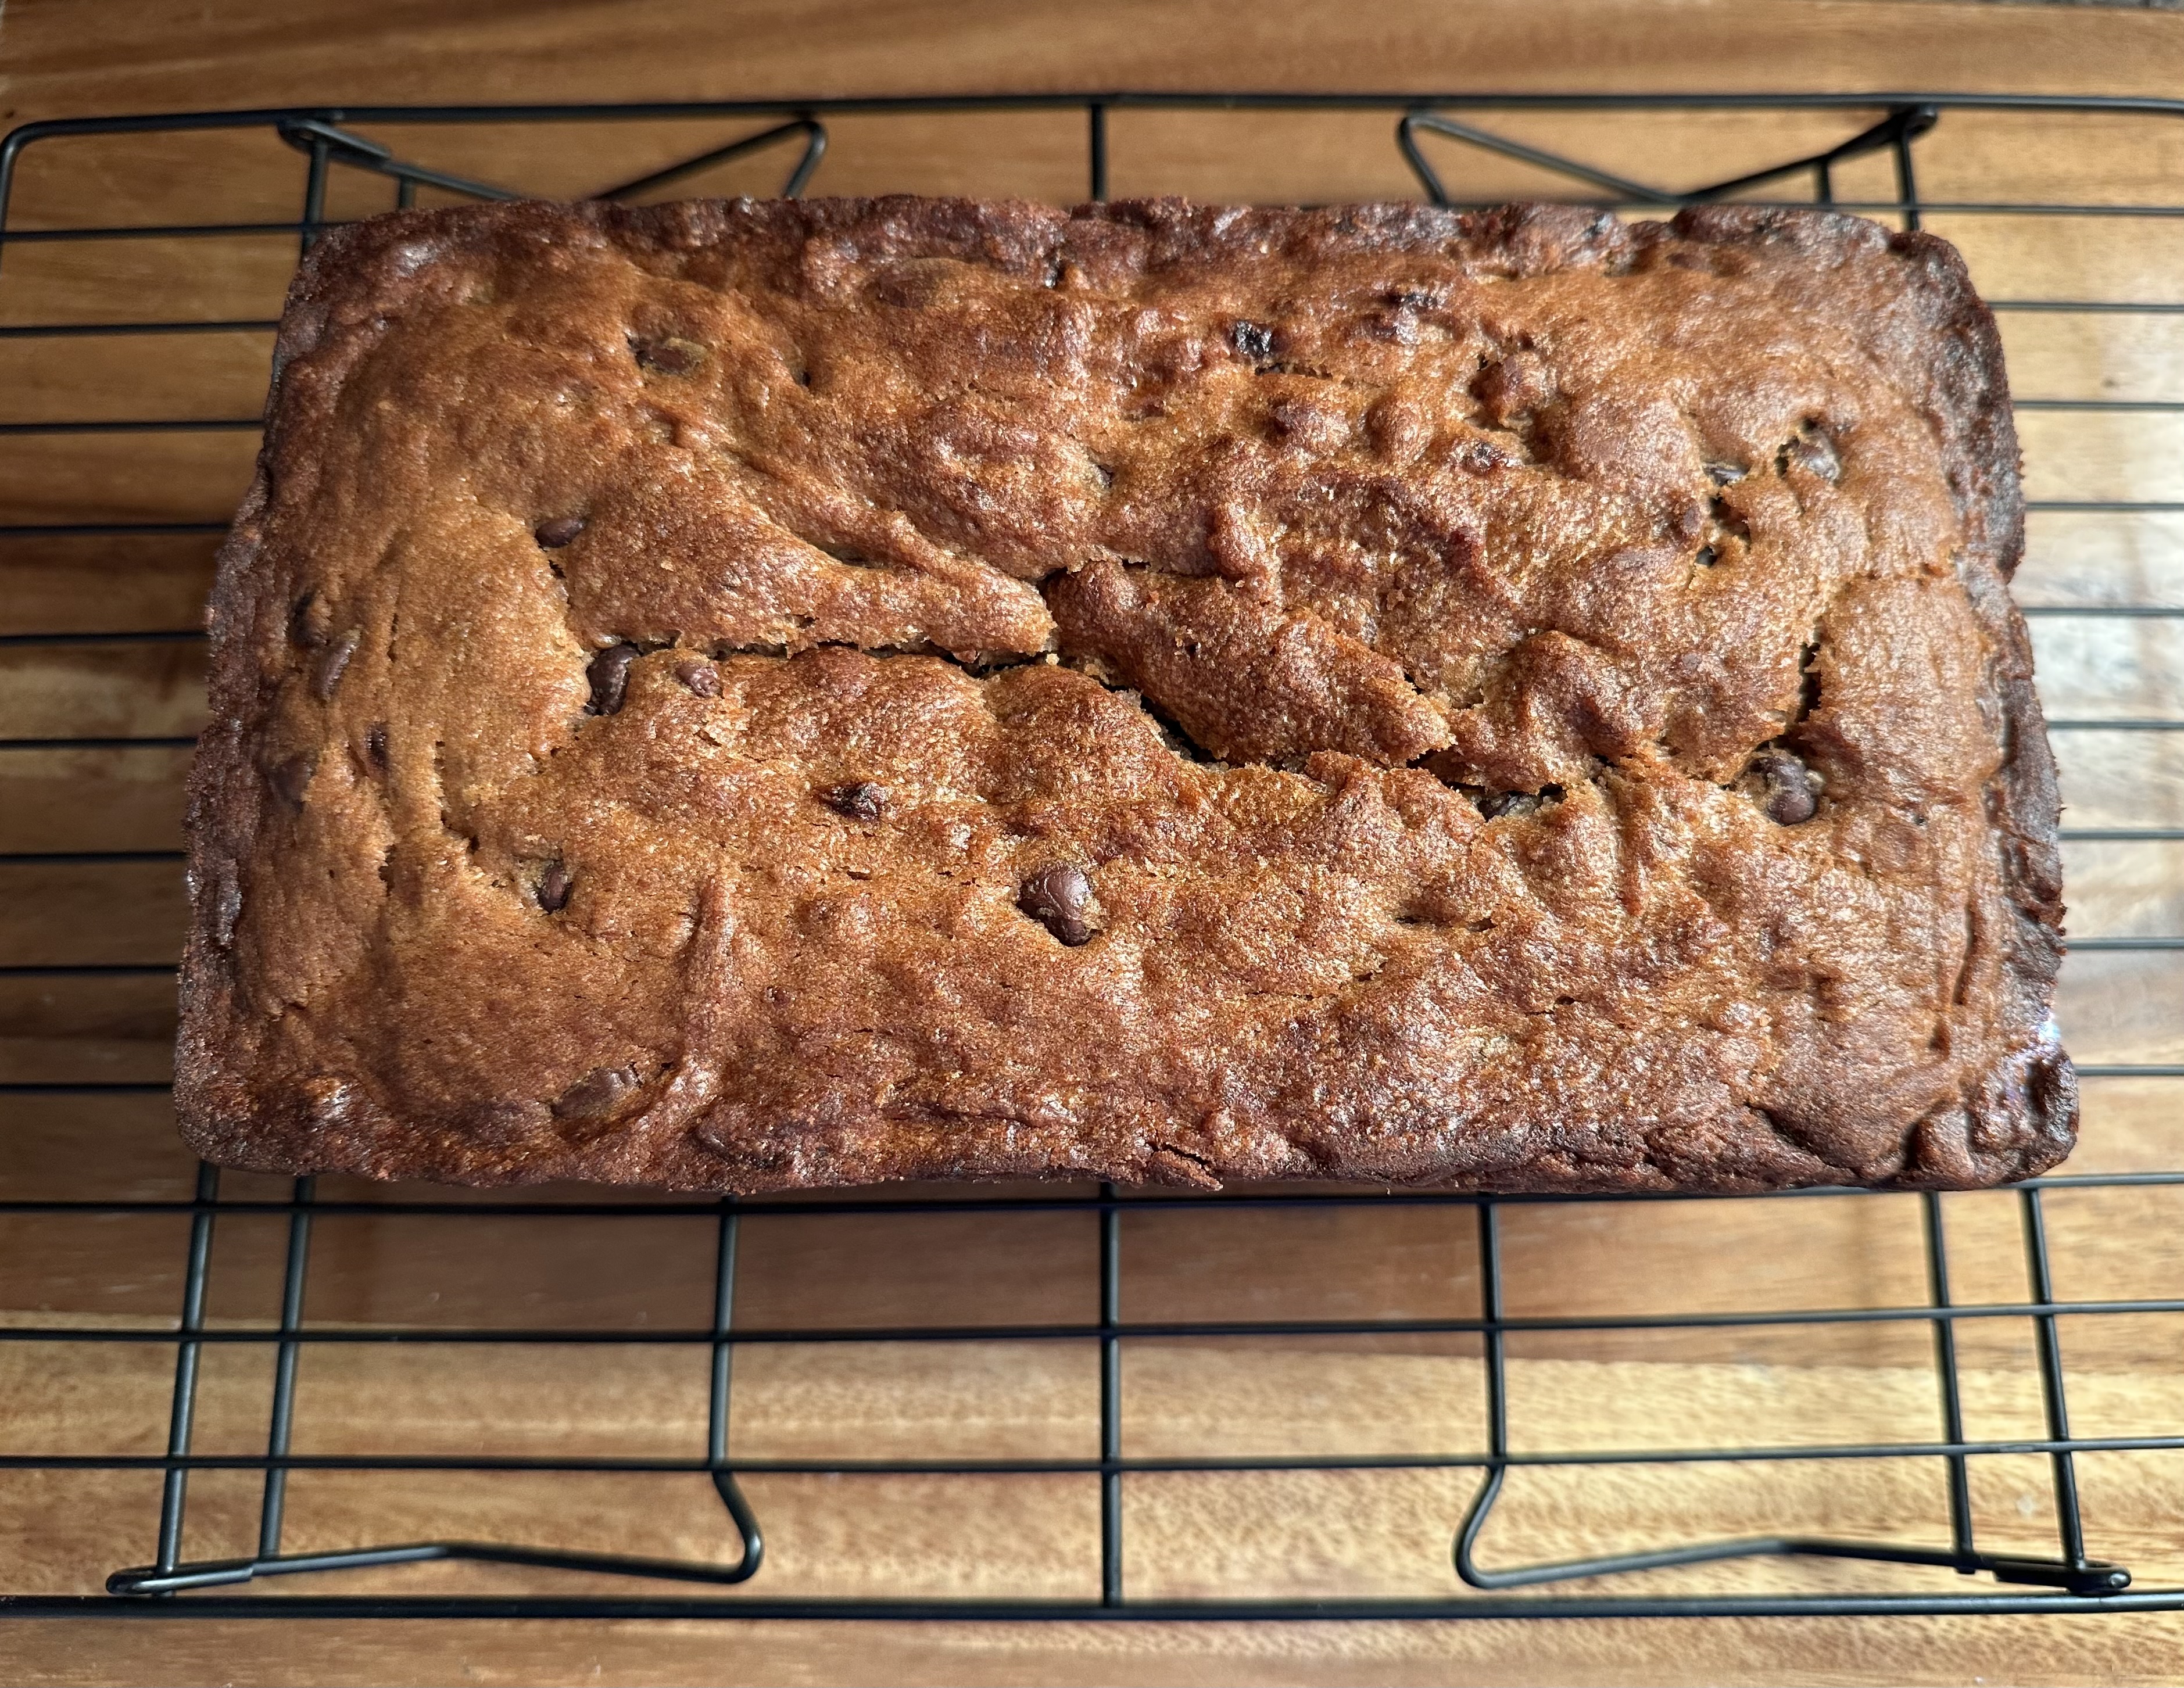
Transfer the batter to the prepared loaf ban and bake for 60-70 minutes, or until a cake tester inserted in the center comes out clean.
Cool in the pan for 15 minutes and then transfer to a wire rack to cool completely.
Store leftovers in an airtight container at room temperature.
Recipe first appeared on Bead Yarn & Spatula.