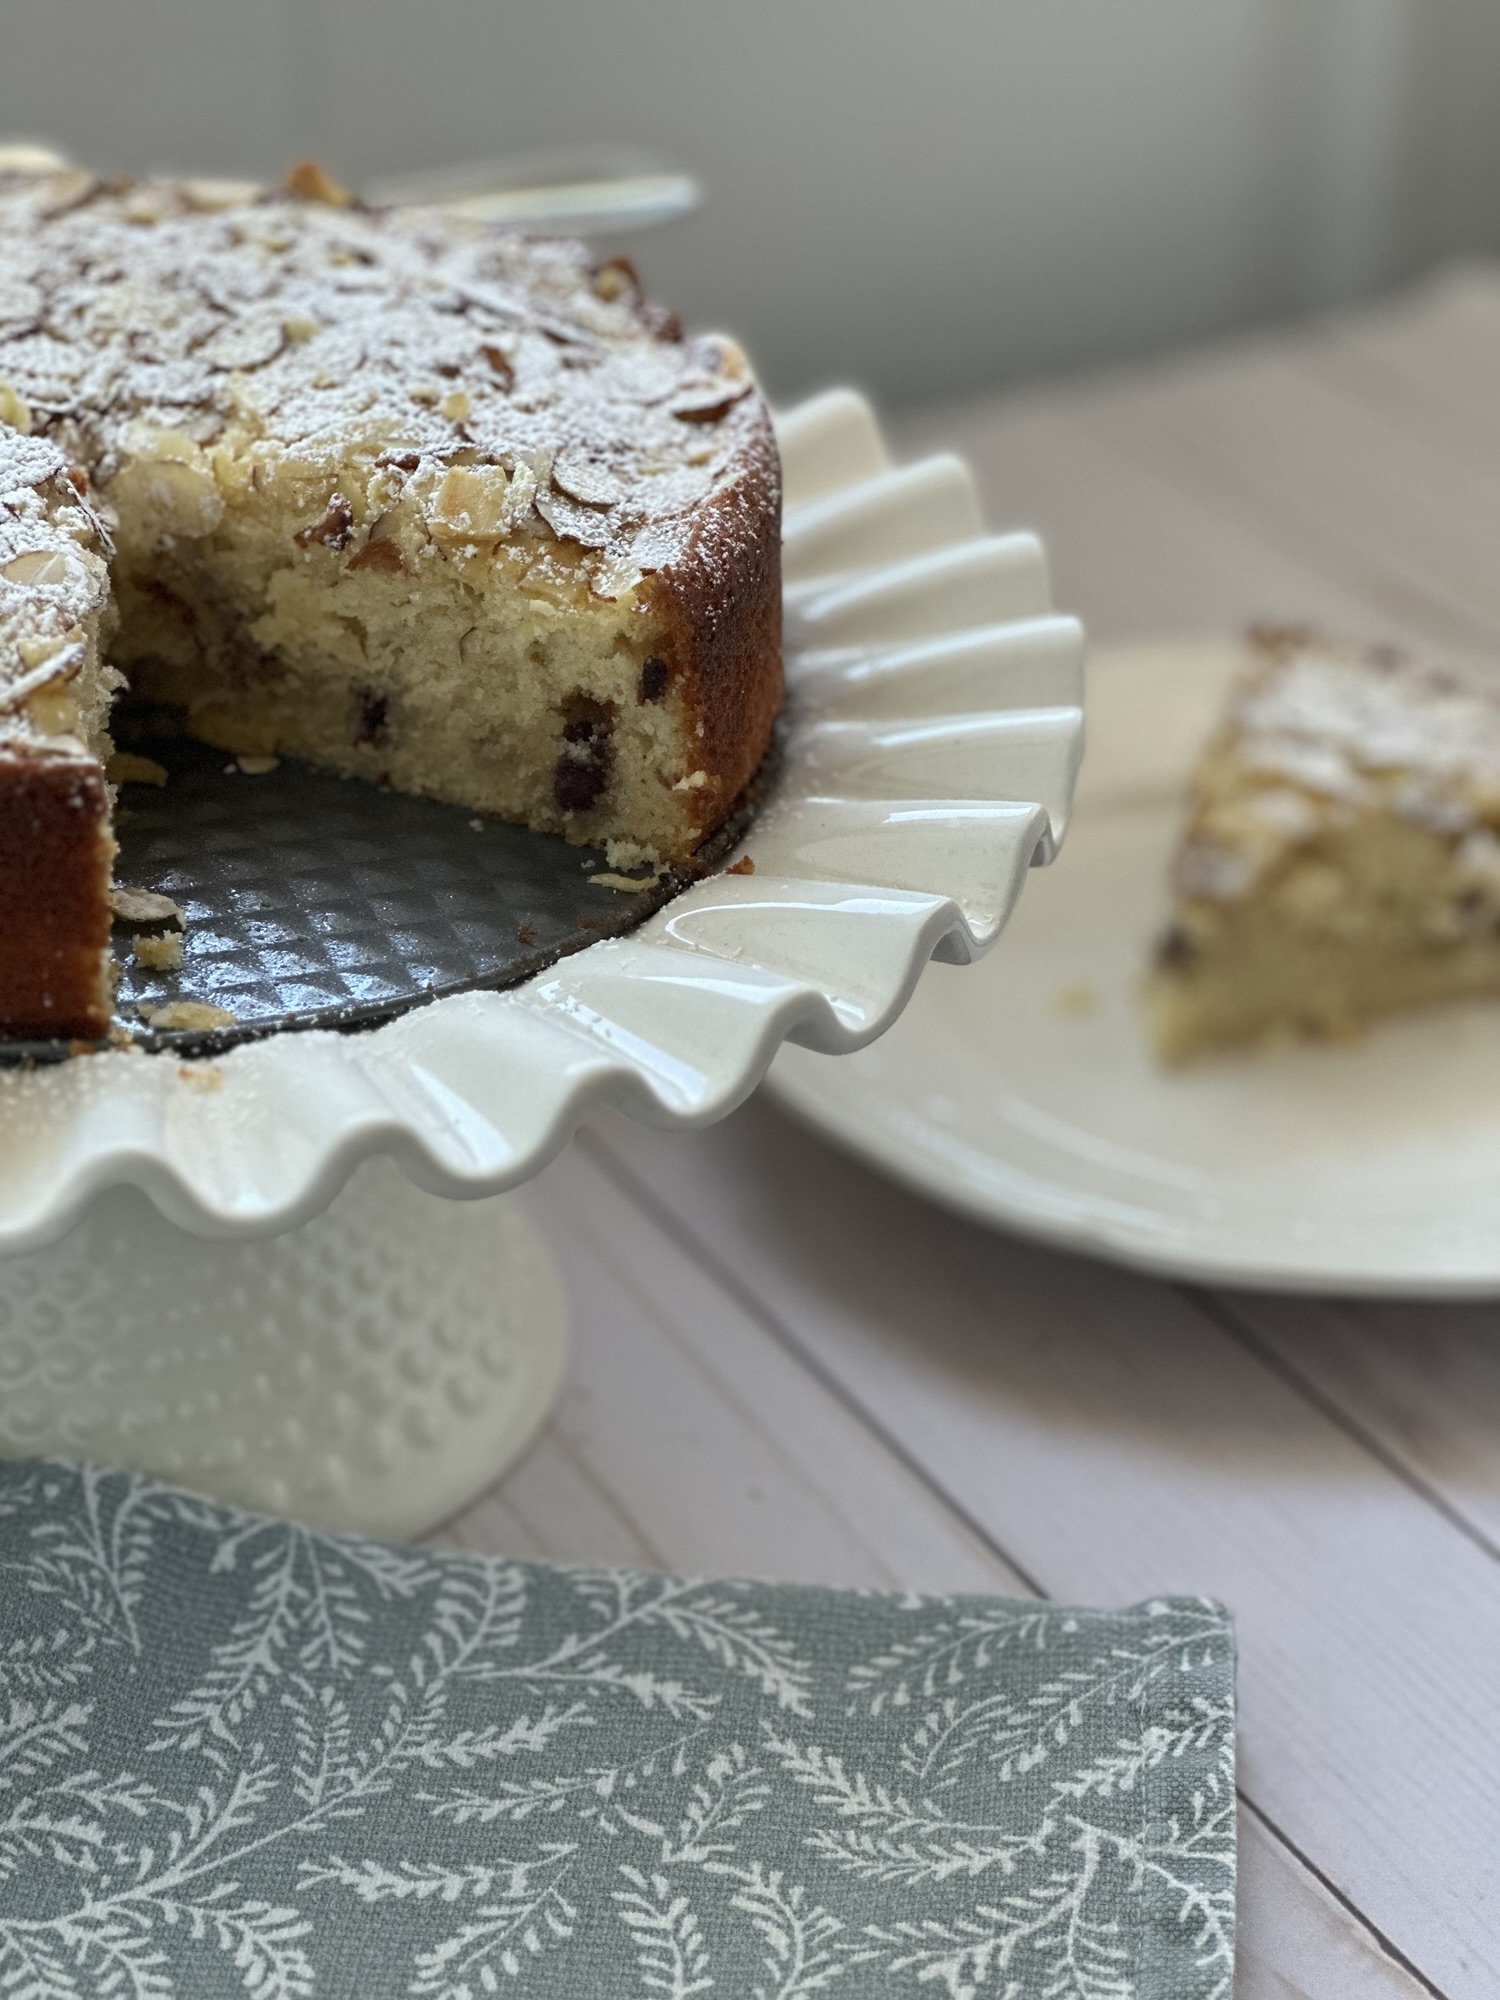
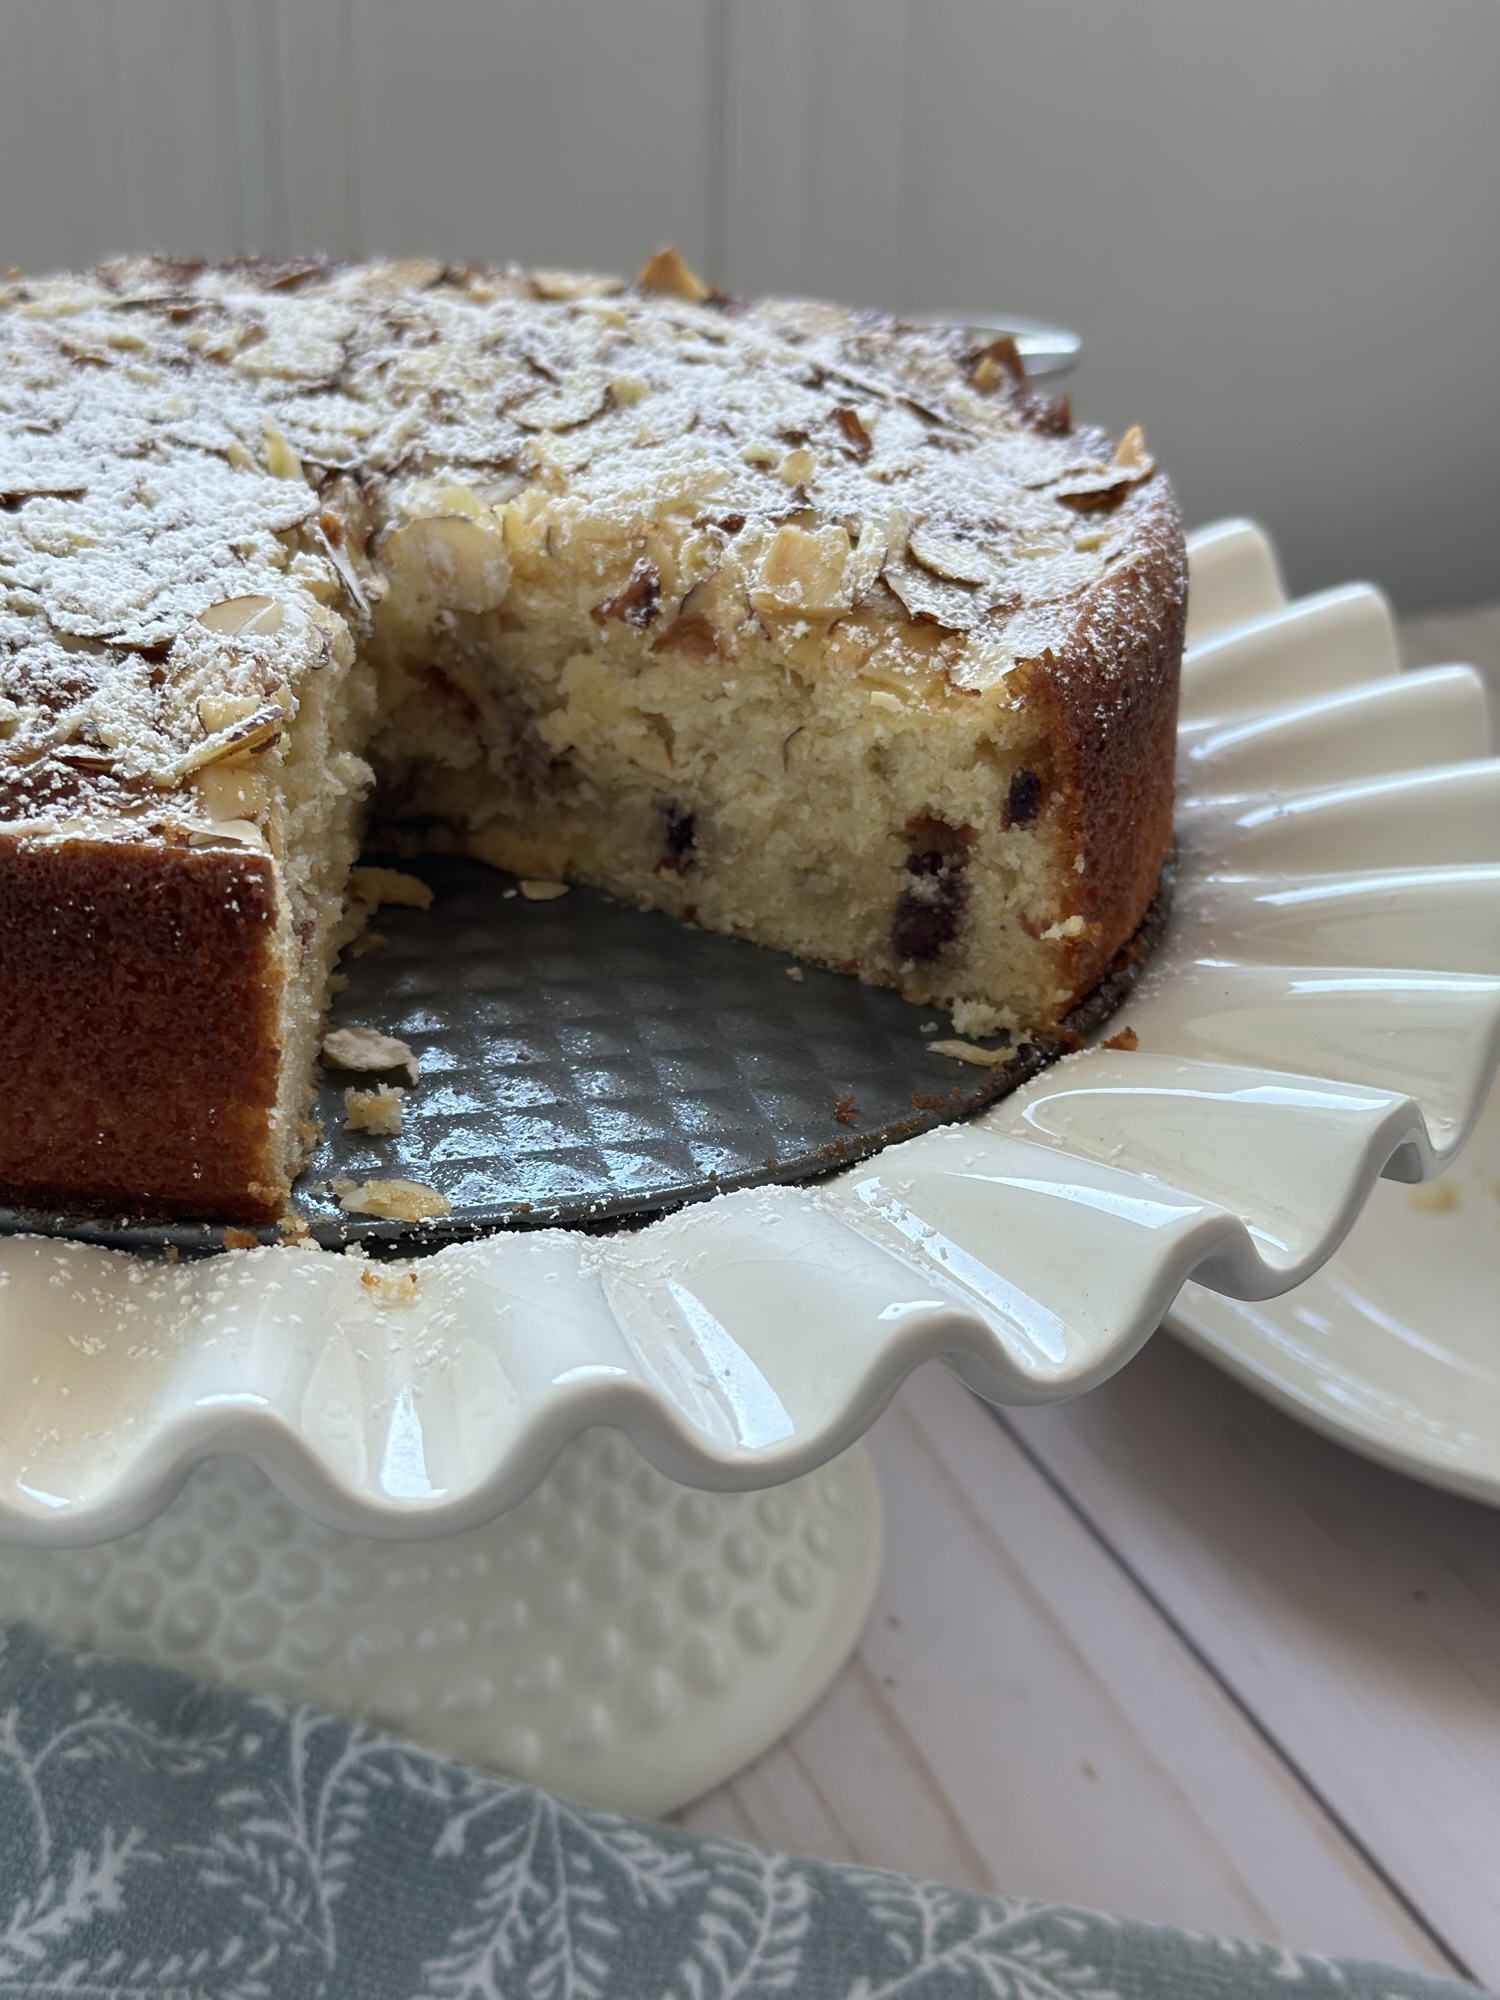
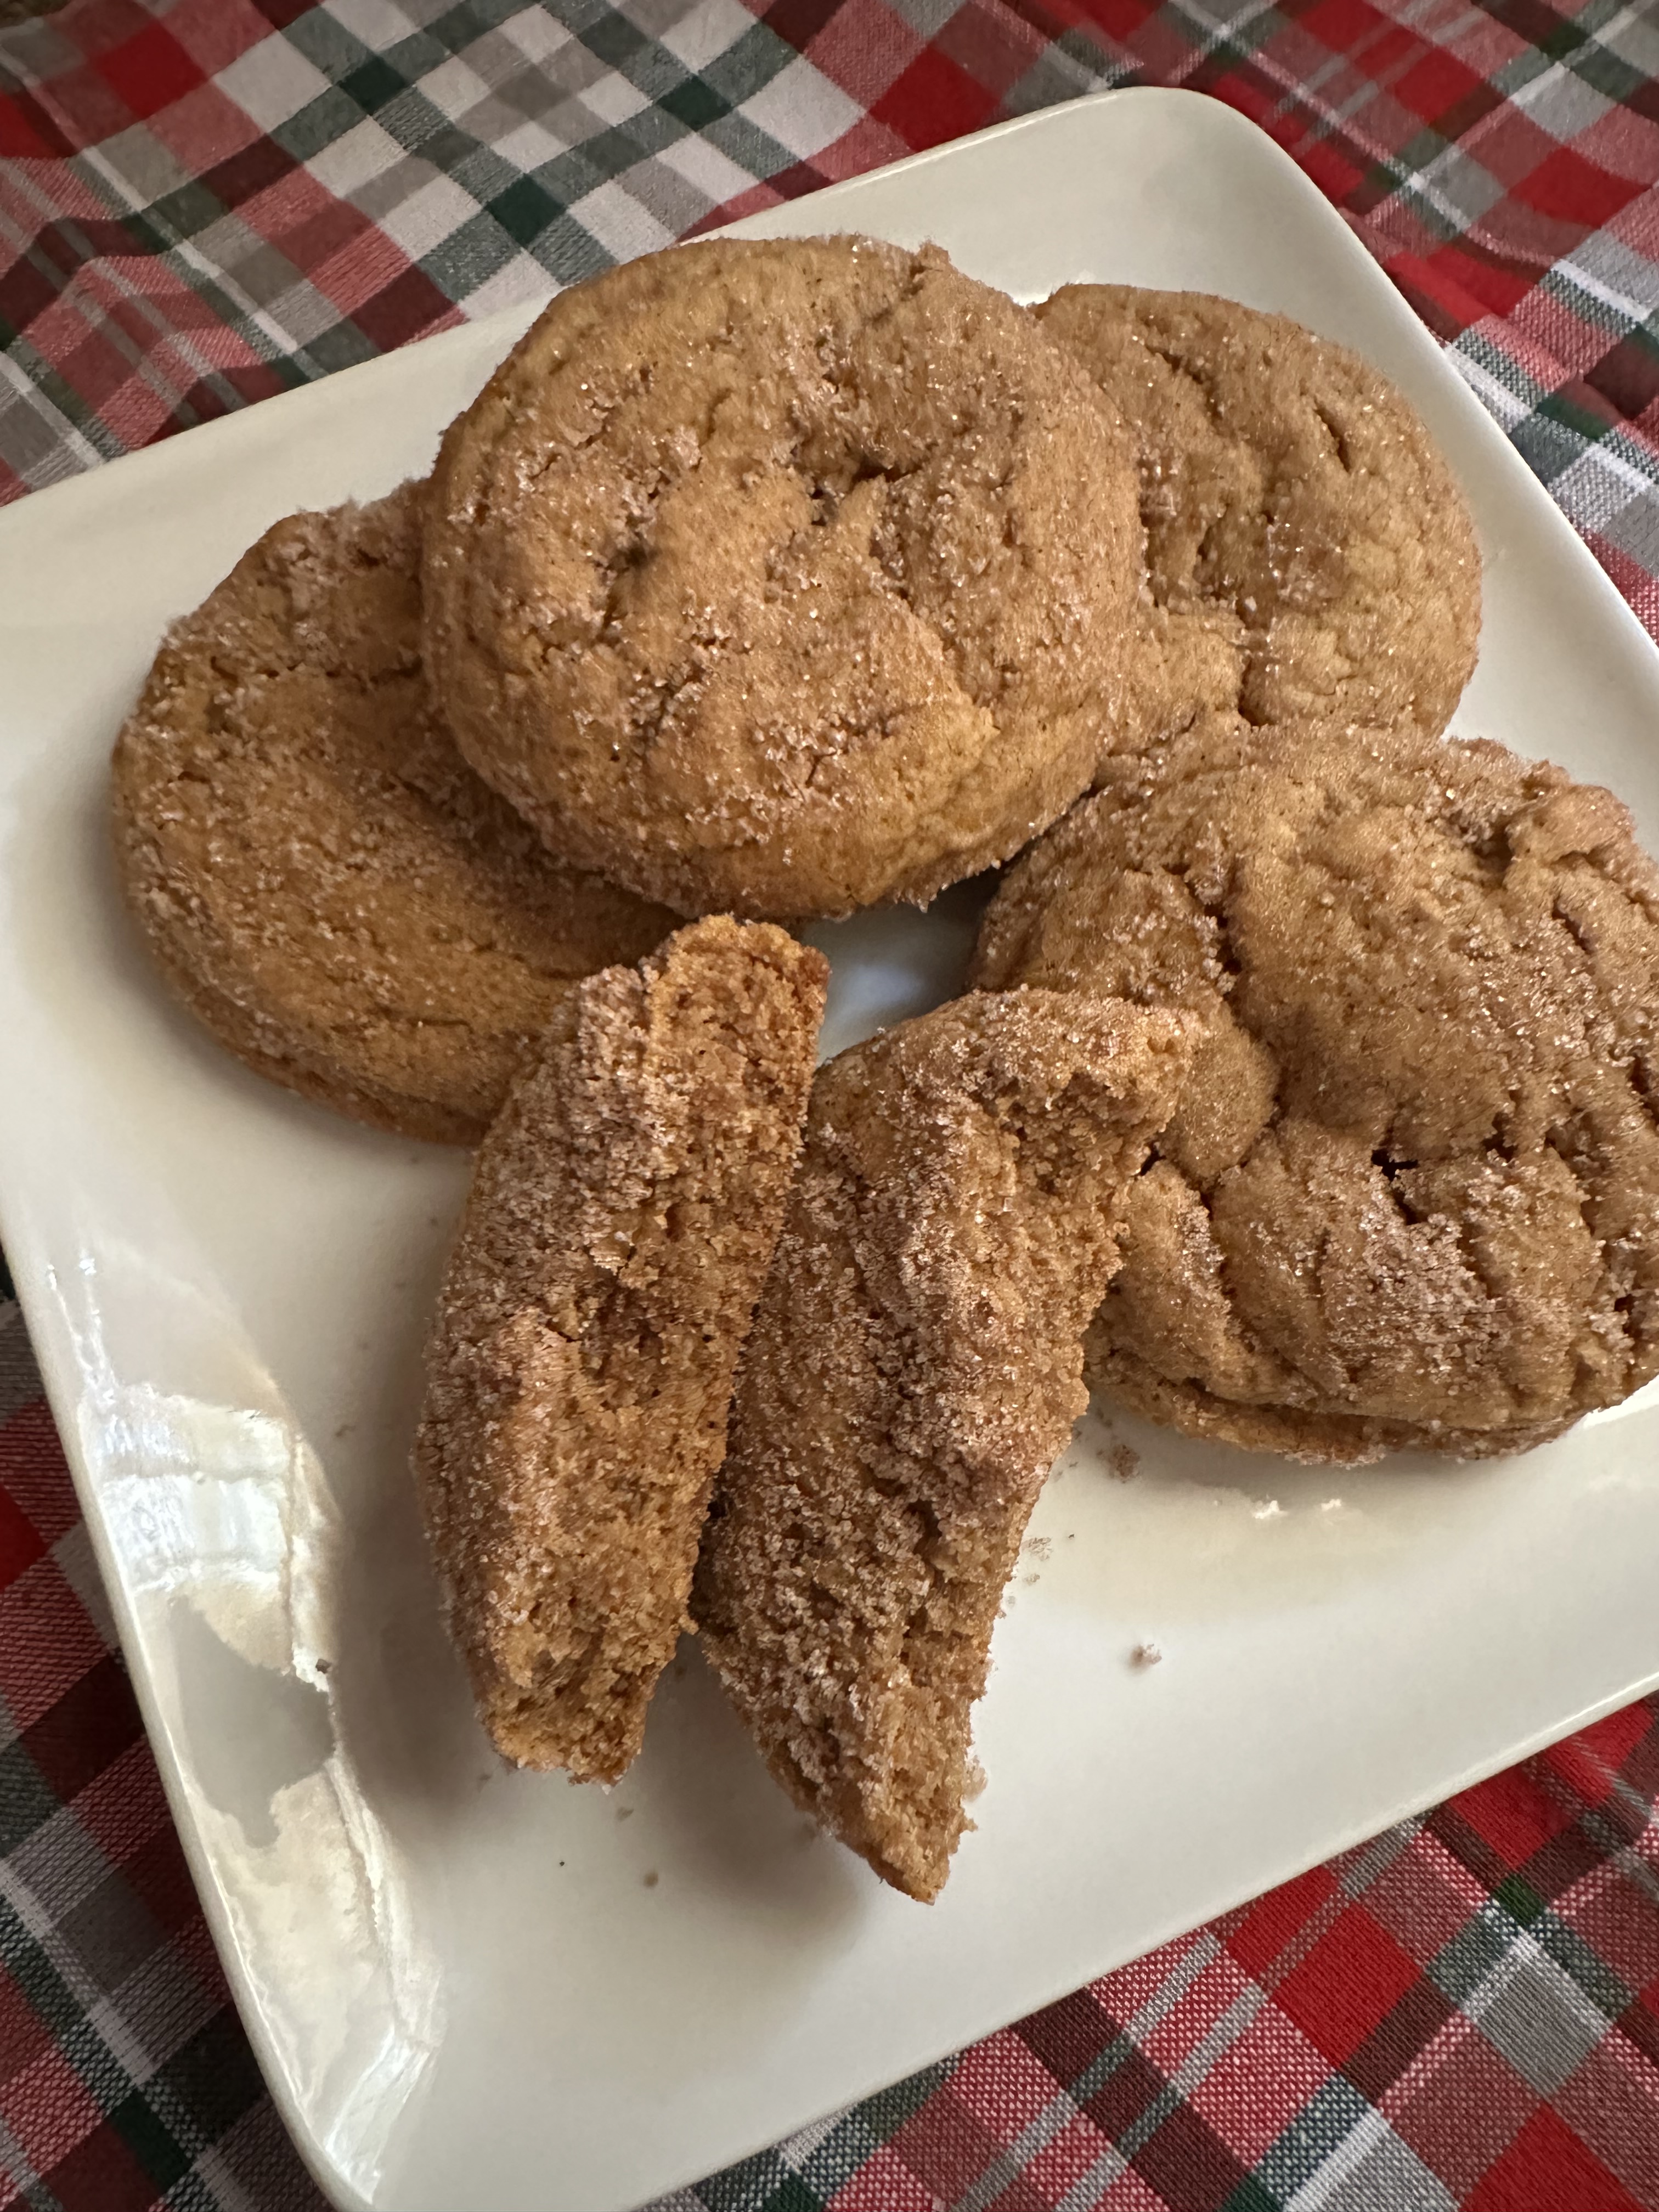
The holidays are upon us. Which means it’s time to whip out the cookie sheets, pie dishes and cake pans to get to baking. Not really sure how much baking I’ll be doing this year, but after taking last year off from sharing a few good cookie recipes I am back this year with five cookie recipes that are sure to be a welcome addition to your baking repertoire. Up first, a Brown Butter Peanut Butter Chocolate Chip Cookie.
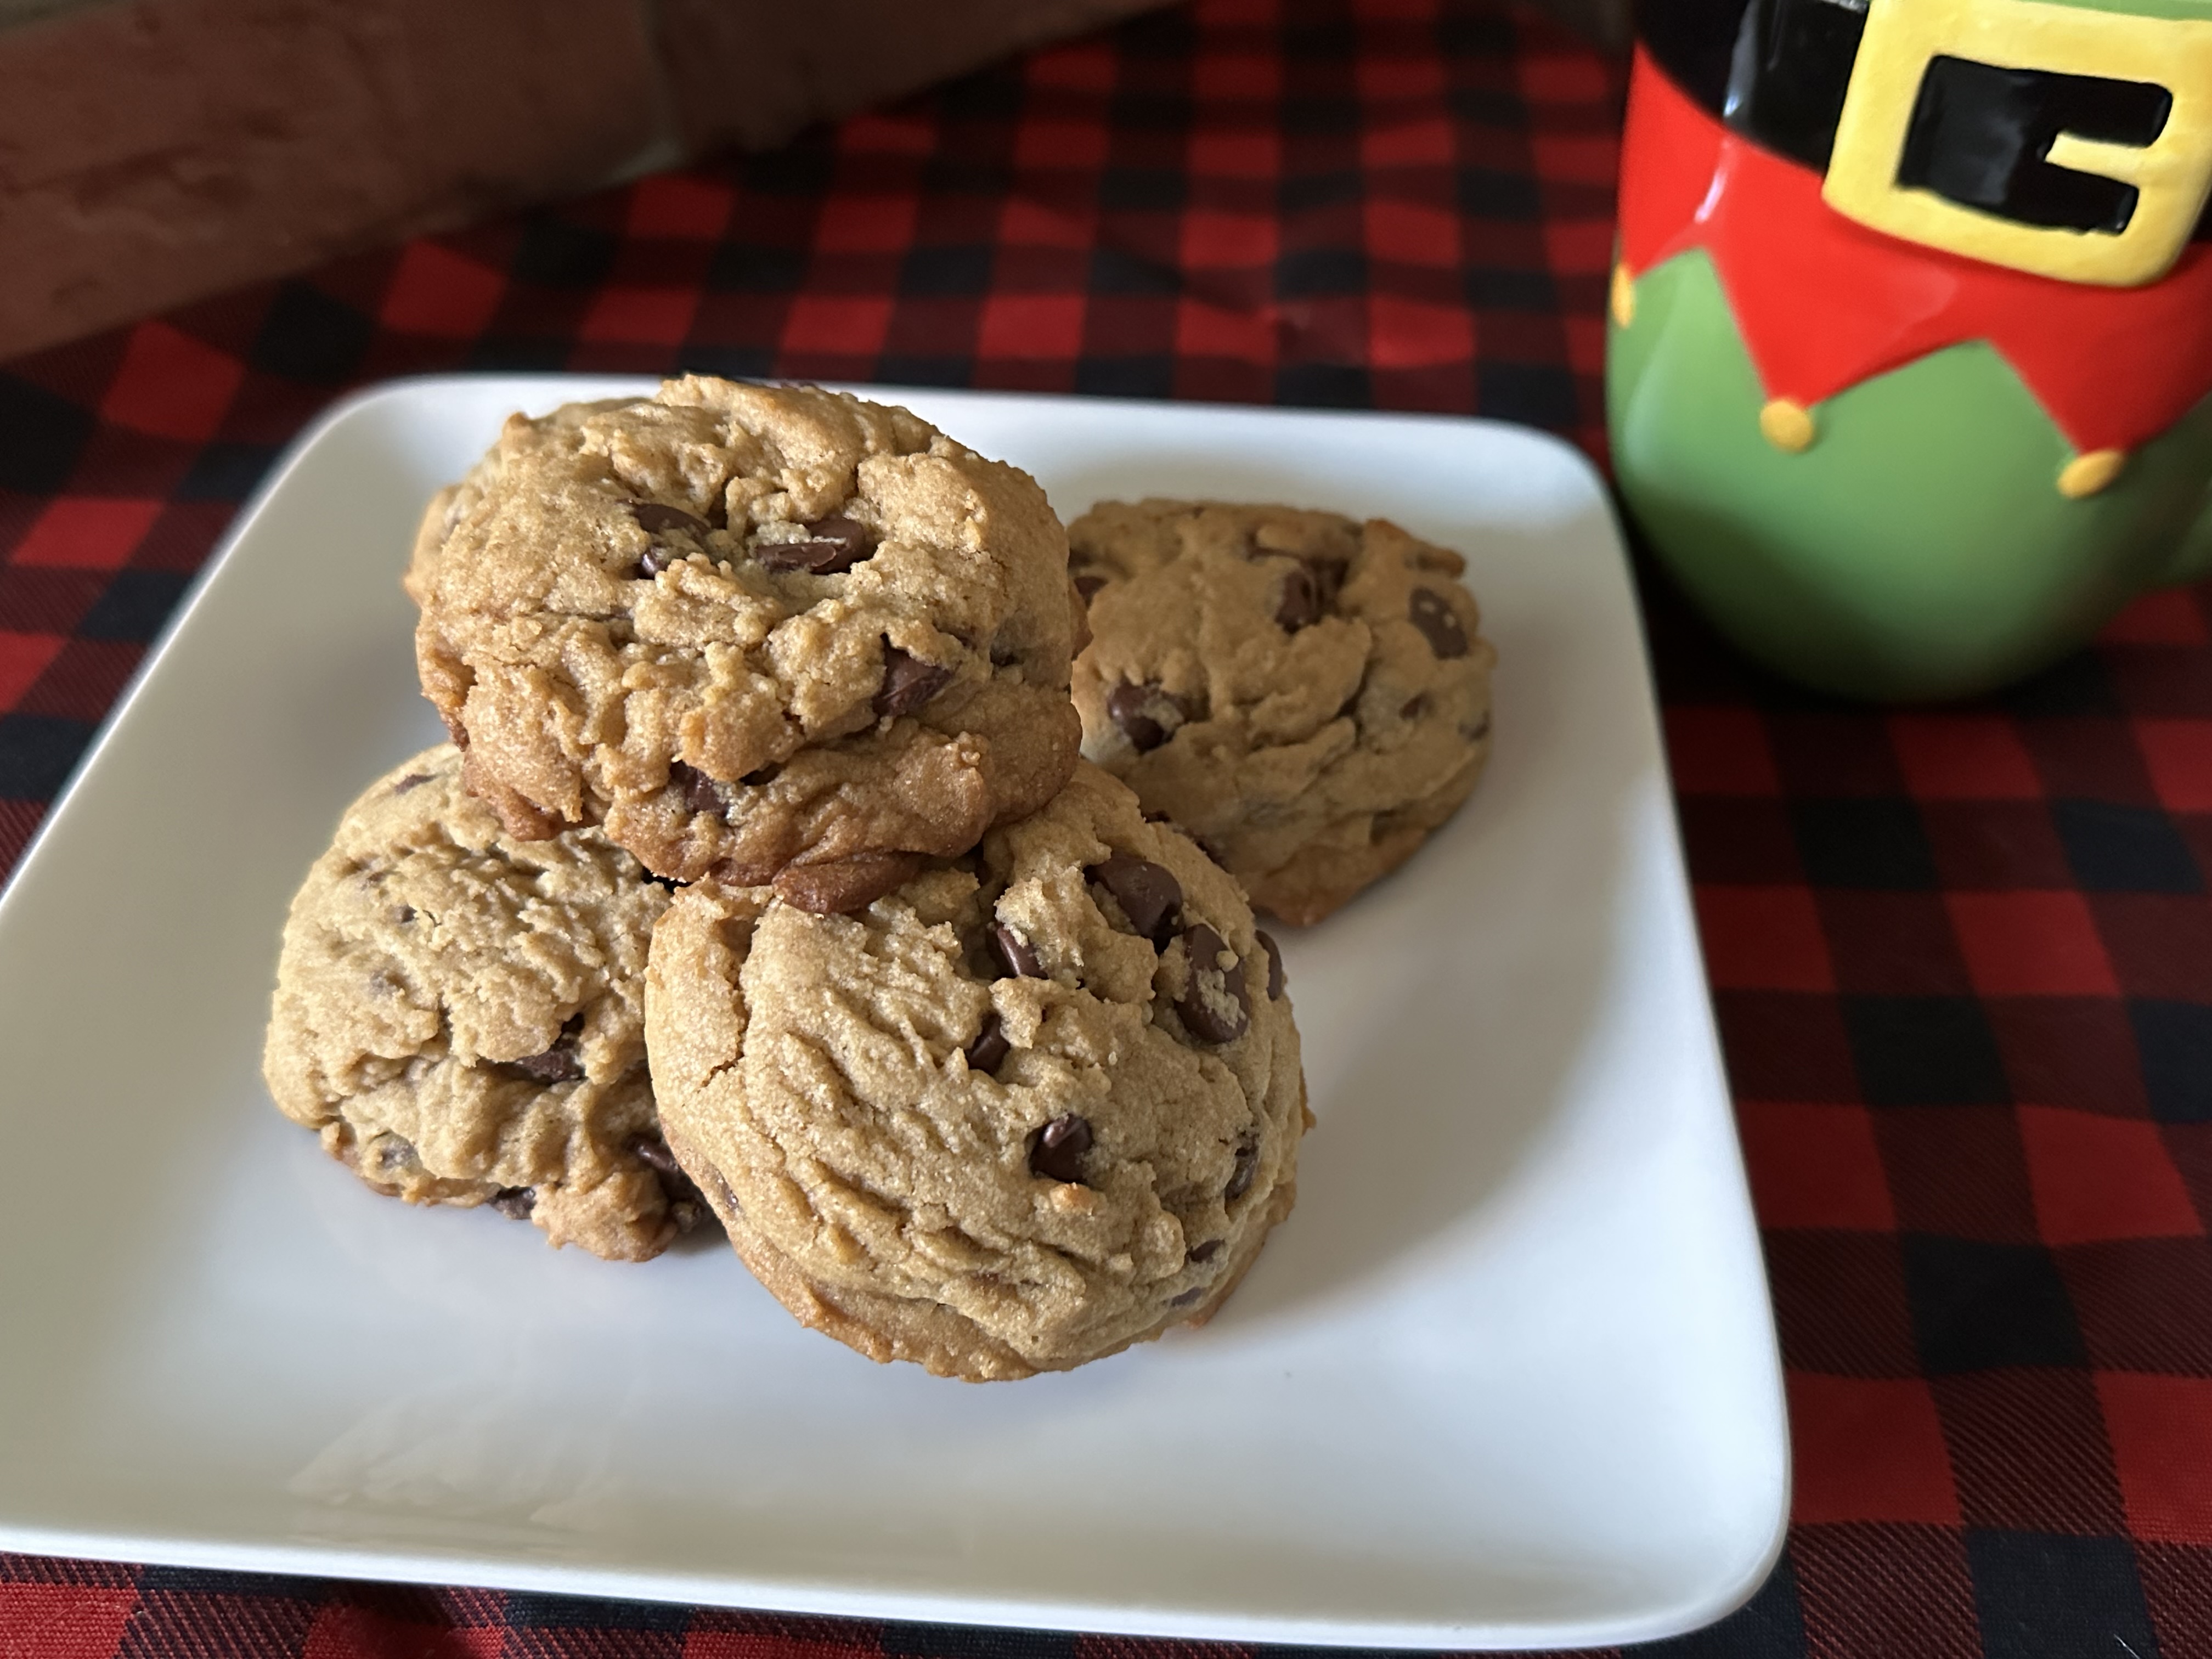
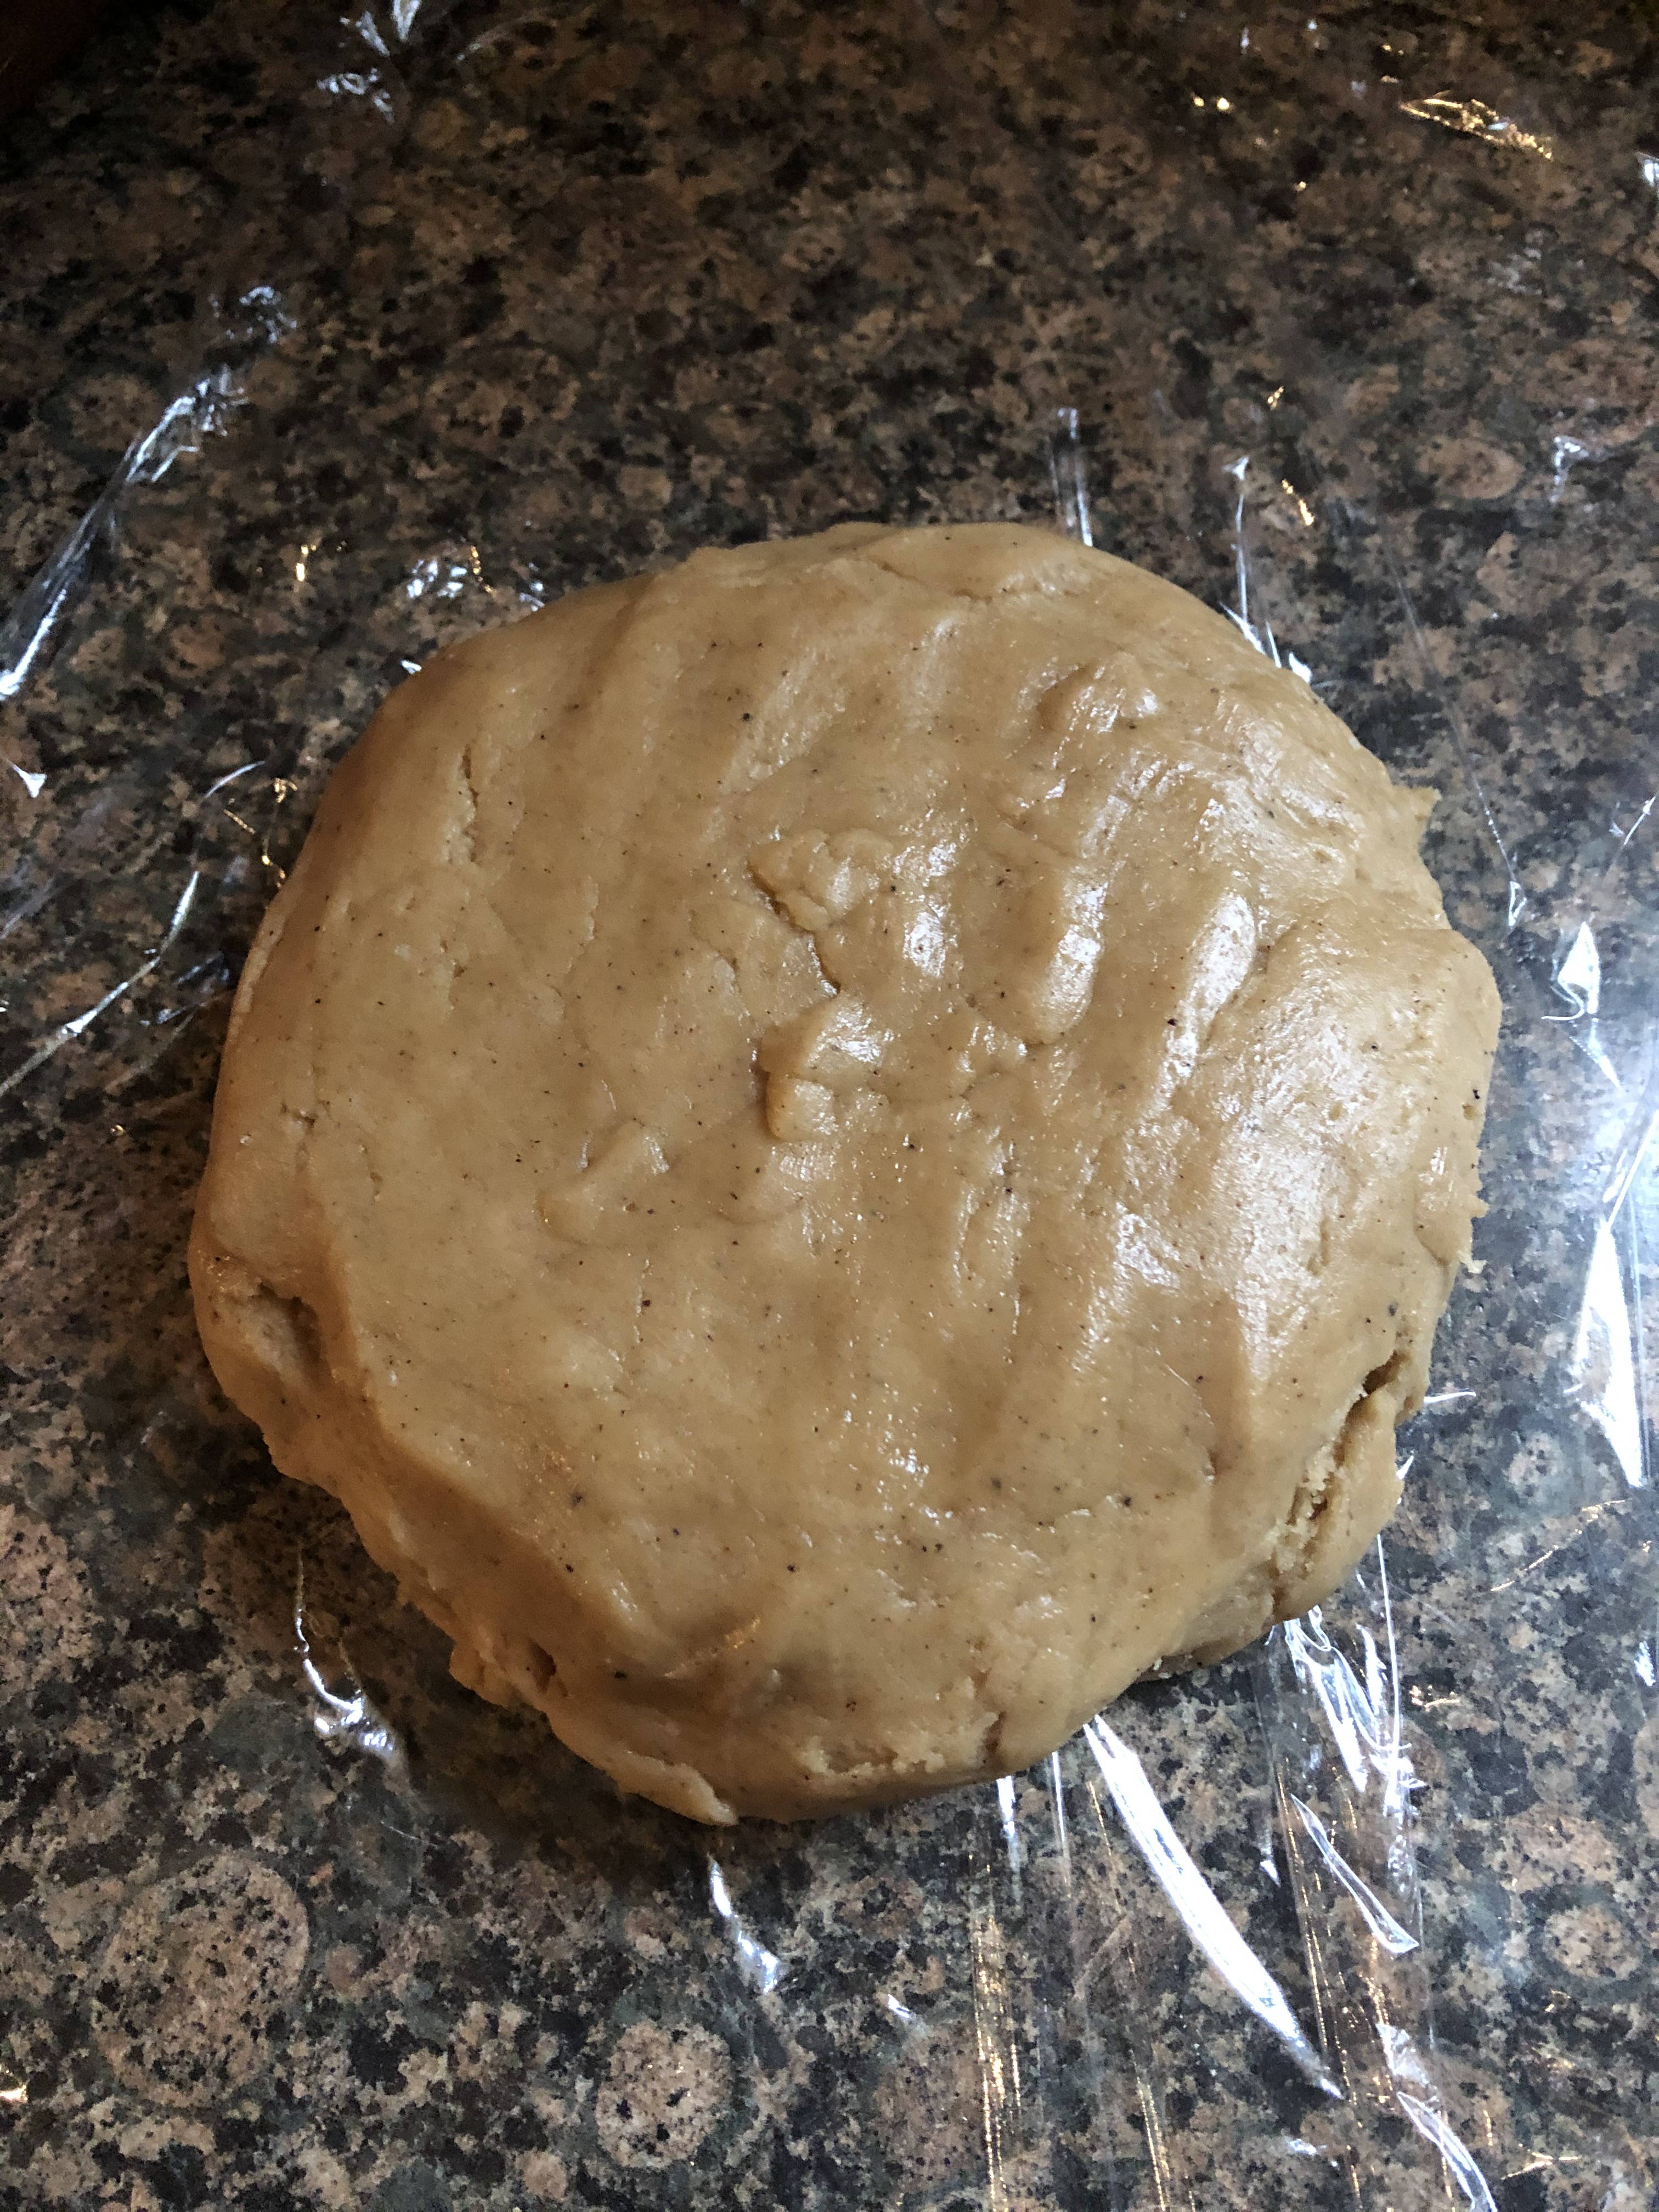
While I do love peanut butter cookies, I find that I can only eat one or two before the peanut butter flavor becomes a bit much. With these cookies, the brown butter helps to tone down the peanut butter flavor while adding another layer of dimension. A few things to note about making brown butter. Make sure you use a large enough saucepan, bigger is better just in case it begins to bubble over. You might be tempted to raise the heat, but medium heat is ideal. Once the butter melts and begins to boil/simmer it will turn the desired amber color quite quickly and you don’t want it to burn because then you will have to toss it as it will have a burnt flavor as opposed to the nutty flavor we’re looking for. And once your brown butter is cooled and you make the cookie dough be sure to let it chill in the fridge for at least 15 minutes. These cookies are quite big, and you don’t want them to spread too much while baking. They would still be edible, but they just want have the same oomph!
Brown Butter Peanut Butter Chocolate Chip Cookies
Ingredients:
2 sticks (1 cup) unsalted butter, cubed
1 1/2 cups dark brown sugar
2 large eggs
1 teaspoon vanilla extract
1/2 cup creamy peanut butter
2 1/4 cups flour
1 teaspoon baking soda
1 teaspoon baking powder
1/2 teaspoon Kosher salt
1 1/2 cups semi-sweet chocolate chips
Directions:
To make the brown butter: In a medium saucepan melt the butter over medium heat, stirring until it reaches a rich amber color. Pour into a glass measuring cup, including any brown bits in the bottom of the pan, and cool to room temperature.
Preheat the oven to 350 F and line two baking sheets with parchment paper.
In a medium bowl whisk together the dry ingredients – flour, baking soda, baking powder and Kosher salt – and set aside.
In a large bowl whisk together the cooled brown butter and sugar until combined. Add the eggs, vanilla extract and peanut butter and continue to whisk until smooth.
Fold in the flour mixture until just combined and then add in the chocolate chips. Continue folding until the dough forms.
Refrigerate for 15-20 minutes so the dough can firm up.
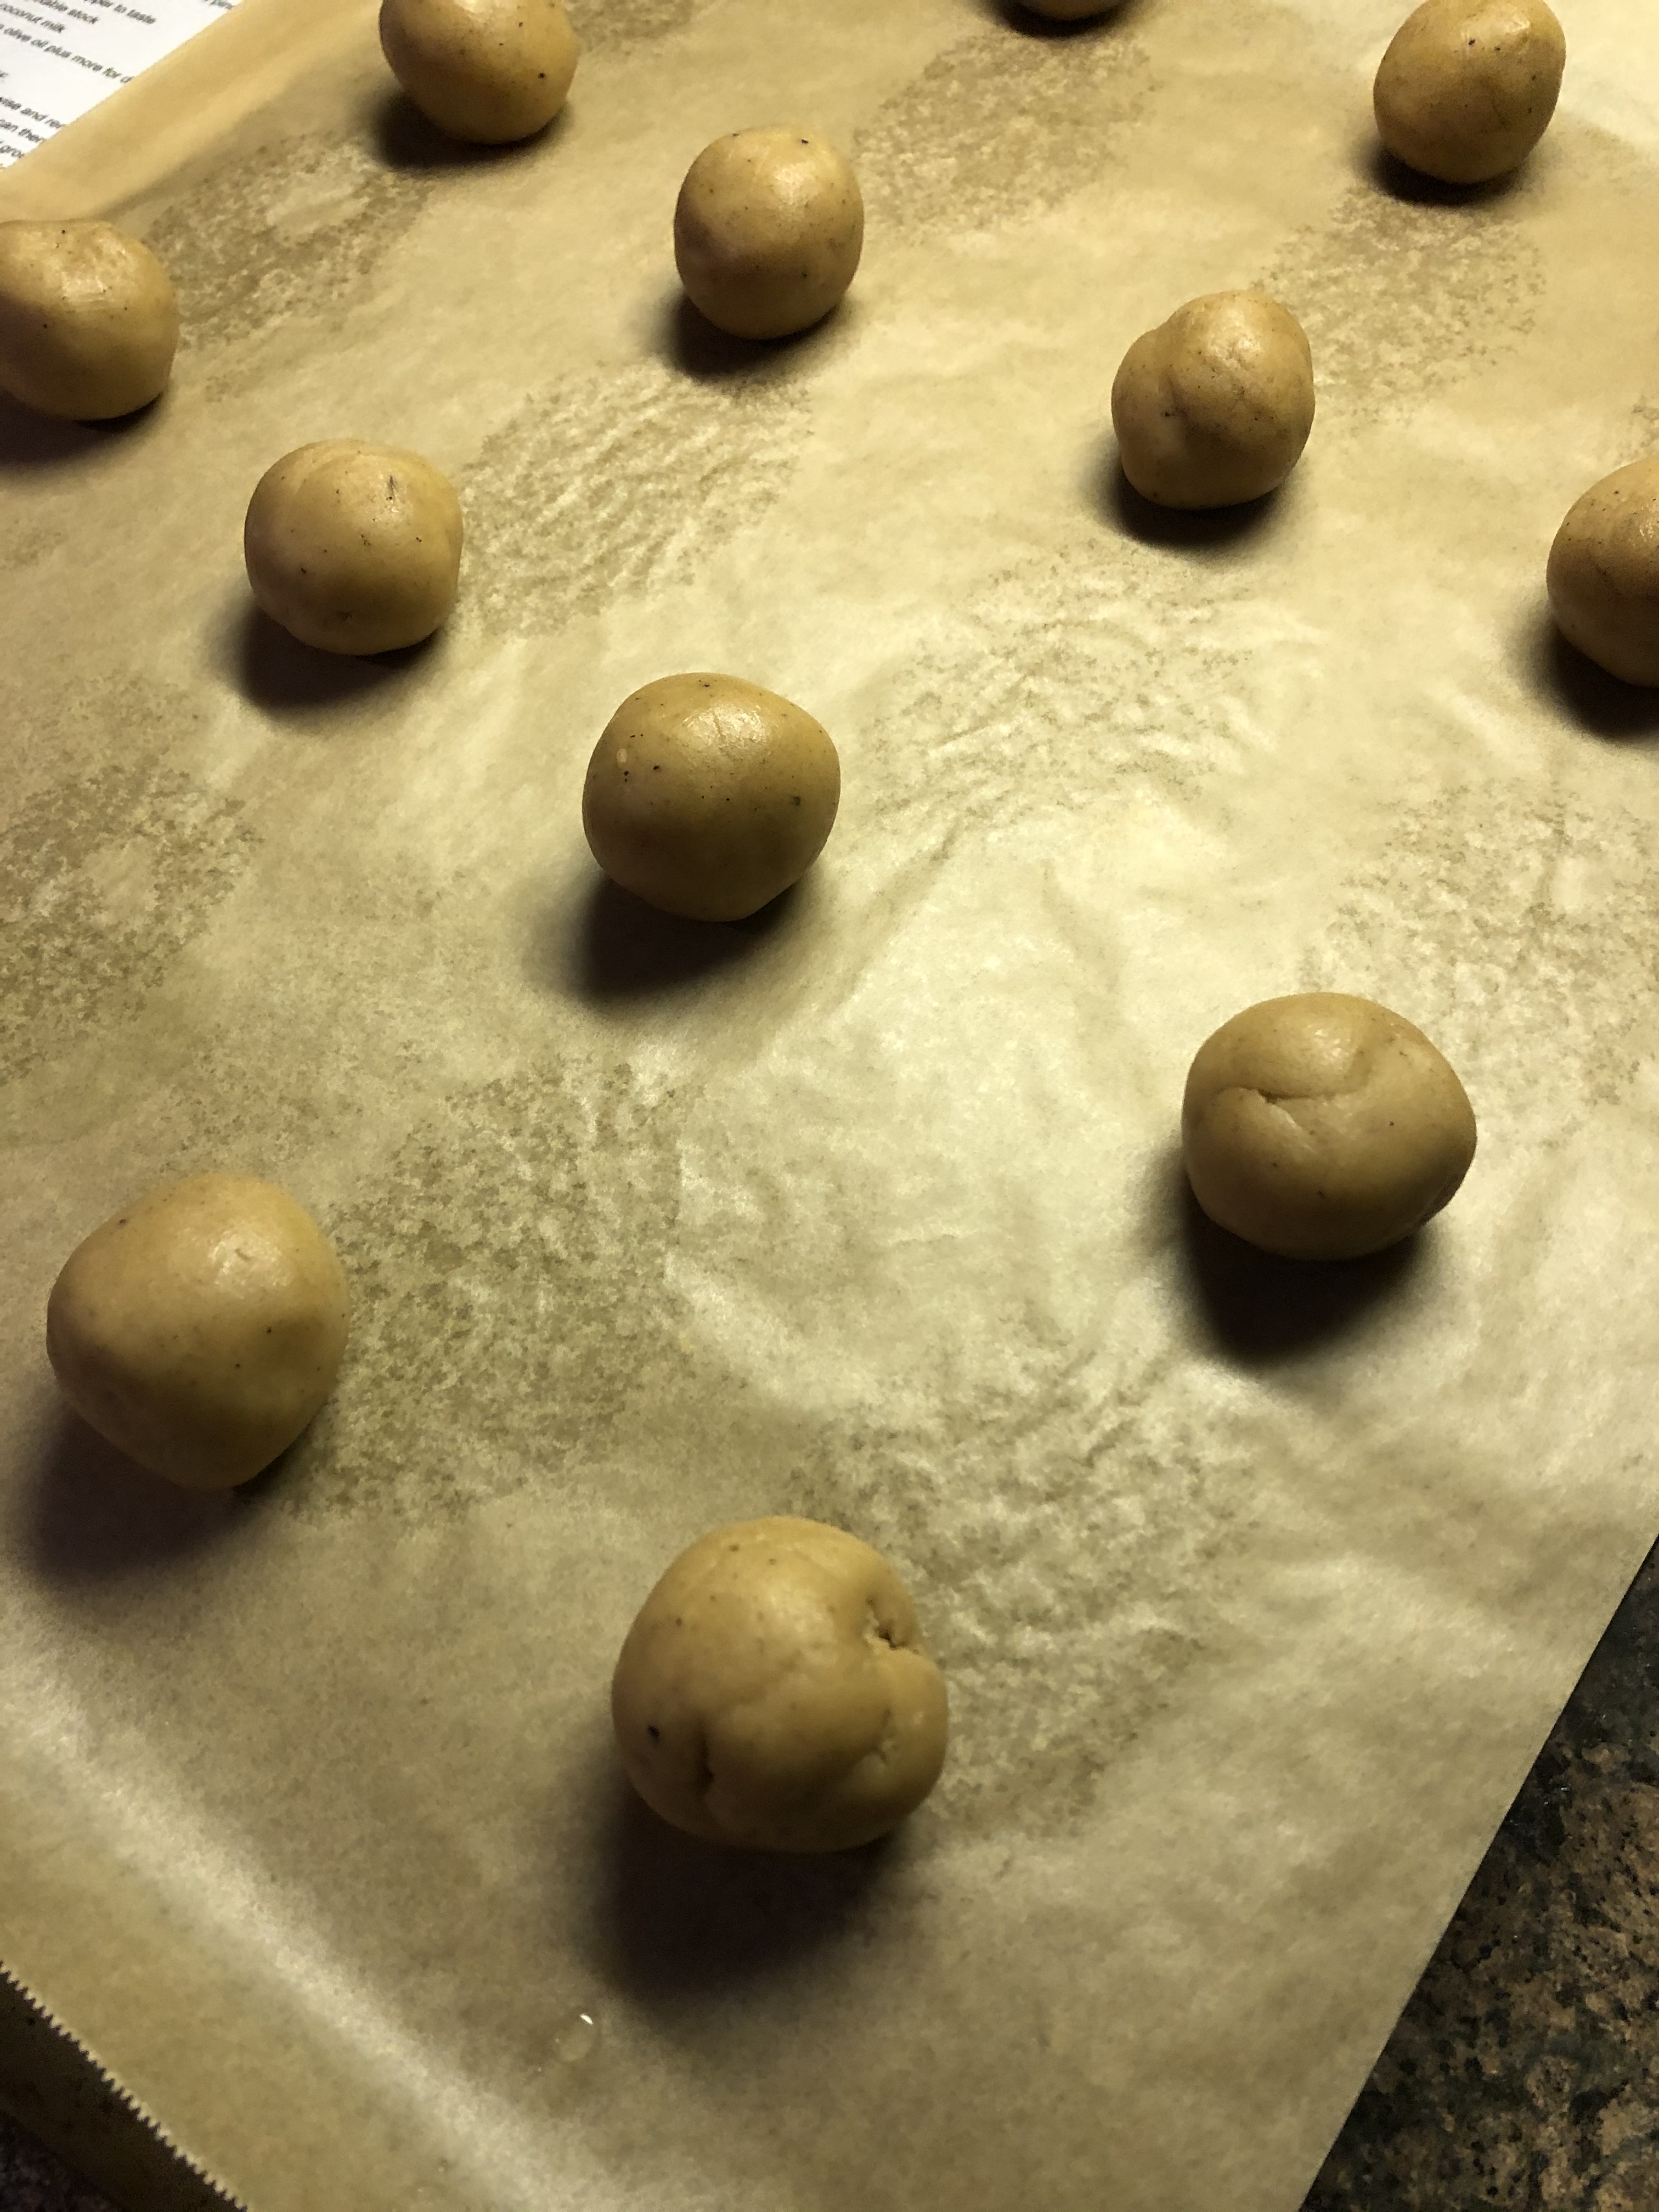
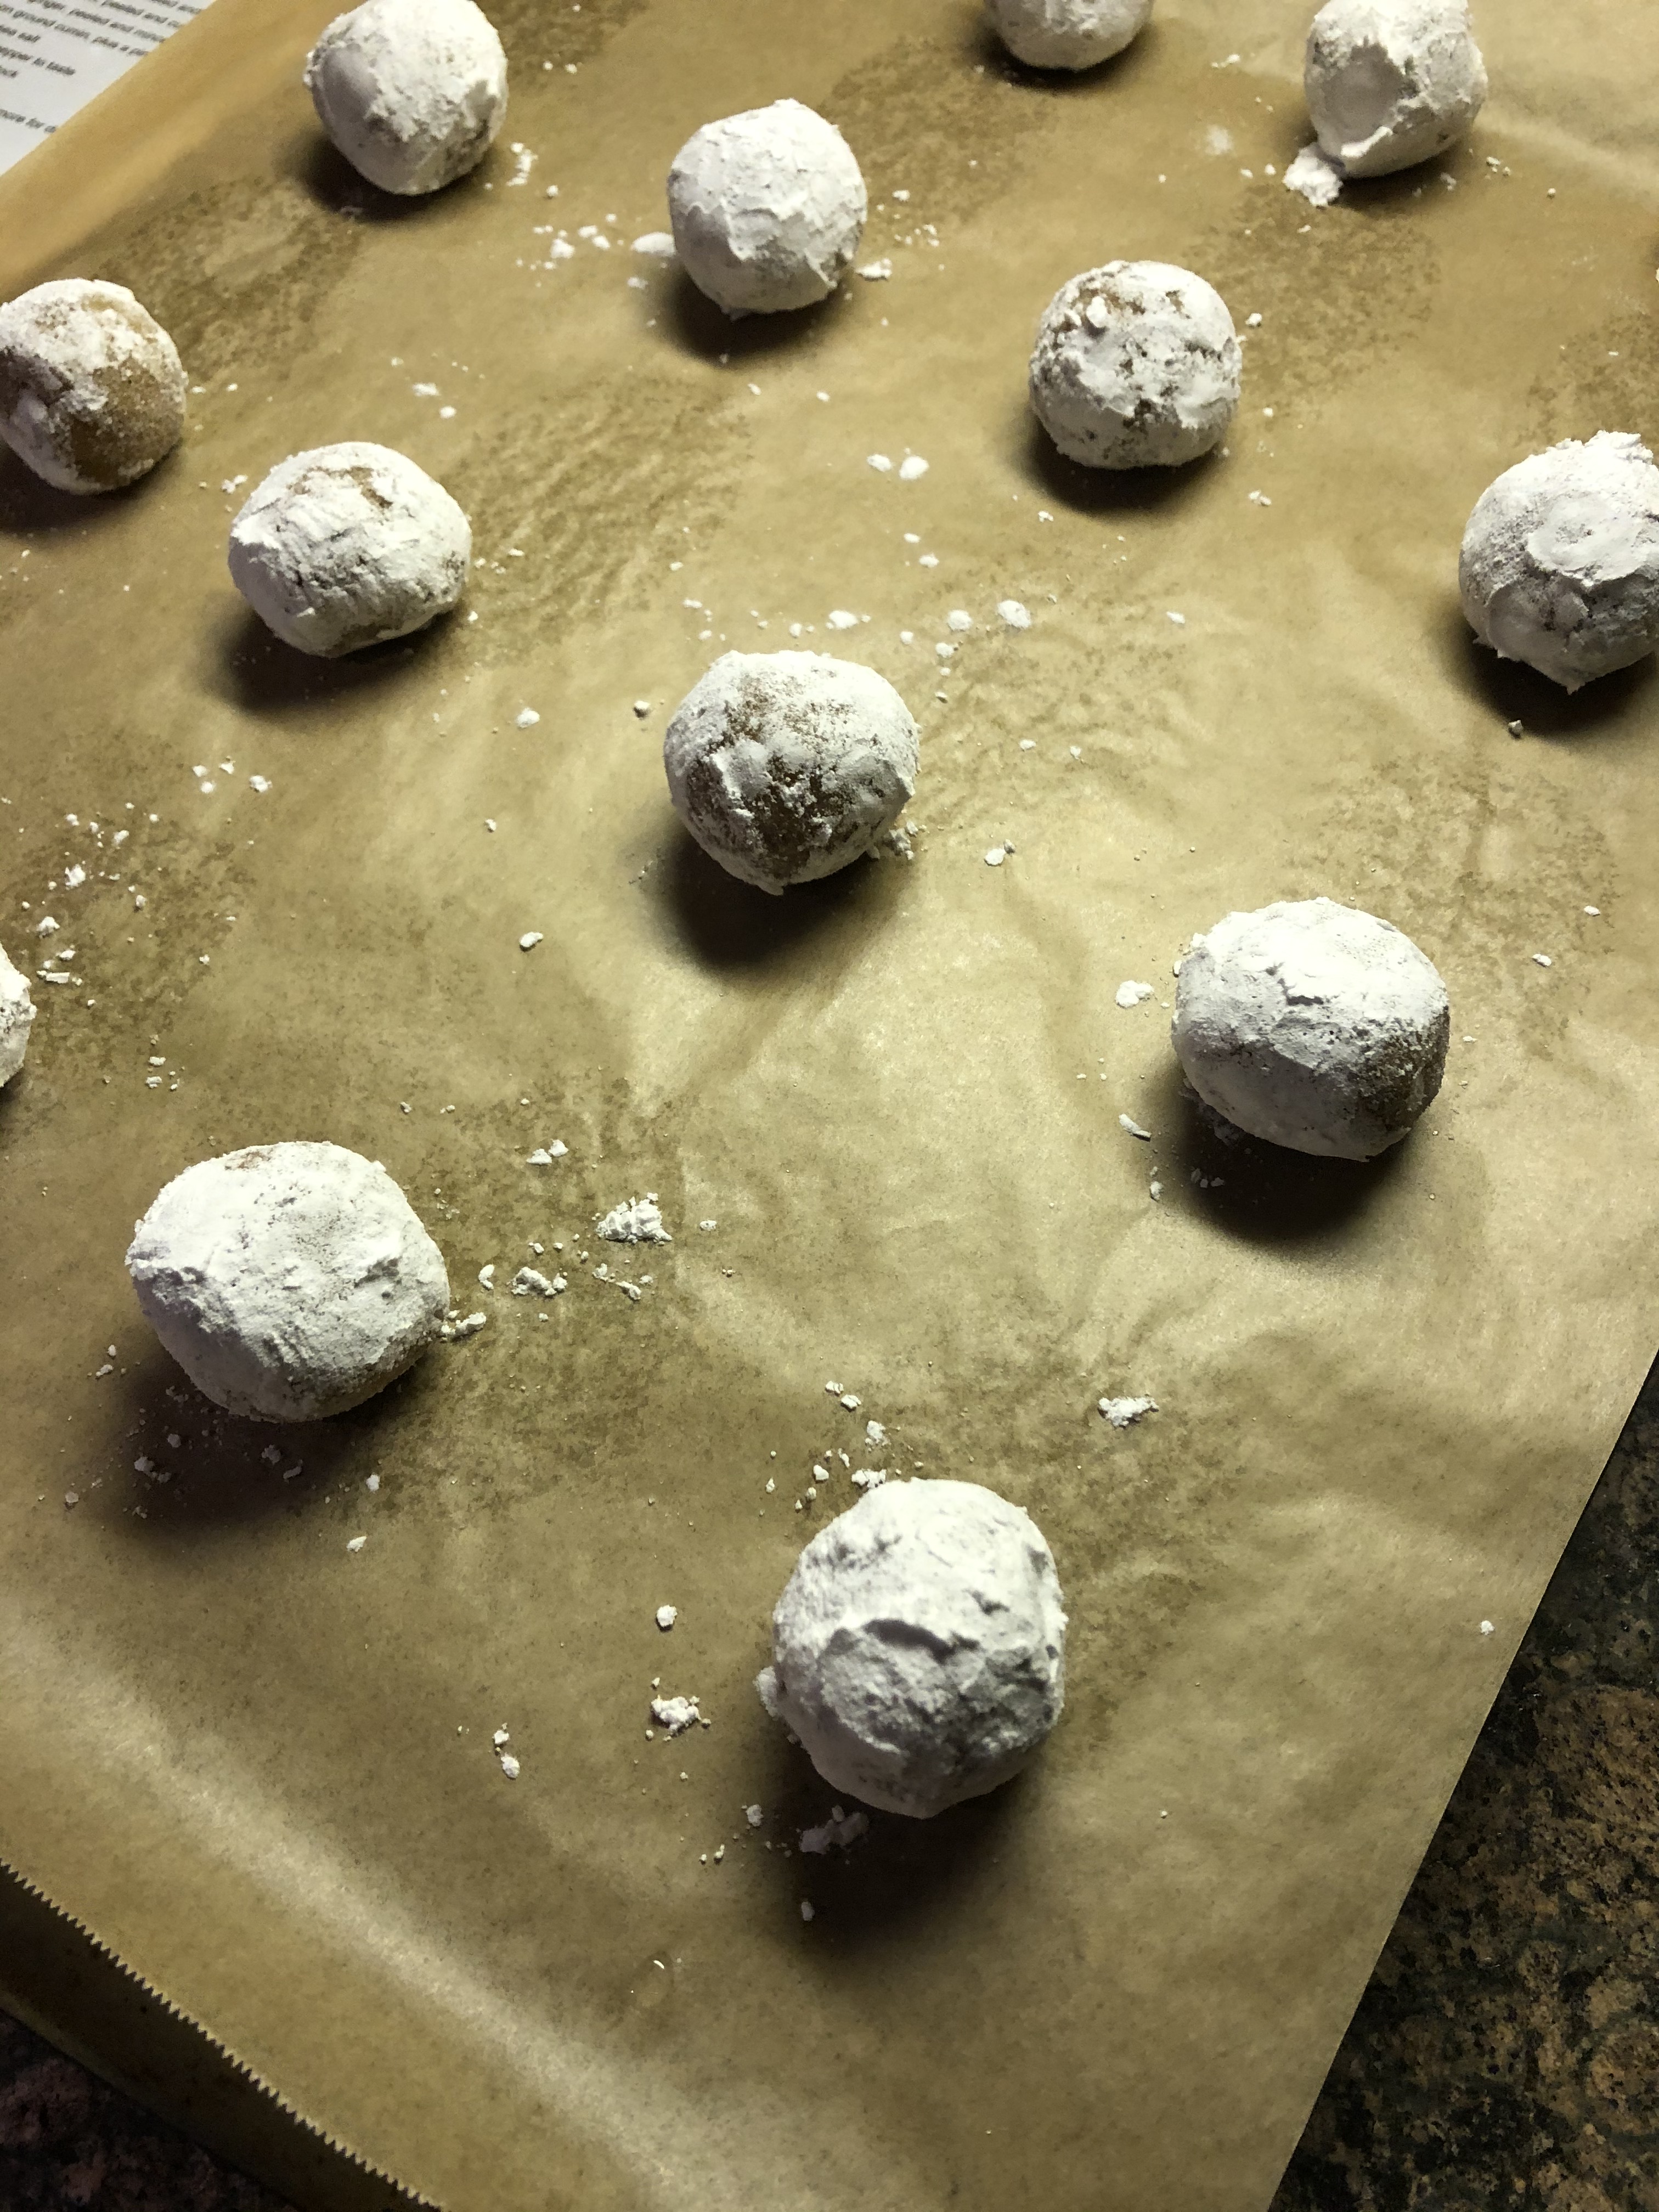
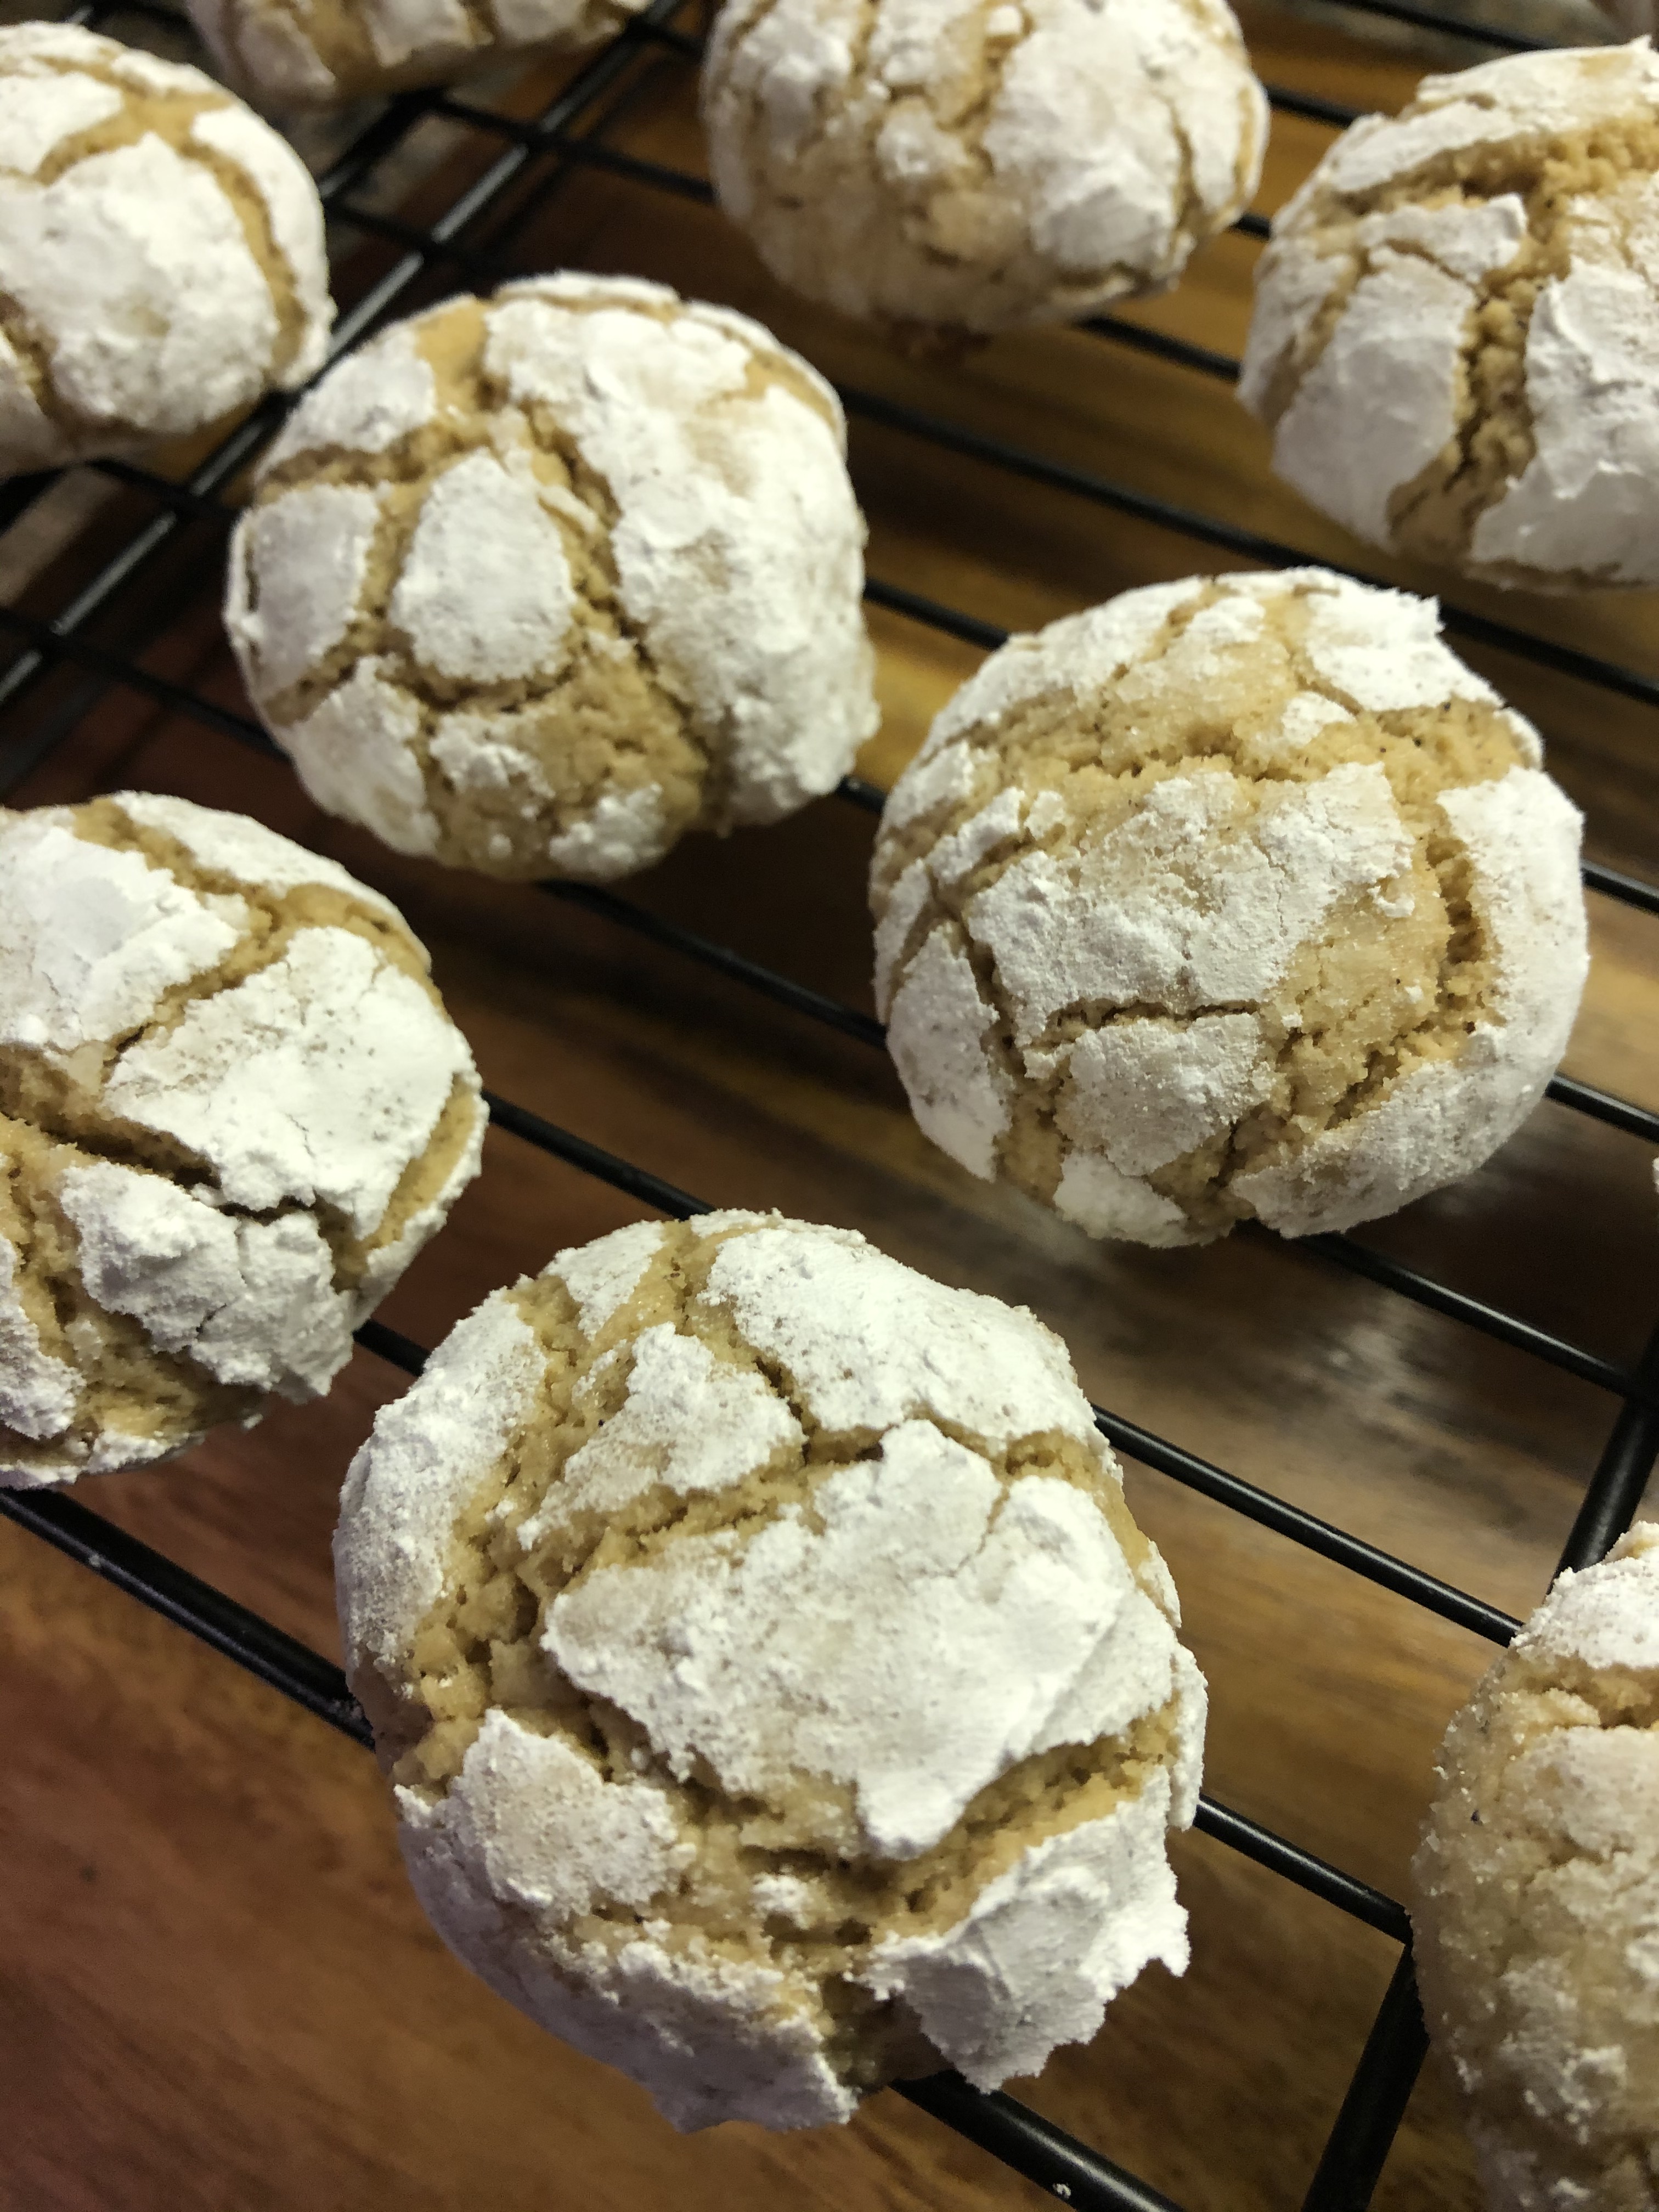
Scoop 1/4 cup of dough onto the prepared cookie sheets 3 inches apart. Bake in the preheated oven for 11-14 minutes, until the cookies are beginning to darken around the edges and the centers are puffed and look slightly underdone. Cool the cookies on the pan for 2-3 minutes so they can set and then transfer to a wire rack to cool completely.
Recipe first appeared on Bead Yarn & Spatula